
Leaderboard


Popular Content
Showing content with the highest reputation on 09/22/17 in all areas
-
By the way..10 points
-
I got the van back together yesterday, and drove it around today dropping off some parts for work. A few minor issues to sort, but it runs really well! Anything more than half throttle from a standstill will turn 2 of the 4 rear tyres into tyre smoke! The power steering is fantastic, although a bit "pointy" now, I will fit another castor wedge in there to try and help with this. The new big bore stainless exhaust sounds so sweet, not too noisy when you are cruising, but has a nice deep bark when you put the slipper in! Still need to fit the evaporator into the heater box and connect up the air conditioning, but other than that it is basically finished. Super happy with it! A few pics of the finished product: The pulleys run really close to the radiator fans! I also fitted a smaller pulley to the blower to up the boost to 10 psi Roll on OS drags Mk5! Big thanks to Muncie for the loan of the blower pulley tool Mk3 power steering box, with hybrid Mk2/Mk5 steering column: I needed to make an extra auxiliary wiring loom for the engine, and fitted relays to the headlights, and horn while I was at it. That is 7 micro relays, 4 mini relays and 16 fuses! I tried to make it look as "factory" as possible, so moved the battery tray to the RH side, and fitted the original airbox (which I had to modify a little bit) to the LH side.6 points
-
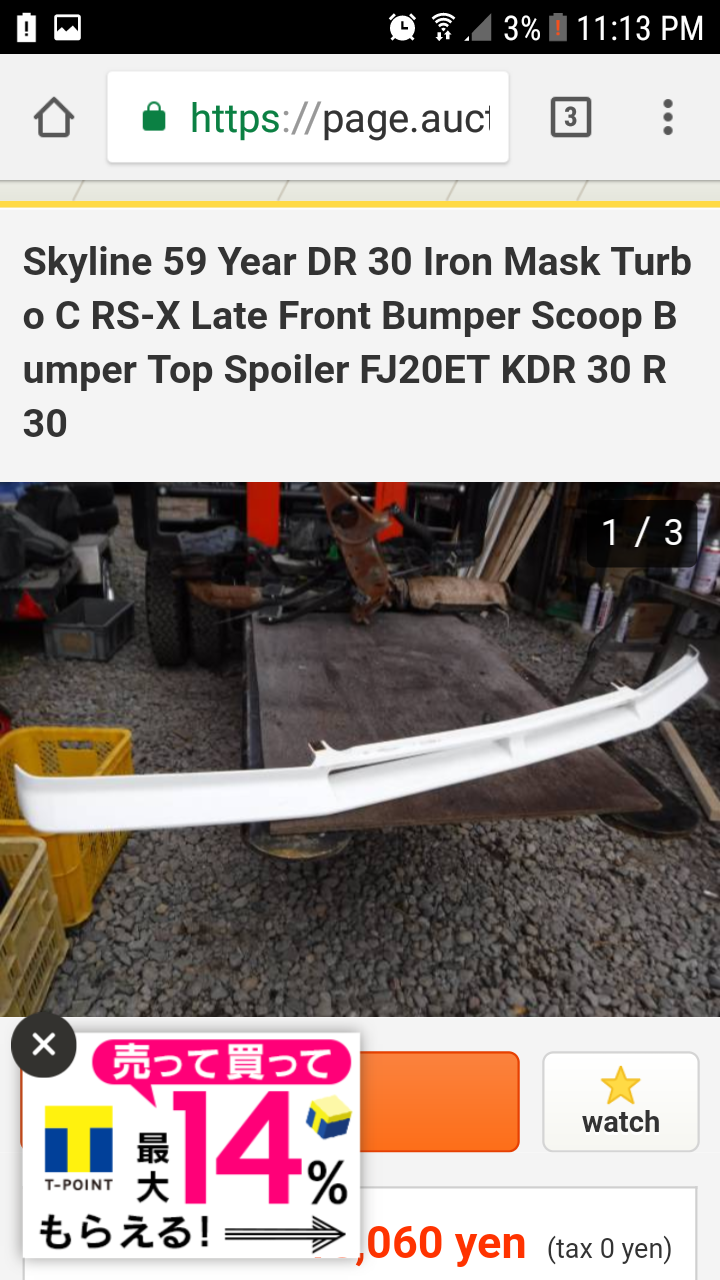
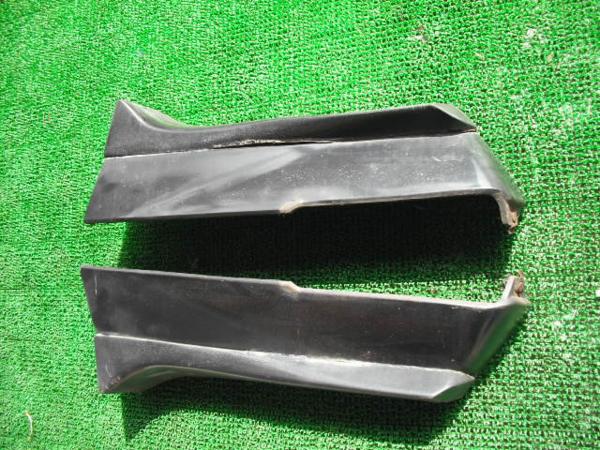
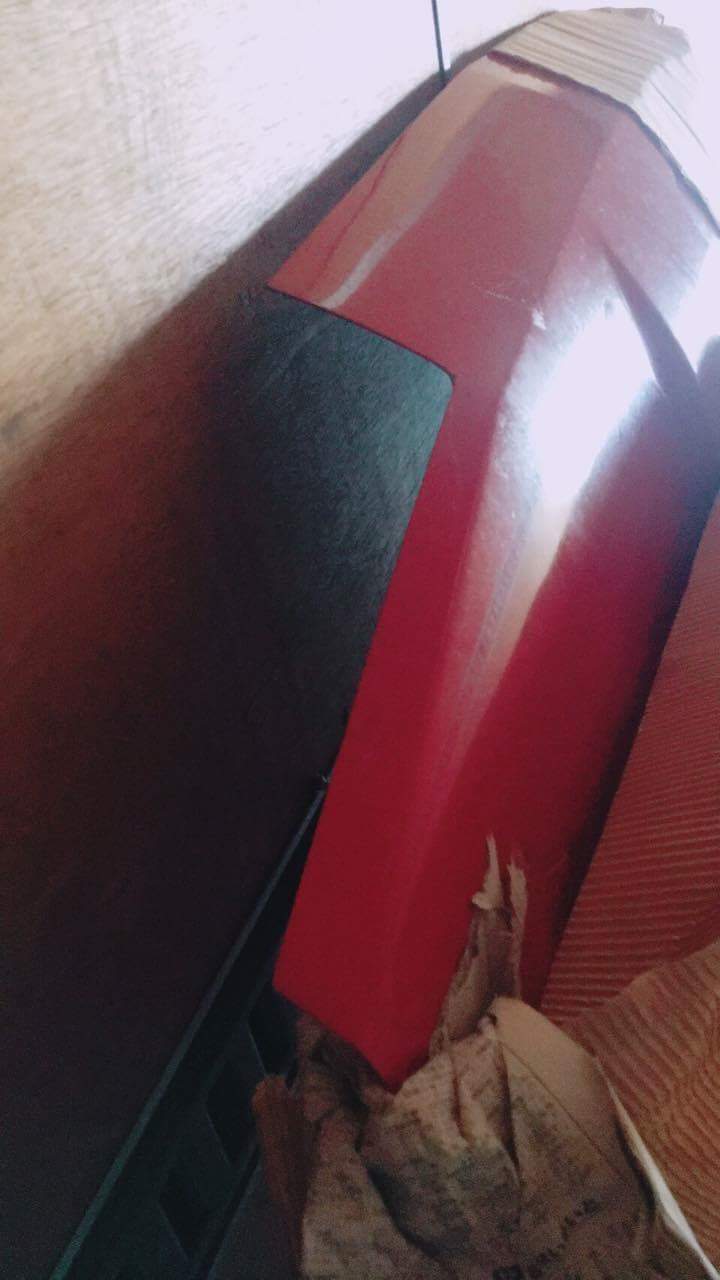
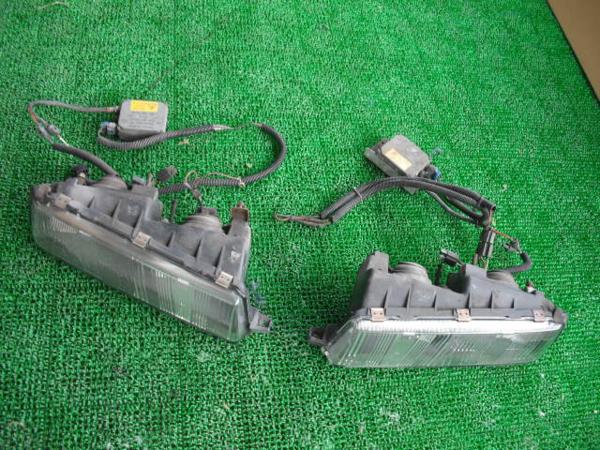
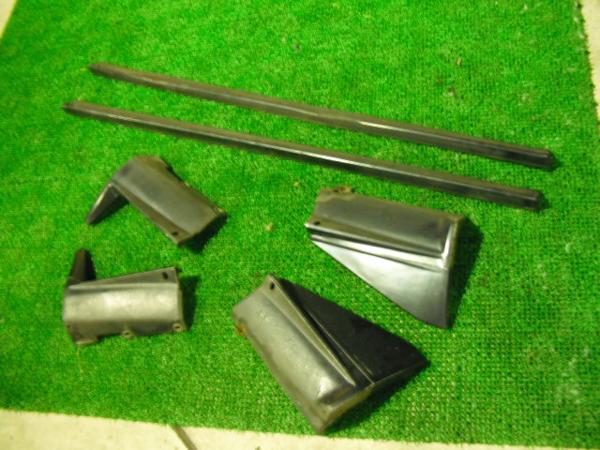
Sooooo, I may or may not have got a little carried away while browsing Yahoo auctions for r30 parts... It all started when I found this: And it quickly escalated And as a bonus (which I didnt realise at the time, the side skirts have rear corner caps too! FIZZING! they should be here in a month or so! Unfortunately now I cant afford any wheels... Would people hate me if I ran widened steels for a while?
 5 points
 -
Bam, 2 minute job but I'll count it as a win4 points
-
It certainly was!
3 points
-
I'm gonna go through it all bit by bit and check everything again, will give me a chance to clean up a few parts too. Have enjoyed riding this thing the few times I've been out, it rips along when it's on pipe3 points
-
@kickerIts a timing belt (thought it was a v-belt/couldn't see on my phone) 375-5M, and I happen to stock it, so can cut it at 6mm wide for you. They would be $4.70ea + freight down to ya'll.3 points
-
New blower pulley arrived today - smaller pulley = more boost! I removed all of the wiring, pipework, radiator etc and gave the engine bay a paint in Ford Diamond white3 points
-
In other news, I just paid for a copy of Megalogviewer HD. As you can import .CSV files from most other ECU types into it. The main feature that I'm interested in, is the ability to do maths on measured fields to calculate new ones. So for example, my ECU currently outputs CC per min of fuel consumption but you really need to factor the vehicle speed into this to get a true measure of economy. So you can do exactly that and then see a log of litres per 100km or km per litre or whatever. Which is cool. But then secondary to this, you can use the histogram function to generate a table which shows you what economy values you are getting in each cell of a table. So you can make changes across a map (say globally add or remove 2 deg timing) and then see how that changes economy really easily. The UI is just generally speaking disgraceful but it goes hard for what it is. But the table generator thingy and a few of the other calculated values will be awesome to use, I can see there are already some pre-existing calcs for working out coast down losses and power estimations and stuff like that.2 points
-
Shit yeah was good. I enjoyed muchly. Good beers too.! Here's a super shit picture.
2 points
-
Gonna have to plead the shaggy defence on that #wasntme2 points
-
15" wheels max2 points
-
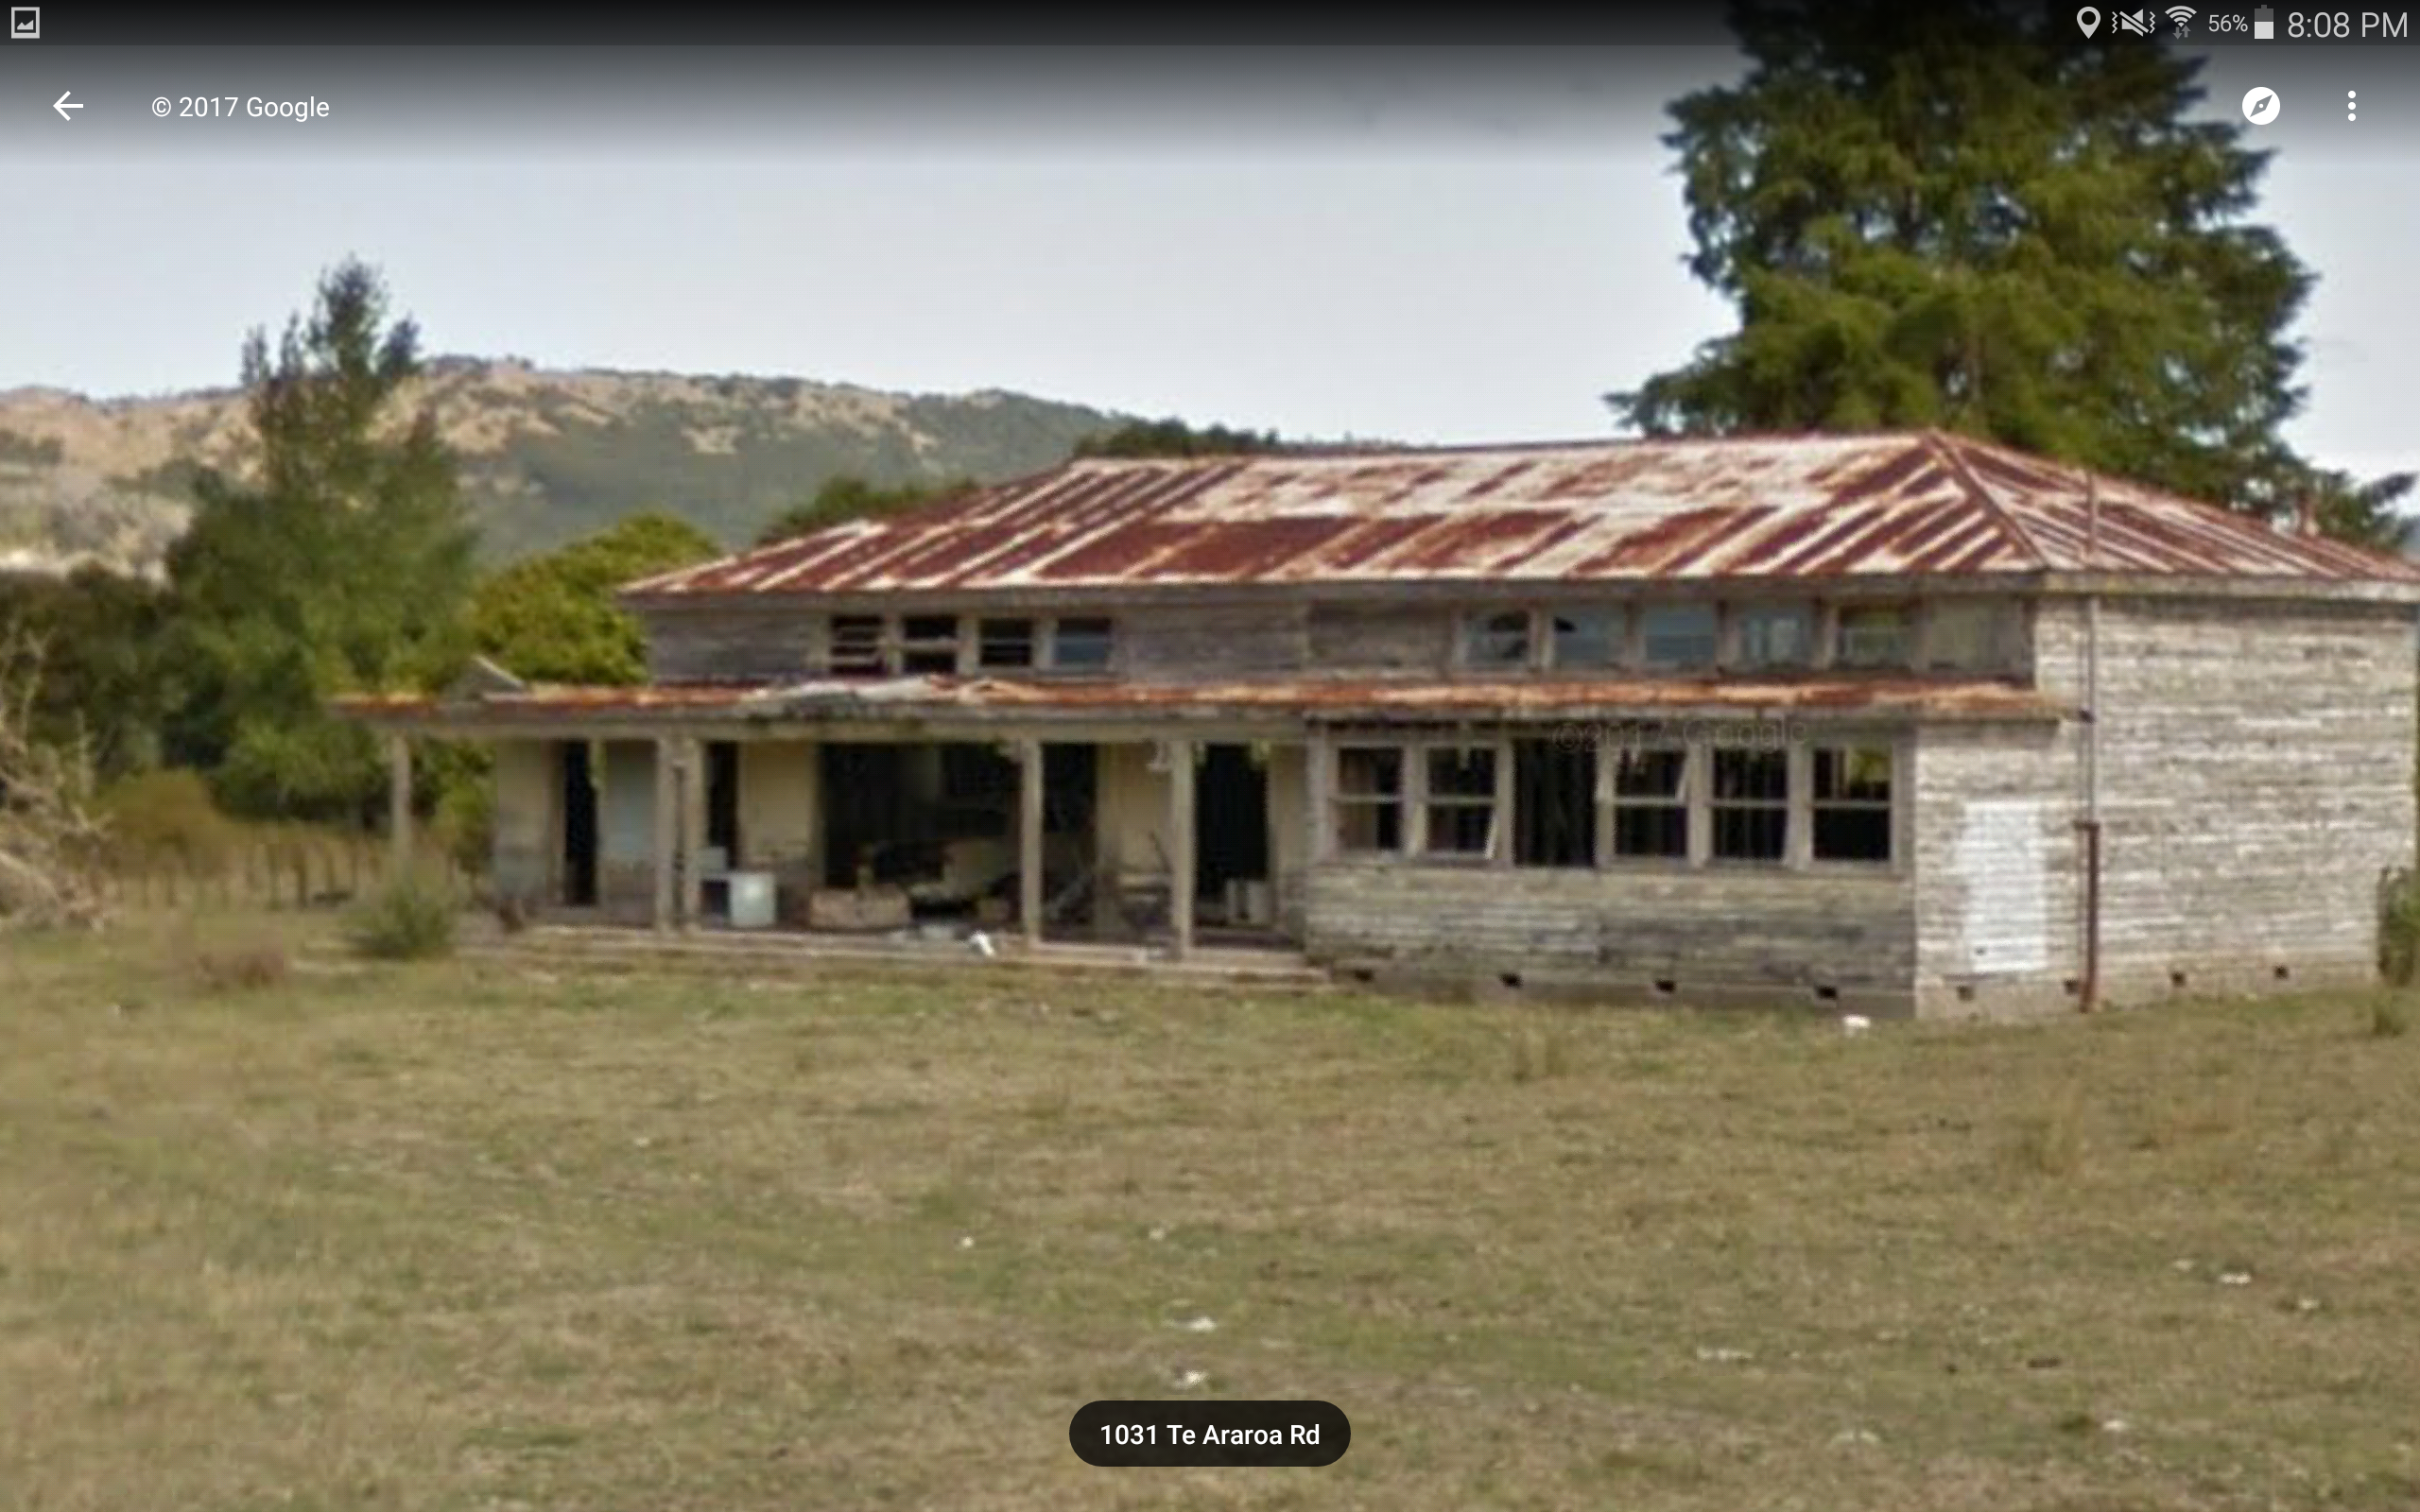
Keep an eye out for this legit barnfind just past tikitiki https://goo.gl/maps/ttUYMRii3r62
2 points
-
Time for another update? Might as well be! This afternoon I started assembling some of the new genuine parts, first off the new battery cover got a black knobing Then I fitted up the air vent flap to the new cowel, with all new screws and spring etc, genuine decal was the cherry on top lol + Need to talk to @Archetype about doing some replacement/custom Gyro stickers at some point too. Among the parts that came this morning was every bolt m6 and smaller from a wrecked Gyro in Japan, I just needed 4 that hold the floor on as mine were rusted out, they were 263JPY each for new ones from Honda (they have an oddball sized shank piece so are Honda specific), I got every single bolt from a Gyro for something like 250JPY, my mate in Japan kept all the bigger ones among his stash which helped to keep the shipping weight down. Soaked them all in vinegar for a few hours and they all look like new now, mint!2 points
-
"RS-DIESEL" stickers on the rear doors would be a laugh.2 points
-
Well it's a year later and the only change is that is has grown plenty of lichen. Took the diff head out and had a go at fixing the LSD and crazy noise it has, that didn't work so I took it back out and tightened up the backlash a bit more, that didn't help either. Tried to do skids, single spinner, tried some more and it starts missing and running like shit. Because of how miserable it is to take the head out, I've been ignoring it. I did however just order a carb rebuild kit. I also just realised most of my pics no longer work, ah well.2 points
-
Interior got a scrub down today!2 points
-
Just got the engine crossmember built. I wanted to make a proper crossmember with engine mounts welded to it, rather than the original style setup where the engine mounts just hang off the side of the chassis rails. So I got some 63mm black pipe bent to shape, drew the engine mounts and had them laser cut and folded, and got our fabricator to trim them and weld them up. Really pleased with the result, ties the chassis rails together, and is very strong.
2 points
-
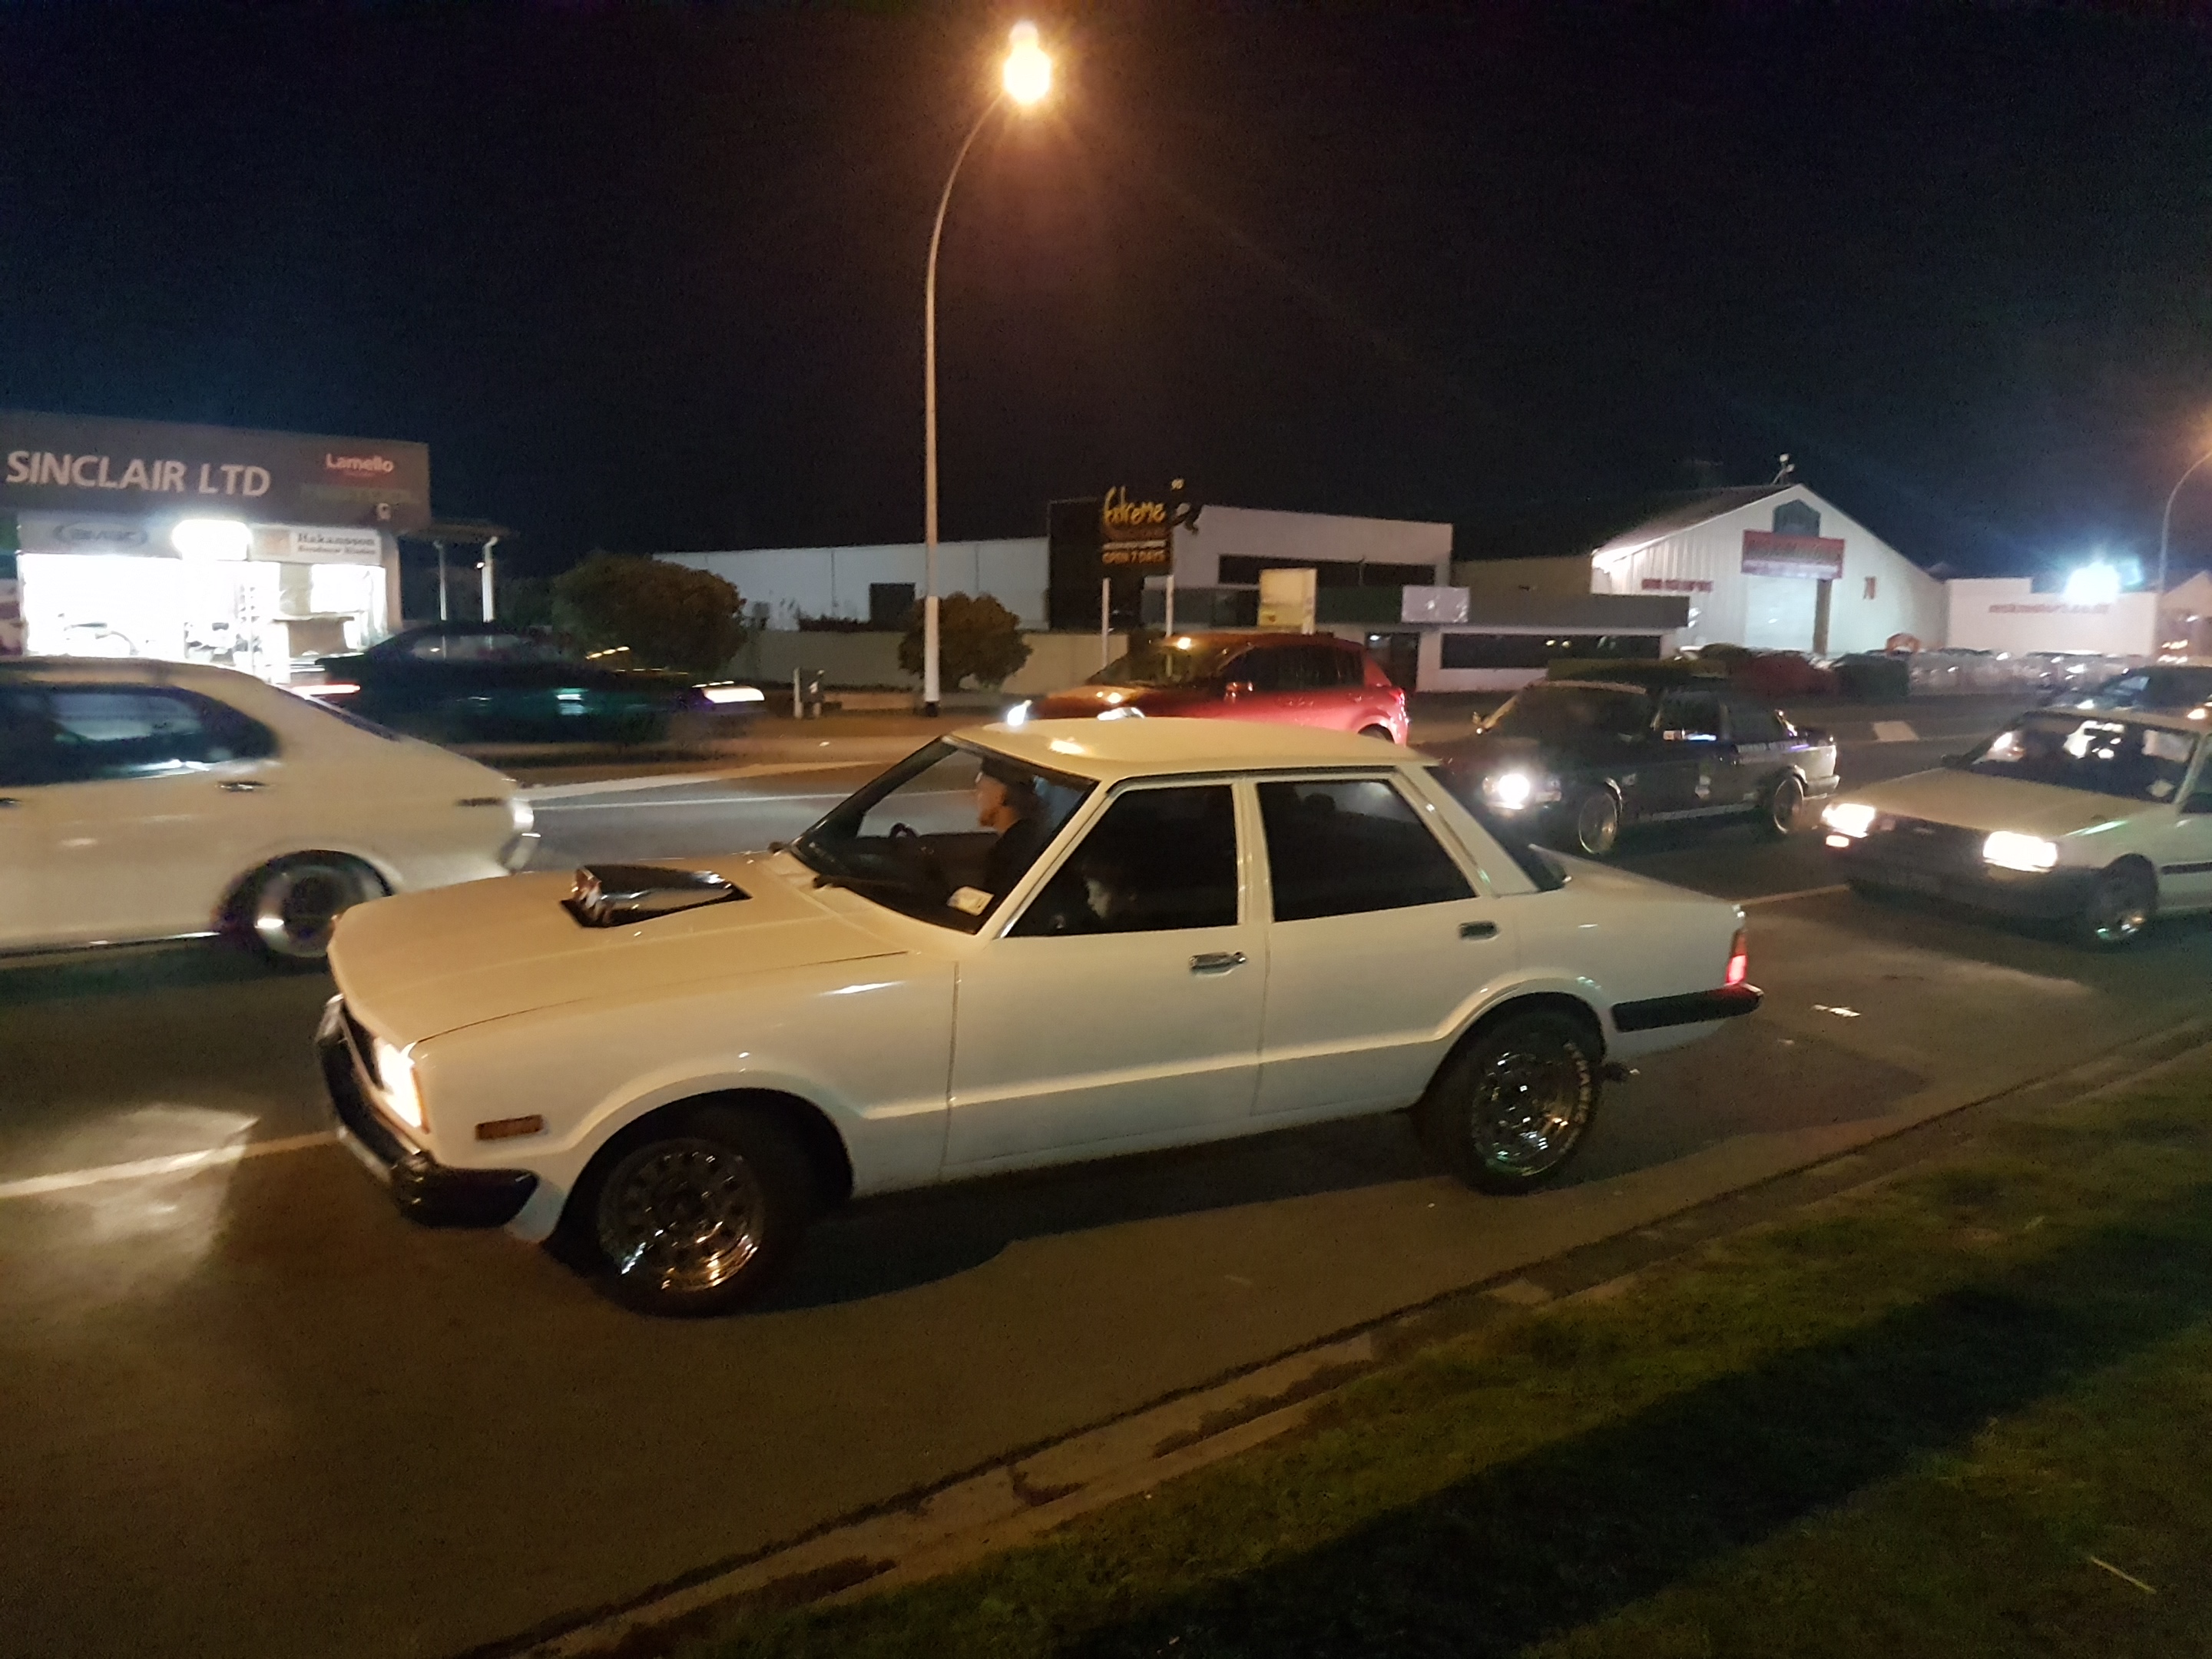
Right, I'm back again, to actually make a proper effort at a car, unlike my KE70 that I abandoned after a week. The R30 pine has been strong as of late and after sharing my pine with Scott (Brdflu) the week after Hanmer-nats he pointed me in Slacker_sams direction. A few Facebook messages and a 40 minute plane ride(stupid pencil planes) and BAM! Glorious! Topped off the tank with diseaseline at 6.45 in Motueka, swung past maccas and left at 7pm. 5.5hrs chugging through heavy rain, I was lucky theyd cleared the Lewis of the Spring snow fall that closed it the night before :S 461km from Mot to my door, didnt miss a beat! Safe to say the already noisey diff is making even more noise now though. On with the project! Discussion: https://oldschool.co.nz/index.php?/topic/57362-beaubots-1982-er30-skyline-sedan/
1 point
-
Sussed out my interior light tonight, and plugged in the heater blower switch. Flicked the switch and plenty of current draw but no go.. After staring at it thoughtfully for a bit, gave the heater box a judicious kick and with a Whrcrunchsqueaksqueakwhirrcrunchsqueakwhirrrrrrrrrrr It came back to life, meaning that at this point EVERYTHING WORKS. Place your bets on what will break first now
1 point
-
Already planned! Sohc RS- Diesel was what i was thinking. Surprisingly a mate just spent a mint on new Watanabes and they look like they were cast by a blind man in a dark shed. Unfortunately budget is a concern, especially if someone is likely going to end up trying to steal them. Just as well I have a history of adjusting Kyteler! What turbo is on yours? I do have a few GTR t25s floating about the garage..... Im picking up what youre putting down, but I think it needs bigger than 15, because of stupid giant front arches. I agree with Scott, stop neglecting the wedge. Someones gotta do it Scott!
1 point
-
Okie doke, bit by bit the checking starts. Just checked the fuel flow through the tap. The black line on the measuring cup is 50ml which it takes about 10 seconds to reach. Not sure on actual flow rate required but at 300ml per minute it'll empty the tank in about 17. Once my new plug cap turns up the next will be to test it with the engine running to see if it is the same. In the mean time I'll dig out my stash of sweet yellow Tygon fuel hose and shiny new clamps and replace both vacuum and supply hoses.1 point
-
Ahh ok mine is 1.4v = 34kpa and 3.58 volts = 100kpa. So similar slope but offset by quite a bit What voltage do you get when the car is not running? (~100kpa)1 point
-
I am just happy the video still works1 point
-
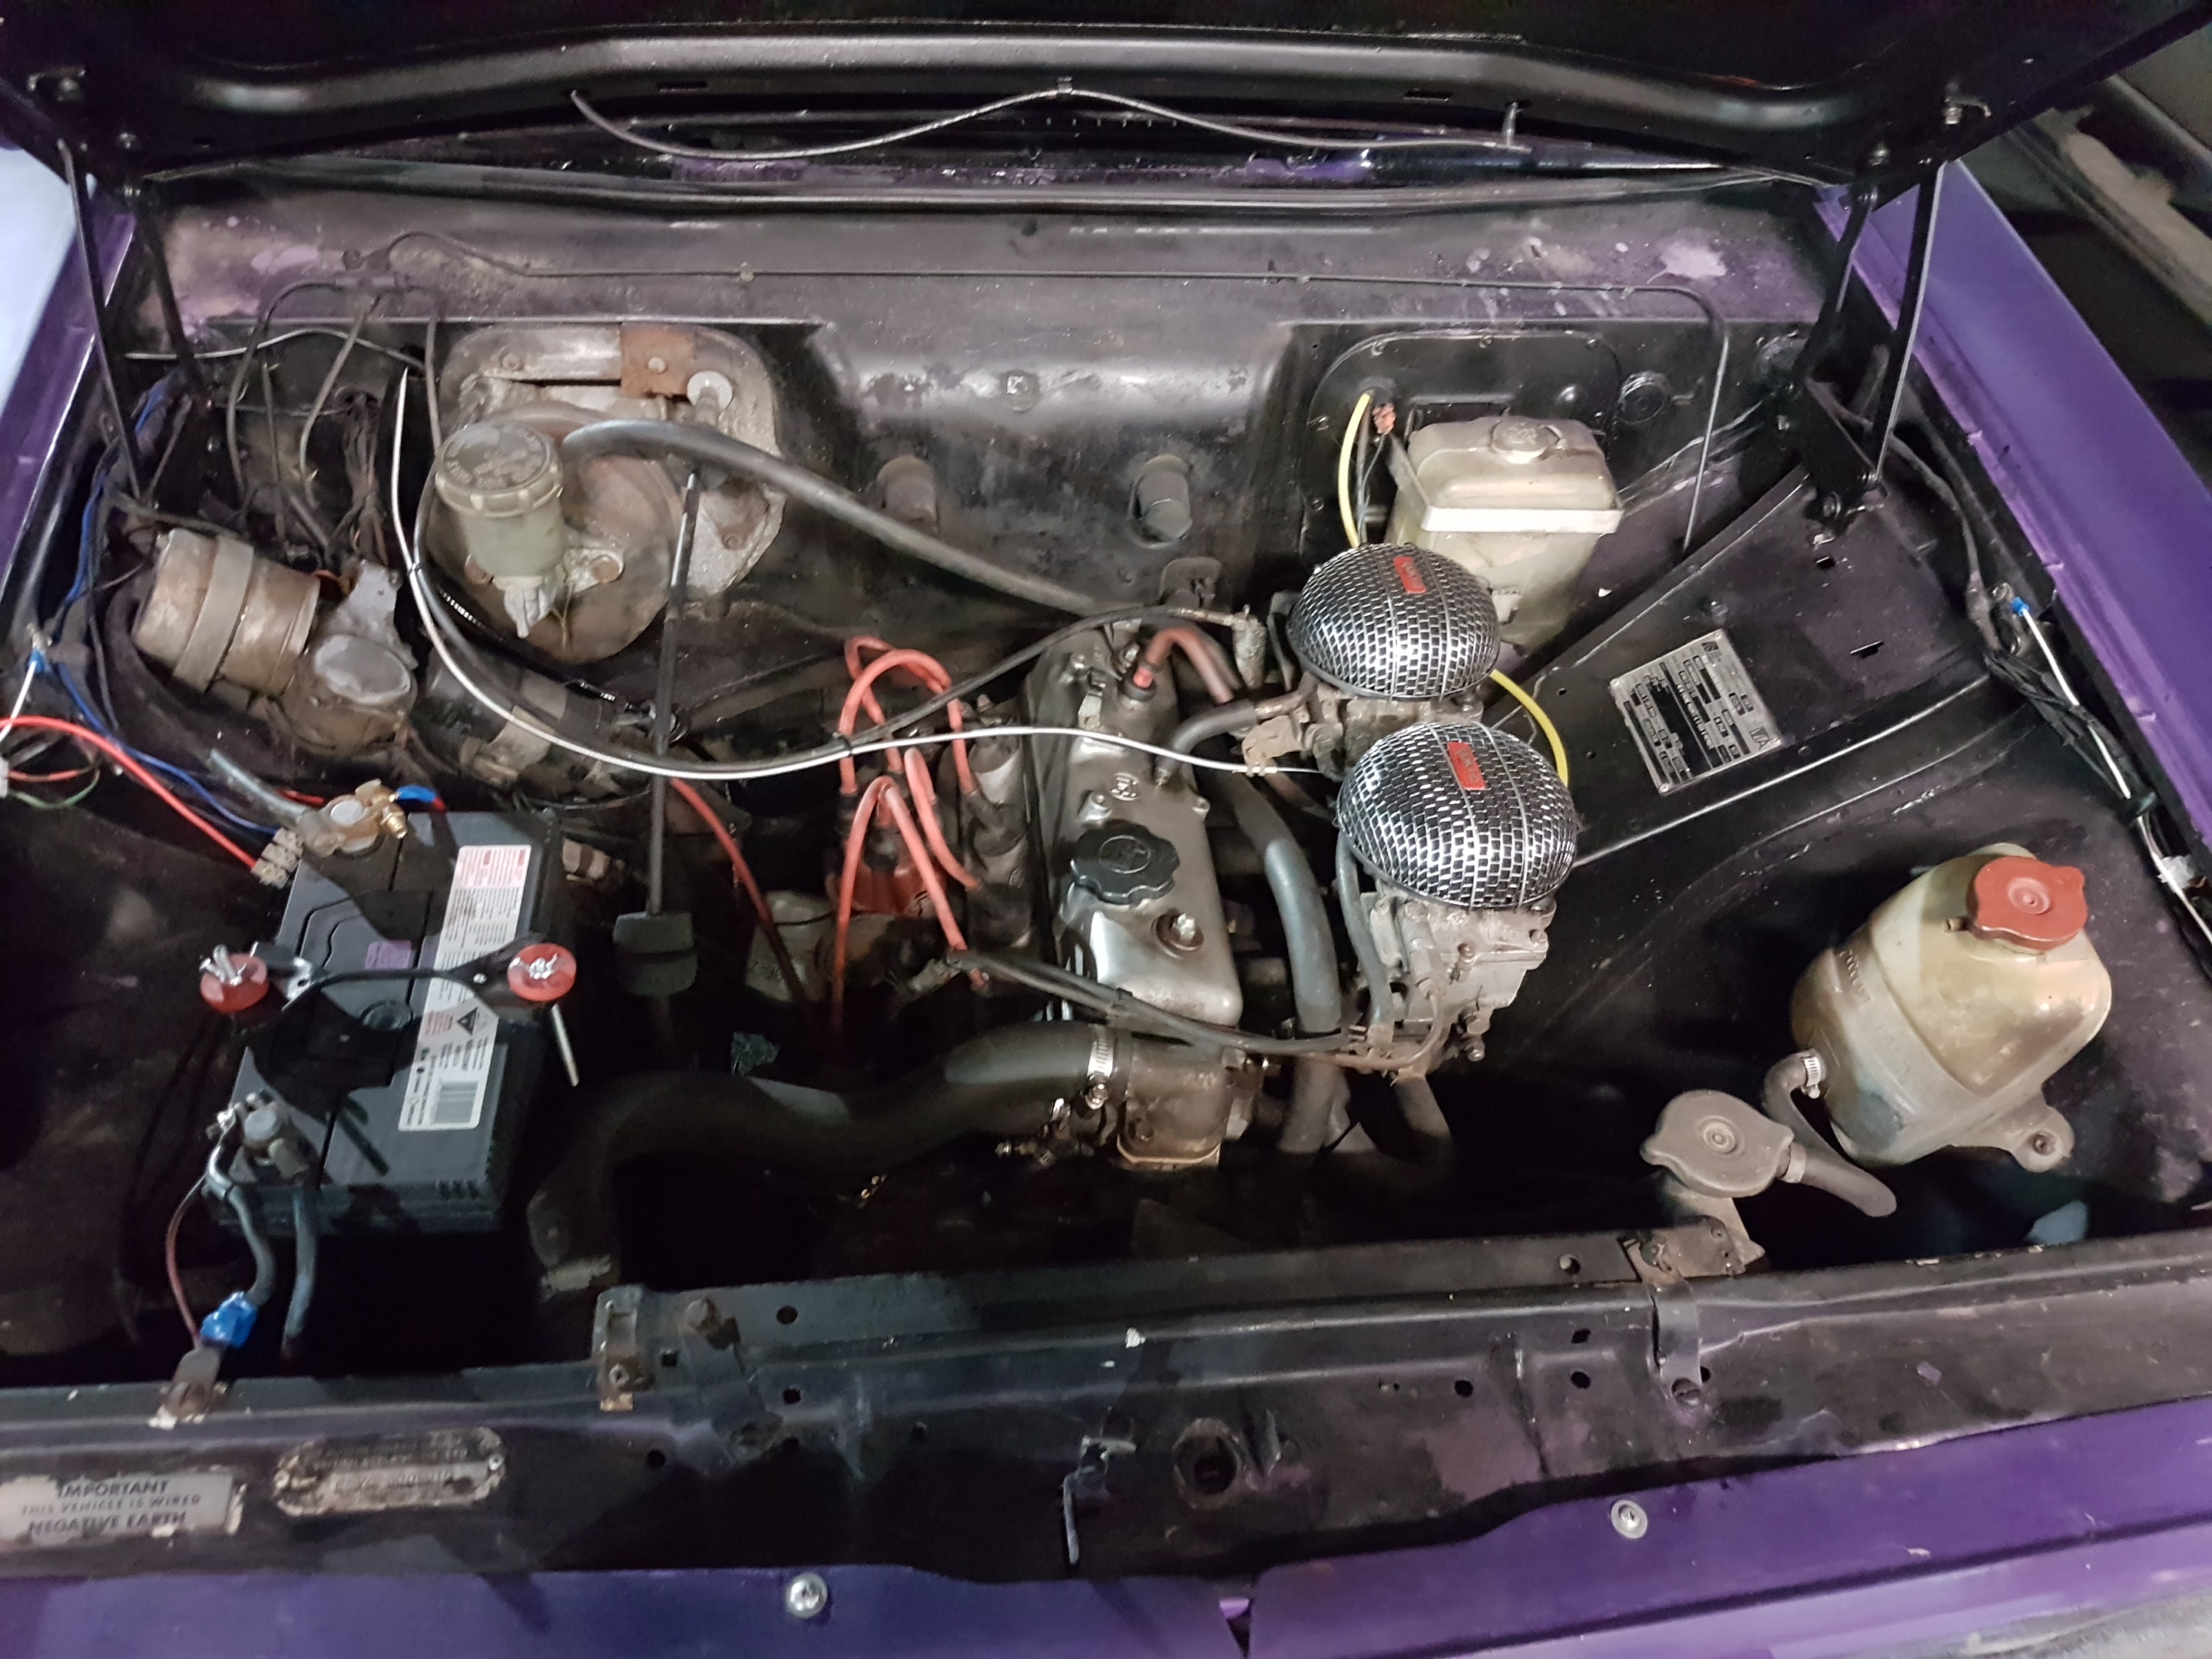
Unfortunately the manifold was so flogged out that a helicoil wasn't an option (we have a bunch of them in my workshop) I was calling it a major as I had tried a few different things to fix this, I originally made some M9 studs to do the job but once I cut the thread even they pulled out as the holes were so flogged. Will probably take it to my old work as the owner is a old Barry who knows carbs, and has a collection of first gen commys. So will be right up his alley1 point
-
Accurate portrayal of the lighting conditions as well!1 point
-
I'll be there. Apparently.1 point
-
PSA regarding EFI fuel hose https://www.tasteslikepetrol.net/2017/09/psa-low-quality-sae-j30-r9-fuel-hose/1 point
-
I don't know about you, but I can't wait to see this in one piece1 point
-
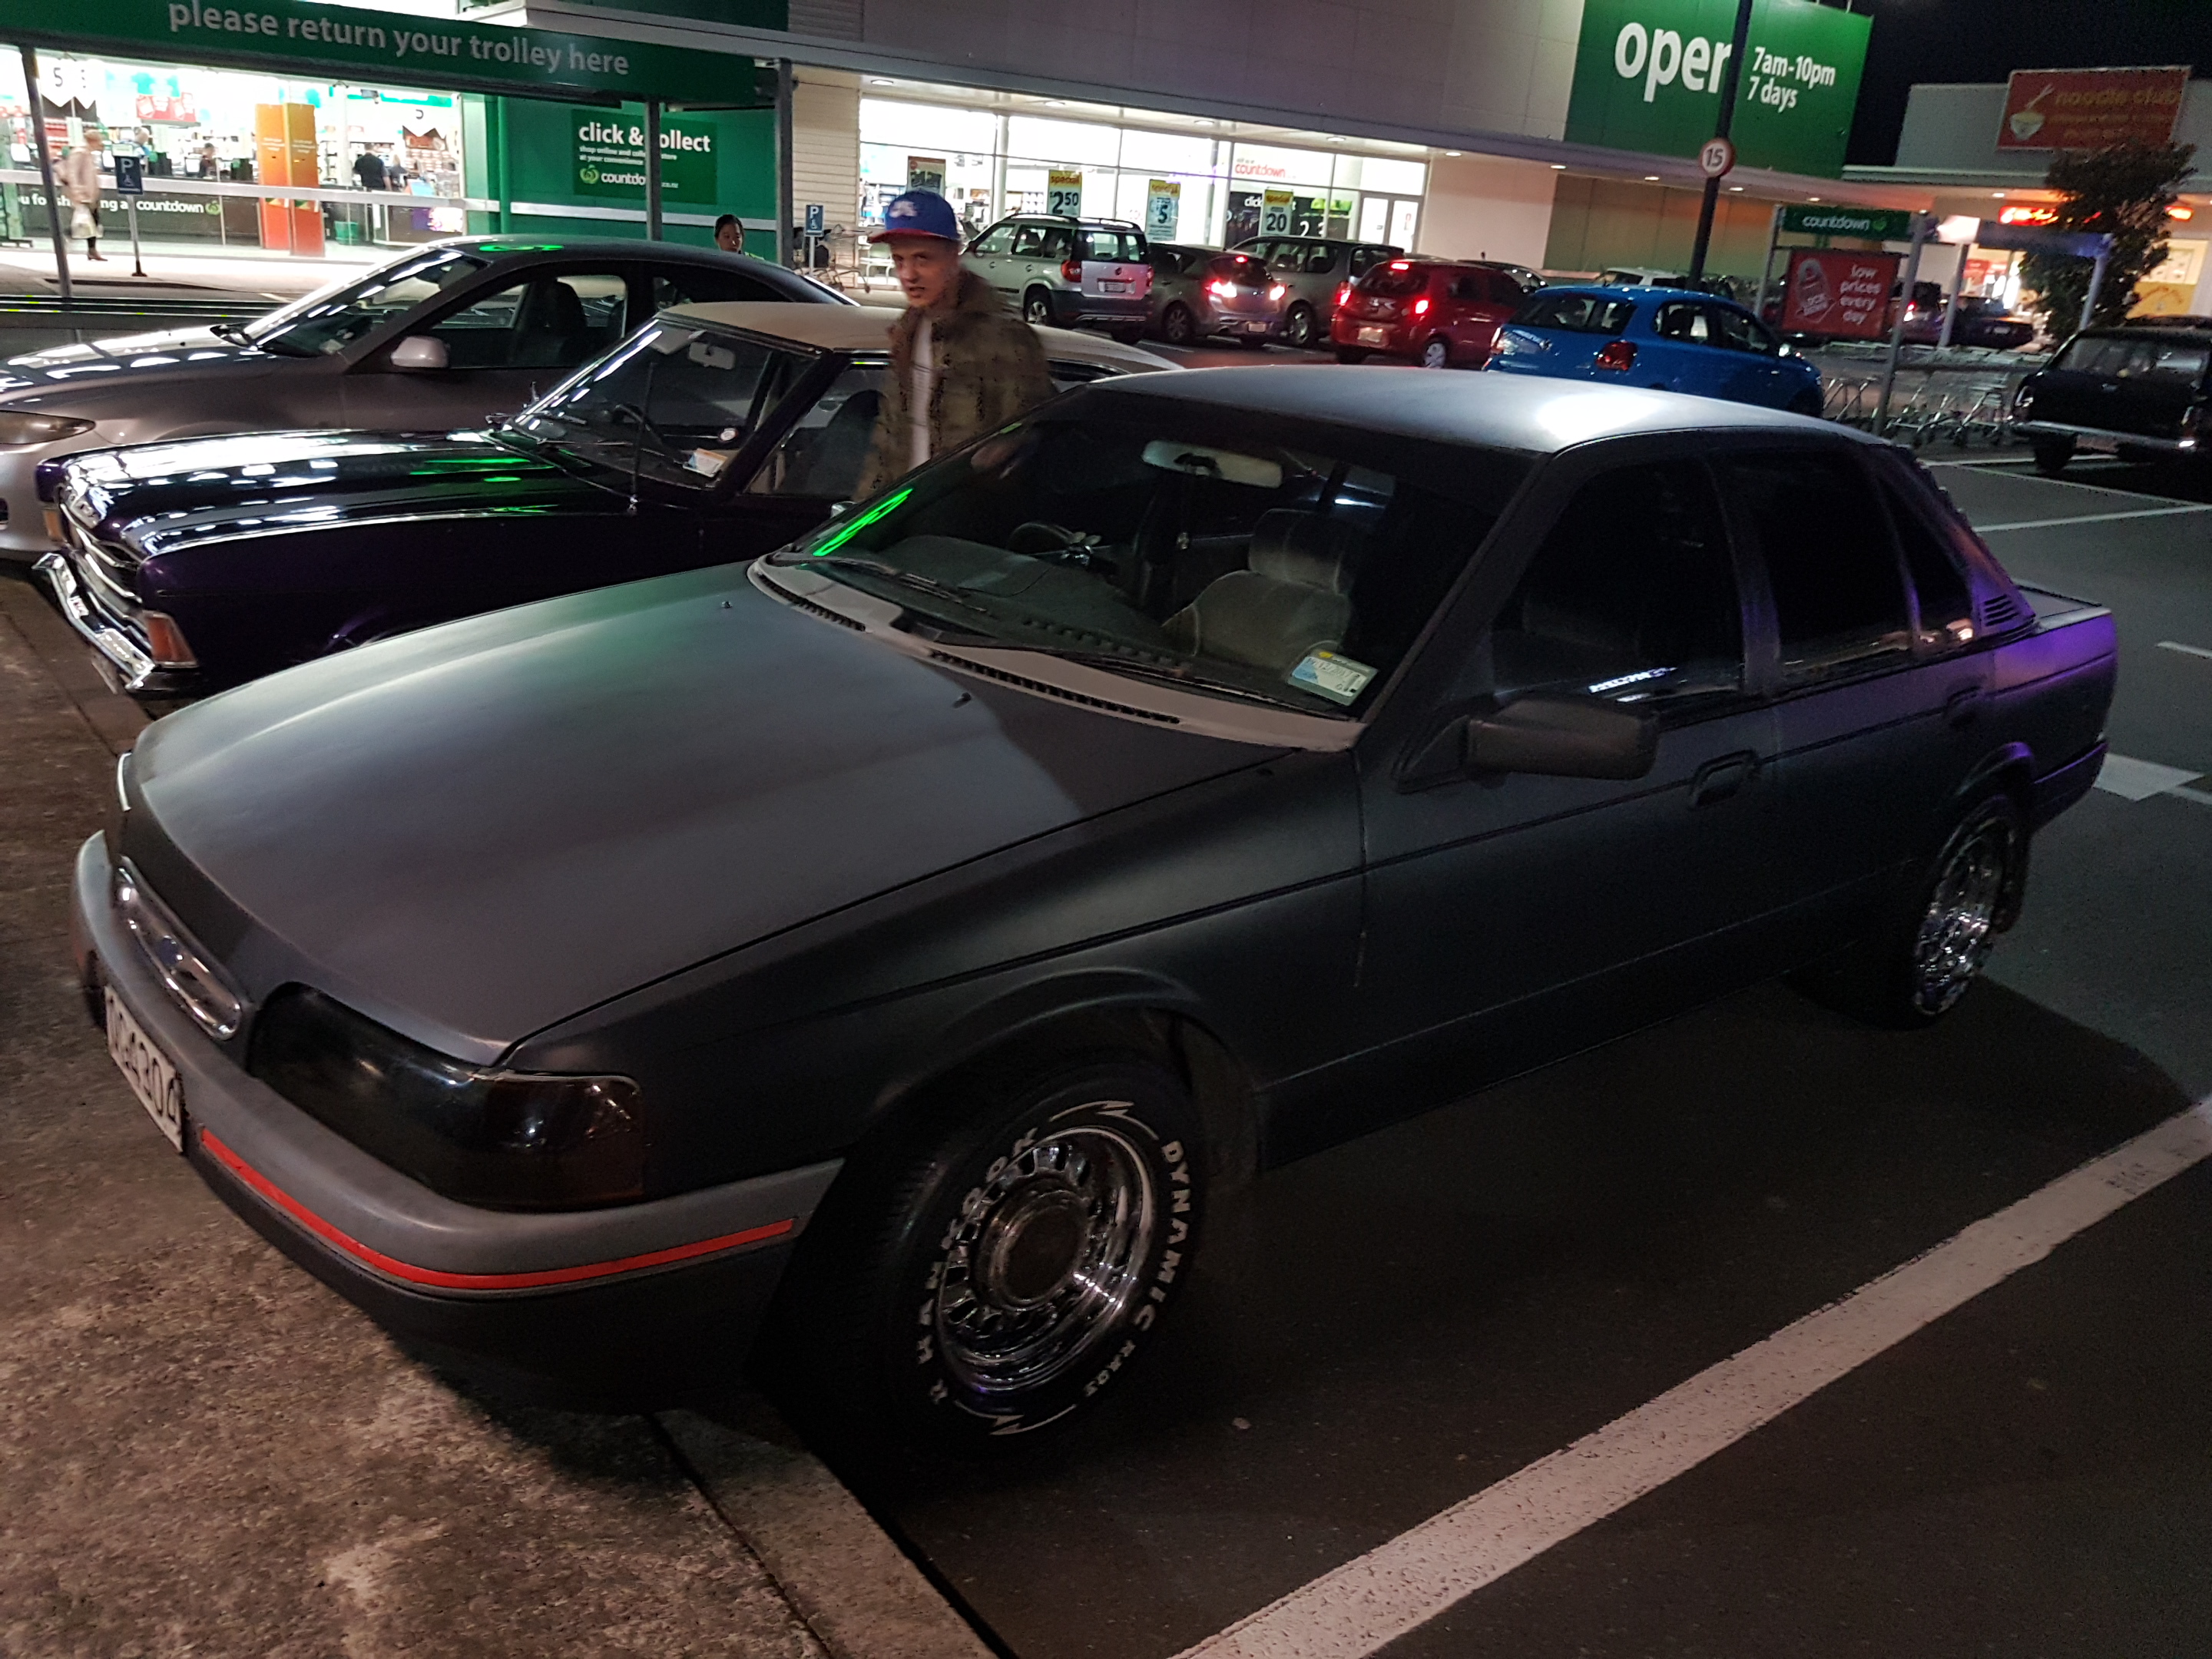
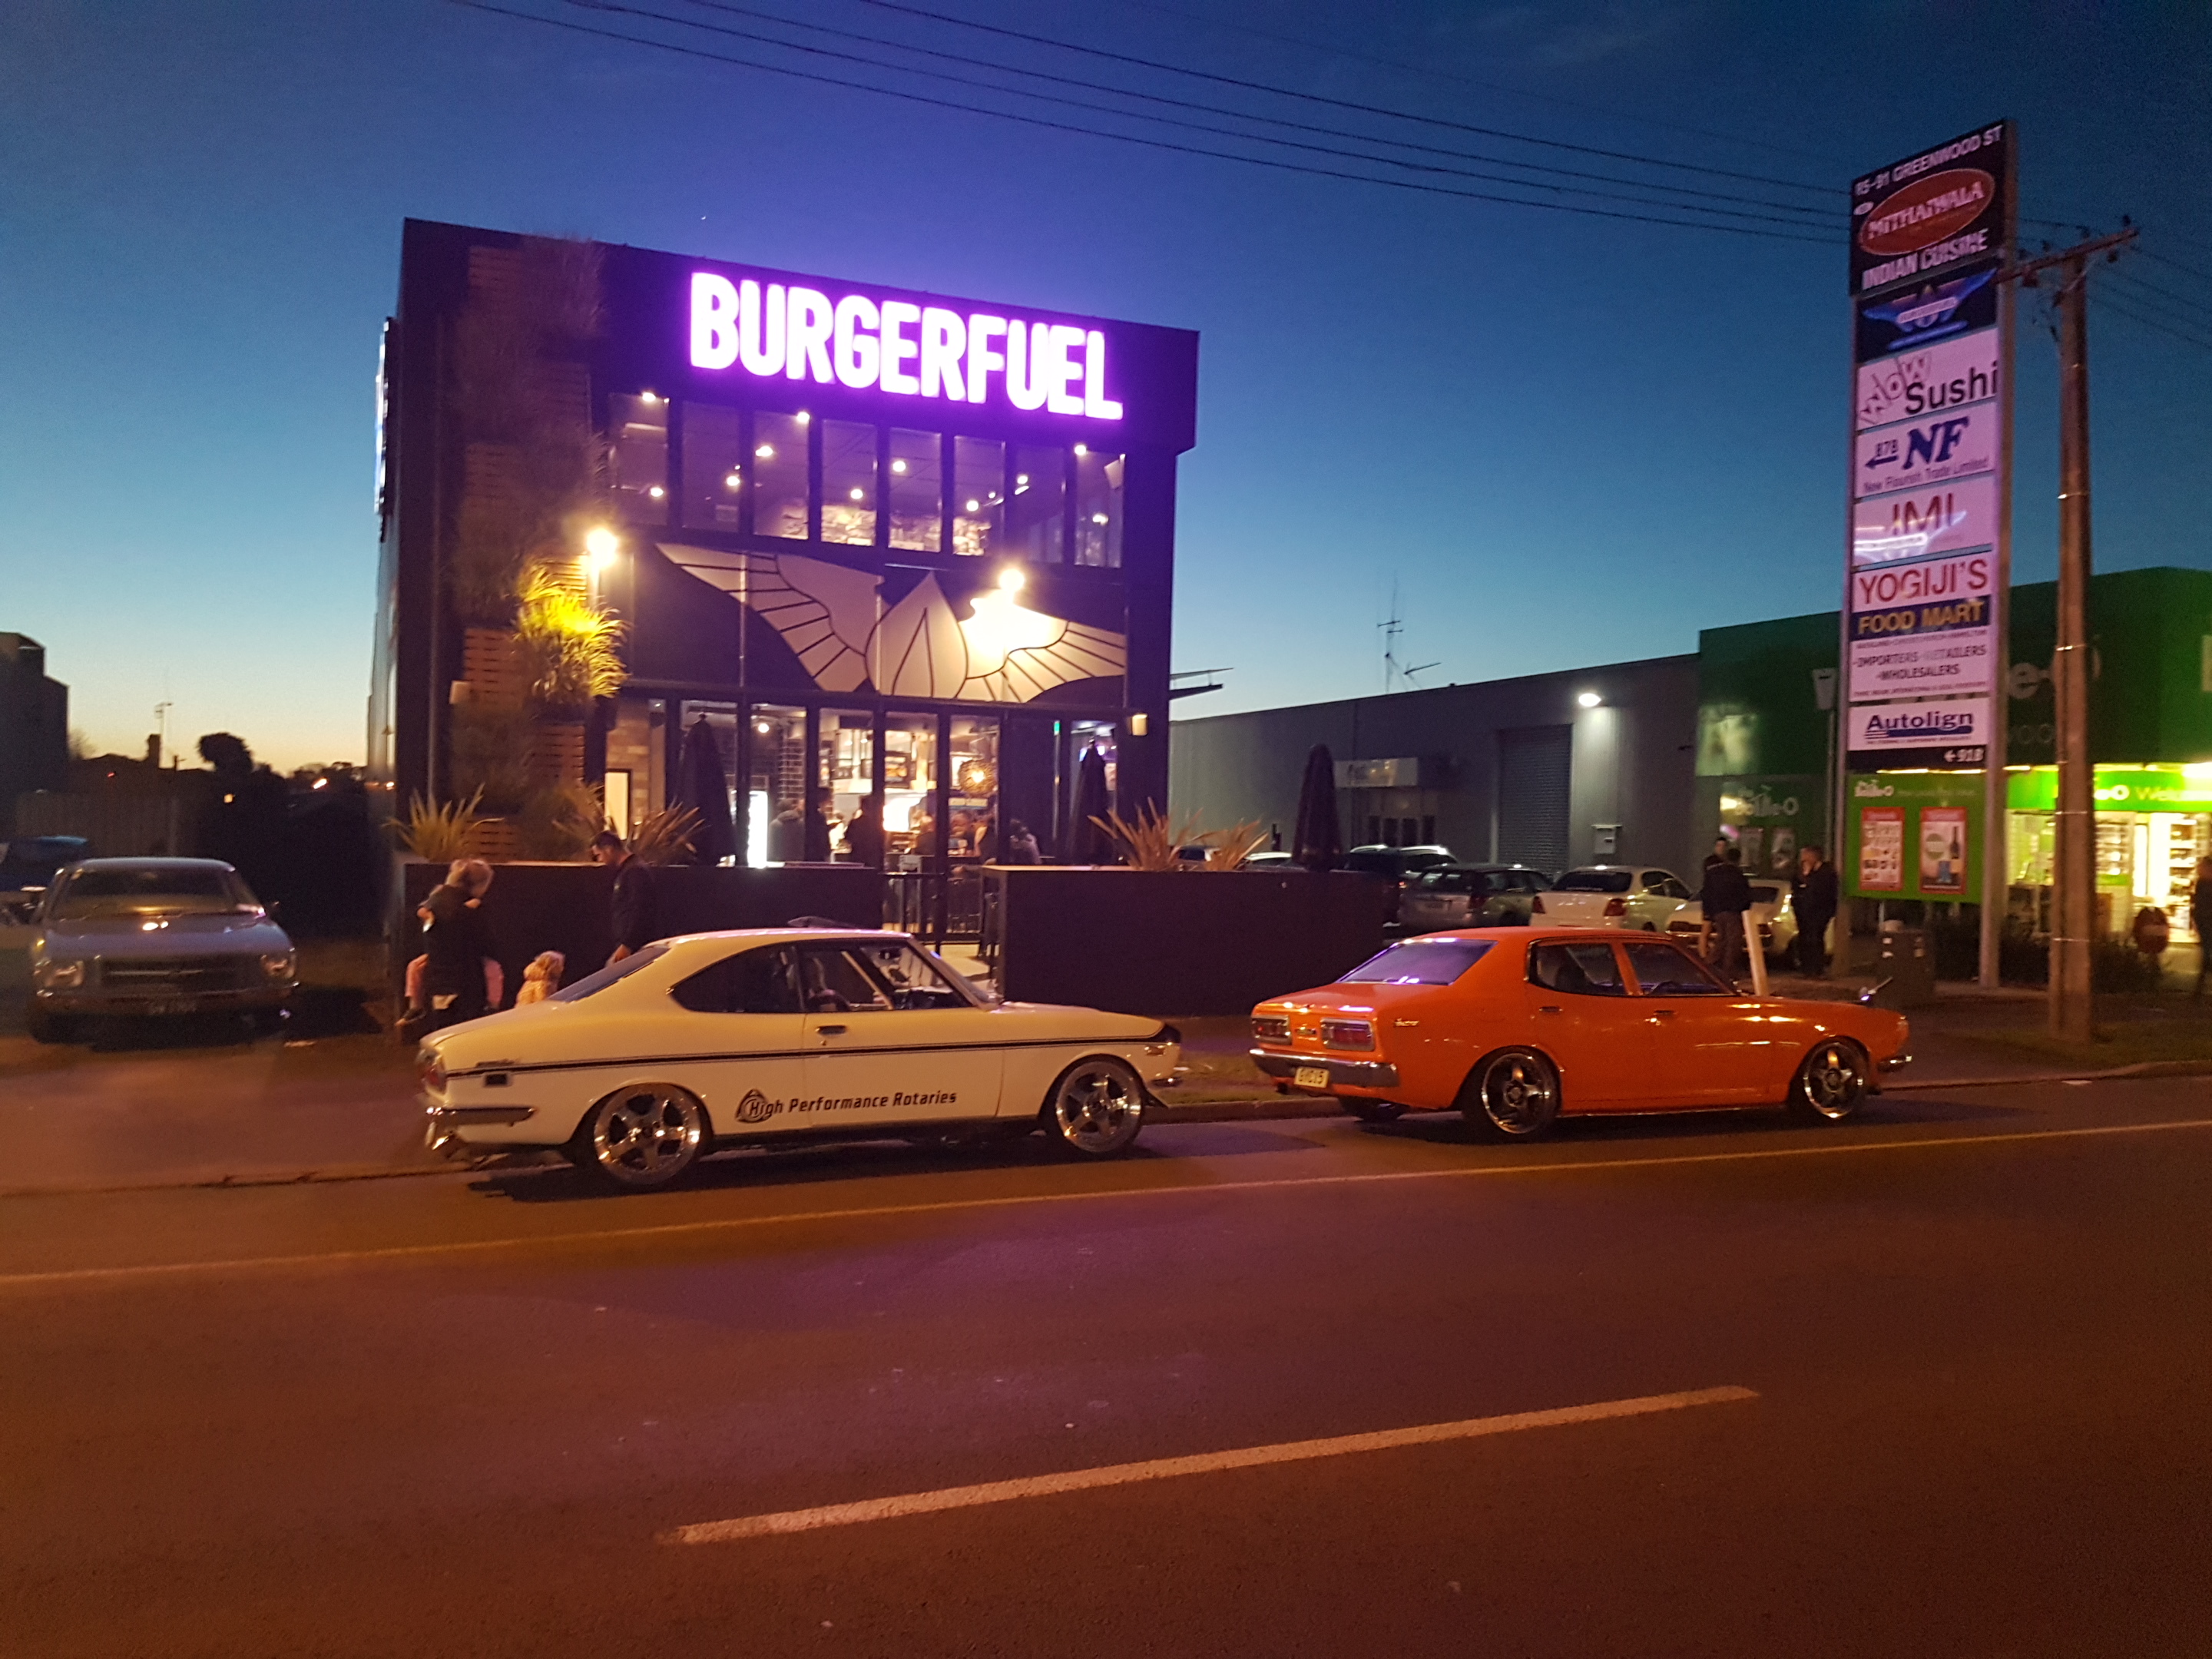
This new spot has my vote. Good to see everyone last night.1 point
-
Parcel from Japan arrived this morning Million times better than the floor mount I was dealing with. Fucked up my list and ordered a new battery hold down piece rather than the battery seat I need. Just waiting on my levers to arrive and I think I'll be about ready to get it back together!1 point
-
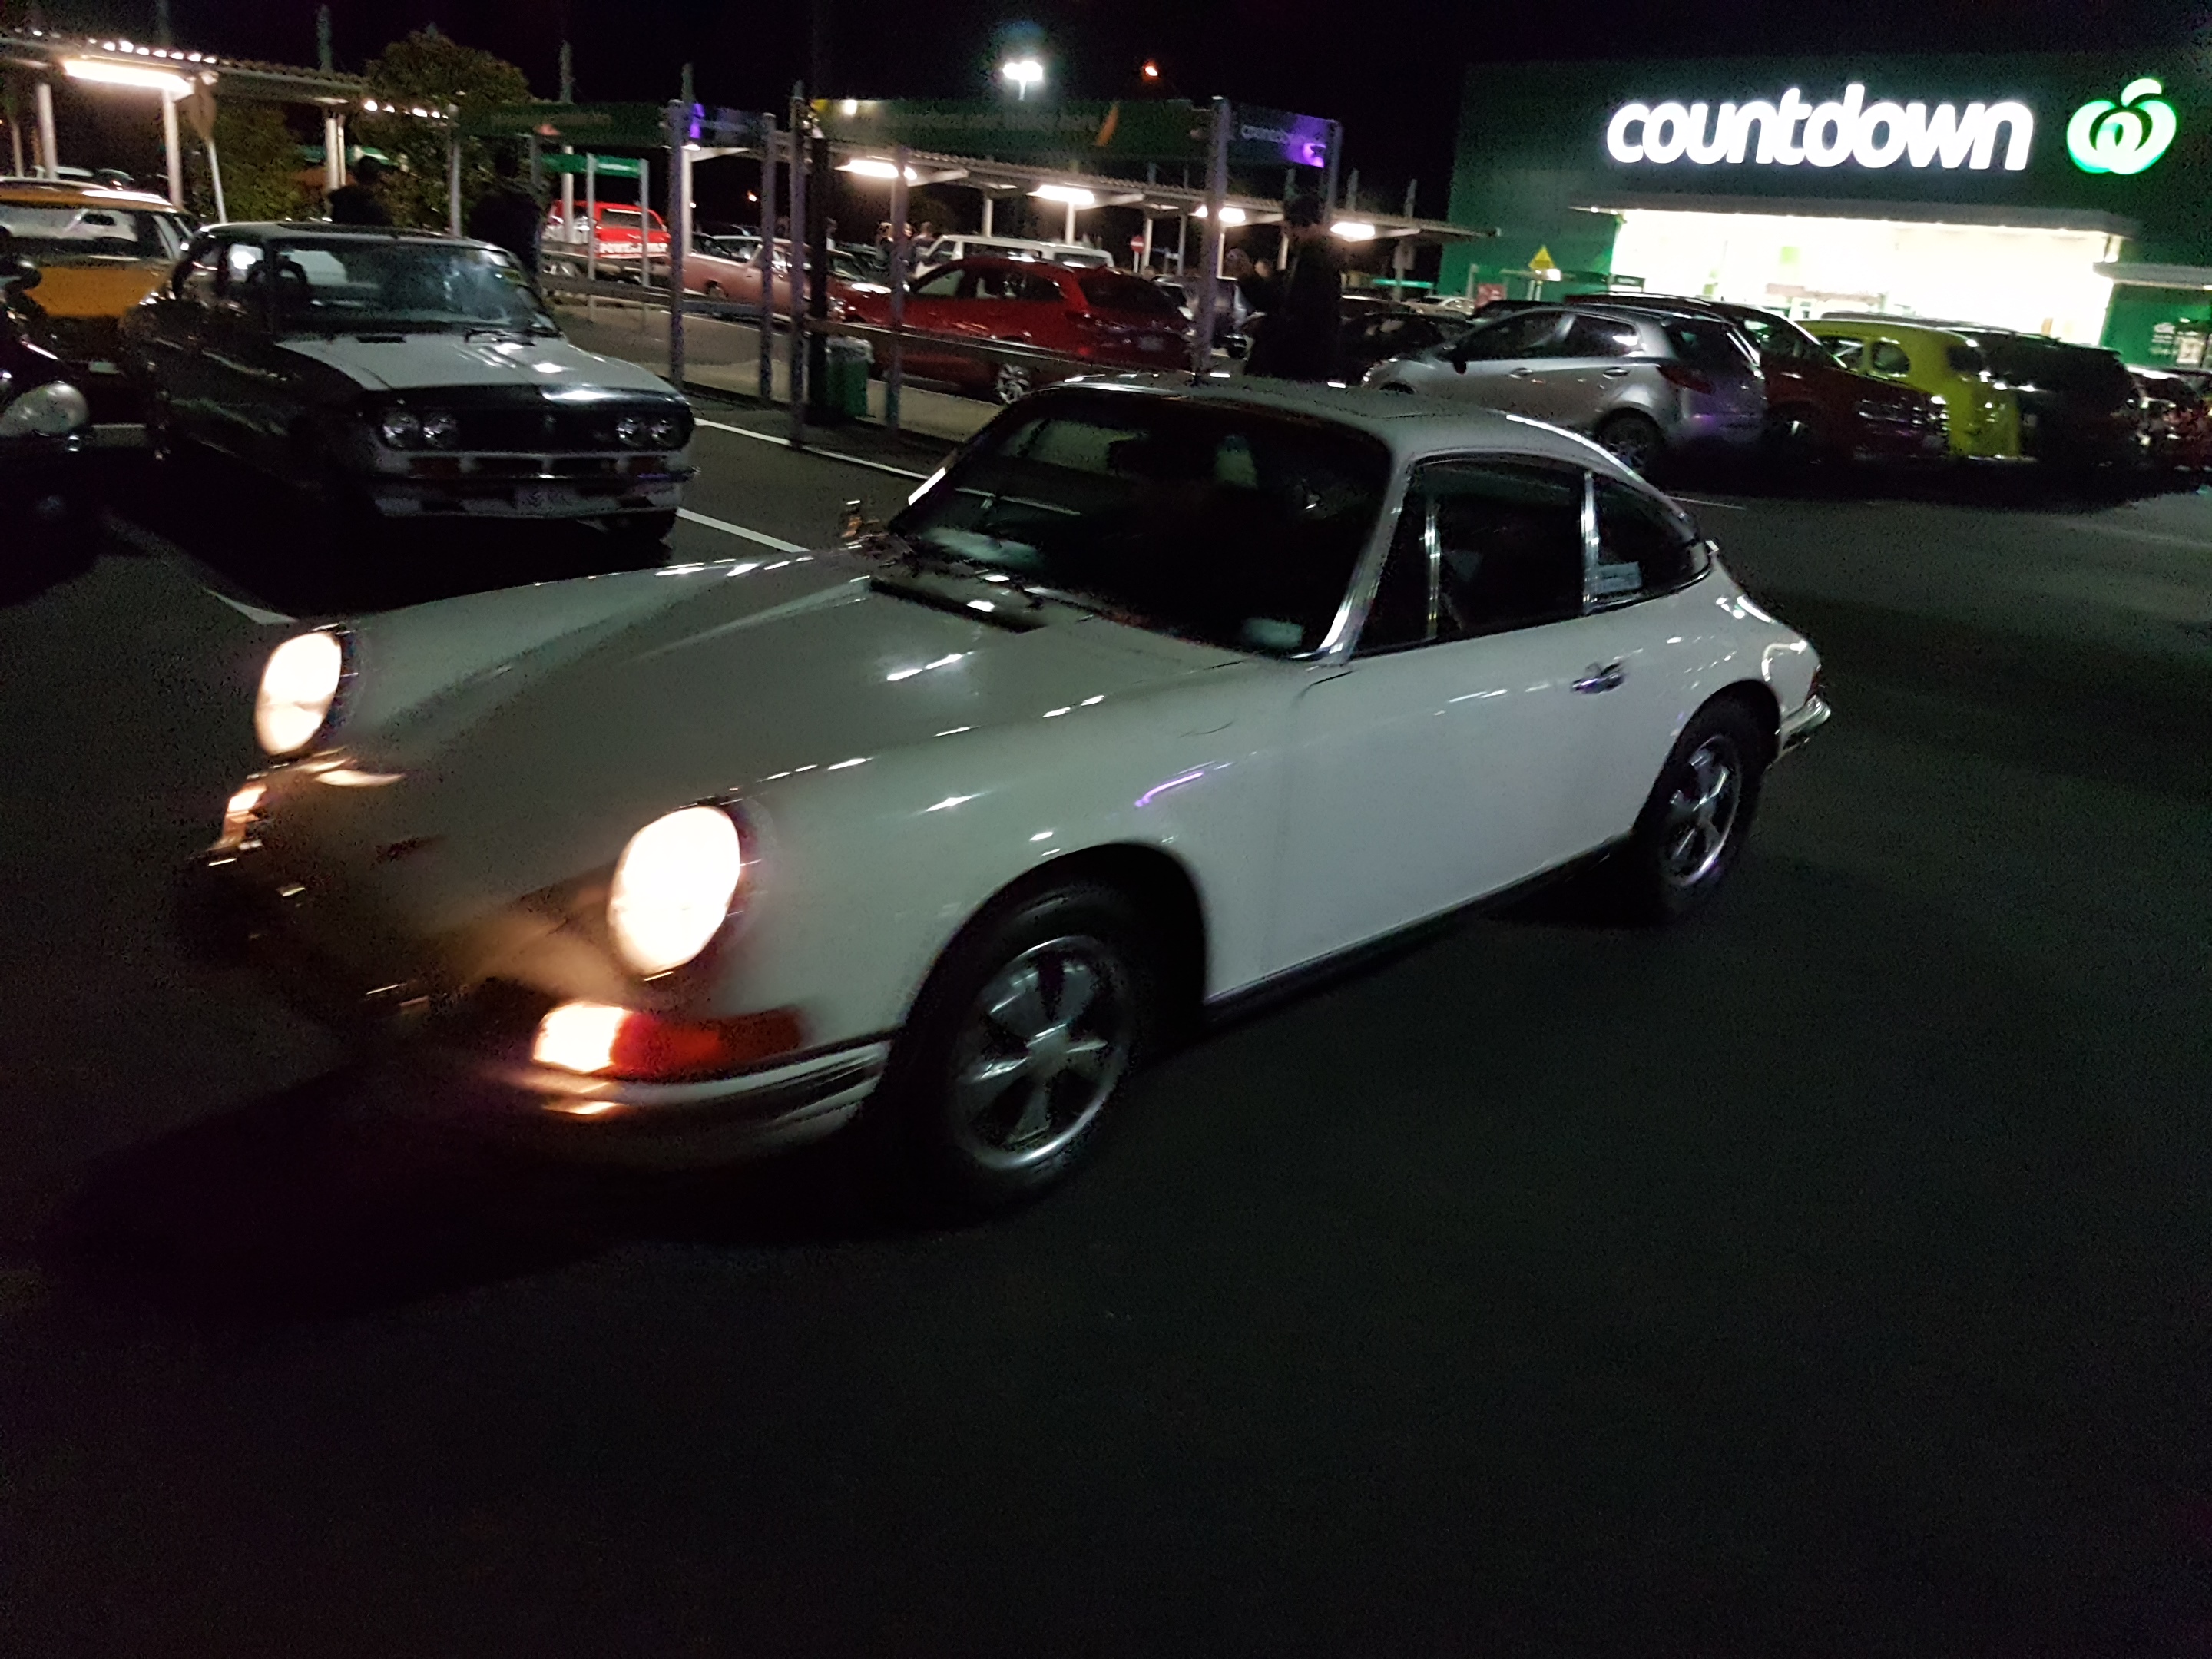
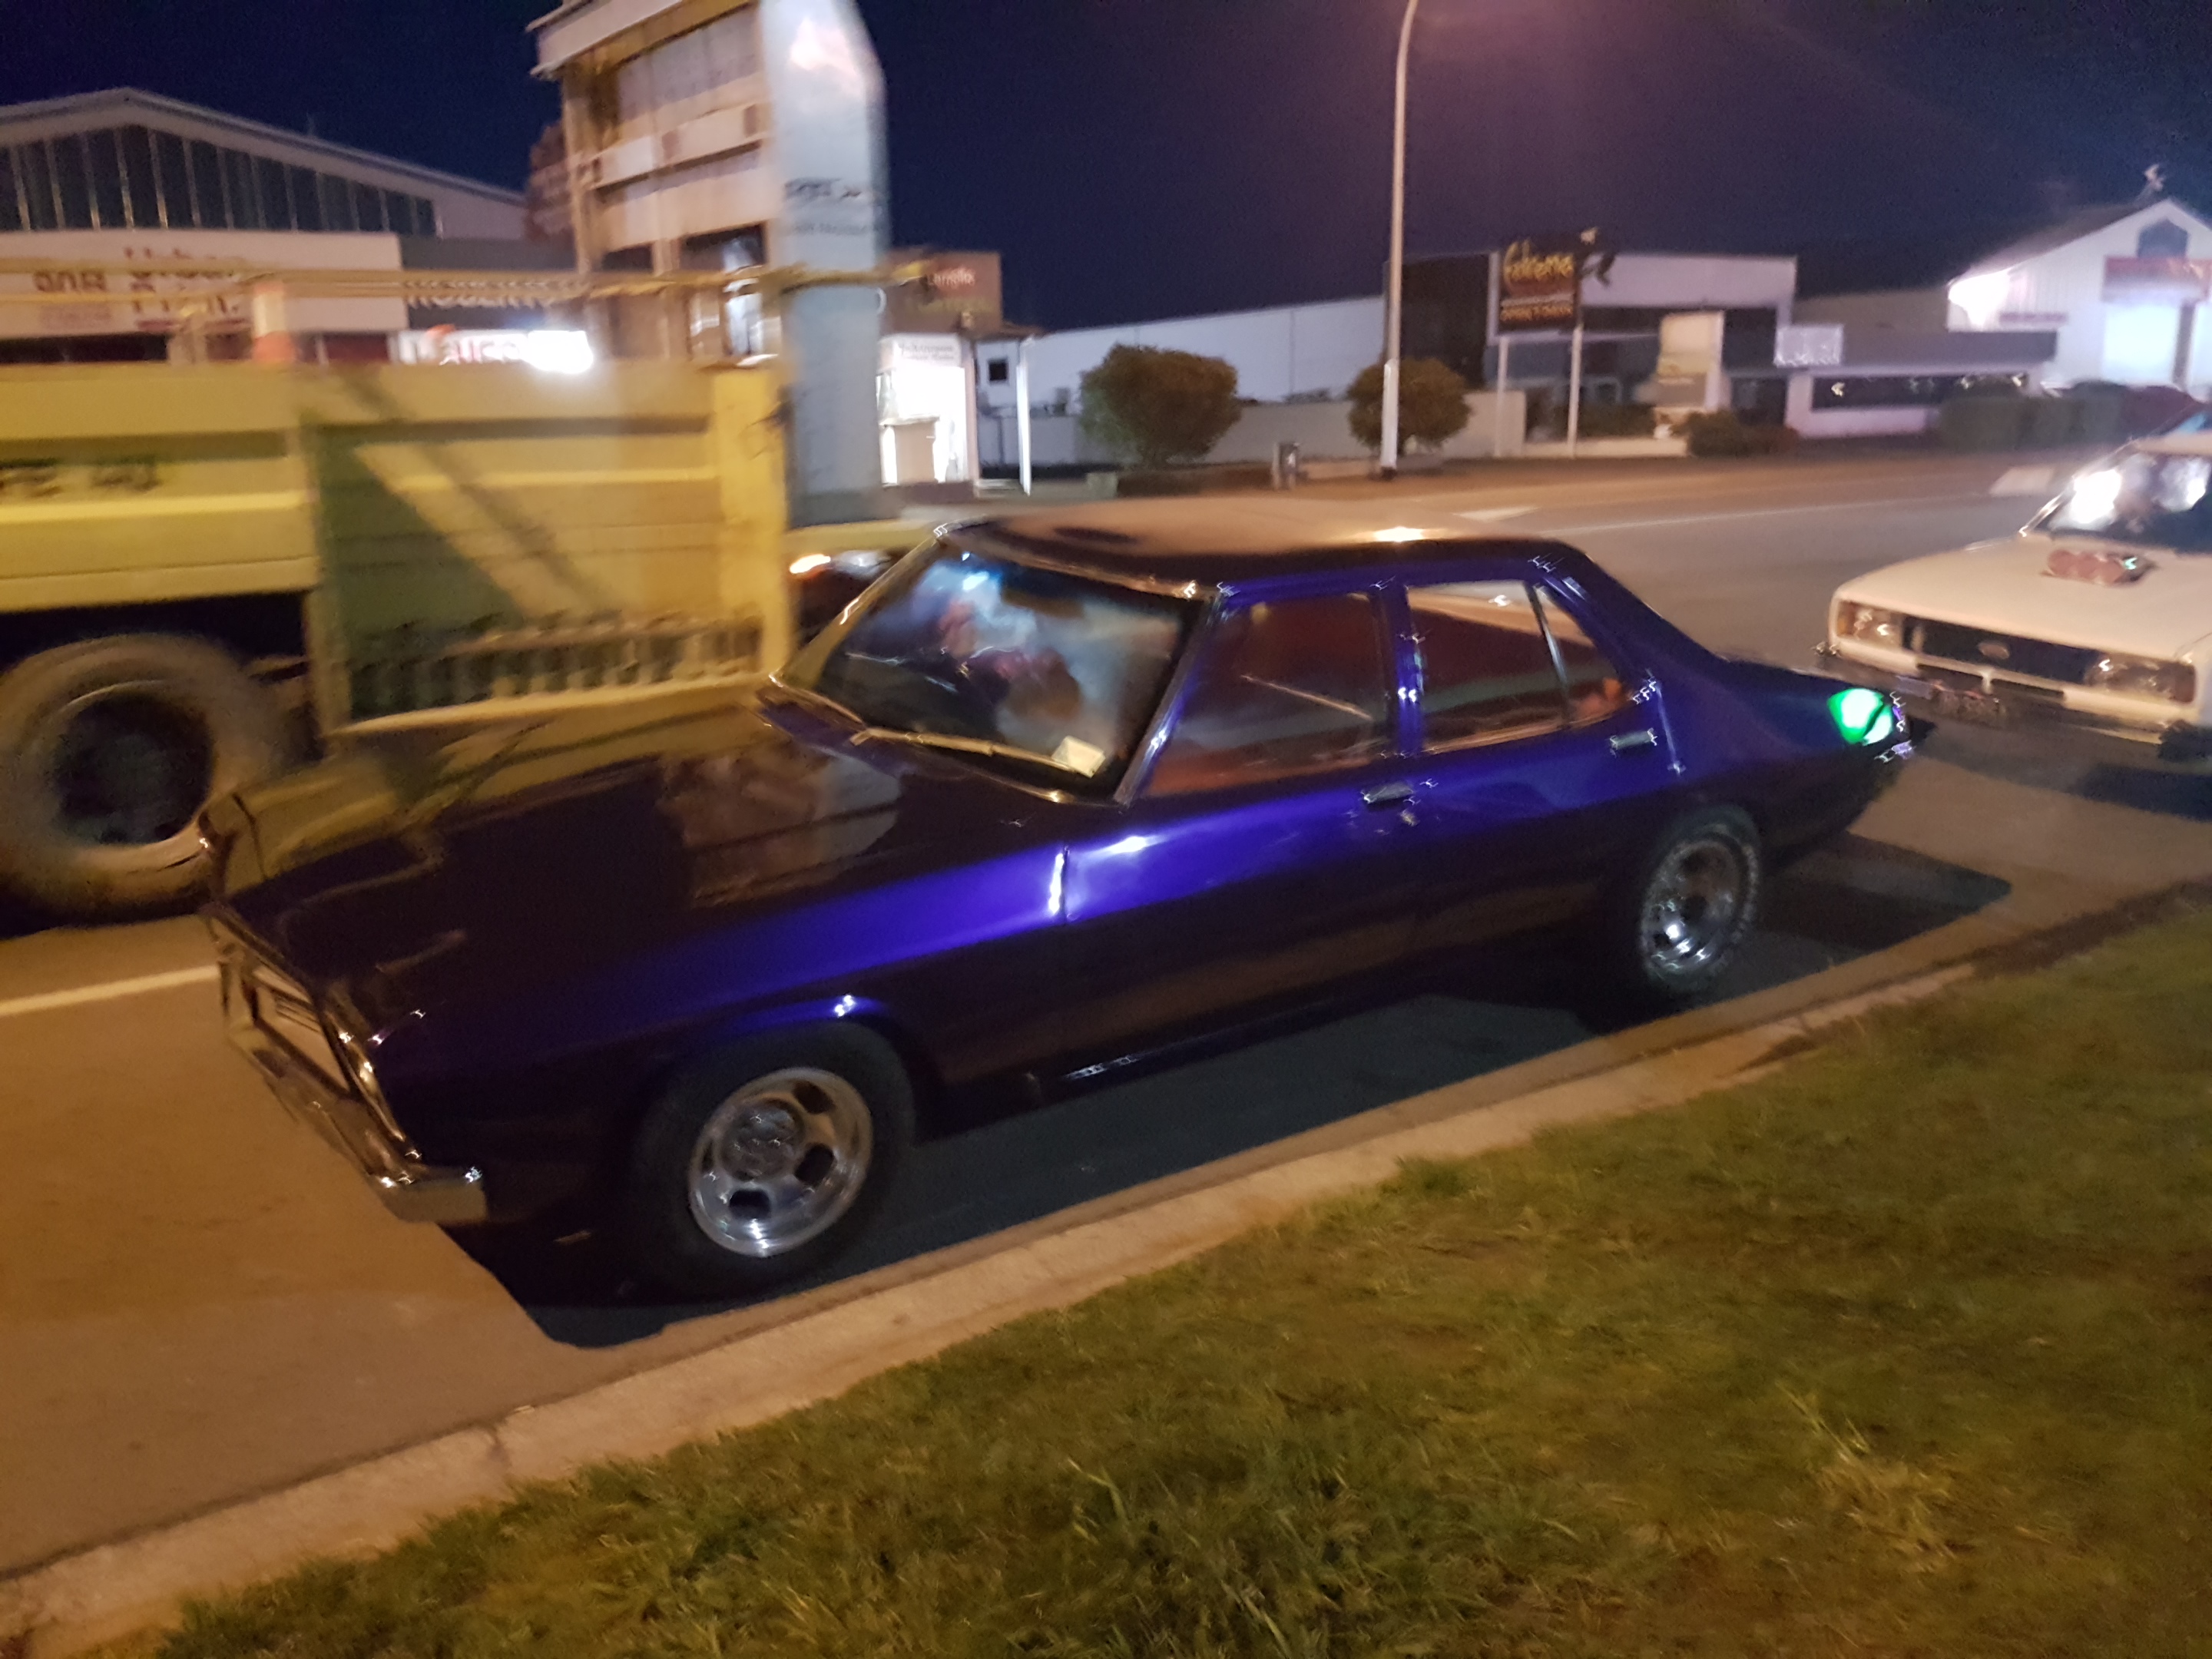
On the way home I did a lap of porsche guy's territory It was getting late but I didnt want him to miss out on old car sounds1 point
-
You can't Beat service like that! Top man1 point
-
I'll have a geeze when I get to work, I think they're an M or Z section or summin.1 point
-
how tidy is that interior! well worth the time and effort1 point
-
right this minute the dog has a whole bunch of paint on her. I foresee it getting worse.1 point
-
so, heaps has been happening but I'm busy as fuck a the mo so haven't updated this. insulation is in. AC units are plumbed. we've painted the back wall of the house so the builders can finish the deck and the pergola framing. gib lining begins on Thursday. many other things oh, doors are also installed. 2017-09-20_11-58-09 by sheepers, on Flickr 2017-09-20_11-48-55 by sheepers, on Flickr1 point
-
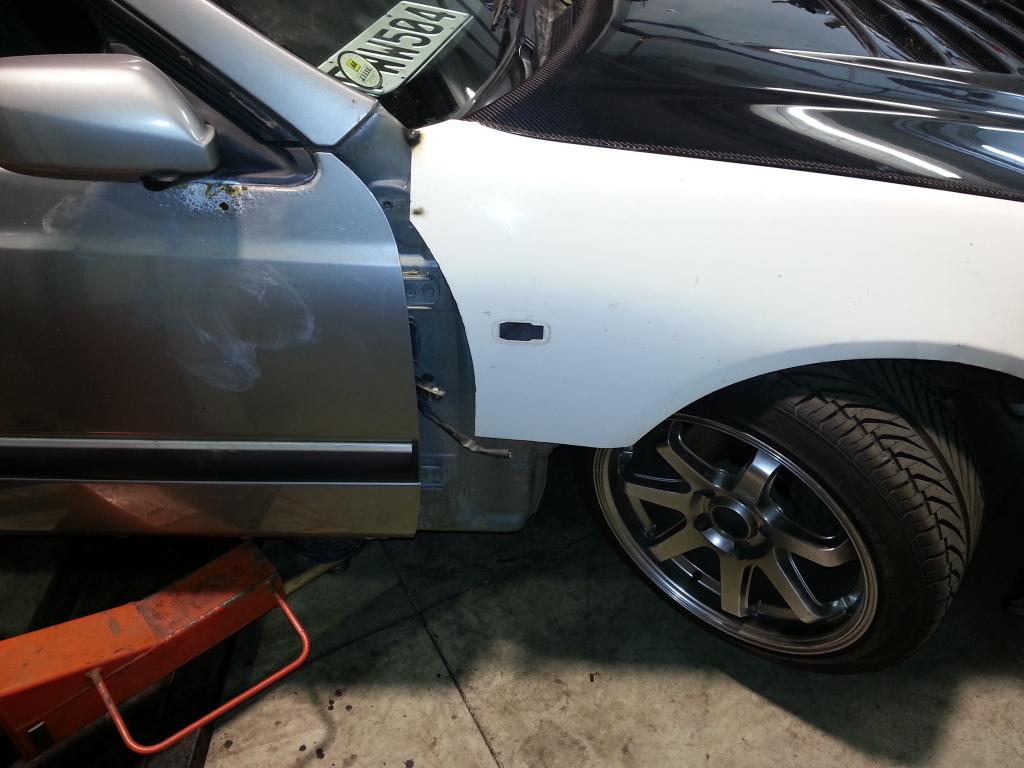
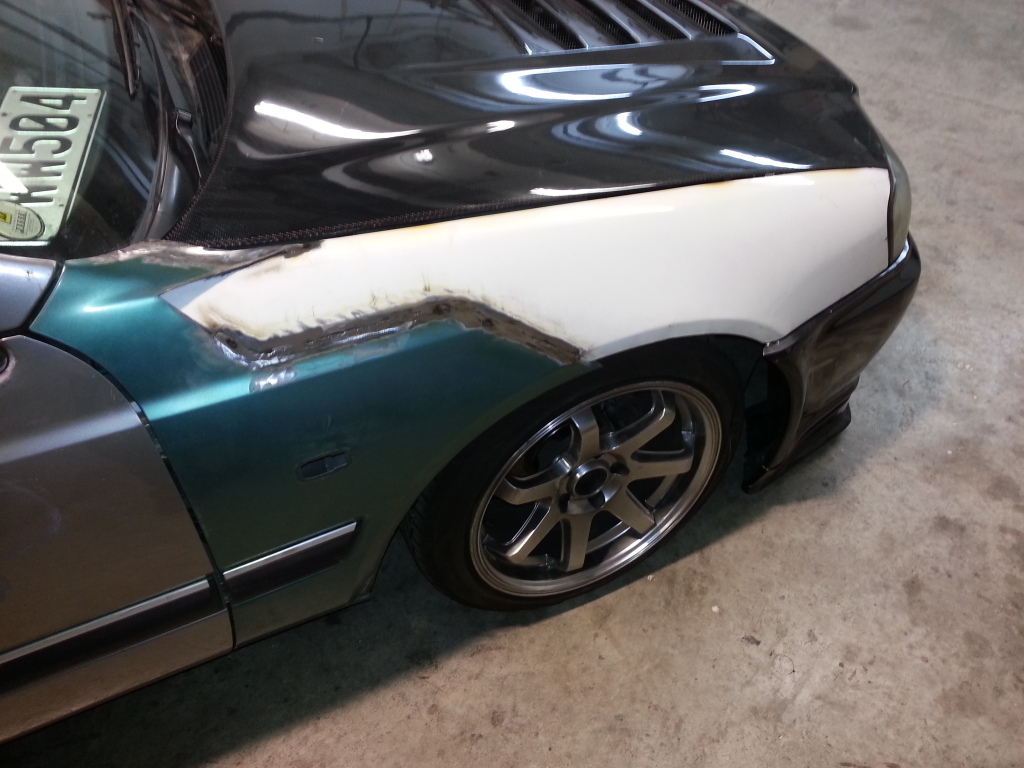
This has been my week. I have tremendous newfound respect for the late model car guys. What a nightmare trying to work on all the modern stuff! I've spent the last week stripping out the Mazda for all the parts I'll ultimately need to get the engine running in the Escort. This has basically only meant the loom and the in tank fuel pump assembly but to get to them I had to essentially fully strip the interior of the car. With the loom now out I can wheel the Mazda back outside and forget about it for the near future while people buy parts off it until I inevitably take it to the wreckers. That means I can get back to focusing on working on the Escort. I'd love to dive straight in to making an adapter plate and getting the engine and box mated and mounted but I don't want to get ahead of myself. I'm going to get the front end fabrication work completed first, meaning new chassis leg and inner wing on the passengers side just as before so I can put it behind me and forget about it. Then I'll do the engine and box work before I fully mount the front radiator support panels or the front panel. This will let me swing the engine straight into the front of the car while I'm mocking it up instead of trying to tilt and wrestle it down into the engine bay every time it needs to go in or out. Doing it this way also lets me put the car back on it's wheels a bit earlier and I am really looking forward to that, let me tell you.1 point
-
made up a crossmember for the driveshaft hoop to mount to. need to take some 50x6 flatbar and use the rollers at work to make a circle to go on there. tig welded up the nascar rectangle thing. fuck me my left hand is shaky lol. good practice though apart from all the gas in my bottle disappearing rather quickly.1 point
-
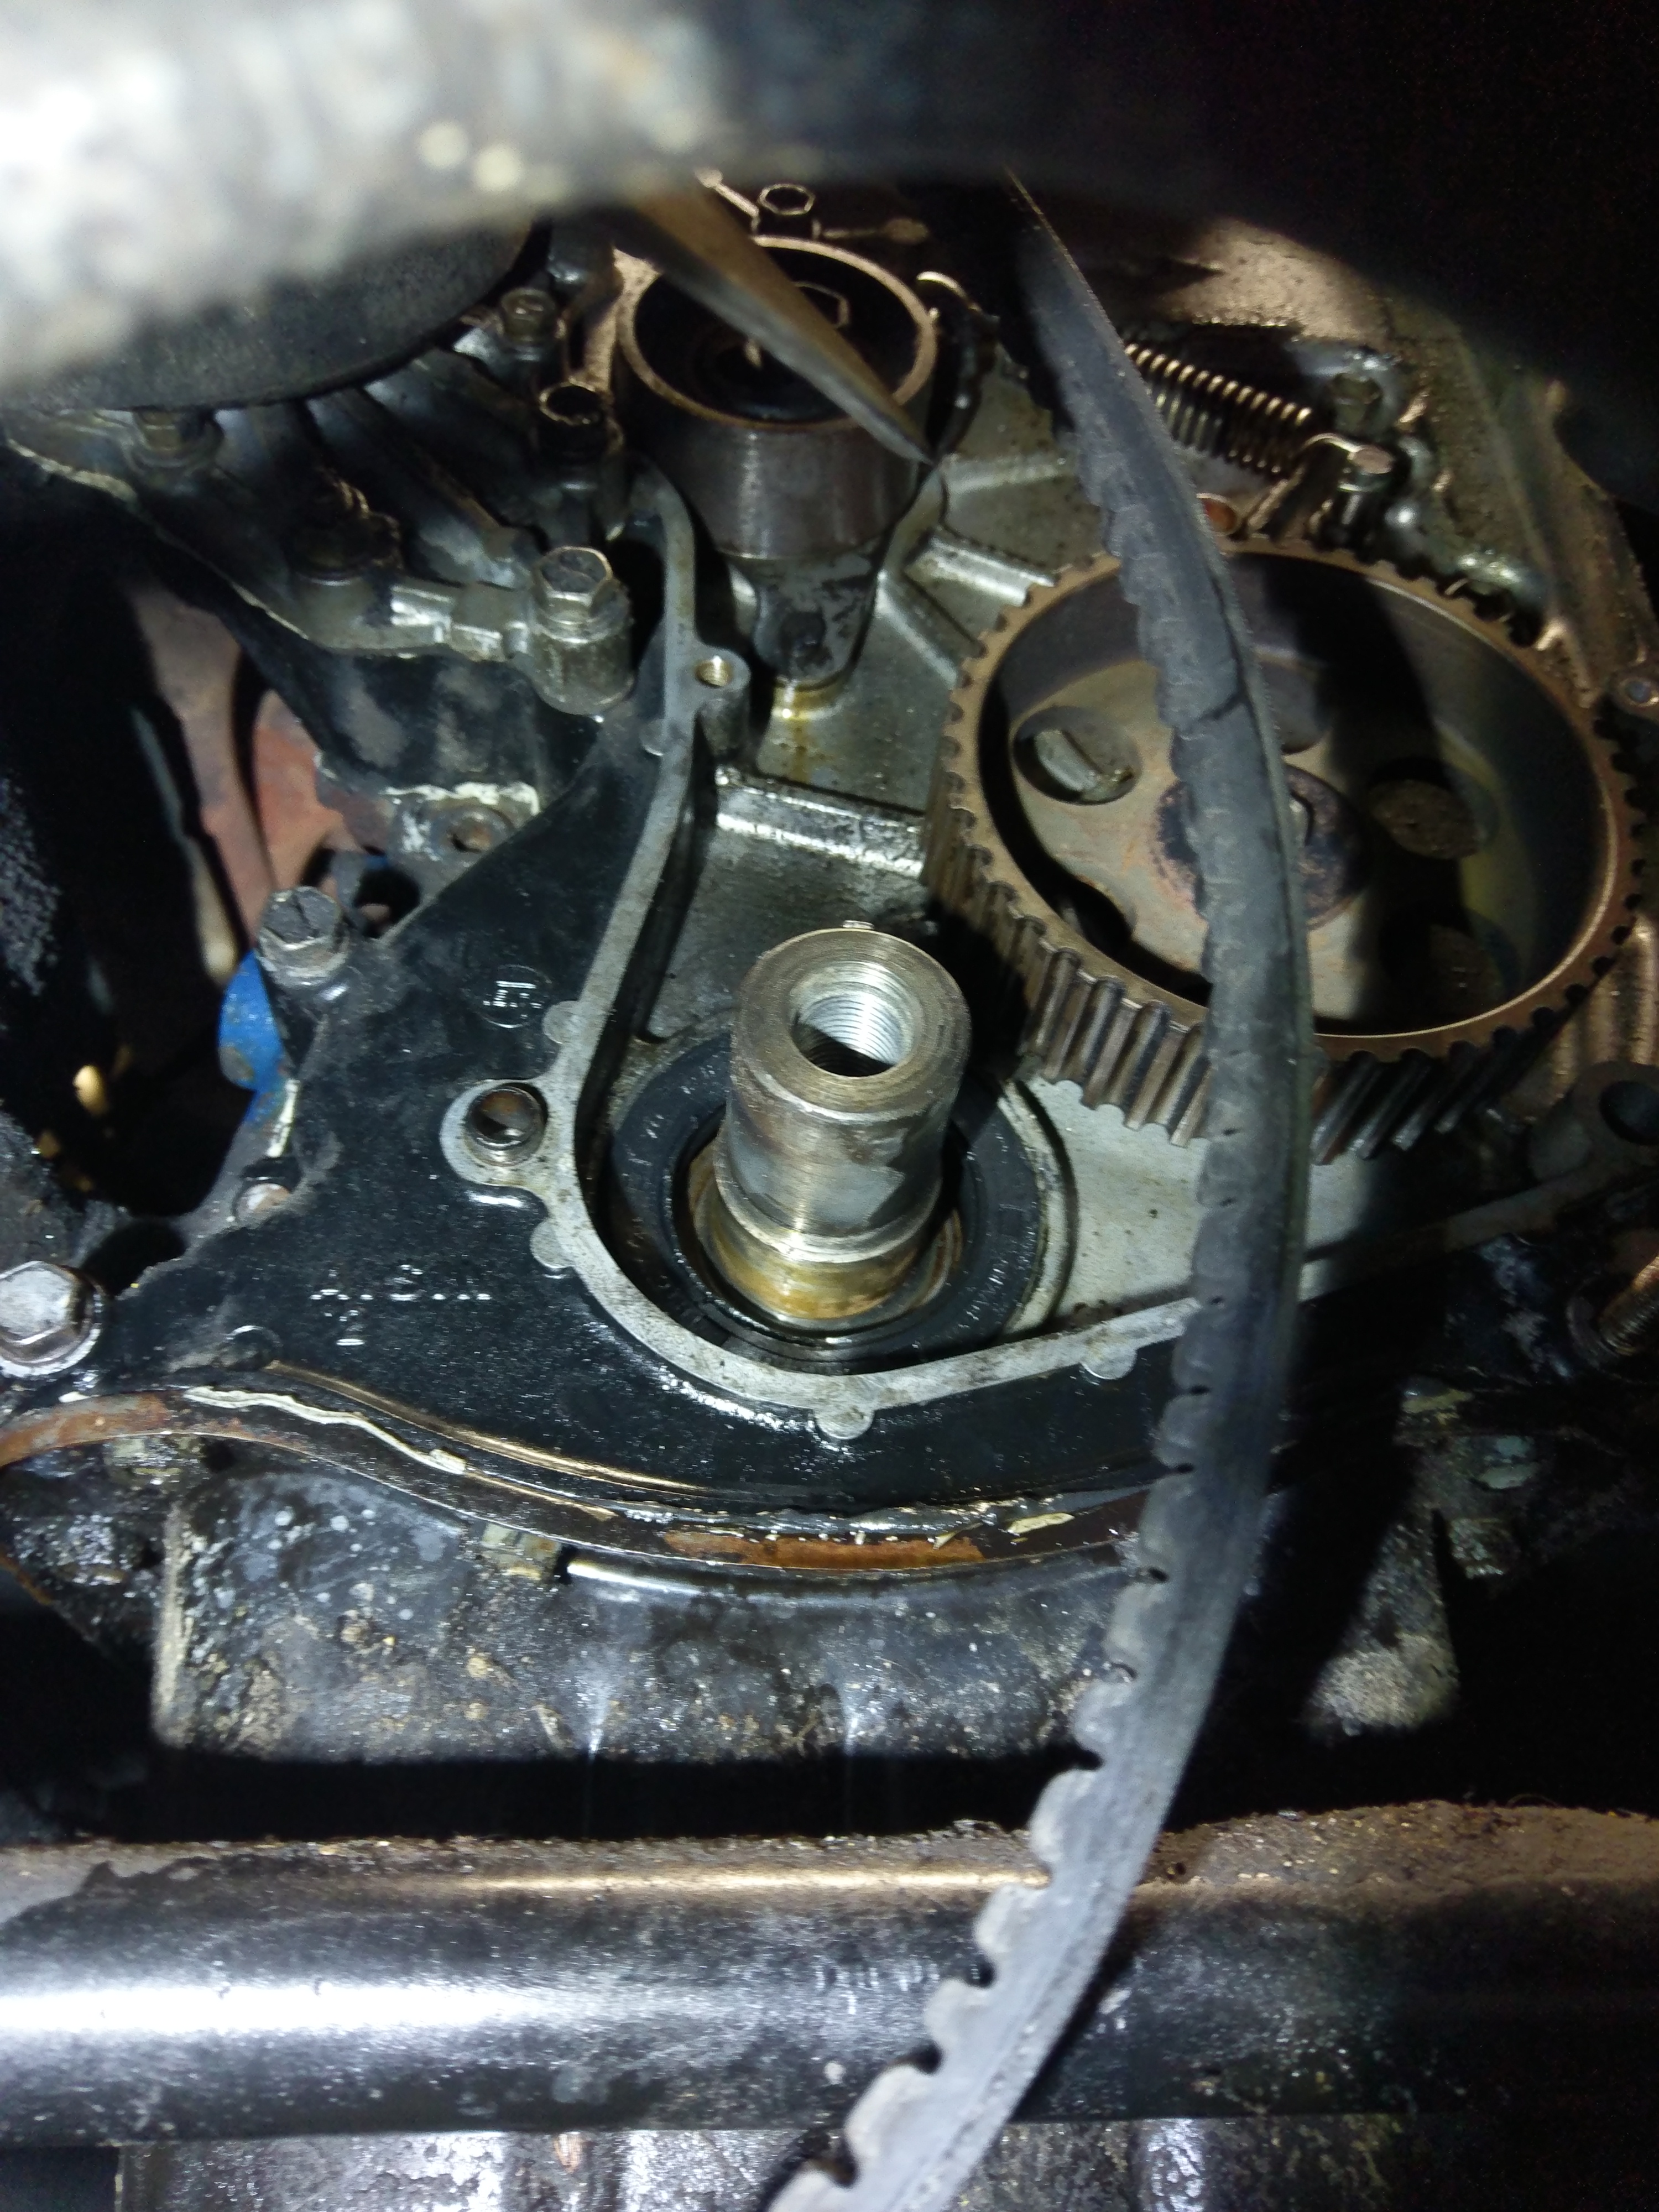
Tonight I replaced the front crank seal and cambelt. That's the old one. Ya can't see it very well in the pic but it was pretty sad looking. Oh yeah and while fixing that leak I found another oil leak and two coolant leaks.
1 point
-
If you can turn the engine bay into an S30 one you'll definitely be doing well...1 point
-
Well then... the idea of fitting this engine has ground to a halt for now It was raining yuck outside this afternoon so Hannah stripped the head off and removed the valves. While removing the head a couple of valve springs were noted as being quite loose. Loose enough to spin freely by hand. Hmmmm. Bugger. Number two valve removed, an exhaust valve, had a broken spring. Two of the exhaust seats have deep recession and the other two are on their way. You can see how pitted the seat is on the one with the broken spring. Note the amount of recession (probably also had much lapping of valves through out its life by some old Barry owner) Note how bad the surface is on the valve head too. The inlet valves are quite thin having been lapped in a fair bit by the previous owner who rebuilt this engine.. obviously a fair few miles back going by the amount of slop in the guides. With the valve heads pulled out to max lift most of the valves have upwards of 2-3mm of sideways play at the head. Also noted is a repaired crack. This doesn't worry me as usually once fixed they wont do it again. But its not the smoothest repair. Plus there are some bloody hefty scrape marks from some heavy handed gasket removal evident. The block has been bored out .030" with new pistons but has worn enough to have a decent lip. Not so bad its not usable but noted anyway. So suffice to say I am very happy we decided to strip the head off for a look and found these faults now, rather than having fitted the engine only to discover after doing so that its a dud. Saved quite a bit of grief. I have stashed away all the bits and will now re-think the game plan. Considering the engine currently fitted is purring along nicely with its only gripe being a bit slow on the steep hills (I suspect about standard level of slow to be expected though) and that it likes to leave a little mark from its leaky rear main seal, I think I will just happily putt along with that engine for now. The other Viva is advertised and one day it may well sell. Then I can look at re-powers. Between now and then I'll keep my eyes open for another cylinder head in better condition than this one. I'm not sure if the 1256 heads fit straight on? Any ideas/info welcome.1 point
-
keeping on smashing at this nugget quite a bit of time in welding up a bunch of seams, small holes and little reinforcements here and there. working on getting everything on the bottom of the car sorted. a bunch more measurements to figure more or less where things will likely sit. got prehistoric on the back end of the trans tunnel to make some more room for the drive shaft. fiexed up the hori gearbox mount rookiedave and mott made ages ago. ground off the bits they had glued on, welded up all the holes and re machined the crossmember to suit a factory GM powerglide mount. started on the exhaust next. with it being 3.5"/90mm really trying to tuck it up to the maximum possible to avoid getting beached at the still relatively unslammed slammedness that will be possible. to further this following some stick poking, umming, ahhing decided to make a nascar boom tube inspired rear section. keeps the same or greater cross sectional area with 40mm more clearance. still a bit of work to go go from round to rectangle but happy with the progress. need to get some more tube in 22x3 this week and try to scrounge a section of 200NB steam pipe for the driveshaft hoop. once those are done re fit the fuel tank temporarily to figure out how to mount the fuel system and get all the mounting points for fuel lines, trans cooler lines and such things done.1 point
-
All the shit out of the way, ready for the RB conversion Wasn't the easiest, but wasn't the worst. Tidy up time. Getting it back in will be interesting.1 point
-
Shakedown run today, "little van in the big city". Went well, just need to tighten fanbelt a touch & vent the fuelcap (is a radiator cap fitting, typical leyland build-efficiency) bit of excess lash in the diff too to look at, not terrible though.
1 point
-
Big win tonight! Made a big hole... And filled another... Tonight was focused on simply getting the motor out of the car and by the time that happened it was pretty late so I spent very little time at all putting the engine in the right place. That said, considering how worried I was that it would be a tight fit requiring lots of firewall cutting, I'm very happy with the initial mock up. It is nowhere near the final height in the engine bay, nor tilted correctly fore and aft or side to side, but the over all length looks like it will fit a radiator just fine and the sump shouldn't require much extensive modification. I'll have to get the gearbox adapter plate finalised before I can get the engine position sorted but there's still a few steps before that can happen. Still, progress has occurred.1 point
-
So dishwasher packed a sad. Dreading expense I googled the fault code, which indicated a faulty heating plate, which would probably be uneconomic to fix unless I faffed around finding second hand parts. I went through the diagnostics, and sure enough plate not heating (you can trigger it on/off via sequence of operating buttons). Testing for resistance the element tested out ok, so possibly worth fixing. It's an F&P dish drawer (early one, been in the house since we moved in) and I was really surprised how user-friendly it was to pull apart. A couple of pins and everything dropped out/unplugged for inspection. Pulling the main board and removing cover plate revealed obvious burn marks indicating a fault at a 24V/230V relay... And cleaning it with Contact Cleaner revealed the disconnect... As the pin had burnt off I looked at sourcing a replacement relay. Of course it was an obsolete item, but Mr Ebay provided one for $10 US delivered. Bit of a time delay to get it but not a major as other drawer operates ok while the guts are pulled out of the faulty one... I got to use my Aliexpress octopus thing, bit of solder action and wahayy, I am an appliance god. Houswives everewhere will offer me sexual favours in awe of my skills... [Disclaimer] apparently somebody wanted a shiny new one instead of faffing about for a couple of months. Sexual reward withheld despite silly bloke feeling rampant/chuffed with himself...1 point
-
the next meet is going to be on the weekend of the 23rd as there is a rumour of some Aucklanders being in town. and yes. Swapmeet should be a go. I will probably need a stall to sell some of these car parts I have recently acquired1 point
-
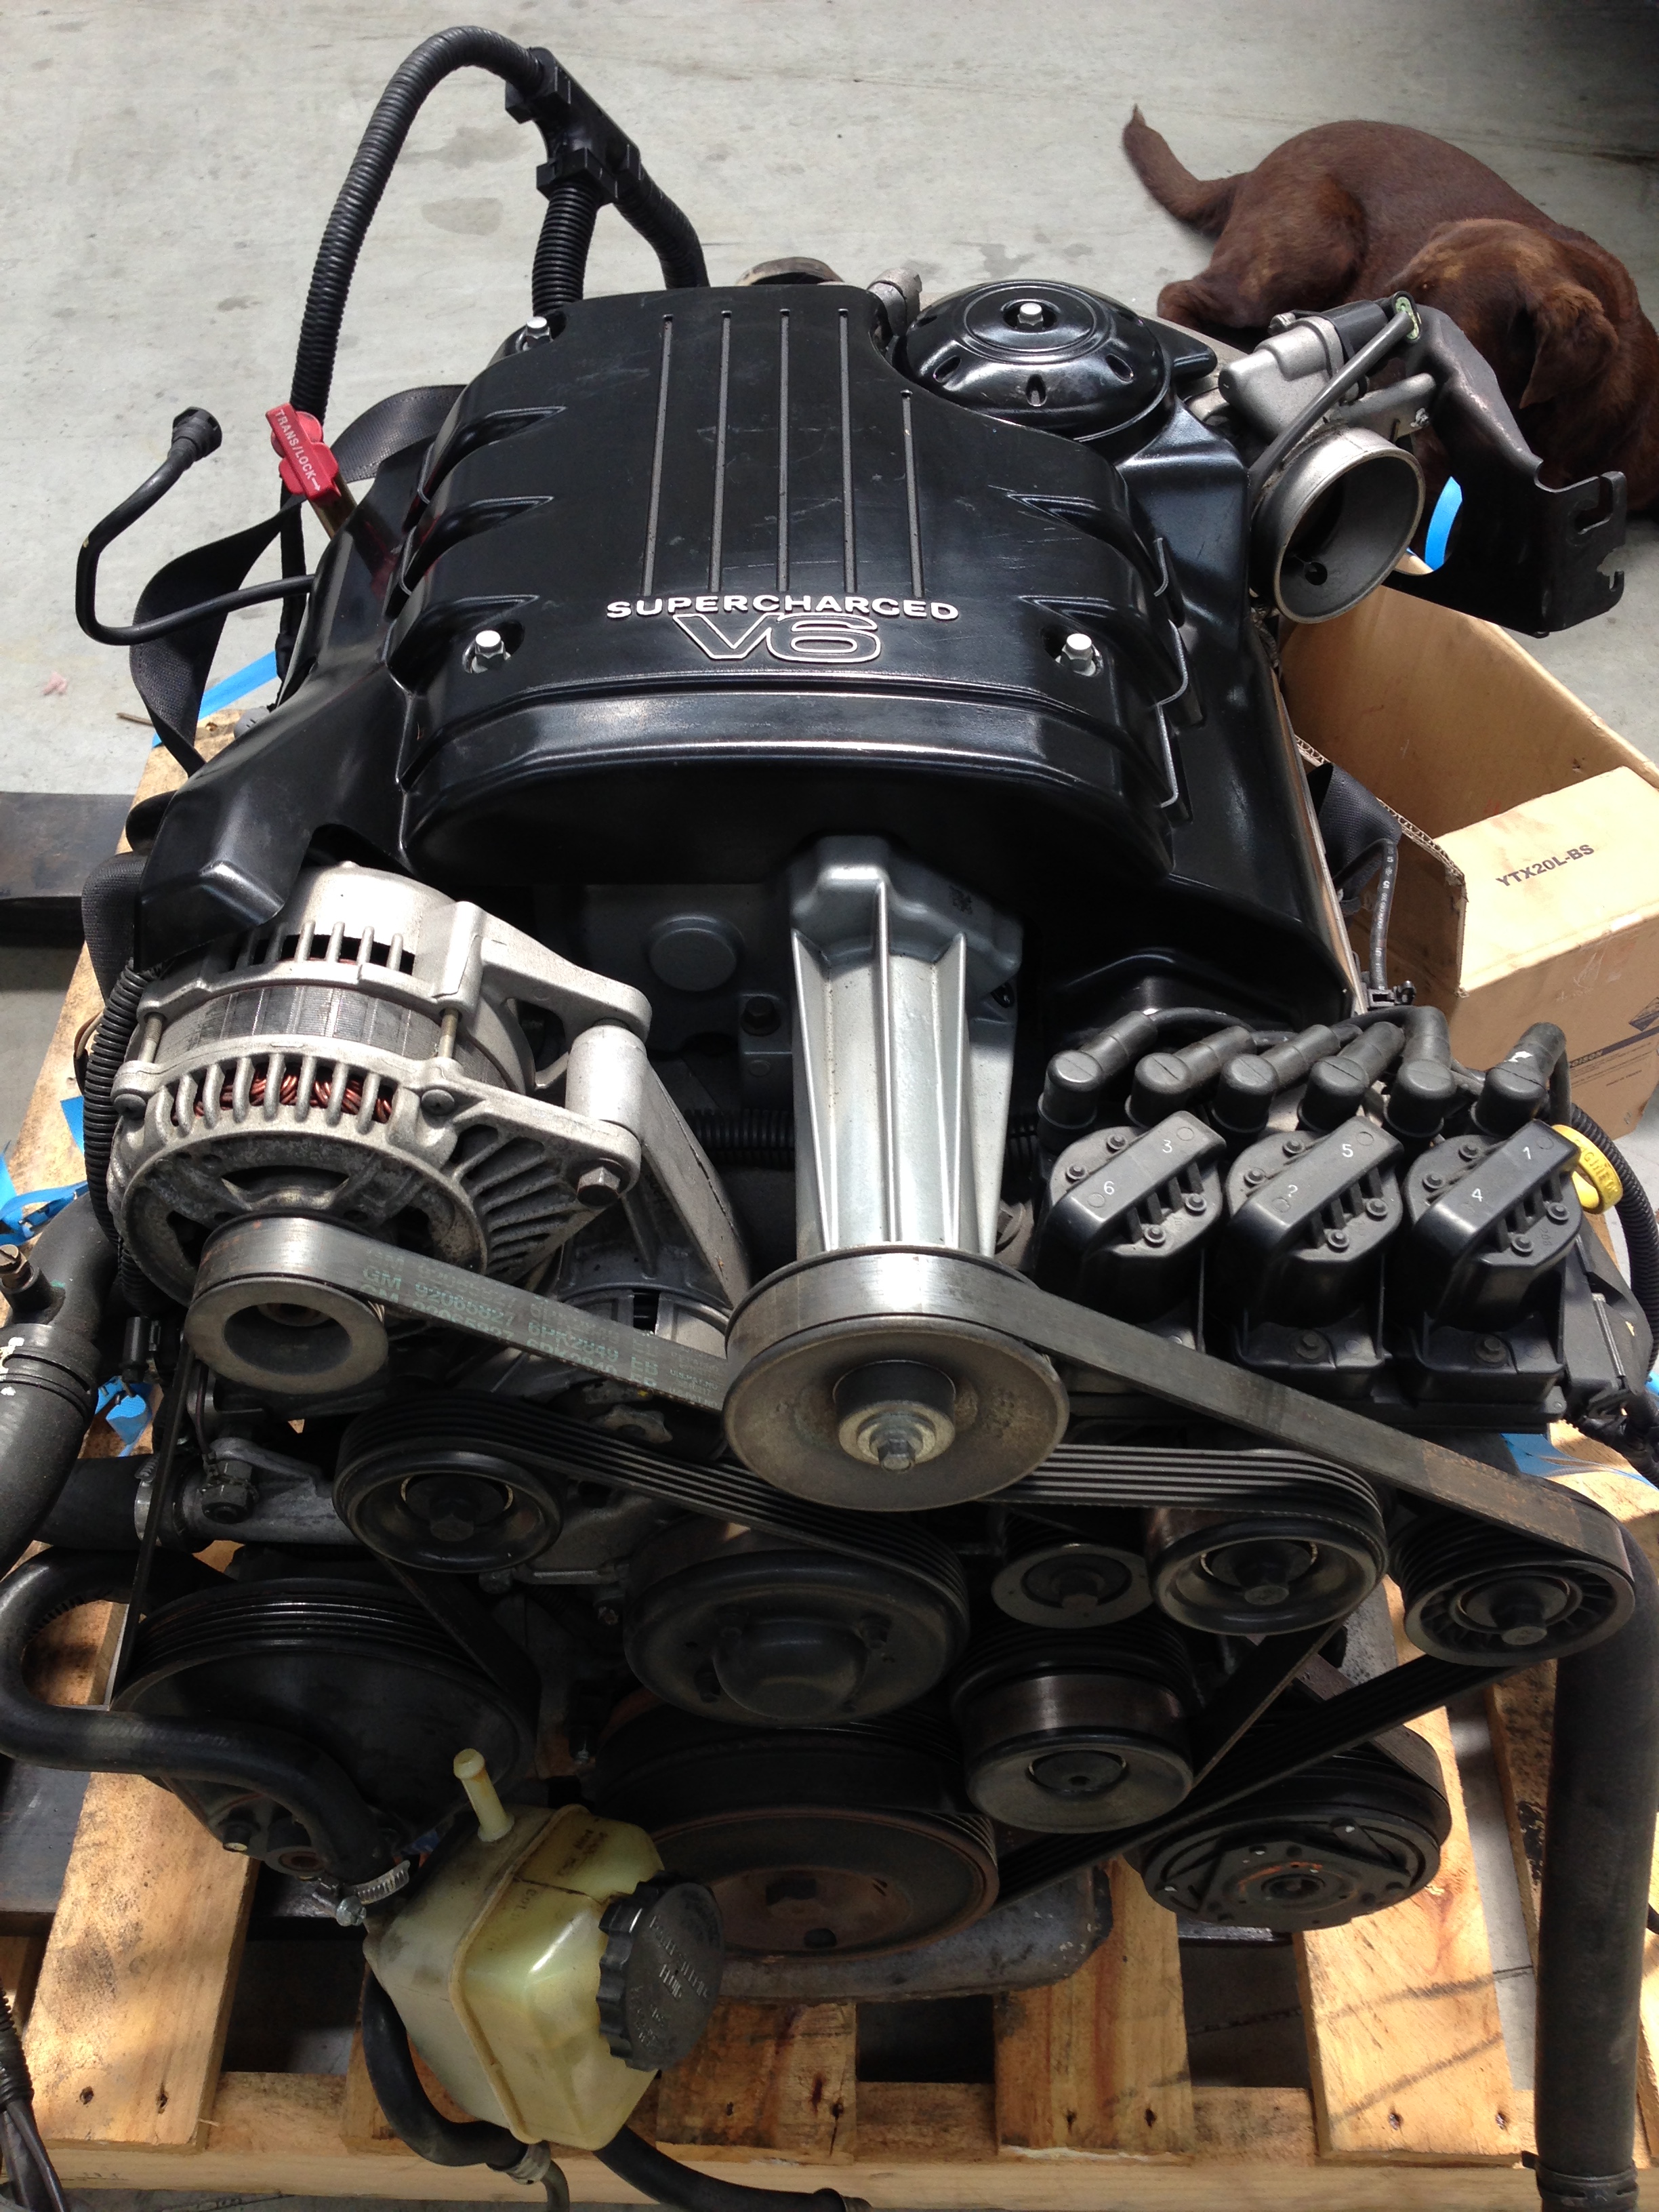
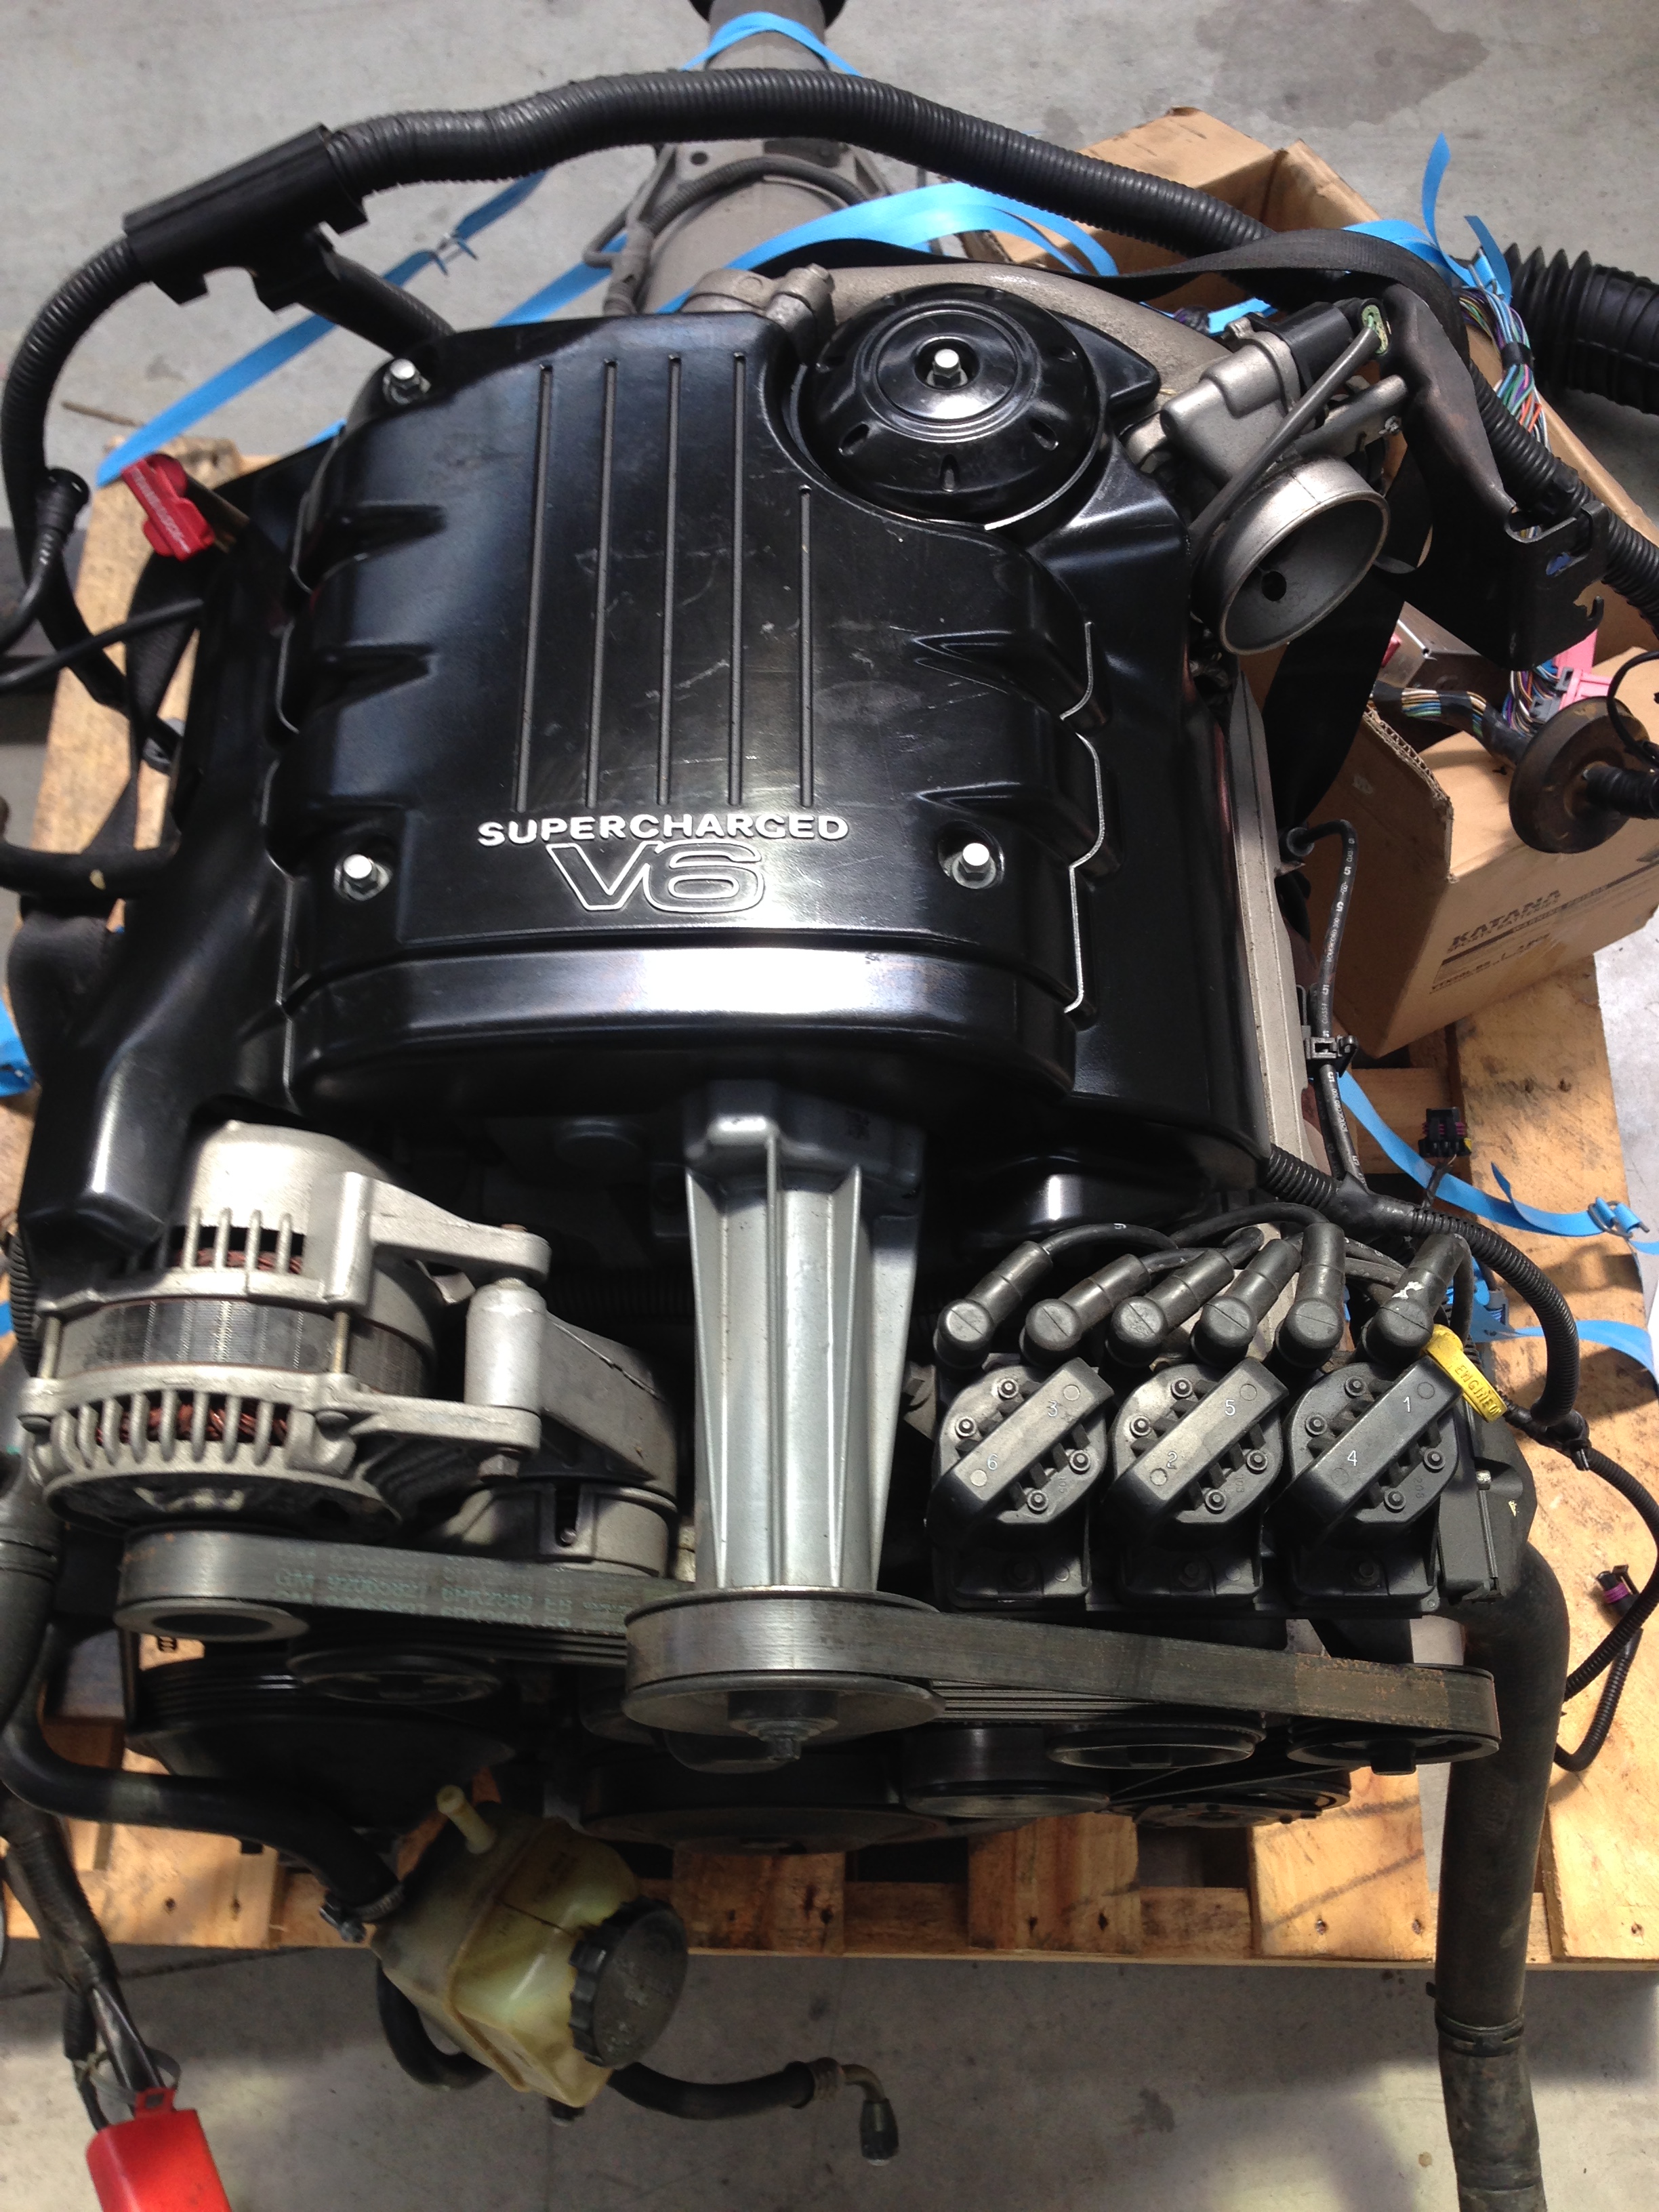
christmas pressie arrived today on a pallet, looks really good That will make the old girl boogie!
1 point


.thumb.jpeg.384ff72c8d2b0ee0d34a7bdedb55bdcf.jpeg)


.JPG.b1077b1e6f283ce0e6211d768e009648.JPG)
.JPG.1d7f1833524569ad4ac1d969139a4795.JPG)
.JPG.f13fb8b89f86fed761d3ec458b9e4bcc.JPG)
.JPG.33eb853e608809416a226c3a65fbcb3b.JPG)
.JPG.0bfcf6bf51036576a090533c3a444031.JPG)


This leaderboard is set to Auckland/GMT+12:00