browndog
-
Posts
494 -
Joined
-
Last visited
1 Follower

browndog's Achievements
Advanced Member (3/5)
2k
Reputation
-
I did the Mk3 Z conversion on my Mk1 decades ago (late 1980's?) Used Mk4 Z calipers from memory. Can't remember the wheel bearings I used, but they were off the shelf. Slotted the holes in the calipers to make them fit (which would not be legal now) All fitted okay, but brakes were always pretty shit! The Mk3 discs are solid as you know. Probably better off using X series Falcon style discs, and AU Calipers if you are on a tight budget, they work well. Or make one of the Wilwood kits fit if you have a bit more to spend. Struts can be uprated with better shocks, or go to Capri/Escort if you are doing a rack conversion.
-
yep still got my transit

-
...
-
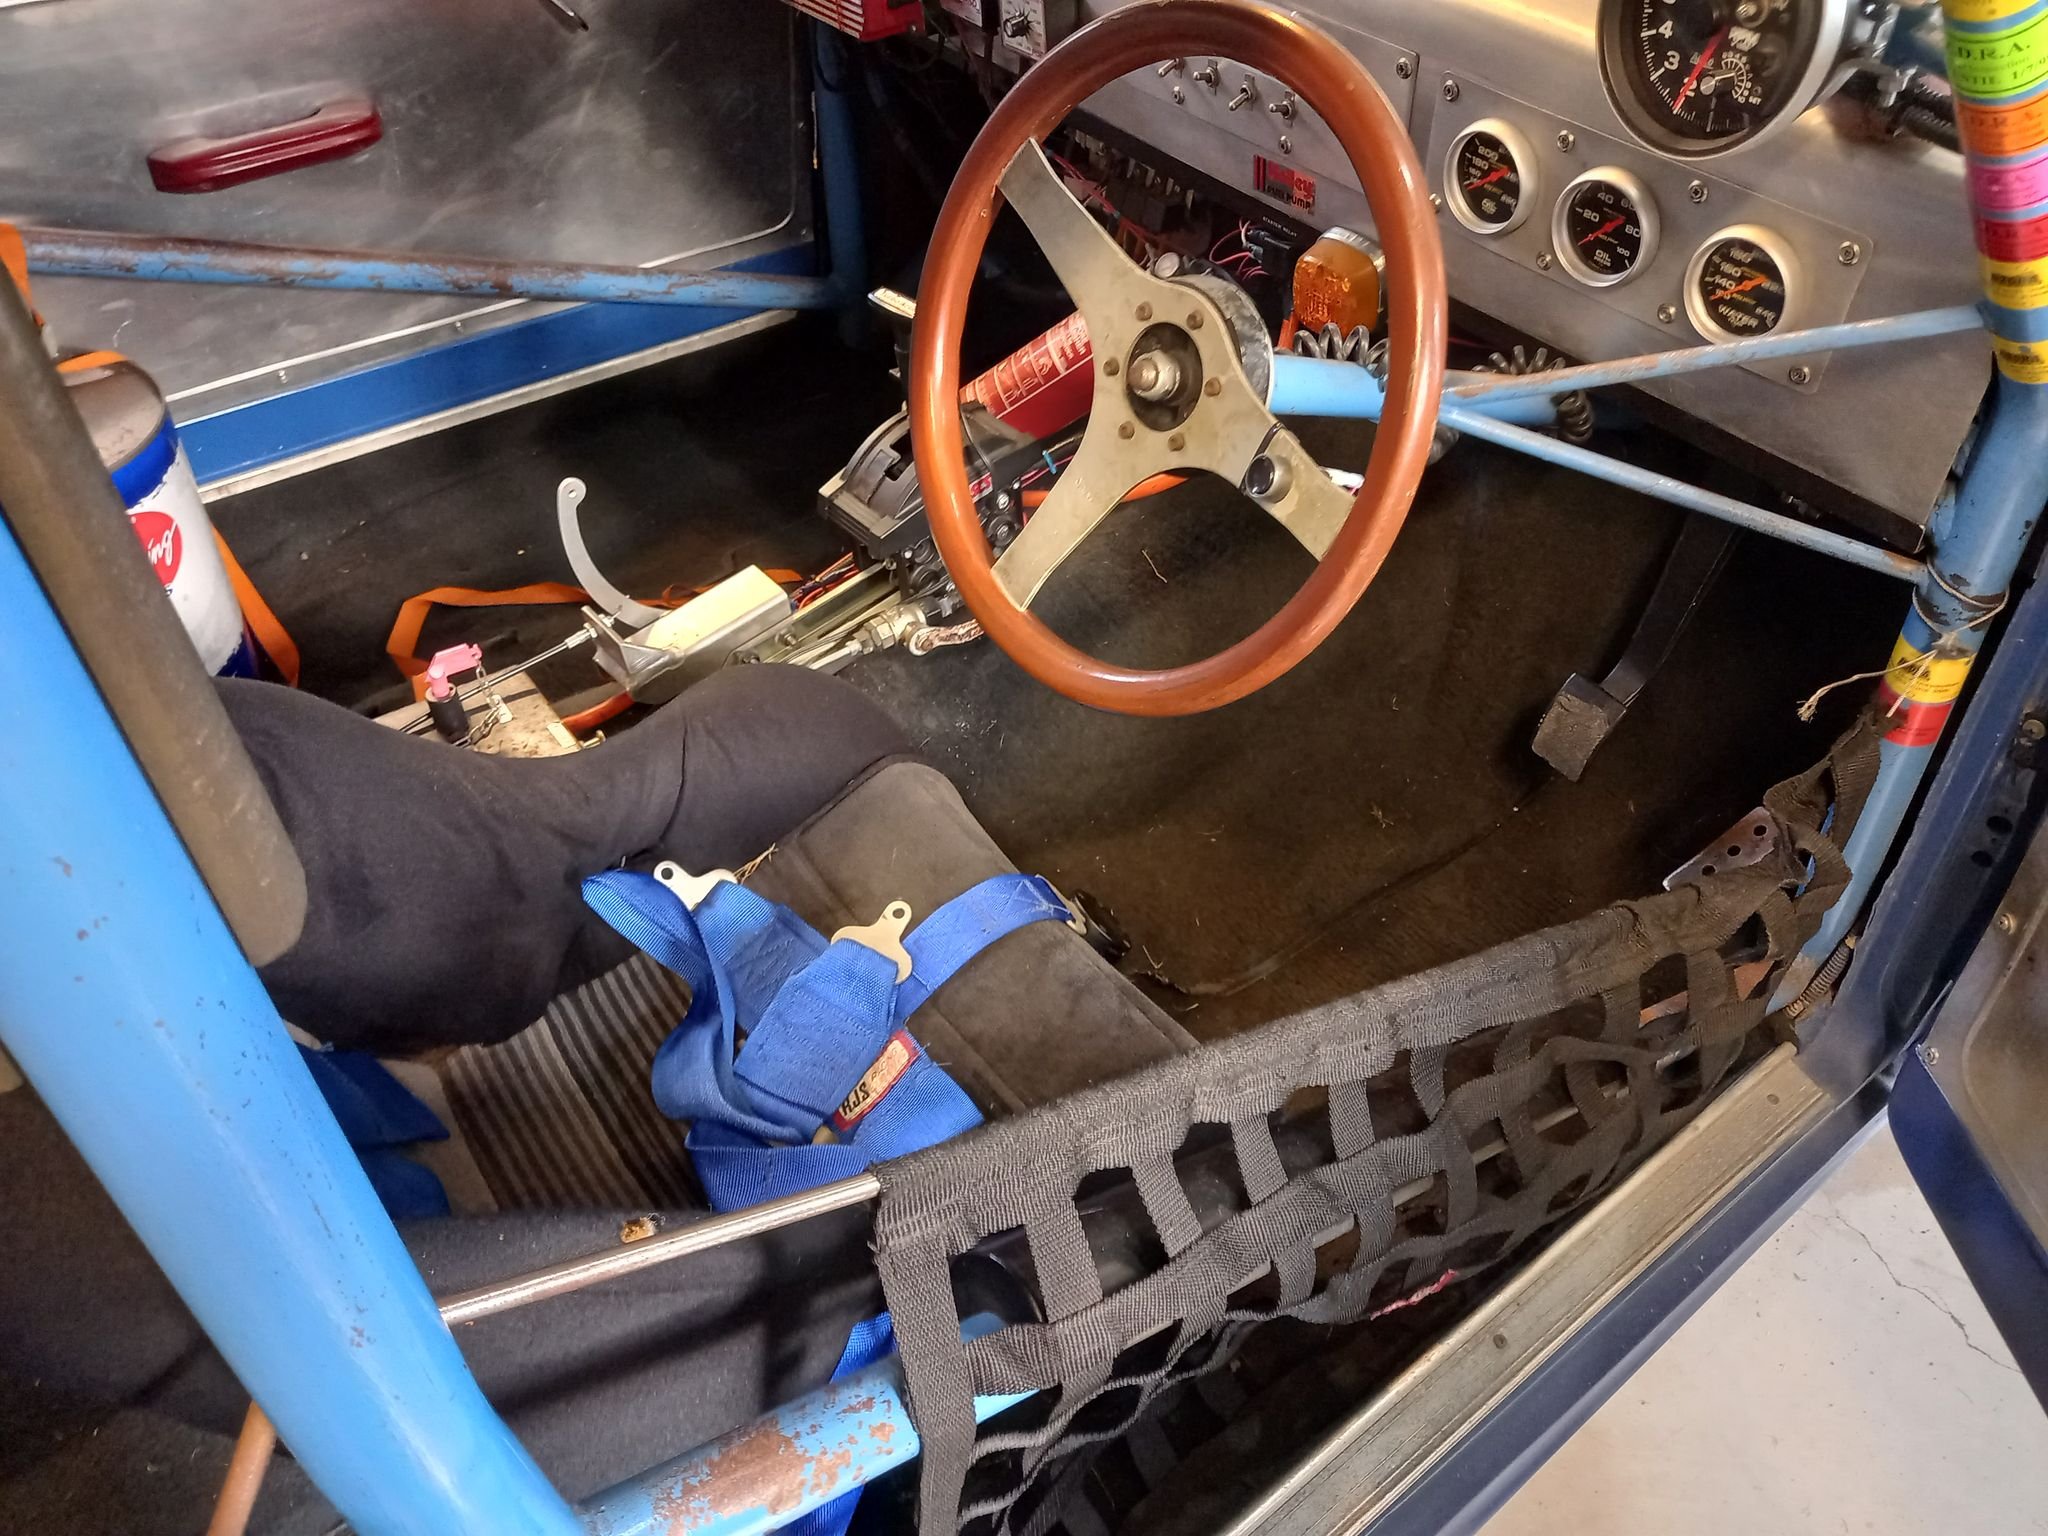
Took the car to Clint yesterday for a "pre-cert" checkup, and unfortunately the list was much longer than I had hoped! Lots of small stuff, which would be easy to fix. But some fairly big issues around the "half chassis" which had been added to the rear, as well as some issues to the original front chassis. Upshot is, that while it probably will still pass tech for drag racing, the only way it will ever become road legal is to build a whole new chassis for it. At this point getting it road legal by building a new chassis is a much bigger project than I am prepared to take on. So for now I am going to continue down the path of keeping it is a drag car only, and tidying up a lot of areas cosmetically, as well as improving on some safety items which are in need of attention. If I am still in love with the car in a few years time I may look at getting a custom chassis built then. Big shout out to Clint Field (Cletus) BTW, super helpful guy who has probably saved me from a world of pain and expense had I tried to get it road legal and THEN gone in for an inspection. I can definitely recommend his services to anyone in the Auckland area. Meanwhile, I am gathering some parts together, such as panel cuts, windows, regulators etc. to try and make it look more presentable. It looks good at a distance, but there is a certain amount of ugly close up that I want to knock out of it! Will update again soon.
- 3 replies
-
- 22
-

-

-
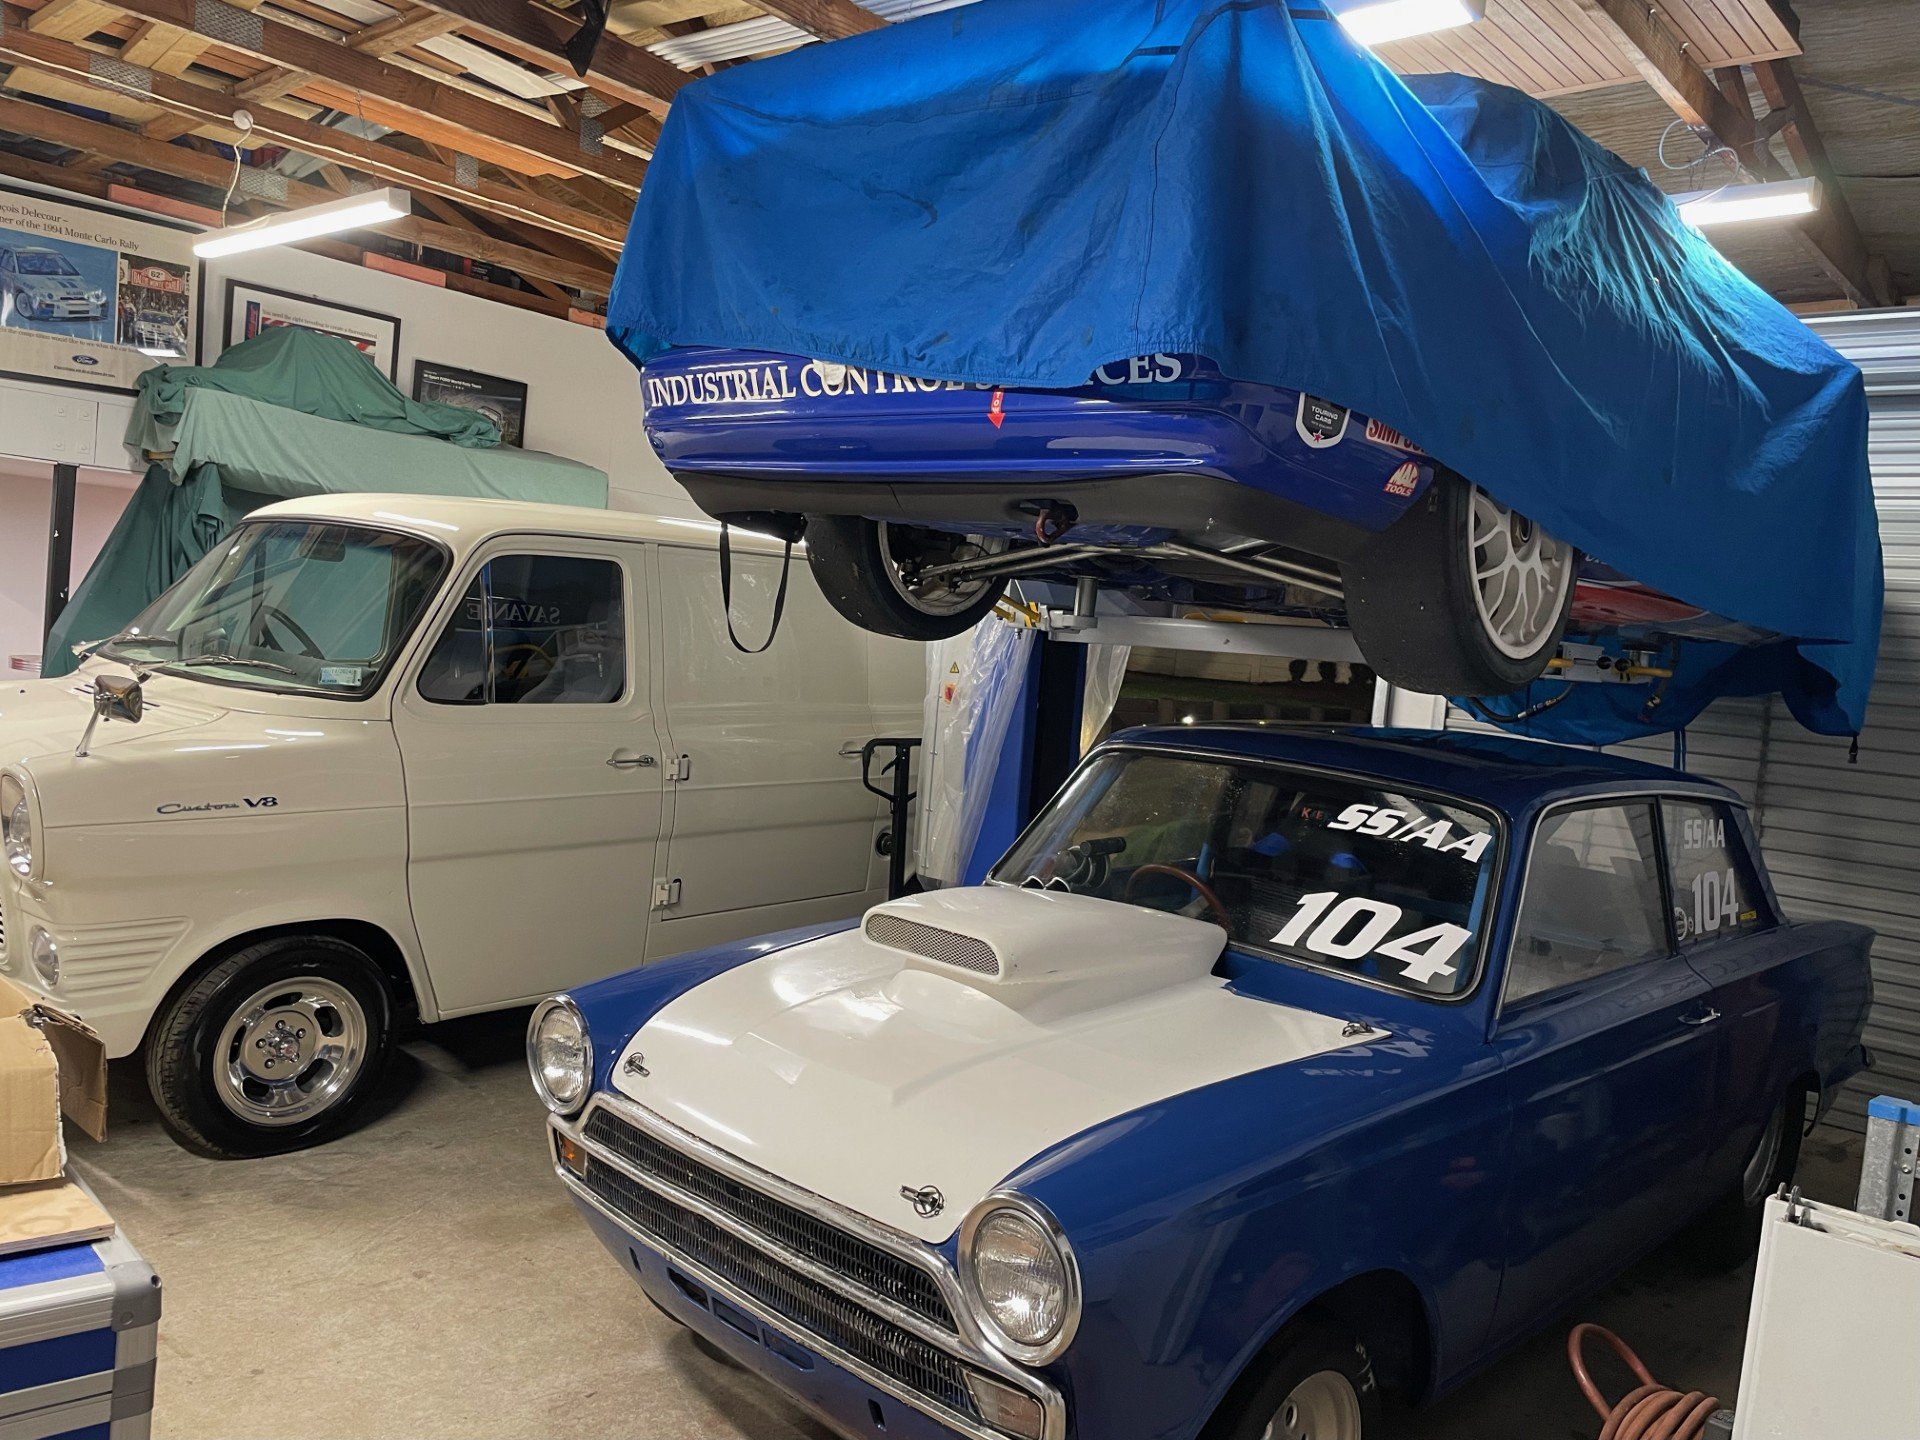
had a few spare hours the other night, so thought I would see if the spare "Ford built" V8 would fit. After a bit of lifting, craning, pushing and shoving, removing a few parts which were in the way I got it most of the way in. Sump would not go down past front crossmember, so will need to remove that first, lift the car on stands, then try again. Looks like it will fit without any surgery though, so that's a plus. Should have got a bigger shoehorn. It's off to Cletus in a week for a "pre-certification" inspection, and that will help me decide if I want to make it street legal again. Lots of ugliness has been uncovered, but it is mostly small shit that is fairly easy to sort. As long as there aren't any large fundamental changes required, such as remove the rollcage and do it all again, then I think we will be okay. Fingers crossed!
- 3 replies
-
- 20
-
-
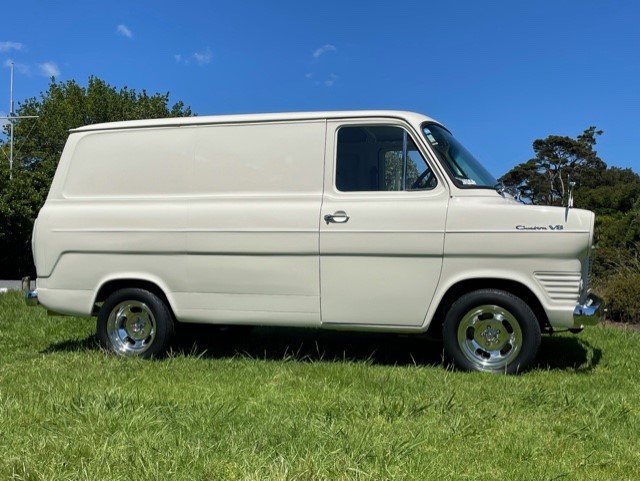
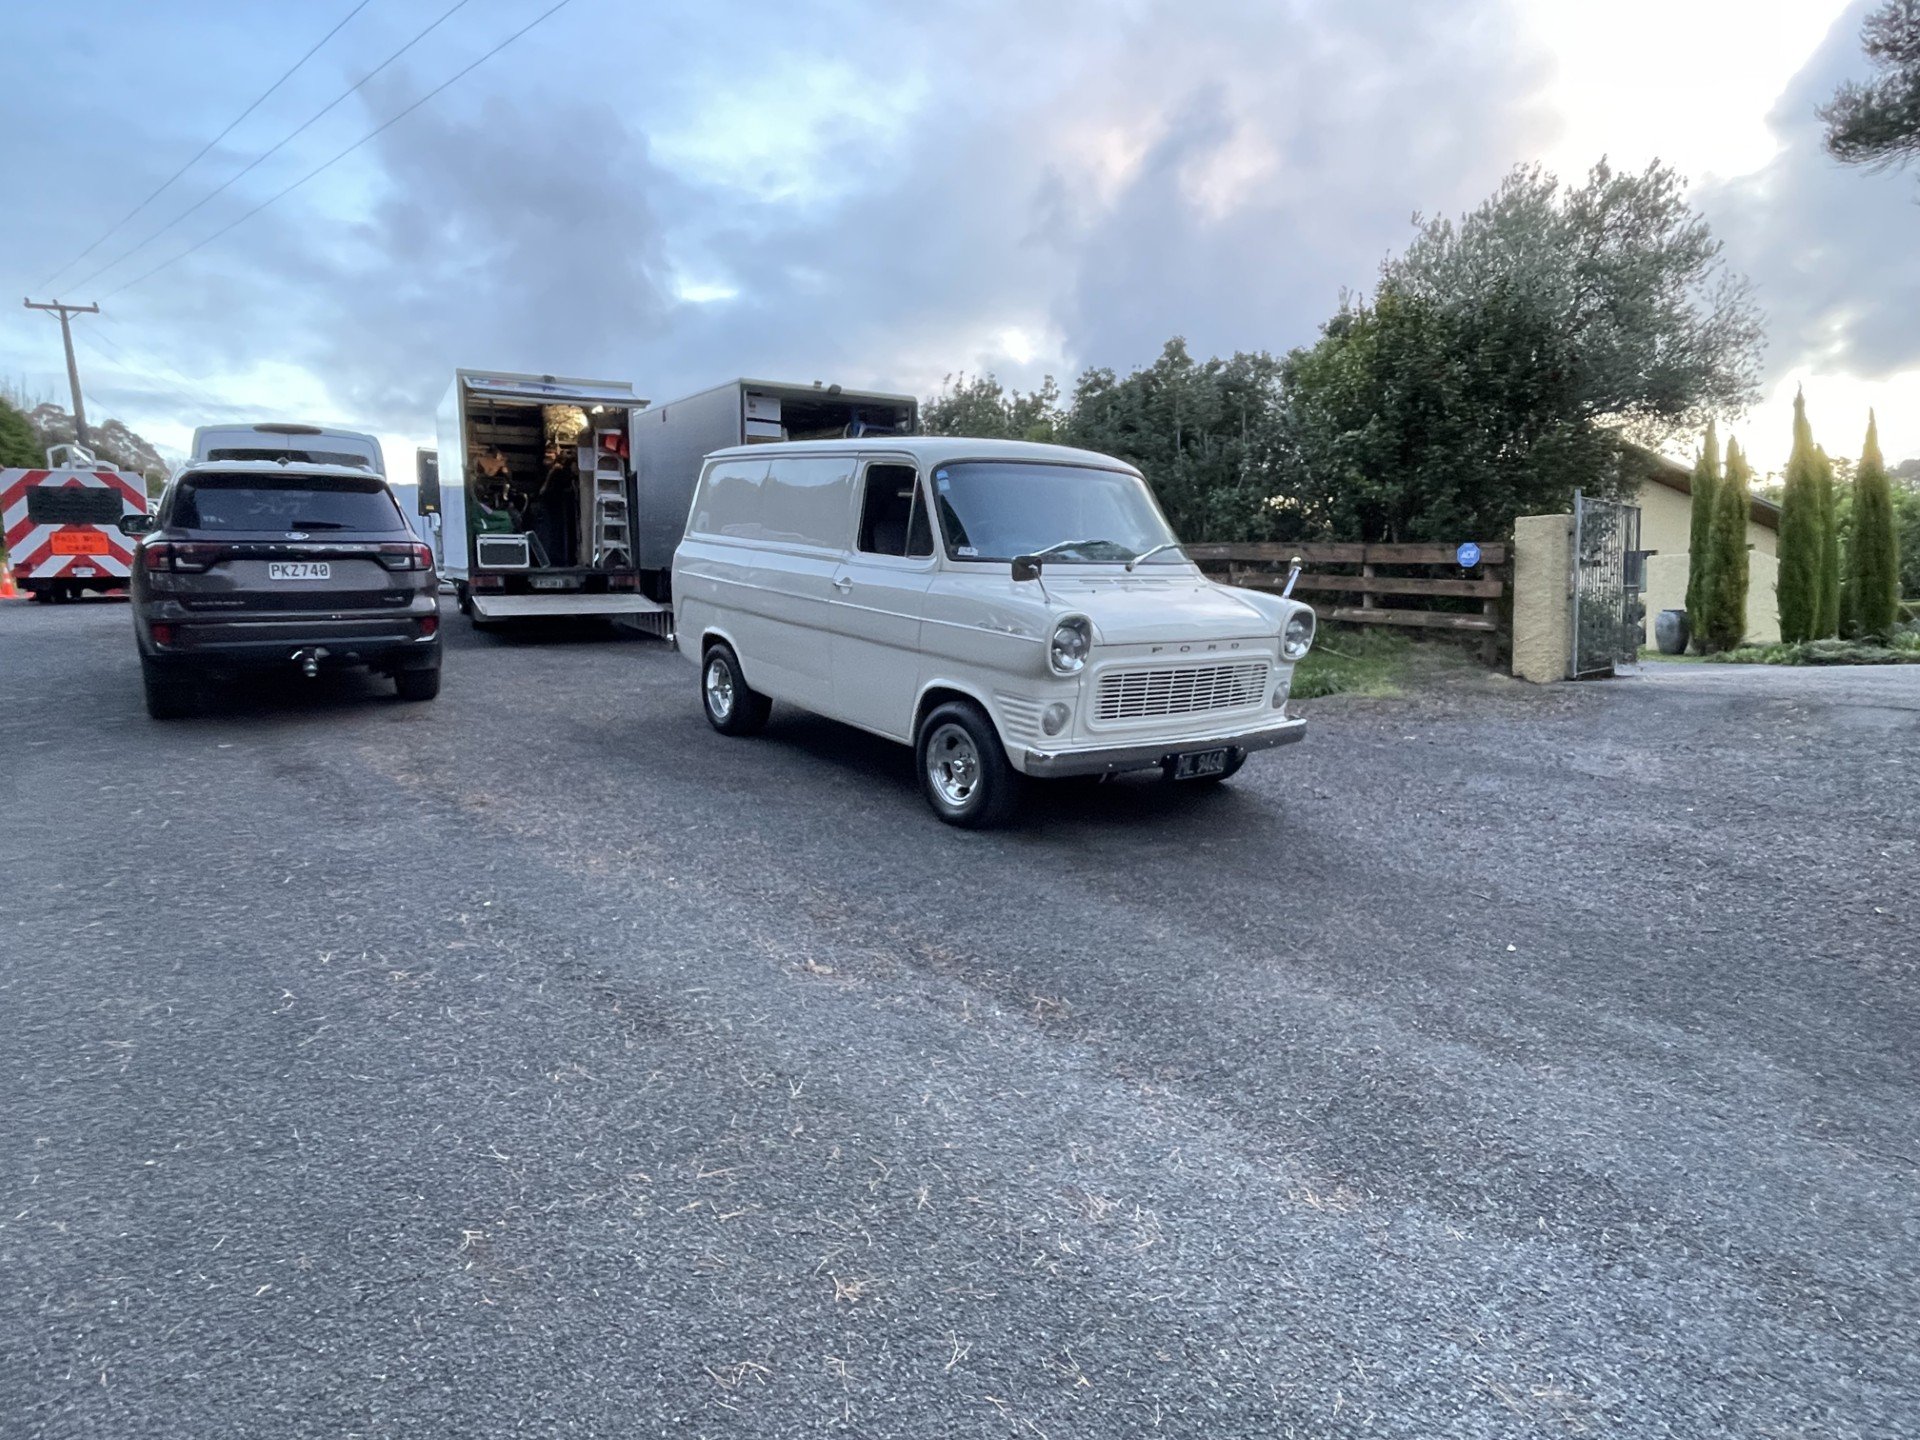
I have done bugger all on the van since that last post, I haven't even completed that front brake conversion, too many other things going on demanding my time. But a few weeks ago I got the call from a production company I have worked with before, and the old bus was dragged out again, driven at moderate speed by a "stunt driver" who seemed suitably impressed by the speed and turn in characteristics of a 50+ year old van, cameras rolled, and the Transit starred again Will be appearing soon in a NZ production on Sunday night on your TV (although confidentiality clauses mean I can't say which one!) Which will bring me up to 10 years of ownership next month. Lots more planned for the old girl, all dependant on time and money, both which seem in very short supply at the moment!
- 52 replies
-
- 15
-
-
yep correct! Mystery prize is in the post to you
-
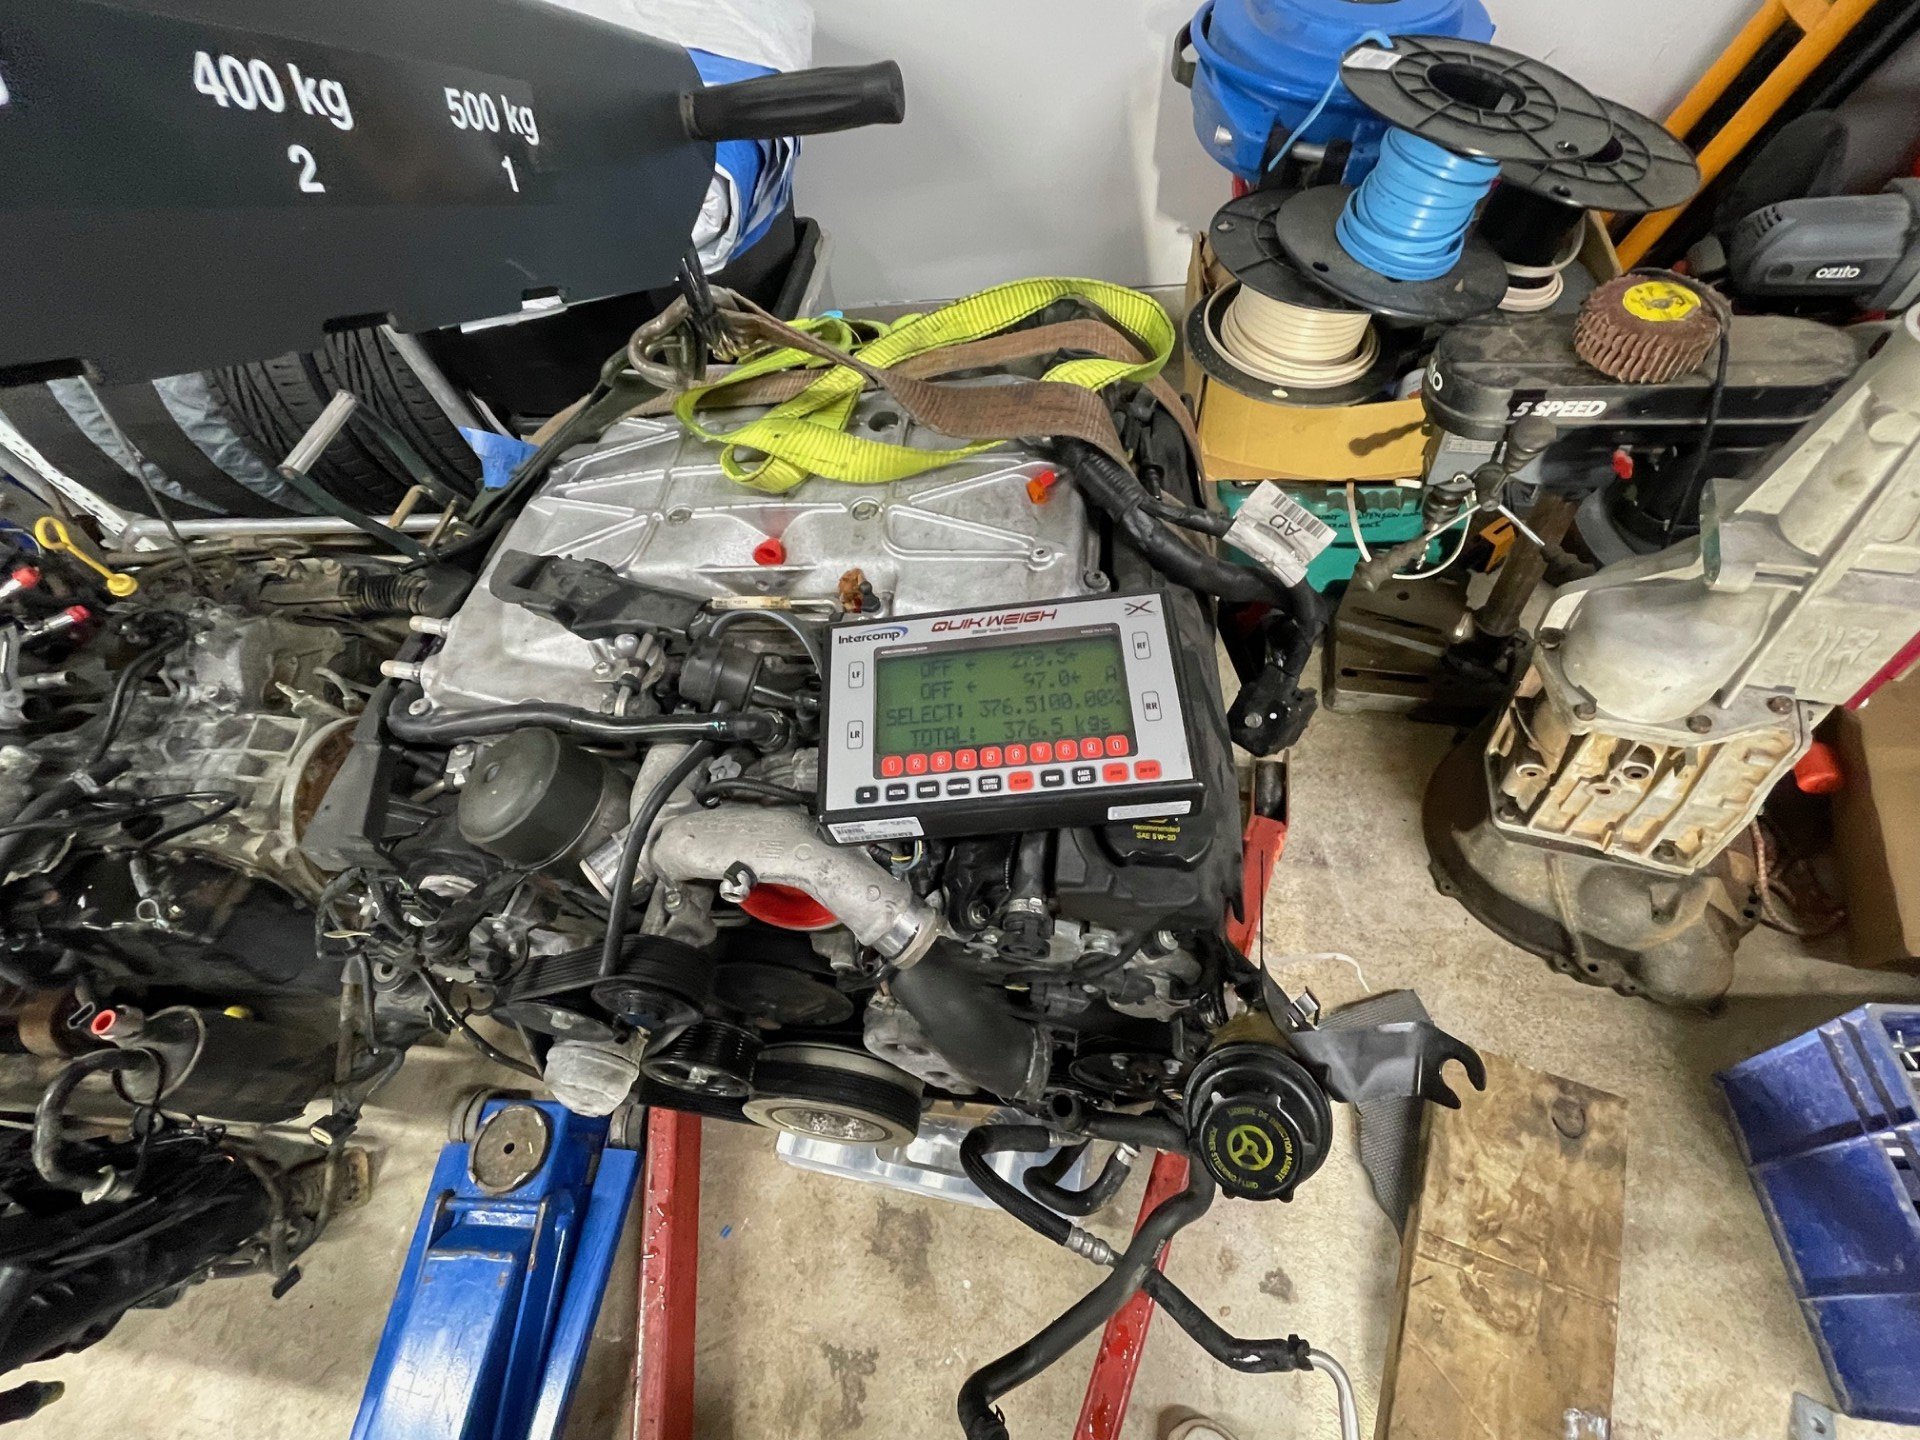
Not sure whether to go old school or new on the engine. I would love an angry Cleveland with 1000+hp, but that will cost a lot of $$$ to build. I do have an engine which is rather similar to the one you suggested. A 5.0 4 cam V8, built by Ford, with an Eaton TVS supercharger that makes 500hp stock, with a ZF 6 speed auto bolted on. Aint exactly pretty, but owes me very little! Does anyone know what engine it is?
-
It's all good, I can talk as much irrelevant shit as the next guy! Datto is very cool BTW, a lot of hard work is already done, and looks to be done quite well. That was pretty much my reasoning behind buying this car. It needs a big birthday, due to 30 years of use and abuse, but it has good bones.
-
ah okay! Nothing fancy, just a couple of plates and gussets welded to the tube. It has been racing for over 30 years like this, so I guess you could say it's "good enough"! A bit hard to tell from your pic, is that a Cortina too?
-
One of those Radisich jobbies!
-
Unclejake! Long time no hear! This is my third 2 door Have you still got your Mk1 race car? cheers Conrad
-
thanks! you mean here? Still has original chassis rails up front, and steel panels. Inner wheel arches have been removed though.
-
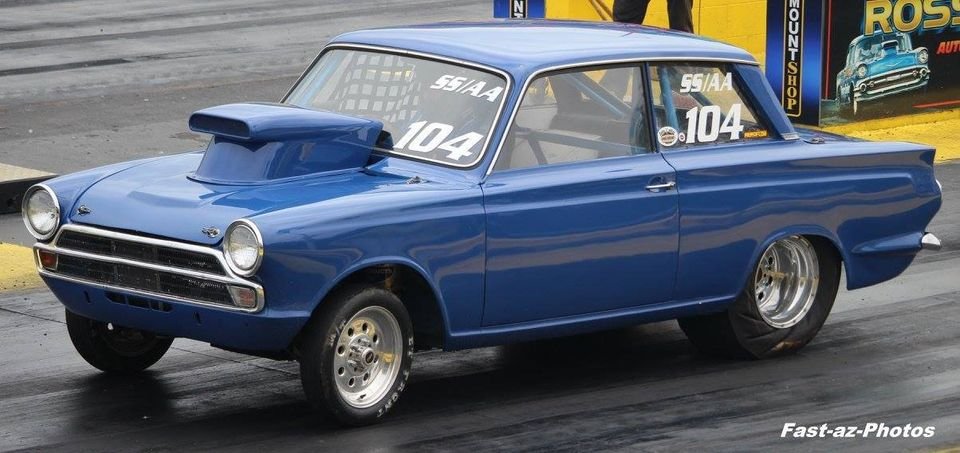
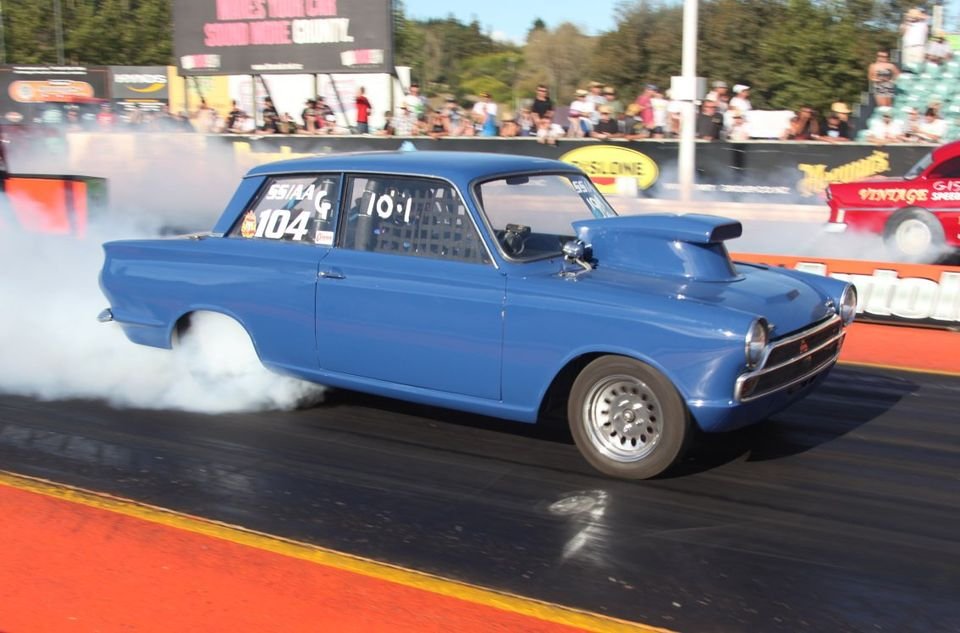
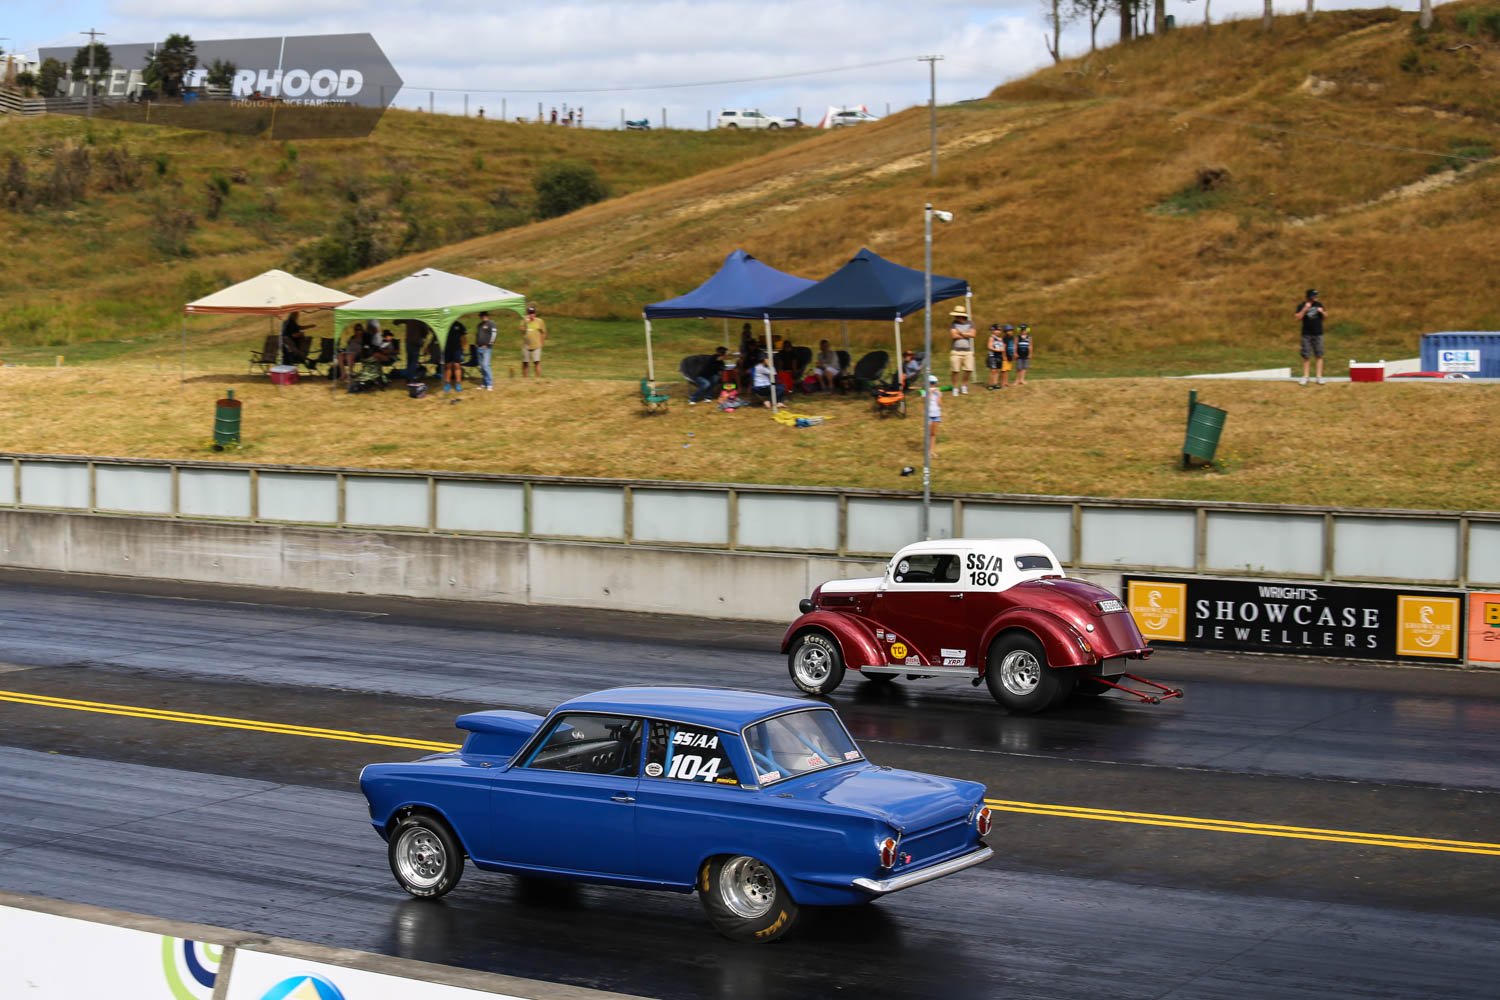
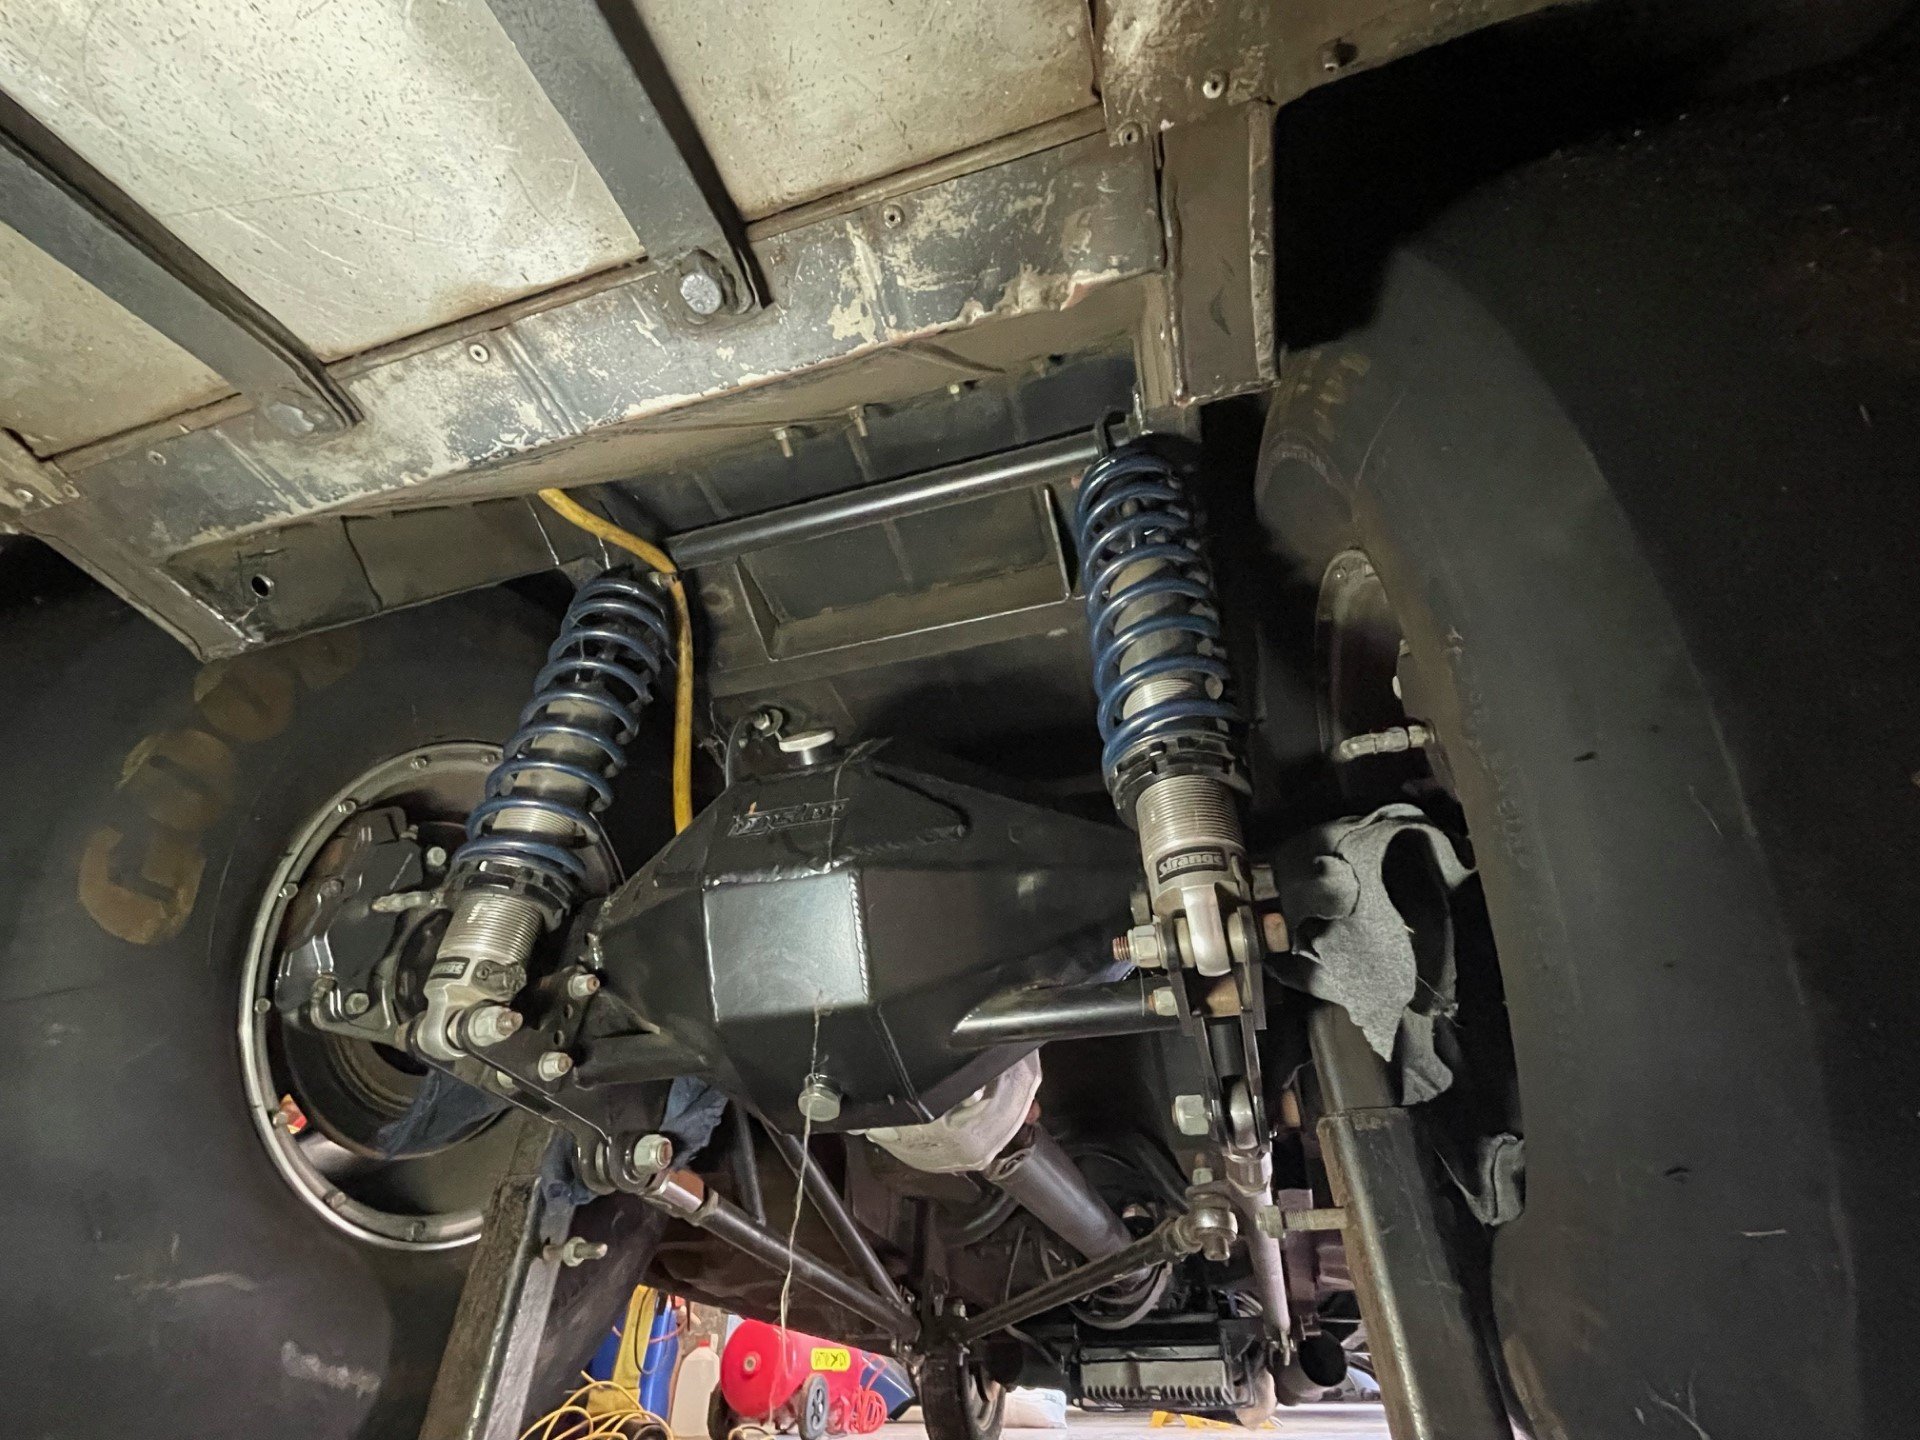
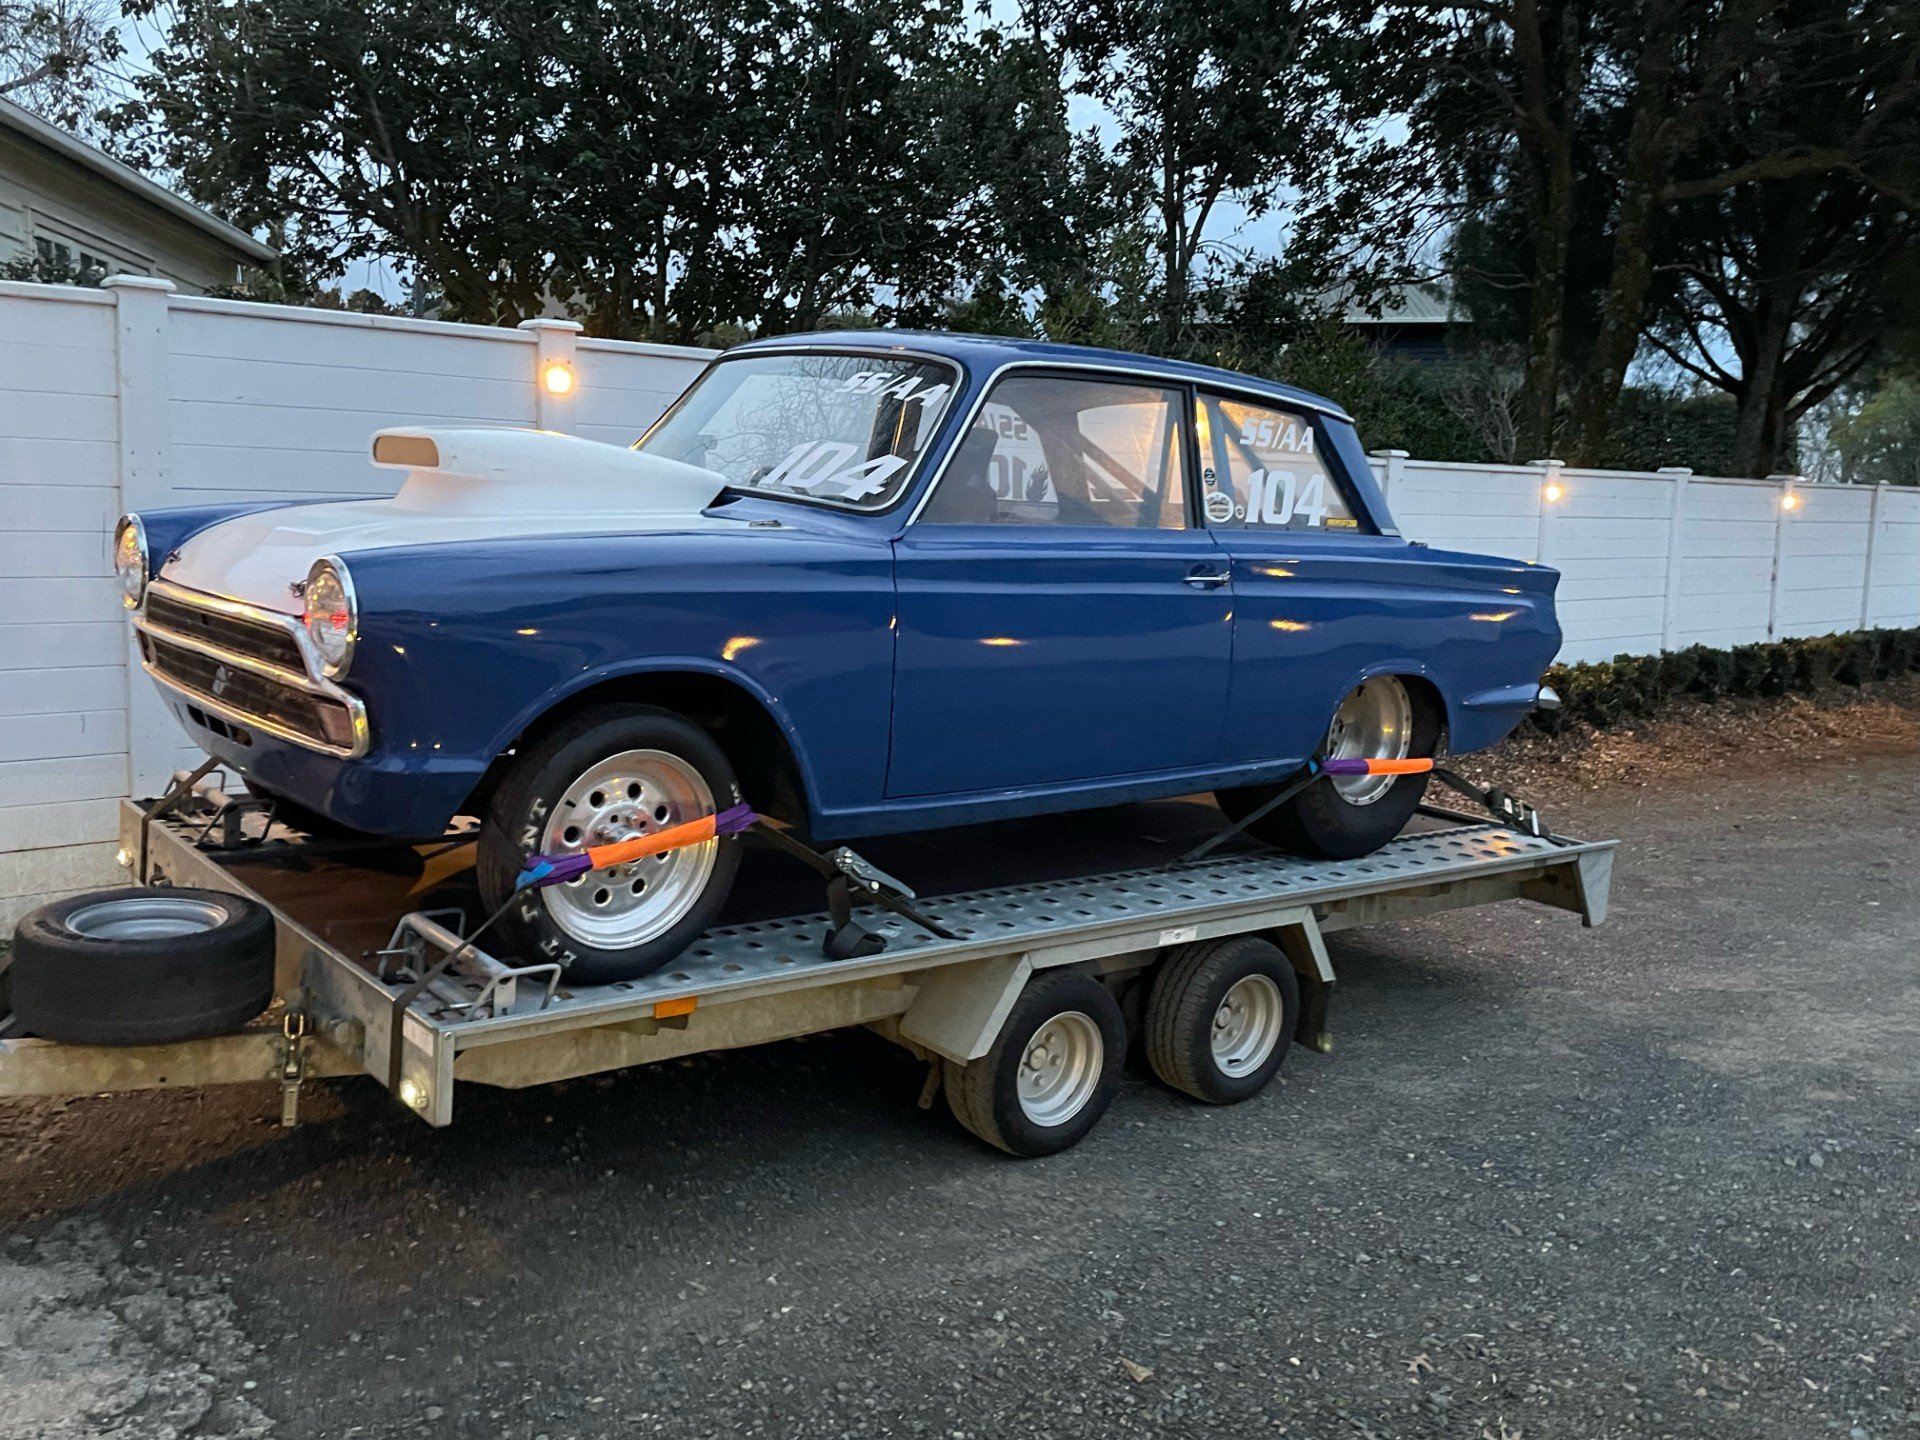
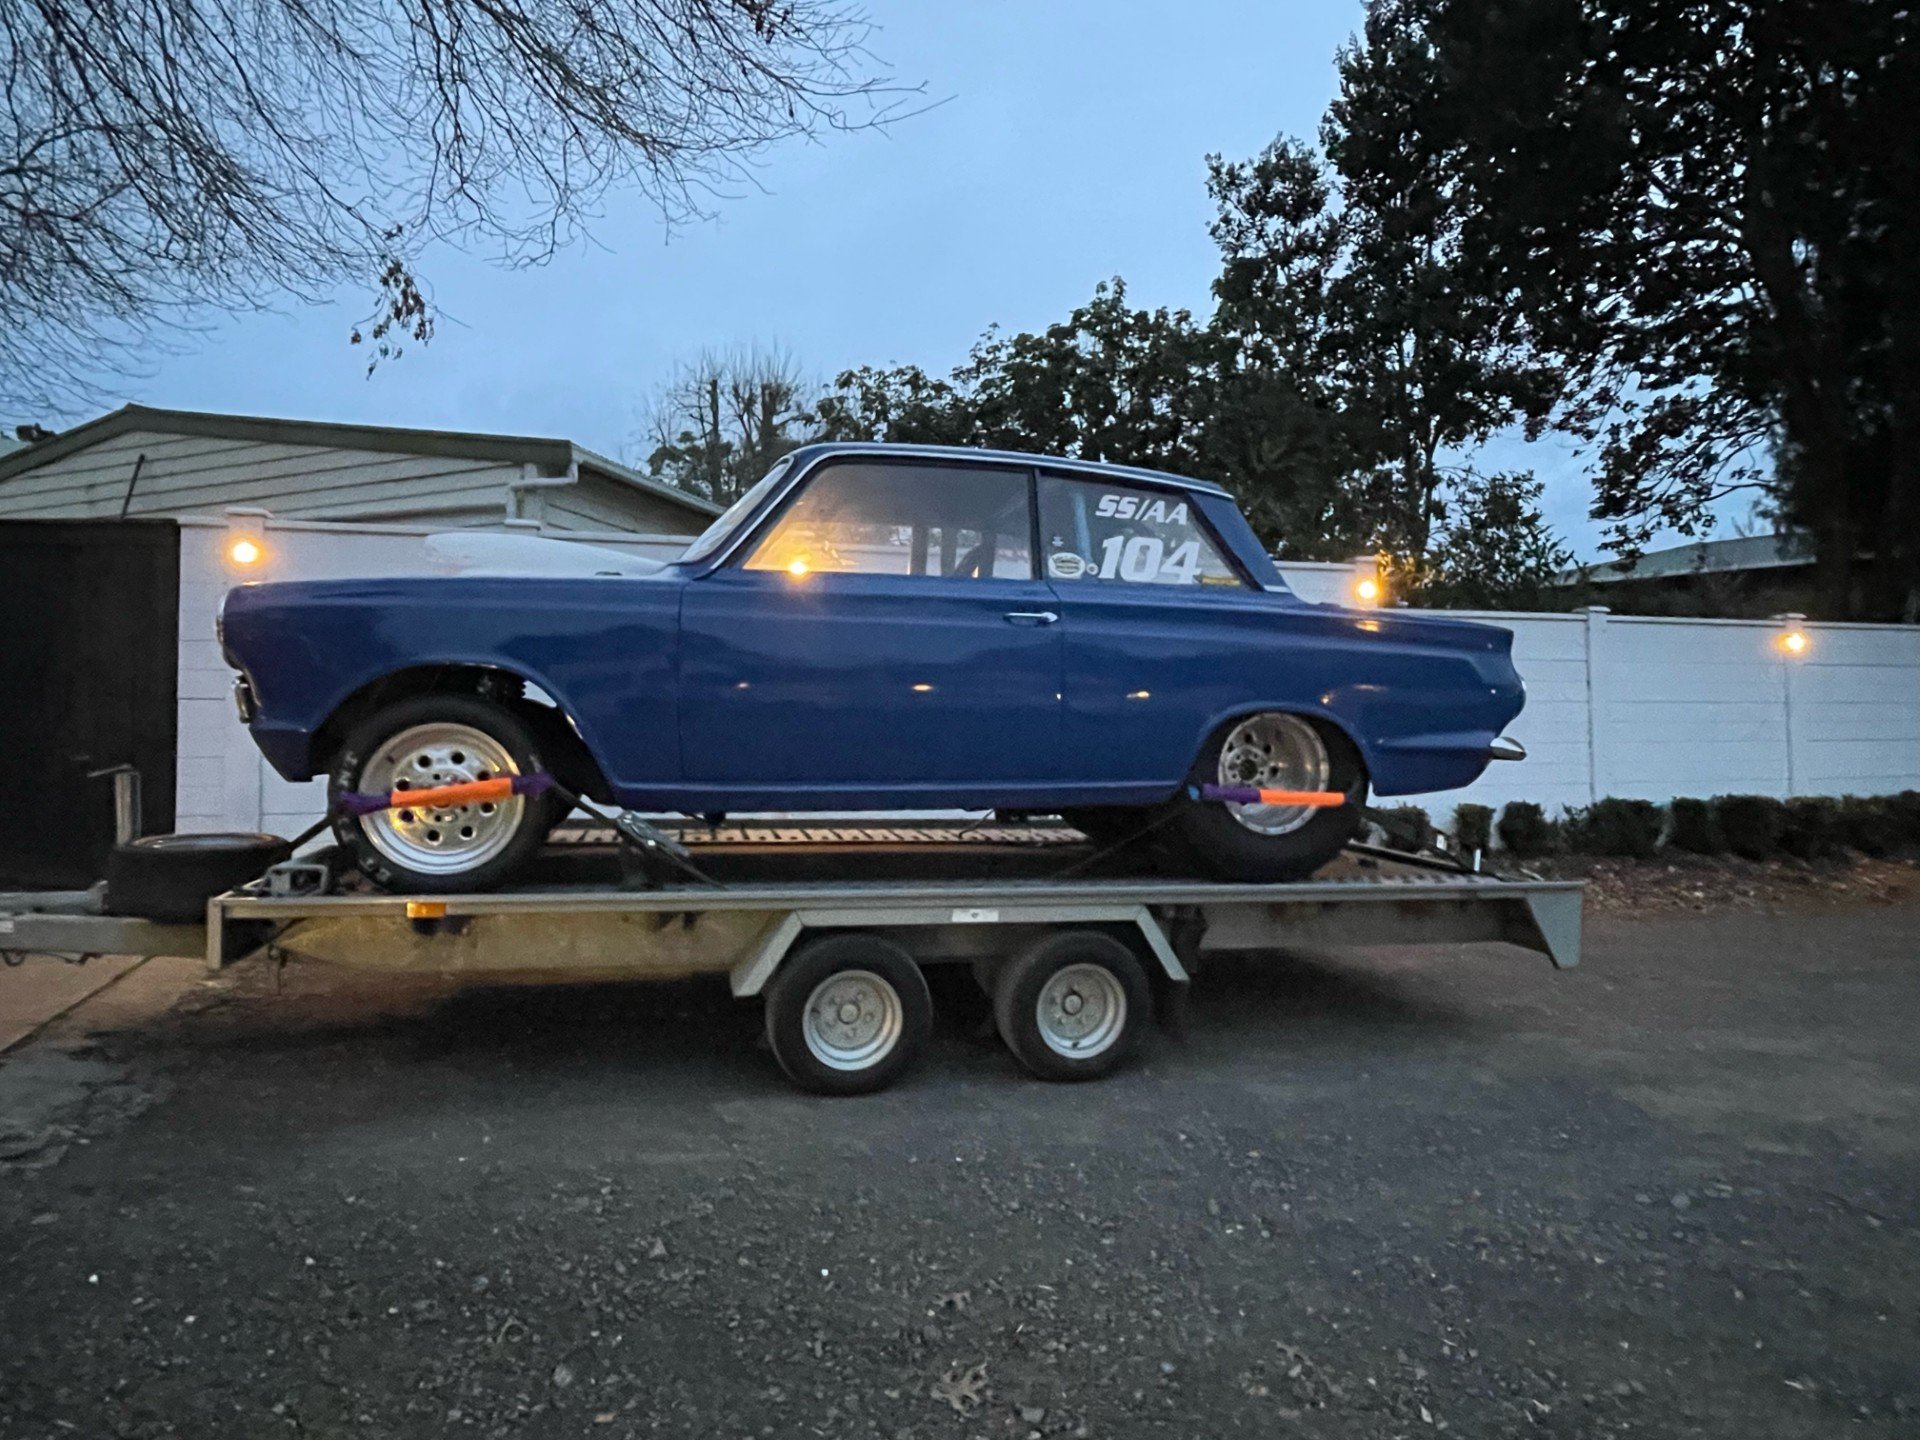
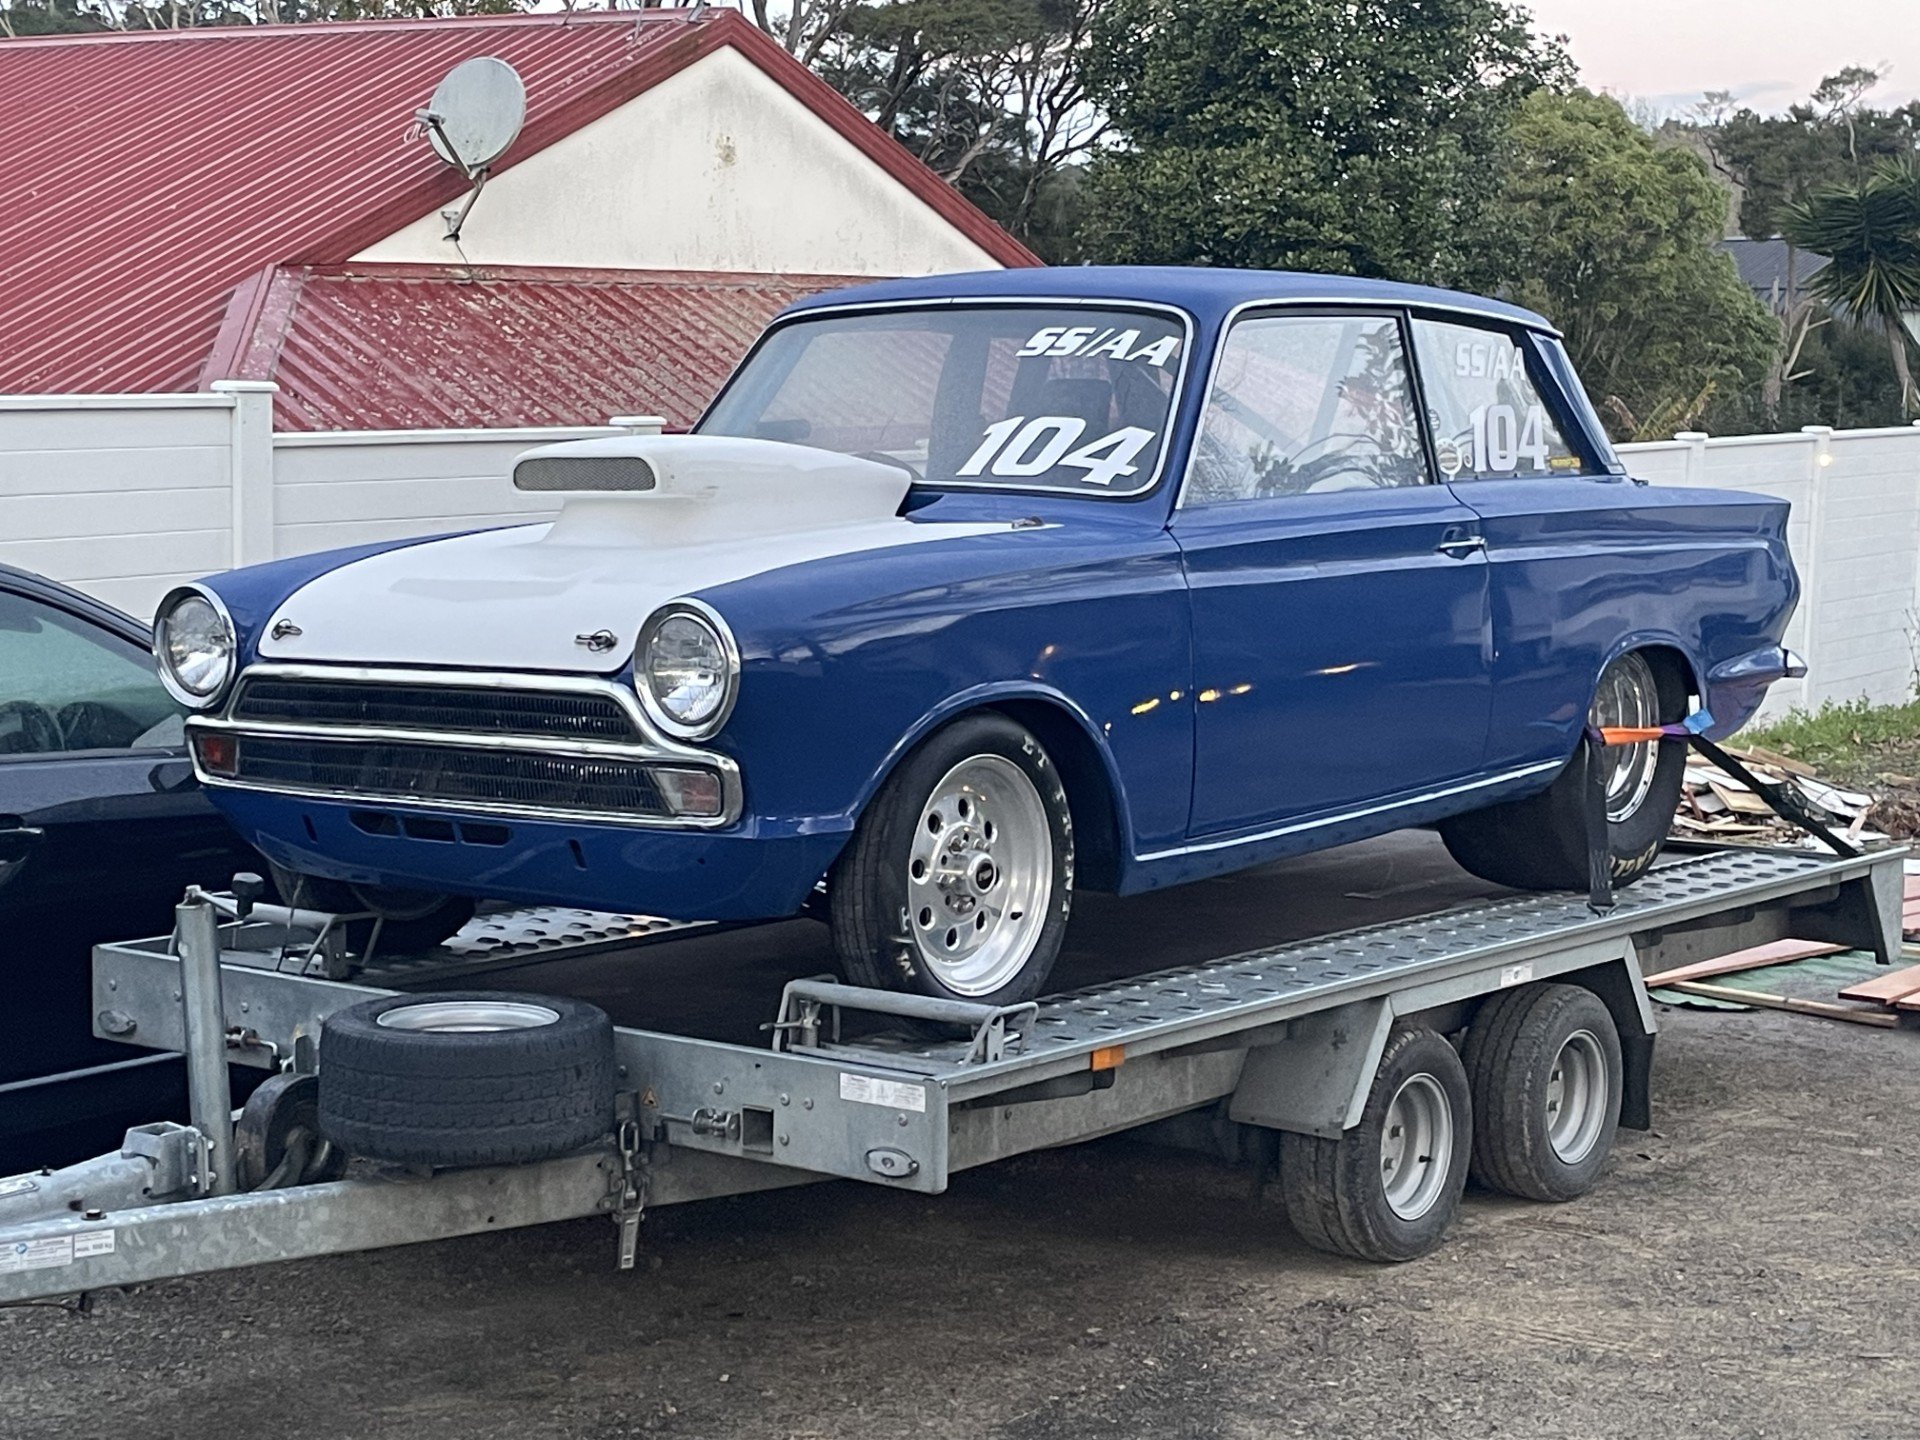
A few more Cortinas in between, and fast forward to beginning of May this year. Trawling through FB marketplace, I spotted this car. It was built in late 1980's, same time I built mine, and current owner was selling it less engine. It was running a 393 Cleveland with around 600hp, with a 150 shot of Nitrous. He had run a best of 9.0 @ 150 mph, not bad for an old Cortina! I went to Papamoa straight away to view the car, paid a deposit, and collected it on Saturday last week. I haven't decided exactly what I am going to do with it yet. It was deregistered when it was turned into a drag car, so I am going to investigate making it road legal again. Would be fun to drive to car shows, or nip down to the dairy for milk! If that proves too difficult, then it will stay as a drag car only. Either way, I would like to go drag racing, so focus will still be on keeping it primarily as a drag car. Engine is TBC, although most likely a V8. It is very well built, and has some good parts fitted, half chassis rear, big tubs, very short fabricated nine inch with Strange 35 spline shafts, brakes and double adjustable shocks. Weld wheels 15"x12" rear and 15"x4" front. Front suspension is Ford Escort Gp.4 style struts, with Escort rack, rear end is ladder bar. A few pics of the car racing, and prior to engine removal, and then on the trailer after arriving home on Saturday.
- 3 replies
-
- 39
-

.jpg.e1adfd7bd990b3a5b2ad0244379c69e8.jpg)
.jpg.3d4c8dab1b62e5913916b238541e3310.jpg)
.jpg.e275892668bc206c40518b6817edd0d5.jpg)
.jpg.5333168a6e932cd3b70421db0c499d69.jpg)
.jpg.7a81dc442a3b150f1fc06b1df8d1c7ca.jpg)