All Activity
- Today
-
Maybe it's like my honda, the tps, map, and some other thing iacv maybe, all have identical plugs and the cables are long enough to connect in any combination.
-
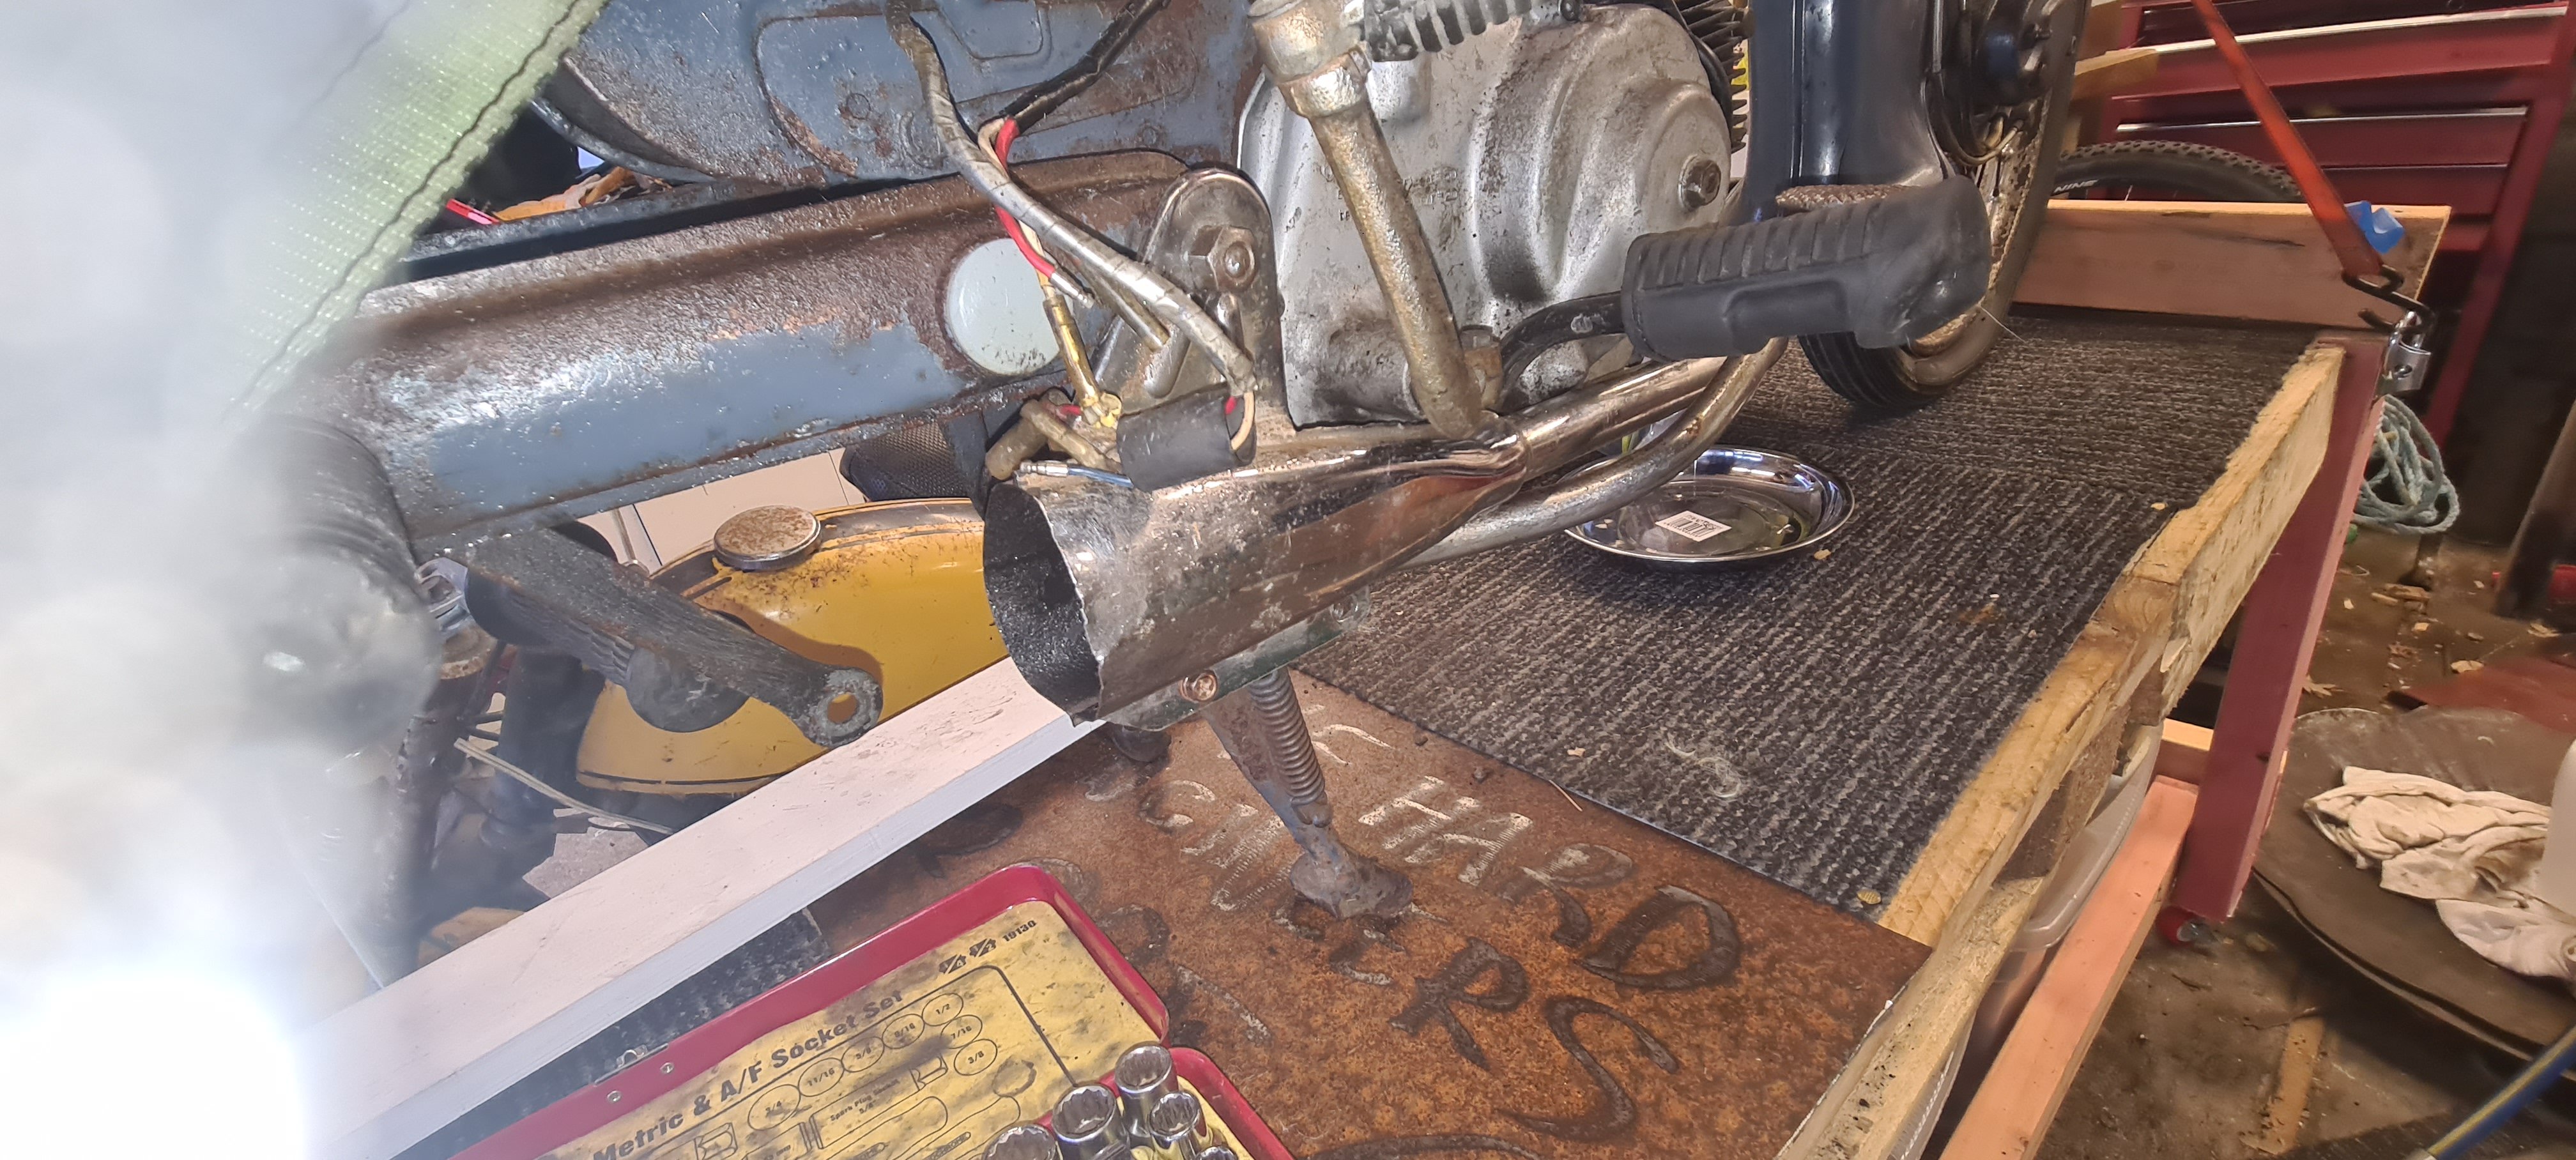
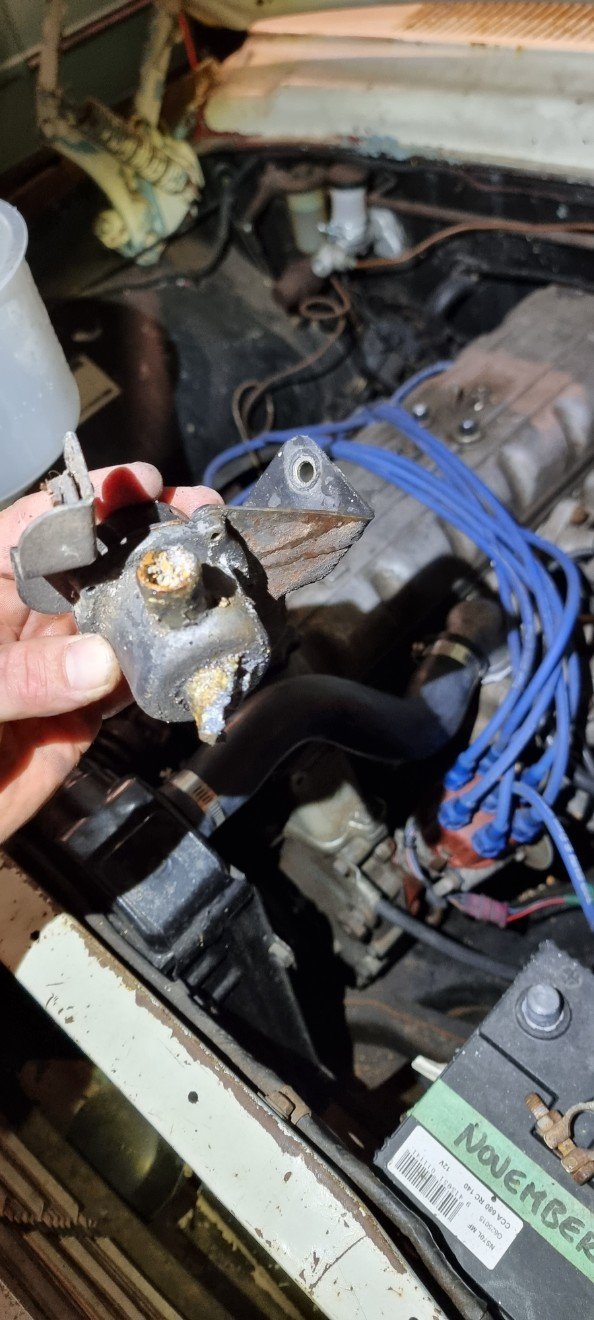
Alex had cut down a rusted out pipe for Rhonda, I rounded it out a bit and fitted it

-
When you forget over 10 years what parts you already have and just keep buying more.
- 111 replies
-
- 6
-

-

-
- ms51
- toyota crown
- (and 2 more)
-
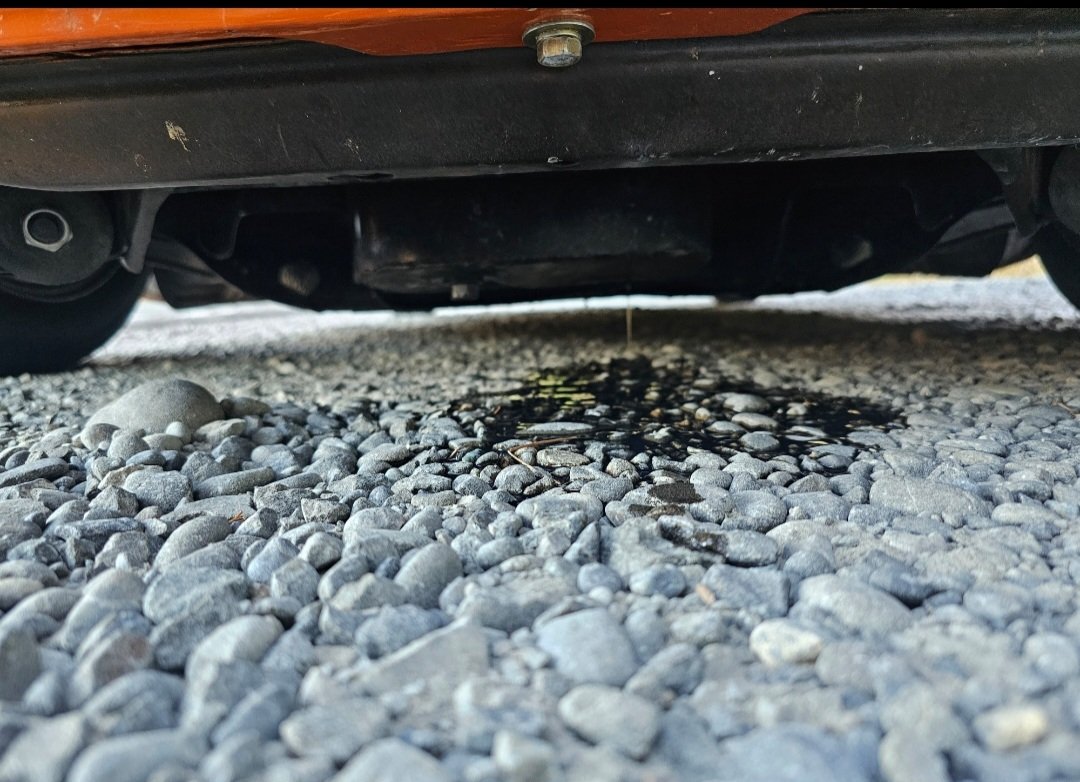
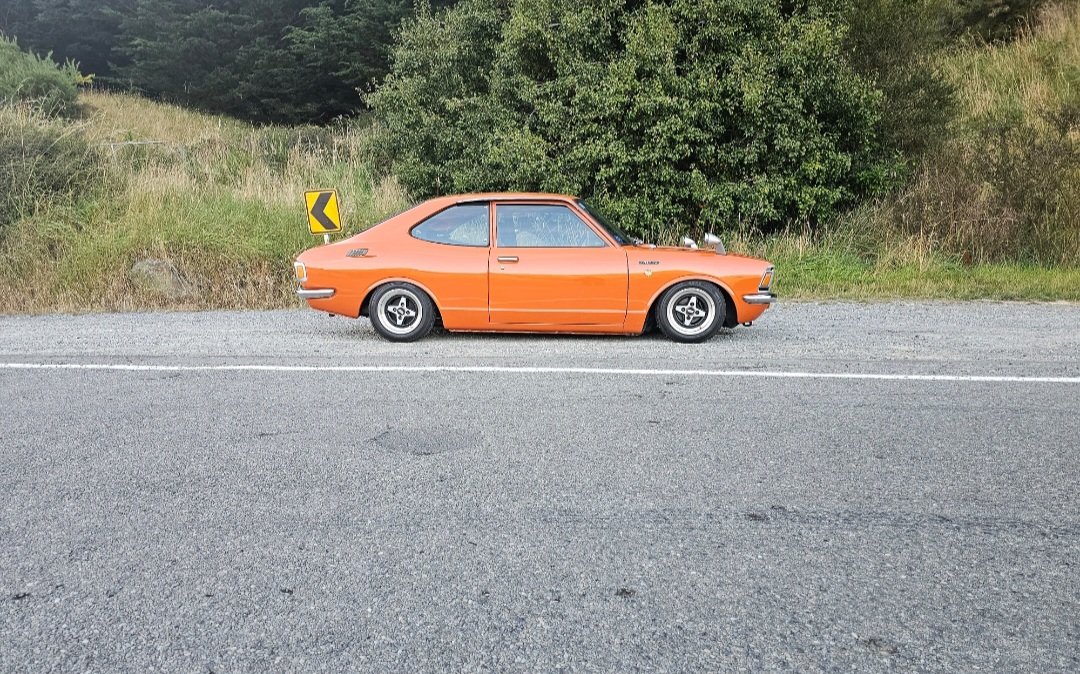
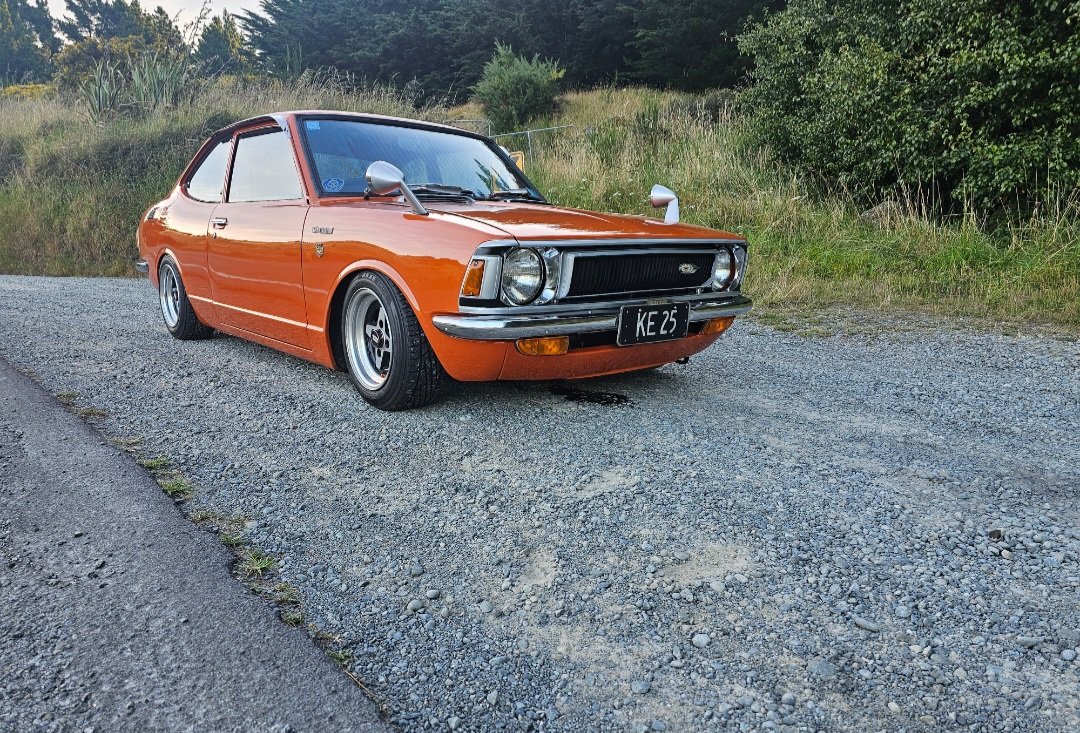
On one of its 1st test drives i put a hole in the sump on a pothole over a rise. Also have te27 sprinter trueno taillights and badges now
-
Not trying to teach you to suck eggs I know how many cars youve worked on just thinking aloud and hopefully something helps So Im a little confused as to why the fuel pump not running less flow via lower voltage (assuming the pressure doesn't change) would cause you to run rich at idle and lean on boost I know you need more flow to maintain pressure when your at WOT and Boost/Revs and high VE etc I've never had the issue you describe when running a fuel pump at full voltage all the time, running richer yes if the fuel pressure reg can't maintain the pressure with the higher flow rate as it can't allow enough flow back to the tank to maintain the correct pressure TPS or AFM seems more likely the issue, or a leak somewhere post AFM but youve checked for leaks so its not that Fuel pressure youve said says the same checked via gauge and multiple FPR Fuel line sizing is the same as the old car, so its not a restriction to the rail or on the return side Might be worth checking what the AFM's are reading and what the TPS reads The factory cam angle sensors on these are a common failure point and could also cause you to lean out as you go up the rev range but wouldn't explain the rich at idle Assuming you've got good filtering and nothings clogged (wouldn't explain rich at idle tho) I'm assuming you haven't taken the rail off, so guessing the injectors are fine. Power FC wouldn't be running a wideband, but a narrowband O2 sensor could be reading incorrectly causing it to be rich at idle and lean on boost? How are you confirming the AFR is rich/lean or does it just feel that way? Coilpacks on RB's are also a know issue and spark breaks down on boost esp if plugs aren't gaped properly but it doesn't feel like its running lean etc. When I had my 25det neo I had a failing cam angle sensor that worked ok when it was cold but gave me trouble when it got hot. (turning the shaft by hand you could feel how bad the bearing was) How long had the motor been sitting in the other car or was it regularly run? Based on your comments about wiring, if it was me id be making sure all the sensors read correctly (AFM, TPS, Coolent temp sensor, Fuel pump has full voltage under load and cam angle is good) If they all are fine then id be guessing wiring It could be a few things that are minor on there own but combine to be a bigger issue
-
 Looks mint!
 -
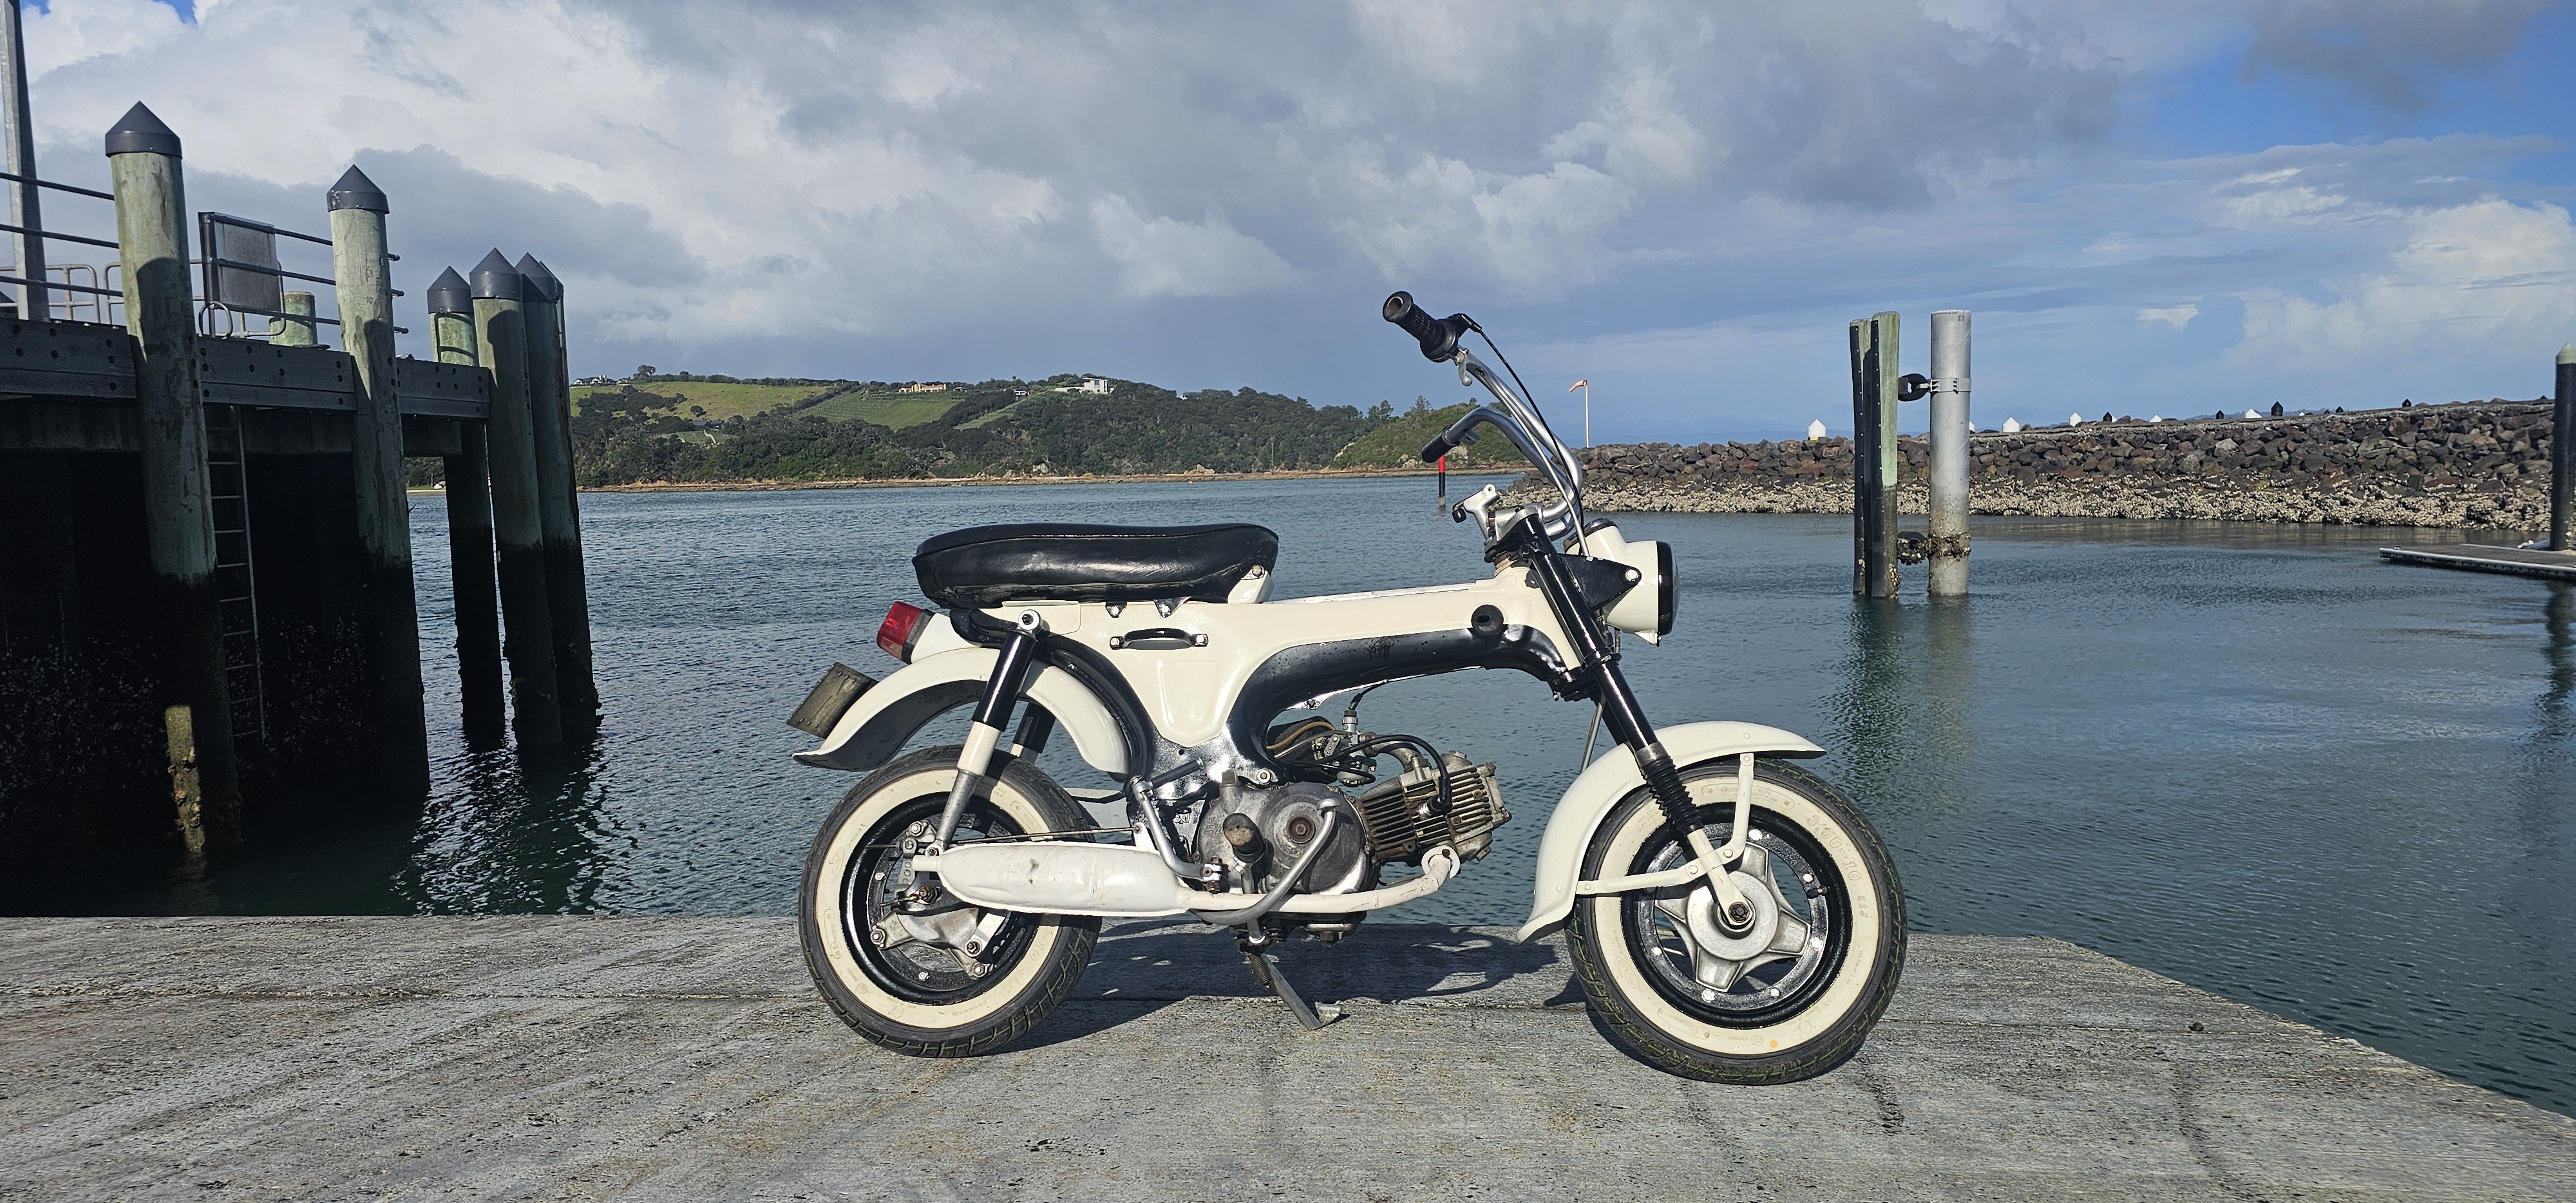
 Fuck yeah! Sealink weren't going to let me push the bike on, it was a bit touch and go. Apparently you have to ride the bike on. Given it doesn't go right now, that wasn't happening. Dude said I'd have to order a tow truck, get it on the tow truck to transport it to the other side due to health and safety rules. I must have given him my best "tf you just say" face. He then said, well hold on, let me ask the captain if we can do this as you look capable of performing the task. Captan looks out window...no problem...come aboard... yes!! So happy with this bike, its fucking mint. Its had a bare metal restoration. There's a few things that aren't my taste, but such a good base. Its 95% original and complete. Only some trivial stuff to finish it
-
No
-
Did you get it sorted @sheepers
-
Better learn some bog smithing I guess
-
Found some pre paint job photos seem to have a design floor with the rear window have a large gap around it (I assume for the vinyl) this allows all the water to sit there and rust….
- Yesterday
-
Certain BMW E46 fuel filters have a reg built into them and return from the filter https://skunkworks.co.nz/products/e46-m54-fuel-filter
- Last week
-
Quality thread dredge @kermet, thanks for fixing the pics
-
I just updated my pictures in these posts as ihug shut down, so sorry for lack of content.....
-
 kermet changed their profile photo
 -
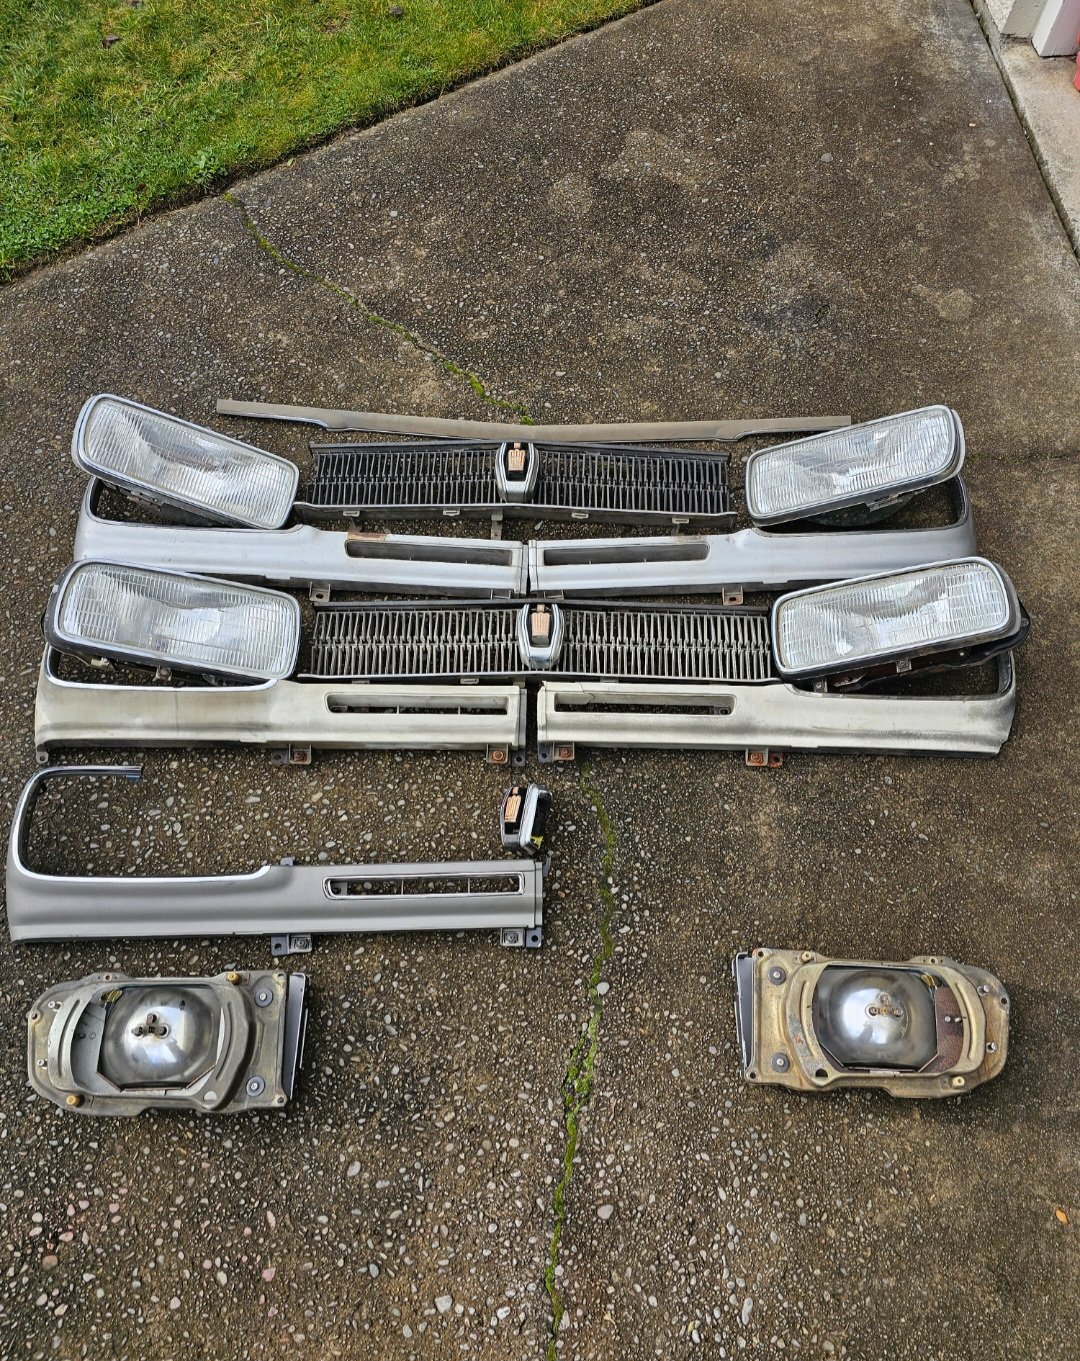
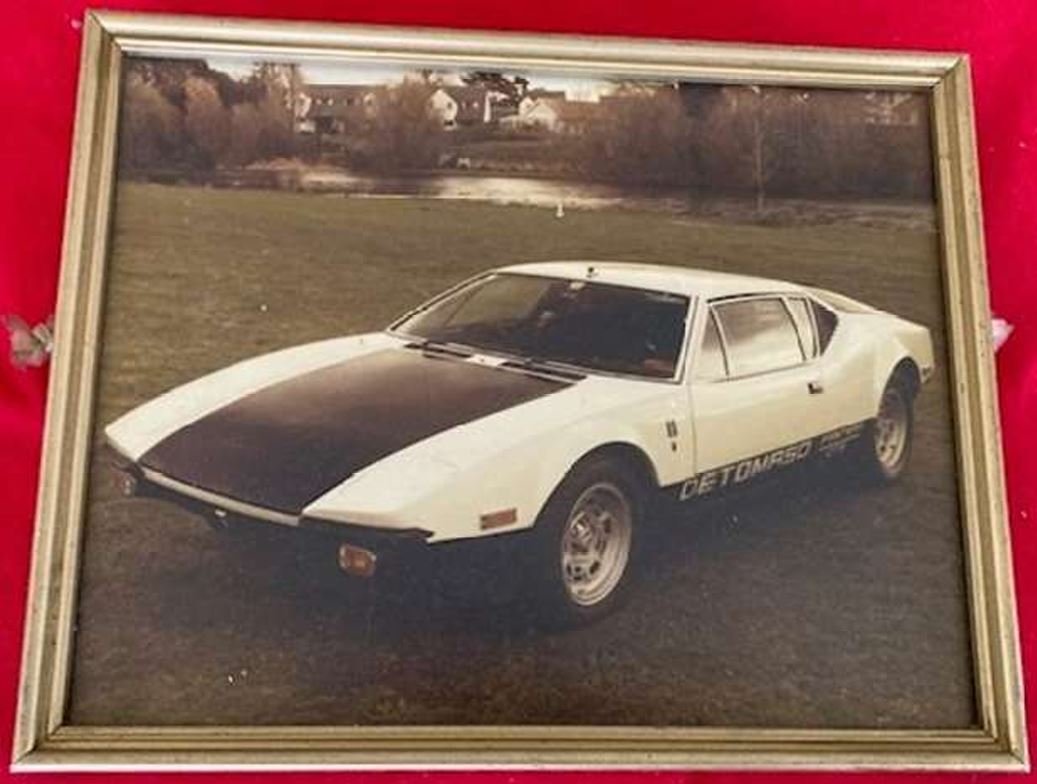
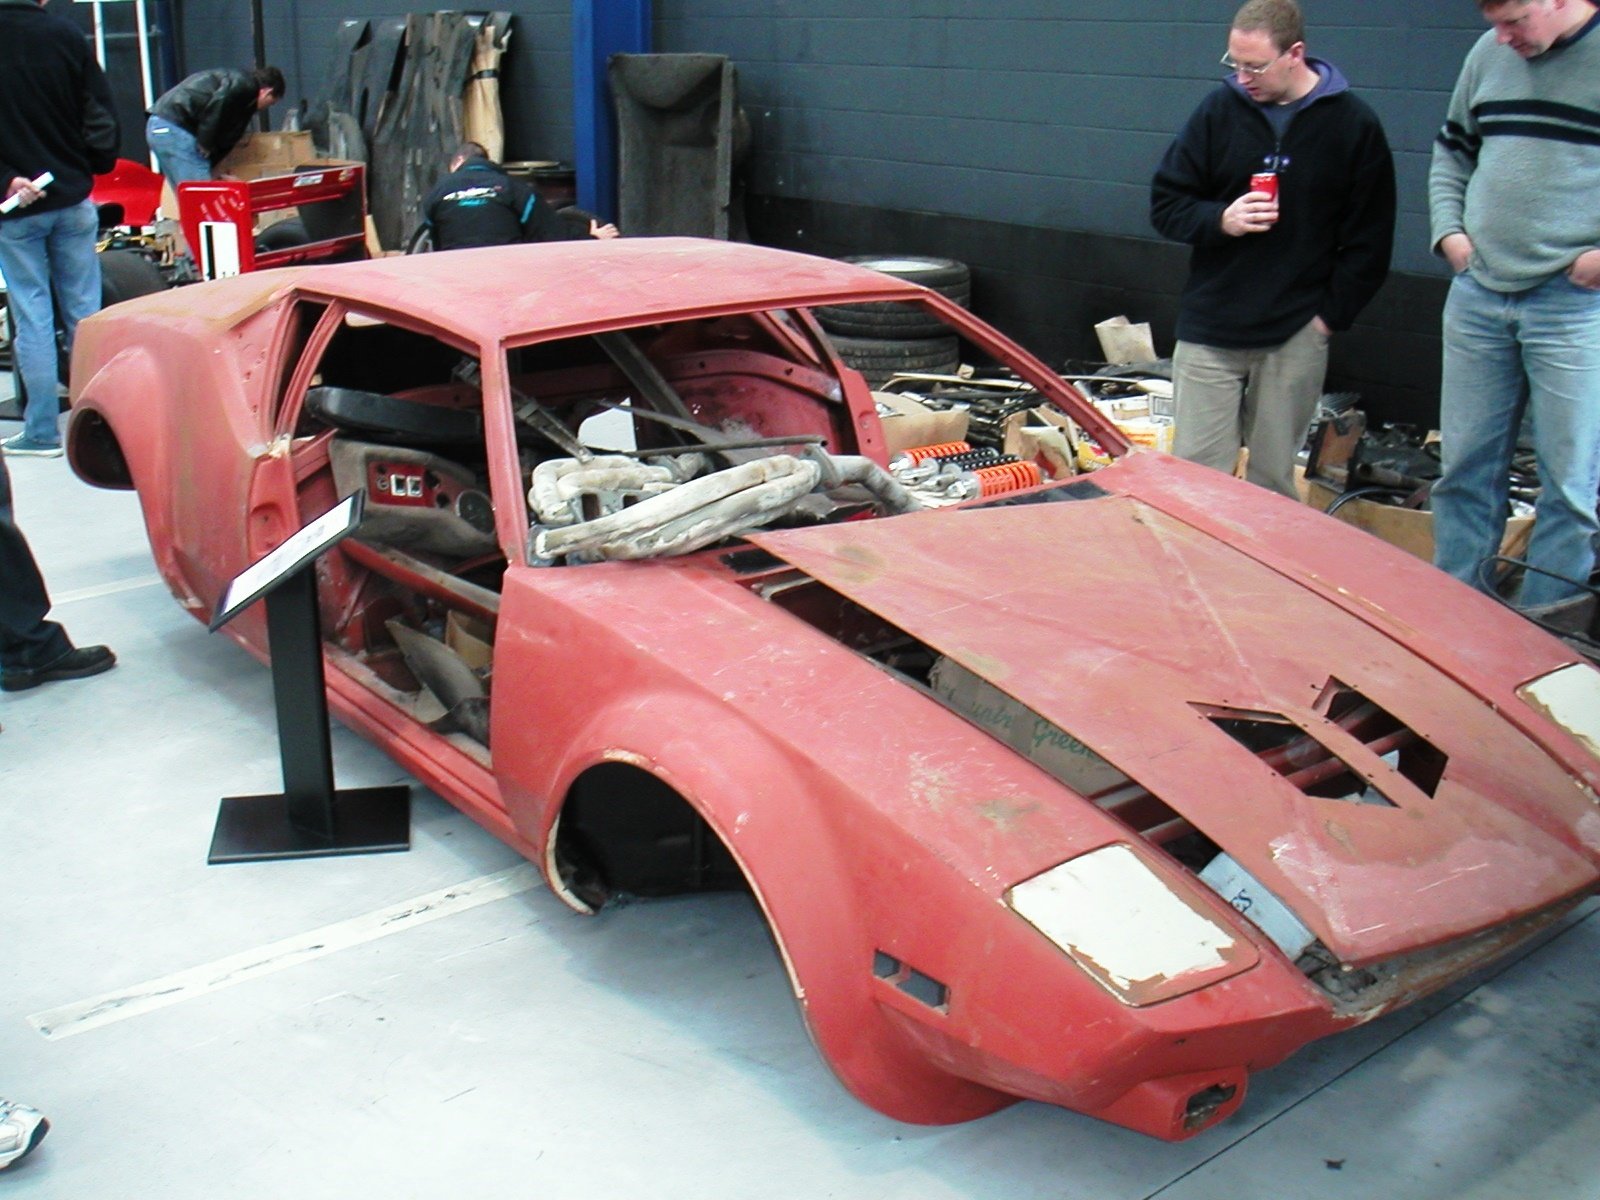
That’s so random. Wonder if it was a parts car or some such to the one I used to seee or they were just the 2000s drug dealer car of choice either way great work bringing it back from that state!!
-
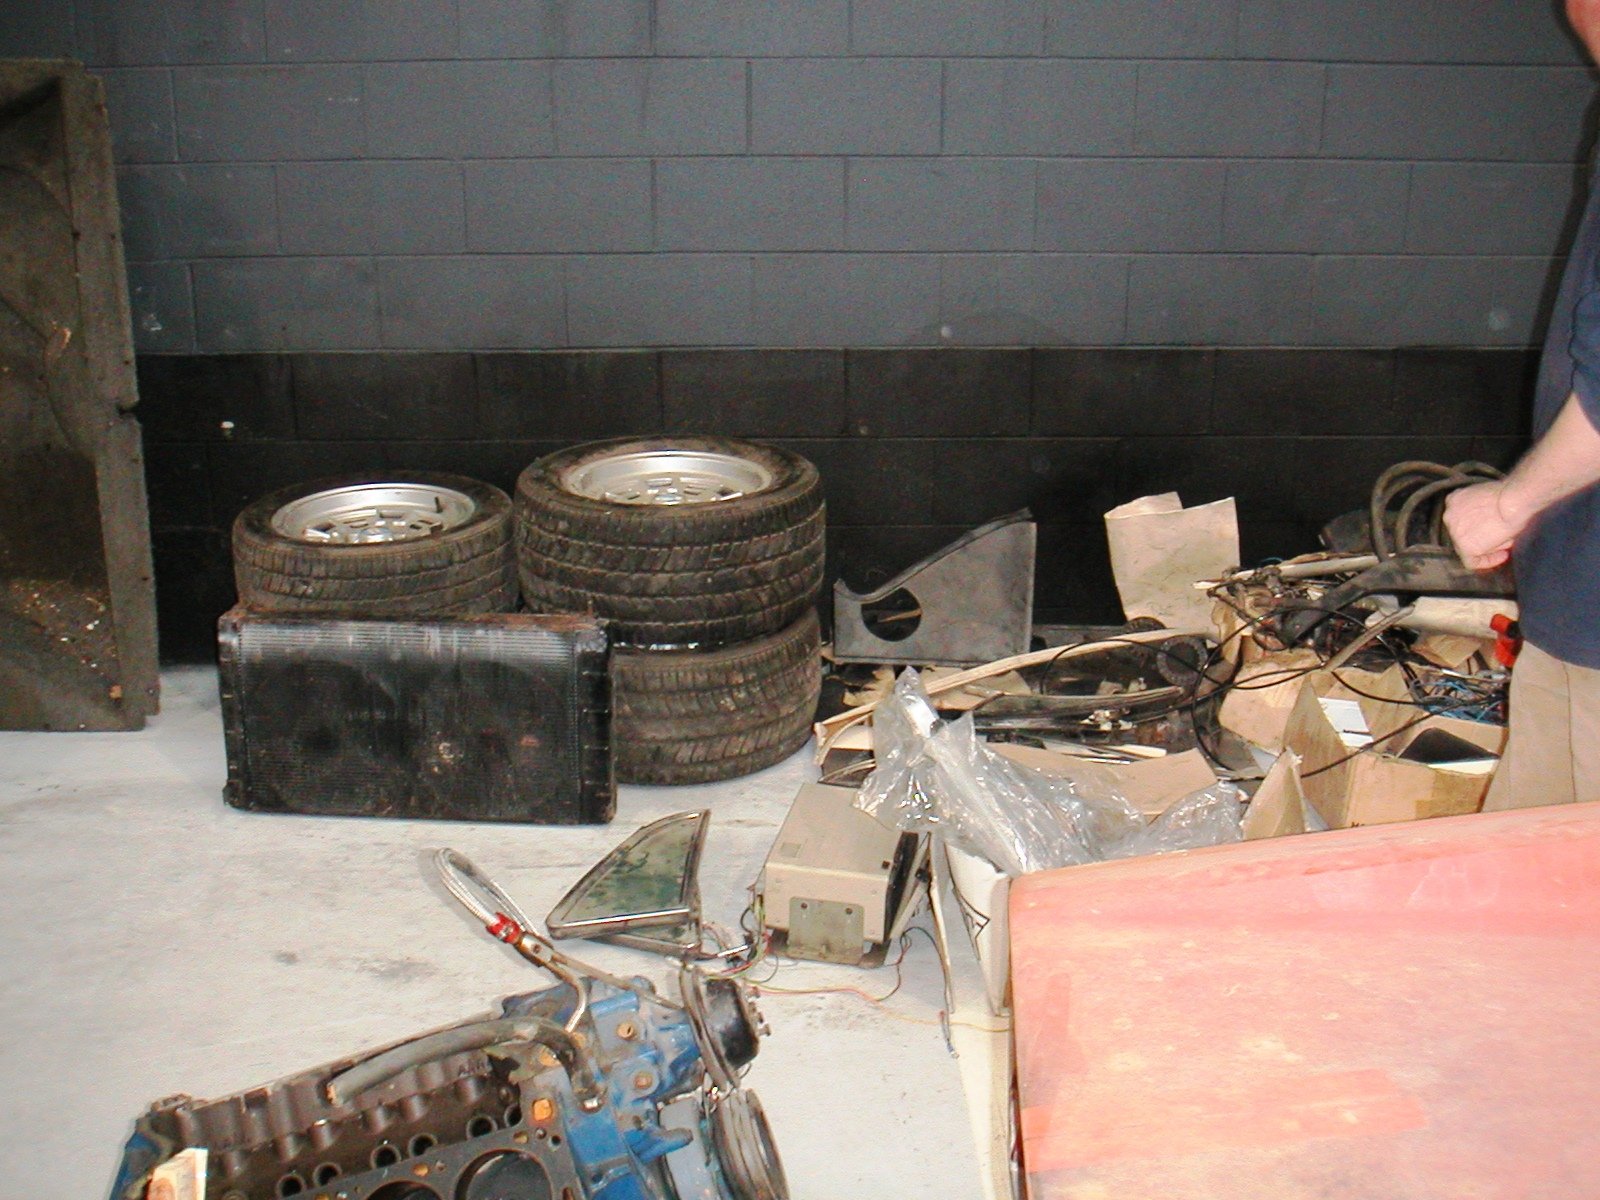
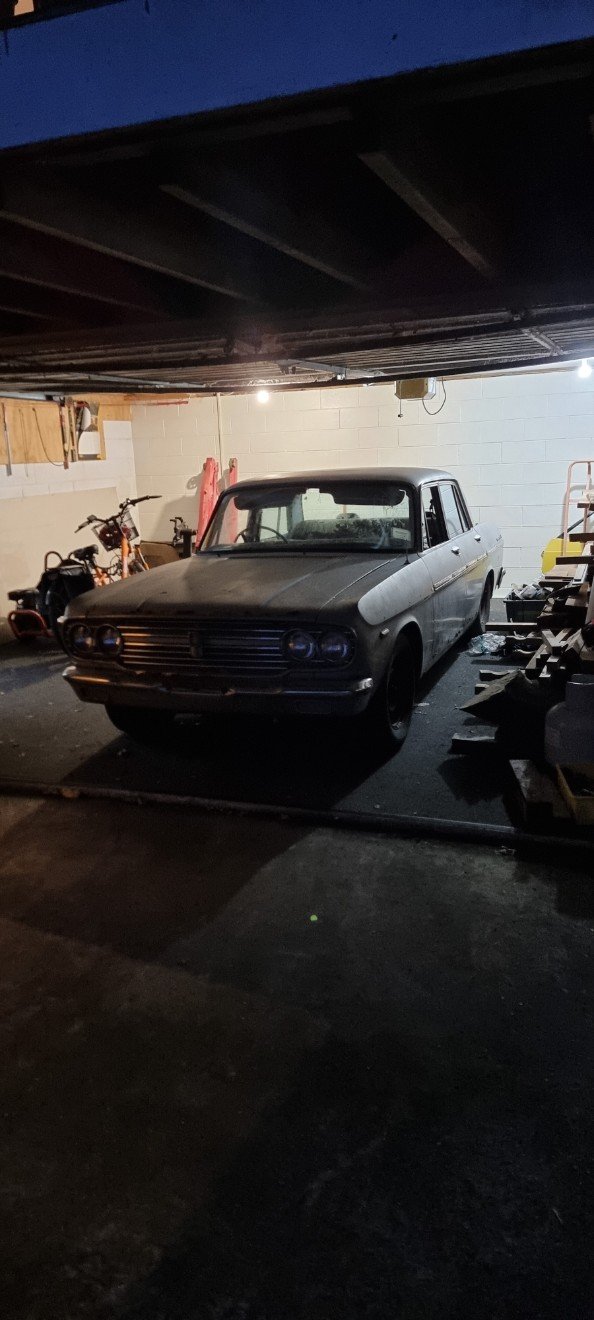
It was black and white in the early 1970's When we bought it at the Turners Police auction in Aug 2000 it was completely stripped with primer on the body.
-

Chris' (in)practical daily and every expense spared musso
chris r replied to chris r's topic in Other Projects
Could also be placebo but it does feel like it goes better after its mufflerectomy. Not like I could be pressing the pedal any harder than I was before. If I had more caring I'd have a look under the house and see if i had any more 3"toob left and let the musso breathe better, but if I remember correctly it's under @Raizers van -
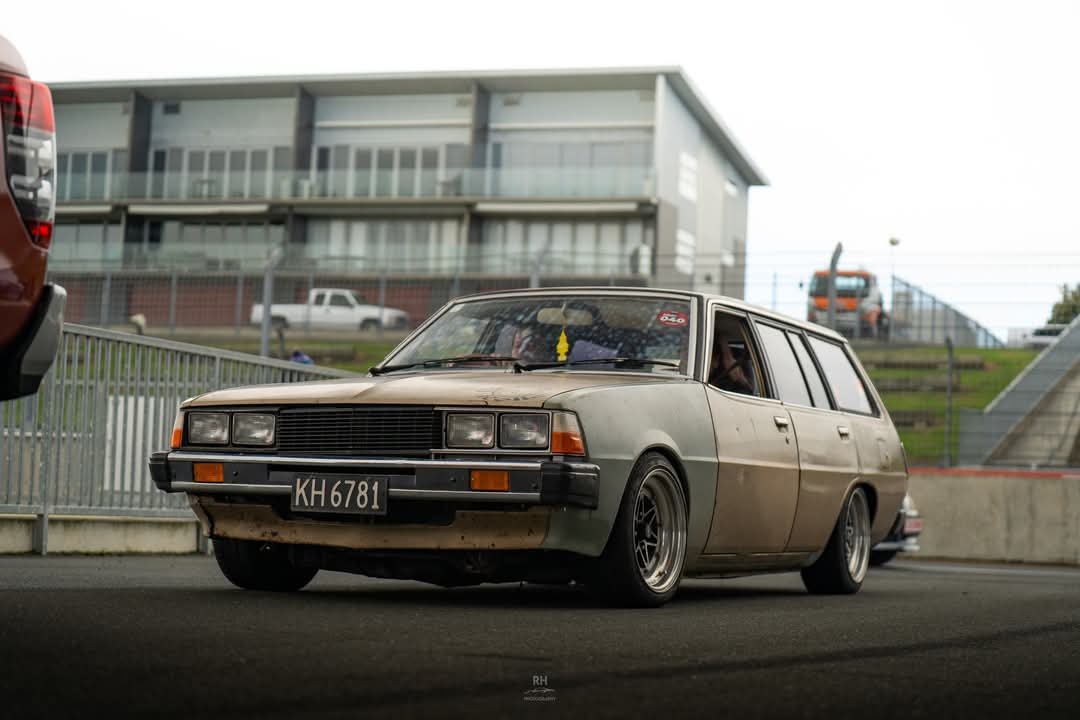
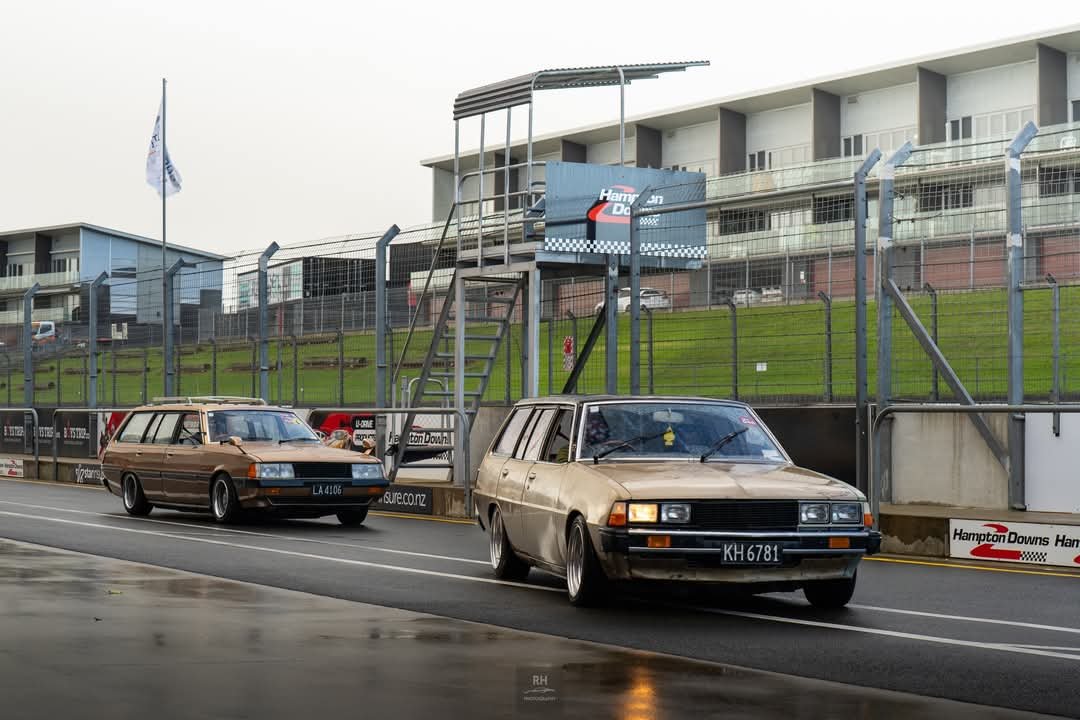
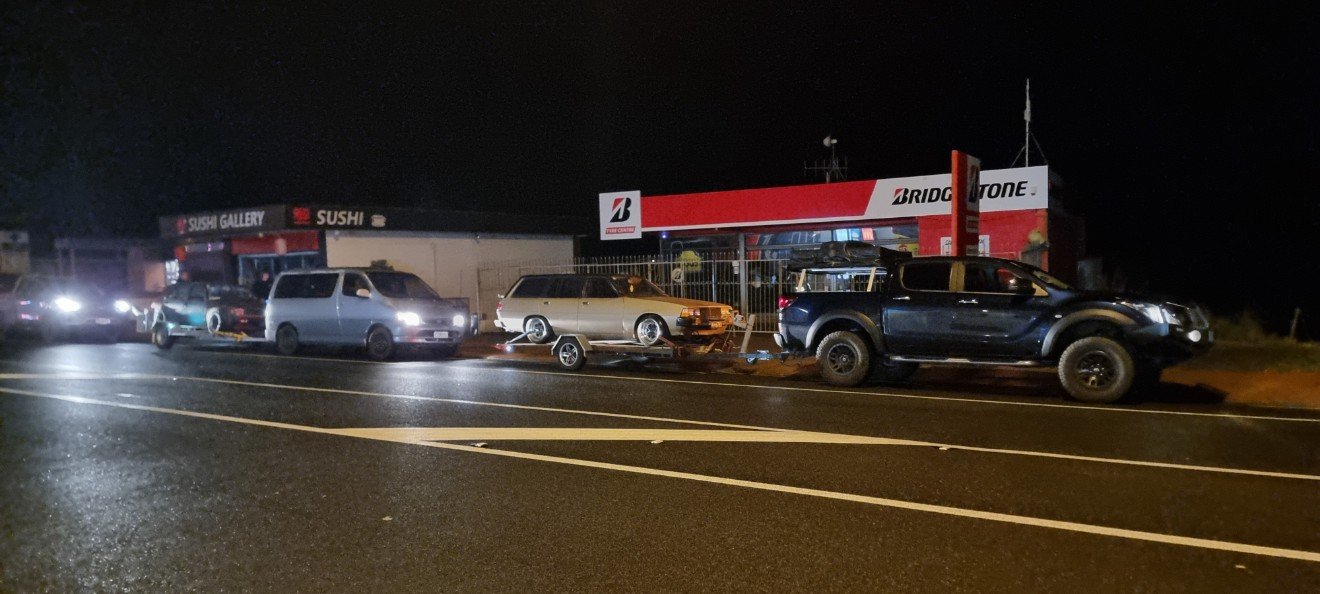
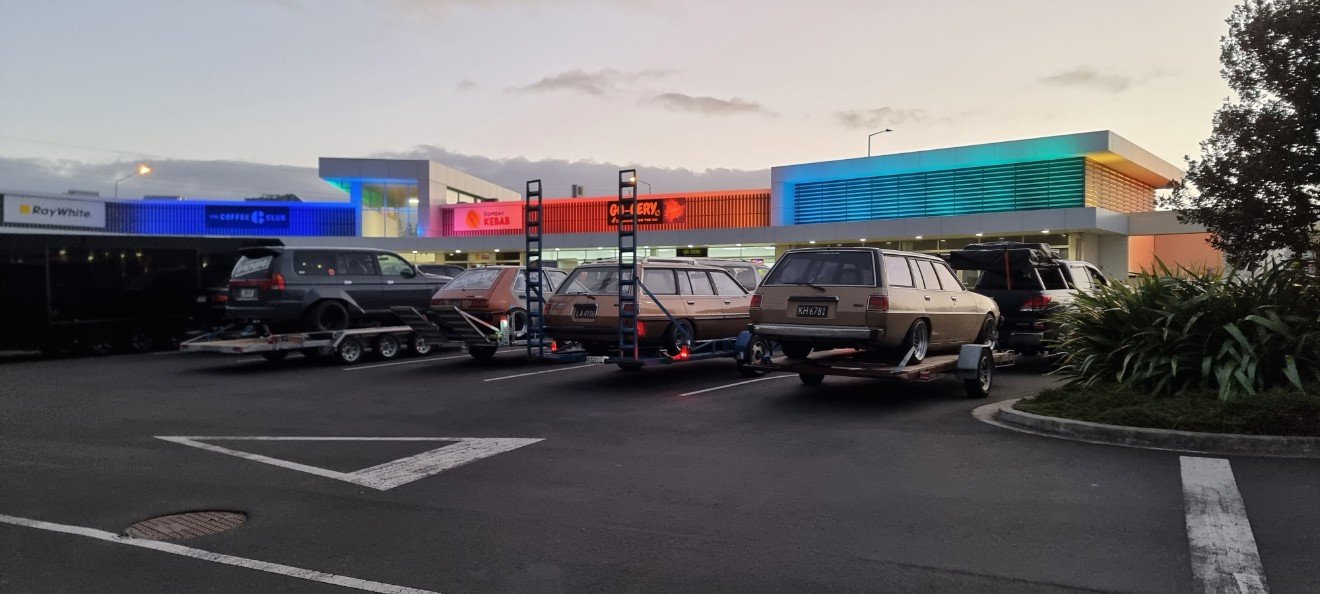
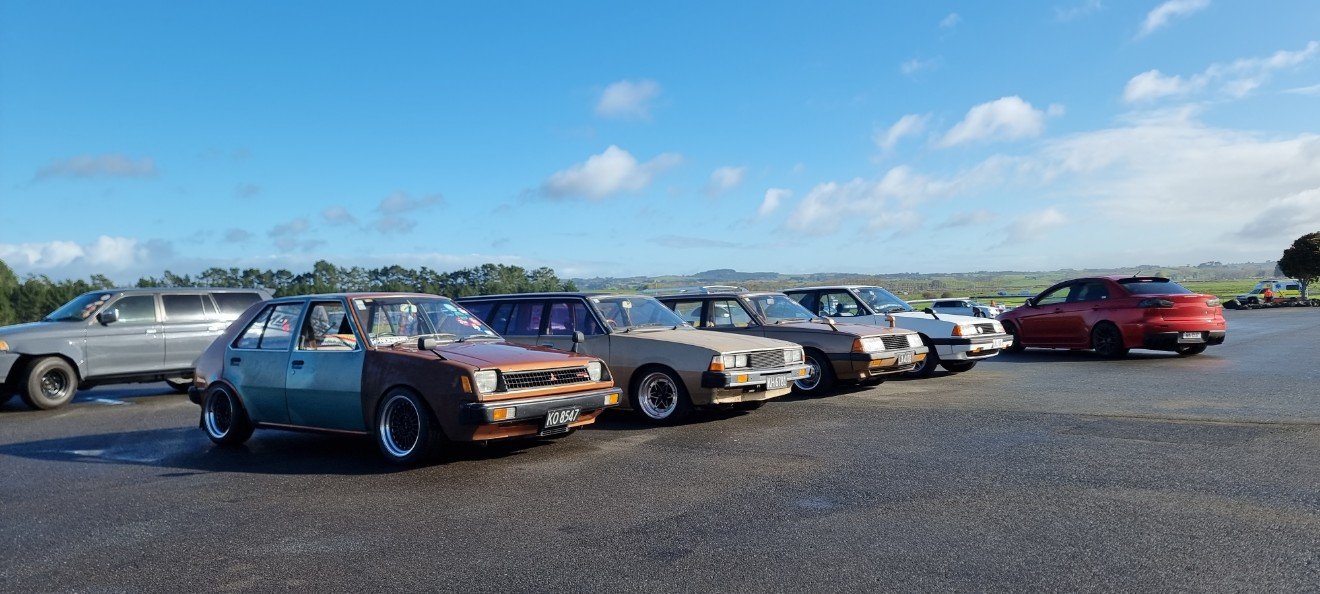
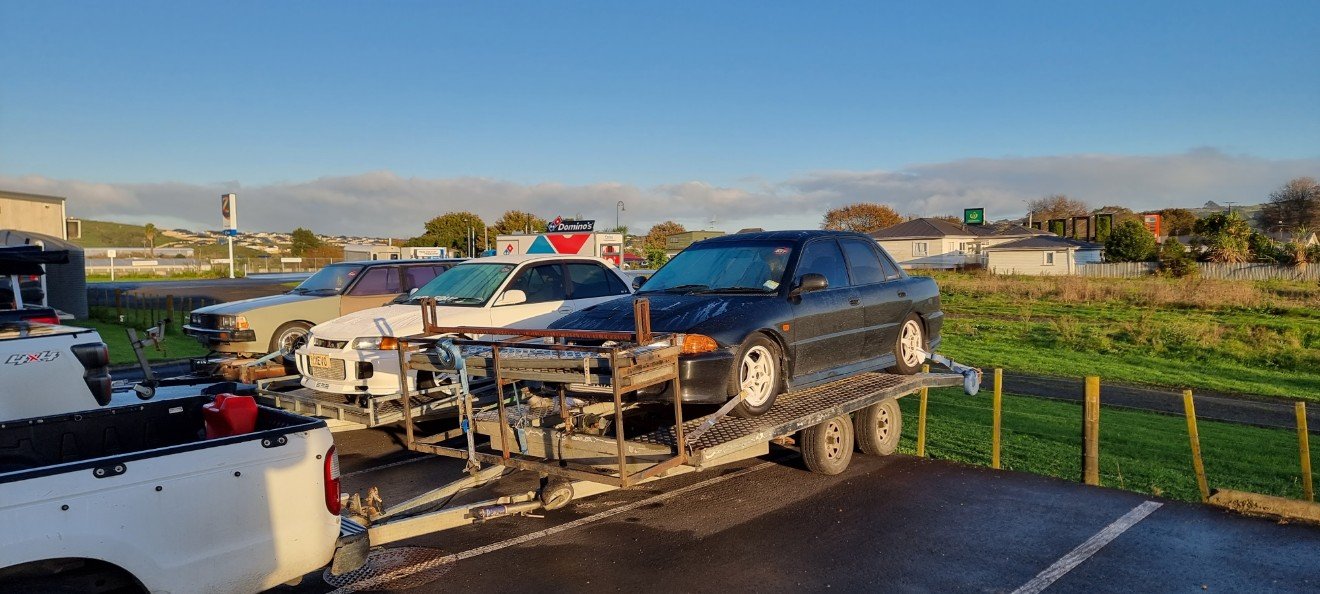
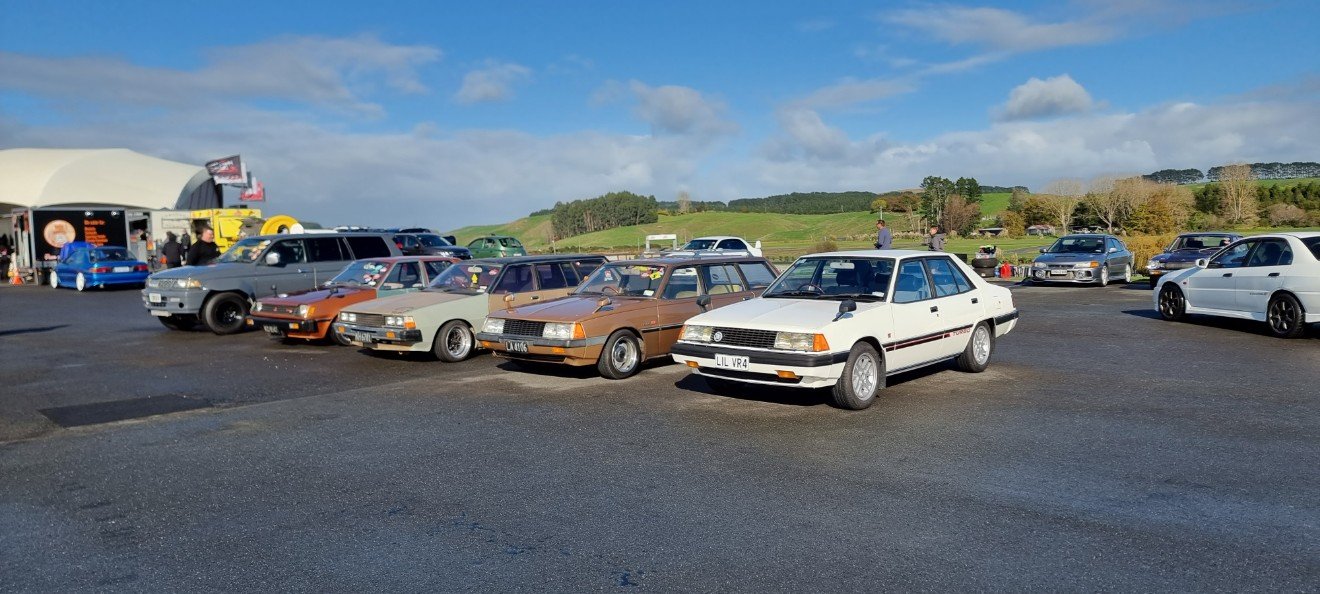
Took this heap along to mitsi owners day 2025, didn't win anything for ruffest car there but had a good day Left dubcity early early as for the trip, meeting the kaitaia boys and convoys our way down to Hamptons Then we met Damien at Bombay and onwards to the track The day went well, I welded the diff for the wet skid pan and bugger me that pad is bad for sledging, was hard with a handbrake that left the chat. Few hairy moments Even drove it off the trailer again. Unreal
- 21 replies
-
- 15
-
-
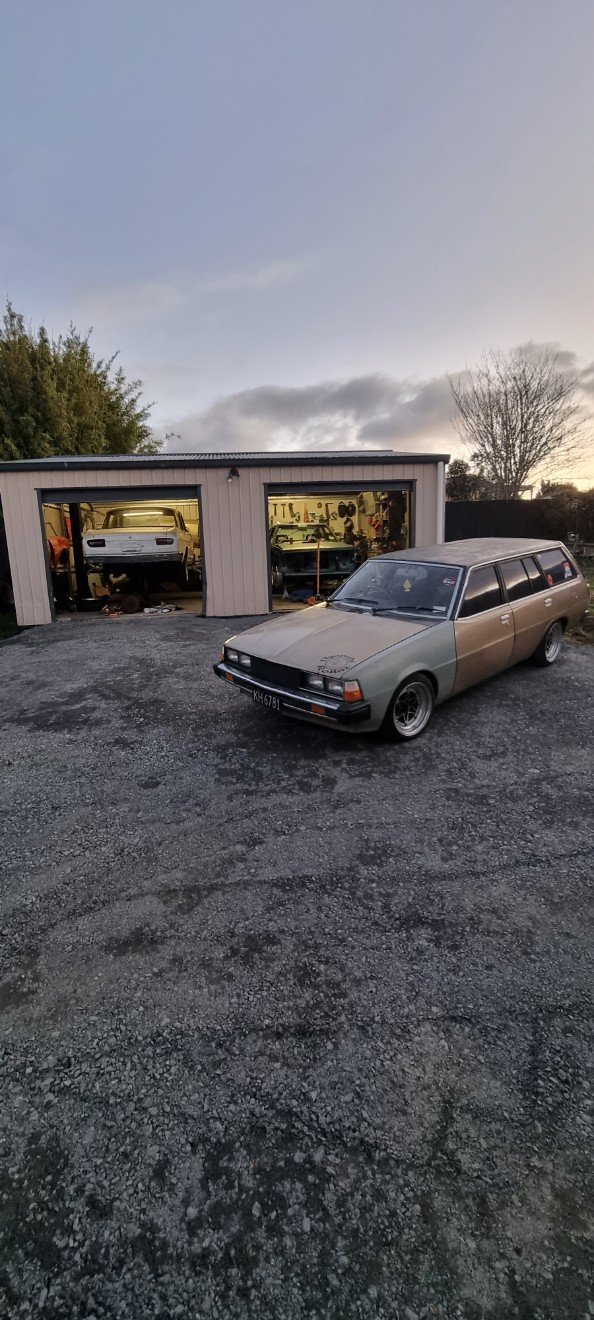
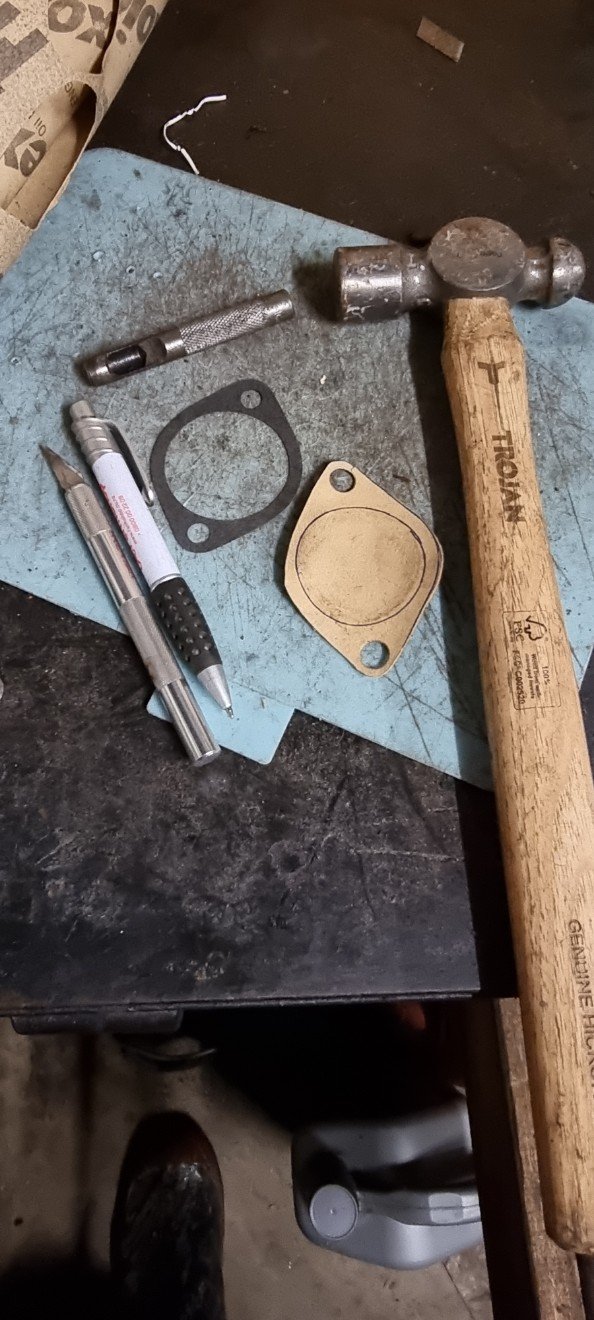
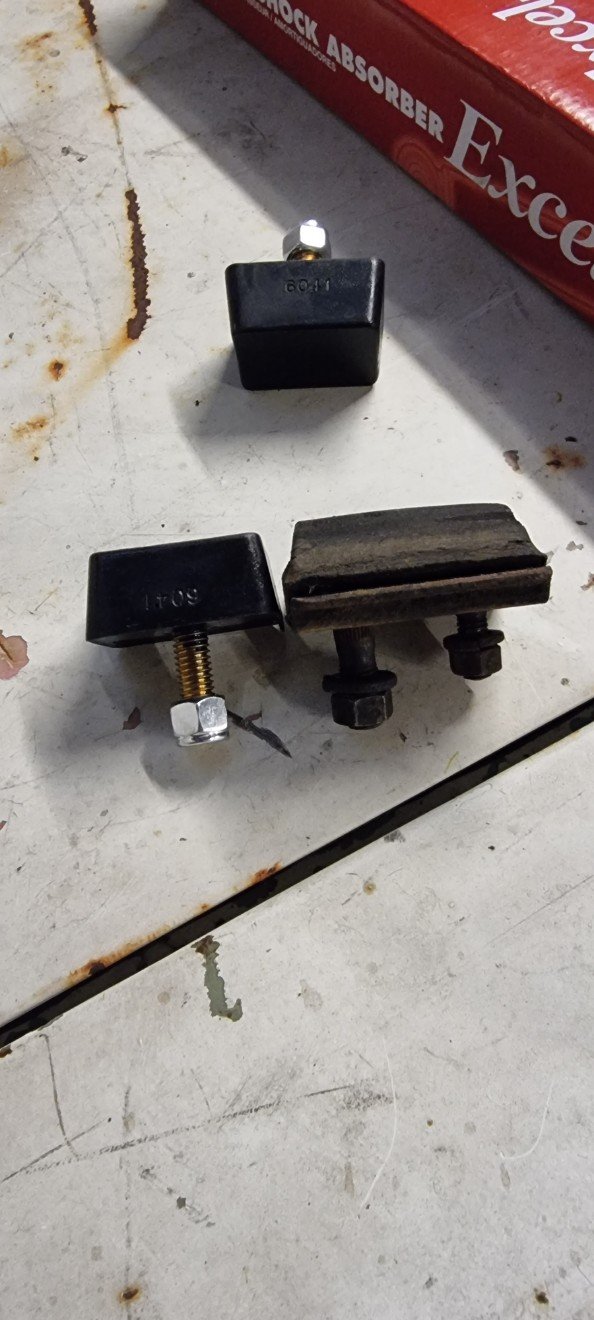
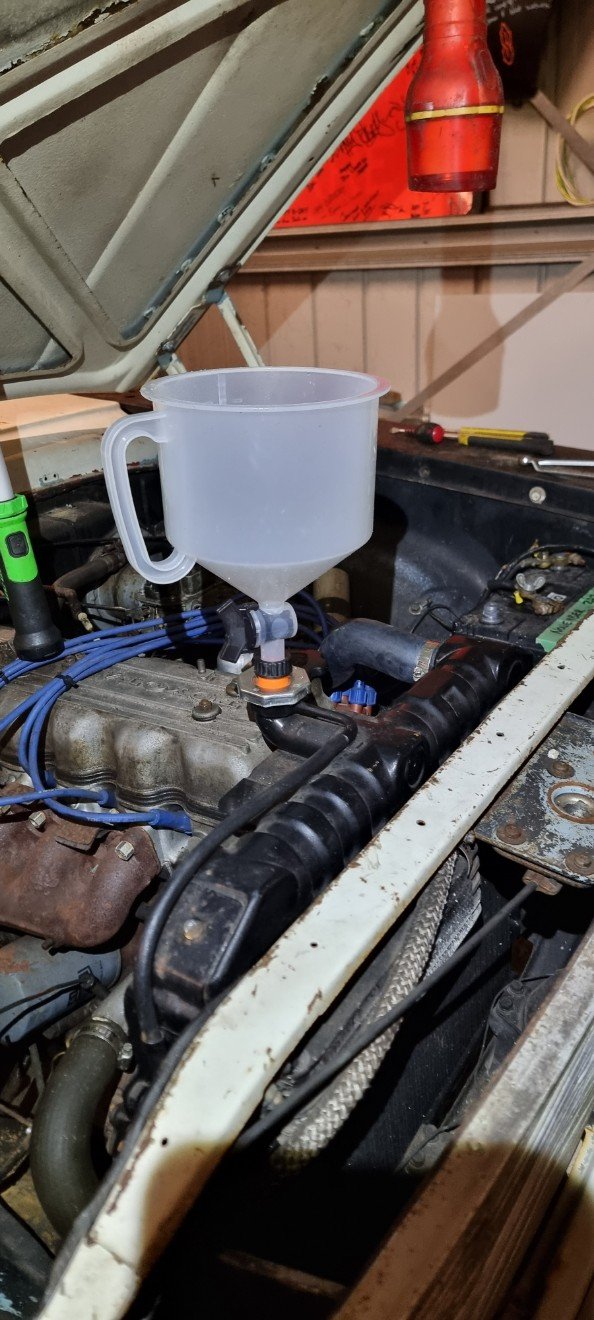
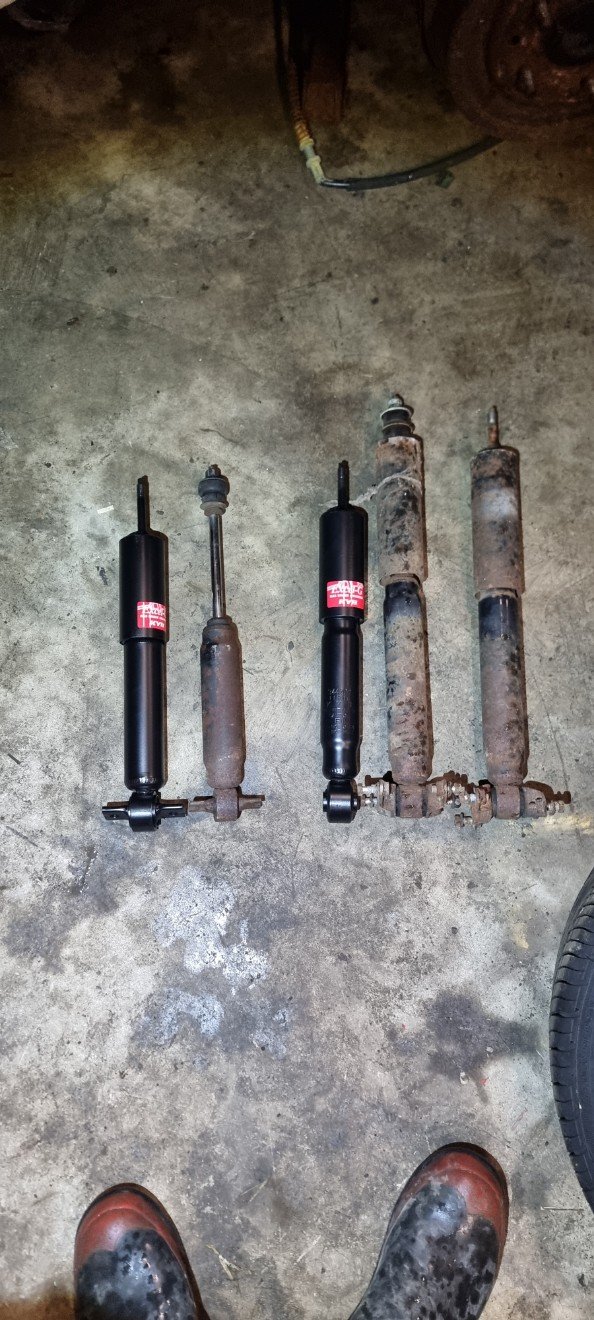
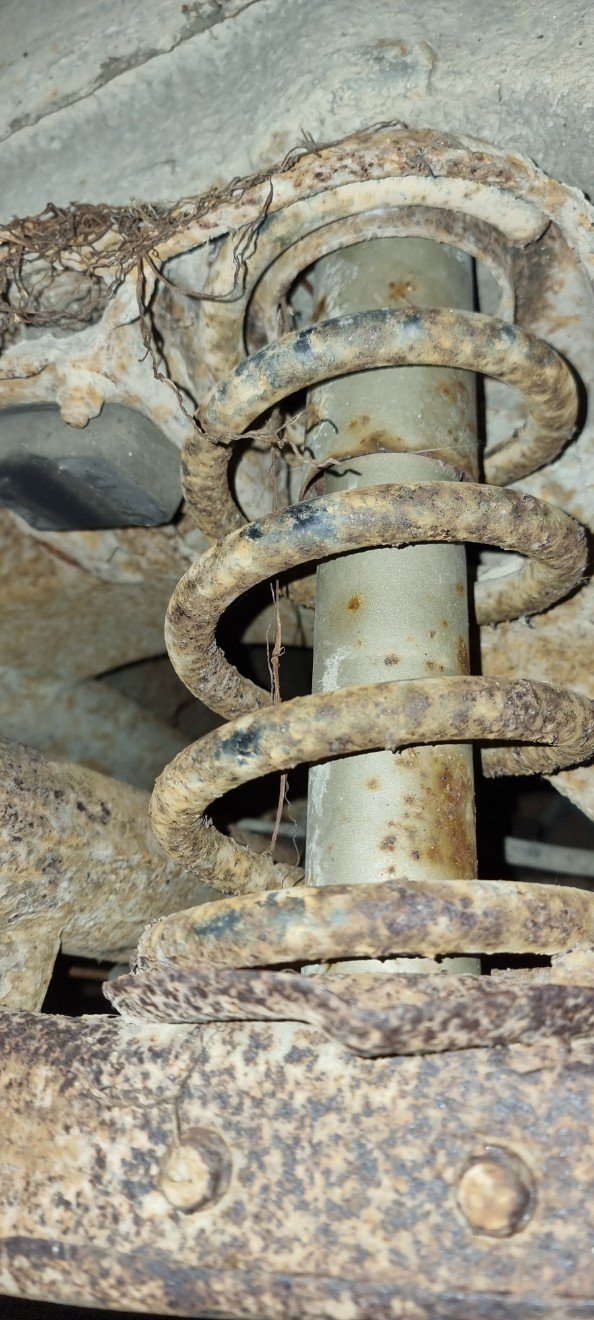
Been slowly tinkering on this, ended up putting the front hubs off the silver crown onto this as haven't found a hilux disk conversion yet. Also swapped front springs over while there, went to swap rear springs but they're a little too blatantly cut. Took measurements so I can search wreckers for something more suitable with makita treatment Found a hilux surf front shock was ideal for rear end and roughly 2 inches shorter, thanks to dion for the old shock to test. For the front a L200 4wd front shock was slightly shorter so went with that. New front bumpstops too Better then the cut ones it had Made an attempt on cooling system, two new hoses and found the heater thingy leaks. Looped the heater hoses for now. Homemade thermostat gasket too and it seems to hold water fine. Will give it a better run on a weekend. yeah nah nah
- 18 replies
-
- 10
-
-
Chris' (in)practical daily and every expense spared musso
chris r replied to chris r's topic in Other Projects
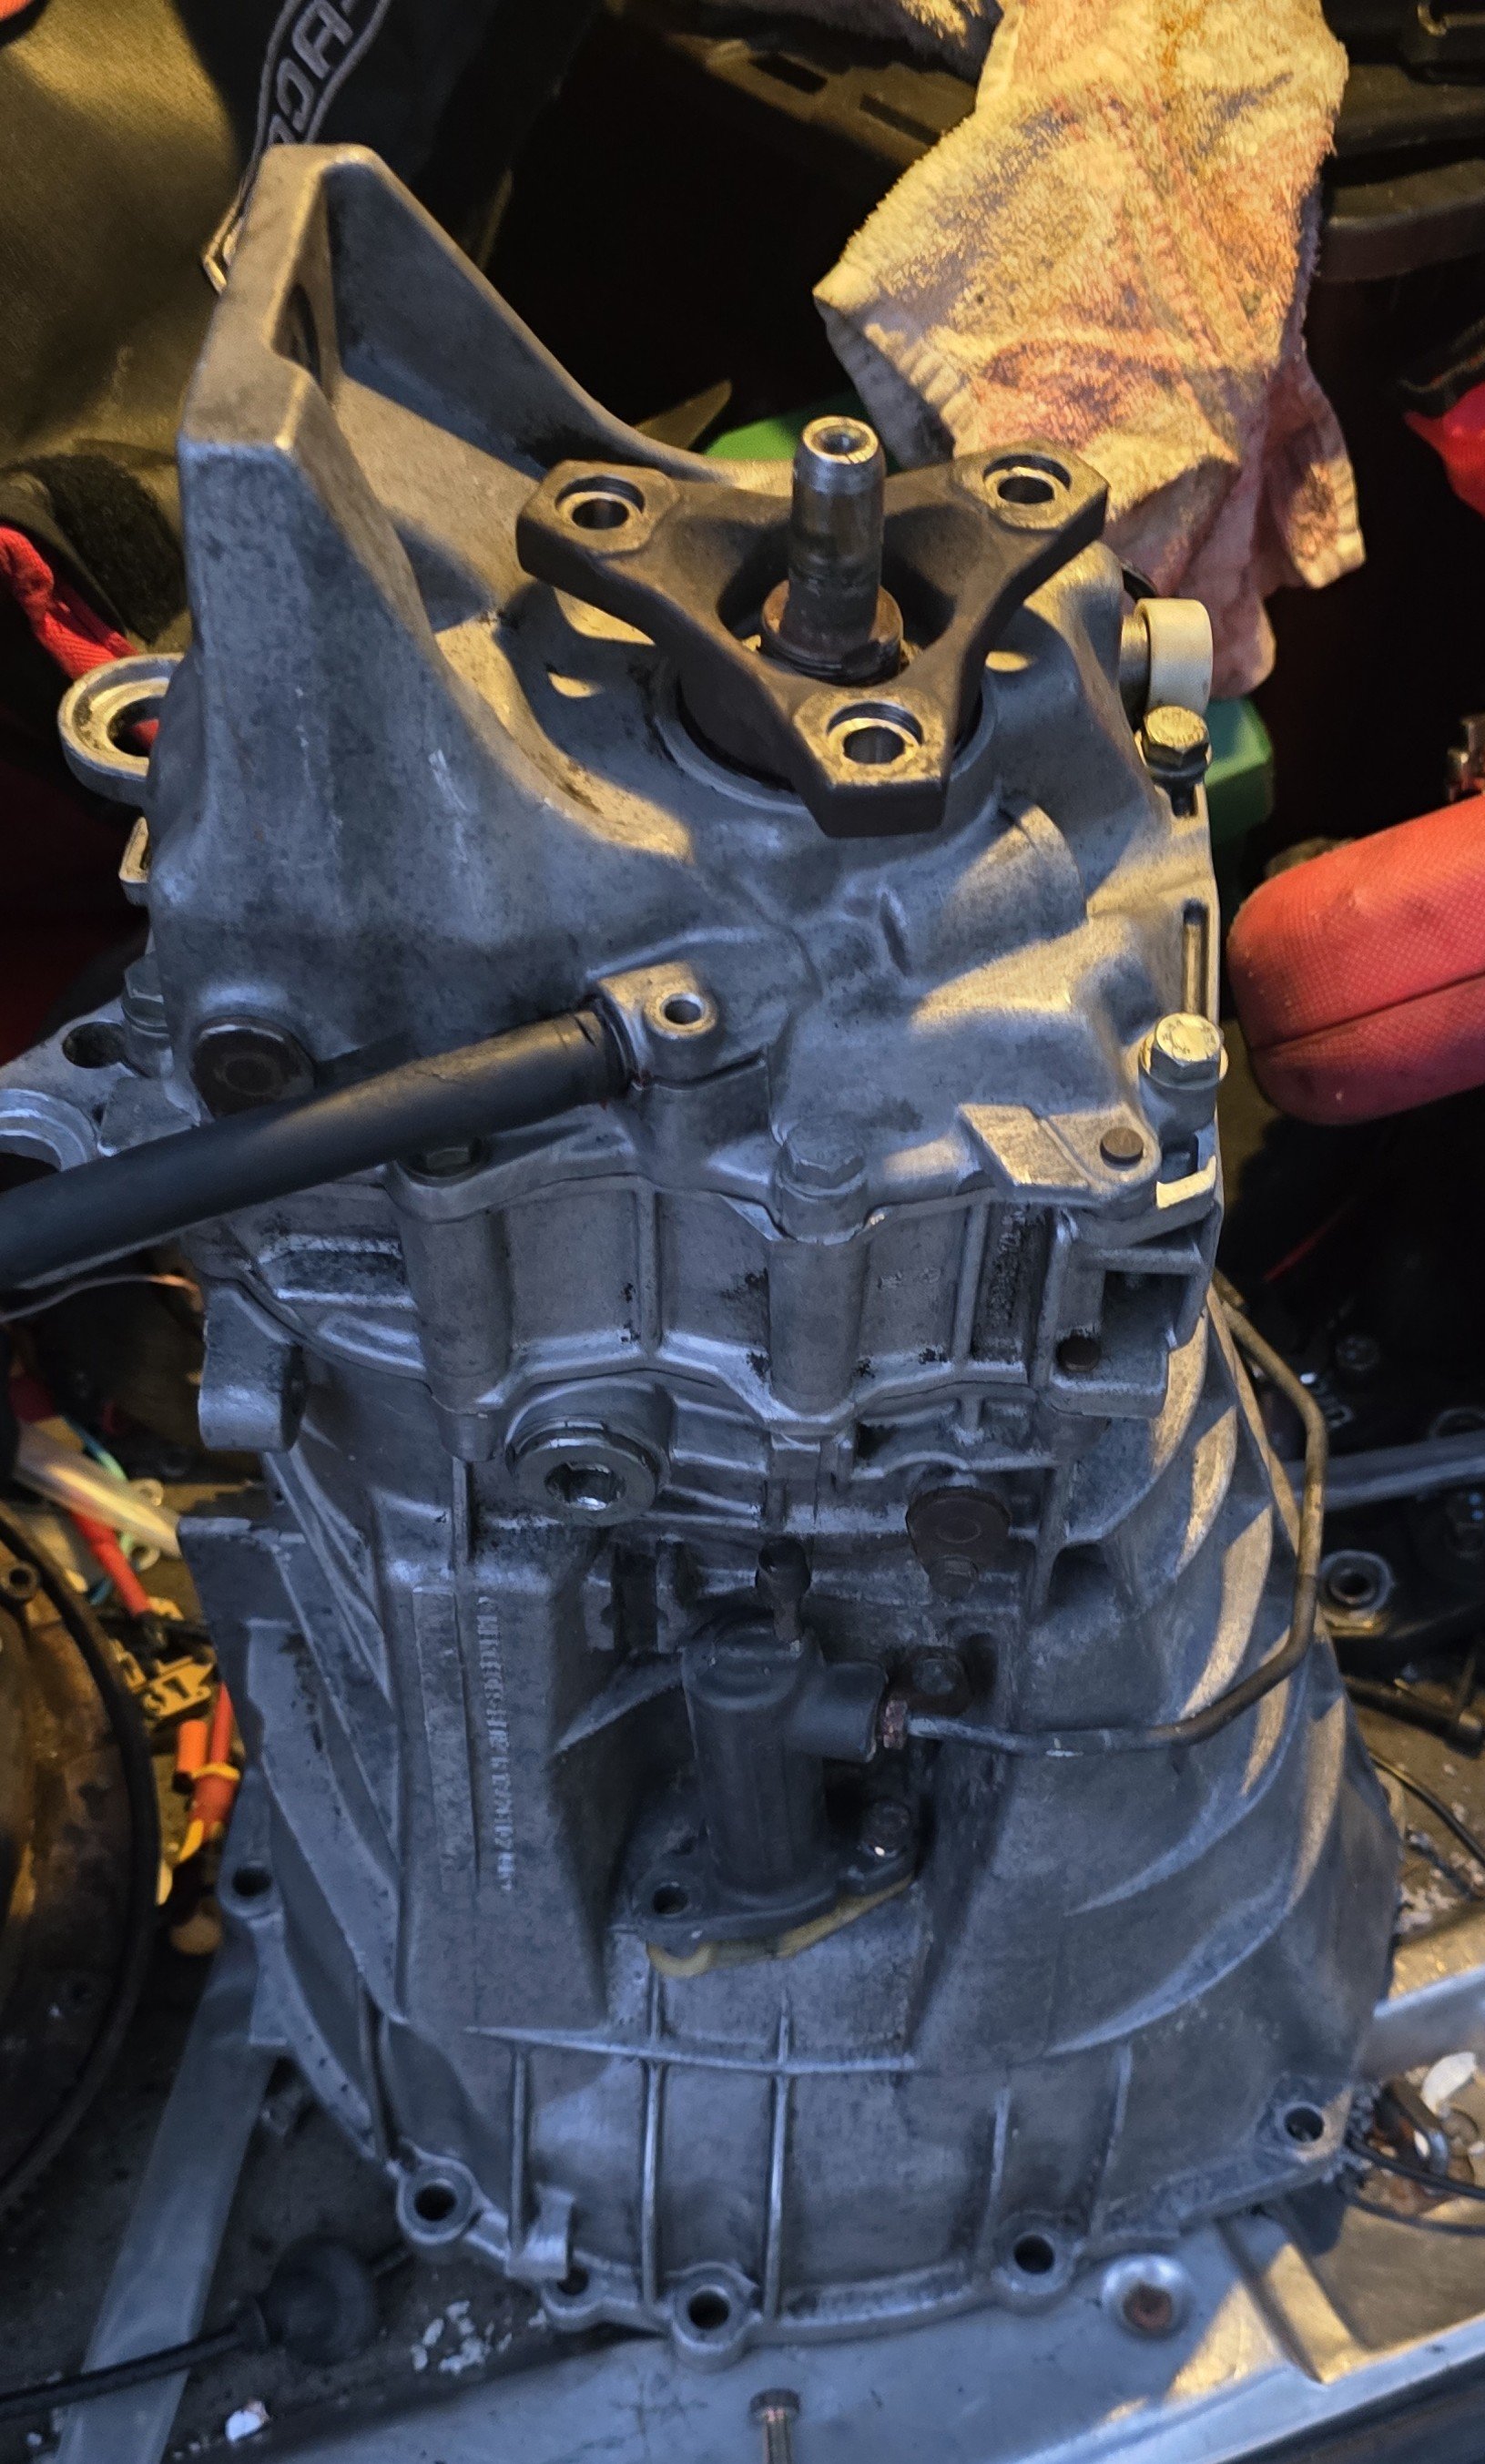
Had a chat with my mate who supplies clutches. Nothing available in nz to suit the om606 flywheel/gearbag combo so I'll have to find something ex Europe. Ideally the dual mass flywheel needs to be replaced as it can't be re surfaced but every expense spared so I'll clean the rust off and send it. Most likely the friction plate won't like it and I'll and end up buying a flywheel and plate afterall but that's future me problem Quick 4 hour return trip and I swapped the gearbag today for one with a speedo drive to try and simplify speedo side of things, it has the speedo drive gear and different rear housing with provision for a speedo sender. The mount is slightly different too which should make it easier to fab a mount up I grabbed a speedo cable from a w201 190e at pick a part. Might have to barry up a Honda speed sensor on the end for a electronic sensor (beagle has a sensor that clips onto the end of the speedo cable for the cluster) I was thinking the btr box was behaving nicely after the tps in a can but 3.5 hrs in on the way home it decided otherwise. Torque converter lockup 4th violently into 3rd was a good wakeup when I got off the motorway it decided second was all it wanted. Turned it off and let it cool down and it's back to all 4 gears again. If it's not raining tomorrow I'll check the fluid
-
Has anyone successfully amended the sub model on thier registered vehicle? Workmate has an evo and it's just been registered as a lancer and he'd like to get evolution III as the submodel. Nzta don't seem to allow a change even though the mr16a or whatever form exists. I get this may lead to people doing unscrupulous things, but thought there may be some evidence based way around this?
-
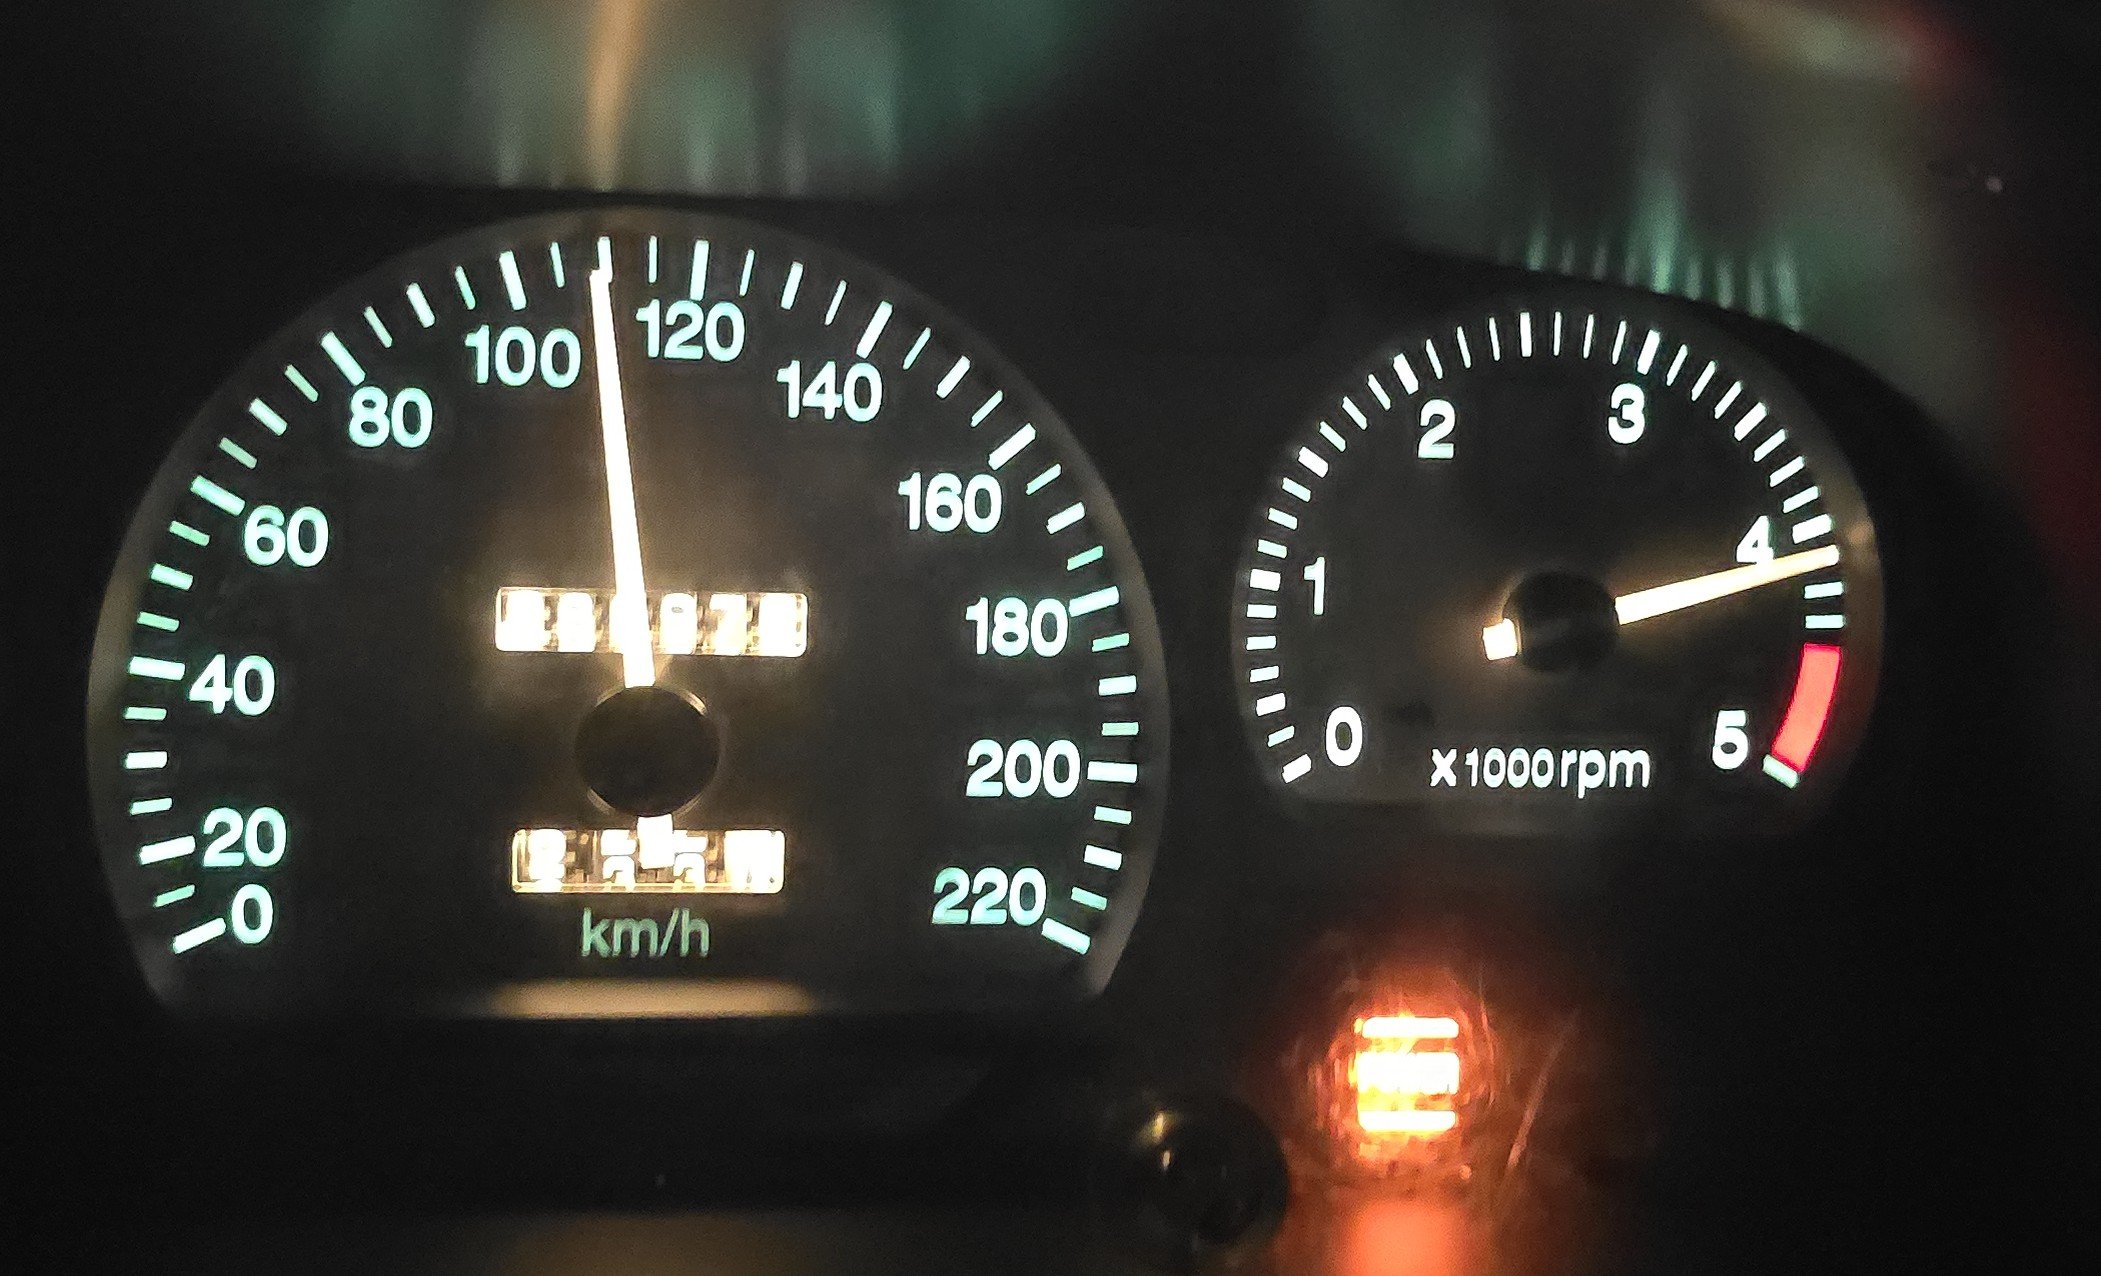
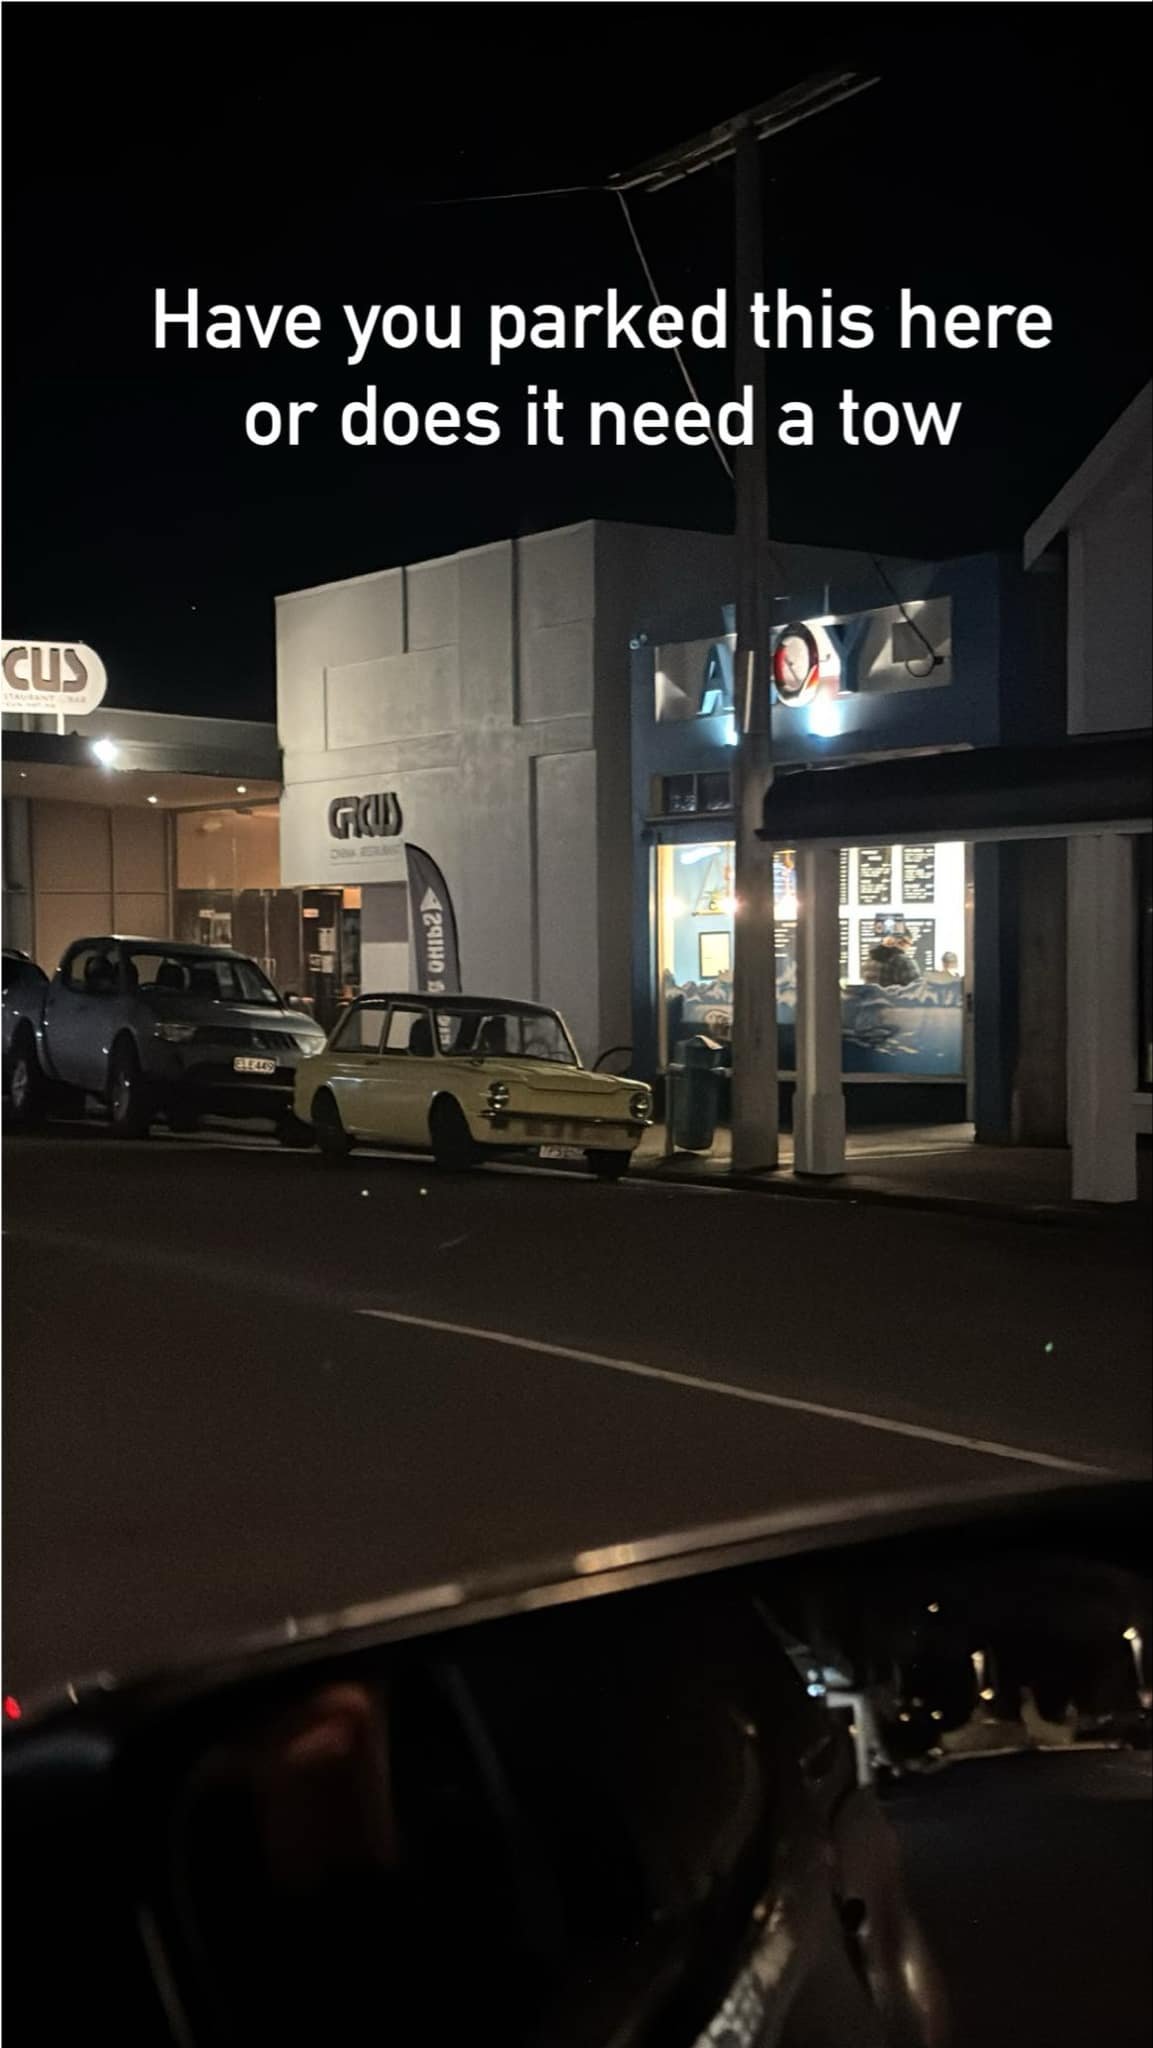
Maiden drive to the chip shop. The vibration comes and goes. I can feel it in the steering wheel rather than my bum so probably the front end. Booked in for first of many LVV checks next week. Got this from a neighbour:
- 119 replies
-
- 16
-
-
-
 gazza420 joined the community
 -
Can someone please list alternative throttle bodies that fit the stagea m35 vq25dd. I can't find a replacement or a different model one that fits. I have done a lot of research and found plenty of different options for the vq35 and vq25det but not the vq25dd
-
https://a.aliexpress.com/_mOoSo6B There's hundreds on there though, just search tungsten grinder.
-
Fark that looks cool! Got a link?