
Leaderboard


Popular Content
Showing content with the highest reputation on 12/14/15 in all areas
-
the red looks really good in the sun. i don't think its too black, in fact i think its just right so thats that sorted. Rosso red it is. 2015-12-13_12-41-44 by sheepers, on Flickr 2015-12-13_12-41-53 by sheepers, on Flickr 2015-12-13_12-41-30 by sheepers, on Flickr9 points
-
Also picked these up from the sand blaster today and dropped to powdercoater.7 points
-
So got on to work on this today, I suspected the fuel pump was not doing its job. After googling around I learnt there is a jumper in the engine bay to turn the fuel pump on, I jumped this and listened out for it and heard nothing. I found the connector for it where the fuel sender is and checked for voltage, all ok. Lastly I took the top fuel hose off the fuel filter and attempted to make a petrol waterfall, and there was none. Emailing around all the wreckers now to try and find something before end of year! The bummer about it being the fuel pump is that on this car you have to remove the petrol tank to get to the pump, dangit! I sprayed a bit of ether down the throttle and it coughed and revved for a moment so hopefully that means there isn't anything else wrong. anywho heres a picture of the engine because no one likes a picless update6 points
-
6 points
-
Sunday after Drag Day I set the tappets, installed the clutch and swung the engine back in the hole Hellloooww Strill have to get teh gear box in - Do you even lift Bro? Friends? -+-+-+- Just hefted the gear box in, went pretty well with a jack and two small furniture trolleys, and all my socket extensions, just the fiddly bits like linkages and stuff to hook up now. So thats the front 2/3rds of the running gear sorted, and half the rust. Just brakes, diff, and the rest of the rust to go, but that means chopping up the parts wagon, which means having a running van to store and move the bits which means rust repairs on the van, which ill do over the christmas break ahhhg bloody cars.5 points
-
5 points
-
update time. Had to fix a heap of small problem with the doner panel just small fiddly stuff like this. where the ends were spot welded down. a tiny bit of rust and a bit of damage from taking it off the old car. did as much as I could before getting the inner and out vent panels sandblasted. I damaged three of these, wasn't as bad as I thought to fix. I also welded up the drill hole in the window frame, as I still have the spot welder i thought it will make a nicer job than big old plug welds, i was right. bit of a close up, only just see one spot weld on the side there. everything seems to line up! So I started welding it all in place, scary! not finished yet, should be done this week. getting there! that's the last of the rust in the shell done!5 points
-
Once upon a misty evening....5 points
-
Got this back on Friday.... Ran out of gas 100m down the road hahah Cheers Highlux for being the saviour Days off work are Sunday and Monday so got some trim on yesterday morning before some commitments in the afternoon Am very stoked on how it came out Has developed a fuel problem so will check everything is all good in the metering unit tomorrow night, spent two hours today with the old guru on pi stuff here in Tauranga today has told me what to look for and sorted me out for parts with a troubleshooting book he put together so hopefully get that done tomorrow and put the rest of the trim on If we get it done tomorrow with minimal costs involved will be ordering coilover parts this week tooooooooo, very excite Plus roofrack is being built this week ready to put on the car on sunday we decided on something along the lines of this made out of stainless that fits in the existing holes from the last roof racks4 points
-
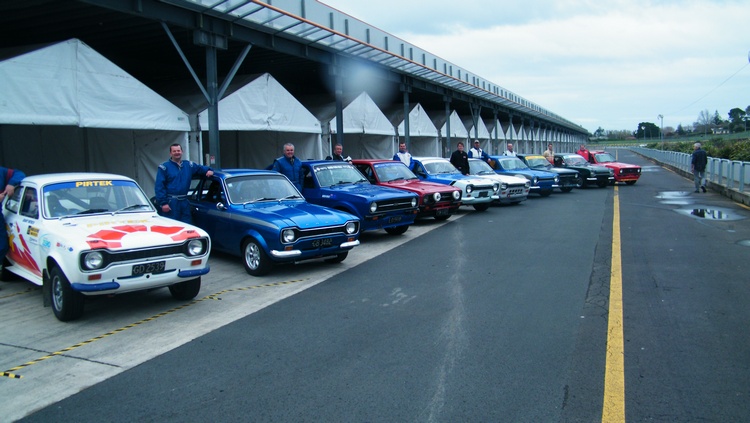
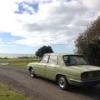
Heres Pics of the new one: and home at last It does have the 4th minilite style wheel in the boot =)4 points
-
event updated. I have even tried a facebook invite this month so we will see how that goes3 points
-
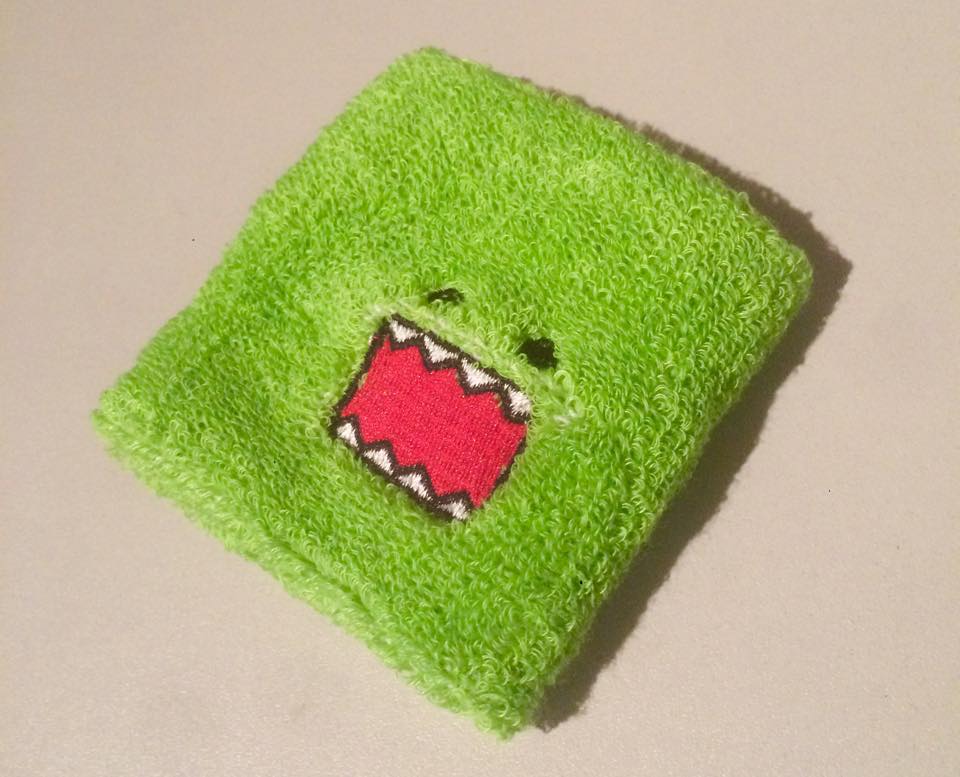
I bought an absolute humdinger of a gift off the Tard for this just now. Someone's gonna be either stoked or disgusted,3 points
-
Lol, street cars dont need dyno work, you can easily achieve a safe 95% tune just by hooning around and using a scientific approach to your tuning method, not only that but it is fun. Don't even get me started on some of the dodgy tunes that have come from reputable dyno shops, basically doing it yourself is better most of the time.3 points
-
well picked up my new project yesterday needs a bit of work but nowhere as much as my old ponty drained the fuel tank out today cleaned the carb and started it up then snap the dizy bearing seized snapped the bottom off my dizy in the oil pump lol never mind more things to fix if anyone has some 318 v8 parts let me know thanks ill up load more pics later3 points
-
OS drag day was yesterday, and it was a friggen blast! My wideband shit itself before I finished tuning the staged injection, so bought an upgraded sensor that should last a bit longer (Bosch 4.9 instead of Bosch 4.2) Then had one or two nights to try dial in the fuel for the staged injection and make sure it's all fine. In desperation to be faster than last time, yanked out the passenger and rear seats as well as the belts, and made sure to start the day with a near empty tank of gas to be as light as possible. Unfortunately however throughout the whole day I just couldnt get a clean run off the line at all. The motor was running awesomely, I was ~10kph faster trap speeds than previous, but my best time was still half a second slower haha. (14.8 ) I tried a few tricks to remedy the situation... Turned on launch control and set it at various rpm points, didnt really help. Took a bit of fiddling to get the launch control activation working how I wanted, as sometimes it was coming on while I was trying to do a burnout haha. I was doing 3rd gear burnouts without trouble all day, tried for fourth.... baaaaddd idea haha. Ended up doing a gigantic clutch burnout which stunk out my car for the rest of the day haha. woops. I also Setup an E-throttle map that would limit the throttle body to only opening half way in first gear. Didnt help much. Also tried filling up the gask tank right to the brim, to see if more weight over the rear would help. But I just got slower and slower through the day haha. I guess it's one of those things where you cant fix a physical problem (I need traction brackets!) with electrickery. So I was a bit dissapointed with my times, but I was happy to get a trap speed that indicates its worthy of high 13s if it can get a good launch. Still had a frigging awesome day though, its so cool when you have a really close run against someone. I had a camera setup in the car but the axle tramp was so bad that it was shutting off the camera haha! But here's some footage that survived.3 points
-
Nah bro, this is a bomb!3 points
-
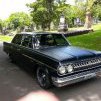
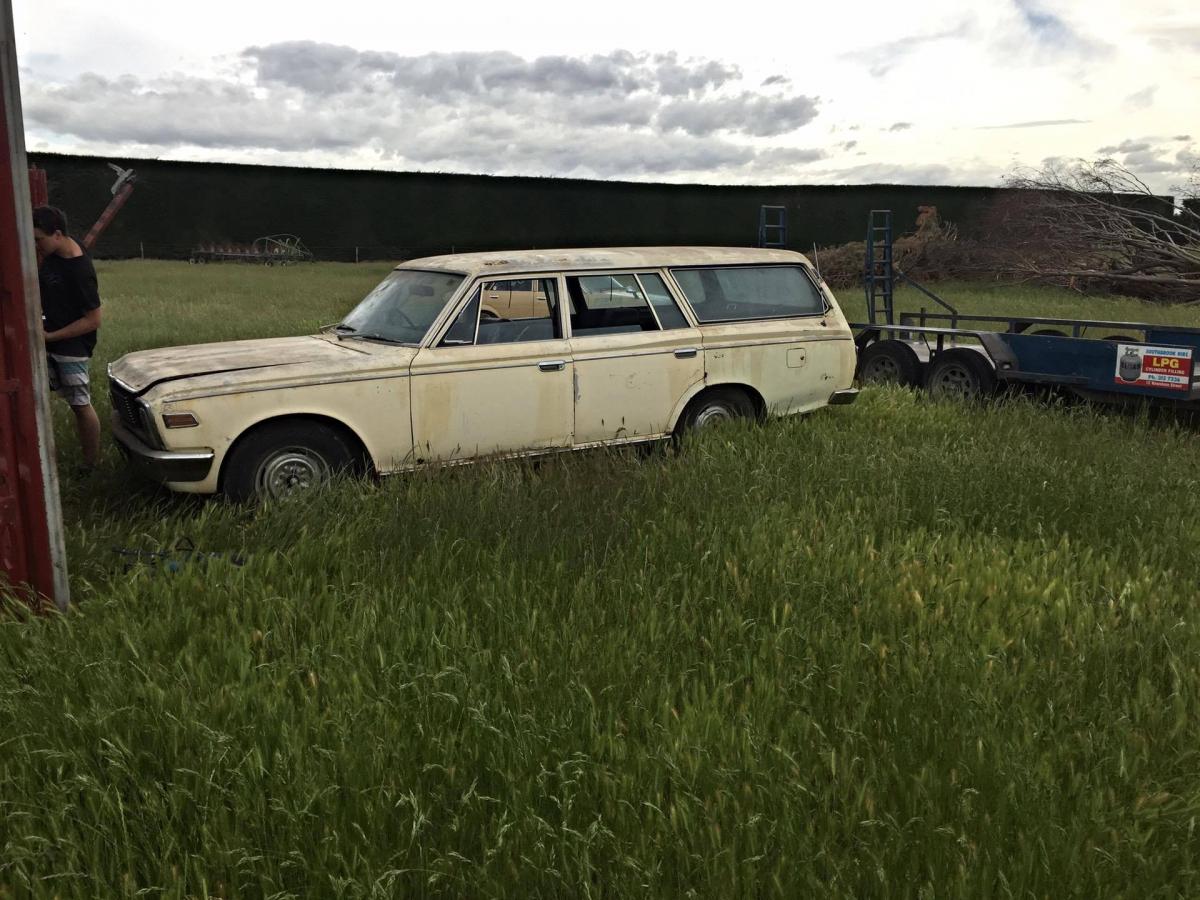
So now another crown has found its way into the shed. A 1969 Toyota Crown MS53 wags.last registered in 1996 and possibly the last time it ran.This came from the same place as HORNDOG's MS51 coupe.It has been sitting in a shed for quite awhile which has kept it in not to bad condition but the bottom of everything has rusted away, ie doors,sills,guards and tailgate.Tailgate has the worst of the rust but nothing that carnt be fixed.The car is 98% complete all chrome is there and is in relatively good nick .Just missing both front headlight bezels,'custom' badges and rear crown badges.Interior is all there ,factory black ,front seats are buckets with the usual wear and tear.Dash pad has a large bubble in it and the rear dickie seat works.So i trailered the old girl back home behind the 60series cruiser only for it to have a melt down on the way home. The alternator ratted loose and it spat some coolant out of somewere but no split hoses.After a helping hand from a local she was fixed and made it back with out any extra issues. Specs: reg on hold!!! factory 2M replaced with a 4M-U factory 4spd manual on the floor disc brake up front 5 seater with a 2 seater dickie seat in the rear electric tailgate window that still goes,and would go better than most 90s cars windows boot full of crown parts for ms60s 1973-1974 Got her home,chucked in a battery,checked the electric window to see if it still goes and score it works!!!!! Cleaned all the ignition system changed the seized carb over for another and put some gas in her and she fired up purring nicely,just some timing and tappets to adjust.Clutch needs bleeding to see if i can get it rolling under its own power,brakes also need some attention. So no real plans for this as of yet,just get it to drive and stop.Wouldnt mind taking it to the Rangiora car show at the start of the year.The ms65 will be finished first before the wags gets some love This is the parts container that is full of mostly crown 60series crown parts (theres a little left but i took most of it) a few rt80 corona bits,rx30 cressida parts,datsun 260c towbar,taillights and gasket set.these are all for sale and need to go Discuss here-----> //oldschool.co.nz/index.php?/topic/51148-toymotas-1969-ms53-crown-wags-discussion/2 points
-
the thing I like the most about this is that its in the main project thread trololololololol /good jerb, miss my GT liftback2 points
-
Good amount of interest from fb2 points
-
Been pretty quiet on the MX5 front for a number of reasons... I got sick of looking around for a 2nd hand window winder mech, the main issue being that 95% of mx5's seem to be electric, anyway turns out new genuine was not totally stupid price so boom.. also got the sheet of 3mm abrasion resistant polycarb home in one piece thankfully because that shit ain't cheap.2 points
-
Yes keep being a nerd, it's great.2 points
-
you say that (and you are probably right) but how cool is what he has achieved with what he has available in both practical and i-t skill and some kiwi ingenuity ? higher trap speed says his method is working and no amount of dyno time would solve his traction issues anyway . also pretty rare and very cool for him to document both his successes an failures as honestly as he does (most dyno shops dont do that either) disclaimer; I have never met Roman and personaly I prefer points , condensors and carbs2 points
-
I'm sure you can find something... You know you're going to get rubbish in return right? Might even be better, more useful rubbish than the stuff you already own (and I know you own plenty!)2 points
-
Poor form Go trawl some bins/zebra/junk shops2 points
-
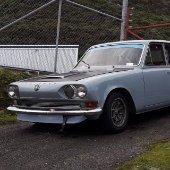
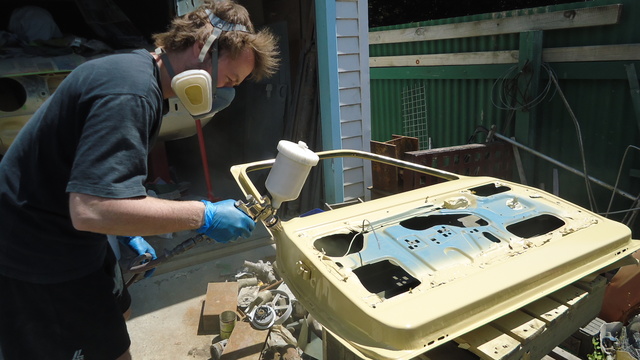
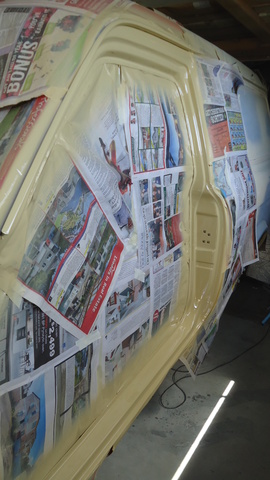
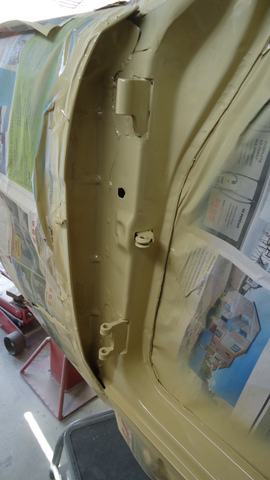
Finally got around to taking off the passenger door. Not as easy as undoing 4 bolts, hinges are welded on. Had to use a special tool to punch out the 2 pins and separate the hinges. Stripped and sanded back the door frame area, the side of guard where it attaches to the guard and inside of the door. The passenger guard was a replacement and put on when the van was painted orange so absolutely rust free around this area (Bonus). Primed the door outside because it was a hot day. Dried up really quick, easy to spray. But then when i sprayed the van door jam area i forgot to tell myself this wasn't going to dry as quick and ended up with a sag on top. Shit happens
 2 points
 -
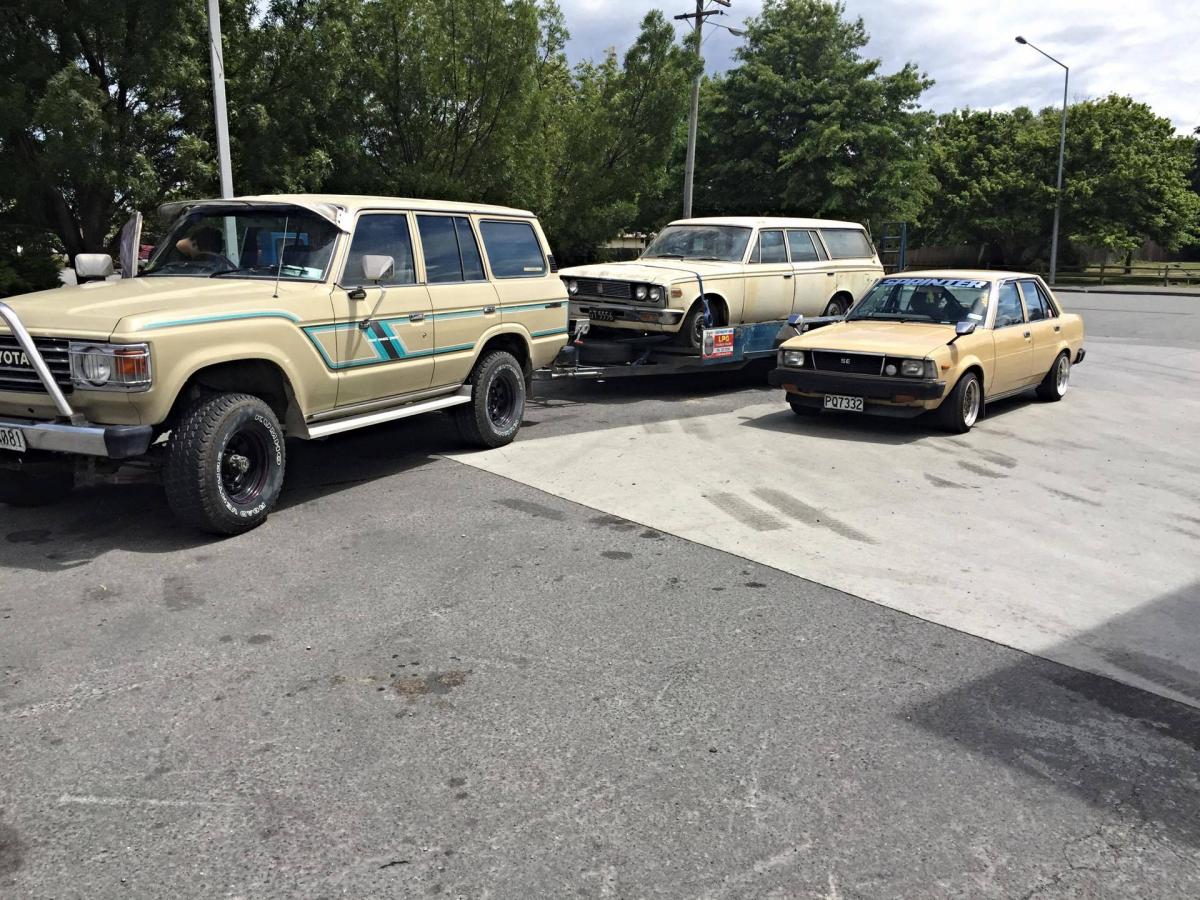
last pic with the tan team, matts 60 series cruiser with his new ms53 crown wagon behide and my 1980 ae70 sprinter sedan next to it
2 points
-
Hey guys does this sound OK? http://www.hurunui.govt.nz/services/community-facilities/camping-grounds-2/amberley-beach-camping-ground/ $5 a night no advance booking req?2 points
-
Also made some hoses for the radiator.2 points
-
Few more pics, Had to redesign the remote after the first run, Originally it was designed to be in the off position at 6oclock ,standby at 9, throttle from 9 to 4, but I kept accidentally shutting the engine off when throttling down. So I added a 2nd switch, the top switch is power and bottom one is standby/ run so the throttle is now adjustable on for the entire range of the rotary knob, all I need to to to shut down normally is turn the throttle to minimum and throw the4 bottom switch to standby which lets it stay powered for the cooling cycle. Here's a couple of pics of the unit on it's own, it's designed to be added to any healing cruiser and just uses the seat bolt to attach. and the final touch, the tank stickers ,thanks to Bangbug for printing these off last minute.2 points
-
had a few spare hours today...2 points
-
painted roof again. while its wet you can see in the gloss how the shape looks and I'm happy with it now so this will be the final coat of primer on the roof. if i get time after work tomorrow night I'm going to colour one of the door shuts. 2015-12-14_09-53-10 by sheepers, on Flickr1 point
-
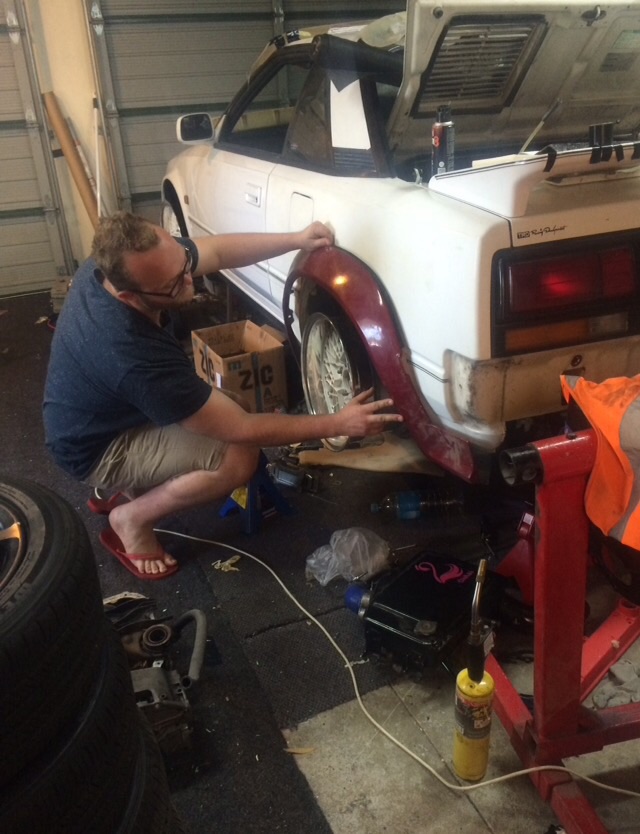
Howdy Pard'ner A few more bits and pieces of progress: Powder Coated goodness. It's a nice feeling looking underneath and not thinking damn son, you nasty. Also replaced the front wheel bearings because yuck Had the front rotors skimmed. Looked like the pads have worn down at some point, I wonder what song they would play on an old record player. Also found an old WOF in the sun visor. Might be good proof for the plates? And the ones I know you're probably here for... All complete and ready for re-reg just waiting to hear from LTSA about the plates. Hasta la Vista, BABY Hoping to be ready to potentially take her to Nats if time off is approved1 point
-
my plan was to get it running before xmas, but working 2 jobs, 12.5 hours a day, doesnt leave much time for it1 point
-
Doesn't matter if it's shit? Right, Old Triumph parts it is then!1 point
-
It was Chris, and the reply was meant with the same level of tongue in cheek-ness1 point
-
L is for light as in warning light on the dash, F is for field, n for neutral, and e for excite, well that is my guess. So you have it hooked up completely the wrong way.1 point
-
get the fucker dynoed you tight arse1 point
-
I think I would have been ok for booze Lack of ciggys was the deal breaker1 point
-
New clutch is in and is now much better to drive. Also bought a new clutch cable because the old one wasn't the best and had stripped the adjustable circlip part of it. Installed some new carpet from autodec, could do with some more work to get it fitting nicer. Made up an adapter plate and modded the intake manifold to suit the weber carby. Had an attempt to make the inside all smooth which worked well, just need to get further in.1 point
-
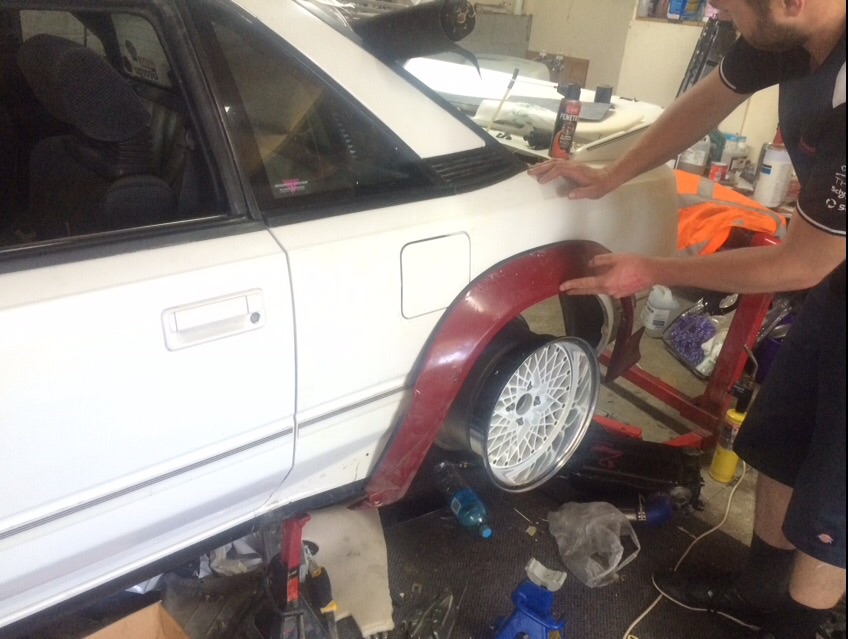
Clearance might be sorted curtesy of _david_
1 point
-
Time for a bit of a update; Welded the head plate, fish plates for chassis rails. Got green sheeted, had to tweak & alter a few things, lengthened the driveshaft. Took it out to a local black track for a run in, stopped, turned and seemed to go well, so rather than pull in and check I just went for it, went really rather well indeed. Made a few alterations after the test day.. Changed the diff head, radiator hose setup & fuel hoses. Near complete chassis Carby, Breather Setup Roof plate welded, hot work welding 10mm plate! Went to Woodford Glen for my first meeting in the car, had a fantastic bunch of people helping with the car which made for a stress free night, didnt have to worry about a thing. Proud to display RO Jones on the car, fantastic Job Scott & the team did painting the body, bonnet & dash! Stands out supremely well!! 33 cars fronted for the the night, I started all of them off the rear of the grid as I wanted to stay out of the way, whilst I get to grips with the car without pin balling around. First race went well in the fact I finished the race, 21st (22 finished), but the gearing was all wrong. Race 2 we put the RR onto the LR and the largest tyre I had onto the RR (225/75r15), instantly shaving 1.5 second off my best lap time from the race prior. Finishing 13th Race 3 we made no changes however the track was very slick and lots of people were spinning up. No faster this race, but managed 10th from the rear. Have a few changes to make again, and will try something with the rear end, but overall it handled well. Driver just needs to get up to scratch a little - more consistent. Big thank you to all involved who have helped along the way, advice, parts, time or materials. Thanks to the crew that came and gave a helping hand; Tim, Caitlyn, Crystal & Matt. - All made for a stress free first night. A few tweaks to be done, but overall very happy with the car finishing 3 from 3 races. Started them all off the back and went forward so that's a bonus! Especially big thanks to the Read & Blyth family's for their generous support throughout building the car. RO Jones for the painting of the Body, bonnet, Dash. Fast Blast - sandblasting wheels, components, advice, help in time & materials also Mag & Turbo of course for being on board right from the start, wheels, tyres1 point
-
rosso red. not sure. its a bit dark (it has like one drop of black in it) but it might be to bright if i take it out . undecided. 2015-12-10_05-11-21 by sheepers, on Flickr 2015-12-10_05-11-31 by sheepers, on Flickr1 point
-
I have many random things I can include in a secret Santa. Add my name to any lists related to present giving. And then remind me on the day please1 point
-
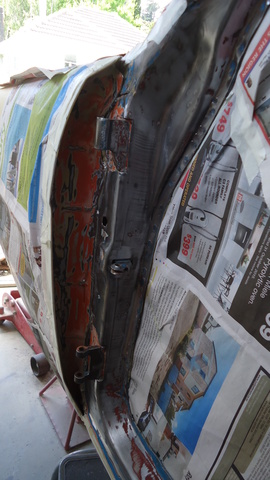
28 NOVEMBER Part II and finally, big Thanks to AA_LAWS who i pony-expressed some parts for when i went to welly came and popped the windscreen out for me the other day. Pretty happy with what we found under there, other than the two patches i knew about in each lower corner, the surround is great - even the trim clip holders are in excellent condtion! Upper Lower Drivers As first seen Drivers after a clean up and an intial coat of pimer Passengers As revealed and ready for the chop1 point
-
HELLO EVRYBODY! So I've removed all the crap from the window frame and side, with the deft hand of a skilled surgeon. By which I mean I pulled it off with pliers. Which reveled a small amount of rot in the very bottom of the roof gutters. A little bit of bog and a weird hole someone had punched? After drilling out the spot welds that hold it on, the inside panel was finally removed, I didn't take a pic, there was a fair bit of krusty krap in between the two layers of metal, so again, I'm glad I did this. After spending a solid 5 hours grinding, sanding and blasting, this and a fucked sandblaster is the result. rusty tail ends bobbed I got this far with the other panels before the blaster died. I also made a what is for me a rather exciting discovery, tucked way up inside the roof cavity. a scrap of the factory aussie headliner, one of the very few things that I know is original to this car. Moving on, I made some patches for the gutters, this was harder that I thought it would be! the metal gently rolls up, then has the sharp crease were it folds over. looks okay now. I have also welded up the drill holes in the rear wondow frame, and couple other small holes and now it's ready for the panels to be welded back in. I'm going to see if i can get the two grill panels pro blasted, so until that happens I might have a wee rest.1 point
-
http://www.motomucci.com/p/blog-page.html1 point
-
mint, no more ugly rusty clutch and brake cylinders, got these for $2 on aliexpress haha
1 point


This leaderboard is set to Auckland/GMT+12:00