_Matt
-
Posts
467 -
Joined
-
Last visited
-
Days Won
6


.thumb.jpeg.e0a4bff61111e0c8c7396950fcc94da1.jpeg)


_Matt's Achievements
Advanced Member (3/5)
5.8k
Reputation
-
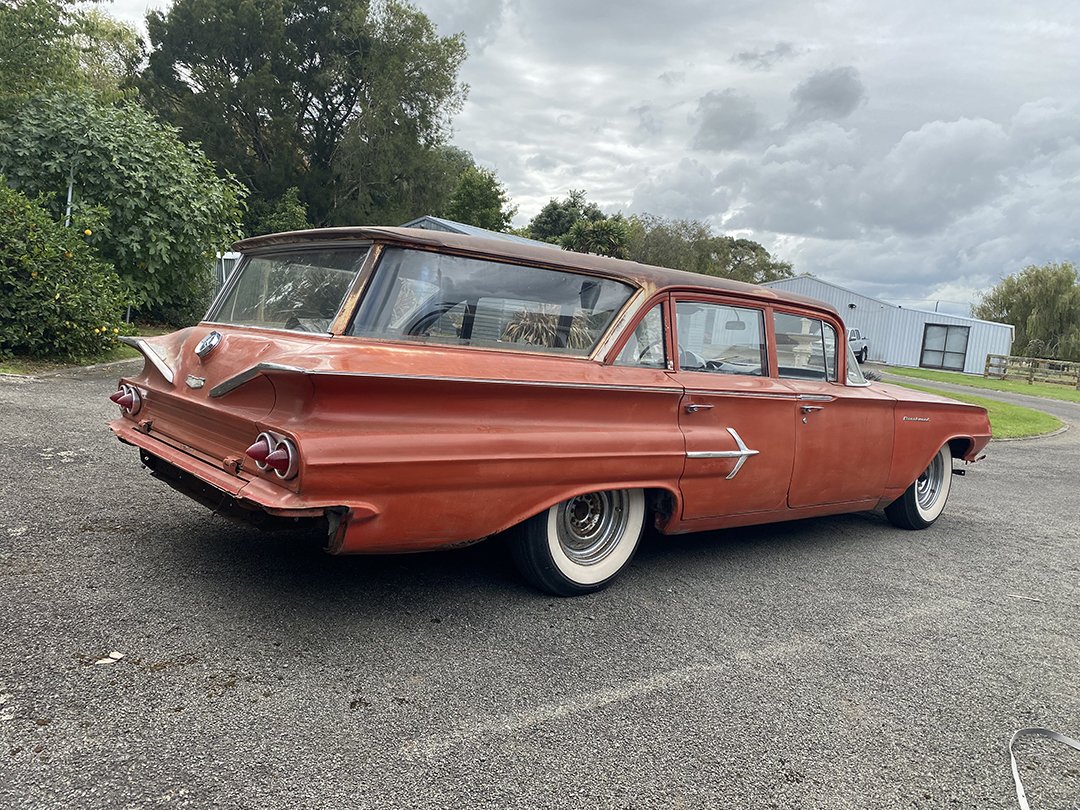
After the wagon was legal the plan was to get the flattop fully signed off on the repair cert. It had already had a check over once all the repairs had been done, just needed to be coated in some sort of rust preventative on the body, panels and chassis, so I was told. The repair certifier I had used was finishing up at the end of March. A couple of months to get it all stripped, blasted and epoxied, and then roughly bolted back togehter sounded easy enough. Got the body all stripped bare, dragged it to the blasters and then off to work to finish stripping what paint was left and blast a few bits a bit better. 2k epoxied and back home. Then emailed the repair certifier to get clarity on what needs doing to be signed off. He replied back saying NZTA won't let us get it signed off until it's at the compliance stage eg: a running, driving complete car. How dumb! At least the short deadline gave me a good push to get the body blasted and coated. Had the chassis blasted and epoxied as well. Doors and boot lid also done but no pics.
-
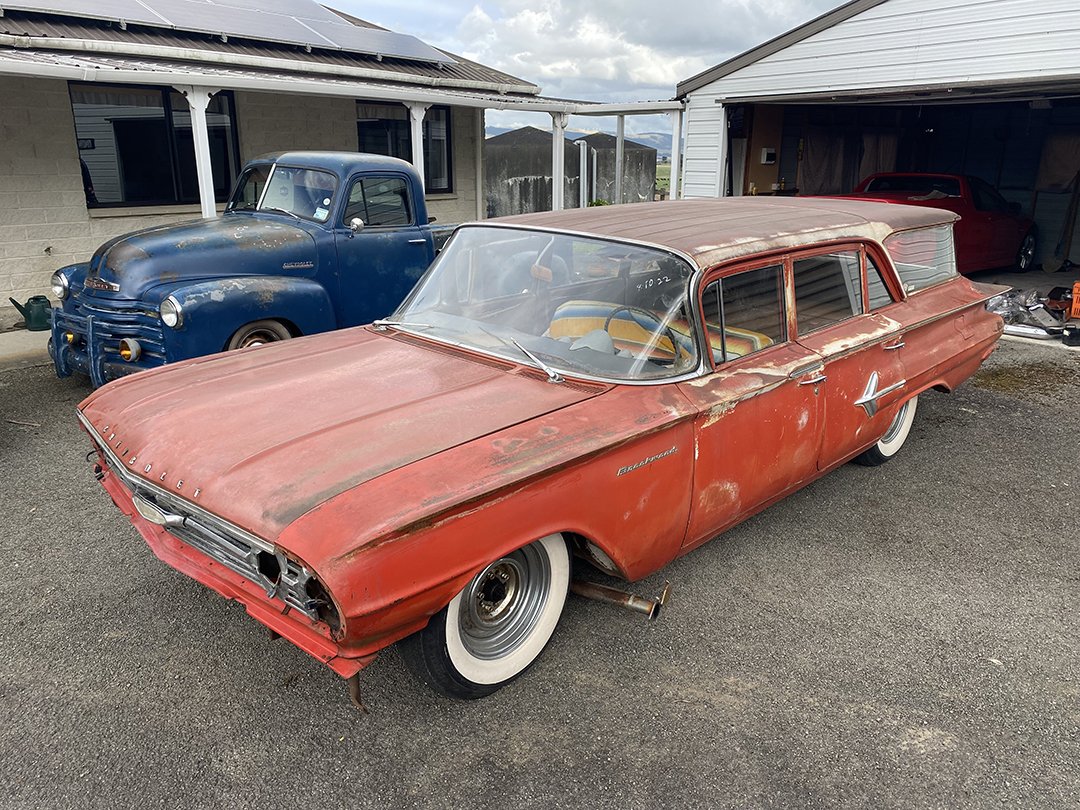
This is about where I bought another '60 Chevy. I was originally after some sort of 59-60 GM wagon before I bought the flattop, and this came up as a good deal after multiple price drops. Long story short, spent 7-8 months cutting out rust, welding new bits in and getting it ready for compliance. At the beginning of the year it finally got complied, wof'd and reg'd! Might start a build thread for it sometime.

-
Over the Christmas break a year ago, I built some stainless headers for it. Pretty sure they were very close to equal length on the L/H side, but to make the look symmetrical-ish they weren't quite so close on the other side. Made an aluminium 4" tube intake pipe to adapt to the biggest K&N filter I could find. This was the point where this car was the last it's going to look like a car for some time. Looking back, probably should of just kept it how it was, got it going and enjoyed it for a bit. But then one day, I decided to strip the paint off.
-
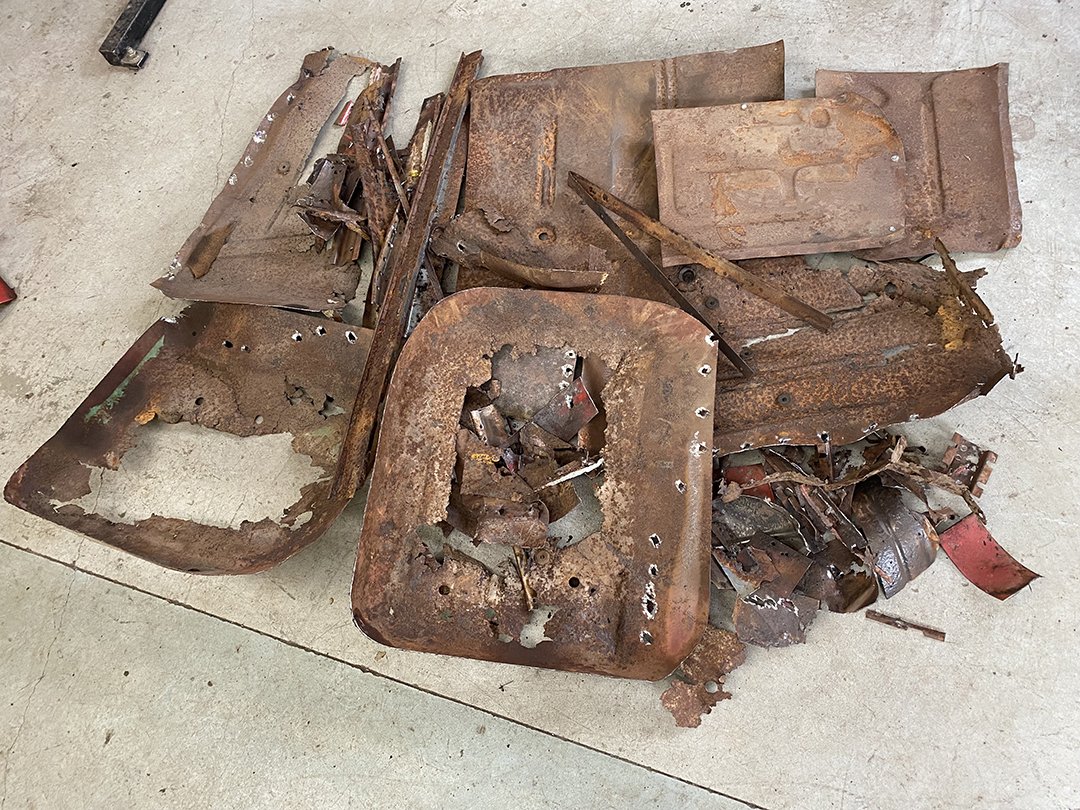
Carrying on from a little over a year ago, finished up the Wilwood caliper adapters. More rust repairs underway. I think 2 or 3 out of 4 doors needed some sort of repair at the bottom, this one being the biggest/worst. Rear trunk channel was a bit crusty under the seal too. Fuel filler tunnel had a bit at the bottom. The parcel tray had some butchering done previously to fit some speakers, so cut that out and made a new one. Made to suit a couple of 6x9's and some of Dads and Brennan's finned speaker covers. The firewall originally had a separate cover that was removable that the heater bolted to, it wasn't really needed so made a panel to weld in to smooth it out a it. The front radiator panel wasn't symmetrical where the battery clamp originally bolted to, so fixed that up since the battery isn't going to be mounted there anymore. Pressed some louvres into the panel too, to allow for a bit more airflow into the air filter. Filled a bunch of unused holes too. Mounted the airbag stuff in the boot. Since the LS1 has an aircon pump, I thought I may as well use that to fill the airtank. Machined up an aluminium adapter to bolt to it and output a couple of hose barbs for the inlet and outlet.
-
new page
-
new page
-
new page
-
new page
-
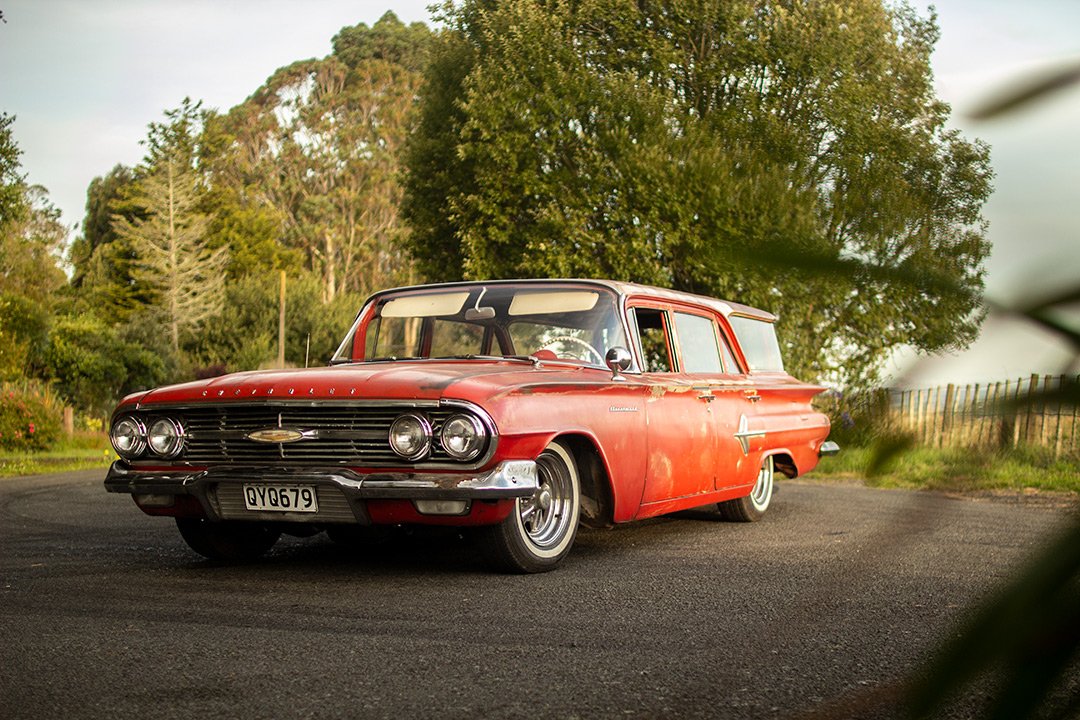
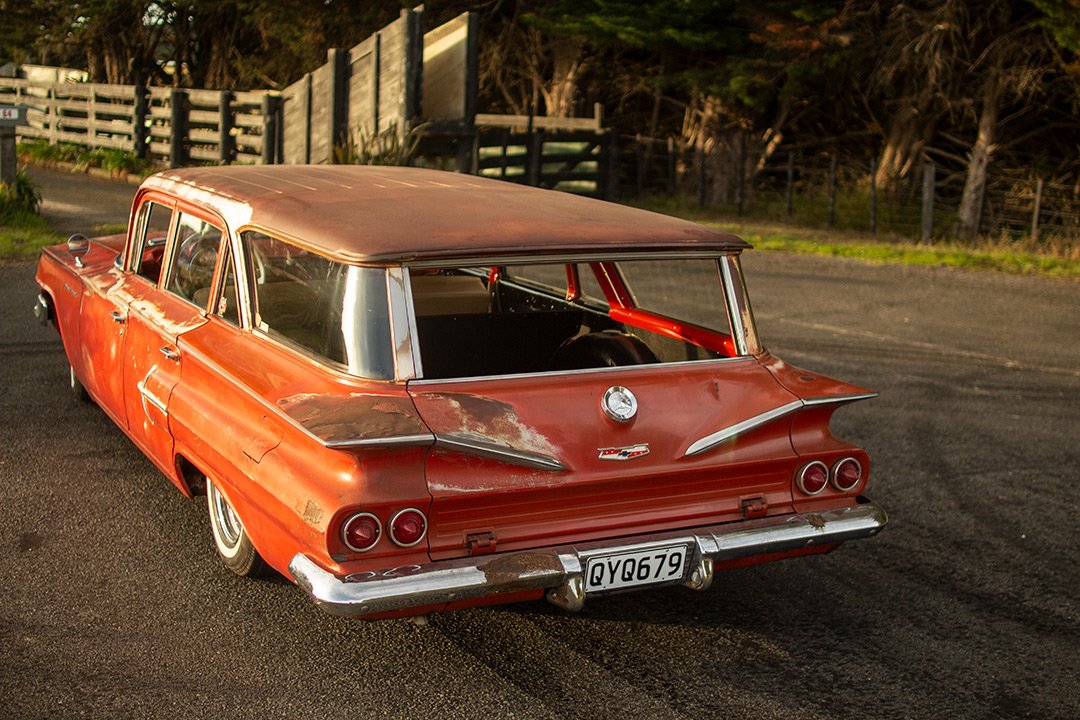
I used Sweet Patina on my wagon, just wipe it on and wipe it off again, it brings back some of the colour and soaks into the rusty bits, makes water bead off it. Can do more coats for more gloss. Seems good, but haven’t had it out in the weather yet. The truck I just wet sanded it and used a matte clear coat, it lasted for 3 years sitting out side everyday, garaged at night, but has peeled off in quite a few areas now. Clearcoat would of been good and maintenance free if I didn’t drive it so much, now it’s gonna be a lot of work to fix the peeling haha
-
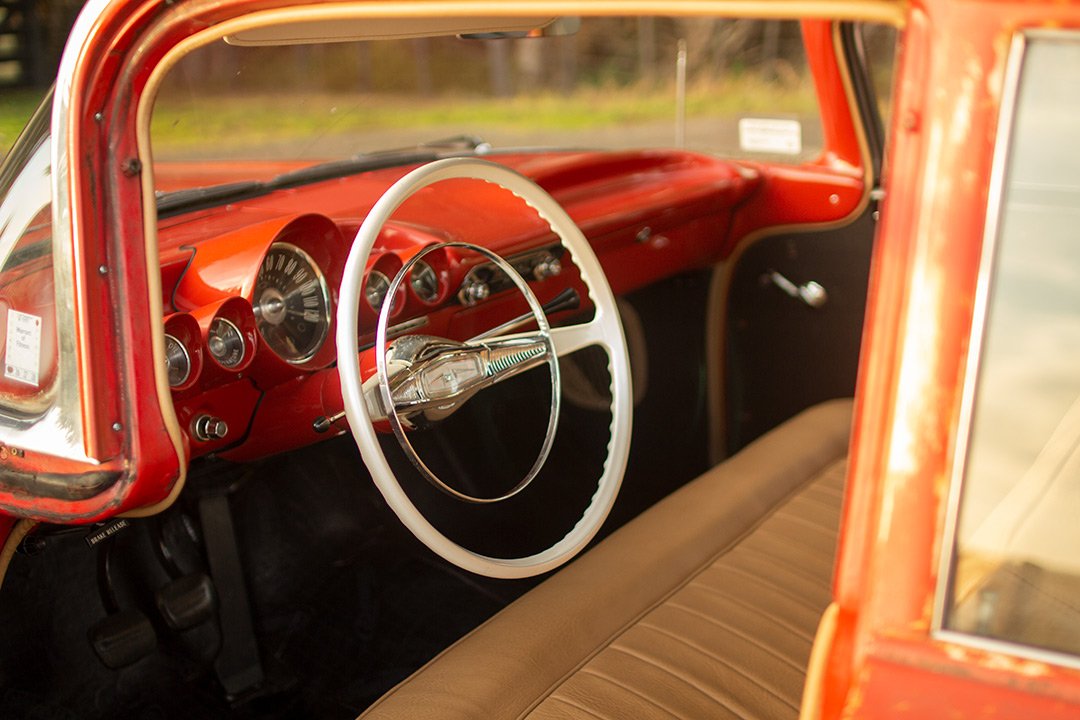
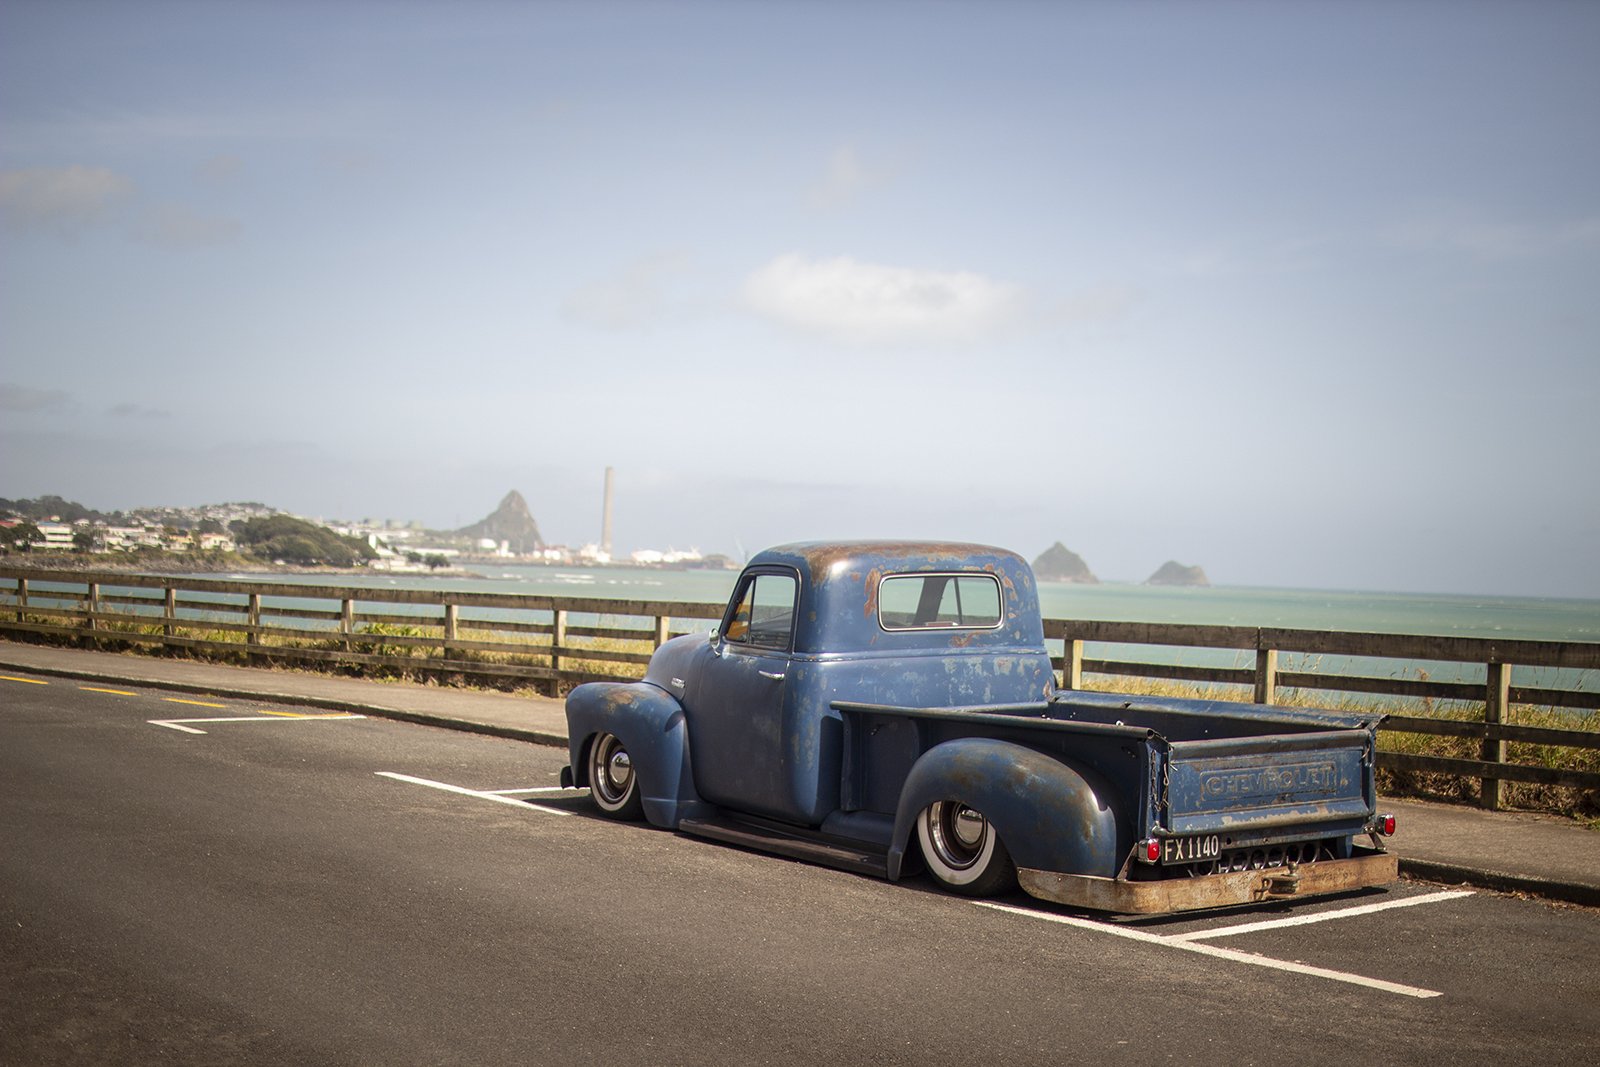
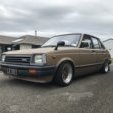
Some things have happened in the past 2 years since the last update. Have gotten a few wofs in it and taken it a few events around the place. It's basically "finished" now! Had the upholstery redone over the course of a year or so. Got the seats and door cards done, then a while later eventually got the carpet done. Because the NZ new spec Starlets came with the bare basic interior, the door/rear quarter cards needed some stainless trim to make them look a bit more up-spec. A quick road trip to Horopito and a search of their inventory, I came across a set of Zephyr side trim that could be cut and welded to the appropriate length, and then polished up. After hours of searching for the correct colour schemed tartan and where to acquire, I managed to order a roll from England and then matched up a tan vinyl to suit. Huge thanks to Mark D for doing the upholstery! Stoked with how it turned out. Took it to 4nR Jamboree and took out Best Toyota Drove around Autofest at Manfeild Made some KP friends Entered a Manfeild back-track drift day. Went really well all day with the thrashing it received, no issues, other than the lack of talent behind the wheel haha. Changed to some Bugeye tailights at some point too. Currently featured in the latest NZ Performance Car magazine (issue 310). Happy as with what @Snoozin and the NZPC team pieced together!
- 63 replies
-
- 44
-

-

-
The front drop spindles and disk brakes finally arrived after about 9 months of waiting. So chucked them on, the calipers didn't clear the 14" wheels, but we had a 14" HQ Holden rim sitting around to test fit and they just had clearance. So got a pair of them to run on the front. Went to America for a couple weeks a month ago and brought back a bunch of goodies in my suitcase. Twin antennas, body mounts, tail lights lenses, steering column rebuild bits, driveshaft centre bearing, accelerator pedal, fender ornaments etc. New port wiper motor aswell, since the original one never worked and I couldn't get it working. and a CPP power steering box. Had the power steering pump and reservoir on the LS so thought it'd be nice to have it. The CPP drop spindles pushed the steering arms out 19mm each side, so that made the Ackerman angle pretty much zero. I asked them if they made any steering arms to rectify it, but nope. I guess Americans can just heat them up and bend them to suit. Drew some new ones up and had my brother 3d print the prototype. All looked good, so had them laser cut out of 20mm mild steel. Also shortened them up for quicker steering too. On to the front airbag mounts now. The lower arms aren't quite flat, so welded another piece of 3mm on top once the had shaped the main piece of 5mm to suit. Made a compressed size dummy bag for the RE7 air bags. That way I could get the upper and lower mounts the correct height and in line. Used some wooden discs to build up the height on top of the dummy bag and then packed the rest with some resin. This allowed me to push the lower arm right up and get the resin to form the shape of the top spring pocket. Once set overnight I cut it to the diameter of the steel pipe the upper cup will be made out of. That then gave me the cut pattern after wrapping some paper around it to make the template. Steel cup all made the perfect shape to fit inside the spring cup at the top. All fitted with 3/8" threaded rod holding the top mount in place. Still need to countersink the lower plate holes and figure out a bump stop for it. Also new shock mounts made up, basically a copy of the Ridetech ones as that was easy to do. Test drove a truck with the single pot GM brake calipers on it, which are what came with my disc brake kit, and didn't like how they barely stopped it. Dad said he had the same issue with the ones on his too. So decided to make some adapters for some WIlwood Dynapro 4 pot calipers. Made a wooden mock up first, then drew them up in Solidworks and then 3d printed to make sure they were all good. Got them laser cut as well, out of some 16mm and 10mm mild steel. Still got to machine them up to fit.
-
It’s just much tidy, less clean up. I’m also more confident in doing a nice Tig weld over a mig weld. The Tig welder is also better than the mig at home. Basically just use the mig for plug welding and feeding me thin mild steel filler rods to Tig with haha
-
I always thought that was the case too, but nearly every one we do at work gets the welds ground off. I can't see it being an issue, I have pictures of it all showing it's got a corner to corner weld, the top is just knocked off, so the full penetration to the edge of the parent material is still there. Plus half the original chassis is still underneath those plates, with welds between both parts.
-
Fitted the body back on, the whole transmission tunnel needed to be raised up, so cut it right up and made a start by making the floor brace higher up. Made it in two sections, was pretty simple and easy enough to make. Since the diff was set up now I knew where the driveshaft sat in relation to the floor and could make the larger driveshaft tunnel (not that it had one to start with haha) For some reason someone hacked the inner rear fenders out. I guess it had some wide wheels on it at some point in it's life. This was the most dreaded job of the repairs I think. Made a patch and welded it it. Shouldn't really be able to tell once it's all undersealed. Now all the repairs were done and I heard the rumour that the local repair cert guy was retiring at the end of the year, I thought I had better get it off to VTNZ and get the vin number assigned to it and get the repairs signed off sooner rather than later. He came and had a check over it was was very happy. Bought a VE Commodore MRA fuel pump assembly. Seemed like the best, easiest and cheapest way about converting the tank to EFI. Has the correct pressure regulator, swirl pot and return all built in, so just the once hose coming out of it. Welded one steel ring into the fuel tank that incorporated an o-ring to seal against the housing and then a stainless steel ring to sandwich the pump down. It sits through the boot a little, so will have to make some sort of cover for it.
-
If it hadn't already spiraled out of control, this is probably the point where it did. Bought a 01 VX Commodore 5.7L LS1. Test fitted it in. Since the trans was swapped to a TH350 the driveshaft yoke and length worked perfectly. Also the aircon pump and alternator just have enough room to make work. Made some engine mounts. Used the same polyurethane bushes as what I used in the rear suspension to make it easy. Will add some more gussets to strengthen them up a little. Transmission mount the same bushes as well.