
Leaderboard


Popular Content
Showing content with the highest reputation on 10/30/17 in Posts
-
much jiggery and pokery and measuring all of the things with the axle at different heights to check and recheck what length to make the arms to have enough adjustment as mentioned previously and not have the axle hitting c notch before bottoming out on bumpstops. which i ensmallend as I could tell that was going to happen anyway...... then in a burst of motivation following sunday night tacos i threw the front suspension back in to get it on the ground. so on bumps rolls easy and nothing rubbing or touching. will put some blocks under it tomorrow to set it at ride height to sort pinion angle stuff and maybe drop the motor and gearbag in to measure for driveshaft25 points
-
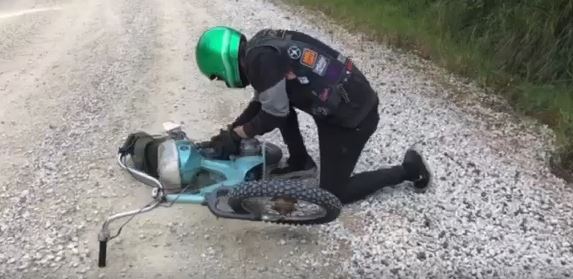
This was a great success for most of us! A few highlights were @MopedNZ having the worst luck and getting a flat tyre from a nail at the very start of the ride on his freshly built well sorted 125 Lifan Chaly. @Shakotom and @Geophy battling the FA50 through the gravel passes. Meeting @Raizer and seeing his latest Gyro purchase. Then watching him rip up the road in Kawhai on the PPSC Rusty Trombone straight into the local cop. @Archetype and I meeting the locals and having some quality yarns about friendship and prison. @BLIZZO being the manliest man in the world dragging his C50 over the biggest sand dune in the world after riding in the ocean. And the general awesomeness that was gravel bashing and beach hoons on a bunch of either overpowered or underpowered shit mopeds. A++ would trade again. Check out Moped NZ on Facebook for more photos from the other riders and a video being cut together by @MopedNZ later in the week. https://www.facebook.com/groups/1639560922975814/
 16 points
 -
Yeah man, can't wait to catch up with the East Cape ride next month! Needs some love, drain the rusty water/petrol mix, find why there's no electrics with my new battery fitted etc etc but nothing I can't handle. Also started first kick on engine start!
9 points
-
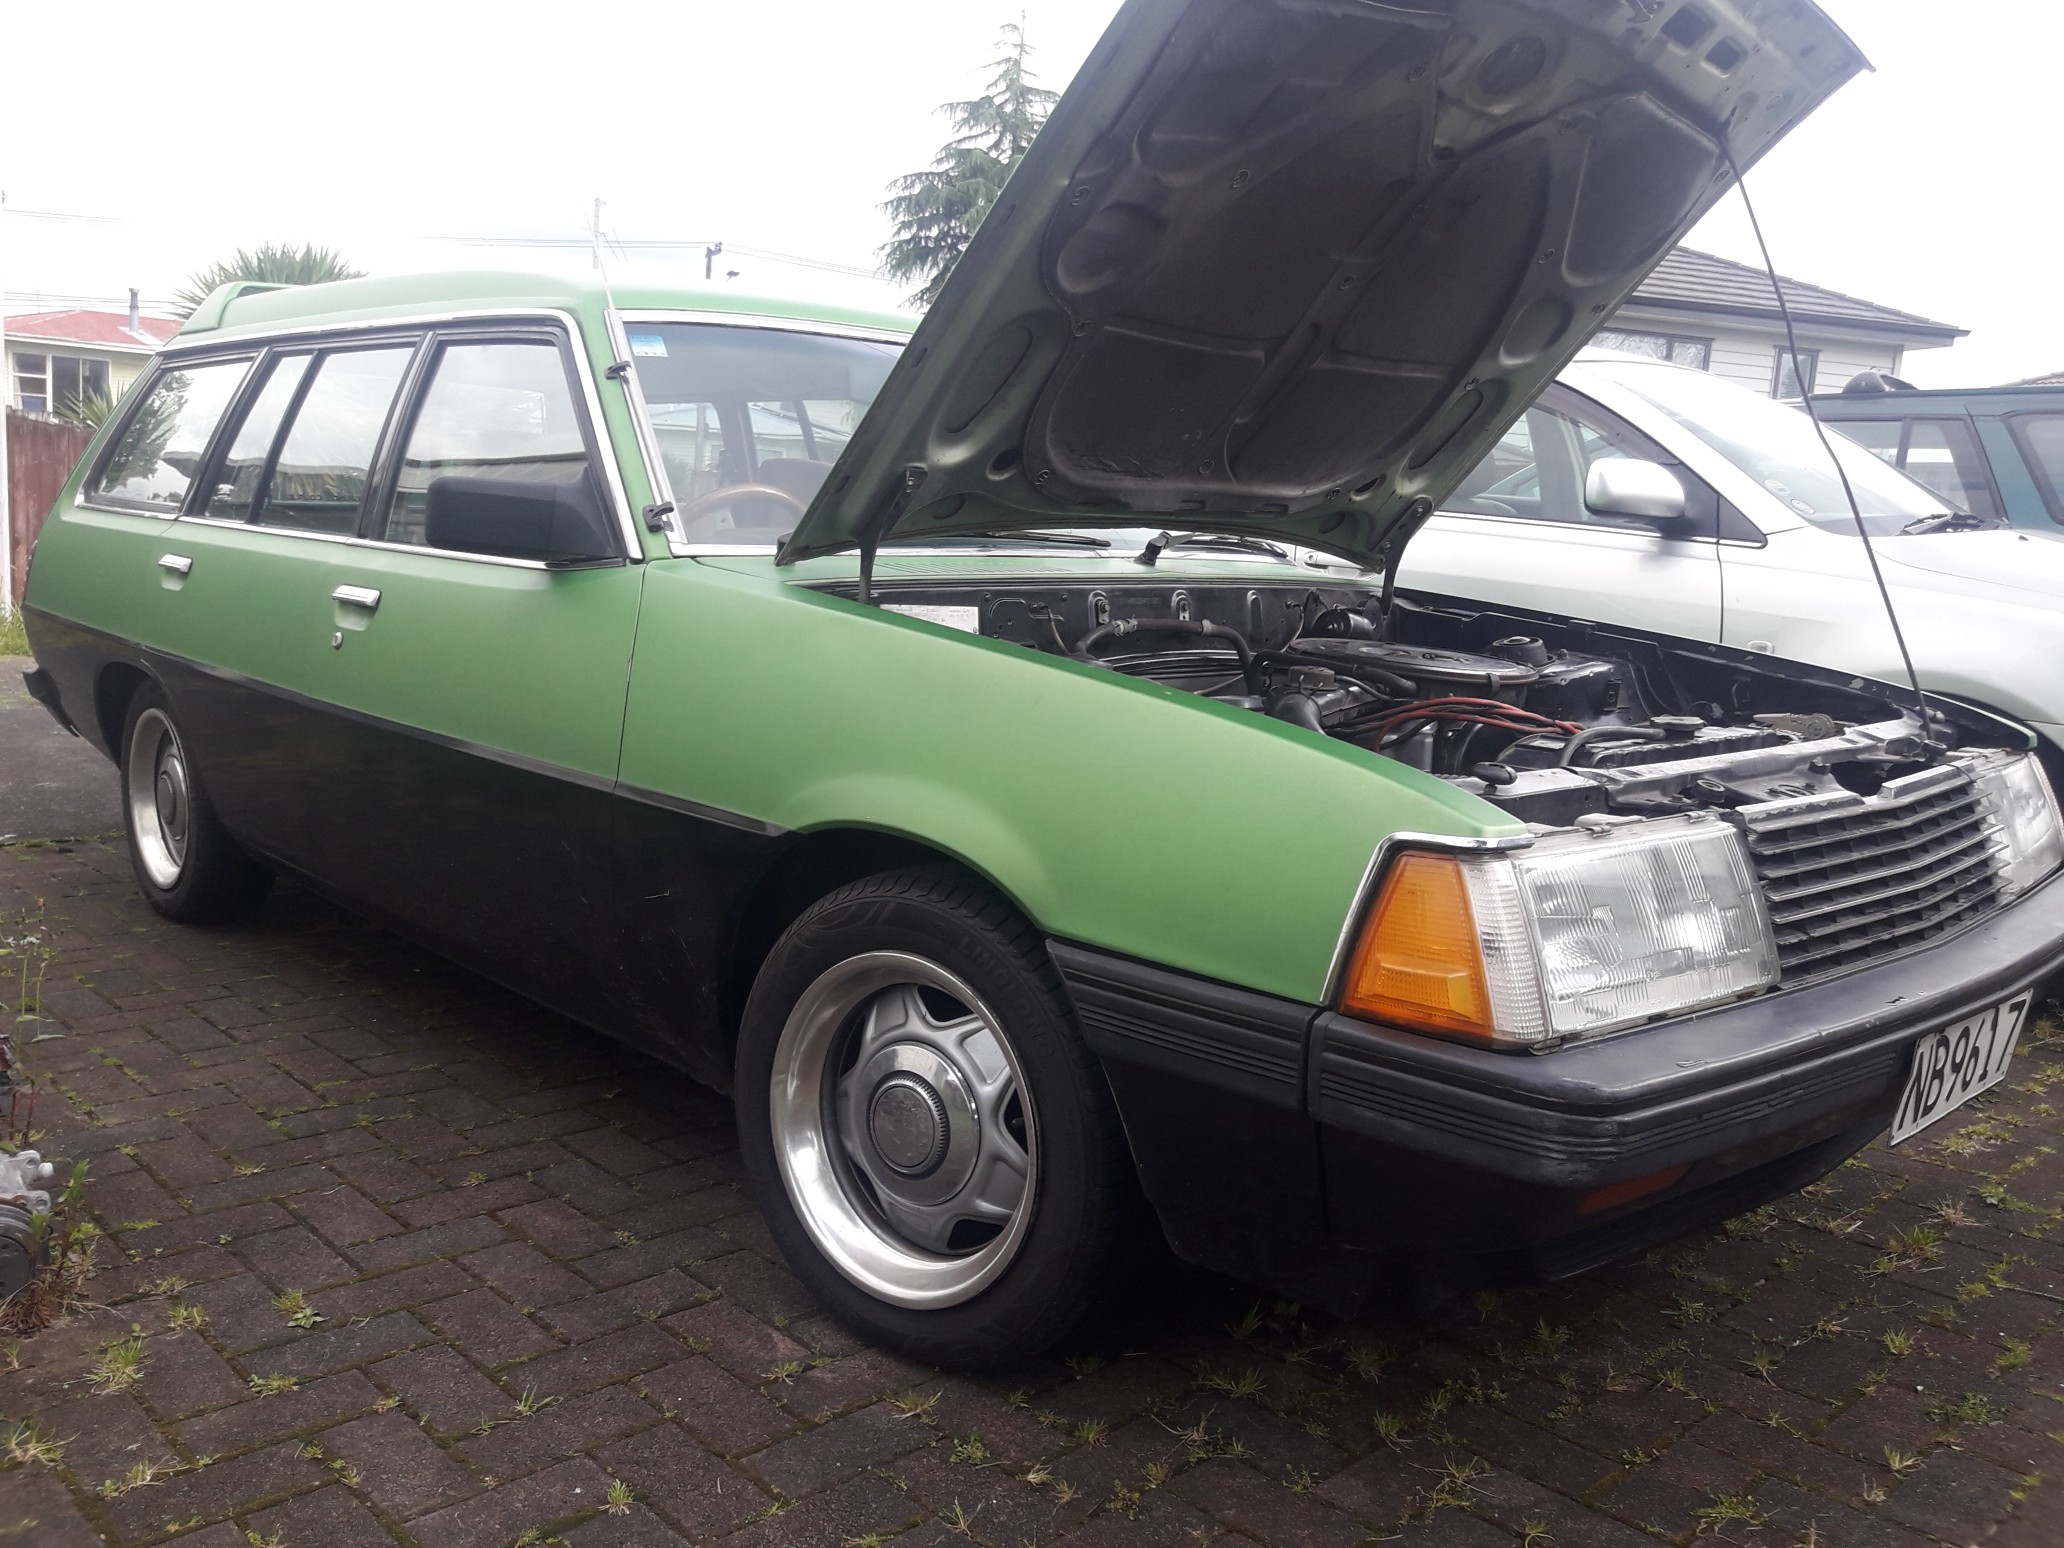
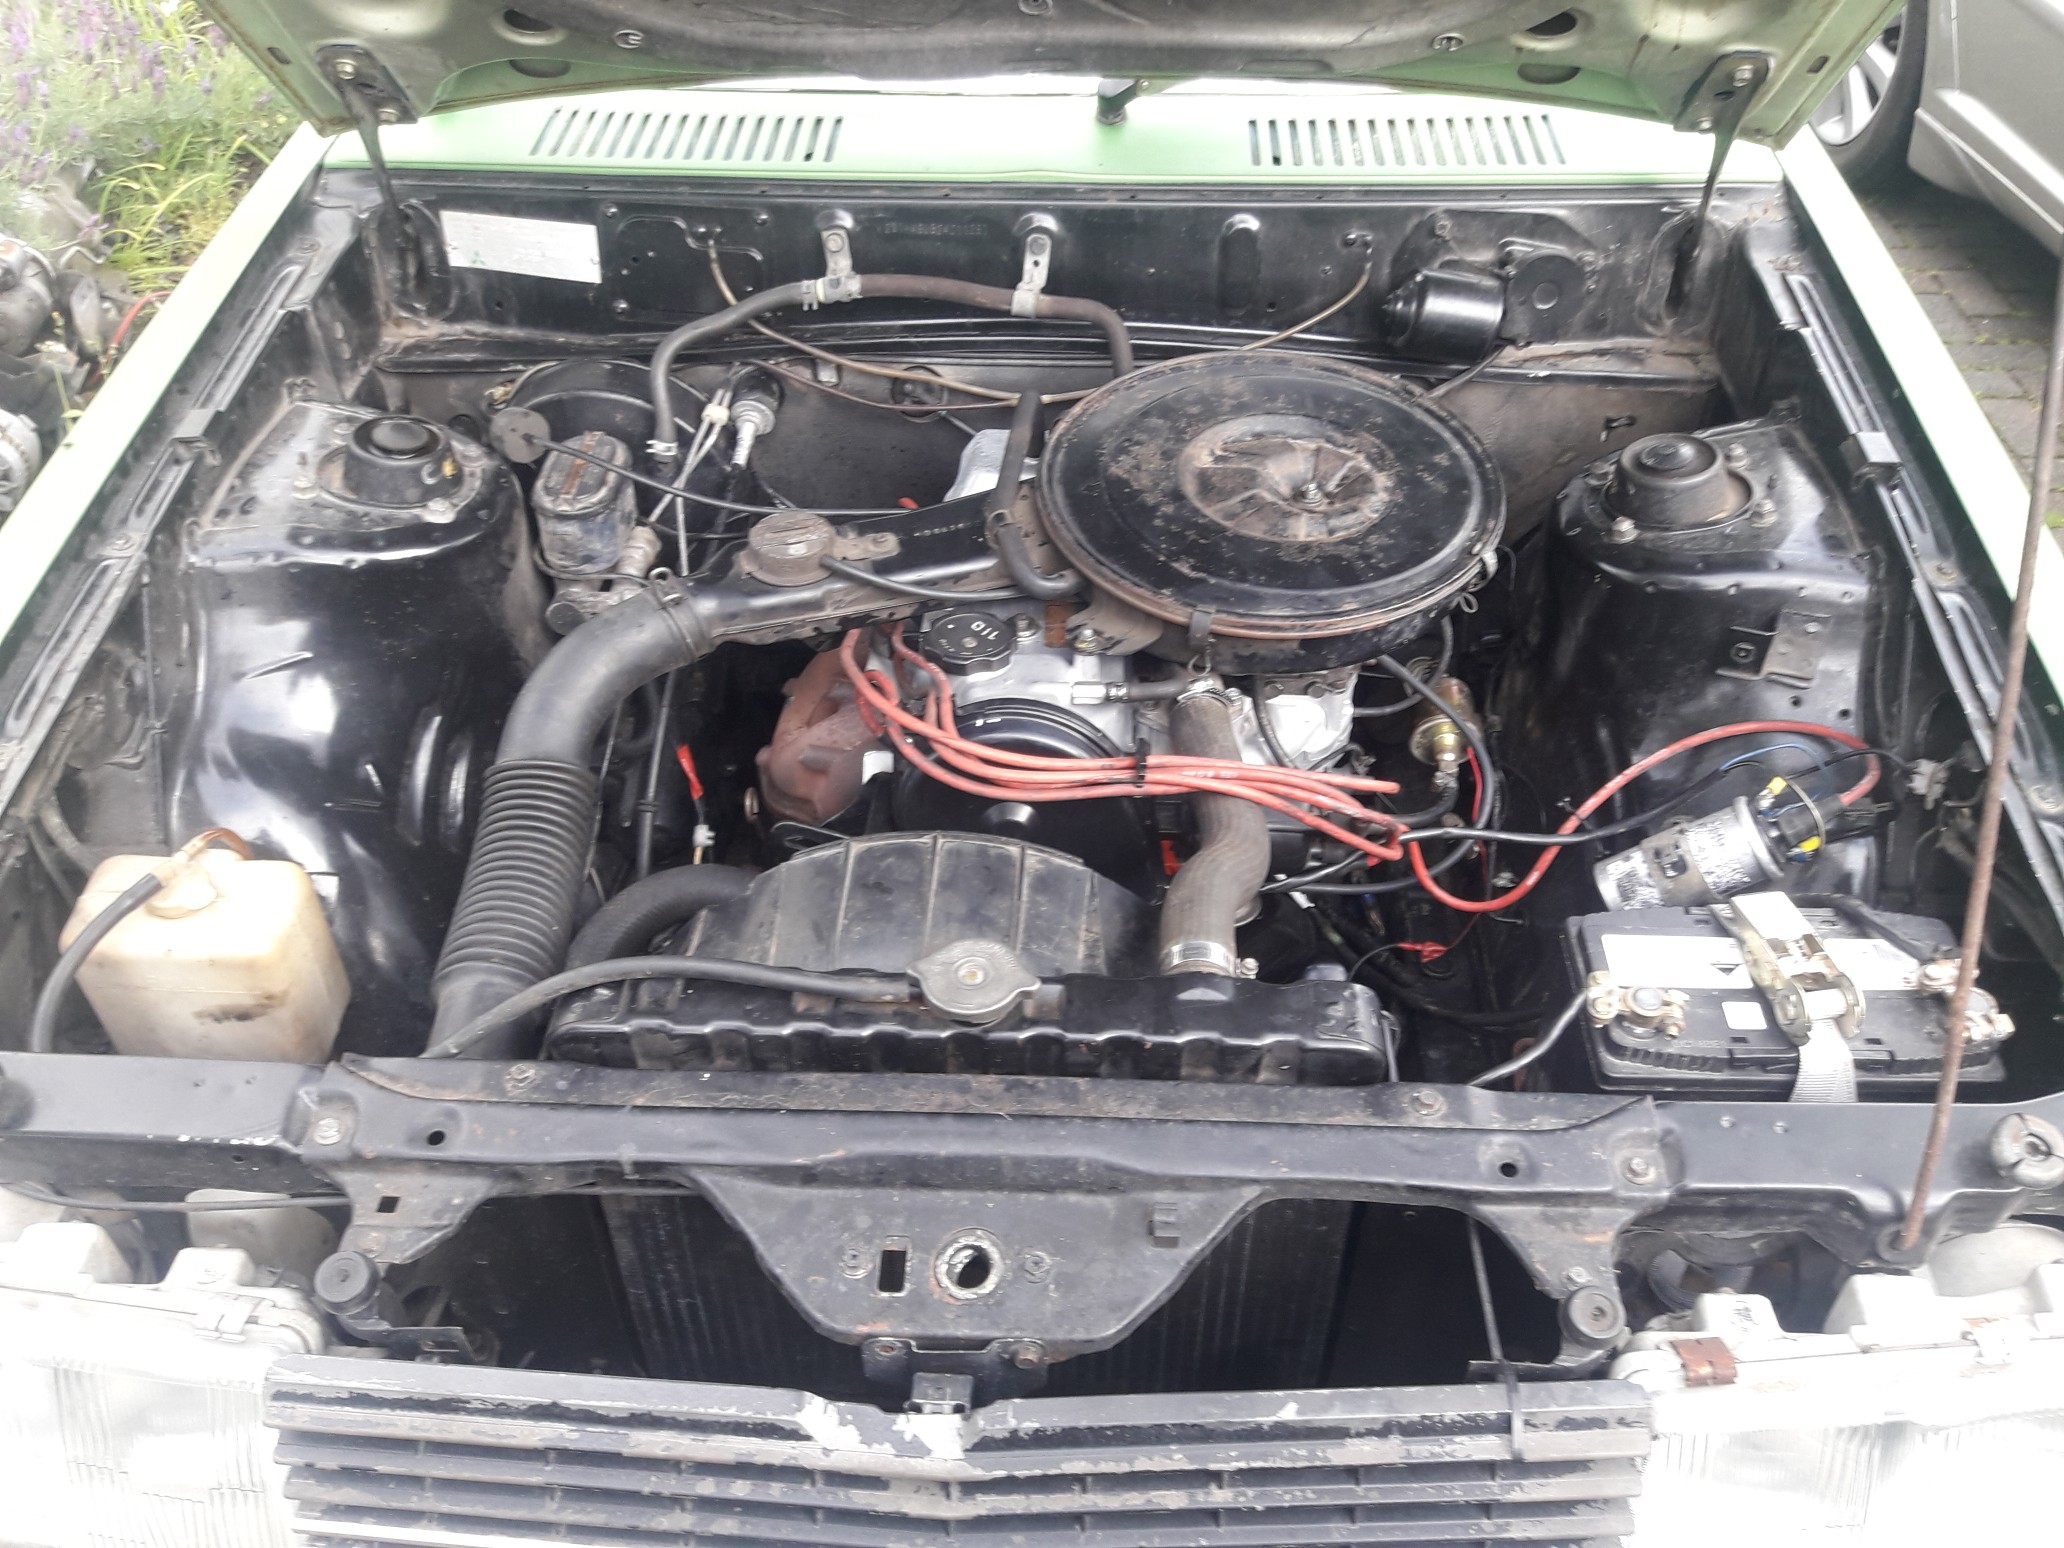
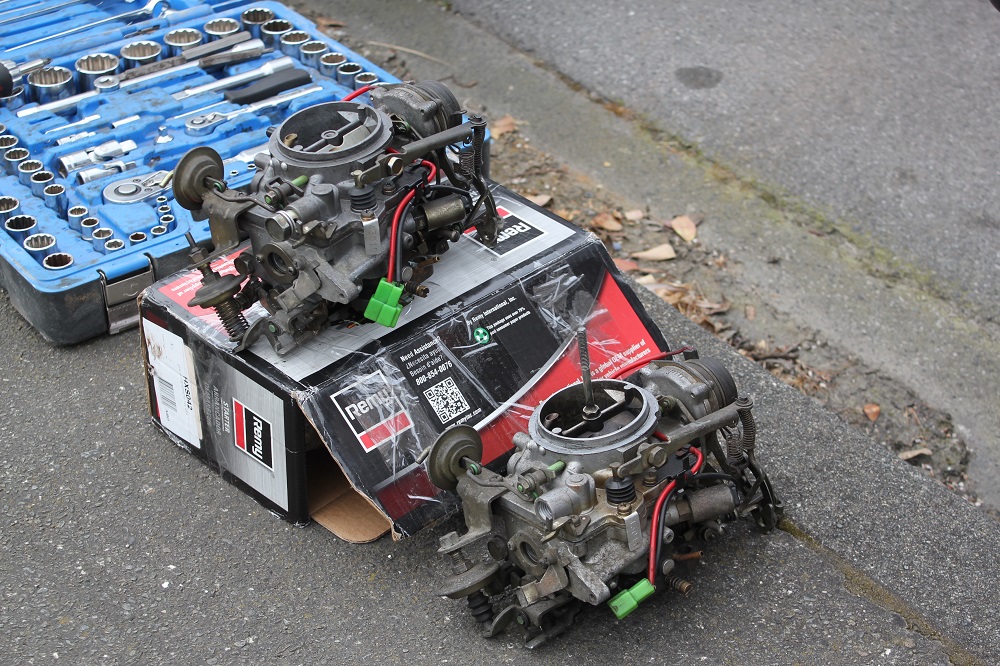
My order from fiatparts.co.nz turned up on Thursday, with my crank seal so got the cam belt on and engine all buttoned up Changed the spark plugs. Hopefully now that the carb has fewer fuel leaks and no air leaks and doenst really need the choke they will be grey next time i do a plug chop I had some NOS Beck-Arnley leads, purple to match the sides and interior stripe, lol. Also chopped the cam cover so it can come off without draining the radiator Swapped in the Pertronix fitted dizzy i had on my 125 before i went to Digiplex, and a new coil, and tidied some wiring. New oil and filter, fitted radiator, filled with water and a bit of simple green for now to clean it out a bit more. Replaced the mechanical fuel pump, turns out the non-OEM bolts didnt have quite enough thread to tighten up properly, so hopefully sorted a big oil leak too. And picked up my box of carbs, L-R DCHE, same as whats on there, but very crusty, will try swapping the few bits that still leak on the fitted one DCD, i had cleaned and reassembled this in 2014 and it is 'OK', according to the vivid on it, DMS, clean body with no bits, i sold my complete, but a bit worn one to NickJ, but i think i still have jets and stuff to make it work, but the linkage is a 'pull' instead of 'push' like the other two, but i have linkages from when i ran one on my 125. This is the best carb by far, but needs the most work to fit. In my order from Mal, i also got some diff seals, it is a 125 diff, he just sent me the wrong ones (131 gbox seals), so the axle is refitted, diff refilled with oil. Finally removed the rear bumper (one bolt required 4 jointed arms or removal of the gas tank to reach) and did a couple more patches hiding behind it, and bogged them up, putty all the wee bits etc then primered it to grey (last before real paint), stoked to get that finally done. I then took it for a burn up the road to turn it around so i can fix the rust in the front, and see how all my work went on the engine etc (great!). Next jobs: - cavity wax rear of tray and reassemble tins, tail gate and tonneau etc - replace the holey front half of the exhaust (have an ok spare) and fit a joiner (its currently 1 piece...) - fix rust behind front wheels - fix rust in passenger a-pillar - fix rust in cab floor/base, either collecting my old red 125 shell back from Hamilton for cuts, or make my own. - wof - drag day... - 1000 other little things6 points
-
Risked the lawand cruised to an Oldschool meat one night last month. Realised how useless the gauges were for reading at night. First step was to remove the dimmer switch - and this helped marginally. Second step was $4.85 on Aliexpess for some LEDs. Whilst I'm not sold on the green (I'll try white next time) at least I can see how slow I'm going / how much water I've lost etc now. I'll also look at updating with a suitable dimmer in the future but keep the factory dimmer knob if possible. Before - with photoshop enhanced brightness so you can see something. Aliexpress Goodness. I then did some maintenance stuff like oil (complete with rounded bung that's since been replaced with a more traditional hexagonal one) Gearbox - sounded a bit chattery so thought I'd top it up (with almost 4 litres of oil.....) Next step - let's try for a WOF. I cut the worst of the noticeable rust out and welded a new panel patch in temporarily, rather than fail on rust. Long term I'd like to replace the whole front guard (you guys hook me up pls) BL quality assured badge still intact. Next: WOF check: PTO for more? Nah - one page mate. A lot of fail and a lot of good fail - i.e. Driveshaft bolts loose etc. I've learnt I can't trust anything on this car to have been done right in the past. Such Barry'd. Done most - recheck tomorrow hopefully.5 points
-
Gas at a major small towns along the way but an emergency jerry can is a good idea for getting caught short in batt country. Also the colonels finest is a coveted commodity in those parts so a bucket to barter with locals isnt a dumb idea4 points
-
Looks like much fun was had by all. Thanks for sharing with those of us who couldn't be there. I for one always enjoy following the write-ups of activities in other regions.4 points
-
Also, I'm working on a sticker for the event, will let you know if it goes to plan.3 points
-
So while I was deciding what I was doing with the front splitter I sorted out a few other odd jobs. First one was a decent rear view mirror, I got this mirror bar locally, but the mounting wasn't great, so AliExpress to the rescue for some fog light brackets and a bit of chopping, i now have a really good mounting, here's hoping vibration isn't to much of an issue. Can now see out each rear side window from the drivers seat, where as before I could only see out the rear window. To finish off the side windows I painted a black border on the inside, definitely worth doing they look really sharp now. Got the hole cut for the Naca duct. And all finished. Managed to get out to view the Speed Festival on the weekend, great turn out of starlets for Shellsport and SS Cup. (and also saw @pe-arce's Beams powered escort battling it out on track which was awesome after following the build online). I took my tape measure out to measure the front splitter height on the starlets and most were running around 80-90mm clearance to the ground, (some were on 13 inch tyres some 15inch) so with that to aim for I finally got mine sitting right at around 92mm (at some point I will install an undertray and I can always lower the car more as I have more clearance on the tyres) I just have to finalise mounting to the guards (slightly off the old rivnuts so have to remove them all and nut and bolt for now) but making good progress. Next club day is 10 Dec so everything has to be done before then!3 points
-
Surely putting SR20 ITBs onto an SR20 is not the most challenging conversion though3 points
-
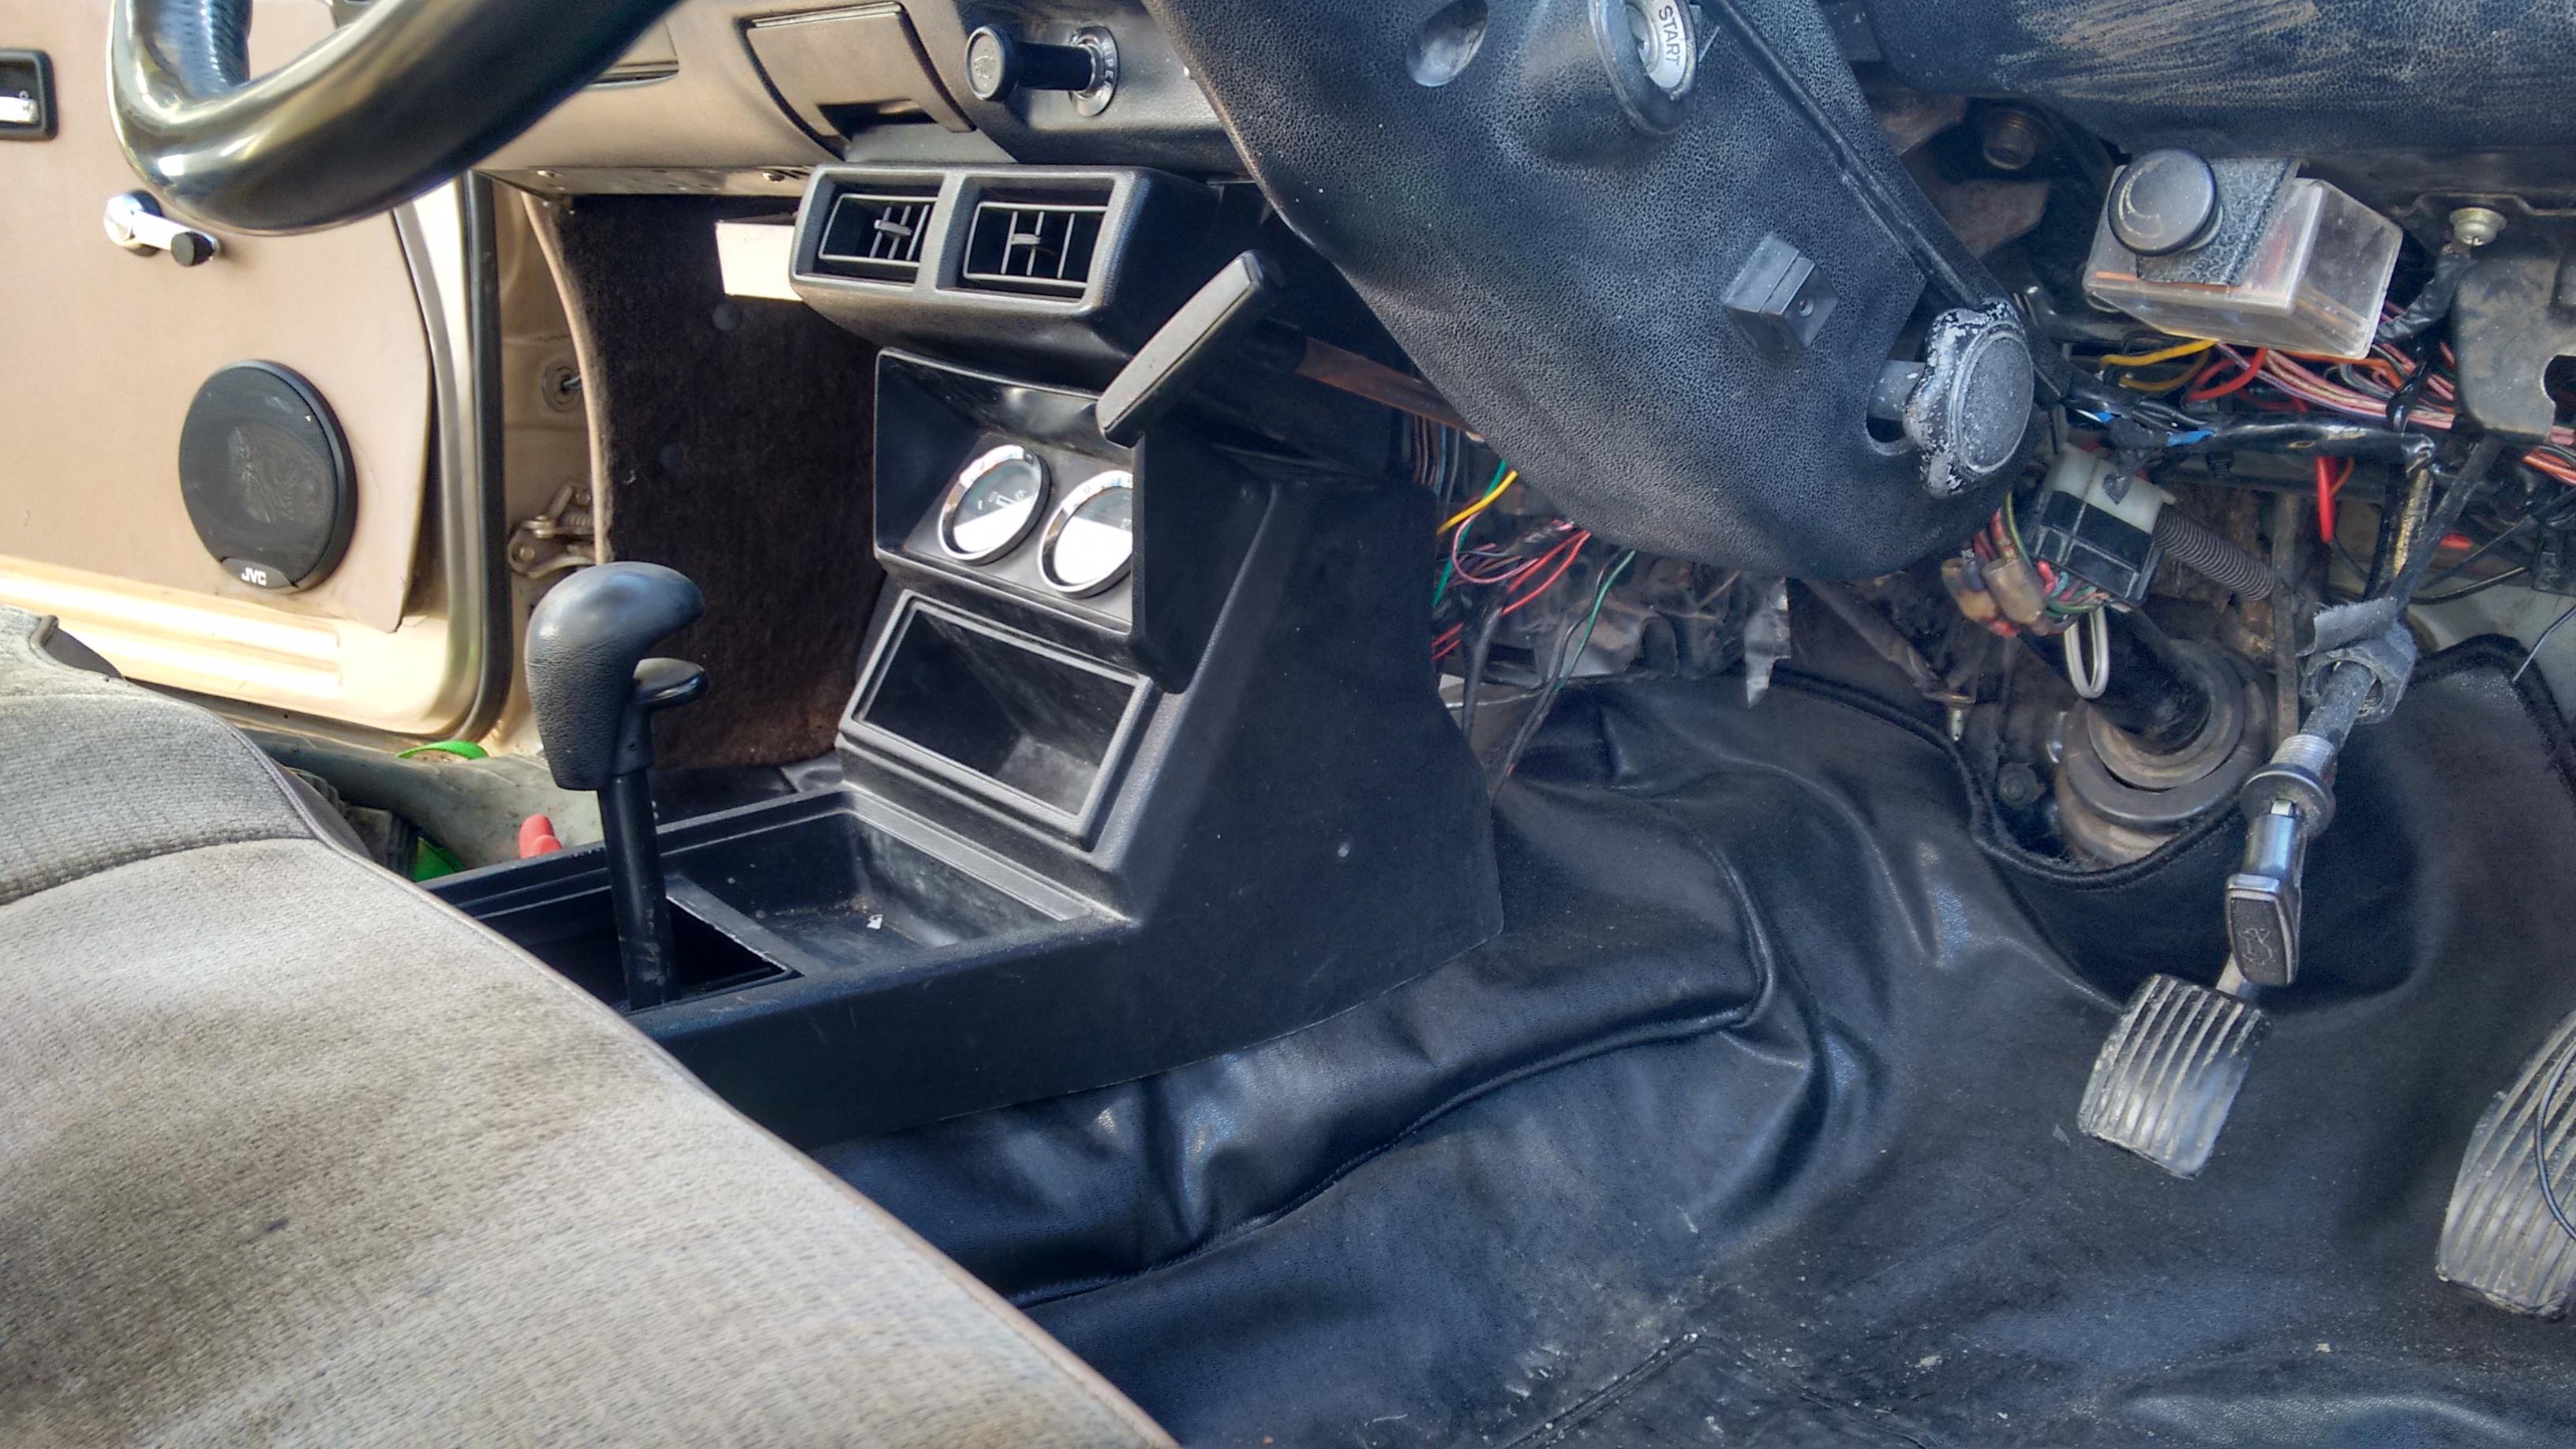
Fresh out of the Mojave desert, I got this dodge d50 sport centre console with gauge pod add on. The yanks actually got sport models with bucket seats, sun roofs and wild decals, we just got farm trucks with maybe a clock Probably the only one in the country
3 points
-
Bring tube in a can instead. Will save alot of time !3 points
-
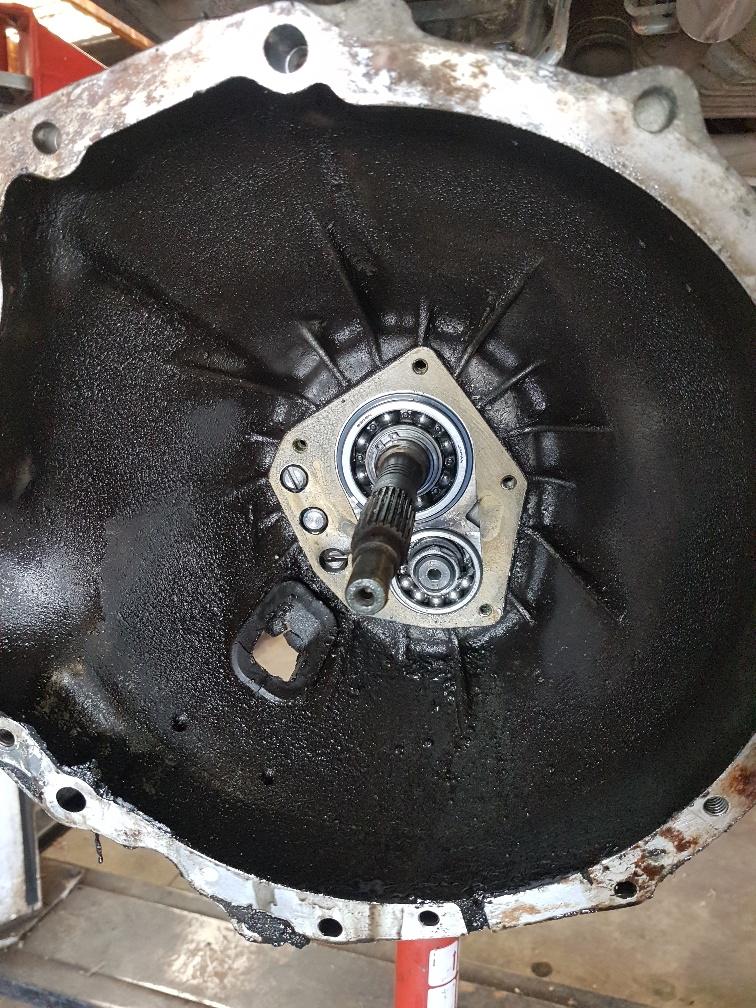
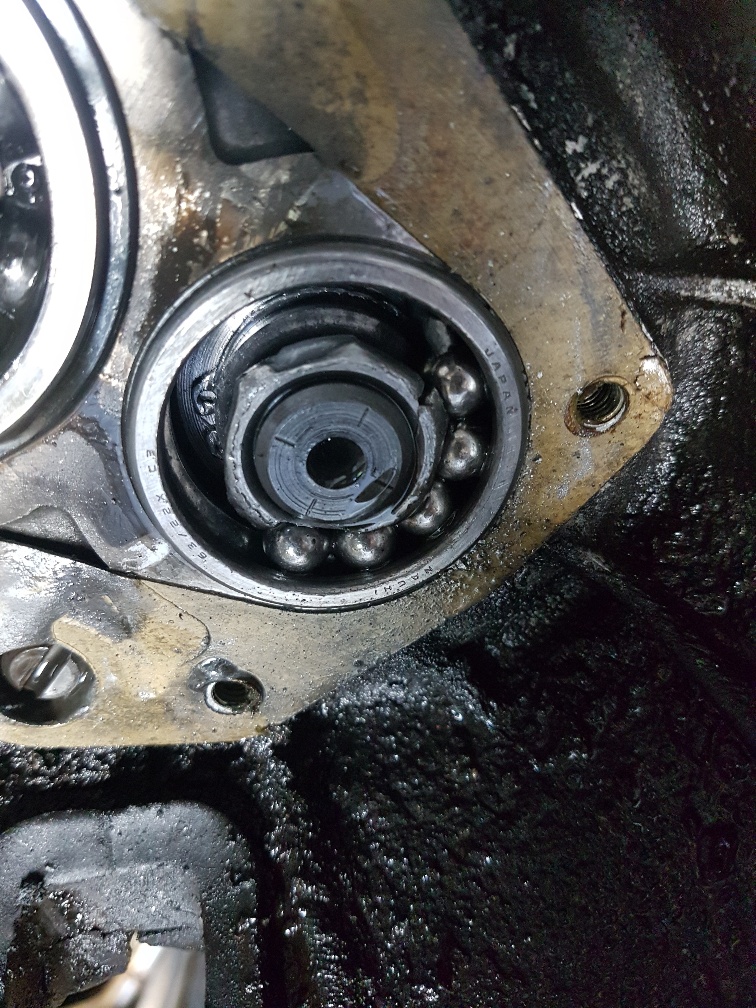
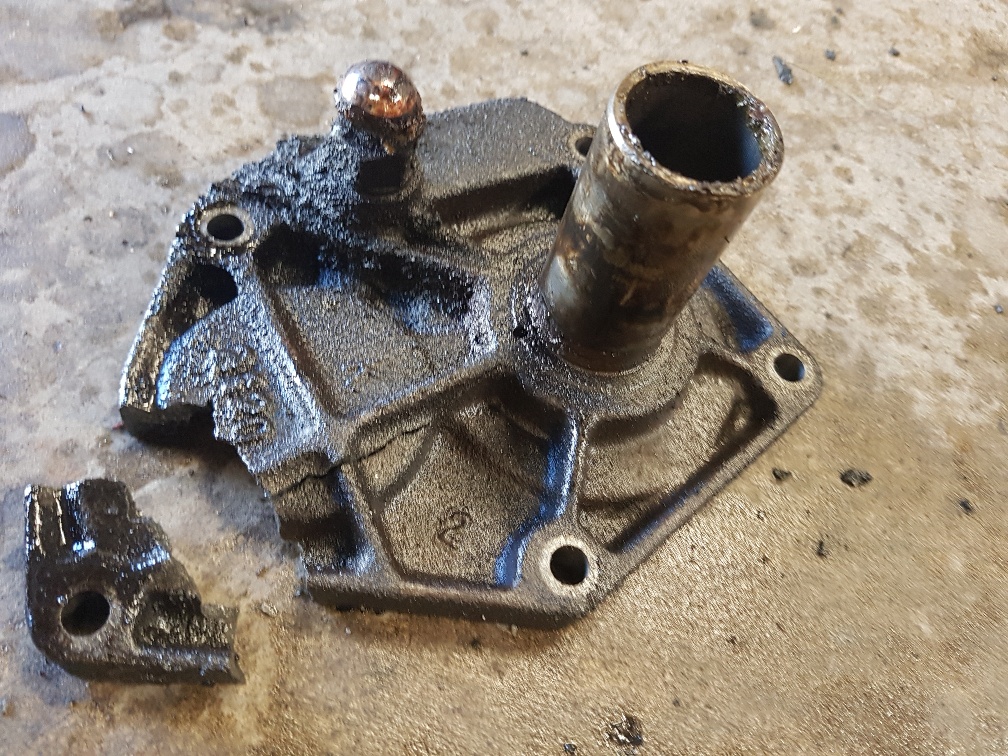
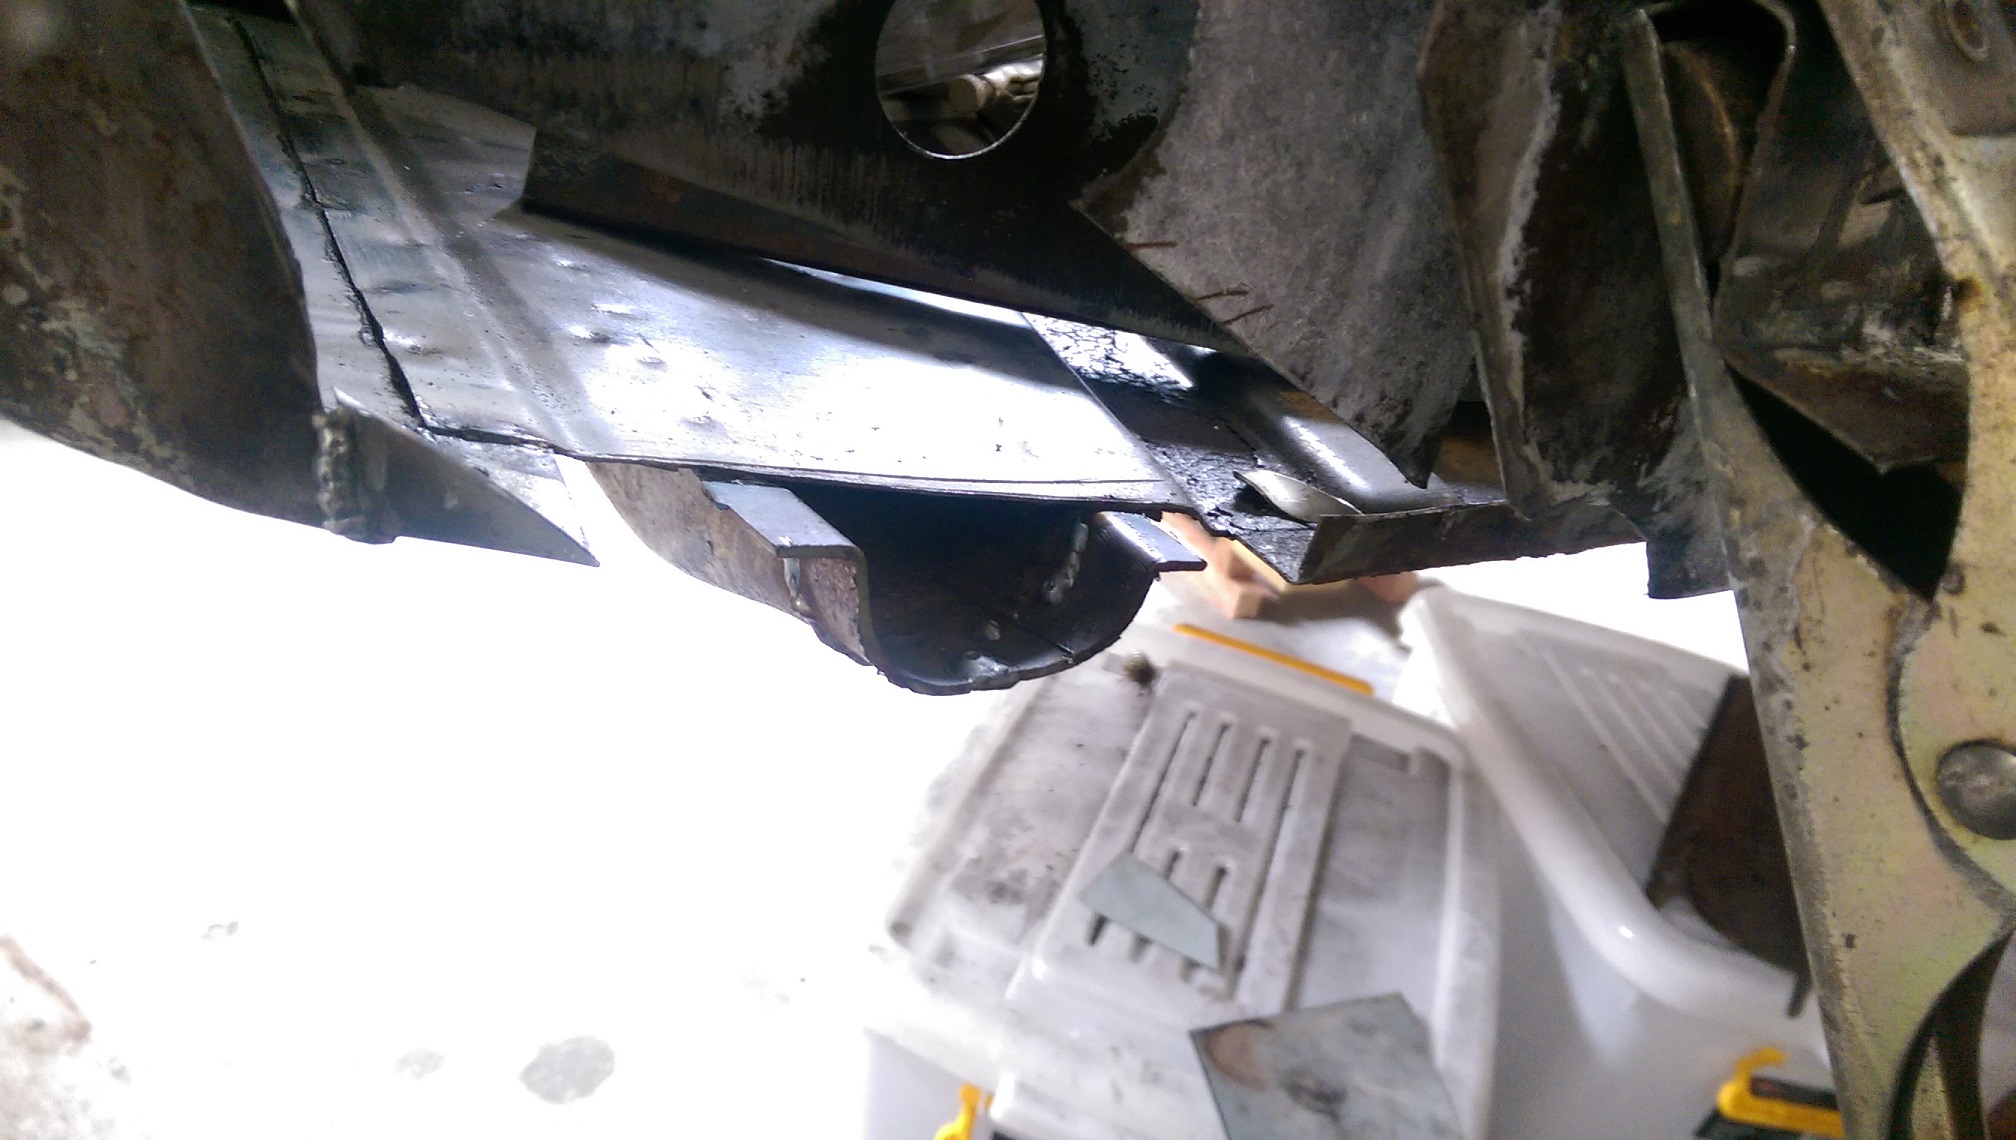
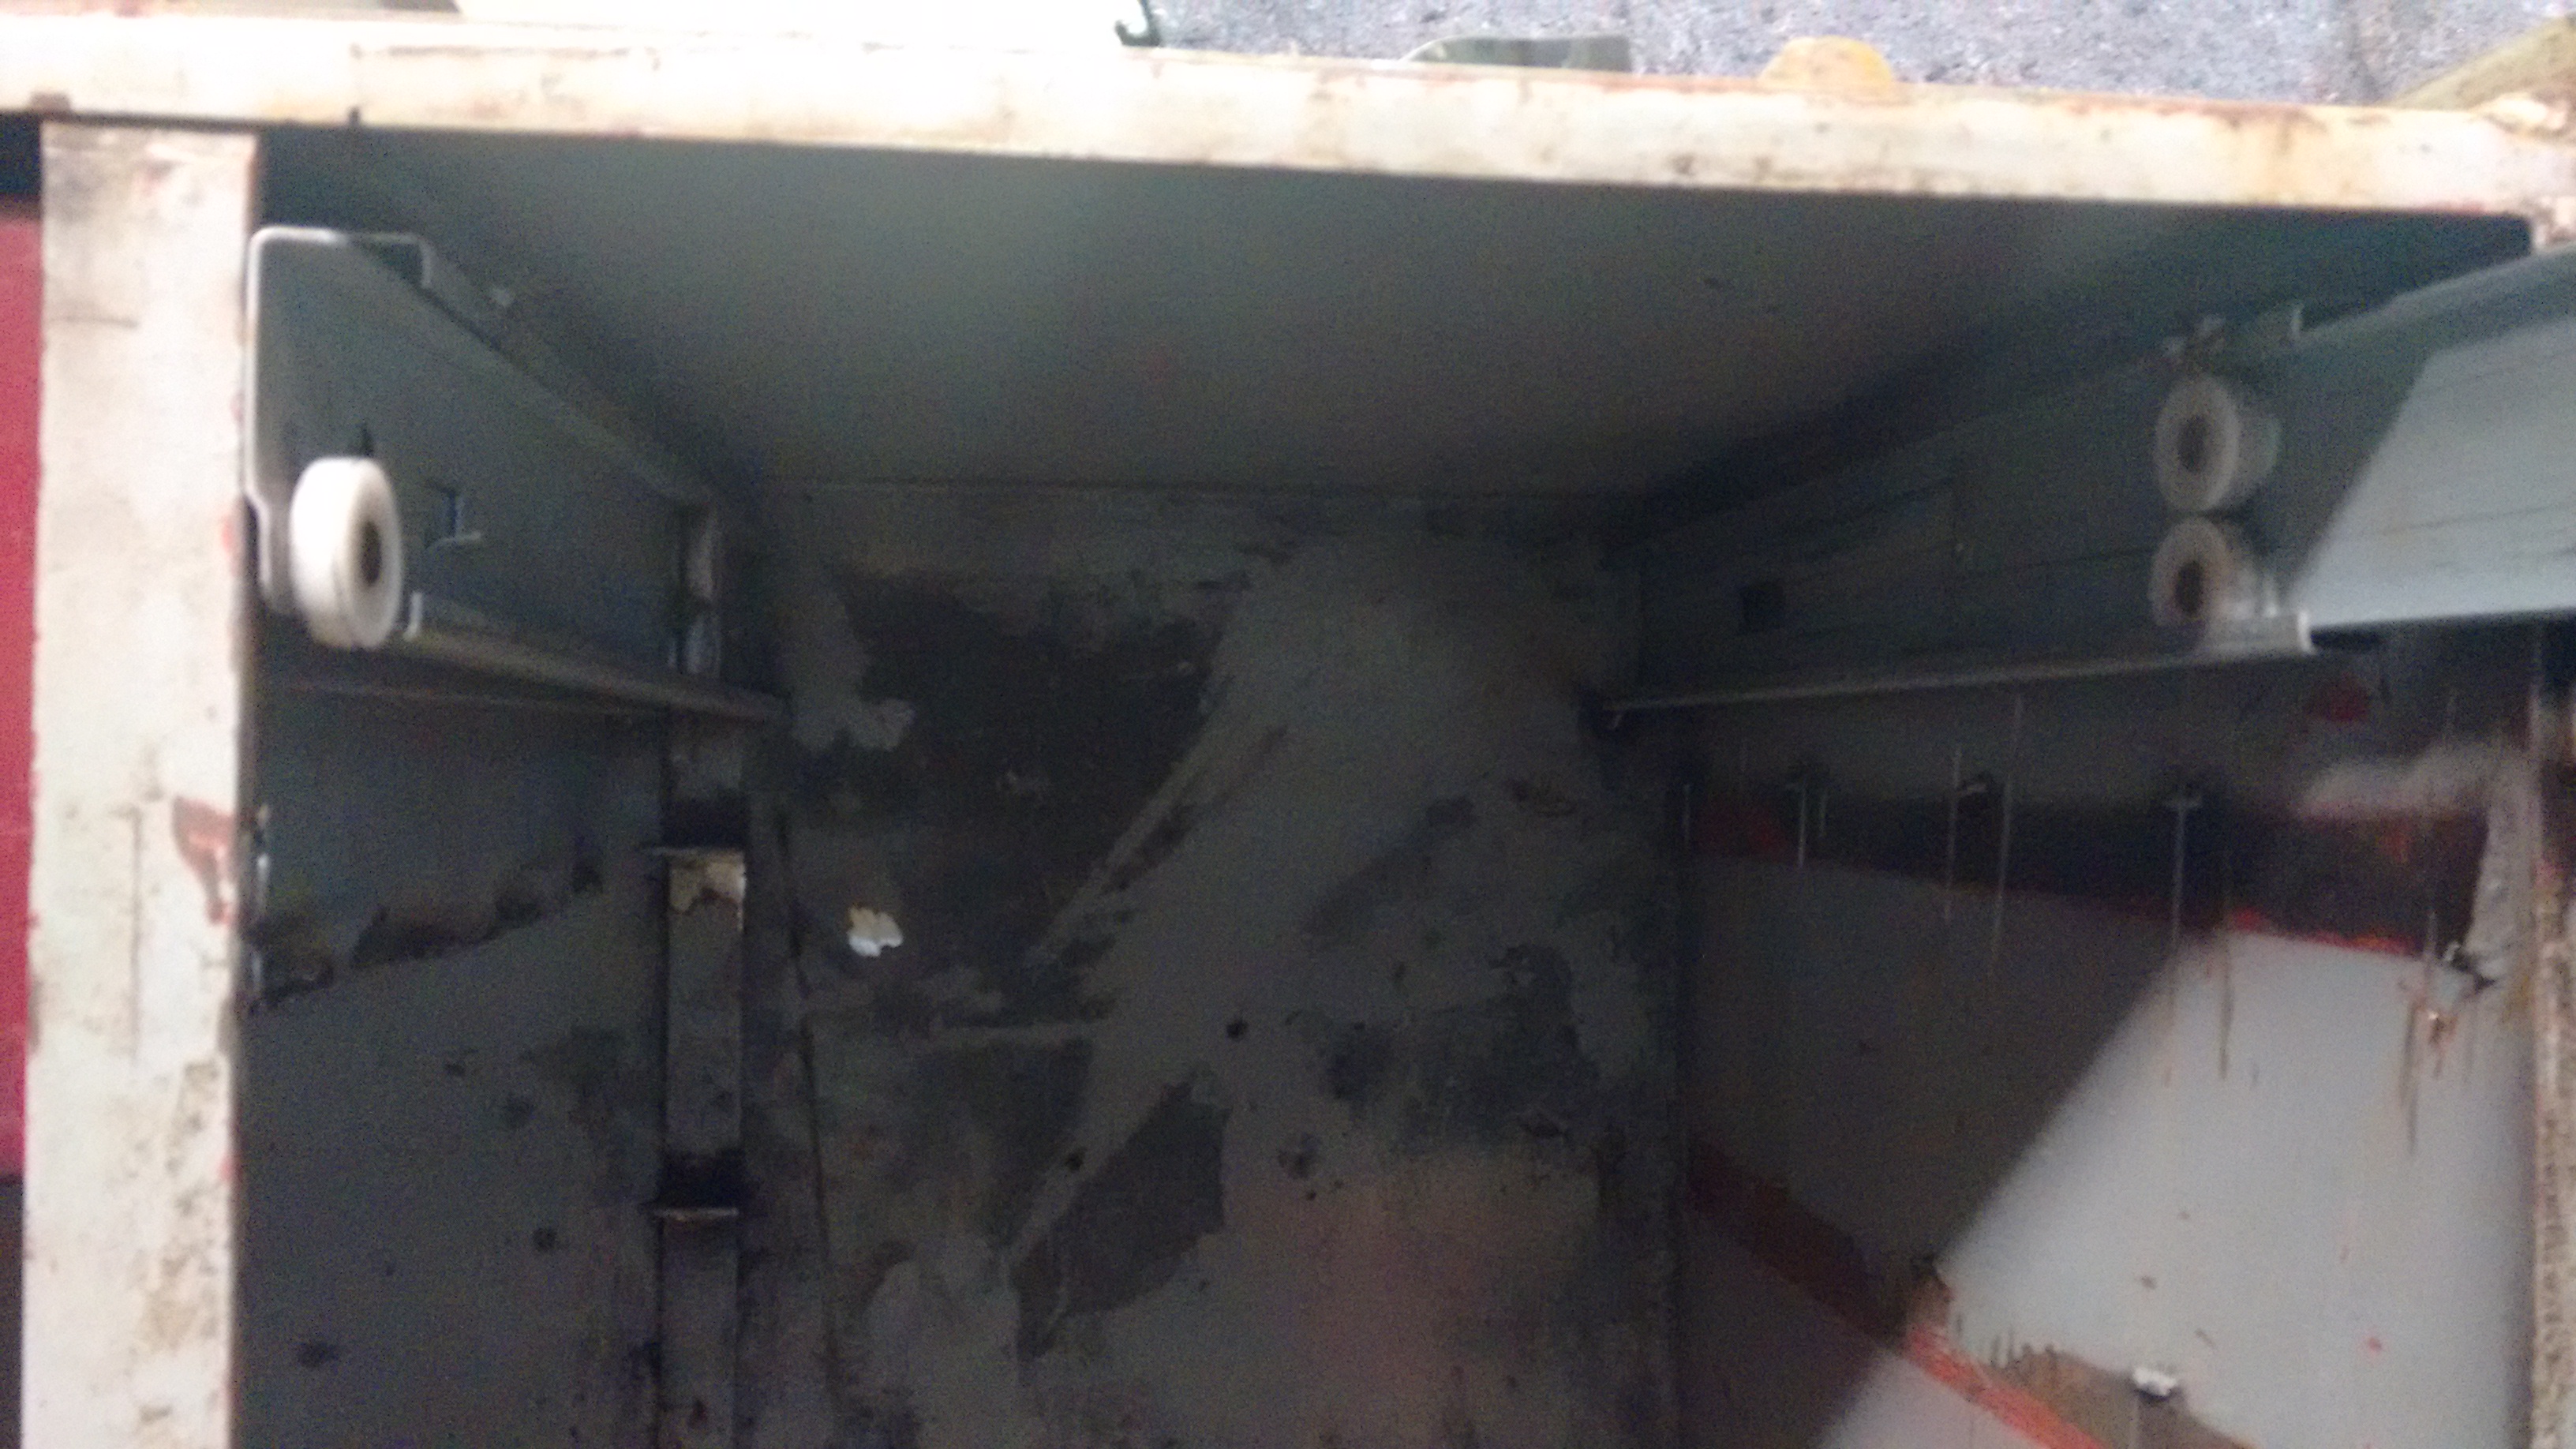
Error 404, layshaft bearing not found Looks like the towing let the layshaft push forward and blow out the front cover, yeah carnage!
3 points
-
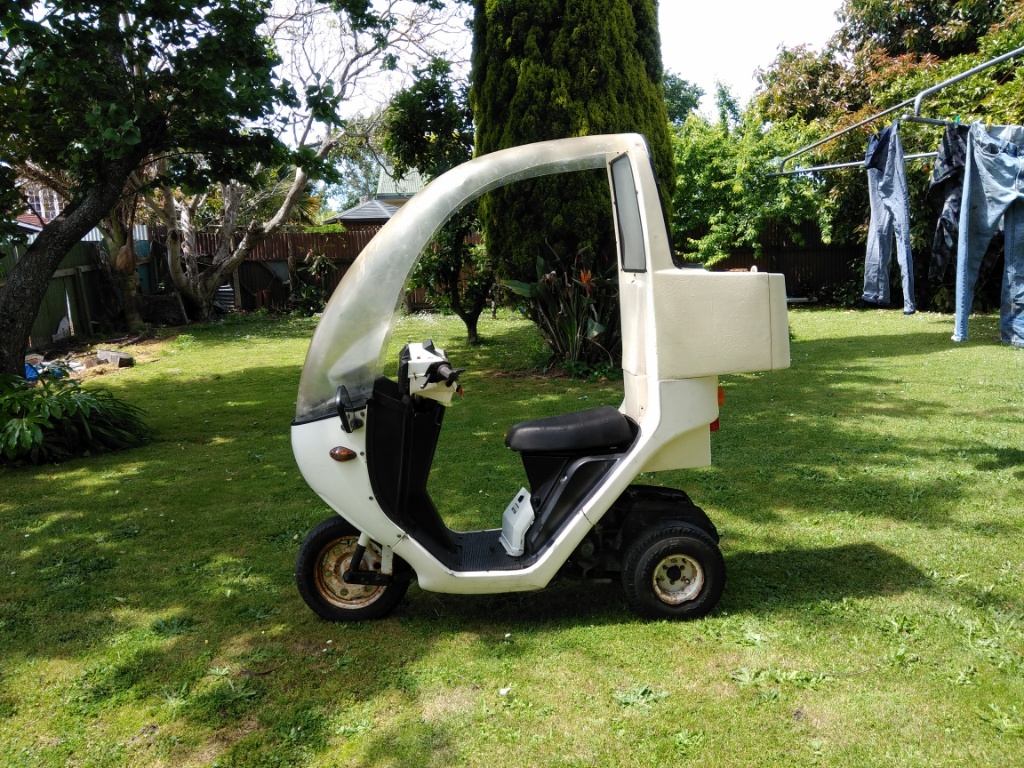
After a 21 hour round trip to Tauranga and back via Hamilton, Raglan, Hamilton, Taupo, Napier etc I've got the 2nd Gyro home. It's still an early model with 3 stud rear rims and narrow track, but the 10" front wheel suggests it's a bit later model than my 83. Few cracks in the fibreglass to patch up, screen hopefully will come up ok with a decent plastic polish. Will pull it out of the van later in the morning and see if I can get it running.3 points
-
All finished
3 points
-
3 points
-
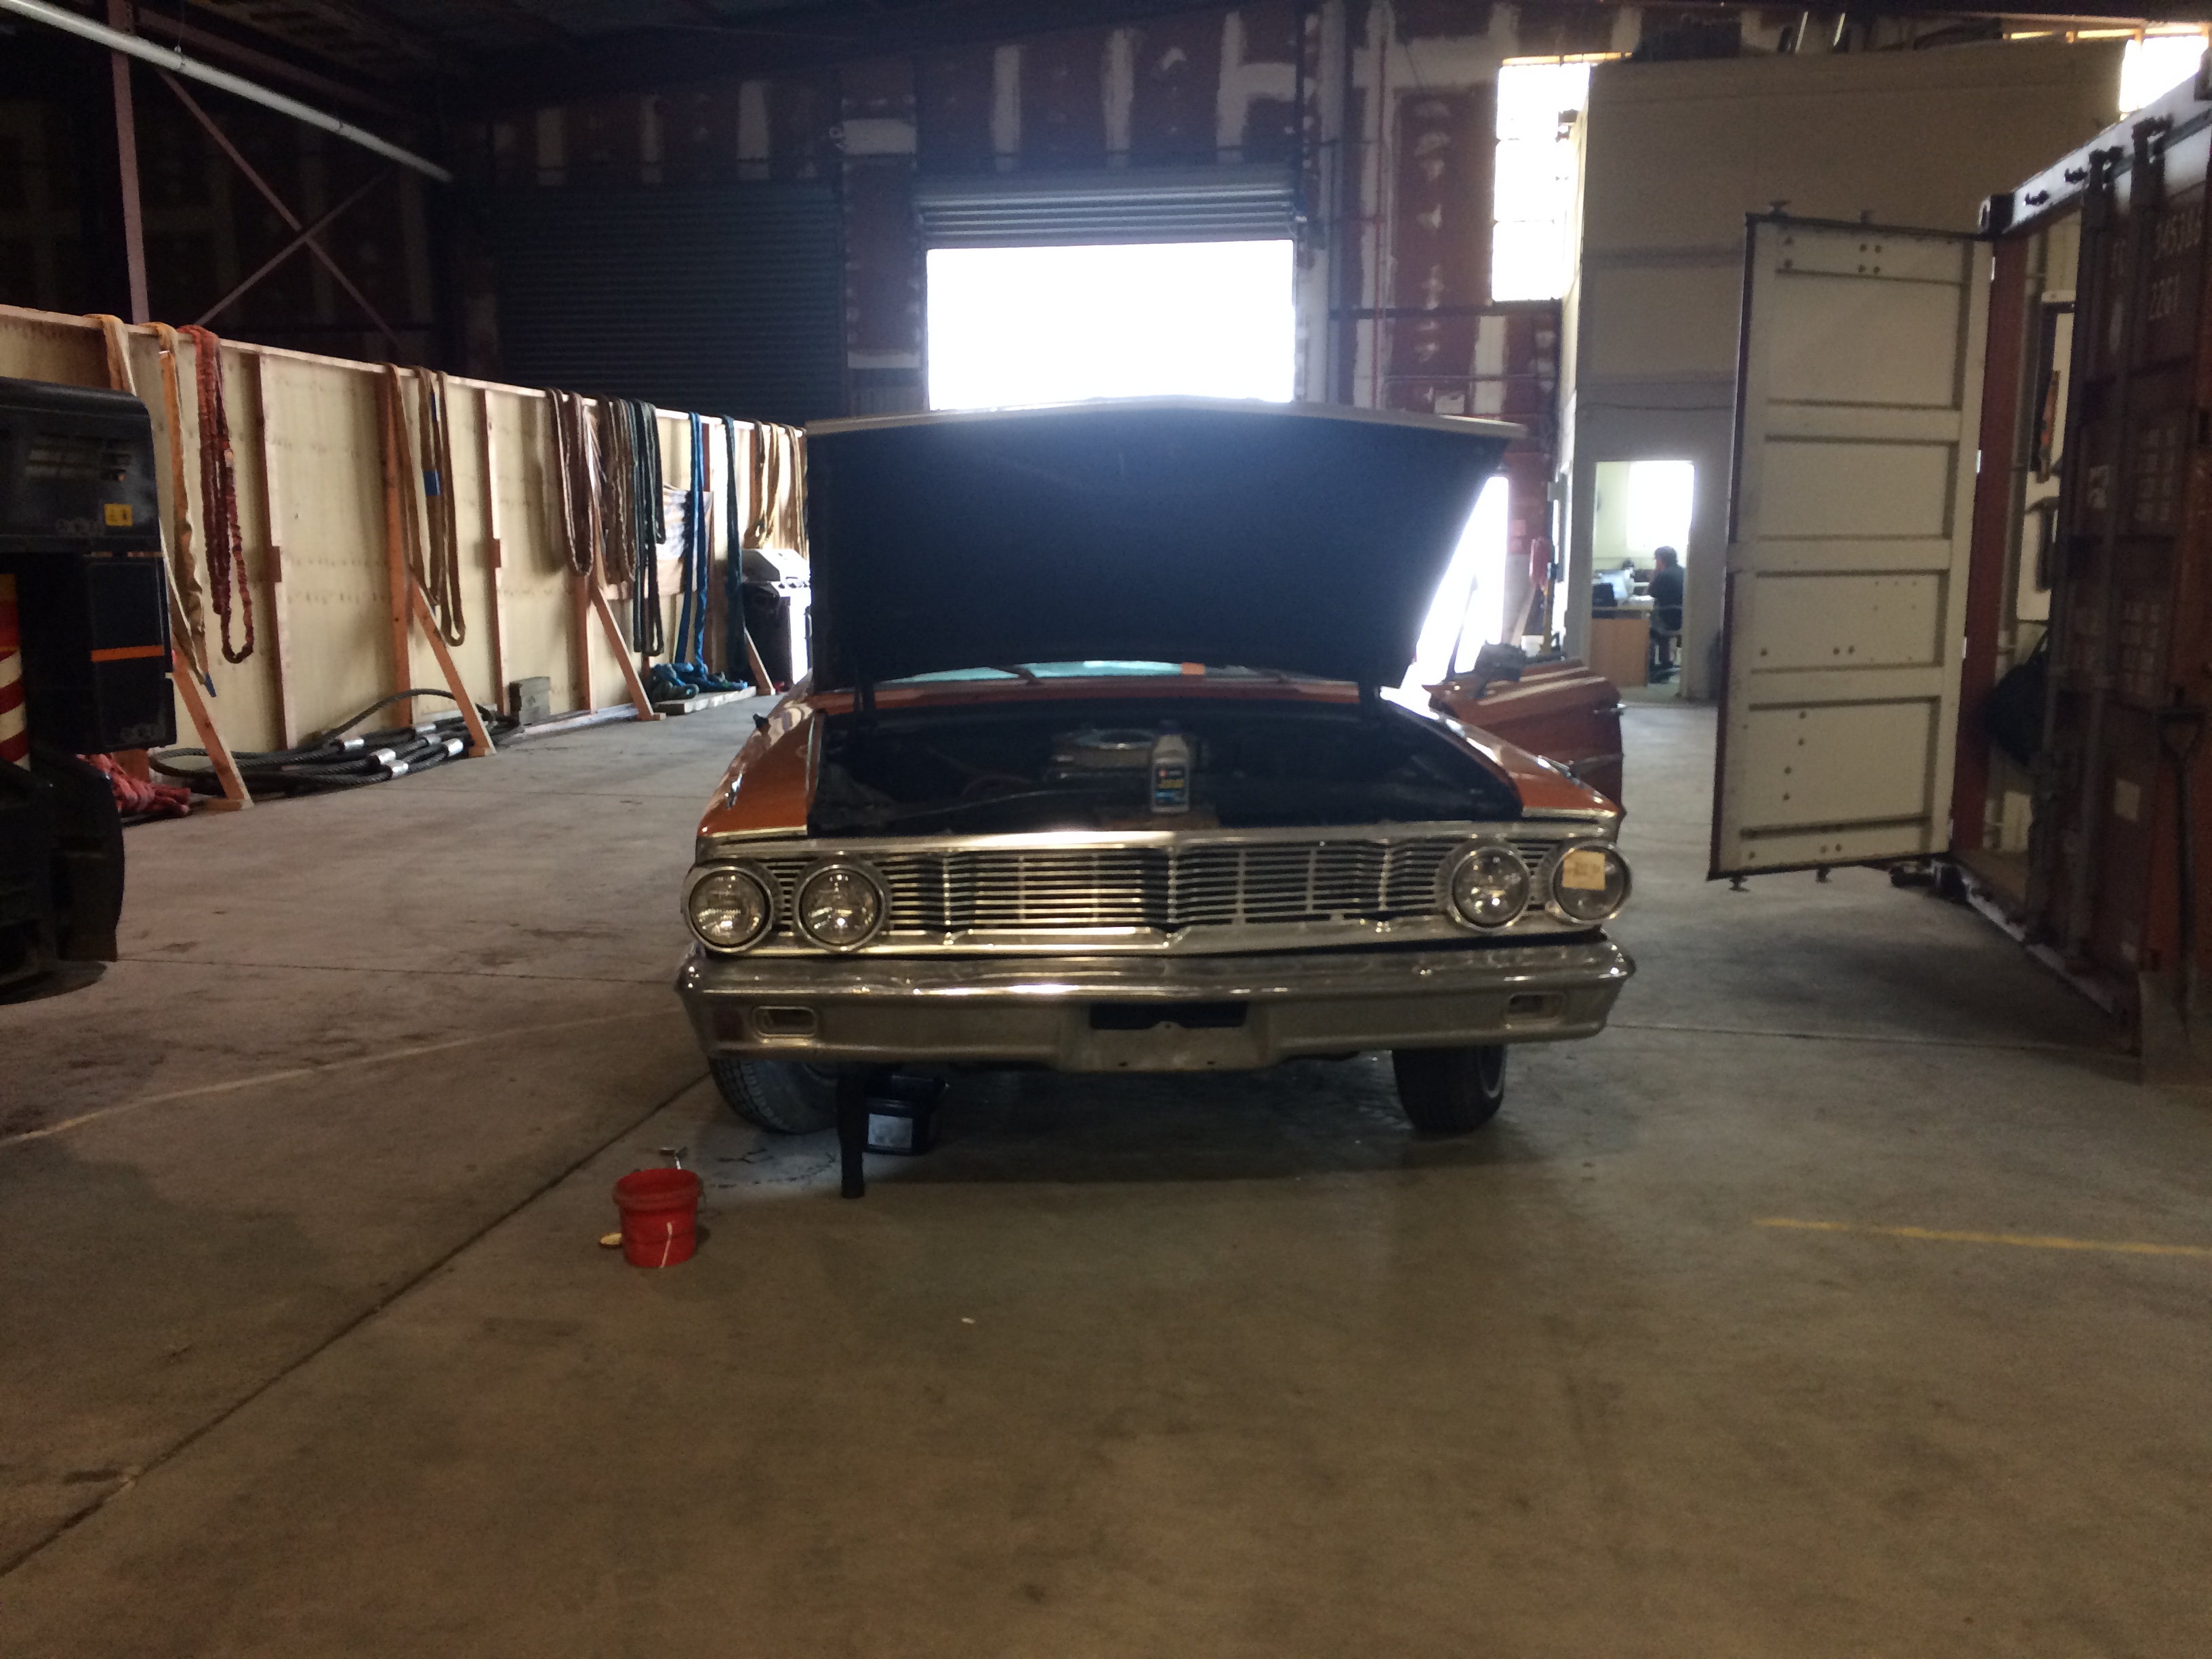
soo with a saga of the parts ordeal going down. @chris r Turned up to pickup his fuel tank and pine over the Galaxie we figured we better start working on the car after a much needed cruise round the block and free included in the deal peelout. that started with getting a horn going so with the horn that i had purchased a couple of days earlier from @tortron some wiring and nut&bolt and cable ties later it was mounted between the radiator and grill without too much notice then the ol girl was screaming so with now having the galaxie in nz lets just say that the shed is somewhat a bit less walking area. with more old man moaning about someone taking up shed space. well sorry mate but this is only half of my fleet of cars but this is oldschool right where ol barry and his boys hoard shitty old cars.
3 points
-
I have a 12v compressor I can bring along if need be. Put some of the 6v bikes in series and make it work etc for max lols.2 points
-
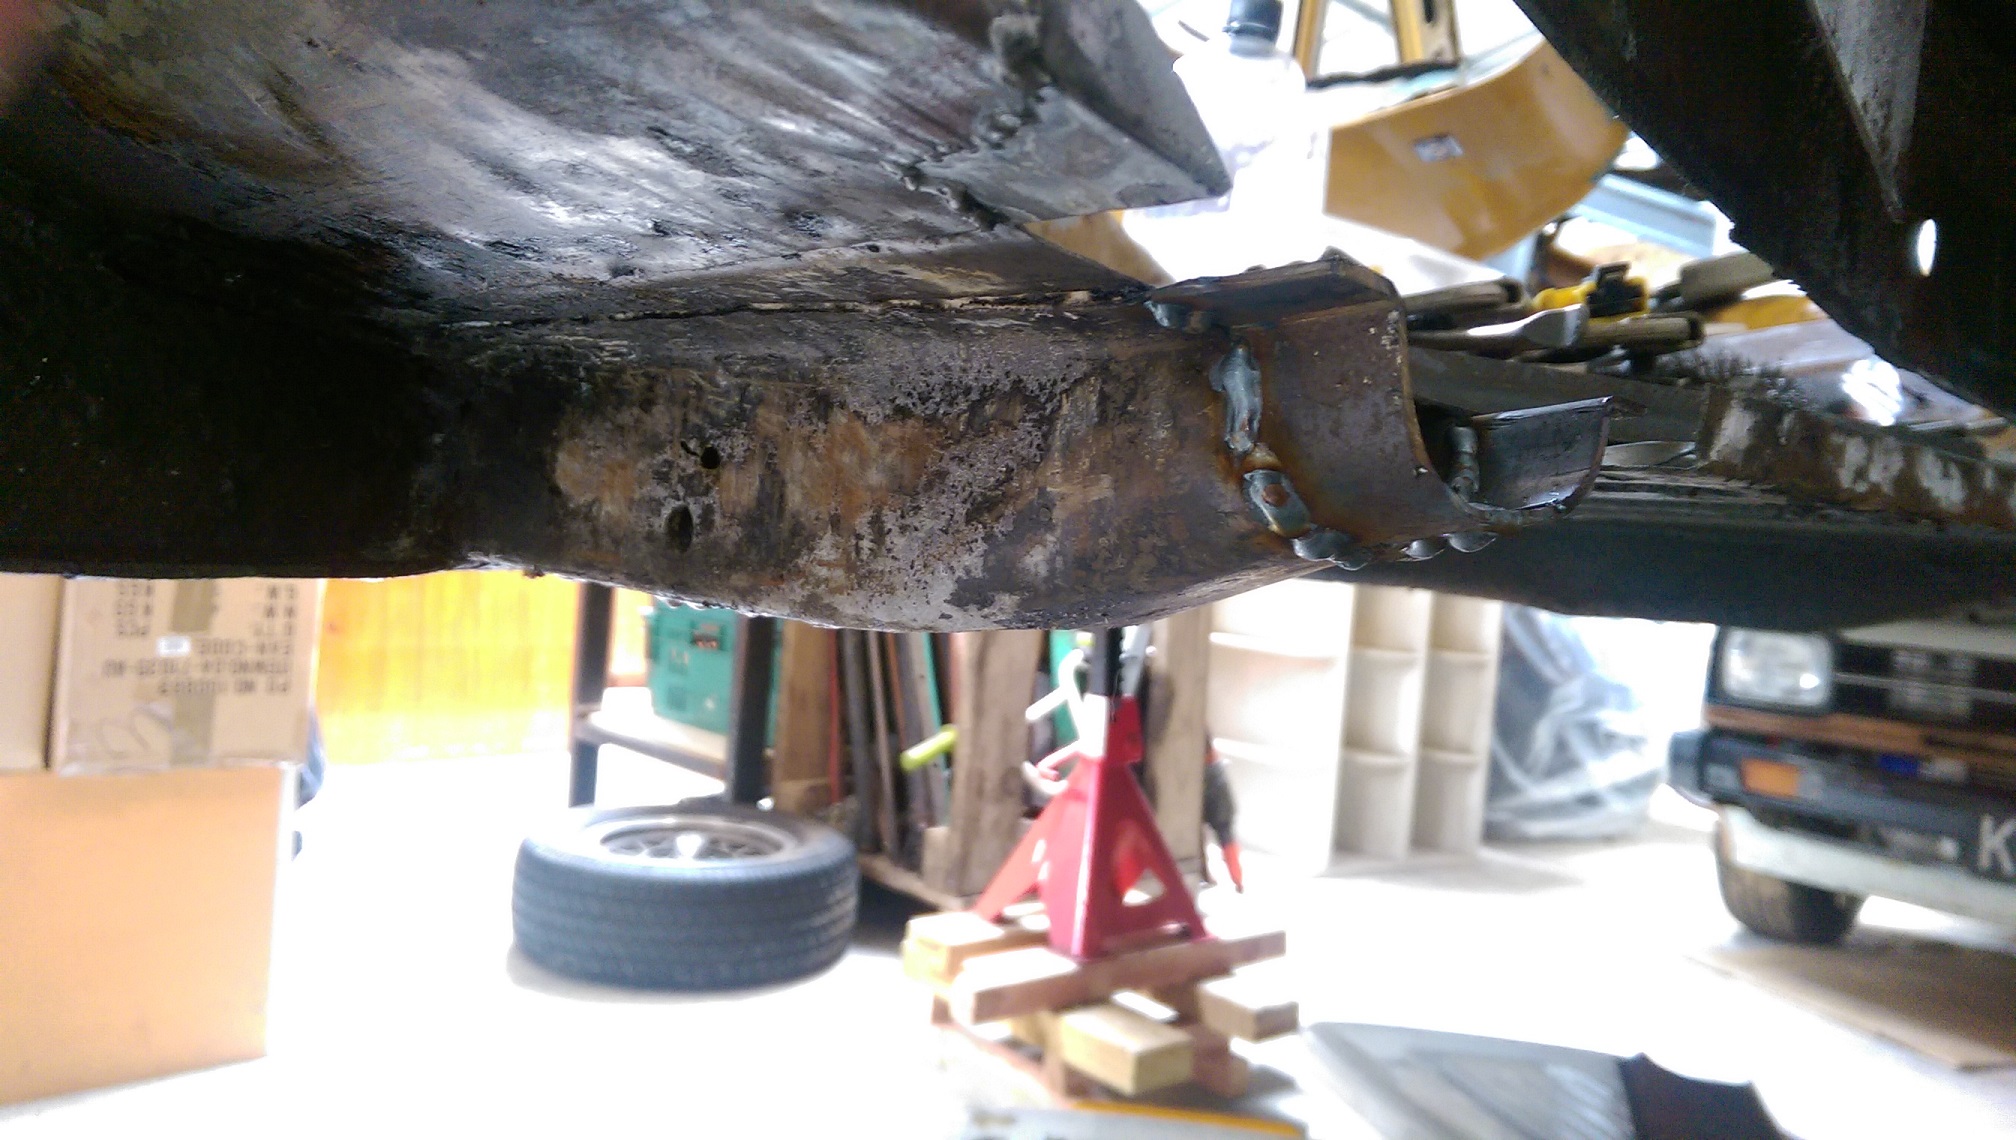
I also made a start on recreating the end of the 'outrigger'. 2mm is so much more forgiving to weld. I made the shape by banging a block of wood on the end of the outrigger to leave an impression. Then cut along that line with a jig saw(I cut it a little too big, should have been smaller), so I ended up with a little block. Then I clamped the metal to the block in the vise and hammered it around the profile of the block. It worked quite well. The top flange is not quite right, I cut and shut/ trimmed it a bit afterwards, but didn't take more photos.
2 points
-
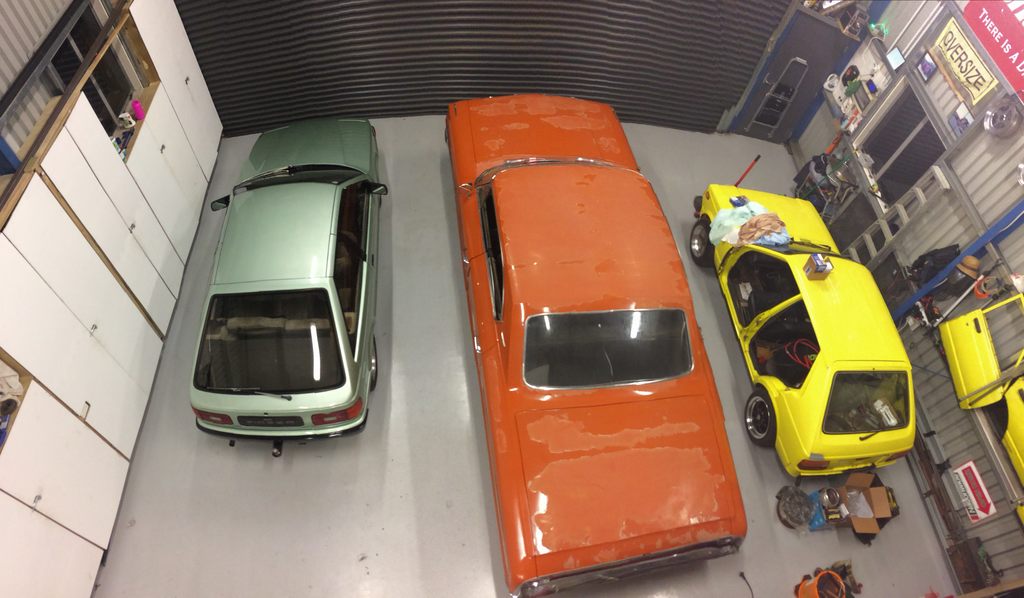
Started on the strip down. Find some good and some bad but overall pretty good. Hoping to get it into Auto blast in the next month to give the chassis a clean up. Meanwhile the other one waits in the corner.2 points
-
using a gib lifter makes short work of it. ya can get 6m long sheets2 points
-
Since the sale of my Viva is finally complete i now have the funds to complete the Anglia. Still in the process of deciding what i do intake and fuel wise, but everything else is sorted. Ive gotten the Zetec out of the Mondeo (Parts are still for sale) and while doing so have realized that ill be doing a few gaskets. Its now mated up to the MT75 gearbox i've had sitting for awhile, apparently you can use the starter out of a Sierra and use a 20mm spacer with the Zetec flywheel and thurst-bearing. With that all sitting i trimmed up the stock engine mounts (Soon to be plated) and the bottom of the sump that was un-needed to clear the steering arms. I Cut the tunnel and slipped the motor in. Now comes the task of making engine mounts, gearbox mounts, driveshaft, tunnel and getting all the parts to get it running.2 points
-
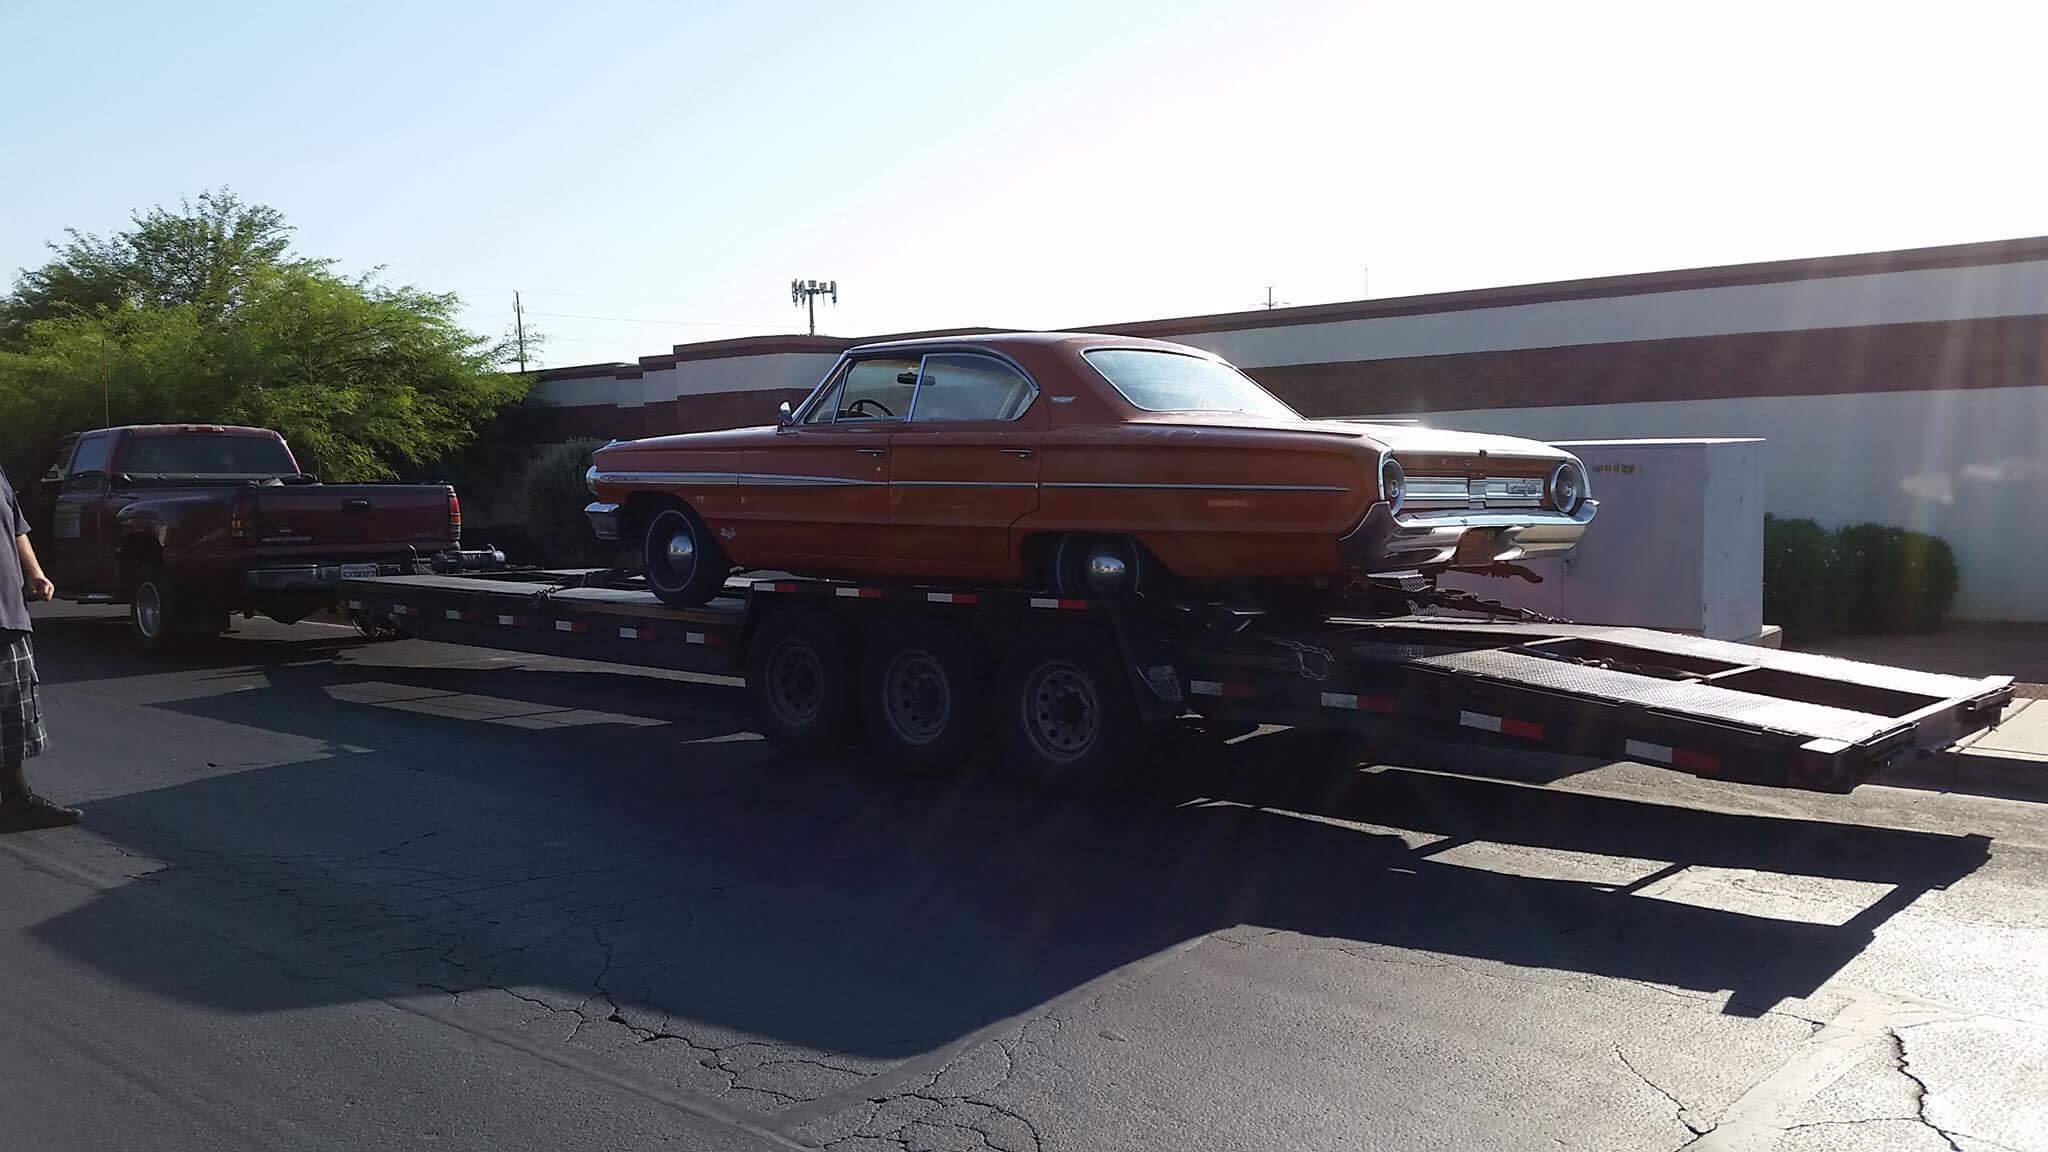
So with my trip to the USA in late 2016 me and a few others met up with their buddy scott. so after talking for abit and spending some time with him and inspecting a car i liked which had too much bog for my liking we both decided i would leave him some cash and when i found a car i liked that met my budget i would get him too inspect it. then many months went by searching craigslist couple times a week with no luck. then a mid 60s Chrysler newport popped up in my price range so had it inspected but ended up needing a full interior and had missing parts all over so that was a no GO few weeks later a 64 galaxie comes up slightly out of my price range but there was nothing else that i liked worth inspecting at that time. so a deal was done to purchase it. sent scott some extra coin to get some parts that it needed also along with getting some cherry bomb mufflers. about a month and half later it started its trip back home starting from phoenix AZ to LA about 4 months later it arrived into nz and being cleared by maf and customs Ready for collection As i go over to collect it from its secure yard the person informs me the paperwork says its a non runner what!? soo it has a flat battery well after swaping a charged battery into it it fires into life meanwhile while i move my car out of their yard and the shipping company (Non reflective) employee moves the galaxie out of the storage lot he starts to crunch a few gears then almost hits the wall a few times trying to park it. By then i was ready to throw him out of the car. then he asks the question on how im going to take it away? well im driving it mate And too much surprise he replies in shock it has no brakeees. oh yeah algood mate guessing he just has no clue about cars. so i hop in and brake pedal goes straight to the floor this is going to be interesting so i crawl up the road a few kilometers by changing from neutral to drive and trying to use the useless handbrake when needed soo a right turn comes up that i need to take ah not going to make that stop so i keep rolling in the median strip to the next street on my right. the next T intersection i roll through slowly followed by another right turn I have now arrived at my old mans workplace to check the brakes out so i can drive it home So i top up the empty brake reservoir and bleed the front brakes and we are good to go! so i cruised on home
1 point
-
Pretty sure theses still fuel at the camp ground or motel at Te Kaha so that breaks up the big gap between Tirohanga and Waihau Bay for feeding the hungry ringadings Plus gas at Ruatoria between Te Araroa and Te Puia Springs/have a hongi with a rastafarian but watch out the dont cut your head off Also for those from afar be aware that petrol can carry a 20-30c/L premium over what it costs you anywhere closer to civilization1 point
-
I did try and figure out how far between servos, but I cannot guarantee there will be fuel available at these places, there may be places I've missed though. Jamie is pretty much on the money with this one. Whakatane to Waiotahi = 31km Waiotahi to Opotiki = 14km Opotiki to Tirohanga Store = 7km Tirohanga to Waihau Bay = 96km Waihau Bay to Te Araroa = 56km Te Araroa to Te Puia Springs = 69km Te Puia Springs to Tokomaru Bay = 11km Tokomaru Bay to Tolaga Bay = 36km Tolaga Bay to Gisborne = 55km Gisborne to Matawai via Rere Falls = 96km Matawai to Tirohanga via Motu road = 71km So yeah, if you can manage 100km without fuel you should be OK, maybe aim for 150km to be safe. A 5L fuel can should surely see most bikes easily get 200km right? I plan on carrying 5 or 10L on the CT and am pretty confident I won't need it (famous last words). Will have 20L or so on the trailer as a last resort1 point
-
Most people use use collated screw guns these days.1 point
-
Its changed hands many times in the last few years. I believe it was originally a 30e, its had a 350 at some stage, nothing atm. Its in a bit of a state but I couldnt help myself. I regretted selling my last one, I had to get another.1 point
-
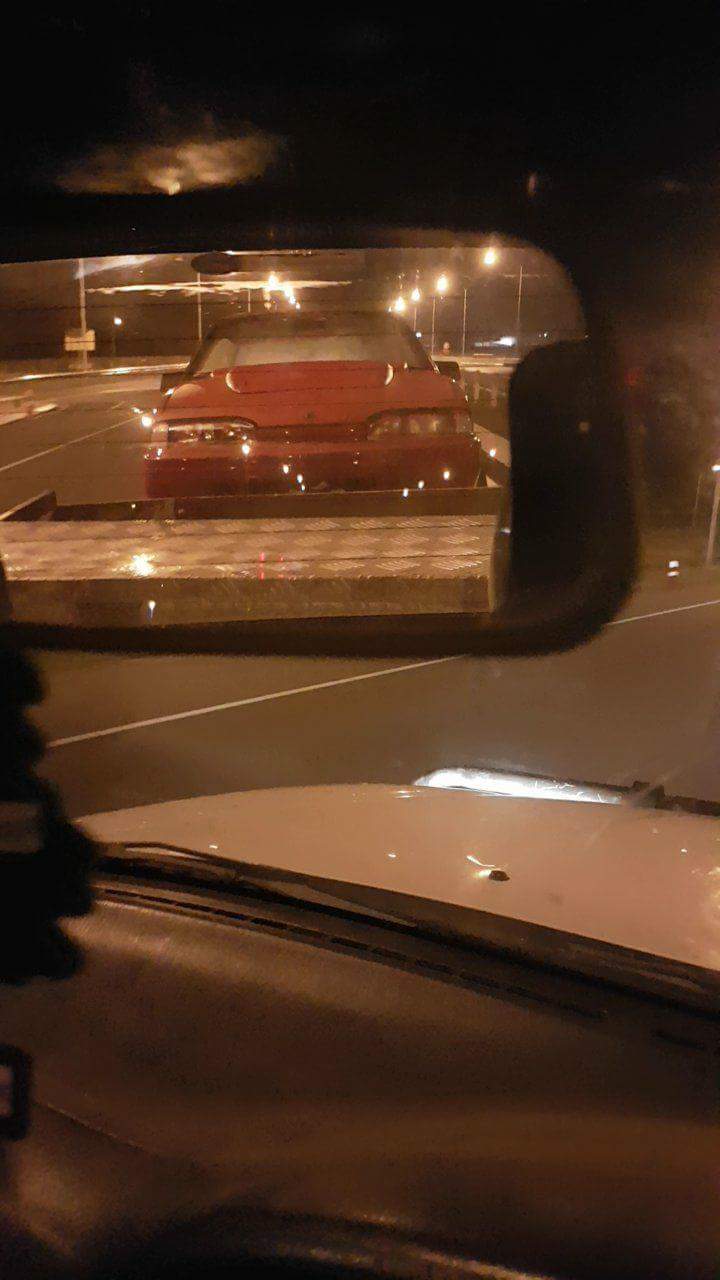
Perfect. Well this guy followed me home last night I figured itd be rude not to take the wee fulla in.
1 point
-
Man this second gyro is rad! It was great to finally meet you yesterday buddy! Needs a sub box1 point
-
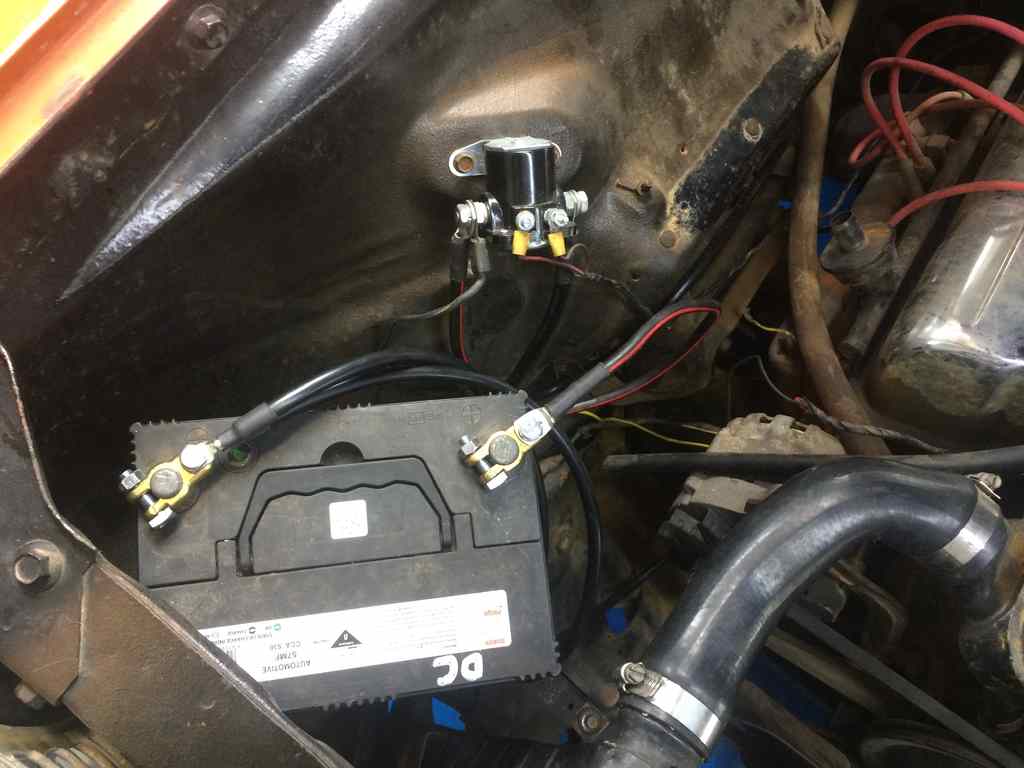
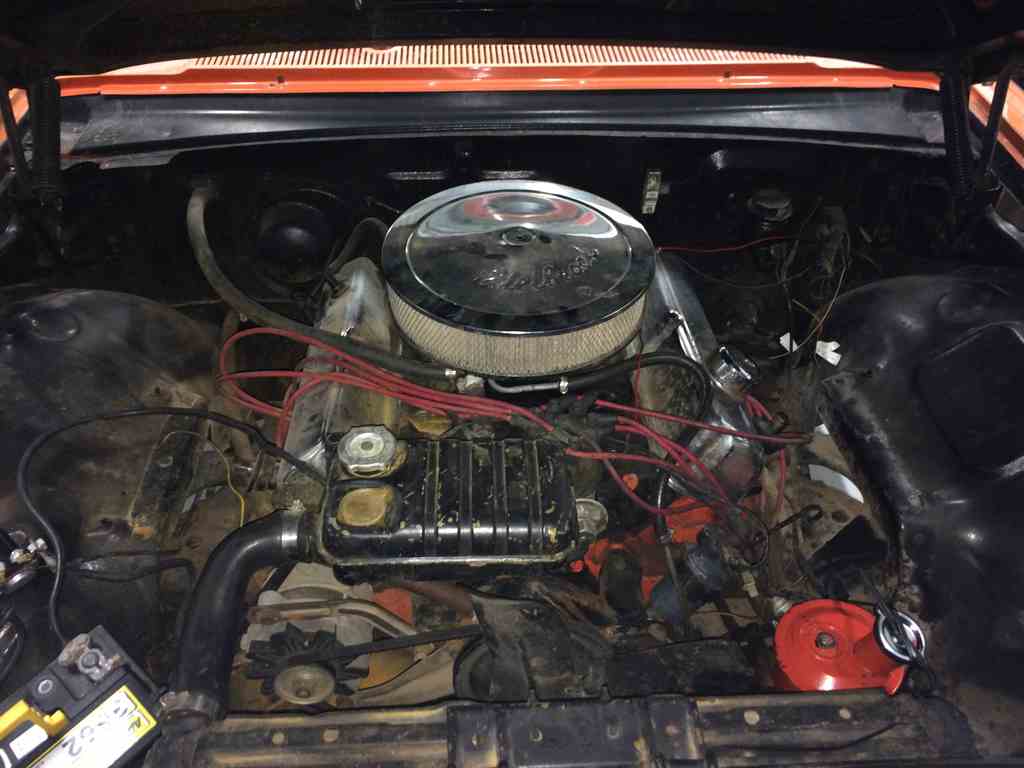
so seen as it was a long weekend last weekend @chris r come round on the monday and gave me a hand with the wiring side of things dam american's and there twist and tape method or just don't plug it in or run a wire. got some new wire for the battery leads and new terminals too help with starting. so out with this hori wiring so now has nice new cables running from the starter and earth leads along with some new battery terminals so heres a photo of the ol 390fe big block she's running. and if you look not very close you can see how shit the battery leads were along with all the other wiring witch needs a good tidy up.
1 point
-
I removed the crappy stereo and looked at the wiring, sighed and pushed it back out of sight and started putting the front half of the interior back in over some 6mm foam which makes it a bit nicer to sit in while faffing about The old stereo was just sitting in a big hole in the dash as the factory (single centre) speaker cover is all broken too and my spare headunit (CD) was too long, so ive ordered a cheap 'retro' mechless bluetooth jobbie off aliexpress, as well as some gauges, (RPM and Voltage), and some other shit. To prep for this, i made up a dash panel for the stereo to mount in and ive had this cool gauge pod thing for ages and i think it suits the brittle black plastic aesthetic that the interior has going on (the screws are fake, lol) I only had to trim this massive gash a wee bit (on the bottom half) to get it in Bit of black formica over the top and jobs a goodun pending the headunits arrival. Will probably run oil pressure, a 52mm tach and voltage as the dash water temp gauge works fine. Sorry about the carpy photos it was dark.1 point
-
Yesterday: Today: Finest quality rattlecan rebuild. Turns out this was a leaky bung replacing a frost plug, small seep that only really showed up with the paint. So thats out now, and a fair bit of old shit that'd been inside the block. Next up his scrubbing up the bay... I didn't get a before, but believe it or not this is an improvement. Really wanna find a dual plane edelbrock manifold cheap while i got it out. No fucker seems to have one to sell.1 point
-
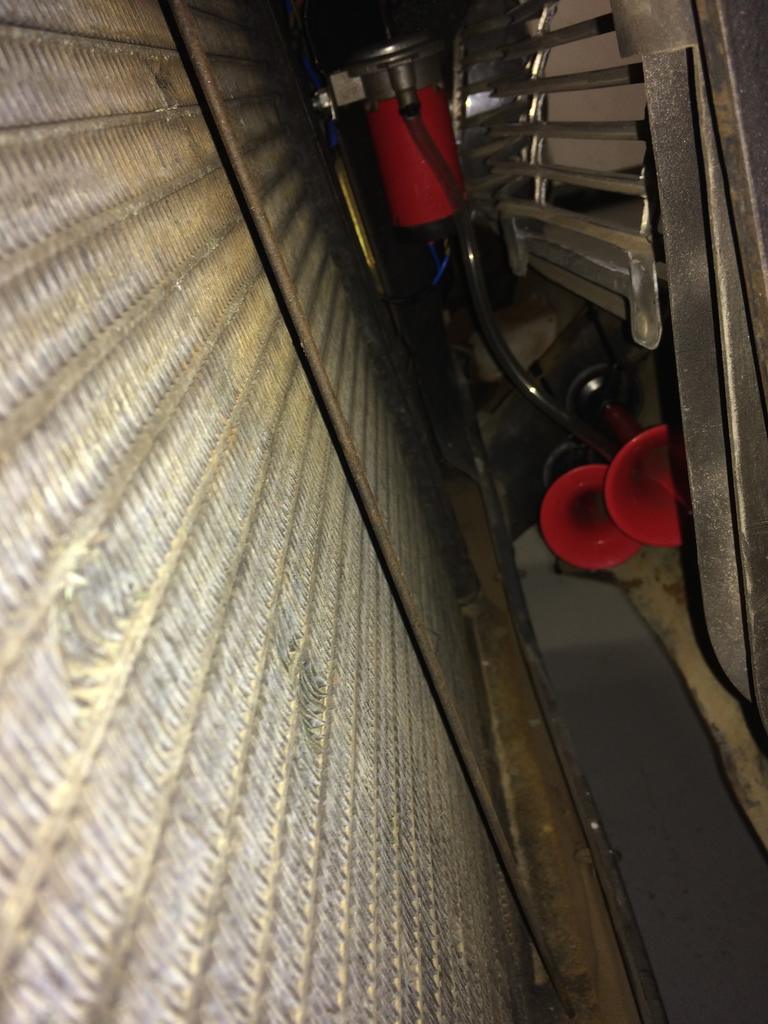
Average update a couple weeks ago after filling up this thing started running super average, couldnt keep cruising revs as it would bog out, but would idle fine etc and fucked around and problem went away, until I lent it to @Beaver while I did some work on his van brakes He pretty much left our house and instantly had issues with it, however he managed to get it home and I got back a few days later. Anyway long story short I had always been pretty suspect of the carb. had been on @Bluebear01 about a rebuilt carb he had on a crown he is going to 1uz, So after a few short messages carb was on its way. Wacked it on and everything is back to normal Ready for Summer wagoneering and camping
1 point
-
Bit of progress over the weekend. Brake lines done and installed. I took the rear muffler section off and under-sealed the underside of the boot floor. Inside boot now painted. Battery box now mounted in final spot and clamp made up. Accelerator cable made up and installed. New bonnet release cable made and installed. I still have a few small jobs to get done but hopefully in the next week it should be able to drive under it's own power for the first time in 5 years....
1 point
-
another two favourites spotted recently, sorry to spam your thread. if you spot any goodies online over this side of the world and need any help getting it back to you give me a bell
1 point
-
Yes would need re cert. Have you considered putting another chev in it? Then it wouldn't need re cert1 point
-
I was blown away by it.1 point
-
I'm a fan of your bathroom prep1 point
-
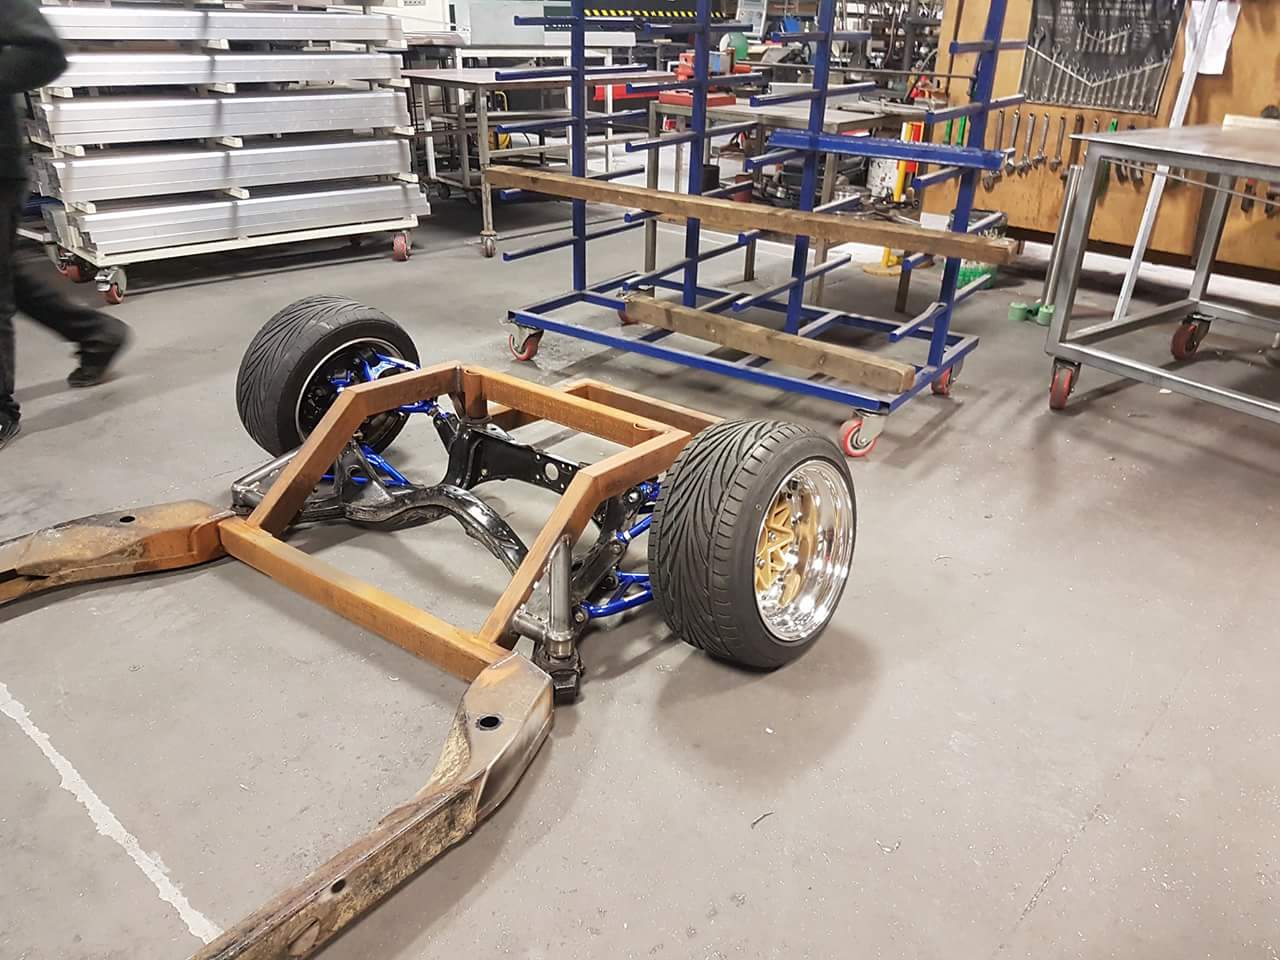
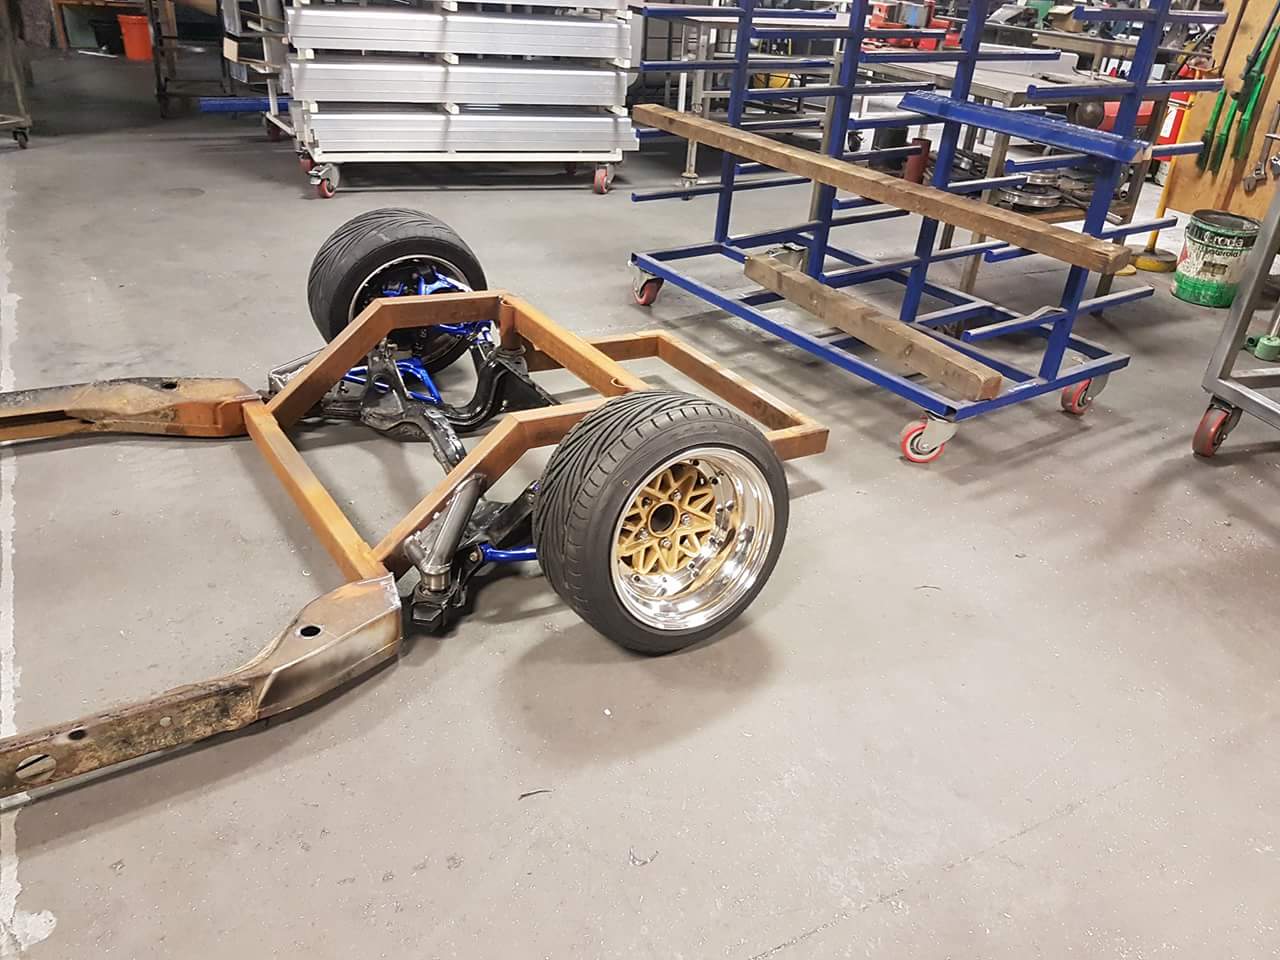
put shocks and original lower arms in so i could position things to figure out length of upper links. cant test with the original uppers because changing from the clevis type attachment with bush in the diff to a rod end. found diff flange hitting floor so cut out that bit of the tunnel sketched things up to avoid fuckups since the 4130 tube is not for the wasting, and need to ensure rod ends have 1.5 diameters of thread engagement. This means even with things being adjustable you still only have about +/-8mm which isnt a huge amount when split between needing some part of that to square the rear axle, some amount to set the pinion angle and some amount to set the fore/aft position of the wheels in the wheel tub.1 point
-
no updates for a while but plenty of work going on welded swaybar mount in fully and finished welding fuel tank frame fully built a sheetmetal folder, something id been thinking about doing for a while started making up some of the new sheetmetal to fill in the giant holes in the back of the car then realised i needed to know there the top of diff etc would end up to know how high the piece infront of the shock mount needed to be so better get onto the diff mounts. being triangulated 4 link the uppers are pretty tricky, exacerbated by the fact that diffs are almost inevitably asymmetrical so no part of any of the brackets is the same left to right etc. had to make up a bunch of bushes for the rod ends to set the width of the mounts. much mess and nearenoughommerty on shonky old american lathe more precision cad work twelve hours to make upper mounts over 2-3 days, less than one hour to fit laser cut kitset lower mounts shock mounts tacked on and test fit of wheels, all seems to clear so far 11pm - time to test fit to car fuck. solid race swaybar is in the way. 11:15pm - no spiders to be taken to prison for rogering, bugger the neighbors this time, out with angle grinder all the way hard up into the c notch 11:30pm fuck yeeeeeeeeeeeeeeeeeeeeeeeeeeee ground clearance present, wheels turn and dont rub. all that measuring and trigonometry magic did actually work. so much work still to do but gotta take the feelsgoodman.jpg for the moment1 point
-
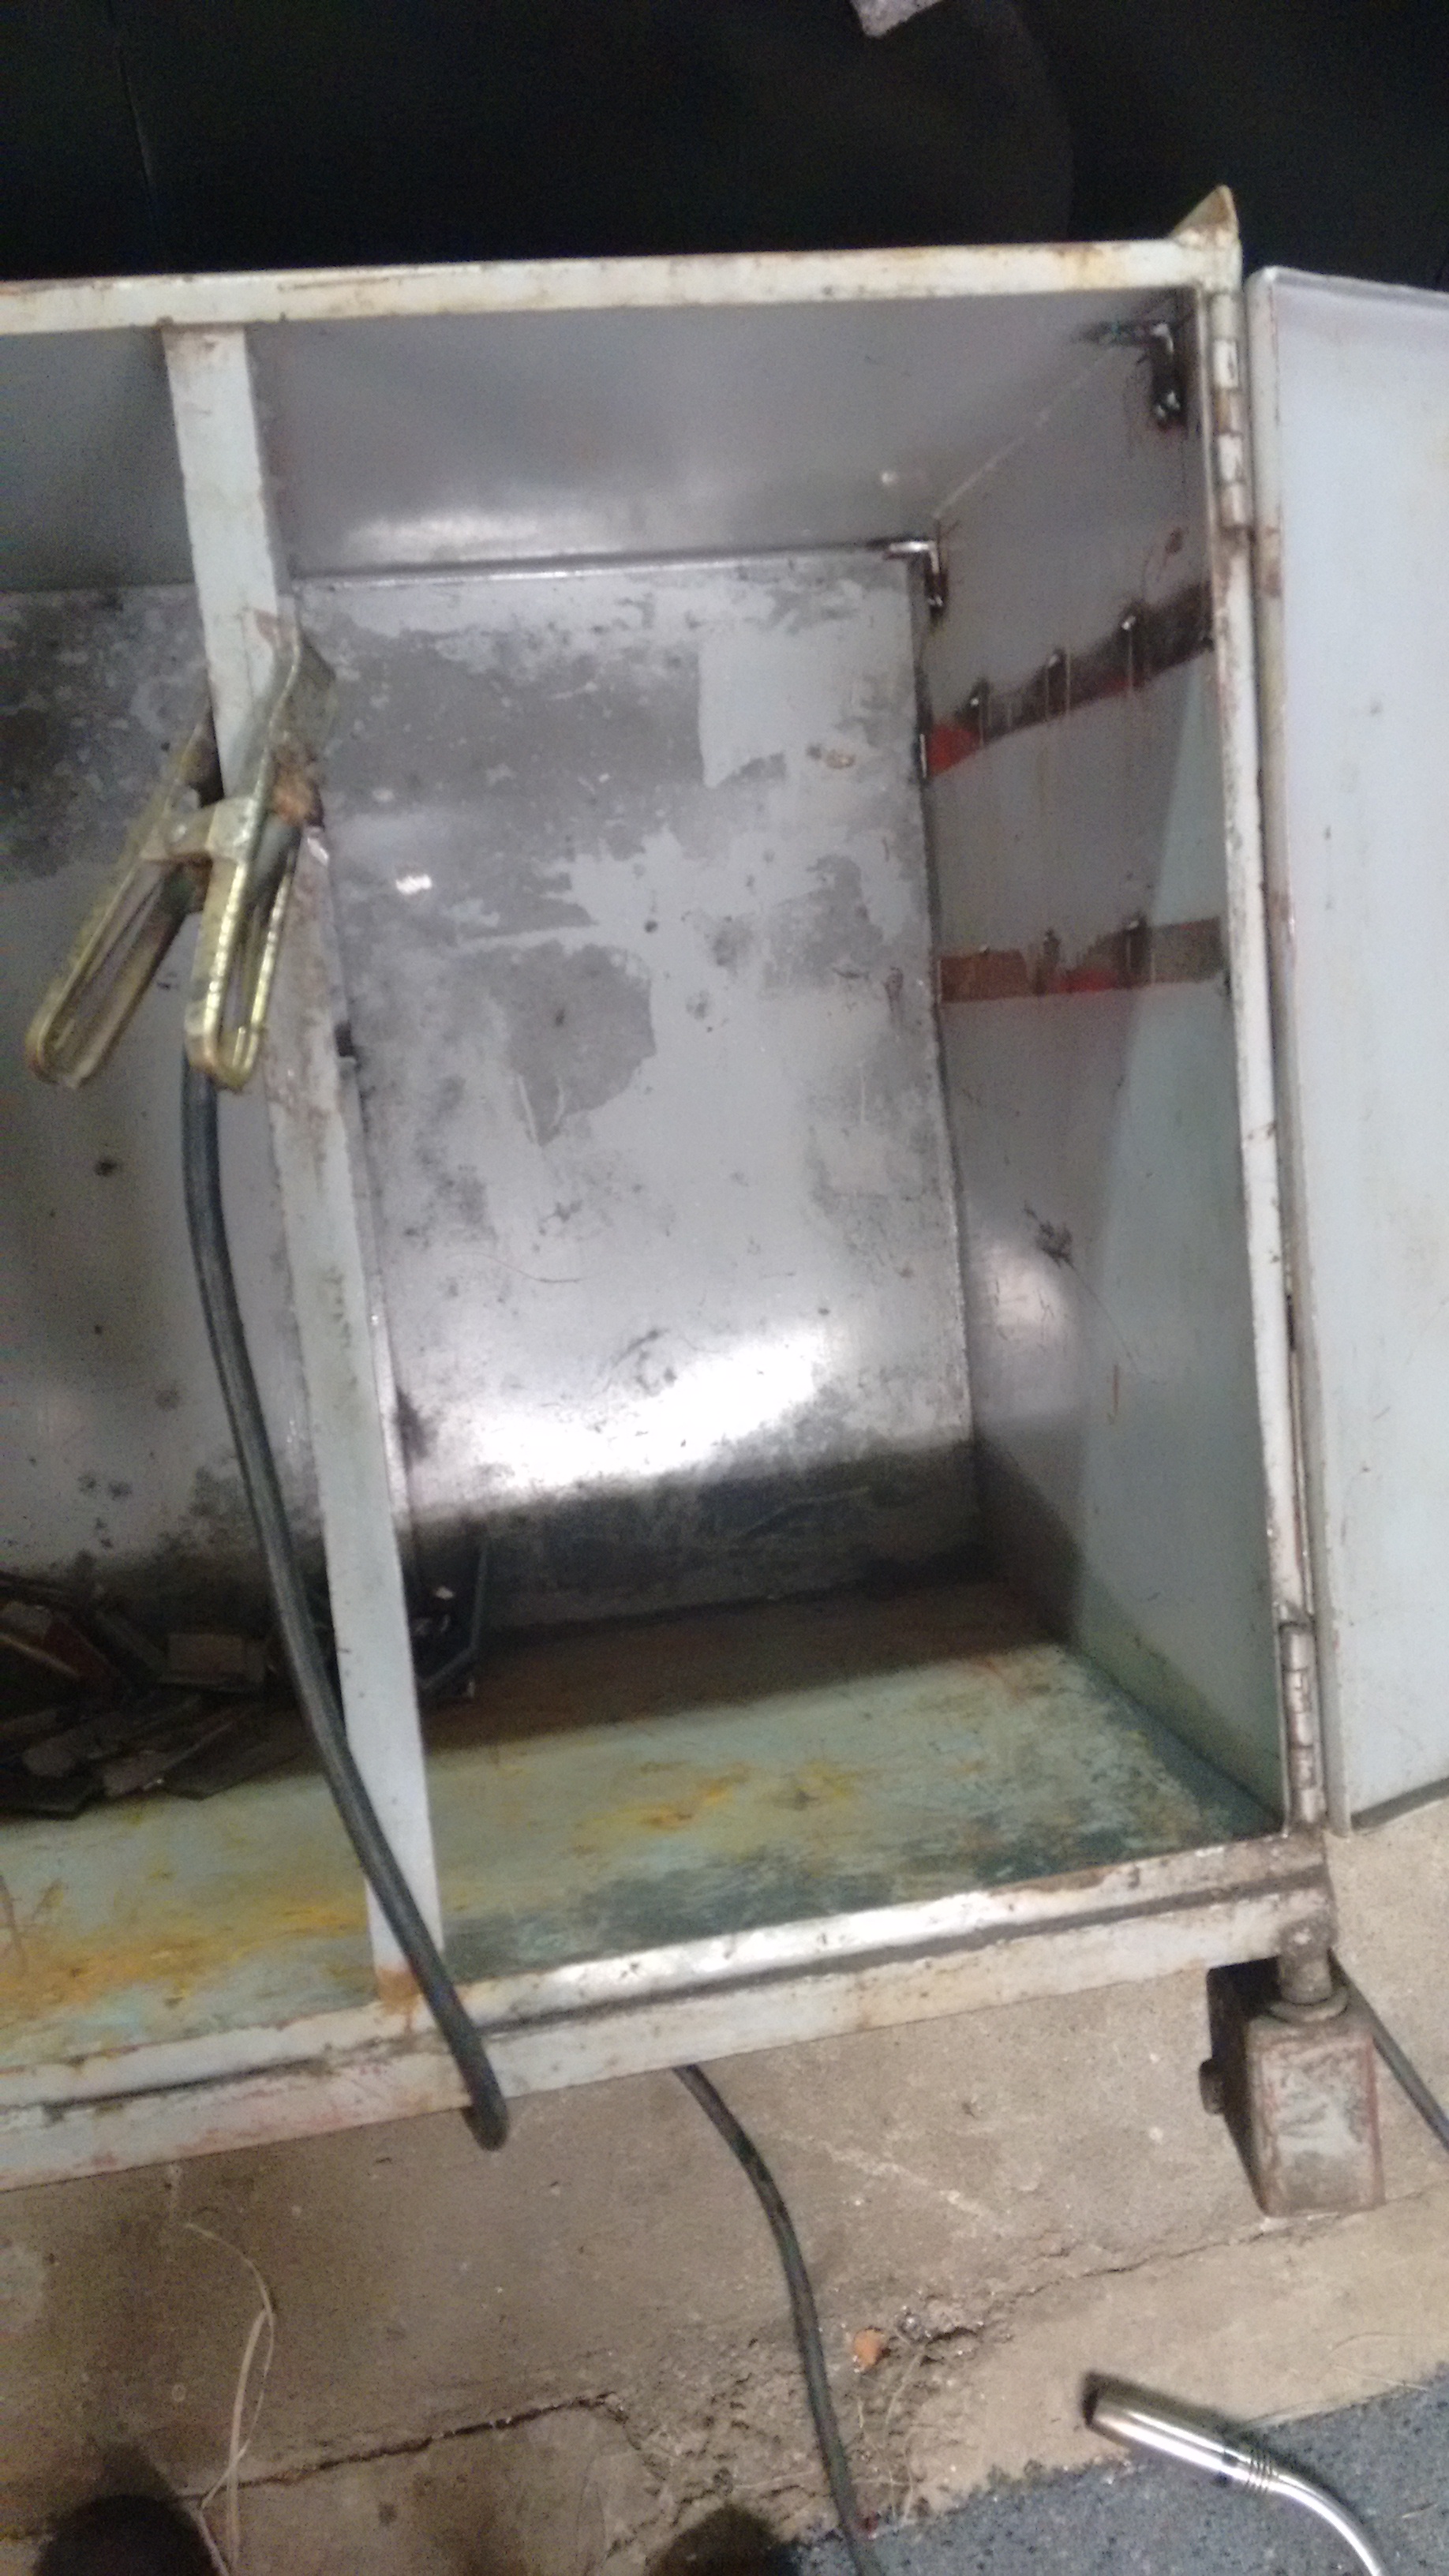
Cut out the old angle iron slides, cut them up and make new mounts, tack the sliders to that
1 point
-
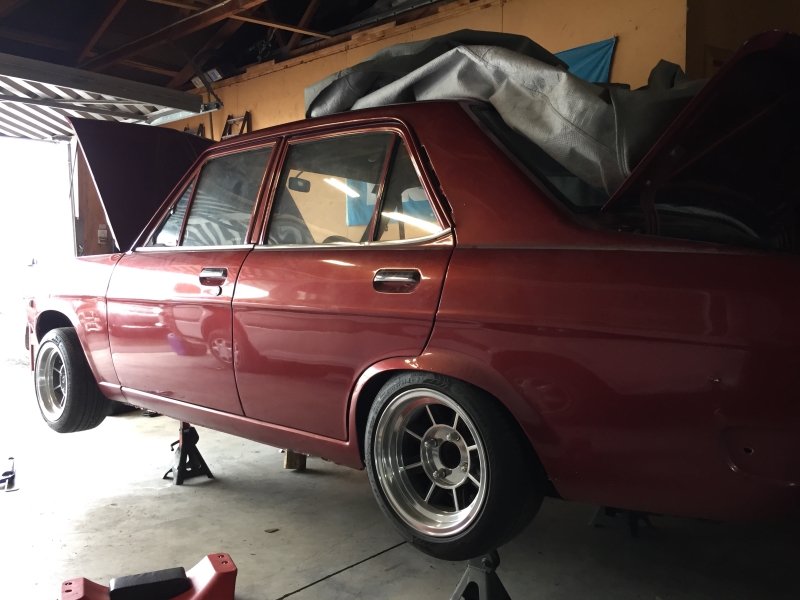
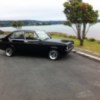
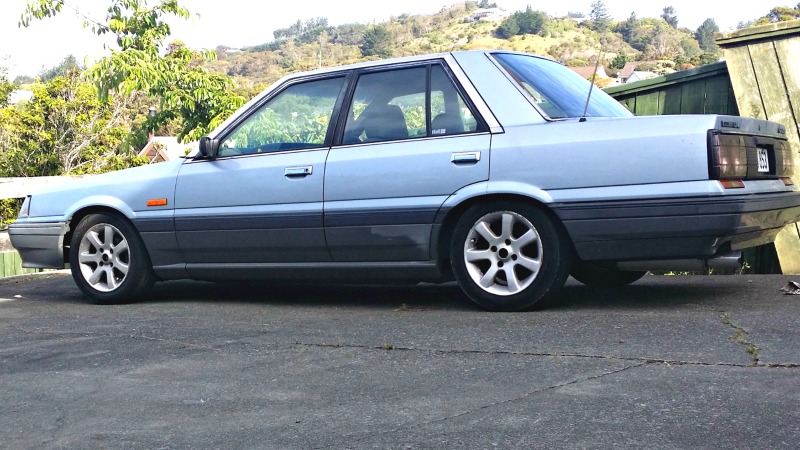
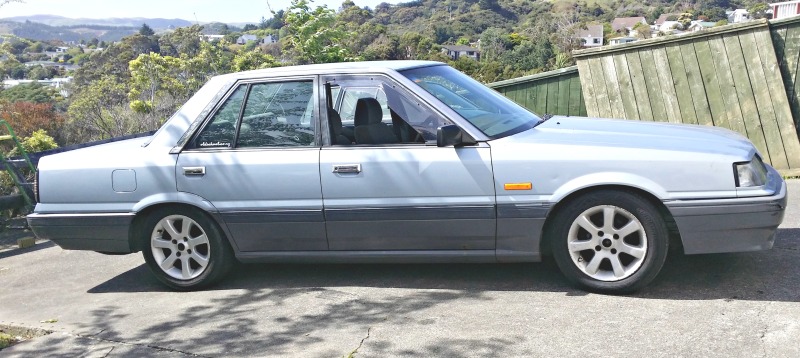
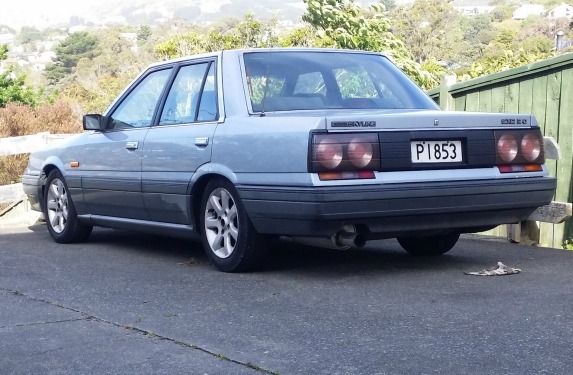
So its Labour day and I have a low R31. 1.5 coils removed from front and adjustables in the rear. Still rides decent enough too.
1 point
-
Spring clean. Before: After1 point
-
Fuck I hope you just made that up for giggles1 point
-
1 point
-
The second file cabinet I got has full length sides on the drawers, so might keep that as is for the power tools. Have done this so far Took a day for the first one, but now it's figured out it's quick as1 point
-
1 point
-
User's Projects / Build Ups Forum Rules In this section you guys can show off your oldschool cars, give details of any modification progress, share pictures etc. There are just a few rules that need to be followed for this forum to stay nice, clean and easy to use: Thread titles must be in the format: Username's Year Make Model example - Dangers 1982 Toyota Corolla KE70 Throw some relevant tags into there if you like, Make Model and anything special about the car. example - Toyota, Corolla, KE70, Rotary ONE thread per project. That is final. If you make a second, it will be deleted. You all have access to edit your own posts, so do that. You may post as many times as you feel like it within your allocated thread. Your thread should contain a link to a discussion thread with the same title in the Project Discussions section. Only the person who owns the thread may post in it. Any others will be deleted. If you want to ask questions, comment in the Project Discussion section or use the private message function. You may not use your thread for anything else apart from showing off your car and it's build process. Fuck around and you'll get a warning, second time will result in a ban from the Projects Forum. Please try and keep the number of pictures to no more than 4 to 6 per post. It just takes too long to load if every post in a thread has 10 to 20 pictures. We encourage you to put a link between the discussion and build thread (and vice versa) in the first post of each thread to make it easy for people to find your relevant threads. Remember, when you post it will bump your thread to the top, so down worry if it slips down to the next page. Moderators and admin will be closely monitoring and following the rules set, so play nice and adhere to what's been set out and it'll be all good.1 point


.thumb.jpeg.384ff72c8d2b0ee0d34a7bdedb55bdcf.jpeg)


.jpg.7b26f038a7acda0ad61362f488b8145d.jpg)


This leaderboard is set to Auckland/GMT+12:00