-
Posts
3,611 -
Joined
-
Last visited
-
Days Won
5
Mr.Mk1 last won the day on October 15 2025
Mr.Mk1 had the most liked content!
About Mr.Mk1
- Currently Viewing Forum: Projects and Build Ups
- Birthday 21/11/1987
Profile Information
-
Gender
Not Telling
Converted
-
Local Area
Christchurch
Recent Profile Visitors
The recent visitors block is disabled and is not being shown to other users.
Mr.Mk1's Achievements
Committed (5/5)
10.9k
Reputation
-
The hands have come right mostly, have managed a few more days on the rig but definitely on the go slow. Was working day on day off and it was killing me having all this to do, days off with sunshine and having to rest instead! I've ended up replacing the whole width of the trunk floor sandwiched between the rail and the rear panel..which is practically new the whole way across too. Whipped the trunk lock latch off to get in behind it and that's soaking to knock the surface rust off the back side. Basically finished in the rear now, the passengers side came up better than the drivers so I'll have another crack at that side..at least it's not rusty steel I'll be dealing with so should move fast. Still have to buzz up 4 wee holes where rust from the rear wheel tub has made it through and into the second skin, visible from in the boot..small fry shit. That just leaves the actual trunk floor and behind the trim on the rear 1/4s and we've got the body knocked off! Zapped up the blowouts on the splash shields that were blasted and epoxied Dug all the dirt and old bitumen out of the rear 1/4 pockets and vacuumed them along with the cabin, water blasted the underside as well.
- 28 replies
-
- 26
-
-
.
-
Life got in the way last weekend, my hands gamm'd out so I didn't get back to rust work this week. Weekend before I smashed out the remaining bits on the RHRR wheel tub and ran the wire wheel over the underside to transfer the loose crud off and into my eyes, and got to chopping some more out of the RHRR but it quickly grew and I needed to make a piece at work..piece relatively shaped but haven't got back to this yet. However, progress was made elsewhere! Id fired up a quick rust bath as user Westy had suggested, citric acid, baking soda and dishwashig liquid...It works great, try it ! Just DONT put spring steel in there..broke a goddam hinge spring! I guess it's a bonus it didn't let go while I was handling it or while in use and ding a panel right? Also rooted all the square tensile washers on front end bolts. And the fkn trim clips I was trying to save are soft Soaked and blasted the front indicator backing plates, dropped off and picked up sandblasting of front end panels etc so then the rush was on to get them in the booth and Epoxy them. I had just enough satin black left over from Coronet so flicked the rad support, hood latch plate and catch so they are ready to roll. There are some repairs required before I can topcoat the rest but they are sealed and safe now..drivers inner guard is the worst but I have to hack it up for a battery tray mod anyway..nobody wants to sell me the quirky long skinny factory style battery. Bit like a tractor, but not. Front indicators assembled, wanted more bling so sprayed with Tamiya black metallic and cleared. Looks more hectic on camera than life. Will match it on the rear panel but that's about all the black it has from memory. Should have paid attention to how little was actually seen and got them nicer there but maybe in a next life I'll learn, fine for now!
- 28 replies
-
- 23
-
-
Milestone!! Floor is finished and sanded up, few coats of etch-in-a-can to seal. I also stripped the headlights out of guards and swapped the dip lamps ready for compliance, put the buckets in the molasses (which I agitated and moved into the sun as shes slowed progress in the cold and shade) Tapped the front pot-metal boomerang chrome trims to accept a matched set of galv metric flanged bolts I had laid up. It’s cold.
- 28 replies
-
- 29
-
-
Horns came up mint! I went and grabbed that 56/7 Chevy wheel, it’s going to work These floor support/chassis mounts had been in the molasses for a month then blasted them. Theres one welded in and surfaces all prepped for plug welding Now once those tubes warm up in the Sonomatic radiola, the passenger has a dance floor for some boot scootin’! The drivers side coming along.. I got the toe board partially welded in when the great weather, became un-great So inside I went, and made a start on the exhaust
- 28 replies
-
- 27
-
-
Me hands are giving me jip this week so light duties this weekend. Last week I knocked up a drivers toe board, this week I roughed out the other side and both front floor pans. Made a start on the tricky corner section of the trunk floor. Here’s the ones I’ve just completed on the 57 at work: The headliner bows weren’t labelled, no surprises there. Tested them in the roof and believe I have something cooking so labelled and rust killed, stuffed them into the liner to help take out the shipping wrinkles. I’m missing one so I bent something up. Brought a pack of red dye and boiled the headliner windlace for 4x longer than it said I needed to, cant say it’s made enough of a difference. Dang Took the bolts and clips out of the front end inner guards/ rad support etc and will drop them off for a sandblast. Also stripped the interior mouldings/screen surrounds out and will see about a blast and powder coat or HPC coating to look chromie.. church up the inside to match the out! Whipped off the tiller and unwrapped to make an action plan. I wanted a lucite/clear and metal flake setup but too much effort. I’ll do mine white and then spray lots of clear with some sparkle in it. Can be a future side project. In the mean time There’s a sound 56/7 chev 2 spoke locally on marketplace so I might grab that and splice my centre in and transition it into the spokes with some filler.. anything to avoid making and sanding a rim with all the indents by hand.. Project creep: blasted horns and gave a quick wire wool polish to the alloy before some clearcoat. They are aren’t gonna win any awards but they will look better than factory intended
- 28 replies
-
- 25
-
-
I was feeling by a bit self conscious about all the grinder noise in the carport so I decided to put the frame in the shed. Tight squeeze! now I can start on the exhaust at nights. The trunk bumper pad always seems to pus out on these things. Neat wee profile I also melted out the lead in the very corner and patched, but forgot to photograph before etching. Can see it in background. Spent a while in the wheel arch, quick and dirty cause it’s a shit spot to work, & it’s going to be seam sealed and undersealed. Not a particularly smart design for longevity, will be fine when I seal it up properly Shout out to the plug-weld hole puncher, I forgot it last weekend and drilling holes was painful compared! Can swap the punch pieces for bigger and smaller sizes in the set. My headliner came in from Rock.. Always wanted a car with red guts! Will tone it down heaps with blacks and greys but red roof will be tits. Unfortunately they sent me the wrong windlace..ordered Maroon and got Cashmere. Too hard to send back so hopefully it takes some dye
- 28 replies
-
- 36
-
-
Doing a great job! One bit at a time. That soak is pretty impressive.. I’ve been playing with molasses but it takes ages and is a bit grubby. would appreciate a thread with the intricacies one day if you CBF
-
More goods from ROCKAUTO.. heater hose and some cheap universal exhaust hangers that were on clearance. Rose-tinted glasses backhanded off by reality of 68 year old car, lol. What id envisioned as a couple of hours in the back corner spiralled to 2 days and more to go… You don’t see this bit when it’s on the chassis… Hmm this corner is soft. No wonder, there’s practically a scallop directing road splash into a wee nook..it was full of heavy bitumen but didn’t suffice. Had to sandwich a layer in there for the future trunk floor (This bit does taper towards the latch, I didn’t F it up) The weird transition in the corner was seam sealed to hell but let go from behind the lead join on the outer I’ve yet to whip out. I’ll seal it up again because it looks goofy uncovered In other news, $3885 for a windscreen delivered here. What in Tarnation!! Have a couple of others quoting, hoping to scrape something back from that. I’m in no hurry at all and with their stock order would be fine, but didn’t seem to translate on the bottom line! Onward
- 28 replies
-
- 27
-
-
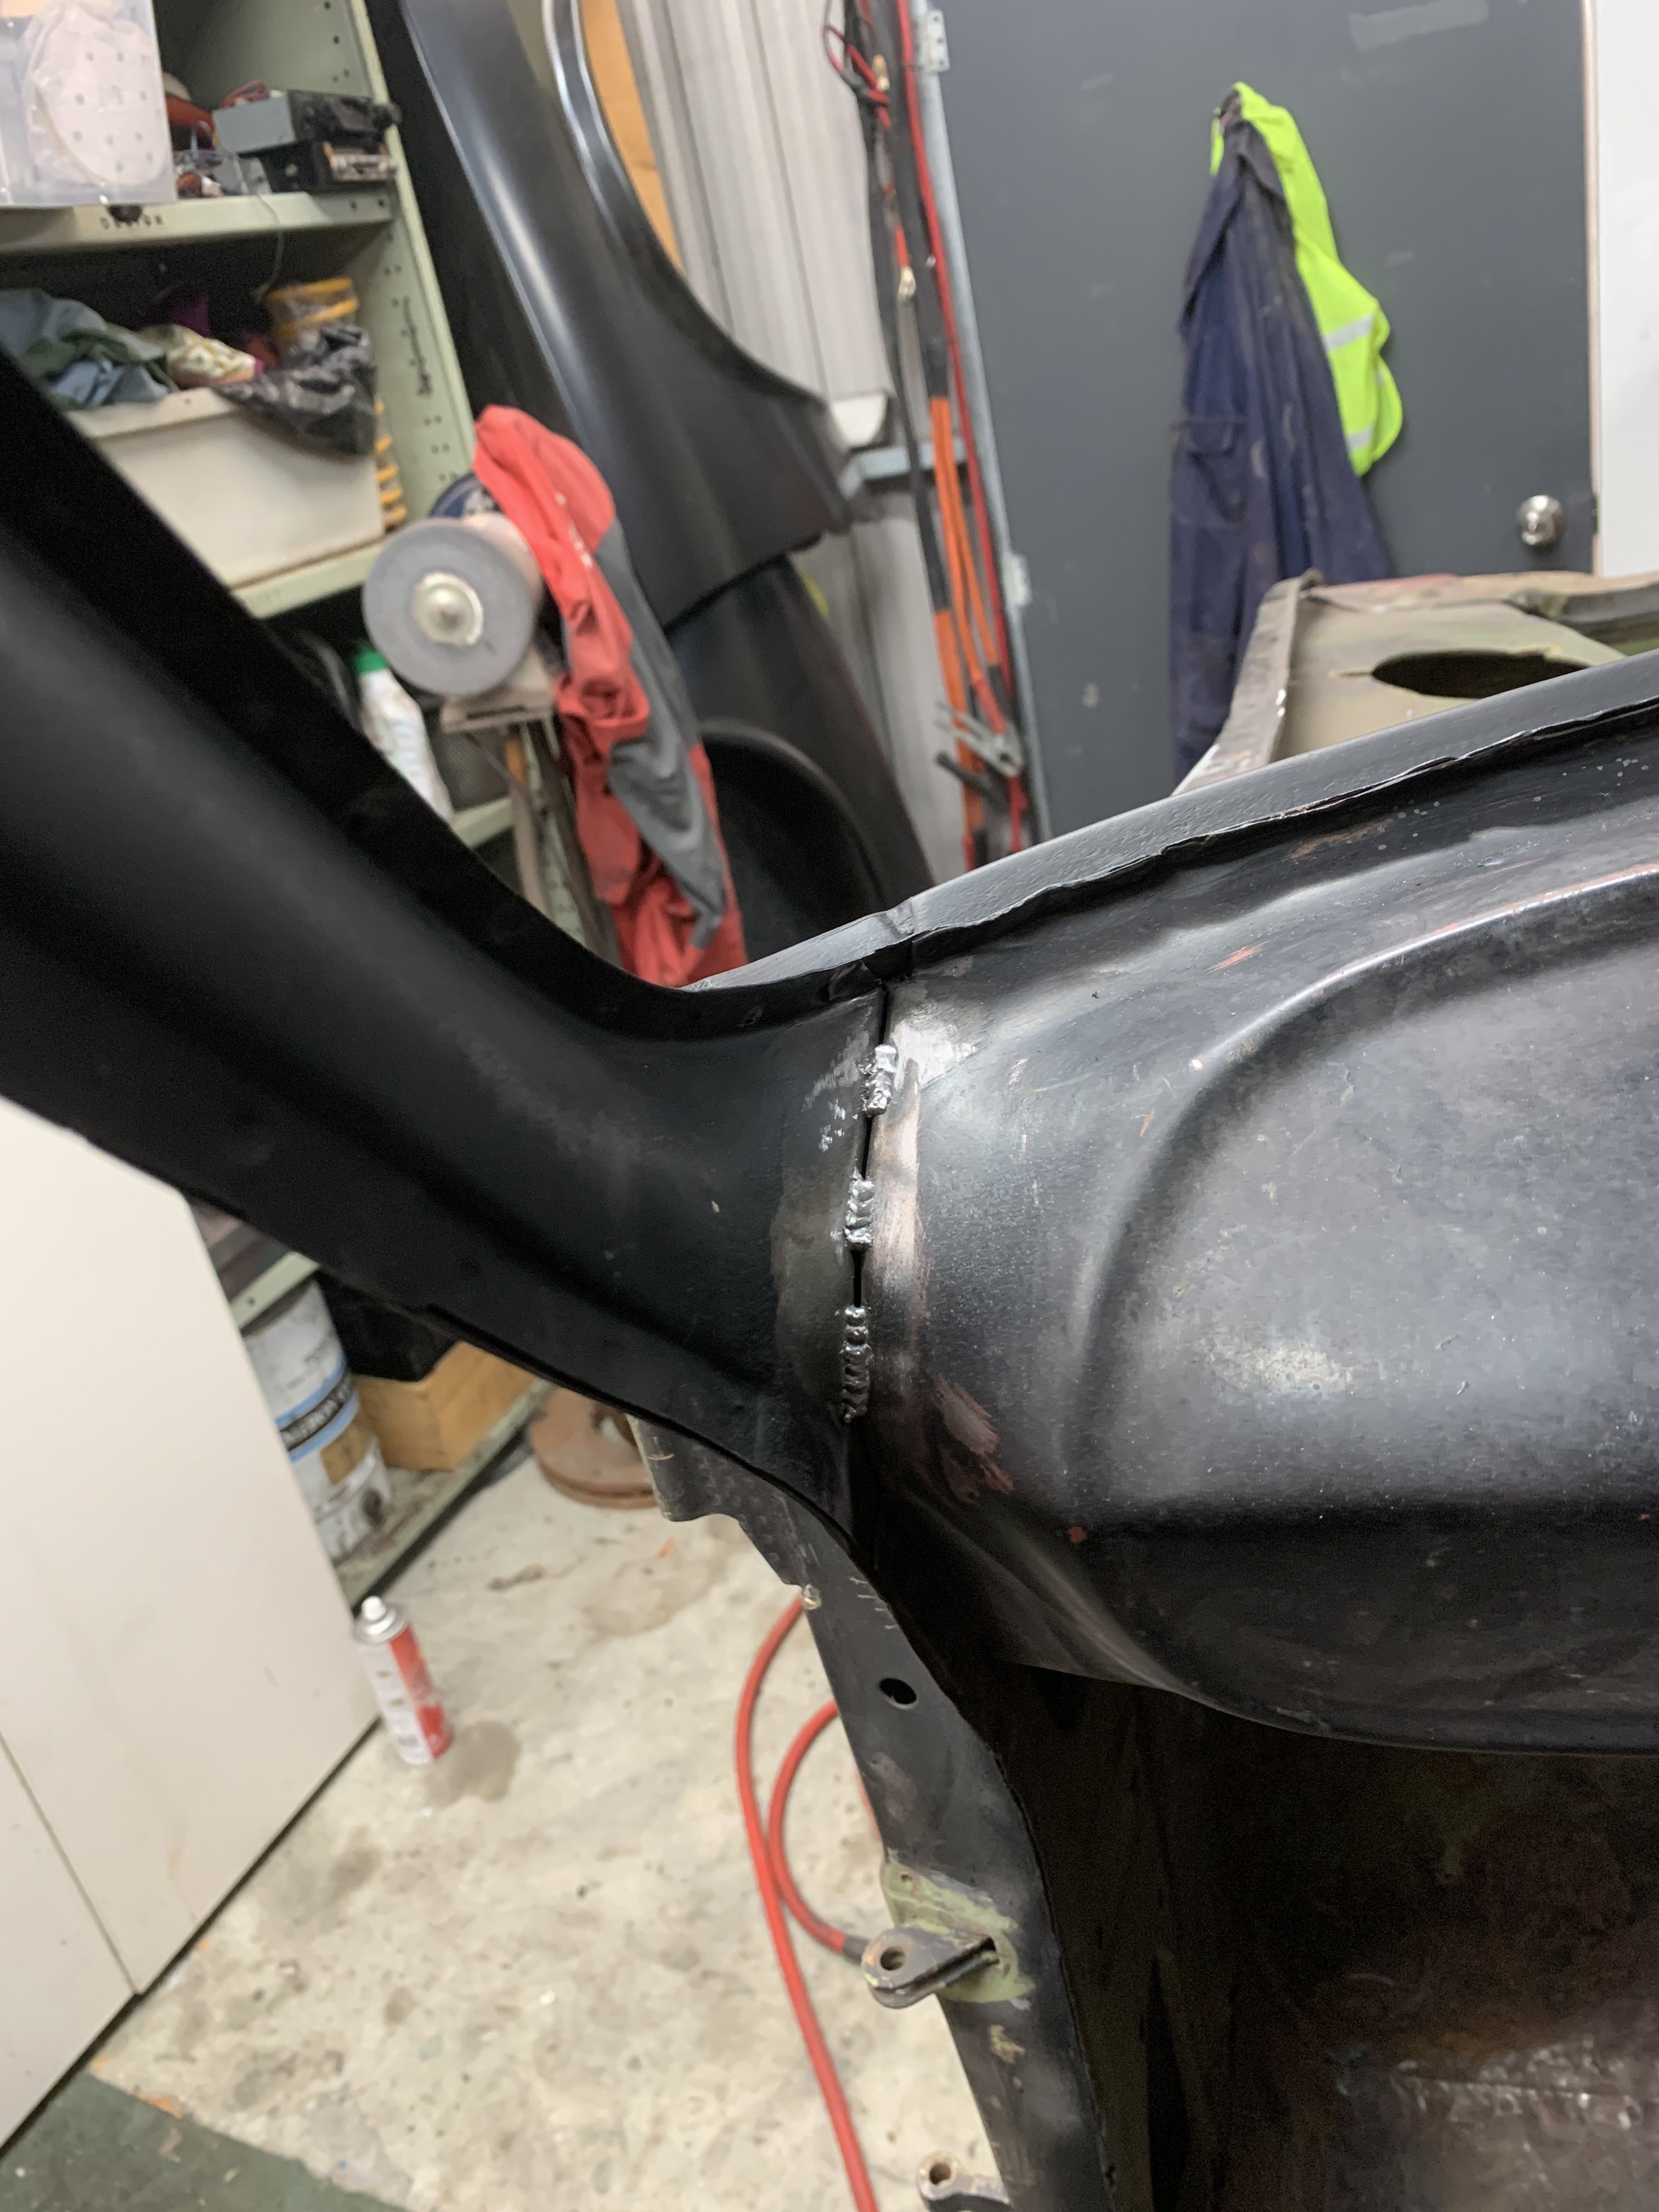
The sumps came out of the molasses and were clean as a whistle. Exposed MANY patent numbers on the bottom of the trans pan, lol. Ordered black diesel-heater ducting for the other sizes required, installed sweet as. The Bailey channels showed up, was a perfect fit on the divider side, had to spread the latch side channel out as it was too tight but lush AF now. Ordered exhaust gear, one of the multi-bends is due tomorrow..never got close to chance to get started but was nice to have it for the long weekend? Right, rust time again. The sill was creased and with no good way to get at it, I had to chop it out. Thats the crummy stuff I can’t get at with the chassis under’er. Hoicked some pieces out of the rear wheel tub to replicate after work. Id say that should be dialled next weekend.
- 28 replies
-
- 38
-
-
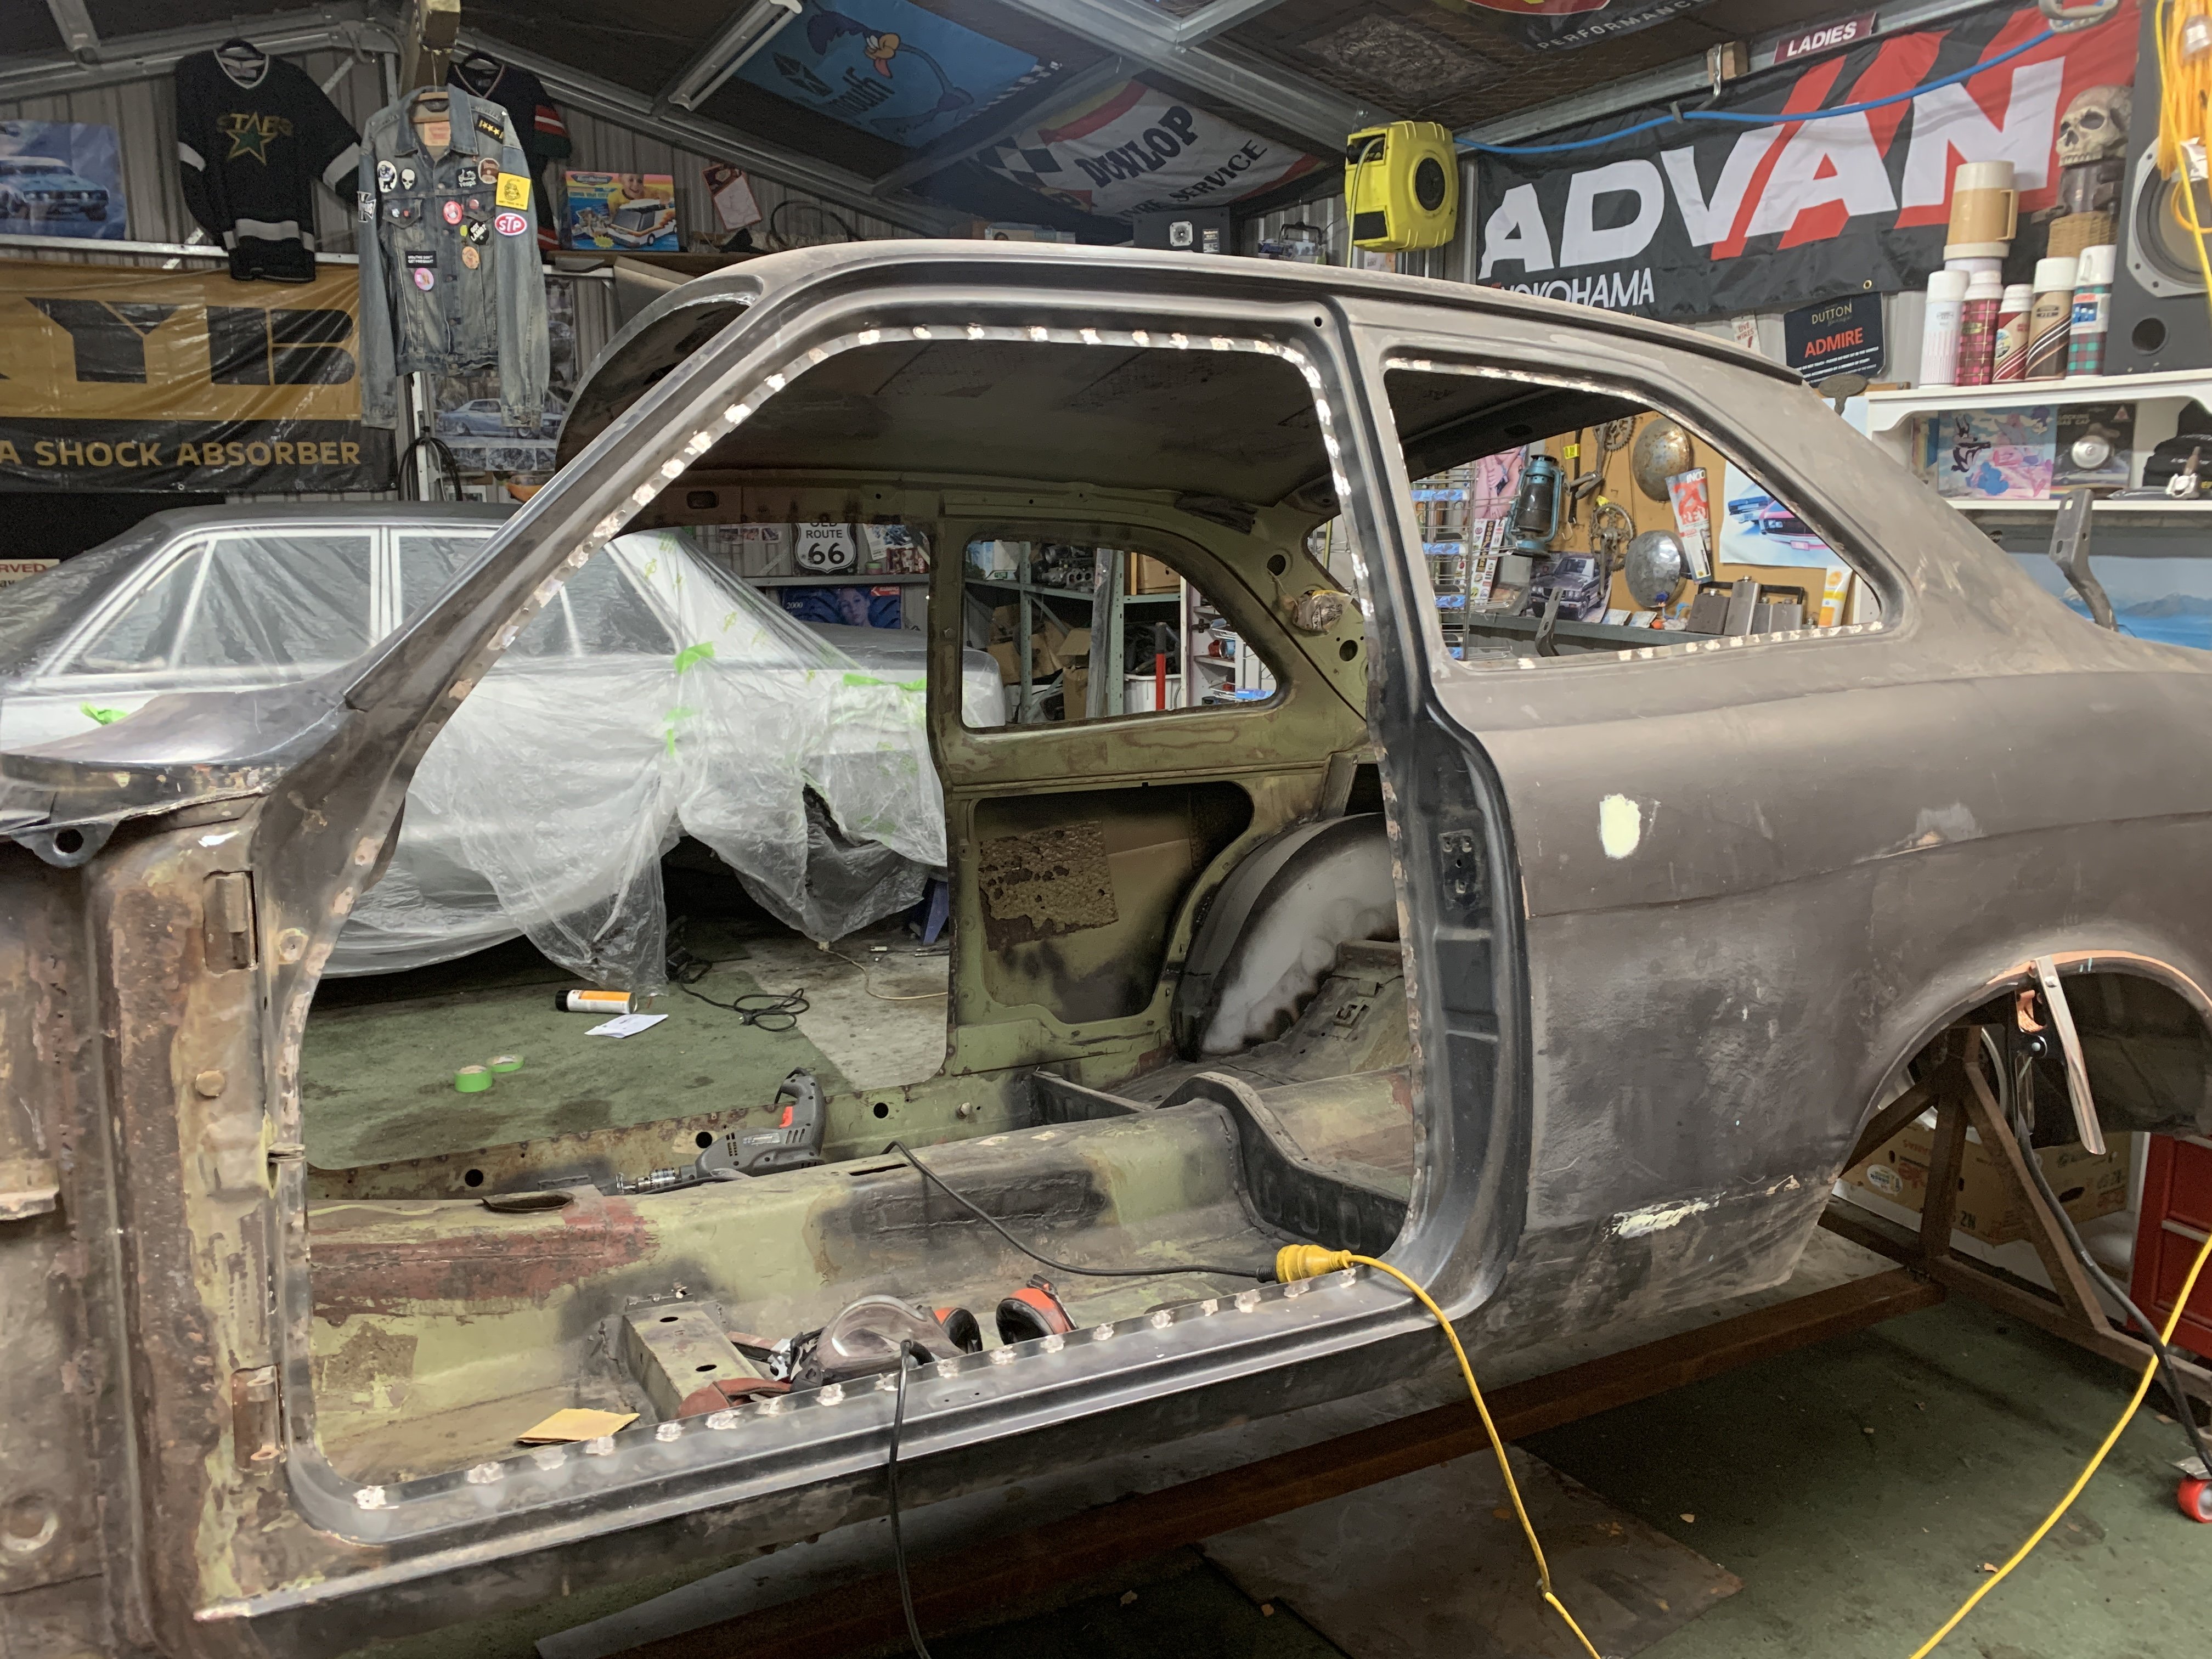
UPS van came through with more goods from OldBuickParts Starter relay, battery cable junction box, steering coupler, heater duct in a diameter I couldn’t get here, + some body mounts. I was going to make some mounts work from off the shelf rubber pads but soon realised that was stupid and to just buy the thing.. Didn’t want poly bushes which are easily available and cheaper. In other news, I made some rubber gaskets for the lock and handles from some nice sheet id hoarded..last few cars I’ve assembled these seals perished really fast, ‘don’t make them like they used to’ etc. Started rust repairs! Have finished RH front of sill, opened up the LH + made the thick sandwiched reinforcement, along with the inner. (When I say finished I mean 90%, the other 10 happens when I take the floor pan out and replace, giving full access). I need to hack off the outer sill and planish it..it’s been a bit smooshed, then I can zap it all together. Made a piece for the kick-panel area but ran out of weekend. Have done some homework on the Bailey channel situation for the doors and I think I can make something from Basis work. Fine print on the proper stuff ex USA reads ‘comes as a rigid strip 72in long’. Fuck shipping that. As fate would have it, a rusty 57 Buick super 4dr HT showed up at work so now I have an excuse/opportunity to make duplicates of the repairs and I’ll be sorted at home too.
- 28 replies
-
- 30
-
-
Did I get a fair bit done this week? Yes. Did I start but not finish WAY more aspects? Oh Yes Got an organiser and sorted nuts bolts screws washers etc as opposed to piled into tins as they were; flash. Fuel line ran, had a shit of a time trying to find the route down the chassis, and the hardware to suit the holes..turns out they had rubber hose front to back with special clips that never made it to me! That won’t do in NZ anyway, ffs Never too late to start saving weight is it? Nutted out the heater and vents, hooked everything up and made a list of the (4!) sizes for the flexi tubes to track down. Found homes for some of the random brackets. Picked petrified sealer, dumdum and some corrosion, then brunox sprayed spots to put a halt to that until paint O’clock. Got up in behind the dash and cowl too. Chopped out the second row body mount braces from the floor to gain access to symmetrical rotten bits on inner sill. Have dumped them in the molasses to chooch. Measured up and Templated the pieces I need to make. A couple of mousepads provided the right thickness for replicating tail lamp and marker light seals. Pulled the tail lamps apart and cleaned, polished etc along with spiffing up the biiig outer housings. New screws This was the exhaust outlet side so was fairly tarnished in comparison. Got into the front markers too, split the whole assembly down to polish shiny bits, scrub lenses, mend some broken hardware, metal backers in molasses tank. Doors got a good scrape and vacuum inside then brunox’d, did any surface rust in jambs too, nothing to hide from repair certifier. Pulled the vent windows apart and polished, fit new rubbers and back together they go. Turns out the iddy biddy strip I was supplied needed bonded to the OE steel backing that has hold-down tangs, so had to snap off the plasticised old rubber first. Went to Rare Spares and pickApart looking for suitable Bailey channel but didn’t score.. vent side has polished beading on each side and the striker side is uber wide as the window has bonded chrome frame running in the channel. Basis might have something or I sack up and get the real, much darer stuff off ROCKAUTO. Also got the main outer weatherstrips fitted. whipped a door handle out to have a key made for them as too, the trunk lock. Motor dropped off to Frontline to see if she’s a contender. Front UJ and output housing dropped to MS Coombes to see if they can make a bushing work and see about sloppy staked joint. Left the spindle with them too incase they can make me a new LHT nut. Had some OK shock bushes in the hoard so stuffed them in the top of the rears. One was torn and dog-eared, looked ratshit. Quite a spot to get to when assembled so. I’ve just spent another weeks wages on more bits from OldBuickParts I simply can’t shake this ‘do it factory’ mindset I’ve got and fuck me, it’s hard on the well-being. Eg, run fuel line front to back with some P clamps like a human, or spend a day searching the internet and online manuals to see how it goes for the absolute fear of squashing it or having to do it again..sandblast and paint some clips that sorta work and find matching nuts and bolts small enough to clear the clip but not pull through the OE holes.. only to simply pop rivet them. Shrug Cummon you dysregulated cunt, stop making big jobs any bigger.
- 28 replies
-
- 25
-
-
Sweet! Would love to get it back under the car but then I got to thinking perhaps I should run fuel line and exhausts and all sorts of things while it’s easy..
- 28 replies
-
- 34
-
-
Fuuuu, that will give a man Drymouth. Ultimate sketch, too many stacked items prior to this photo, to gain height of about 770 but it’s all I had and I got away with it! Had the engine crane with a strop round the back, worked well but allowed some ass-clenching sway at times when working on the front. Frame is great as expected, some wee wobbles to tweak back from previous shady jackwork but they are moving happily with a kissa butane. Will strip and clean, fire some paint upon it and reattach the completed suspension this week. Trans went back together. There’s a leftover wee needle/rod that I found stuck to the scarf magnet on My vice.. I’ll re-read my manuals but it doesn’t seem to be mentioned. While the trans kit was awesome, Unfortunately was missing a seal or 2 which id have thought pretty important so I’ve made some inquiries, there’s one on EBay but it’s a bit dare. Still great considering how hard it must be to source these bits now. Always Disconcerting to have lots of leftover bits but kit covers many years and iterations of Dynaflow. (‘58 actually had a orphan version that’s very expensive to rebuild, remember mine is from a ‘60) I also had to remove a thrust washer that looked important to get the right end play so I might revisit that, but for now it’s all in one piece again and not precariously spread all over the shed.
- 28 replies
-
- 27
-
-
-
Hows that jam, this is just an accumulator spring, uniform the whole length lol I have 4 days in disassembly and cleaning but all done now. It would NEVER have functioned, glued right up. The trans bits arrived yesterday, jazzed. Plenty of Old stock bits in there.. got a cheap dial gauge n stand setup too. Transgear did a lovely job of the band re-line but an easy way to spend 150+ each. It seems that whole short to long tail section swap would work but since mine was so filthy and had to come all the way apart, I’d have had to buy these parts anyway, plus a few G for the other trans so I’ve just stayed the course and rebuilding my one.
- 28 replies
-
- 21
-