
Leaderboard


Popular Content
Showing content with the highest reputation on 10/30/17 in all areas
-
much jiggery and pokery and measuring all of the things with the axle at different heights to check and recheck what length to make the arms to have enough adjustment as mentioned previously and not have the axle hitting c notch before bottoming out on bumpstops. which i ensmallend as I could tell that was going to happen anyway...... then in a burst of motivation following sunday night tacos i threw the front suspension back in to get it on the ground. so on bumps rolls easy and nothing rubbing or touching. will put some blocks under it tomorrow to set it at ride height to sort pinion angle stuff and maybe drop the motor and gearbag in to measure for driveshaft25 points
-
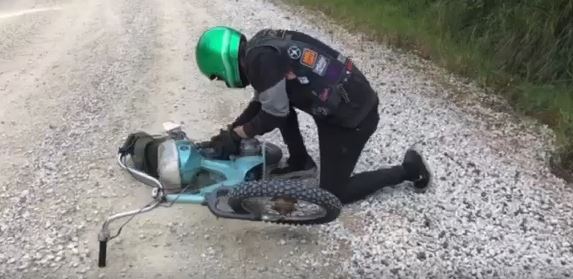
This was a great success for most of us! A few highlights were @MopedNZ having the worst luck and getting a flat tyre from a nail at the very start of the ride on his freshly built well sorted 125 Lifan Chaly. @Shakotom and @Geophy battling the FA50 through the gravel passes. Meeting @Raizer and seeing his latest Gyro purchase. Then watching him rip up the road in Kawhai on the PPSC Rusty Trombone straight into the local cop. @Archetype and I meeting the locals and having some quality yarns about friendship and prison. @BLIZZO being the manliest man in the world dragging his C50 over the biggest sand dune in the world after riding in the ocean. And the general awesomeness that was gravel bashing and beach hoons on a bunch of either overpowered or underpowered shit mopeds. A++ would trade again. Check out Moped NZ on Facebook for more photos from the other riders and a video being cut together by @MopedNZ later in the week. https://www.facebook.com/groups/1639560922975814/
 16 points
 -
Yeah man, can't wait to catch up with the East Cape ride next month! Needs some love, drain the rusty water/petrol mix, find why there's no electrics with my new battery fitted etc etc but nothing I can't handle. Also started first kick on engine start!
9 points
-
My order from fiatparts.co.nz turned up on Thursday, with my crank seal so got the cam belt on and engine all buttoned up Changed the spark plugs. Hopefully now that the carb has fewer fuel leaks and no air leaks and doenst really need the choke they will be grey next time i do a plug chop I had some NOS Beck-Arnley leads, purple to match the sides and interior stripe, lol. Also chopped the cam cover so it can come off without draining the radiator Swapped in the Pertronix fitted dizzy i had on my 125 before i went to Digiplex, and a new coil, and tidied some wiring. New oil and filter, fitted radiator, filled with water and a bit of simple green for now to clean it out a bit more. Replaced the mechanical fuel pump, turns out the non-OEM bolts didnt have quite enough thread to tighten up properly, so hopefully sorted a big oil leak too. And picked up my box of carbs, L-R DCHE, same as whats on there, but very crusty, will try swapping the few bits that still leak on the fitted one DCD, i had cleaned and reassembled this in 2014 and it is 'OK', according to the vivid on it, DMS, clean body with no bits, i sold my complete, but a bit worn one to NickJ, but i think i still have jets and stuff to make it work, but the linkage is a 'pull' instead of 'push' like the other two, but i have linkages from when i ran one on my 125. This is the best carb by far, but needs the most work to fit. In my order from Mal, i also got some diff seals, it is a 125 diff, he just sent me the wrong ones (131 gbox seals), so the axle is refitted, diff refilled with oil. Finally removed the rear bumper (one bolt required 4 jointed arms or removal of the gas tank to reach) and did a couple more patches hiding behind it, and bogged them up, putty all the wee bits etc then primered it to grey (last before real paint), stoked to get that finally done. I then took it for a burn up the road to turn it around so i can fix the rust in the front, and see how all my work went on the engine etc (great!). Next jobs: - cavity wax rear of tray and reassemble tins, tail gate and tonneau etc - replace the holey front half of the exhaust (have an ok spare) and fit a joiner (its currently 1 piece...) - fix rust behind front wheels - fix rust in passenger a-pillar - fix rust in cab floor/base, either collecting my old red 125 shell back from Hamilton for cuts, or make my own. - wof - drag day... - 1000 other little things6 points
-
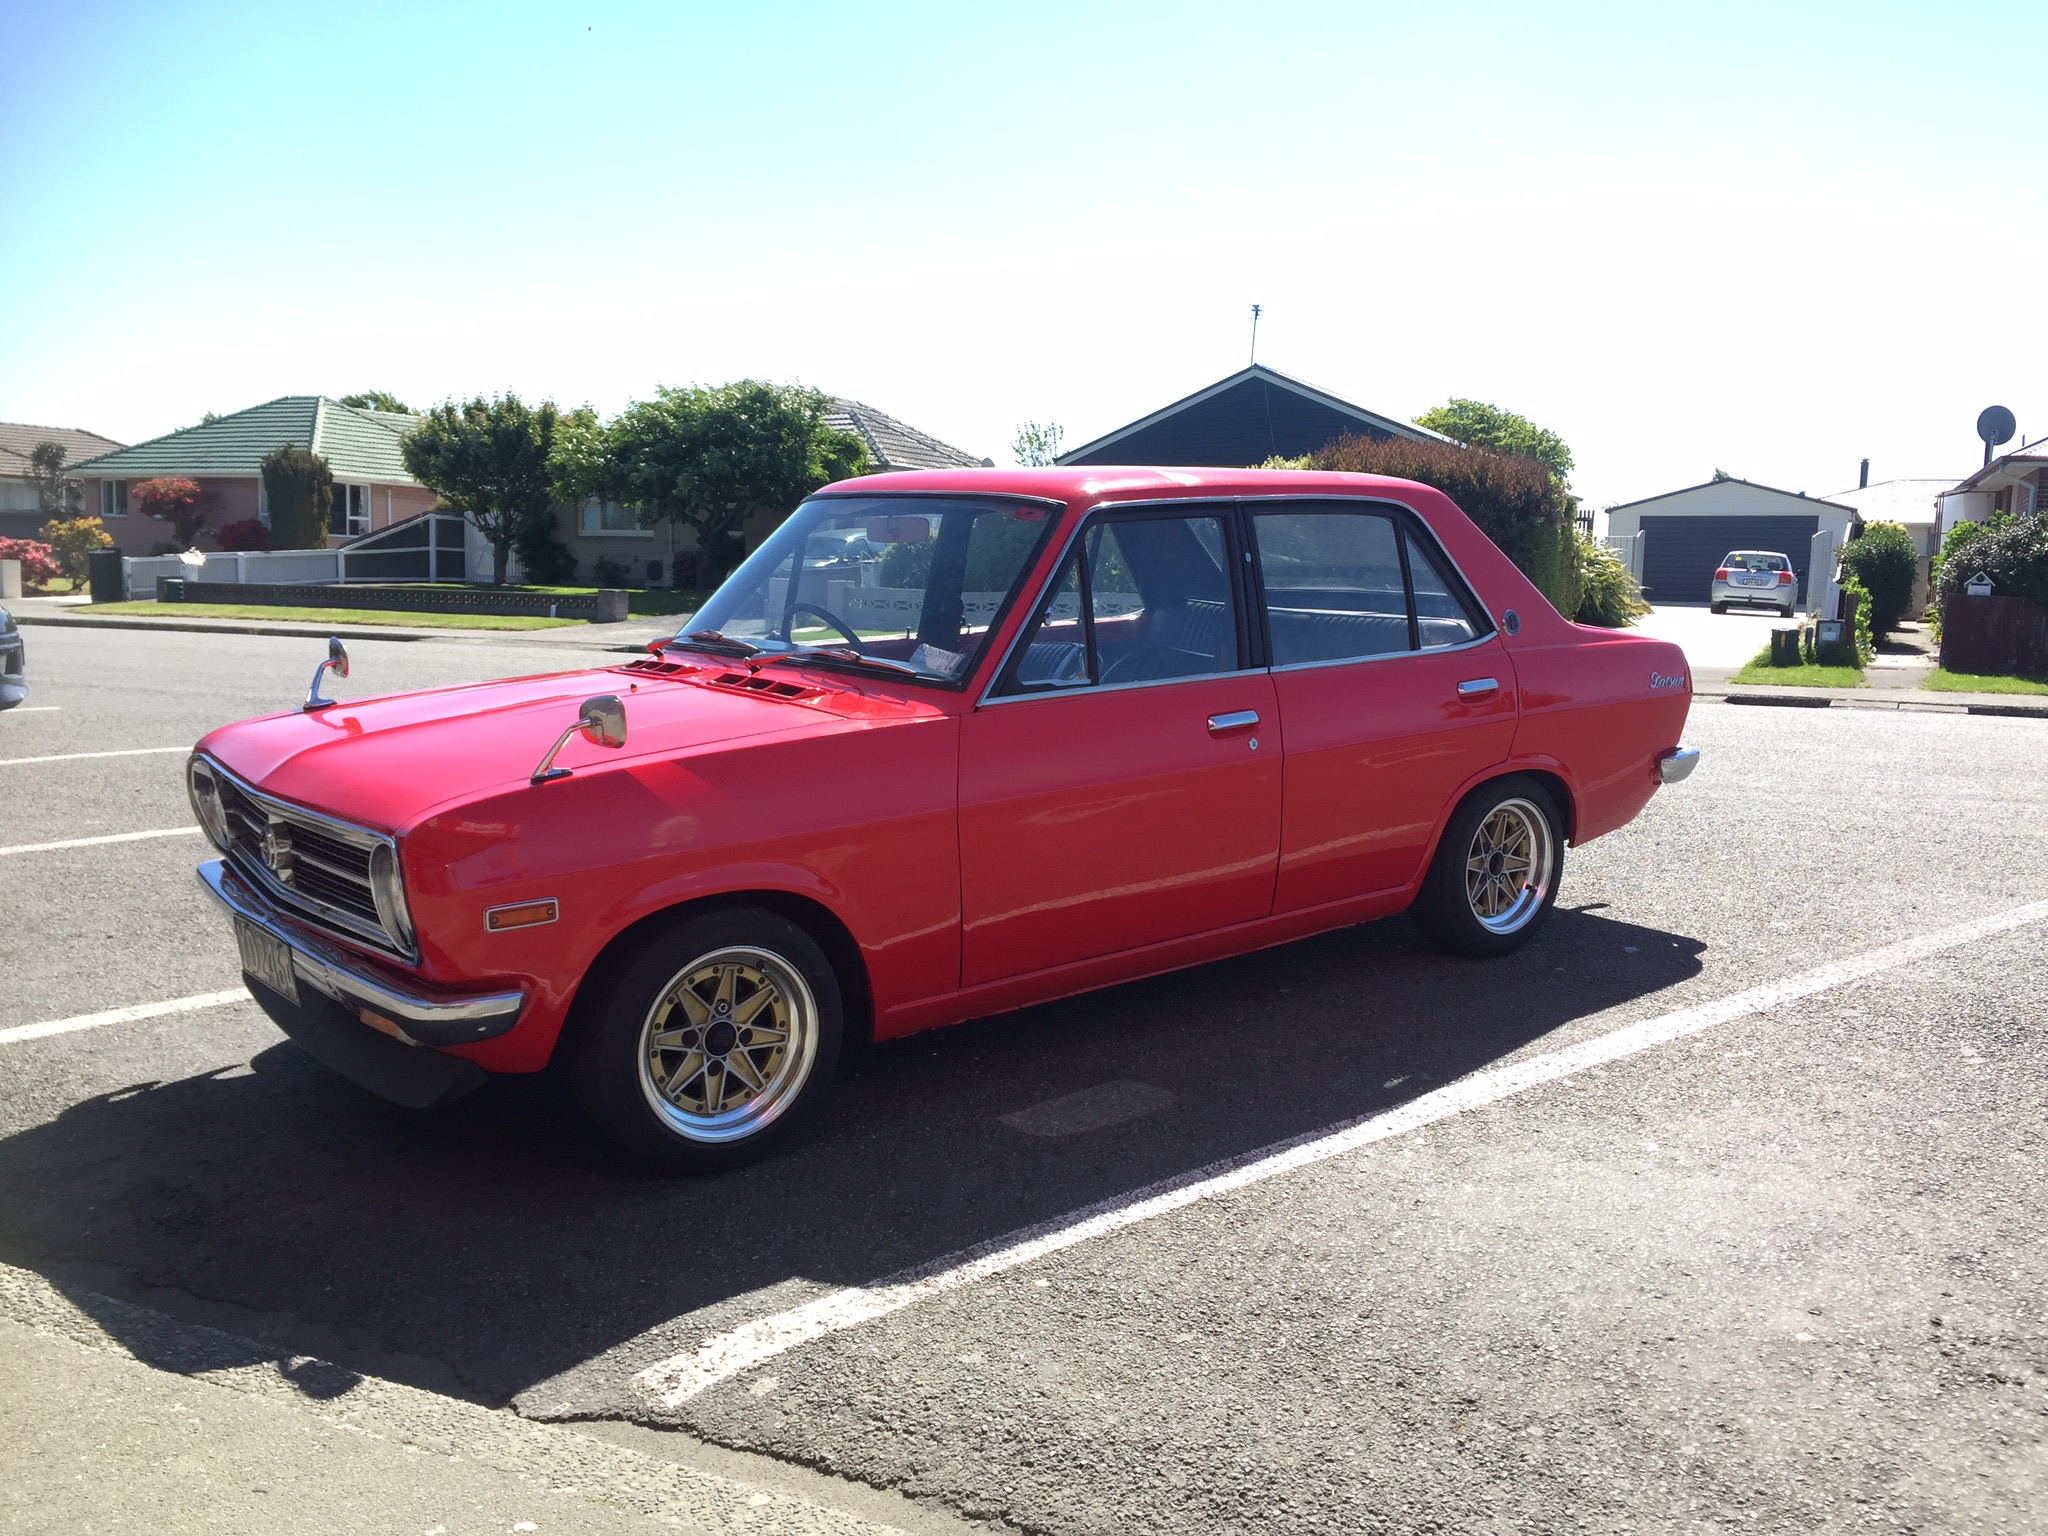
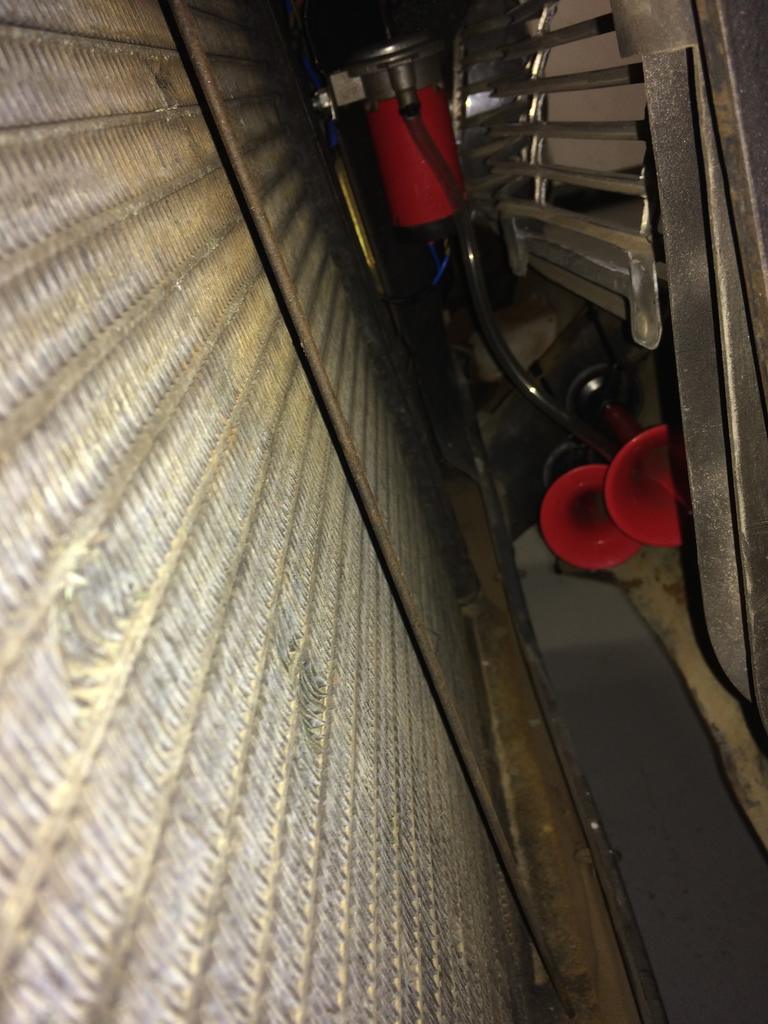
Risked the lawand cruised to an Oldschool meat one night last month. Realised how useless the gauges were for reading at night. First step was to remove the dimmer switch - and this helped marginally. Second step was $4.85 on Aliexpess for some LEDs. Whilst I'm not sold on the green (I'll try white next time) at least I can see how slow I'm going / how much water I've lost etc now. I'll also look at updating with a suitable dimmer in the future but keep the factory dimmer knob if possible. Before - with photoshop enhanced brightness so you can see something. Aliexpress Goodness. I then did some maintenance stuff like oil (complete with rounded bung that's since been replaced with a more traditional hexagonal one) Gearbox - sounded a bit chattery so thought I'd top it up (with almost 4 litres of oil.....) Next step - let's try for a WOF. I cut the worst of the noticeable rust out and welded a new panel patch in temporarily, rather than fail on rust. Long term I'd like to replace the whole front guard (you guys hook me up pls) BL quality assured badge still intact. Next: WOF check: PTO for more? Nah - one page mate. A lot of fail and a lot of good fail - i.e. Driveshaft bolts loose etc. I've learnt I can't trust anything on this car to have been done right in the past. Such Barry'd. Done most - recheck tomorrow hopefully.5 points
-
Gas at a major small towns along the way but an emergency jerry can is a good idea for getting caught short in batt country. Also the colonels finest is a coveted commodity in those parts so a bucket to barter with locals isnt a dumb idea4 points
-
Looks like much fun was had by all. Thanks for sharing with those of us who couldn't be there. I for one always enjoy following the write-ups of activities in other regions.4 points
-
Also, I'm working on a sticker for the event, will let you know if it goes to plan.3 points
-
So while I was deciding what I was doing with the front splitter I sorted out a few other odd jobs. First one was a decent rear view mirror, I got this mirror bar locally, but the mounting wasn't great, so AliExpress to the rescue for some fog light brackets and a bit of chopping, i now have a really good mounting, here's hoping vibration isn't to much of an issue. Can now see out each rear side window from the drivers seat, where as before I could only see out the rear window. To finish off the side windows I painted a black border on the inside, definitely worth doing they look really sharp now. Got the hole cut for the Naca duct. And all finished. Managed to get out to view the Speed Festival on the weekend, great turn out of starlets for Shellsport and SS Cup. (and also saw @pe-arce's Beams powered escort battling it out on track which was awesome after following the build online). I took my tape measure out to measure the front splitter height on the starlets and most were running around 80-90mm clearance to the ground, (some were on 13 inch tyres some 15inch) so with that to aim for I finally got mine sitting right at around 92mm (at some point I will install an undertray and I can always lower the car more as I have more clearance on the tyres) I just have to finalise mounting to the guards (slightly off the old rivnuts so have to remove them all and nut and bolt for now) but making good progress. Next club day is 10 Dec so everything has to be done before then!3 points
-
Surely putting SR20 ITBs onto an SR20 is not the most challenging conversion though3 points
-
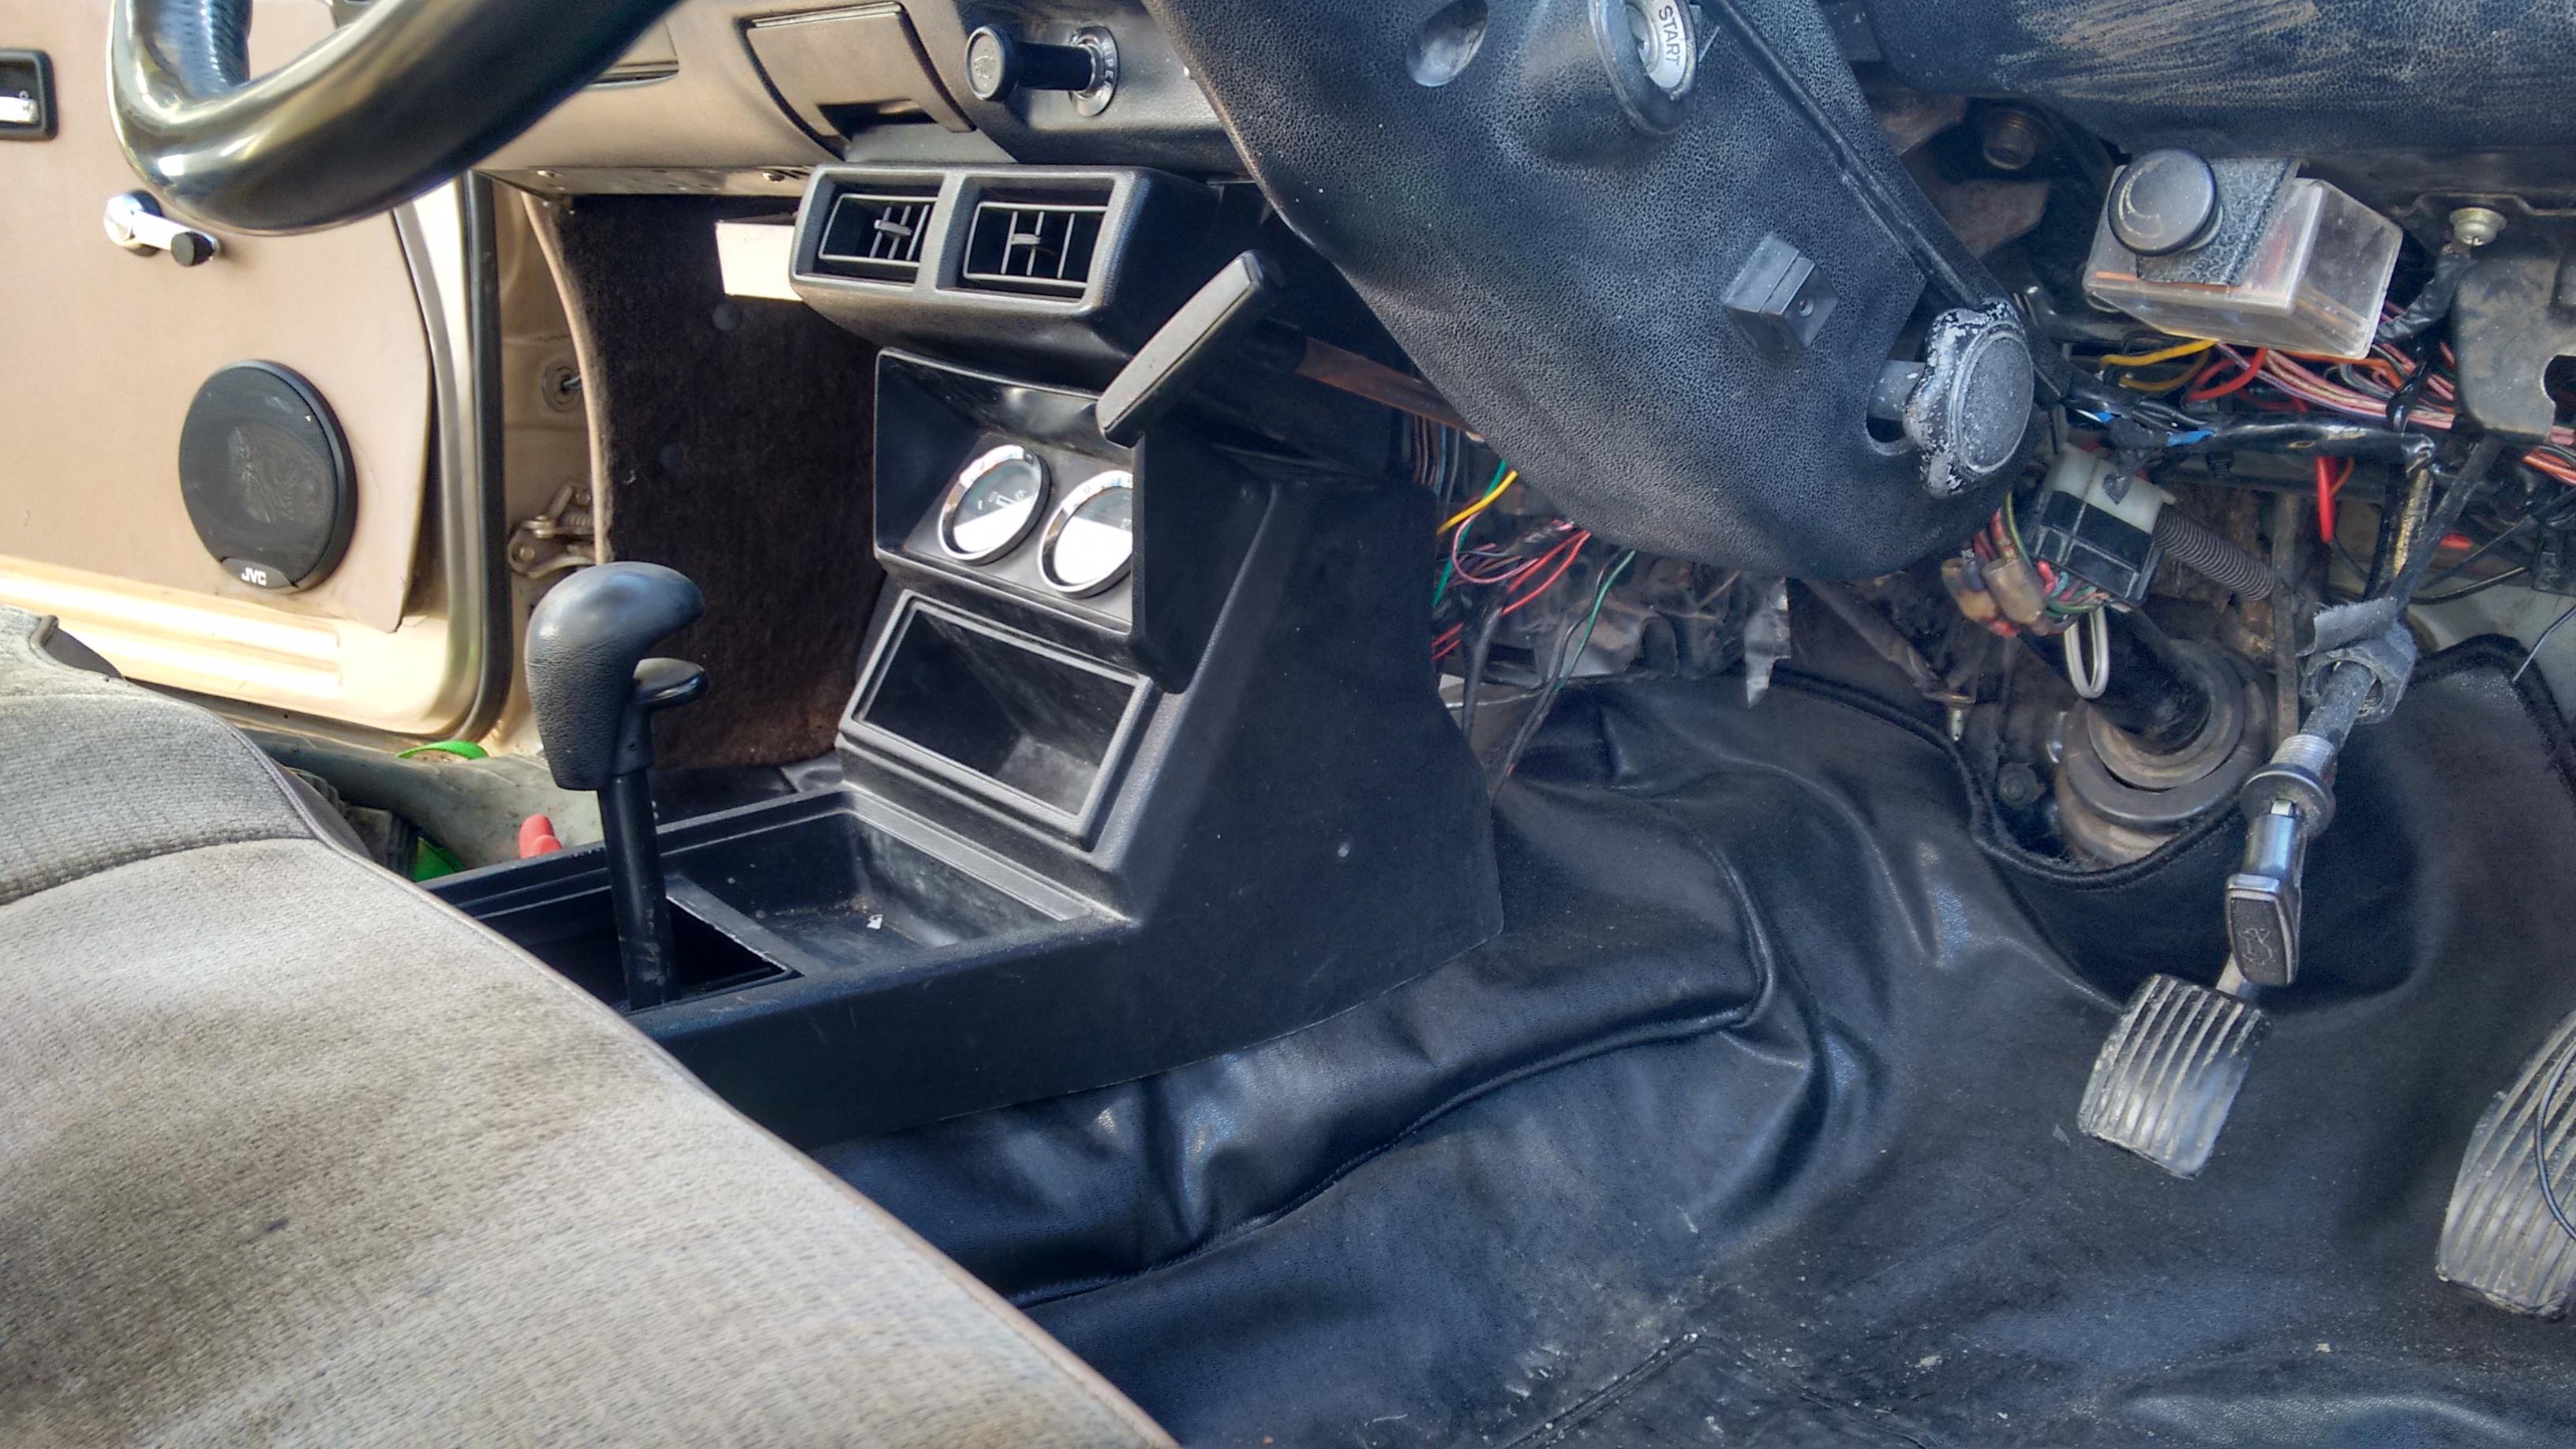
Fresh out of the Mojave desert, I got this dodge d50 sport centre console with gauge pod add on. The yanks actually got sport models with bucket seats, sun roofs and wild decals, we just got farm trucks with maybe a clock Probably the only one in the country
3 points
-
Bring tube in a can instead. Will save alot of time !3 points
-
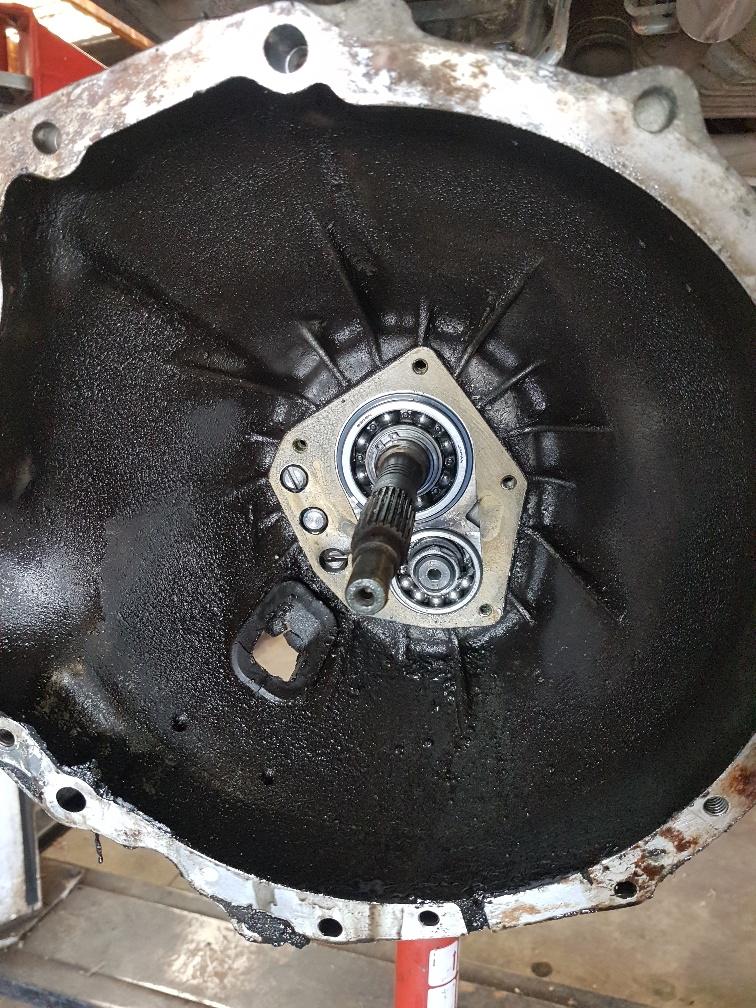
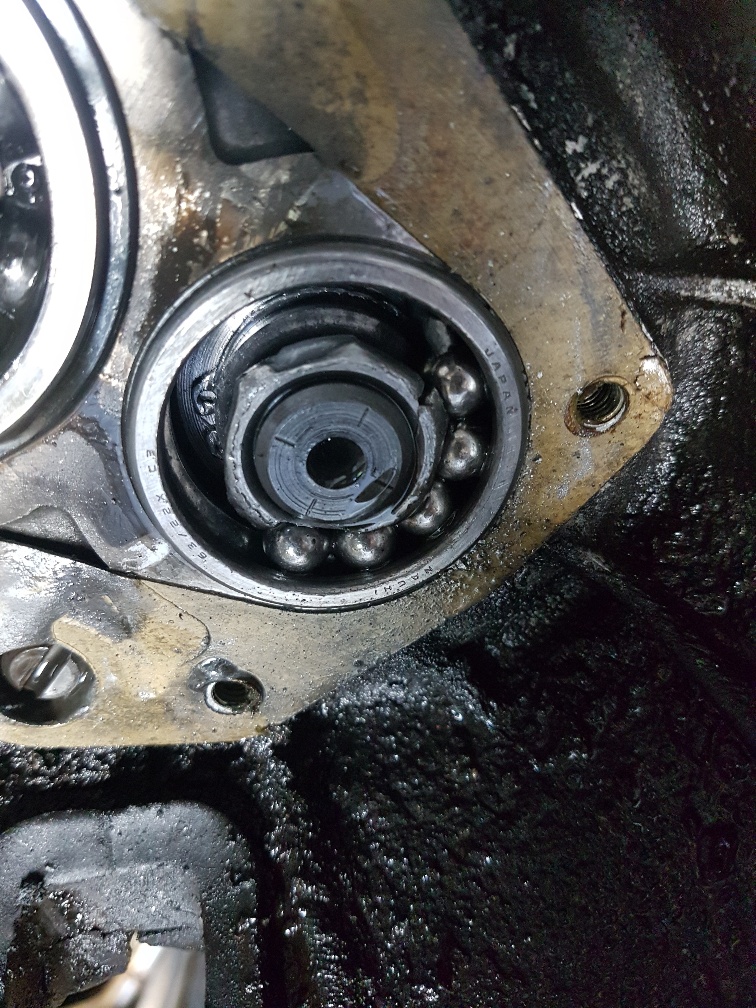
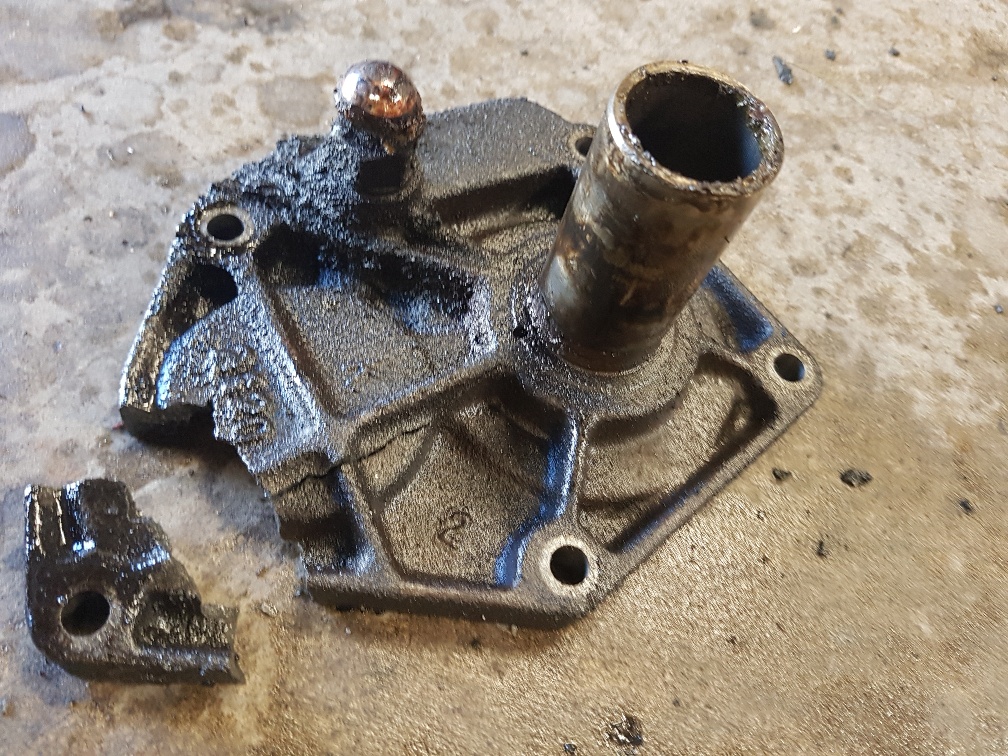
Error 404, layshaft bearing not found Looks like the towing let the layshaft push forward and blow out the front cover, yeah carnage!
3 points
-
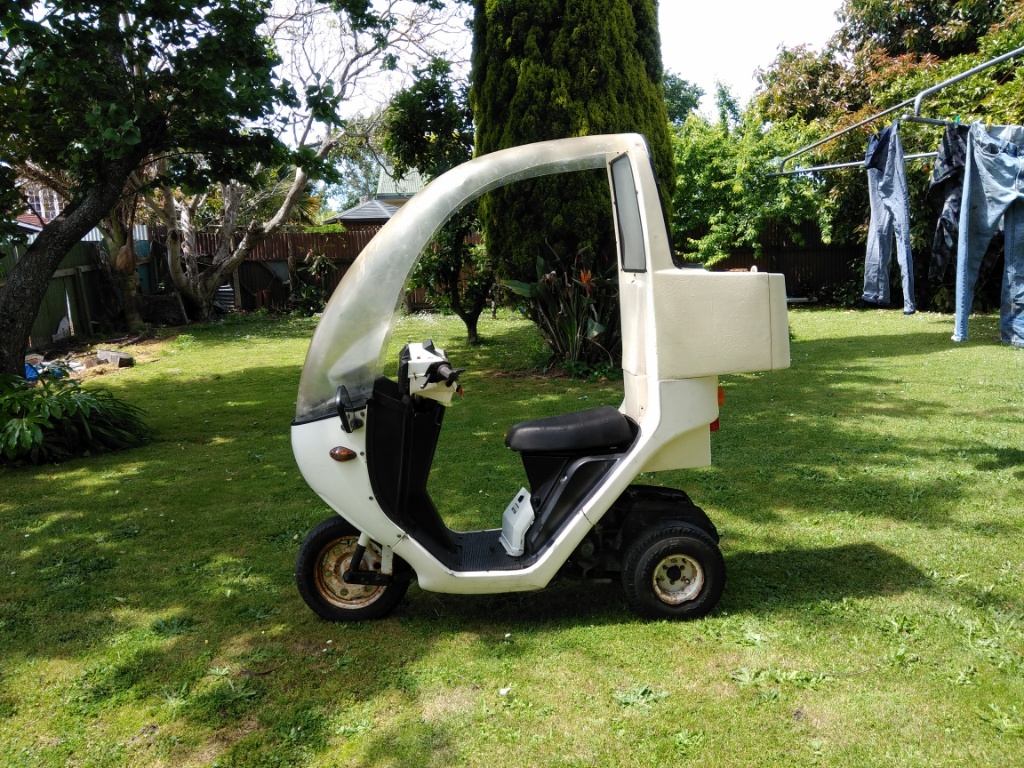
After a 21 hour round trip to Tauranga and back via Hamilton, Raglan, Hamilton, Taupo, Napier etc I've got the 2nd Gyro home. It's still an early model with 3 stud rear rims and narrow track, but the 10" front wheel suggests it's a bit later model than my 83. Few cracks in the fibreglass to patch up, screen hopefully will come up ok with a decent plastic polish. Will pull it out of the van later in the morning and see if I can get it running.3 points
-
All finished
3 points
-
3 points
-
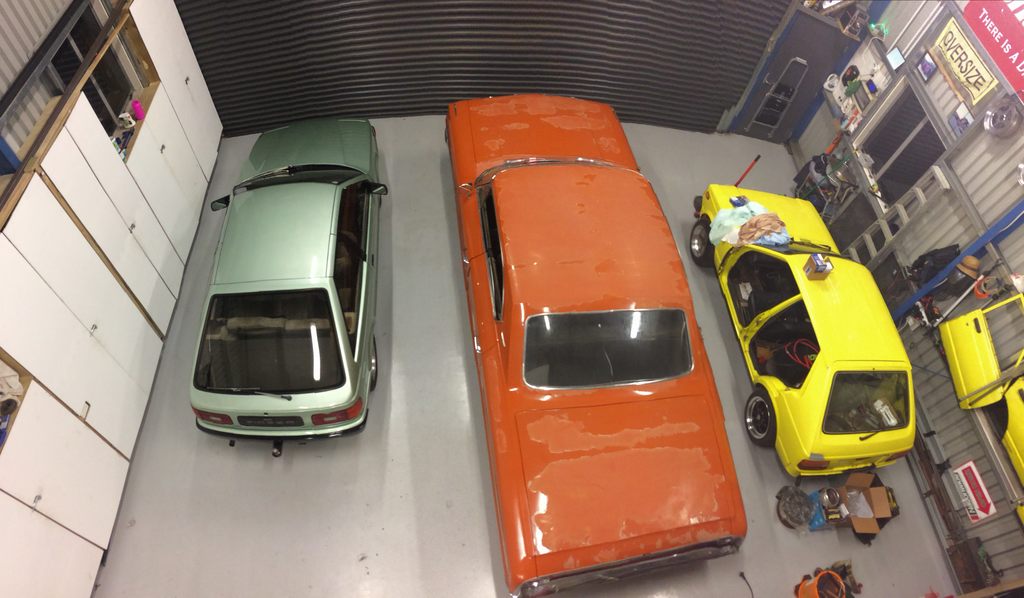
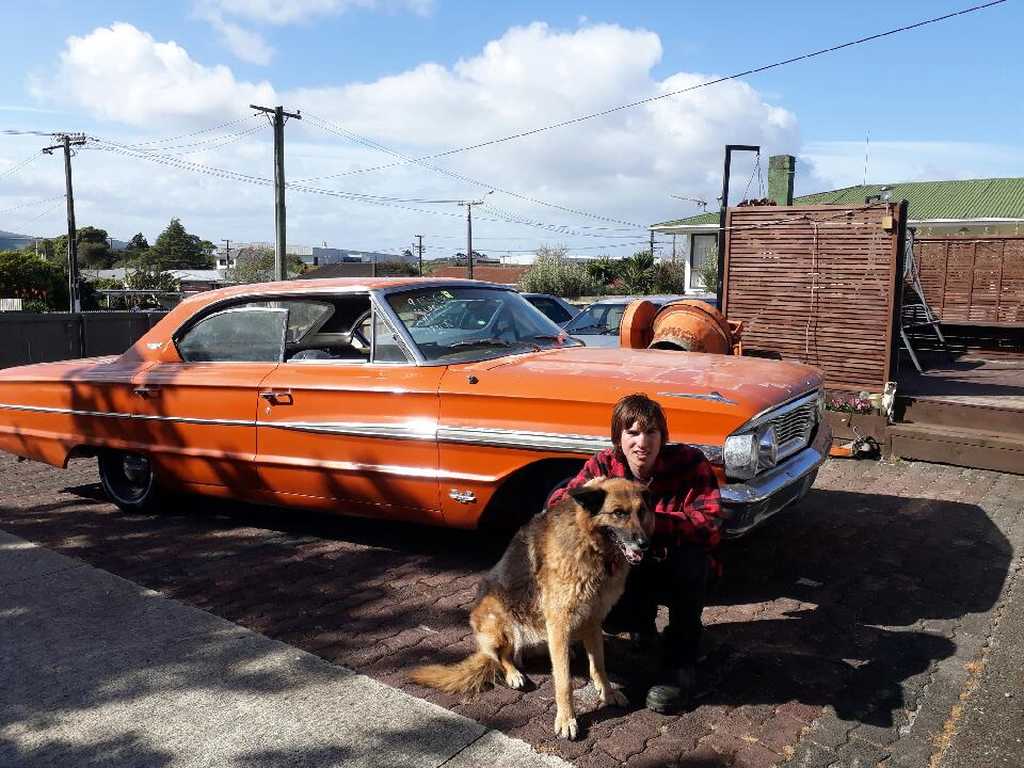
soo with a saga of the parts ordeal going down. @chris r Turned up to pickup his fuel tank and pine over the Galaxie we figured we better start working on the car after a much needed cruise round the block and free included in the deal peelout. that started with getting a horn going so with the horn that i had purchased a couple of days earlier from @tortron some wiring and nut&bolt and cable ties later it was mounted between the radiator and grill without too much notice then the ol girl was screaming so with now having the galaxie in nz lets just say that the shed is somewhat a bit less walking area. with more old man moaning about someone taking up shed space. well sorry mate but this is only half of my fleet of cars but this is oldschool right where ol barry and his boys hoard shitty old cars.
3 points
-
I have a 12v compressor I can bring along if need be. Put some of the 6v bikes in series and make it work etc for max lols.2 points
-
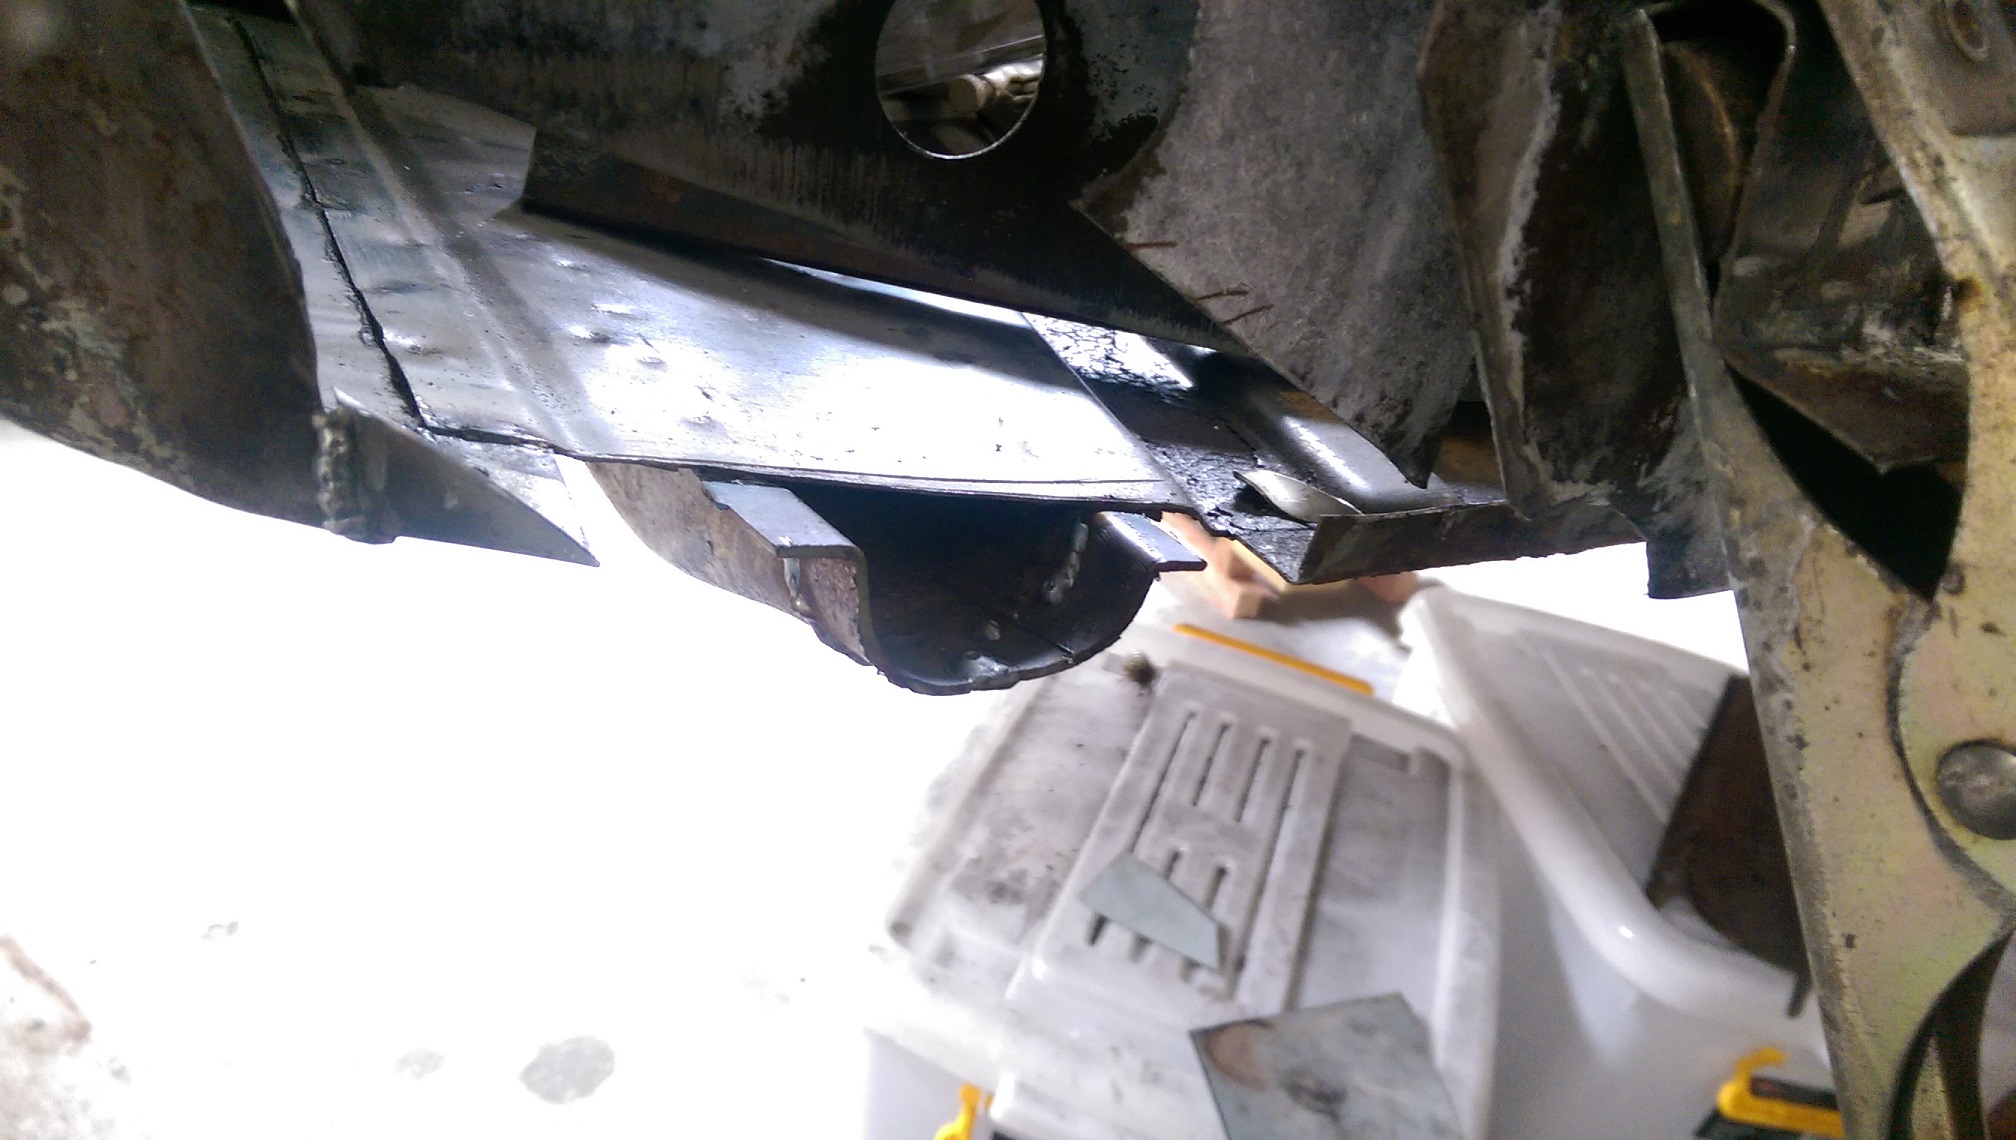
I also made a start on recreating the end of the 'outrigger'. 2mm is so much more forgiving to weld. I made the shape by banging a block of wood on the end of the outrigger to leave an impression. Then cut along that line with a jig saw(I cut it a little too big, should have been smaller), so I ended up with a little block. Then I clamped the metal to the block in the vise and hammered it around the profile of the block. It worked quite well. The top flange is not quite right, I cut and shut/ trimmed it a bit afterwards, but didn't take more photos.
2 points
-
Started on the strip down. Find some good and some bad but overall pretty good. Hoping to get it into Auto blast in the next month to give the chassis a clean up. Meanwhile the other one waits in the corner.2 points
-
using a gib lifter makes short work of it. ya can get 6m long sheets2 points
-
Since the sale of my Viva is finally complete i now have the funds to complete the Anglia. Still in the process of deciding what i do intake and fuel wise, but everything else is sorted. Ive gotten the Zetec out of the Mondeo (Parts are still for sale) and while doing so have realized that ill be doing a few gaskets. Its now mated up to the MT75 gearbox i've had sitting for awhile, apparently you can use the starter out of a Sierra and use a 20mm spacer with the Zetec flywheel and thurst-bearing. With that all sitting i trimmed up the stock engine mounts (Soon to be plated) and the bottom of the sump that was un-needed to clear the steering arms. I Cut the tunnel and slipped the motor in. Now comes the task of making engine mounts, gearbox mounts, driveshaft, tunnel and getting all the parts to get it running.2 points
-
I guess I can stretch to an extra 20-30c per tank.1 point
-
Yeah I’m in QT the Thursday before it starts so can pick them up then.1 point
-
Man this second gyro is rad! It was great to finally meet you yesterday buddy! Needs a sub box1 point
-
As for the globes and hankooks, it depends how bogan you want the VL to look!1 point
-
Highlands doesn't work for me either. The Friday clashes with school Pet Day. I have to take Spotty the boar along as Mr 12's pet for the day.1 point
-
no need to be sorry. im about to try get some pictures of inside set ups so i can get some ideas. currently weighing up buying a front of trade me which i know has heaps of holes in it and just weld all the little holes up or buy a full front for a lot more.....1 point
-
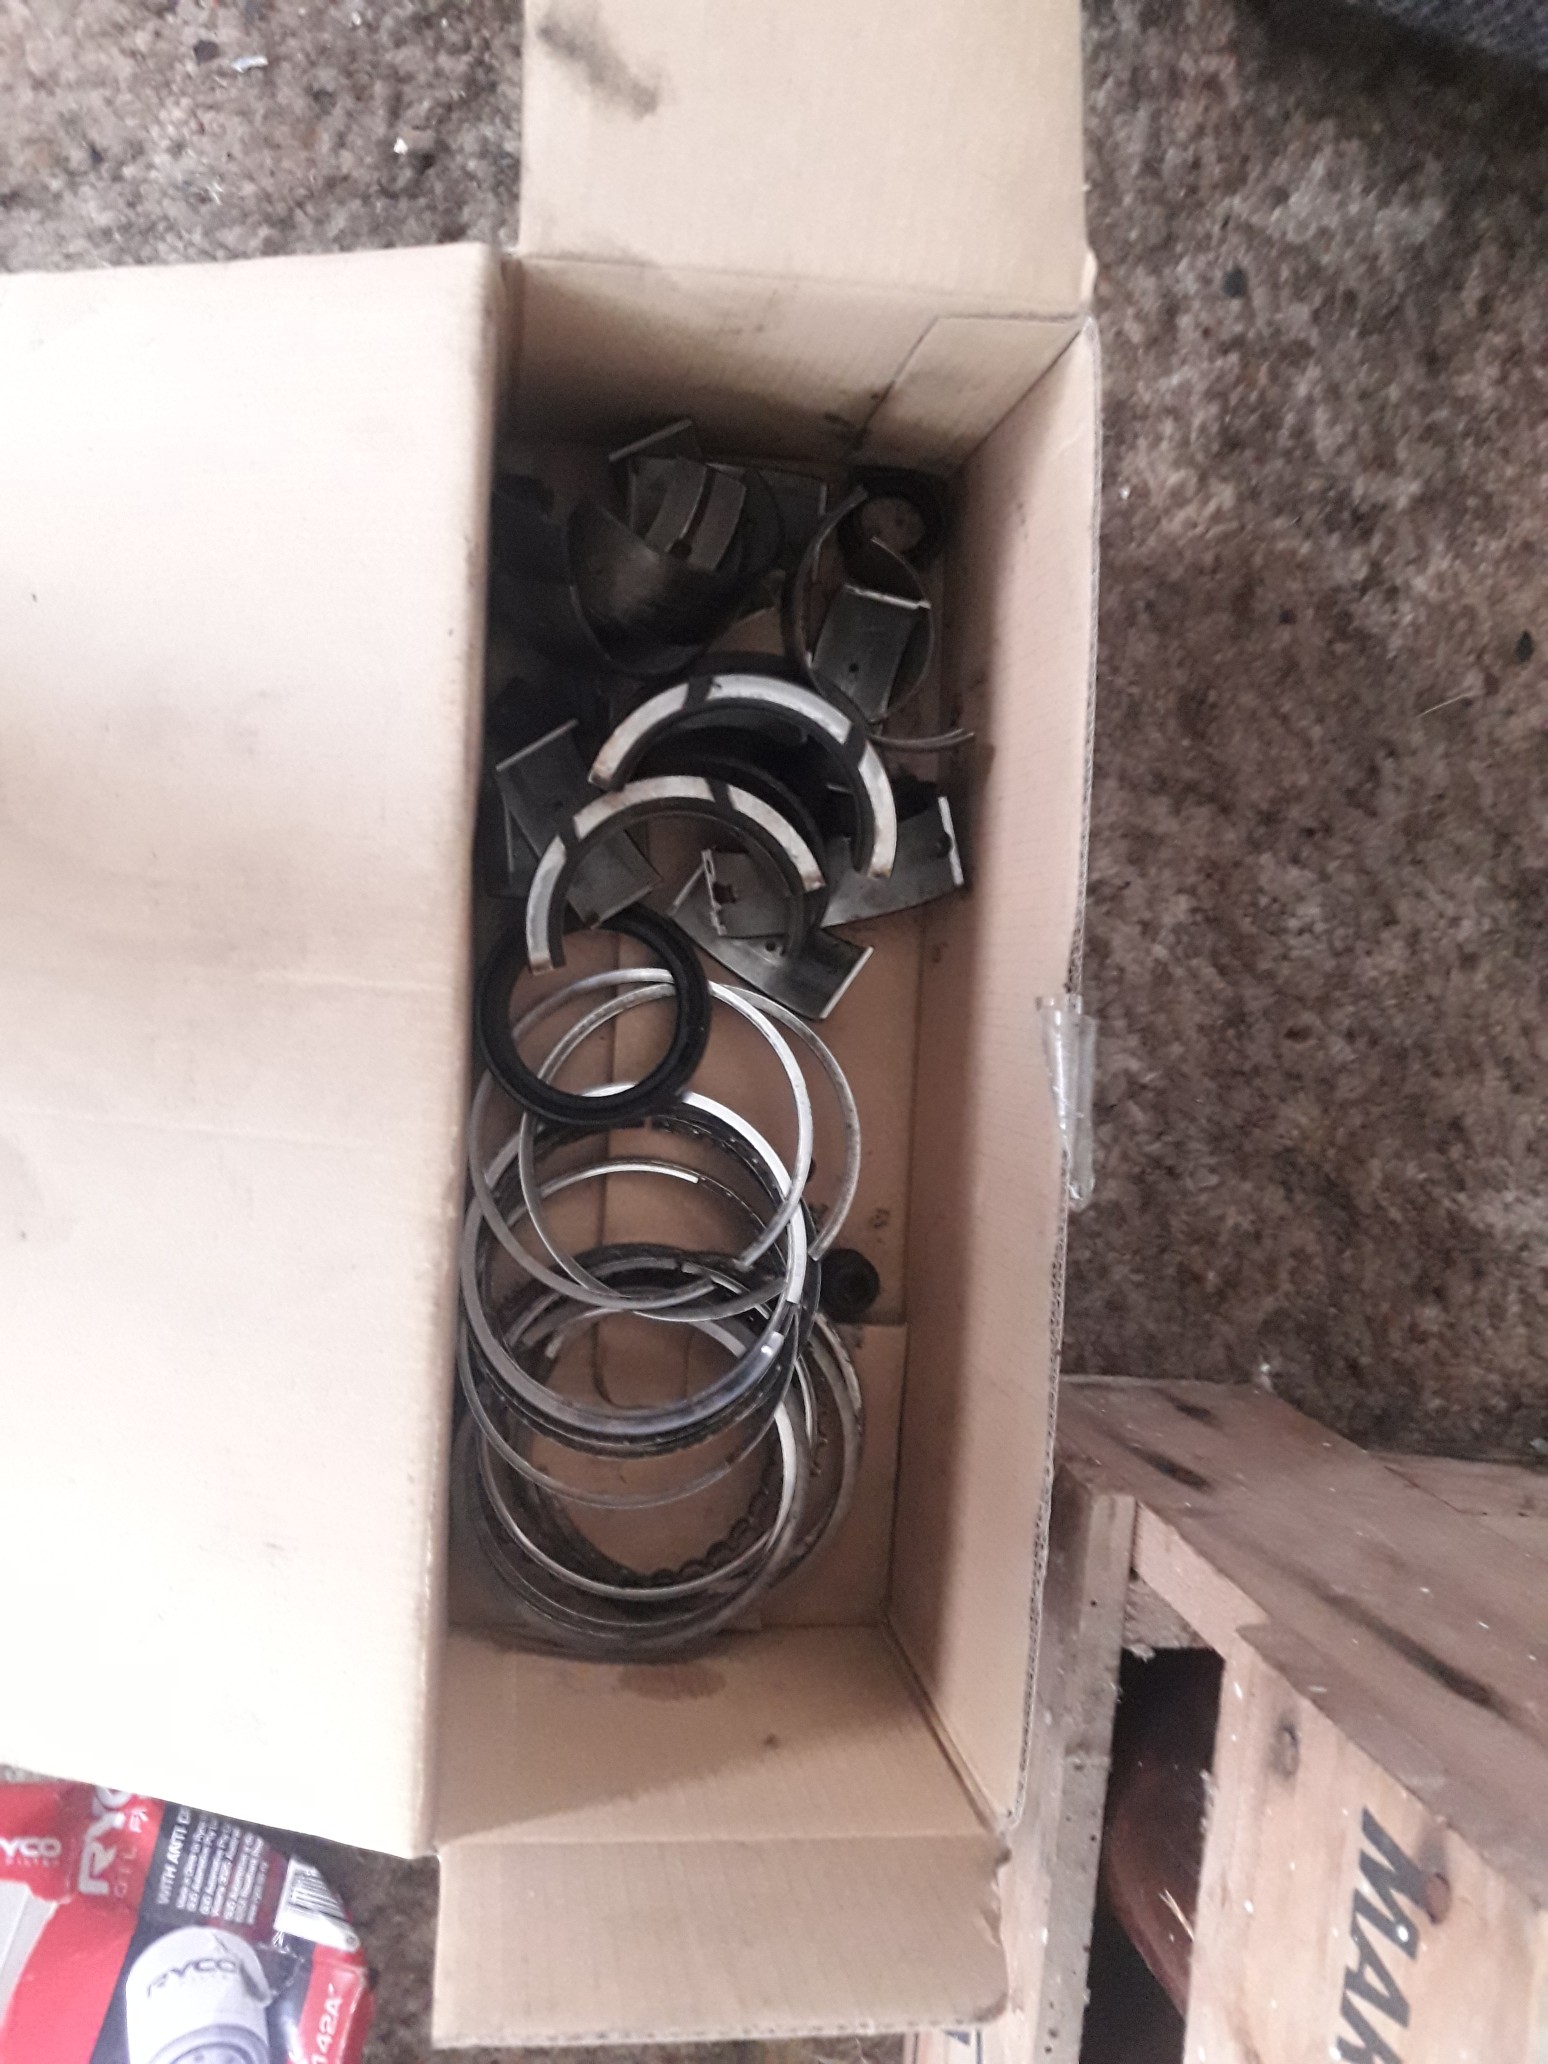
Anybody want a box of worn out engine bits
1 point
-
HAH nice1 point
-
10-5 just put GTIR ITBs on his SR20, every case is individual, depends on the injector mounting situation. GTIR are similar to RB26DETT in the way they're paired rather than completely individual like 4age... Open to critic...1 point
-
1 point
-
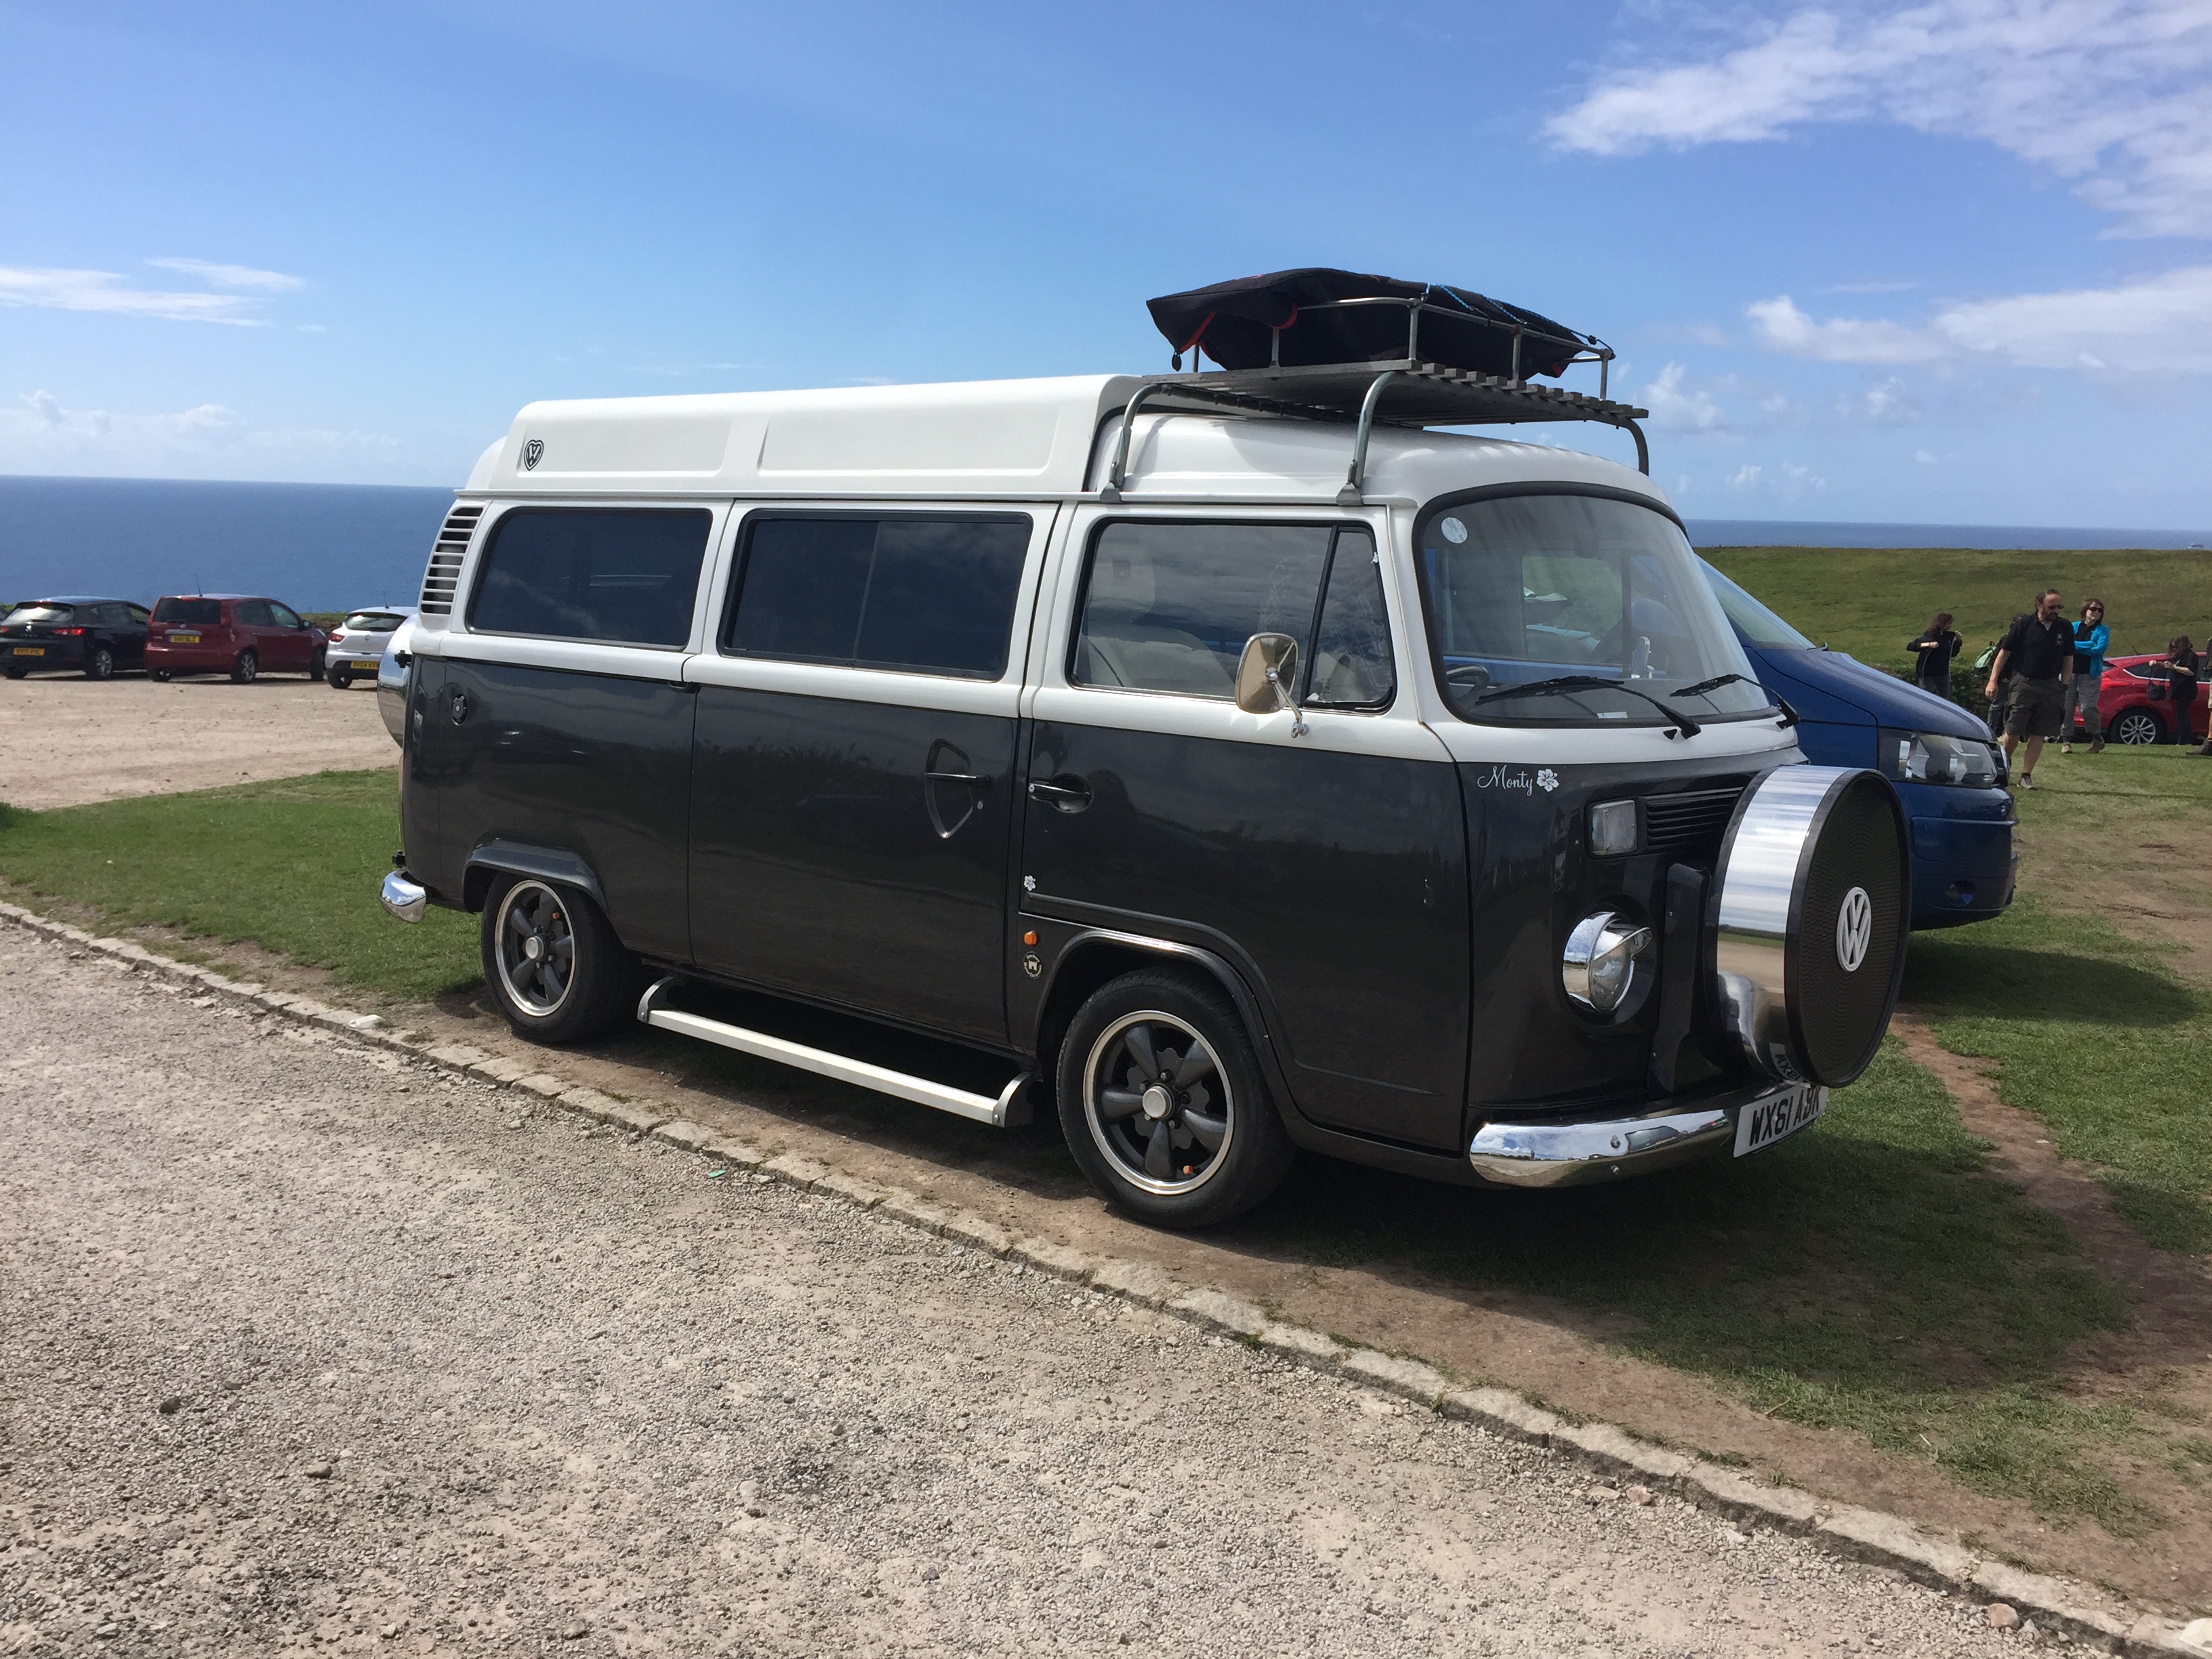
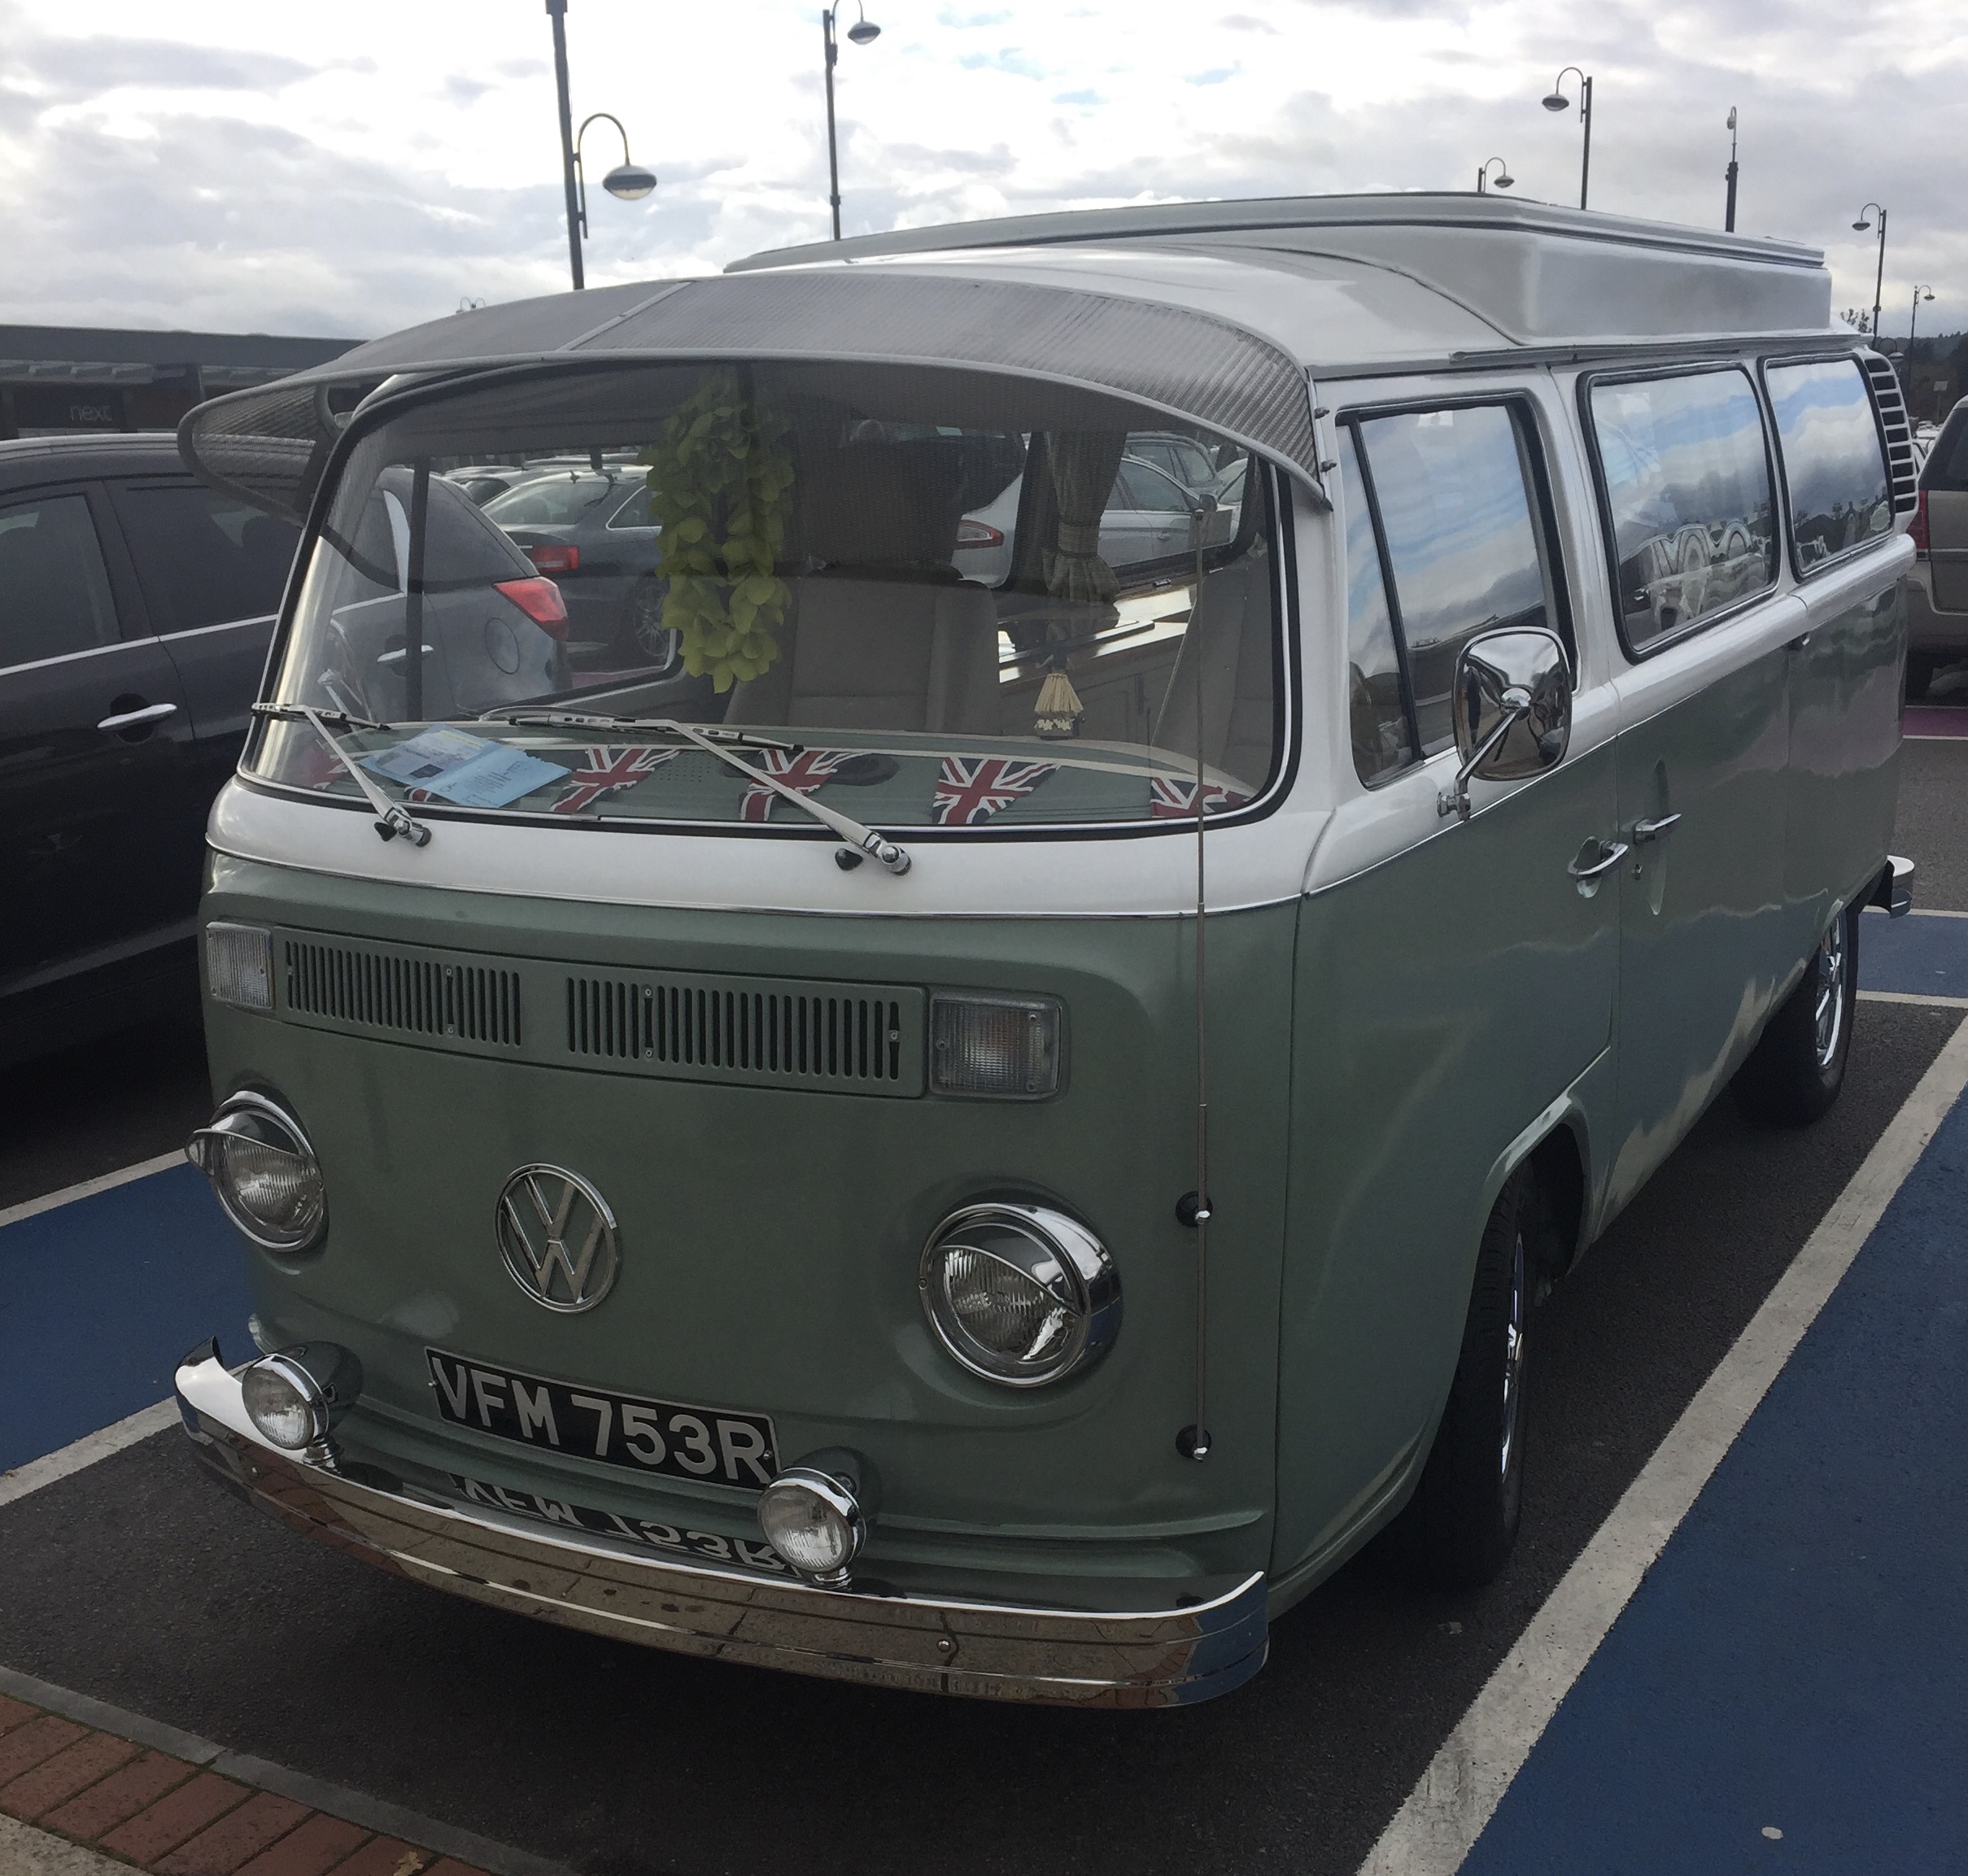
Looking forward to following this thread, I love bay windows! Have always wanted one with a Subaru engine, we are travelling around the uk and Europe at the moment in a T5 camper, see so many sweet buses over here! Just walked past this camper in the car park.
1 point
-
Picked up a front panel last time I was in Palmerston North. I like it more than the one I'd made out of rectangle tube and alloy sheet. The standard gap is the perfect width for my radiator and air filter together. The plan is to install this panel with rivnuts and keep it as a removable piece. I'll need to add some steel to a few places and fill in a few holes.
1 point
-
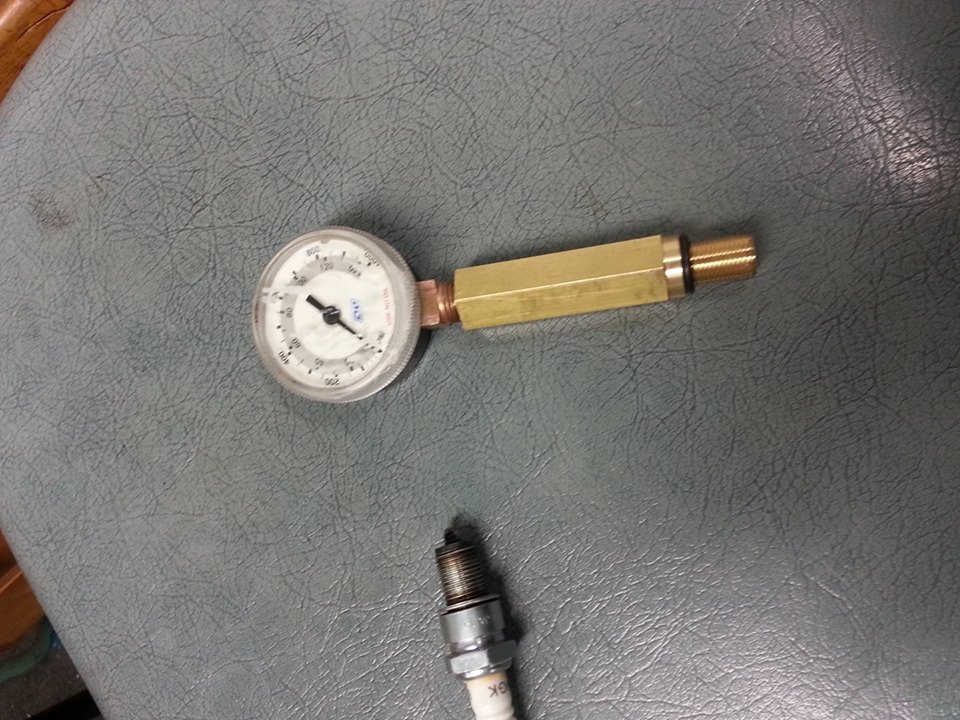
made a comp tester which will fit in tight space ... what ever the comp ill just be driving it now until such time as catastrophic engine failure... or go back to single barrel... guess well have to check the compression first..
1 point
-
I'm a fan of your bathroom prep1 point
-
I been thees out the other day1 point
-
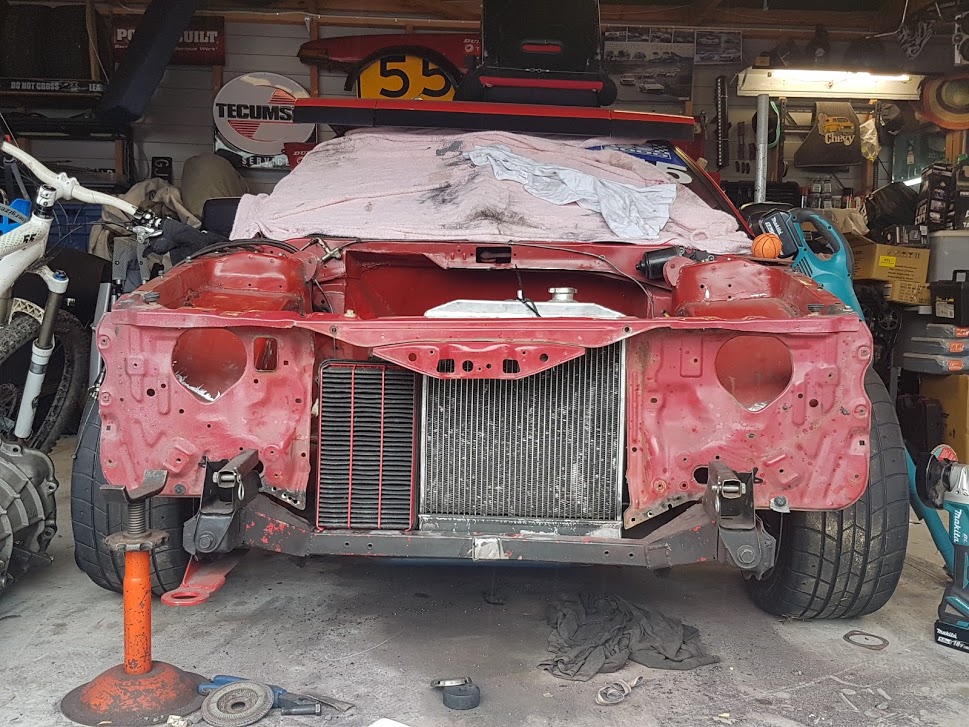
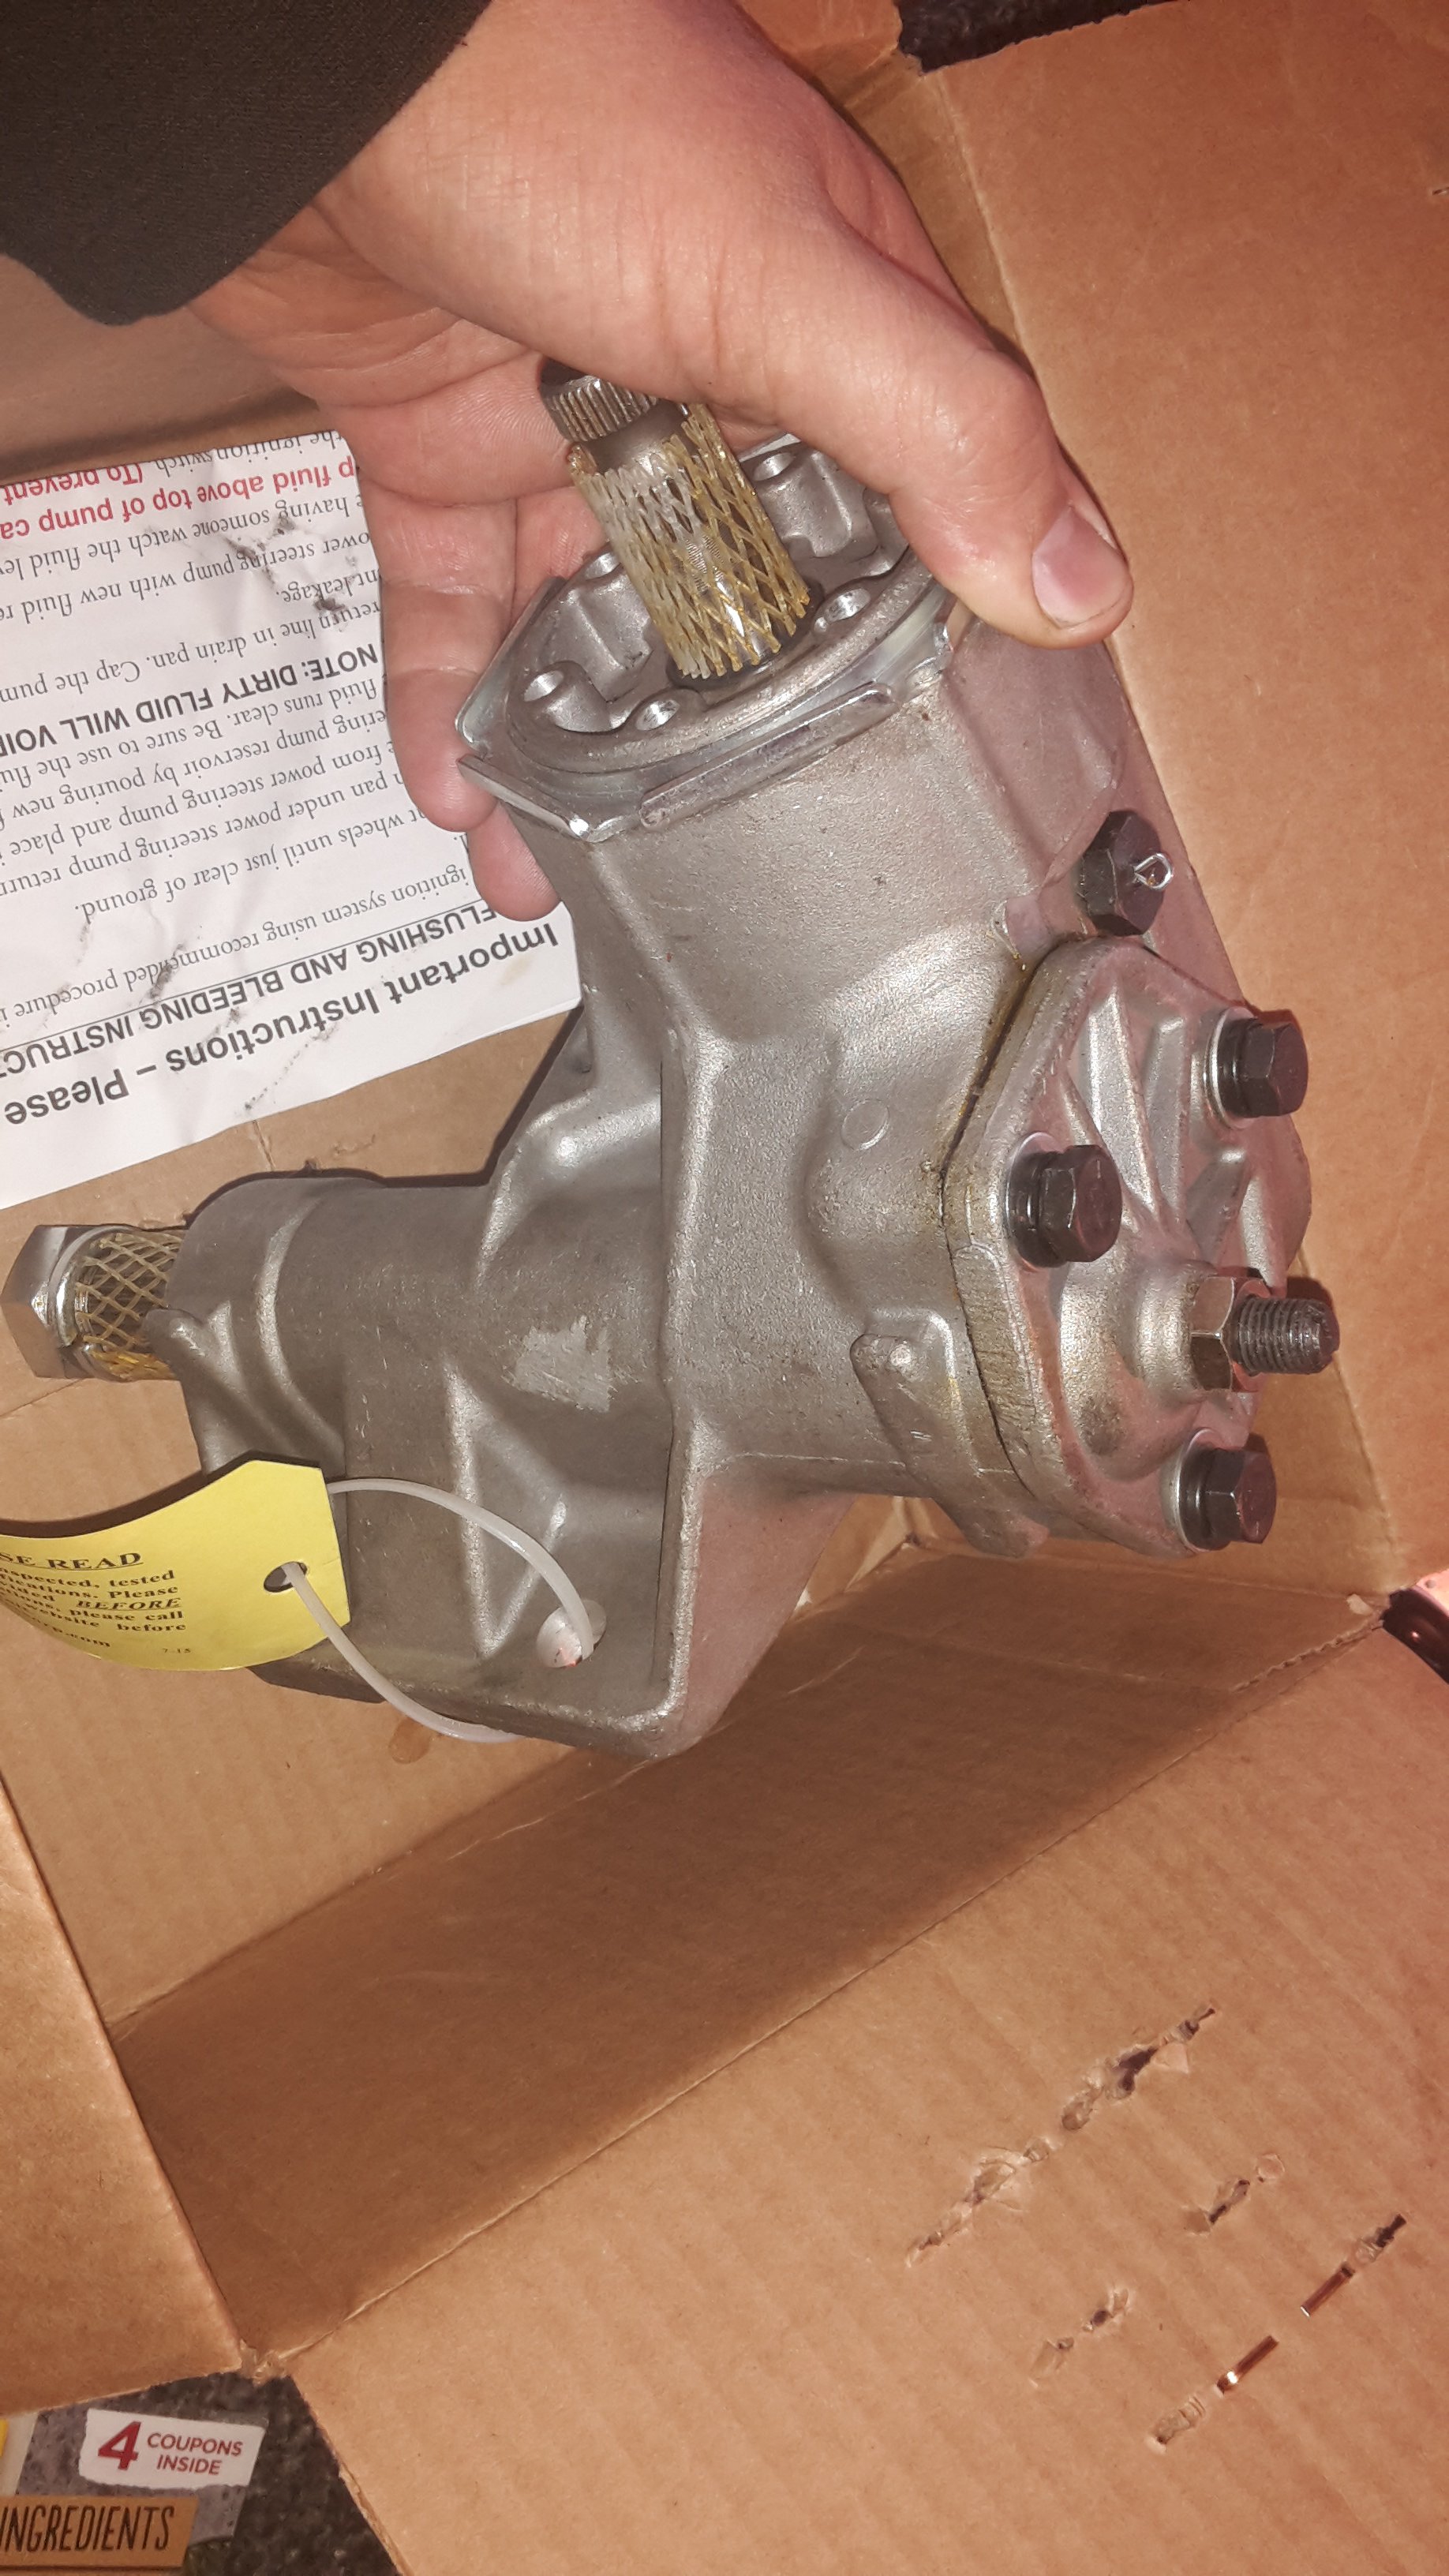
After much mucking around looking at how and where to mount the power steer pump and then reading they aren't much good and then looking into fitting an electric ps pump instead but reading about how many ergs they need then I'd need an expensive alternator bla bla bla I decided fuck it and ordered a manual box instead. Rock auto is awesome. I ordered it on Saturday and it was here when I got home today. They are available in two different ratios so I got the quicker one Header flanges are cut so I can pick those up tomorrow And drop the trans off for rebuild on saturday . Progress
1 point
-
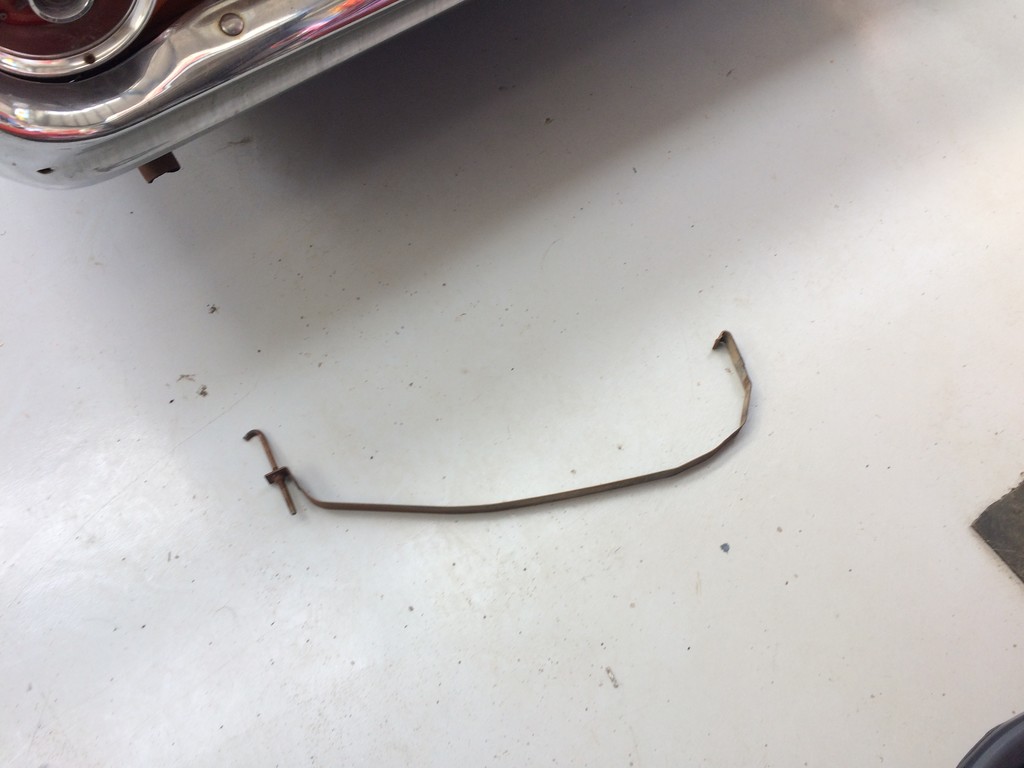
made it home in great condition so i put the dog in the front with me and backed it out the drive way to turn it around then as i pull out clunk!! drive forward and look whos here fuel strap decided it did not want to be on no more although the car is abit long and low in the ass end which makes me have to go on a angle to get in the drive way. FT my mums not so great camera skills so the ol girl is running a 390 FE big block mayte with yet to confirm exactly what but i suspect running a cruise o matic trans.
1 point
-
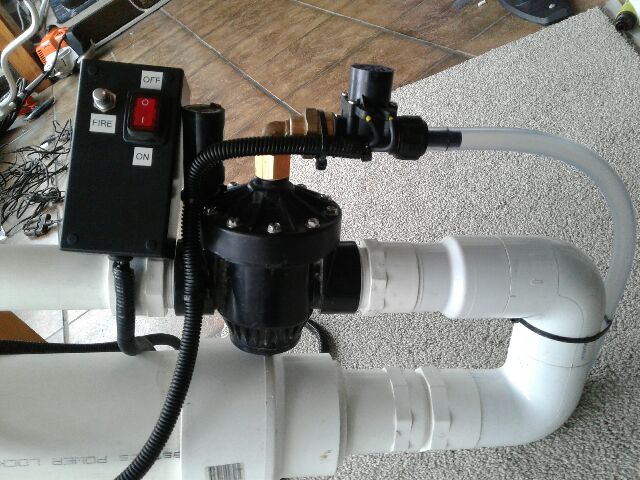
Instead of having to fire the "bait launcher 240" (240 because thats how many meters the frozen sinker that i made went) by squeezing an air gun, that was attached to the top of the irrigarion valve, that I built earlier, I decided to make a electric trigger system for it. Used a 24 volt solenoid and a couple of switches. Works wonders. Just about blew the window out of my conservatory with the 80 psi I had in it.
1 point
-
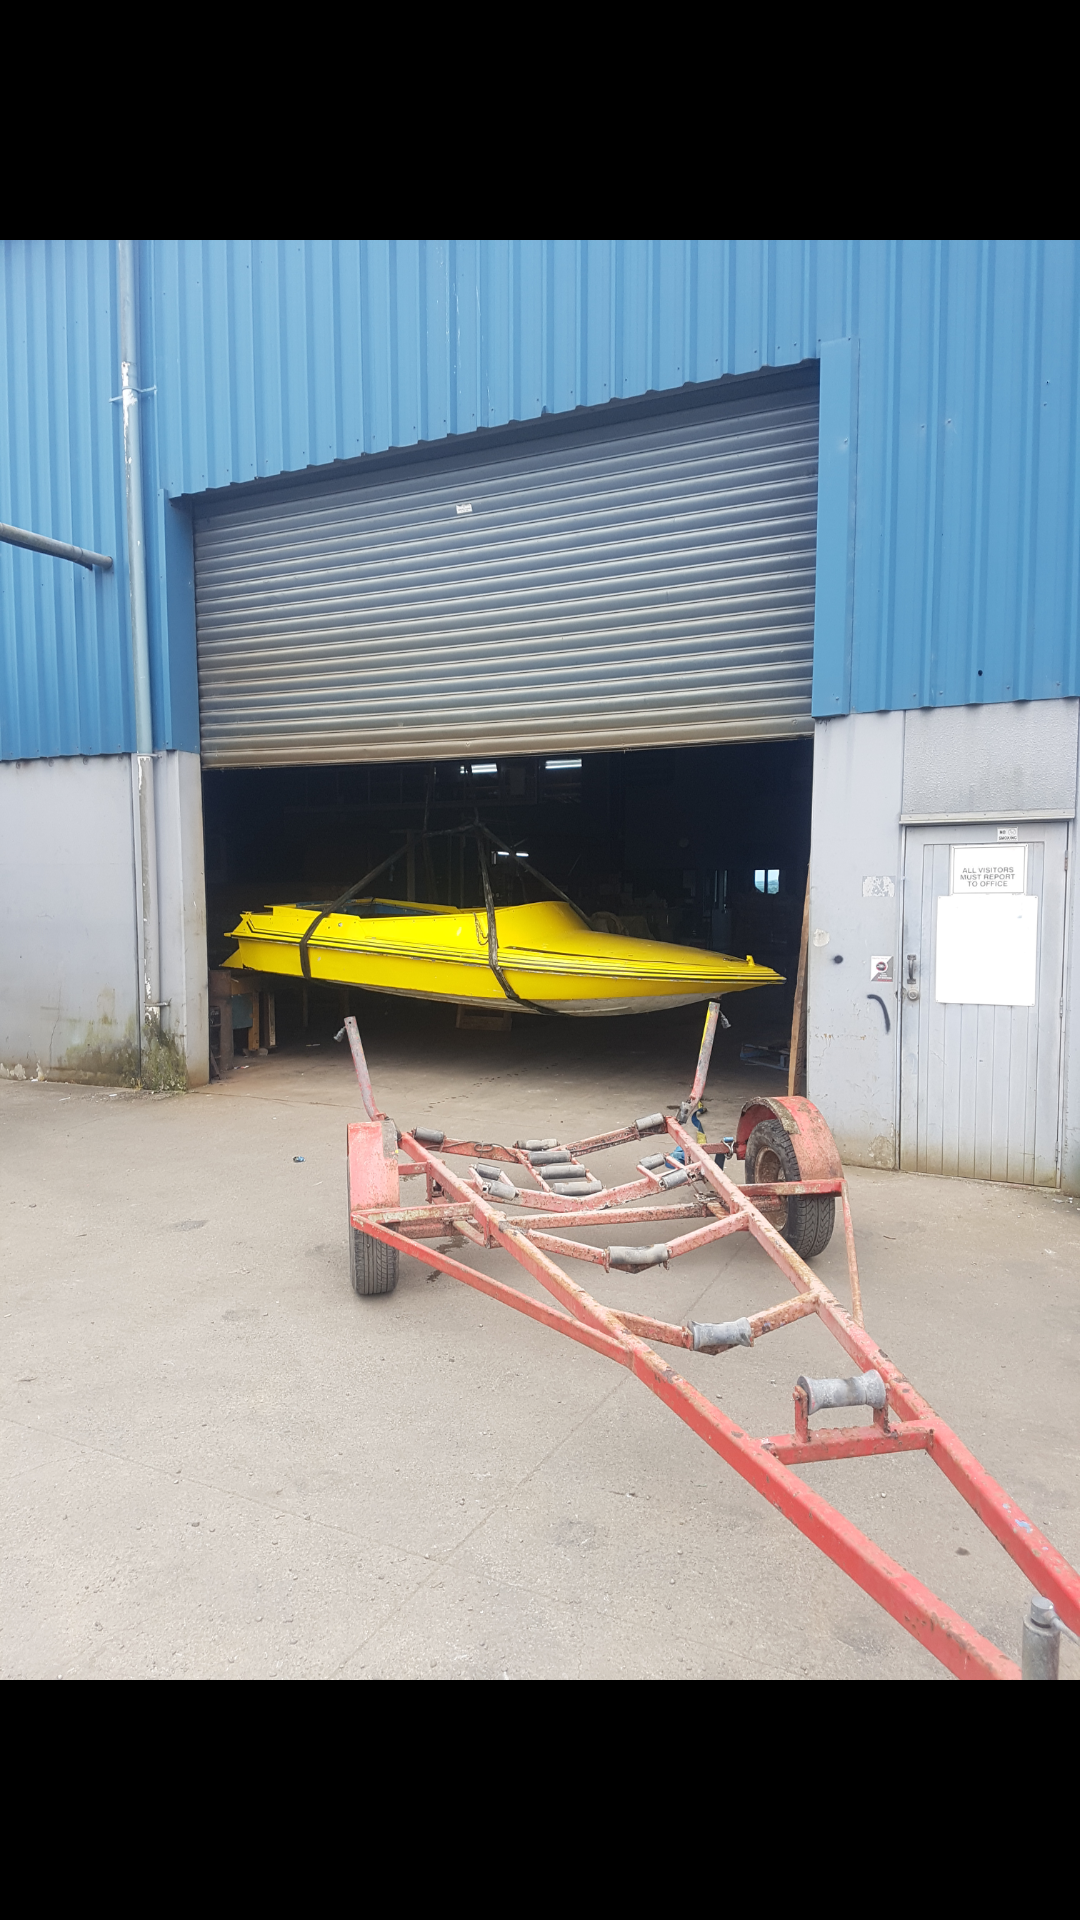
Been sitting dormant for a few months as house build back in full swing. Used long weekend to my advantage and got stuck into the boat. Pulled interior out and hung it up on the gantry at work so I could get to the shit parts of hull to fix. Will spend tomorrow mucking around with it.
1 point
-
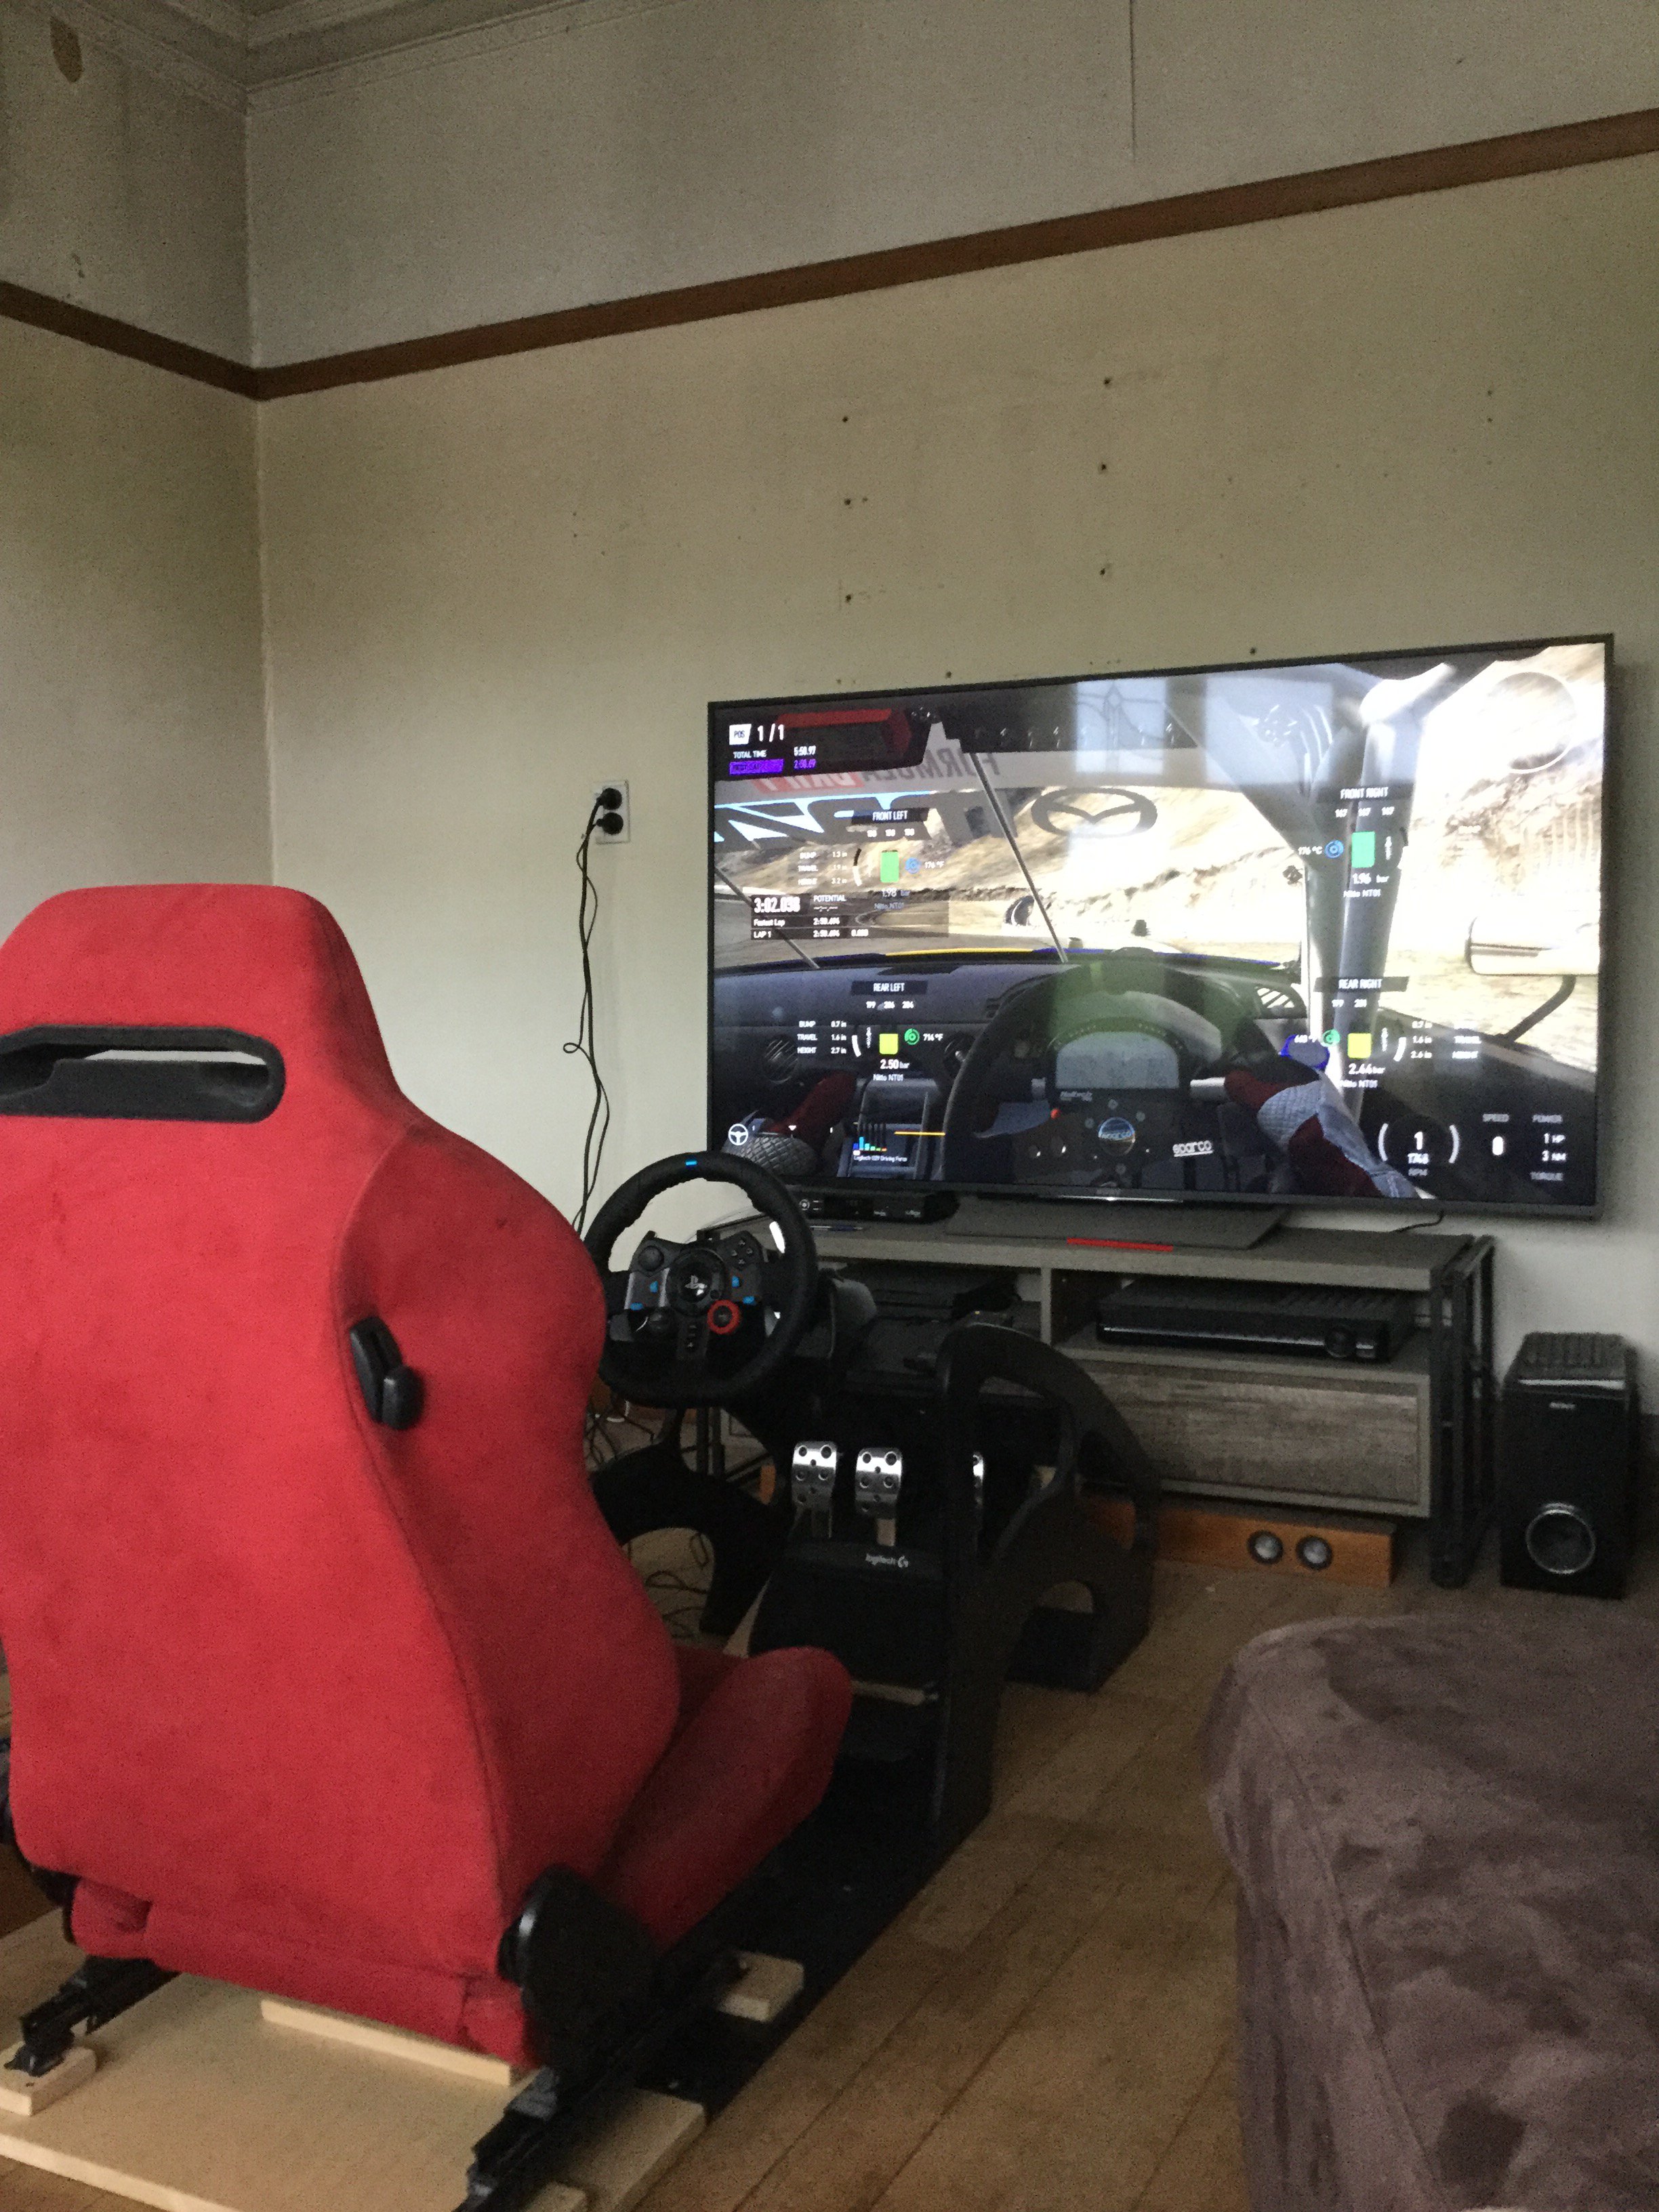
So i grabbed this rig off my father inlaw so didnt build all of it but just finished modifying it to suit my setup. Made new pedal mount and seat mounts. Now to do some racing.
1 point
-
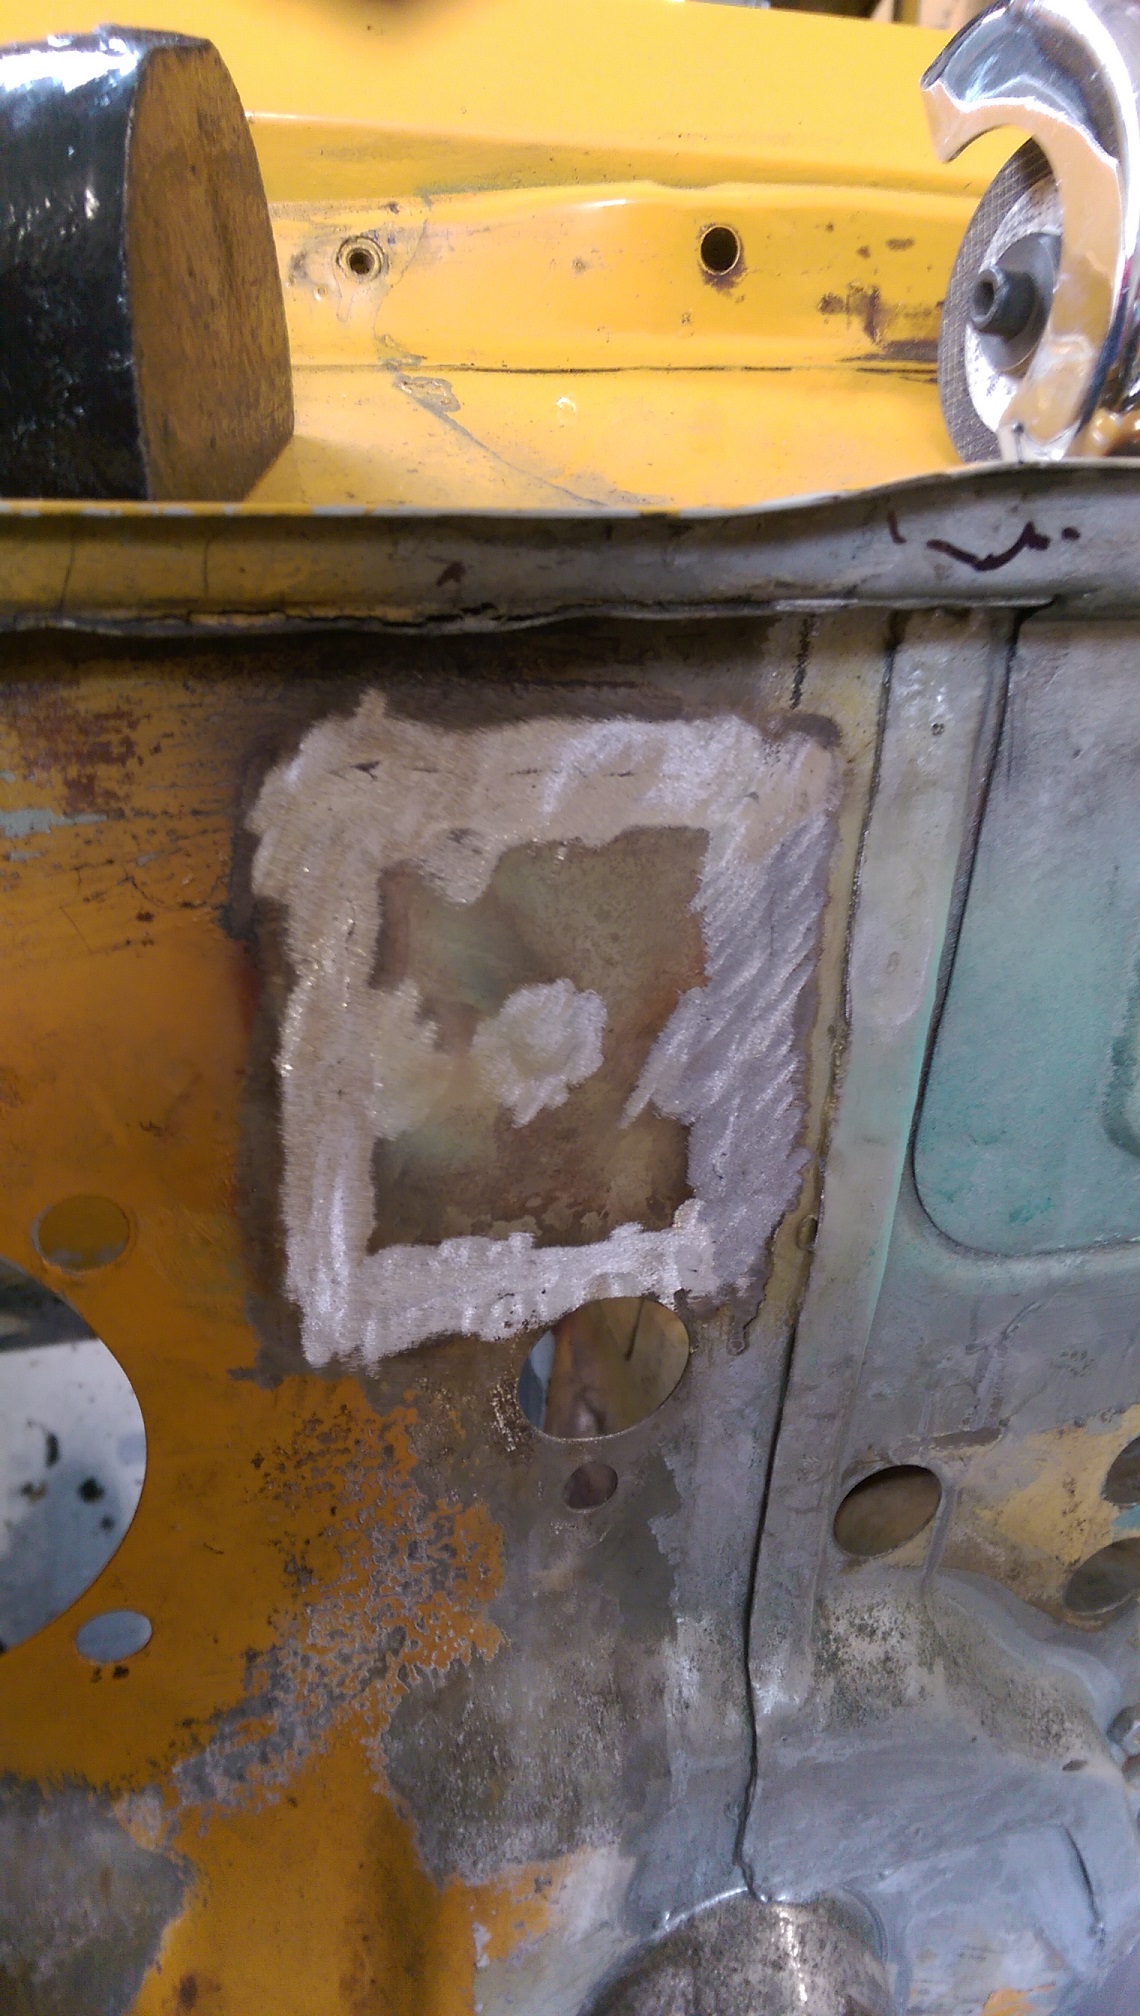
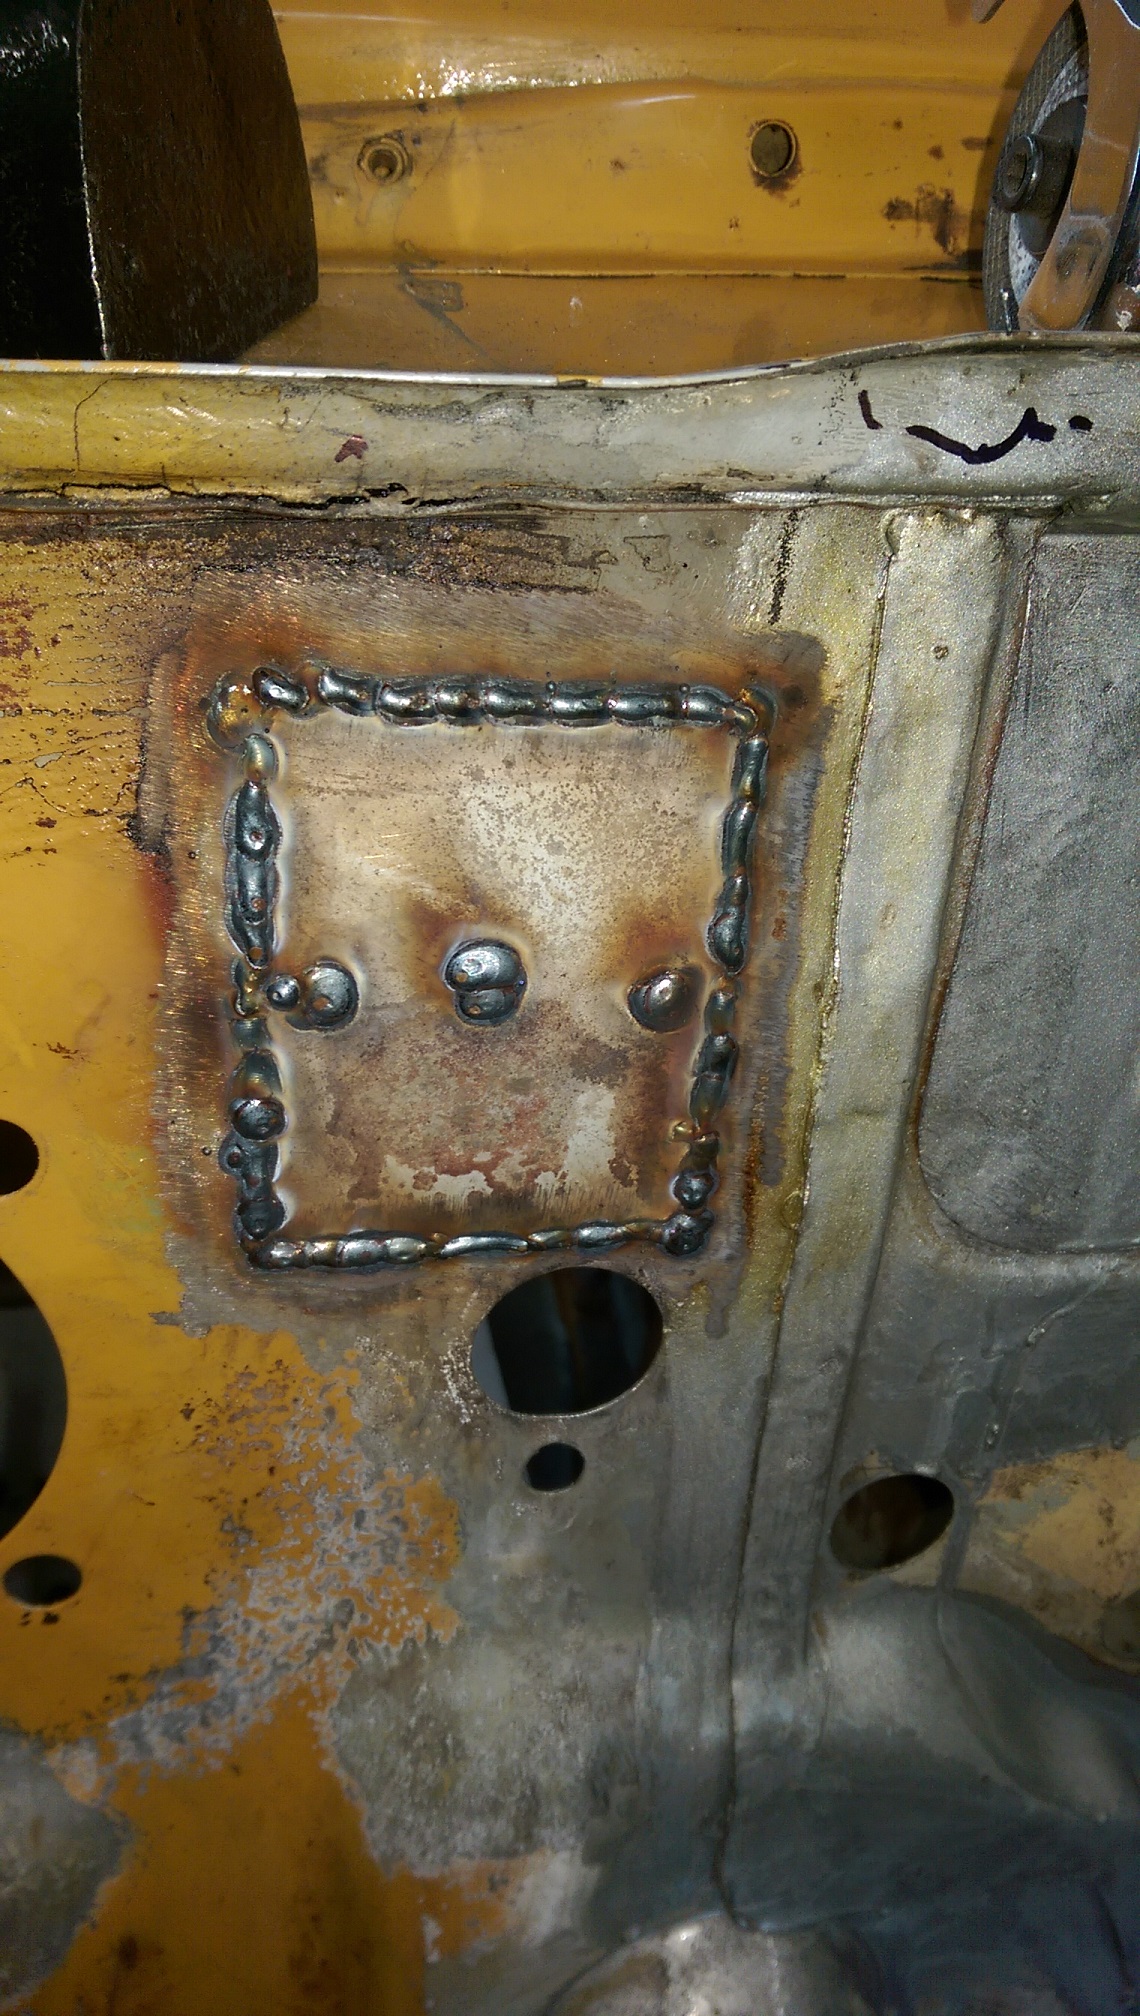
I finished welding and ground down the welds from my last post. Then today I fixed that pitted bit. I made the patch first, then marked and cut out the hole. Then trim trim trim trim trim trim bend trim bend. drill drill drill. bend. Hot glued it in. Grind grind..... grind grind grind grind grind grindgrindgrindgrindgrindgrindgrindgrind.... grind.
1 point
-
mounted up fuel pumps. enough pump for 1000hp on e85 . Current motor/turbo etc won't make that much but decided to put the extra pump in now. more of everyone's favourite CAD design program tacked on patch and sump fitted up, bracket for fuel filters welded on then ran out of argon so stopped and watched the last couple of hours of Bathurst1 point
-
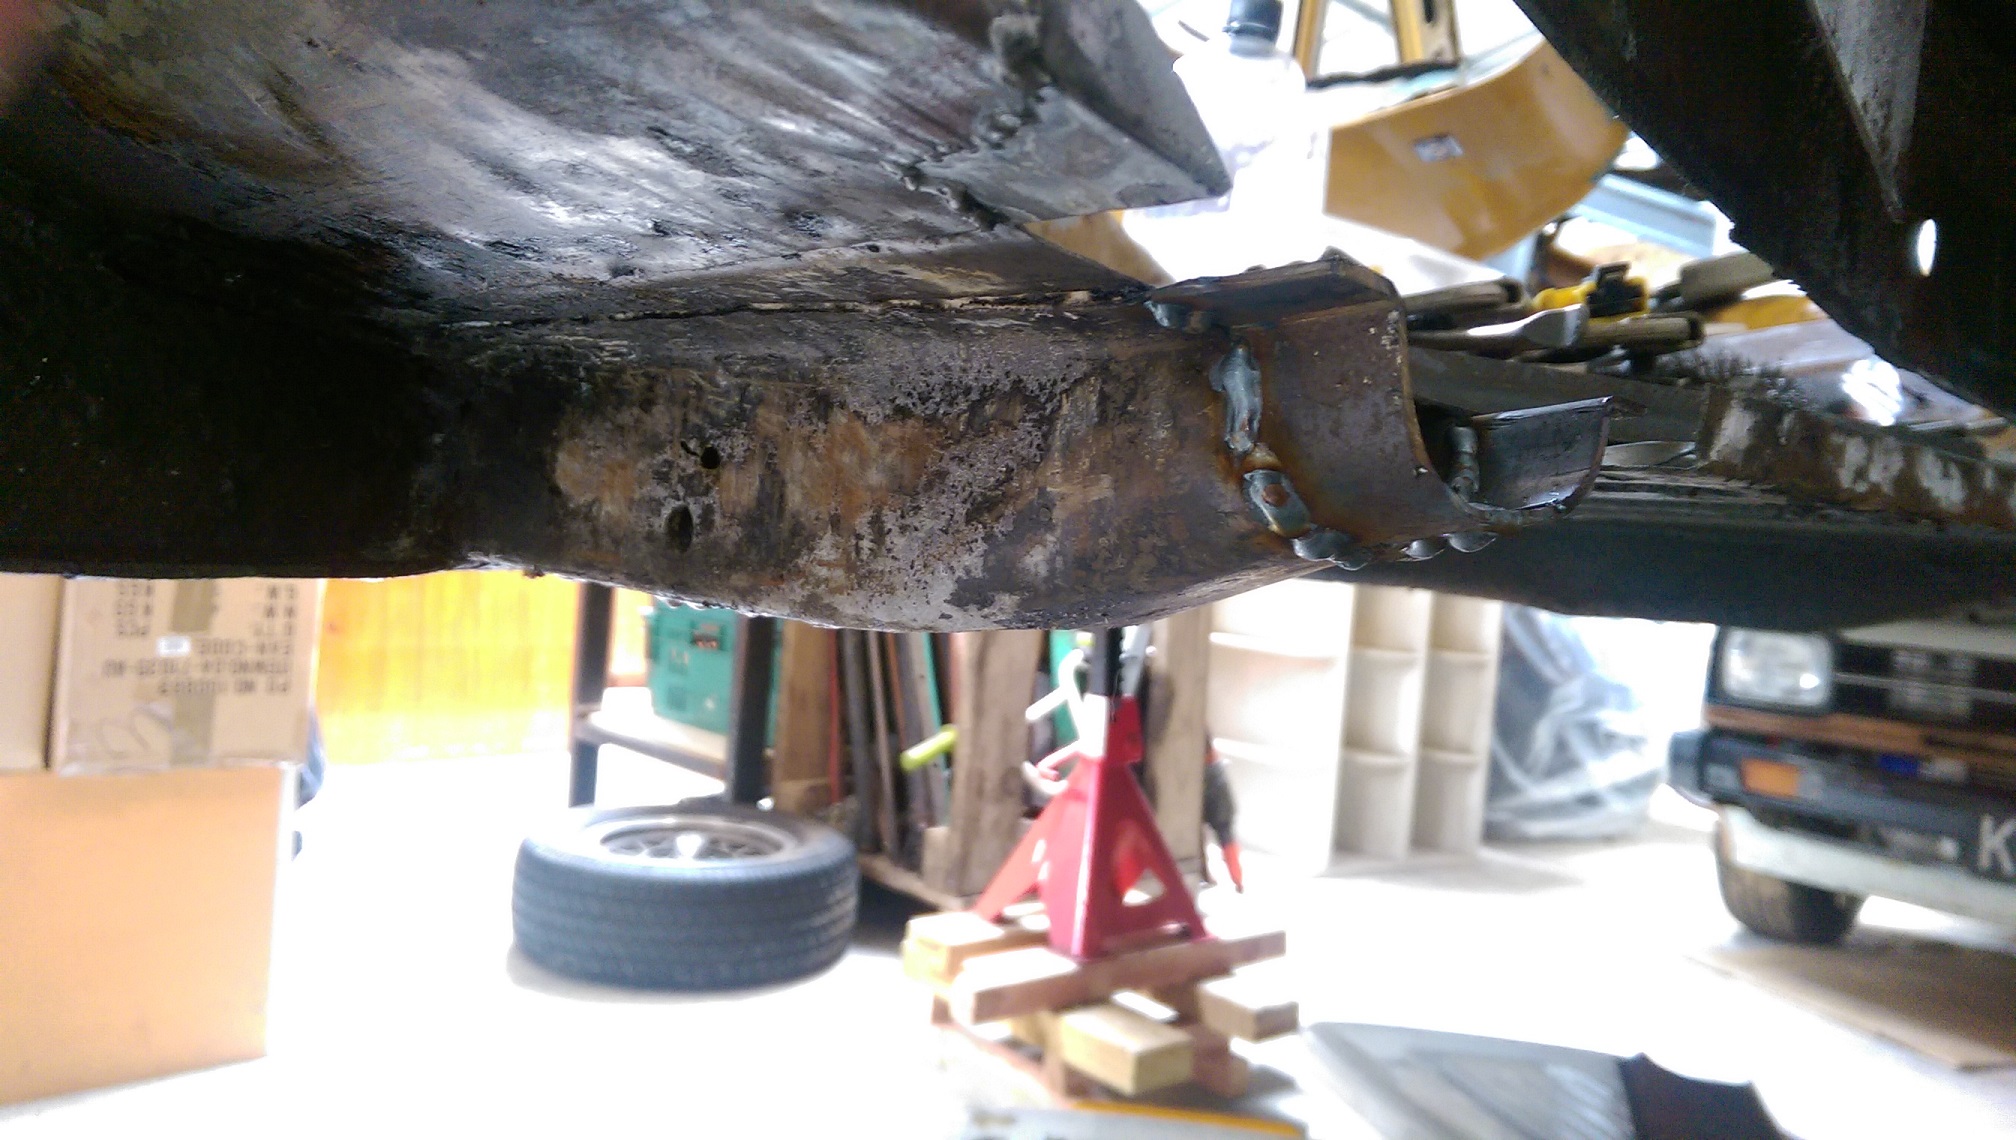
Ok time to face the elephant in the room. RUST. Range Rovers are great for hiding it under their exterior aluminium panels. I was hoping I could get it through a WOF with a few patches to the sills and the rear but more I think about it, more I want to do it properly. Hope to keep this truck for a long time. All carpet pulled out to see what lies benith. Front floors bit of mess, some nasty old sealer put over it. Rear floor will need both sides done as well as inner and outer sills and A Pillar. Fingers crossed the bulk head is ok. Doors and tail gates are solid so I am pretty stoked on that. Heat gun needed to remove all the old carpet residue from the paint. Doors solid, will get some replacement trim in the correct colour later on. Or pinch off my other one. Had some scary quotes from panel and paint places on the work, I would love to drop it there and get them to do it all but budget won't allow for that. I hope to dismantle as much of the truck as I can ( its a big Meccano set ). and deliver them bits to work on and then I reassemble... Looking at removing glass, a few other major bits and then the entire side frame can come off which holds most of the problem areas. As per below. Fuck it, he goes - whats the worst that can go wrong...? Lots of bagging and tagging bits. Wish me luck. (also keen to hear some recommendations in Auckland for the rust repair and bit of paint )1 point
-
Further to last update I finished (roughly) the fuel pump setup last night: FUEL PUMP Take one piece of aluminum off the side of a broken welder, cut it into shape, cover it in kids dura-seal and drill some mounting holes. Whip out Ali Express's finest (cheapest) Riv-nut gun and slam in some captive nuts unlike everything else British. Re-purposed the old fuel pump bracket to hold the pressure relief valve. More captive nuts and a coat of whatever paint I had lying around. Complete setup installed. Factory pre-filter on the left (with new filter) - Bosch fuel pump - high pressure filter - pressure relief valve - metering unit. Not the tidiest solution but wanted to re-use a fair bit of what I already had to keep the cost down. This will be coming out again to weld up an exhaust mount underneath the floor and i'll blast some paint in there at the same time.1 point
-
The second file cabinet I got has full length sides on the drawers, so might keep that as is for the power tools. Have done this so far Took a day for the first one, but now it's figured out it's quick as1 point
-
Spent some time on the weekend with the help of @kempy with good results. Some of the stuff I remember: Changed one-way valves on injector pump, cleaned points, bled injectors, replaced injector, adjusted fuel regulator to 110psi pressure, cleared return line, adjusted overfuel lever, replaced 6 (yes 6) totally dead spark plugs, re-timed and marked ignition, swapped distributors, lost all the hair on my arms and temporary hearing whilst fireball from backfire on intake gave @Geophy and @Threeonthetree a good laugh (possibly due to me holding a can of engine start that was also on fire) and then started car. Next steps - sounds like slight miss on one cylinder but no cooling system plumbed in, so, reinstall radiator, tweak, and do skids / road test / fix all the other stuff I find broke. Finally making progress = win.1 point


.thumb.jpeg.384ff72c8d2b0ee0d34a7bdedb55bdcf.jpeg)


.jpg.1494ad671ec93695e0520de495c07c58.jpg)


This leaderboard is set to Auckland/GMT+12:00