
Leaderboard


Popular Content
Showing content with the highest reputation on 09/05/17 in Posts
-
14 points
-
As per the suggestion from Adoom I jacked the back end up onto axle stands, started it, clanged it into gear, gave it some revs, clutch in and slammed on the brakes. Ping! Clutch freed off! Smiles and much punching of air. Removed stands, pumped up flat front tyre and took it for a spin up the drive. All good. Parked it inside and wiped all the pine tree pollen off making it look concours mint... Rang my friendly garage and its booked in for a WOF. Meanwhile the new engine has now got new crank seals. I looked down the inlet ports (all two of them..) and the valves look a bit oily and mucky. Because I have a spare head gasket set to suit this engine I think it makes sense to give it a look over. Because I like to treat people to fun things I think I'll get Hannah to pop the head off, strip it down and give it all a good cleanup. She can re-grind the valves in. This is an early engine without valve stem seals but a friend who knows these engines well said they used to slide an O-ring over each inlet stem and it serves to stop too much oil running down the stem? Seems legit? Anyone heard of this? Answers on the back of a pie packet please and post to Bodgit and Scarper race engines, Marahau. Once back together it can get a coat of fresh paint and it'll pretty much be a fully re-conned race motor. Took the exhaust manifold off because its studs look like future anguish in waiting. I shall deal to them while its out. I don't see them coming out in one piece....10 points
-
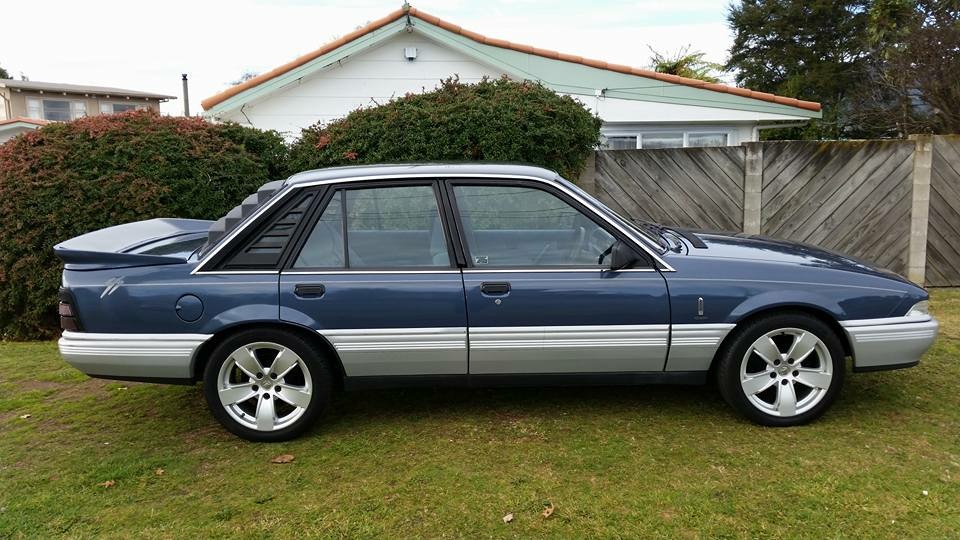
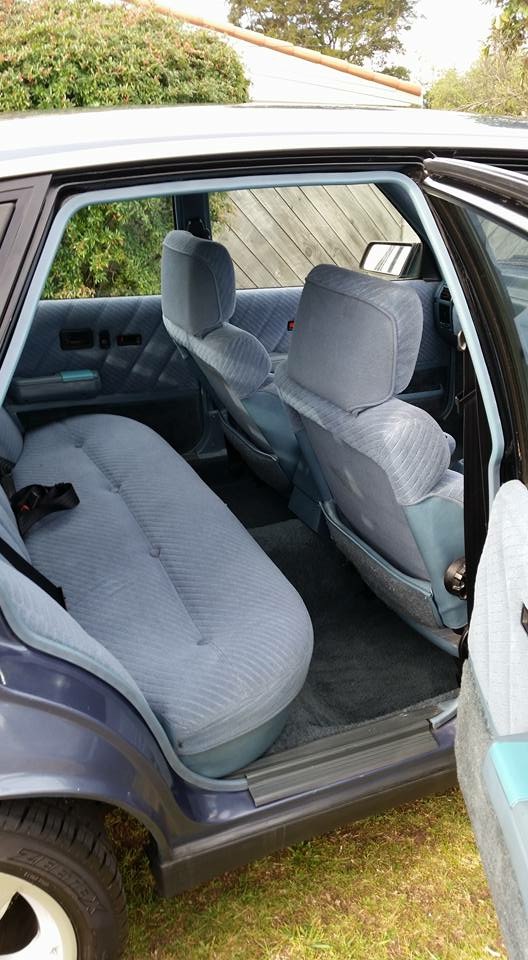
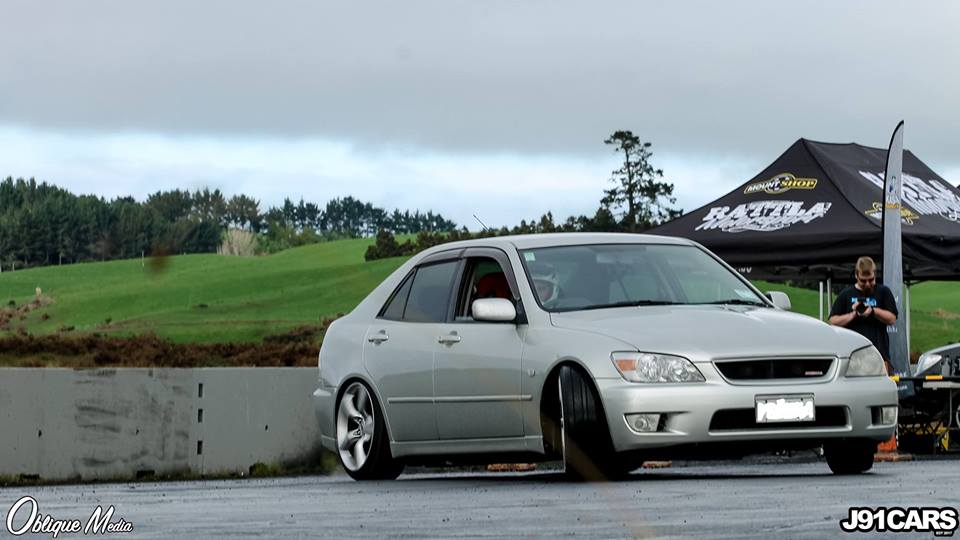
So after getting it legal i decided that it needed to sit a little bit lower. To do so i sent the rear springs off to Chamberlians (If that is how you spell it) and get them compressed by 52mm (transferring to 65mm at the wheel.) The fronts we were told we could just cut and they would still be captive which was true. it sat a little bit lower but i still would've liked for it to be slightly lower. This is the perfect height as it doesn't rub what so ever and only catches on the front guard corner on the center of the tyre when at a certain angle. heres how it sits: We then took it for a run to ensure it was all going well for the Kaikoura Hop, taking it to the Amberly RocknWheels meet and the Kustom Car Club Breakfast. It preformed amazingly and got alot of attention for being a different and rareish car.10 points
-
and the wheel arch, there is was a 6mm factory hole just inboard of the tub seam in the apex of the guard for a plastic fuel line clamp to mount. Good one. I have also been here before, check out the thickness of the wob (thats me!) on the right over my last patches and the paint archaeology on the left inner arch repair patches made, getting a solid non popous base for the needed bog skim to join up the previous patches was more important than getting it perfect nice and slow tack wait, move, tack wait for less warpy, but also more grindy after skim number 42, its like it never happened apart from the offerings of oxide Car is now turned around with much the same to do on the passenger side, aiming for drag day10 points
-
haha. good luck man.7 points
-
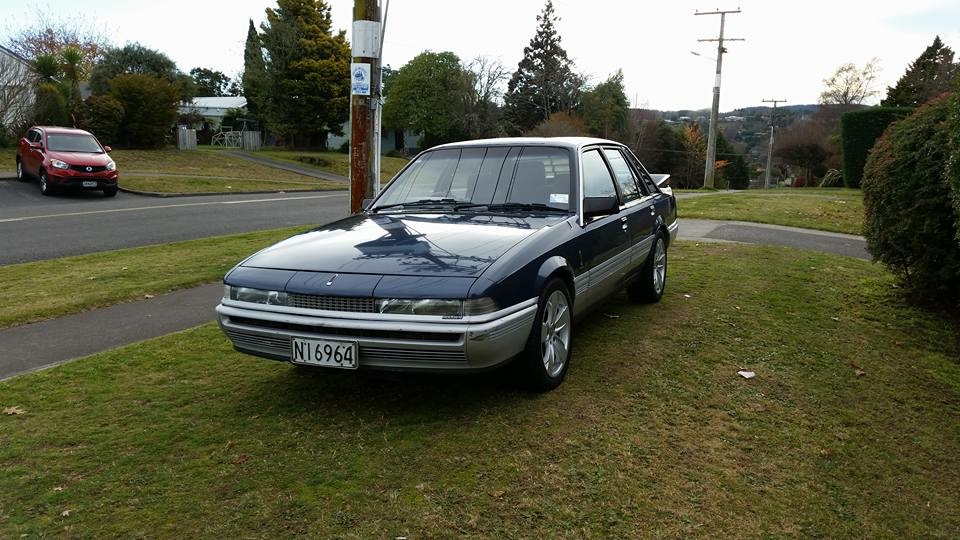
Having sold my last VL to fund taking the Belair to the next level, I had told myself that once the Belair was done I would get another first gen Commy as there was lots of things I wanted to take the Royale too but sold it before I had a chance. While I had actually been looking for a VK, noting of any worth was out there, it was all over priced rusty shitboxes, or it sold before I had a chance to look at it. And then I thought to myself, my old mate Jimmy has a nice VL Calais that's gathering dust, maybe I'll see if he is interested in selling it, turns out he was, and he was happy to sell it to me at a very good price. it's genuine V8 Calais, 150km on the clock, one previous owner (before my mate) who had had it for 18 years and was a mechanic who did a fair bit of work to it. It's got: ACL flat top pistons Crane "group a" camshaft 1.6 ratio roller rockers Double row timing chain with adjustable sprockets Big valve cylinder heads Port matched manifolds Brock VK SS Electronic dizzy Rebuilt Rochester four barrrel carb Holley fuel pump an reg PAcemaker headers with 2.5" exhaust, backed up by a built Trimatic with extra clutches, a shift kit and 2400rpm torque converter. Hardest part is that I have to wait until the 16th to pick it up.
 5 points
 -
I Beat it for a little bit today, had some funny business going on in the tank in that it would seem to run out of gas when still half full. I had already replaced the fuel tap way back when I first got it running, which was a piss around as it uses a vacuum tap with a M14x1.0 thread which was hard to find. Manual taps were a no go as it is all hidden up behind the sidecover. (Here is the one I bought http://www.ebay.com/itm/Benzinhahn-CPI-Keeway-Generic-ATU-Explorer-Longjia-2Takt-50ccm-Roller-M14X1-/161821009433?hash=item25ad48a619:g:7ZkAAOSwHmhV8HDh) Anyhoo, when I replaced the tap I couldn't get the filter out so just left it, I finally pulled it out today. It was good and stuck so I had to thead an M8 bolt into it then slide hammer the fucker out and of course it was all varnished up and fuel could only get in through the hole on the very top. The replacement is a bit different but will still work, noice. I don't think I put a picture up of my heater vents installed yet.5 points
-
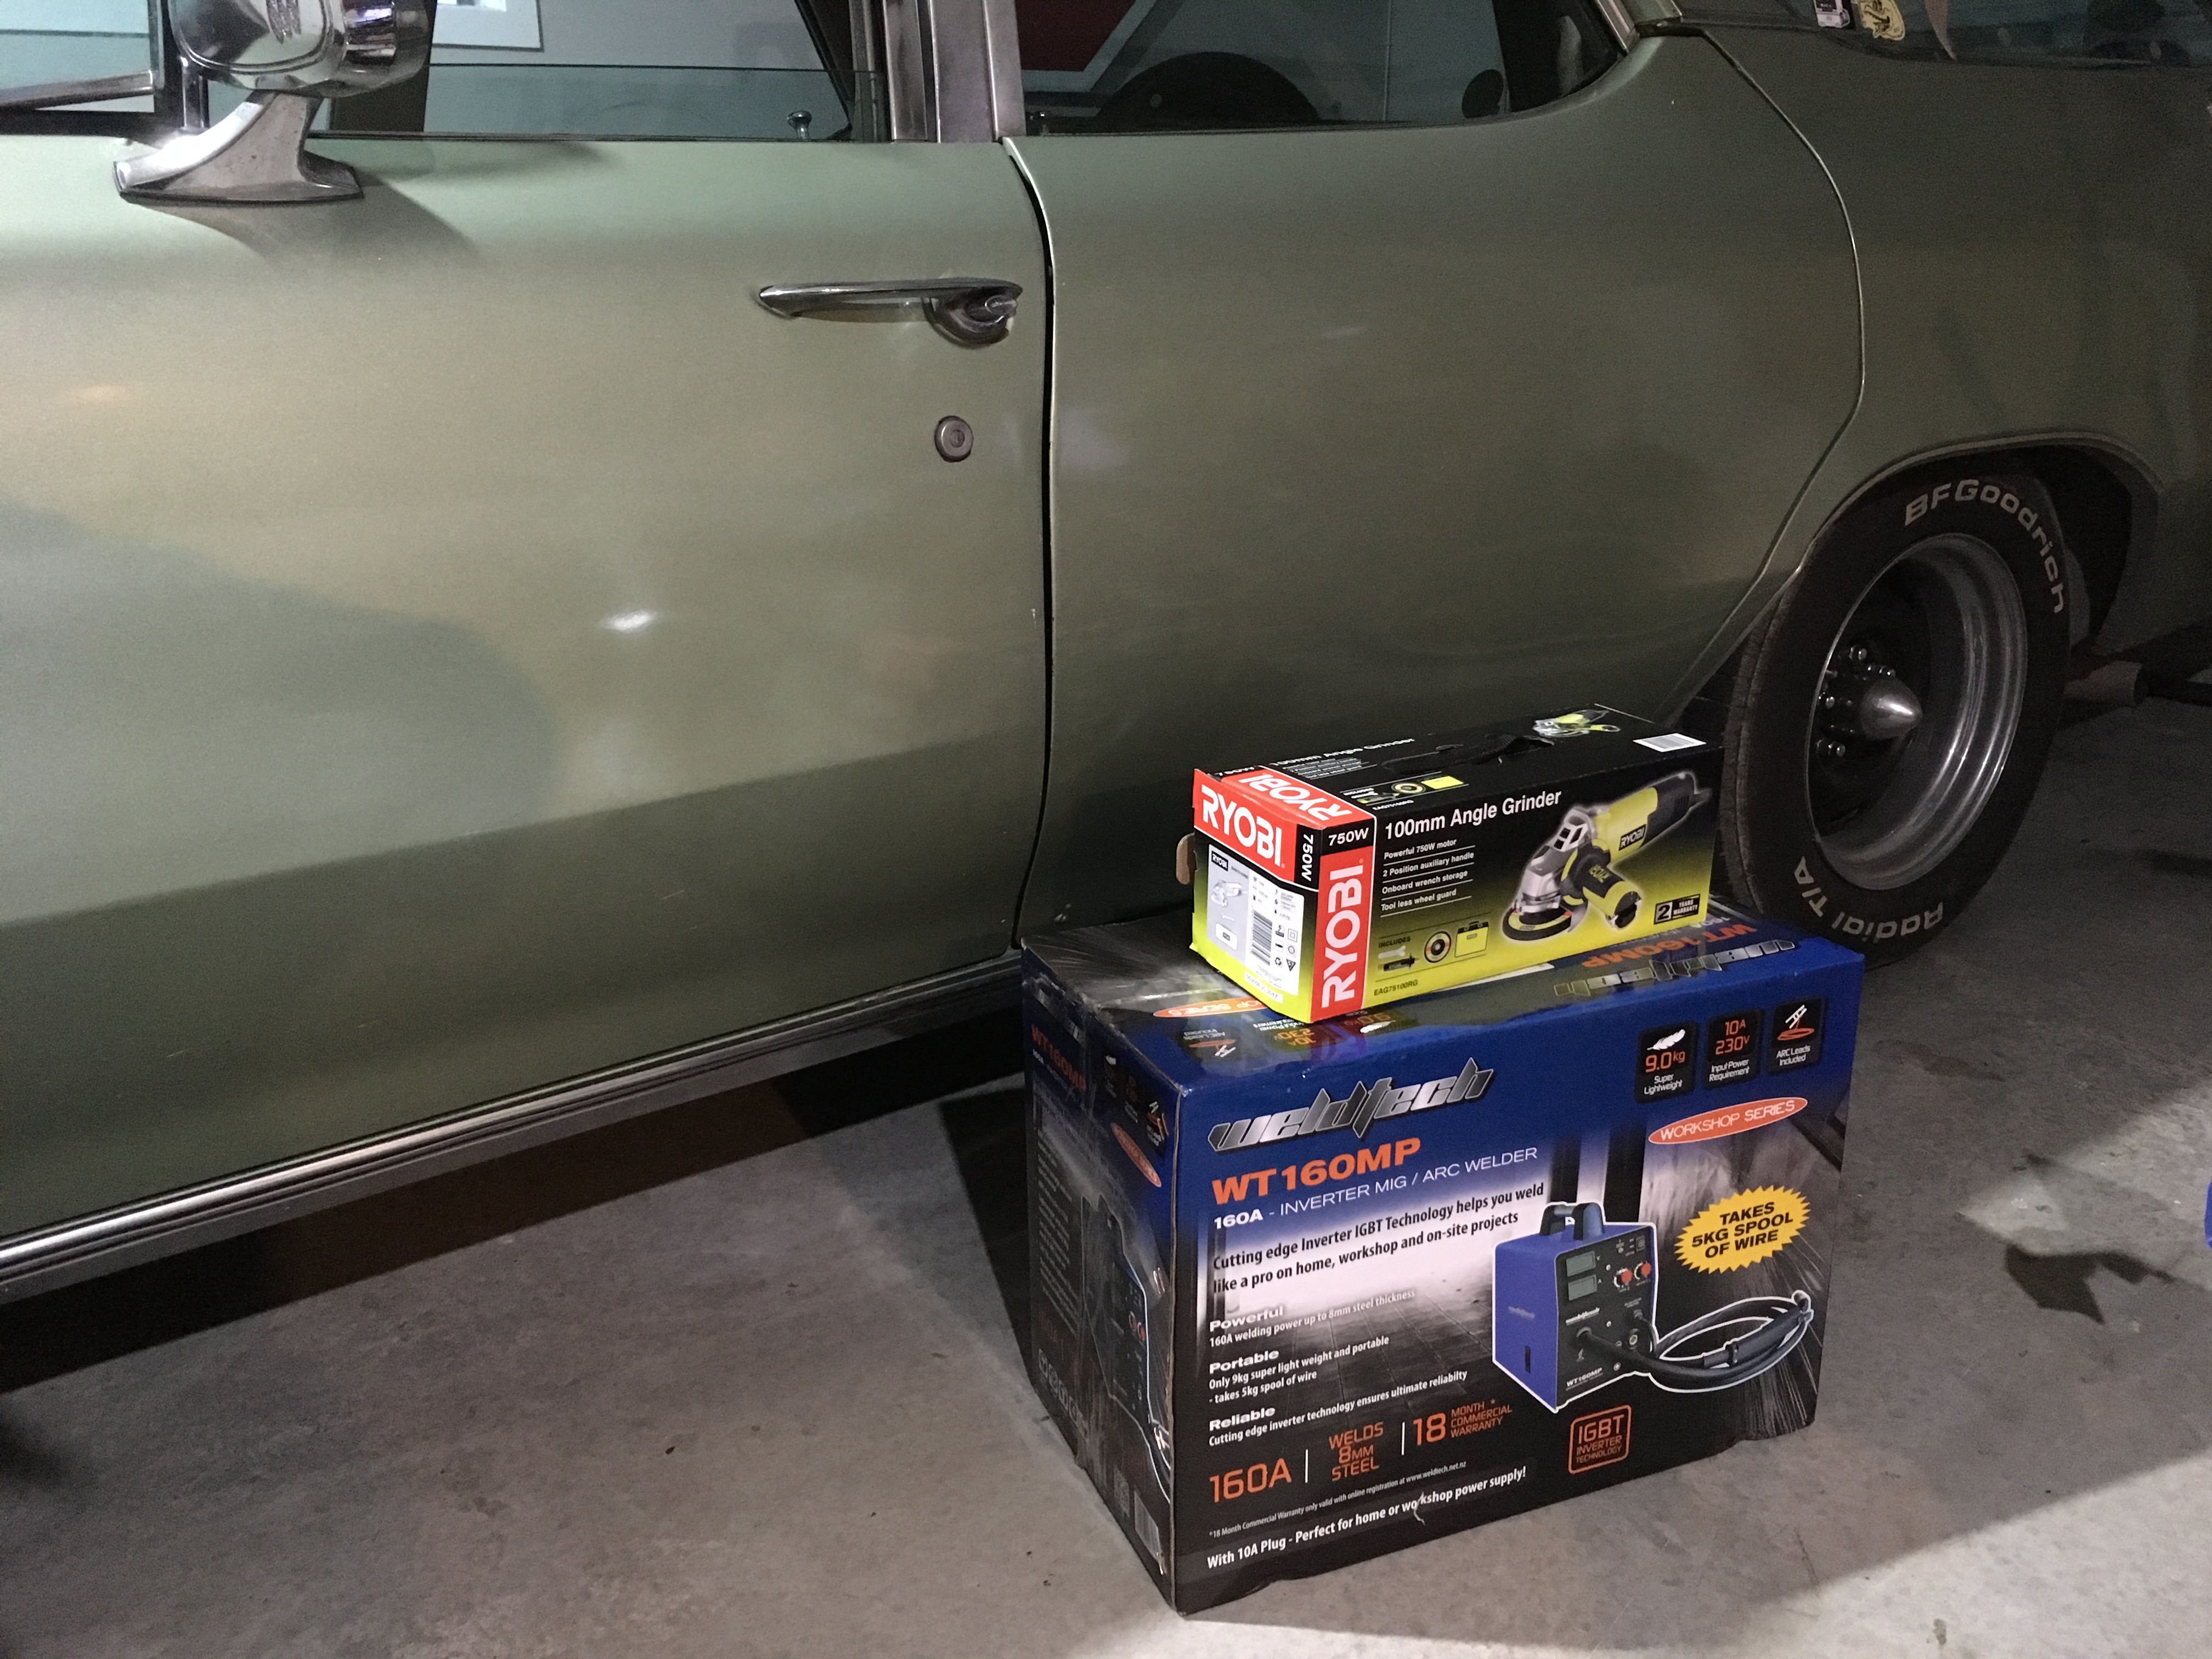
Oh nice work mate, I see you have bought some adjustable suspension for your car. Goooood.5 points
-
5 points
-
Pinto. Then when you reach you fishing spot you throw it over the side to stop you drifting awsy.5 points
-
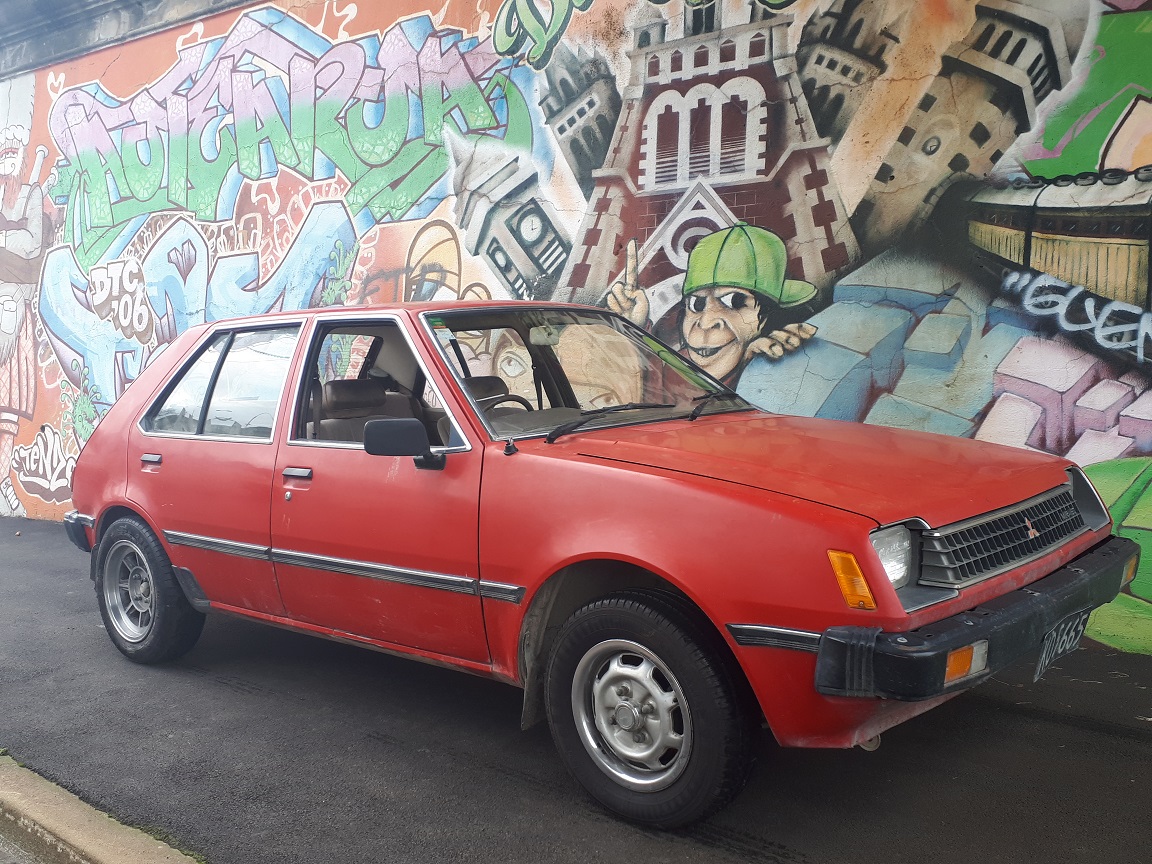
Been enjoying driving this wee thing around until my friend neighbour f**ked up reversing out of his drive. Nice big dent in the drivers door and no longer able to open from the outside with the door handle. On the plus side he missed the pillars and insurance is sorting it. Bought a parts Mirage that popped up on facebook as it had three things I wanted. Went to pick up the new one (Named clifford due to it being red and having the 'big' 1200cc motor) from Oamaru. Was told that it ran fine and the tyres were wofable, as with all facebook sales. Rock up to swap a set of wheels for it and the gearbox is noisy and tyres aren't very flash. Ran it through for a wof as four years out was too long for me to risk driving home and need to get three tyres, secure a sun visor and two pedals pads. So I now have two bloody wee Mirages. Clifford is supershift and it is very fun to drive using all eight gears. Novelty lasts for a couple of weeks then you get over it.
4 points
-
Looking into a limited slip glove compartment should help contain shit.4 points
-
Hey Guys, I rented the track for my birthday in September and my associates that drift have all bailed on me, unfortunately I cannot cancel my day however I can move it to October 21st. To give back to Oldschool for all the meets, Drags, BBQs, and good yarns over the last 8 years I have been a member, I would like to offer you guys a relaxed as day to come and have a bash, do some skids, enjoy a BBQ and get some basic pointers down at Meremere. This will be a super relaxed day, doing cone work in the large open area. The greener you are the better. I dont care what care you bring, could be new, could be old, just has to do a skid. NOTES: Car must have, seat belts and windows, you must have a helmet, extinguisher isnt required but recomended. Track rules, Hit the Armco you pay for it, Do a burnout or skid on the yellow lines or return road $1000 fine, doing standstills $1000 fine Gates open at 8am, Driver breifing at 9am, driving by 9:05am. Lunch at 12, closed track until 12:30 Pack up at 4pm, gates closed and locked up by 5pm Entry $130 Final Payment Date October 13th leave a message below, PM me, text me 021 794 705 if you are interested. If you are a Joe Manji Superstar, and want to just slalom up the track all day YOU WILL BE BORED as I want to give everyone who has never had a go at drifting, doing a doughnut, doing a figure 8 seat time to get comfortable and enjoy themselves.
3 points
-
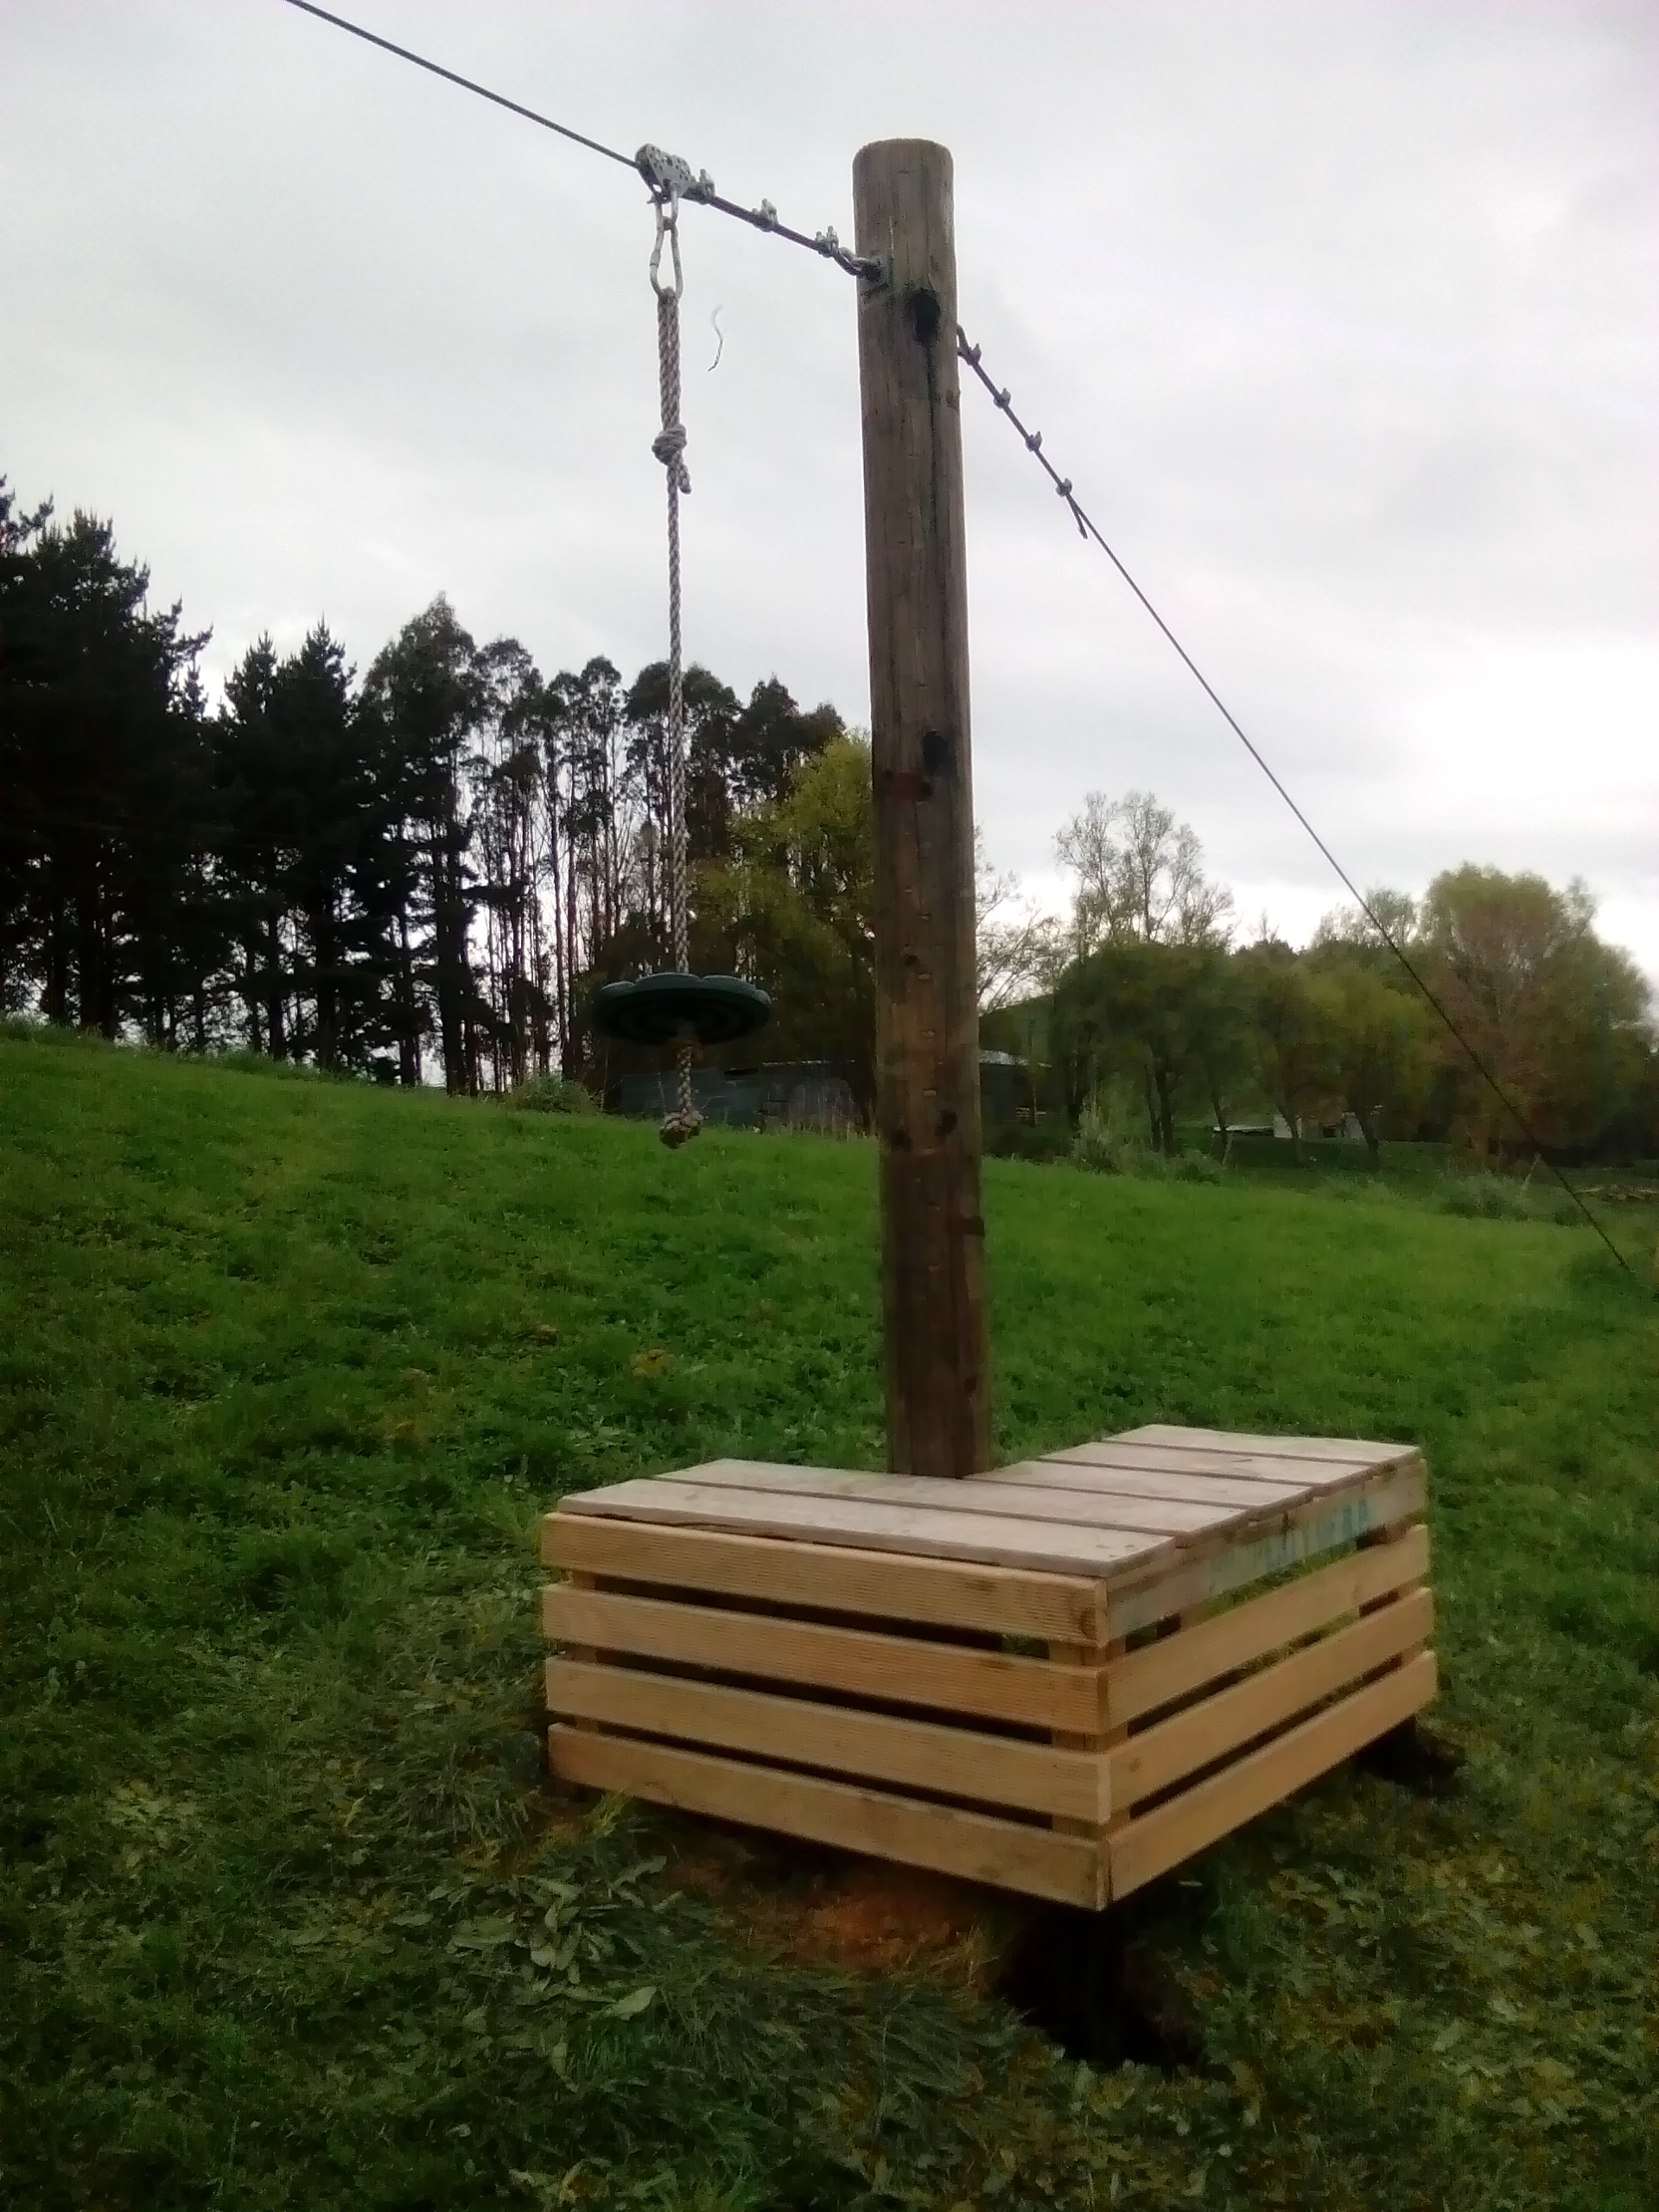
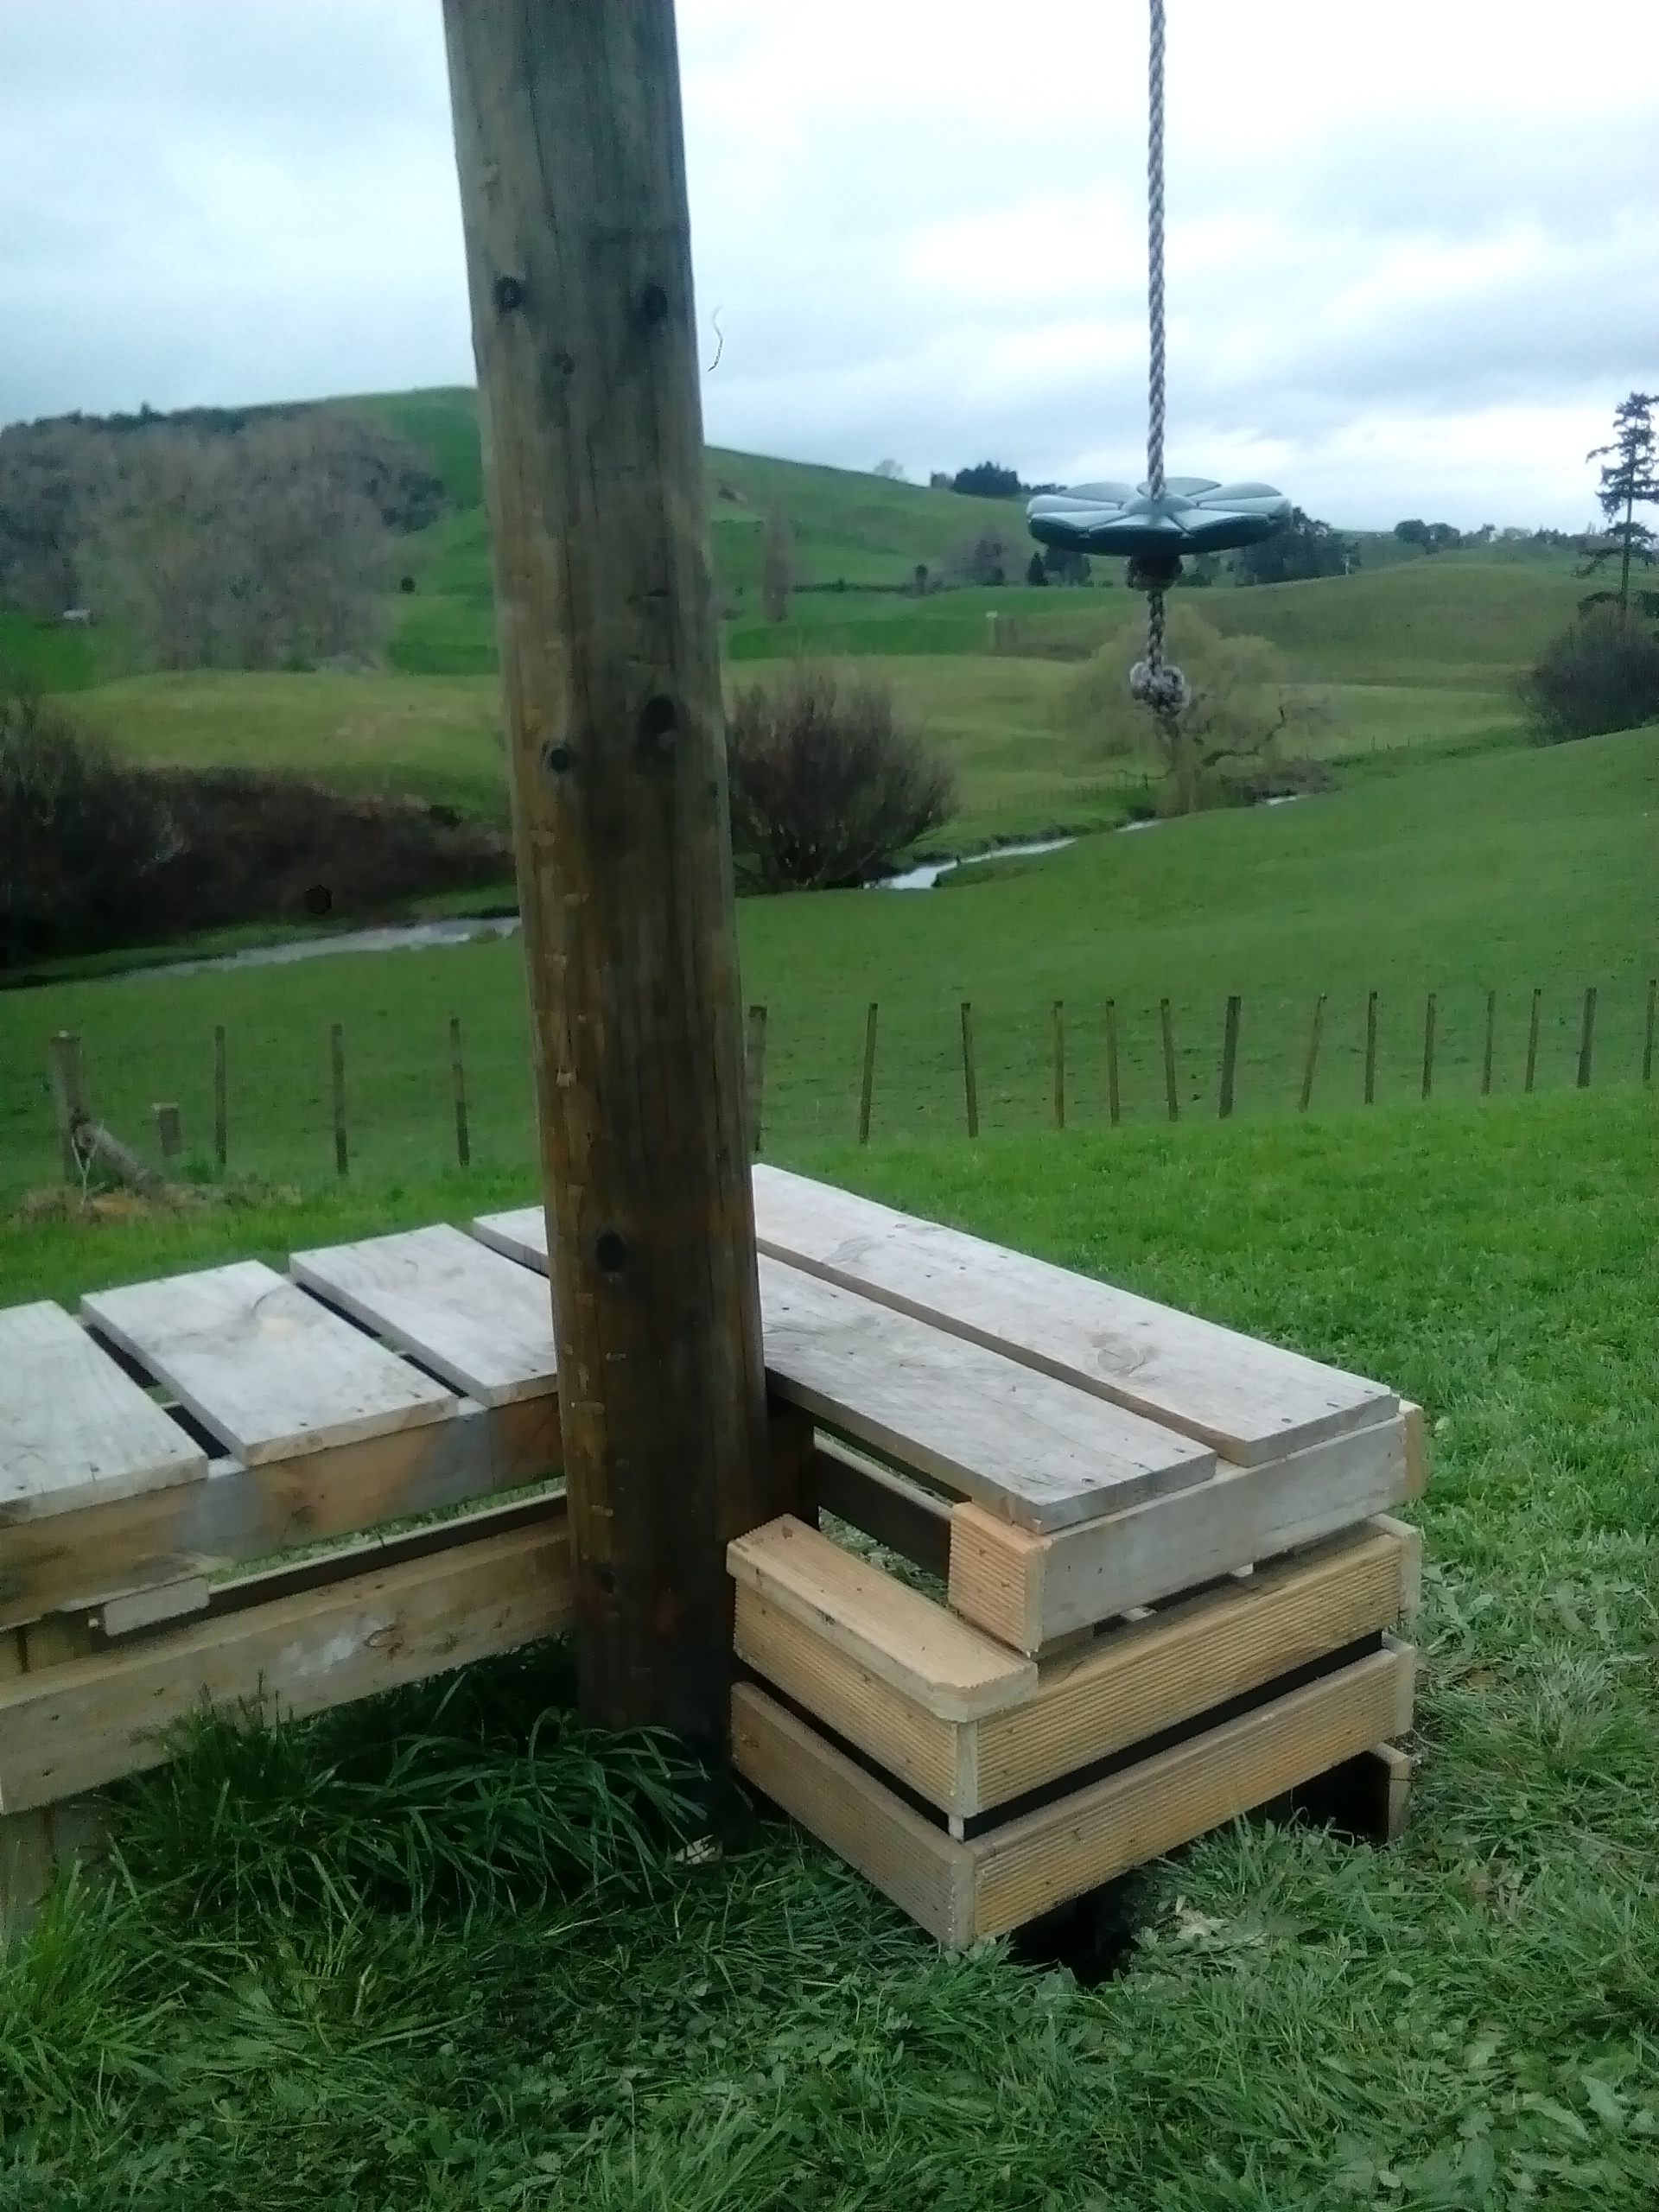
The flying fox had one of those temporary fixes that kind of gets normalised. See the kids were too short to get onto the seat, so I chucked a couple old hilux rims under it...9 months later... So, considering I didn't want to invest a fortune in building this, an old pallet, some decking offcuts, 4m of rough sawn timber and a couple bags of quickcrete were all it took (about $35 total cost). Much better than the doggy old wheels. Kj
3 points
-
i went shopping for things around the house the other day and we are getting some chickens so ill probably have some of this laying around to help me out that and some paper a hot glue gun i think i should be able to sort it out.3 points
-
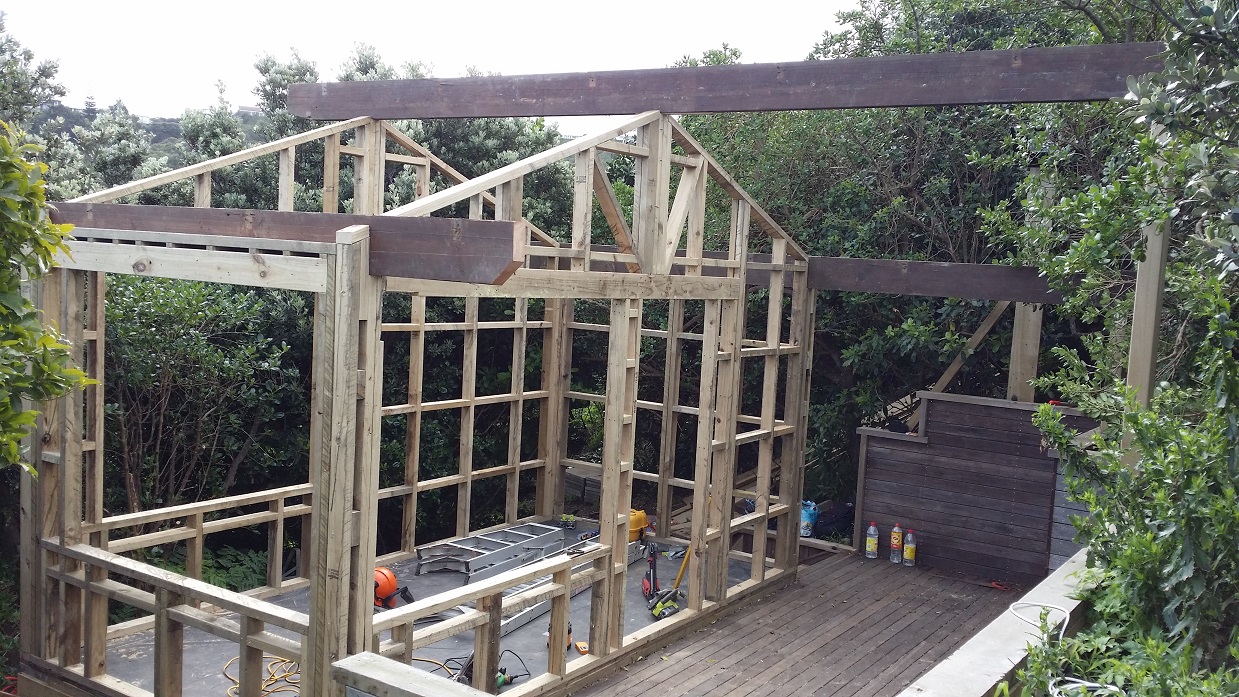
So, ive extended the garage, its a shelter station modfied to suit the spot with a tarp instead - the trademe ad under-guesstimated the measurements but the mods i made meanthe van will fit under it and i can still put it up normally with the proper cover in some other place, one day. Not 100% weather proof but 100% better than nothing Anyways, 125 has sat ^there ever since the last update, but i have picked a few scabs, starting from the front:3 points
-
No point having all that power if the glovebox cant handle it. what a waste of money3 points
-
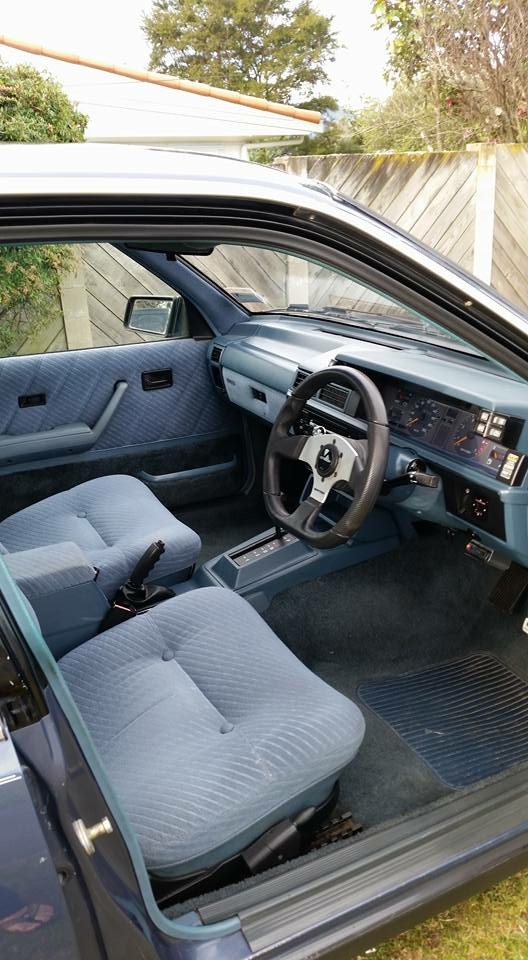
Oops, missed a bit. Past couple of weeks I've cleaned up and put the interior back in. Cat helped - these had been out for about 10 seconds... Did I show you guys this? It's from Speedhut , they have a super cool gauge-face designer, can upload images and text and everything. Have a play, it's fun. Fitted in the hole pretty well (this was just a mock-up, fitted better after some more trimming inside and some sikaflex to fill the gap around the outside. It's tidier than it sounds, promise). Lights up all purdy-like too3 points
-
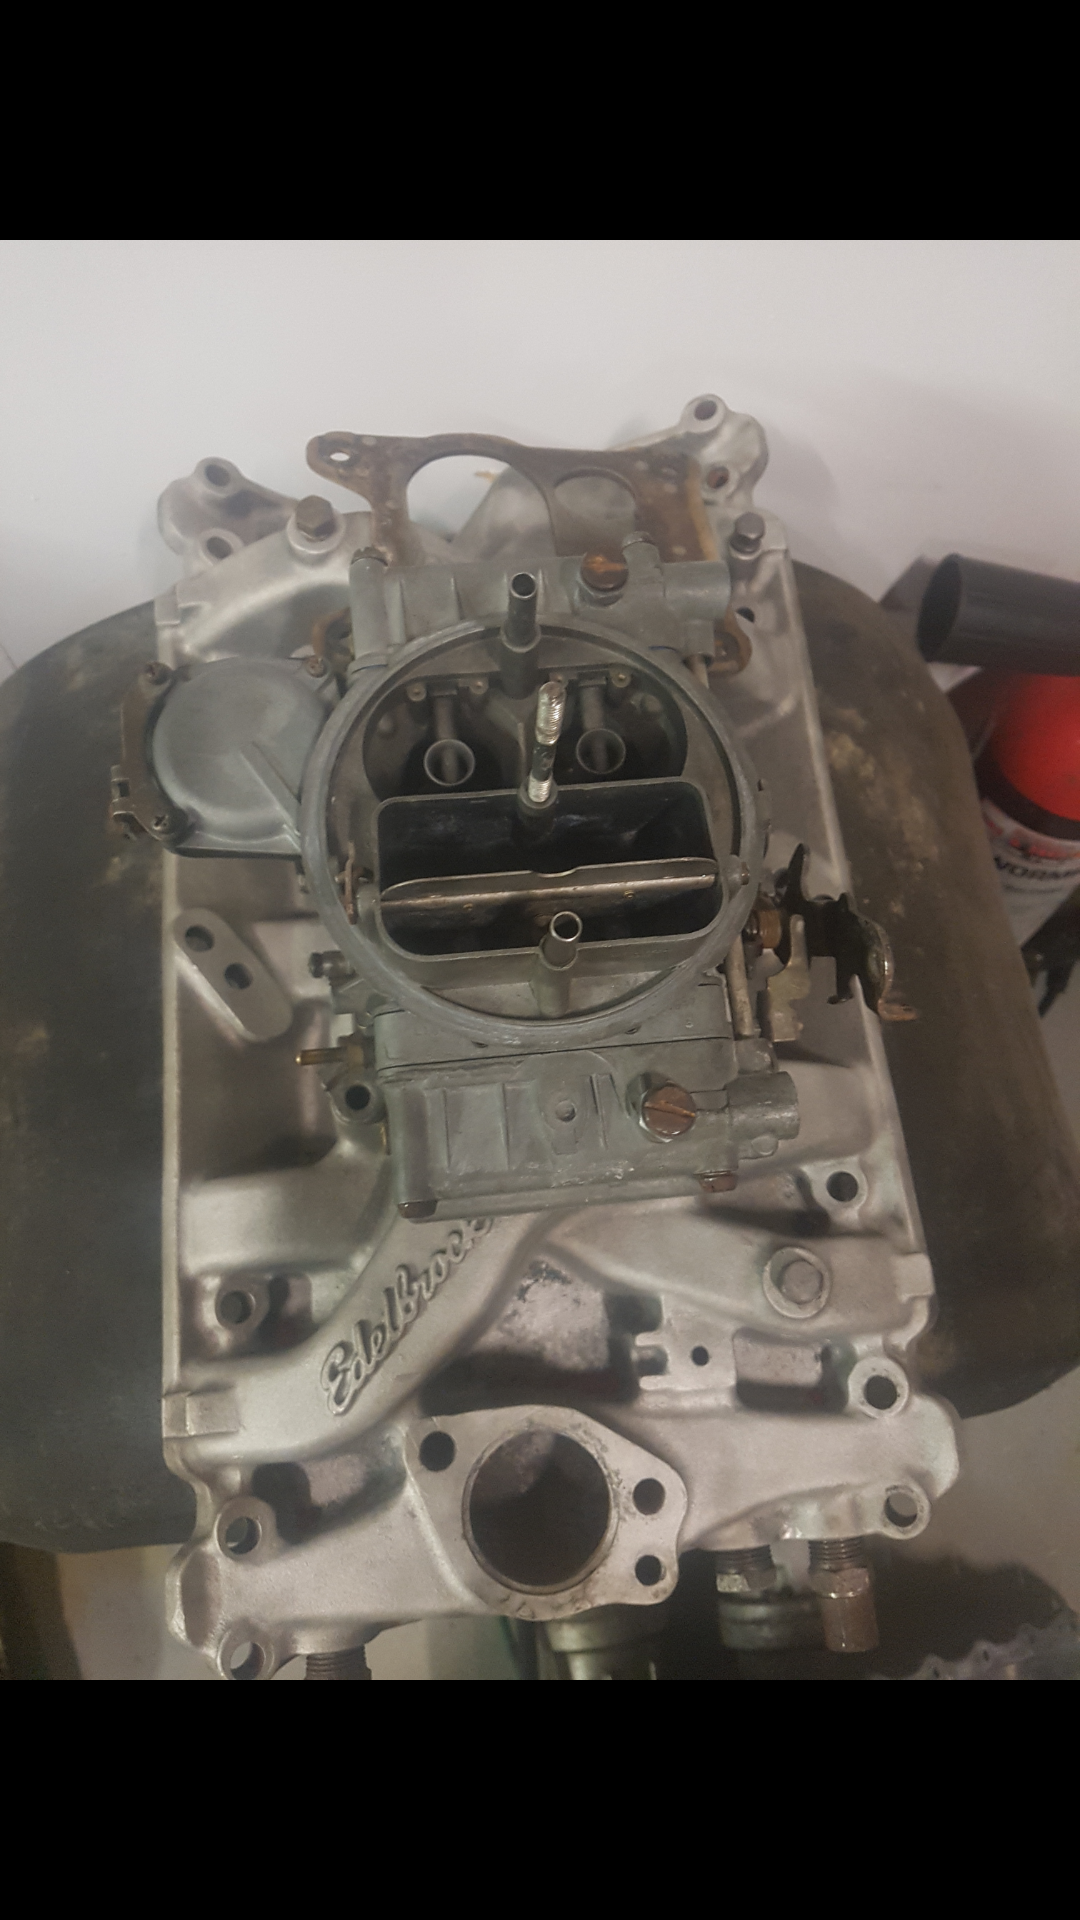
Things are looking good.Surgery was required & the firewall was cut up a lil bit. This has meant the engine could be brought back a bit whats solved a raft of issues. Clearances for PS rack hose connections solved. It was right up against the sump. But now we have ample room. Able to bring the engine into the center more. Its now only slightly offset by about 20mil. Engine mounts will work way better. Able to get the carbs to the ideal flat positioning as it was on a bit of an angle. Positioning for bracing to join the two sides of the rails will be better. Being able to go under the engine in a bolt in set up. How the trans will sit along with the two piece drive shaft will be way better and pretty much flat whilst not having to modify the floor pan other than maybe slightly at the very front. The distributor will be hidden more. I wanted wires out of sight as much as possible so this suits me. Being a pertronix unit I shouldn't need to get to it much but if needs be will still be able to with out to much hassles. Weight and center of gravity move a bit more back behind the front wheels instead of over them. better clearances for sump. Doing all this means we may have a heap of room up front. Not what I really want but we will have to wait and see how it all looks with the alt, PS pump, radiator and fans. the custom fan shroud I was envisioning may need to be bigger than I was thinking to help fill the gap. Time will tell. once I have the panels on & rad in.Speaking of the radiator. i have decided to keep the original Hudson radiator. Its getting re-cored by a local shop Timaru Radiator Repairs. Russell the guy in charge is a top man and been bloody helpful with some great input. Gave options for different cores etc for the old four core copper rad that included different row spacing etc.Since the tanks are off etc im getting him to do a few other modifications. moving the bottom outlet to the other side to match the Nailheads inlet then shifting the radiators top inlet to the center to match the Nailheads centrally mounted thermostat. Thinking of using a flexy hose to give it that vintage look you see in all the old 50's and 60s mags. Plus the ribbing will go with the fins on the engine.Since its not a great idea to have the filler at the same point as the inlet due to pressure etc im getting it moved to one side on the top but im also getting a dummy one added to the opposite side. This is merely to please my OCD nature. when im standing with the hood up looking down at the engine I want to see the top hose running center rad to center engine then two caps to add balance on either side. My train of thought was with just the one to one side it would be a bit lopsided for the look im after. The dummy will also have a dummy overflow pipe just to keep it symmetrical. OCD much? /twitchA slight notching is needed on the chassis rail above for the steering arm.The engine mounts minus the side supports shown. Along with PS hose clearance. Once the trans is lifted slightly and bolted up it will get the carbs flat along with increasing clearances around the racks hose fittings & rocker covers. Hard to tell from that photo but its looking like very little if any modifications will be required to the floor pan. Will pop it in soon to have a look. Should still be nice and tucked up even at air out.A look at the old Hudson rad and where everything is being shifted to.2 points
-
I did my apprenticeship on VT onward at a Holden Dealer. If you get stuck with something id love to pretend I know everything. chur Scott.2 points
-
Should be ok to squeeze the sides of the kink and bend it back straight, or a little straighter so it works ok.2 points
-
Boost will keep the oil in2 points
-
If you already have .8 you will be fine. American steel is alot more forgiving than thin jap stuff. Once you are out of .8 then consider .6. But you will probably be used to .8 by then.2 points
-
Cheers guys. Will definitely be picking some brains. I still have a bit of gear to accumulate and plan on practicing on some junk first. Plan is to just chip away, while still keeping it on the road, but things might change depending on what surprises I find.2 points
-
Tip #1: Heat distorts the shit out of the parent metal as well as the patch you're adding, so use as little heat as possible for the shortest time possible. Thin MIG wire, short welds with a cool down time, and practice will help. Failing that; smash it all down with a huge hammer and bog over the lot Tip #2: UJ has just about all of the tools, but he never works on cars because mint slice. If you wanna borrow anything just arsk.2 points
-
I'd link to grunta's too, but his photos are all dead/pb'd2 points
-
Ryobi one ways and a welded diff? Cutting the bonnet for a bug catcher? Welding up cracked Astro's?2 points
-
My two cents, Those O rings really only work so long as the guidethis.e nice and snug. Once your guide develops "bonus tolerance" it works less well. Maybe you could use some umbrella type seals from something else? And regarding lapping in the valves, I would advise against doing this. Ive seen two engines where a nice tight valve seal led to lots of blue smoke. The poor old rings couldn't cope with the extra vacuum.2 points
-
ohhh what so your telling me those fresh panel and paint kingswoods in matty b are not as mint as they always say??? trade me has been telling me lies this hole time2 points
-
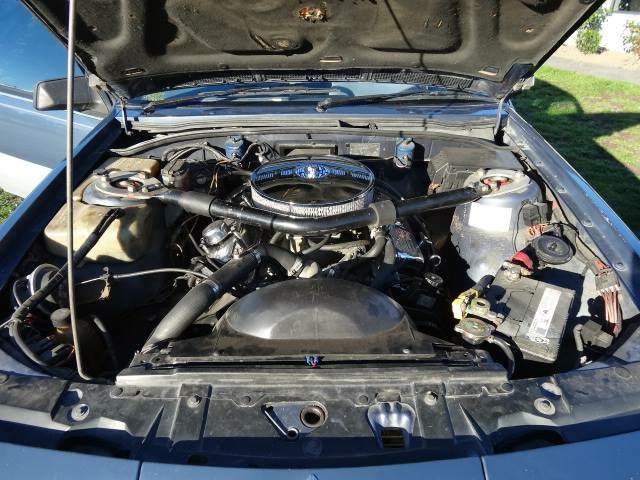
Pulled the intake manifold and fuel rail off last night. Made sure I marked all the vacuum lines before I removed them as I don't fancy trying to suss out where they all go when it goes back together. Everything came apart okay once I found the last two bolts that were tucked away underneath. The inlet manifold and coolant hardlines look pretty nasty so I will send them away and get them cleaned up. I'm running out of coin pretty quick but while I'm in there I will replace all the hoses too, may as well do it once and do it right. Unfortunately the fuel pressure regulator has a kink in the pipe, I really want to keep everything factory looking so I will try and hide an aftermarket one somewhere out of sight. Not really sure what I'm looking for as far as decent quality aftermarket regulators? I'll also replace the injector seals and hoses while I'm in there, hopefully someone will be able to match them. The diff I bought will hopefully arrive Friday, need to go back to BNT and see if I can exchange the shoes I bought for some new wheel bearings and brake pads. must admit I'm quite looking forward to fitting some new parts as opposed to pulling stuff apart and finding more I need to order!2 points
-
I got a quick bit of welding done last night before work. Not much but it's progress.2 points
-
the skin and brake lines came to 421.36 nz dollars landed here in hamilton. tail gate skin was 185 plus postage which was 100.2 points
-
base of the C pillar where pinholes in a previous repair and not cleaning out the panel seam properly have come back to bite me:2 points
-
Then if we could lure a certain white big block ap5 out too there would be a trio of pure ap5 lushness.2 points
-
Been thinking about a Valiant convoy to nationals. Pretty sure an AP5 Safari would be the ideal flagship for such an adventure.2 points
-
lemon party golden shower squirt munro, geyser wilhelm, donald pump, gush gush, gone fistin', dirty hose, pump in the trunk2 points
-
Paint it pink, call it wet on the inside2 points
-
yes I am, Crikey small world!1 point
-
It would appear the turbo and non turbo one is the same. I might have a n/a one on a motor in shed on my old mans farm. I can have a look in a few days if your keen.1 point
-
Got a gas set? Heat those studs up to red hot and were they are bolted into manifold and unscrew with vice grips. Try it you will like it.1 point
-
Yeah sure. Why not. Might attept to replace some rust with steel too. Any advice or links to "Make your wag less rusty for beginners" appreciated.1 point
-
how are your sills/pillers/floorpan?1 point
-
Drove it today. !!!! Had a fathers day fiddle. (With the van) stuck a ali special electric fuel pump in and cracked the bleed nipples on the front brakes. Let it dribble out for 5mins and has just enough spongy rubbing sound to haul it up from 50kms im still buzzing. Dont really remember driving it was way to excited windscreen wipers are fucked and the screens very dirty thats all I remember. And it needs 1st to get up my diveway. So all up less than a hundy buck. From dead to driving.1 point
-
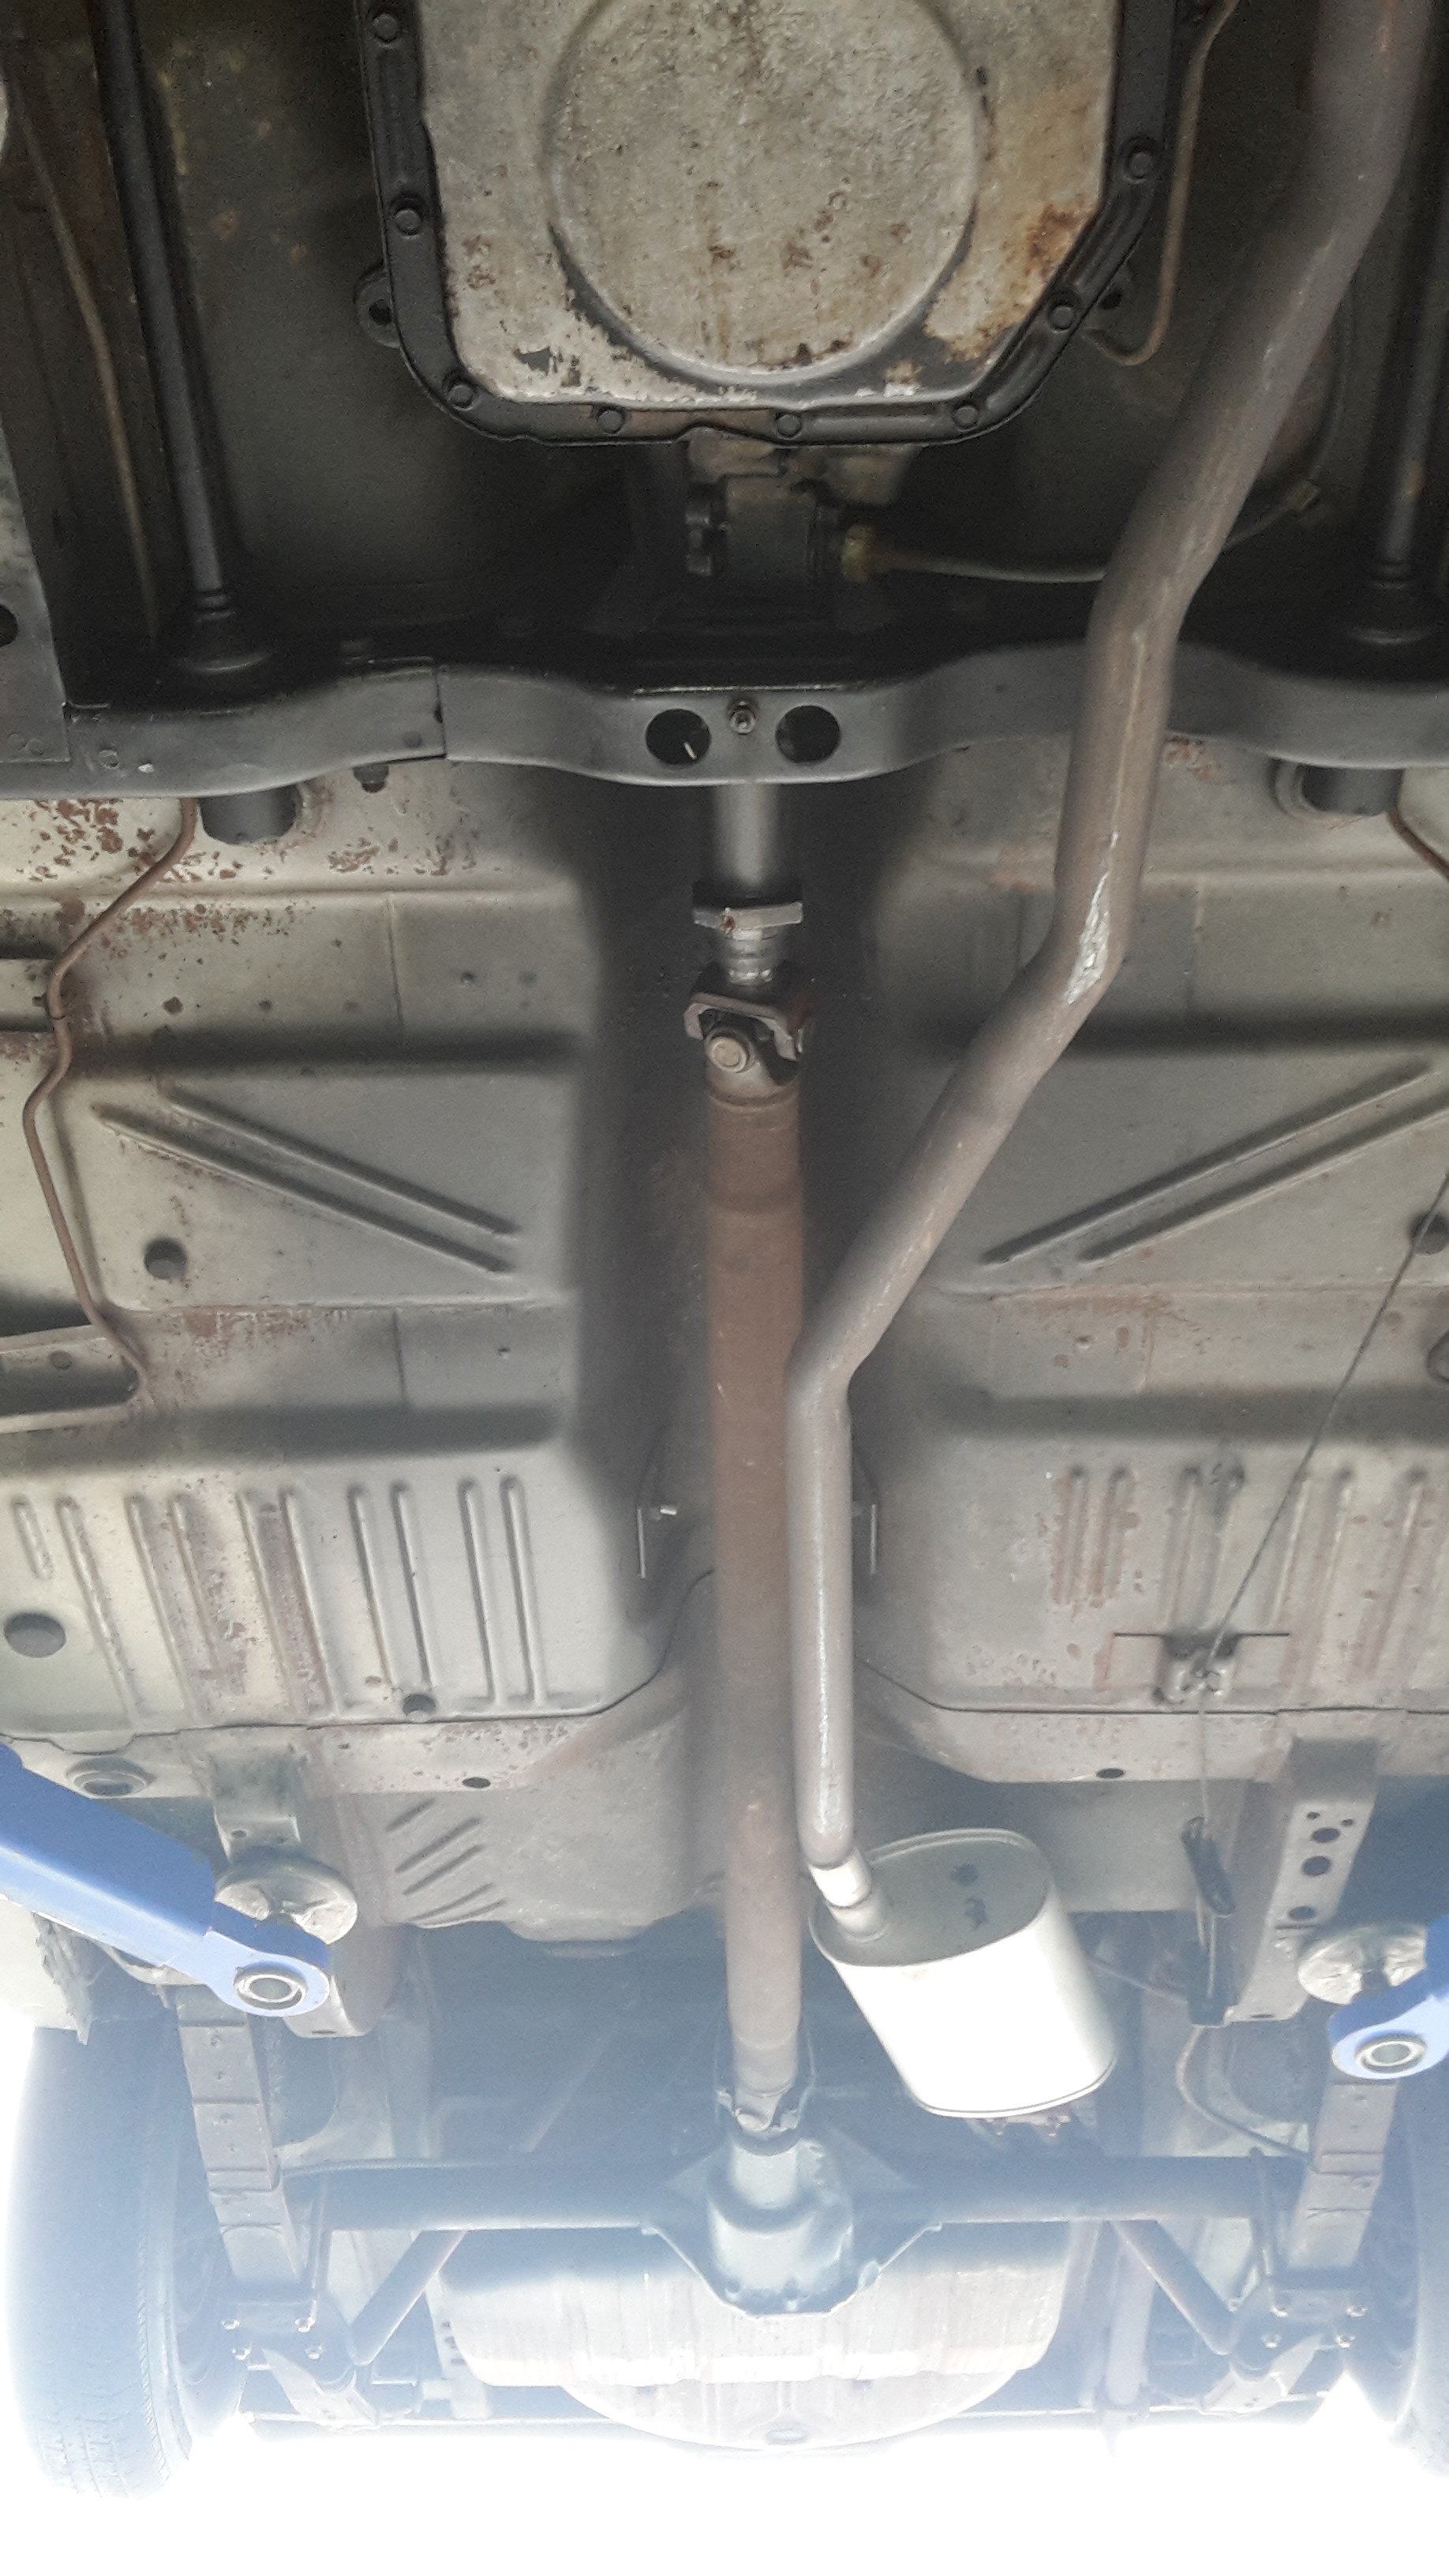
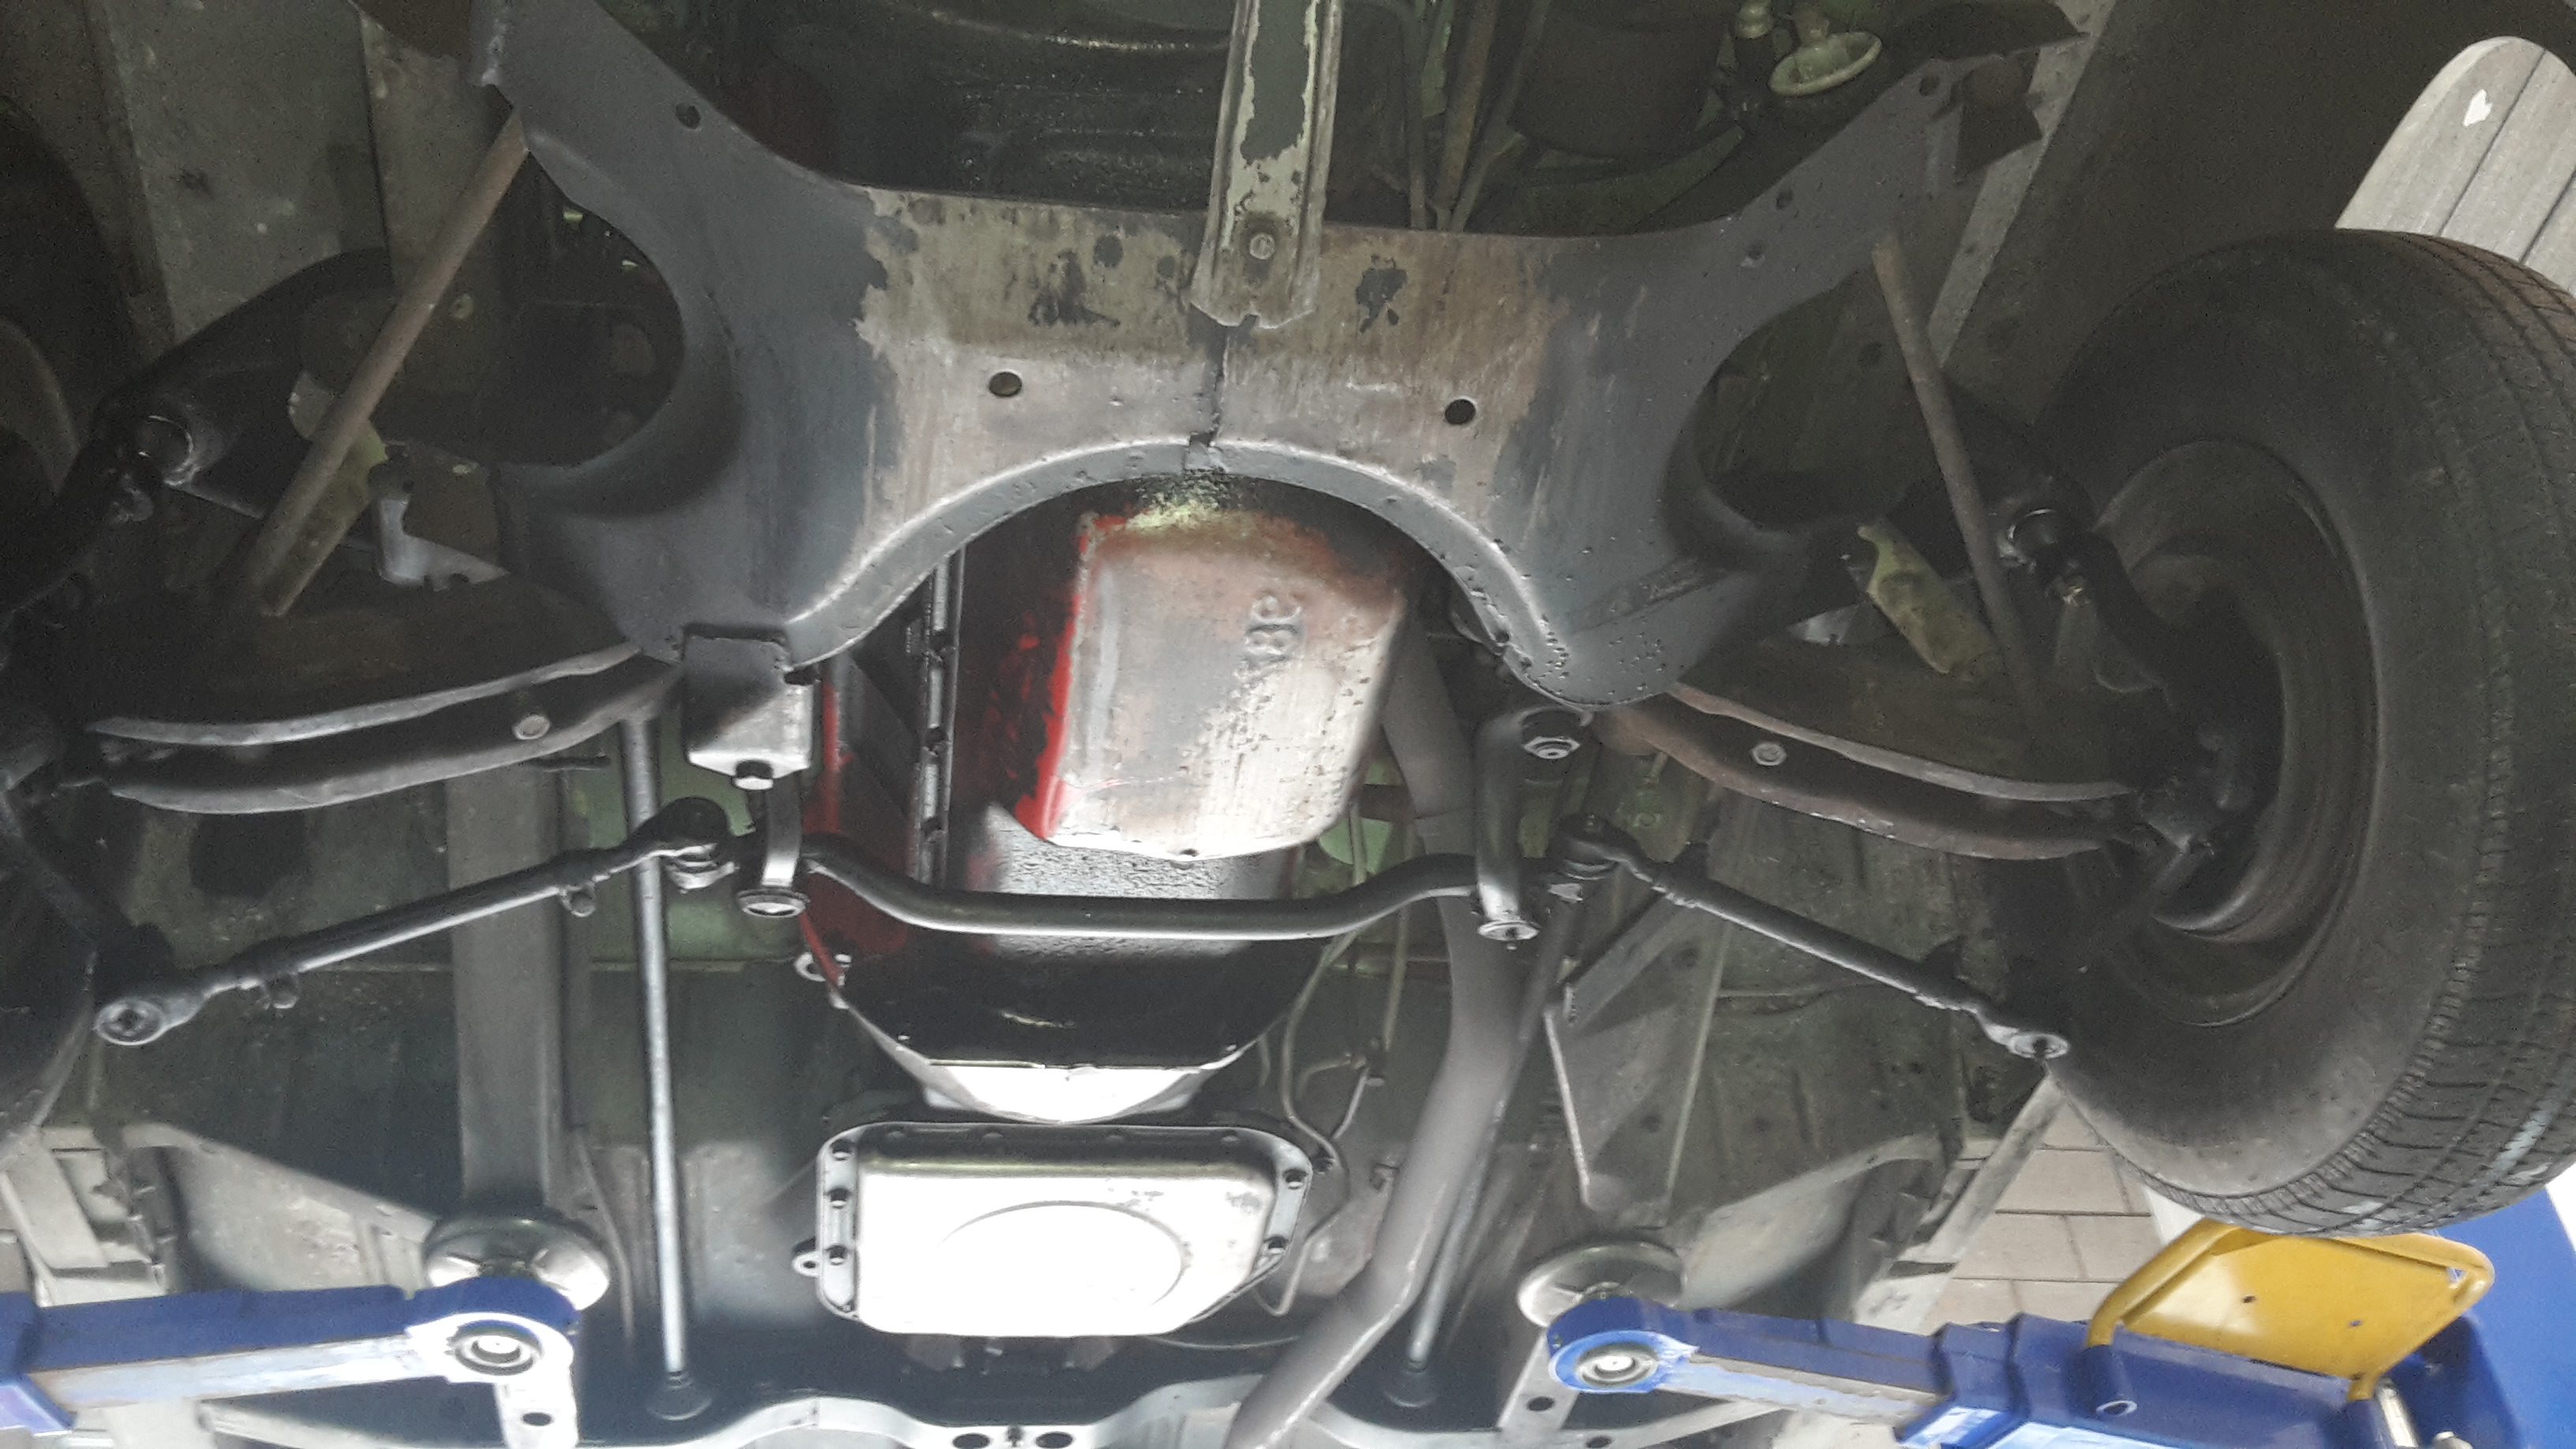
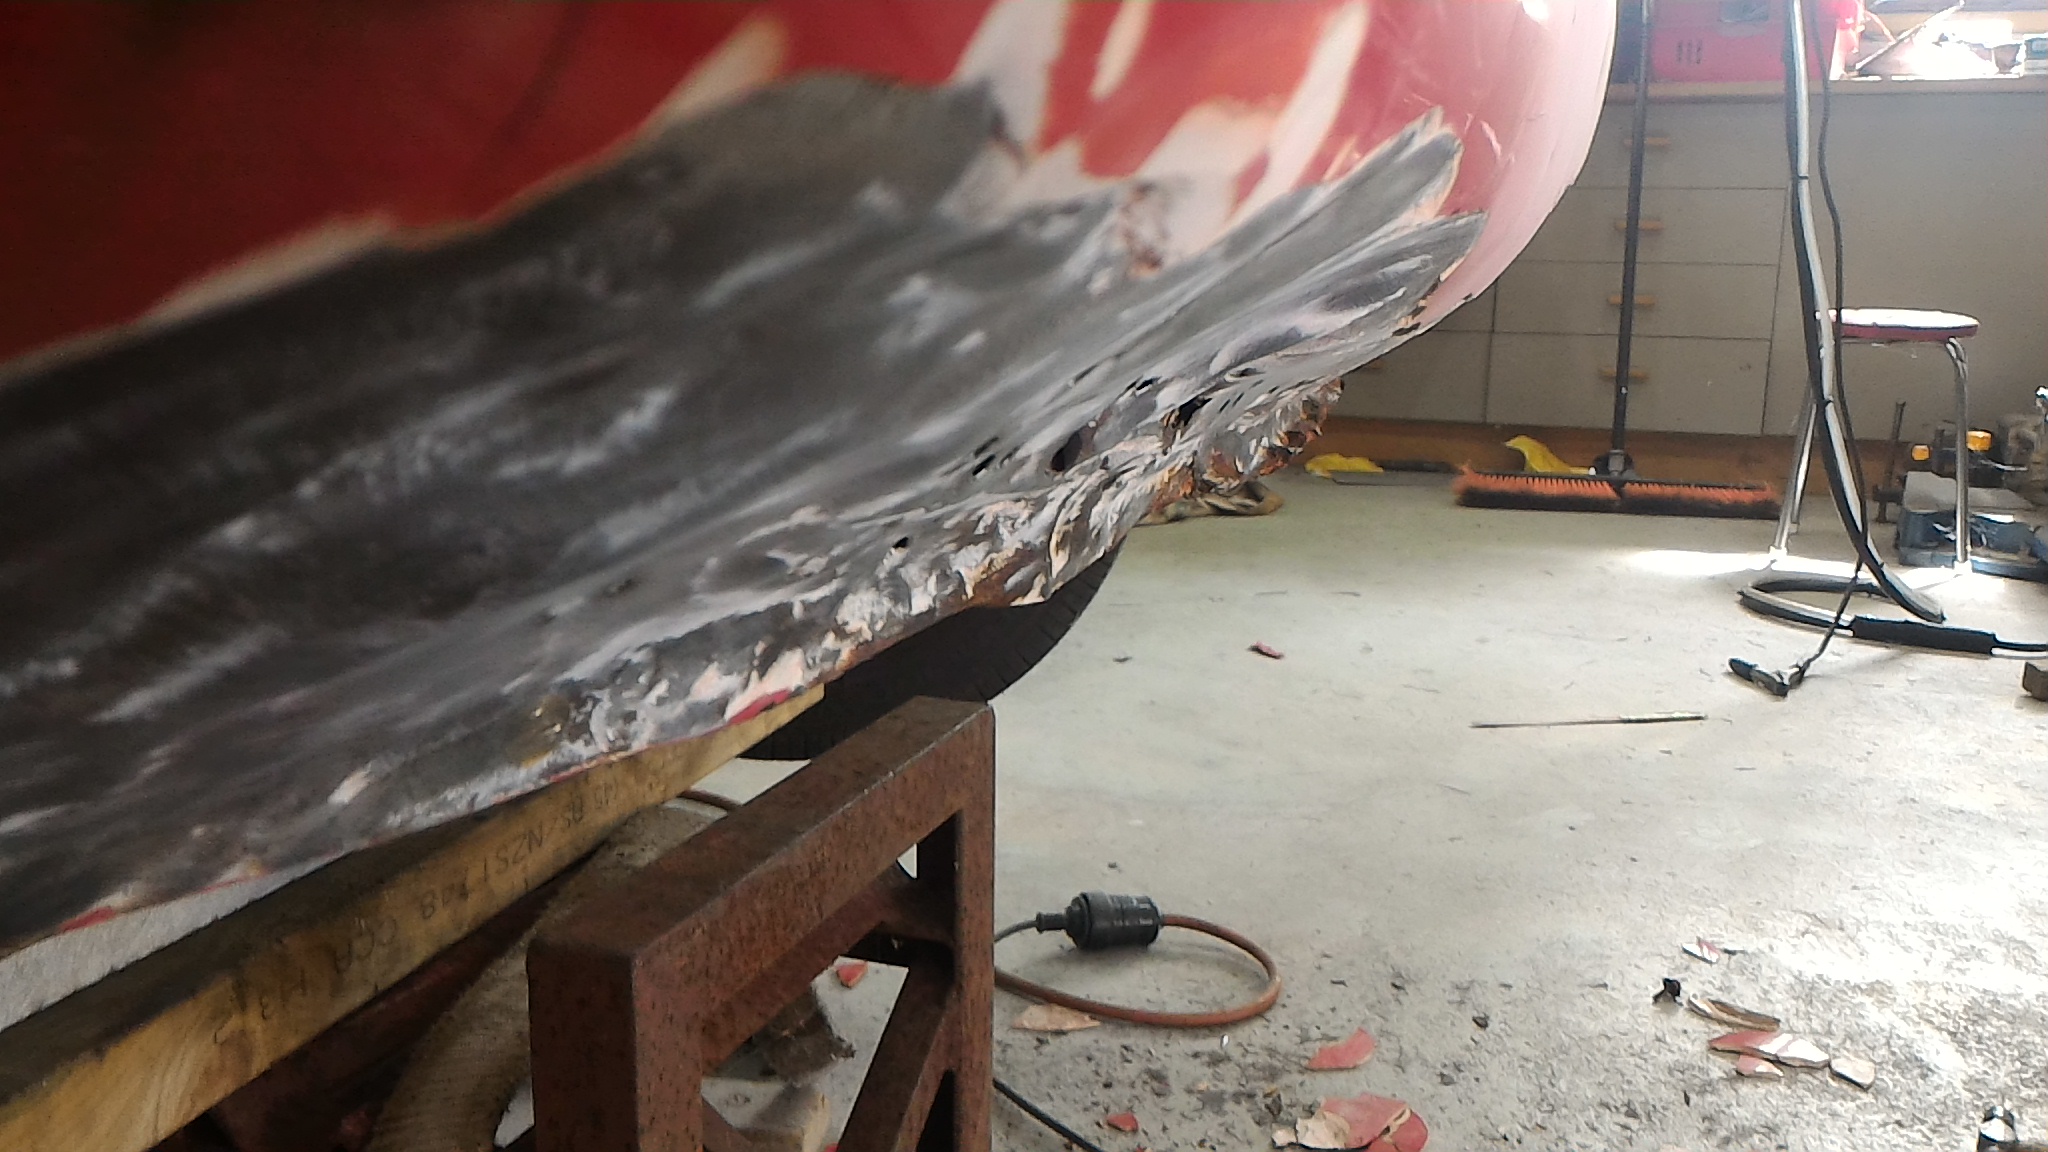
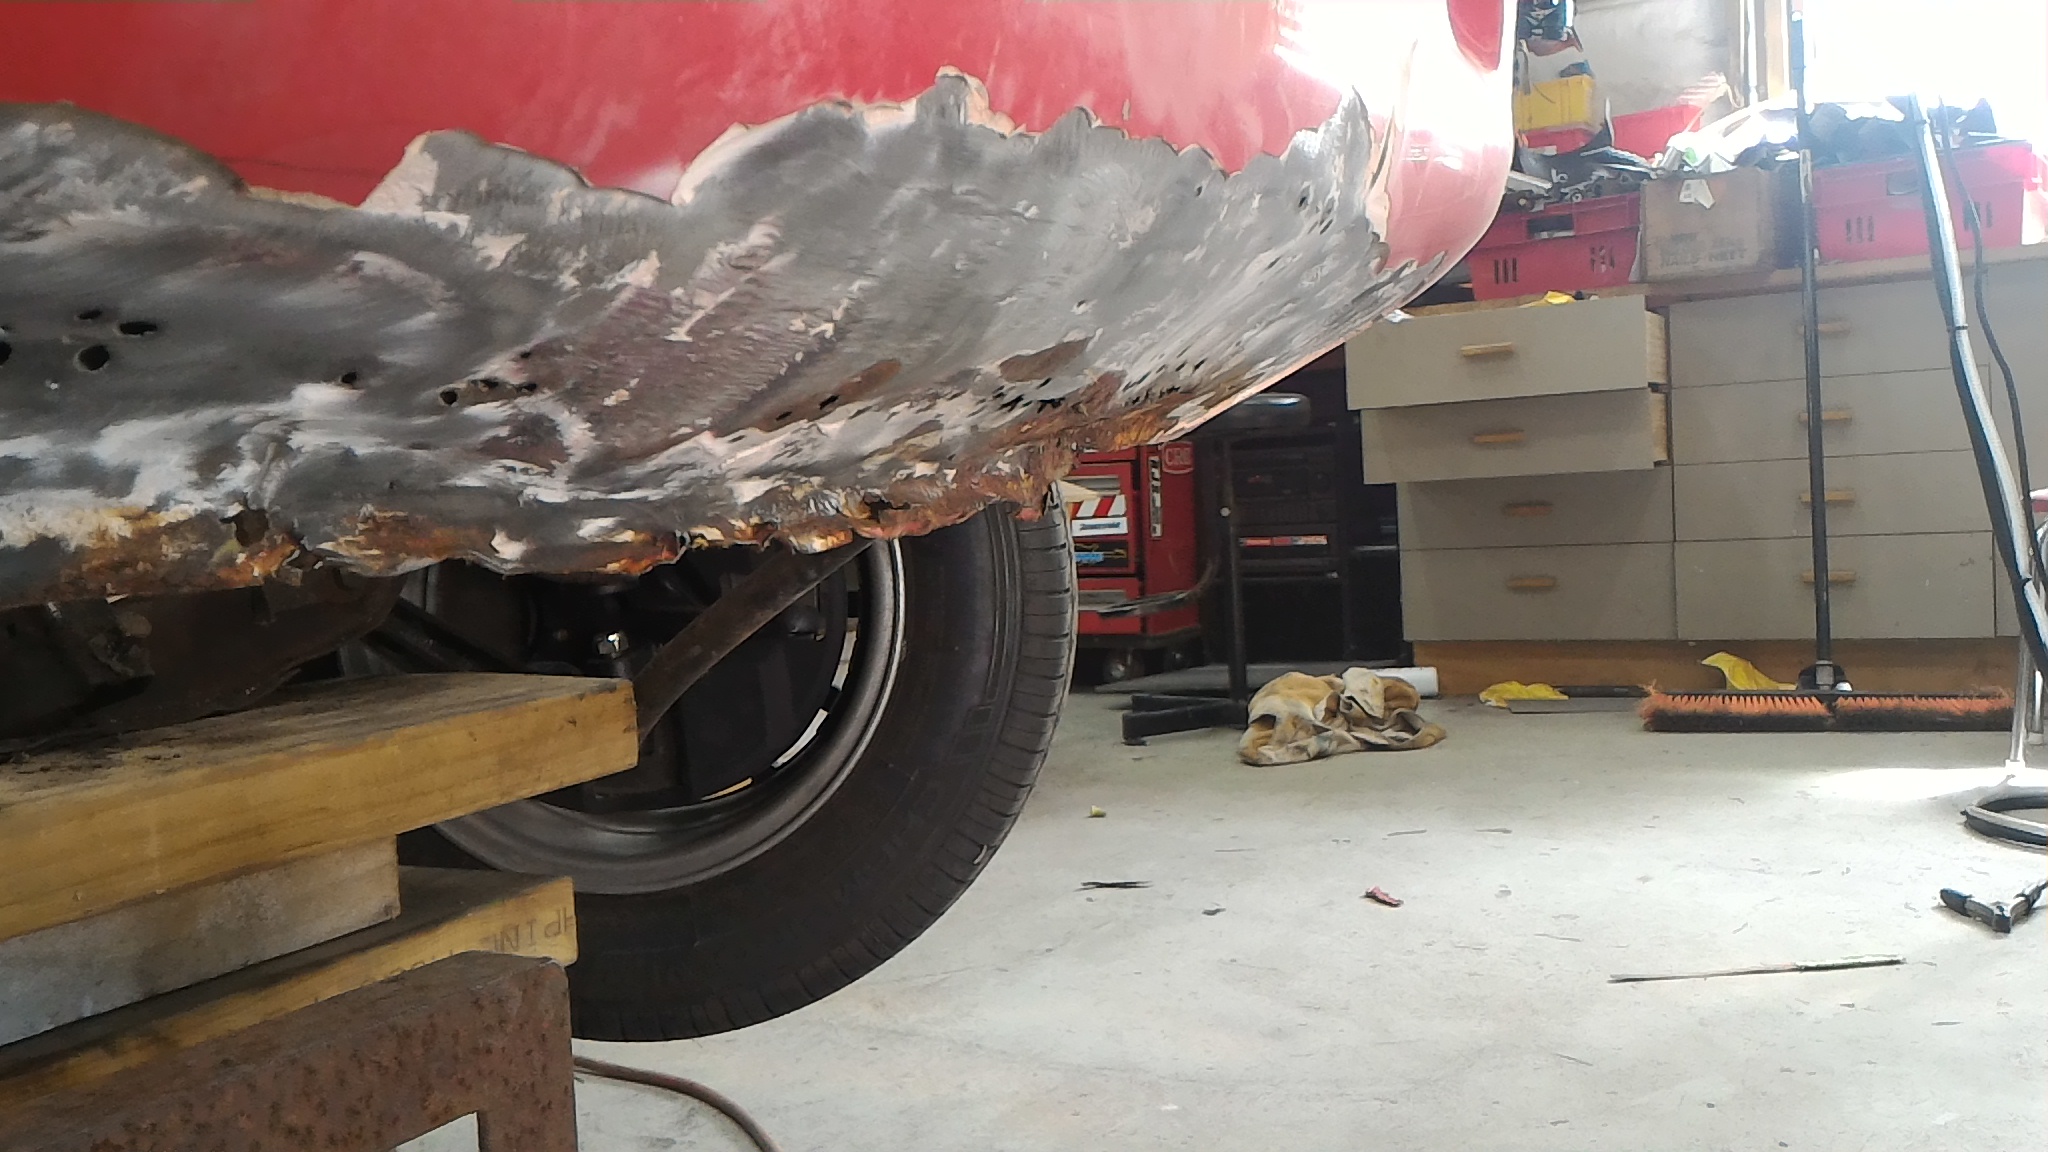
Have been sidetracked with some other stuff but have now got all the bits I need for the diff. Rebuild kit, new 3.23 gears, carbon lsd clutch pack (mustang parts there, look out pedestrians ), another short axle, robbed the center out of a low km explorer to get better spider gears -the ones in the diff I got originally were not great and new ones are surprisingly expensive-and a fancy pants alloy diff cover with a brace Went and got a wof today and here's a pic of its undersides for no real reason
1 point
-
@Mazda Dave1 point
-
been busy last week on the van! As you all know, the old Transits did not have fuel injection, and the fuel tank is not set up for this. So I built an aluminium collector pot, which the high pressure pump sits inside. A Facet low pressure pump lifts fuel from the tank, via the original pickup, and feeds into the collector, with a breather/overflow going back to the tank. The high pressure pump feeds fuel to the engine via a high pressure filter, and the return from the engine feeds back into the collector pot.1 point
-
Well how about that eh....1 point
-
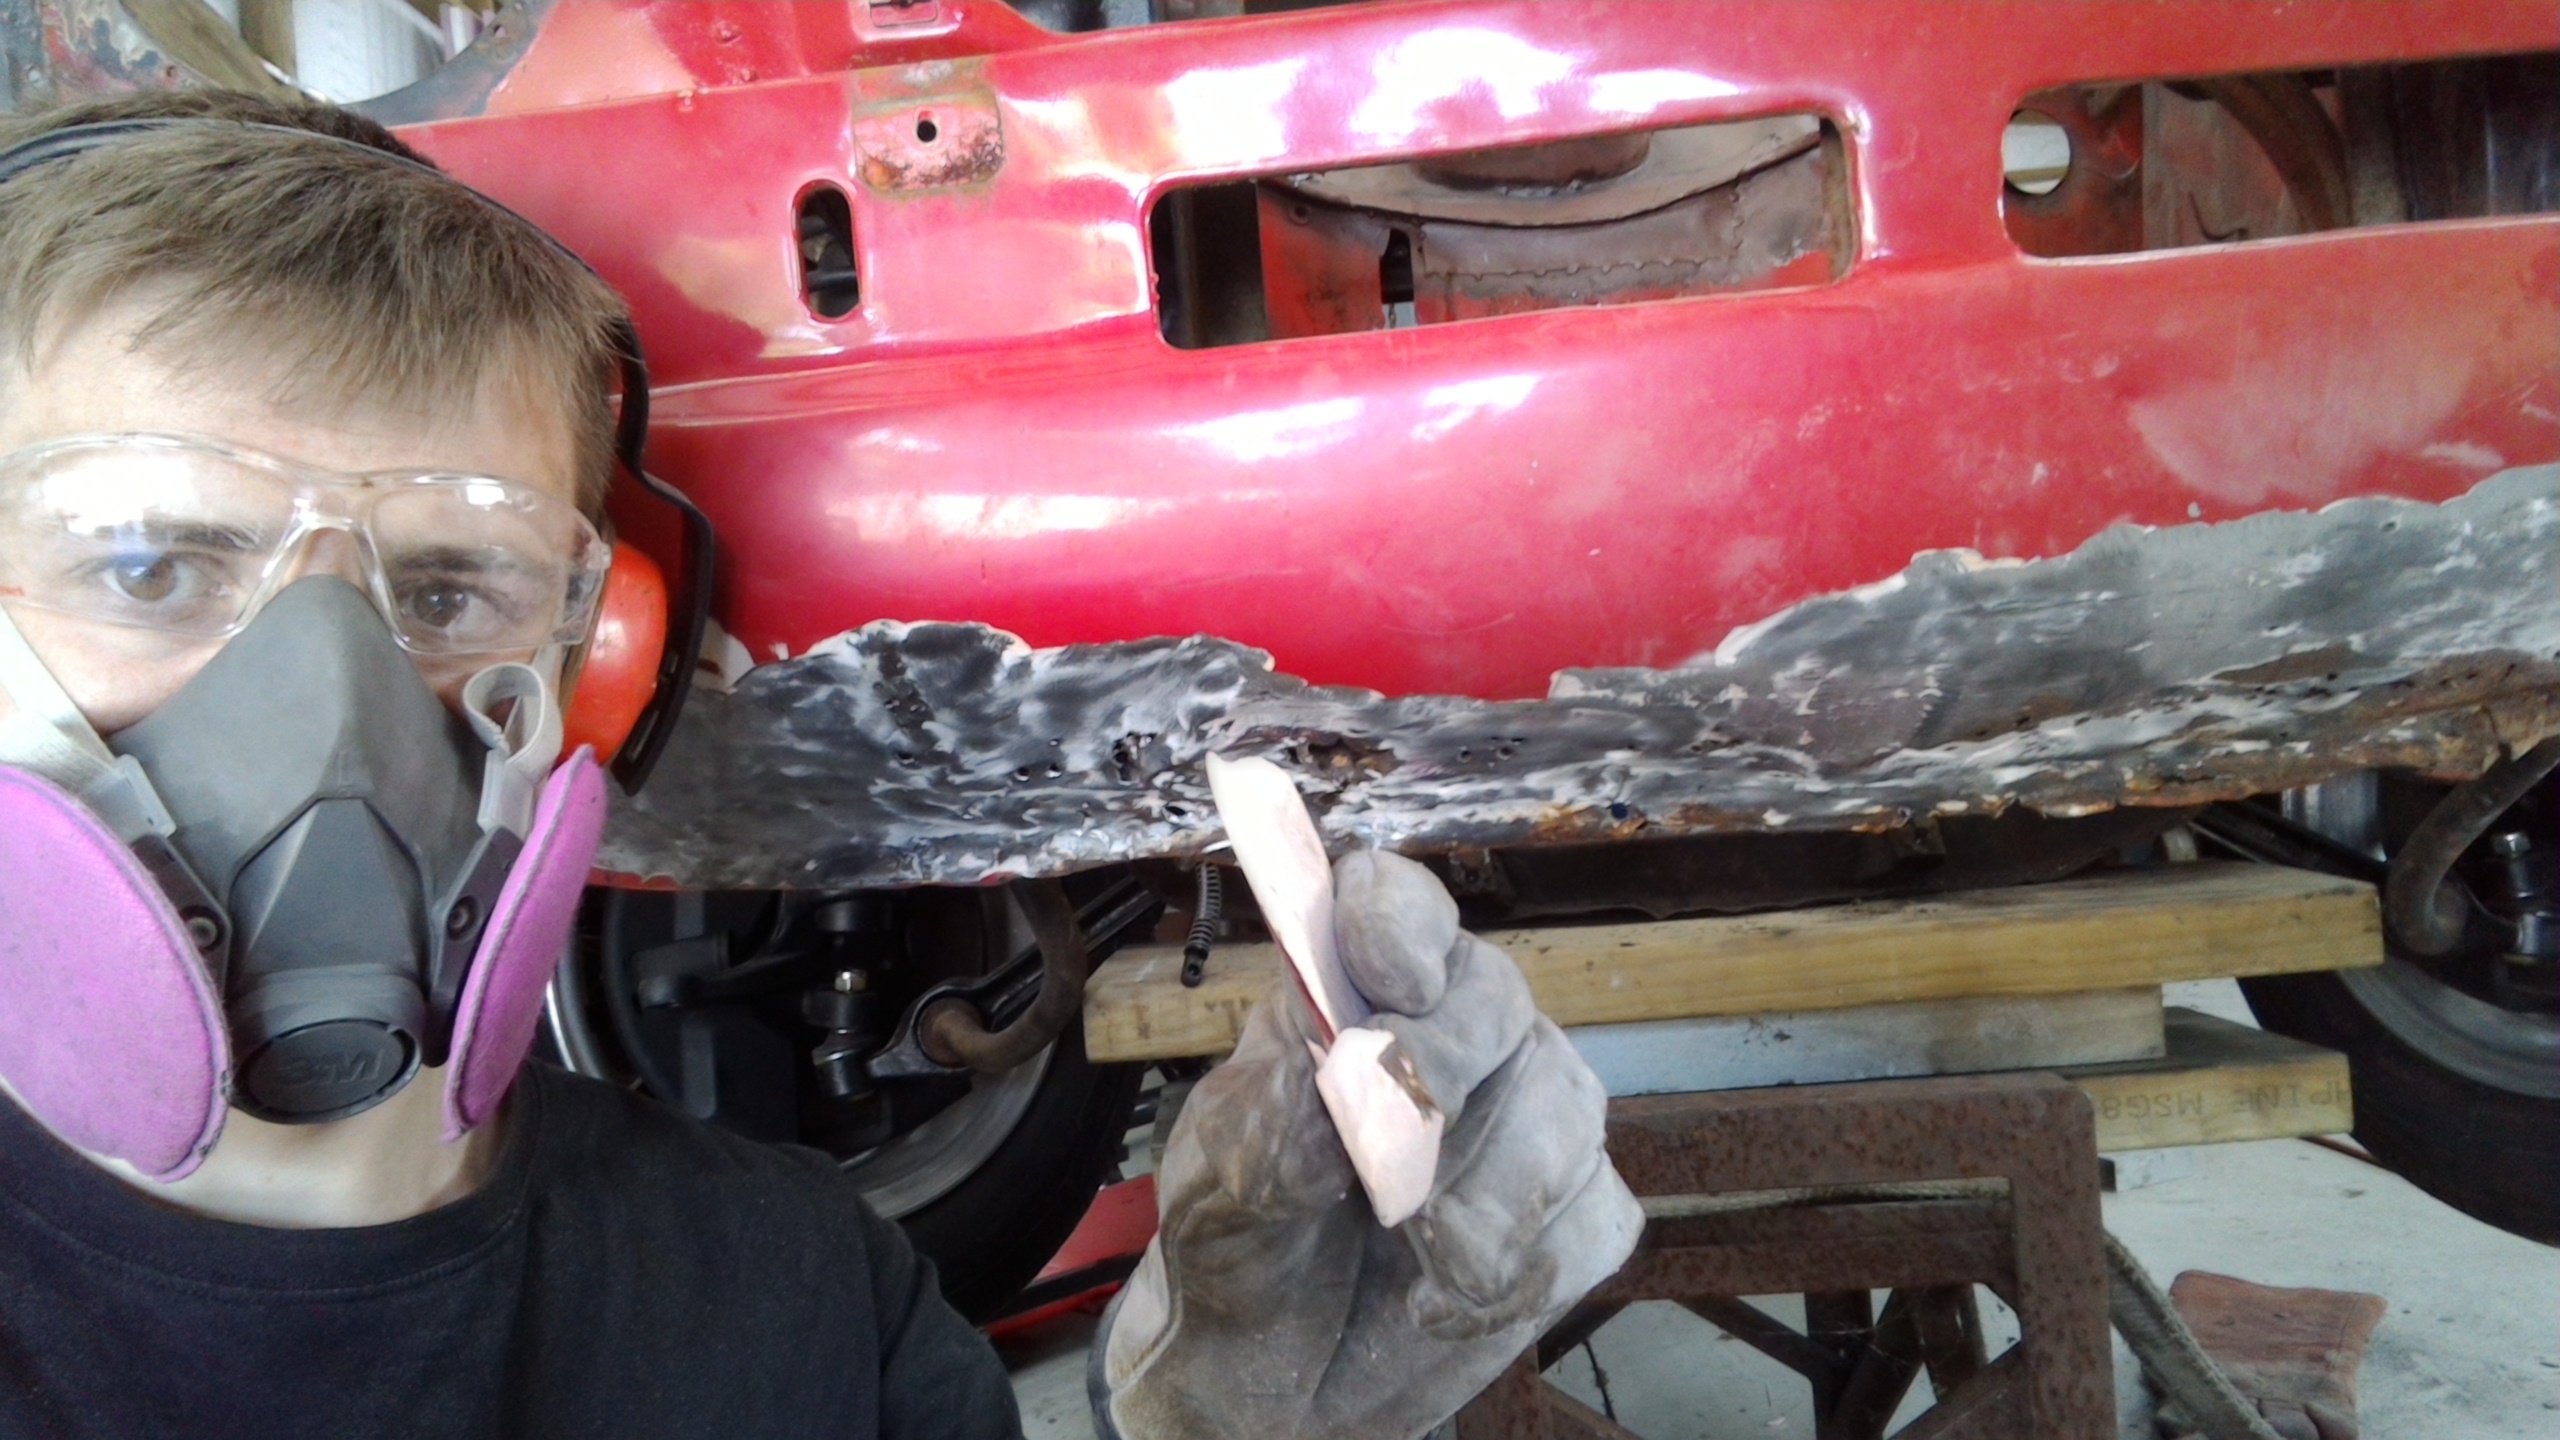
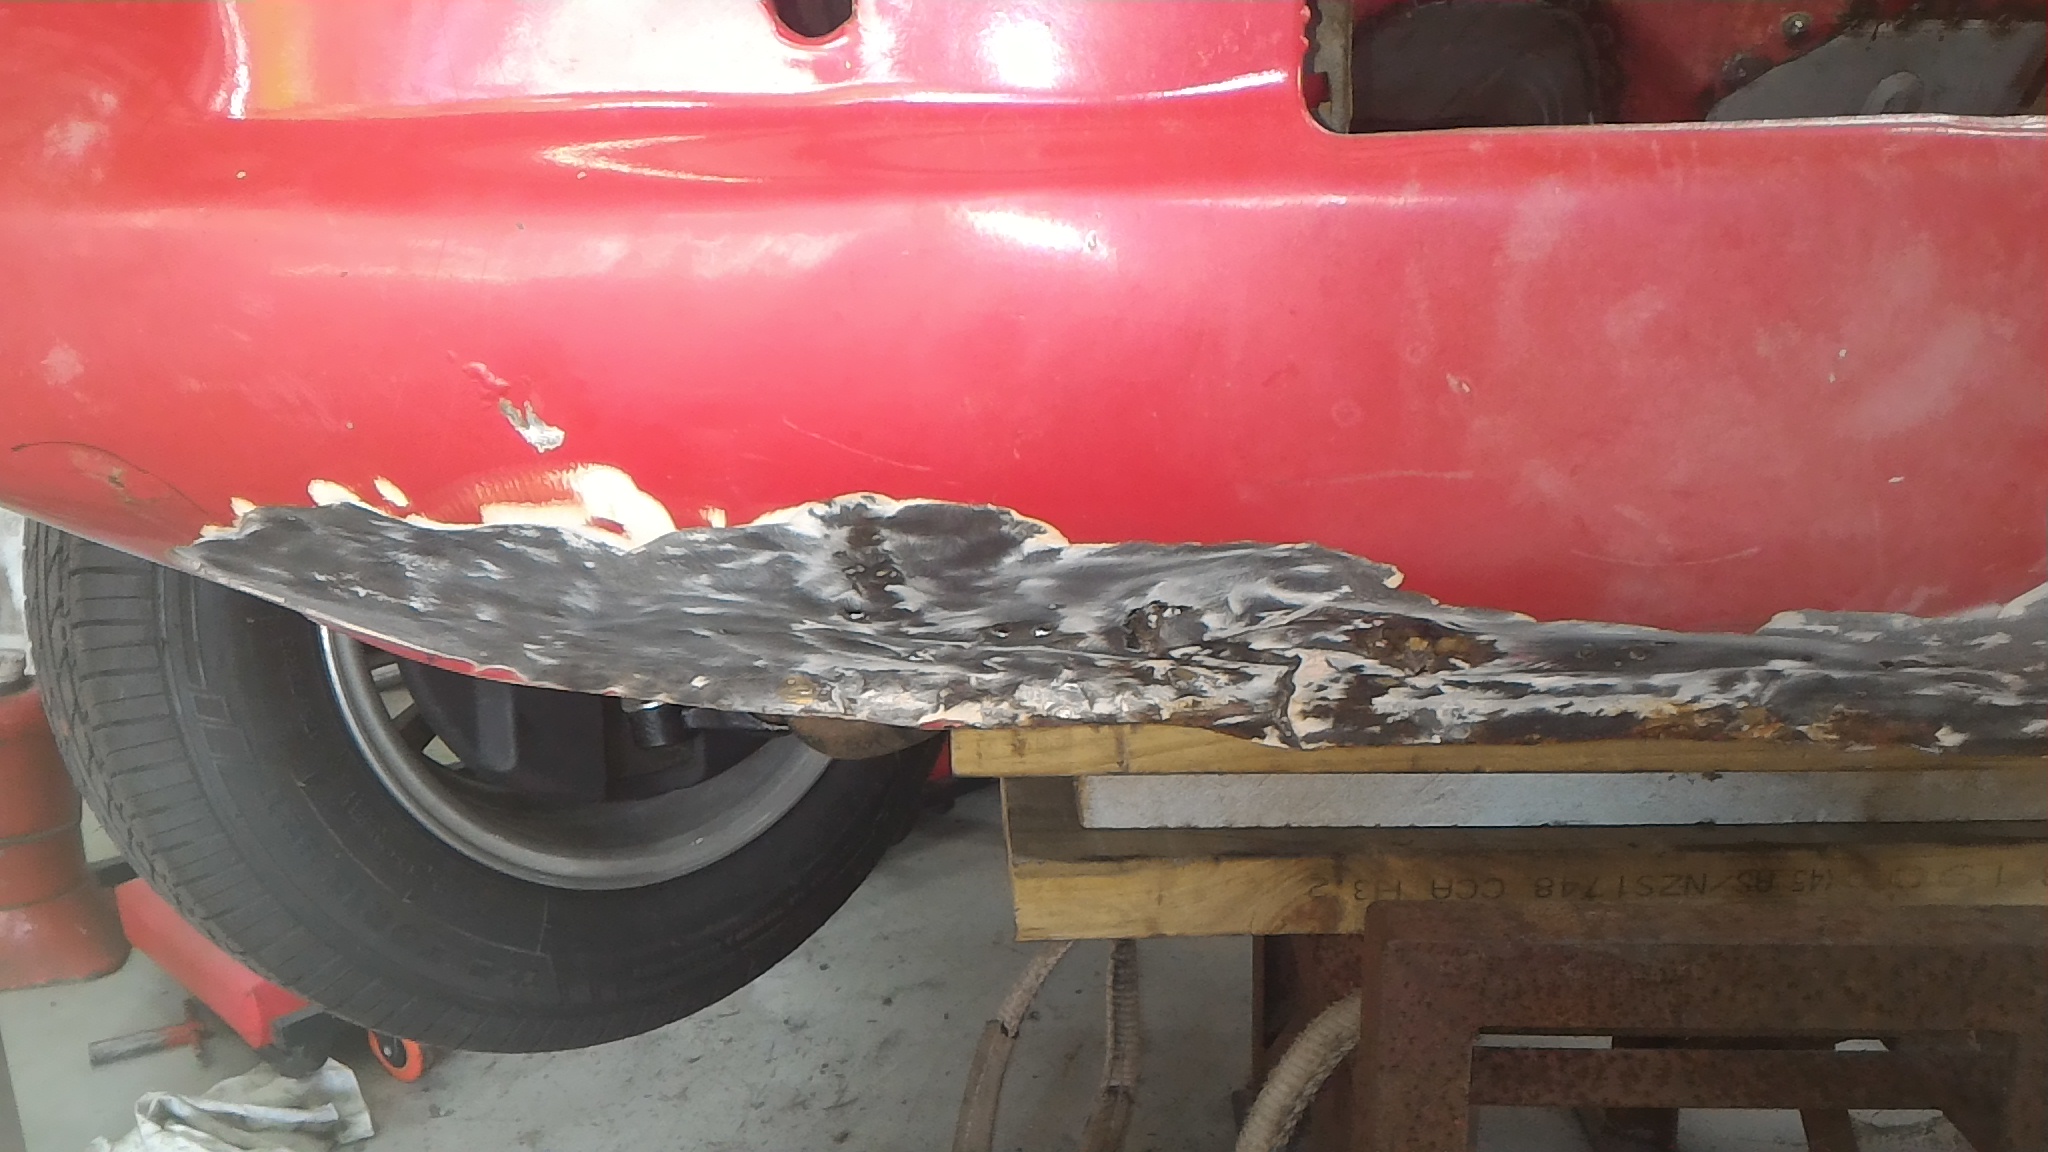
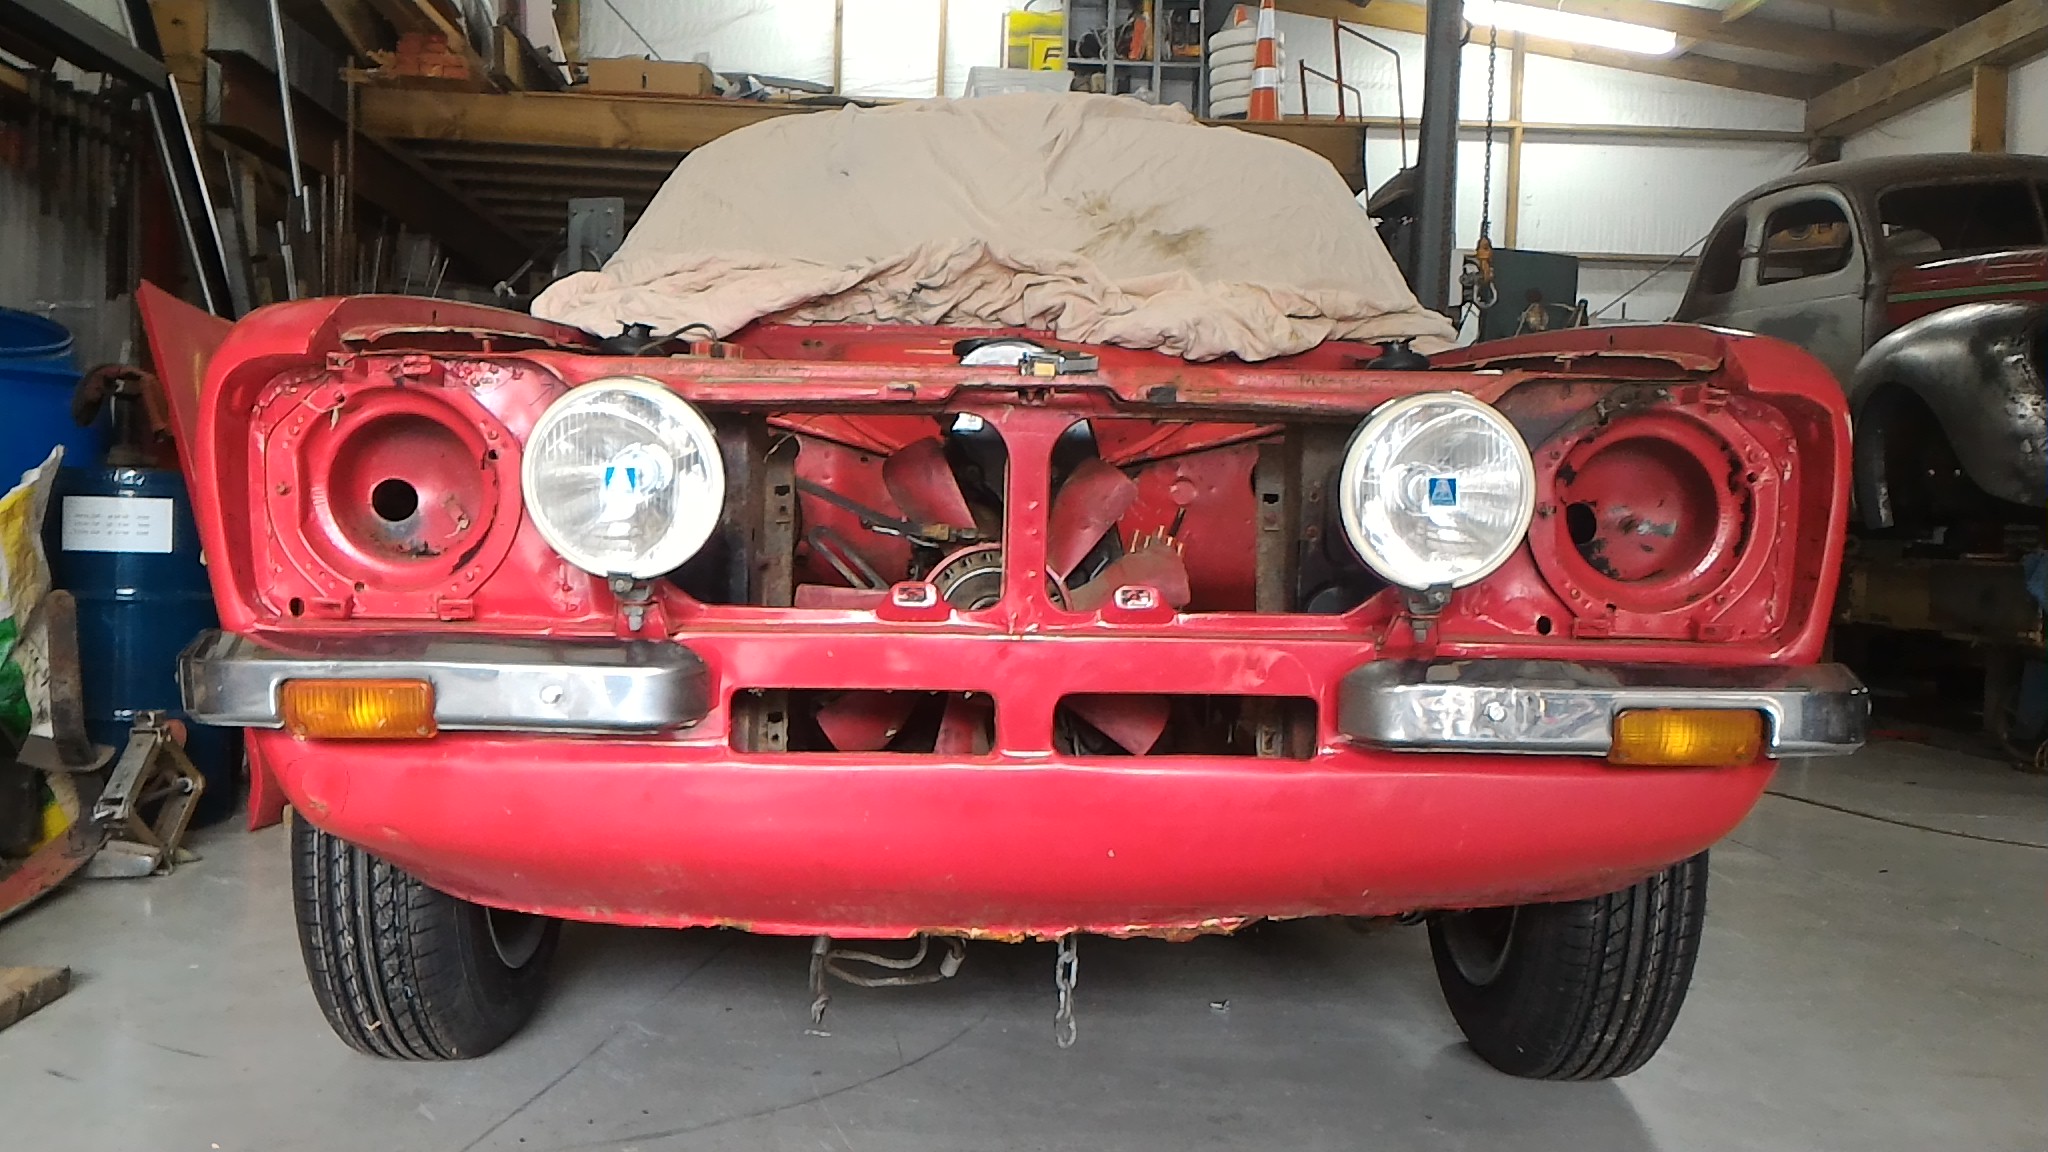
Next thing I got on to was investigating the small amount of rust you could see on the bottom of the front valence panel which you can sort of see in this photo. I could see a bit where there was some bog lifting away from the rusting steel underneath. So I put a screwdriver in behind the bog and chipped it out to see how far the bog went. And went. And went. There was a bit of bog on there actually. That's a size 10 boot and the pile is as high as the top of it. This is the state of what the bog was covering. The photos struggle to portray just quite how much the panel is pushed in. It was a mess. This is some of the thicker chunks of bog that came off. Please note that they're directly end on to the camera. That is actually how thick it was. There really are some gifted "panel beaters" out there.
1 point
-
I am quite happy to say that I have managed to get quite a bit of work finished on this little wagon. With the evenings being brighter and warmer and having a new dose of enthusiasm I have spent more time on it and its been fun. So where was I last update. Lets start with the doors. I knew they had rust but not too bad and in places that’s easy to get to. I have been putting off repairing them so now is the time after having just finished the last few bits on the tailgate (hatch..) Luckily the rust was mainly on the outer skin wrapping over the inner strengthening panels that the hinges are welded to. I cut it away and let in some nice new thick sheet. I actually ground back the welds afterwards because it it made sense to have it all finished properly in a place that is hard to get to once the doors are back on. Plus the seals, speaking of which I will need to get some decent second hand ones with the originals having fallen apart, will need a good smooth surface to squash against. There was minimal rust along the inner bottom of one door and they fixed up well. Really glad they are in good condition otherwise with minimal dents on the outside (just dented enough I say..) While I was working on them I also had one of those ‘expecting it to be a arse but it was actually easy’ moments when I had to remove a broken screw from a window winder stub. The screw was small, broken unevenly and I sure that Id not be able to drill it central enough. But I did, it worked and I was happy.. With the doors repaired and the repairs painted over I put them aside and started on the wiring. I enjoy wiring and have always planned to tidy all the original stuff up. I got carried away and its now pretty well hidden from view. I added some extra wires for the fan etc and decided to run the main loom out of sight via a hole I added in the tunnel. The original bulkhead grommet worked perfectly. Once I started hiding things I got even more carried away. I disliked the look of the fan wires running externally along the top of the bulkhead so they were carefully re-routed then back through the heater box and through another added hole. The main loom sorted back through inside the car and I was happy with it all. So onto the heater hoses. First I fitted them as per original. Oh dear. No, no ,no.. this will not suffice !… Damn they are ugly hoses, just running over the engine like an afterthought, looking like a scaled up version of a badly designed Lego tecnics kit with poorly scaled pneumatics. Nup. No sir..I don’t like it! So I rummaged through my always handy supply of random hoses and found a few Mazda items that will help in my quest for neatness, a Toyota bottom hose and a ideal tee piece. I also found a heater pipe from the Crysler Northstar quadcam V8 I have been gifted (another story…). Still not enough pieces to complete my puzzle. Back to the wreckers then… I love going to wreckers, especially when they let you roam about by yourself and get your own bits, a rare thing these days with so many OSH rules. Luckily Hannah enjoys it too because she was along for this sortee. We found a variety of hoses from a Datsun something, a Mitsubishi Mirage, a Honda Shuttle and also scored an ideal inline heater valve from said Honda. A few hose clips and other handy bits. All this for $10 free image uploading Back home and I assembled my scavenged findings together and came up with a design. I cut that steel pipe down, welded on a bracket so it mounts onto the carb support bracket beneath the carb. Chopped the excess bits off the heater valve and mounted that in the original place using various bends from my even more awesome stash of bends. Added the Tee into the Toyota bottom pipe. It worked out fine except for one thing.. the heater valve works backwards. Hot is cold and vice versa. Luckily my other Viva, with its Chevette sourced heater valve is exactly the same. So no confusion for us.. just everyone else.. After finishing them I noticed my exhaust was not yet connected to the manifold. Then I discovered holes. Bugger! So old towels out to protect things and I carefully welded in some repairs. I am a bit upset in that the blobby welds might well restrict things and lose me a pony or two. However I shall learn to deal with this. Then on to the breather and brake servo hoses. I have decent PCV valve to use and some pipe now. But nothing matches. Out with my stock of alloy bits and I worked out a plan using my 1/8th bsp taps. I machined up an adaptor and it worked a treat. Finished and mounted.. With that lot finished and looking a lot neater it was now it was time to sort out the throttle pedal to carb interface system. I am using a HC Viva floor mounted pedal like in Viva one. The original top mounted pedal system uses rods and is..ugly. I copied the design of cable clamp and pedal mount from Viva one. Noted how much cable pull was offered by the pedal. Did some maths and worked out the diameter of pully needed. Then I machined up a pulley from a lump of alloy on the trusty old, leaky, English lathe. Made a new cable bracket and used some old bike barrel adjuster. It was an easy enough job but just time and I’m glad its done. Cable clamp so the nipple will go at pulley end for neatness... Measure cable pull.. Pedal mounts here on new base... A leaky (because English made) old but trustworthy lathe and a lump of alloy.. A new pulley.. I wont mount it yet as some wiring to do for the starter solenoid yet to be done. But I’m not far from firing the little 1159cc block of fury up and I’m quite excited. Here's a photo of the new hose layout. I'm much happier with it and it was worth the hassle... Back soon1 point


.thumb.jpg.b5491dbec1053270a4d99ed376fc2c36.jpg)


This leaderboard is set to Auckland/GMT+12:00