
Leaderboard


Popular Content
Showing content with the highest reputation on 06/05/15 in all areas
-
video up! ah man this was a fun afternoon. http://www.machineofmayhem.com/m-o-ms-motor-racing-2015/ we went for a bike ride that night too, a video of which should surface at some point soon.12 points
-
Just put a banana peel in your diff and be done with it. As recommended by governorsam.9 points
-
more updates from the last month or so in no particular order.. sent the doors to creative colours in nelson to be professionally panel beated, i didnt really want to do them myself as they're such a big panel it would have taken me days to do and i never would have been happy with them, top job done by these guys though! IMG_2307 by matt postle, on Flickr Genuine toyota rear quarter window rubbers IMG_2527 by matt postle, on Flickr Few other parts off ebay.. washer bottle. ta22 radiator hoses easier than trying to make something else fit! ta27 side indicators (these wont fit without modding the new restored.jp guards so might just run the ta22 ones for now). speedo cable (doesnt fit so will roll with the old one this suits a ke20 so it says so if anyones after a new one hit me up! rear numberplate lights that sit behind the rear bumper. also not pictured is the new drive shaft centre bearing IMG_2525 by matt postle, on Flickr new drive shaft centre bearing fitted IMG_2524 by matt postle, on Flickr reconditioned brake callipers my mates brother works at a brake specialist place so got him to rebuild them for a sweet price! IMG_2580 by matt postle, on Flickr gave the front discs a skim, also put new wheel bearings and seals up front, rear bearings and seals in the hilux diff were new and replaced by the guy i bought it off so didnt need to do these. IMG_2596 by matt postle, on Flickr front sway bar was sand blasted and painted, now back in with new bushes etc. IMG_2581 by matt postle, on Flickr Went and saw Ben aka Maxted here on the OS forums, supplied him with some exhaust tubing and templates and being the GC he is he bent it up for me, Cheers man! IMG_2573 by matt postle, on Flickr mocked up under the car. IMG_2576 by matt postle, on Flickr IMG_2575 by matt postle, on Flickr took the vw front lip i modded to a plastic welder to get welded up in the centre, added heaps of strength just needs a bit of a file to tidy it up.. IMG_2586 by matt postle, on Flickr IMG_2587 by matt postle, on Flickr not a good photo but sand blasted the bonnet hinges, bonnet latch, and a few other bits and gave them a prime and paint IMG_2585 by matt postle, on Flickr Majority of the wiring is done now and fuel lines run, just need to wire the fuel pump up! IMG_2583 by matt postle, on Flickr built up some courage and drilled holes in the new front guard to fin the fendor mirrors IMG_2590 by matt postle, on Flickr Cheers Matt9 points
-
I cant help myself, after selling these a couple of years ago, I just bought them back, these were in the old slug that made 200hp at the flywheel and ran a 12.43 before I had some major oiling issues. Long term Im thinking maybe a small capacity destroked screamer. 64 stroke 94 bore 1776 ccs. lots of lift/duration/revs... *insert money into pit here*8 points
-
i feel like we should make shit like this, relabled jiff rebuild in a bottle, have all sorts of credible shills like sheepys and clint endorse it, and use the funds to buy a forum racetrack in waiouru.7 points
-
Few more details of the car. Suspension - Front VW Beetle / widened VW brakes - Rear Porsche 930 CVs Porsche 930 halfshafts Holden brake calipers Steering - Morris Minor shortened 2008 decided to enter my first (and unfortunately last) mainland challenge enduro race in CHCH. Built a new dash with push button start Not sure what technical name is for these hand brakes but man are they fun. Painted frame,fixed all the fibreglass panels and had them painted. Changed the side curtains so they unhooked easier. New rear adjustable shocks. Build an air filter at the top of roll cage and ran a black pipe from motor to it. Before if you went through a large puddle of water the engine would just about die from a belly full of water. New number and graphics Picture on bonnet of my old mate. Test drive ready to go.4 points
-
It is assembled, new brake hardlines made up. All that's left are brake pads and the clips to hold the flexible lines in place. IMG_1855 by Richard Opie, on Flickr IMG_1878 by Richard Opie, on Flickr IMG_1863 by Richard Opie, on Flickr That, my friends is the exercise in doing things the hard way. But pretty stoked it's sussed. IMG_1900 by Richard Opie, on Flickr IMG_1910 by Richard Opie, on Flickr Had some of the fasteners and suchlike for the ITB's plated in the last batch I had done, so I thought it would be rude not to pop all the bits on the motor for a little bit of motivation. It's not going to take too much effort to get this thing clean enough to eat off, that's a couple of jobs down the list at this stage though! Thanks for looking4 points
-
Seedys just a pussy/im not stupid enough to stick my fingers where they dont belong. Joes mum tells me off all the time3 points
-
3 points
-
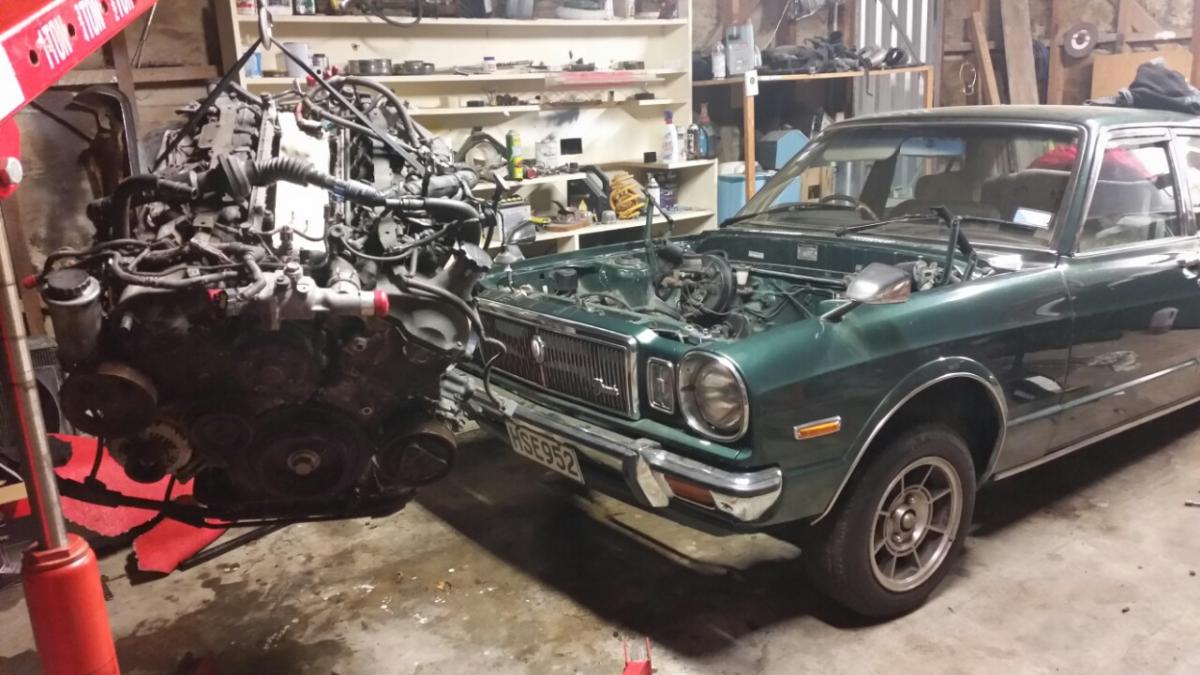
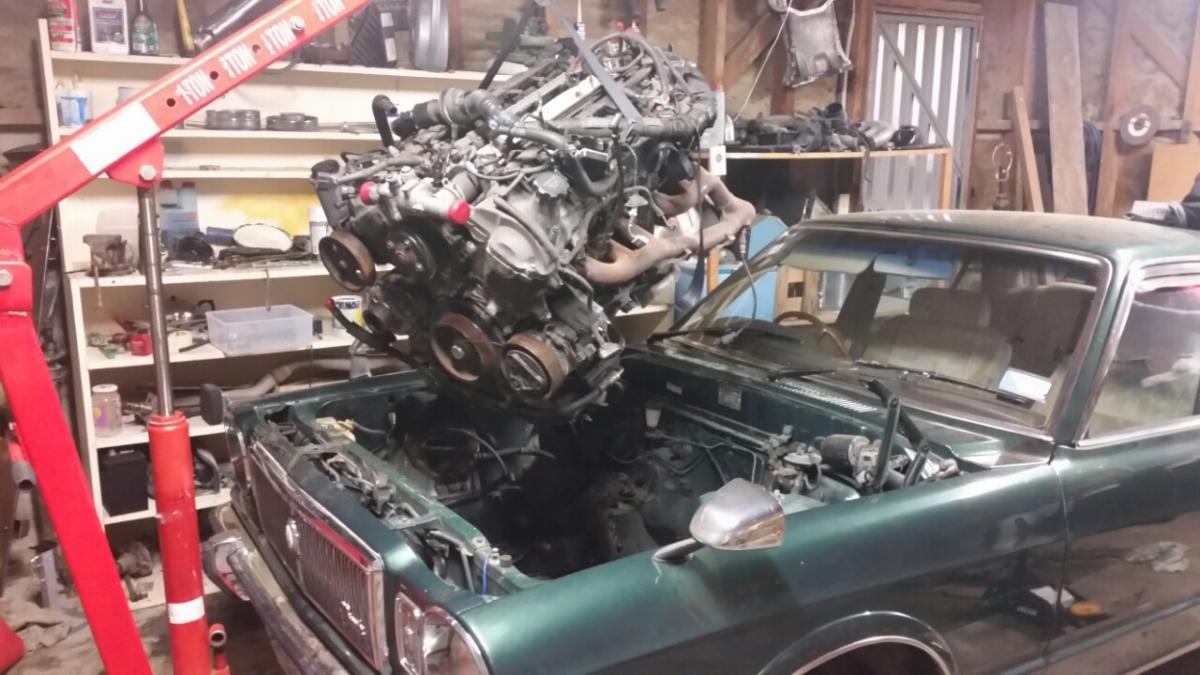
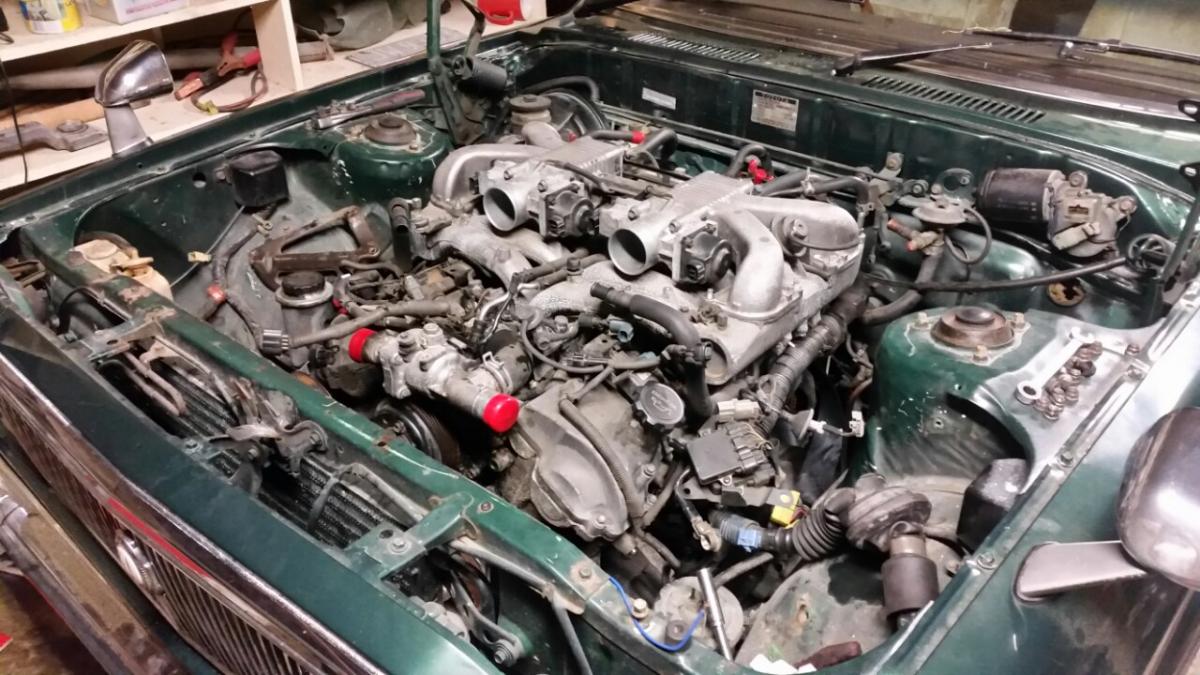
This deserves its own update The engine was off the stand for a reason. In she went... Exhausts need a tweek to clear steering box and rail but have heaps of room to move them in towards the block. Sump fits perfect and the engine mounts are pretty much on top of the subframe mounts. Still heaps of room for radiator. Was meant to be.
 3 points
 -
Bit of work on the shroud And after getting stuff made by others and not being that enthusiastically full of happiness about the result, I bought a cheap ish bead roller and started work on the tin. While not perfect, it's passable and once powder coated should be sweet....3 points
-
All barred up and exhausted. Home for wiring / plumbing / coating / painting stuff.3 points
-
for the work in welding and drilling them it would have to be marginal vs. new axles for a 9" I would think. it sounds easy but you could easily spend a whole day on it. what do new axles cost, could probably sell the old ones for some amount too?2 points
-
I liked when the fuel bowl fell off2 points
-
That's cool. Never seen the 8 track before. Just before my time I think .They sort of look like Mini Disks. Yes I love motorised stuff. You can put 7 tapes in it, then it will play both sides of all 7 tapes. About 7 hours .2 points
-
If only you were in Auckland VG, we could go on a datlogging brodate and I'd be able to draw your some boring graphs </32 points
-
Use por15 tank sealer, it is still the best thing in the market.2 points
-
Managed to score a cluster with a tacho. Extremely useful for the big RPMs this car can hit! So, out with the old.... ...and in with the old. Also found a front bumper thats a bit straighter Ive got my eyes on an injected 4G15. Im just waiting for the guy to drop his pants on the price and ill grab it. This was meant to be my daily, its now turning into another project. Story of our lives!2 points
-
More progress. Finished cleaning up all the seams and seam welding the chassis. Once I got into the swing of it it wasn't too bad and Simons welder was ace for it. Sneak shot of engine bay: Decided to cut the spare tyre well out and make a diffuser from some Sheetmetal. Quite happy with how it turned out. Will add fins and underbody panels once all the bumper (what will be left of it) etc goes back on Currently working on trying to figure out how to get the exhaust to exit above the diffuser.. best option so far is to weld up the rear section of the staonless exhaust then weld it into a 3" mild steel pipe and weld it into the car.. just means the rear section will never come out. Undecided at this stage - open to ideas! Also making a box for the 60l fuel cell to sit in the rear seat. I decided on 60l because the long term goal with this car is to do targa. The standard 45l tank would of never been enough and also gives me the option of endurance racing. The old man's ae82 uses approx 1l per km and this will be making about the same power so when being thrashed it's sure guna drink the gas.. Just trying to source a jaaz fuel cell with all the fuel senders etc for a decent price. I know this doesn't look like much but for me this has been a huge step forward welding in this cut outs in the tunnel and finishing off the floor repairs. There were so many holes I'd drilled in the past for seat/battery mounting! I filled at least 15 on just one side of the car. Next step is to mount the seat rails and mock up the dash.. then it will be off to the sandblasters again for the shell and the dash will be sent off to be flocked. Speaking of the dash quite happy with myself here.. Had planned on spending big money molding a carbon dash for coolness factor/lightweight. Turns out abs plastic has a density much less than carbon fibre! So I stripped the vinyl and foam off a ae111 dash (about 5 kg lighter than the Ae101 dash). Total weight is between 2-3kg I'm stoked! Still trying to decide on colour.. options are either white or something along these lines http://lh6.googleusercontent.com/proxy/A2INBHCZhvLKzpoWlW1meodeWGwBvkiG50ZLxglHQmgLcL6uXCcHypQRpEZ0U2u_JzJeLOarO1BIYrmKNGWm0crX3VwCu_hhWOsU0Msc6BzBIffDrg=w443-h332-nc2 points
-
Build-up (so far) of my Escort here: https://www.facebook.com/mk1gasser It's a Mk1 escort, powered by a 302 with turbo. C6 transmission, narrowed HiLux rear axle (with LSD), straight-tube front axle. Suspension is modified R33 shocks at the front and an unknown pair of adjustable shocks on the rear. Adjustable height springs on both ends. Full-tube frame which is integrated into the shell. Autometer gauges in bespoke dash. Wheels are 12x15" rear and 5x14" front. Brakes are R33 rear and Holden front, all on fabricated hangers. Big thanks to Steve at GSS Performance for allowing me use of the fab-room. My last Escort was a bit more radical. Street driven in the UK and running 9's on treads:1 point
-
yeah its the same as sparkplugs if you saw the end off and break the ceramic off1 point
-
Proma mbl8 Legit snake oil1 point
-
Yip, you hit the nail on the head ... sounds easy but you could easily spend a day + doing a pair. If you want to get any sense of accuracy in the work then bench setups, dot punches and hand held drills are out of the question. You'll need a decent setup along the lines of hanging your axle off the front or rear of a mill table that is equipped with a DRO or friggin good hand dials. You'll forsake any previous setups and tramming when you swing the turret around to hover over the axle flange. Then you'll need to fuck around with your co-axial DTI to center everything up whilst hoping you have enough working height so as to be able to use the long indicator extension. Failure to get enough height will force you to use the short extension on the taper of the factory center drill hole - an act you always felt dodgy doing, lol! And this is all after you have whispered to your lathe the word 'sorry' a thousand times as it shudders and jolts under the strain of interrupted cutting brought on by the now hardened weld material that you filled up the previously used wheel stud holes. You did your best to remove as much of this material as you could with your trusty angle grinder prior to chucking it up ... yeah sounds easy )) lol!1 point
-
Moreys 4 Life1 point
-
I'll vouch for TypaRacer Rons a good dude and I know him well.1 point
-
ice age spec engines1 point
-
We saw this last time we did one of these.1 point
-
8" chrome chain wheel and Supremes will solve those issues.1 point
-
haha! 'minor' stains. sounds like you nominal..?1 point
-
Throw some fuel at it and it will be like t-vis torque all over again When i was messing with mine. dropping the small exhaust off at collector, would make a run so lean at one point in rpm, it would just die. Hence 3". Cams do silly things. Also you are likely able to hear if you are getting revision, since you are running open throttles. if your intake note has a bark to it at one point in rpm, likely getting revision. if have a clean dort throughout the rev range things are grand.1 point
-
Have to wonder about the stains though....1 point
-
Havent done a whole lot to this cause of busy reasons but am hoping to change that soon. Annoyingly the spare struts i have are different to the ones in the car, so will have to cut and lower the threaded tube on the original ones. Have some new tubes to do this. Also bought some more wheels. A pair of 14x8 -12 and 6j Mk3s. Will run the 8s on the front and get the 6s widened, hopefully in the next month or so. Am planning on stripping the black paint off cause its quite bland, and running no paint until i decide on a colour. Any idea on a good paint stripper i could use? Dont really want to get them sandblasted1 point
-
Nah mate, Old mate rusty reckons hydraulic oil. give you more horsepower on the dyno .1 point
-
Well it has all the other times. Right in the feels.1 point
-
A cardboard box would have been lincoln proof... It's a single slider. We'll probably try and get the dirt out down the other side of the house... or I guess the option is still there to trailer up to the doors and just be more careful where you throw the spade...1 point
-
ok up dates with cambered rear end is in ,this rear end takes 3 litres of lsd oil and weighs 25kilos lighter than the other F series with big axles and bearings with the brakes .have now fitted the dry sump tank ,finished of the rear 1/2 fuel line from the tank to fire wall,.. finished the rear brake lines to the rear end etc have also done the radiatoras well1 point
-
Yesterday the windows went in. All that's left to happen is the roller door, which is going in on Saturday. Then it's all complete and we've just got to wait for signoff to start using it. Unfortunately there a couple of things to get done before that can happen. So we're probably looking at 2 weeks ish. Glass and stuff! Closeup glass and stuff. Also lots of mess.1 point
-
It's a 2 dayer? Audiodude, you can bring your stuff to show off in my shed. getting it back may be a different story1 point
-
I'll vouch for Berjj also. Less of a weirdo than I am plus my sister owns his old starlet1 point
-
Yeap definitely count me in for July date. I understand I haven't spoken to many of you, but do turn up to monthly/other meets now and then, others will confirm I'm not (too much) a weirdo.1 point
-
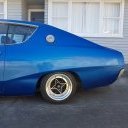
Here's mine. I removed the motorbikes from the doors and a friend is making me some Gulf Mazda Service Centre stickers for the doors. Was going to tang mine, but due to having to rebuild the FC (again) was told to do the MX5 conversion instead.1 point
-
Very keen to see video of this!1 point
-
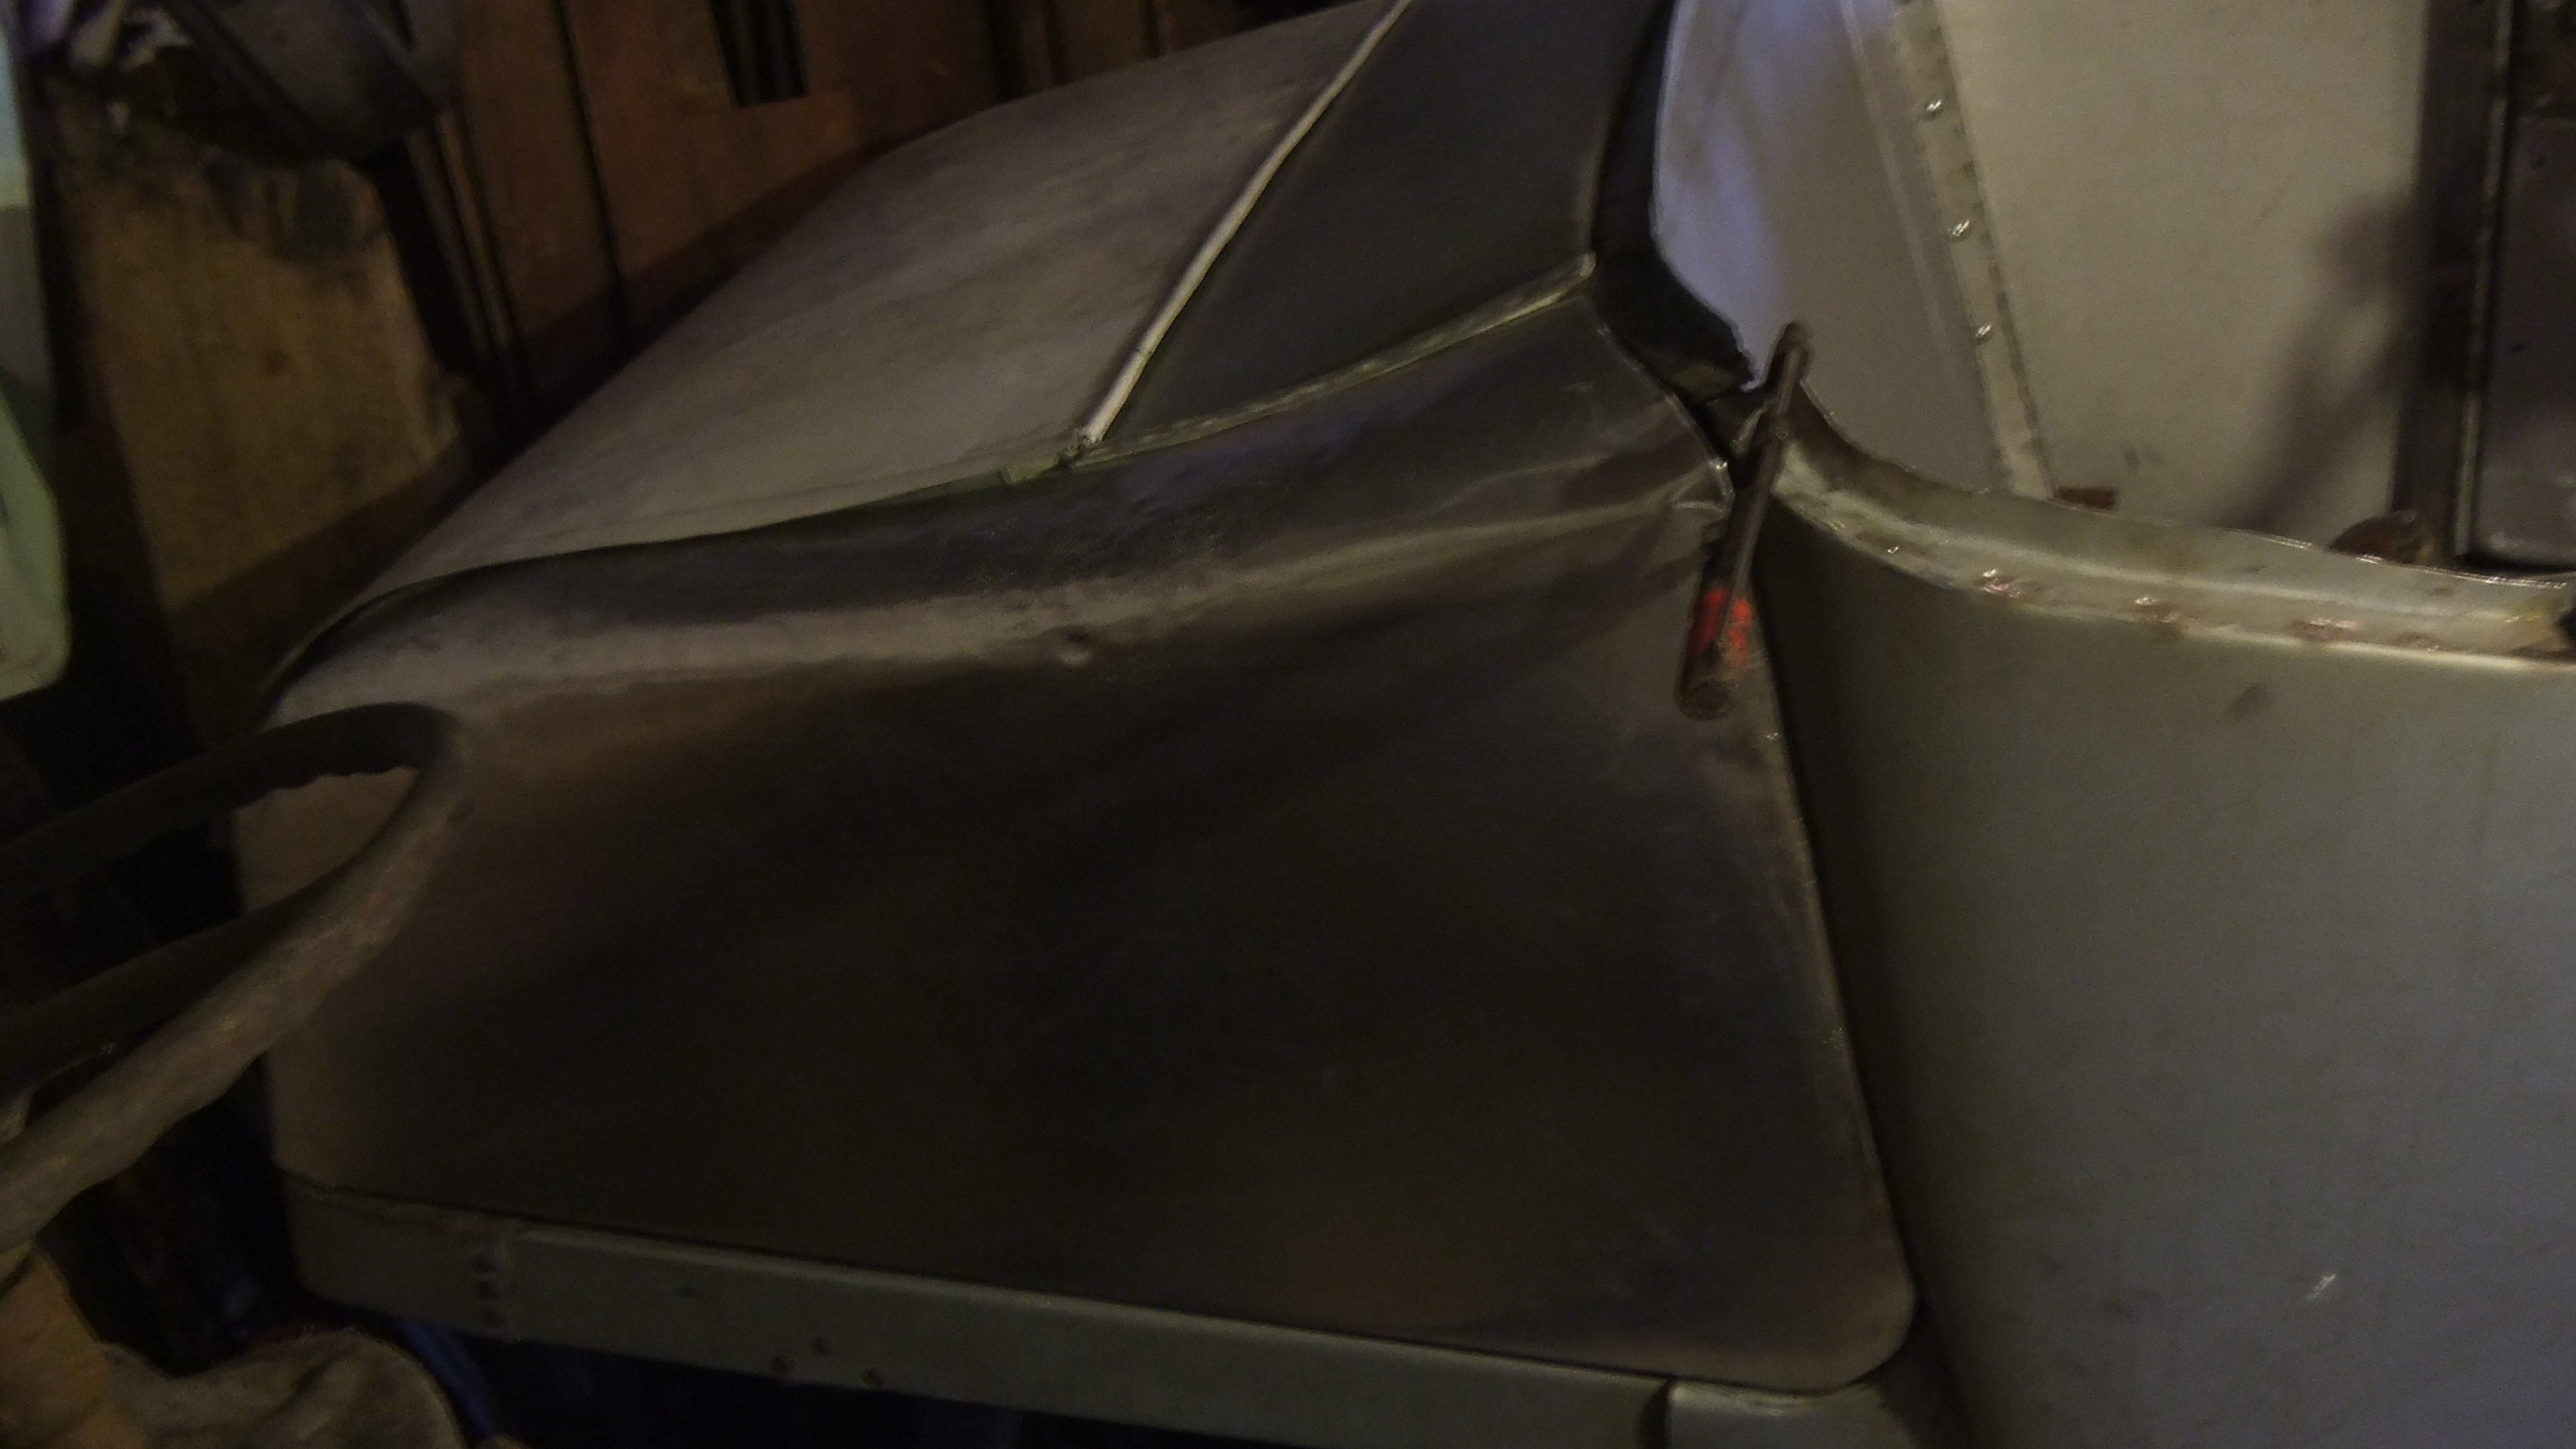
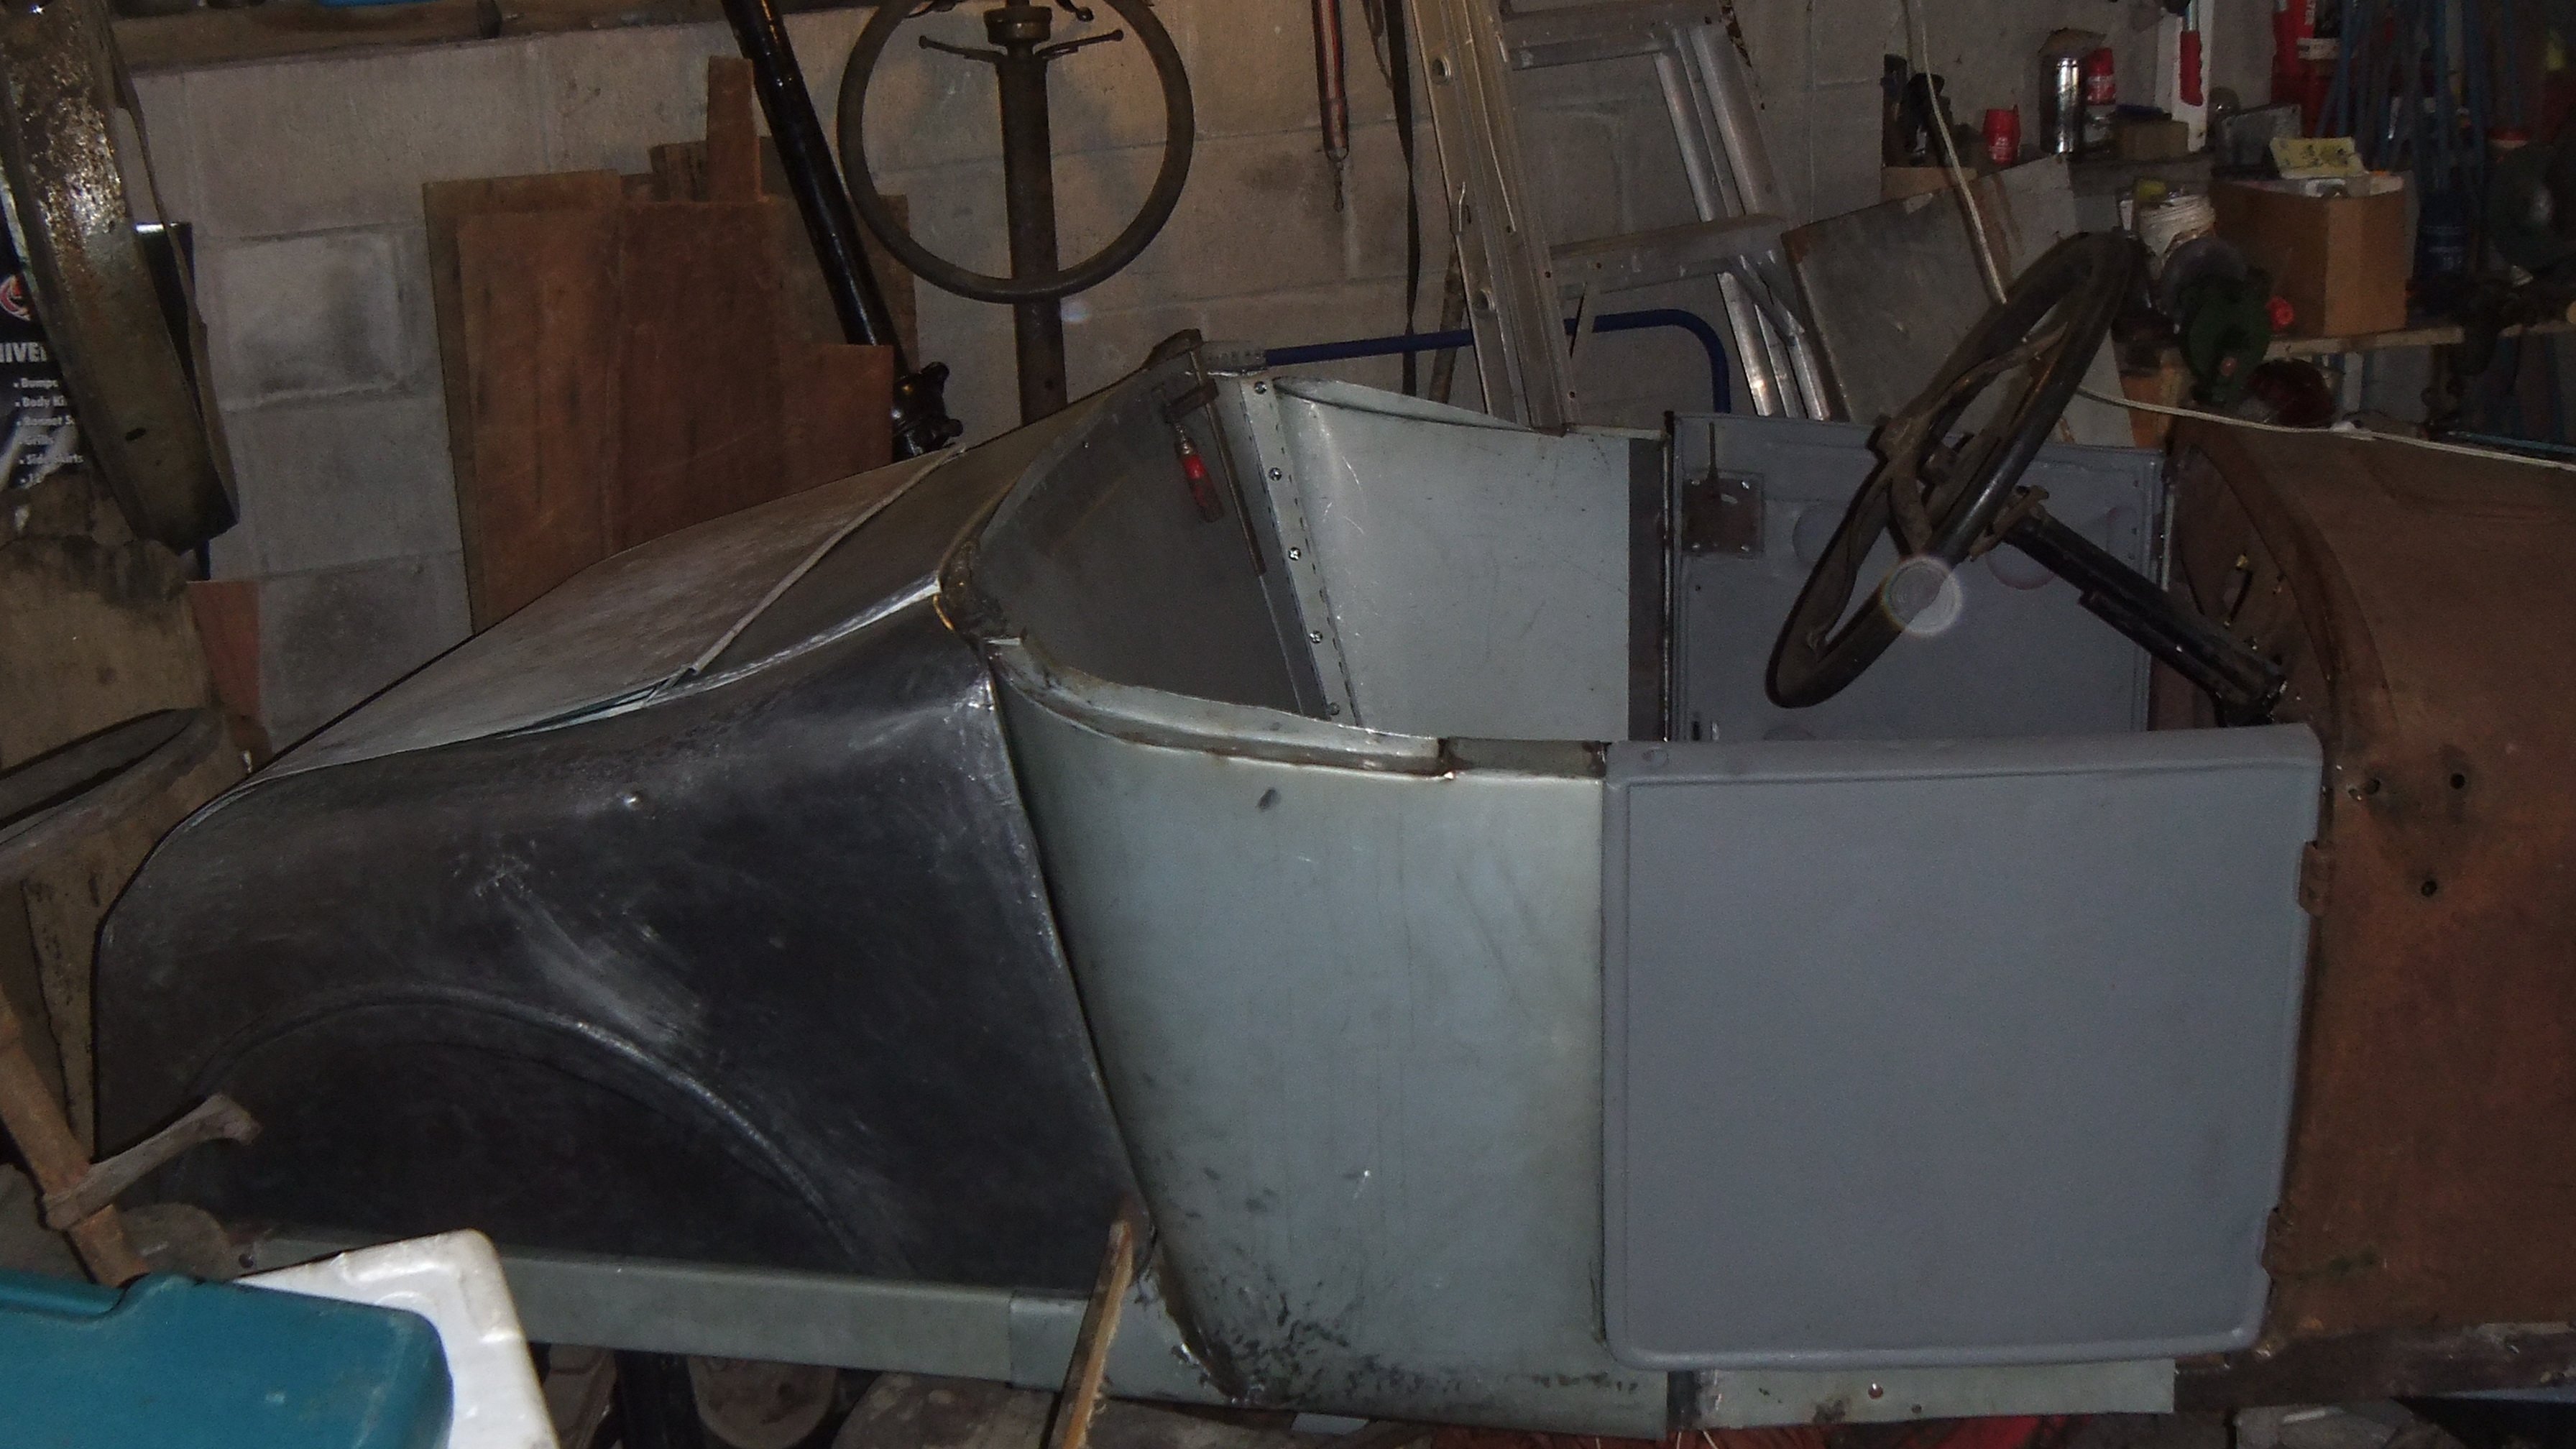
Looks less bad now. But it looks like i gave up on the bootlid... One day i may make a new one. the panel gap is terrible. People see this and ask me why i'm not a panel beater. This is why
1 point
-
I scored some wheels off Tank a while ago in anticipation of getting one of these things. They're Enkei 知りますか 14x6 Didnt know what tyre size to run on these. I ended up choosing 155/55/14. Found a pair on trademe from JP Auto Spares. I asked if they had another pair which they did and had them fitted up. Awesome service and very cheap. The Japanese guy there was extremely thorough. Cant praise them enough. So all fitted up Time to try them on. Side profile pic for reference And with them fitted I need to sort the front rims out. The rotors have bolts on the mounting face and the rims foul on them. Ive asked a few people for ideas. And of course you need to do a MS Panit lowering job Now to get it around that height. If you've had experience with lowering a Mirage or fitting mags to the front please let me know Thanks1 point
-
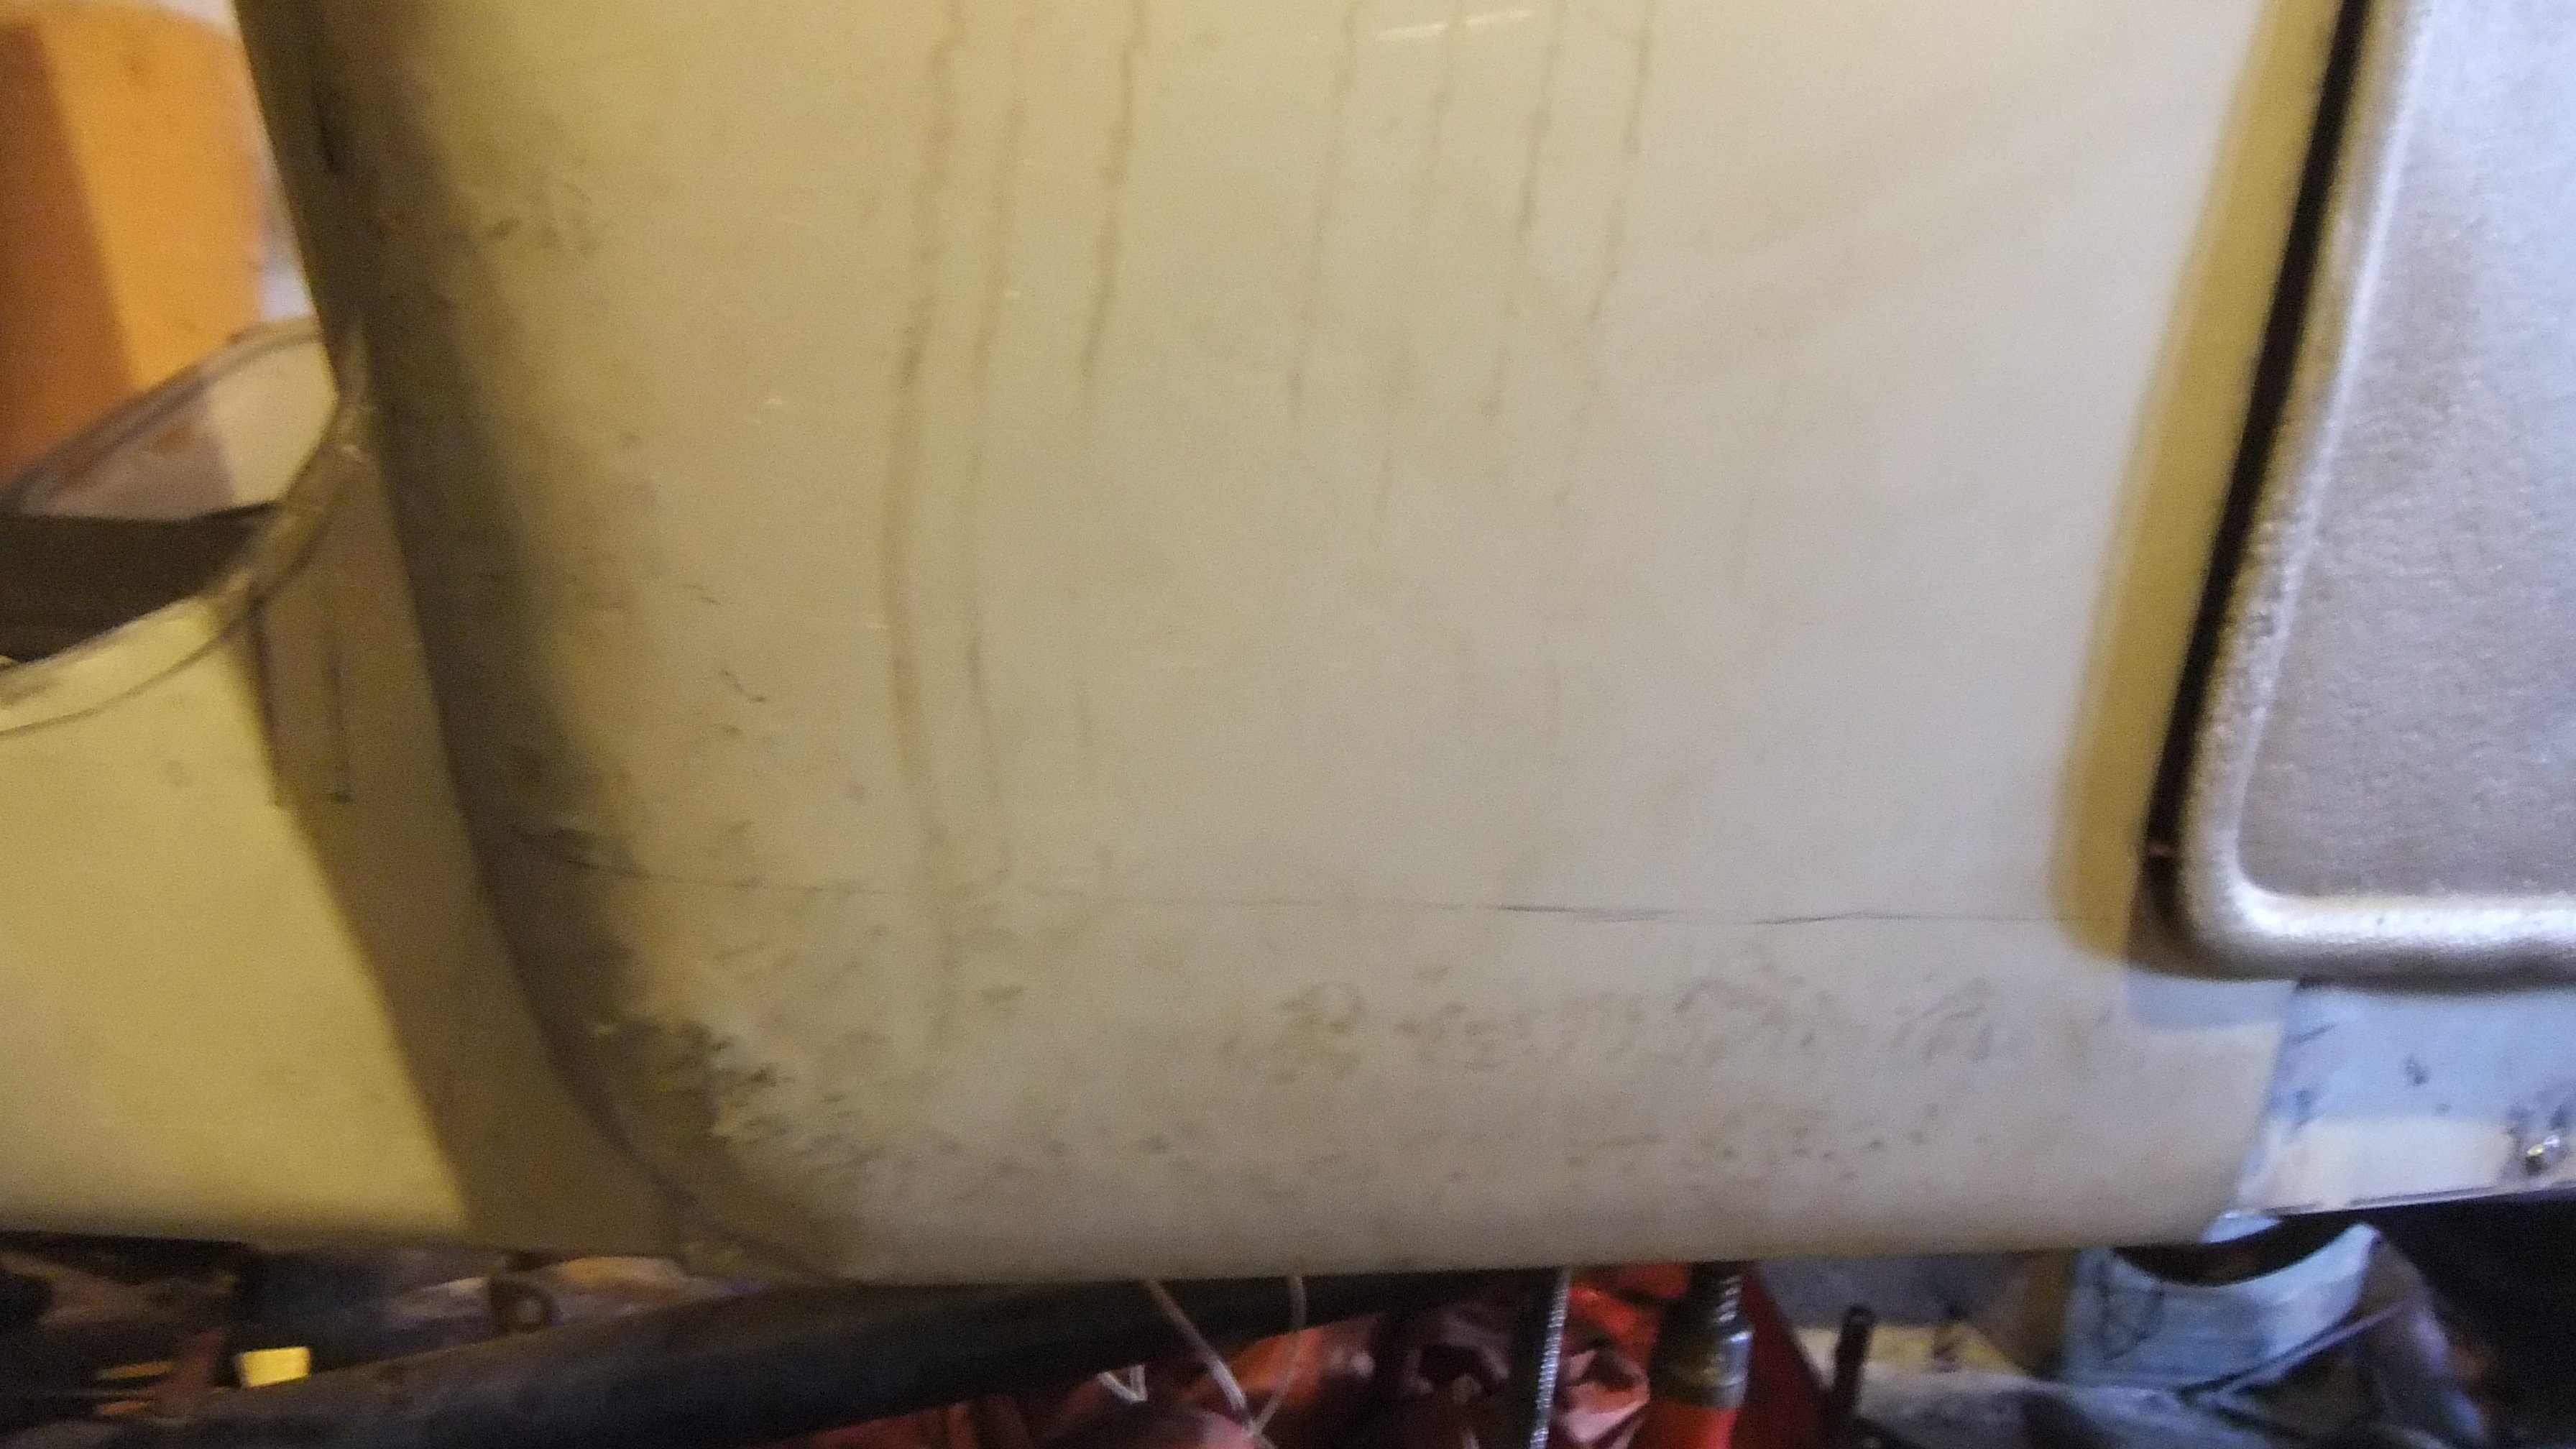
Made a terrible mistake Looks yuck. rear curve is wrong. Might just live with it. Looks like i should have used more cardboard during design instead of bending wire and saying "close enough". Looks like someone tried to blend a 32 rear and a 26 rear.
1 point
-
Bit of relay/electrics going on.... slowly catching the monkey1 point
-
Couple more pics outside. Can't wait!1 point


This leaderboard is set to Auckland/GMT+12:00