kpr
-
Posts
3,390 -
Joined
-
Last visited
-
Days Won
2




kpr's Achievements

Committed (5/5)
9.8k
Reputation
-
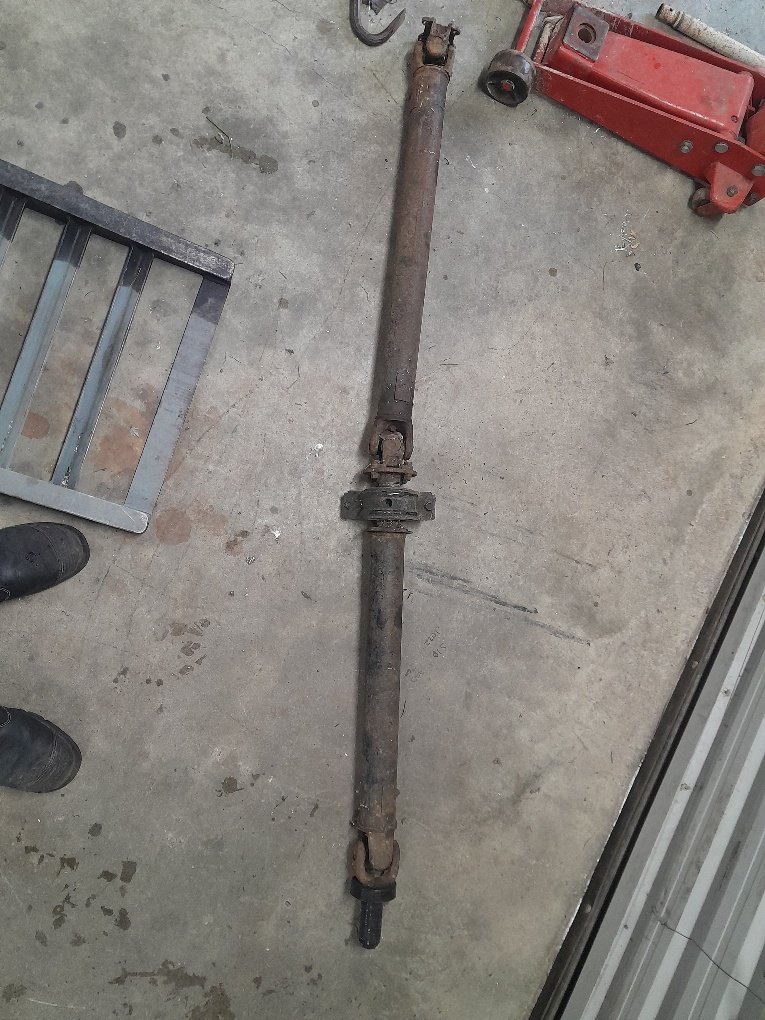
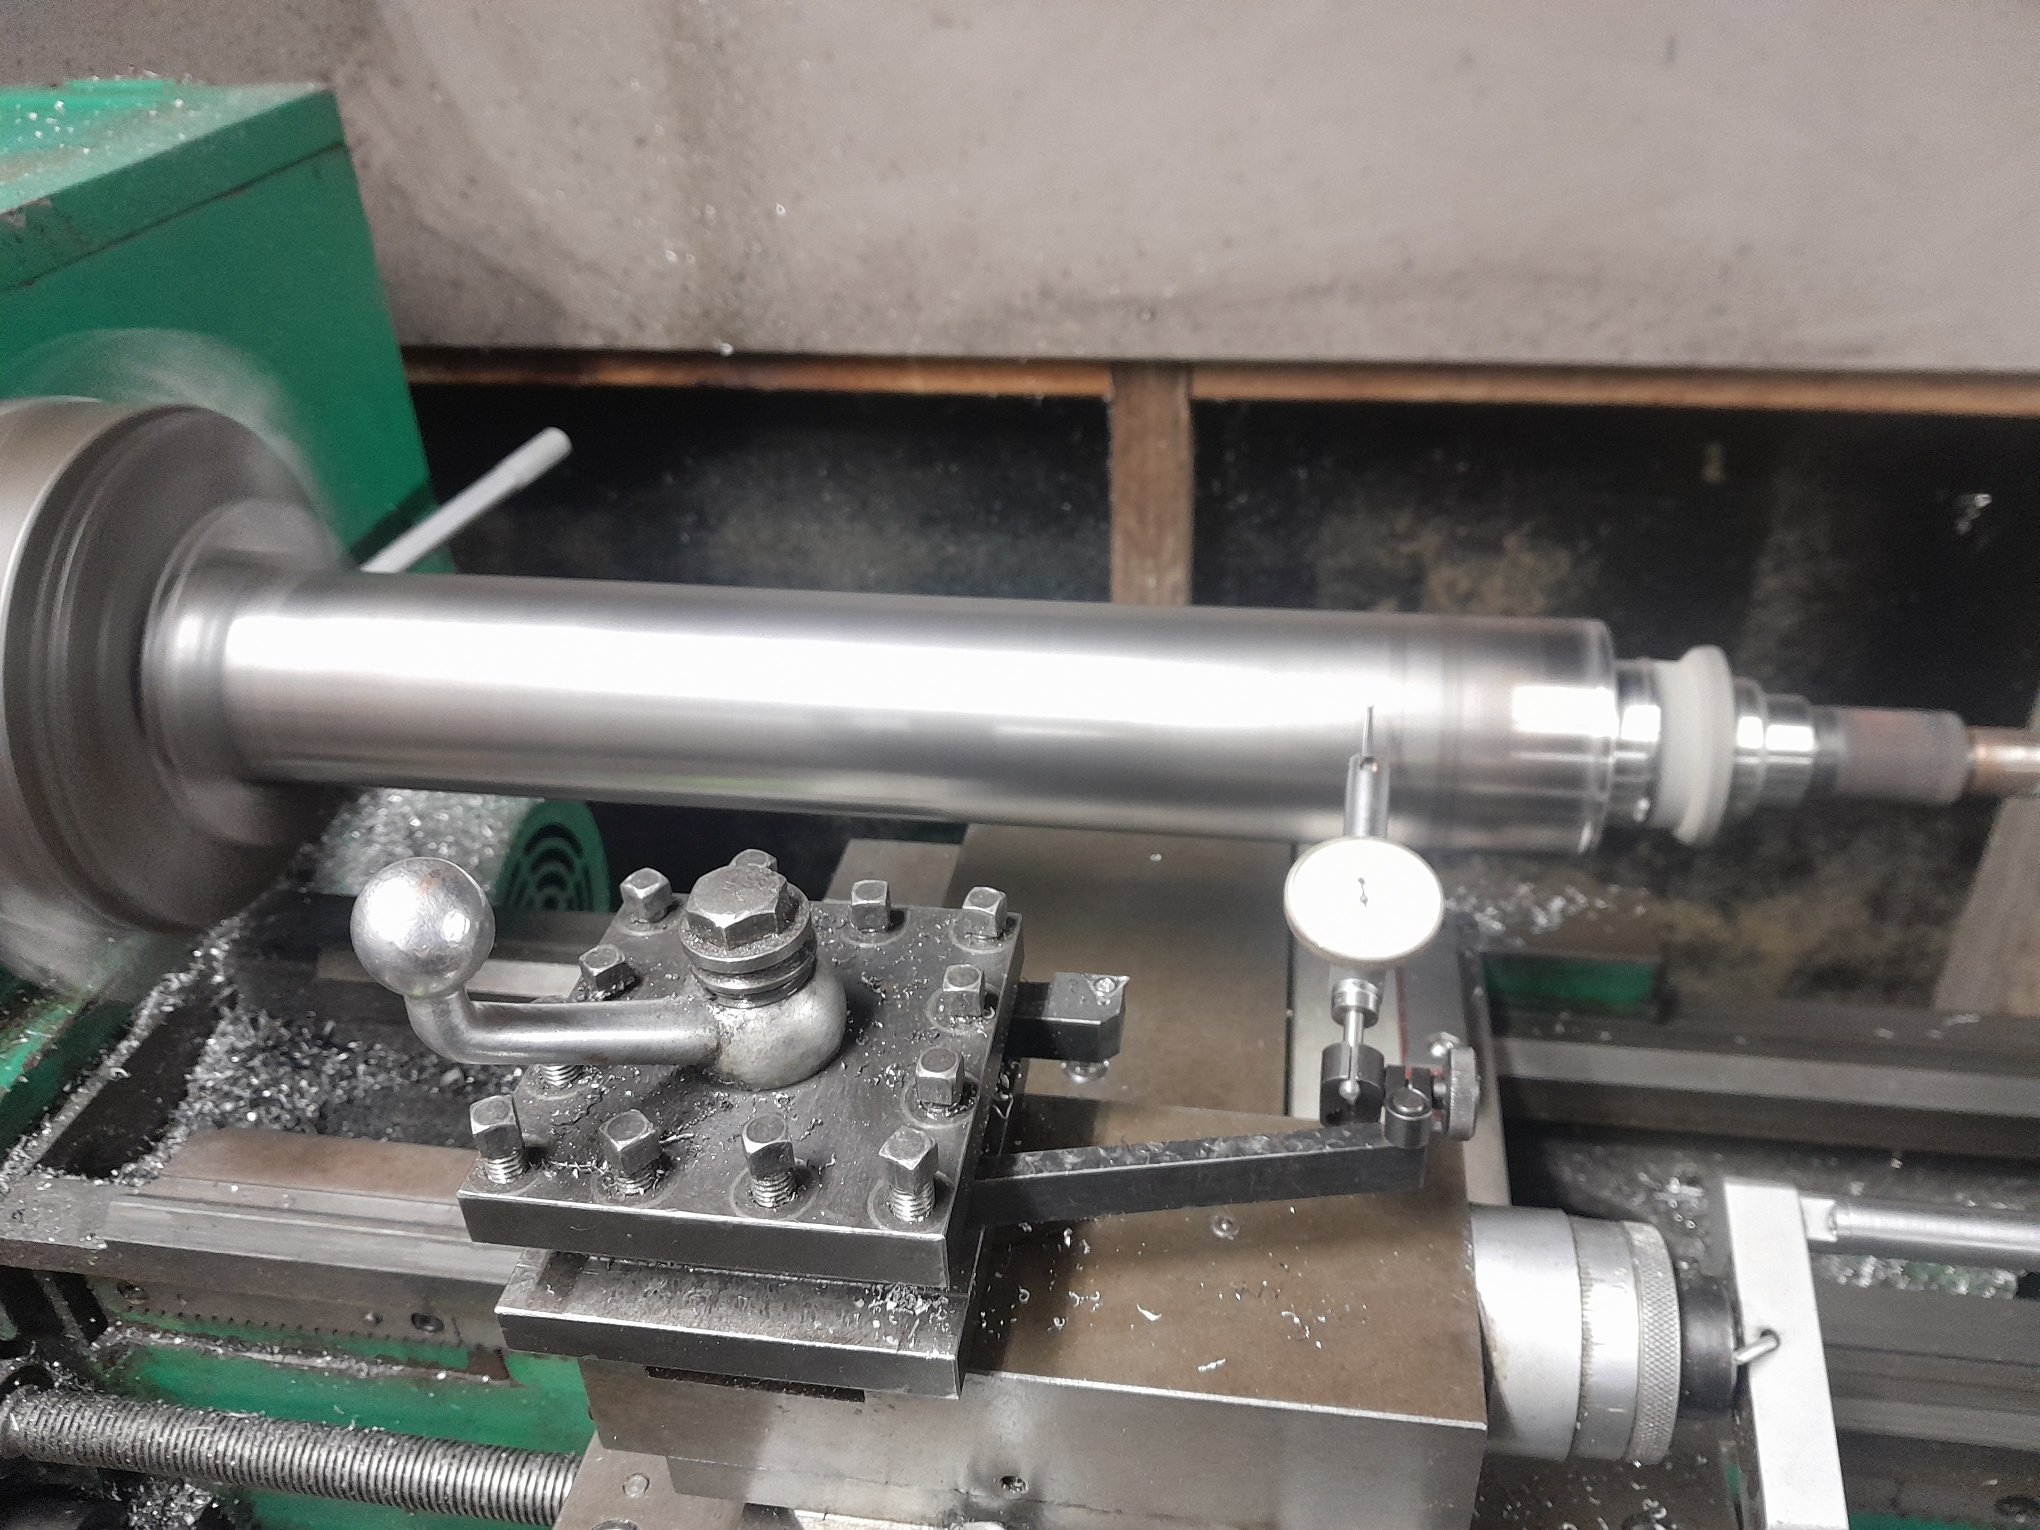
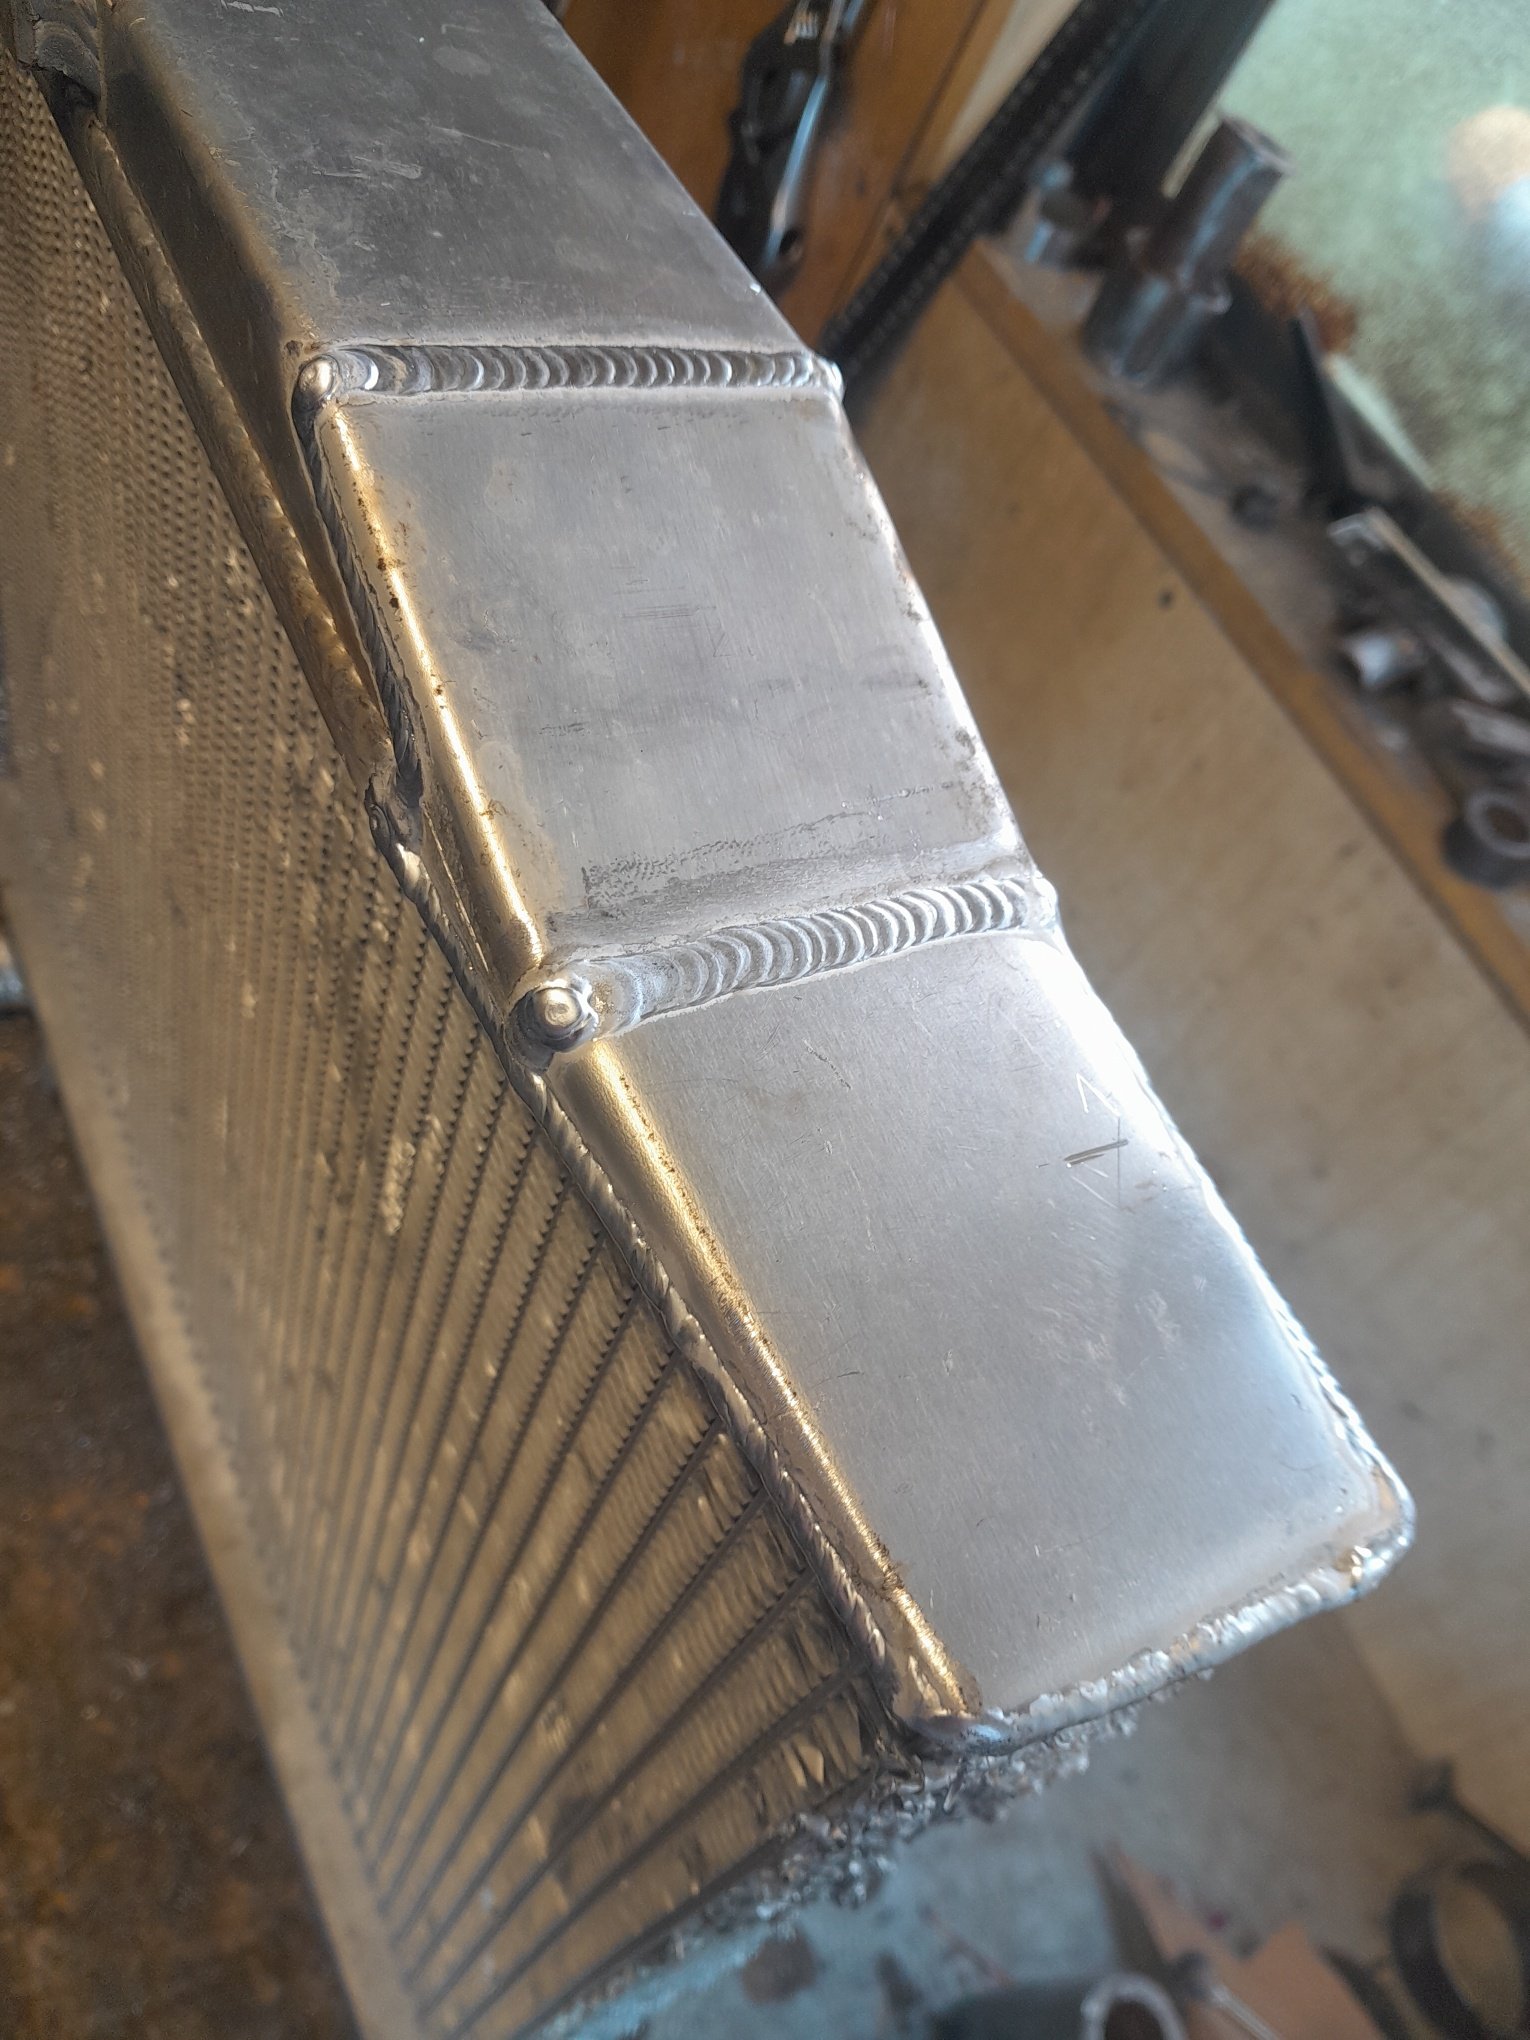
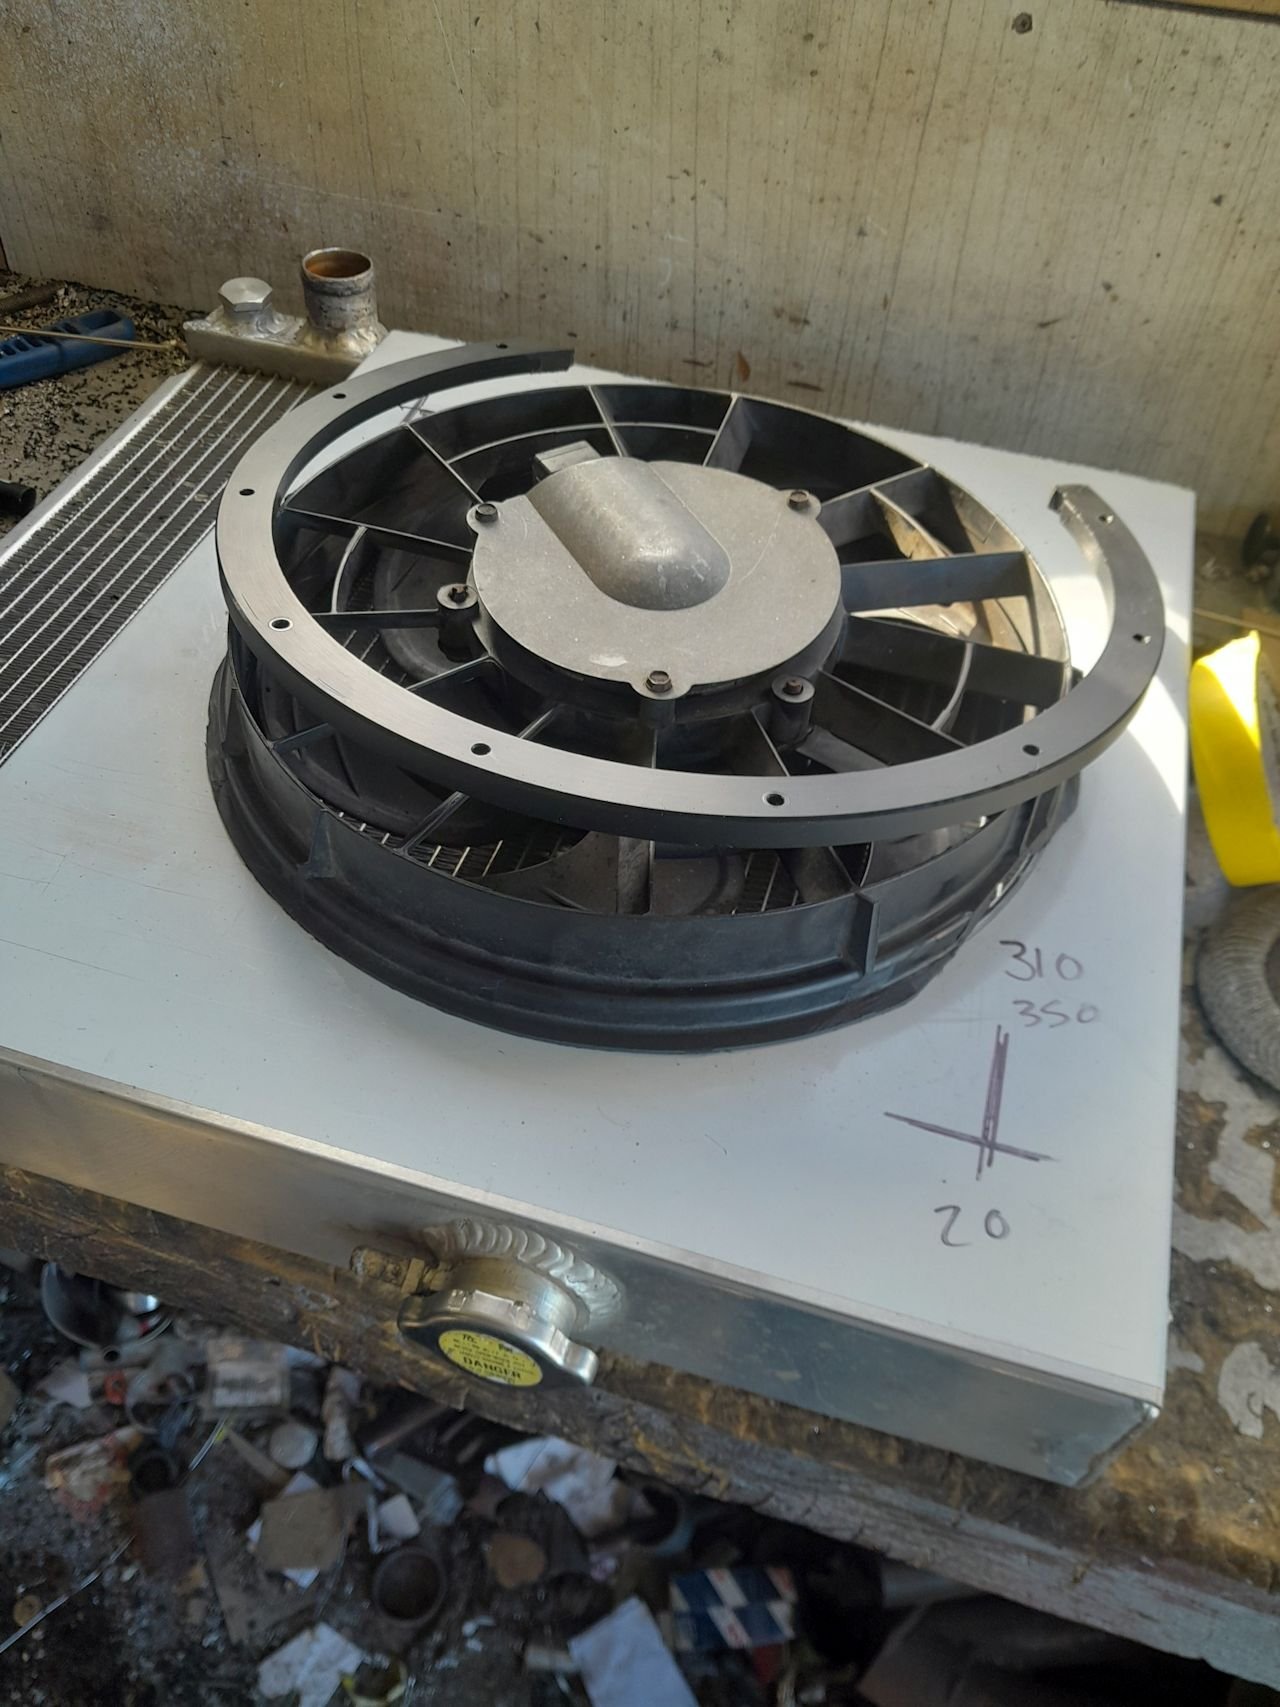
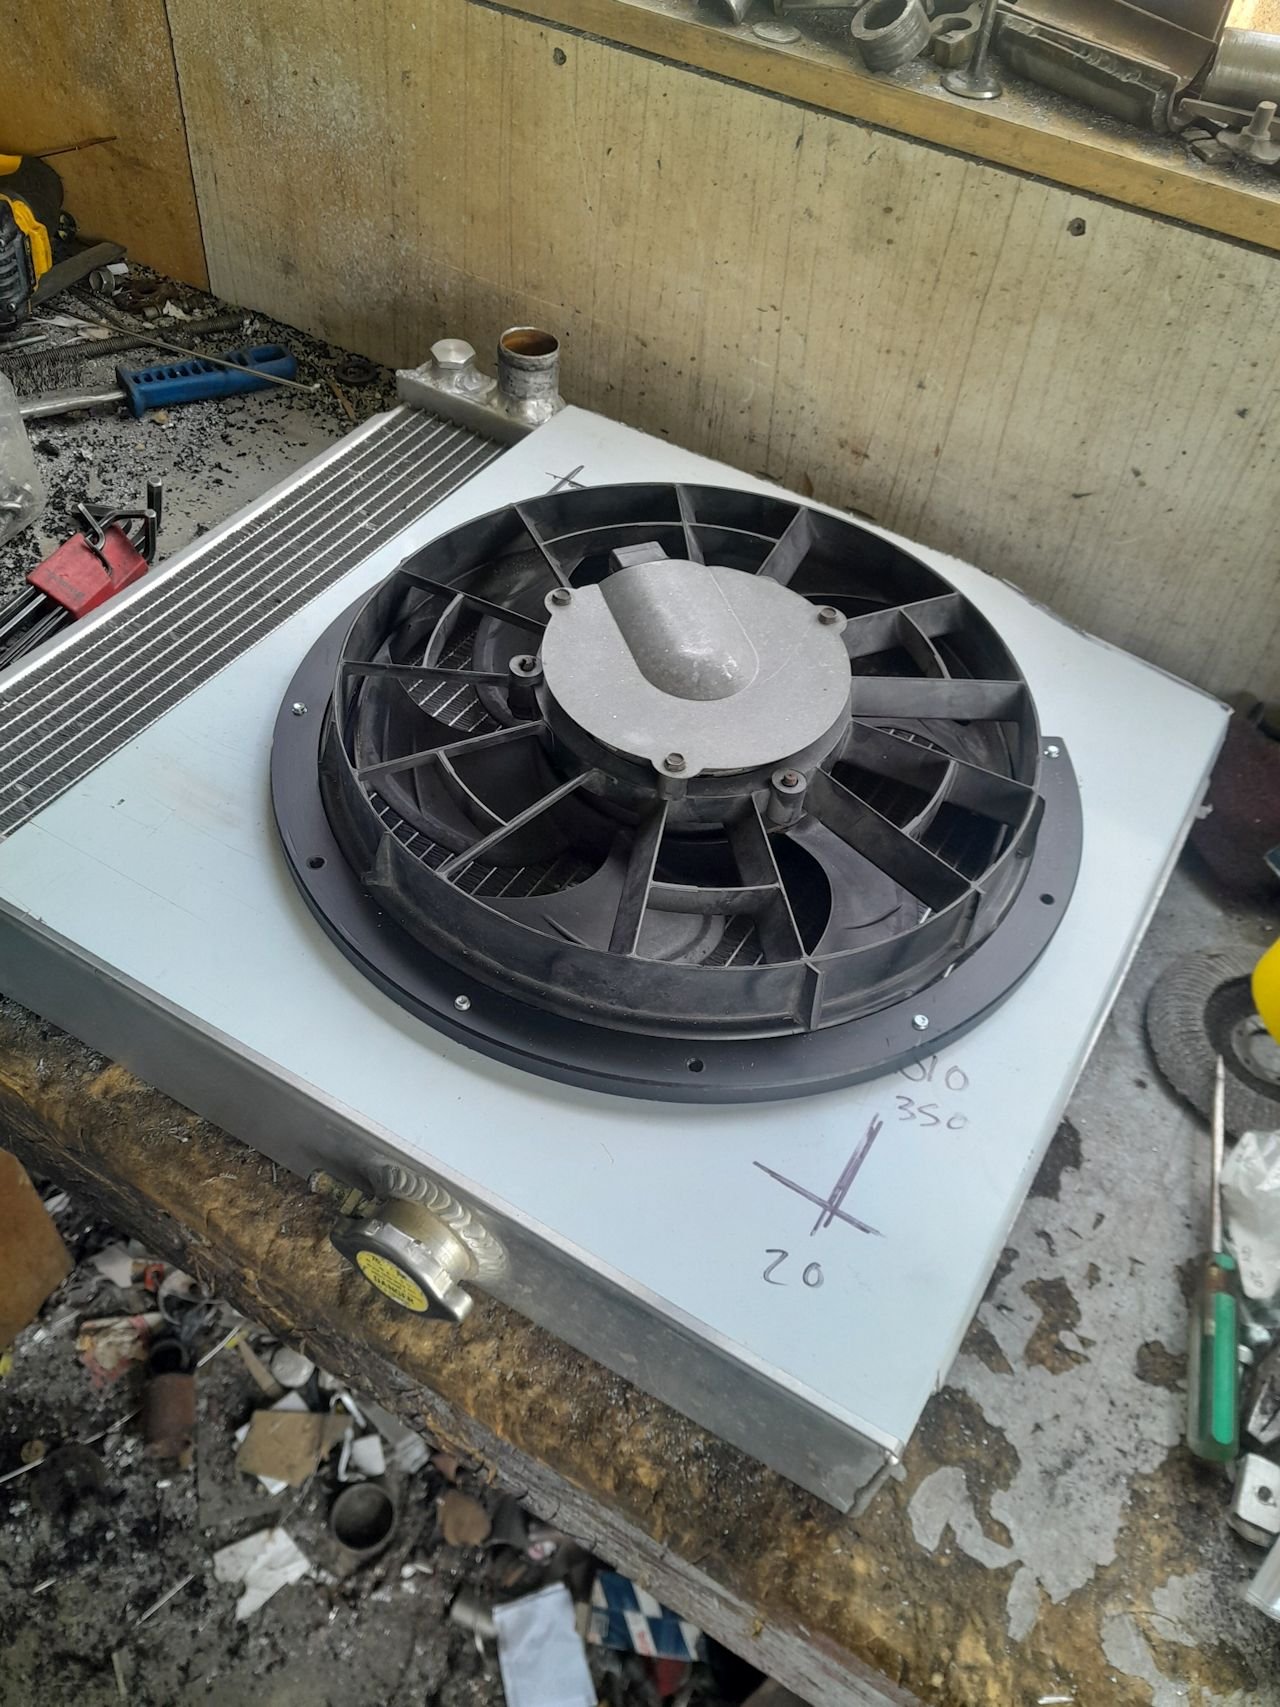
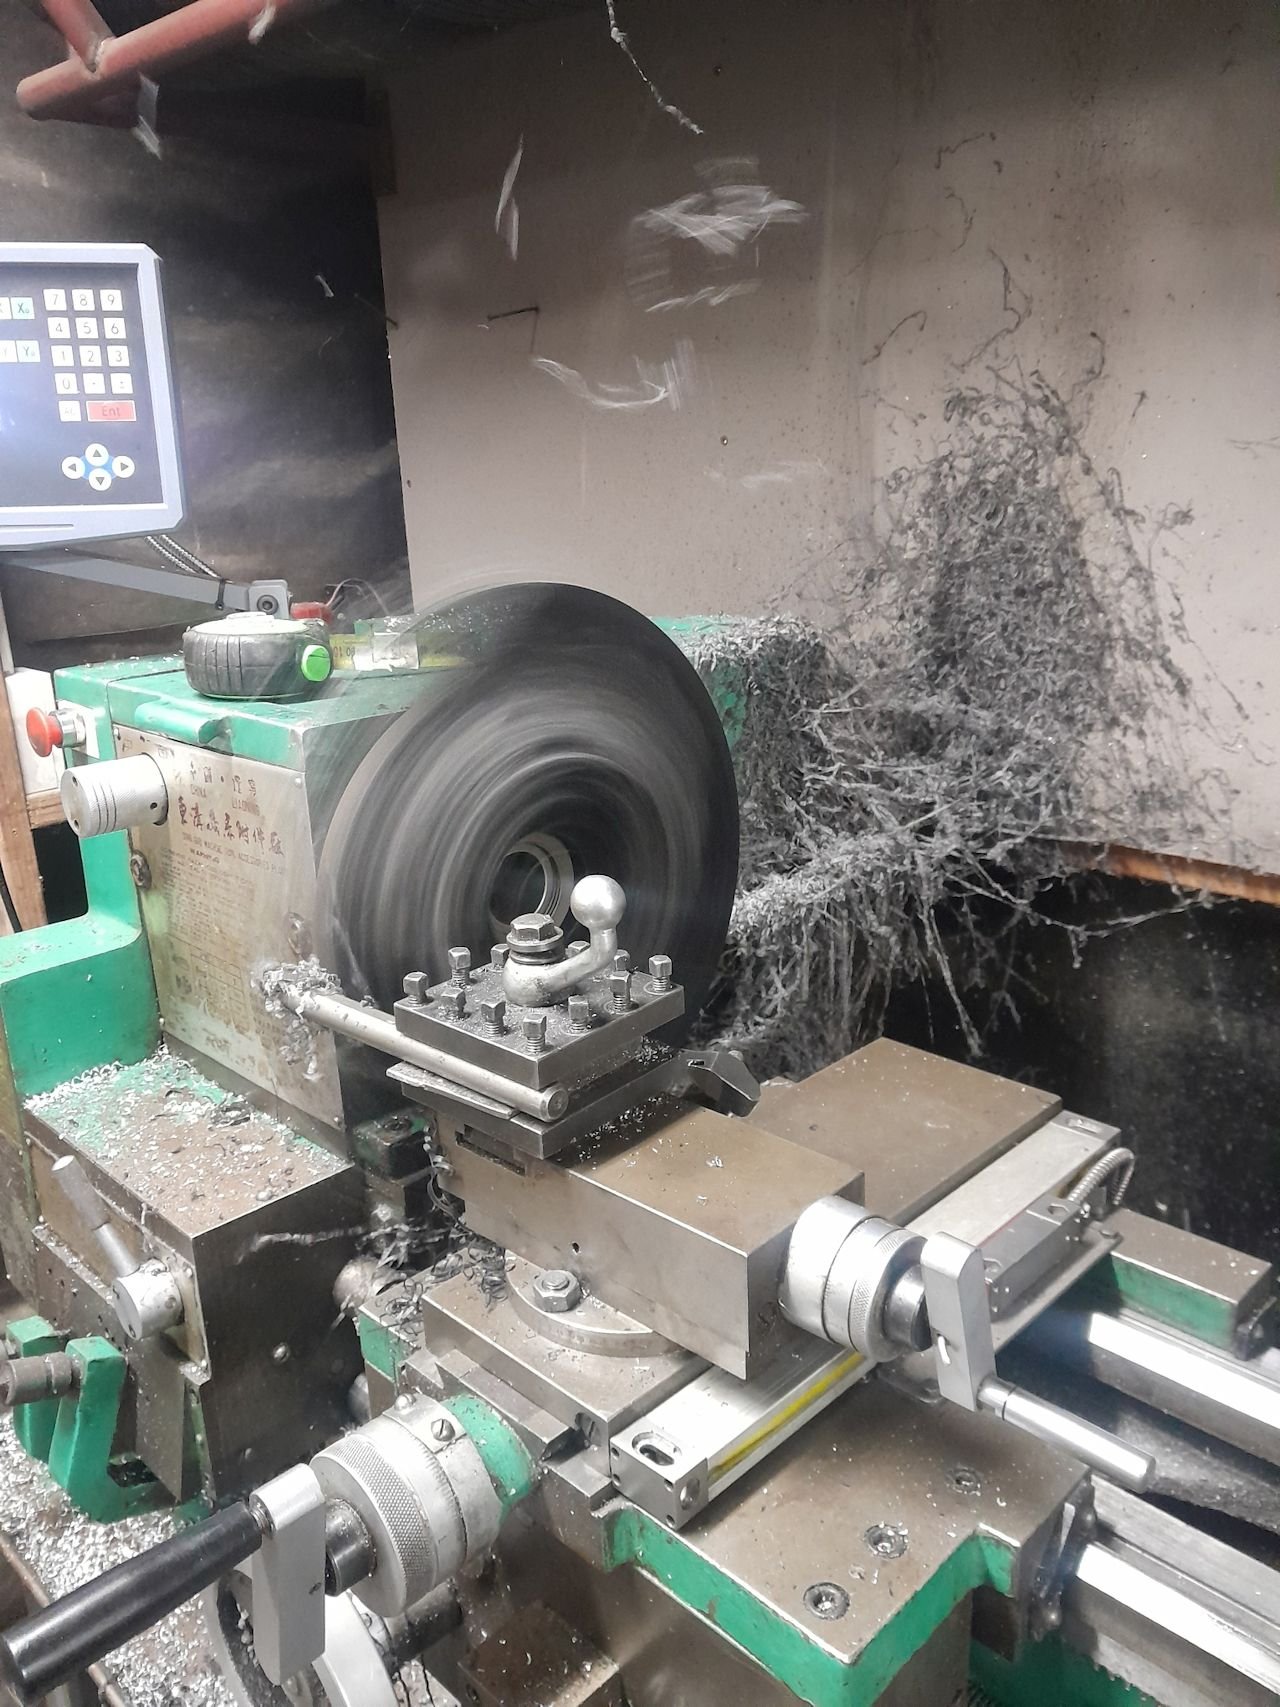
Avoiding making the pedal work with that ^ So started on some other stuff that i haven't finished either I have a 2 piece hilux driveshaft, which has the right ends and the hanger bearing will directly fit in the chassis, once zing the captive nuts off. Just need shorten both the front and rear shafts. plan was to just cut the end off each. shorten, weld, done. But decided to put front half the lathe as is and dial it up, before giving it the chop. turns out it spun like a skipping rope with around 0.7mm run out on both ends. Mr toyota just wacked some balancing weights on the low side at both ends. And yeah turns out the tube wasn't just welded on the piss. the bits the tube spigot onto were machined wack. So far i have trued up the hanger bearing end, building up the low side a touch then machined to a tolerance fit . Got the tube on there and is bang on. Probably getting way to picky but yeah. Rest is on hold till new uni's show up Next for no particular reason. decided to do some stuff with radiator Old setup used to look like this Some kinda nissan radiator. which i still had. was too tall to sit in normal place without sticking up and looking ugly, so done some butchery to the bottom tank to drop it down further Buying a radiator that fits may sound wise. but I wanted to make a gap on the intake side to feed the intake cold air. so an ae86 specific one would need to be cut anyway. So yep i cut some more off the side of this one which you can kinda see the rough cut above^ That meant the twin fans wouldn't fit anymore (they didnt fit good anyway) Again a normal person would have brought a fan that works But i despise junk aftermarket fans. So i cut one of the twin fans out leaving a flange around it. made an ali shroud. then wasted half of my life making this plastic ring to clamp the fan to the shroud Would have been a good job for a 3d printer and made in a couple of bits. but i have lathe and a bit of acetal that has been hanging around forever I haven't finished it yet either. still need to attach shroud to radiator and but made an amazing mess

- 71 replies
-
- 14
-

-
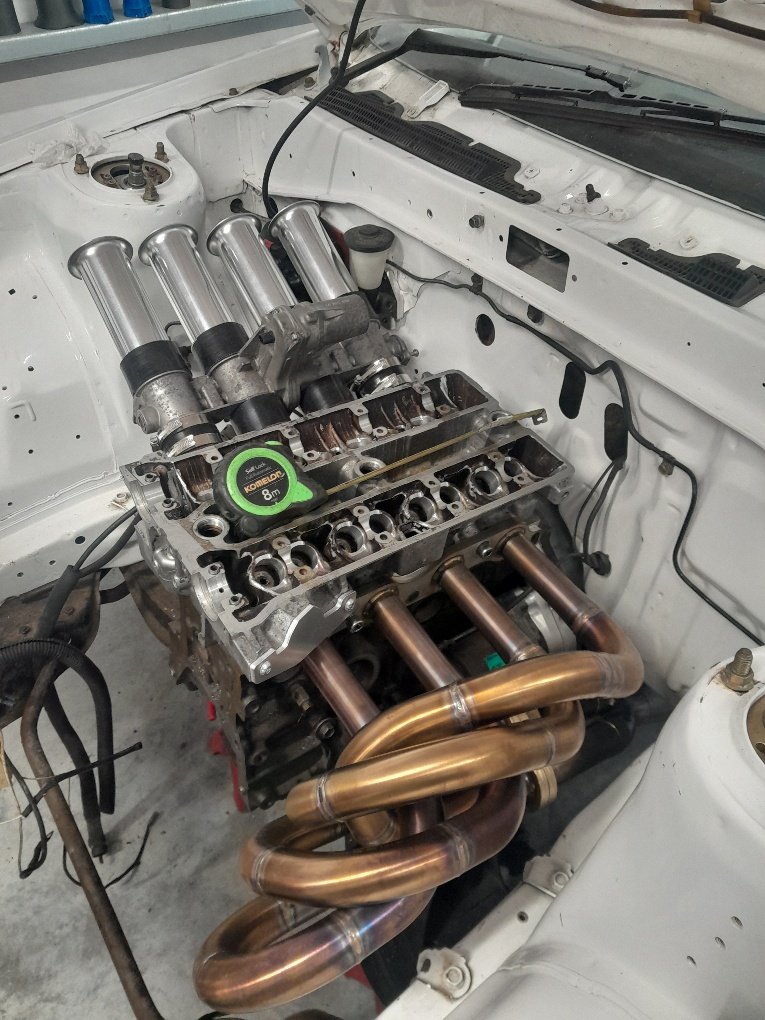
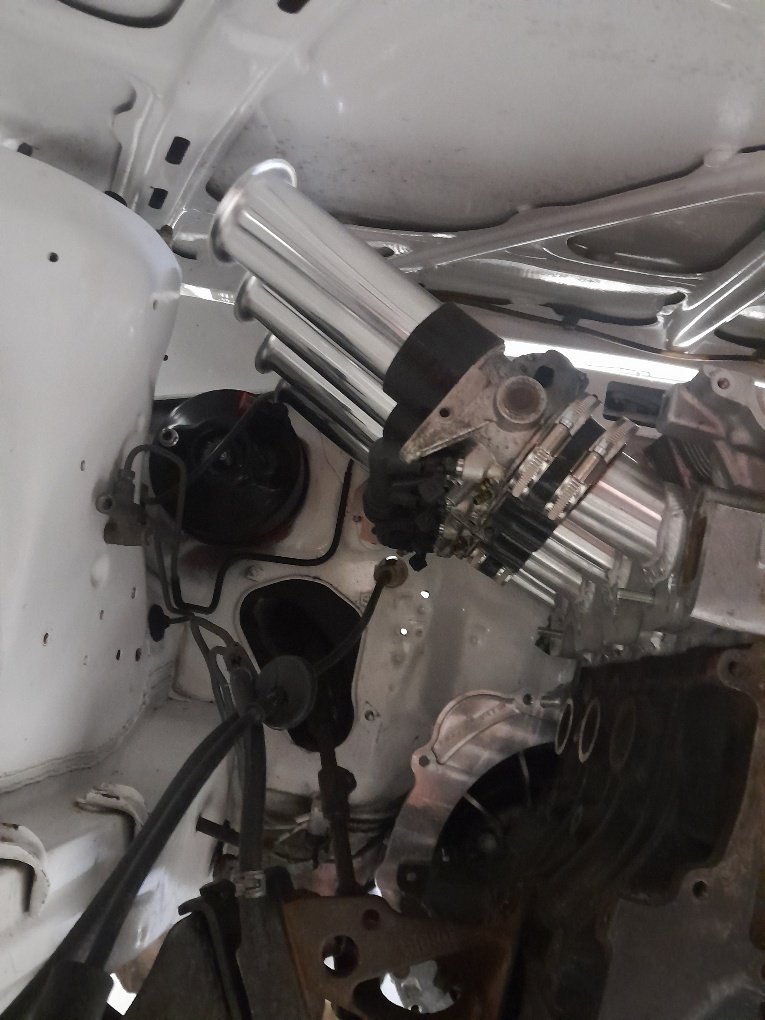
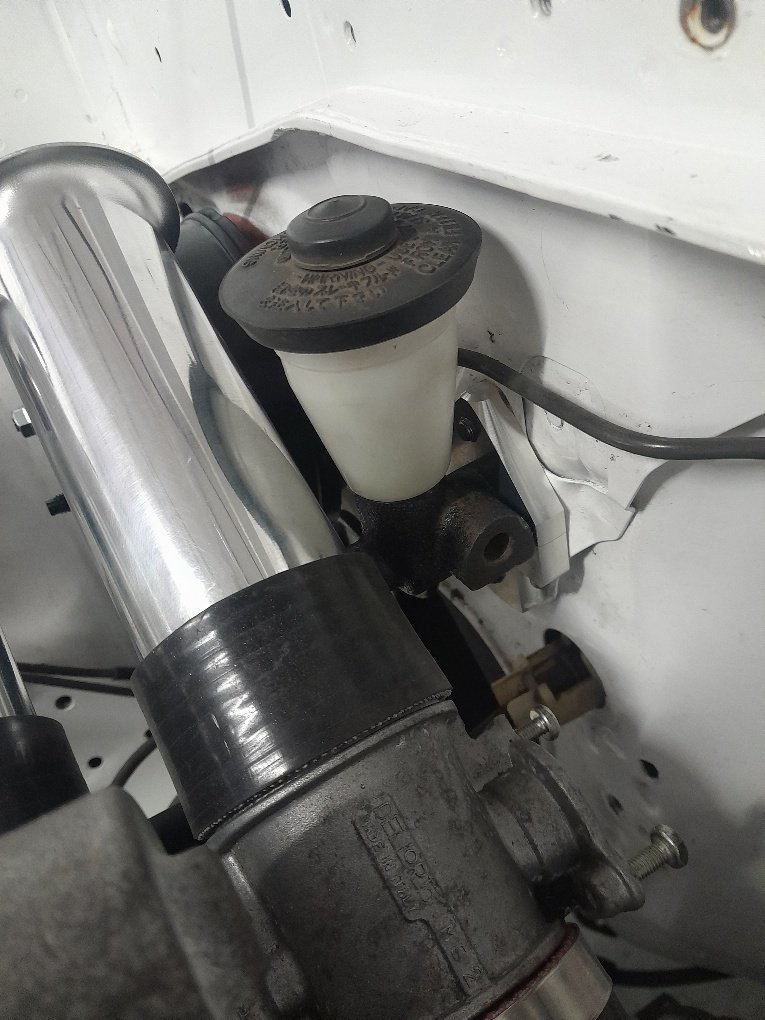
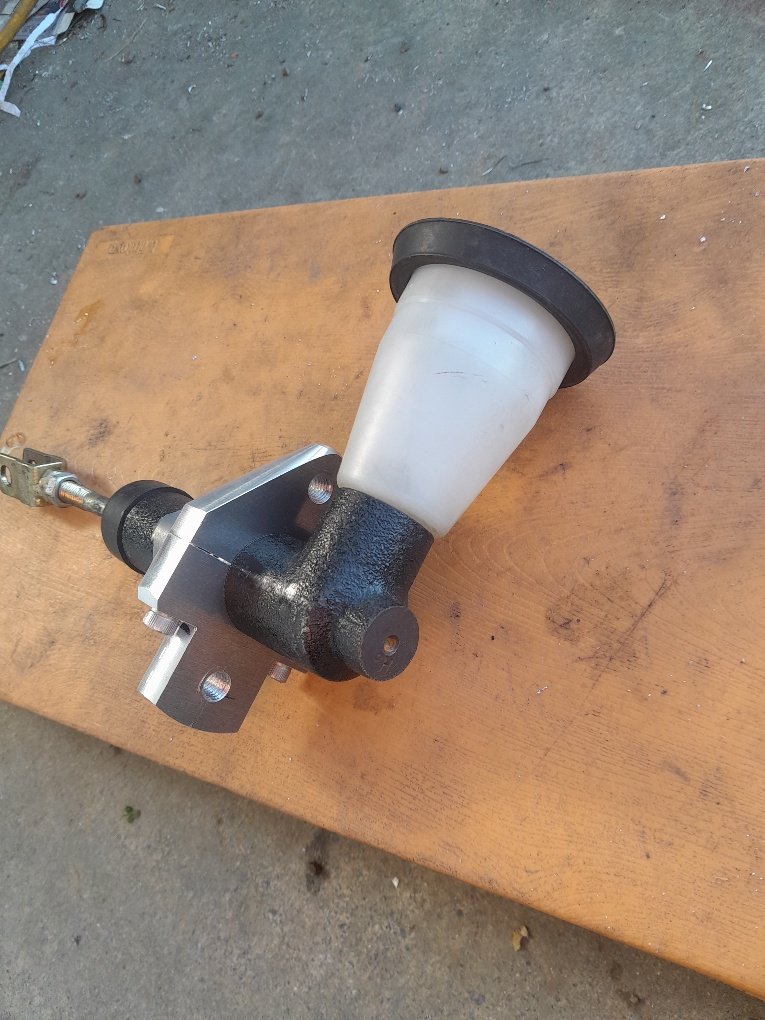
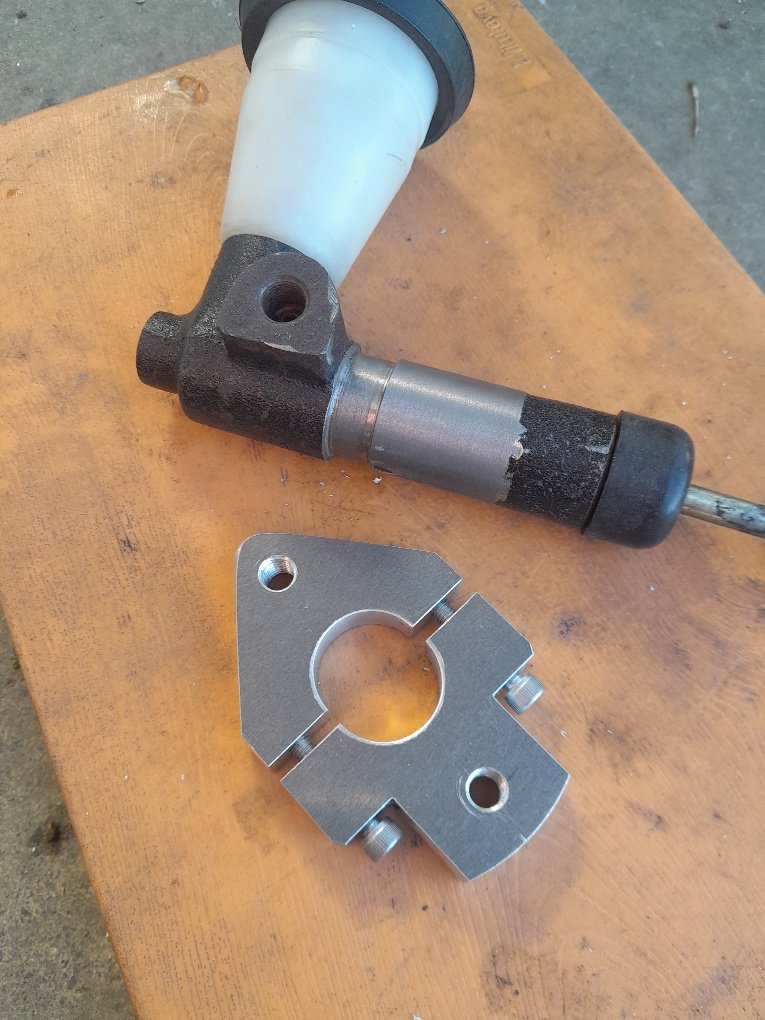
Got gearbox mounted, which isn't exciting update wise. But means i can confirm everything fits and start on things it was holding up. intake runner number 4 is tight on the brake booster. but can tweak the intake or trumpets up a touch and should be happy days. as have a little clearance left on number 1 to the bonnet I was going to do a reverso mount on the clutch master like a fellow os geezer done. but ended up with a little more room than expected. So a shorter master or one that mounts closer to the firewall looked like it should fit. Rather than spending forever trying to find something that would work. picked up the angle grinder and zinged the flange off the one i already had. Tidied it up in the lathe and cut a groove in it. then wasted half my life making a clamp on flange.
- 71 replies
-
- 30
-
-
what you guys didn't notice, is i actually slipped that 20v spring in the reg before it went on the dyno. hence the lack of pressure. this guarantee the removal of the spring from my property
-
That was a quality 16v 4age valve spring i used in the reg, not some 20v junk 😂
-
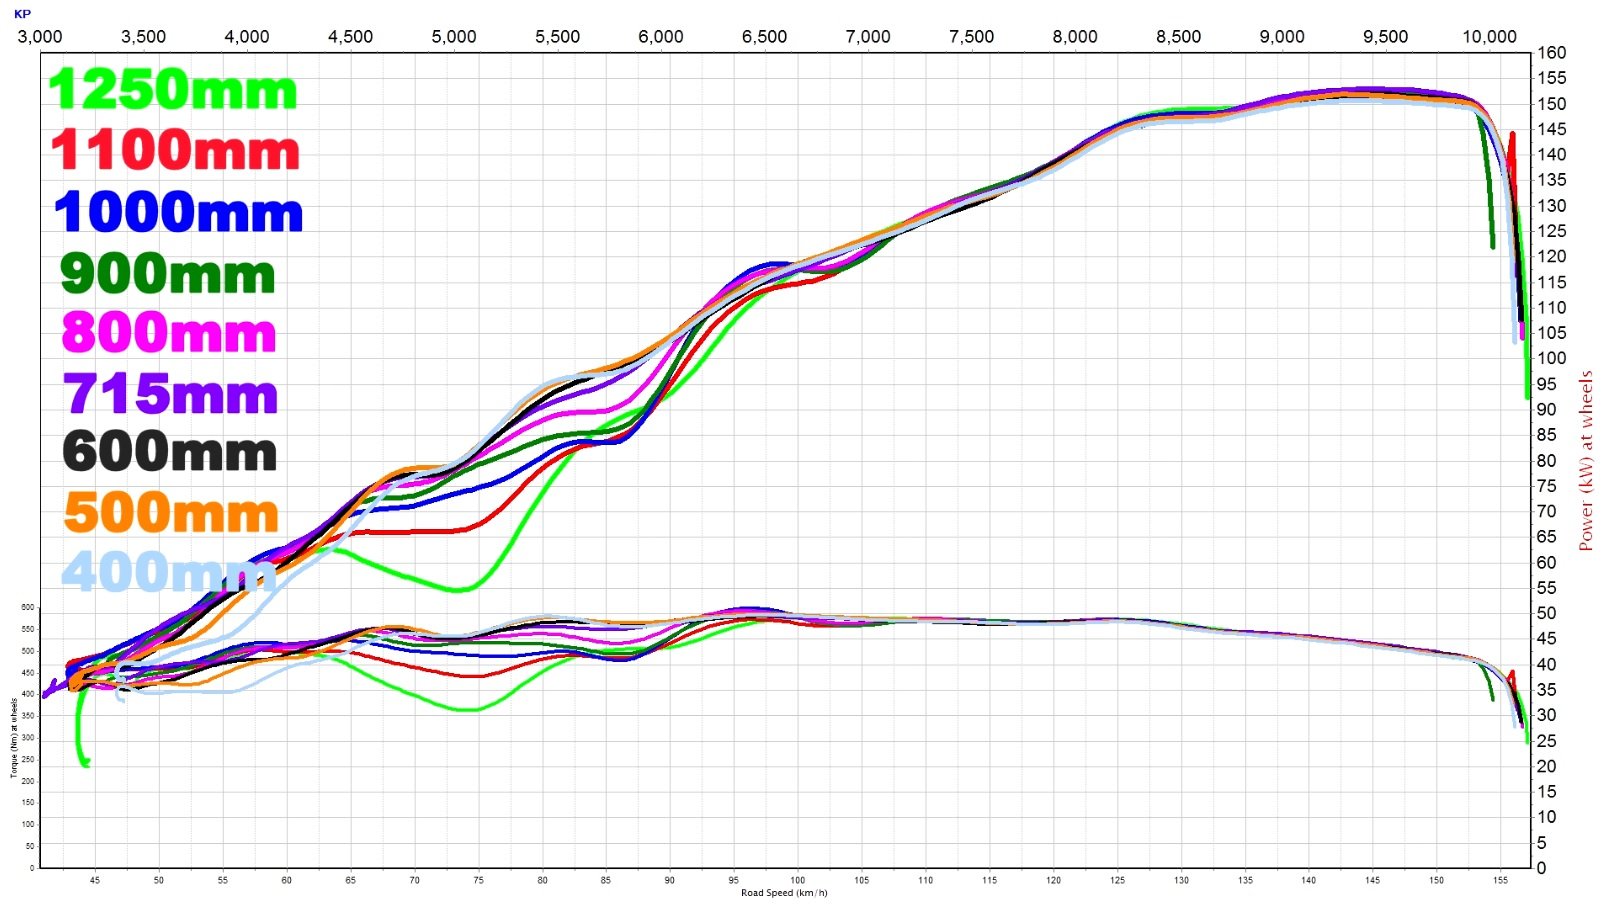
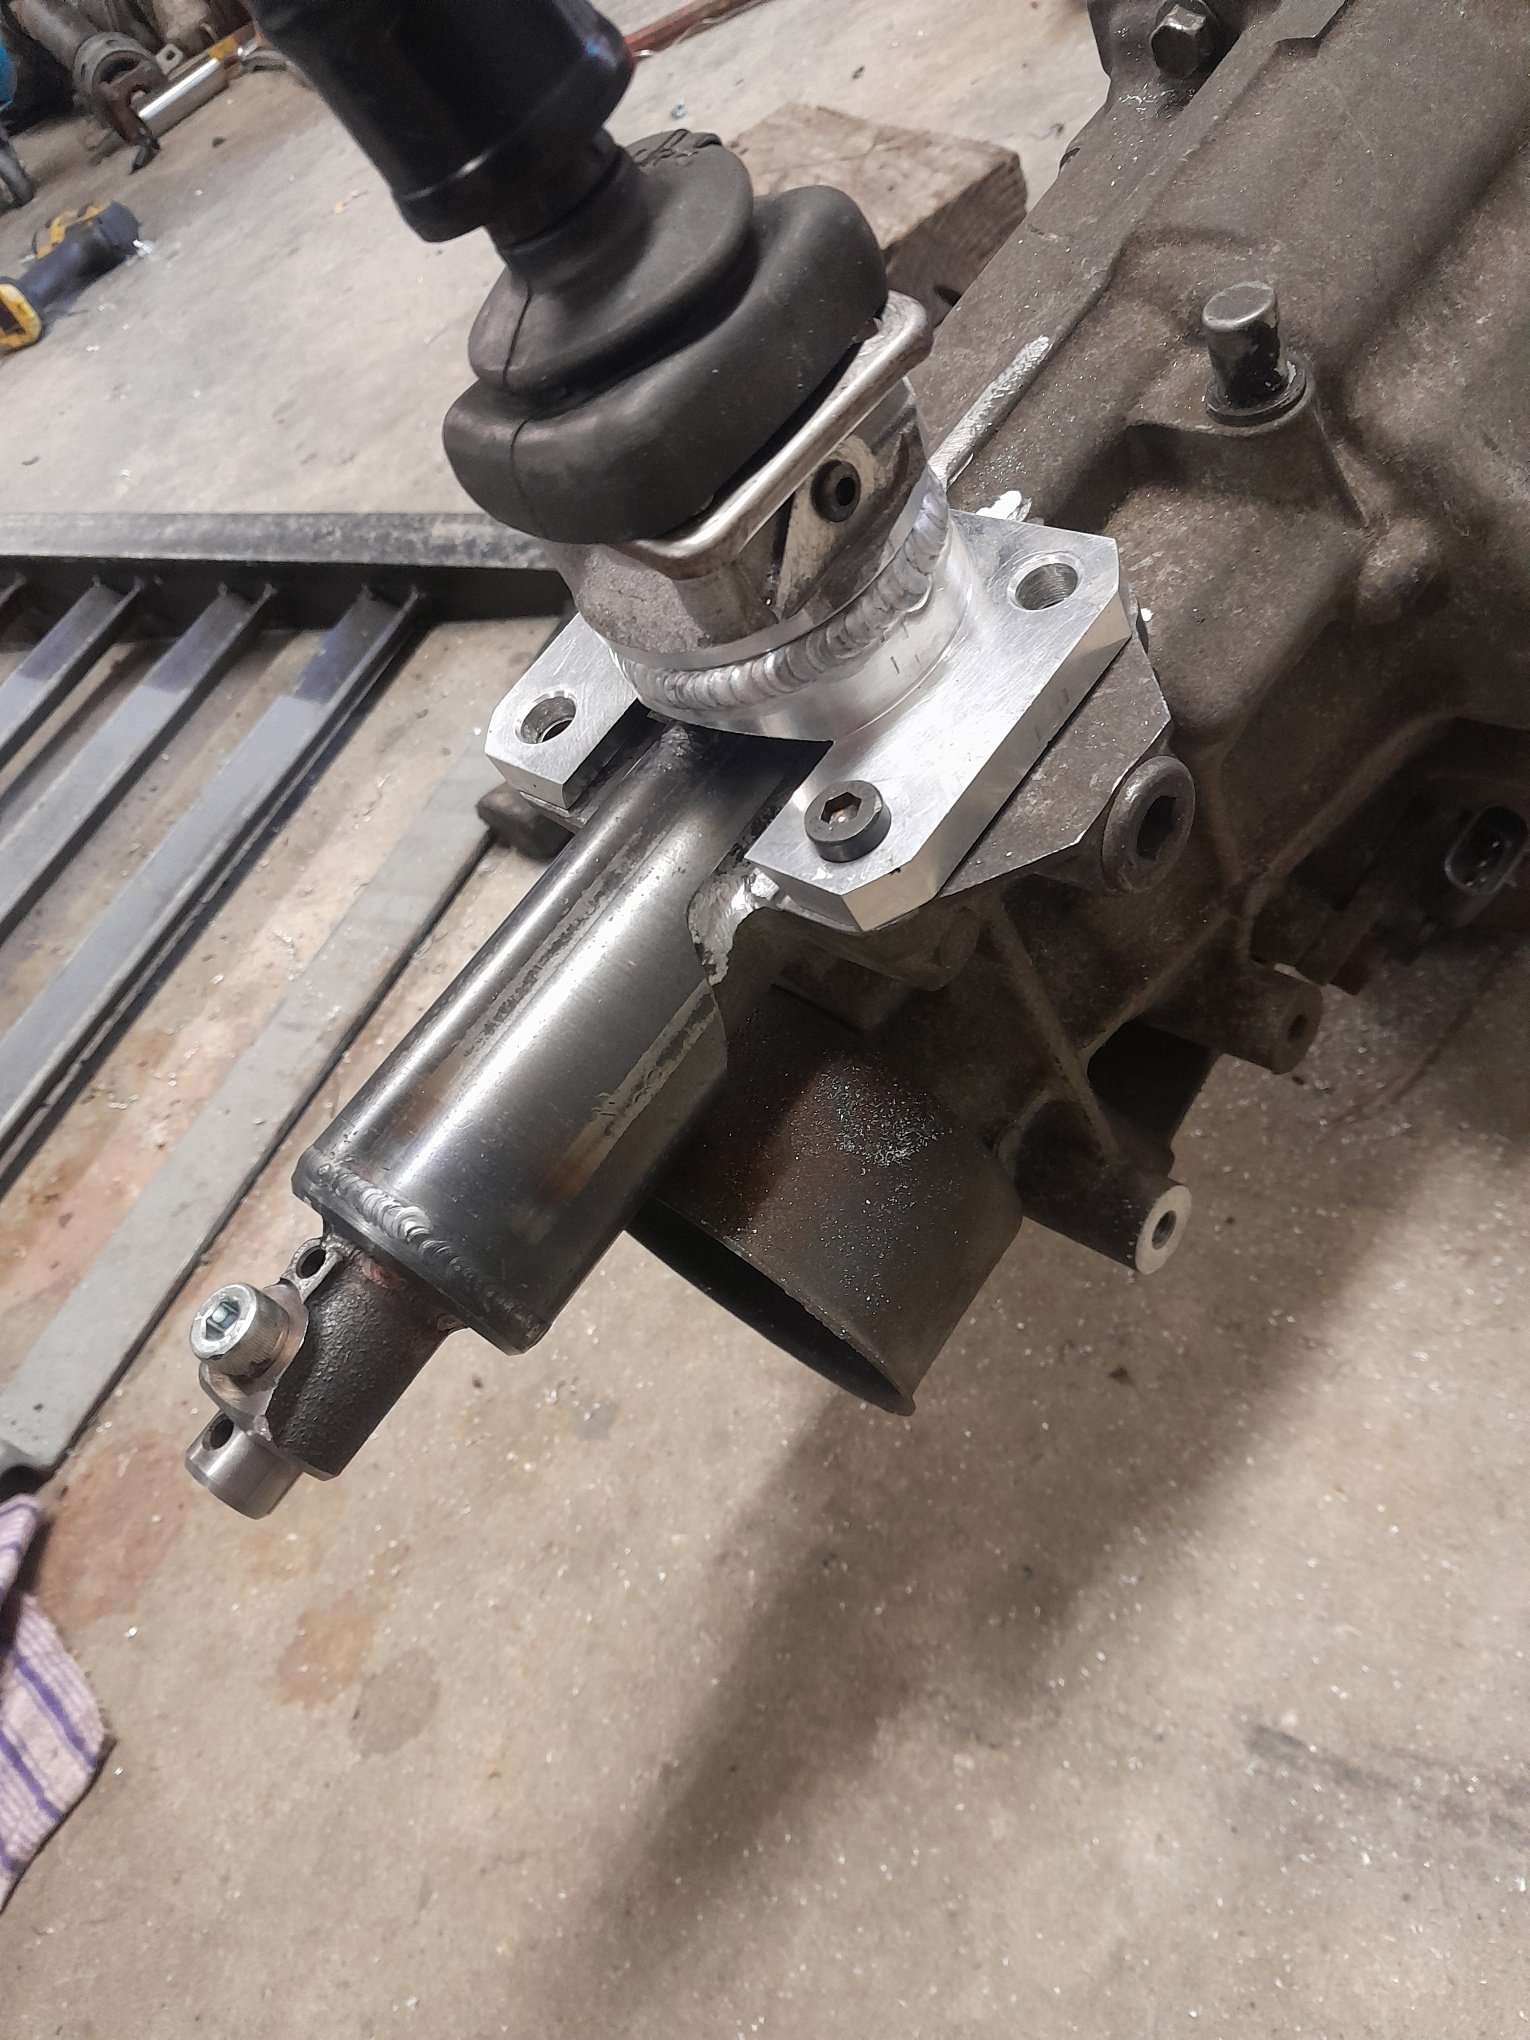
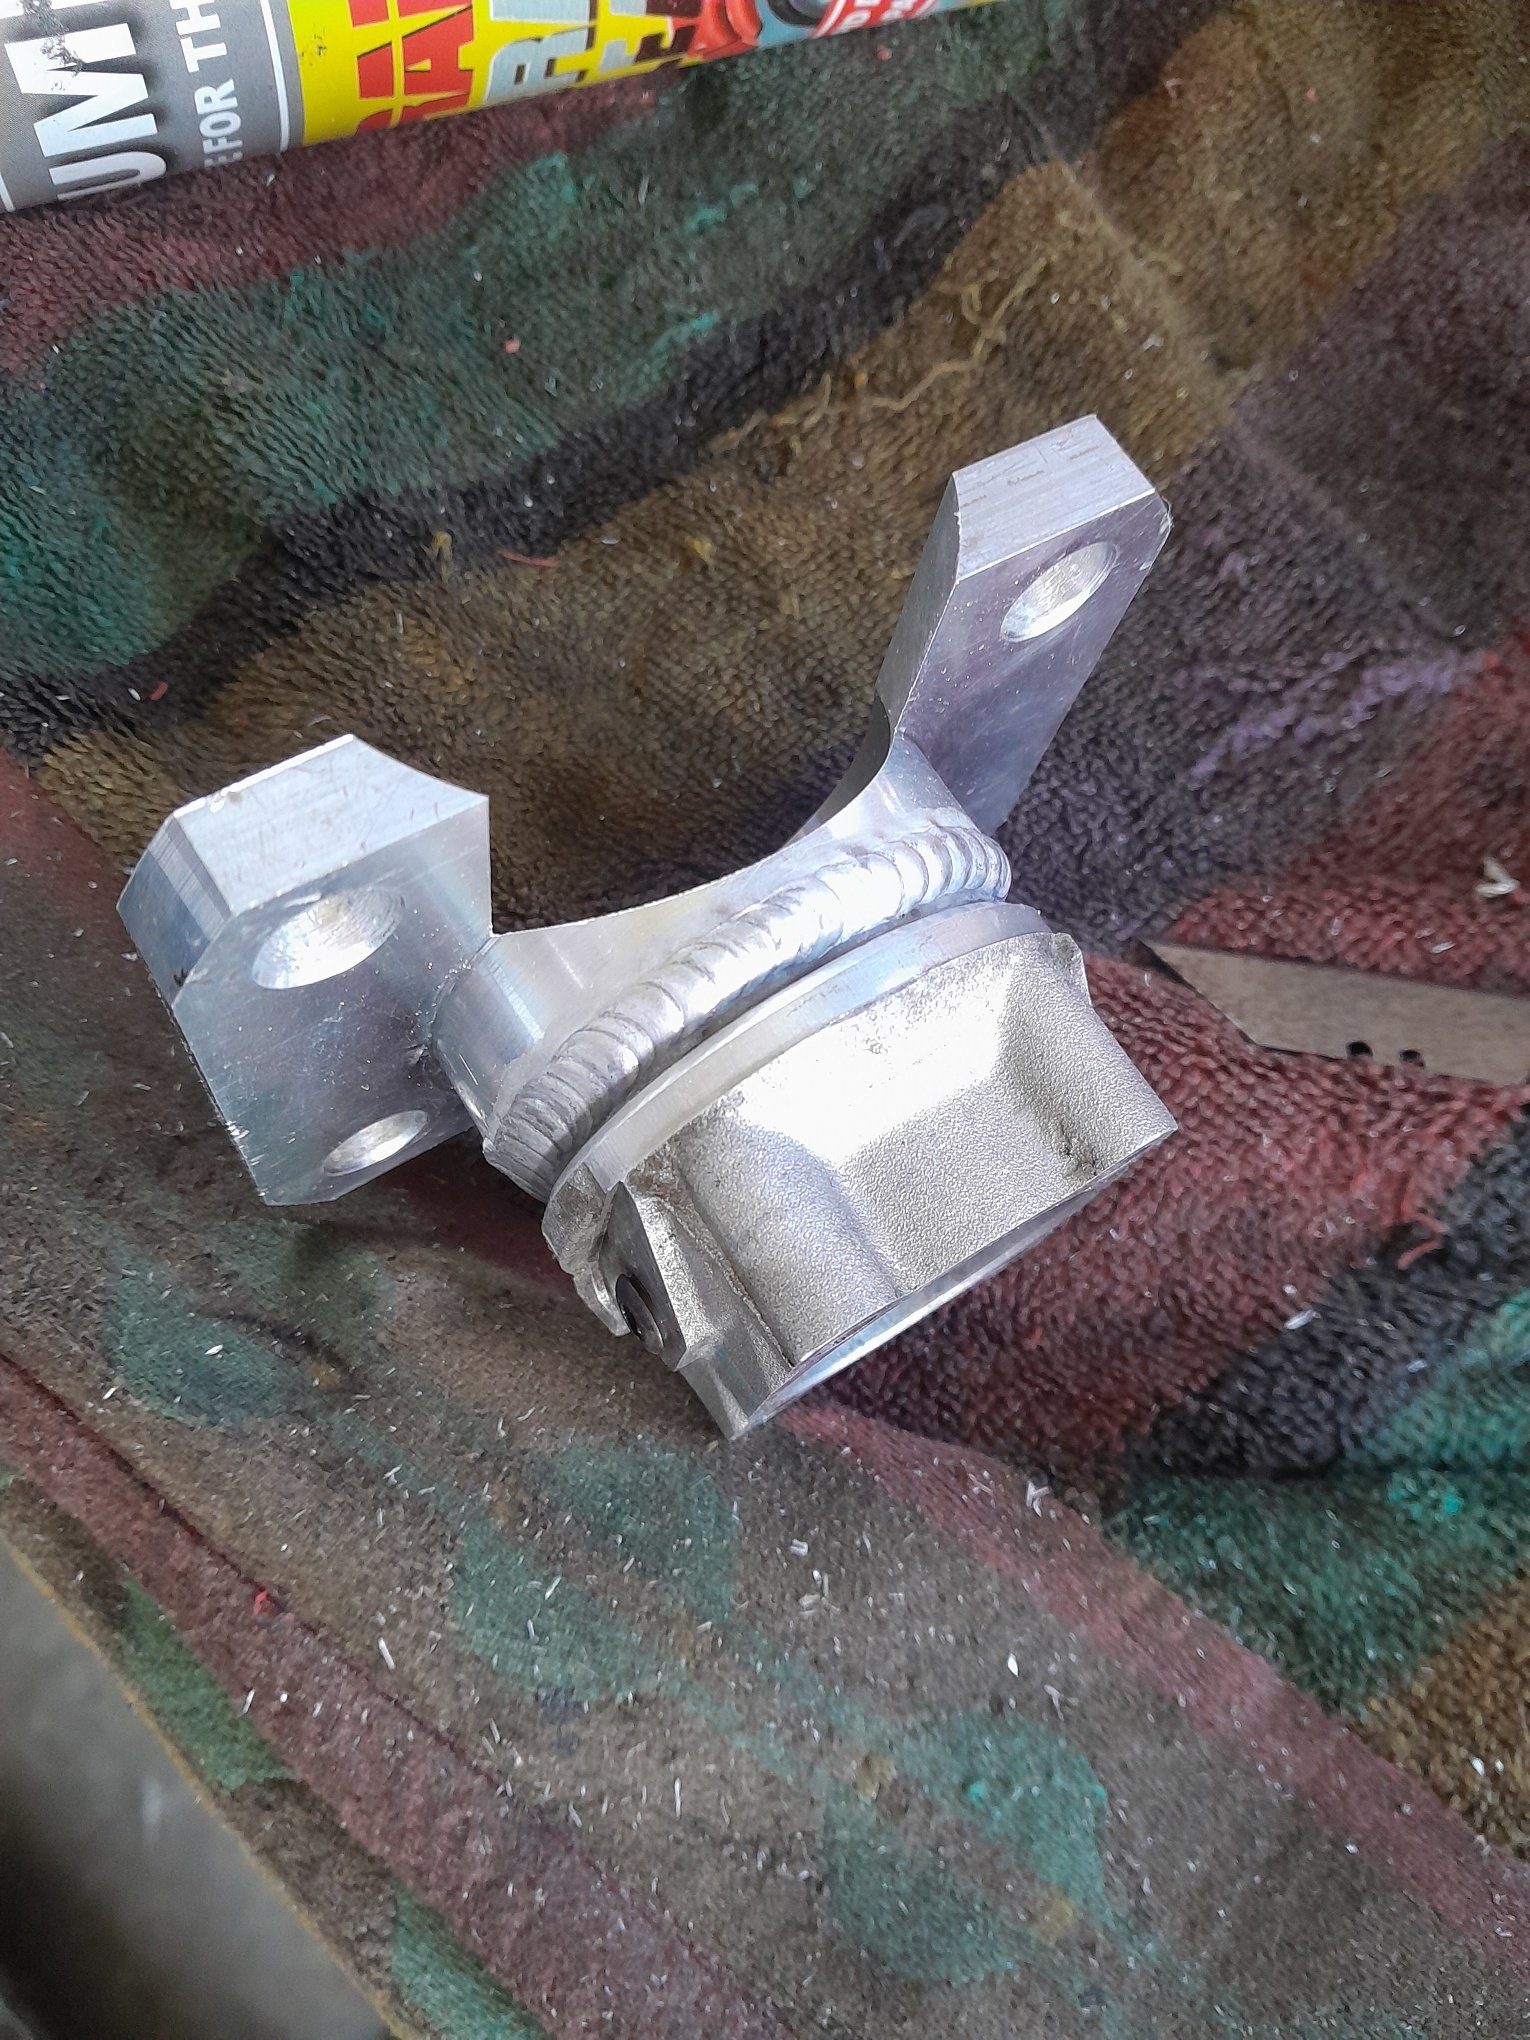
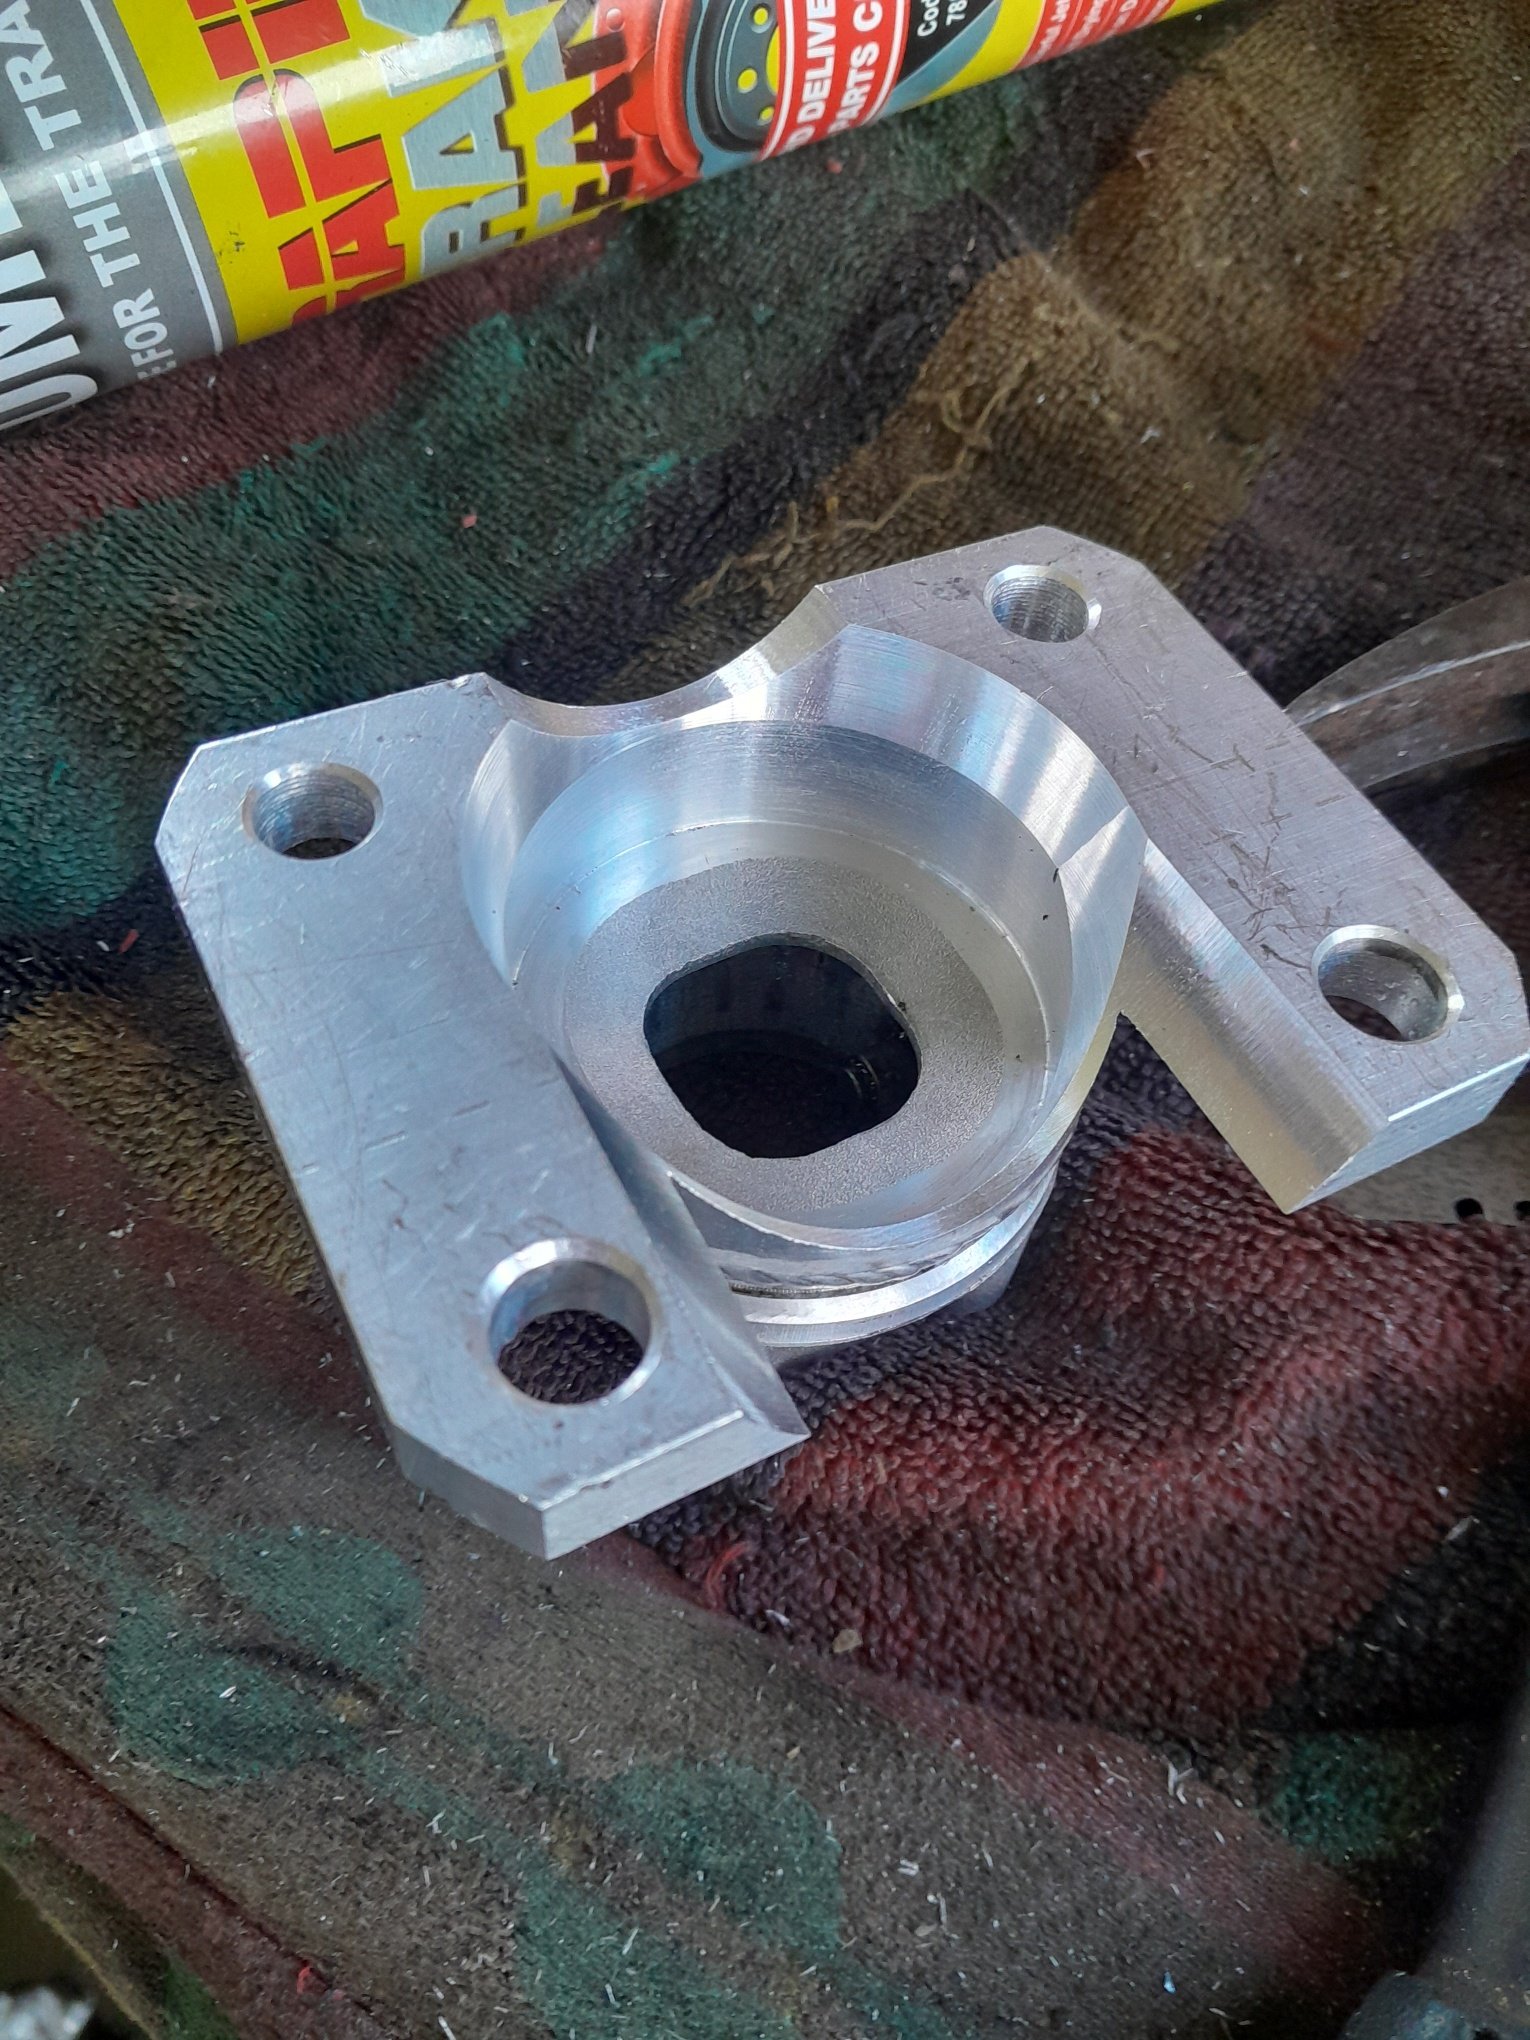
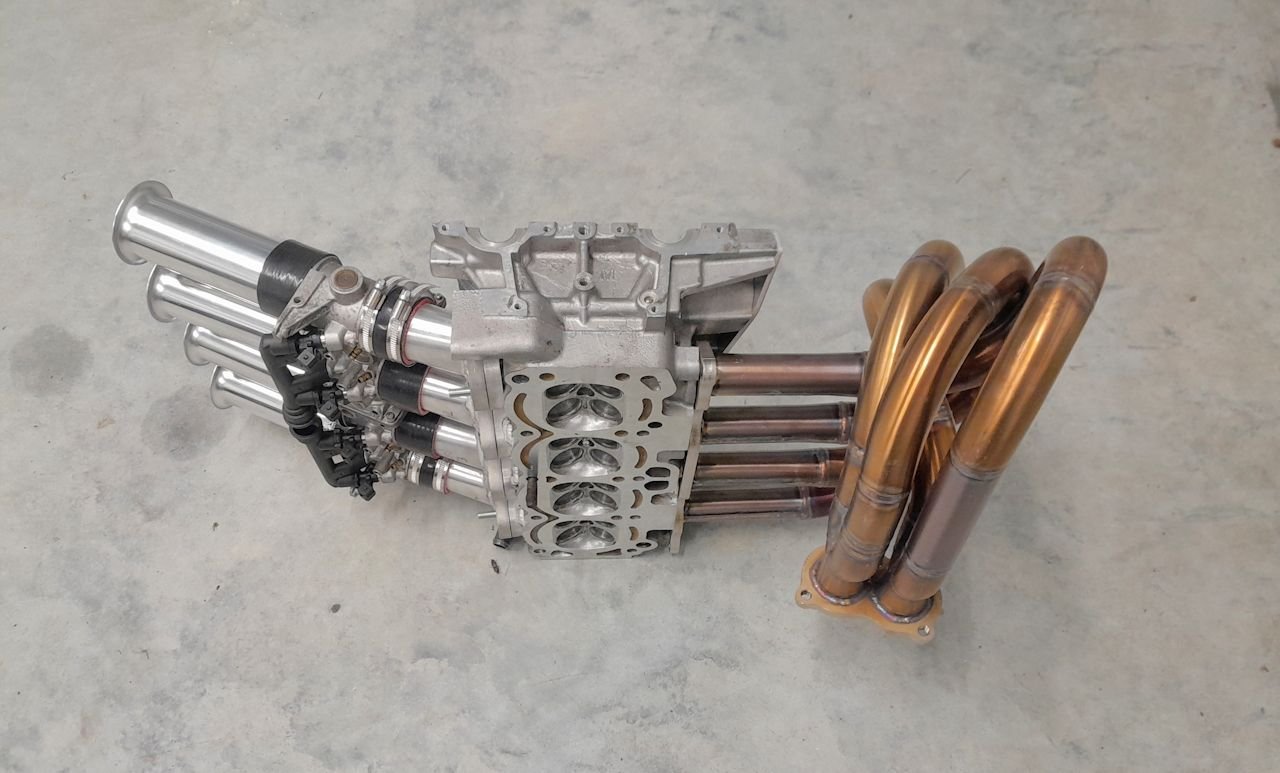
results from the 4-2-1 testing numbers are length of the 2-1 section. yep the super long ones were junk in the bottom end.. in other news have been making foward shifter for the j160. is similar to what others do, the top of the factory shifter is cut and welded to the part i made from a bit of 25mm thick ali in the lathe
- 71 replies
-
- 30
-
-
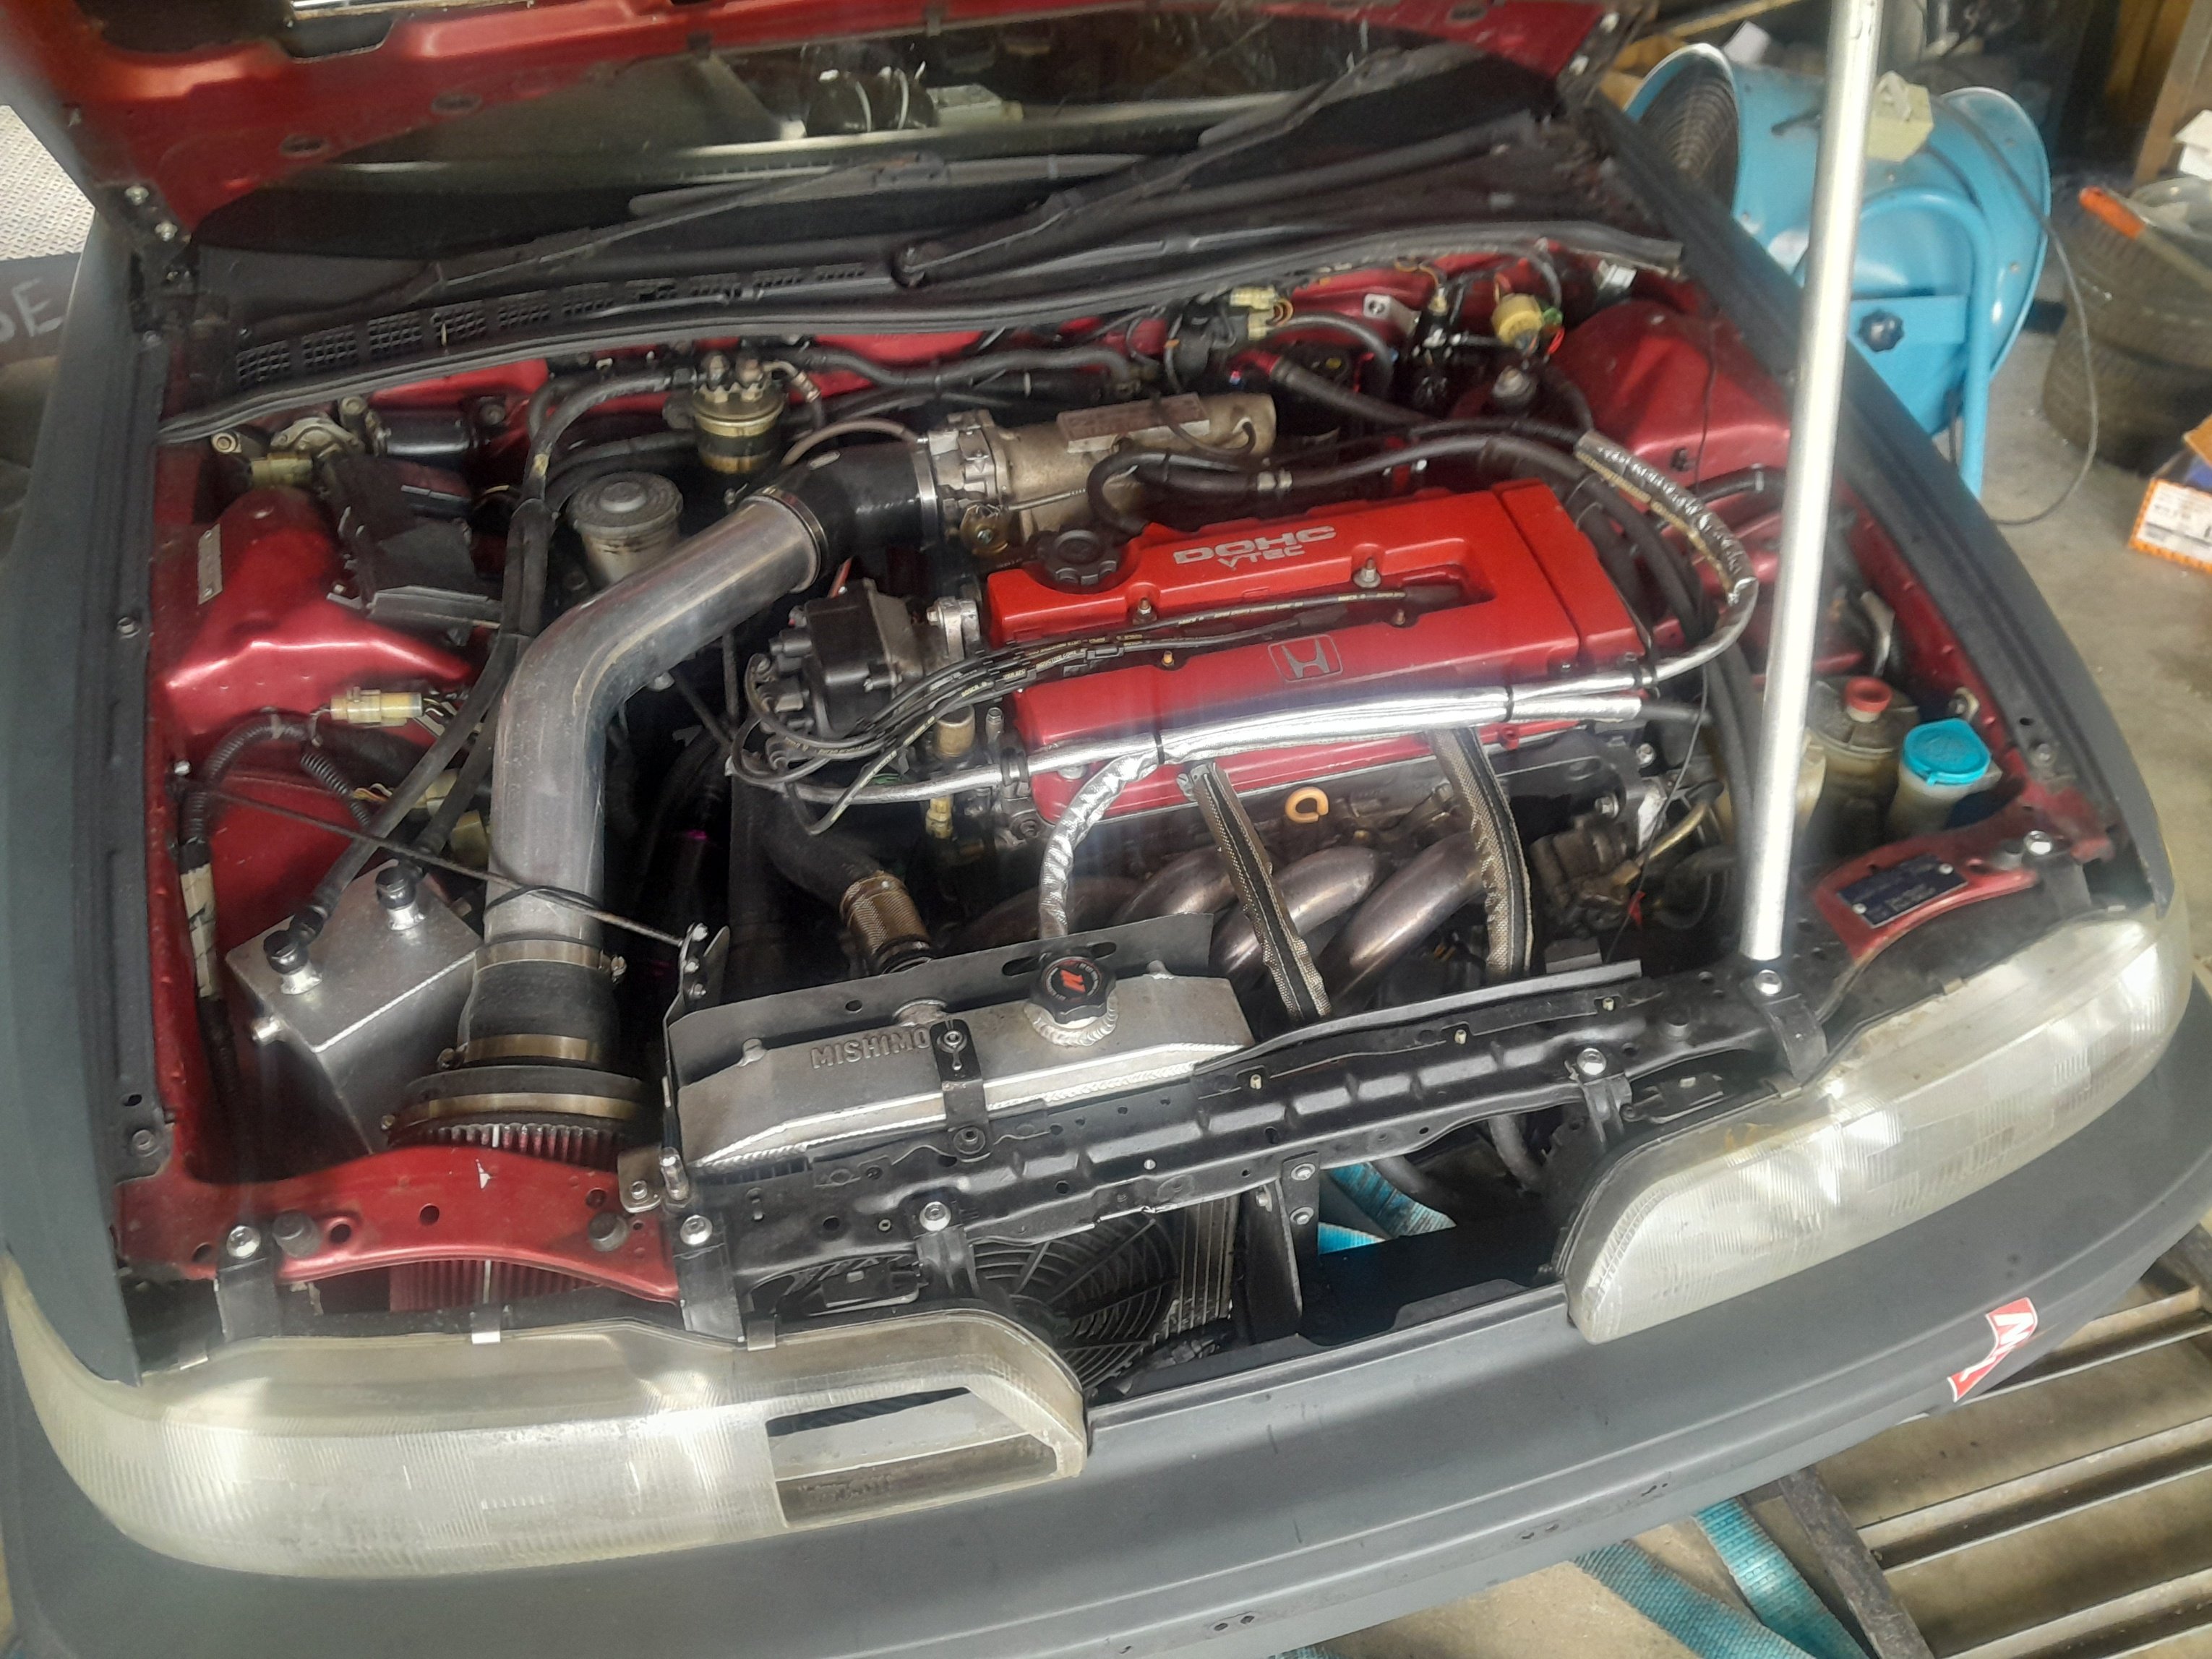
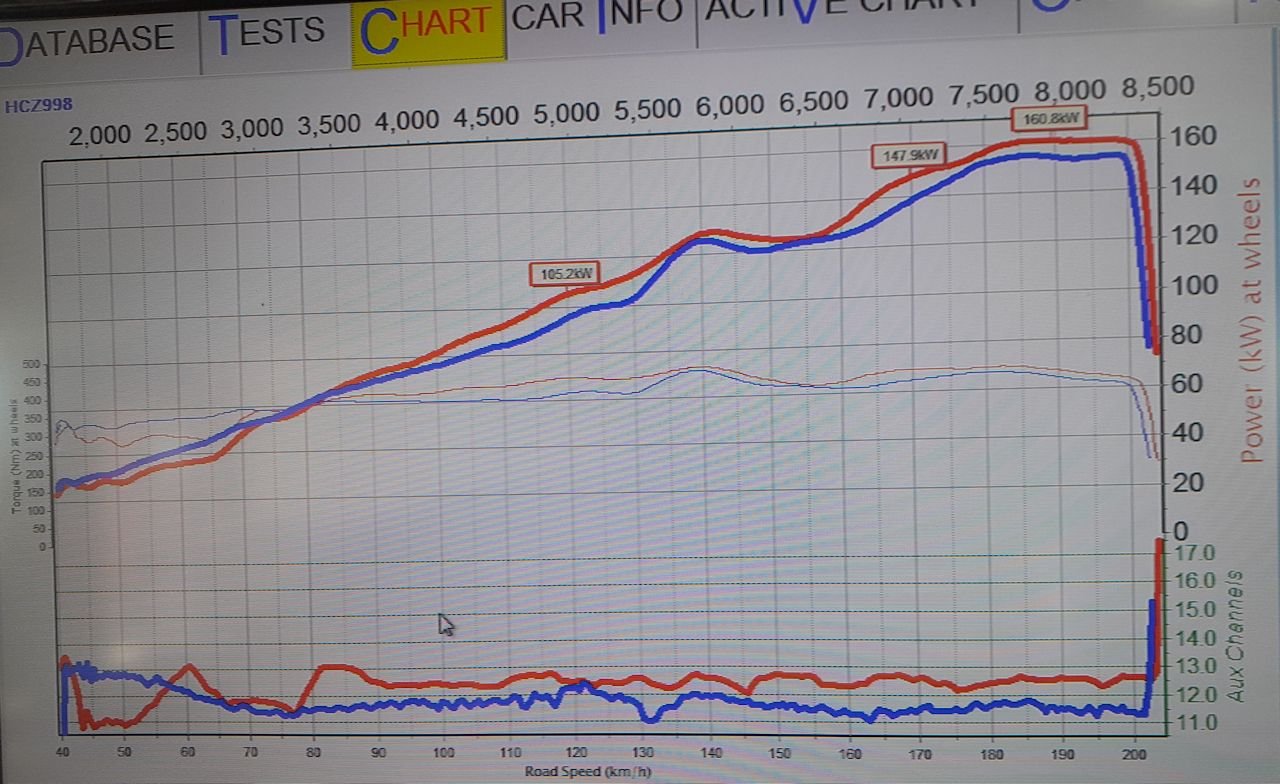
sounds like the ol heart breaker dyno. considering they are meant to make over 160kw at engine if you believe honda. what kind of dyno is it? The k20 was almost maxing out the stock injectors, so guess it was doing alright. 310cc i think. Im using just under 400cc of fuel per cyl to make those numbers on the 4a
-
its in your car already. choose your turd an polish it. bigger the turd the more you will come out the other side looking like a superhero, like @Dudley with double the power on the og k series.
-
roger
-
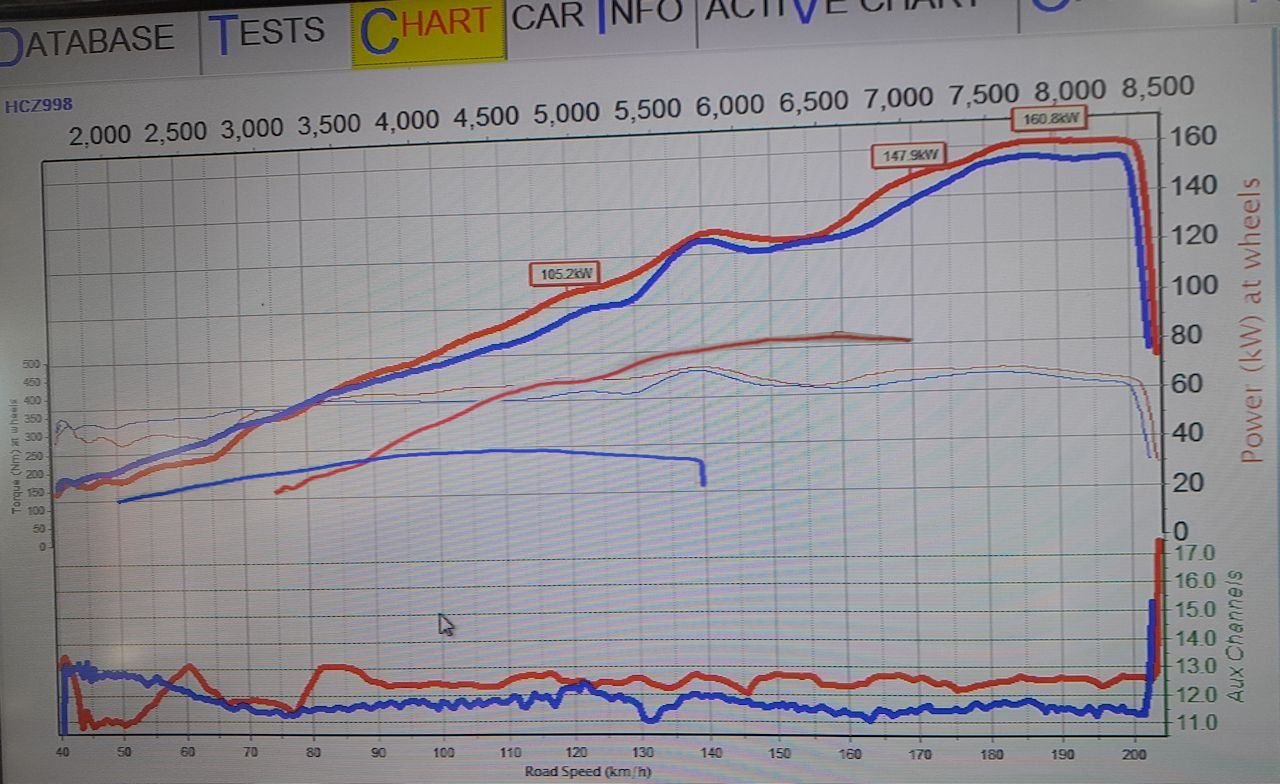
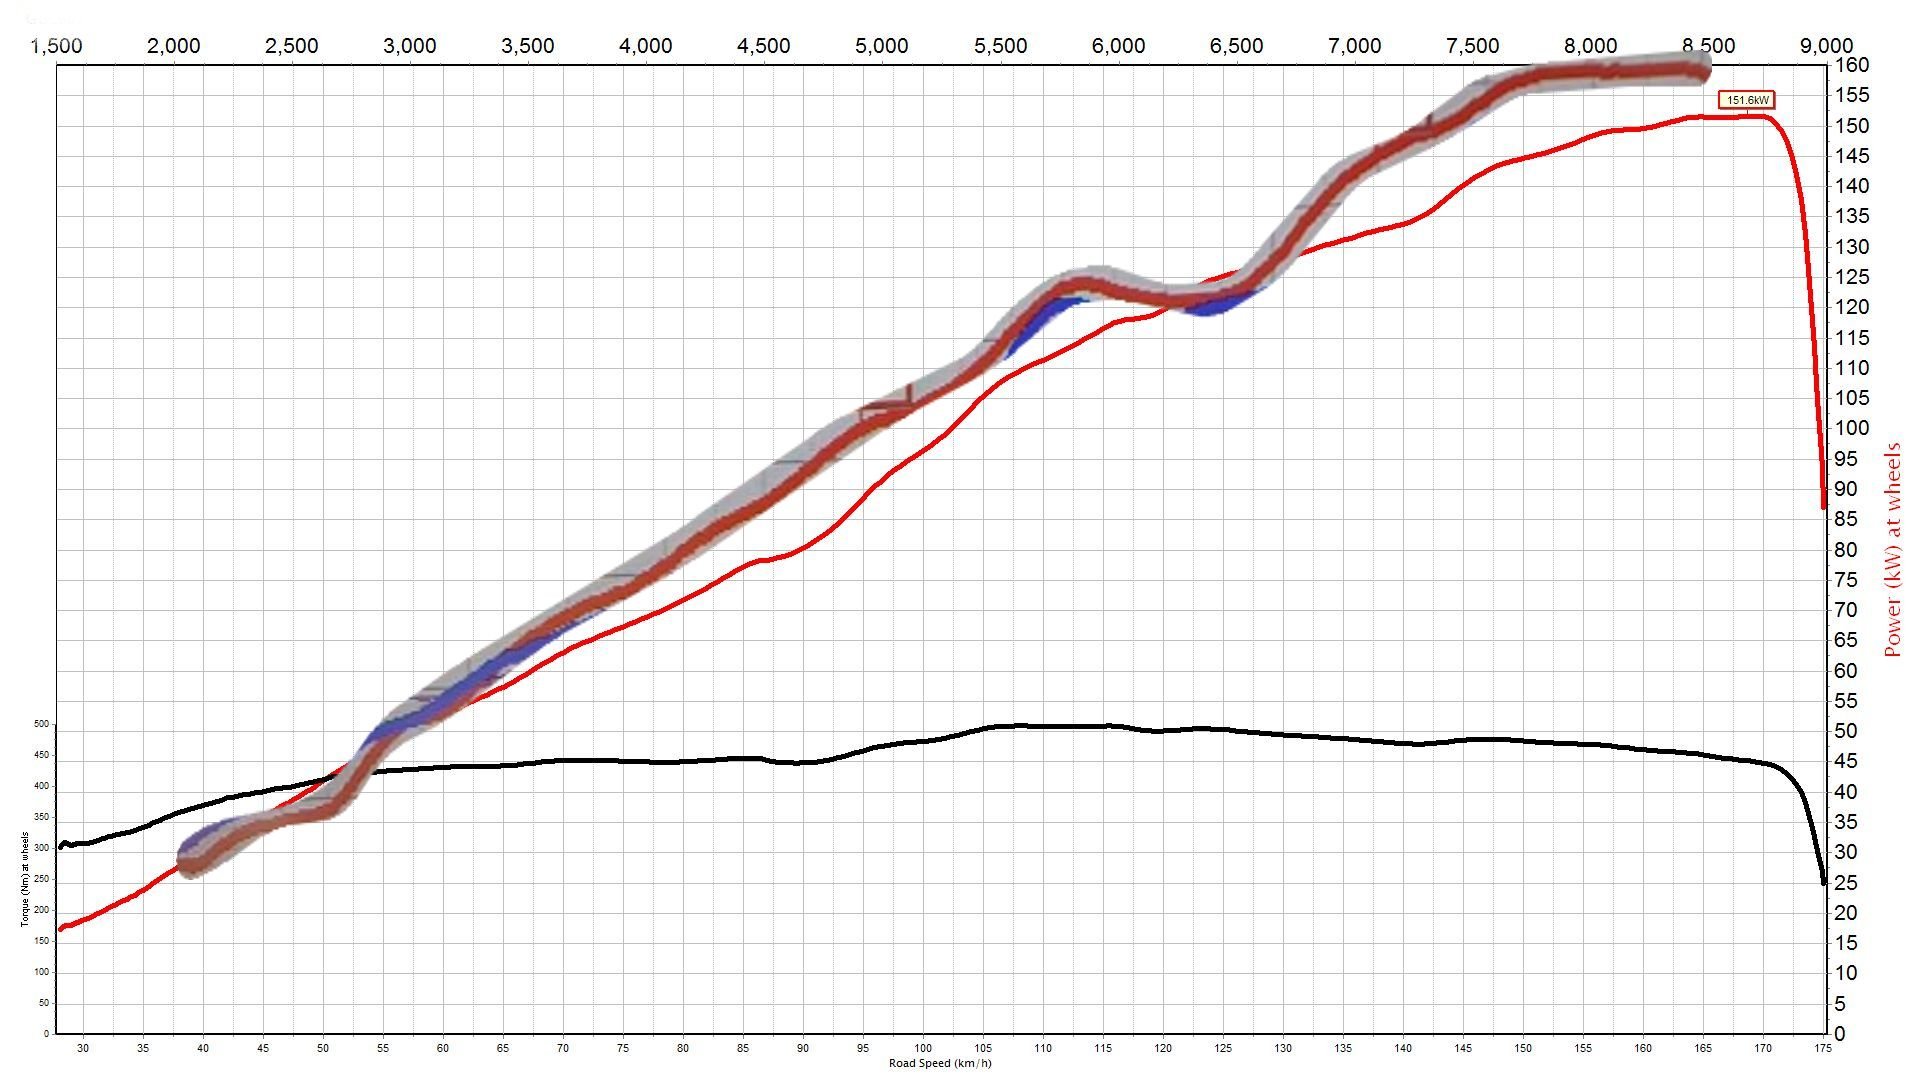
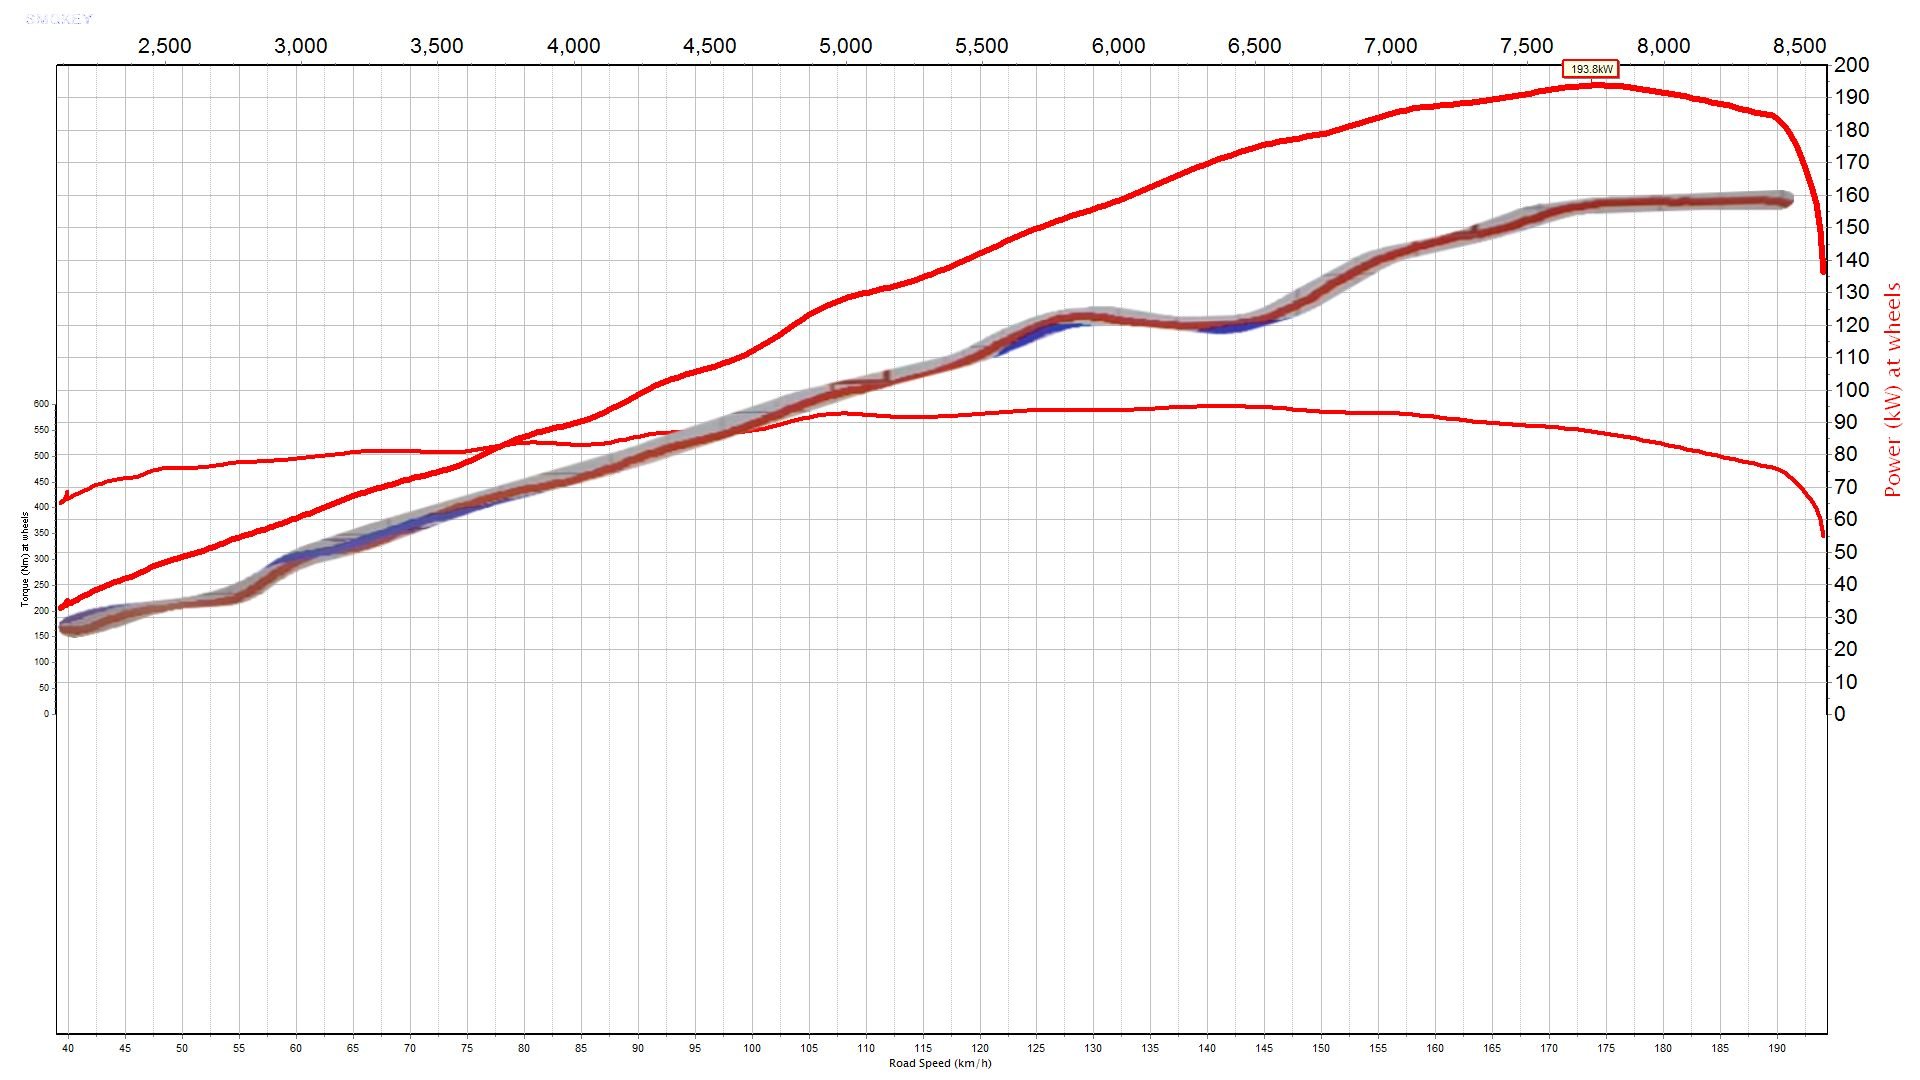
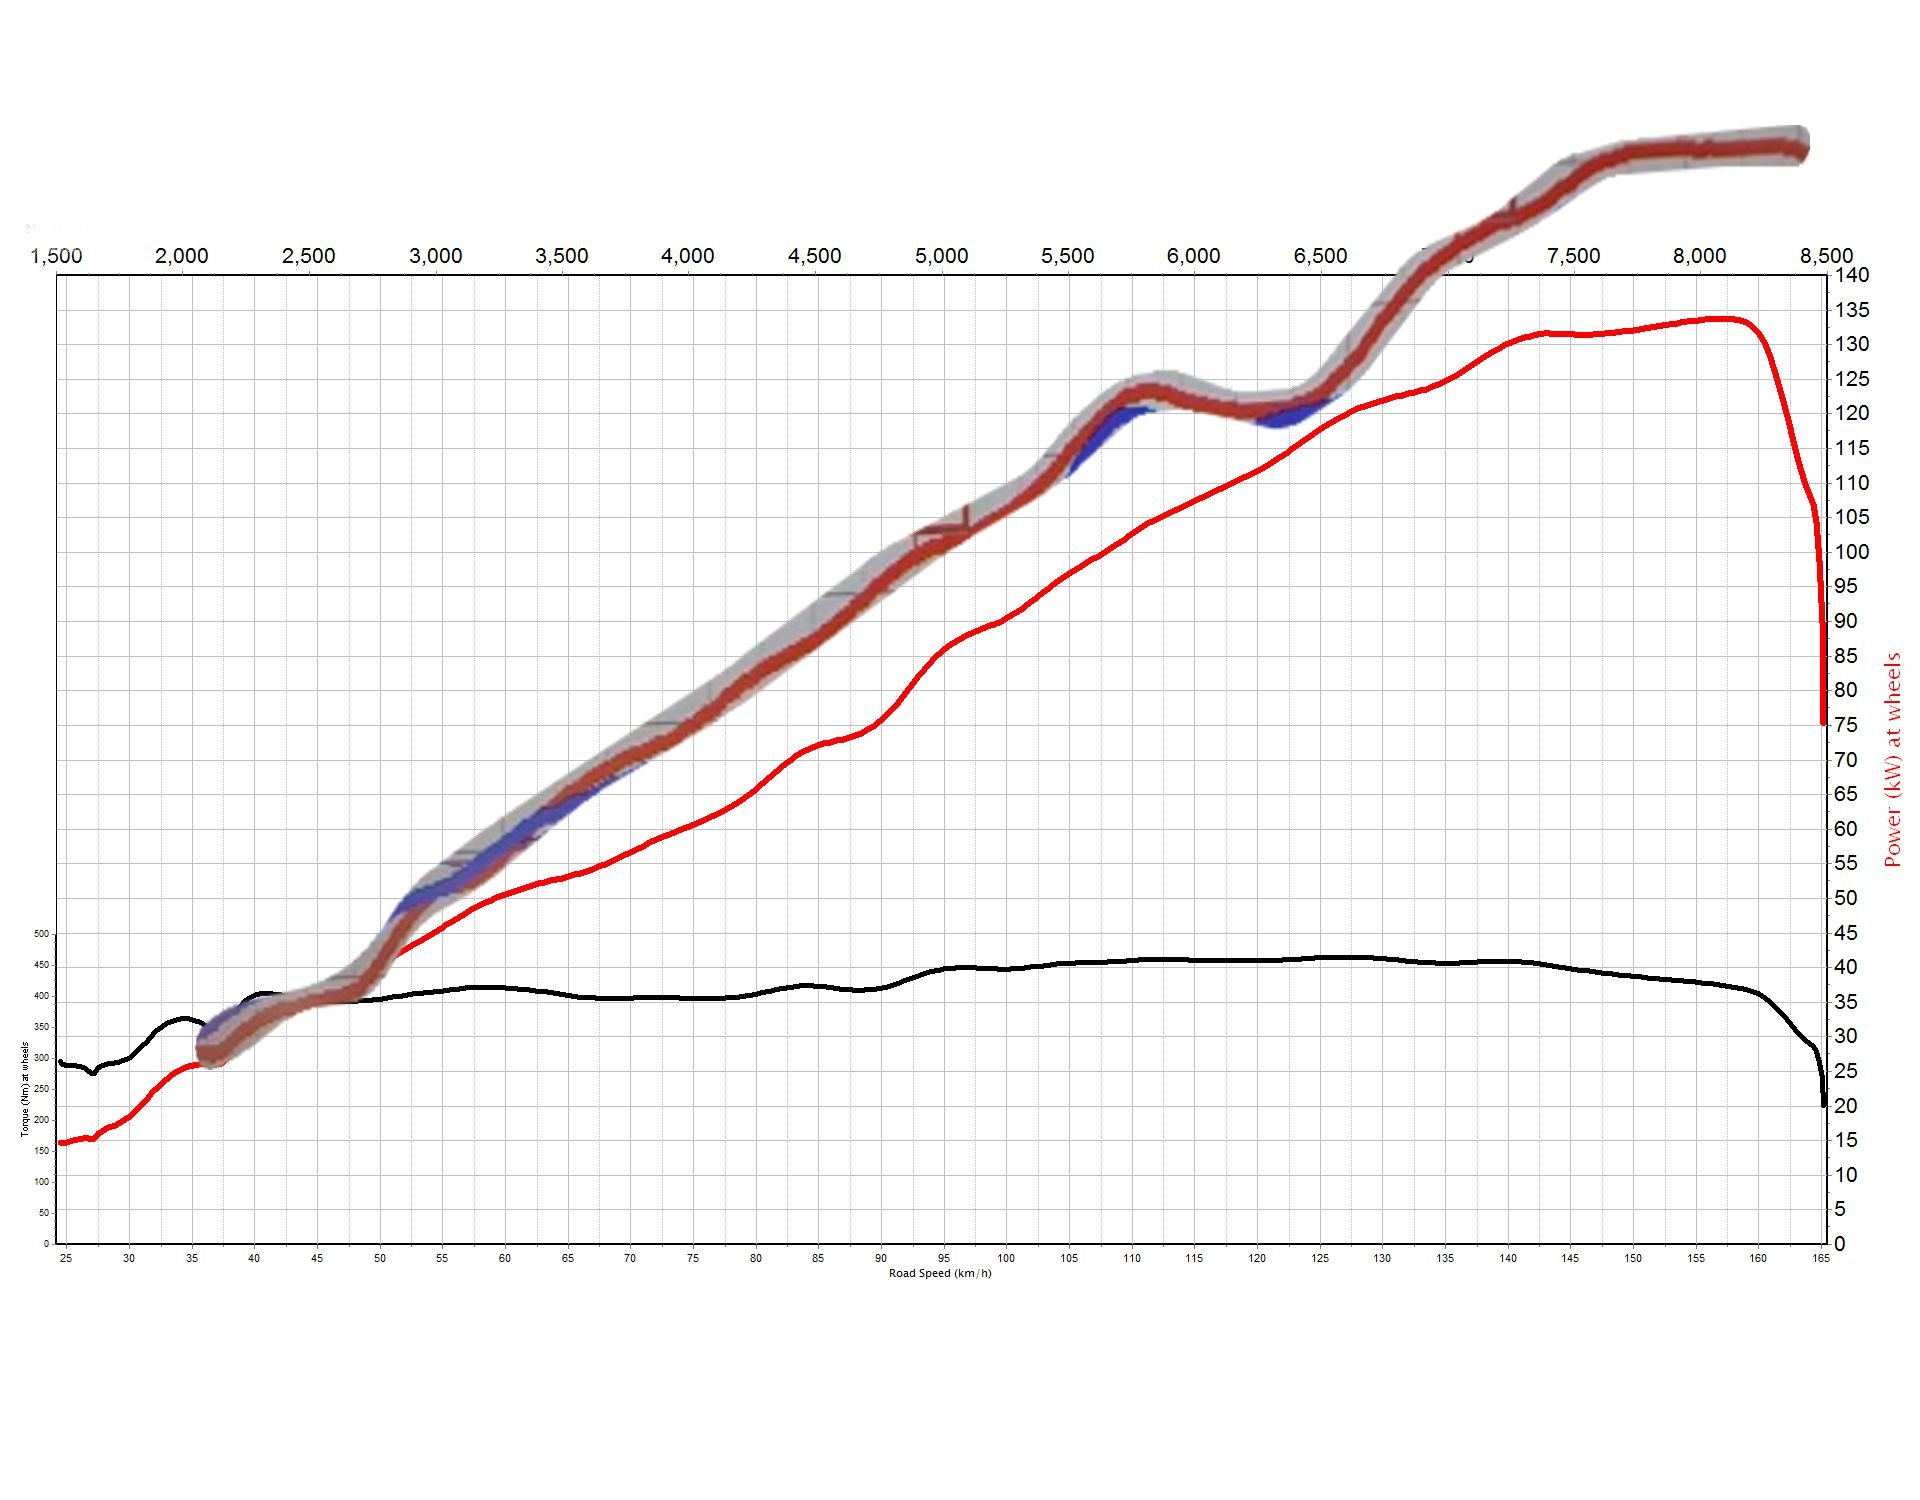
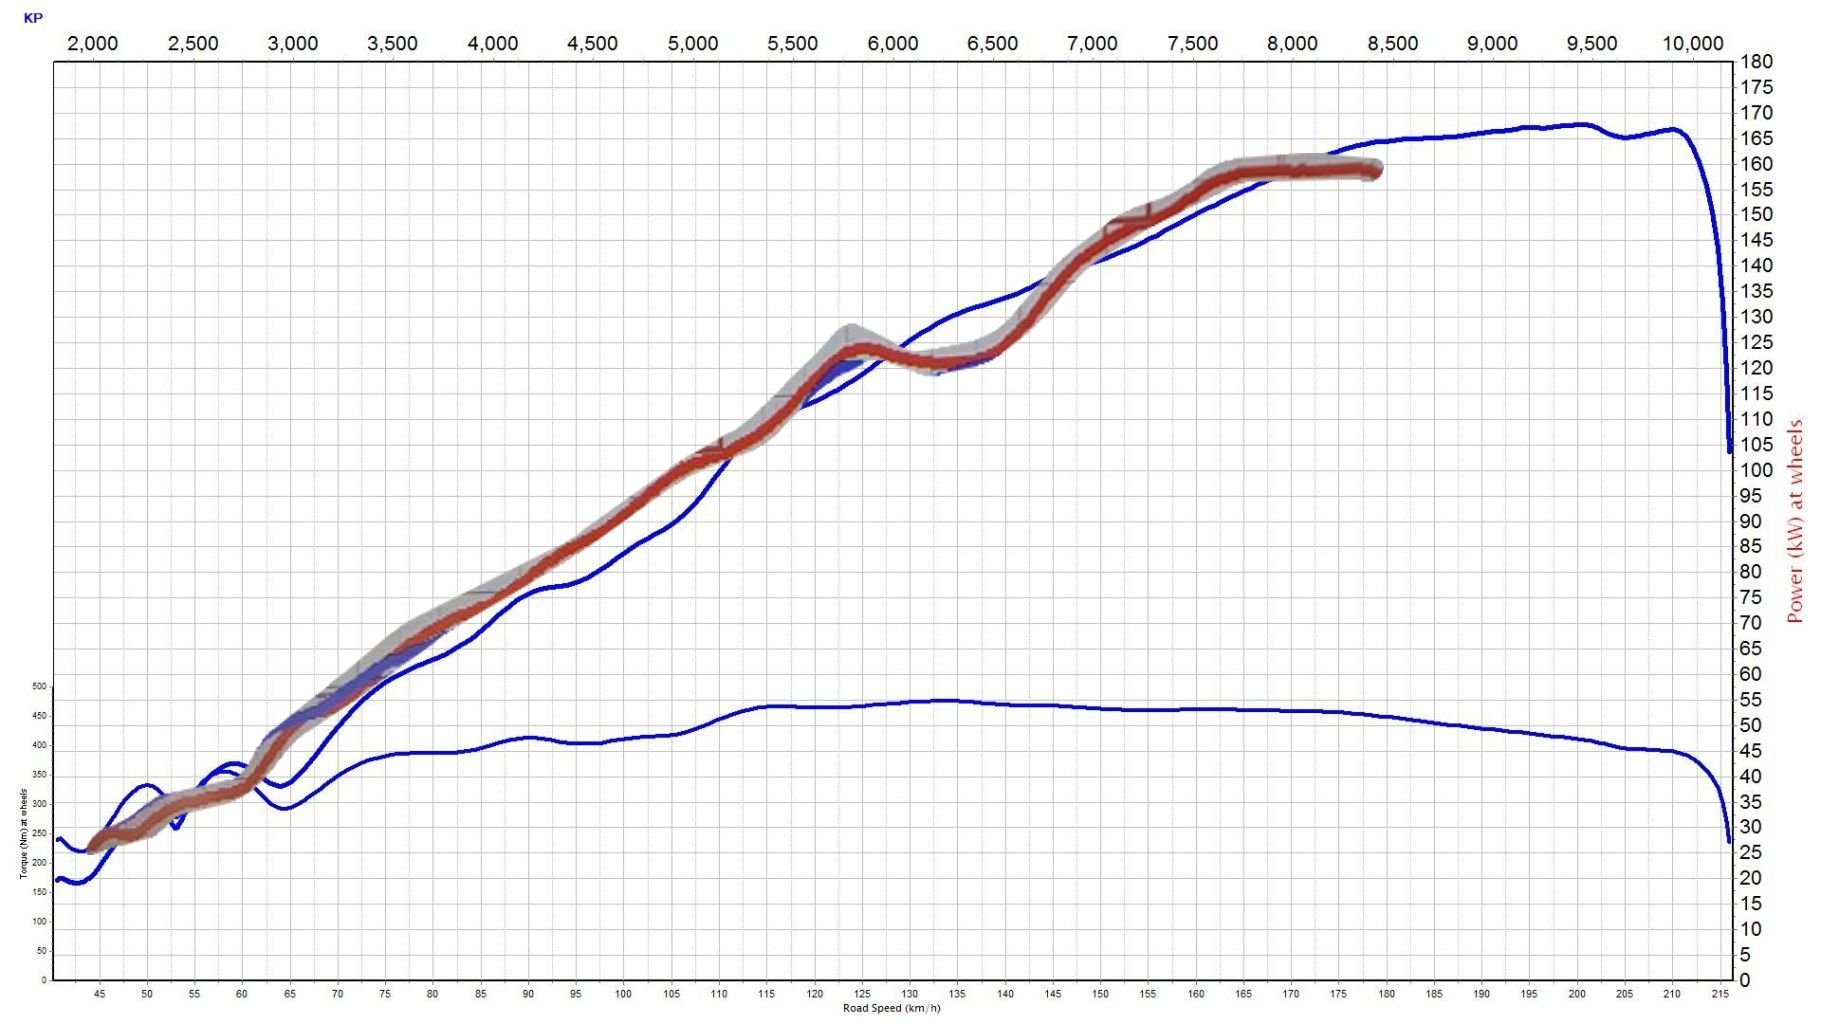
i poorly photoshopped the b20 onto other graphs Vs a stock k20a with some bolt ons that probably didnt do much for it and link ecu vs a pretty nicely setup k24 with k20 head, aftermarket cams and good intake Vs a pretty stock 2zz, exhaust ecu and tune. vs my 4age
-
I do . . Nar it should actually make the numbers easier having better bore and stroke . is a massive difference in cam size even factory b series vs beams
-
only picture i got. its a lemons race car Yeh not bad. and as said before it would be pretty good with some bolt on changes. but on the other end of the argument, its a built 2L and a stock k20 isn't far off those peak numbers.
-
Some more b series bumps; Built B20 with b16 ? head i dont know which one, but was ported etc, so guess doesn't matter. kelford 173-c cams the blue line was on previous tuners tune and blox Hsl cams. when checking some stuff noitced it was eating the cams and rockers. so changed to the kelfords. makes pretty good numbers, but could be a lot better power curve wise with some intake and exhaust tuning. Didn't matter where switched the vtec on would still have the dip at 6500. The k engines can get away with more and still have a nice ish power curve. since the vct/vvti helps the case a lot
-
the 4-2-1 work good on the starlet with the right length 2-1 section. so looks like they can go on this car rather than the bin. results later.
- 71 replies
-
- 24
-
-

-
go 2" to 3" for the megaphone, terminate in a big 3" glass pack muffler/ reso. after that 2.5" will be fine