
Leaderboard


Popular Content
Showing content with the highest reputation on 06/19/17 in all areas
-
6 points
-
So, I am now the current OS custodian of the communal camping trailer. Its going to get a little bit of love, a new window and zip will soon be sewed in, and I've whipped the axle out for a de-scaling and a paint. The rest of it is in pretty good nick. I may change the ply sheets that form the bed areas, as they are a bit bent from age/poor English design, but i'll see how we go. I'm toying with the idea of putting a removable/temporary tow bar on the 86 for period correct camping, as the trailer is very light. Pretty excited about getting my camp on. Regards, VG.6 points
-
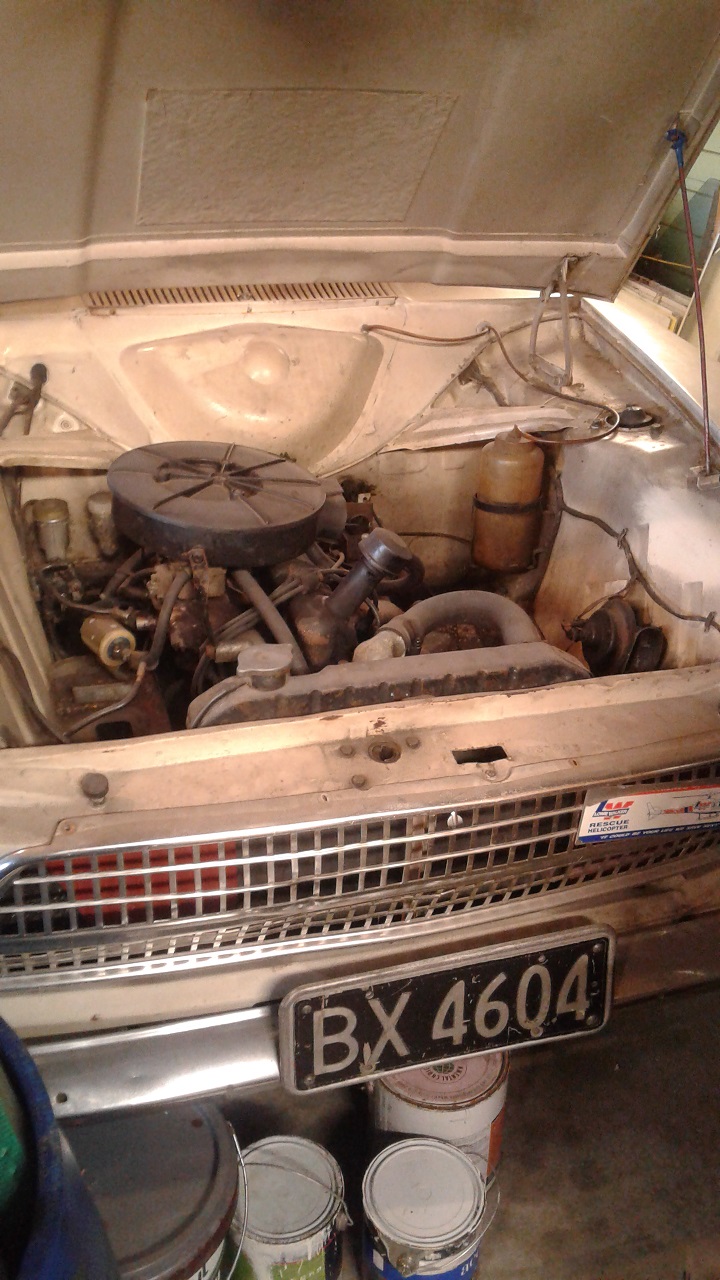
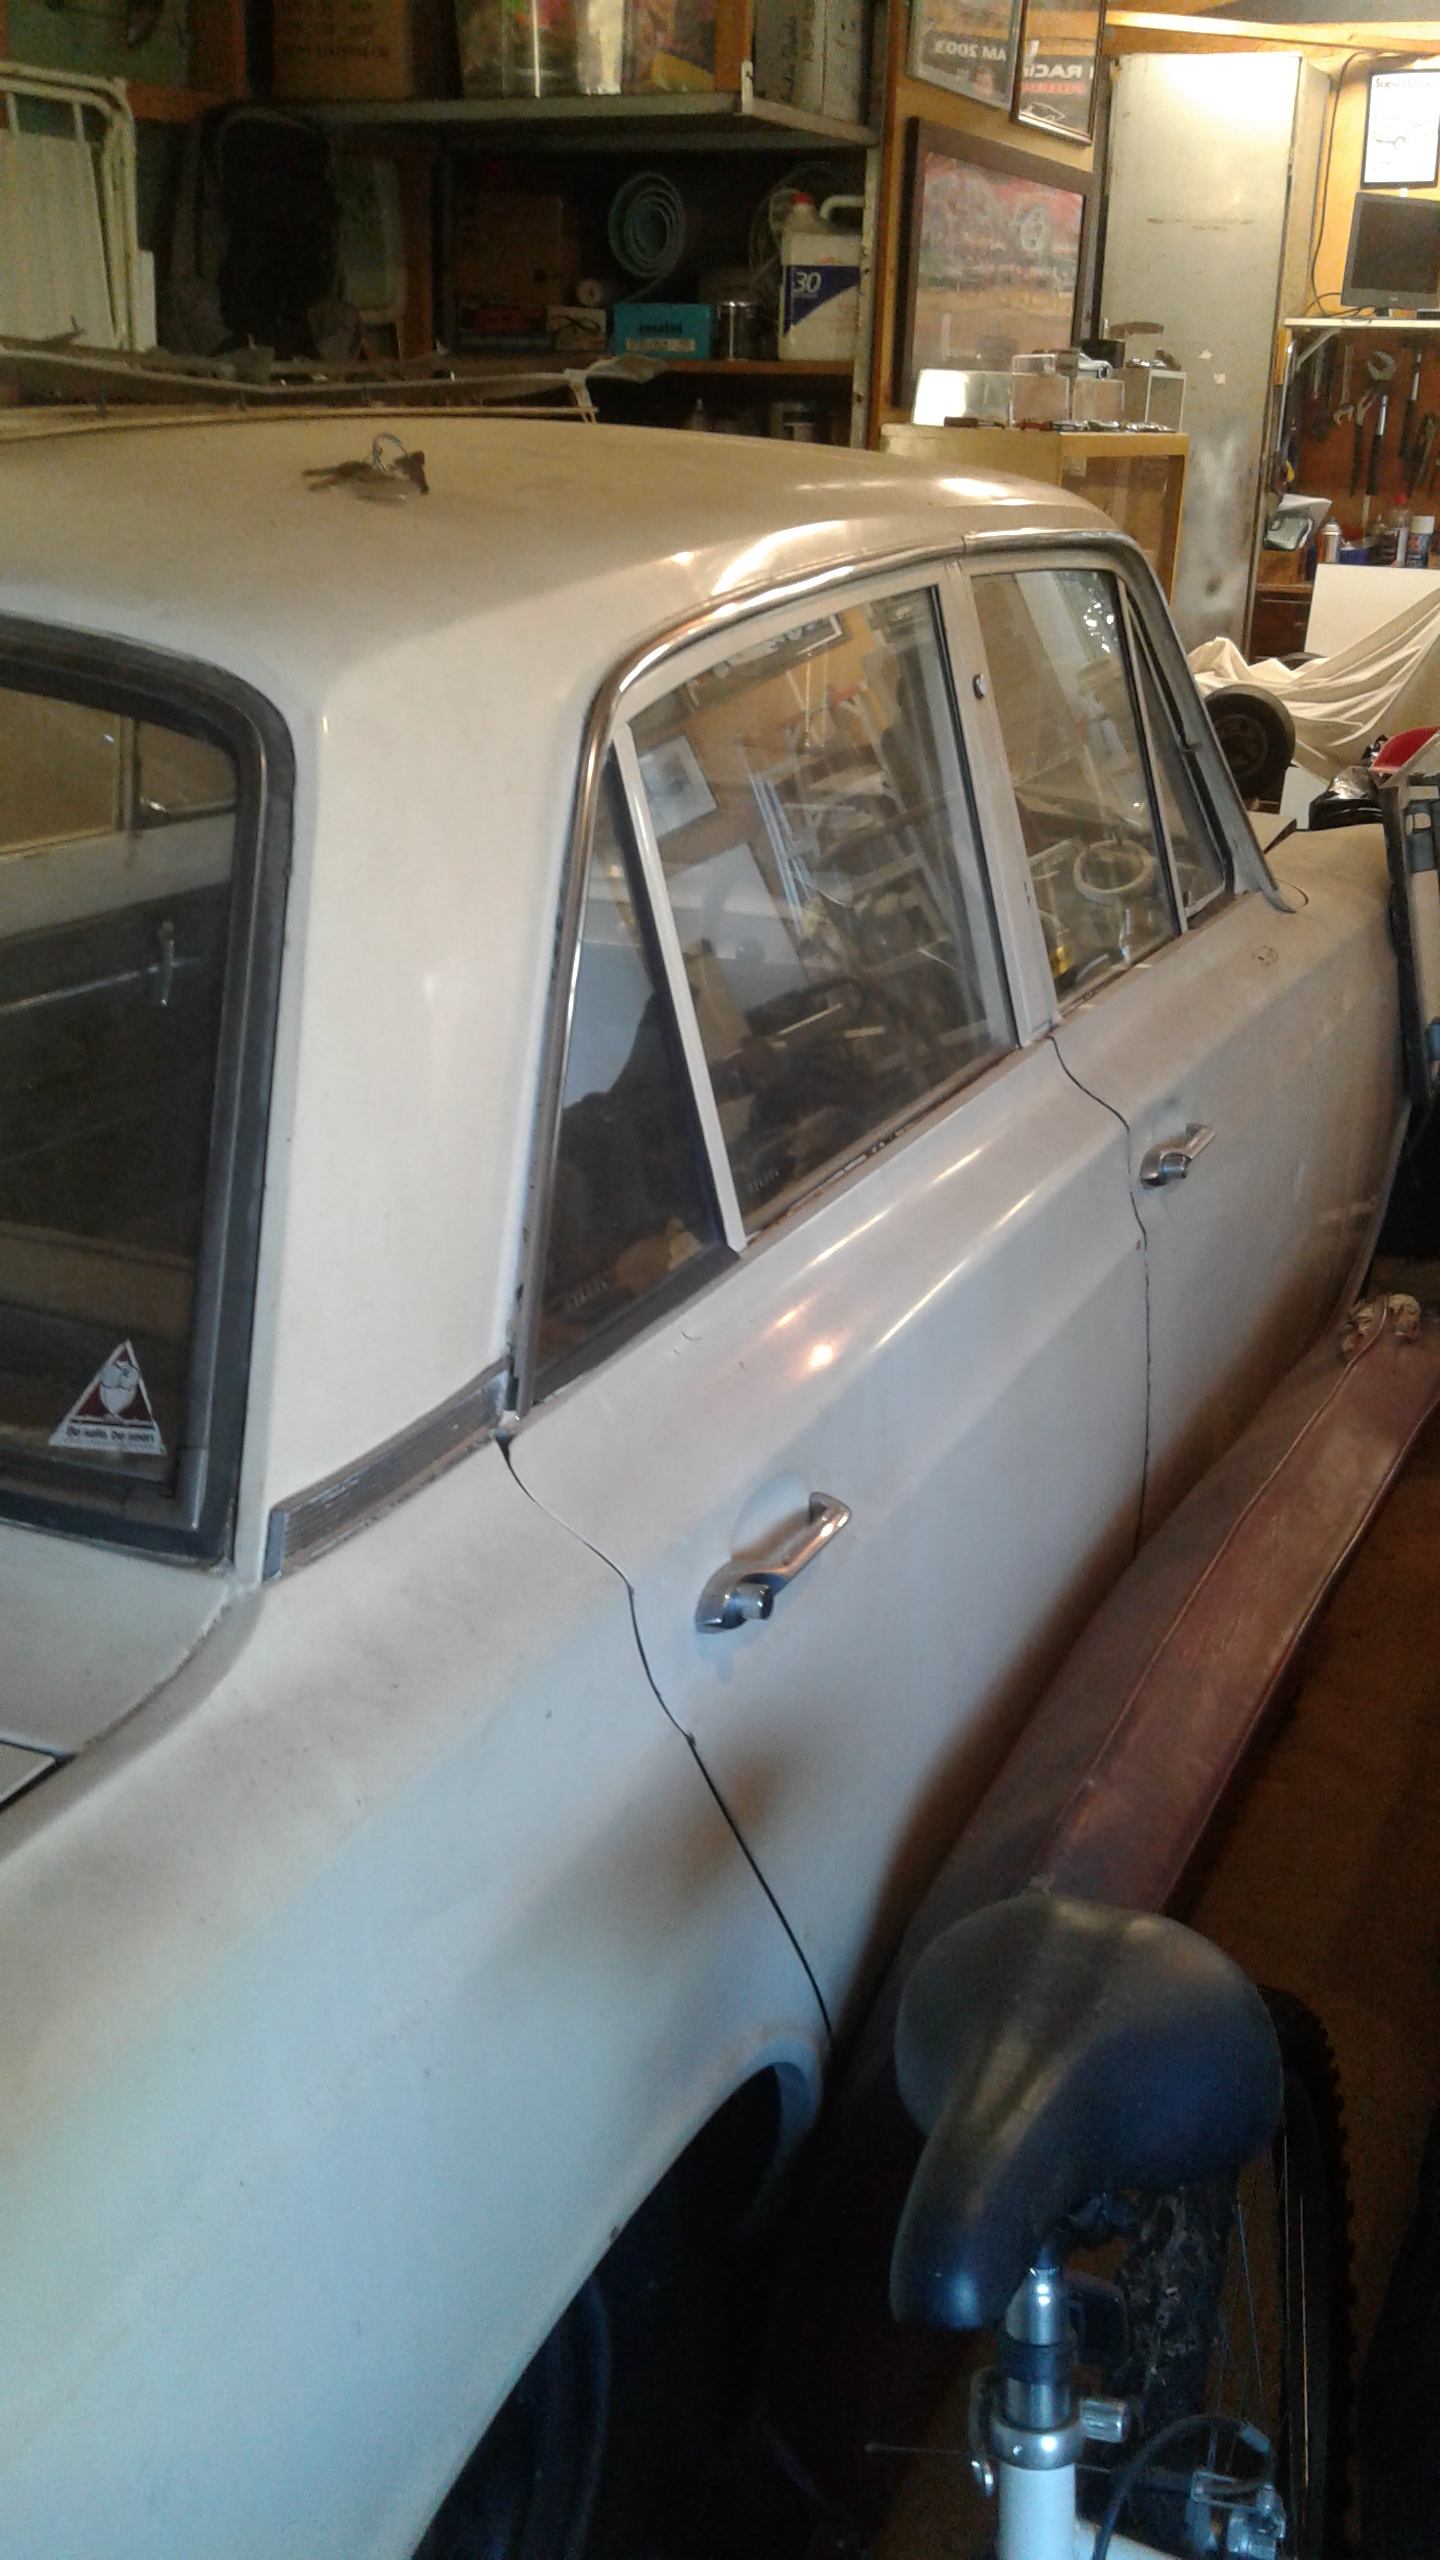
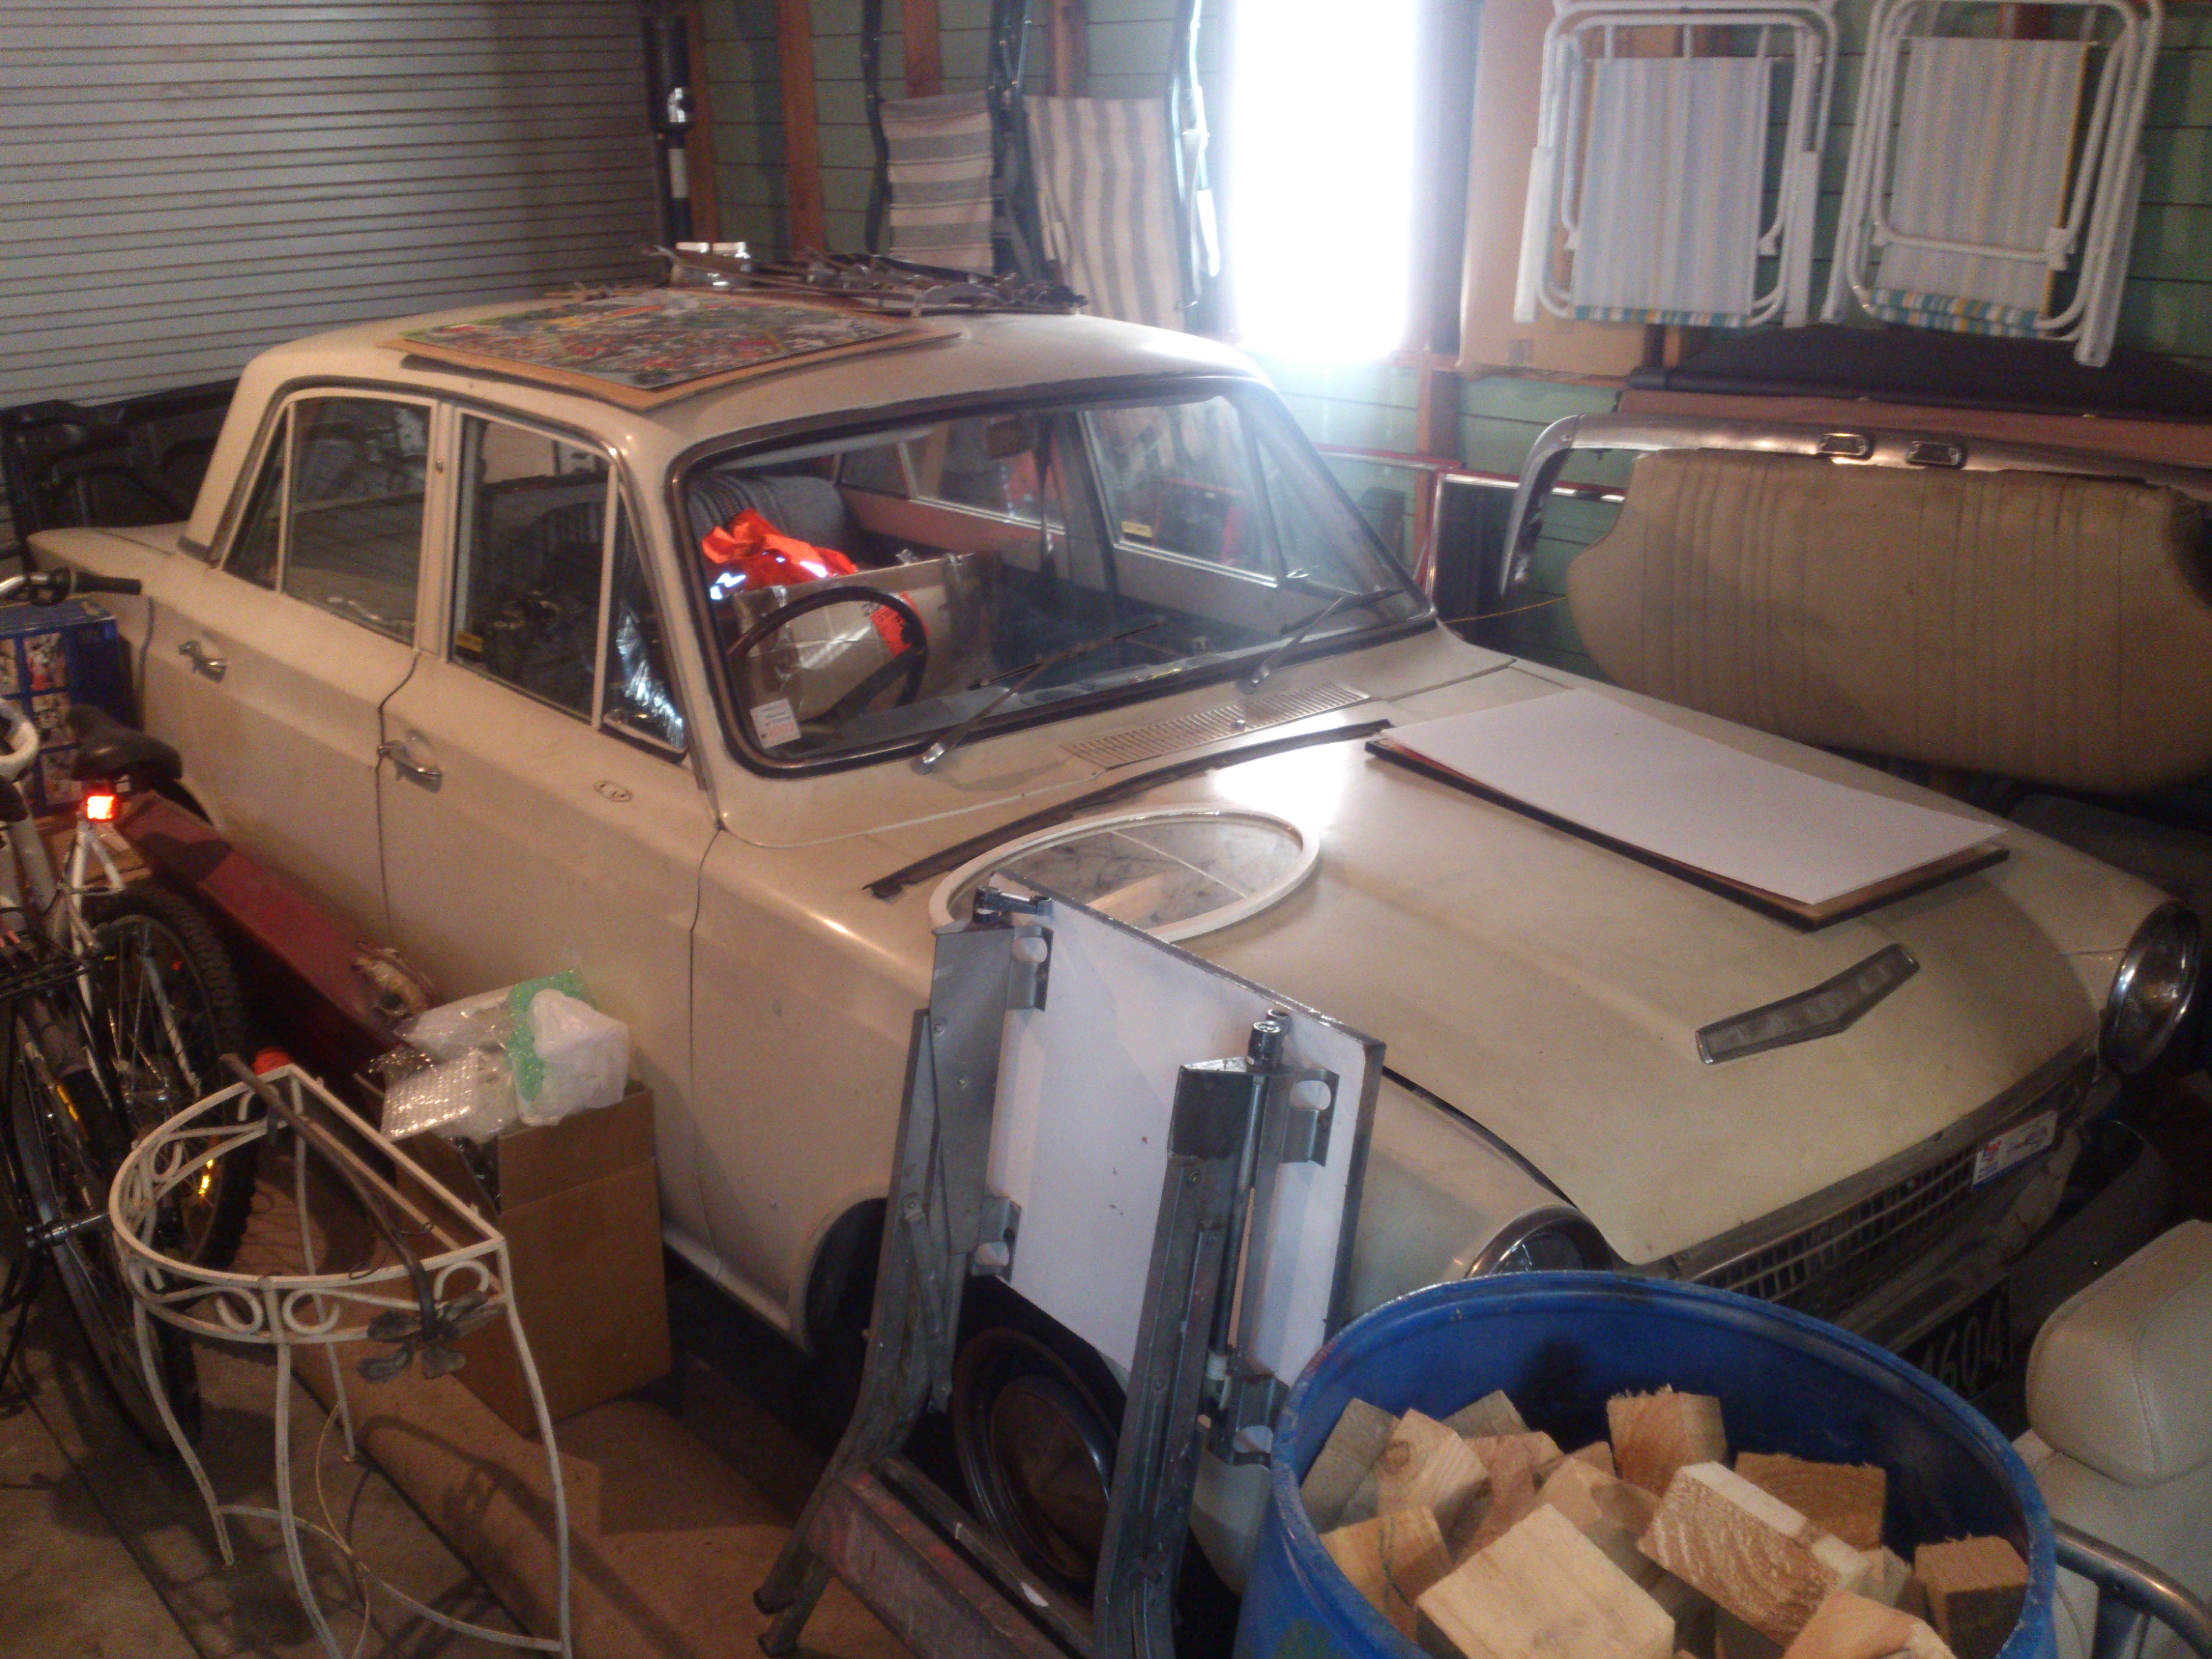
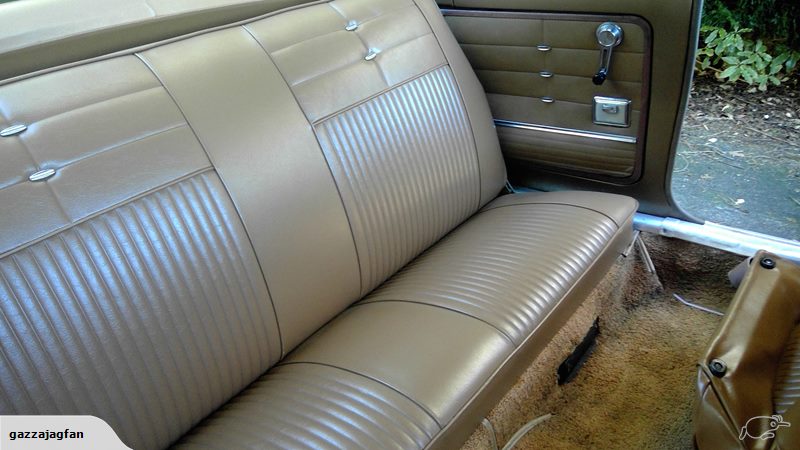
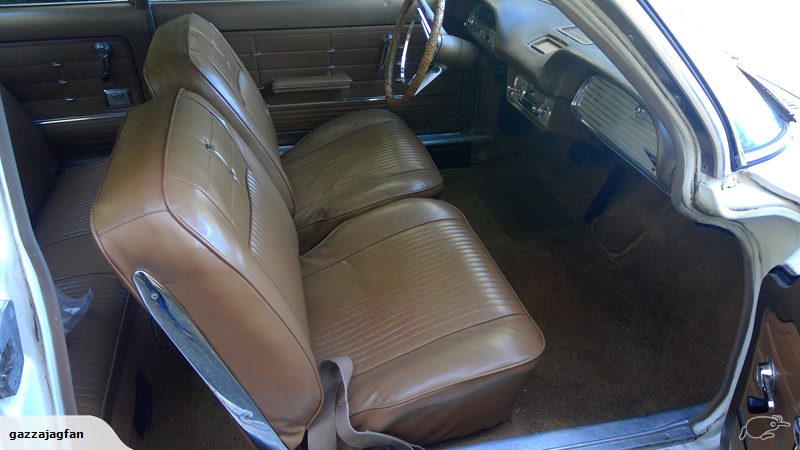
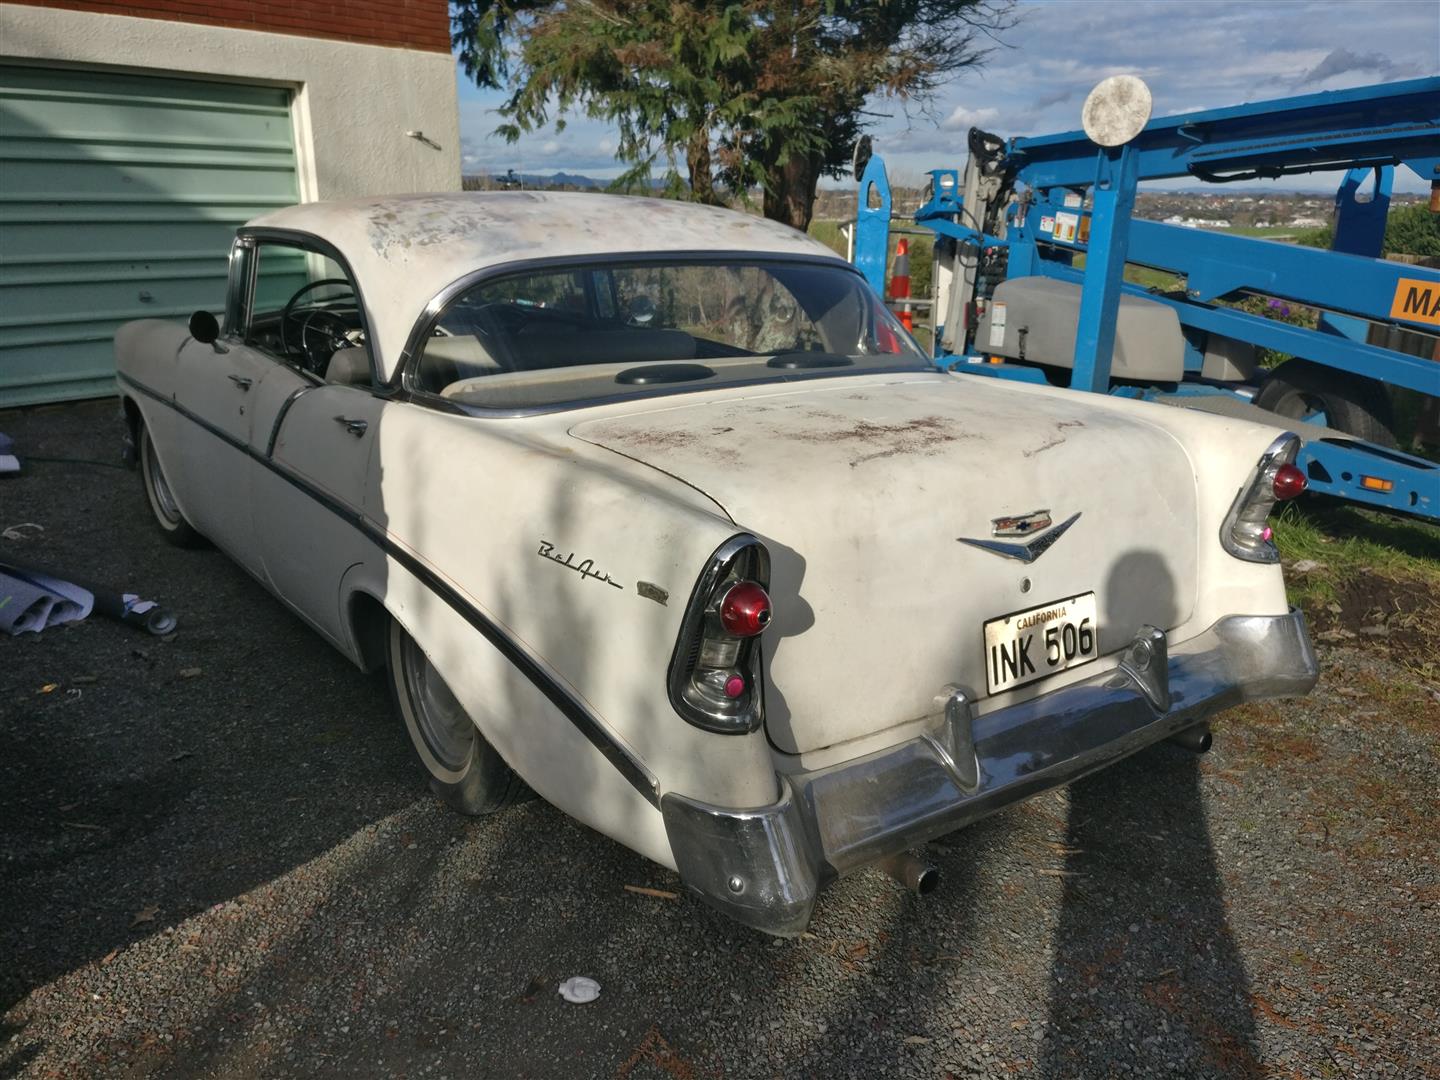
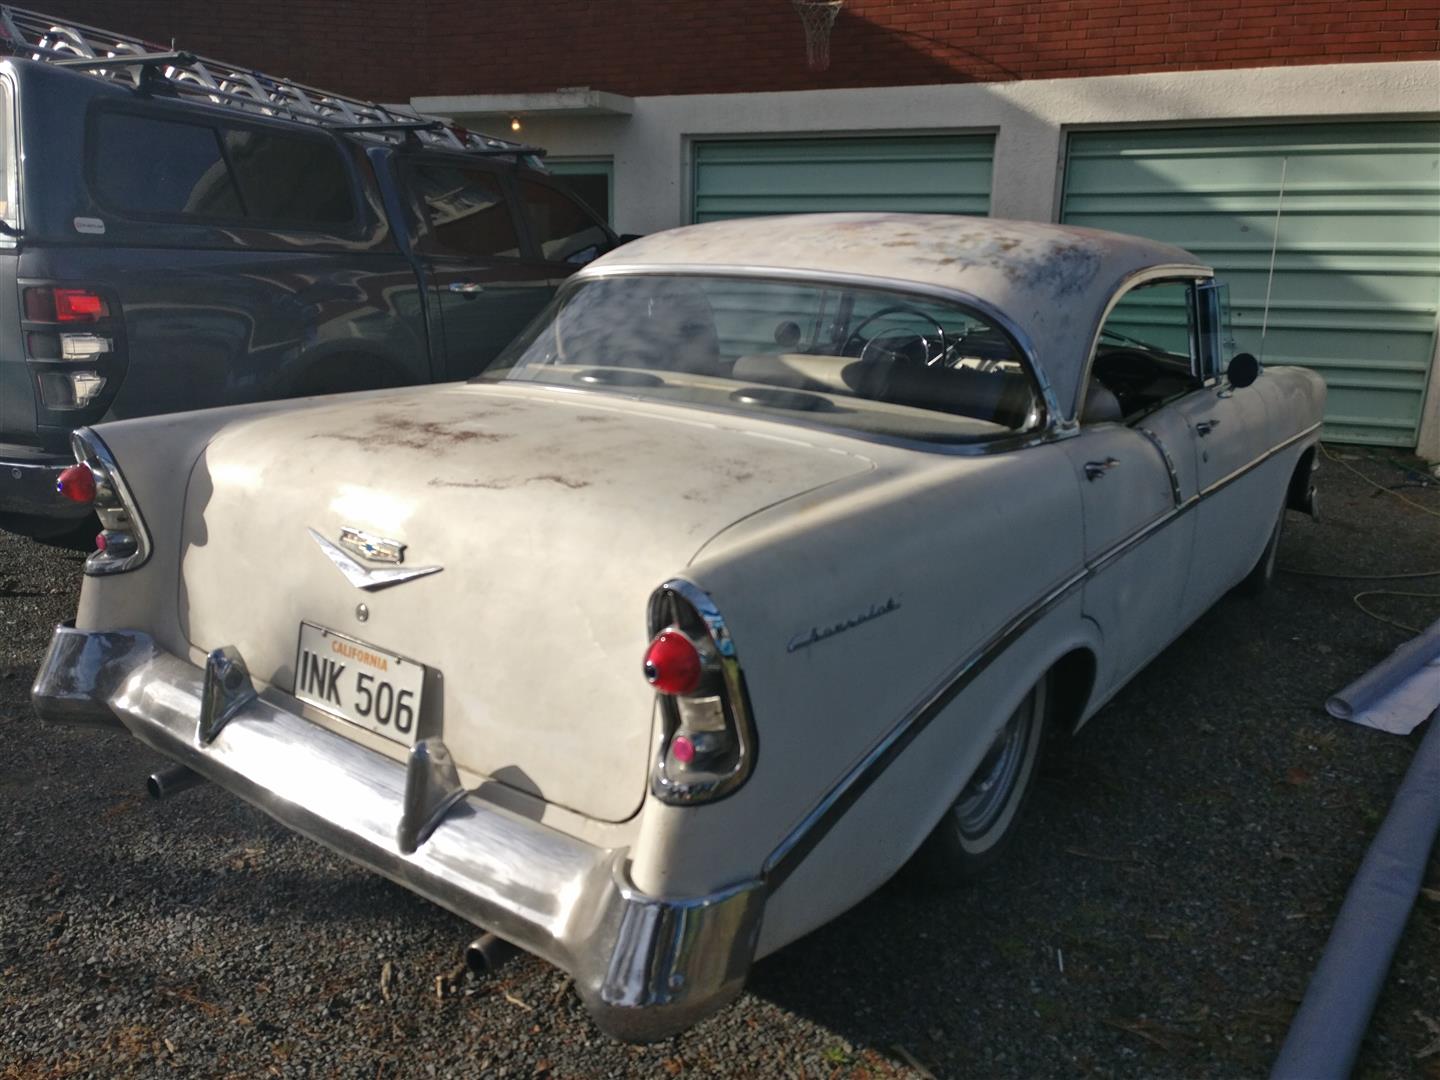
So, I thought i started a thread for this car but i cant find it anywhere - or even the other photos i had of it. I inherited this from my Grandad a few years back. He used to pick us up from school in it and when i went around and mowed the lawns (i was about 8-9 years old) id always drive it around the 1/4 acre section. Did my first "skids" on the lawn in this, much to Nana's disgust. "Janee" was grandads nickname so ive named it that. I was up in Hawkes Bay this last week and took a few pics of it again. From what i can gather and have been told its a '63 Mk1 Cortina Consul that was column shift until grandad (in his late 80's) couldn't shift it properly. Dad converted it to floor shift with an extra long gear stick which apparently helped. Dad says it has an Escort engine in it but there is a couple of "kent" blocks at the grandparents place in the shed. Its had more parking hits than tina turner due to grandad touch parking everywhere from getting it in and out of the shed to parking at the RSA. We've removed the front bench seat as it wasnt original and was poorly mounted - so will be on the hunt for a couple of bucket seats. Amazingly (bad news in a way) was that he and dad wrecked out a 4 door GT as parts for this (FFS guys you got it round the wrong way) but i have a bucket load of spare doors and bumpers etc which will come in handy. Plan is to load her up fully with all the spares and get it to CHCH, hopefully using a couple of relo jobs through work to move the trailer up there and back. Ill get it running, Rego and Wof and drive it. I want to leave the patina on it for now as thats how i remember it. Will get some decent non shed pics of it asap.
 4 points
 -
everything ready to pour floors on Monday. the diagonal bit out the front is the extra thick part of the floor that goes over the main sewer line. 2017-06-16_03-25-27 by sheepers, on Flickr 2017-06-16_03-25-39 by sheepers, on Flickr 2017-06-16_03-25-47 by sheepers, on Flickr3 points
-
I initially went out to the garage to pull the injectors out so I can get them cleaned at some point, as usual I got carried away and decided the loom needed some attention as well. The injector plugs were shit and falling apart, as was the tape holding the loom together. Only the cheapest finest aliexpress injector plugs and tesa tape will do. There is nothing like a relaxing few hours playing with wiring.... (I do actually enjoy it) @yoeddynz Very kindly loaned me his copy of the factory wiring diagram so I was able to identify which injector plug was which. I owe you a beer or three for that! You can see the general shitness of the tape and plugs there Like any barry instead of doing it properly and replacing the plug and wiring I patched it up with more wire and a few layers of heat shrink That was the state of the plugs. The mazda pins clicked nicely into the aliexpress connectors too which was good. only one needed to be cut off as the wire had a few splits in the insulation which I wanted to heat shrink Man barrel crimps are so satisfying when you get them right, from a distance you can pretend they came from the factory. After I replaced the plugs, identified the injectors and partially taped them up The worst bits of the loom have been repaired and I'm happy enough with it. Eventually I'll completely redo the loom as lots of the insulation is getting a bit hard/brittle2 points
-
Its Monday. Did the concrete get poured? HAS ANYONE DRAWN DICKS IN THE CONCRETE YET?2 points
-
It's on this Wensdee maytes.2 points
-
Inadvertently got a good test of my solar system. Last week at Mount Tremblant I met a guy with a Westfalia in the parking lot who killed his batteries overnight. I isolated my house batteries at the switch and jumped him. I was looking at my volt meter today when driving and noticed it wasn't charging the house batteries off the alternator (not showing 14v). I was worried I had blown my charging relay or a fuse when I jumped him but my dumb ass had just forgot to de-isolate the battery banks. Switched it back on and all good. So I've been operating the fridge and other 12v on just solar all week with no issues and didn't even notice.2 points
-
i did some hammering and glued in the front inside corner then made up and started gluing in the outside front corner.... then my welder went from being AWESOME to being gayyyyyyyyy. Must be new liner time as wire keeps getting stuck and it then wraps around the drive roller.. did it 3 times and i had a ragequit.2 points
-
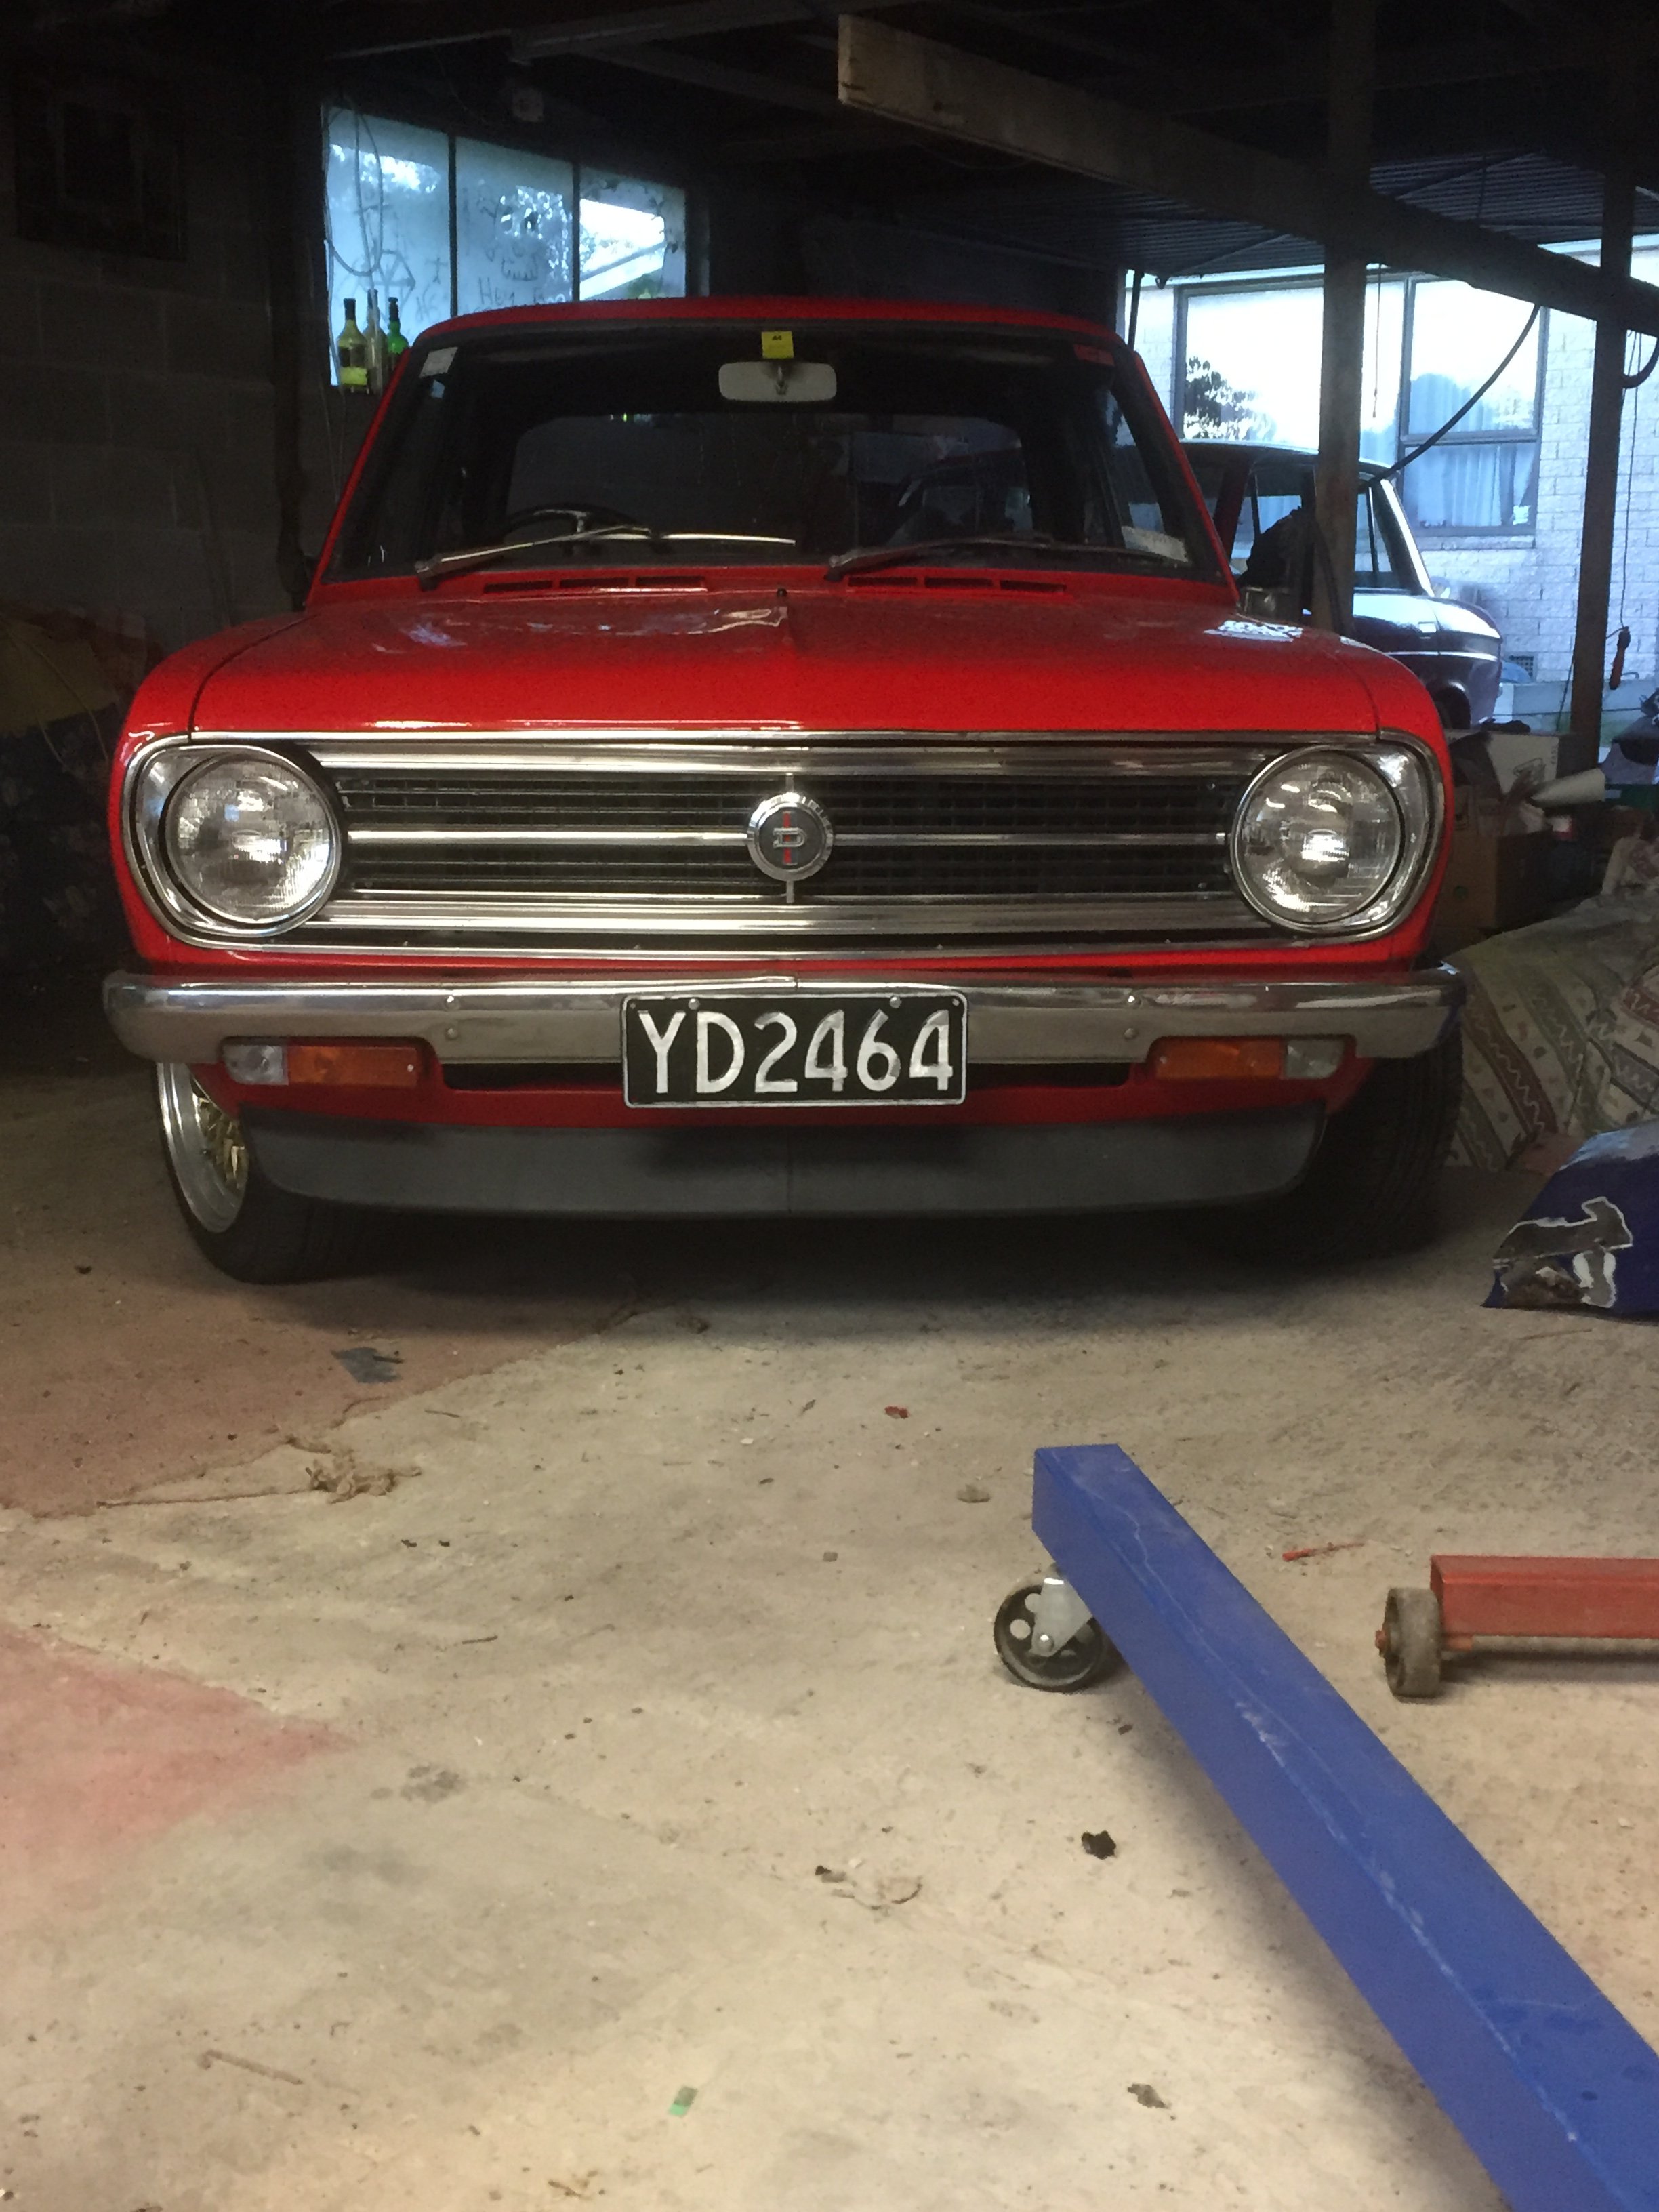
Parent hood is slowing progress but im determined to get this done for the next toyota fest. motor came out and striped the firewall ready for paint.I ended up getting the car touched up as i had put a few scratches and stone chips in it .Ive since just got it back from the painters at it looks so fresh,the metallic paint just pops off the shiny clear coat. things to do now is reassemble the whole car and get it ready for cert.i need to either fix my flywheel or find an aftermarket one,if my factory one doesn't work out would a JUN lightened flywheel work for street use? its 1.6kg lighter. Only thing stopping the motor going back in is flywheel,bolts and a clutch setup. also found a good set of SSR F.5 that just need a repaint and widen out to 14x8 hopefully this Canterbury weather holds out for weekend work on the car2 points
-
Grass has been getting a little long. so time to give it a trim in other news, just been making a few things stronger, chassis panhard mount. added some braces to lower chassis links on the rear. pedal box was flexing the firewall/wiper tray even tho i took in all 9 of the factory bolt holes. added another bracket back to the cross bar. and hung the brake light switch off it grass trails p/s cap is out in the paddock somewhere2 points
-
discuss2 points
-
Well just picked up my new project a 99.9% rust free P6 V8 rover in white. list of what to do: 1) rebuild breacks 2) rewire ignition to starter 3) fix gearbox bushing (or find an SD1 5 speed) 4) take for a spin and find more bugs Discuss here:
1 point
-
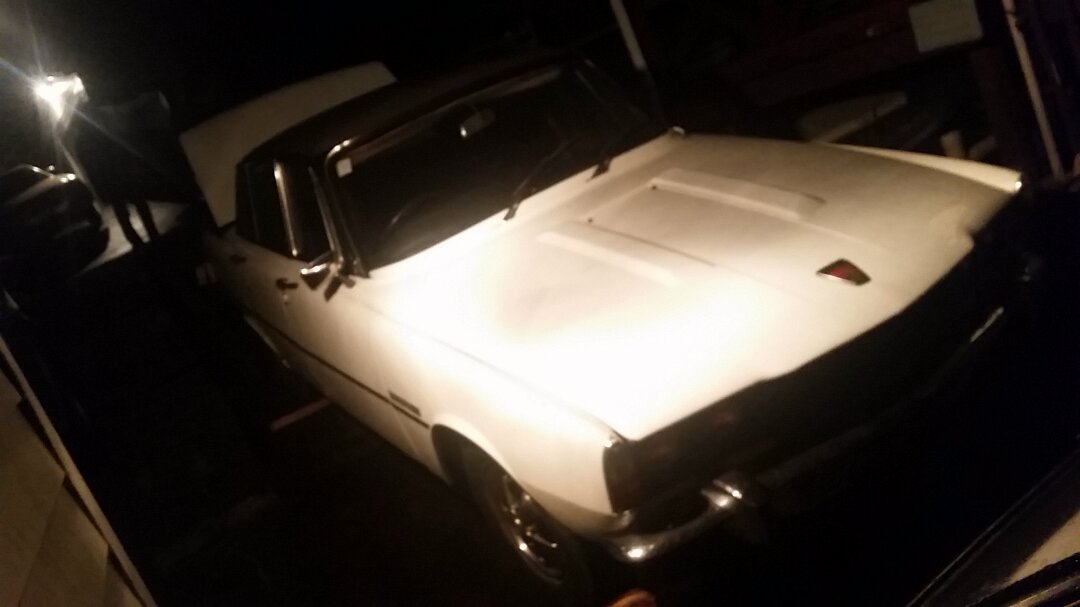
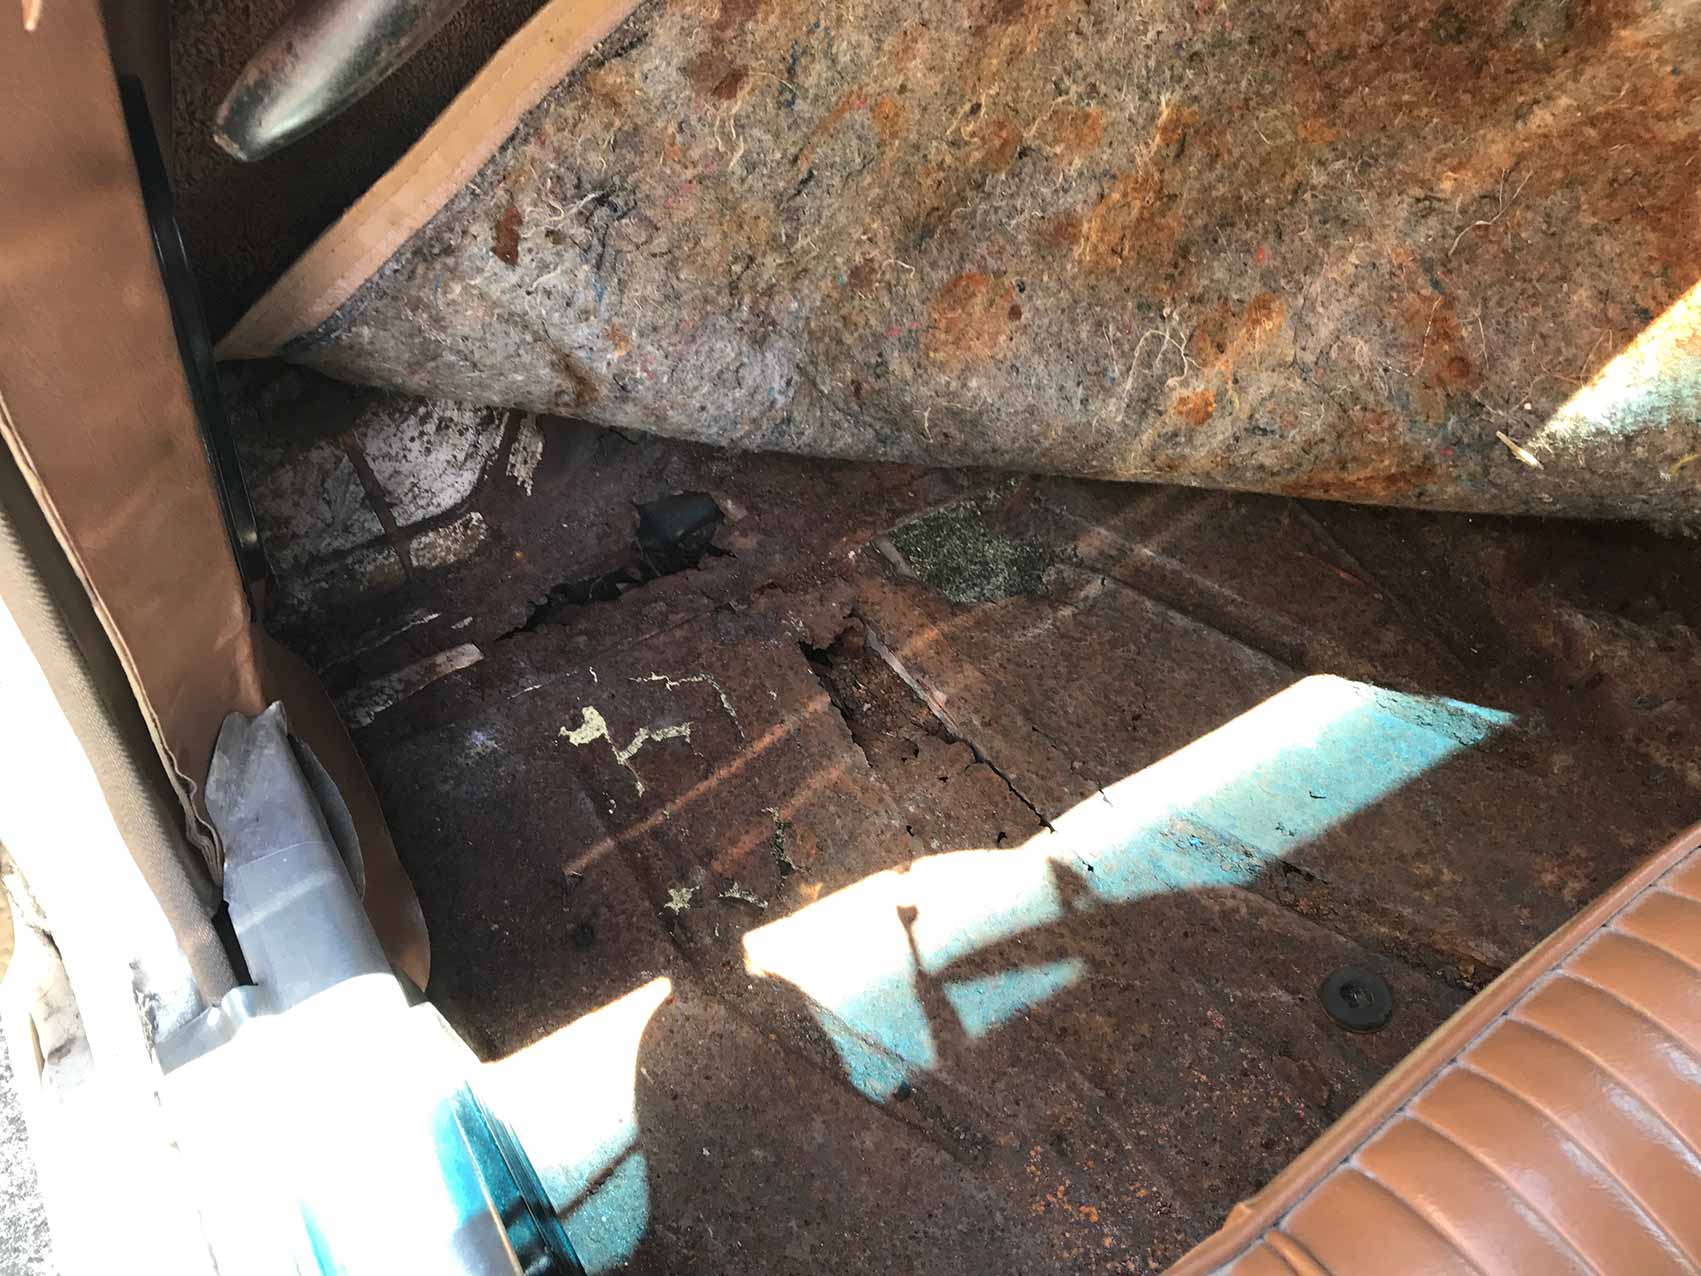
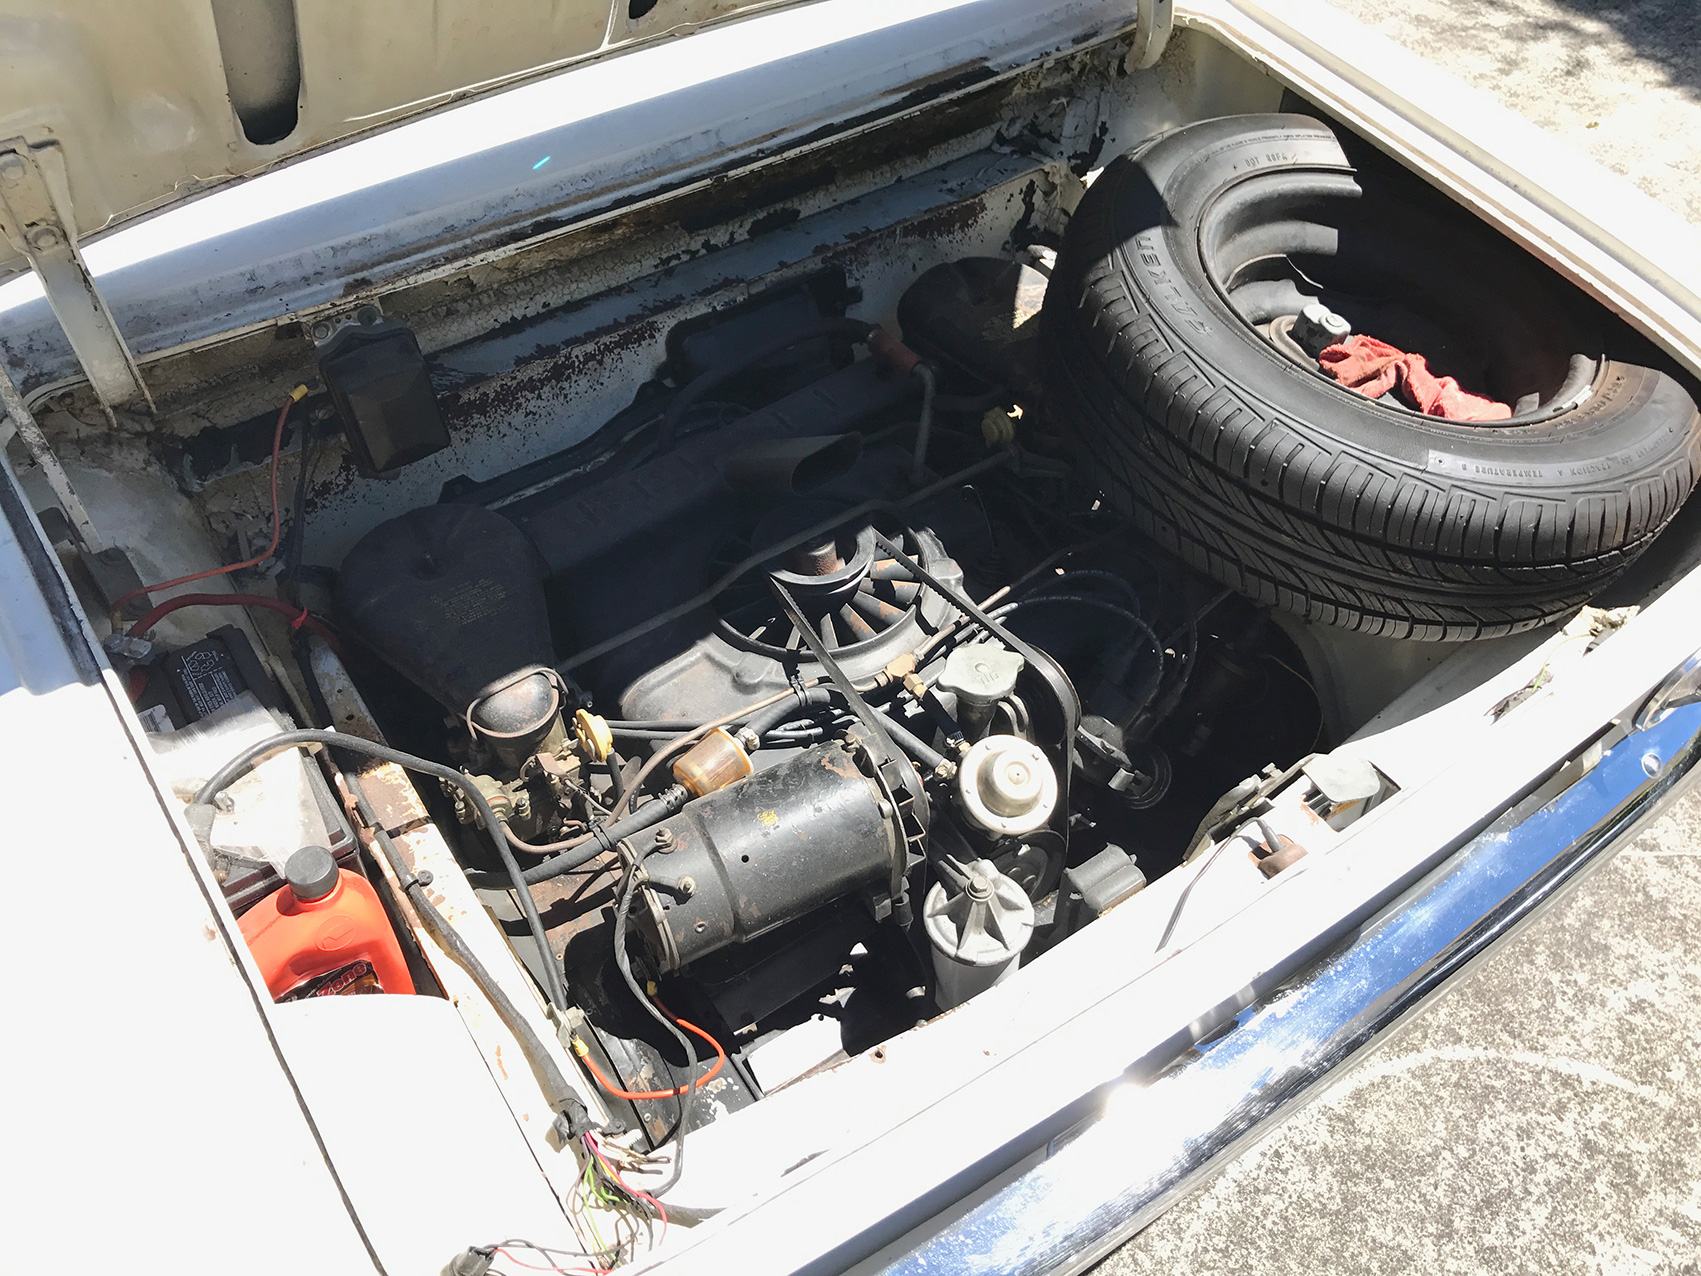
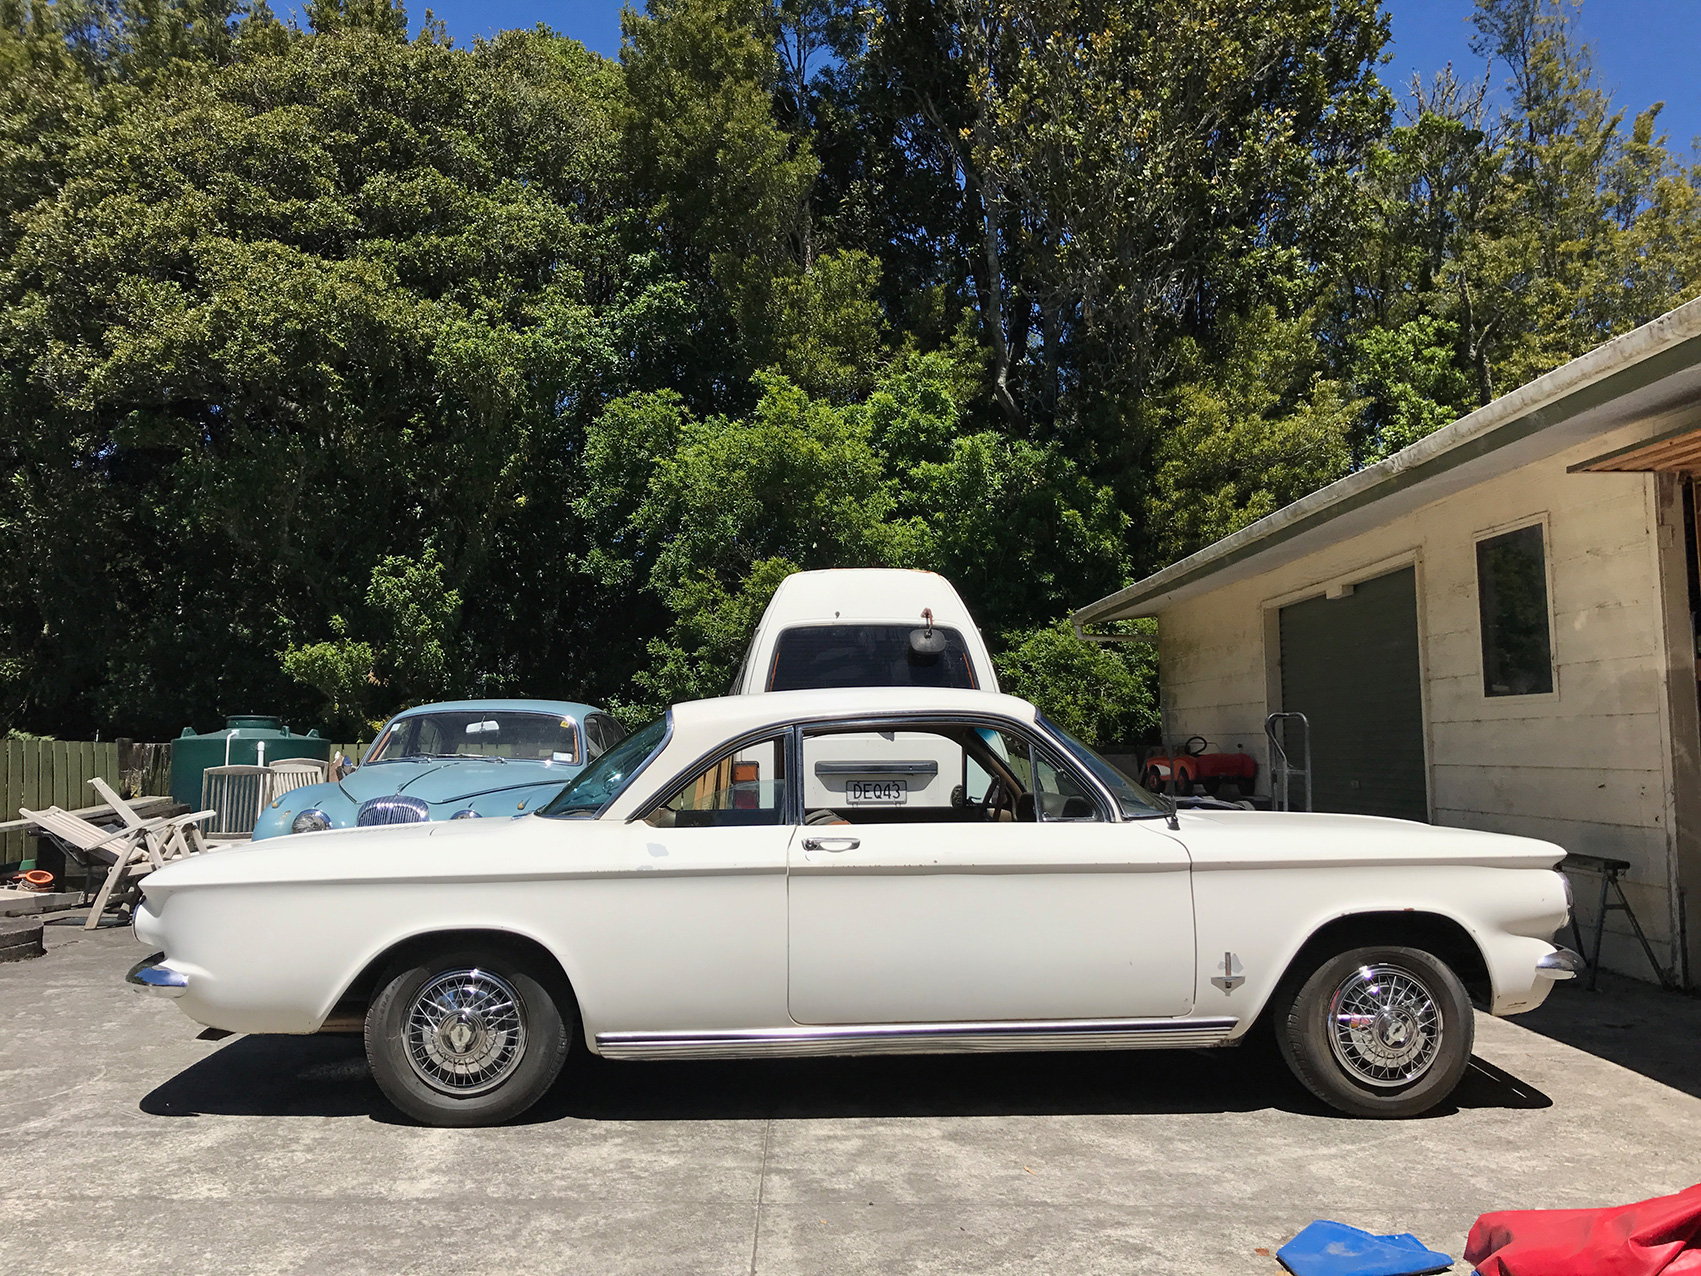
I've been floating around this site for a while, figured now's a good time to start a build thread since I picked up a new project. Its actually for the misses But I've fallin' for it too. We initially bought a Nash Metropolitan, we basically stored it for a few years doing a few minor things getting it running and driving but at the end of the day it was a can of worms I just wasn't motivated to get into. So we picked up a 63 Corvair Monza coupe off trade me and sold the Nash within an hour of each other... Perfect! The Corvair's a reasonably fresh import, its pretty tidy with a bit of rust on the front floors and thats it. It was running a bit rough but came with brand new carbs so chucked them on and gave it a tune. Found an exhaust valve tappet was a little tight, loosened that off and it started running perfectly. Any way here's some pics... Excuse the Trade Me interior pics. I don't have any good ones of my own yet haha Discuss here, Cheers!
1 point
-
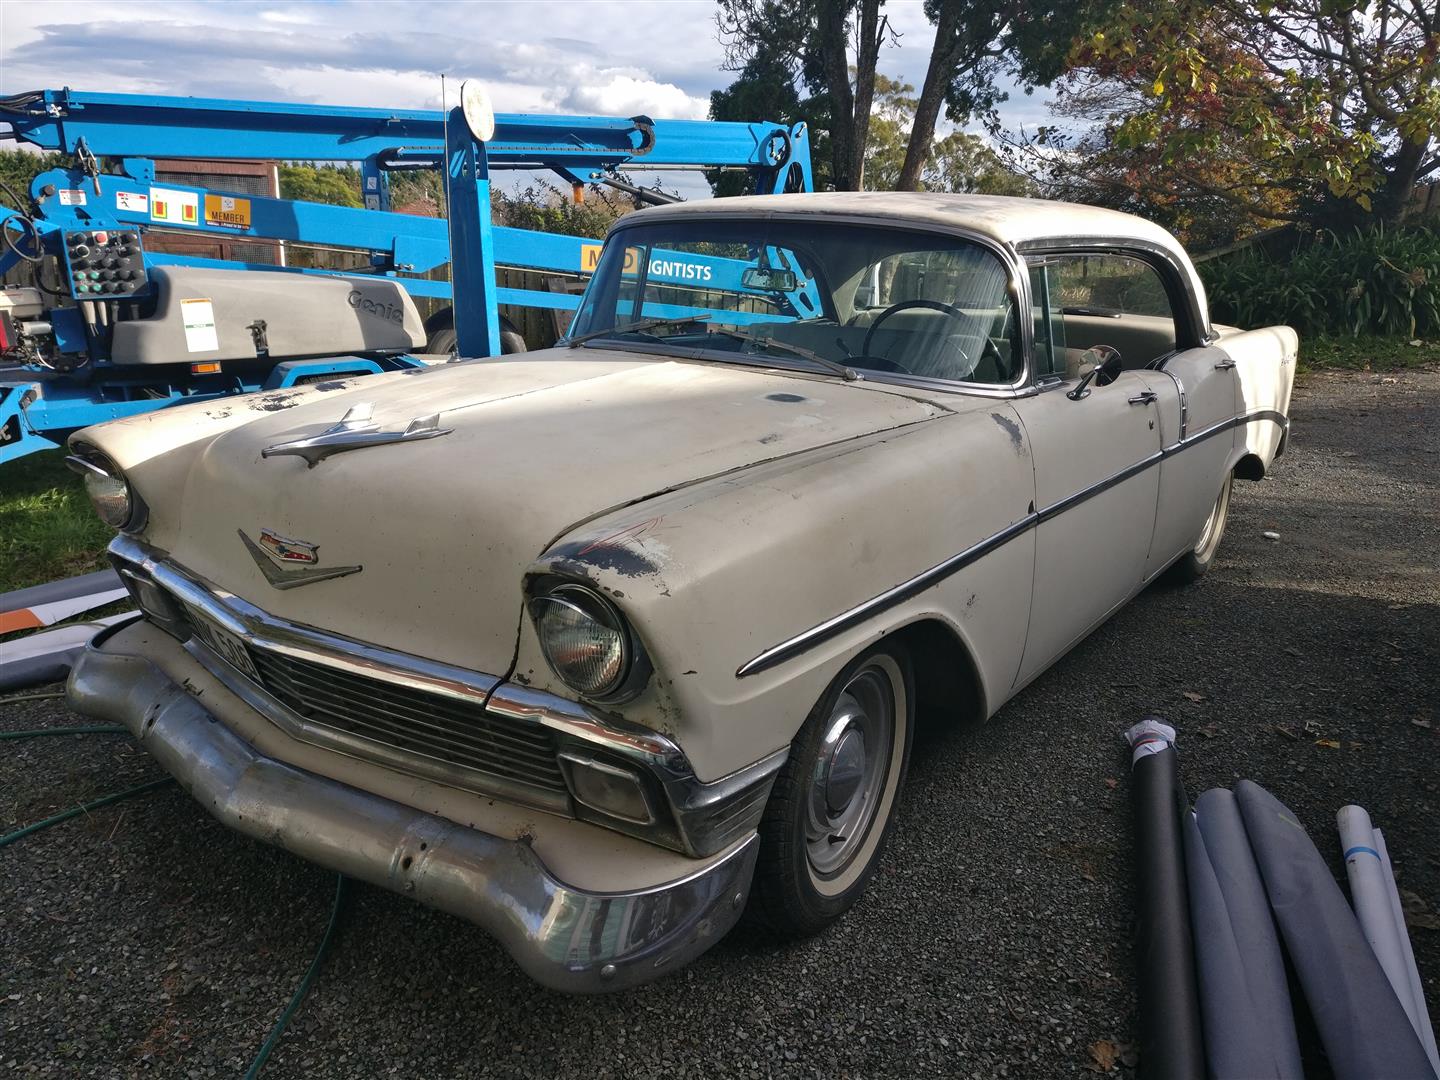
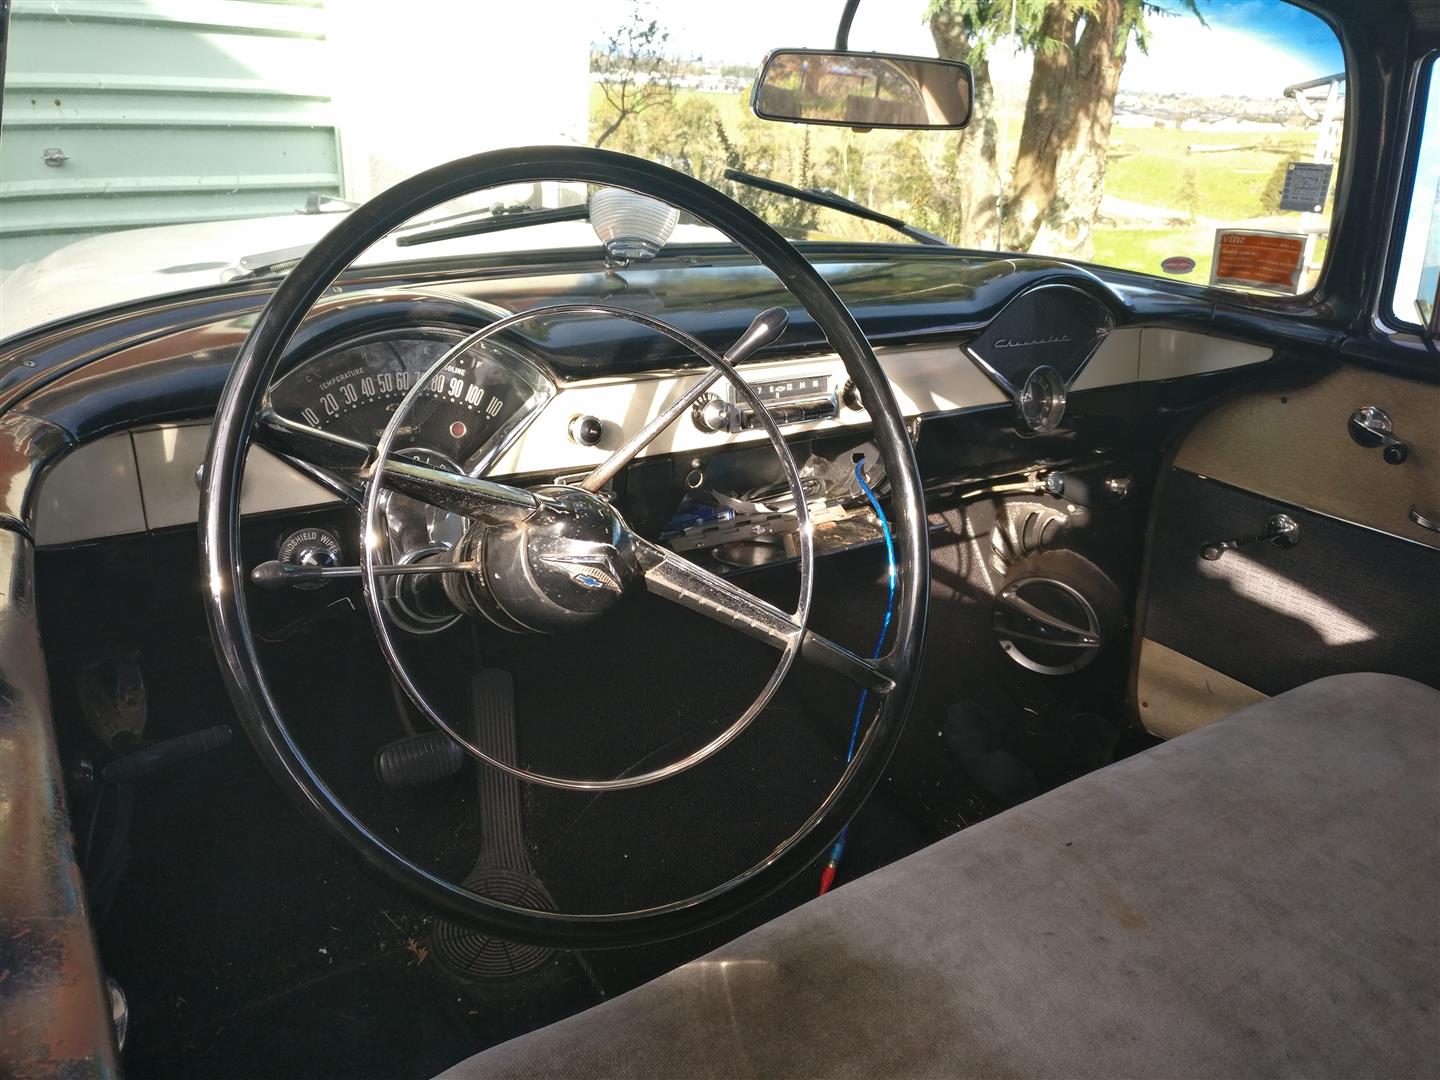
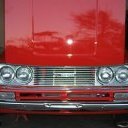
Bought about a month or so ago. Old man's and wanted it in family so that was a yes from me Plans.. Cruise and Enjoy. Running 265 V8, New Edelbrock 500 carby.
1 point
-
Replace with waterbeds1 point
-
/put camper on back of ute like Denham did. super grot.1 point
-
Please tow with Lexus Thank you1 point
-
Hey bumped into Tony and he reckons that the moutere inn does a 'quizz/something else pubby social like' night on thursdays and it might be booked out?1 point
-
Try these guys. Page has a chart that lets you work it out from tyre size and diff ratio. www.hemiperformance.com.au Search for Torque Flite 904 speedo gear. Diff ratio should be 3.31 with 2600 or 3.91 with 1600 (according to automobile-catalog.com)1 point
-
very happy today to discover/finally get around to test fitting, my modified dizzy, with the trigger wheel and pickup, from the old bike carbed 18r fits in the 18rgeu (although i sent both dizzy retainers off with the engines when i sold them!, the RG dizzy has a cast on retainer) but this means a bunch less work to do all over again, and i was secretly hoping that it would plug and play!1 point
-
Would like to swing down will decide on the day.1 point
-
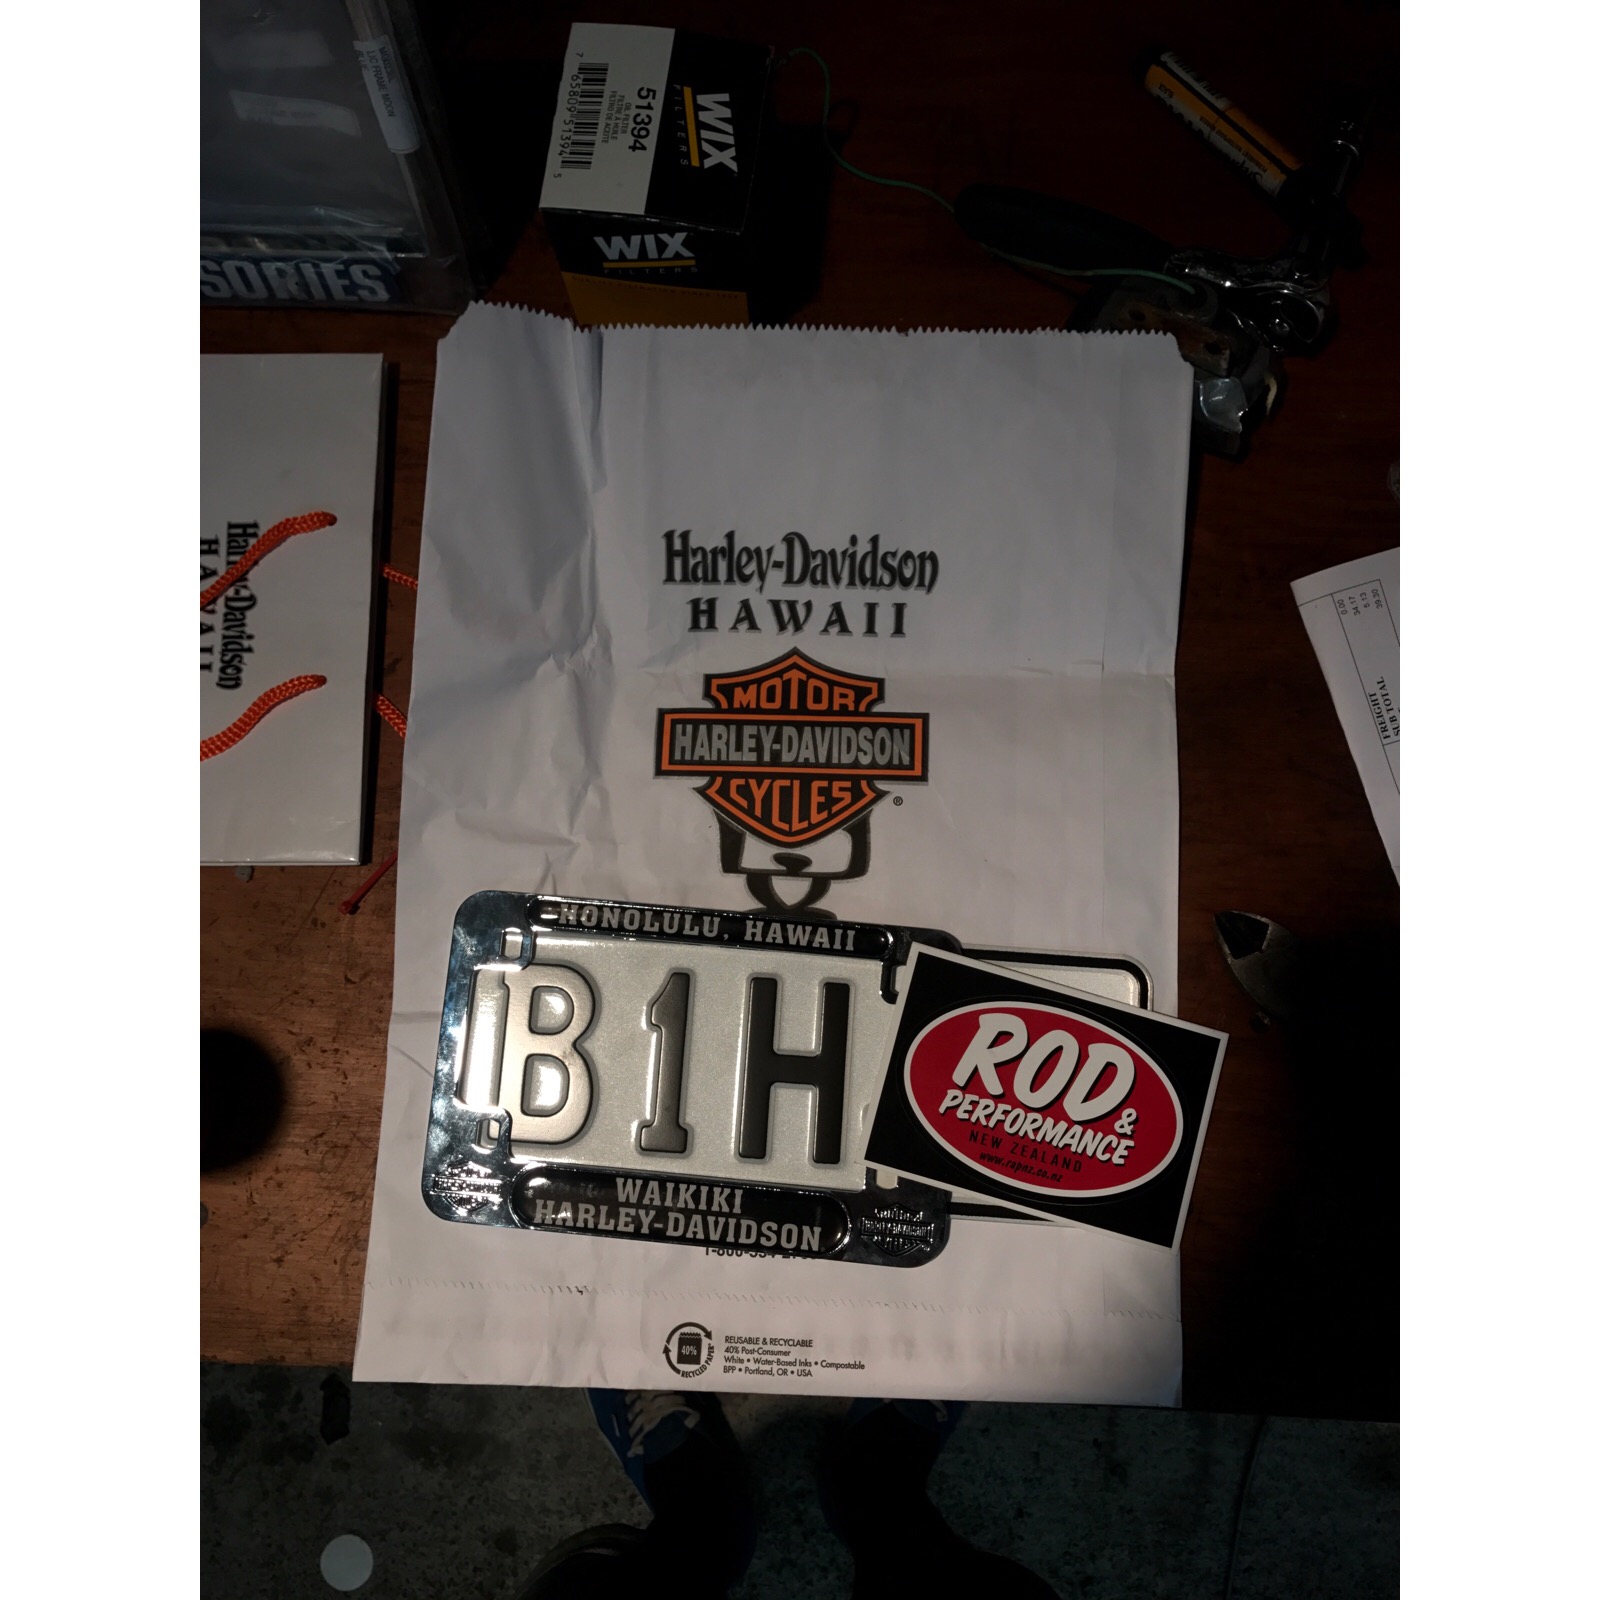
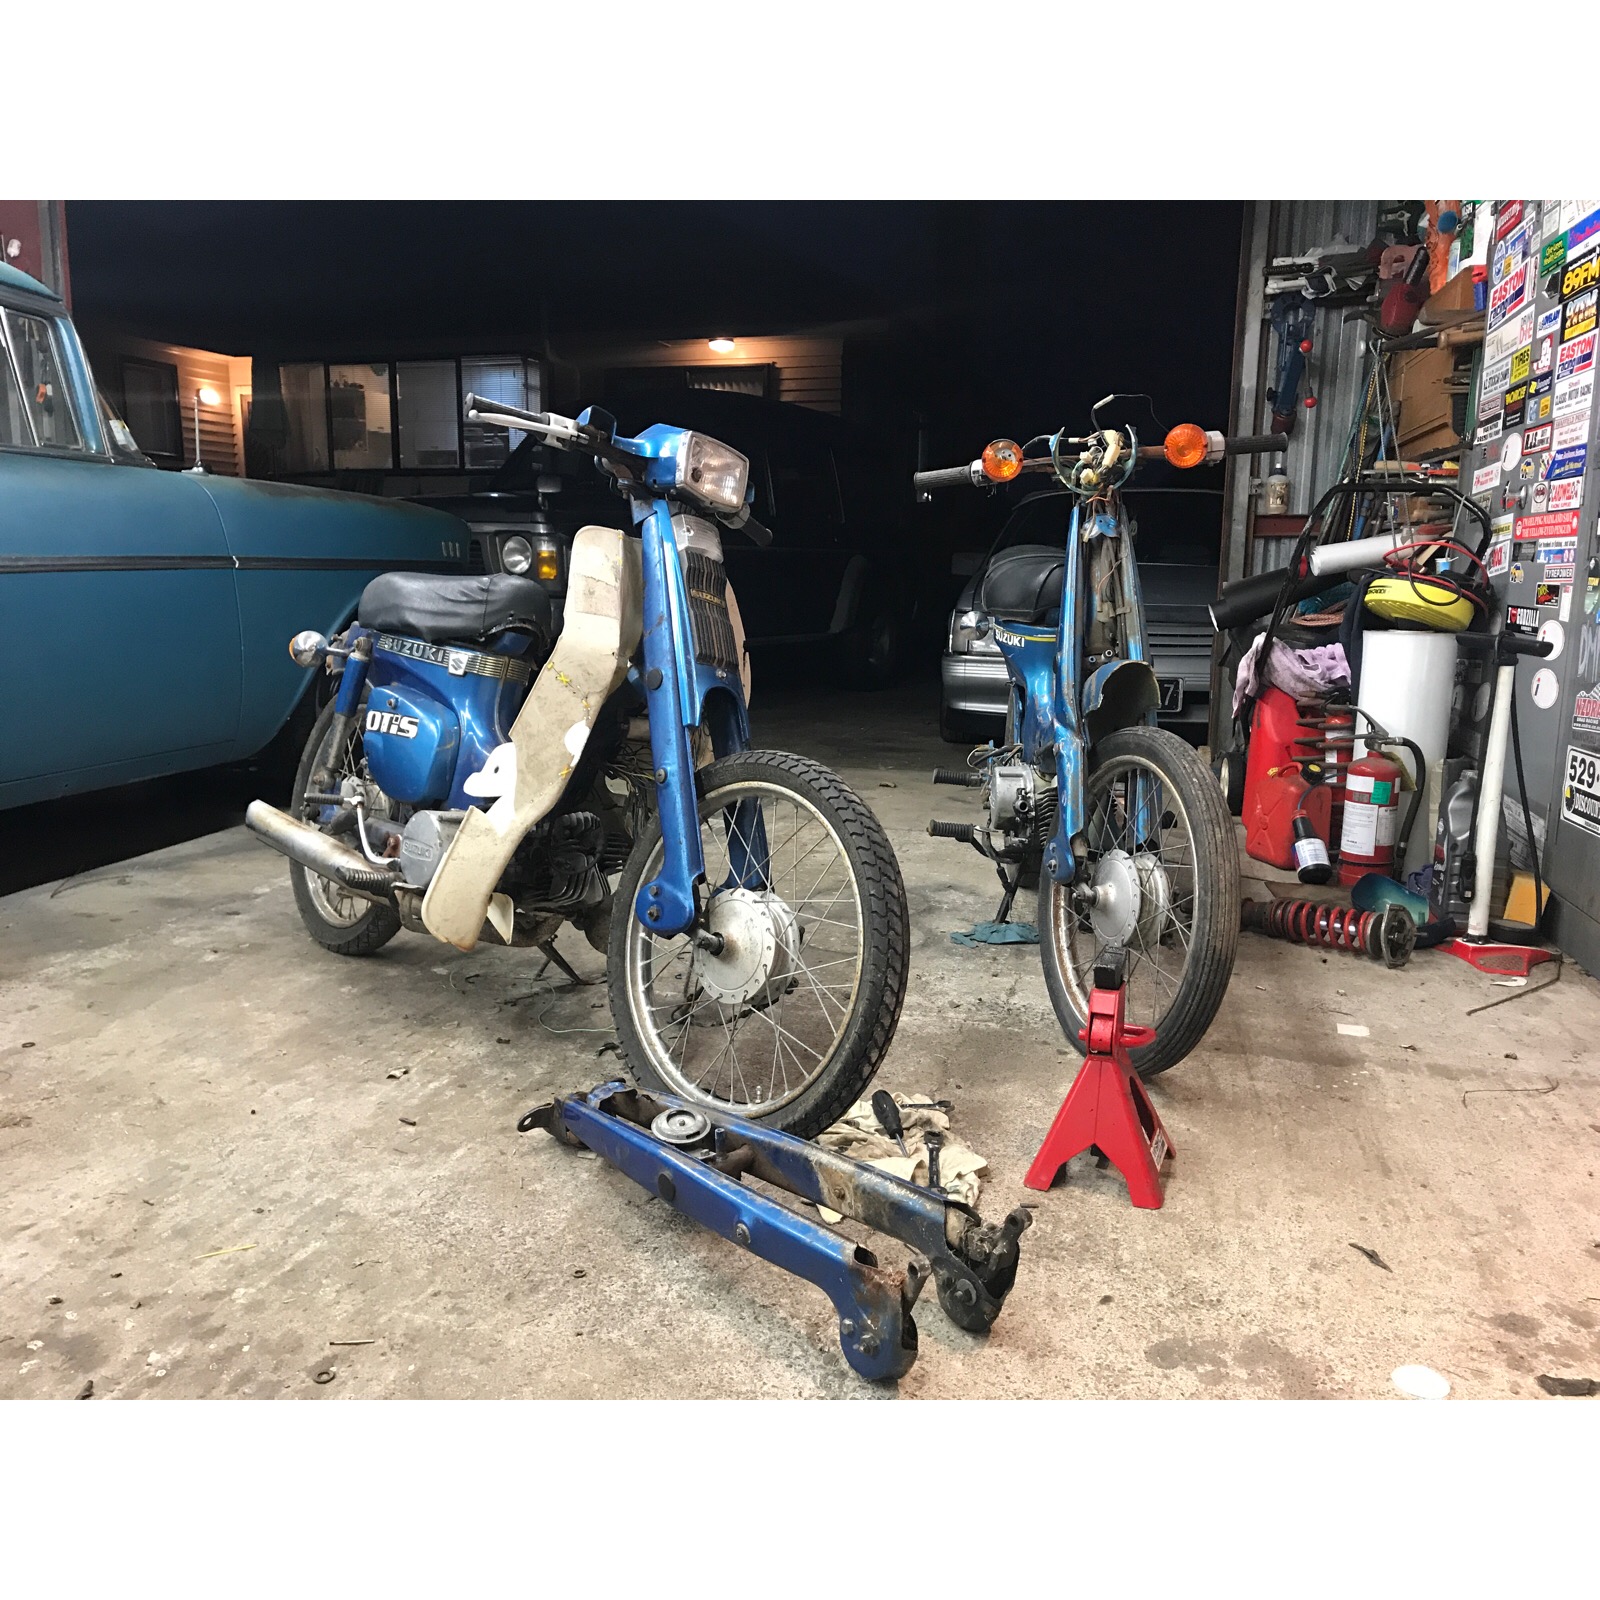
Then half a packet of cable ties later, I've reassembled the pile of broken plastic that came with the bike back into the gauge shape of a legsheild then decided I'd push my luck and ended up getting it registered aswell! 1979 Suzuki 50 EASY AS Pictured in my Harley Davidson plate frame I picked up in Hawaii. Need to get a Smaller plate made as NZ plates are HUGE compared to US plates. and just for old times sake, Showed the FA that started this love affair some affection and fixed a broken wire and fitted up the leg sheild Felix gave me aaaageeees ago
1 point
-
Might drag the corolla out of slumber and head along1 point
-
Out you come old chum
1 point
-
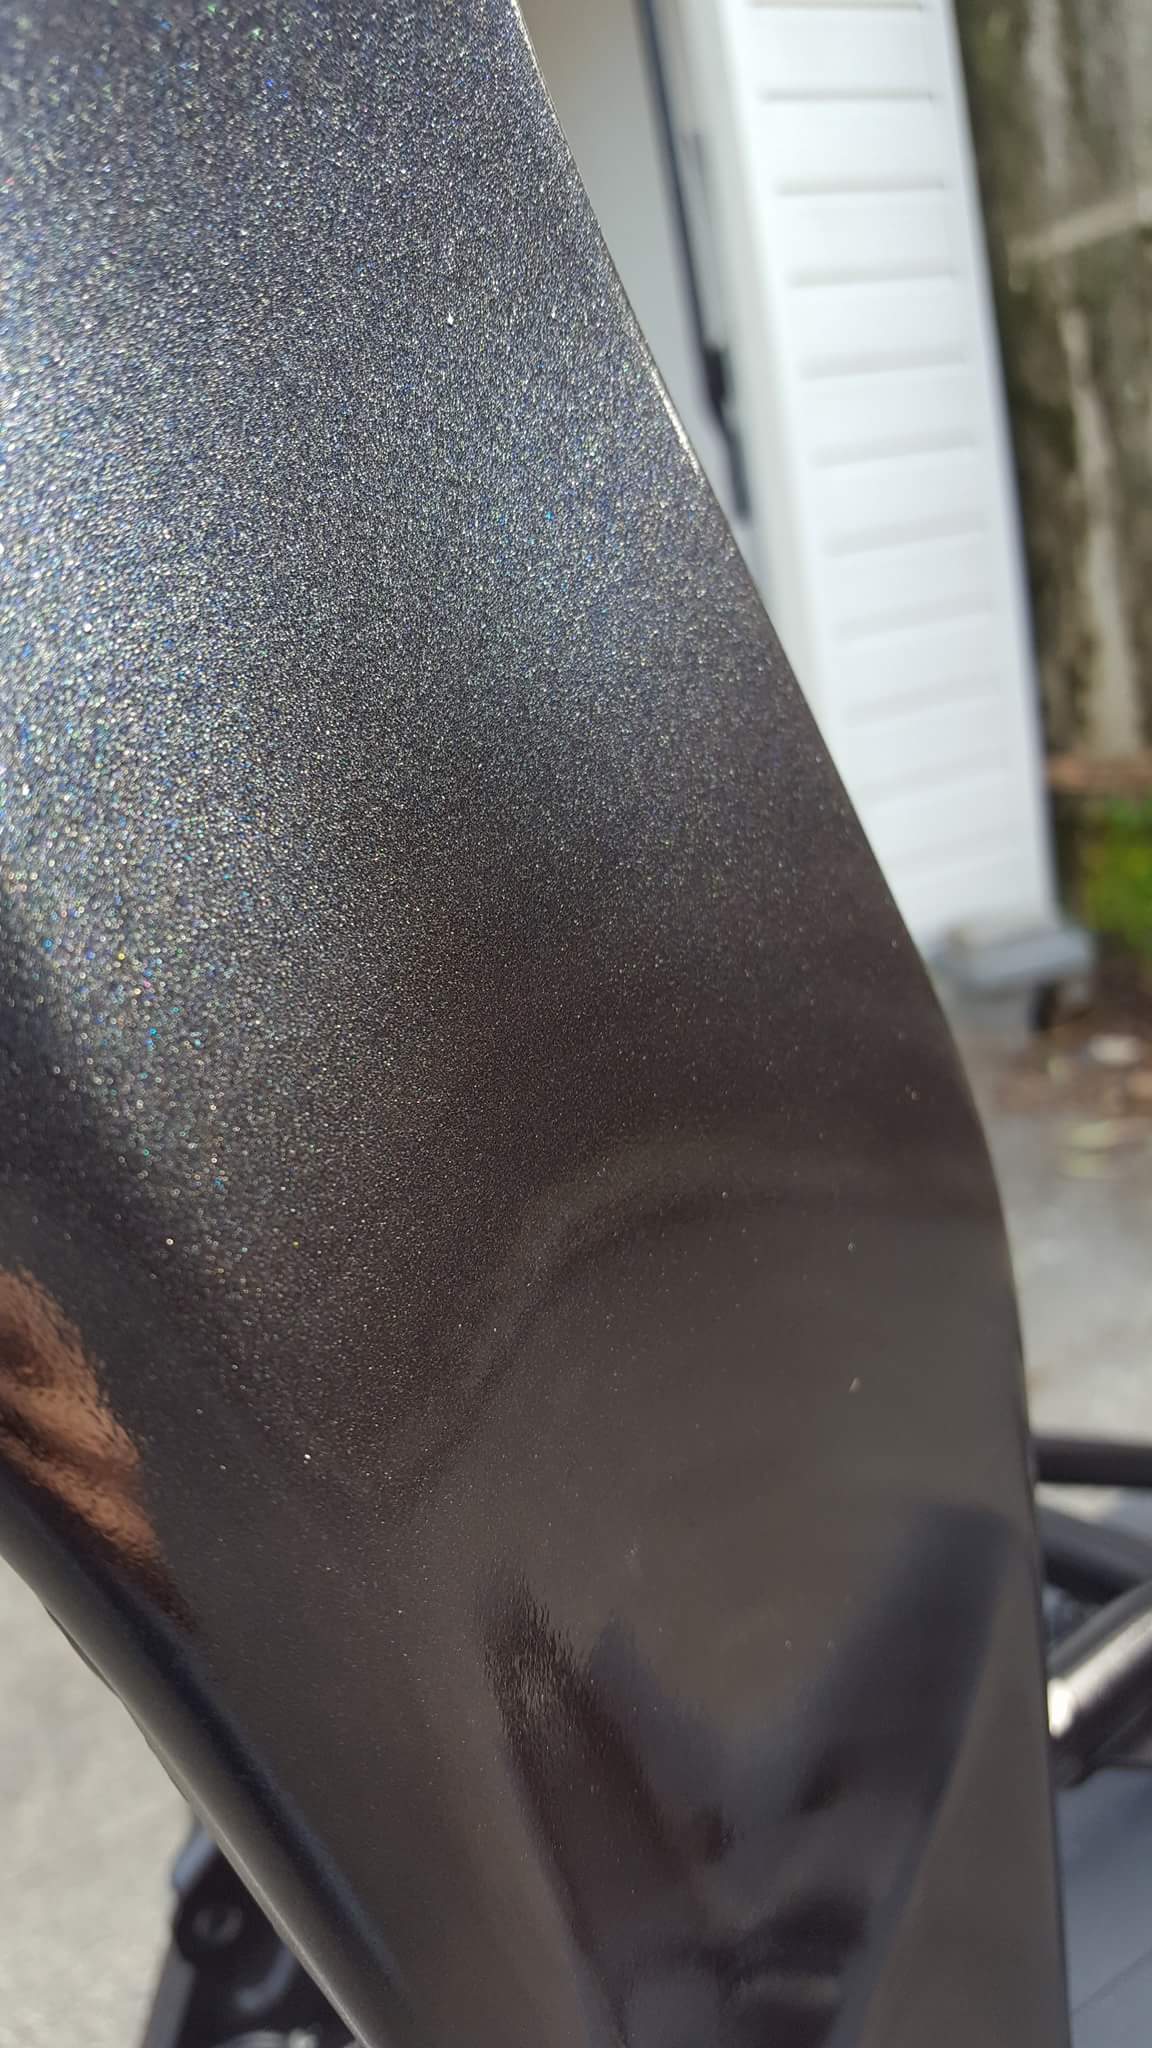
Got some clear on this afternoon. Not a perfect job but my first go painting with a gun, so I'm happy. Close up of the colour in faint sunlight:
1 point
-
that right there is a corgi faced douche bag.1 point
-
Is the carb slide up the right way1 point
-
I wasn't going to start the suspension work for a couple of weeks but I had some time this afternoon and decided to get stuck in. @Valiant was kind enough to send up his homegrown upper ball joint removal tool and I was itching to try it out. I tried to remove the joint with the upper control arm still installed in the car as a couple of members had suggested but it was super tight and I had no hope of moving it. I think this was mostly due to the fact that I was only using a 1/2 inch drive breaker bar and a 3/4 drive adapter. It might have worked if I had a proper 3/4 drive breaker bar. I persevered for a while but I was afraid of slipping and damaging the front wheel arch or guard so out came the control arm and I decided to go big and get some proper leverage happening. The control arm bushes require replacement to I ripped out the guts allowing me to pass a piece of round bar through. Next I held the removal tool in the vice so I could hold the ball joint and had a go at turning the control arm around the ball joint. It took a couple of good swings but I heard a delightful little crack and the joint started to turn in the control arm. Once it started to turn it was easy to remove the joint using the breaker bar and removal tool. After giving the control arm a bit of a clean up I installed the new joint. I had a bit of fun getting the joint to screw in straight but a couple of OS members who have done this job before told me to expect this. After few false starts the new joint started to screw in nice and straight and actually went in fairly easily. While I have the removal tool in the workshop I think I will do the other side so I will see my friends at BNT tomorrow and grab another.1 point
-
http://www.trademe.co.nz/motors/car-parts-accessories/personalised-plates/auction-1347006420.htm I read it wrong.1 point
-
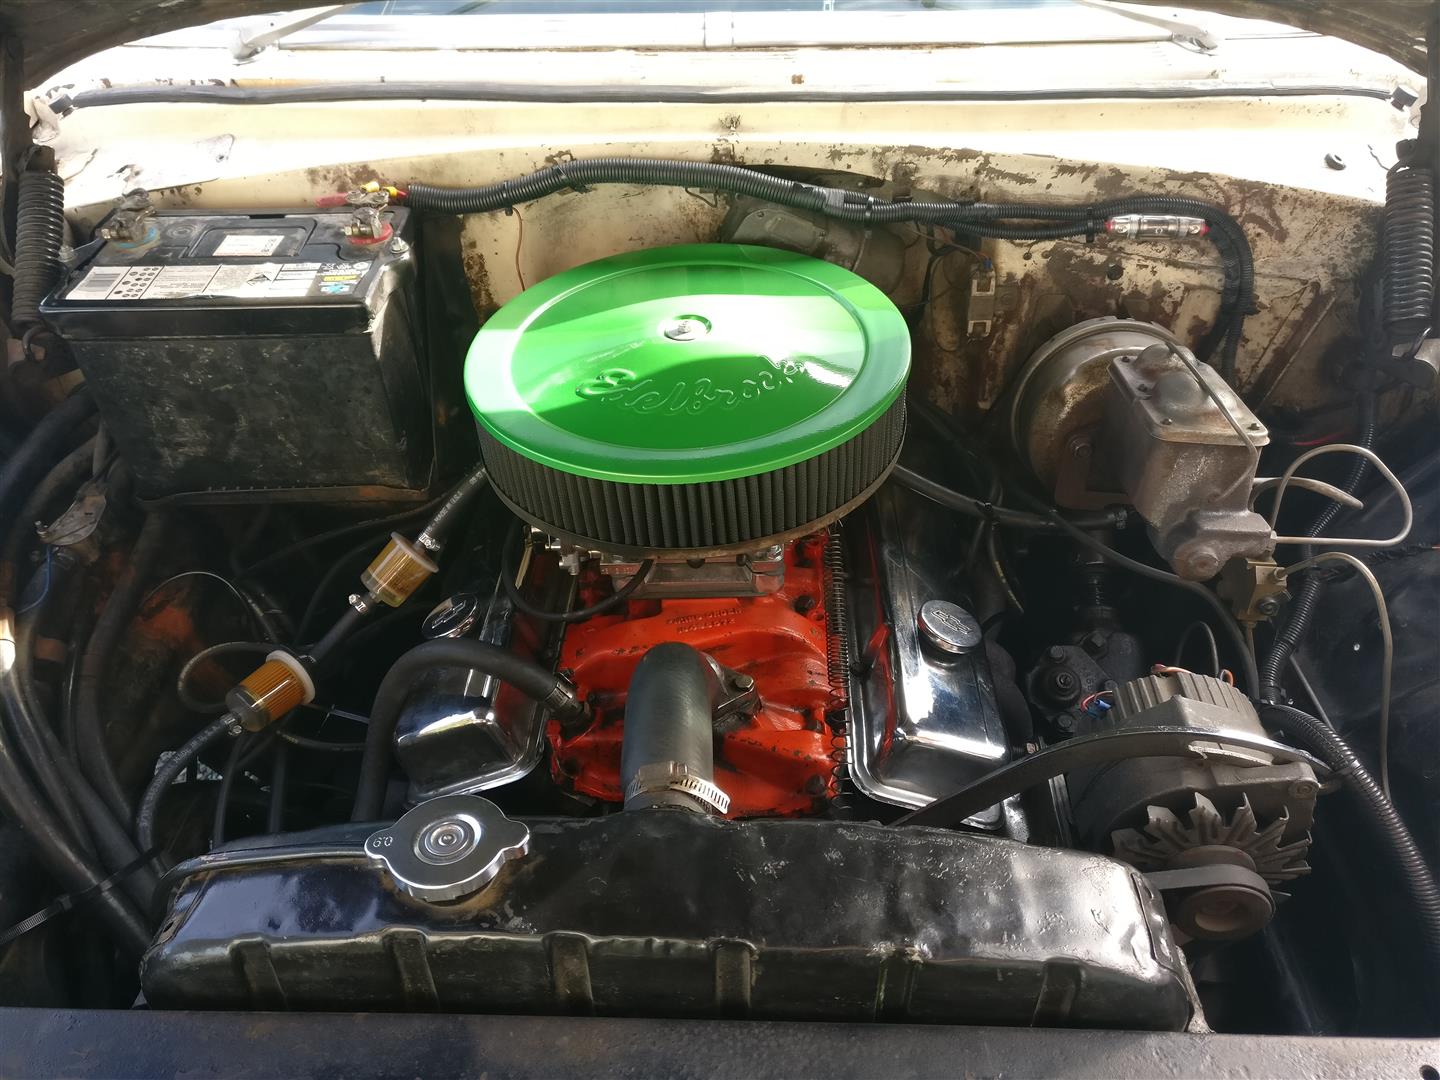
Not a fan of the green but got the whole filter cheap, Be keen to sand back and matt black or just rust it up.
1 point
-
I noticed that I was starting to wear a groove in the negative battery post by disconnecting and re-connecting the battery. I don't trust the 54 year old electrical system in the car so I always disconnect the battery when I park the car in the garage. I have decided to install a battery isolation switch and I would like to be able to operate it remotely (without opening the bonnet) to make it slightly more convenient for regular driving. I had this switch kicking around so it will do, pretty sure it is a marine switch for a boat but it has a very high current rating so should be perfect for the Valiant. The first thing you want to do when modifying a switch like this for remote operation with a push / pull style rod is to make things way more technical than they probably need to be. I cut a leaver out of a piece of fiberglass sheet that I had left over from another project and glued to to the switch knob with some hard core marine epoxy. Next I made a bracket to mount it all in the car. I had a nice piece of angle that looked like it would do the job but it wasn't quite big enough so I got brave and broke out the little arc welder. I don't weld very often so I am always stoked when I successfully stick bits of metal together. And here it is all ready to go in the car. There is room to mount the switch below the battery tray out of sight and I plan to operate the push / pull rod through the grille removing the need to open the bonnet every time I drive it. Should be way more convenient and will stop me from destroying the battery terminal posts.1 point
-
M8, we'll be firing it up errr year. See you there. Also I am keen to race against your GTR if you remove five spark plugs and both turbos cheeah1 point
-
So tonight a mate of mine (same one that sold me the motor actually) came around and bought his flash TIG over. weldy weldy i wish i could weld this well. Finished pipe setup including air filter. hopefully it wont suck too much hot air, but a heat sheild may be called for. To say that i am stoked would be the under statement of the century. and its not even finished! i was going to polish the pipes, but upon seeing it all together it would be far too much bling, so my mate and i agreed that wrinkle black on the pipes and blower is the way to go, and how all the old school turbo and supercharger kits were often done.1 point
-
1 point
-
I purchased the required suspension parts this week. The upper ball joints on these Mopar A-bodies are funky looking things, they screw into the upper control arm and the thread is more like an interference fit than a proper machine type thread. There is a special tool available for removing and installing them however the tool costs 3 times as much as the replacement ball joint so I am keen to know if anybody has a good alternative option for competing this job. If somebody in Auckland has the tool and would be happy to help me out installing the joint I would be extremely grateful (beer will be shouted). The proper thing looks like this. Please feel free to post suggestions or offers of assistance in my discussion thread //oldschool.co.nz/index.php?/topic/56384-1963-ap5s-valiant-regal-discussion/1 point
-
Holly crap time flies! Its been over a year since I have done an update/work on this thing. Over the last couple of months I have slowly chipped away at the body work, its pretty straight now, just a couple of minor imperfections left to bog. Yesterday I started making this pedal box out of sheet steel, I cut it out in one piece and bent it up. I'm quite pleased with how it turned out, I'v never worked with sheet before. I'v only tacked it together but haven't blown any holes in it yet.... Touch wood. I got a couple of these bad boys of Aliexpress $11 U.S. each. I'm all about Alliexpress at the moment Hopefully more updates to come soon1 point
-
There are sicko's in the US that have slant six powered cars running in the 10's.1 point
-
1 point
-
One complete box ready for action. Body work will start again in a couple of weeks so looking forward to finally getting progress
1 point
-
1 point
-
This better seedy?1 point
-
Decided didn't want to drag a trailer around all summer on my adventures and felt like a project away from my house. So have mounted the camper on my c10 bed! (Camper not damaged in anyway can go back to factory in an hour) should look quite call all up. Just need to extend the side legs with extensions. Also midnight upholstery is whipping a new cover up for it this week. If weather is good this weekend it will get test run1 point
-
It failed compliance on a broken door release cable. There's a surprising amount of DIY resources like workshop manuals, parts catalogues, and forum guides on these, thankfully. The wheels are directional - the thick side of the spoke is supposed to be towards the front. At some point, someone has mixed up the rear wheels. It came with this lush briefcase of Ferrari paint tin lid openers and some flat tyre wind with an F40 on the can. It's quite low. Doors are amusingly thick. Supermarket car parks might be tricky. It feels really strange sitting so inboard of the edge of the car.1 point
-
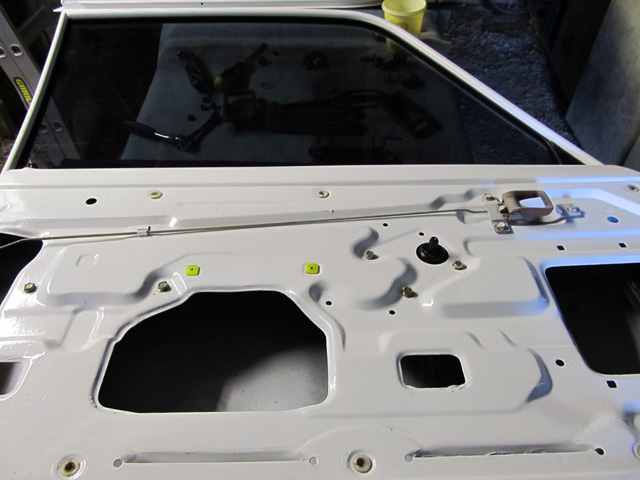
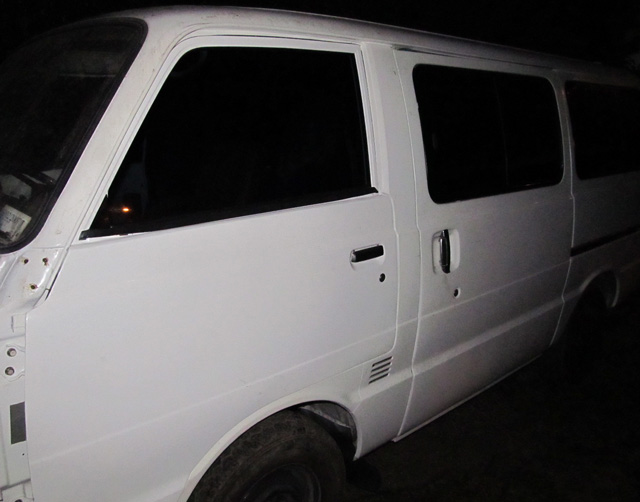
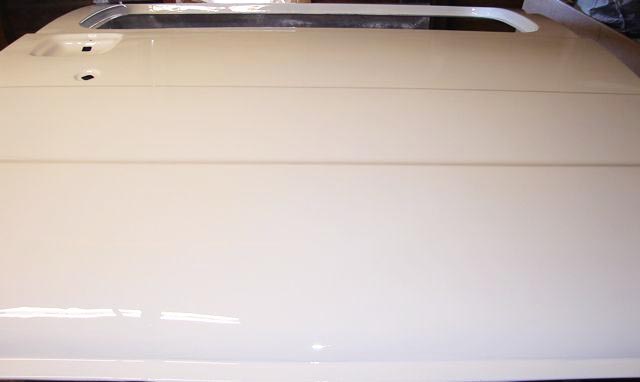
The top coat. Pretty mint considering the dusty area I'm working in. Tinted windows in. Worked late to refit the front doors, still need adjusting. The problem with the starter solenoid solved. Starts first pop.
1 point
-
Want to know the best bog for holes?, sheet metal + welder1 point


.thumb.jpeg.384ff72c8d2b0ee0d34a7bdedb55bdcf.jpeg)


This leaderboard is set to Auckland/GMT+12:00