BlownCorona
-
Posts
6,540 -
Joined
-
Last visited
-
Days Won
4
Recent Profile Visitors
5,929 profile views


BlownCorona's Achievements
Committed (5/5)
6.9k
Reputation
-
sorry im not aware of any other parts that will work (not saying there arnt any) I used the pedal assembly from a manual 13x series crown wagon. early on i had a celica xx / aa60 pedal assembly that i thought i might use but i never even offered it up as i found the genuine unit ex japan.
-
great job, awesome engineering yadaa yadda ect ect im disappointed that milk bottle didn't get ejected out the side of your shed at mach 1 but seriously, great job
-
A while back i commissioned a strap to be made for this after a late night browsing, it was advertised as a guitar strap so i got in touch with the maker to see if she could make a 3" wide one suitable for bass, she was only too happy to. She was in the process of moving and said it would take a while but i was happy to wait and im glad i did. its currently fitted to my Samick bass which i picked up for cheap to learn on, its a good instrument but its quite generic. the strap came from https://rockitmusicgear.shop/ which is run by a lady in California and has plenty of awesome designs, also a pretty accomplished musician herself and i was glad to be buying from a person and not another massive faceless company. as a pretty awesome bonus she had also included these little 3d printed cats and amps pick holders that she makes. the whole family loved them and they now live in our library on the shelf with various other little trinkets, and also the room where my wife practices. (i dont actually use picks, but i love cats and i love amps)

-
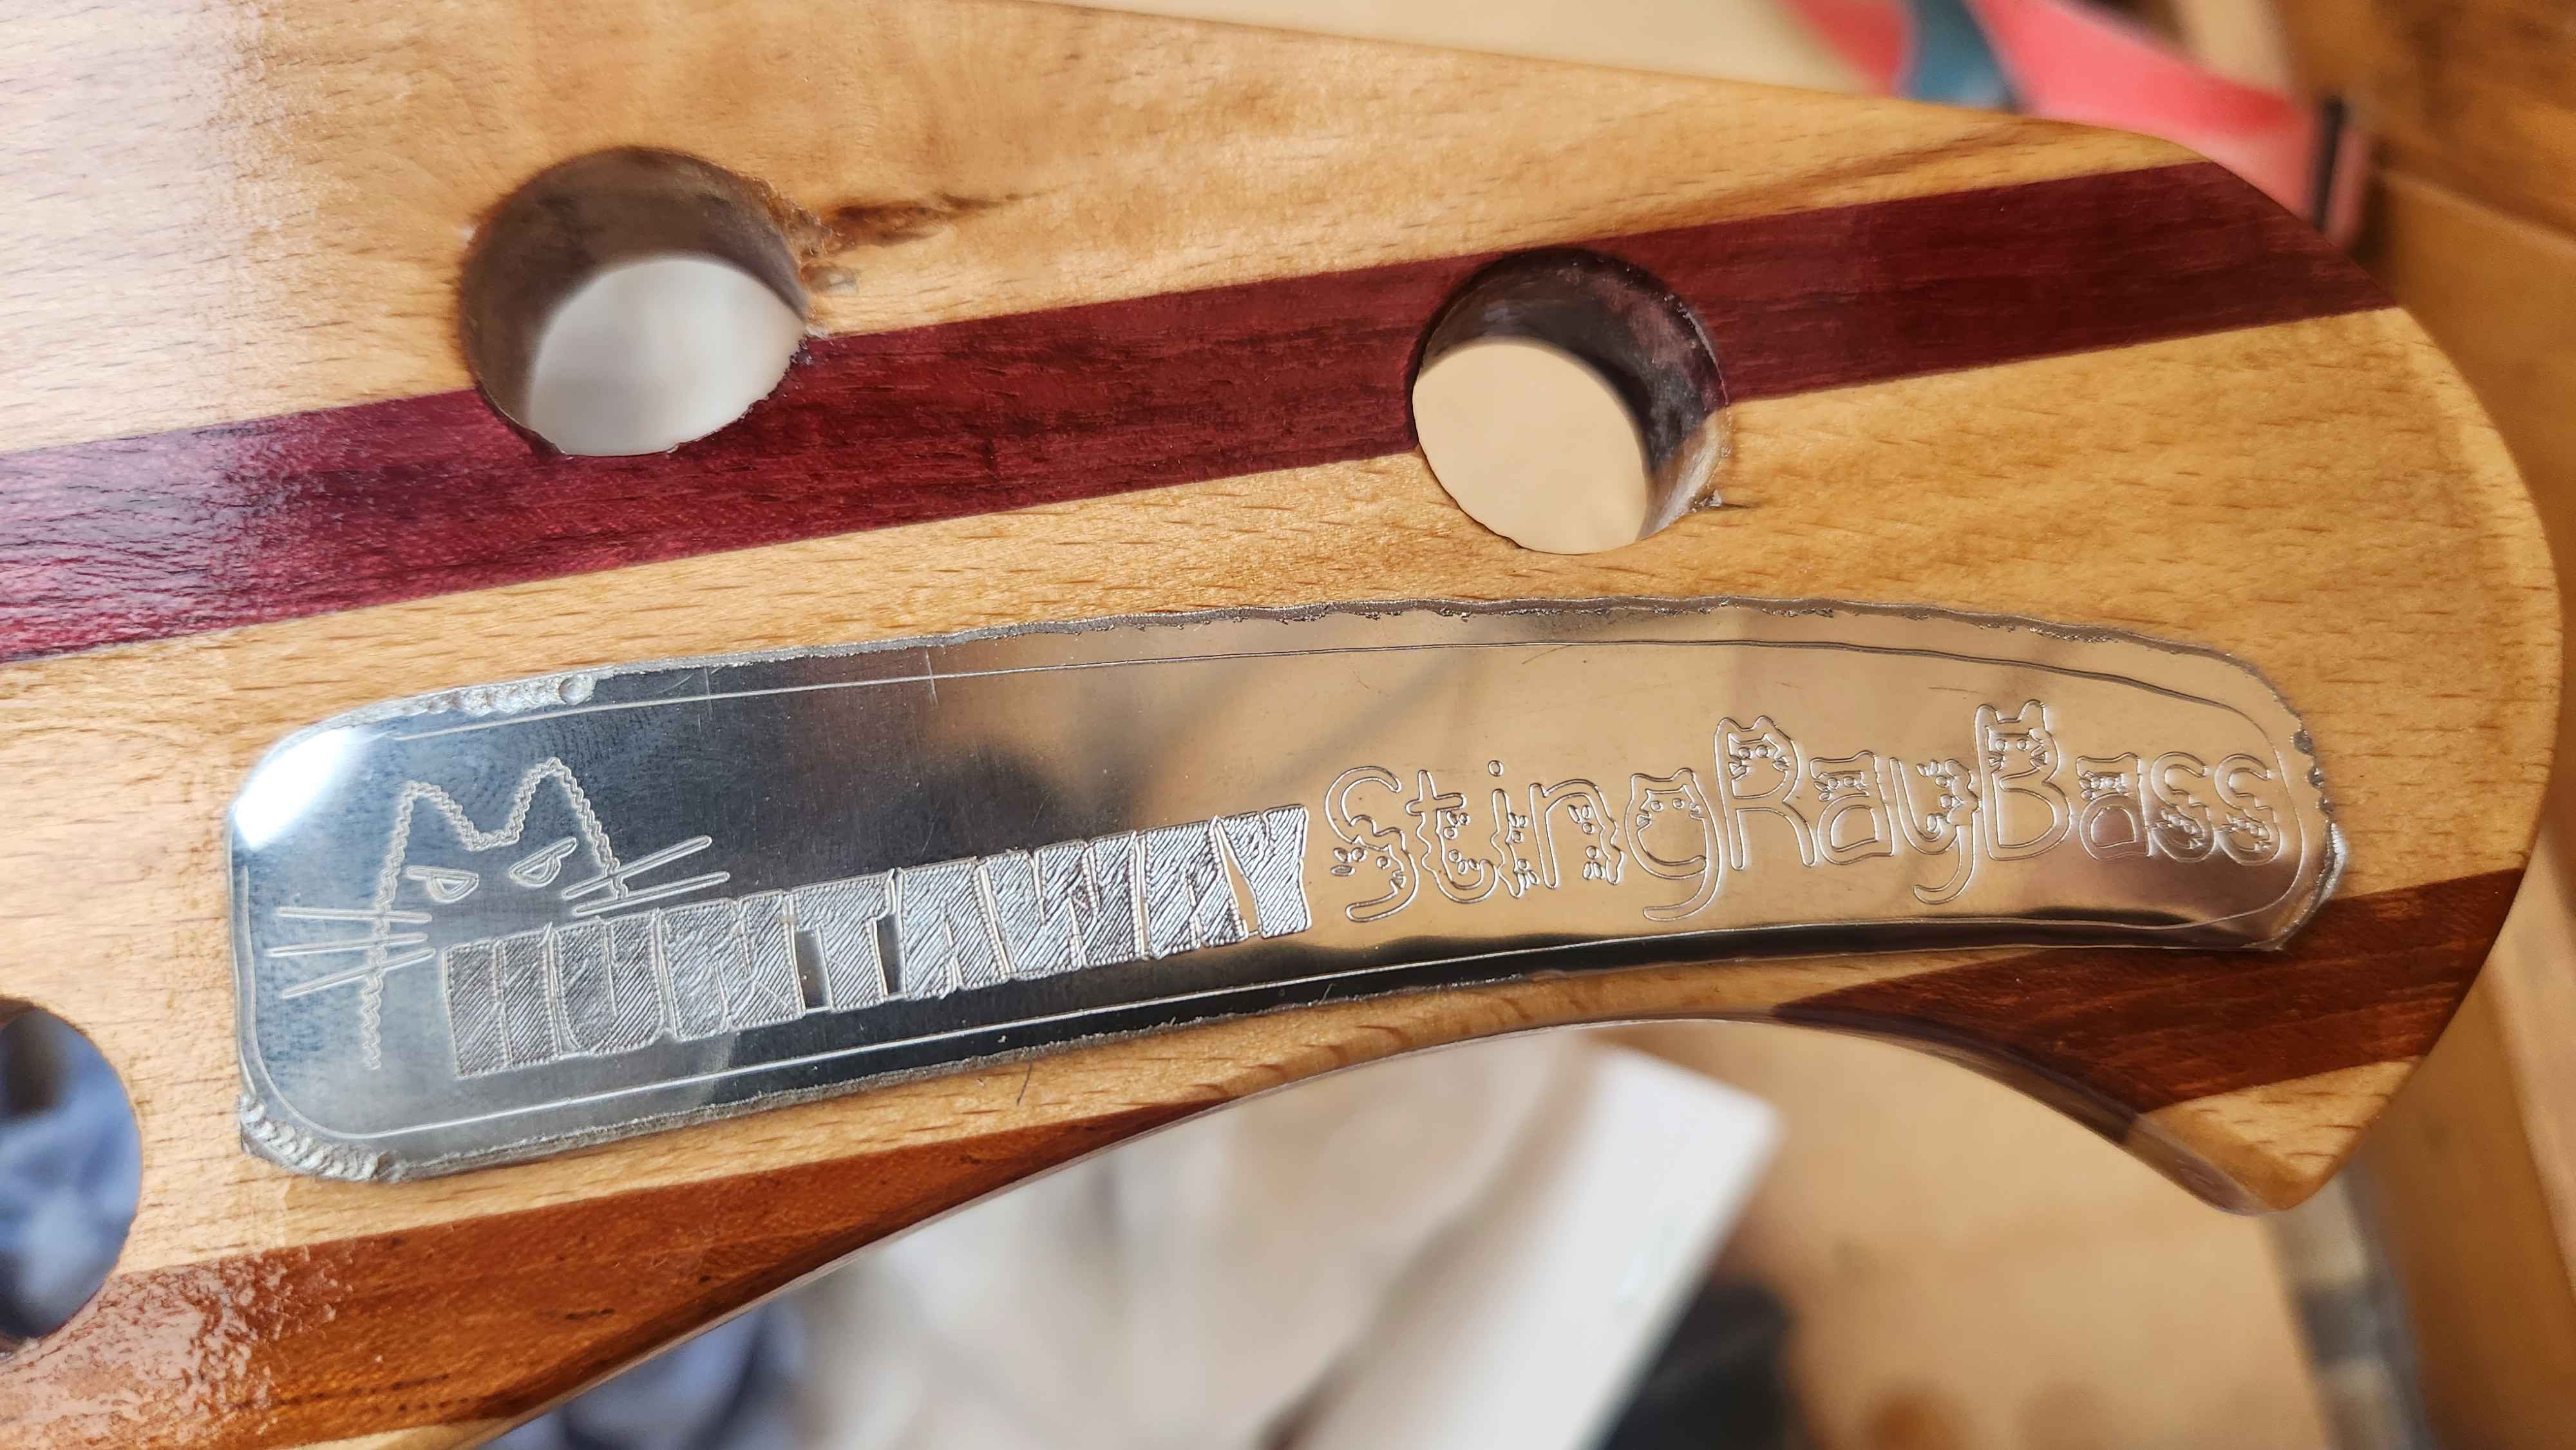
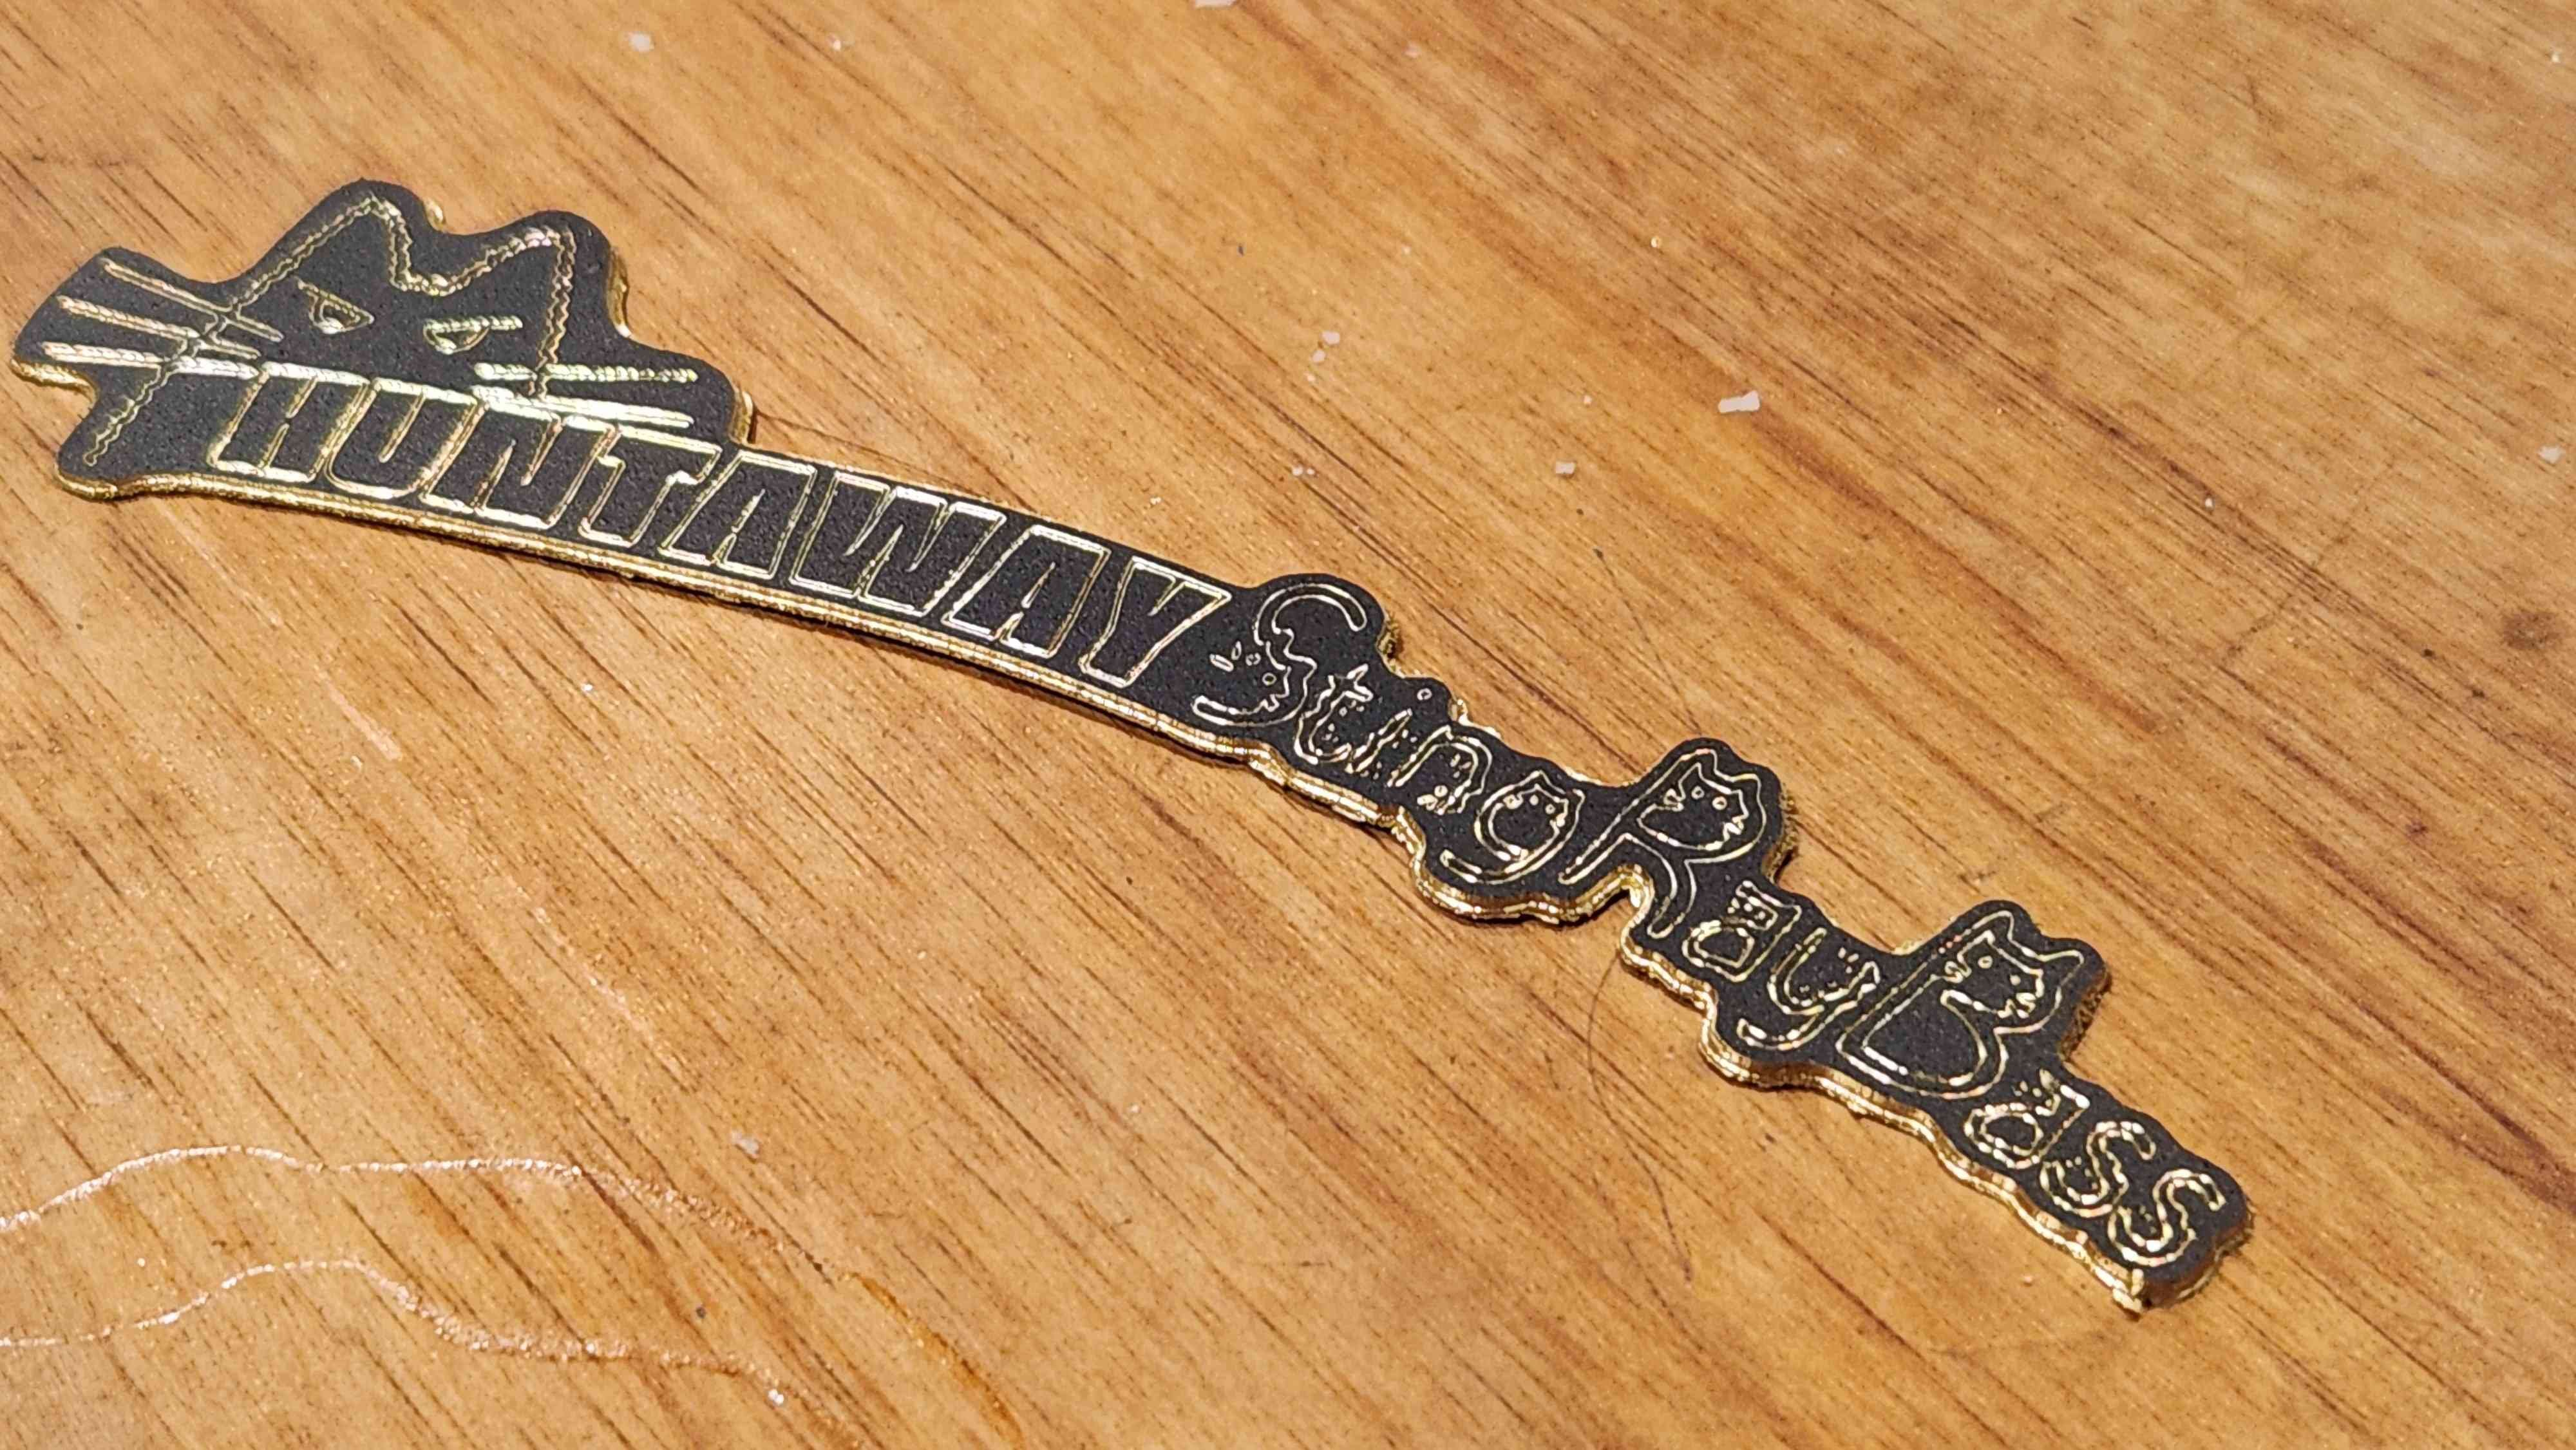
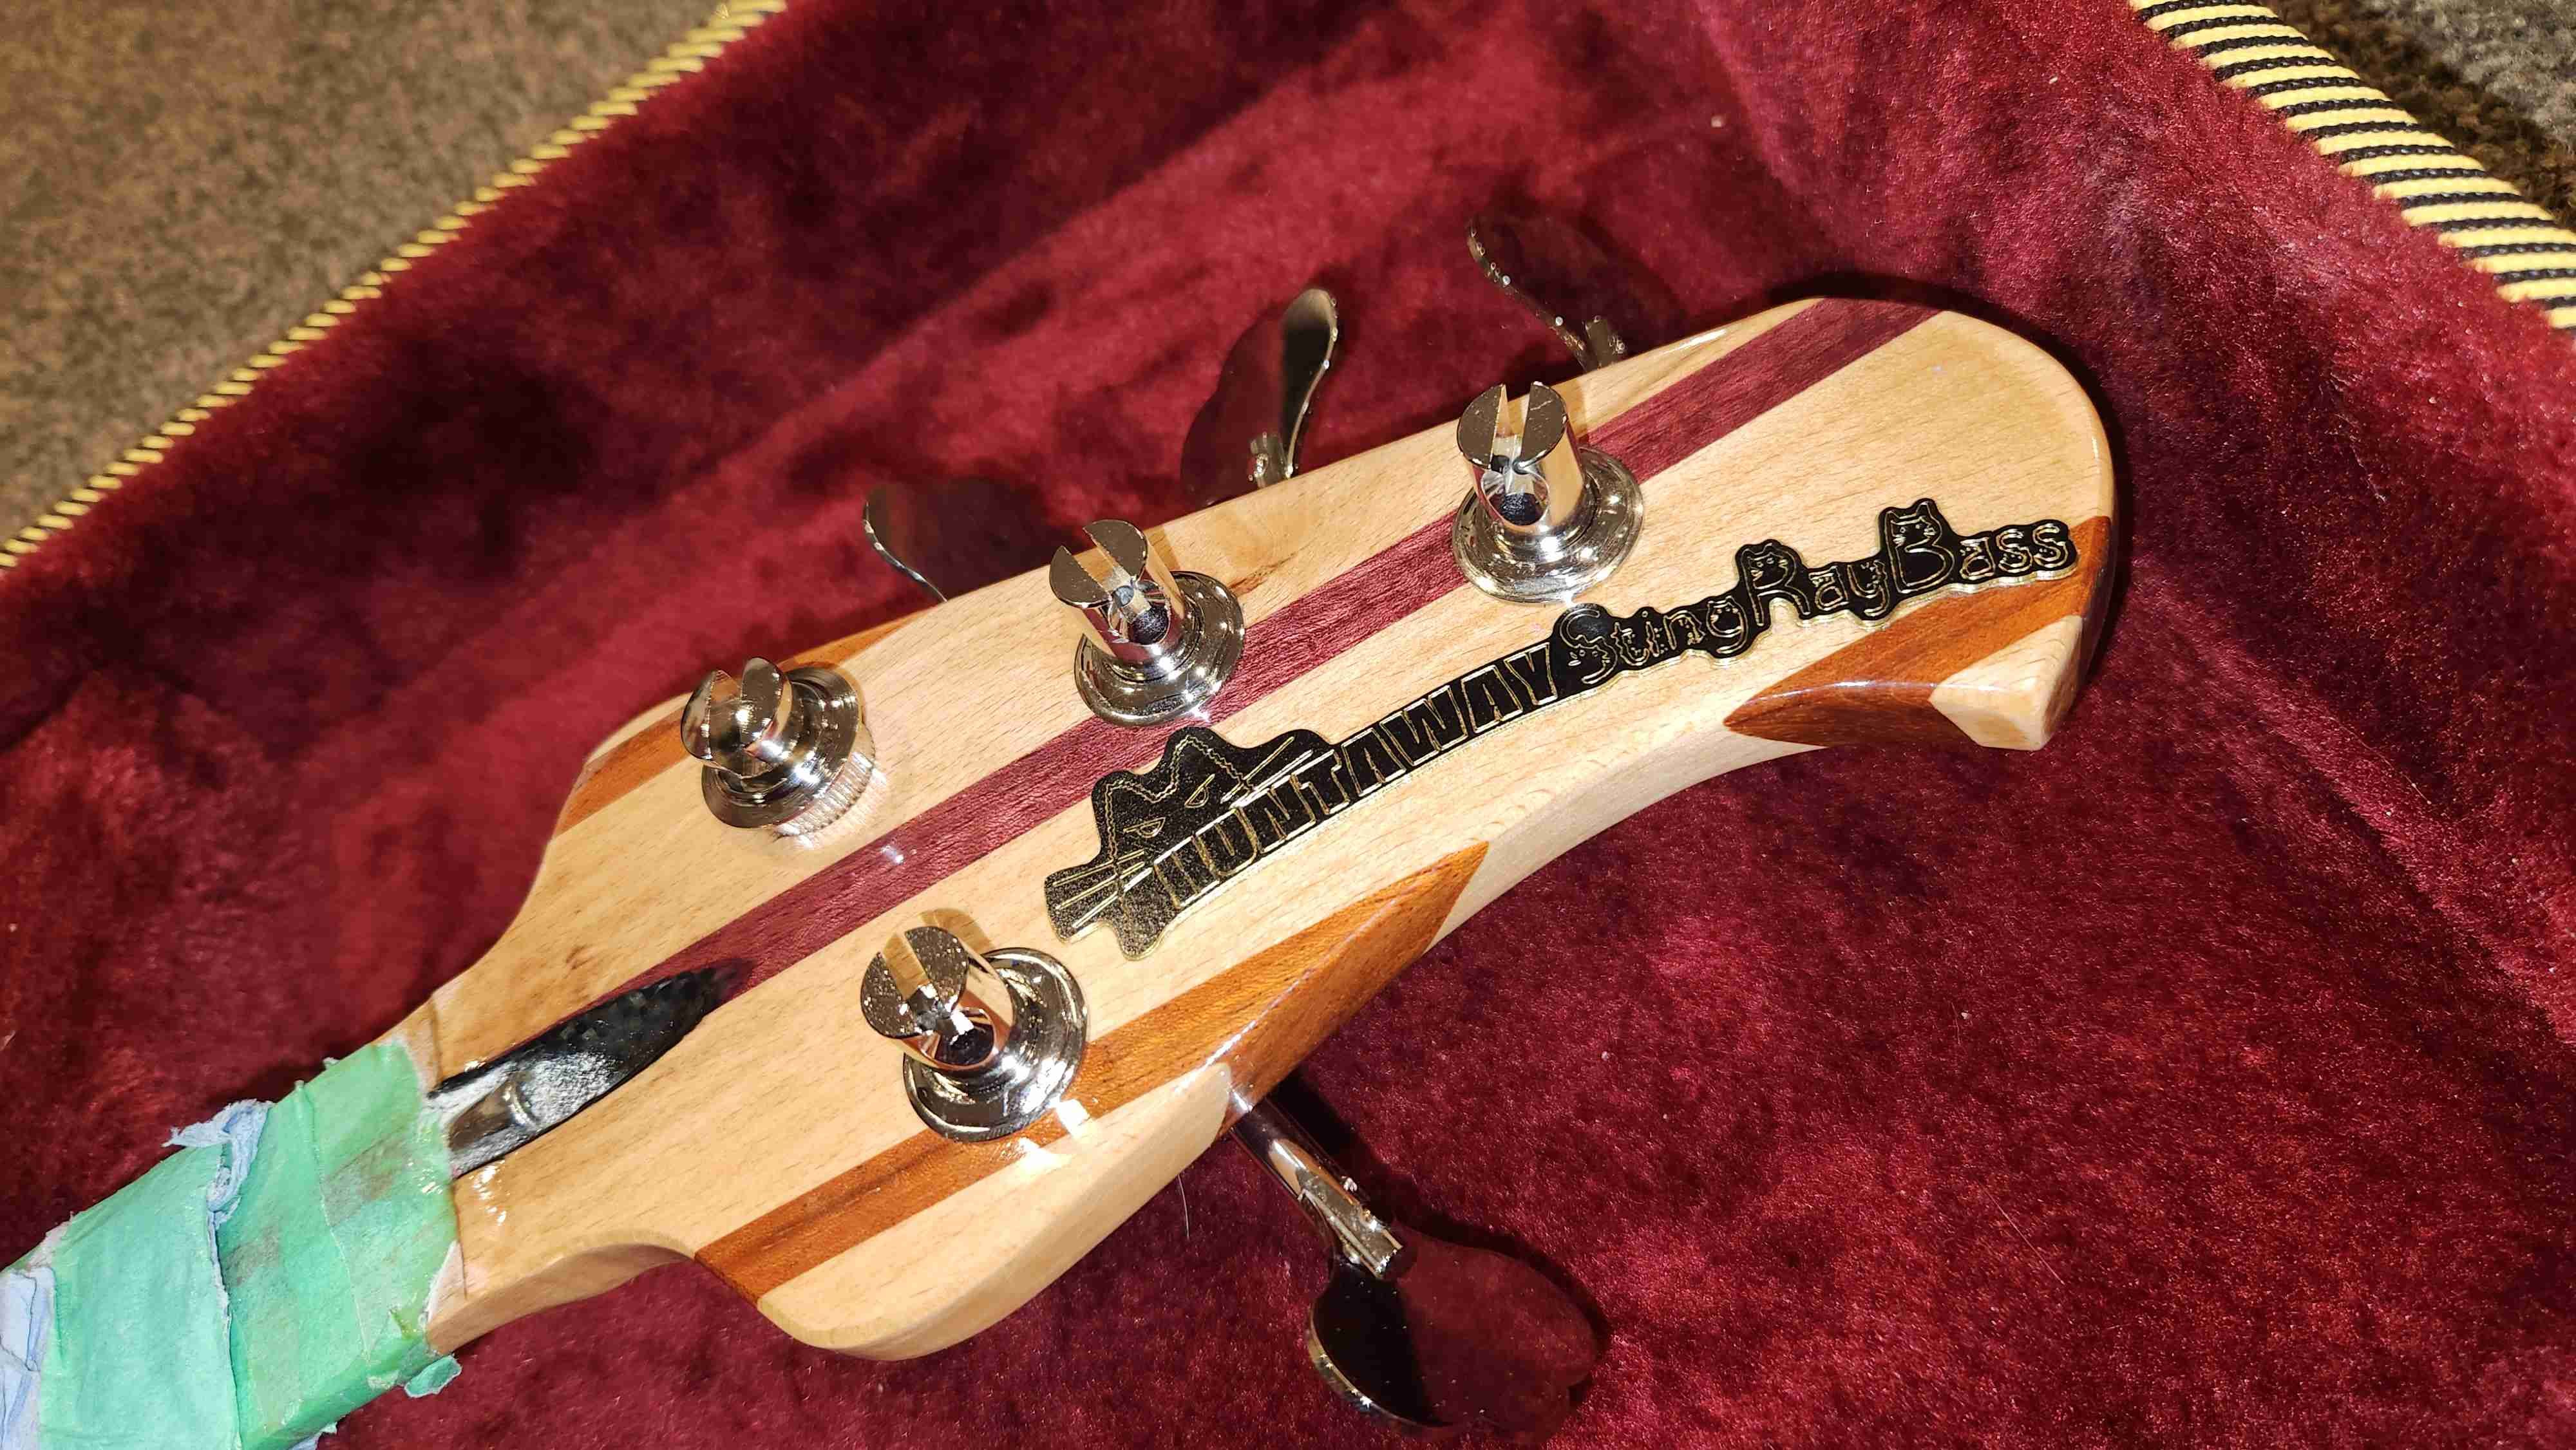
I next started on the headstock logo/badge. i opted to try machine this on my little cnc router, que about 8 iterations while i learnt how best to do it. i started with an engraving bit which had many struggles, mainly the router isnt very stiff but also the brass was knocking the edge off the needle sharp engraving bit and was giving inconsistent results. i tried a few more times and with some different tooling but couldnt get it good enough. i then picked up a diamond tiped drag bit used for engraving, this tool doesnt spin up the spindle and simply drags the diamond over the surface giving excellent fine lines. i tried a couple different styles including a demo run on some stainless steel, though i prefered the brass logo against the similar tones of wood and the silver just didnt look quite right. i might clean up the edges on this one and attach it to the case though as while its not perfect, its not too bad either. once i got the process nailed, i set to redesigning the badge itself as i wasnt actually happy with the actual design. the final part looks awesome and im very happy. pre cleaning up the bevel edges with jewler file and satin clear applied. Done and glued in place apologies for bad, glary photos, everything is so shiny its a bit of a nightmare to capture but to the eyes everything looks awesome.
-
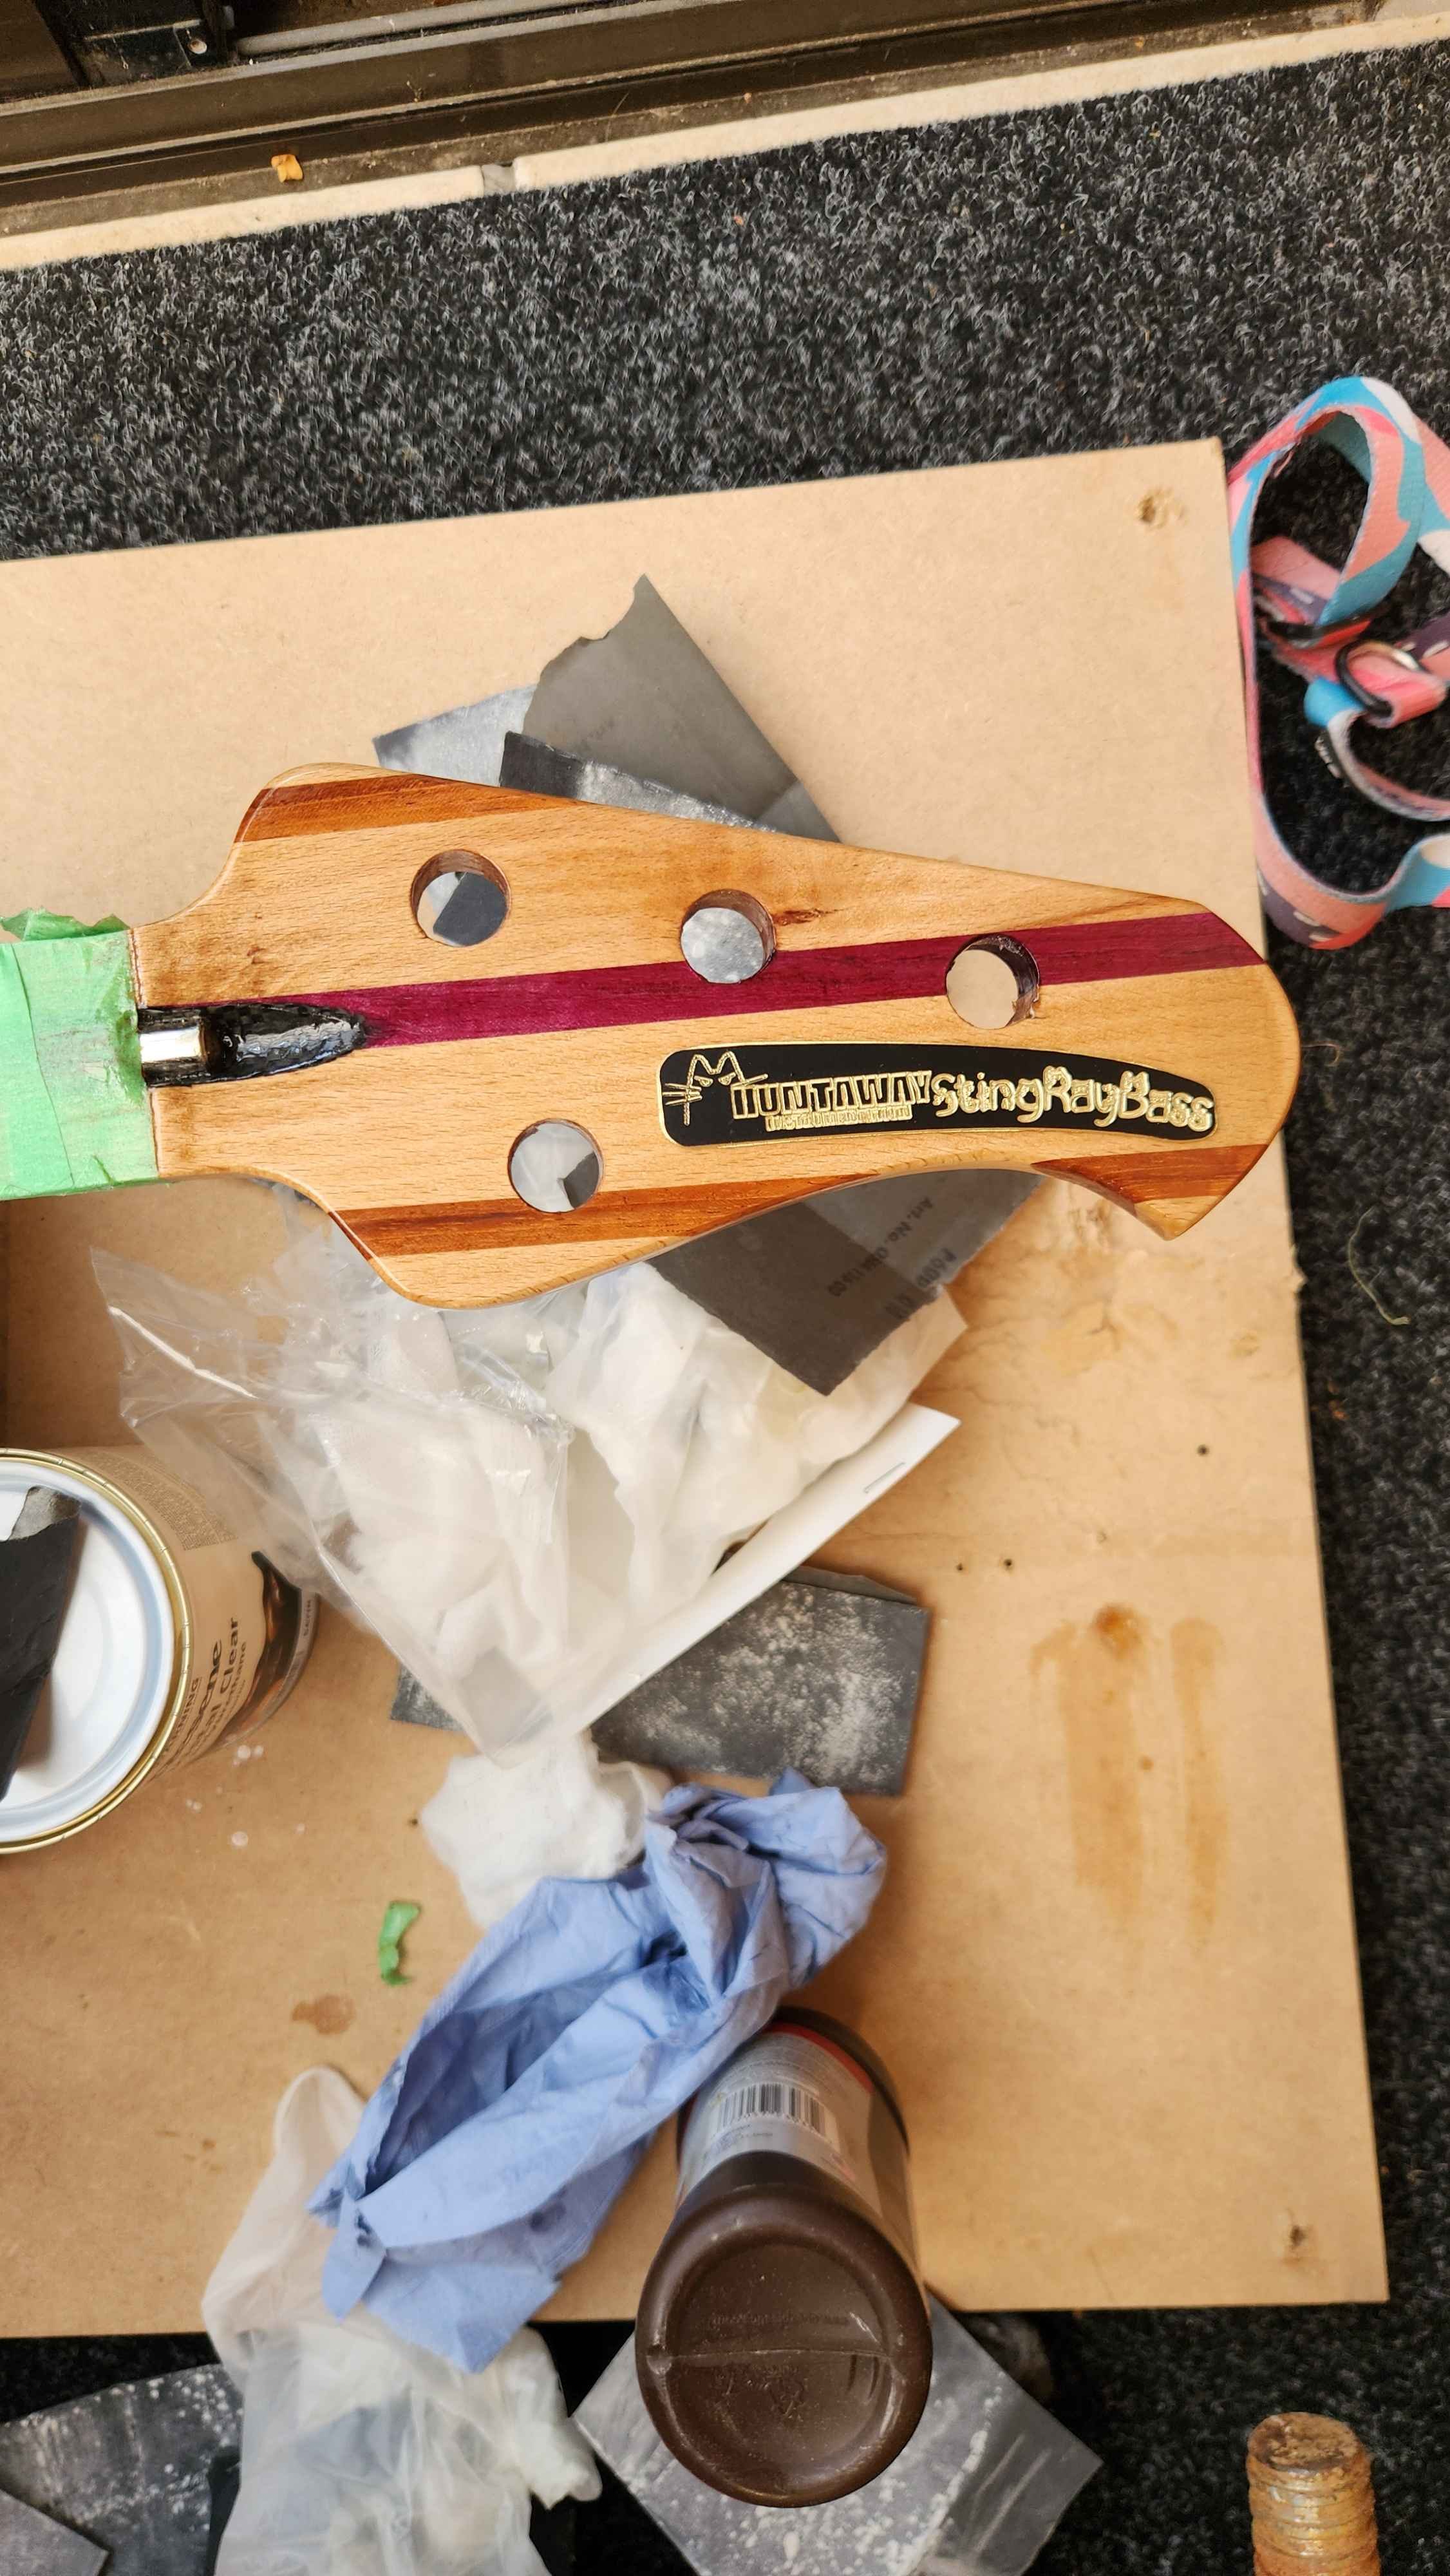
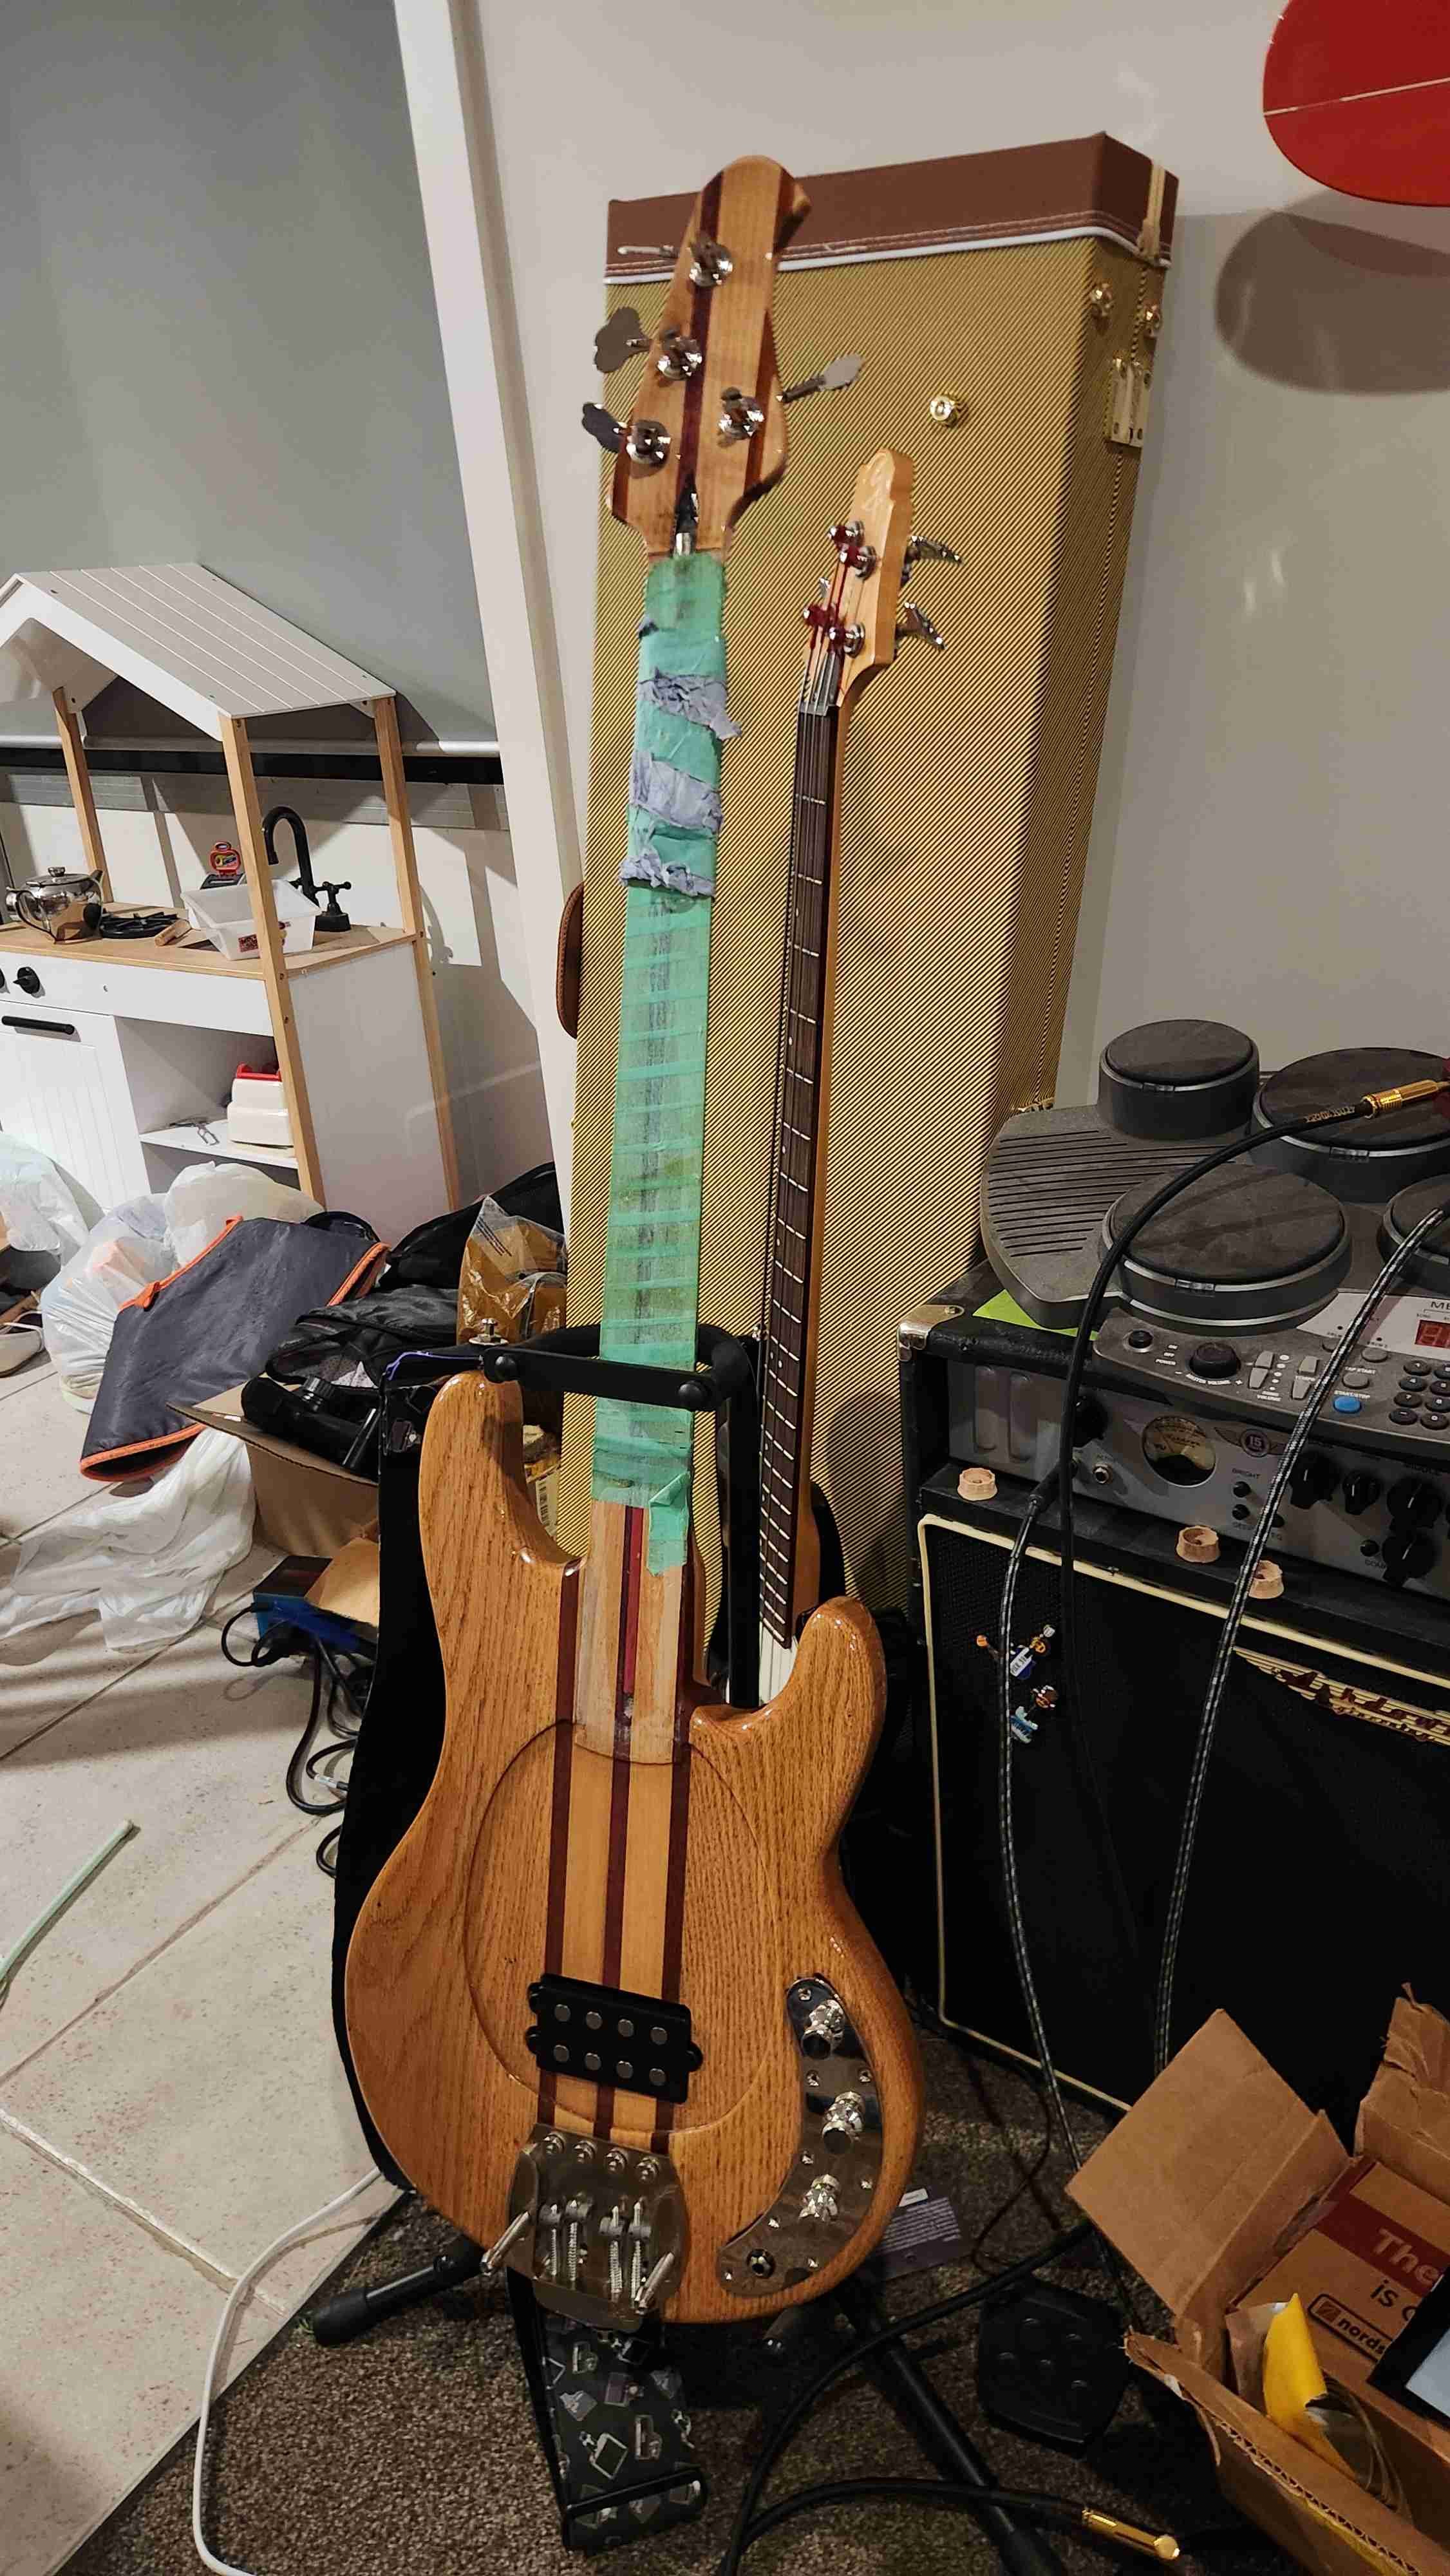
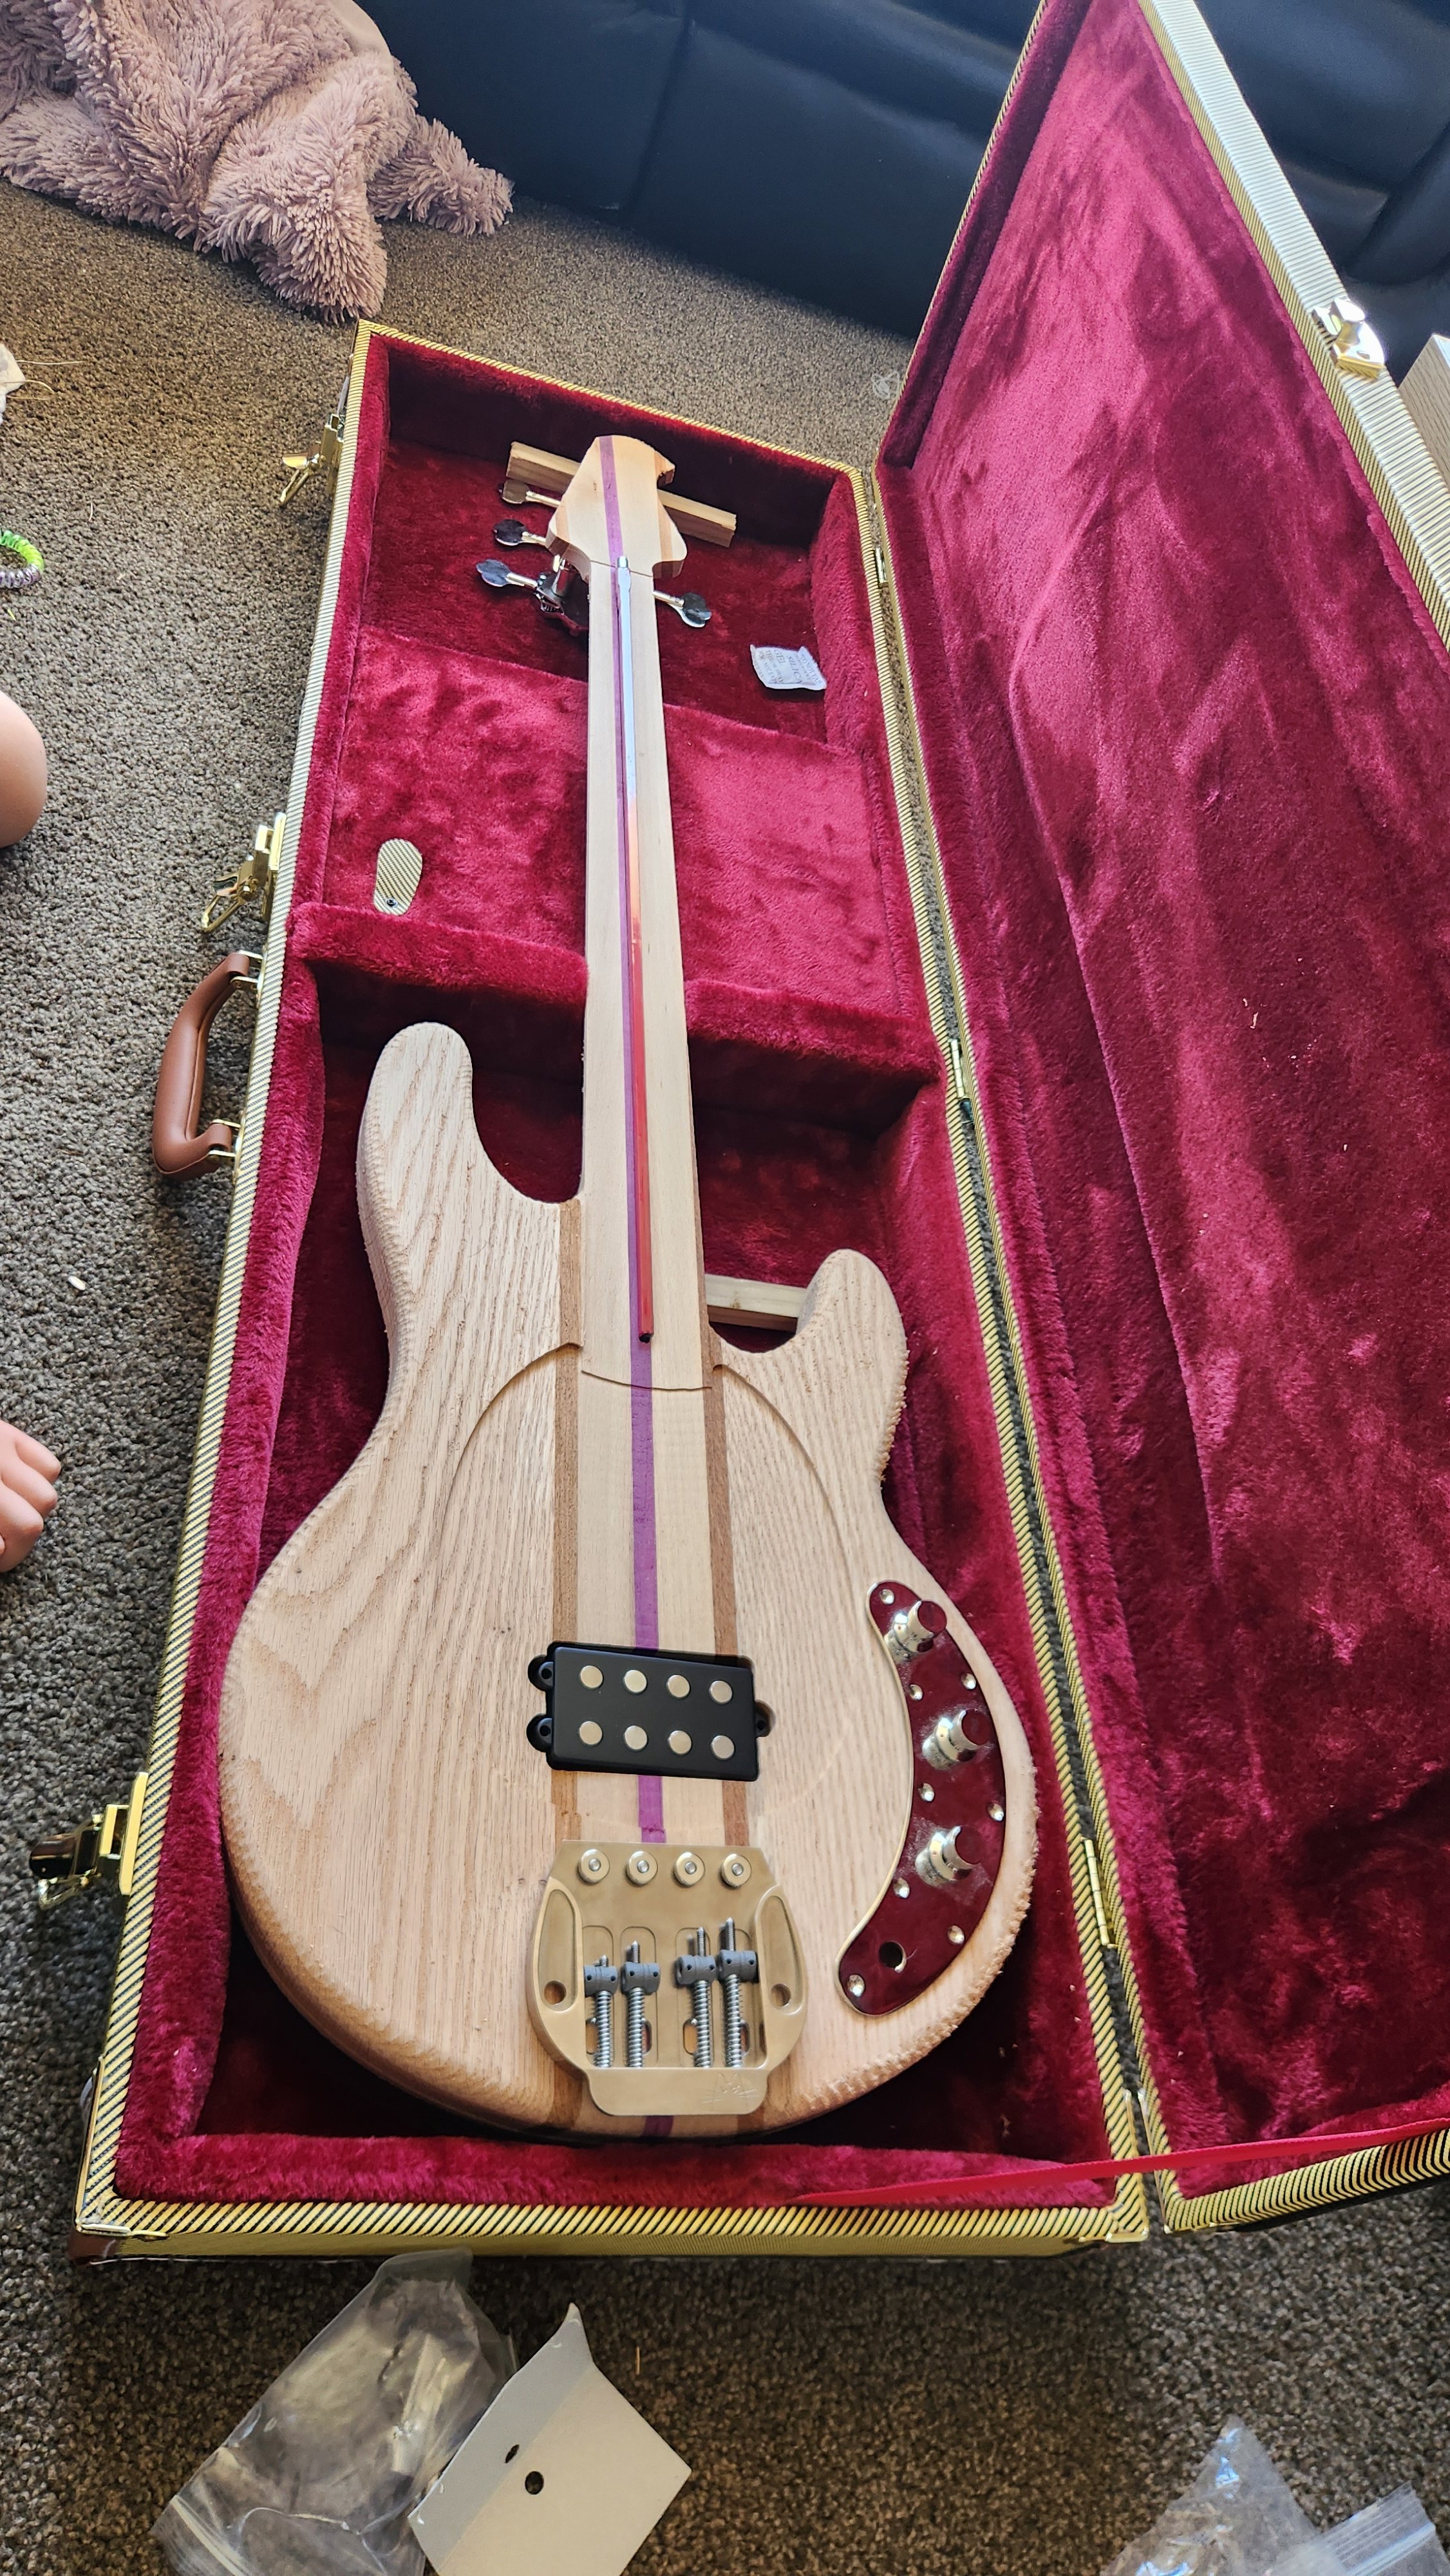
I got to the below point and was feeling pretty happy, i sent a pic to a good mate whos a painter in the airforce and a good guitar player, who crushed my dreams by informing me that it still wasn't done. he suggested i go look at my wifes squire strat (a good, but entry level guitar) and to come back and tell him if i saw anything but a perfectly flat surface, i didnt even need to go look because i knew that guitar was amazing, so he said my bass should be atleast as good as a squire. mother fucker it took weeks of effort to achieve that, but he was right. So i set to more applications and sanding off and eventually made it here. As you can see there were still a couple of defects which got sorted i think its at an even more polished state now but i havnt got any pics, it will get polished again after i fit all the hardware and then remove it again before final fitment. here it in in its current state with hardware either fitted or dummy placed. getting real excited now.
- 35 replies
-
- 12
-

-
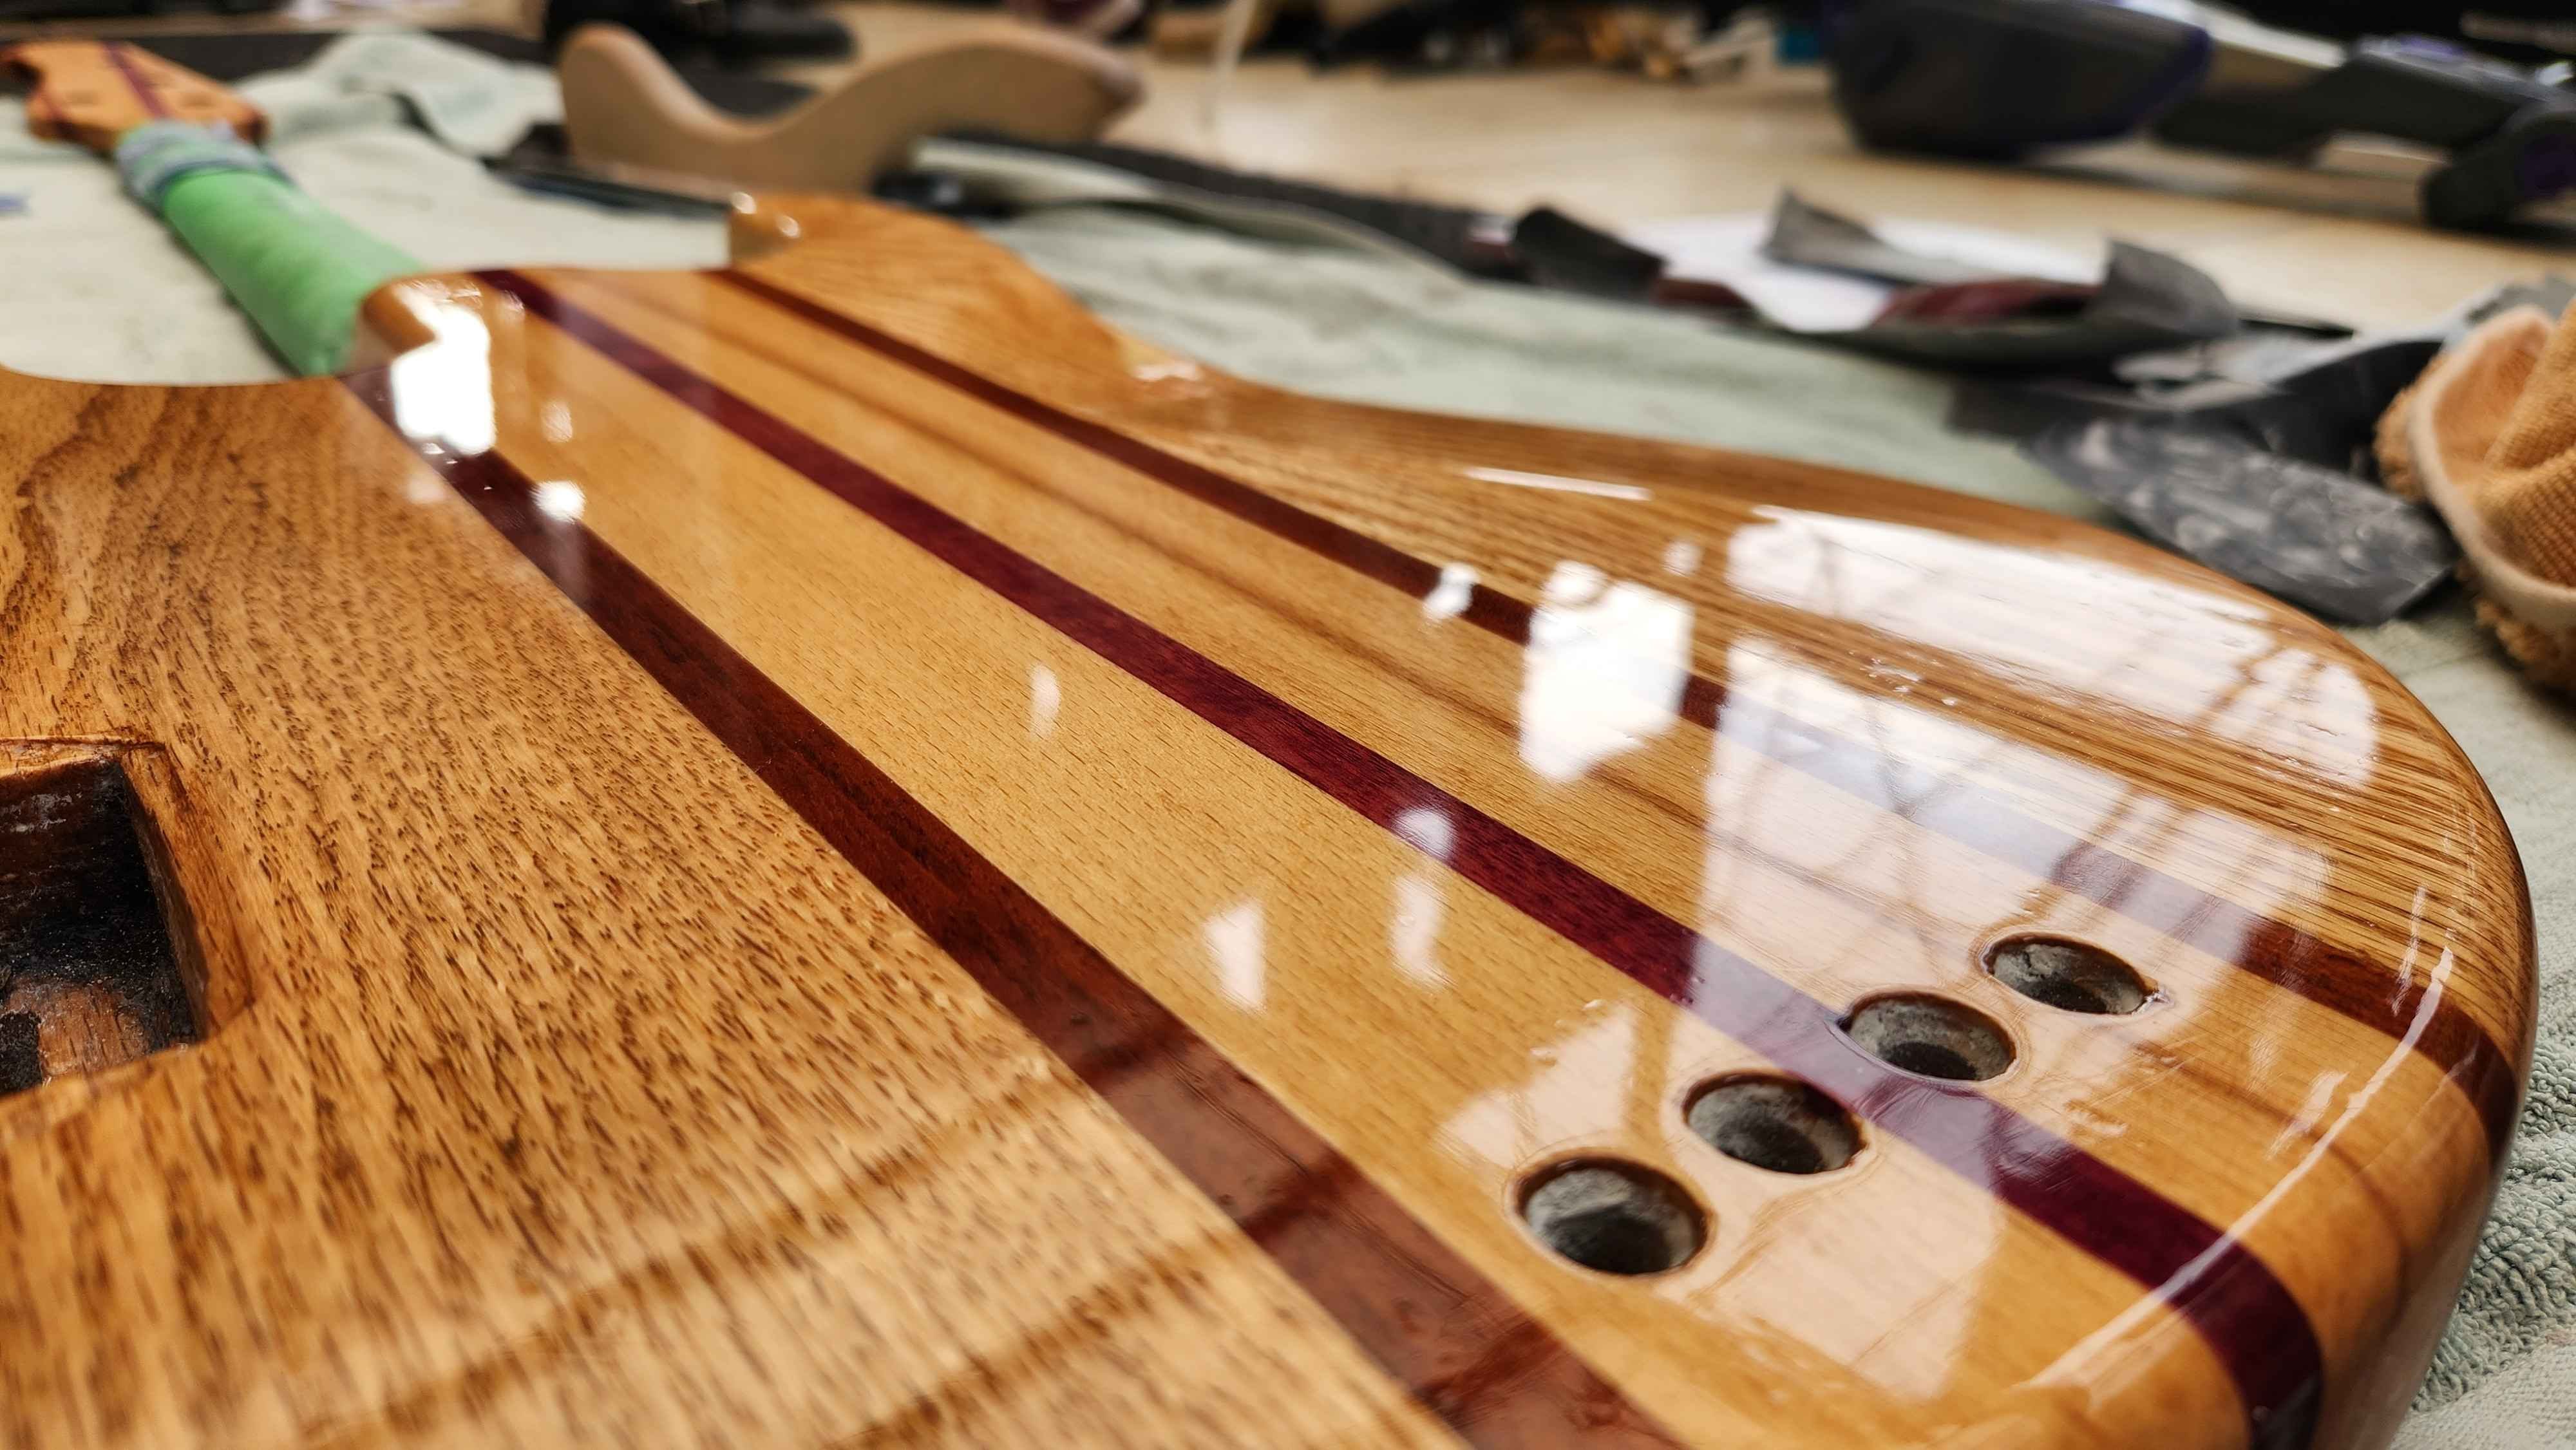
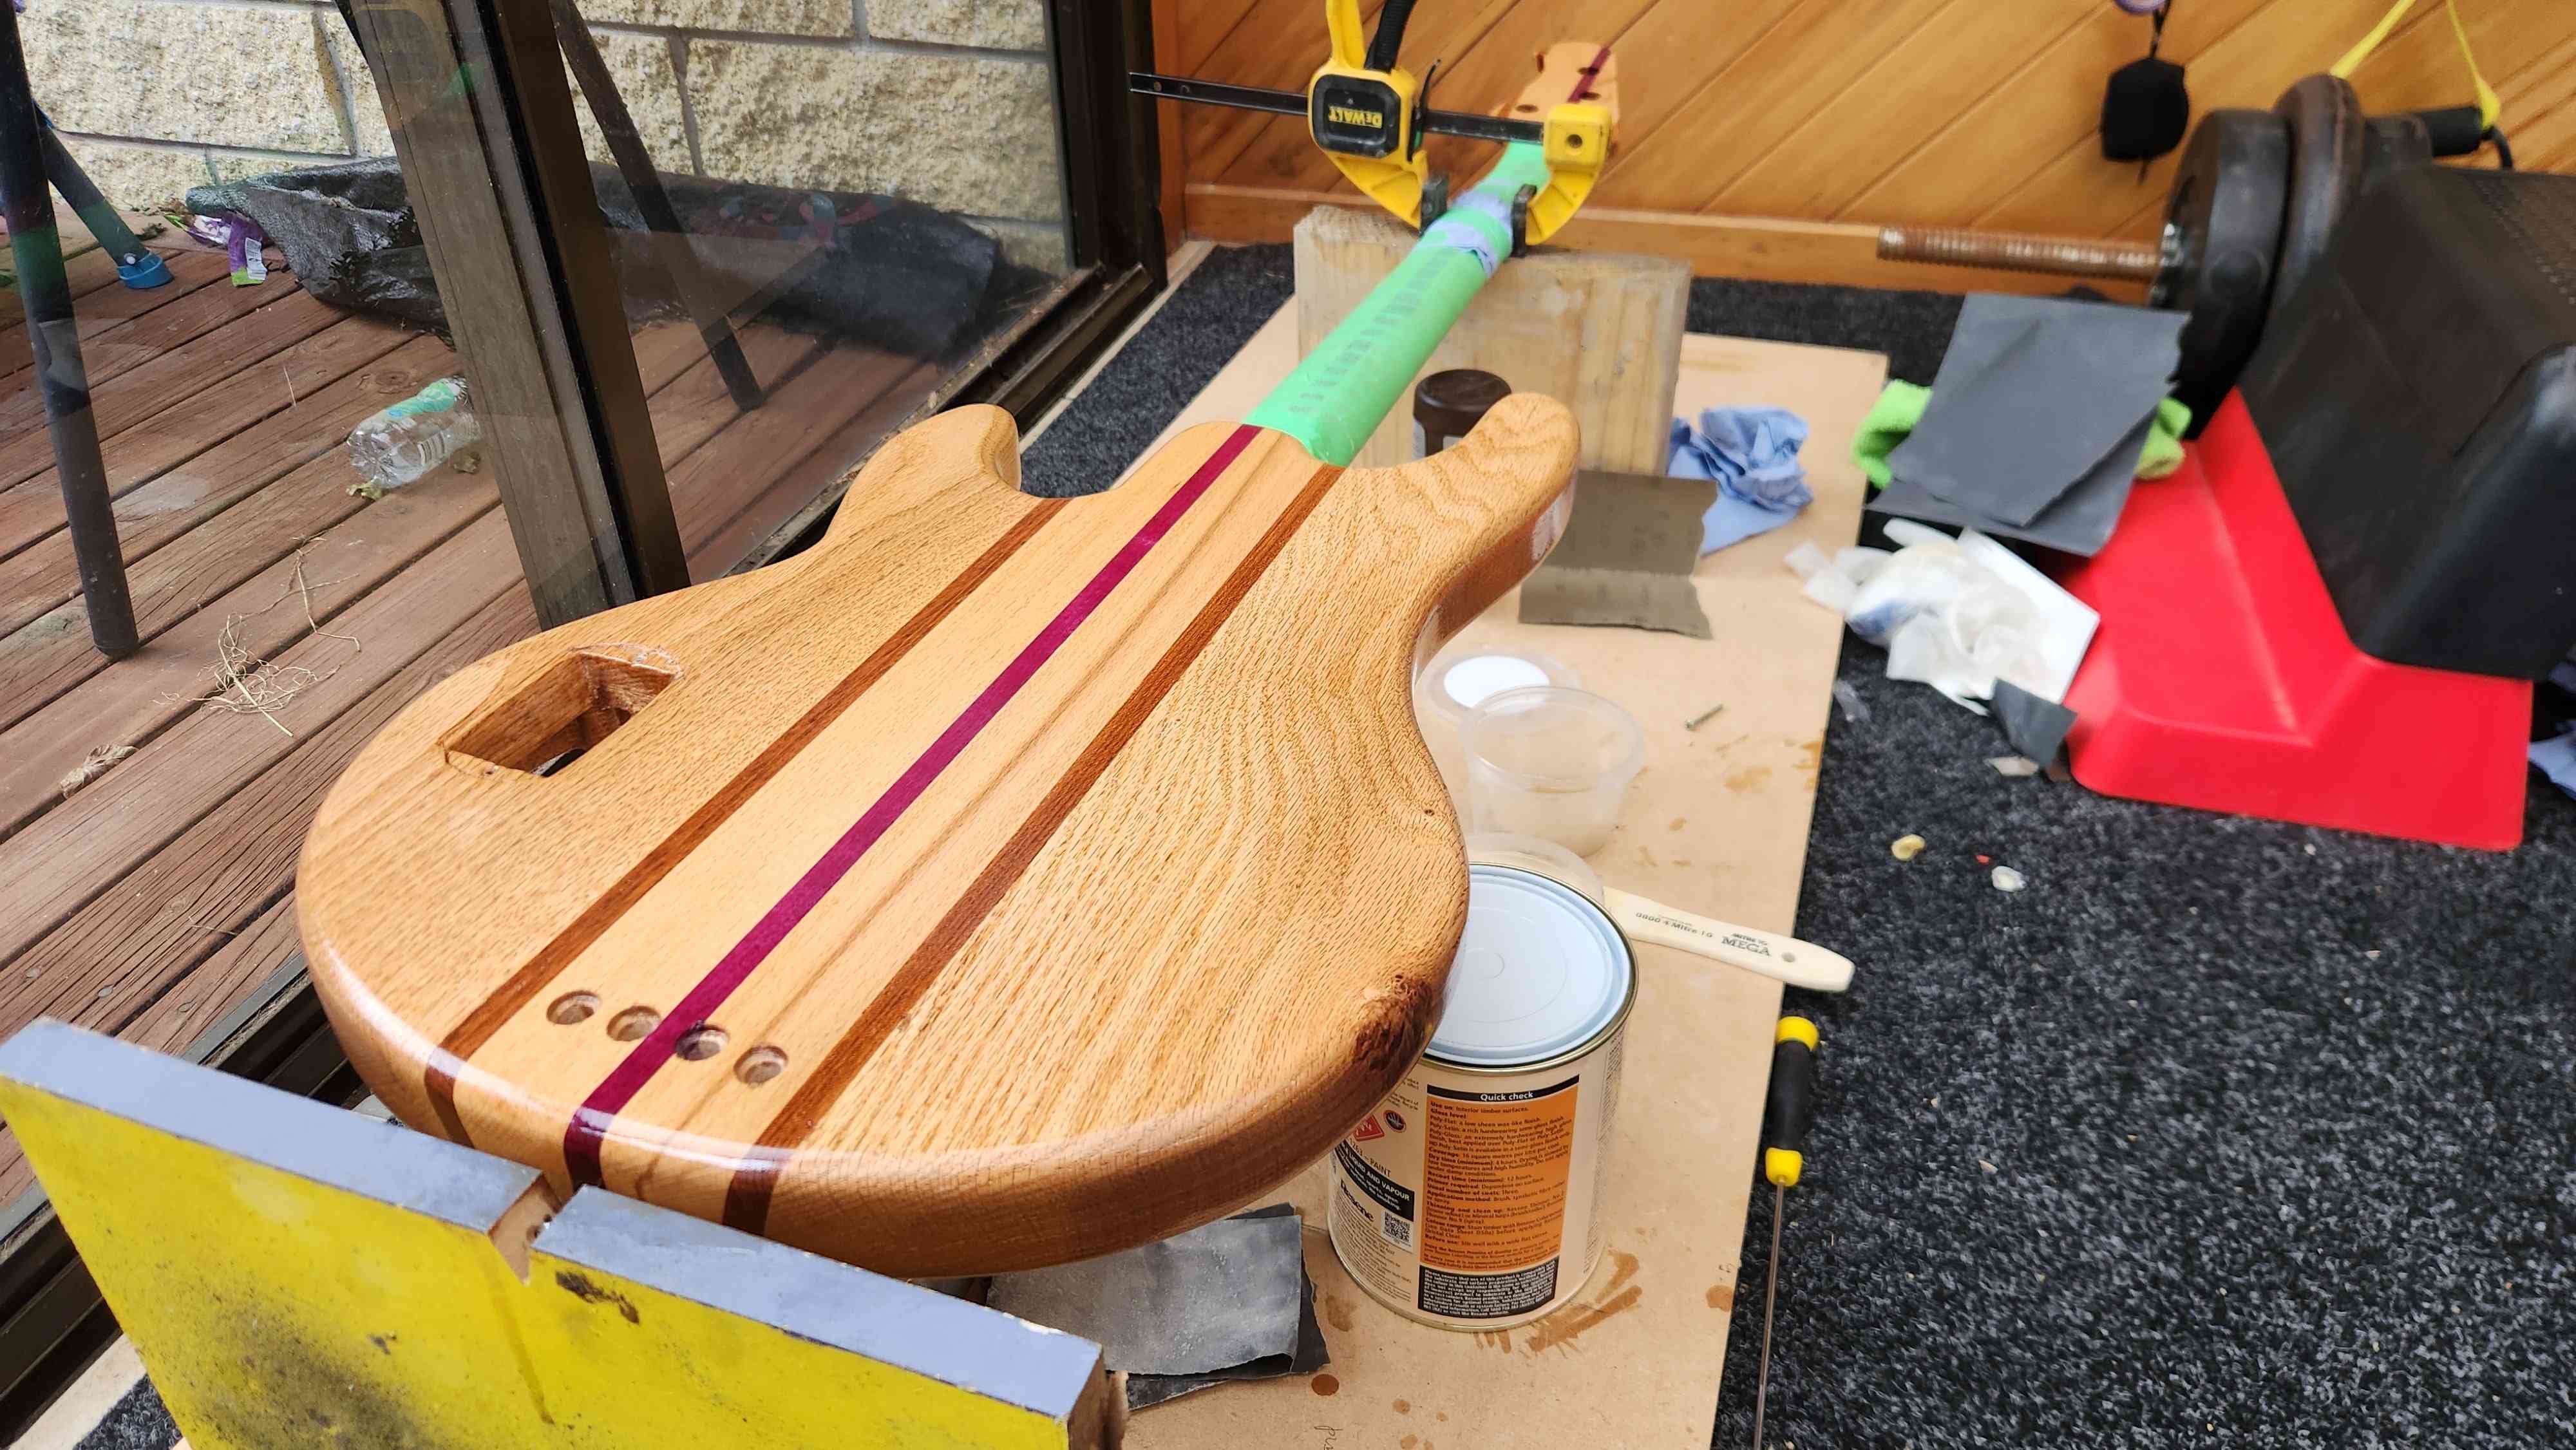
So as shown above i got the best Christmas present ever of a chunk of wood that was shaped like a bass guitar. this fucked nearly all of my other plans for my Christmas break so the house and cars barely got touched as i got stuck into sanding and boy was there alot of sanding, not because the model was wrong or Nicks machine inaccurate, but because i found out why they call hardwood, hardwood My family graciously allowed me to turn our dining table into the most efficient dust production factory you've ever seen and i worked on it most days untill i was happy, it turns out i didn't take any pictures of this untill i started marking things out for truss rod install and tuning machine holes. Once i was happy with the finish sanding i built a basic rack to help with the application of finish. I initially started with Tru-Oil, i gunstock finish product and while it looked great i quickly realized the grain on the red oak was far too deep for this product to ever fill, so i went looking for an oil based polyurethane and landed on Resene Qristal, i picked up a high gloss and a satin with the intention of doing the recesses 'pickguard' satin for a bit of contrast and potentially the neck if i opt not to use the Tru-Oil here aswell. Very happy with the resene product, and que about 50 coats with sanding in between to eventually level off the surface and get a proper high gloss finish, but once done it looked absolutely incredible, unfortunately im not a great photographer so i cant really portray just how great this wood looks. the stripes of purple heart and Filipino mahogany look almost metallic against the soft tones of the beech and oak. Starting to look like something...
-
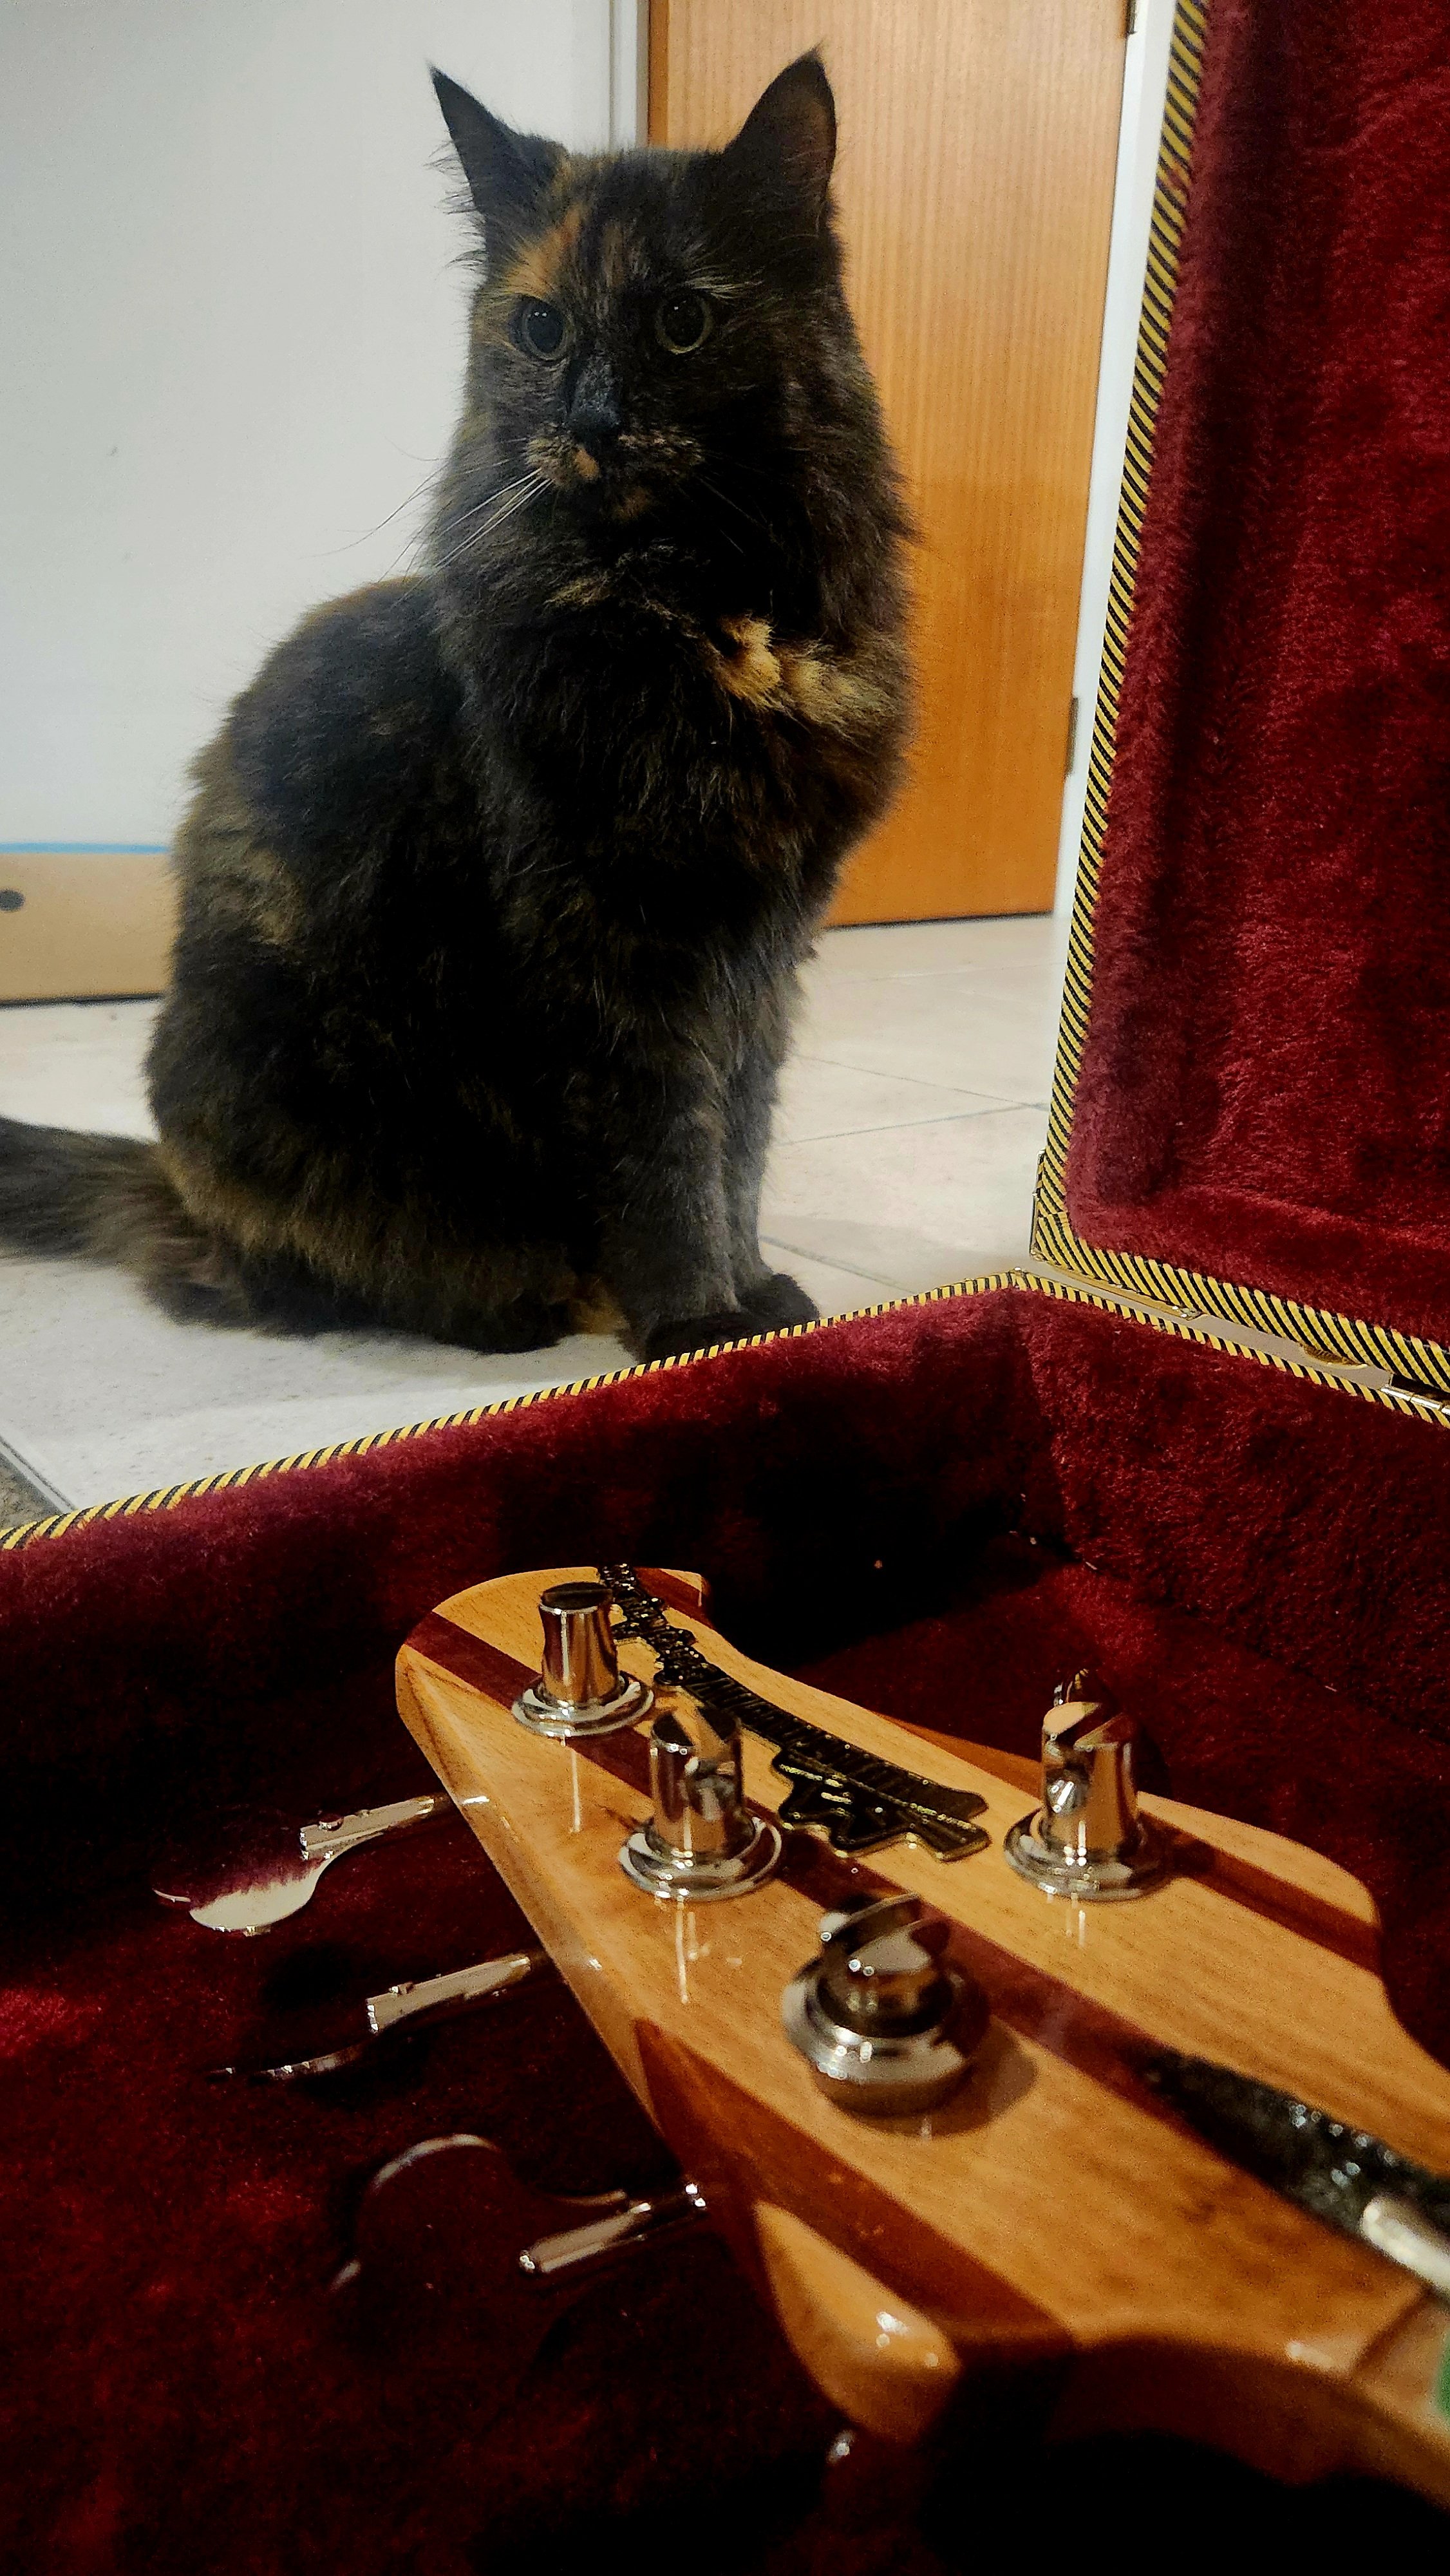
I can offer a slight teaser with this photo of my cat, the logo inspiration, sitting near the headstock. She usually looks angrier so I must be doing alright.
- 35 replies
-
- 16
-
-

-
i definitley owe this thread an update, ive been spending a substantial amount of my spare time on this and its very nearly done.
-
 Hey! Its not my fault dodge rams have an insatiable hunger for cameras it sure isnt my fault anymore...
 -
that fake carbon looks like a faceplate placed over the original plastic with all the cutouts to show the control labels? hopefully they didn't use a horrible glue
-
@NickJ got your new work toy put together yet? 2000FPS would highlight issues nicely
-
torsional ridigty will be an issue aswell. theres no aerodynamic shape there so as the blade twists, various sections will provide differing amounts of lift in different directions, changing to round tube may help this.
-
distraught hysterical laughing i presume?
-
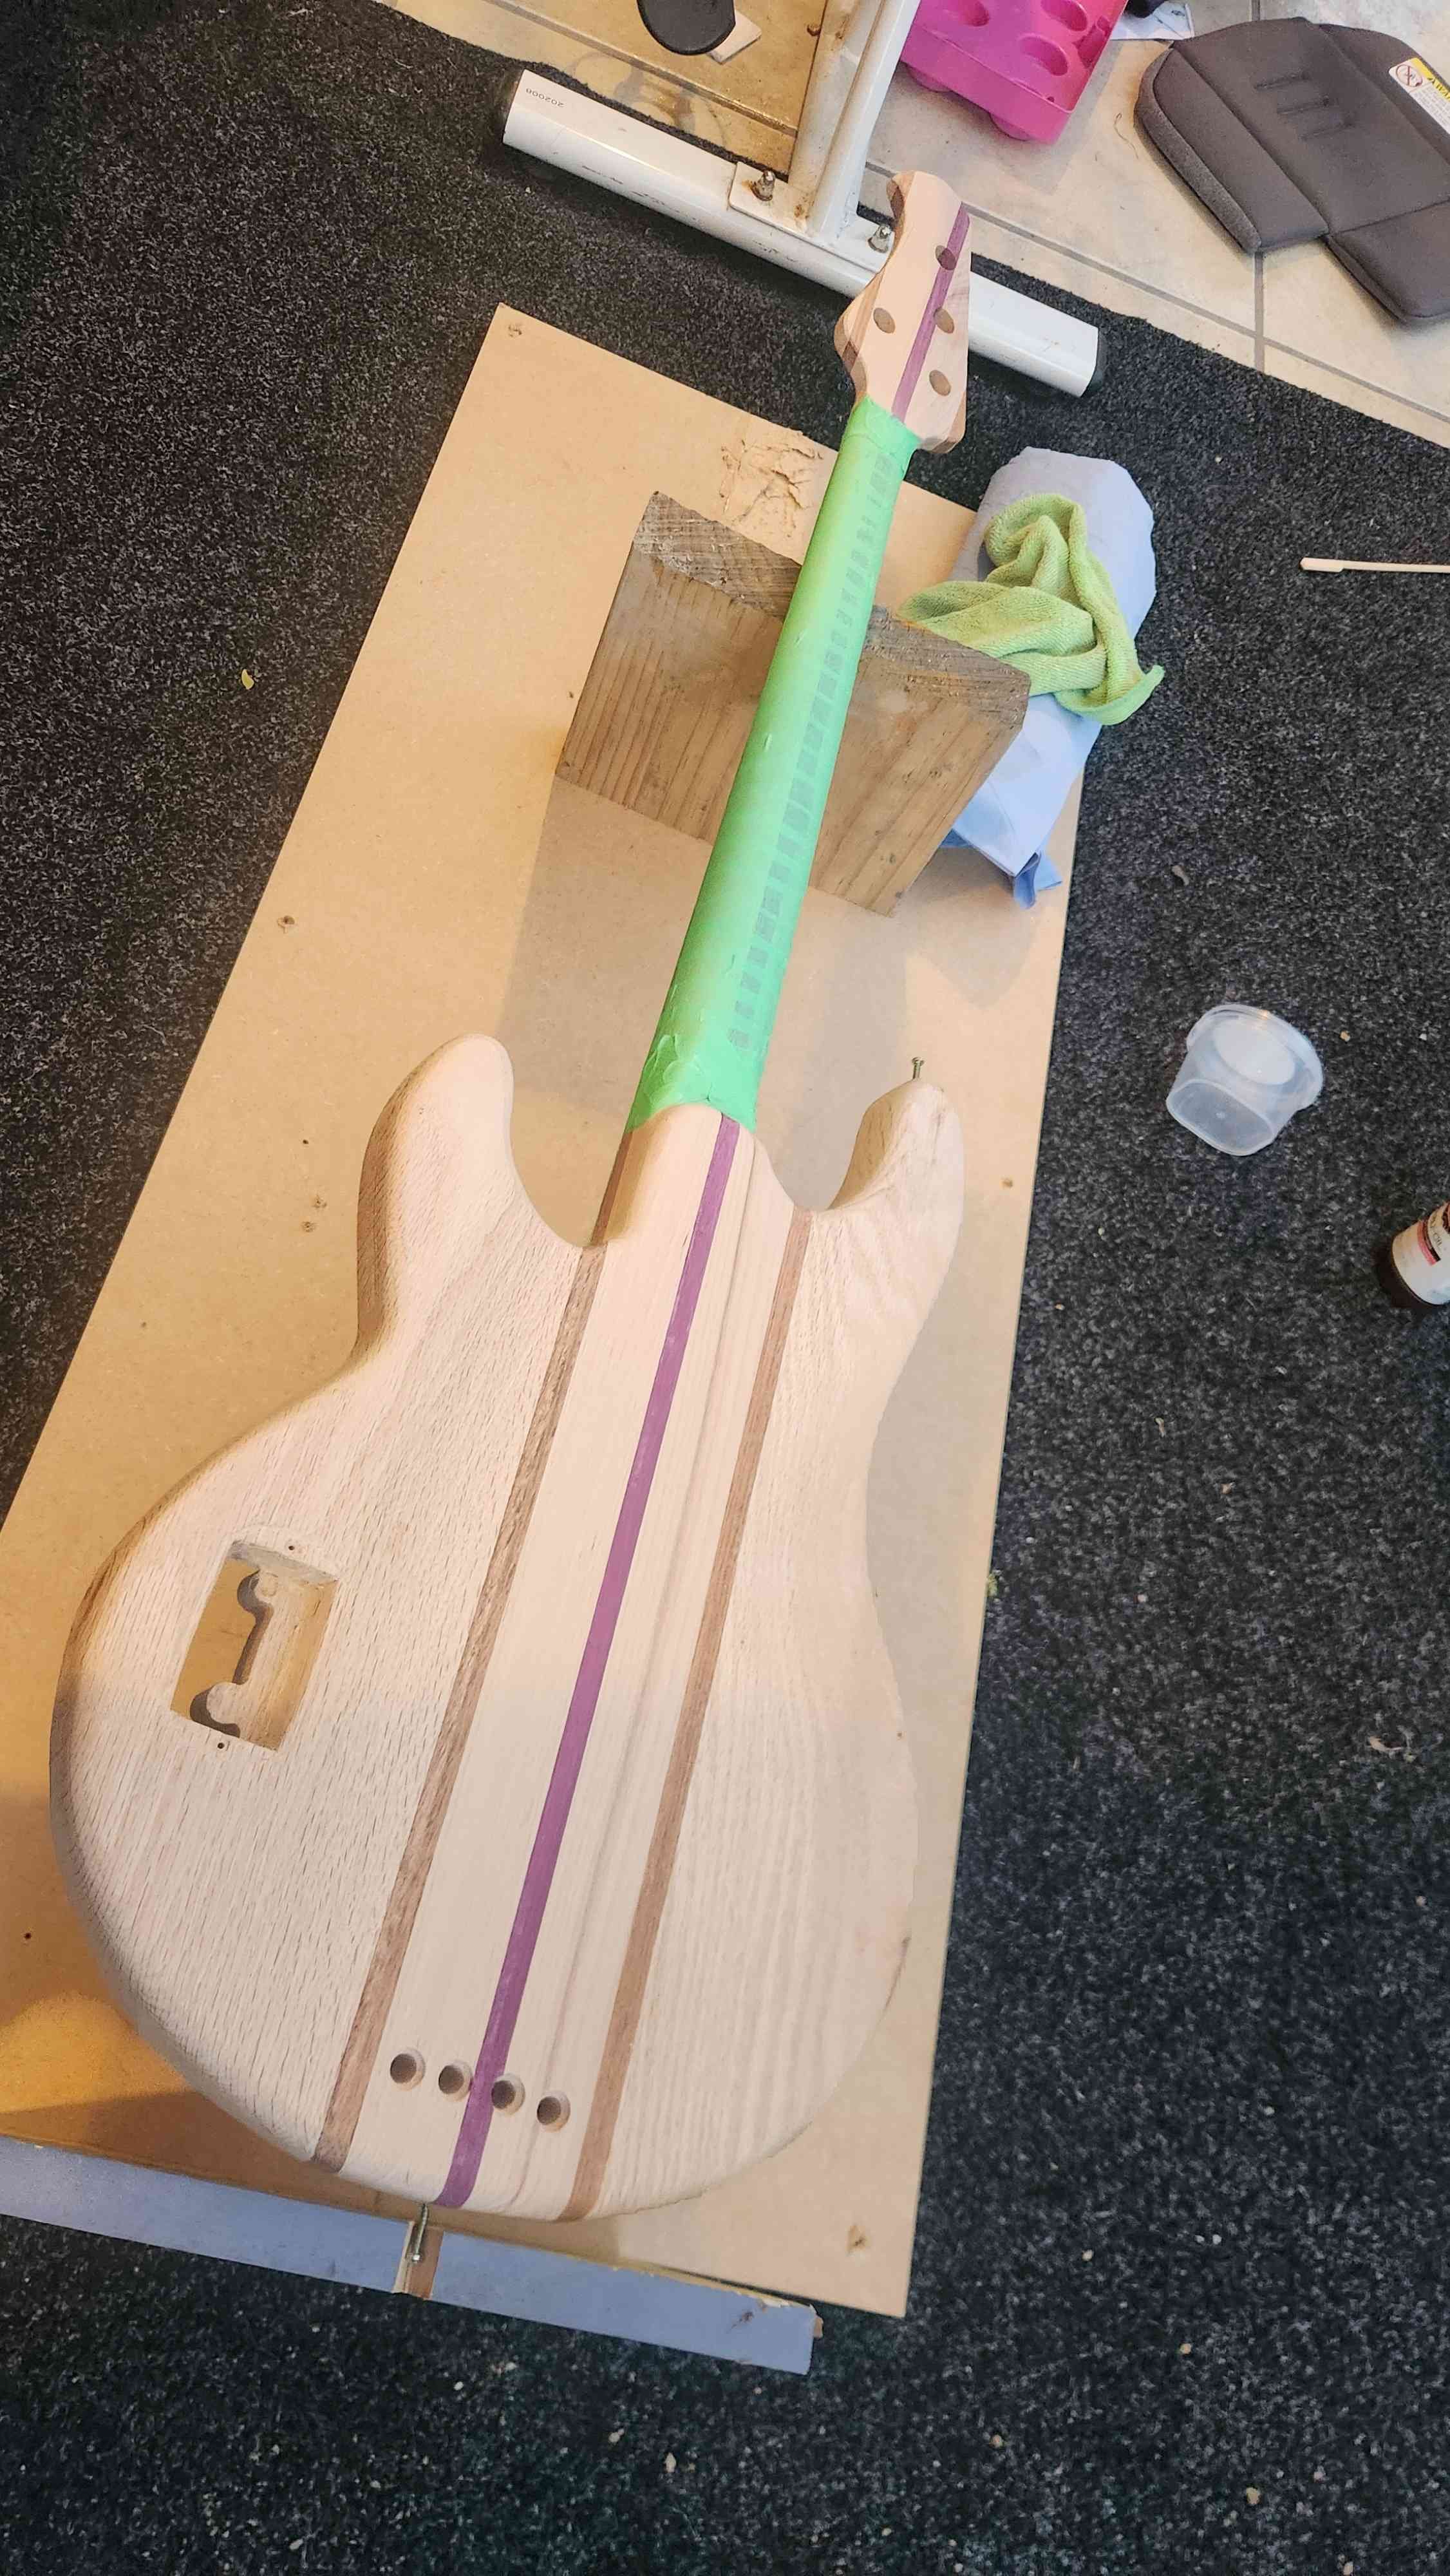
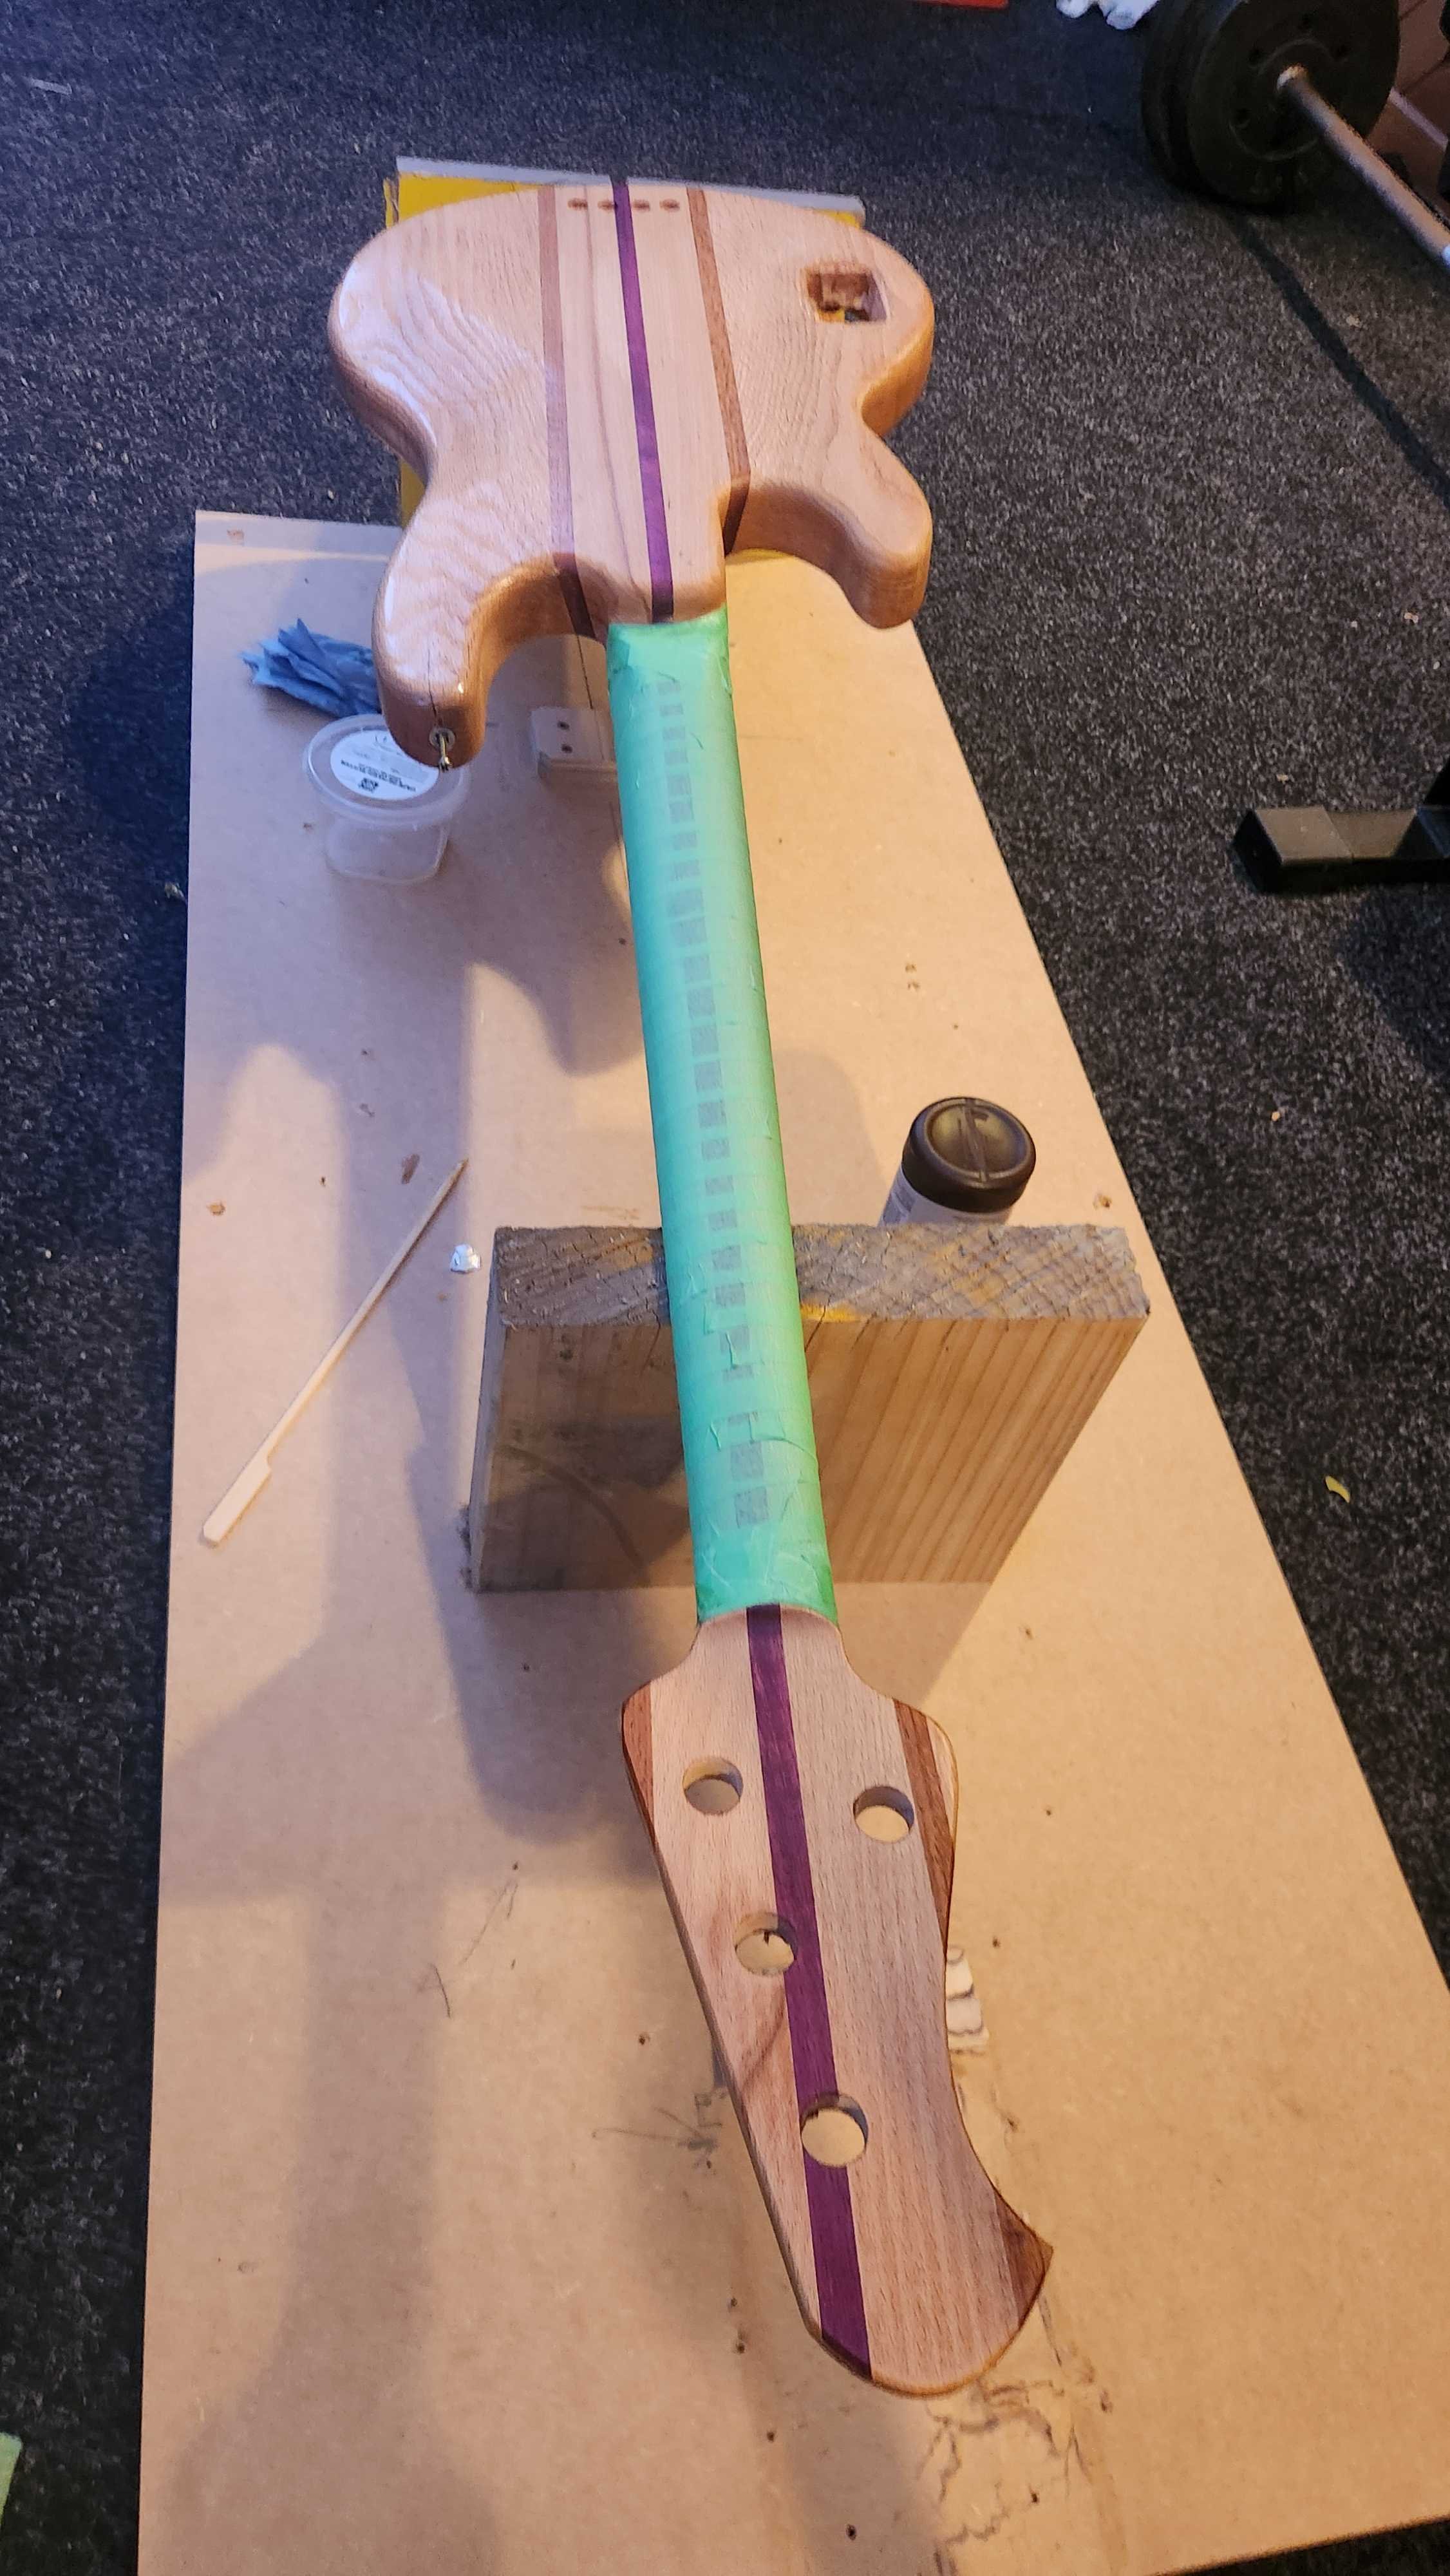
It actually won't take too long, the finish sanding is going alot quicker than I thought. The thought and effort that went into your jig paid dividends with only about a half mm offset between sides. With my automotive sanding block, taking the sides down flush isn't a big deal. I'm only sanding at 240 grit at the moment but already the grain and character of the various woods is coming out and holy hell it's going to look amazing when oiled.
-
I couldnt help but lay some of the hardware overtop to see how its gonna look. Bloody amazing is how! i am tossing up very lightly staining the pickgard area before the oil goes on. 50/50 at this point.
- 35 replies
-
- 11
-