Bearded Baldy
-
Posts
1,978 -
Joined
-
Last visited
-
Days Won
1
1 Follower

Recent Profile Visitors
9,658 profile views



Bearded Baldy's Achievements

Committed (5/5)
5.9k
Reputation
-
End of the day it was going to bug the shit out of him for the next 6 months then he was going to do it anyway.
-
It isn't doing a full resto it is called fixing the damn thing properly.
-
'eye appeal is half the battle, if it looks right, i ain't gonna waste 5 minutes proving it is.' Sun Tsu. Maybe.
-
Wat bot?
-
Taupo hobby show is on July 5 and 6. If any of you guys want to go, sing out for wintery accomodation in the frostbelt of Broadlands.

- 446 replies
-
- 10
-

-
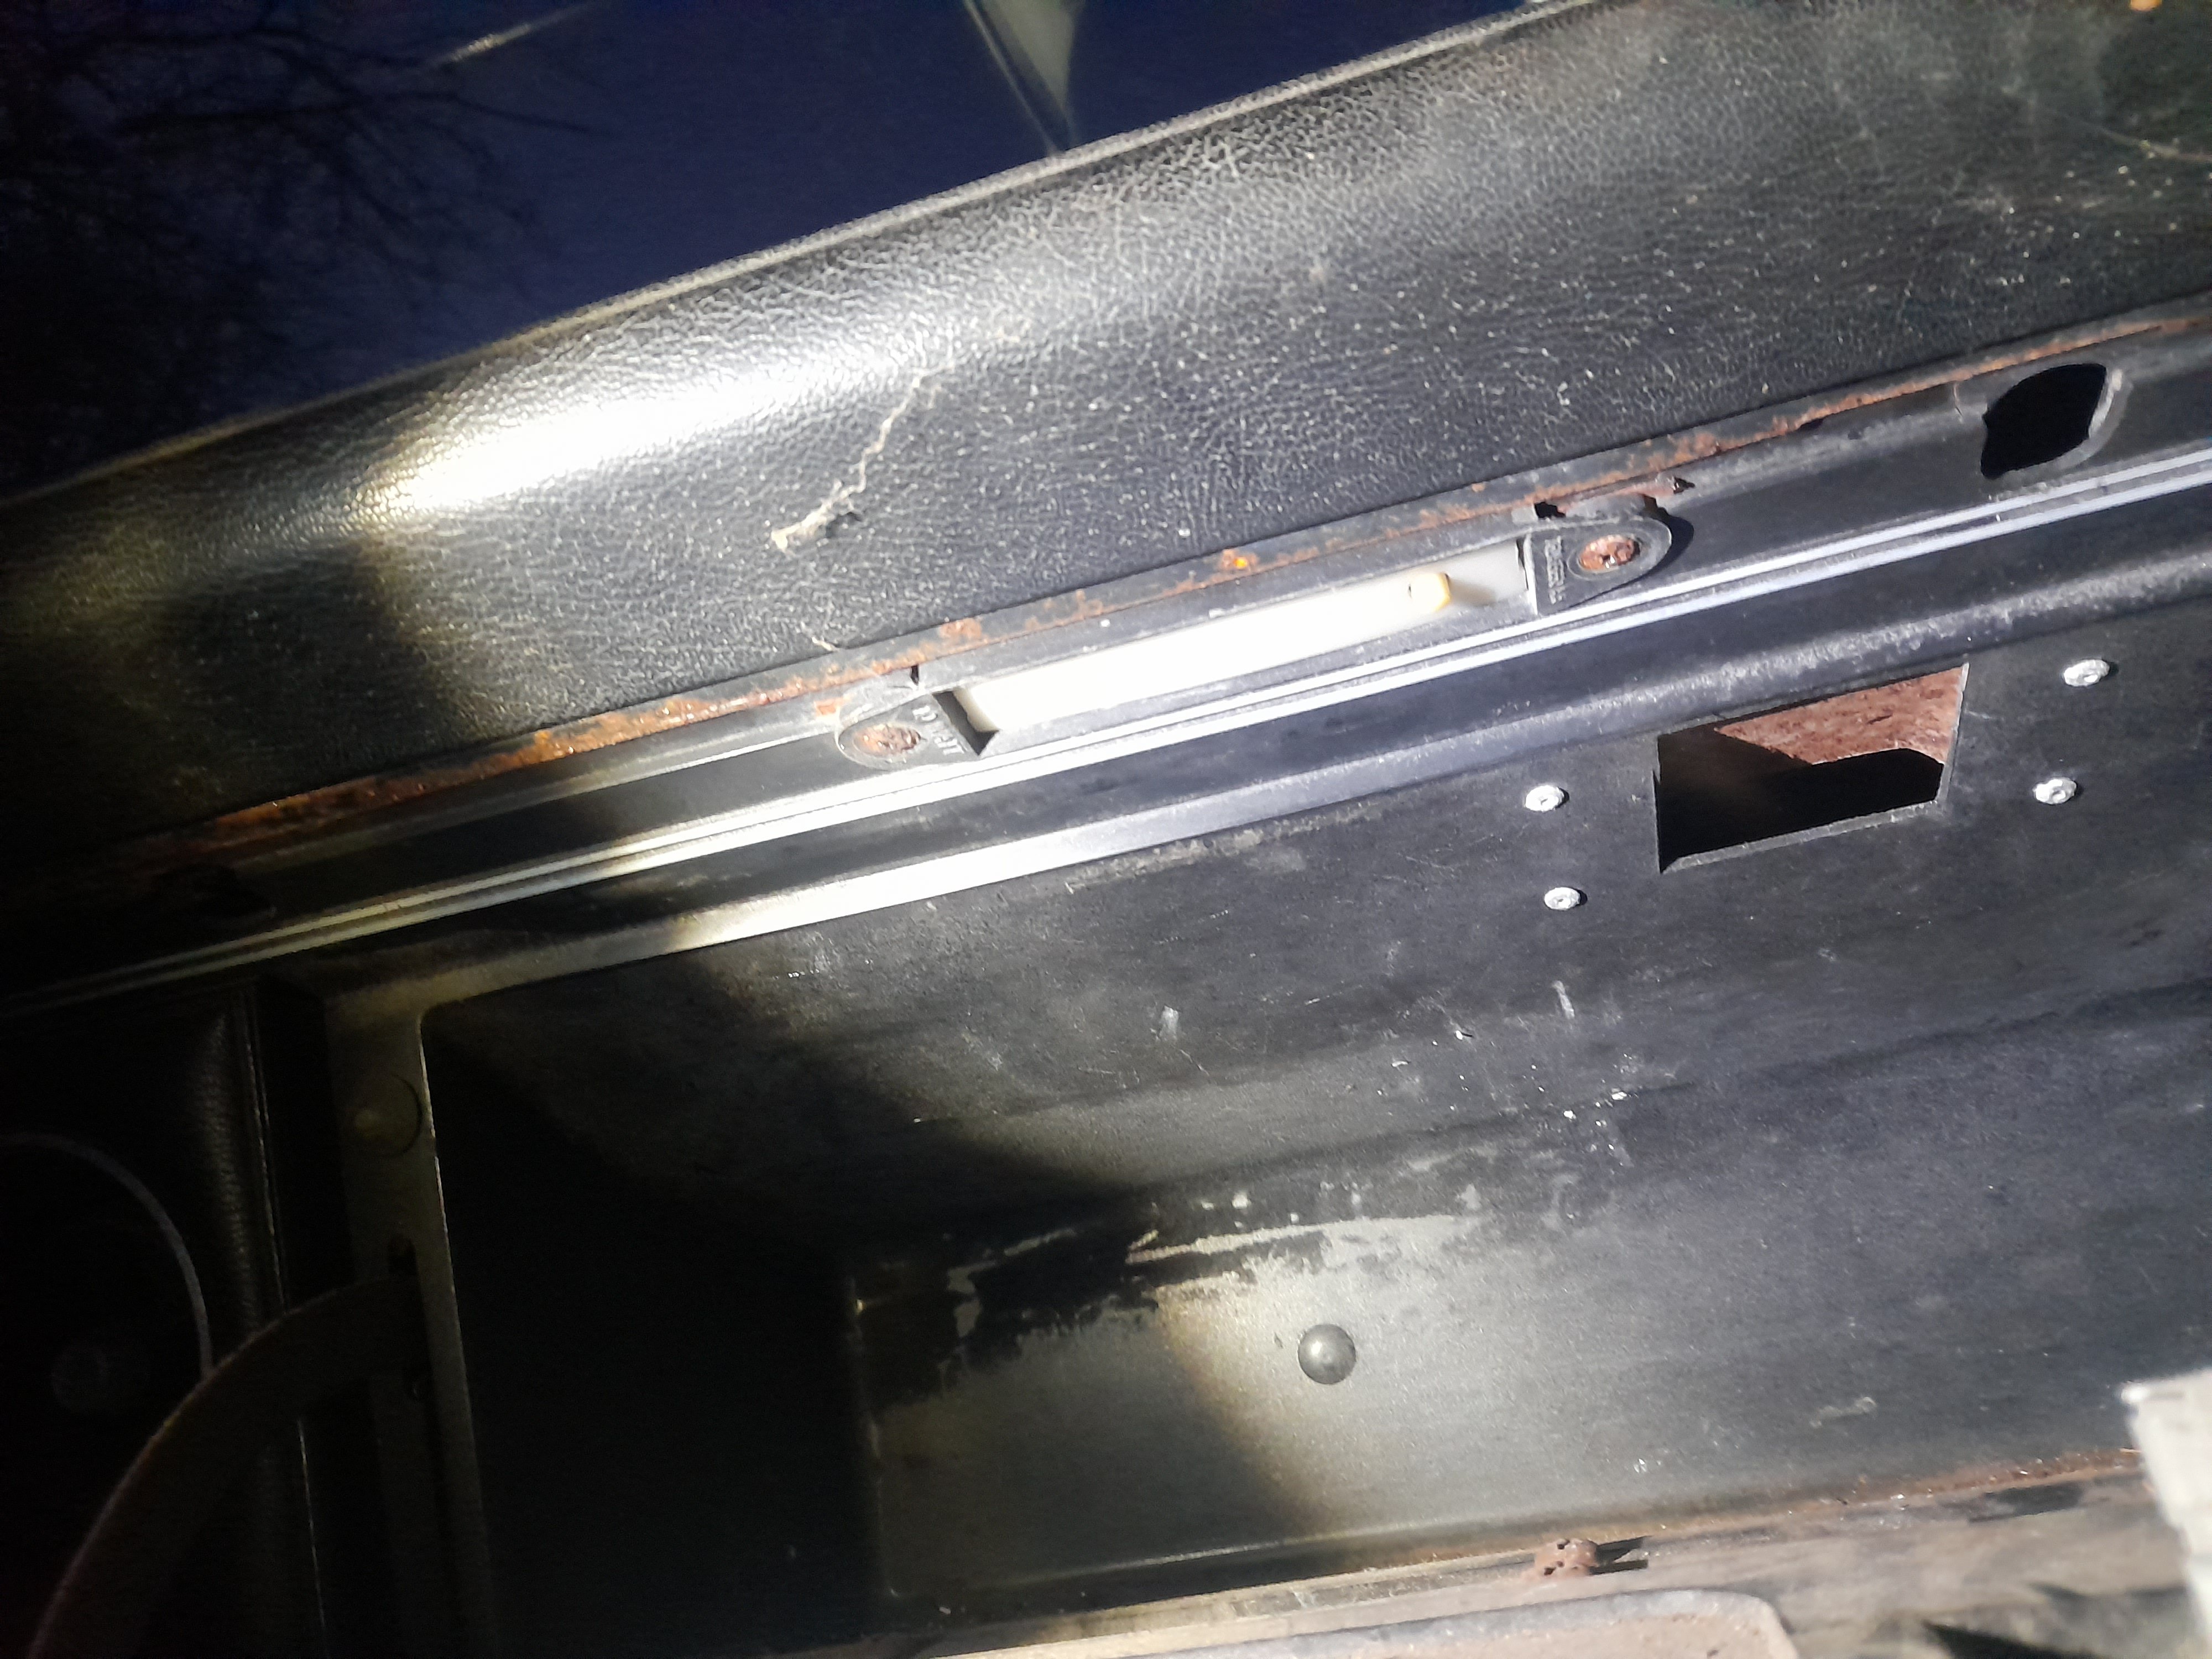
The vanity light switch is still luminous! I know what you are thinking, that is a fantastic photo of darkness. But look on the rh side.
- 89 replies
-
- 10
-
-

-
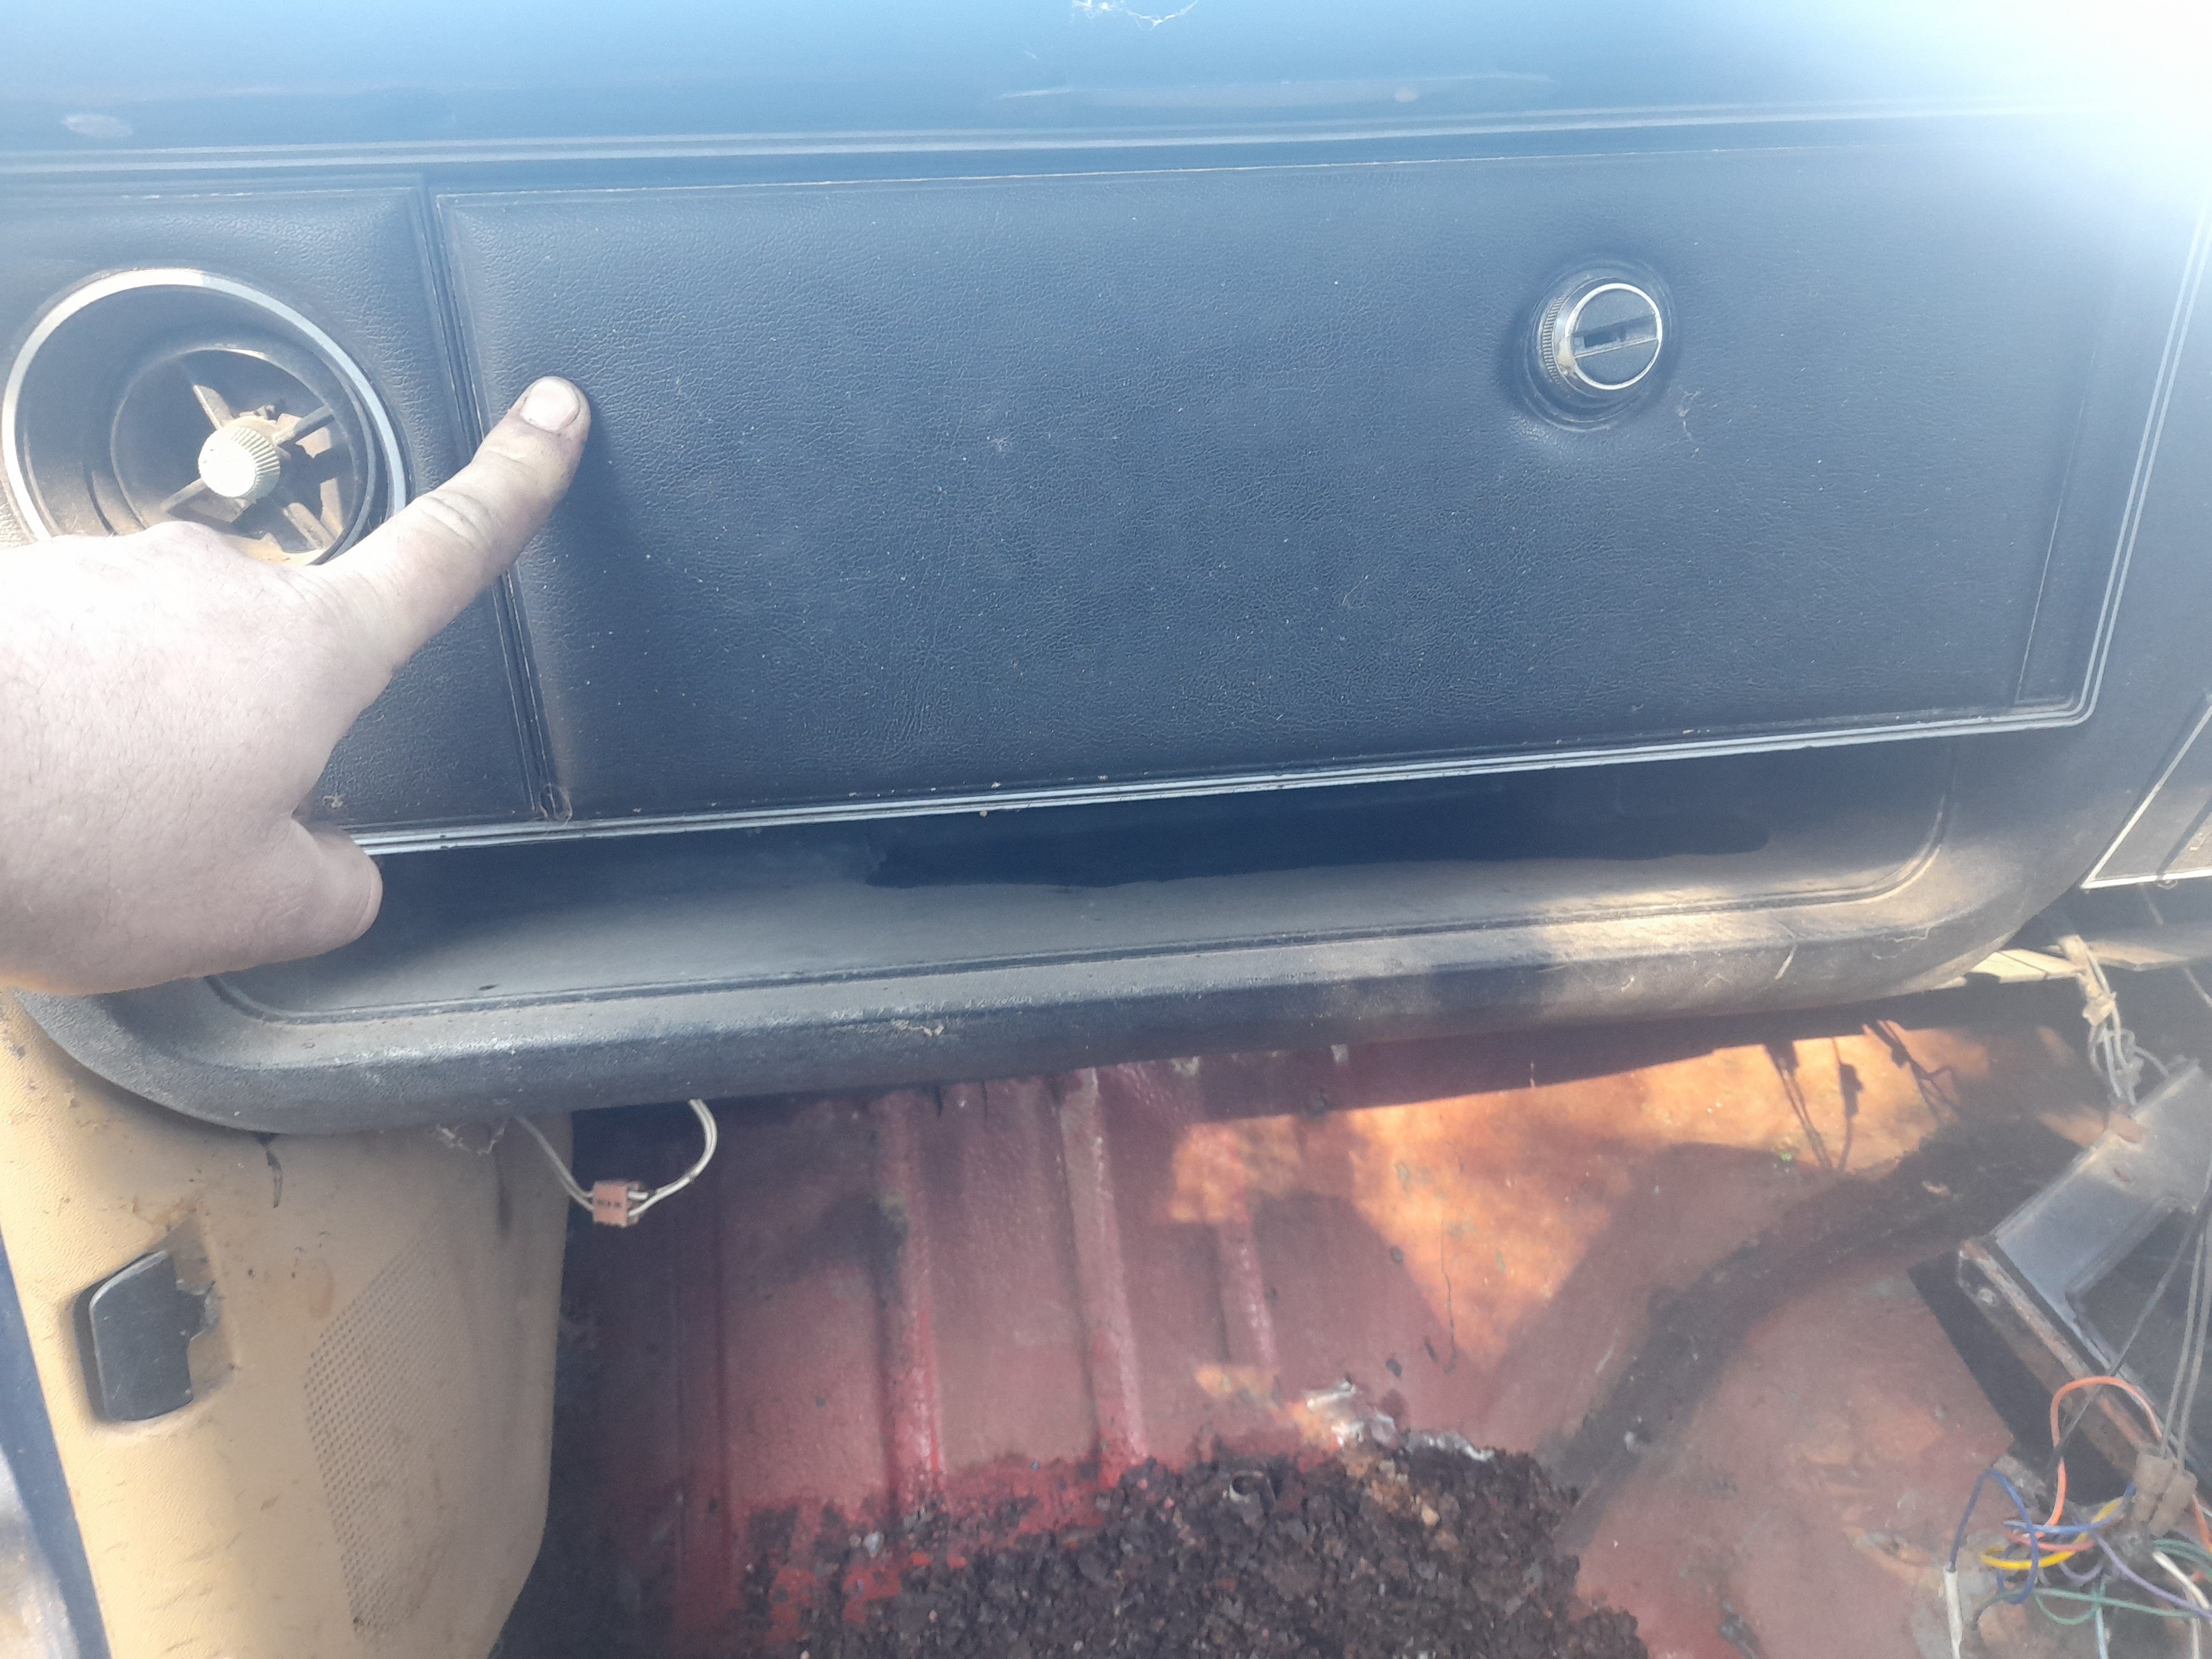
Tonights episode of hoarders brought to you by trademe. Was warmer when i got home tonight than it was all weekend so i took a torch and some screwdrivers outside and started pulling the dash apart. This ute must have been well appointed in the 90s, upon taking the glovebox screws out i found it has the 'glovebox vanity light' option fitted. This coupled with the padded dash panels and 5 position wiper switch makes me think that someone must have stripped a fairmont and fitted all the option parts to the ute, or it was the fanciest tradies ute sold in 1979.
-
Their server doesn't recognise gmail as a valid email. Hotmail and damn near everything else works fine, i had them send my wife a copy and she sent it to me lol
-
Started the cleanout properly today. Padded dash for the win! Hadn't noticed it before as the catch is missing so the glovebox has been open.
-

Gibbon’s 1971 GT6 bothering - comment here
Bearded Baldy replied to VitesseEFI's topic in Project Discussion
V4 capri/transhit motor. All the lols in one package! -
Napier auto supplies i think it was sold me one for really good price a year or so ago..was new and for a customer. I remember nissin king also doing new aftermarket.
-
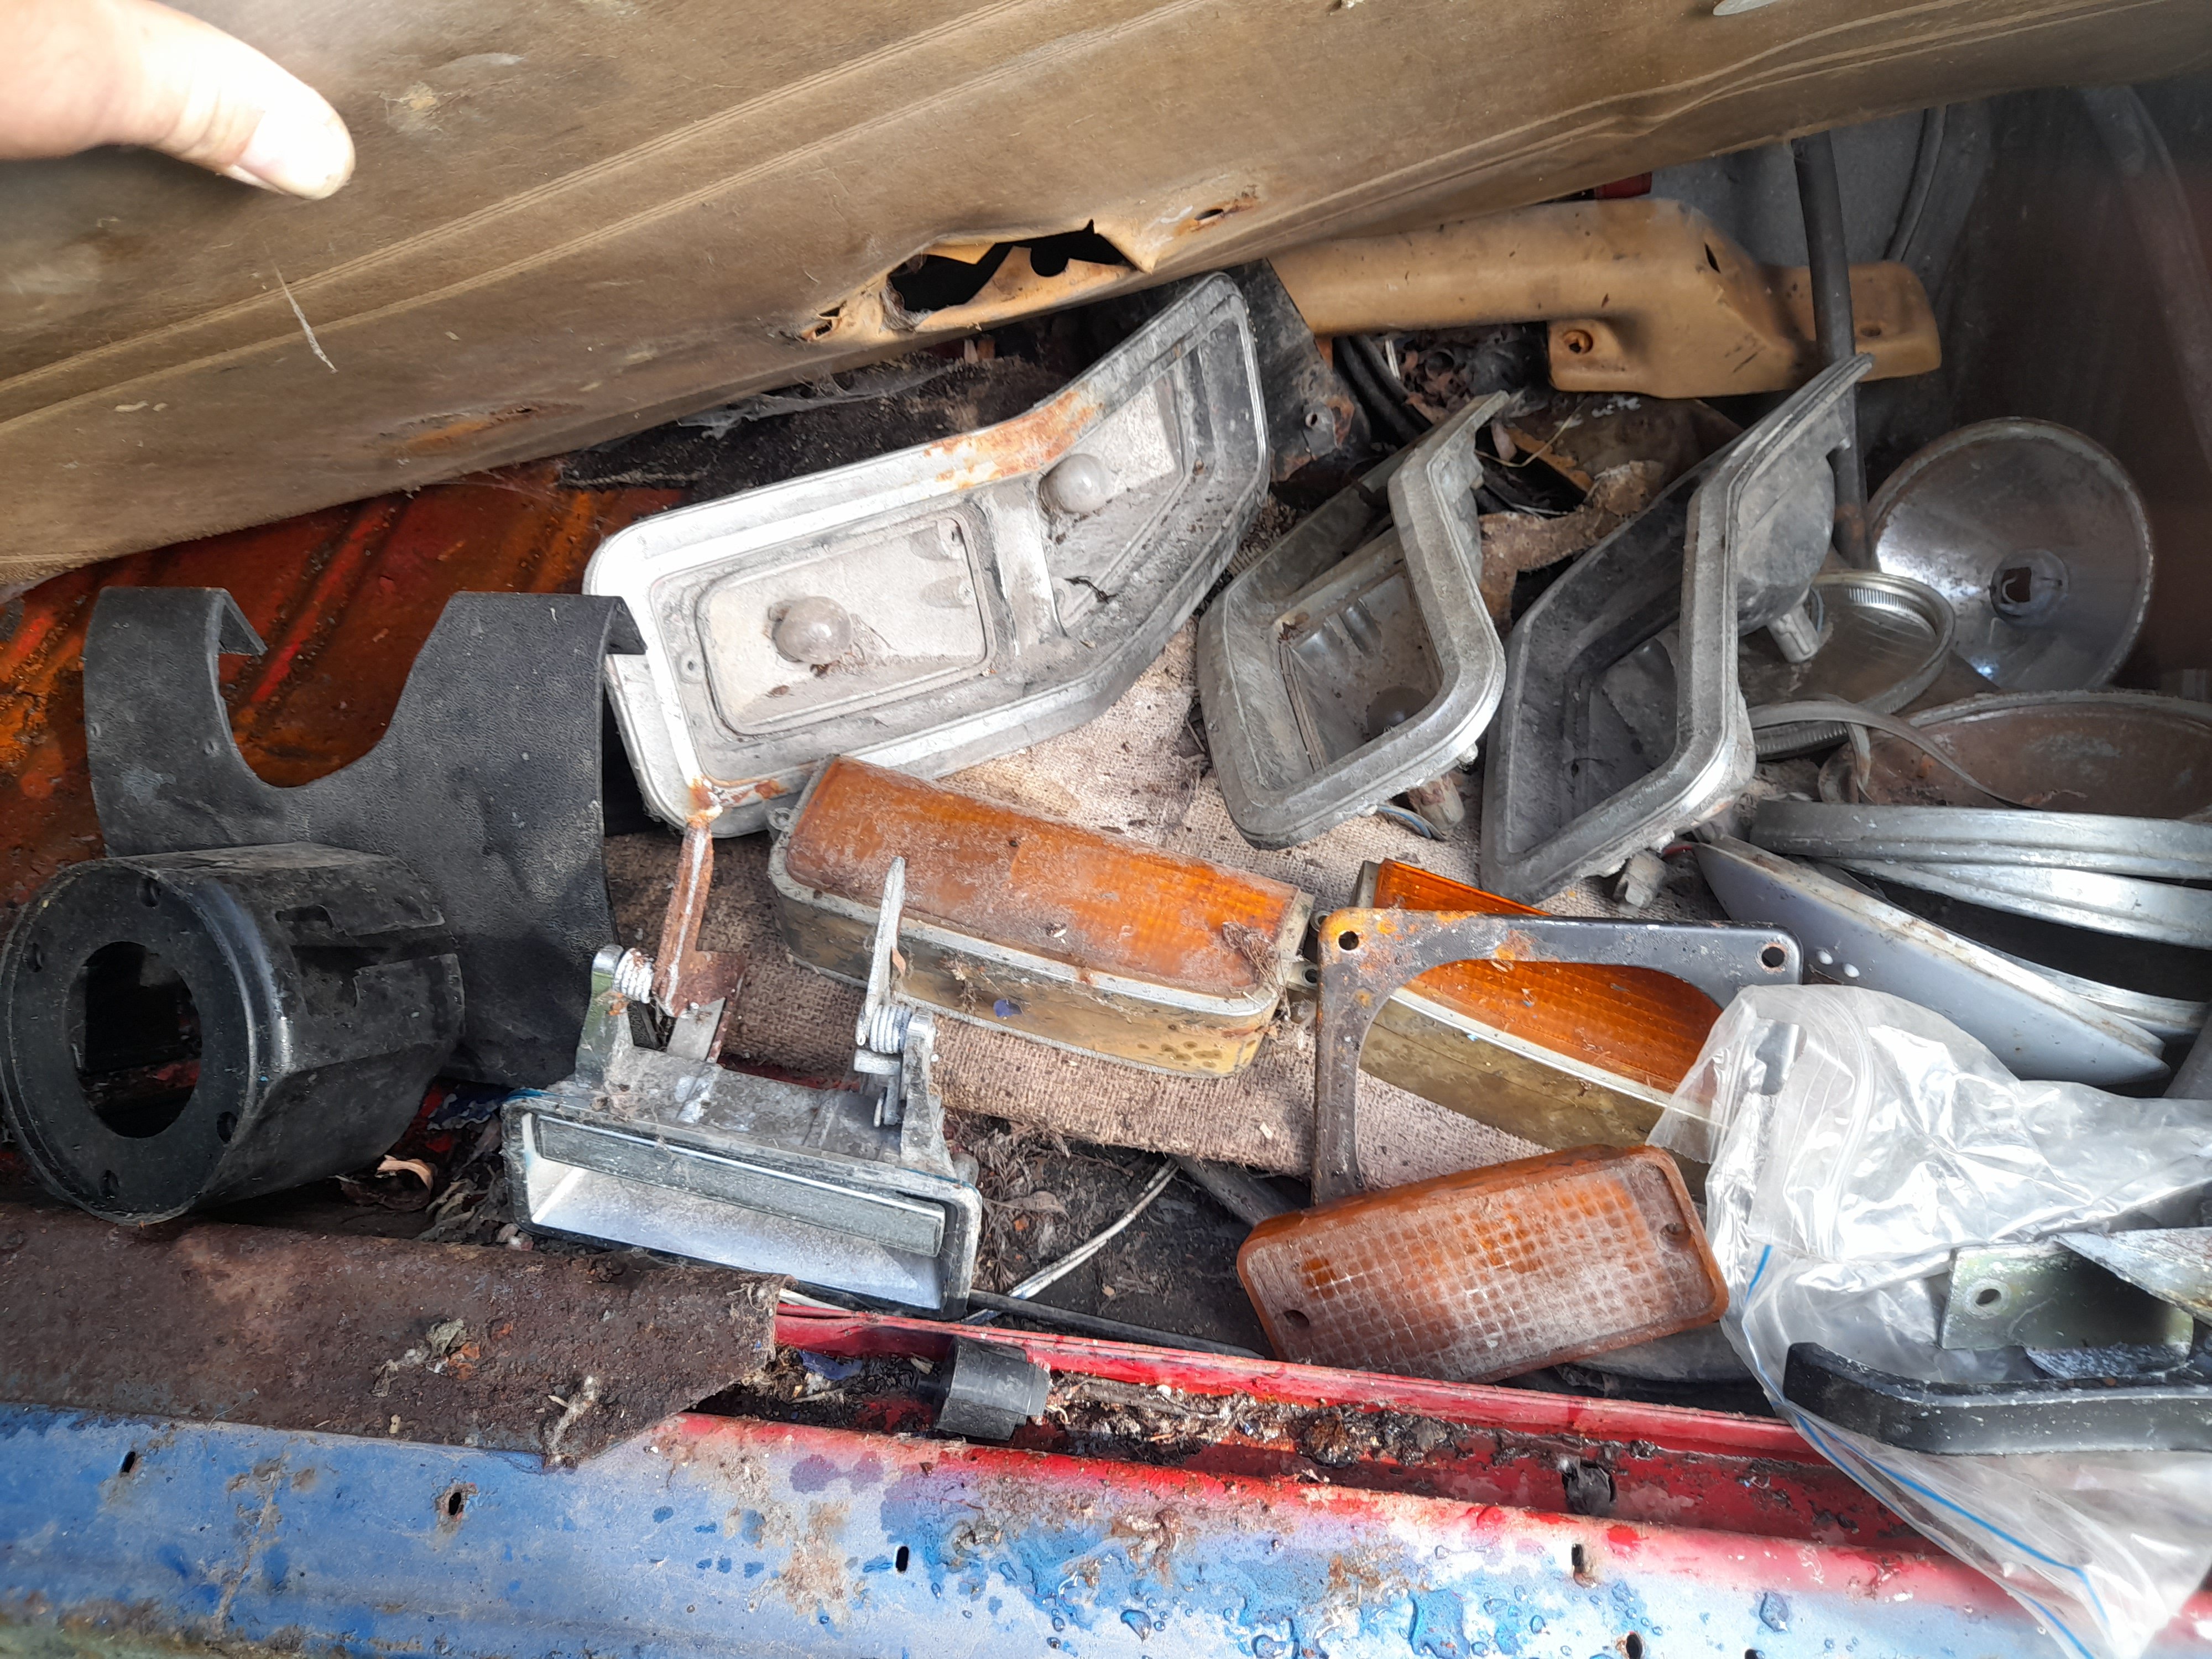
Never mind that bland post there @RUNAMUCK,must have left the screen open when i went to sleep and when i slapped the screen to shut down the morning alarm i managed to qoute and repost the one above it. Anywho, this blue pile of bog has revealed some real gems this morning, i braved opening the doors and seeing if the floor would collapse, it sagged but didn't flop so happy days. It has something so rare i was not aware any survived the 80s, intact crack free A pillar covers! And looking under the door card lying on the passengers side was.... Spare tail lights, front indicator lenses, a bag of factory black inner door handles, new gearstick boot retainer, unbroken lower steering column cover (normally all cracked or drilled for switches). All were in bags too so somebody had a dream for this.
- 89 replies
-
- 11
-
-
Though it looks like a weak viscous coupling on the front, haven't looked into it.
-
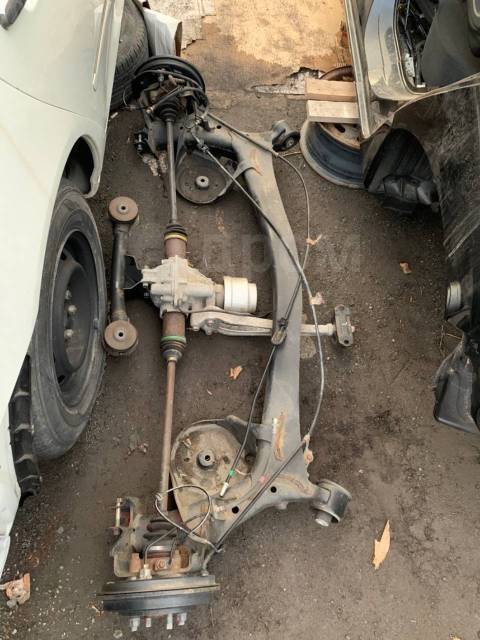
May i introduce the rear end from a gk6 honda fit/jazz. Alledgedly capable of 130hp stock.
-
Tech Spam thread - because 1/4" BSP gets 5 hand spans to the jiggawatt
Bearded Baldy replied to Roman's topic in Tech Talk
Did you win? I have had success with standard issue cocacola poured in the bores and ignoring the problem for a week.