cute wee gem
-
Posts
2,640 -
Joined
-
Last visited
-
Days Won
1
.thumb.jpg.b5aa15b7d5c7bde2c277b6e7cda7e7f8.jpg)


cute wee gem's Achievements
Committed (5/5)
1.3k
Reputation
-
Car came from Timaru! sorry I don't visit here much these days due to lack of time. This needs an update too as we have been working on it some
-
Cute Wee Gem’s 69' Isuzu Bellett
cute wee gem replied to cute wee gem's topic in Projects and Build Ups
Summer 20/21 - We didn't do a lot bar finishing body work and getting it all back in primer and painting the engine bay. We also put the motor in temporarily and painted all the front crossmember and suspension parts. Also started a new ITB manifold for it. Summer 21/22 - We did a final guide coat and block sand, then got it painted. Pretty happy considering we painted it all outside, over 3 days. It was probably too hot and too breezy making it a little orange peeley. Feels good to finally have it painted.- 7 replies
-
- 38
-

-

-
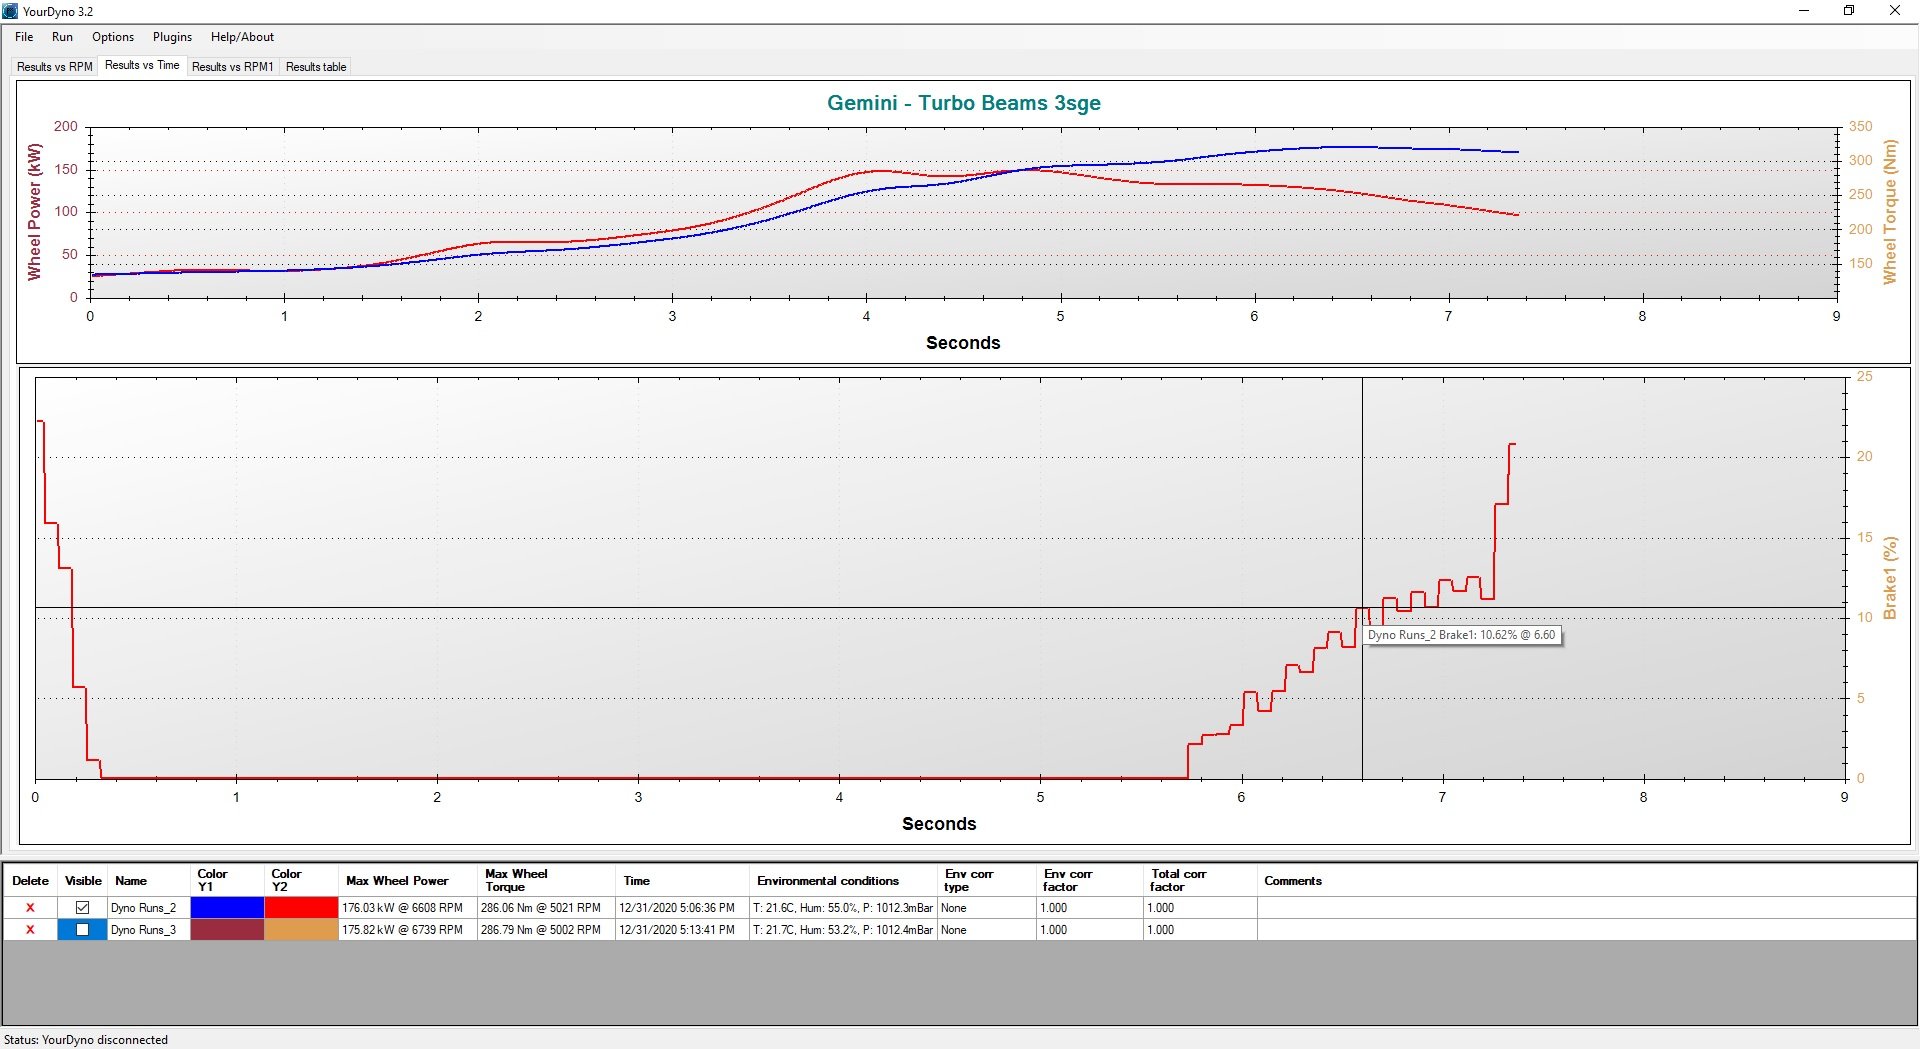
Interesting to note that with the gem on it, the brake was at 0% until the very last 1500rpm in that run where it ramps up to 20 to end the run, which took 7.5 seconds. Seems to have more inertia than I expected.

-
Haha the bloody mx5 already wee'd all over the place. OS dyno day could be a thing for sure.
-
Thanks. I'm definitely going to do some tuning work. It is a little tricky to get the car on square but I might put some tape lines on the floor or something to help guide when reversing, other than that, you can tweak it with the straps
-
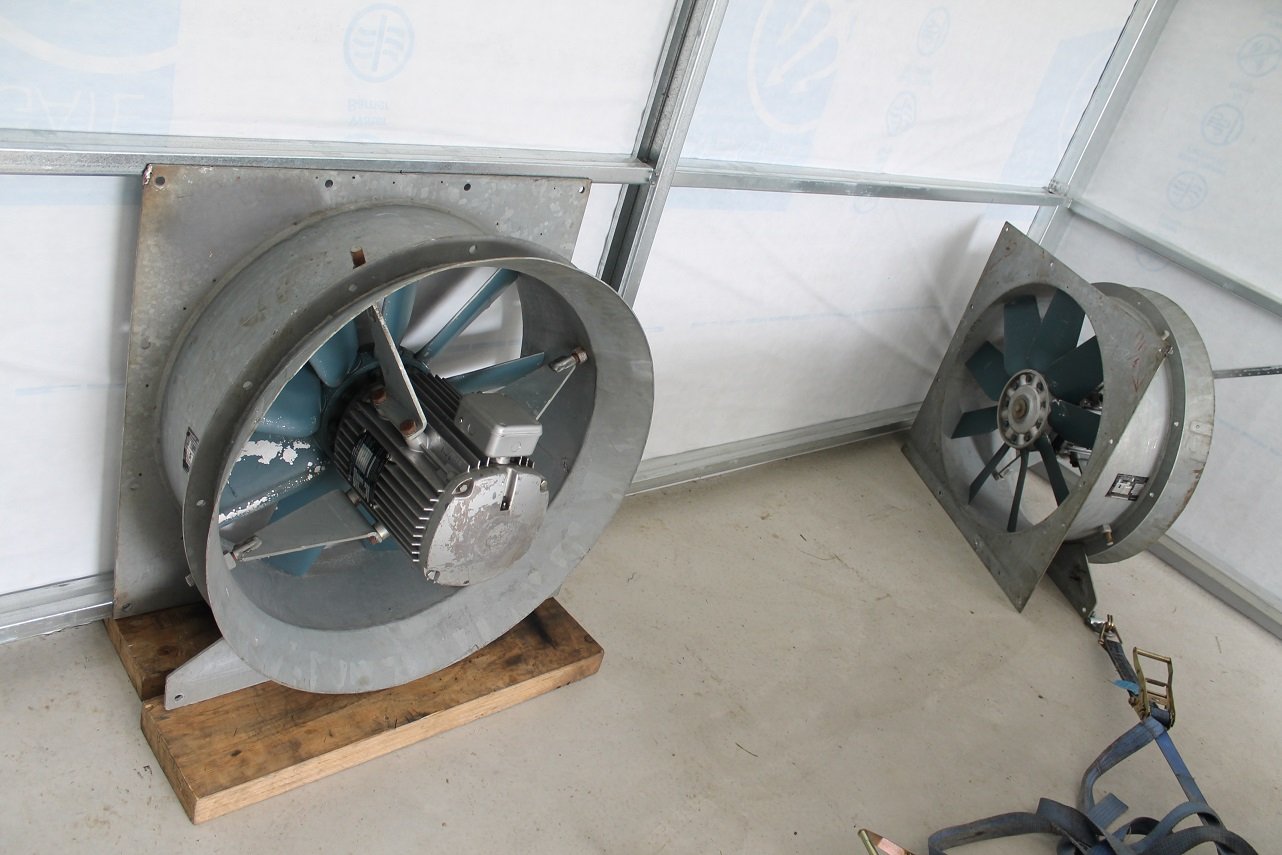
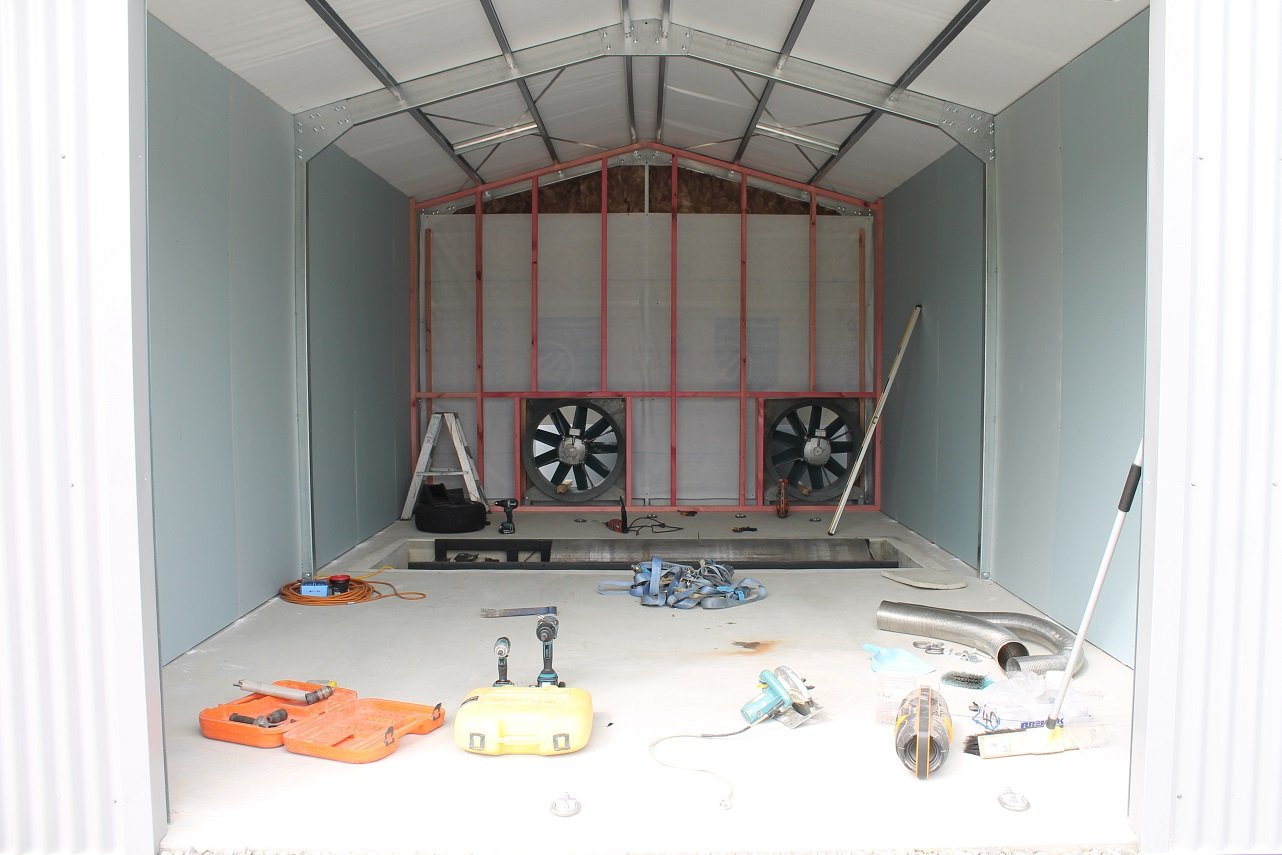
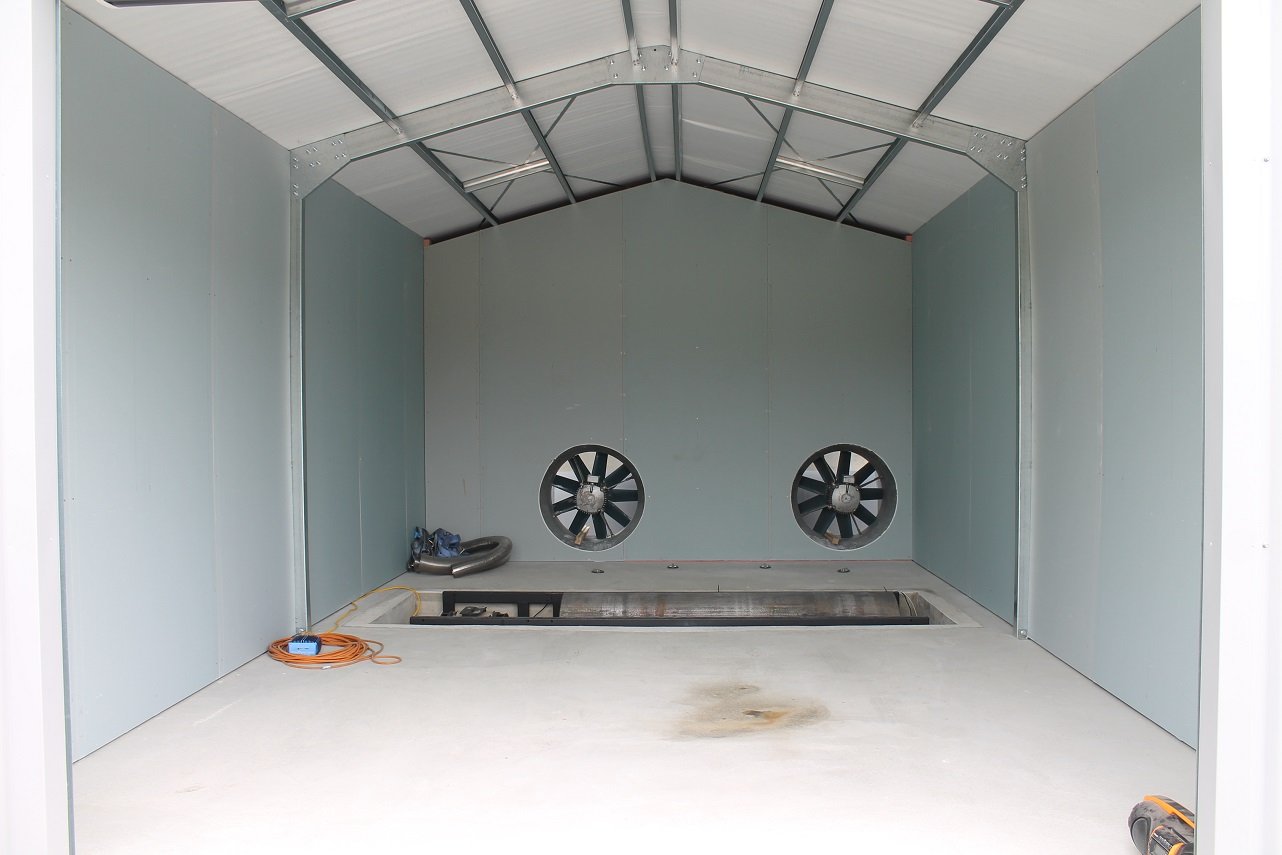
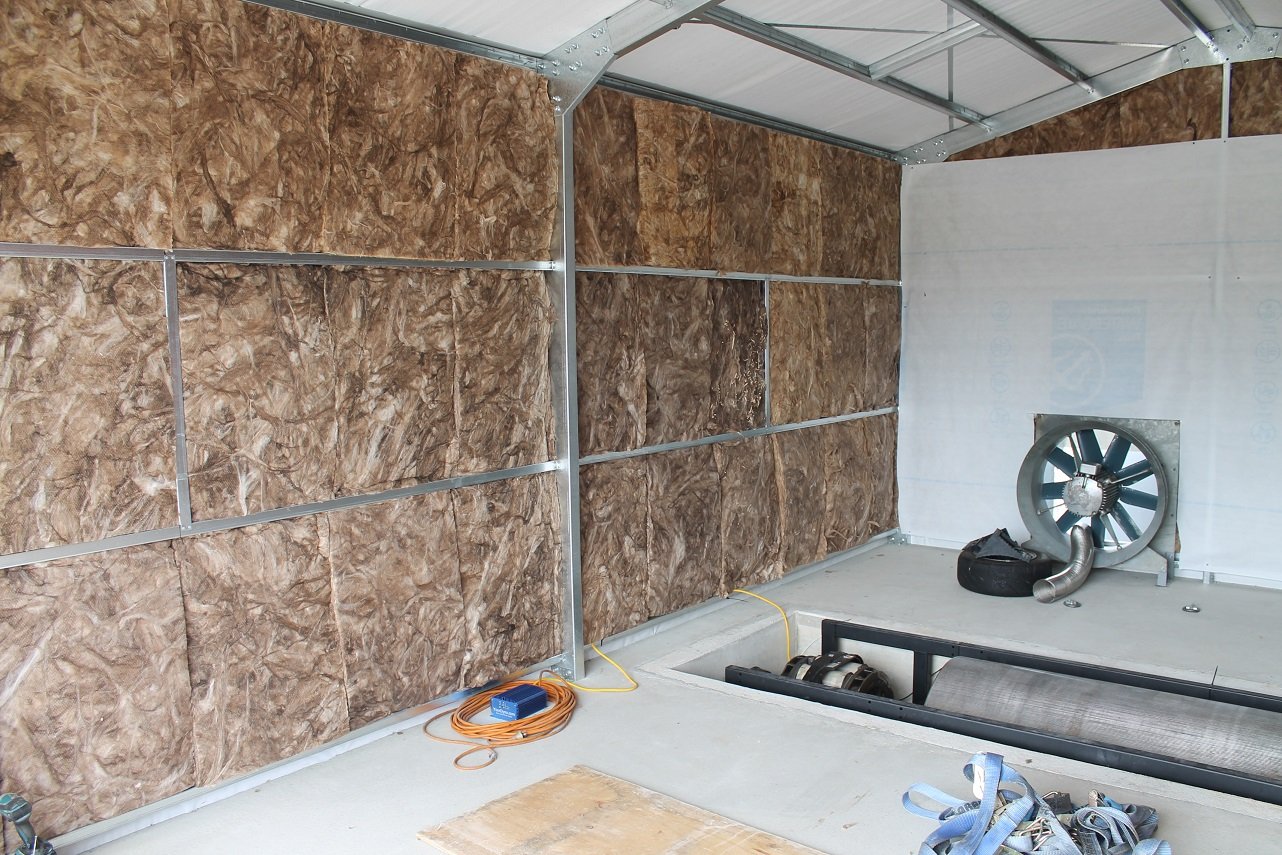
Bought a couple 10.5kw, 30" fans 2nd hand, which should be enough to suck the nasties out. These are 3 phase so I really need Mr sparky to come and wire them in. You read my mind. Except more just to keep noise down a little for the neighbors in general and get rid of the tin can feeling inside. I had some left over noise batts at home and some normal batts I scored from work for a box of beers, so I banged them in the walls and threw up some noiseline gib for now. Built a false wall to enclose the fans as well. I bought some sheets of 60mm polystyrene for the ceiling too, but will wait for mr sparky to do his bit first. Also finishing off 2020 with a quick hit in the gem.
- 54 replies
-
- 13
-
-
Did some dodgy sparky work and got the retarder working, as well as doing a 4th gear pull to see how everything is looking. So far so good.
- 54 replies
-
- 13
-
-
Super easy to set up and use so far. I've had a quick play with the retarder and that all seems to be working good, but I need to tweak the PID settings before I can do the proper MOI calibration. Software itself is pretty simple to use also, and seems to have all the features I'd want. Never used a dyno before this, so can't really compare to anything else. Can't do too much more fiddling until I can get my sparky to come wire up some extraction fans etc after the holidays. It gets pretty noxious in there lol.
-
A few months back I bought the 4 items in this link to make it all work https://yourdyno.com/shop/ - I had to wait a couple of weeks for it but it was perfect timing as they had just released their own eddy current power supply. After checking out his youtube and forums it seemed like a good option for a reasonable price. I then bolted some tie down points to the concrete, hooked the speed sensor up to the YourDyno controller and connected it to the laptop. I set it up for inertia mode with a moment of inertia number based on some weight calculations of the roller (educated guess for now). Strapped the trusty old NS250R to the roller and just eased into to things to get an idea of how it was all going. I popped it in 3rd and did a run right out to 10,000 rpm or so. This was a pretty epic moment for me honestly. Everything felt smooth and nothing looked out of place, so the next day I mucked about shimming bearings and coupling the retarder to the roller. Still in inertia mode, I strapped the paddock basher MX5 to the roller and did a test run in 3rd. Once again everything looked pretty good at this stage so I am very happy. Here's a video.
- 54 replies
-
- 32
-
-
-
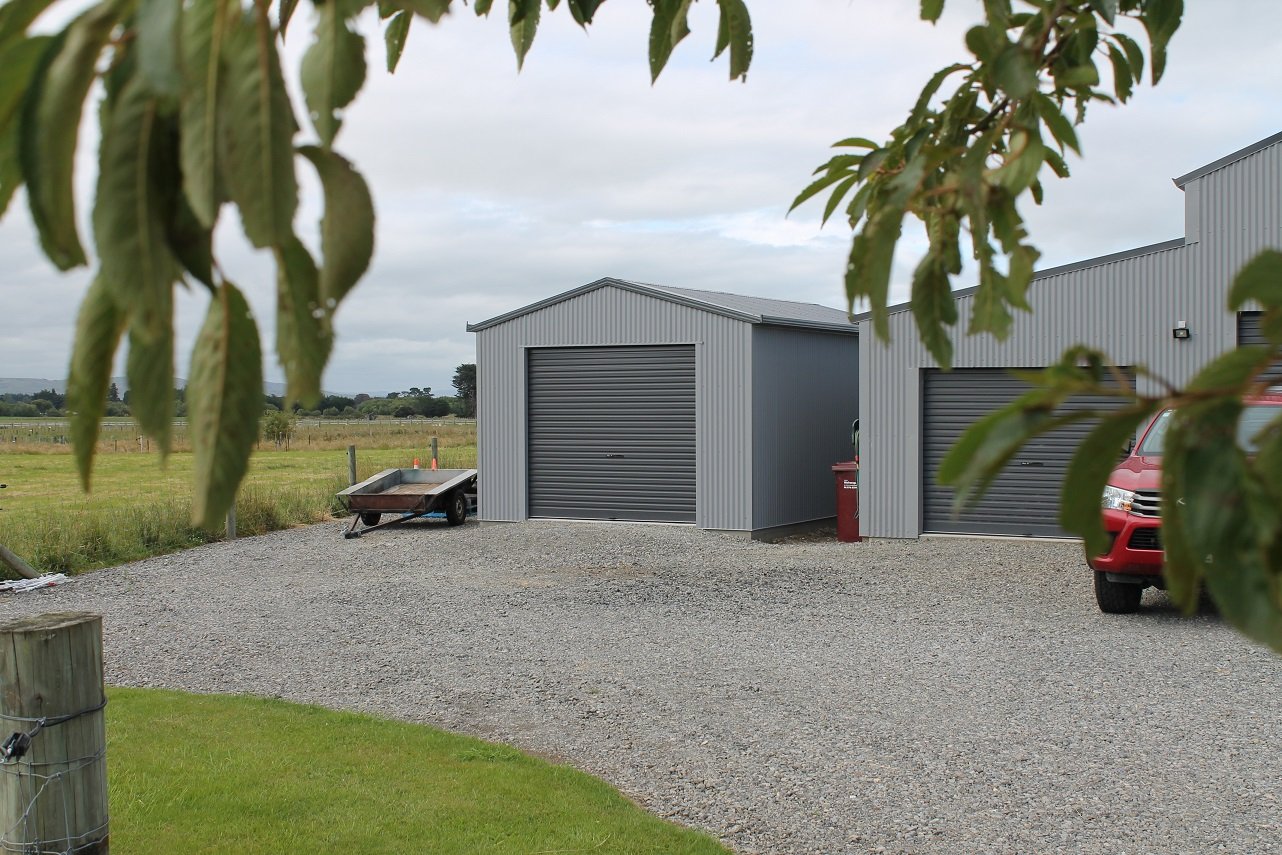
Shed up
- 54 replies
-
- 34
-
-
-
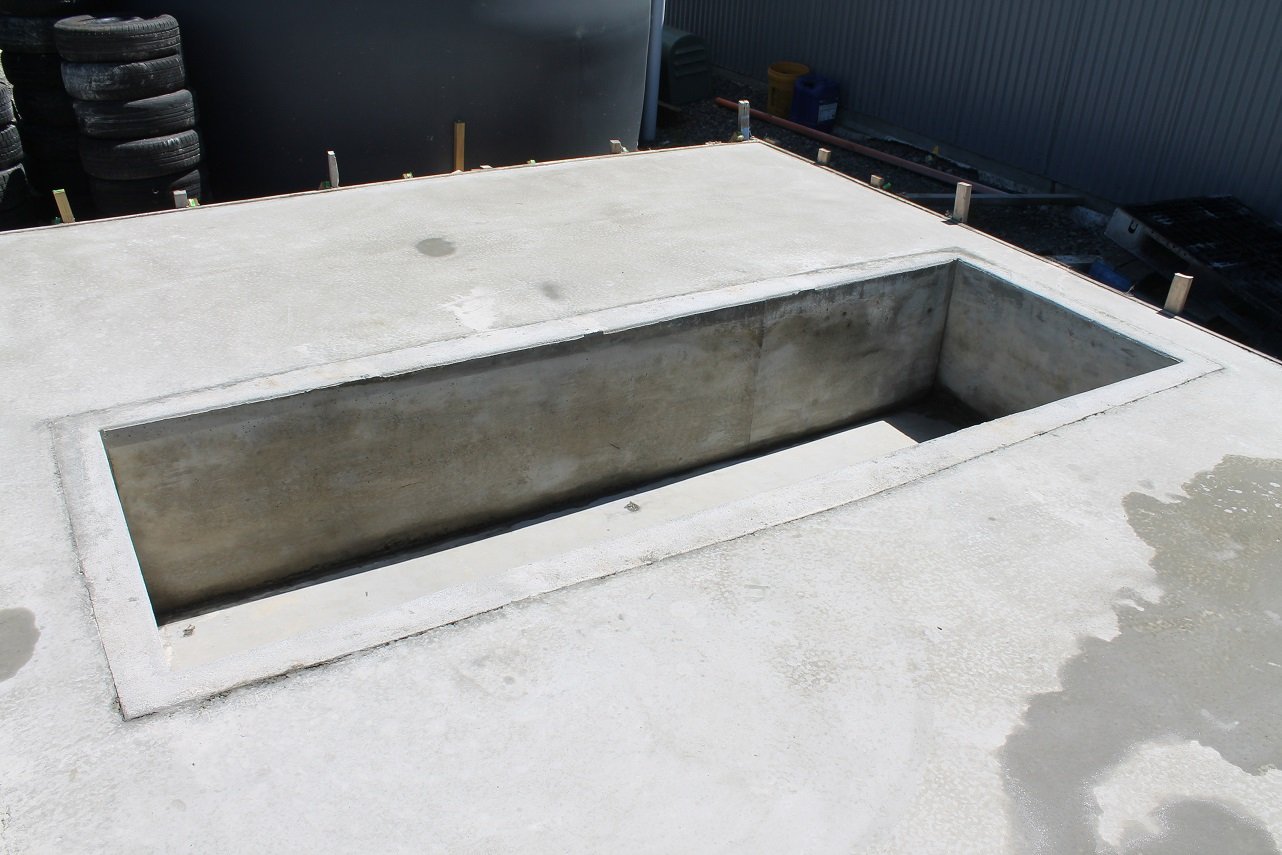
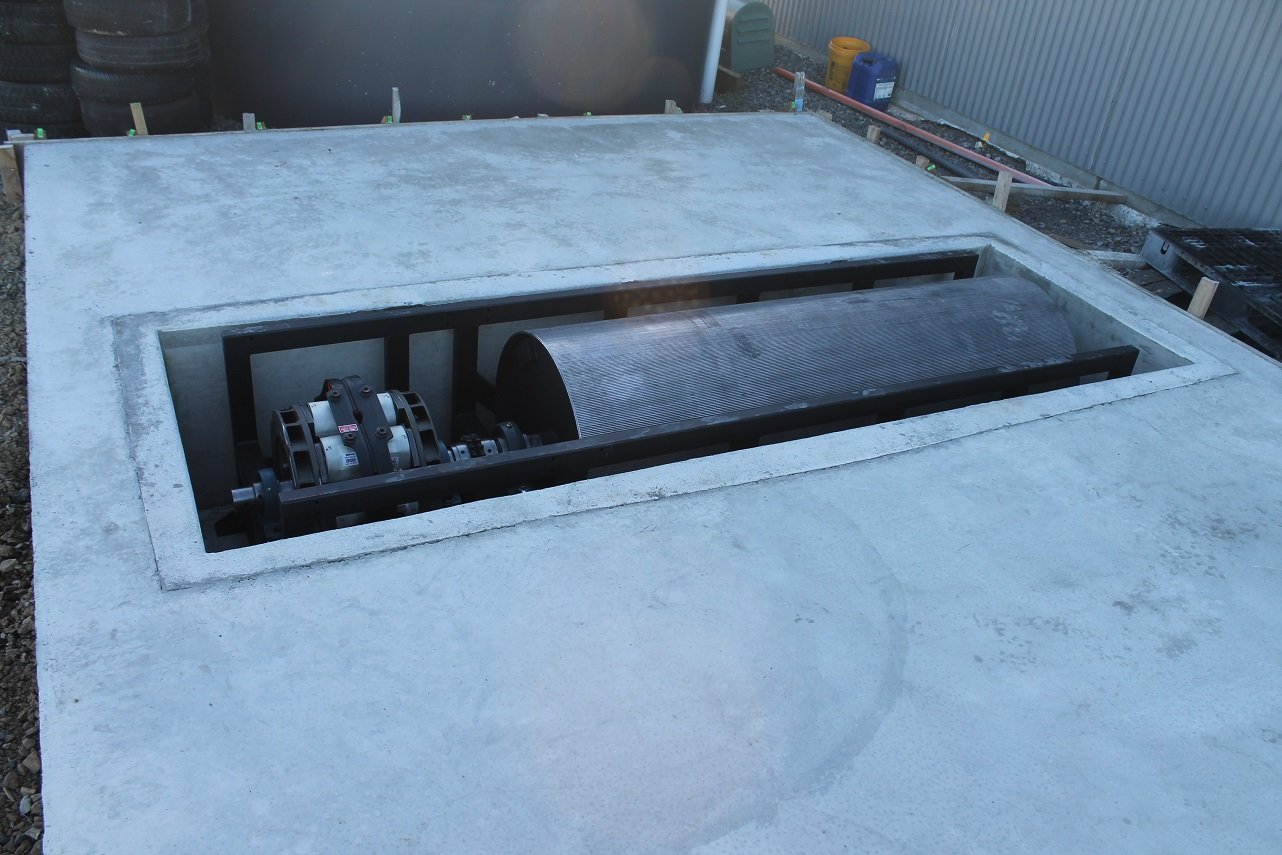
Stripped the boxing and bucketed all of the water out of the pit. My parents then popped around with their tractor and we managed to get all the heavy bits in the hole.
- 54 replies
-
- 18
-
-
Cheers man, yup just standard bearings. From the photo's I've seen of other dyno this seems to be fairly common? Unless I'm missing something critical, feel free to chime in. I would assume there would be bugger all axial load? Once again I'm no engineer so if there's anything I've overlooked feel free to set me straight. I'd much rather change some stuff than have it fly to bits!
-
Cheers dude. There's not a huge amount of force on the load cell in relation to the hardware capacity, keep in mind it's 450mm from the center so it has a huge torque advantage. But better safe than sorry, so I've planned to add a stop to the opposite side of the retarder as it will be spun backwards for FWD applications, and for RWD if anything were to break, the bracket will actually hit the lower mount/frame.
-
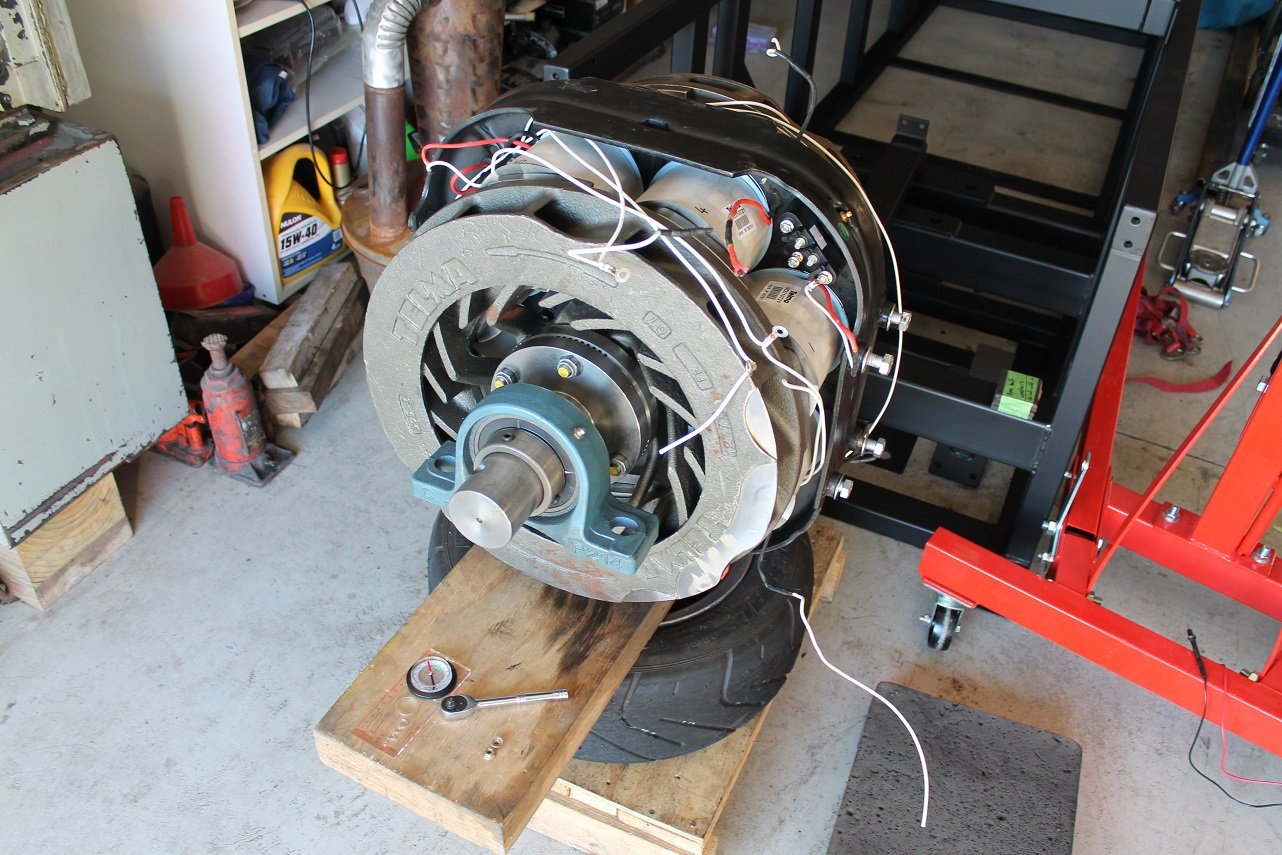
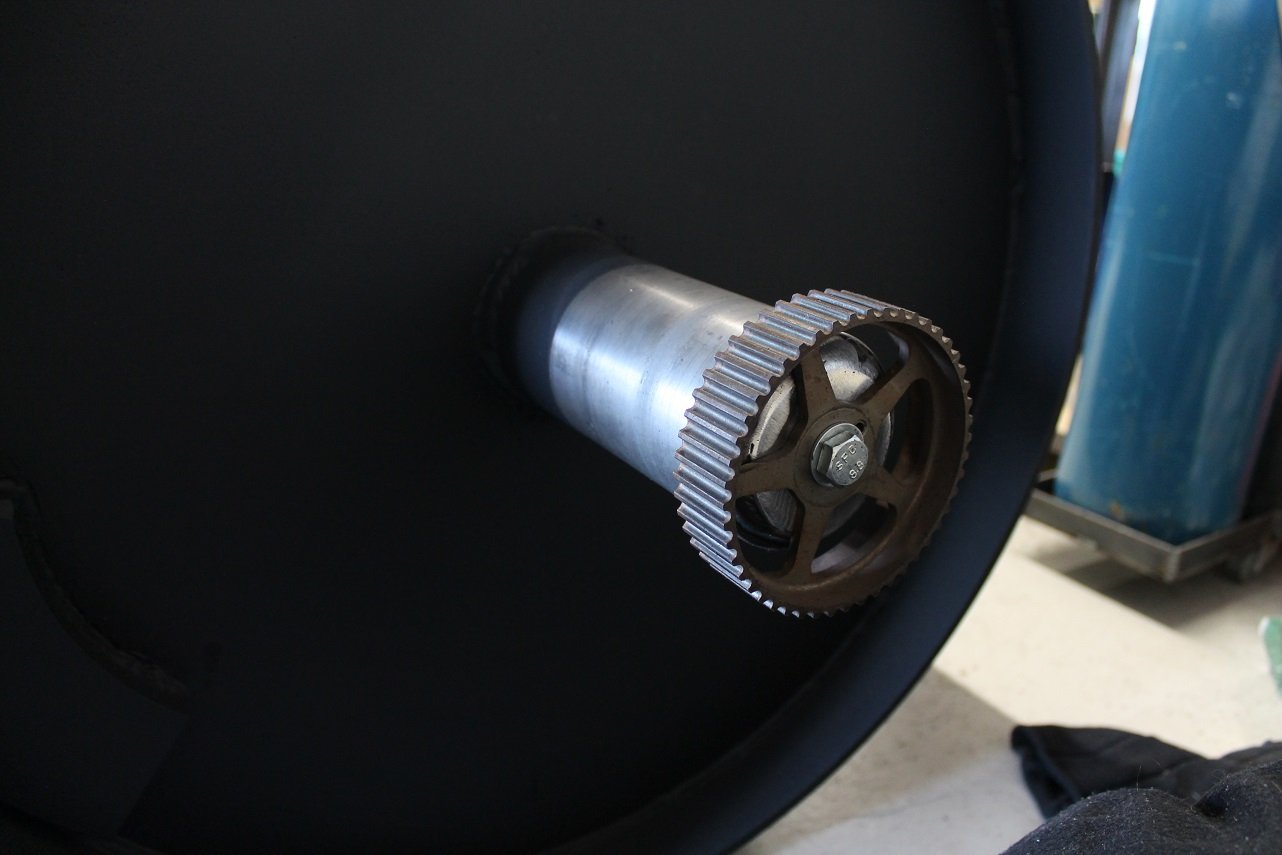
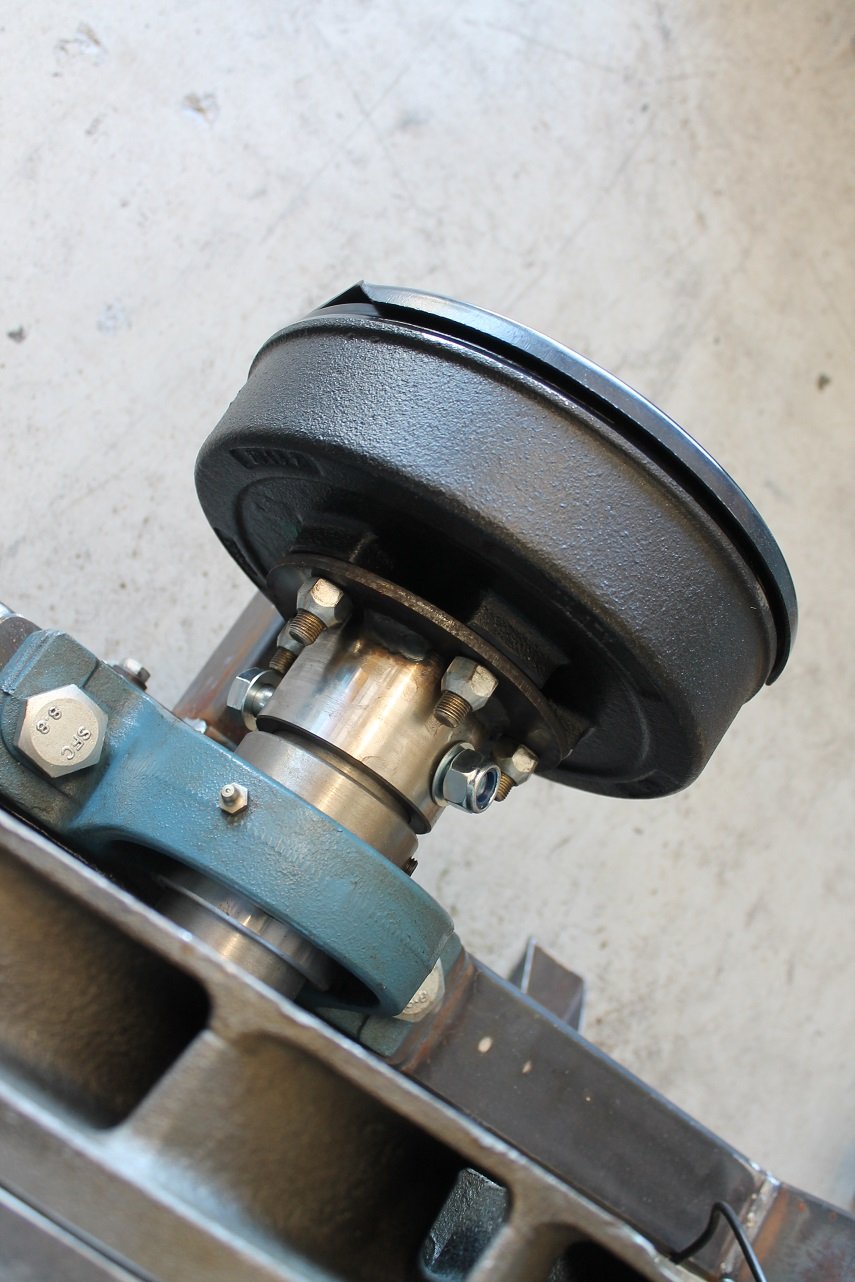
I then mounted a 2jz cam gear to the end of the roller, this will be used as a trigger wheel for the speed sensor. I then set to rewiring the Telma retarder. These have 16 coils wired in parallel for a 24v system on a truck - this is no good for a dyno. I wired the coils into series so it now runs on 192v, which can be wired to mains power through a power supply. With the retarder wired to a 12v car battery, the coils can be checked with a compass to make sure the wiring is correct. They should read north - south - north - south around the circle to form the eddy currents, which are transferred into the rotors to apply braking.
- 54 replies
-
- 32
-
-
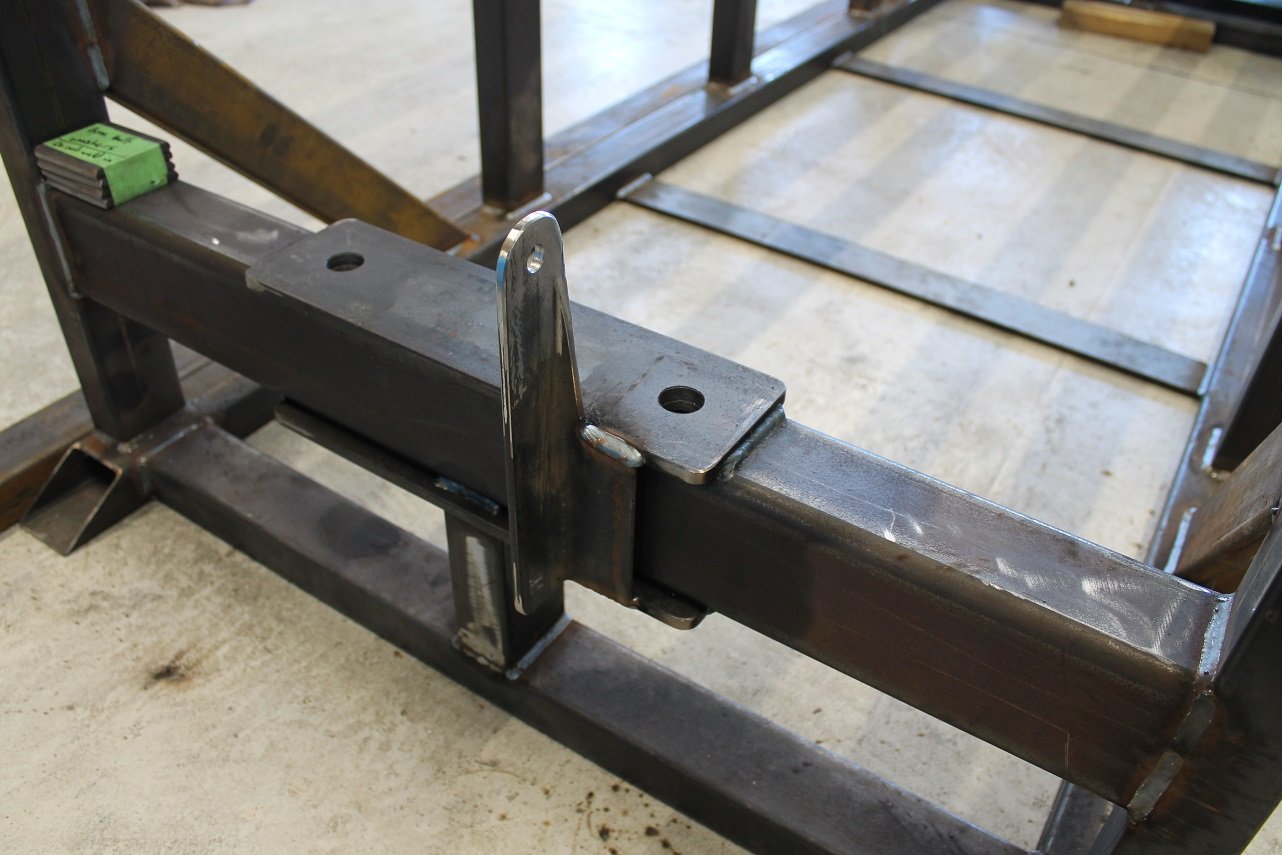
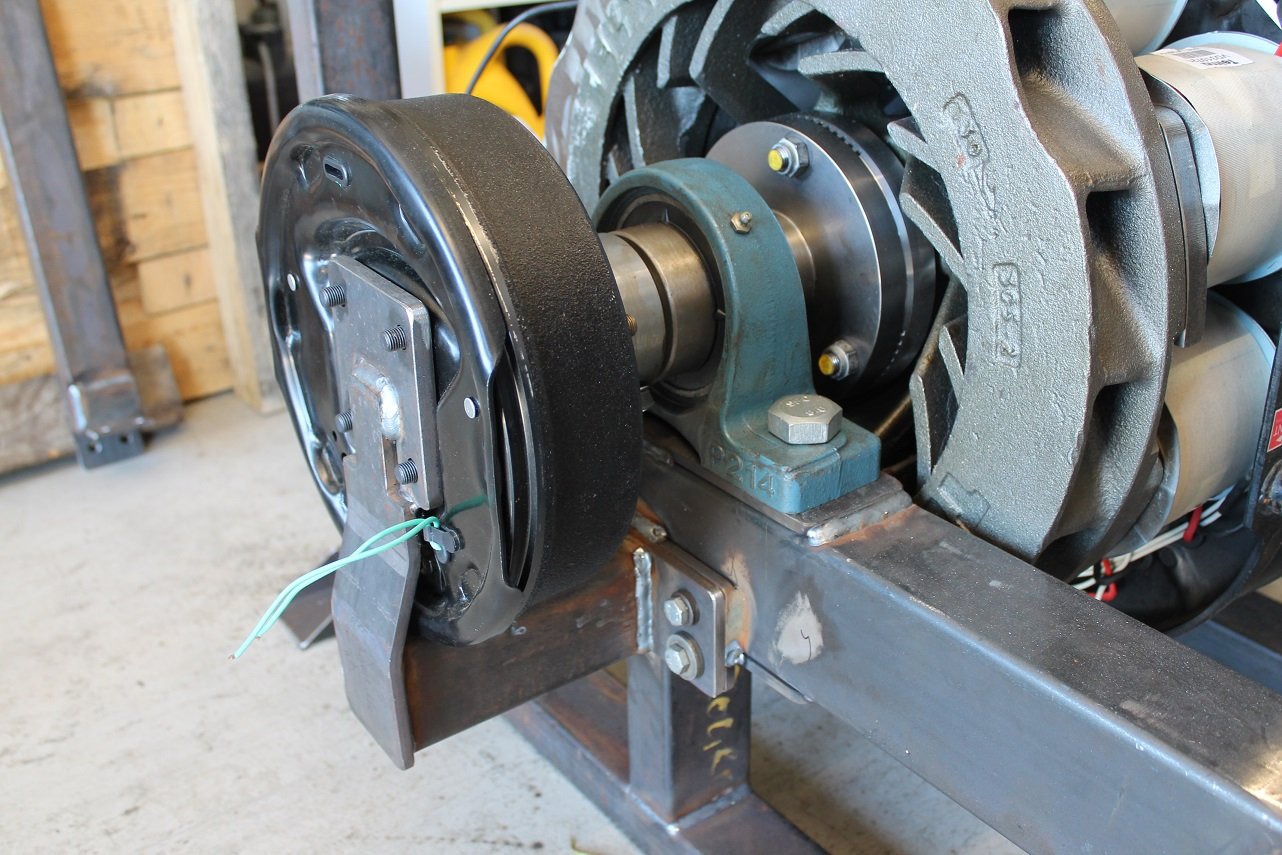
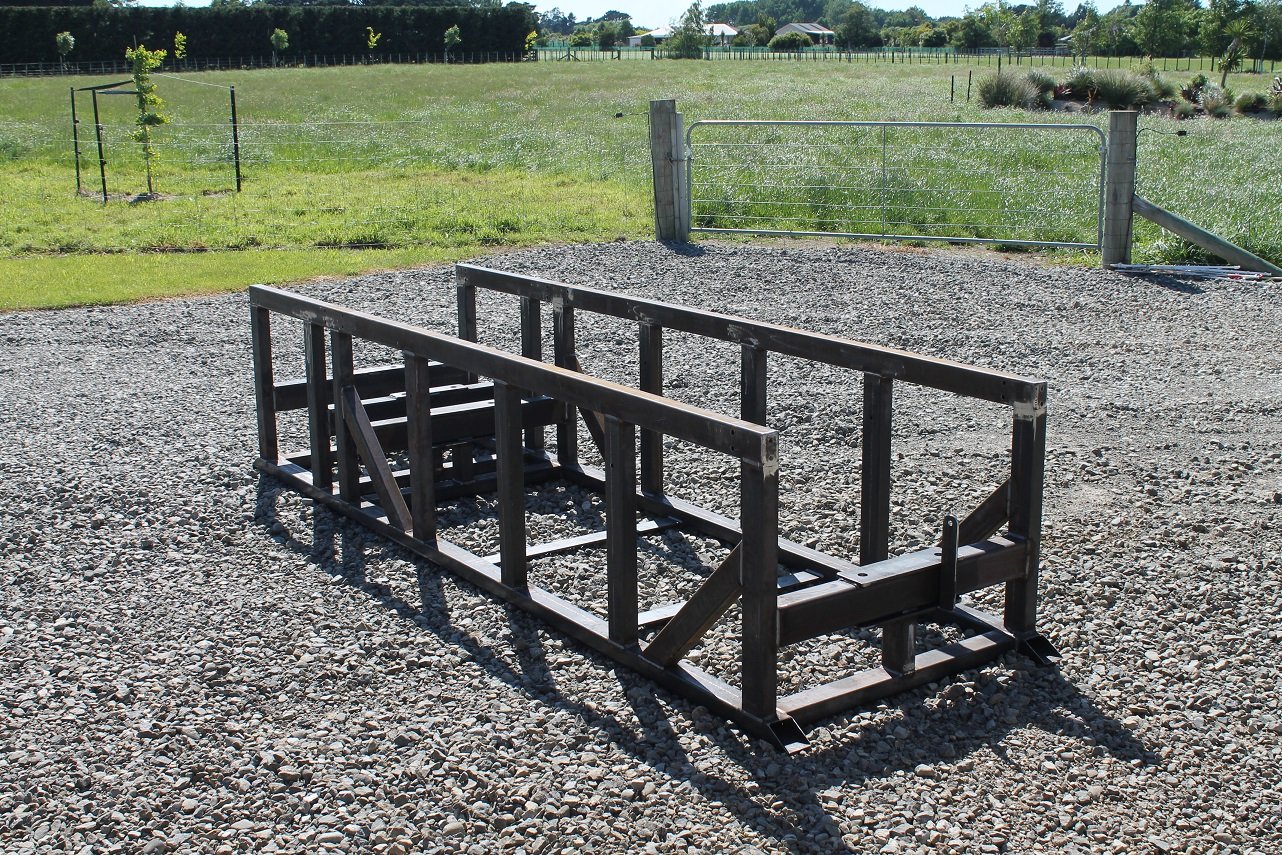
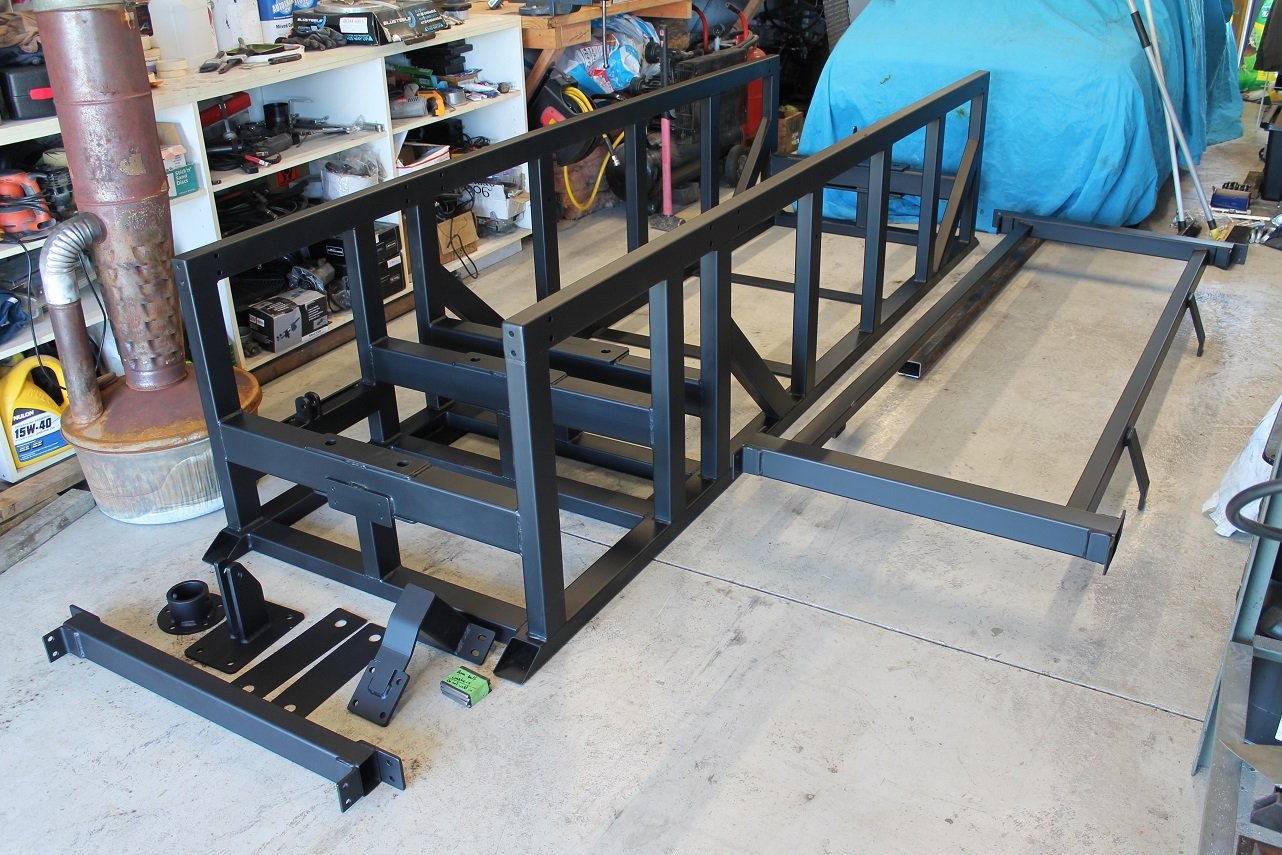
While I waited a few weeks for the concrete, I built a frame for the dyno. Speed sensor bracket Load cell bracket. This is what measures the torque. Electric drum brake to lock the roller when mounting a car. Frame painted. The part sitting next to it bolts into the top to support the floor coverings (steel checker plate)
- 54 replies
-
- 25
-