
Leaderboard


Popular Content
Showing content with the highest reputation on 04/05/17 in all areas
-
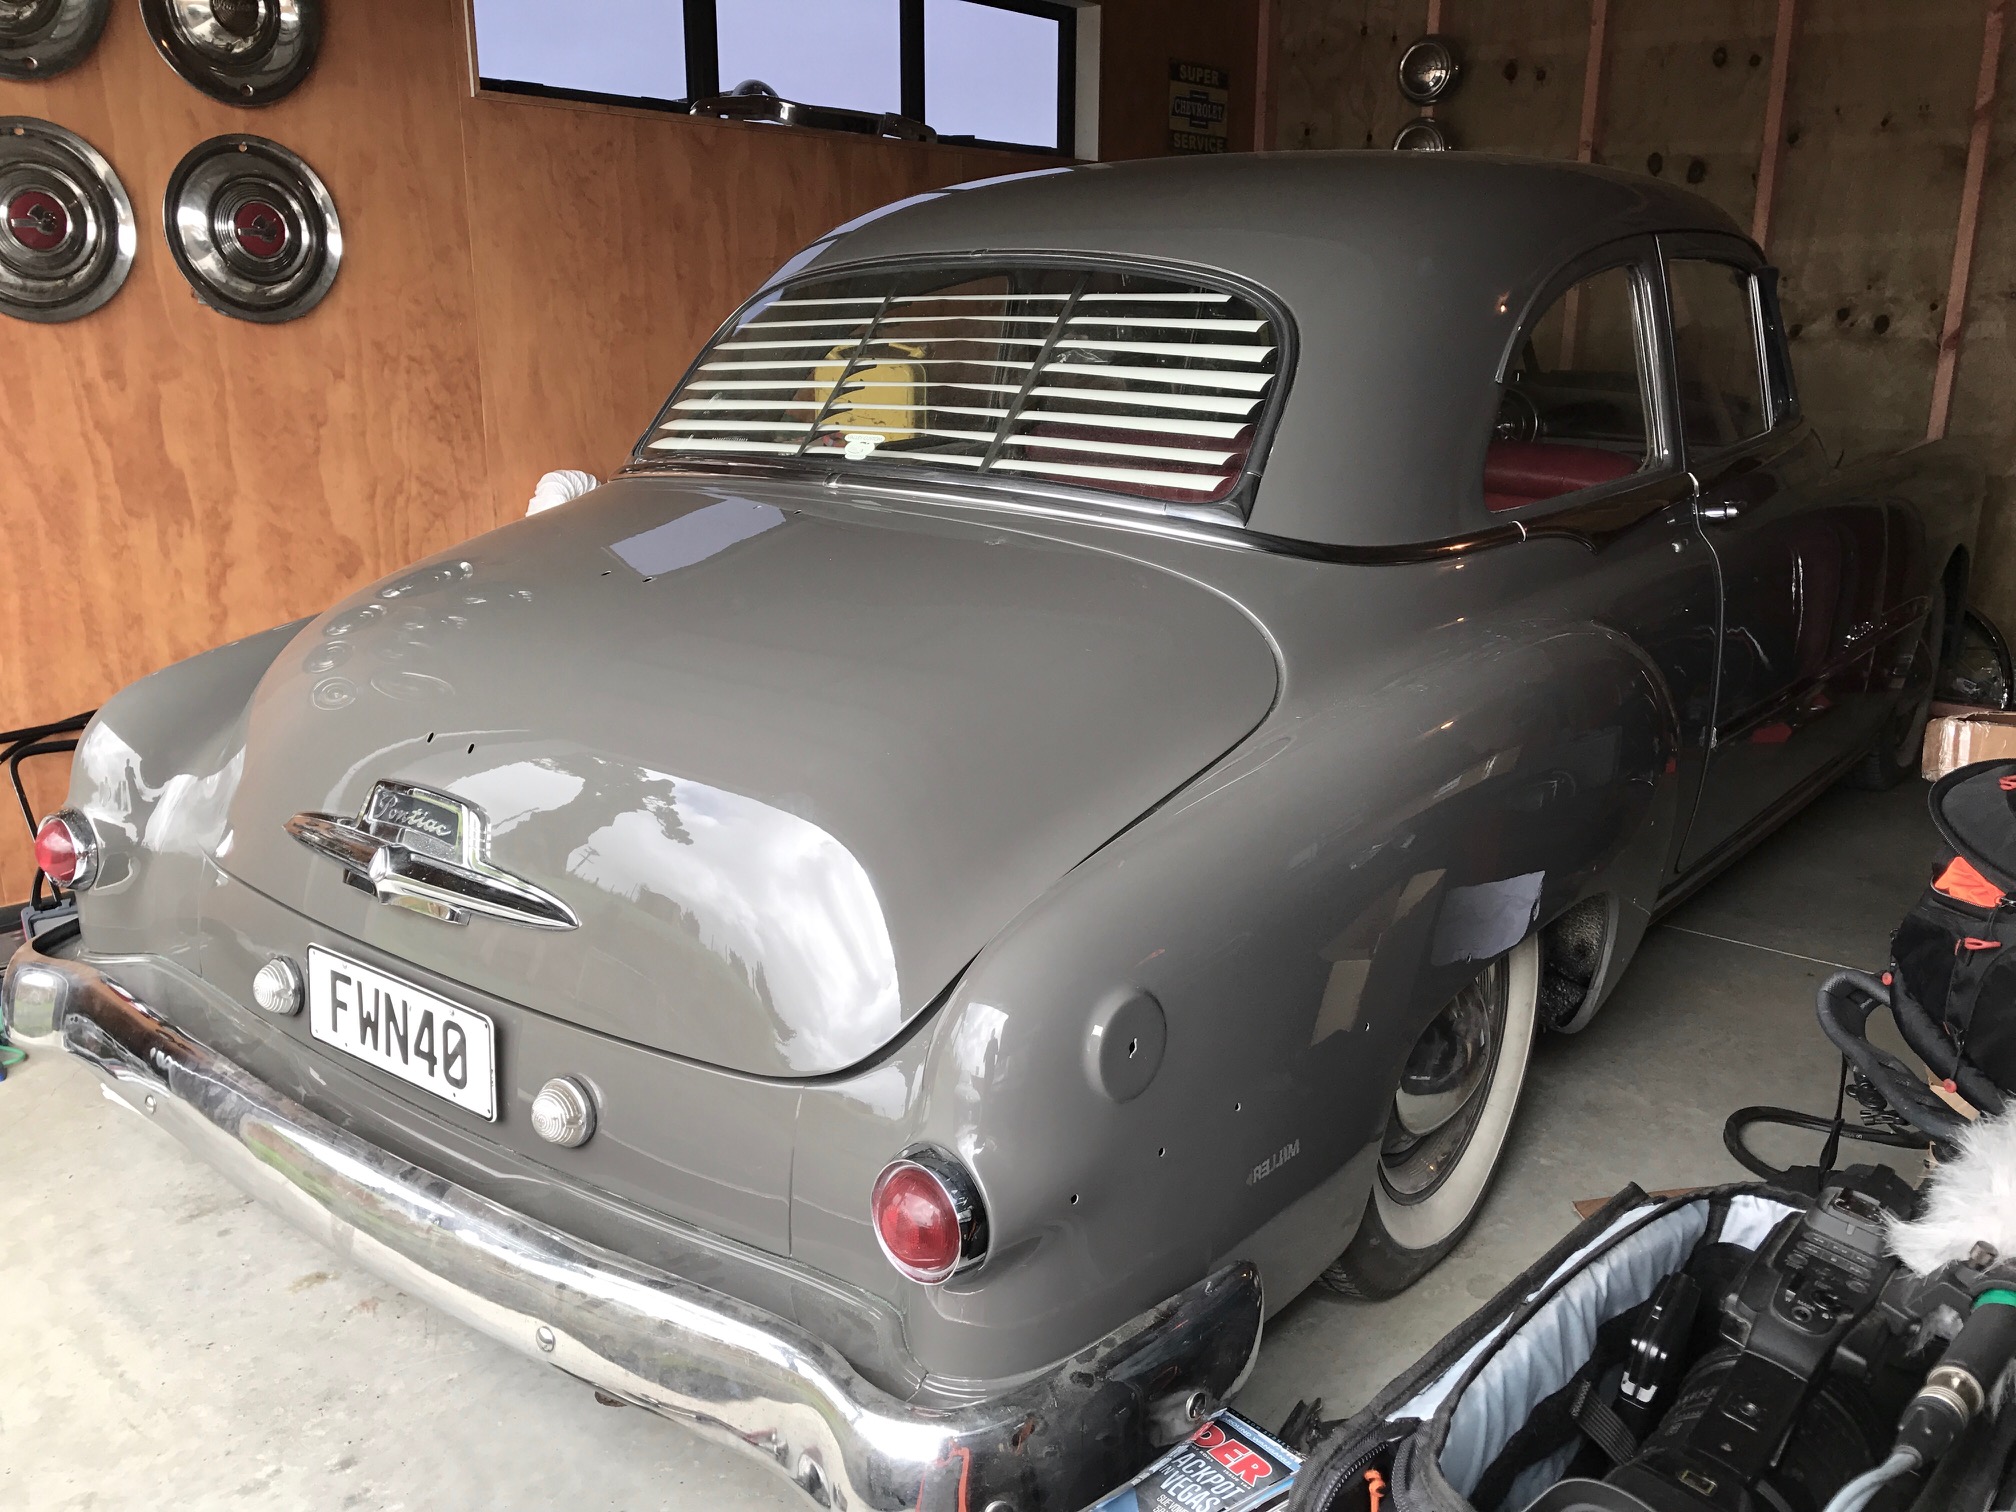
Well, at last I have a large grey pontiac in my garage. Still a couple things to paint like the skirts and the detail on the 'waterfall' trim that goes over the hood and trunk. Grill has been rechromed and will do the front bumper too plus a few randoms like indicators and tail lights, rear bumper is still pretty good. Have a bit of a list of stuff to do, now at that stage where I have to decide if I just want to get back on the road asap or drag it out doing more stuff. I'd like to do as much Dynamat as I can afford, at the very least in the doors/rear quarters. I had a felt kit and new rubbers for the front quarter windows to go in but this didn't happen when it was apart as I 'd hoped it might. Might be the time to pull doors apart and do this, and rechrome the quarter window frames as they're a bit rusty. Hmmm. Anyway, here's a couple of random pics. Since I have such a list of things to do it seemed logical to put the venetians in for a test fit! Priorities... Not 100% sure on them, think they'll work when more chrome is back on car. Currently look like too much of a feature. //oldschool.co.nz/index.php?/topic/53947-shifters-51-pontiac-chieftain-talky-stuff/
 9 points
 -
Mayte, I was on the fence until you mentioned free snags. Love 'em So for all those planning on attending I propose the following amendments: We travel from Auckland down to Hamilton on the 30th of April, attend Midnight Upholstery's Open Day, visit the Hamilton classic car 'Classics Museum' and the associated swap meet that will be occuring on its grounds. The classics Museum Swap Meet is a $5 entry per person but children under 15 or those who look younger than 15 like chees- are free. There is a wide range of food available including the Diner themed restaurant at the Classics Museum itself, a BBQ at Midnight upholstery which is less than five minutes away or a wide range of Waikato culinary delights including Waikato Draught, pies and McDonalds. And some decent food too puhuhu. Since the drive from Auckland to Hamilton is probably the shittiest drive in the country IMO, we could always meet at the Drury BP and take one of several alternative routes to Hamilton including: - Turning off SH1 at Pukekohe, cutting across through Tuakau and heading south through Pukekawa on SH22. Then heading East back to SH1 through Glen Murray along Glen Murray road. This road and the area south of Tuakau are good driving roads with a lovely bush scenery and plenty of hills, corners and straights. This route would see us rejoin SH1 at Rangiriri. - Turning off SH1 at Pokeno, heading South through Pukekawa on SH22 but continuing even further South through Naike, crossing the border into the Waikato shortly after and then turning East onto Hetherington road and joining SH1 back at Huntly - Turn off SH1 at Rangiriri, Head South through Rotongaro, Glen Afton and Glen Massey, thenheading into Hgaruawahia and on to Hamilton. Or feel free to suggest another route. There are roads to the East of SH1 but they aren't as entertaining or enjoyable to drive through as the ones on the West as suggested above. But I am open to feedback as it's all about what you guys and girls want. Link to the Hamilton Swap Meet: http://classicsmuseum.co.nz/events A bit about Midnight Upholstery (64Vauxhall's business): https://www.facebook.com/midnightupholsteryltd/?fref=ts7 points
-
Long time no post! Unfortunately haven't raced my car this season at all - was about 6 months behind the offseason rebuild due to having to focus on finishing my old house, selling & shifting to a new one. Kindly however I was offered a drive a couple of times, then basically the whole of the season of 81c - Higgins Chassis with Hartley Holden V6. Owned by Trevor Lineham from Nelson (Prepped by Blaine Blythe, & Gary of Baldman mechanical) The car had a update at the start of the season, and really run flawlessly for the season - only 1 gearbox and a flat battery, minor steel work. Had my best results to date in the car with a second and some thirds. Definitely well on the pace and handles very well indeed! Considering I still wouldn't call myself a experienced racer - managing .3 of a second off the leaders quickest laps in my best placed results Im quite happy with that result indeed. Anyway; End of last season I took the car up to Blenheim for the Eve of Destruction meeting, Syncro's in the gearbox were on the way out going into the meeting, come meetings end I had blown the input shaft, and sustained some chassis damage - this was in part due to the design alterations made to fit the Falcon - oversights/lack of experience left some weak spots. Steering pump failed mid corner , locked up and spun round, then collected by another car head on and tweaked the chassis in two places (Top & bottom angled rails on the RH side only) Unfortunately I've since lost the damage photo's. However basically I decided to chop the whole lot off at the radiator and start again with laminate top, bottom and both sides A little heat was required here to straighten the bottom rail; Because I feel jewish throwing away all that steel I saved some; Laminated the steel in preparation; Tacked in place, squared it up; Added the braces, shock mounts; Fish plated rail joins top & bottom, laminated the LH top rail to give more strength for the manifold scallop; Gusseted the rear end (due to my chassis's width I decided its a good idea for the lack of weight it adds), plated on the chassis side, but not the bumper side Bought a new body, bonnet , Colin Summerton folded a wing up for me.. I put the skills I learnt to use reglassing the body, bonnet lower (its all about the fit!), moved the scoop up, back and over to suit the new carb Bonnet is waiting the final signwriting, but the car is otherwise now complete again, waiting to be primed, fired up for next season. Gary spent half a day teaching me the ins and outs of putting together the HQ gearbox's (I have several spares now) The new Colour scheme photo's will have to wait till next season now!5 points
-
So the last thing i need right now is another project, but this came up for far to good of a deal to pass up on so i jumped on it. Its just parked in my parents shed and will stay like this for a while until i save up some money to throw at it / get other projects out of the way / have spare time. But keen to start hoarding some parts soon anyway. So as it is, its a 1986 BMW R80 G/S. Shes pretty rough, but runs mint. It was stolen and recovered and has a broken ignition and rattle can paint and has sat outside for a year or two and is pretty tatty. I went to the cop shop and verified the last registered owner and have a letter from him and the cops so hopefully revin shouldn't be too much drama. Does anyone have any experience revinning a modified bike? I love how its a GS as it has spoked wheels which i think is lush, im unsure if this is a genuine Paris Dakar model as they usually had a dirt bike type front guard and a single man seat with extra rack, this does however have a genuine Paris Dakar model 32l tank, under the paint it sill has the original decals which can be seen on the shitty facebook photo from the ad. anyway here is bike- At this stage i am totes unsure about which direction to go, at first a thought maybe restore to original adventure spec and do lush rides like this - but then i thought nahhhhh cos its missing a few original things like the pack racks, ignition, hi rise exhaust and that just does't look so coooool. At the moment im pretty sold on doing a scrambler build, but still road legal and comfy and complete enough so some awesome touring rides. Id like to keep stock airbox. At the moment im just unsure if ill keep the Paris Dakar tank (which is very large and may be hard to get the whole bike matching it when scrambler spec and actually look lush) or go down to a normal sized R80 tank. Id be pretty keen to keep the dakar colours with the white tank and orange seat. here is some inspiration anyway, also, please tell me all of the things, i am new to these airhead thingys / never built a bike before3 points
-
3 points
-
dang, its a bit far for me I could live the dream of becoming a bmc parts barry3 points
-
and Speight's in a rigger.3 points
-
Yea im with you on the location of the awning sticking out unfortunately. And going to tell you I would consider moving it now while you can, instead of regretting it when you are out camping, dealing with the rain curtain coming down between the awning and the van door.... This is personal experience talking haha. In other news your roof rack mounts are a good design, in that they look like they should allow water to run past them in the drip rails. Cool van. Keep it up. Very jealous.3 points
-
There's a new Burgerfuel opening in Hamilton and we've been invited to head along and get free burgers! They will be having a cook off at the new store where all the staff practice cooking burgers and test the equipment before the actual opening date on the Monday following. The owner has extended a personal invite to oldschool.co.nz to come along and display our cars and enjoy free burgers. They'll also be bringing along their 1971 Ford Ranchero ute to display with our cars. The details are: Burgerfuel Rototuna Saturday 22 April from 11am until 1pm. FREE BURGERS There's also a possibility of moving our meets out to Rototuna, so we should head down there and scope it out. Who's keen?2 points
-
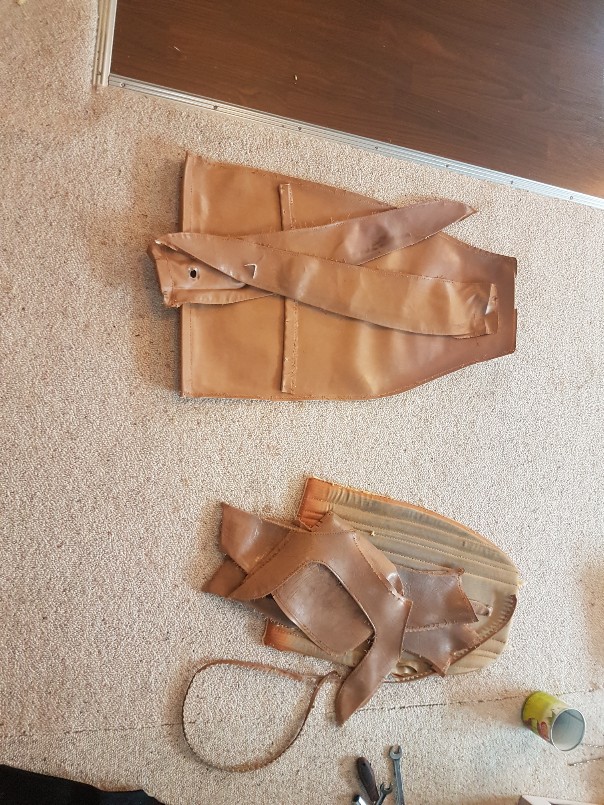
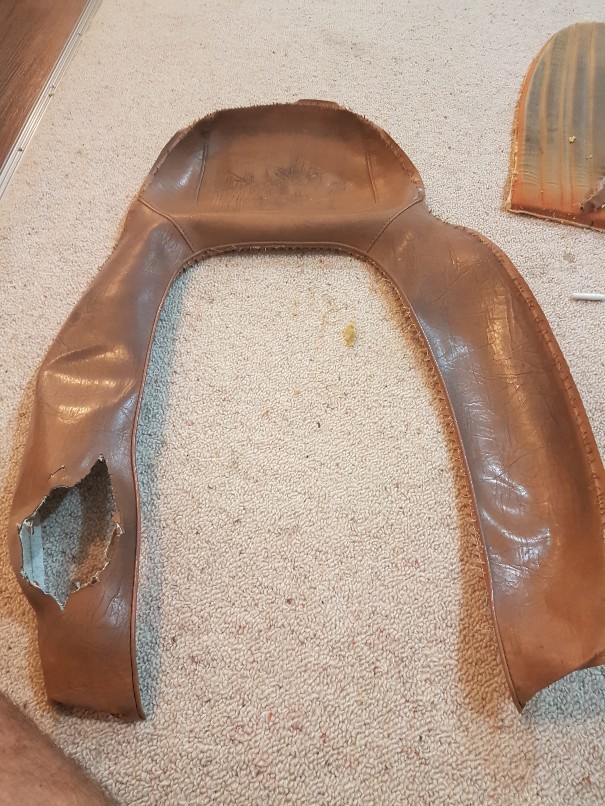
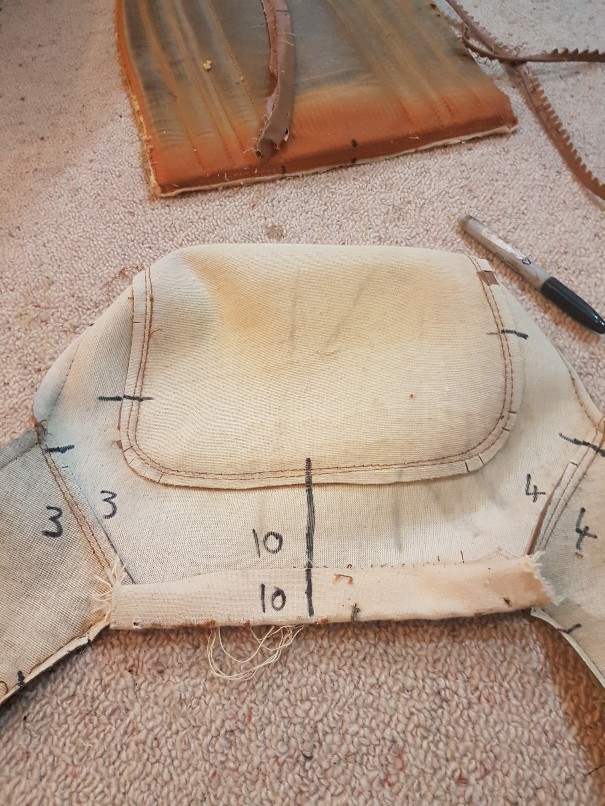
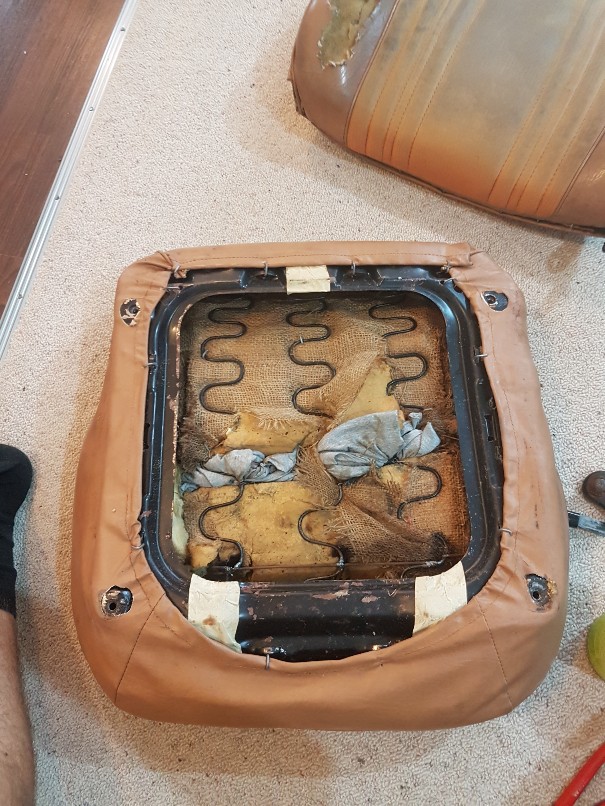
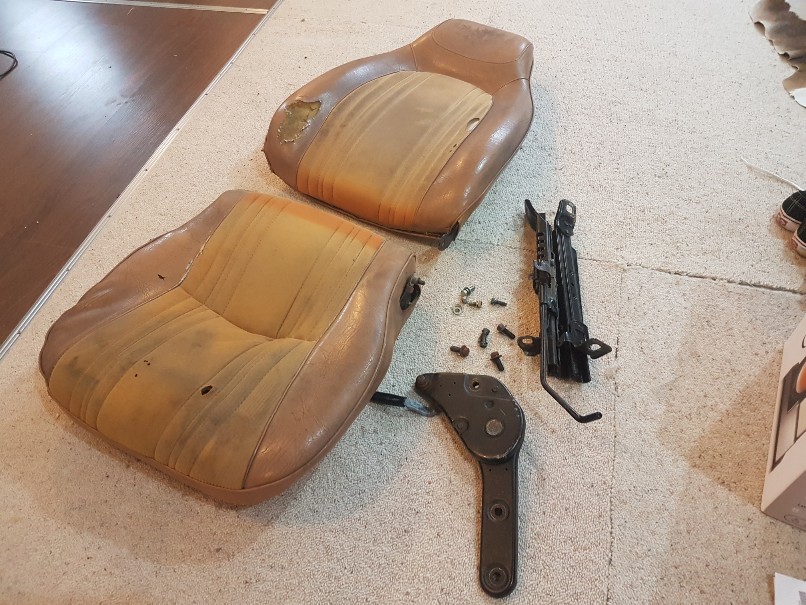
Got the seats all pulled apart. Marked all the peices so I don't get lost and have un stiched all the pieces. Iv ordered some black vinyl material. And some piping cord. Also bought a industrial sewing machine for $50.
2 points
-
what's everyone doing in May? namely the 6th or 7th. ken 4 southland exploration missions2 points
-
Intercooler tubing said no thanks after 15psi. Lol Will revise setup. Still haven't bought an EGT meter, poor at the moment.2 points
-
What if your wheel falls off? Should we fit wheelyloops? Dave? Dave? Rules can gtfo2 points
-
I'm going to suggest you divert this to Hamilton and come to the swap meet here in Hamilton and also come to my annual open day haha. Will not be able to attend now sorry. Edit. Will have free snags.2 points
-
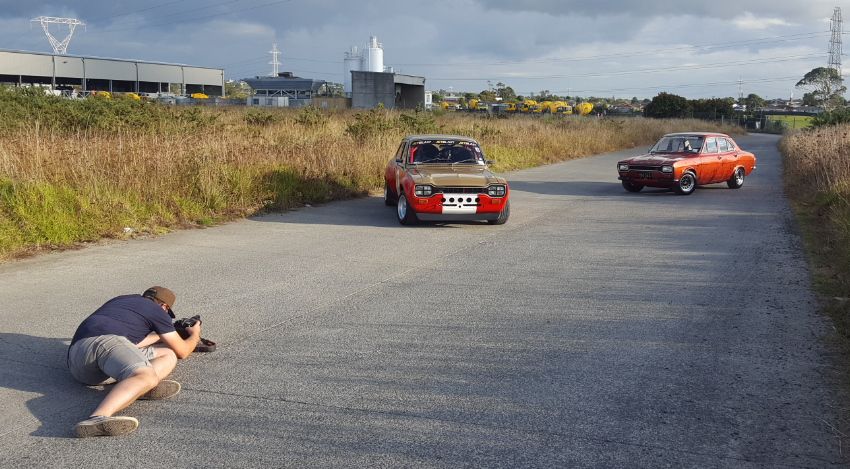
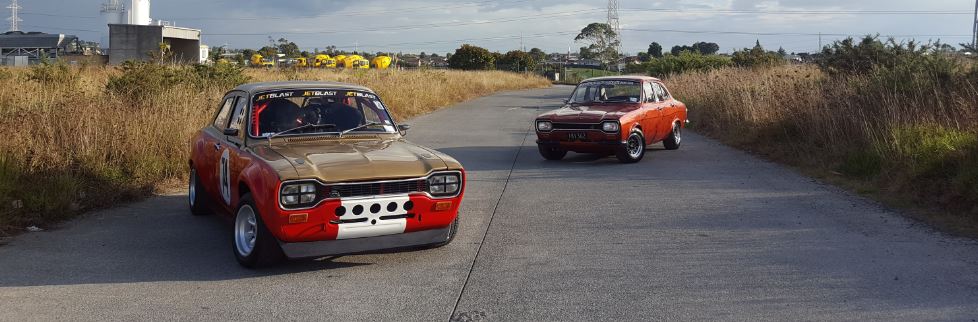
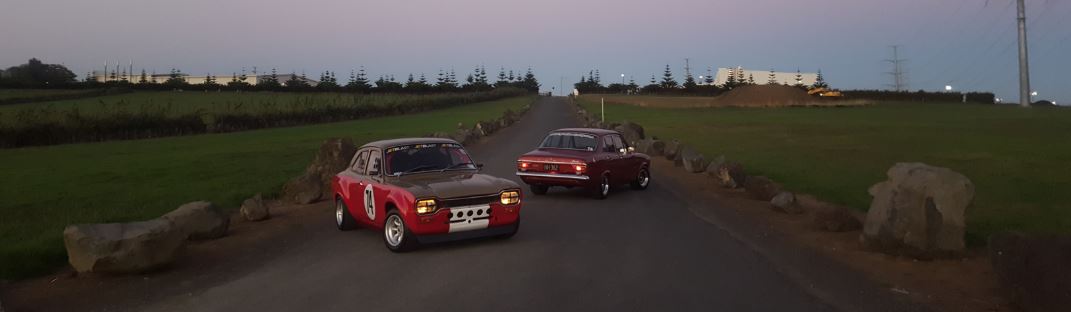
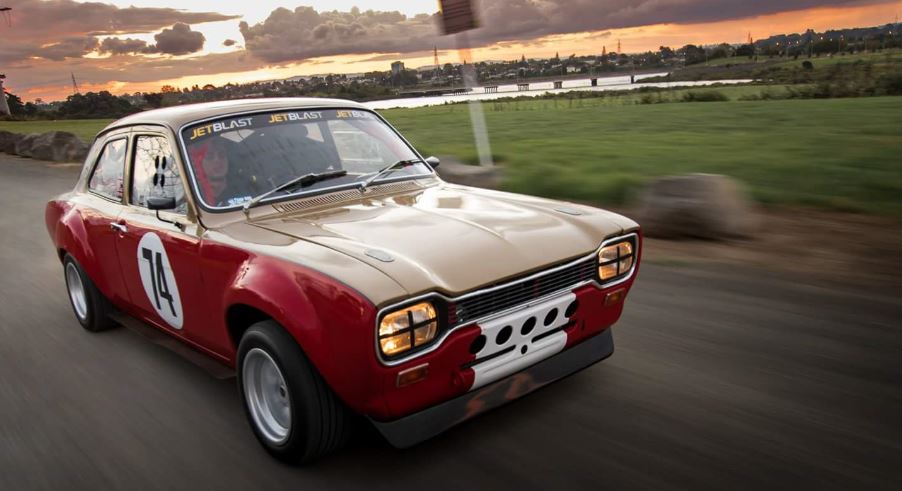
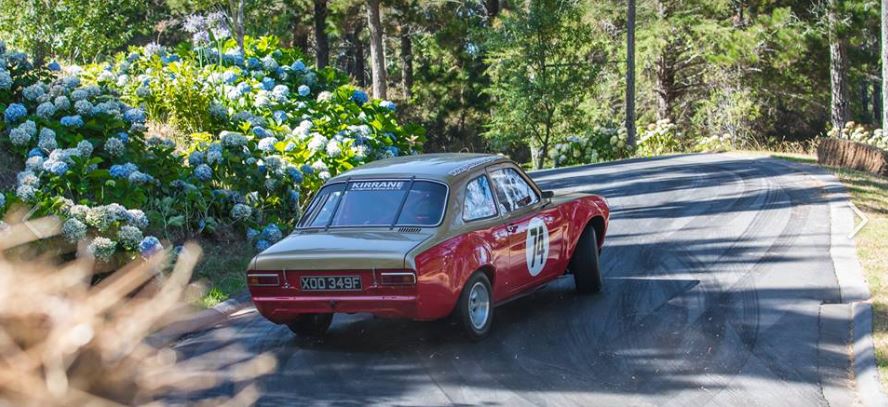
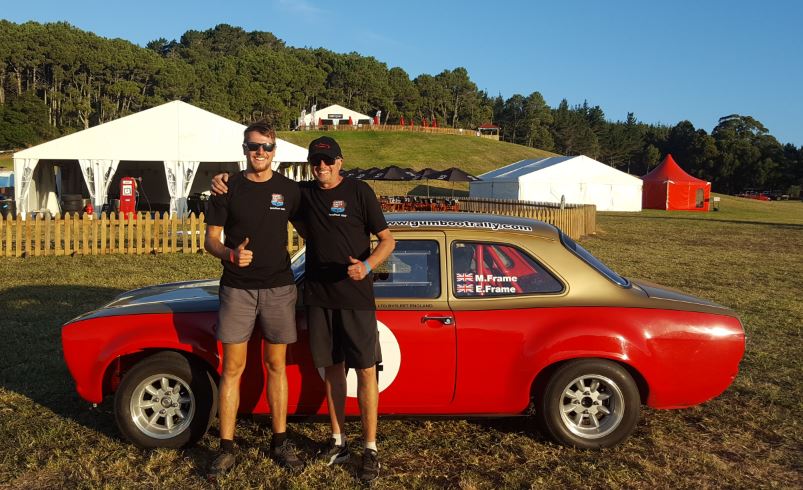
Snoozin hooking me up with a sweet photo shoot for NZ Autocar magazine on both my escorts Working his magic as the sun goes down Some rolling shots to finish the shoot Thanks Richie for the opportunity , great fun
2 points
-
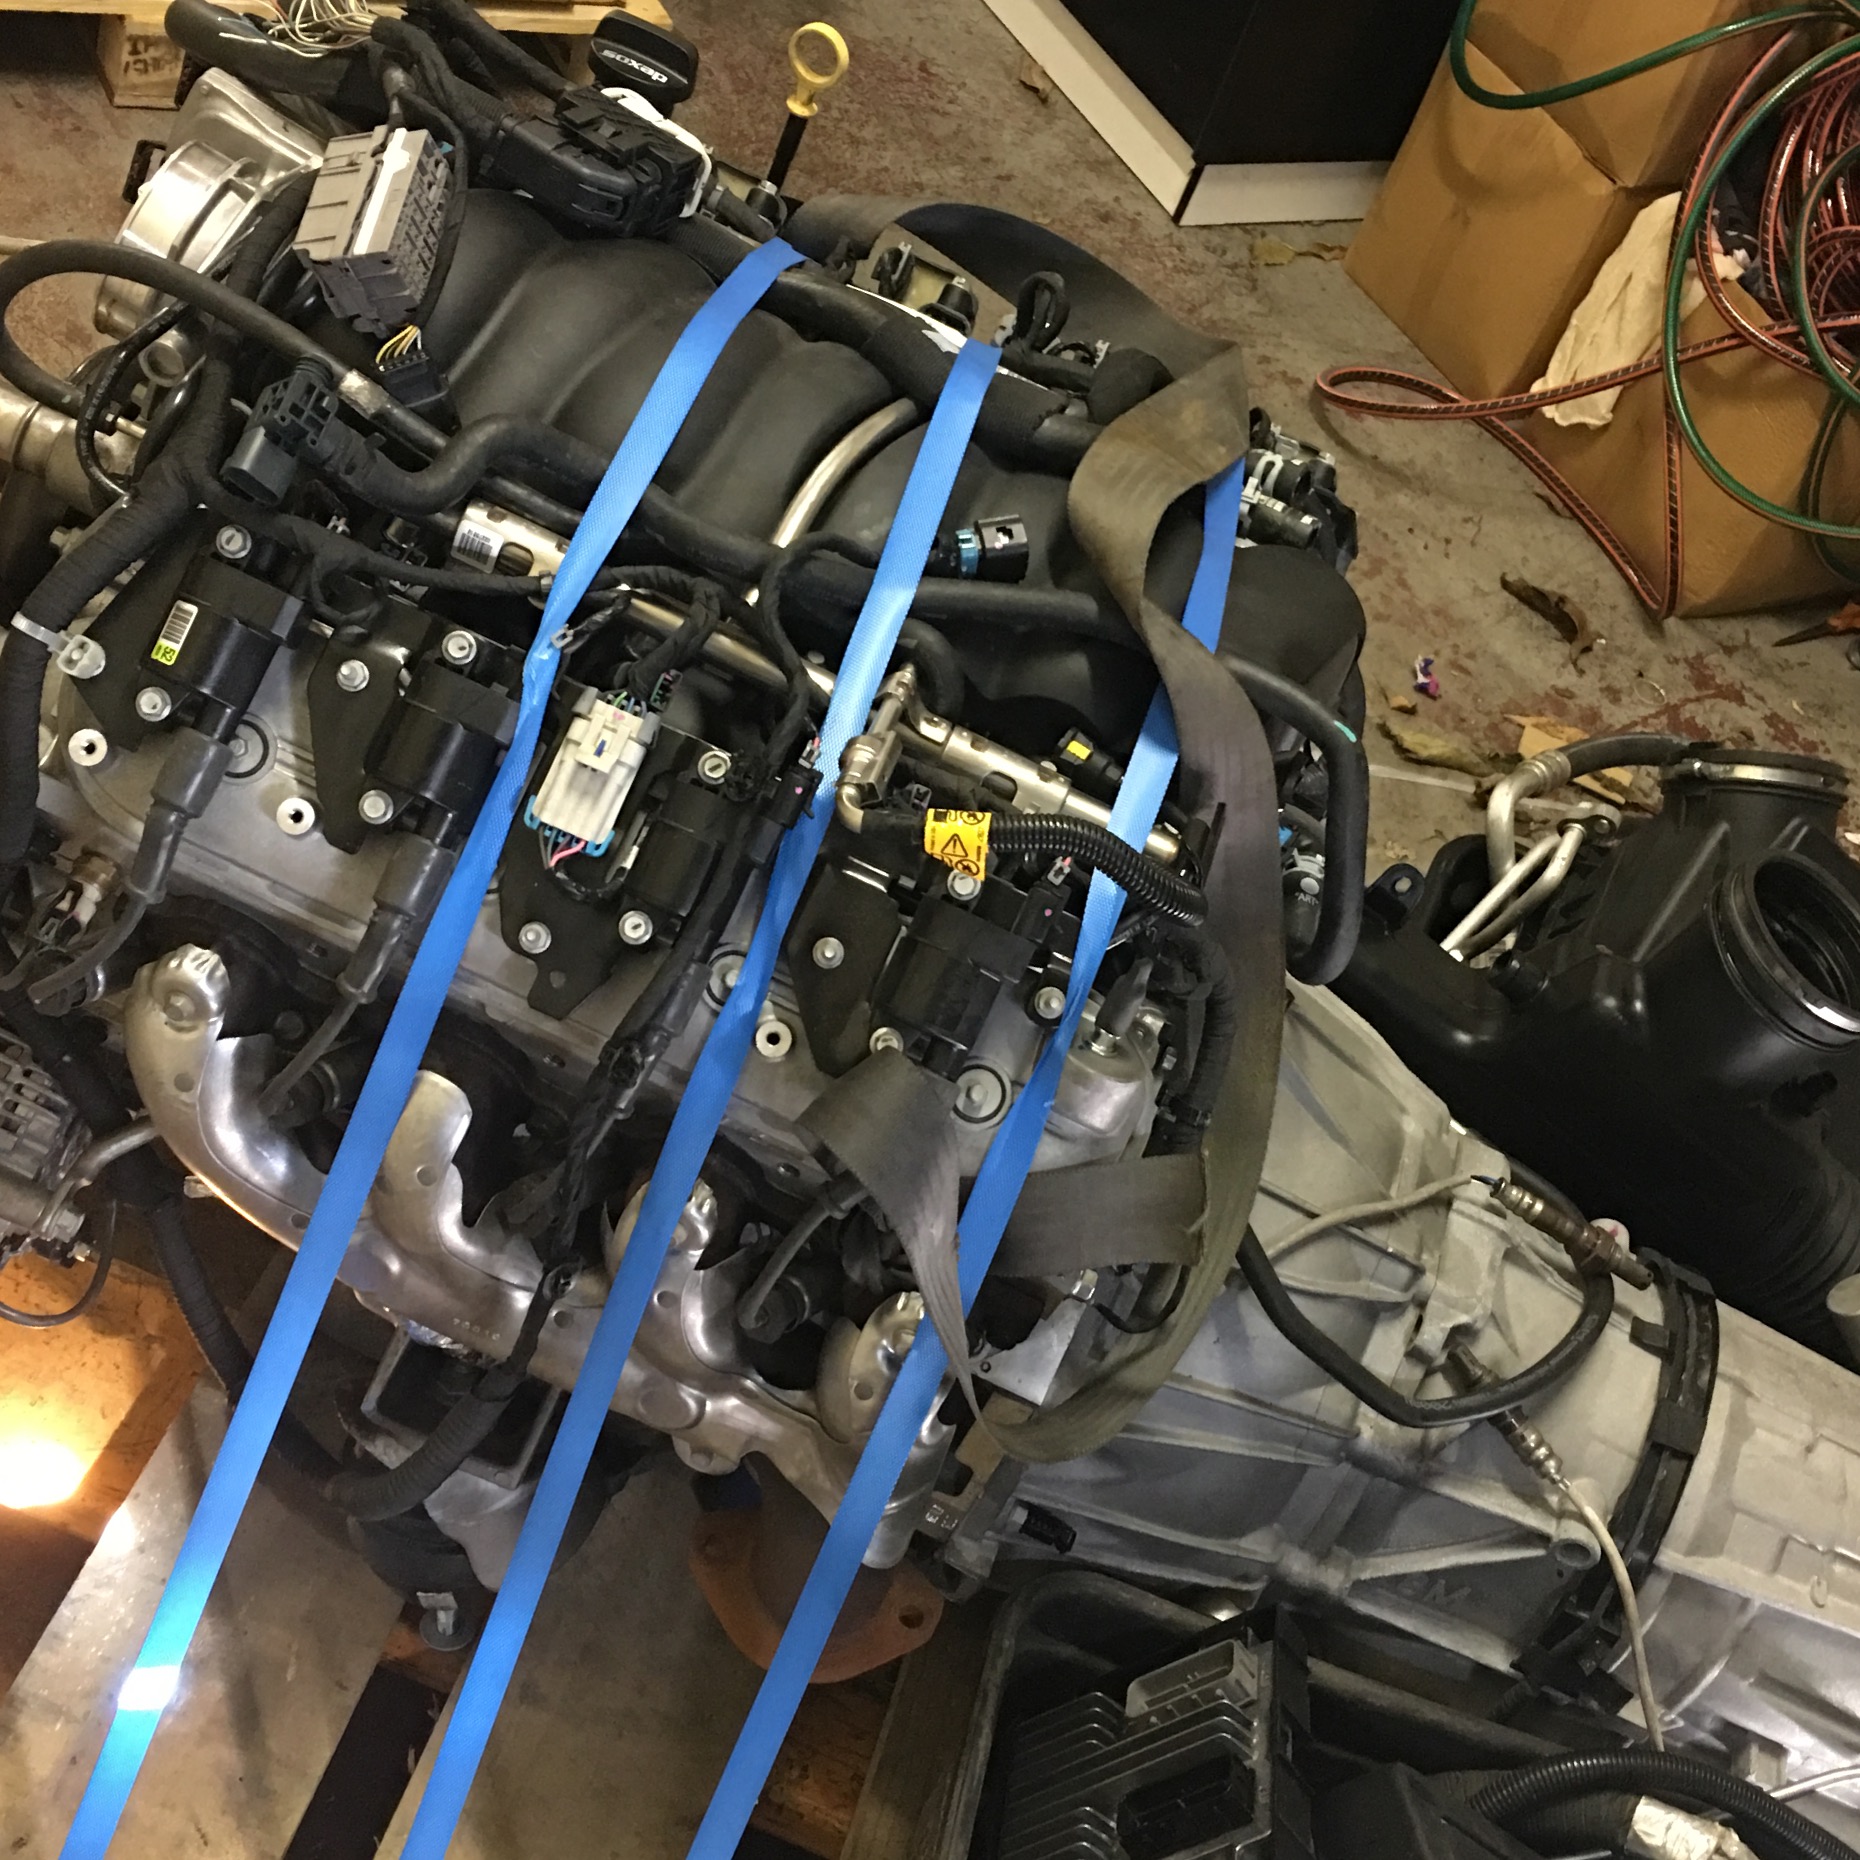
I have been looking around for a while for a new work truck, wanted to go old school and update it to modern running gear and some creature comforts. I didnt have much of an idea but liked the look of older Chev trucks, did some reading and looking and got to this point. Truck will be in the country mid April, it is currently running a 327 and manual gearbox, and pretty much stock apart from that. Plan is to get it complied with existing running gear then modernise a wee bit. I have an LS3 and 6L80 trans and all associated wires and mechanical stuff in my warehouse now (cart before horse) and maybe a front end suspension transplant from a later truck and a diff with a lower ratio. this one will be either a 4.11 or 4.56 ish I believe, so a bit on the highside. While the intention wasn't to start/have another project, Im quite fizzed up about it. Going to keep it stock looking, no fancy wheels or any of that crap. Will get some hand painted signage on it, I want it to look like it was always there.
1 point
-
I've loved to piss and moan about how I think these are annoying and a stupid idea. But after having a driveshaft fail at 80ish kph on the weekend, Oh boy am I glad I had these loops fitted! My brake and fuel lines would have taken a hammering if not for these - They are a good idea, even in my case where all factory parts were used within factory power levels.1 point
-
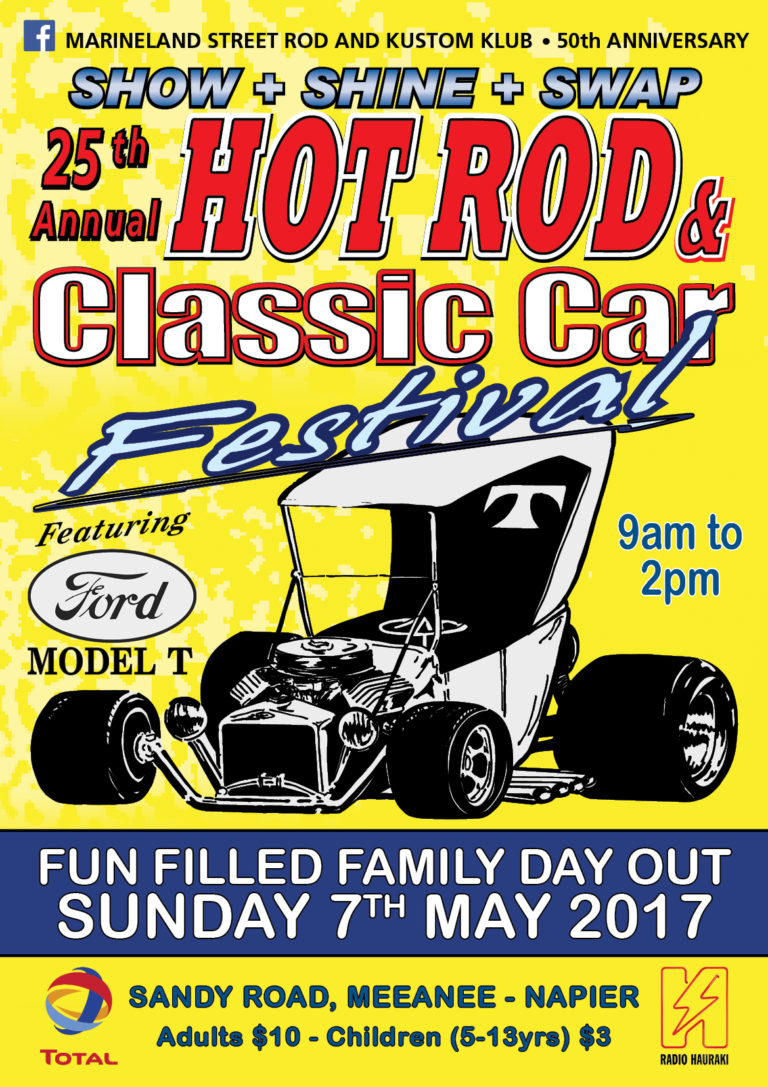
Annual event happening again, May 2017, Napier. Poster says it all really. Last year was my first, and was well worth it. There's an awesome drone shot somewhere of all the cars last year. From memory it was free to show your car, but spaces ran filled quickly so you had to arrive early on the day?
1 point
-
So yeah, Josh may have had no worries in the wag around the flat of Chch but I'm having a bit of trouble contending with hills. LD28 Turbo. Just had fitted an intercooler etc,. Seems to be running about 5psi #1: How many boosts can I run safely on stock internals? #2: How do I run an EGT gauge? Drill and tap the exhaust mani?1 point
-
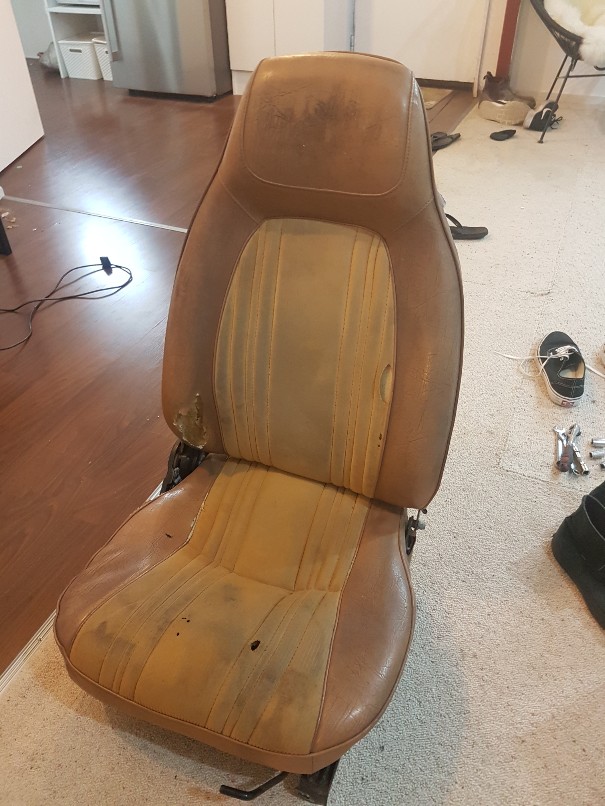
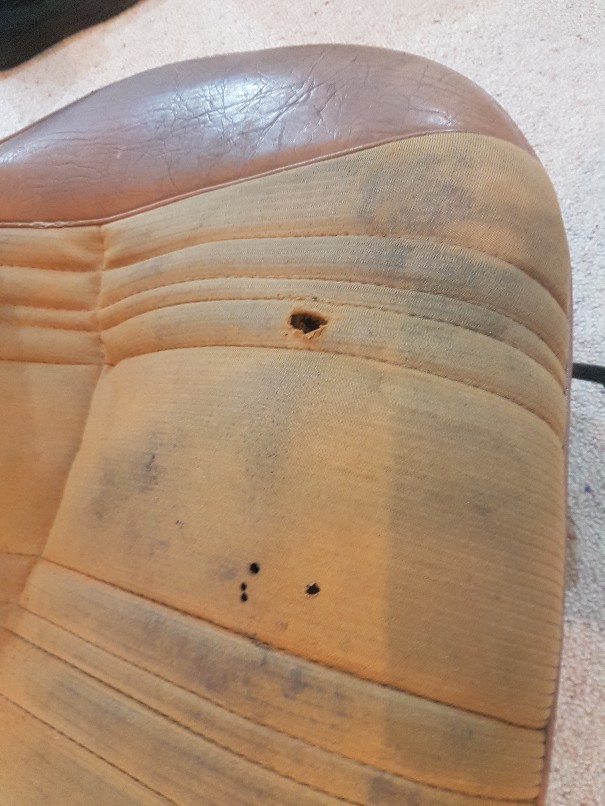
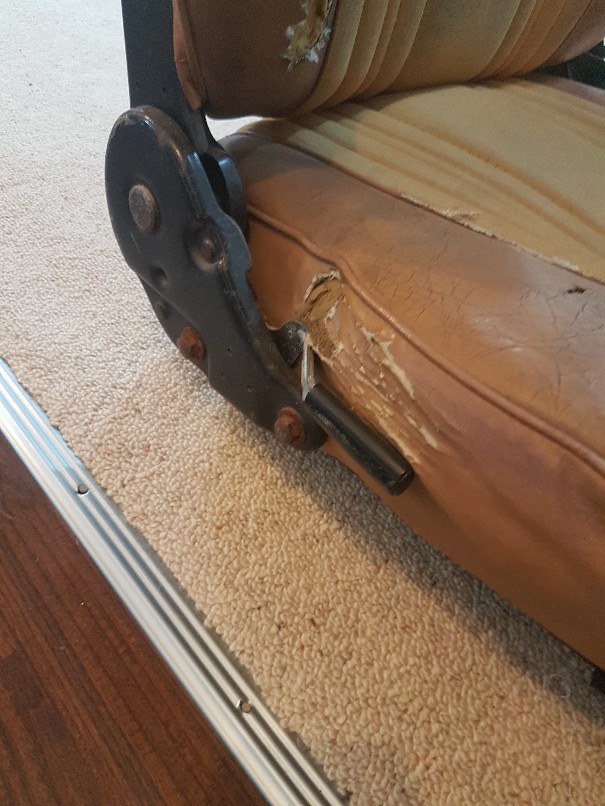
So now just waiting on some fine weather to get the rest of the car painted. Started pulling the seats apart to recover them. The drivers seat was the worst, wasn't two bad, a few small rips but I want to learn upholstery . So figured I'd give it a go
1 point
-
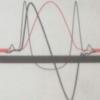
Pictureless update. On the noise issue I was mucking around with a piece of tube in the workshop with little miss 3. She found a small pipe with dry mud stuck up it so got a screwdriver and started cleaning it out. It's good when she's occupied. Anyway I blocked one end and drilled a few holes in an attempt to make a silencer. Half hour later I get it done, start the kart and jam it in to test. Quietens it down a little, that'll do. Miss 3 has her piece cleaned out by this stage and says "try mine daddy". Turns out her idea worked much better. Lesson learnt- Keep it simple.1 point
-
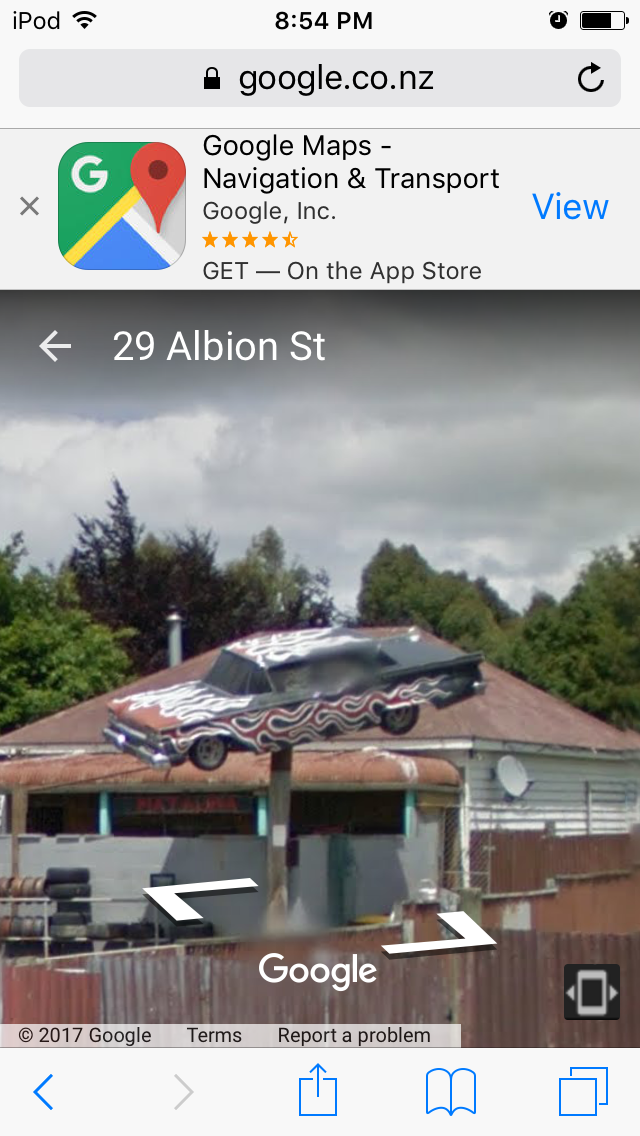
Of course the one with a oldschool car up a pole, im sure they would accomodate us lol1 point
-
Yeah ill be there.1 point
-
I'll check tomorrow if I remember, pressure sure I have them somewhere1 point
-
only milk and juice comes in 2 litres MEIGHT1 point
-
Nothing currently booked for that weekend. Keen for Southland. I hear they are massive fans of cars built with chopsticks not spanners.1 point
-
i used a hydraulic throw out/release bearing in the e30 i built with 1uz g52 gear box with gearbox to bellhouse adapter plate. i bought a flywheel from a local maker here in chch that used a gt4/mr4 pressure plate &clutch. i bought a howe racing throw out bearing from summit racing (cheapest i could find) all i did was *bolt the pressure plate and clutch to the flywheel ...take the bellhouse off the gearbox and bolt to the motor. *measure from the back side of the bell house to the clutch fingers. and add the thickness of the adapter plate. *that measurement is what you need the face of the bearing (touches the fingers of the clutch )to be from the back of the gearbox (face the bell house bolts to) bearing kit has shims but i had to make a few more/1 point
-
Oiled my pole this arvo..... Hope the whole house comes up as good as that..1 point
-
Lucky enough to go for a ride in sheepers coupe at Toyota fest hapmton downs
1 point
-
Sweet, I might give this a go, my gasket supply has dried up and I can only get my hands on 1.8mm thick ones now, 1.2 would be much nicerer. Just so happens there is a waterjet cutter and a good stock of copper at work, i'll have to draw one up and see what bribes the workshop lads prefer.1 point
-
Longest exhaust build ever! What a stupid idea it was to design it like this haha. So far has 5 pairs of flanges on each side if you include the ones at the end of the headers. Will have another pair after the diff as well. Got some flexi's and welded them in, as well as the rest of it. Need to put the tray back on now and see where the rest of the exhaust can run out the back. Made some mounts, after making them incorrectly to start with. Had the rubber hanging under tension where-as it should be compressing, otherwise it would most likely tear the rubber in half. Also made some gussets for the 4 link brackets since they didn't quite look strong enough. Might make some to tie in the other side as well. Need to make a start on the fuel tank soon. Any recommendations on an in-tank fuel pump to use? Don't really know much about them, 255LPH should be enough? Tank will be about 220mm deep if that matters.1 point
-
but not as fun as twisting a throttle/riding a miniature train..1 point
-
While on the search for a fuel tank I remembered the old Briggs from my rotary hoe so stole the tank from that. At this stage I got distracted by Chris's thread on rust removal in a fuel tank. I derusted the inside of the tank, the lid, an old spanner I dug up and a few other useless things because it was fun . Got back on track and welded the tank bracket on. My boy wanted to fit it all so let him go to town on it. He fitted the exhaust, motor and tank all himself :). It took a while to track down an 8mm chain link but found one and chucked it on when he was at school. Put some old gas in it and it actually started too, sitting in it using two hands to pull the throttle cable it easily moved me across the lawn so everythings going well so far.
1 point
-
To be honest, I should have cut the springs in half from the get go. I cut the springs for no other reason that to make it more pleasant in the shed to look at until the coilovers go in. The right side of the car is a bit higher than the left, I will probably end up with a height similar to the higher side. Not long until the engine goes in!! I also installed my new valance courtesy of Yahoo Japan. The tape is holding the paint/rust on. I decided on a new one as the one I had previously wasn't the straightest and would require some more. Plus I didn't actually own it...1 point
-
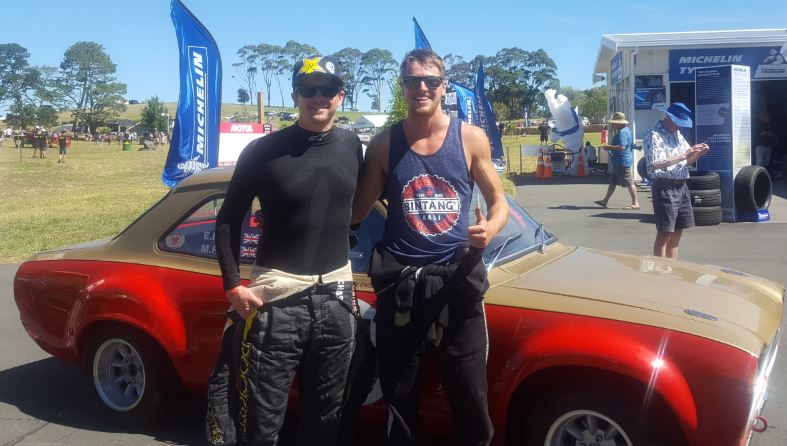
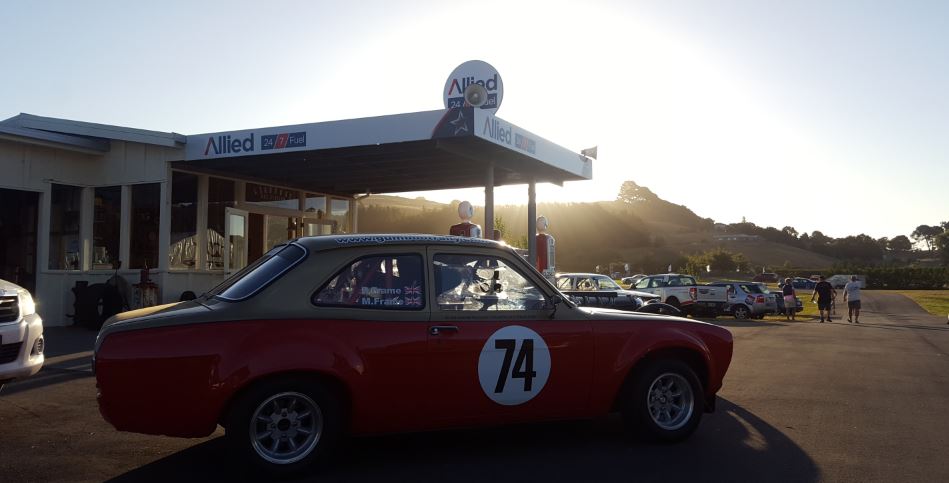
Leadfoot Time - Part 2 Sunday Sideways Here's Leadfoot from behind the wheel Caught up with Tanner in the pits who was super friendly just like everyone else I had talked to over the weekend. Top Bloke Times are in and here's mine for the weekend Prize Giving time Cheers Rod , Shelly and the Leadfoot crew for a very memorable weekend One very happy Father , Son Duo
1 point
-
Well so I had almost finished the conversion and ended up losing my licence for demerits literally a hour before spirited test drives, Great! I've had my licence back for a while now and have given it some very thorough testing and there was (and still is) things to be sorted. The exhaust system was a bit of a challenge using E36 328 pressed steel manifolds, the rear manifold flange needed to be cut and welded about 12mm closer to the block to clear the steering knuckle, I then just hacked up the e34 exhaust to get the manifolds to mate with the exhaust system that was already in it. Steering knuckle itself I removed the guibo and made a spacer and bolted the ewe jays together through the spacer. I did keep the e34 steering shaft in case I need to modify it to work but its fine now with plenty of clearance to the exhaust manifold. One of the more annoying issues it sometimes has, is that it will cough and sometimes die whenever it wants and if it dies it wont restart until the key has been turned off, it will fire up straight away after that. Other times it coughs and carries on as per usual, when this problem occurs I can hear one of the relays clicking under the dash but haven't figured out which relay it is and what its job is. This car has seemed to have an electrical gremlin the whole time i've had it with things like the window squirtys just going on their own, which in turn makes the wipers go. The next main problem is the fact that the sump sits about 70mm off the ground and i've already had some ass puckering moments when I was half expecting the oil pressure light to come on, luckily I haven't smashed it to bits So todays job was the removal of the crossmember and oil pan to cut the sump and wing it to retain volume. Cross member came out in no time at all and so did all of the sump bolts... or so I thought. It soon became clear that there was 2 bolts hidden behind the bellhousing, now the e34 gearboxes contain a recess to allow access to these bolts. the 260 gearbox does not so I had to call on the inner bro and holesaw and die grind out holes in the sump so I could get a rachet spanner onto em. I know its rough... but it worked and saved me hours of having to split the gearbox from the engine. So all going well tomorrow I will mark out where I want the sump to be cut and chop it, compute the required wing size and fold up some 3mm alloy to be welded in. Then move on to the oil pick up and shorten it, modify the factory baffles and we should be all go to weld it all up and chuck it back together. I also had a huge power steering leak in the last couple of weeks and found some fuckery that needed fixing. Return line had been hacked at some point and had some very rough repair done. anyway there's my long overdue update pics1 point
-
I've never loved the factory rear drum brakes; I could never adjust them properly so the handbrake would work, but not drag. So I decided to do something about and do it for basically nothing. I was given some EL Falcon single-piston callipers, rotors and backing plates years ago. The backing plates were drilled out to the 240z bolt pattern, but I still had the rotors to drill. I didn't want to drive all around the place looking for a friendly engineer so I cad'd up a template with the Ford and Datsun stud pattern, taped it to the rotor, centre punched and drilled. Came out radical. Started bolting everything up. The EL Falcon backing plate & rotor work perfectly with the backspacing from the 240z hub face, so the calliper simply bolts to the Falcon backing plate as normal. Then I pinched some longer flexible brake lines from Pick-a-part and made a bracket for the line. Neat! The handbrake bracket required some fiddle to bring it closer to the drum lever. Piece of piss.1 point
-
Like last time club welcome to stop at mine for refreshments1 point
-
Yeah keen for a non long weekend mission, long weekends also mean loads of garbage traffic to deal with1 point
-
It's alright mayte, the LNI wagon contingent drive on wagon time. Or as the police would call it a "rolling roadblock".1 point
-
I don't think you're ready for wagon ownership with that type of attitude mayte.1 point
-
Ok lush. So I just get the EGT in, google the healthy range then put in a boot tap and wind to 10psi, then just fiddle with the pump to get it to stay in the EGT range?1 point
-
A few spills and frills later, we entered the local schools Trolley Derby. Where she got 2nd place in her age bracket. Don't worry, the other girl was fine. There were plenty of crashes...but no one was hurt. Its so cool that a school allows such things to go ahead in this crazy risk averse world. Kj1 point
-
pretty full on with 4&R's this weekend & Nats next weekend but yea could do1 point
-
Well, I bought the wrong piston rings as didn't know that there were two different sizes (the top ring on most is 1.5mm where as the small port and late GZE use a 1.2mm top ring) Ordered some overnight and installed everything today. Short block complete, will next have an update once Barry has finished with the head1 point
-
So have started assembling the short block now. All the bolts are brand new, spent hours tracking down all of the part numbers for them so have got a box full of OEM bolts to finish the engine. I received the block back from Motor Machinists in Palmerston North, and had done: Block - decked, honed and cleaned Crank - Polished, crack tested, balanced Rods - Balanced Flywheel - Balanced (MRP Light weight) They also cleaned the pistons and have come up brand new! Starting to look like a real engine now. Oil pump was not brand new however inspected, and also installed the higher pressure spring. The head is being sent up to MRP for a full port and polish, and complete blow head job and expected to be back in 3 weeks. Now just have to track down a T50 which will probably come from Japan and get that rebuilt. I might attack it myself or just take it in to get done by the pro's. Mingle with me //oldschool.co.nz/index.php?/topic/52401-pbaines-1971-toyota-corolla-ke25/1 point
-
Alas, after waiting a little while for the Stacked/ML Racing container to come to NZ I have received my KE20 Hi-Deluxe bonnet Little dented but car will be getting fully stripped repainted so not overly concerned. That is what the panel beater will have to worry about. Will be rebuilding the small port over the coming wee while and get some mounts made up for it. Once that's all done it'll be panel and paint time. Now time to find a good condition valance...1 point
-
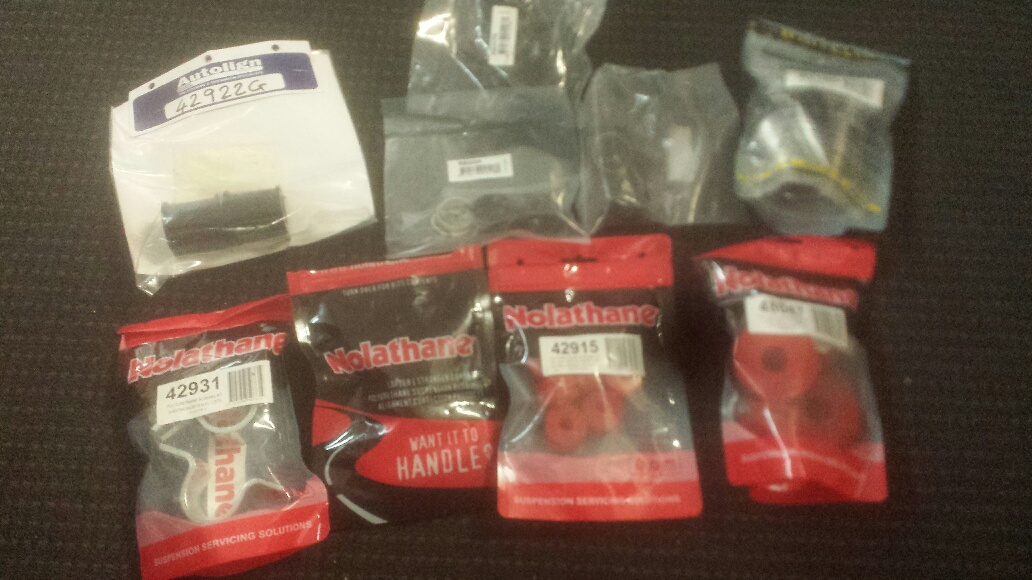
Bit'O Nolathane to tickle up the ride quality and steering lag.
1 point
-
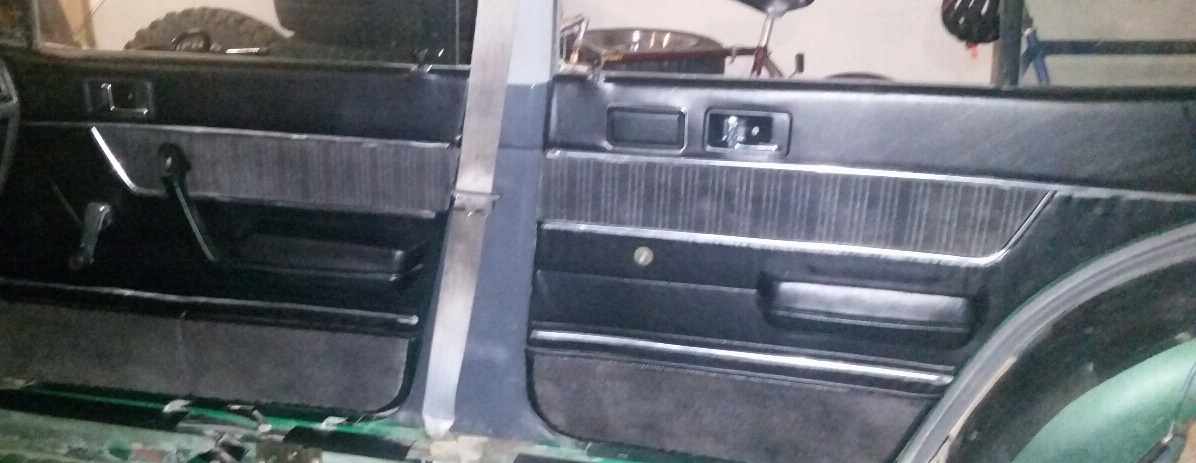
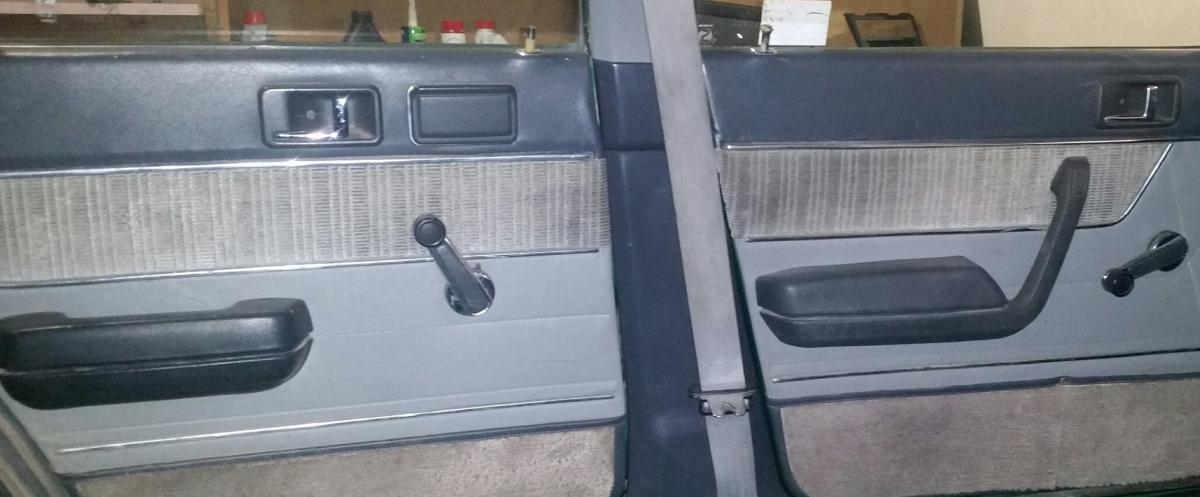
Painted my door cards tonight, here is a comparison between the cards before and after. Sorry about the quality, also the lighting makes it look patchy, they look much nicer in real life. Still a vast improvement though.
1 point


This leaderboard is set to Auckland/GMT+12:00