
Leaderboard


Popular Content
Showing content with the highest reputation on 03/07/17 in all areas
-
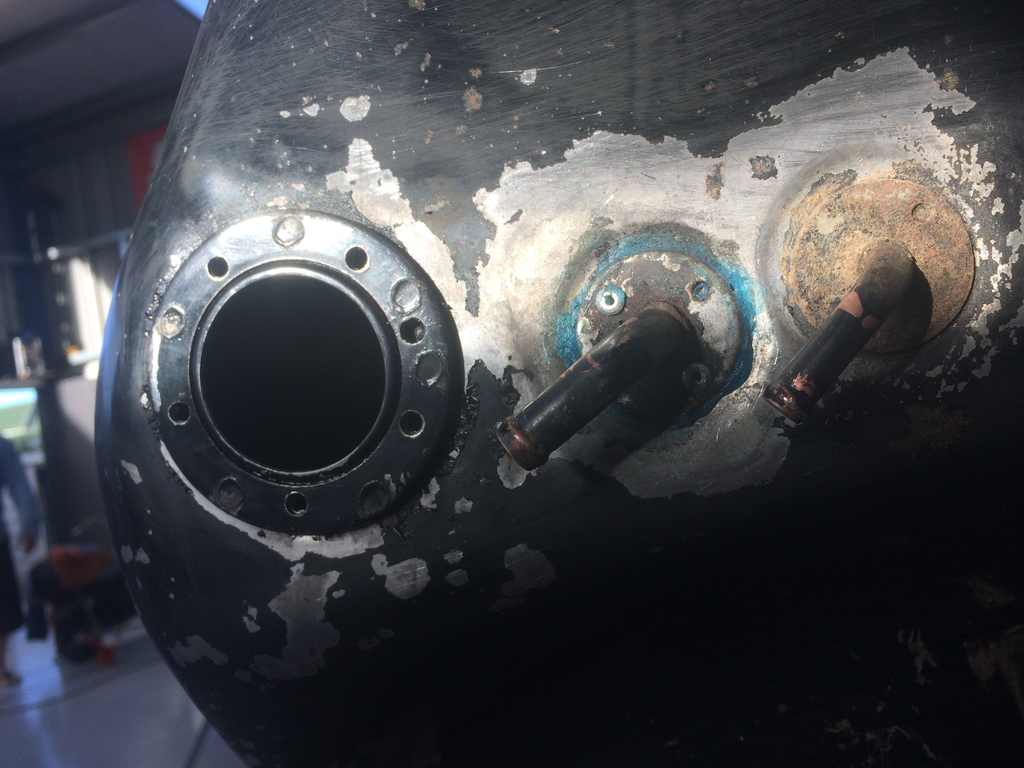
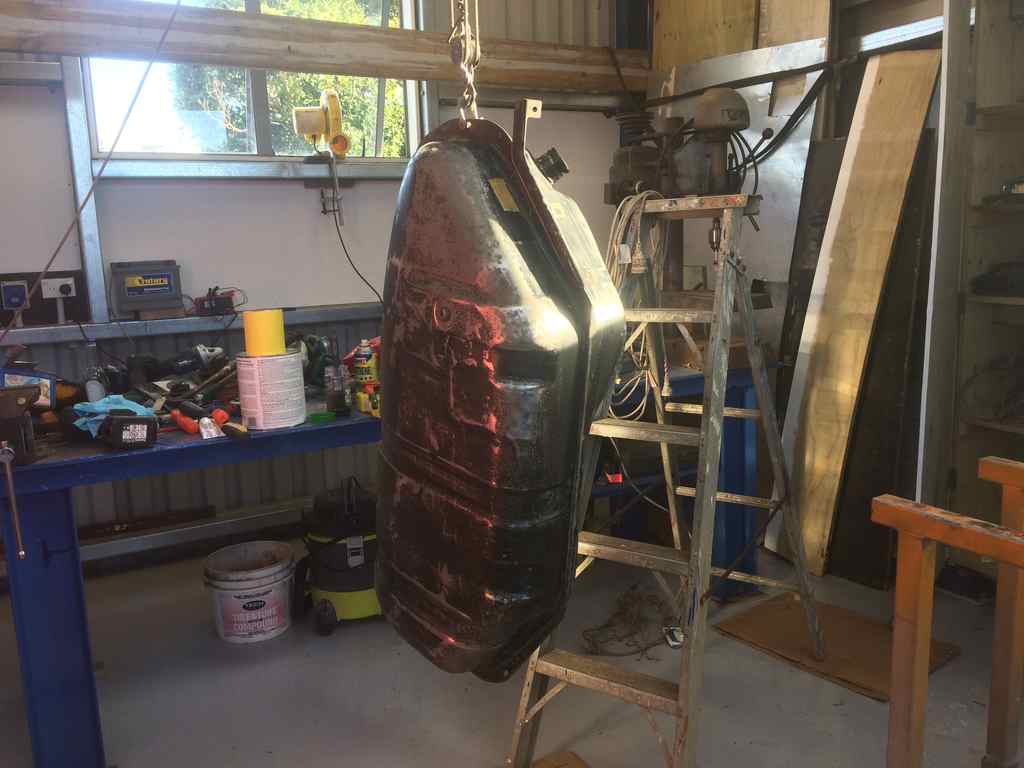
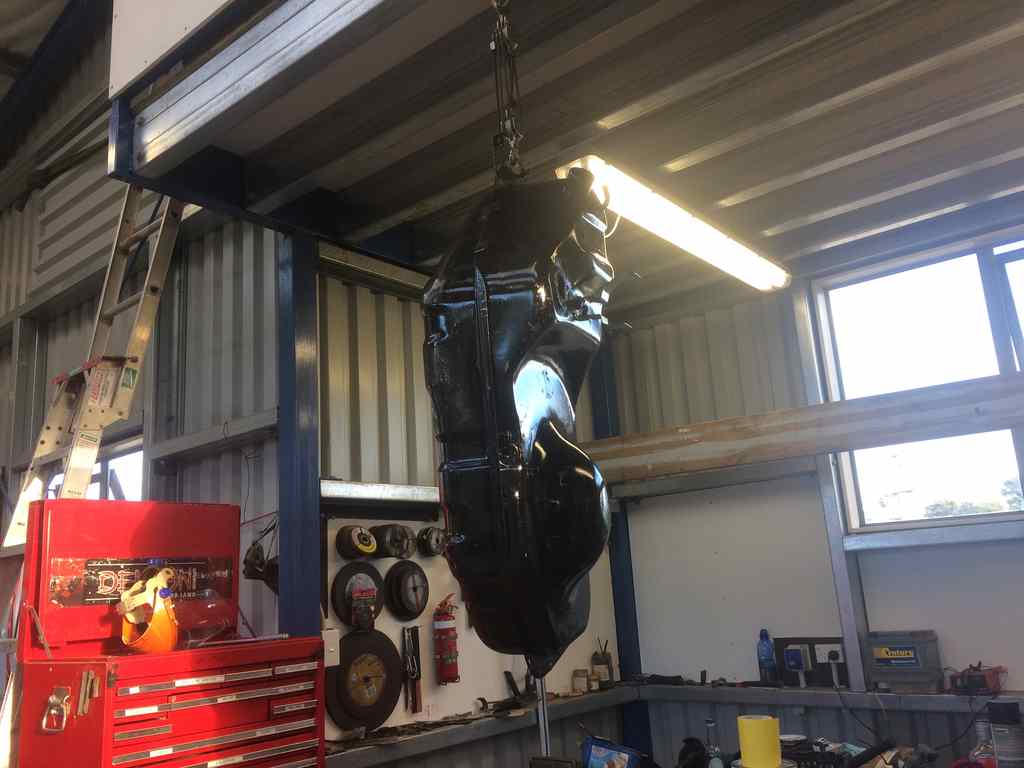
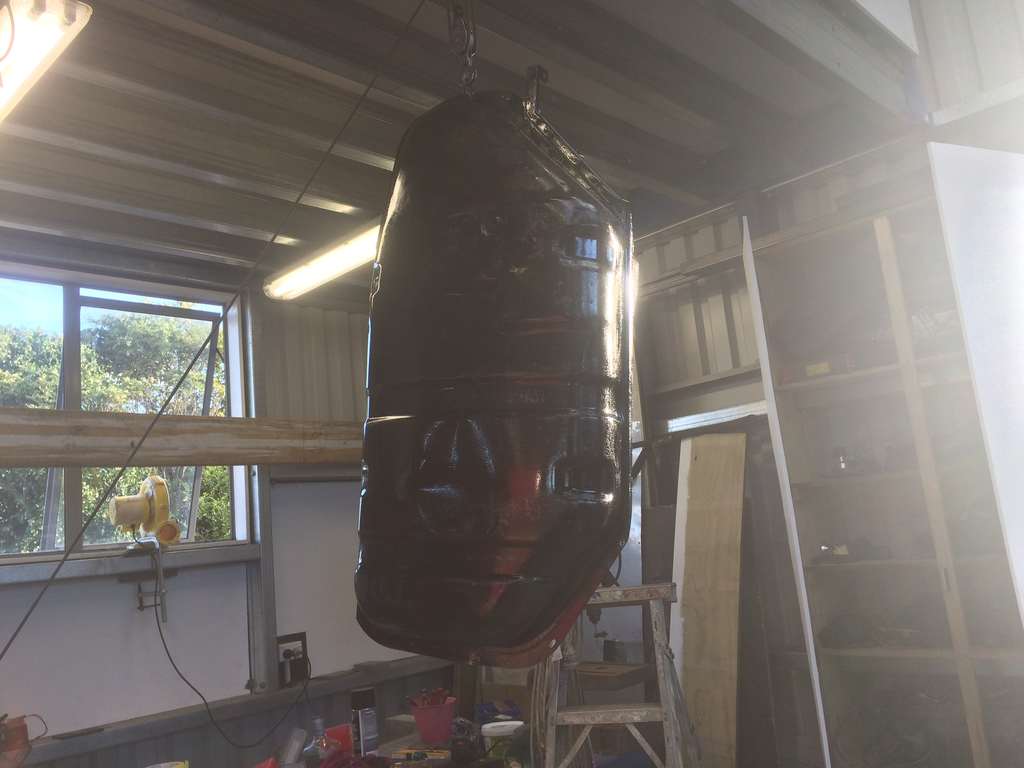
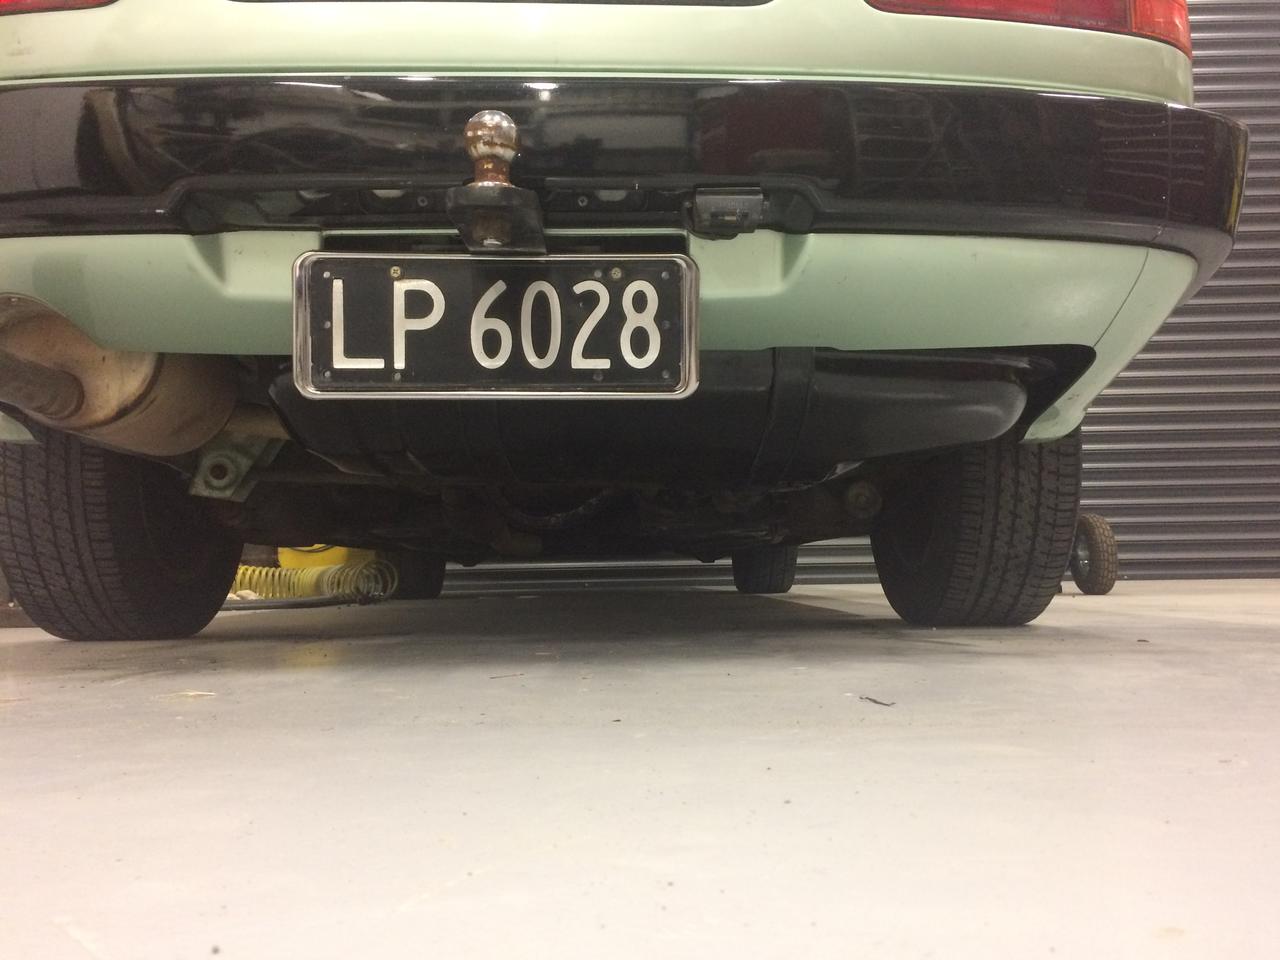
Right with the rust patches all done the next step was to put the fuel tank back in Easy job right! Well heres where the next job started opon removing one of the fuel hoses off the tank fitting the fitting come off the reason this had happend is that the tank had a dent on the bottom which had pushed the fuel pickup tube so it wasnt left with much strength to hold it in place. A few hits with the handle of a hammer sorted most of the tank dent issue so now i needed a way to fix it welding wasn't really an idea we wanted to do as fuel vapors etc so we went with the idea of a fuel sealant and some pop rivets to hold it down with that done i figured with the tank having some surface rust in places i should give it a lick of paint gave it the hand sand treatment as it didnt need much sanding one coat done Number two coat Also got my fan setup going on in the background which is a blower pump for a bouncy castle etc blows hard for what it is ended up coating the tank in POR 15 found it a great product as only used a brush to apply and when it dried the brush marks didn't come through only in a few places it did where i didn't do a great job with the brush just don't get the shit on your hands took me about 7 days to get it all off And that's when the tank went in also gave the tank straps a coat also along with cleaning all of the breather box and hoses then bumper went on afterwards
 6 points
 -
And once again, I've started a small job that has grown. Pulled the passenger side out, bit more difficult as it's against the wall in the shed and I've got to wriggle into position (usually forgetting the important tool). More shock bolts sheared off, plus much hammering to get ball joints/tie rods out, more piles of muck to scrape off and tricky rivets to drill out, but got to a stage where I've got two piles of parts roughly cleaned... and a whole lot of bits to toss... Have ordered new brake pads & wheel bearings as well, plus brake shield gaskets and new grease caps (a surprising $5 delivery from a Mercury speciallist in th' States). I probably should remove the calipers and clean them up/replace seals etc while I'm at it but I may replace all brake lines later on so will do it then. Thought I'd try my blast cabinet with the new compressor (last one was painfully asthmatic/slow) so wrapped all engine parts in gladwrap and sealed in box before making things dusty... And it worked ok, still slowish but much better air delivery. I can't see myself hunched over for hours doing the control arms etc tho, so will prob get these professionally blasted... So aiming to press old bushings out and get parts blasted this week, ready for painting over the weekend. Then it's the fun stage, assembly. Will finish with pic of my apprentice - he's bloody useless. Gets covered in oil, chews stuff, widdles in the shop, scatters tools and generally gets in the way. Still good company tho...5 points
-
I agree. I'd seriously consider replacing any frost plugs in the back of the block at the same time too. And if the rear main looks even remotely wet and isn't rope I'd do that too. A little bit more coin, and a tiny bit more effort can pay dividends in the long run.3 points
-
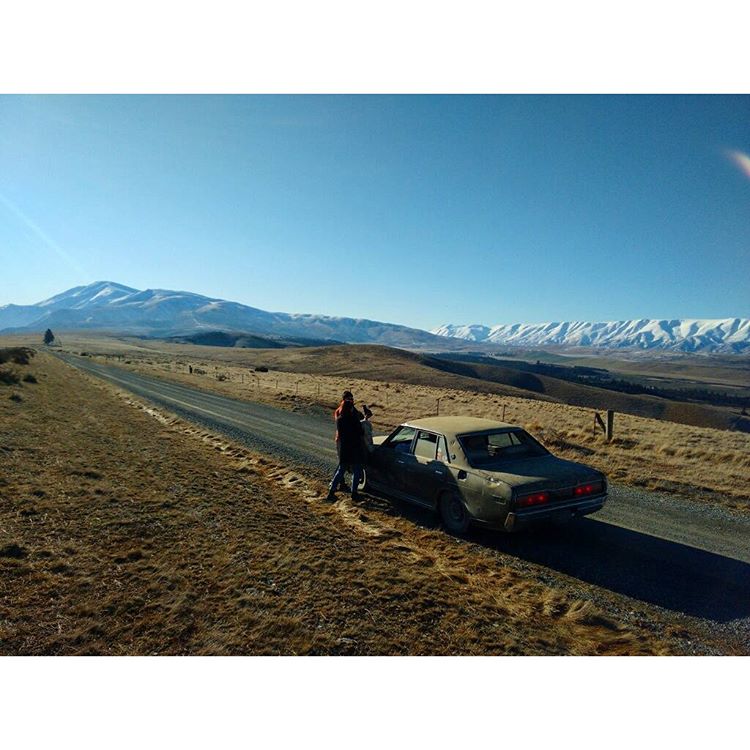
Totally in for the 18th, at this stage I'm not working and the Crown is wof'd reg'd and running sweet. I'll head up to the old man's on Friday and meet everyone in Oturehua, I'll see if JVB is keen too. Easy to avoid the gravel road to St Bathans just adds a little extra time. There are some other sweet gravel roads in that area too, I pulled my 230 out for the day to film this on the back road up the hill behind St Bathans3 points
-
Holdens are retarded3 points
-
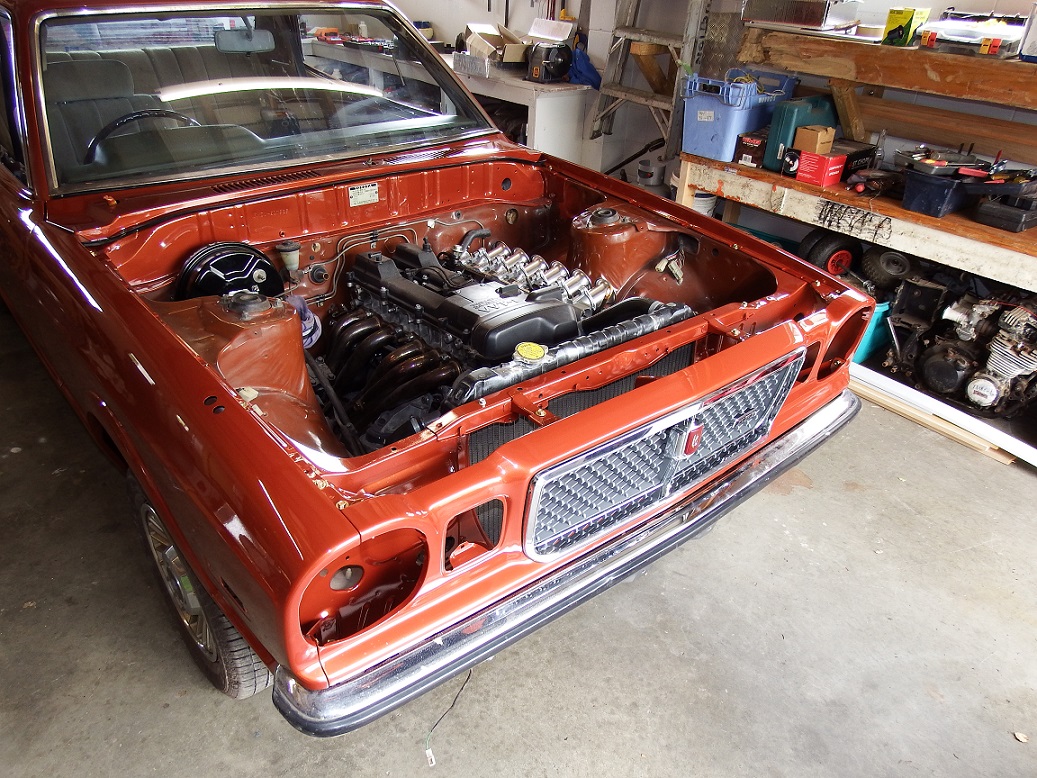
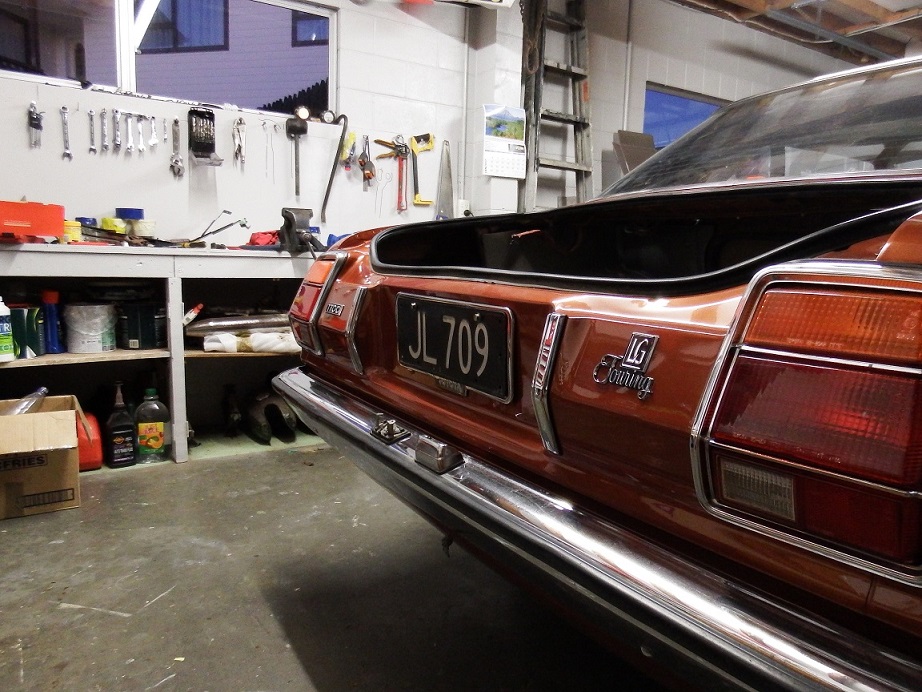
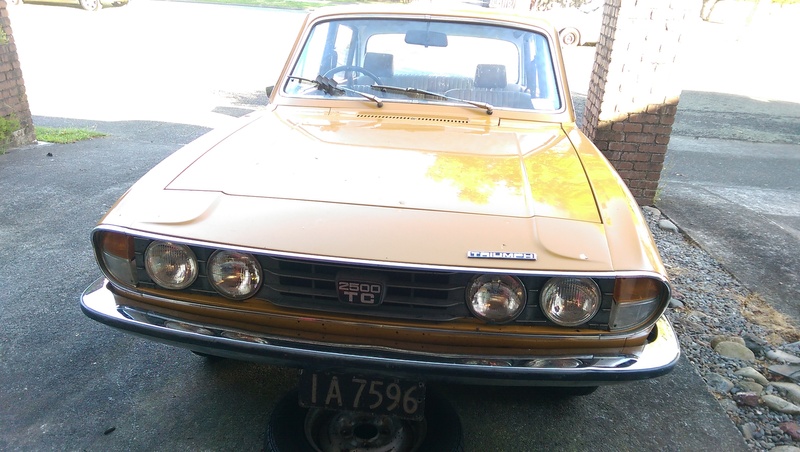
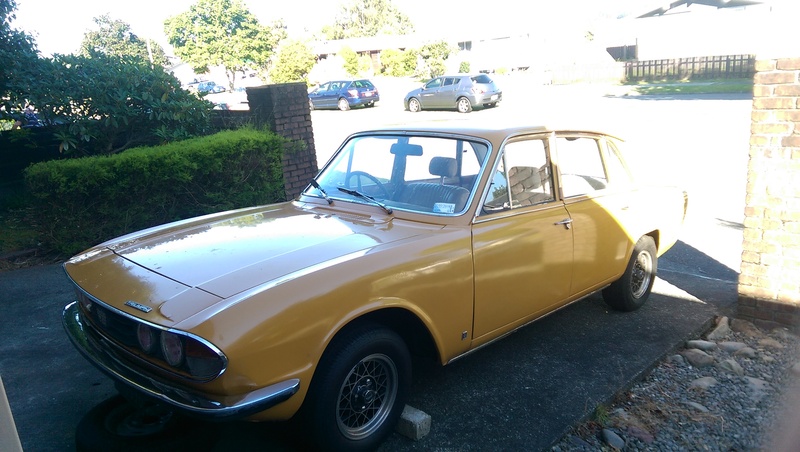
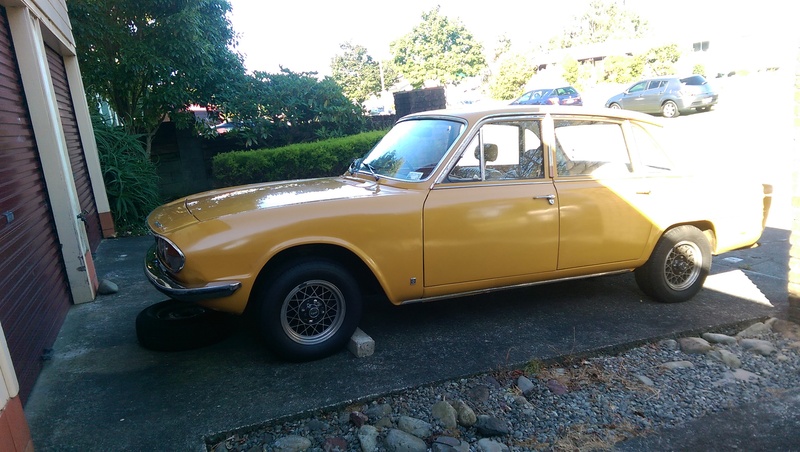
Spent some time on this over the weekend between jobs. Kayne came over on friday to fit panels and will align when the bonnet goes on next week. All the lights are now fitted and now working on the inside which is almost done. My dads been pining pretty hard and has detailed the badges which is pretty sweet. I will get pics of the exhaust while im fitting the gas tank as thats next.
3 points
-
Naaaaa, just turn up the stereo really loud. If he wants to go anywhere these days theres 2 choices escort or walk!!!!!2 points
-
Better get ready for a torrent of abuse from your son about how much he dislikes the escort haha2 points
-
Verdict in, compression test says no.1 cylinder aint pulling its weight anymore. So looking forward to road testing the new bilsteins. Better wash & lux out escort & pump up the tyres.2 points
-
china 044,/walbro/deatshwerks/bosch 040 etc. all of them will do the job don't worry about too much fuel that would not be an issue with any of these - main thing as al says is finding one that is a direct fit. I would be surprised if you couldn't find that out with a quick search on some aussie vl forums to find out what P/N walbro bosch or china special will do the trick nicely.2 points
-
Just send Ed a photo and he can drive round until he finds it? lol2 points
-
Right so first stop at birkenhead head at 11.00. I'm going to get my bbq to Neals shed this week. Expect pm in your box. Going to ask for 10 bucks from all to pay for meat and brews at the bbq. Hosts. Can we please have addresses. One rule suggested is take a crap befor you leave home. Don't bomb hosts facilities and Neal has No facilities to use.2 points
-
More stuff back from the platers, hinges, axle spacer things and a few brackets. Drilled lots of holes everywhere. The handbrake took a bit of planning (used CAD) There is 10mm between each hole and the sides of all the holes (except for the last big one) are all in a straight line Holes cut with a combination of rotabroach tooling and normal drillbits in a mill for no other reason than because I can. Oh and used big blocks of steel, a press and a hammer to fold over the curved bottom lip on those chassis bits. And yucky. This is why the old ones had to come.off2 points
-
Mucking around with this now2 points
-
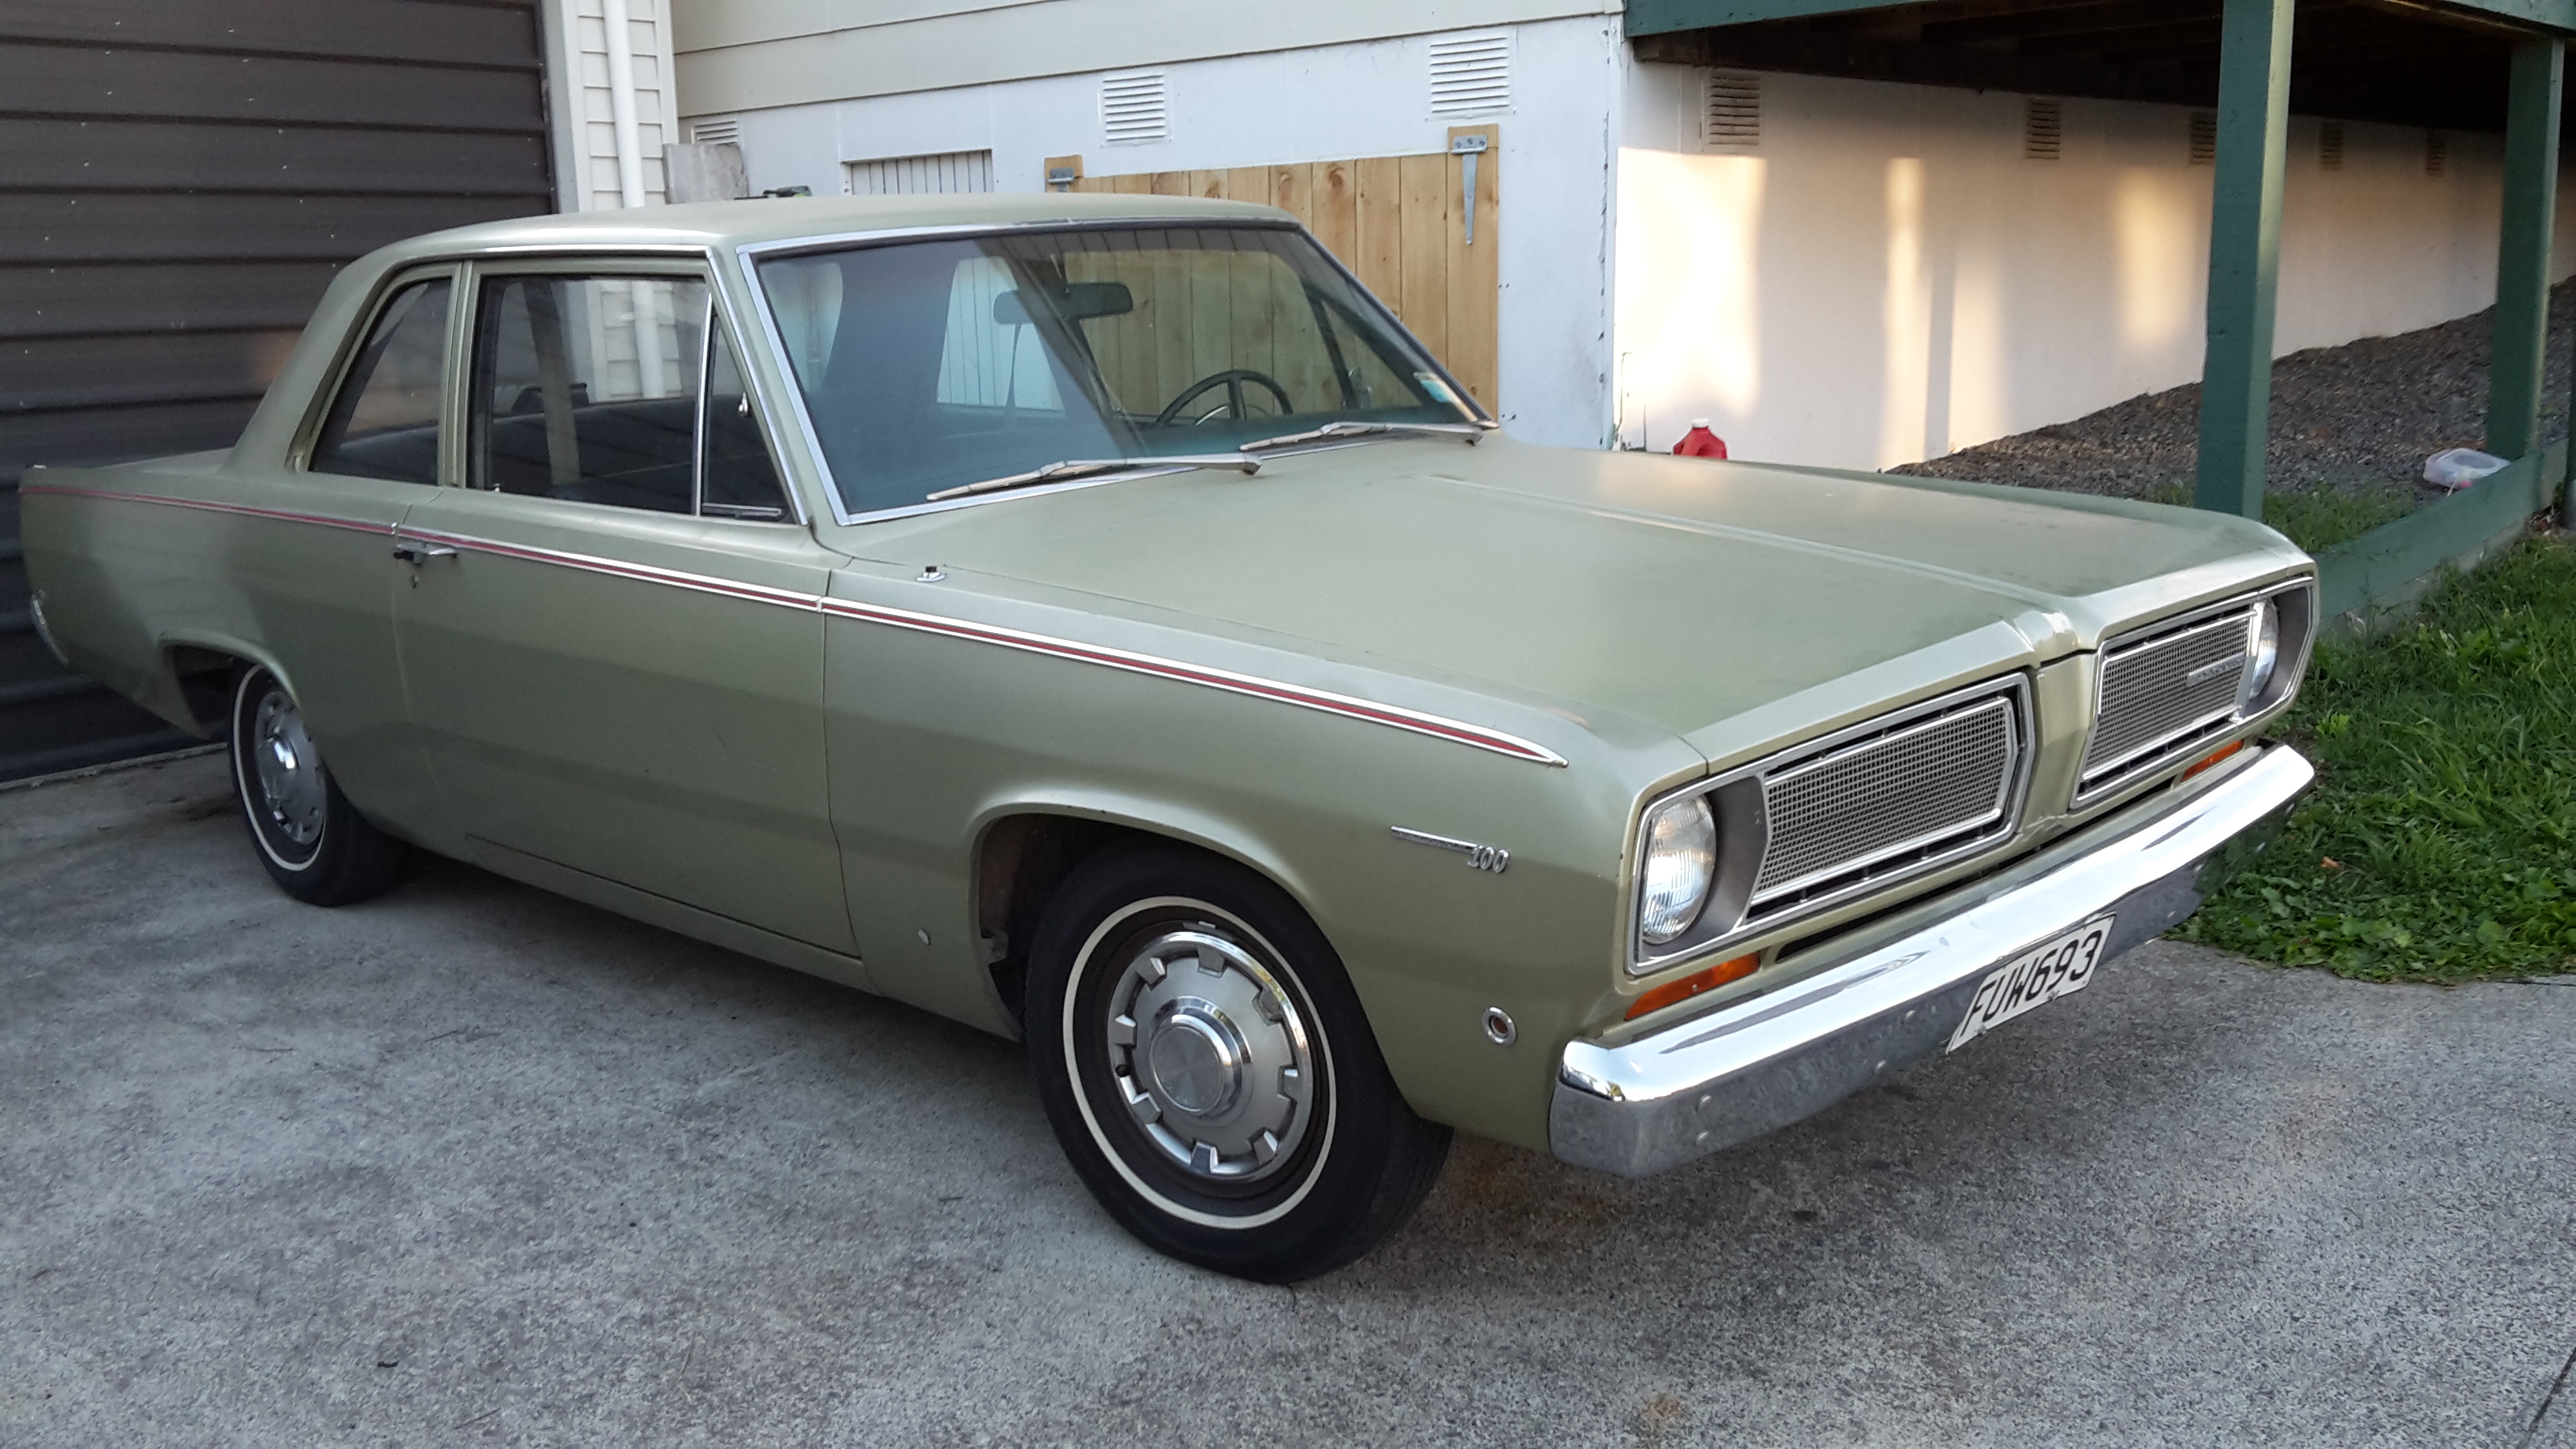
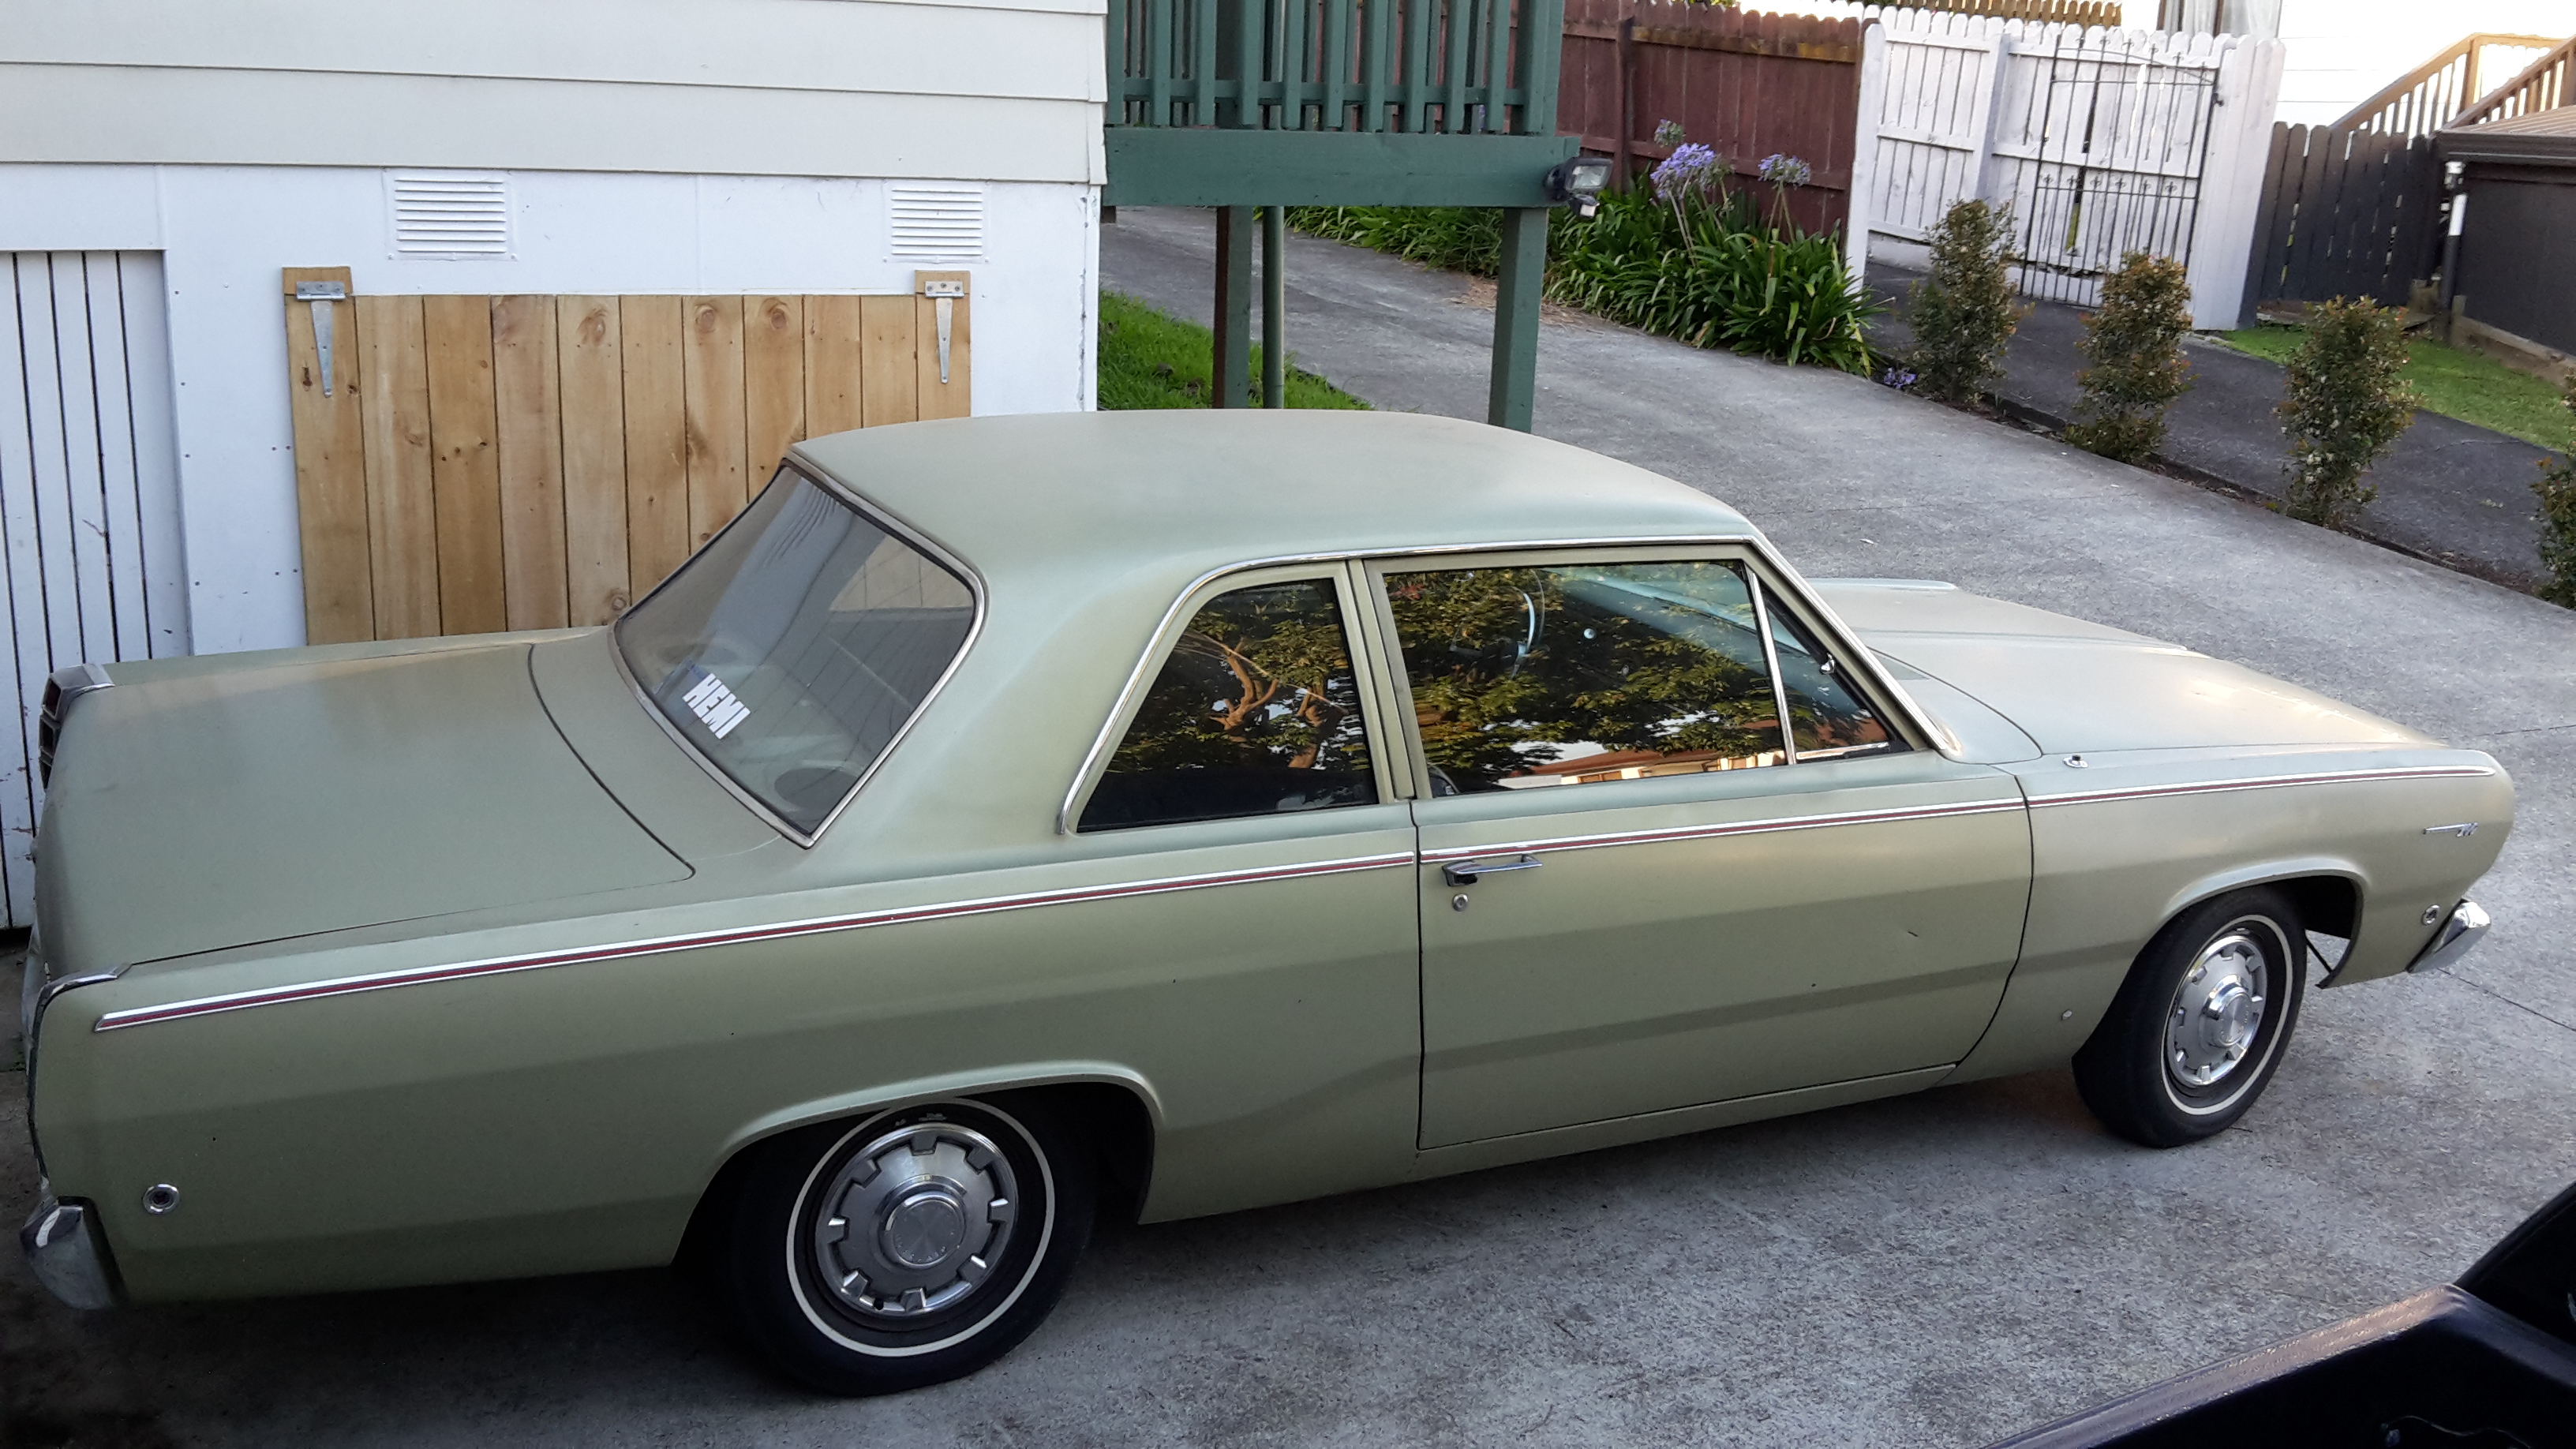
discussion Brought this home today, it's the reason for selling the hardtop. It's a 68 Plymouth Valiant, has a 'leaning tower of power' 225, auto, has power steer, 13" wheels hah, drums all round. Most of the paint is original, it has a couple of bits where it's been repaired that need touching up. I'll probably get it repainted in the same colour at some point. It belonged to a mate of mine that died in 2015. It's a bit special to me because of that, I went with him to have a look at it, had one of the sketchiest rides I've ever experienced when we went for a drive after he got out of hospital and was still on something. He always wanted to put a V8 etc in it but he ran out of time. His family kept it since but decided to sell it, and his mum rang me to give me first option on buying it. They are keen to see it get an 8 so it will get the turbo 318, 727 and 9" I was going to put in the hardtop. I'll drive it for a while till I've got everything ready then bolt it all in. Obviously this one will need a brake upgrade as well and I'll put some 15" wheels of some sort on it
1 point
-
discussion here //oldschool.co.nz/index.php?/topic/45321-fletchs-1974-datsun-260c-wagon/ Bought this car back with me from OZ end of 2013 when i moved back here. Its pretty original, got it from the original owners in Tamworth, NSW. They were getting a bit old so it has slight damage to every corner. 8 seater wagon, factory AC, 3 speed manual an the column, electric rear side window. Pretty flash for its day. It belongs to my mrs. she liked it so i put it in her name. so i can get another one Here's some photos. When i first bought it Back at my place in qld. 2000kms from where i bought it. Only lost 1 hub cap and hit 1 skippy on the way Then i reconned the front end. Yuk Steering arms refurbed with new boots and a few pumps of grease I have had a battle sourcing ball joints before. Its hard to find front ball joints for this model or the earlier 130 model. One option is to fit the whole 330 series front end. I could not find a 330 front end without buying the whole car so i did a bit of creative engineering and reamed out my axles to suit the later, and more importantly, available, 330/720 ball joints Sorted!1 point
-
Hey ya. So recently I picked up a new project now my 52 Buick is complete – a 1949 Hudson Super. Story goes I was browsing auctions with no intention of buying anything just cyber tire kicking so to speak. “Hey a cool old barn find car has surfaced 45 mins away. Want go take a look?” i ask my better half. With a promise that we would go get something tasty for lunch we pile in the old 52. Walking up to it & seeing the fastback shape and roof that looks chopped straight from the factory the better half mutters “I wont say no if you want to buy it” ^^ what more can i say… talked the price down for cash & shook hands with plans to pick it up the following day. Next day swapped the fat wad of bills for the original registration papers, original ownership papers showing two owners (father then son), a few old photos from 1962 and a set of keys to a car that hadn’t been started for 47 years. Now I already have a Straight 8 in the Buick and not really interested in another inline. Fabulous Hudson Hornet NASCAR history or not. Saying this im not into chevy swaps. I do like Buick Nailheads… rare here in New Zealand and always catch my attention when dressed up. I look at the Husdon, scratch the ol chin and go “yus sir that would be mighty fine”. Nailheads have an old school look that would suit that engine bay mighty fine. Images from the Auction & First Look. So what the old timer said was wrong with it: Fuel tank out as he has had it patched n cleaned cus had a few small leaks. trunk floor has a split where fuel tank mounts. guessing due to weight & old NZ roads being not the best etc small patch rust on left rear skirt. patch rust on right front panel. front right door pillar has a split at bottom. apparently he use to chat to people leaning on the open door and thinks this might of been the issue. brake Master cylinder needs put back in as it and all the drums have been redone. Water pump is at a shop getting redone. Rats have nested in seats. All easy stuff really. the splits are clean stress splits with no rust or nasty stuff to be seen. Still trying to figure out my build. Any help or ideas are most welcome. I do know the history of Hudson and NASCAR etc but I already have a hotrod looking restored car and dont want another. im after a more custom look. I haven’t been in a Hudson moving under its own power so im unsure of many things like suspension etc. Plan so far: worked 401 Nailhead. (hard to get here so may need import) Worked 700R4 trans rewire using American Autowire highway 22kit. Wilwood disks all around. Media blast. Shave the handles. French the lights. and do all the normal custom shiz Change up the grill. Lower it. new interior. Thinking 9 inch in the rear to handle the Nailheads torque and power. Not sure what ratio. Not sure for front end. I read how great the near 70 year old front end was. Maybe new hubs for disk brakes and a thicker swaybar. But then i think why not just throw in a jag IFS. comes with disks, power steering etc and is cheap here in New Zealand (cheaper than reworking the old hudsons setup) Driveshaft – unsure. one or 2 piece… So ideas? Suggestions? This will be an expensive project for me. Being at the bottom of the world/New Zealand means expensive shipping. We have a lot of Holdens here and a fair few Euro cars. after a old school look & sound with if possible a more modern handling. Thanks guys Alex1 point
-
Dont think this car is old enough for the main forum, 1989??? So I decided to get another project to muck around with to stop me pulling things apart on the 280Z plus Craig is building lots of cool shit and I am jealous. Requirements were it had to be Nissan, be cheap, have 4 seats (the 280Z is not overly family friendly) and be cheap. I have always liked the old Z32 300zx's so decided to go down that path, they are a love it or hate it car but Im cool with that. Upsides of the Z32 are obviously you can pick them up for next to nothing these days, there are lots of spare parts available for them and they are quite a lot of car for the money. The downside is they are are a bitch to work on due to engine layout/space restrictions, you have to pull the engine to change the washer fluid. Plan for this thing is just a fun budget build, use cheap or second hand parts where possible, take to the odd track day and drive it. So knowing it was probably a stupid idea i started looking around and found cheap semi tidy 2+2 NA manual in Christchurch. So site unseen, Craig and I jumped on a plane flew down, met the guy at the airport, dropped some cash on the thing and road tripped it back to Aucks which was mint. When we picked it up Mean trip home The car has over 200K Kms on it and leaked oil from every seal imaginable, interior was filthy and it had an horrific pitstop special exhaust system that was stupidly loud and totally shit. Good points were body was fairly tidy, came on some rough 18x9.5s, gearbox felt ok and car drove pretty sweet. At home with the 280 When i got it home the first thing that needed attention was the bio-hazard of an interior. It was disgusting, the drivers seat was torn and the dash was lifting around the windscreen air vent which I believe is fairly common. Every old 300zx has a torn drivers seat which looks crap, i wanted to keep the seats as they are cool 90s retro with motors in them so decided to re skin the drivers seat. I found a tidy passenger seat online then proceeded to strip it down and swap the skin over to the original drivers seat. This was a mission that took forever, I dont recommend. Spare passenger seat I found after ripping it to pieces lots of scrubbing out years of filth, ended up with two fairly tidy seats with no rips etc. They are still wet in this pic One non torn drivers seat back in the car Rest of the interior got a full on scrub down, it was unreal how much crud came out of everything. I also pulled out the dash and glued down the area that was lifting around the air vent. Another job I did was to tidy up the vinyl trim on the rear quarter panel interior trims that were torn. Next job was address the ride height. The car was rocking full on 4x4 spec stock suspension which had to go. Cheapest option I found was some dodgy ebay style coil overs, yep they are probably made from recycled watties baked bean cans but they were cheap so they were in. Threw them in and adjusted height to something that looked more respectable There is still scope to go lower but looks better for now The car came on a set of 18x9.5 +15ET china spec Cosmis wheels. They were were in a pretty sad state with some curbing and stone chips etc. In an ideal world I should replace them with something decent but thats not happening so decided to tidy them up as best I could. You have to be a mogul when you are racing modern...WTF Spent a fair but of time sanding down all the chips and marks. Then sprayed gloss black to hide the evidence. They look 100 times better than they did so they are staying for now. Need to change the wheel nuts to something non chrome Old mate Craig had a super legit set of Defi gauges gathering dust on his shelf so i stole them, hacked up the center console and made them fit. Gauges are worth more than the whole car, cheers bro! Next thing to address is the engine. The tired VG30DE had to go, it was leaking oil real bad and is slow. I had initially thought of throwing in a RB25 for something different but by chance ended up getting hold of a supposedly low km VG30DETT twin turbo motor for super cheap from the Mrs uncle who randomly had it sitting around in his shed. Fitting a VG30DETT into a NA Z32 is meant to be relatively straight forward, you can use the NA loom etc. My car is factory manual, the NA and TT gearbox internals are identical but the TT version has a slightly larger bell housing, the internet told me it should all fit somehow... The turbo engine had been sitting in his shed for years so was looking a little worse for wear. It turned over freely so figured I would take a chance on it. This was how it looked when i got it home. I also tracked down a complete stock intercooler plumbing kit I gave it a good de-grease and waterblast then started stripping things off to tidy it up a bit. I didnt know anything about VGs so was going to be interesting. I ordered a timing belt kit, water pump and rocker cover gasket kit from the states. Then proceeded to pull things off, clean, sand, prime, paint, refit, repeat... Fitted new timing belt, idlers, water pump, thermostat etc Painted up the timing covers so they look a but different, every VG i have seen has the stock black covers. The stock T25 turbos looked in fairly good condition, no large amounts of shaft play and rotated nice and freely I ordered a set of dump pipes from ebay in the states, they were ridiculously cheap and seem OK. Painted the water inlet and outlet pipes black just to mix things up from the normal alloy finish most are Pulled the injectors and replaced the o-rings and pintle caps Painted the fuel rail gloss black Nissan engineers were on acid back in the 90s and decided to try and include lots of crazy technology into the VG engine. The engine has an exhaust recycling system to reduce emissions on startup. It is known to fail over time so I deleted it and welded up the pipe on the manifold. I also removed the PCV plumbing and welded up the ports on the rocker cover. I will be using an external oil breather tank. I also deleted all the additional water cooling lines that run under the plenum. Again these apparently begin to leak over time and arent needed. I stripped down and painted the plenum exoxy gloss black to match the rest of the engine colors. Also painted up the heat shields and other small bits, waste of time really as you will never see any of it. The factory NA engine mounts from my old engine were shot, they had cracked right through. I found some cheap nolathane ones online, I made some alloy heat shields for them as some threads online said the nolathane mounts can fail due to heat. Also replaced the rear main seal while everything was apart I reused the flywheel from the old NA engine, it is smaller than the one that comes with the TT motor but it fits with my gearbox so had no option there. NA VGs use the same clutch layout as RBs so I fitted a heavy duty Clutch Industries RB25DET clutch. Out came the tired old DE, getting at some of the plugs was a real bitch. You really need to be the size of a leprechaun to work on these engines. removed the gearbox and its 20+ years of grime Used degreaser and oven cleaner to clean it up as best I could Engine and gearbox mated up, ready to go in car In goes the DETT Boom Factory twin turbo cars have a stock external oil cooler, NA versions dont so raided Craigs parts bin again. Added a few AN fittings and sorted. I was going to used the stock intecoolers that I scored but ended up buying a dirt cheap ebay split front mount cooler for some stupid reason. I think it is a copy of the Greddy version? It is a tight fit, had to cut away some of the plastic bumper support to make room Then I made up a set of cooler pipes to fit by cutting up the stock ones I had, combined with some silicone joiners it worked out pretty sweet My car came with a china spec Greddy copy twin mushroom intake pipe I needed to fit an oil breather tank somewhere in the engine bay so decided to run with a small batter setup and combine that with a breather. Knocked up with this disaster Painted up and installed Will do the job Next job was to make up an exhaust. The dump pipes i bought off ebay included mid pipes so i was one third of the way there. Picked up a bunch of 2.5 inch bends and mufflers etc Started piecing it all together, just tacked in place to suss out the layout Went with a crossover section and two small mid resonators Once i had the layout sorted welded it all up and painted. Fitted the NA loom up to the motor. Some of the old coil plugs were broken so replaced them with new ones. I had to relocate the lower radiator mounts as the TT radiator is narrower and thicker than the NA version. I had one small issue with one of the loom grounds resulting in no power to the coils but once I sorted that the engine fired up nicely which was awesome. Used a consult cable to make sure everything was working as it should. Adjusted CAS to match engine timing to ecu timing. Oil pressure seems good, temp OK and idles nice and smooth so fingers crossed. I am waiting on a few small parts to arrive, alloy radiator as the factory one I have is a bit sketchy, factory fan shroud and radiator top mounting brackets. I have taken for a few drives up and down the road an everything seems OK so far. Car is only on wastegate boost at this stage (7psi) but I have a profec boost controller installed so will have a play with that and turn it up a bit. Washed it for the first time in forever, was such a mint weekend 280 got a clean also Next step is tidy a few small things and get a new warrant for it. Then I will fit a wide band to it and may have a play with the ECU using Nistune software or romulator. I will need to upgrade the injectors at some stage and it will need a bigger fuel pump also. Fun times1 point
-
just been going through all my old photos i took last time i visted. i am probably gonna walk away with a motorcycle/princess or 71 point
-
run biggest vents /lines you can. less velocity in the pipes will drag out less oil, to start with1 point
-
Decisions, decisions, so much for gettin a w.o.f & gettin sorted for Ranfurly run The reason for the current misbehaving since december.
1 point
-
Drilled rocker cover for the an fittings, and re mocked up the piping. I'll drop them off tomorrow I collected some bends and stuff so I can continue with the turbo down pipe. Man the Tight 90 bends are heaps more than the normal ones.1 point
-
A single walbro should supply more than enough for 250kw in the future. That or Bosch, no need to change other components. FPR should hold the fuel pressure the same as with your factory pump. Pretty much +1 to what testament said1 point
-
Does it have a rev counter? This can give you a good indication of whether the problem is ignition hardware related instead of ignition timing. A rev counter which jumps around instead of holding a steady value (within reason, ie it has to match what you can hear the engine doing) indicates that the distributor is providing a noisy signal to the coil. This could be either bad points/condenser or a dirty/bad/misaligned pickup module. Have you checked and adjusted the gaps on each spark plug?1 point
-
19th though, Zeb1 point
-
Wats gnats? Cheers for the offer Bart, I'll find out more deets and let you know!1 point
-
If there's anything you need an extra hand with let me know by the way and I will try make the time lol.1 point
-
1 point
-
Always enjoy updates on this. For general knowledge, how much is the cost of the plating.1 point
-
I should mow the lawn1 point
-
I think there are some pics in this thread already? anyway I built it a few years ago1 point
-
Getting close now. Have been clearing some crap out of the shed so there is space round the car.1 point
-
Took her out at Mere Mere on Friday night. she bested a 13.232 at 108.5mph1 point
-
Well, unproductive weekend. Have a new front bearing for gearbox, a new clutch fork on its way, and a new rear main seal Non of which have been fit yet unfortunantly Will make a stab at gearbox tomorrow. So yeah, looks something like this in the engine bay now1 point
-
maybe few test runs over the bmw first1 point
-
I usually just trim the pipes until they fit nicely and masking tape them together. Once it's all made up I take it to the welder and they scrape a bit of tape back and tack it then another spot etc. Saves them having to weld over rough stuff.1 point
-
Tridies for both cars. Both in 7" wide. Tridies added to the front. I tried to add them to the back, but the guard lips got in the way. Sheepers reckoned he'd had a little bit of experience stretching metal etc so I trundled over there. First he knocked the guard lips up using a hammer and dolly - the paint damage was inevitable, but we lucked out on the passengers side and only got a minor crack. Took it for a drive after that, to find the tyre was now rubbing on the INNER guard, near the top of the sidewall. The trusty hammer came out again, and the inners massaged then undersealed to ensure plenty of clearance now! Next up though, is to remedy that paint on the arch, and replace/repair a super fucked UJ on the half shaft, which made itself evident this afternoon. I'll probably do both halfshafts for peace of mind. //oldschool.co.nz/index.php?/topic/53732-snoozins-79-two-point-five-s-its-for-sporty/ <----------yarns1 point
-
These arrived in record time. 14" travel, thats about 900mm eye to eye fully extended. or about to the roof on your average oldschool.co.ng ride1 point
-
#speeduino1 point
-
Was tired of the torsen lsd starting to open wheel getting into works driveway so made a plan to build a bit of a Frankenstein diff. Bought a front diff out of a kia sportage to get the 7" ring and pinion out of it which is 4.778:1 ratio. Got a factory non-turbo FC clutch type lsd from USA which takes the 7" ring gear and has the same splines as the mx5 axles. All of this was bolted into a MX5 housing which allowed it to bolt straight in. Car accelerates a lot nicer now but the speedometer is 12% high even after changing to a different speedo drive. Got some Dunlop Direzza Zii's for the rear to match the fronts then went on a charity cruise up to Paihia. After the cruise we camped out at Matauri bay then I decided to take the scenic route back to Auckland starting from Cape Reinga.1 point
-
Much swearing later got driver's side completely out. Learnt for next side to get brake caliper bolts out while there are still bits holding it in place. Had to drill/chisel rivets off to get lower ball joint out, and hoping there's a press at work I can borrow to remove/fit control arm bush... And bits semi-cleaned up. More cleaning and lick of paint on the cards till parts arrive... Whole lotta nuthin under the front end now...1 point
-
I finished assembling the master cylinder. I'll bleed it tomorrow. It's getting dark, which makes it hard to put the wheels back on. As requested, here are some shitty photos, cause the car is only half in the sun....
1 point
-
So I've been out if the old school scene for a while, seen Ogre today and remember you lot so I'm not dead but still useless. I step away from the rusty sh!t heaps you all play with but have ended up with this POS in my shed. Originally thought it would make for good break value but being rare in NZ and having red spots simliar to the dirt up north it now owns the spot in the shed. 1973ish Toyota Corona Mark ii Coupe MX23 Was used as a race hack years ago. Has been fitted with the kit. 2.8 dohc, 5 speed, LSD, Rear discs, EX-Cs, twin sway bars kitted... true redneck stz. Thing is rooted. Track car maybe? [/img] [/img] [/img] [/img] [/img] [/img] I hate rust but love the style.1 point
-
1 point
-
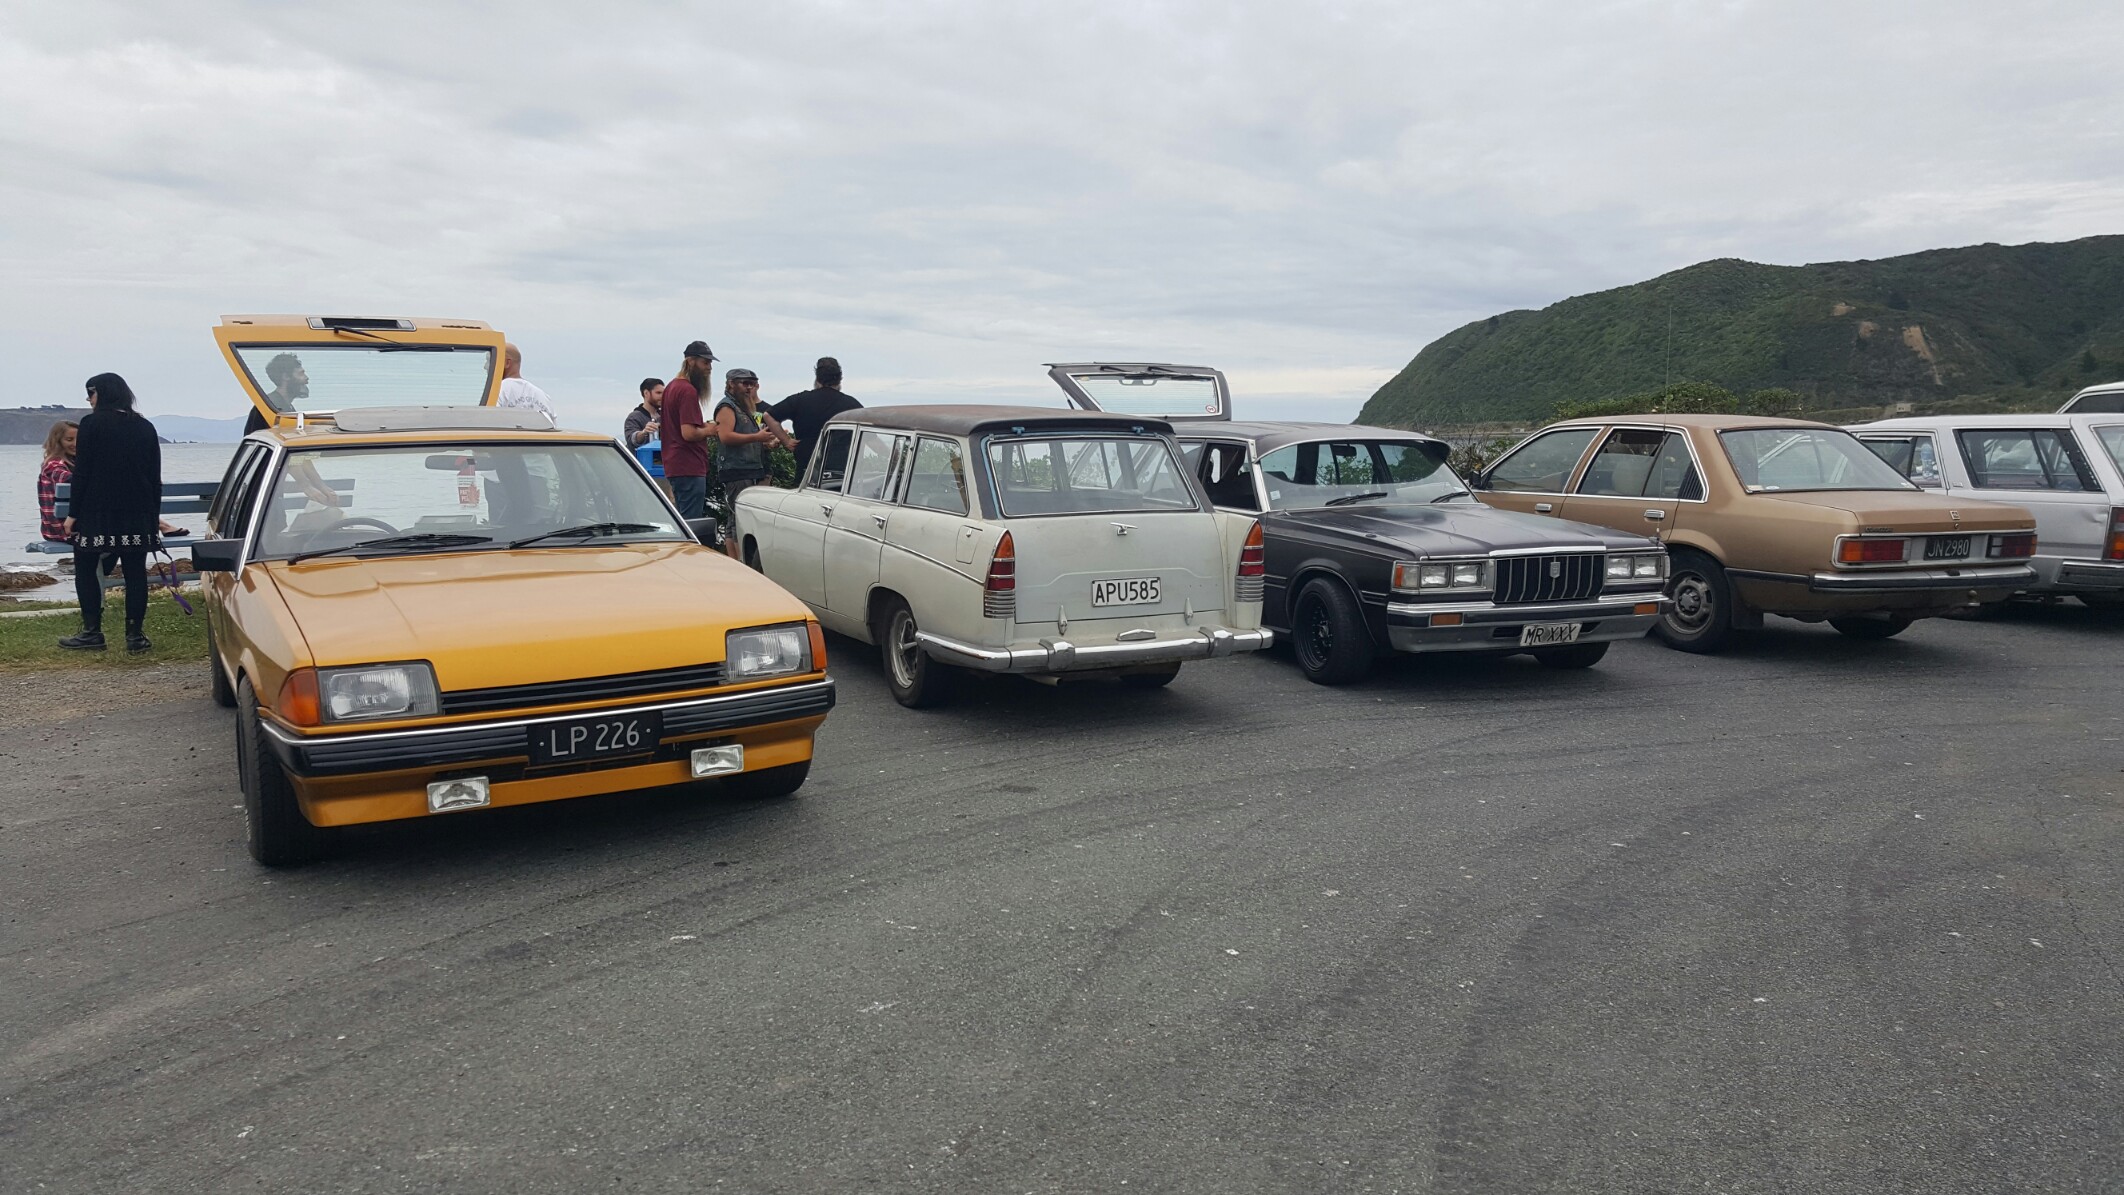
There were some wagons, a couple of vans and a lone cdan (to start with anyway) in attendance.
1 point
-
Step one- Remove Chinese 15x8s and install 14x8 and 9 focus racing spoke1 point
-
Sheeeeeeeeeeeeeeeet. Build thread almost off the second page. Must mean I have been super lazy........ heh Anyway, I decided the inner guards offended my eyes, so scuffed them down, and resprayed with rattle cans in satin black, in my make shift bake booth. worked a treat! would say that also came down to the previous black paint smoothing everything out. Also acquired the engine covers I were missing, Huge thanks To Toy-mota And beaver for hooking me up. makes me happy. Then came the time I thought I might try power up the ECU and see if my engine check light was working. It wasn't. fuck. traced some wires and checked powers. found when I had my relays plugged in, power to switch the ECU was dropping to 6V. hmmm....... fuck it, at this point I bit the bullet and did what I had been trying to avoid, moving the relays and extending the wires so it didn't look like a bunch of shit under the dash. Glad I did, looks so much better under there, and now my glove box fits without hitting the relays. rad. Also, connected one of the spare wires I had run over to the drivers side, to the ignition switch, instead of pulling switch power off A random circuit under the dash. Turned key, heard relays click, engine light came on. Success. So atleast I now know It should run when The intake manifold goes on. Which I painted today, and will fit tomorrow. So its getting there. Maybe not as quick as I need tho as all these changes are taking up more and more time. Plus I spent the weekend over in Masterton pulling apart a commodore with KK him self. Was fun1 point
-
Nats was good, arrival was delayed by a workshop giving me the car back with no brakes on Thursday evening, not sure what they did but I bled it up myself on Friday morning then set off. Scavenger hunt was fun On the subject of belts I think I can finally put that to bed. I now have no whine and they all fit nicely. Whine was caused by a too narrow belt, a 15A1055 fixed that, a new turnbuckle style tensioner and a 13A900 fixed the slippy alt and an AX25 gave the right length for the power steering (needed something between 13A675 and 13A710). The cooling system performed like a champ in a long hot traffic jam on the way back from Nats, the fan chooches the heat away nicely and the 91 on 85 off thermoswitch seems to be ideal. Next up is to sort the rear so I can lower it again and change the speedo drive in the gearbox so the speedo is a touch more accurate (reads 90 at 100kph).1 point


.jpg.02619e79ee9573cd1b2017da062586aa.jpg)


This leaderboard is set to Auckland/GMT+12:00