
Leaderboard


Popular Content
Showing content with the highest reputation on 09/30/19 in Posts
-
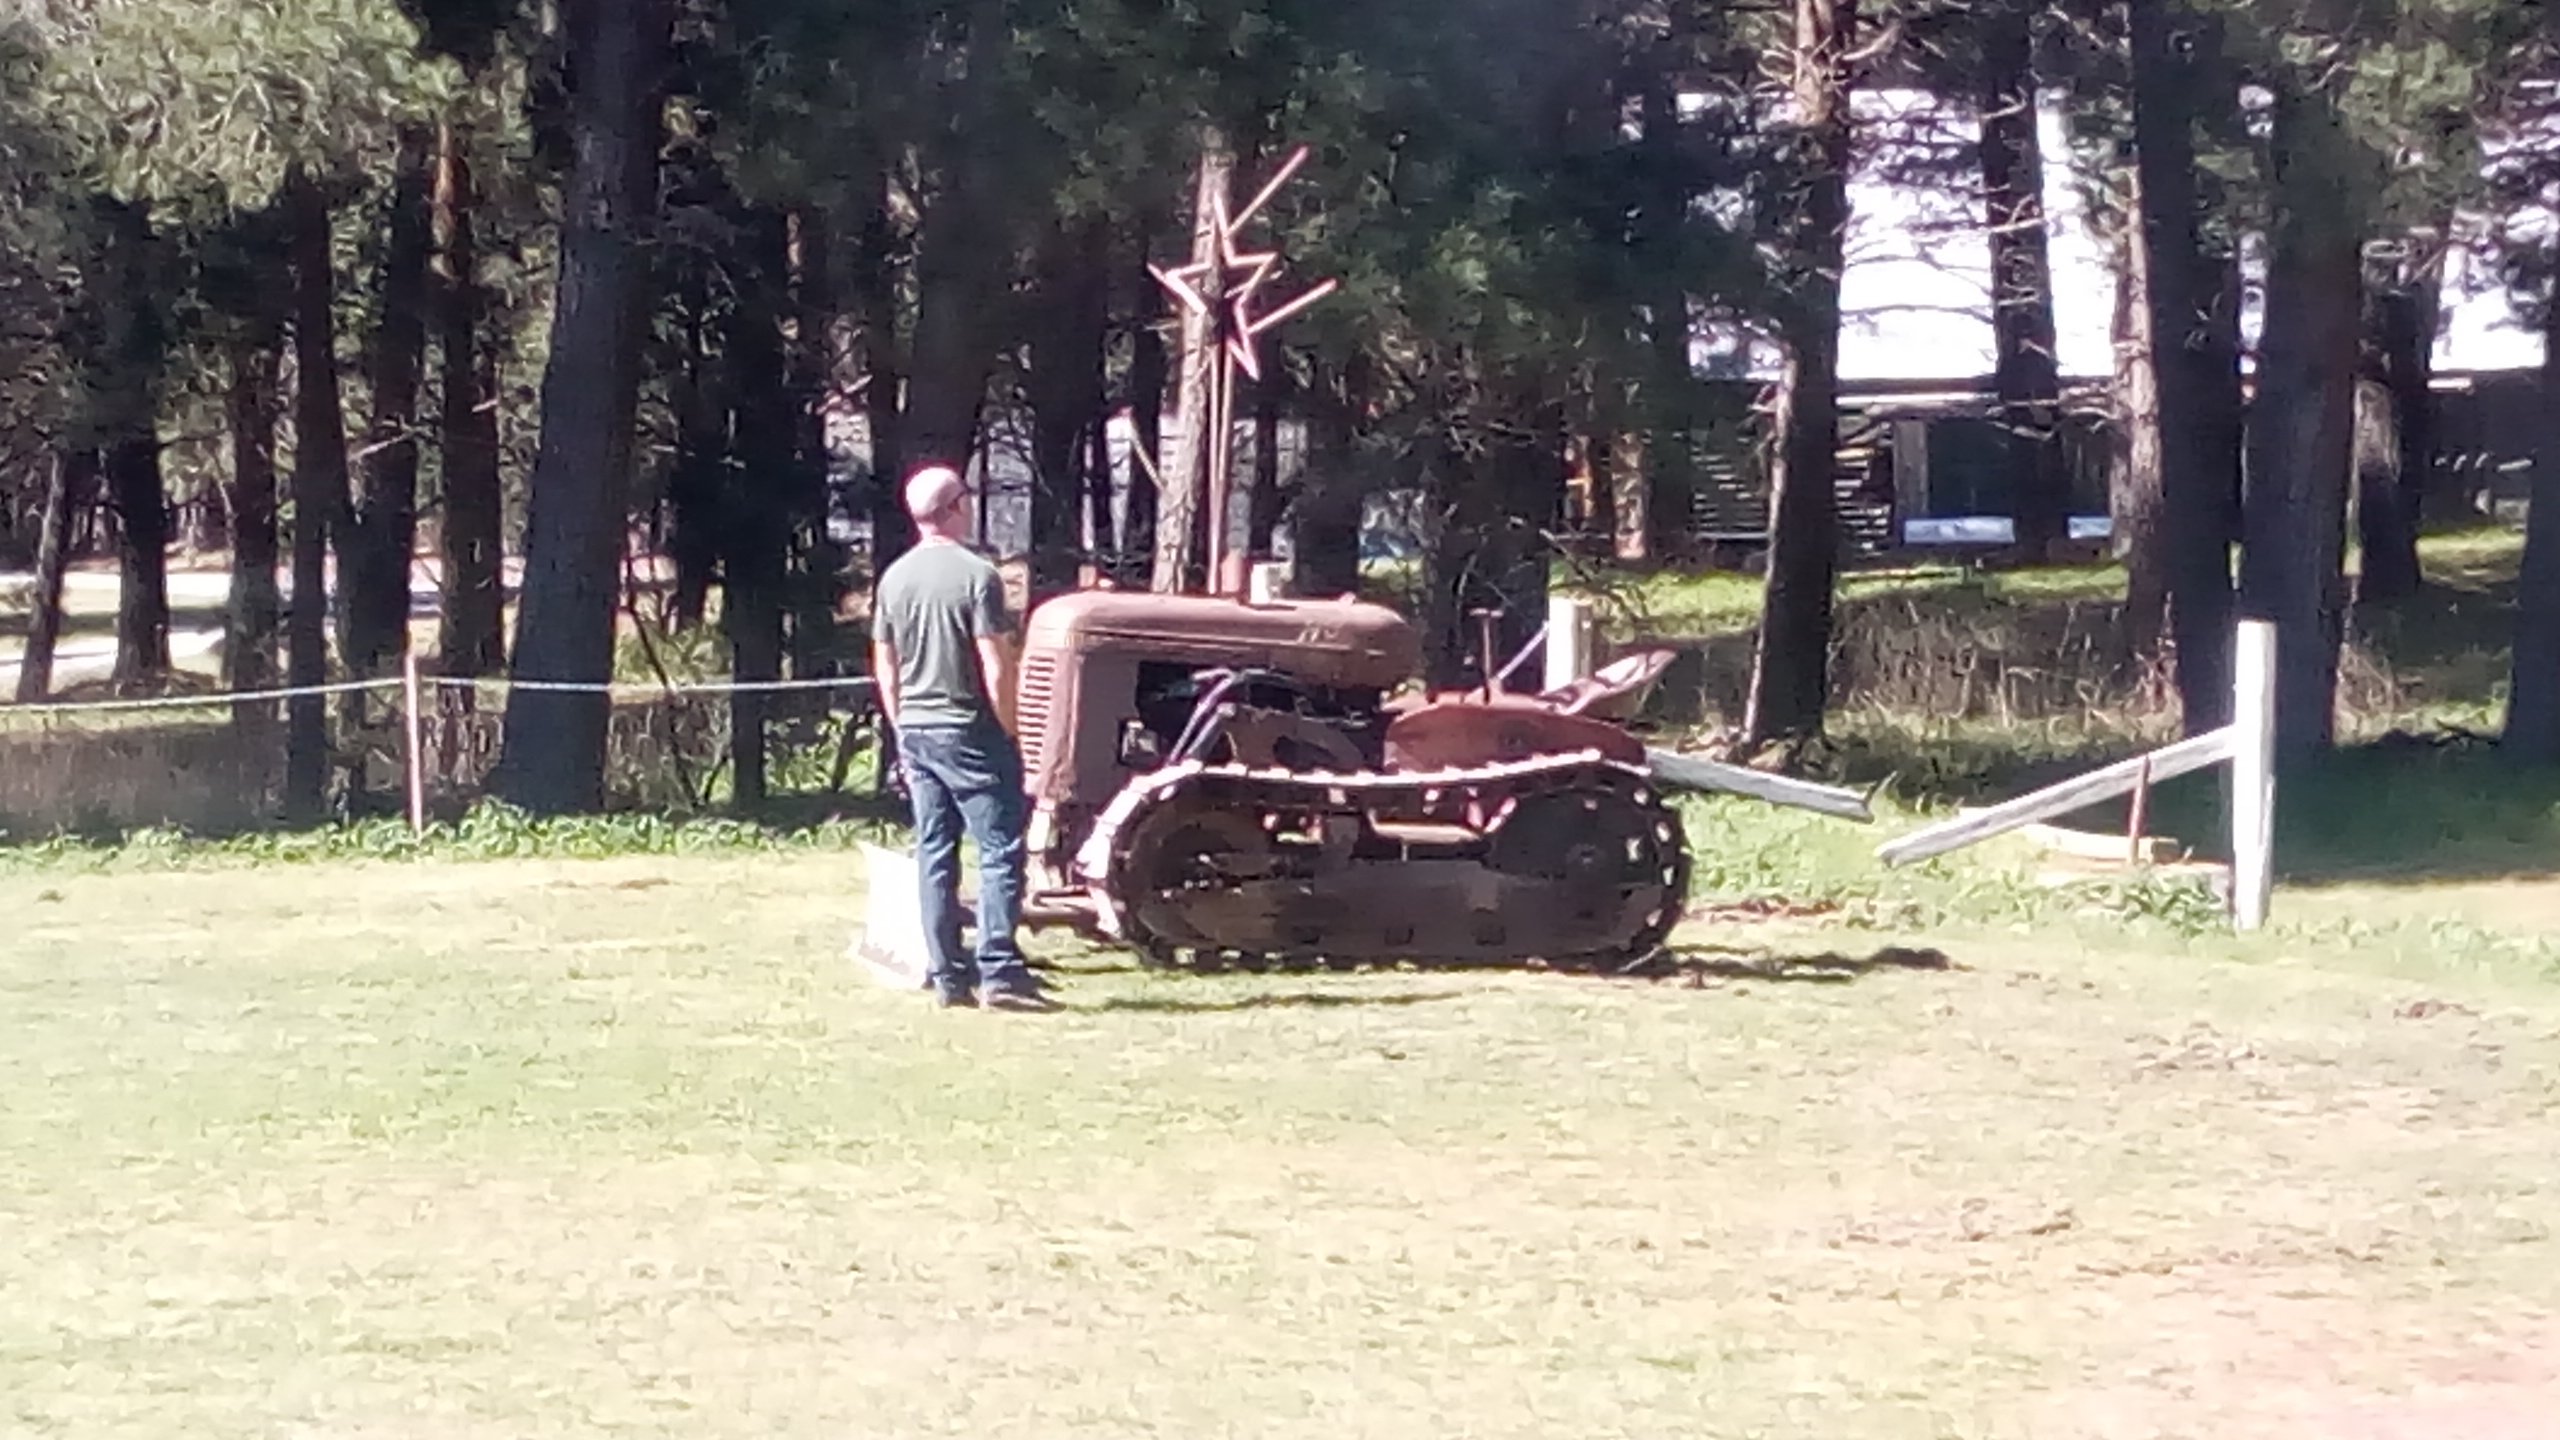
Not favourable. When I was leaving I almost drove through the sandwiches and tea area, many many disapproving looks were metered out. Edit. Barry on the left in the sharn pic liked the star. He said it made it stand out and was amazed what an effective muffler it was.
 22 points
 -
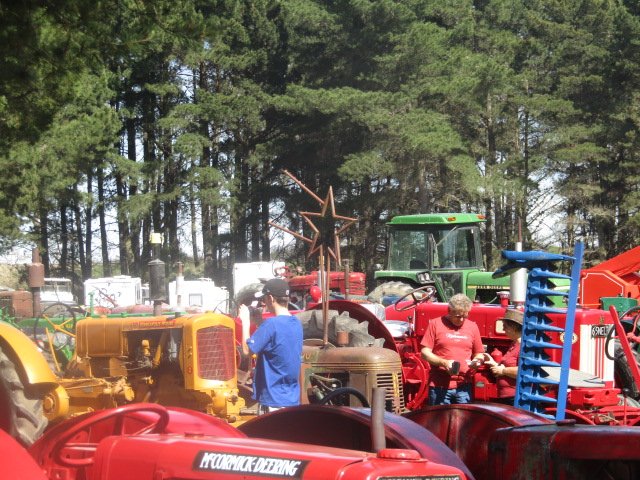
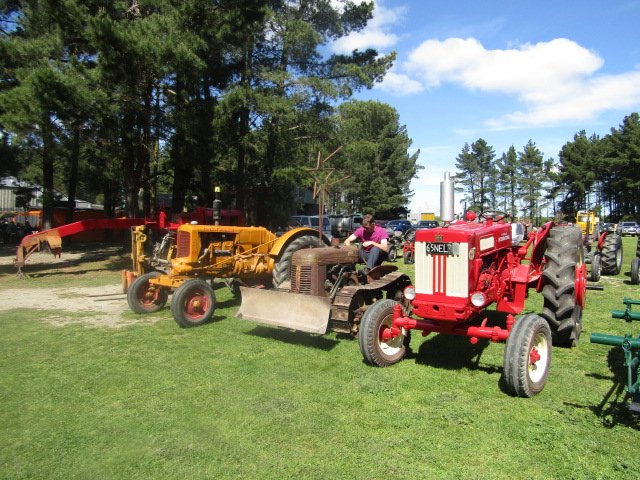
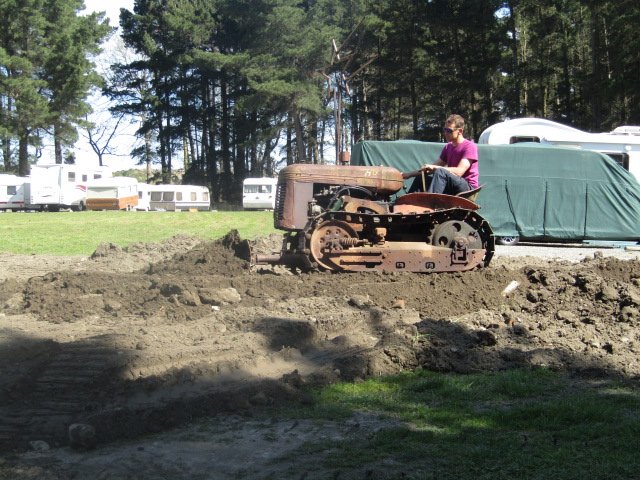
The Mcleans Island Vintage machinery club had its annual show this weekend just gone, It seemed rude not to attend. Ill post pics here, in the tractor thread, and or in the wombling Barry thread. In the show, standing proud Pushed some dirt. Had some sharns.
20 points
-
Made this baby walker trainer for my daughters upcoming first birthday. Silloette of my corona painted in its actual paint. I never work with wood so super stoked on how this came out. Kmart fishboard skateboard donated its wheels and that's about all I needed to buy. Bonus is it gave me a chance to test out my new to me, Sata 4000b spray gun. Shit it's awsome! Can't wait to paint to crown with it, colossal step up from the supercheap auto guns...
19 points
-
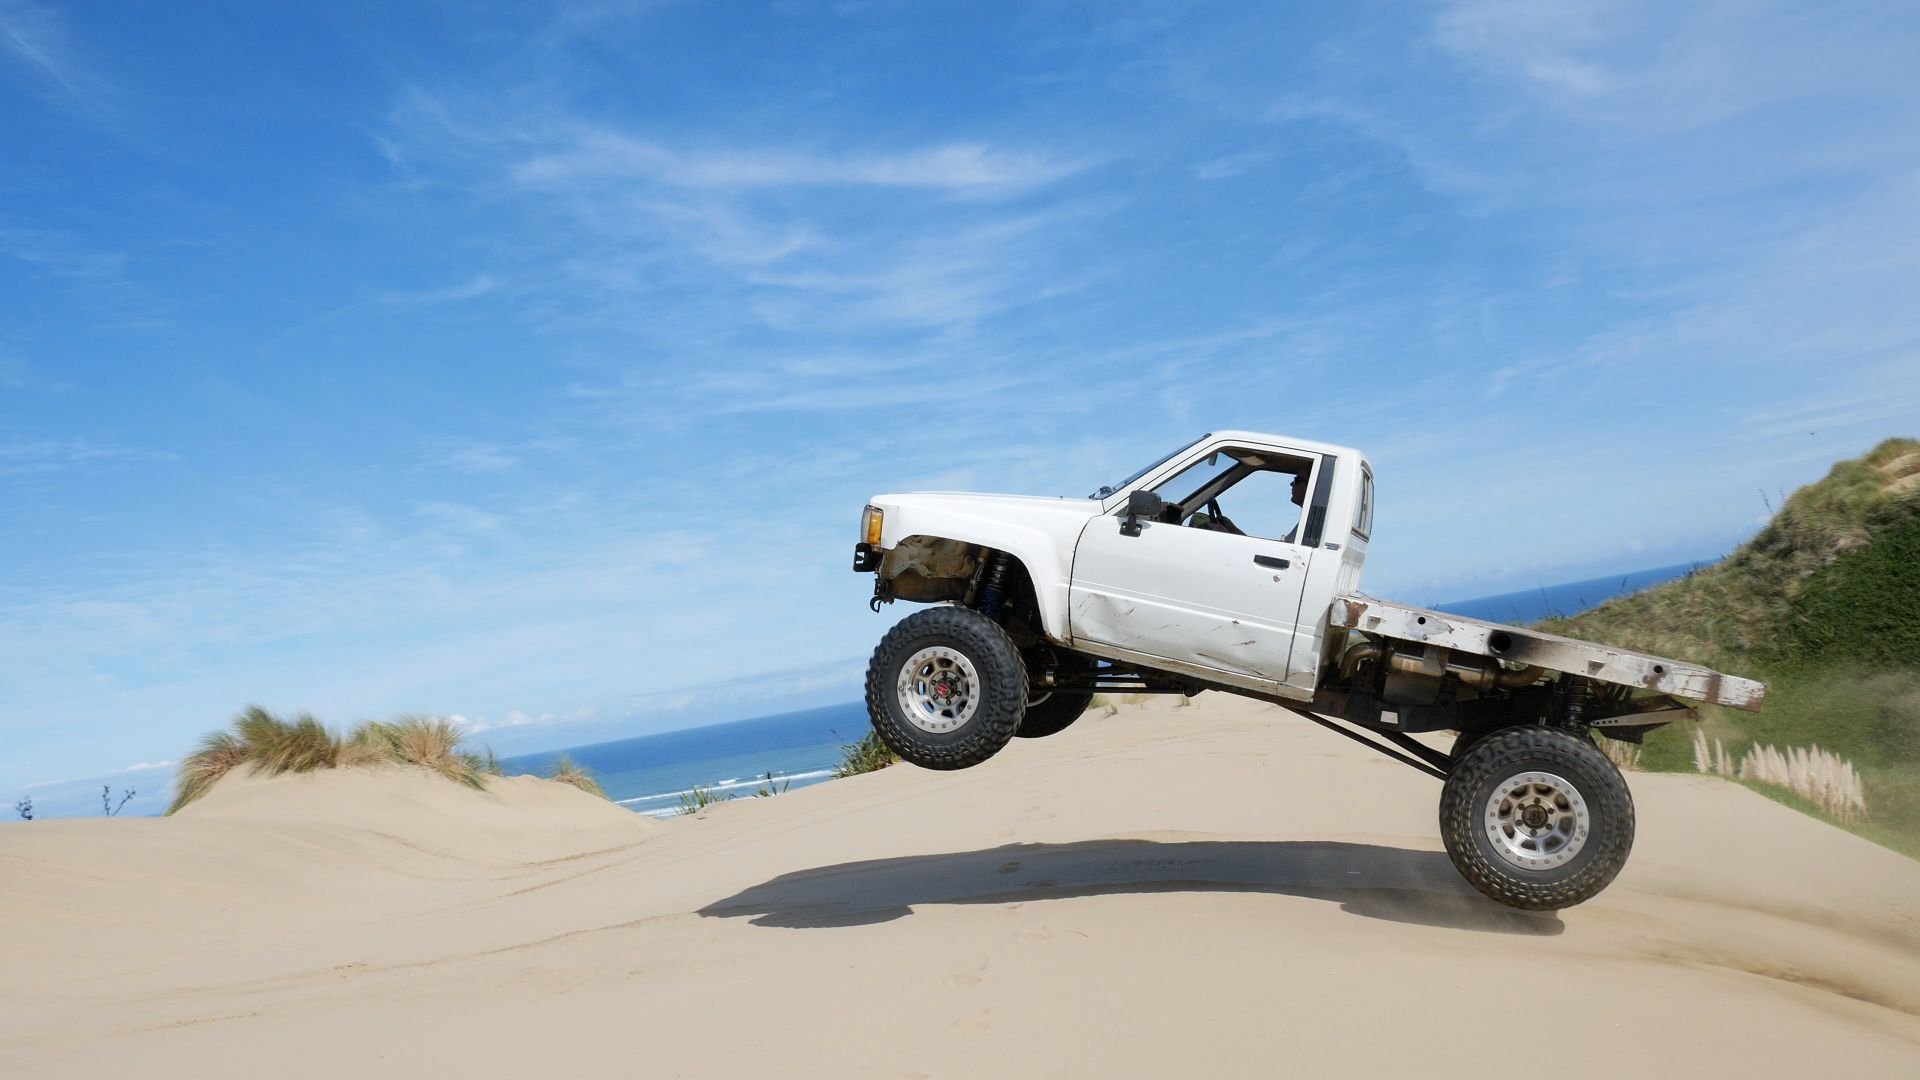
Yeh nah yeh, so after that ^ I got a bit of 4140 CG shaft, had some keys chucked in it for a box, and slapped it back in. Keys are tiiiight and everything fits much snugger due to shaft being correct size, so that's tops. I cut the keys a bit longer, so everything had a key under its total length for strength, and I went for internal threads on the ends as its way easier to do. Once it was back together, we took it back to the beach again, to finish off testing. It was running much better (put tape restrictor back in) and we thrashed around in it for hours with no dramas. I didn't get video of it, but i'm blown away by what it can get up, considering it has no articulation in the rear. It was strolling up stuff that decent 4wd's couldn't get up. I tried to keep the vid short, and not totally mind numbingly boring. You can't really tell in the video, but the road is bumpy as all heck, quite pleased how well the suspension works for how shit it is/road bike shocks and pivoting on bolts. I accidentally drove it through a few small streams on the beach, so washed it down when I got it home. While pushing it back into the shed I discovered one of the back axle bearing housings was broken, I think it may have been damaged when the axle broke, as its on the side that got wrenched around when we were towing it off the beach. By reviewing the footage, I worked out it broke on the last run of the day, so didn't do any real damage, thankfully. Hows that serenity? I decided if the suspension and steering didn't break after all that testing, it was probably good enough, so stripped the whhhooollllleeeee thing down for painting. So now i'm going to clean up some welds, cut out some weight, and then paint it. Regards, VG.7 points
-
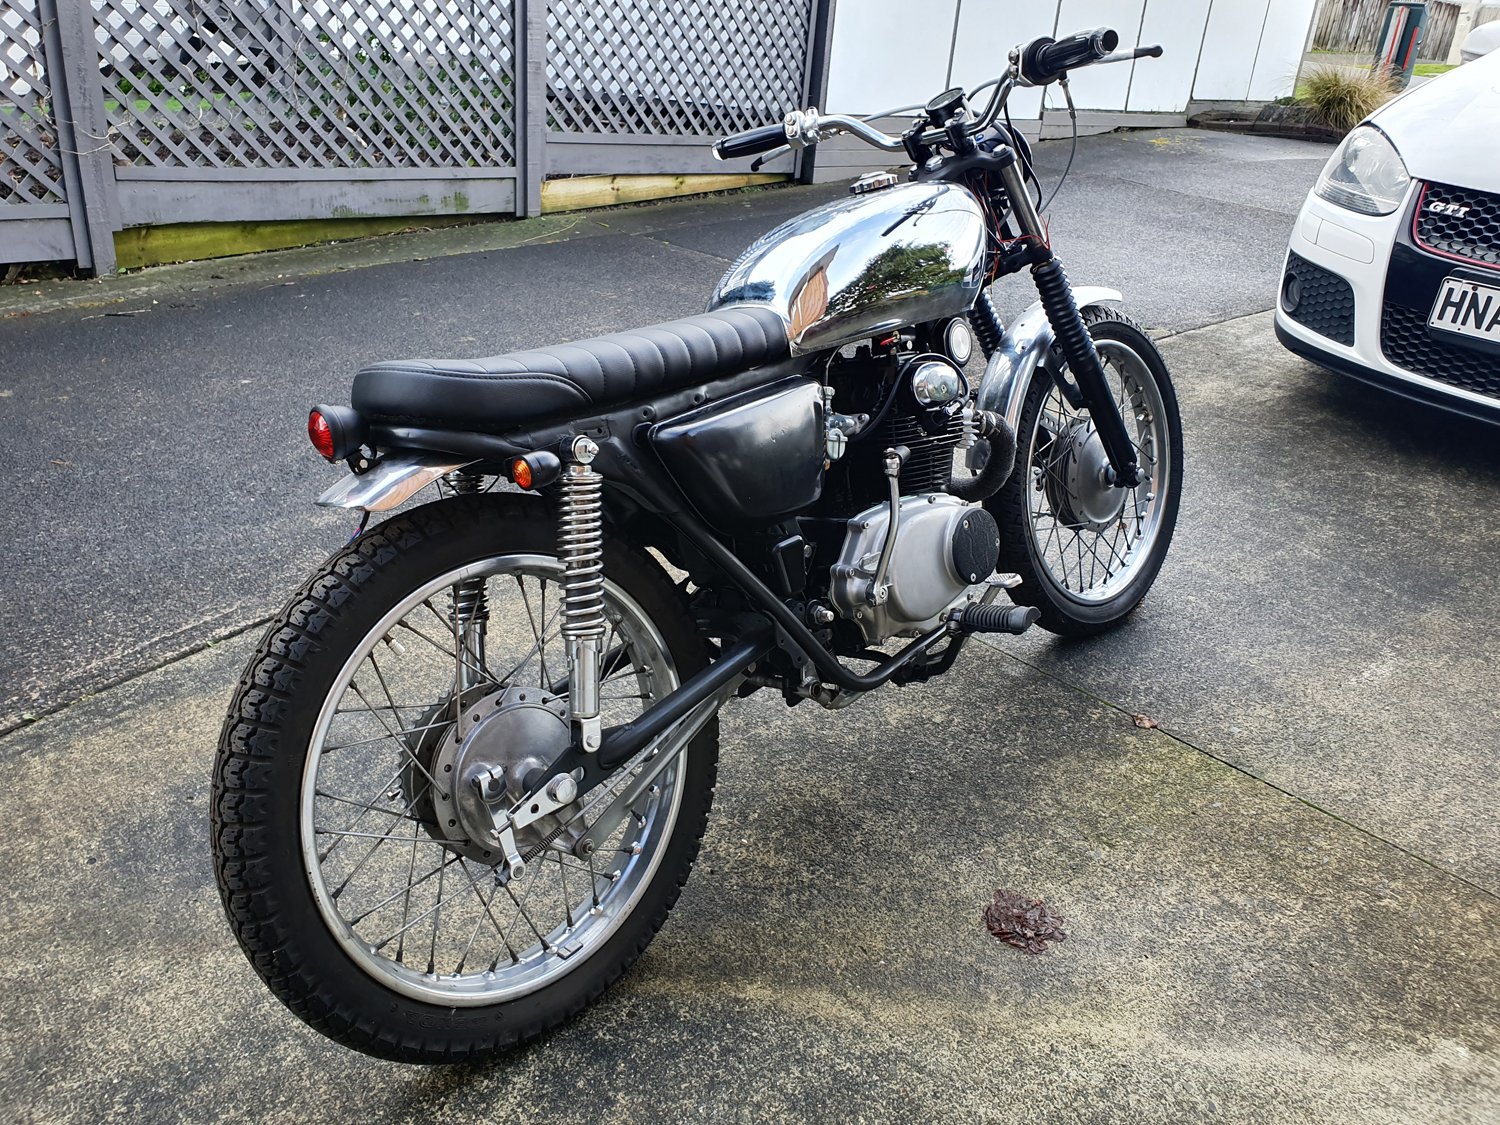
So this bad boy is all finished just in time for DGR, had a pretty lush day filled with a few ales and some quality @My name is Russell banter. tried to find some penguins to club, couldnt, so got a photo instead when i got home i packed my tent, themarest, sleeping bag and a shit load of clothes into my 40l bag to see how it will sit for east cape, perfect. Gunna be lush to be 100% self sufficient this year yea rad7 points
-
I flattened out a bit of coronated iron and turned it into a steampunk top hat, made the googles to.
5 points
-
I dug some plate out and chopped up another scooter frame and made a intake that will clear the frame. Long intake = more torque right? Just what I need for a 15000 rpm motor.. I initially had the intake angles the other way but it was too close to the clutch cable and mounting bolts on the flange. And I'll wanting to fit a exhaust in there somehow so it'll visually balance out a bit. Nfi where shifter or foot pegs will go yet I'll blast the intake and put some epoxy or similar to smooth the transition into the flange as there is a bit of a lip4 points
-
did the bushes in the rear today. nothing special, usual shit of drilling out the rubber, cutting the sleve then smashing it out. new bushed just push in. haven't drive it on the motorway yet to gauge betterness but given how squishy and fucked the old bushed were i suspect it'll be a big step forward. 2019-09-28_06-51-37 by sheepers, on Flickr 2019-09-28_06-51-27 by sheepers, on Flickr 2019-09-28_06-51-19 by sheepers, on Flickr4 points
-
Bosozukodozer the barry aggravator3 points
-
What were the reactions from barries like regarding the exhaust?3 points
-
Picture-less update. While i will still need to dial in the auto-advance curve (the orig' relied on a combination of moving a lever to a basic range, and the magnets on the flywheel ramping up the speed of the points opening) it has a notable improvement in fuel economy, partly due to being able to wind the fuel mixture screw in 1/16th of a turn & have the same performance. It's like having the magneto set perfectly. But requires a battery.3 points
-
If you have gone to the trouble and expense of getting a 9 inch with all the good gear, don't stuff round with trying to use a secondhand drive shaft. I had the one on my Holden built with new everything except the yoke into the trans, 3 inch shaft rated to more horse power and revs than the 5 litre Holden will ever get near for $750 including tax. One busted drive shaft will do more than $750 worth of damage.3 points
-
Small steps? One bolt a day will soon have it parked outside the cert shop!3 points
-
Went away in the bus for the weekend so didn't get a lot of time this weekend, just a couple of hours today, but I thought I would chuck the axles on just to get it a bit more mobile...3 points
-
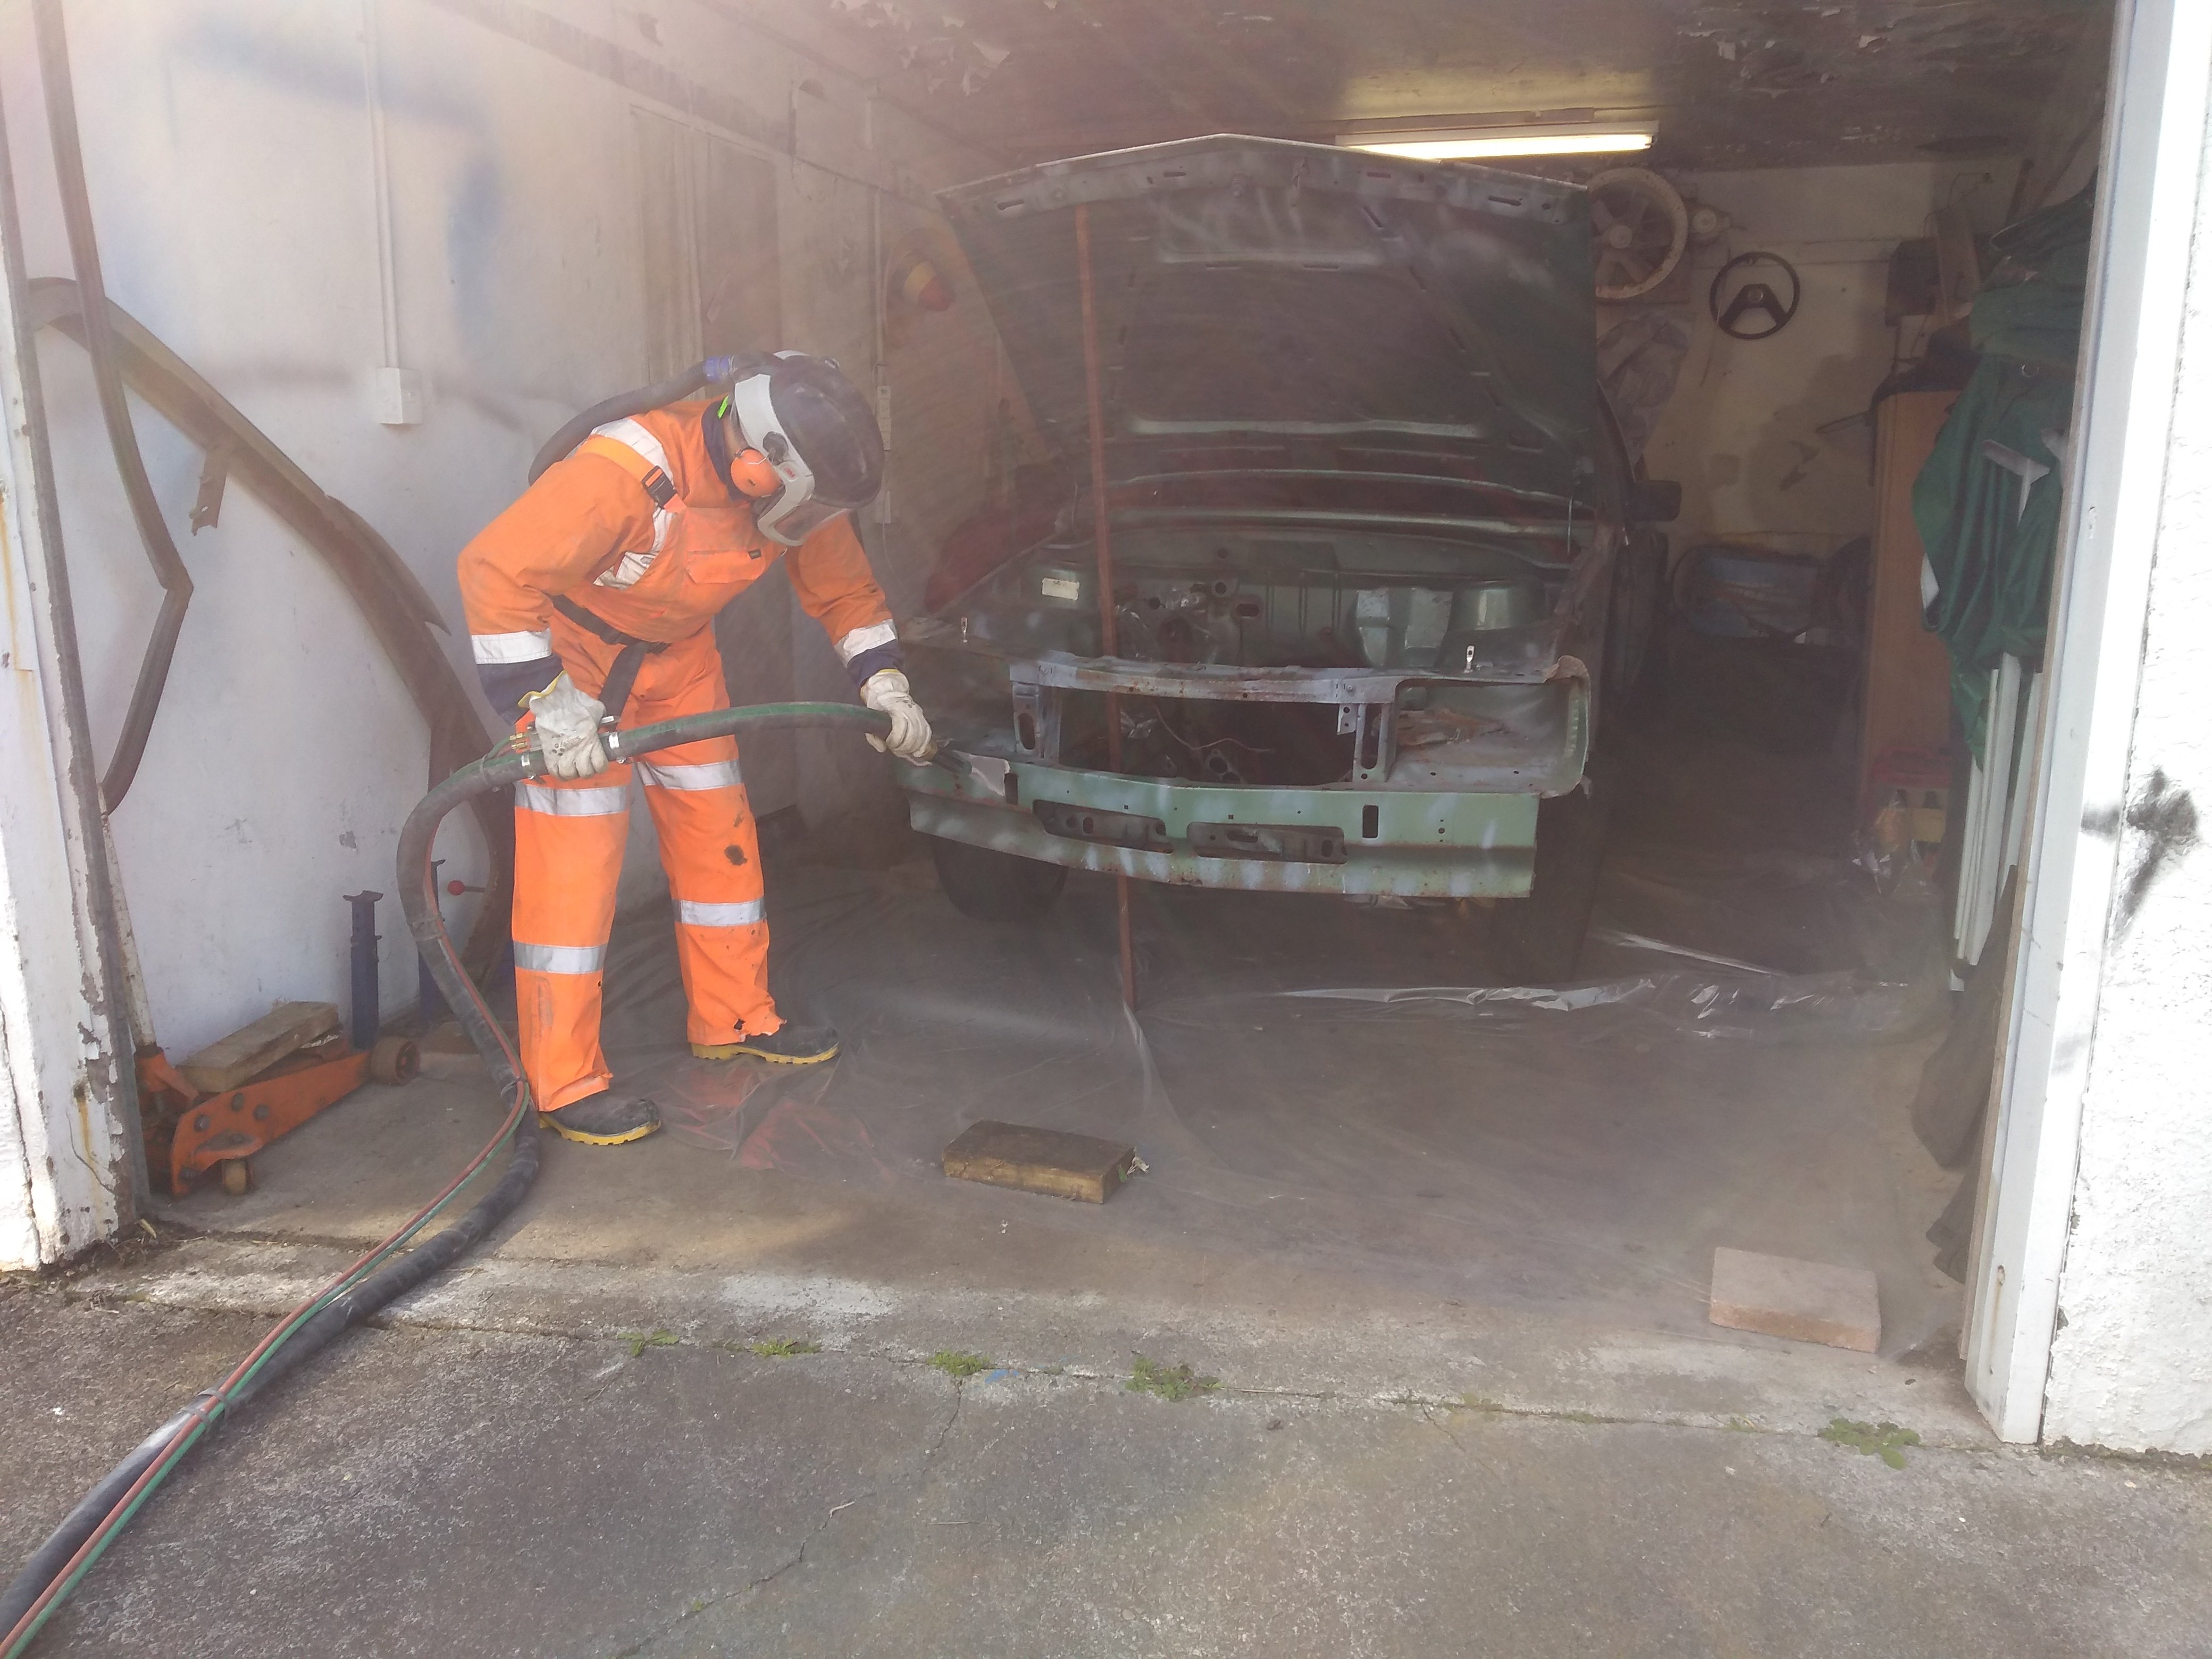
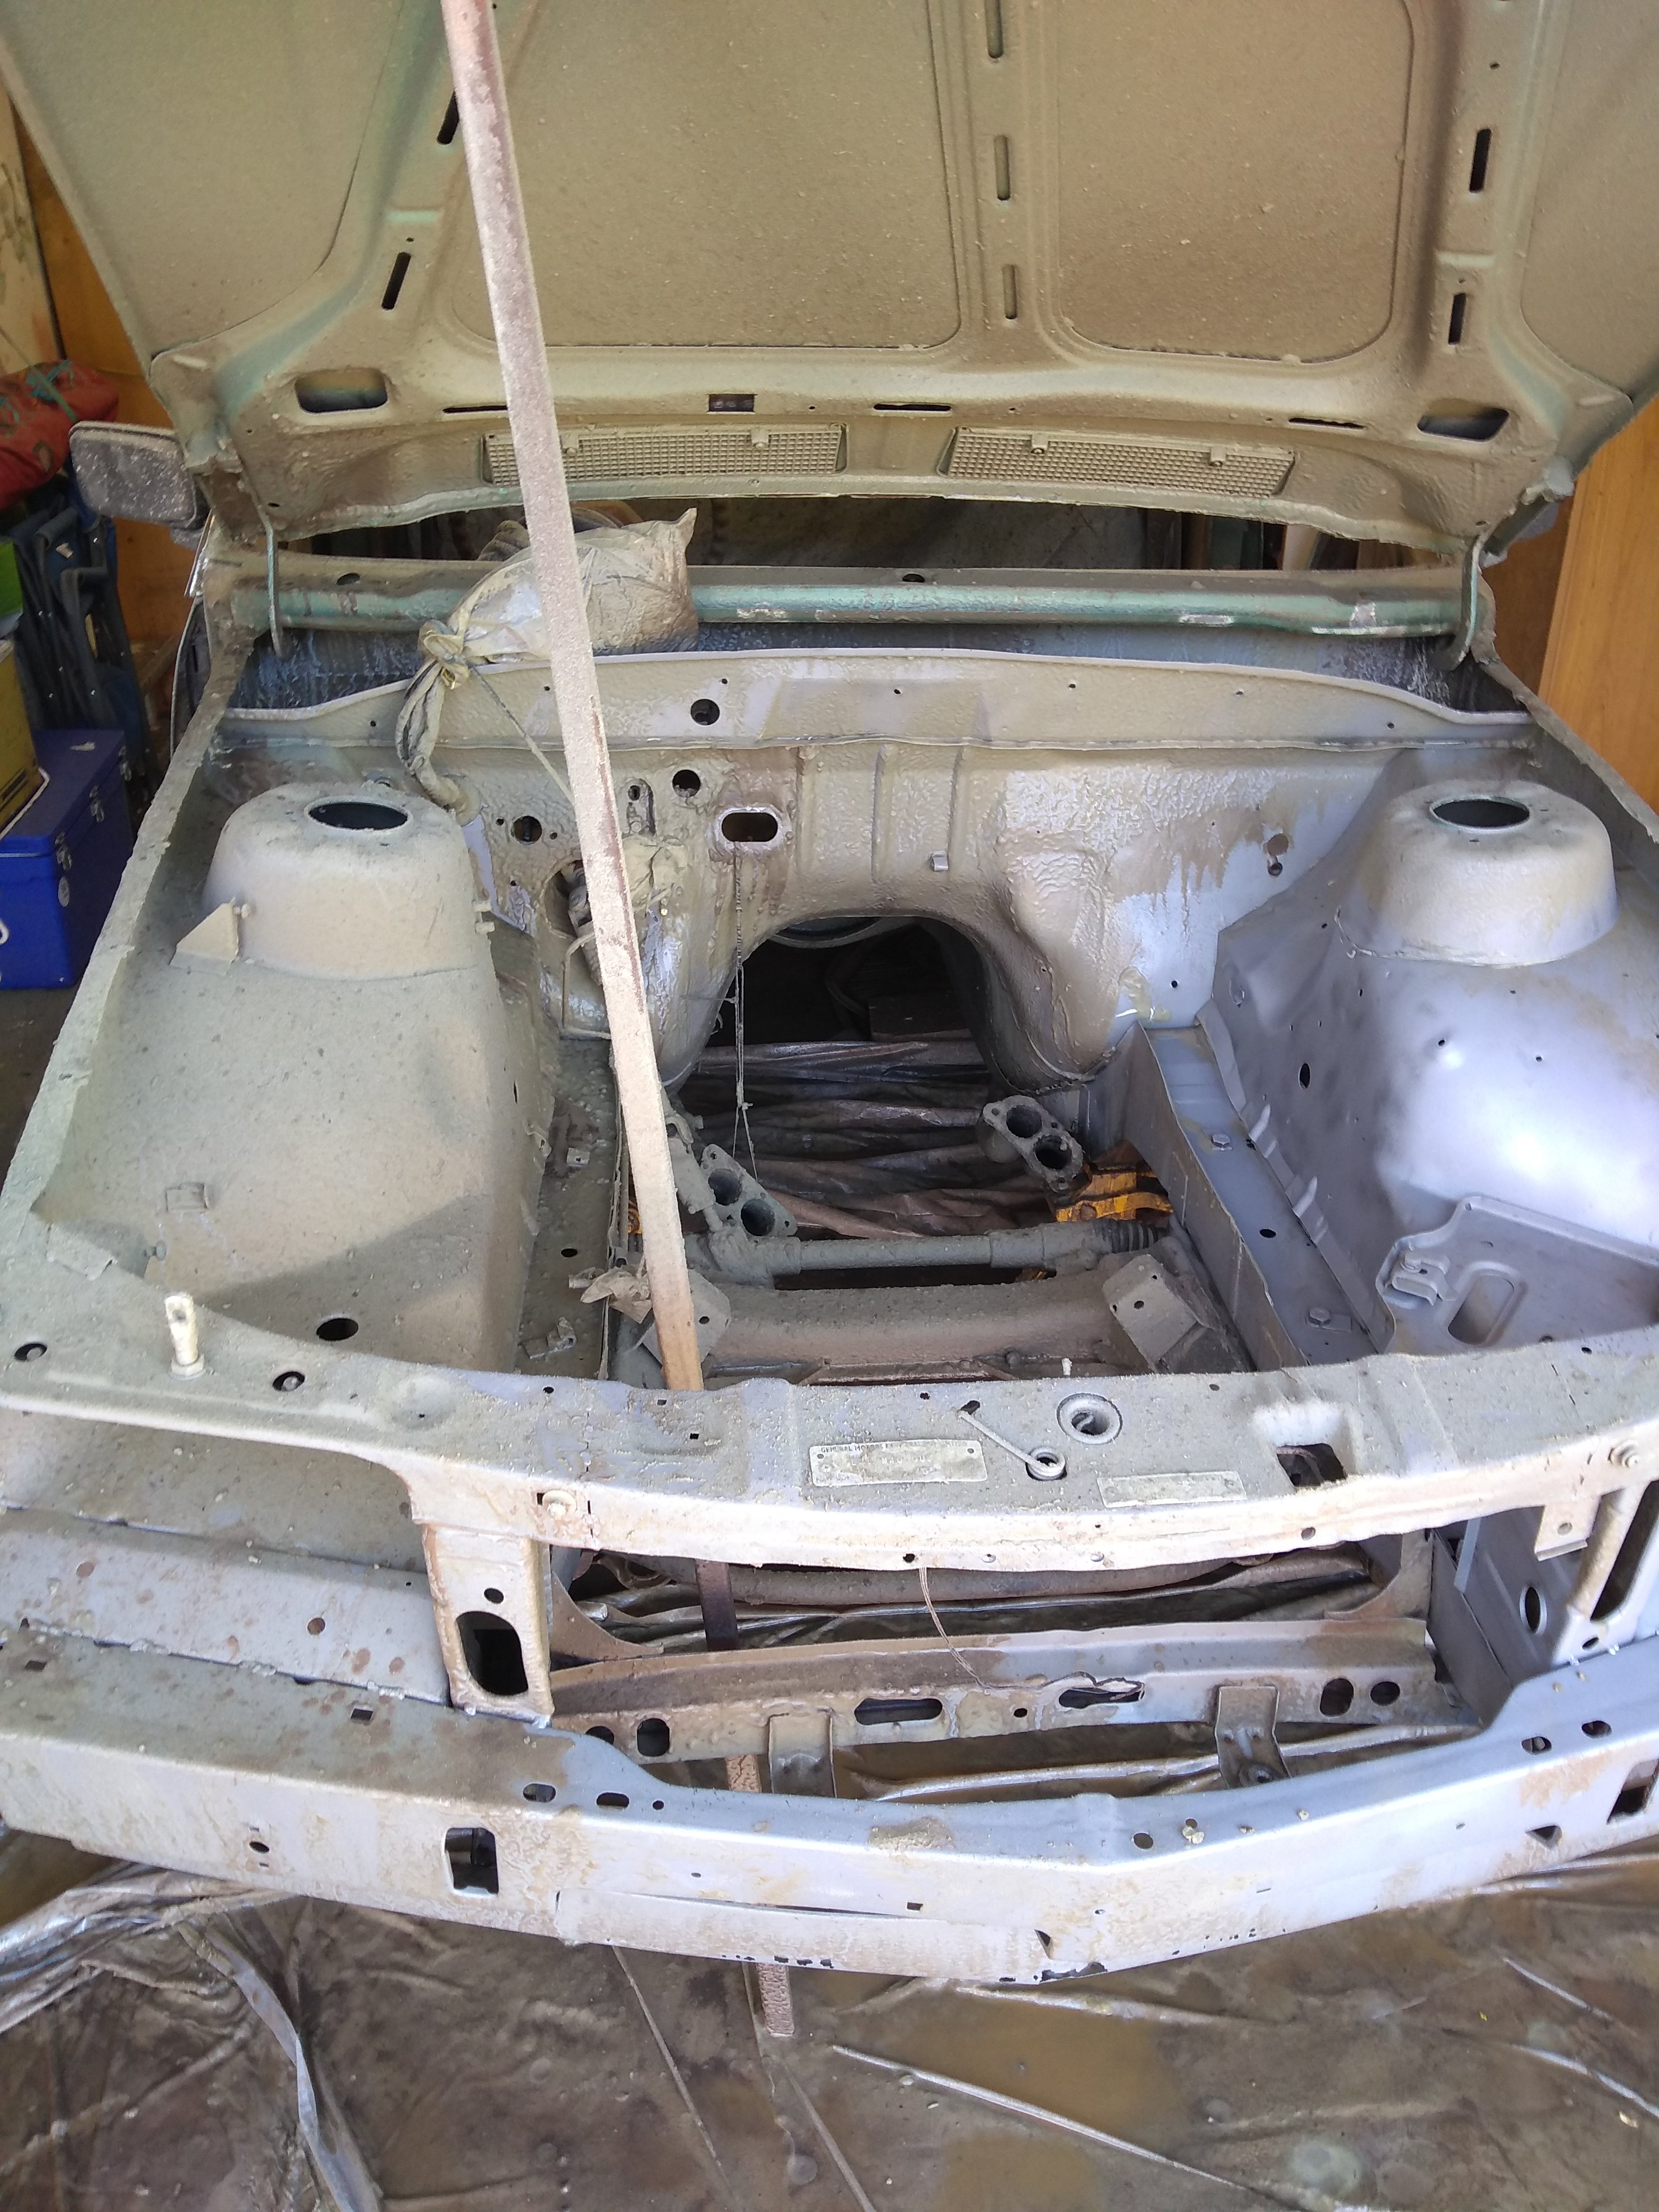
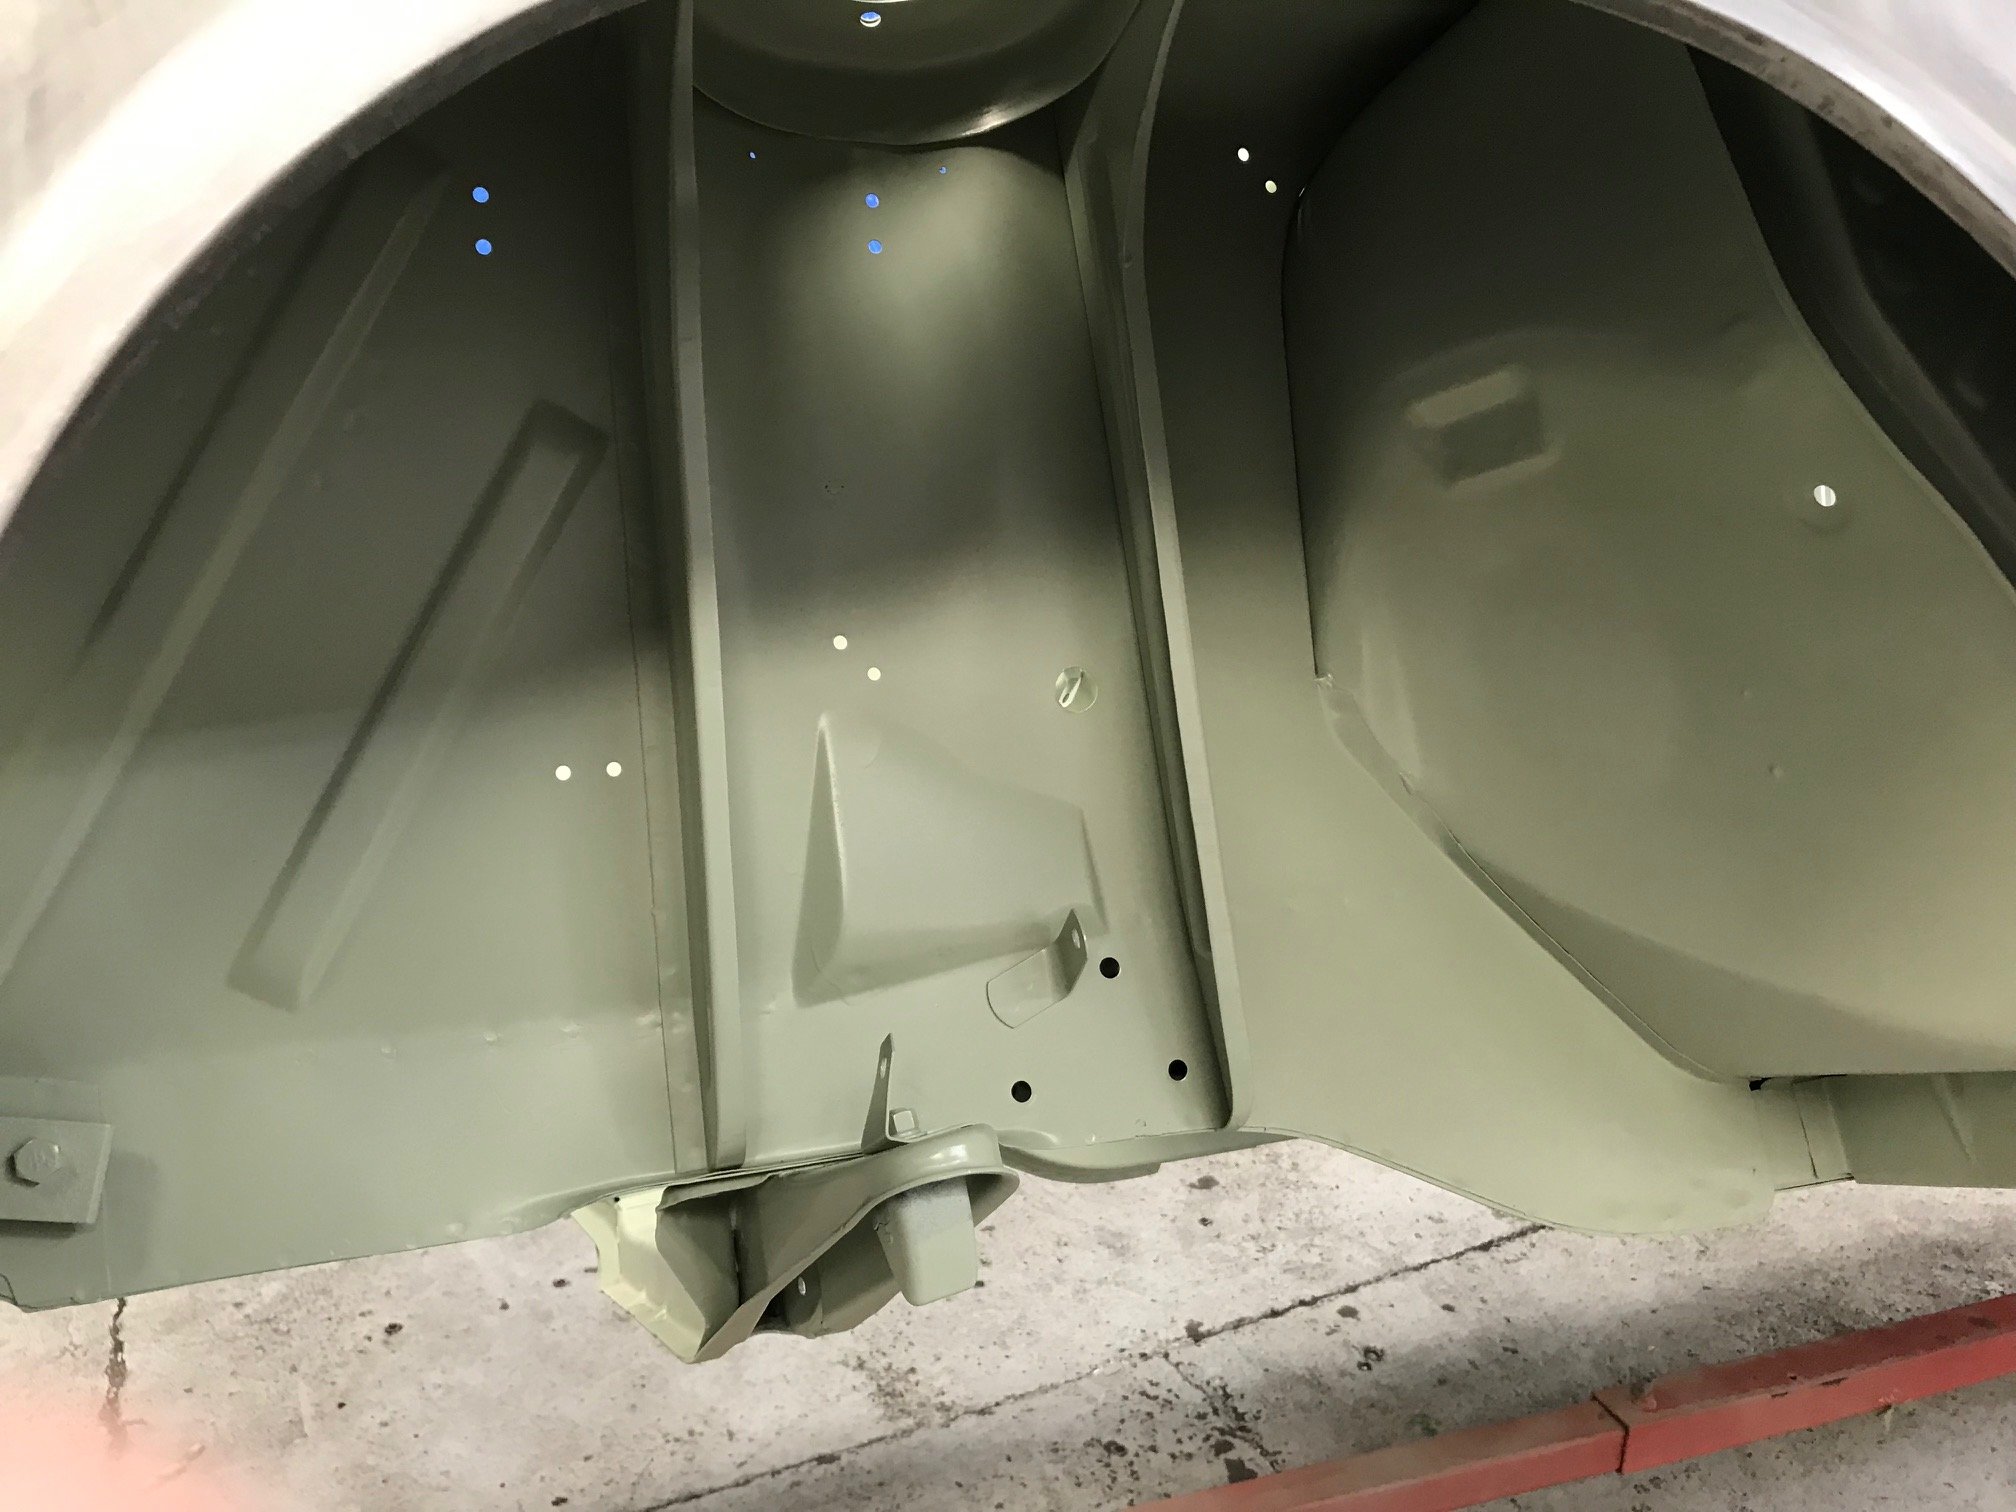
A Big Rig turned up today... To do this Which ended up looking like this A bit better after clean-up Next step, to the panelbeaters - hopefully soon.
3 points
-
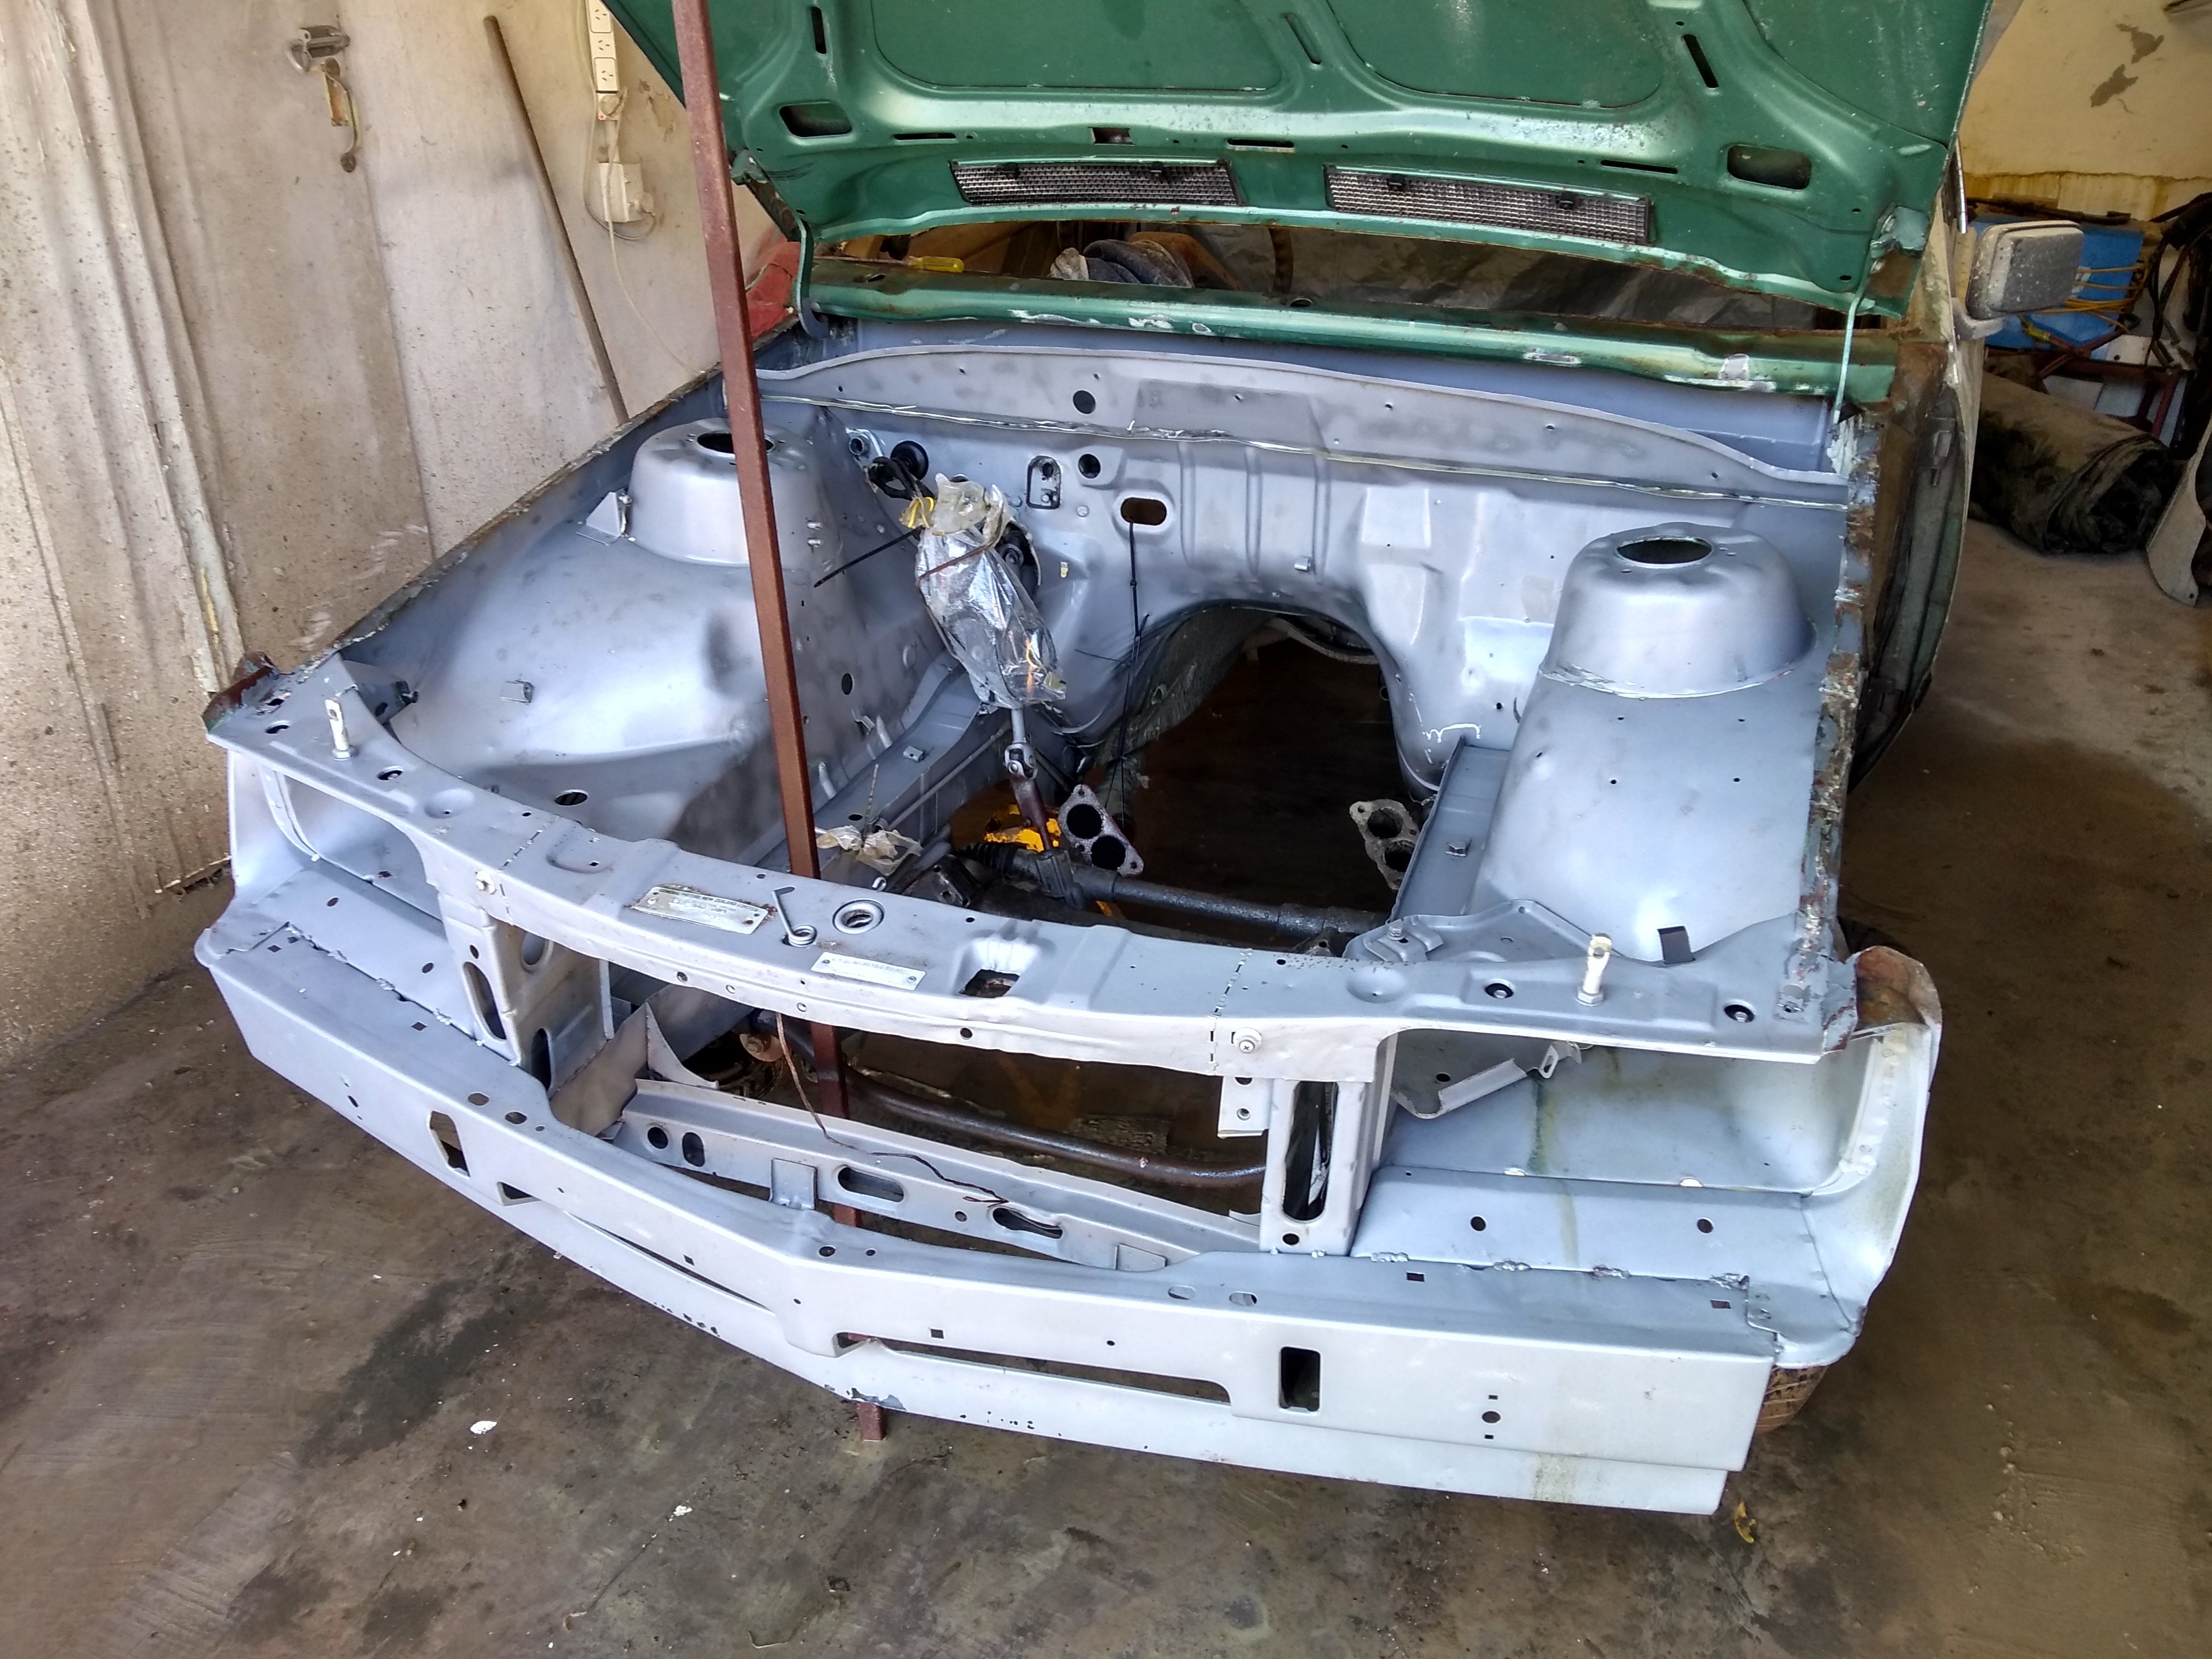
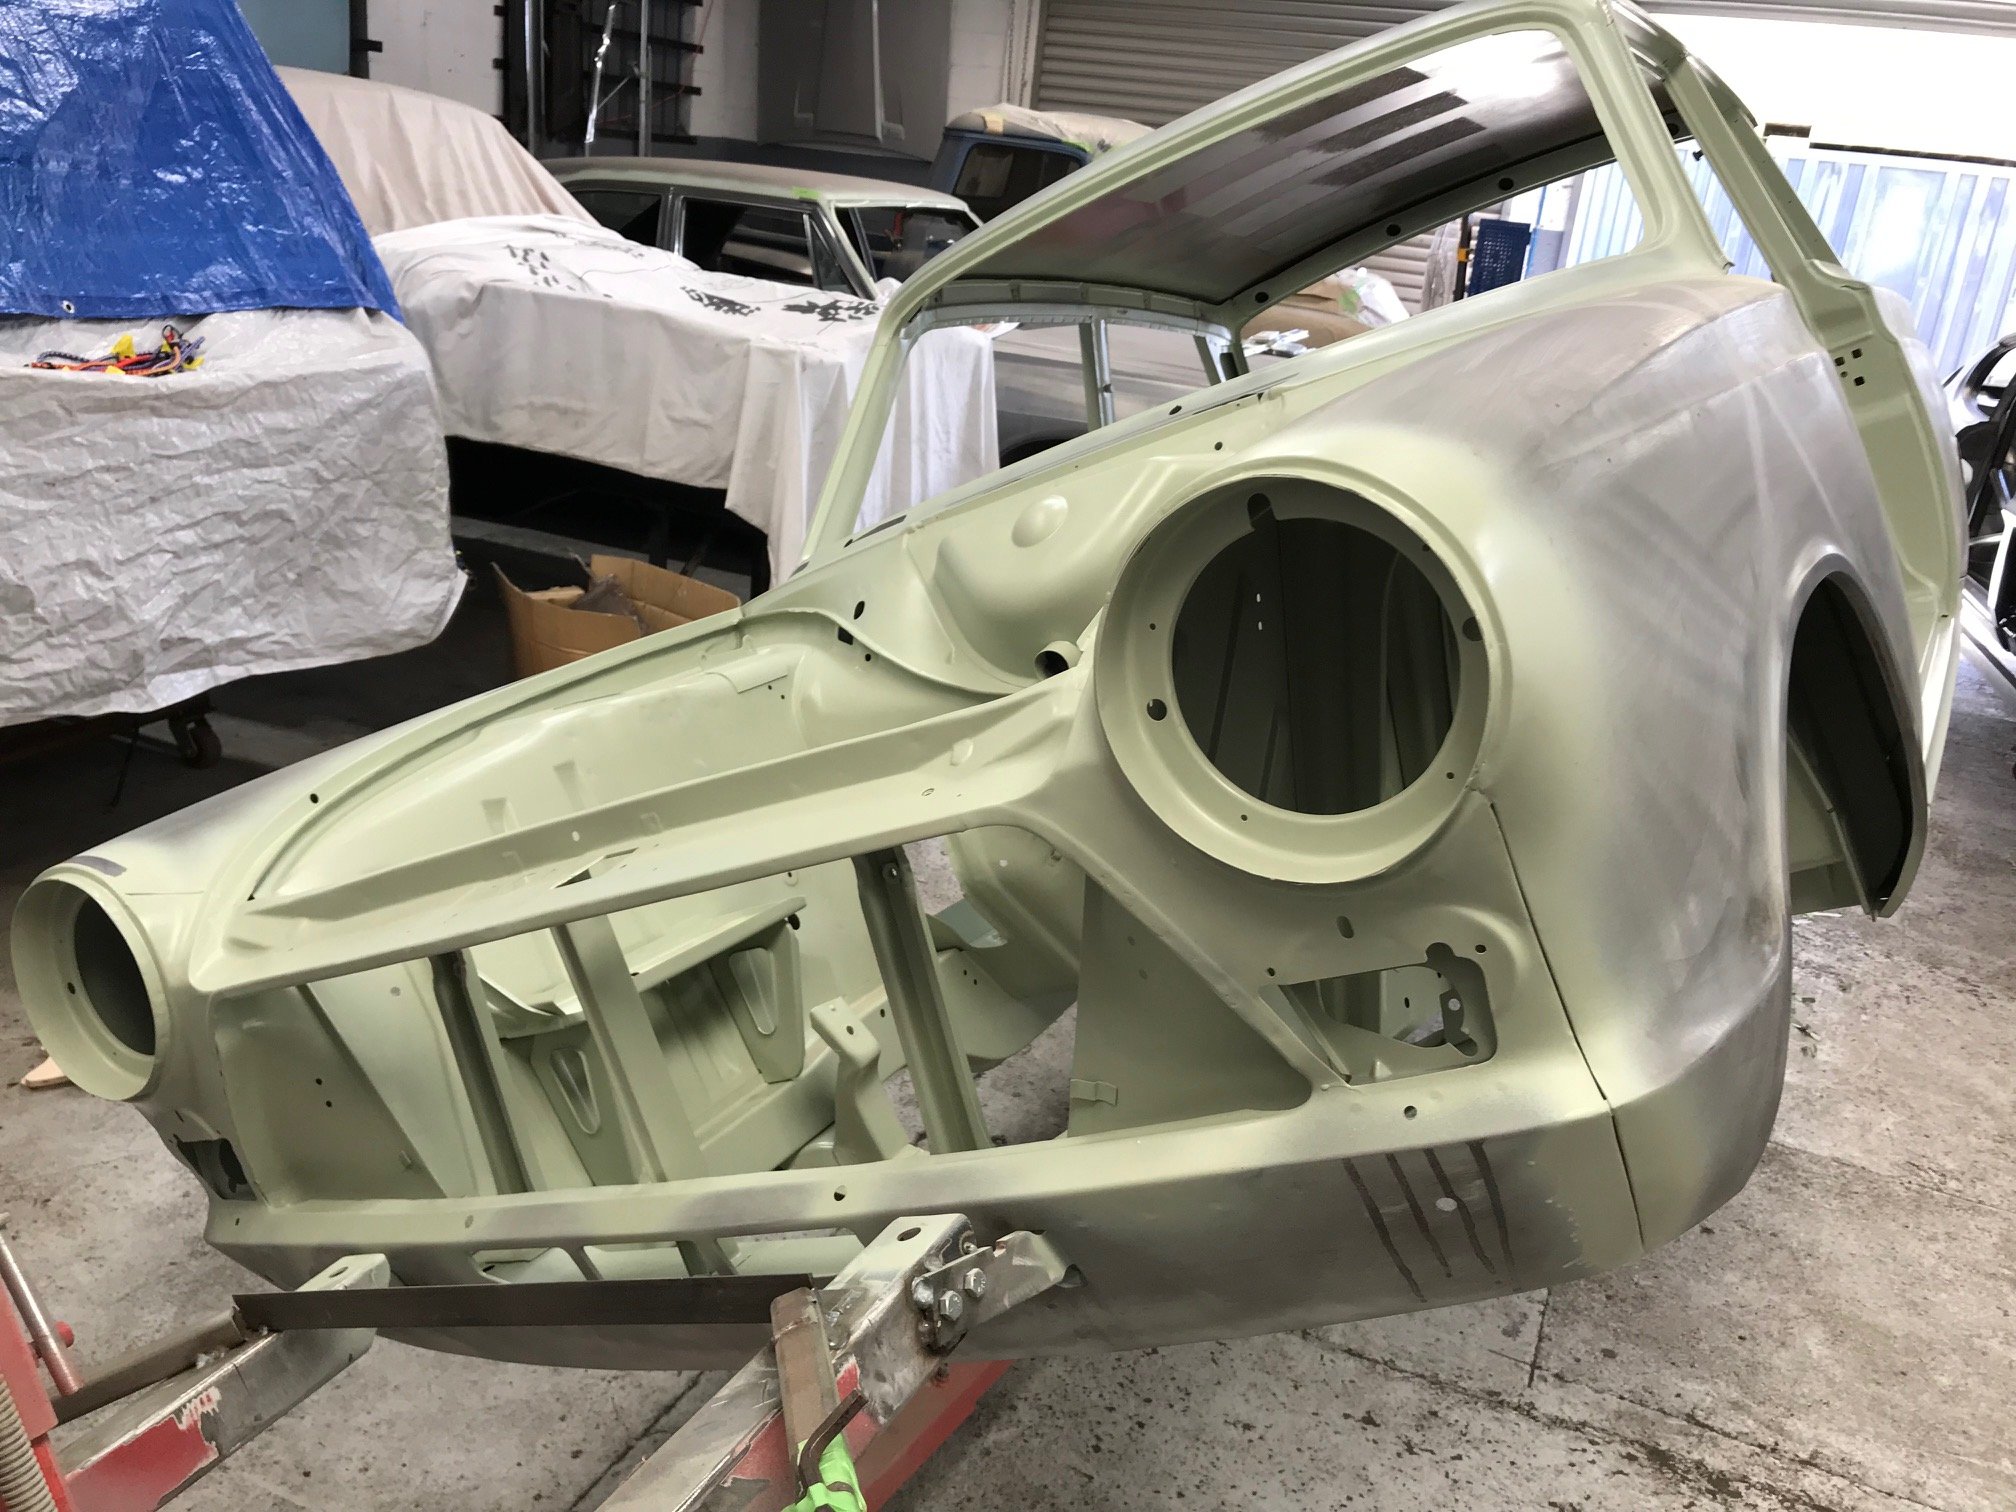
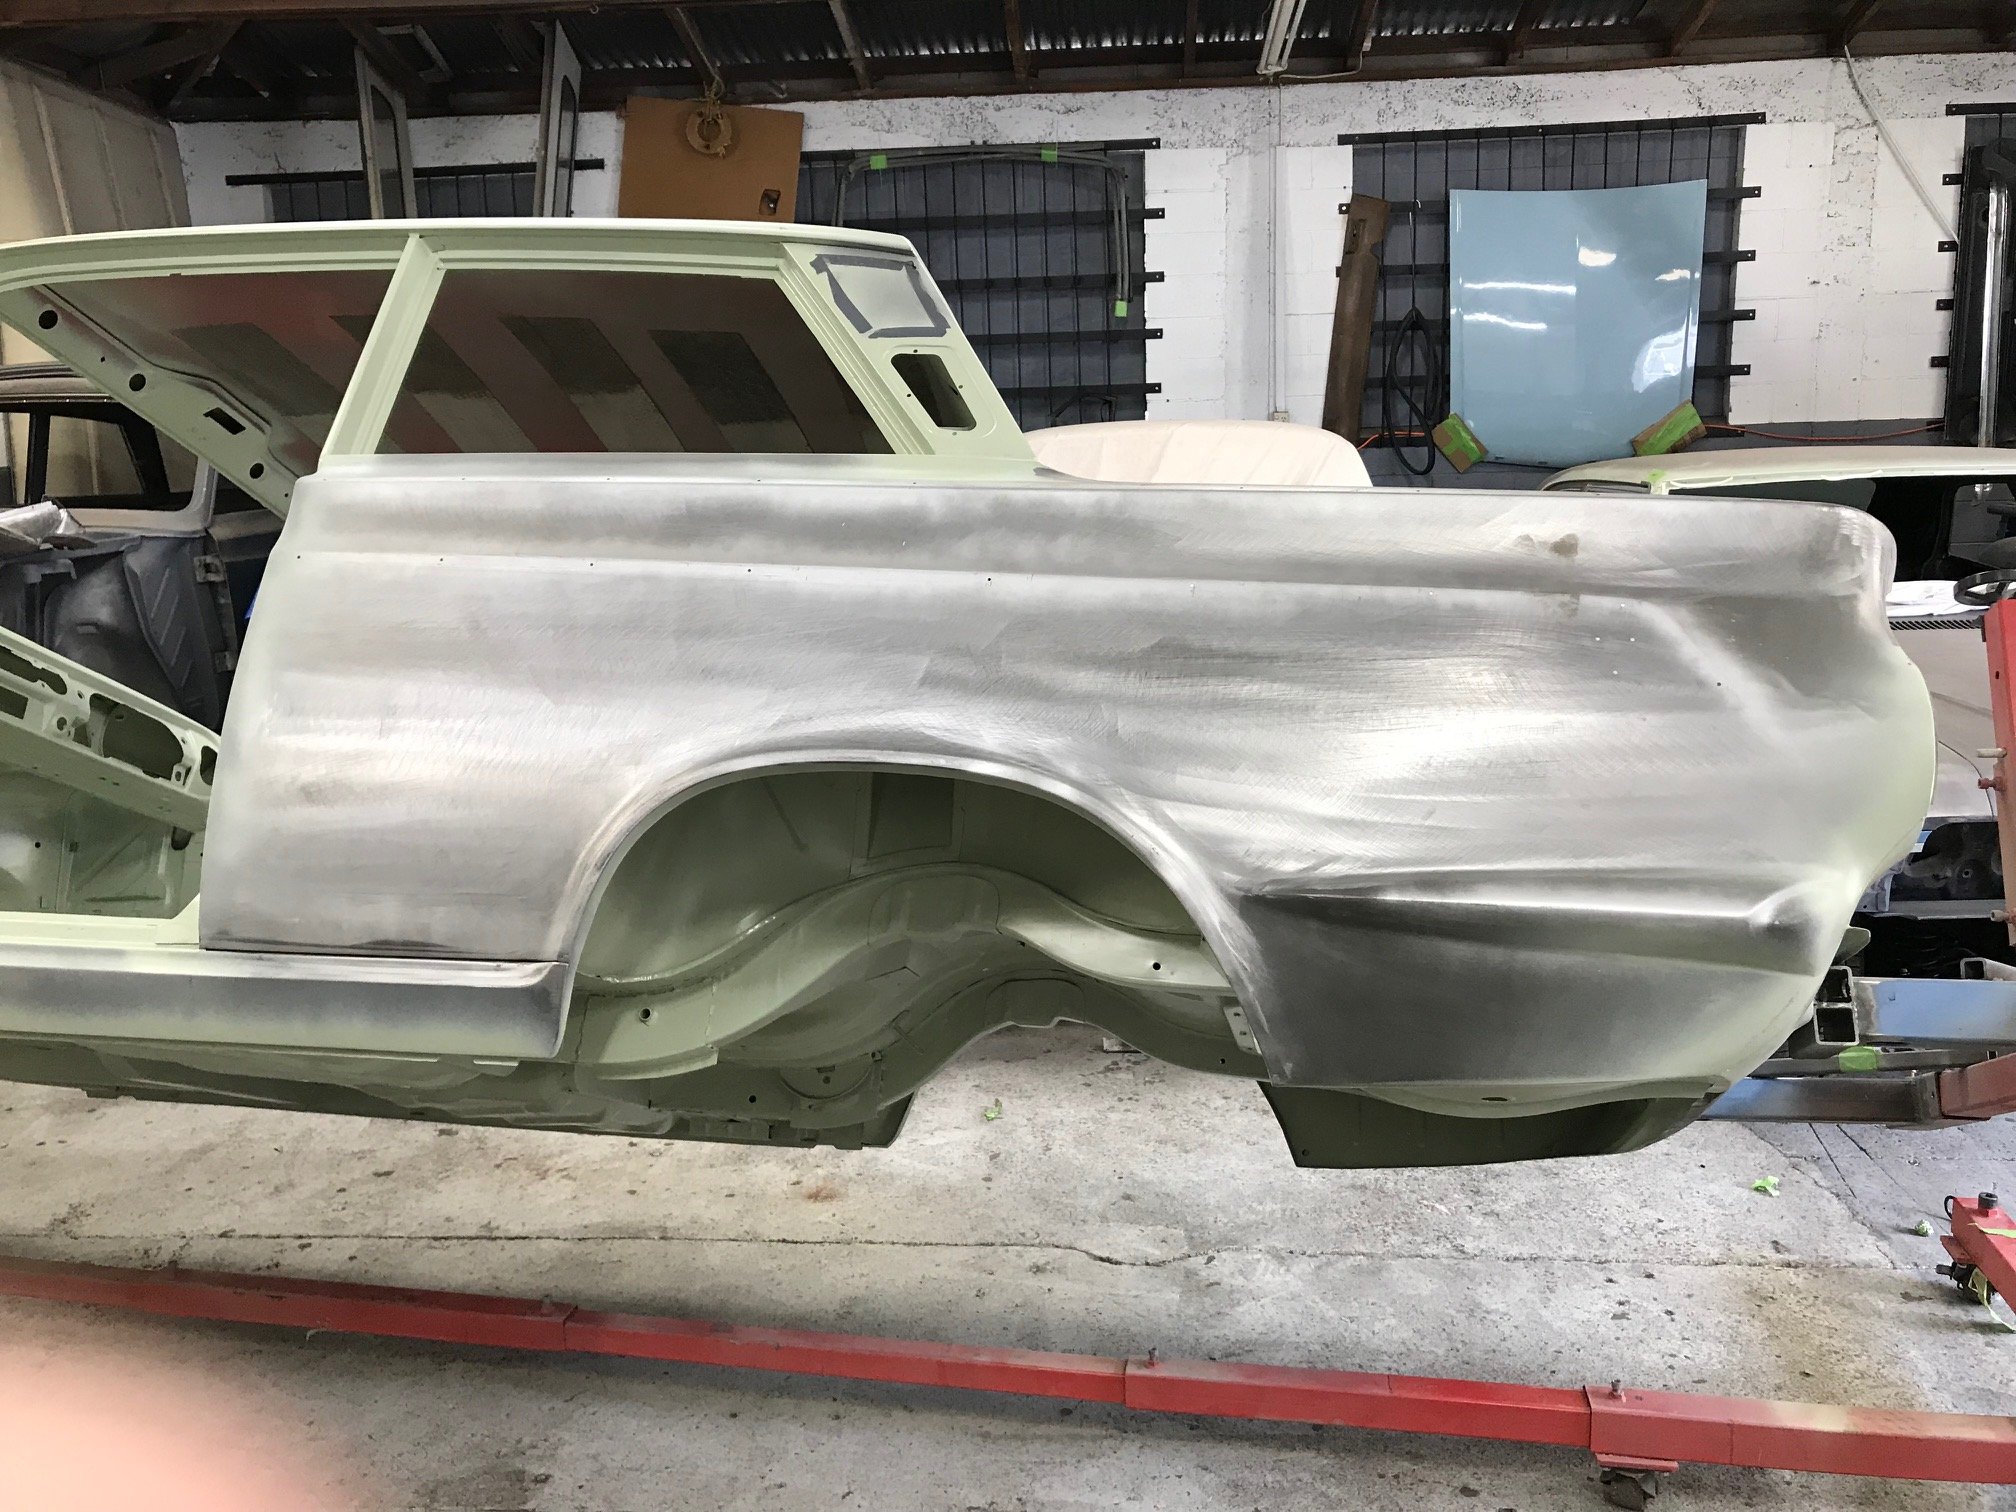
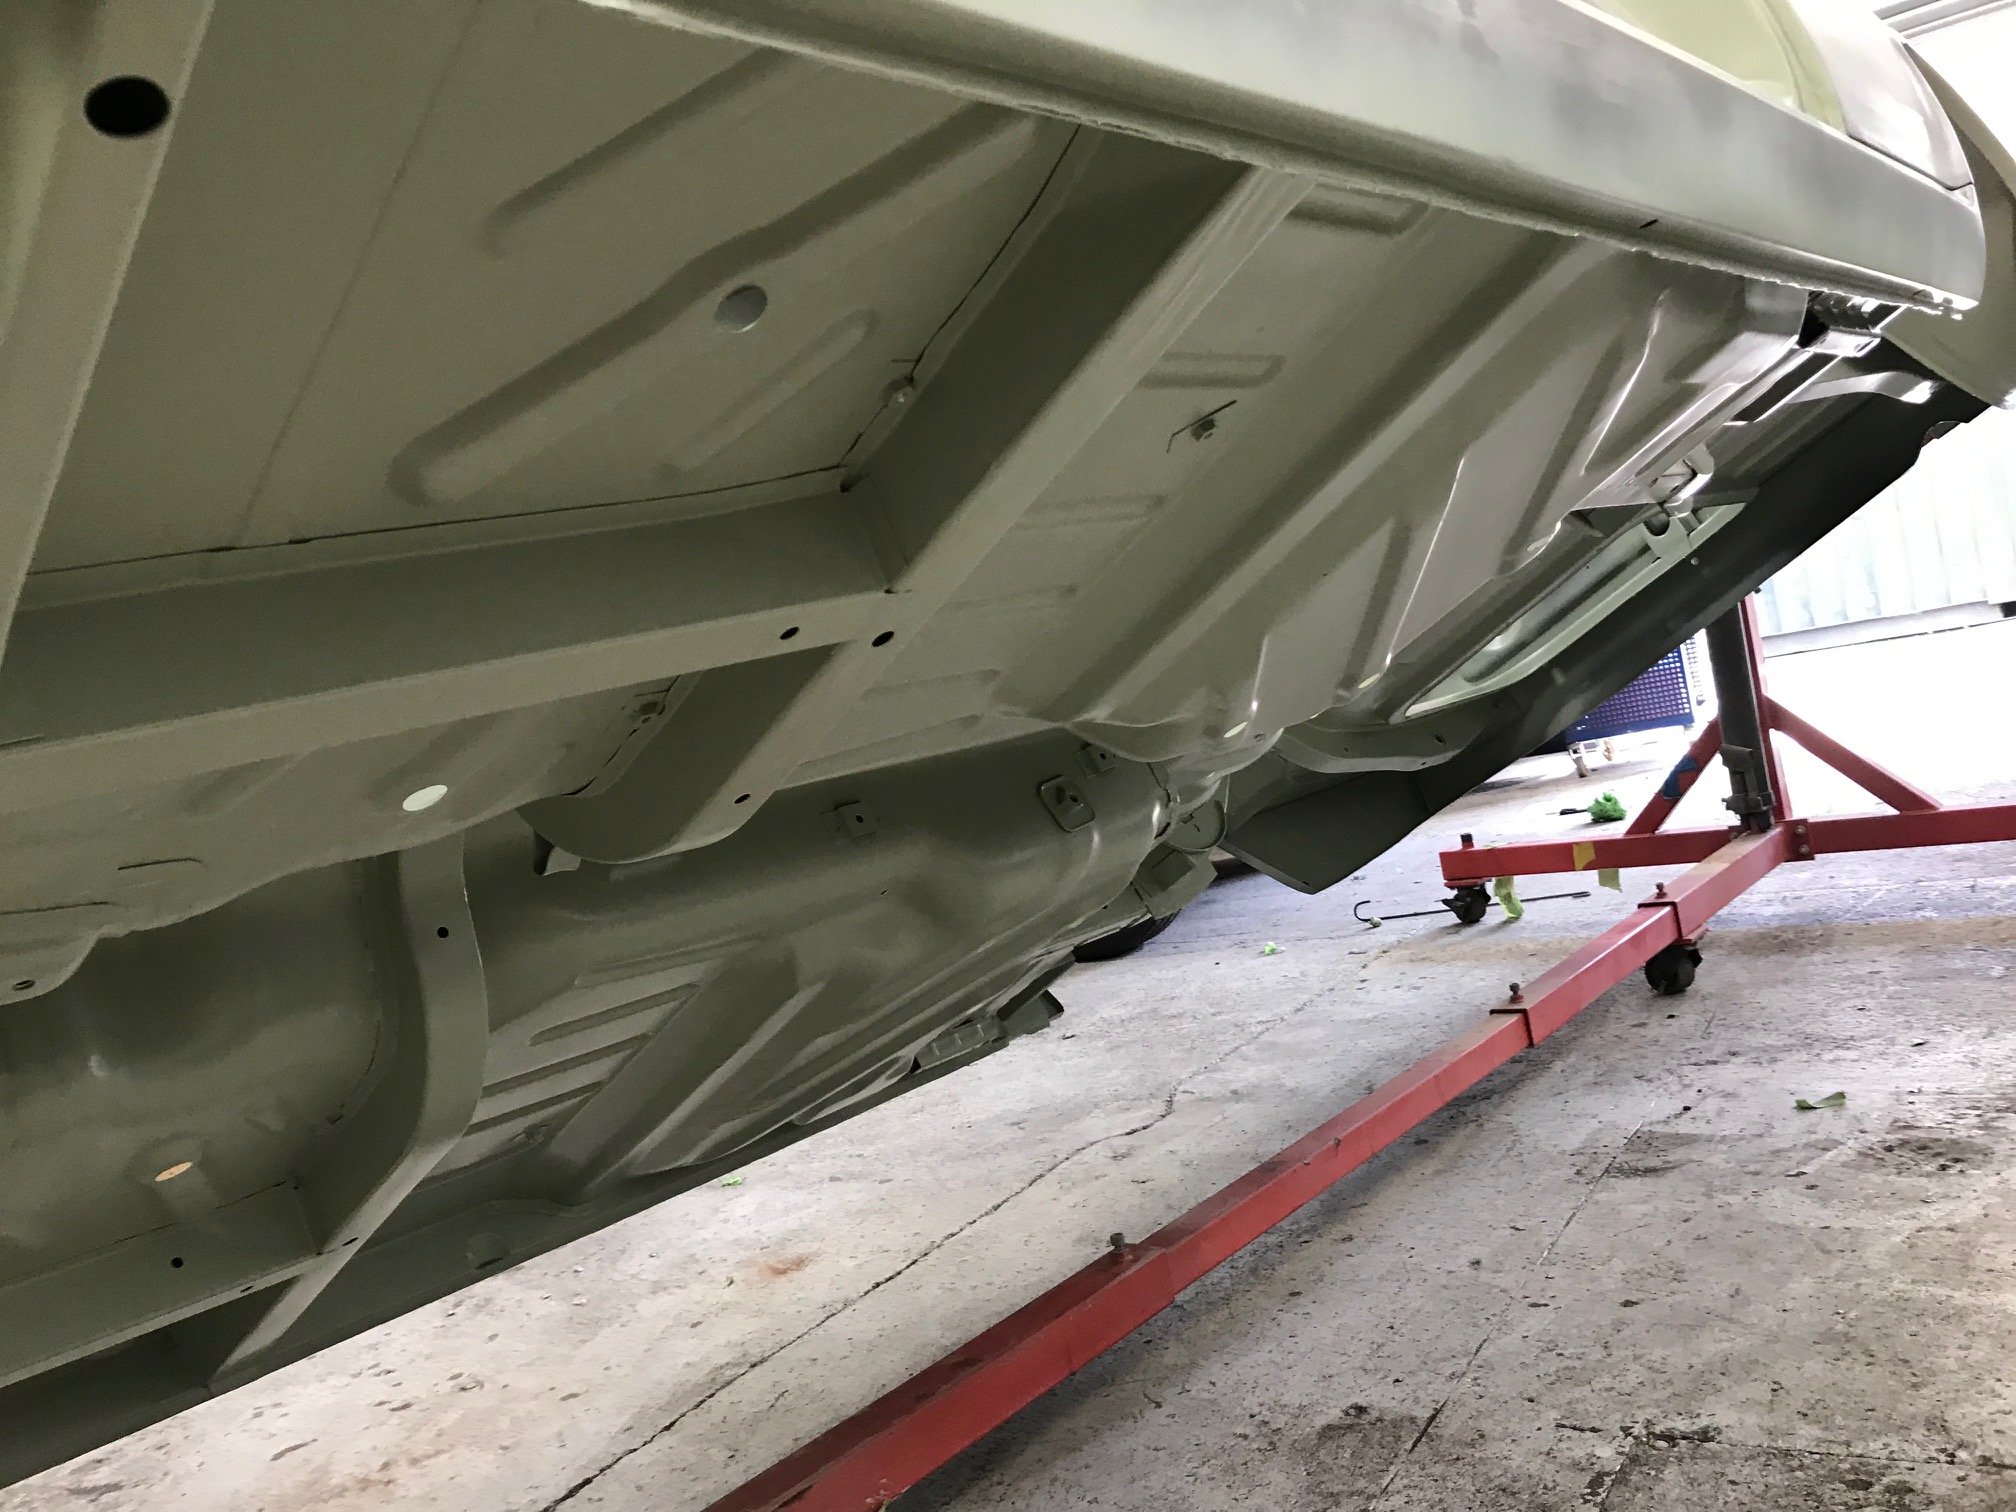
More pics
3 points
-
I hope you have fitted a motorcycle throttle so you can play your "call" while dozing agitated barries into a heap2 points
-
For interests sake https://www.google.com/amp/s/www.hotrod.com/articles/what-is-mallory-metal/amp/2 points
-
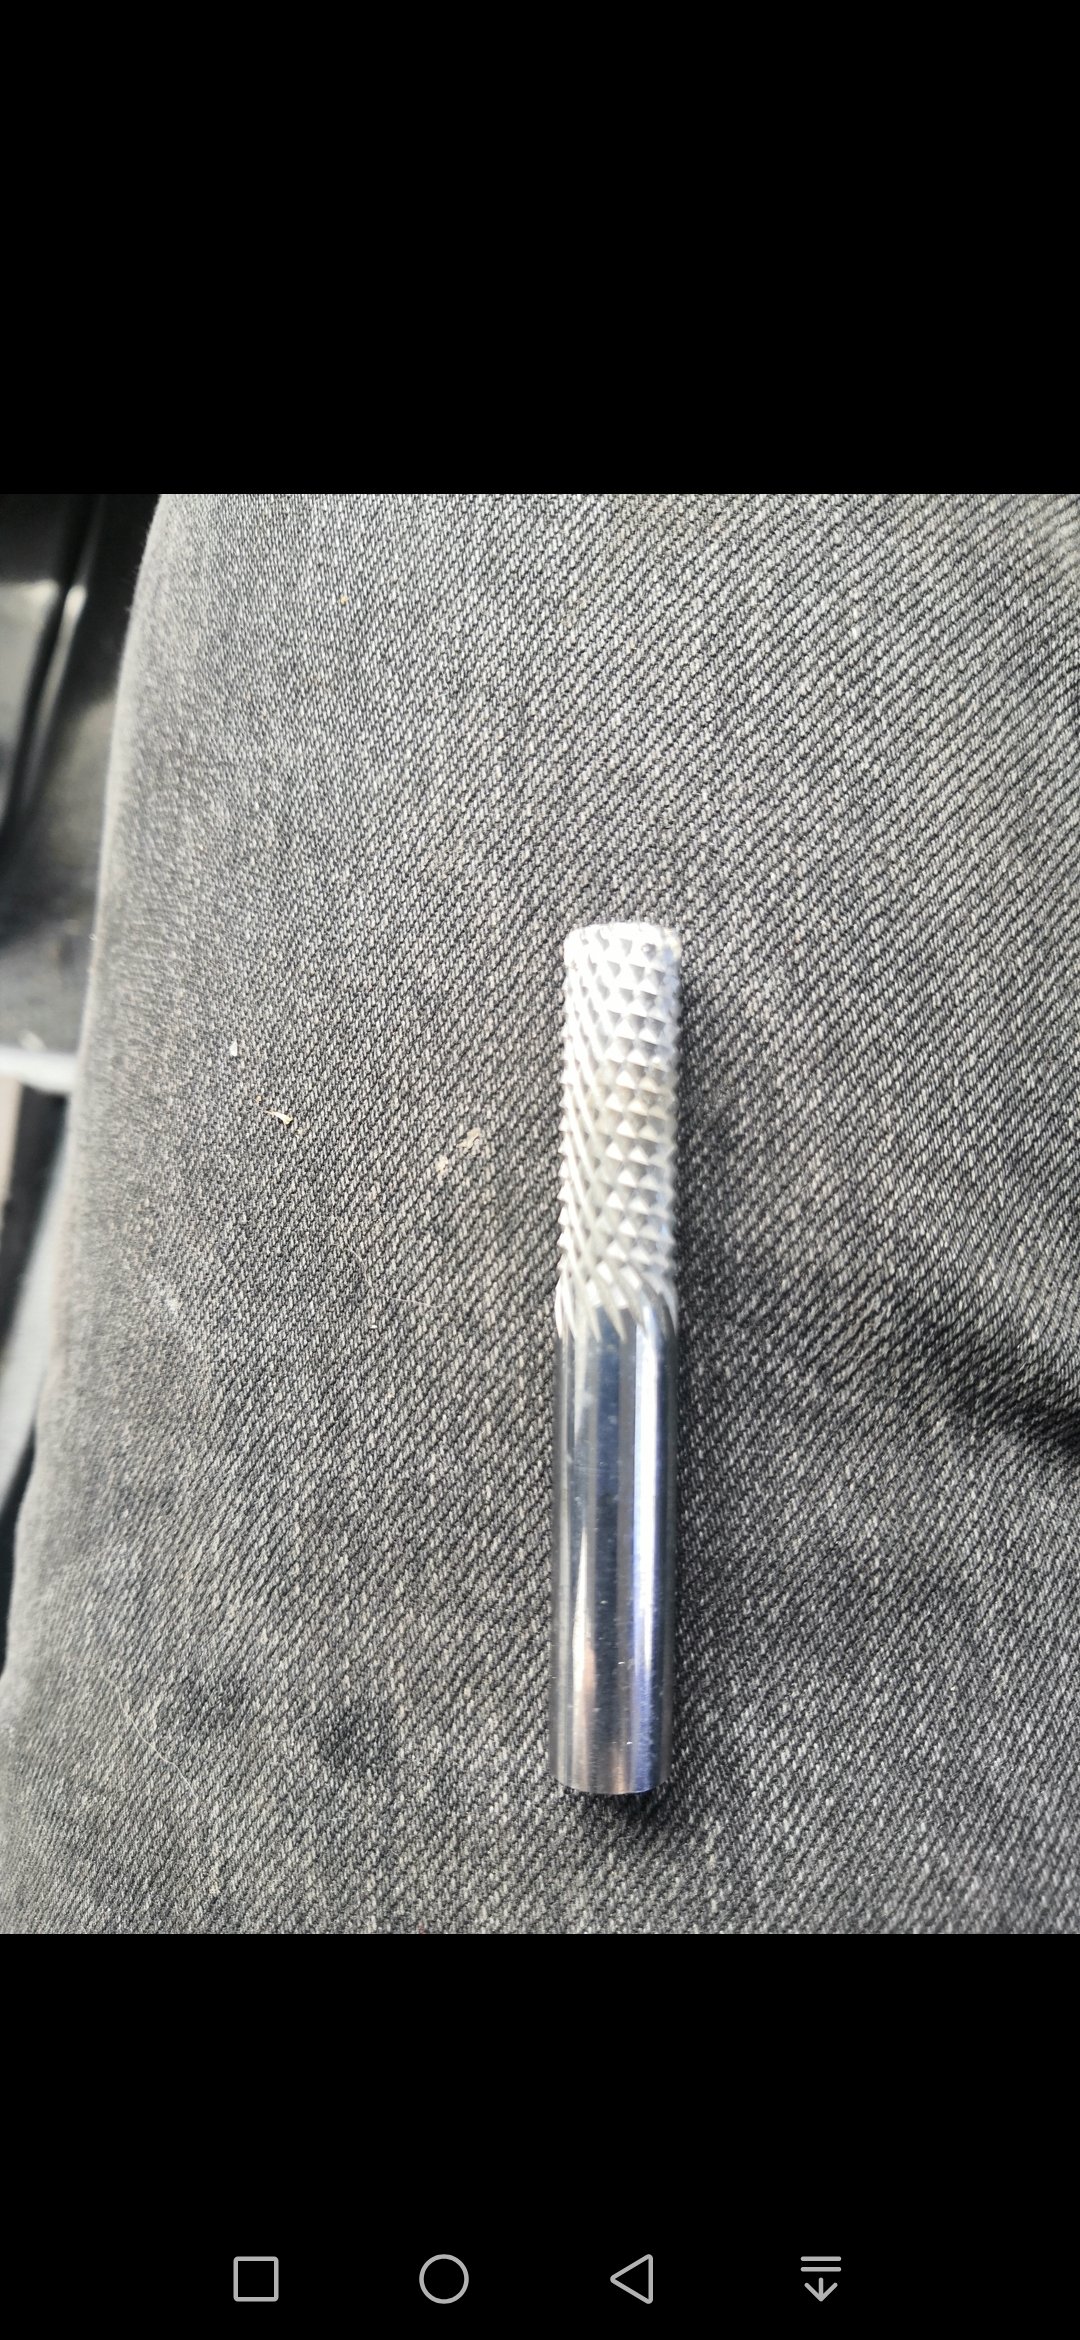
I've got a dull bit of tungsten carbide here that measures 9.5mm with 32mm of shank if that's of use?
2 points
-
Old solid carbide milling cutter?2 points
-
hey man, Scooter looks great., You could maybe save some money by going down a size or two in Jandle. Profit.2 points
-
Small steps my arse, I will be cranking this motherfucker. Although I do need to take some time and care getting the engine back together...2 points
-
Waiting on parts to finish the throttle & plenum setup. so pulled the radiator and intercooler out to modify the intercooler pipe. Then went full retard and cut up the radiator. cut a bit off the end and relocated the outlet pipes Why? more room for other stuff and that part of the radiator was mostly blocked off from airflow anyways. Redone the turbo side pipe, as well as the inlet side. the pile of pipes at bottom of pic is the old stuff that come off it. Yep that cast elbow looks horrible for flow ^ thats why i chopped it up, so goes from 2.5" to about same area as 3" pipe. The intercooler is on the list to go in the bin. because is heavy and junk. I brought the cheapest one i could get when originally built the truck. Staying for now but will go to a tube and fin one day. 2.5" hot side 3" cold side. old was 2.5" . even though the pipe is bigger have cut the length down quite a bit. so probably sill less area in the pipework than the old setup2 points
-
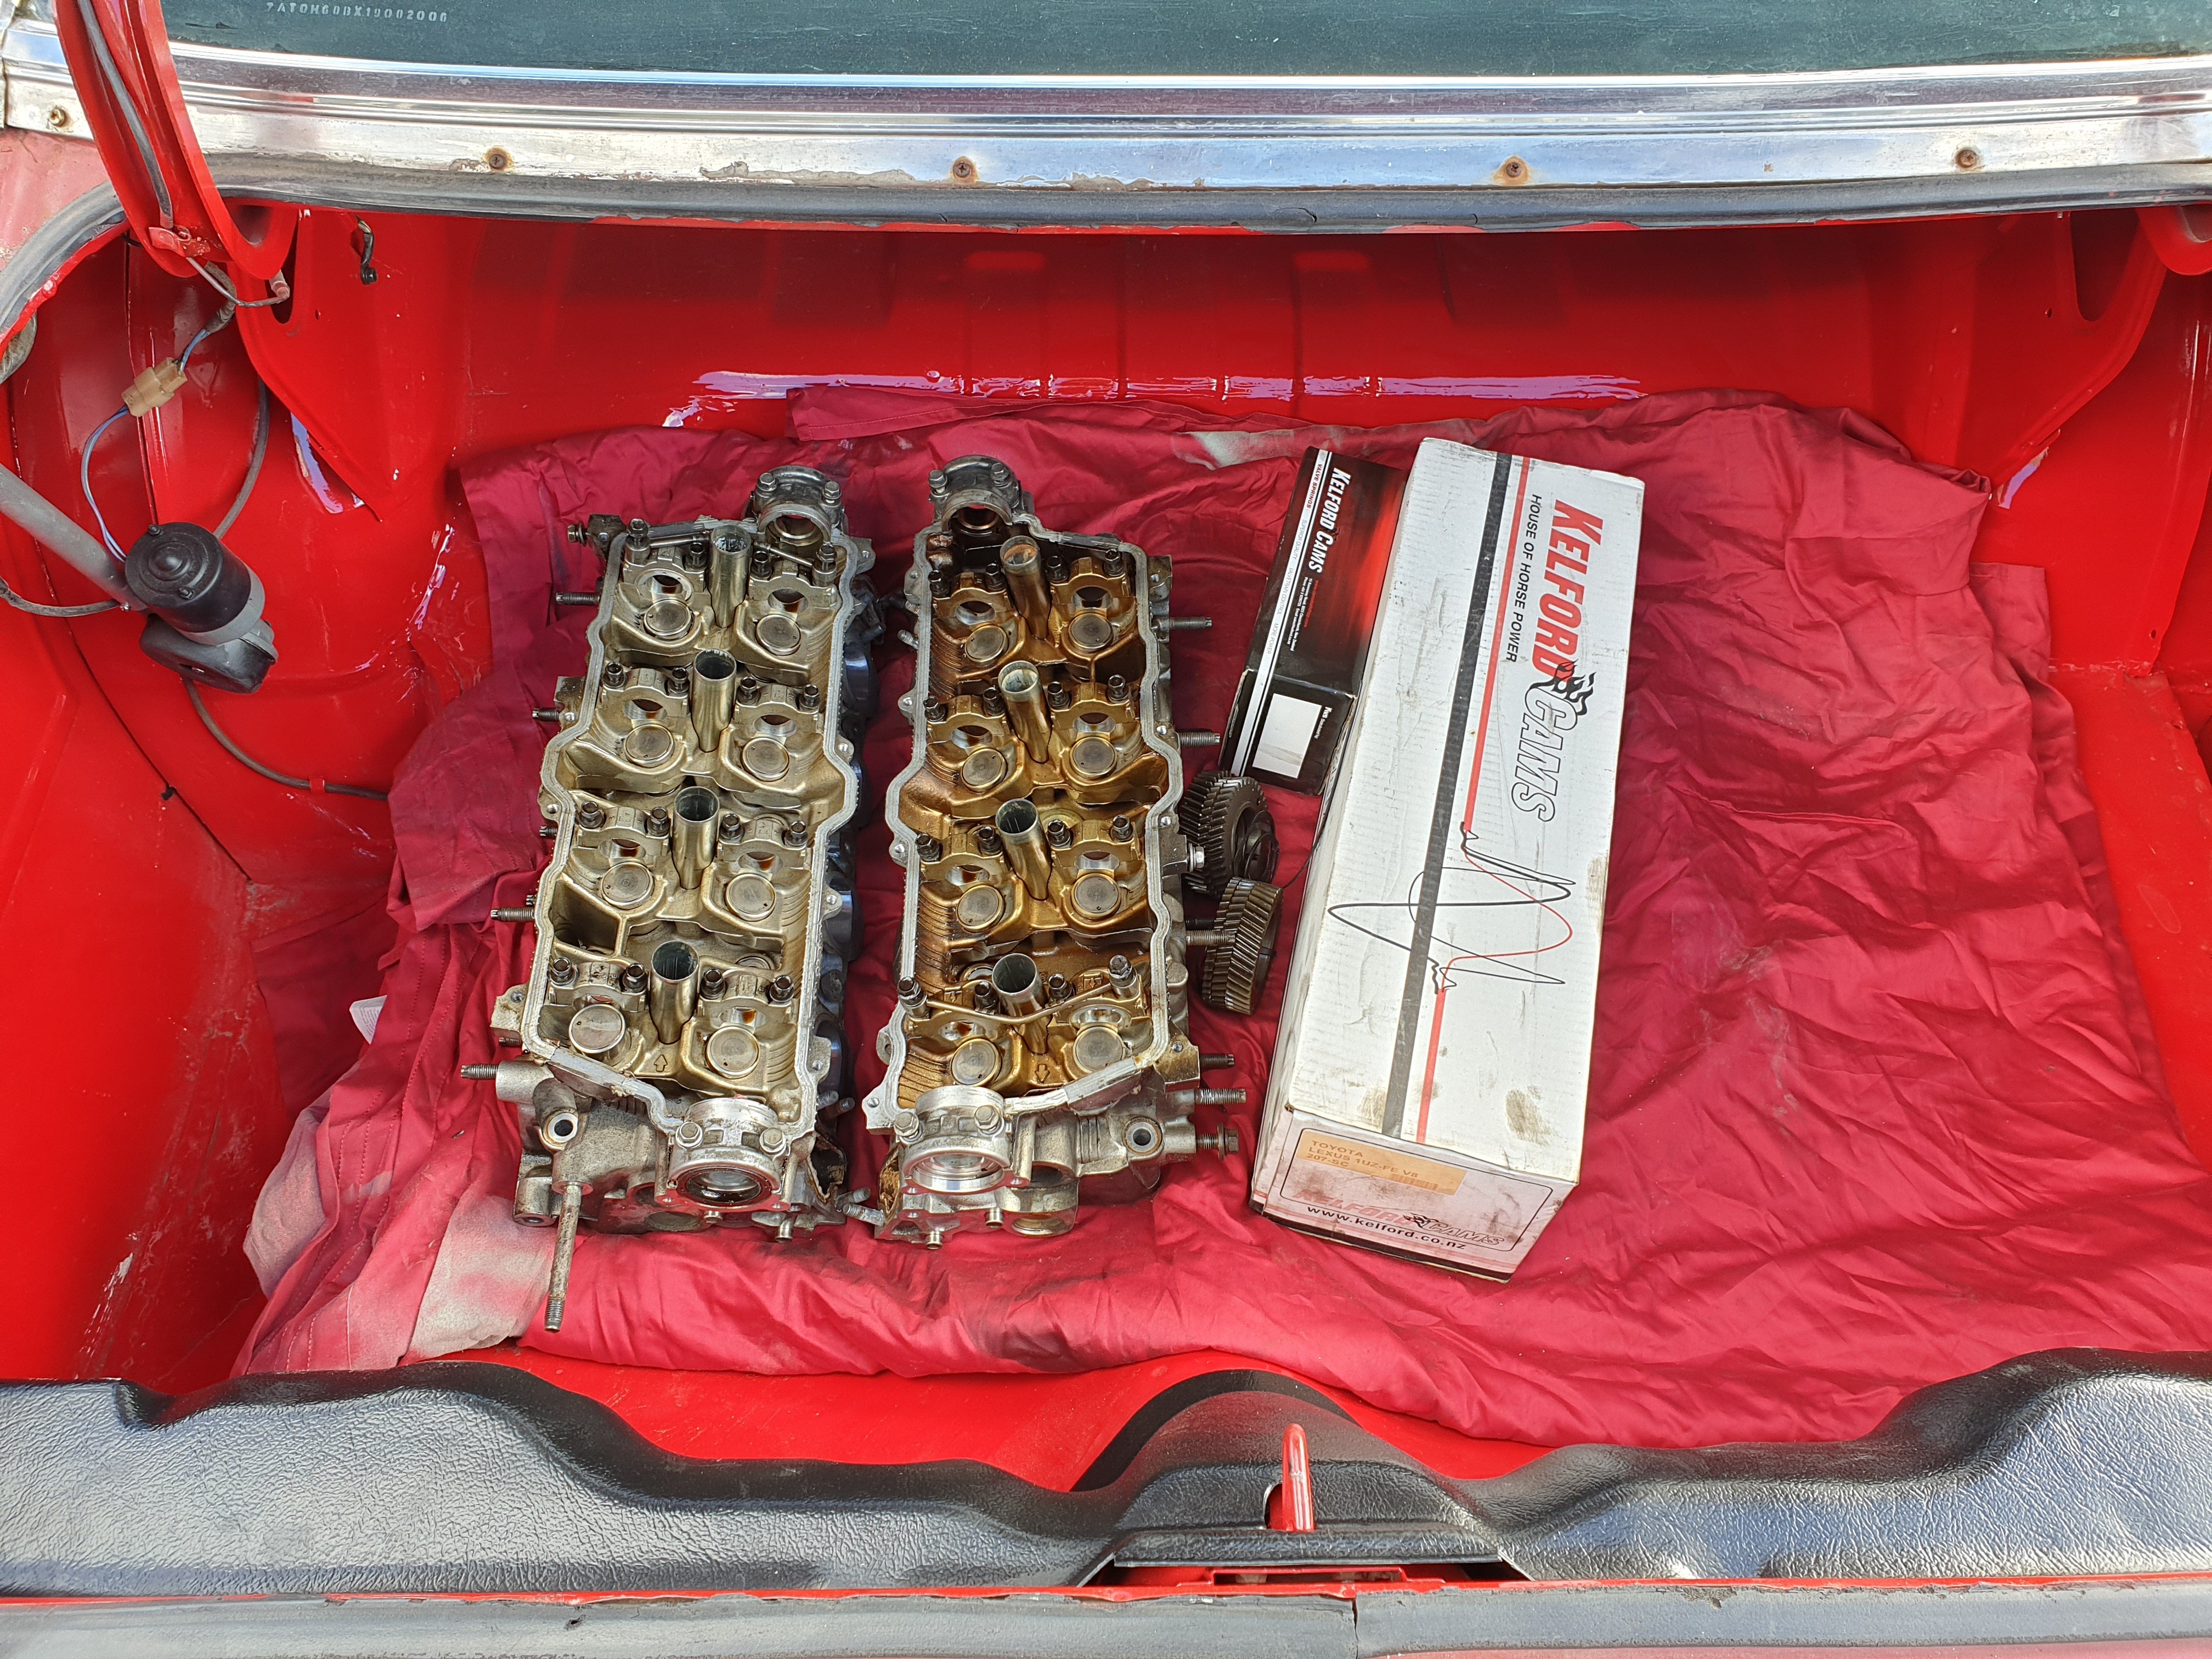
2 months later i have all the bits to rebuild the bottom end. the heads are already finished and i have them back. parts, 9 to 1 CR Ross forged pistons (the cunts will not change the value of the parts on the shipping invoice so keep that in mind when deciding to use them or not) eagle H beam rods and ARP rod bolts ARP main cap studs and bolts new genuine Toyota oil pump theres heaps of other shit too but you get the picture. block will now be bored and honed to 88mm. rotating assembly will get balanced and ill get the short block back. then its reassembly time. good days. or maybe not good days. going in to hospital to get back surgery in about a month so that will fuck all progress for a while............... 2019-09-19_07-59-37 by sheepers, on Flickr 2019-09-19_07-59-22 by sheepers, on Flickr 2019-09-19_07-58-23 by sheepers, on Flickr2 points
-
so 1 x generic falcon tap and some cutting and welding and we're back in business. tap is in the engine bay and its fairly ugly but there isn't fuck all i can do about that. 2019-09-19_08-00-10 by sheepers, on Flickr 2019-09-19_08-00-03 by sheepers, on Flickr 2019-09-19_07-59-55 by sheepers, on Flickr 2019-09-19_07-59-47 by sheepers, on Flickr2 points
-
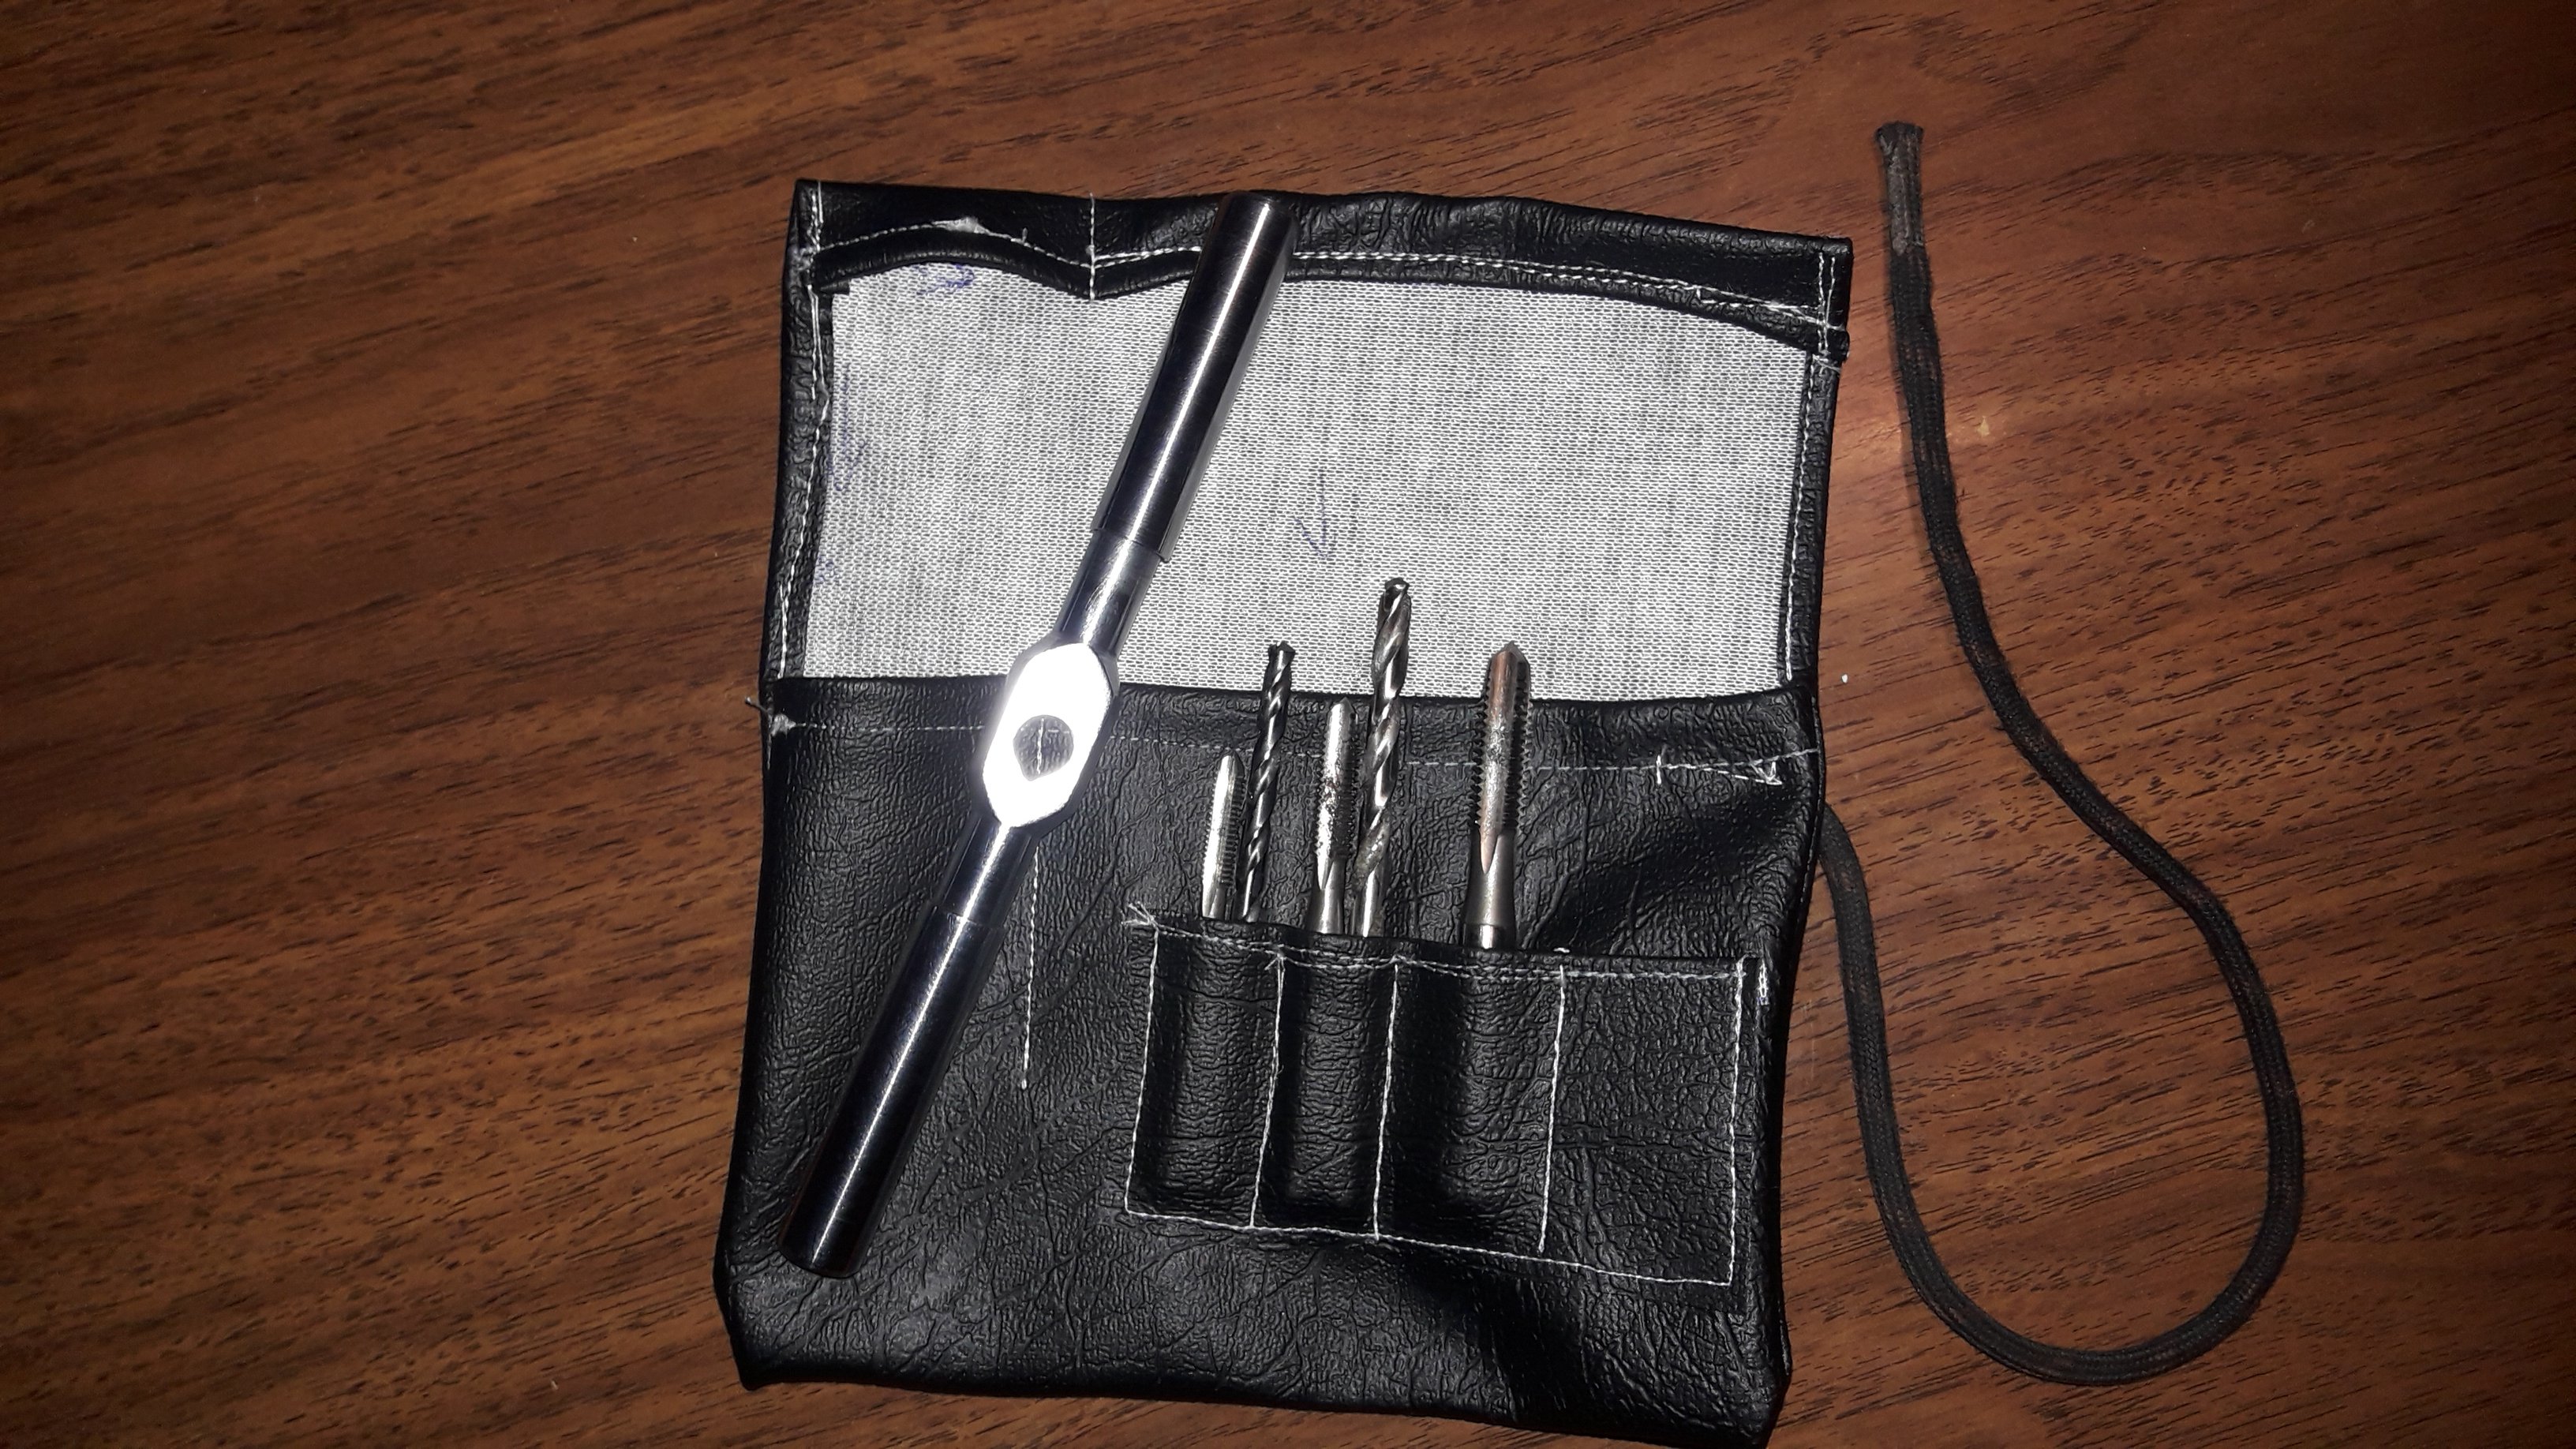
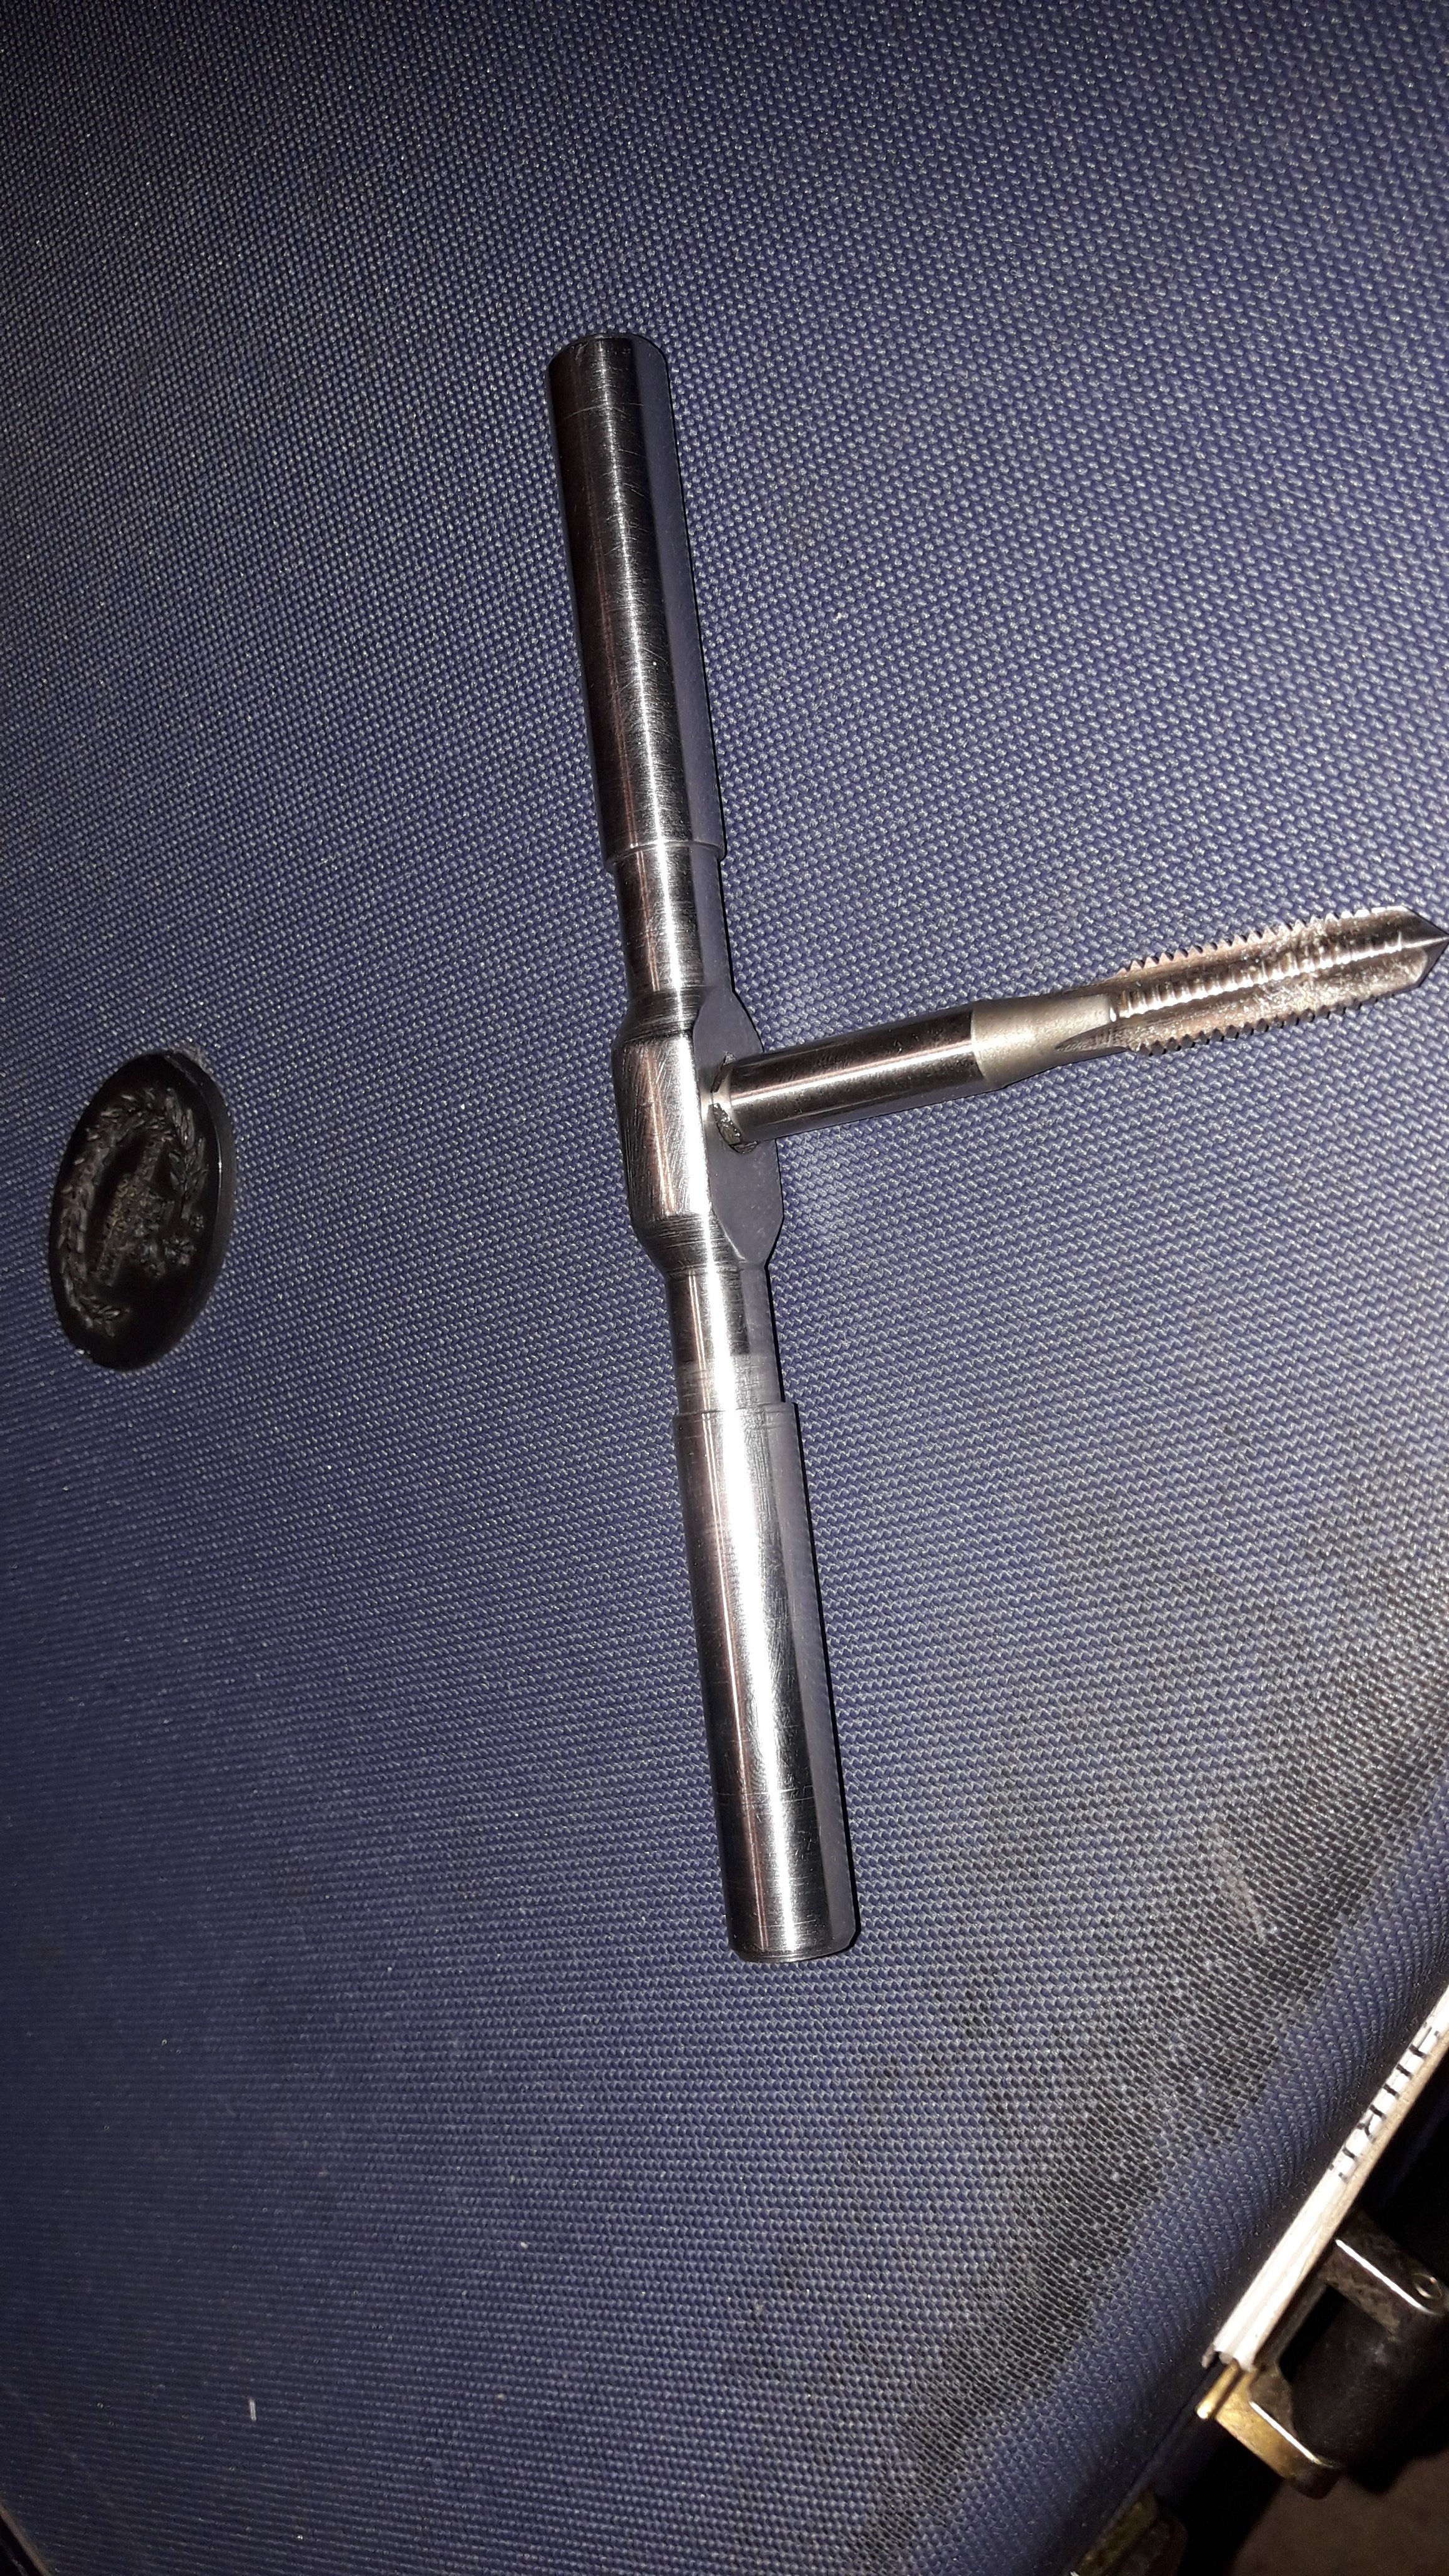
I made this tapping wrench on the BarryLathe this weekend. I need to practice my sewing /subscribe to DirtyBarry
2 points
-
Thanks mang, I'll look into that. 10 scrillion dubbers cant be wrong.1 point
-
Il bring some 2x4 blocks and cable ties for the pedals1 point
-
Easy to snap off in a blind hole in an engine (Snap it, it's how you remove tungsten rings) Carbide cutting disc will do it fine1 point
-
Suggest your common injector power feed is at very minimum 20a relay and 15a fuse.1 point
-
Cool thanks that makes sense, I'm downloading PCLink now to install on my work laptop. Not supposed to but I have admin rights and I'm still being made redundant anyway Lol. What are they going to do? Make me extra redundant?1 point
-
Thanks, yes lead is 11.342g/cm3 so only an increase of 3.332g/cm3 over steel. I looked online and tungsten is much heavier, which was a surprise. Tungsten is 19.25g/cm3 so more than double the weight of steel. I ran the numbers again a few different ways and if I drill a hole right through both sides of the counterweight at the same radius of the big end pin, I need a 10mm hole to add exactly the amount of counterweight I need. So...I'm now on the lookout for about 24mm (2x 12mm long bits) of diameter 10mm tungsten.
1 point
-
nice to see that shitty green frame that someone spent ages taking apart and respraying (but not masking) repurposed to intake tubing mock ups. lewl.1 point
-
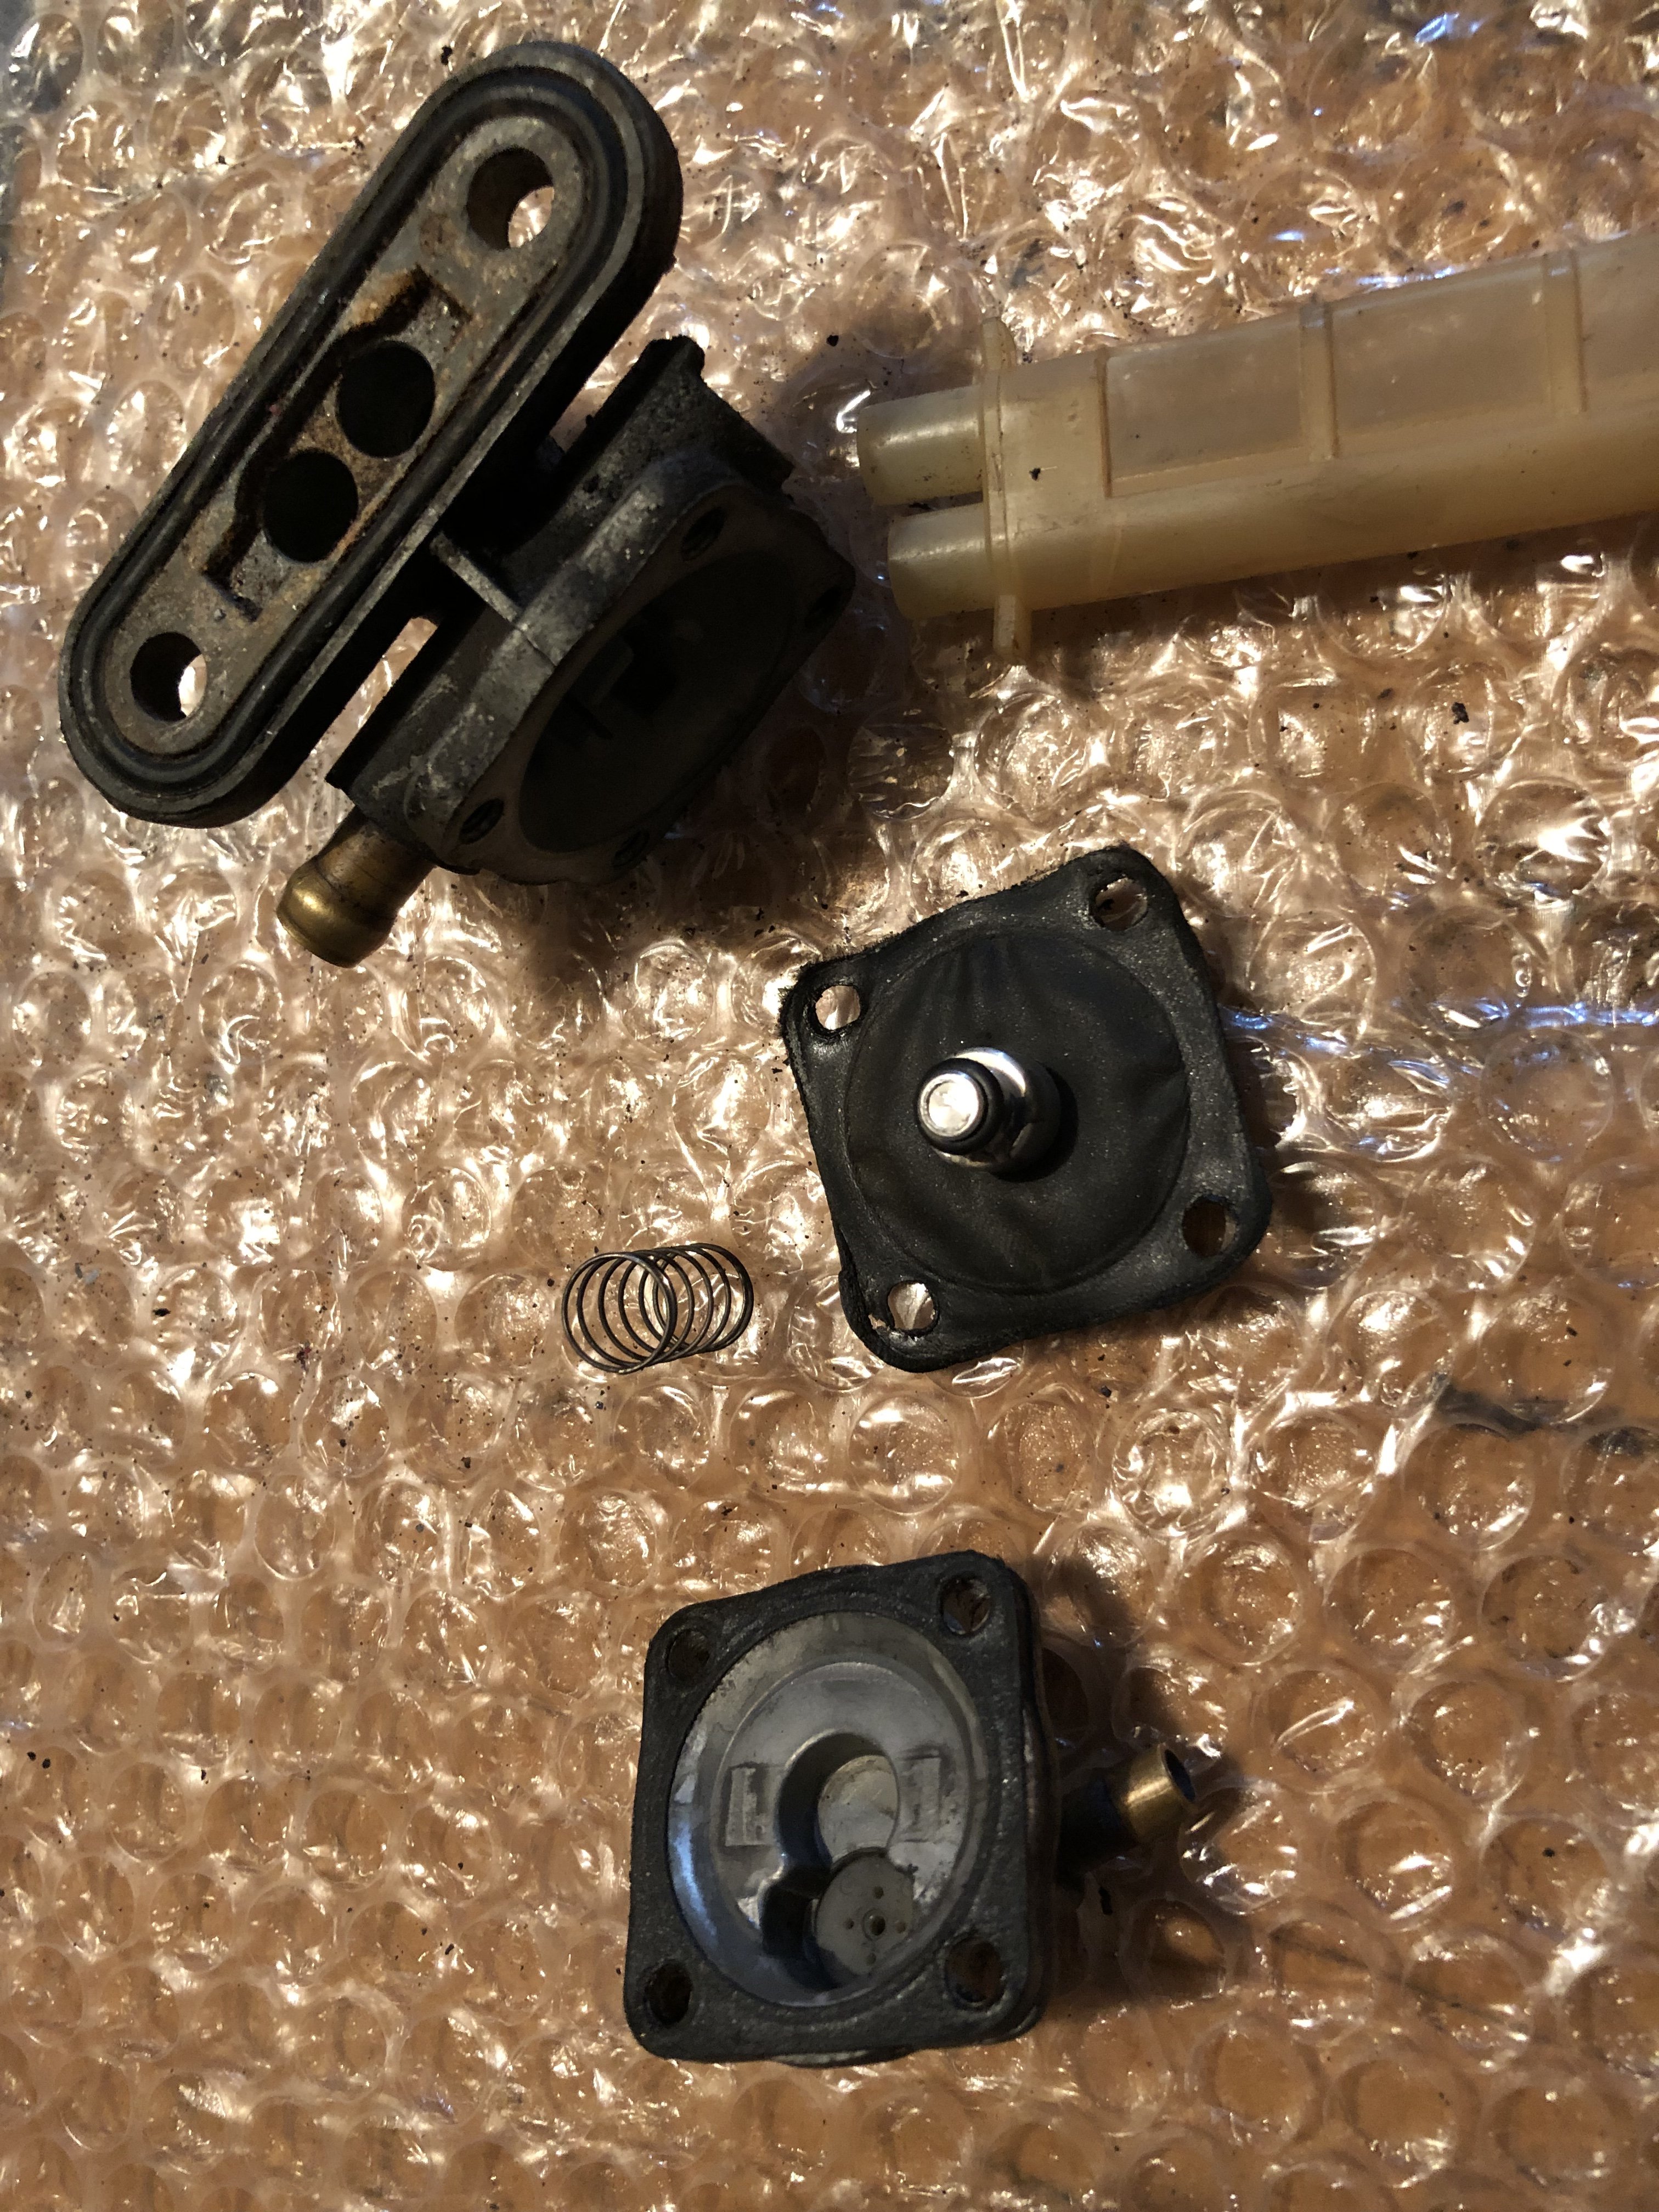
Boring update. Of course the last screw had to be difficult and round out. But sorted it out. I fitted an aftermarket fuel tap which I don’t really like. It’s too big for where it goes and just seems cheap. Brand new they’re only $88 or I could rebuild it with oem parts. Mick Hone in aus is awesome for parts. Well priced and the price for everything is listed.
1 point
-
Done a quicky on the painting, minimising the work to get it done, and by done, i mean water proof and ready to roll quick high build prime over the sanded back repaired areas then a blow over with the blue. i mixed a bit much paint and instead of waste it, I got a few sags instead Still, unmasking is just the best Front door bits swapsies. Its surprising how much lighter a car door is without all the trimmings! took bits off all three to make one 'good' one Again, this one fit straight in the hole a treat (after a shim here and a hinge shave there) and now opens and closes the best it ever has so ive decided i quite like the look of these doors and they can stay Tidied out the inside of various mostly empty boxes and various screws, trim and clips, that are now consolidated into one bin Put the grill and headlamp assemblies, nearly all the bulbs now mostly work after a wiggle or a tap. Still a bit of a list of things to do, - Exhaust has a leak, looks easily accessed - handbrake cable buzzes on exhaust - i messed something up when i assembled the rear door, the window snags on the door lock rod when its wound down - sand the runs, flies and dust out the of the paint once it hardens a bit more - polish - clean and install chrome trims I also put the interior of the doors in and gave the dash a wipe. . Looking forward to giving this thing a good blazz again soon! Its mobile and driveable now and only the exhaust really needs sorting for a WoF, and now its together it also means i can start sort a lot of stuff out of the shed and into storage etc1 point
-
They're breeding like rabbits! Plus another one on the bench as a "work in progress". Waste of money you say - can't argue with that...but some people gamble or smoke that amount in a month, so there's worse habits out there I guess?
1 point
-
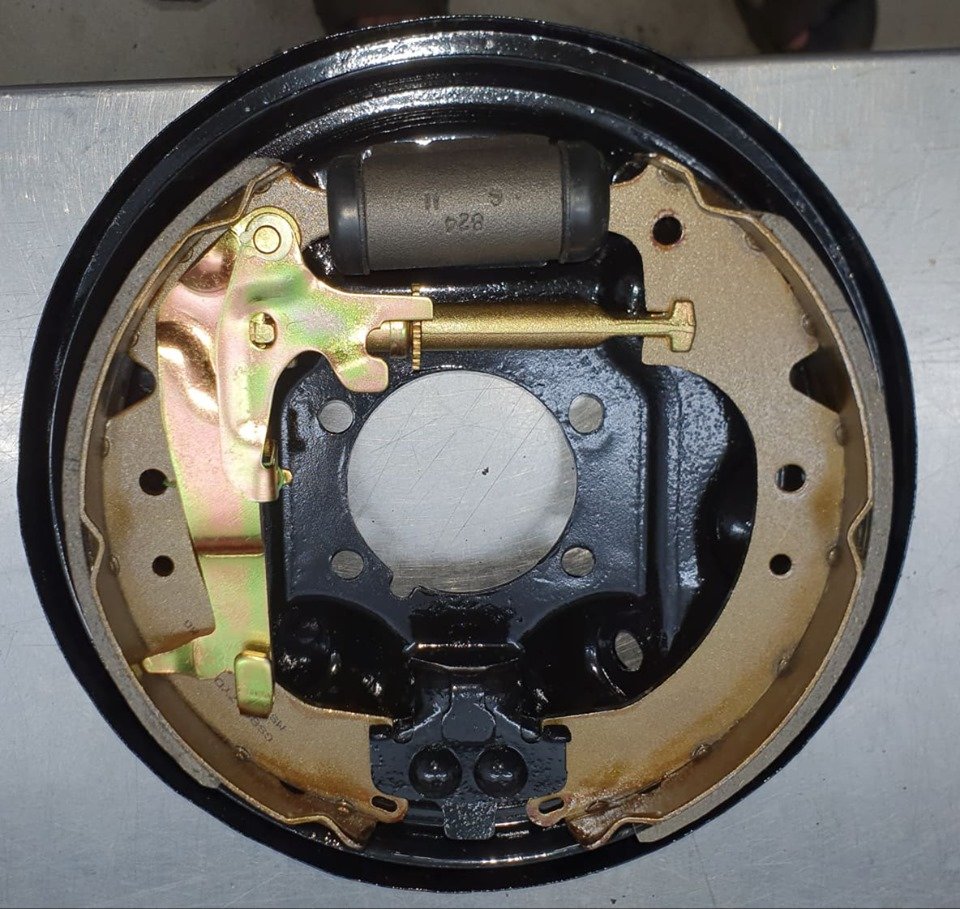
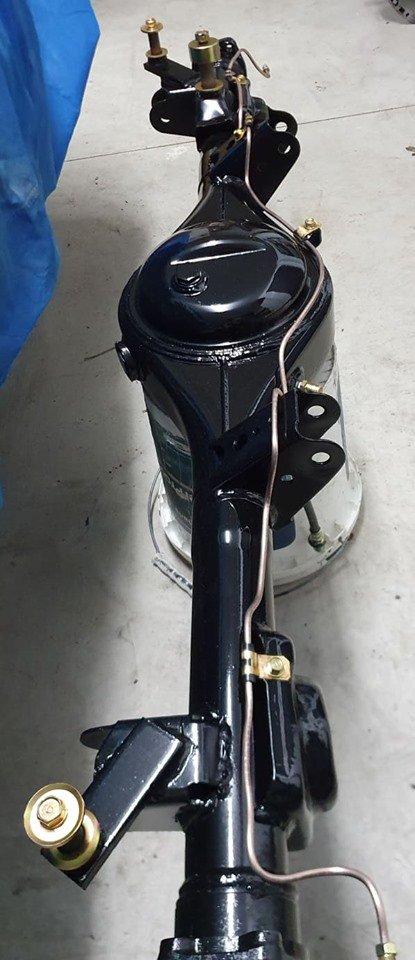
Brake lines sussed, and i got a box of stuff plated too. Also OCD me decided that mint condition inside the rear brake drums is a requirement!!!
1 point
-
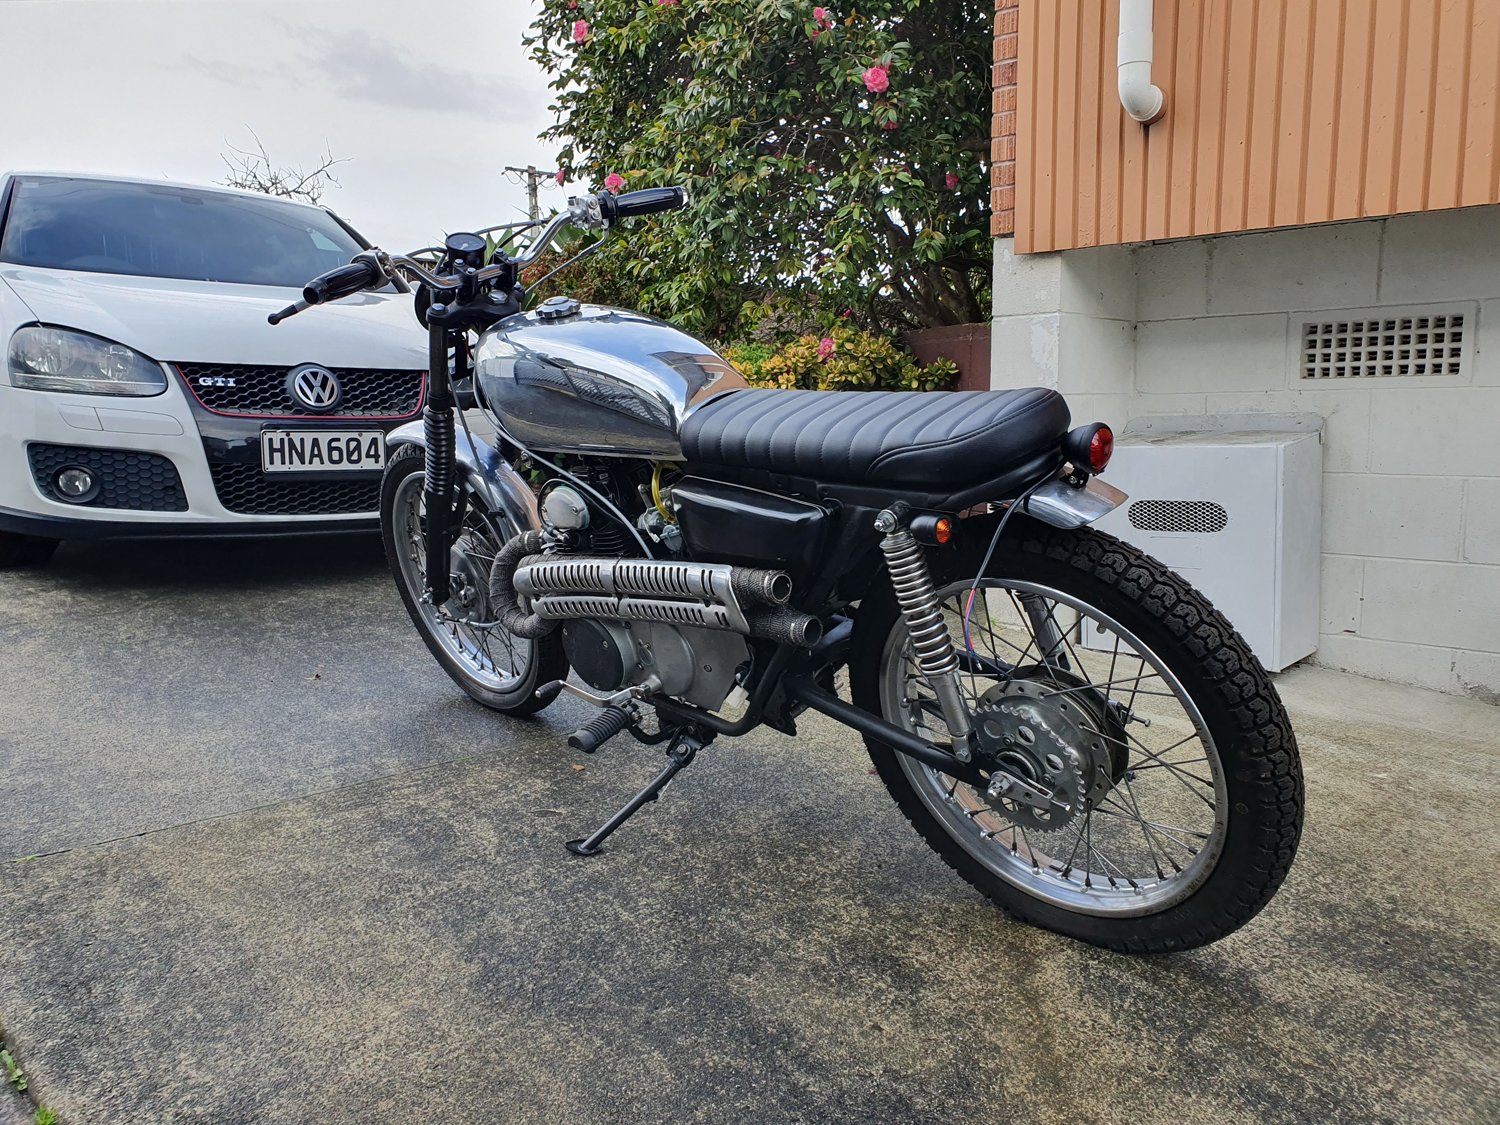
Witchcraft! I just replaced the original fusebox with a new magical one from the future which isn't all hot and melty and gives me more than 9 volts at the headlights! Amaze. Represent. Another year of legality. And since all my thread images are poked, here's one so you and I don't forget what she looks like. <31 point
-
left that alone for a while, i was in a huff and also busy with other stuff finally gave it a wet sand and filled all the shitty little fisheyes with icing, and put another pretty thinned coat of blue down and it turned out much better pulling off masking tape is the best. then lashings of dinitrol.1 point
-
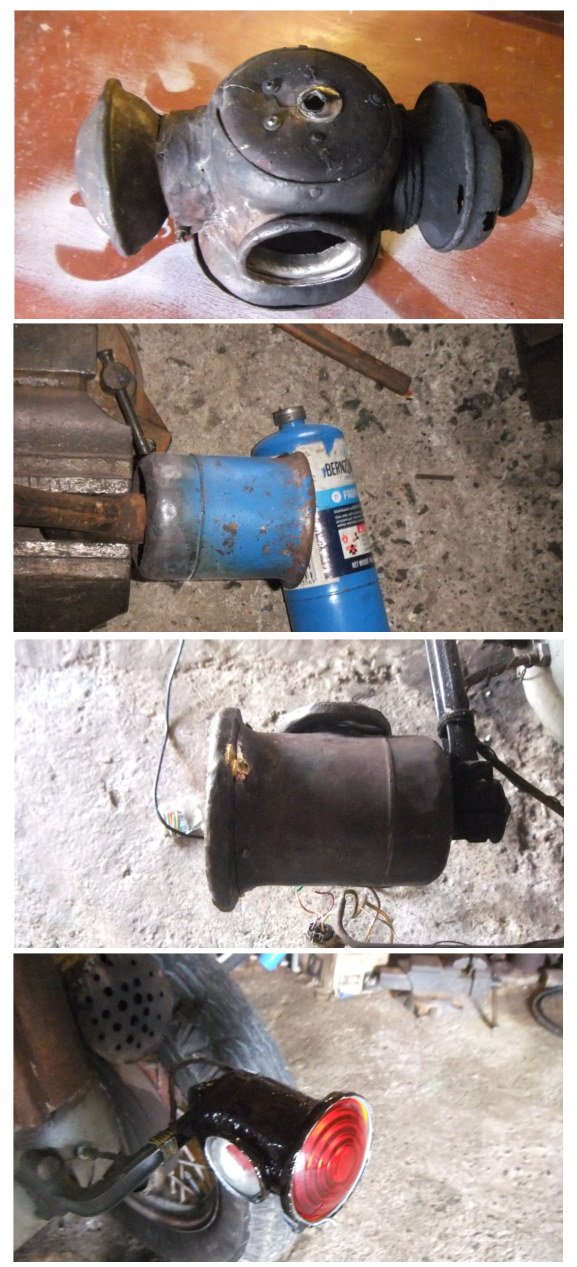
The tail lamp was suffering metal fatigue. Not surprising, given its alloy. So i made one fitted for the electric light. (re-used the old glass) That's not paint, that's indian head shellac.
1 point
-
got my driveshaft back and put it in. filled it up with trans fluid and took it for a test drive. everything seems to be working fine and the trans shifts perfectly. kickdown is working shifter selects all the gears correctly i hooked power up to the overdrive solenoid and that's all working mint its like a different car. motorway crusing is lush now. no more 10billion revs at 95KPH. here's an art picture because i didn't take any of a gearbox. 2019-08-13_07-49-37 by sheepers, on Flickr1 point
-
First time it's seen daylight in about 3 years. Have just discovered a leaky rear shock so I guess I have to throw some more $$ at it haha.
1 point
-
1 point
-
this took WAY longer than it should have. i decided to mount the speakers as flush as possible. both Celcia's have sticky out type "pods" with the speakers in them and i have knocked the shit out of them getting in and out of the car with my big work boots on and the speakers have taken a hammering because of it. and i kind of wanted to cause the least amount of disruption to the look of the door cards as i could. so i did it like this. 20mm spacer which has black carpet on it but ill probably put some matching red vinyl on them eventually. while i was in there i ran wires for the central locking and put some sound deadening in the doors. now i need to run a power feed for the small front amp, mount the crossovers and finish the wiring. all the wires are run to where the amp and crossovers are going to be so that should make life a bit easier. i'd also like to get the power steering installed this weekend but we'll see how we go. 2019-07-25_09-12-23 by sheepers, on Flickr1 point
-
Parts haulin....
1 point
-
painted the hood lining and associated trim bits today. the pictures are all shit but you get the idea. the black came out really well and it looks mint now. 2019-07-07_01-17-51 by sheepers, on Flickr 2019-07-07_01-18-00 by sheepers, on Flickr 2019-07-07_01-17-25 by sheepers, on Flickr 2019-07-07_01-17-35 by sheepers, on Flickr1 point
-
So yeah, took this to the beach. About to go out to the shed and watch it dissolve into a pile of rust. but for now a video: Gearing isn't the best for sand. but other than that and melting the clutch once, it went real well1 point
-
Do a wheelie bro
1 point
-
painted the boot. its not great tbh, got a couple of runs in it but its only a boot i suppose.... 2019-04-13_06-22-45 by sheepers, on Flickr 2019-04-13_06-22-53 by sheepers, on Flickr i also painted the dash. it was looking a bit shit and the sliver edging was all fucked so i had a go at masking the edges and using some chrome spray paint to bring it back to life. it came out super awesomeo! im really happy with it. the chrome isnt "chrome" as it was but its pretty close. sure looks way better than it did. im giving it a turbo win out of ten. 2019-04-13_06-22-37 by sheepers, on Flickr1 point
-
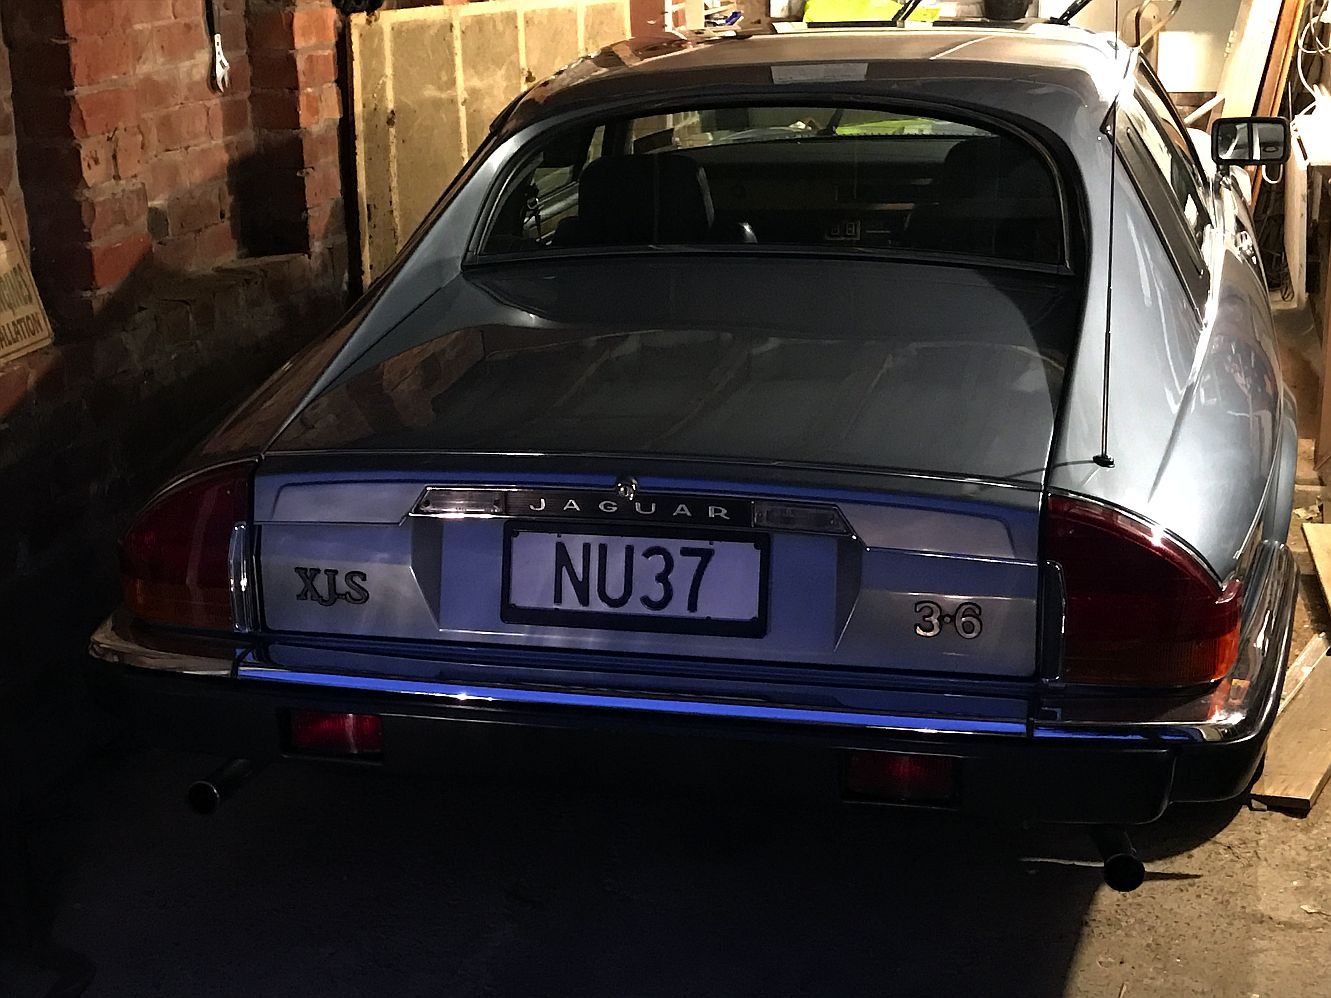
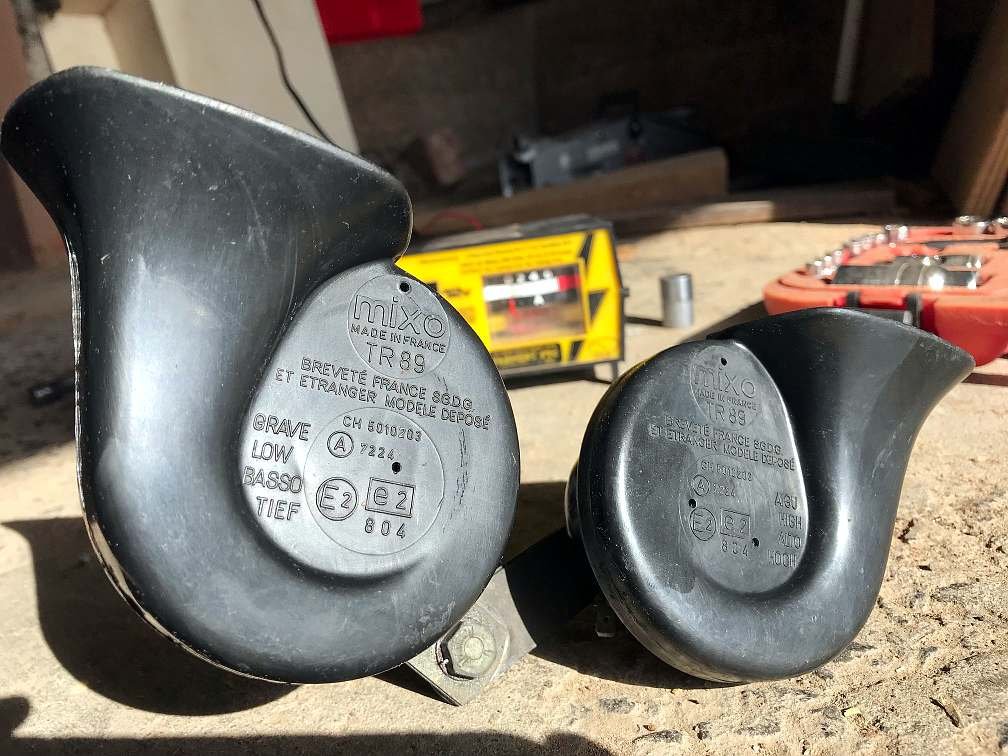
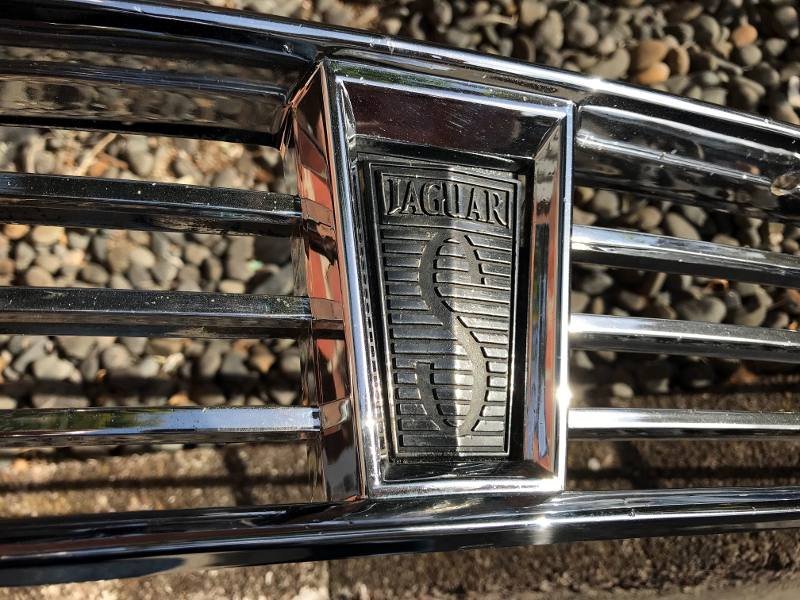
Spot the difference between the rear lights - the one on the right with the black-painted chrome piece must be from a 1970s car. Not sure which I prefer. I decided the alternator drive belt needed changing. I bought one then realised the fan and the A/C drive belt needed to come off first, and that meant wrestling with overtightened stuff that's difficult to access with my limited range of imperial tools. Got it done today minus buying a new A/C drive belt. More satisfying was fixing the horns. I'm supposed to have a French horn duet but only the low tone was working, and that sounded a bit too polite even for a British car ("Ahem.. boop boop"). I took them off the car to see what was up. This is after cleaning: I'd never disassembled a horn before, but it turns out there's no complex electronics - they use a sort of electromagnetic oscillator to vibrate a diaphragm. My high-toned horn had swallowed too much water, so I used a multimeter to find all the corroded/bad connections and clean them. After reassembly I had to set the adjustment screw to get it to oscillate and then to maximise its volume. Now if any other fellow's driving isn't up to snuff, I can give him what for. Because Jaguar couldn't be bothered fitting a welded nut for the horn mounting, I had needed to take the grille out to unbolt the horns. It made sense to give it a clean. See that badge: Normally it would say 'V12', but six cylinder cars have a big 'S' for 'Stingy'.
1 point

.thumb.jpeg.384ff72c8d2b0ee0d34a7bdedb55bdcf.jpeg)


This leaderboard is set to Auckland/GMT+12:00