
Leaderboard


Popular Content
Showing content with the highest reputation on 09/24/19 in all areas
-
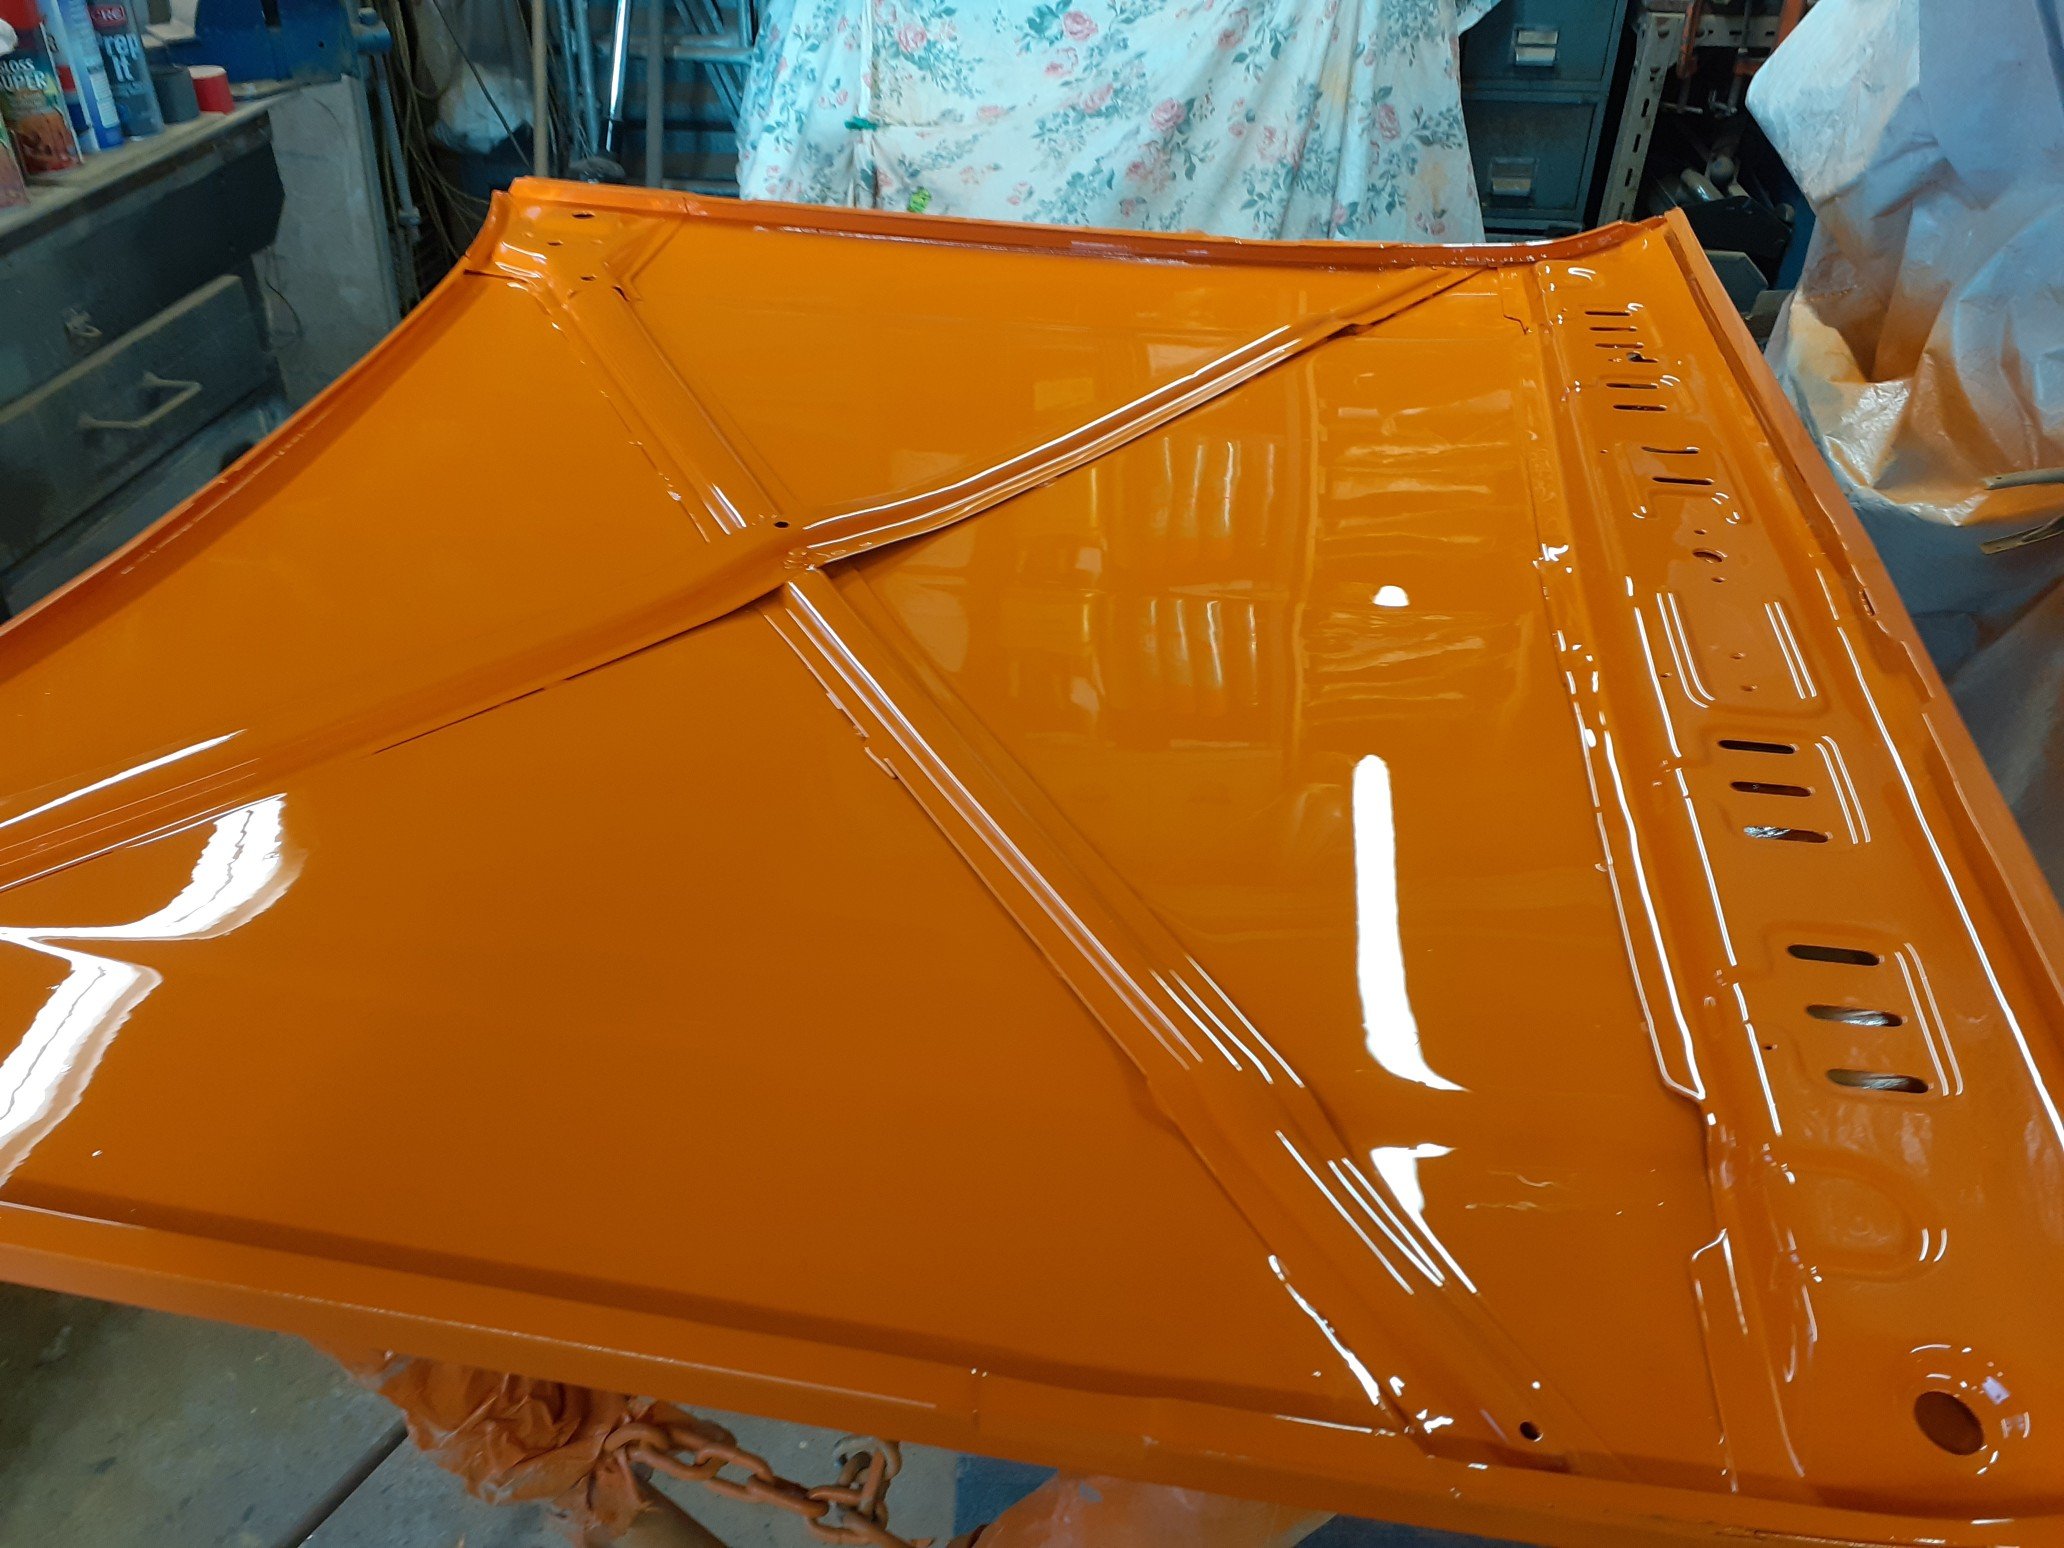
Have sprayed a few more items. Battery tray, all door jams, bonnet and had redone the engine bay 'bubble' because it was easier to do the whole thing then to fix a couple of runs. Couple of areas had to be touched up as I didnt wait long enough between coats and had solvent boil. Aligned the rear doors for final assembly before paint. Will put some seam sealer around the hinges to lock out any water. Put in the new door pins on the drivers door and sealed in the drivers guard. The sealer is a soft material that will provide protection from the wheel well but wont 'glue' the guard on permanently. Originally the guards are welded on but I've decided to reattach it with sealant and bolts. Will align the passenger door with new pins then I can start prepping the body for paint. Also made up a new base plate for the subframe and welded that on.
 15 points
 -
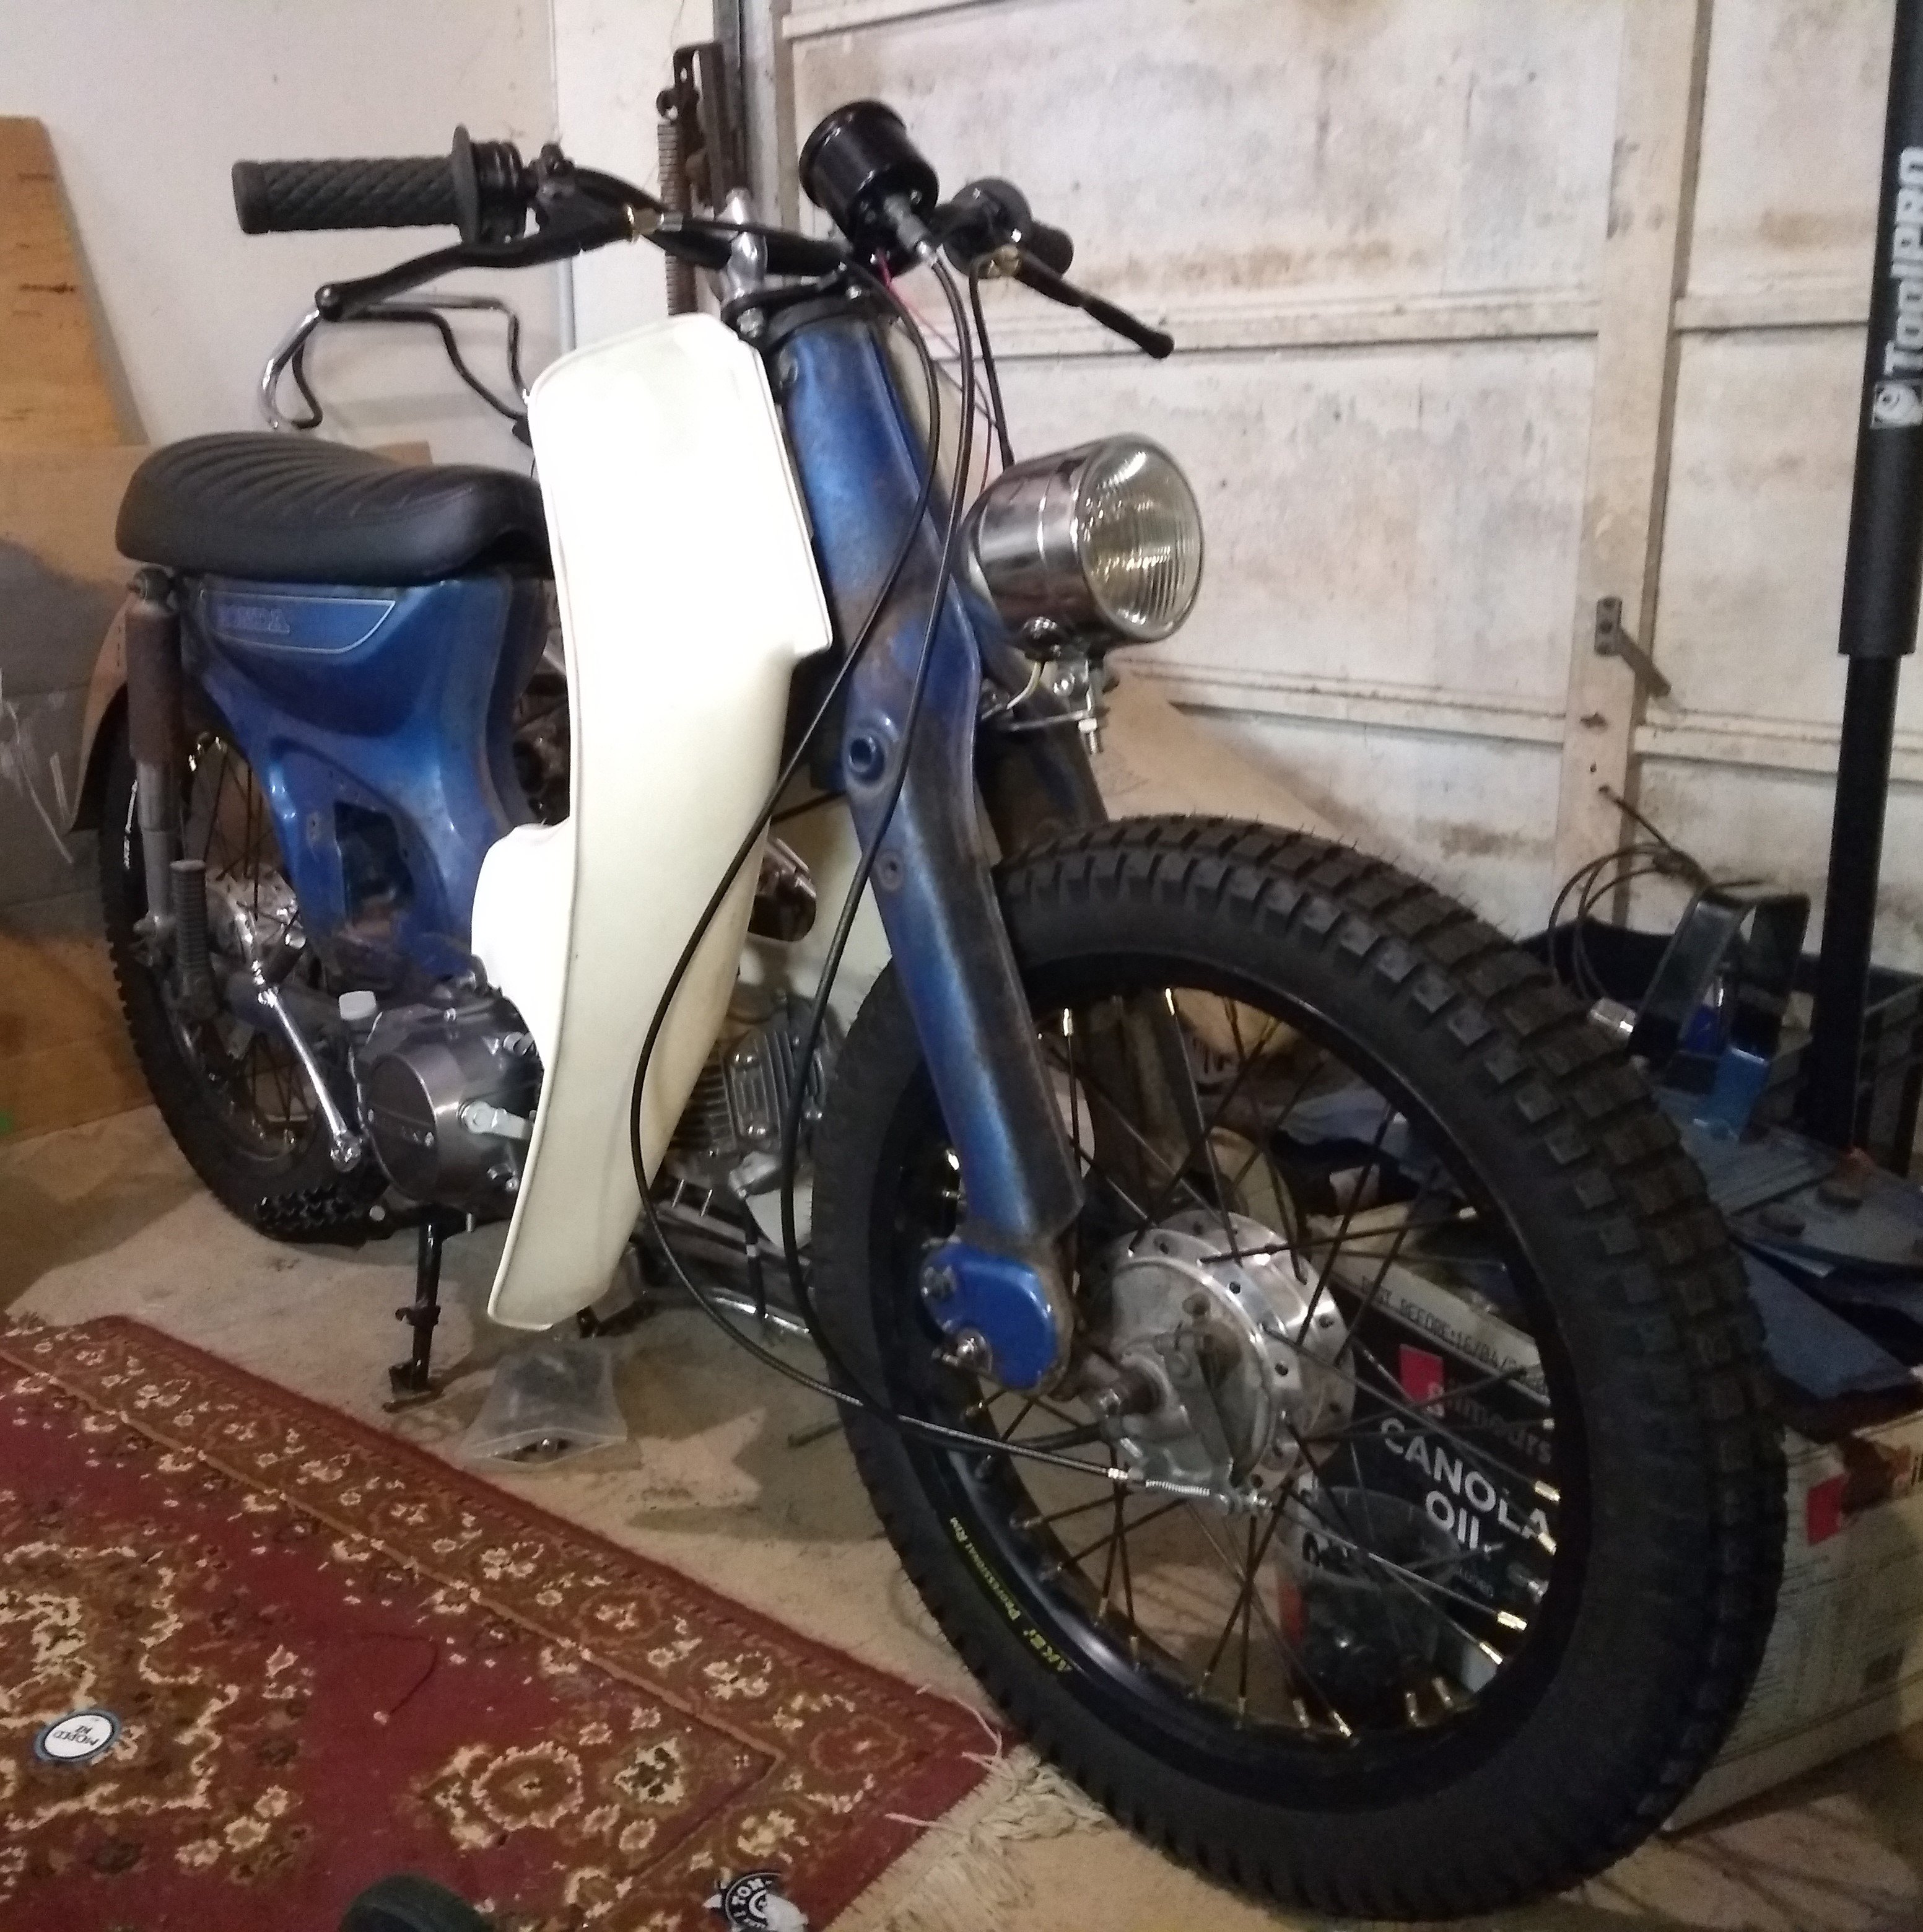
Been doin a little bit here and there at Joe/Goat/Flanges on Tuesday night Bike night Still a tonne to do but as long as I knock off a couple things each week I'm happy with progress. Last couple of weeks I got the front wheel on, motor in, speedo, clutch and brake cables hooked up, foot brake and seat mounted plus slipped leg shield on (hole was in the PERFECT place tonight for the carb to poke out - didn't even need to cut it) and then remounted the speedo. Next week will be getting it up high in the air so I don't have to crucify my back each week, fit the accelerator cable, centre the rear wheel, mount the rear brake arm, button up the rear end, final weld up the rear guard and pump it out a little so the tyre doesn't rub.
9 points
-
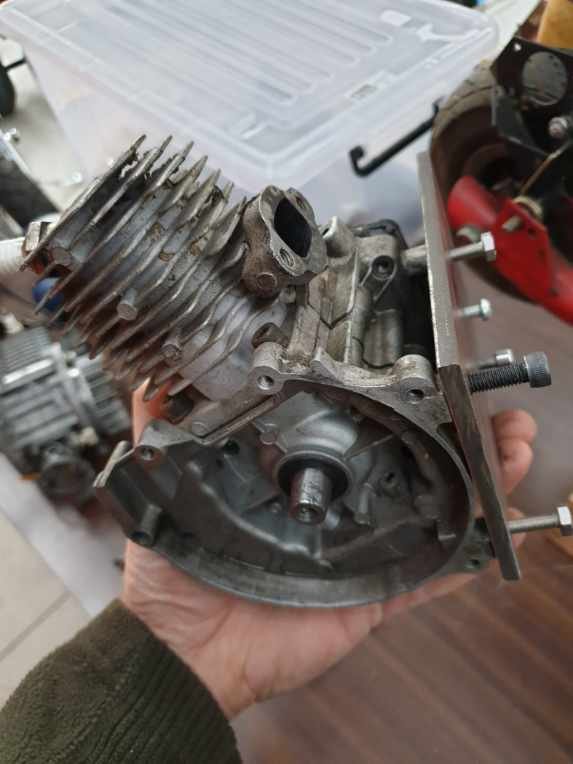
Back in the game! a literal bootload of 18rg parts just turned up at work. purchased from a mates mates father up north. highlights include; a mint block, that has been professionally honedand surfaced. nearly all rebuild parts. a couple of really clean heads and a partly complete dismantled but complete one. the early "230" head has port work. but ill most likley use the very clean and resurfaced "270" efi head as they had bigger ports anyway and are much stronger with a lower compression, they just had wimpy cams, so the 230 cams may find there way in there too. a slightly lighted flywheel, which will probably be ideal for a street car. once the crown is shipped off to panel in the next week or so, ill hook into building this engine. i need to do alot of measuring and thinking about what combo of parts to run though.7 points
-
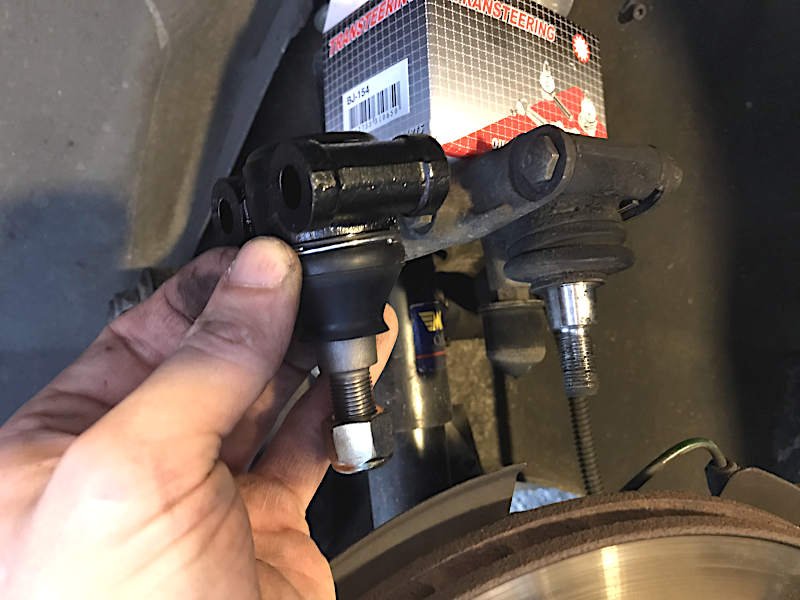
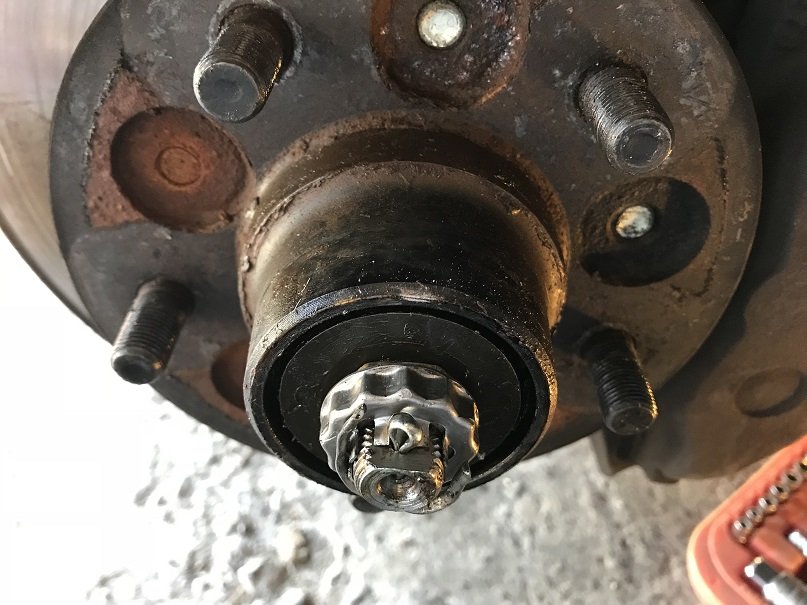
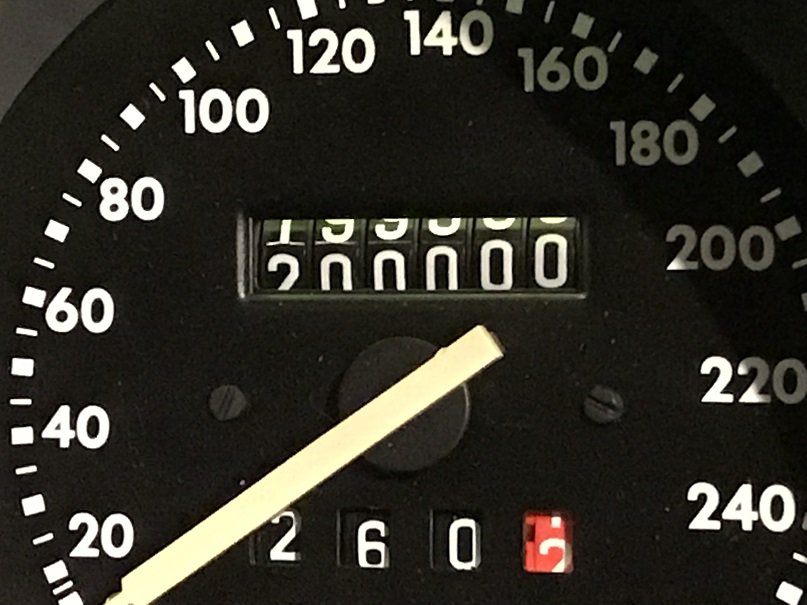
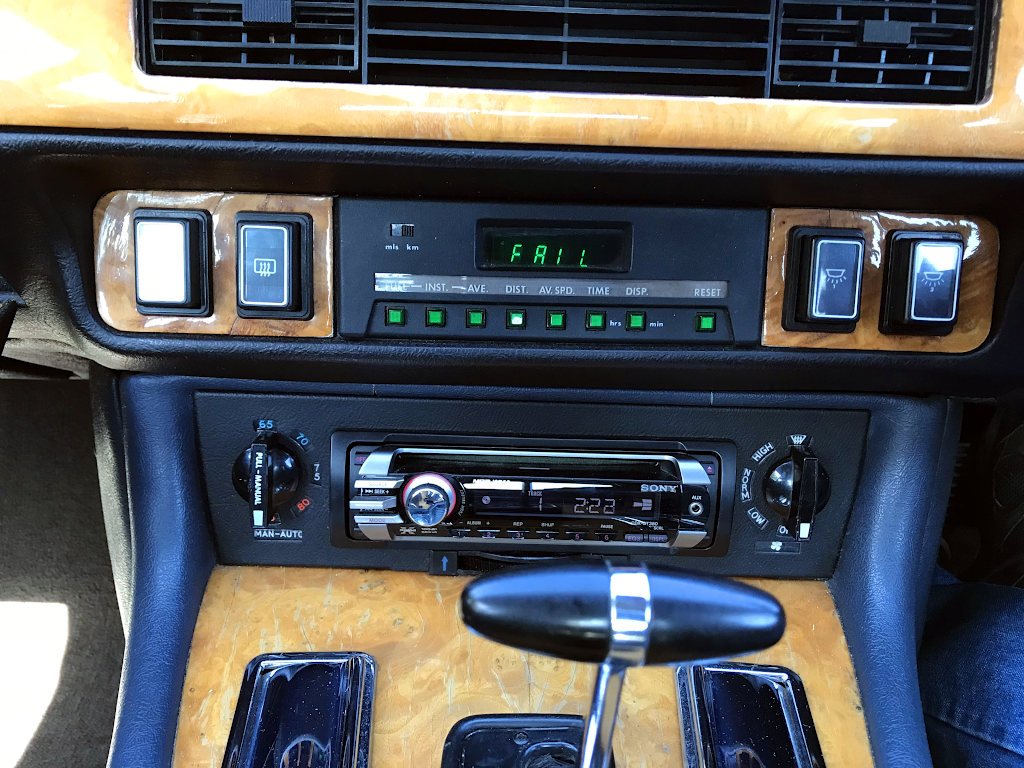
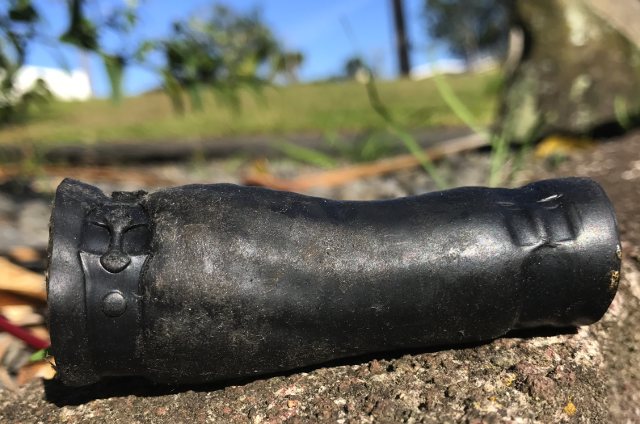
So I did the upper ball joints as well.. ..but it wasn't those. The push/pull play at 6 and 12 o'clock was still there. So I looked at how to adjust the wheel bearings.. I was expecting it to be horrible but it was easy, and now the play is gone. Should have done that first. Alas, the vibration is still not quite gone. It's probably just something I have to live with in a British car which has made it all the way to..... 200,000kms. So I got a new obsession instead. The engine doesn't run all that well - it has a random half-stumble at idle and low rpm.. You can see the misfires by watching the shaking of the motor, and although it appears to smooth out if you raise the rpm sufficiently, the higher engine speeds could possibly be disguising the problem. The car has also never really started that well from cold. I checked the spark plugs and they looked amazing to someone who has never owned fuel injection before. I looked for bad connections and vacuum leaks, since the ECU directly reads manifold vacuum (in V12 cars, the ECU is in the boot and its vacuum line has to run the whole length of the car, because why not... ). Nothing stood out though. Several tanks of fuel system cleaning pills didn't help either. Today I took off the airflow meter and cleaned it, and this did make an improvement. The raise in engine speed on startup is more pronounced, and the idle speed seems to have raised slightly which makes the car coast better / makes it not decelerate as aggressively when you lift off the accelerator. But just like my reduced 80kph vibration, the shaky running issue's still detectable. I'll try a compression test and then randomly change every ignition system part, idle valve, fuel pressure regulator and injector before giving up in 6 months from now. The Jag let me know what it thinks of my diagnostic skills:
5 points
-
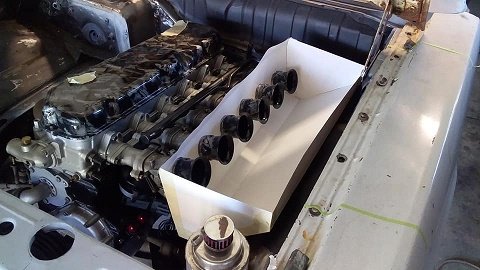
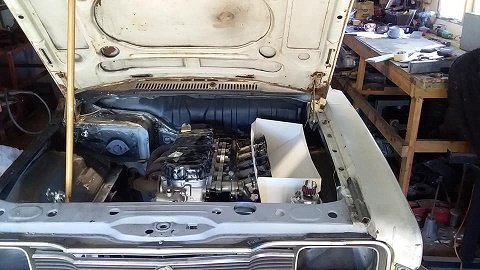
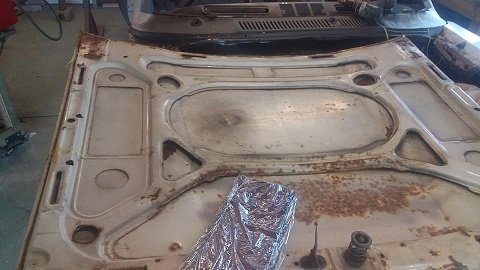
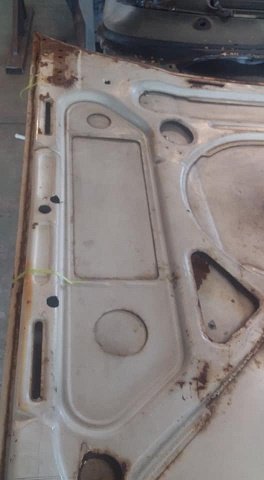
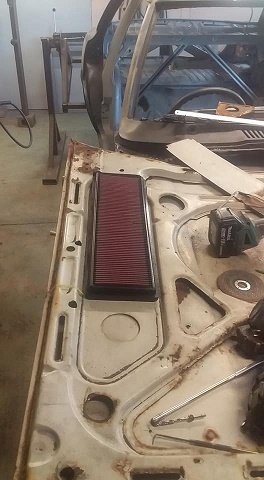
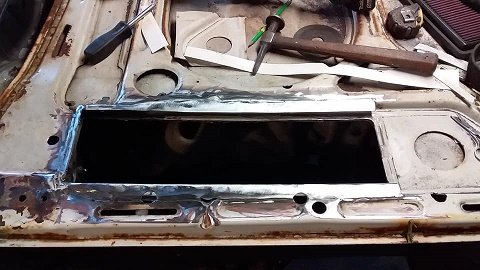
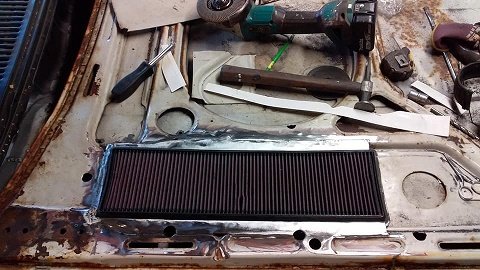
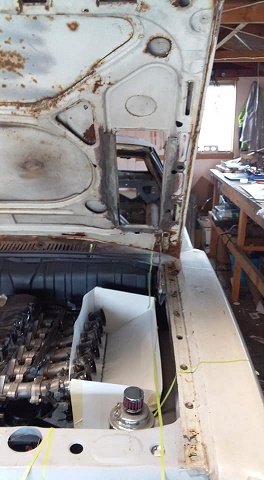
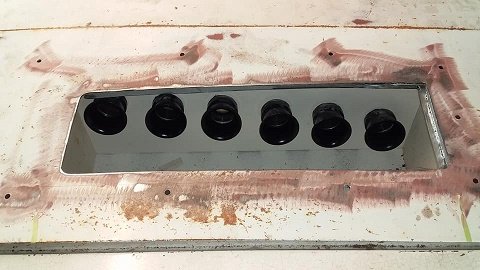
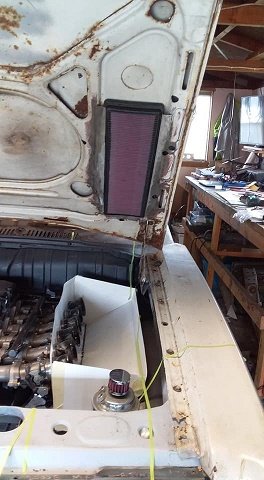
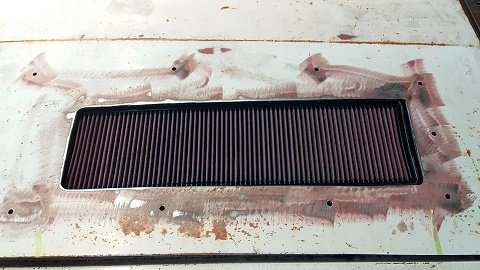
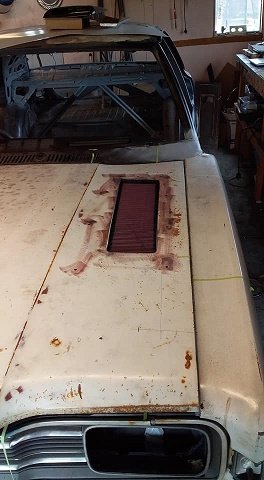
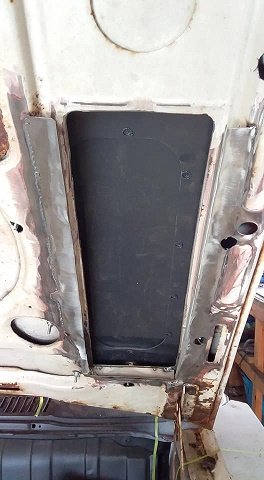
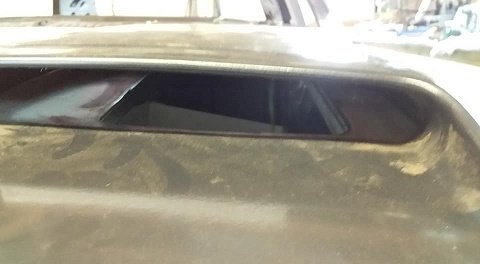
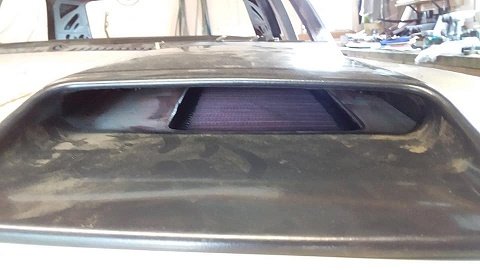
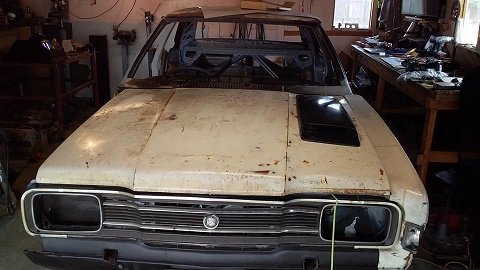
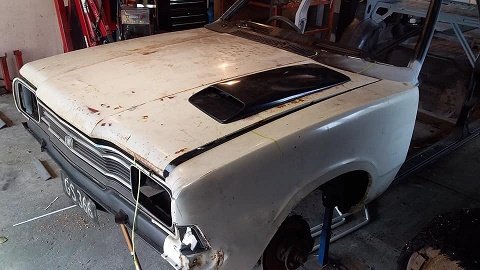
have been thinking about the air feed and was going to weld a recessed plate into the bonnet for the scoop but the bonnet has so many curves i think i might stuff it up.....so had a re think. made a card board airbox to see how much room i have to play with once i had marked out the area on the bonnet and drilled the holes for the scoop i took the bonnet off and flipped it over. the bonnet its self has indentations on both sides and they are almost perfect for the Porsche air filter.. i marked out the area needed for the filter and cut it out....needed to make a wee bit more room. trial fitted the filter again i then made some sides and back so that the filter can now slide in from the front and be held tight and sealed to the bonnet refitted the bonnet and checked the hole for placement filter in and scoop on. im pretty happy with it so far
4 points
-
So Al my work mate was good enough to give the intake manifold a bit of a tidy up with the die grinder while I was assembling the engine With getting the engine pretty much together I thought it was time to get onto a few of the bolt on items. I know from my mk1 cortina that I was wasting my time the orginal alternator. So I found a old Nissan alternator and fitted that. Redrilled the holes and it pretty much lined up. Changed the pulley over from the old Lucas alternator. Which just ment turning the hole out to suit the Nissan alternator. So it's pretty much together just have to sort the flywheel out next.
3 points
-
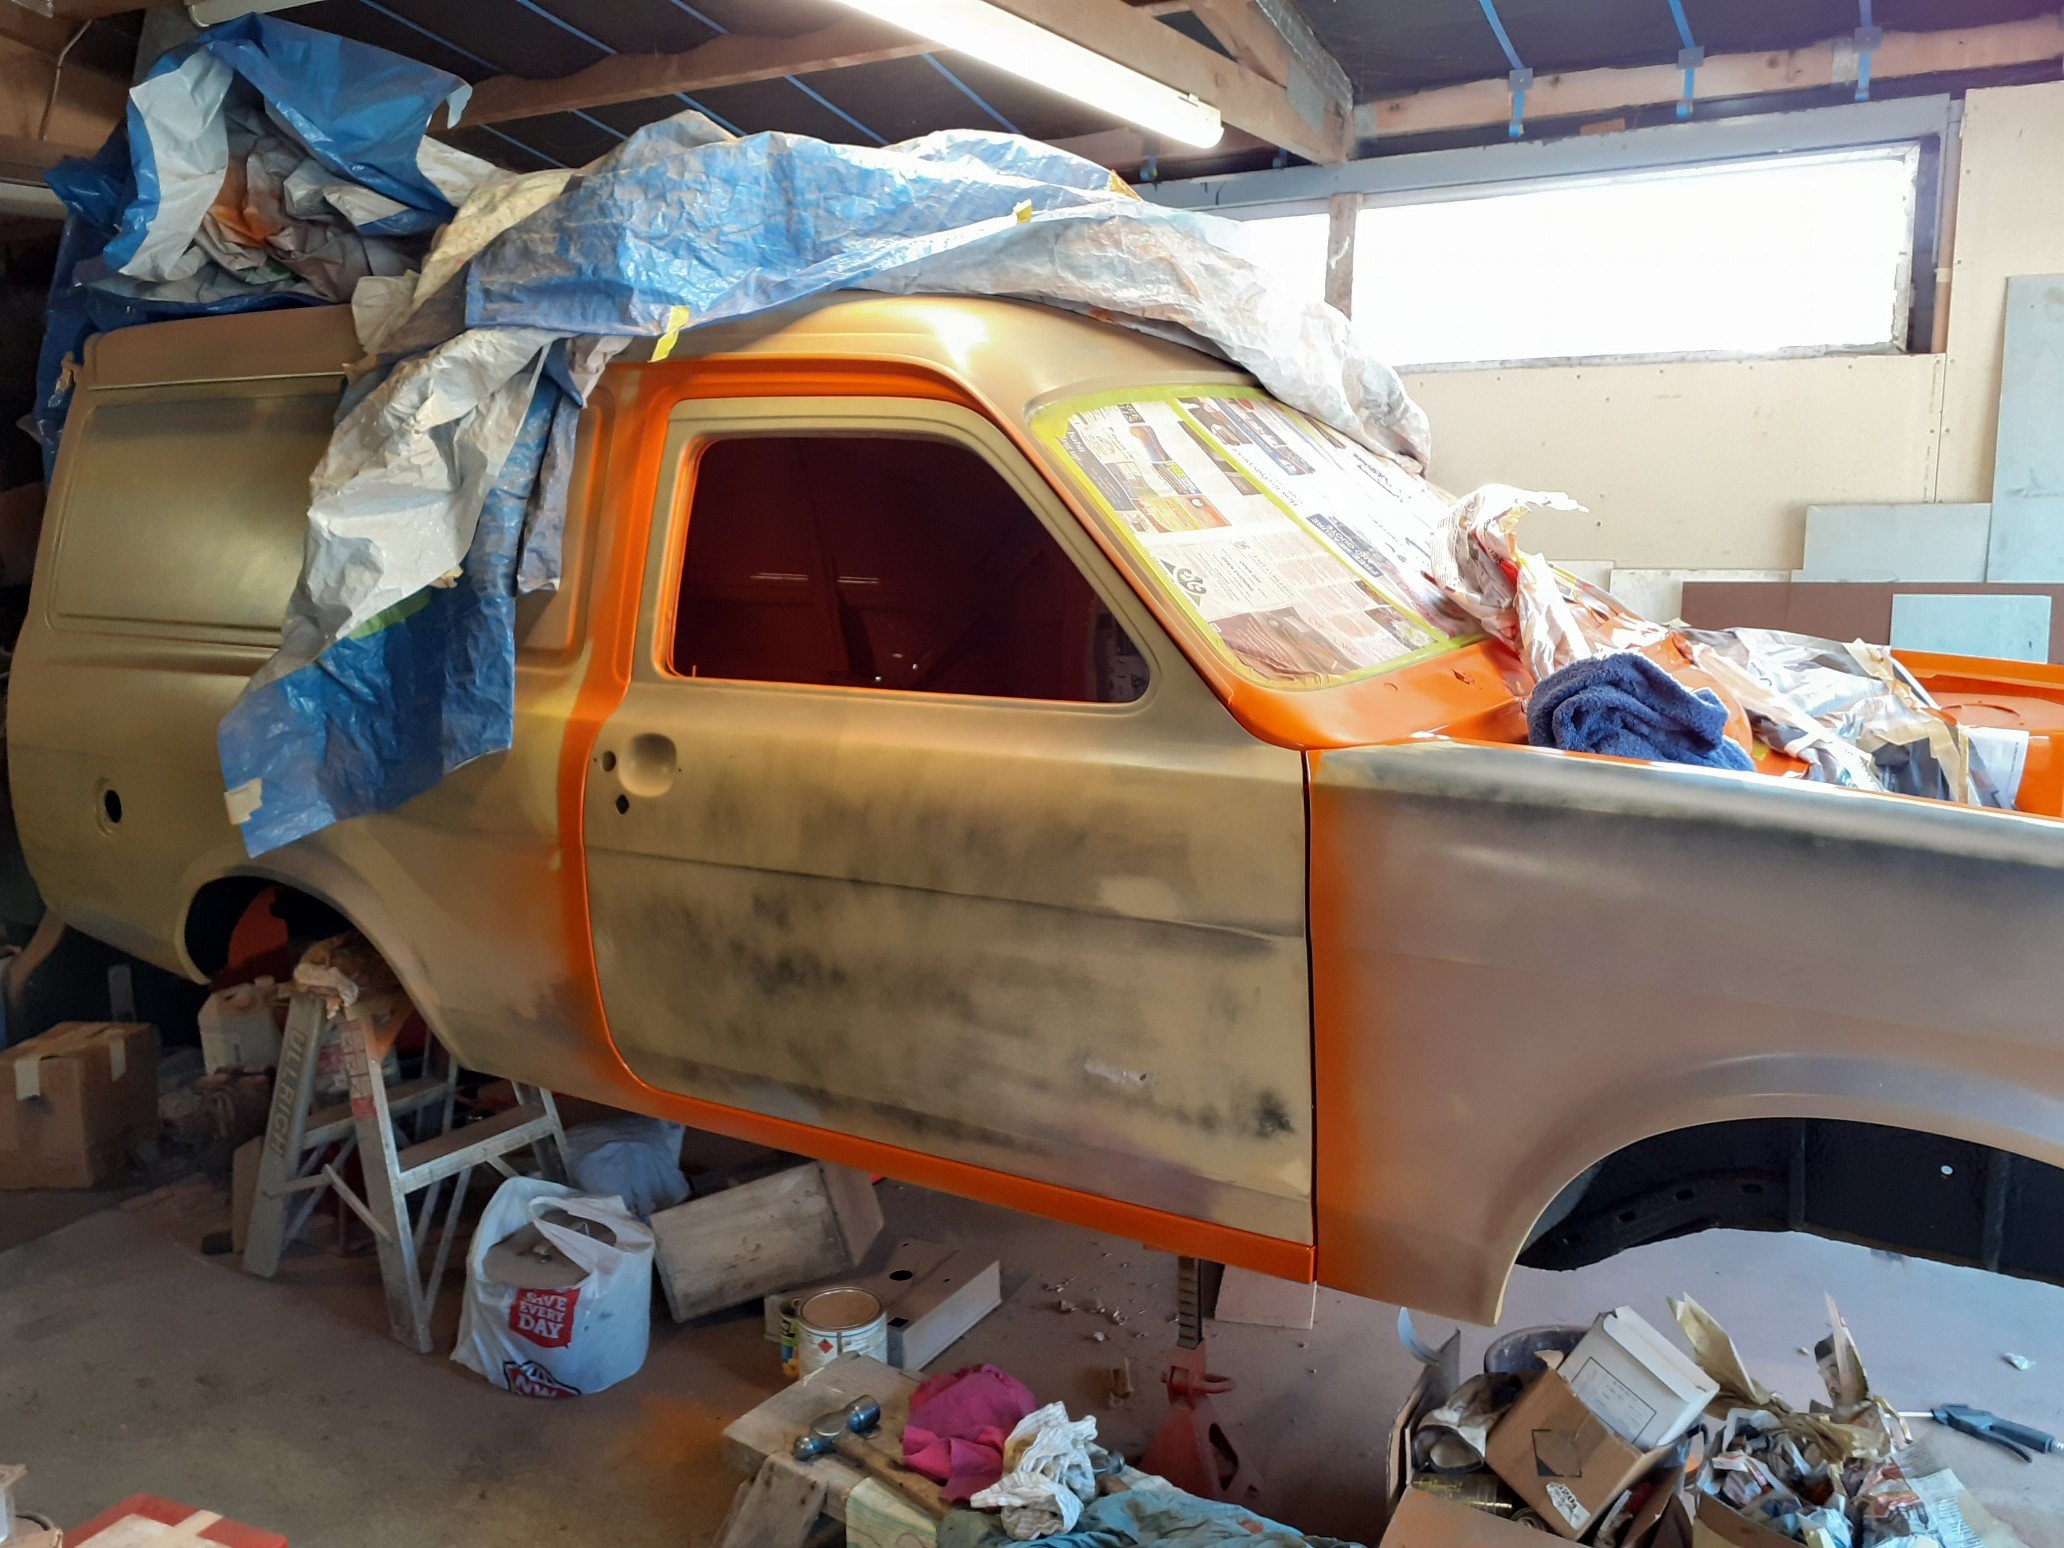
Done a quicky on the painting, minimising the work to get it done, and by done, i mean water proof and ready to roll quick high build prime over the sanded back repaired areas then a blow over with the blue. i mixed a bit much paint and instead of waste it, I got a few sags instead Still, unmasking is just the best Front door bits swapsies. Its surprising how much lighter a car door is without all the trimmings! took bits off all three to make one 'good' one Again, this one fit straight in the hole a treat (after a shim here and a hinge shave there) and now opens and closes the best it ever has so ive decided i quite like the look of these doors and they can stay Tidied out the inside of various mostly empty boxes and various screws, trim and clips, that are now consolidated into one bin Put the grill and headlamp assemblies, nearly all the bulbs now mostly work after a wiggle or a tap. Still a bit of a list of things to do, - Exhaust has a leak, looks easily accessed - handbrake cable buzzes on exhaust - i messed something up when i assembled the rear door, the window snags on the door lock rod when its wound down - sand the runs, flies and dust out the of the paint once it hardens a bit more - polish - clean and install chrome trims I also put the interior of the doors in and gave the dash a wipe. . Looking forward to giving this thing a good blazz again soon! Its mobile and driveable now and only the exhaust really needs sorting for a WoF, and now its together it also means i can start sort a lot of stuff out of the shed and into storage etc3 points
-
Is this car Kent powered? @Rookie’s technique was to just change head gaskets between runs at the track .2 points
-
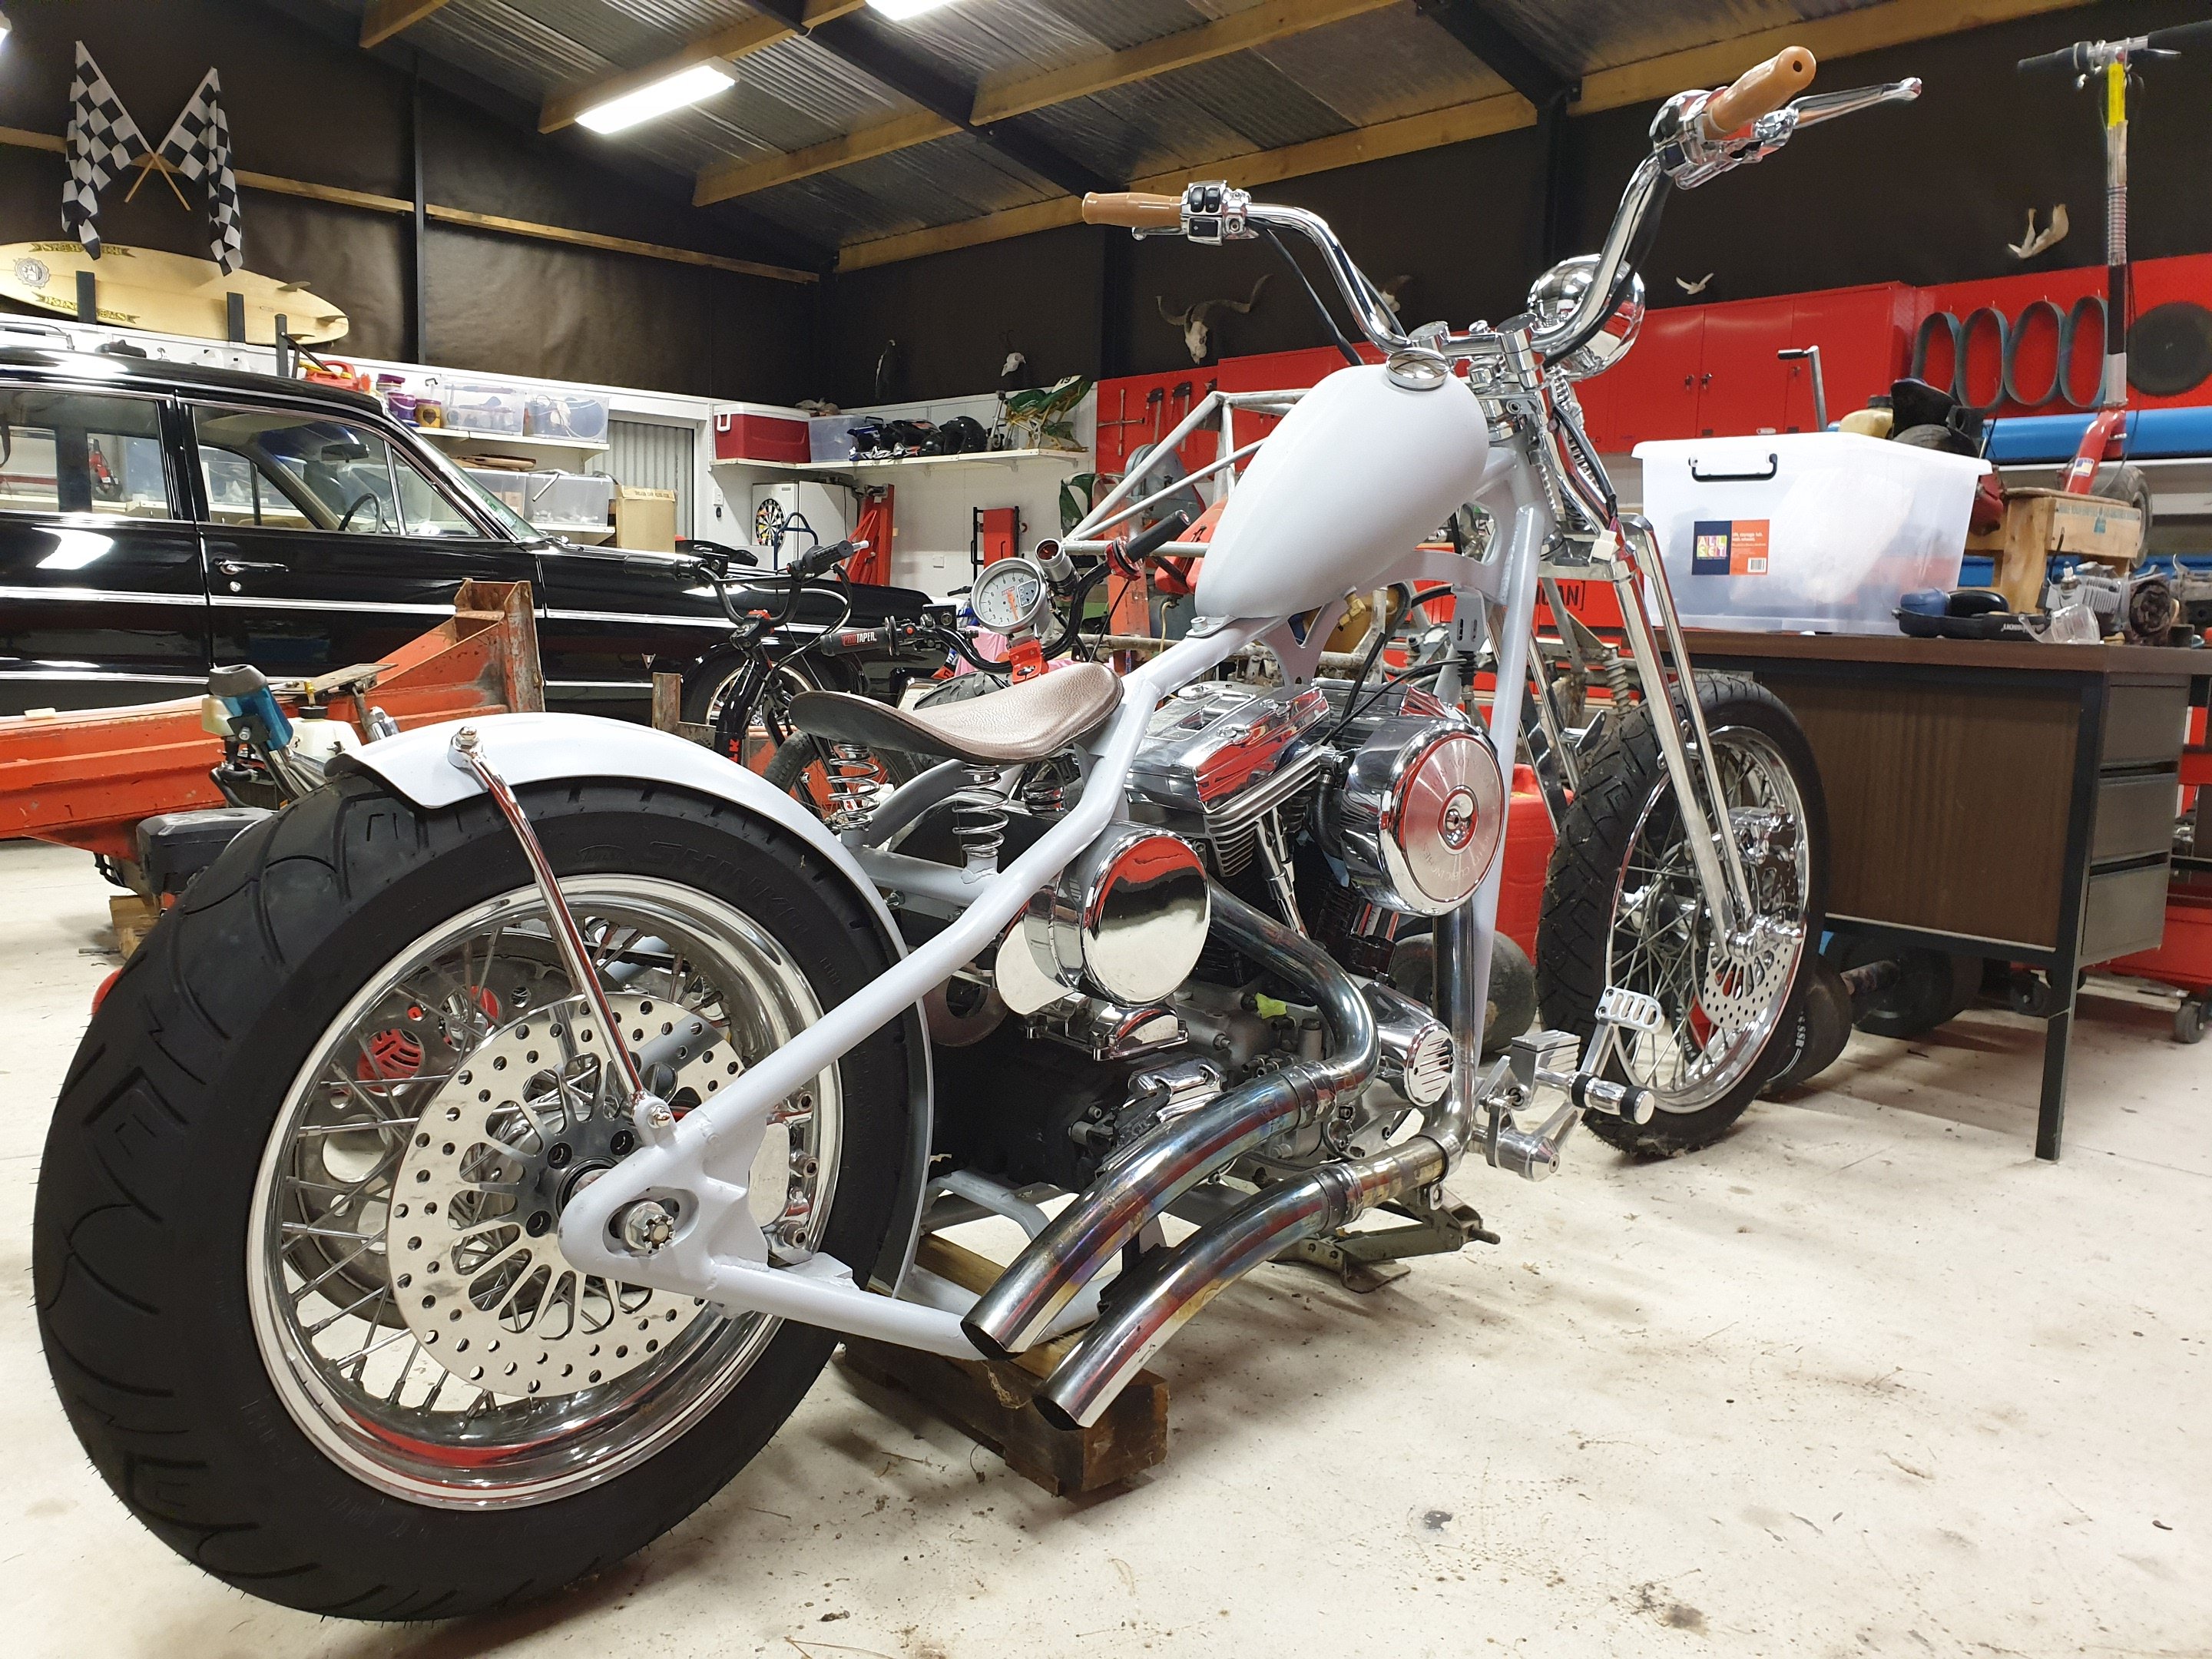
On a random side note, I did a mini spring clean of the shed today. I had accumulated a rather large pile of ever increasing junk taking up a bay for no good reason. Amongst this was a project I rarely look at...so I removed the covers to reveal it for a look... Fuck yeah...seriously...fuck yeah!!! Makes me wonder what the fuck I'm doing spending time on gopeds when I could be putting the finishing touches on this 99% finished harley? Someone kick me in the balls!!!
2 points
-
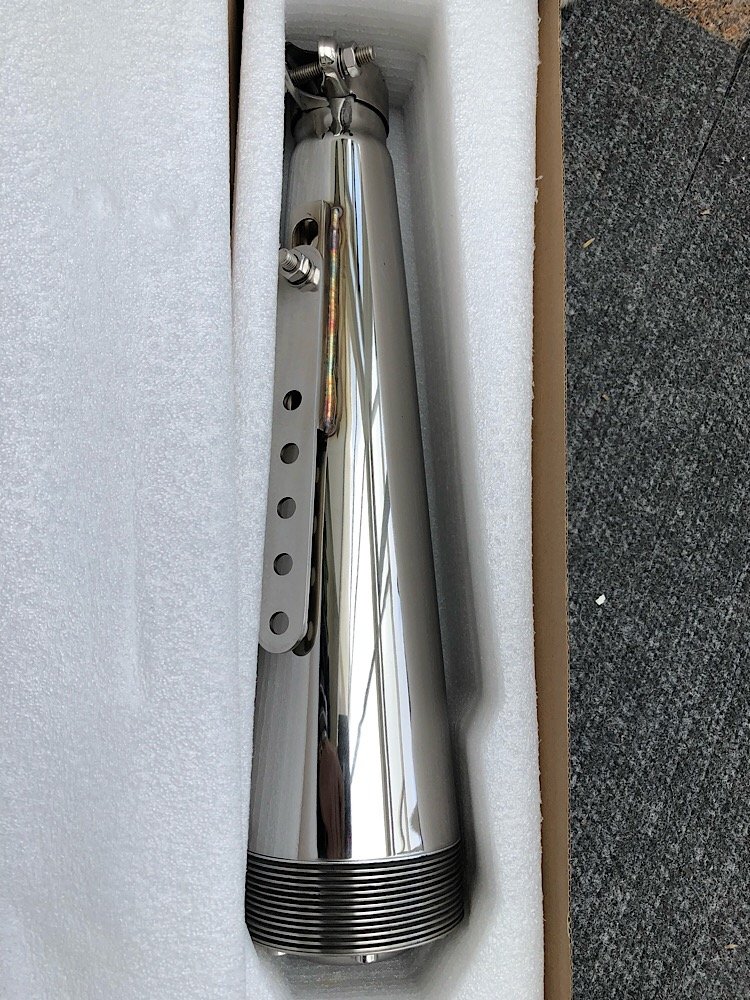
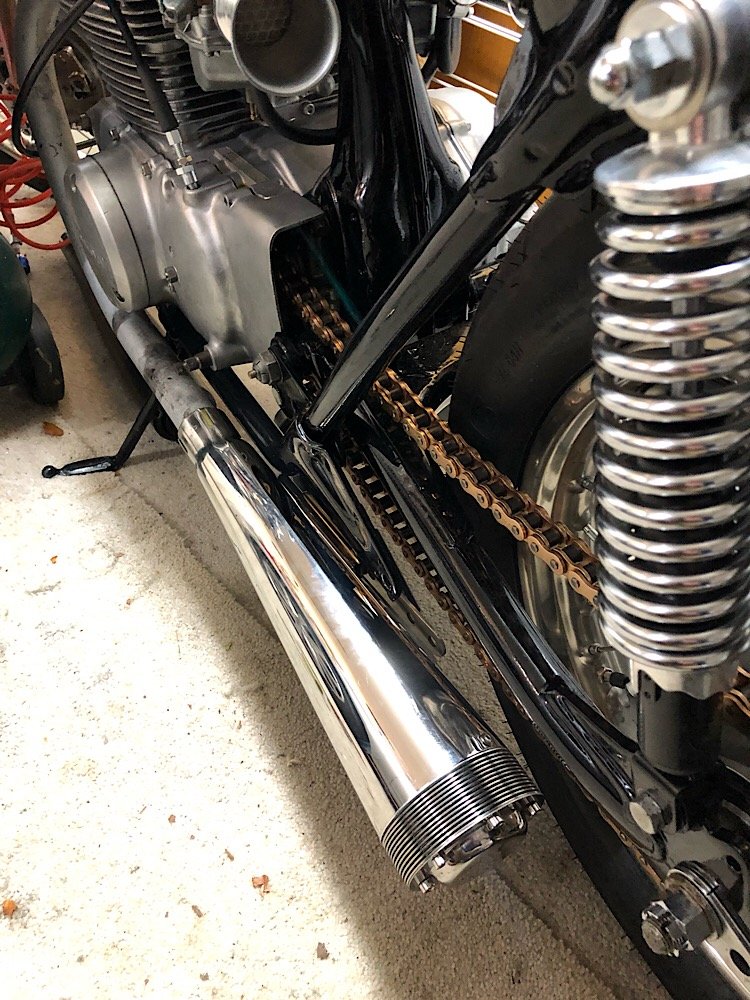
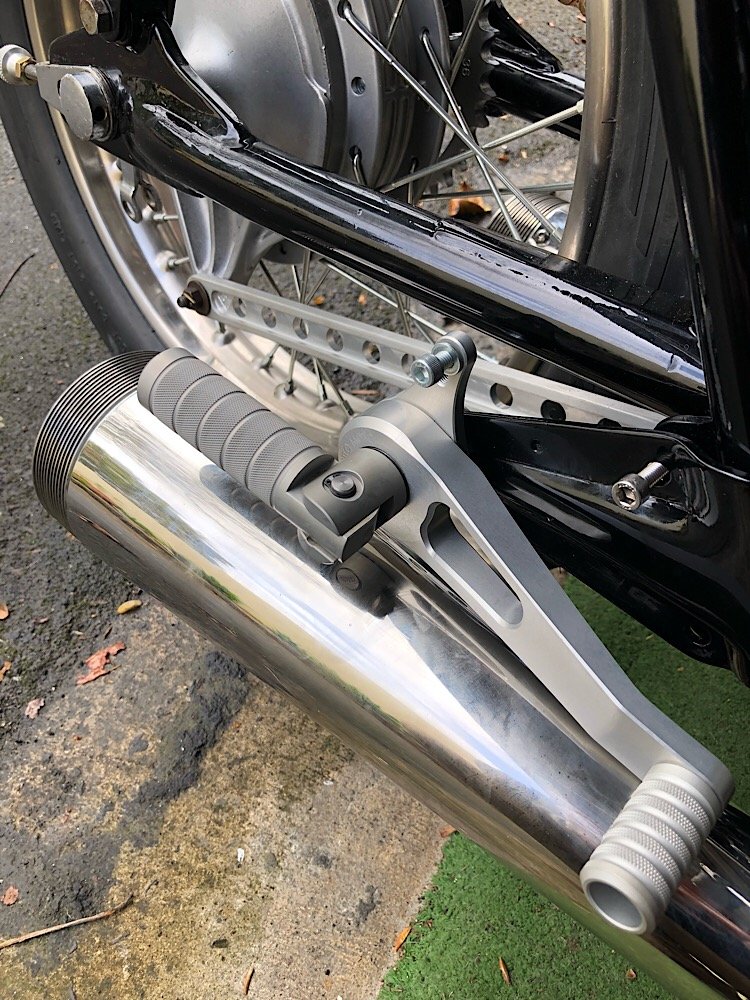
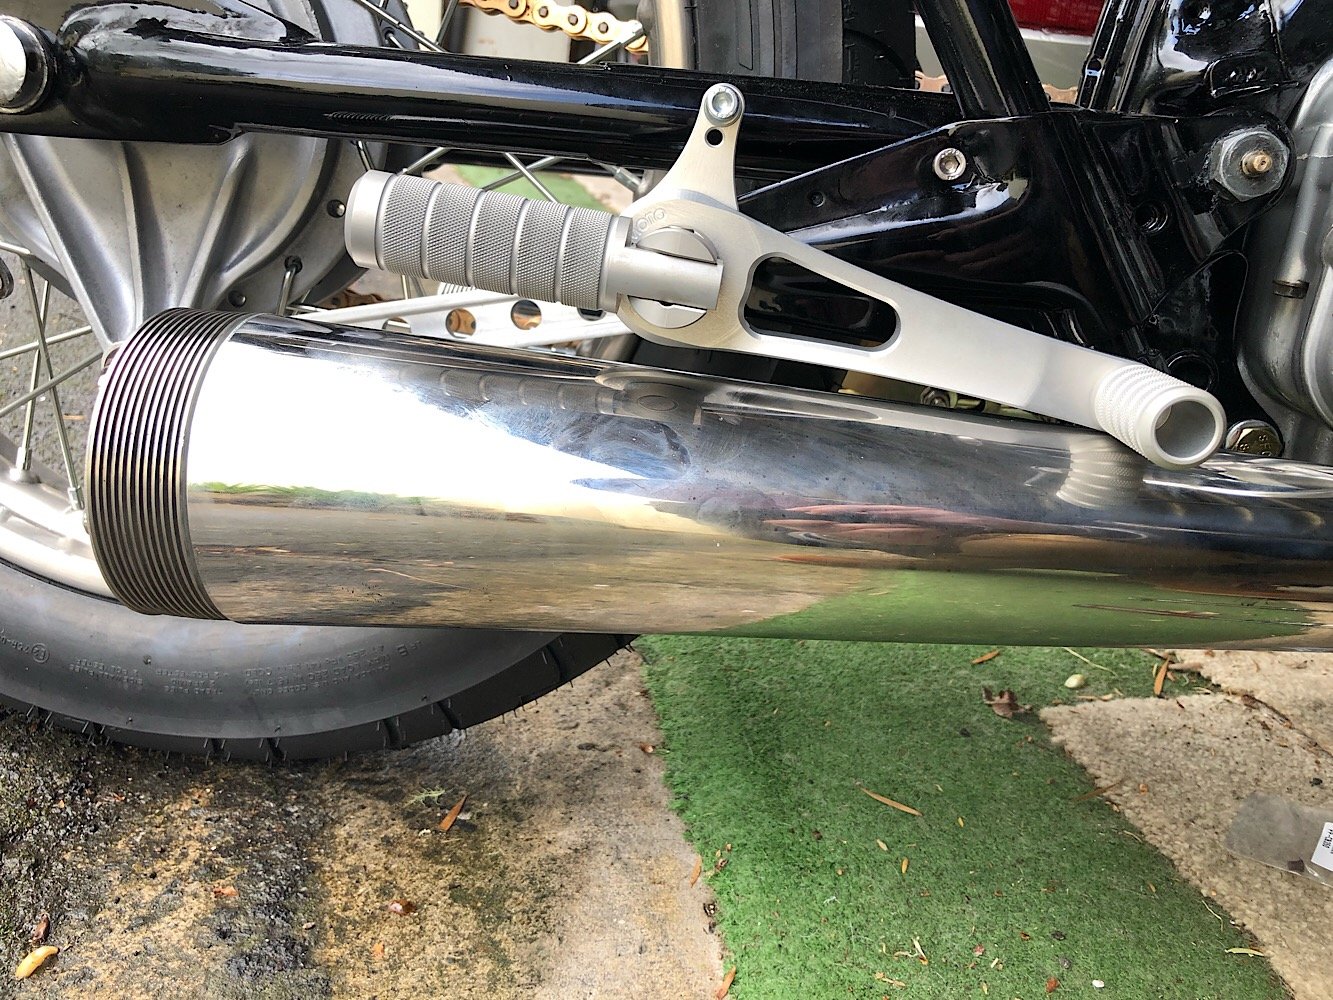
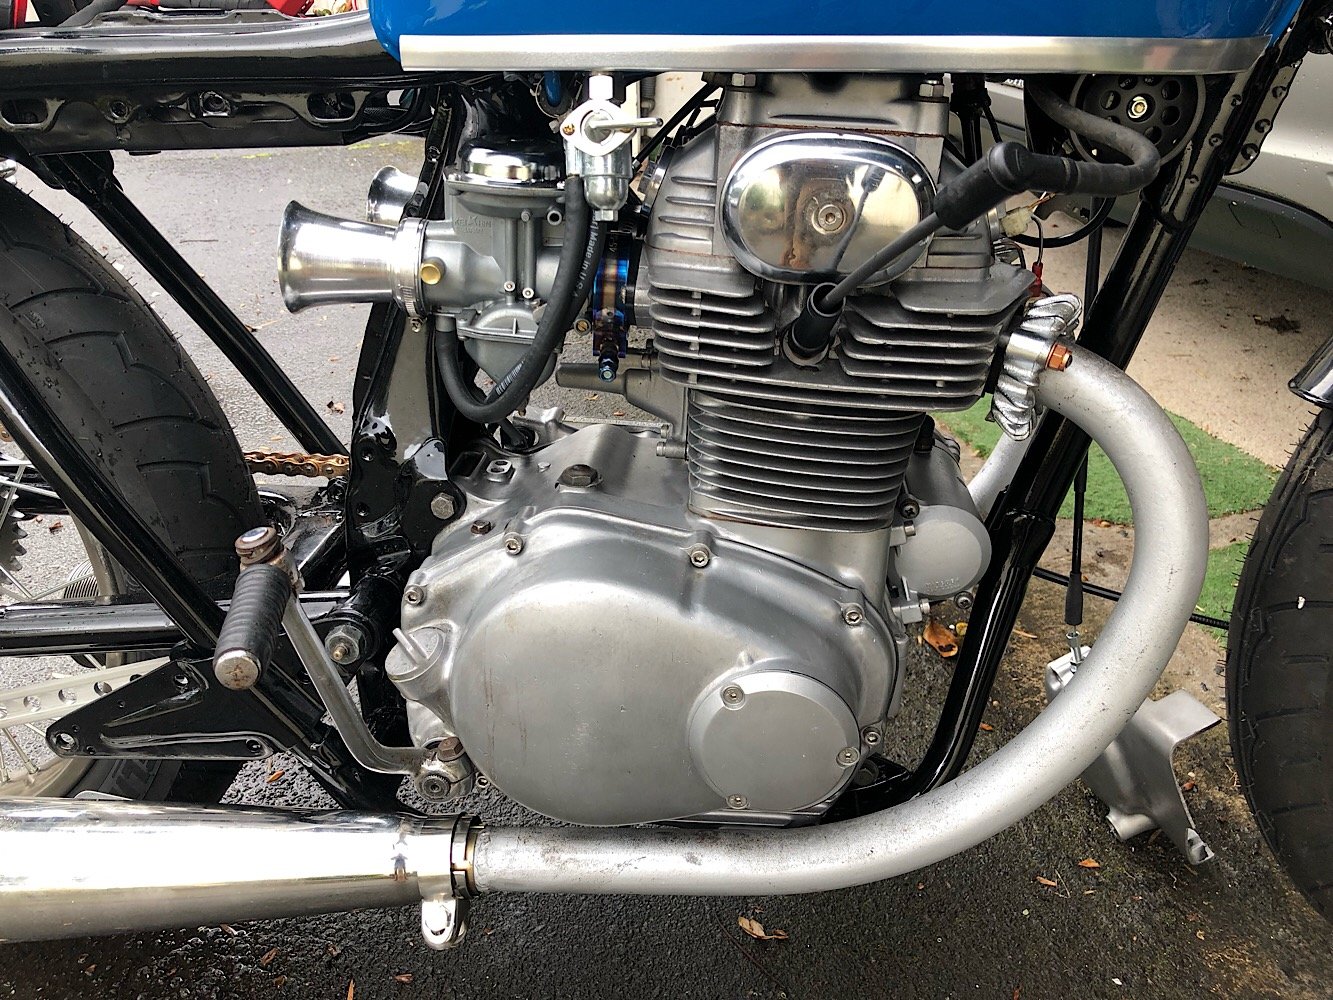
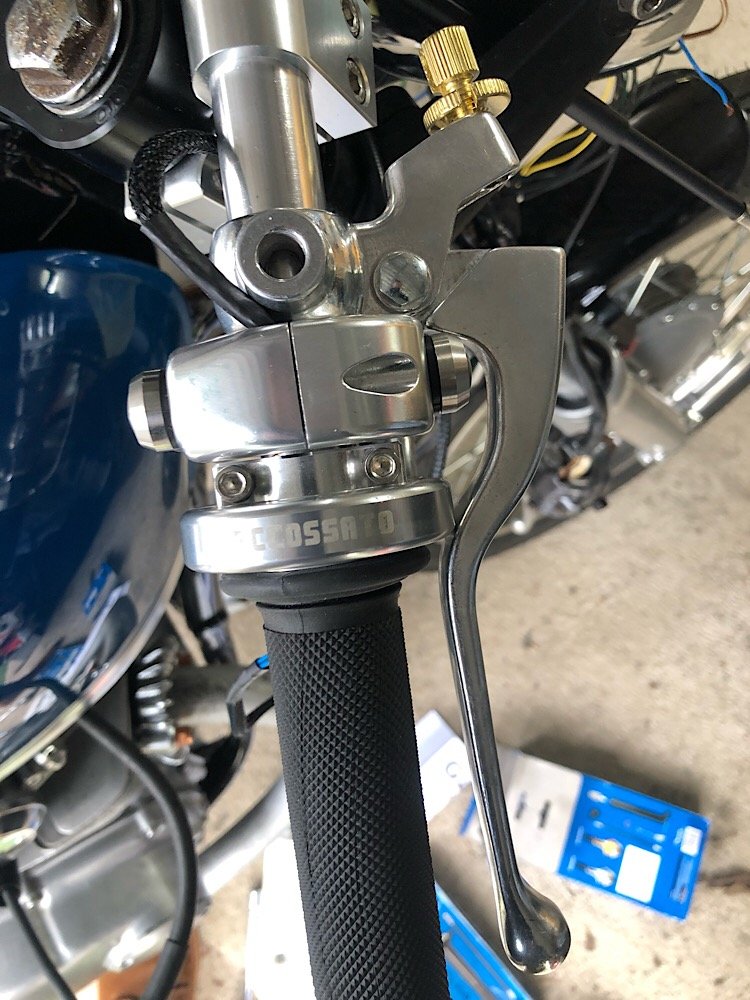
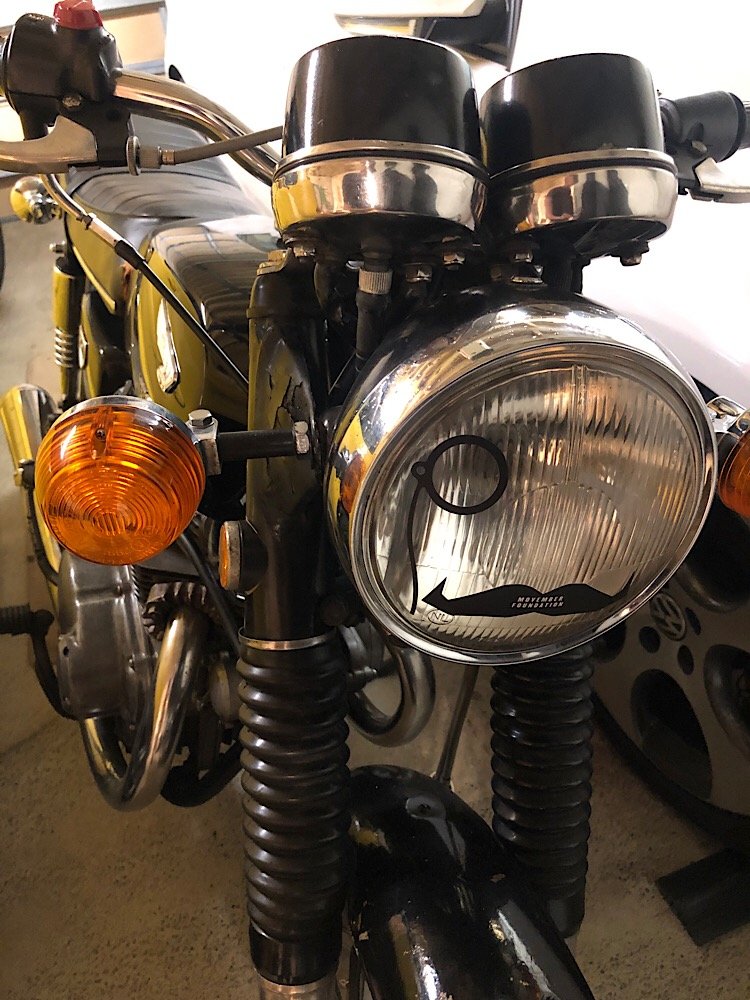
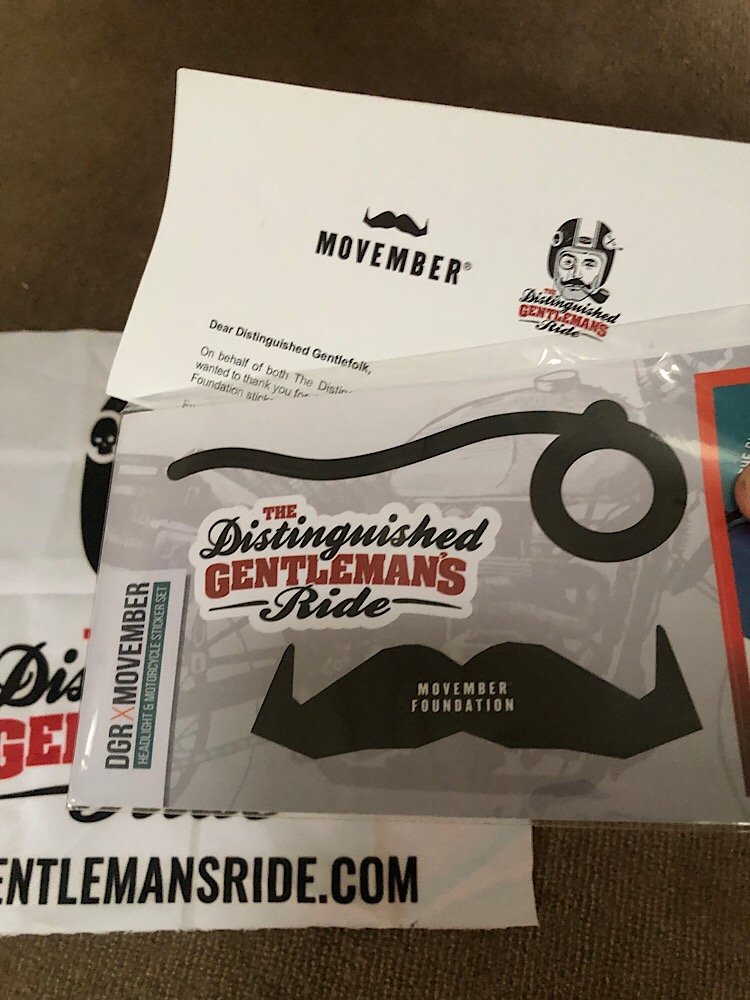
Big update mostly about clearances. Firstly the Supertrapp reps turned up and wow are they mint! Did a test fit and fired it up which sounded great, stoked!!! Now clearances, looking at a lot of other CB350 builds I always wondered why they added aftermarket headers. With the rearsets I realise that the factory exhaust sits too high so the brake leaver hits the muffler. Also the kick start hits the rearsets too, bit of a cluster really. Gave it a quick tune with the glass plugs, found the 70 idle jet ran too rich so swapped it out for a 68 which helped when tuning with the Air/Fuel mixture screw. Also added in the blue titanium hose clamps round the carbs, kind dig it kinda don’t, they are quite wide so they don’t quite fit. Can see them in this pic. The push button controls turned up for the handle bars too; again quality and feel is immaculate so far, they also did a perfect job of setting up the buttons as some were momentary and others were push on/off. Test fitted them to check and happy with the fit/clearance. I’ll thread the wiring properly down through the handle bars eventually. Realistically this bike won’t be ready for the DGR ride on Sunday so the CB250k is hitting the ride again this year with the DGR headlight stickers to support men’s mental health. Lastly found the winged Honda badges I brought ages ago to stick on the CB350. Factory colour is to fill them in white but I reckon black could be the go. Thanks for looking!
2 points
-
Tried that before ending up with the welder - using the angle grinder and file, the nut would always end up rounding off again. However, success was had on Sunday arvo
2 points
-
Go N1, or whatever pump it was they upgraded to between the 32 and 33 GT-Rs as oiling was a minor issue prior. That power figure shouldn't be far and away from what a stock GT-R can make with a few tweaks so as long as you're using one that the 33 or 34 big dogs use stock you'll be fine.2 points
-
IIRC @kpr was using a combination of both materials when making his mufflers. In the industry, the good mufflers seem to have multiple layers of different material. This is from the AdrenalinR website: Every single muffler we fabricate utilizes our 3 stage sound absorbtion methodology which consists of tightly wrapping the baffle in exhaust grade stainless steel wool, ceramic matting and a layer of tightly woven needlemat fibreglass blanket. The stainless wool breaks up soundwaves and creates a barrier preventing the packing from breaking up and exiting the rear of the vehicle prolonging the life of each and every muffler. The ceramic matting absorbs noise and heat preventing the fibreglass turning back to glass. The needlemat fibreglass blanket acts as the final noise insulator which results in quieter, deeper notes singing from the rear of your vehicle.2 points
-
Not much to report as I am still in the process of scraping together the funds for chassis coating. This is hampered by me spending quite a lot of the money I have been saving on frivolous new engines and such. This came about as I was alerted by many lovely people including @Willdat? That there was a cheap TD42 on FB marketplace. It turned out the chap was about 2 km from my house and was desperate to get rid of it as he had to move this weekend. I also bought a complete manual conversion kit off him that he had never installed and was going to scrap if he couldn't find a buyer, so I am selling this on as I don't need it, check the parts for sale if you want one. Overall this has worked out sweet as there were a number of things missing or toast off my engine, ie oil cap, exhaust shield, belt idler etc. I now have a spare alternator and fuel pump, plus he threw in a whole lot of other shit that will prove useful. The crank looks good, so I guess I could have passed on the Trundles stuff, but maybe I will build this one up properly for later... You might be able to see the snapped conrod in the second pic, he had driven into a river and hydraulic'd it, this is why it was in bits...2 points
-
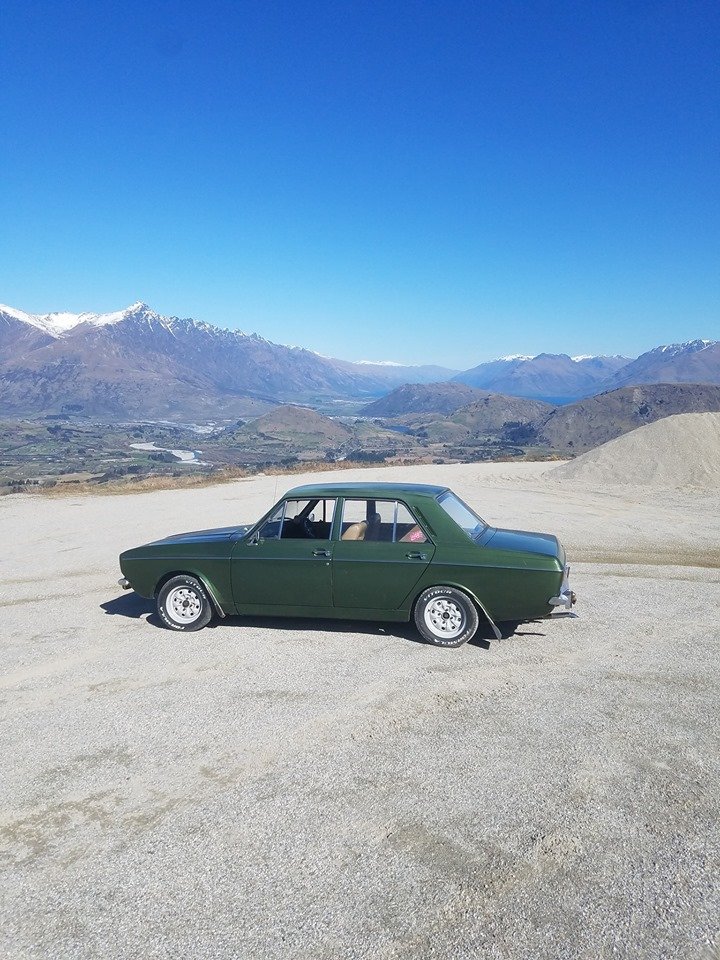
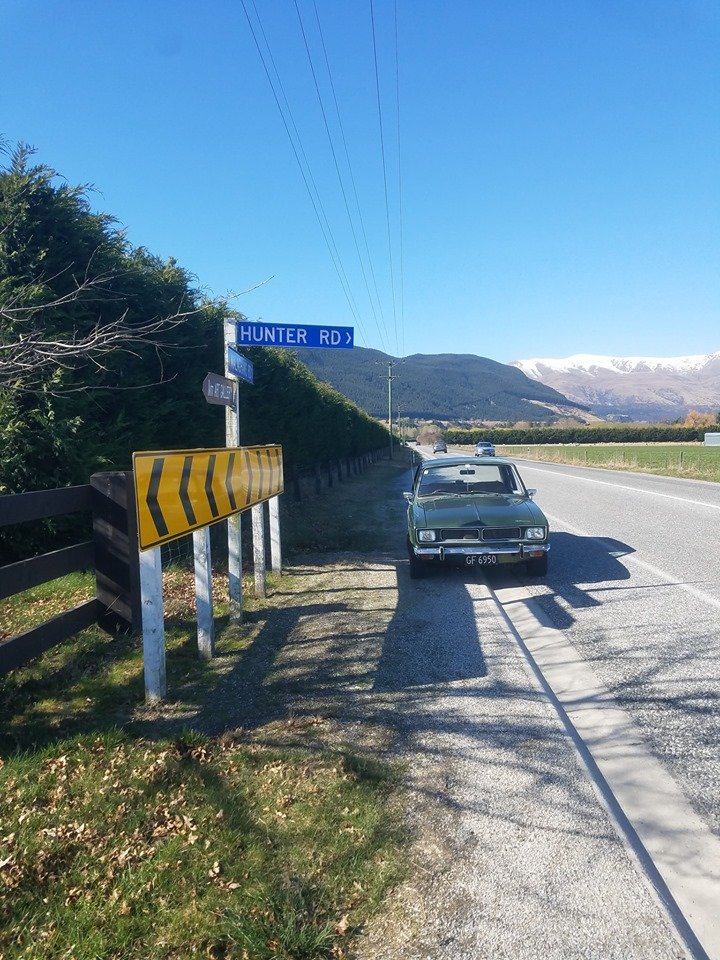
took the old girl for a spin today.. went up the coronet peak road, hooked a doughy then drove to arrowtown. shes slowly getting a bit more blow by, maybe time to slap the ported head on it haha
2 points
-
That sounds exactly what I don't want.2 points
-
2 months later i have all the bits to rebuild the bottom end. the heads are already finished and i have them back. parts, 9 to 1 CR Ross forged pistons (the cunts will not change the value of the parts on the shipping invoice so keep that in mind when deciding to use them or not) eagle H beam rods and ARP rod bolts ARP main cap studs and bolts new genuine Toyota oil pump theres heaps of other shit too but you get the picture. block will now be bored and honed to 88mm. rotating assembly will get balanced and ill get the short block back. then its reassembly time. good days. or maybe not good days. going in to hospital to get back surgery in about a month so that will fuck all progress for a while............... 2019-09-19_07-59-37 by sheepers, on Flickr 2019-09-19_07-59-22 by sheepers, on Flickr 2019-09-19_07-58-23 by sheepers, on Flickr2 points
-
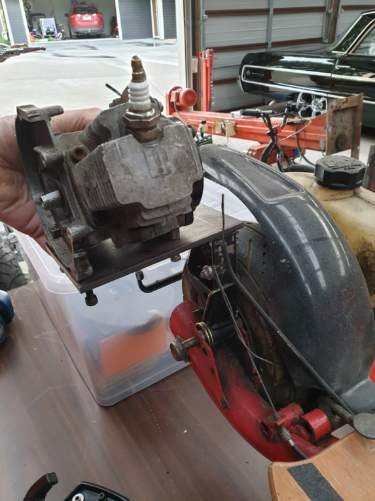
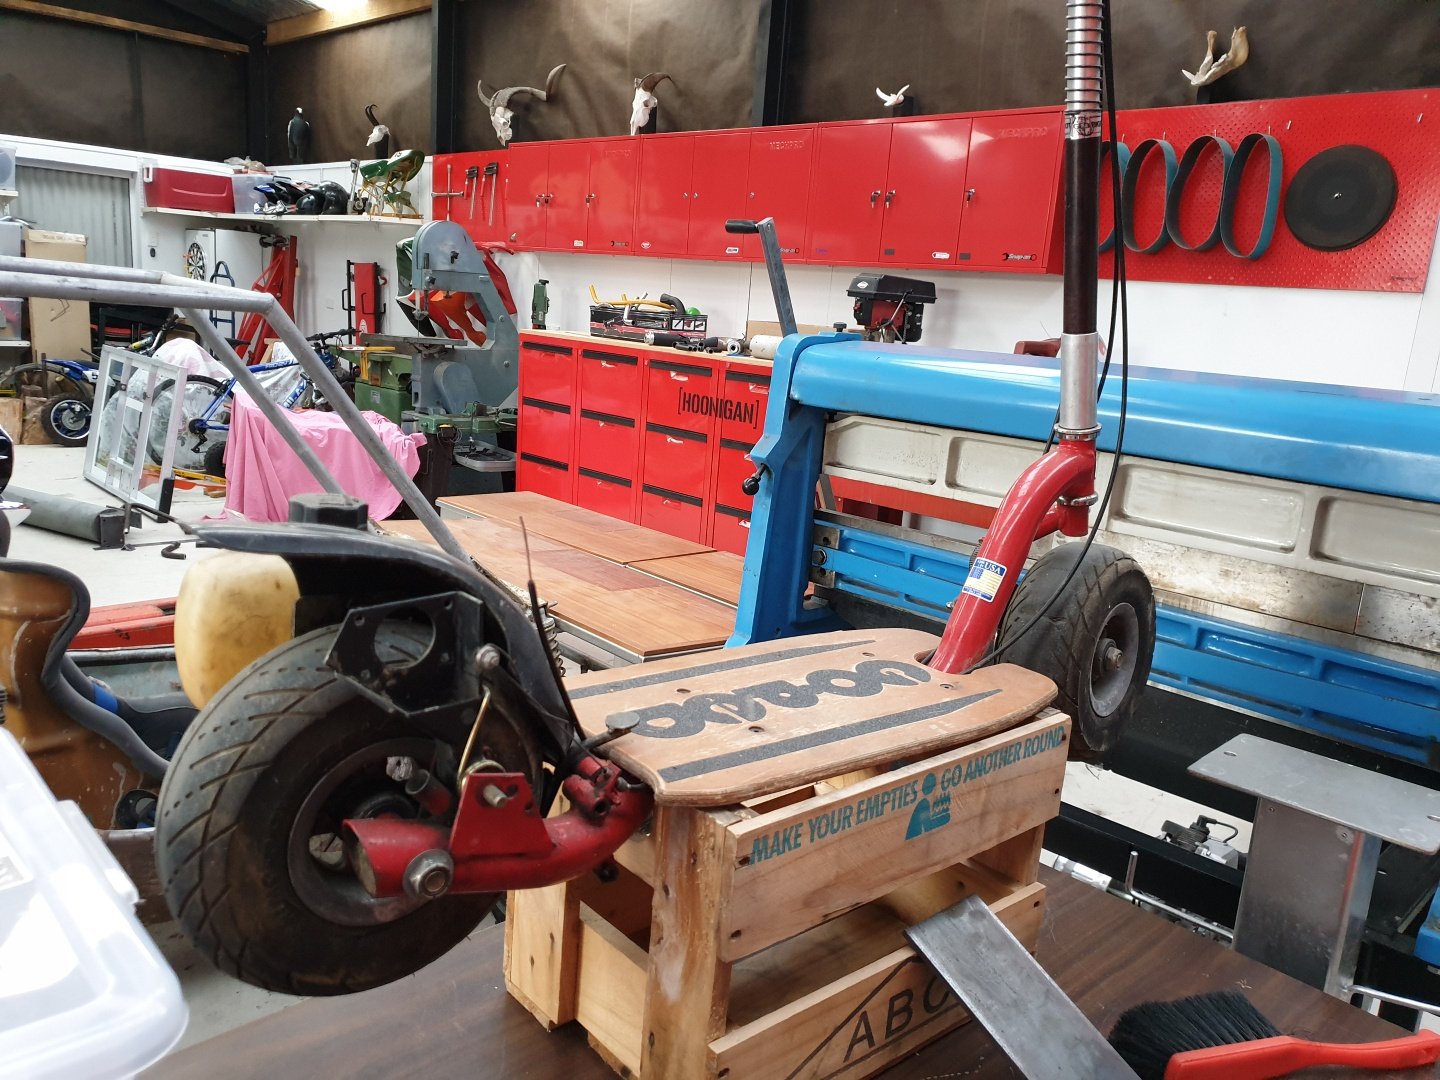
After much thought, I'm going to put a CAG 49cc motor on it. My main reasoning for this was, I'd have to destroy a perfectly good pocket bike to put a C1 polini (replica) water cooled motor on it. I just dont have the heart to ruin a working bike just to get the motor - when I have two CAG motors sitting there in bits. So, I made a start... Here's the goped. Purchased as is, missing the motor. CAG motor getting a 6mm thick steel plate attached to the bottom of it. This will enable me to weld a strong pivot point to it. Close up of the OEM engine mount. This pivot held the motor, there was no clutch as in a centrifugal clutch. However the wire cable tensioner literally pulls the motor directly onto the tyre and transmits power via a friction drive spindle. To start, you push it to about a walking pace and then tension the motor down to contact the tyre...then you can stop pushing and the motor takes over. Pretty clever low tech solution. I'm going to do away with the friction drive system and transmit the power to the rear wheel using a chain drive via a centrifugal clutch. This has a number of advantages over the friction drive, and also solves the main problem with my motor spinning the opposite way to the OEM motor. I'm going to weld my steel mounting plate to this OEM pivot. I'll cut it to a suitable size to lower the motor down to provide a strong engine mount. I'll replace the cable with a spring and this will provide a constant chain tension. So that's the plan...
1 point
-
Hi all, I know this isn't the normal sort of engine on this forum, but I'm putting one in my OS project so here we are. I can not for the life of me, after a lot of internet searching, find a concise/factual answer to what is the go-to oil pump for an RB25DET in my sort of application. From what I can find, there are 3 options: 1) Standard oil pump. 2) N1 oil pump. 3) Tomei/Nitto/HKS/other good but expensive aftermarket oil pump. Some quick facts for those unaware of what I am going for: -Aim is somewhere in the 350-400hp range. -This engine is going in a 4wd, so won't be exposed to the type of lateral forces a drift car would be, but will occasionally have to rev to clear mud from tyres/will be on an angle sometimes. However, primary duties are weekend warrior and/or driving to work. - I plan to run a modified winged sump for extra oil capacity. - The long block has been fully rebuilt, using new fasteners but seems to be standard parts as per below: I am unsure if oil restrictors were put in the block when assembled (I would assume not). -I plan to run a head drain to stop extensive oil buildup in the head, which seems to be a common issue on these. I am unsure of whether or not I need an uprated oil pump, if the N1 pump is actually better, or whatever. All I do know is I do need a new one because may as well while rebuilding, and the old one has wear. Let me know if you have personal experience/technical knowledge. I will be going to hit up my engine builder today, and see if they have any experience with these. TIA, Hayden,1 point
-
So what other interesting junk is sitting forgotten in your shed?1 point
-
Those Falcons, Holdens ... they are all a bit on the small side if you are running something like a 9" I reckon. You go through the trouble and expense to install a strong diff then handicap the deal by running a small UJs if running anything off a coon or commy. The black yoke in the pic below is a 1350 OEM 9" item. The rusty one next to it is one I found here that came from off a 90 something Coon. I dunno what size it is but probably a 1330 or similar at a guess. I have seen plenty of 1310 stuff - they are puny. Another 1350 one but a billet by Strange.
1 point
-
Only Nissan RB Barries could talk about oil pumps for 379 pages!1 point
-
Theres a very long thread at skylines Australia about oil pumps. It was up around 379 pages when I read it. (Around right years ago) the crux of it (back then) was that a crank collar was a must, and that with a lot of hitting the limmie /limmie bashing the harmonics cause crankshaft flex. Since tje N1 gears are sintered metal they break when flexed. @DJZ had an N1 pump in his rb26. And those gears broke, while pulling big revs. Cost him a crank grind, but fortunately not a new BB turbo. What I took away from that thread was that actually the Nitro pumps were thw pick of the bunch. Sorry I don't have a link. If you search N1 you might find it. It's probably north of 500 pages now.1 point
-
I should have some photos soon but, had to fuck around with one bearing in the gearbox as when I shrunk the new one in it was going tight, but its good now with a FAG bearing. Frame should be finished by Friday and cylinder is off being bored and this morning I dropped the crank shaft to get the new rod kit fitted and got a call this afternoon and thats done, main bearings are still on the way from japan as with seals, and one needle roller bearing I gad to get from the USA. also been making a steel blanking cover for the neutral switch. I got a can of CRC gasket stripper, that shit will do everything apart from what its intended for, petrol thank is now totally bare steel.1 point
-
You could give Robbie from RIPS an email too - if there's anyone that knows about RB's its him. He's good a pretty good guy and while he builds mega dolla RB30s he's usually super helpful to the average Joe.1 point
-
That I would say is an EXCELLENT handle!1 point
-
@rb drifter Linden, not sure if you are still on here, but you've built a few RBs in your time, any tips?1 point
-
image album starts like this :1 point
-
See what an EF Falcon has to offer.1 point
-
Have made them out of a bit of everything over the years, inc pink bats i pinched from my oldies ceiling. But yeh, the above is a good idea for the .. above reasons. Have used straight chop strand fiberglass on a lot of them. they do burn out after awhile but not as fast as you would think. closer to the engine, the faster it will happen. the stainless wool around the perf first is a good idea. different sizes and shapes will be better at shutting up different tones. don't ask me what size does what because i don't know. but its the reason why its good to use at least 2 different size/ shaped mufflers in same system. for the ls1 3" will be fine if its stock. The time to ignore the above chart, is on na engine with big cams and overlap. Edit: yet another top fail1 point
-
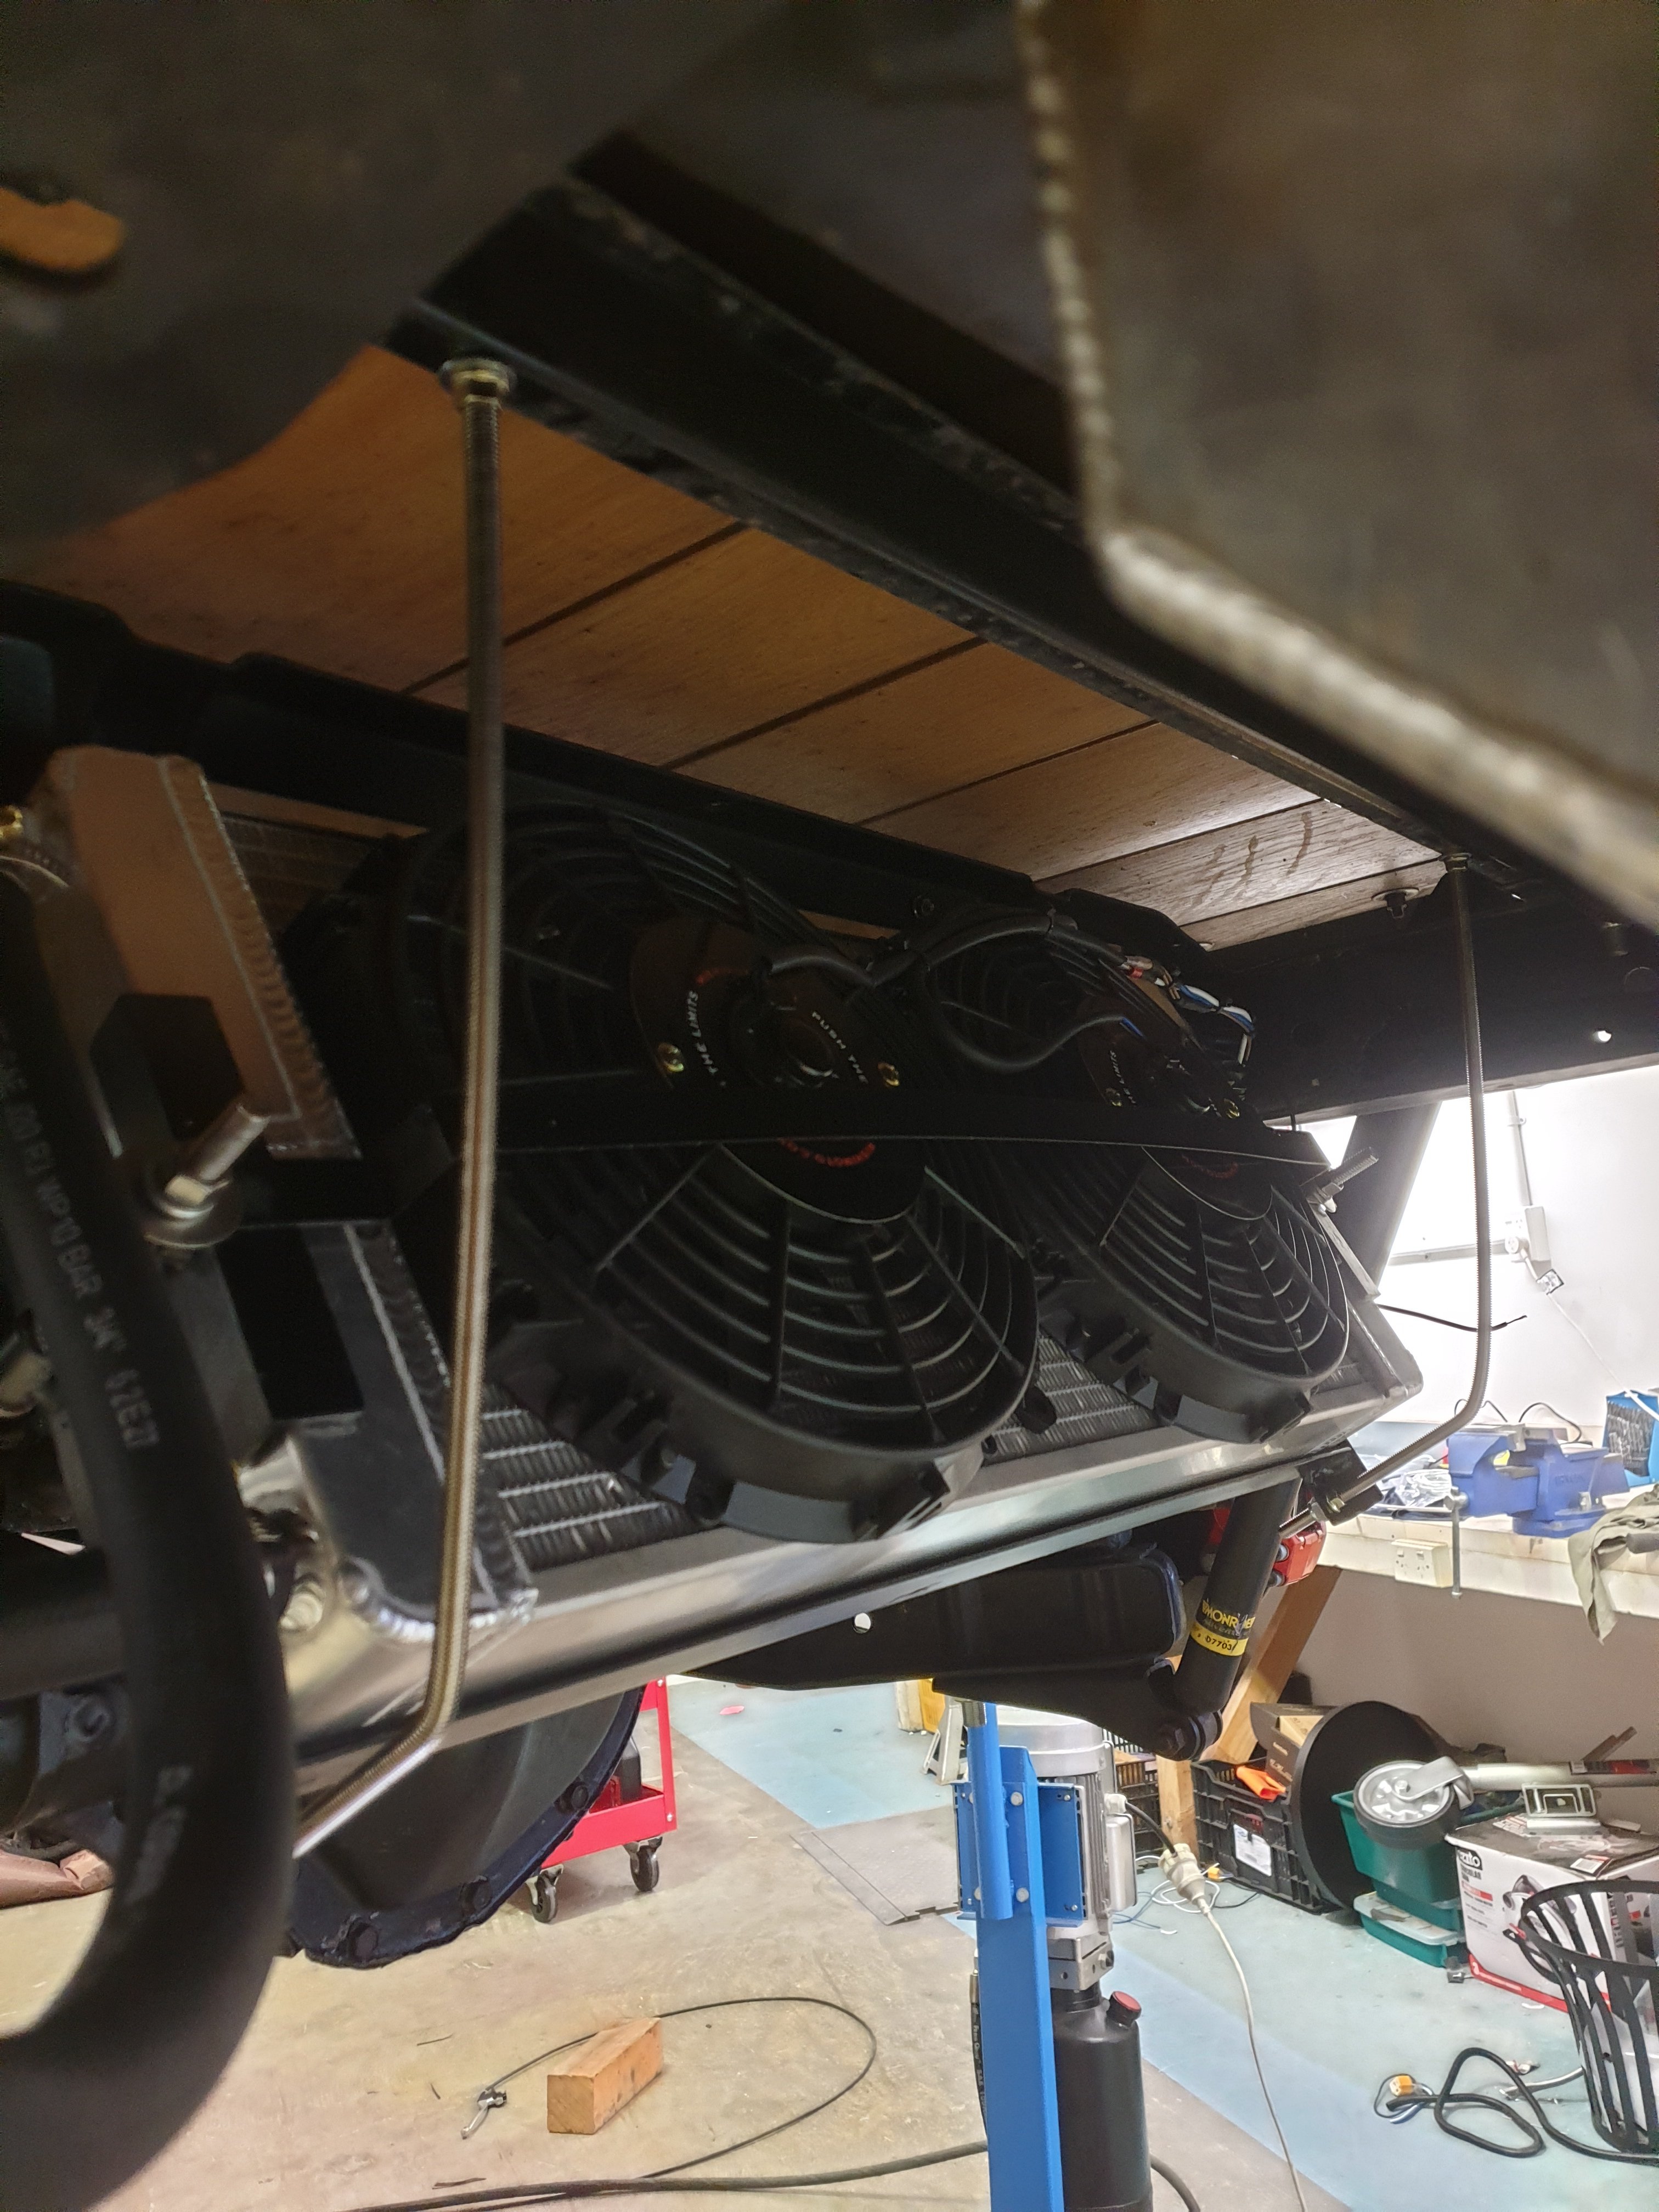
Bit done over the weekend, tidied up the last of the wiring, stripped an internal thread on brake bias adjuster (bastard) , checked electrics, powered everything up, got radiator for supercharger heat exchanger mounted behind the diff, looked at trans cooler and put it back on the bench, got power steering half plumbed . One of my lads is a plumber so going to run 3/4" copper lines from front to back for the heat exchanger plumbing. And probably need to cover the front of radiator with mesh or something.
1 point
-
Depending on how much you want to spend, T3 or MRP could be the go for aftermarket kits1 point
-
4x100 or 110? Fwd gt starlet ep82 rear hubs (4×100) fit on kp stub axle which pretty sure is the same as ke20. Hub and rotor is all one part though.1 point
-
1 point
-
I've always welded nuts on, perfect hole in the middle to fill with weld. Could potentially cut some flats on that one though and put the next sized down socket on it. If needed before you get the welder.1 point
-
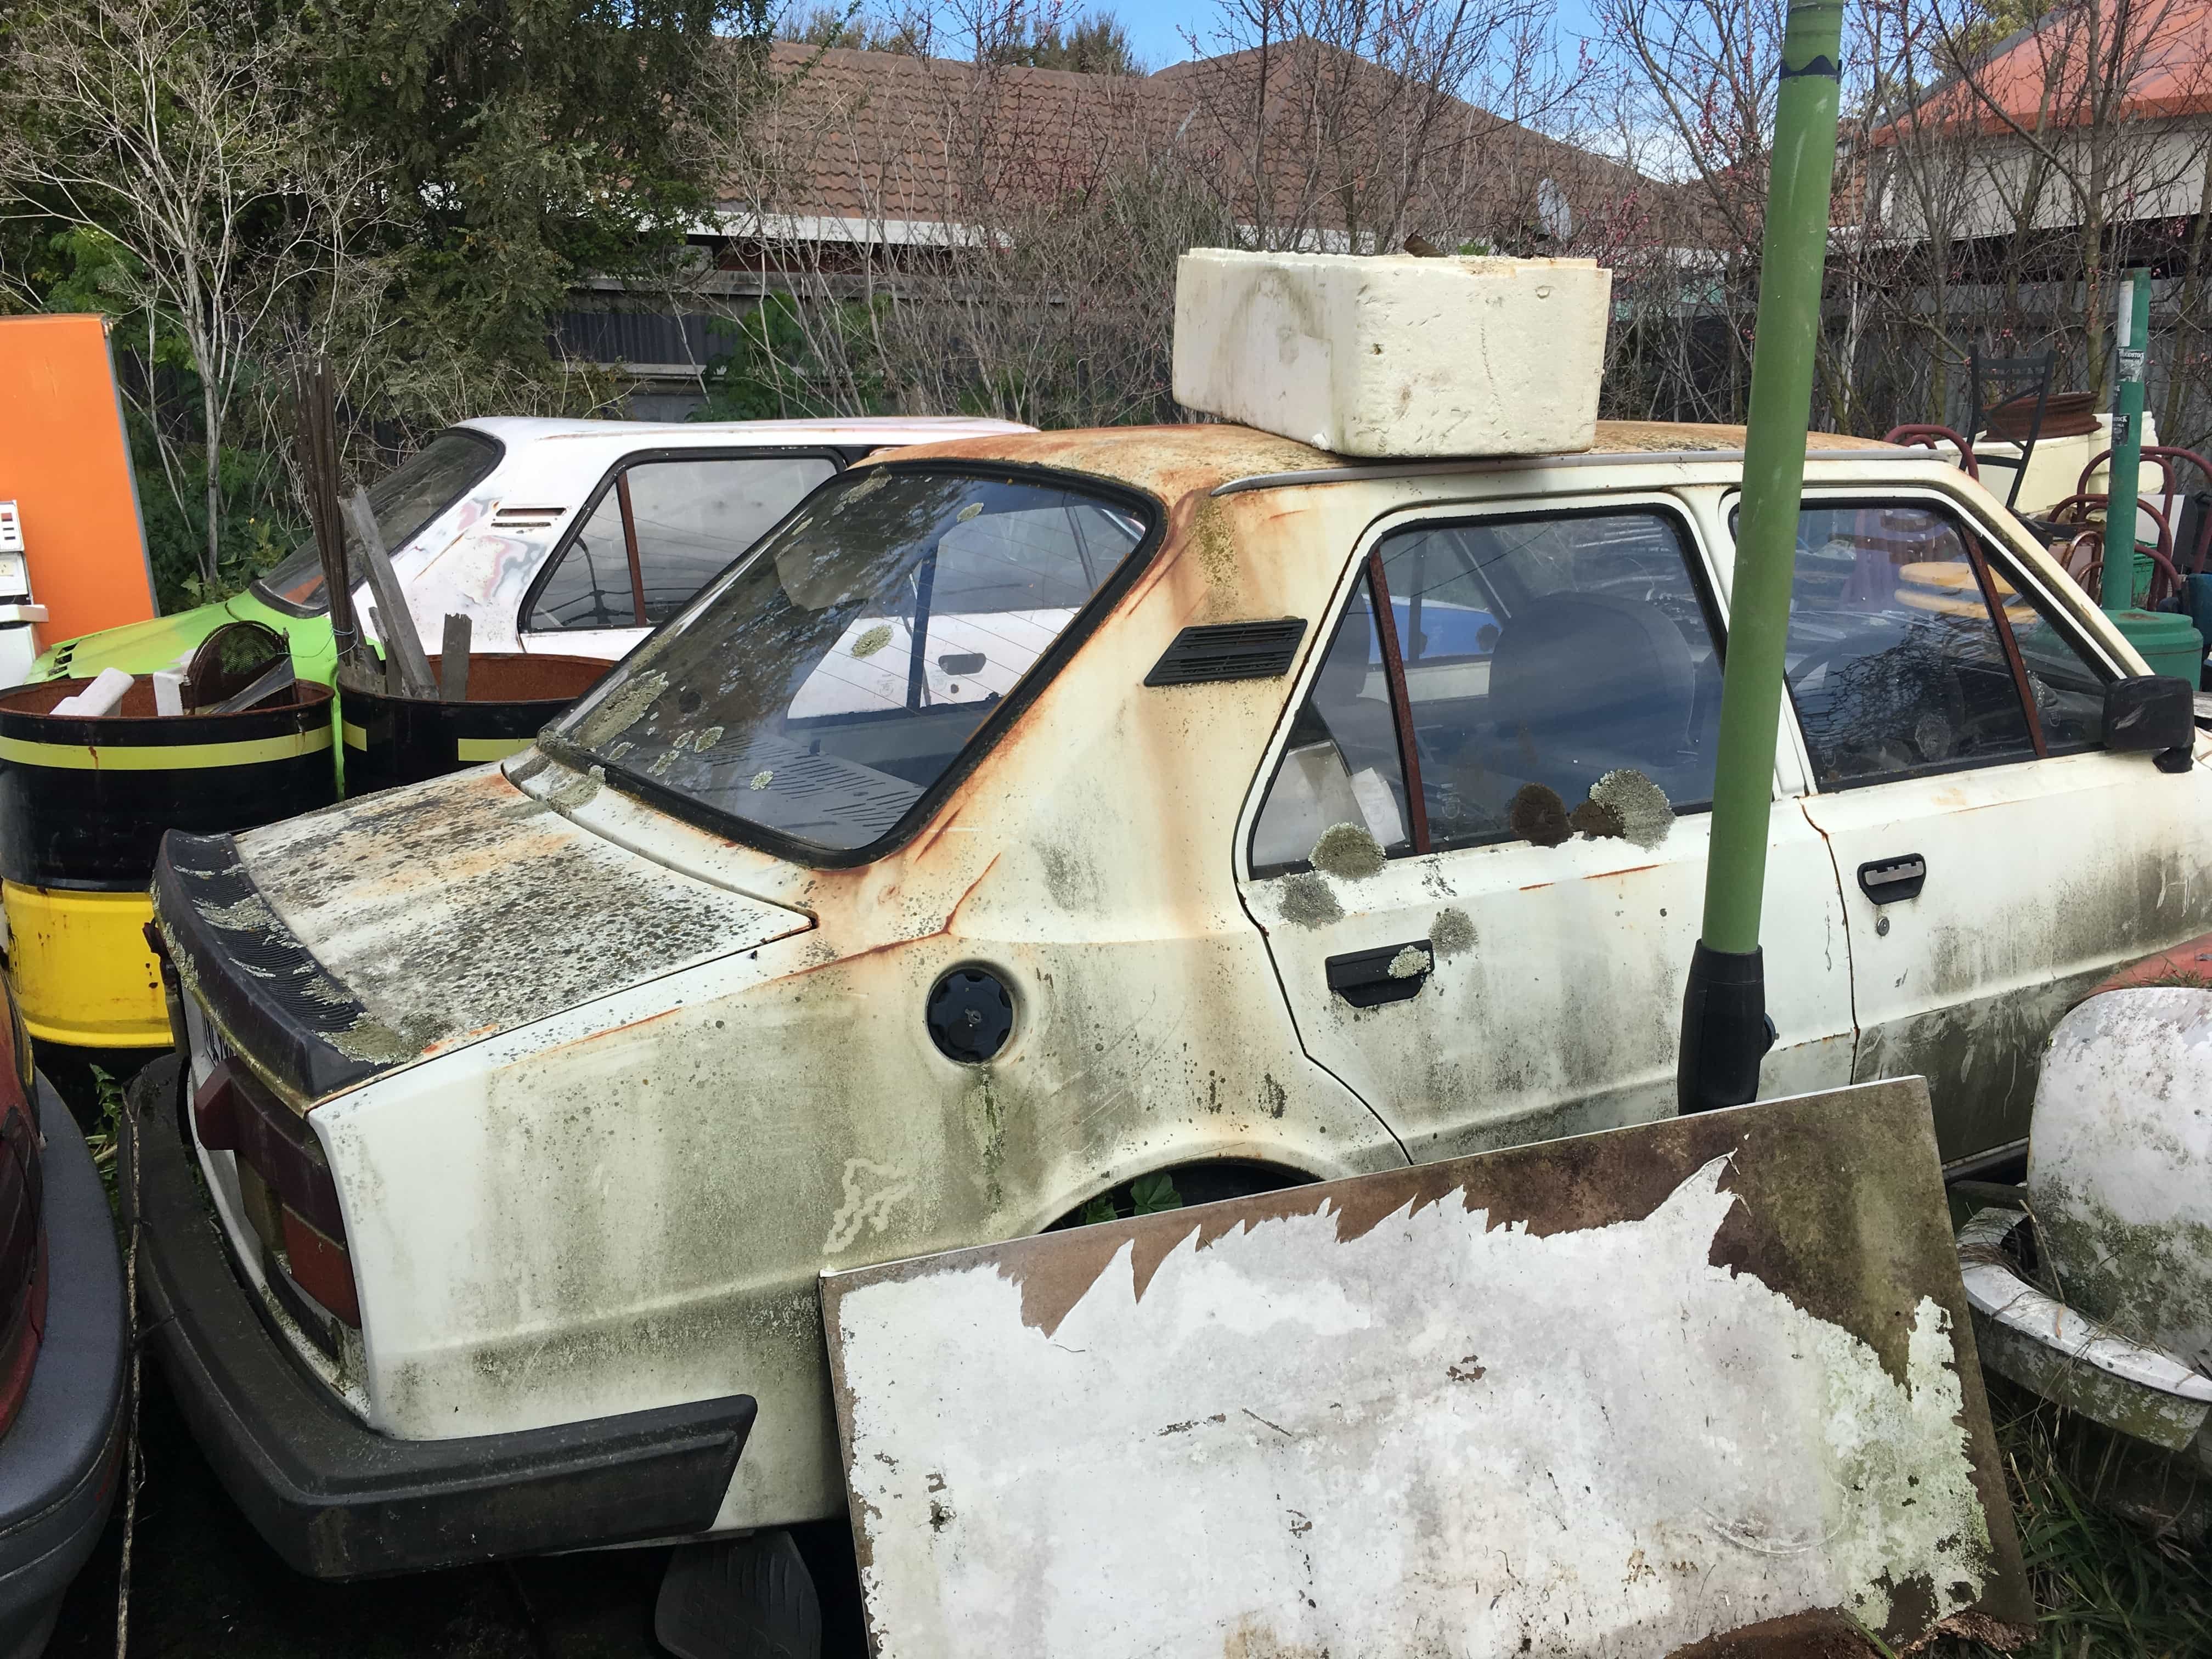
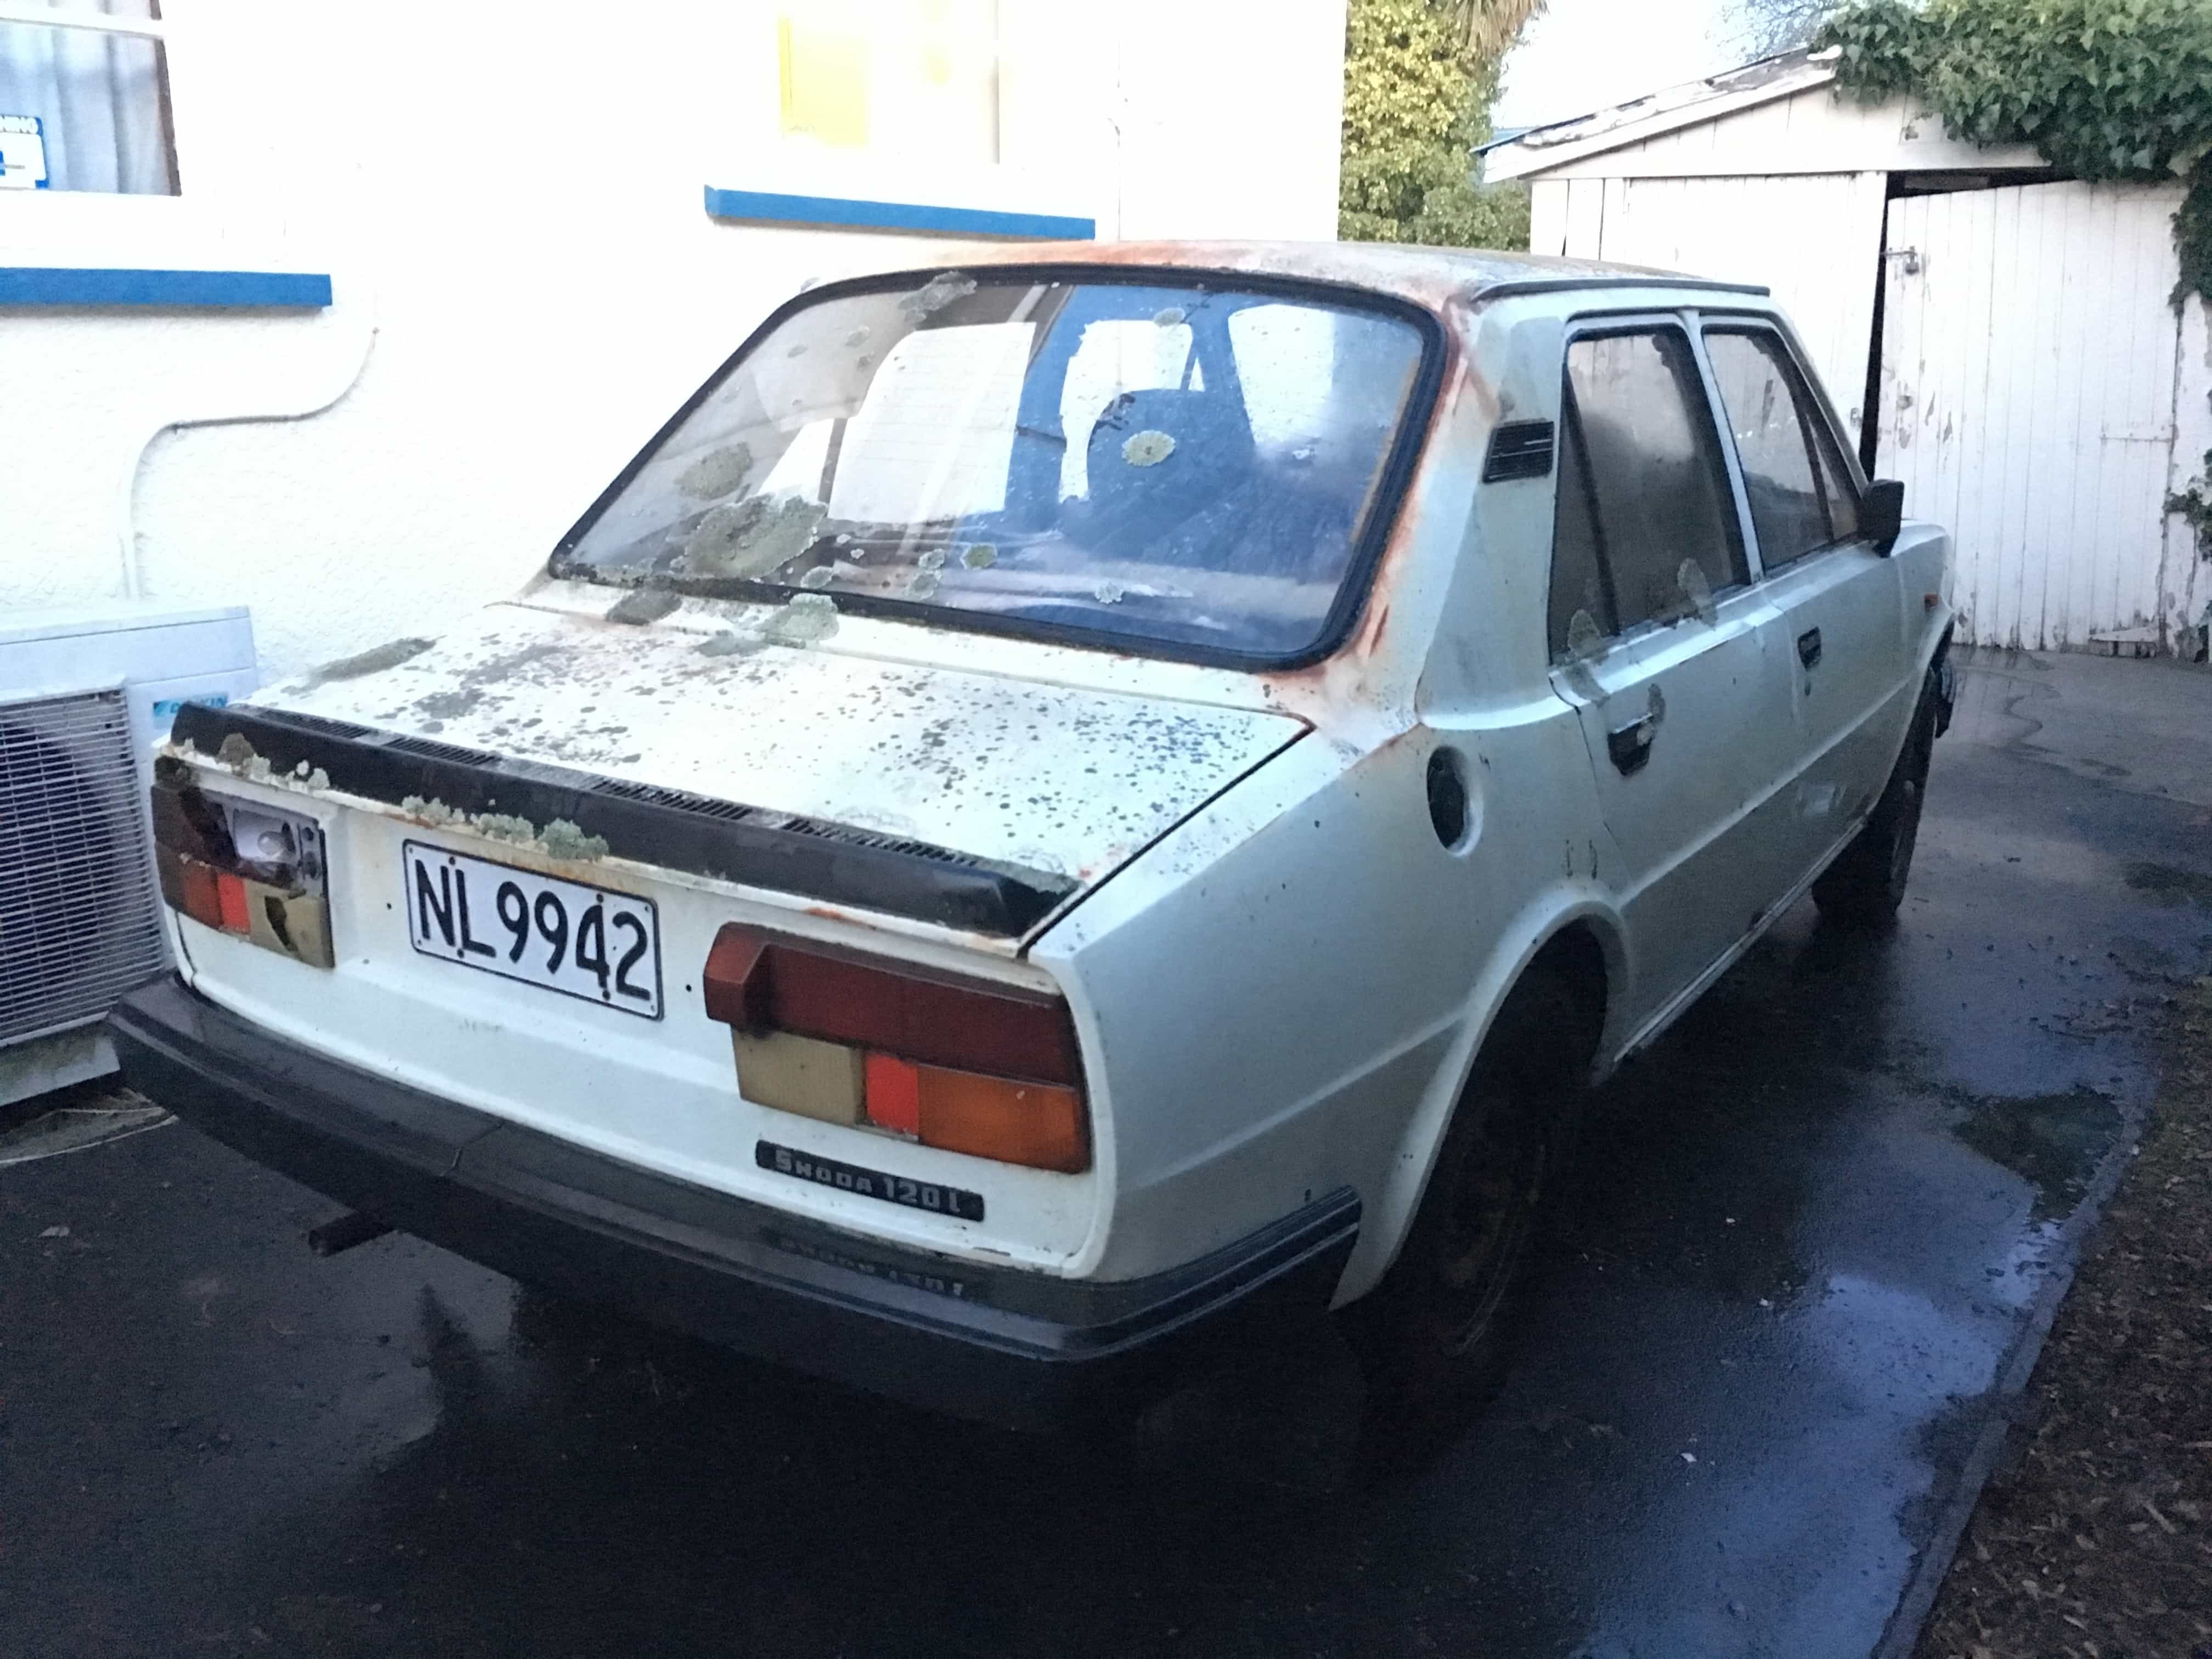
Not immediately build related but after seeing this stuff article @myk00l ( https://www.stuff.co.nz/national/115722682/worker-to-clean-up-christchurch-hoarder-house-begins ) I managed to get in touch with those involved and a sad sight awaited me. Three 110R wrecks All realistically too far gone to save due to rust, the guy told me they had driven into the site three years earlier but I found that verrry hard to believe. There was also two 120L models (one half converted into a rally car) and one solid looking one that apparently only has ~50,000kms on it before the head gasket blew and it was taken off the road. A guy in Dunedin who I've been in touch with has a 120L that he and his son are doing up but were struggling to find parts (was quoted $2,600 for a windscreen from Smith and Smith!). I managed to save the white 120 and will be taking it to Dunedin this weekend when I go down to pick up the Sabre. It's surprising solid considering it's been of the road for ~ 20 years. Almost don't want to let it go! Would come up good with a proper scrub! Also found a loose half axle sitting in one of the cars that I'm reconditioning to put into the Sabre after the fuckery I endured trying to replace oil seals without the right tools / knowledge. Aim is to have it on the road in time for the Mcleans Island swap meet.
1 point
-
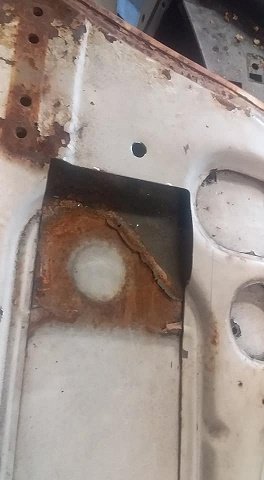
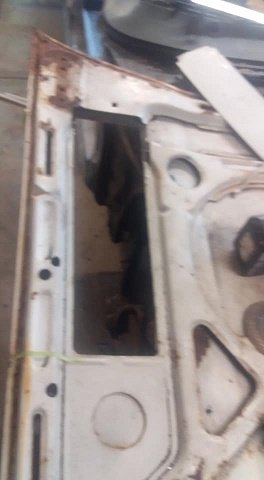
Rust repairs and painting gives me the shits, would much rather be doing exciting things... like smokey 11's Anywho, some more progress, back bumper was hiding some gems which needed dealing to.1 point
-
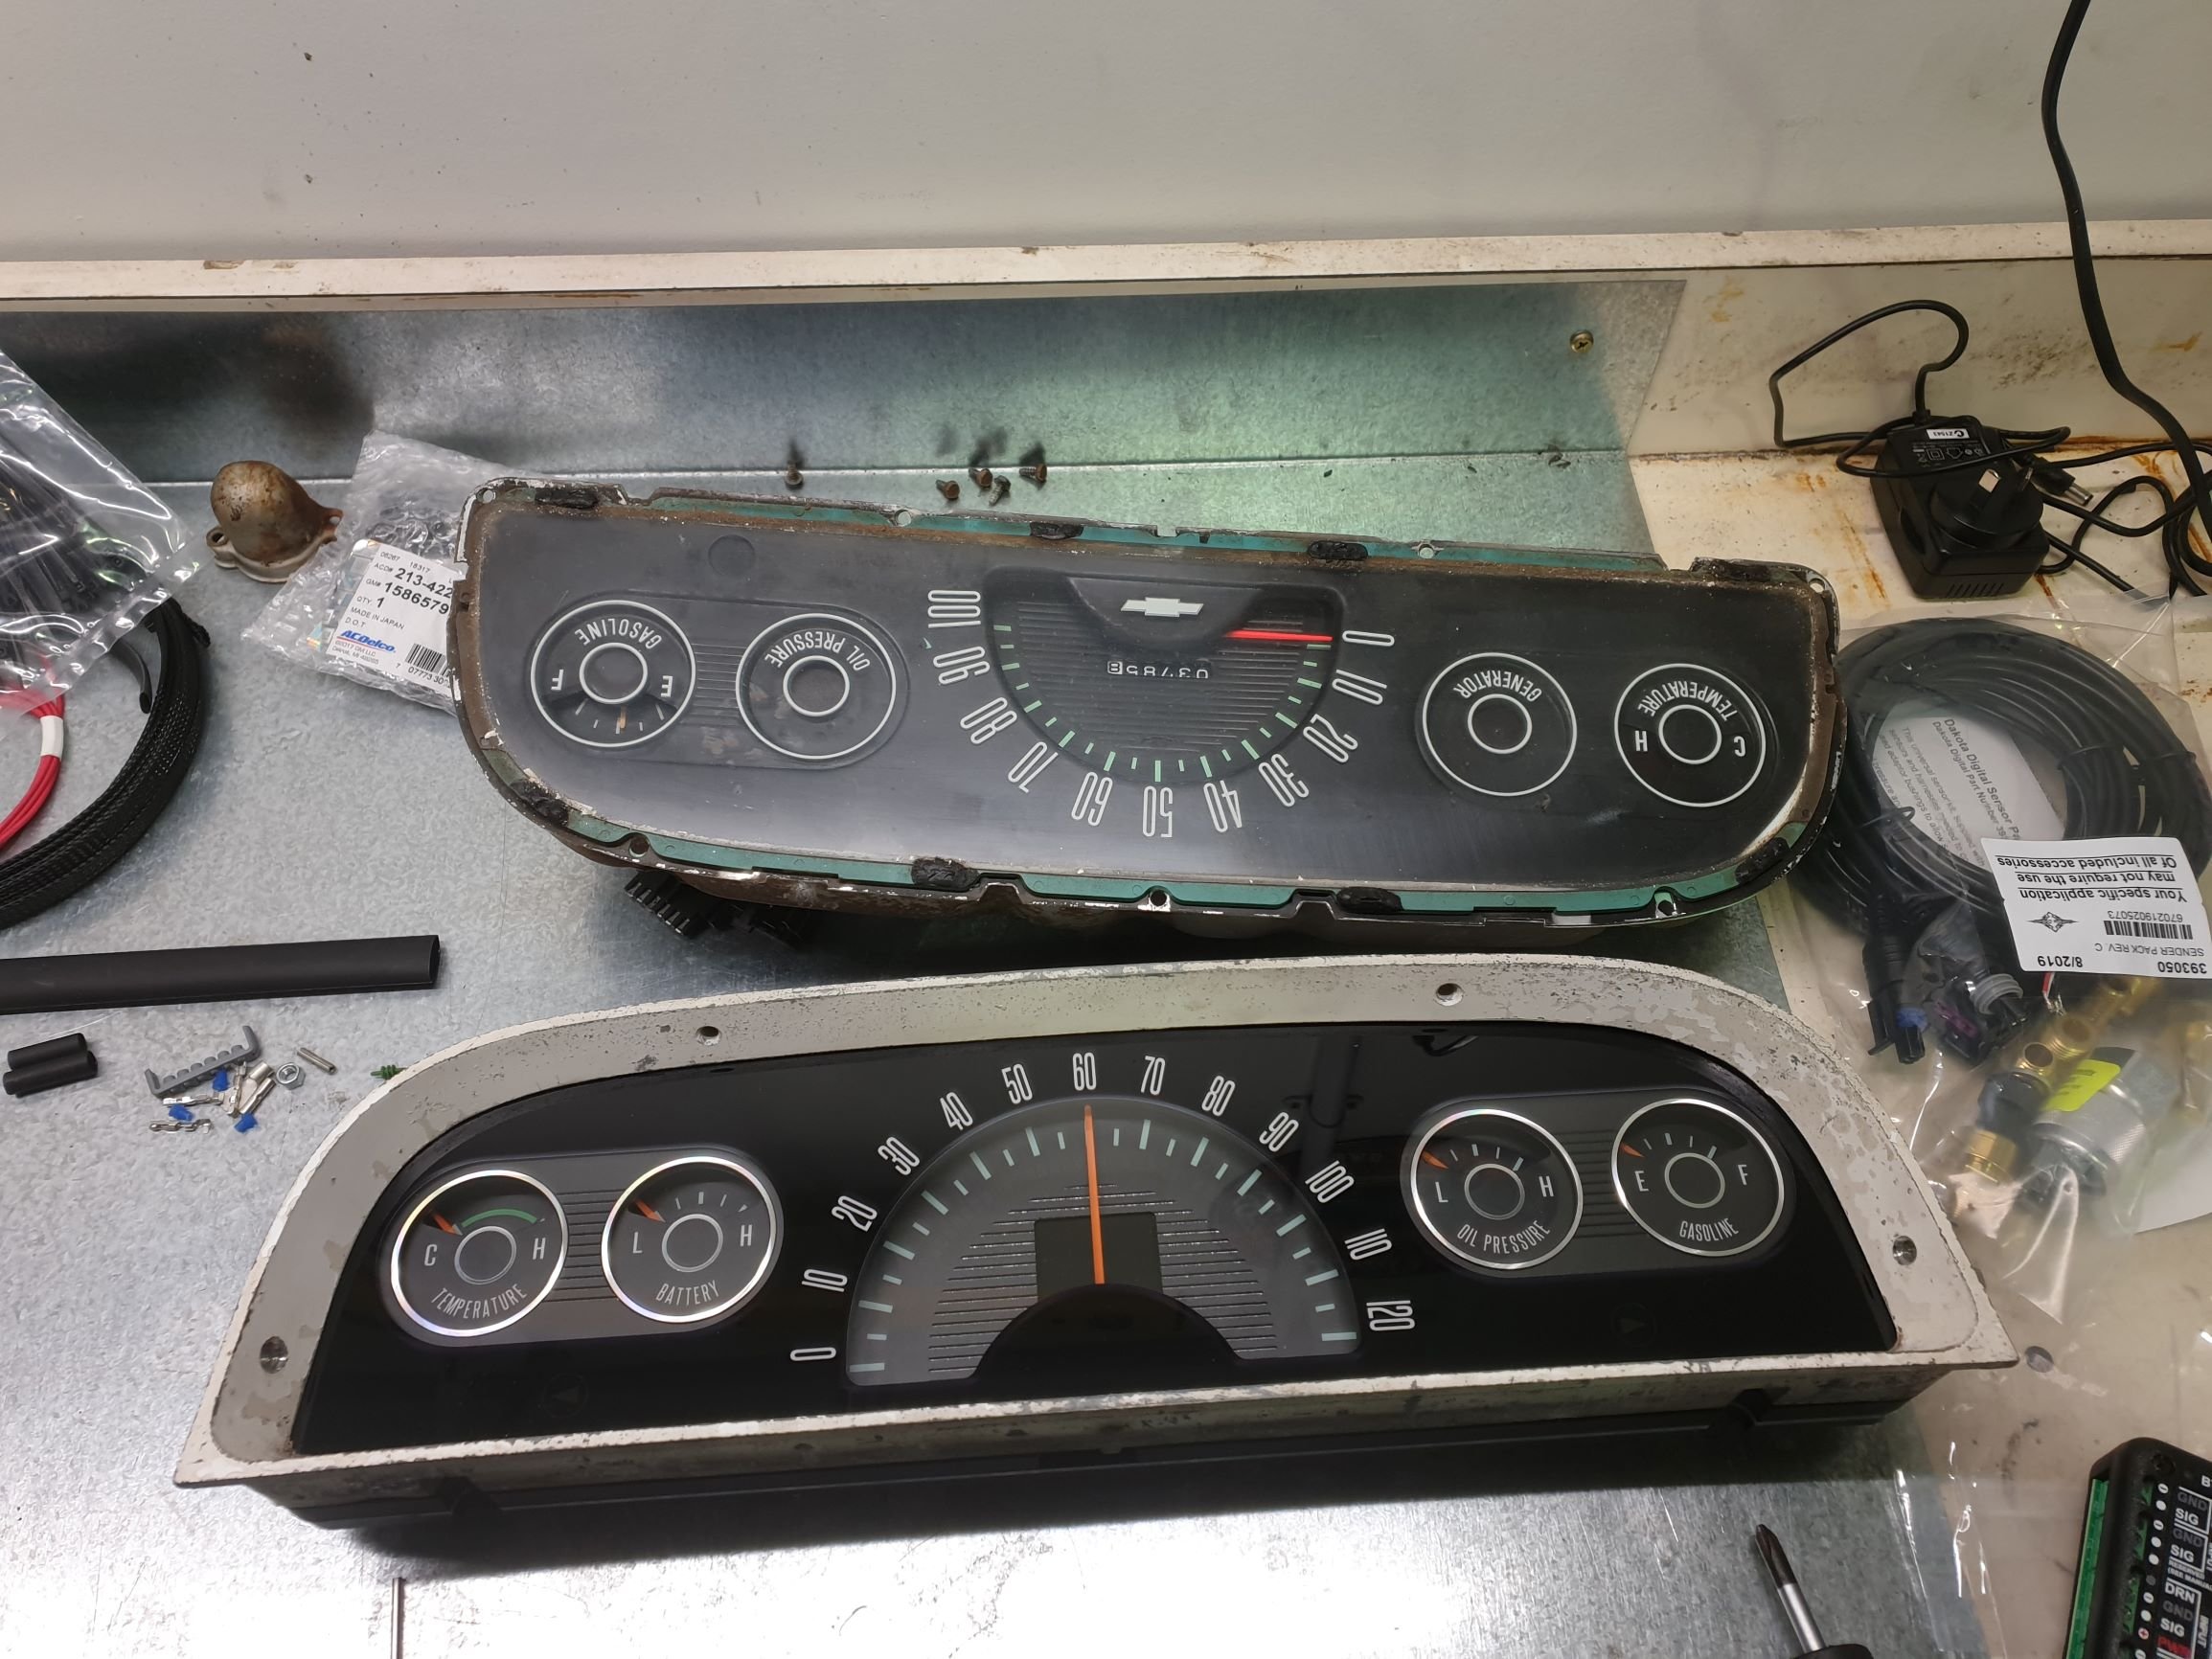
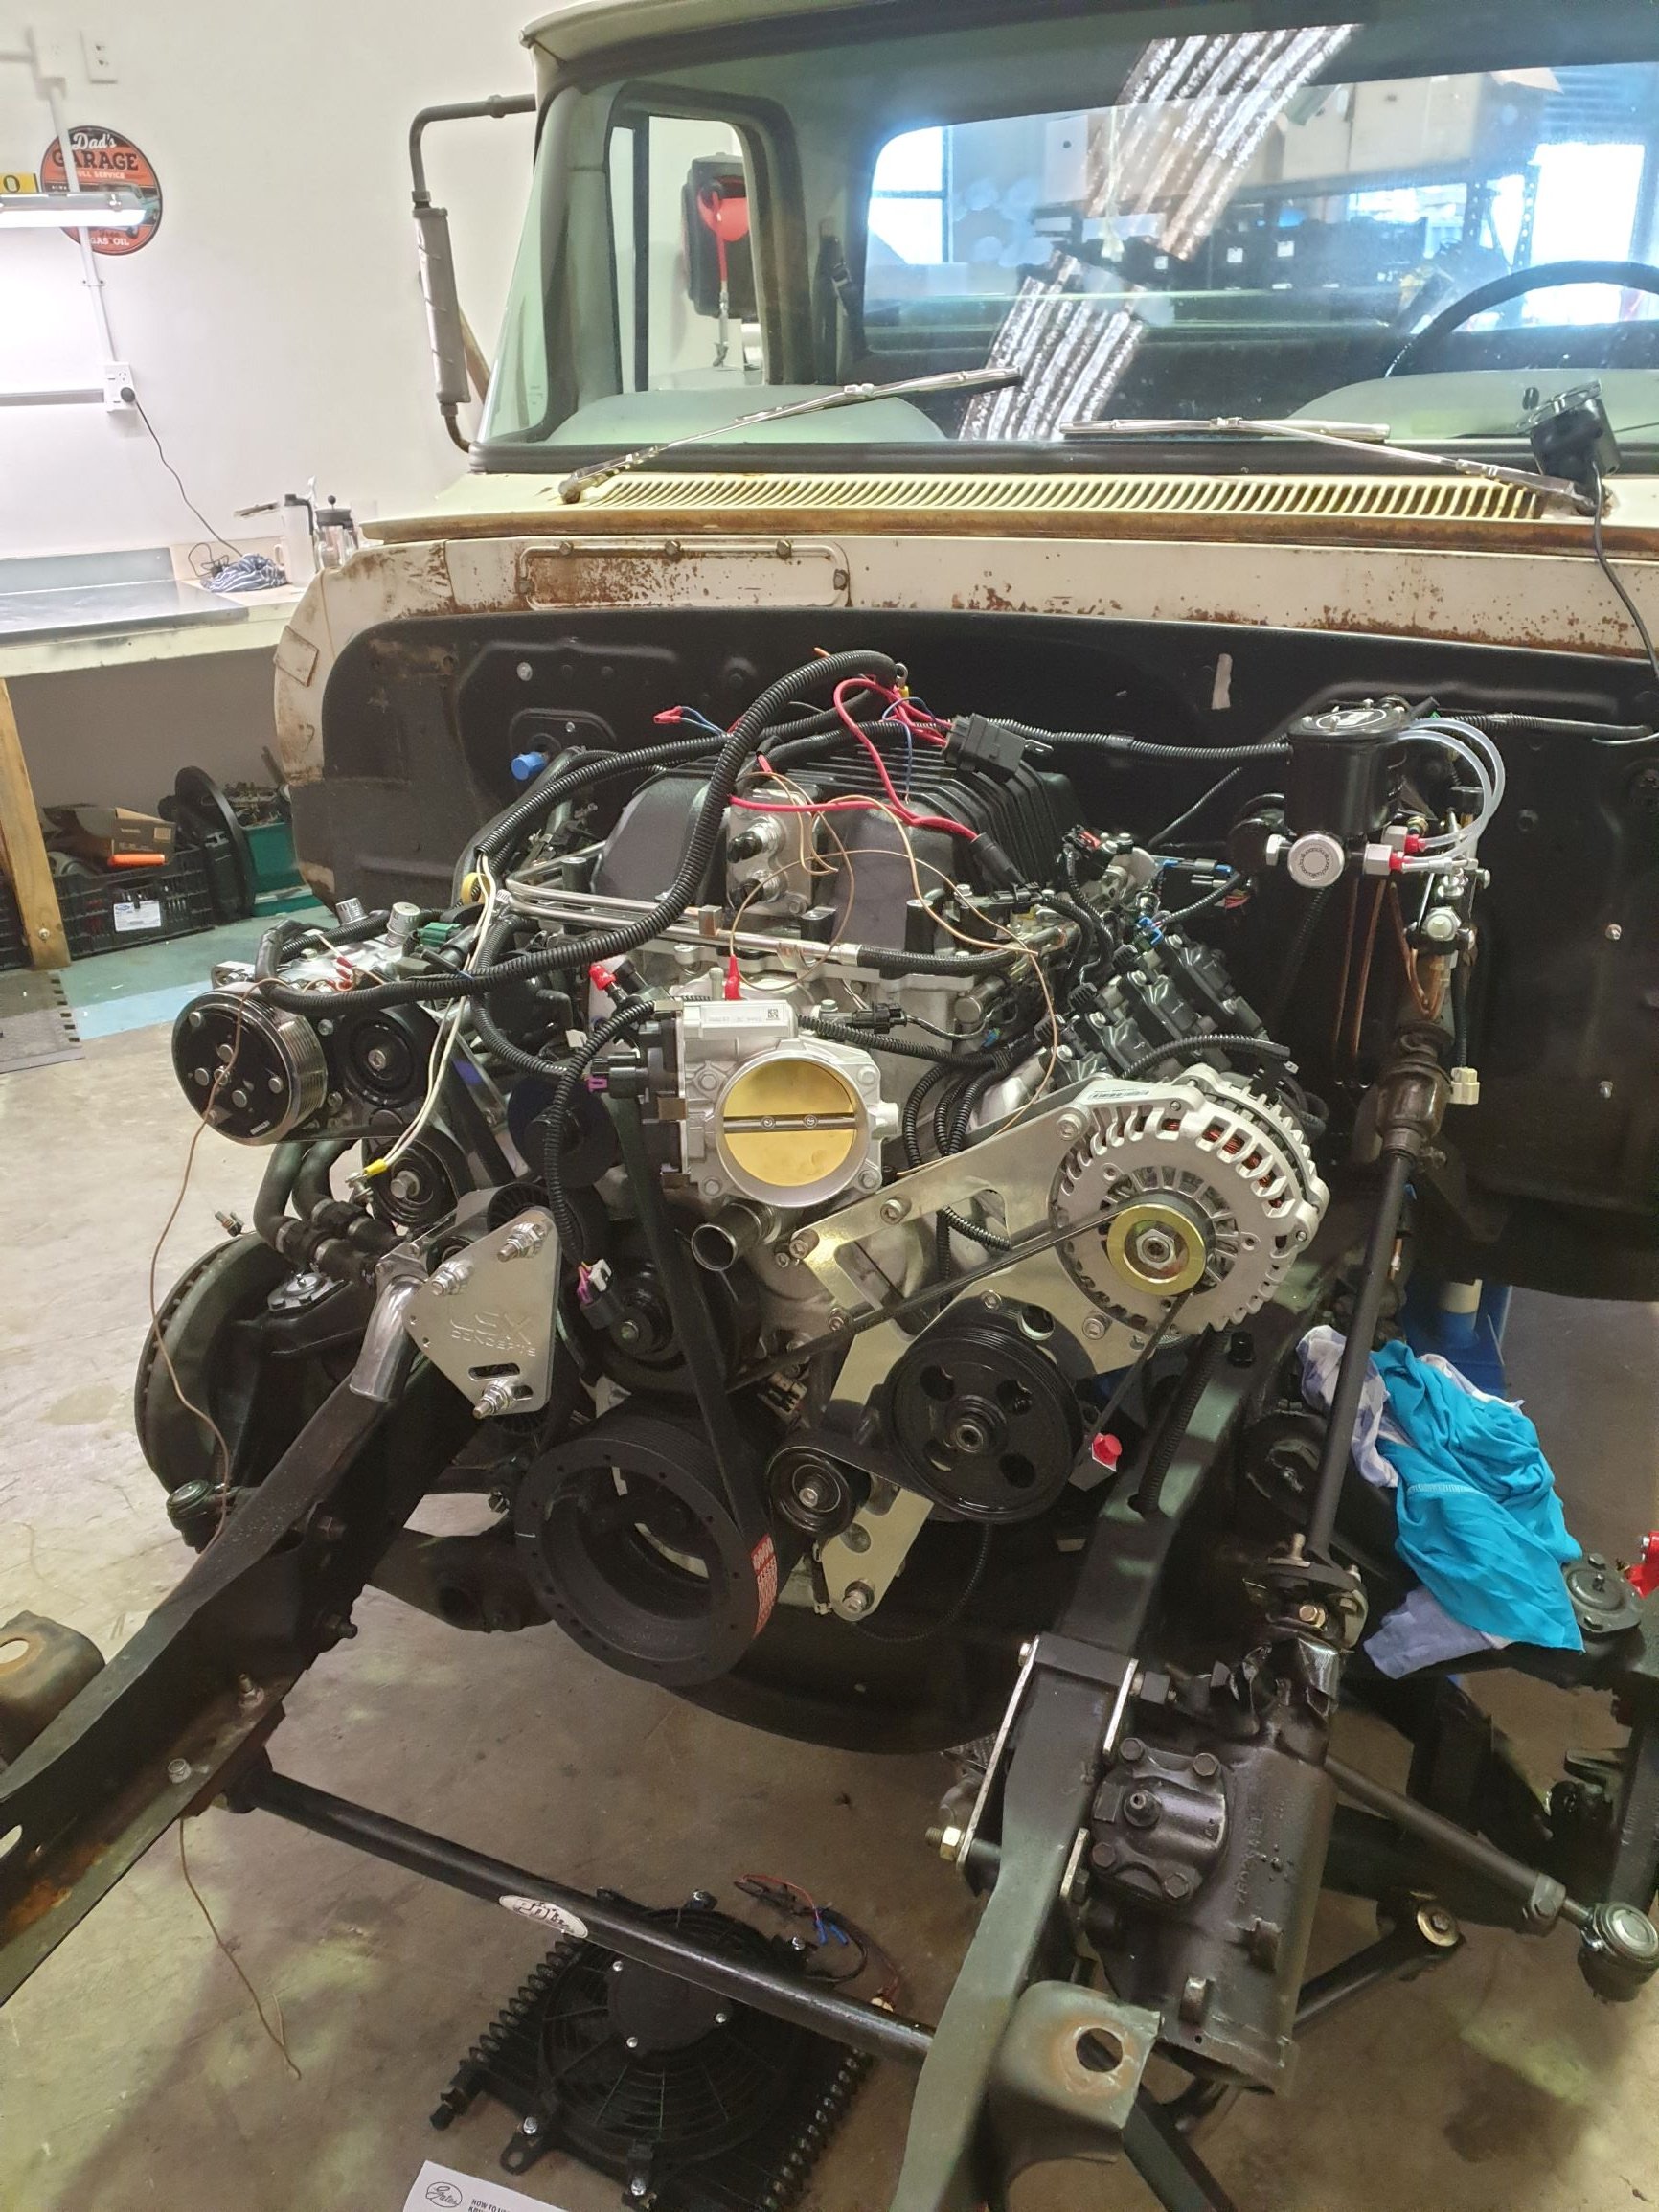
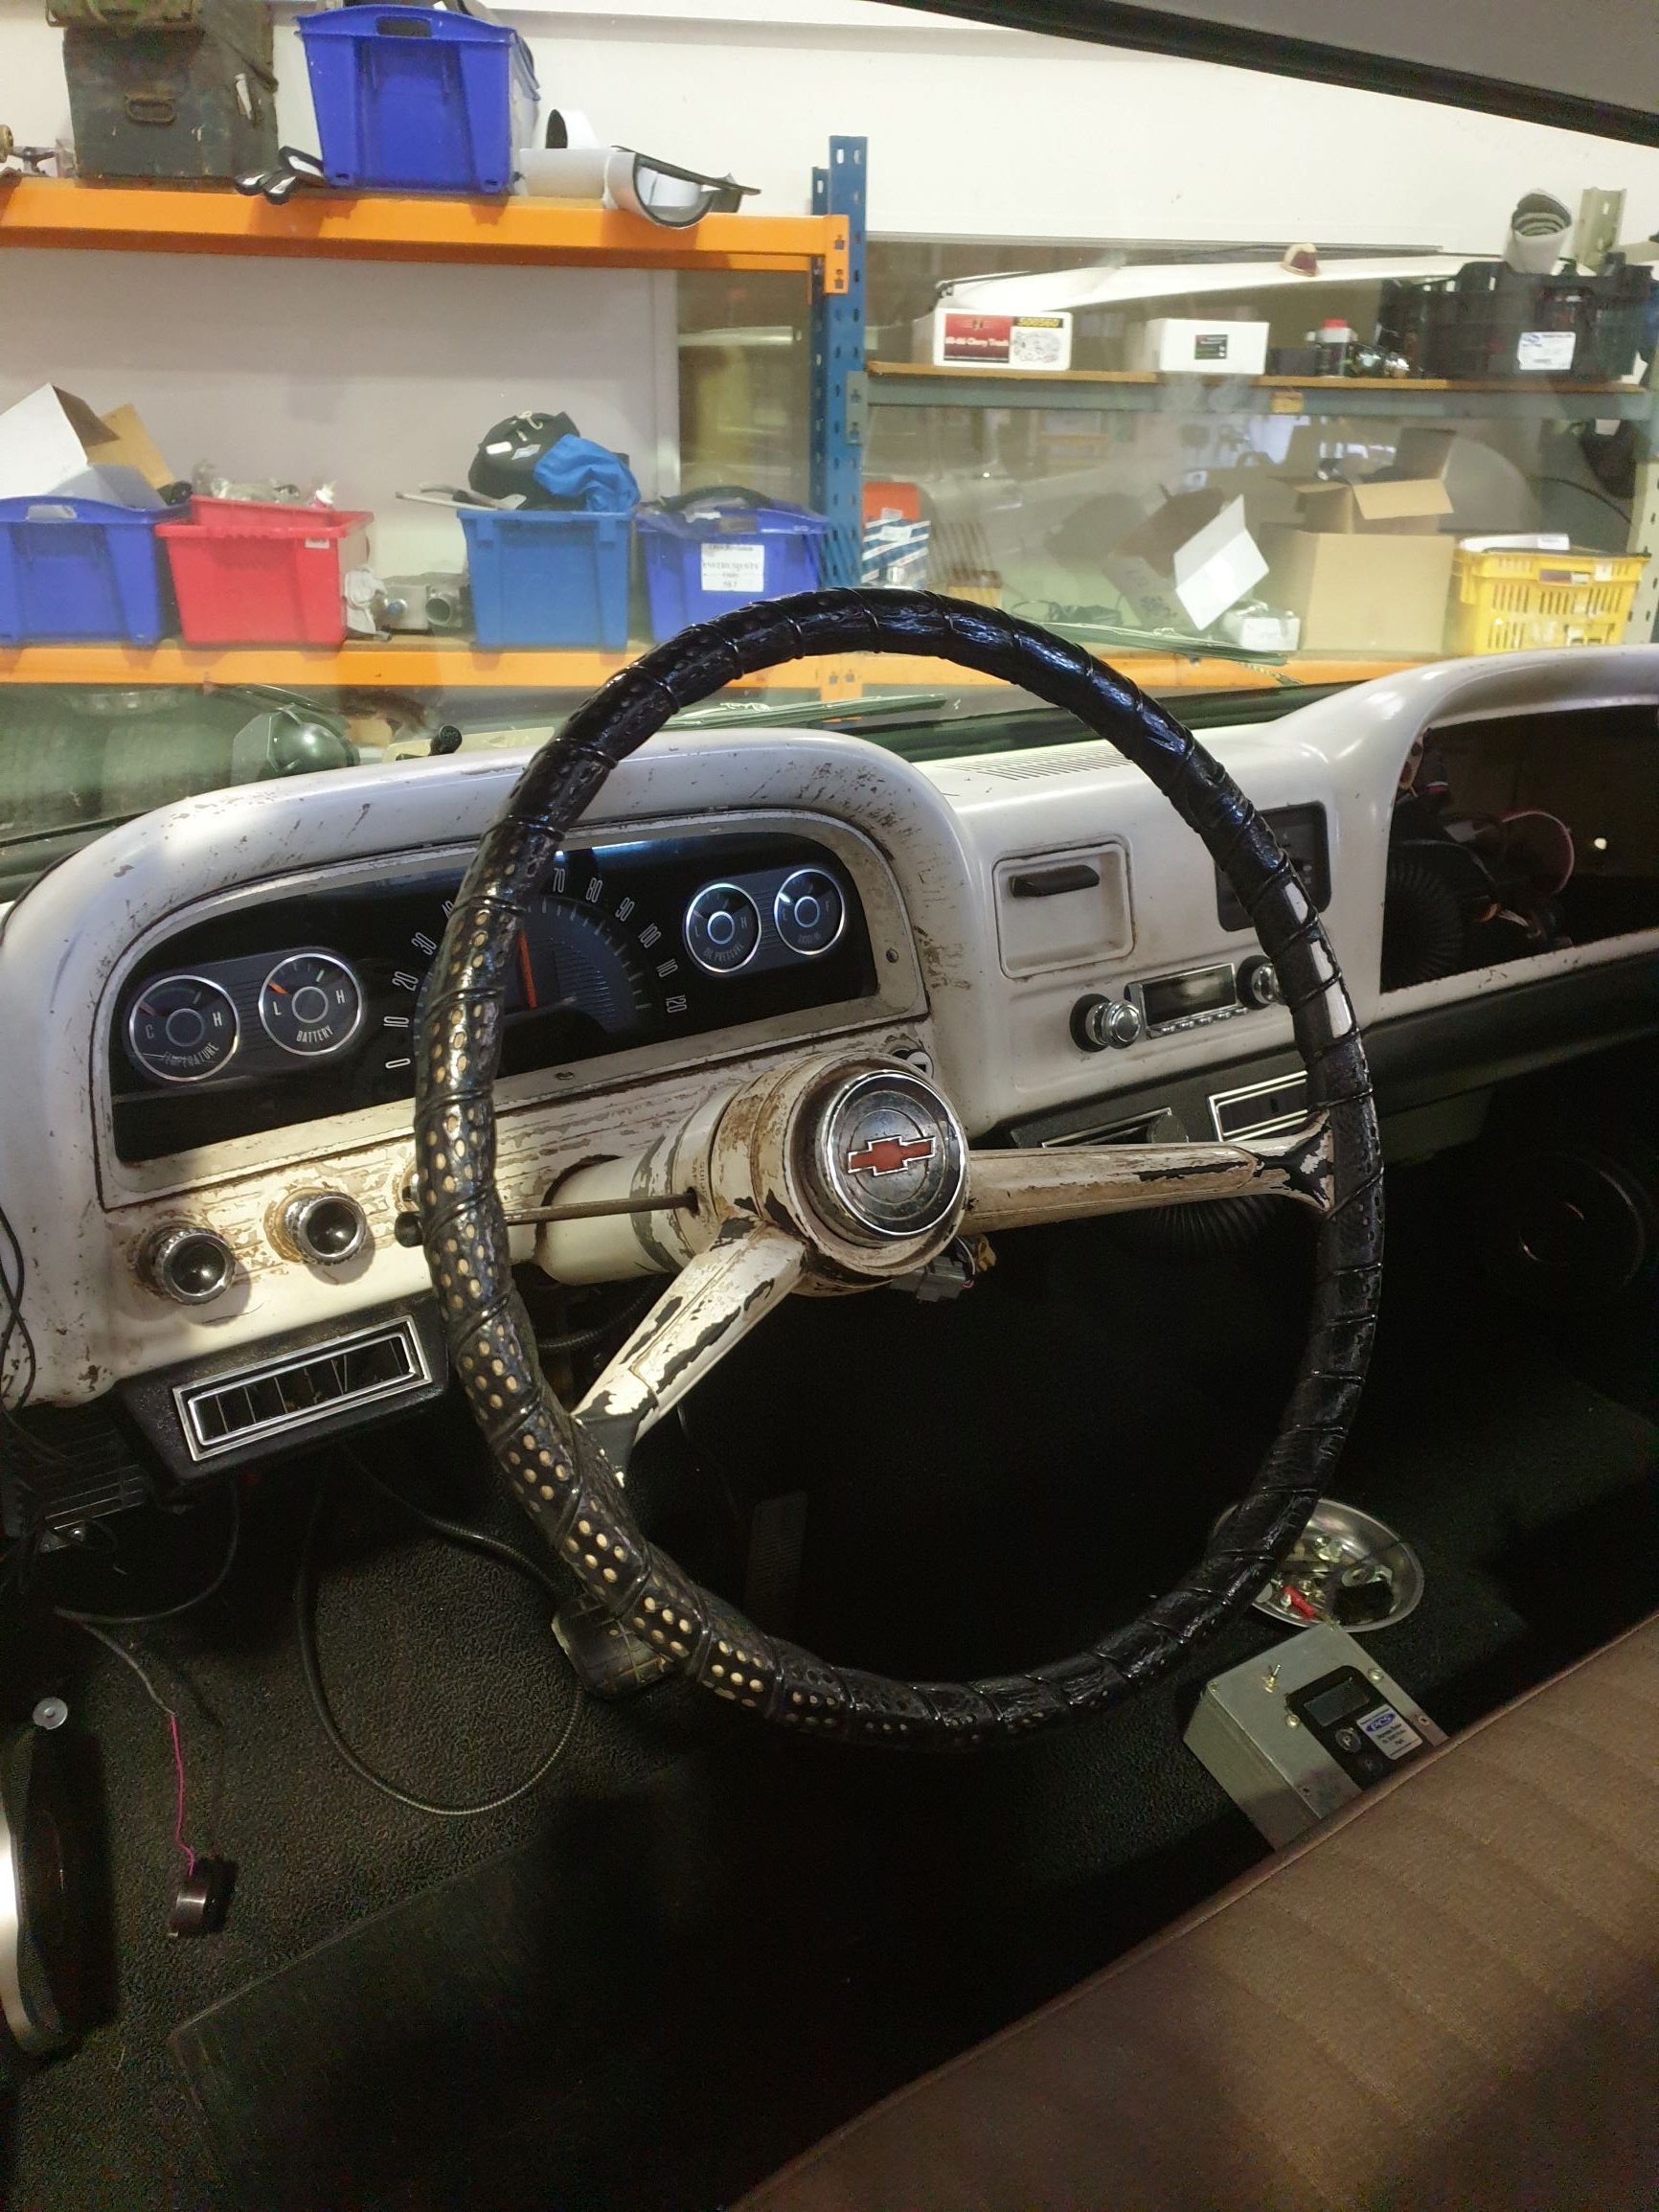
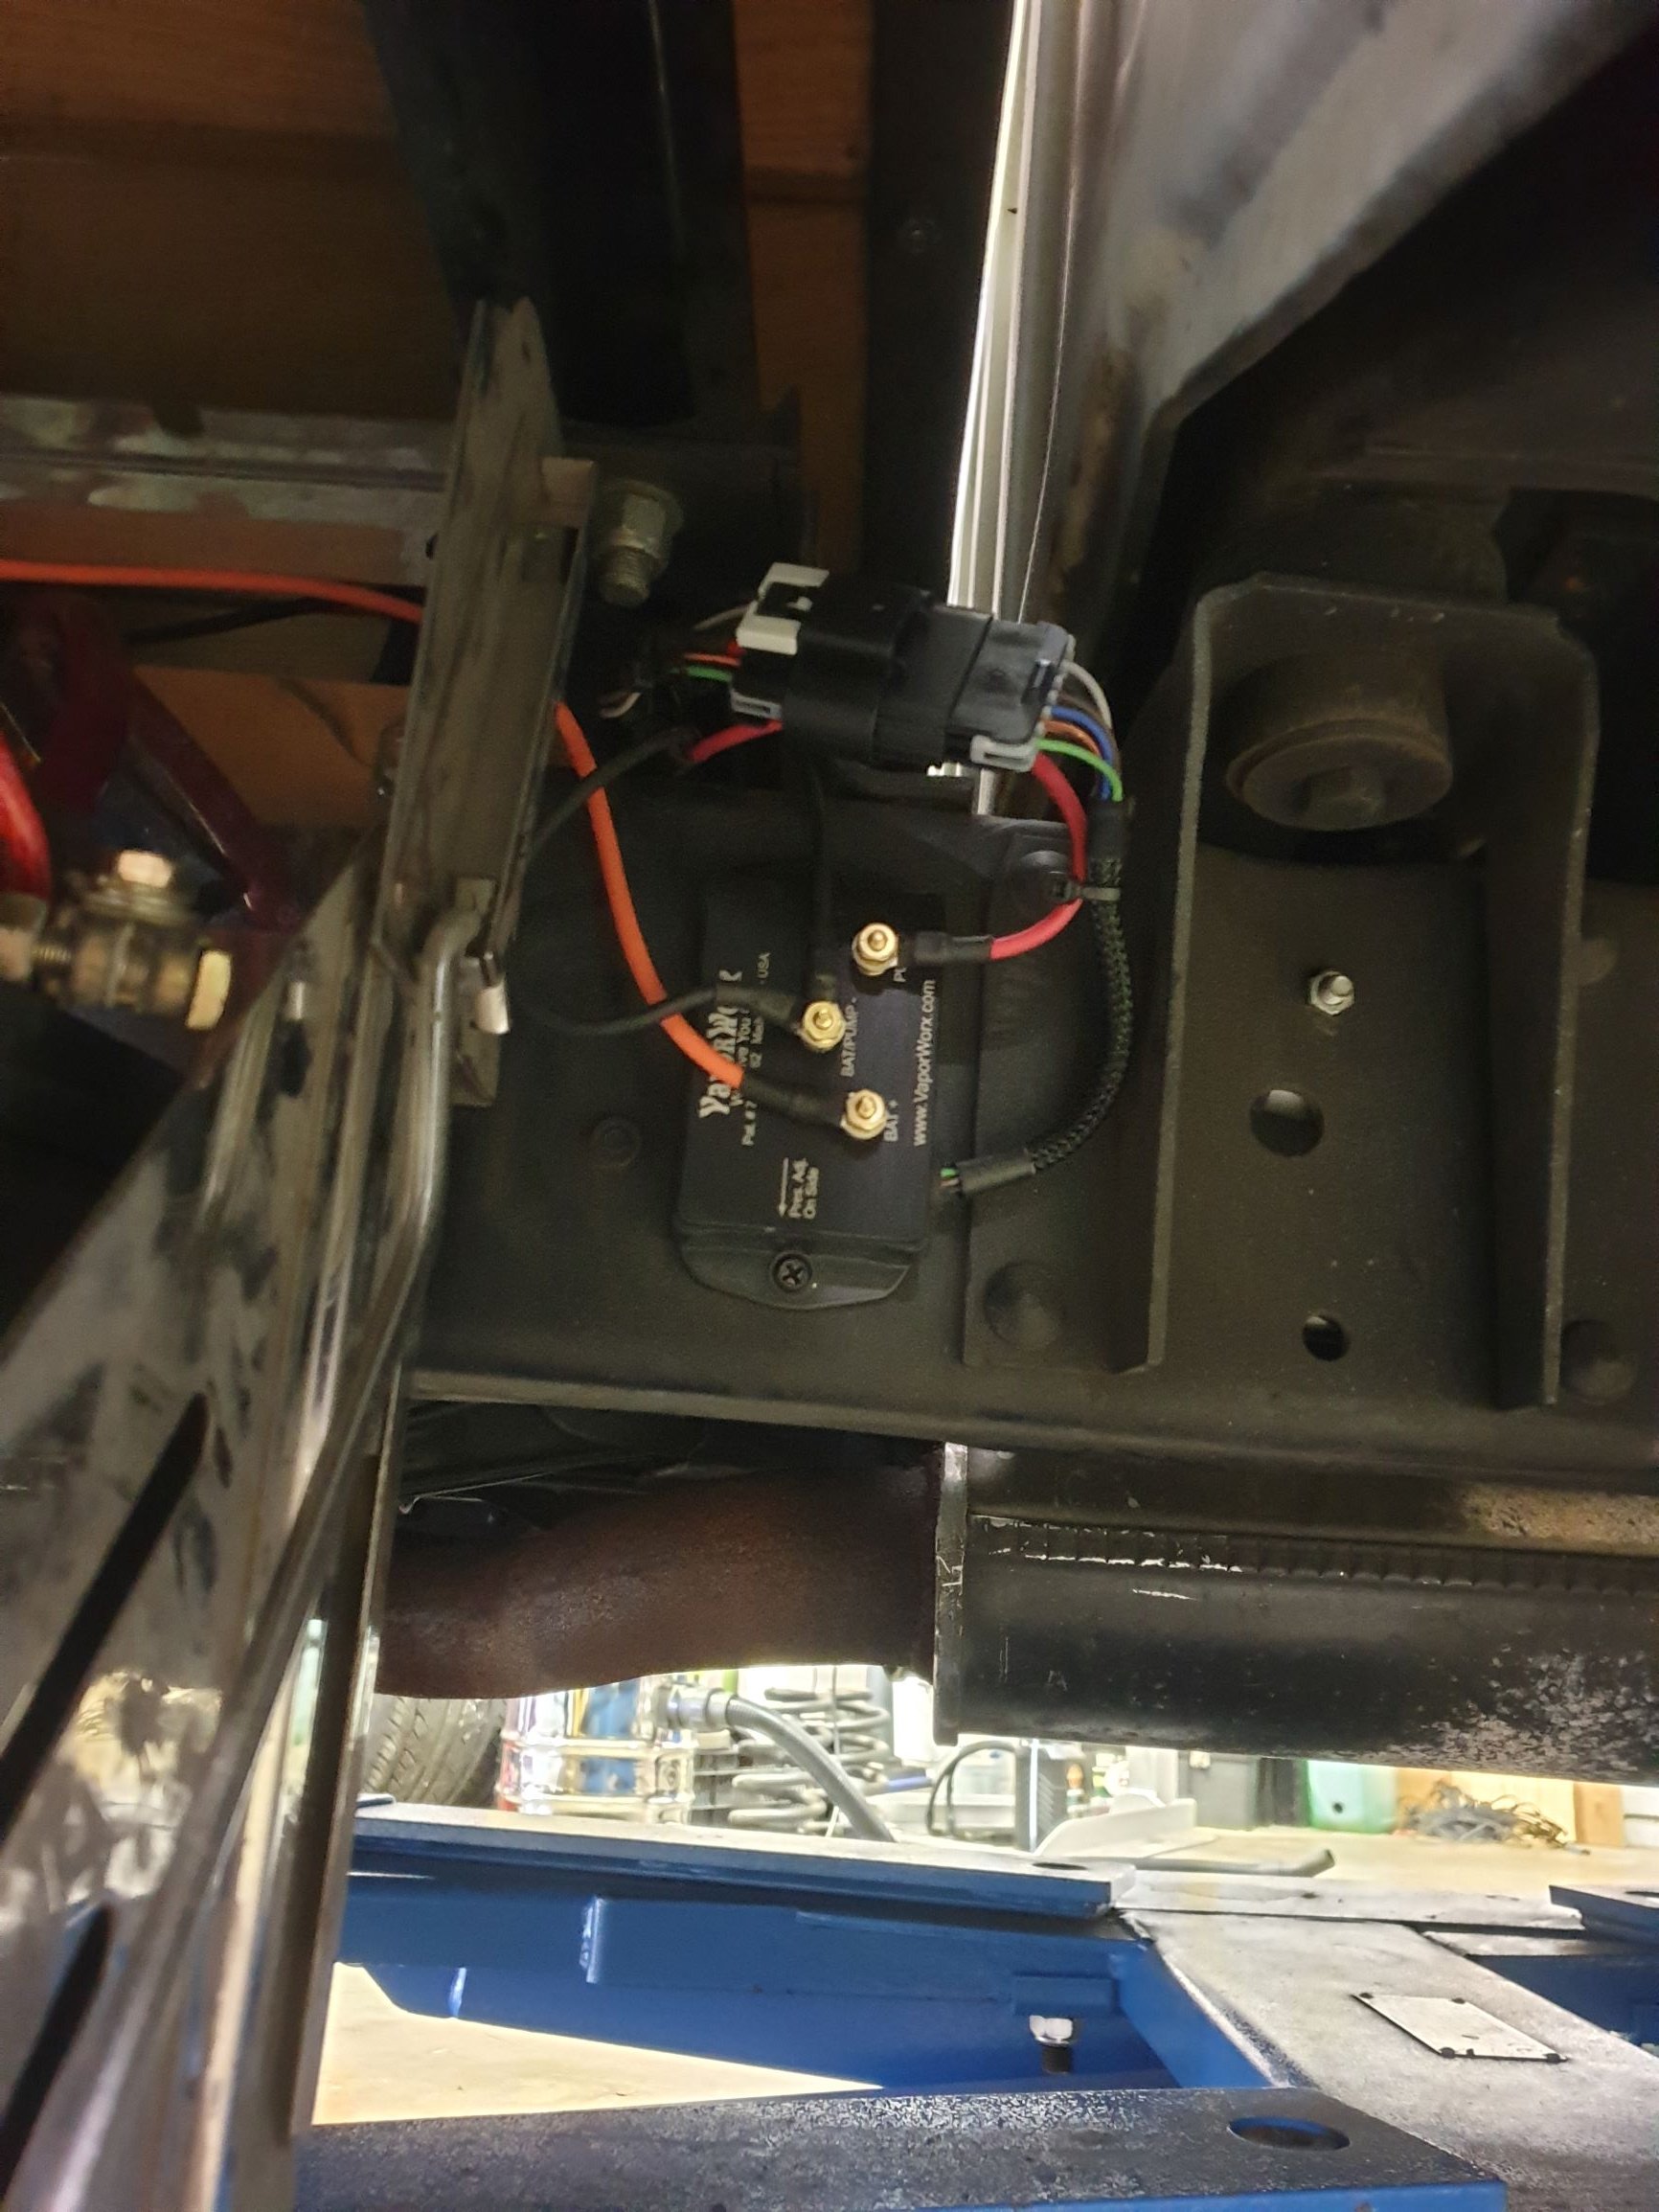
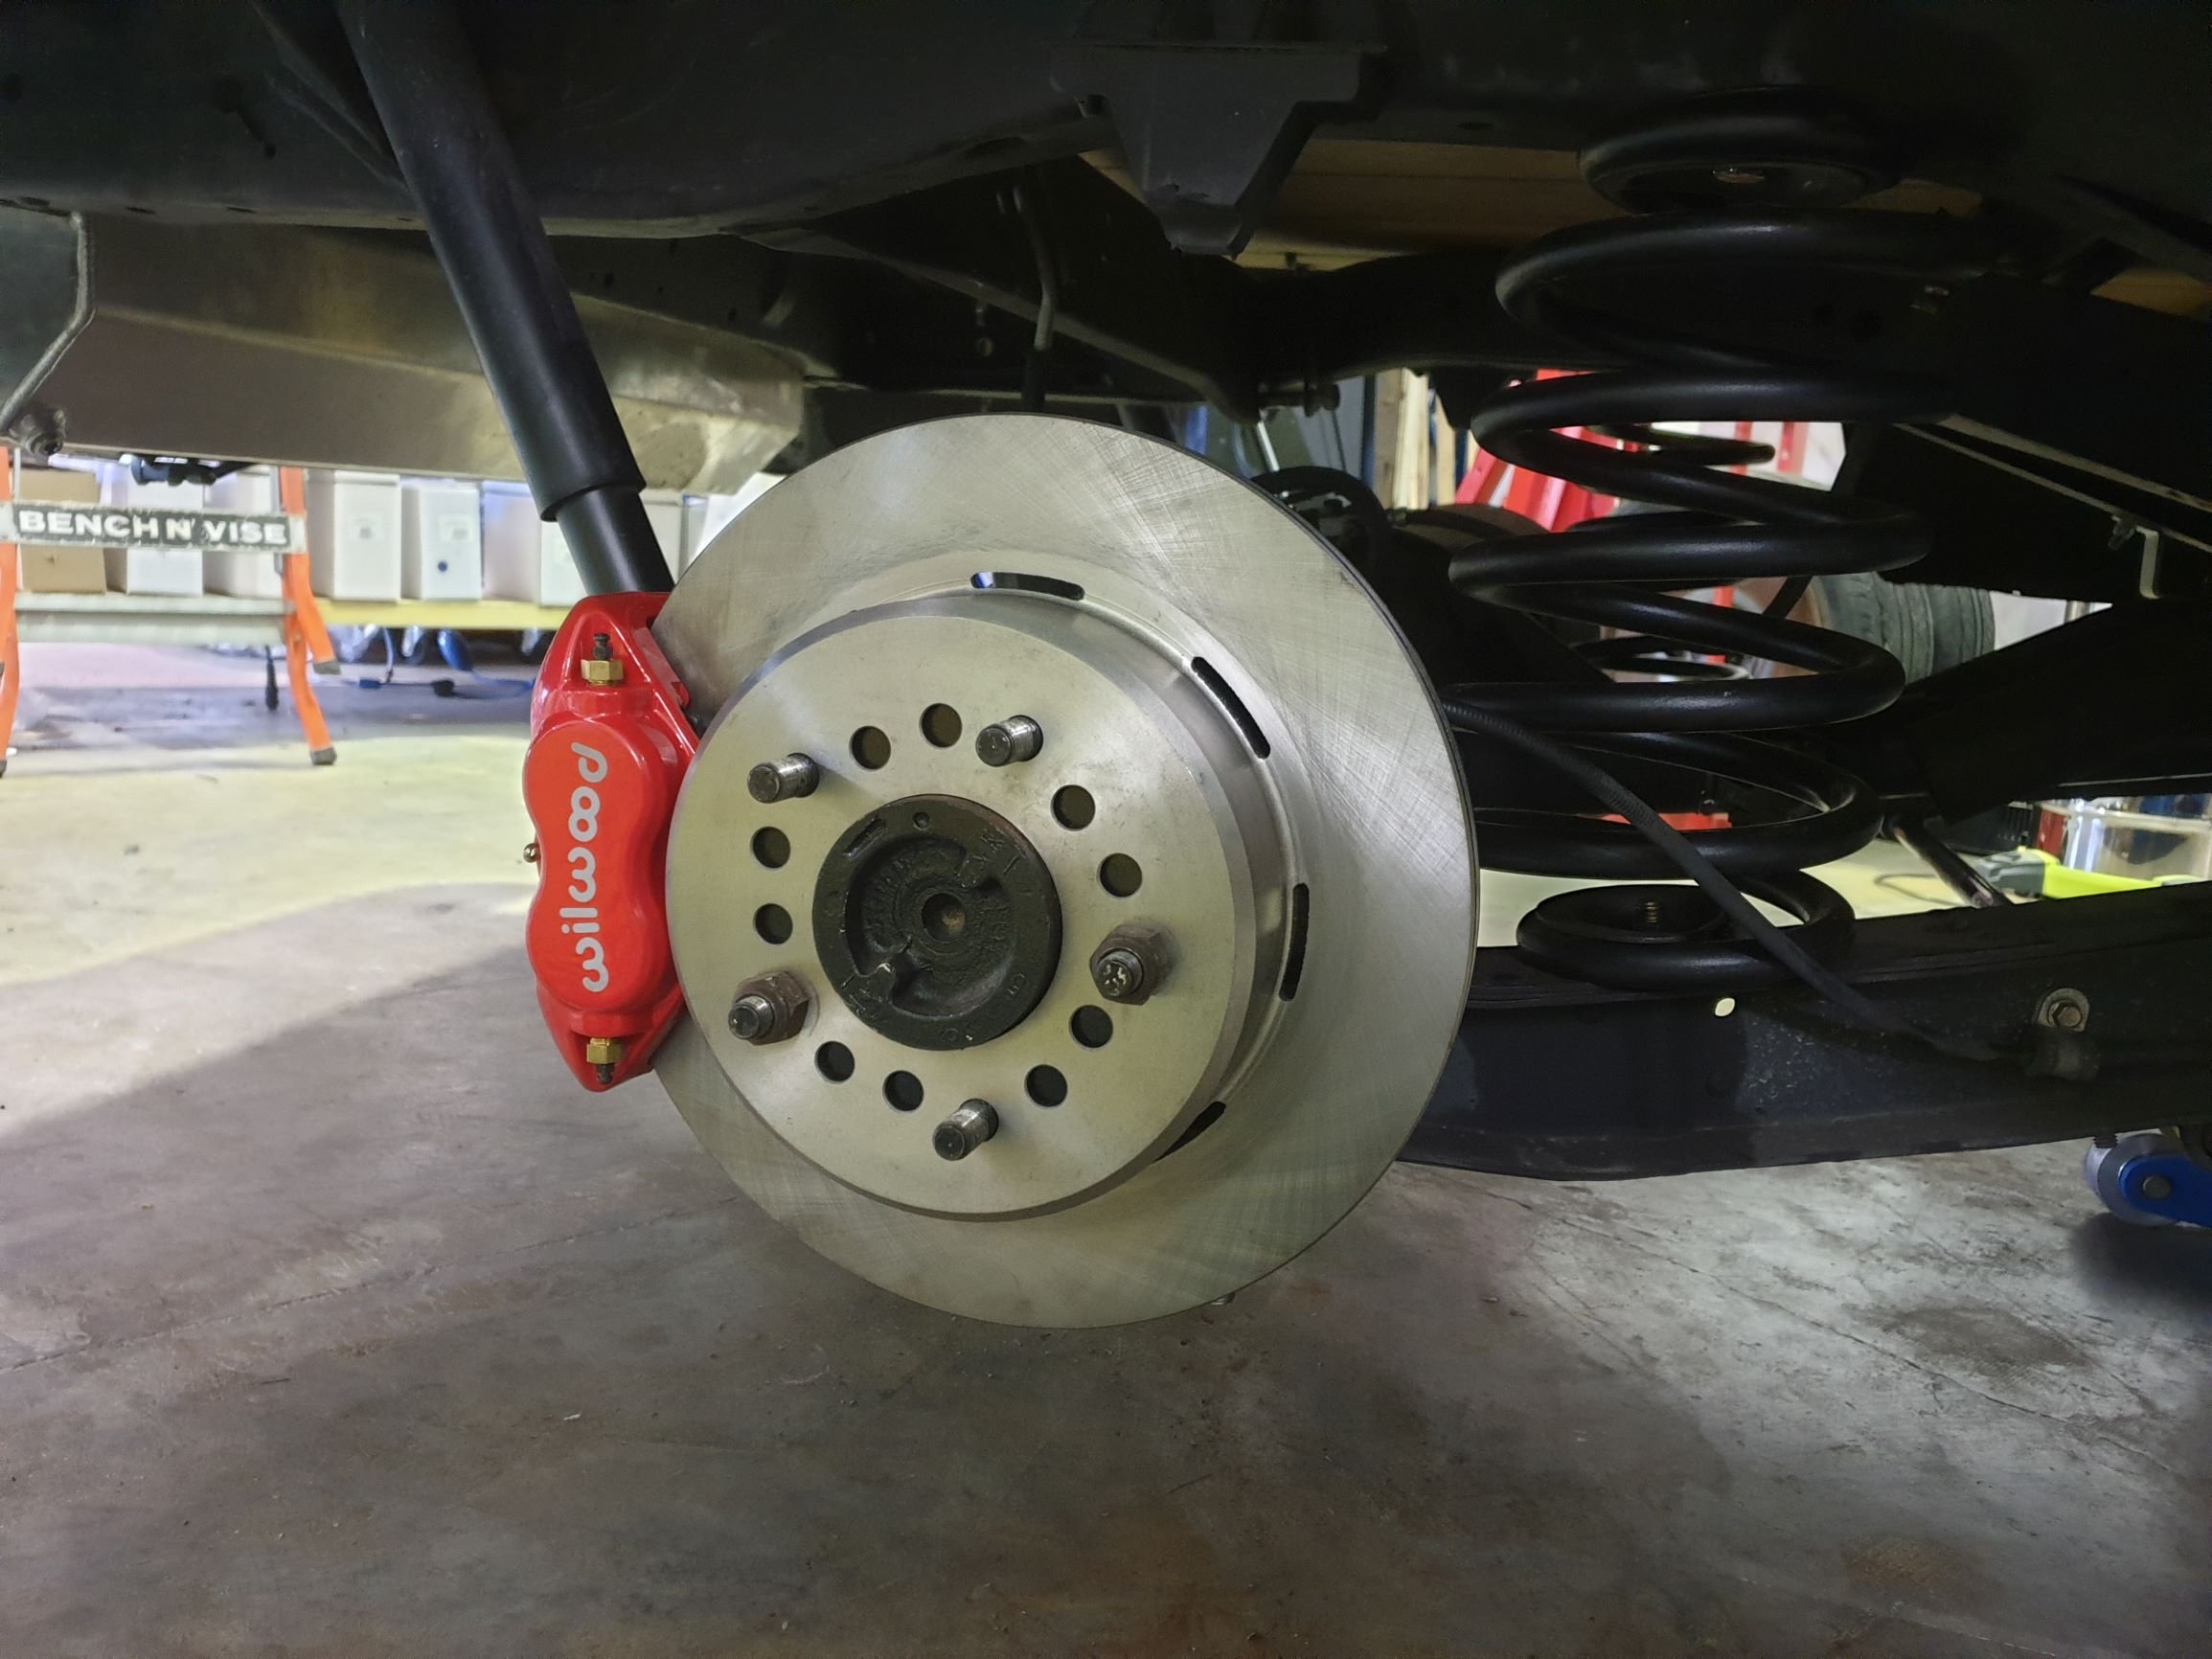
Donkey deep in the swap now. Finished up wiring on weekend, have put a vaporworx pwm set up on the fuel system. It gets fed fuel pressure, MAP, and ecu on off signal and makes the magic happen from there. I reran the fuel line in a 1/2" line, dead headed set up. Trans and engine are in, changed rear stoppers to disc, also changed pinion yoke to 1350 size, it was 1310. Remade all the front brake lines, replaced all ball joints, tie rod ends, basically all the steering/front end stuff is new. Changed the Instrument stuff to a Dakota digital set up that plugs into the Ecu for all the info. Cert check soon !!
1 point
-
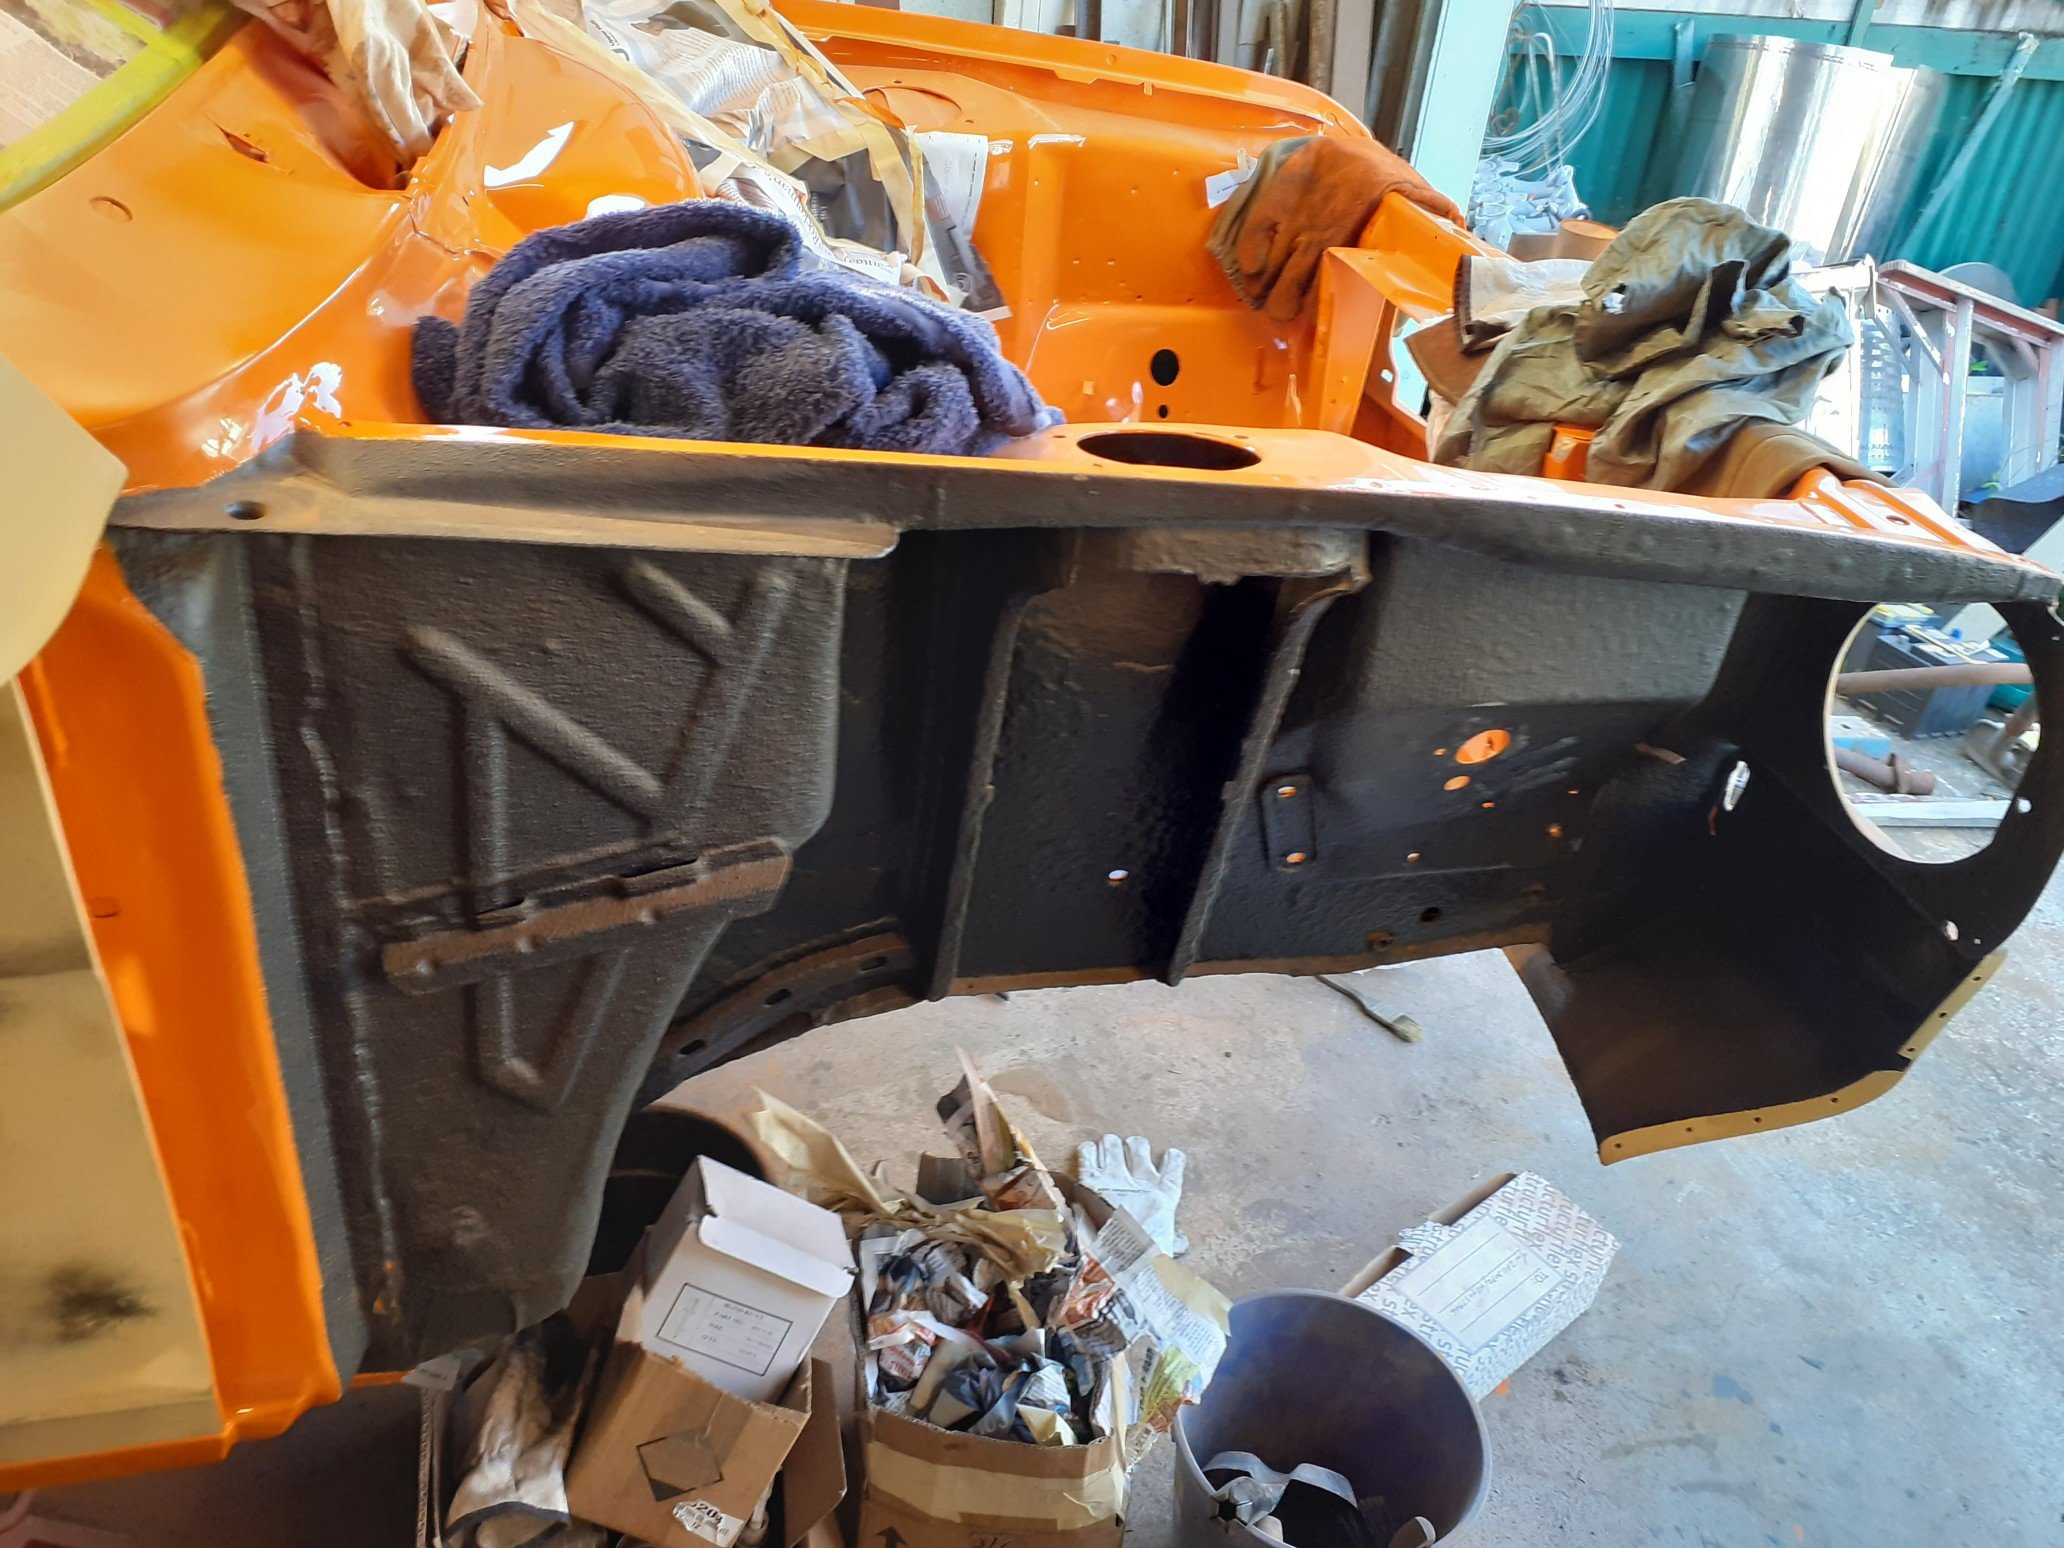
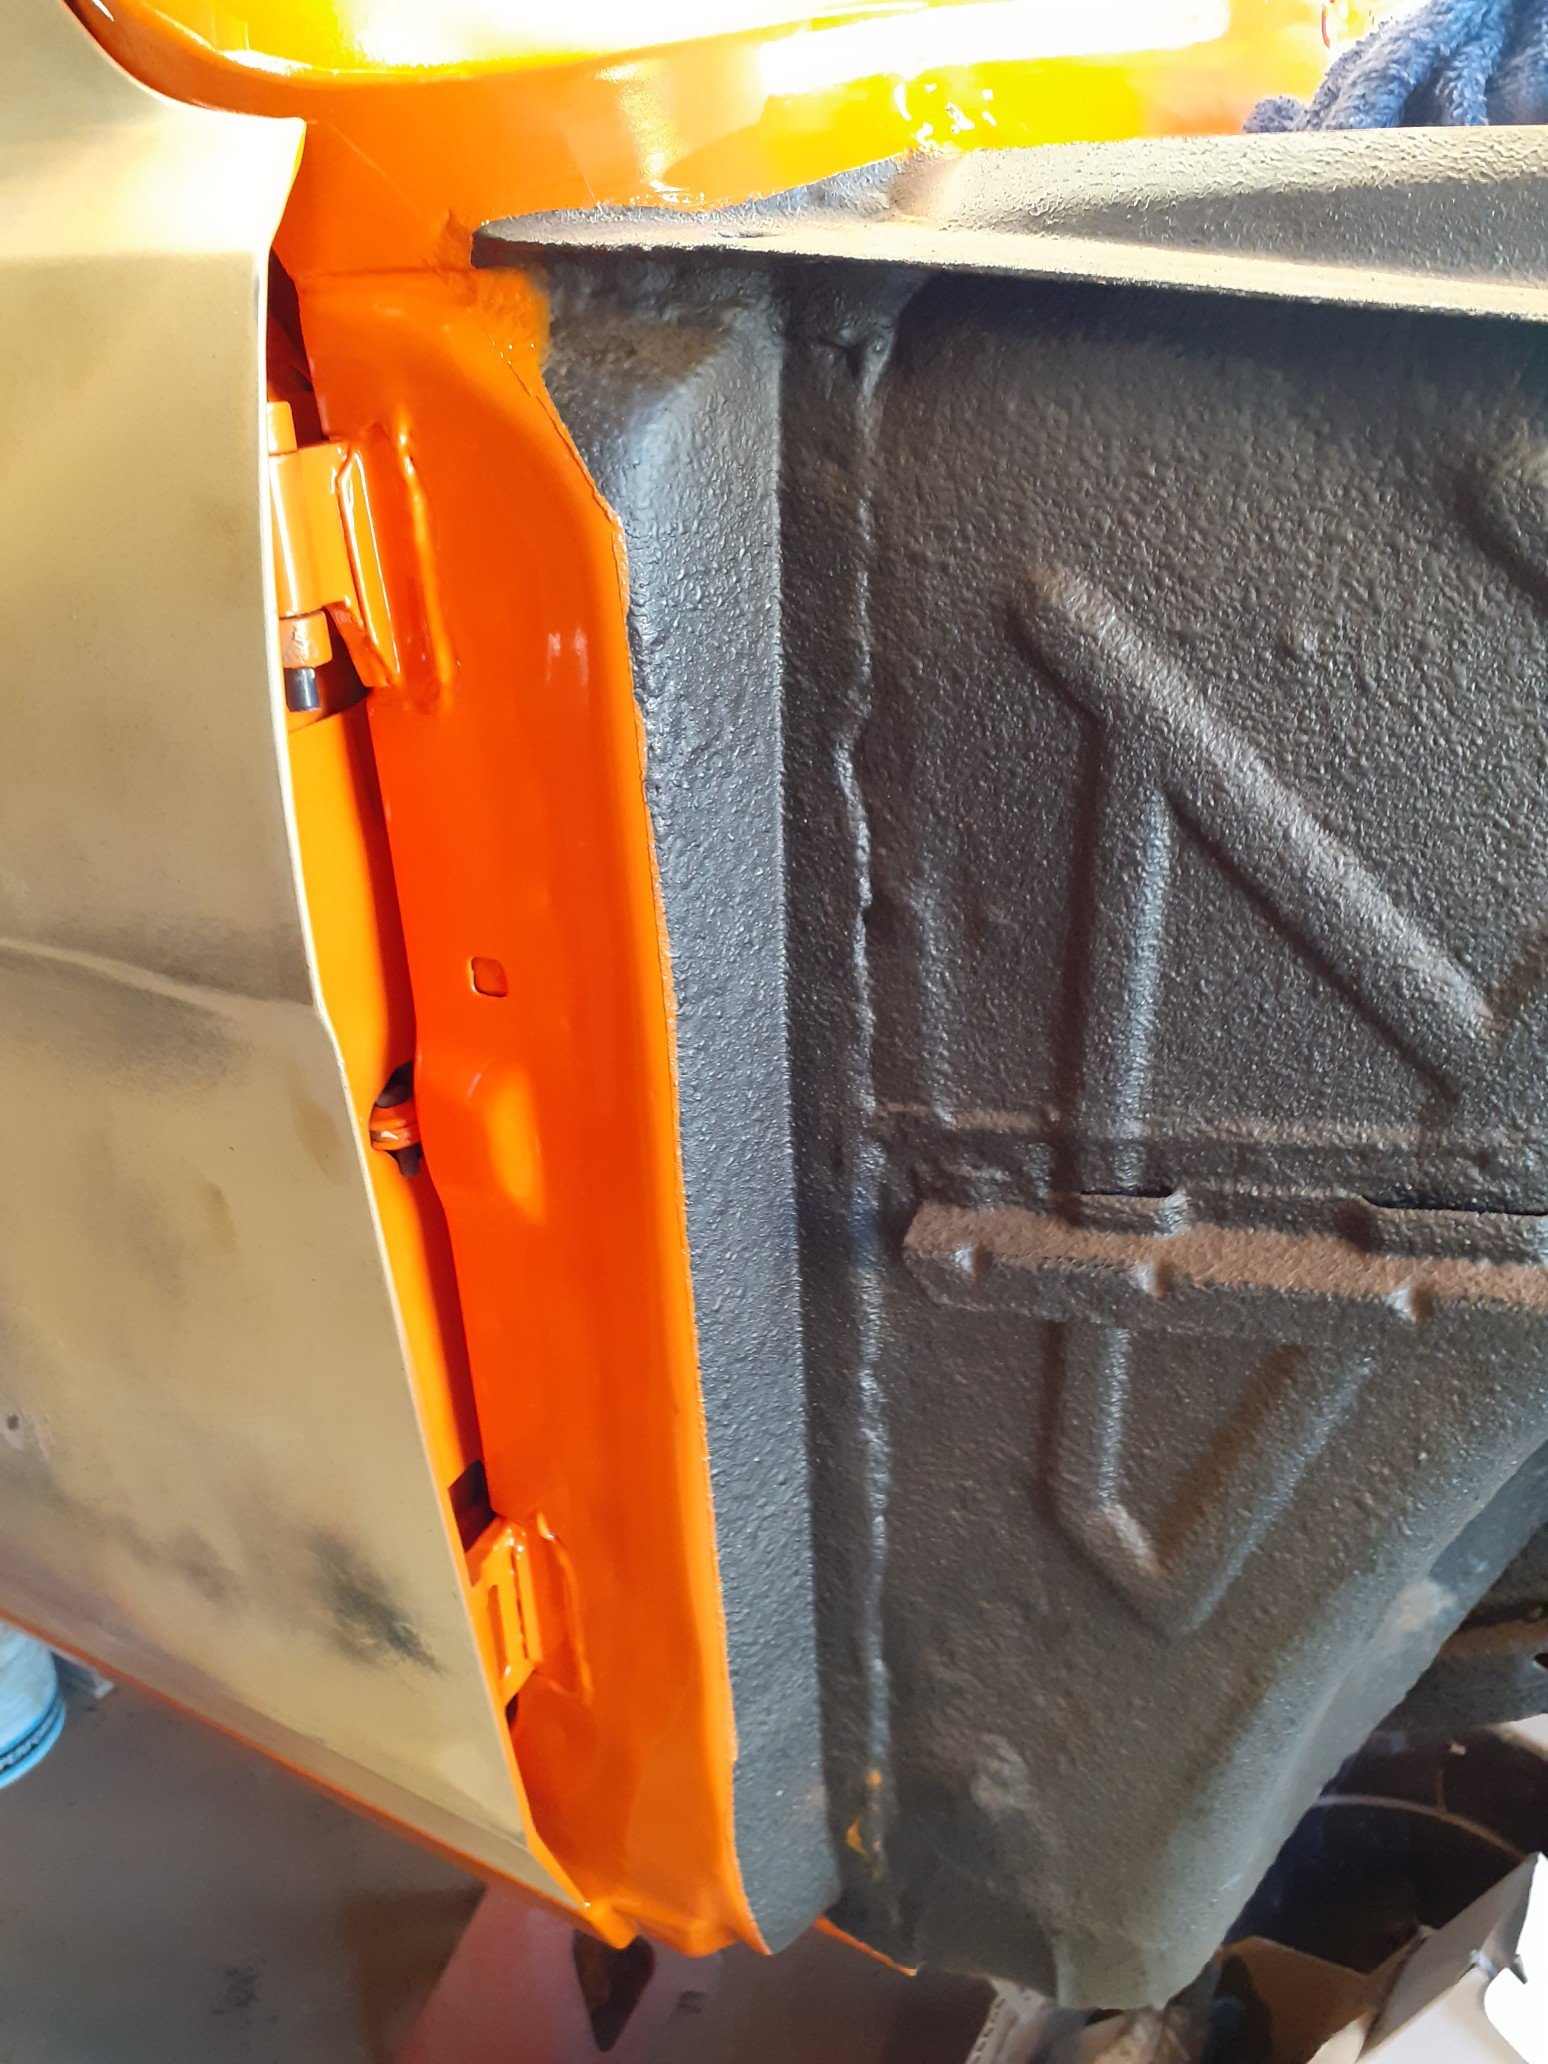
I wasn't too happy on the finish on the first underseal. It came out a bit smooth. Admittedly I thinned the product down to put through the gun. The product was normally used to brush on. I tried a different product and left it a bit thicker to give it that true rough underseal look. Chassis rails and inner gaurds got a thick coating, then I gave the previous areas a quick flick. Came out heaps better this time. Was probably laying it on a bit heavy because I went through 6L's. Ha. I learned my lesson of not wearing a face mask the first time round. That shit sprayed everywhere. Last night I was looking around for something to cover my face. Glasses? not enough coverage. Full saftey shield? Bit tricker in small areas. Stockings and masking tape? Bingo.
1 point
-
*may not be suitable for off-road https://barnfinds.com/oddball-camper-1964-mercedes-190d/64-mercedes-190d-camper-1/1 point
-
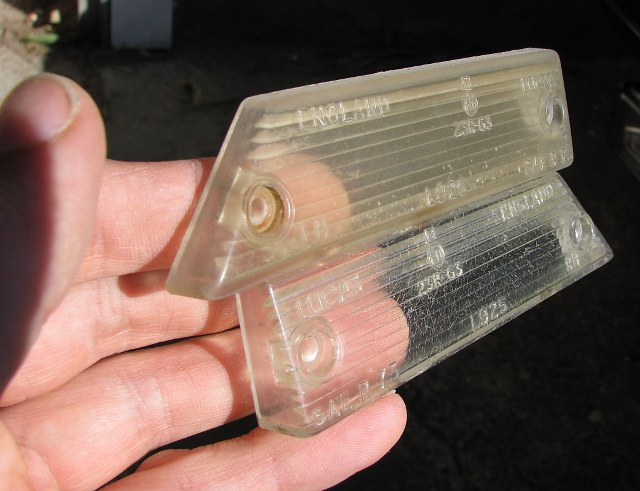
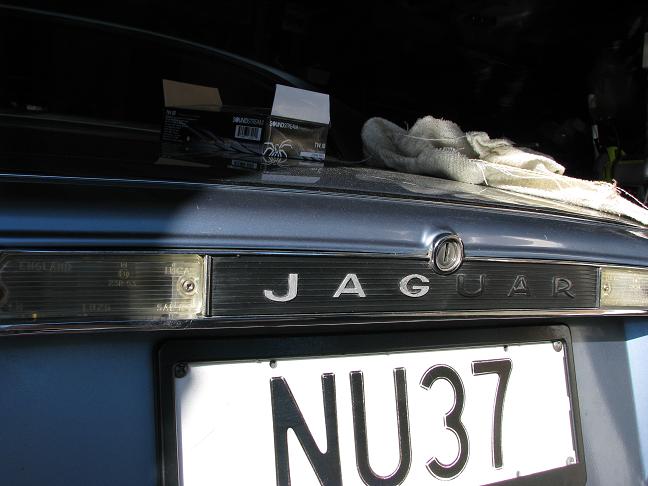
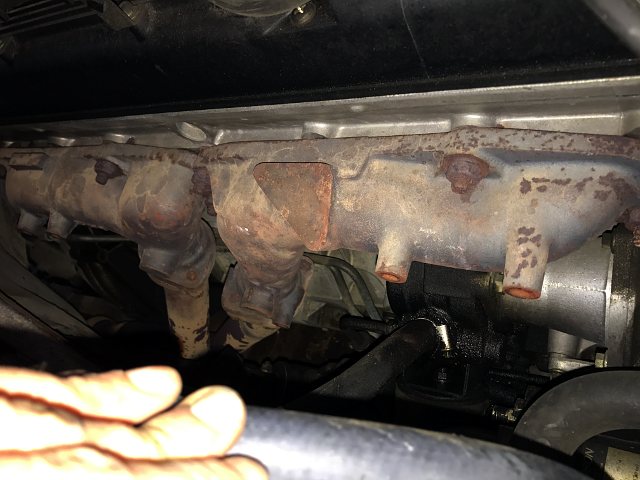
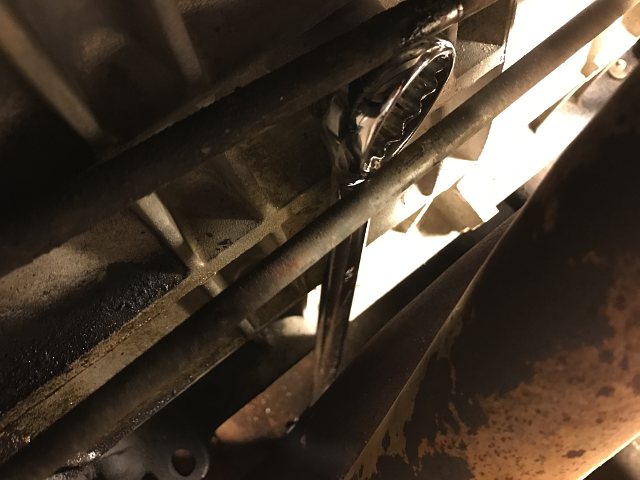
I've been slowly getting to know the Jaaag and to work through some of its issues. I started with easy stuff like blown bulbs and cleaning out the driving lights: Tried to improve the reversing light lenses with Brasso, but they're pretty cracked: Repainting the JAGUAR text so other motorists know how wealthy and stylish slightly caddish I am: Then I started to notice the car was losing its murky 7-year-old coolant. I might have panicked a little bit after my years of being punished by a straight six Rover SD1 with unfixable head gasket issues... However, it was just this bit of hose which was to blame: Jaguar apparently "designed" this part of the cooling system so that one fitting (the block) is larger than the other fitting (the vacuum-actuated heater valve). The previous owner had to replace the heater valve, stressing the hose where it was stretched over the larger fitting. Anyway, I obviously needed to drain and flush the cooling system. No radiator drain plug = remove the underbody aero(!), wrestle off the lower radiator hose and make a big mess. Then I had to look for the drain plug in the engine block. Underneath a shiny chrome exhaust heat shield are these crappy-looking log headers: See how the primary pipes for the front three and rear three cylinders run down next to eachother, giving good access to the side of the block both ahead of them and behind them? Guess where the drain plug is? It's behind the headers where you can't get a socket onto it. It also has the transmission cooler lines screwed onto it, but you can't get a screwdriver onto that screw. It's also a giant imperial size so you can't just go out and buy the right size spanner. This will learn me for buying a British car. I used a ratcheting ring spanner thing with a screwdriver bit to unscrew the bracket from the drain plug, then I bought the closest match of giant metric size spanner, which I had to operate from underneath the car. I flushed everything out and replaced that bit of hose, and now my British car doesn't drip a single fluid or have any warning lights on the dash. =)
1 point


.jpg.2739ceea4562b1a4c9bc4bec0498464c.jpg)
.jpg.8457b1bcdd62d060a0169e5117ec3a54.jpg)
.jpg.78418e84f1243825758bab88a226bc27.jpg)
.jpg.f3bd77e0f27702cd07f897e06d2f1487.jpg)
.jpg.6e7fb716077b37ca5360f0280318290c.jpg)


.jpg.d48373f2a03f55140a81f95d86b5b28c.jpg)
(2).jpg.f33cda715f087d8248eecc7ccefc9427.jpg)
.jpg.4275e7bcecd2b4651c5eb29c3b67b148.jpg)


This leaderboard is set to Auckland/GMT+12:00