
Leaderboard


Popular Content
Showing content with the highest reputation on 06/23/19 in all areas
-
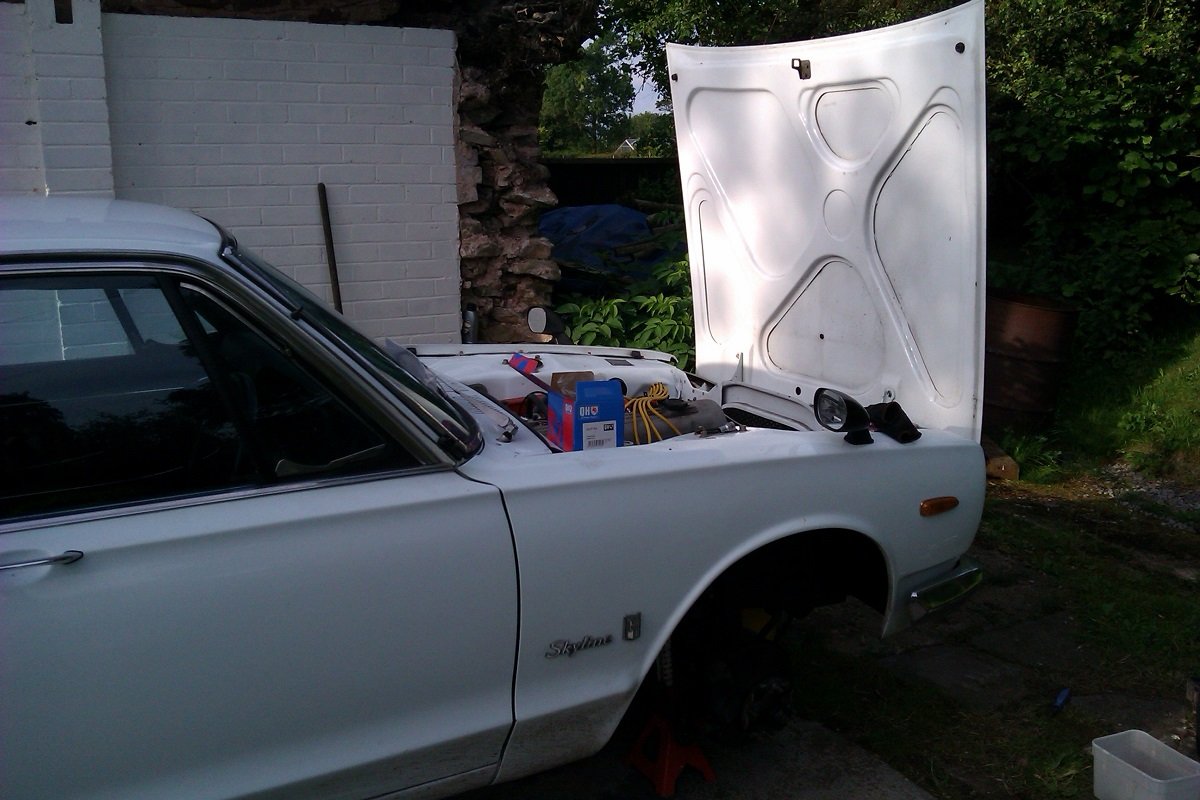
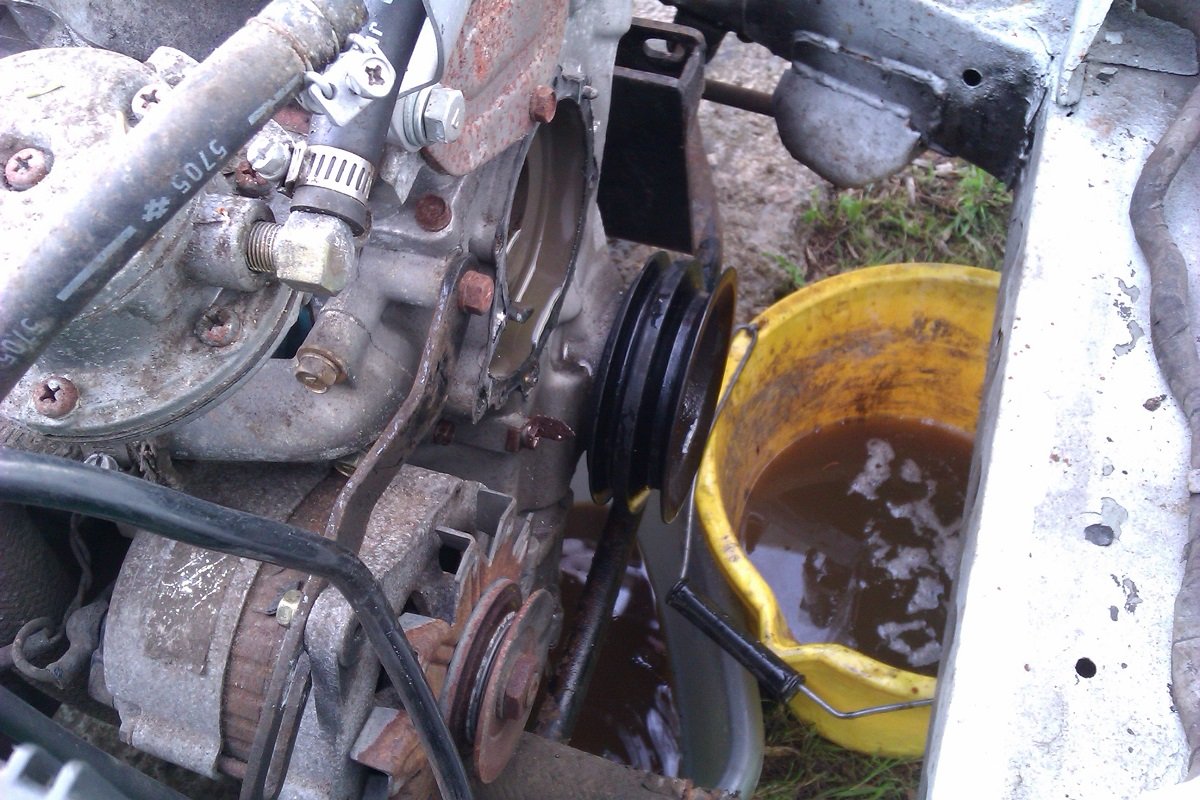
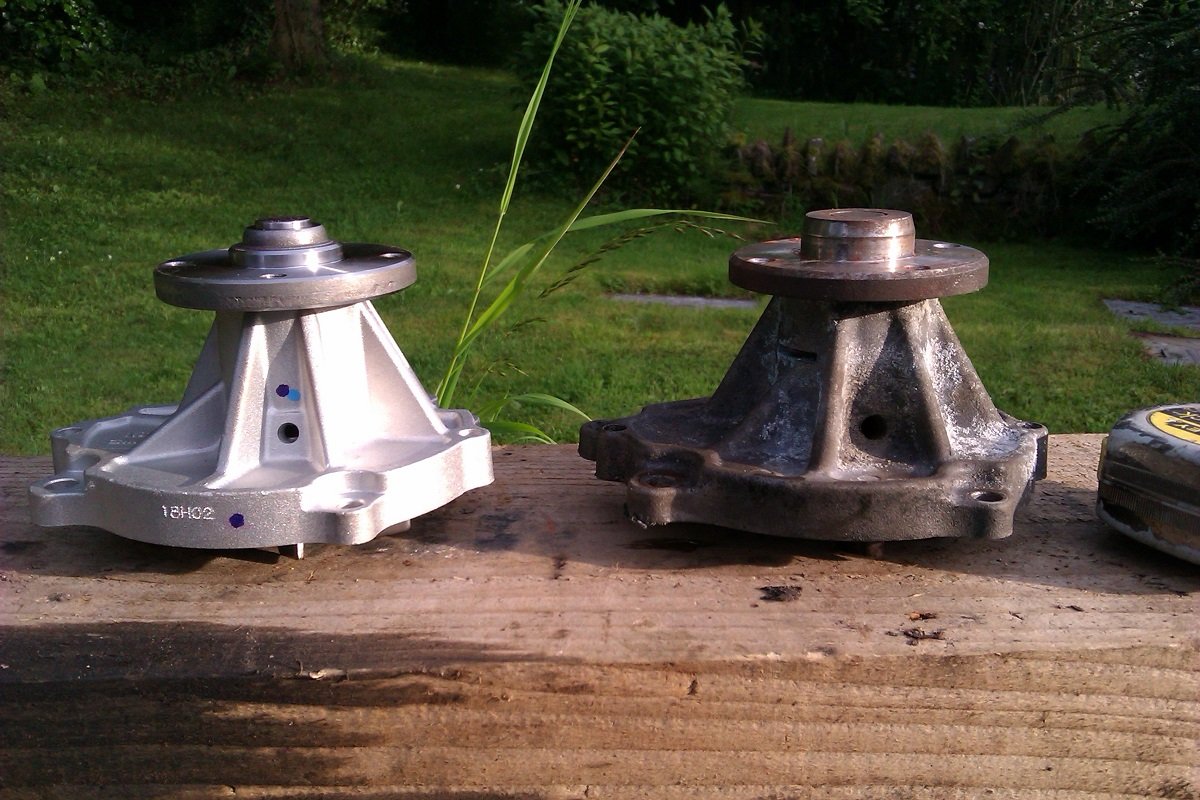
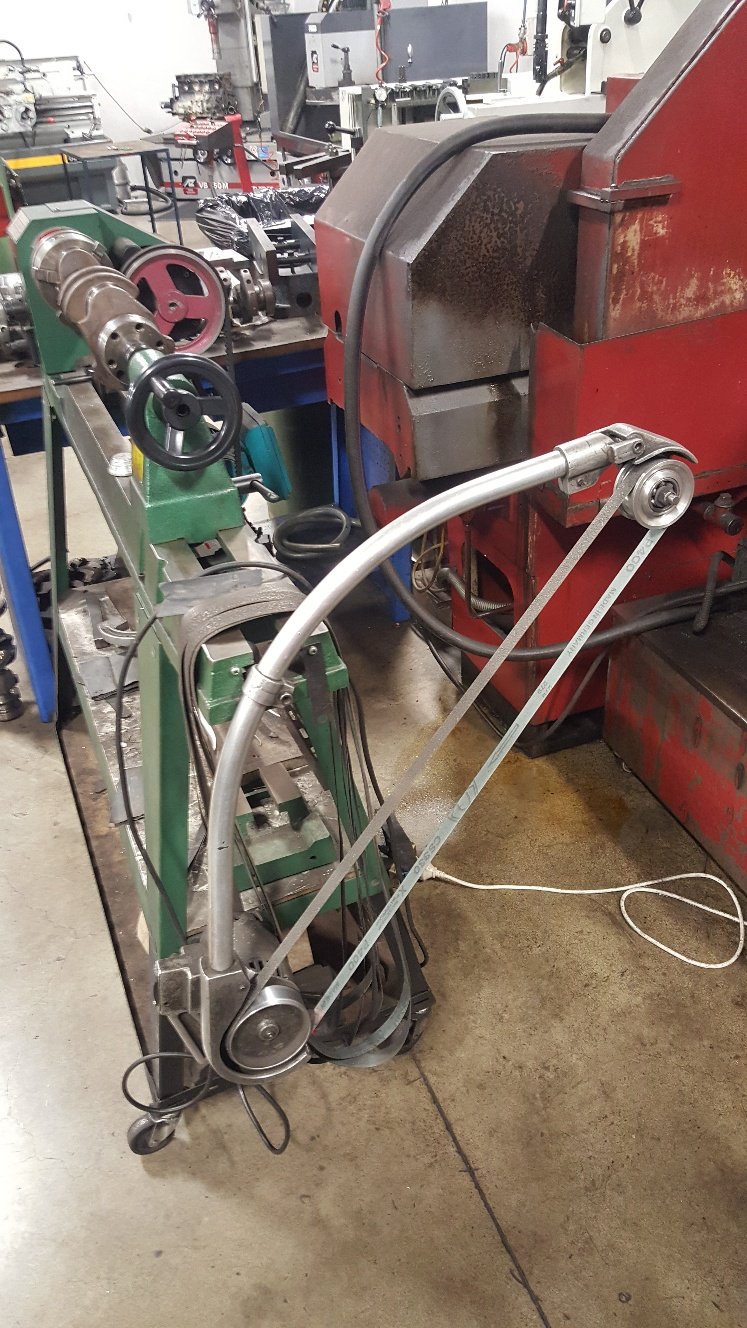
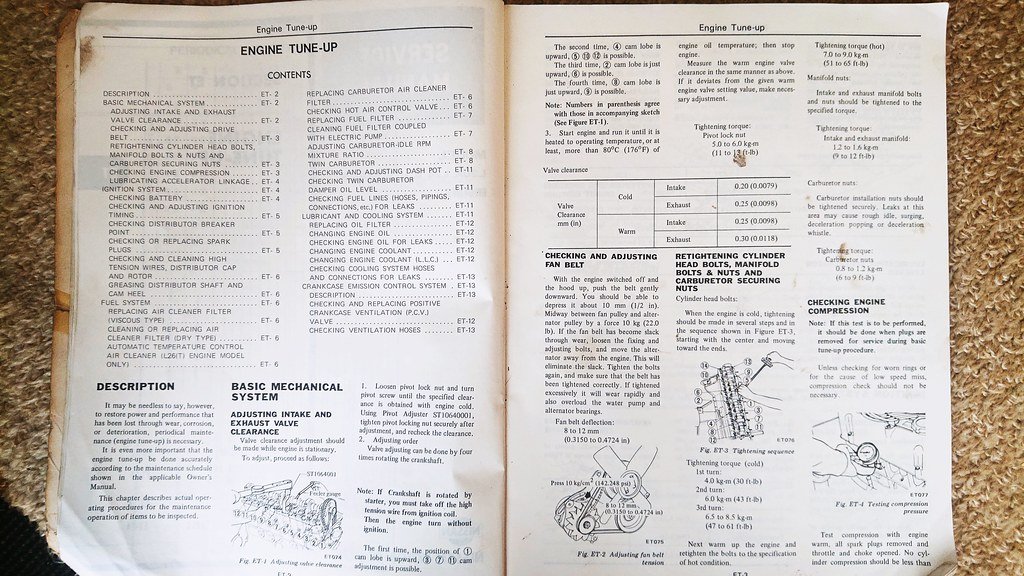
I was going to spend all day on the old crate today but didn't get on it till 6. Stupid Saturdays. Having decided not to go the Pro Stock/ Street Freak route, (see random picture thread, page 4283) I thought I'd better mend the thing. Calipers fit but the originals had the fitting in the middle of the body so the the flexies aren't long enough. By chance, Hilux chassis to rear axle hoses are 60mm longer so I may get away with that. Anyway, bailed on the brakes and pulled the water pump off. In true Japanese style, all the bolts came out fine and everything seems the same on the new pump. Came in at 7.30 in time for chips and beer. No Skylining tomorrow, taking the daggs to the beach. Want to do more Skylining TBH. PS.... Any of you GC's know what the valve gaps are for a '72 L20 ? Gonna go with 240Z specs unless I get told otherwise. /pics
 8 points
 -
It's been a couple of weeks since an update, mostly because it has been endless wiring up, which it time consuming but has fuck all to show for the effort. Basically I have been chunking away at it endlessly, with tidying things up and soldering chocolate block connections being most of it. It is all running on 24v now, all the bulbs and relays swapped over and running 2x DC DC converters for the 12v stuff. So many relays... You can see the convertors. One runs the wipers/washer/blower motor, the other runs the stereo power. The terminations are the same so if the wiper one shits itself I can use the stereo one as a backup. Halfway through wiring the instrument cluster, have to study the Haynes manual a bit more I reckon. I made a box for the fusable links, starter relay and glow relays. It needs welding in place yet. And a lid. The hole is access to the fuel filter manual pump knob. Battery positions. I stripped the old rear seat down to the frame, this is because I went back to the wreckers and bought the escudo rear seats from the car I got the fronts out of, these look like they could be pretty good as a solution; Just need to weld some mounts to the frame and create something to hold things folded away. It is nice that all the seats match too..6 points
-
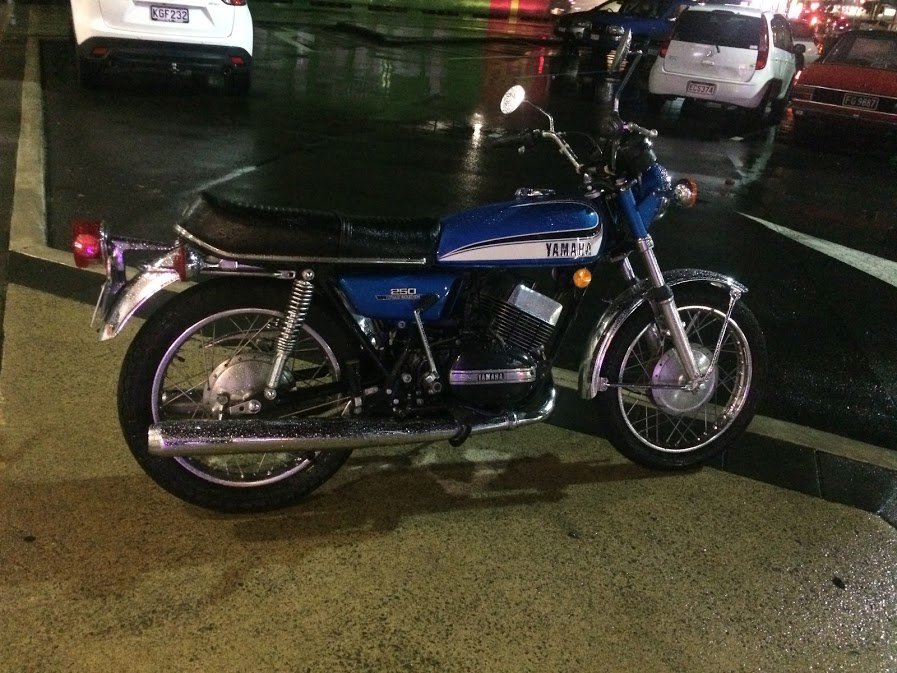
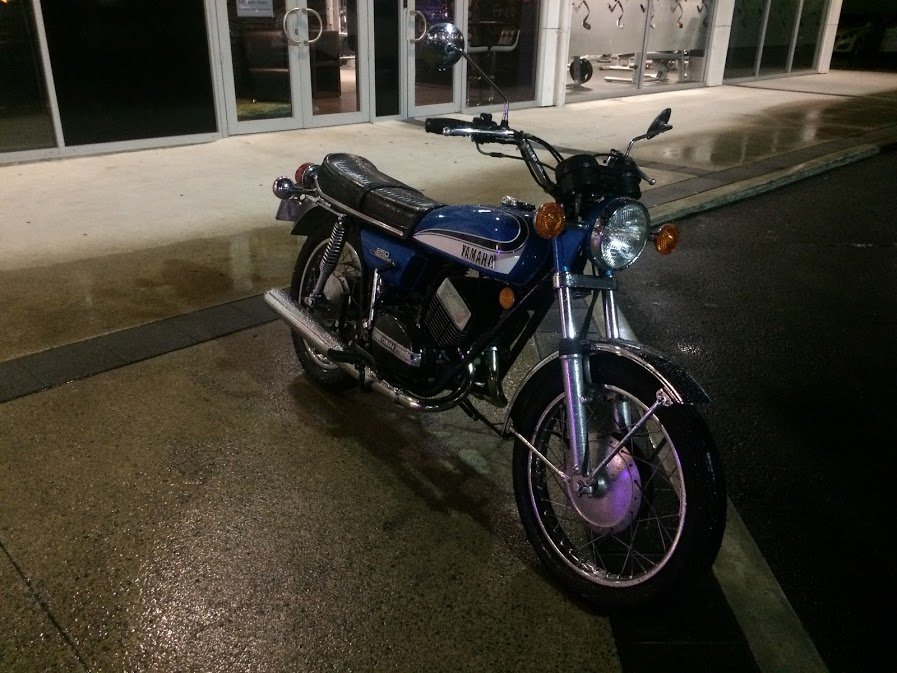
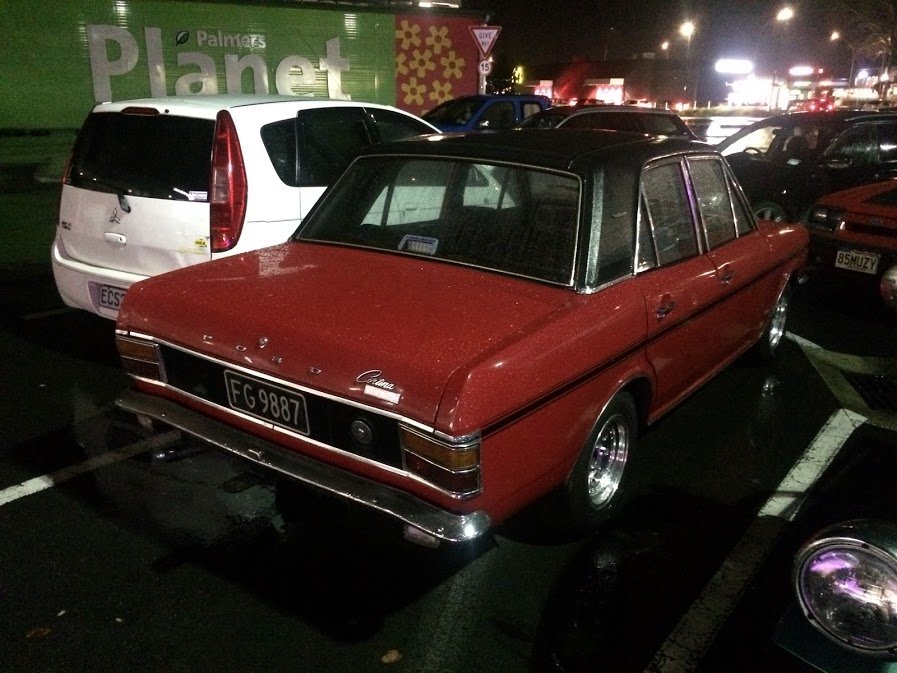
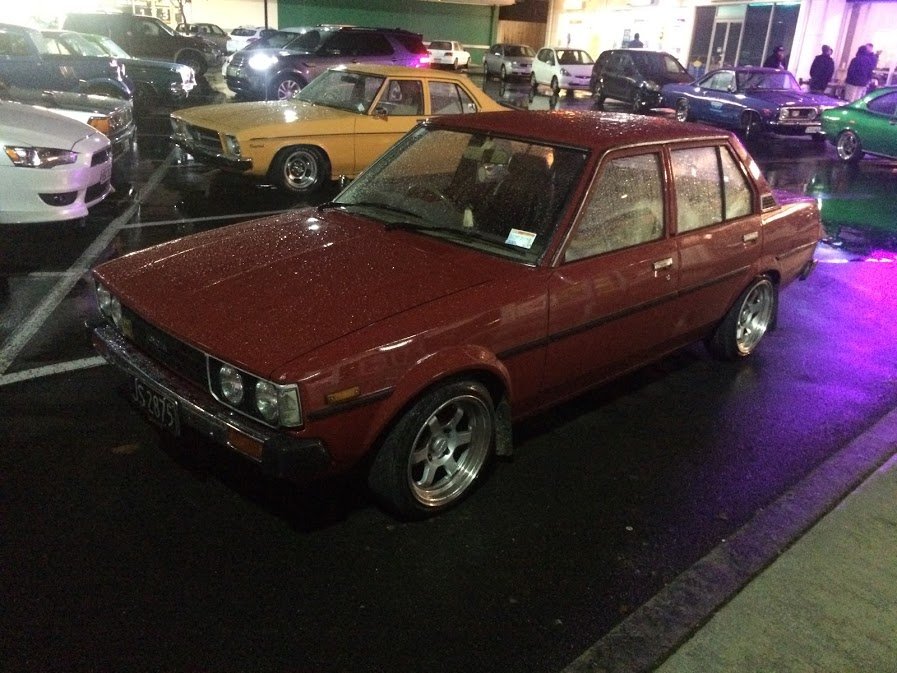
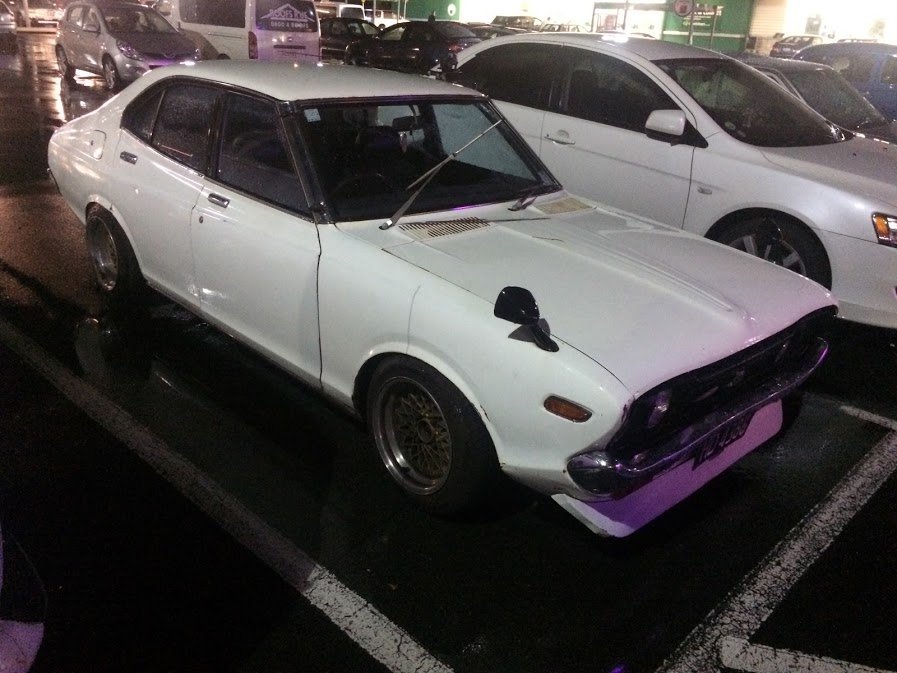
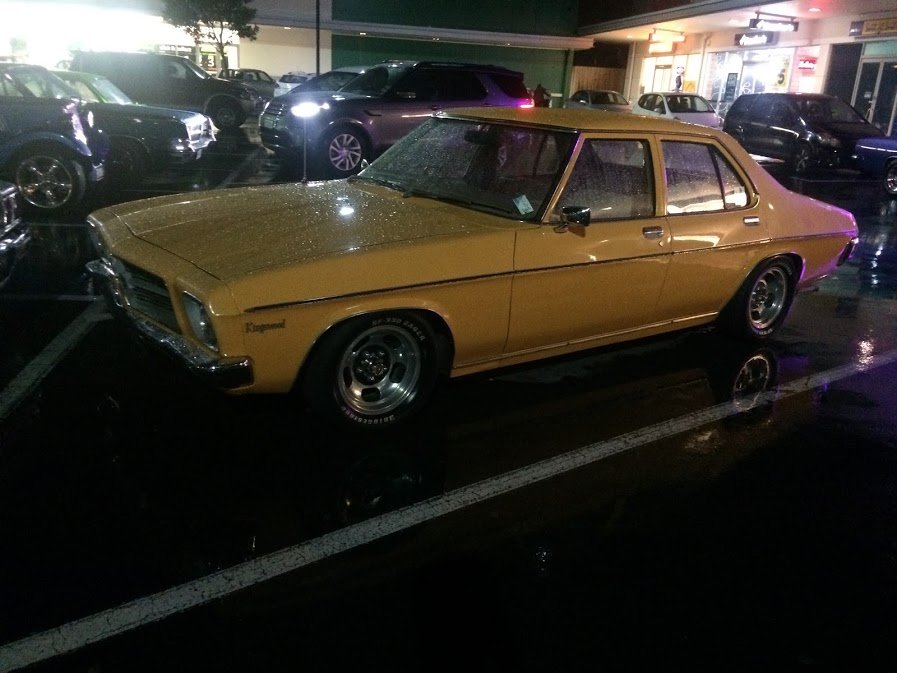
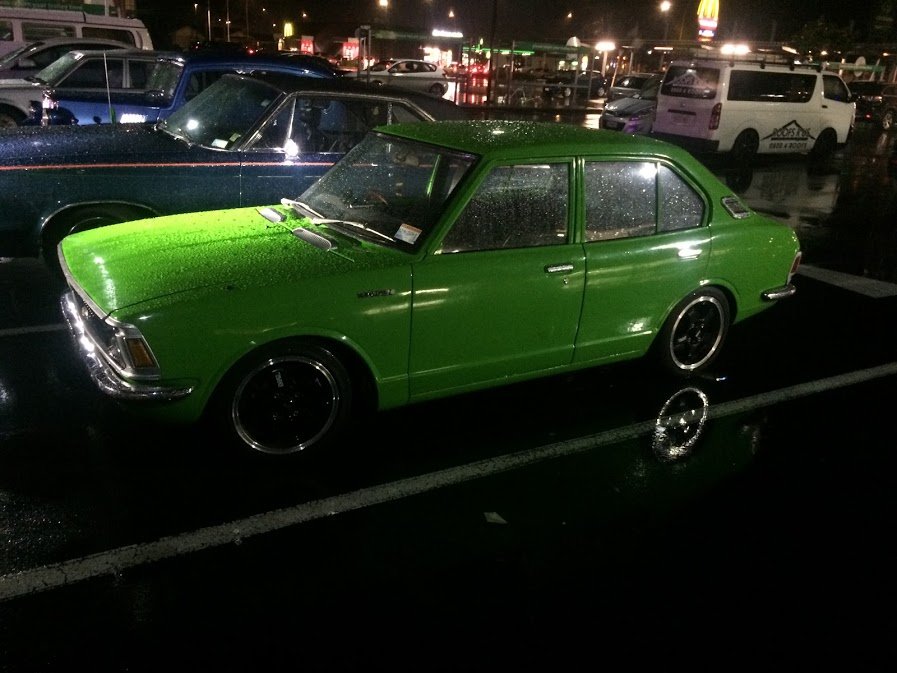
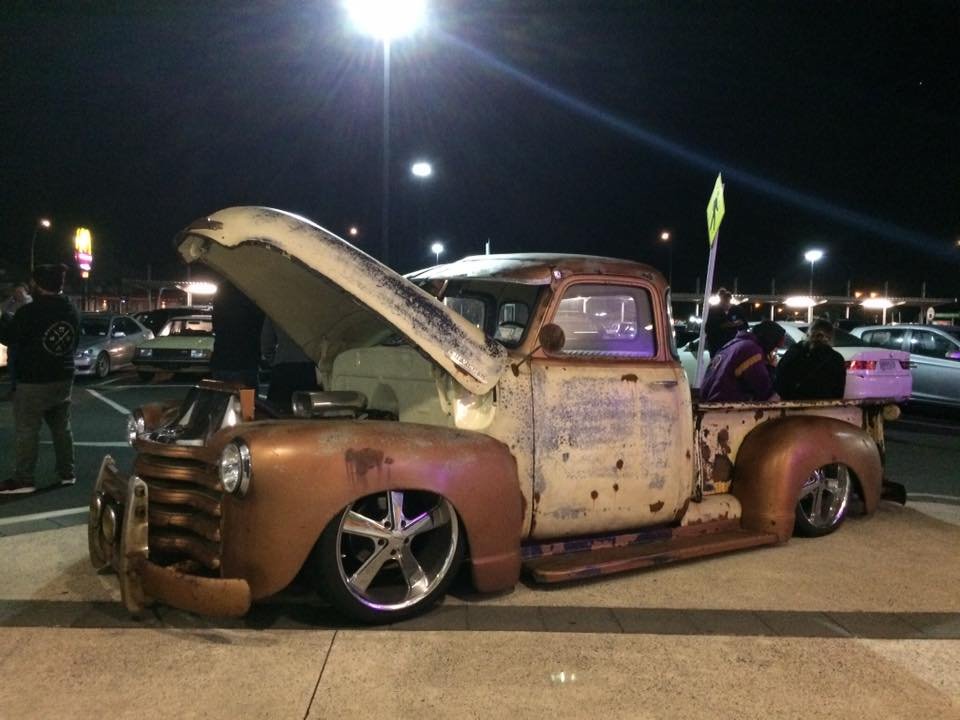
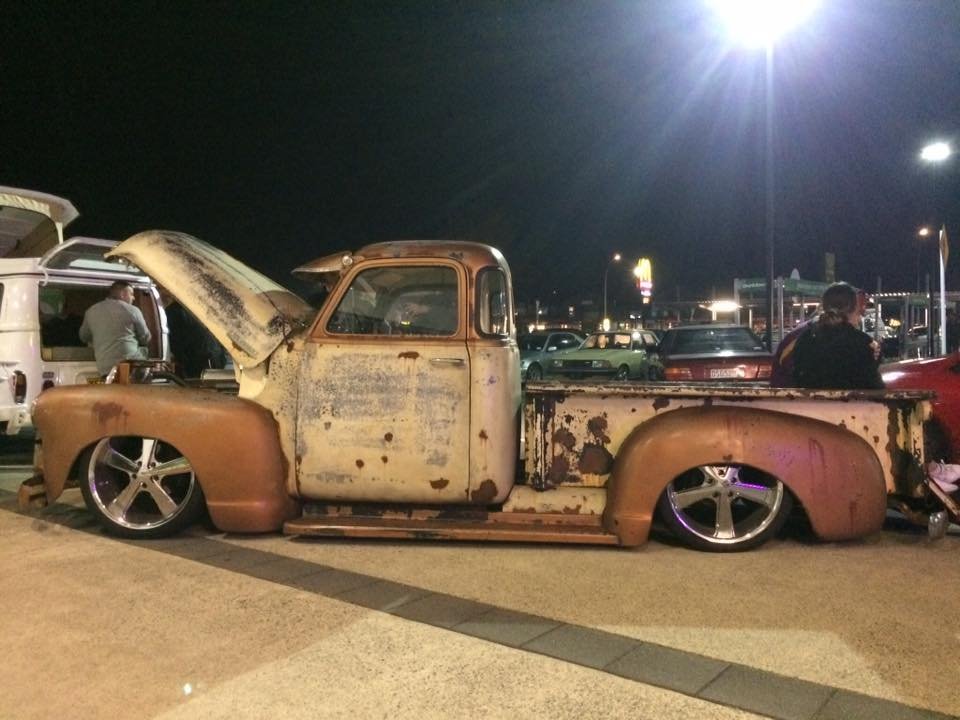
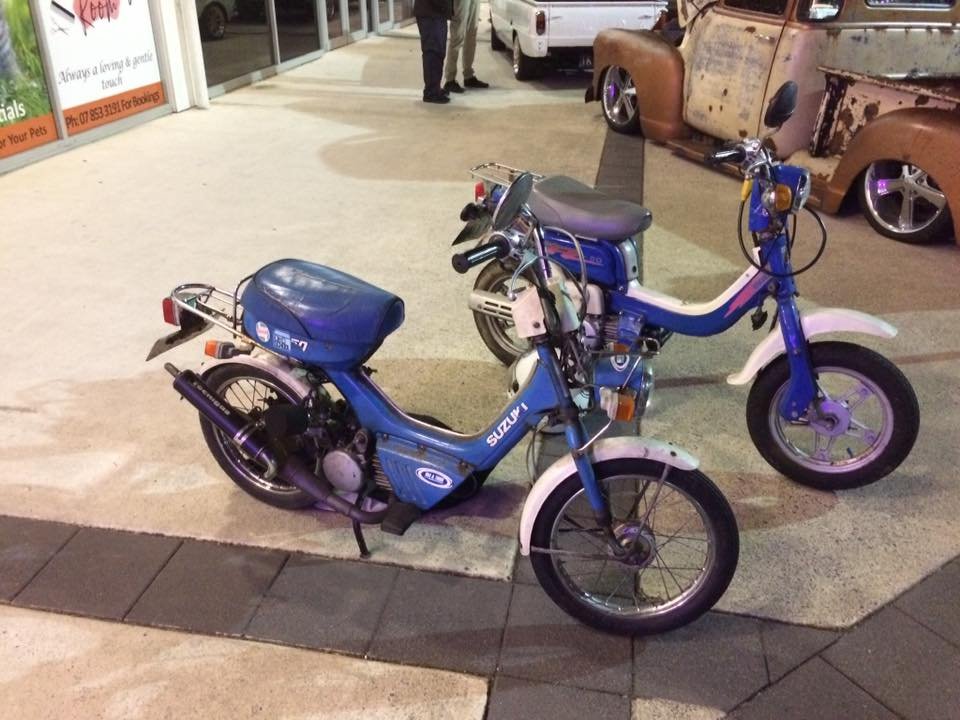
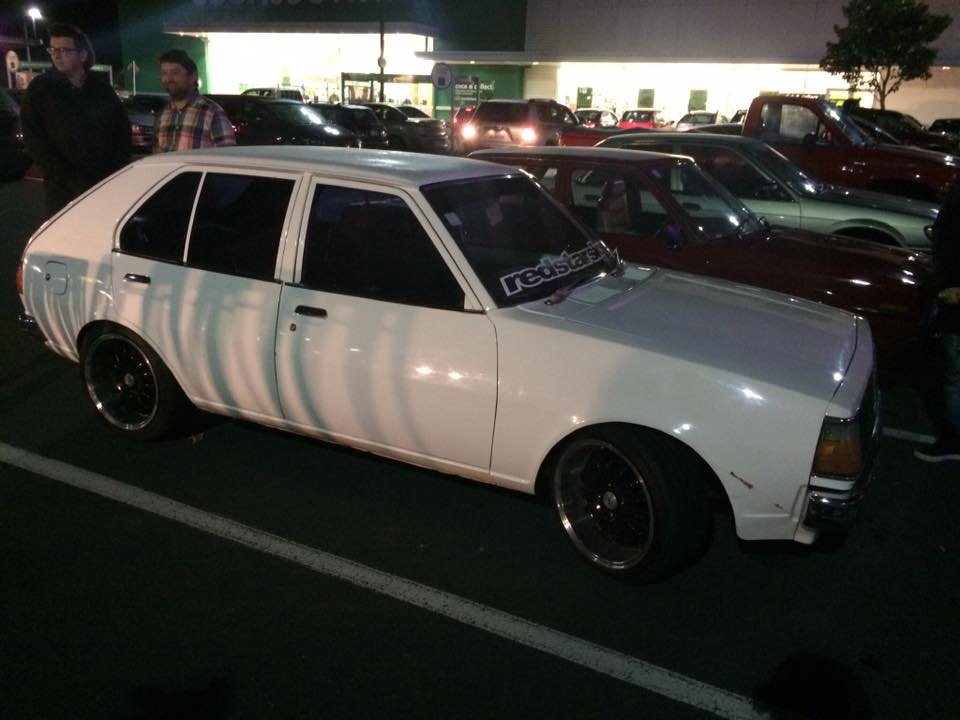
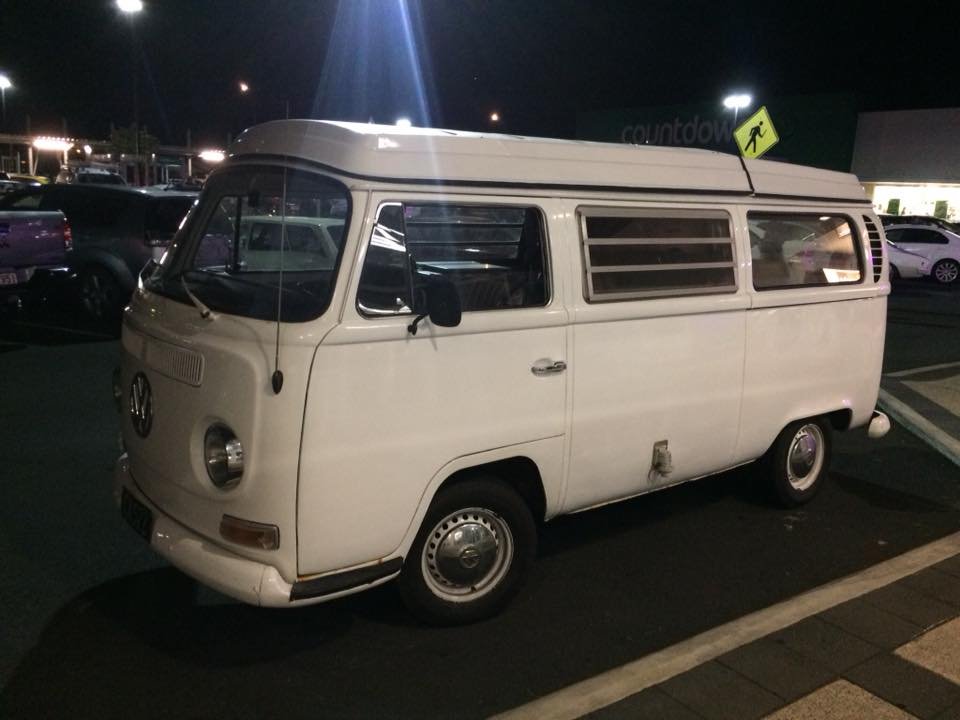
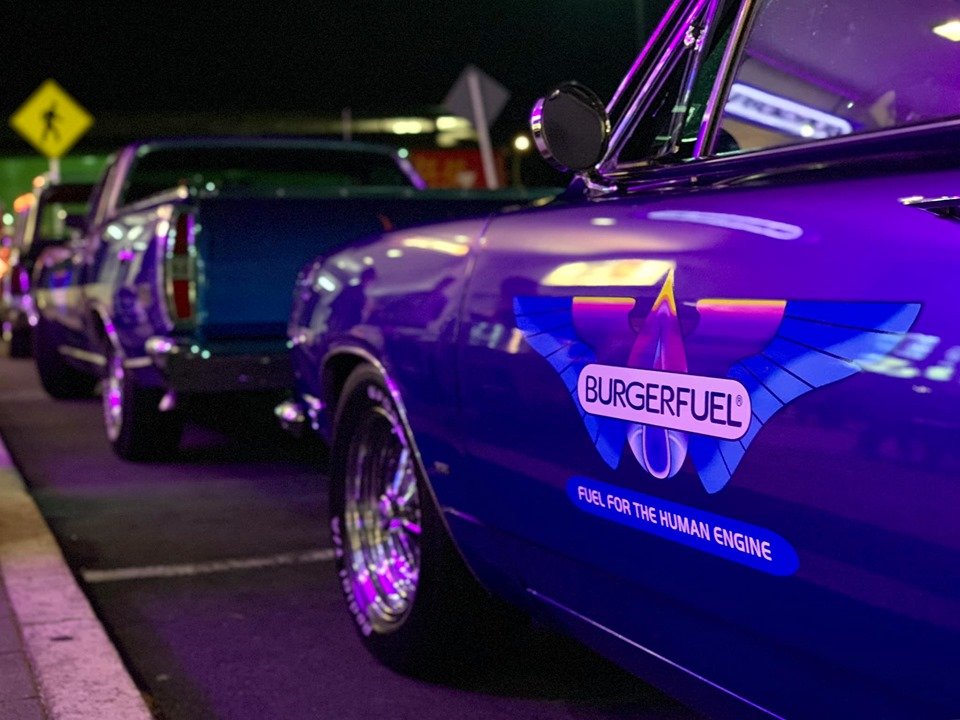
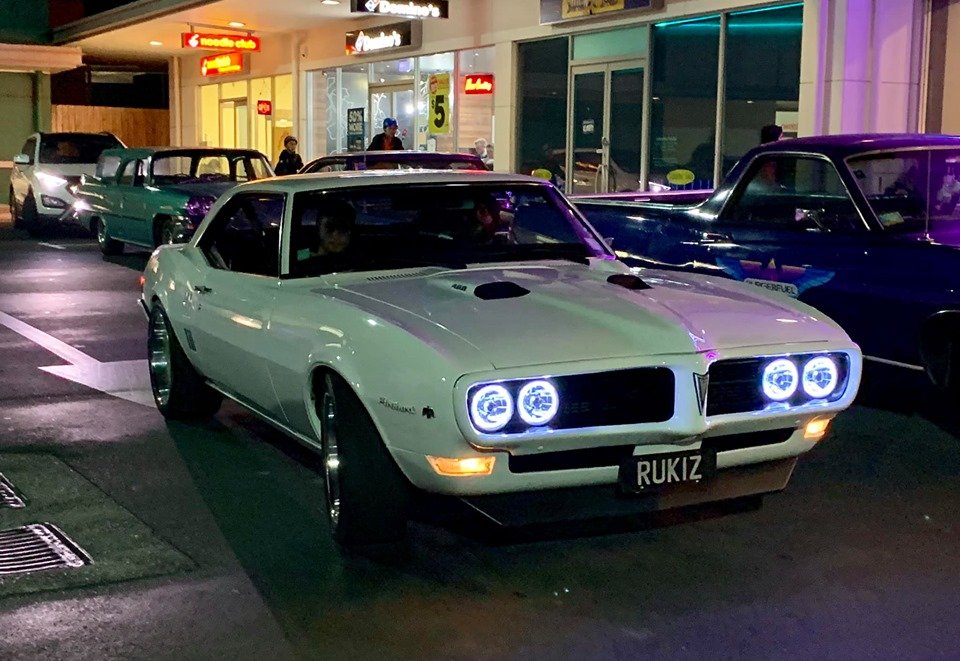
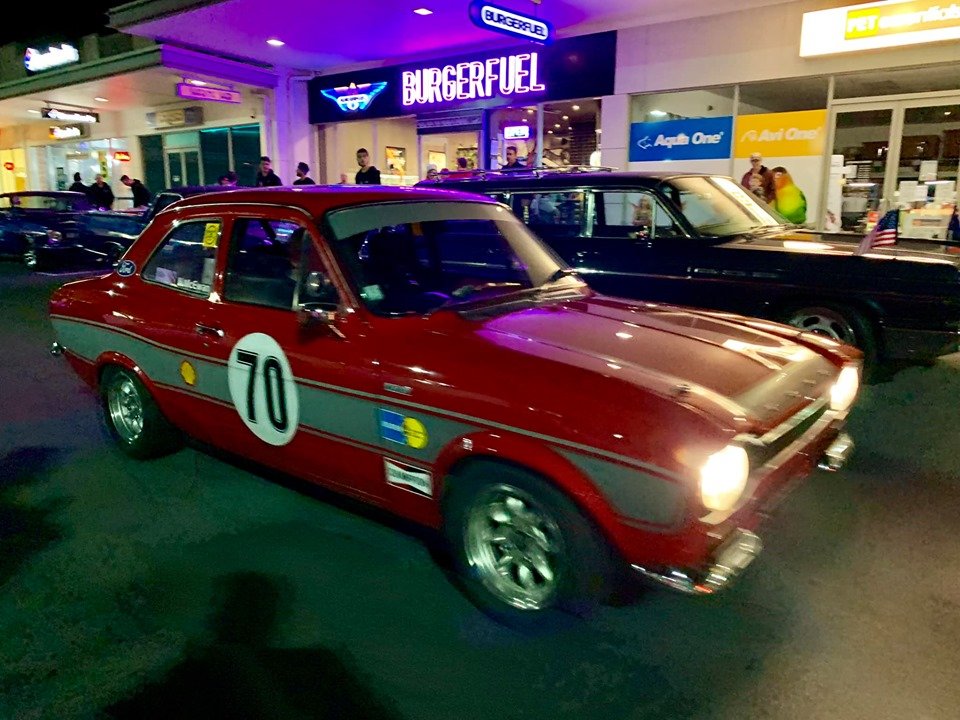
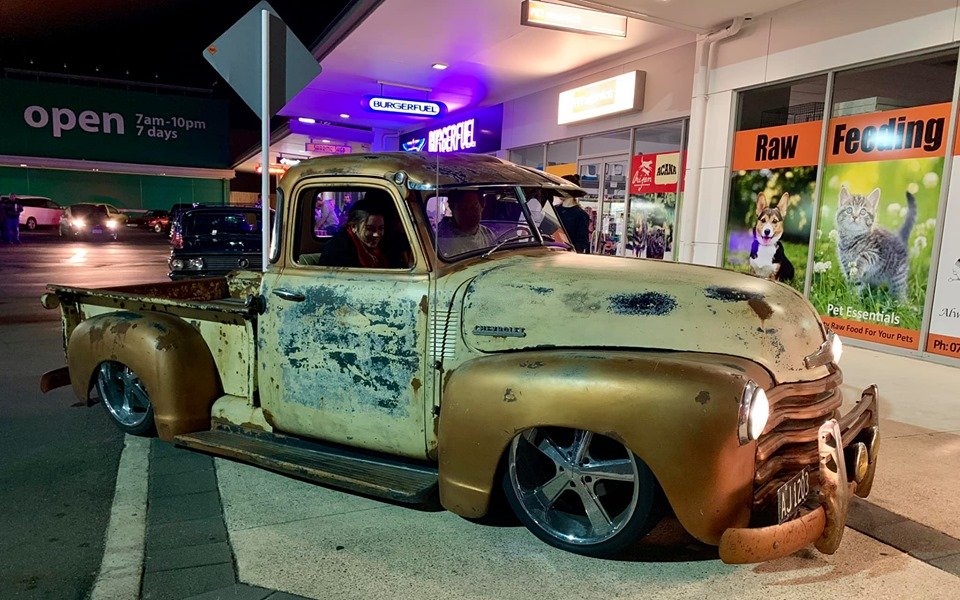
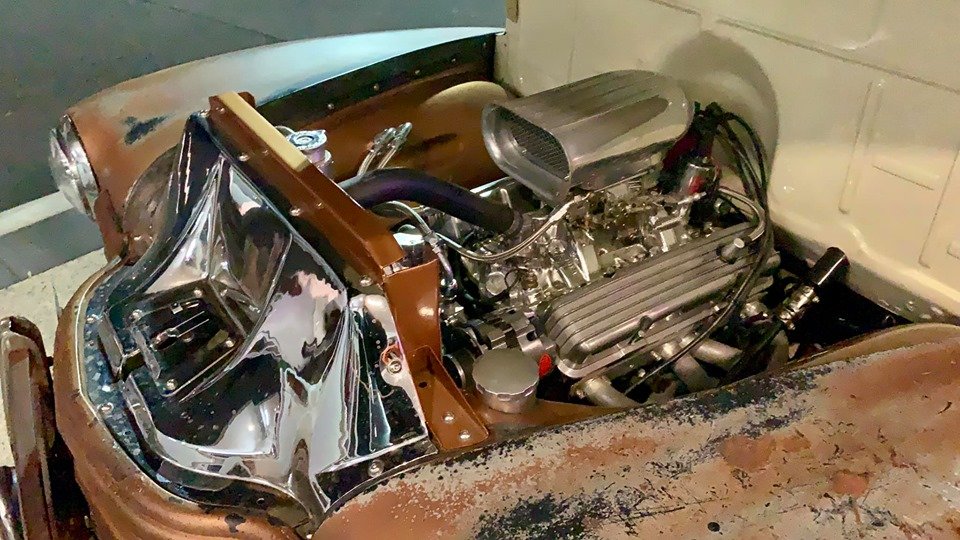
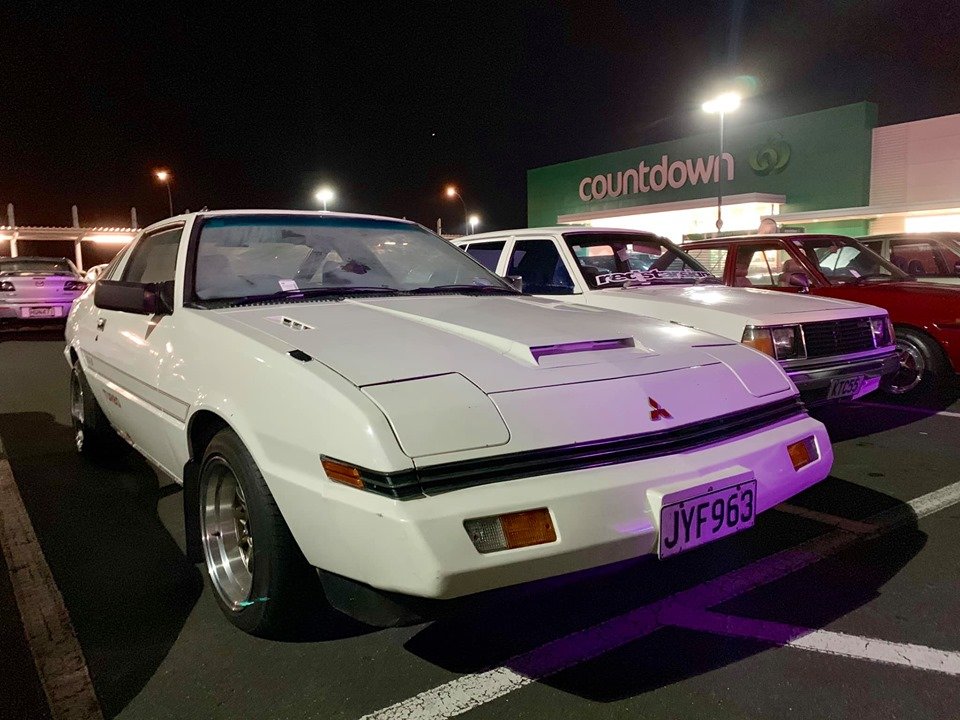
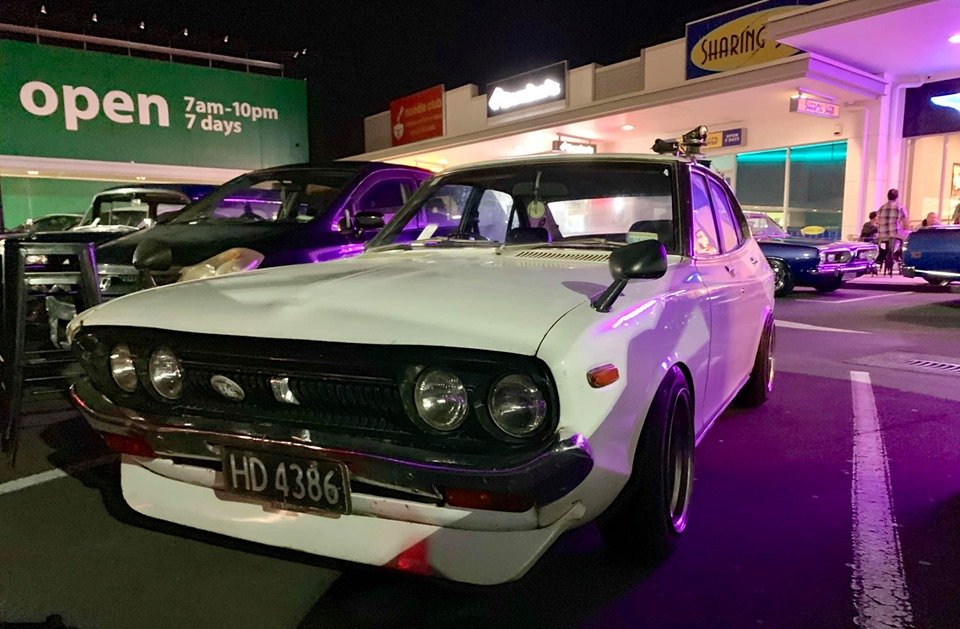
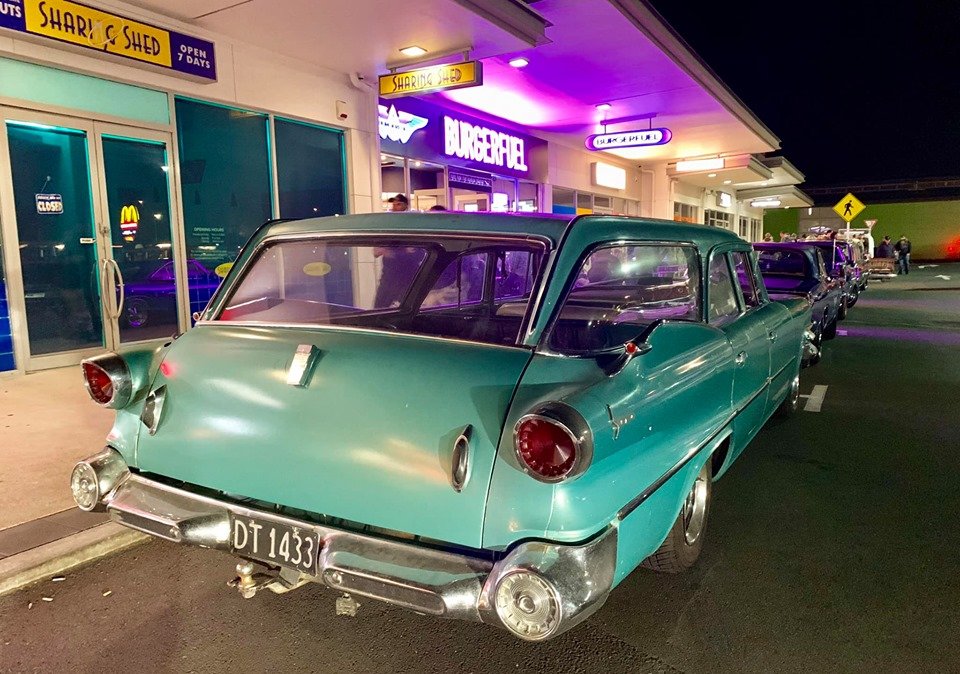
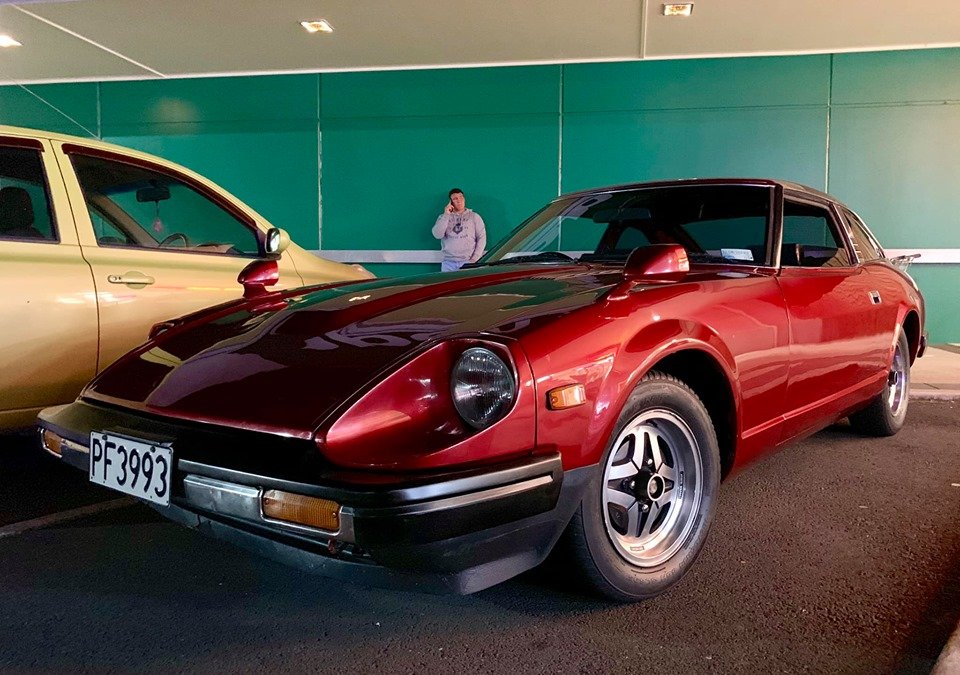
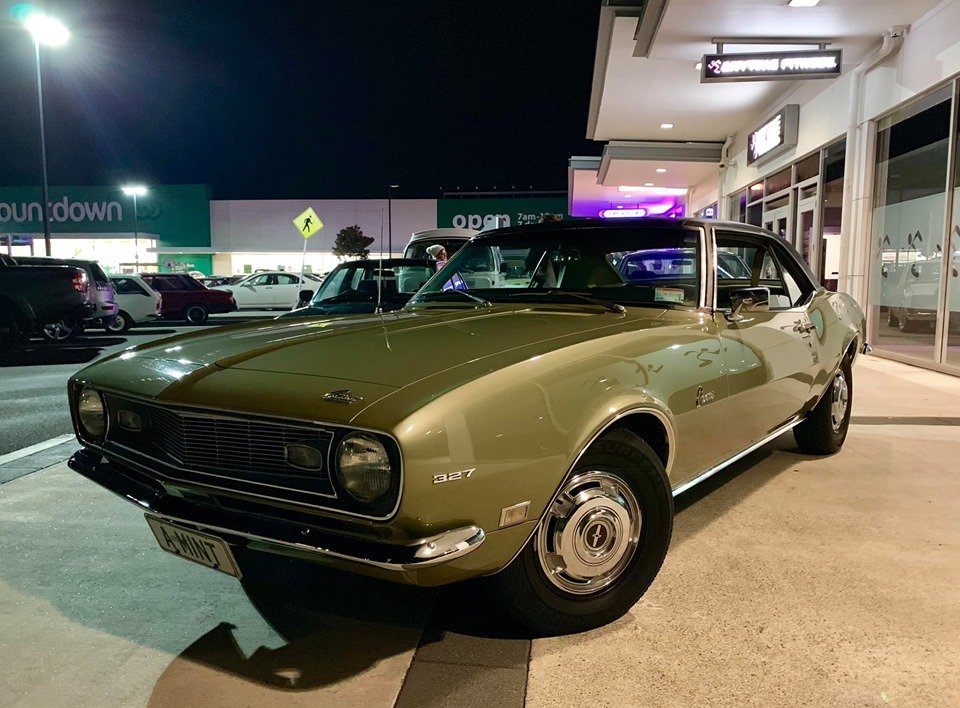
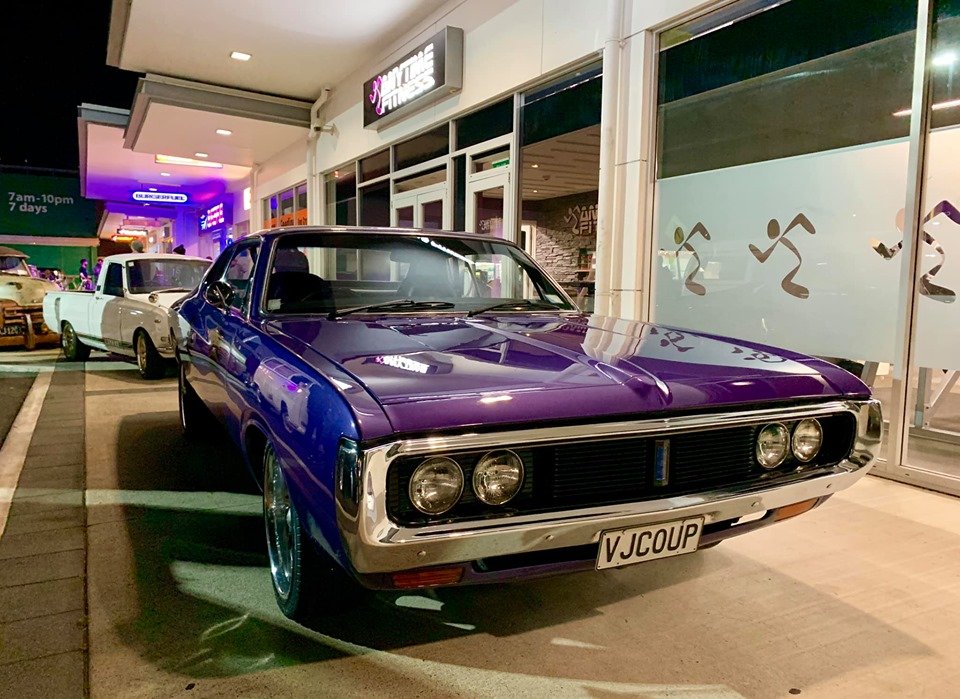
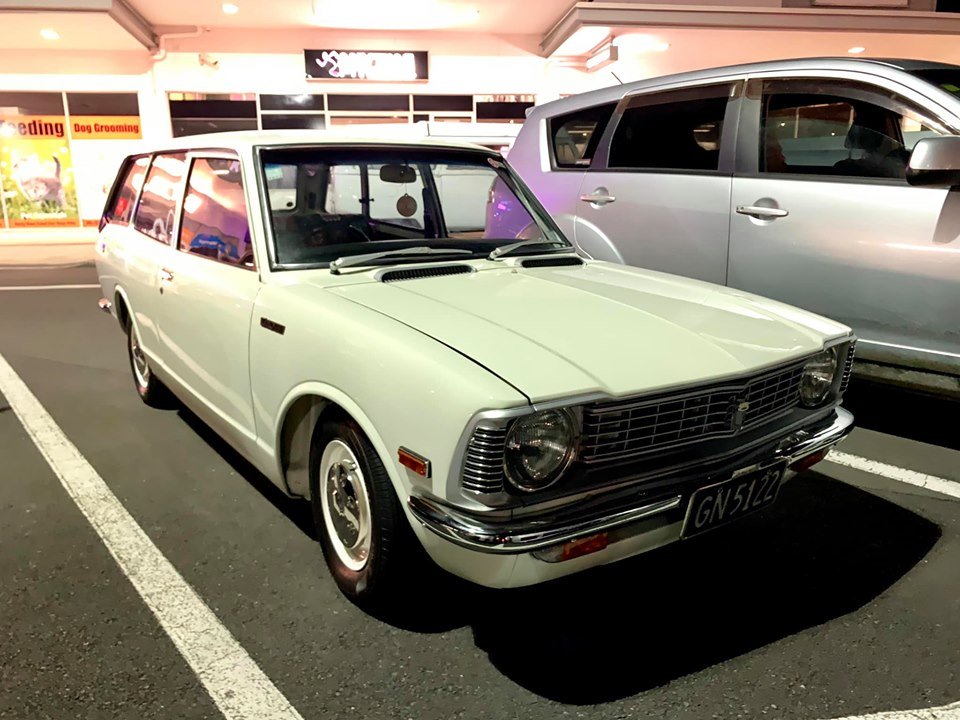
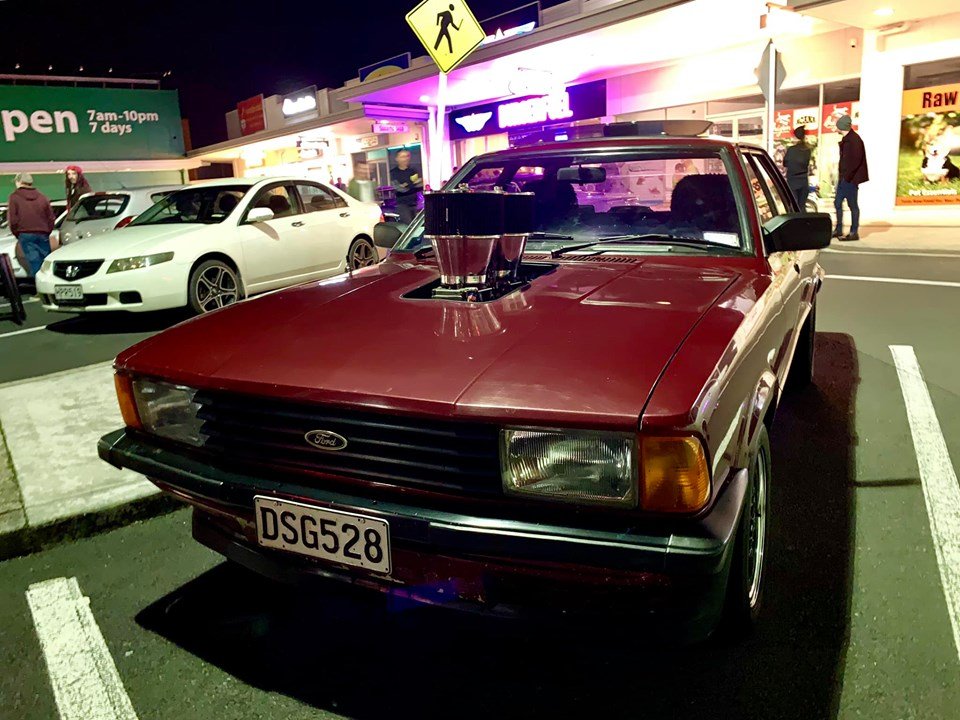
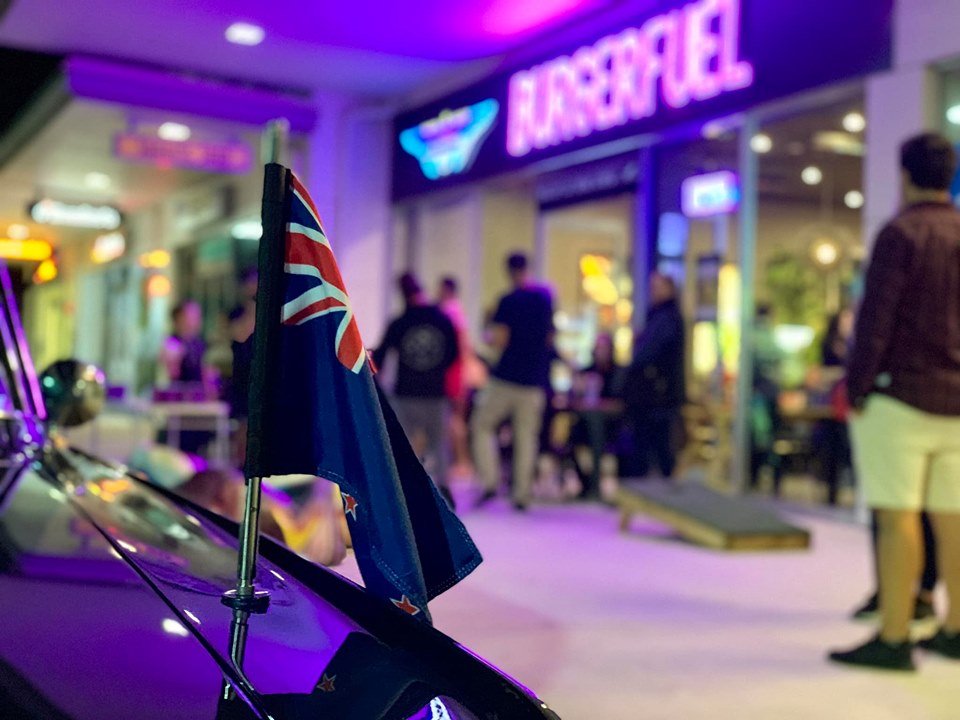
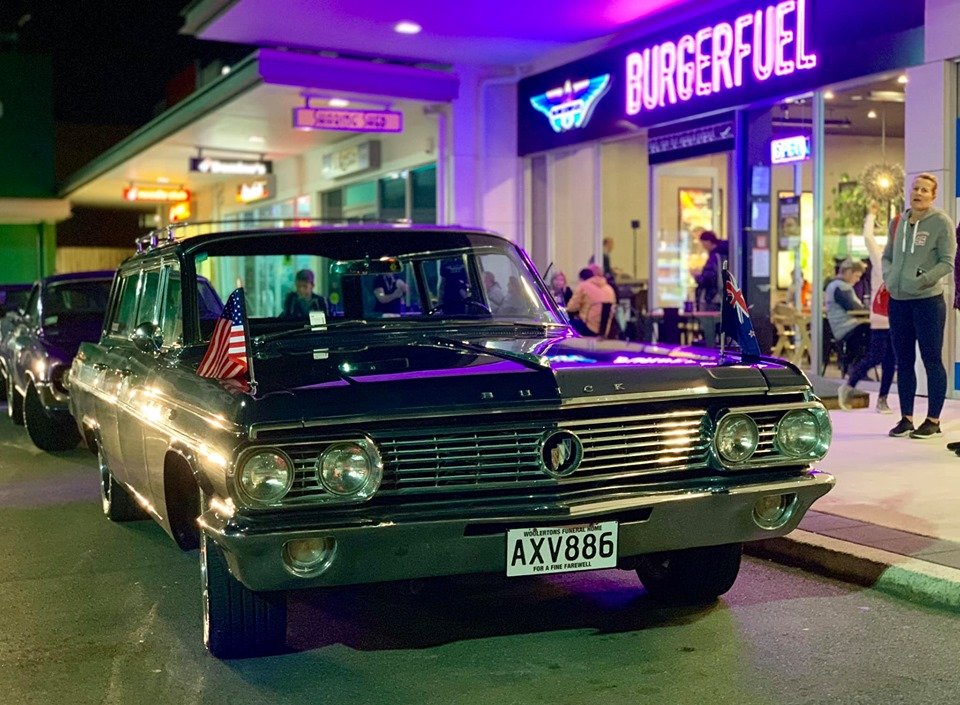
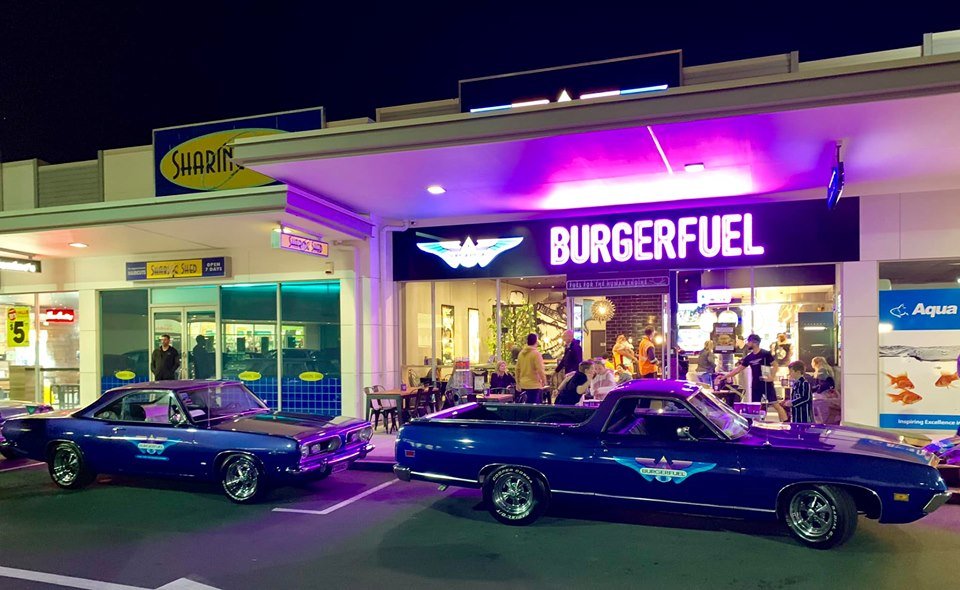
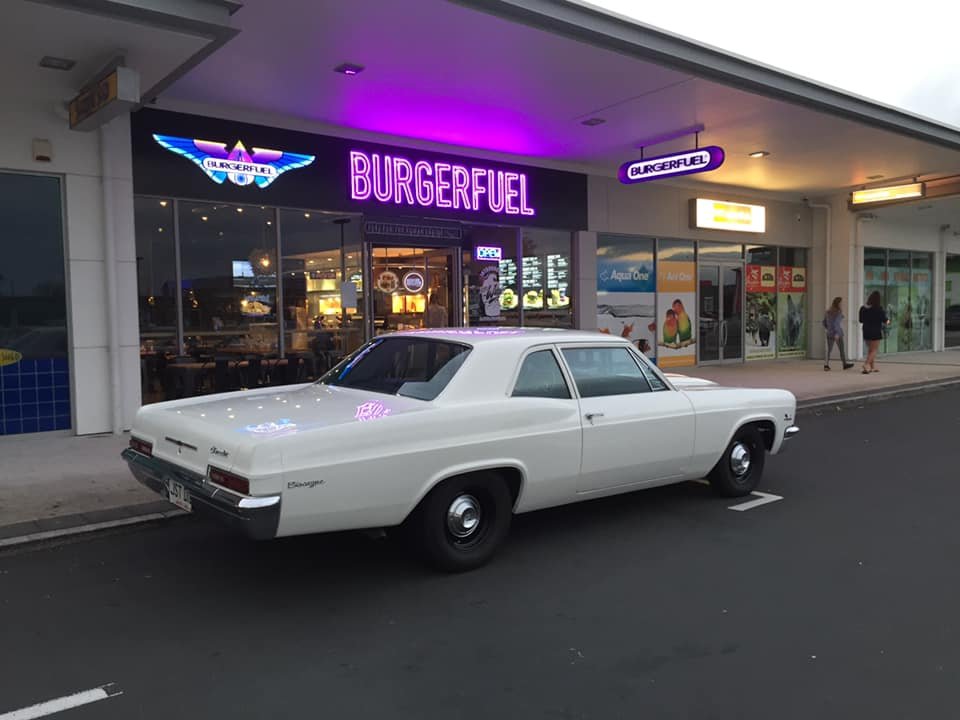
A few snaps from Thursday night. There were more cars earlier on that I missed.
6 points
-
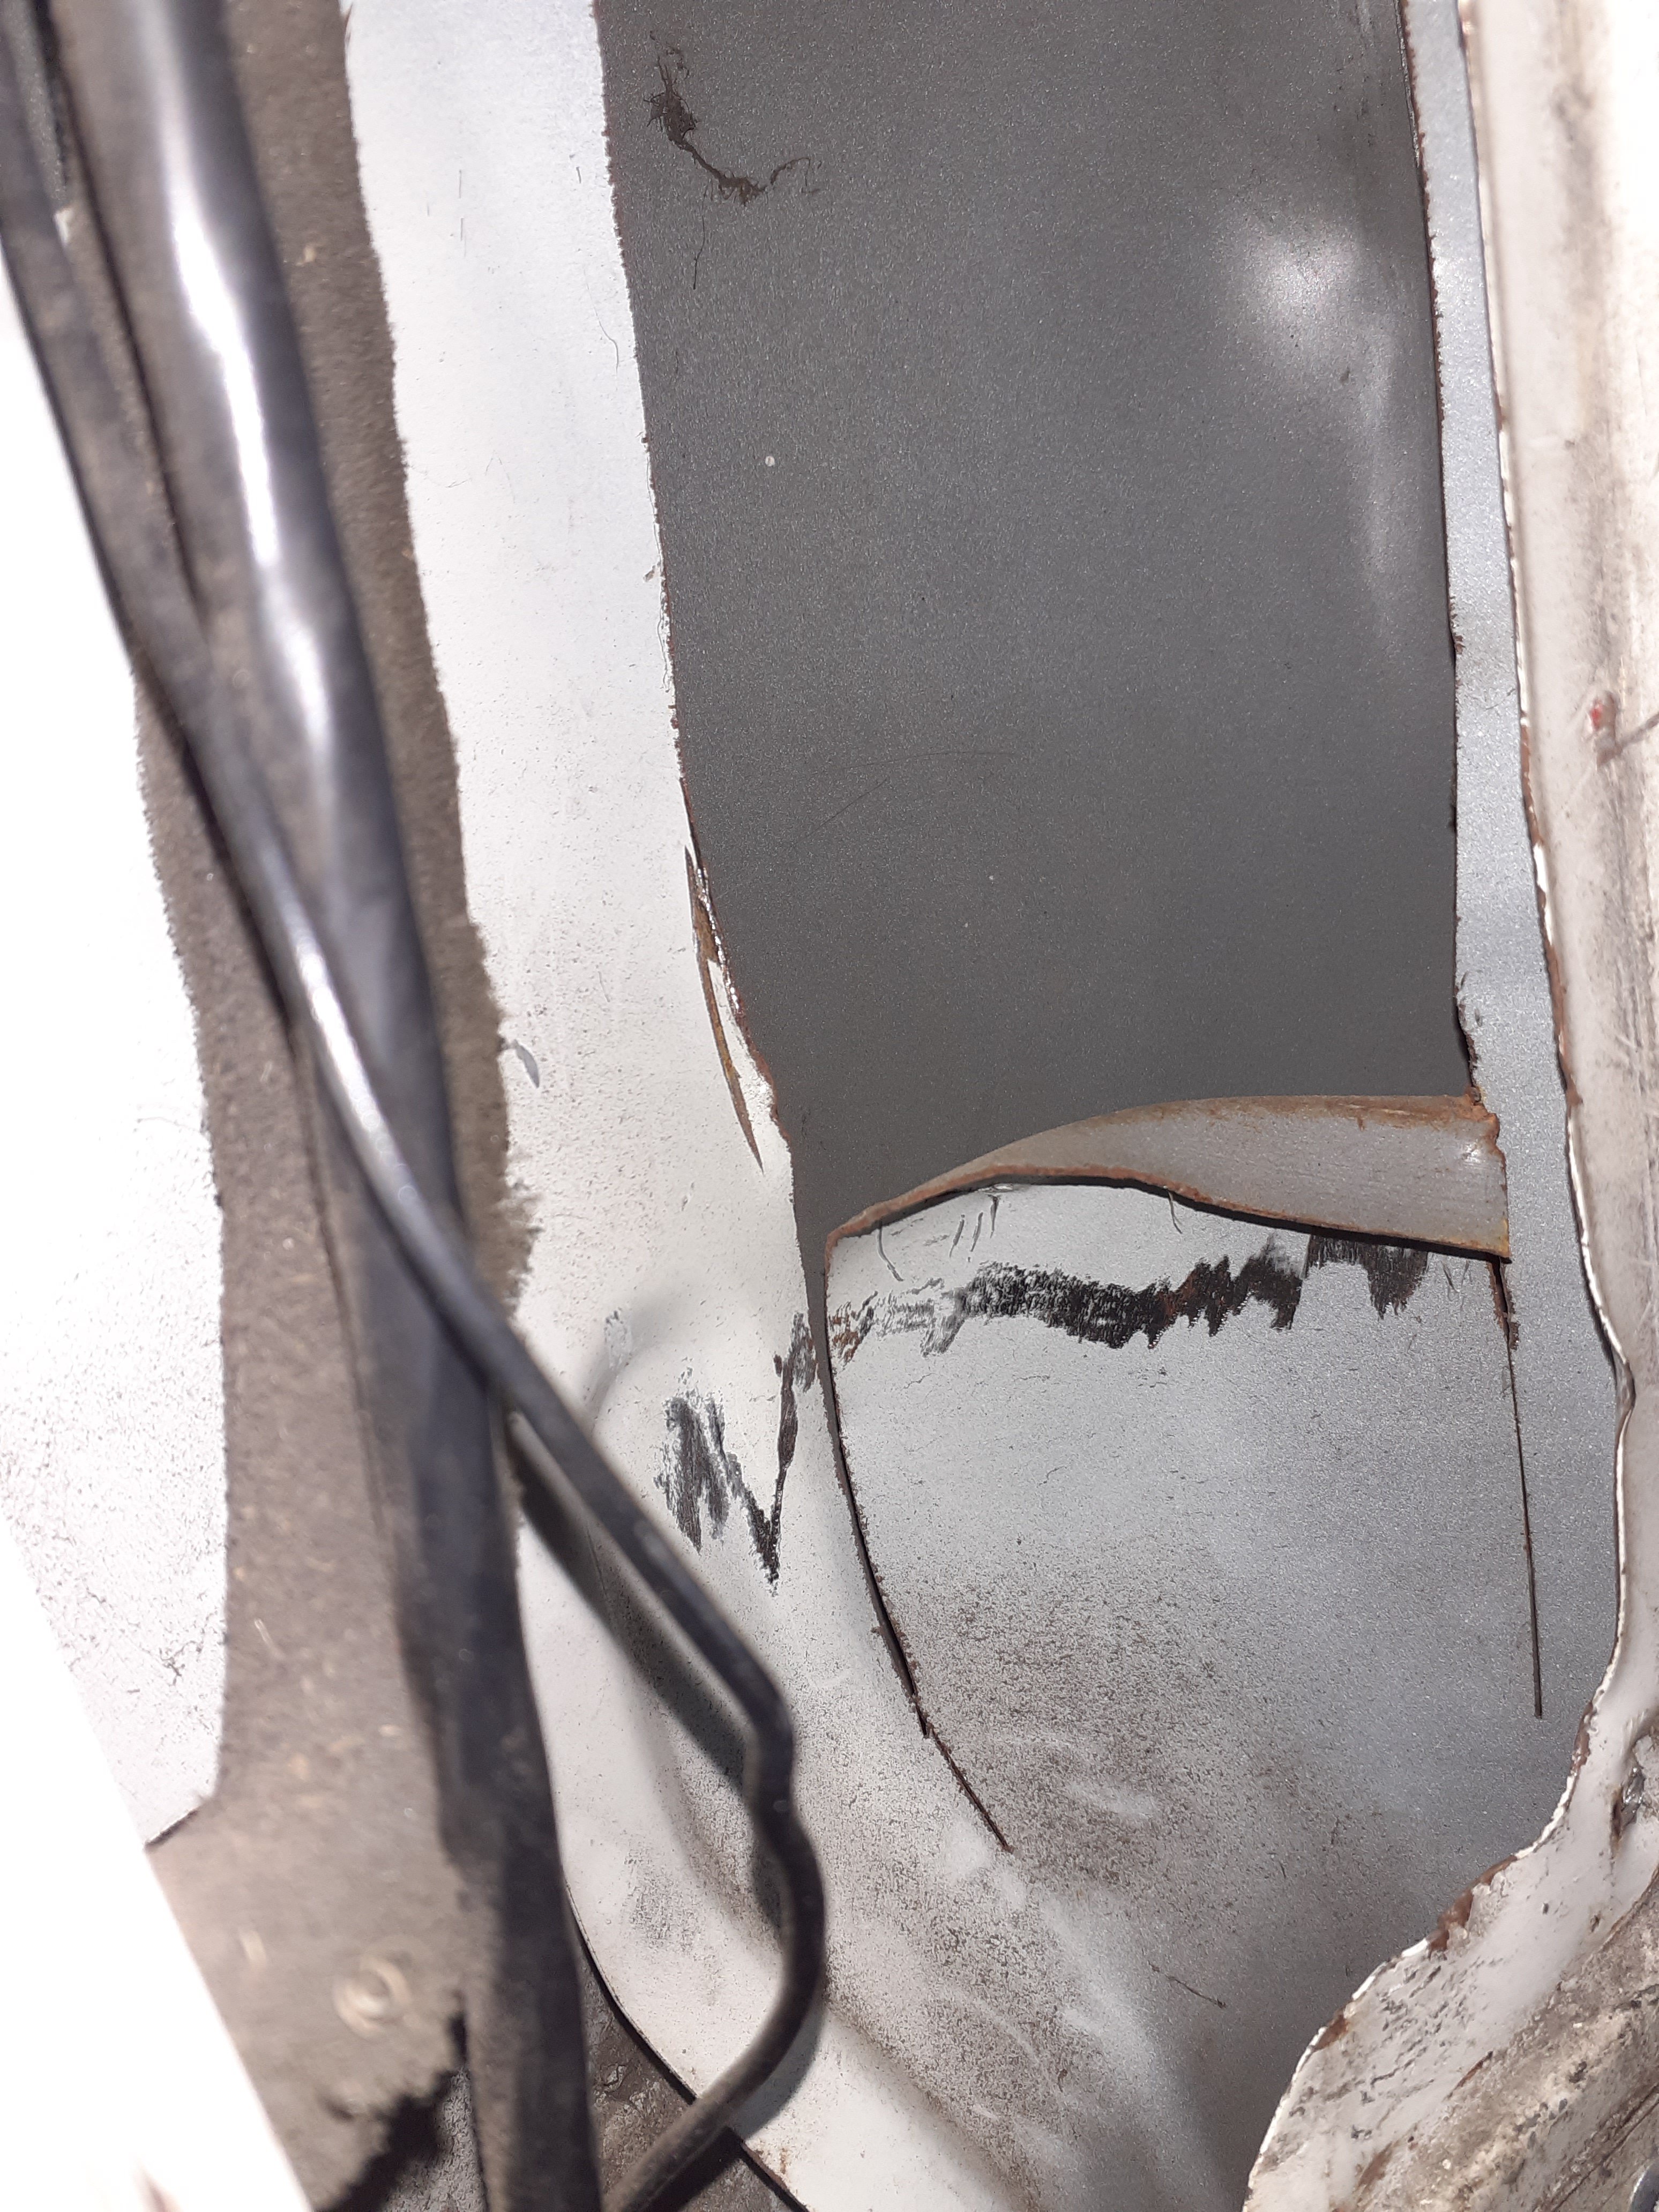
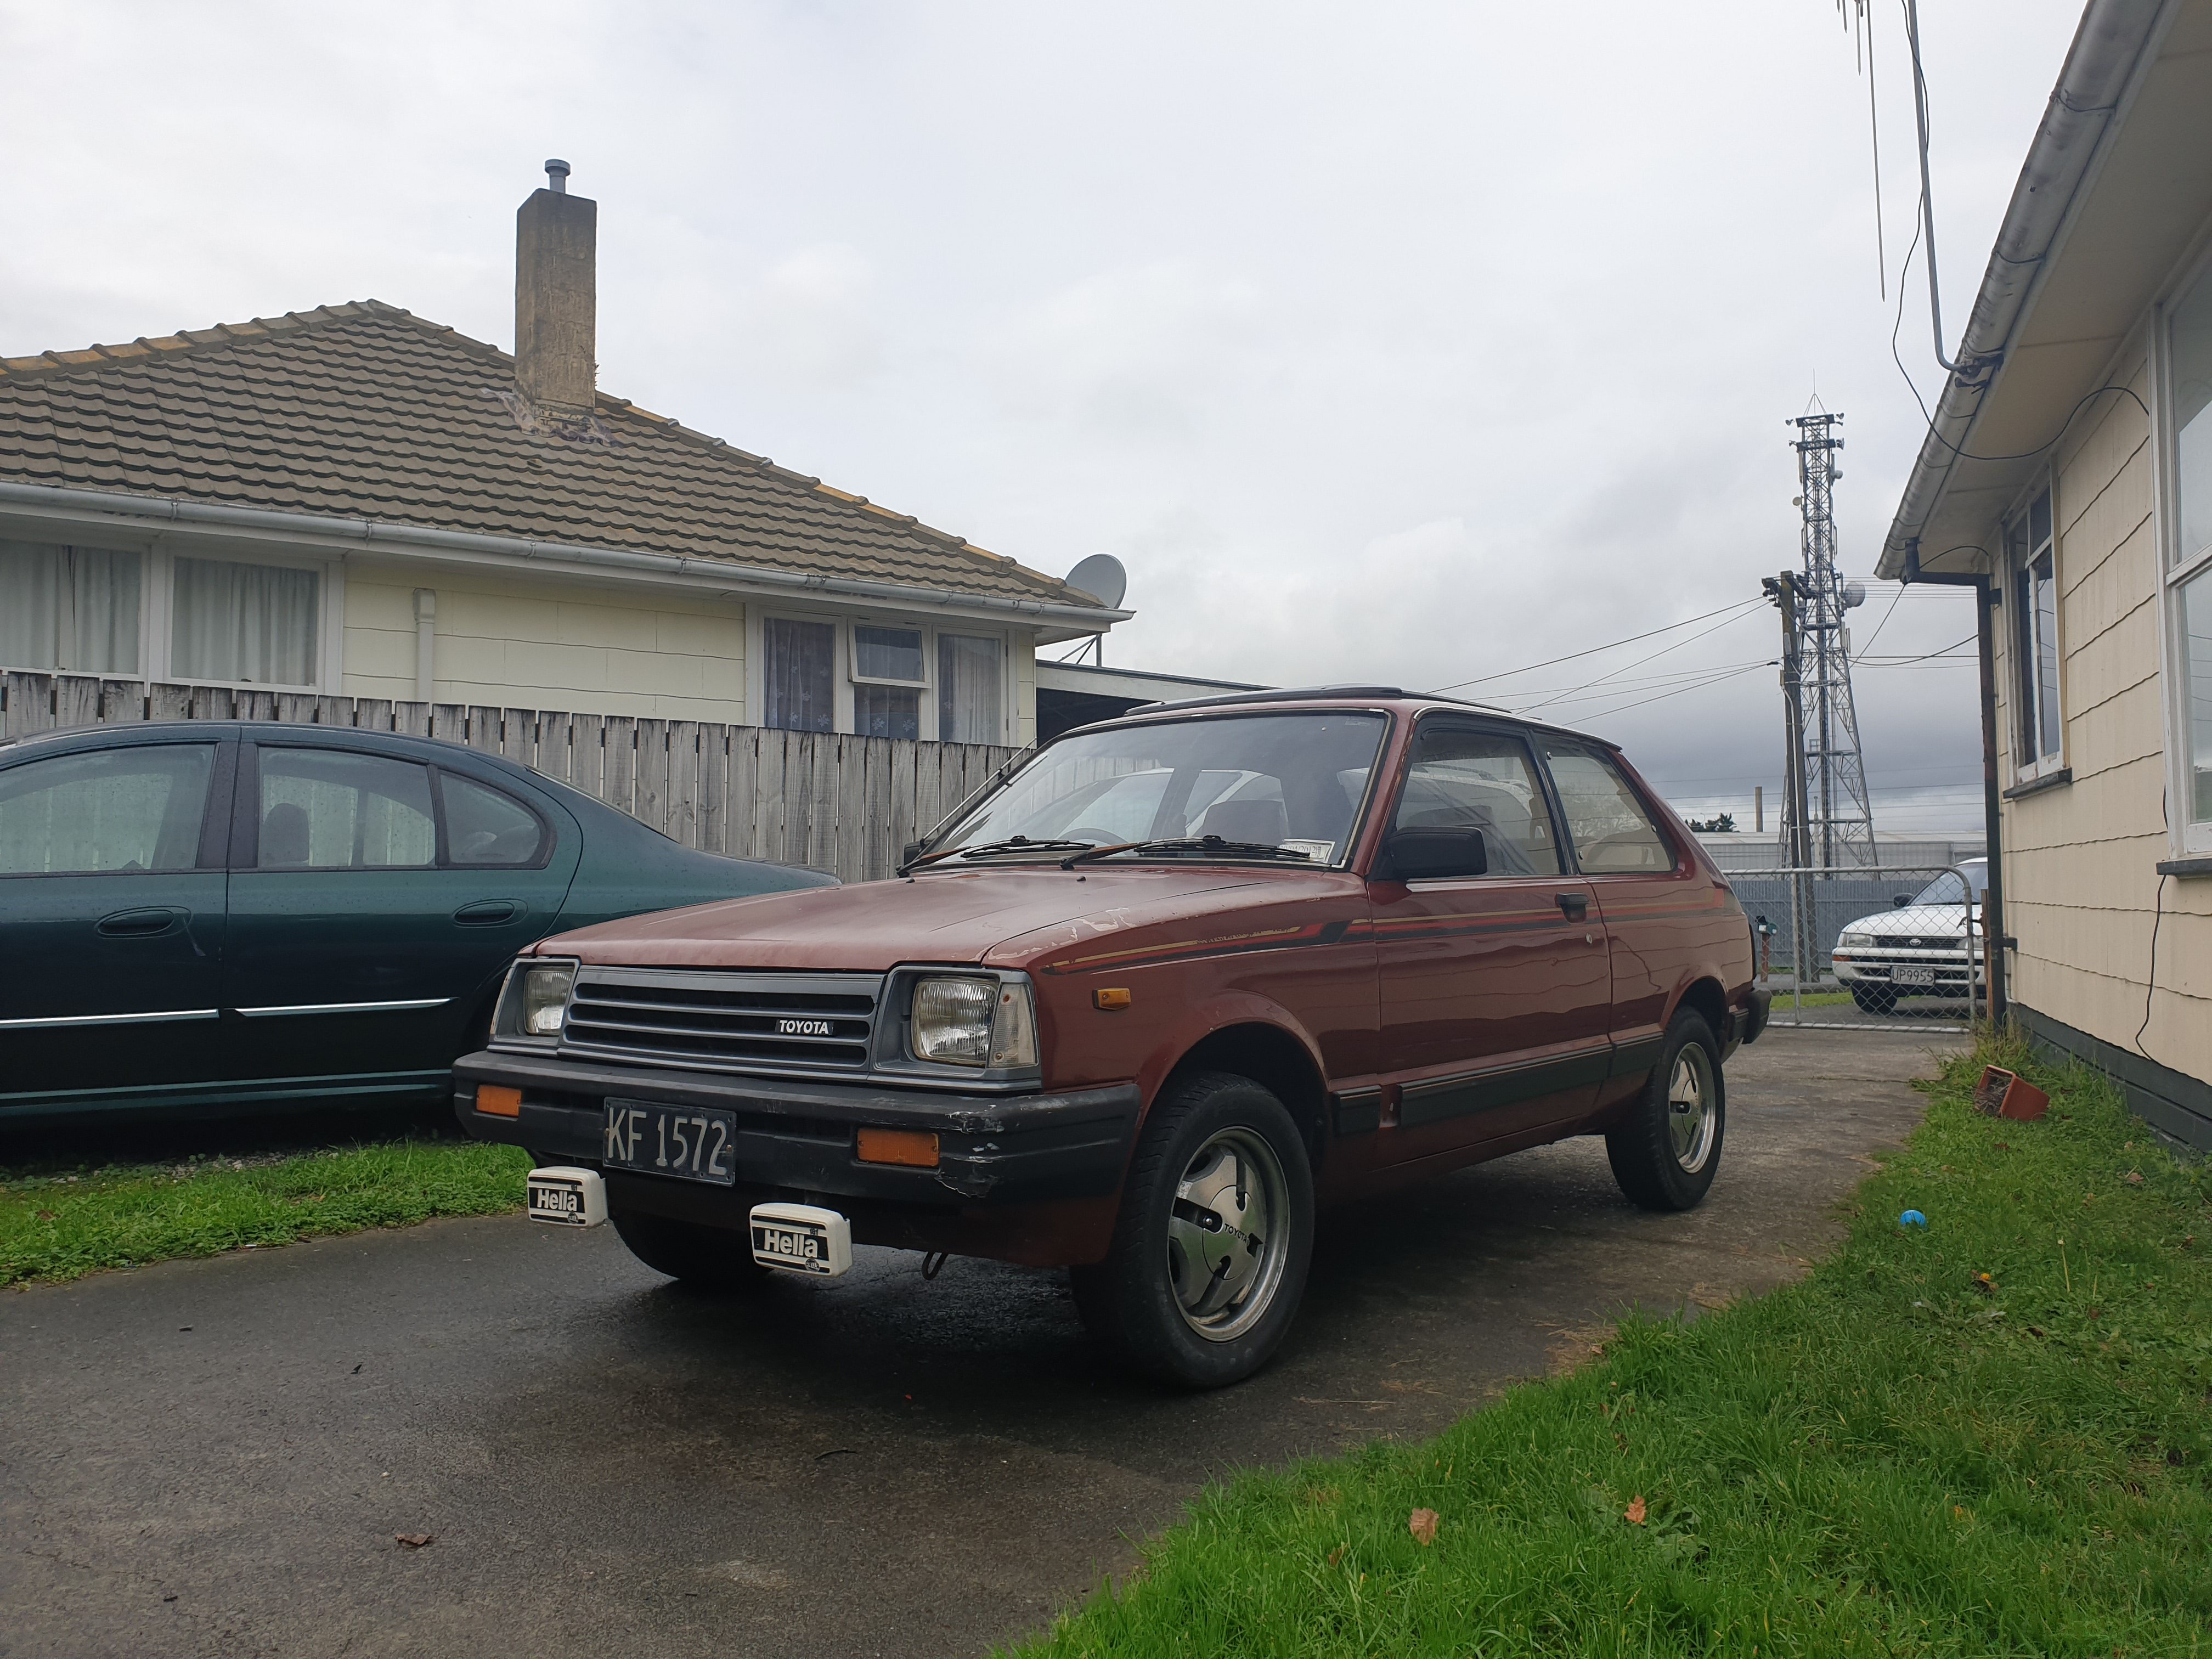
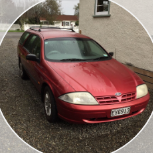
We've all done it, right? Spotted something tasty on Trademe while browsing idly on a Friday night? Sometimes, after a few beers, you might even put in a cheeky low autobid just for the hell of it. Well, fast forward two weeks and it turns out no-one else wanted that crunched Accord you were bidding on while a little bit drunk. Damn. Thus, for a stupidly small amount of money, I added another slightly rotten Eighties classic to the fleet. This one rolled off the NZ Motor Corp production line in Nelson sometime in the early part of 1981, probably into the hands of a caring gent who treasured it for a couple of decades, adorned it with a set of THE GREATEST WHEELS EVER M8, and apparently never had a flat tyre because the original Reidrubber Award is still sitting in the boot. Fast forward a few years, it passed through several more owners, and tried to pass through a brick wall which didn't go so well for it. However, considering the reputation that first-gen Accords have for disappearing slowly before your very eyes, this one seems remarkably solid. The wall-inflicted damage was limited to the pushed-back bonnet, radiator support panel, guards and bumper, with the chassis rails thankfully having escaped damage. It was in this state that I picked it up on Saturday morning, drove it to the parents place and tore it to pieces in their driveway. By Saturday afternoon it was sans front, I had pulled the radiator support panel back to where it should be (it helps when your Grandad has a low mile, immaculate one owner example you can take measurements off) and I sprayed rust neutraliser over every bit of metal oxide I could find. The whole structure is surprisingly flexible, everything bent back into place quite easily, and by Sunday afternoon the front was starting to look more like a Honda again, and the bonnet was back to where it should be. It was solid enough to make the trip home, anyway, and to drive it round to Grandad's beforehand to spin Honda yarns and spot the differences between pre and post-facelift Accords. It was already missing parts of the grille moulding and a bumper insert though, which was a bit annoying, and the bits of chrome moulding it does have are bent. Not sure where to get replacements for these, I am unused to the lack of aftermarket support for anything that isn't an old Ford... I did however find some repro indicator/park lamps from a place in Otahuhu that turned up in the mailbox the next day, which was pretty sweet. I'll take some proper photos of it once the rain stops, but here are some phone snaps in the meantime4 points
-
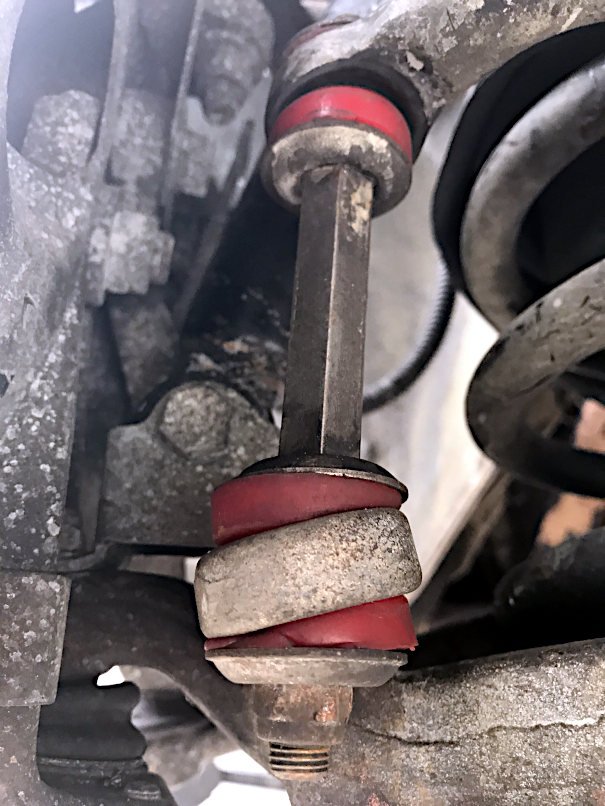
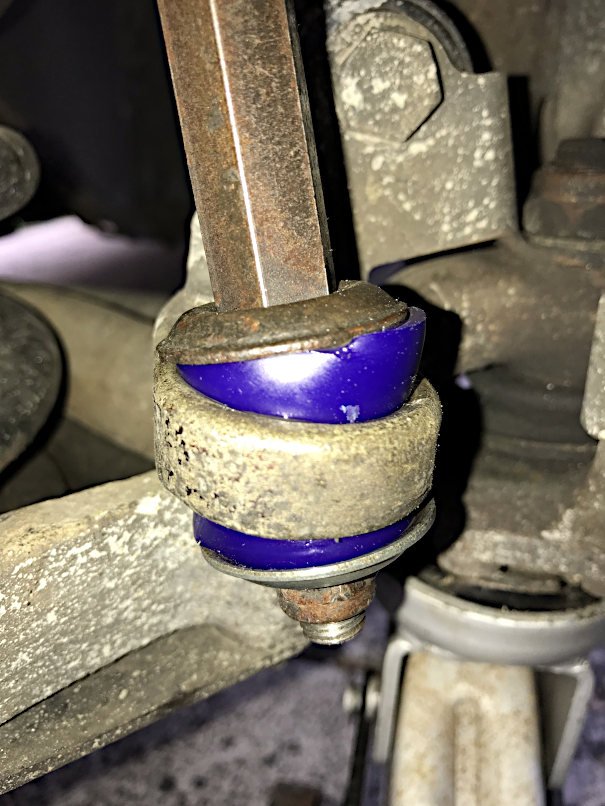
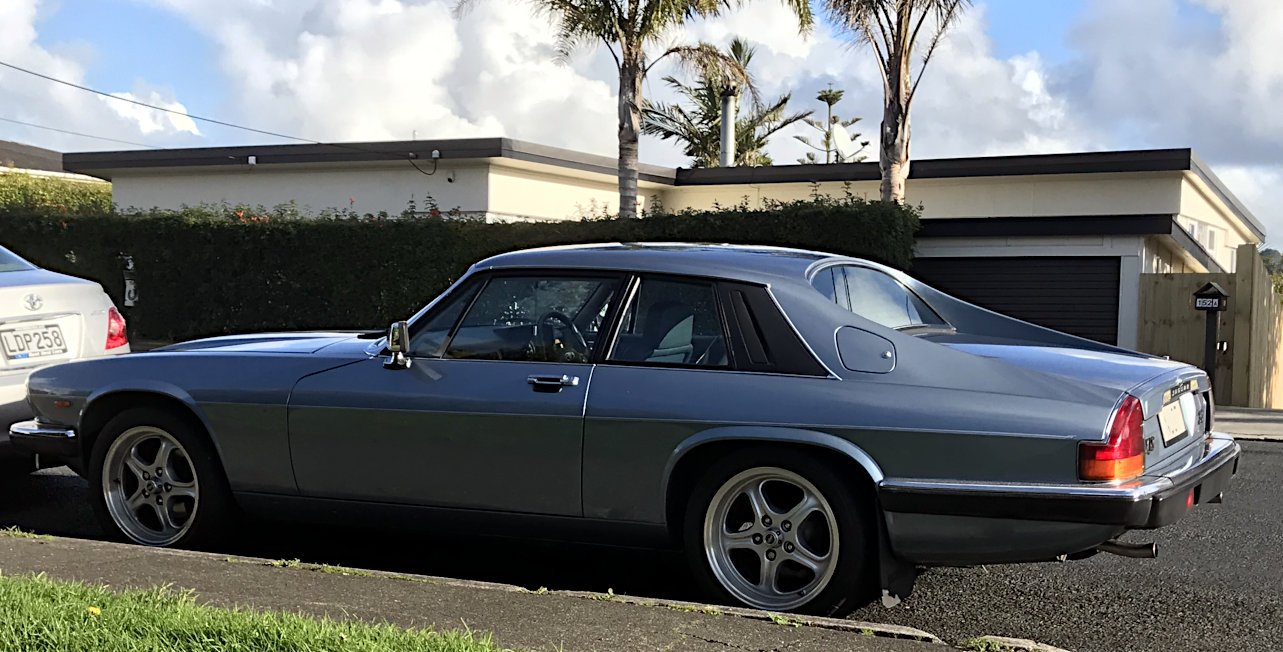
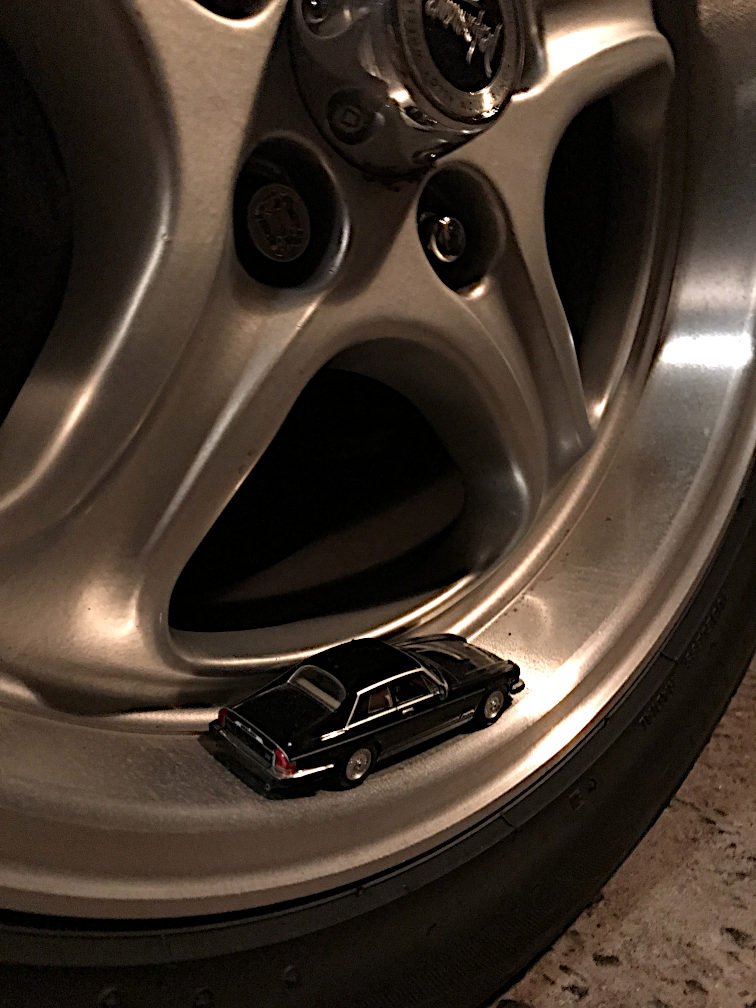
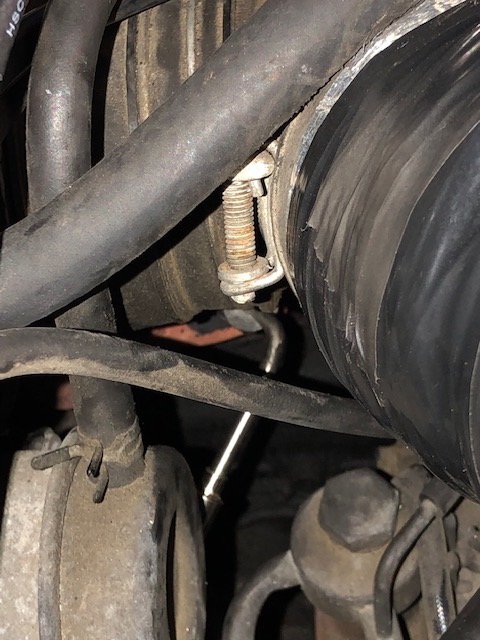
I took the car to the specialists where they rebuilt the power steering pump and rack (which was also leaking). This was not very cheap, but now the pump leak will not damage any more suspension bushes and the rack leak won't risk me failing WOFs. The specialist told me that some of my whines and clunks were the auto transmission (ZF 4HP22), which had good fluid so wouldn't improve without money being thrown at it. One of my rattles was the clips on the airbox - some idiot had taken the front cover of the airbox off for extra induction noise and hadn't figured that the resulting loose cover clips would rattle at certain engine rpm. Another rattle is either the engine fan clutch or the water pump, so I'll look into that myself at some point. I got new bushes for the front sway bar drop links. Here are the old bodged ones which are too thin and too large in diameter: And here are the new ones which don't really look any better! Oh well. Apparently you can get spherical bearings to replace these bushes if you're hardcore, but I think I'll pass. Anyway, the Jag specialists got someone to do my wheel alignment after they'd rebuilt the steering rack. This resulted in improved steering self centring, but the feeling of square wheels at 40kph and the vibration at 80kph did not go away. So I started looking at replacements for the Linglong directional tyres which were on my car when I got it. Other than more Linglongs, the only other tyres available in the right size are reproduction retro hotrod stuff - BF Goodrich Radial T/A, Cooper Cobra Radial G/T, Hercules H/P 4000, Galaxy Radial G/T... all tyres that OS report as being a bit average ("harder than a whore's heart"). I looked at going to wrong-sized tyres on the stock 15-inch mags, but this doesn't expand the tyre selection much. Jags of this era have a bolt pattern of 5x4.75" / 5x120.65, which is what a lot of old GM cars used. This means most aftermarket wheel choices are stuff like Cragar SS / Torq Thrusts which look wrong and/or only come in small diameters. But then some 17-inch "Performance" brand wheels came up on TradeMe, so I grabbed them. The seller had taken them off his old Jag to upgrade to 18s, so I knew they were gonna fit my car. Surprisingly, I could buy wheel nuts off the shelf at Repco with the right imperial 1/2" UNF thread pitch and tapered seats. I just threw the wheels straight on with no issues. I didn't have to take the dust caps off the front hubs to allow the wheels to fit as the seller said I might. I haven't even noticed the wheels rubbing so far. The fronts will be easier to clean than the original lattice design, even if the rears look a bit weird with no brake discs visible between the spokes. Dish photo! The improvements and compromises are all as you'd expect. The Potenza RE002 tyres on the new mags are obviously an improvement. Their lower profile doesn't magically give the XJ-S any steering feel though. I can't benchmark the lateral grip against other cars I've owned - when going around my 180-degree test curve, the Jag's speedometer reading decreases significantly for some British reason, only to increase once I straighten up again. Also, the vibration at 40kph may be gone but the one at 80 remains. Back to the drawing board.
4 points
-
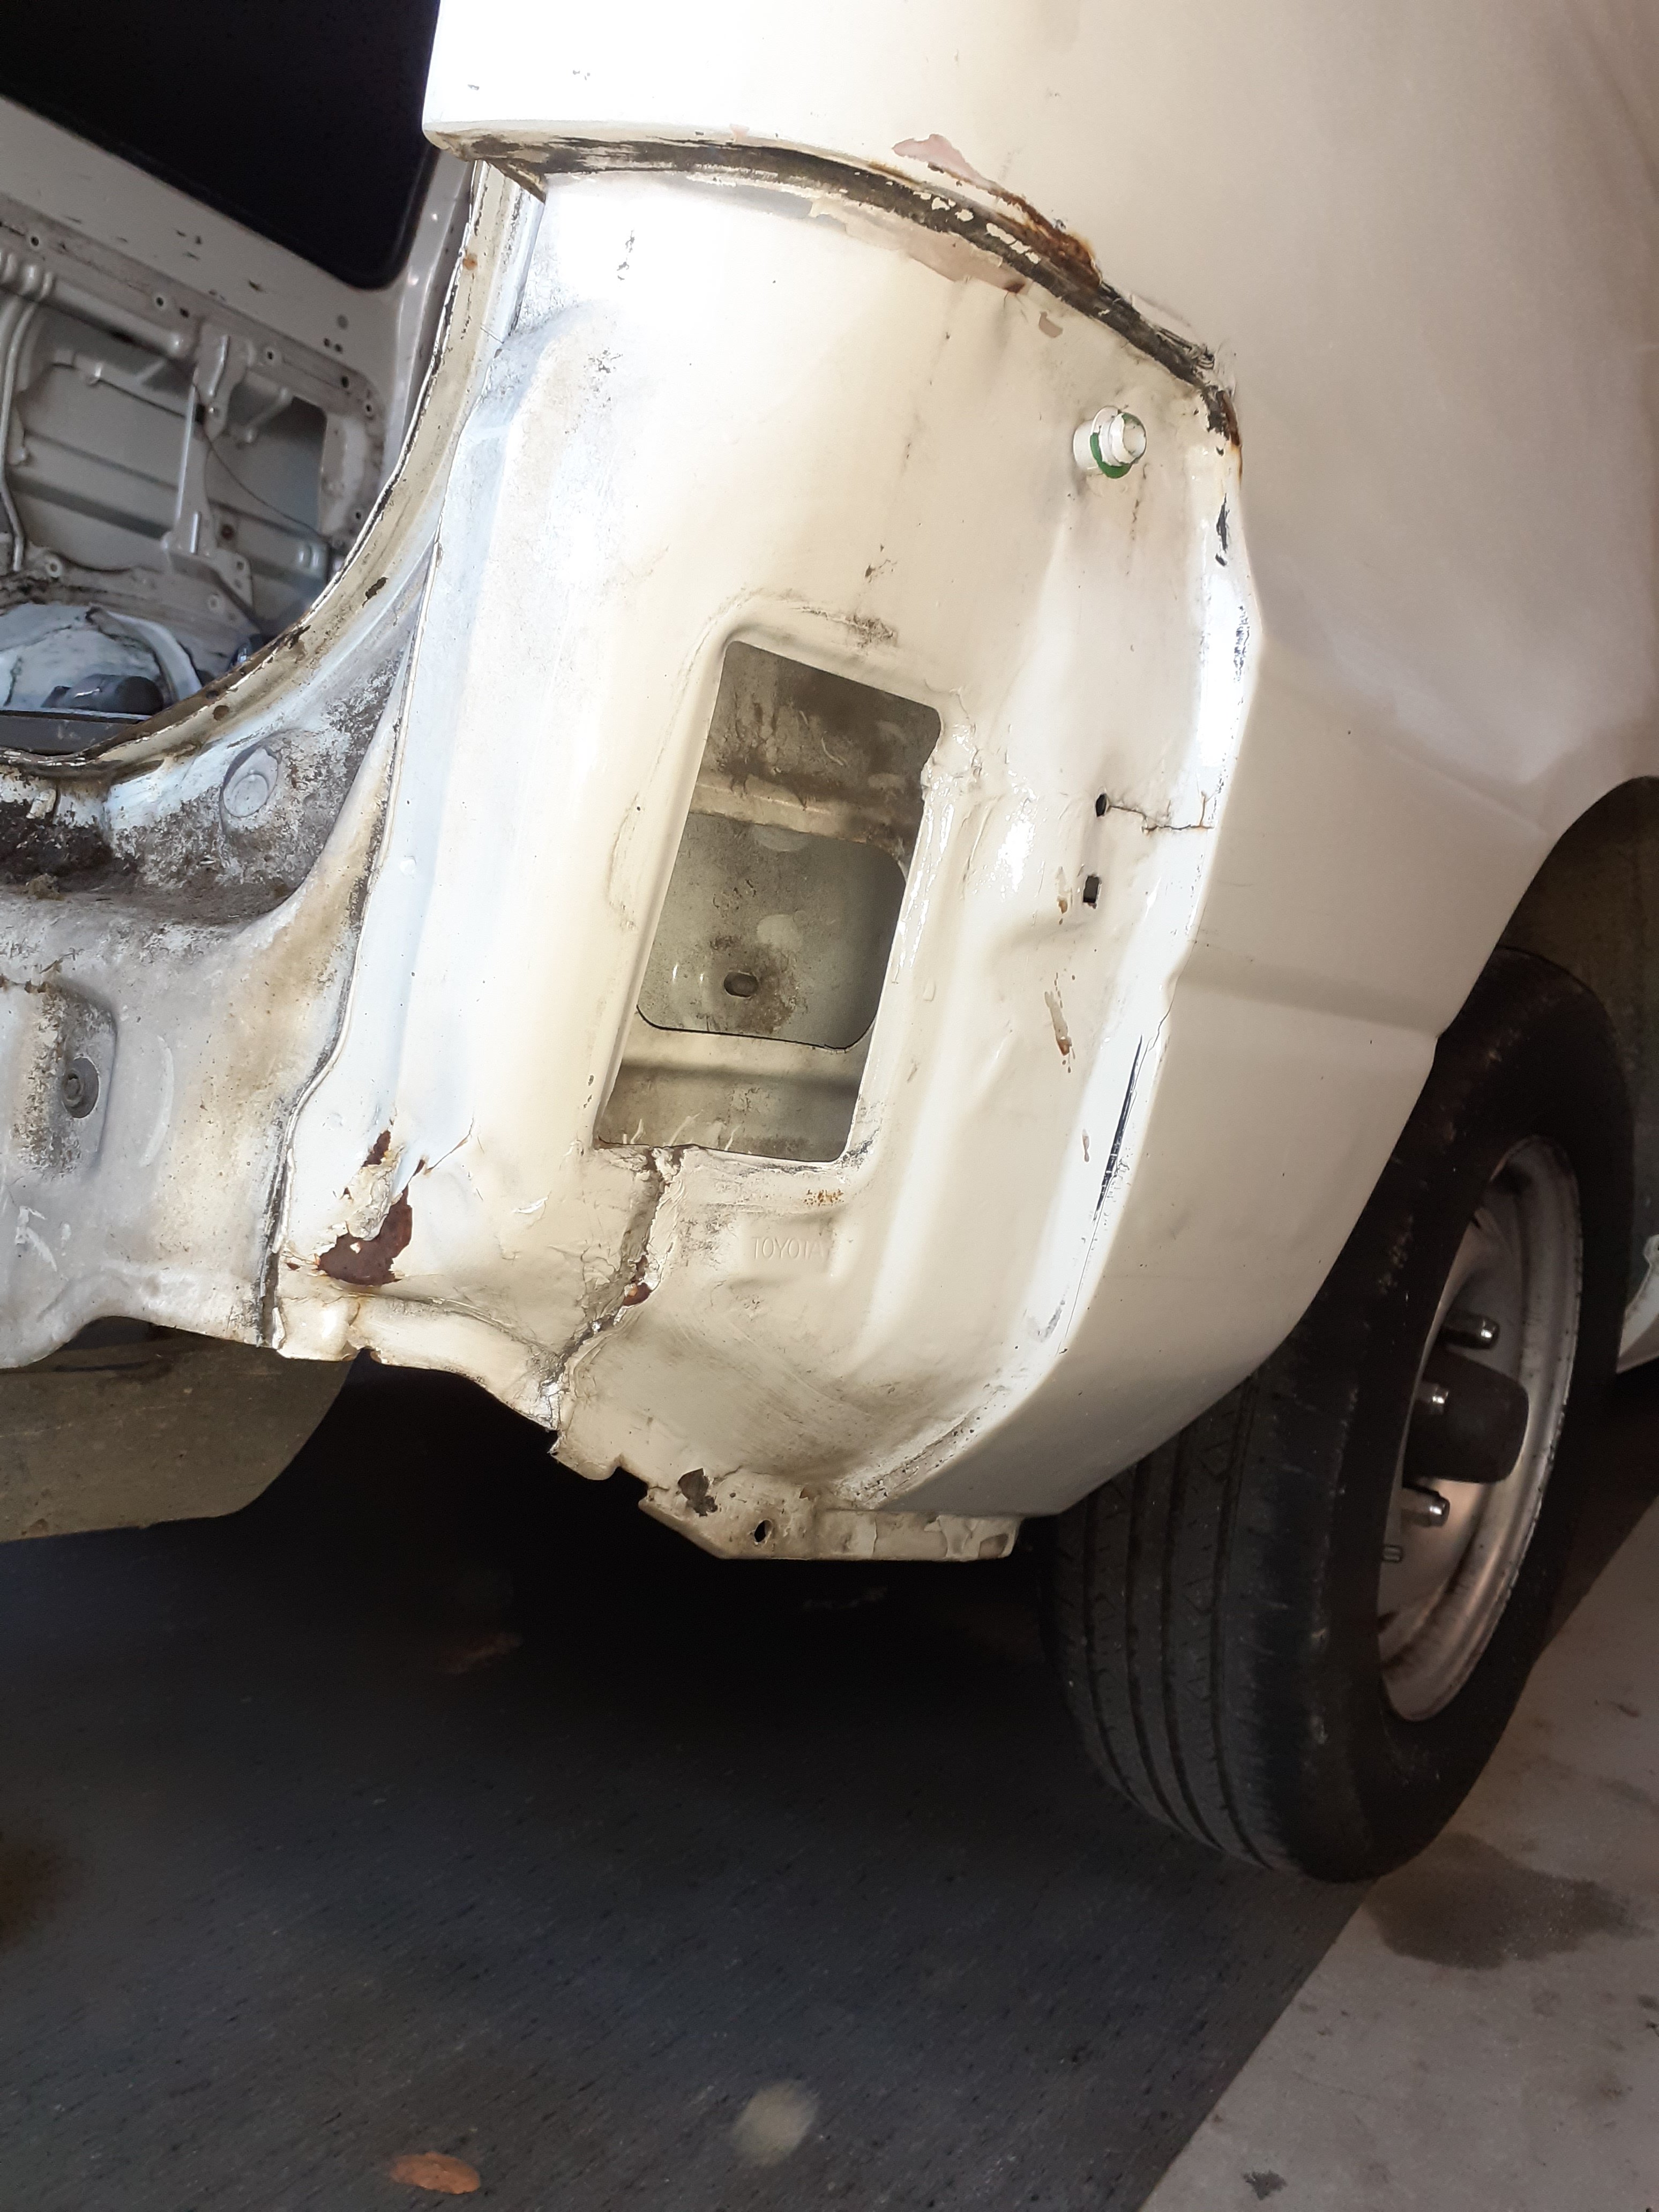
Prep for paint on van commenced Whoever the panelbeater is that did this repair needs a dickpunch.
4 points
-
I hear it's alot of gravel @RUNAMUCK
4 points
-
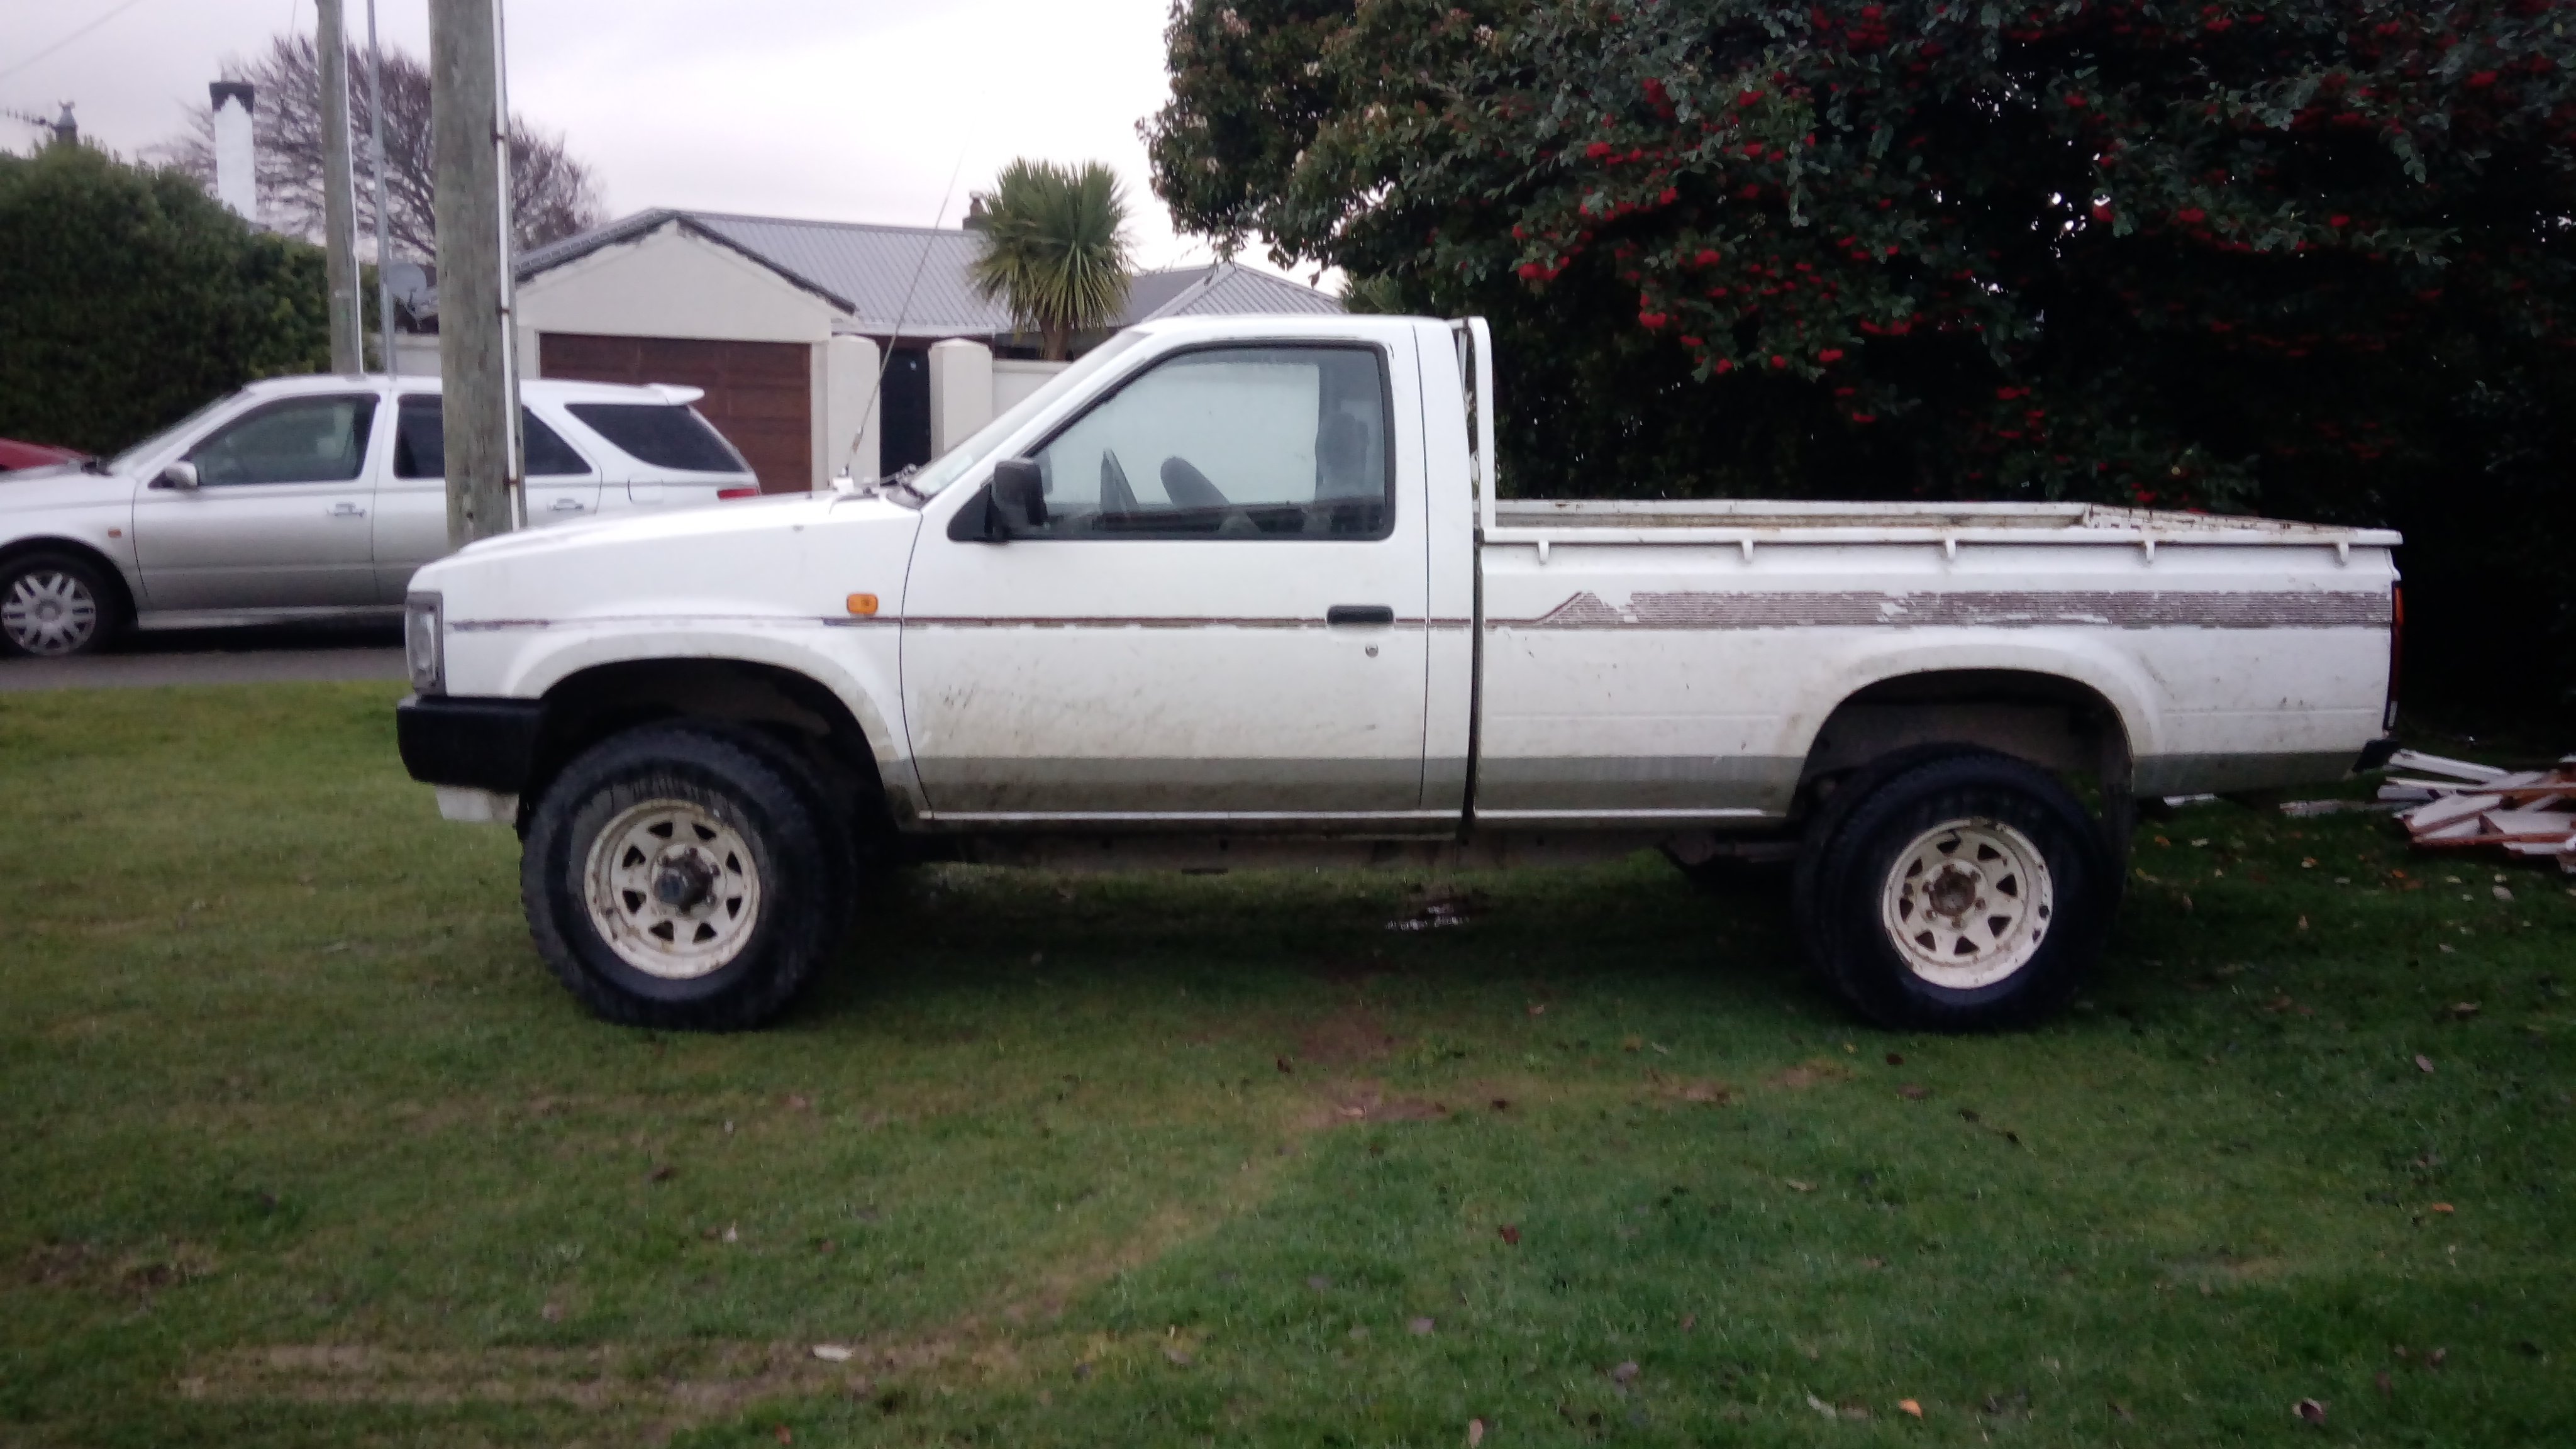
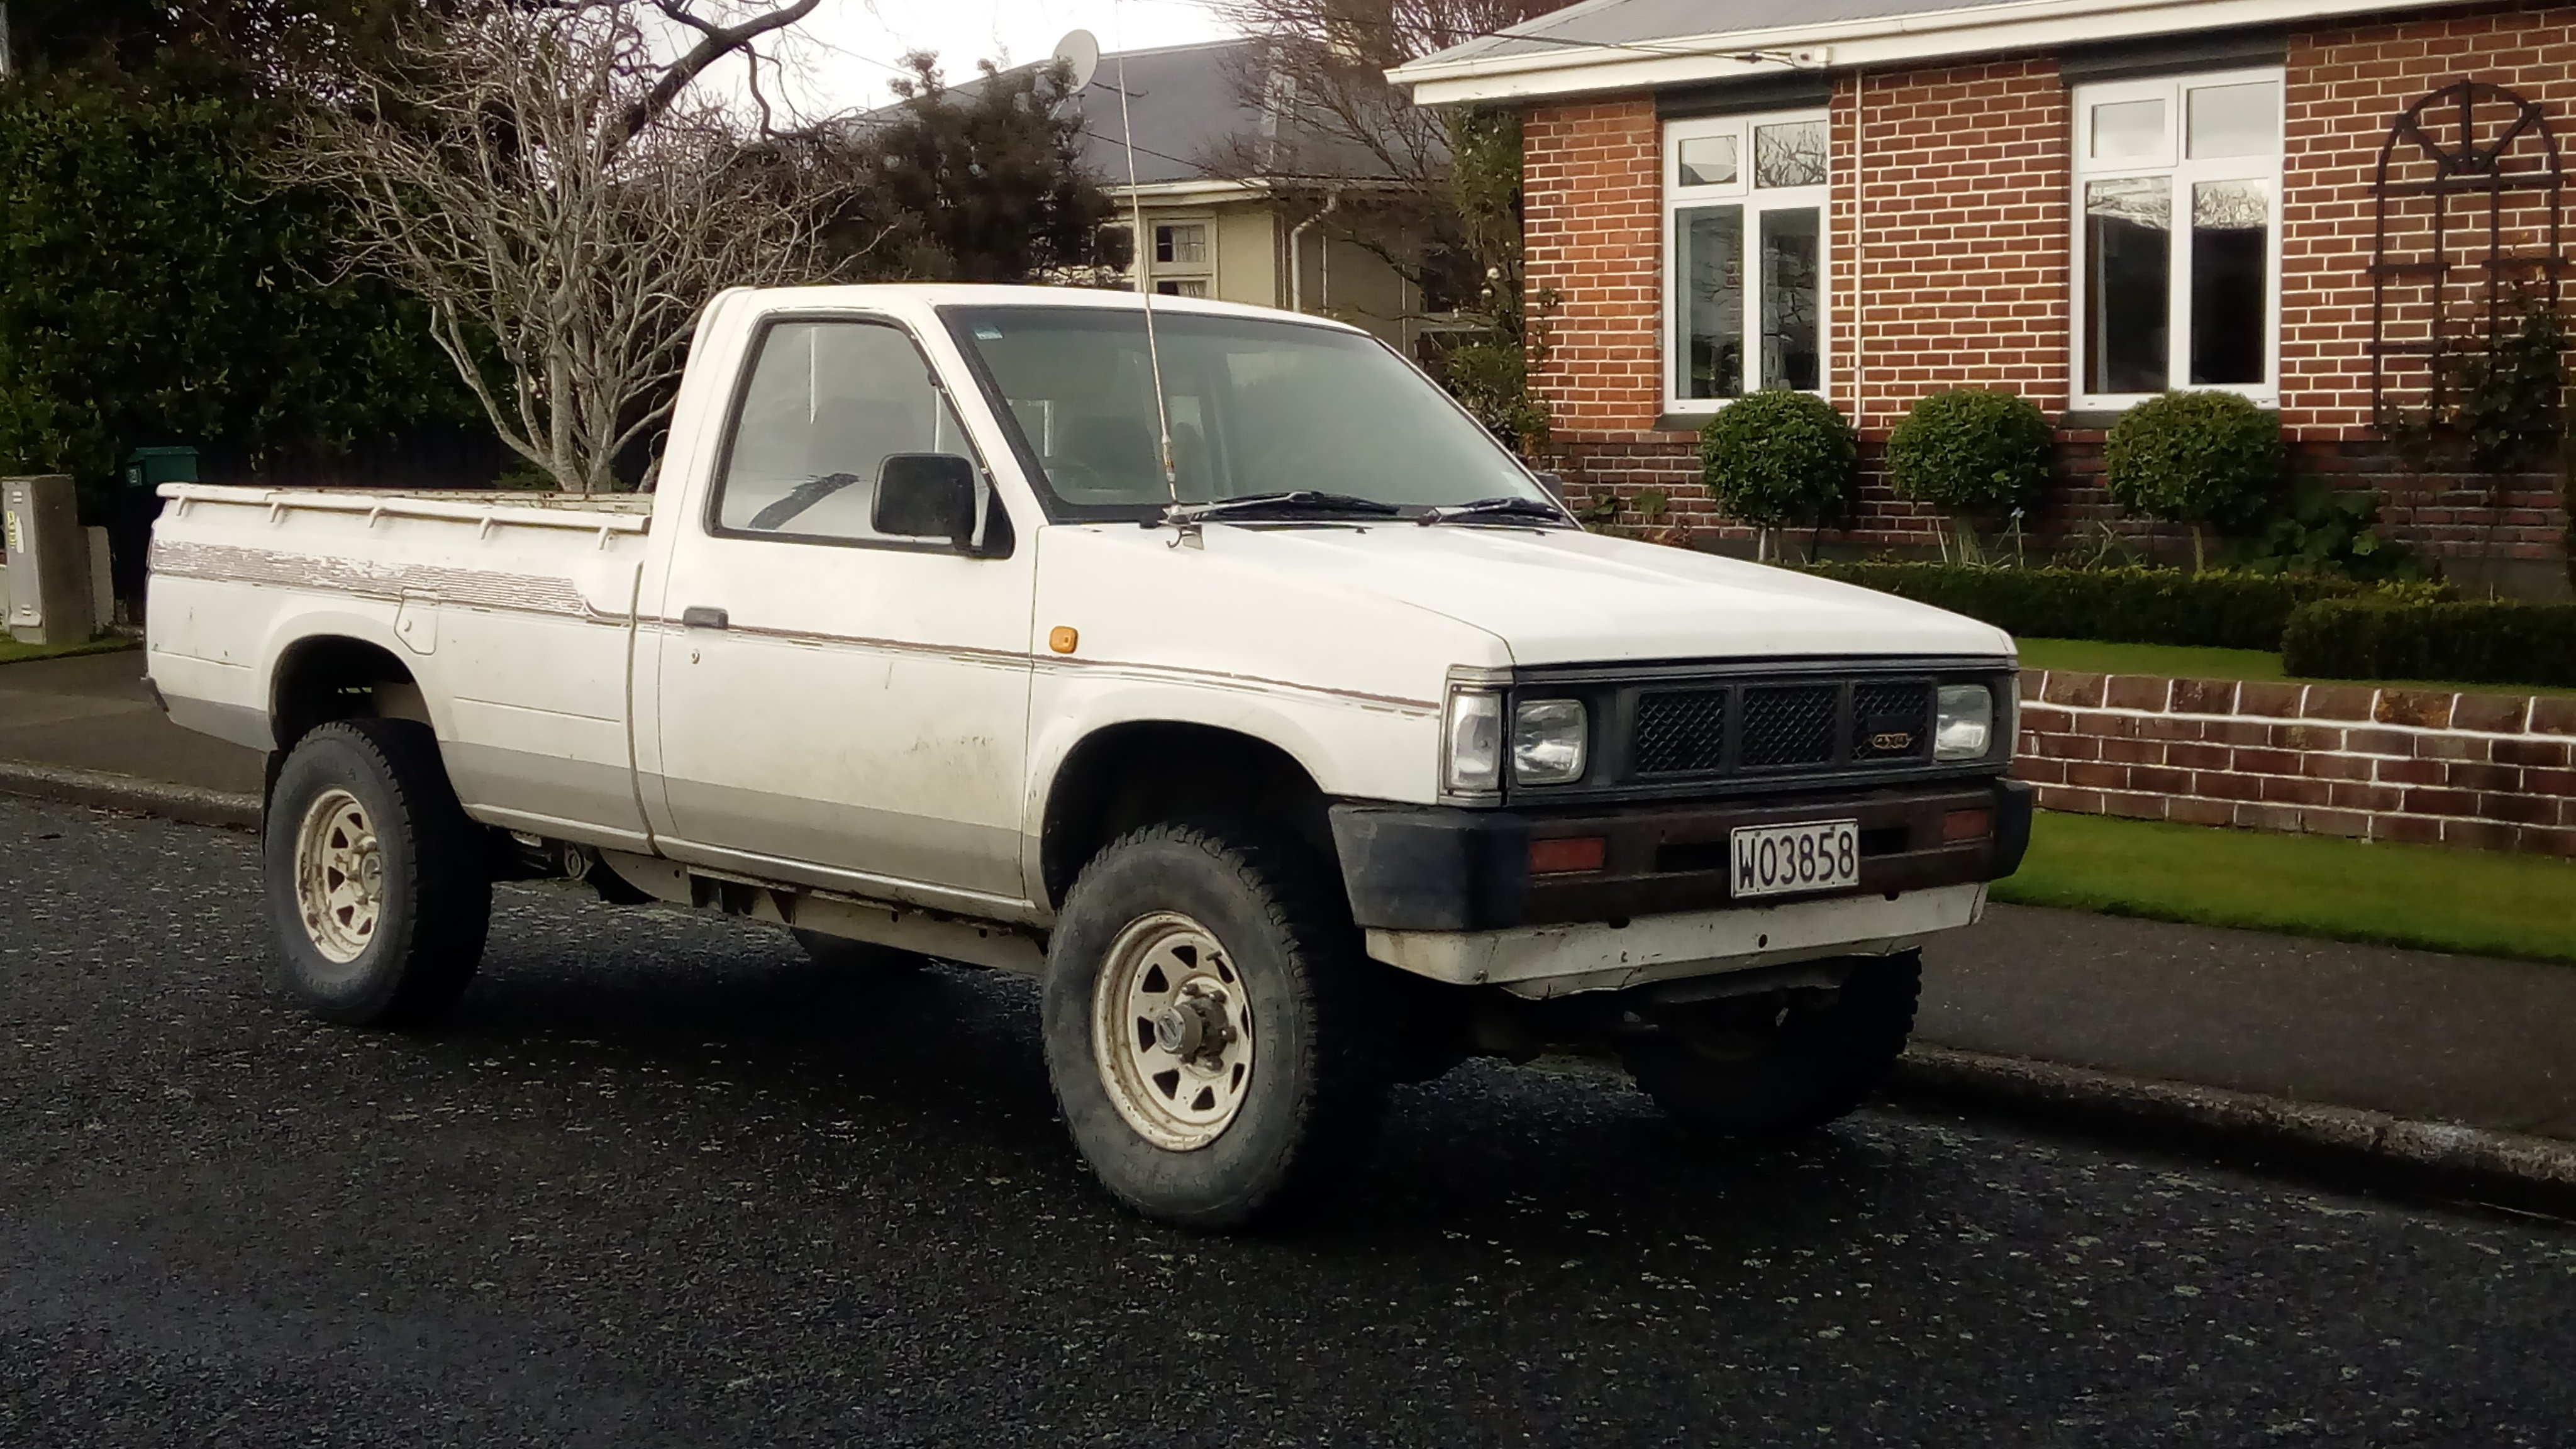
Looking for a single cab Ute...... 2wd, got offered this after missing a nice courier by one day. A certain fishing spot gunna be alot easier to get to now Behold, one Nissan Datsun 4x4 2.7 turbo deezzil Plans are find a canopy for now, building a box/shelf behind seats for strops/tools etc. Building a slide on camper to use for fishing/camping trips & at some stage toss the wellside & put a tray on the back. Keeping the wellside for a trailer.
3 points
-
3 points
-
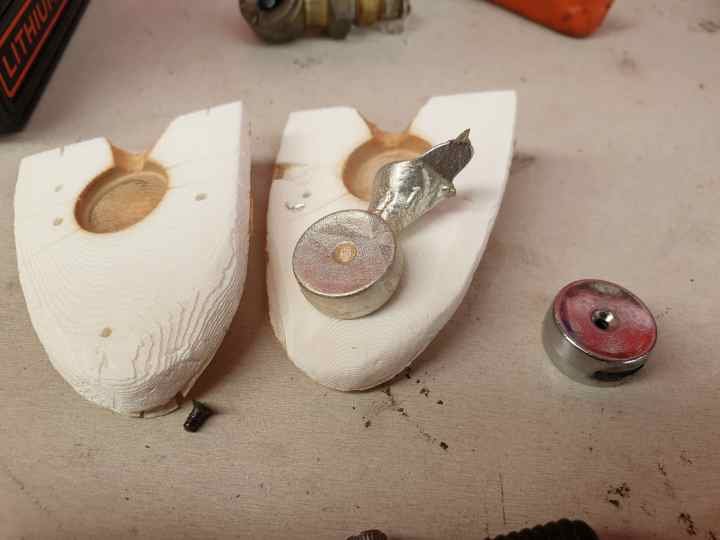
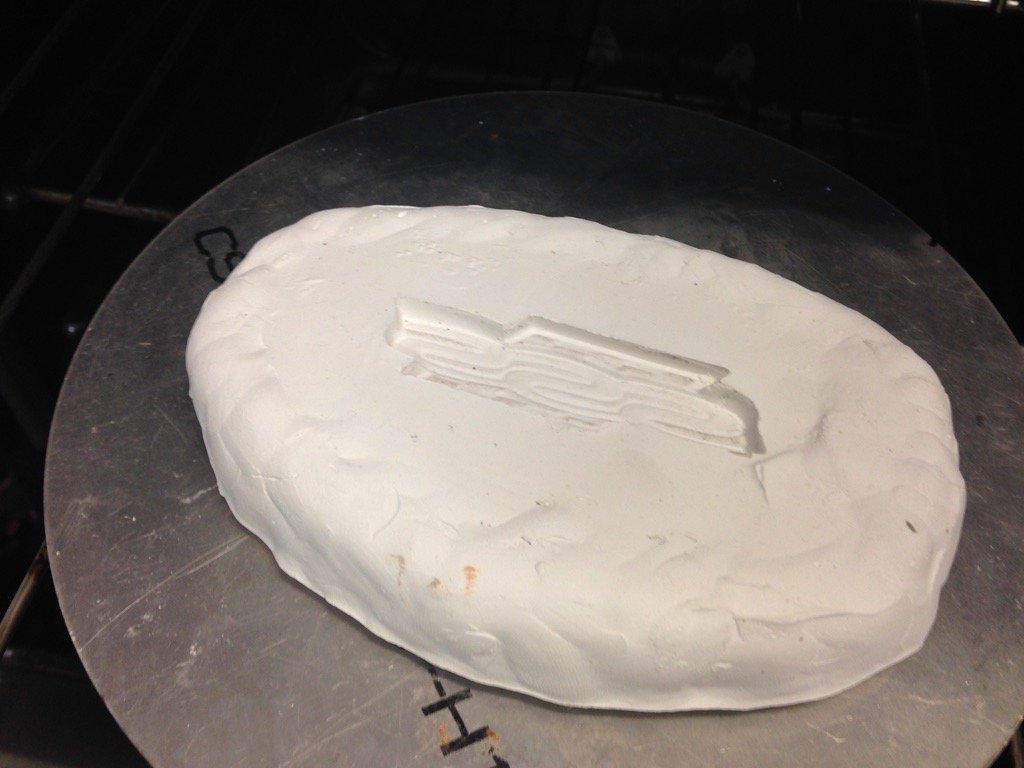
Had another go this afternoon... After many attempts and mould redesign, this was the best. With the part standing vertically in the mould on the left edge, the first half is perfect and the top turns to crud. Worked it out to be the metal cooling fast during pouring as I only have 80g in the pot, more metal, more thermal mass.
3 points
-
3 points
-
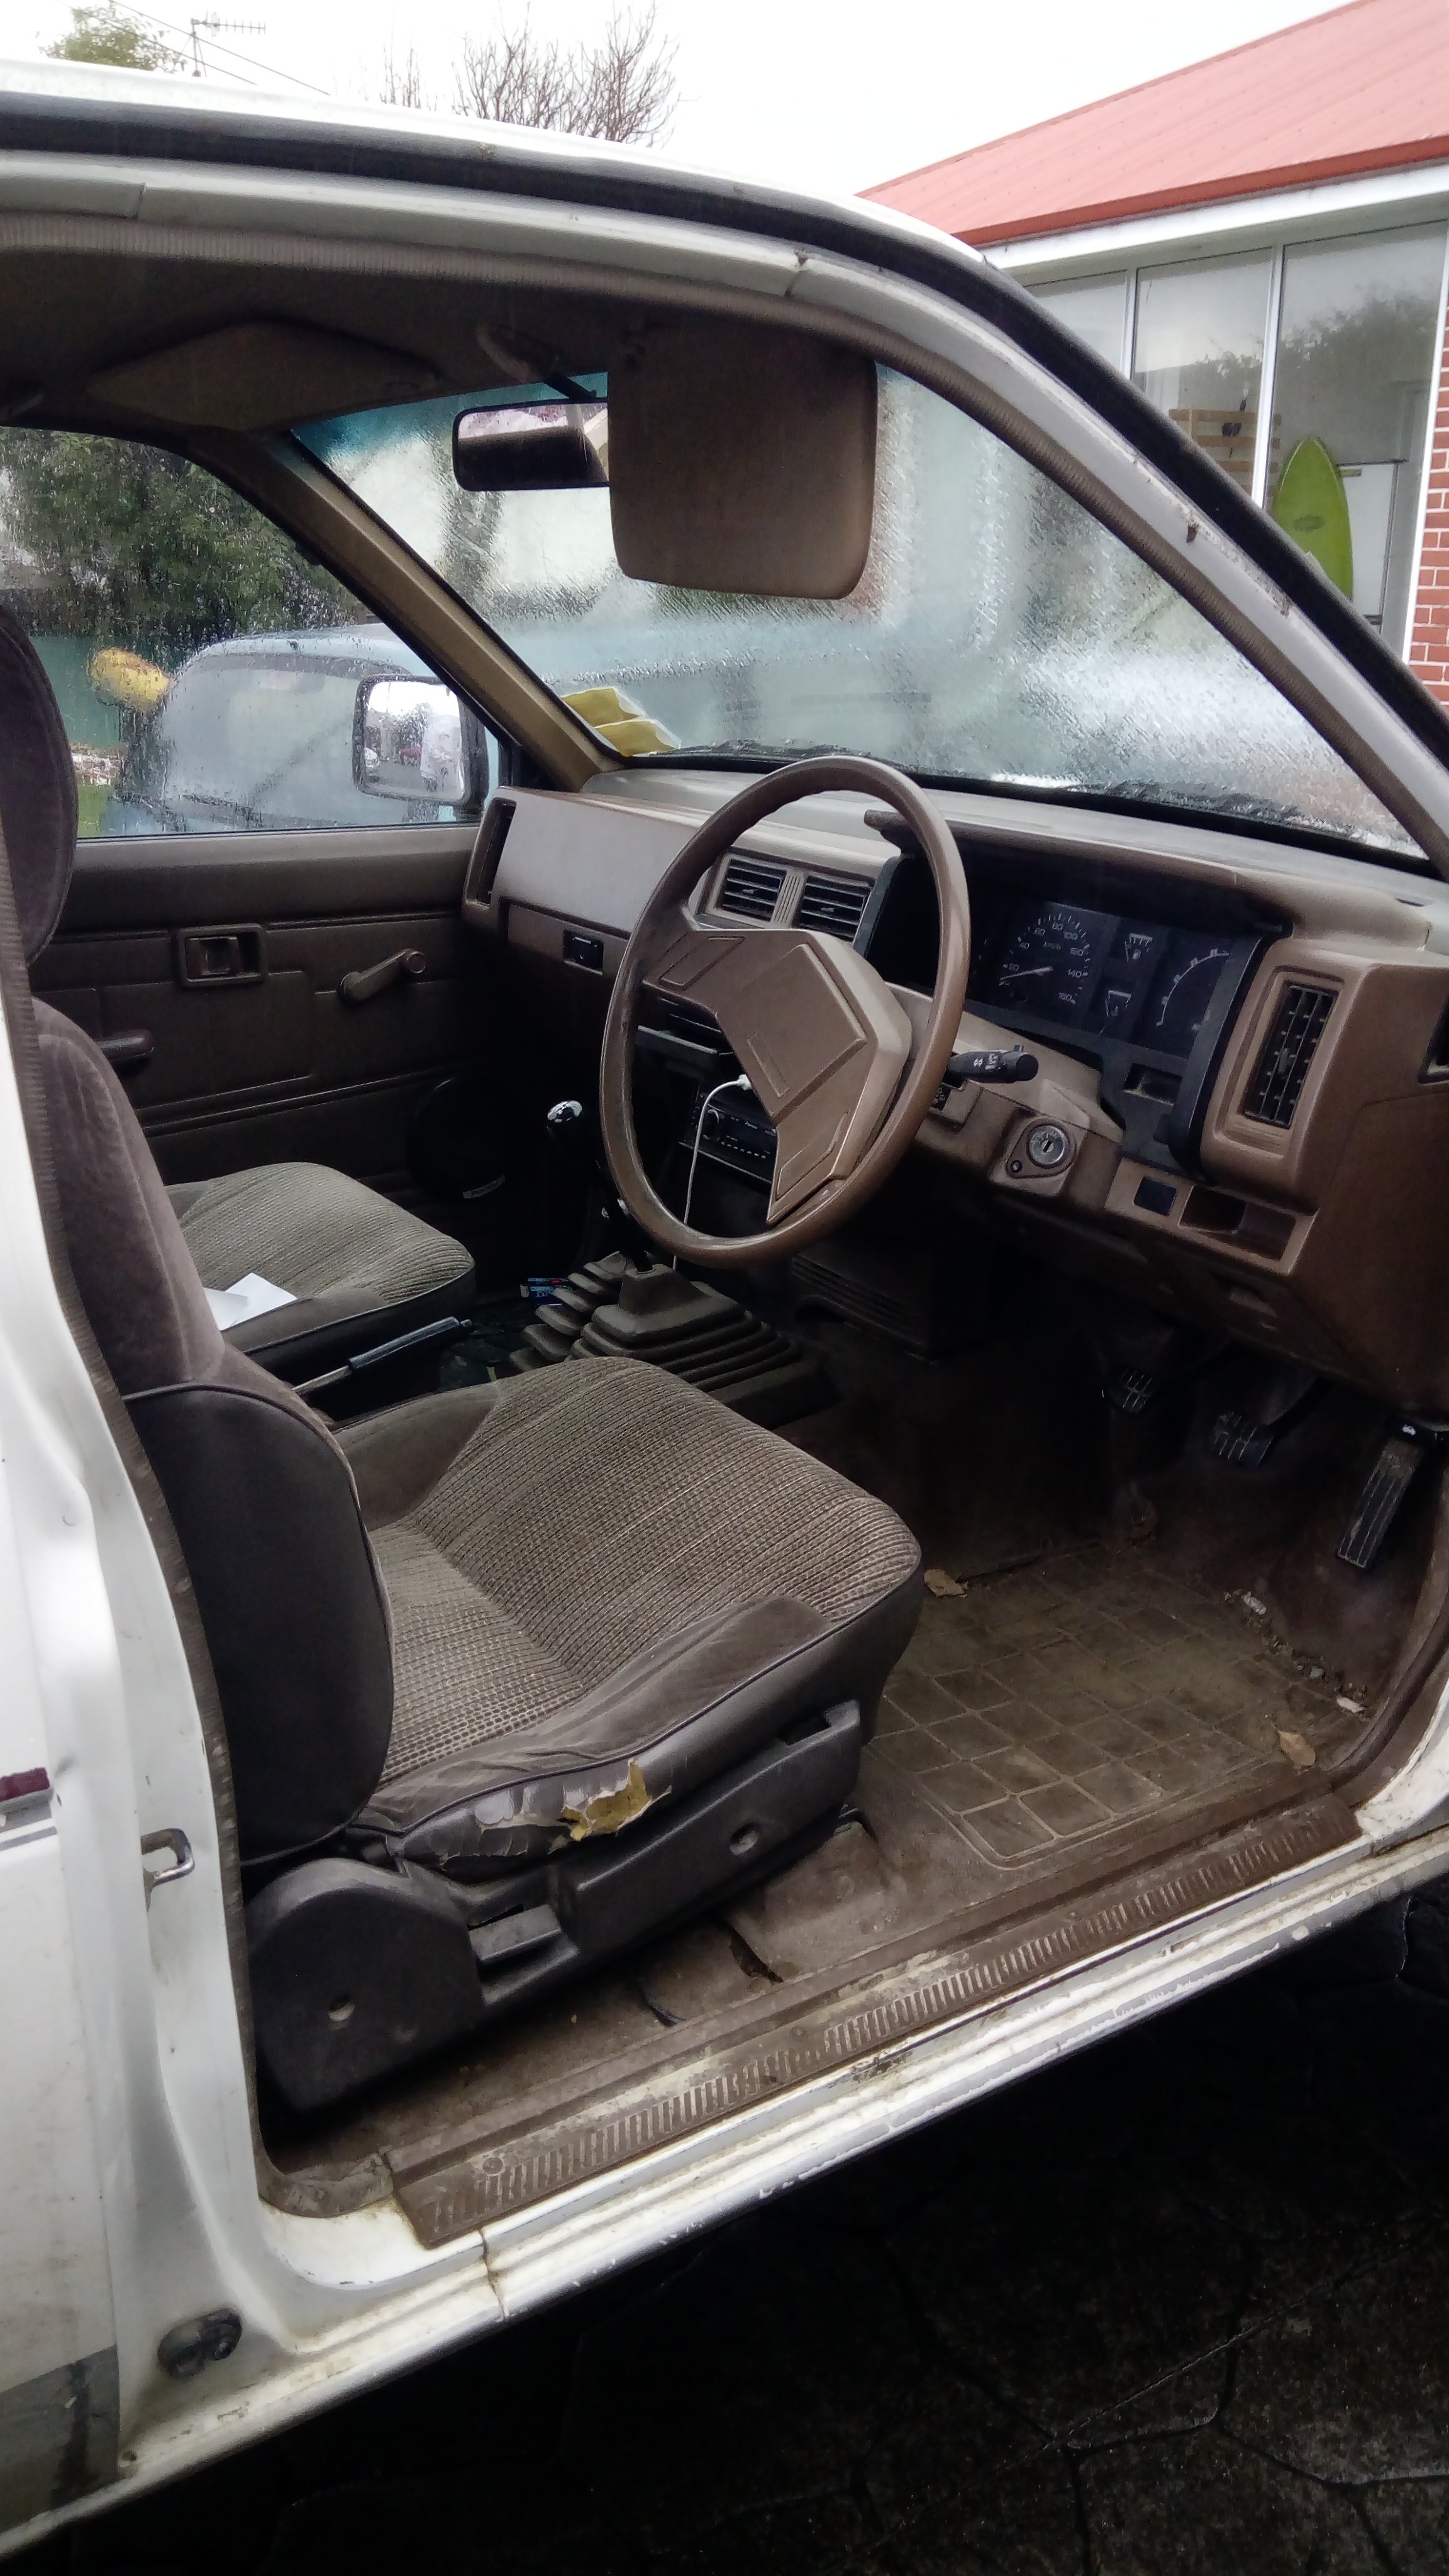
In love way too hangover for doing carpet today hahahah thank u again tortron for the covers. Stoked as
3 points
-
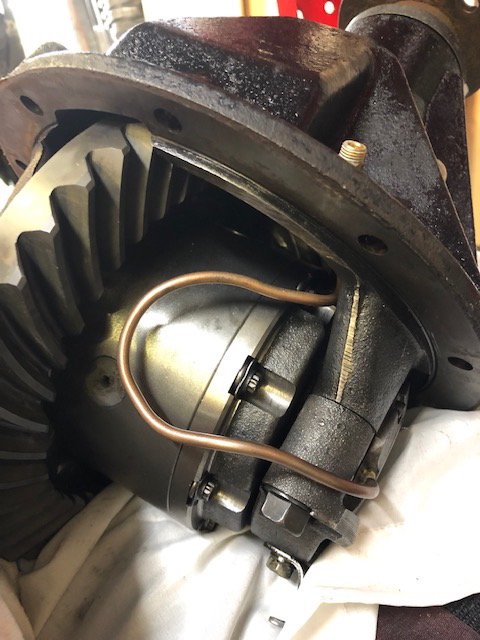
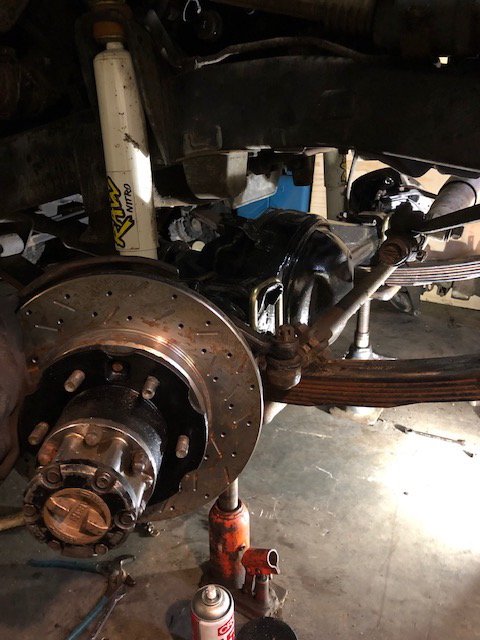
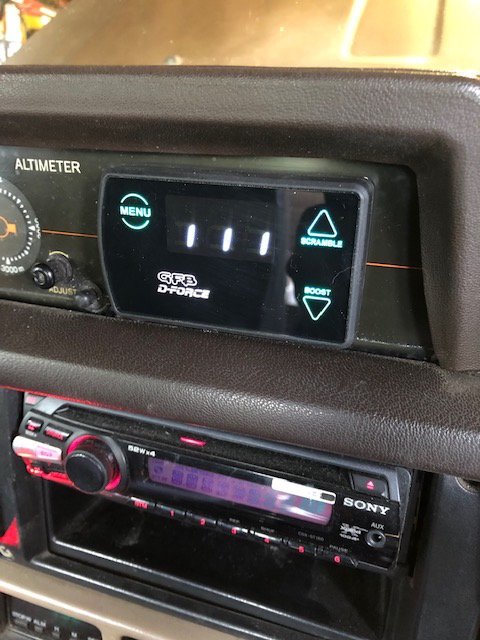
installed a gfb d-force controller last night, it came with an egt probe so we drilled it in the exhaust manifold pre-turbo, and the boost solenoid thingy got screwed into the turbo housing. today i changed the front diff over and assembled the rear diff centre, the copper tubing took ages to sort out.
3 points
-
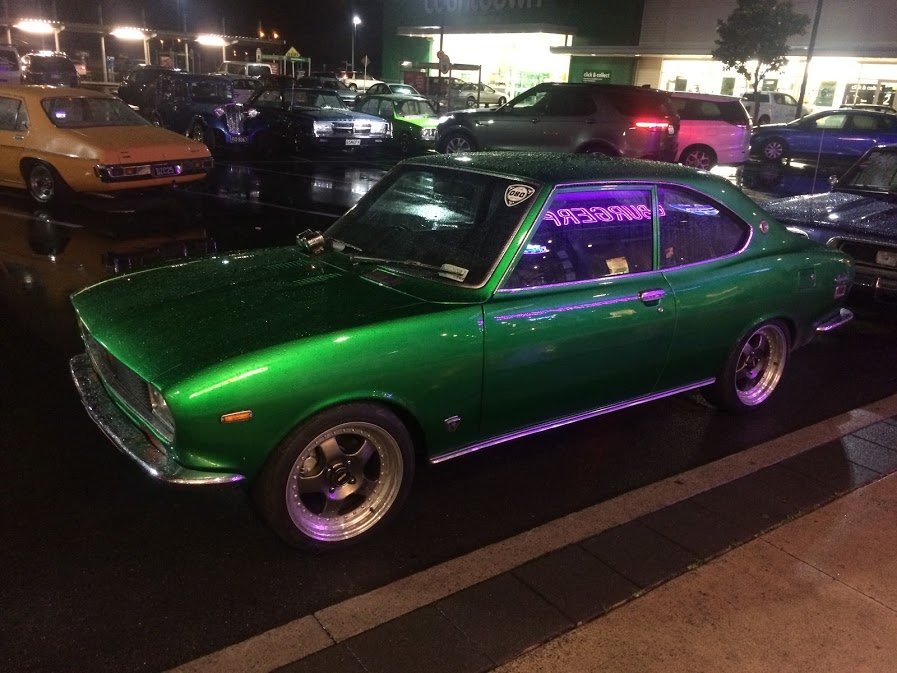
It made it in a few magazines recently. Performance Car in the 4 & Rotary Jamboree section. Petrolhead in the Beachhop section. NZV8 Beachhop Edition. And the recent NZV8 in the editorial. Had the transmission pulled apart and the forward clutch was burnt out. After waiting a month for the trans to be rebuilt and getting a price back, I decided my Dad could have the rebuilt one and I'd pull out the one that was bolted up to a dummy engine in one of his projects. It looked to be in good condition from the outside. Grabbed the bits I needed off my old one and swapped them over. Hooked it all up and put some new oil in. Went for a test drive and it goes way better than it has ever had!! Has been my daily for the past few weeks (sorry neighbours! The 6-7am coldstarts with the compressors kicking in must get annoying haha), haven't had any major issues! Have done over 1000km in it since the new trans has been in. Went out last weekend and took some decent photos of it.3 points
-
Little bits and pieces starting to come together now on the 86 - painfully slow but any progress is good progress right? I've fitted the new water pump, cleaned up and painted the coolant bypass hard lines, picked up new radiator hoses and have the heater hoses ordered and on way. Front of the engine is coming along with the hall effect sensor on the crank mounted, still have the sensor for the intake cam pulley to do but hoping to knock that off next week. I've found and mounted up an ae85 radiator overflow/washer bottle in the front drivers corner of the engine bay as the ae86 one will melt over by the headers I think. Found a brake reservoir sock thing to cover tidy up the faded gayness. Am in the process of cleaning up and painting the brake lines so I can refit those, have some braided lines to go on. The drive shaft is now in with new bolts and a new gearbox rear seal. Tidied up and painted the strut brace mounting plates. Exhaust is almost done, just have about 200mm of pipe to do from the merge collector to the rest of the system to build. How its looking currently Also picked up this which is now fitted: And this which isn't fitted Pulleys are sitting on the cnc machine so will have them done next week all going well.3 points
-
What colour you going for there Cletus? Harlequin? Acid rush? Tiger gold?2 points
-
we will rebuild today smashed in some new headset bearings, feels pretty nice up in there i tell ya. new tyres were fitted also. i went for Pirelli City Demons front and rear, both 3.00 x 18.tried and tested good quality road tyre, be interesting to see how it fears on the waikaremoana gravel.. Front rubs on the fender a little bit so i am going to have to grind down the side brace things. Still need to do a yambits order for rear sprocket, front brake pads, oil seal for kickstart, and air filter. then i will have accumulated everything i need to fully reassemble! fizzing!!!2 points
-
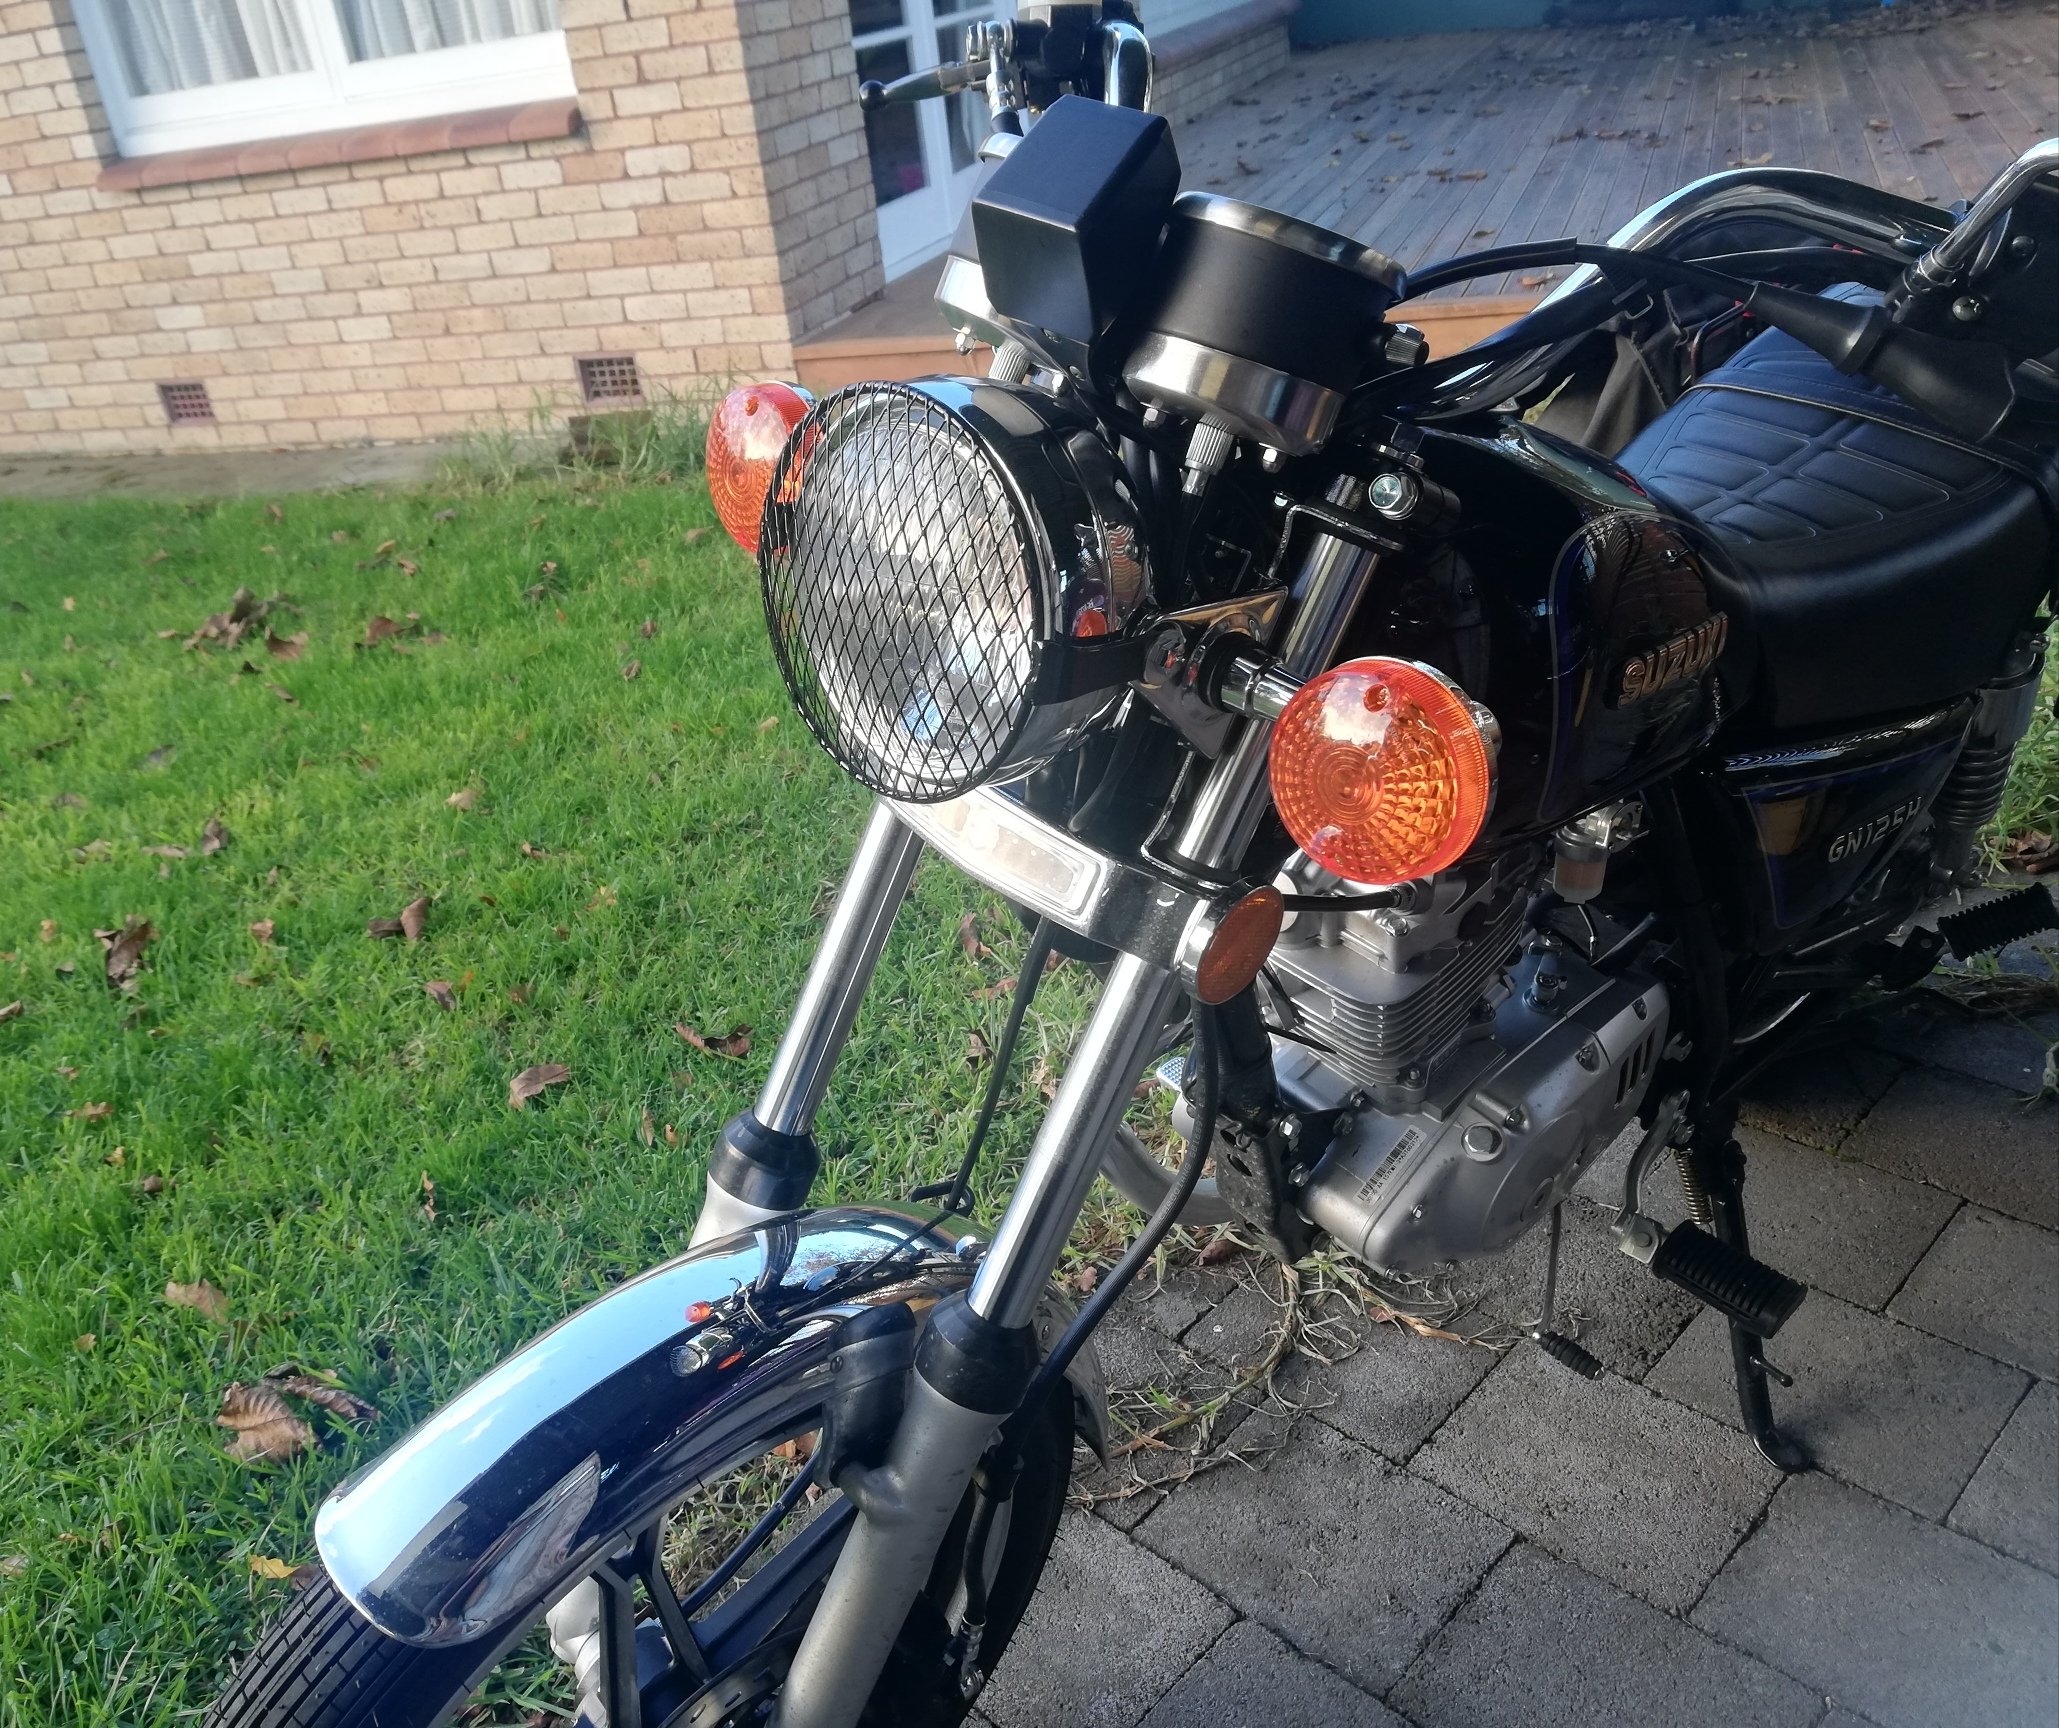
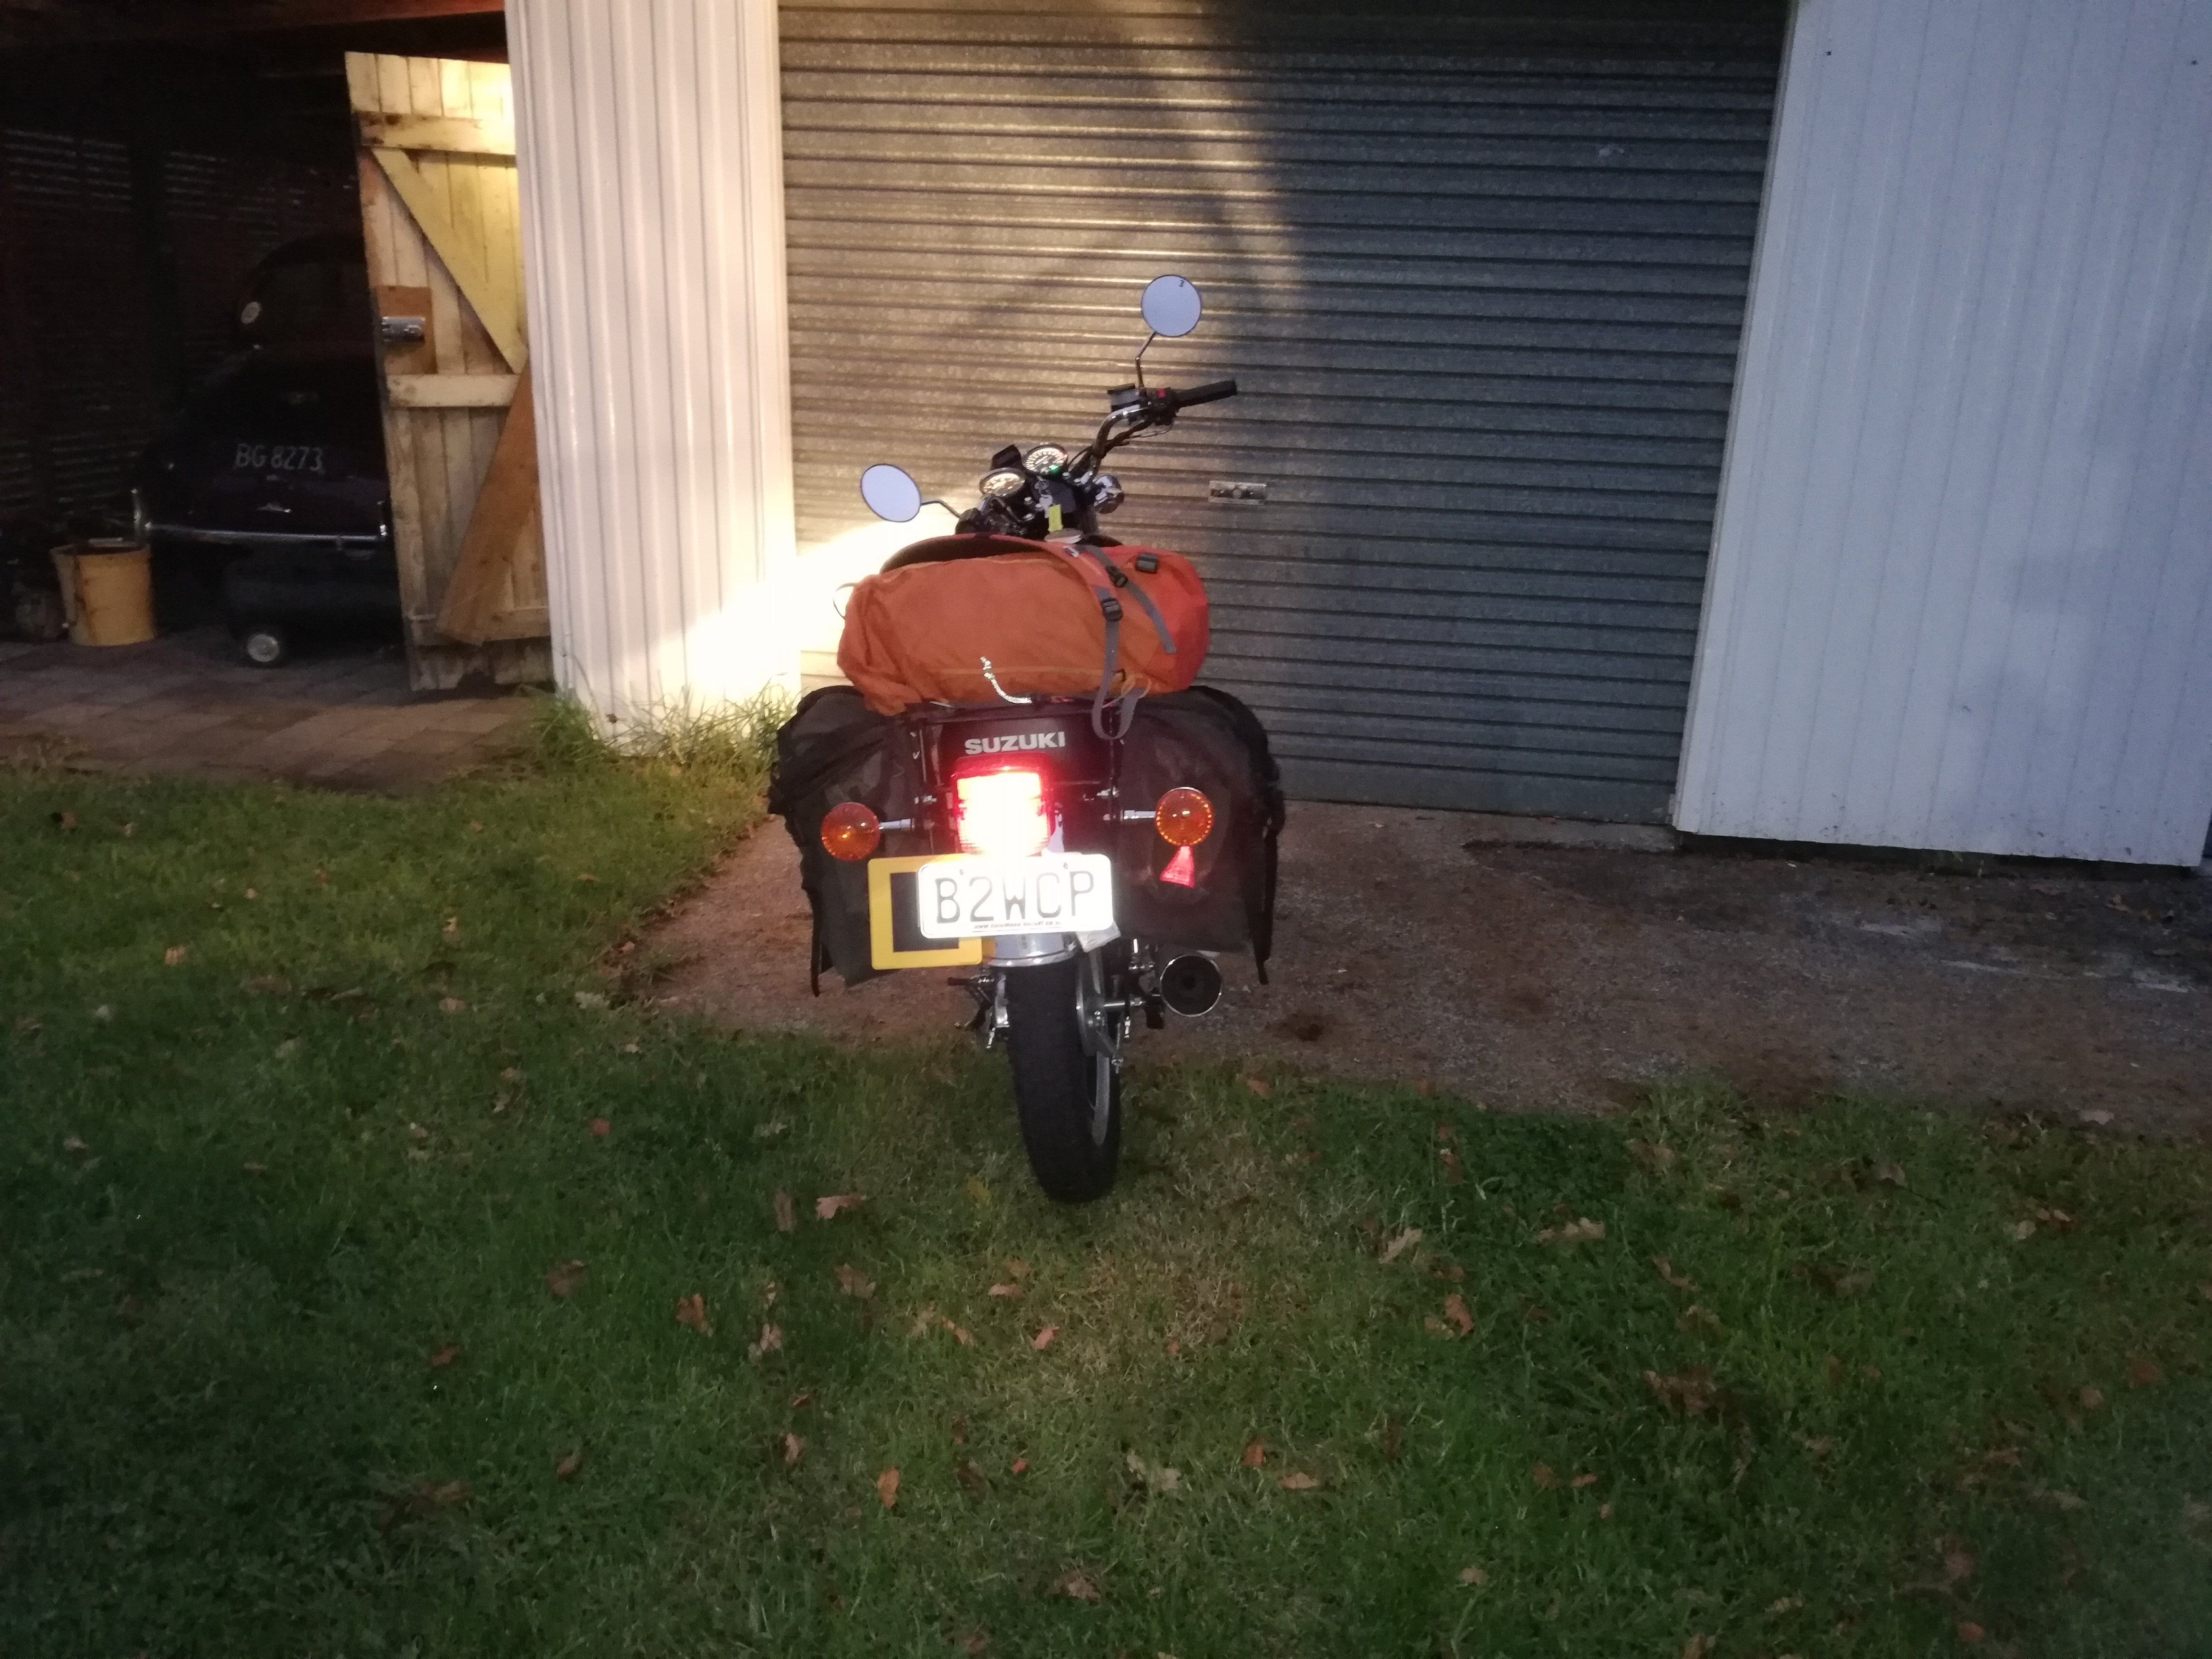
Adventure GN Does more than 100kph so I'm wondering if NZ ones get higher gearing, or are they putting 150 cyclinders on them sneakily? 260km and I've not hit reserve yet
2 points
-
Progress slowing down, fell into employment however got a couple things done, and ordered, then delivered. Firstly a video of it back in it's hay day for you who don't have a tinfoil hat and use FB. Did: 1) Got the sub-frames out and all the hubs etc. Only have fuel tank and dash to remove now. 2) Bought and received a new engine and body loom. Got an EG9 Civic loom. Few reasons. Currently it's all been done with a OBD0 DA6 Integra loom , new EG9 loom is OBD1 which converts great for a tuneable ecu. The builder of the car originally hacked out literally every wire that wasn't needed and bundled loose wires with cable ties so not really sure what I do and don't have anymore. Finally everything was stripped from the dash so I don't have fans, radio, anything that wasn't 100% needed to run an engine was removed. I'd like to change that a little. 3) Bought a full car bush kit from Energy suspension through Adam @ Speedscience Need: (Not a huge amount is ever recorded on the interwebs about how to modify these era of cars to get any sort of handling performance out of them, so this is all my own RnD) 1) Need to head to PaP to investigate if the Honda Oddysey caliper bracket (You can google it yourself) will space the caliper enough so I can run some spare 96 spec ITR front calipers on EG9 disks. Choice upgrade as I have like 230mm disks currently from an AV Integra, so a 262mm and ITR caliper will make a massive difference. 2) Next on the investigation thing is a retrofitted rear sway bar as it doesn't have one, and I think it would really be beneficial to have one. 3) Shortened shocks for the front so I can lower it just a smidgen more (torsion bar front) and still get good travel (Y) Possibly for the rear as well, but I feel the fronts are going to be more complicated. Idea I'm tossing up at the moment is potentially figuring out if shocks form another car will work. So when I have free time I'll just be continuing on grinding back body rust, and sandblast or vapour blast the sub-frames etc in preparation for POR15 and newly acquired bushes, then they can be stored away in my spare car storage system ready to be reinstalled. Thanks for reading.
2 points
-
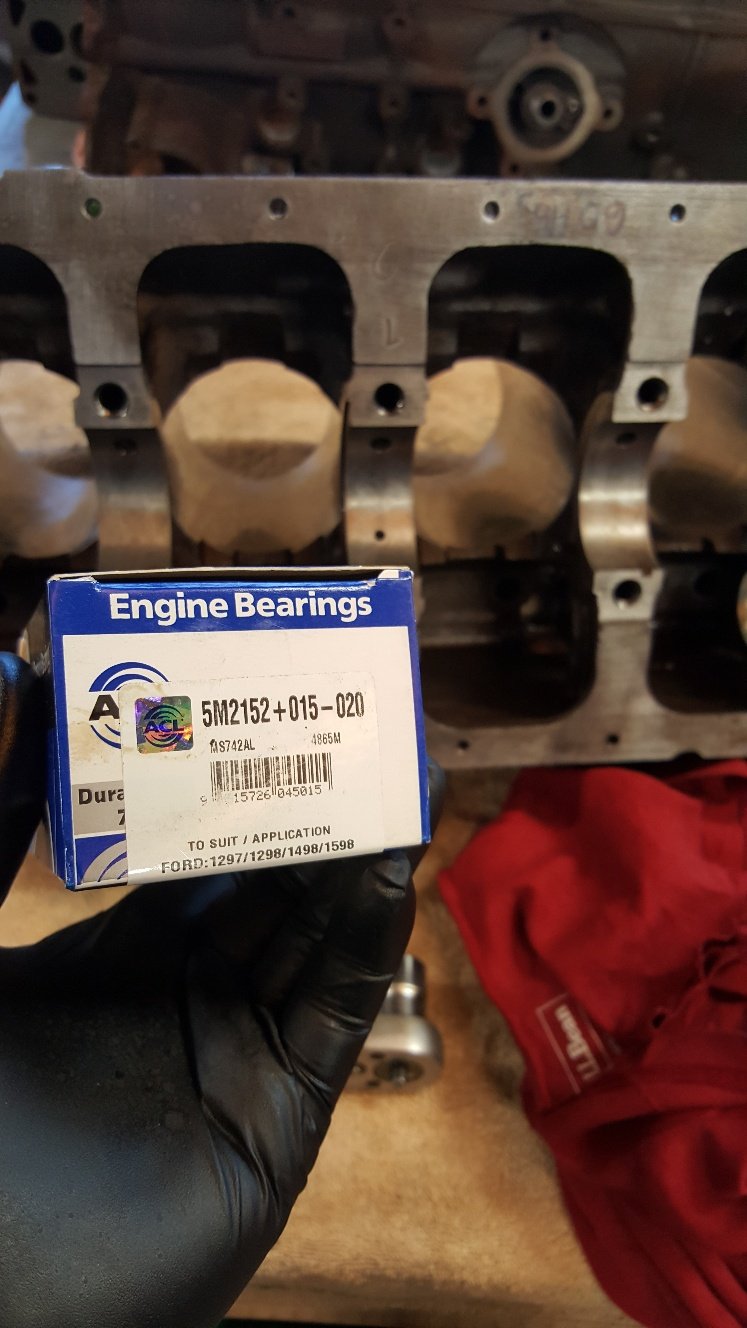
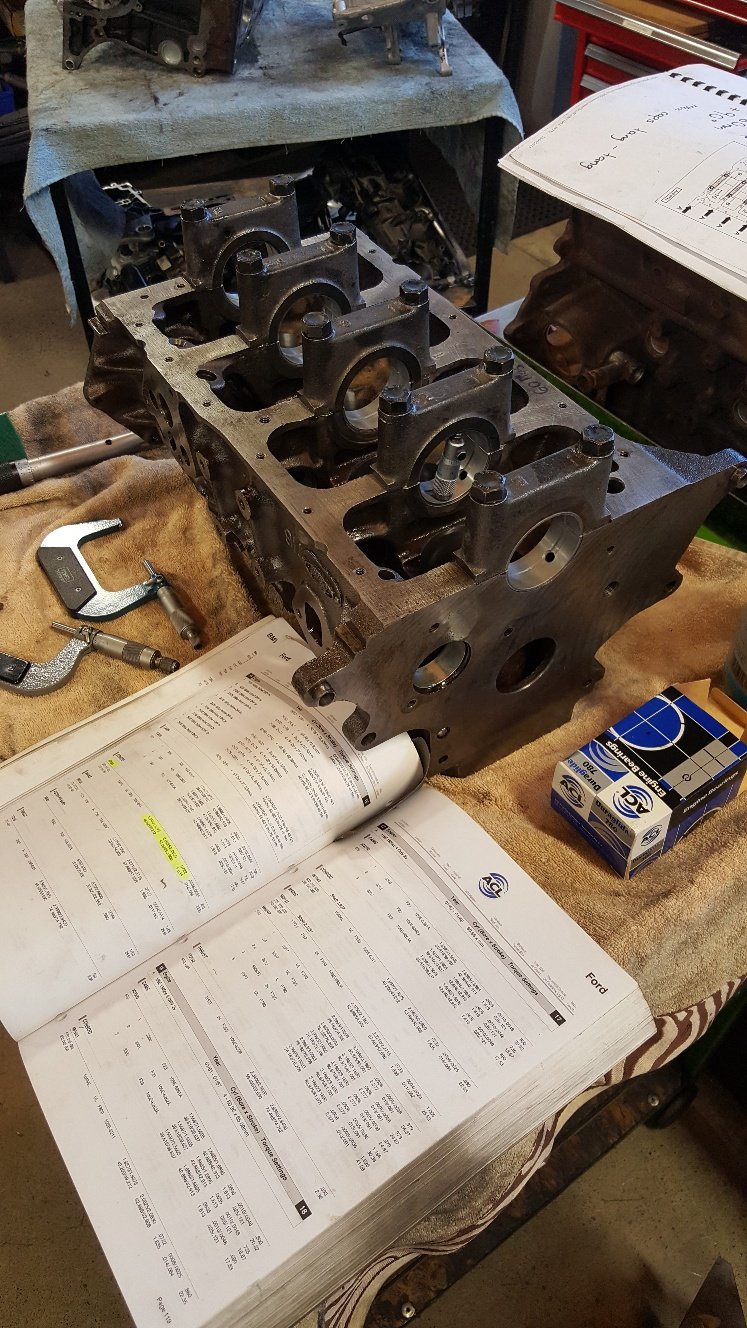
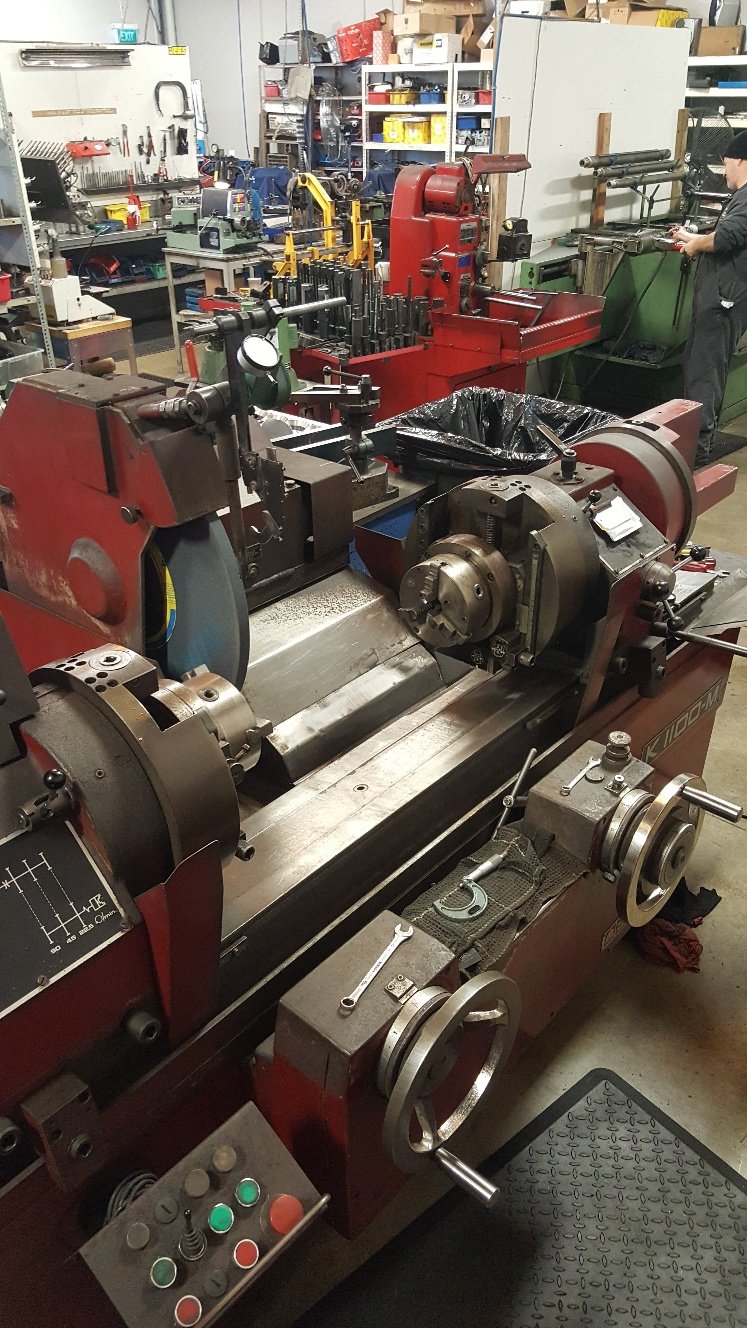
So i got my hands on some plus 15 back -20 main bearings. Thanks to Ford and their below average machining they mis machined the main tunnel on some of their blocks and had to come up with a solution of +15 back bearing to take up the slack. These can be challenging to get at times. So then I mount and measured them so I had a size to machine the crank too. Got the crank dialed in the crank grinder. Start to bring the wheel in and just touch the journal and you can see the .002 thou wear. The grinder has just started to clean up the left side and a bit in the middle. Once it's all ground we put it into this modified wood lathe we use for polishing.
2 points
-
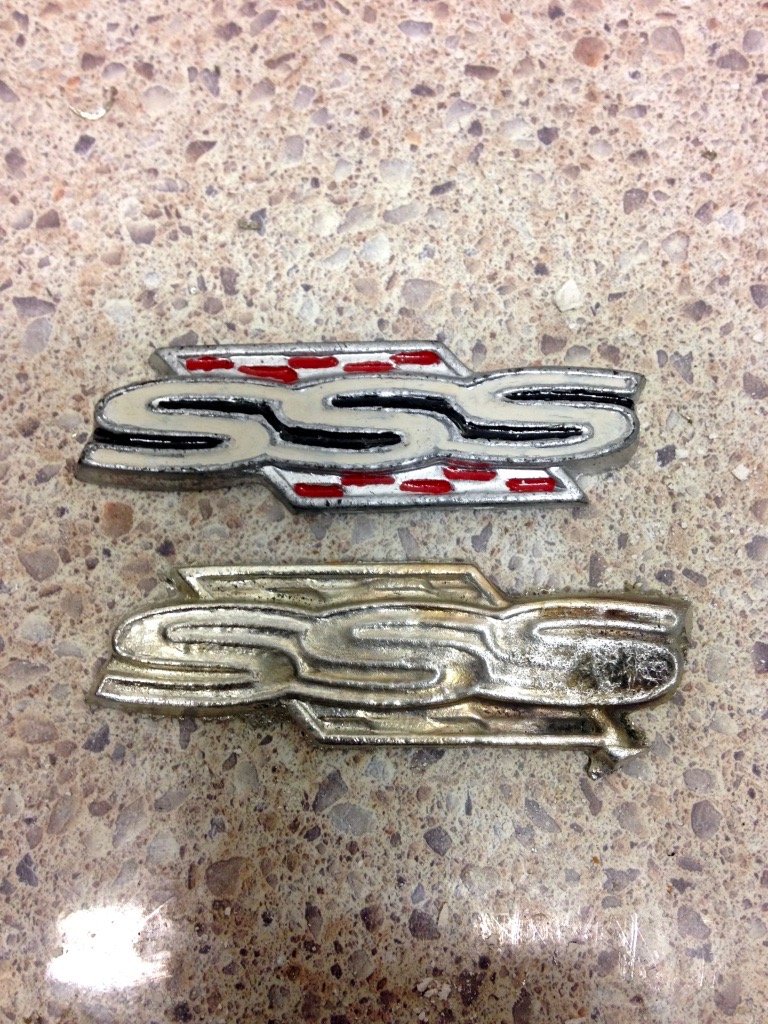
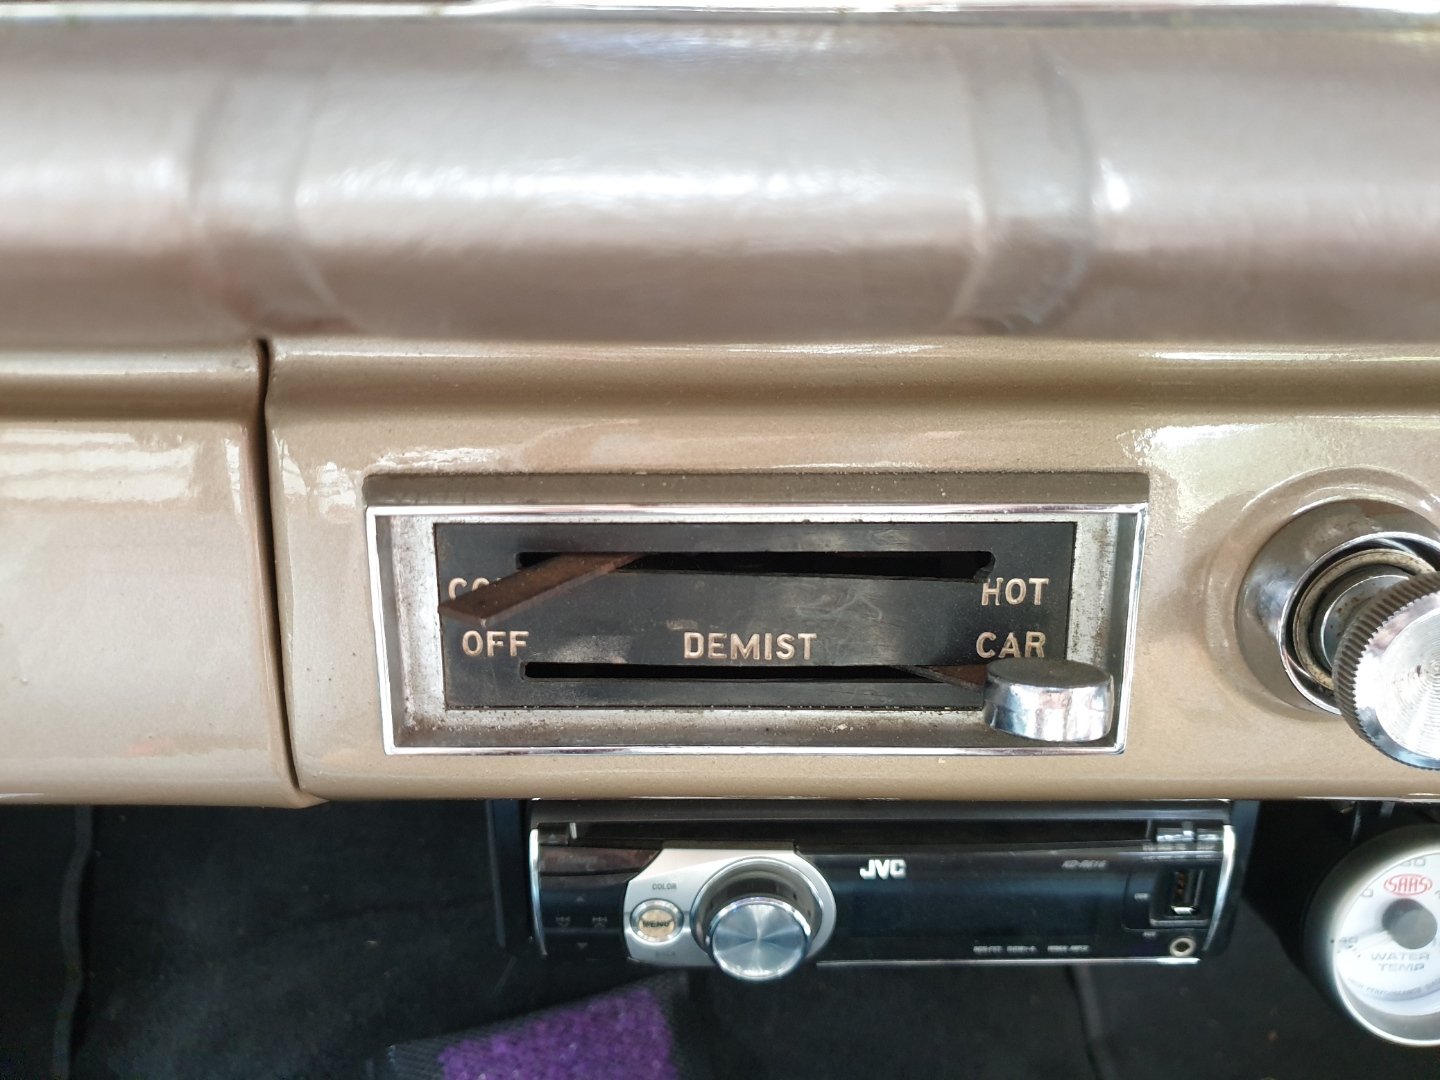
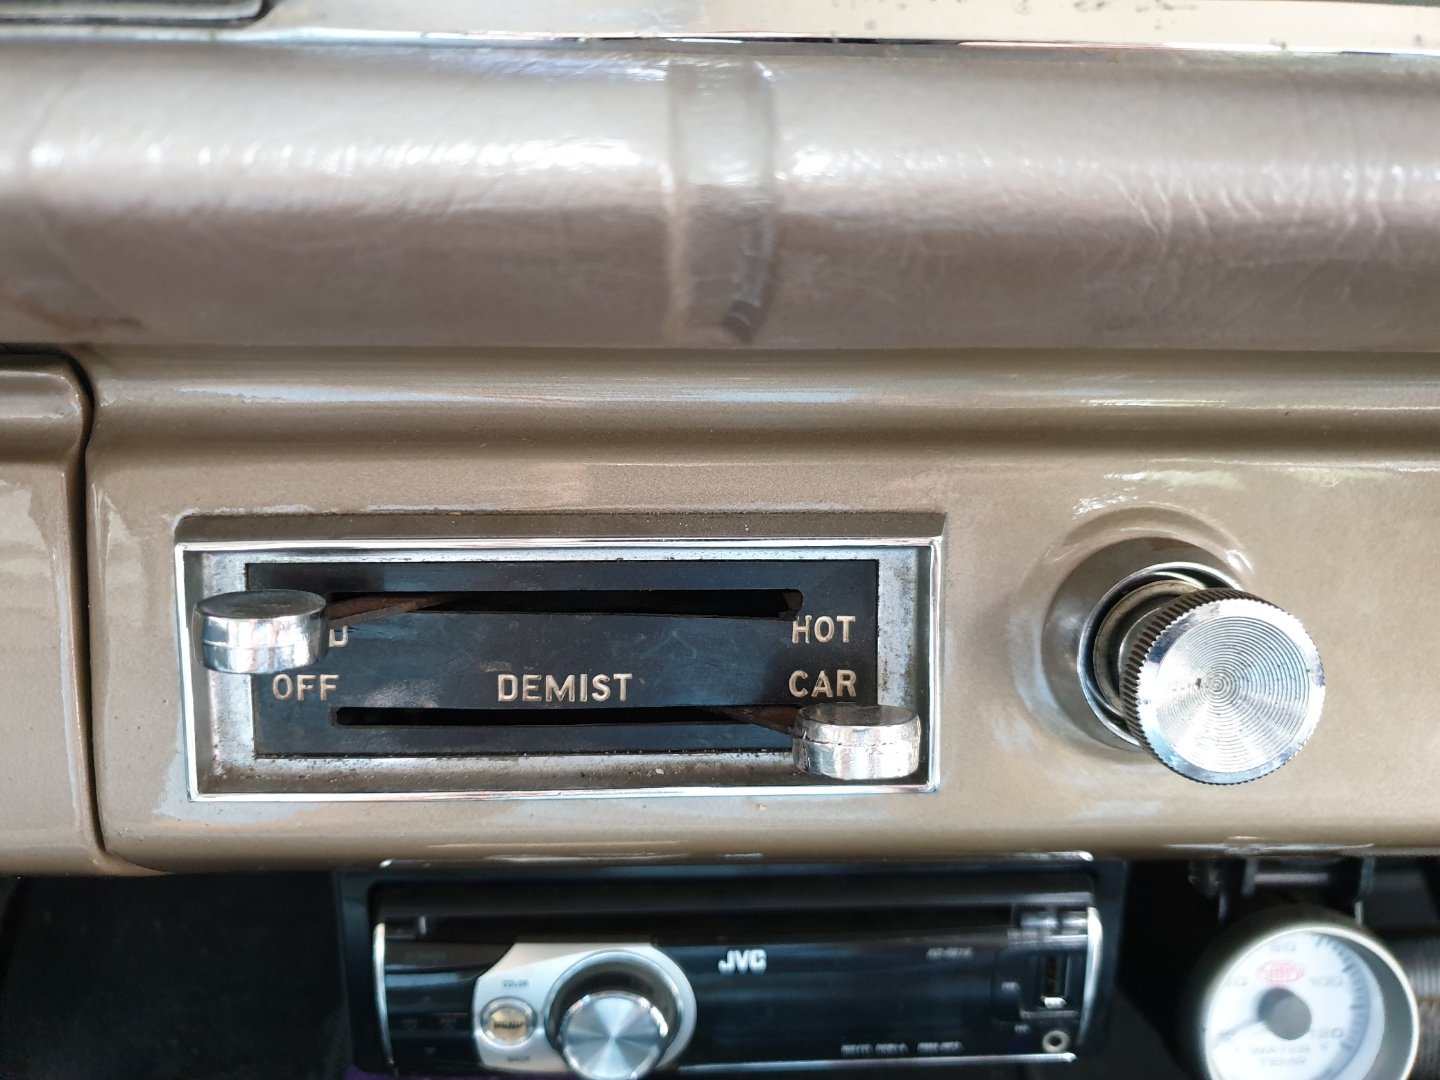
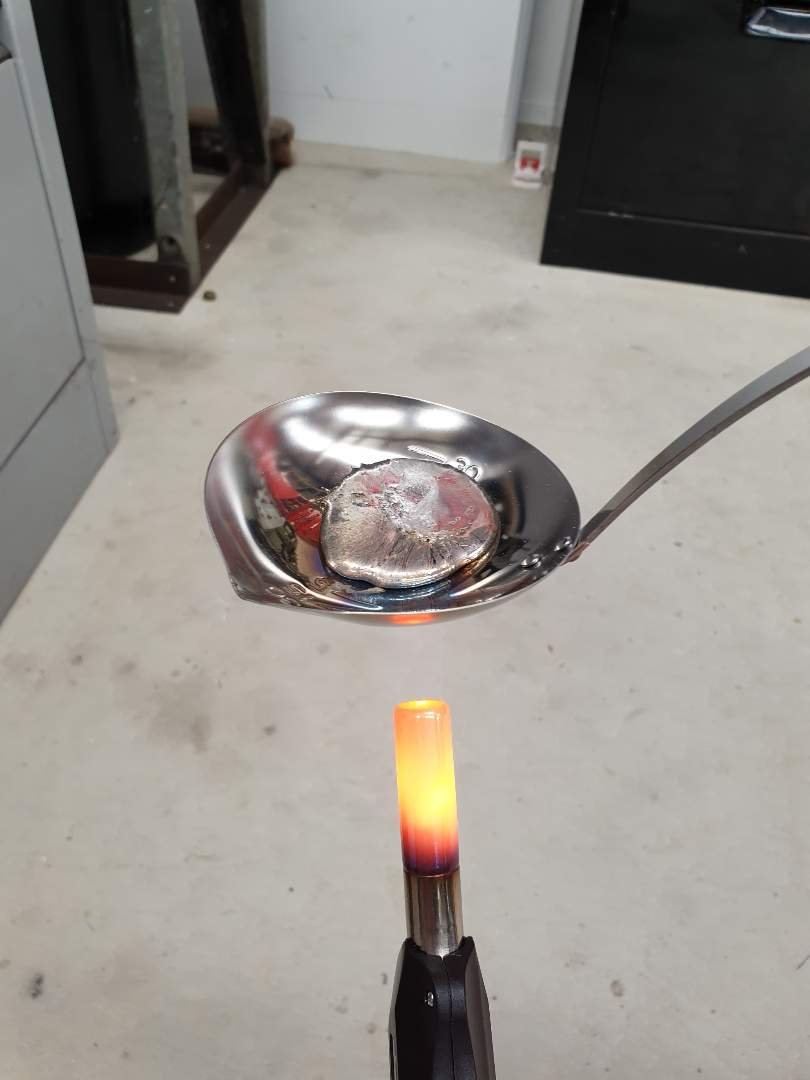
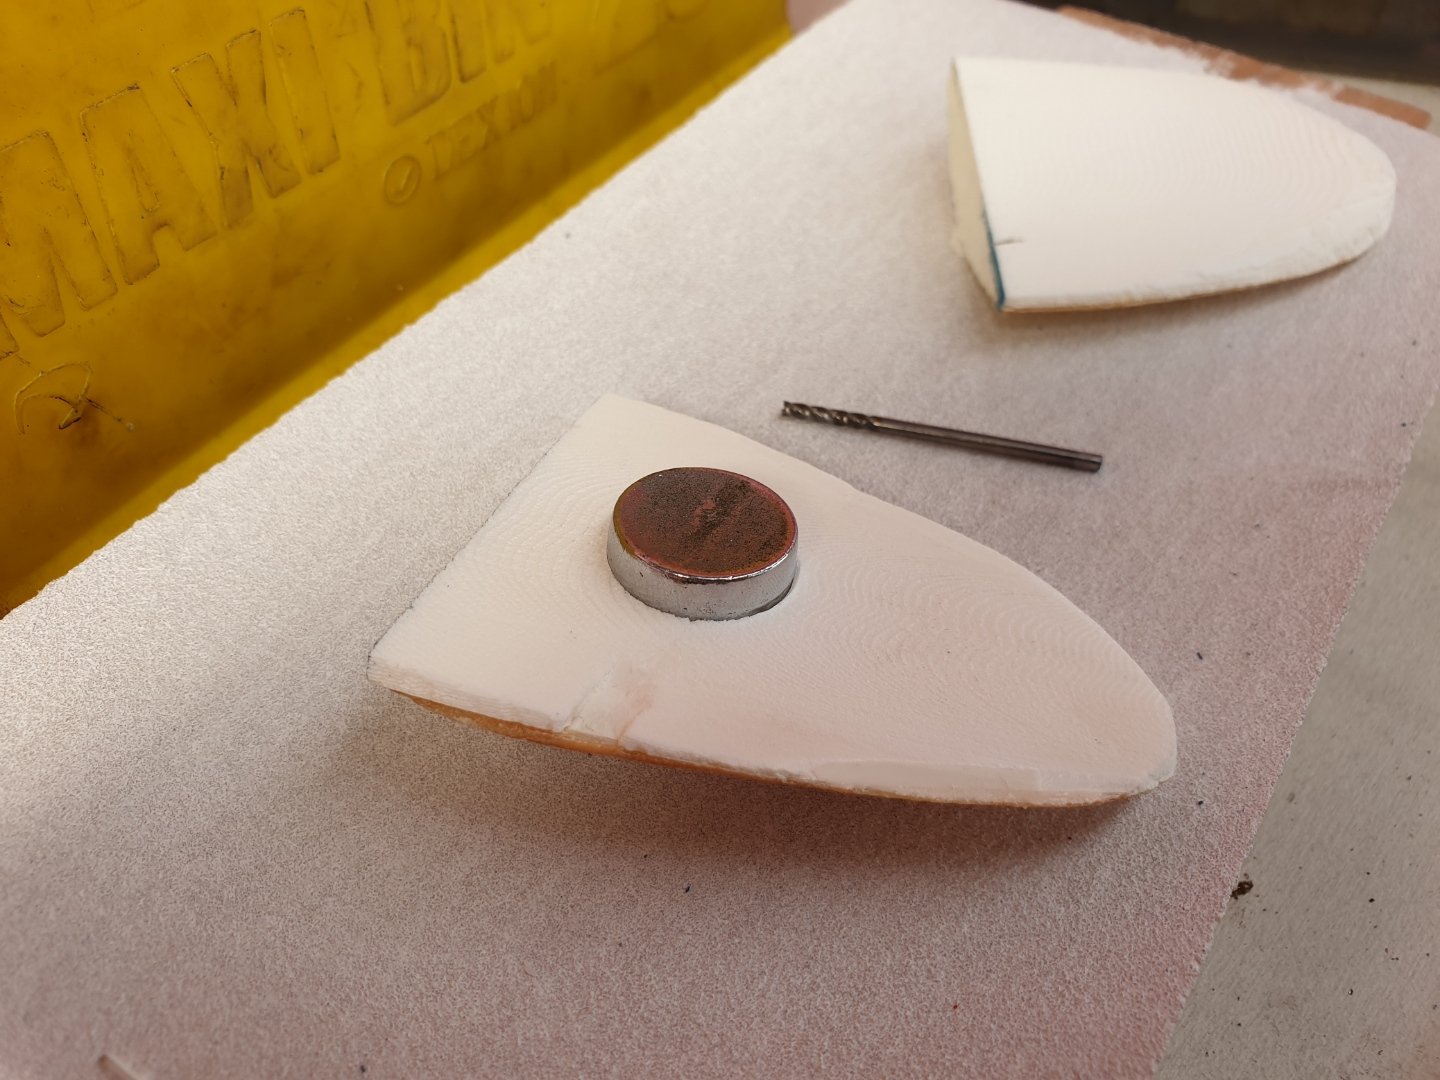
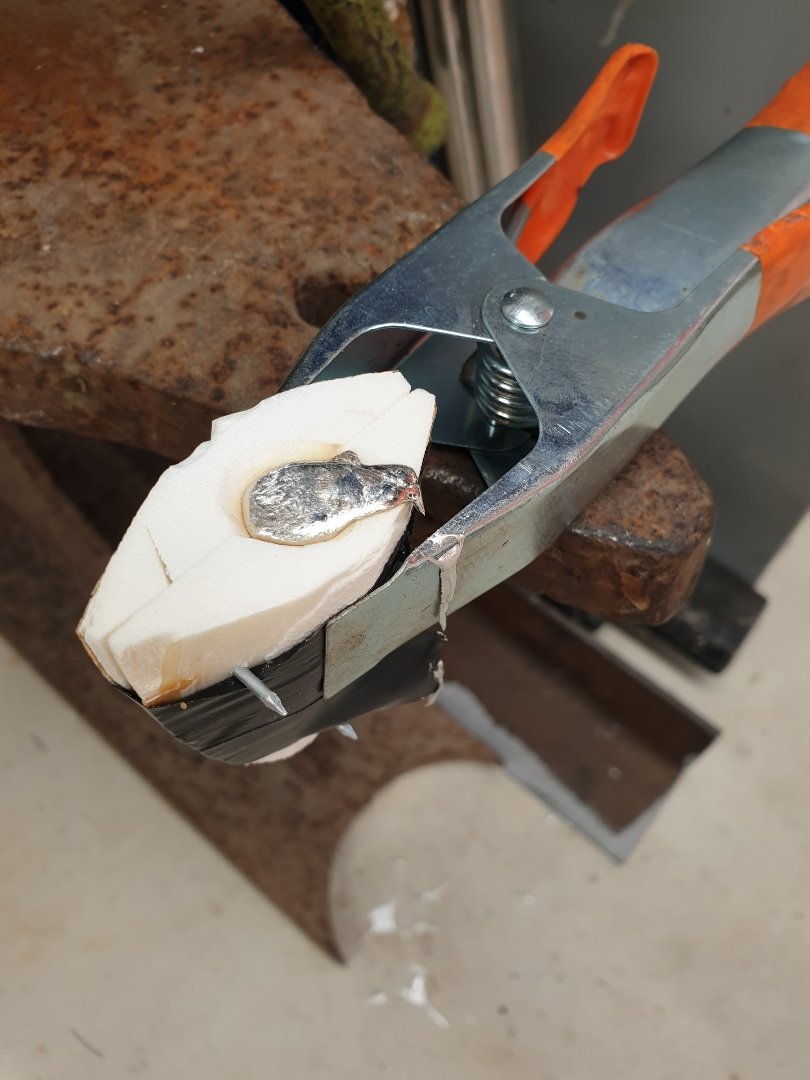
My impala was missing a knob. No one likes being knobless, so I thought I'd treat it to a brandnew knob! A Google search or two later and I was shocked at how expensive it was going to be, $30USD + $25USD postage!!! WTF!!! That's like $100DNZ. So I thought about turning one up one the lathe, but it would've looked too perfect. Then I remembered casting metal for small projects about 20 years ago when I was a student. So I thought I'd give it a go. I really wanted to capture the imperfections of the original. Original old parts have a certain amount of soul to them...new parts often don't. So here's how it went down: DIY sanding board. $2 cuttlefish from a pet store. It's that white shit you'll see budgies pecking at inside their prison cage of broken dreams and mental hell. I cut it into two halves, and then sanded each half flat. Next push in your original work piece as much as possible. Take it out, scrape away some of the indentation...repeat...repeat...repeat, until it's nicely sitting halfway in. Now match the otherside the same way. You'll need to cut a pouring funnel into the top, to get the metal in. And hard to see, but I cut 4 very small air vents on each half, to let the air out. Then I pinned the mould together to keep the alignment of the two halves squared away. Time to heat up metal. I'm using lead free pewter, same as jewelers use to make rings and necklaces etc. $14/100g online from a craft shop in Auckland. I only needed about 20g...but at that price, I thought I may make something else later? Melting it is as easy as it looks. A $2 shop ladle that I tweaked with a panel hammer to put a pouring spout into. And a blow tourch. Pouring the mould. Opening for the moment of truth...fuck yeah, nailed it first pop!!! Yeeee-fucking-ha!!! A quick tidy up, dremel a slot, buff up on the polishing wheel, scotchbright to dull it down a little to match the original patina...booyah! And what it's all about. Installed in the car. It competes me! I'm so happy with how its turned out.
1 point
-
wow 2 updates in the same year. that's a record. Am rather time poor atm so progress is slow. Loom has been pulled out. for some reason i had been adding plugs here, there and everywhere. the pic is a small percentage of the messiness. Loom after about 5 unnecessary plugs cut off. Will be bringing it straight through the firewall so will be shedding allot of length. Aiming to make the wiring as simple as possible. i was having random issues that were because of the over complicated wiring i think. Hoping to have engine running again in the next few weeks.1 point
-
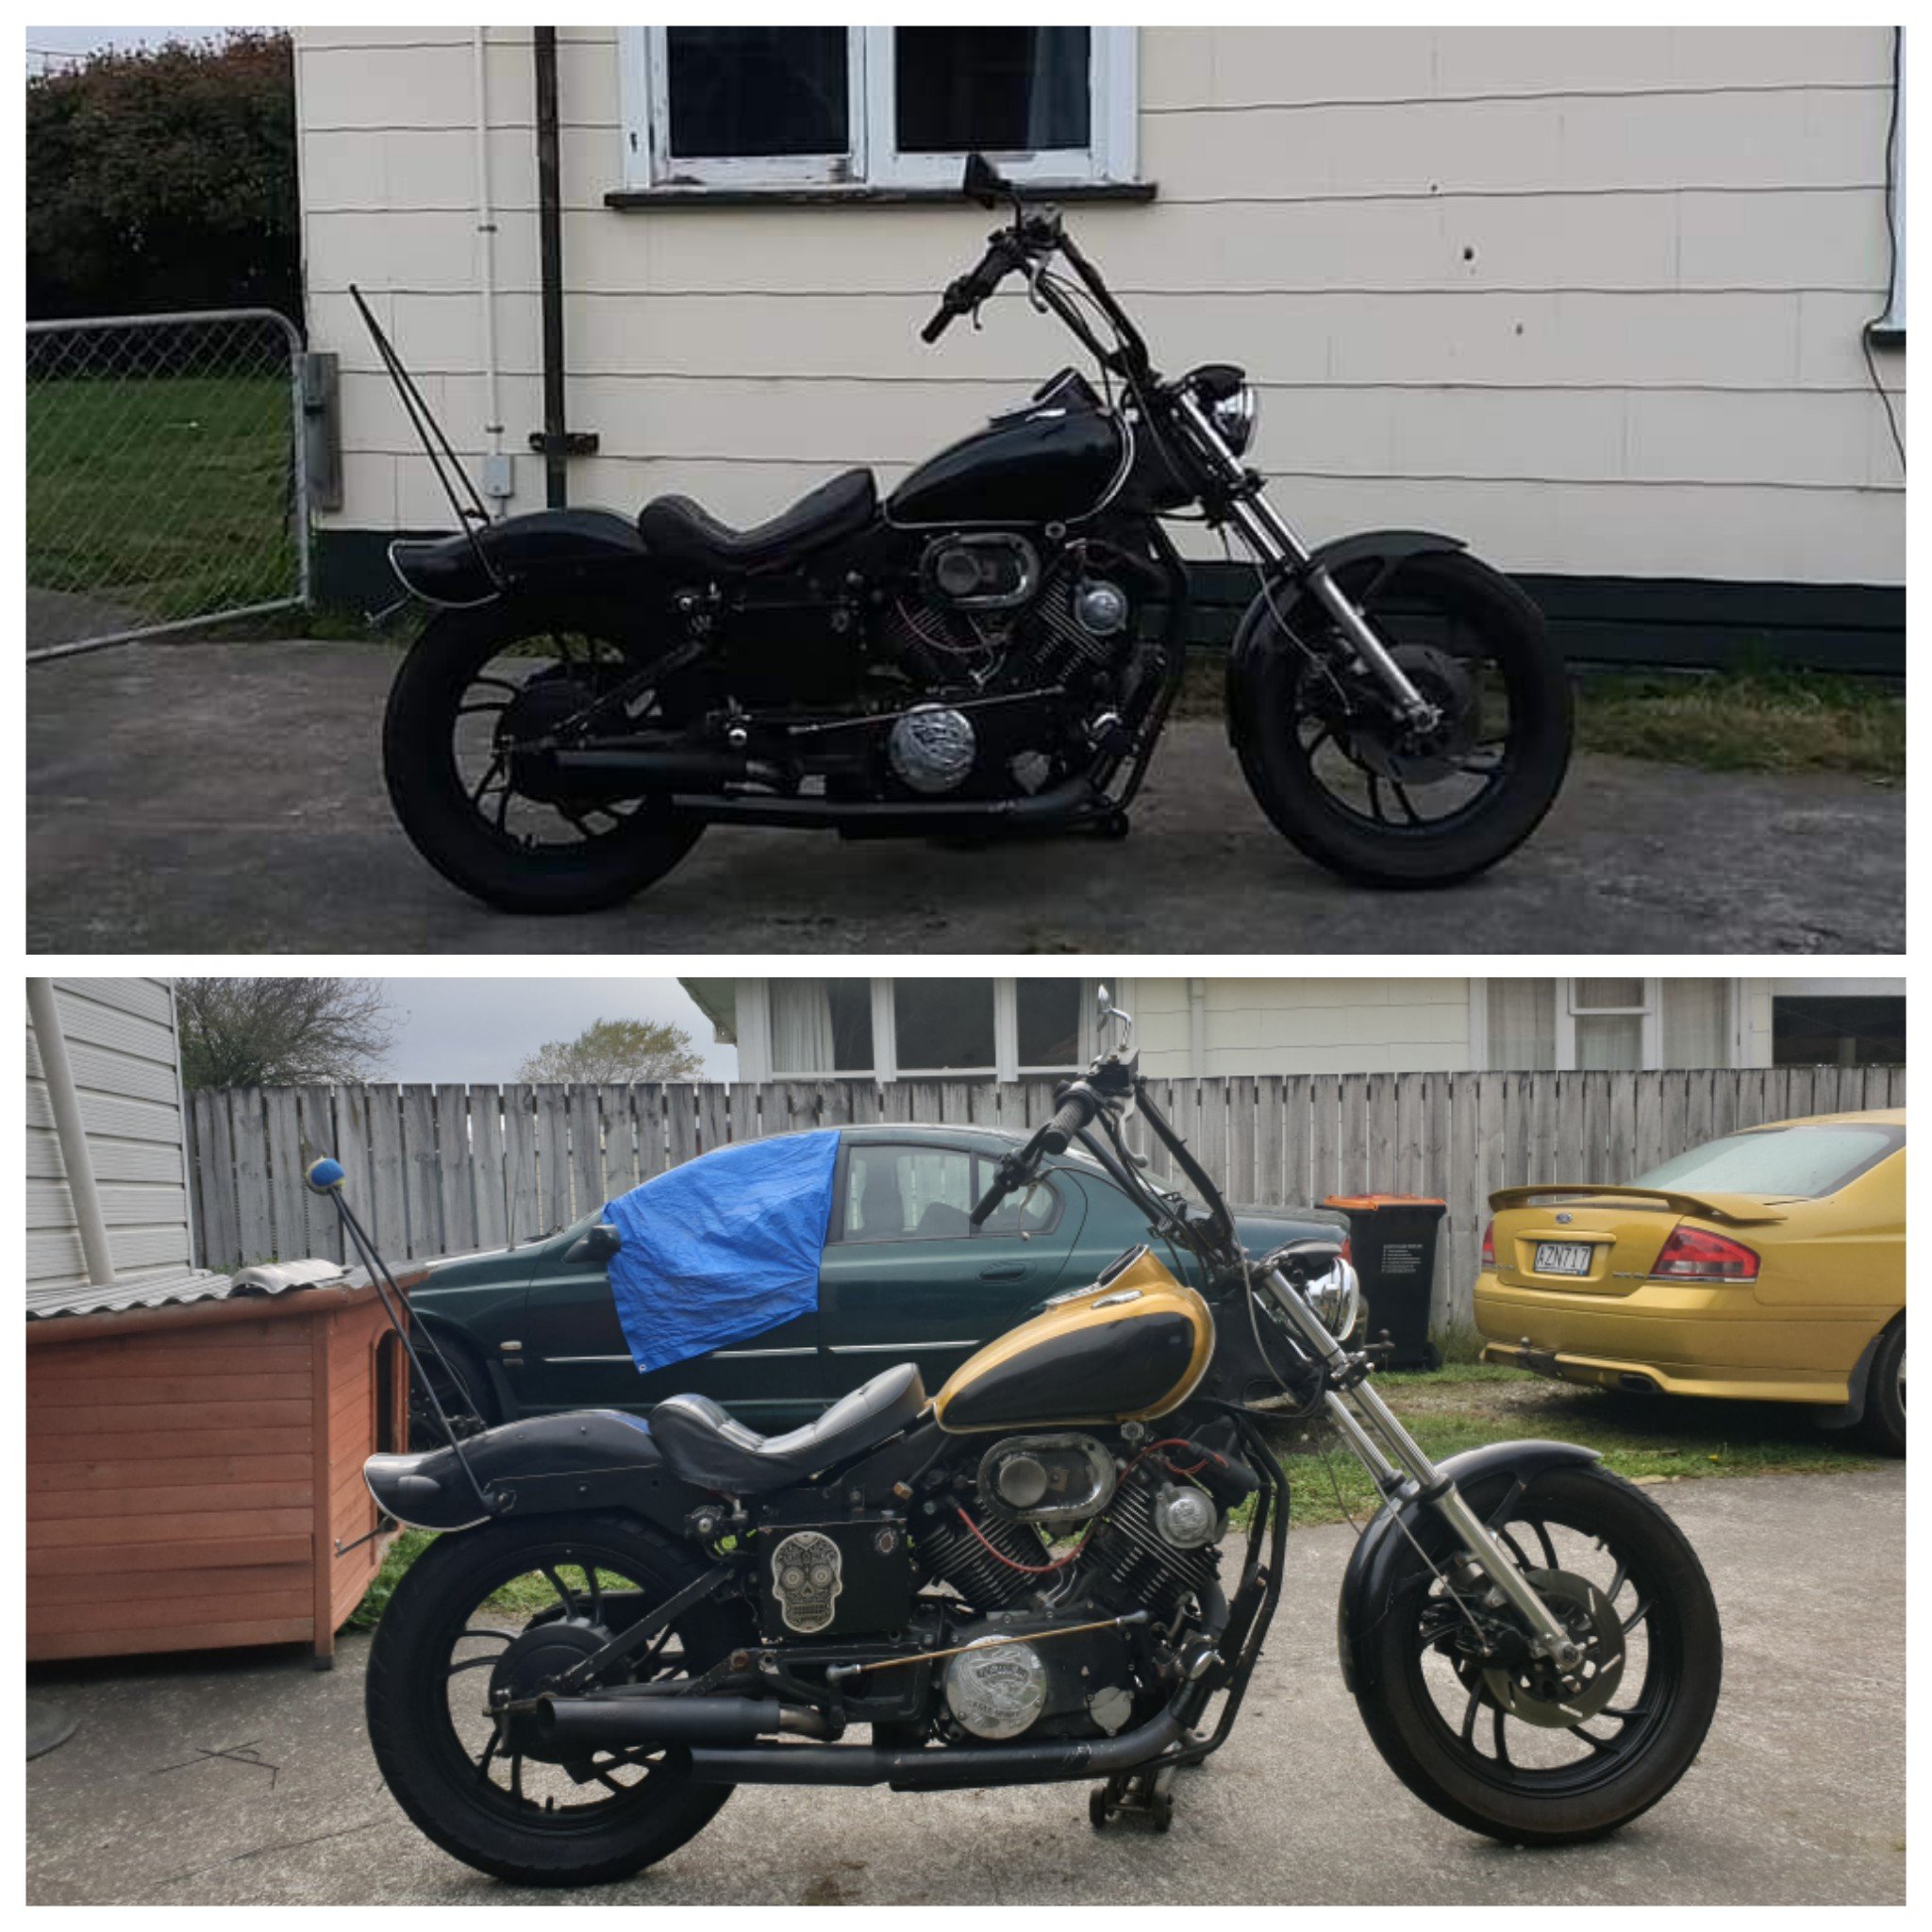
I'm stoked at how good the tank turned out. I painted it last week and finished it over the weekend.
1 point
-
Ok guys im a lil over the gold on tank. Reason why its gold... She had rust on top and needed fixing was actually leaking.. Anywho painted gold to try somthing diffrent.. Top photo is the same bike about 6months ago just before i fixed the tank.. Thoughts guys... Go back to full black.. Or maby another colour have been thinking of a dark purple
1 point
-
That was round 1, I changed to this design to see if that gave more "pressure" in the mould Also the next badge I really want to copy is much larger and to my current observations won't quite work this way.
1 point
-
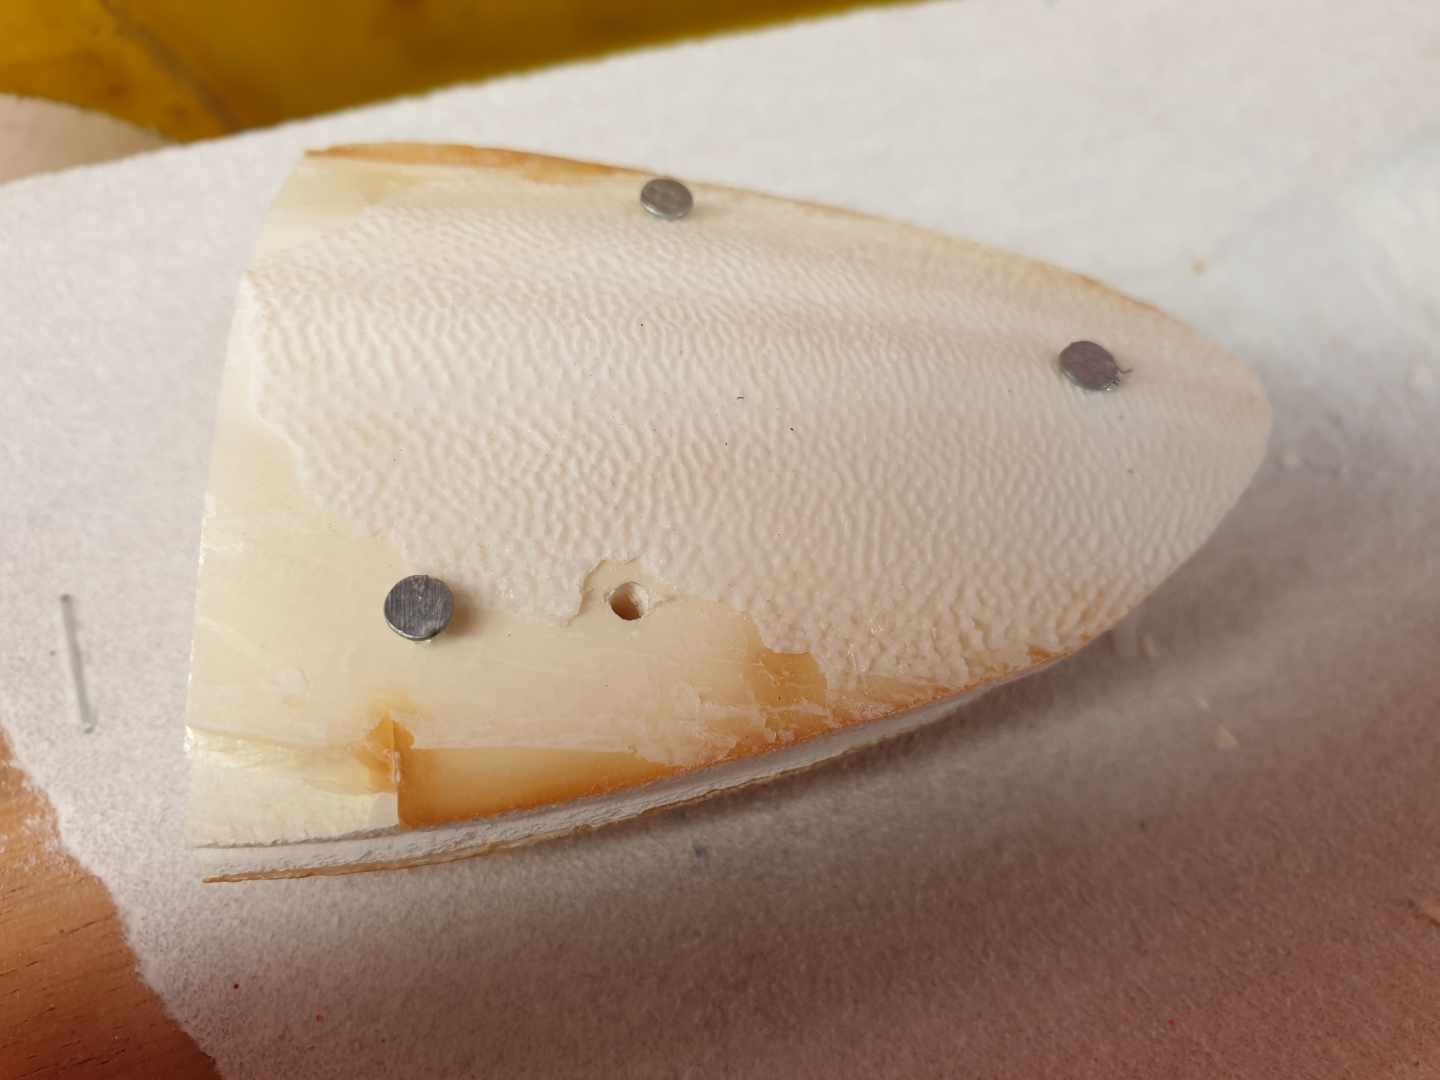
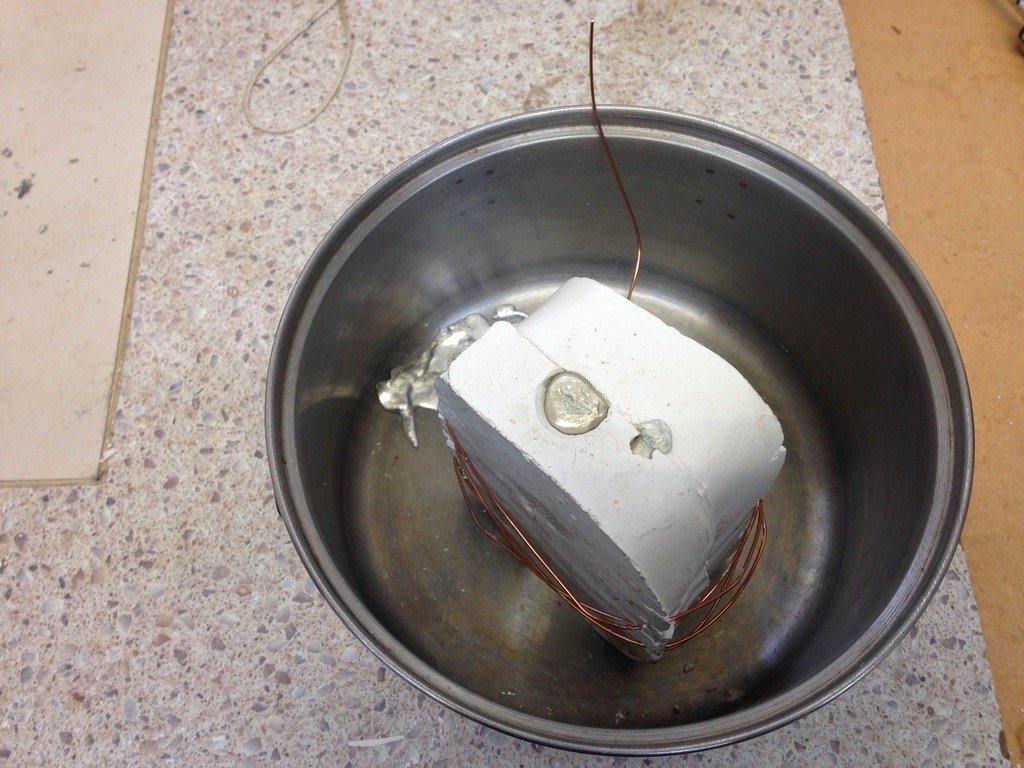
Yeah, 2 vents at the top. Can see the intended pour and vent, I thought gas would get trapped in the small point. Turned out that got blocked from gas and general bubbling away, couldn't fill quick no matter how hot I got the mould. So I opened the vent up and used it as the fill point and the original fill as the vent, that worked perfect, couldn't pour fast enough and little to no bubbling. Apologies if my terms are incorrect, I'm pretty much just working this out as I go! Small pin holes is a good idea and makes sense now I have had a play, this shape seems happy, but it is a concern on the next badge in line.
1 point
-
Crc white zinc m81 point
-
@flyingbrick I looked at my rack, and at some small motorcycle adventure fuel cans and I decided I'm best to just carry my multifuel stove aluminium fuel bottles (I have a few, like aluminium drink bottles) should I need a couple hindered more km. 5L is too much unless you are in Africa tbh. They fit nicely in the back of those bags1 point
-
Same across the board from the FSM.
1 point
-
noisy version of above1 point
-
Not sure what went wrong there? I played around and did a YKK zip using cuttlefish again, as it had fine boarder and writing on it and it came out perfect. Maybe silicone would be better for your sized application. Link: https://www.smooth-on.com/products/mold-max-60/ Cool thing is you can melt it and try it again.1 point
-
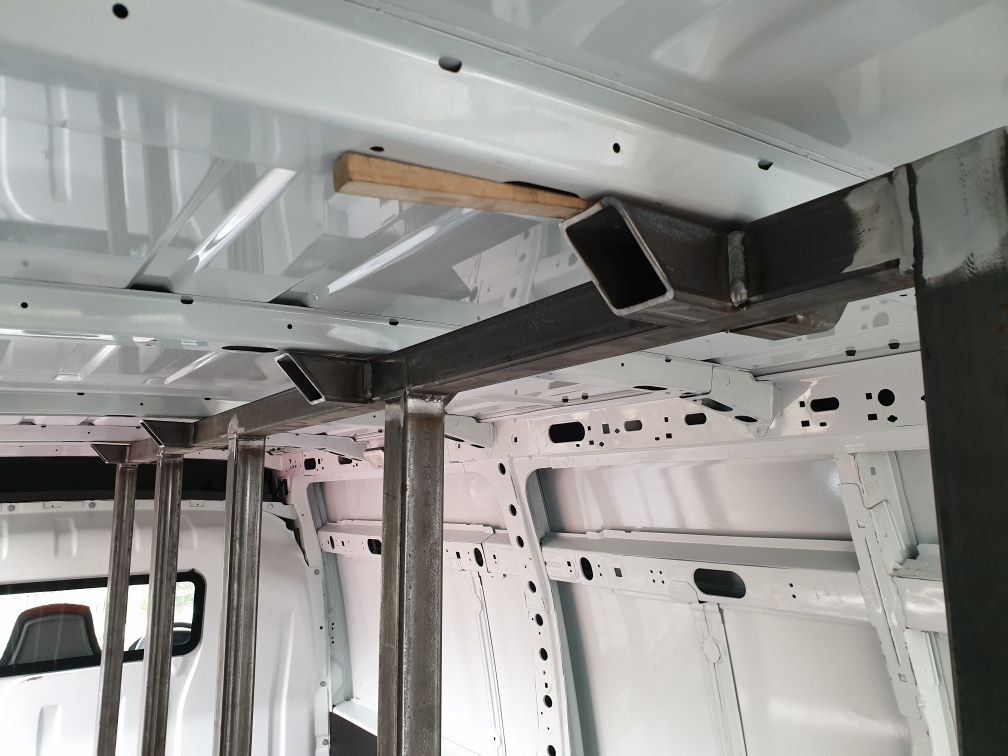
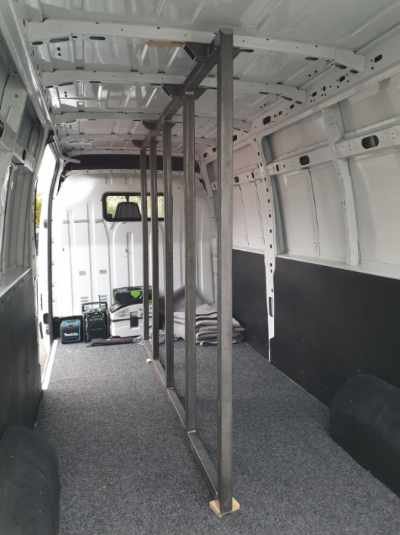
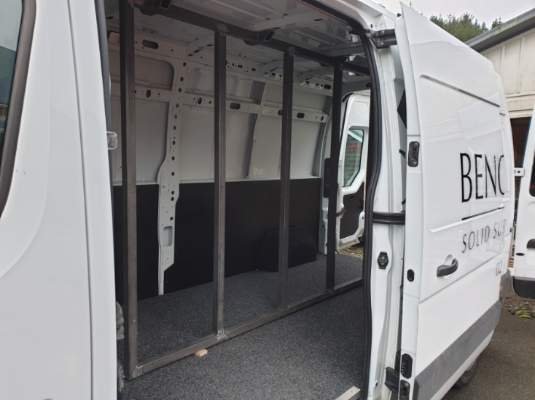
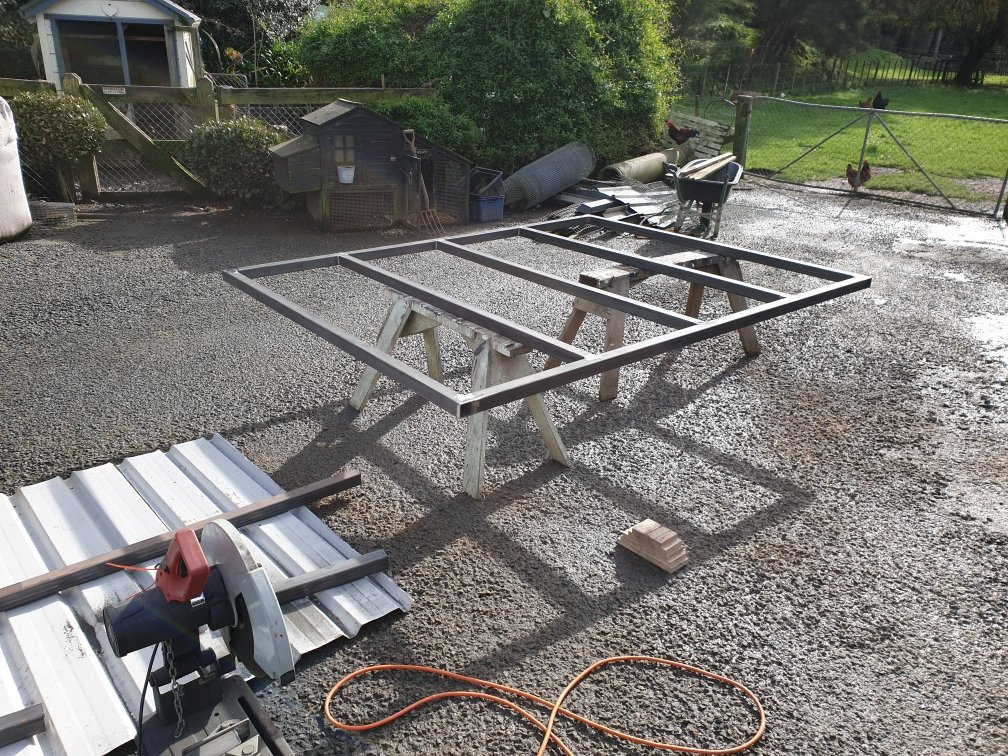
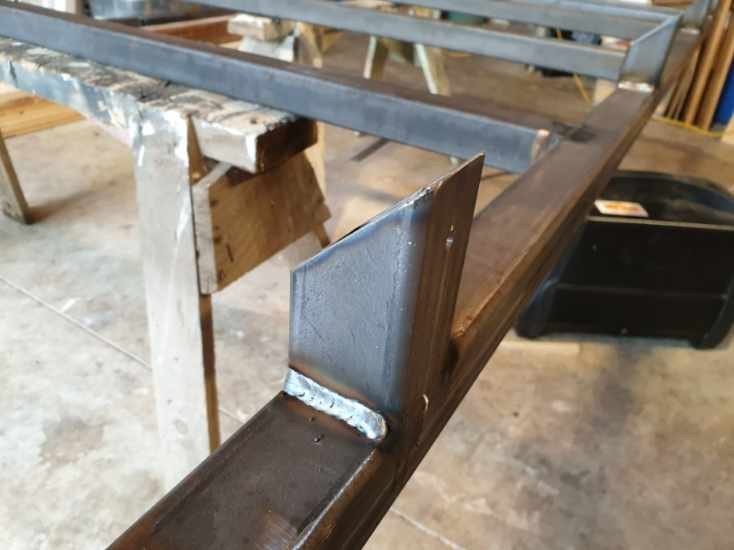
Brother is going out into business on his own. He brought a ridiculously huge van, big enough to human traffic at least 40 Russian brides in. He wants to transport his kitchen bench tops in it, so I've spent today making him this: And test fitting in the mega van: It's going to get painted, more 18mm plywood on the floor (under the carpet) and wood slats tech screwed to it for the tie downs to hold onto...but you get the idea. I'll leave that stuff for him to finish as it's just paint and screws and he's more than capable of doing that.
1 point
-
well i was planning on taking the trombone to this years east cape ride (te uruwera) but this wee gem of a GP125 popping up on trademe for a bloody good price, with reg on hold, and after hearing @TimShadboltfan27 harp on like a barry at a sandal convention about how hard the go for that they iz i thought id grab it. first trap for young players was this hilariously added throttle governing screw that has been added and was wound right in. dude never told me about it and i couldn't figure out why it was slow, turns out it was a riding school bike and they had to limit them to stop dweebs hurting themselfs, not a problem that they have with GN125s anymore id think. so this was the slide height at full throttle with the governing screw in also note that dimple on the slide, as it turns out when that circle touches the top of the carb opening as it is in this position, is where you set the CCI oil pump to meter is max amount of oil using the lines on the pump arm and pump body. so once i had that sorted it still didnt run to good, so i whipped the air filter out which fell to bits and had all solidified so that wasnt helping, i order a sheet to make a new one. i also whipped the baffle out of the exhaust which was like 90% blocked, and with the baffle out you can see here that the muffler is almost half full with scum and oil from 30 odd years of putt putting between cones so hopefully this weekend it will be back together and close to its original claimed HP of 15 wild wild smokey horses. should be nice and comfortable for east cape, the tank itself being 10l should be enough for any fuel distance we will require so wont need to carry extra, and will run this tank back and just a small 20l dry bag strapped to the back. looks like i might be taking a bivvy to sleep in too as the cabins at waikaremoana are all booked. then its just sorting tyres, stock tyre size is a bit better than most small bikes with 300-18 on the rear and 275-18 on the from. i grabbed one 300-18 shinko 244 and will see if it clears the guard on the front, if it does ill order another and run 300-18 all round and if it doesn't ill just smack it on the rear and whack a 275-18 shinko 241 (PPSC control tyre) on the front, but would be nice to have matching styles i think. bit bloody excited to have a 2 stroke in the shed, hopefully it doesn't cause me headaches which is the predominant reason i don't usually have 2 stokes in the shed.1 point
-
1 point
-
1 point
-
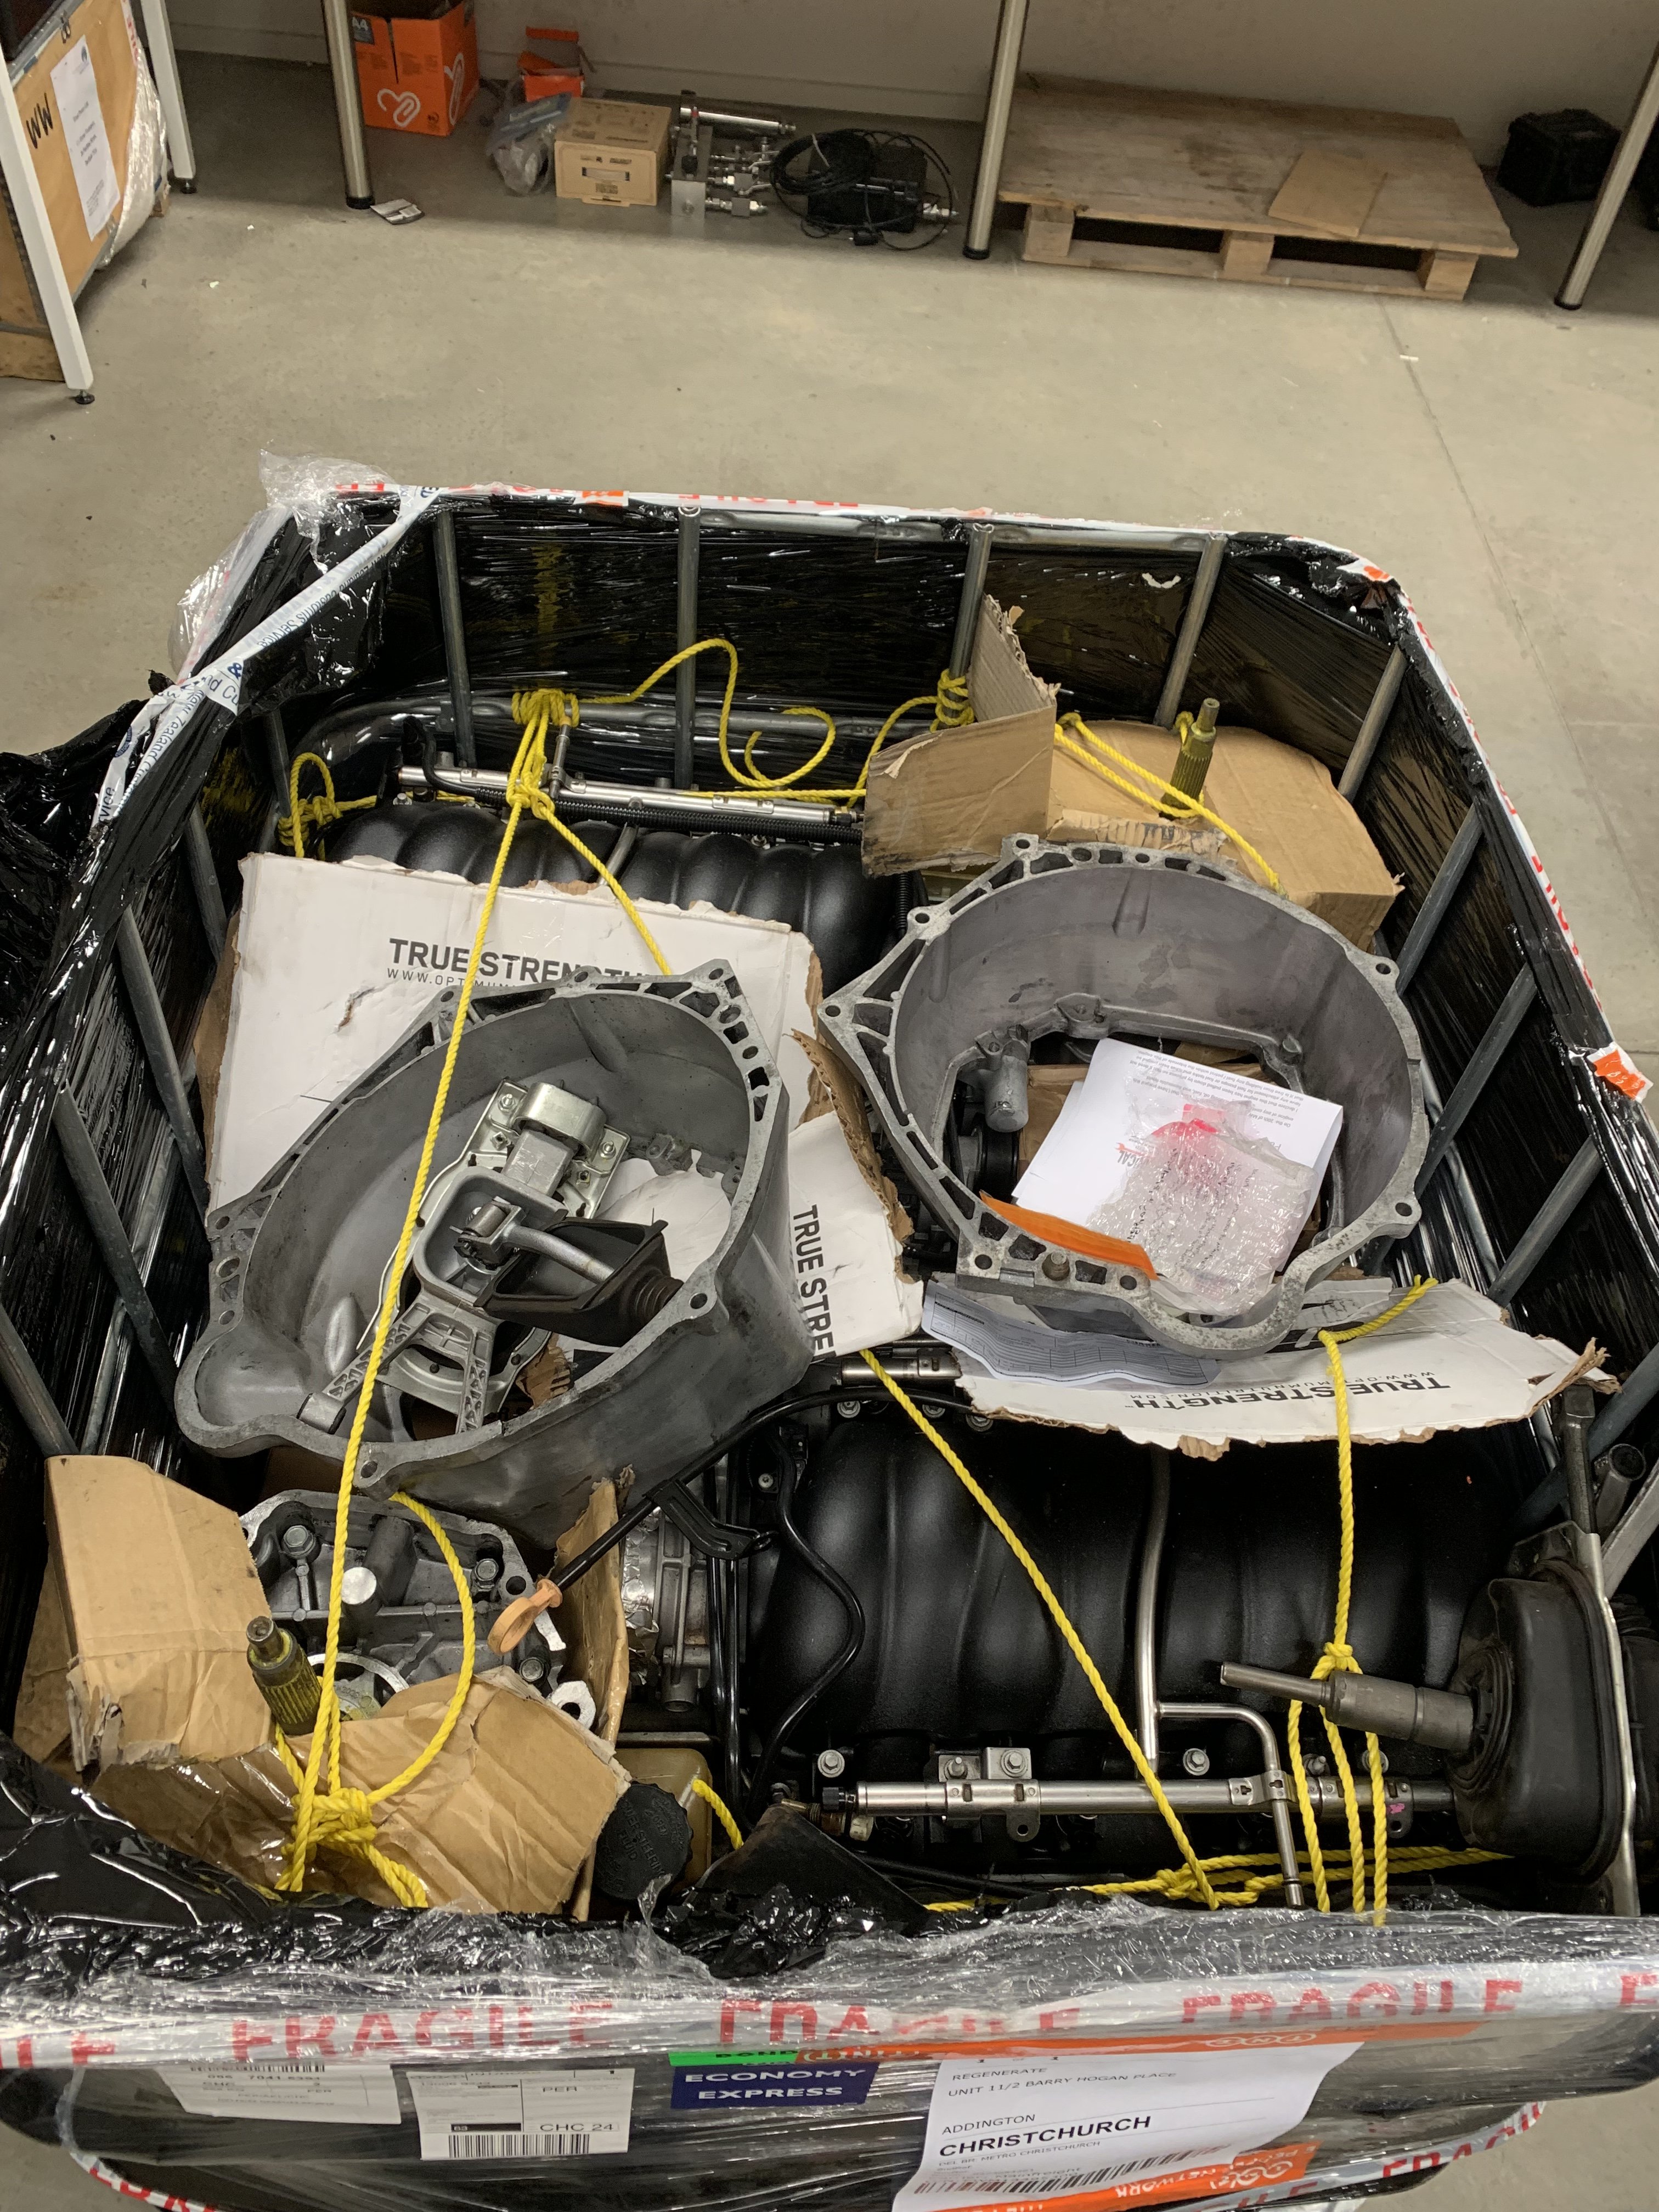
Finally, engines have arrived!
1 point
-
Wish I'd done tech. Did Japanese instead cos the teacher was spunky and wore white see through blouses. So many horny guys in that class... (Spam sorry)1 point
-
Good meet, great meat! Here's a few pics from me and a bunch stolen from someone else who attended.
1 point
-
Perhaps to avoid any confusion, we should all have patched jackets with a logo for "A group of unassociated riders who happen to all be going this way"1 point
-
You’ve heard of the Cold Kiwi, but this year will be the first “Hot Sausage”.1 point
-
My partner just suggested some kind of variant of sausage sizzle for the name.1 point
-
I’m going to start the bidding with “The Burnt Penis Ride”
1 point
-
Jesus, Cape ride V1 had 20 pages, V2 had 85 pages, a lot of spam admittedly. Yet to come up with a name, or date, but Waikaremoana Loop in late Nov, early Dec, is what we're working with at the moment. Need someone to come up with a witty name. Only bits of road reused really are Motu Road. Looks to have a lot more gravel. Hard balls day one, shorter day two, medium day three. Brainstorm names go ride '19 proposal by John Bell, on Flickr1 point
-
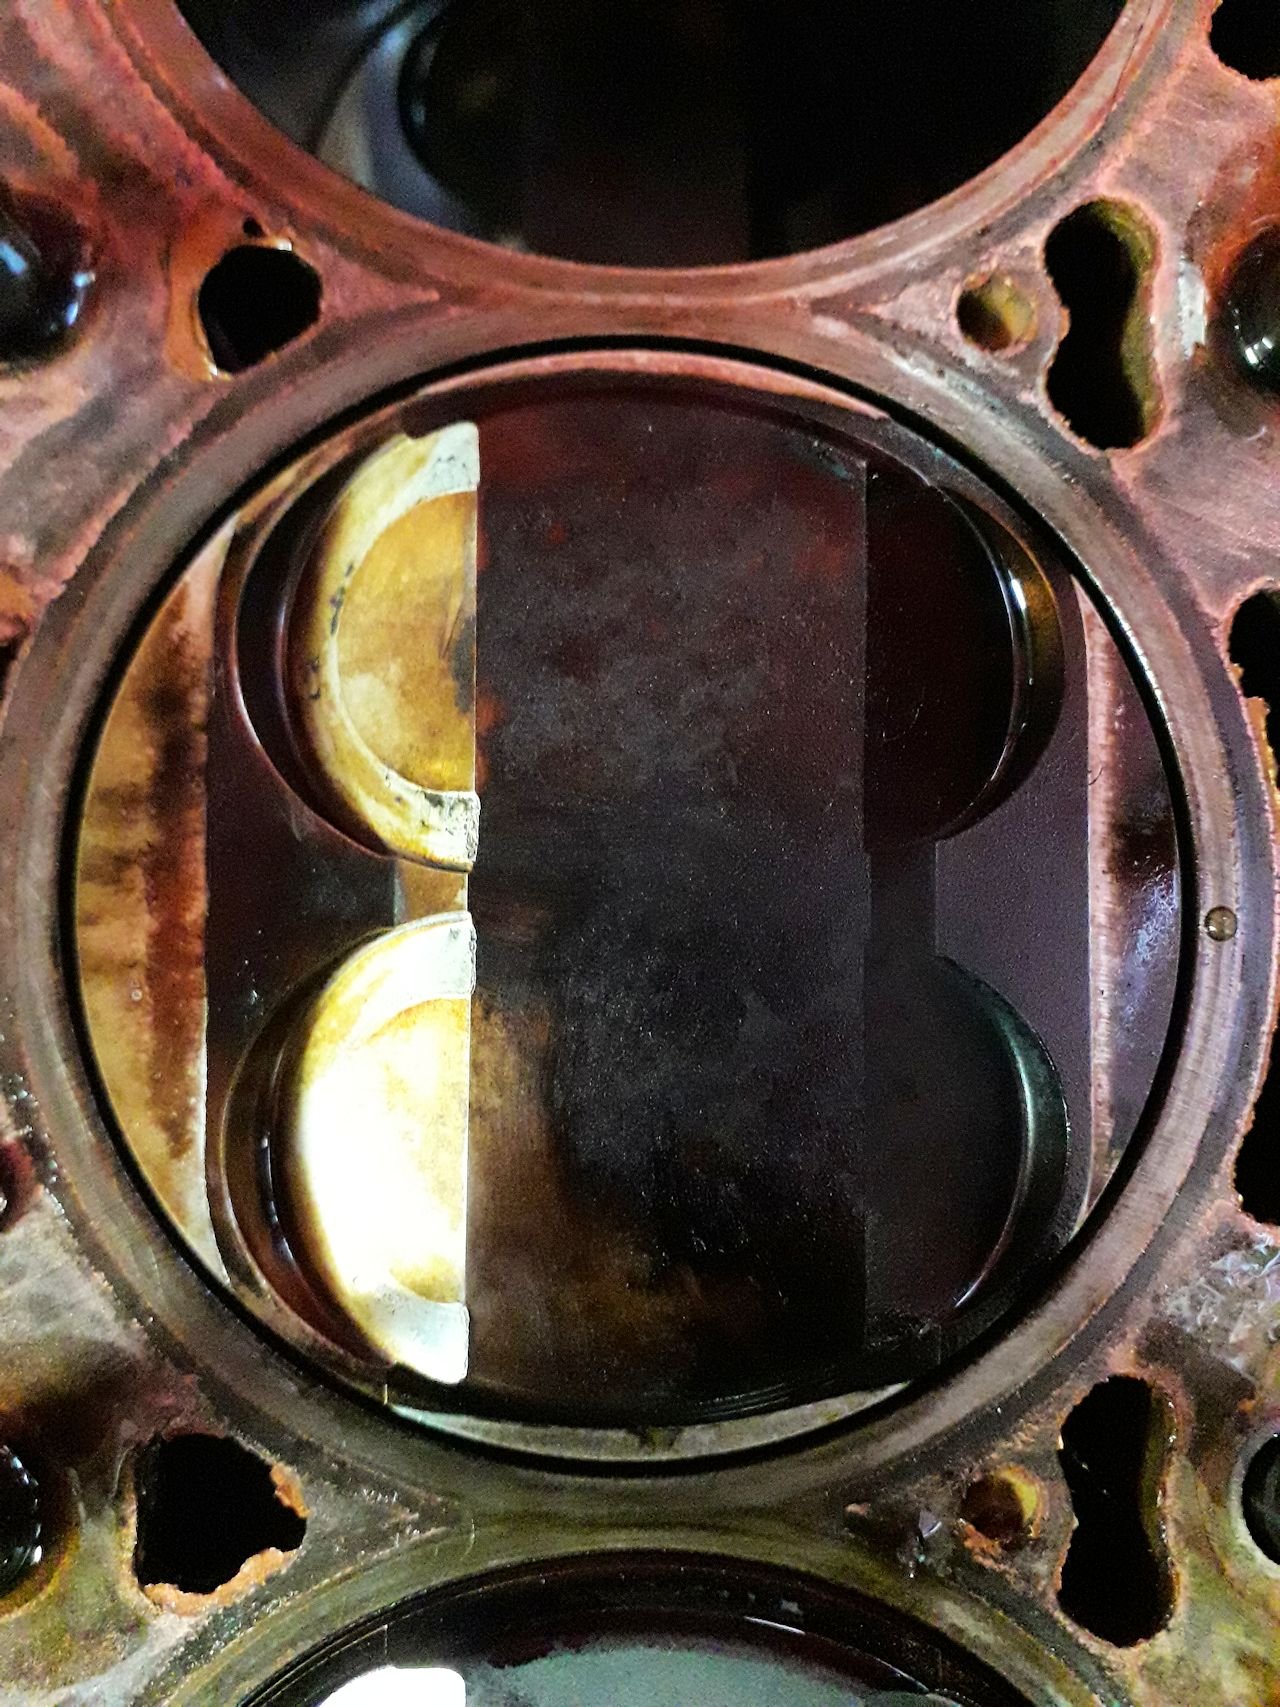
So, it didn't make anymore power with the 52mm throttles. Same power everywhere. Then hooked up the new fuel rail and injectors. was way down on power. then nunga nunga... RIP 4age. ran a bearing on number 3. shiny bits on the piston are where its been hitting the head. and valves have been having a go too. Actually surprised its lasted this long. bottom end was built 10 years ago, its been n/a most of its life. was supercharged for a bit. was turbo in my ae85 for awhile. revved to 9000rpm every time its driven. pretty sure it proven itself that all that was no drama. thinking what did the damage, was when it had the issue with pumping oil up into the head and out the breathers. resulting in low oil pressure and giving the bearings a bit of a hiding. just been a time bomb from then onwards. it broke on the dyno, so zero chance was suffering from oil surge at the time. probably wasn't ready for all this power anyway
1 point
-
So yep, those are bmw 52mm throttles. I wouldn't suggest running out and fitting them to your average 4age. have had to do a lot of little mods, to get them close enough together for the port spacing. right down to having to anneal the throttle shaft, as i had to re-drill it and mr bmw hardened the shit out of one part where the bearing ran. Anyway attempted to teach my self how to cad. sent it to @niswhale who cut me a template/test run out of mdf Amazingly i drew it right first go. and i was about to resort to hole saws and angle grinder.. After a lot of dicking around all the throttles fit on the flange. Have half made a fuel rail for some massive 980cc injectors i brought when was going to try outboard injection. To start with they will be just there to bung the holes. later on if all goes well will switch to them and retune. but for now changing as little as possible other than throttles, in the name of proper @Roman science. Hello tempted to run with mdf.. but this part is on its way from @Stu (cheers cnt) Since metal isn't fun anymore, its made from acetal. aka fancy plastic.1 point
-
The XR laughed at the 1040km mission on the weekend. Bloody great time and did some amazing tracks down south. Porika Track, Braeburn Track and the Mariua Saddle were the cool sections, Maruia saddle is the coolest bit of road / track i have ever ridden.1 point
-
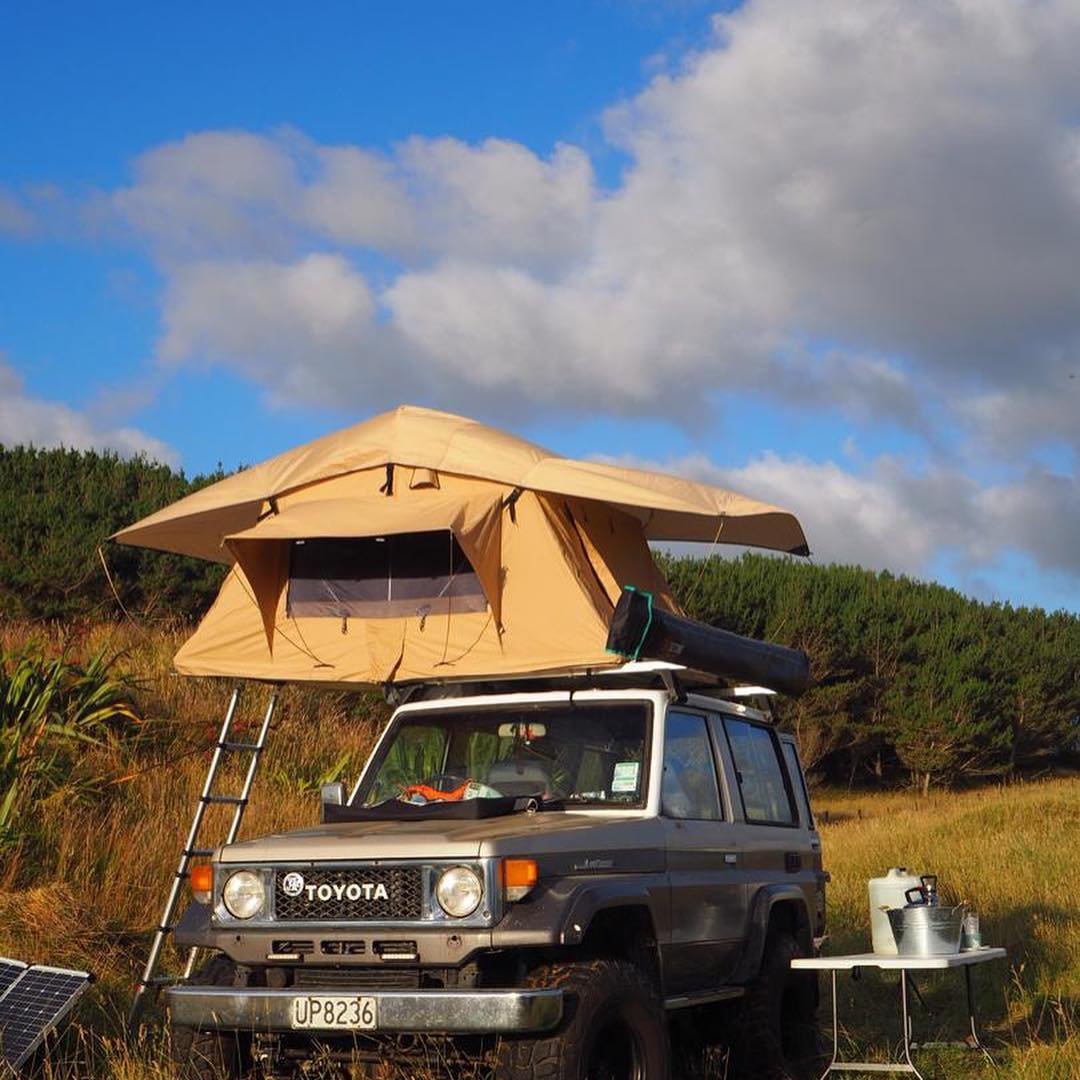
long time no update. finished the rear tyre carrier, got a better tent and awning can actually hang off this one. took it up north for a week camping near dargville at my in-laws place its sweet 300 hectares on the beach with nothing there. drove down to poutu light house etc.
1 point
-
Yeap full float, looking badass with the new tyres btw. For brakes I just dredged my email and for calipers I used KZN130 ones and the standard 60-series rotors, easy mod as they are a straight swap and should be same for yours (40/60/70 series stuff is all mostly interchangeable). I left the rear with drums, recall there were relatively easy disc upgrades but the new calipers alone made a decent difference so I left it there.1 point
-
I answered those thoughts for myself yesterday. ^^^1 point
-
I know this is a video of a Disco' but it's related so I'll post here for you rover fiends to enjoy also I like your build and enjoy reading your updates!1 point


.jpg.00c96a2281d6a0ee437e9927de20cc98.jpg)


This leaderboard is set to Auckland/GMT+12:00