
Leaderboard


Popular Content
Showing content with the highest reputation on 10/01/18 in all areas
-
Scrubbed it up today! Came up pretty damn well I think. Still stinks from Saturday night when we were sitting in it smoking cigars though hahahahaha. And I’m super happy it came with the complete factory toolkit in the bag!11 points
-
Ok progress of some description! After grabbing the red wreck from nightcaps I got told of another 2102 in mosgiel probably half a year ago. So finally got my ass into gear and Karl, Harry and I made our merry way down there this weekend and picked up this absolute gem. As always I was pretty nervous as it’s a fairly decent hike to get a car I had never properly seen. But alas she turned out to be better than expected! Still has spots of rust but nowhere near as bad as the other 2. Didn’t take much to get her going as well, fuel pump wasn’t doing anything so we horied up some fuel hose and connected it straight to the carb and then bam, she fired into life and idled and ran beautifully. There was no clutch or brakes though so she was pushed onto the trailer and back to Dunedin top 10 holiday park we went. Shot back to chch today after looking in numerous car paddocks on the way there and back. So yeah really glad I didn’t do anything serious with the other 2 as this one is the main man now, dereged like the others but a much better base to start from! Have some pics!11 points
-
Find another stocker Al. Get it in and get it gone. Put your efforts into the bus or the cressida like originally planned. Dont turn this into a big project.10 points
-
Tidying up today I made a holder for stubby coolers out of old drainpipe. Just slot em in the top and pull out the bottom when you feel like grabbing a frosty one... It's inside the garage door as bbq kept under the carport out there now. Would have put this outside beside bbq but would be a haven for spidies...7 points
-
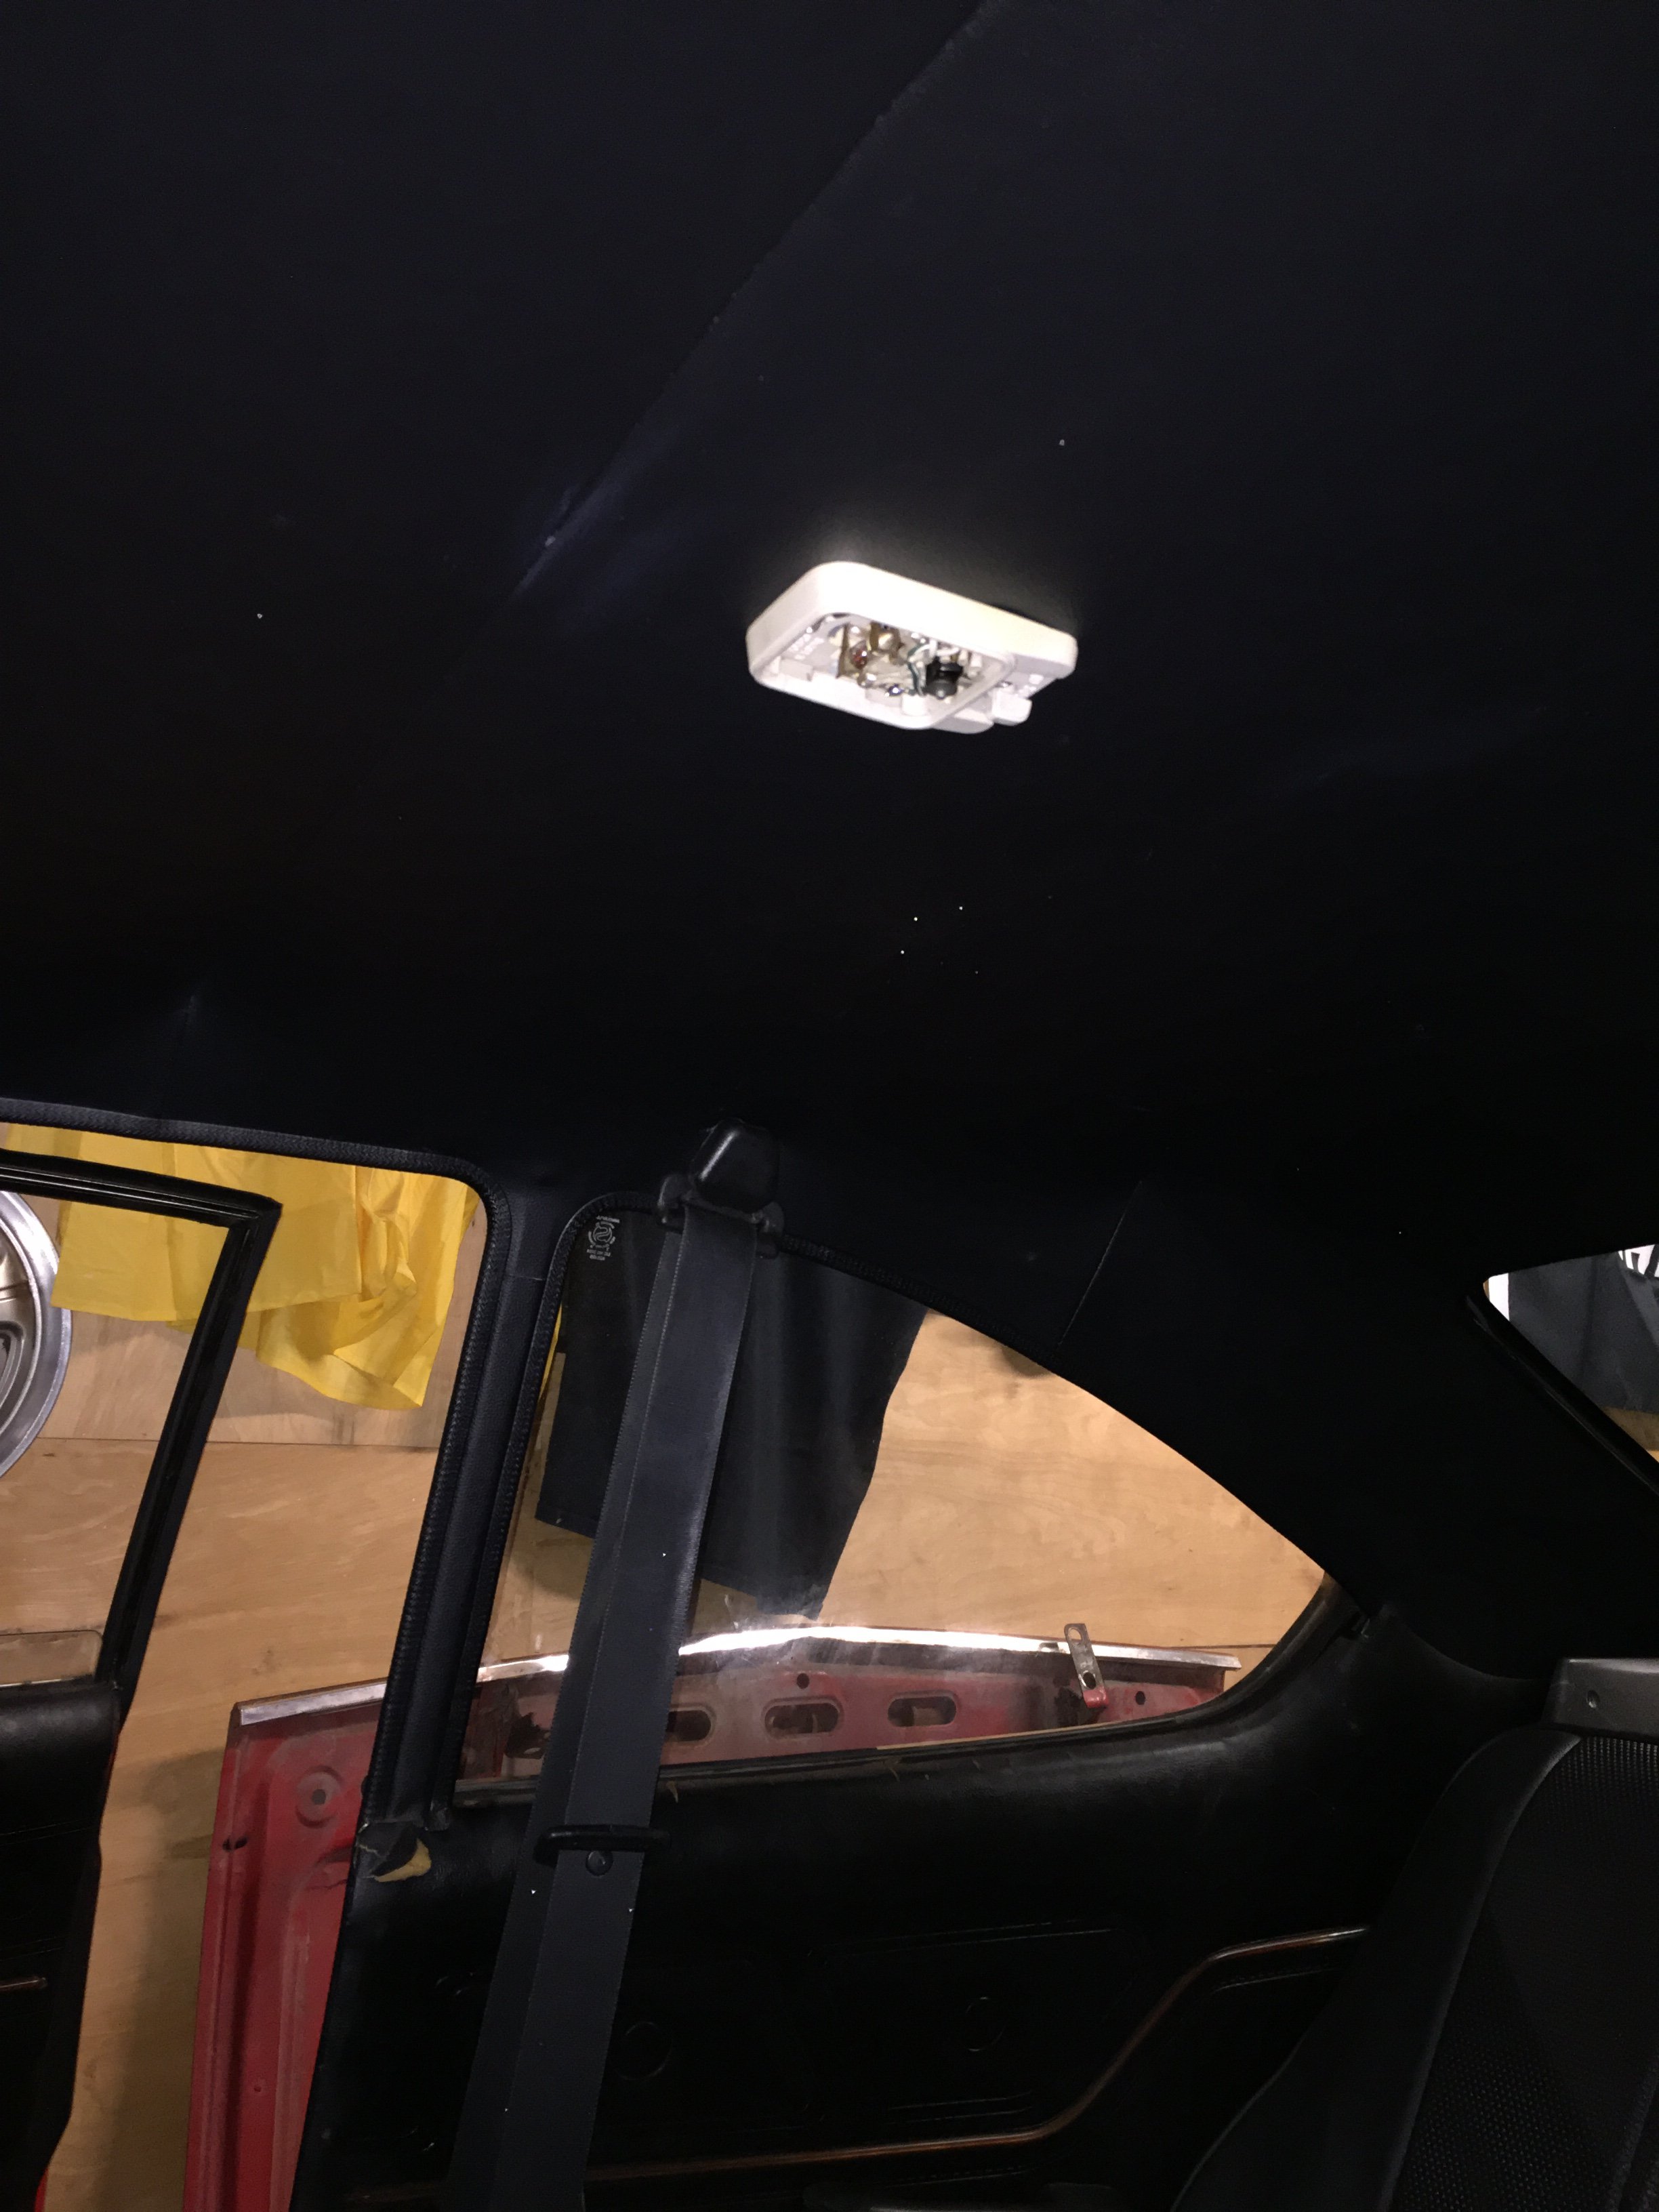
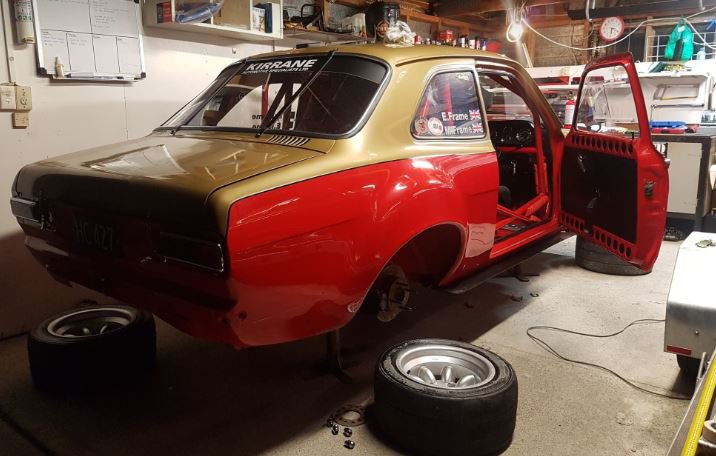
All the bits are clearcoated. Came up alright, got way too many runs on the cab, but that's okay as I'll be re-coating it all again once it's assembled with some flatter clear. At least it's all sealed up now. Installed some black fender welt between the bed and the guards. Started installing some of the parts. Put the door latches in, had to replace one of the springs behind the interior handle on the left side as it had snapped. Squeezed some Dynamat on to the outer skin of the doors and wooow what a difference that made to the whole door including the inner skin. Couldn't wait to see what the gauges looked like, so in they went. Got the door windows and quarter windows in, what a frustrating time that was, since they had to be installed in the right order and it all has to be fitted through the small slot in the top. Put an LED in the original interior light housing, wired it up and fitted. Puts out some decent light. Pulled apart the old headlight surrounds and put in new spring and seals. Gave them a bit of a polish up as well. Bought some new sealed beams, no-one could seem to find any semi-sealed ones with the domed glass when I was looking. Found some in America after I bought these though, but will try these out for now and if they're rubbish change them later. Fitted one of the inner guards when the engine was in and realised that trying to make headers was waaaay too much effort, time consuming and there really just is no space in there, plus the factory ones already fitted perfectly. So cut off the ugly heat shields on the factory headers, tidied up some of the welding, ground out the lumpy weld on the inside of the flange, painted them with high-temp paint and then wrapped them in heat-wrap, look much better. Would of really liked to build my own headers, maybe on the next project, as I have 20x 1-5/8" U-bends arriving from America next week haha. Put the cab on so I can see where the brake and fuel lines can run. Looks like it could actually be finished sometime soon haha.7 points
-
@Lord Gruntfuttock that is a stubby holder holder.4 points
-
tbh it really looked more like this, everyone standing around drinking beer while he got his practice in, went for a ride most of Sunday, went for a 40km ride with Andrew Swinton and then did a little ride out to @mark105 place and rode back in with him to test his new motorcycle. pretty good day for testing and getting some seat time thats for sure.4 points
-
I had a nice surprise turn up to work tiday thanks to @Get it done. Progress should be a bit quicker now I can Barry away after work. Made a list to clear my head a bit and help prioritize things and work out some sort of plan. I've got a shopping list of exhaust stuff which ill order tomorrow3 points
-
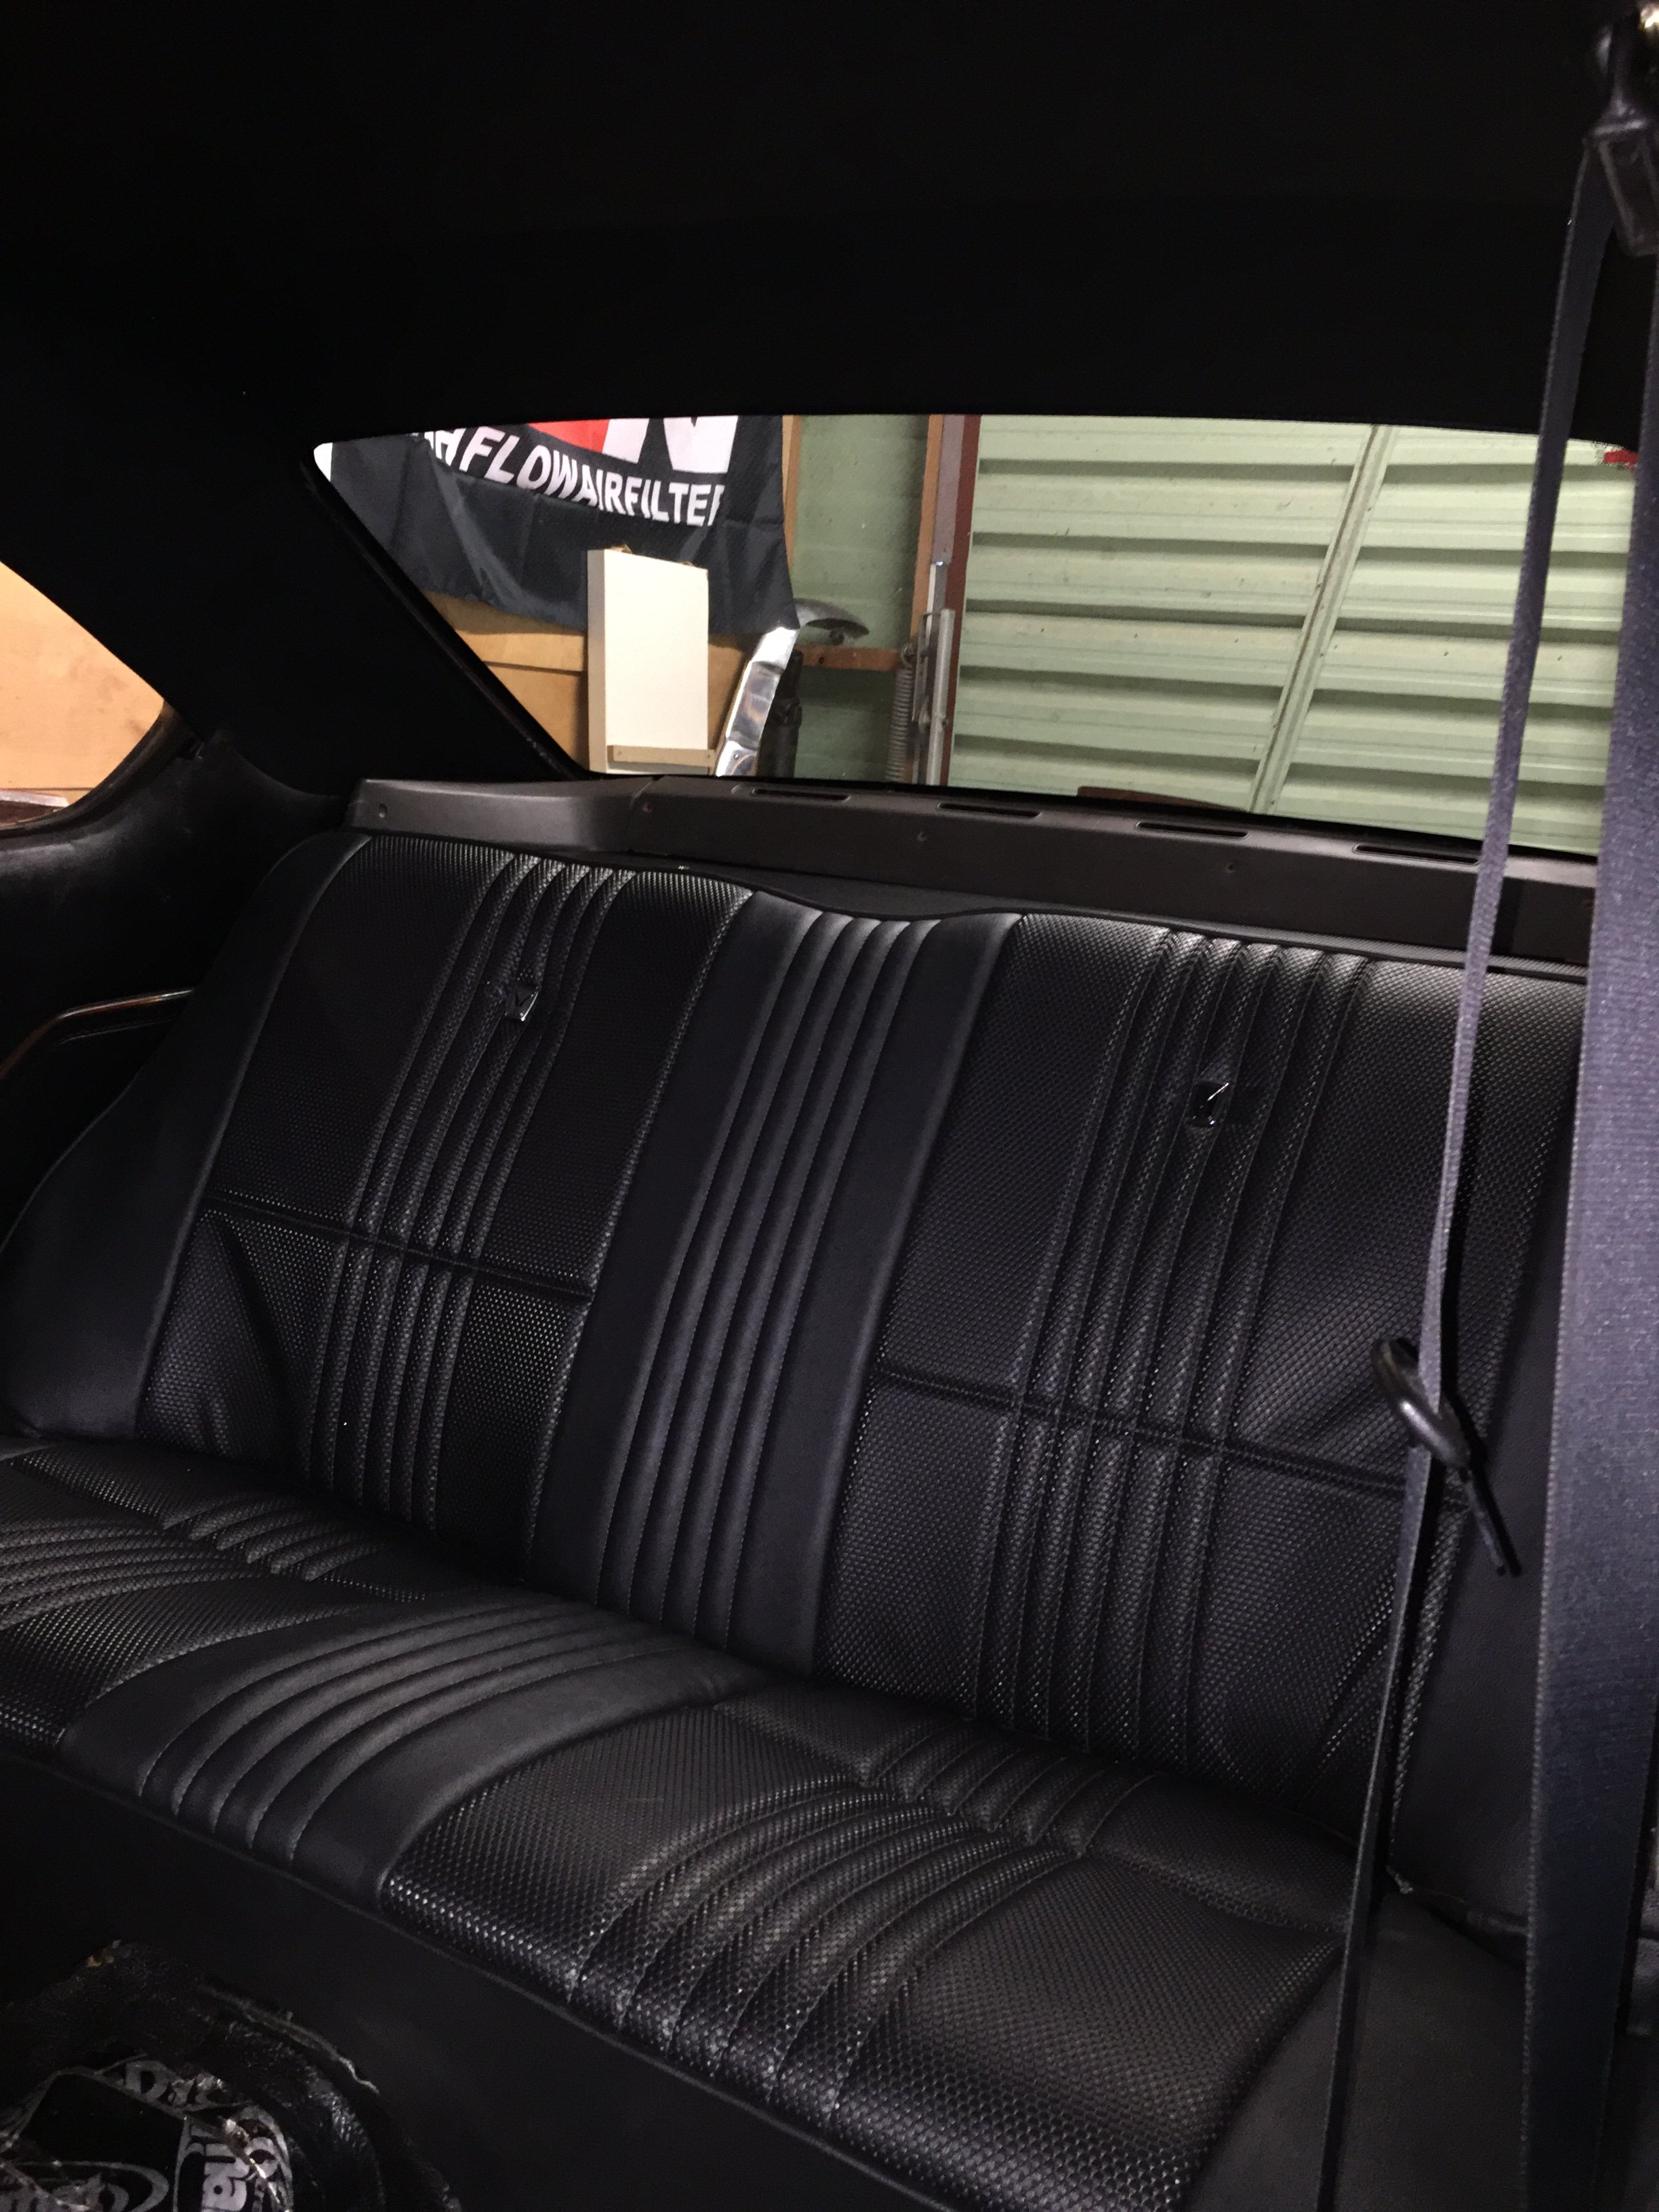
Back seat is all in and sitting pretty. i do have the carpets and underlay to go in next - just awaiting the d shaft loop mounting before I do. Zebra parts was my hunting ground for some good black seat belts and now these are in and looking not too modern in the old interior. I want to mitigate as many cert/VIN issues by using new and or mint parts to help the process. Window squirtes are in also and oil cooler is mounted. Mags getting tyres this Saturday so watch this space Cheers
 3 points
 -
@Truenotch practising his tube swap skills. Remember kids, never go in dry. Always use lube.
3 points
-
PUT IT IN H3 points
-
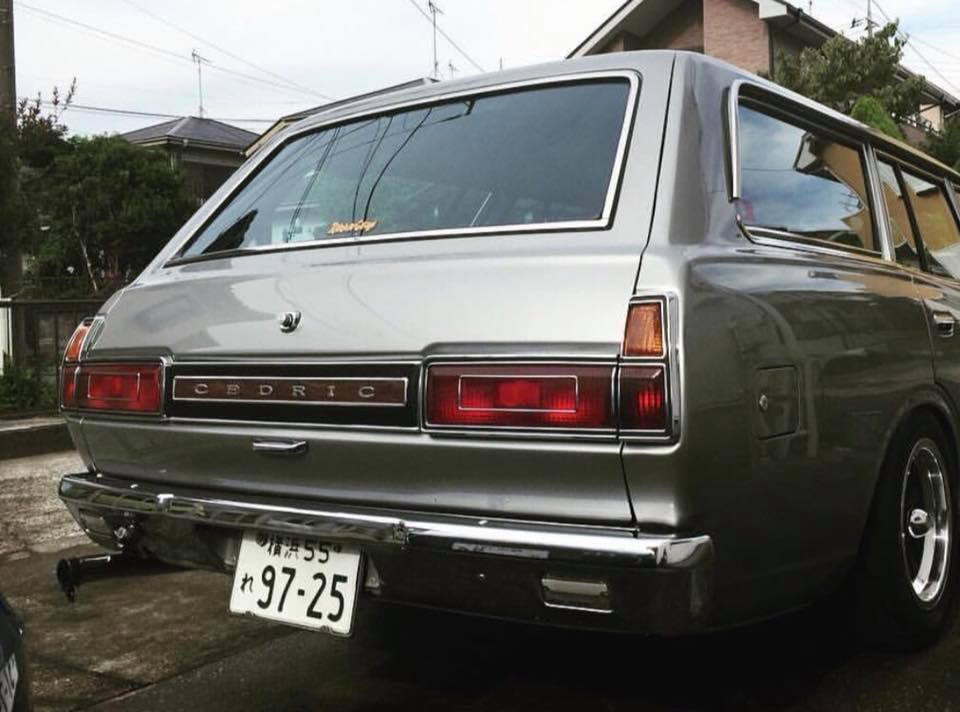
Best ass shot.
3 points
-
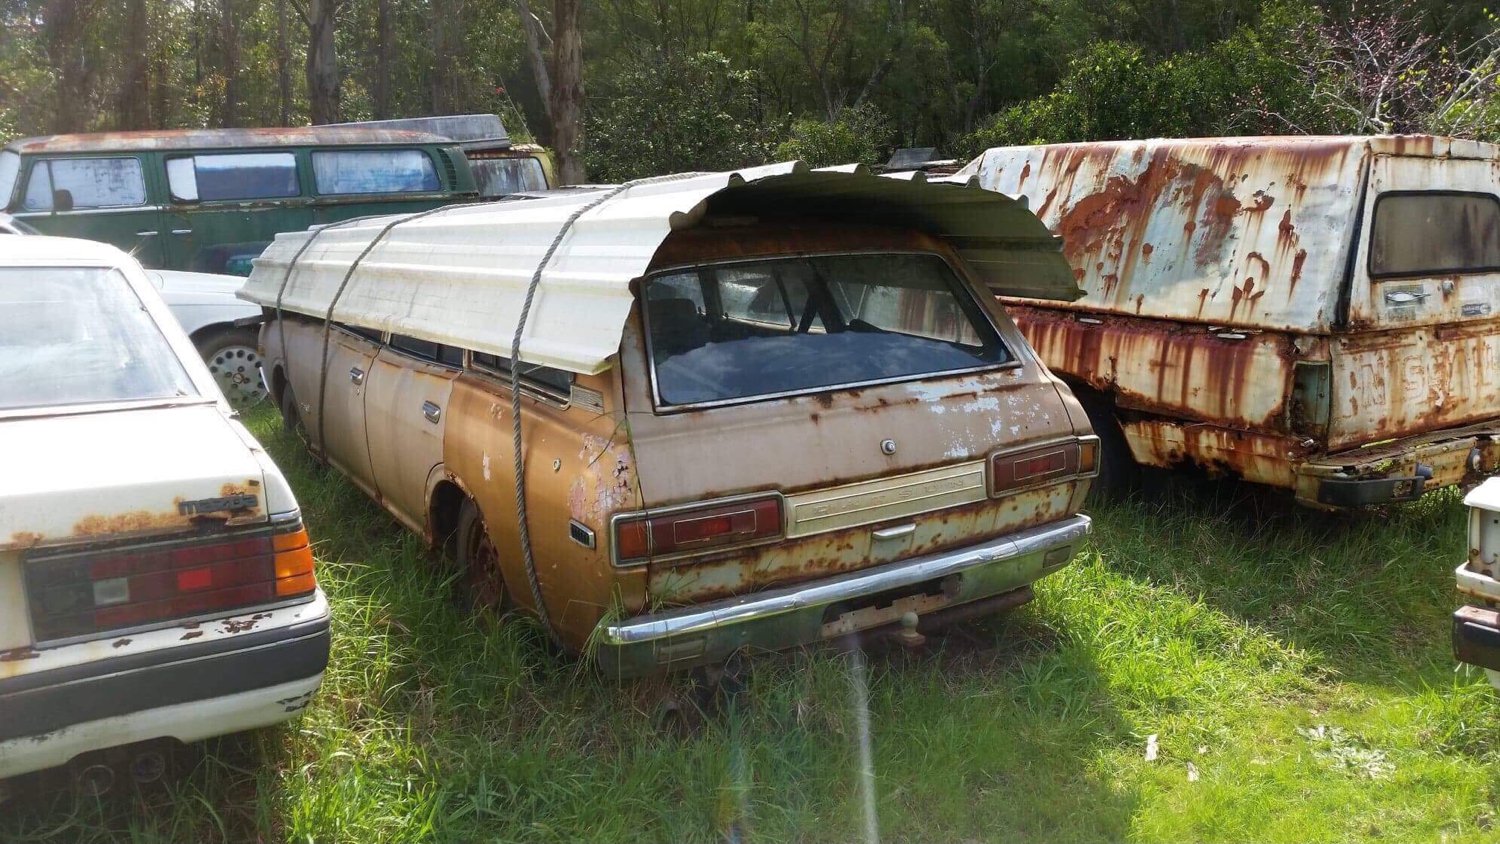
The one in WA that escaped the net.
3 points
-
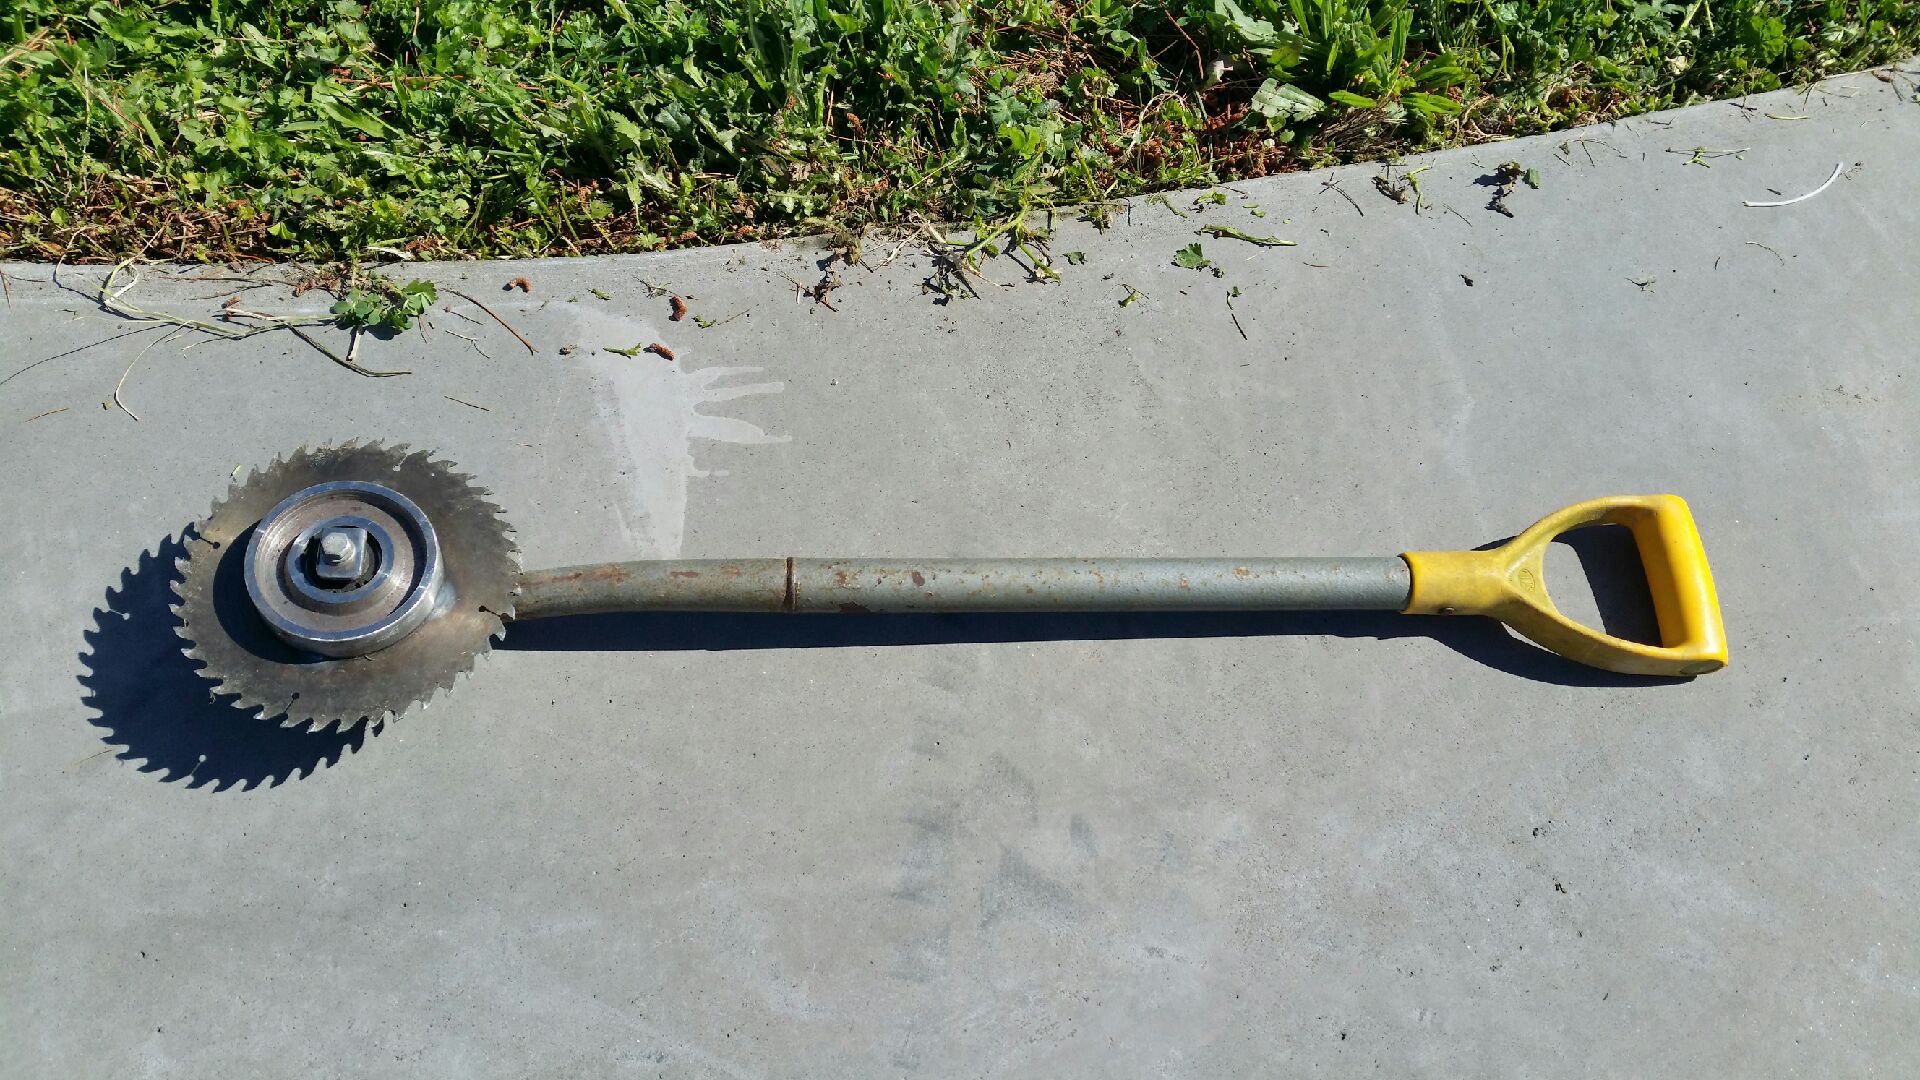
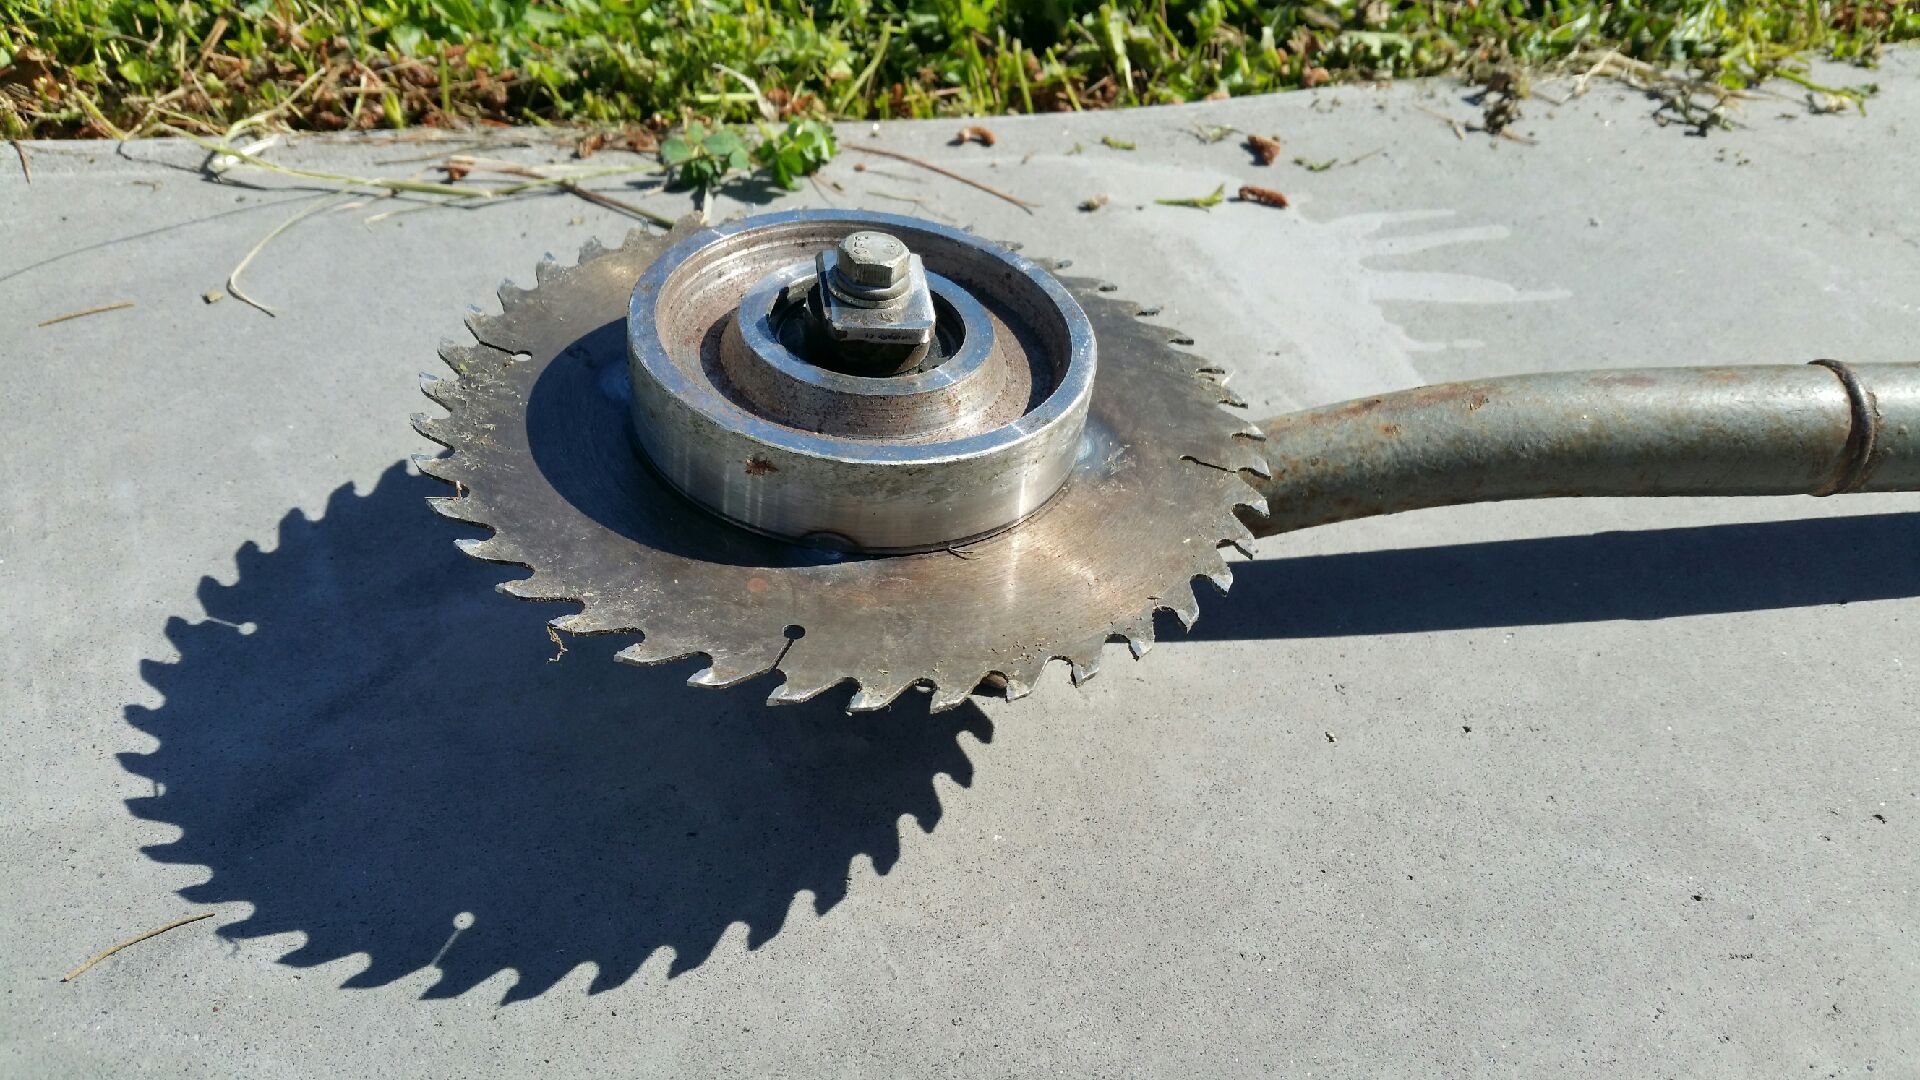
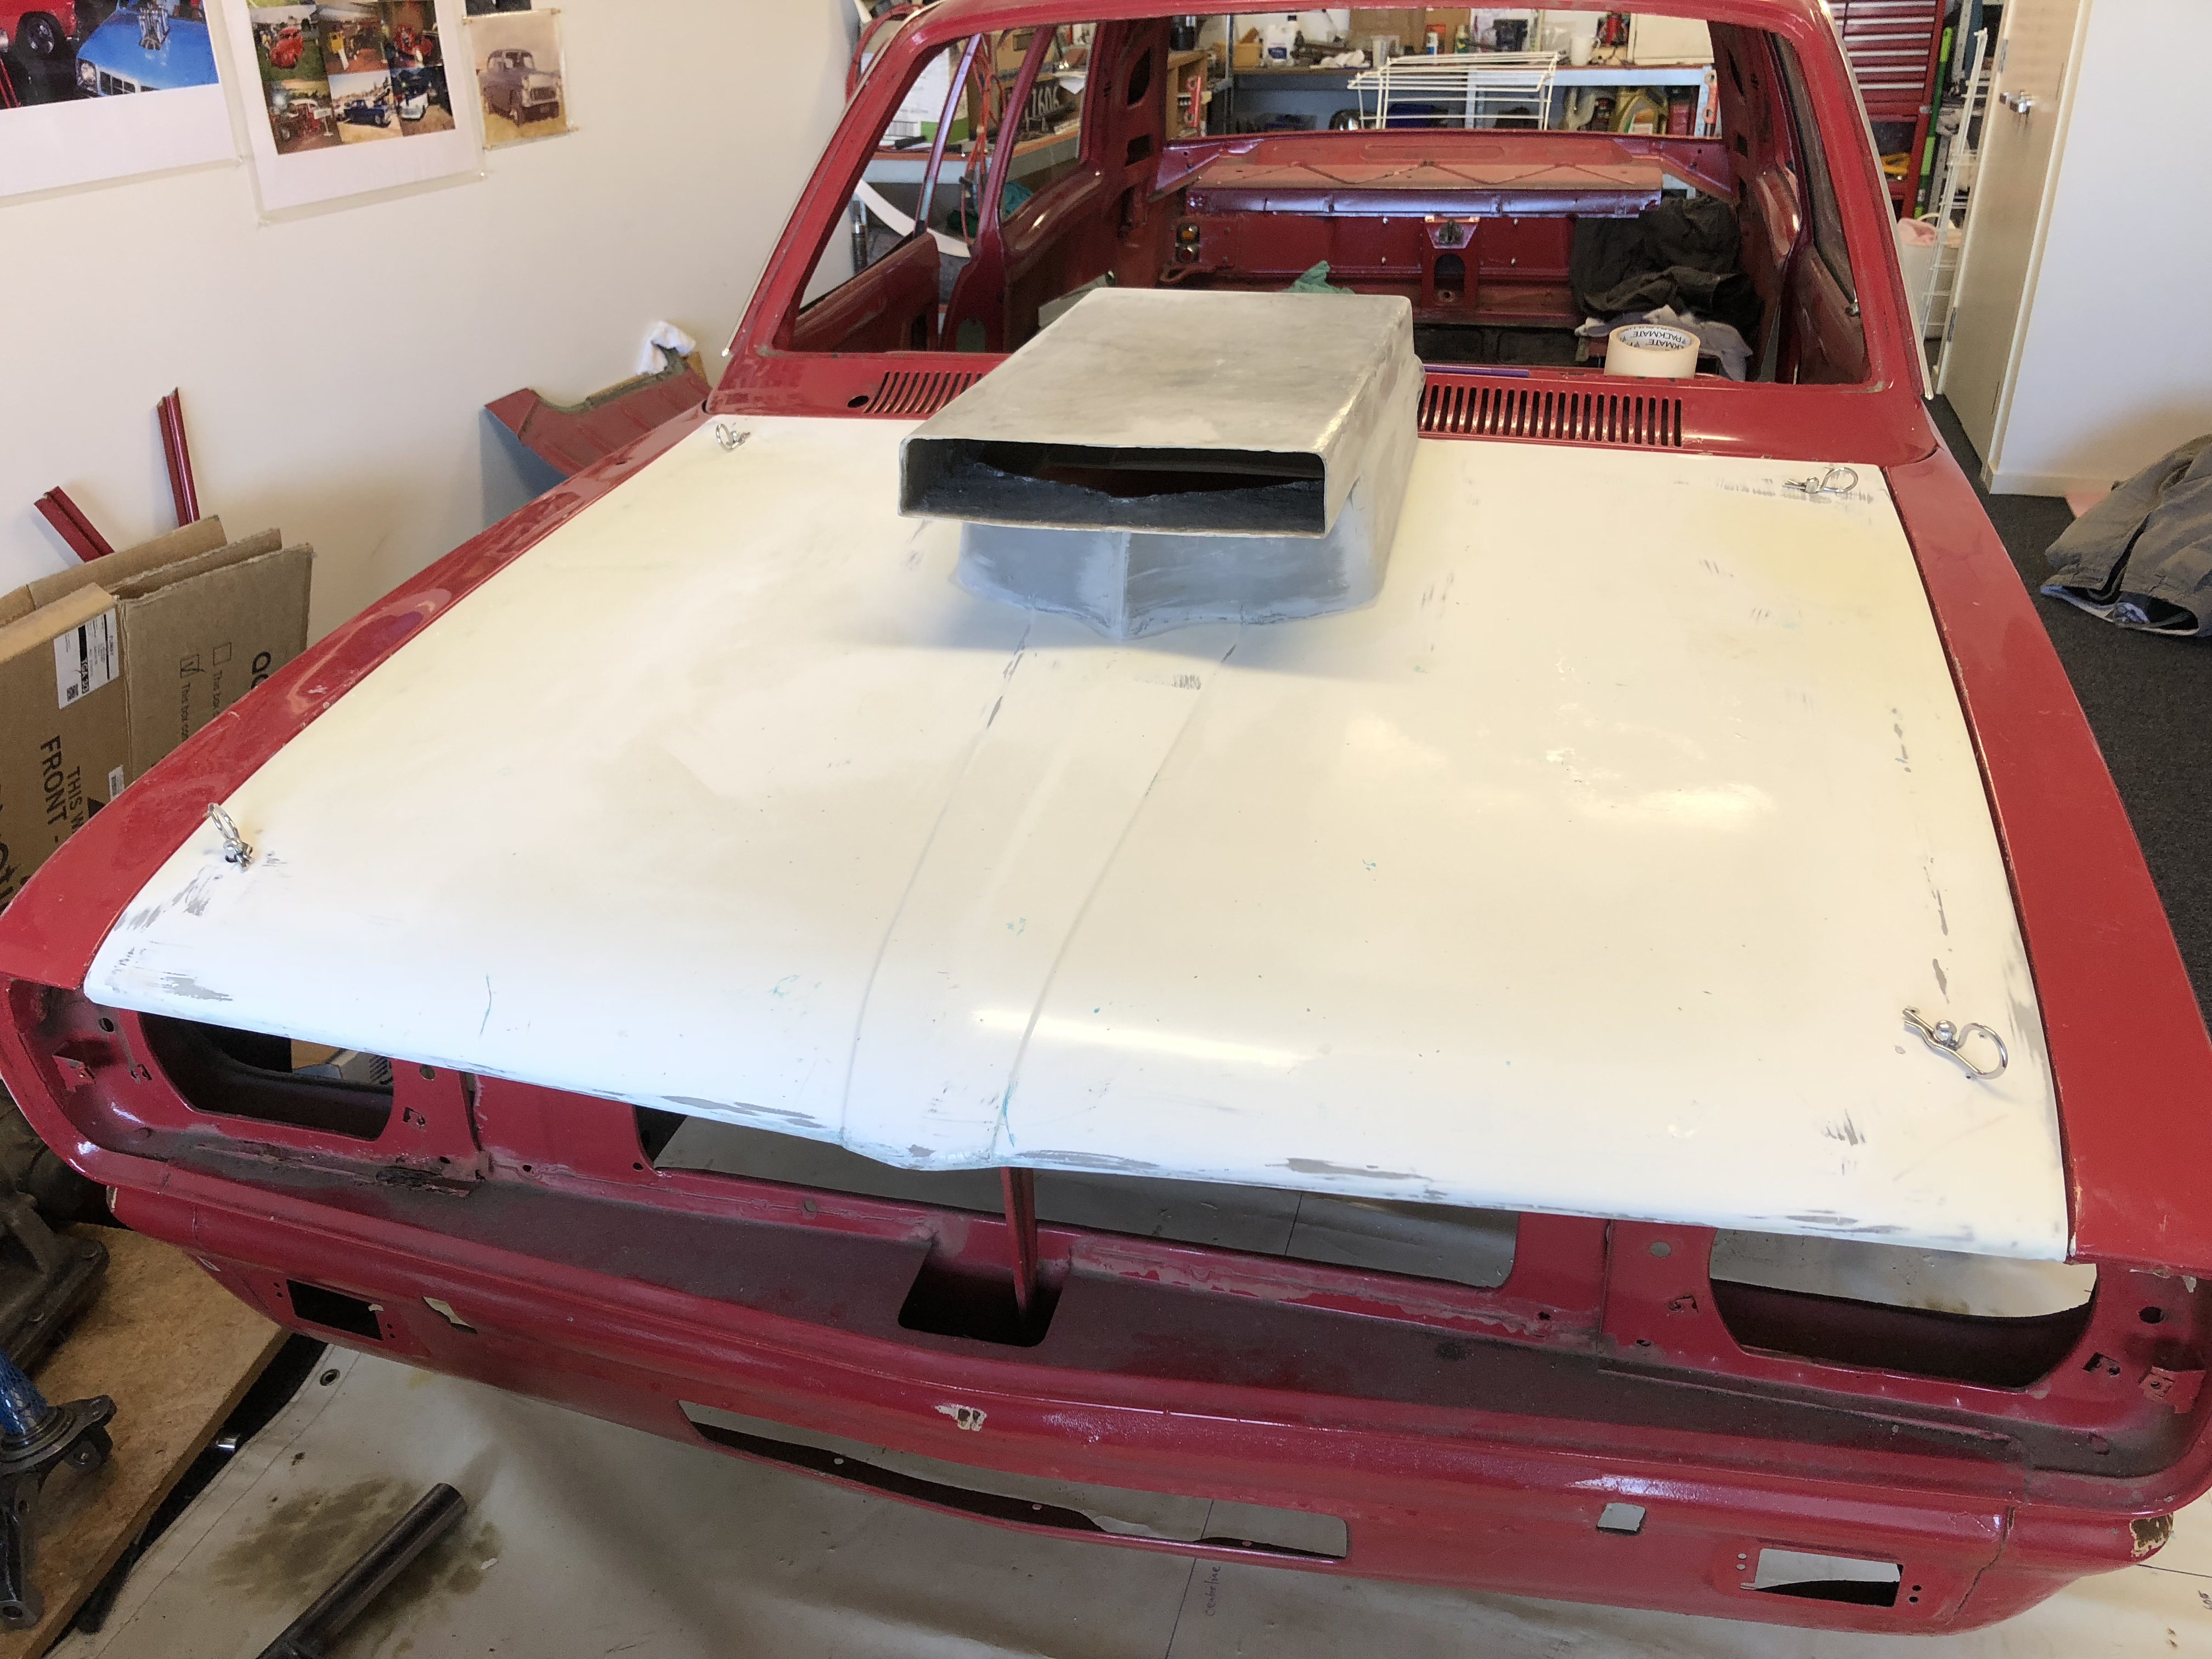
This mornings effort. I shouldn't have watched Mad Max the other night...it's a bad influence! I'd call that a success:)
3 points
-
Whats the best way to sharpen drill bits? I am constantly smashing my drill bits into stuff thats too hard and making general trouble for myself. I was shown how to sharpen a drill bit a long time ago but I have forgotten exactly how, and I recall its easy to fuck it up. There are heaps of all kinds of weird machines on trademe/google including hand powered and electric. But whats your best method or tool??2 points
-
So after hanmeet I got told about an old yard on marshlands road full of rusty old cars, as we were rather hungover from the Saturday night me and my mate couldn't really be bothered going. After having lunch in woodend on the way back I thought we may as well have a gander around as it's on the way home. Holy shit what a good idea that was, the place was amazing and full of rusty old Shit. I then spotted this wee lada 2102 wagon nestled between an HQ wagon and what was left of an XD wagon, I had to look closer, what a little gem, it wasn't as fucked as 90% of the cars in the yard as well, opened the doors and the interior was still very tidy for something that had been sitting in a paddock for over a decade. I had Karl and EJ egging me on to get it but I knew the missus would slaughter me if I came home with another car so I just left it. But then I kept thinking about it. Fast forward 2 weeks and here I am with a car trailer at the yard picking it up. Thankfully the wheels still turned and tyres held air once pumped up. It is dereged but is still in the system, still has wof and rego tags from 2004 as well which will help with revin. It has a lot of rust but looks to be all fixable thankfully. Plans are just to revin at this stage then obvious things like slam, reyums etc. Anyway enough of my sharns, have some pics.2 points
-
So, I have decided I should probably make more of an effort to show you guys what goes on in my retarded life of old cars and broken crap. Instead of making threads for everything, I'm just going to roll this thread with updates on whats going on. Pretty much Like @cletus, because he is cool. So you will see build threads on cars, scooters, push bikes and whatever else is going on. I don't have facebook, and because I long and hold the opinions of other people so highly, this is happening So lets go, Seedy Al From Seedy Al's Chop Shop
2 points
-
2 points
-
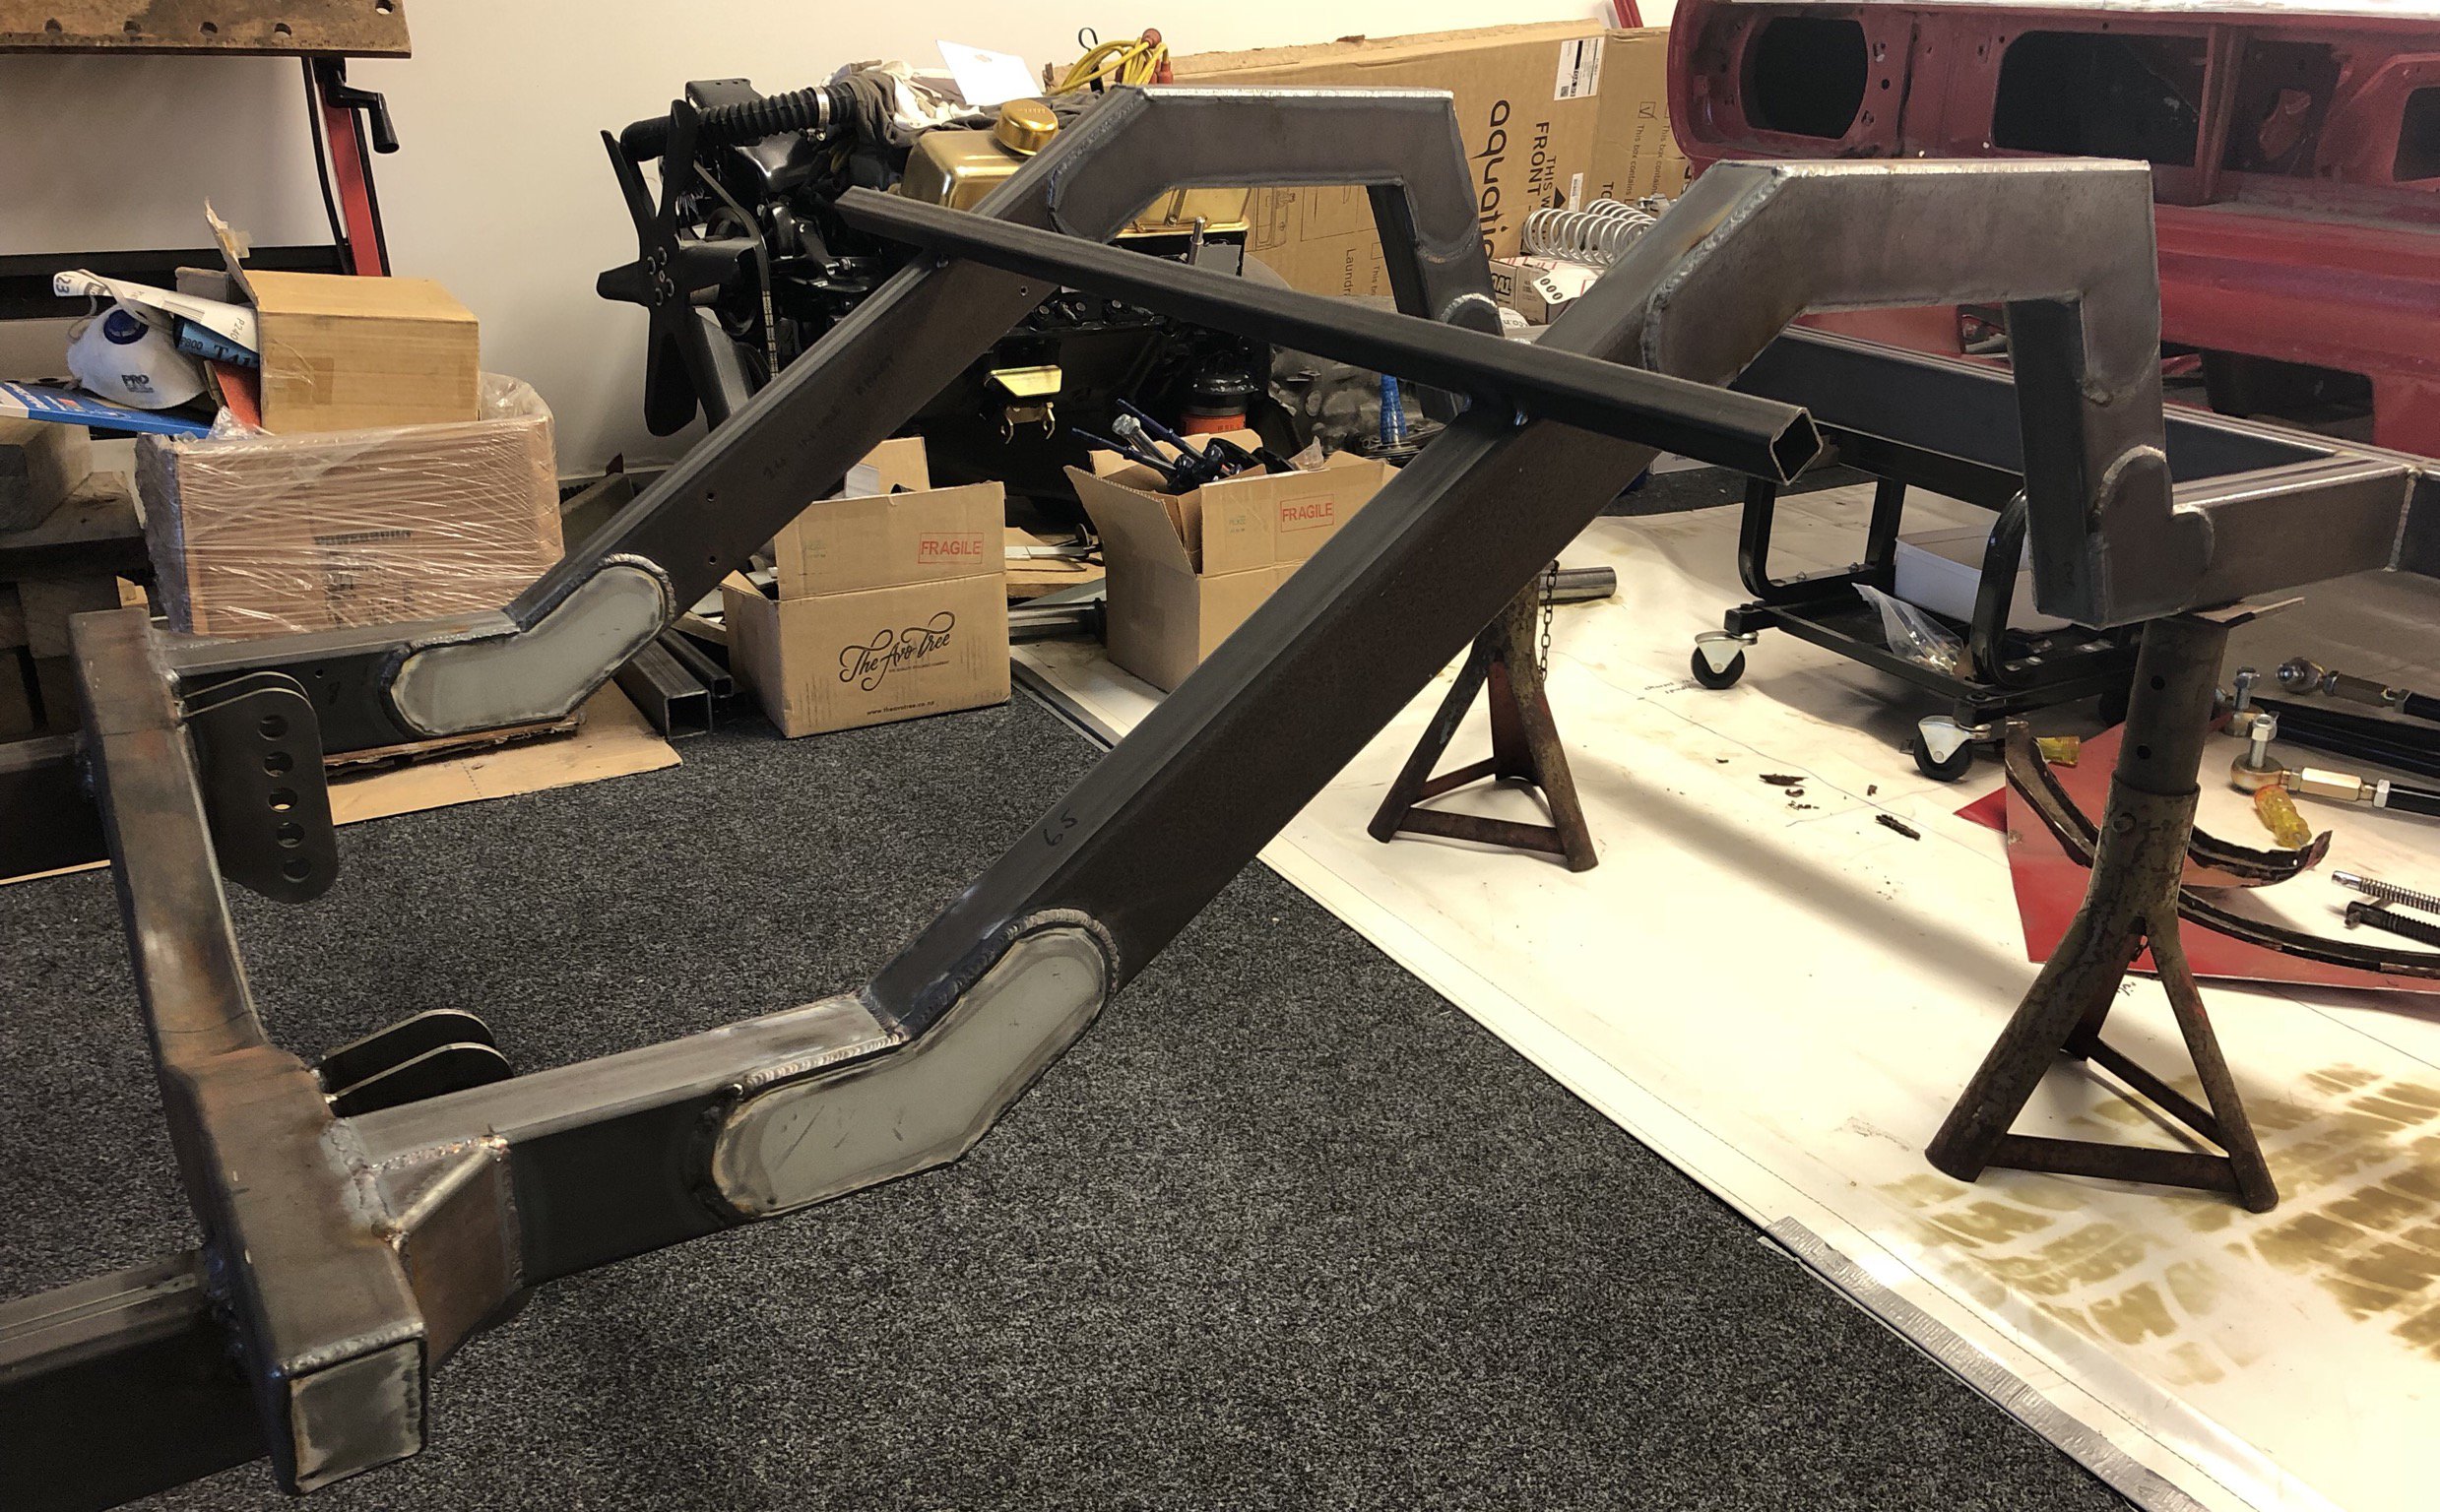
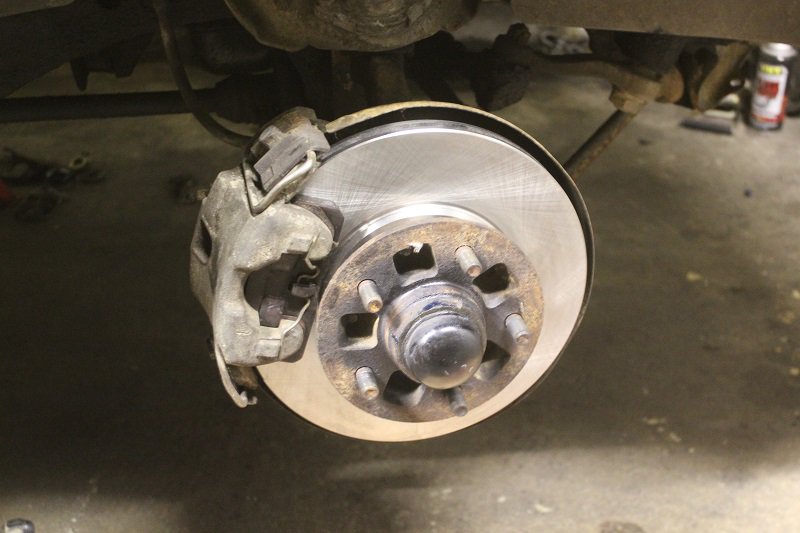
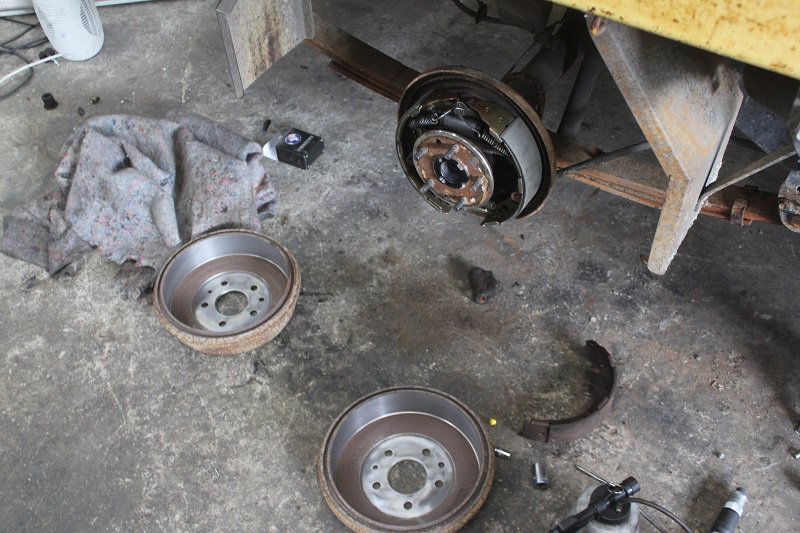
Okeley dokeley, Did some more on this. Pulled the diff apart, as far as didn't take out axles or anything, just cosmetically, will check to see what it's like once it runs and go from there. Drained the oil and that looked fine, which was good, was honestly quite worried it would be half full with seawater. Put some new rotors on bacause shiny/old ones were shot and well past a skim to get them right Painted the rotors, baked them in the benchtop oven I conveniently already had (how cute) then kitted them out with new slide pins (only 1x cause it was munted), pistons, seals, etc. Shiny.... And all together. Shocks are RAW monotube 4" lift, should do the business. Wheel are new ROH 15x8 -22 with the secondhand 33x12.5R15s I acquired from @Stu They will do until it's done, didn't want to buy fresh rubber only to have it sit around and dry rot. The dummy engine, an RB25DE that doesn't have all its insides, long story, but it will do for mockup. Put it in the engine bay, got a couple of bellhousing bolts in just to get the faces together so I could see where it would sit. Which meant this had to happen... I will be incoroporating a hatch in the top of the gearbox tunnel to allow access to the rear plug/coil. The hole has been somewhat refined since I took this photo, and will need to be further dependant on intake and exhaust manifolds. I plan on running a forward facing plenum, but a cut n' shut may hug the block more and work better, I am not sure yet. If anyone has a Greddy type FFP on a RB25DET, if you could measure the distance from the intake flange face to the furthermost away point at both the front and rear of the manifold, that would be super helpful and appreciated. Not the best photo, but you can sort of see clearances will be minimal on intake (driver) side, exhaust should be fine (I hope) Heaps of clearance to the radiator at least in this position, this is with it just sitting there behind the rad support panel. Going to pick up this beast of a tray this afternoon, it has been made to suit a Safari ute conversion already so the mounts suit, it's almost perfect! Just need to shorten it a little at the head board end. Even comes with a 200l auxilliary tank if I ever feel like having $500 fuel bills. So that saves a lot of work adapting the other tray I had for the mounts, and is waaaaay more solidly built than the tray I had, so I am happy. Did this, which makes clearance for the front wheel/tyre, may need further trimming, will check once I can flex/articulate it, once the body is mounted. Trimmed this also, will be getting a tube/plate bumper eventually which will follow that line. Took this one as I was leaving the shed one day as I thought it looked tough, but also shows the rad support chop. (If anyone wants to buy the little gas/gasless welder in the picture here for a reasonable price, message me, it is getting in the way at the moment since I bought my new setup). The body is sitting slightly higher than the final height here as it is on the hoist, and I lifted it up, because I was test fitting these: This was after the first chop just to see that they would fit in the space I made, they got refined more, then I tacked the top on: Still needs some more refining, and a mirror image made for the other side, but I have a bench sander turning up this week that will make the job easier (easier to sand interior curves/straight lines) so moved on temporarily, and painted the rear half of the chassis. Will do the front half when I take apart the front for a freshen up, which will be once I have the rear back together. Makes it easier to move about should I need to move it/get it off the hoist if it can still roll on one set of wheels. After sanding: After a coat of POR15: Painted to just in front of the lower trailing arm mounts, so I can get the back end back together completely without worrying about getting paint on anything. And that is essentially where I am up to! Got to go and pick up that tray now, let me know what you think in the discussion (linked at TOTP). -Hayden.
2 points
-
It's actually me holding a puncture patch onto my original tube after running over a nail in @Firetruck's section. It went like this: Go see Yowzer Run over nail Say fuck Pull out nail Go home to get tube Replace tube and tyre Fuck new tube by going in dry with the tyre levers Go home to get other tube and puncture repair kit Replace tube again Fuck second new tube by going in dry Patch new tube poorly Won't hold air Patch original tube Refit tube and tyre with LUBE Refit wheel and drive home in the dark with almost no lights It was a hard day. lucky Yowzer and @64vauxhall had beer and @Beaver was keen to help with levering and lubing. For some reason this tag won't go away >>> I can't delete it or type after it. WTF @Truenotch i made my tag go away2 points
-
The man looks a bit wasted in this picture. Wow man, this tube feels amaaaazing.......2 points
-
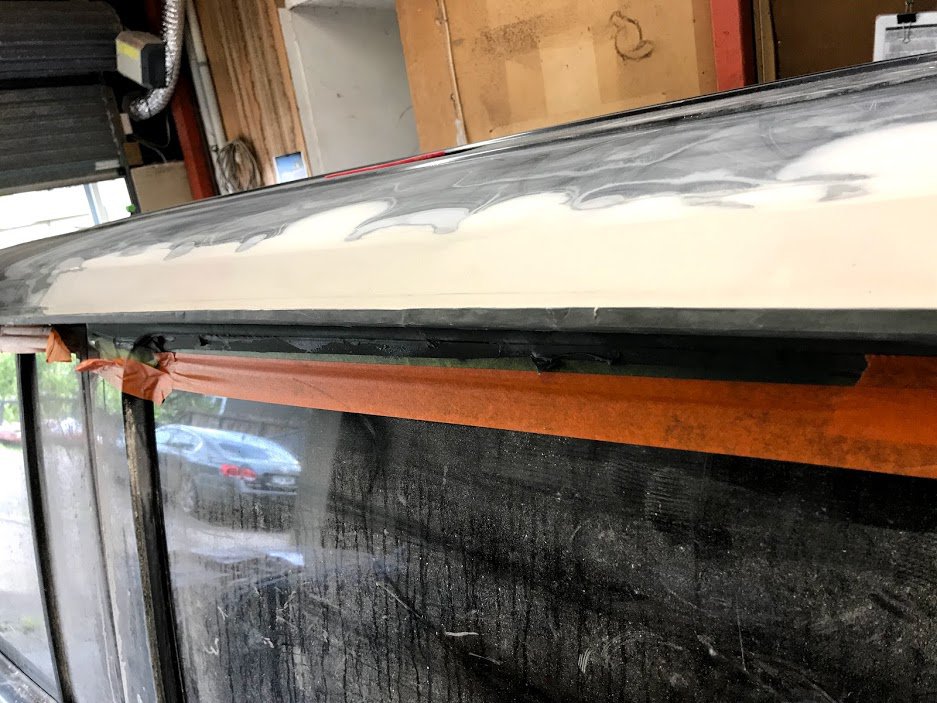
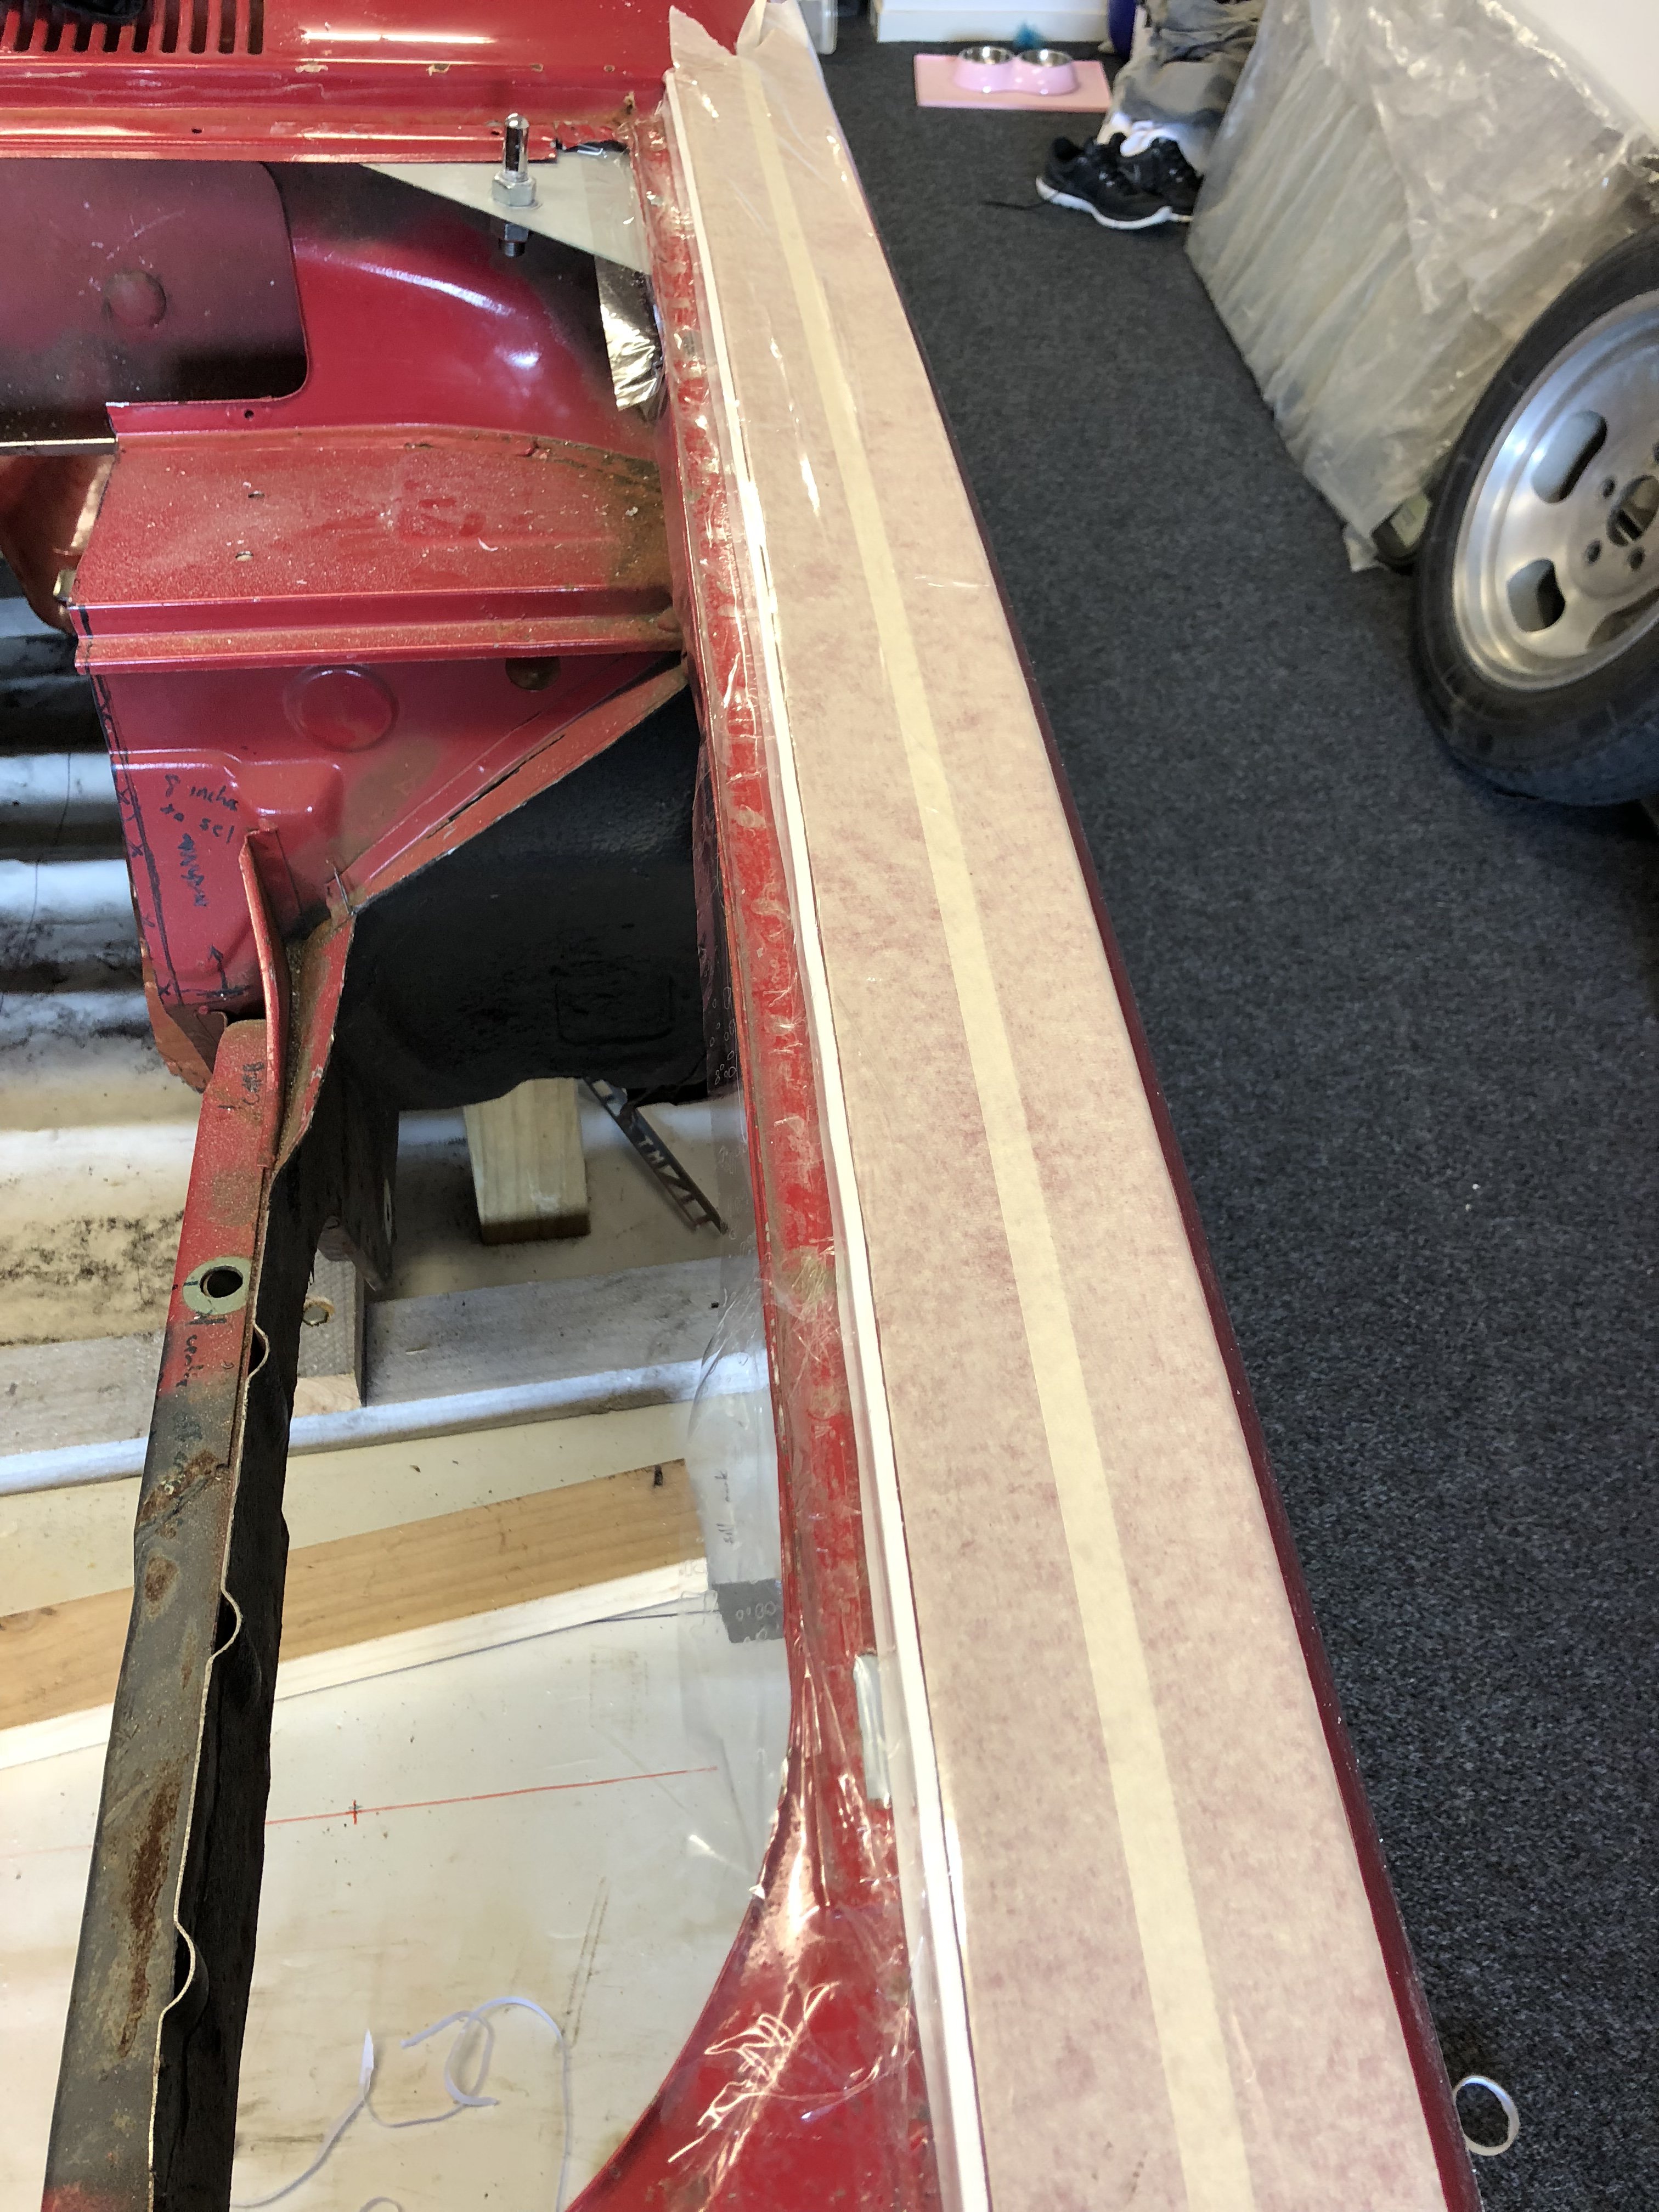
Skim of filler and lots of sanding. Need to get it ready to be in the weather again by next weekend. Lordy that's a long section to block back and keep flat, arms dying. Back section, lots of work to keep the roof curved right. View from the roof, two projects sit and wait.
2 points
-
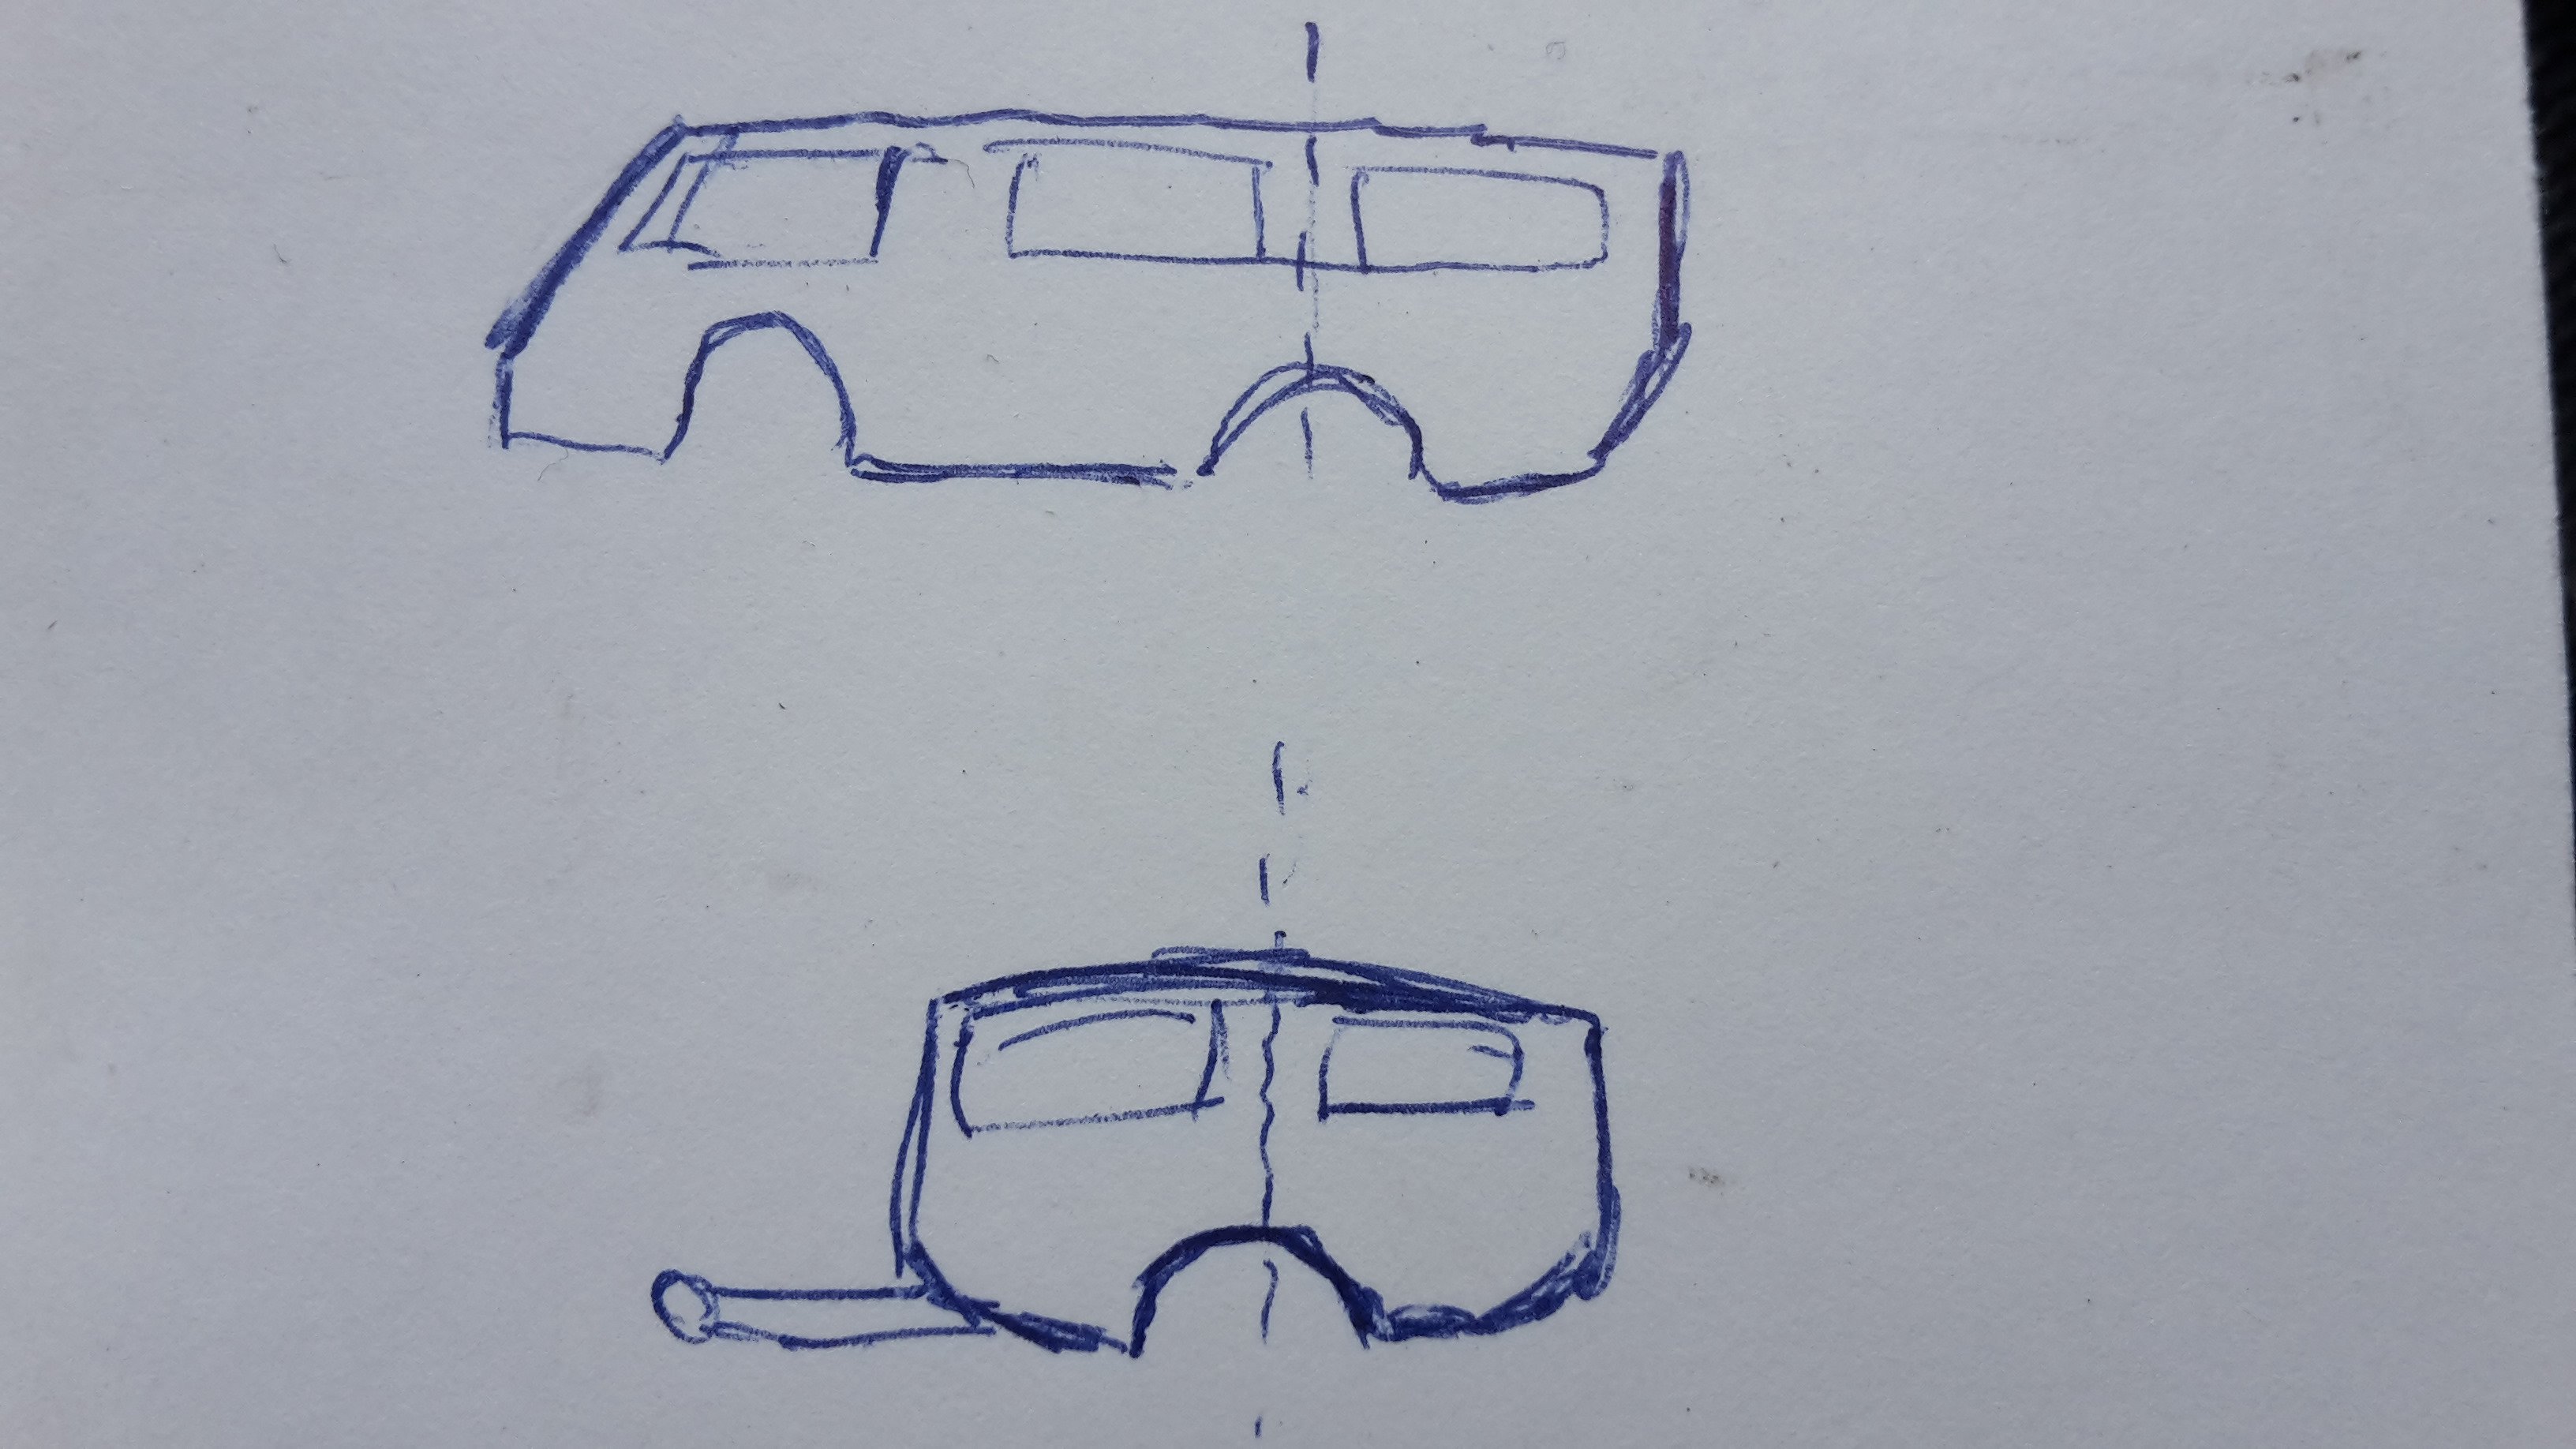
I had ideas of building one but they always look weird. I thought if you got 2 bums of the same vehicle and cut them in the same place then joined them together that might look better
2 points
-
Got my front end back on today ! Will hopefully have other small powdercoated parts back mid week then ill be a roller2 points
-
I always thought he would be a generous lover2 points
-
So yeah. It was just manky old fuel. Lesson learnt there; drain you crabs and use fresh fuel if it's been sitting over winter. Also, testing for spark with dirty plugs can lead to false-positives. Thank for your help @aja540i
2 points
-
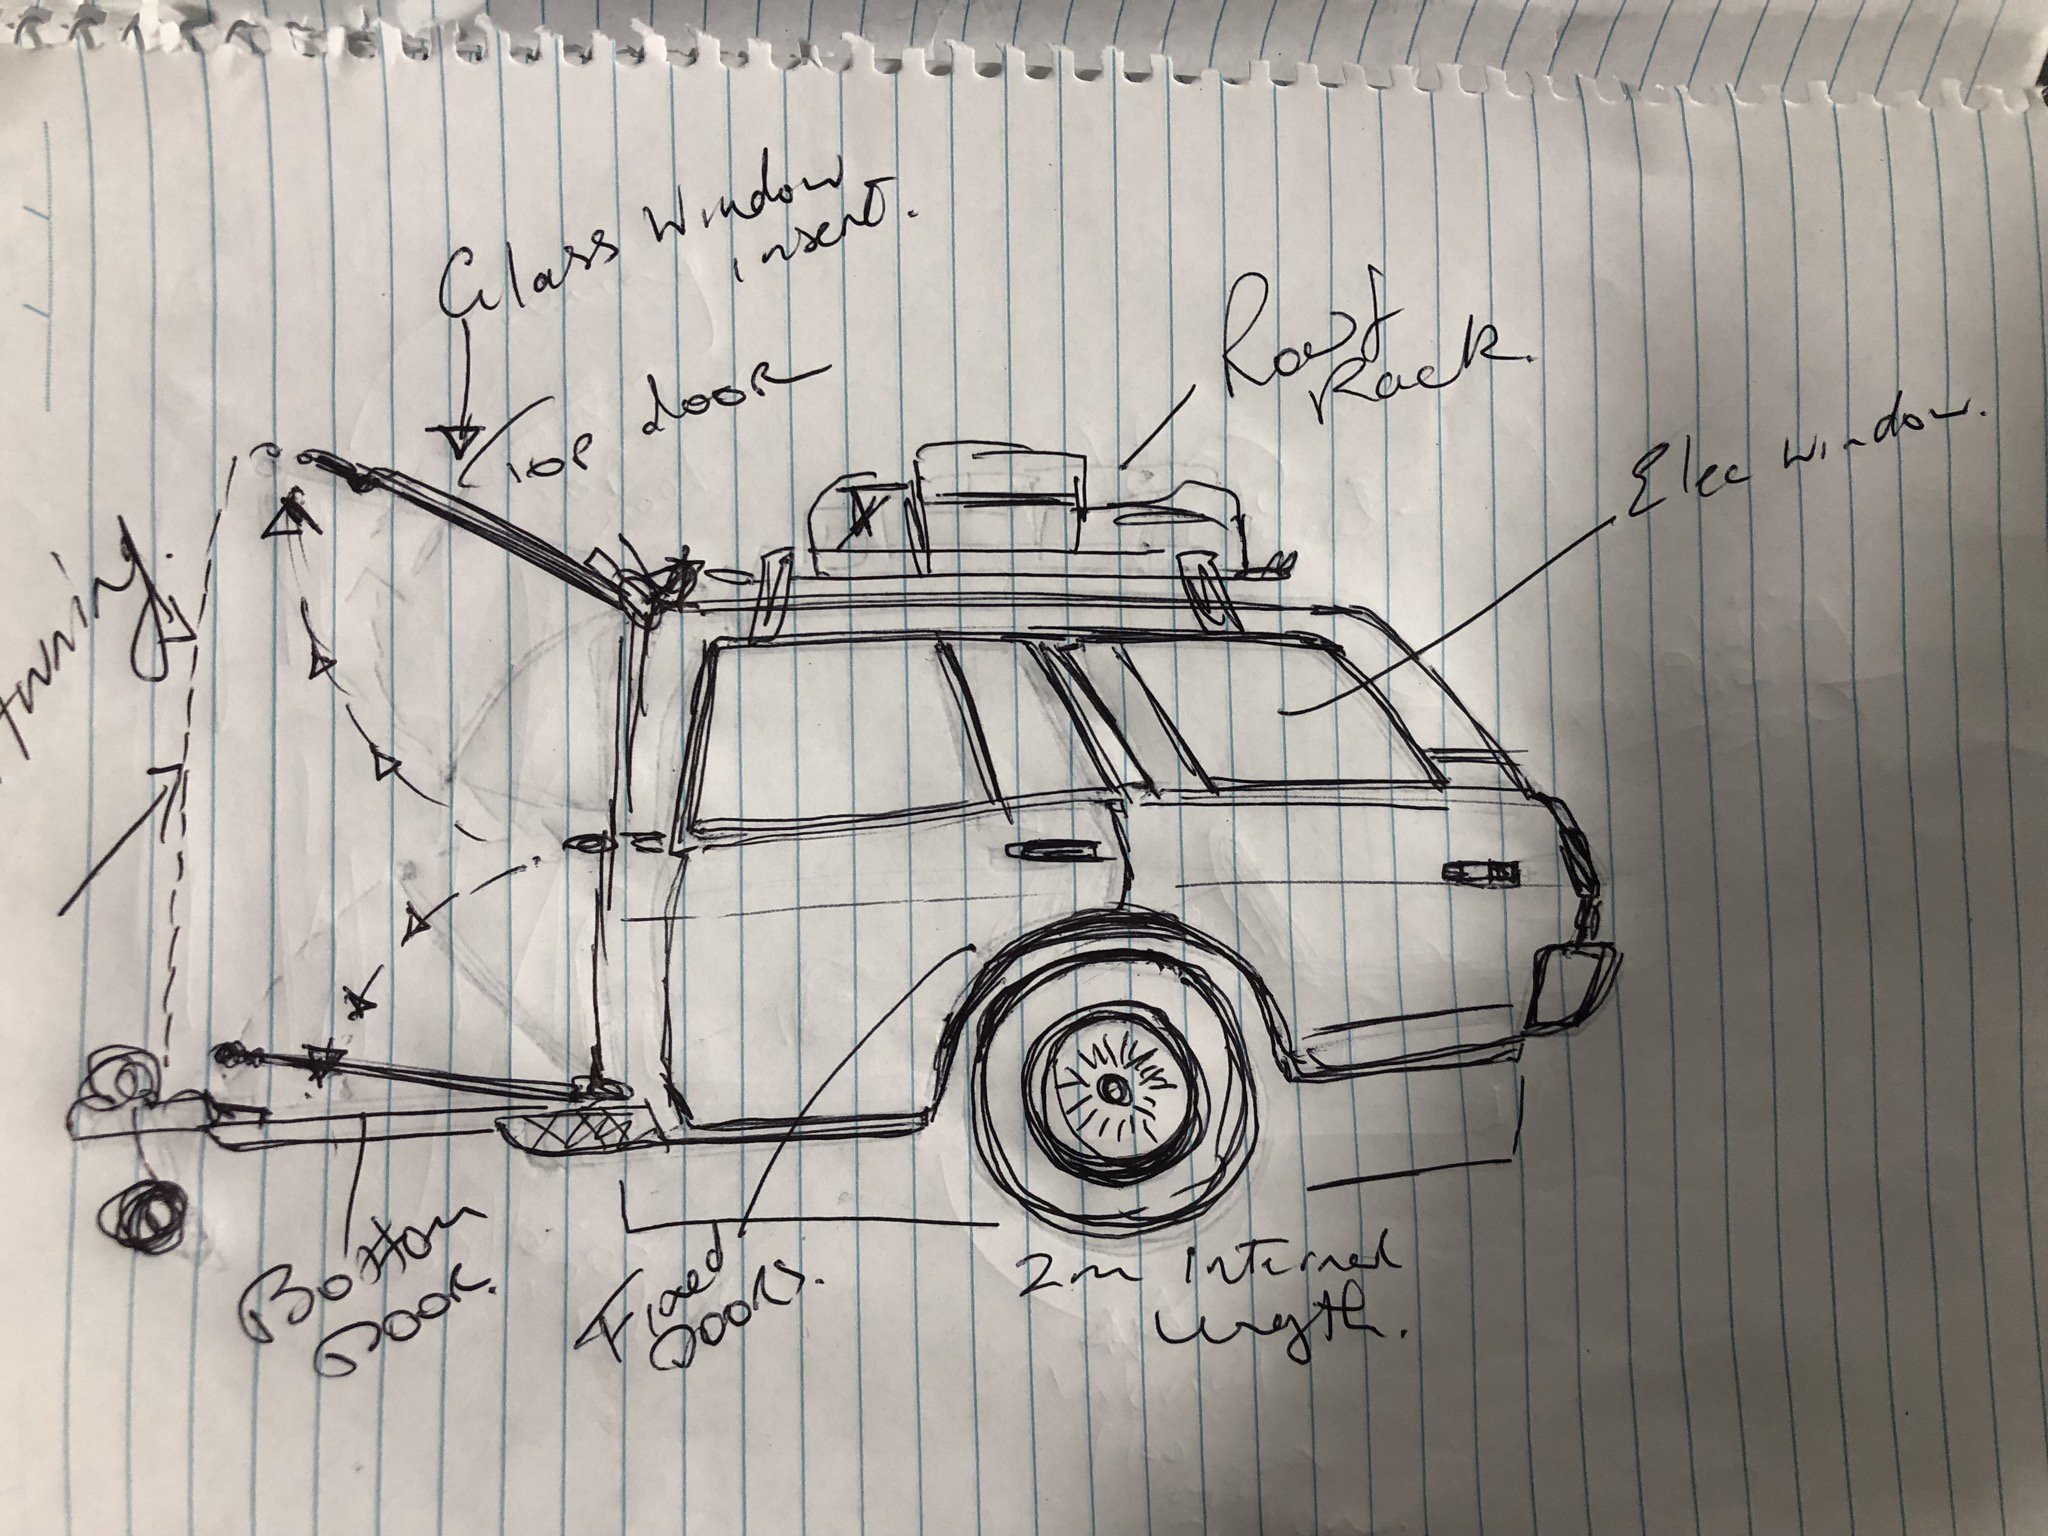
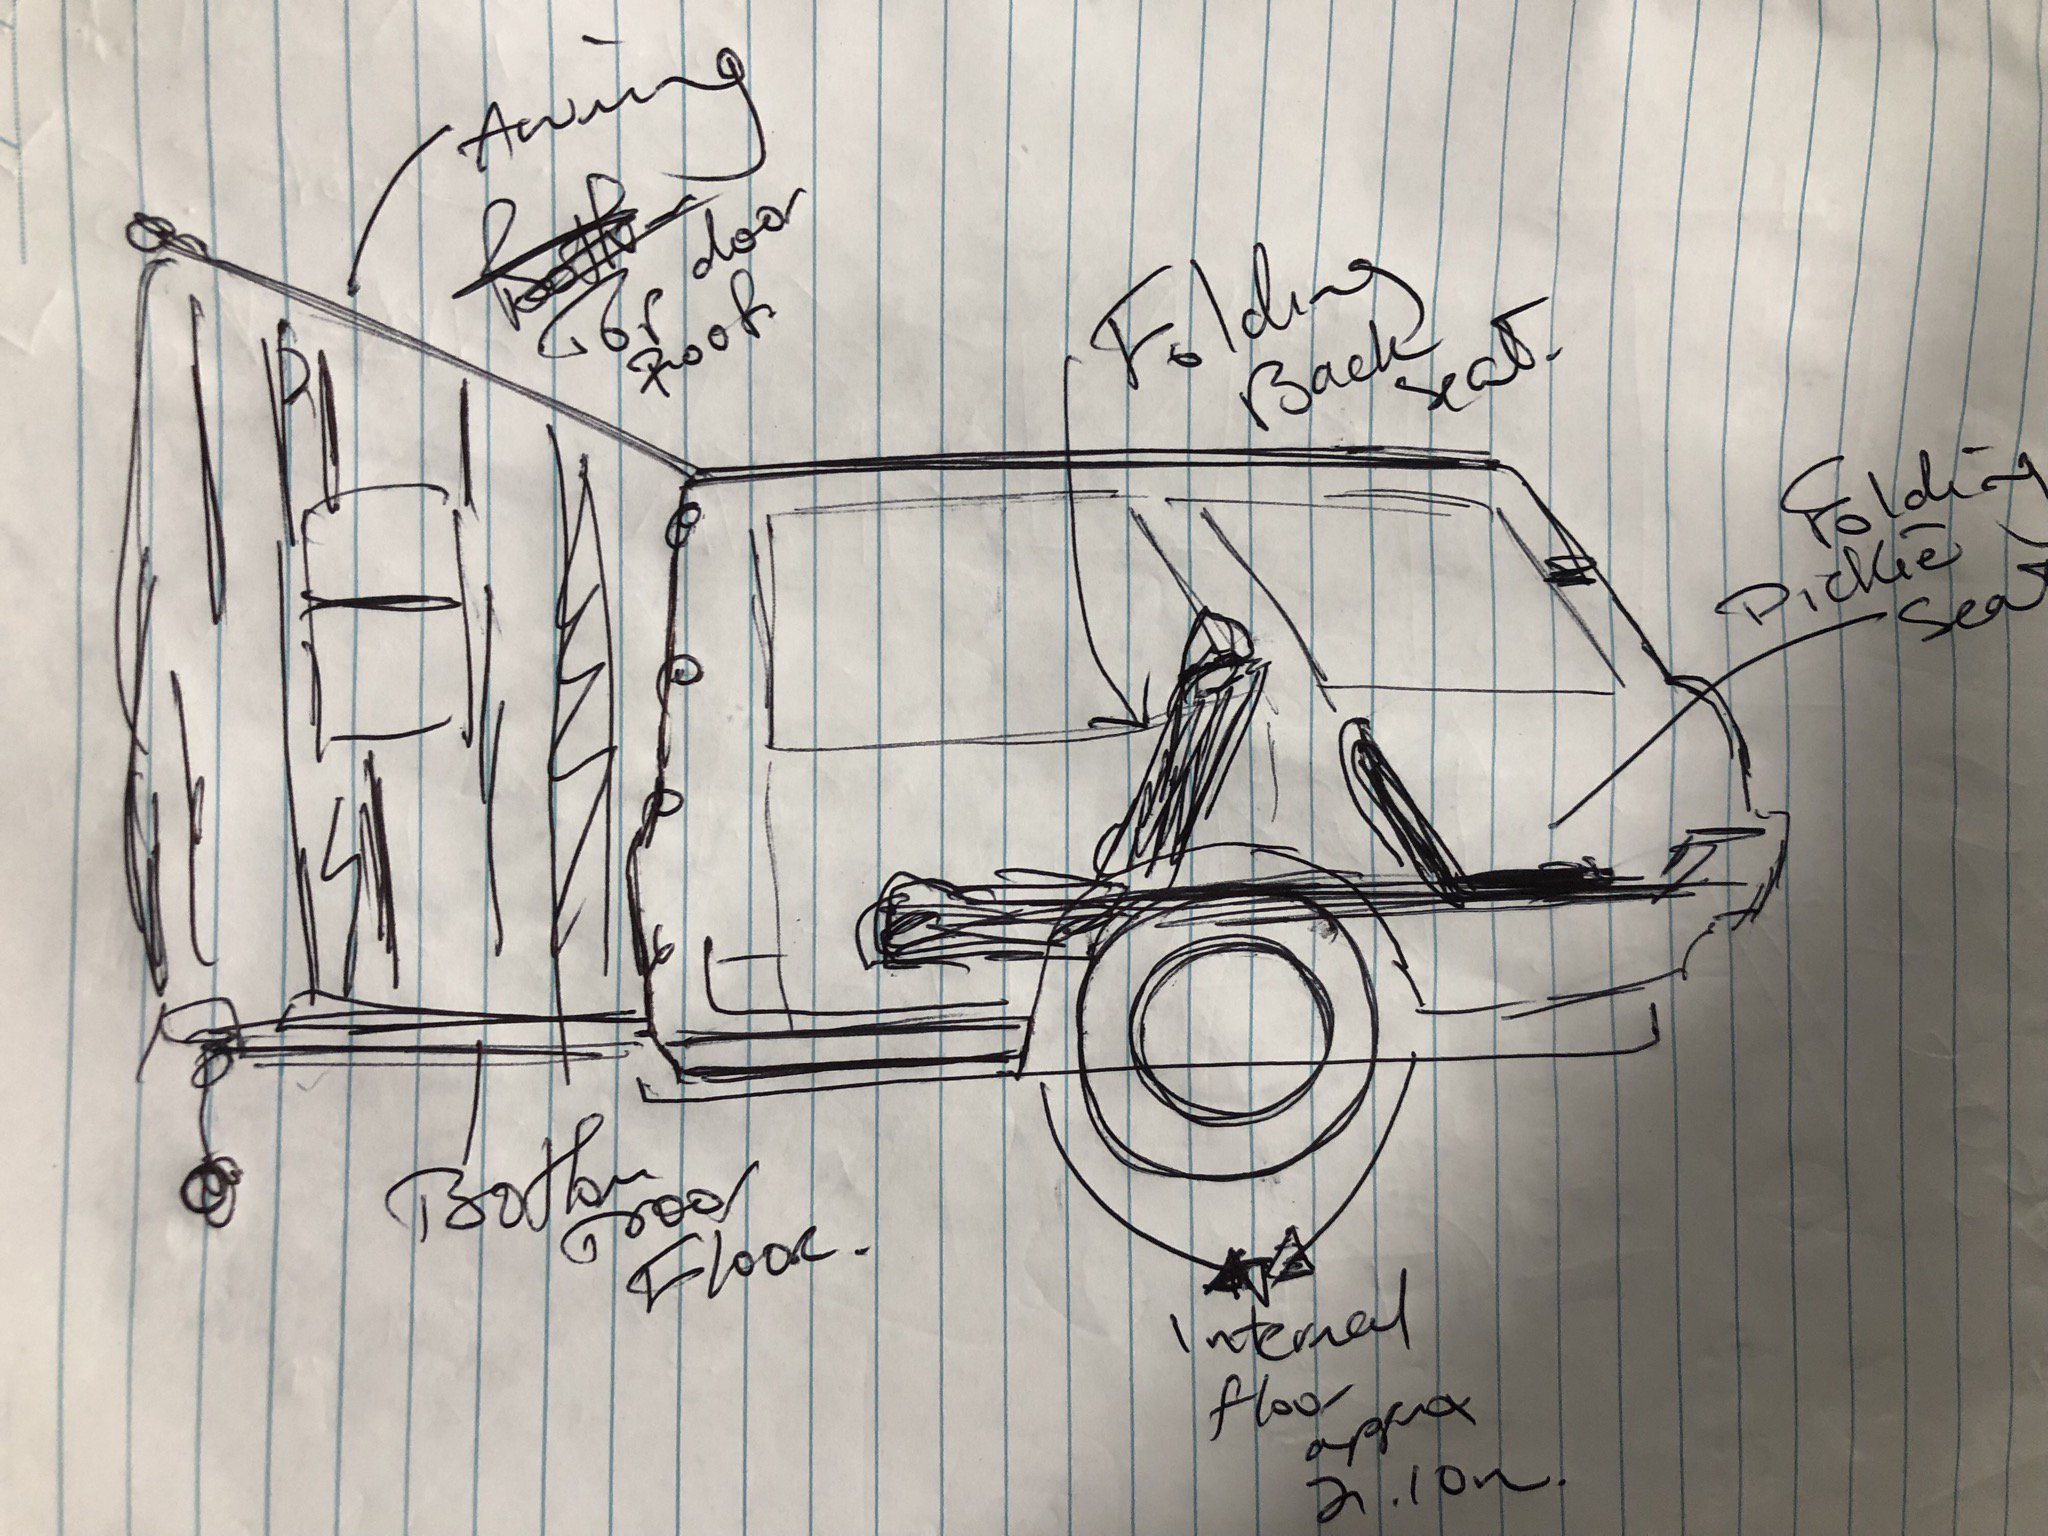
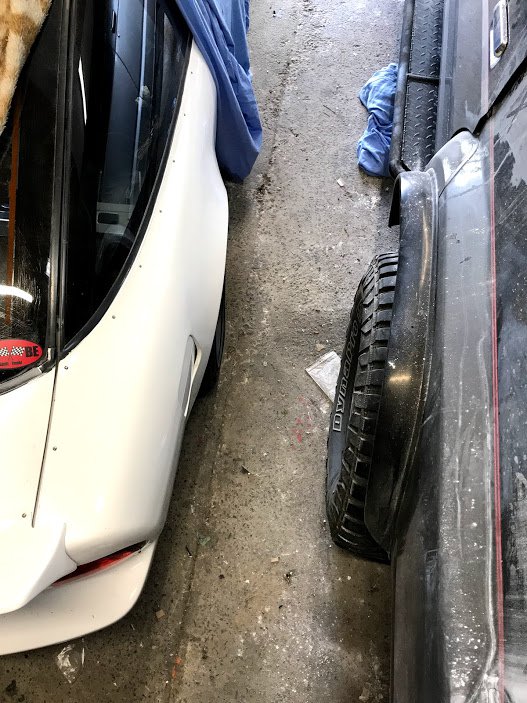
So originally I bought the stoved 230 wags for the rear dickie seat. This required sawing the car in two, hauling it back to a mates workshop and getting it into the air alongside my 330 wagon to get the right fit for the dickie tray into the 330... We were just about in the act of cutting the green stoved 260c in half; when old mate Who was assisting me in chopping the bitch in two exclaimed “Why not make a half car camper!” the makita was put down and things quickly went the way of a half wagon/camper (half 230 would that make it a 115 260c?). these things have plenty of room, totally flat floor, makes sense, and would look the part behind my 330. if i’m lucky the one in Victoria is okish; then I might be also able to come away with one good wagon as well as a trailer, as well as sort out some parts for some other antipodean 230 wagon purveyors.
2 points
-
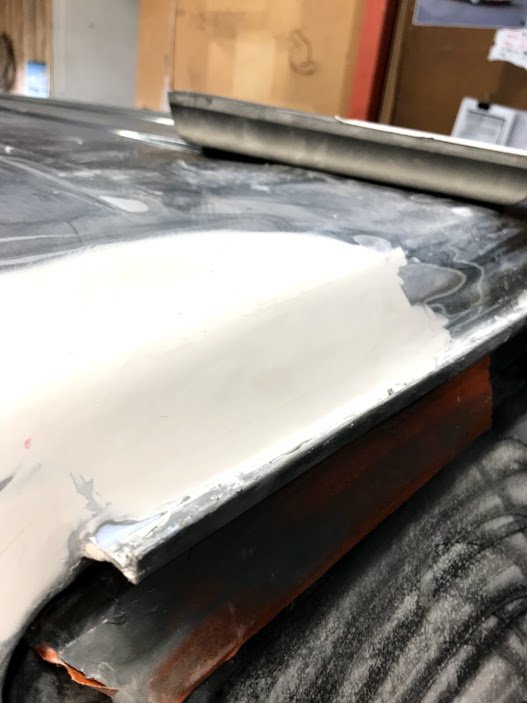
After a days sanding this first skim of epoxy has closed up the gaps and made the bonnet nice and flush with the fenders. got one more light skim to do and another days sanding and she’s done.
2 points
-
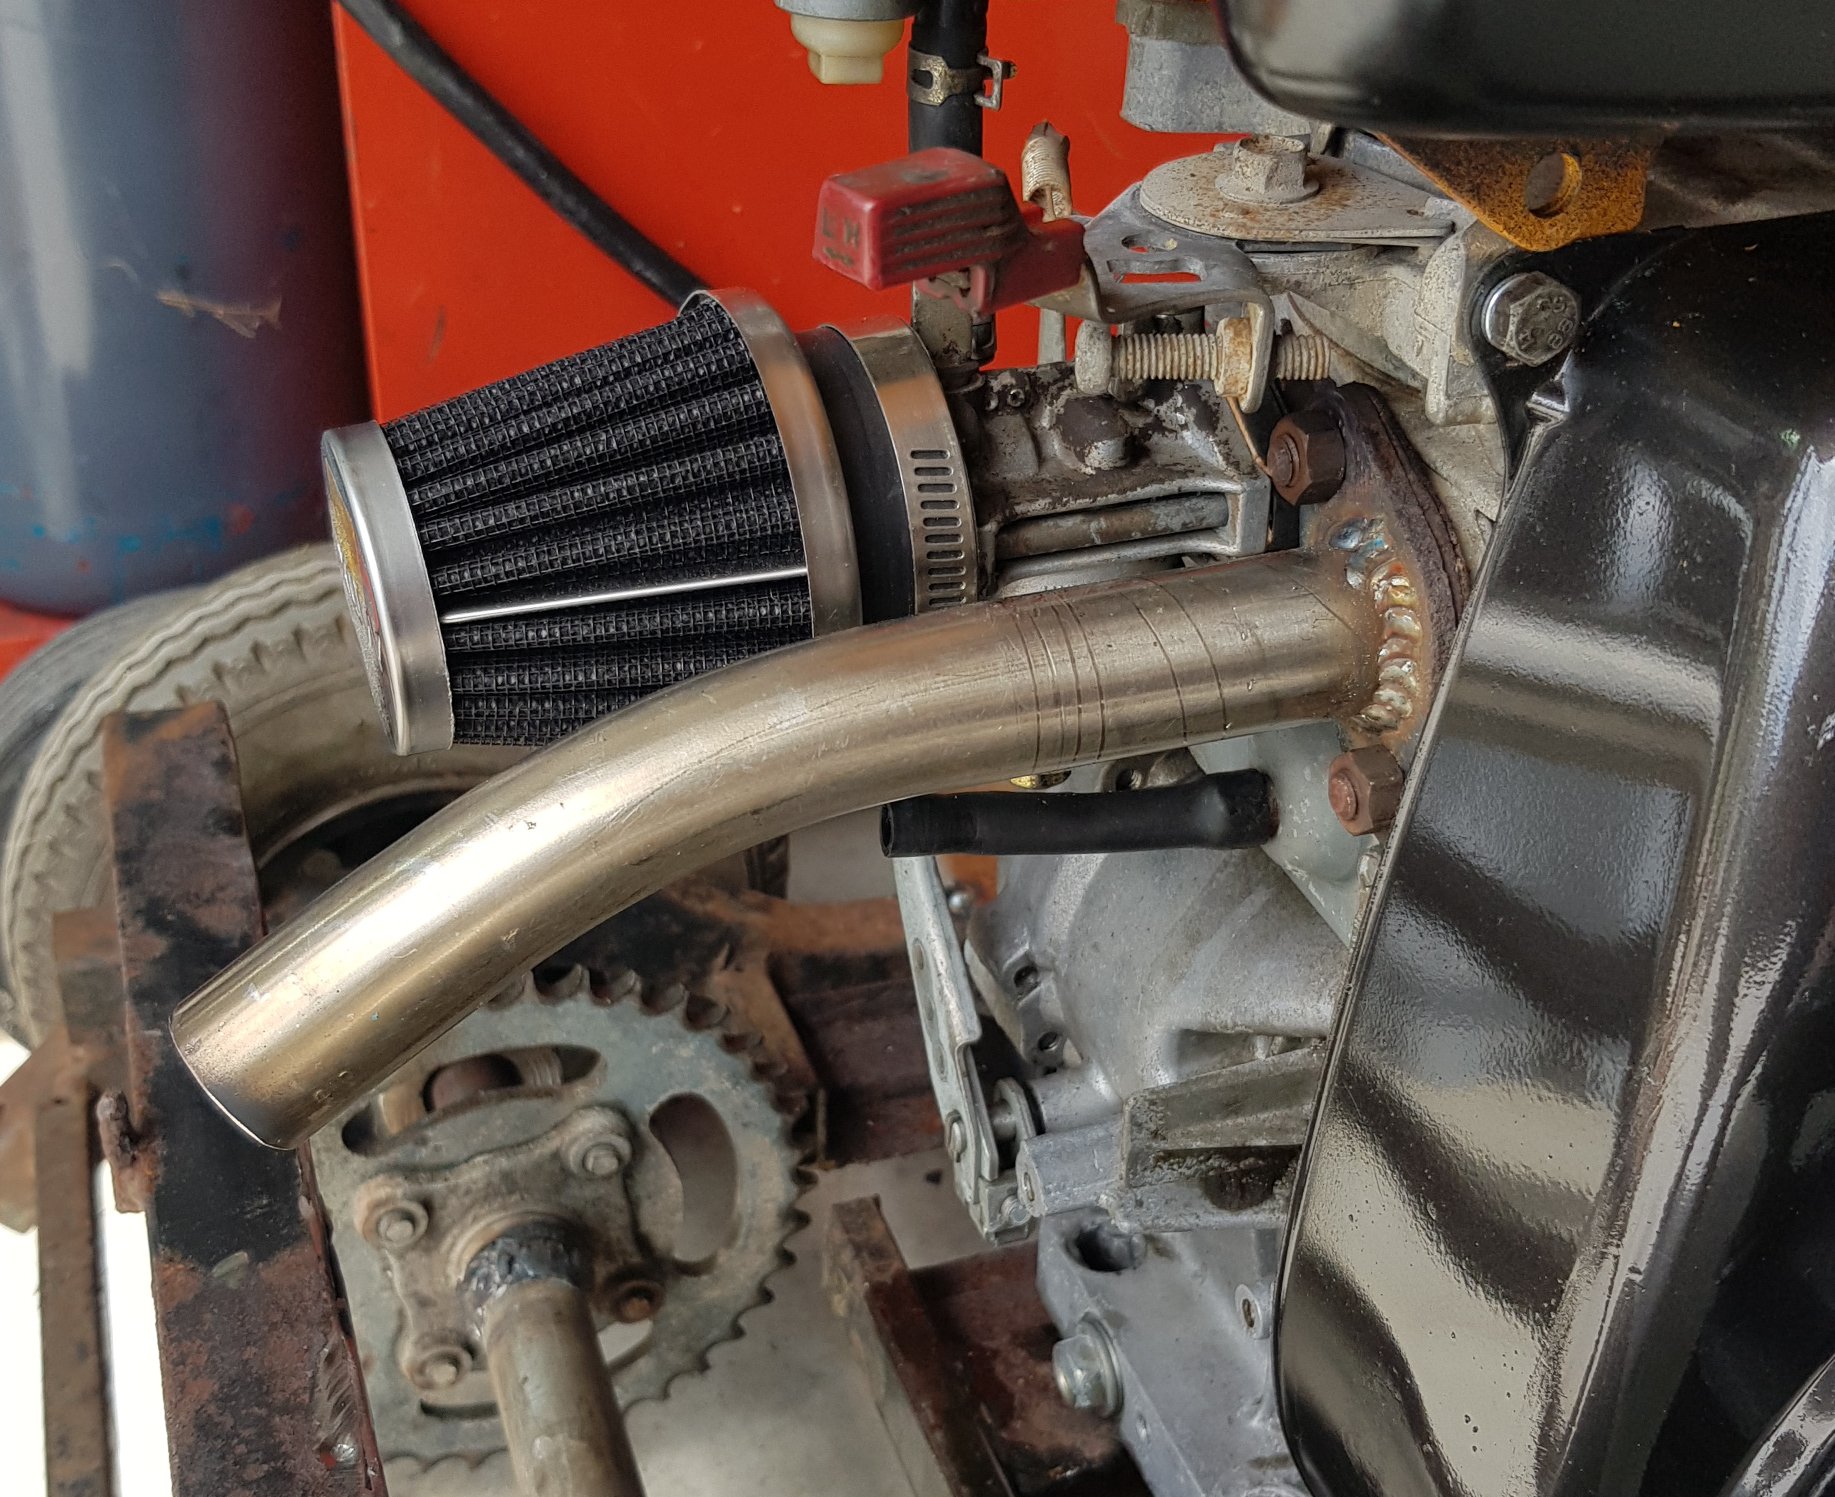
Success!!! It’s definitely loud....
2 points
-
70cc kit , spanny, big carb all fitted. Goes hard etc. Like actual hard. Variator, CDI and clutch mods to come. Huge thanks to @Raizer @64vauxhall @Truenotch
2 points
-
Still poking away at this, tinted the rear window, actually made a surprisingly big difference to how stuffy it gets in there. Because its cheap stuff it will fade to purple. Not even mad. Also replaced the rear shocks, KYB Gas-Adjusts, the old ones were knackered. I got these with the fronts months ago from Lada Power, 2102/2104 Wagon rears, perfect match Old SAE (!) threaded bolts put a fight. Replaced with metric like the rest of the ute/world Hacked a bit off the brake proportioning valve mount, its pretty tight to get the grinder in there and with all the brake lines ive left it rough. I also relocated the valve up a bit to account for the lowering blocks. Ill tidy this up a bit more when i drop the diff and rear brakes/valve, which is pretty much the only area i havnt replaced everything on yet. For now, just the shocks. The interference fit on the last setup didnt self clearance after however long! I feel i may have finally found and fixed the stupid knocking noise, but ive started pulling the accelerator pedal and linkages off so i havnt test hooned it yet.2 points
-
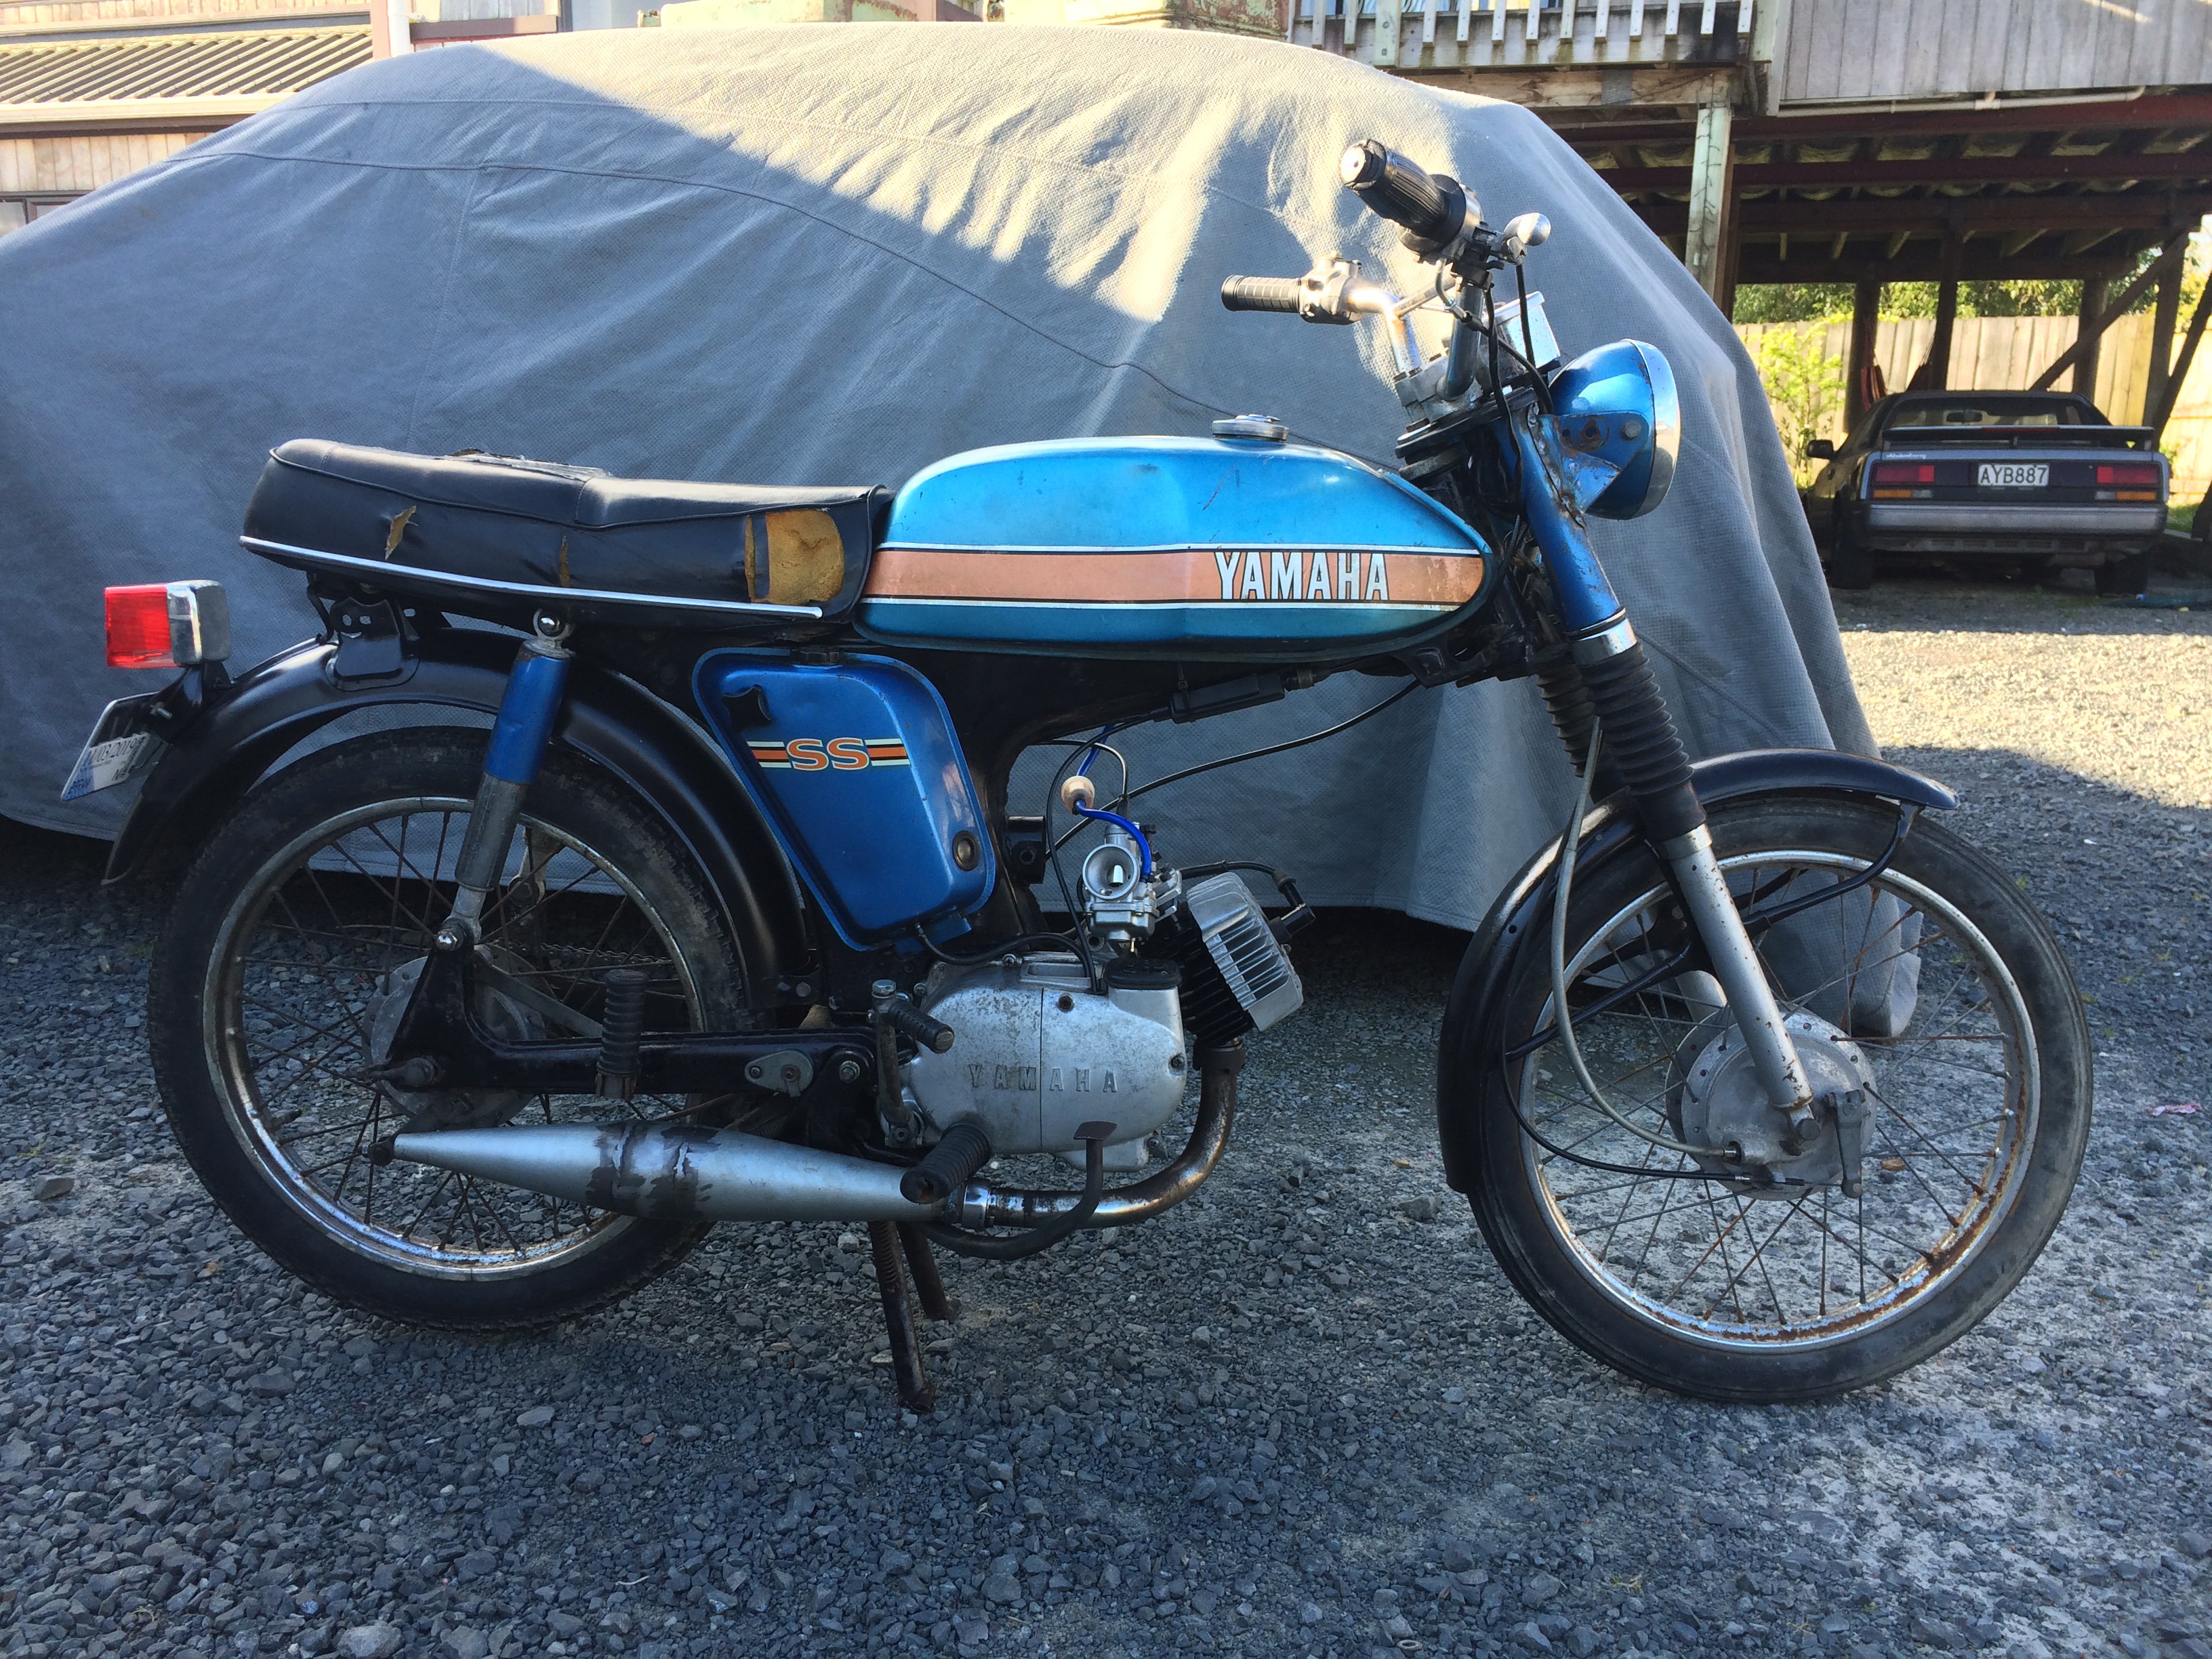
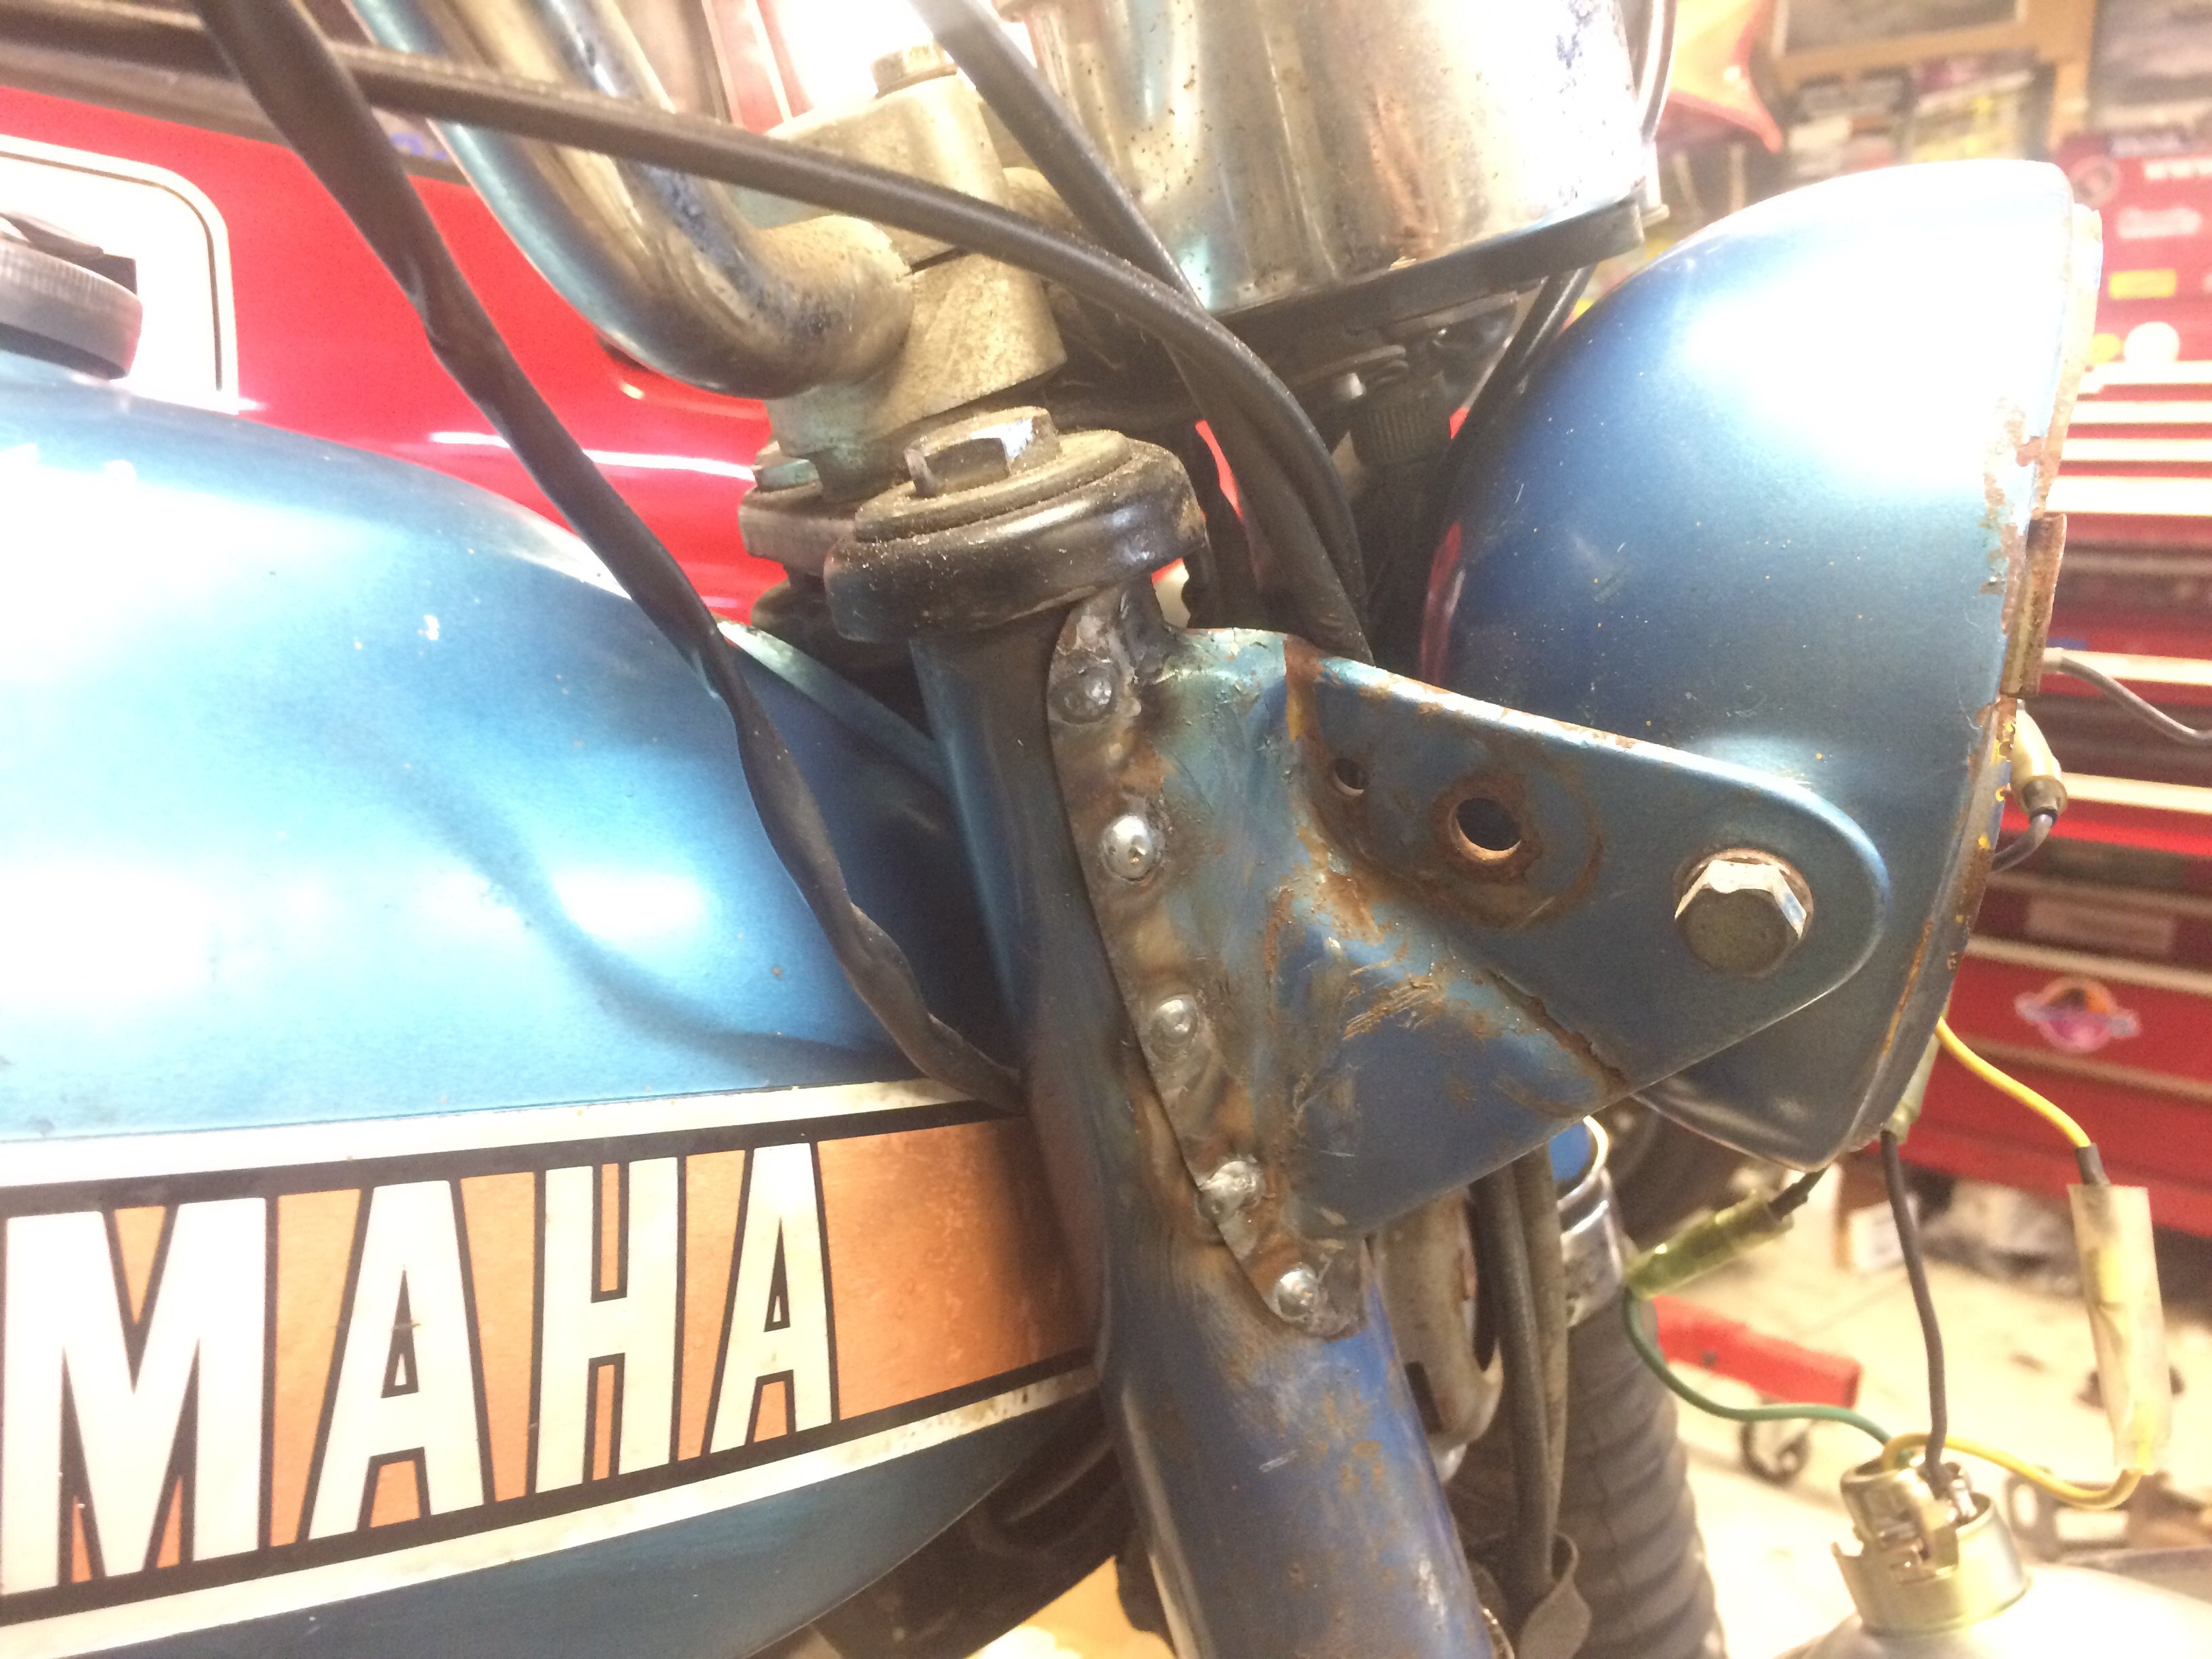
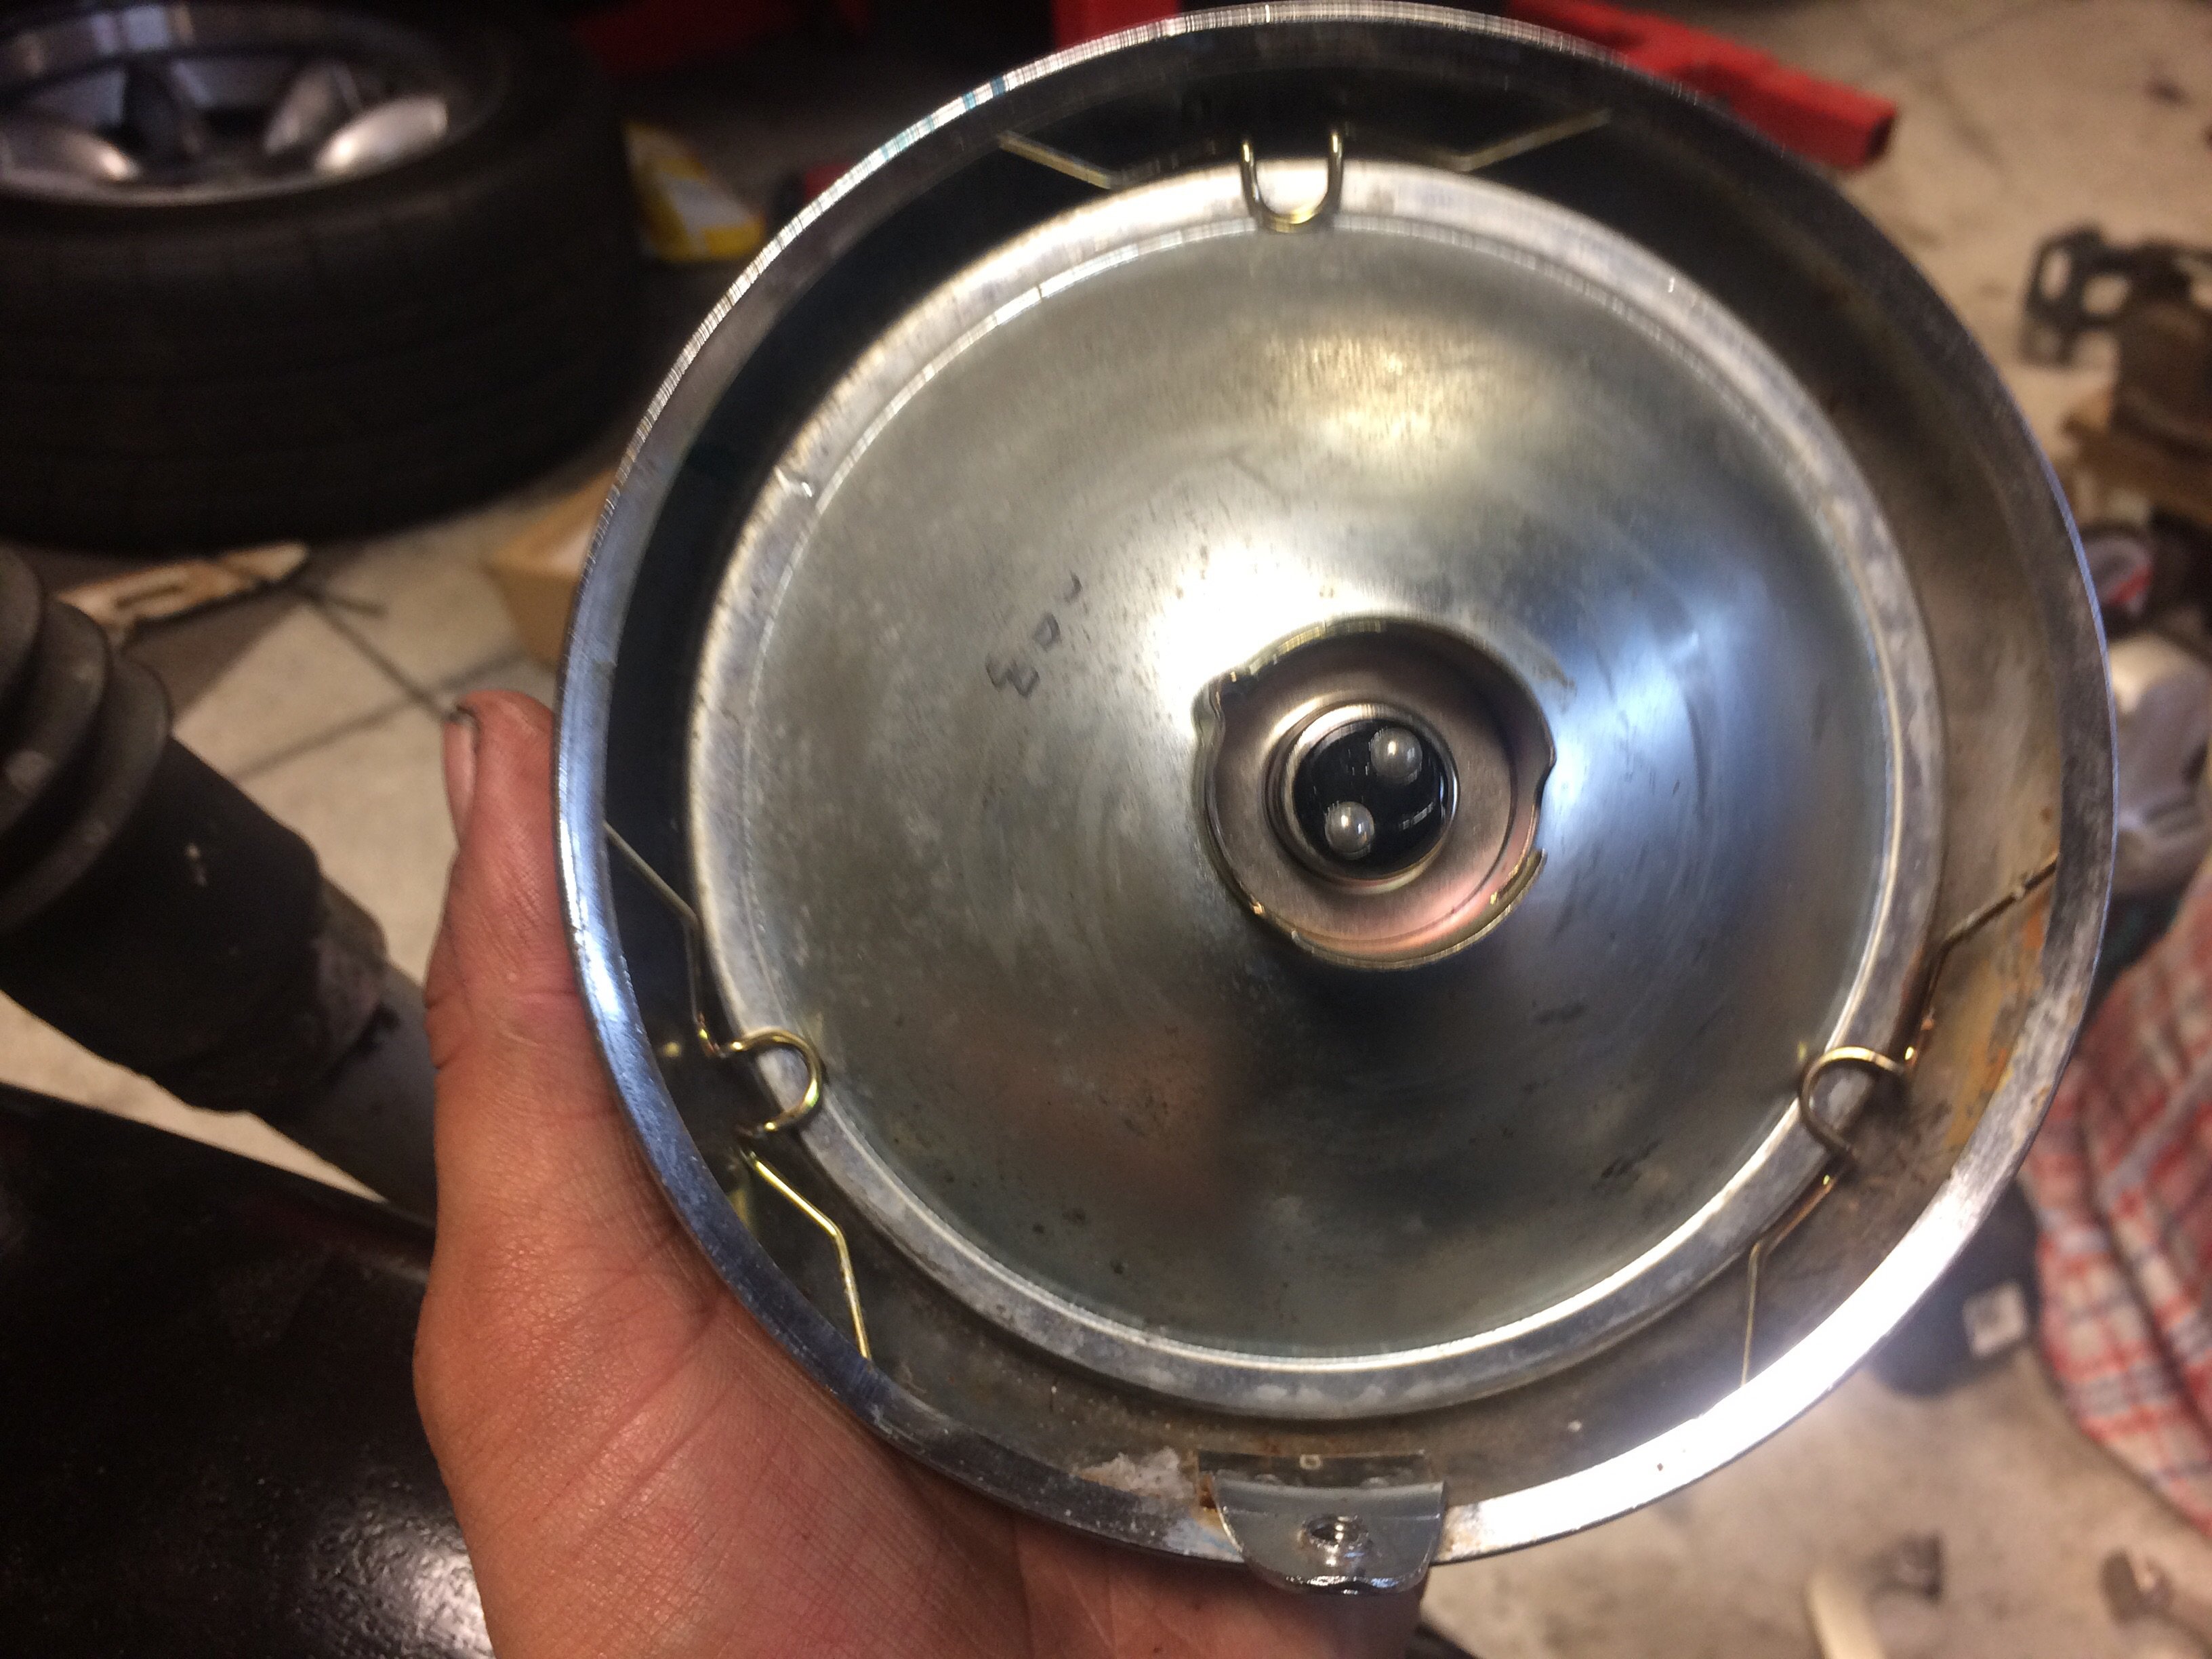
Started refitting the engine: Mounted the spanny - the header is a bit long, but it’s as close as I could get without the kickstart hitting the spanny. Spot welded the broke headlight bracket back into place: And fitted W clips to stop the light flopping all over the show: It’s getting there! For some reason I can’t get spark out of it... I suspect the coil is toast - luckily I’ve got another one on the way. Hopefully it turns up early next week! I also don’t have a muffler yet... it might be loud for the first few runs .
2 points
-
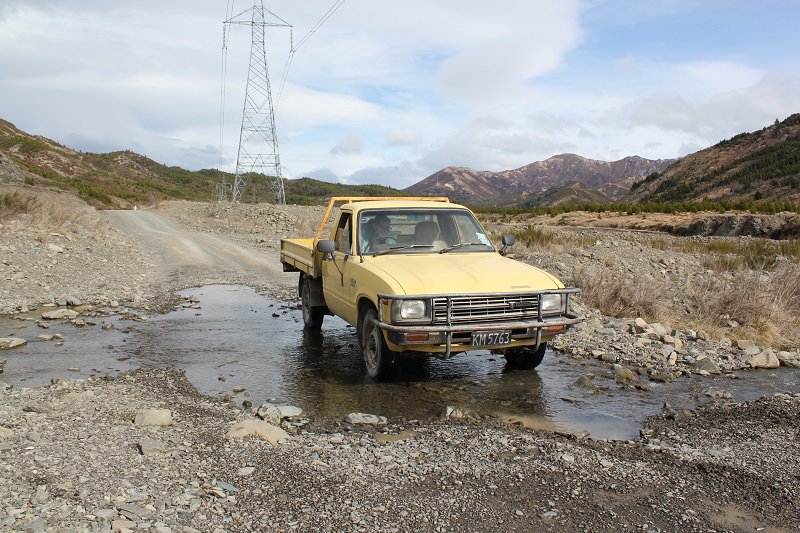
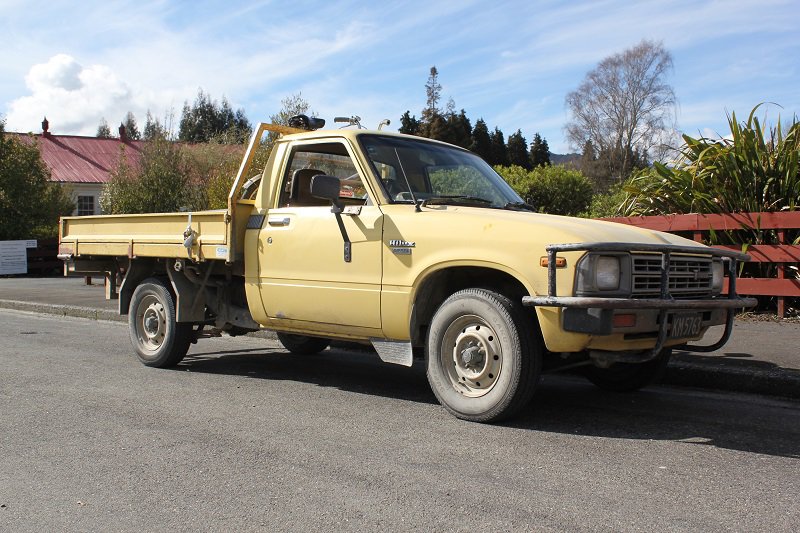
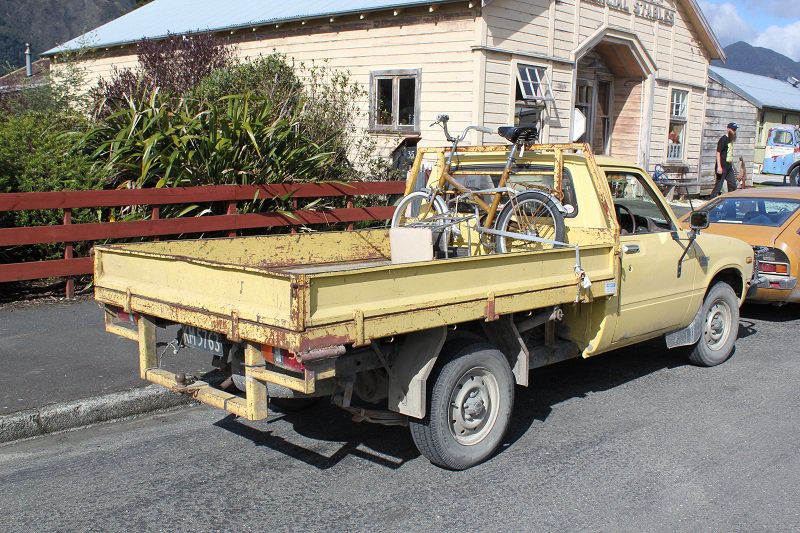
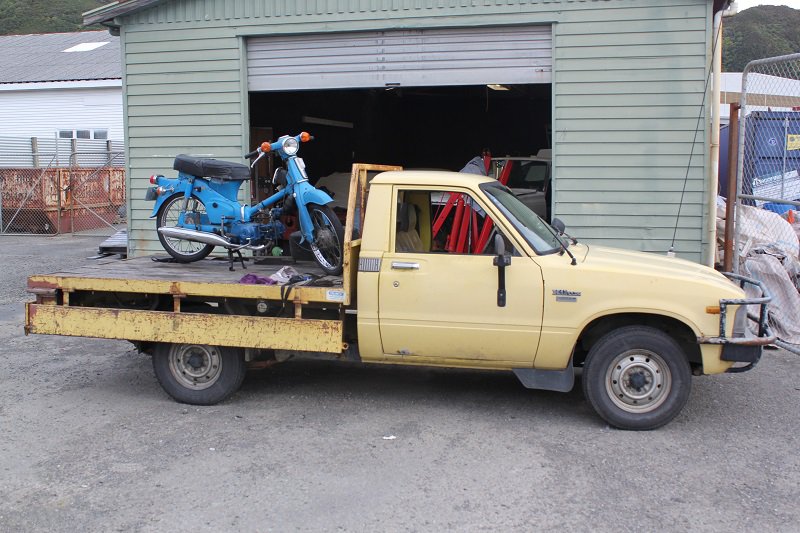
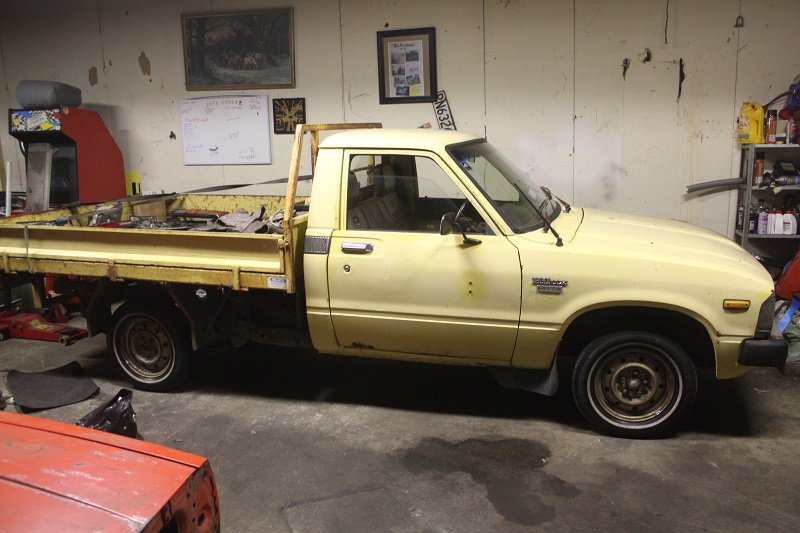
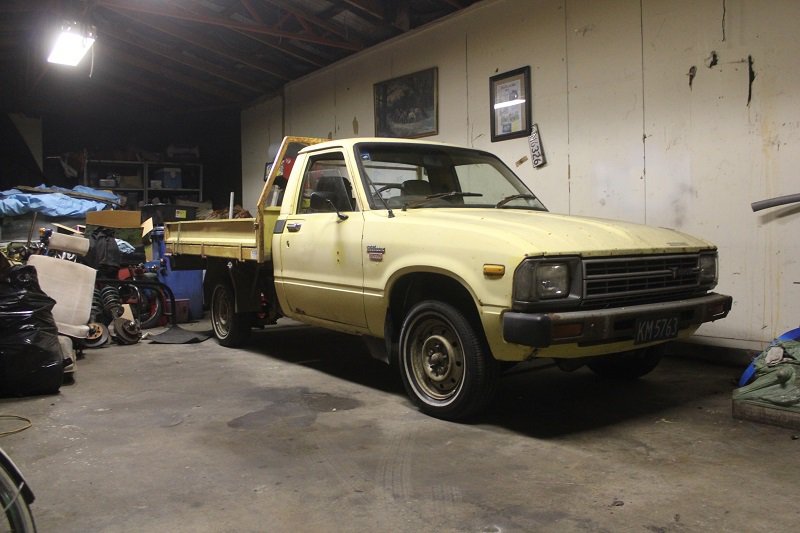
First Up is My Hilux I have been campaigning for a while. Long Story short it was super Barry Farmer spec and stayed that way for some time. Then I parked it @Goats place for like 8 months while I did other things, and needed a bunch of stuff to get back on the road, which spurred me into Making it into the shop truck it is now. This thing was just getting ready to be for sale, and then Struck a case of Diesel run away on me from a down a hill, which was fucking pretty hard on the nerves. So I have decided I dont want to kill anyone, so its getting pulled down for a re-ring and head over hall to sort all the blow by and smoking issues. So anyway, heres a bunch of useless pics of the evolution of the Hilux
2 points
-
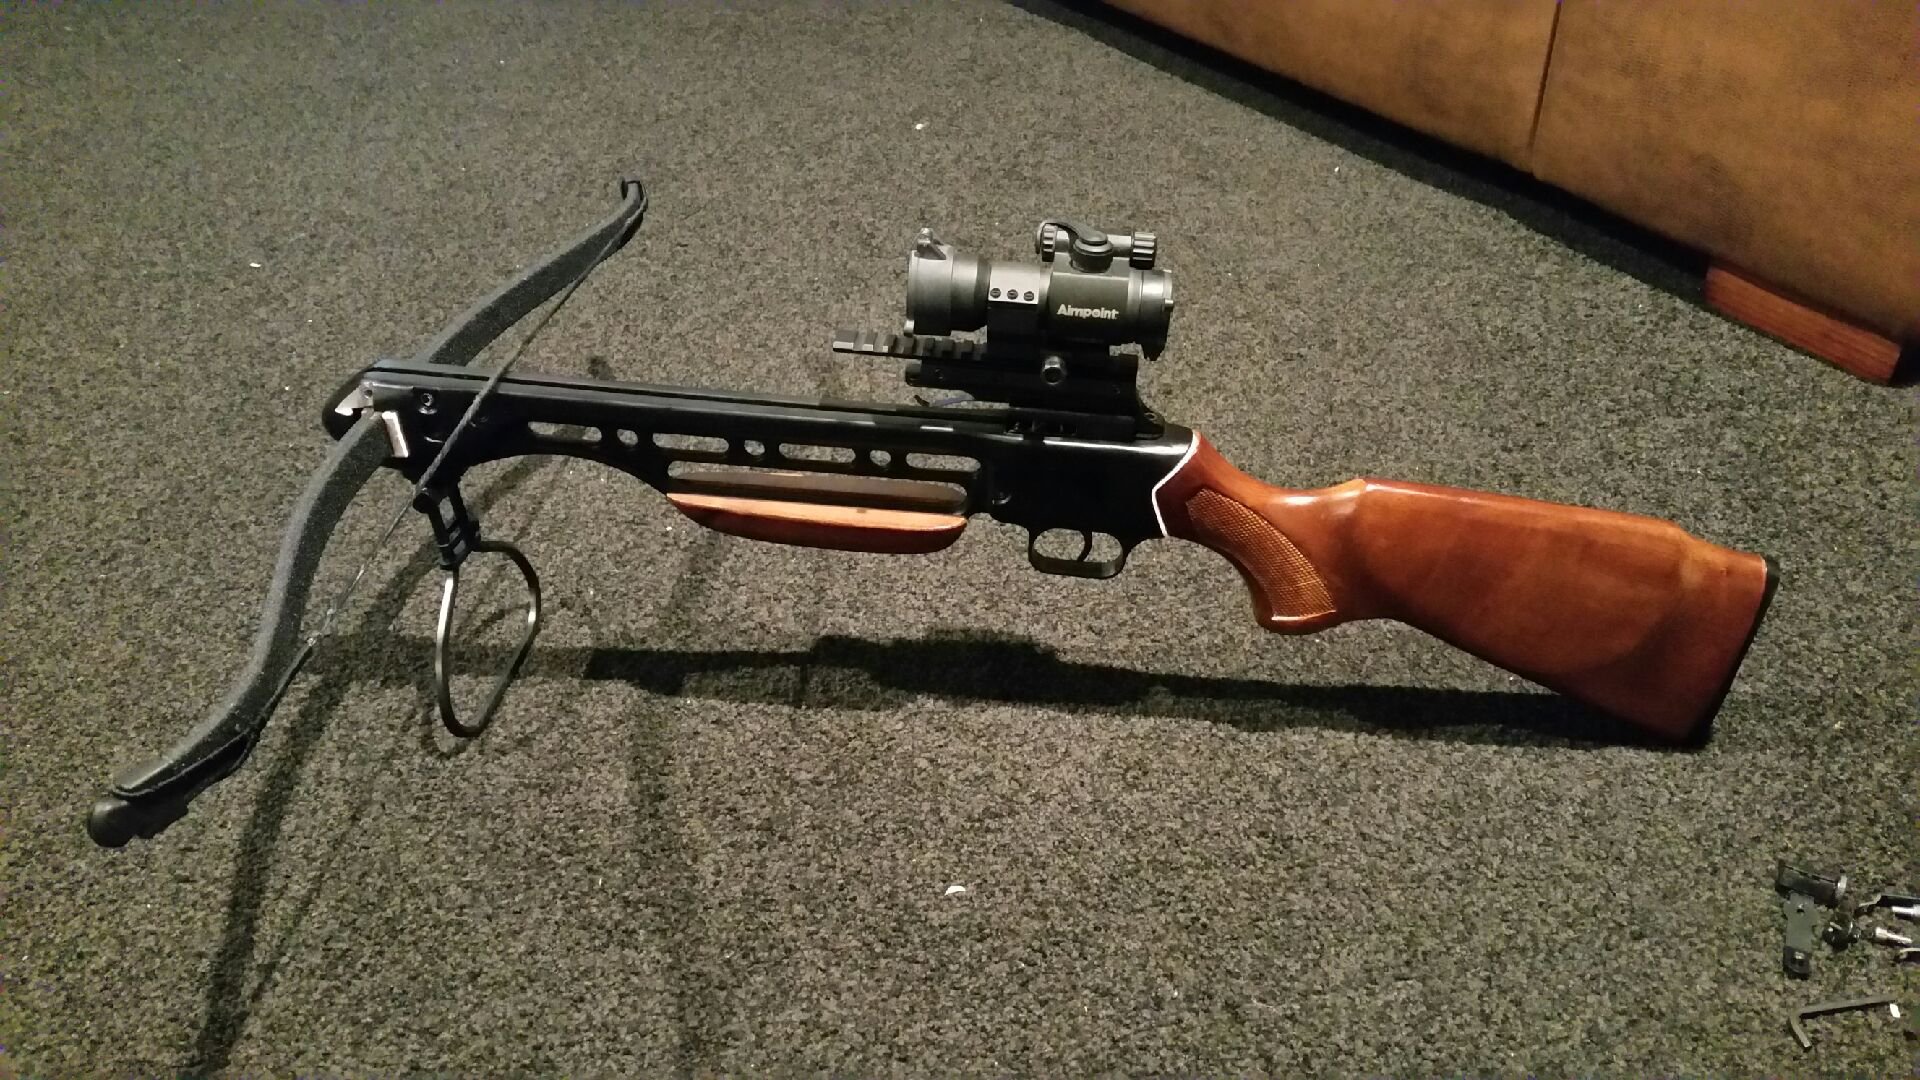
After all that, I just couldn't silence my inner voice. It kept saying don't fuck round with a bad idea that'll let you down after you've put in a heap of time, money and effort to get close enough to an animal only to fuck it up because of a shit taiwanese metal sight. So I dug through the gun cupboard and found an aimpoint that's no longer in use. Chucked it on with an abortion of adapters upon adapters to test it out for fit. Looks promising...so I'll machine up my own adapter to lower it all down tomorrow. Nothing like a $2000 sight on a $150 crossbow eh:) but fuck it...it's made me happy.
2 points
-
Had a play with cad router the other night at work, we use it for cutting up signage, stickers, etc... Was trying to get it to mill tow different depths, but it think I got the layers backwards so it cut over everything the same.
2 points
-
Interior got a scrub down today!2 points
-
I've seen them executed both ways. They're one of those things that seems like a good idea but seldom translates into reality.1 point
-
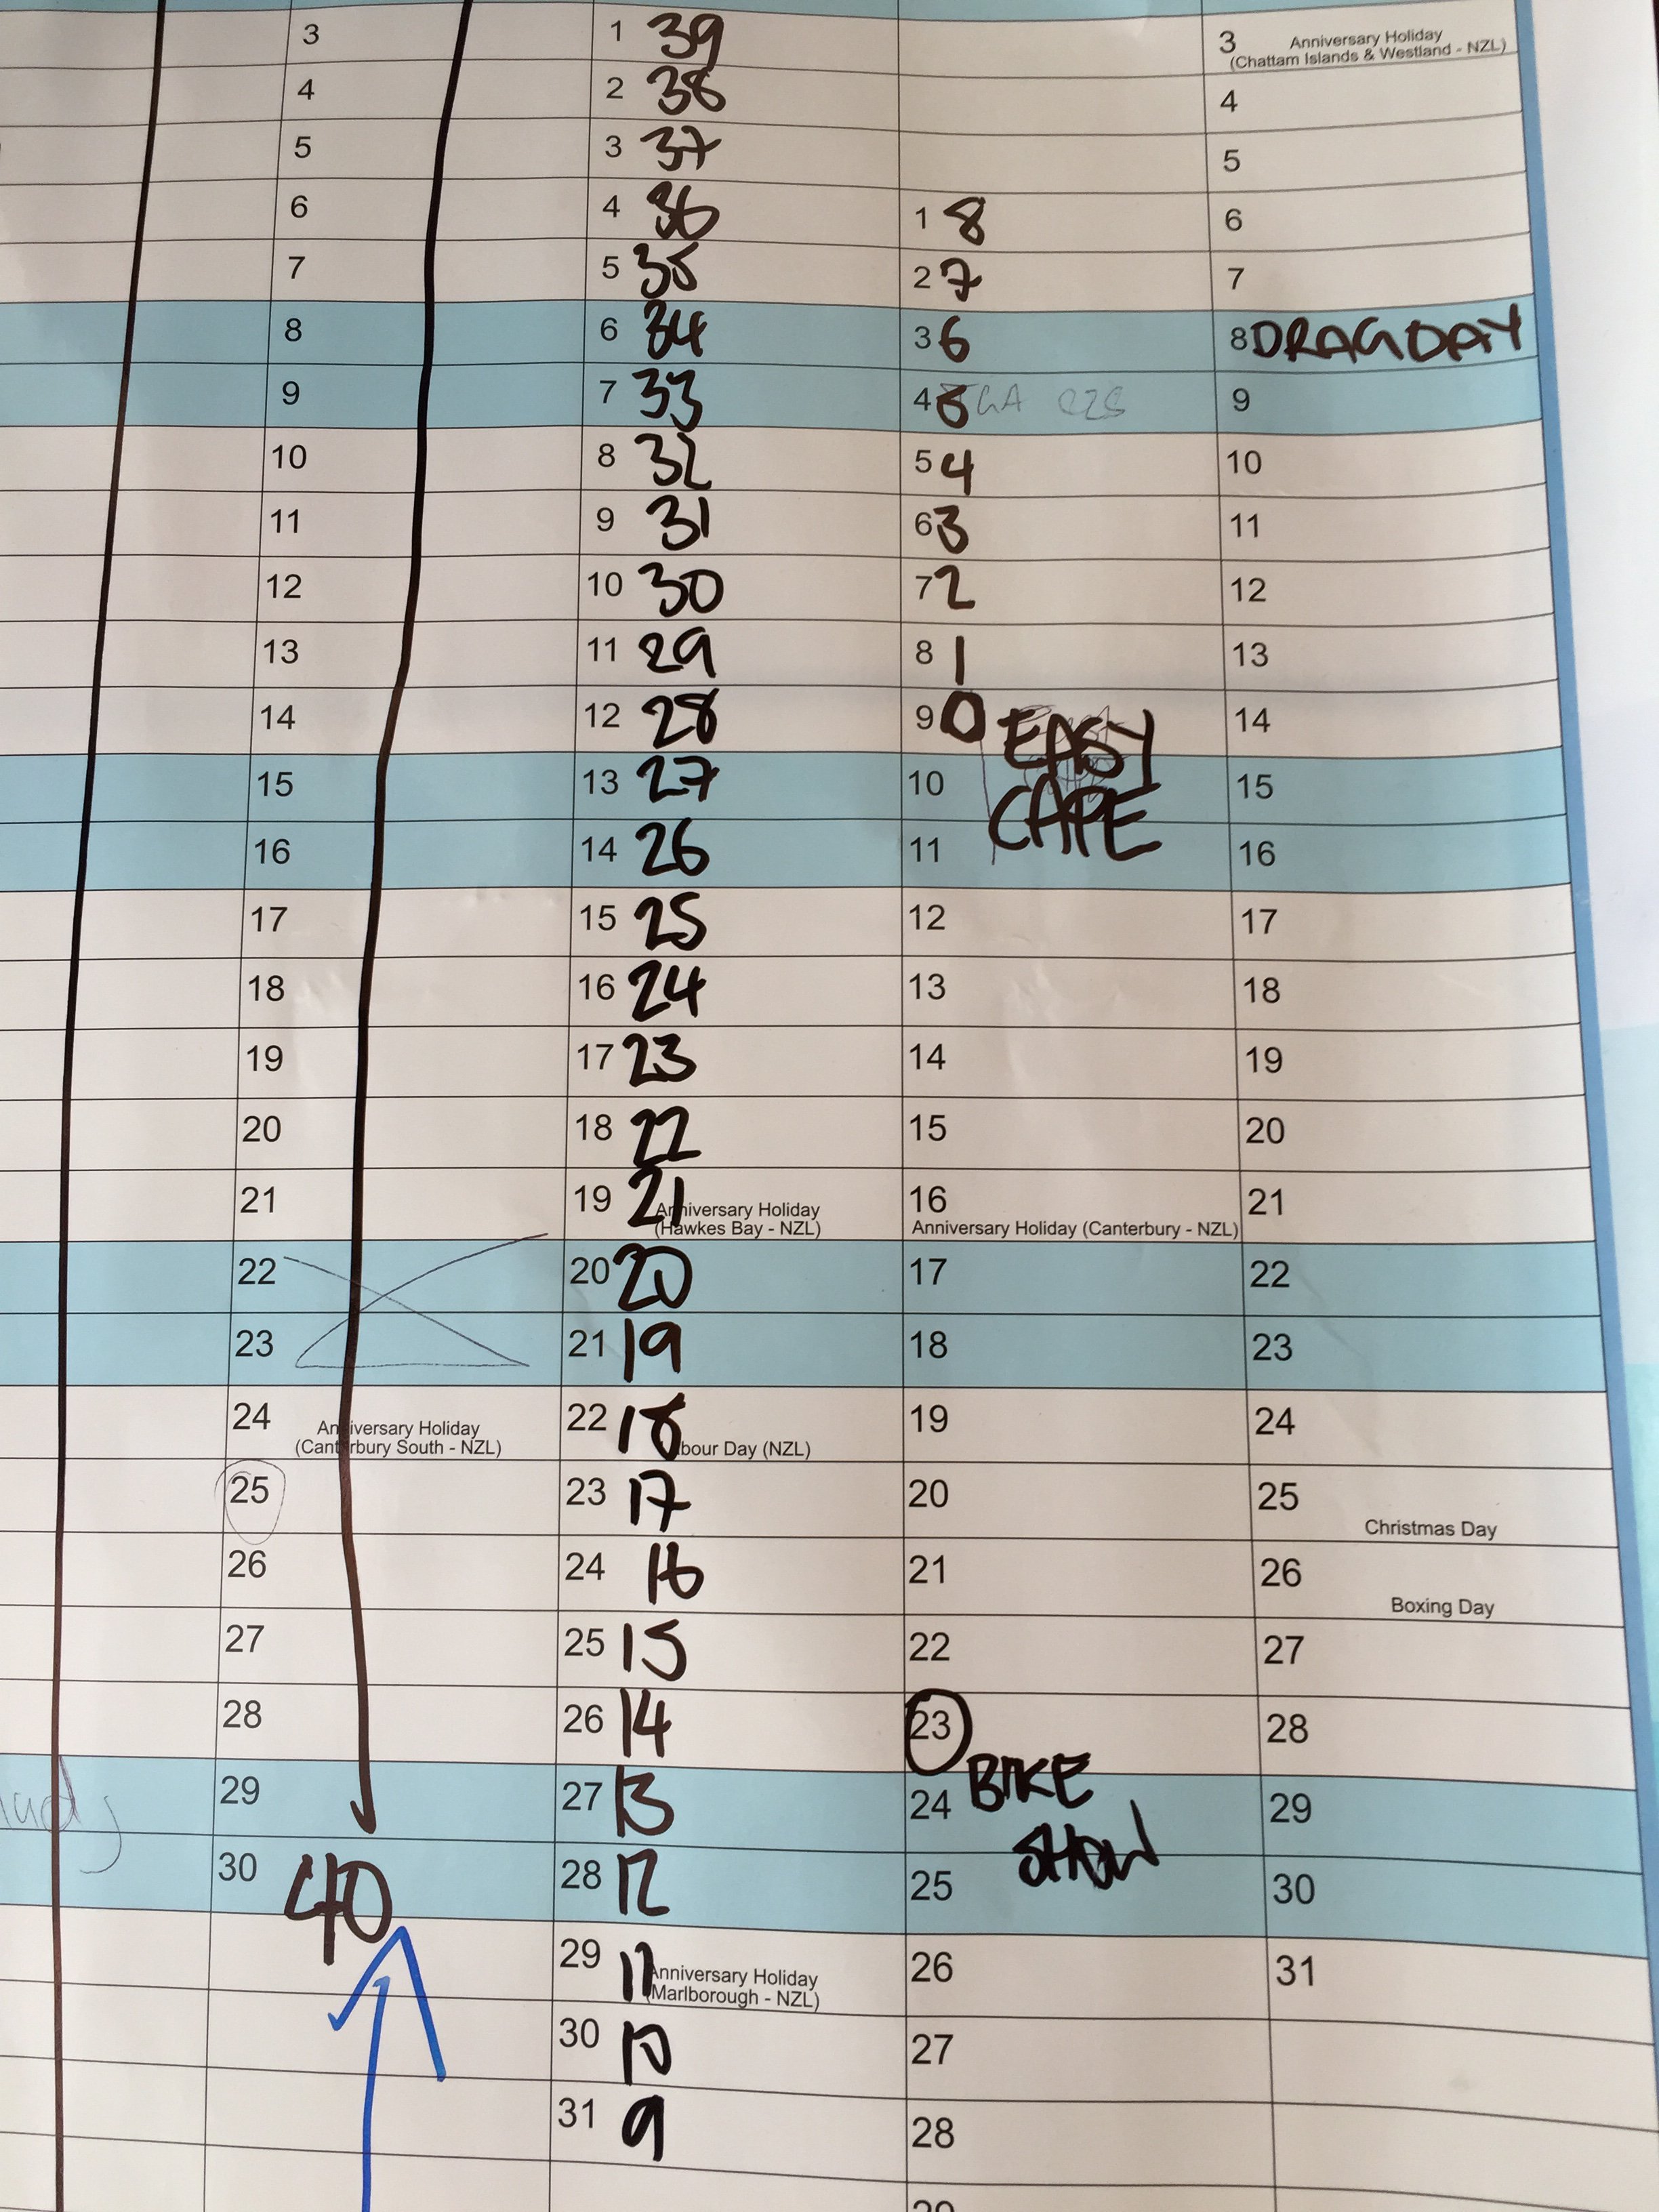
@Shakotom visited the TGA FOAMERS HQ over the weekend and added some numbers to our calendar. Heck. *not actually easy.
1 point
-
Thought this was an Austin when I first saw it. Much better though. Nice to meet ya1 point
-
1kz in this would be sweet..1 point
-
Hugs to you my friend. You should come to Watermark one night and say hi.1 point
-
New extreme performance parts fitted
1 point
-
You need a foot stand so you can push it down hard1 point
-
A boat builder gave me this tip..cover areas you don’t want the epoxy to stick to with packing tape..then to get the gap you want use the foam stripping that you put around windows to stop drafts in the gap and cover with tape again. then it’s ready to epoxy over.
1 point
-
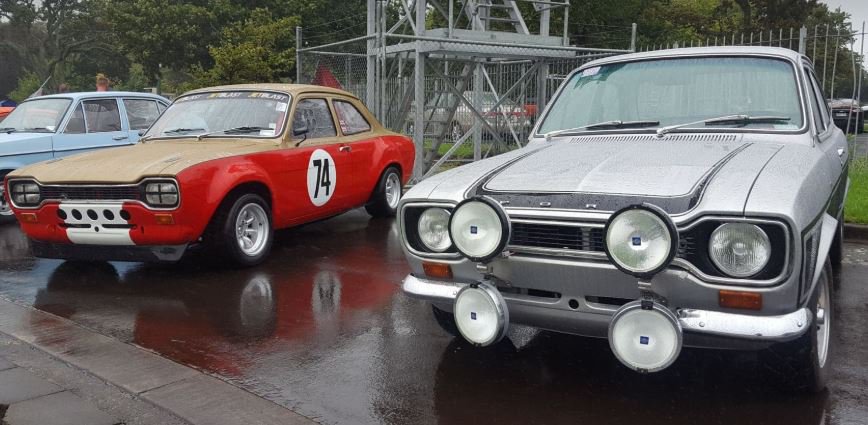
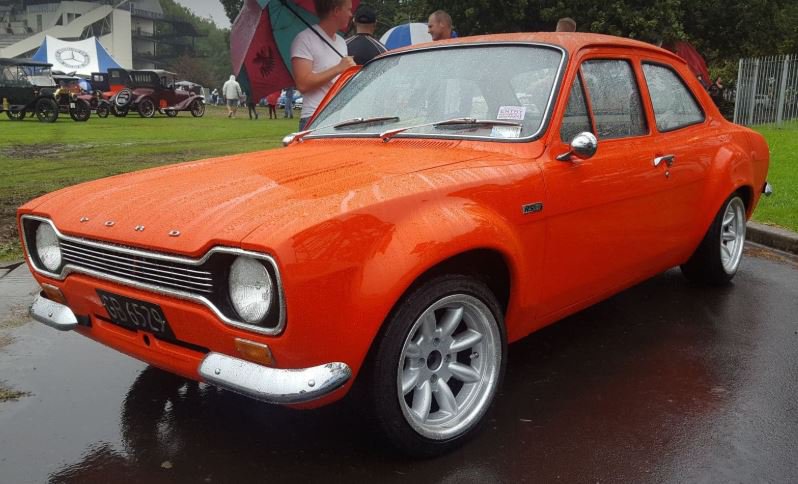
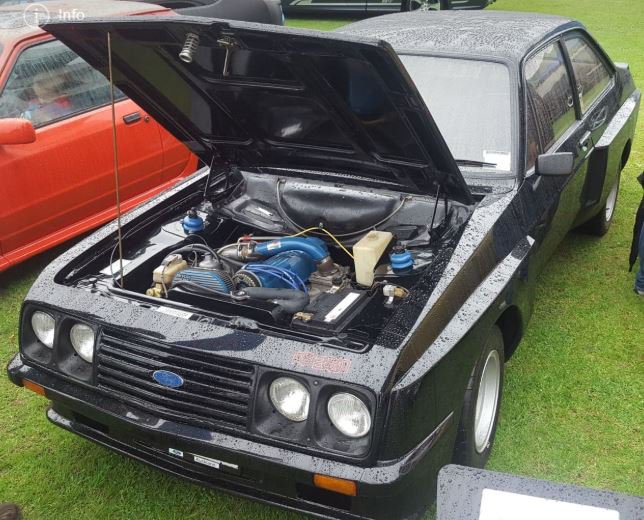
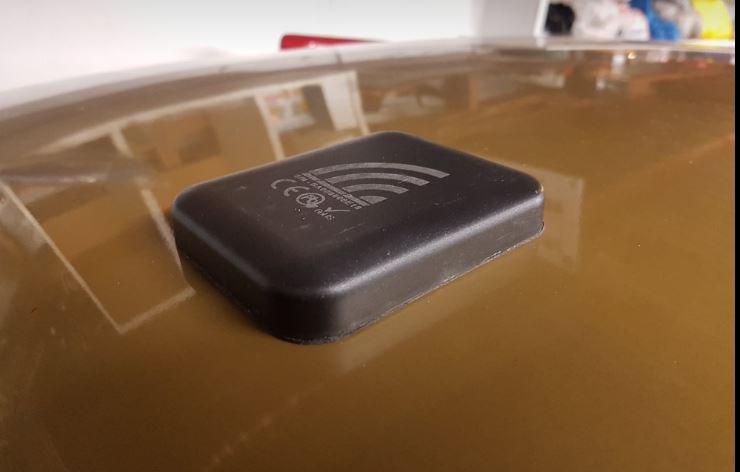
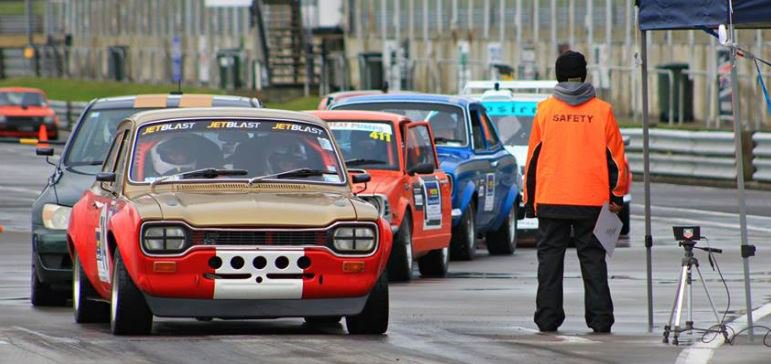
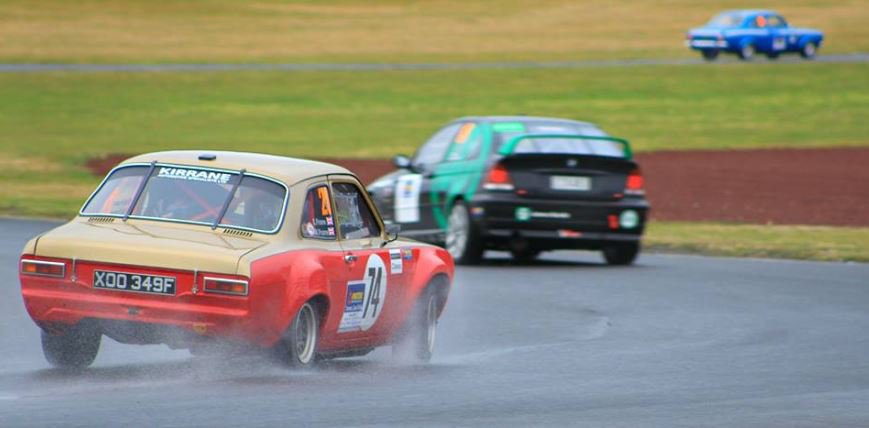
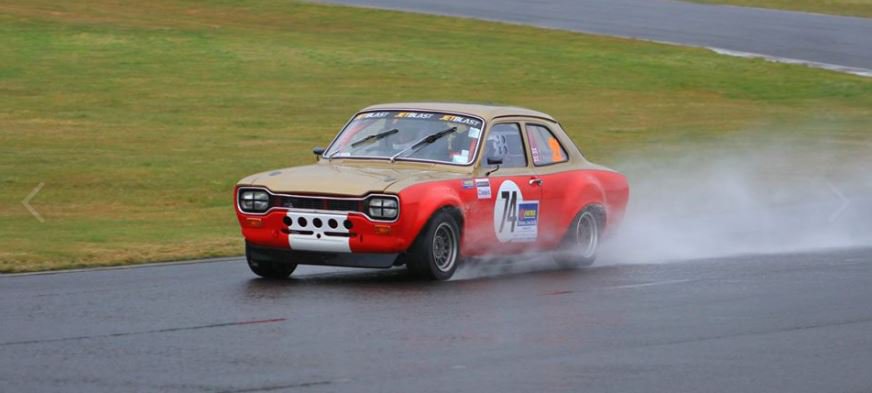
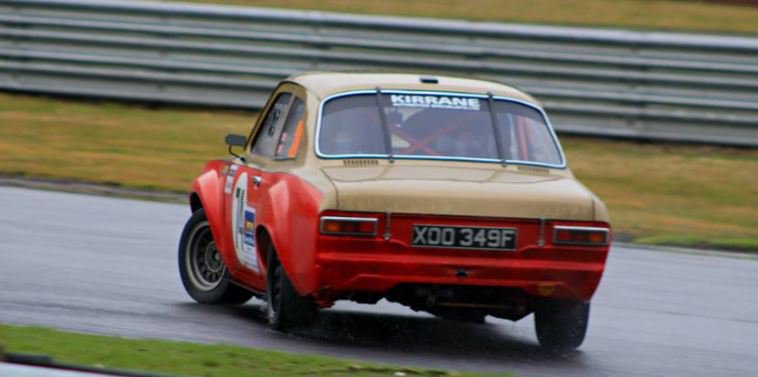
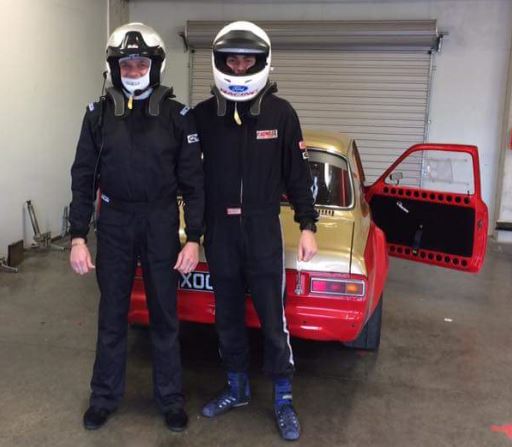
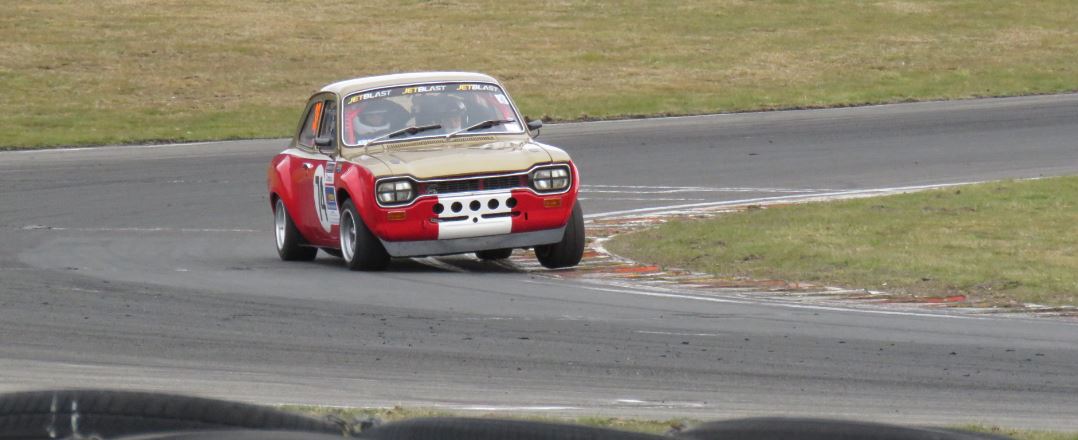
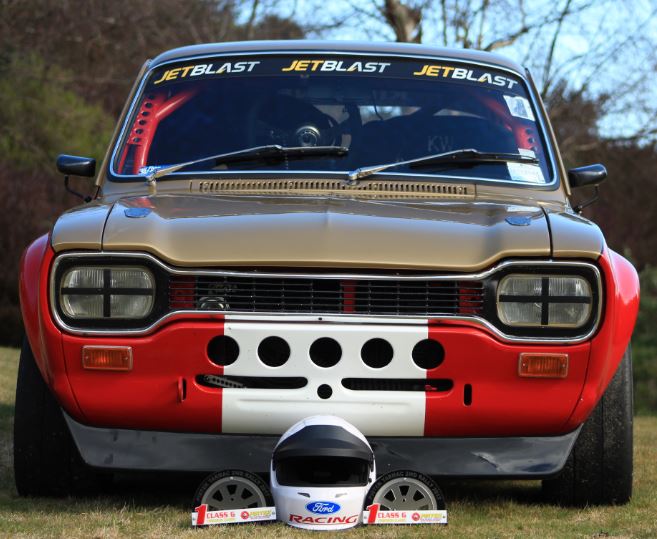
Car shows + Mods/Maintenance + Taupo Rally Ellerslie Intermarque Concours and Classic Car Show, unfortunately it was a very wet day Rs2000 , Xpack bodykit and a Turbo Maintenance before the rally Rallysafe GPS kit fitted Purchased some wet racing tyres incase it rains Made it to Taupo On the start line Very wet throughout the day and some slower times on first few stages Wets are really starting to work, holding 2nd place in classics Incar Footage https://www.youtube.com/watch?v=poI8tztBIgk&t=727s and a bit of sideways to finish the day off Sideways Incar footage https://www.youtube.com/watch?v=poI8tztBIgk&t=727s
1 point
-
so you could cut racing stripes/dicks in my alloy plenum eh1 point
-
I needed to somehow get the Dio stem to fit onto the melody frame. The melody tube is longer and thicker than the dio. Since IT was thicker I gambled that the thinner dio stem tube would fit the melody. Both frames had a date with the grinder and it mostly worked Melody vs dio I'll save those bits for mounting the plastics later Some A+ Grinding skills Couple of tacks and a test fit, Its a bit high so I raised the tube as much as I could. GTFO stand, I can't mount my engine properly In my wisdom I threw out the dio handle bars and of course the melody ones don't fit the Dio stem. I think one of the other nifty bars fitted the dio stem so I'll check my hoard1 point
-
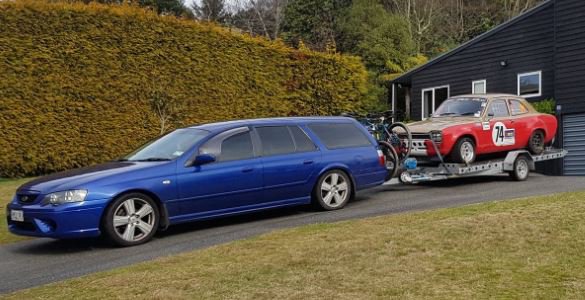
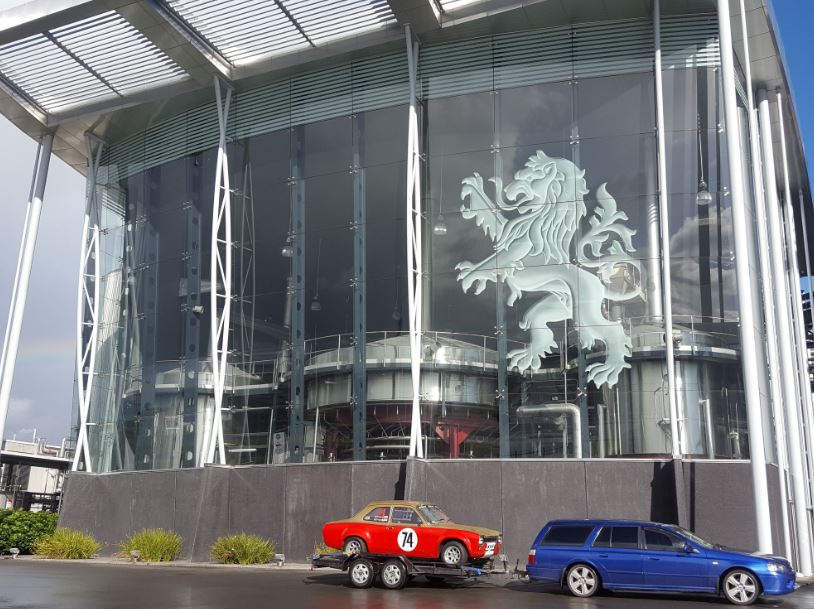
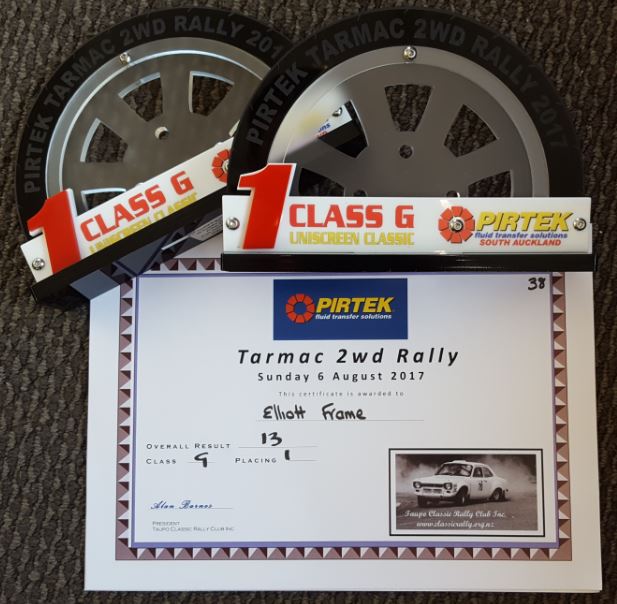
Taupo Rally Leaving work on Friday Arrived at the bach in Kinloch, Taupo Good garage Great Views Ready to Race Stage 1 2 done and dusted - Leading our classic class so far Stage 3 , giving it some more welly now @ Time Control Stage 4 Results are in Great Weekend Fantastic event, thanks to the taupo classic rally club and pirtek ! Thanks to my co-driver Dad and my Mum and Brother and friends for coming down to watch and support Montage from various stages
1 point
-
Then today at work we were all sitting around laughing about what the hell id bought and I thought I'd see if it was seized or not, didn't have very high hopes, but, it turned pretty freely, stoked! Then the obvious next step was to see if it started, cleaned up the plugs and points and hooked up a Jerry can to the fuel pump and it took a few tries but it eventually fired into life, soon after I had a gander and found someone had fucked with the throttle linkages and they were all round the wrong way and pointing in all directions so hooked them back up to what looked to be right and then it actually got off idle! Been thrashing it round the yard after work this evening. Shit it's a hoot to drive and runs so damn well too!! Have a video or 2.1 point


.JPG.e6a0872e2b6583dbfd9fc8845abe0928.JPG)
.JPG.51c670677668ce8d769c048bc79ab6e5.JPG)
.JPG.cd881e46c6019457254685a540b394fd.JPG)
.JPG.153af3058945c2aff41cbfaf26959745.JPG)
This leaderboard is set to Auckland/GMT+12:00