
Leaderboard


Popular Content
Showing content with the highest reputation on 08/28/17 in all areas
-
This wee project started with my son having a hoon on a mates PS4 racing game and loving it, but he was pretty shit at using the controller. Got the seat for $1 on trademe. $1 reserve win. The Drink Drive 2000. patent pending.17 points
-
windowz and shit. 2017-08-28_05-08-44 by sheepers, on Flickr 2017-08-28_05-09-10 by sheepers, on Flickr 2017-08-28_05-09-23 by sheepers, on Flickr 2017-08-28_05-14-09 by sheepers, on Flickr11 points
-
So I was dressing all the exterior black trim with the great Kleers product, and anyway I noticed the front bumper undertray/lining thing at the bottom is missing the whole right hand corner. So I ordered an AIR front splitter to replace it all, it looks like the one on this car: It's being freight forwarded to me - so I should see it in 3 or 4 weeks I guess. Obviously the nostril things are a big no-no. Anyway. Other things I have been doing to get this car up to scratch: - replaced broken fog light trim pieces on RHS - replaced sill/pillar vent on LHS - replaced previous owner hokey-mod door lock pull (they have an LED in them that blinks when the factory immobiliser is active and obviously someone in the past didn't want to shell out for a new OEM one) - regassed boot and bonnet struts. Win. - today I pulled apart all of the leccy window switches, cleaned the contacts and repaired some dodgy solder joints. Now all of my window switches are functional and I can raise/lower the passenger window. Have stuff on order including new blinker lenses, air filter, oil filters, new OEM key head thing, clutch hydraulic parts as mine are iffy, fuck, heaps more stuff from Pelican Parts I have all but forgotten about. Have some wheels on the horizon already even though I said I wouldn't but hey look when life gives you lemons (wheels) you made lemonade (rad looking cars). The end.10 points
-
Well then, the having to have at least 1/2 a tank of gas, to stop surge under acceleration lark, finally pissed me off enough, that I pulled the tank out. I thought about all scenarios, and pretty much went with the easiest option I thought would work. I cut out a new flange, from 6mm thick steel, and welded it to the very back of the tank, Then I lengthened and bent the pump cradle, so it sits at the lowest point of the tank, and right at the back. Took a while to get this just right, so that it wasn't touching the bottom of the tank, but nice and close, while not touching the drain plug that's right behind it. Slapped a bit of paint on it, then slapped the cradle in, Then I cut out a blanking plate for the old hole, screwed that down, sealed it, and then slapped a coat of underseal on it for good measure, Put it all back together, slapped piss all gas in it, and whet for a hoon. With less than a 5th of a tank (Probably around sub 10L from bone dry) I could be as fully hektik as possible, and it never surged once, great success!!. Next on the list is to change the AFM, and the throttle housing, then go for a re-tune with more boosts. I also want to change the engine driven fan to electric, but am having trouble deciding on what sort of fan to go for. Regards, VG.6 points
-
This weekend, @Alistair bowled around and helped me with a lush polishing effort on the painted surfaces of the 944. Here's a few shots of the result, taken under some neat skies on Sunday evening. 1991 Porsche 944 S2-179-Edit by Richard Opie, on Flickr 1991 Porsche 944 S2-96-Edit by Richard Opie, on Flickr 1991 Porsche 944 S2-172-Edit by Richard Opie, on Flickr 1991 Porsche 944 S2-141-Edit by Richard Opie, on Flickr 1991 Porsche 944 S2-170-Edit by Richard Opie, on Flickr Some of the S2 differences: 1991 Porsche 944 S2-129 by Richard Opie, on Flickr Turbo nosecone, a big upgrade over the old 924-style front my 8v car had on it. 1991 Porsche 944 S2-92-Edit by Richard Opie, on Flickr "Bridge" spoiler in place of the squishy rubber ducktail thing, and the under spoiler/bum flap thing. 1991 Porsche 944 S2-47 by Richard Opie, on Flickr 1991 Porsche 944 S2-106 by Richard Opie, on Flickr 16x7 and 8" "Design 90" wheels and Brembo 4-pot clappers on 300mm rotors at either end. 1991 Porsche 944 S2-116 by Richard Opie, on Flickr 1991 Porsche 944 S2-119 by Richard Opie, on Flickr 3-litre 16 valve 4-banger engine. A shade under 220hp, lol redline of 6500rpm but sooooo torquey. Actually a very smooth thing to drive, with twin balance shafts and all that jazz. 1991 Porsche 944 S2-189-Edit by Richard Opie, on Flickr Delicious pop-up headlights, I can watch these go up and down all day. 1991 Porsche 944 S2-108 by Richard Opie, on Flickr 1991 Porsche 944 S2-68 by Richard Opie, on Flickr 1991 Porsche 944 S2-80 by Richard Opie, on Flickr 1991 Porsche 944 S2-82 by Richard Opie, on Flickr 1991 Porsche 944 S2-112-Edit by Richard Opie, on Flickr Interior things and stuff. Headunit will be switched out shortly for something not silver, and Bluetooth capable.6 points
-
gonna use this as an excuse to get the knobblies and carrier racks I've been wanting for a while5 points
-
Nice. Anything wouldn't seem to out of place on one of these?
 4 points
 -
I've also got a few bits and bikes in bits around the place... We could possibly piece another couple together. Biggest issue will be getting registration sorted.4 points
-
I don't have a bike and next to no experience on one, but this looks extremely fun. I'll keep my eyes on the Tard for something cheap.4 points
-
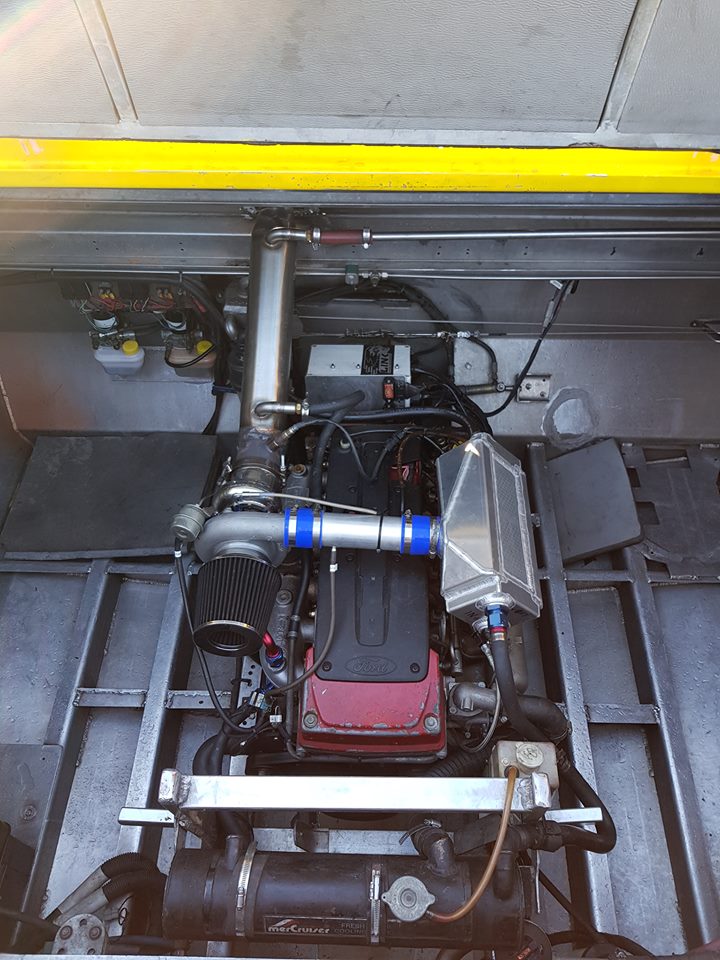
Do this! Used to drive a boat we converted from 496 chev to FG barra and it pissed all over the chev. Gotta be one of the best jet boat engines ive driven with hands down! The barra was pretty much standard apart from alittle more boooooost.
4 points
-
I often spend time building stuff, i find it quite relaxing and gets me out side. I started building shit years ago with the odd subwoofer enclosure to full boot installs, now i own a home so its cabinets, fences and my most recent - an Activity Table for the kids. I went a bit overboard and made this waaaaay more complicated than it could have been. I started in SketchUp where i went through a few design iterations and eventually settled on this; I then tested how it would go together by printing a prototype with a 3D Printer. I was glad i did this as there were a few things that needed changing - mainly i added hidden legs to support the table more. All the sizes & angles came from the SketchUp model and turned out pretty well. I did need to use a little bog because my cutting tolerances were not that precise. you can see the hidden leg supports if you look closely. I let the kids chose the colours for the table, was pretty fun as i just sat them in front of the computer and tried different colours in SketchUp until they were happy. Then off to bunnings for a few test pots. I think it turned out really well, kids love it and use it every day - its bloody heavy though and i dont think i will build something that retarded again.4 points
-
Hey Team, dug out a heap of photos of my old Lambretta project. Warning - a lot of photos and wofting on from the last 4 years or so up to present day so I will split it up into a couple of posts. First off, much like my Range Rover project I blame my parents. Dad used to have a 180SS Vespa and travel all over the South Island on it. They then got me a brand spanking new Vespa PX200 for my 21st birthday which I still own. Any how, all their fault and then my mate Rob's - who let me have a hoon on his Lambretta one lunch time. I was sold, I needed one! So much more fun to ride than the fat bottom Vespa. The hunt was one! It took me a while to find an Italian built Lambretta, most for sale are the Indian ones from the 80s. I got this 1963 Lambretta LI125 Special from a chap on the shore who built it many years ago and really liked matt black spray paint... It had a few trick bits on it and went pretty well. It had a pretty spicy Ralph Saxelby RS175 small block kit on it, ported barrel, suzi piston, snazzy AF crank, 30mm Delorto carb and a clubman exhaust. It was dyno'd around 15.5hp and a lot of fun around town but only really made power high in the rev range, not so good for long distance hoons. Any way, time for some photos. Chronological order up until present day. As I got it, naff GT badge and a lot of mat black paint. Nice Yamaha R1 shock on the rear and the old RS small block. It used a lot of gas but made a great sound. The small tank was soon swapped out for a larger long range tank in preparation for a 4 day 1600km scooter rally (race). Looking back, kind of dug this look. Tyre paint helped! Scoot all prepped for rally. We road from Auckland up to Cape Reinga in back over 4 days. Around 20ish scoots in teams of four and averaged 400kms a day. A few road side repairs and tunes along the way. Clutch cable change at the Cape Reinga 90mile beach run with open carbs... Side panels not wanting to stay on at 100clicks... Any way scoot went great over the four days. Used a heap of 2stroke oil at 4%... My first DGR ride, good fun but a really heavy race clutch and slow a ride was hard work! Next years scooter Rally on my mind. Time for face lift and the need to be faster! Time for a re build that ended up getting really out of hand and still in the process today... To be continued tomorrow...3 points
-
That's a nice v50 you've got there!3 points
-
Looks good with the glazing in. That big lounge window is awesome. We can have roof shout Mk. 2 without the wind freezing us to death. Glass shout?3 points
-
Since working down south at HPA I thought I'd start from scratch with a new tune file, my old one had lots of odds and ends in it from various experiements / adding and removing sensors etc. Looking at everything with a fresh set of eyes really showed how much a few things were garbage but I just assumed it was right when I didnt know much at the time or whatever. Like looking properly into how the cold start functions work it's now much better, starts without foot on the gas and doesnt zing the revs up when you start it. As well as that I'd never really played around with accell enrichment before, now it feels a lot nicer at high rpm when you give the throttle a stab. And I'll be ditching the staged injection as in my case it doesnt really add enough/anything to justify the added complexity to the fuel system, and the throttle response is worse when you're using it. I think to make it work as nicely as a single injector setup you really need a good wall wetting compensation model and two completely seperate tables for it for each injector. Whereas the Link only has a single table for accel enrichment settings, and an initial enrichment setting when secondary injectors come on. Which makes it impossible to account accurately for situations where you've got say 20% secondaries vs 90%. I think staged injection works well when your entire intake is hot, as it evaporates the fuel a lot quicker. But in my case when you've got a thermal isolator stopping engine heat soaking into the manifold you get a huge % of fuel ends up as wall wetting and you lose control of fueling and accel enrichment. I've now got about 3-4 sets of Altezza injectors though so I'm gonna flow bench them all and find the best matching set out of the lot. Will be interesting to see how much variation there is (or isnt) across that many of the same injector. Also just picking up this afternoon an Altezza engine in bits, so might throw it together and chuck it in the car to have a play around with exhaust side VVTI as well and see if that makes much difference compared to current setup. /Pointless Dave Rant over /It's never really over though3 points
-
Today's work so far... I started by measuring, marking, and trimming the inner channel to the correct length. It didn't take too much fiddling which makes a nice change. I used a piece of angle iron to keep the channel parallel to the top of the original for checking the fit. I got it trimmed up properly and mocked the two skins up together to check how they'll sit. Looks good. Next I had to transfer the positions of the holes for the ARB mount crush tubes from the outer skin to the inner one. Easy peasy. Then I got them drilled out and test fitted the tubes. Should fit nicely. I gave it a couple of tacks with the MIG from the inside to hold it in place, Then fitted the bumper mount brace panel to the back side to stop the tubes from pulling to one side or the other... While I fully welded the front side with the TIG. The tubes stuck out slightly proud which meant I barely had to use any filler. Then I cleaned up the welds and put a drill back down the tubes to clean up any spill over of the weld bead. Finally I assembled everything to check how it would fit, I measured the position of the ARB mounting bracket relative to the other side which is as yet unmodified. So far they are dead nuts on so I'll go ahead and get this side tacked in. Not before I disassemble it all again to put some paint up inside the rail though. I'll put some topcoat on before I weld it in. I've stopped for a quick lunch now but I'll be back out there real soon.3 points
-
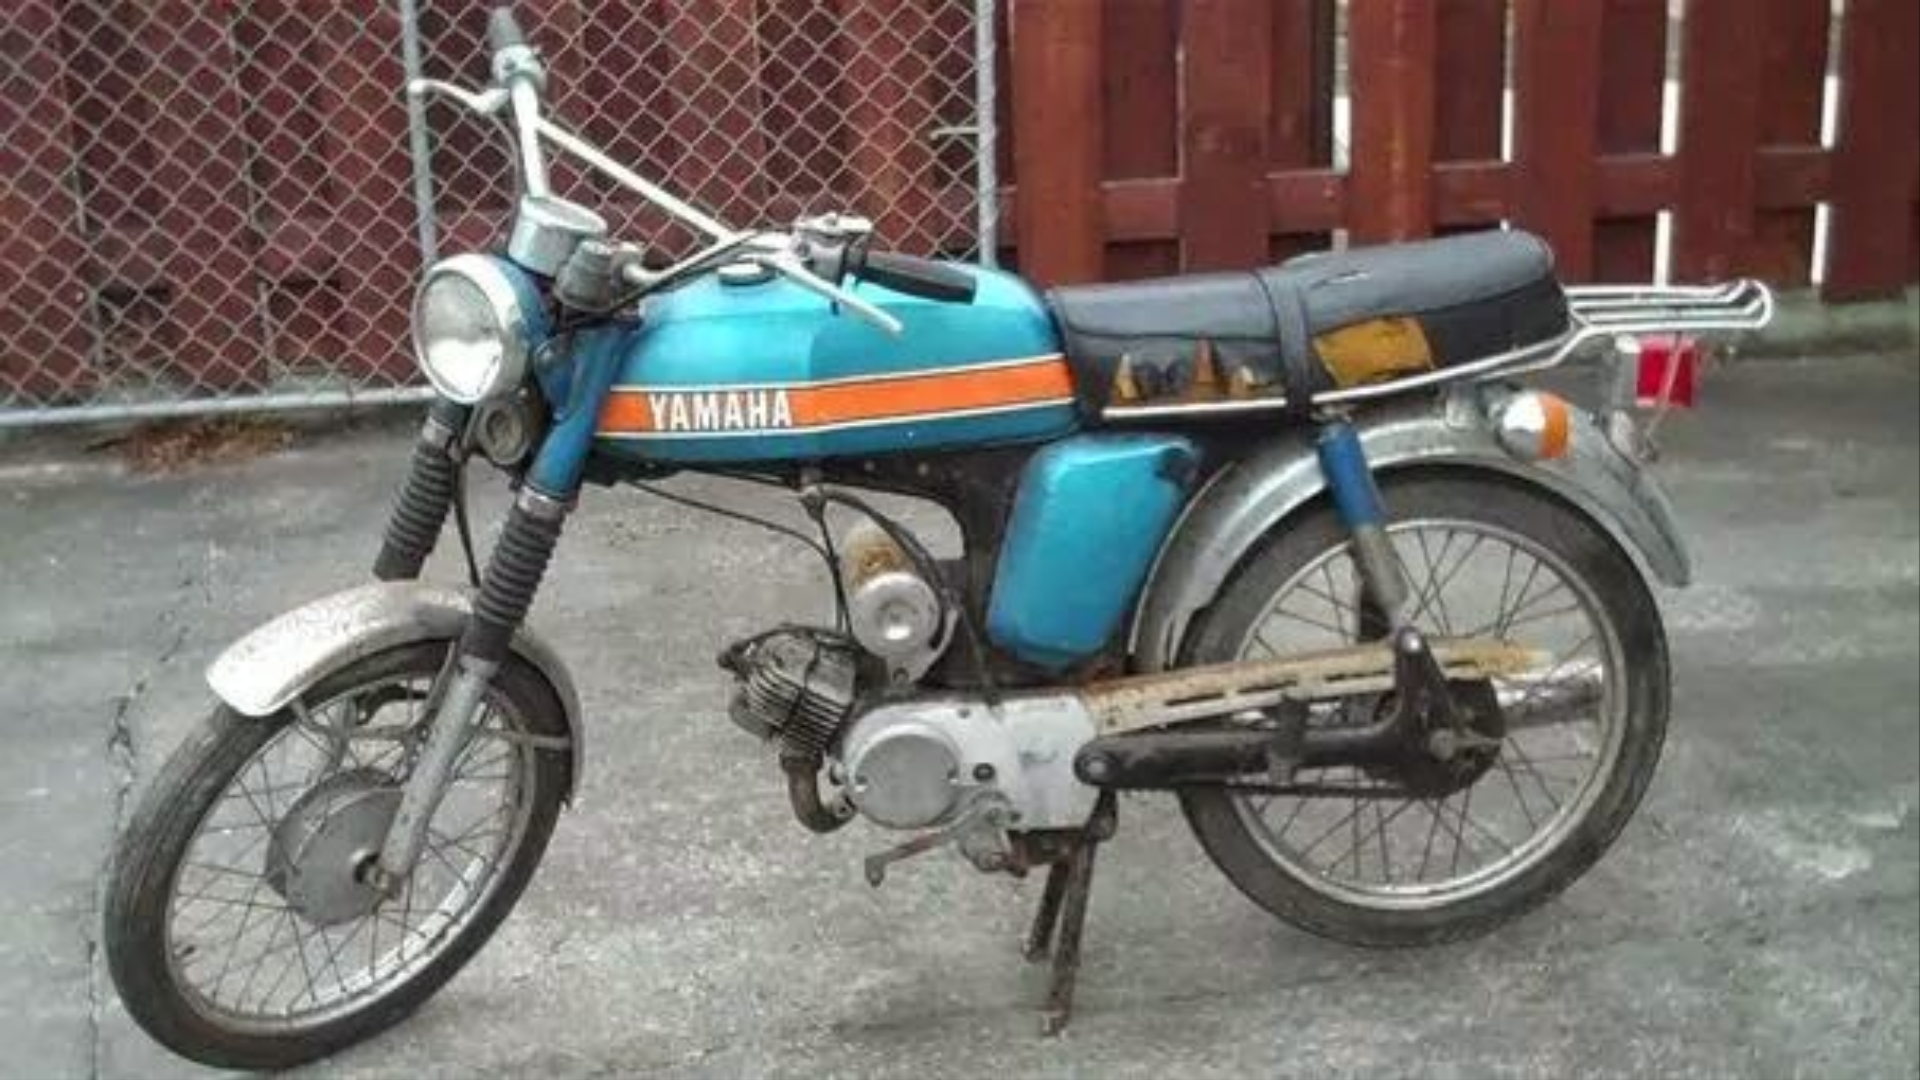
http://www.trademe.co.nz/motors/motorbikes/motorbikes/classic-vintage/auction-1403704195.htm3 points
-
Got some brake hoses and a tail gate on there way. Pretty excited about this tbh Need to find a carb that's not fucked in my pile and take it for a hoon.
3 points
-
Nuts to butts on a FA50 for 600km @MopedNZ3 points
-
Update time. Vivadom daily driving has been pretty damn good. Especially when 2 months ago I finally got around to changing the voltage settings for the wideband O2 sensor on the ECU so that the ECU would get the same reading as what the Innovate gauge shows. It’s a common setting fault and took all of 5 mins to get them to read almost the same. What does this mean though? Well for ages the ECU and hence the tuning program, Tunerstudio, have been receiving a ‘leaner’ voltage than what the engine was really at. This meant that in tuning the final outcome was always a bit too rich. When the ECU was in closed loop ego control it would take my preferred AFR table settings and adjust to what it thought was correct.. which was not. With the ECU now getting the proper signal we re-tuned the car on the way back from Blenheim to Motueka. It was too rich everywhere and after not long was leaned right back. Driveability remained the same, but tail pipe smells improved J I have not gone super lean, sticking to around 15~15.5 on cruise. We filled the tank back up in Motueka and the cars economy had improved returning 32 mpg (8.8l/100km). There is still room to improve but happy with that. So this was all good and everything was fine and dandy for the last month or two. Then the other day while leaving town I started to hear a teeny whistle sound. I just put it down to the throttle body making the sound because sometimes it does just this. The other thing I thought it might be was the idle control valve. I didn’t look into it any further. However, over the next few drives I noticed it was hunting a little at really light throttle openings, like slowly accelerating away from standstill. Hmmmm?... Then that whistle again, this time when I got home one evening. I popped the bonnet and listened around. I couldn’t pinpoint it but when I ran my fingers around the back underside of the plenum box where one of the runners joins I heard the note change. An air leak. Bugger. I looked with a torch and could just make out a little crack on one of the welds I had machined down…hmmmm. Bugger. Oh well.. I was planning on doing a modification to the throttle body pulley so why not sort it out now. I drove the car into the Viva hospital and started surgery. It didn’t take long to pop the bonnet off, unplug all the bits needed and start removing the inlet manifold. The trickiest bit was the return fuel line which was stuck to the pipe and hard to get too. One hour after having parked the car in the surgery and picking up the scalpels I had the manifold on the bench. I worked out pretty quickly why the manifold had cracked where it had. To explain how we need to pop into the police box and go back in time…. Maybe not that far though. Lets try again… Nup.. still too far. This time… Errrgggg. Again… Oh dear lordy..one more time… Ahh… that’s better! Righto..now remember this original plenum chamber? Made from some bent up 2.5mm alloy sheet. It had buckled diagonally when welded and I had then set up the runner heights to suit when I tacked them in place. I had to try and straighten it so it sealed correctly (using our house as a press).. It all worked out OK at the time because it flexed enough to seal when bolted down to the runner flanges. However a few years later I had that backfire and blew the lid off. I then fabricated a new plenum from 5mm alloy sheet and its was nice and straight.. It did not flex. This is how I think the crack happened. I decided I was not going to try to weld up this little crack because I knew the heat would warp the runner flange and nothing will seal. So I bought some posh looking South African epoxy putty, a bit like minute mend or quicksteel. It requires a lot more mixing than the others but sticks really well and smoothed off nicely. Kevin kept guard while it set. While the inlet was off I did some measuring and worked out the dimensions for a new offset/eccentric throttle body pulley. Then I machined down a lump of alloy bar and ended up with a new pulley. I got to use our new mill with a 2mm slot drill ( I could have used a hacksaw and file but this was more fun..) The new pulley effectively gears down the cable pull at the start of the throttle pedal travel and speeds up at the end making for a much easier off idle transition. You can see the difference between old and new here.. No more kangarooing down the road for people not used to this engine with its lightweight flywheel etc. I refitted the inlet manifold, plugged everything in and tried it out. WAY BETTER!!! Went for a drive and its so much easier to ease the throttle on out of corners or from standstill. Much more user friendly and I now wish I’d done this mod ages ago!3 points
-
The tragics? No, all large displacement dudes....but even they realise how much of an adventure this would be.2 points
-
Have plate/s. Can use.2 points
-
Little bike peeps?2 points
-
I mentioned this to some motorcycle tragics at work...their eyes rolled back and to a man they said "That would be so cool....." Expect lots of interest.2 points
-
New life motto. Also. Seems like a large bunch interested. I talked to some of the guys in Auckland and a couple of the c50 brigade sounded keen as. Shall follow up.2 points
-
Thats more than i paid for my Carbtune Pro off trademe. Cmon Ali, you can do cheaper than that.2 points
-
keen as a bean for this, im sure sparkle will be too, but gravel roads, so maybe not lel. but yea we should be able to put together a bit of a penny pinchers crew. Id just need to choose between the C140 and the Ct1102 points
-
It's sweet. IMO.2 points
-
Looks like they've opened up an area designed for car clubs to park together. I helped with parking at Leadfoot this year and so many people wanted to park next to each other but due to the layout it couldn't be guaranteed, so this seems like a good idea. Maybe gauge some interest around OS to see who's going etc then someone fill the form in so everyone can park next to each other. http://www.leadfootfestival.com/leadfoot-festival/car-clubs/2 points
-
Markku sounded somewhat interested in this trip when we talked the other week, have a chat to him about getting a group of you Waikato guys together2 points
-
^^This Fuel can be a little far between down there, I'll probably carry 10-20L extra on the bike just in case anyone gets caught out between fuel stops/rendezvous with the ute. Luggage capacity is a thing if you had to carry all your requirements for the duration. But again, put what you'll need each night on the ute and just carry what you need for the day on your person. And yeah, as long as you're comfortable riding the thing (posture/butt/weather) and confident its reliable enough for the duration then you're golden. Few basic tools/spares and figure the rest out as you go. Depending on how confident you are on gravel some slightly more aggressive tyres could be of benefit, but you'd be just fine without. The East Cape is a pretty rough and desolate place, so it'll basically be exactly like this.2 points
-
take extra fuel, there is bugger all2 points
-
Dang, this'll be sweet2 points
-
spouting is colour steel. made on site stz2 points
-
@ThePog this is the 6BT sitting in a patrol.... but they go into a 80 series too. 800 nm on a 12v stock. guys in the states compound turbo them. tuff as nails. Way cheaper and lots about in our market unlike the new v8 cruiser big dollar nightmare engine.2 points
-
Nah I'd disagree. I made my ecu for $500 which included buying the better version of tunerstudio. My coil pack cost 40 bucks. The sensors and wires all came from the mazda I got the first engine from ( of which I sold the rest and made money on) You'll need a Jimstim to check your ms2 build ( borrow one from someone as I did) and you'll want a wideband to tune with. I bought an innovate mtxl but cheaper options out there now. Use a second hand fuel pump from a commodore. So ignoring my time and a few silly little bits I'd say my fuel injection cost me less than a grand. Or build a speeduino ecu for $100 I'd been following this resto with much interest and was halfway through catching up then forgot it. Only caught up now. Fine engine choice. You'll love it. Proper good little, lightweight screamer of an engine and so smooth. I think steve (transom) has covered most things really well so I can't add anything at this point.2 points
-
No actual progress today. Sat around at the accident clinic for three hours waiting to turn this Into this. It's a bit bloody over kill but such is life. At least it was free. In future I'll just fill it with antibacterial goo and tape it up. It would save so much time. Oh well. I have school off tomorrow so I can get some work done then.2 points
-
If enough people think I should, then I shall do it on a FA50. 600km is chump change.2 points
-
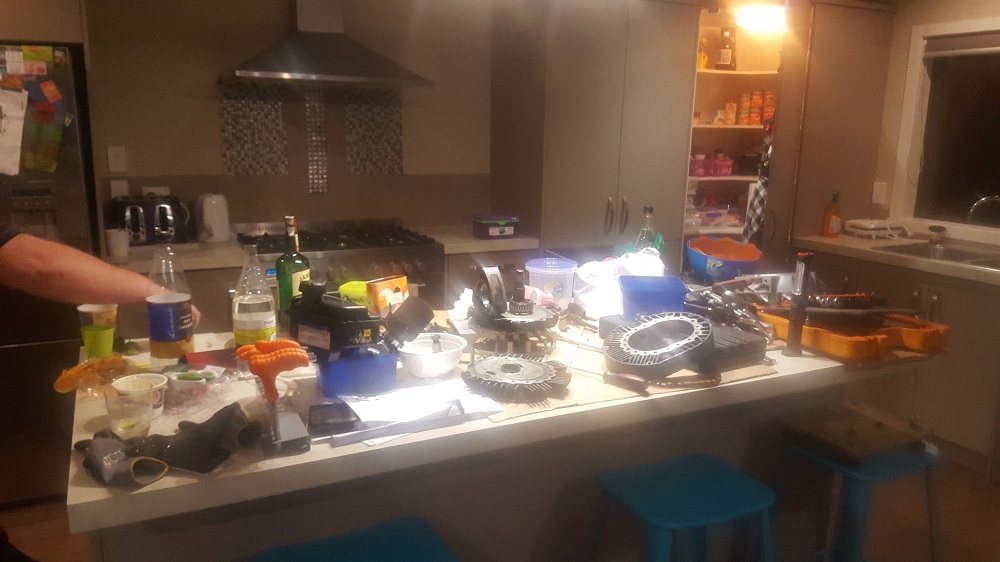
Putting the kitchen bench to good use
2 points
-
The other job, was to mount the ARB's. I had a pair of 27mm bars custom made, and mounted the front bar to the front axle, using the U clamps and brackets supplied. I made my own top mounts, and welded these directly to the front subframe that the engine hang off. For the rear bar I drilled through the shock mount brackets, welded captive nuts inside, and bolted the clamps to these. I made my own chassis brackets, and welded these on. That should stop the rockin' and rollin'!2 points
-
Hi, I'd like to claim the spare postie bike for the weekend plz. I can trade shit beers and even shitter yarns.2 points
-
we are going to reuse the old internal doors in the new house. i took them to be stripped and this is the result. 2017-08-24_11-38-36 by sheepers, on Flickr in other news more weather boards are on and the spouting is finished. also some of the windows are in.\ 2017-08-25_01-57-48 by sheepers, on Flickr2 points
-
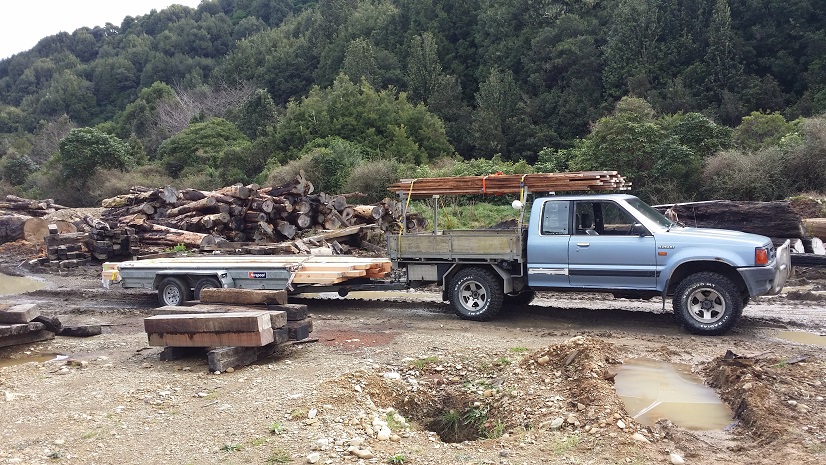
I've been collecting timber from a sawmill 'up north'. Is my ute OS? I reckon it are. It's also bloody awesome. It has self canceling indicators and power steering, but everything else you need to do yourself. The objects in the mirror are precisely their own size and I need to get out of the cab to engage the free-wheeling hubs. I love that ute. Sadly the generator died last weekend (as did a number of other things). It's a real challenge trying to keep tools dry enough to use up there, but after forking out a significant portion of the cabin budget on a replacement generator I managed to finish another frame today. I've gotten a bit better at calculating tangents... but of course there are mistakes aplenty. Sorry about blurry photo. It was almost dark
2 points
-
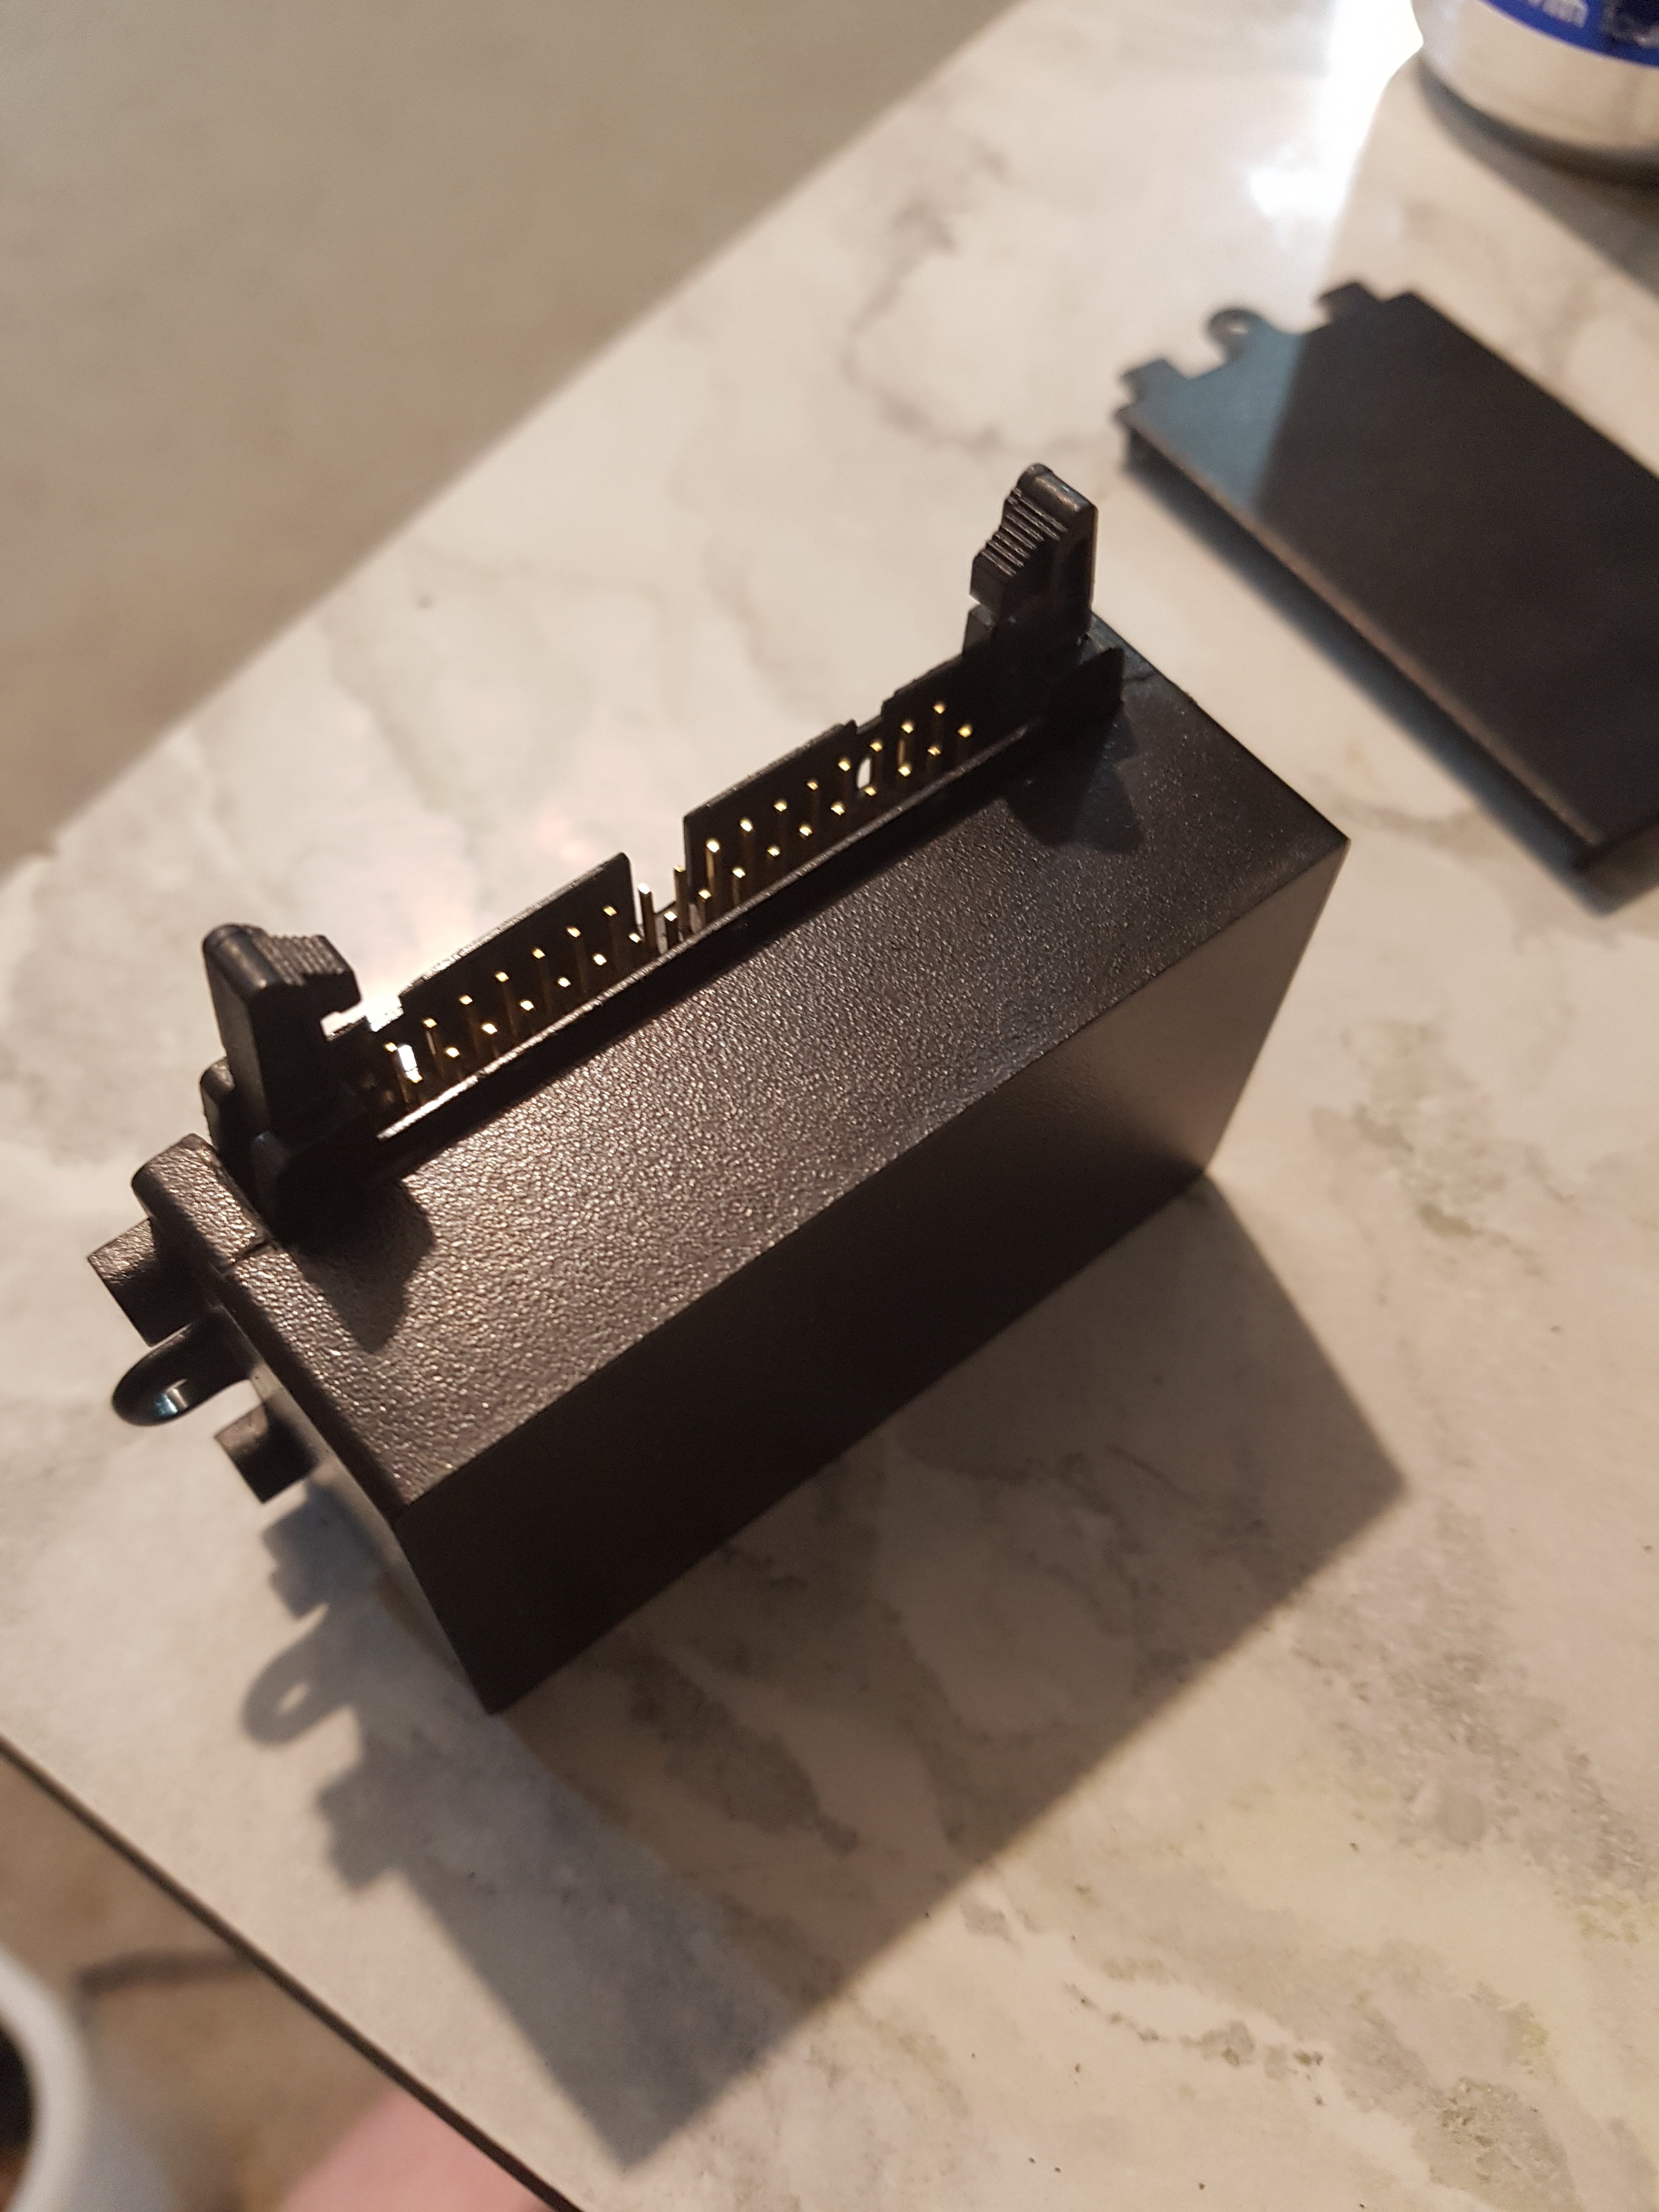
I found the problem (I think) The libraries share a timer. Anyway.. have soldered one nano to a plug and put it into a box..
2 points
-
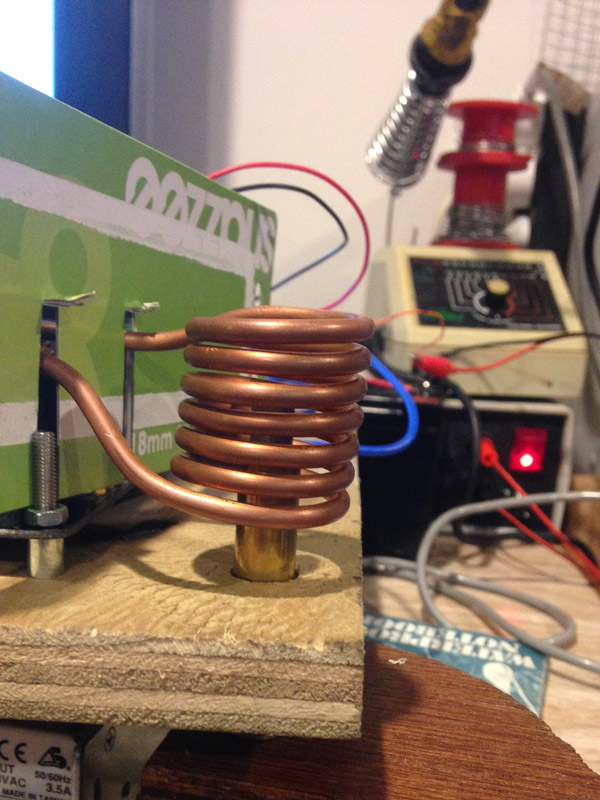
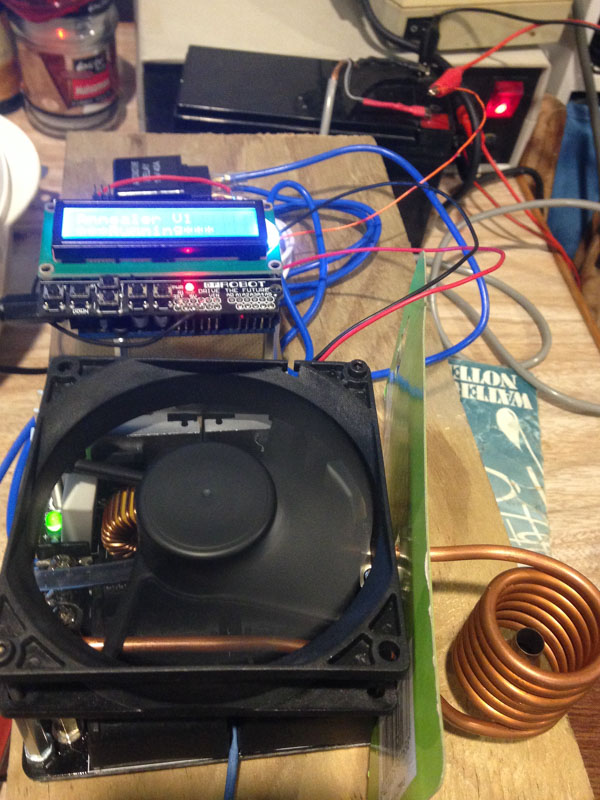
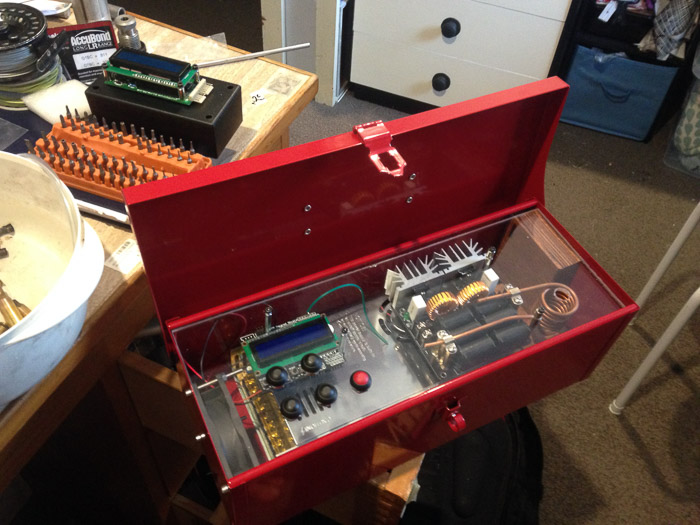
Made some changes to the annealer over the last few months, started with a solid state relay so I could run a 48V powersupply with the added benefit of not needing the FETs for switching, improved the cooling system and made minor tweaks to the coding. Running off a sheet of ply wasn't too nice so I planned to make a timber box to tidy the whole lot up, while looking for supplies, a red toolbox caught my eye for a much fairer price, after drilling a few holes and some offcuts of acrylic, there we go, almost pro looking! There are a few wires missing from this shot, and I still need to organise the dropout chute in the front for finished cases, oh and add speed holes so the cooling fan can actually draw air!
2 points
-
2017 Event - A few of us are planning to ride on smaller bikes from Whakatane(ish) around the East Cape and back over 3 days, at the end of November when its nice and warm but not too busy. No requirement on bikes, something unsuitable and small is preferable though. I'll be on a CT110, VG his NBC110, couple friends on scooters(~50cc). Looking at about 600km, about 200km/day. Thinking a riding speed around 50km/h should give plenty of time for looking around and activities and sightseeing during the day, but not too fast for the smaller bikes. Where possible the route is off busier state highways so there will be some longish sections of windy gravel, but little traffic and no rush means you'll be fine. Accommodation around Whakatane, Hicks Bay, and Gisborne should be easy to arrange, be it campgrounds, cabins etc. There will be a ute and/or trailer that can carry fuel/luggage/spare bikes as well if anyone wants/needs to sit out any parts. Coast trip Total by John Bell, on Flickr Things to see and do on the route may include but not be limited to Serenity Lighthouses Wharves Churches Time travel. Horses, all of the horses Gangs Waterfalls Slip'n'slides And some of this You got 3 months Holla at cha boy, what do you reckon?1 point
-
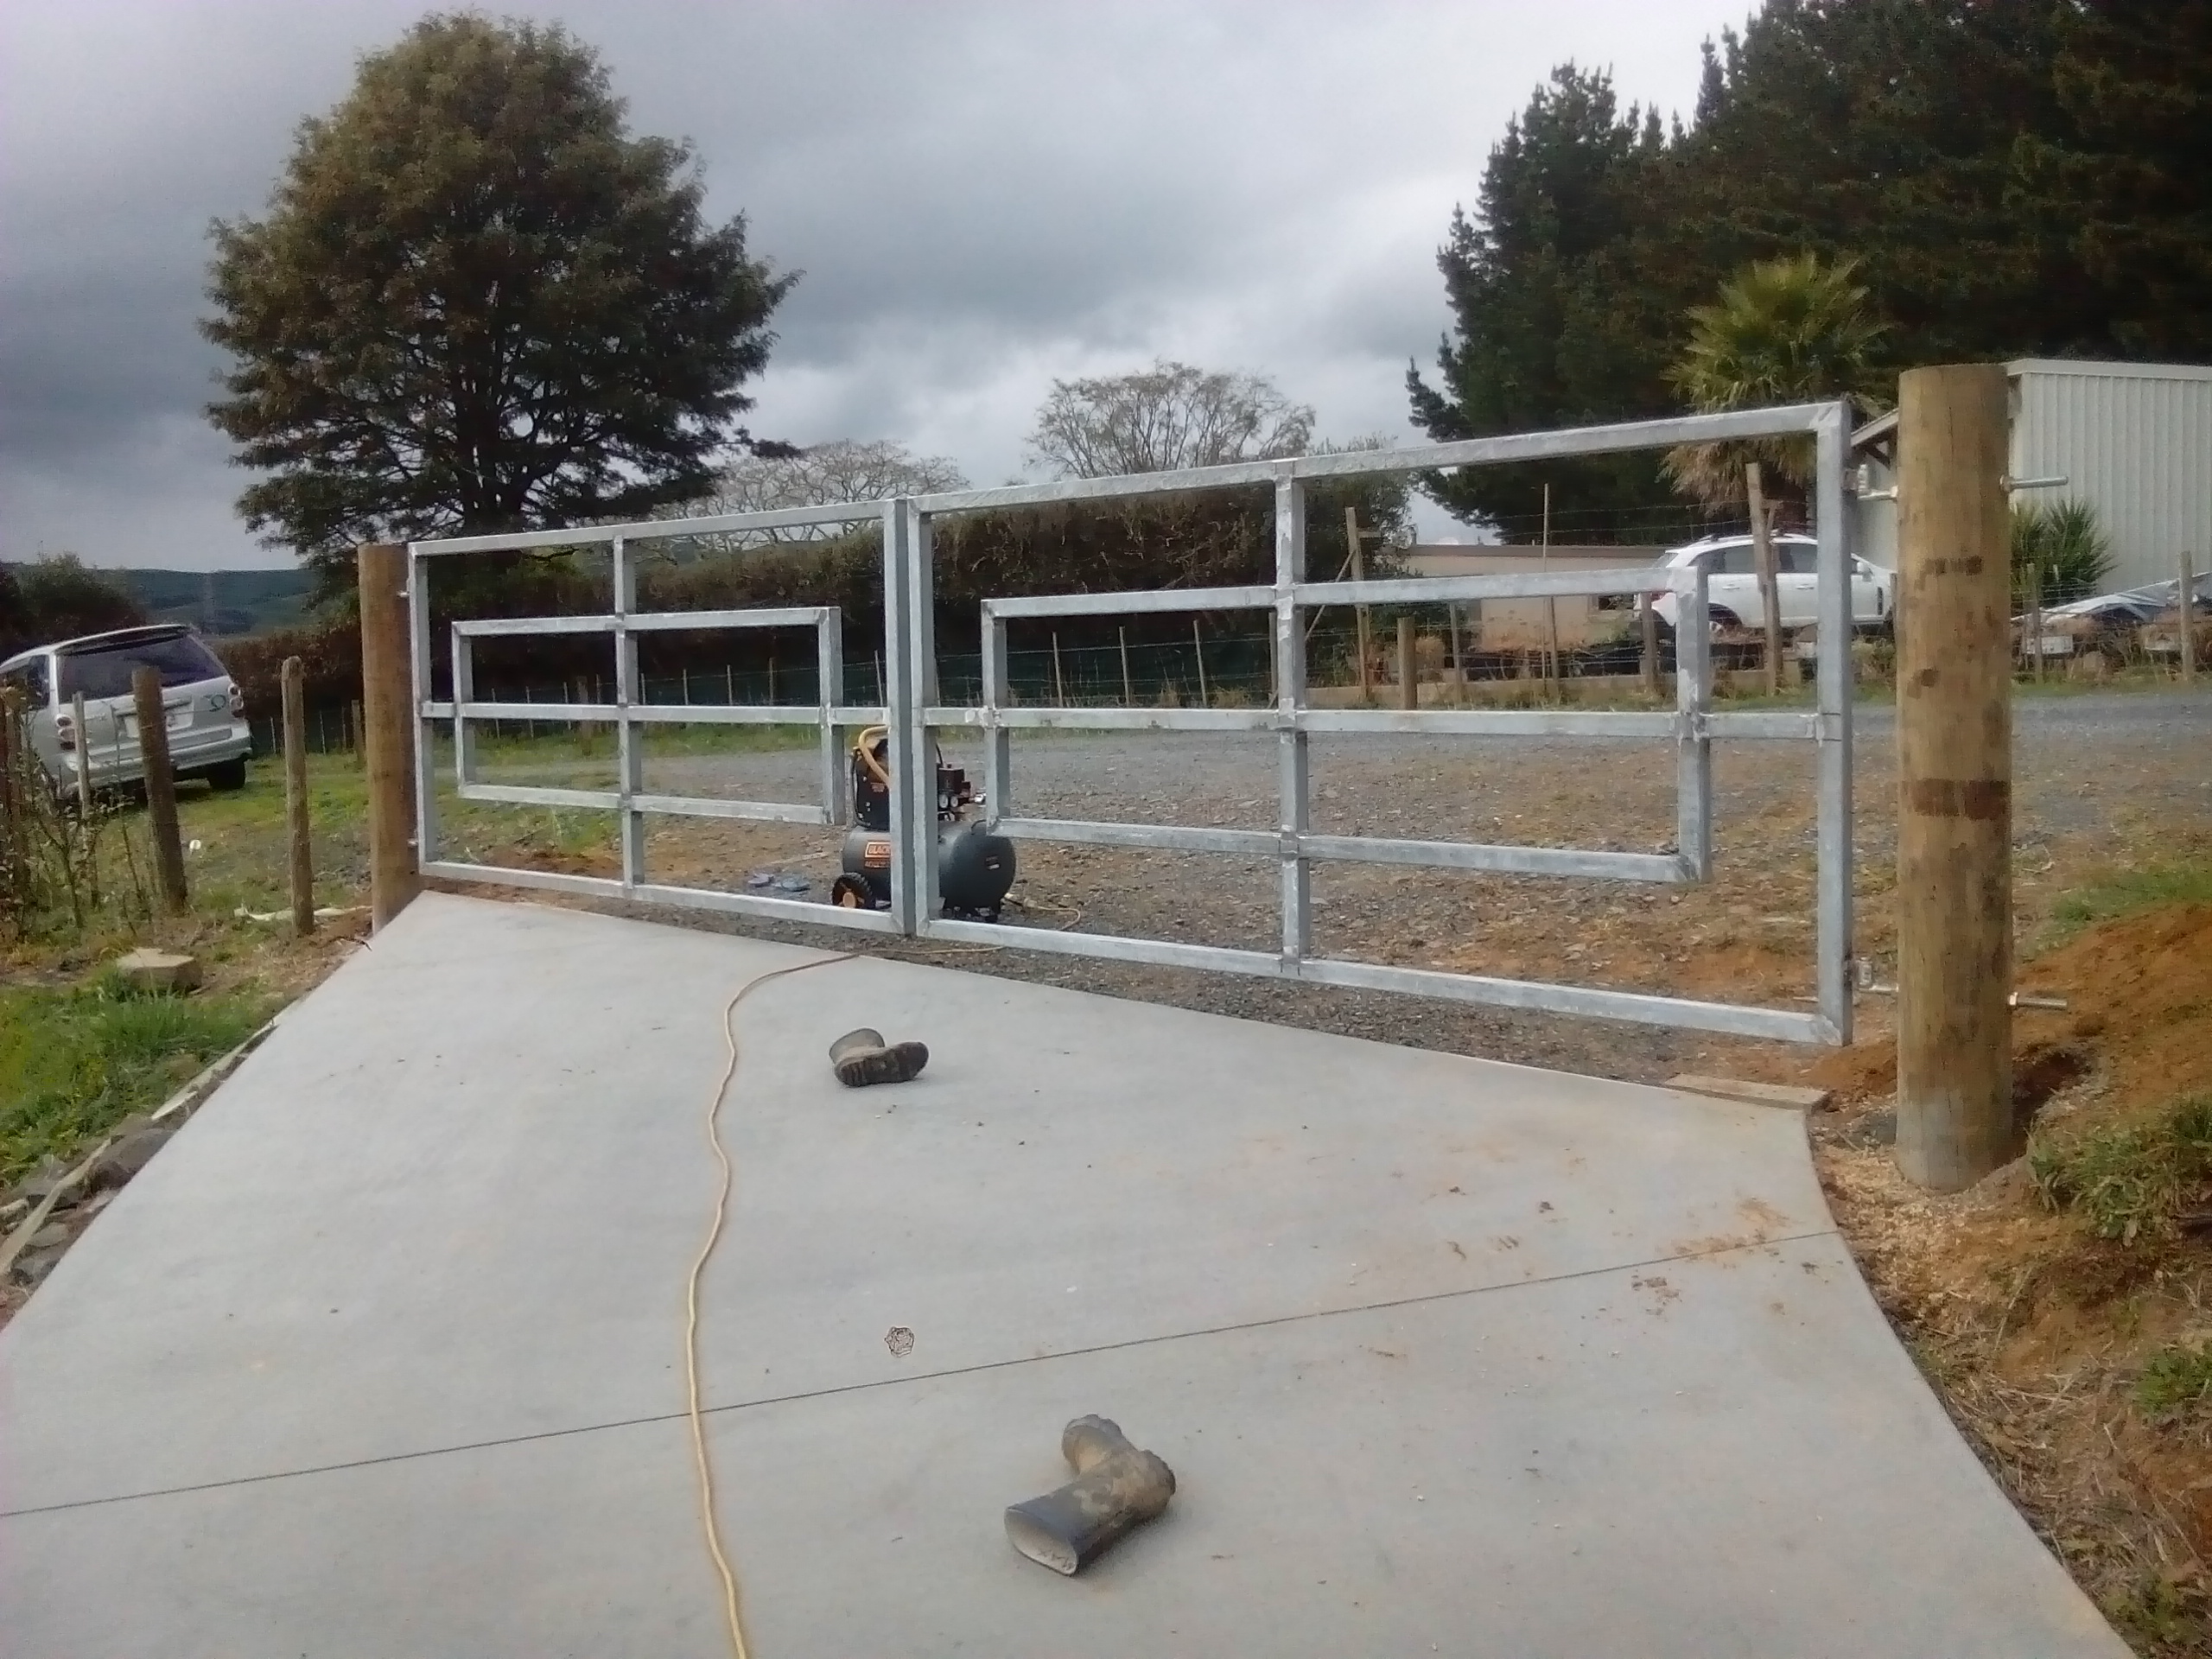
Posts in Holes drilled, hinges fitted...and gates well hung (okay, that joke got worn out a fair bit). Then it rained! So painting them black never happened, and the gates are now back in the shed. Waiting on a fine day to paint them outside, as I don't want to deal with over spray issues right now in my shed.
1 point
-
ZOMG is that.... a Hyundai Trajet??1 point
-
I'd always though the Gyro was a uniquely Honda idea, turns out it's pivot system is a British invention, which played a part in BSA's demise Ariel 3 by BSA Then Diahatsu had a go at it with there Hallo1 point


.thumb.jpeg.384ff72c8d2b0ee0d34a7bdedb55bdcf.jpeg)


.jpg.27415e420274596778ffef5e9c8290c7.jpg)


This leaderboard is set to Auckland/GMT+12:00