Goat
-
Posts
5,063 -
Joined
-
Last visited
-
Days Won
13
Everything posted by Goat
-
https://www.police.govt.nz/can-you-help-us/stolen-vehicles
-
Will swap for ironhead. haha
-
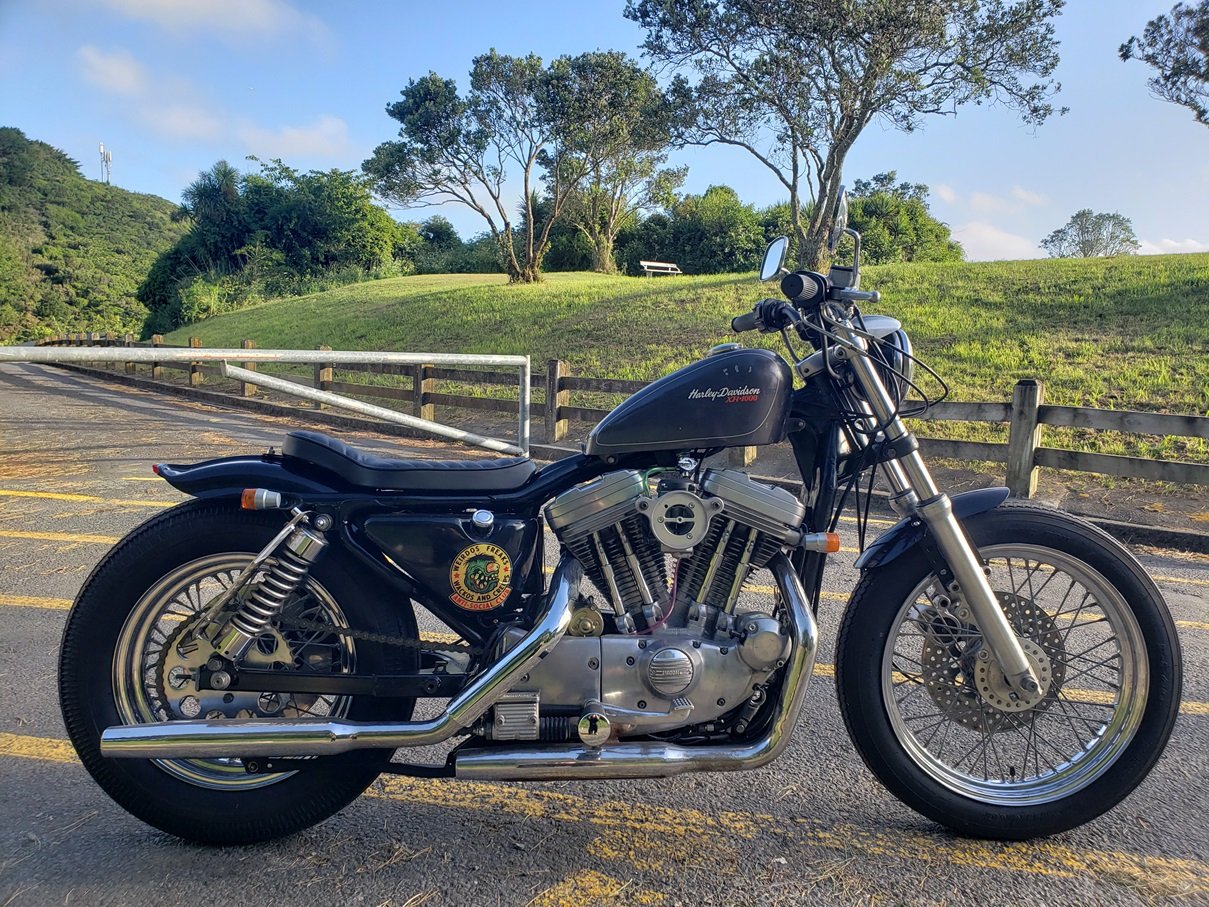
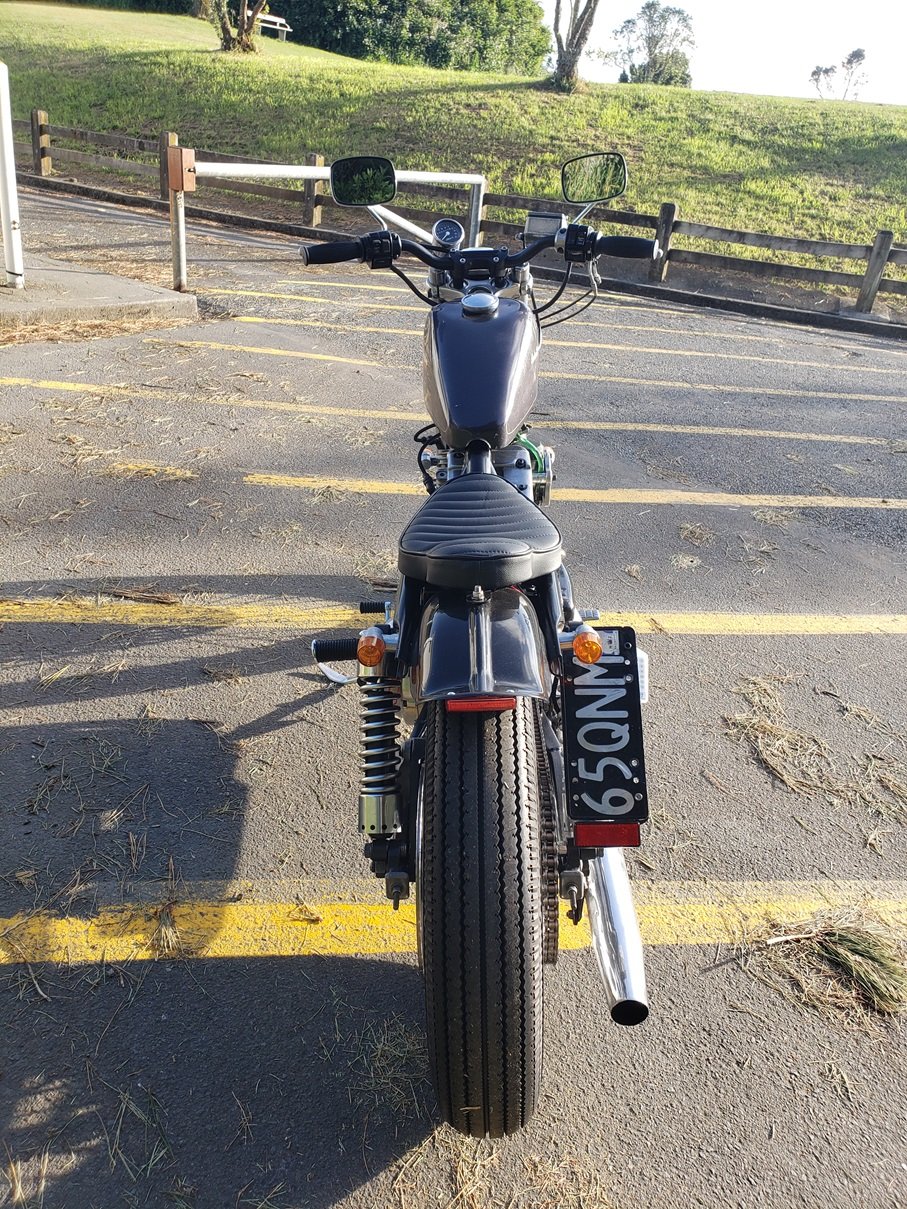
Finally got this finished. All legal. Taken it for a few rips. Super fun. So small and light. Oh so narrow: For sale now. As I enjoy the journey more than the destination. Already neck deep in another build.

- 14 replies
-
- 19
-

-
 Only got big bikes that go at the moment. hah. Need to build my f5/yb100 pest bike up. These multi day missions greatly appeal to me. Will put my name down for next year. Gives me 50 weeks to do nothing, then 2 weeks to build a bike and commit to a ride with zero testing. perfect.
 -
Epic. Thanks dude! Will plan a mish up to collect in the next month and a half!
-
@Vintage Grumble Woops, had forgotten about that. @anglia4 Its a gs550 engine. That would be awesome if you could hold onto it. I can do a trip up to collect over the chrismas hols if that's not too far away. Otherwise i can figure something out sooner.
-
Remove the arm and custom pour some poly bushings? I'd say any different arms would need cert (unless its factory off another non AU marina or something and would look stock (would probably need a cert anyway but nobody would notice except Bryan. haha))
-
Just pulled the trigger on a xcel arc viper 185 from supercheap's 20% off sale. Will report back with a review once i've pumped out some bird poop.
-
Shit yes! Series 7 is the prettiest of them all! Fingers crossed its an easy fix to get it running sweet.
-
What/how do people prep cavities when doing patch panels. I.e. say i wanted to do a repair on a sill, and cut out a 100x200 patch. What/how do i treat the inner sill I can get to through the new hole, and what/how do i treat the back of the patch i'm about to weld in?
-
I've always used the vice for rough and ready folding of patches, though that leaves an average finish. Stretcher/shrinker will be great for recreating slightly curved boot lips etc. Where i've just michael moused that before and welded along the right angle (which makes for a bit of an average repair)
-
More panel repair questions, What do people find more useful for making rust repair panels, a sheet metal brake, or a shrinker/stretcher?
-
Want to get a power file, body saw, and a 90 degree die grinder for all of the ease of rust repairs. Want to make it an enjoyable experience, rather than the uphill struggle i usually set myself up for. hah.
-
You guys seem to rate the xcel arc machines! 10a plug is pretty cool too. Still kinda torn, the simplicity of the BOC that @Nominal suggested is pretty enticing. Seems to only have a 18month warranty though.... Both the xcel and the BOC are over 1k cheaper than the Lincoln electric, and if they lay down welds with comparative ease, then is there a reason to pay more? (though you never regret buying quality tools, you only regret buying poor quality tools haha) Argh, why aren't there only like 3 different welders so its easy to make a decision. haha.
-
I'm about to embark on some rust repairs, and am keen to get some good kit to make it a more enjoyable experience. Can anyone recommend some good snips for cutting sections out of sheet metal to make patch panels. I've already got left, right and straight snips. But after something for the longer straight cuts. Also, can anyone recommend a power hacksaw for cutting out rust sections? I've got a grunty compressor so air tools are fine. Are the 90 degree air die grinders with sanding pads on them that i always see on youtube vids good for cleaning up the metal around the patch?
-
Thanks for all your input fullas. Good to hear different experiences. @Nominal Sounding promising. Does it automatically adjust the current etc? And you control wire speed? Or is that just a "power dial" and it does some magic calcs to lay down a nice weld. @Dudley Is there any compromise having a multi function machine? I.e. Jack of all trades master of none? (The machine not the man :P) @cletus Is that lincoln the one you use for the shock brace/mount welding on your 68 Valiant. As that looks pretty damn good for welding onto old chassis rails etc.
-
@Nominal Does it strike up a weld nicely? Even on okish metal? Kickers lincoln lays down sweet welds even on average metal. My current welder has become quite hard to lay a nice weld even on nice clean metal (its not my welding skill, honest! haha). Used to be pretty good. But I've had it for 20 years now.
-
Does the boc one work well with British rust repairs? Hah
-
Hihi. Can anyone recommend a dedicated mig that welds really nice? Not keen on multifinction. Mainly be for panel work. Have used @kicker's Lincoln Electric before and that is super lush. So kinda thinking along those lines. But keen to hear other people's recent experience from different welders. I think its finally time for me to get quality over price. So budget up to 2.5k.
-
WTD: Potential wheel pickup - Henderson - AKL
Goat replied to Goat's topic in Upper North Island Region
This didn't eventuate. Thanks for the offers dudes! -
WTD: Potential wheel pickup - Henderson - AKL
Goat replied to Goat's topic in Upper North Island Region
Legend! Will see what I can arrange with the seller and let you know. -
Hihi Just spotted some rad wheels for my Jag build on facebook. Ofcourse, like everything decent on trademe/facebook its alway in the upper north island (or deep south). Wondering if anybody lives in the Henderson area and would be willing to collect and hold on to them until i can sort getting them south to wellington. 4x 16" Rims with Tyres. Chur!
-
Do you do anything to the bare metal before the epoxy primer? Strip it back with wire wheels and 3m disks. Prepsol Epoxy Prime? What if there is rust staining? (as in sometimes you cant get all the pitting out with a wire wheel) Do i need to neutralize that first?
-
Also, for the underside of a vehicle, If i want the coloured underseal look. What process would i do? Bare metal 2k Epoxy Seam seal Underseal? Prime again(epoxy? normal 2k primer)? 2k Color?