
Leaderboard


Popular Content
Showing content with the highest reputation on 07/09/17 in all areas
-
The dash now has all the rust fixed, really happy with how it turned out. Took maybe close to 10 hours to just weld it all up though. Should only need bog in a few places, the rest a few coats of primer will fill nicely.13 points
-
Hah turns out it was already a 70cc and the new piston makes it 84cc, not 100 cc as advertised I see why people mess around with scooters, had it stripped in 30 min. Found some grey paint that matched ok so painted the bits of frame that were modified The variator rollers were worn with big flat spots so hopefully the new ones make that work better .
 11 points
 -
And with that the results are in! (well they were always in due to the public nature of the poll...) In third place is embattled Mayor and coitus enthusiast 'Diamond' Joe Quimby: Stock photo: In second place is the ineffective voting option for those who wanted to be part of the voting process. Well done to all eight of you from around this great Country of ours, led by (as I've been told) a Mr Old Man Southern. May you and your ragtag bunch of political pioneers live on forever in the halls of Oldschool.co.nz And the winner, by a clear margin is the Municipality of Mt Roskill, Auckland. Voters stated that it's relatively high concentration of Liquor shops, new low-speed underground vehicular-transit-tube and the fact that it has a volcano in it means that this meeting place is hotter than the bubbling magma that it sensually straddles. Congratulations Mount Roskill, both the mediocre suburb and the dormant volcanic cone are to be commended. Therefore, our Meet this month will take place at Burger Fuel Mt Roskill: Wednesday 19th July 2017 Click this link to see the location on google maps: The Mt Roskill Burgerfuel is located at 22 Stoddard Road The DEAL$: FREE Drink with Burger and Chips Purchase (From the COKE range , excluding mini burgers) FIRST MEET?? If you are new to these meats here are a few points that may help; Most people usually show up between 7:00pm and 8pm-ish. We roll down to get burgers and whatever else is available whenever we're hungry. We sit around either at Burgerfuel or back up top in the carpark and continue the yarns. Remember its always a casual affair, a place to yarn to mates and make new ones. An Oldschool car is not required at all, but if you've got one on the road then bring it and show it off!! Doesn't need to be flash or special. RULES AND THE BORING STUFF!! Basically these are in place so we have a fun and friendly meet and leave the carpark clean and tidy like we were never there. Take your rubbish away with you or put it in a bin, Use the public bins provided throughout the carpark or the ones for the food businesses themselves. Don't be a messy cunt. Smokers please don't dispose of your butts on the ground! Again, don't be a messy cunt. Be a good one. Please limit the ALCOHOL consumption. Its a public place and the Police/security regularly stop in and we don't want want anyone getting in trouble, We also don't want people leaving empties around. As this is a new location there may be alcohol restrictions/rules in place but we will confirm these closer to the meet date. You are welcome to invite a few mates, but please note you are 100% responsible for their behaviour If you belong to other clubs and feel they might be keen to come check out our meet then that's cool but please see Threeonthetree, Shakotom or BDA780 for permission before inviting them. NO Skids or Reckless/Dangerous driving Park in a proper carpark! There are plenty to go around. MOST OF THESE ARE COMMON SENSE. WE WILL PROVIDE A FEW GENTLE REMINDERS WITH THE NEW RULES BUT REPEAT OFFENDERS MAY BE ASKED TO LEAVE. If you have any suggestions or input for the meets then PM Threeonthetree, Shakotom or BDA780 Thanks!!6 points
-
Clearly the answer is gillies5 points
-
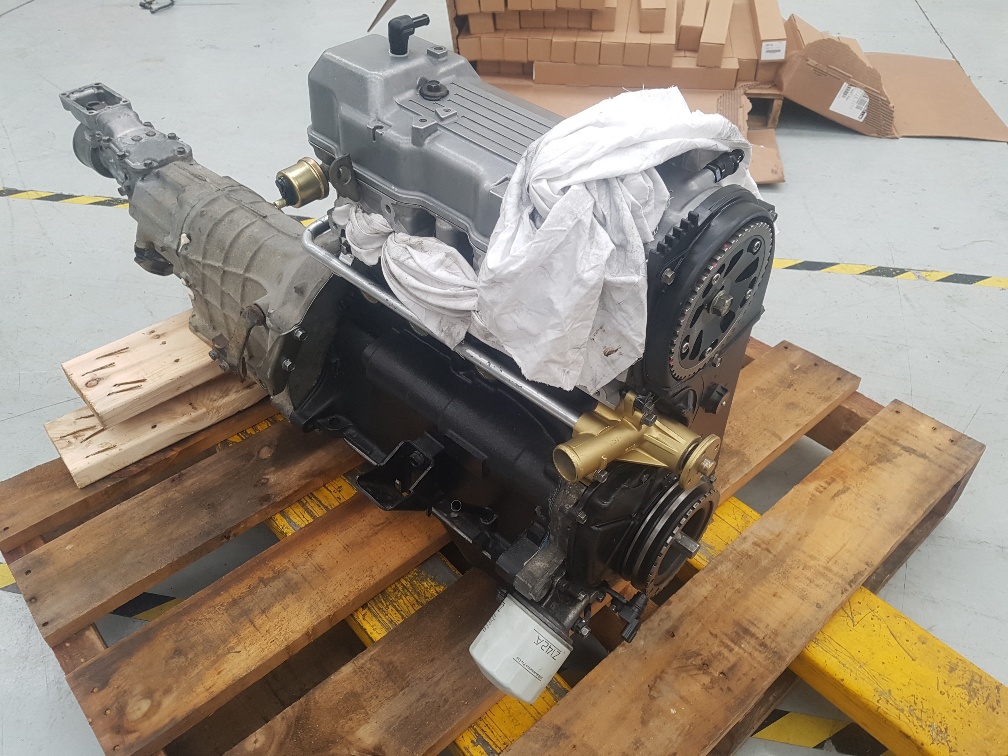
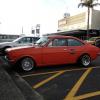
Engine reunited with the transmission and reinstalled in the engine bay today.
5 points
-
Spent abit of time tinkering and giving it a test drive on road. Was abit crap to drive first time. Had an oil leak cork rocker cover gaskit had mis aligned. All sorted now though. Doesnt like when you step on gas and splutters after 4k rpm im hoping a good drive will sort that out. Checked timing was spot on removed carb n took apart to clean and re assemble - made a difference drove abit better. Still not so great after 4k rpm. Alternator doesnt charge battery properly so removed to be rebuilt.3 points
-
I can confirm that i have no belt slip issues with pingin gillies.3 points
-
Technically yes But I doubt anyone would know the difference apart from Threeonthetree And he doesn't do wofs2 points
-
Weather in Rotorua is currently quite gay2 points
-
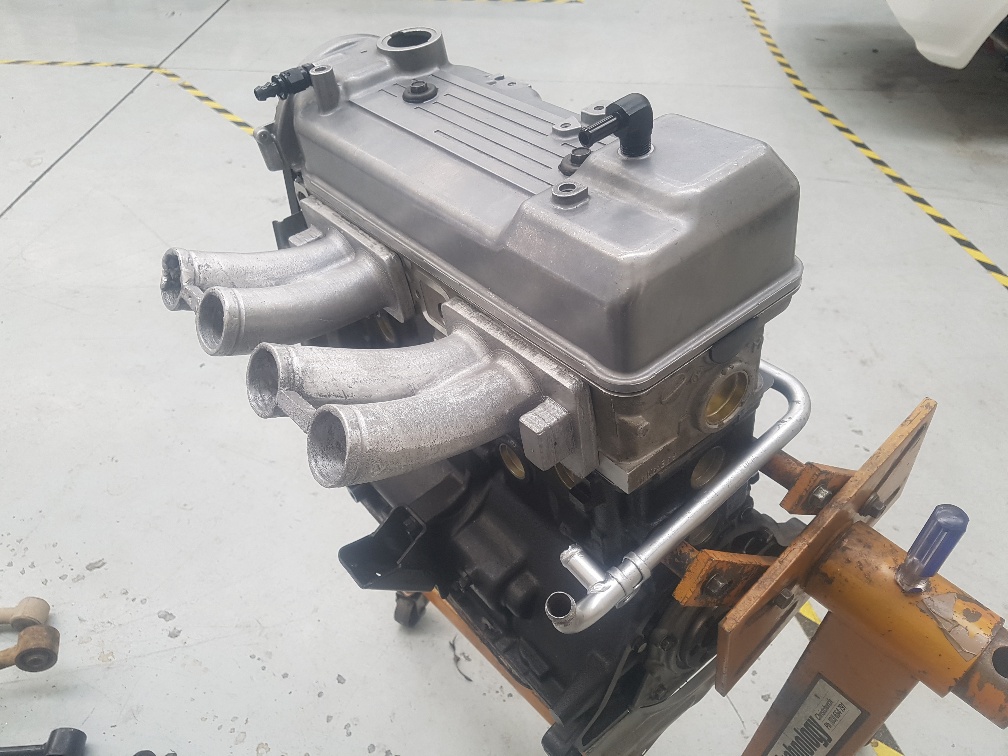
We have a runner! Set, tappets, shimmed up the exhaust, set the timing and away she went, runs nicely stationary anyway. Once new h/brake cable turns up can commence "round the block" testing. Thought for sure i'd have carburetor trouble since the twin aisans have been shelf-bound for so long but so far, so good. Can now hack into the body in earnest
2 points
-
Should put fittings in that beam for engine lifter. Then you can do 2m engine swaps in the lounge while Mrs sheepers makes chicken nuggets and small red sausages etc2 points
-
testing...2 points
-
Papakura can fuck right off.2 points
-
Haven't done much more to the dash apart from fit it into the cab, as I am undecided how to approach the rusty holes under the gauges yet, a bit too many complex shapes! My Dad had a 55 Chevy steering column laying around, so we started to mock it up. The shaft out of that column had been welded in multiple places so we found another column that had a mint shaft and it was also longer so didn't need an extra universal joint added. The outer tube of the column was pretty average, had lots of extra holes, cutouts and had been shortened, so drew a new one up in Solidworks and got it put through the Tube laser at work. It's now made from 2 inch stainless tube.2 points
-
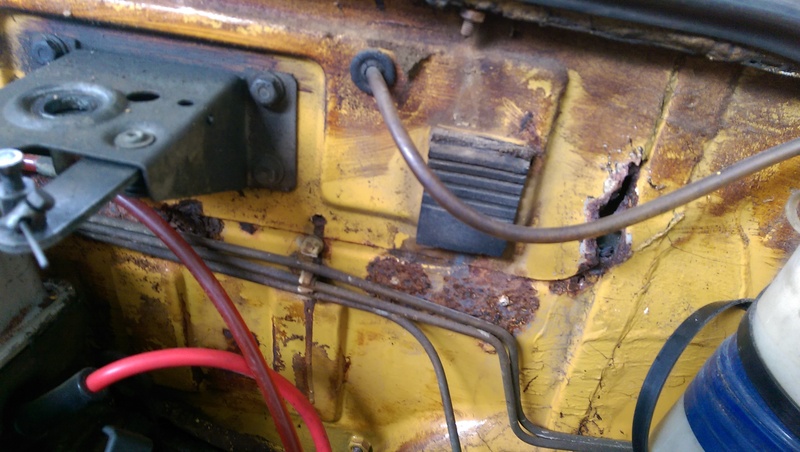
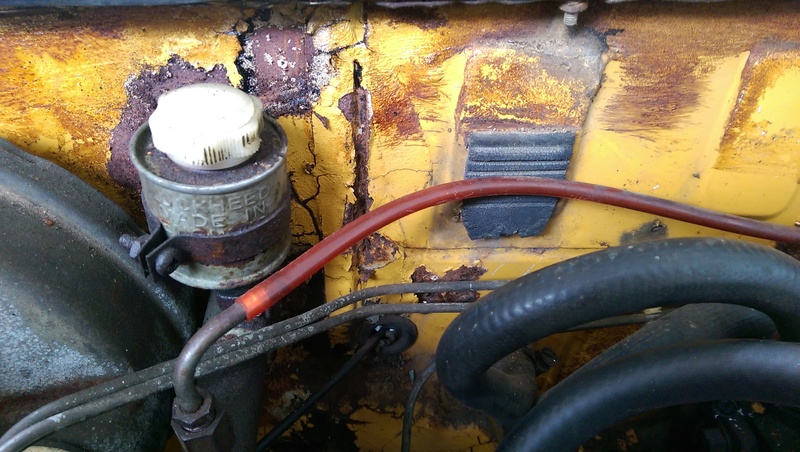
So before our wee accident last year I had left some money with a friend to get a truck or van to send home. The plan was to spend a day or two with him when we returned the rental car. That didn't quite happen but he still had the money. We both spent months looking at craigslist and looked at a few vehicles but nothing was right. I saw this van one day but It was FULL of tools, I thought to my self I can't ask Scott to deal with a van load of tools so I passed on it. I was talking to him on the weekend and he said he just bought a van full of tools.... HE siad he bought it off a old guy who was retiring and ended up chatting for a few hours. It was a bit more than I left with him so I transferred some money to him and a deal was done. A few months and many thousand dollars later I get a email with the collection documents. @piazzanoob Offered to help pick it up so I met him at the shipping yard. I was stoked when it started nicely for the the guy bringing ti to me, no horrible starter noises like my old c10. I put some fuel in, topped up the radiator and drove it home. I didn't receive the title or and paperwork so i'm hoping its still at the importers somewhere, I'll email them before I start panicking Getting picked up from phoenix I finally spotted it at the yard (just) The old guy has made some pretty decent cupboards etc, I found a lot of receipts in the glovebox. The screen was replaced in 2004 and the trans was rebuilt in 2002 by the looks of it. I was wondering what the small peddle on the left was.. He had cruise control installed too, there is even the paperwork& guarantee with it! I'll have to figure out how to get it to work. The aircon has been converted to r134a so it should just need regassing and it'll be lush. Its got lovely plush seats with two arm rests and old mate has even made a cupholder with a build in stubby cooler! Lush. Scott got a whole load of parts for me too as its easier to have them arrive with the van, a set of shocks (air shocks in the back) pads, ignition stuff and a fuel pump. It was better than Christmas tbh. lush cupholder/drawers There is a full length shelf beside these She just squeezed beside the house which is good Don't even need a free candy sign, piazzanooobs nephew came with him for a ride and was right in the passengers seat as soon as it was unlocked. I'm really poor now so progress will be slow for the next few months, I'll give it a good wash/wax and polish then start with all the service parts. Probably do a de cat at some point too as its huge and its too quiet, you can't hear any v8 rumble at all. It should be easy enough, just replace the cat with a section of pipe .1 point
-
So i bought another car Specs are: 87 Sigma 2.6 wagon Has had the 2.6 replaced with a 4g63 at some point Front suspension is s13 hubs and coilovers with a31 arms. This needs to change for a wof I havn't looked under the back end yet It will end up being my daily once I sort the suspension (lift it slightly) And finally a pic of half my fleet1 point
-
Well just when you thought i couldn't finish my current projects, i thought why not add another! Discussion click here So here is my 1972 Vauxhall Viva Estate. Last registered in 2012 and been off the road since. It use to have the stock 1259cc but that has since been removed. A bit of a special car too, being the first in NZ with plate number 1. The previous owner has spent a lot of time and effort in getting the new motor built up. Its a Blydenstein 1259cc (1.3L now) and lets just say its not stock anymore. Heres how the car sat when it was on the road: Stay tuned in the coming weeks1 point
-
I hate starting new threads. Especially about newish cars. But seriously considering buying a Daihatsu YRV turbo for daily duties. Anyone have anything good or bad to say about them? Fills all the boxes I want really. Small. Turbo. Probably auto for traffic jam life. And post 2000 for 1 year wofs. Would rather have a mira turbo or something but these seem to be able to be bought for teaspoon money. Thanks for anything anyone can tell me.1 point
-
Awesome work! Loving what you have achieved so far, Rad seeing another Mk2 getting love1 point
-
Does anyone have a original air filter? and the inner kick panels?1 point
-
Tacked this patch in.
1 point
-
Ok. I will google gillies set for 2jz and see what I find1 point
-
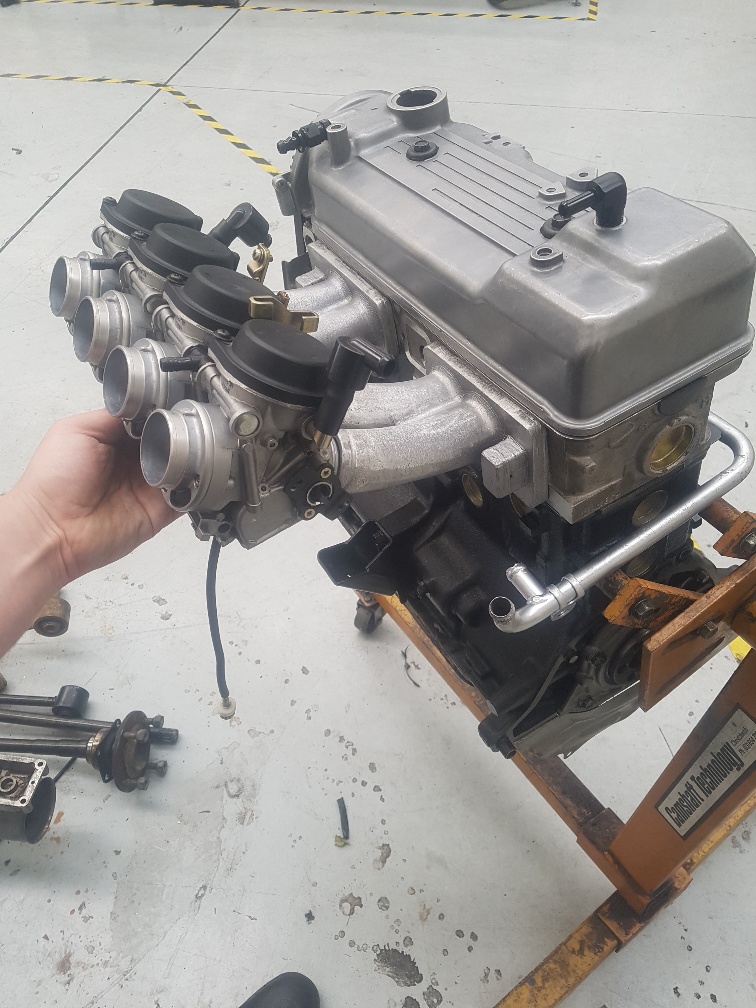
Re: alternator. Looks like yozwer was on the money lol. Moddied 1uz alternator and fitted. Was excited to see the charge light come up on the dash. Started car and everything seemed legit. Until it warmed up abd the idle dropped. Same situation. Squels wgen applying revs. Had a revelation. What if I try applying some extra tension to the tensioner, so stuck my long 14mm spanner on the tensioner bolt and with only the slightest amount of tension applied the issue went away. Noticed the pulley on the alternator is smaller also, so belt doesn't have the same amount of tension as before. Going to try a shorter belt. Cross my fingers. Other wise its try apply more tension. Or puzzle together an idler setup andvre route the belt like it should be.1 point
-
So been a while has it been put in corner of the shed and forgotten about? Hell no its become reliable transport it folds up and fits in my boot nicely ive ridden usually 2 up bloody everywhere. Im thinking of building more in fact. Oh and my son has discovered burnouts much to the neighborhoods disgust.
1 point
-
Cardrona has chair lifts so you don't really need to climb it.1 point
-
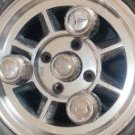
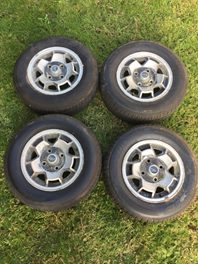
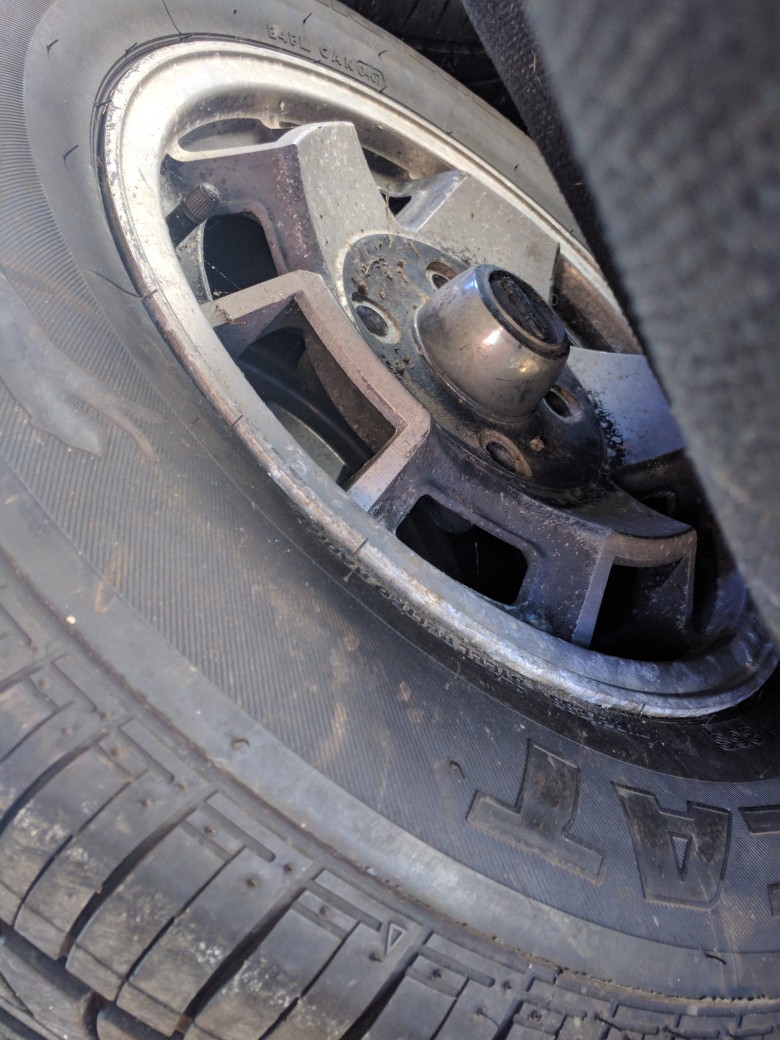
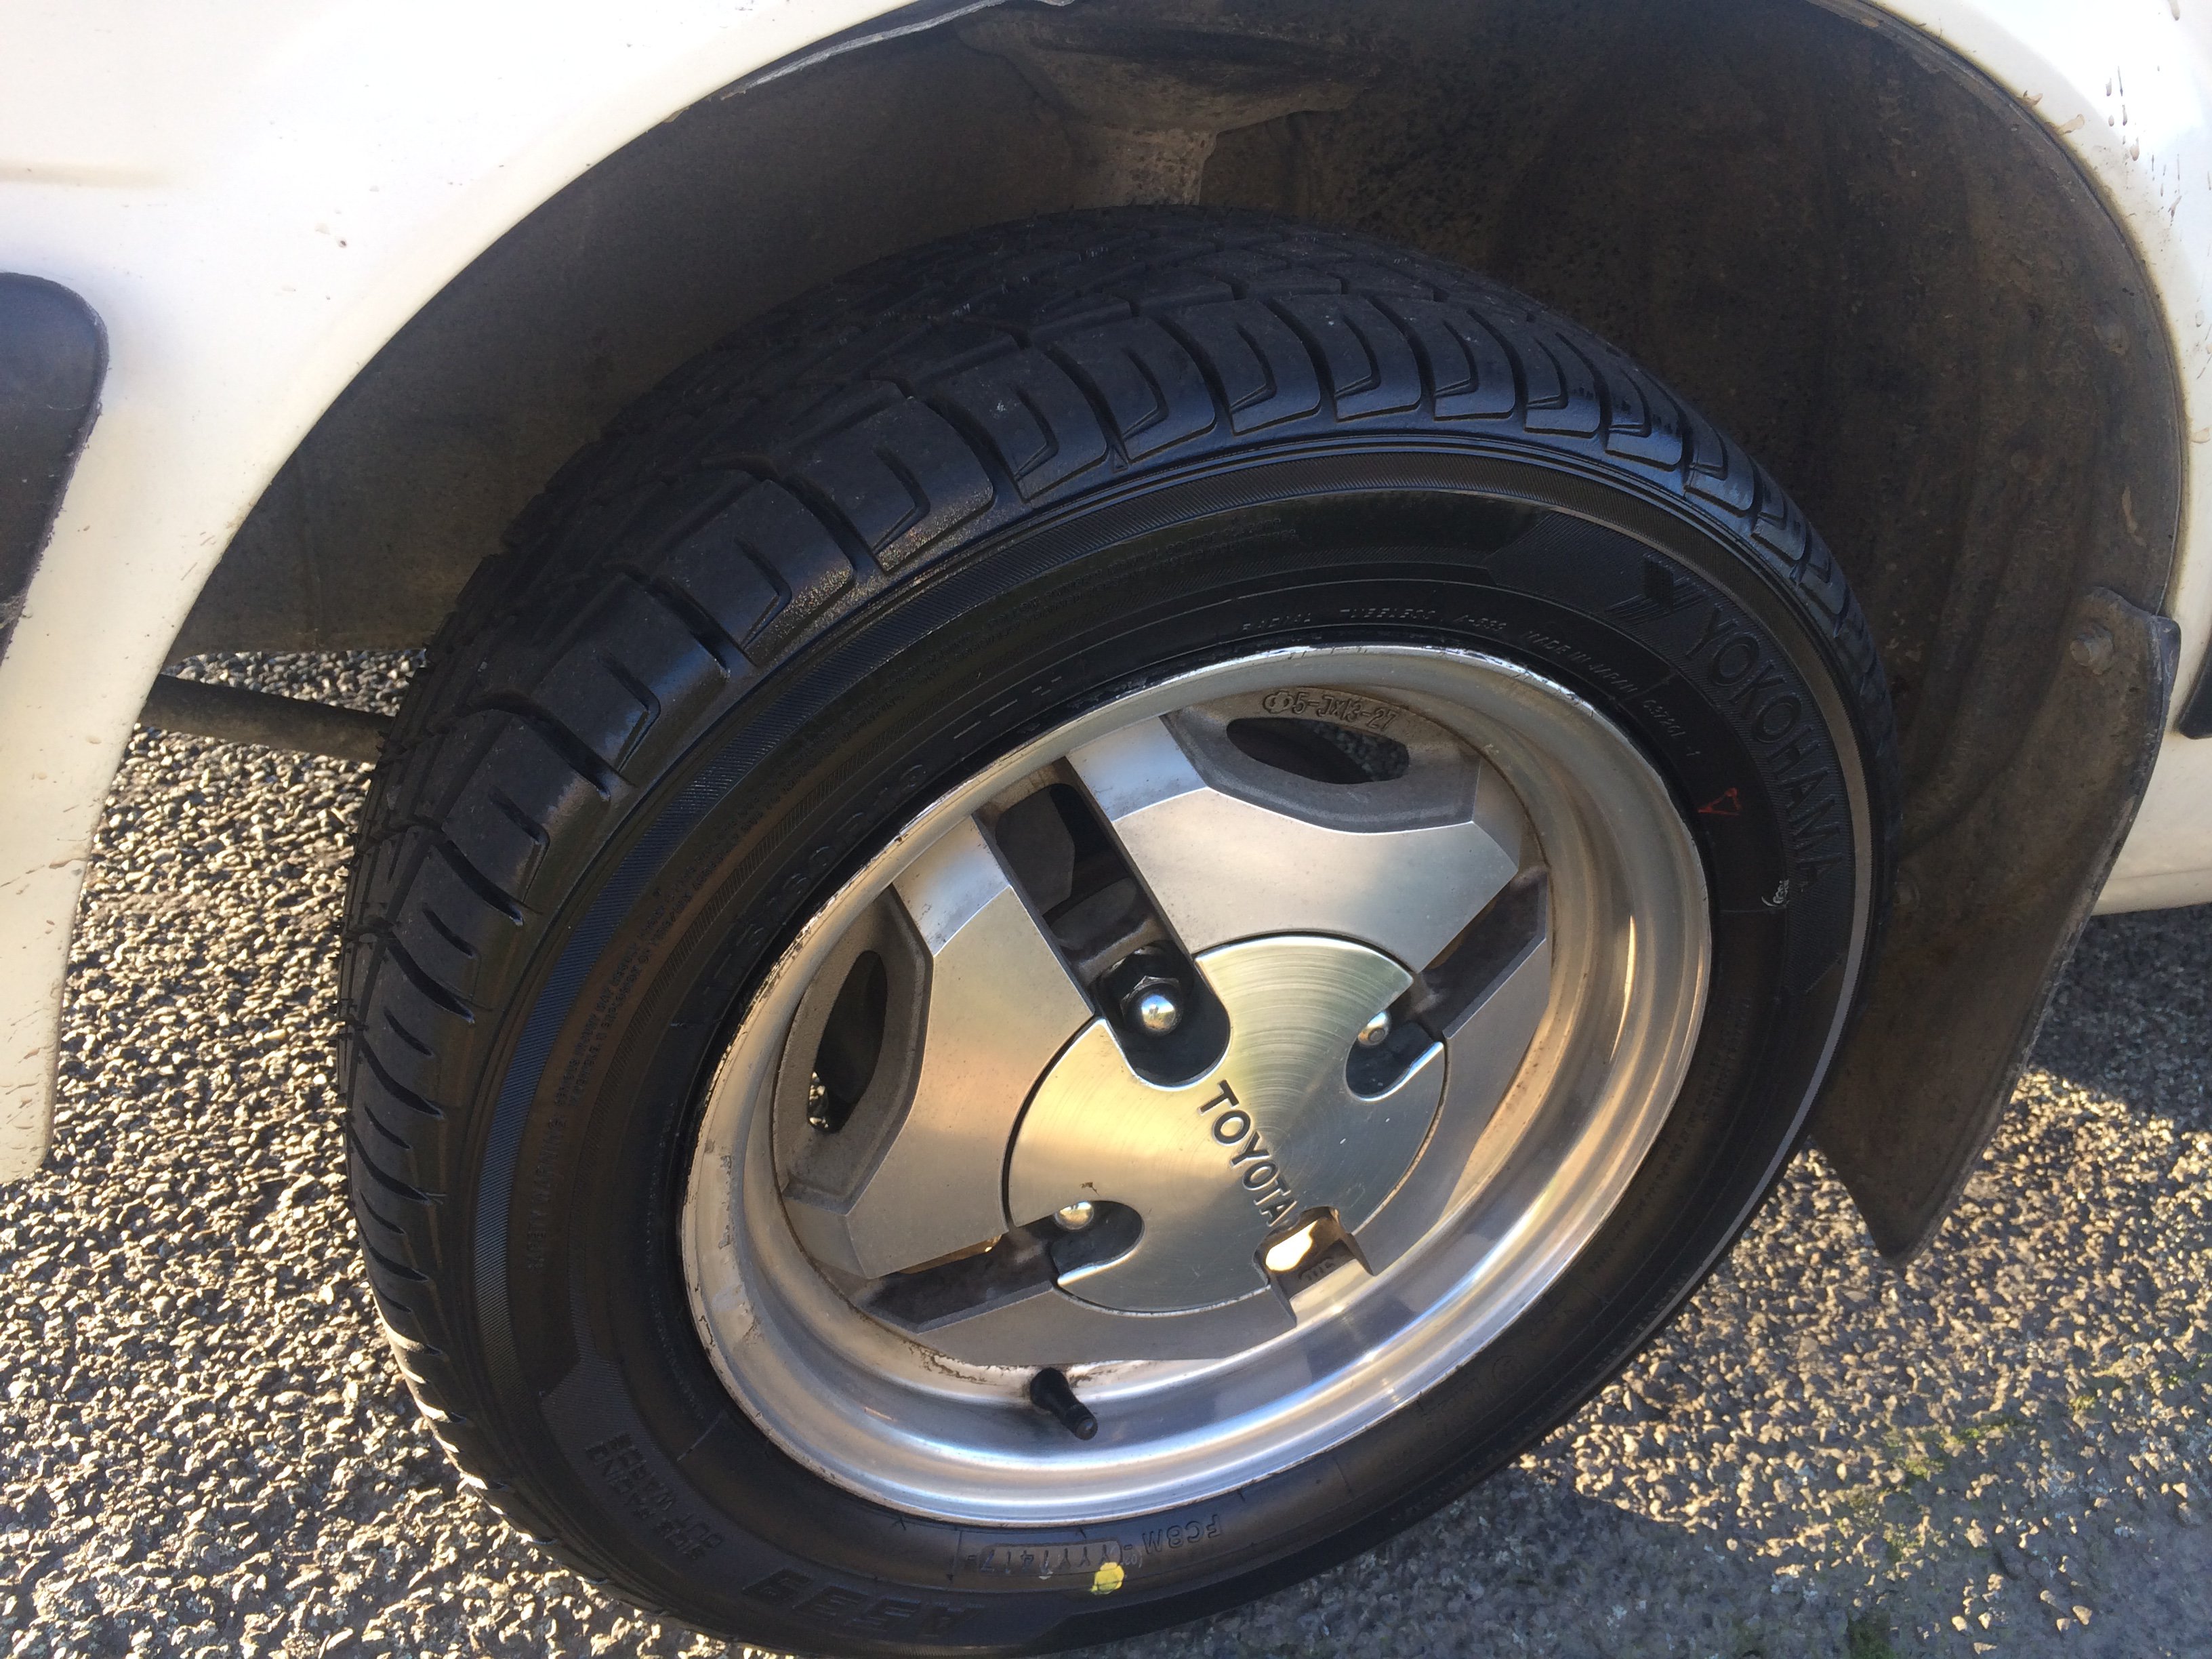
Water leaked fixed. Thermostat house wasn't sealing at all. Picked these bad boys up off TM. 13x5.5 Will polish them up and try them on when I get a chance.
1 point
-
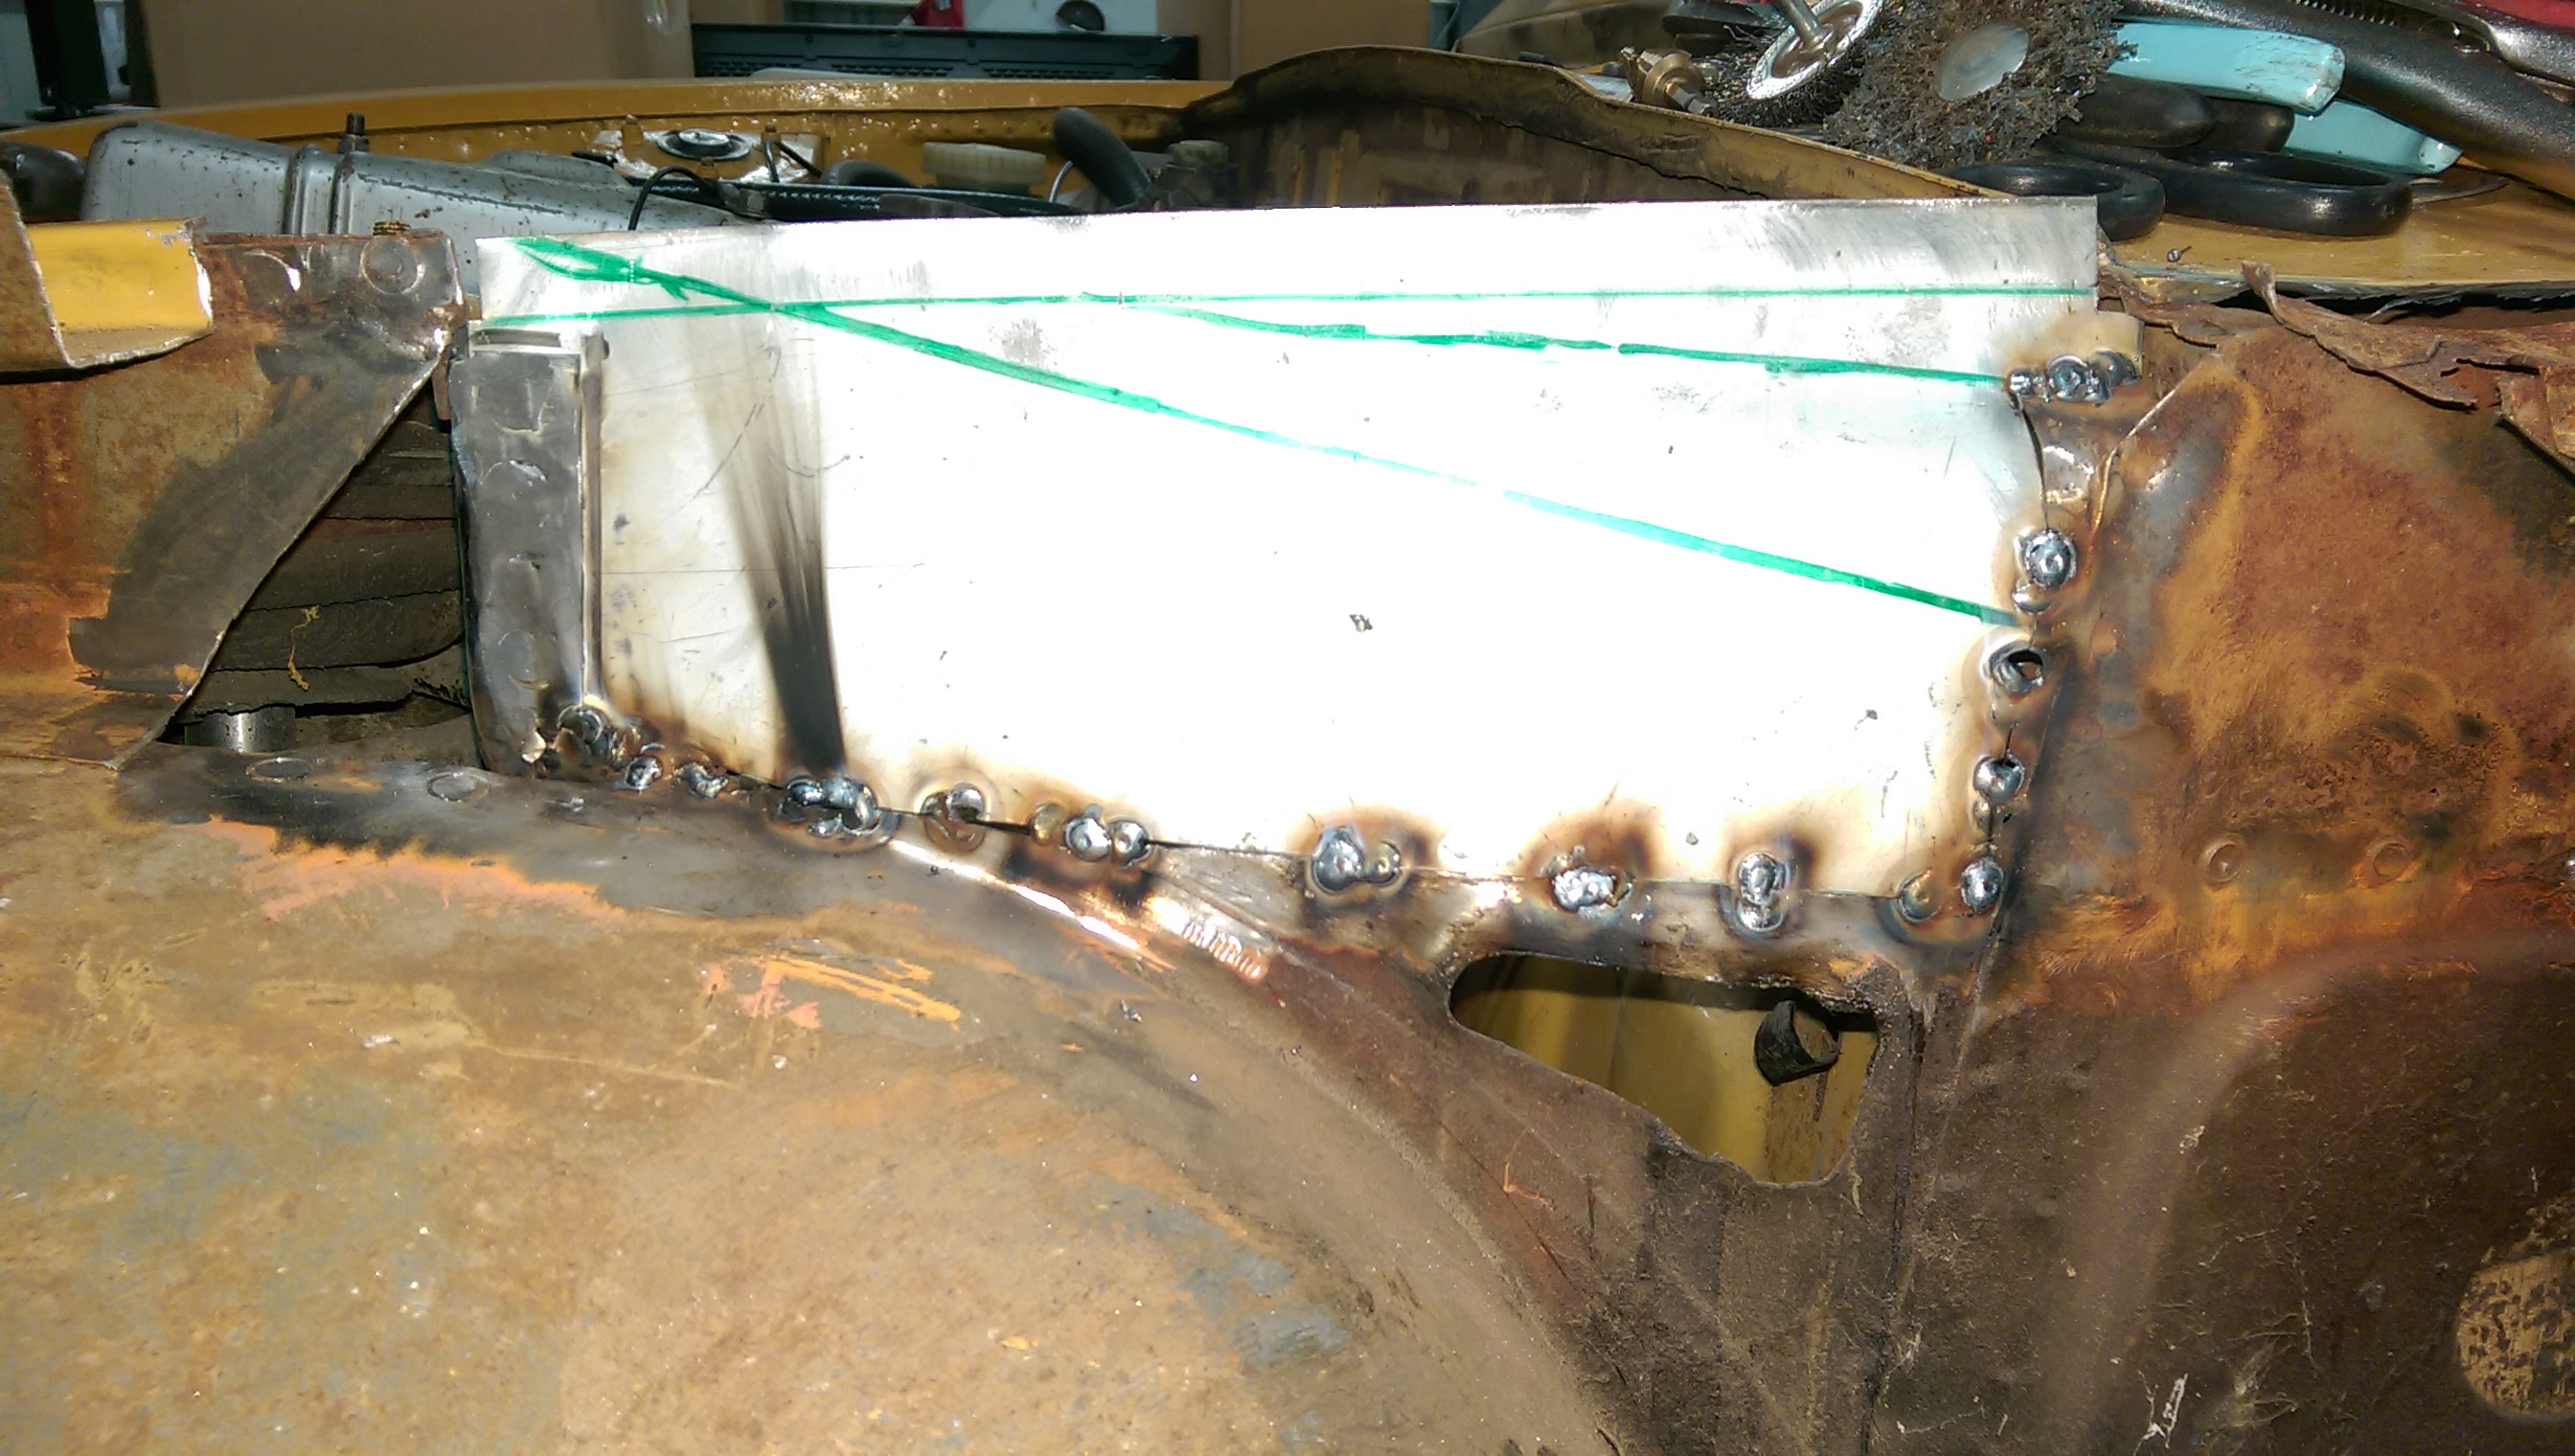
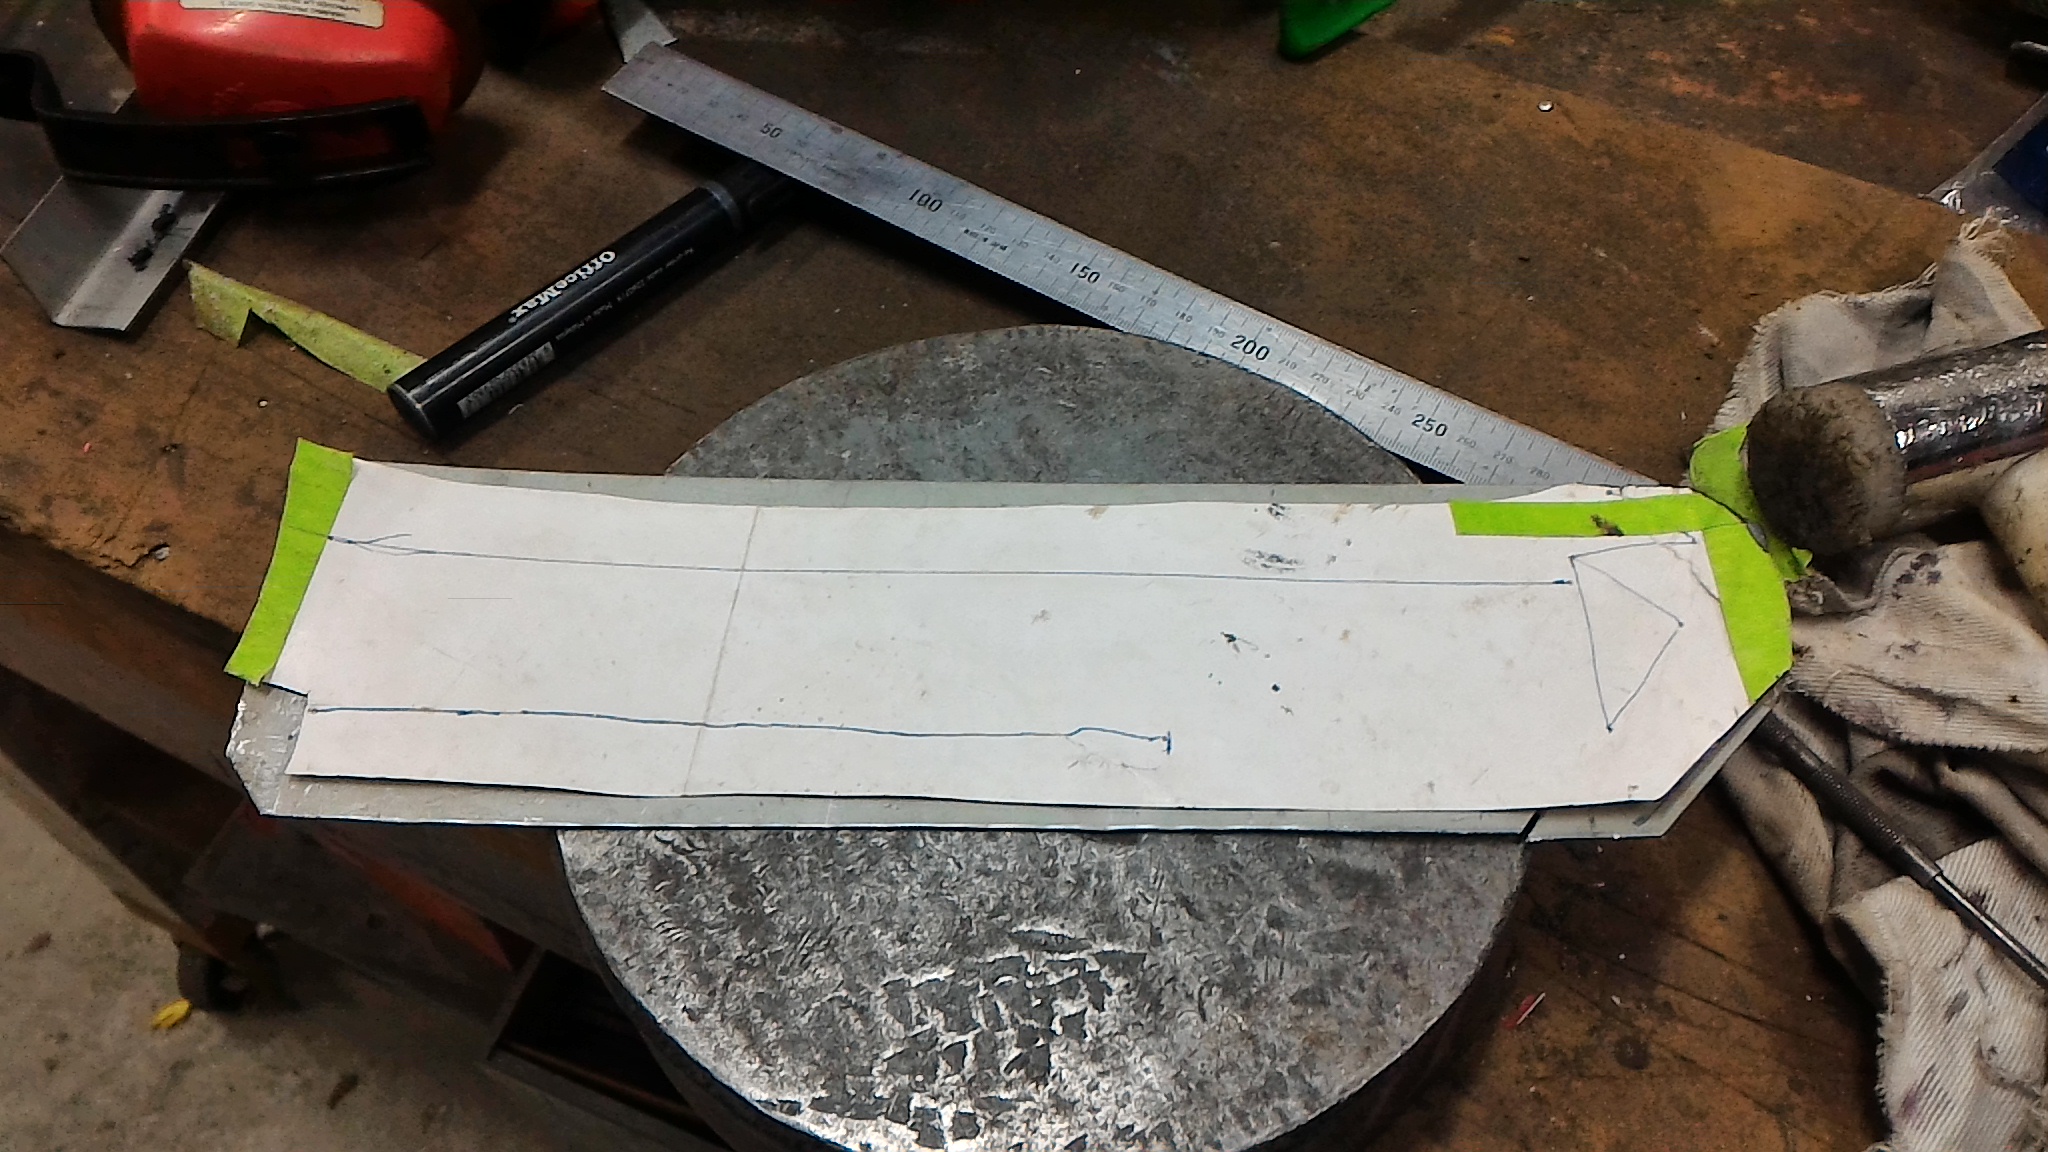
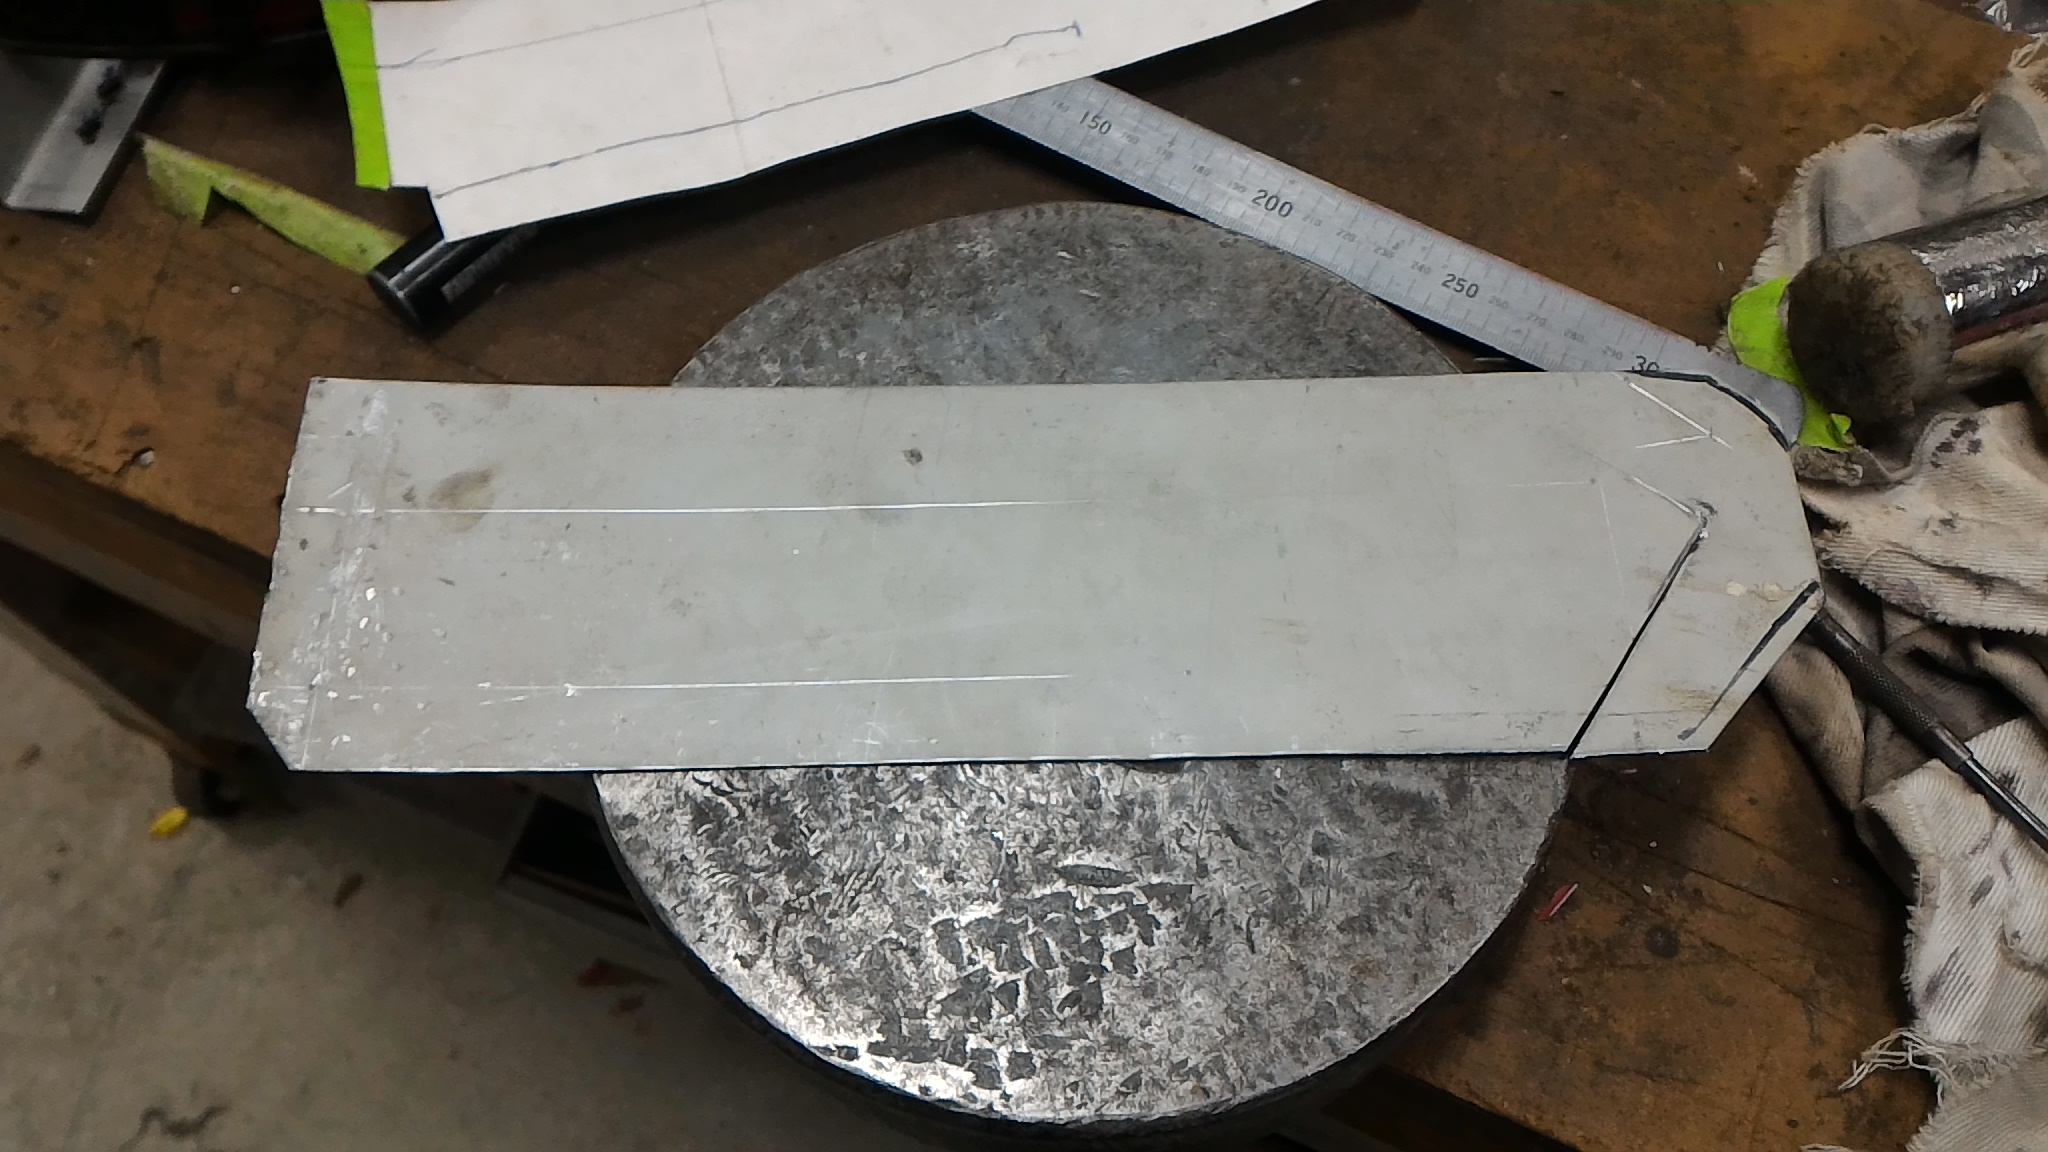
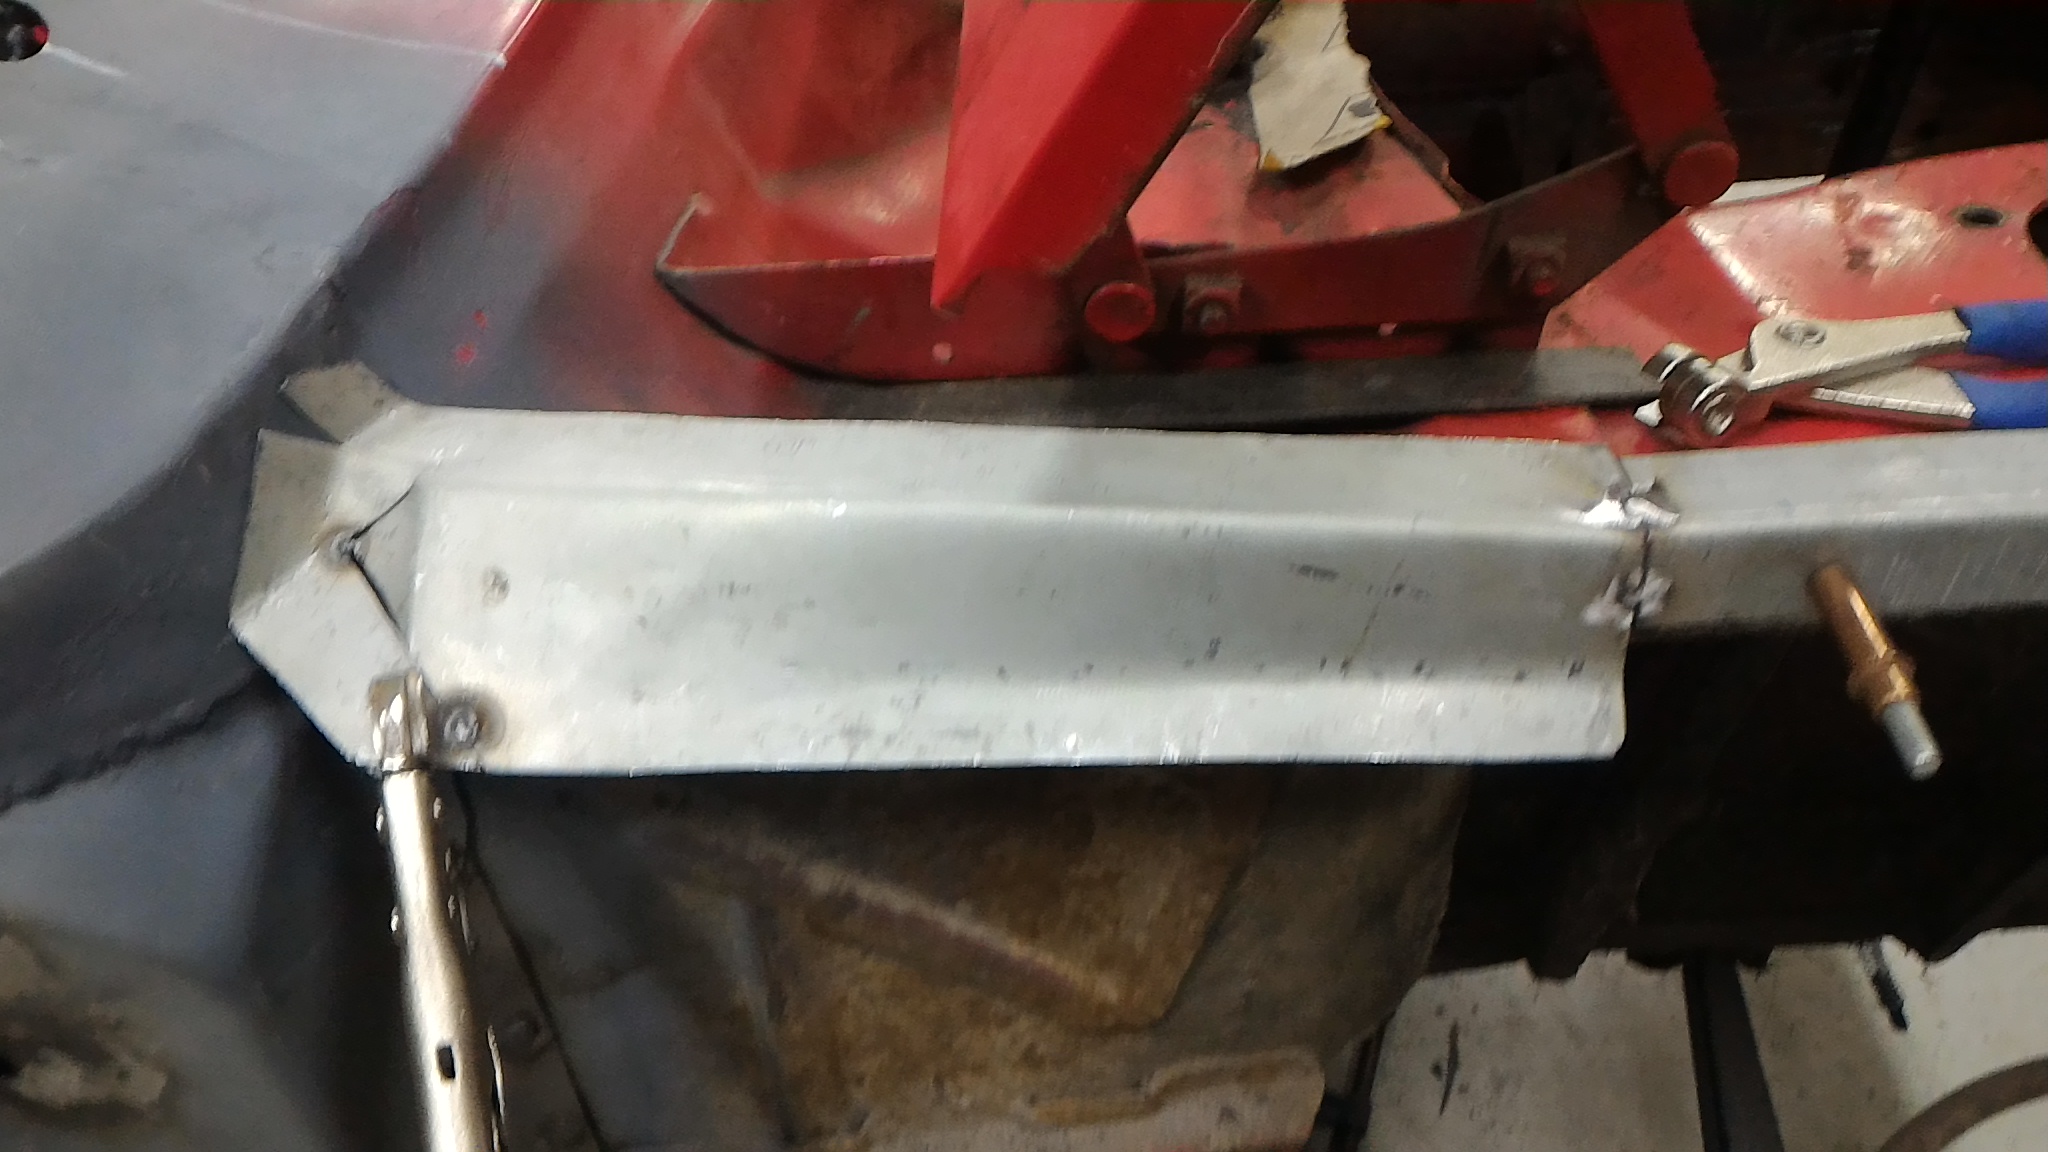
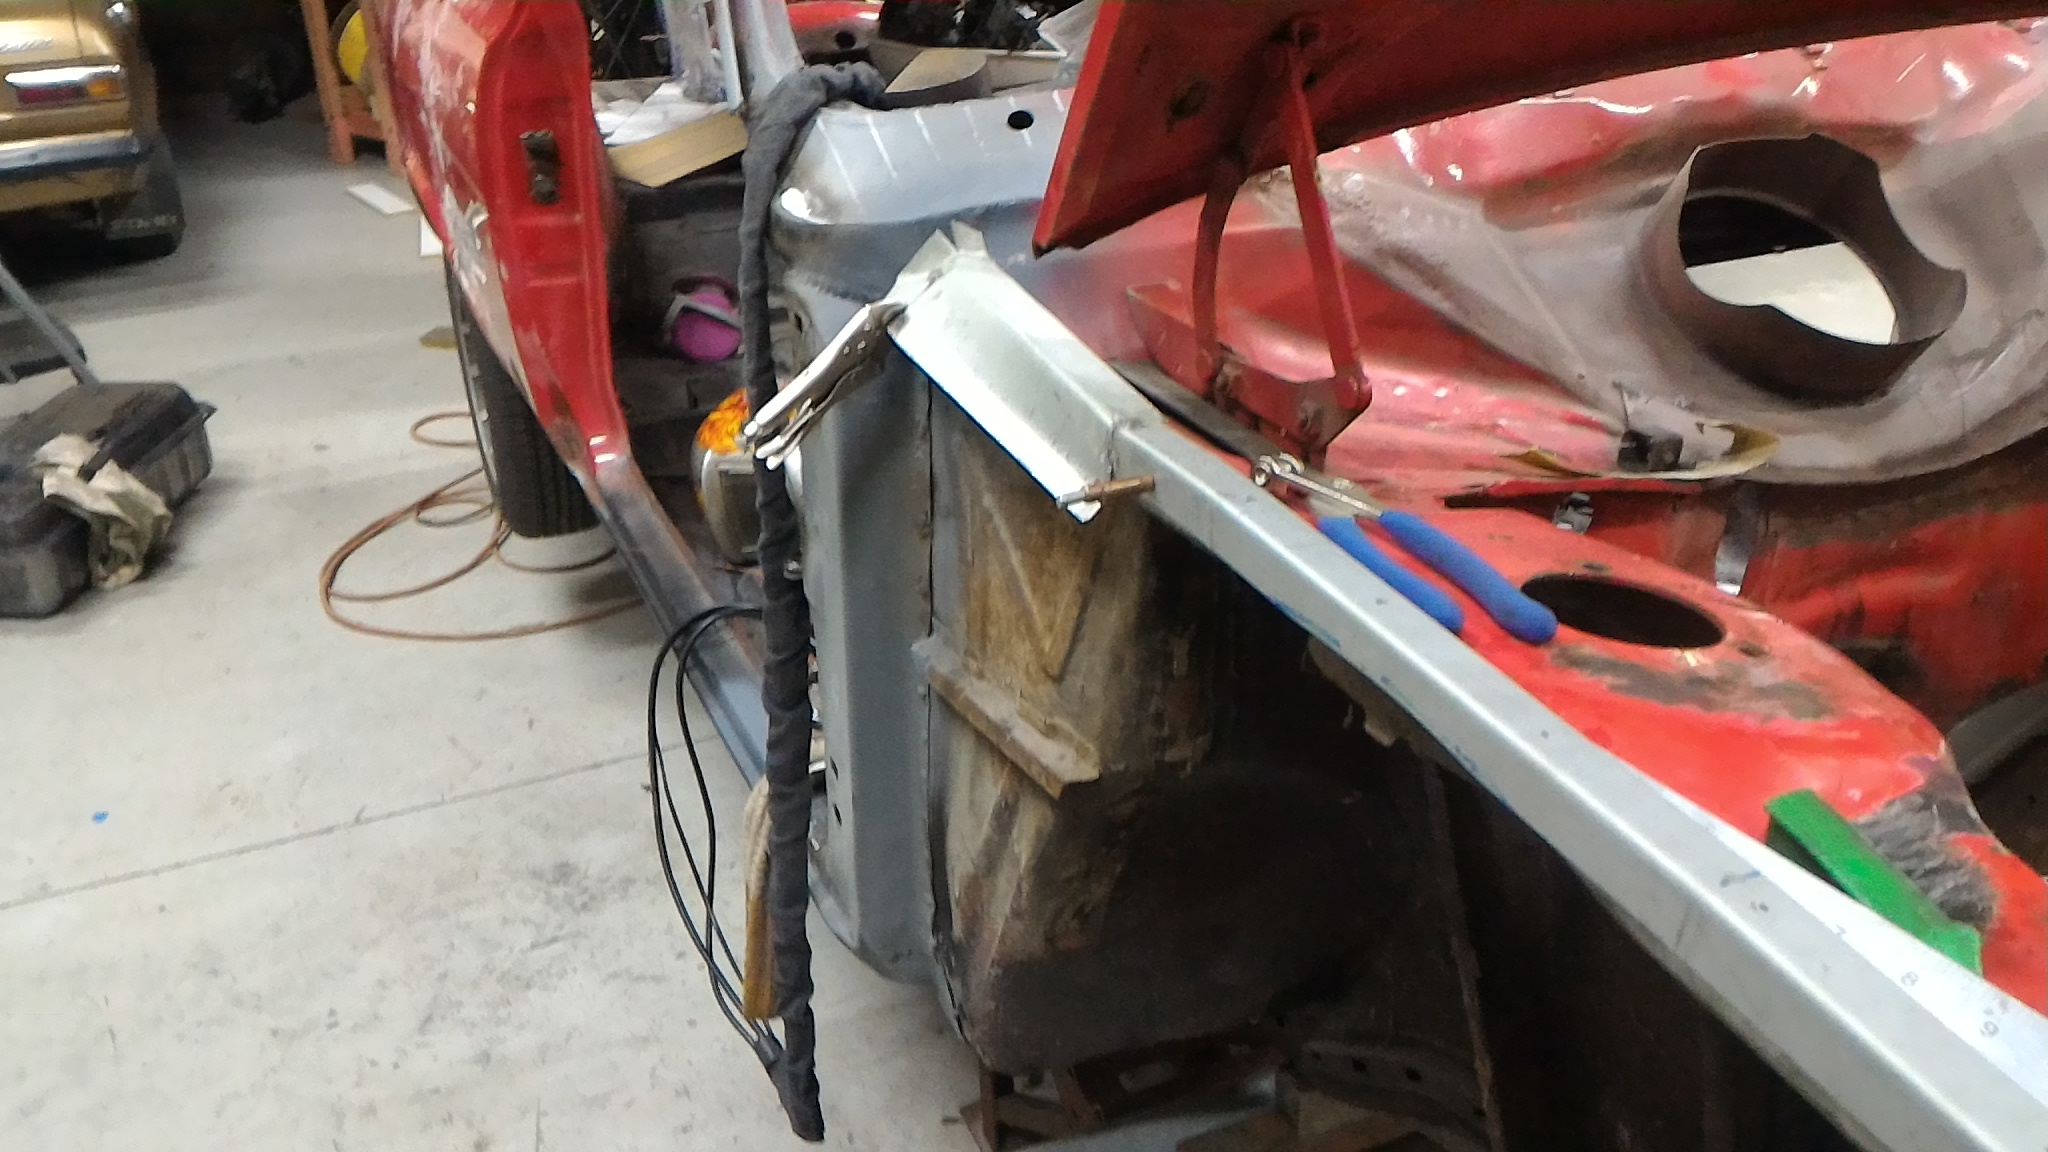
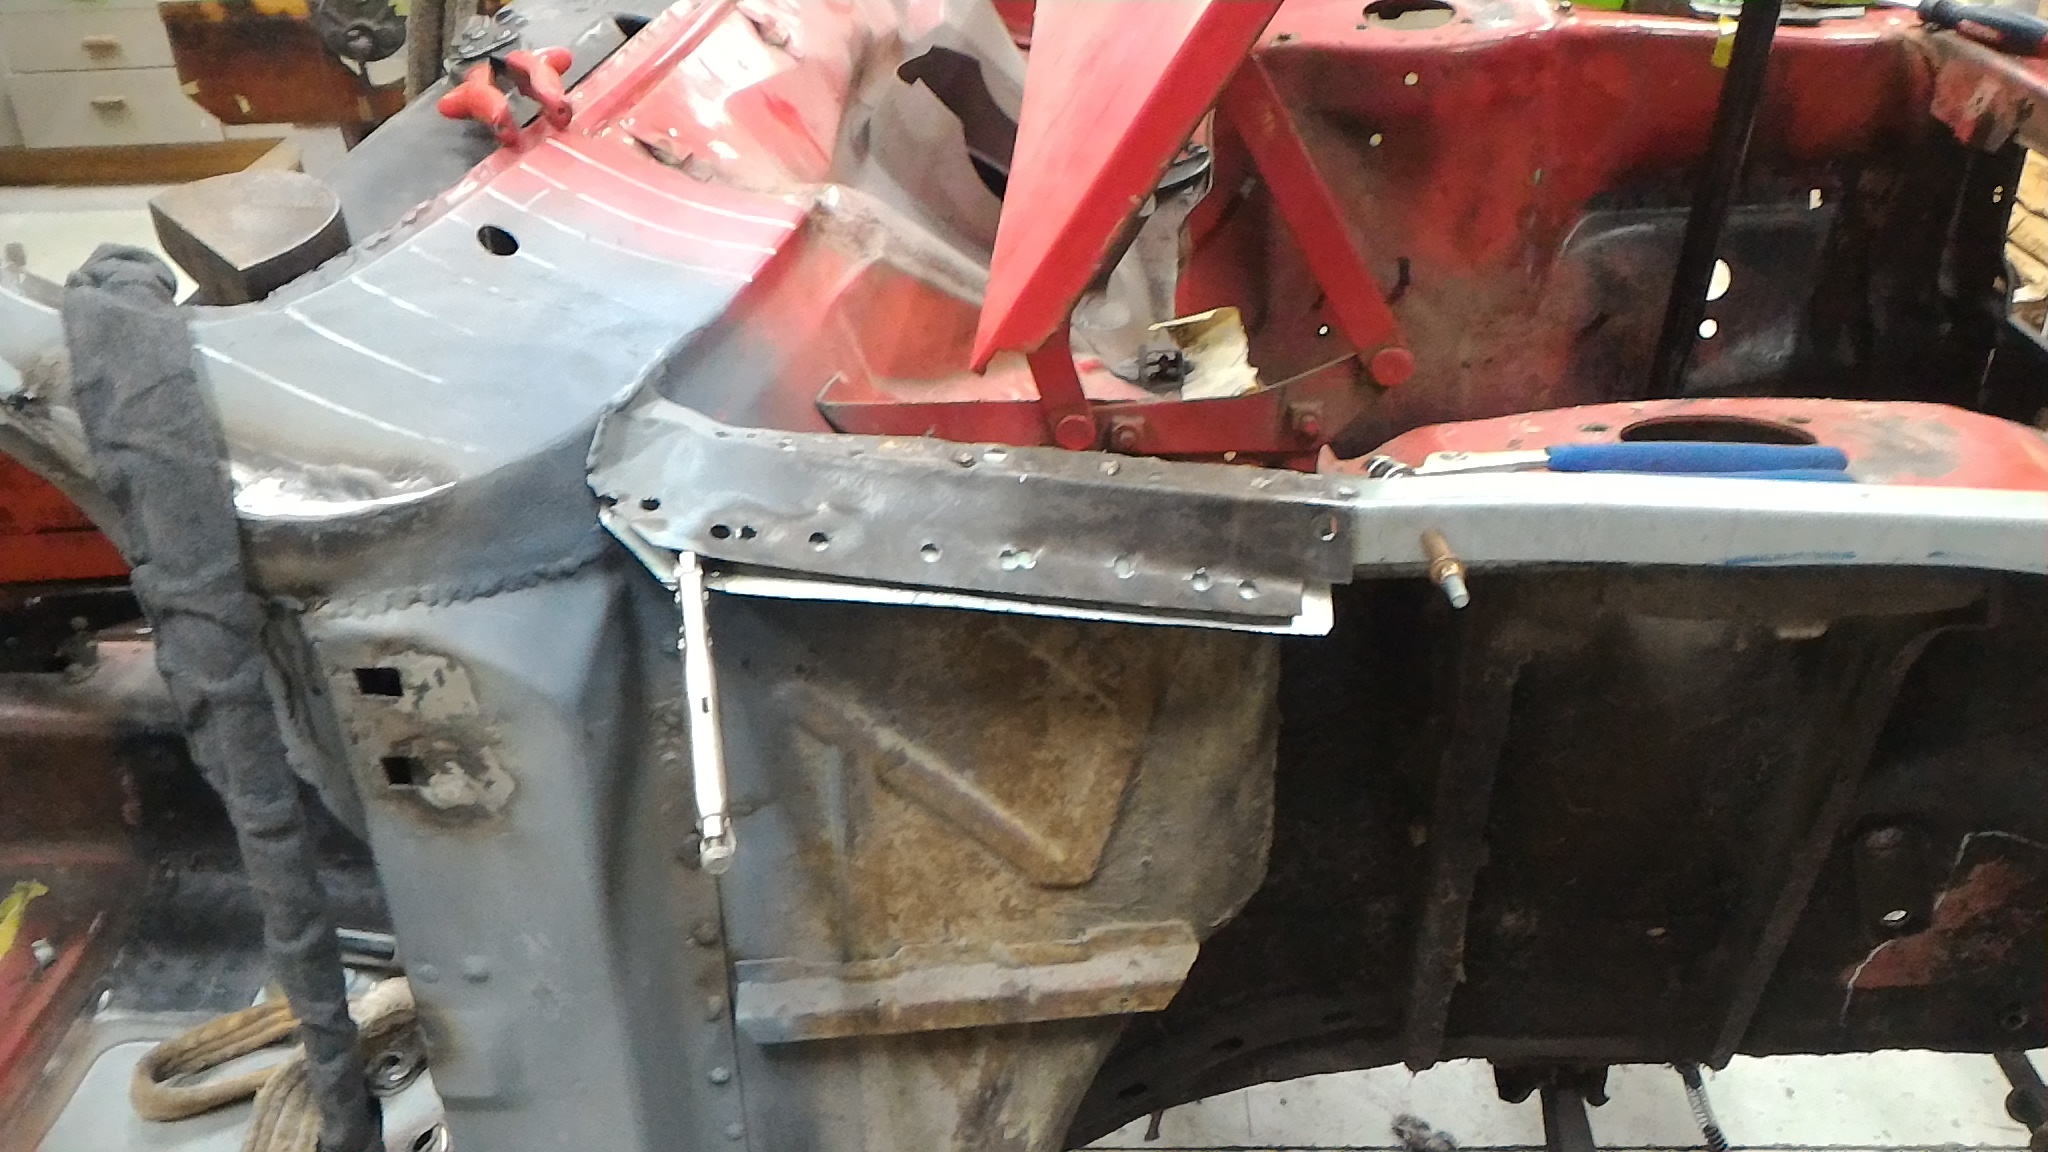
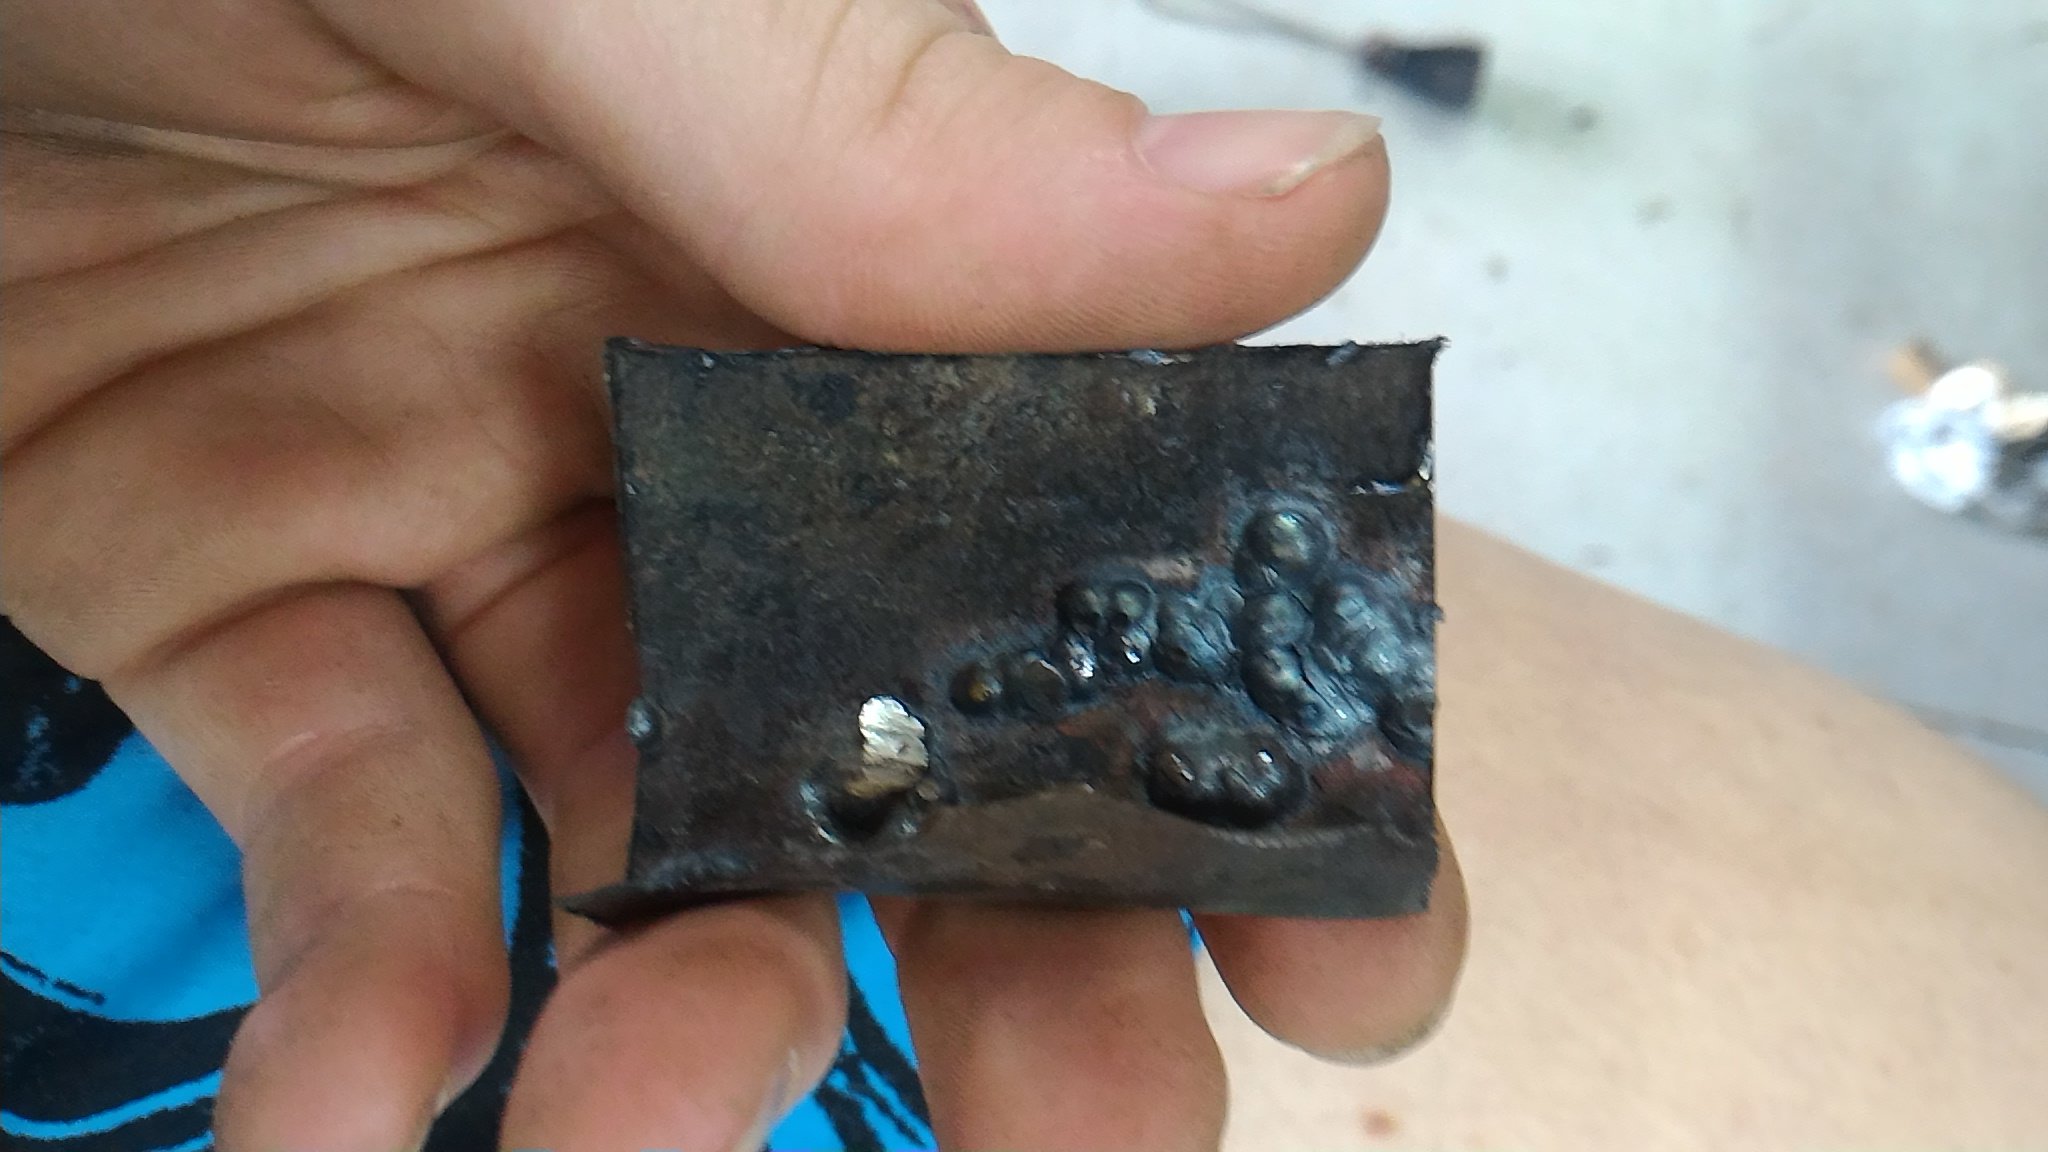
Finally got back into it tonight. Started on the driver's side guard mounts by rebuilding the rearmost part of the inner guard mounting flange. This started with the template I used for the passenger's side (I knew I saved it for a reason) and a piece of steel from the scrap bin. Then I cut it out and made the slices necessary to form the factory pressed bracing structure. Started to form it up And finished forming it up. I've tacked it to the main rail part of the flange for now and that might come back to bite me when I want to fully weld the bracing triangle part up. We'll see. For now though that's it for tonight. Hopefully more to show tomorrow night. As a bonus, here is the panel it is replacing. Hopefully you can somewhat see the resemblance.
1 point
-
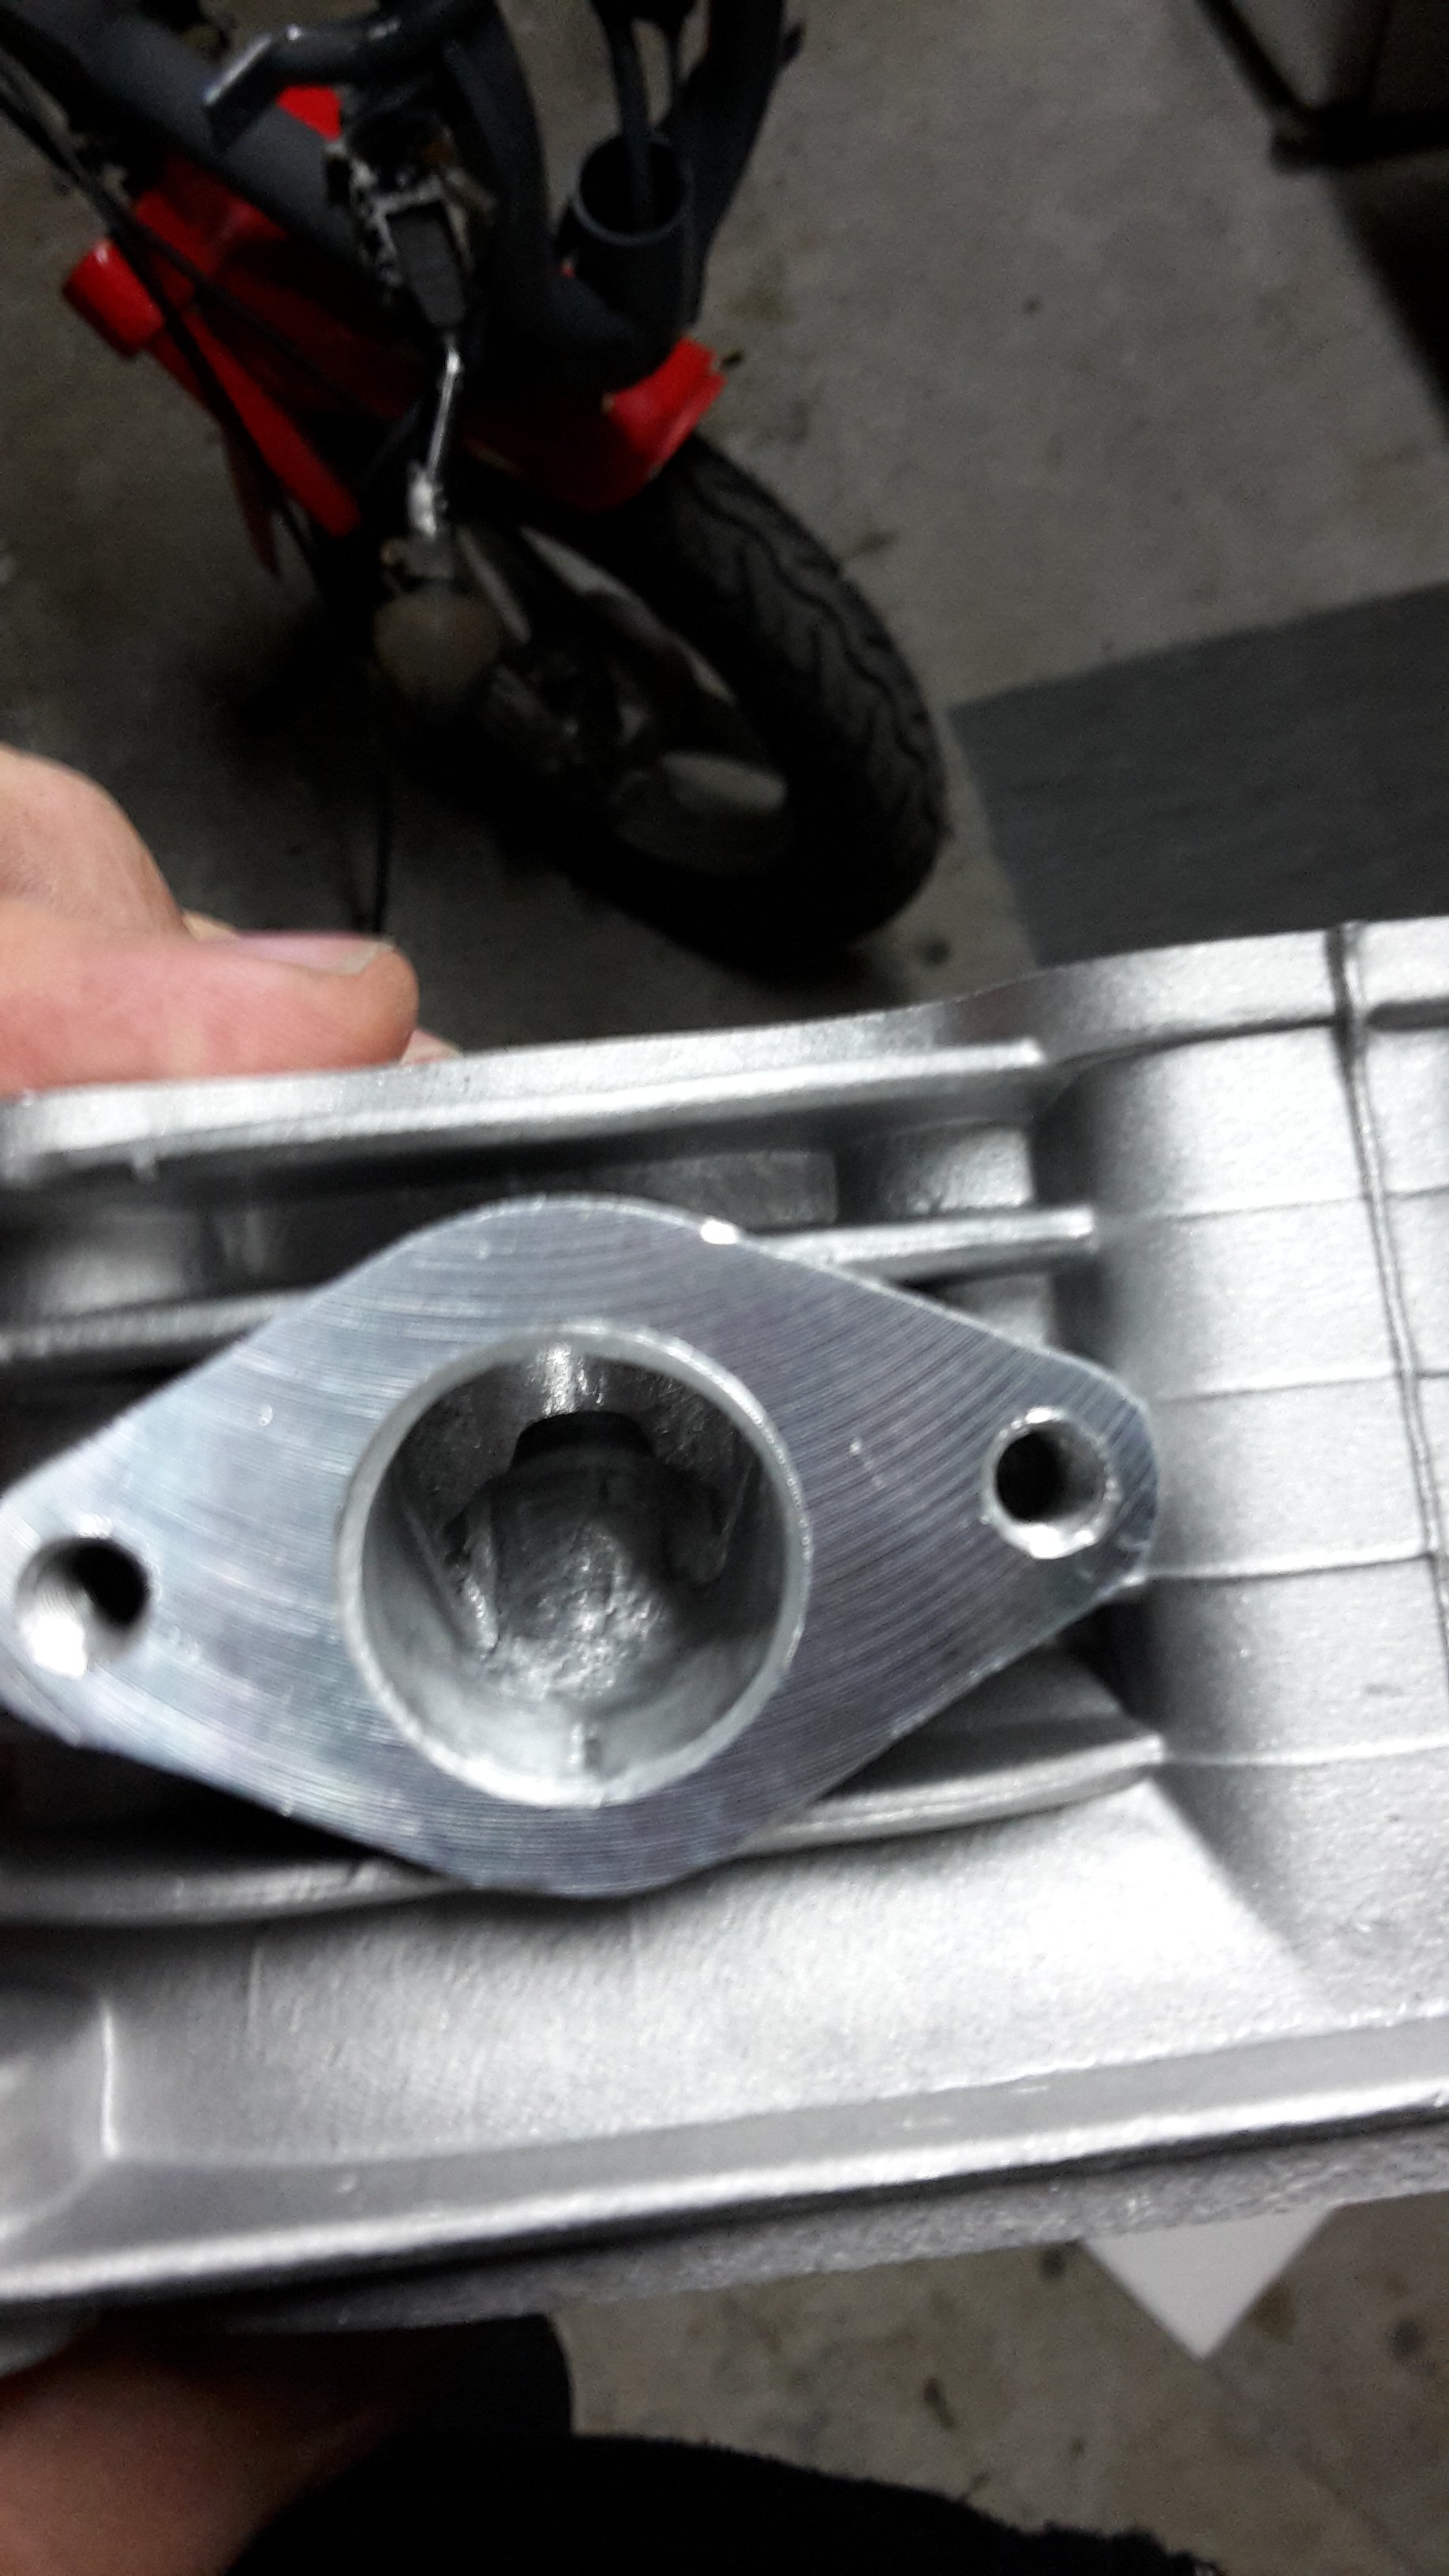
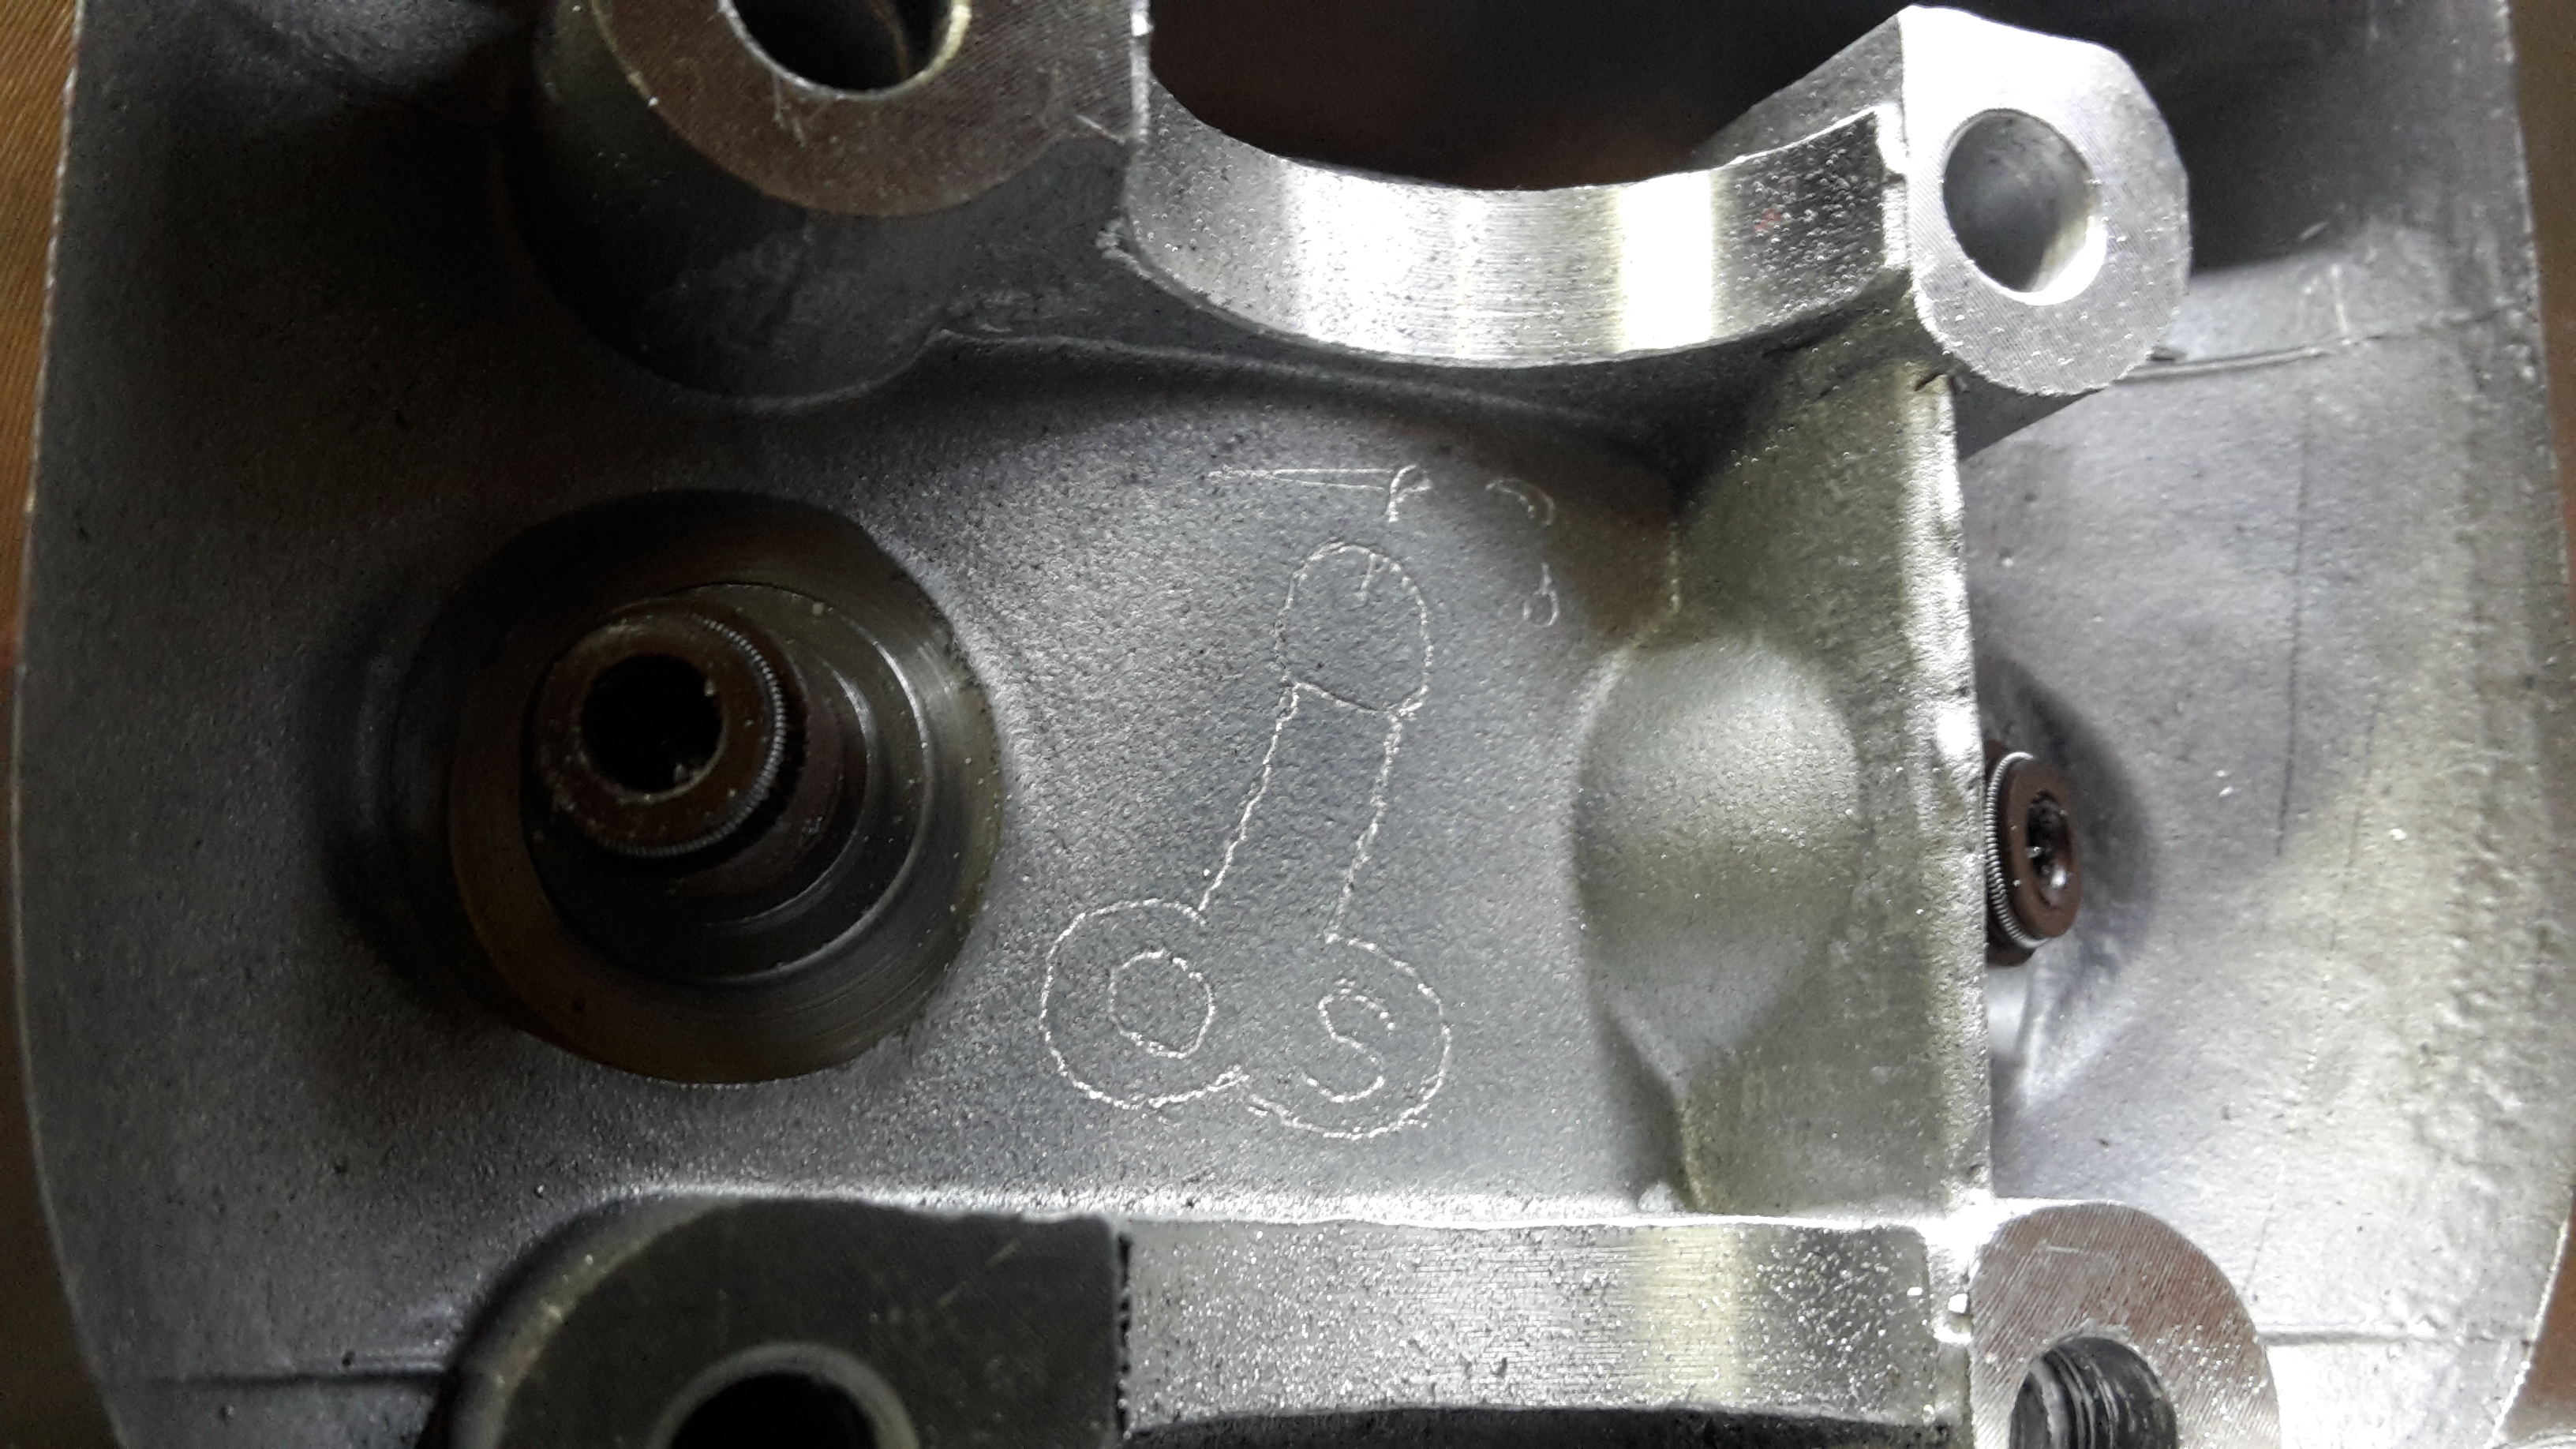
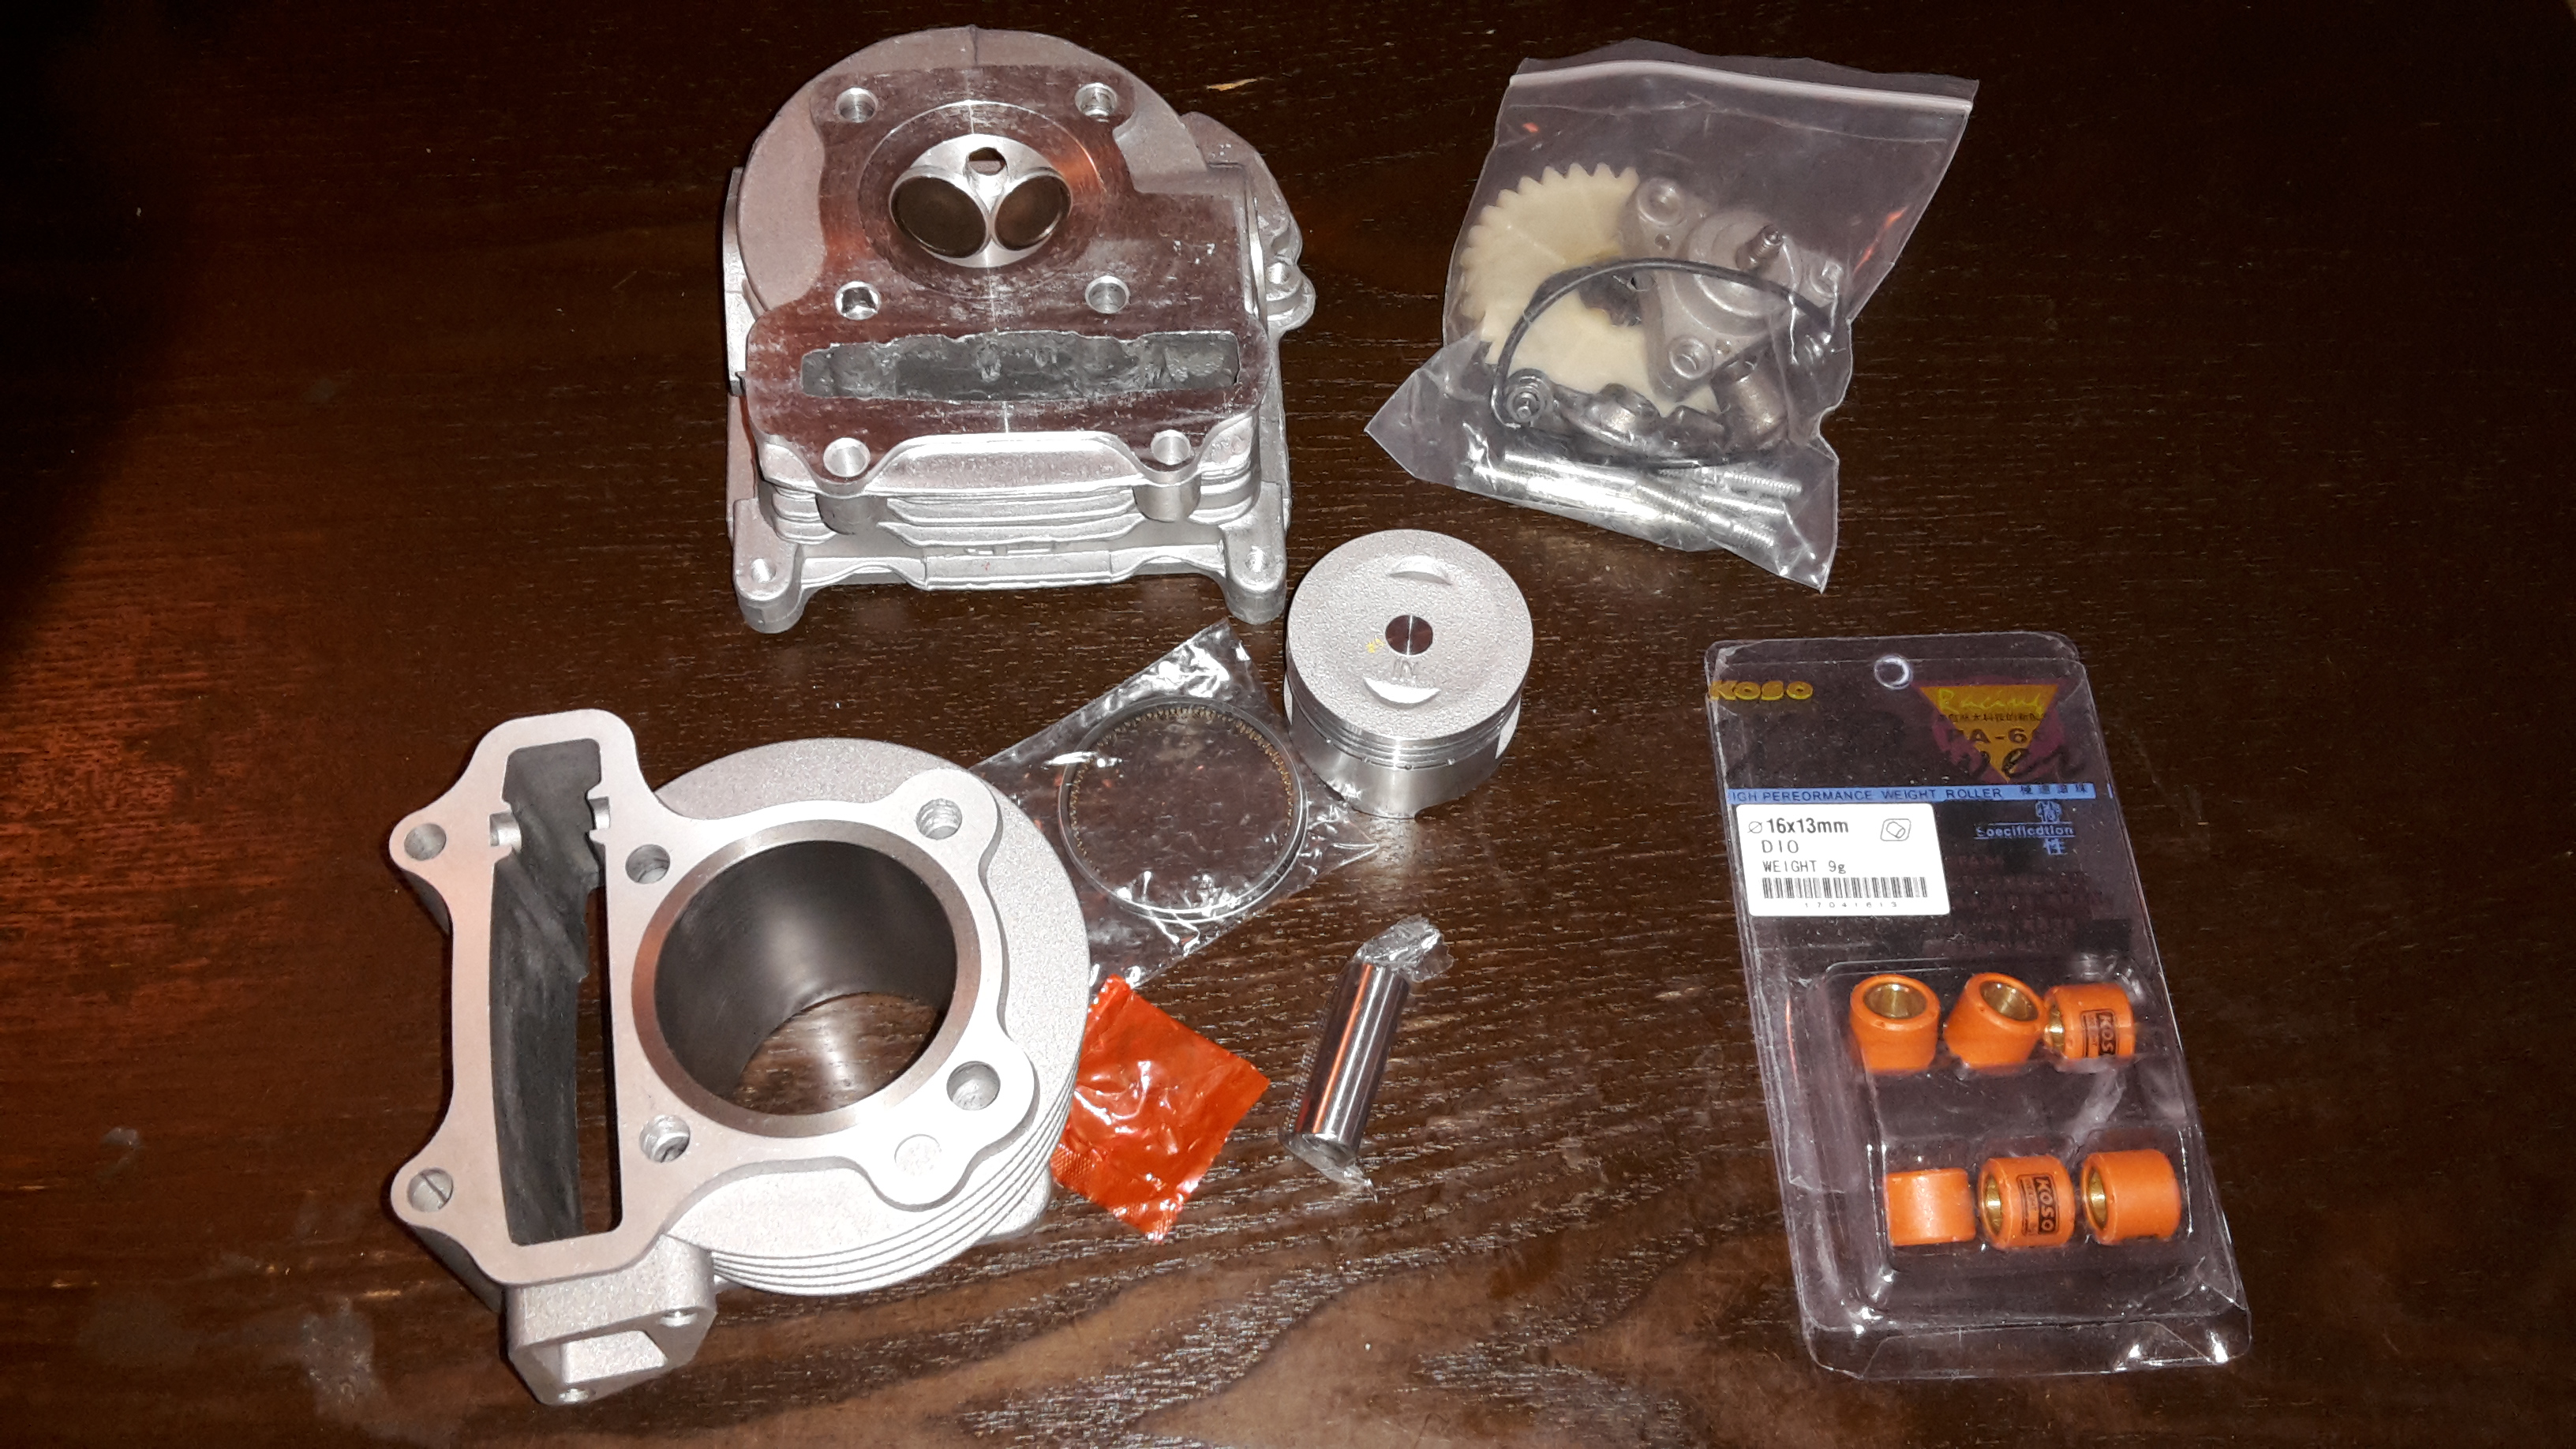
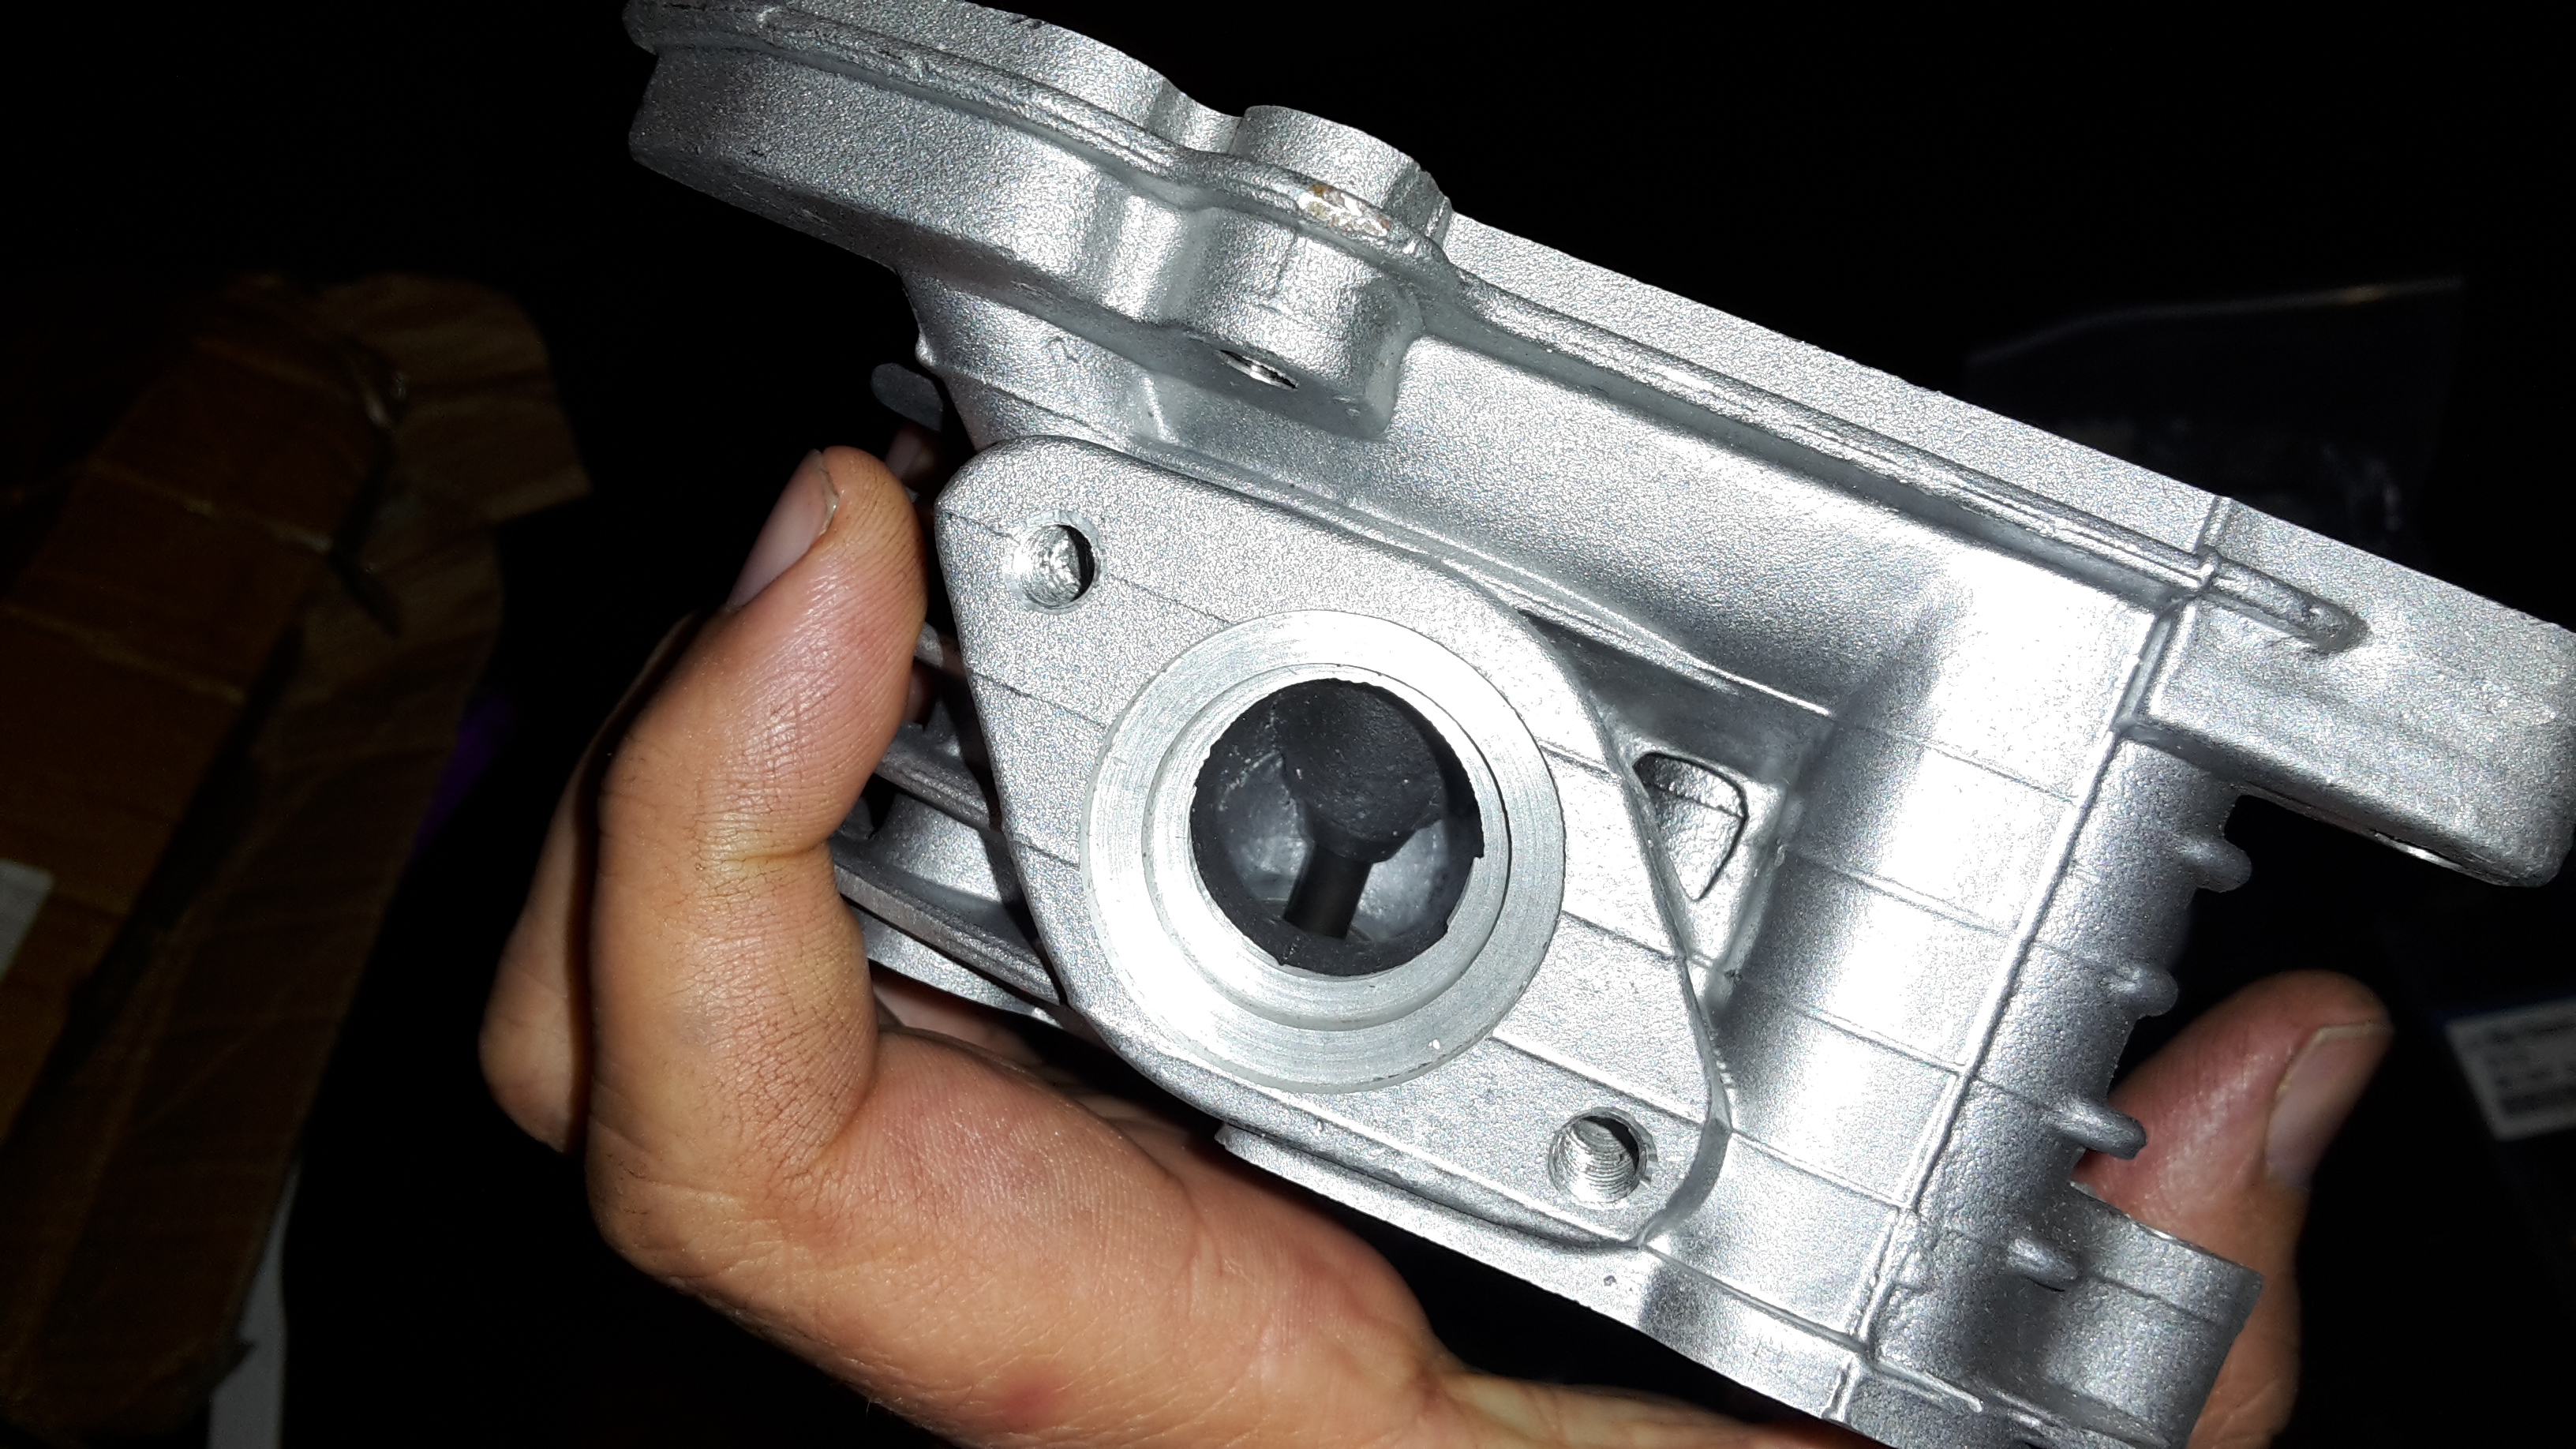
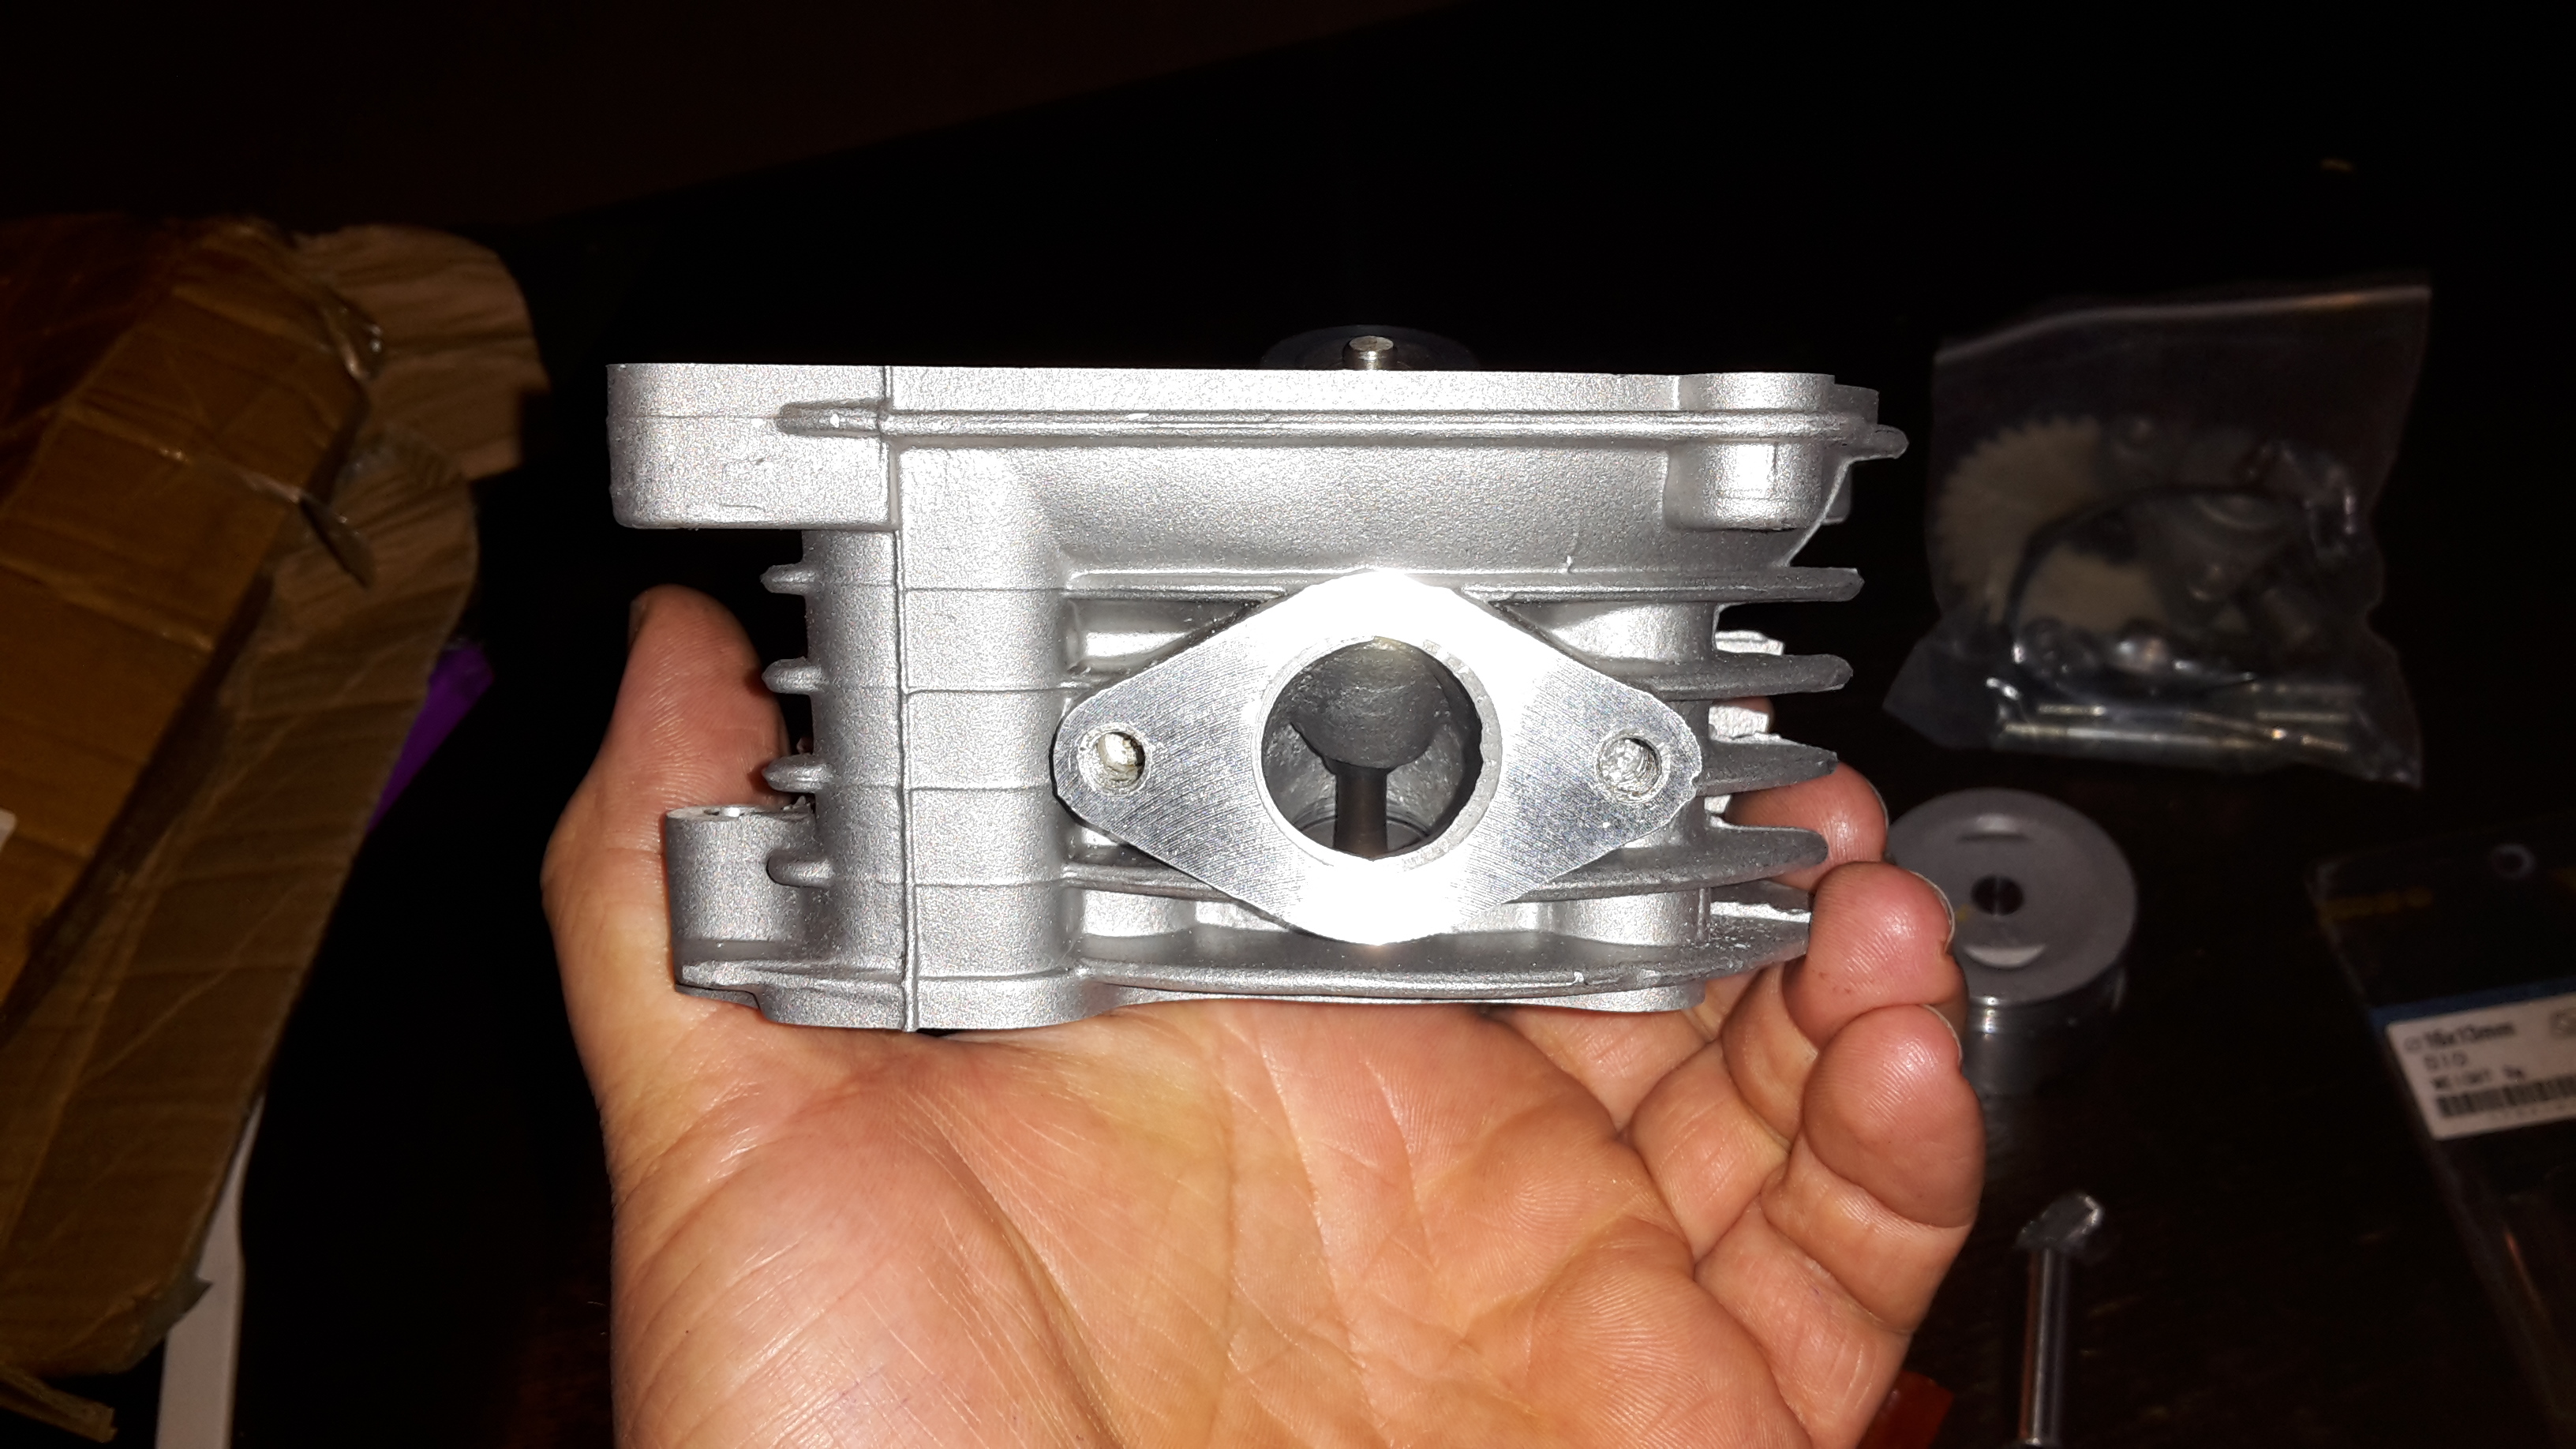
Big block kit turned up. Also got a fuel tap shipped free from China for $2.70. It amazes me how they can make any money off this stuff it's so cheap. I might give the ports a quick tickle up before the head goes on
1 point
-
yes it is. and you can look at other things out of it besides ass too!1 point
-
wait wait, an actual update as well!box fresh out the acid.and new starter motor, 2 speed wiper switch and many small things, fresh out the metric nut.1 point
-
Hell yeah, new spot ftw. Closer to me and spooly turbo tunnel noises1 point
-
yep, mind you would be lols for a meet just to see how many hood-rats stop and 'oh chur bhey' the cars1 point
-
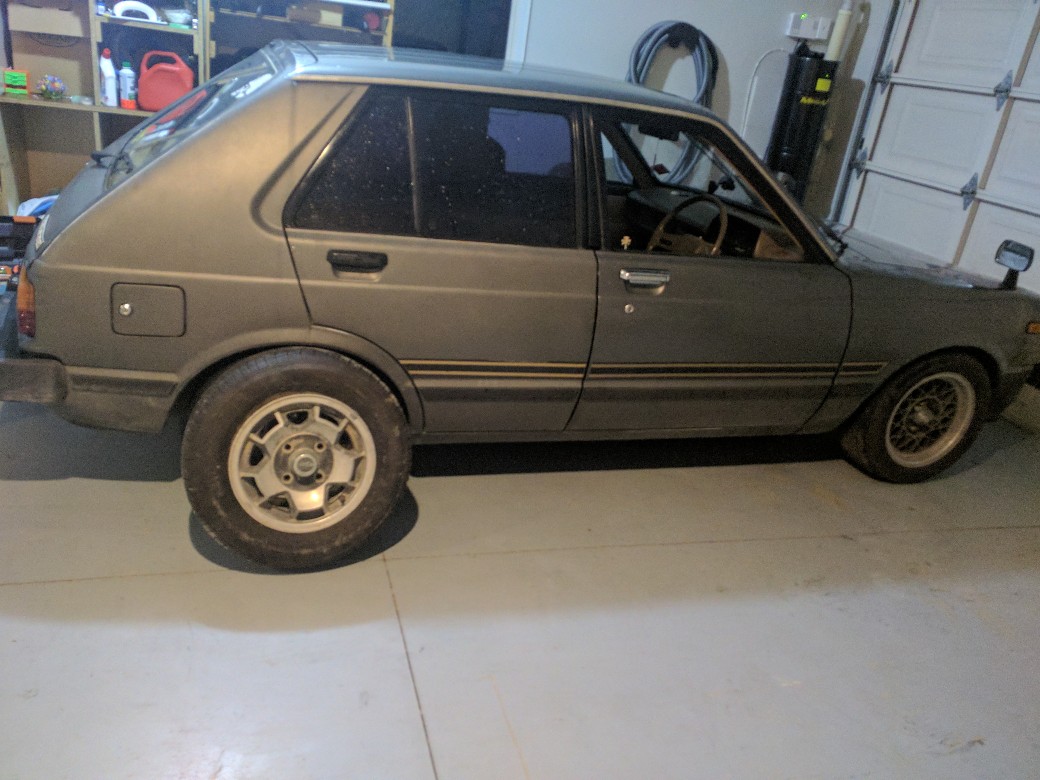
When you lower your car 17.5 mm and you get more guard clearance. At least the speedo is bang on now and the car has more go and more steer.
1 point
-
Barry science has me wondering what else has been used to try unseize an engine/achieve any other task, right now there could be one filled with Campbells soup, another with Vicks Formula 44, another with Banana Boat SPF50 sunscreen...1 point
-
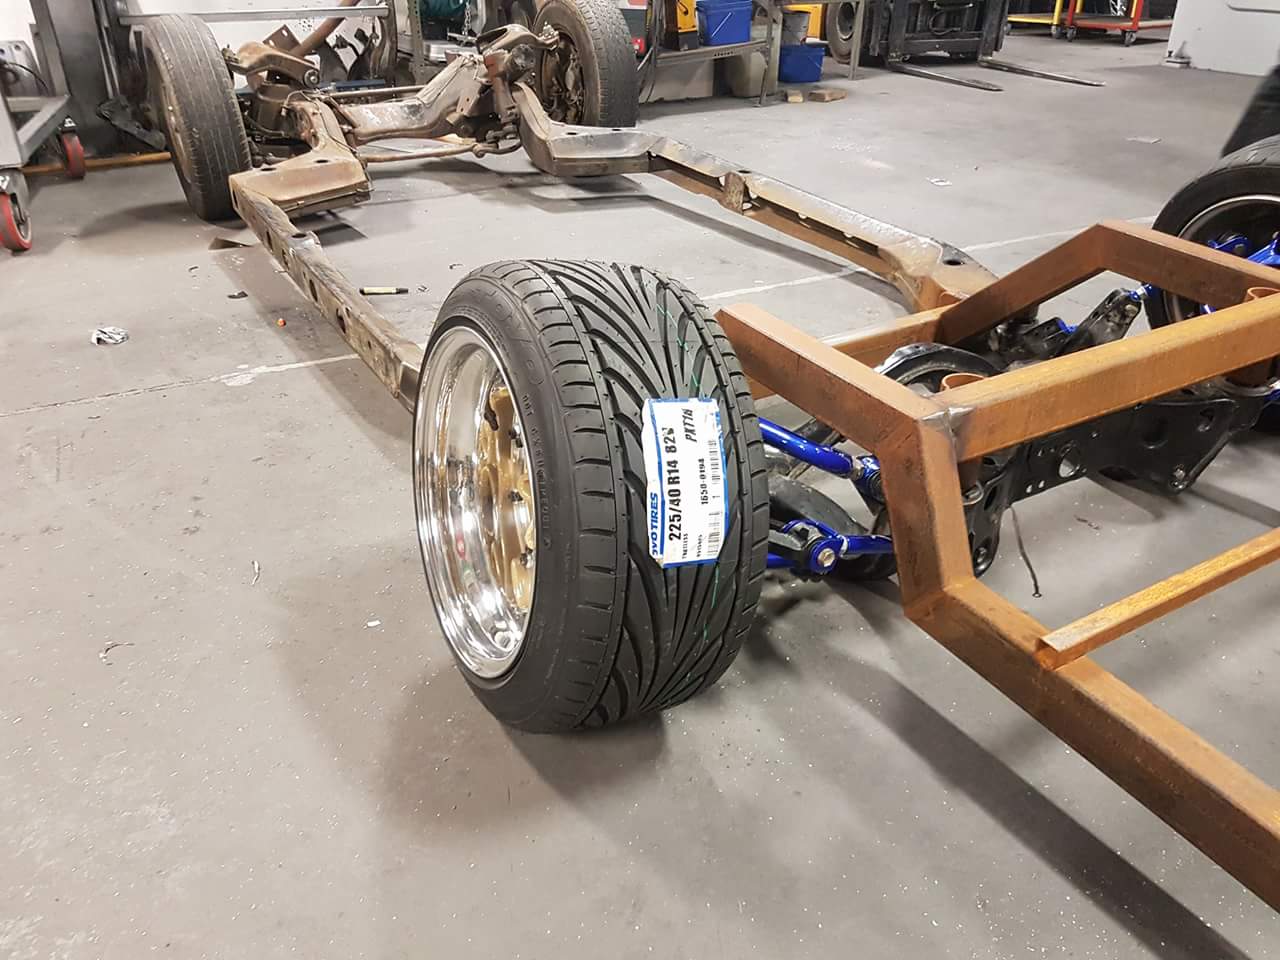
R200 subframe nearly all mounted. And ready to go back under the body and get the floor cut out to suit the new chassis and the wheels
1 point
-
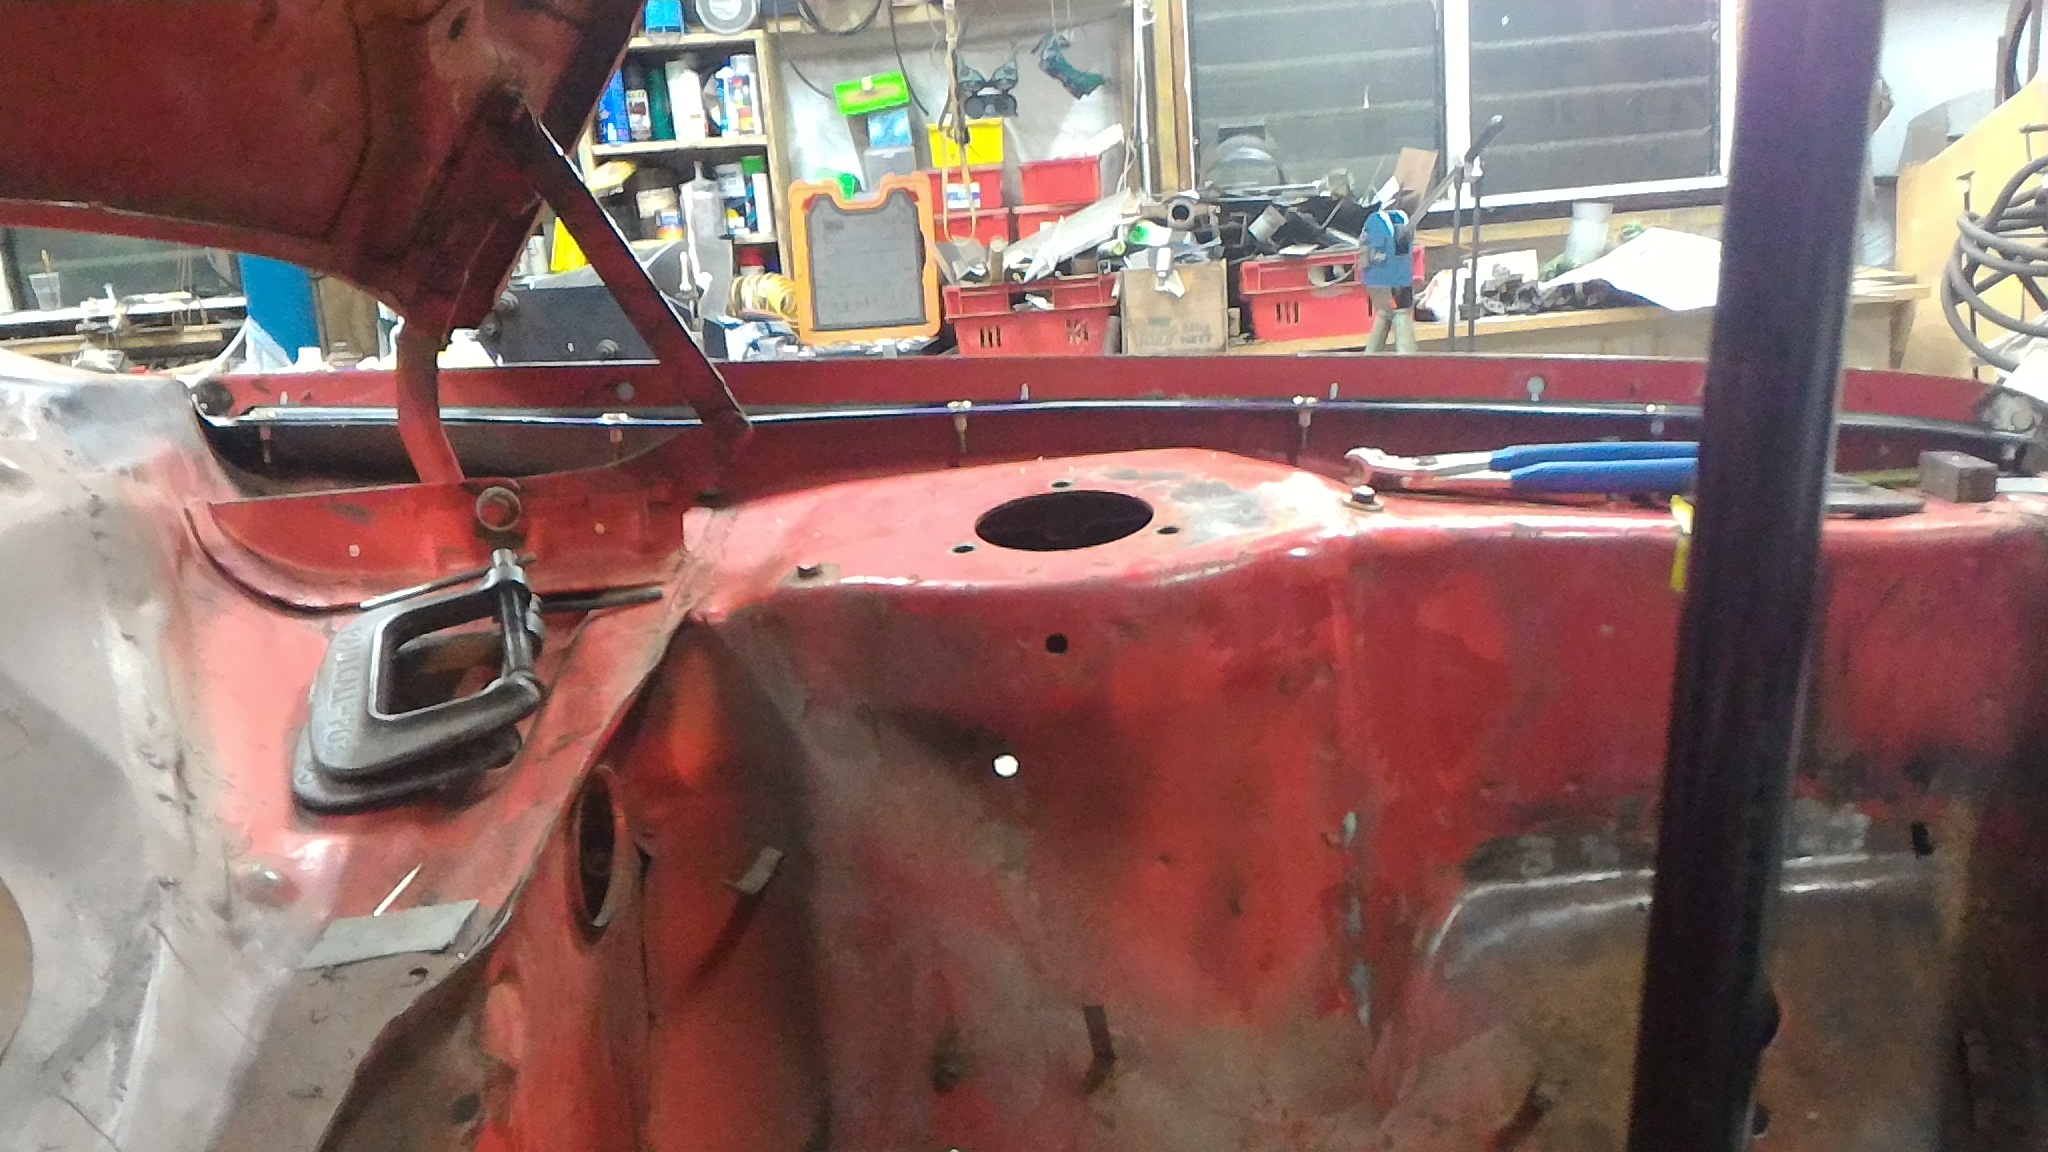
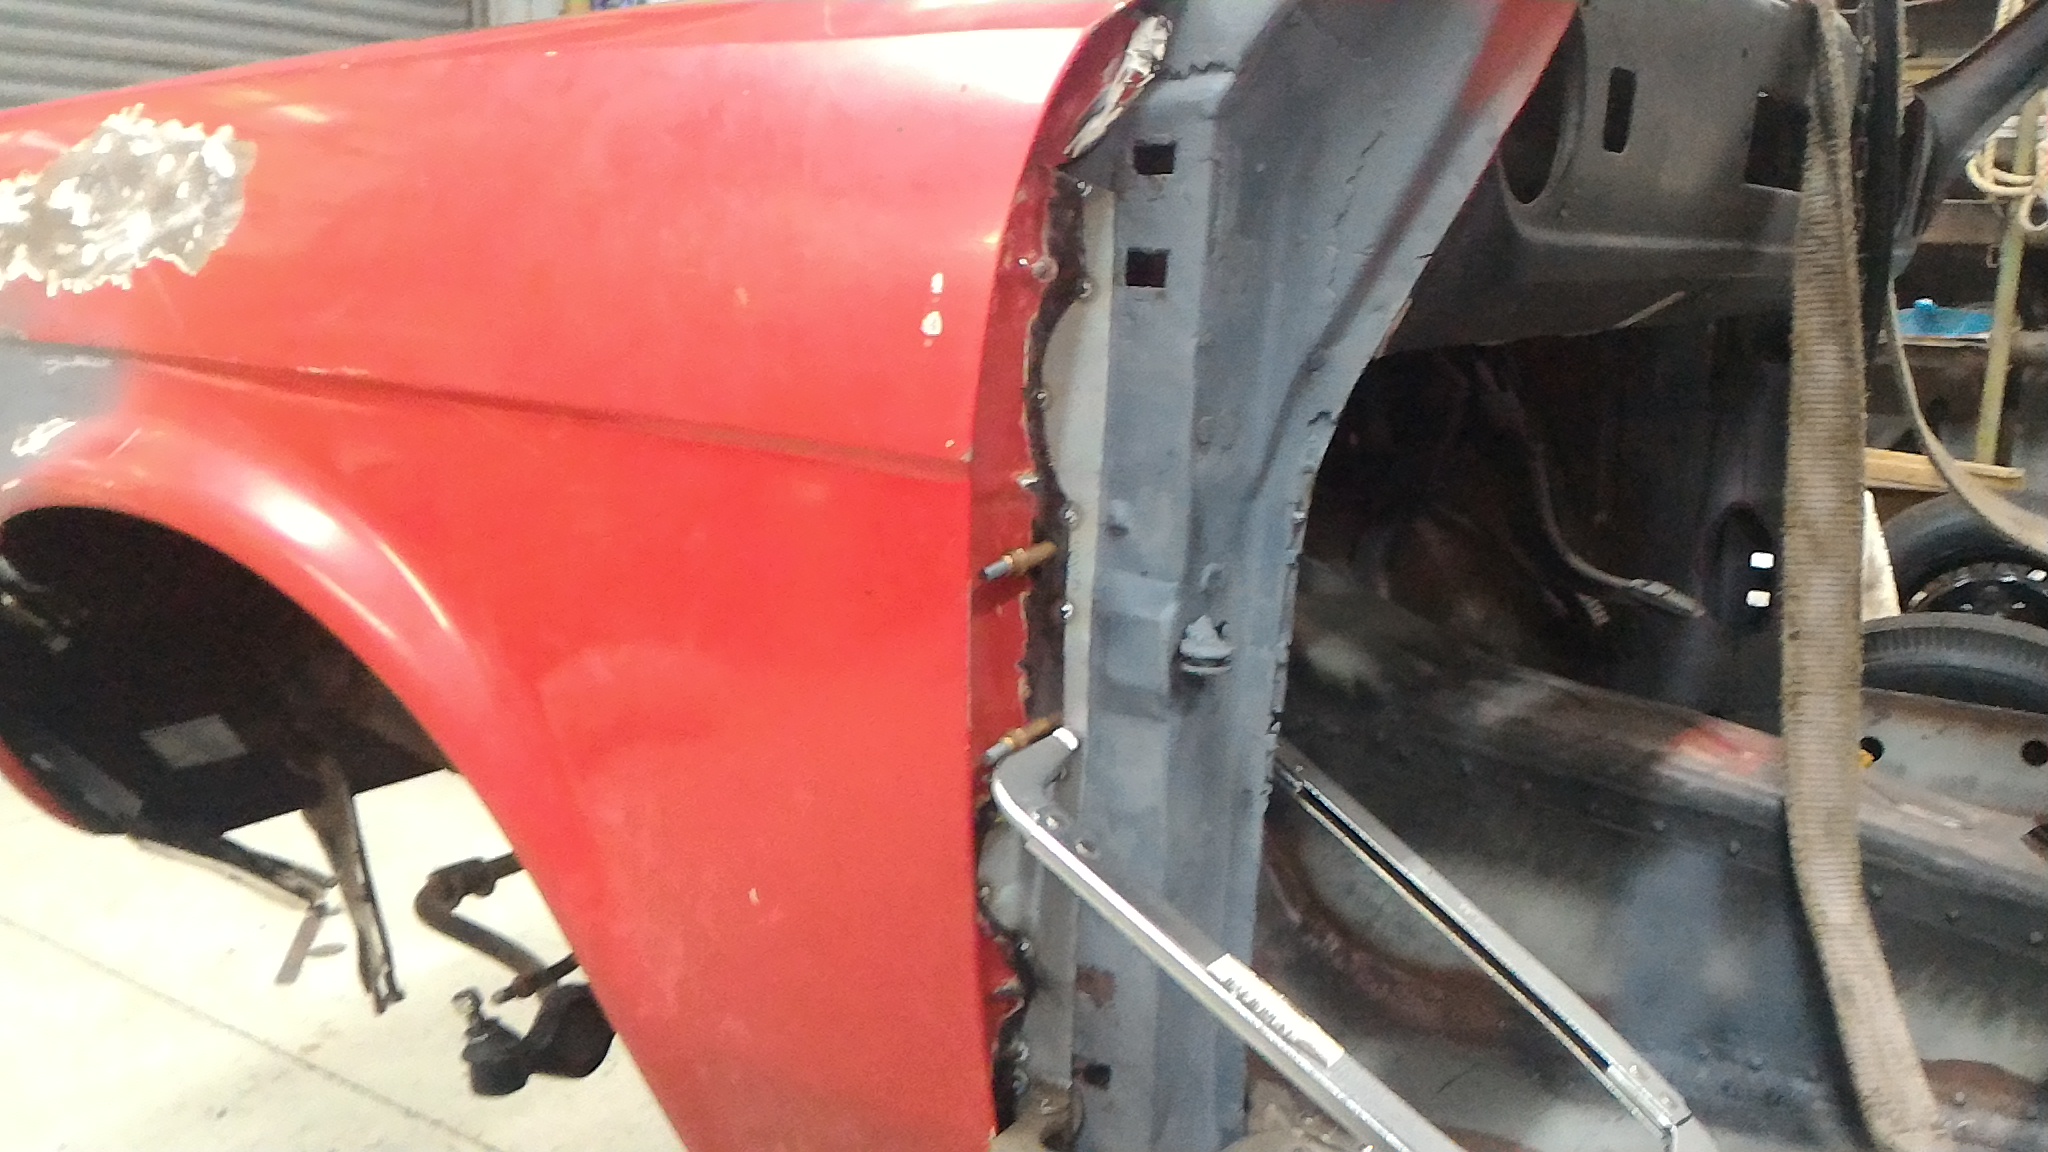
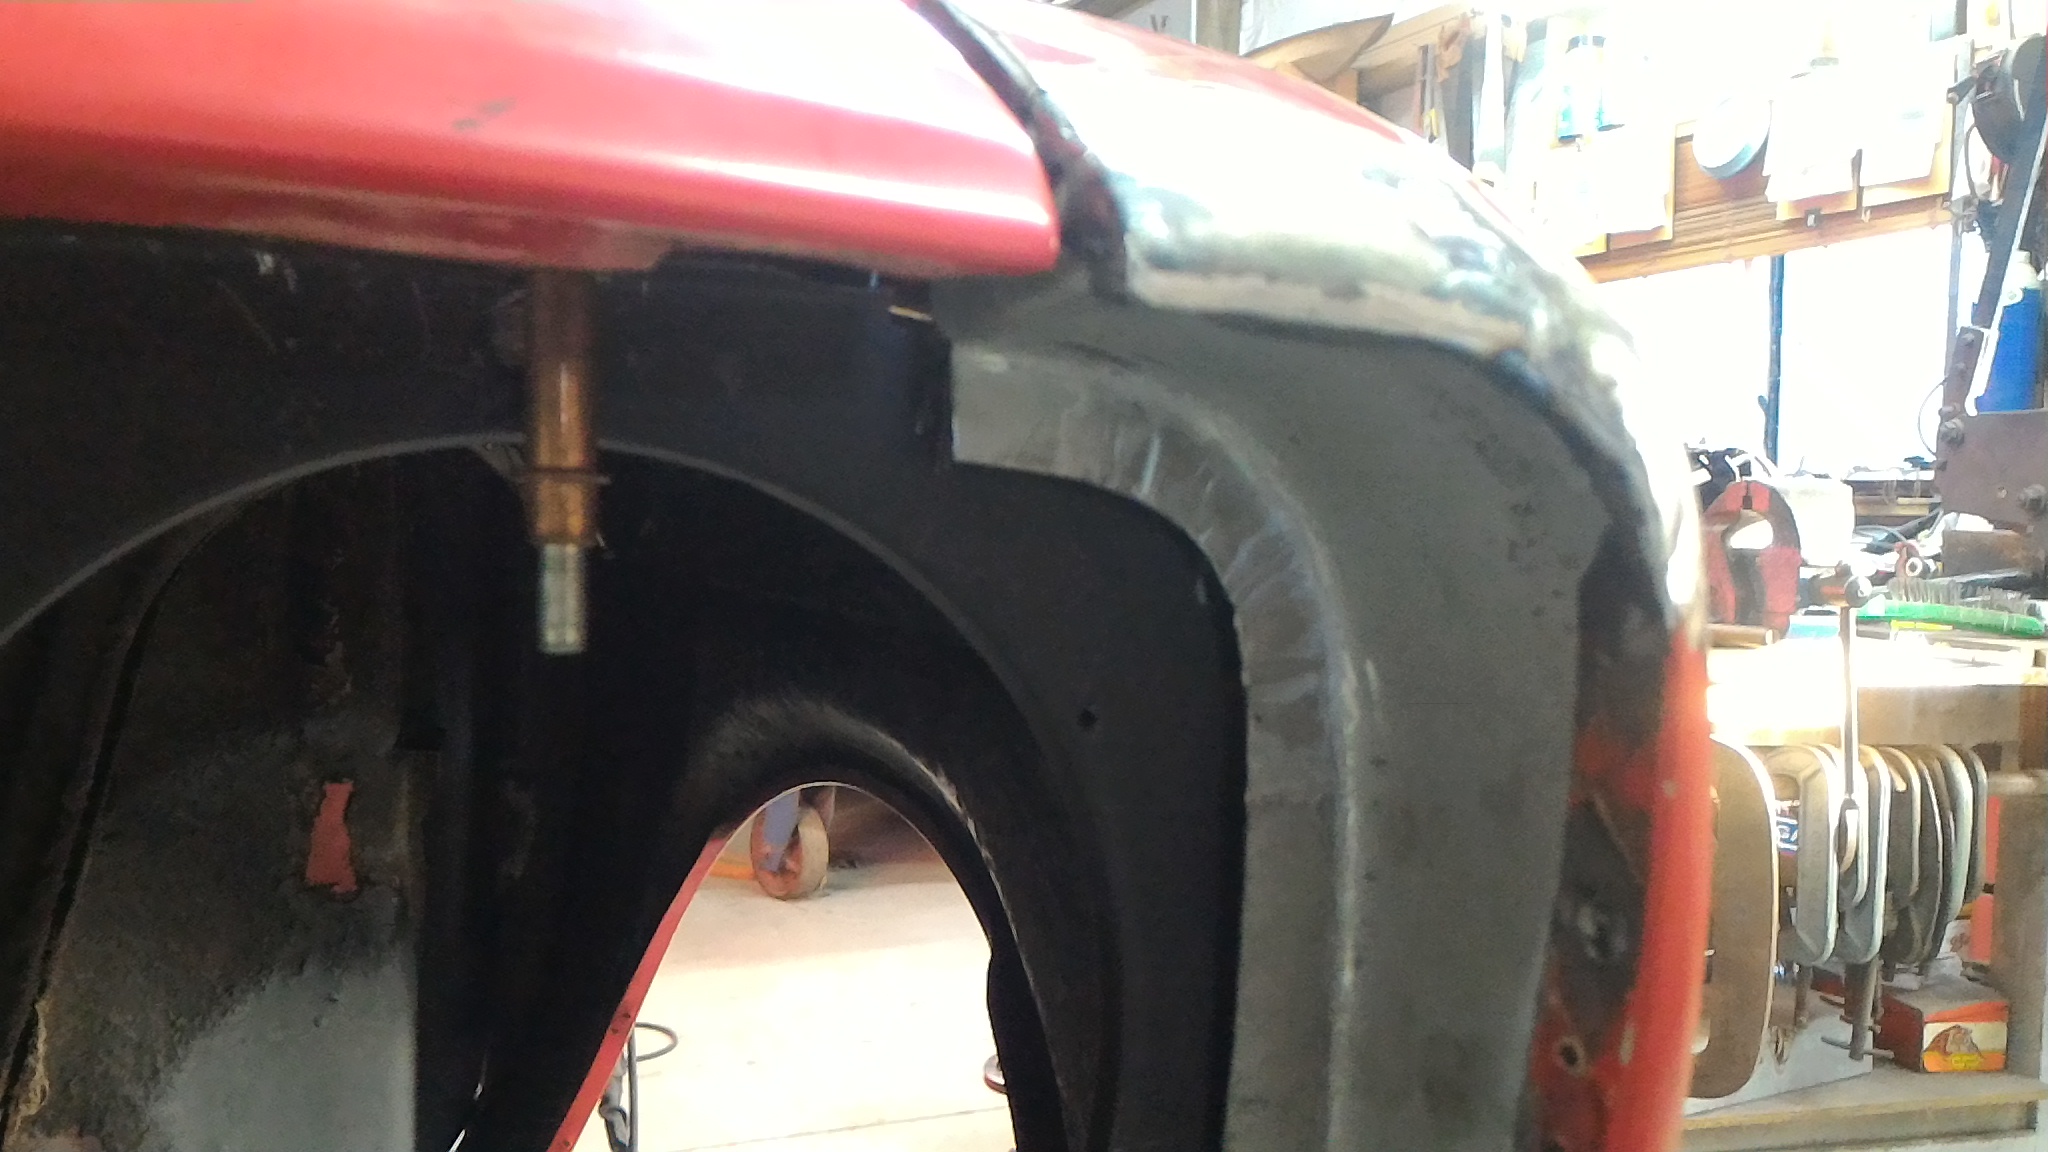
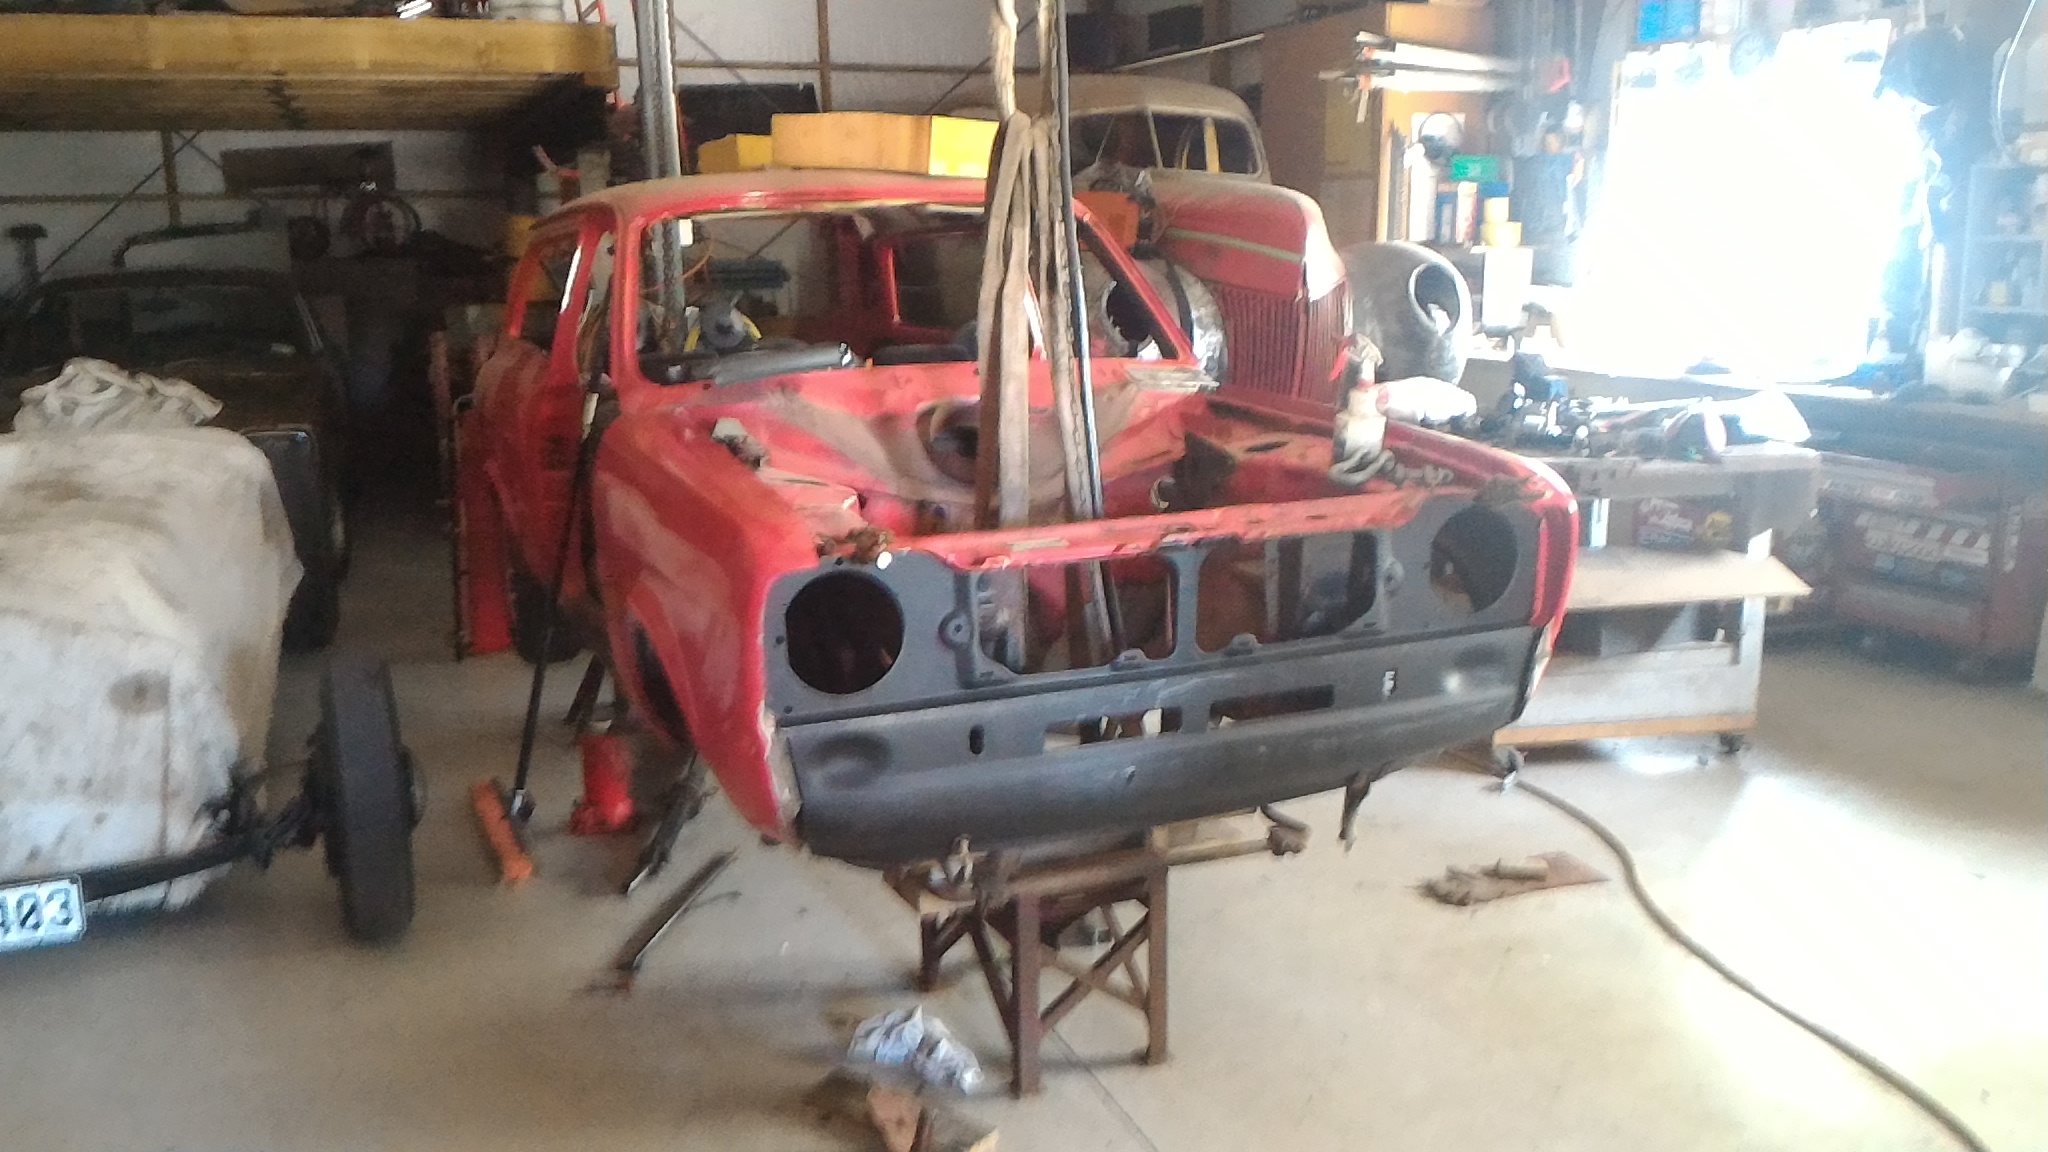
With the front end of the guards all set it was time to sort out the back end. The original welded A pillar mounting flange was pretty buggered so I chopped out all the rot and made a template to rebuild the flange. Then cut it out of steel and tacked it on. Looks good. So I fully welded it on. Then I threw the door and bonnet back on to check the panel gaps Not too shabby. Next was to take the plunge and start putting holes in my panels. I started by drilling a 3mm hole through both top flanges while the guard was clamped in place to ensure the holes would line up perfectly. Then I pulled it all apart and drilled the outer flange out to 7mm and the inner to less than that (I can't remember what it was exactly but it fit the riv-nuts perfectly). I put the riv-nuts in place and pulled them up tight before throwing it all back together with bolts this time to check the fitment. Looks good to me. I learned that the final bolts I'm going to use can be and should be much shorter than the furniture screws I am using to mock everything up, but other than that everything fits up great. I didn't take any photos of making the inner and outer flanges on the top of the guard for this side, but I still have the other side to do yet and I'll be sure to document that when I do it.
1 point
-
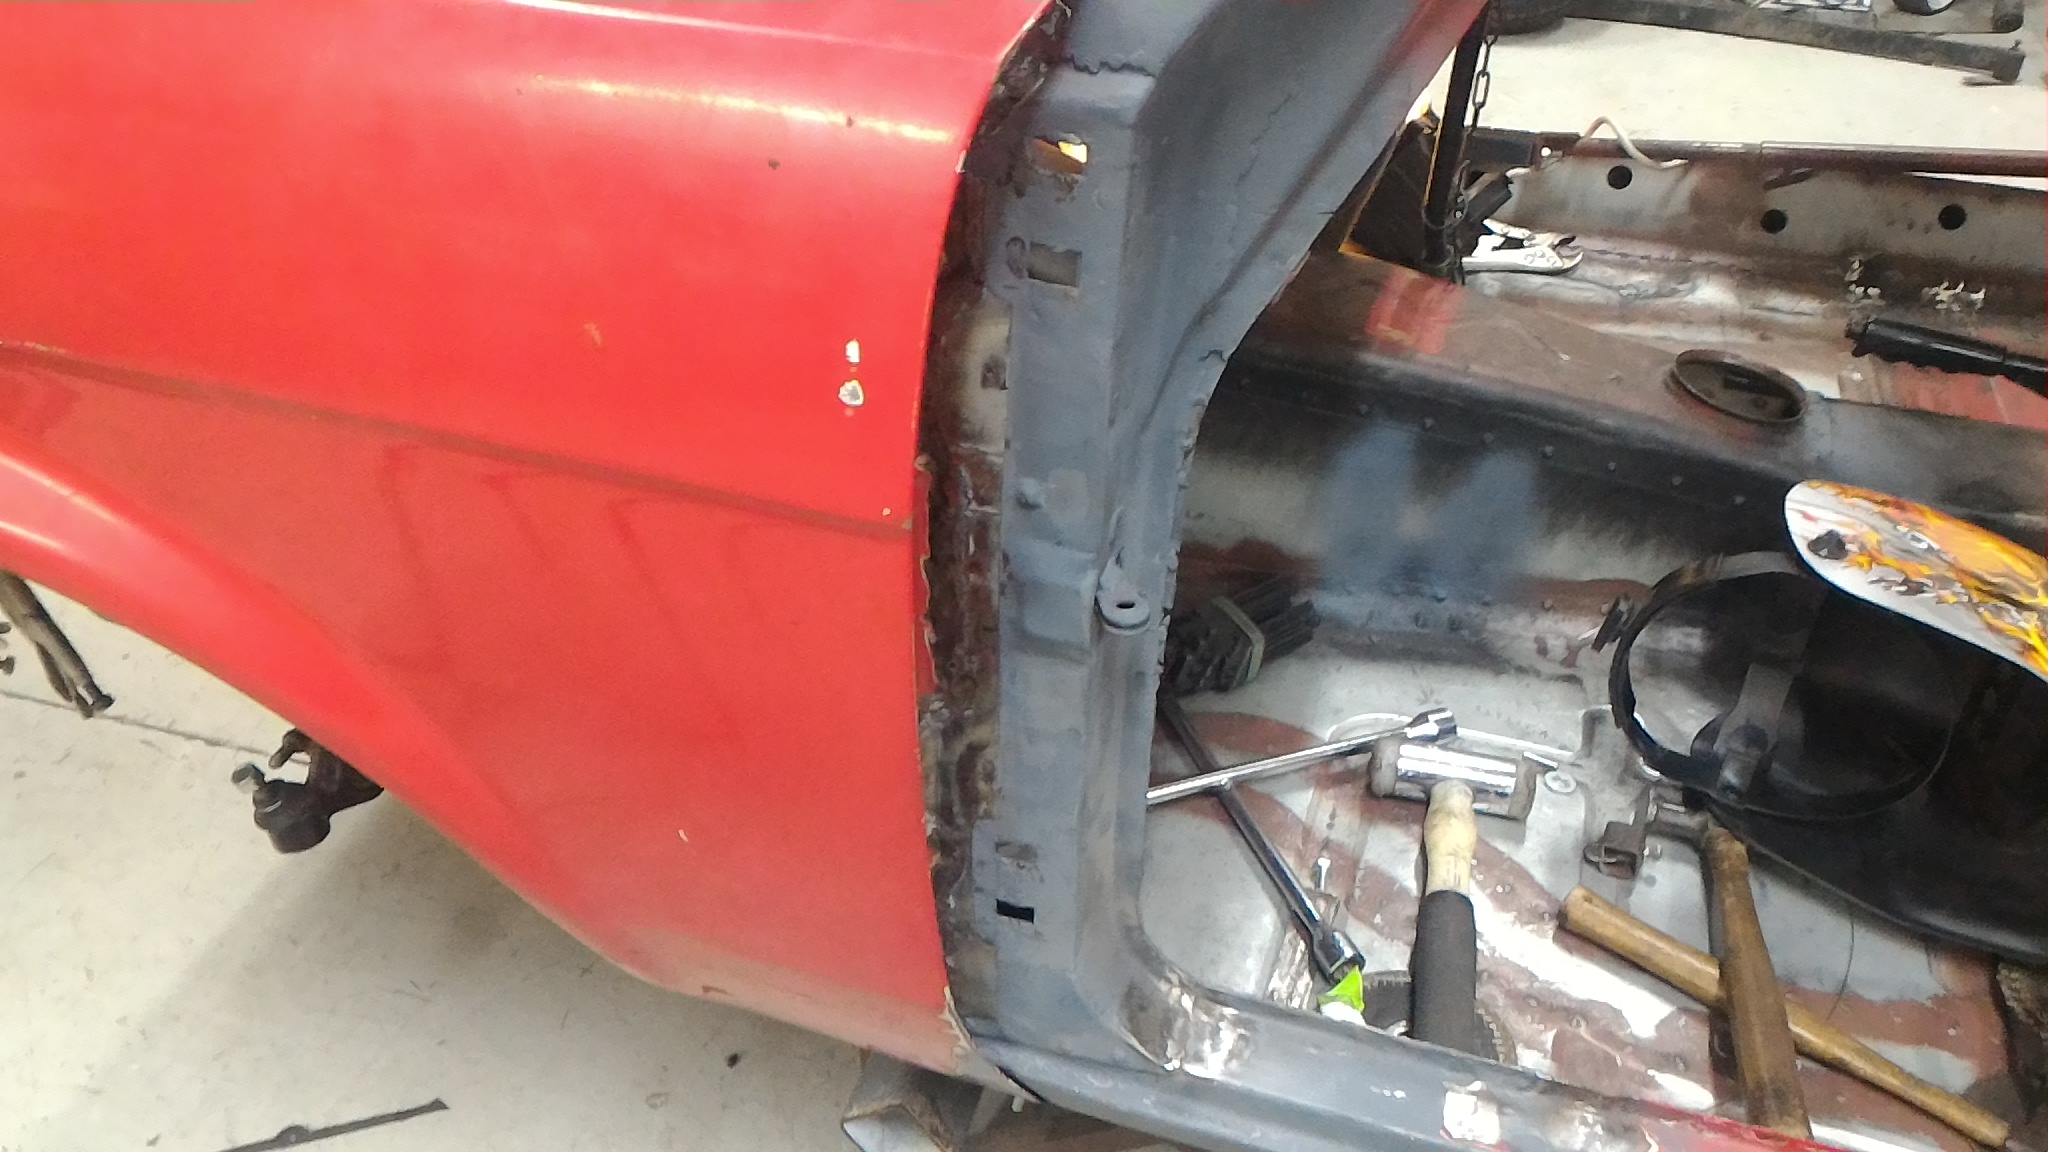
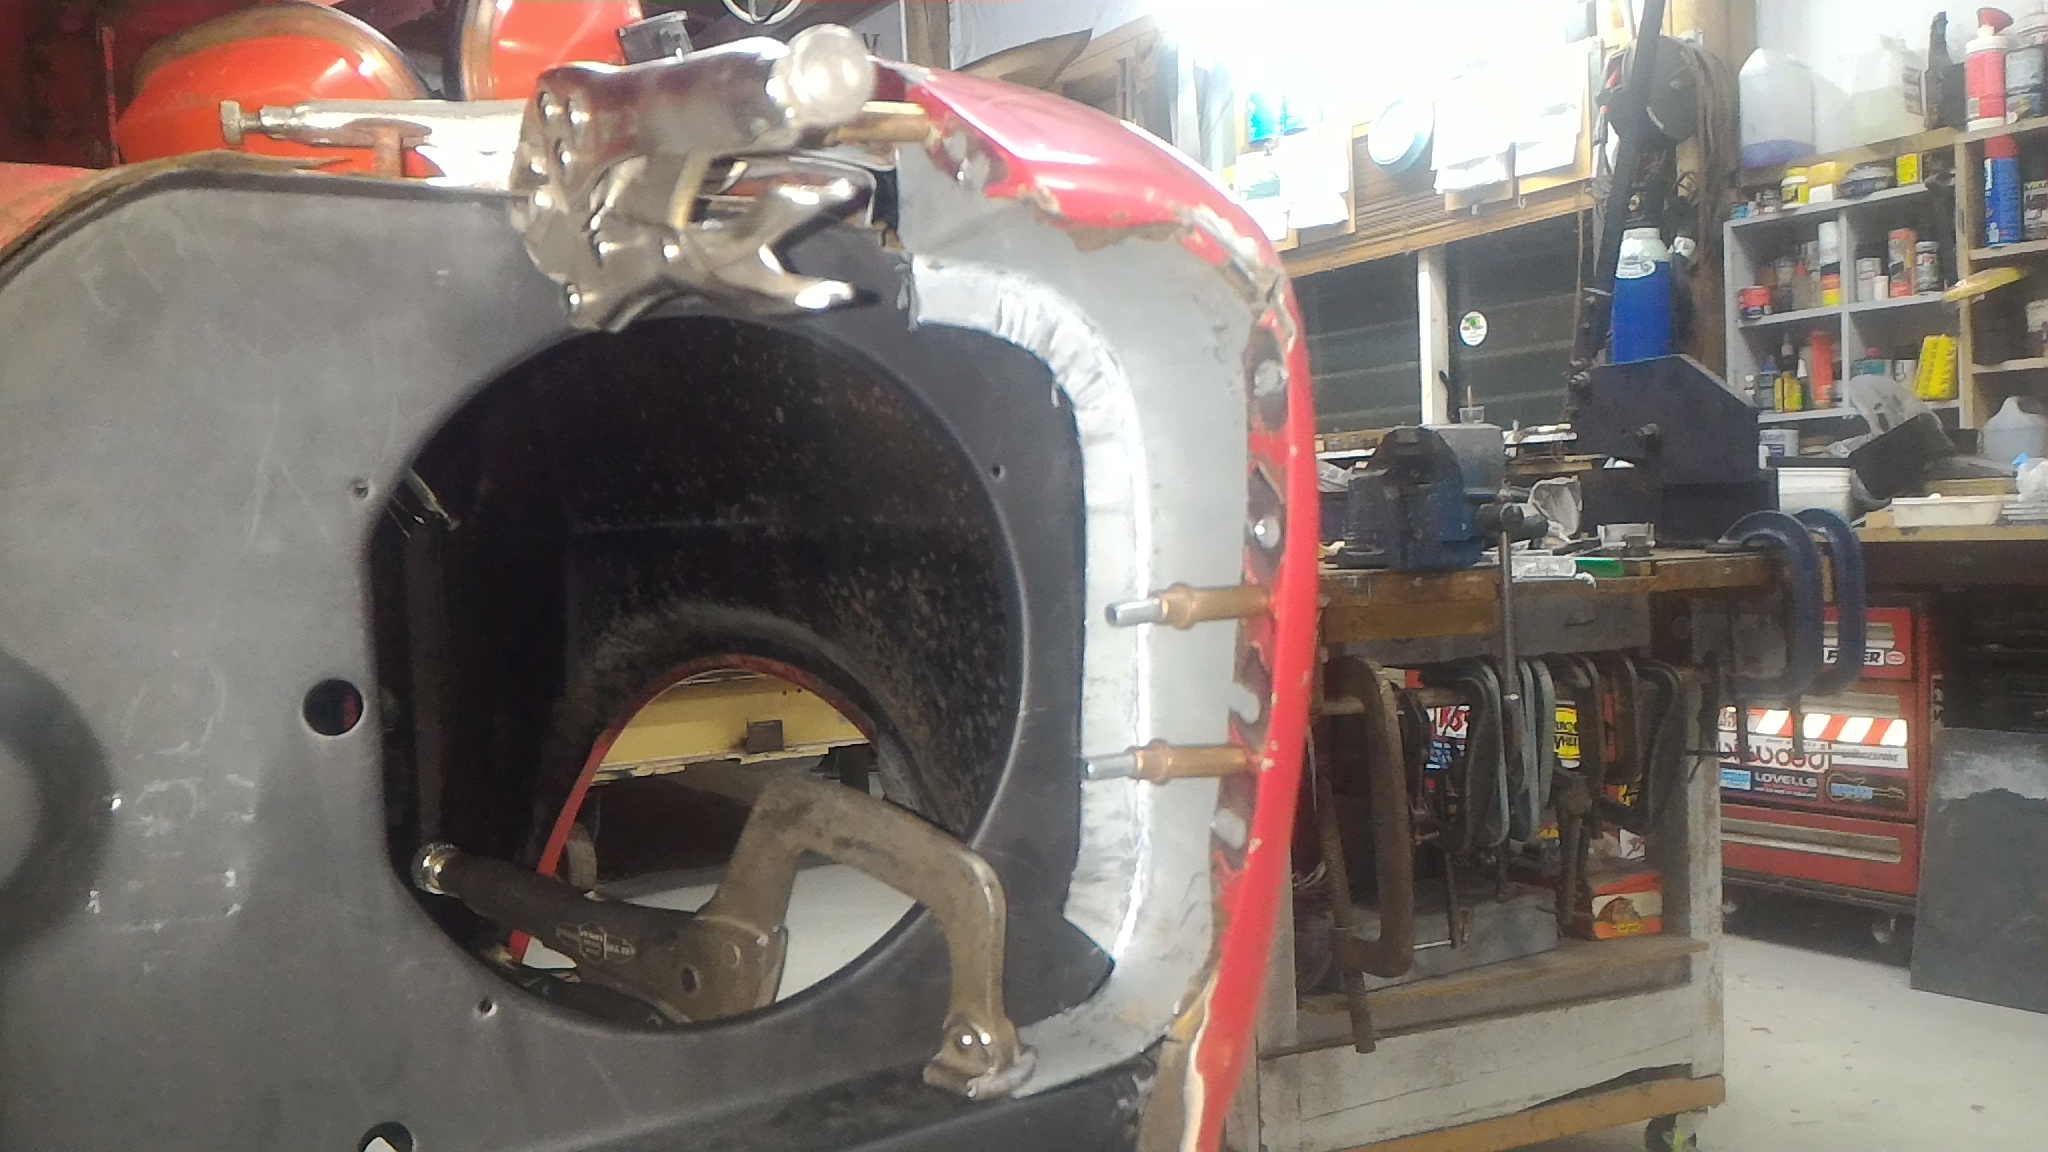
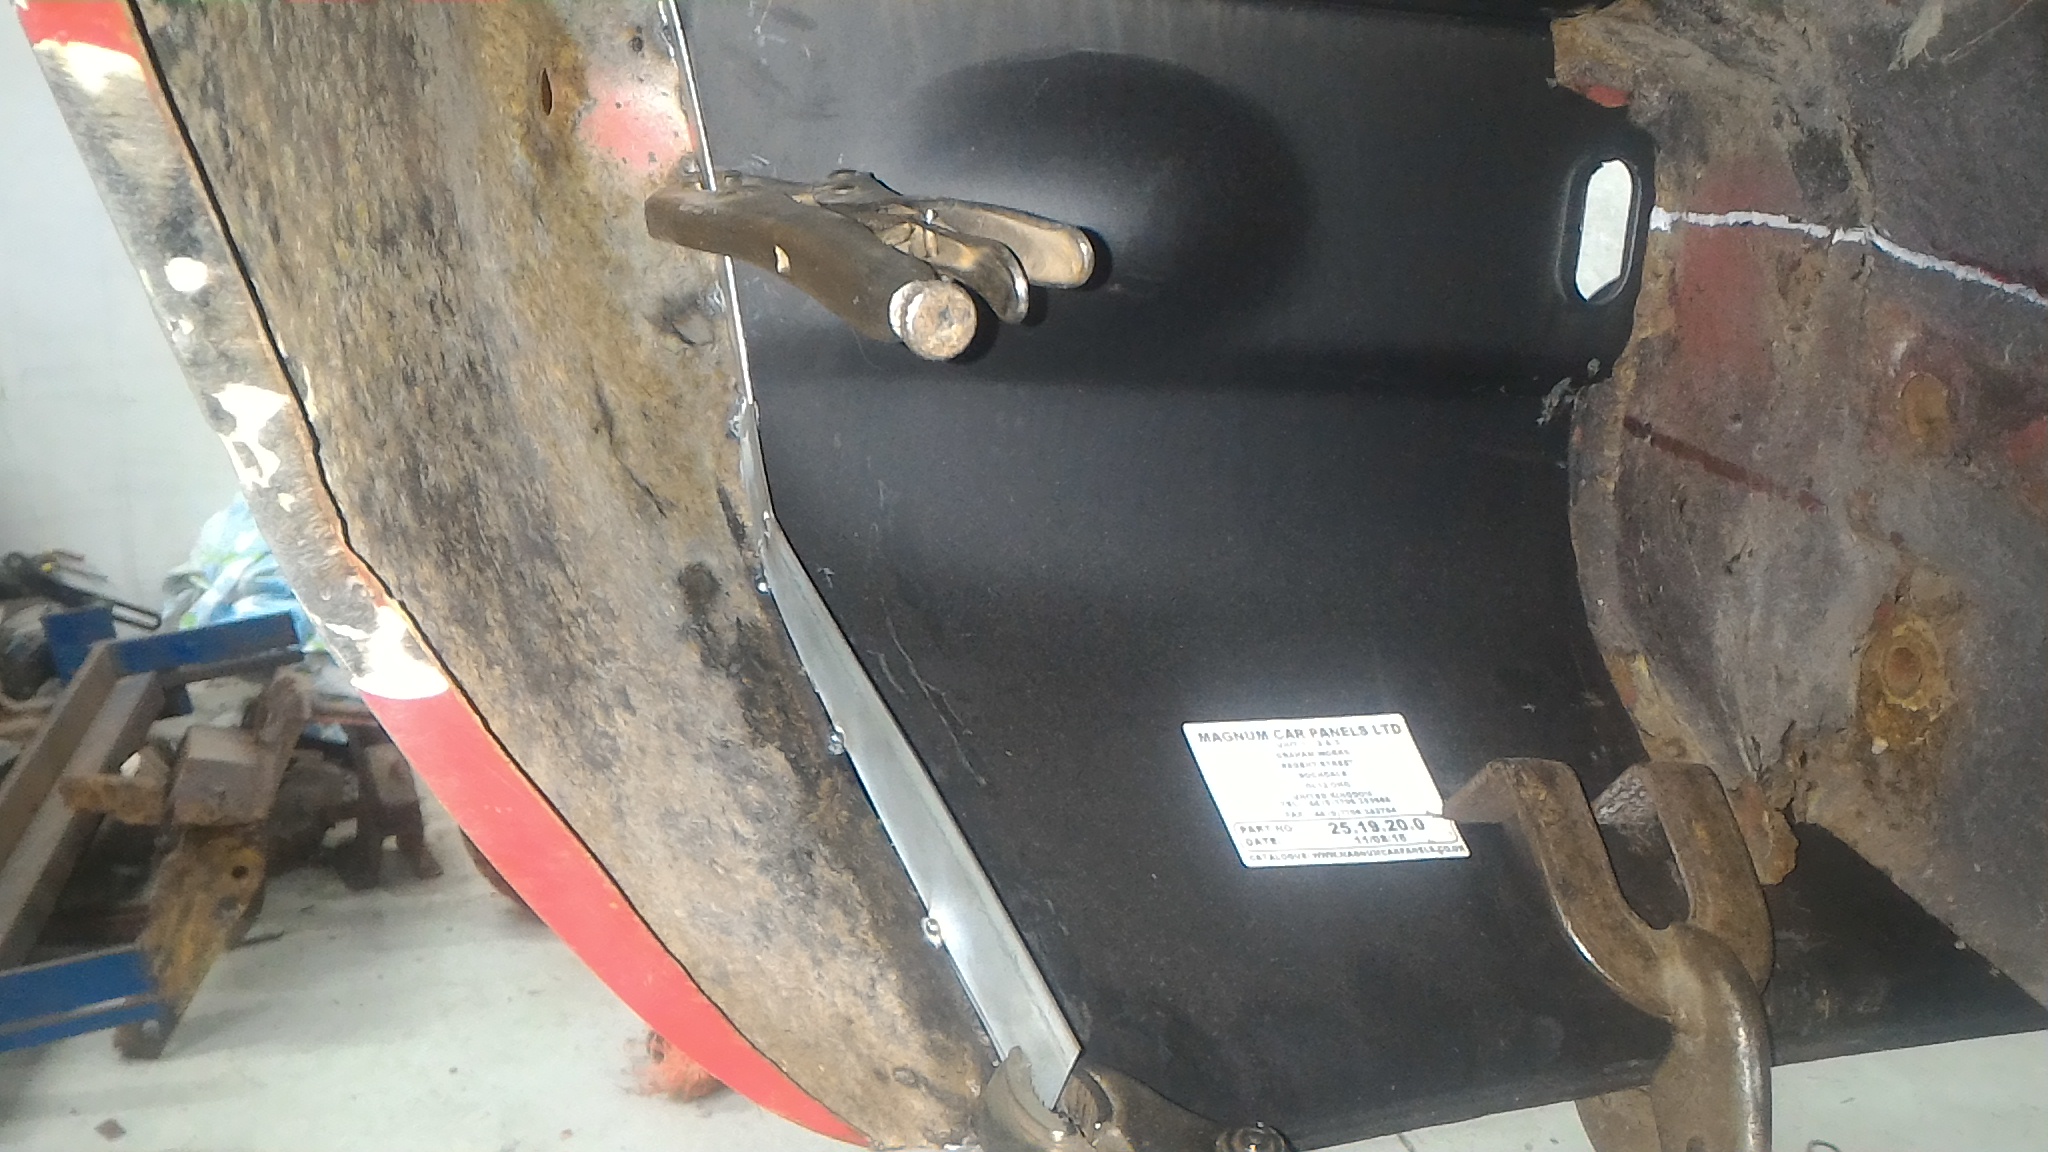
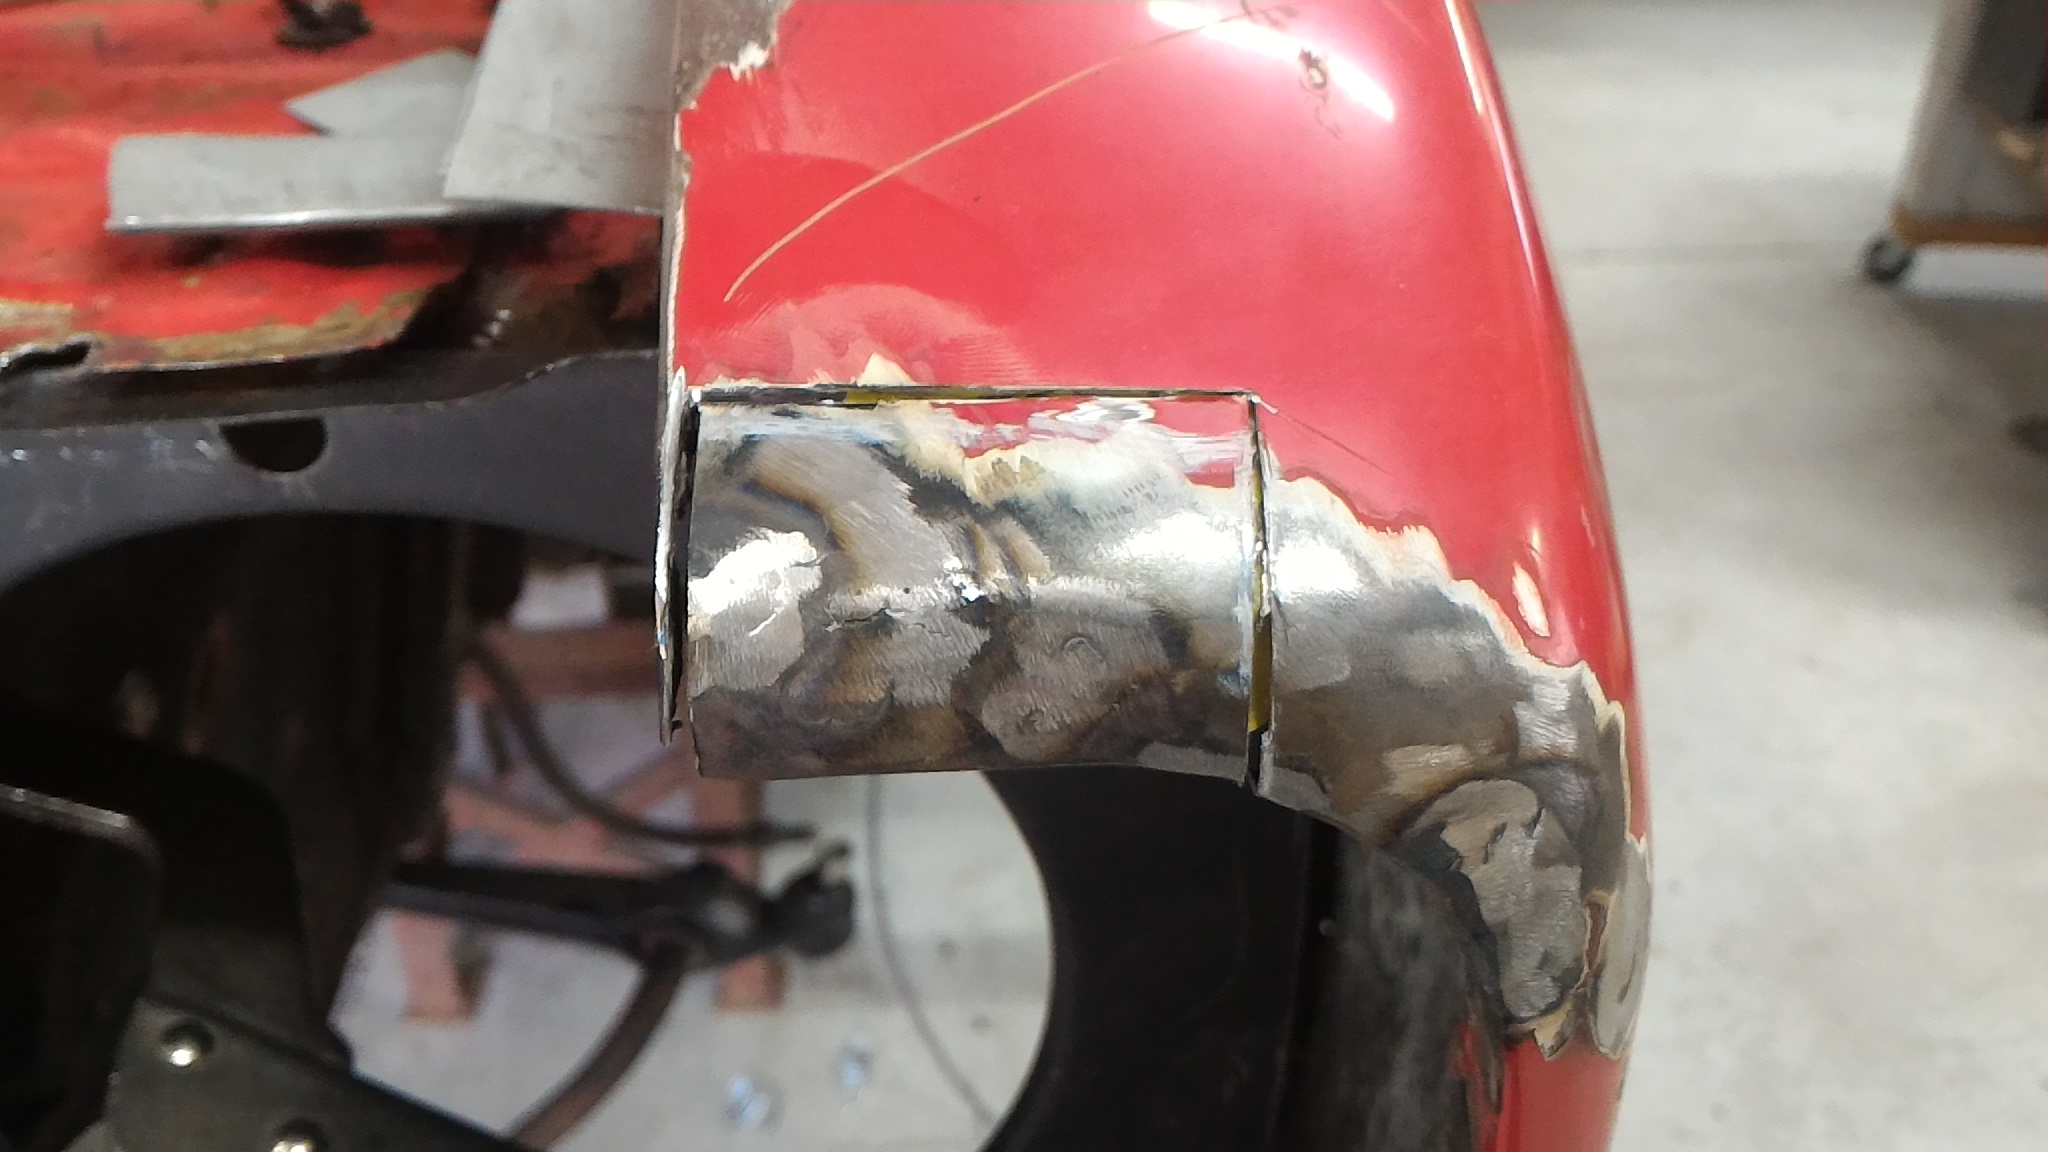
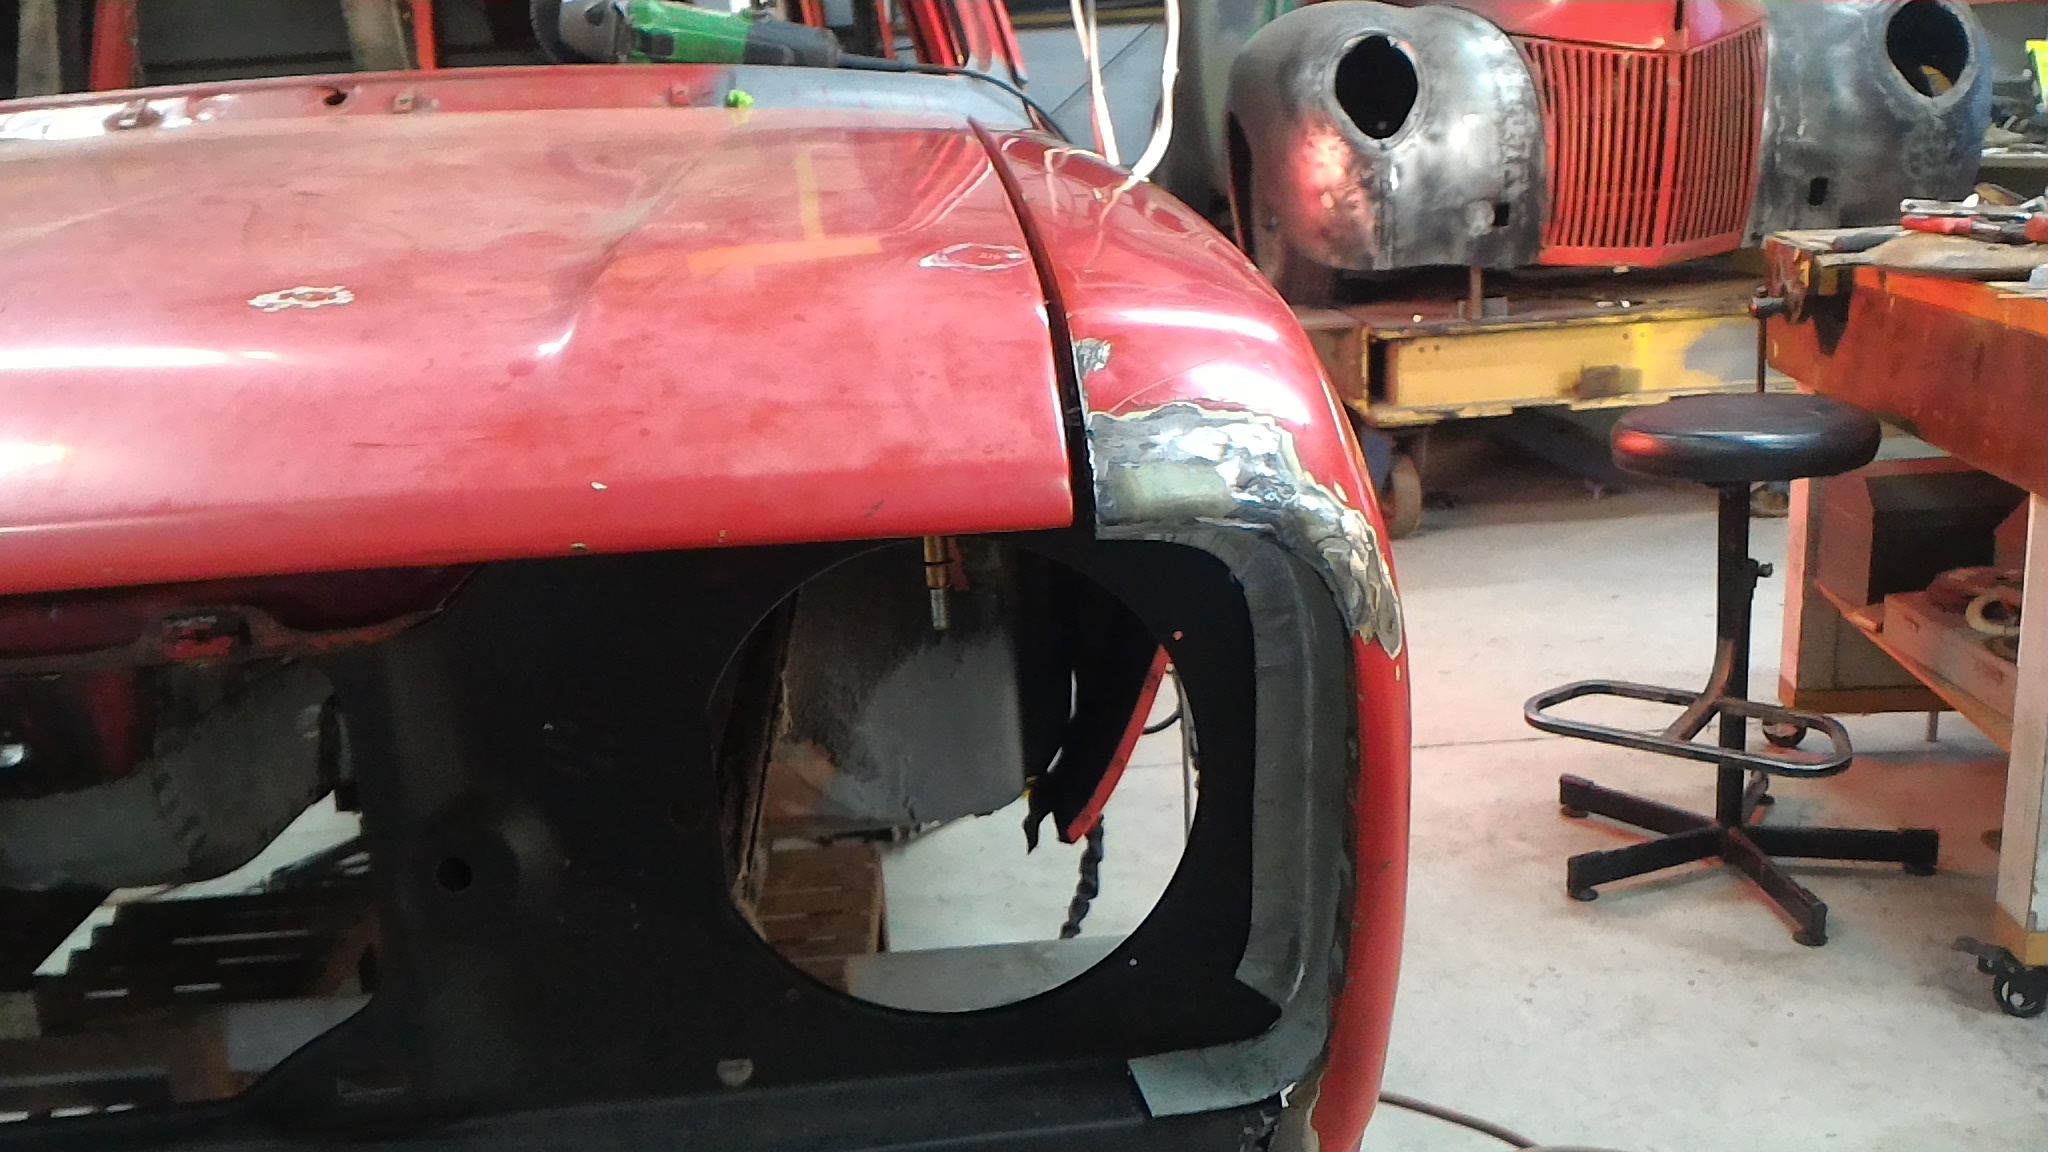
The plan has always been to convert the guards to bolt on to help with repairs and access to the wheel arch and inner wing. If I was made of money I would buy some NOS guards from the UK but because they're so hard to find it would cost me near $1500, or $1000 for brand new fiberglass ones from down south. Either way that is money that I don't have and so I have to go about repairing the ones I have. That first meant making a new inner panel for the top front of the guard with bigger flanges to put bolts through. Originally I was just going to weld some bigger flanges onto what was there but after I looked into it it would be easier to make a whole new replacement panel than weld to the rusty flanges that were there. So it was paper template then steel as per normal. The next flanges I would need to enlarge to fit bolts were those on the inside guard forward of the wheel arch. Here they are tacked into place. So now there is at least 20mm of flange to put bolts through everywhere along this edge. The top front corner of the guard was a mess of pinholes so I filled them up carefully with the TIG but no matter how careful I was I blew some holes and had to put a fair bit of filler wire in to fill them up. Ultimately this made for a nice smooth outer skin but a lumpy mess on the other side. It was also in a really hard spot to get to to grind it back and because of that it was stopping my shiny new upper panel from fitting anymore. So I decided once again to do what I should have done in the first place and cut the affected area out and replace it with good new steel. Firstly I had to cut out the shitty piece... Showing me this on the back side Then I had to get around to making up a repair panel. It wasn't long before it was looking something like this. And once the inner panel was welded in this front part was done.
1 point
-
I thought I had better show some pics of the heater install, altho first off I fitted these up today, Powerdown 3 way adjustable shocks. They bolted in no problems altho getting the old ones out was difficult. Shout out to @Slacker_Sam. for the hook up. This has smoothed out the handling a bit, but i need to take it for a decent drive to see if it has helped the slightly sketchy understeery handling.. When I installed the heater I decided to make a separate fuel tank as the main one is not super big; I used the lid off an old jerry can, and also made a sweet breather that I have no pics of for some reason. This fits up underneath in front of the main tank, I think it is around 10L, heaps to run the heater for a few days at least. A hole got cut and I made a pretty shitty lockable fuel flap; The actual heater ended up inside the cabin in this weird storage space behind the passenger seat. It actually fitted perfectly; I made a ducted outlet so it blows it down the middle of the bus. When the cover is on you do not see any of my alphabetti spagetti wiring. The bitch sounded like a gas turbine from the outside when it was cranking so I muffled it with a pit bike muffler - this is now mostly socially acceptable. This is where the inlet and exhaust are; in the front wheel arch. The heater itself was a bit of a mission to get running right, it had no glow plug when I bought it so I ordered one from the UK. Once fitted it would start, but made hard work of it, but would start and run fine on pure kerosene. On diesel it would take a couple of glow cycles to start and only sometimes catch, then piss out huge clouds of unburnt diesel which was not super. If you blocked the inlet or exhaust for a second it would quite often catch instantly. I then ordered a gasket kit from the UK and stripped it down and replaced everything, the gaskets were all mostly fucked, but most interesting of all there was a second big resistor in the glow loom underneath the plastic housing. I did some calcs of the current and voltage and decided that the glow was just not getting hot enough due to the second resistor. The UK Eberspacher boys knew nothing about this extra resistor so I had to solve it myself. It appeared as though the resistor was there so a 12v glow could be used in the 24v heater, but of course I had ordered a 24v glow plug. The current draw and resistance I was measuring was not tying in to any of the specs to get the power output specified. So in the end I calculated the ohms that the resistor needed to be to get the power output to the glow that was specified in the manual, cut a little bit more than half of the nichrome wire off and TIGed it back together. I had a couple of goes at this to make sure I had the right figure... Anyway that actually worked and now it starts pretty much straight away, with only a wee puff of smoke. It cranks out the heat as well.. Fuck you are all going to be cold sorry bitches in Hanmer, I however will be roasty toasty1 point
-
Well done on the work. That's impressive stuff! Nice to see it getting down correctly.1 point
-
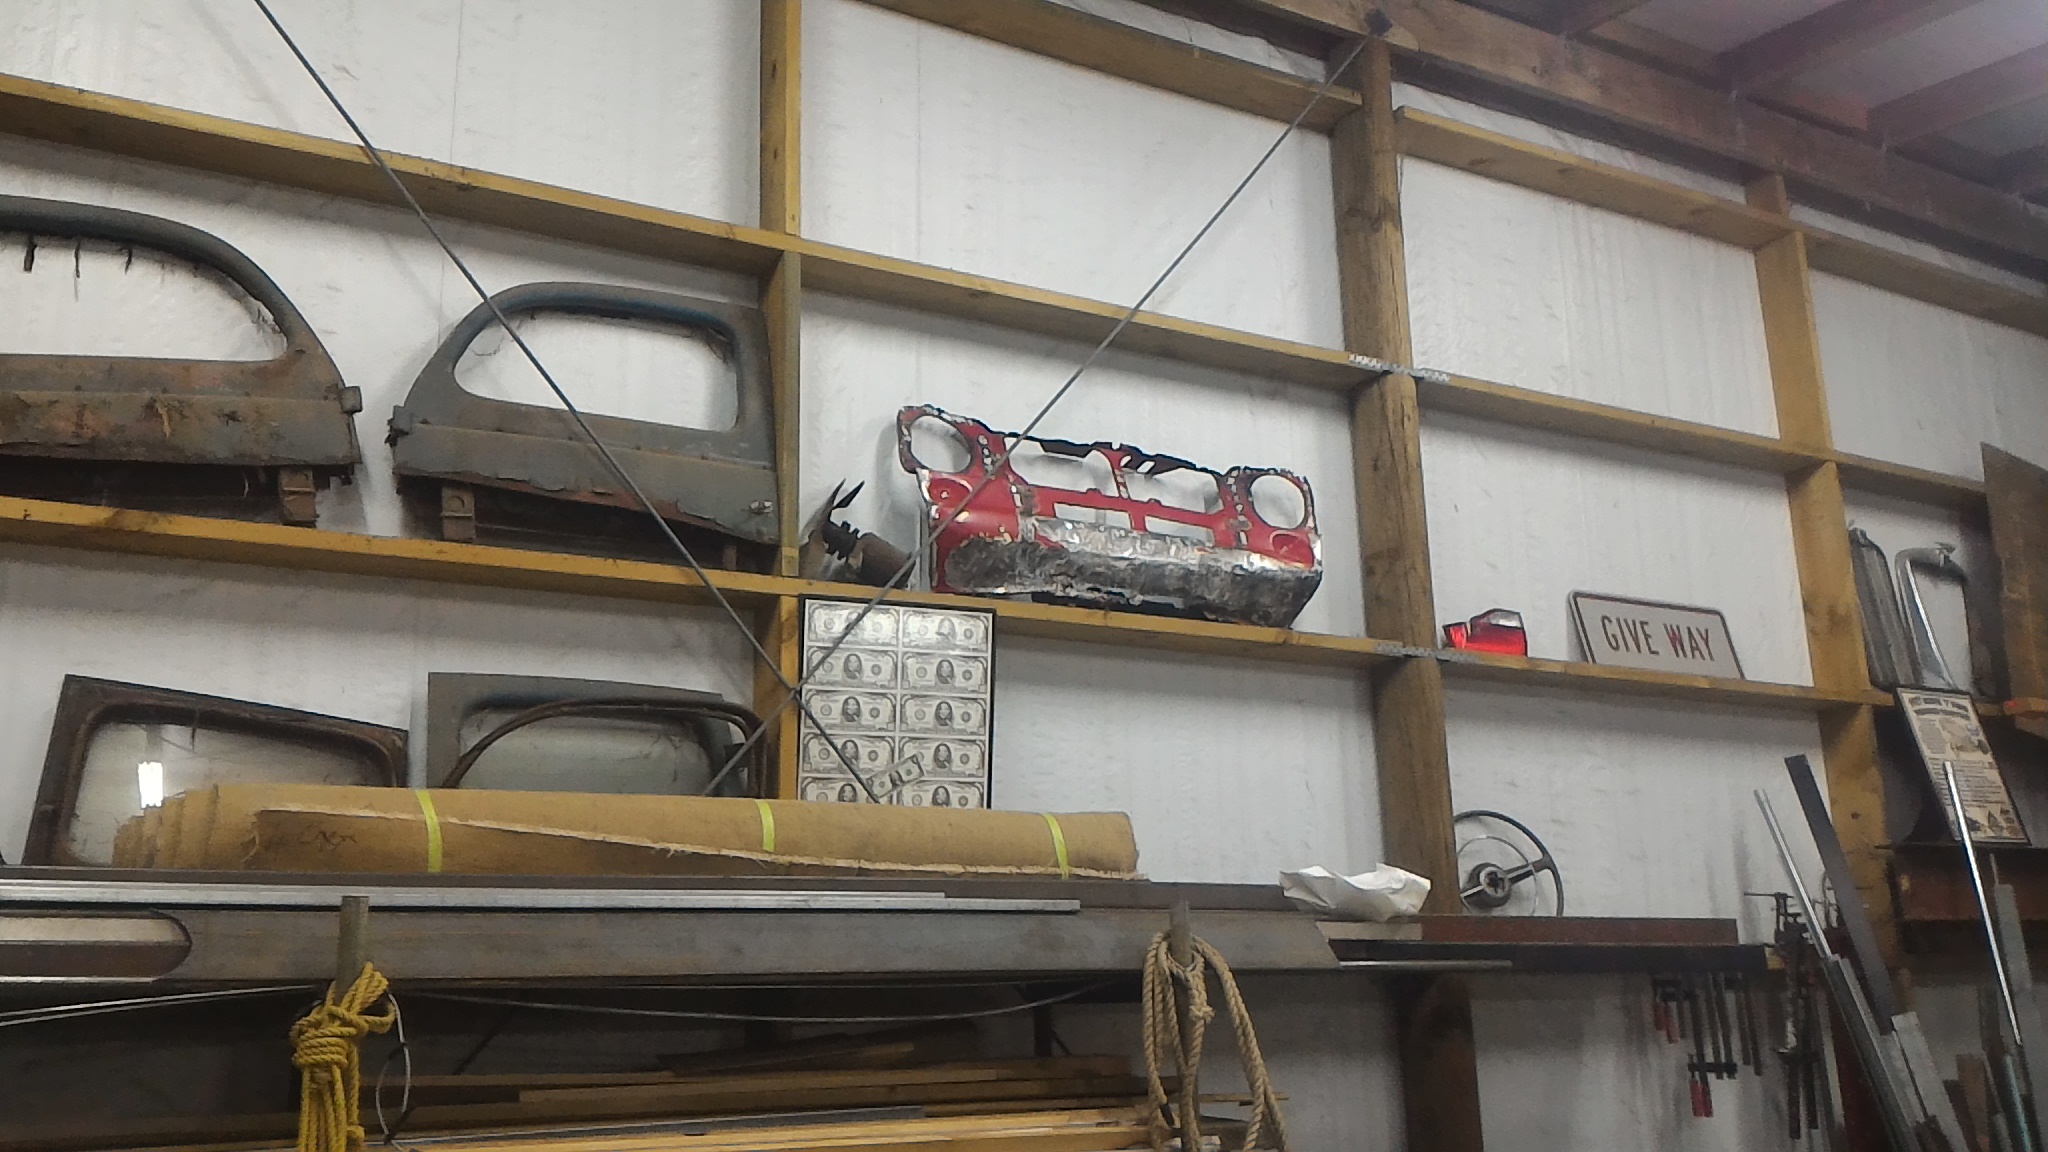
So the only option was to arsehole the whole lot and start again. Banished to the wall of offerings And a pretty new one from palmside I think I'll call it there for tonight. We'll pick up the tale again sometime tomorrow.
1 point
-
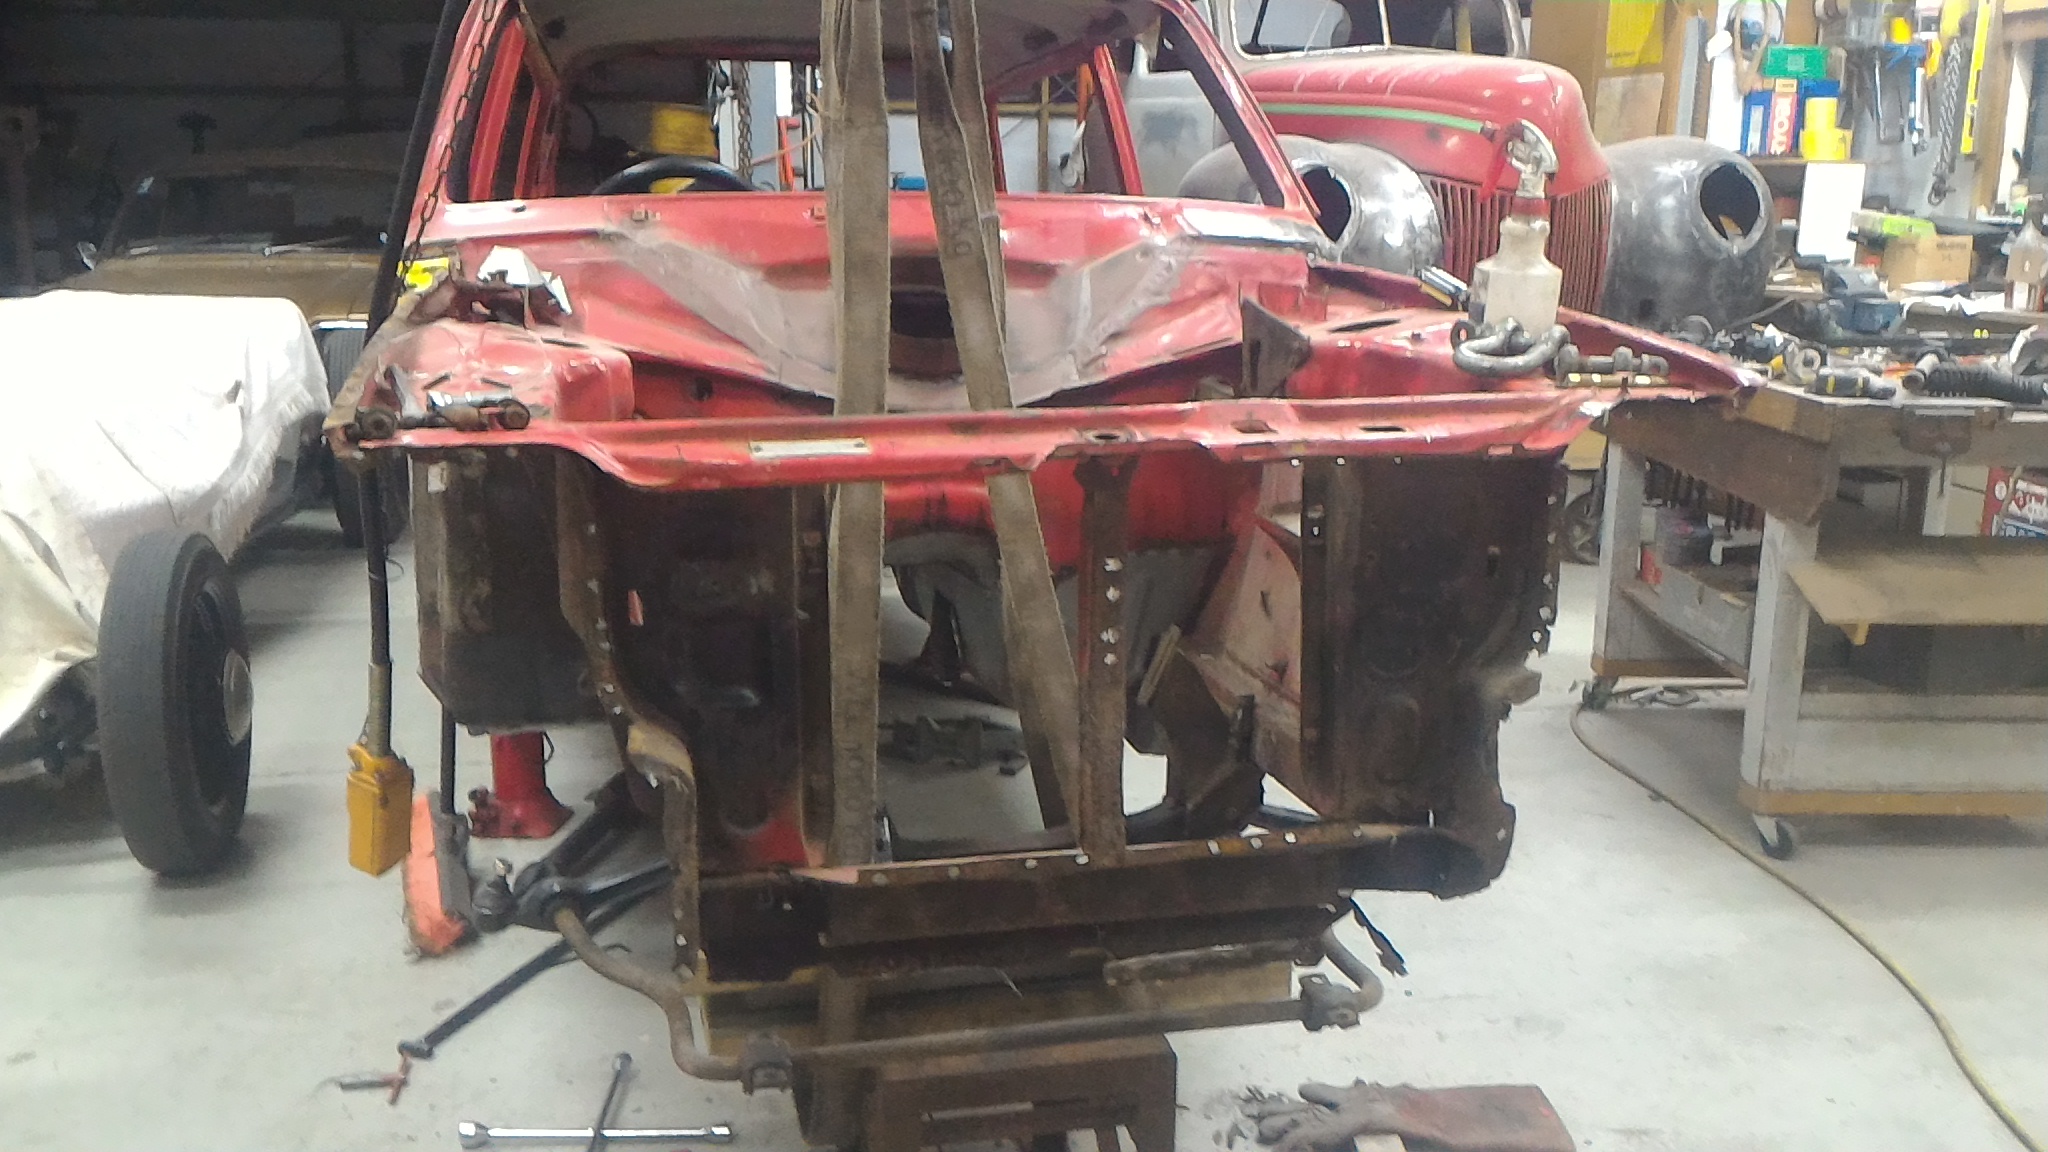
To make the most of the time I had off we put the car on a trailer and dragged it to yet another of dad's friend's. He's a retired panel beater who kindly offered to do some more advanced panel replacement stuff that dad didn't want to do. Even more generously he was happy to let me hang around during the day and learn. So over the course of a few days he cut out the rotten driver's side sill ready to be replaced with a repro panel from palmside. He made the comment on how the shell didn't move an inch after losing the whole sill, even with no extra bracing put in. Once it was cut out the new panel was tacked in
1 point
-
I've always found permaseal gaskets to be awesome. Looking mighty sharp there. Gladens my heart to see what you're doing.1 point
-
1 point
-
been busy but heres pics of concrete 2017-06-21_03-22-28 by sheepers, on Flickr 2017-06-21_03-24-34 by sheepers, on Flickr 2017-06-21_07-59-25 by sheepers, on Flickr 2017-06-21_07-59-12 by sheepers, on Flickr1 point
-
Have done a couple wee tidy up jobs lately - Got new control switches for the bars, rewired a bunch of old messy crap, painted a couple wee things, jetting the carb a bit better. Still needs a wee bit of fine tuning though, I need to go and get some more plugs! Also I finally got my license so have been riding everywhere, so much fun. Will work on getting on expansion pipe and popping the new motor in soon! Peace1 point
-
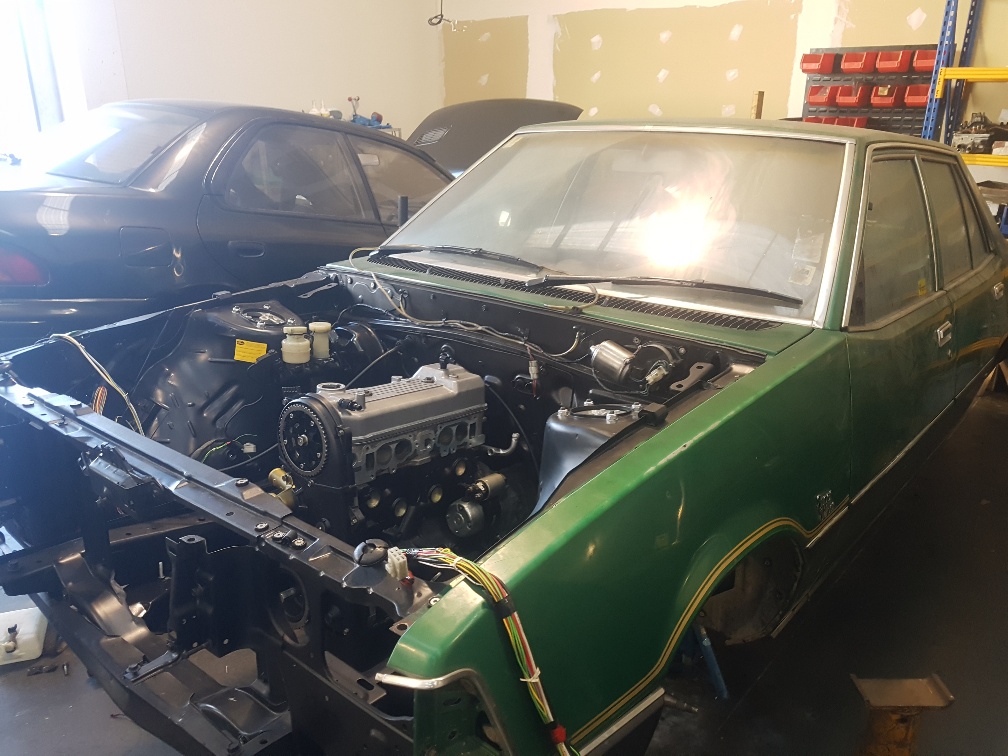
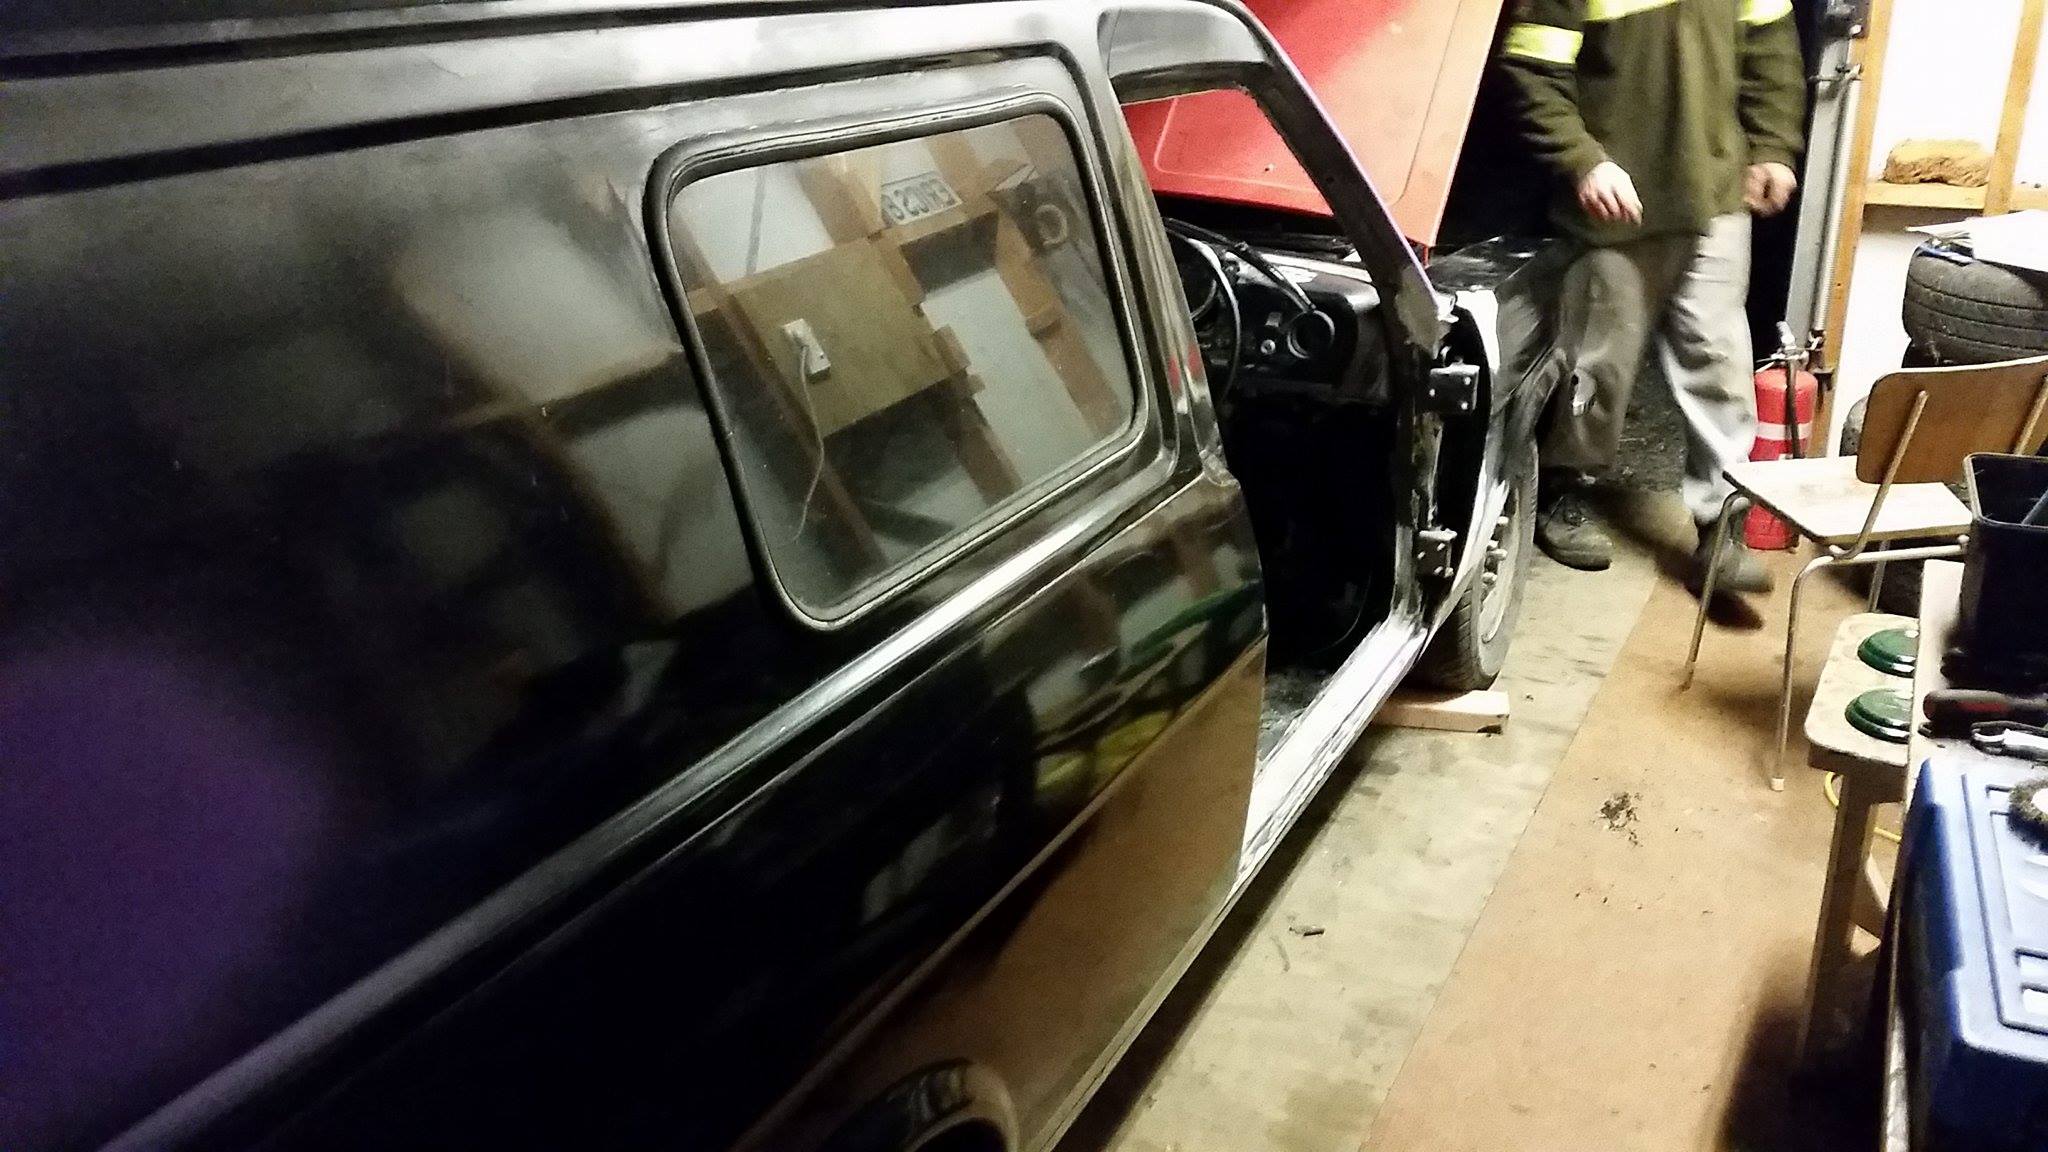
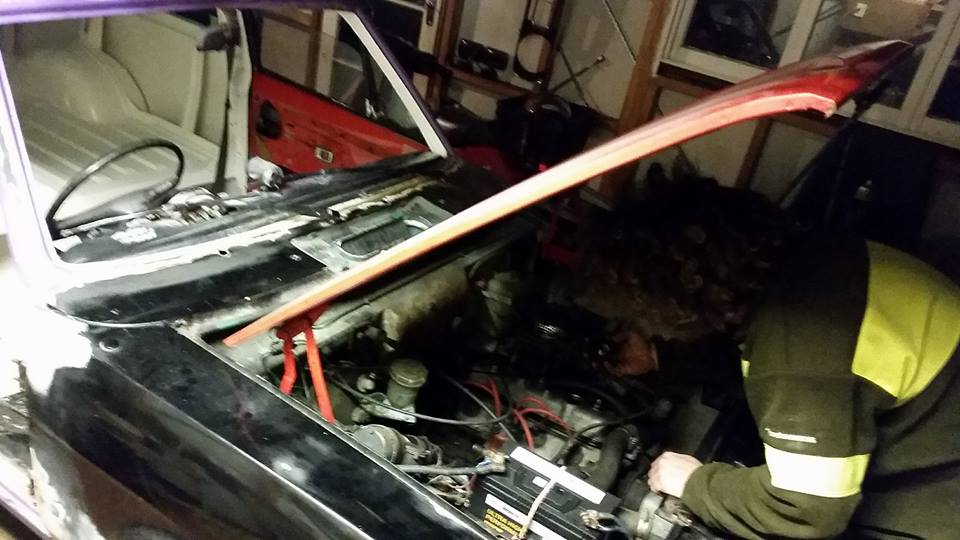
Right, so i haven't been that great at keeping up to date and getting pictures but LARGE UPDATE TIME. The motor is in, with no issues getting it in except a pin the the rear flywheel being missing it all went to plan. After purchasing the needed parts we started it for the first time. Running on 95 it started and ran after having to get a small block out of the fuel line. After starting it and realizing that there was no temperature gauge nor indicator i went and purchased a oil pressure gauge and water temp. I have them placed currently like this but i am thinking of moving the oil pressure next to the water temp after i buy a new line for it. Ive had a few small leaks which ive fixed but still have an ongoing fuel leak. Ill have to buy some smaller line. The window was smashed by the previous owner so i replaced that with the help of dad and it is now water tight and able to be locked. Next on the list is to fix a small amount of rust in the inner guard, fix the bottom front indicator (Replace the wire) and fix the exhaust leaks/rust holes. It should go throught for its first attempt on Wednesday.1 point
-
Quick mock up as I couldn't resist. Going to look great and run so much better than standard. Doort Doort!
1 point
-
Longest exhaust build ever! What a stupid idea it was to design it like this haha. So far has 5 pairs of flanges on each side if you include the ones at the end of the headers. Will have another pair after the diff as well. Got some flexi's and welded them in, as well as the rest of it. Need to put the tray back on now and see where the rest of the exhaust can run out the back. Made some mounts, after making them incorrectly to start with. Had the rubber hanging under tension where-as it should be compressing, otherwise it would most likely tear the rubber in half. Also made some gussets for the 4 link brackets since they didn't quite look strong enough. Might make some to tie in the other side as well. Need to make a start on the fuel tank soon. Any recommendations on an in-tank fuel pump to use? Don't really know much about them, 255LPH should be enough? Tank will be about 220mm deep if that matters.1 point
-
I found an old icecream wrapper in one of the backseat ash trays. I think it's 80s or 90s. I ripped and hacked the foam rubber mat off the firewall because I knew there was run under there. It all looks fairly simple to repair with the engine out(and the mat/stuff under the dash). Anyone got a good firewall they can cut out and send me to make patches with?
1 point


This leaderboard is set to Auckland/GMT+12:00