
Leaderboard


Popular Content
Showing content with the highest reputation on 05/28/16 in all areas
-
greg has done an amazing job on the seats and carpets. im super happy with how its come out. he's still got the back seats and the head rests (the one in the picture hasn't been done yet) to do and he'll drop them in to me on wednesday night. the front seats are so so so good. I'm really amazed at how good it looks!! can't recommend Greg and his team at Midnight Upholstery highly enough, super high quality work that really shows his skills, thanks Greg!!!!!!!! 2016-05-28_04-25-07 by sheepers, on Flickr 2016-05-28_04-25-16 by sheepers, on Flickr 2016-05-28_04-25-34 by sheepers, on Flickr 2016-05-28_04-25-43 by sheepers, on Flickr9 points
-
Ever since I was a pimply faced, 18 year old, screech, I've had a dream of getting a bmw into what is the worlds biggest bmw mag, Performance BMW UK. Fast forward through about 5 or 6 bmws later, and I flicked my build thread through to the mag, not expecting much. I almost shat myself with excitement when I got quite an enthused reply from the editor. The main problem she was worried with, was, who would do the photos? I excitingly replied, as I had just the guy. In steps our favourite krump dancing, banana spinning, camera snapping gentleman, Richy. On the day of the shoot, Richy boots me out of bed to get that golden shower of light out in Pohangina, and after some hatchback carting for the rolling shots by Waggy tail times, and some skids from Cam, we were complete. Thanks Richy, me ol' pal. Boy oh boy it took some time for the magazines to finally get here, but I tied my hands behind my back and resisted from downloading a copy, so that for the first time, I could turn the pages just like I imagined as a little shitbag. //oldschool.co.nz/index.php?/topic/29495-sparkles-bmw-of-supermega-happy-hell-yes/8 points
-
5 points
-
I think I have enough lights now. the back two are the ones that were on the car, the two on the left I found at the dump shop for $5 each and the one next to them in the middle is a 50's oval era light, with the cool old greman style script Bosch logo adn VW logo at the top, the glass lens on top of the other two also has the VW logo but is a hella lens, some are German, some aussie. Most of the rings have a little pitting and rust and/or dents, some have two rivets at the the bottom, some had one, one has Bosch pressed in the top of it, nearly all different which shouldn't be that surprising as they made them for so many years, I should be able to make a ok pair out of all this. dreaming again5 points
-
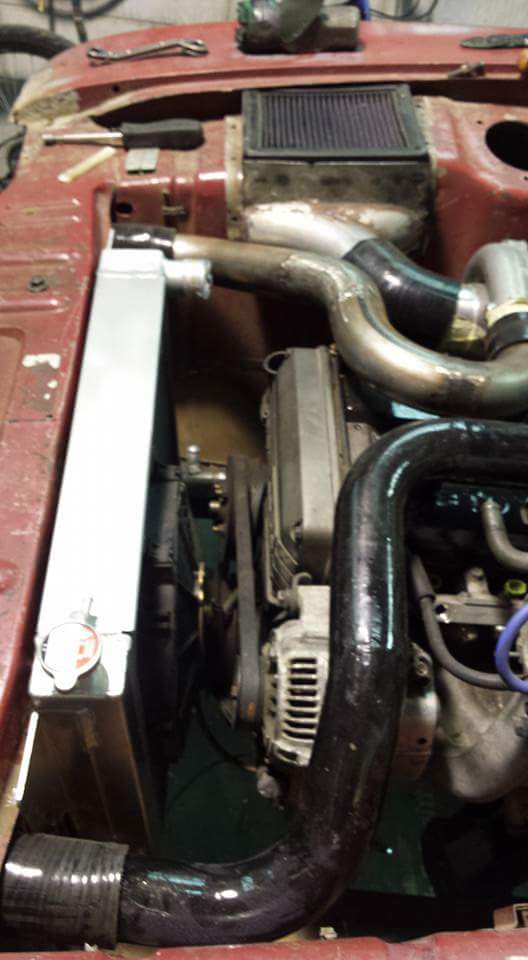
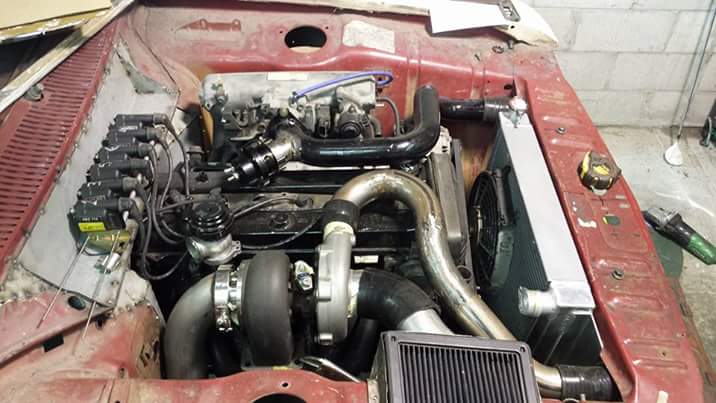
Radiator turned up yesterday so I got it mounted 70mm rotary radiator should help keep things cool Pretty full now
 3 points
 -
I'm going to suggest it is nothing rotating and its actually a seized solenoid trying to engage, failing, resetting, starting again. The hard load of trying to move a seized solenoid will cause the lights to dim and the squeal is either a partially engaged plunger rubbing on something or it is just the electrical noise of a solenoid sticking. What you need to find out is what electrical solenoids do you have. I don't know these cars at all but possibly a VTEC valve but most likely because it's moving specific then a transmission item. Possibly a center diff lockup solenoid or something. Try disconnecting any solenoid related plugs on the tranny or alternatively try disconnecting the speedo.3 points
-
Turn engine off and roll a huge joint and unplug a hose and blow a huhe lung full of smoke into the intake and if you are luckey it will come out the bad hose or gasket.2 points
-
Does this work for vacuum leaks though, or only boost leaks. Wouldnt the bubbles be happening on the inside, haha.2 points
-
Spray some engine start/brake cleaner/other solvents at it and listen for change in idle?2 points
-
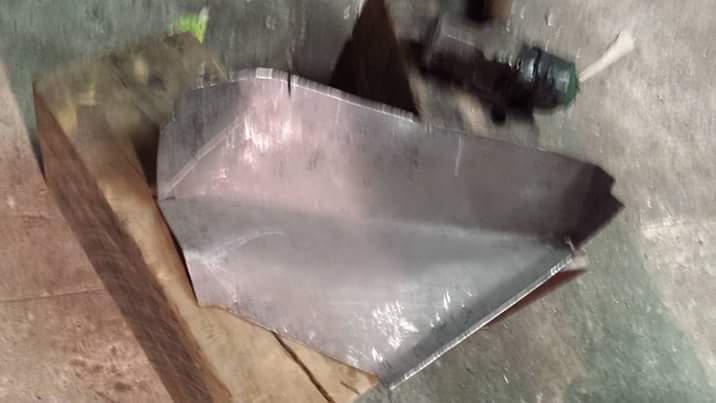
floor plate couldn't handle the danger to manifold tbh2 points
-
And another thanks to Archetype for another sticker I got made up for the doors; And was getting a bit sick of the bouncy cut springs, plus it'll be WOF time again before I know it, so figured now's a good time to properly sort a few suspension bits n pieces. These are the cuts (1 front and 1 rear) vs the standard height springs, will be taking these to Archers and get them to make something up about the cut height Got the struts out, will have to trim down the front bump stops a bit, as the cut spring height was pretty much on the bump stops Sourced some new shocks from Autostop, ended up being quite a bit cheaper than all the other suspension places I tried. Never heard of VST before, but oh well, almost half the price of Munro shocks so based on price along, I'm sure they'll be great! And while I was under there, I had a check of a few of the bushes, will probably end up replacing a few if not all of them. I also noticed that the passenger side control arm looks like its taken a hit. Nothing else under or around here looks like it's been repaired or twisted, so maybe it just wacked a rock or something once. Will source a 2nd hand one from somewhere and swap this out. Discussion thread; //oldschool.co.nz/index.php?/topic/50482-oldrx7s-1981-mazda-626-discussion/#entry16031152 points
-
I'm not a shuttle foamer... Honest2 points
-
2 points
-
Gidday all, This is my first time posting on any type of forum. Ive been visiting the oldschool forums for the last couple of months and i must say, there are some pretty awesome rides on here. This is my baby: 360cc of ground ripping power. Putting out a massive 37bhp at 6500rpm. Happily revs to 11k +. Driving one is like driving a chainsaw/sewing machine. It hums, really screams when you give it nuts. but doesnt feel like anything else iv ever driven. And when you stop at the lights that lovely sweet 2-stroke smell wofts past the window. Last year i used to roll round welly in a multi coloured 4door version until it started running rough. I ripped the head off to find the crown falling off one of the pistons. And i didnt have any spare pistons so that has gone into storage. I bought this coupe with another 2 coupes from whangerei. Shipped them all the way down to welly. This was the best one, but was pretty shit. There isn't one straight panel on it, it had no brakes and had some pretty nasty rust in the floor. Got the rust in the floor done and was gonna get a wof but the people at ABC in welly "couldnt find seals for the master cyl" It just lay in the carport for a few months. I decided to do a bare metal in december: Theyre an absoloute joy to work on. So simple took 2 days to completly strip it: The lovely litle tripple 2-stroke. This is the sports coupe so it has tripple 22mm carbs. My 4 door fronte only had 1 22mm carb. The whole unit. Engine gearbox and exhaust system, all held in with 6 bolts: Someone had undersealed the "boot" in the front. I scraped this off to find some chronic rust: Once the shell was stripped it was off to the sand blaster. They said bring it in and we'll give you a quote. Took the car in and they wanted 1200 bux not including the doors, guards, bonnet or boot. Fuck that! 3M grinding disks it is. Spent all janurary grinding all the paint off and finding more & more rust. I cut it all out and made templates out of card. Waiting for some sheet metal shears to arrive off trademe so i can cut the sheet metal. Its a bit thick to cut with snips. Put some n00btek corrosion primer on some of the bare metal. This pic gives some extent of the rust i had to cut out in the front, it was all double skinned and shit: Theres also plenty of rust around the back window too that i have cut out and need to make up some patches. Tacked in one patch (made from an old letterbox) for the front window today. Quite happy with how it turned out. Never done any fabrication before: Sorry for the shitty pic but im useless. Well thats what been done up until today. Should have it all newteked by end of tomorrow. I hope someone finds this interesting. I will post my progress as i go. Aiming to have it done by end of feb (not that unrealistic i think) so i can have a gangsta car in welly for uni. Got some mean 12" tridents to sack it on too. Once i have it wofed and reged i plan to make a quad headlight front cos i think the current front is fugly IMO.1 point
-
Right, who's here, who's active and who's interested in partaking in a local meet?1 point
-
Hey guys! Im new to the forum and working on cars in general. My AE86 Levin has recently been stolen and luckily recovered. Anyway, a rebuild is being planned and I am wanting to use this time to upgrade bits and pieces etc. Something that has been on my list is to upgrade the current intake setup as it can definitely be improved upon. Currently a 20v head with itbs and crude plenum. My question for you experienced 4AGTE folk is, do I keep the itb setup and get a new plenum, or do I ditch itbs and go for a single throttle? For my build I am aiming for good response and a decent power range, Im not looking for big top end power numbers and would rather have more useable power throughout. I would like to know with peoples experience the pros and cons of either itb or single tb? To keep the itb setup would probably be cheaper and easier as all i have to do is bolt another one on. But in the long run is tuning and maintaining an itb setup a big hassle? I seem to hear that they are touchy and high maintenance but can pay off if you are after that little bit more performance. If I were to go single throttle I would probably just bite the bullet and get an MRP plenum which is pricey, plus extra expenses of top feed injectors and whatever else is needed. Will this be a lower maintenance setup, can it perform better than itbs? who knows? Not me!!! Engine bay pic https://www.instagram.com/p/BF78vdrnMcc/?taken-by=ken_ola_oil&hl=en1 point
-
I hope you replicate what you have at home uj for sweet outside cooking facilities1 point
-
I've had a mate help out with digging duties. He's preparing for the deck install and is doing a bloody fine job TBH1 point
-
So this is now in basically as many peices as it can be, have taken all the small bits to work and used the bead blaster. A lot of the chrome bits were rusted so they will now be painted with Hammerite Black, frame was sanded and primed along with the guards. P1040842 by Andrew, on Flickr P1040841 by Andrew, on Flickr P1040843 by Andrew, on Flickr P1040844 by Andrew, on Flickr So need to grab a couple cans of colour for the frame and and paint the guards white then start putting it back together. I would like to get some wide rims, new tyres, lower rear shocks and a nice exhaust but finances are a little tight so will see what happens1 point
-
Top notch!1 point
-
its lush as tonight but that could and probably will change by morning. imma go and take red car for a look.1 point
-
Just looked at weather maybe not!1 point
-
Will be there.1 point
-
Those shocks should actually be pretty decent, I believe they are made by Gabriel for Arvin-Meritor. VST is a Gabriel acronym for "Velocity Sensitive Technology". /Sharn1 point
-
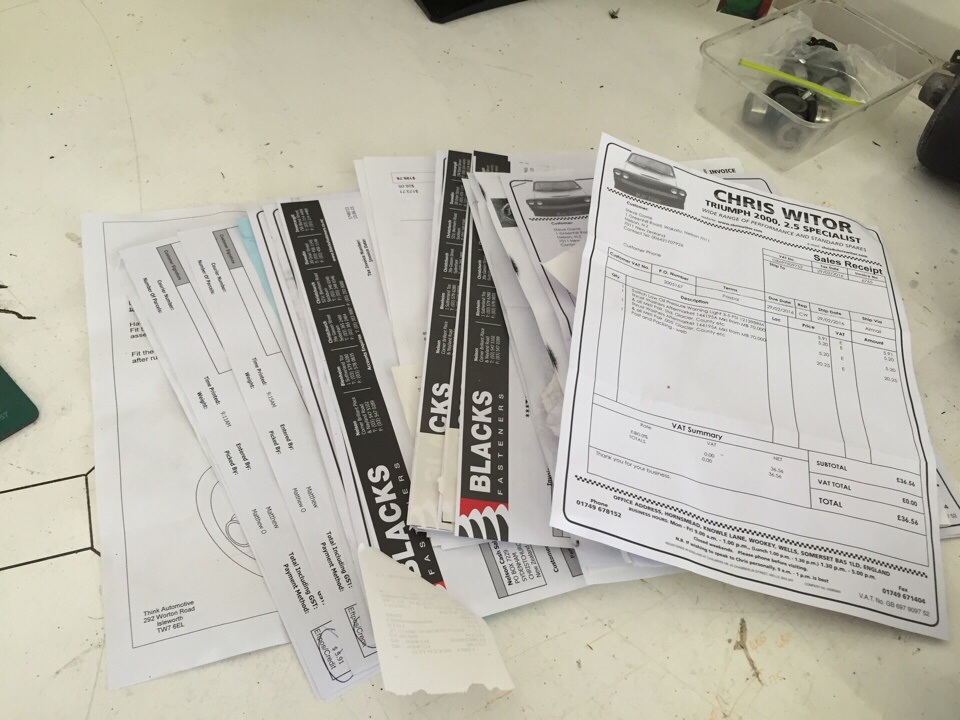
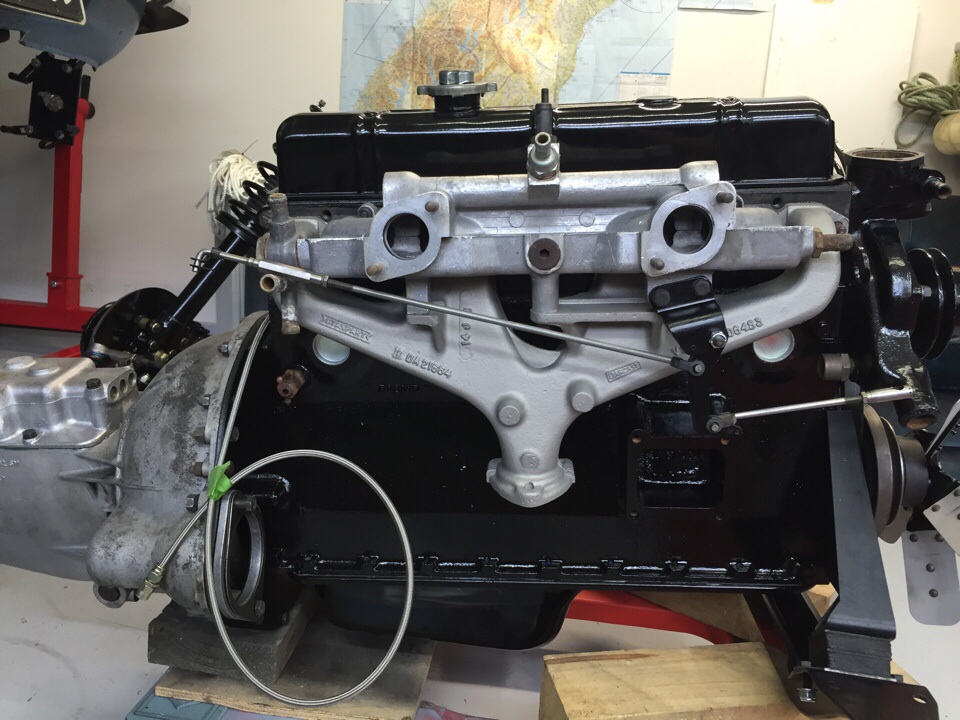
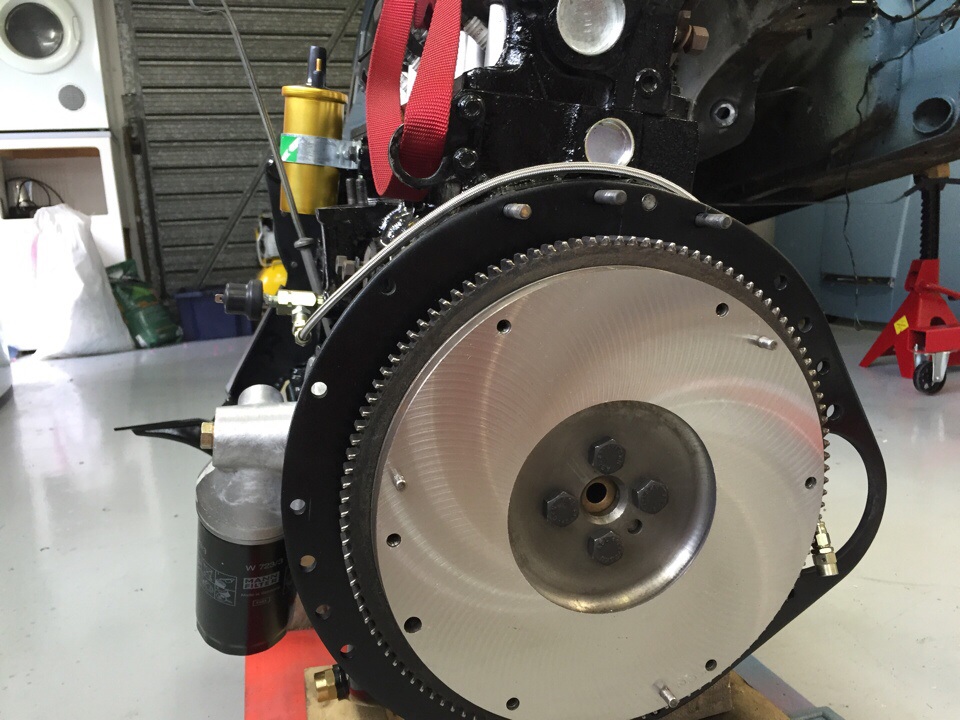
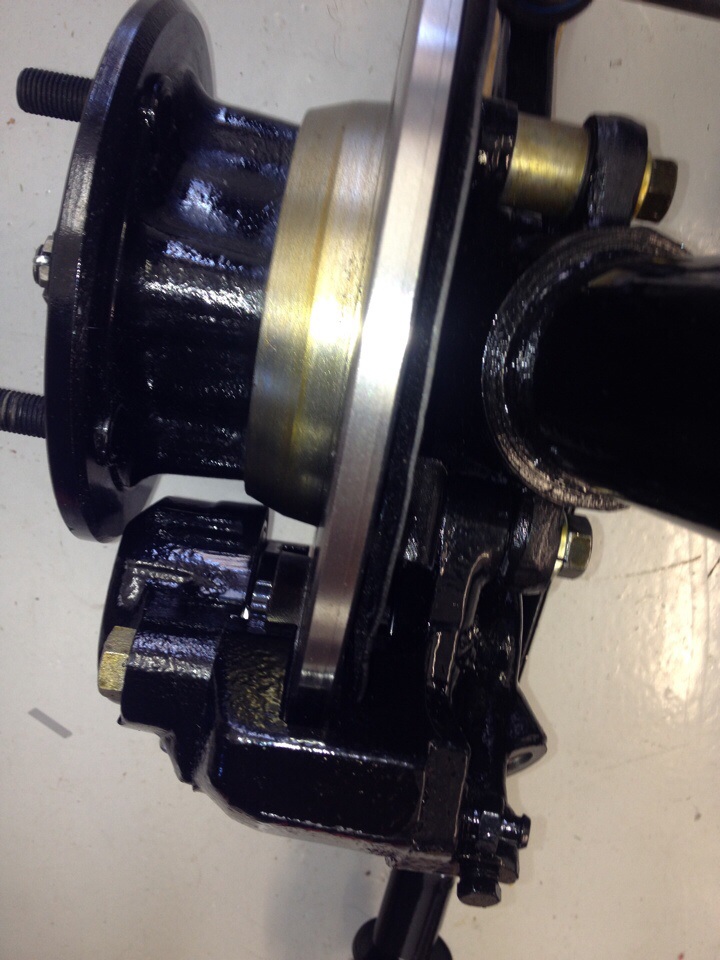
Had the flywheel skimmed so with the new clutch and pressure plate that should be good to go for another turn Fucking big pile of receipts being hidden out in the garage... Almost there
1 point
-
1 point
-
1 point
-
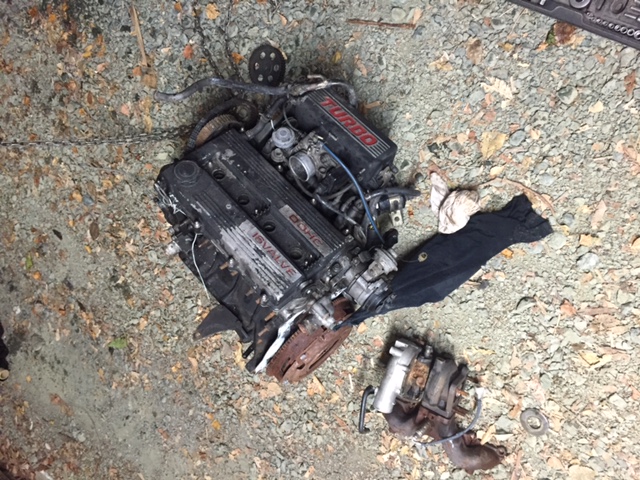
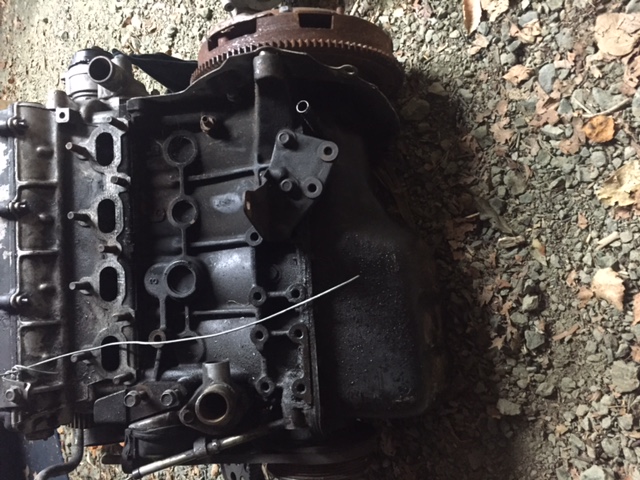
Hi There! will be getting the car wof'd and reg'd with the 4G52 and to be honest it will recieve alot of cruising before the G63B Turbo will be ready to go it, but will definetly give you first pic when i pull it out. poo brown everything! yes has the interior lights on the rear pillars, ideal for alot of activities!1 point
-
Non alb shuttles/beagles have a viscous coupler on the drives haft. The alb ones just have a clutch in the diff. The diff have a longer snout on them, They called it intrac before the beagles. It might even have a viscous Lsd in the back. I'll send you the manuals I have on it when to get home1 point
-
Pull abs fuse then try? and 4wd fuse if there is such a thing1 point
-
fuck. please send me details of owner so i can save her1 point
-
I'm a starter for the 12, driven by museum many times and never stopped, so looking forward to trip.1 point
-
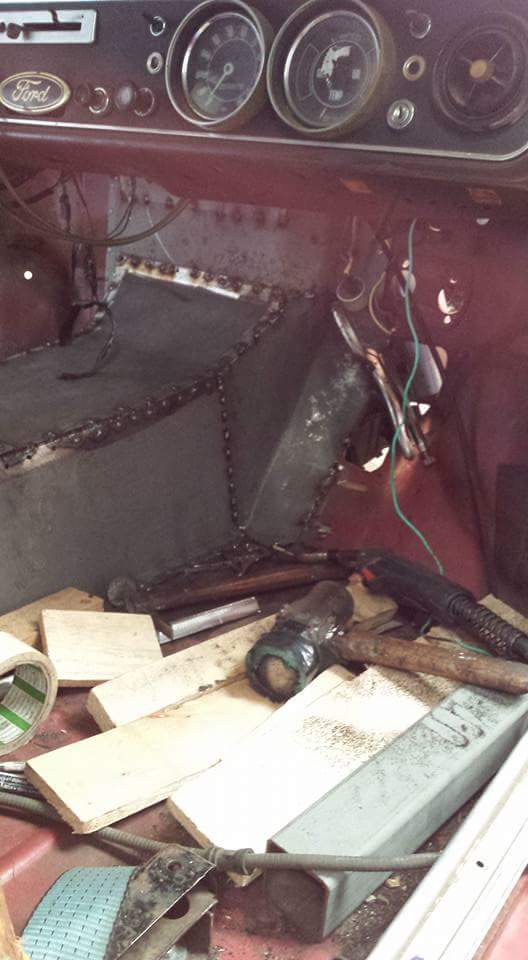
Whilst the bootlid is ongoing at work, I thought I'd attack the front end at home. In it's past, someone had bonded in original steel grille and side-vents. These have to go as I'm looking for the smooth look like Blair's car. Fortunately the rust had loosened all of the filler, and within an hour it looked like this: Next job will be fill the holes. I already have a plan!1 point
-
yeah. the motor I look at bike motor/ gearbag combos the more Im like, NOPE! But actually, super keen They are only nuts and bolts after all. Good luck man, well done getting somewhere haha1 point
-
new cam turned up joker didn't include my cam thrust plate so can't press the gear onto this one 'til that turns up sadly. ballz1 point
-
You are brave parking that anywhere near other humans.1 point
-
rocker cover paint job looks good1 point
-
im interested in buying your 4g52. pm me if your keen cheers, nice steering wheel. poo brown spec haha , pretty sure this model has lights in the c pillar inside? we used to love them for packing the billy.1 point
-
fake vinyl?? have fun, looks like a pretty clean ol'mitzy.1 point
-
Last weekend I picked up this slammin' parts car. Beneath the rough spots it is actually a decent car with minimal rust, and it has a full black interior including leather. So most of that including the carpet will be going into mine. I will be keeping my Mtech seats however. Yesterday I started fitting my M5 replica front lip. Test fit: Paint: On: I also swapped the good fender from the parts car onto mine. It's actually in better condition than the last one was before the hit and the color matches close enough for now. Nevermind the sagging bumper, I will be putting my new one on shortly too. Started cleaning up some of the black interior parts from the parts car to go into mine: I'm going to be fitting the non AC center console from the parts car, just need to make a panel to fit my radio and I'm going to incorporate a space for some gauges while I'm at it: Also this arrived today: After a very long and tiresome search, I should have a single mass flywheel in the next couple days. So with any luck, the car will be going again by next week. Then I can cruise around and show off all my nice new parts.1 point
-
so it turns out as Sam the slacker kindly pointed out today, the mx5 sump bulge is at the wrong end for slotting in the ute and would foul the steering/xmember…... luckily i managed to find a bfmr b6t engine that I was going to pinch the rocker cover off but ended up grabbing the whole engine so i can nab the sump and pick up also, i pulled it all off tonight looks as tho it would work. will find out tomorrow
1 point
-
So after much spreadsheets full of ratio and wheel size calcs, I worked out I needed one of these. After all the changes, wheels, diff etc the speedo was reading 50kph when the actual speed was 55 and at 100 it was really 107. With the new 20 tooth gear, it now it shows 50 at 49 and 100 at 97, yay1 point
-
Another day in on the car today. Joe and I finished prepping it for the paint shop on Thursday and I dropped it off this afternoon. List of jobs to do are: - Clean up White Paint Front Screen Surround Rear Screen Surround Sunroof Hole Parcel Shelf Boot Spotlight brackets Wiper Holes - Paint all trim bits Satin Black Front Panel Around Side Windows Tops of Doors Dash and inside A Pillar Bumpers & Handles Fuel Tank & Cap It should all be done by next weekend so fingers crossed... Once that was done, we spent a couple of hours this afternoon cleaning up all the glass so it's ready to go with the new headlining and complete rubber kit. Method was: 1.) Scraper to remove Silicone / Black Paint over-spray / General Crap 2.) Meths to remove sticky crap left from tints and more general crap 3.) Glass cleaner and news paper All screens came up looking mint, very happy.1 point
-
Got a WoF on this the other day, expires at the end of April 2019! Also started boxing in the draw bar for more storage, which it definitly needs now that I sold my van today ( ) so all the camping stuff from it ended up in this. Errrm, yeah. we might need to travel a bit lighter now I already cut down the sink (mrs wears contacts so its a prereq) just need to fit the 20l water container up and under some how some way (keep coming up with funky ass shit. like every single day). I think it will work ok if i strap it up like a fuel tank filled via the filler with a drain tap on it. So drawbar storage - this is made partly from the bed from the just sold van, which was made from the false floor of the van we had before that and partly from left over 18mm ply from the Blimp trailer me and Euron8 made. See it WILL come in handy one day! Will probably stick some lino on the inside of this just cause. Heavy stuff (like a 12v battery for a stereo, lights and phone charger), jack and such will need to go in the false floor of the van itself, to minimise load on teh tongue, so this really only for light stuff like wetties and whatever. I will fashion a special stick of the appropriate lenght to allow it to sit level as a bench top as well. Closed up the awkward gaps at the sides with the old mud flaps from the van, should also assist with aero as the front is pretty much dead flat otherwise, and ive at least boxed out the massive 'air intake'. The flaps mean its also not fully air tight to help vent the battery a wee bit, but it will only be charged at home on the charger so that shouldnt be to much of an issue I will try to get the spare up underneath once ive figured out the water situation, and put a bike rack where the spare mount is currently on the front i reckon. Just need to go somewhere in it now!1 point
-
So have reached a bit of a problem this weekend trying to get mounts made for the engine.The notched sump is on and the motor is pushed back to where i want it now.Slight problem being that the motor its uphill.The gearbox is as far up as it can go so only other way is to to go down at the front but the damper pulley is touching the cross member.I have thought of replacing the pulley with a much small alloy one or notching a section out of the cross member.i did a search on OS for 2jz conversions and know one else seems to be having this issue.The sway bar should be fine, the motor needs to go back slightly in the pic. any ideas would be helpful //oldschool.co.nz/index.php?/topic/36351-toy-mota-1971-toyota-ms65-crown/1 point
-
There is a distinct lack of burnouts leaving caffeine and classics....1 point
-
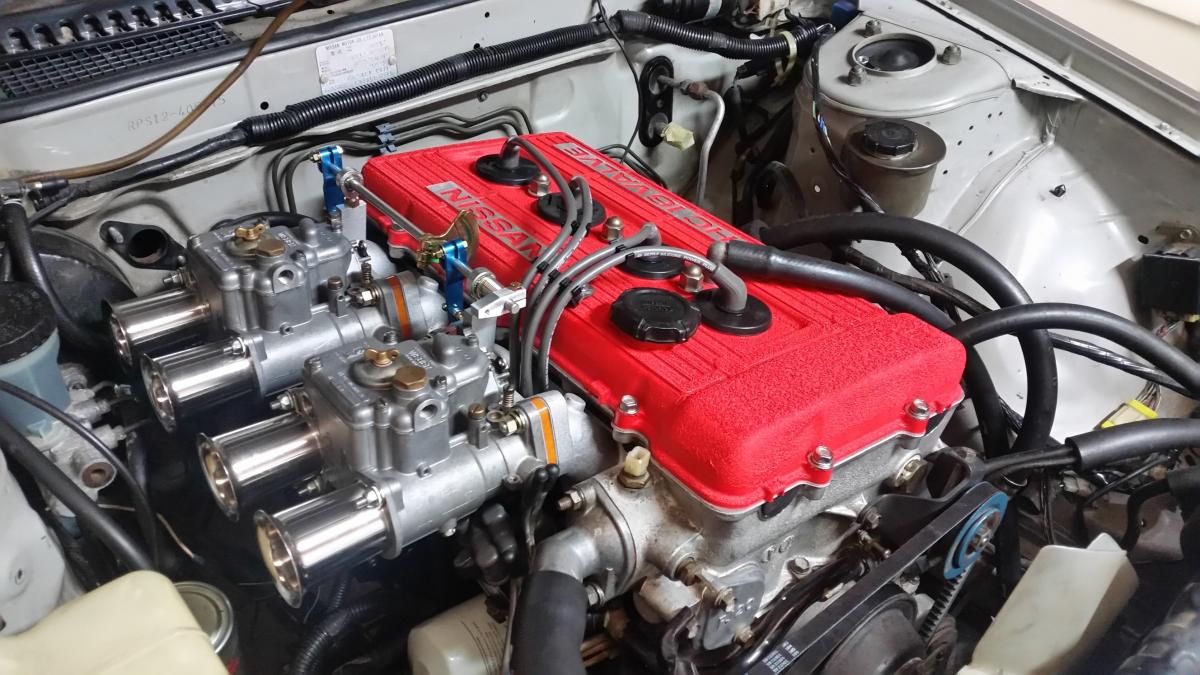
One more. Symphony in motion. The eagle eyed will notice i painted my rocker cover with wrinkle red - not quite the correct shade but looks better than before. Also got some new ignition leads from Japan and a new starter motor from rock auto of all places! My S12 clutch master has no clearance so i need to fit a R33 clutch master (they are shorter) Currently making the datsun 1600 FJ conversion exhaust headers fit my car.
1 point
-
One of the few classic Jappa car shows around these ways, it's still a growing scene but hoping more similar events take place in the near future. Cheers for looking, Tai1 point
-
1 point
-
thanks to Archetype for the stickers ! pretty good for a laugh Discussions; //oldschool.co.nz/index.php?/topic/50482-oldrx7s-1981-mazda-626-discussion/#entry160311541 point


This leaderboard is set to Auckland/GMT+12:00