
Taistorm
-
Posts
2,100 -
Joined
-
Last visited
-
Days Won
2
Taistorm's Achievements

Committed (5/5)
2.7k
Reputation
-
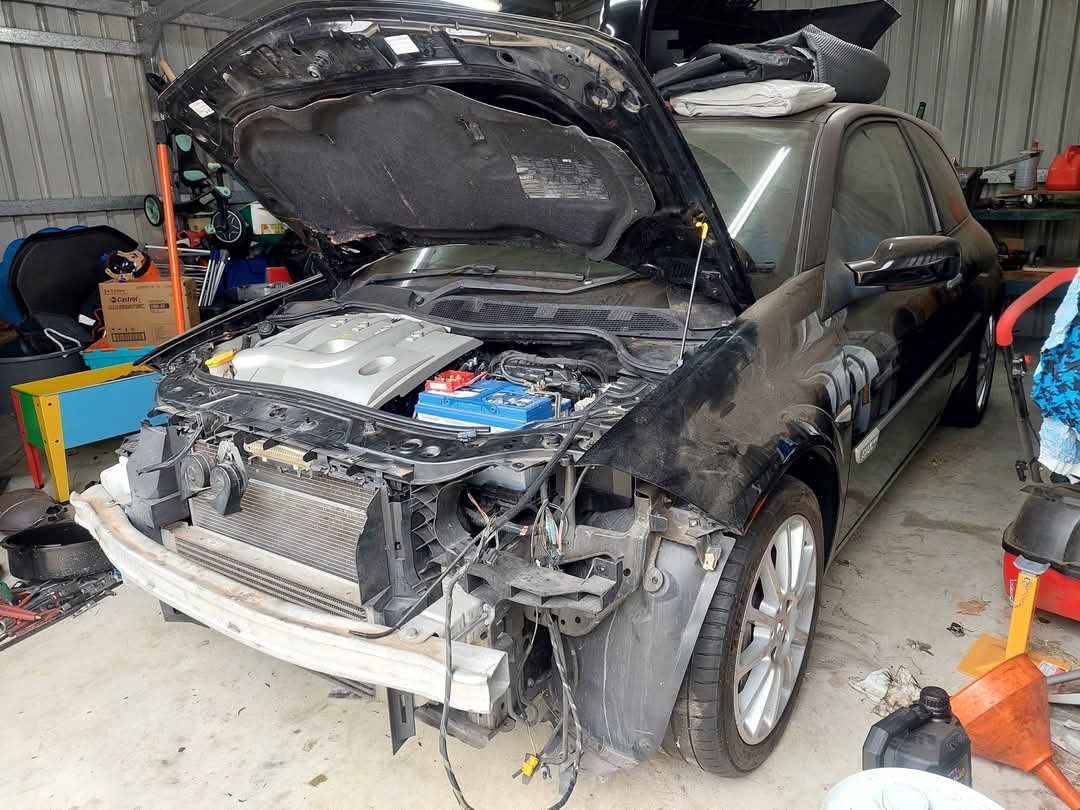
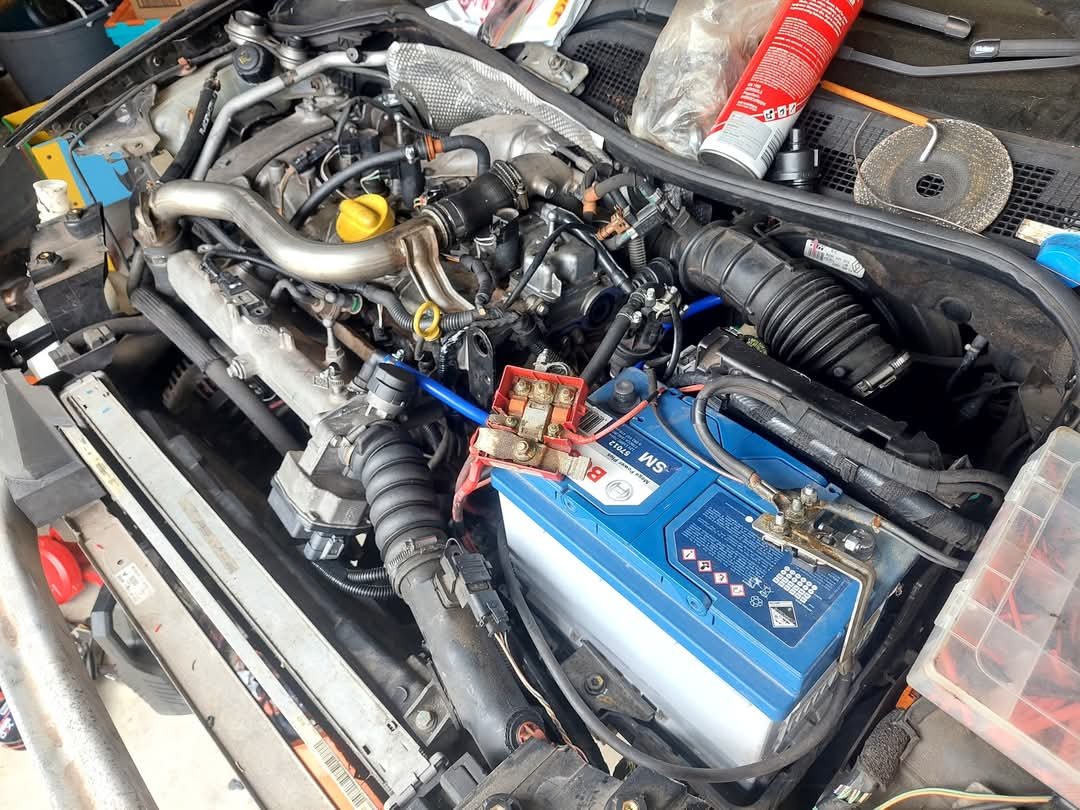
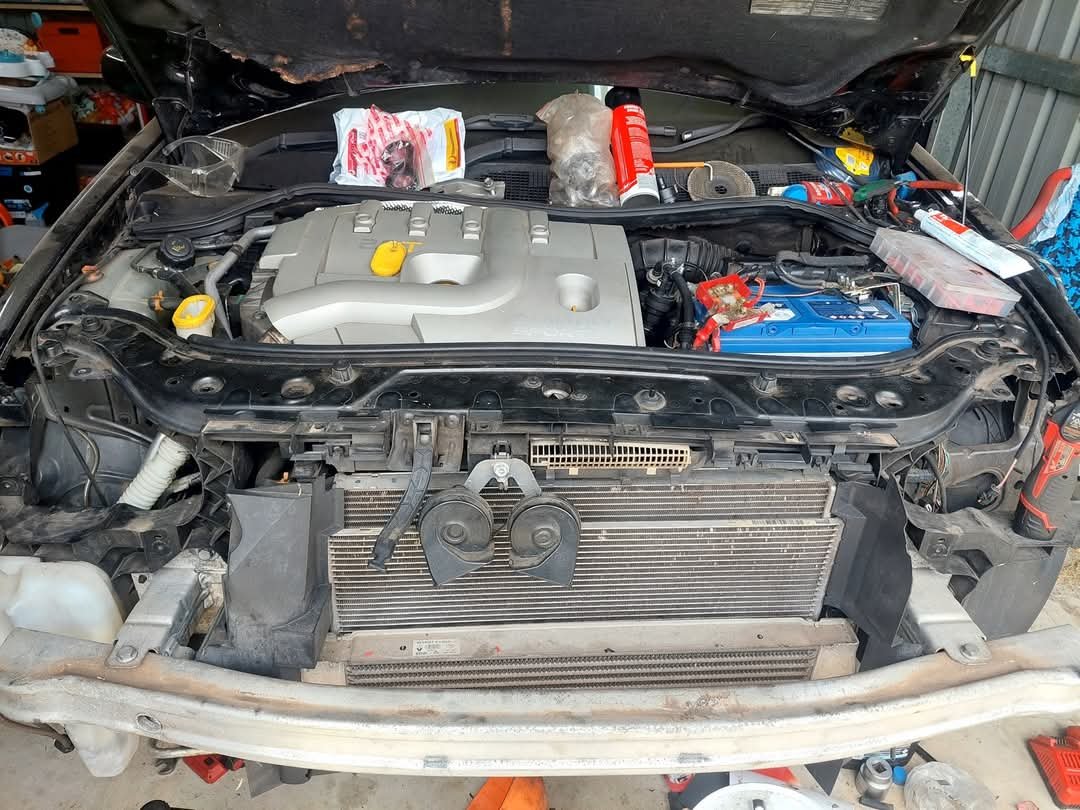
She lives! Filled up the engine oil, gearbox oil and coolant. Fitted up the wheels and put it on the deck. Hooked up the battery and gave it a go. Surprised as it started first go, no visible leaks. Didn't rev it up or anything as it needs the tuner box hooked up and a proper tune, also need to swap the fuel pump over from the 265 due to the new system being rising rate so it has a different internal fuel reg. Stoked!

- 29 replies
-
- 14
-

-

-
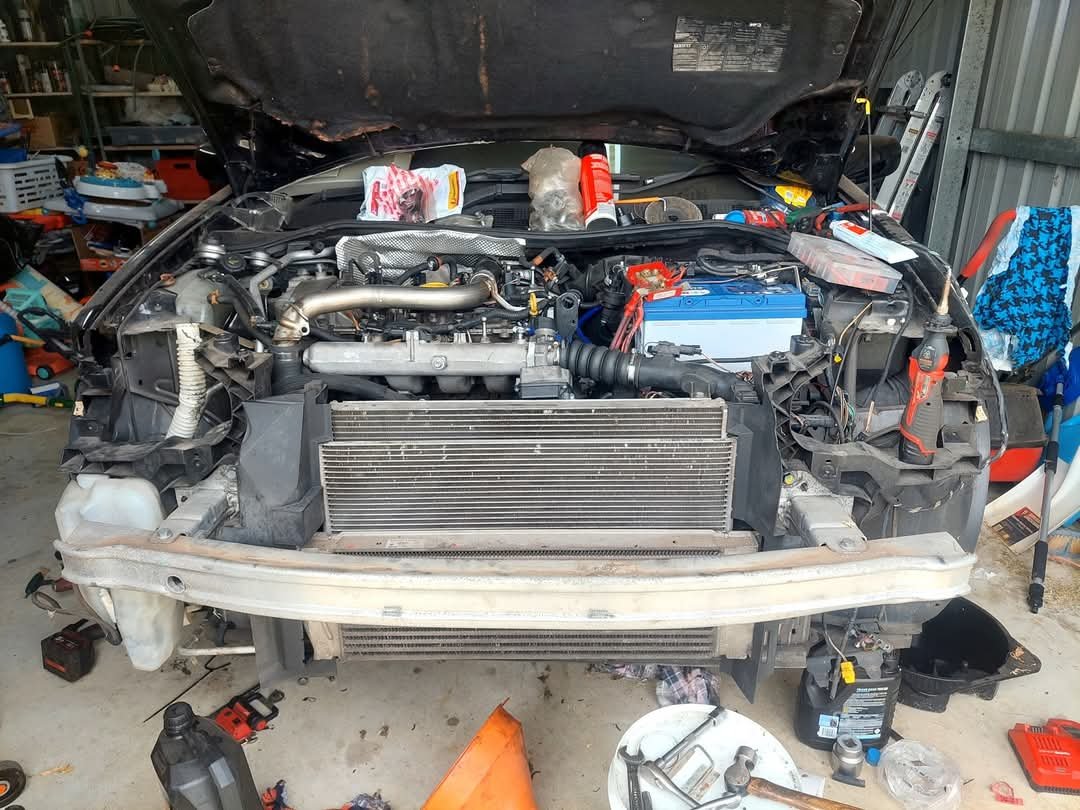
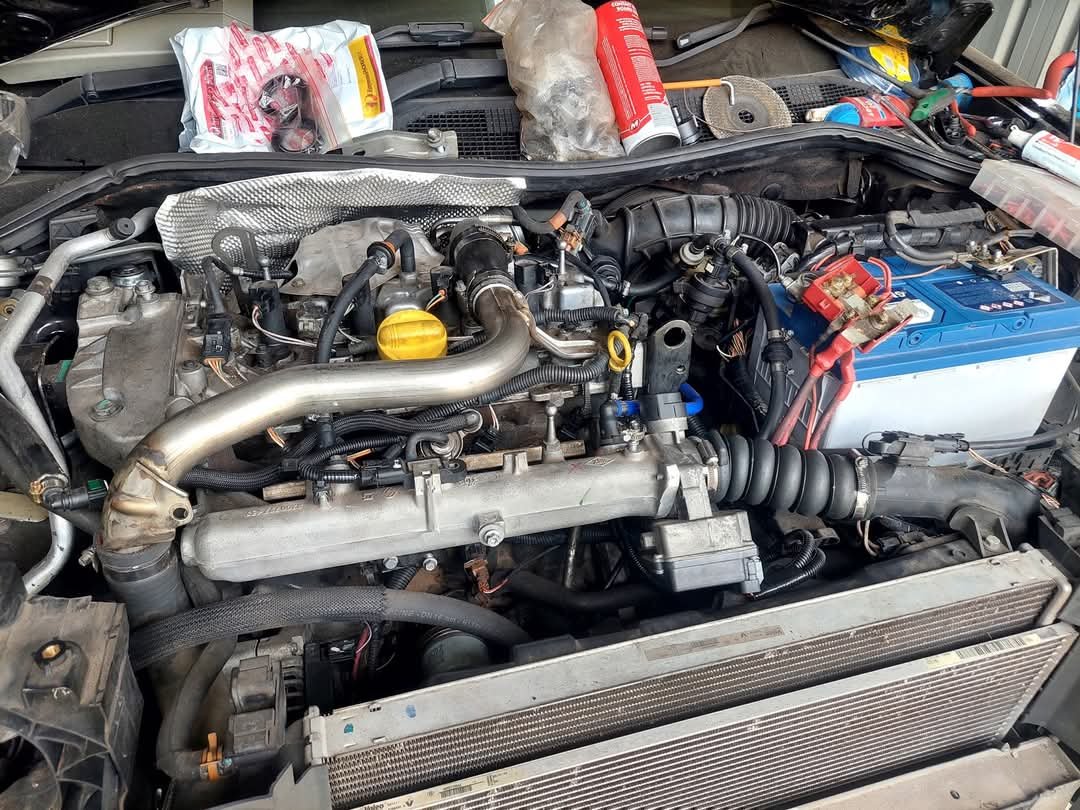
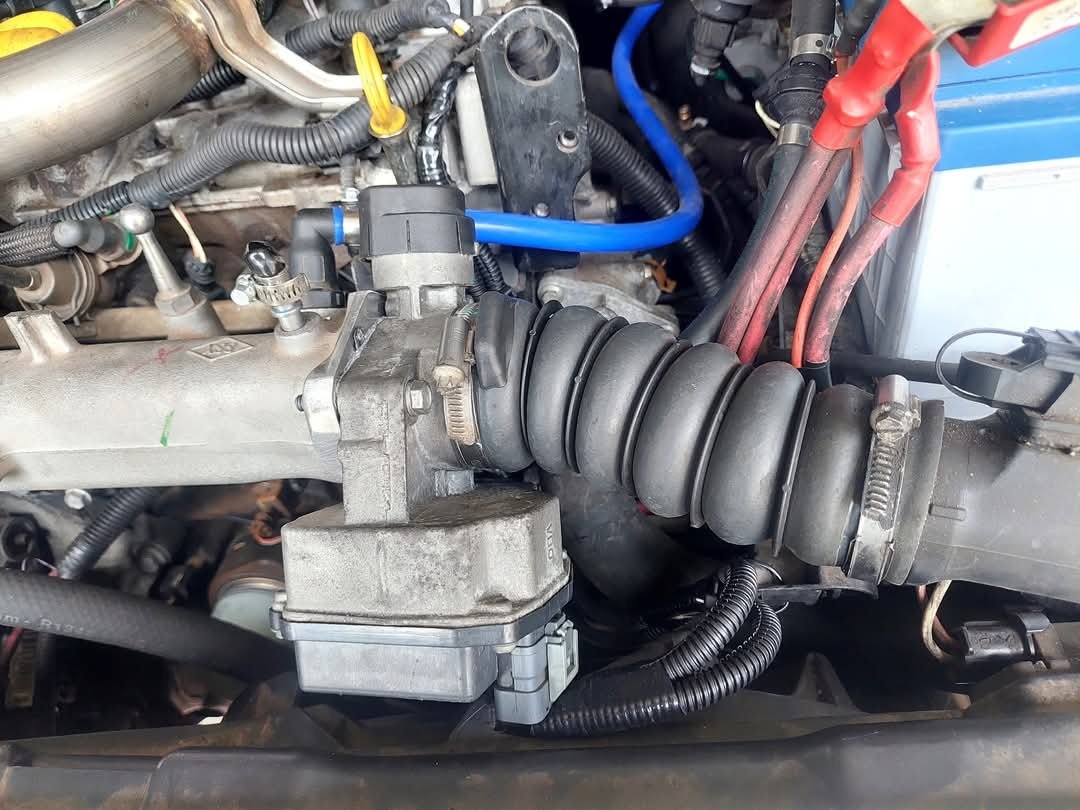
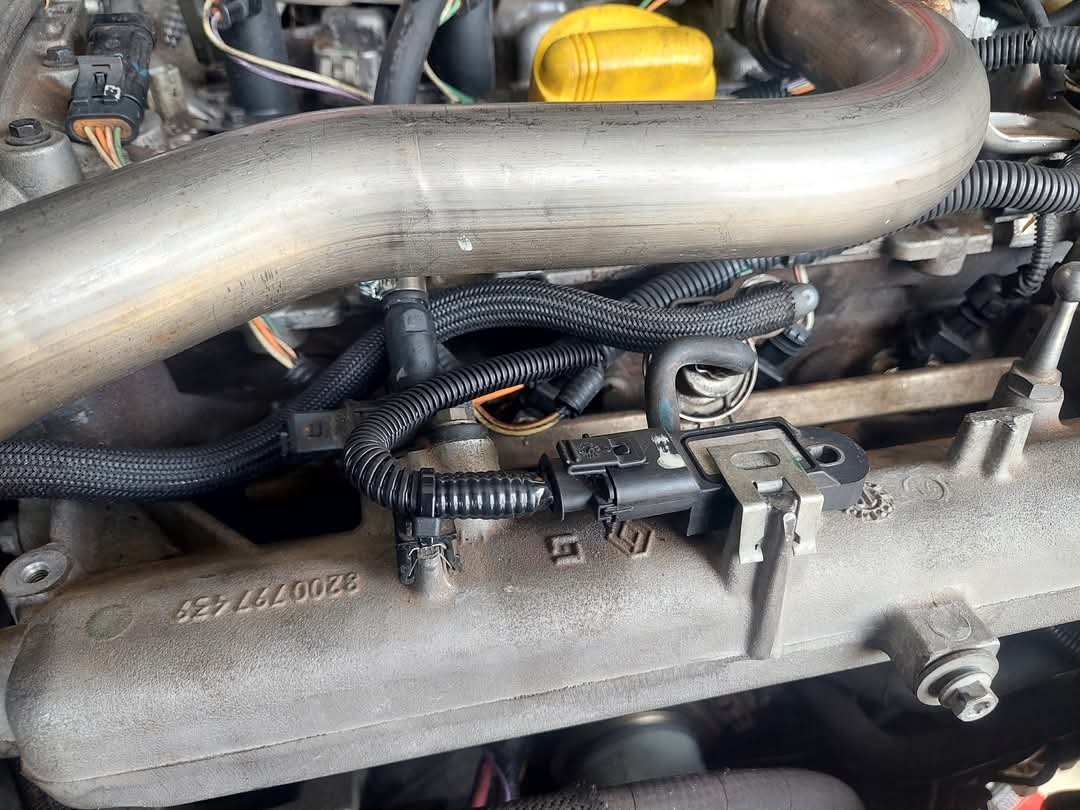
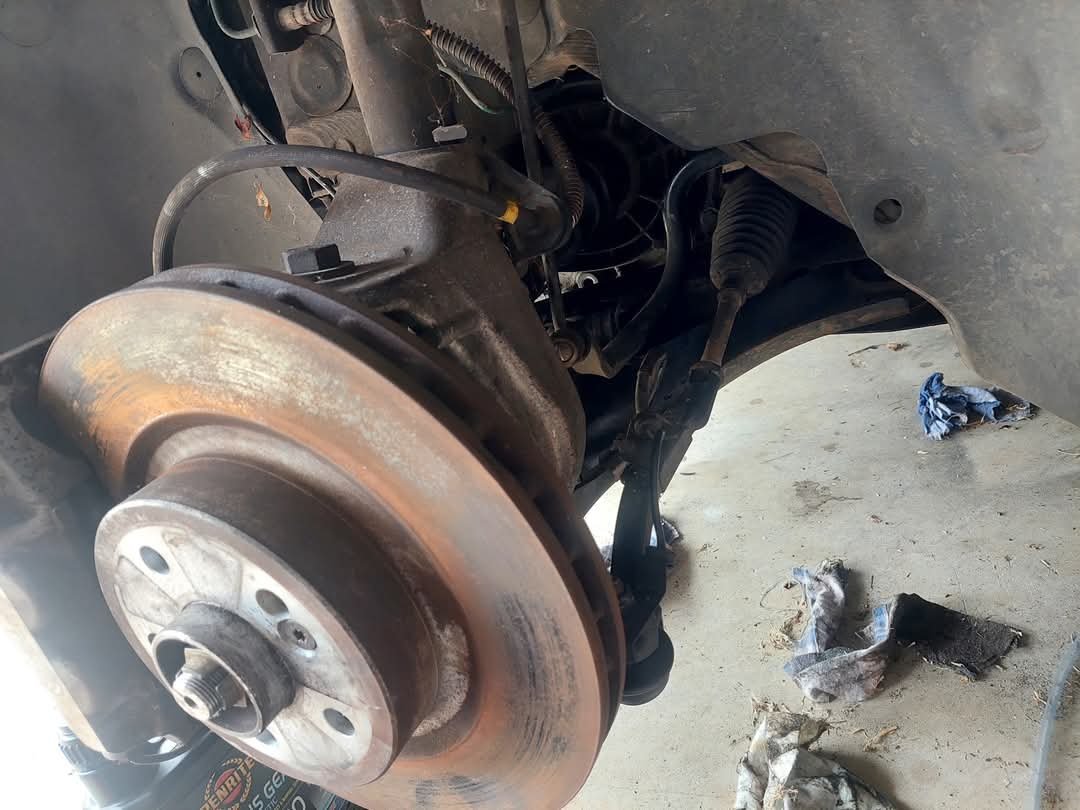
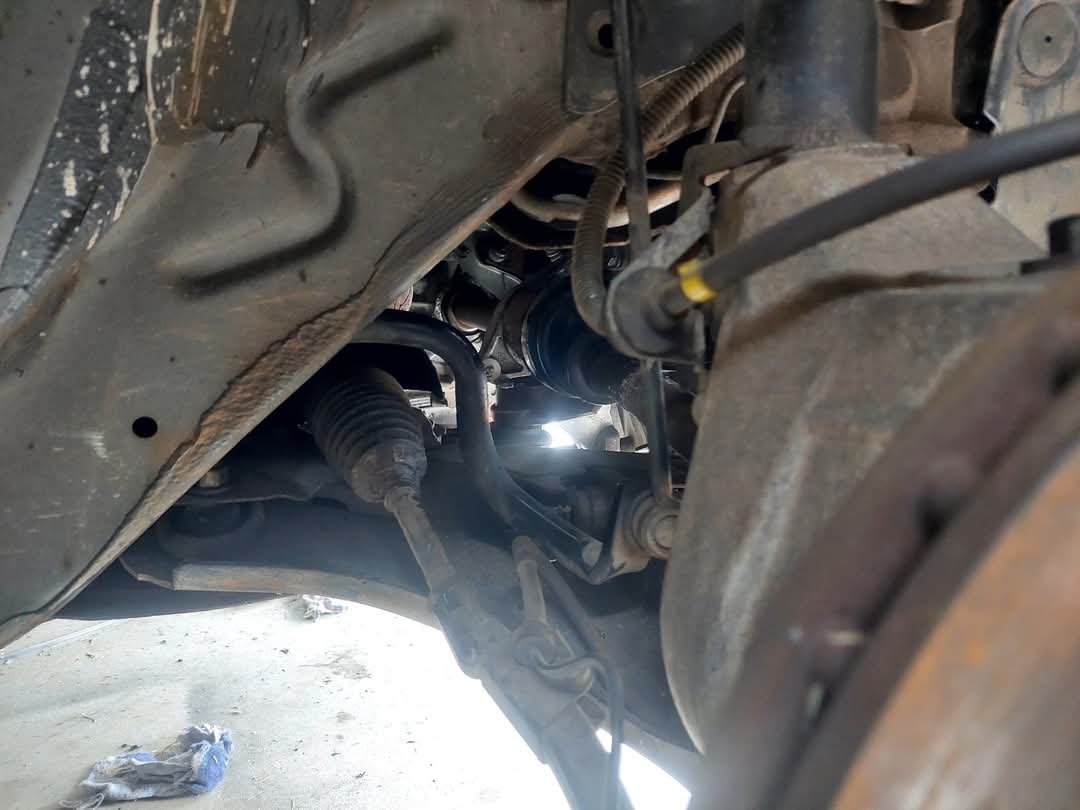
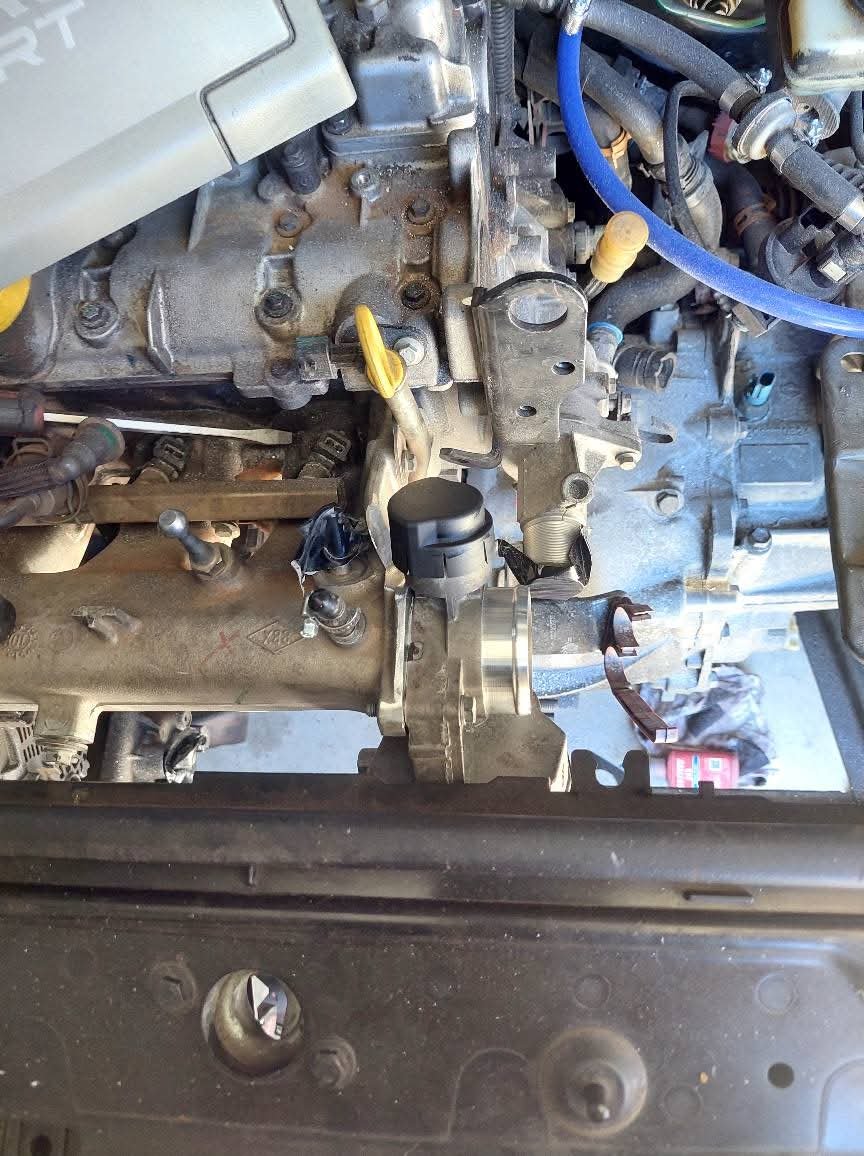
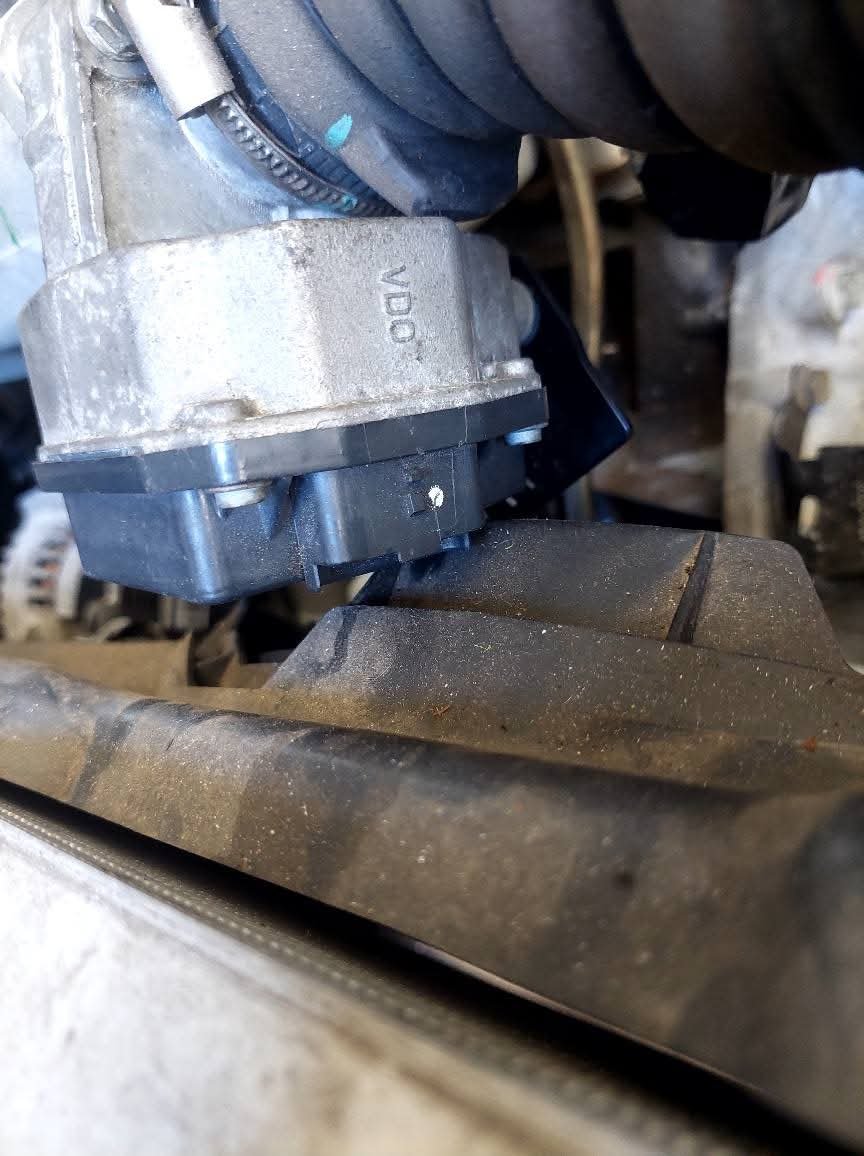
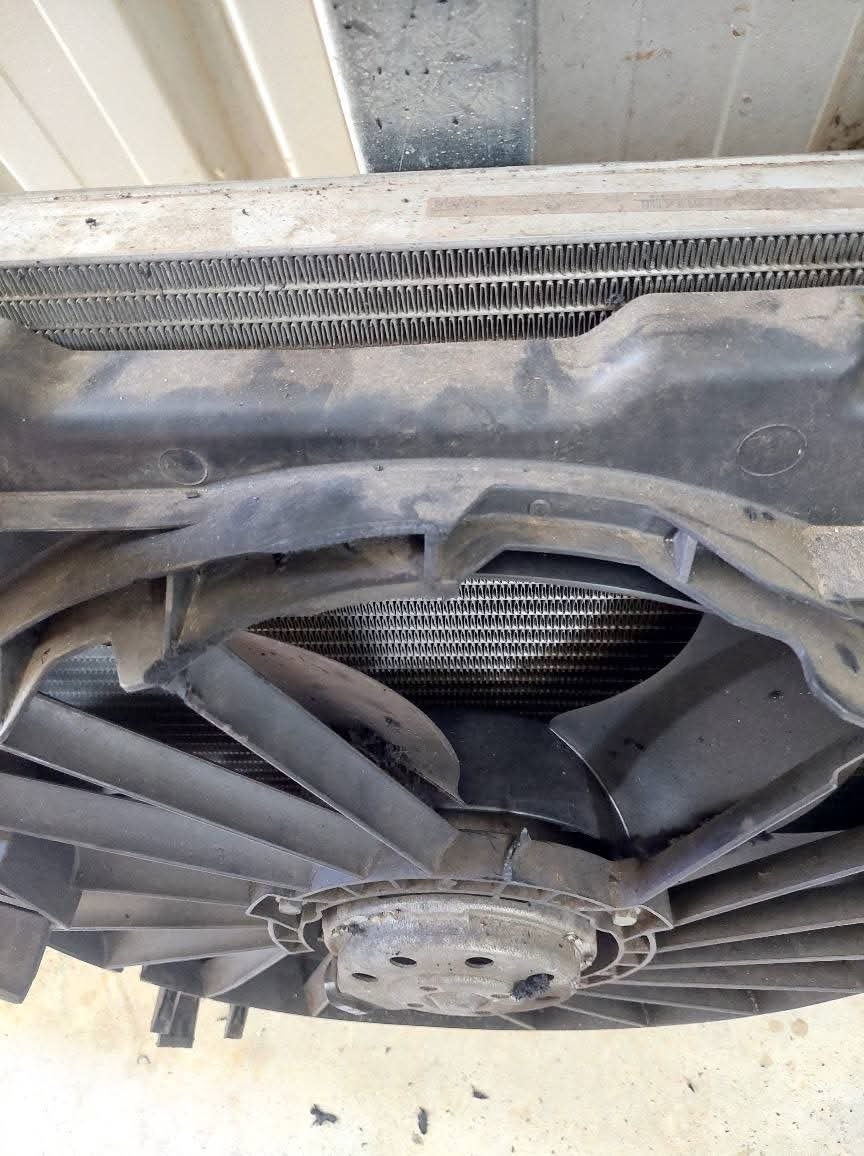
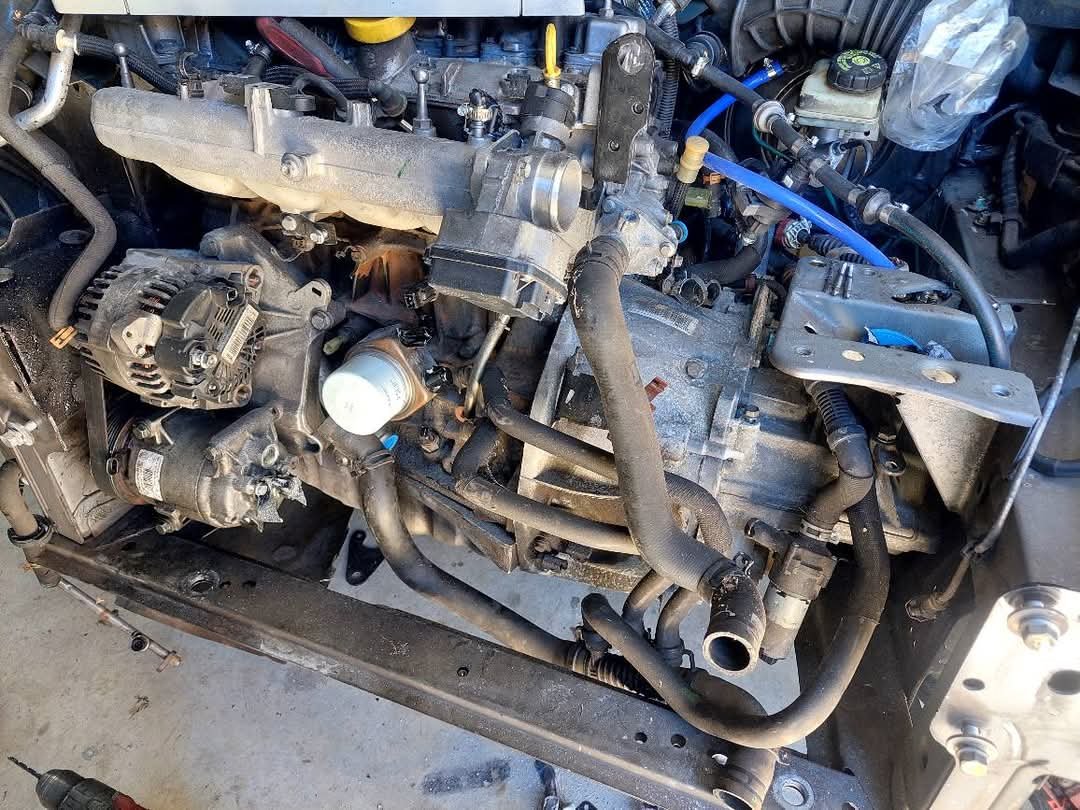
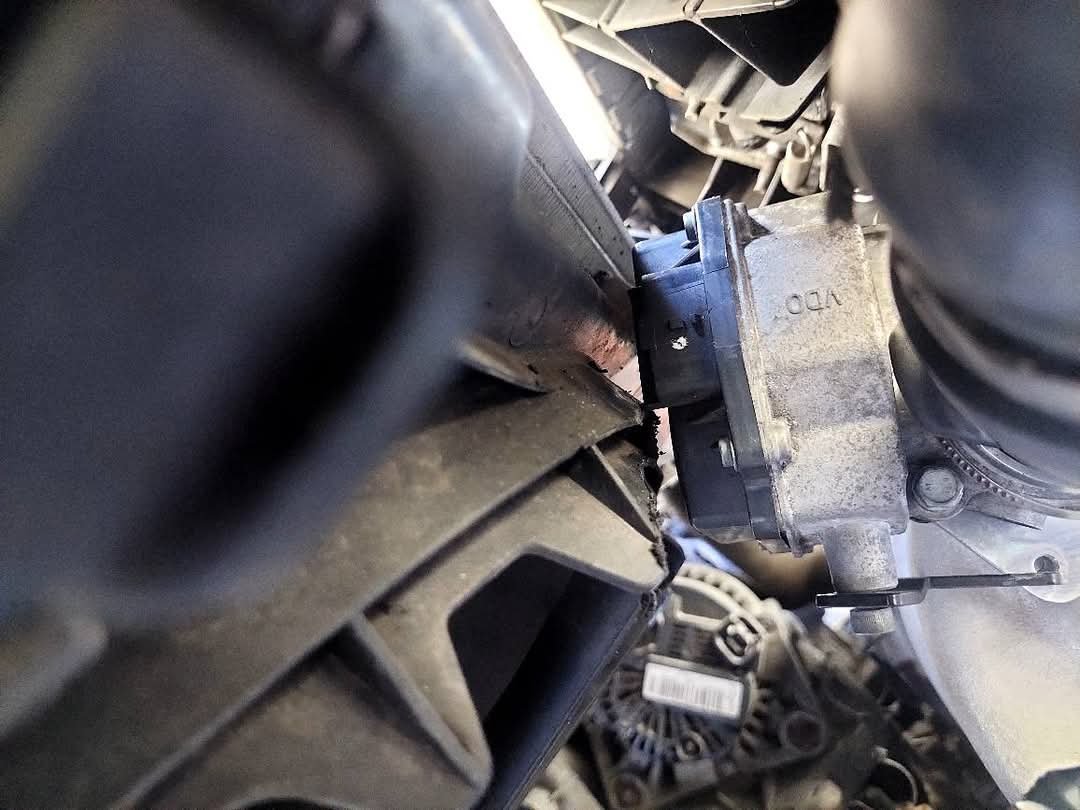
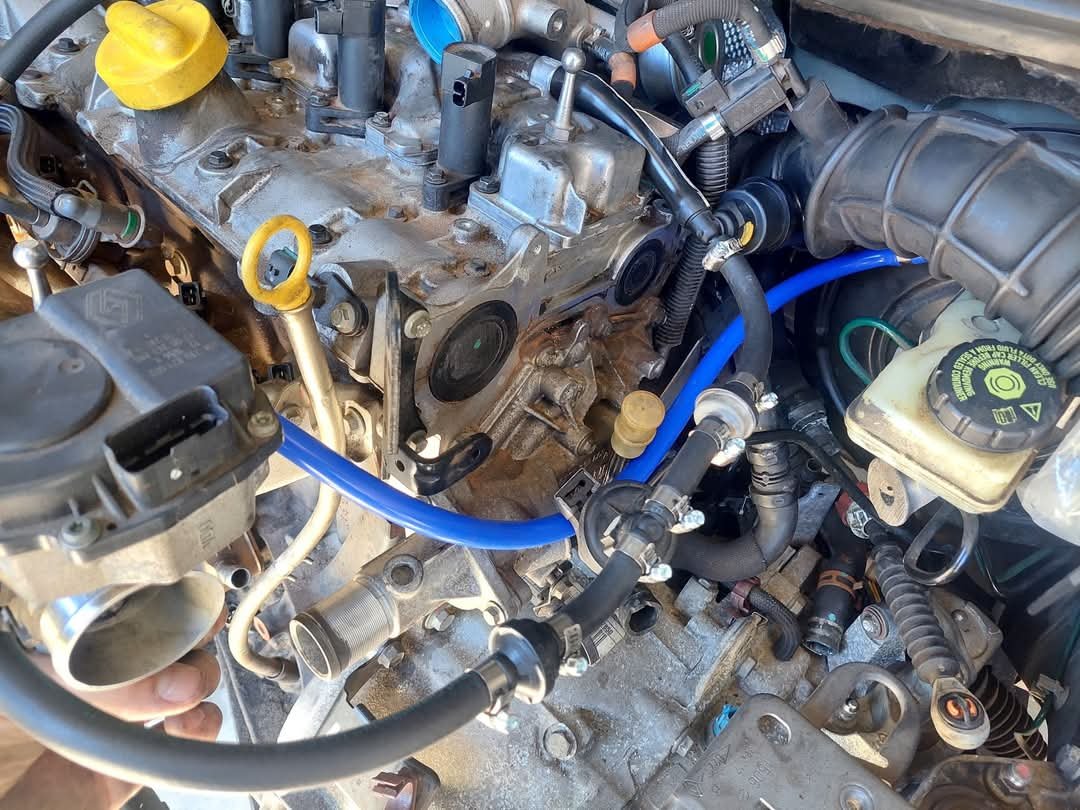
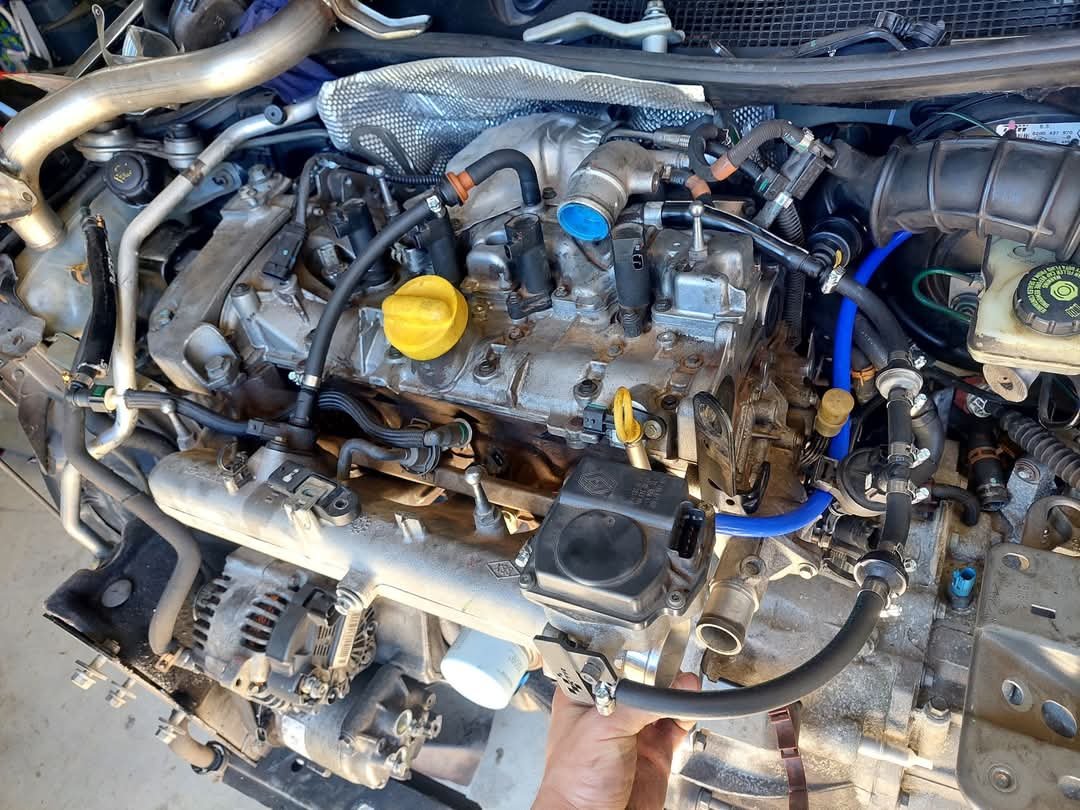
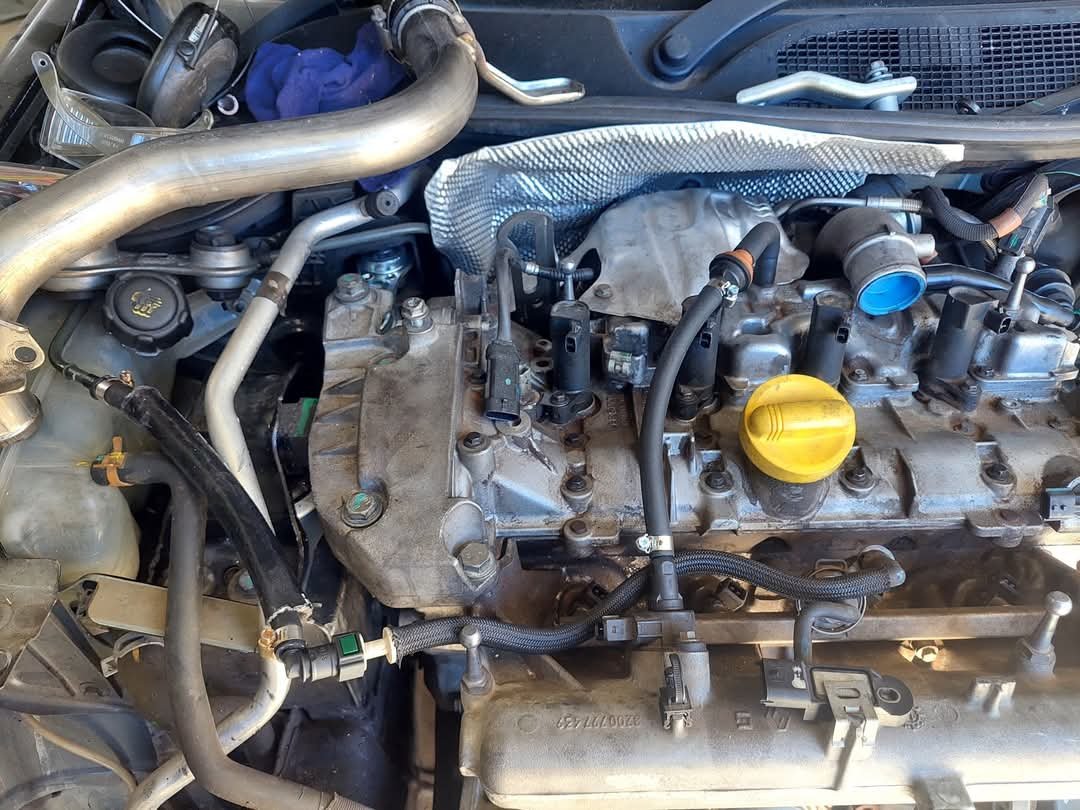
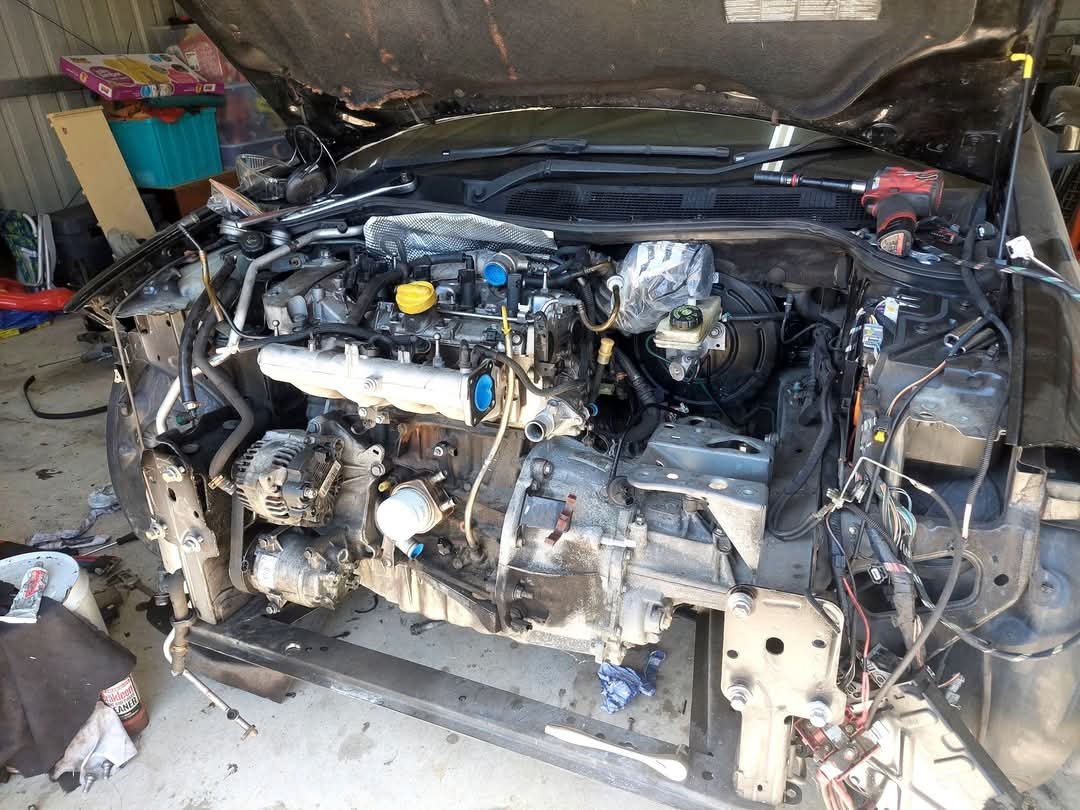
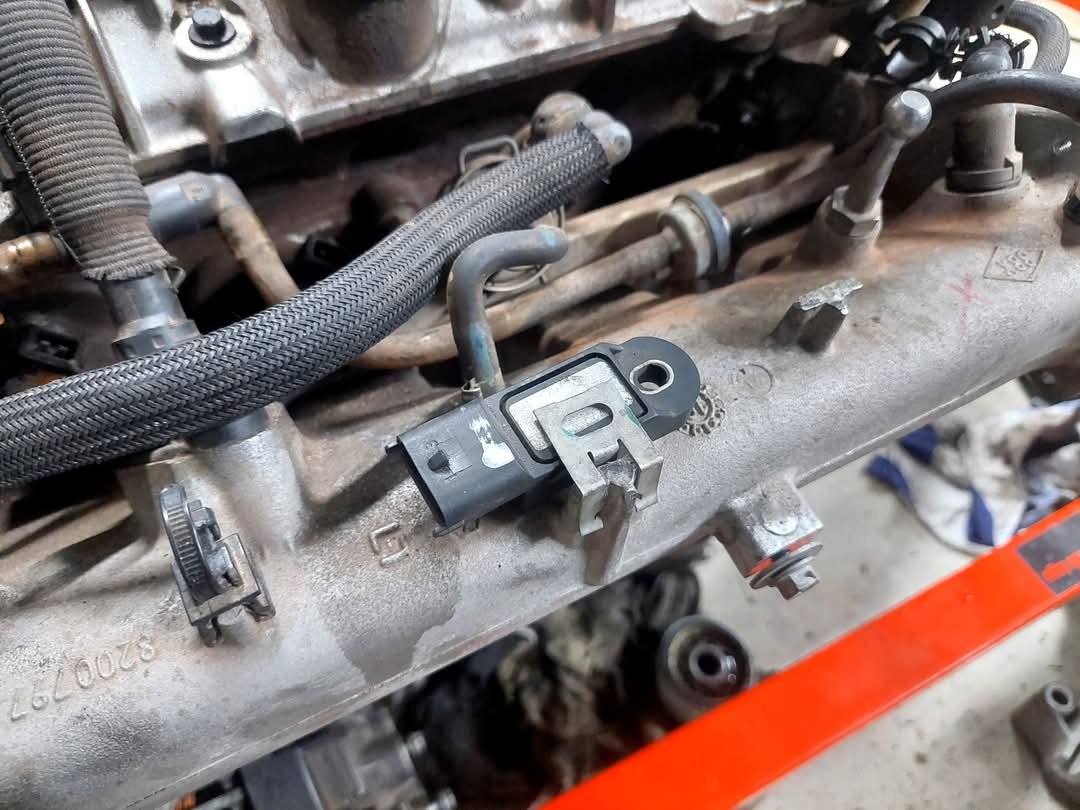
Haven't touched this for a little while but I got some time in the last couple days. I finally got both new gearbox output shaft seals. Fitted those (lh side was a prick due to lack of space to punch it in, wish I did this with the box out. Rh side was a piece of cake though). Also reassembled the hubs, steering, suspension and brake parts. Got the rest of the hoses, plugs, brackets, battery box, battery, front bar etc in. i had to extend the wiring for the throttle body and this intake sensor (map sensor I think). Also had to clearance the fan shroud a little more for the throttle body sensor. I'm not overly proud of how the throttle body harness section looks. I had to run thicker gauge wiring and only had smaller split conduit so had to run half the wiring across 2 sections so it looks stupid. Oh well, it will do for now. And the engine cover still kind of fits. Looks oem enough anyway. My situation over here has changed and we are now in the process of selling our home to come back to NZ. This will be up for sale in Perth shortly so there's only a few little bits I'll do before then. Another incomplete project but hey, hopefully I'll have some spare change to throw at my mazda when I get back. Chur
-
Wedding car feelers - Auckland and beyond
Taistorm replied to Taistorm's topic in Upper North Island Region
Haha what a thread dredge. No divorces yet unfortunately haha. My mate ended up just getting a couple vip mini bus things which ended up being awesome (no way near as dope as it could have been though...) My wedding still hasn't happened yet. Covid restrictions stopped it from happening so had kids then moved to aus. Probably go do a helicopter elopement later this year in Queenstown I think. -
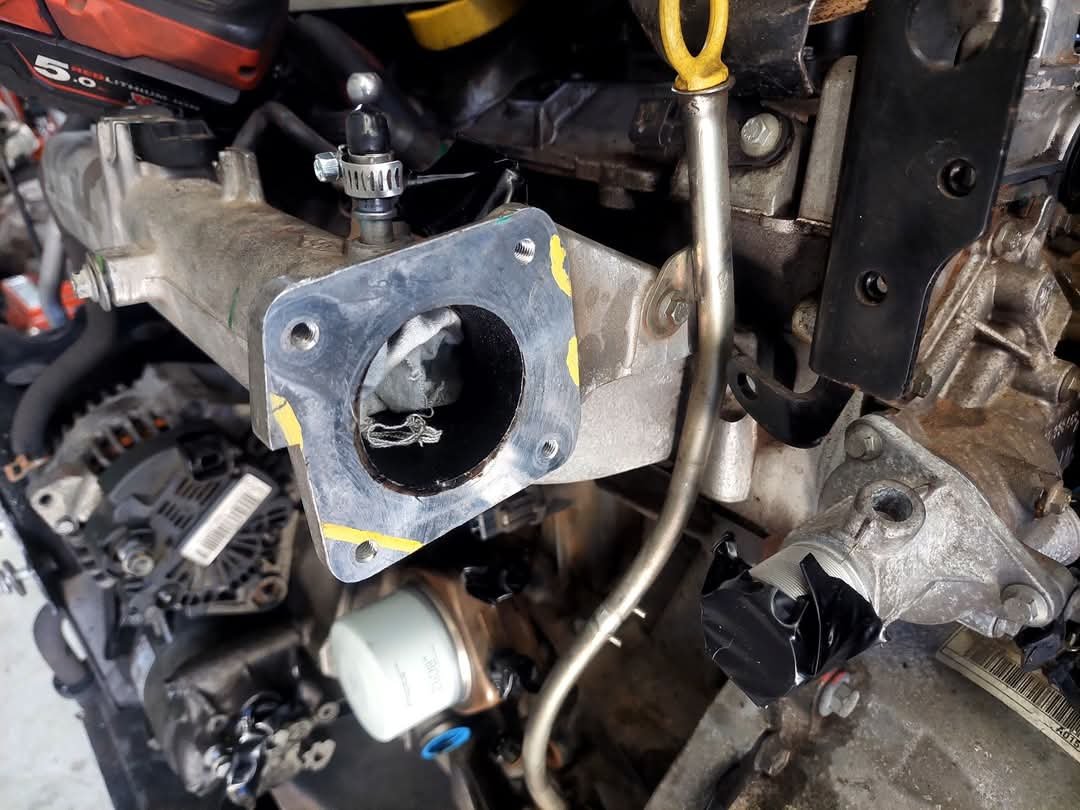
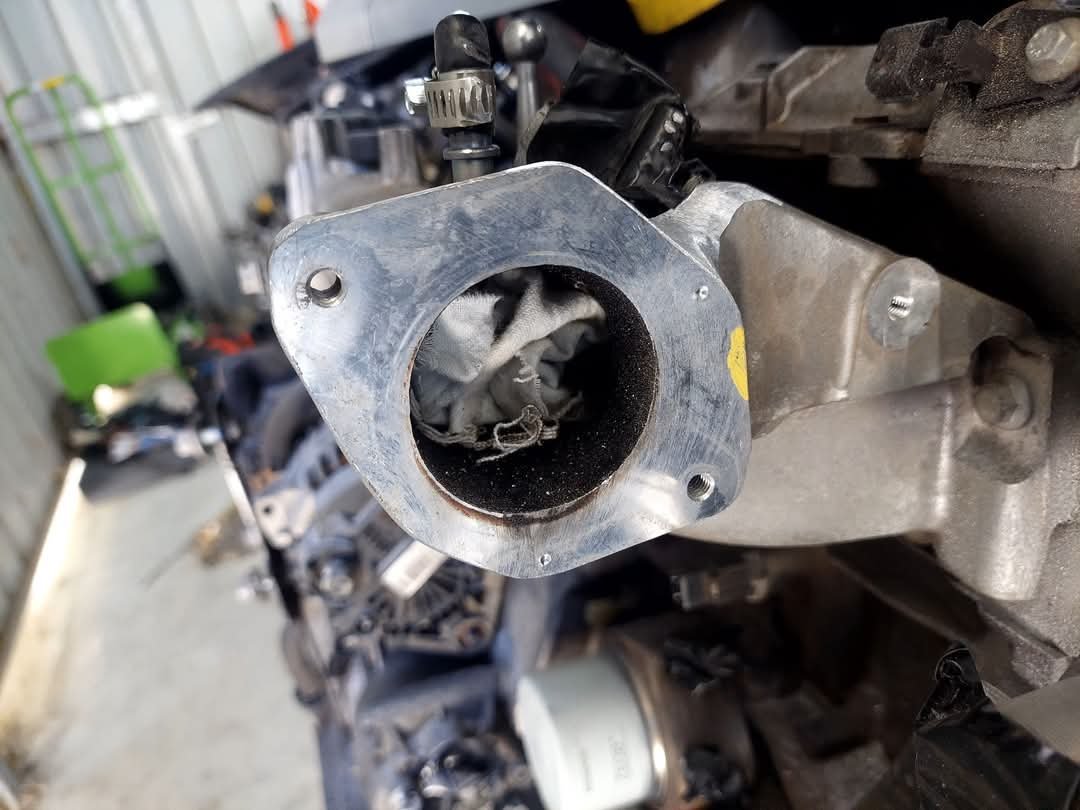
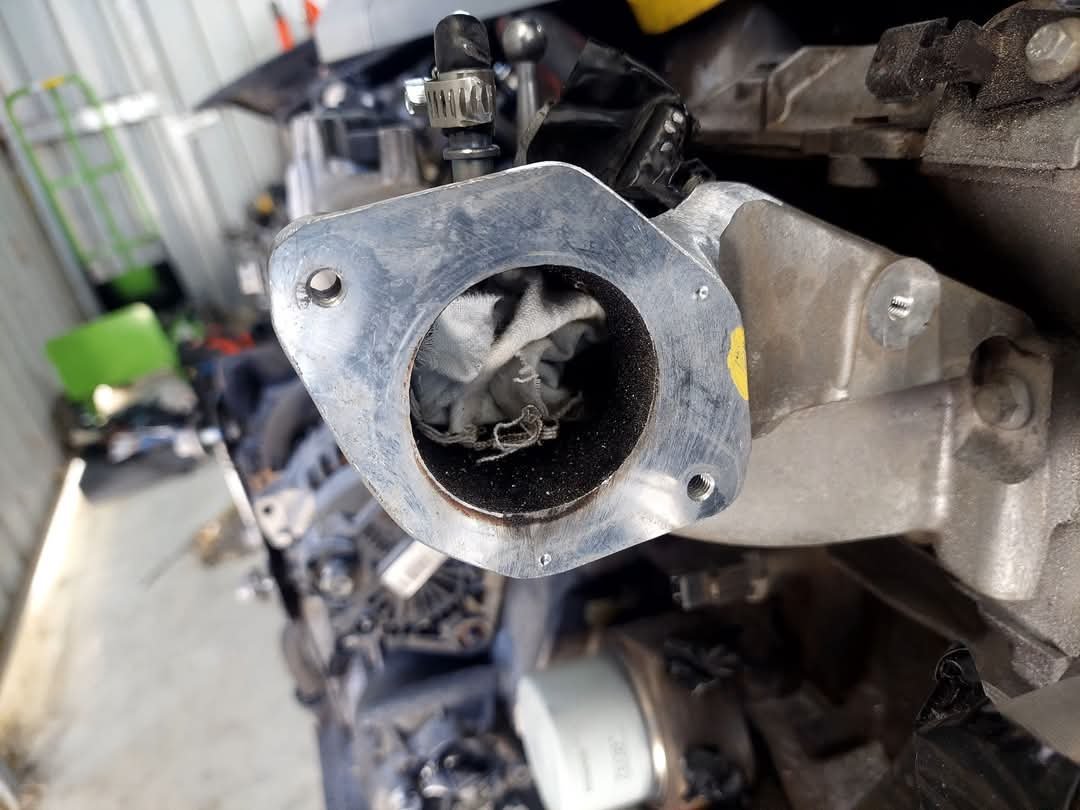
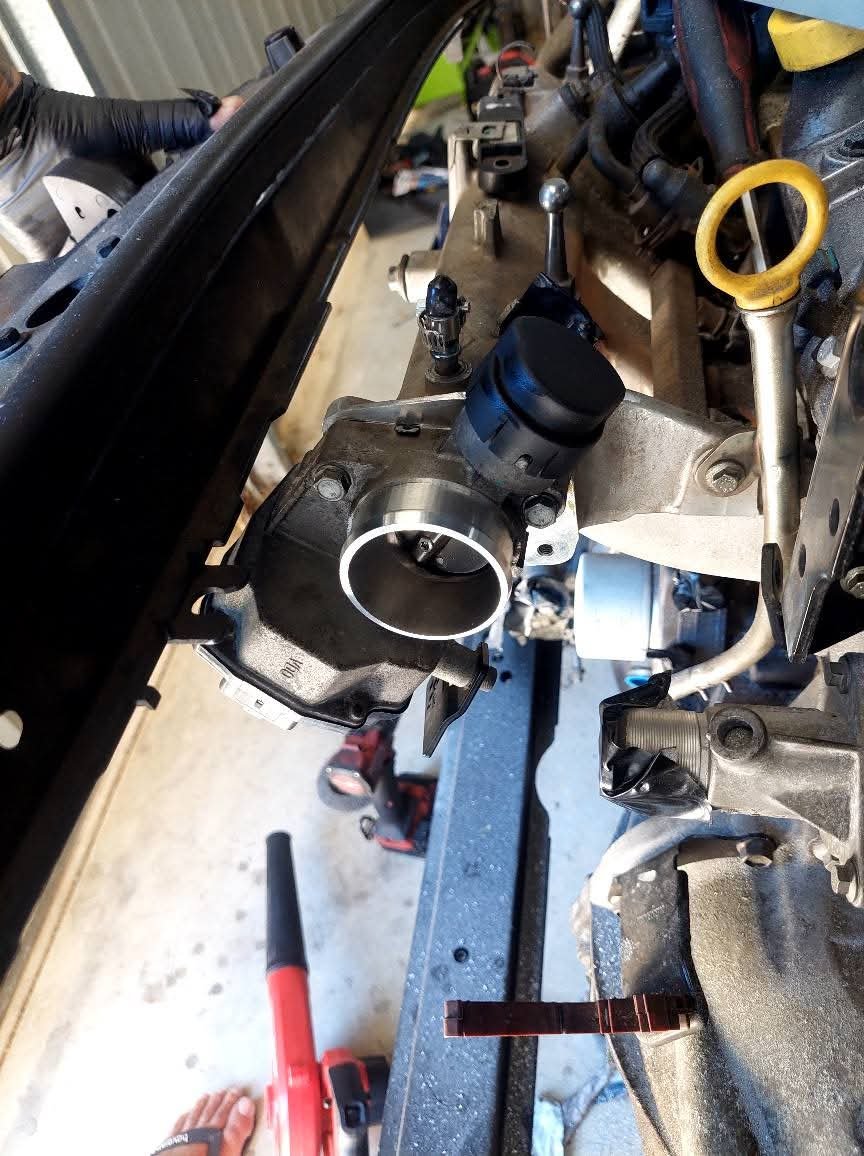
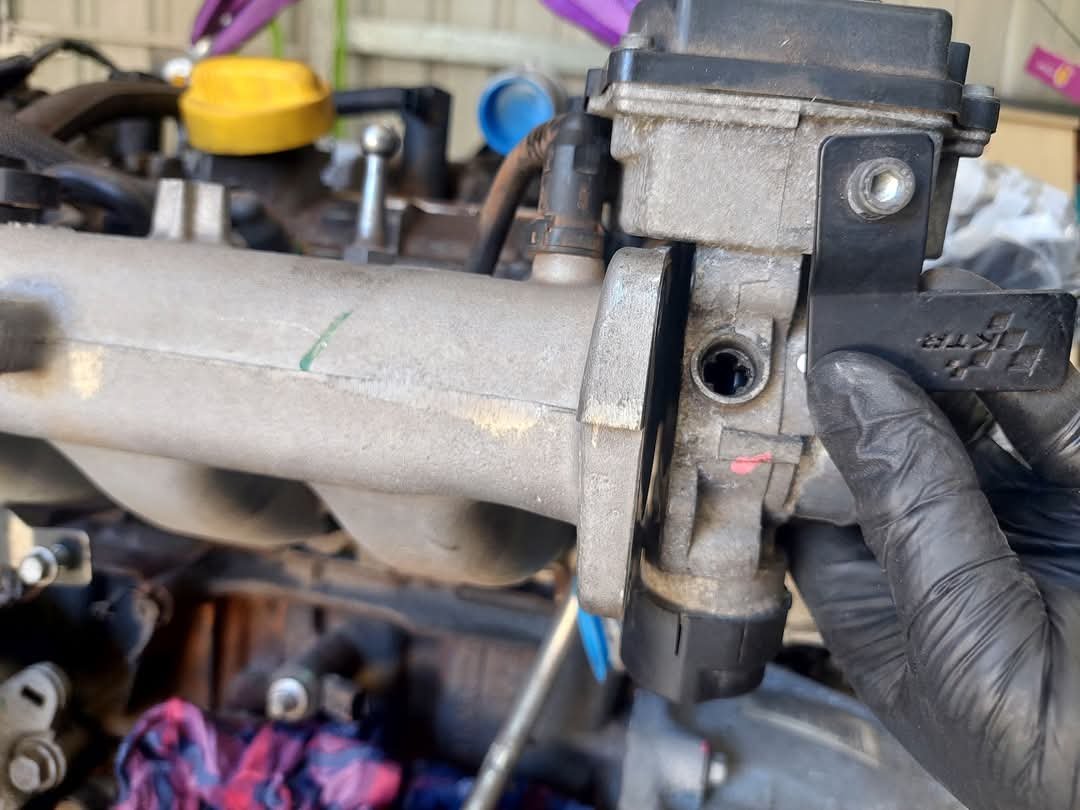
Probably the last bit of work on this until next weekend as I'll be back at work from Tuesday... Had another look and think about fitting the rs225 throttlebody. After some quick measurements I reckon I can trim down some of the excess manifold flange meat and drill a couple more holes to get it to fit up, if I change the engine lift point over from the 225 as well. Some quick measurements and cuts/grinding. Mark some holes, drill and tap. Mock up then fit. didnt think about clearances on the front side, so i had to trim the radiator fan shroud a little bit. And a quick mock up of the coolant hoses. Should do the job I reckon. Save me some time and effort making up a custom adaptor plate. Chur
-
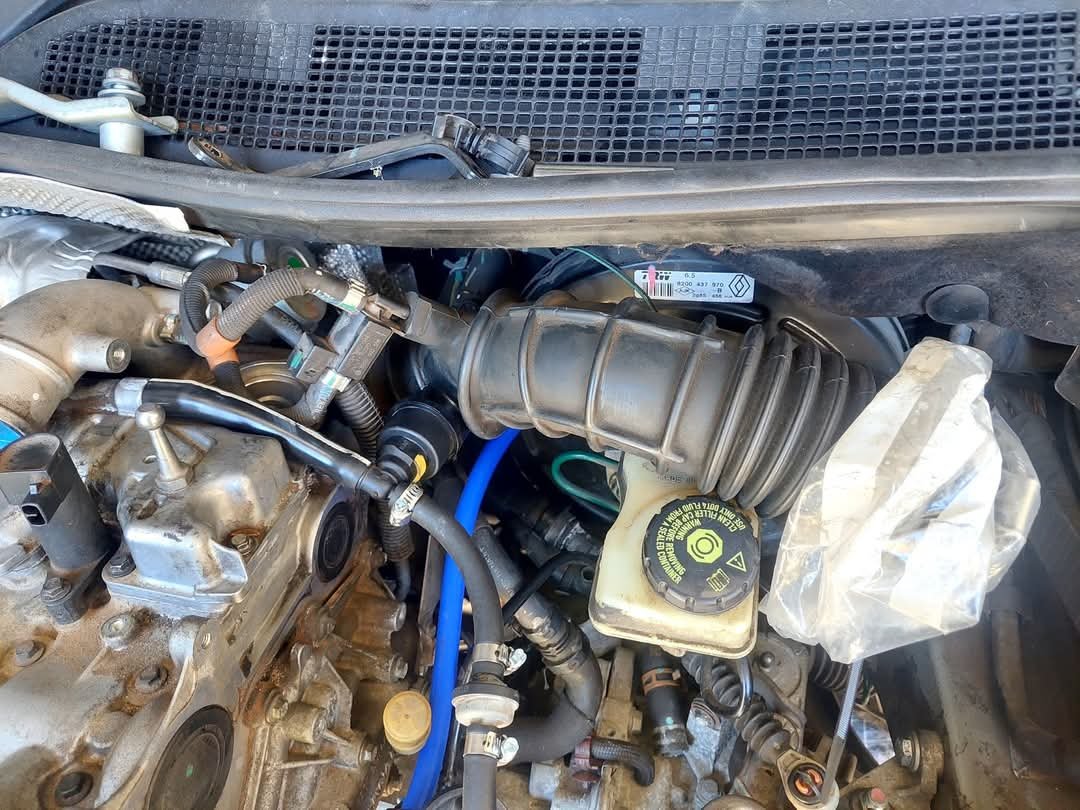
Small daily update. Refitted the lower engine stabiliser mount - I've reused the old one, the inserts I've purchased only replace one of the bushes that's torn, not the other so I'll look at just buying a replacement unit. I also got my spanner back and finished tightening up the transmission mount. Exhaust fitted. I had to swap the rs225 intake pipe onto the turbo to get better clearance over the brake slave cylinder. So cleaned it up and fitted it. I also bought some vacuum hose and fuel vapor hose for the breather piping. Rerouted everything to suit and re routed the fuel line as they're different across the 2 cars. So now the fuel lines are sorted, crankcase vent pipes and inline valving is sorted, and Brake booster hose sussed out. I'm not overly happy with the fuel hose layout so I'll change it over later. Luckily I could reuse the push oem push lock fittings. I ended up just hose clamping new hose onto the barbs. Chur
-
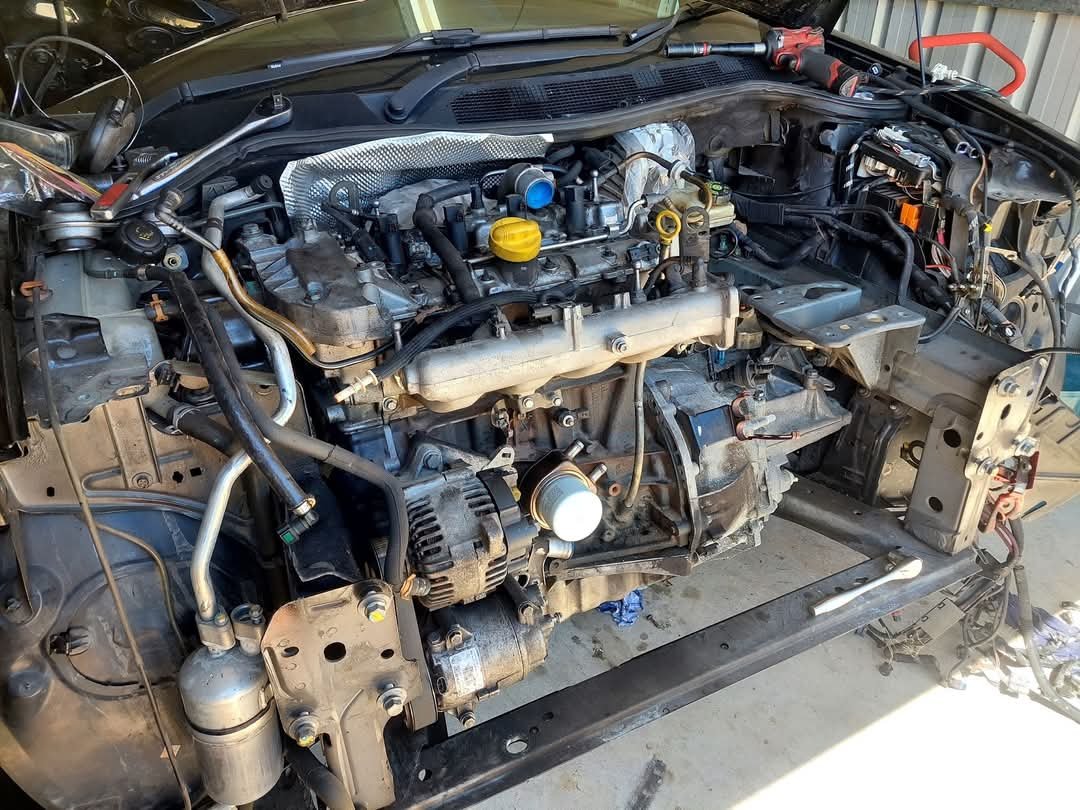
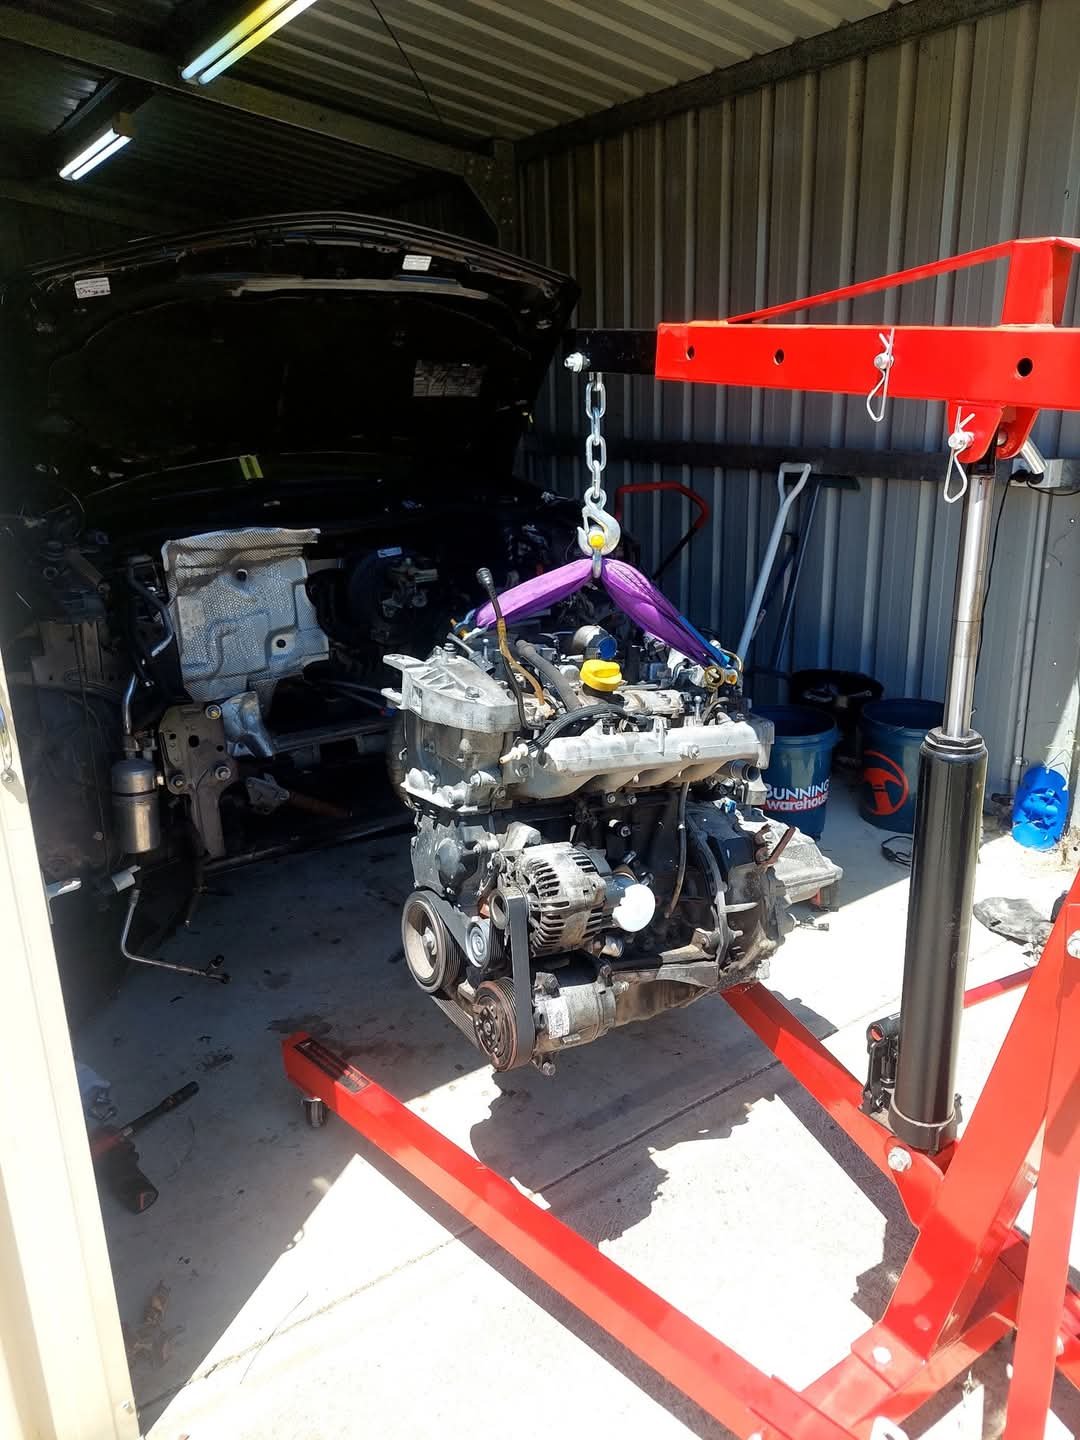
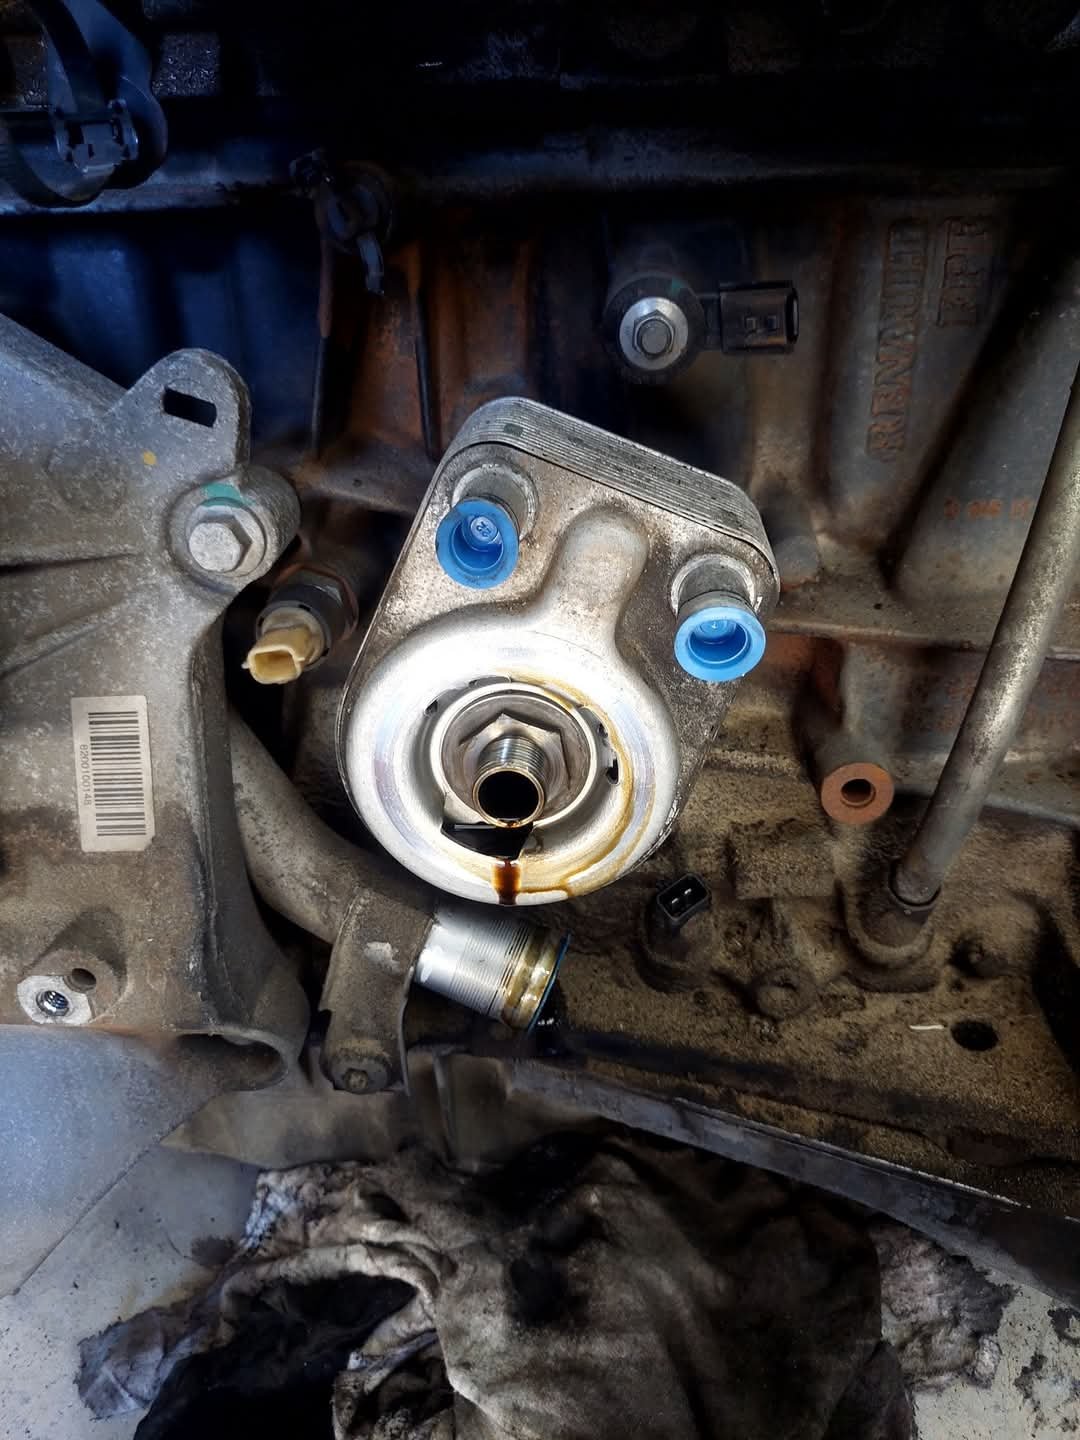
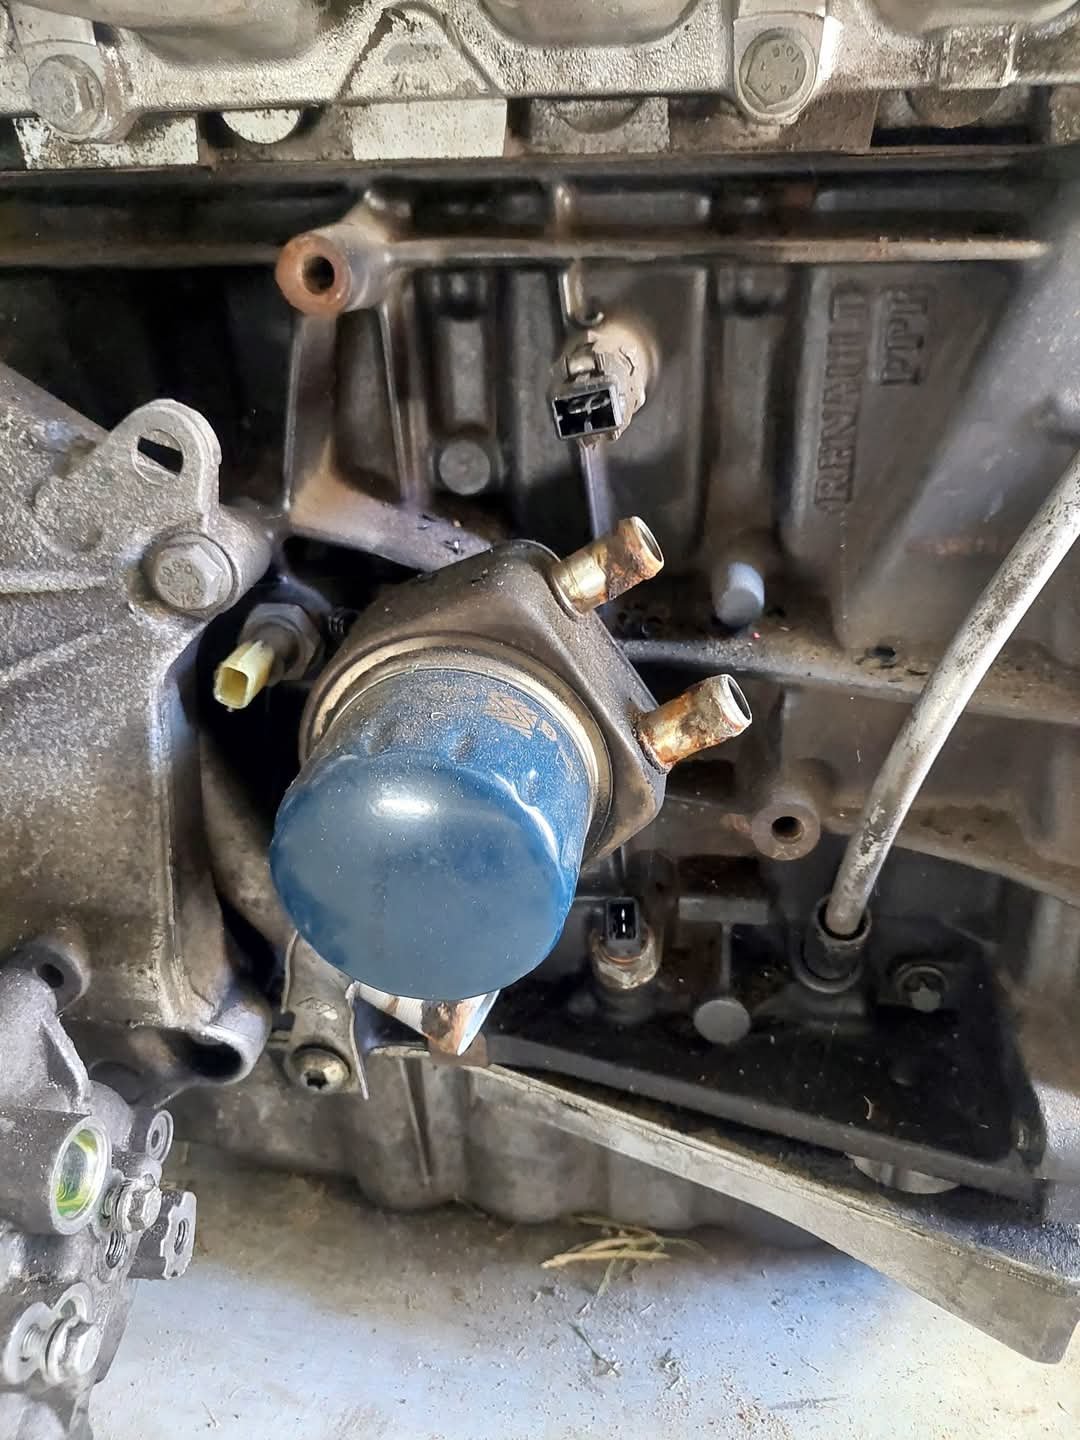
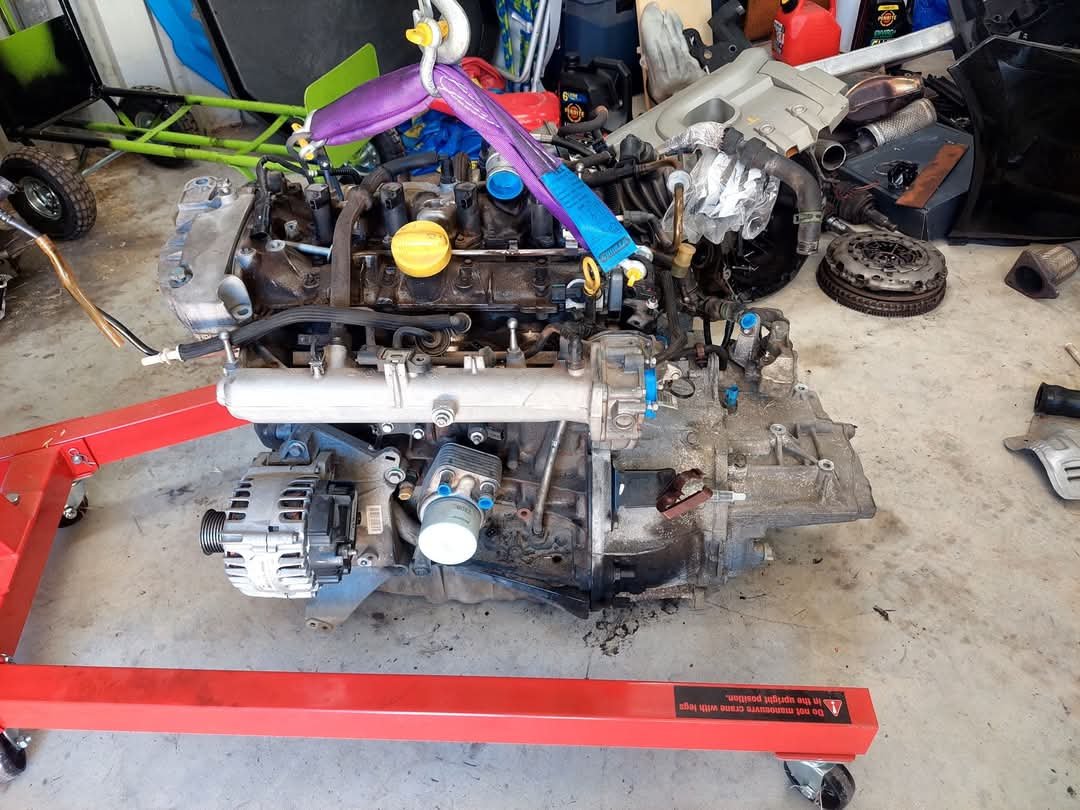
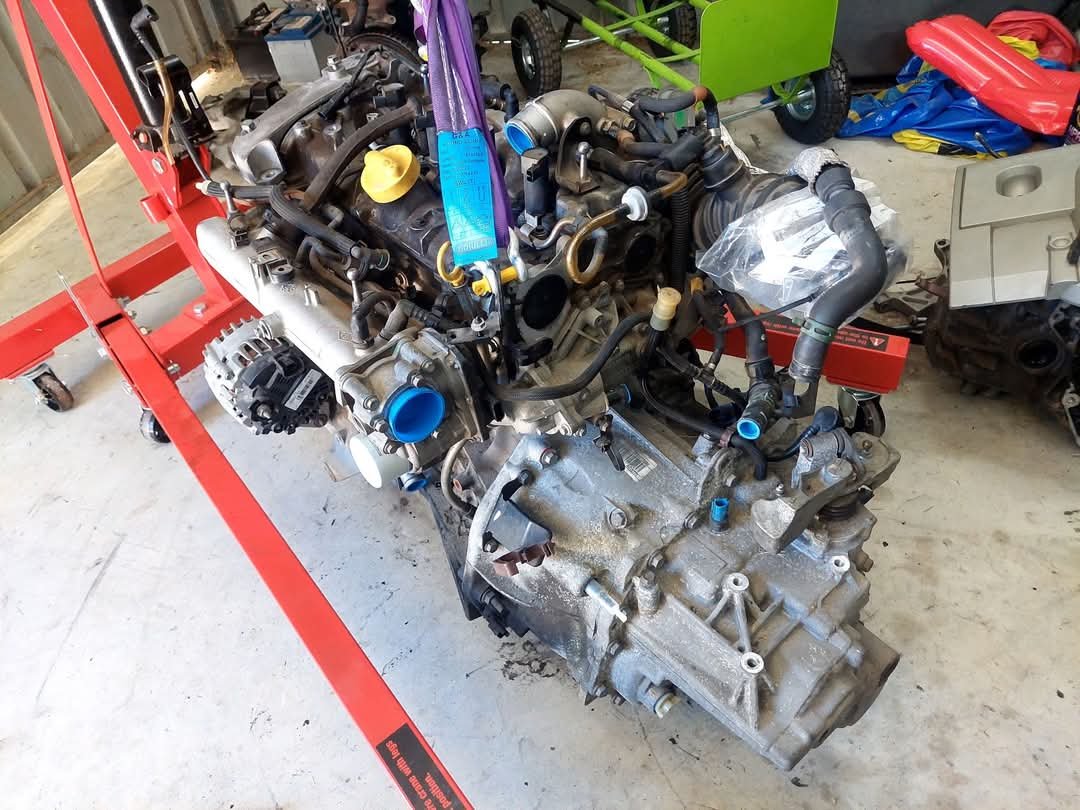
Cue "It was a good day - Ice Cube". Donk and box back in the hole. Oil filter housing/oil cooler swapped over aswell with new filter on. Just awaiting pick up of my work ute tomorrow (as it's having some recall work done) so i can get some other tools i need to carry on with assembly. Stoked as to see the gap filled! Chur
- 29 replies
-
- 17
-
-
-
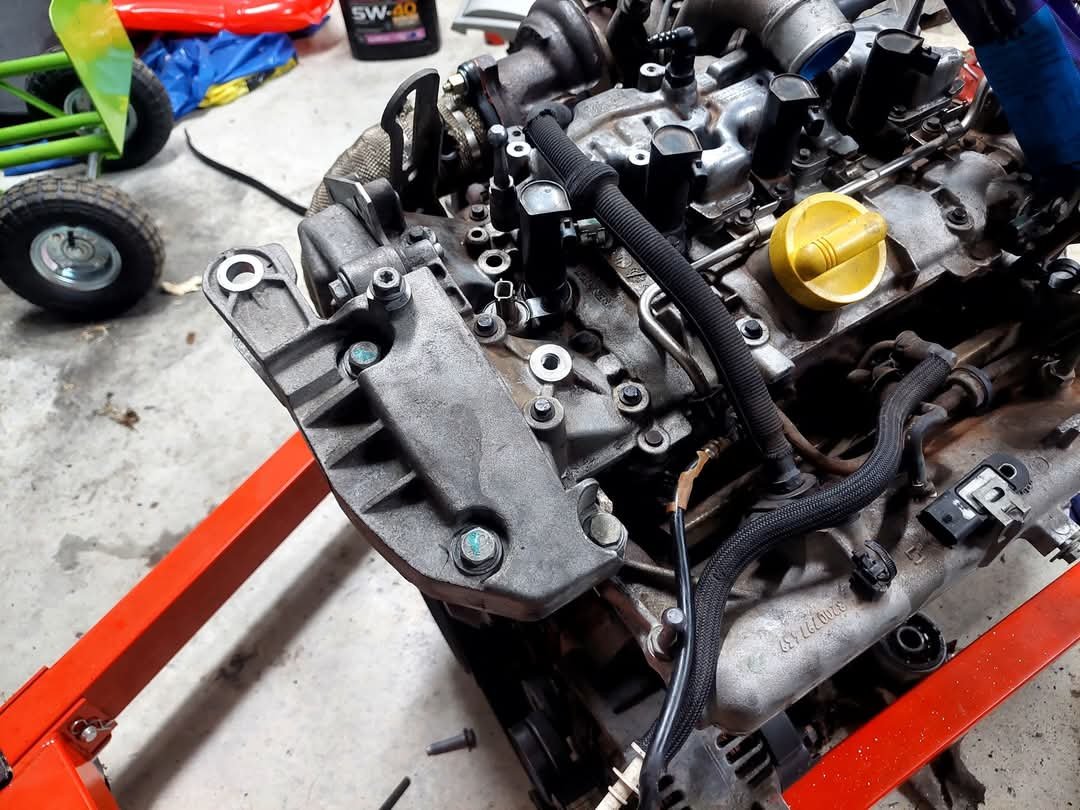
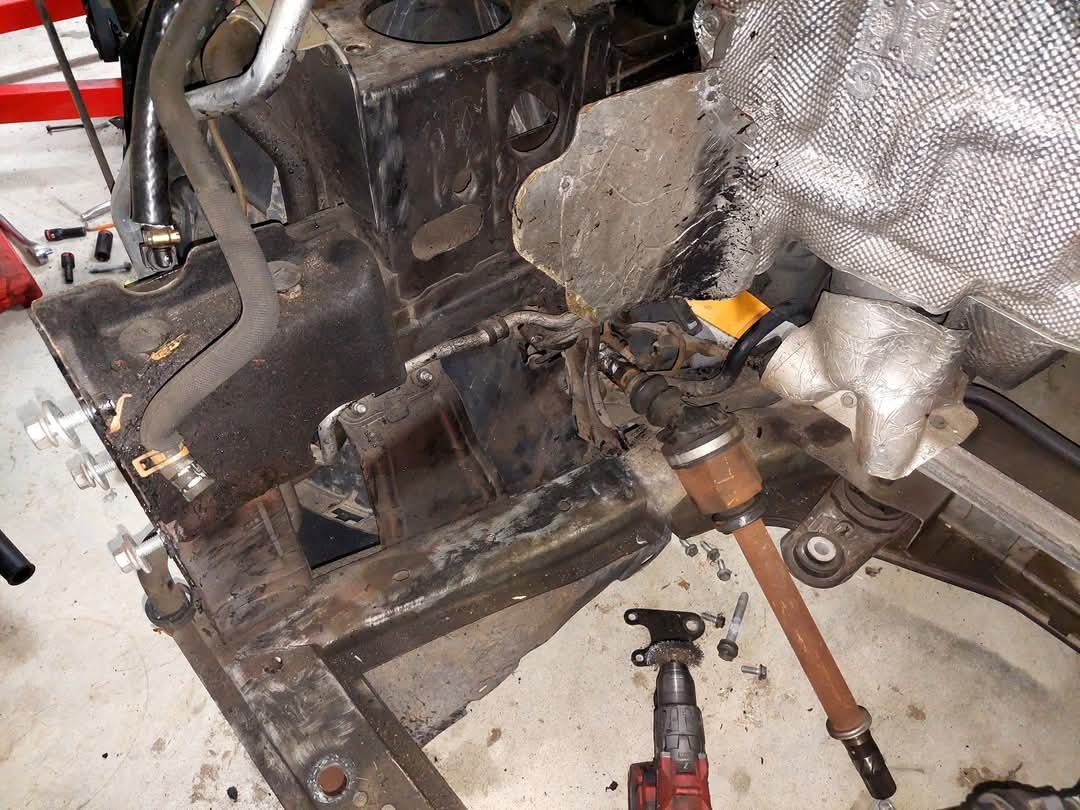
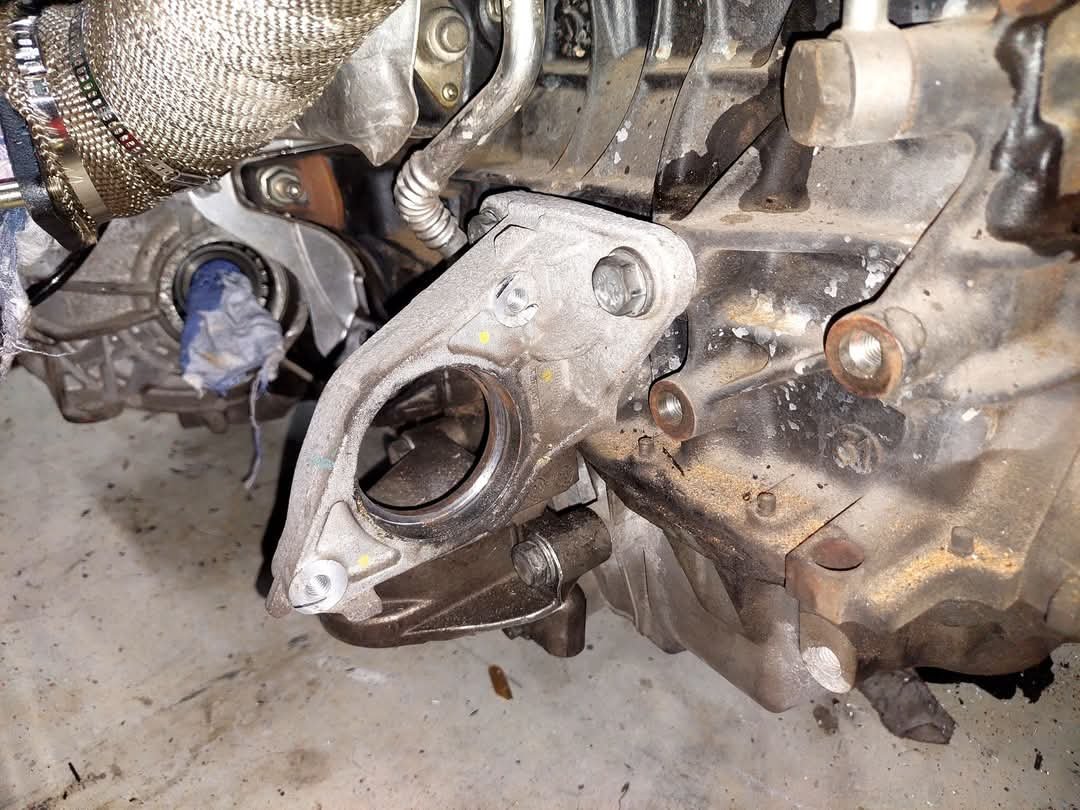
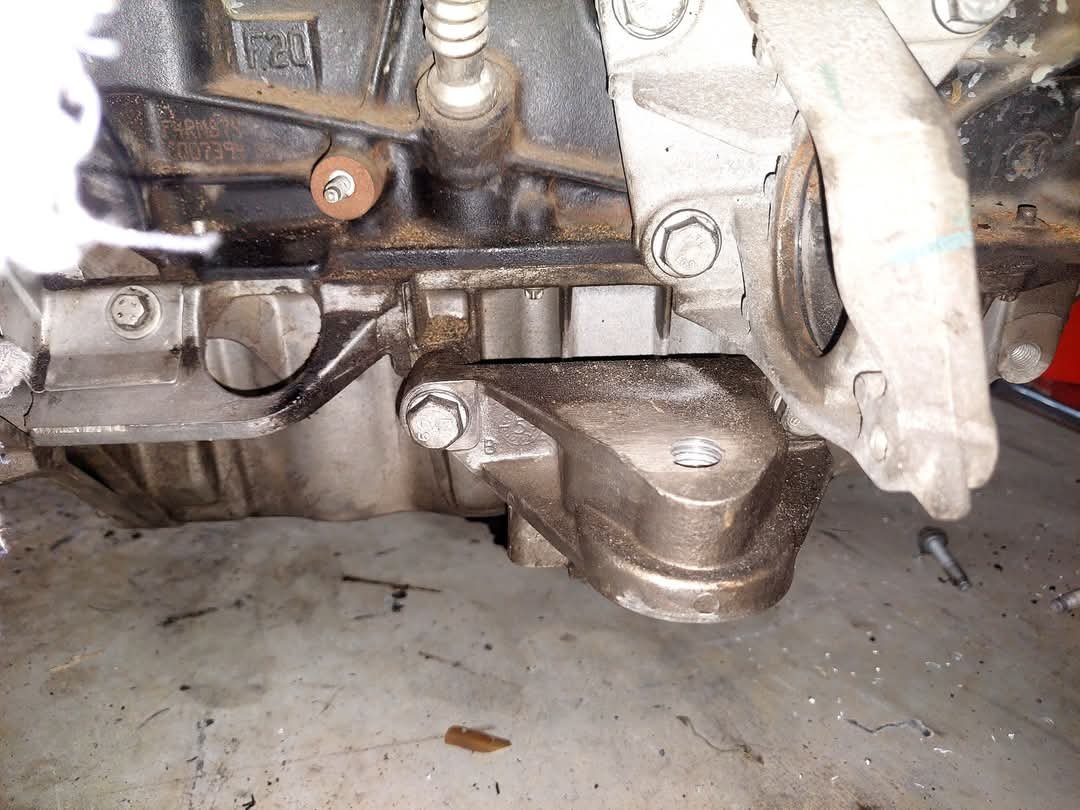
Drilled and tapped an additional mount hole for the engine upper timing cover/engine mount. This is due to a variation between the 2 top covers and the 265 inlet manifold not having the provision for the additional mount. Upstream o2 sensor back in and rs265 exhaust cover fitted. I did a half ass job trying to clean off some of the melted plastic from the engine bay. And lastly for the night ive swapped over the lower engine stabiliser mount and rh drive shaft hanger from the 225 engine. Hopefully I'll have this bolted back in the car tomorrow evening. Chur
- 29 replies
-
- 14
-
-
-
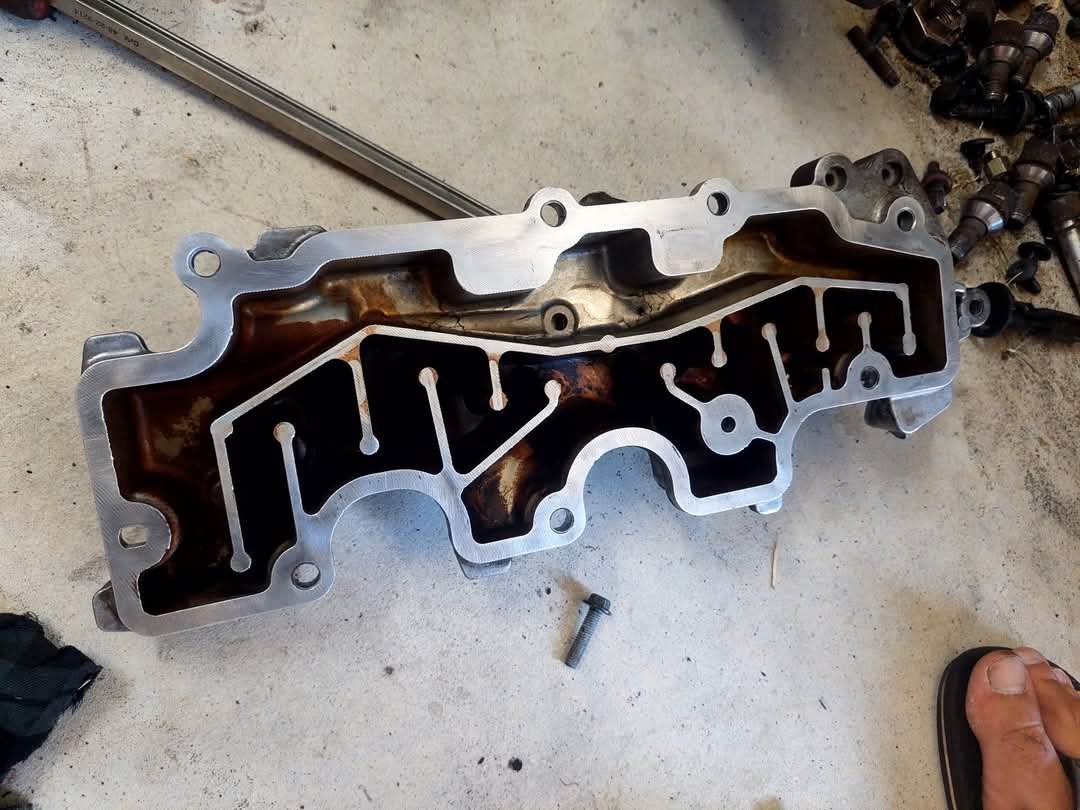
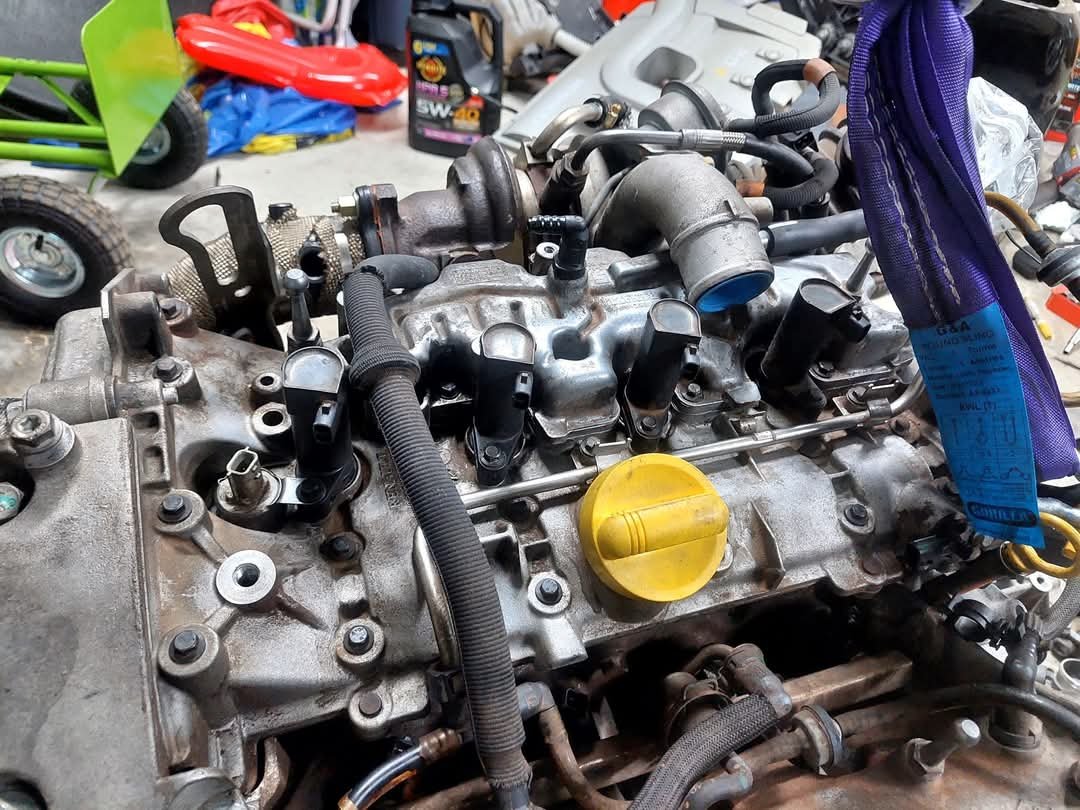
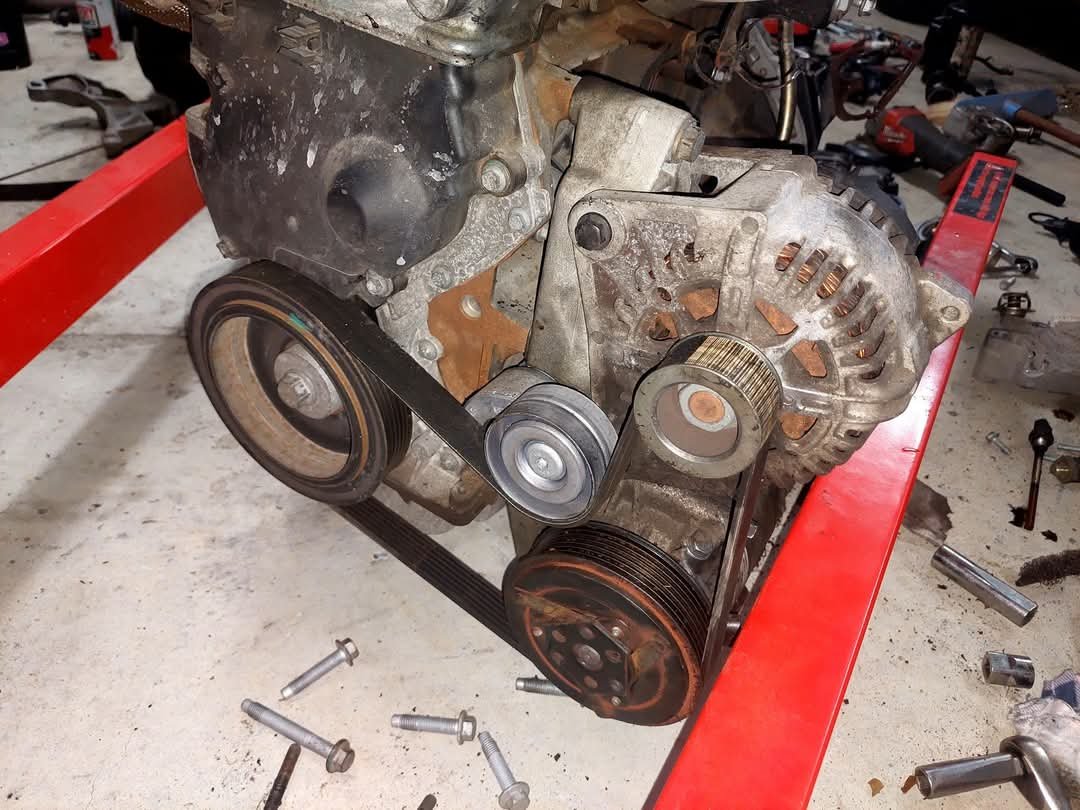
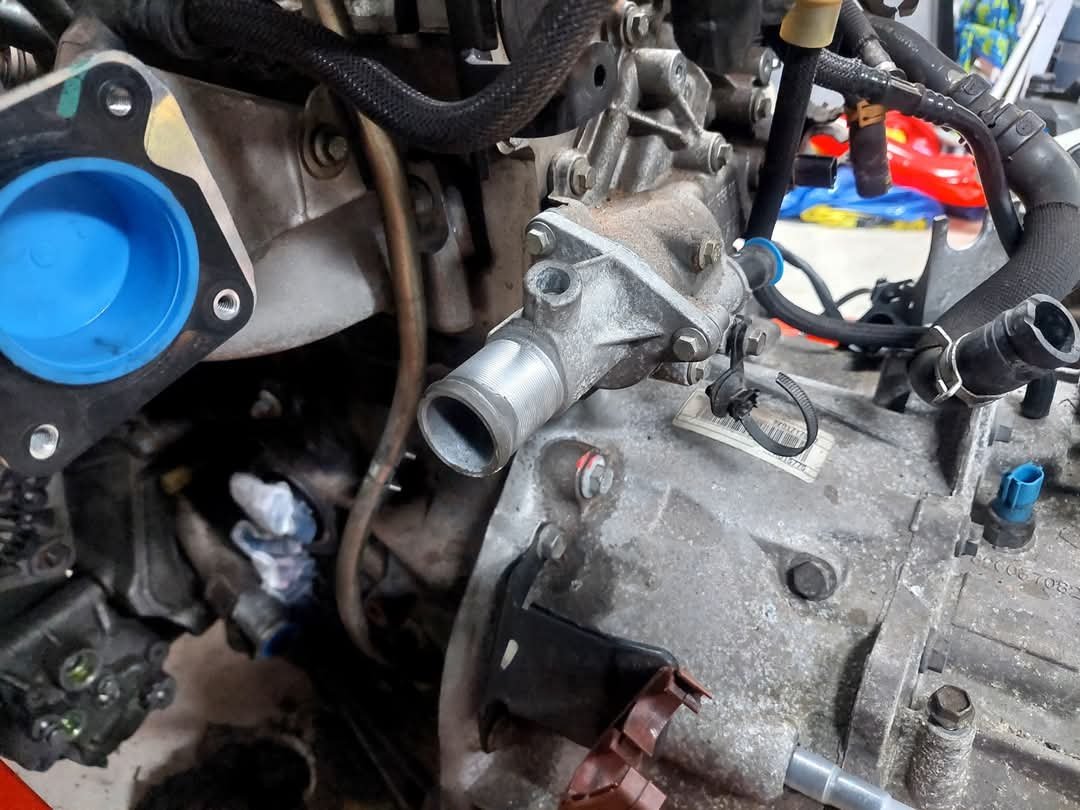
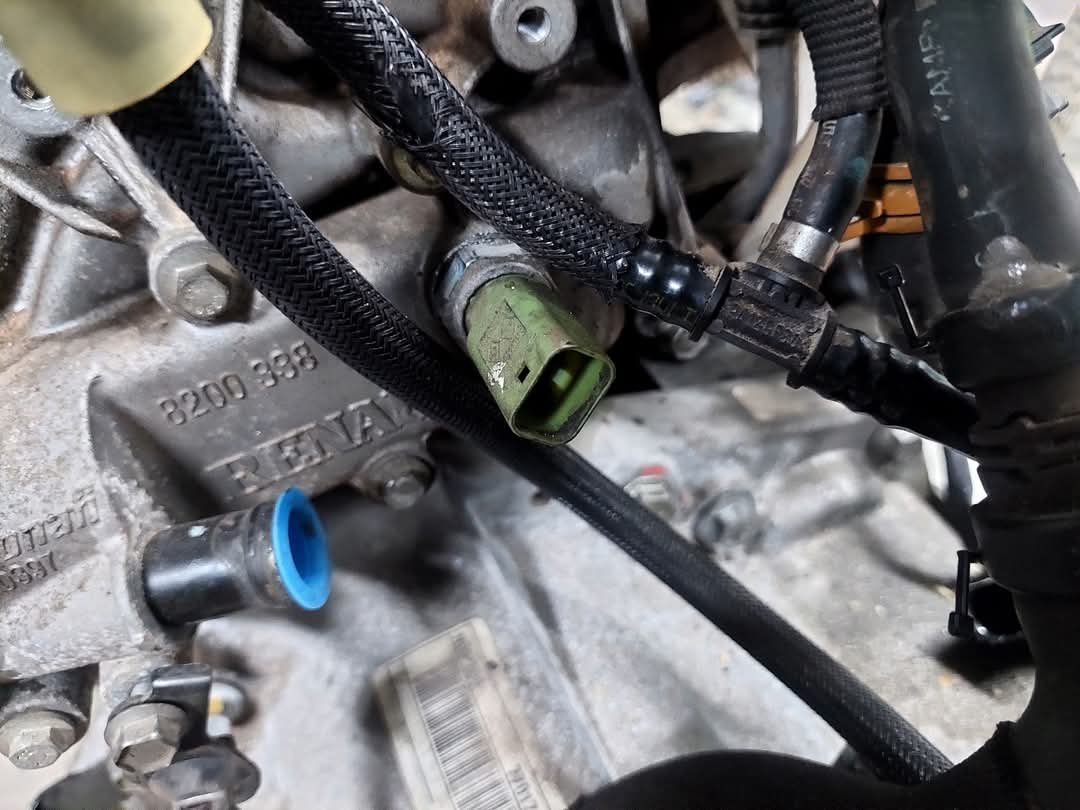
Couple hours in today. Looks like the breather/decanter plate has been leaking (top plate on the rocker cover). Removed it, cleaned it up and refit with some Three bond sealant. Also cleaned up the ignition coils and replaced the dust seals (just used some orings I had) and refit them. Gave the rocker cover a very quick degrease. Quick clean of the ac compressor and refit. Also fit the drive belt. Swapped over the required sensors from the rs225 engine. Also swapped over the thermostat housing. Reused the old thermostat. The seal seemed ok but i gave it a light smear of sealant just incase.
-
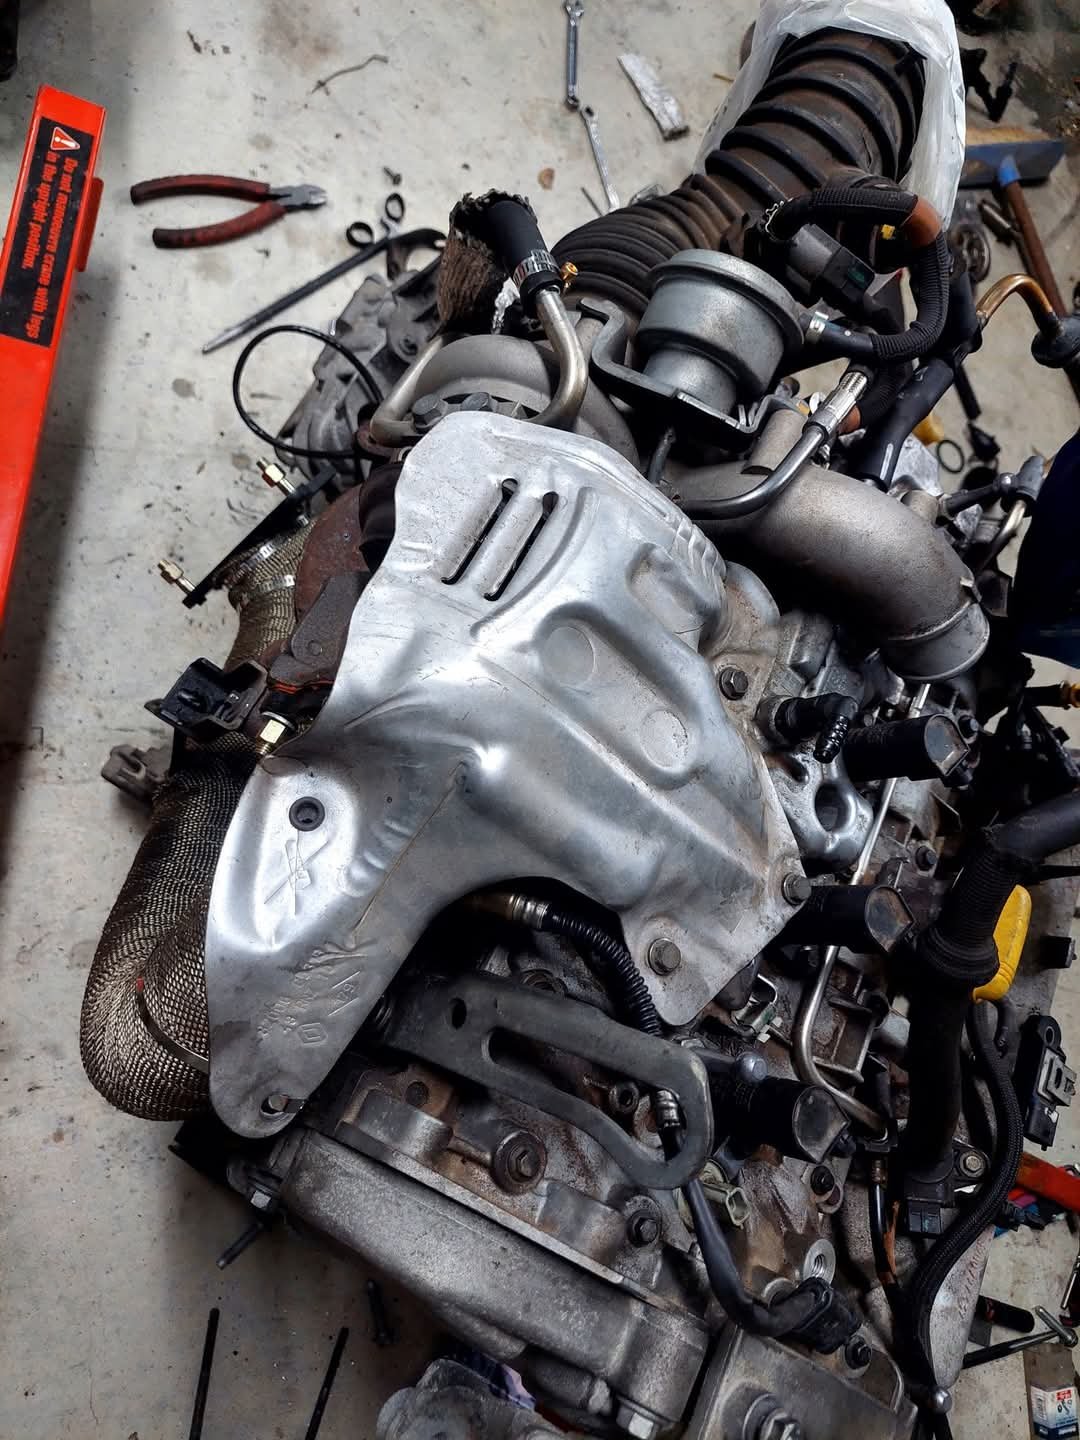
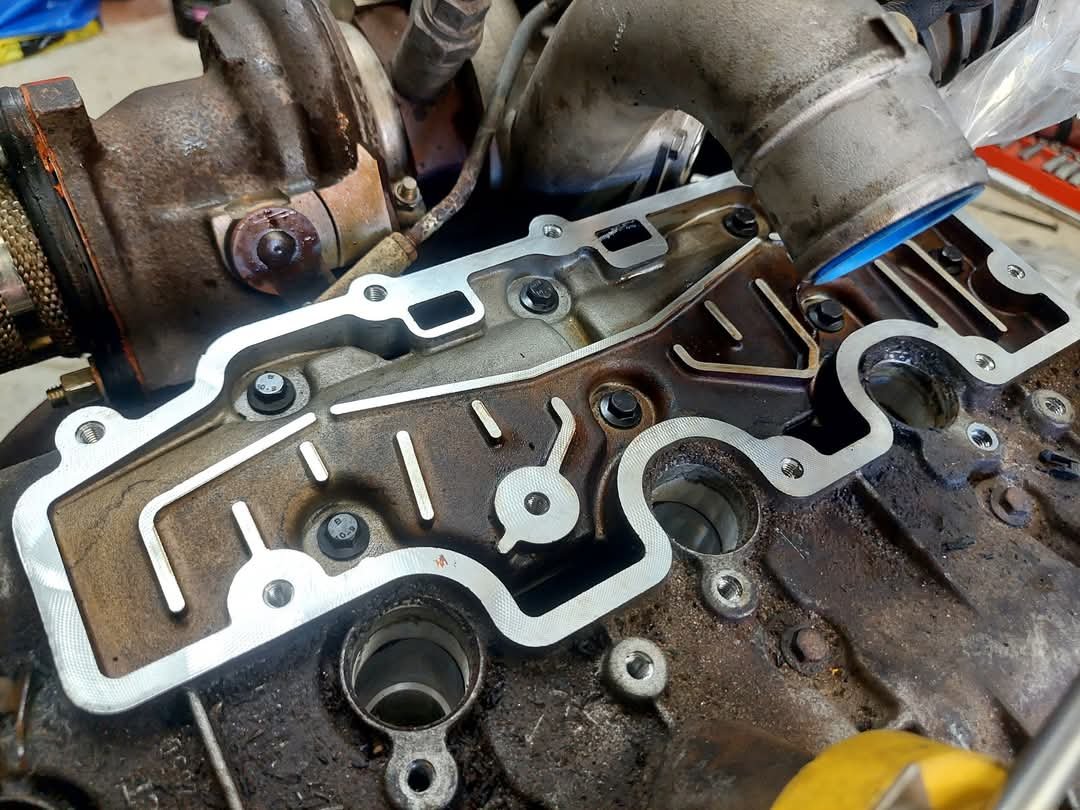
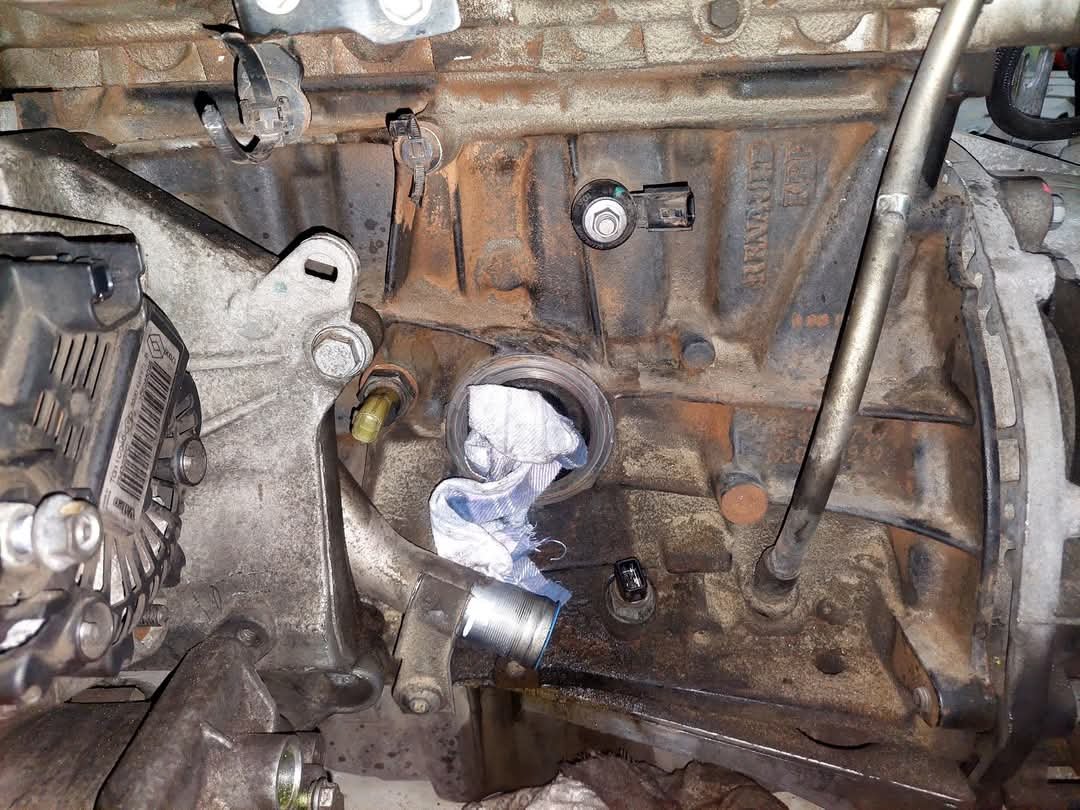
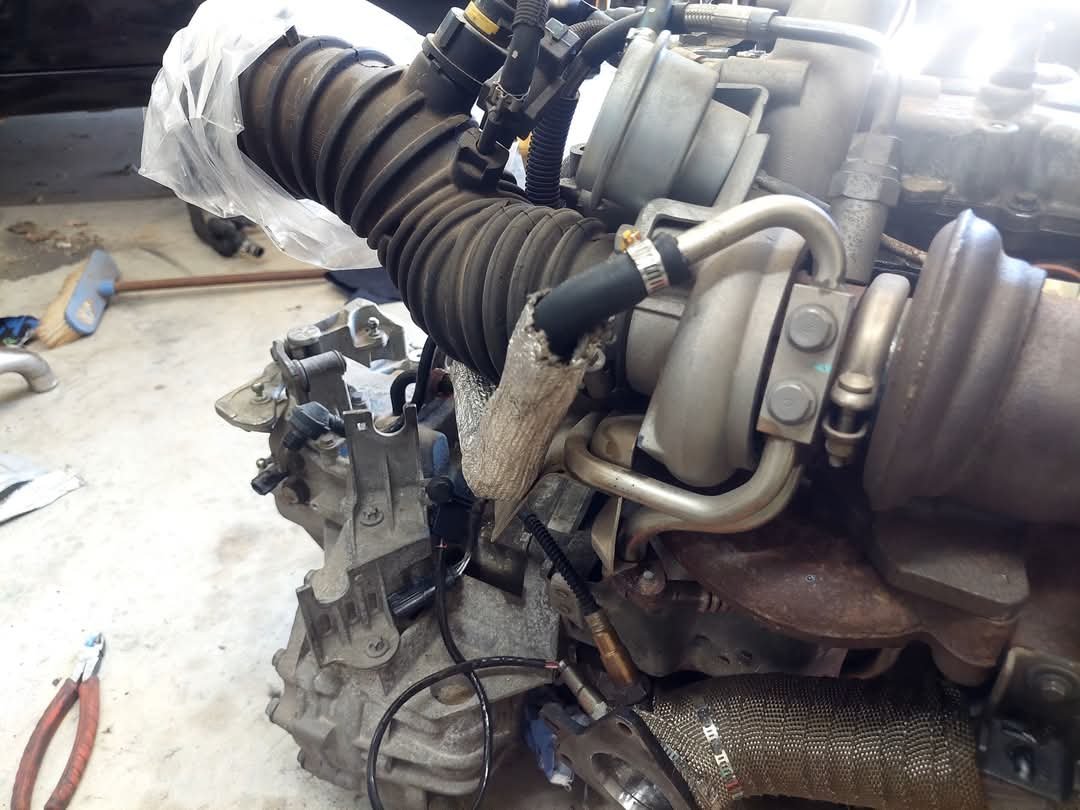
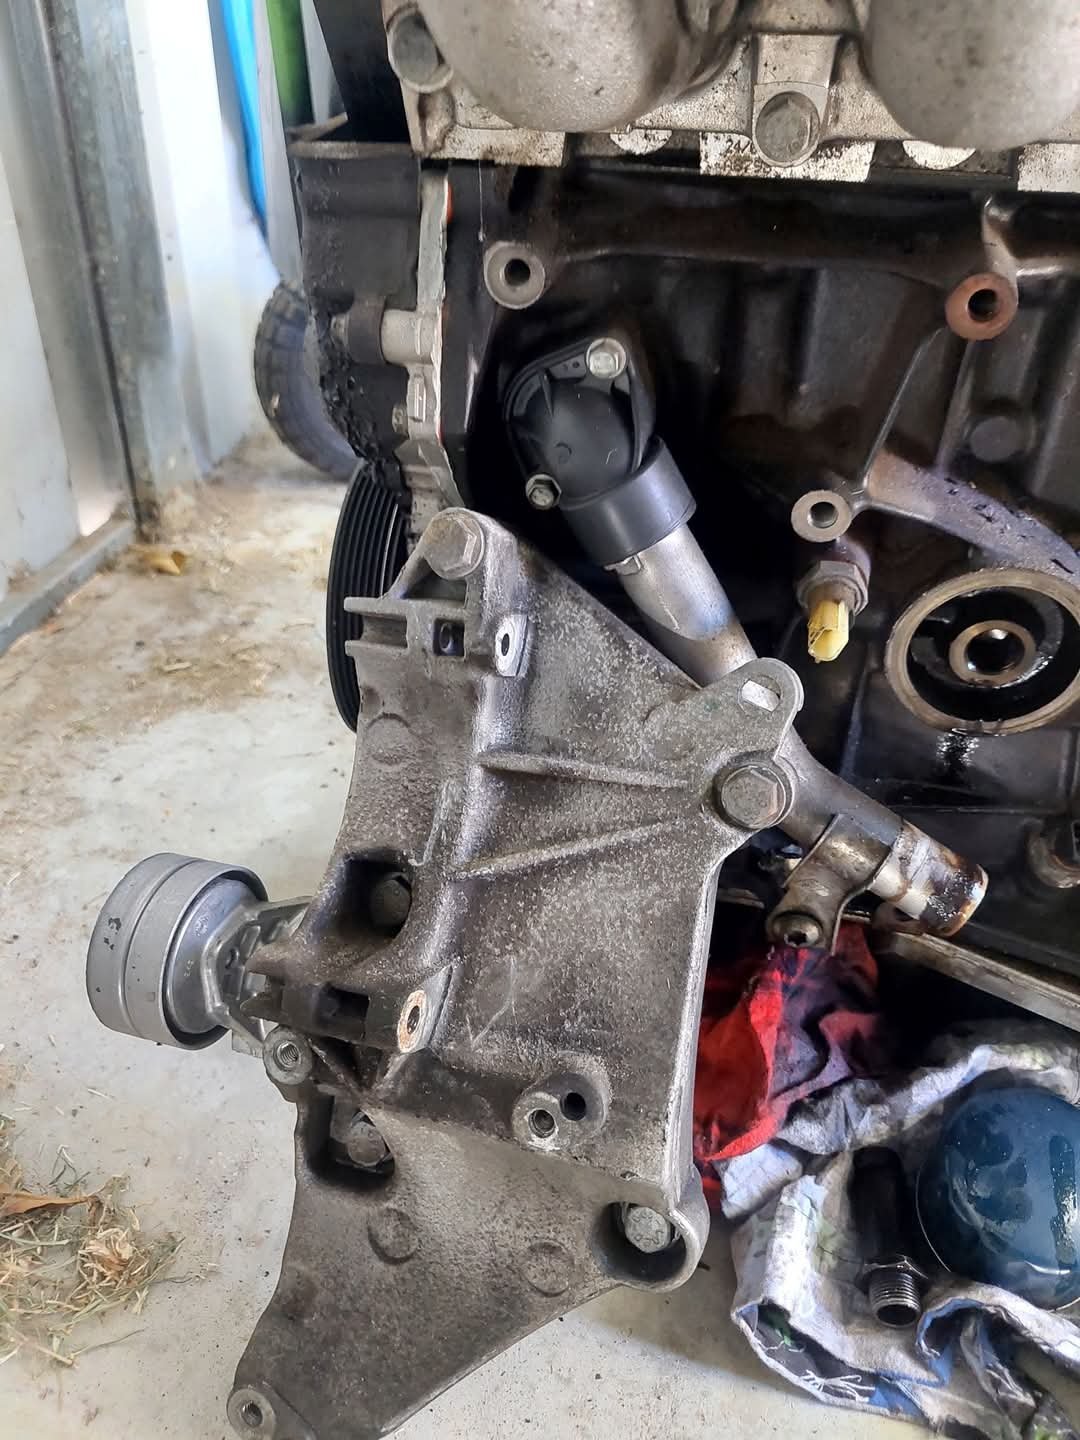
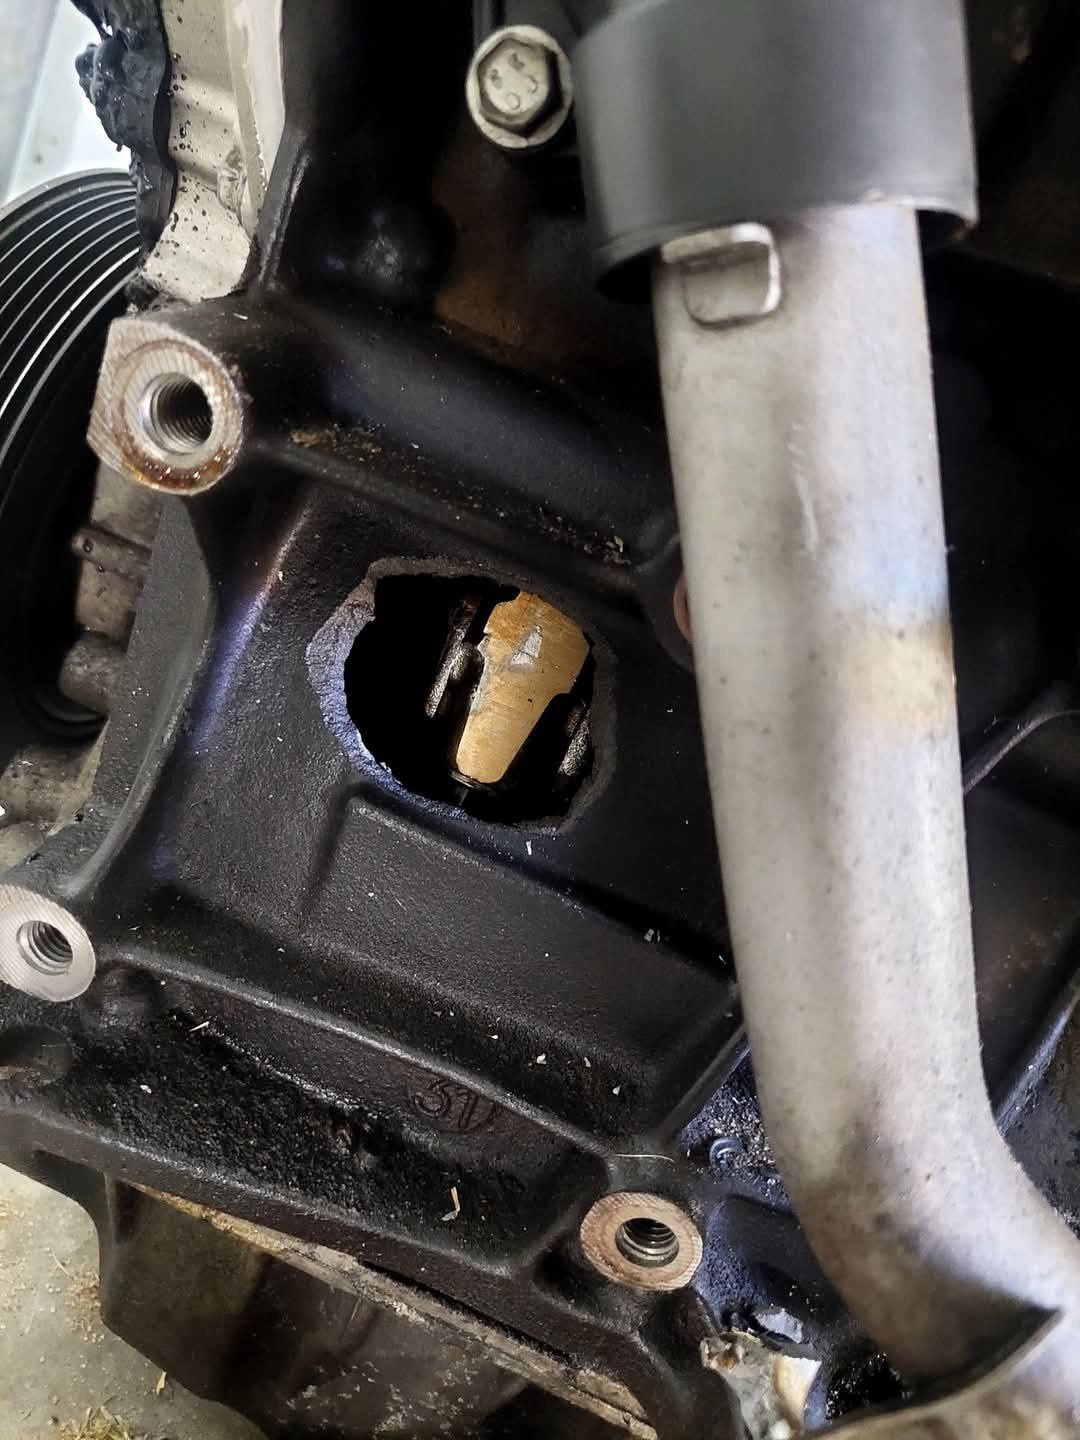
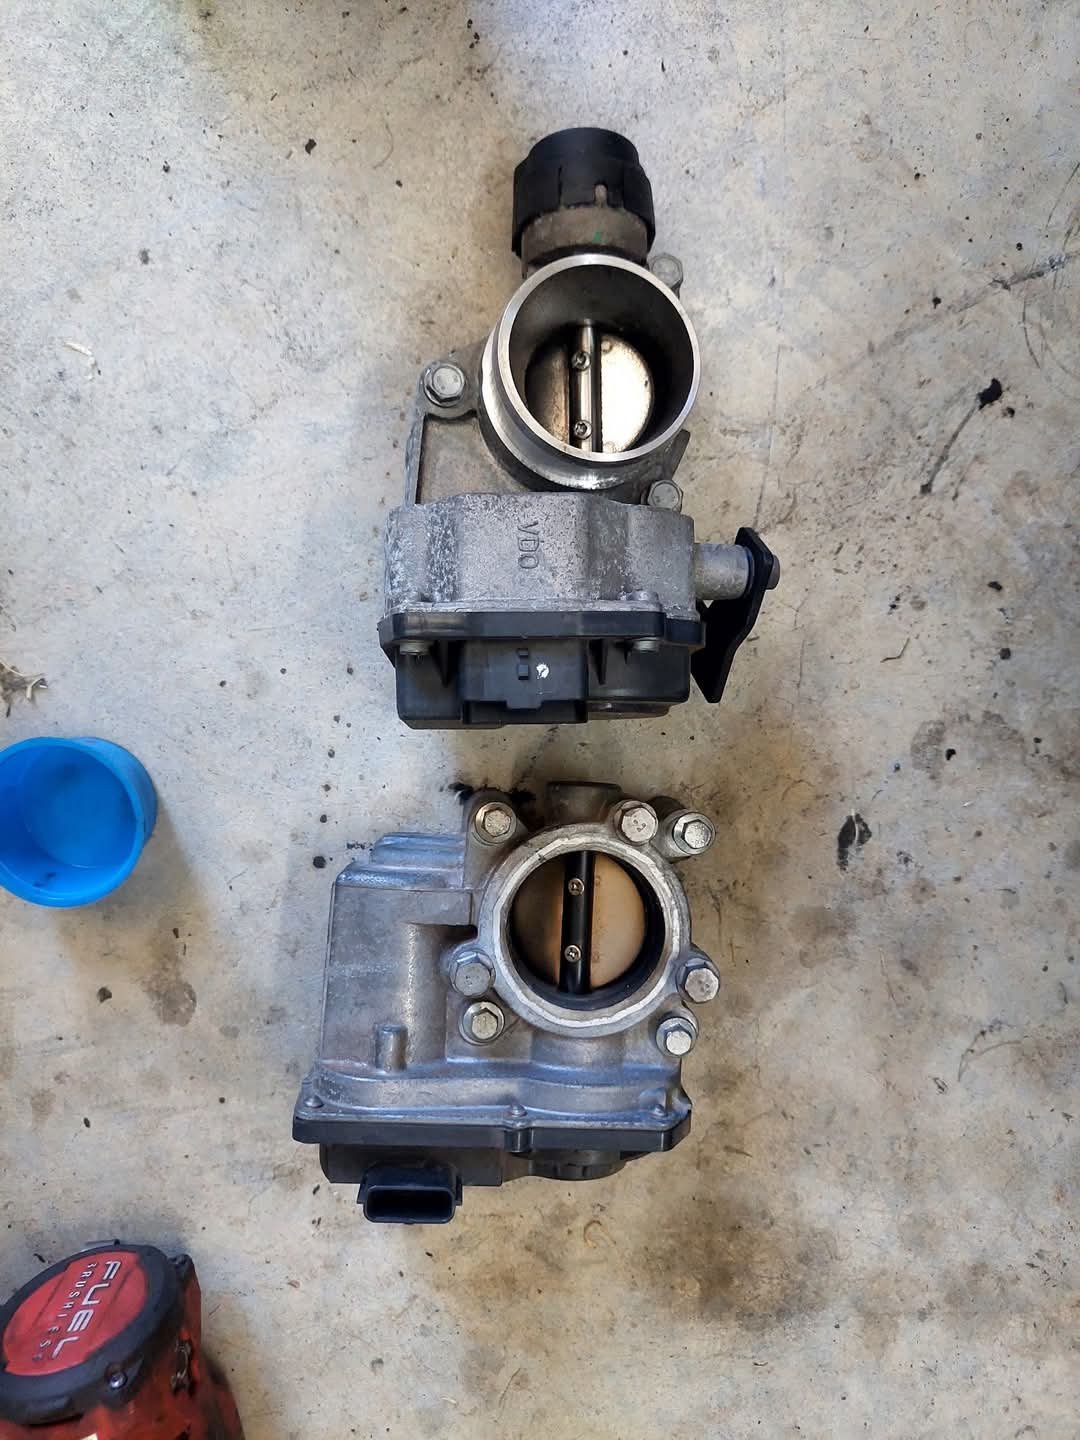
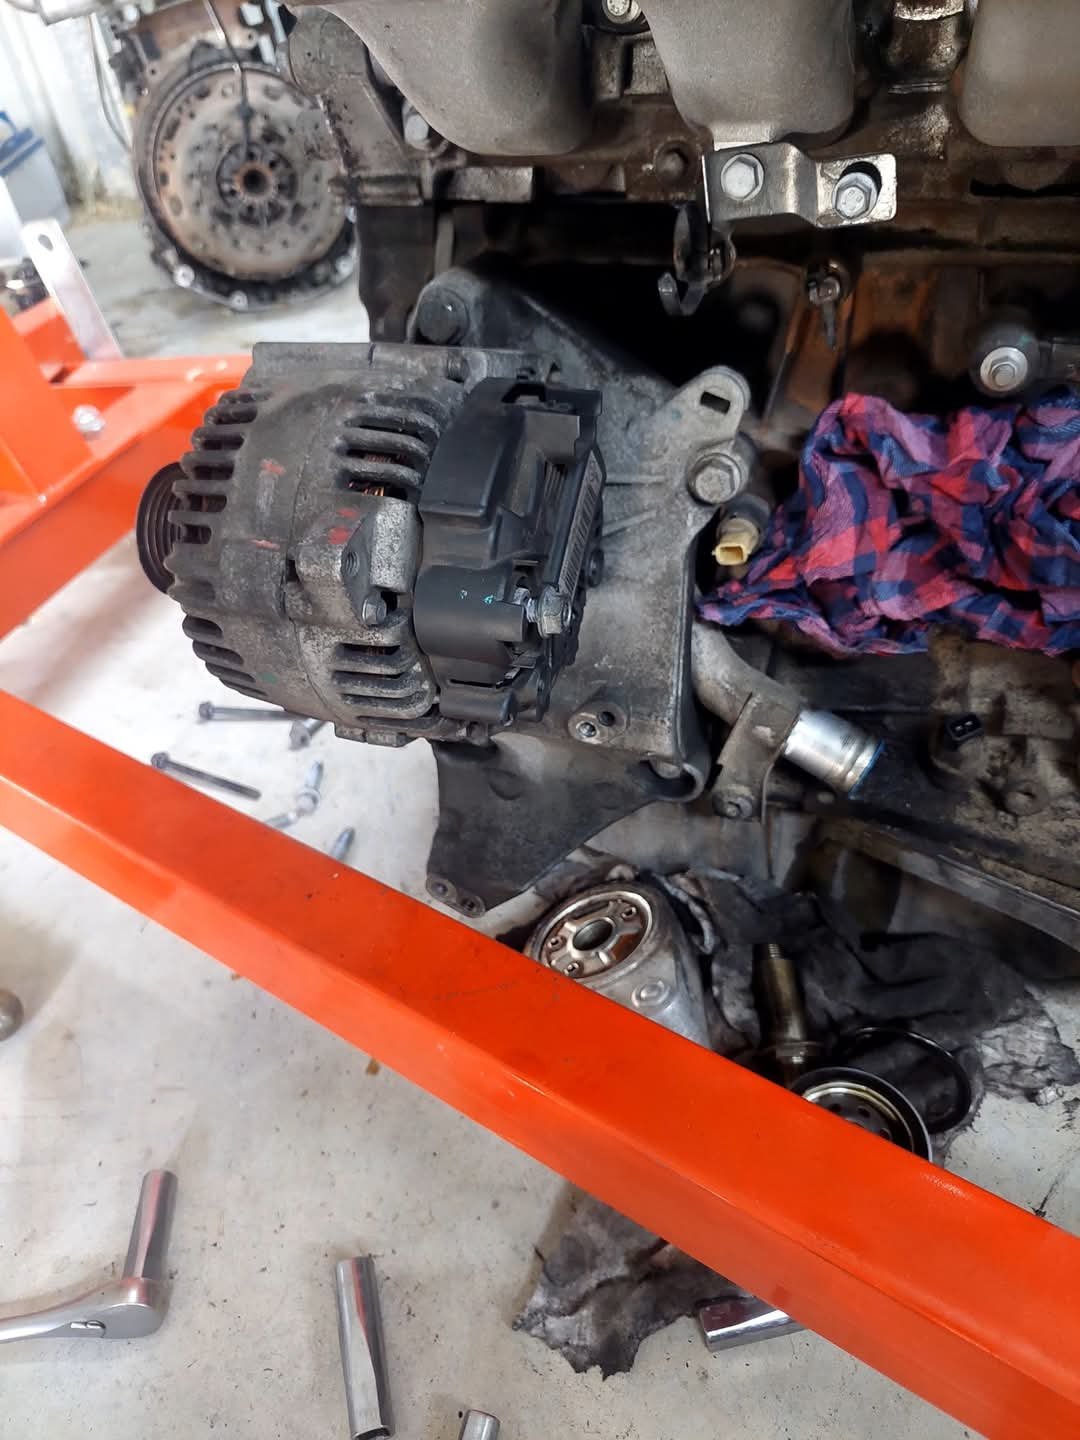
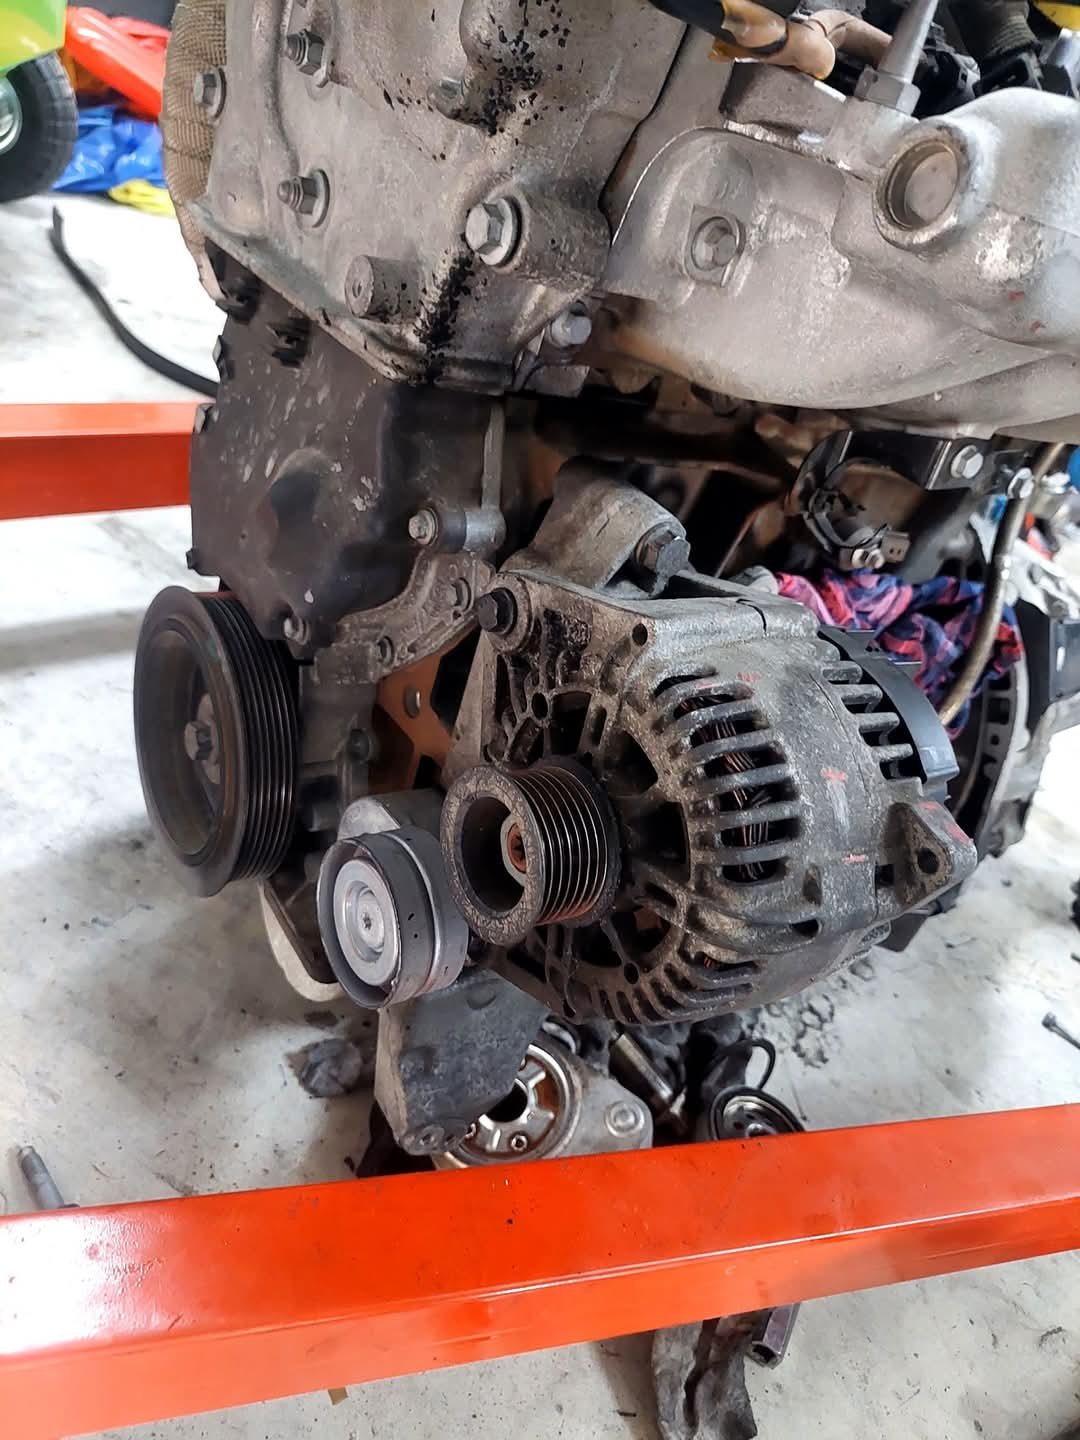
Also began swapping over engine bits. Turbo coolant lines were slightly different. Instead of swapping over the inlet/outlet block from the old turbo I decided to just swap over the hoses. I trimmed the inlet hose and swapped over the heat resistant sheathe. Oil filter housings also have different coolant line inlet/outlet points so I began to swap these over however I didn't have a suitable seal, so I'll need to sort one of these out in the next few days. Rs265 rs225 the alternator/ac compressor mount block is also different so these are now swapped over. I also uncovered the reason for the 225 engine not running. Hole in the side of the block. Conrod must have fallen apart... swapped over and alternator mounted. The compressor needs a bit of a clean up before I refit it. The rs225 drive belt and tensioner were replaced not long before it went bang, so I'll be using reusing these. Also had a look over the throttlebodys to see what's needed to adapt the 225 tb to the new manifold. I should just need a 10mm block of alloy to make an adaptor plate. 225 on top, 265 below. Clearance needed. Happy new year OS. Chur
- 29 replies
-
- 16
-
-
-
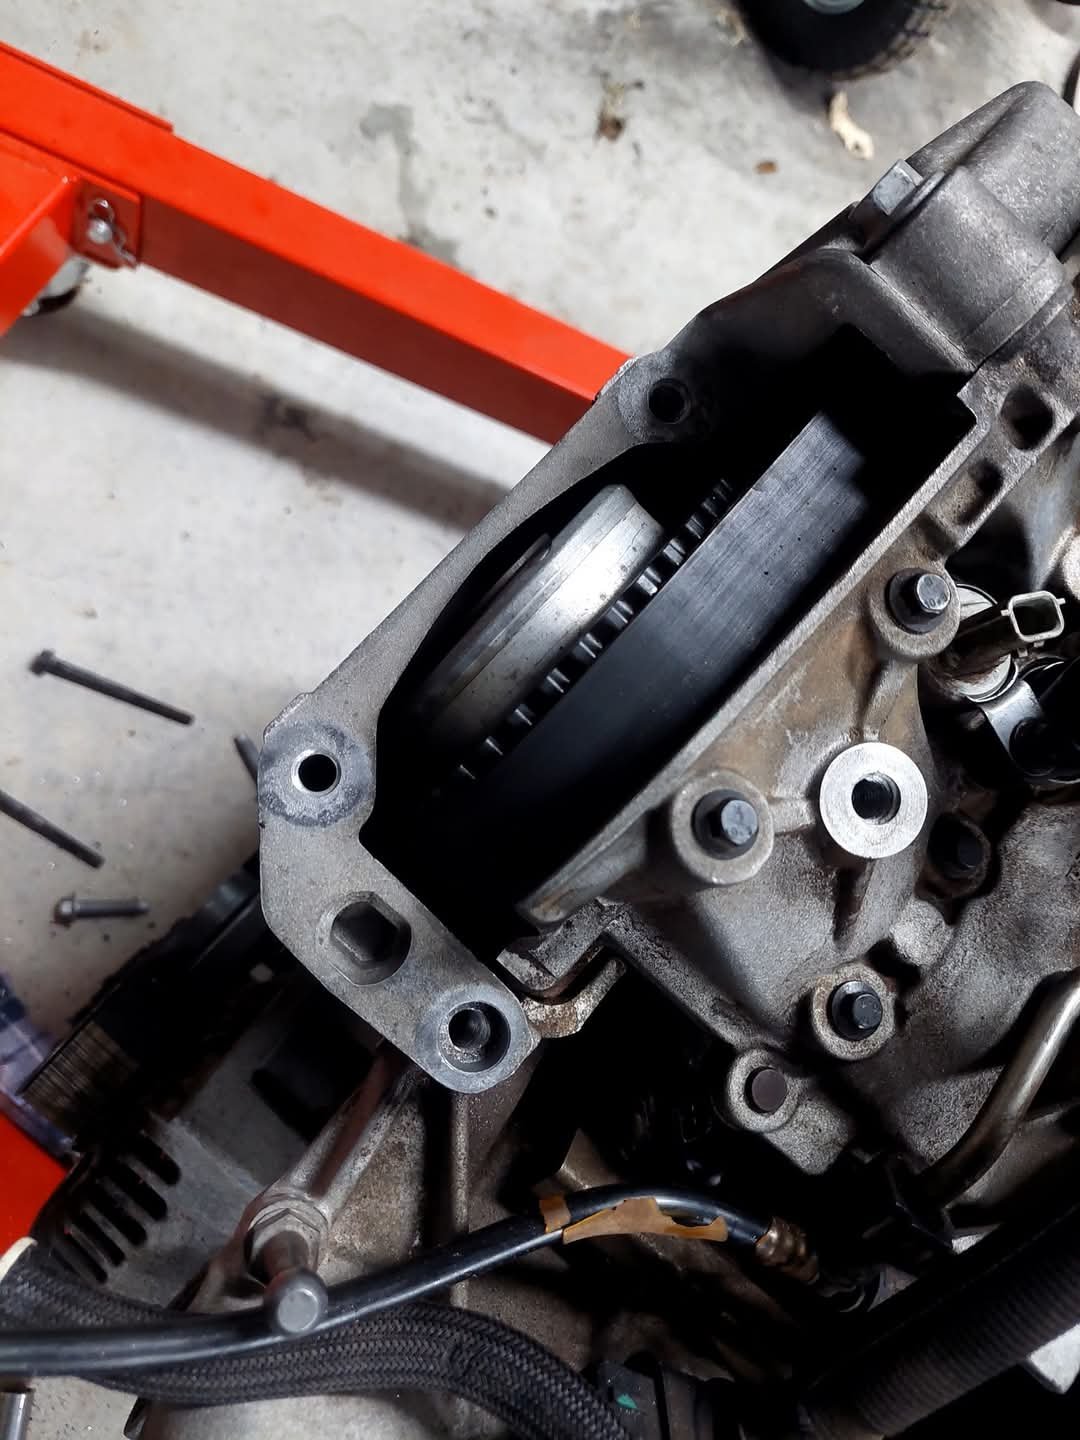
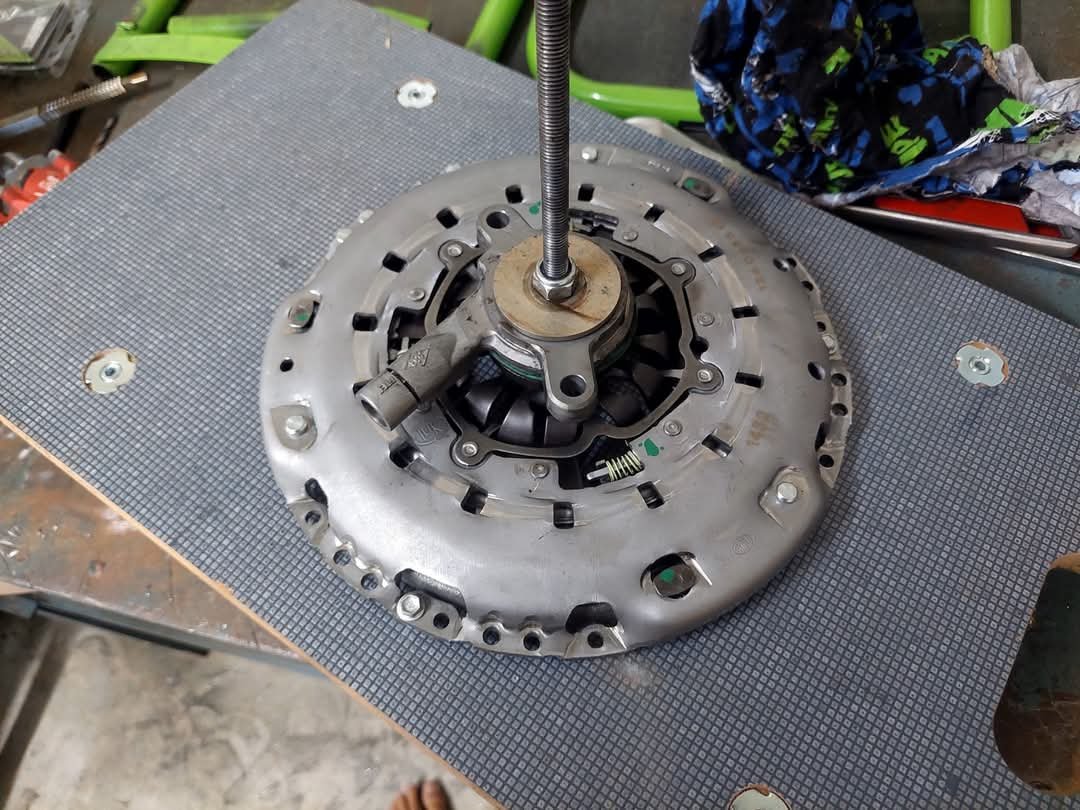
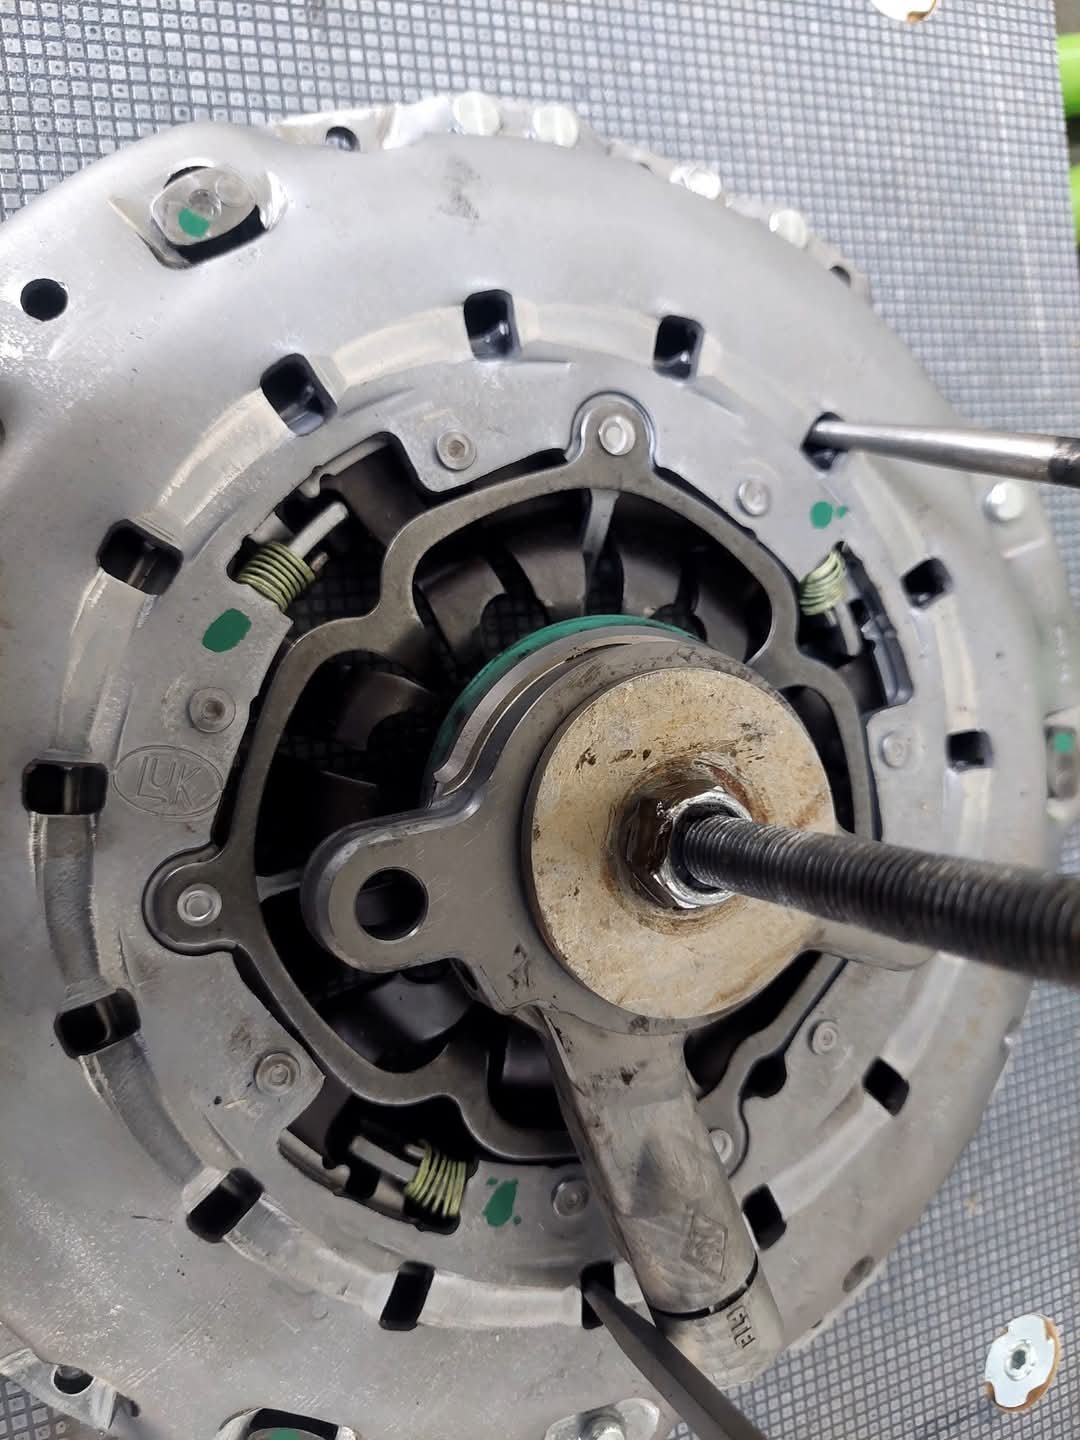
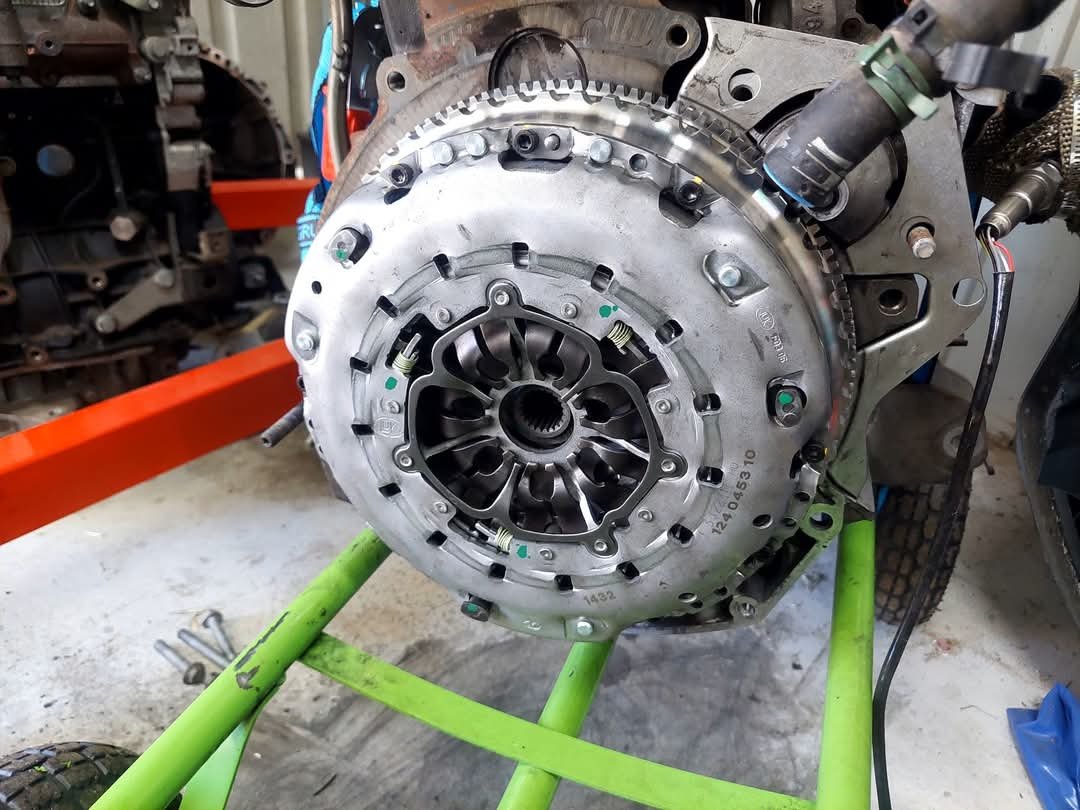
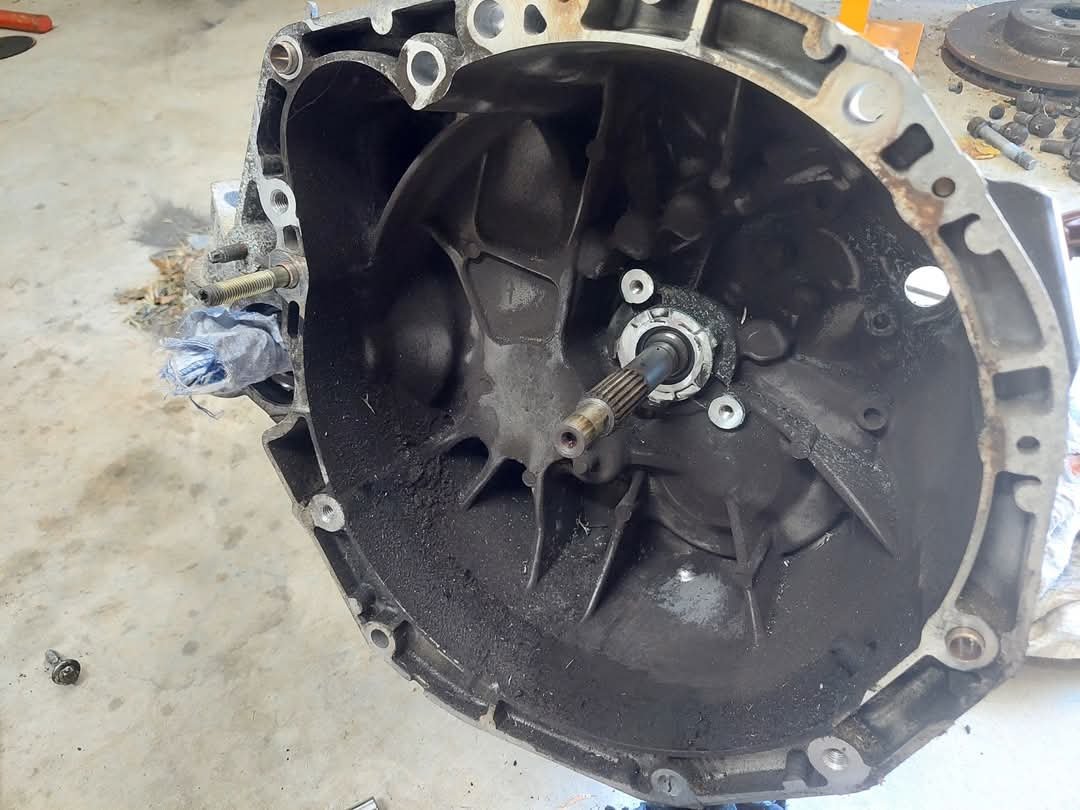
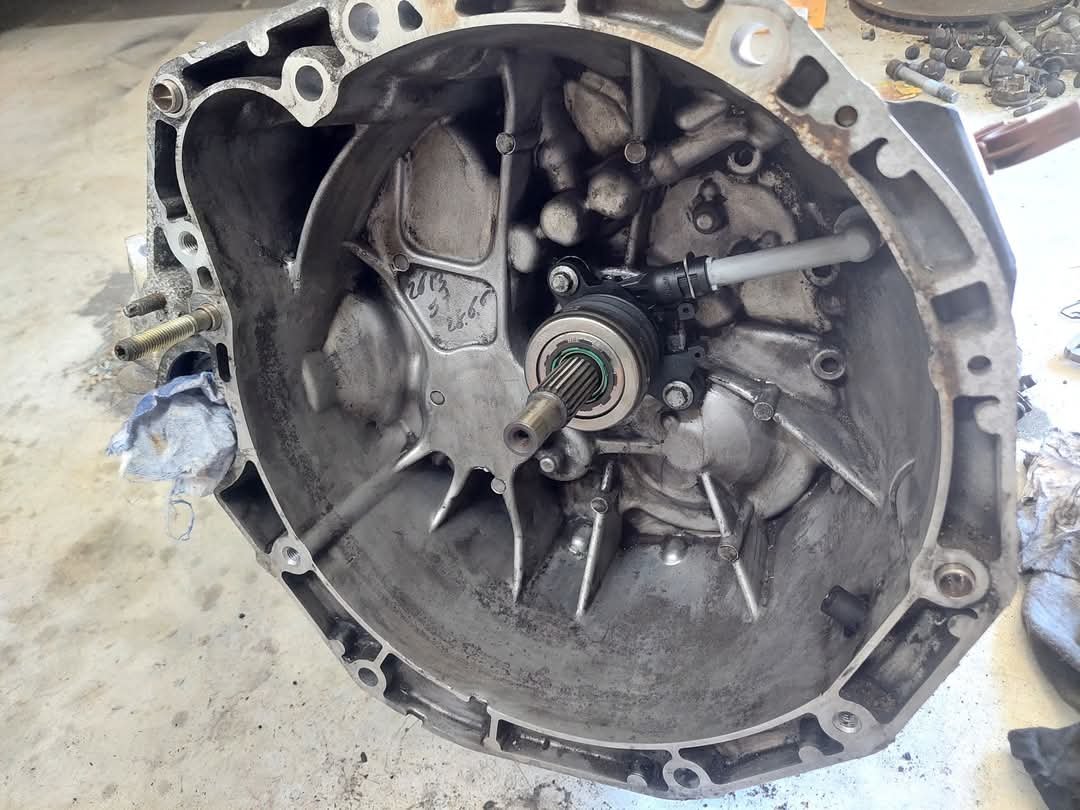
Went to fit the clutch last night but I couldn't get it on as the disc was too proud and the mounting bolts couldn't reach the threads in the flywheel. Turns out I had no idea that self adjust clutches were a thing, and this one needed to be reset/compressed. Drove around this morning trying to find somewhere open that might have the tooling to do this for me but no luck. Found some clips on the net so I made a jig up out of a broken dolly board, used a piece of m10 threaded rod I had up the middle, mounted the clutch disc on some nuts as spacers then used the old release bearing wound in to free up the pressure, reset the springs, then backed it off to reapply pressure. I realised that the new bolts i had were actually slightly shorter than the old ones so I used the old ones to begin clamping the clutch assembly together, enough to get the new ones on then swapped them out and sent it home. Gearbox quickly cleaned up, new release bearing/concentric slave cylinder fitted. and rs225 box mounted onto the rs265 engine. stoked to see it together!
- 29 replies
-
- 12
-
-
-
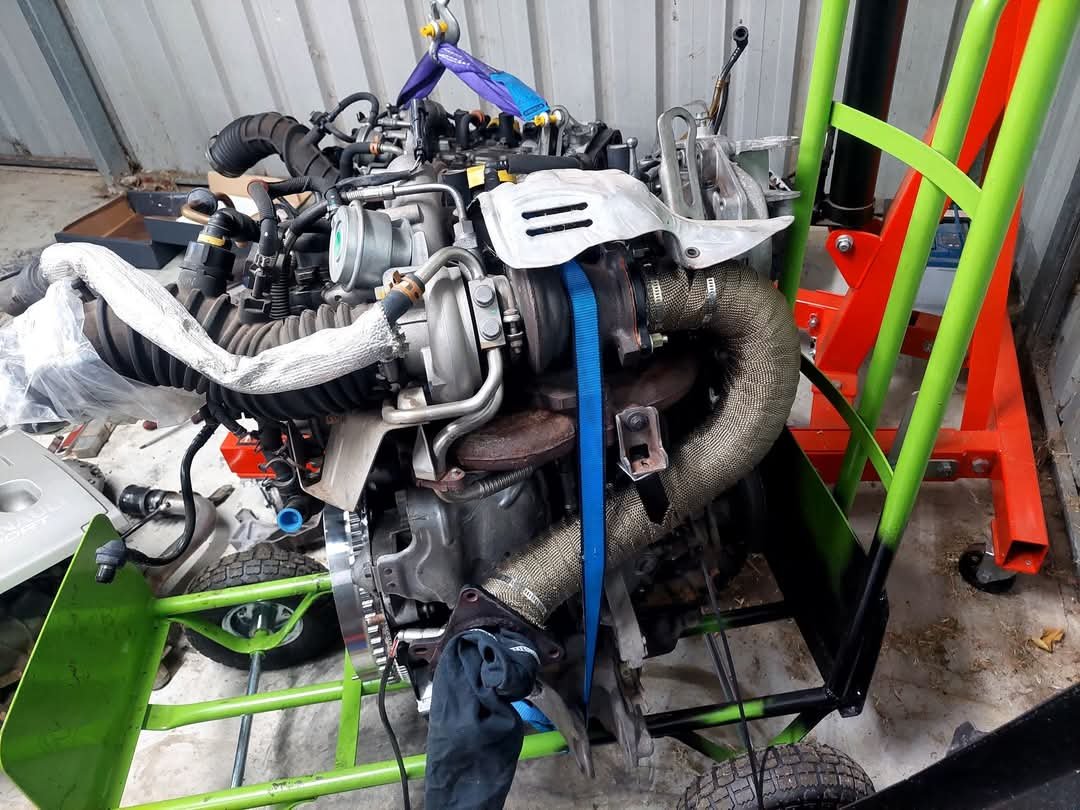
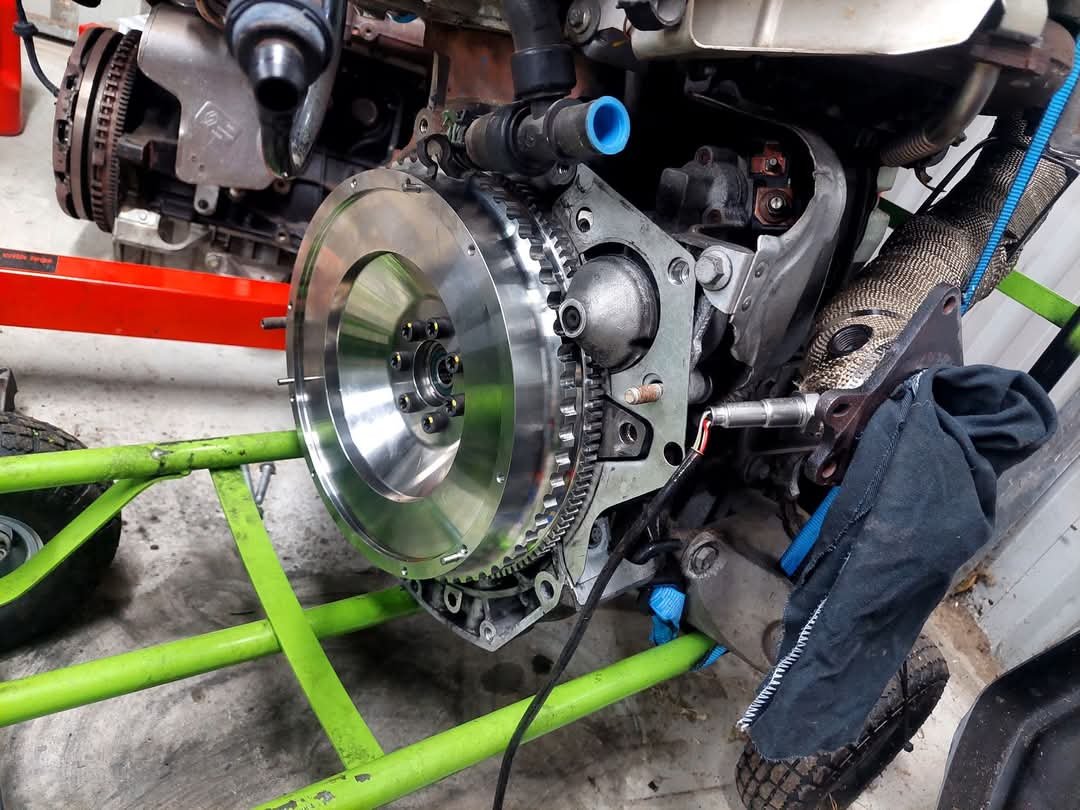
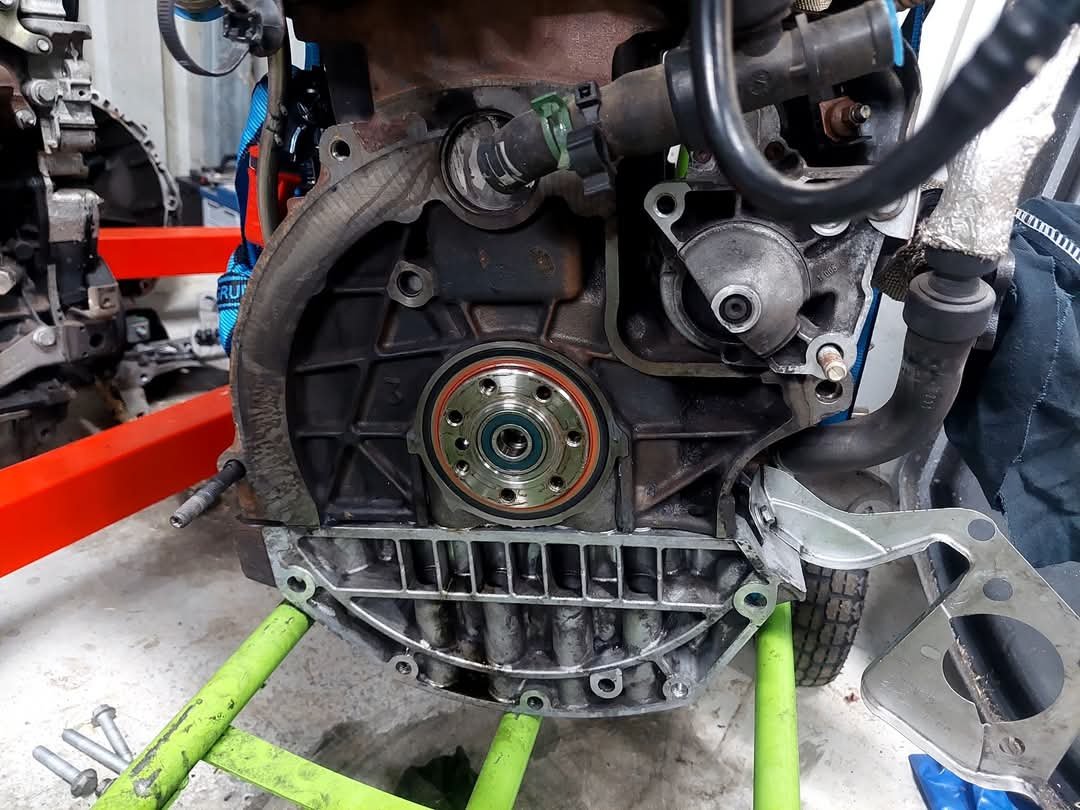
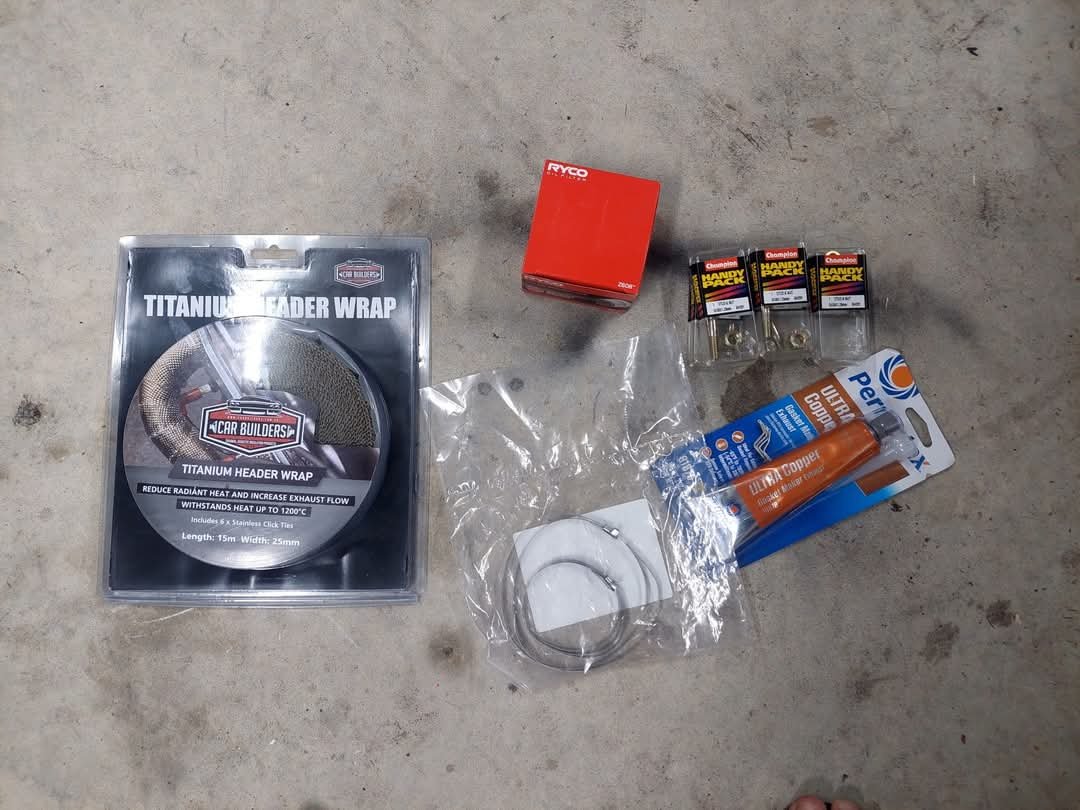
Keep the minimal momentum going. Quick clean up of the back of the engine, remove the rear crank seal and fit the new one. Fit the new single mass flywheel with new bolts. Also cleaned up the rs225 starter motor and corrosion from the terminals, swap it over and mock it up. Because I'm on a bit of tight schedule (to get parts over from the uk) and don't want to spend bank on new exhaust gaskets from renault (plus shipping from sydney), I'm reusing the old exhaust outlet and dump pipe outlet gaskets. I've cleaned them up, doubled up with both the old ones and smeared a tiny bit of copper sealant (probably won't do shit). Should seal up alright I reckon. Fitted new exhaust studs as well ( turbo exhaust shield is only mocked up on top). ill try get a couple hours im each day, juggling around the kids and house painting haha. Chur
-
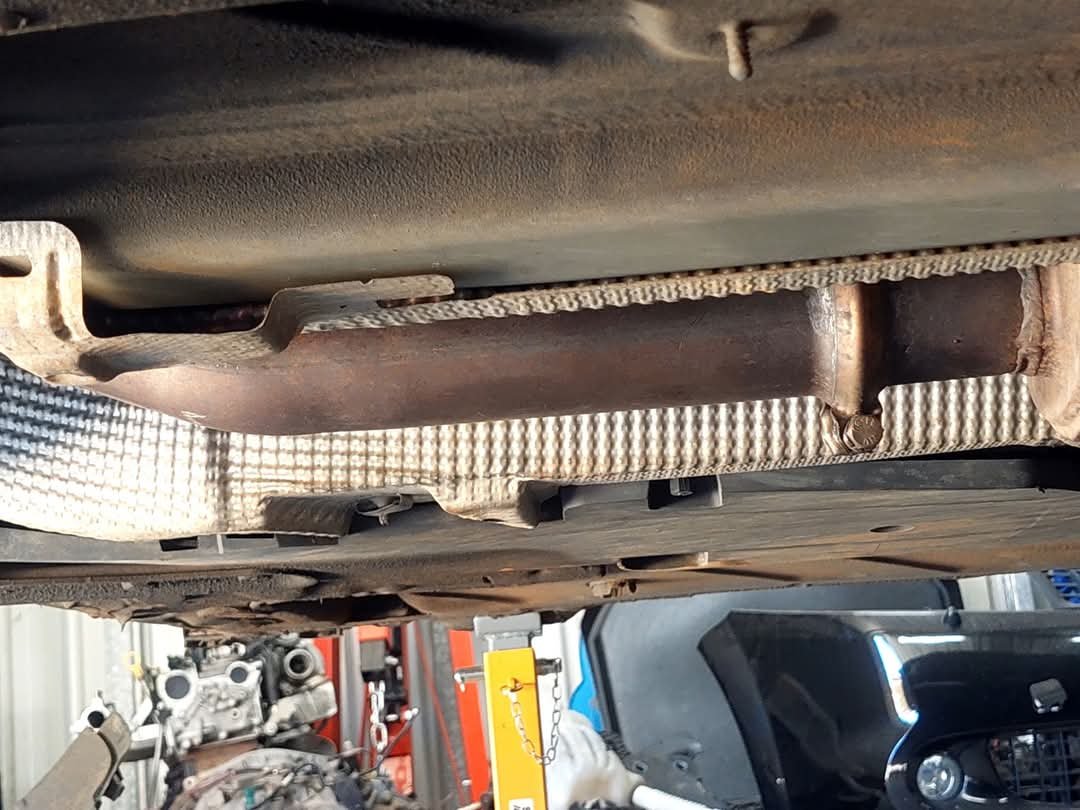
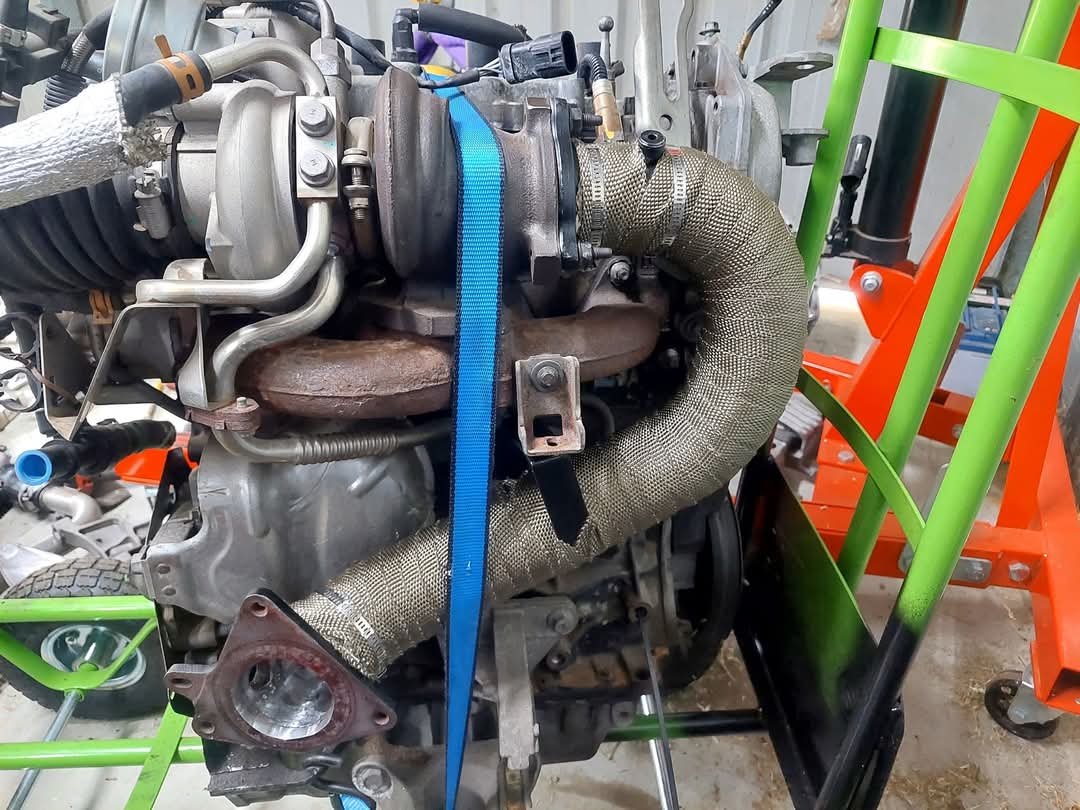
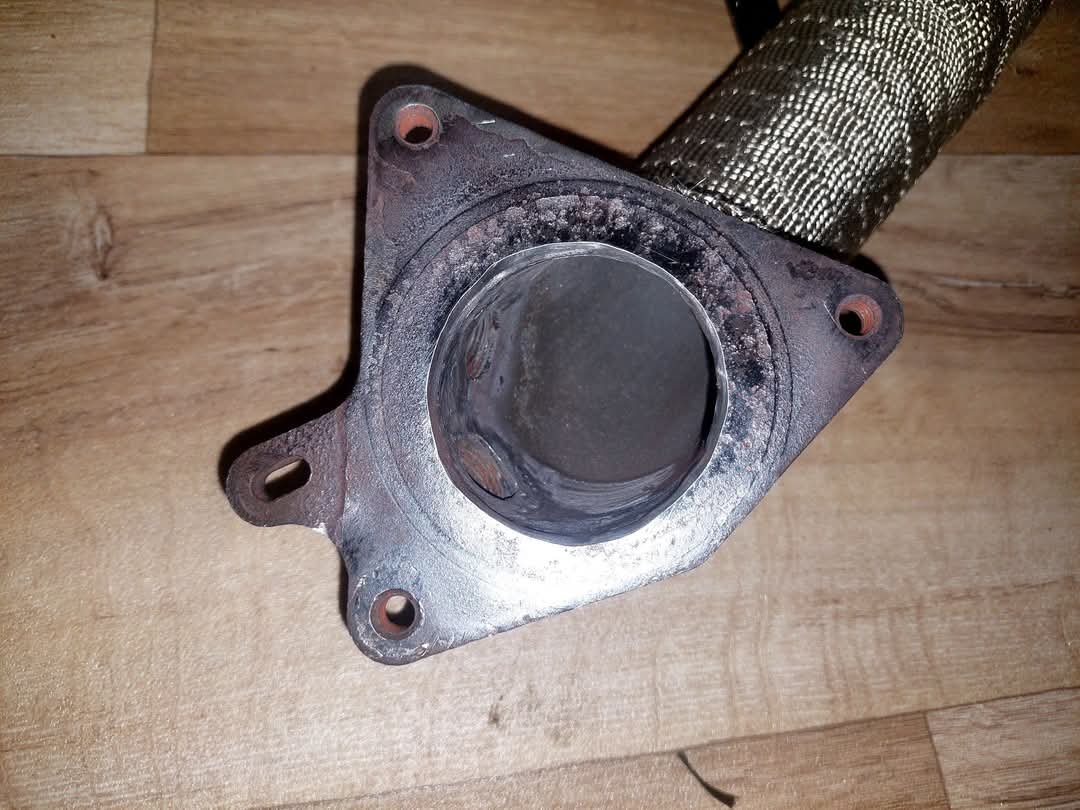
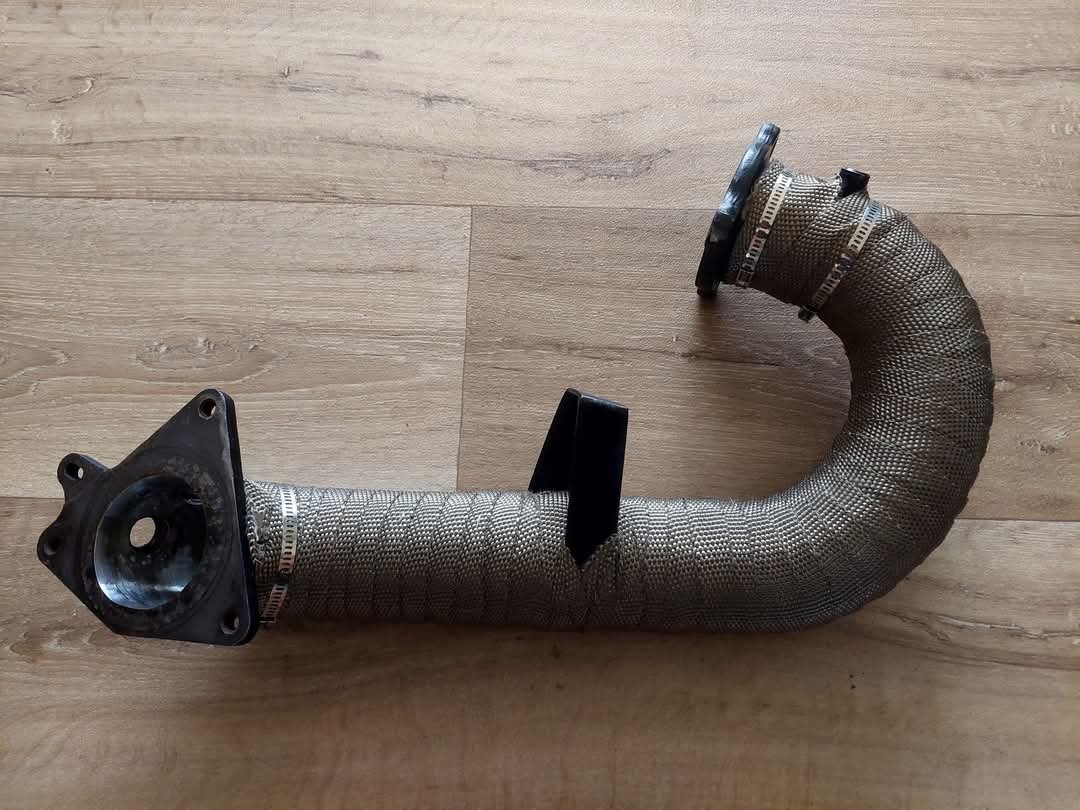
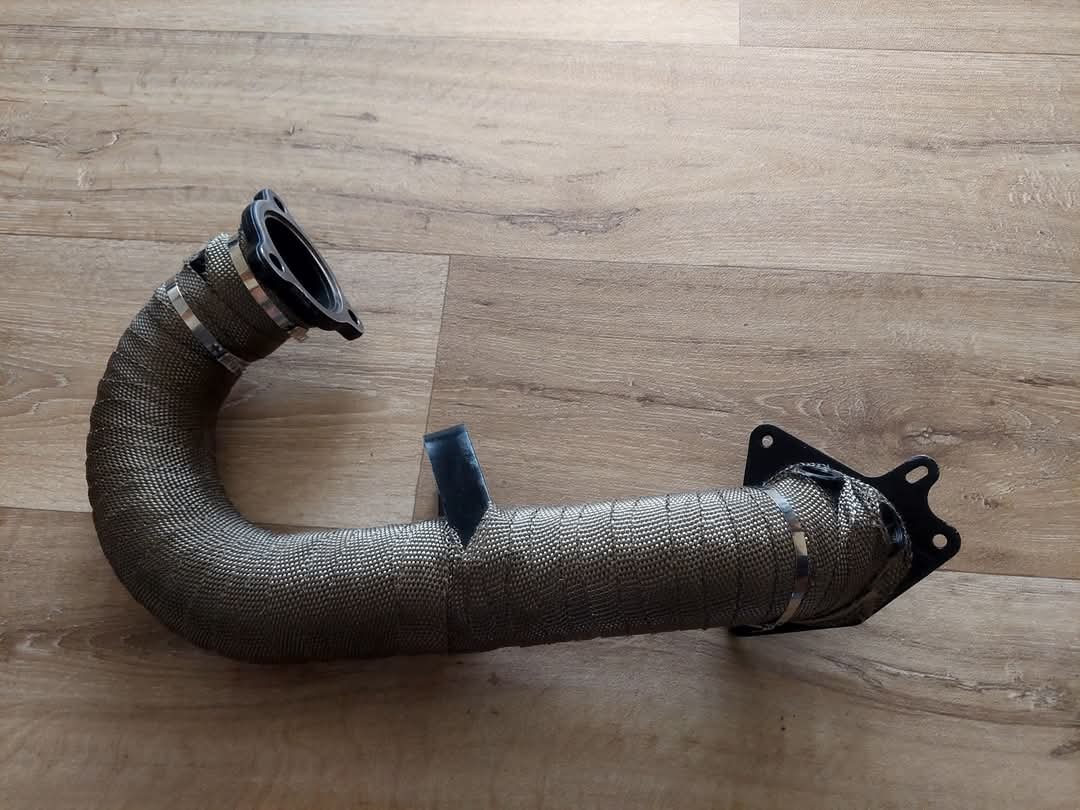
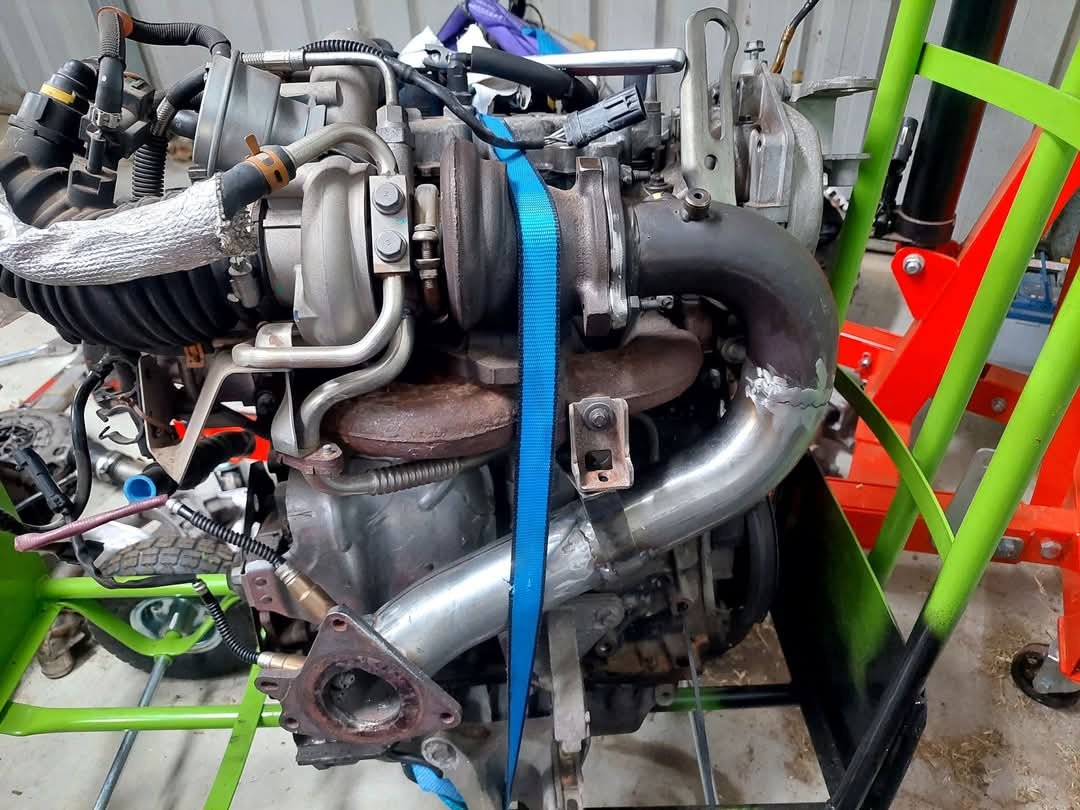
More downpipe spam. Ground out the outlet flange to match the larger pipe, picked up some titanium exhaust wrap and wrapped it up. Pretty stoked at the outcome tbh! Chur
- 29 replies
-
- 15
-
-
-
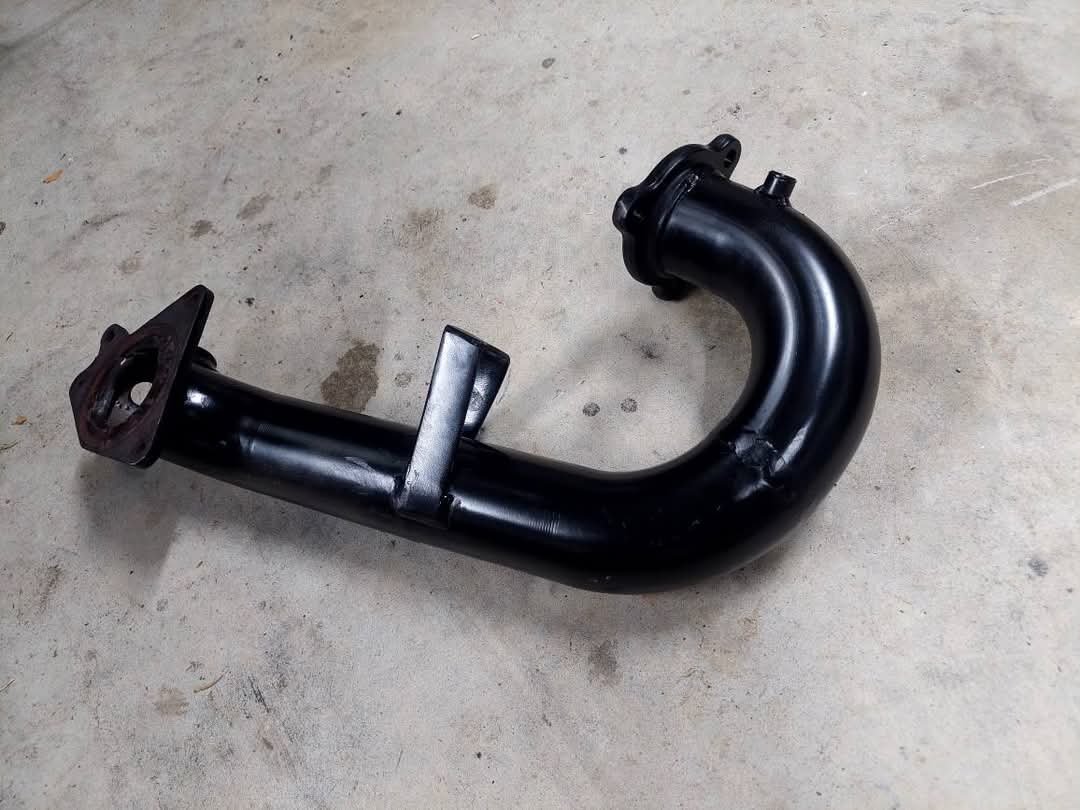
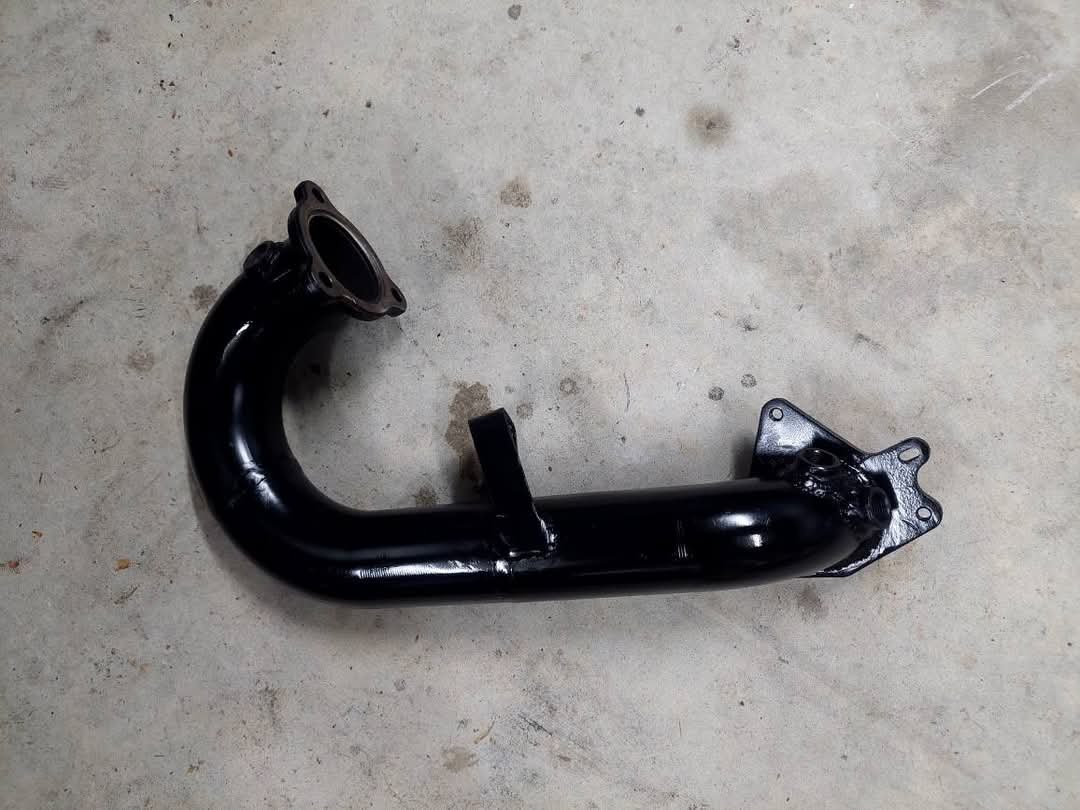
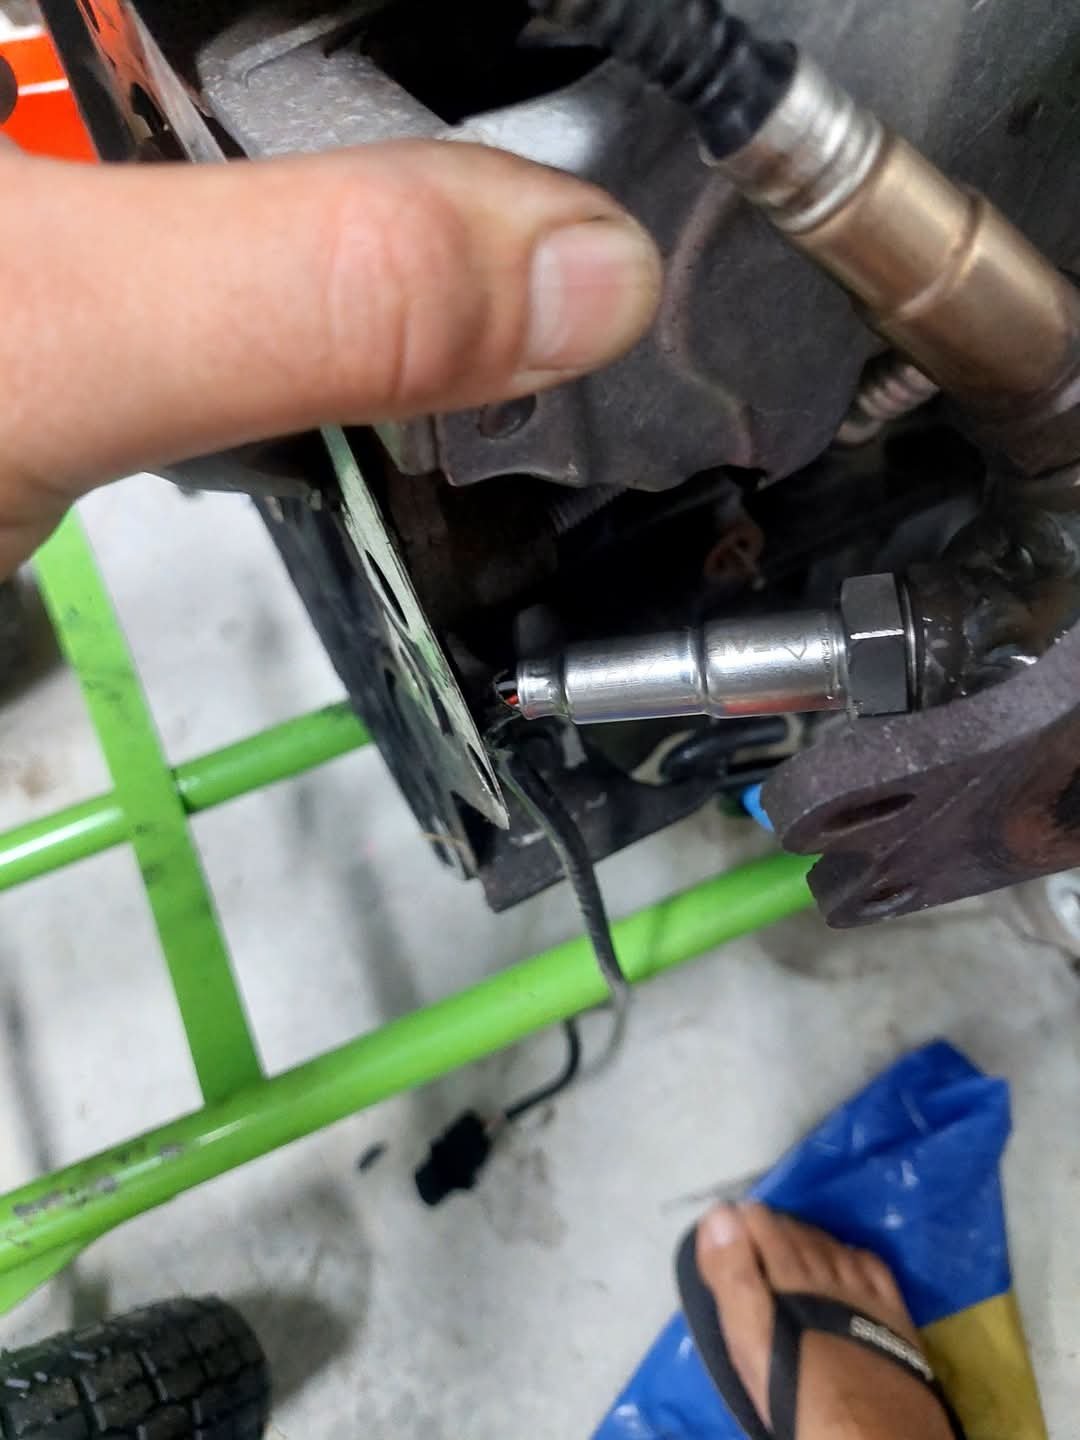
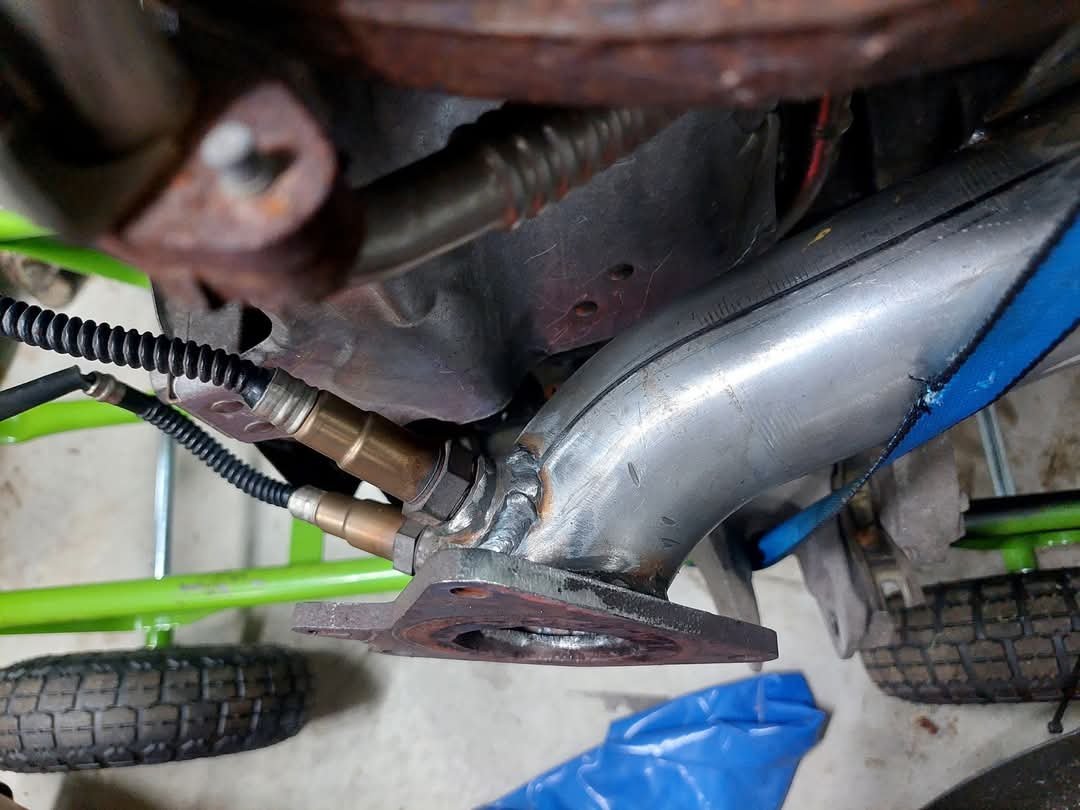
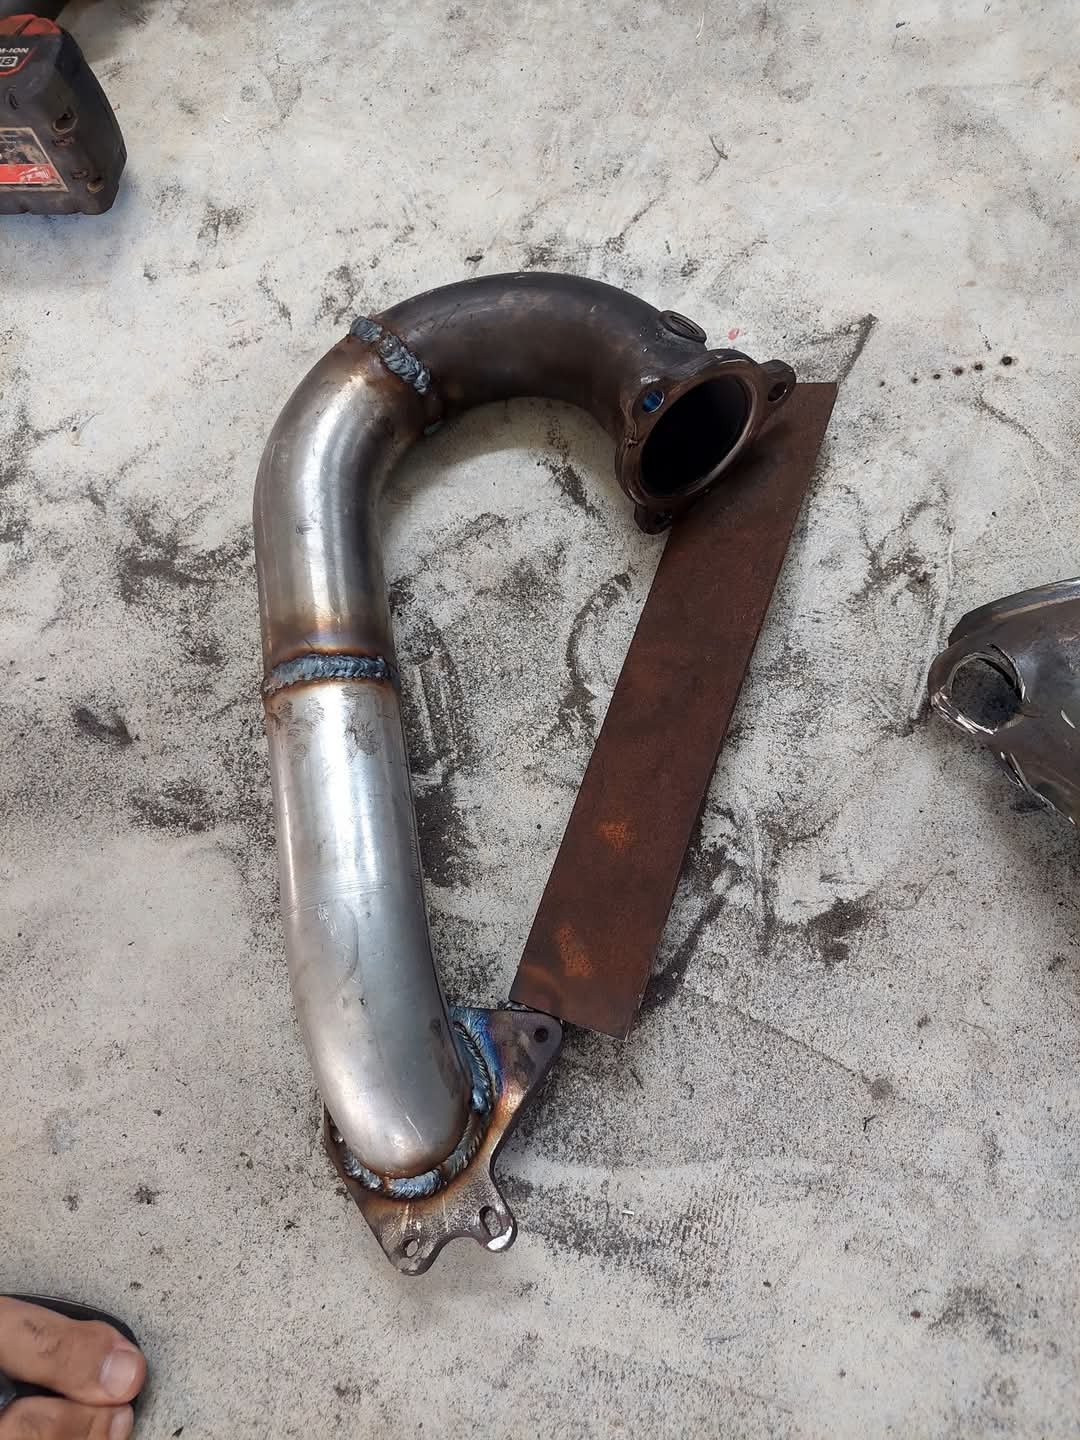
Managed to get a little bit of time in on the exhaust today. Made a mount bracket for the original mount. Fucked up the position but was close enough. The bolt is siezed on the manifold so I'll just weld the bracket onto the mount when it's bolted in place cause I can't be arsed trying to remove the bolt. Old oxygen sensor bung removed and welded in place. Very close fit but it should work. Extra bung for the afr. Mocked up. Cleaned up the welds and painted it black so you can't see how average it is. I'll try get some exhaust wrap tomorrow as well. Lastly I just need to die grind the outlet flange to open ot out for the larger pipe but it's more or less done. Chur
-
Hey Simon, The evaporator is there and youre right, id have to pull the dash out to get to it, however I'm in Perth, Australia. If you're interested we can probably work something out and ship it over. Cheers
-
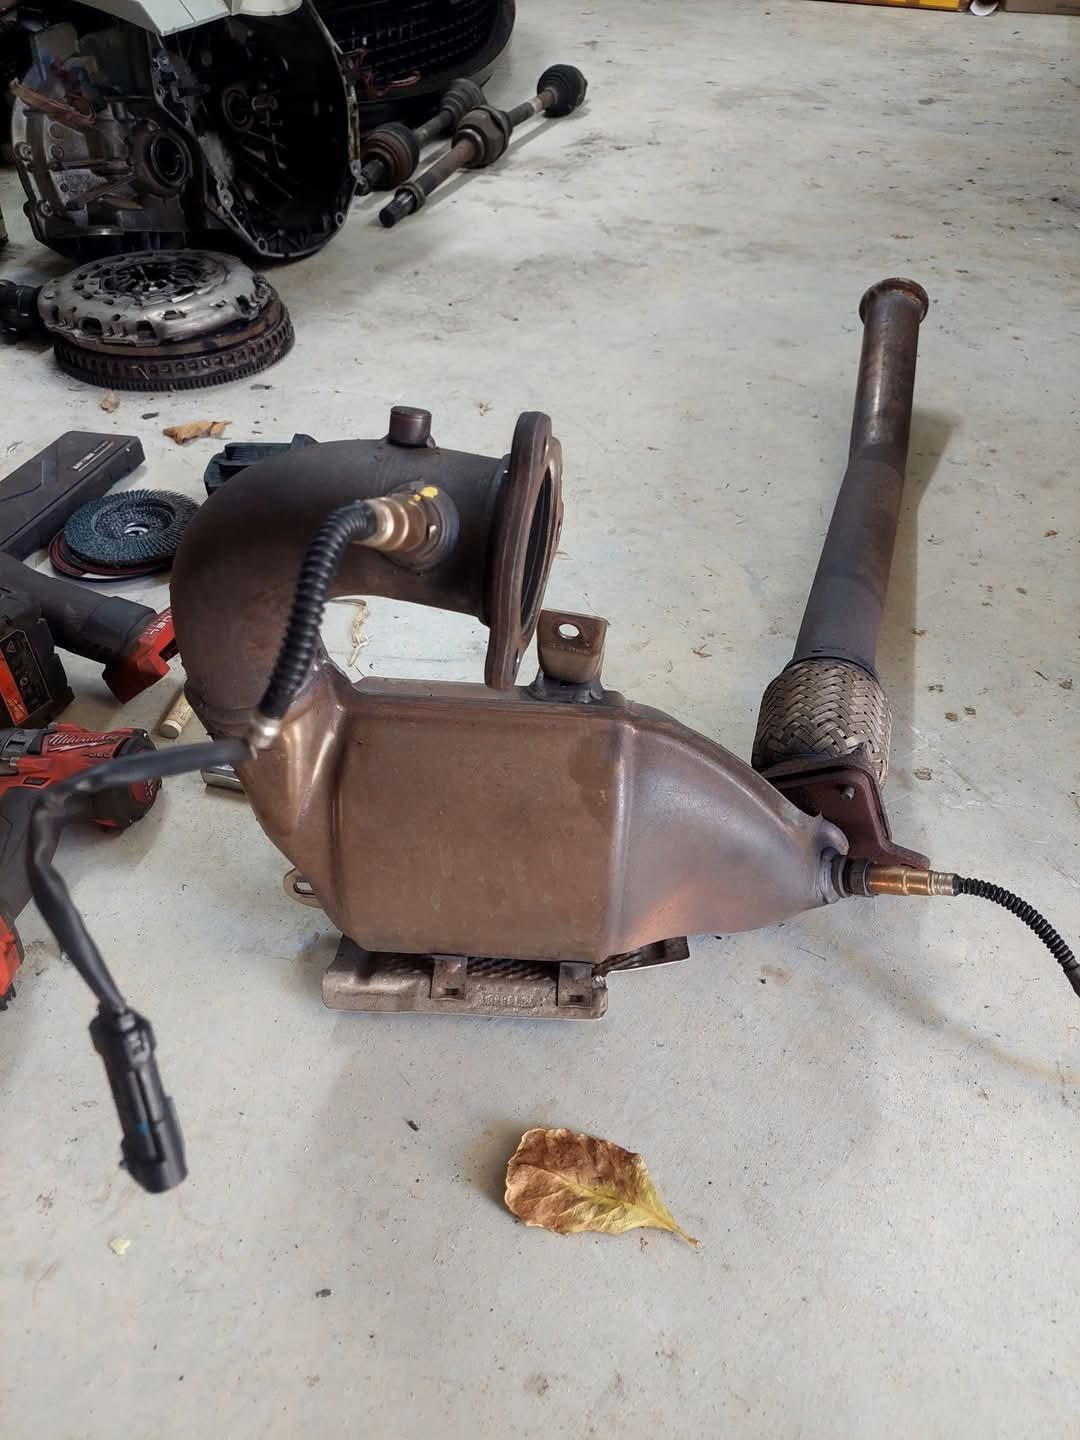
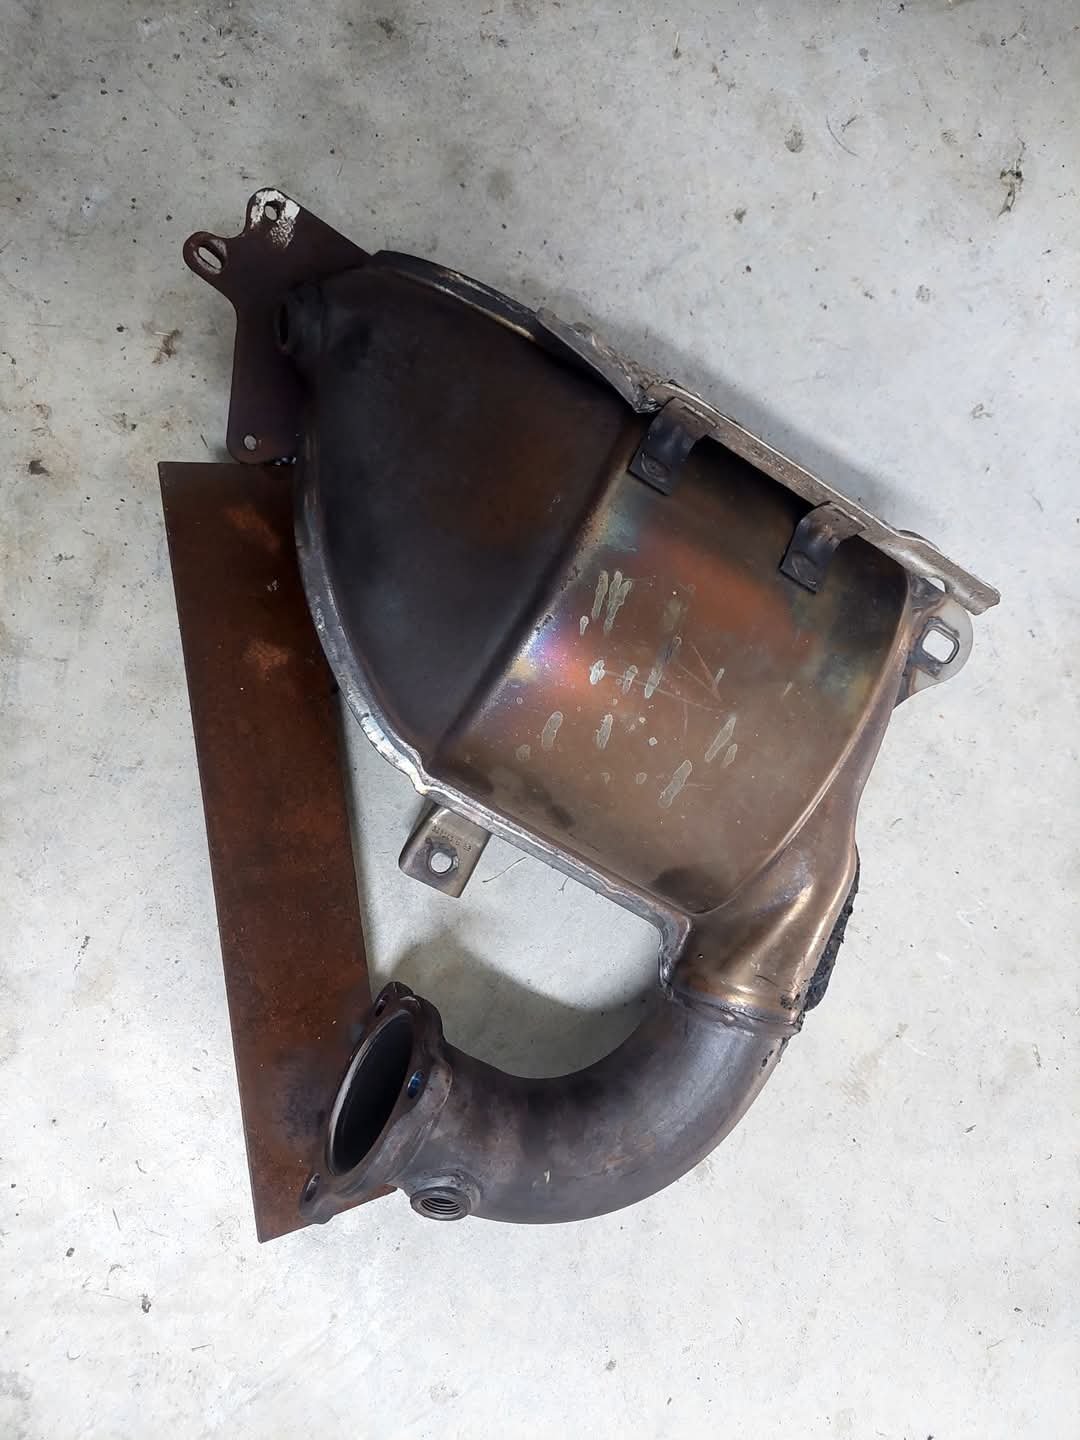
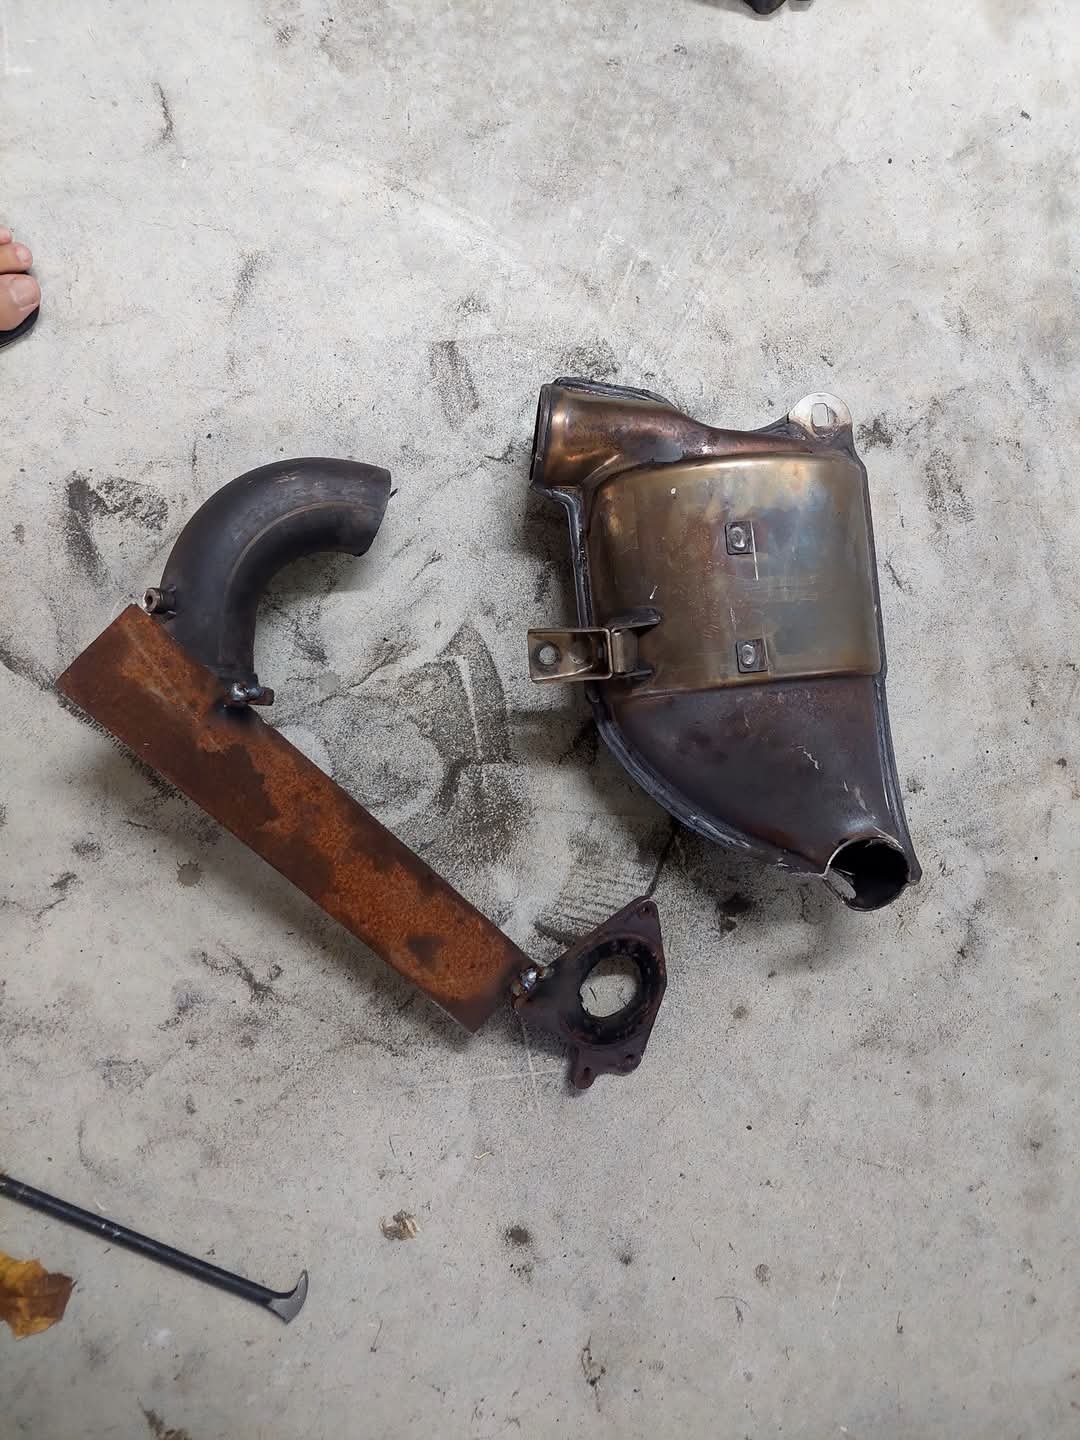
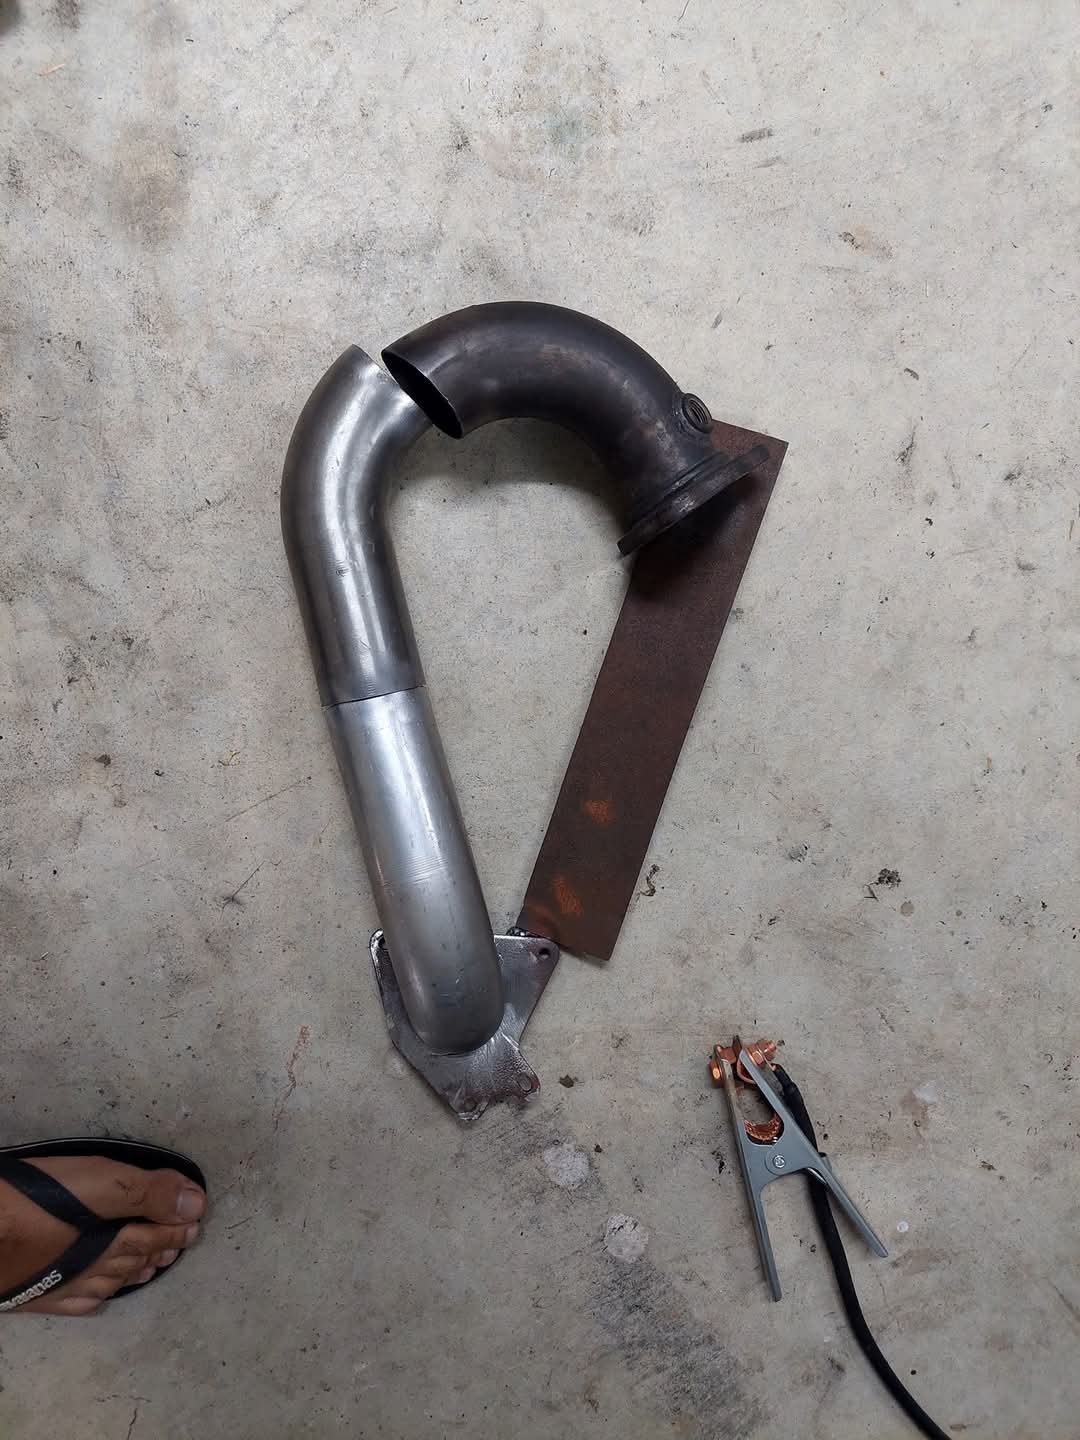
Thought I'd have a go at making a decat turbo downpipe as the factory cat pipe is very restrictive on these. Luckily picked up some 2.5" bends from the only exhaust shop that I could find that was still open a couple days before xmas. Removed the old downpipe, a couple studs were siezed so had to cut and extract them. Welded a piece of flat bar to the flanges for the position. Cut off what I didn't need then cut and welded I'm some pipe. The welding is pretty atrocious but solid enough. Still need to weld in 2 more oxygen sensor bung and I'll probably heatwrap it but it should help it breathe a little. Hopefully have some more updates across the next week. Chur