
Leaderboard


Popular Content
Showing content with the highest reputation on 18/11/24 in all areas
-
I did the bottom mount, that was piss easy. It then got a clean sheet Wof (apart from a side repeater not working), so that was extremely pleasing. Unfortunately the new stiffer mounts has meant that vibration coming from the motor that was pretty effectively masked by the soft mounts, has become noticable to the point where I kindof dont want to drive it. Its bad enough that I want to pull the engine down and have a look. This is kindof ok, because I should have two gearboxes arriving shortly from Auckland, this means I will have 4x boxes to build one good one out of. Apparently they are straightforward to repair and plenty of the wear items are readily available which is good. This means i can drop the drivetrain, sort the gearbox and have a squiz at the engine all at the same time. I did notice that one of the idle circuits wasnt doing anything when the screw was adjusted, I dont think thats the problem but I bought a cheap ultrasonic cleaner so I can give the carbs some loving, if the gods are smiling it might just be that, but I am not counting on it. Meanwhile I drew up a center console in CAD to tidy things up. Back in the day I removed the factory one so I could actually use the clutch, but it left things looking a bit raggedy. Clearly time to sort it with some cool shit that still gives me legroom. It took 3 iterations and I will probably print it again in a nicer/stronger/more uv resistent material, but it came out so nice anyway. V1 V3 Clearly my aesthetic heart lies somewhere in the last century, cos that looks the tits. I urge everyone to learn some cad and buy a machine, there is so much goodness awaiting...12 points
-
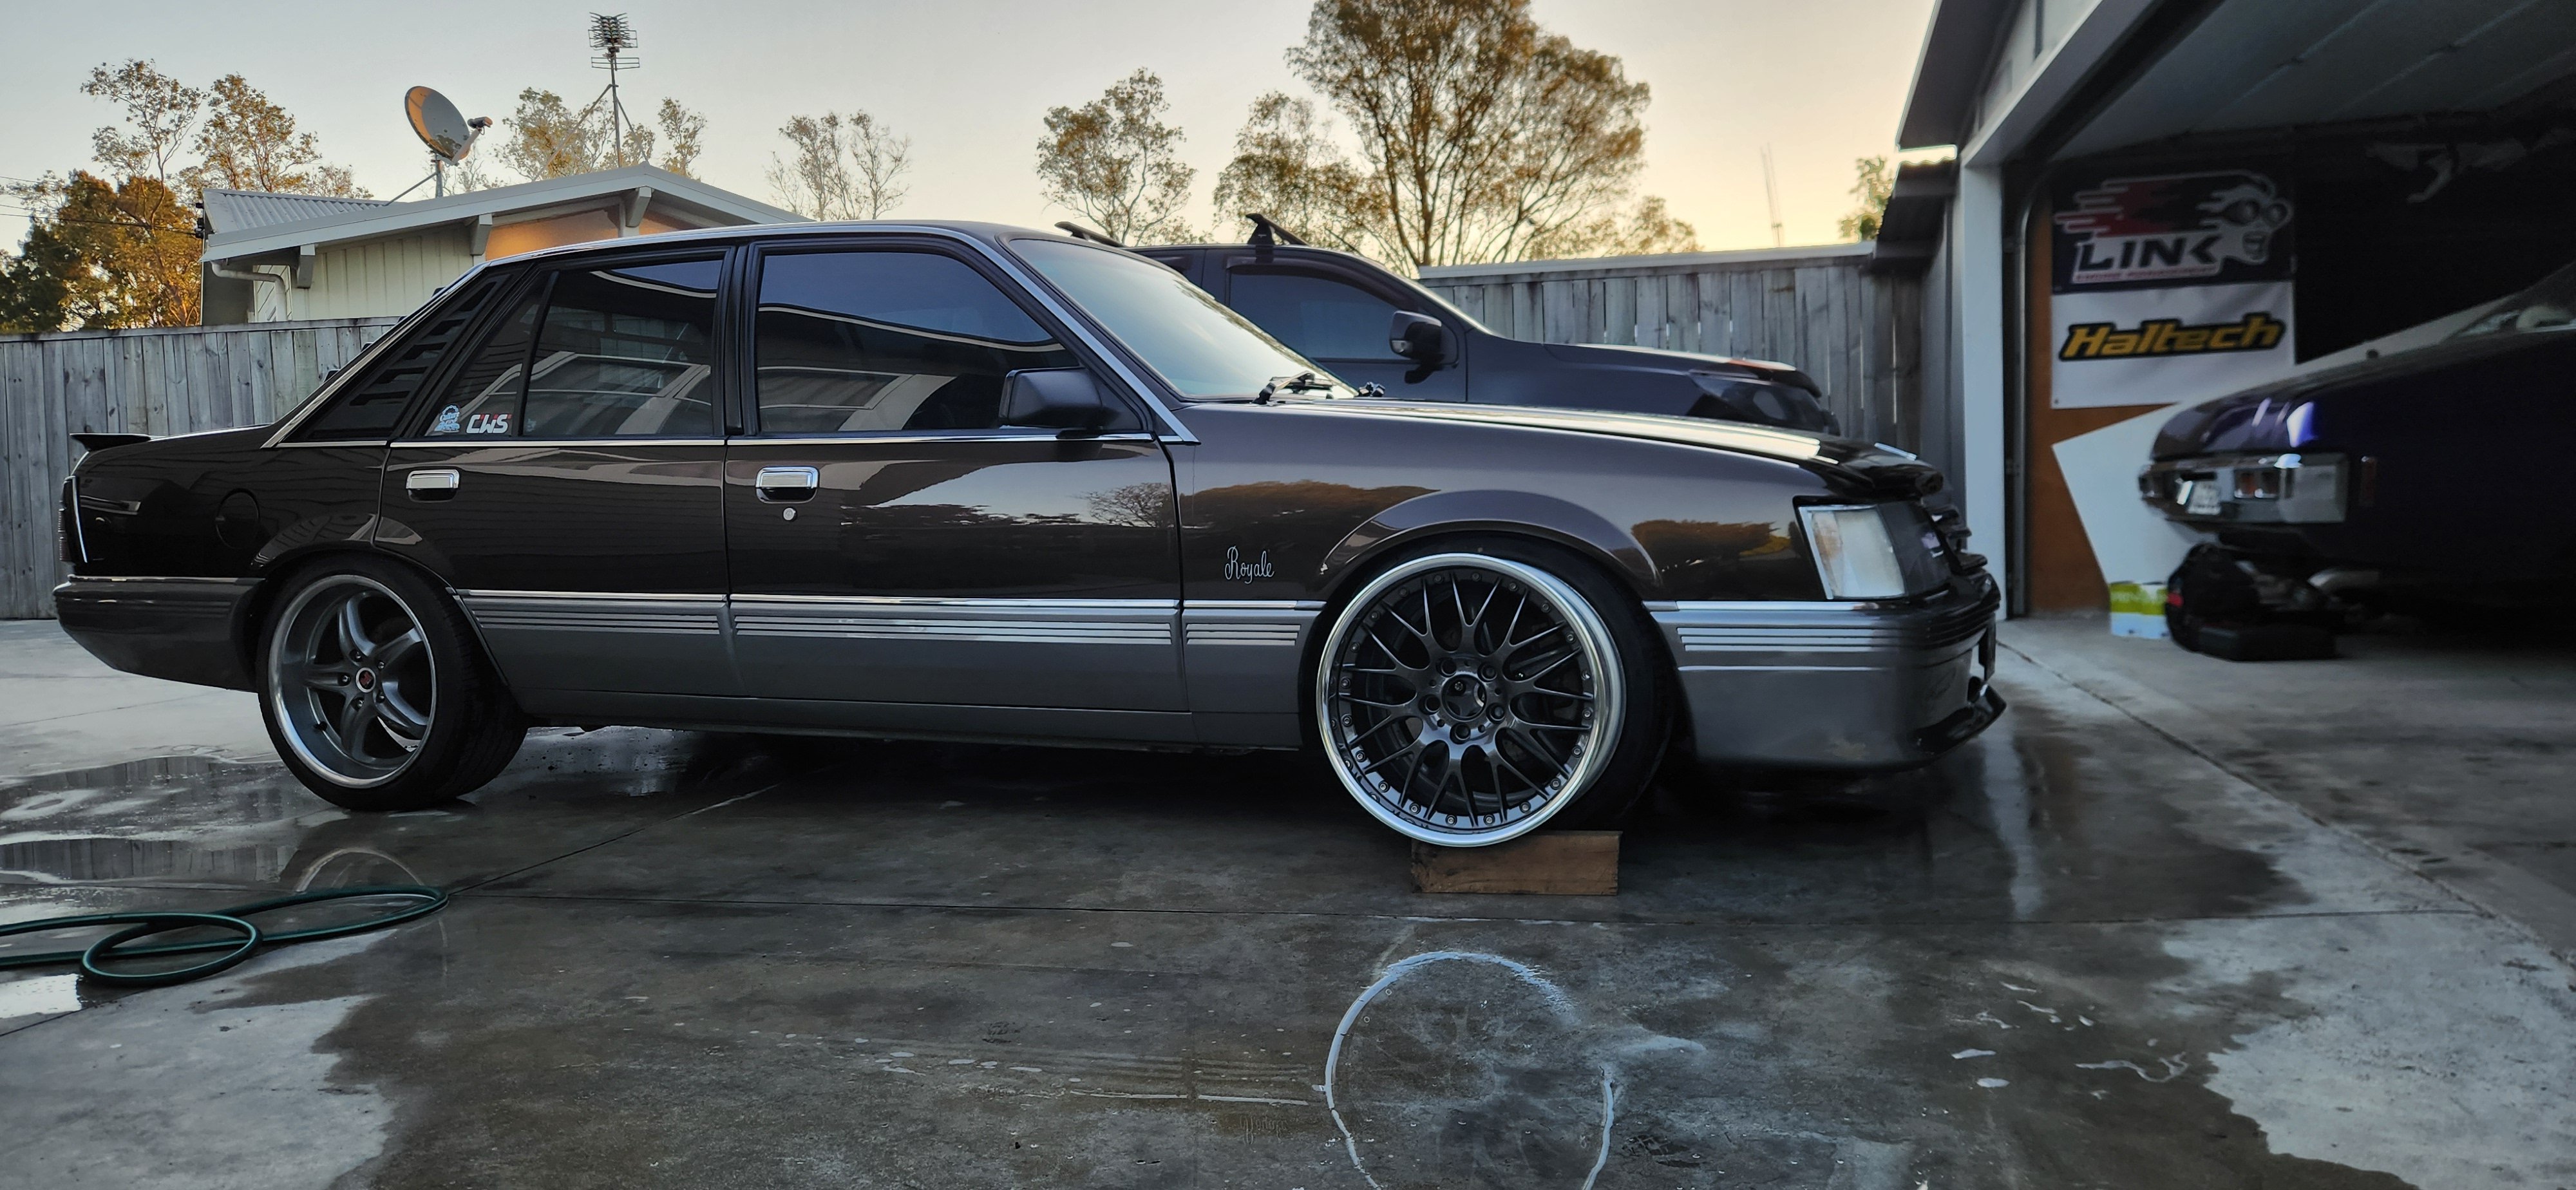
Tyres on & bolted up for a look, reused the 235/40r18 nankang ns-20s that came on the front went with 245/40 matching nankangs for the rear, looks like I can do about 20-25mm off each side of the diff on the rear, front needs to come up about 10mm so I'm not clipping the guard all the time, shocks are a bit sad so good excuse of coilovers I reckon...
 11 points
 -
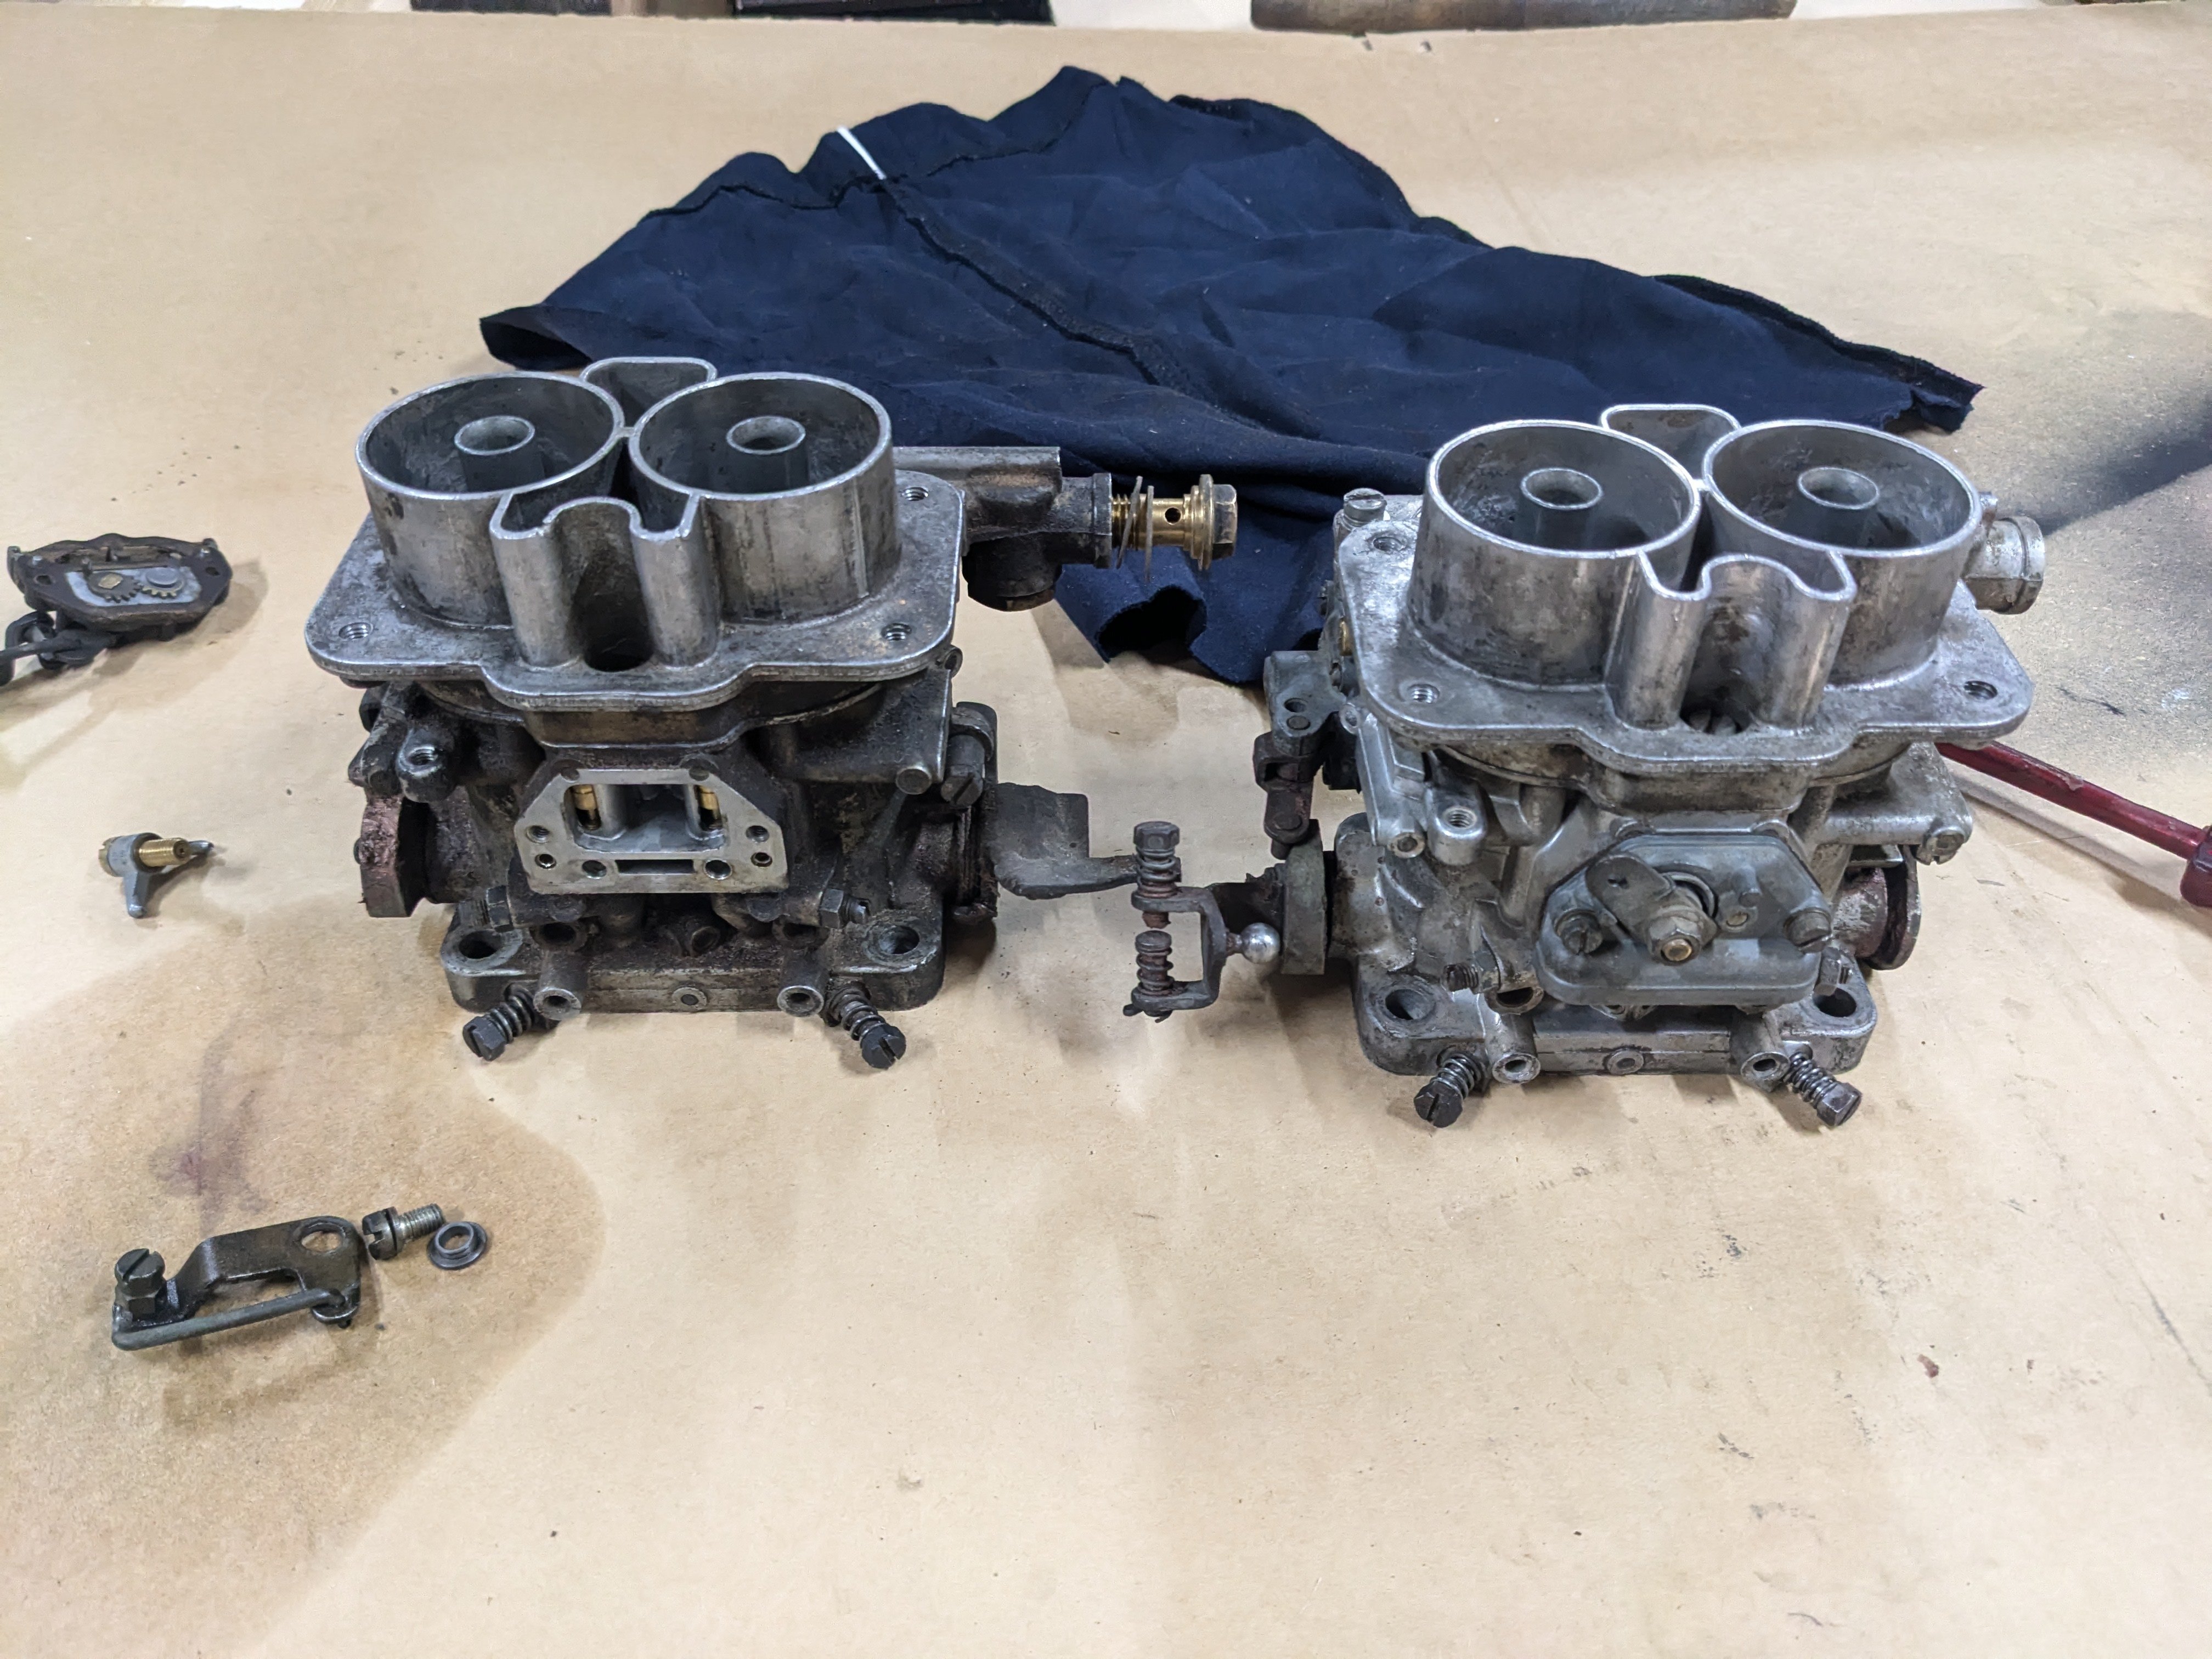
Well the ultrasonic cleaner seems to do something. I only used hot water and washing up liquid, 1/4hr at a time cos I didnt want the corrosion thing plus I am more interested in the holes being clear than showcar. Still it looks better.
10 points
-
Tappets went smoothly. Only had to adjust three all up. Need to buy a timing light. I ended up getting a WOF but failed on a leaking break line. Turns out I needed new rear shoes and one of the valves were leaking in the rear left drum. Local brakes shop couldn’t help so off to chch for a rebuild. Managed to pick up some shoes for $4! Couldn’t fit the 2inch blocks as they hit the inner wheel. So reset leaves back in and off to Nelson for a Wet Datsun Nats. 3rd kid arrived last week so now I def don’t have time for working on the wagon. But the kids have some time spare.
10 points
-
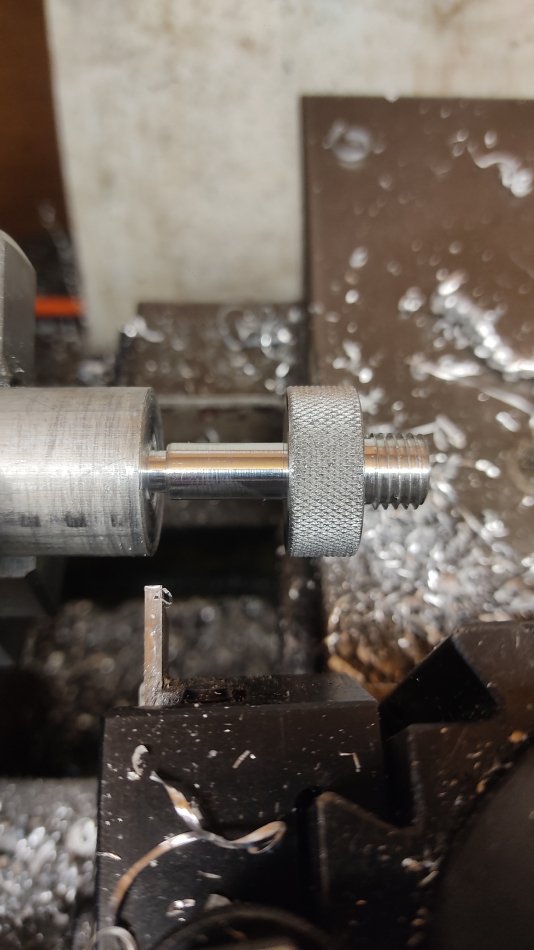
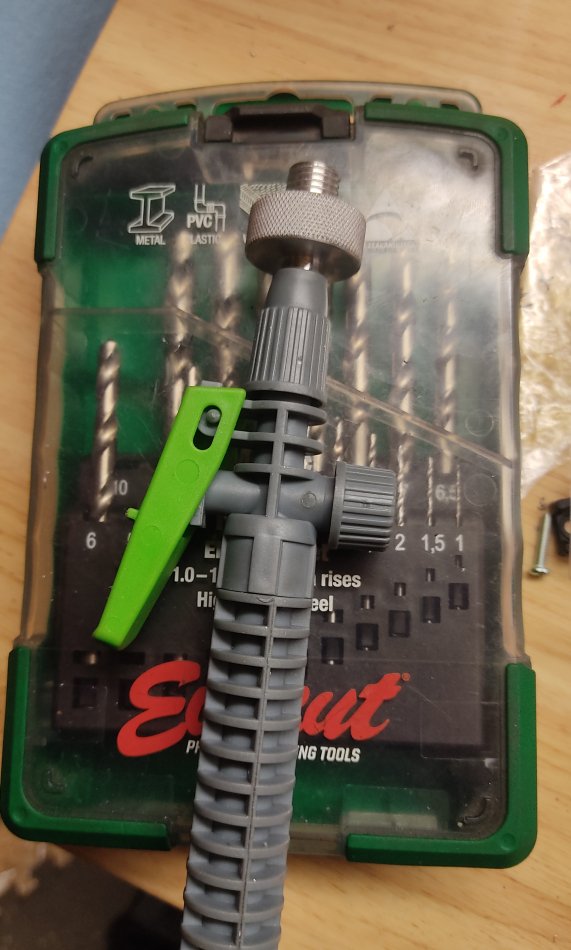
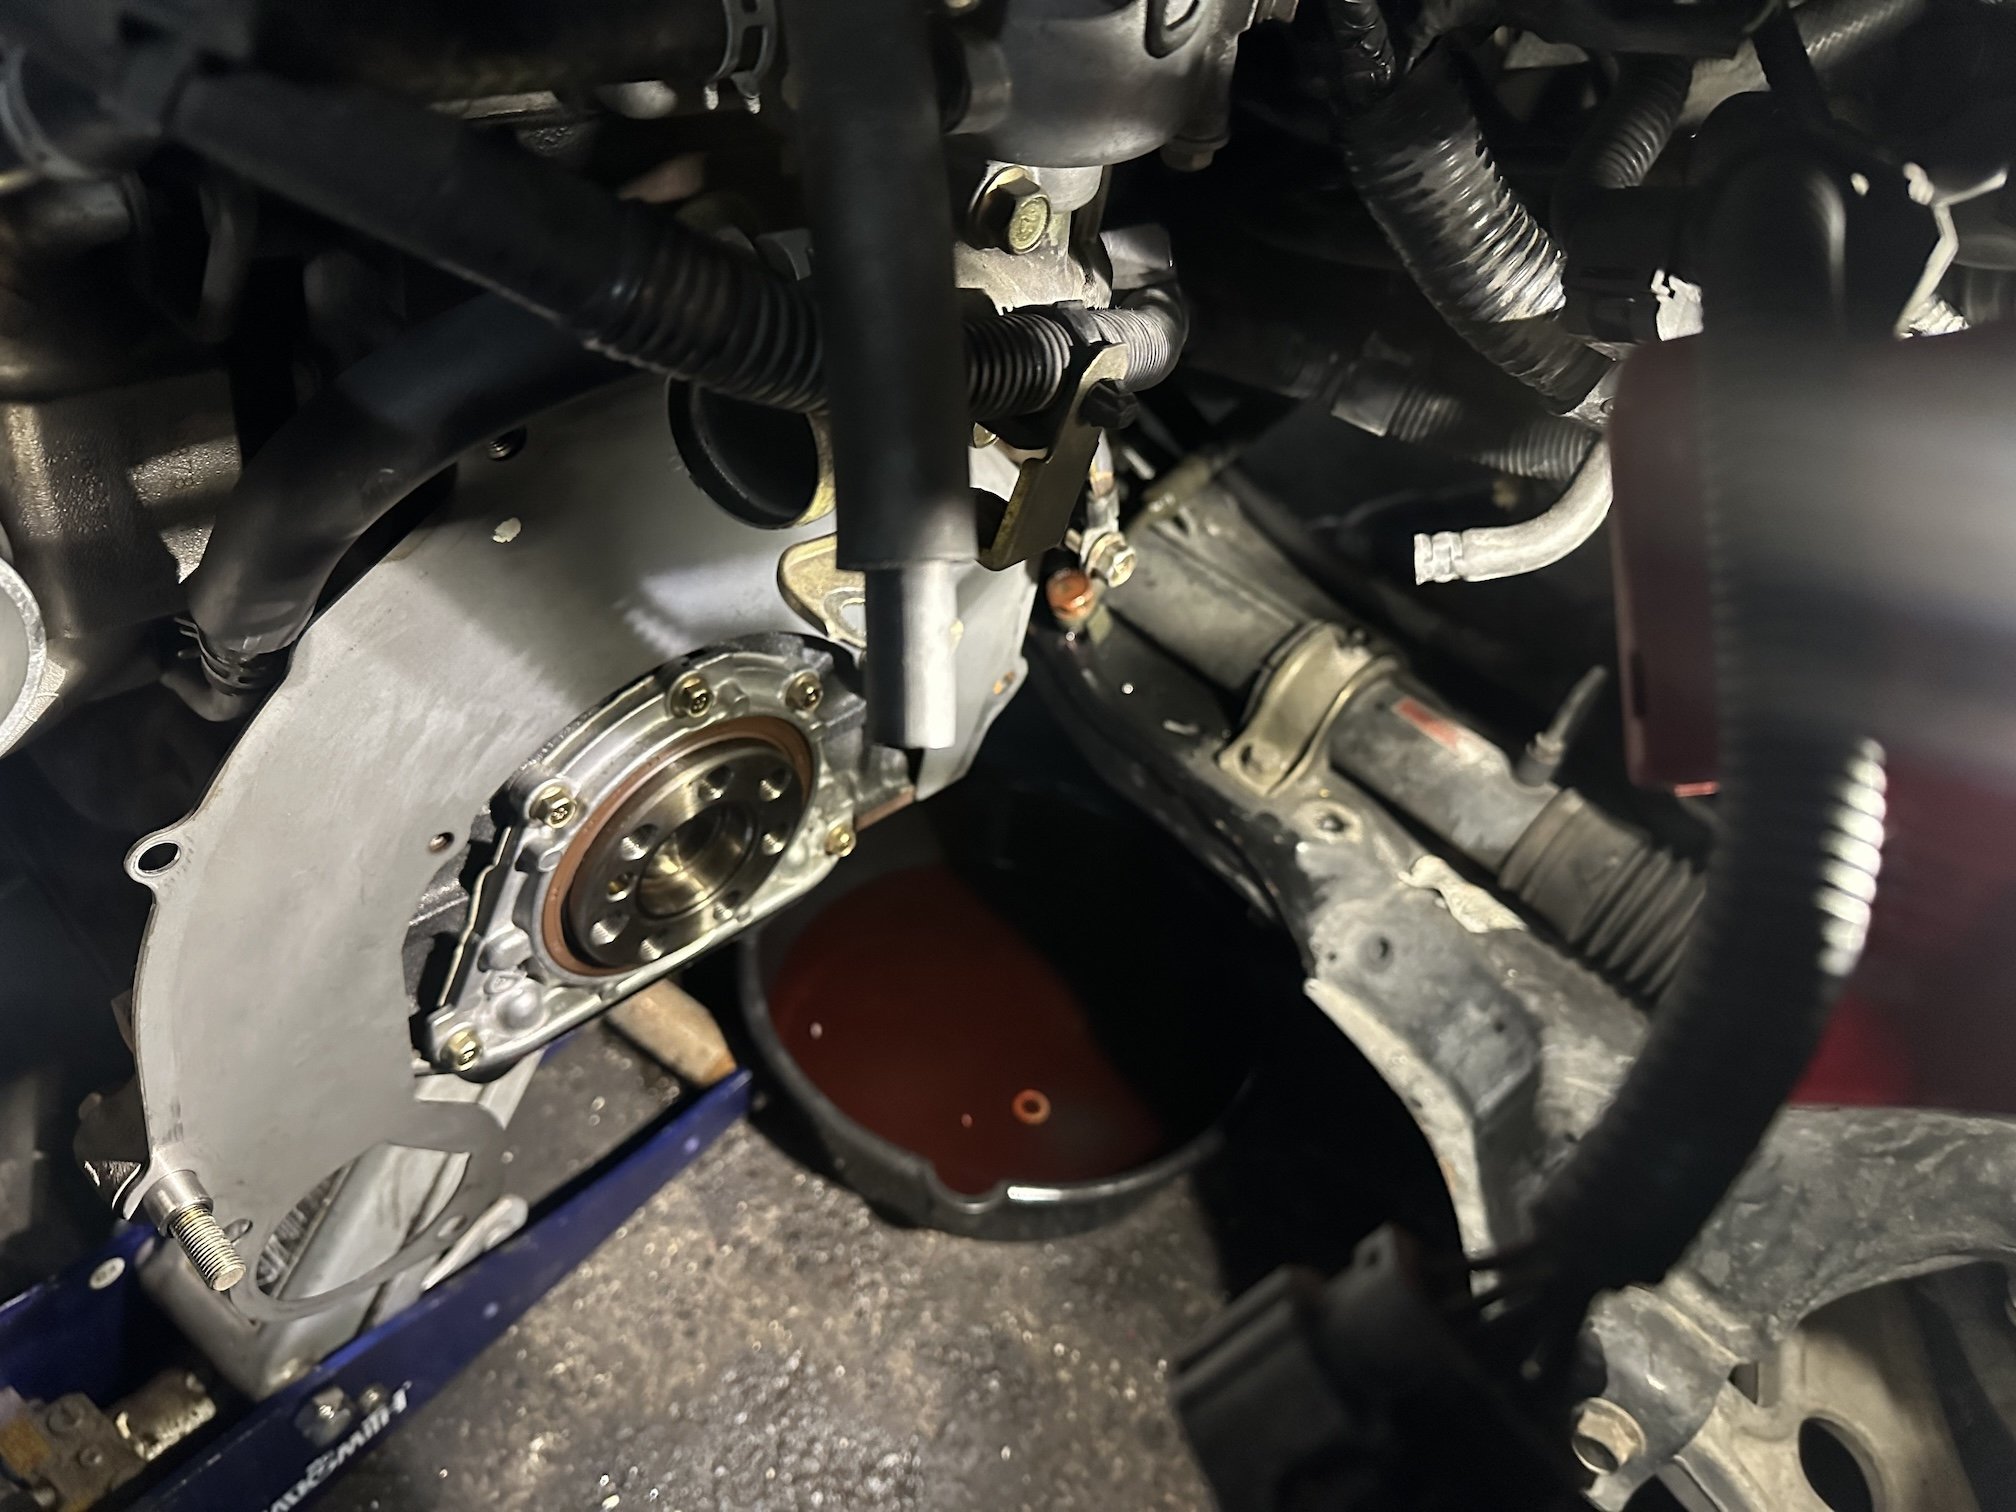
First time dealing with a transmission that's filled from the drain, don't want to pay hundreds for a proper fluid transfer pump etc. $20 Warehouse weed sprayer and 15 minutes on the lathe should do the trick!
9 points
-
7 points
-
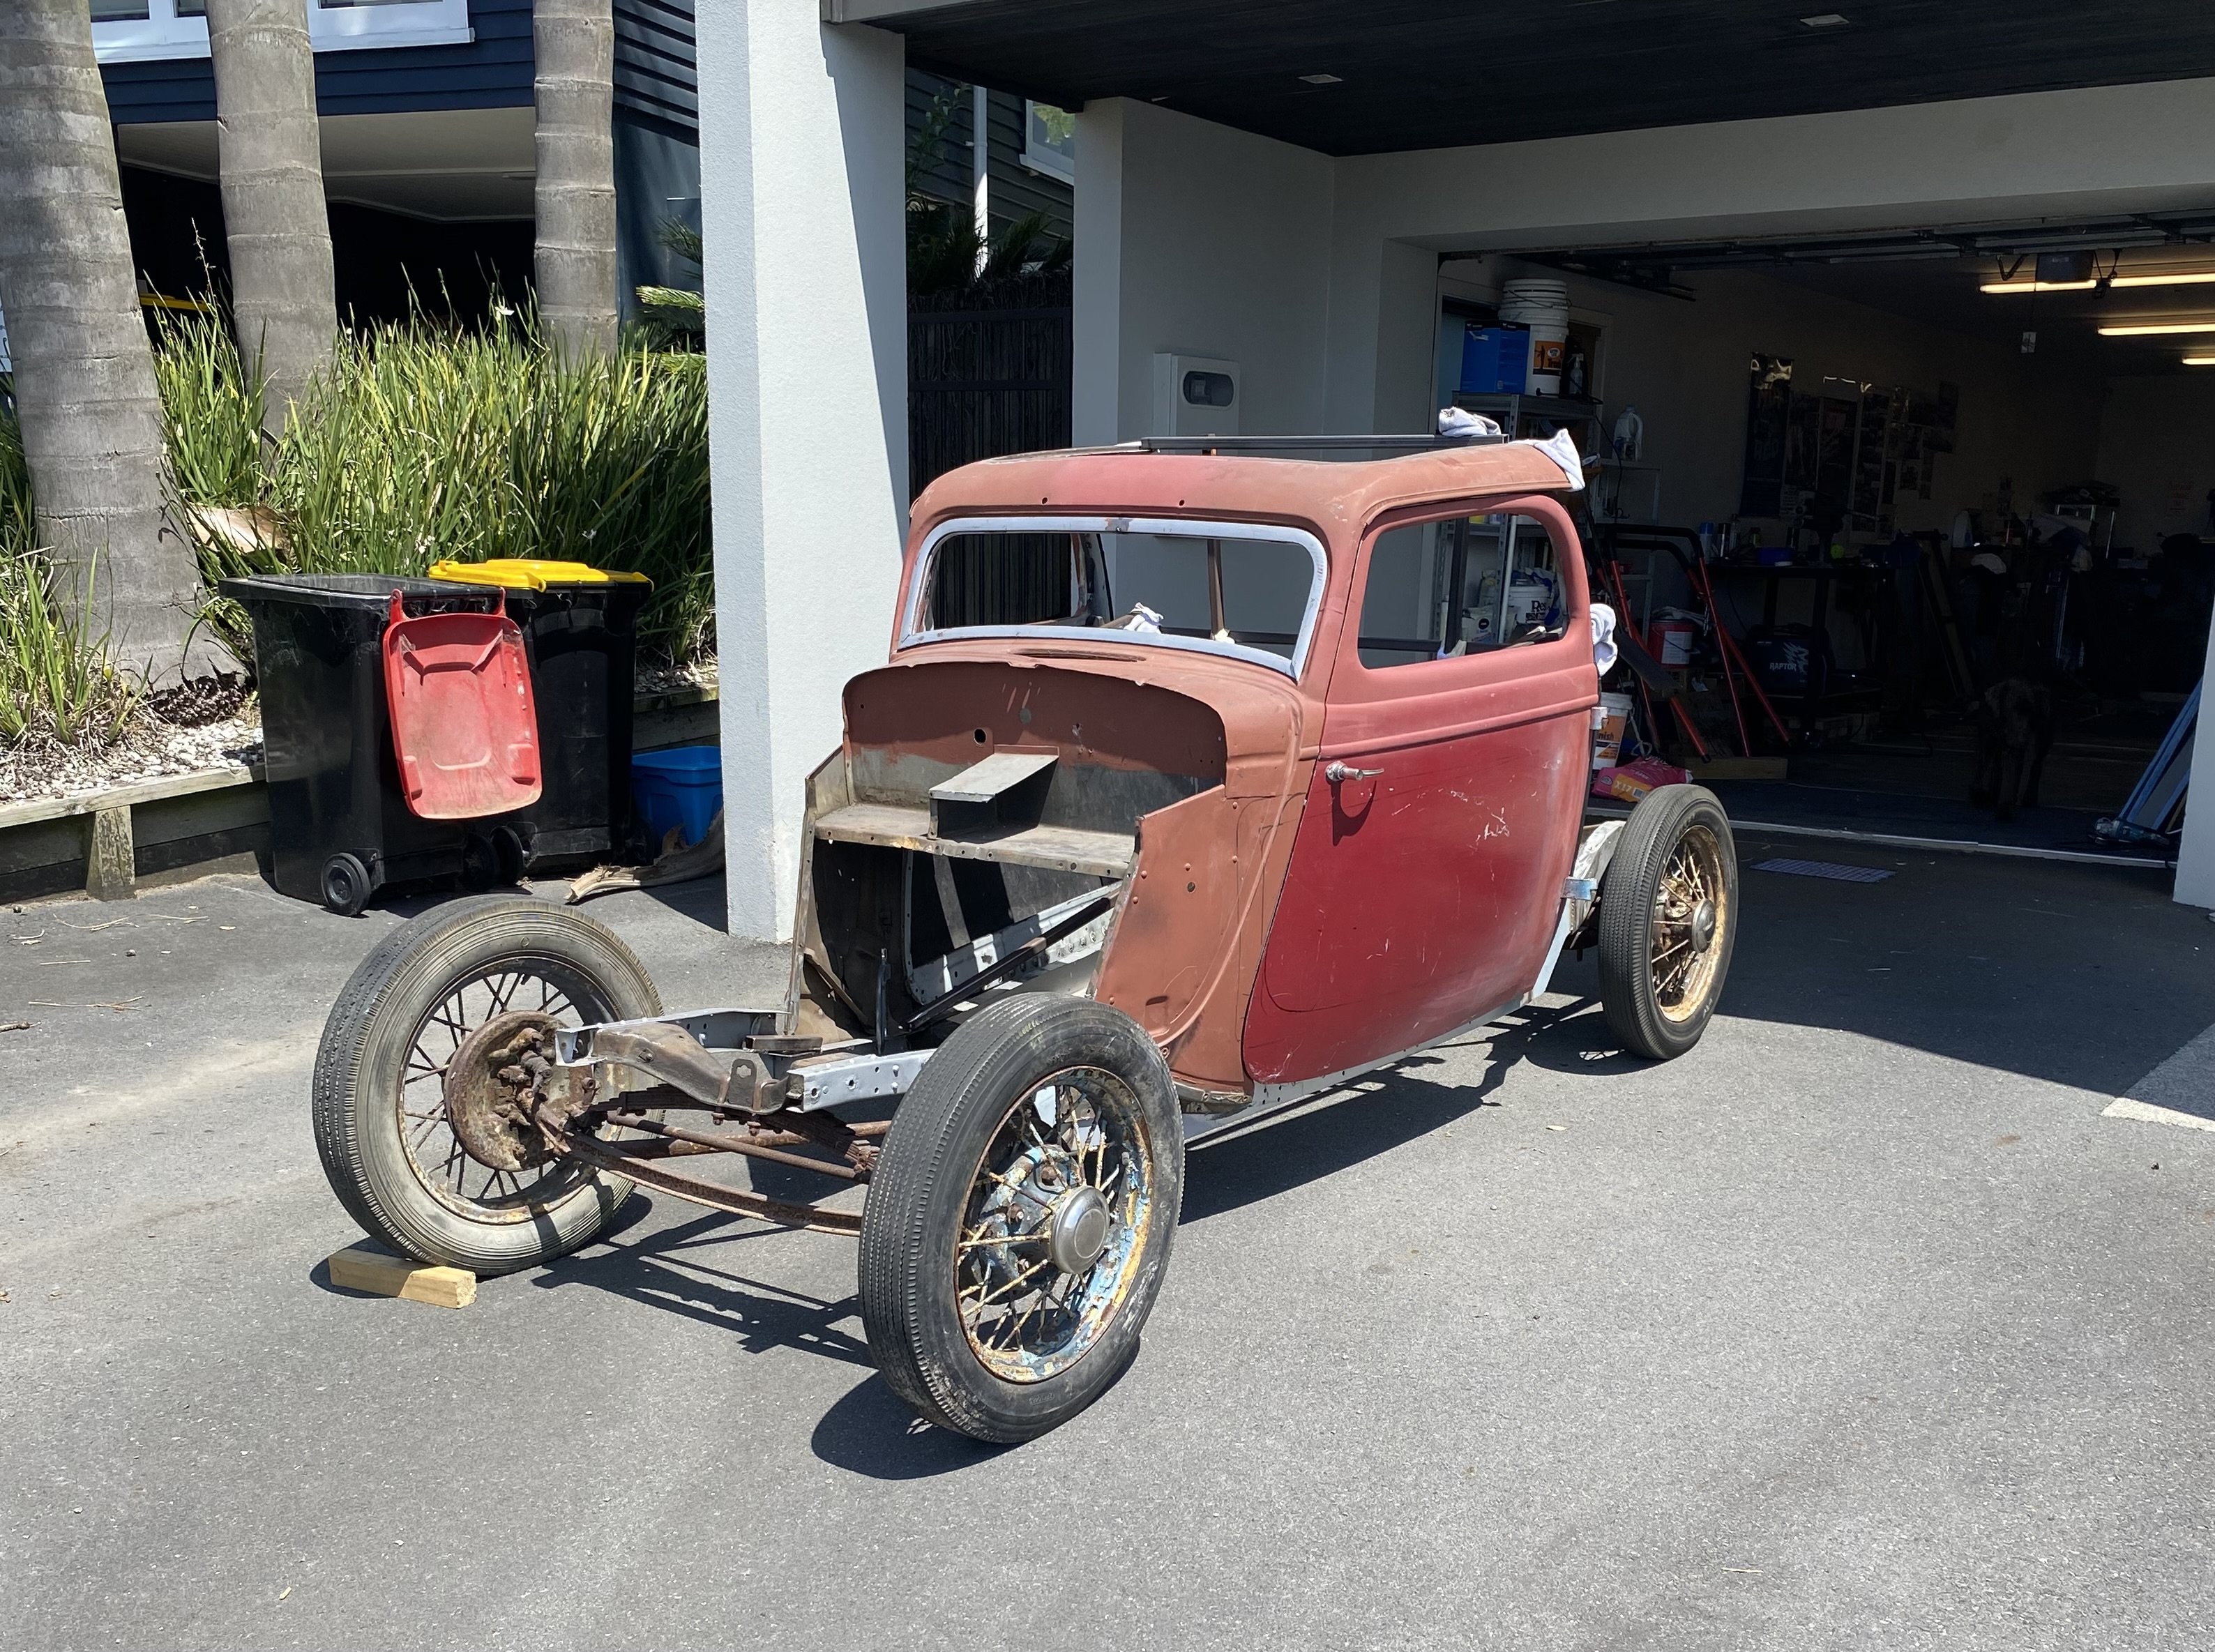
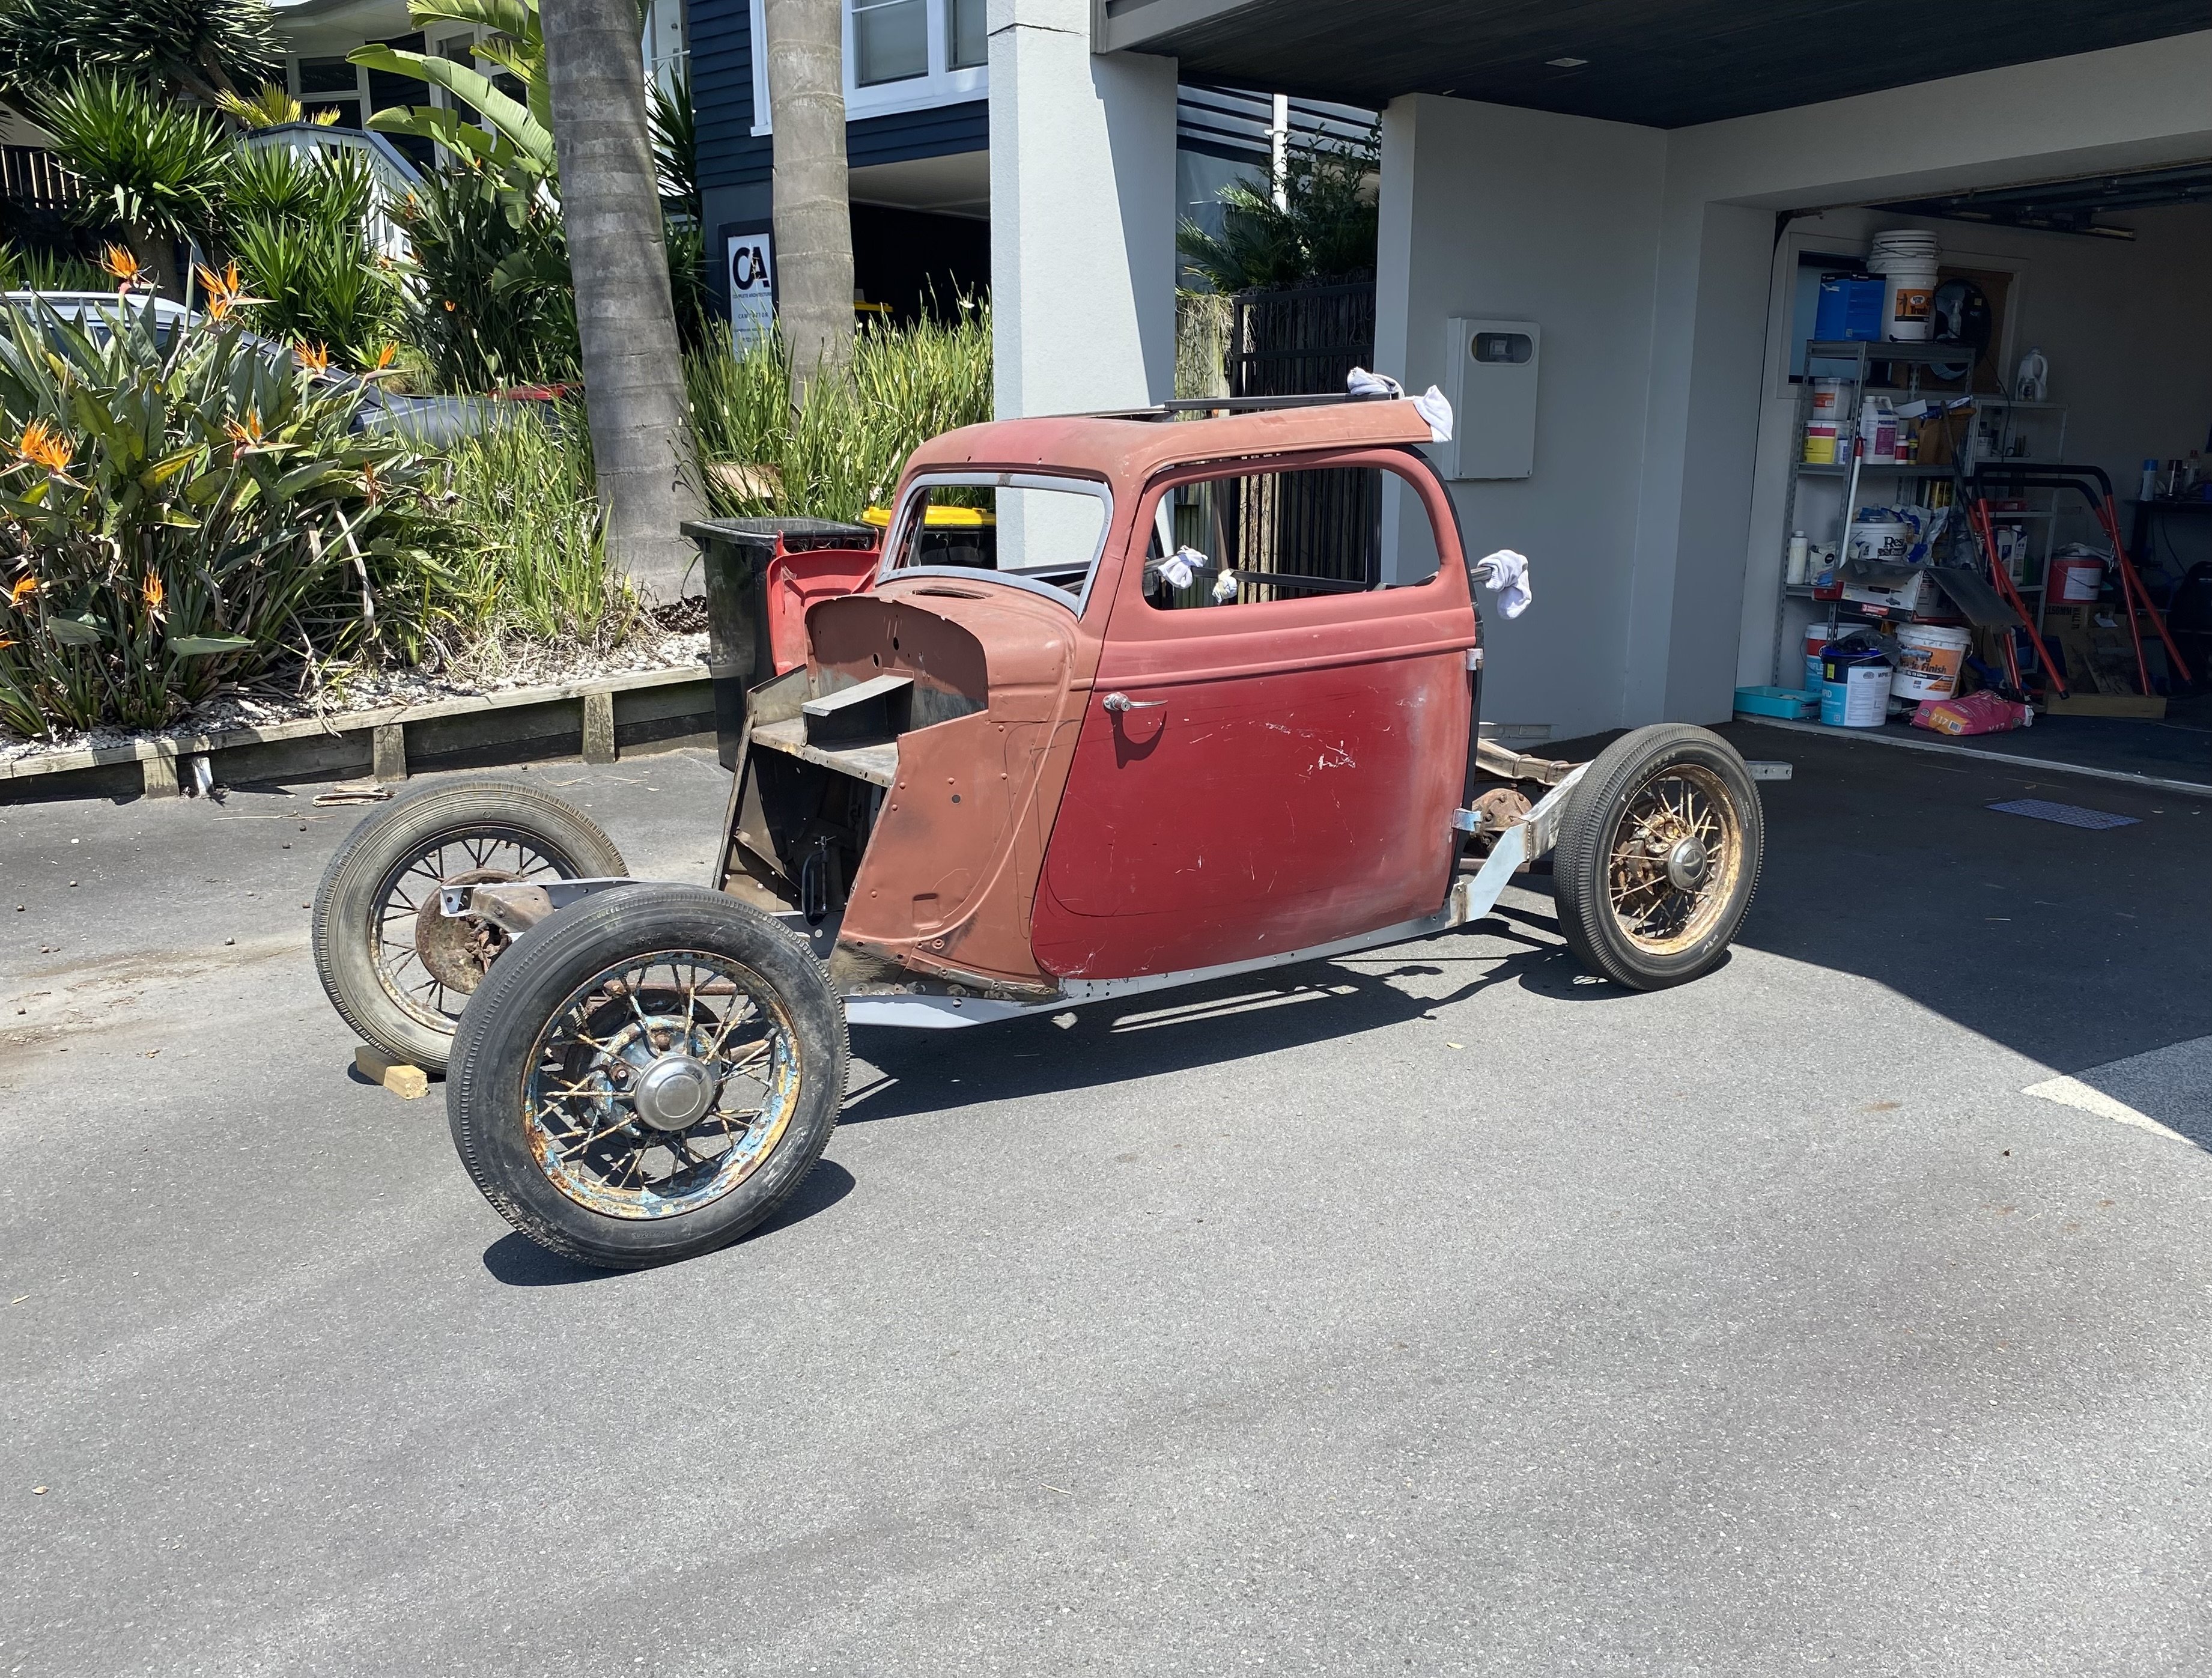
Time to start working on extending the rear quarter panels. This is as low as I can get the back end of the chassis working off a 285 / 60 - 15 tyre size. Should still give me a couple of inches to play with in the wheel well area.
5 points
-
Awesome coffee n cars and Wai wheels, stunner day for cruising!
4 points
-
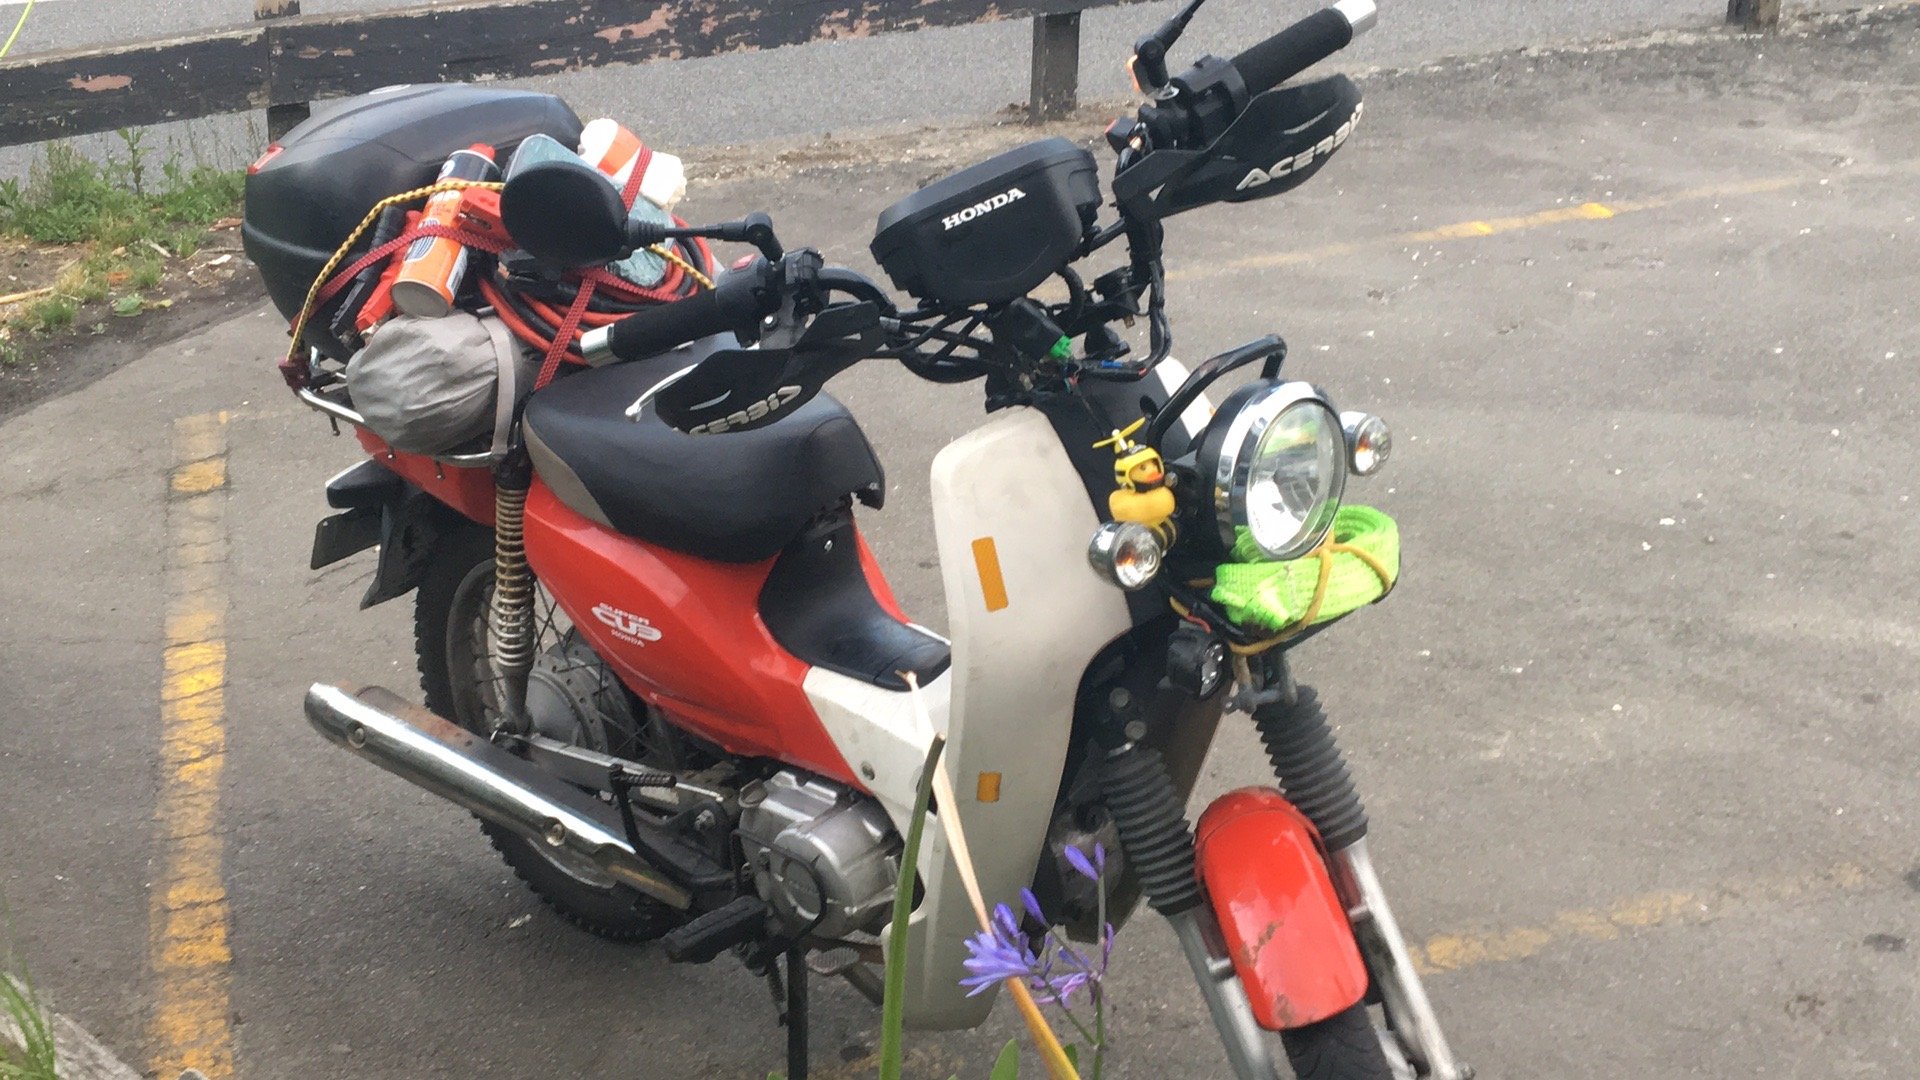
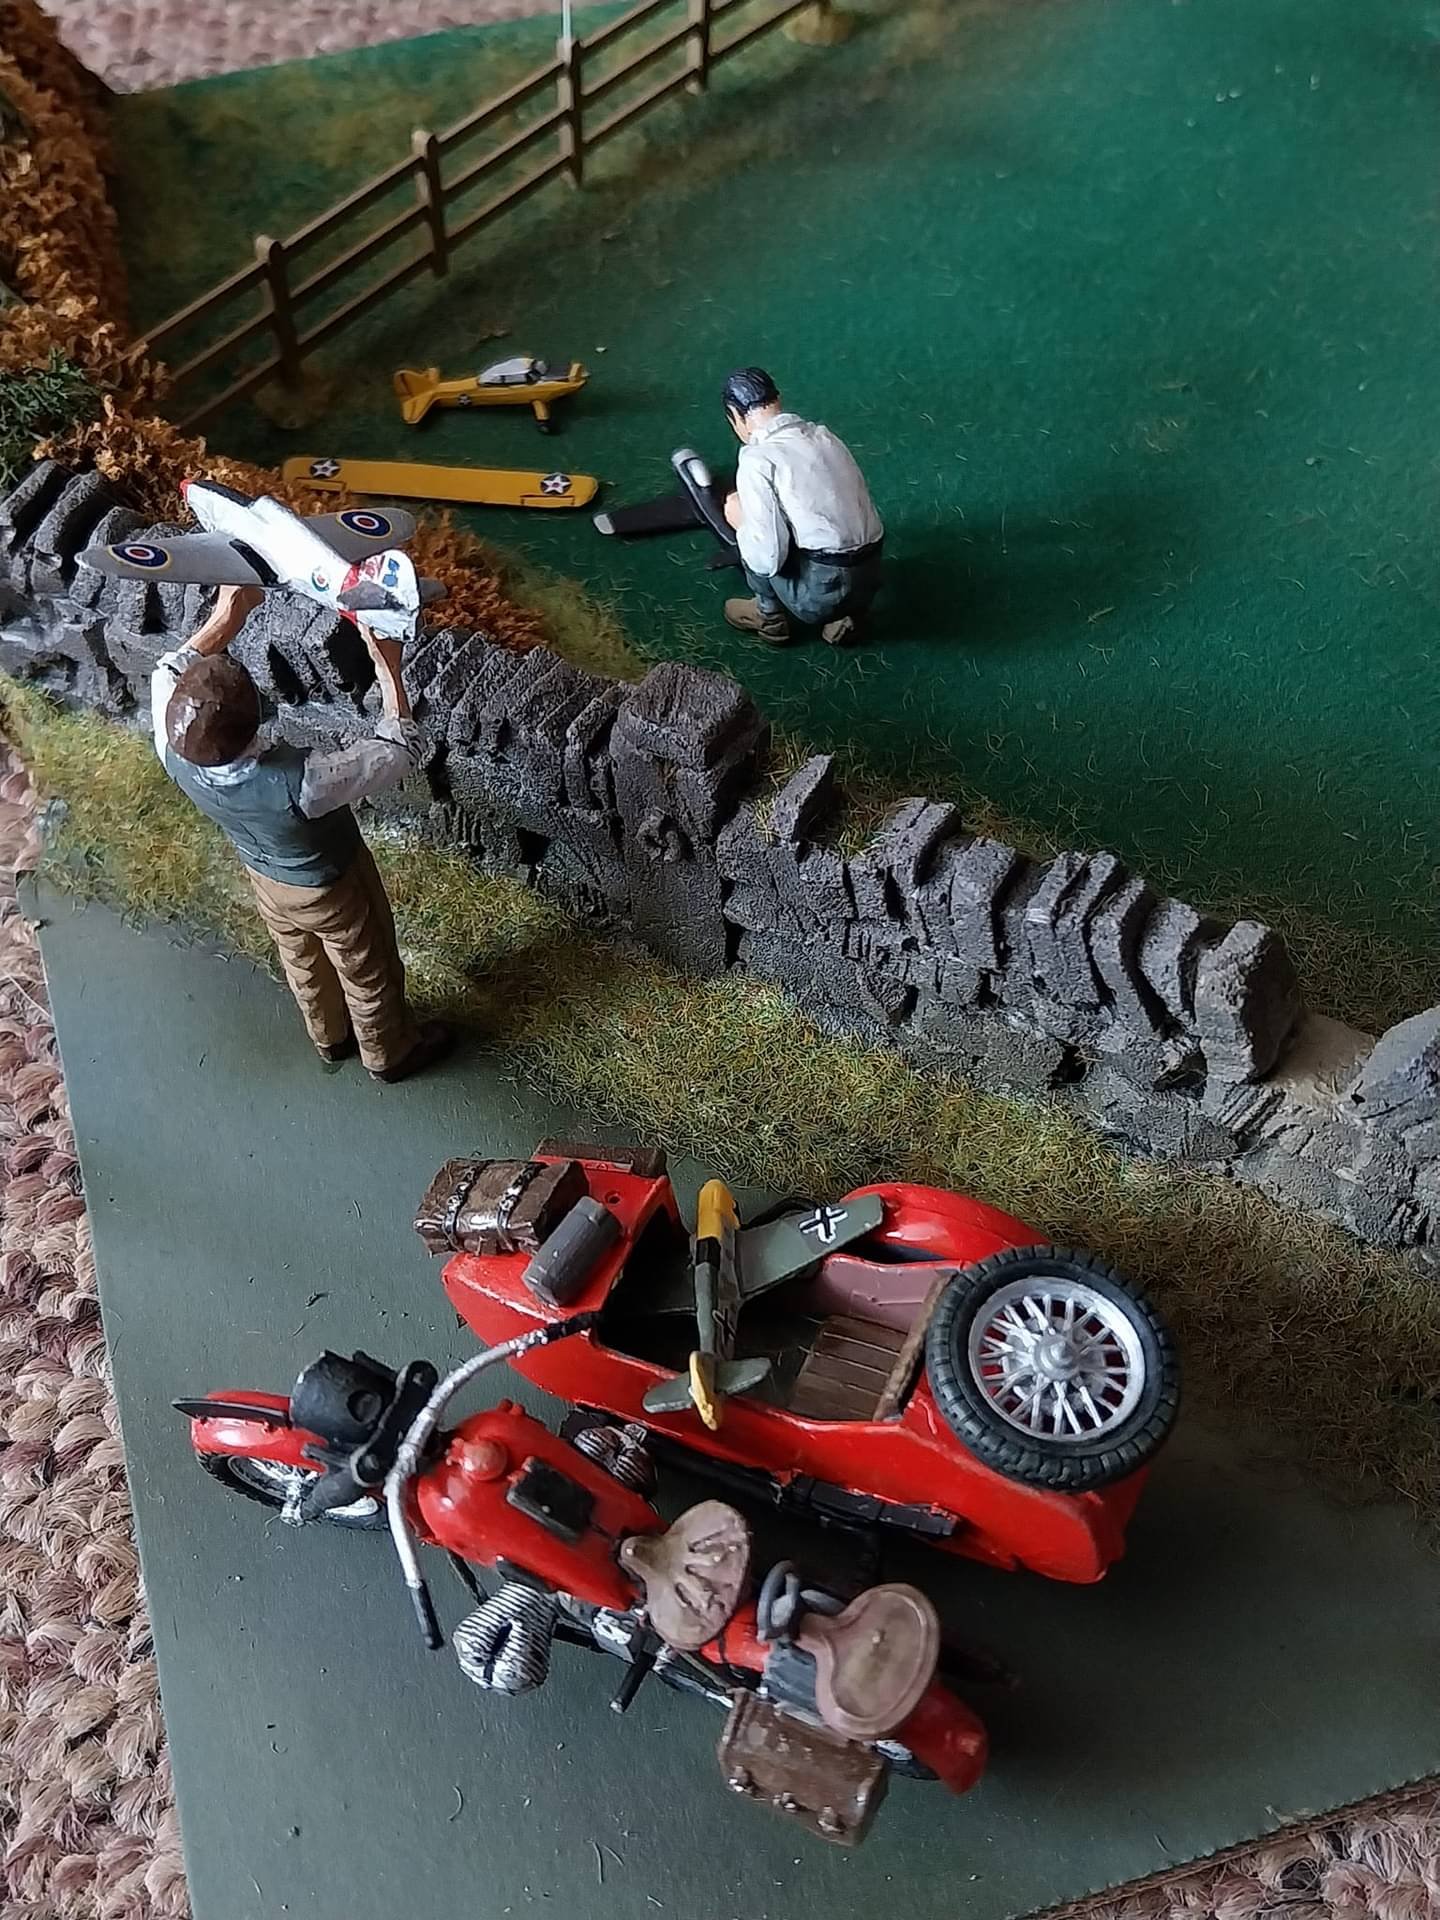
Trail teaser Funny looking motorcycle
4 points
-
It's tight in there!
4 points
-
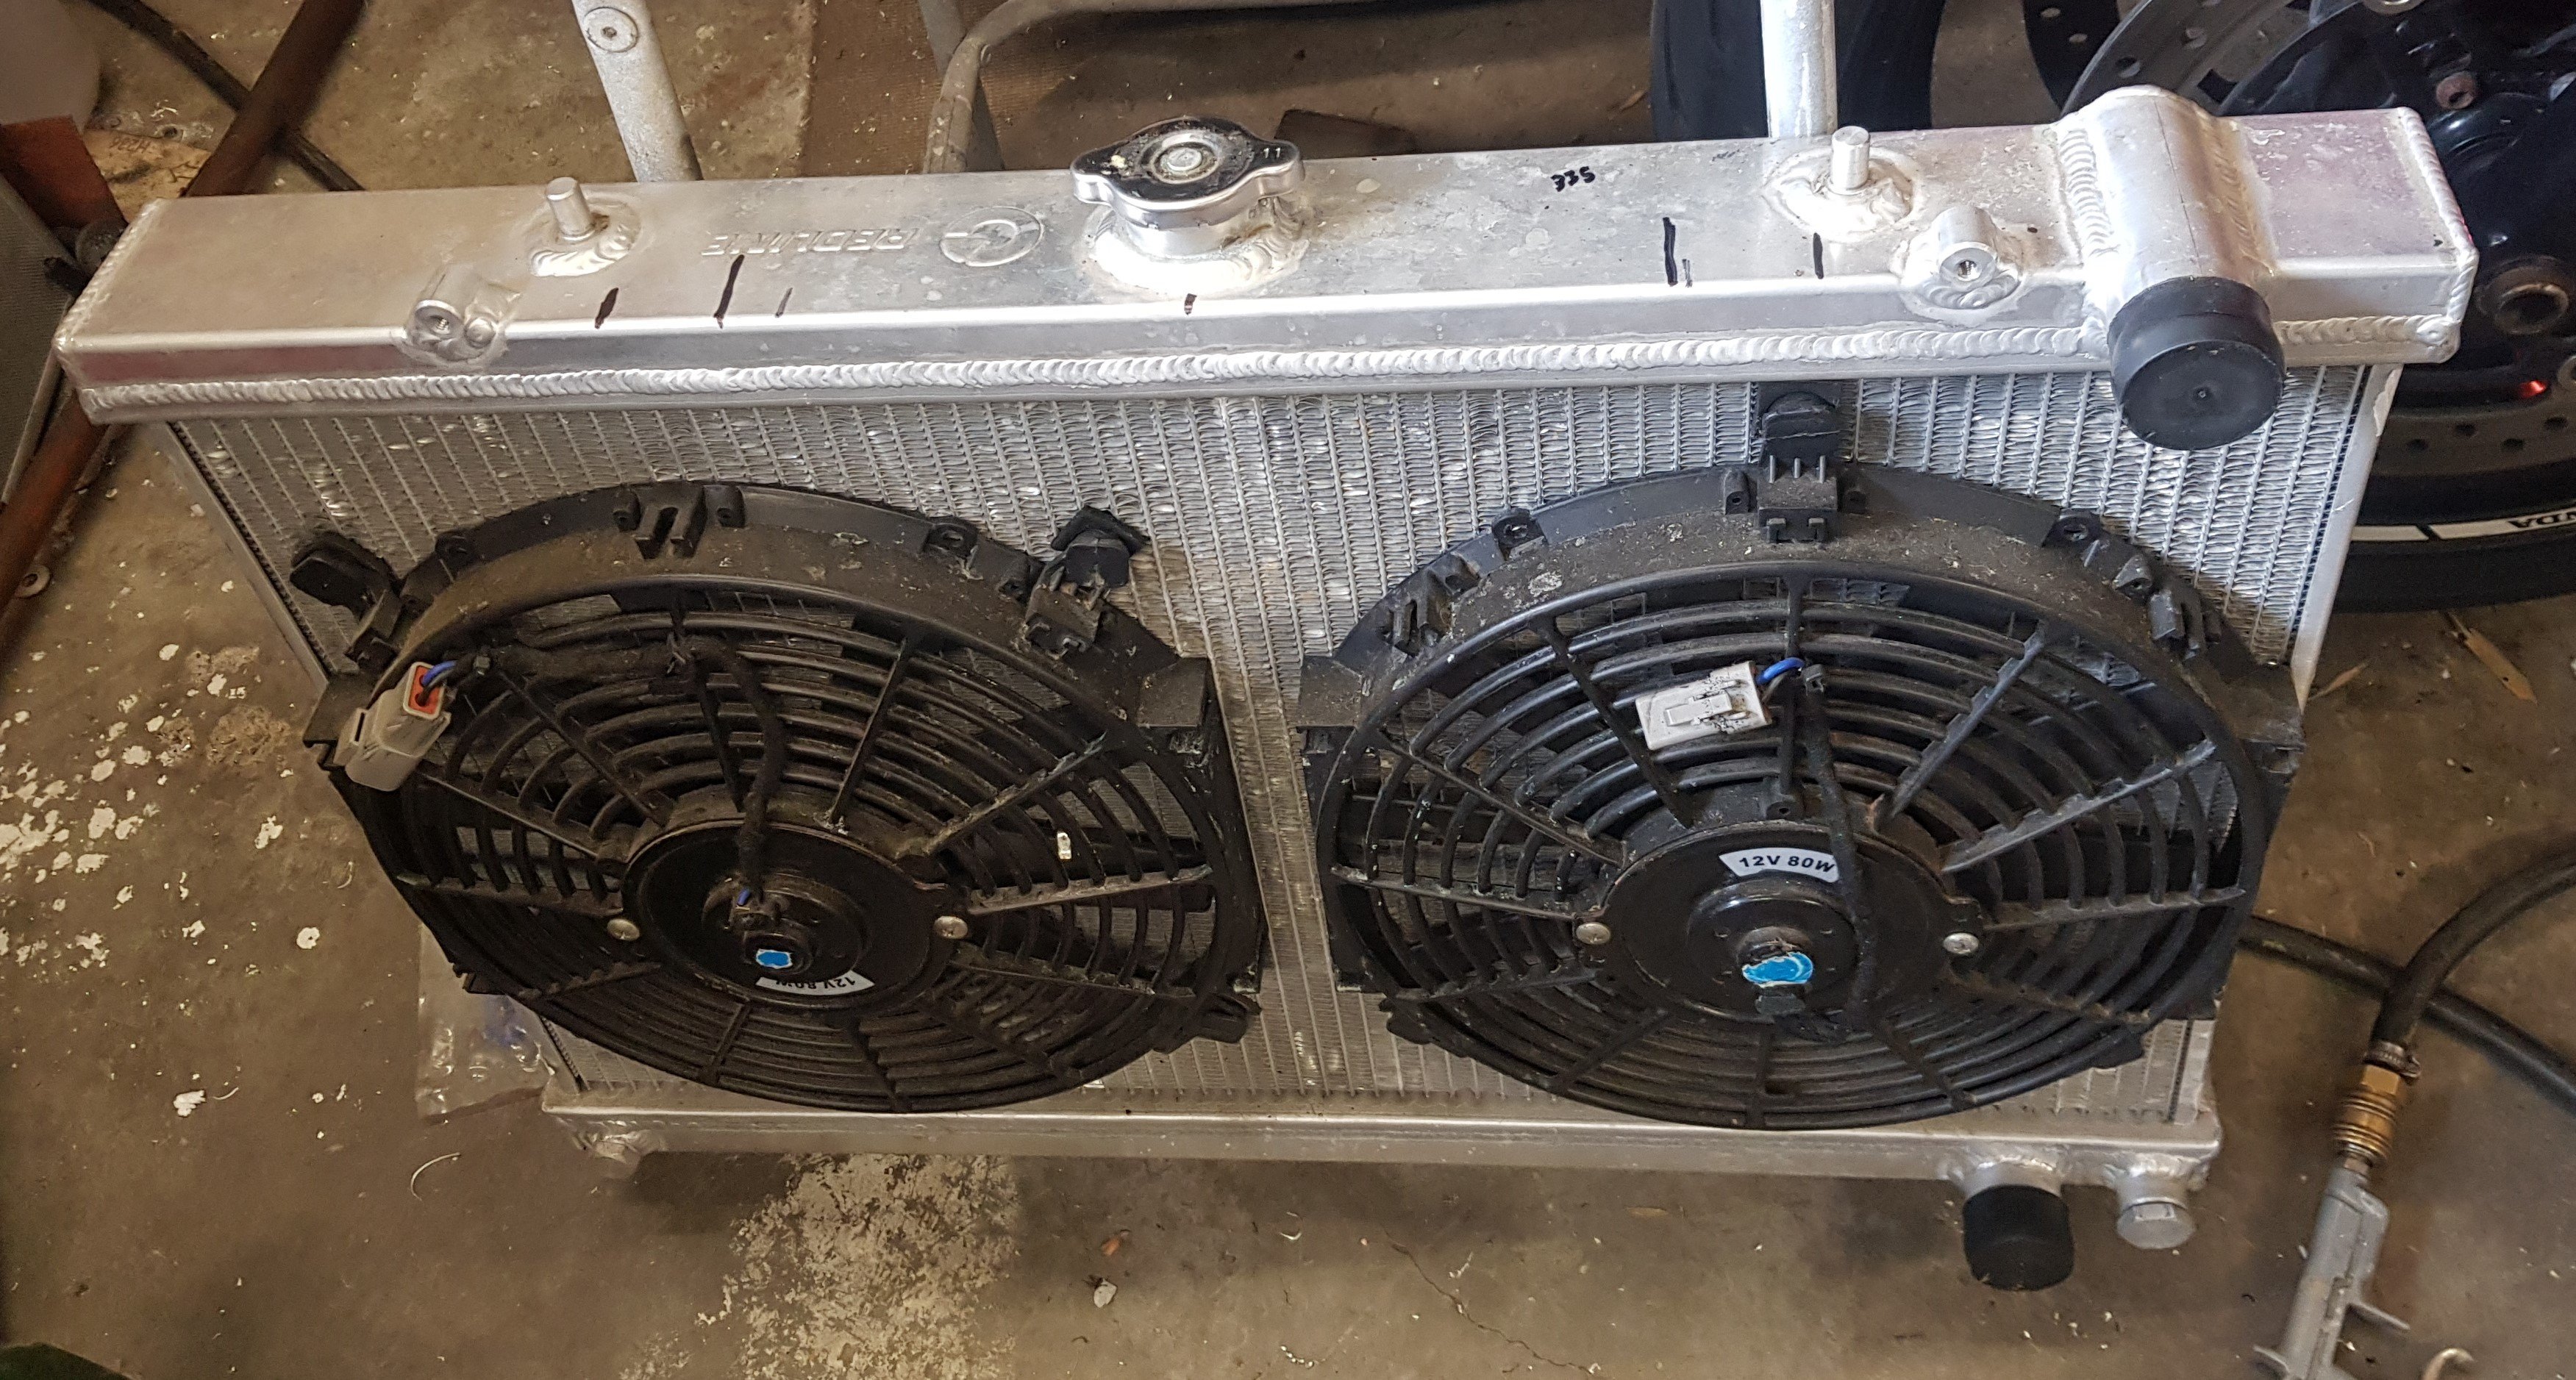
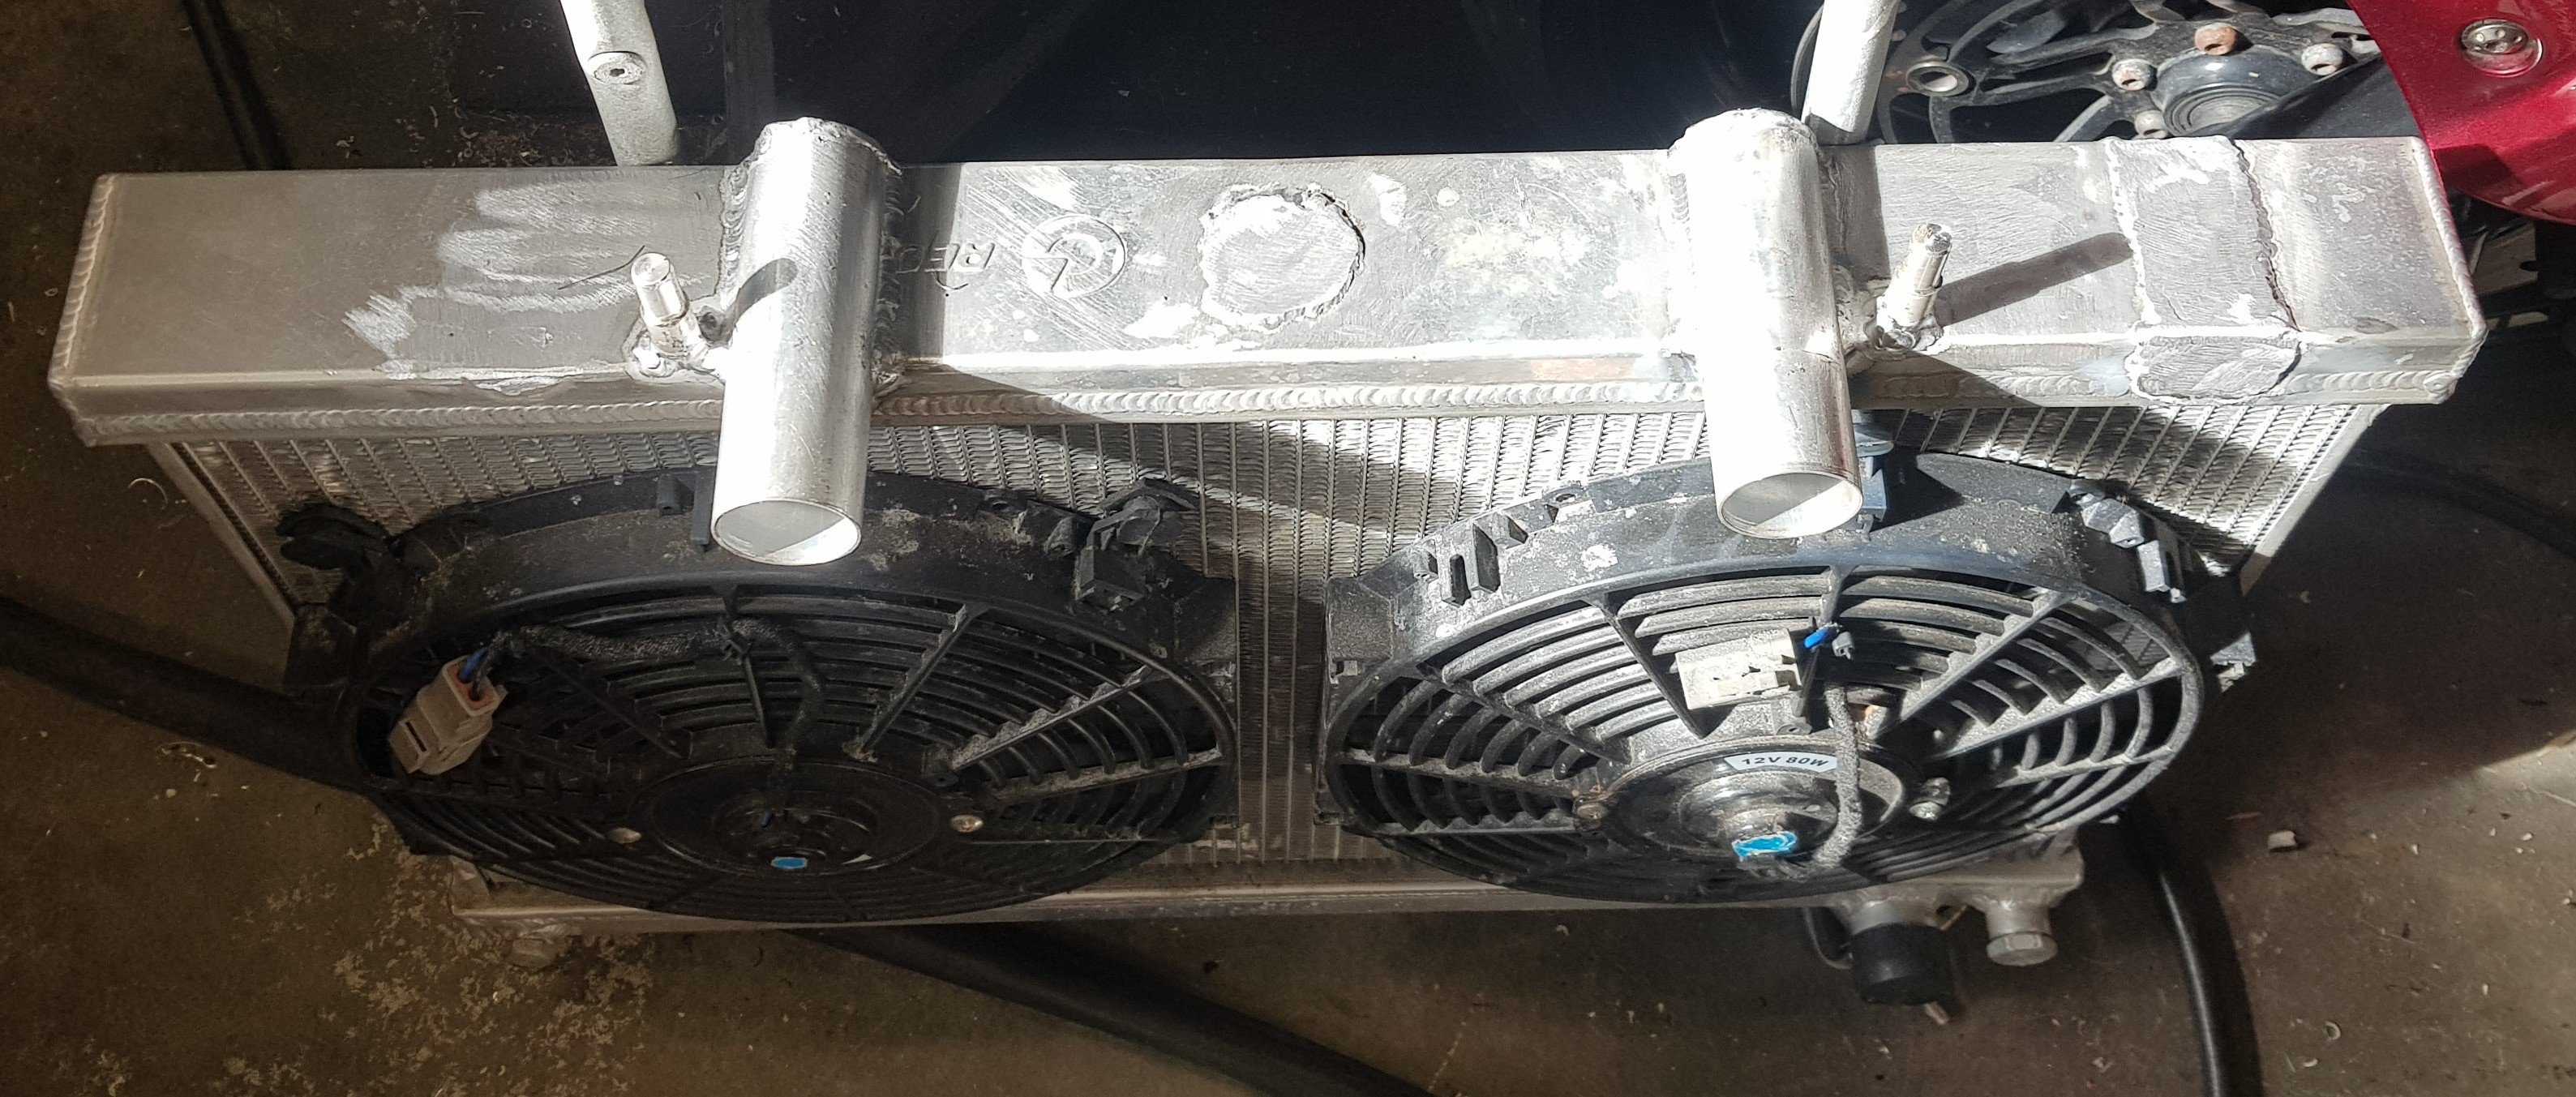
With the back end of the car getting all of the love recently, I thought I'd better do something at the front. I bought the radiator some time ago. I don't know what it's from but it sits between the chassis rails with about 10mm either side. Two major issues though: I wanted it to sit as far forward as possible but to do that the filler would be inaccessible, and the top hose was the wrong size and in the wrong place. The top mounts were wrong too as I wanted to use two existing holes in the front slam panel as the top mounts. No problem, I have a welder and I'm not afraid to use it. The engine has two top hose outlets (one from each head), hence the two tubes. The filler is now at the very top of the cooling system on (what would have been) the thermostat housing.
3 points
-
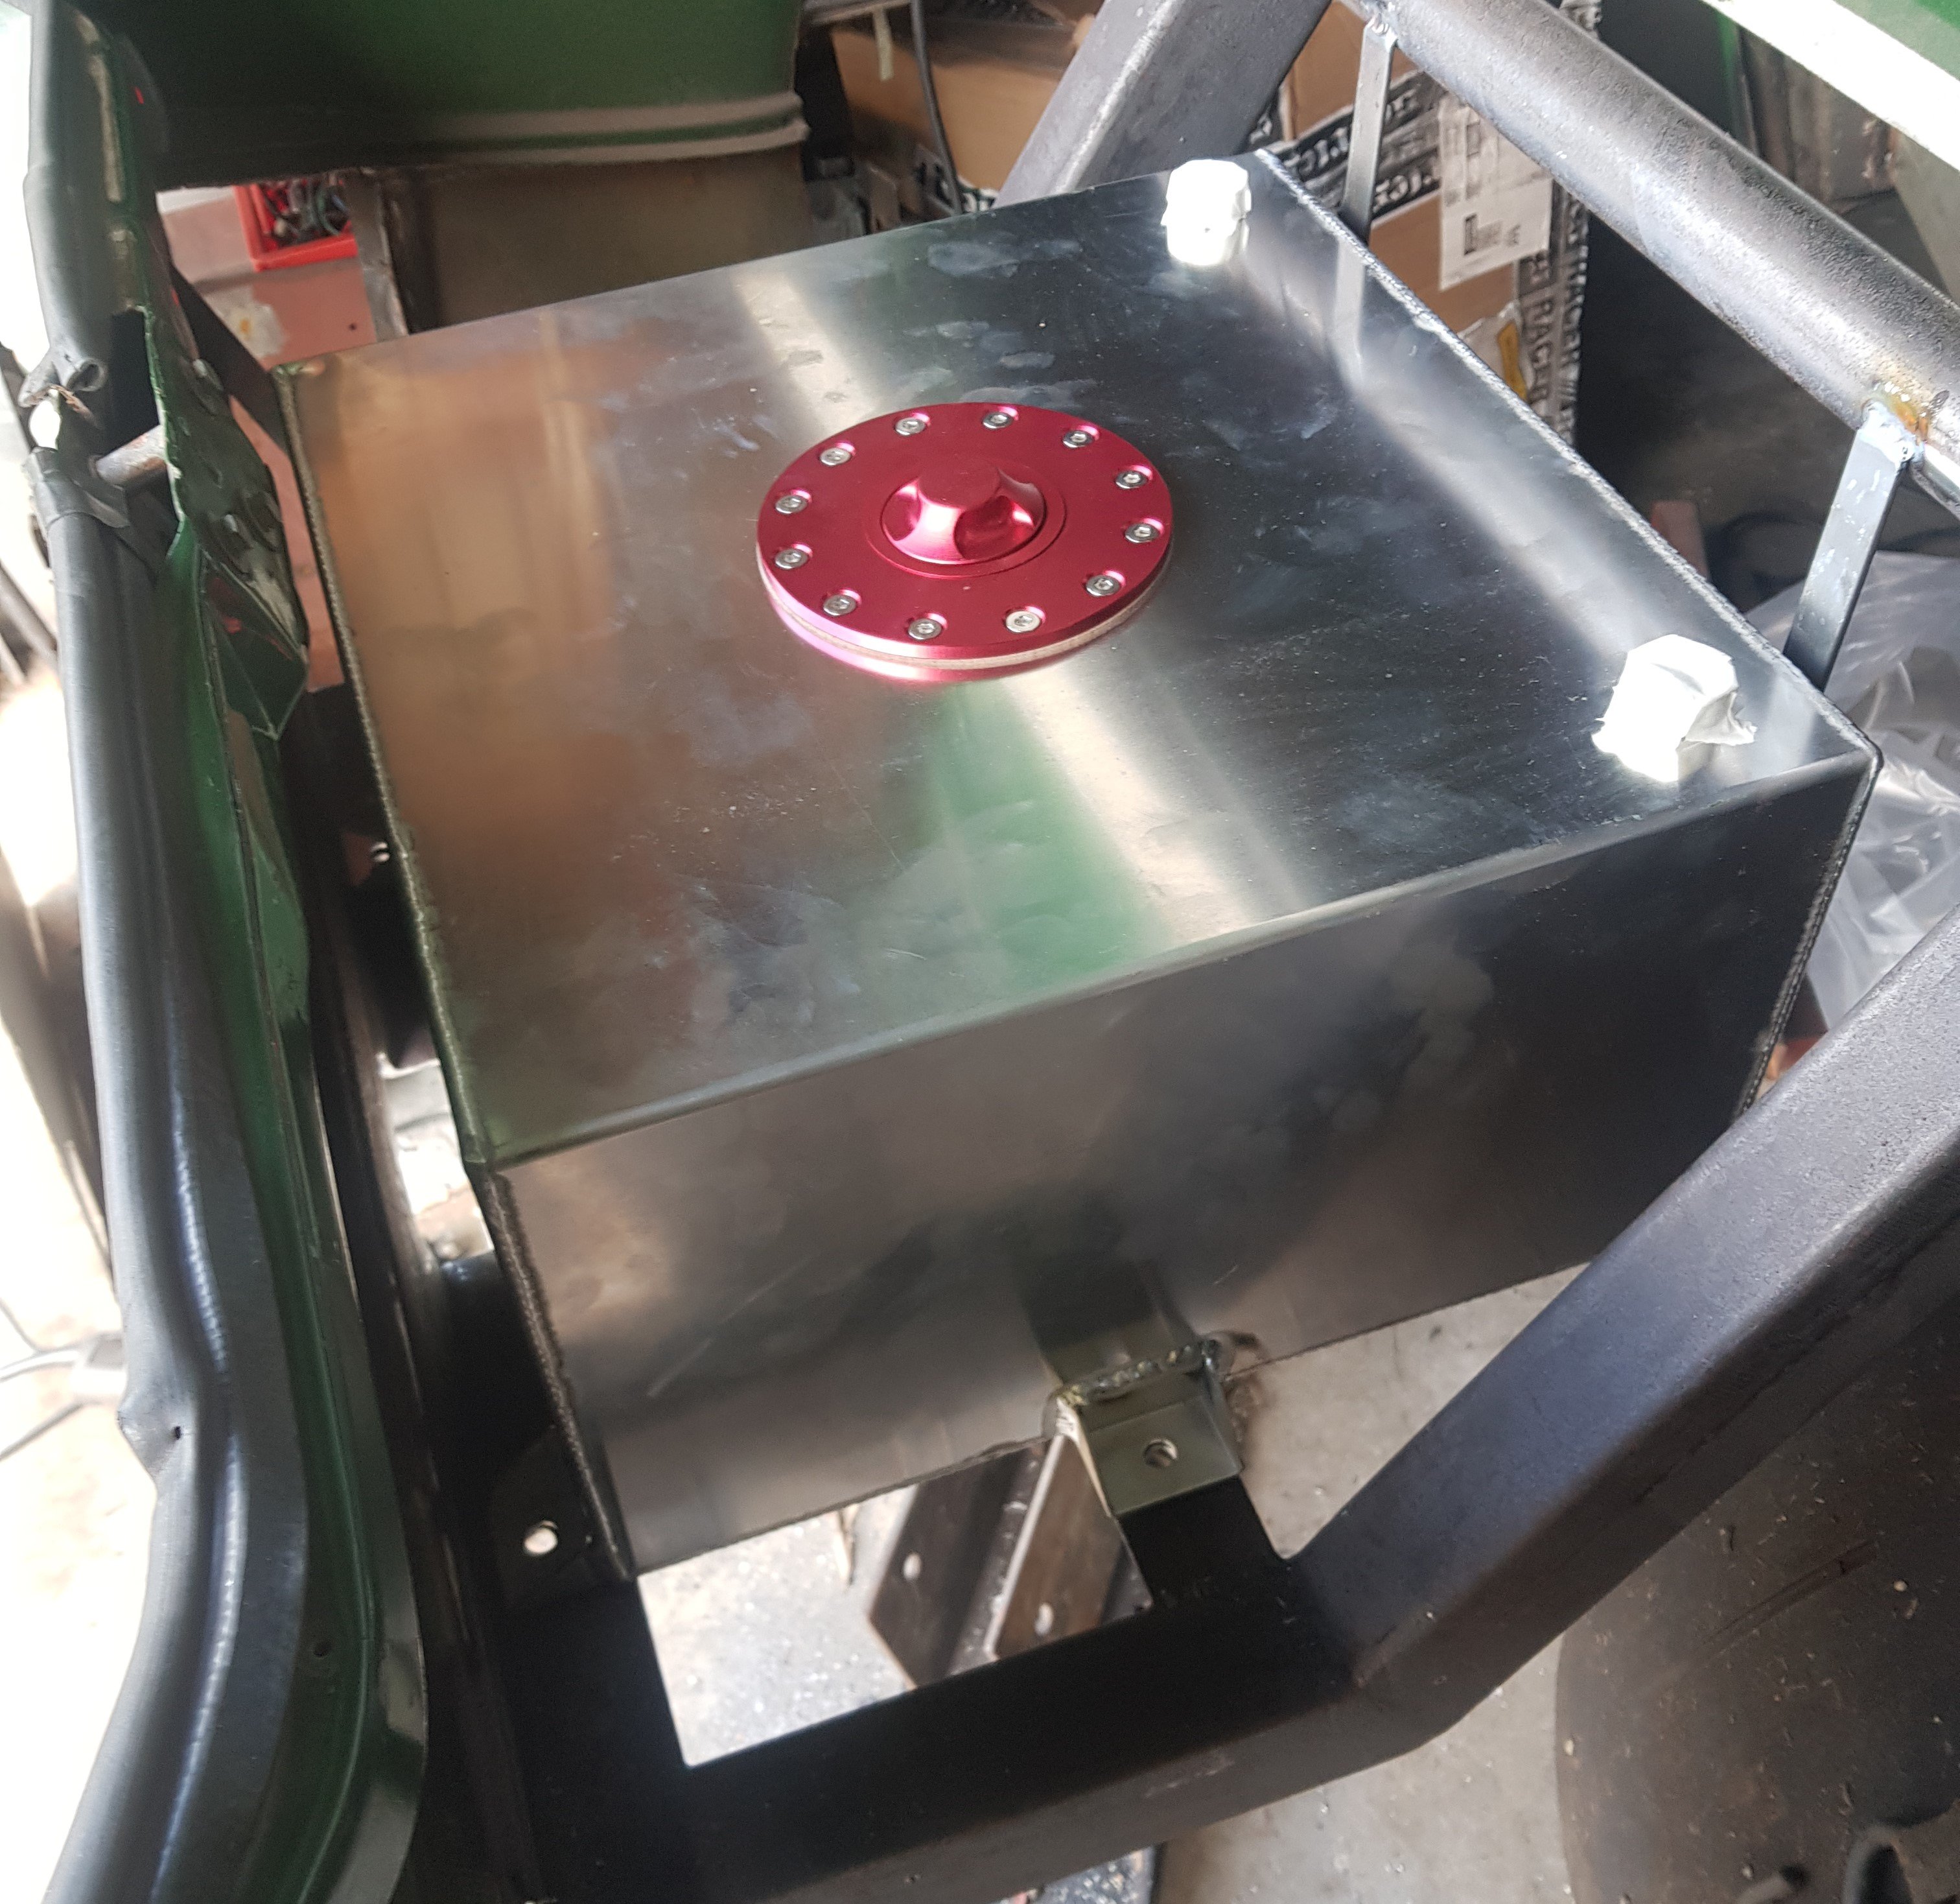
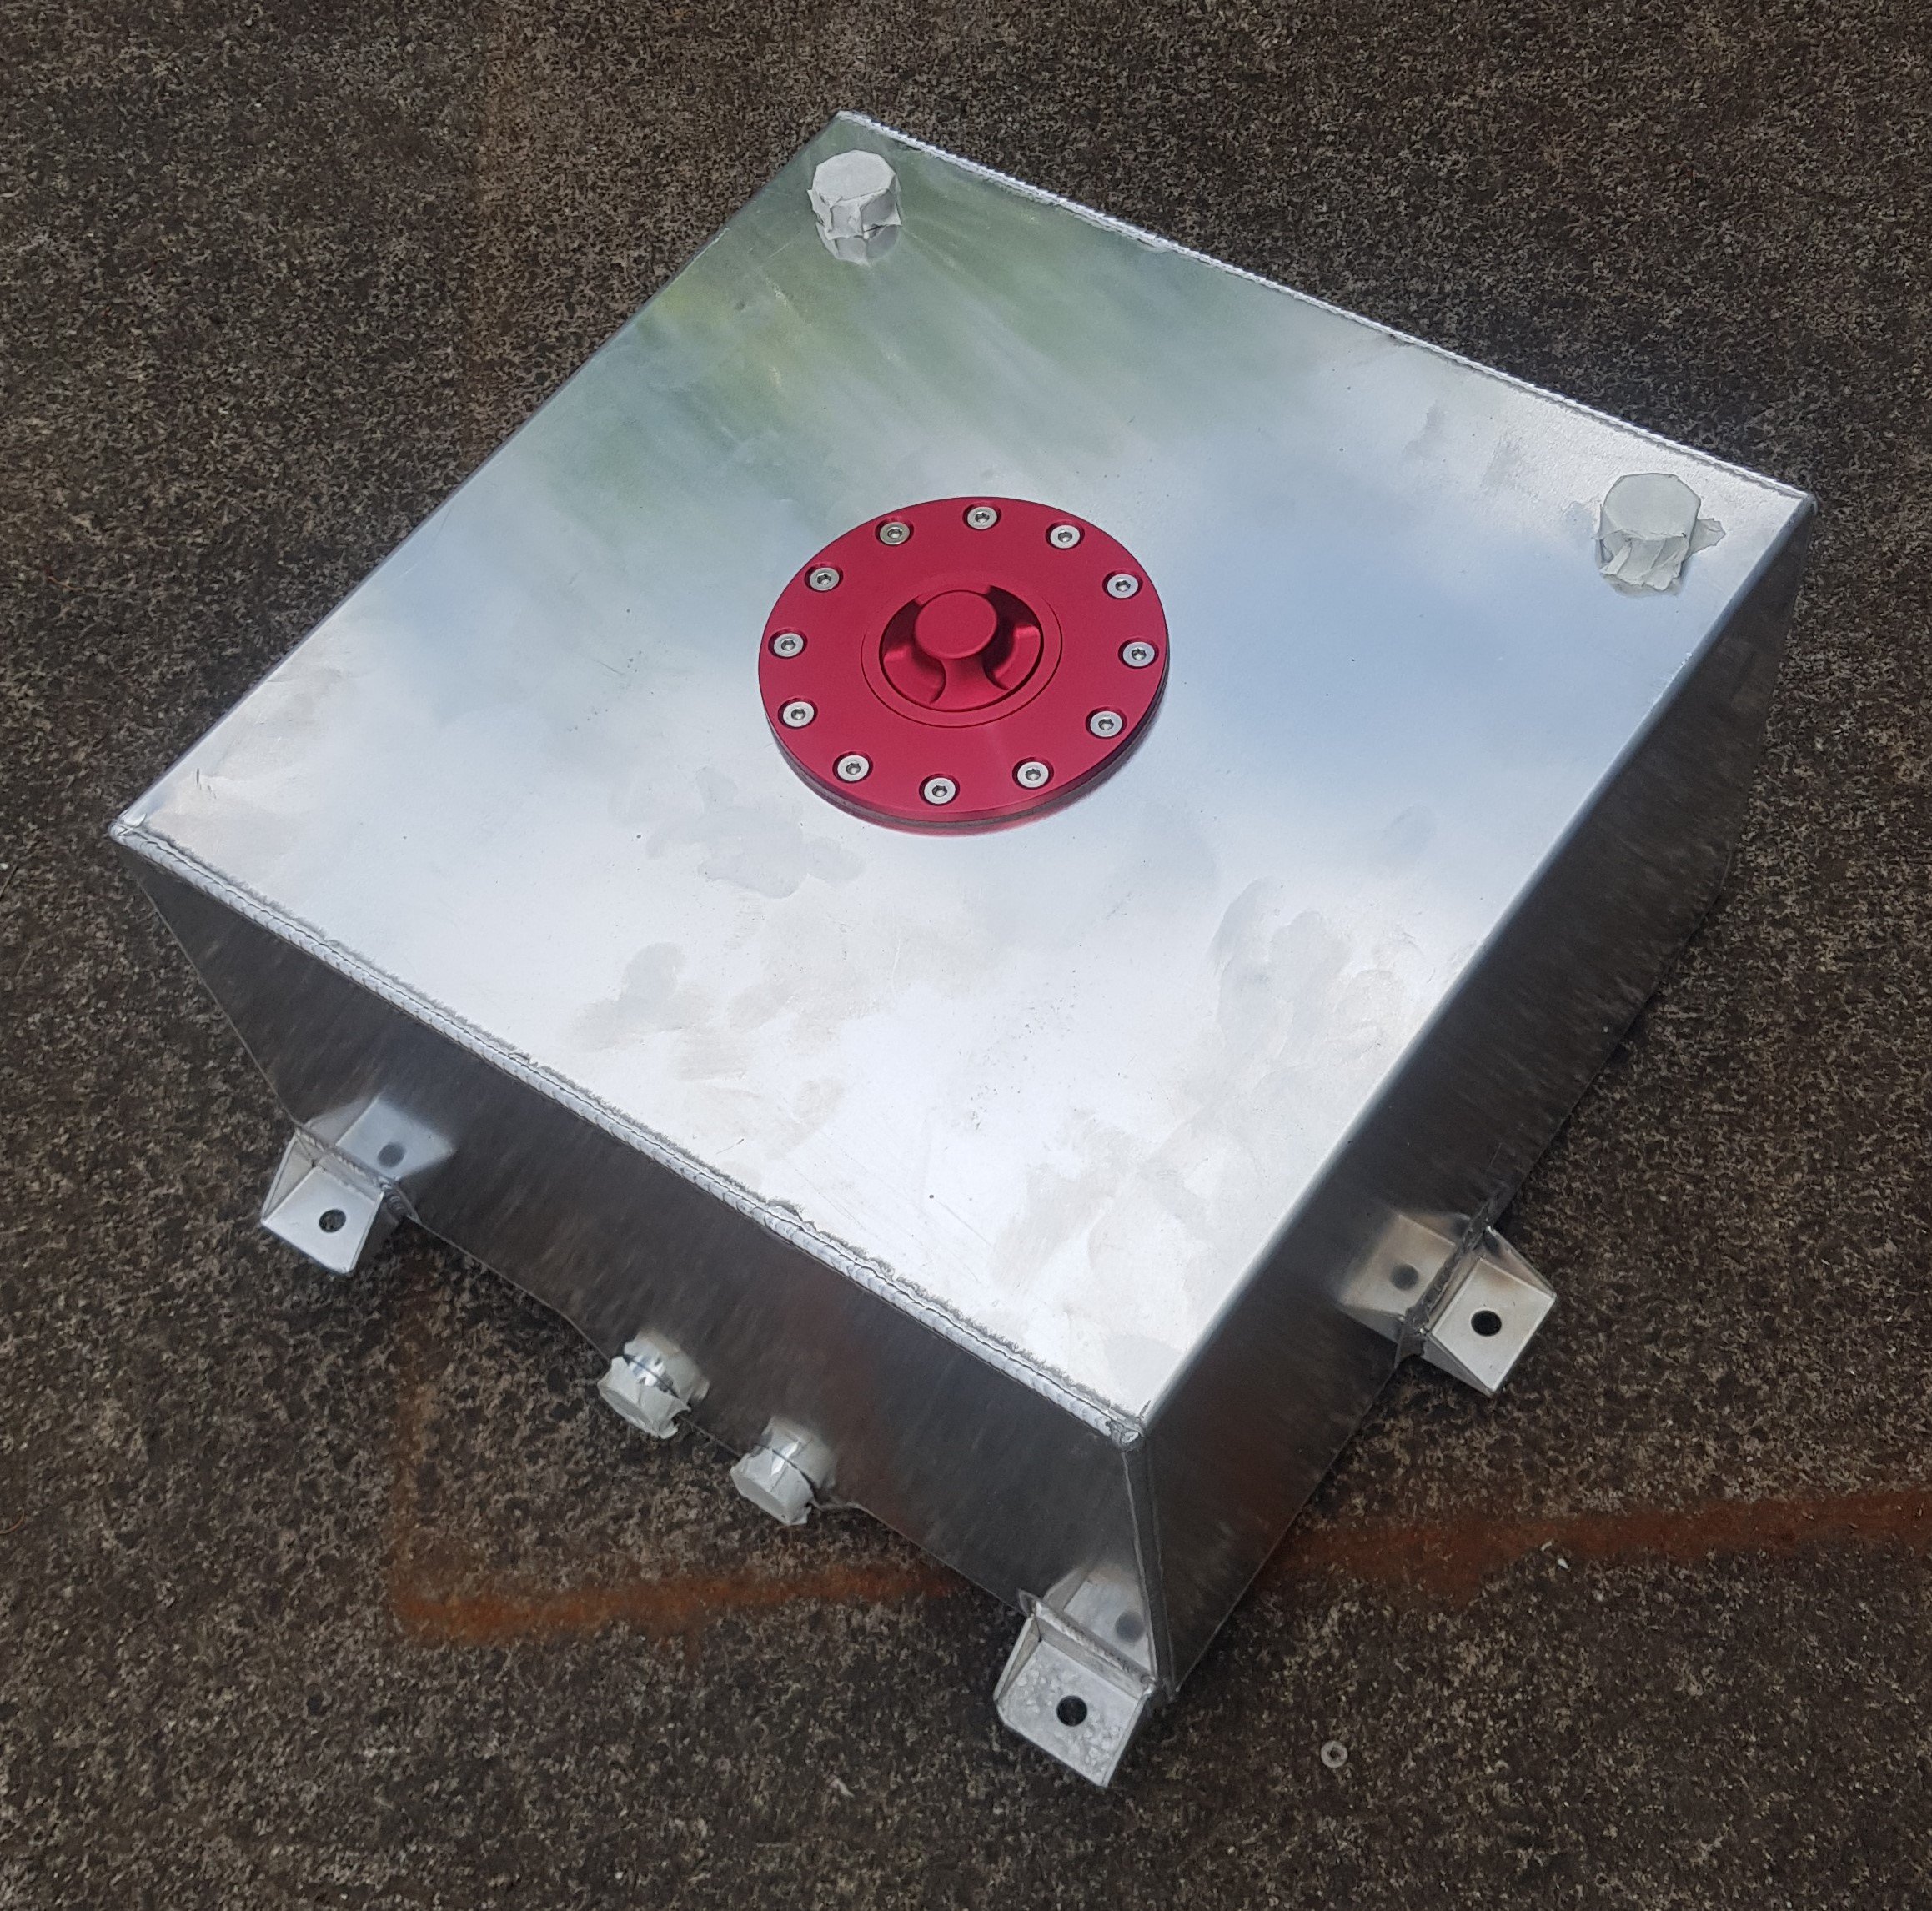
At the front of the tank I've added these two support straps: I'm not sure they're 100% necessary, but best be safe than sorry. They will have a panel between them and the tank, and the tank will be mounted on rubber strips. The tank sits so far back that the fuel feeds will have to come through the rear panel. This won't be a problem as there's loads of space between the rear panel and the bumper.
3 points
-
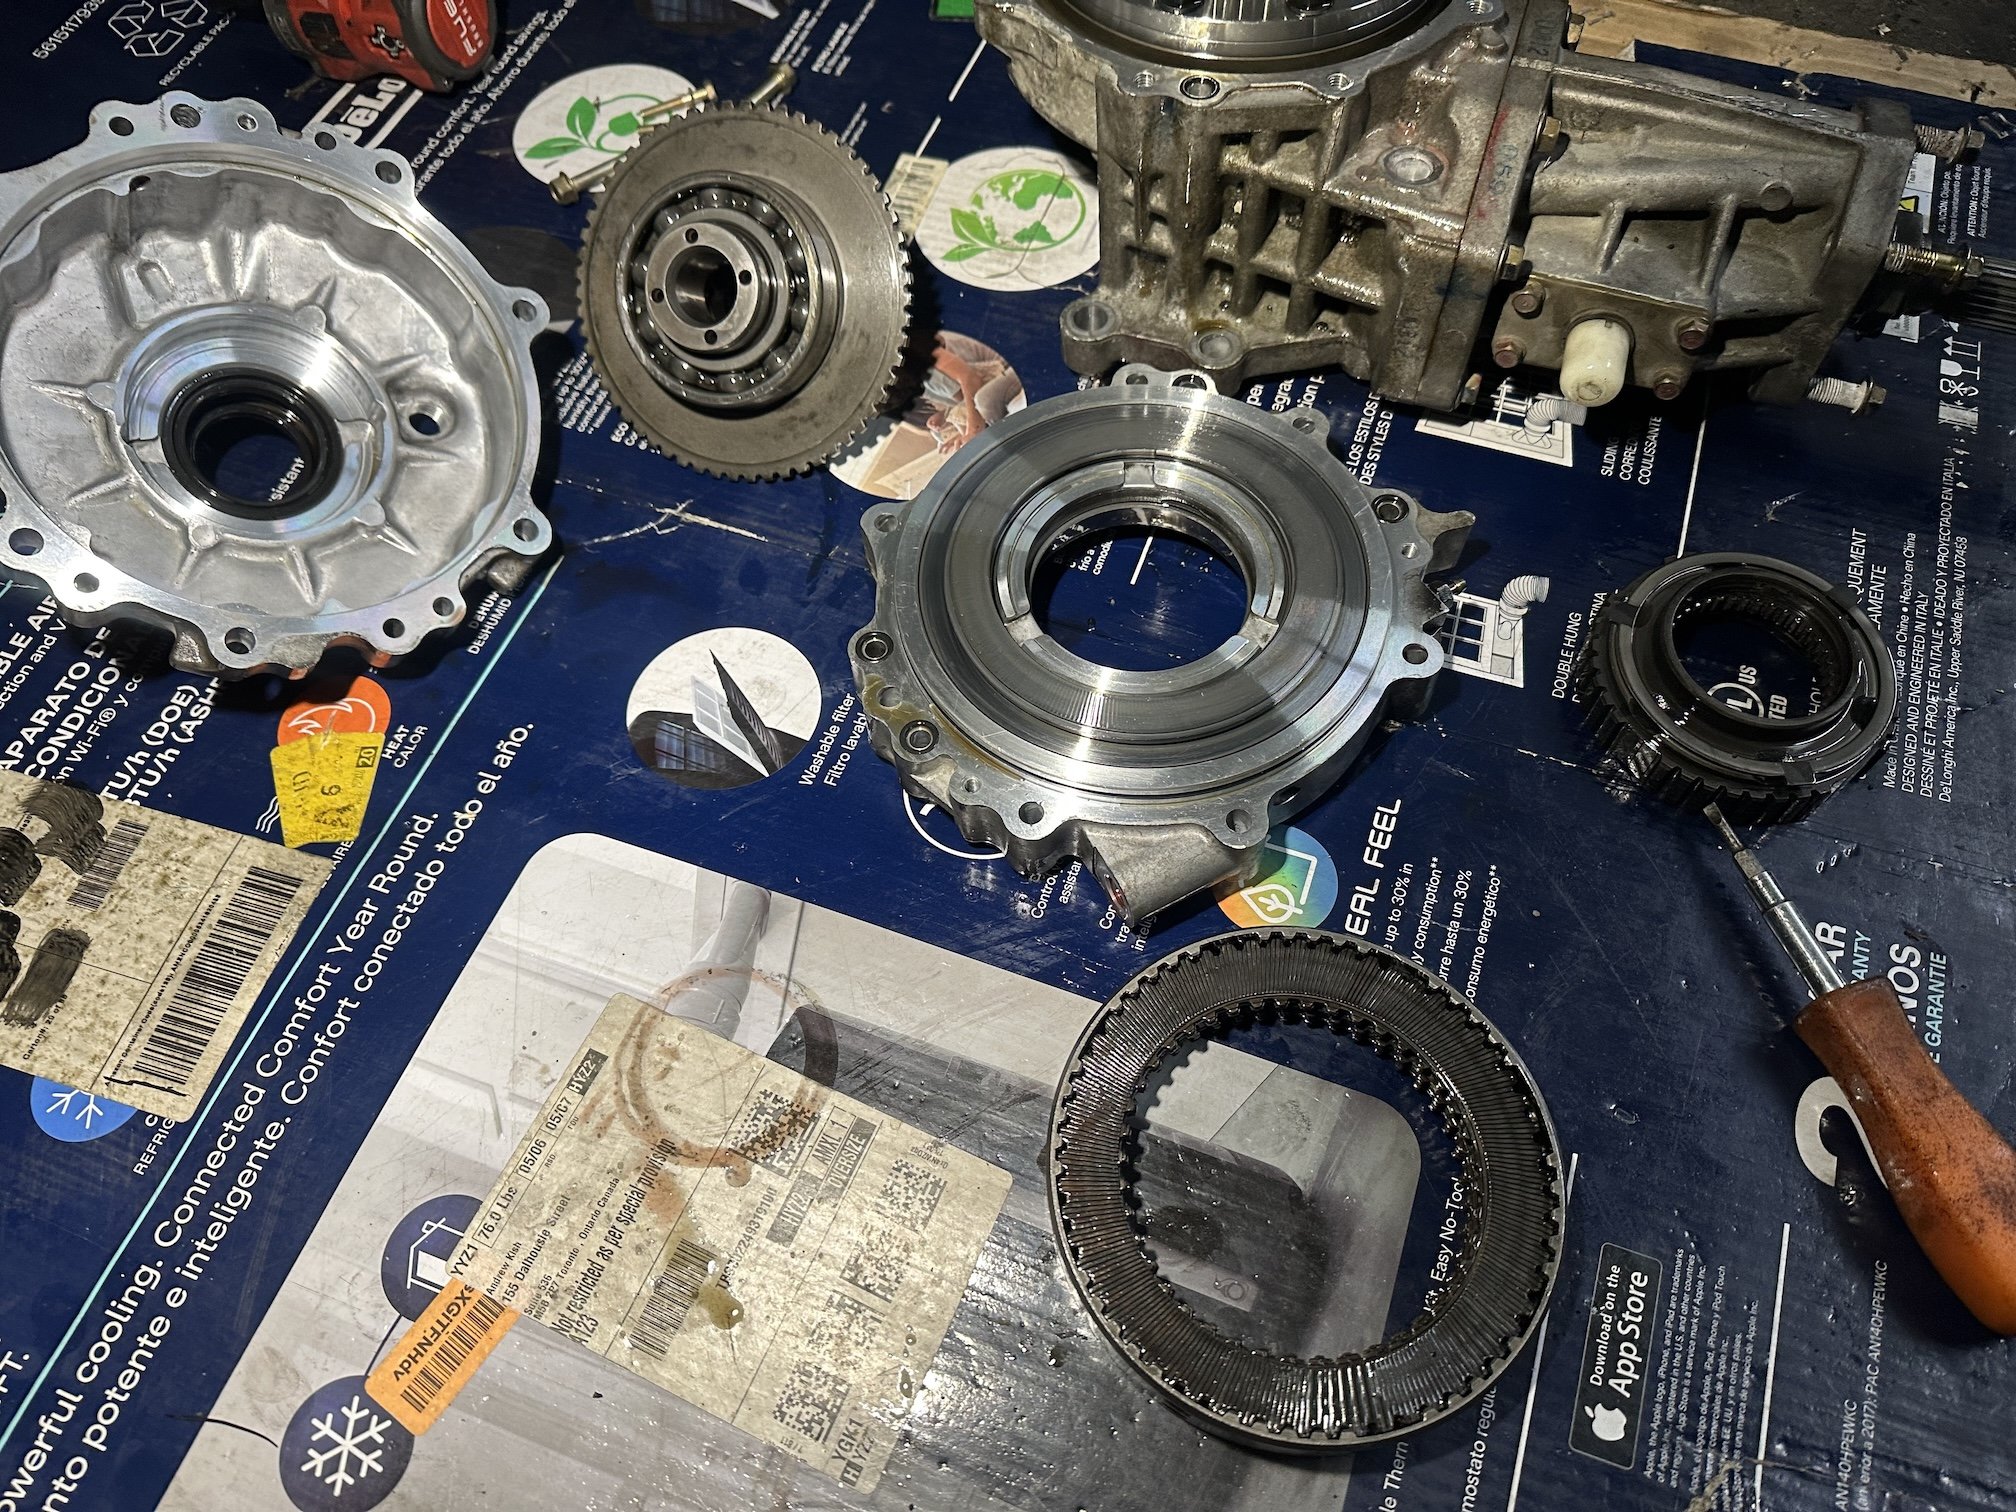
And that just leaves the transfer case to now come out. With the transmission out of the engine bay, I was able to lift the engine up and pull it forward and that gave me enough clearance to twist the transfer case 90deg and pull it right out of the transmission sized hole. No need to drop the crossmember like you usually would have to in order to remove the transfer case with the gearbox still in the car. Pulled the ACD and end cover of the existing transfer case apart to check its condition - it is in MUCH better state than the donor Evo 8 RS transfer case. I'm going to swap over the ACD section and end cover over to the Evo 8 RS transfer case. Hopefully there are no issues to mix and match.
3 points
-
I made up a new ply panel for the dash and glued it on. A bit more finishing work to do then on with the varnish.
3 points
-
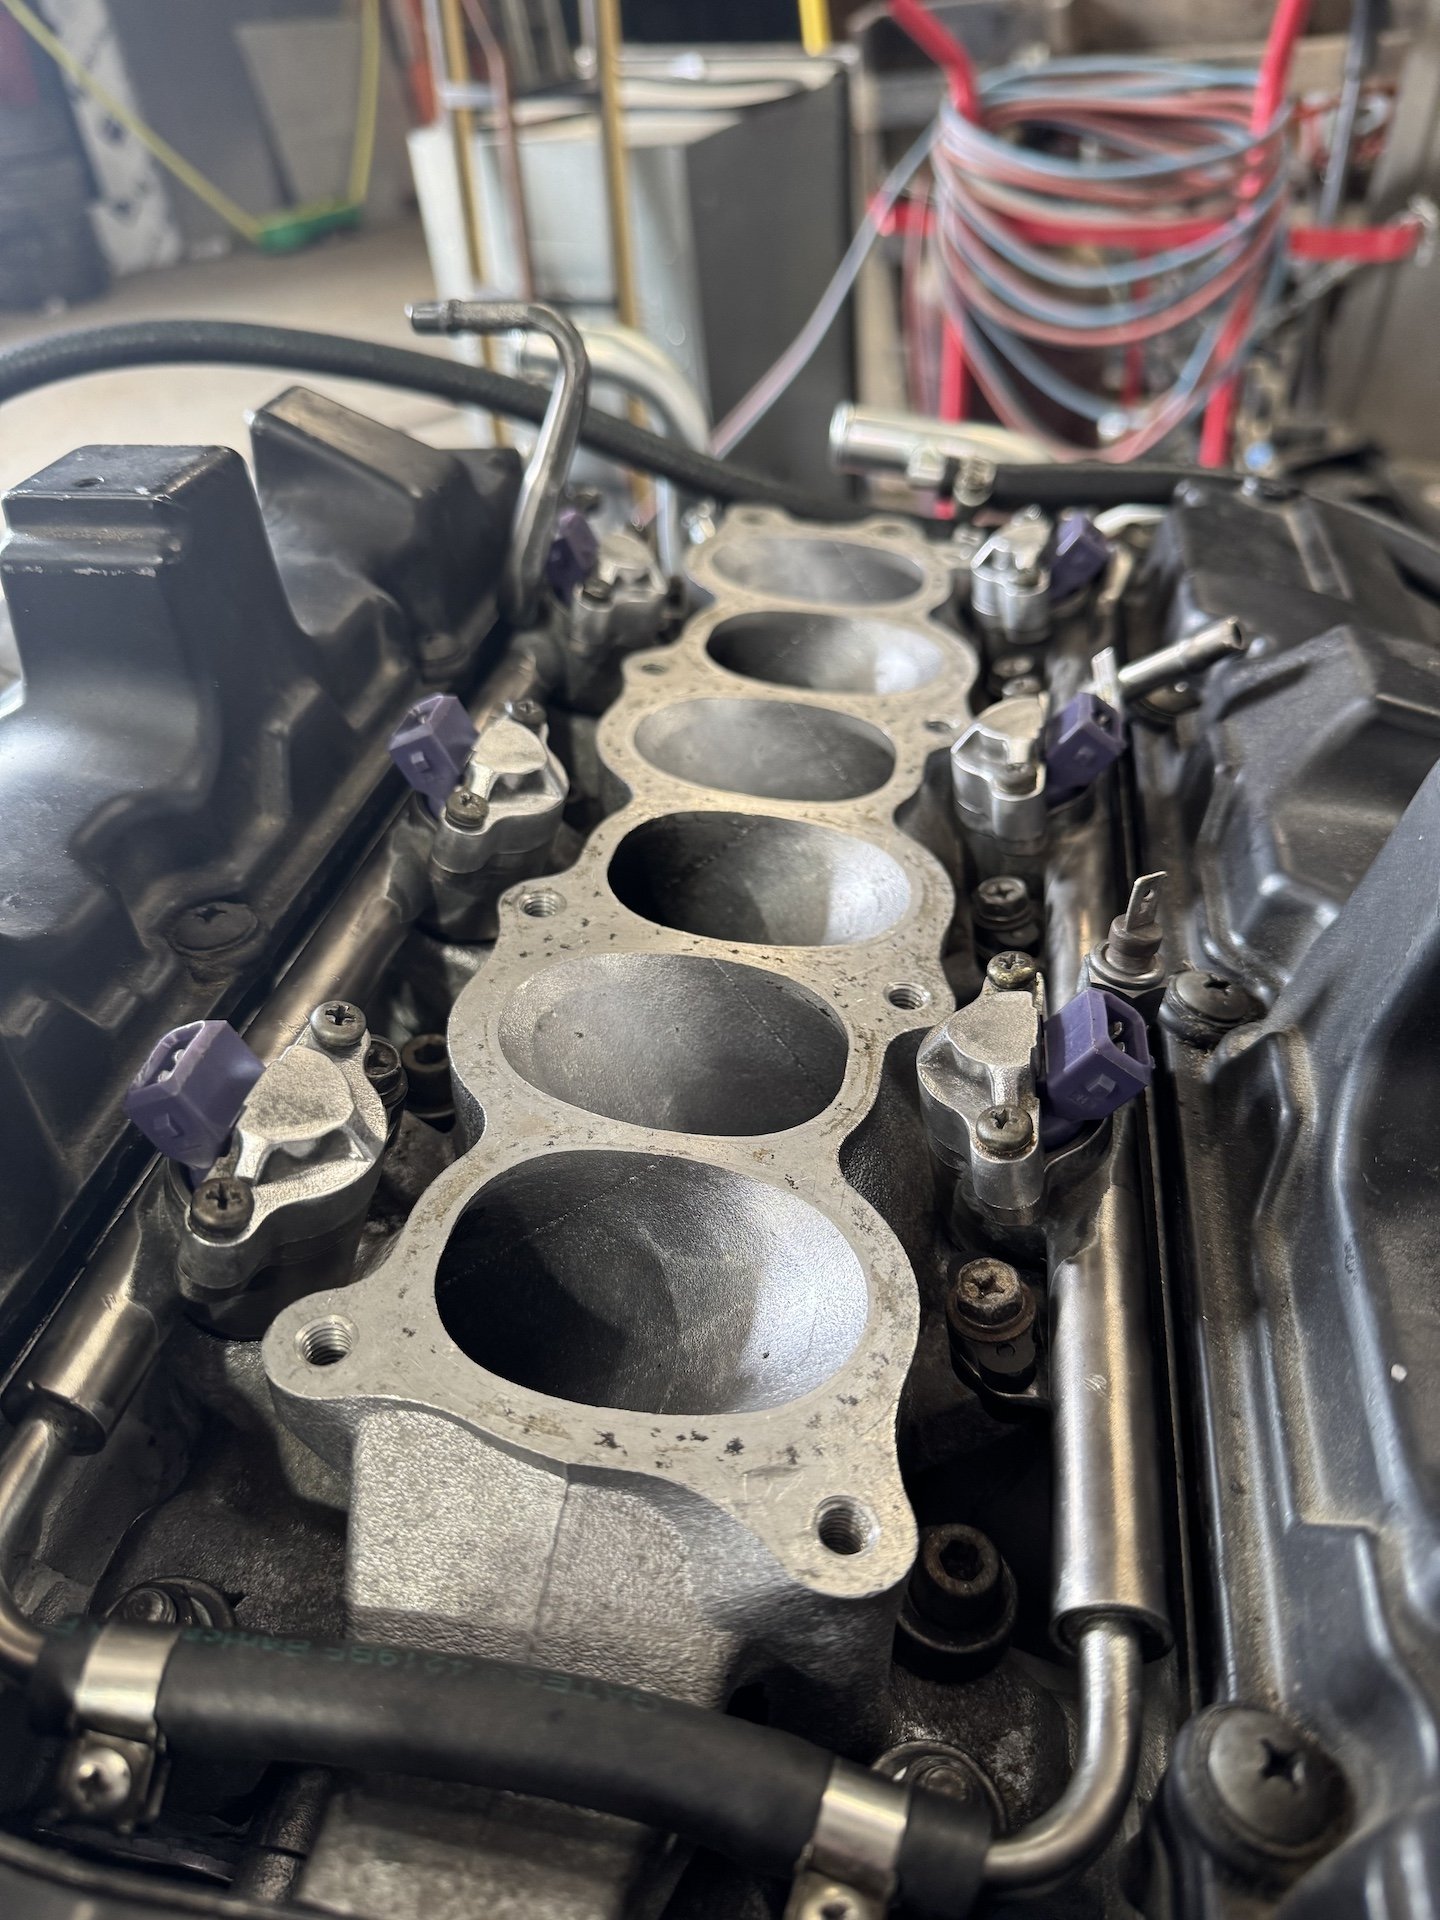
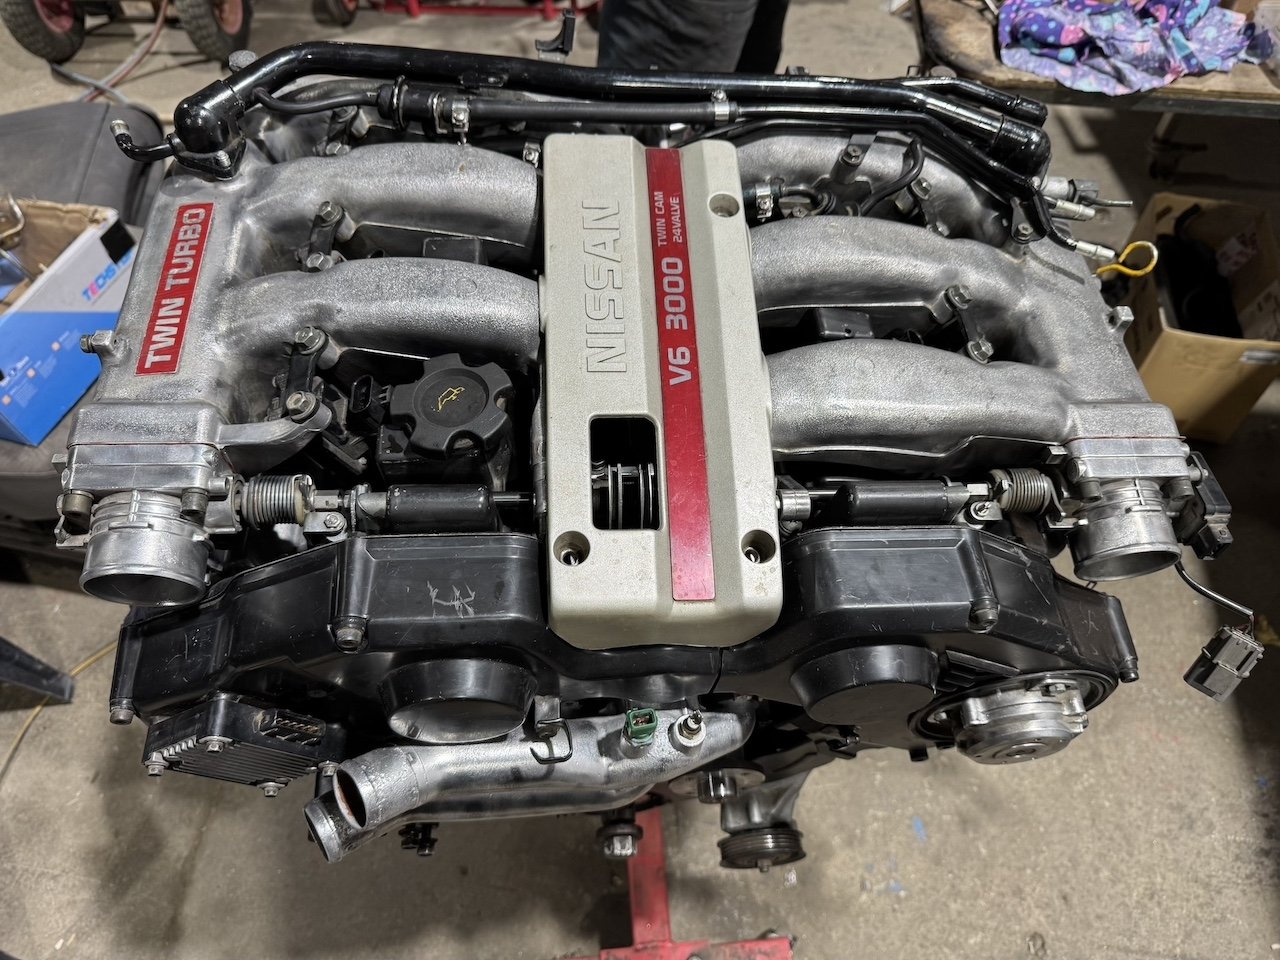
Put on some new studs and got the turbo's bolted on only to discover that there was a gasket missing for the intake - only another delay...but they eventually arrived with a few other little bits and pieces. Got some reconditioned injectors from Oz which saved a few $$ and got them fitted along with some new VTC valves and an EGR delete kit. I also replaced all the fuel hoses and a bunch of water pipes ect at the back of the block. Gave the plenum a clean up and replaced the gaskets for the throttles and AIFF too. looks like at some point someone spilled some resin or epoxy on it but managed to remove most of the visible stains. Now i'm just waiting on one more pipe and she's ready to be refitted back into the car!
3 points
-
I fished the CRM50 out of storage last night. Started on the second kick. About to give it a last minute birthday: Oil change New chain Whip the tire off and see if the rim is going to eat the tubes again Try and fix the indicators I forgot how speedy it is compared to the V50 and ST90 that I've been riding lately.2 points
-
Finally got around to putting the pertronix module and its associated coil in the car. It was very straightforward and didn’t take long, the adapter plates were a perfect fit and it came with all the bits & bobs required. All I can say is wow - what a difference. I didn’t think it would make much difference at all vs a near new set of points but it really has. The car starts immediately vs a couple of turns prior, is much punchier - picks up revs in gear significantly quicker. The exhaust even sounds better. I am thoroughly convinced of the benefits of electronic ignition. I will keep an eye out for when the kits go on sale through summit as I would like to carry a spare module in the boot.2 points
-
Fuel tank is an aluminium unit. It has a rear 'sump' with two outlets, and ports in the top for breather and fuel return. It's not a big tank, but the available space is so small that there was a risk of the front mount tabs interfering with the rear springs, so these were cut off and relocated to the sides:
2 points
-
An outlaw could make an arm that was not adjustable and put a nolathane/superpro/etc sticker on it so it looks like an aftermarket one but that would be illegal of course2 points
-
If it still has a standard steel sump pan, check the flange on it is flat before refitting. People always nip the bolts up too tight to try to fix a leak, and end up warping the flange around the bolts and it'll never stop leaking until thats fixed2 points
-
Are they called iceberg because you can only see 10% of the problems at first glance?2 points
-
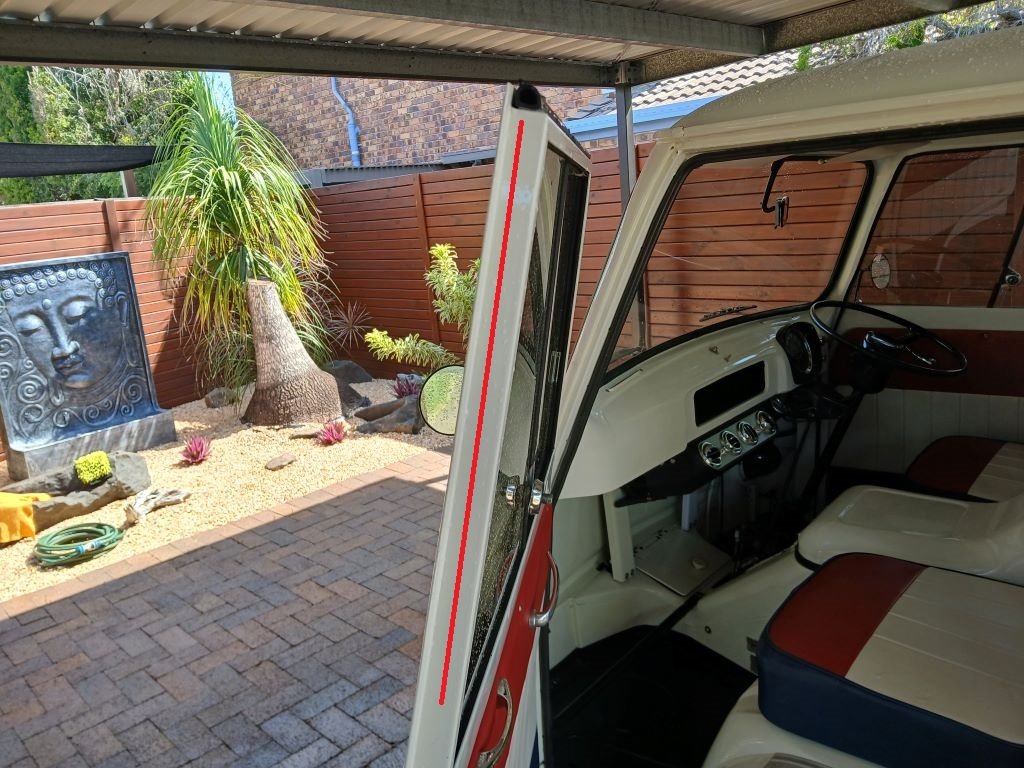
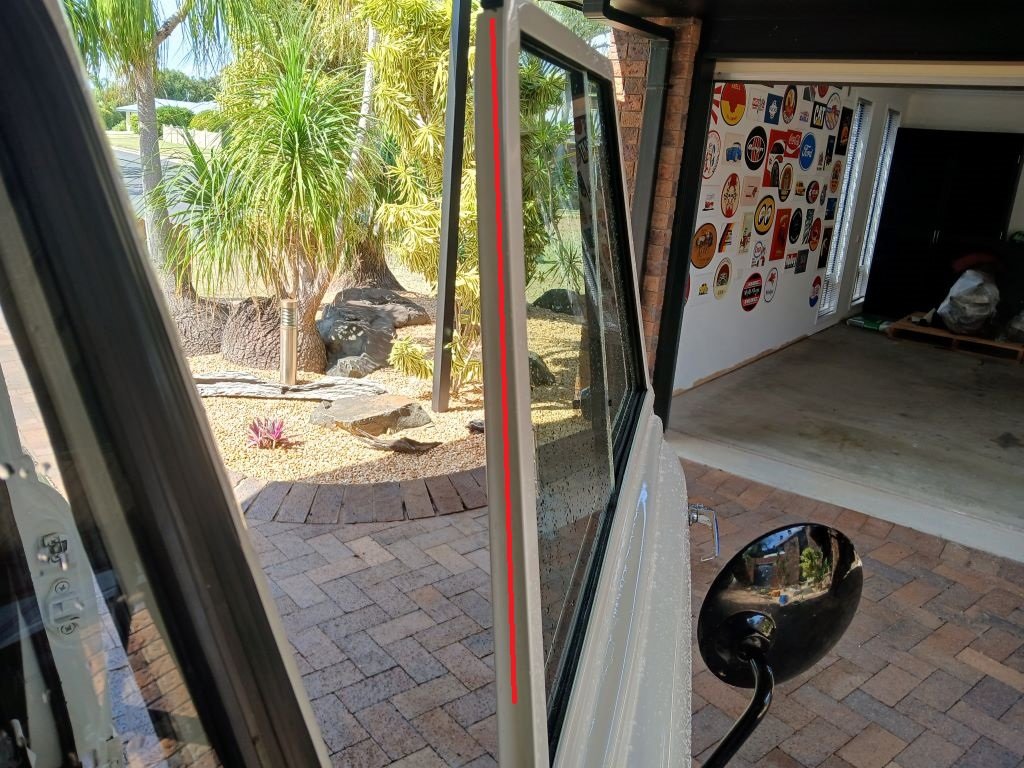
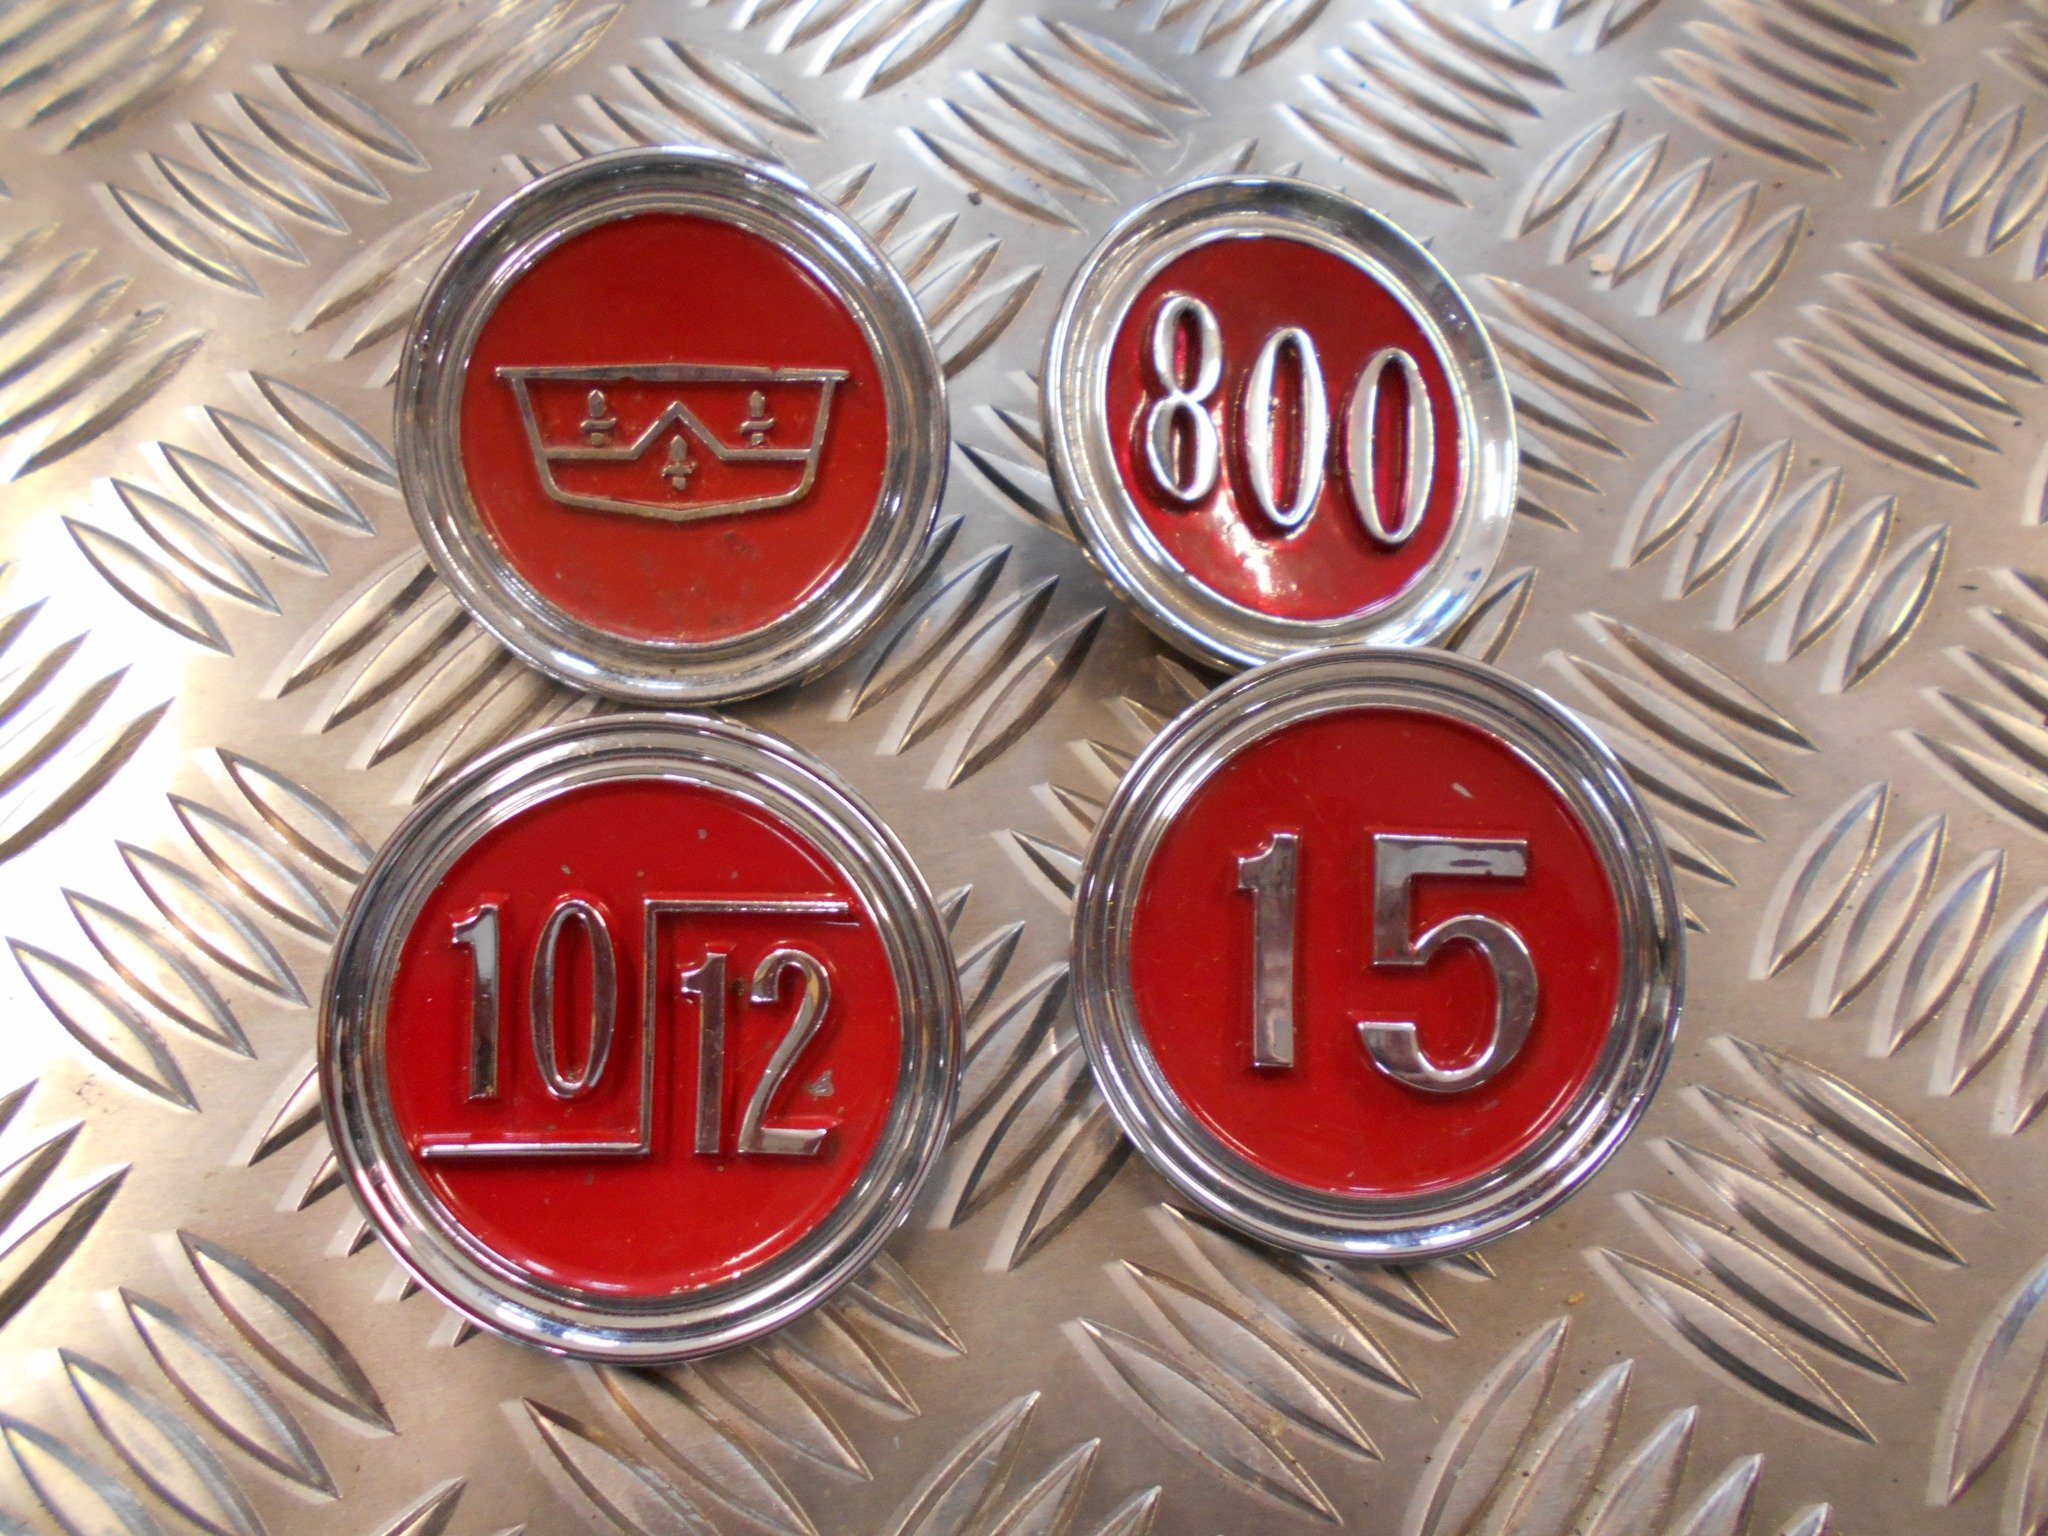
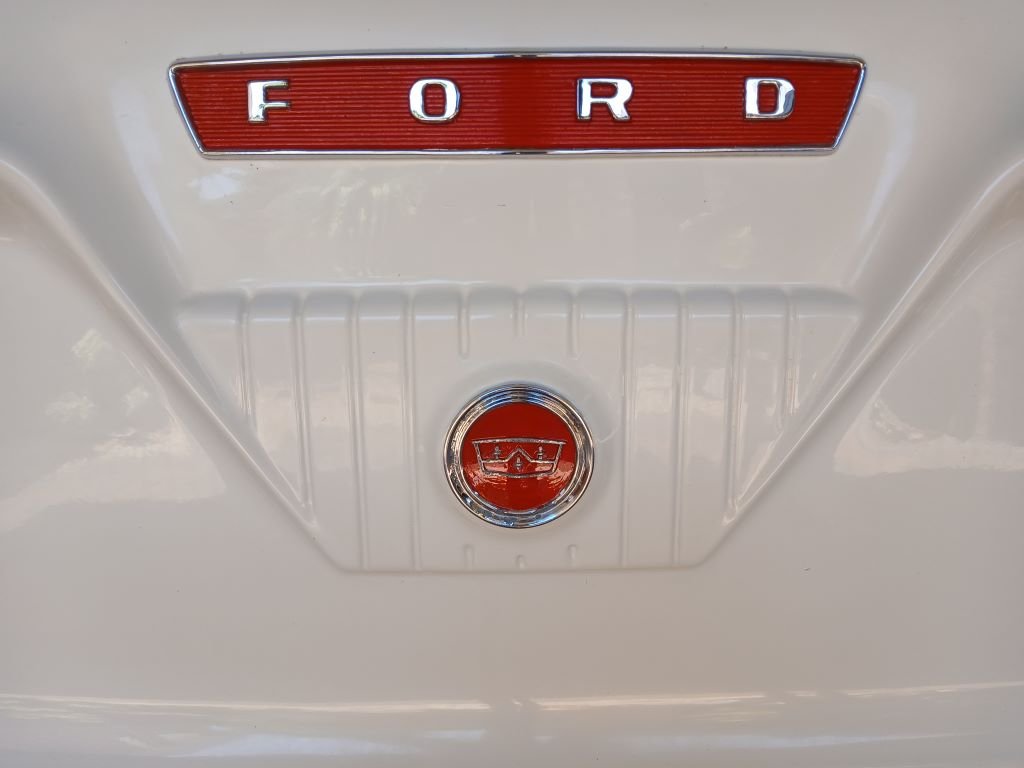
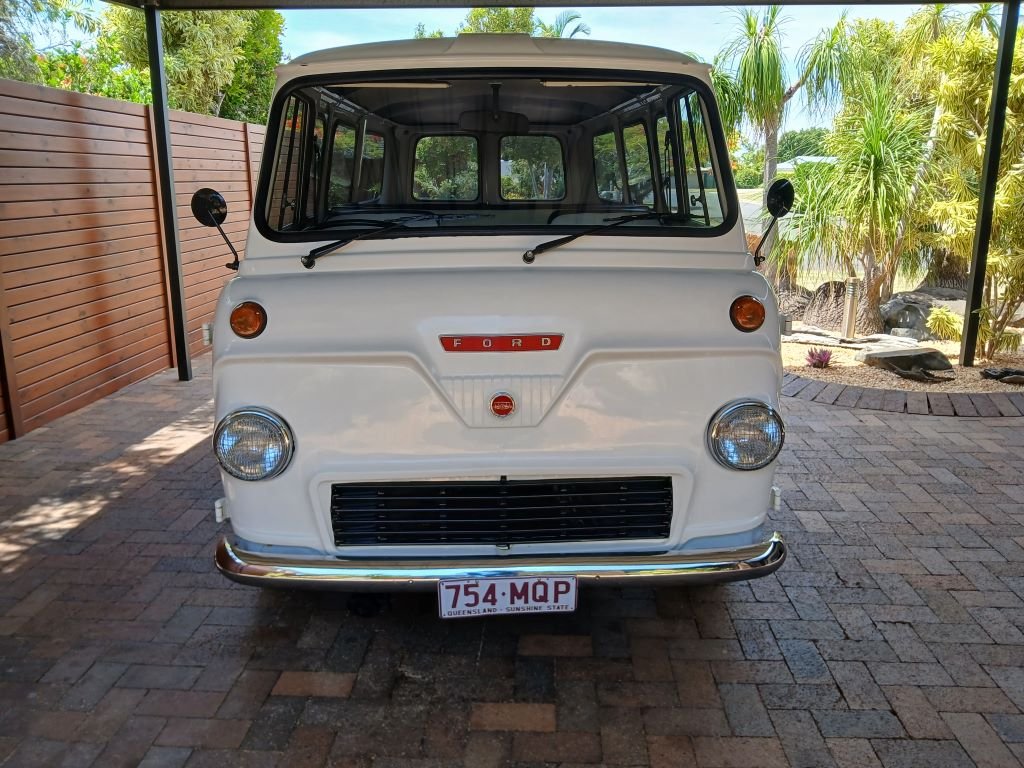
Okay, so today was bath day for the Thames and there were some mixed results in terms of the effectiveness of the new rubber strips that I fitted to the top of each door last Friday. The good news is that the door tops are now perfecly sealed. The bad news is that we are still experiencing water ingress down each side of the door. So I'm thinking that I need to run the same seal down each side of the door just to where the window ends as depicted by the red lines in these photos: Running 3 separate sections of seal on each door with tatty looking corner joints will send my OCD into overdrive, so I'm going to experiment with a few leftover offcuts to see if I can make a decent looking piecut for each of the 90 degree bends. If I can achieve that I'll bin the existing bits and stock up on some fresh lengths next time we do a town run. However, it's not all doom and gloom as yesterday we did a fairly long drive at speed and both Mrs Flash and I noticed that we have lost an annoying whistling wind sound that I had always assumed was coming from the sliding glass door windows. Turns out it was air coming in the top door gap that the new seal has solved. So one more for the win column. In other news I've been searching for a while for a new nose badge to replace my current one which as you will see in this image is looking a bit crusty: It's the only badge on the entire van that hasn't been replaced with a new one. This particular badge is pretty rare as they were only fitted to the vans assembled outside of Dagenham, in other words those vans supplied as "knocked down" kits to other countries. This image shows my badge and the 3 other nose badges that were fitted to the UK assembled vans: Sharing some useless information with you all - the badges depicting the 10/12 and the 15 refer to the CWT (hundredweight) loading capacities and the 800 was another derivative of the van. I have encountered a few NOS examples of the "15" badge on eBay UK, but as I said my badge is rare as. A few months ago I put the word out on the Thames 400e FB page that I was looking for a good nose badge, but have had no luck tracking one down thus far, so today I broke down and asked Mrs Flash to give my existing badge a bit of a birthday with some enamel model paint that I bought a while back. It's not perfect, but it looks way better than it did: And it looks even better from a few feet away: Thanks for reading.
2 points
-
Omfg big day yesterday. Towed it to Mosgiel due to paranoia about issues on the way, 3 and a bit hours. Sat in truck working for 2 hours waiting for certifier to finish whatever he was doing. Checked off the list, road-test it and steering is good, brakes are not. Get back and rears are cold. So the stupid cuntofavalve I changed doesn't like the cruiser drum cylinders or something and was shutting off the rear brakes due flow being to high and it thinking there's a break in the line. I messed with it for an hour then started swearing. Old mate finds an old residual pressure valve meaning i might be able to bypass the combination valve. Fittings weren't right, but BNT is round corner, but it's 4:45 , BNT doesn't have right fittings. Anyway cobbled it together, had to drill out a fitting and redo a flare in the engine bay, which actually sealed, and got brakes working, and passed brake test. Then I got to tow it home, got back at 11pm. Way past my usual knockoff Goodness me
2 points
-
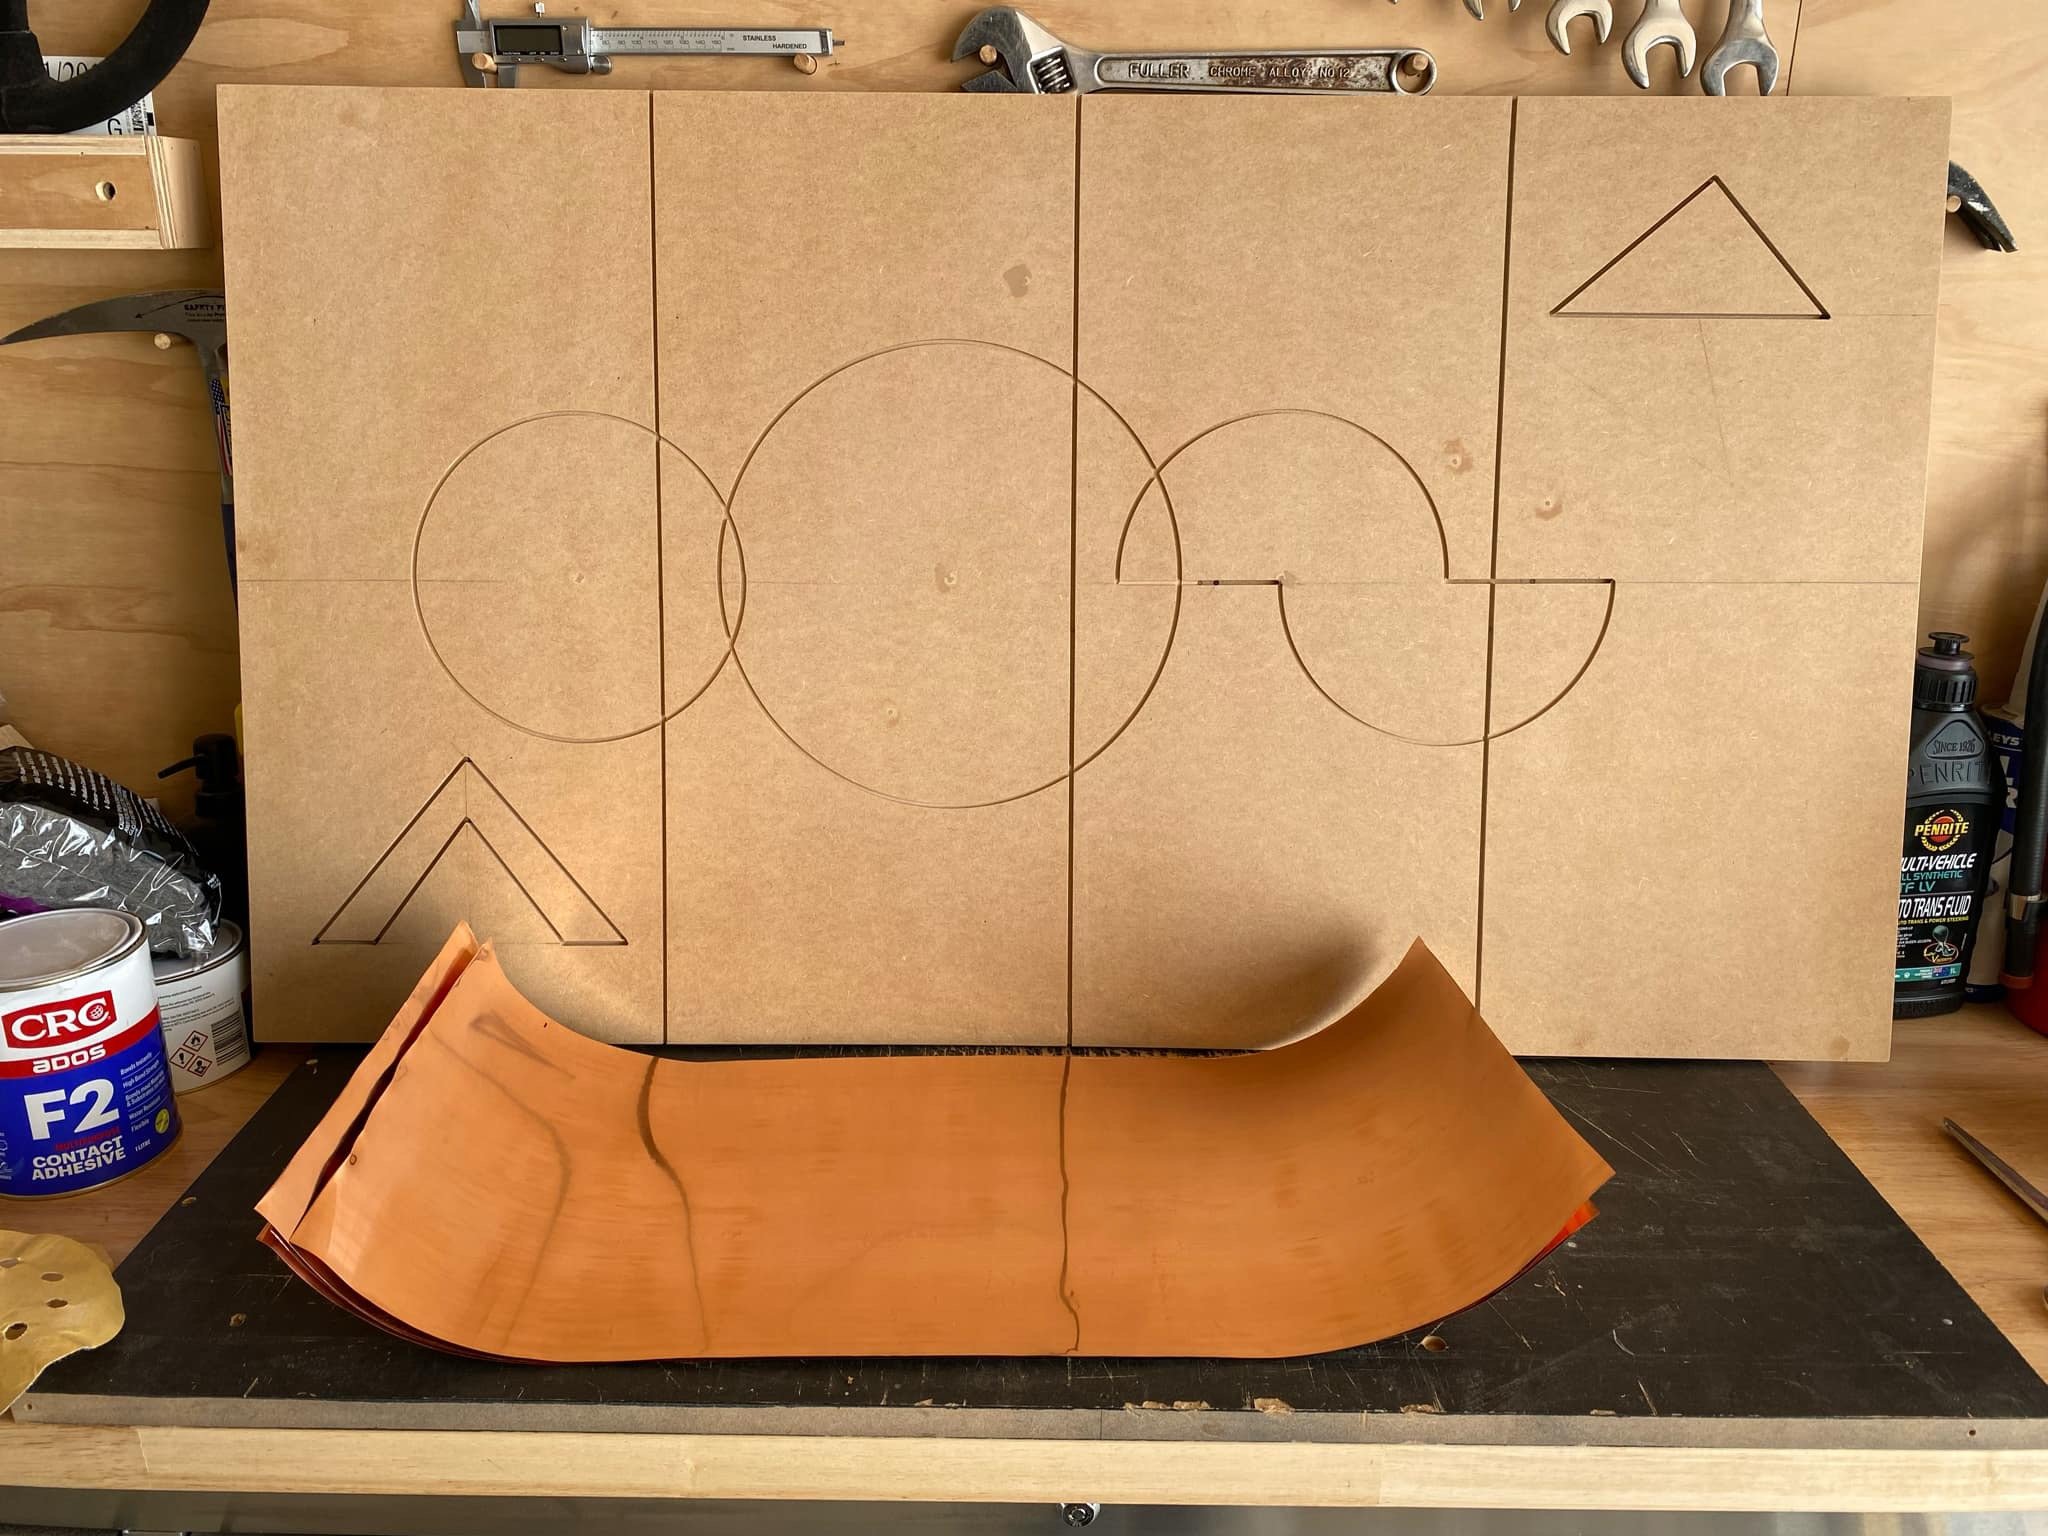
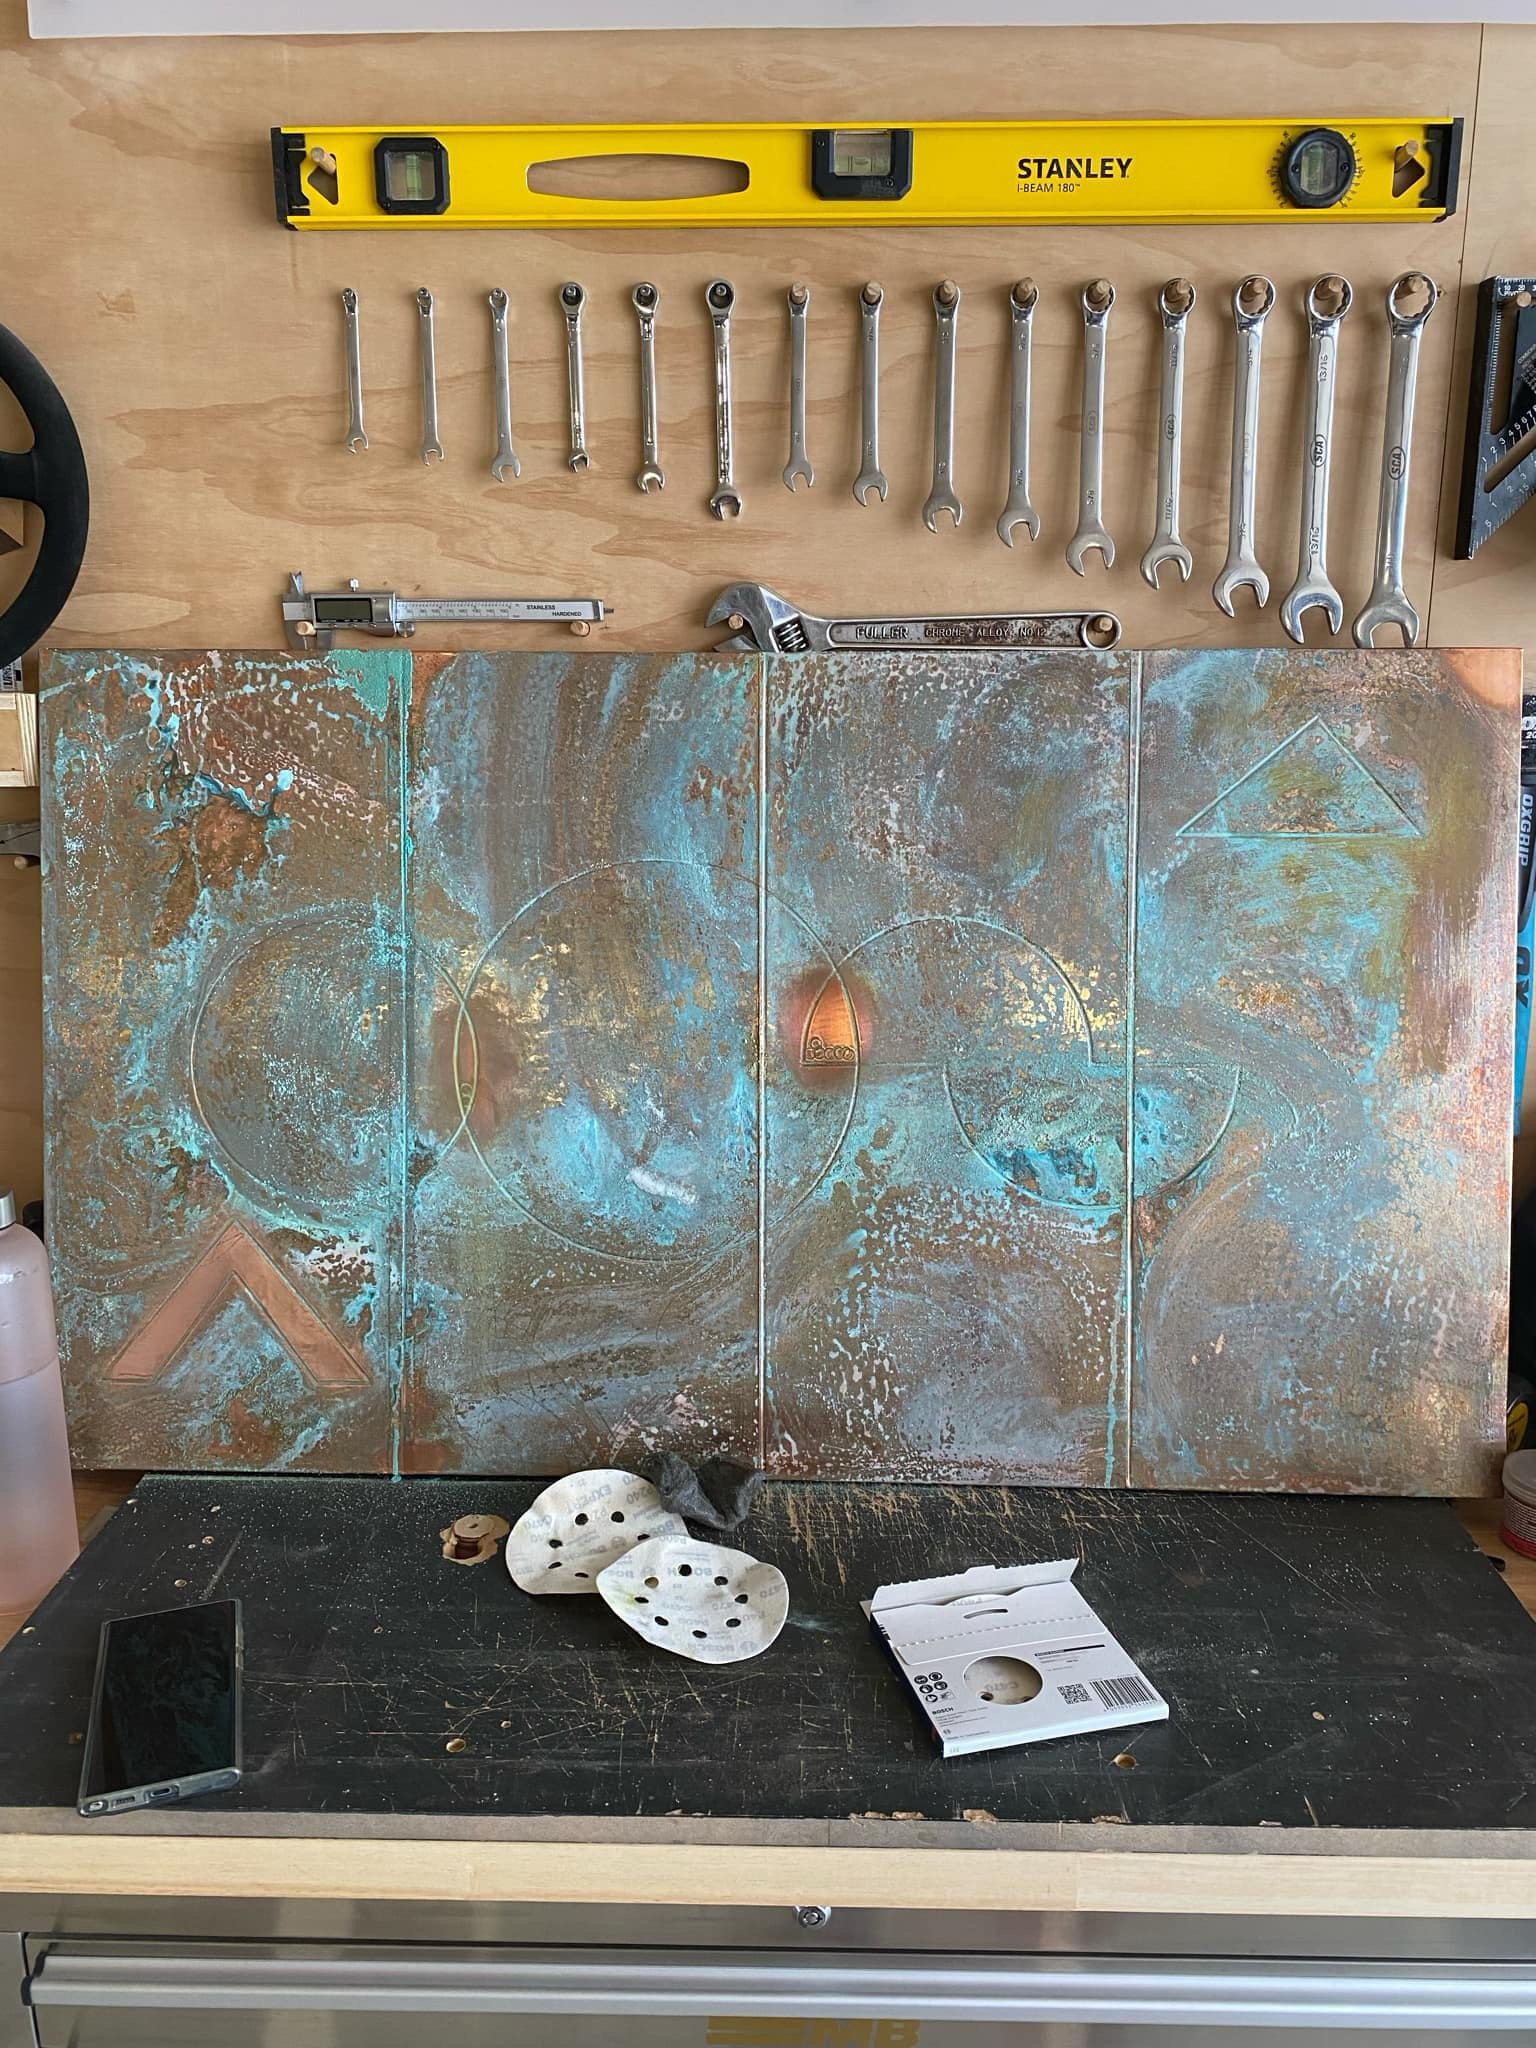
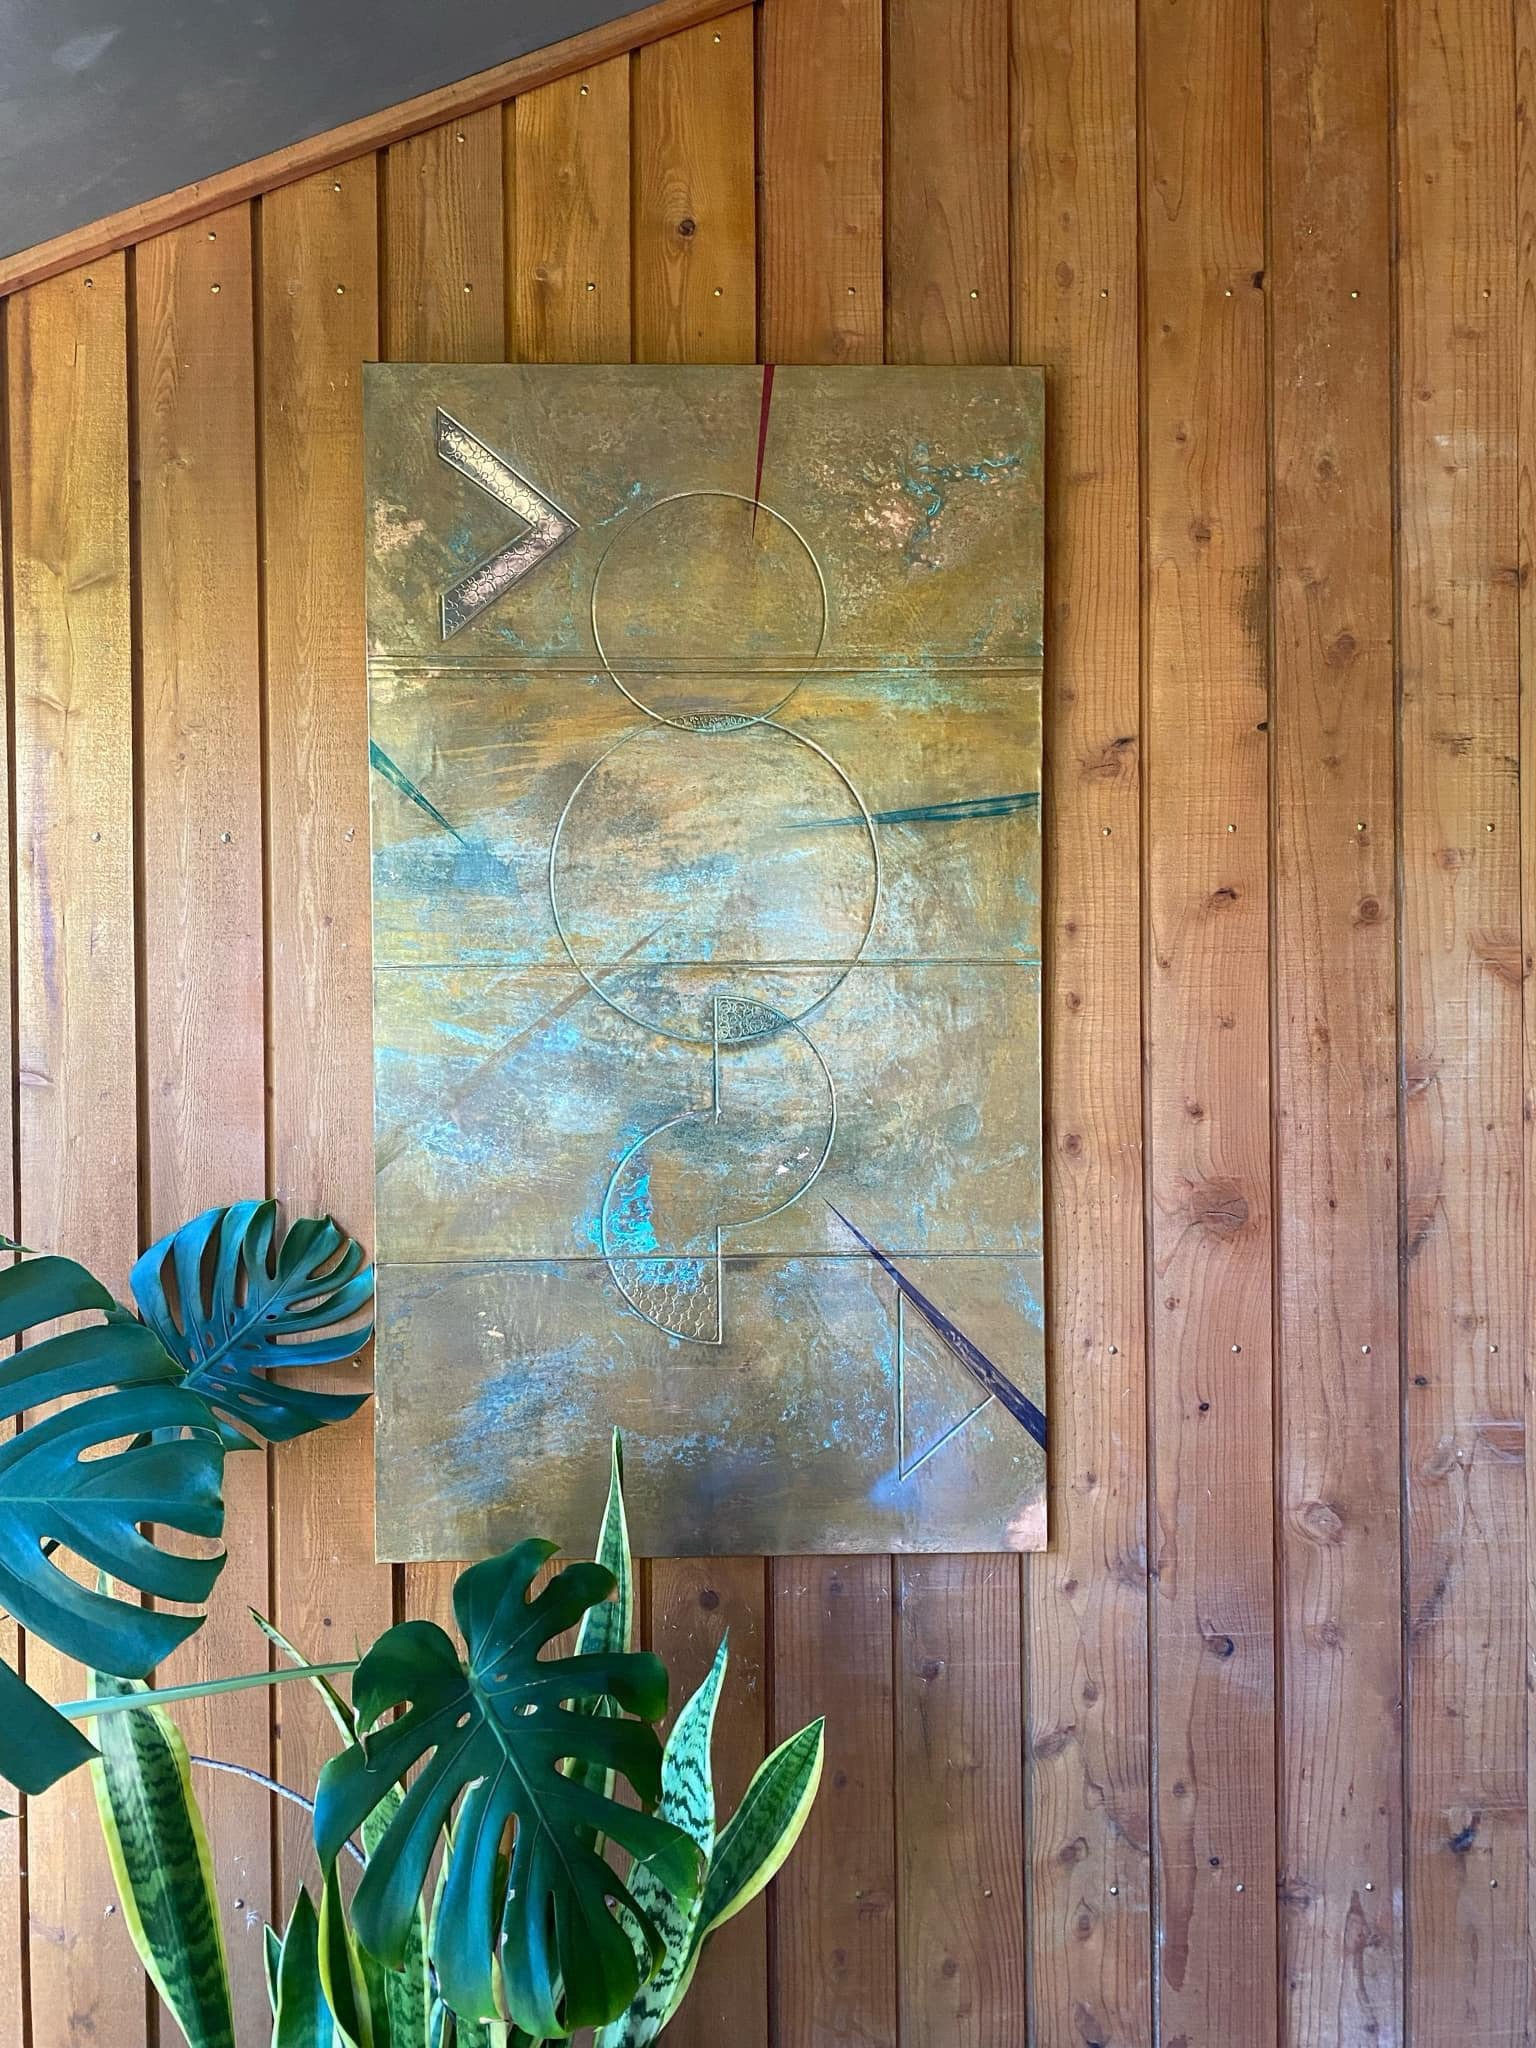
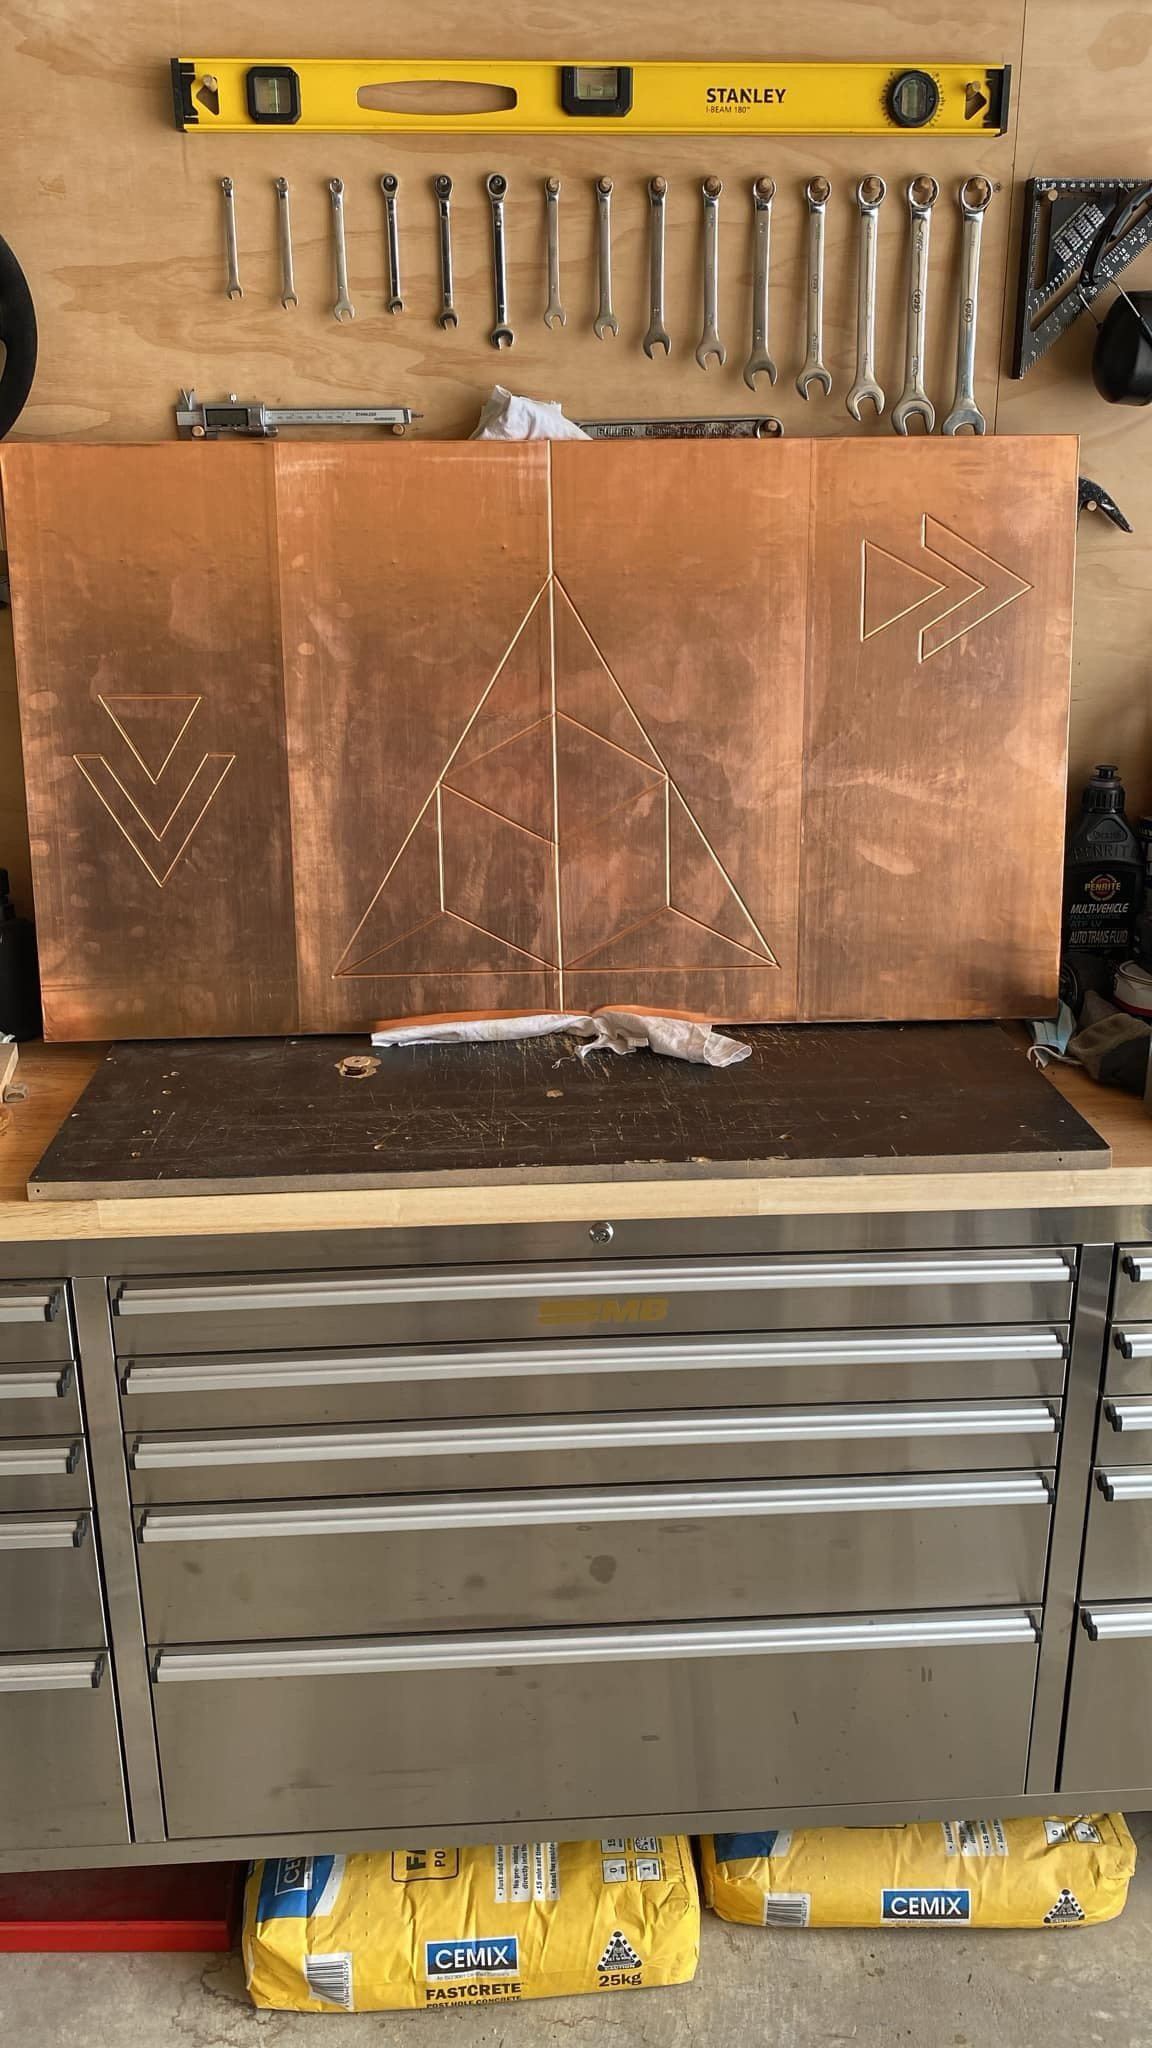
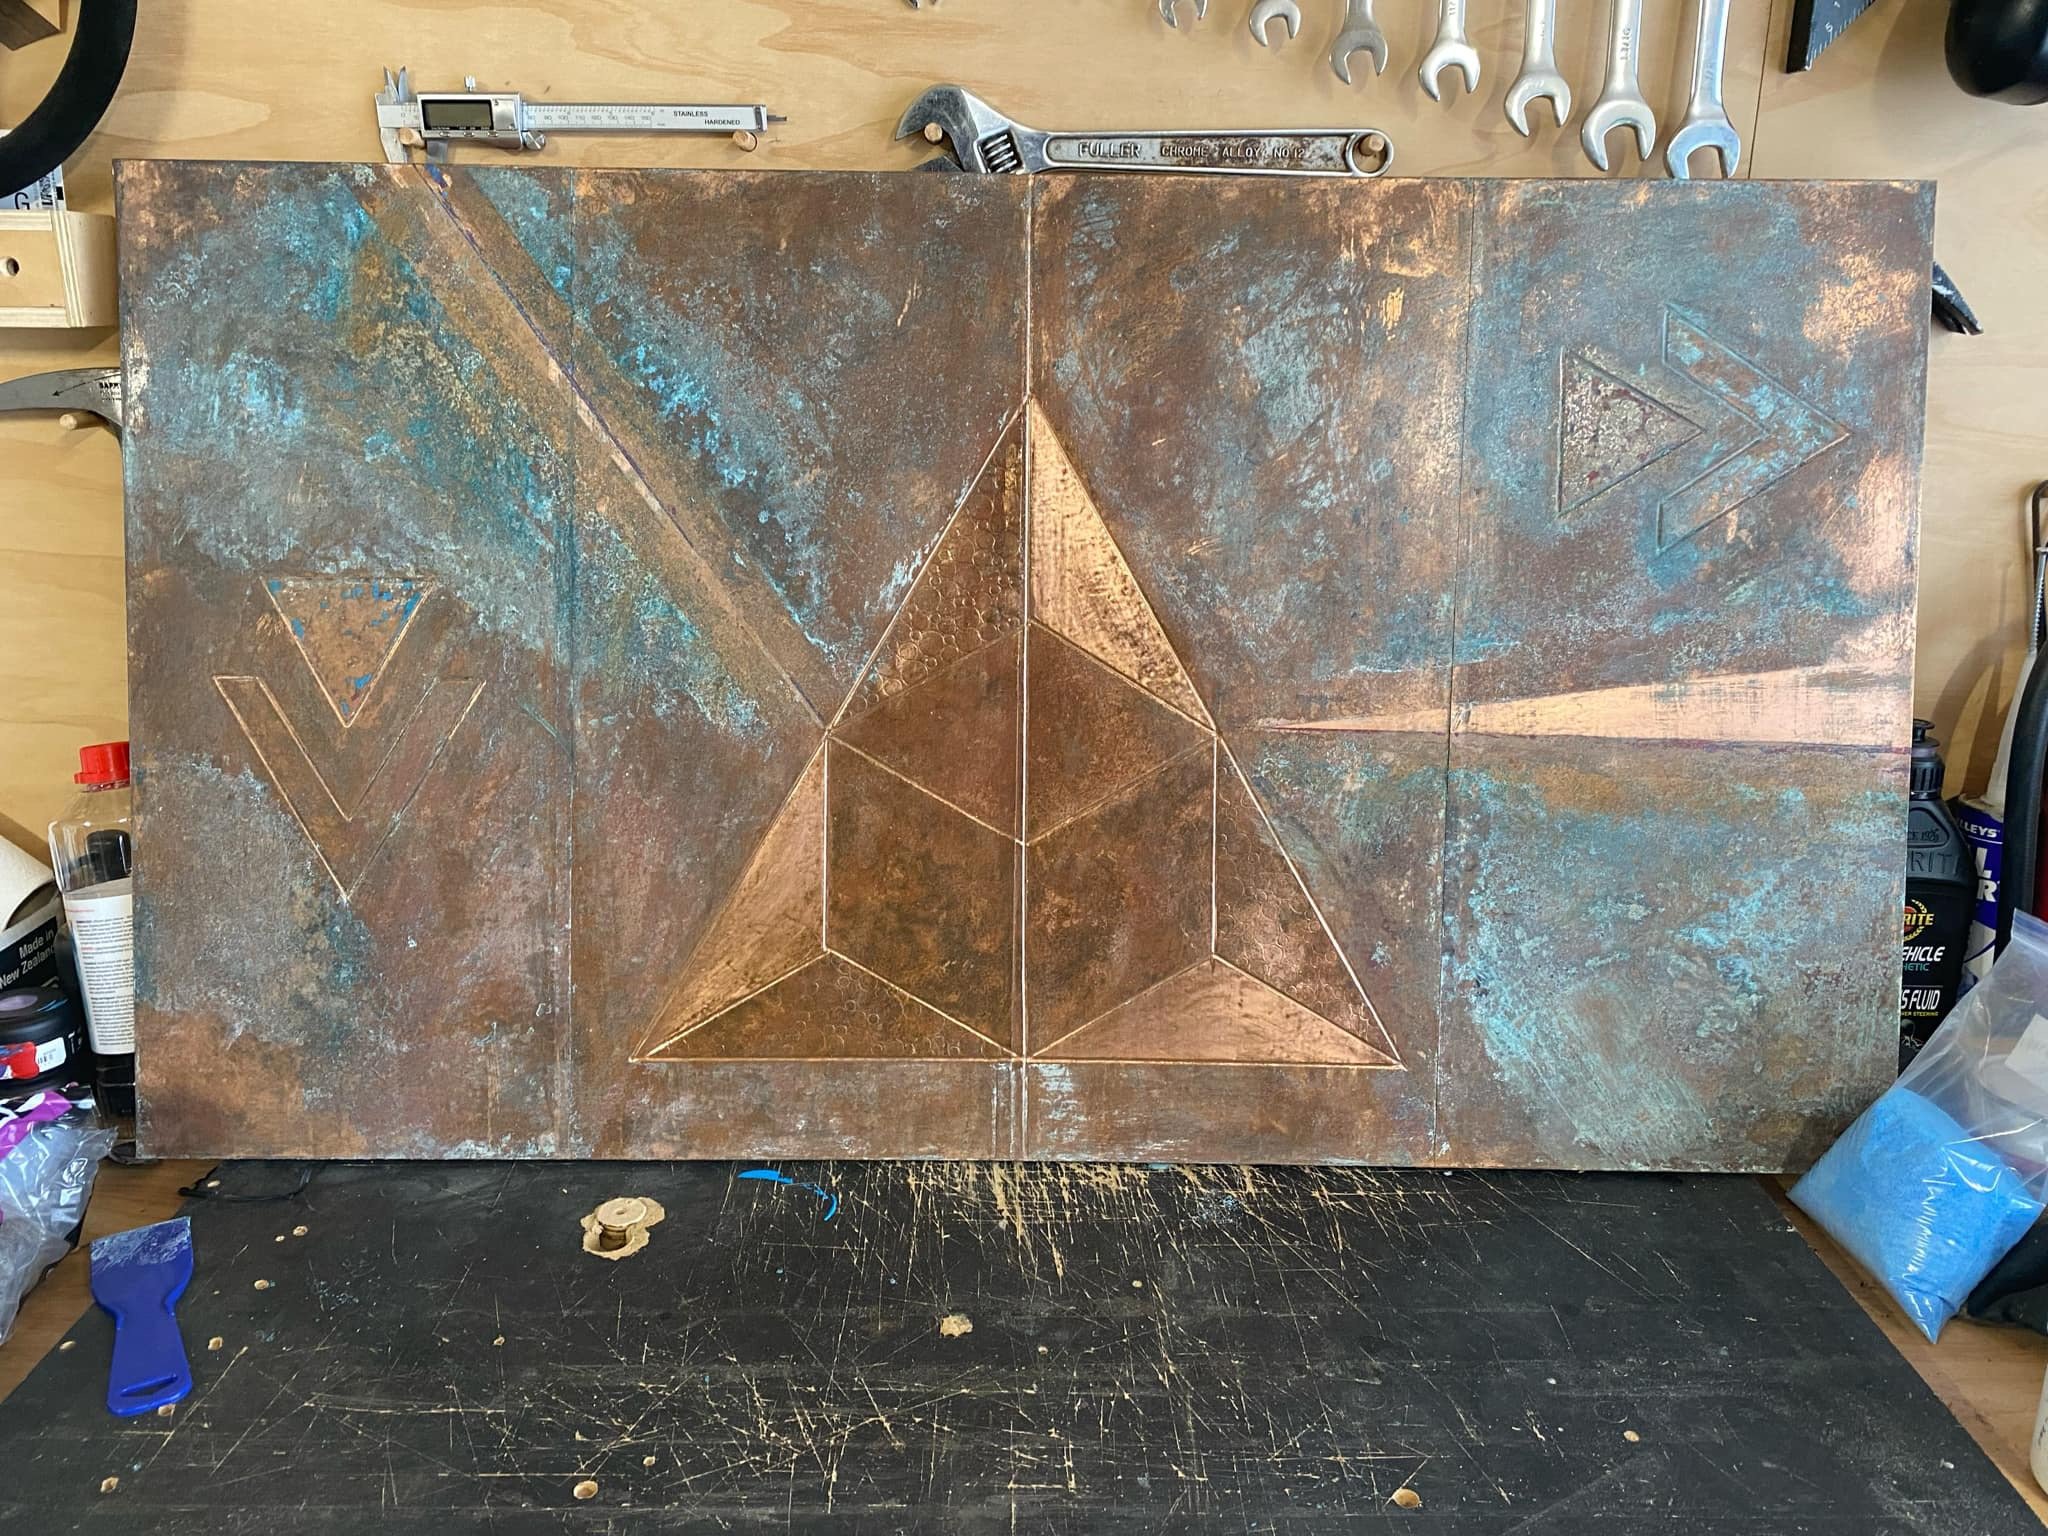
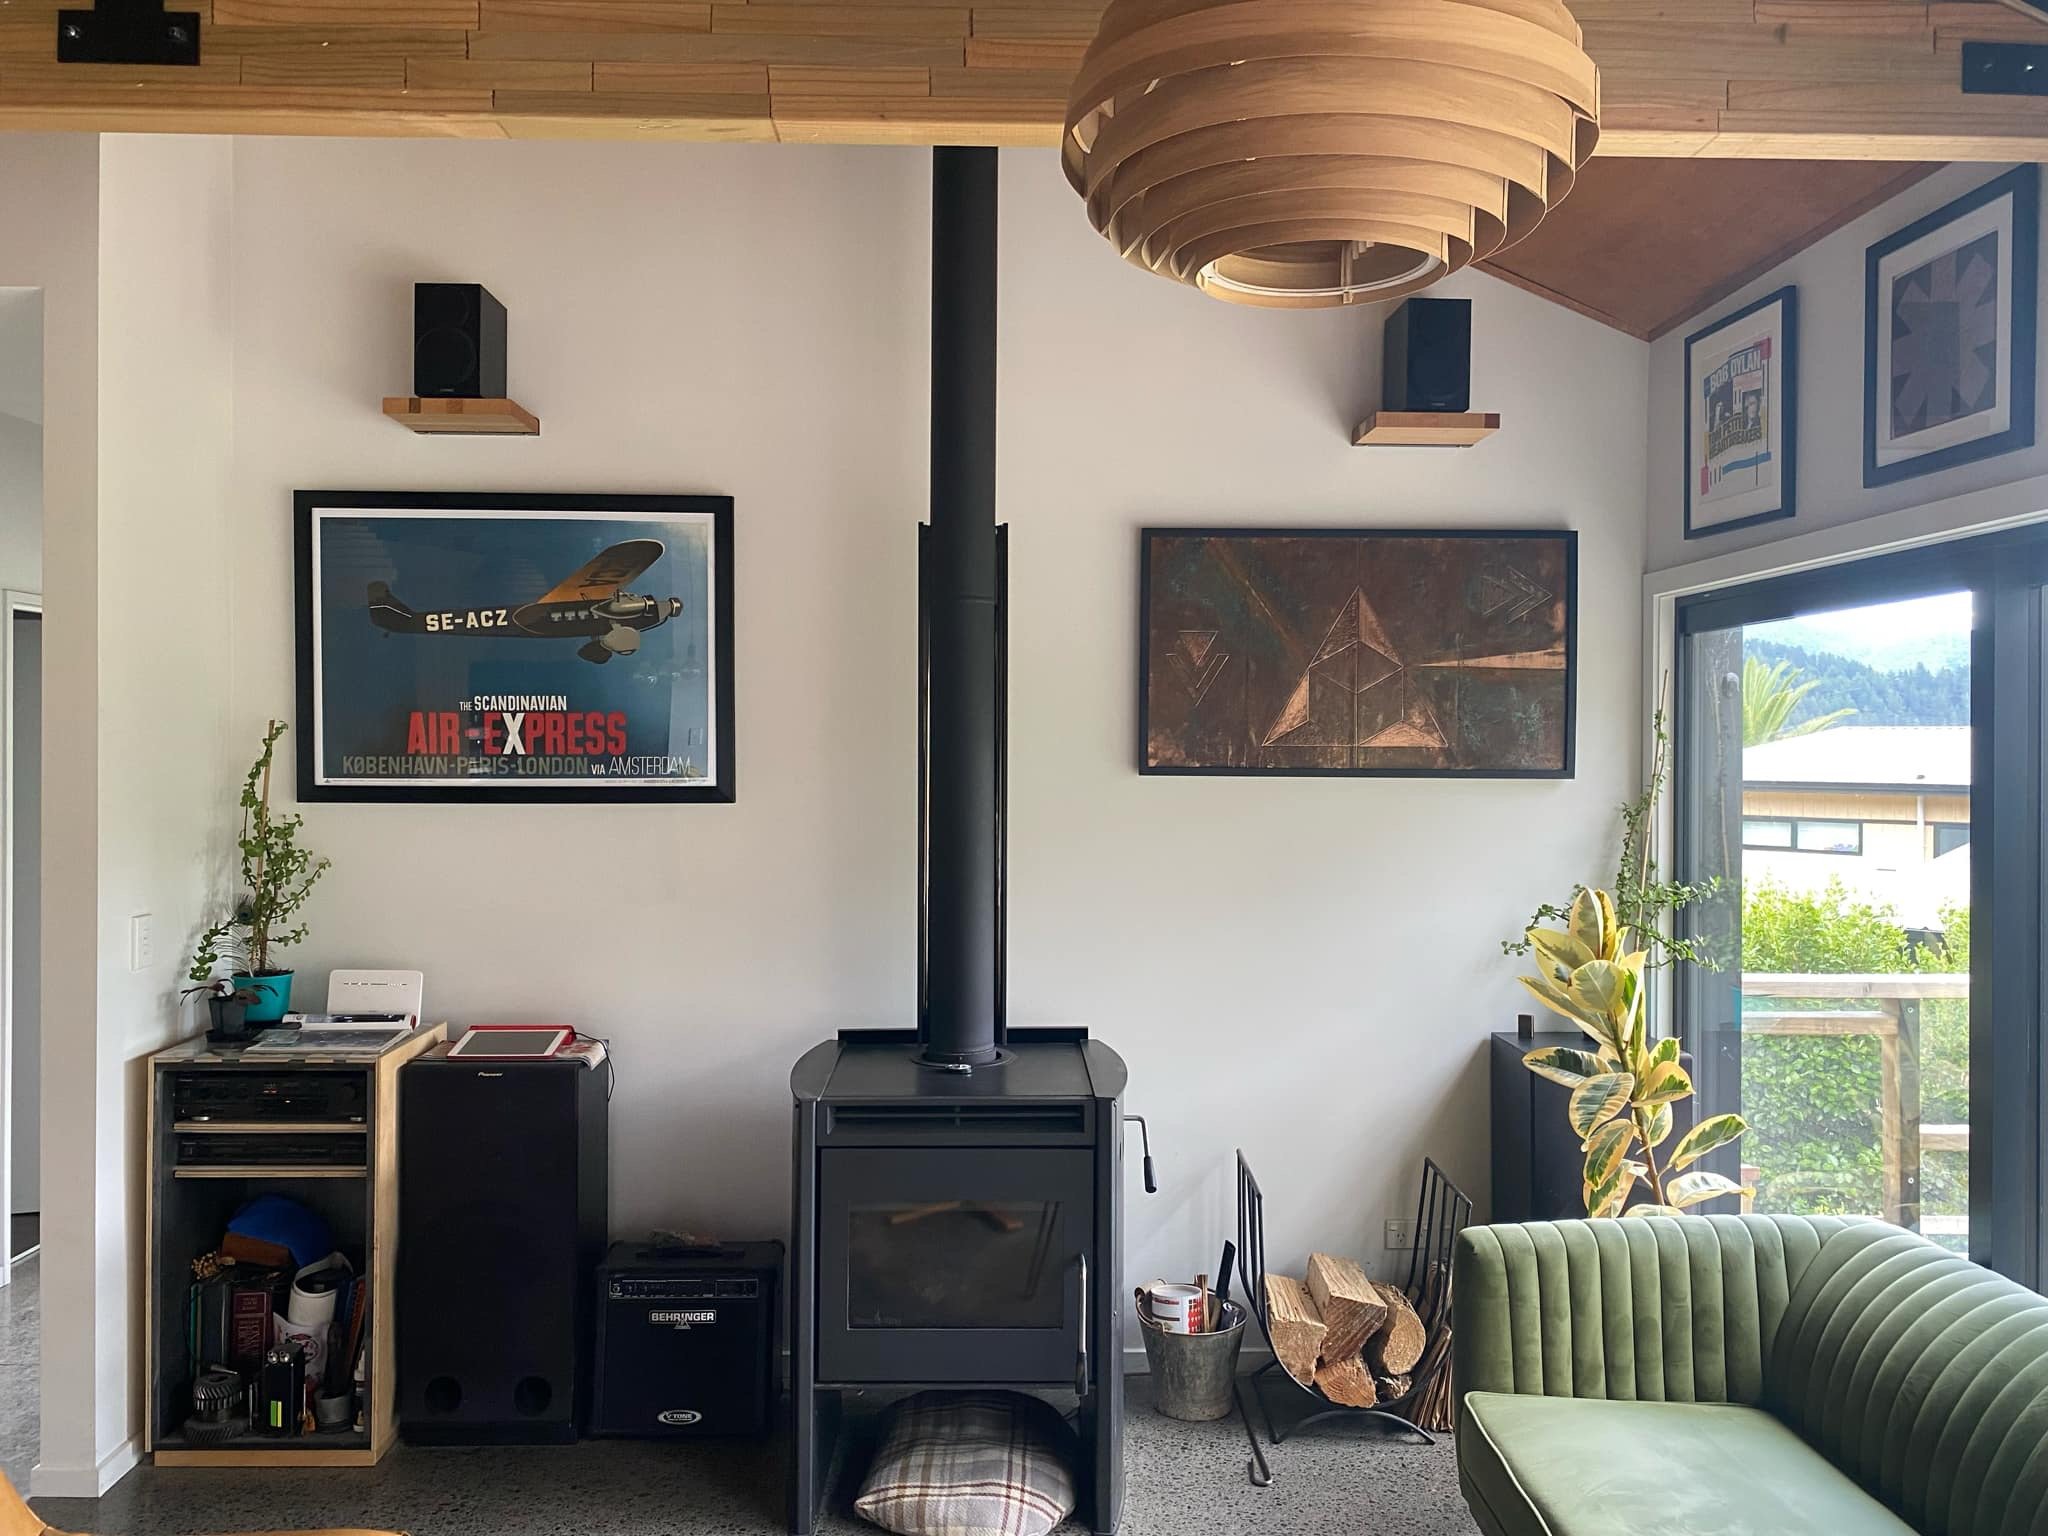
I’ve been experimenting with copper artwork things, same friend who does the veneer patterns showed me some tricks. Pattern router cut into a piece of mdf, copper shim rolled on and then pressed into the grooves. Then discoloured the copper with various chemical reactions. Finished with shellac to seal them up. Went ok for a first go even though I fucked up some of the joins in the copper. Made another one, I’m a fan of geometric stuff so dug the compass out of the pencil case and drew this up. Discoloured this one a bit more, then added some paint and did a final chemical application, sanded and sealed with shellac again. Paid to get it framed, quite happy with it. Up close the colour is more obvious
2 points
-
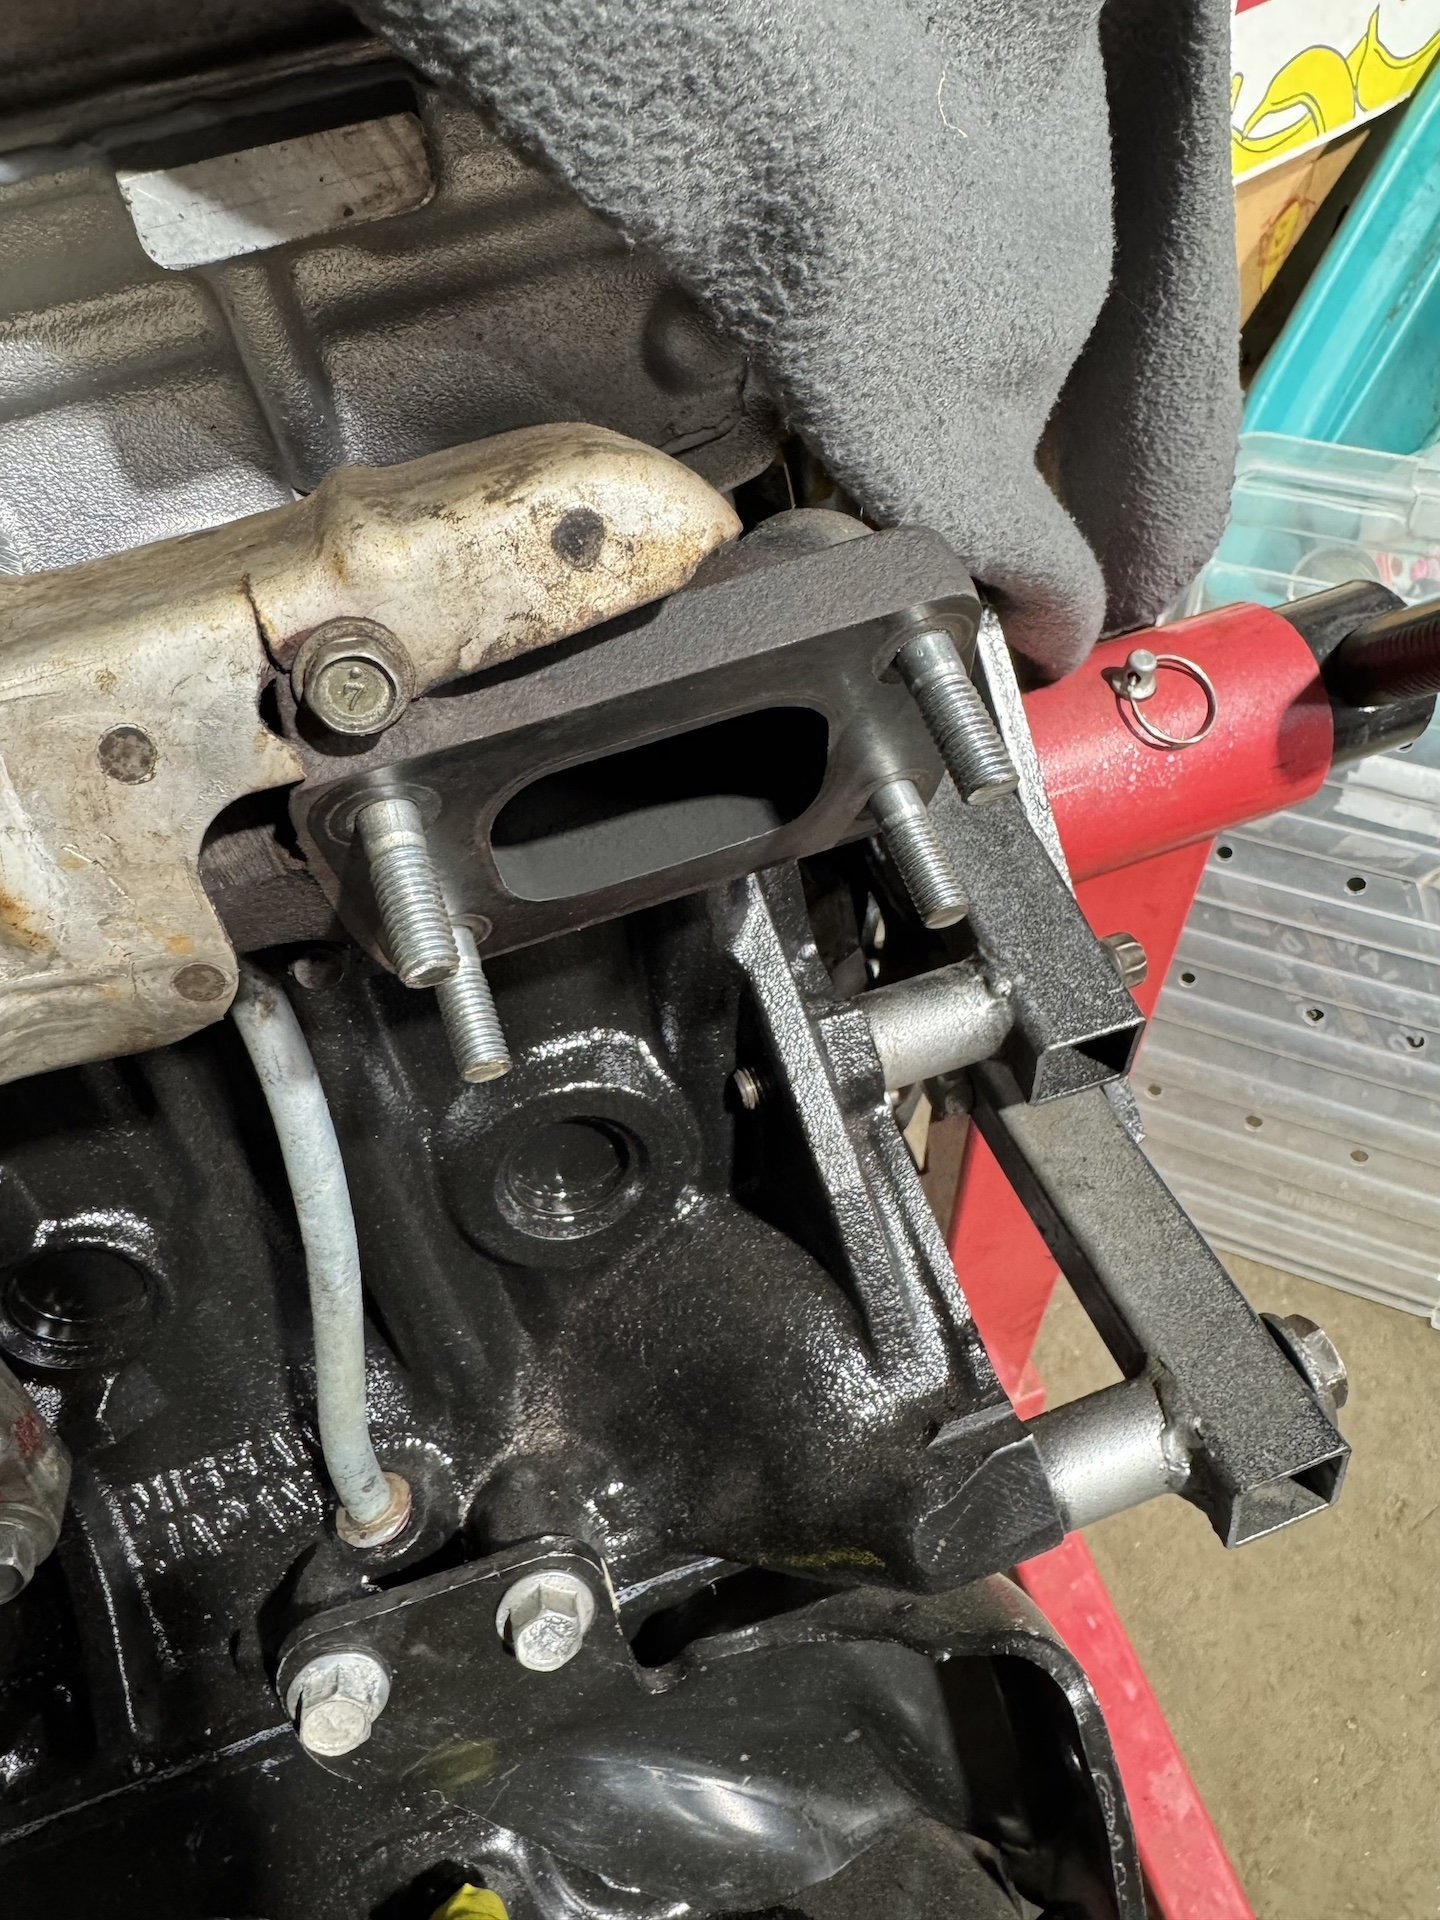
I have been collecting some maintenance parts cos the side and bottom mounts are a little floppy and the cambelt tensioner bearing looked dodgy and seemed to me making little sqeaky noises. The last of it arrived this week so I thought I had better do some of it at least. The side mount and cambelt stuff seemed the most important, but doing this was a bad decision cos the mount was a right cunt to get off. Two of the three bolts were a right bitch, and the third was significantly worse than those. I ended up making a tool to get to that, but the undoing and redoing up of these three bolts was about 2 hours of effort not including making the tool. Im still not sure that top one is tight enough, but the gearbox will be coming out at some point soon so I will sort it properly then. The bearing fell apart when I gently tapped it off the hangar; The new one is appropriately shiny tho. The cambelt was a breeze in comparison, although I did have to pull the rocker cover to check the valve positions as I stupidly decided to seat the belt using the the starter without properly tightening the bearing first and it all jumped some teeth, fucking twat. I was kinda tired at that point tho. So the bottom mount will be another day.2 points
-
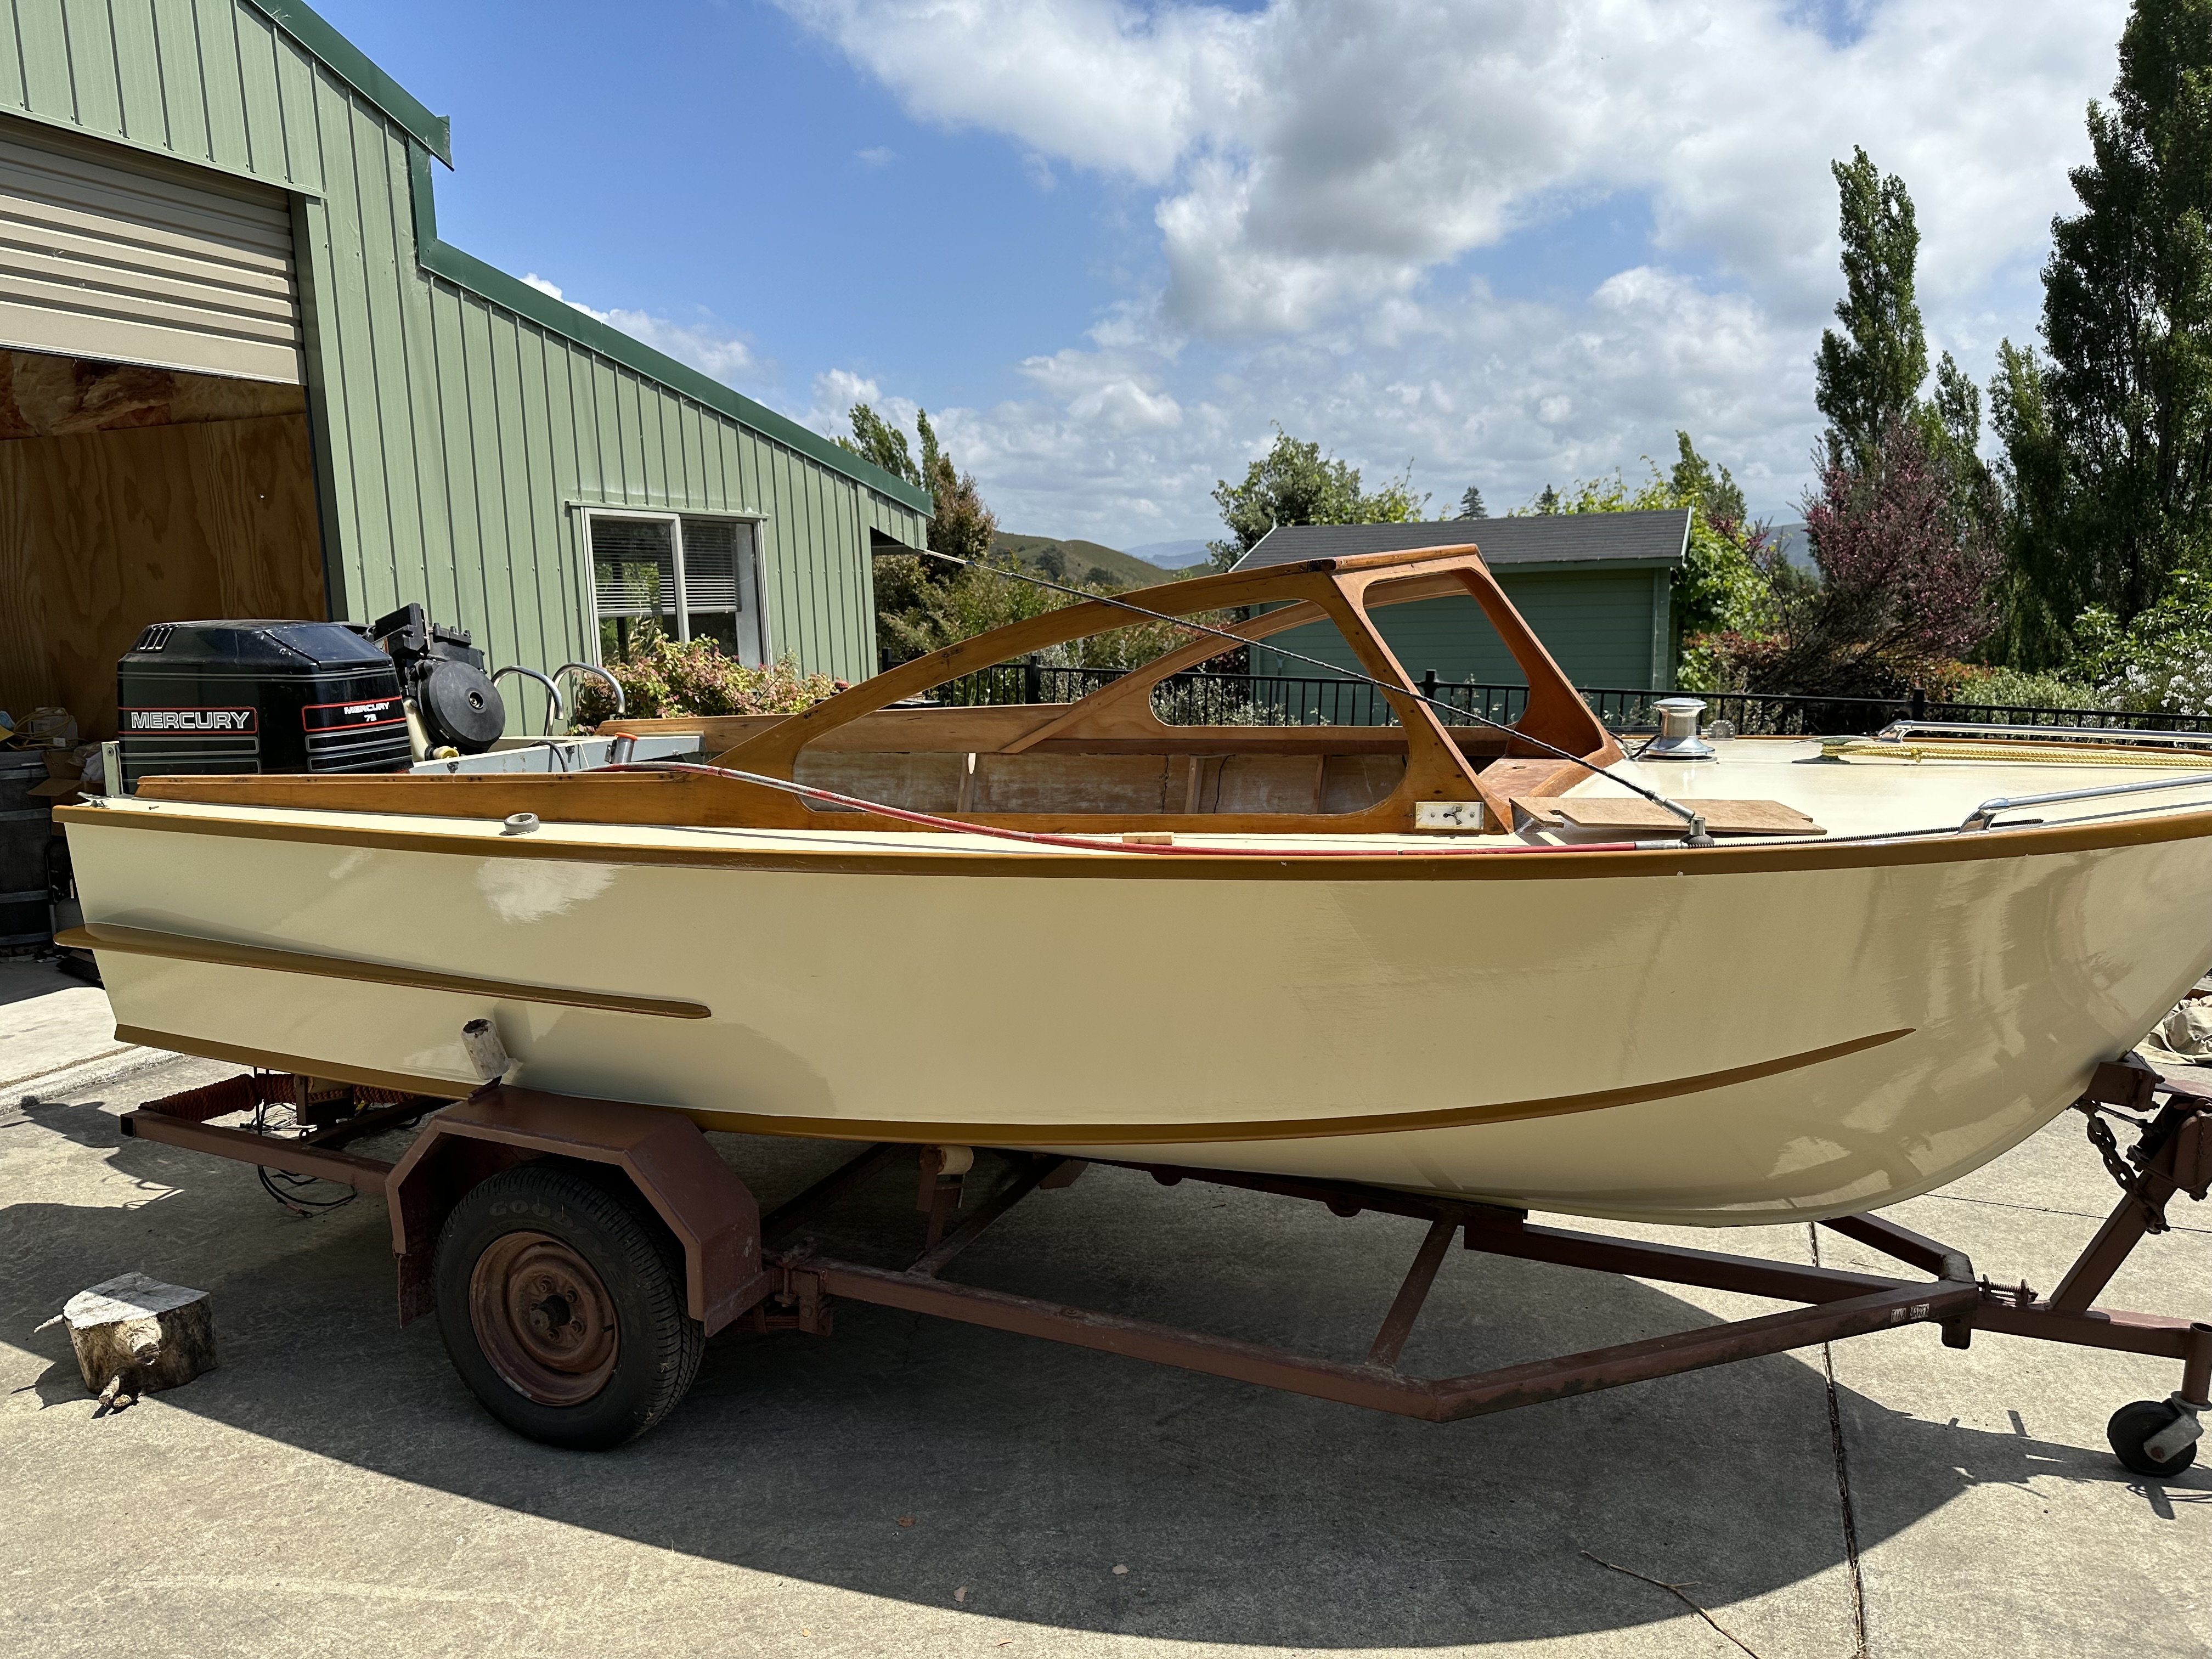
I bought this boat 10 years ago and have never put it in the water. It's still is on its original trailer and has the number 59 on it which I am thinking was when it was built, which seems about right. I bought it from Whitianga, and they had bought it from Gisborne. It had a reasonably new outboard fitted to it at the time which is what they were after. Then I picked up a second hand 75 Merc for it from Gisborne of all places. The exterior of the hull has fresh paint on but the interior was in need of a tidy up so I set about redoing the interior. I got most of the construction done but life got too busy so it sat until now. Anyway, we have decided since the engine has been sitting without use and will probably need a fair bit of work, we will buy a new engine. So, I went down to the local marine dealer who sells Honda outboards and have ordered a 4 stroke 75hp for it. They tell me it doesn't take that much to get these small ply boats to get up and go. I will post up more pics as I go.
1 point
-
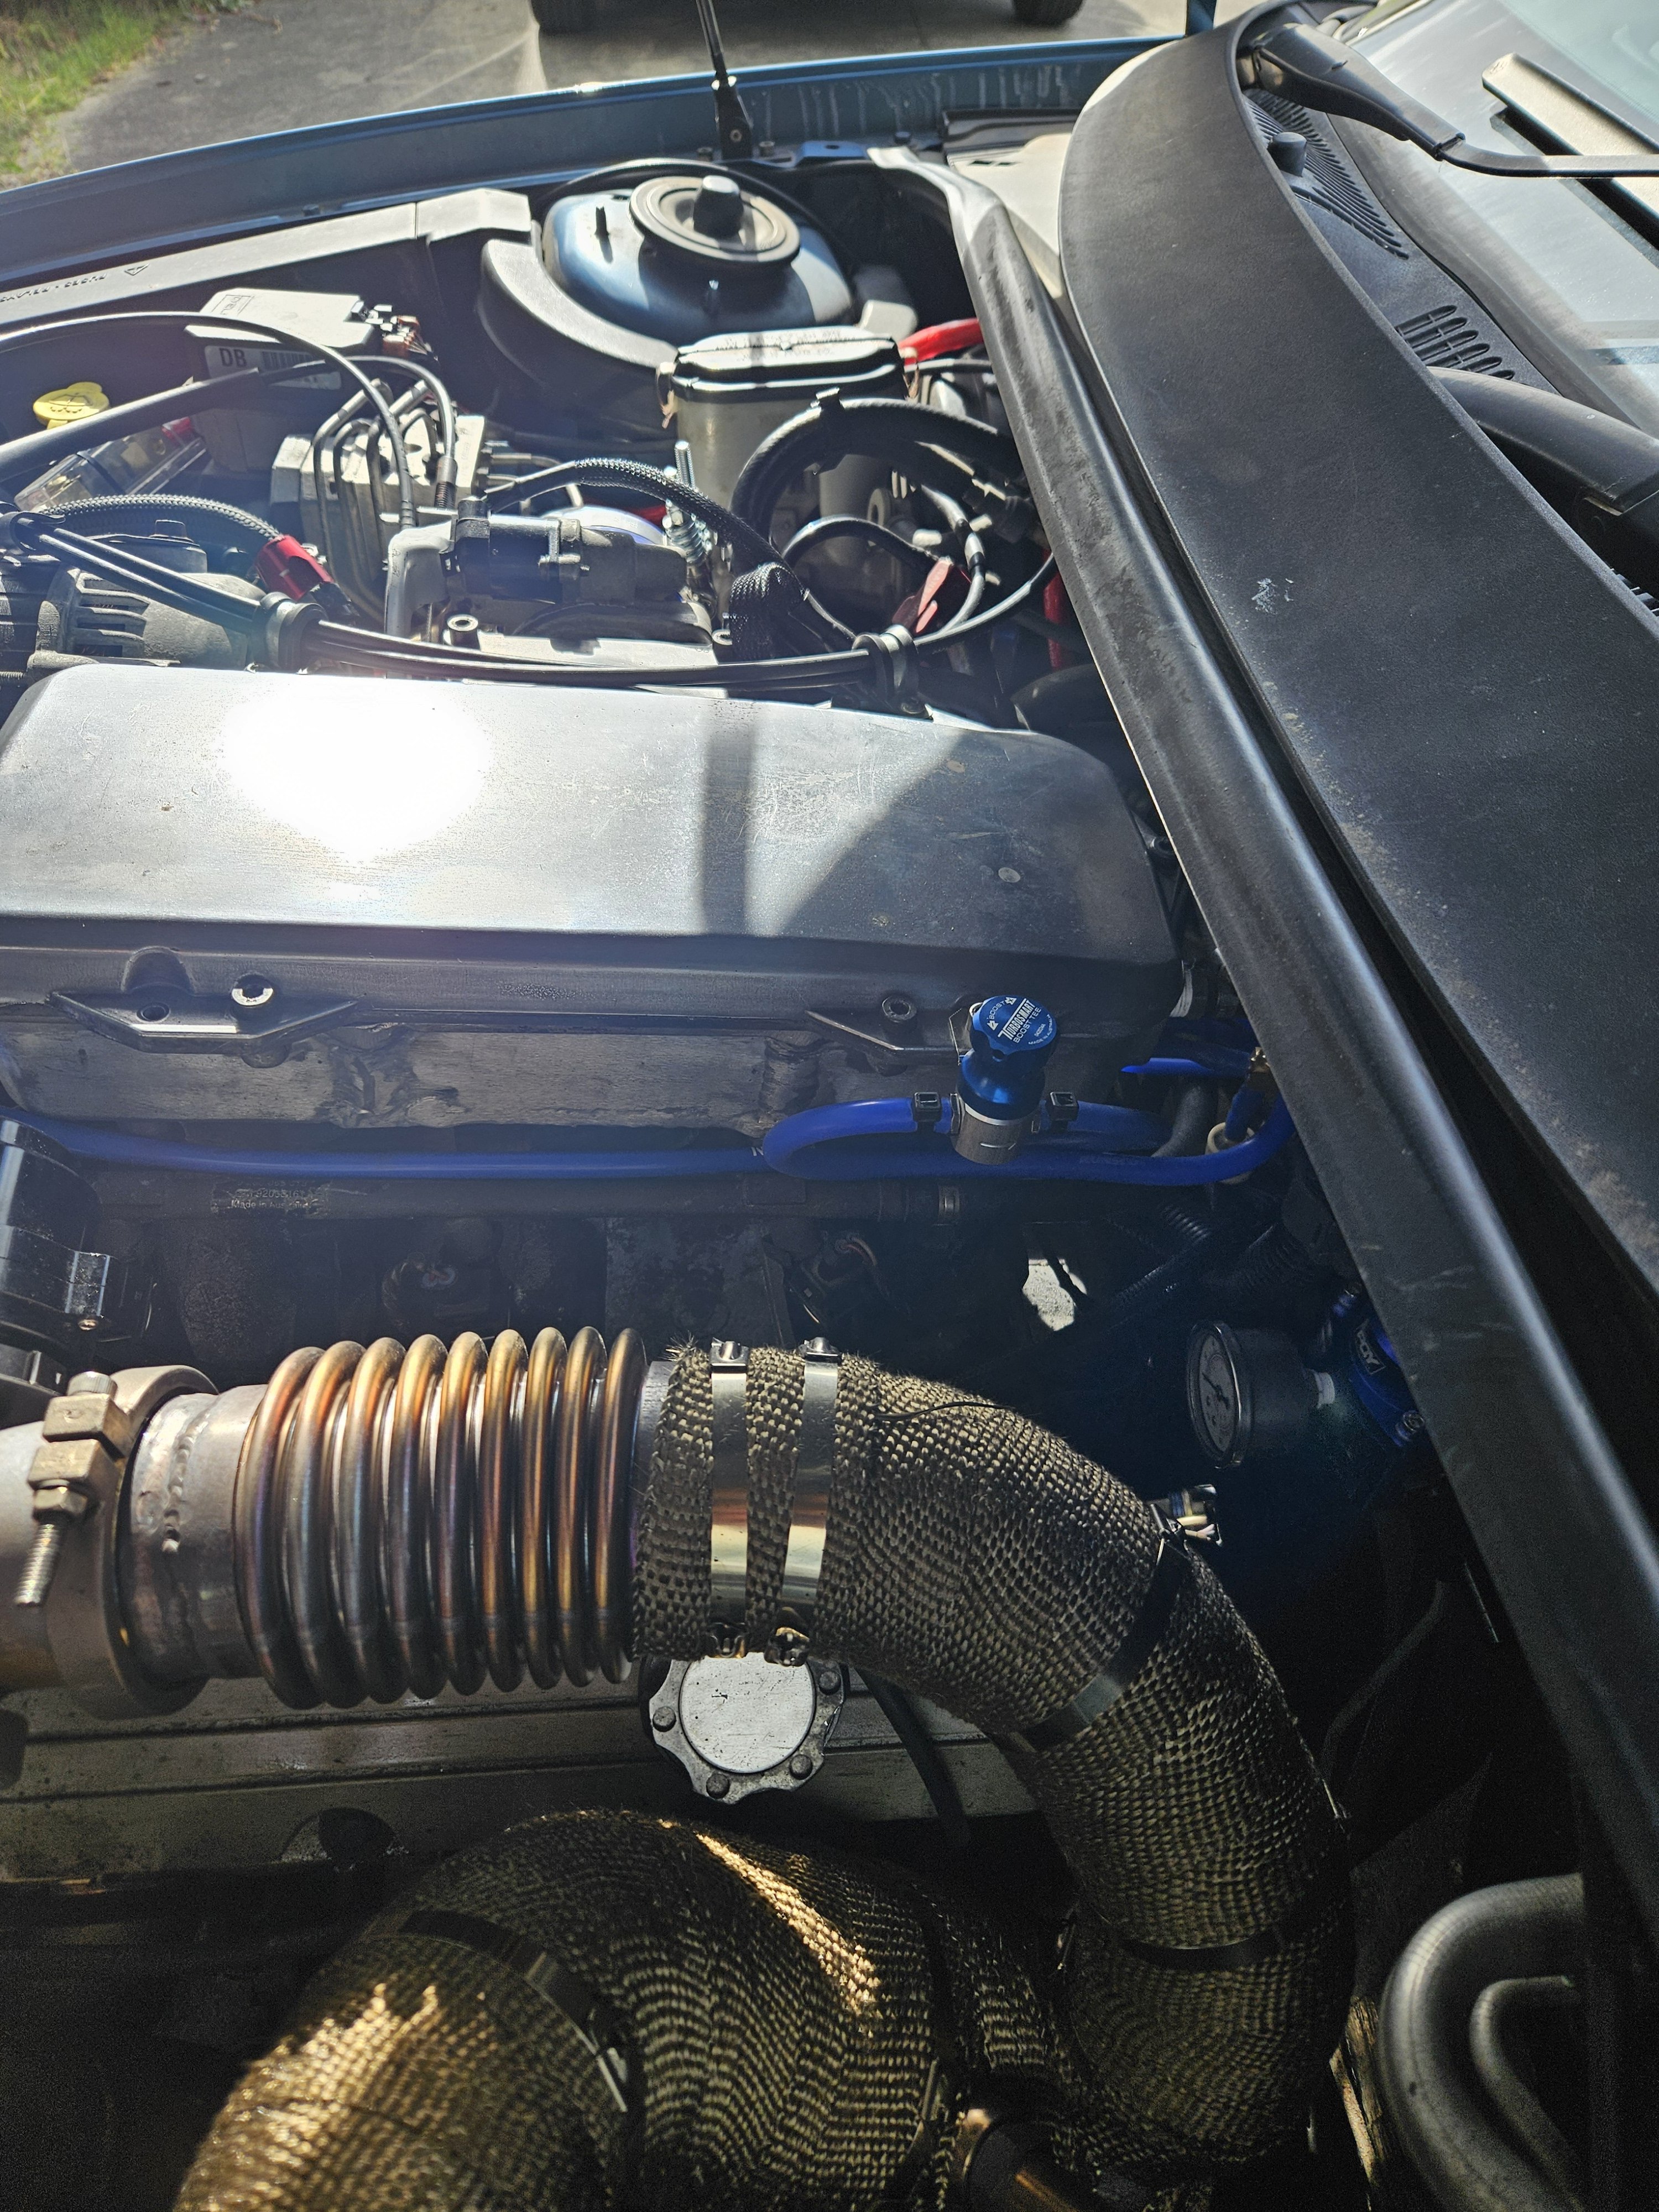
Just getting ready for wof so turbo off. Seems to run fine.
1 point
-
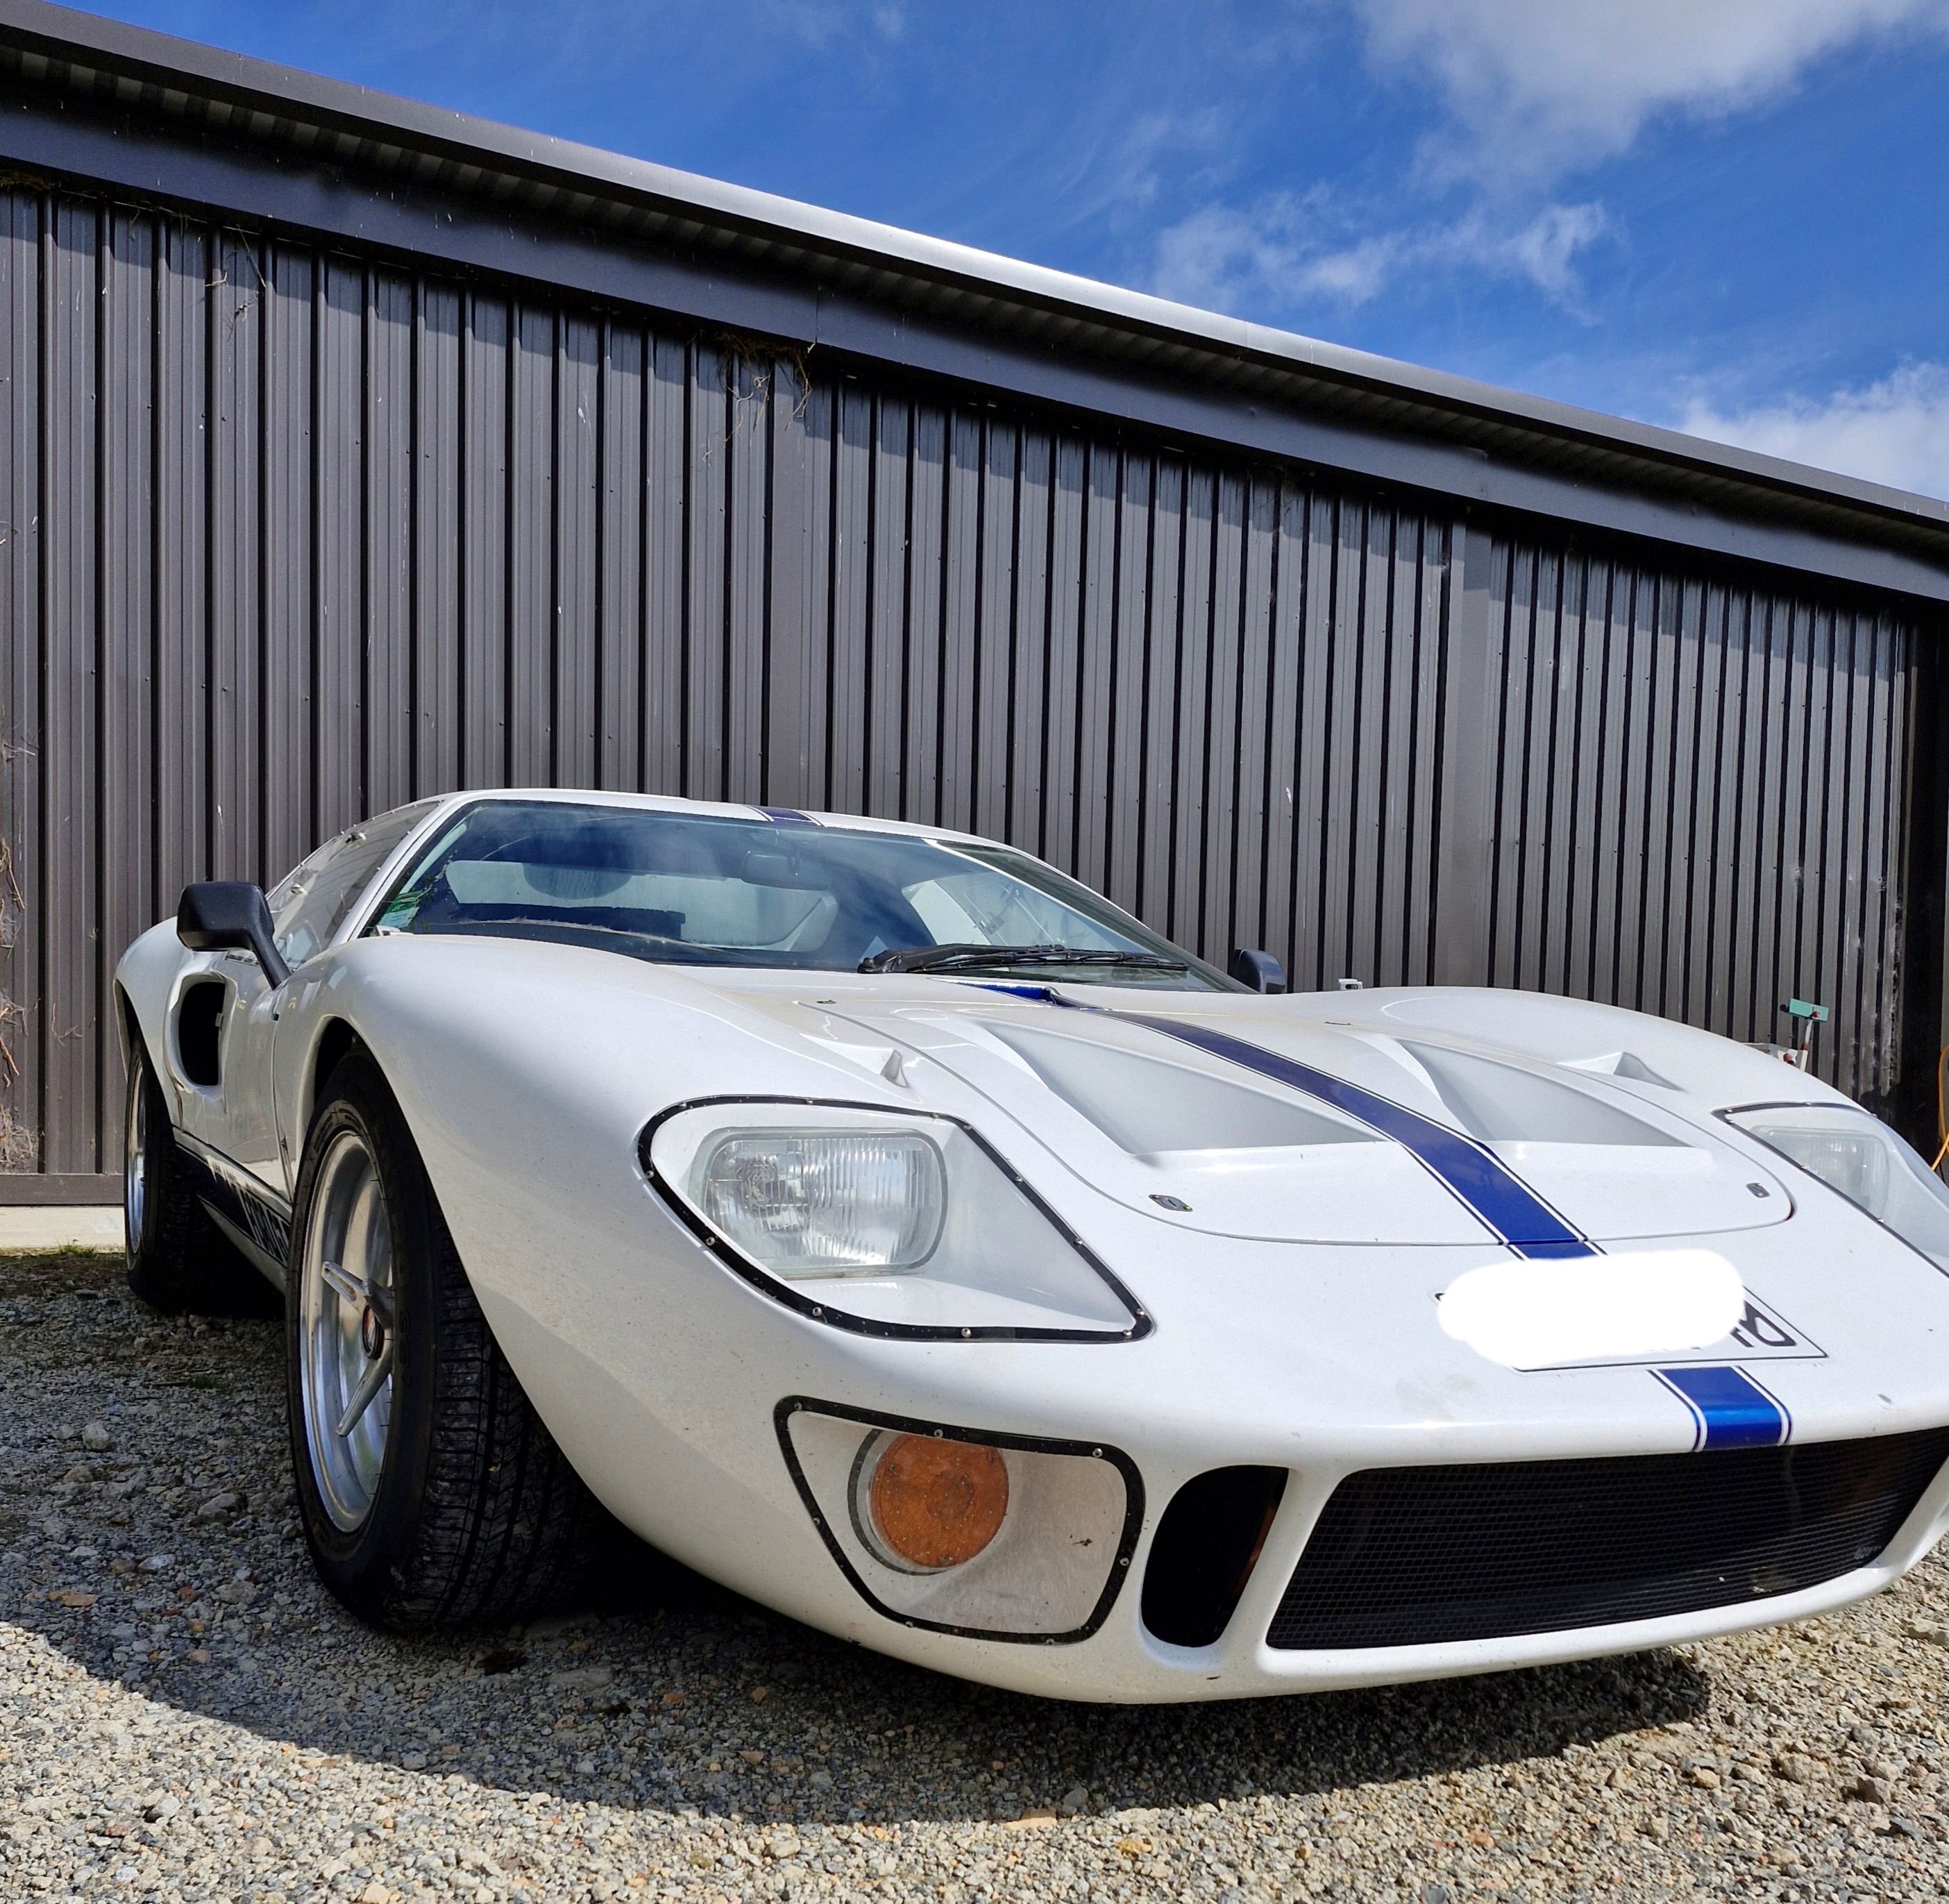
Recently I was lucky enough to purchase this fine machine which has a little family history. It was the first car built by GT40 Replication Ltd in Auckland. One of my grandads mates was the man behind GT40 Replication and so my grandad did some of the mold work for these cars. I told my self 16 years ago when I heard about this car (when I first got interested in proper cars) that if it ever came on the market I would buy it. 15 years later luckily enough it came on the market and I was kind of in a position to buy it (you may have seen all my shit for sale here and trademe). Anyway, here we are and its in my shed. Its an interesting concoction which i'll discuss once I actually start working on it, but I plan to just drive it and enjoy it over summer. It needs quite a lot of maintenance, but the bones are good. Has Rover V8, Renault Transaxle, DBA/Holden fronts brakes, seems to go pretty good. Have found lots loose on the induction side and it looks like the cap,rotor leads and plugs are the same from when it was built so I will do them all shortly. Air filter was coozed, has a Holley 600 on it unsure on jets etc yet but it drives nice, slight flat spot if you punch the pedal down but I havent fault found it yet. It needs a gasket kit but that will likely be next winters job...
1 point
-
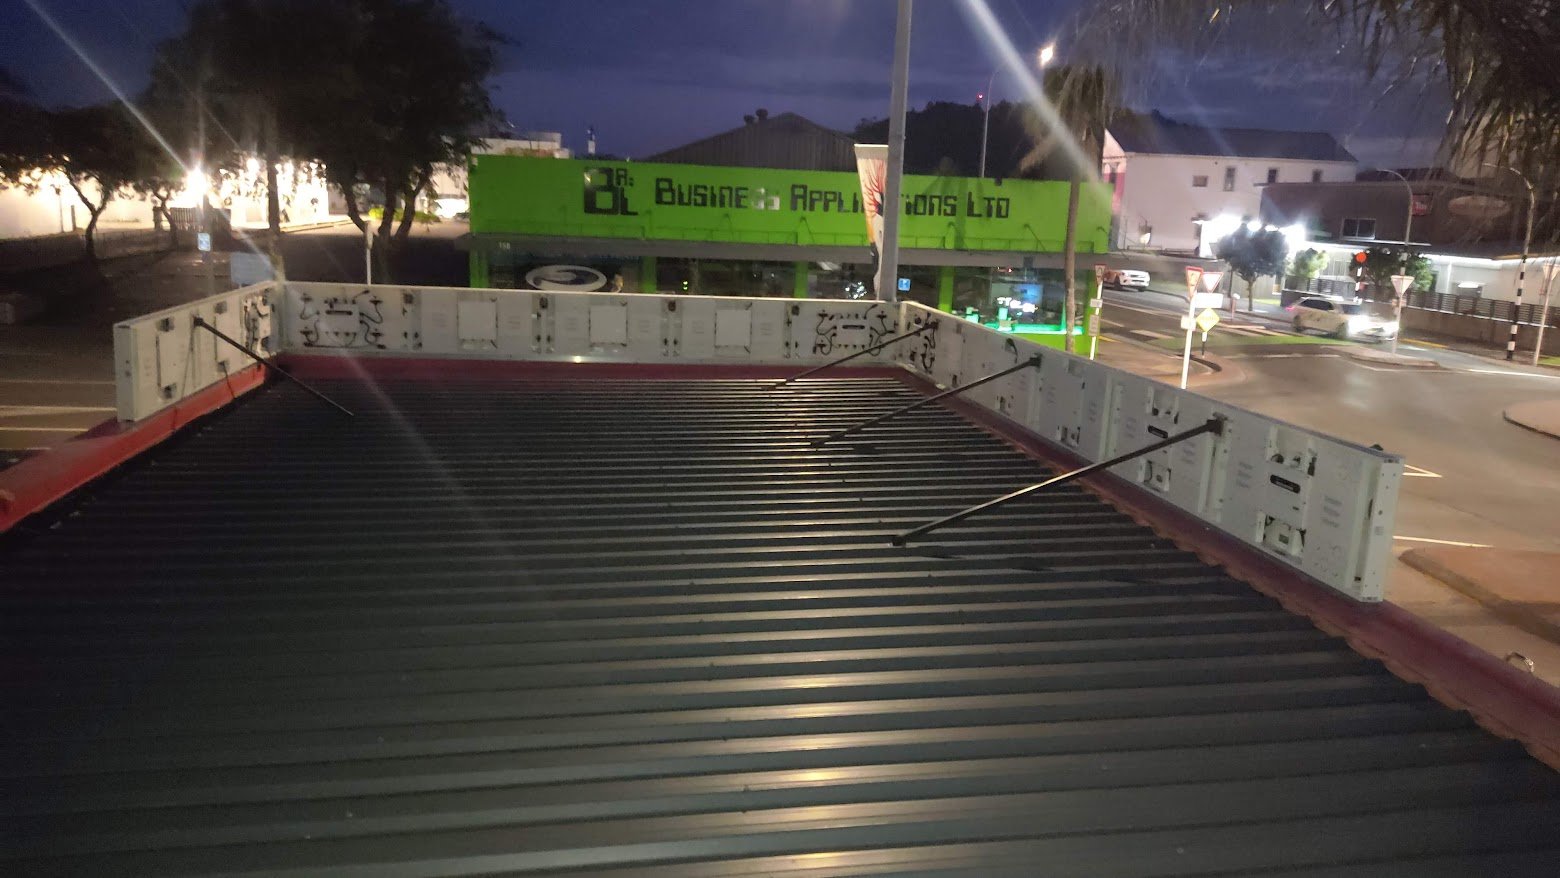
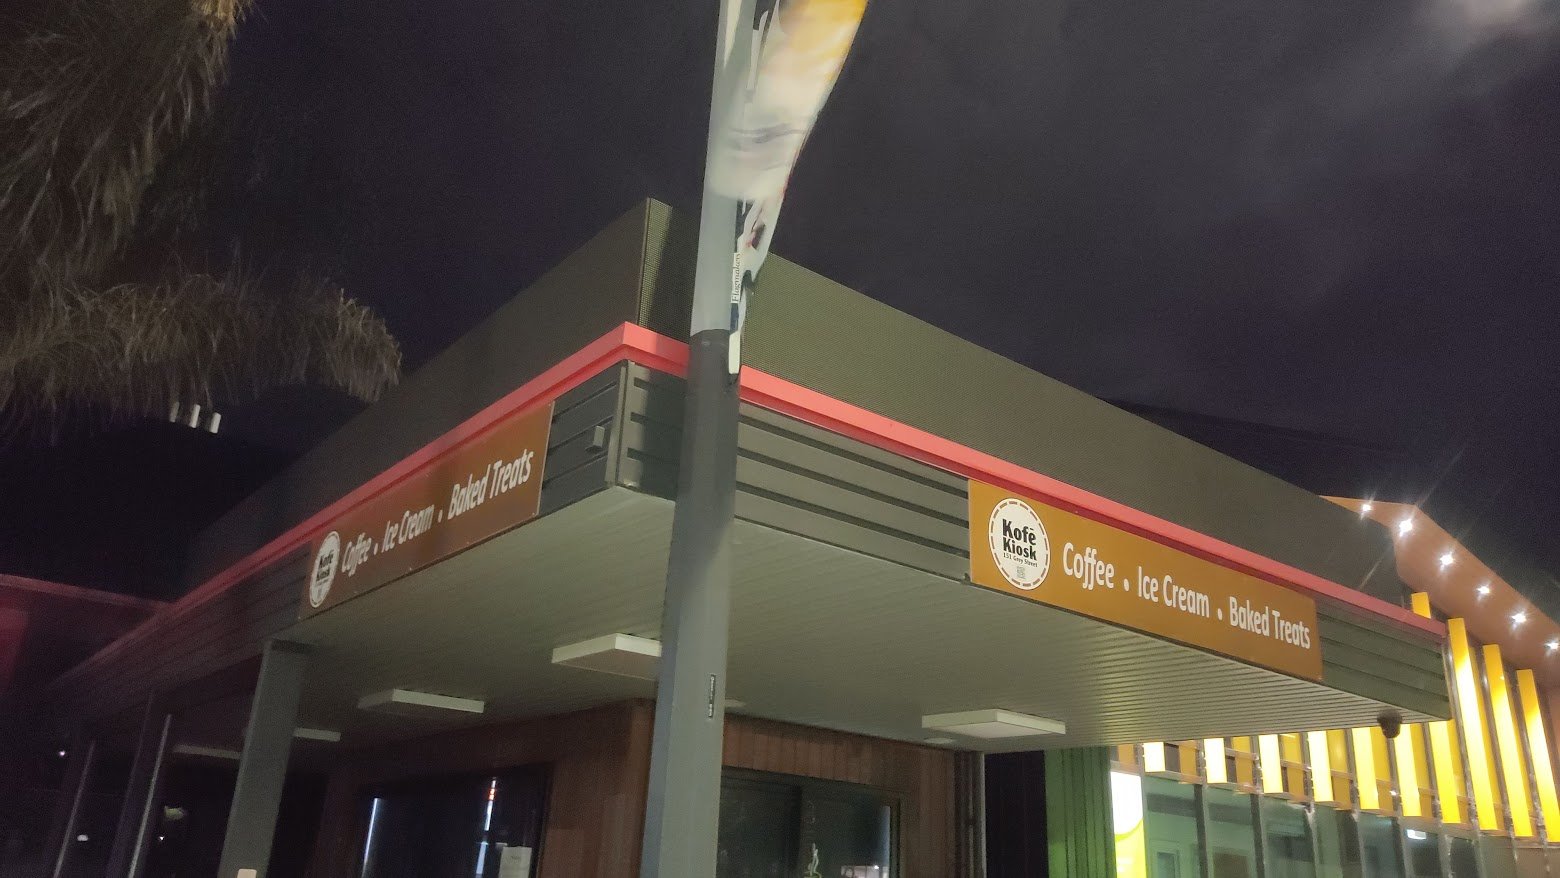
I made the alloy frame (3 piece that bolts together) and the stays + brackets etc etc for some signage on a shop in town, nothing to fancy but was a good change from mowing lawns ha! Added a few stays to the front panels today, not pictured.
1 point
-
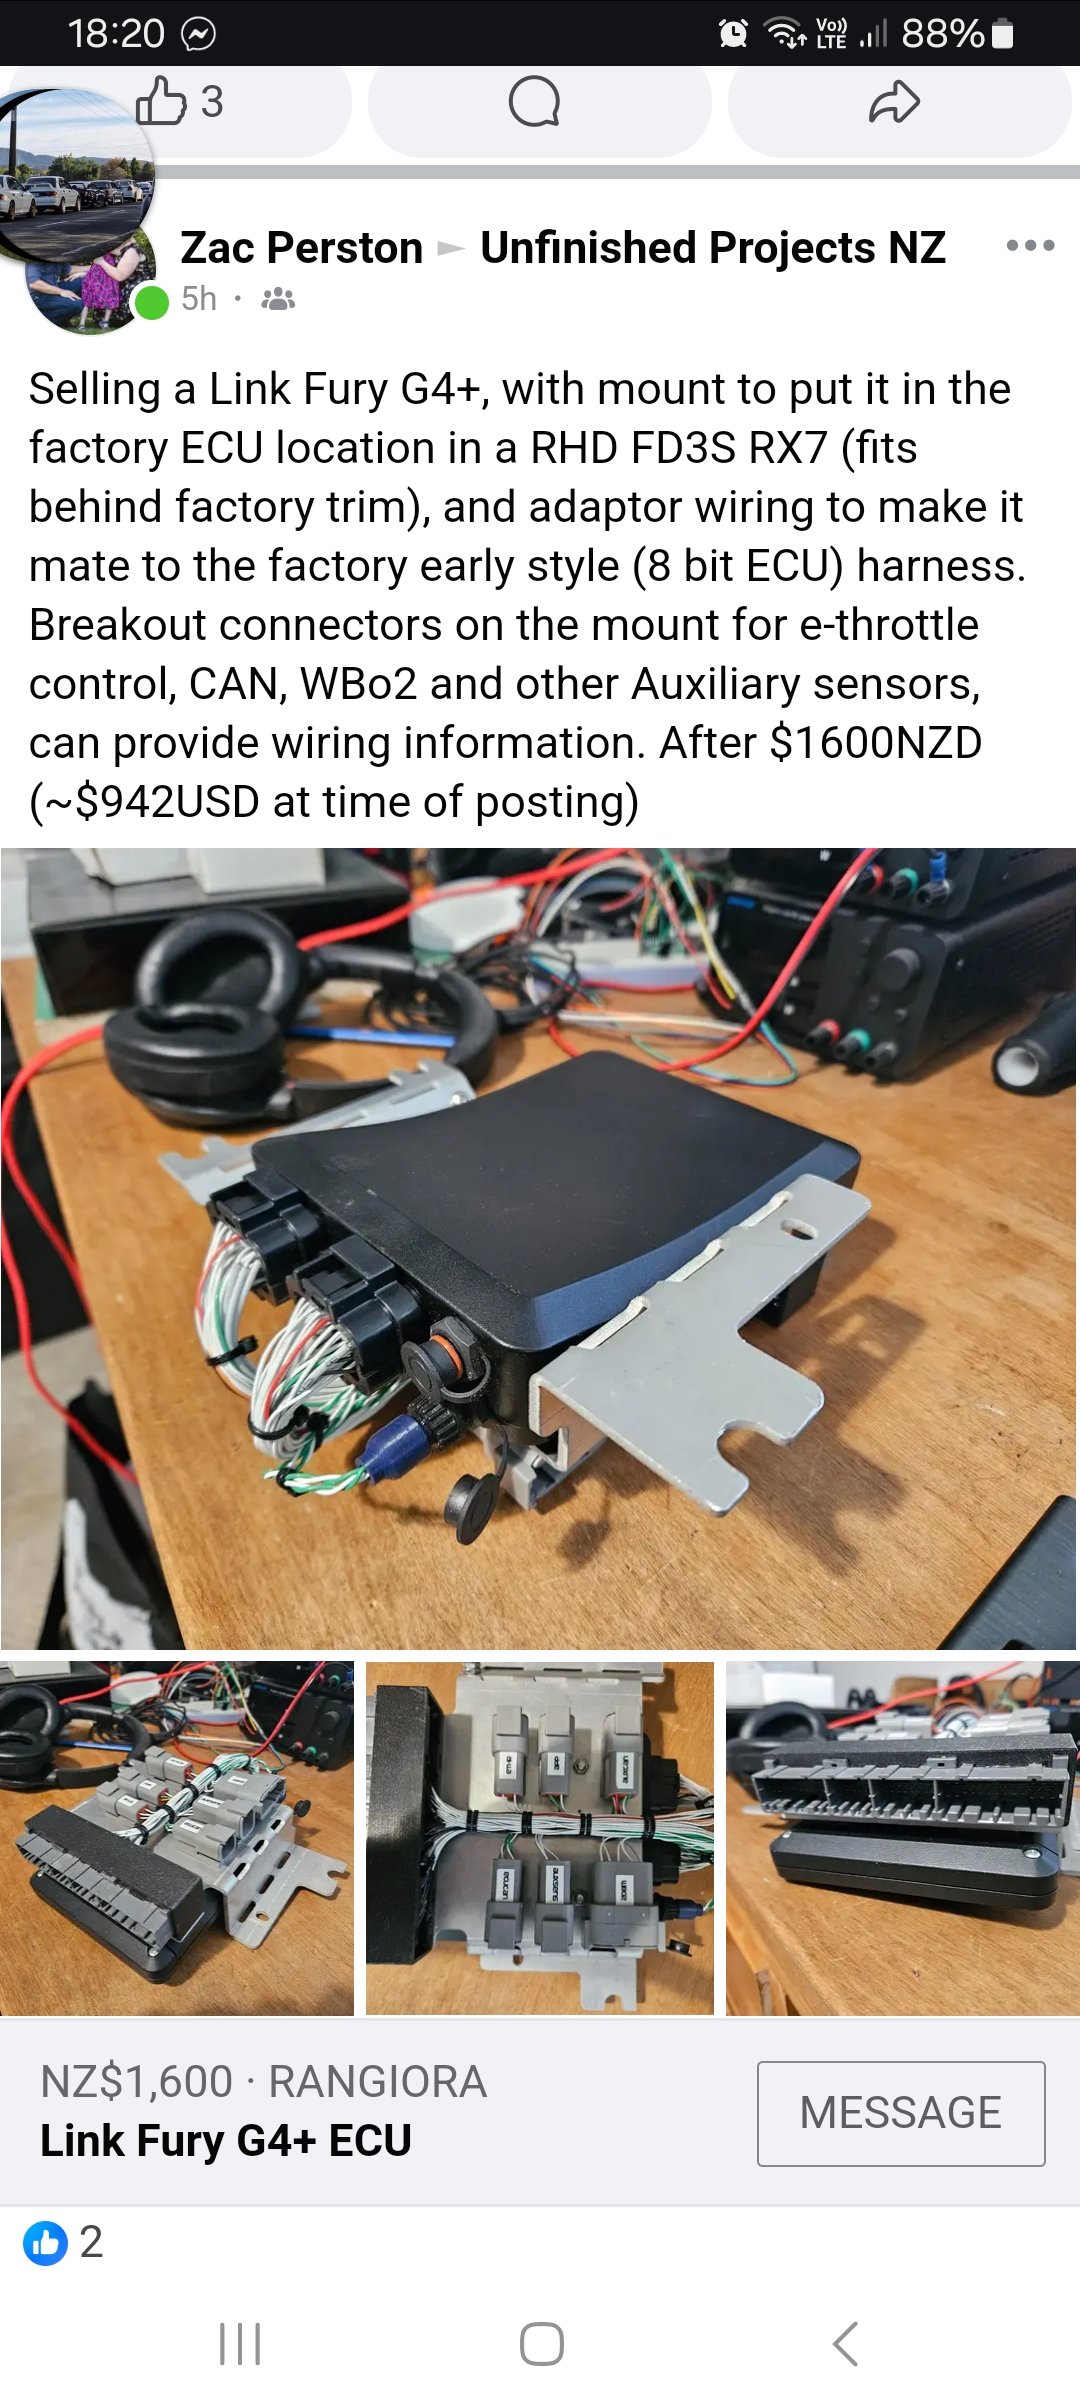
Saw you taking this for a cheeky hoon this arvo, cool looking car P.s you need this, seller is @ProZac
1 point
-
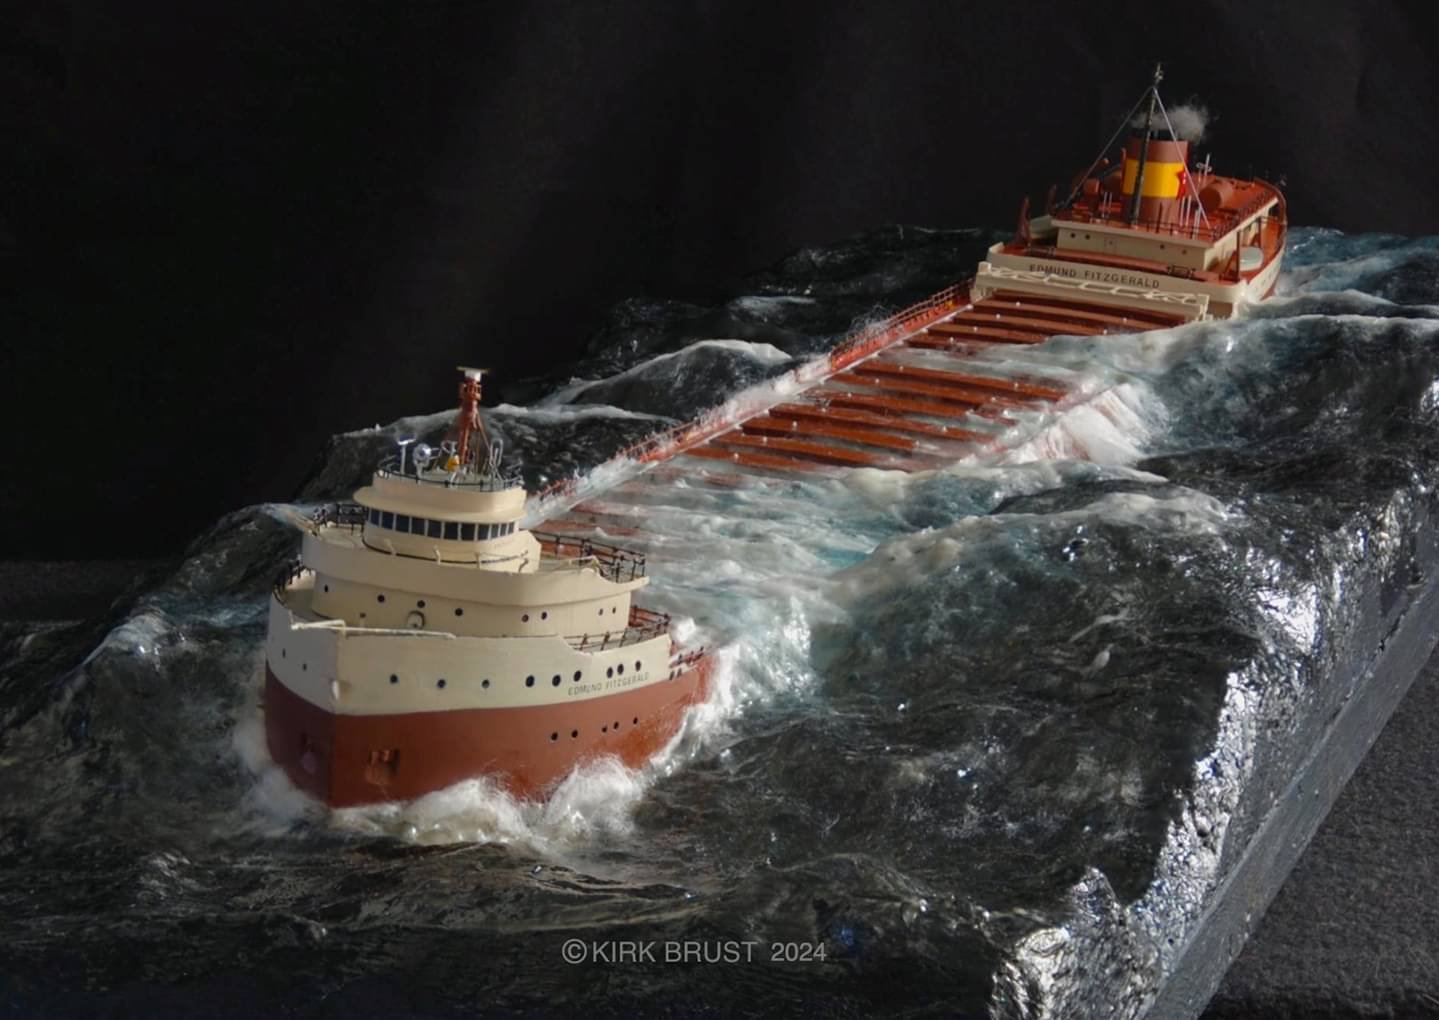
Some incredibly talented people out there. The ill-fated Edmund Fitzgerald - Presumably appearing somewhat as she did before she went under and was immortalized in Gordon Lightfoot's song.
1 point
-
There’s 200cc worth of carbon on top of the pistons1 point
-
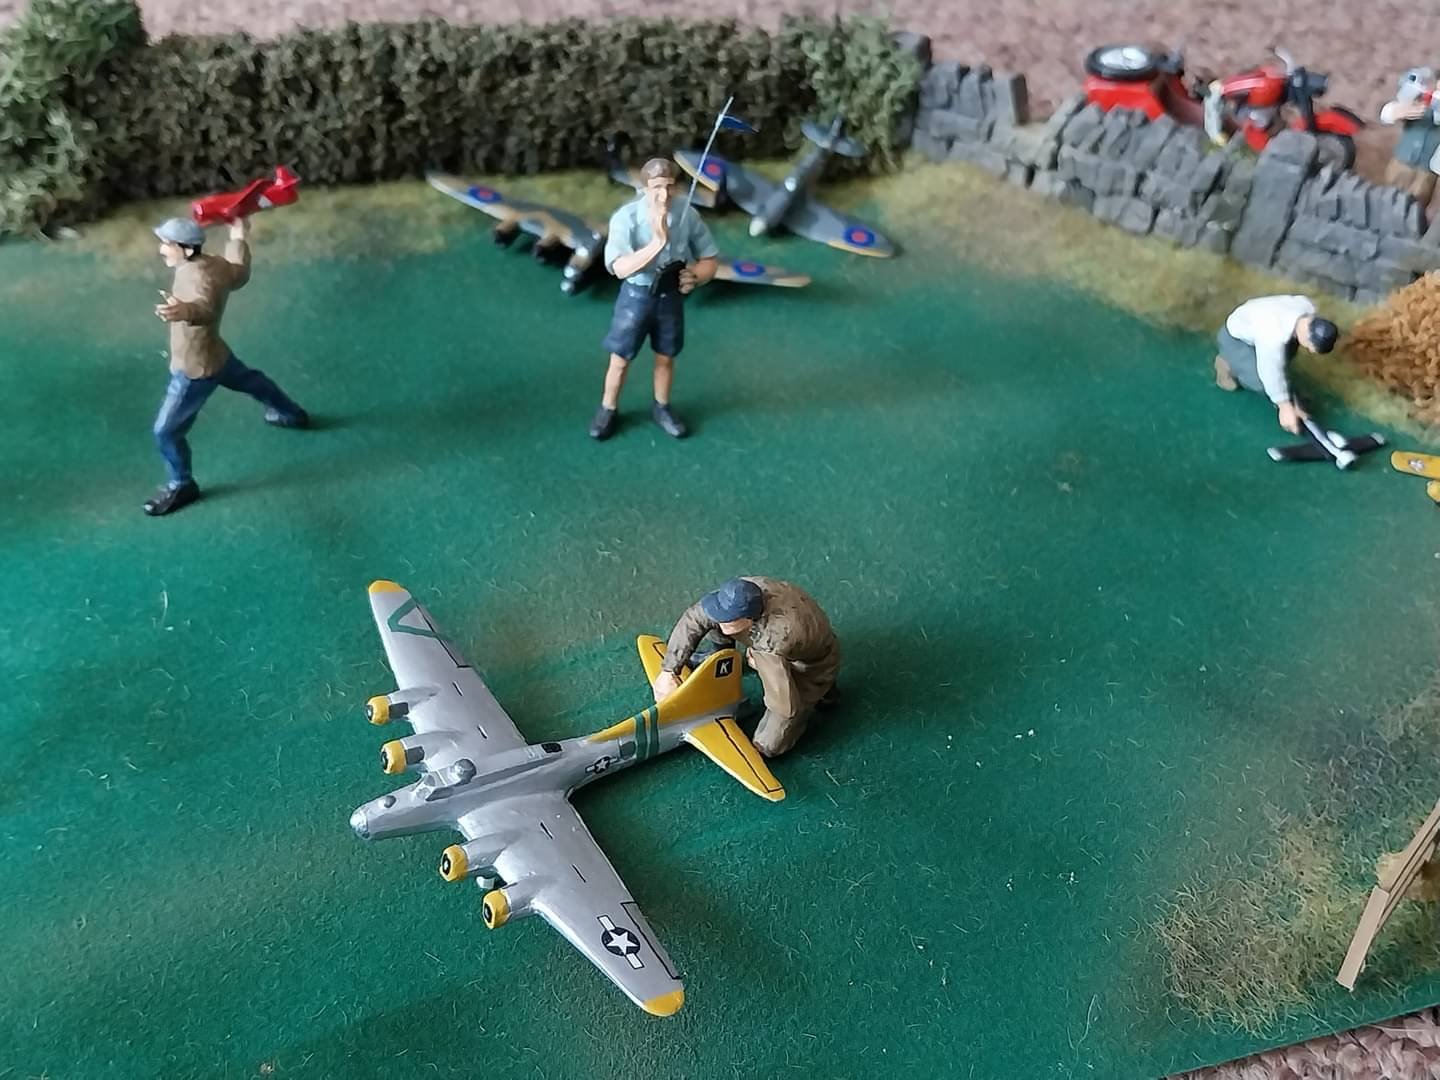
1:35 scale... Some geezer converted the standard assortment of Tamiya soldiers into modelers.
1 point
-
Hi folks, this call goes out to those who are happy to own a pre 90 4x4 vehicle and have a sweet spot for the rugged designs and builds of those pre computer era vehicles. I've been living in the Eastern Bay of Plenty since late 2015 but have not found a group or meeting for those trucks yet. What I'm hoping to create (or find) is a small group of like minded people who meet at a regular basis somewhere overnight (for example a basic DOC campsite) for a yarn and maybe, hopefully also check out some public or private tracks in the region. And that without ripping these apart... Axle articulation, difflocks, knobblies and winches are all there to avoid wheelspin where possible- some people seem to forget this. All brands are welcome be it Jeep,Suzuki,Toyota, Lada, Nissan or Landrover. I'm sort of fed up with the brand dependent thinking, all vehicles have their pro's and con's. I have driven a modified 1974 Landrover for more than 300K kilometer all over, including twice through the Sahara and back - but I am now very happy to steer a 1986 Landcruiser as my daily transport. I love both. What I really don't like is today's modern, macho and aggressive image of 4wd's which is also affecting earlier builds. Overly lifted, fat tyre equipped show off buggies in my views. So if any of you is interested to have a beer or coffee (or whatever your favourite camp drink is) and talk about old school 4x4's while enjoying the company of the owners and vehicles... please post here – maybe we can create a cool and friendly group. Aiming to have the first meeting before New Year's at the Whitikau DOC campsite adjacent to the Motu Road / Eastern Bay of Plenty. Anyone interested ?1 point
-
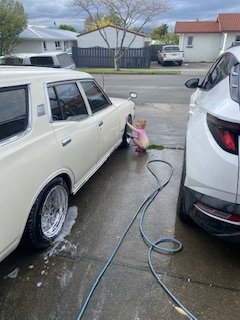
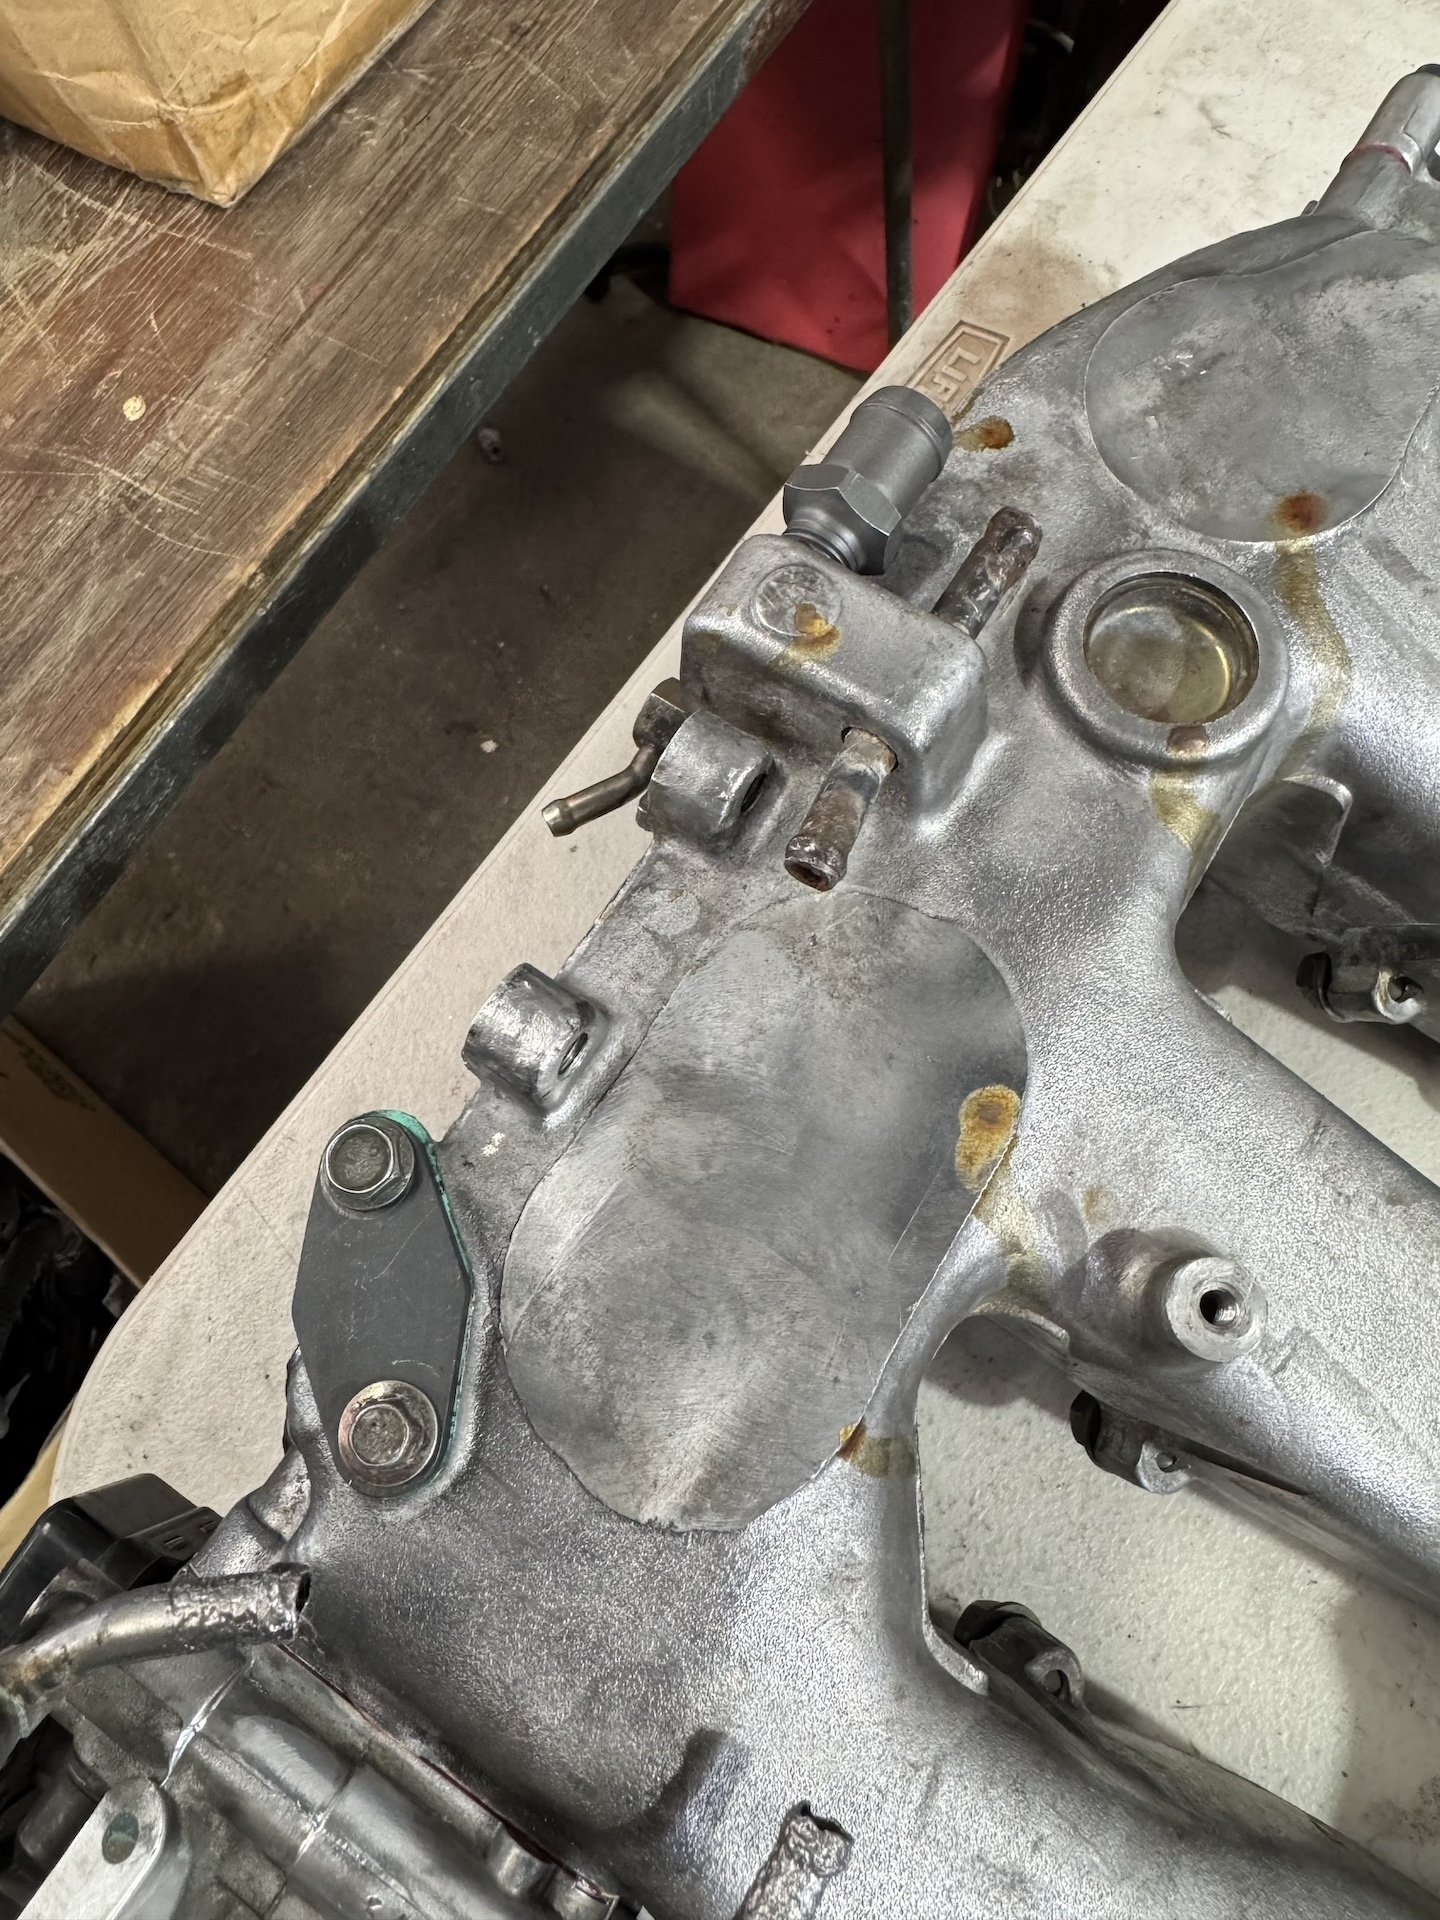
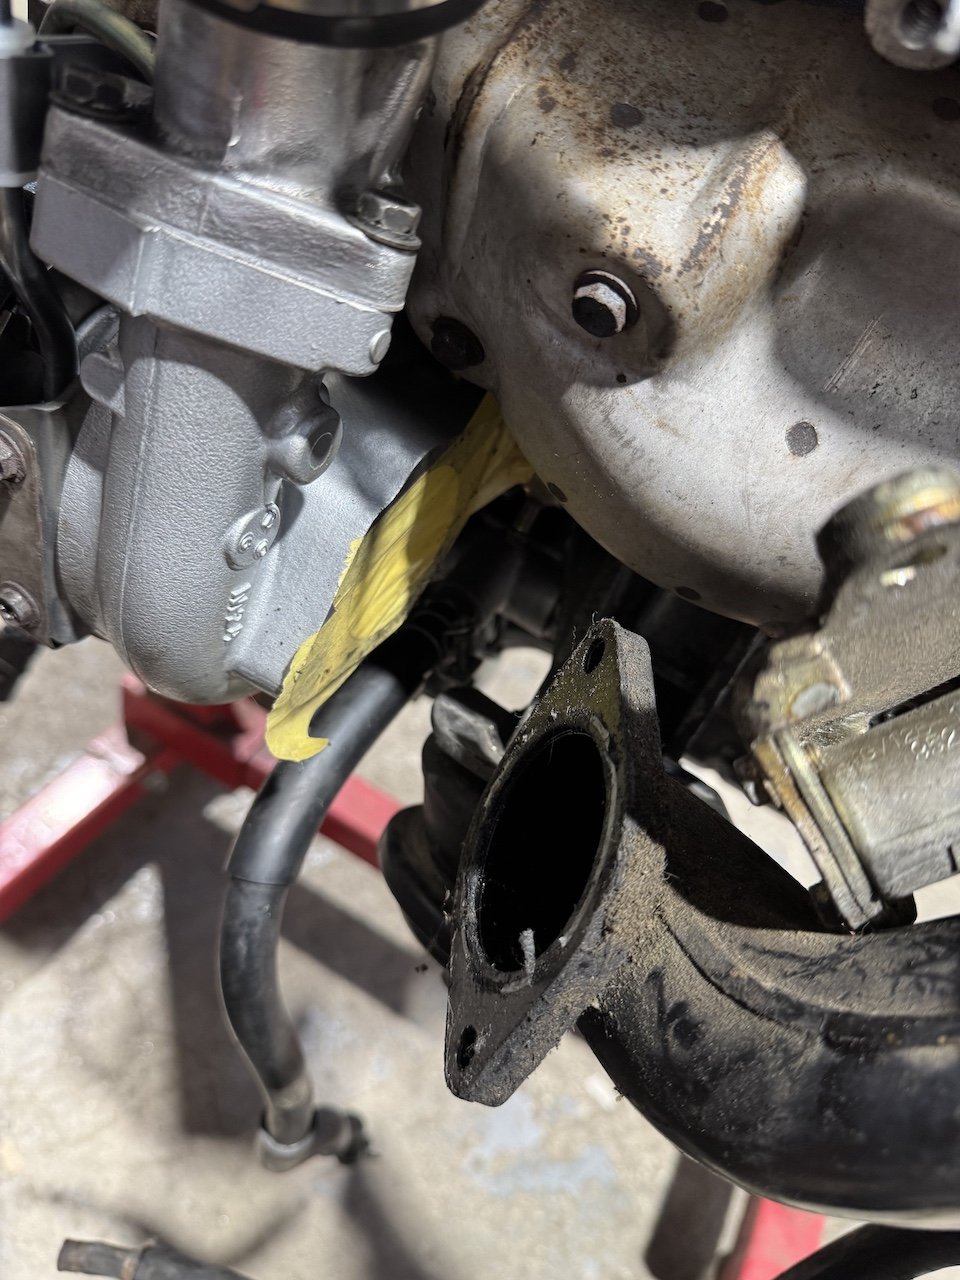
Quick wash ready for rotokauri school car show tomorrow, better check those wheels again... tyres coming this week so will be able to measure up the diff mods soon. Gotta pull the manifold off again already blown out the exhaust gasket (shite pressed permaseal thing, got a copper one in from aussie to anneal and install, will double check flange face is flat while it's off should be good after that.
1 point
-
Been down to Bulls for a thing, good trip mostly. The new Ripco spark plug lead didn't last long with a misfire after stopping at Taupo, so spent some time at Pro Parts getting one with a right-angled connector made up. That should be a permanent fix. Only real problem as just on leaving Bulls heading back north. That nice black Chevette that was posted in the Spotted thread was up ahead, so I accelerated out of the 50km/h area only to experience a sudden loss of power and a floppy gas pedal. So pulled over to the side and checked the pedal end. All good there so had a look under the bonnet. Turns out the crimped on end had decided it didn't want to be attached any longer. Luckily I had some basic tools with me, and there was enough length available to get it back in action by poking some strands through the mounting hole and tightening the bolt back up. I left one of the return springs off to reduce the load. Looked at a few options for a permanent repair, there are some aftermarket cables available with a nice pivoting end, but they are $$. I've ordered a knockoff from Ali, but in the meantime I drilled a 6mm bolt and welded that to the head of the other bolt like so I had to trim the rough end of the cable a bit to get it threaded through the hole, so adjustment is a bit short, but I expect this will be a medium to long term fix.
1 point
-
Repair cert man came and gone. Not sure exactly how it went down (somewhat 3rd party managed due to work/his convenience) but had the go ahead to progress so it’s at the blasters now and should be back sometime next week… now we wait. Pic:100% stripped and anything to hinder the process removed/cleaned.
1 point
-
I will be doing it again. I have a choice of bikes now but might sway with my little RV751 point
-
The Virm has actually been updated recently and made it illegal for Yellow Rx7s to have oem turbos. So only way you will get a wof is if you fit a single BorgWarner 300sxe.1 point
-
I blew all my fancy ECU money on mags and shiny intakes because I'm sixteen1 point
-
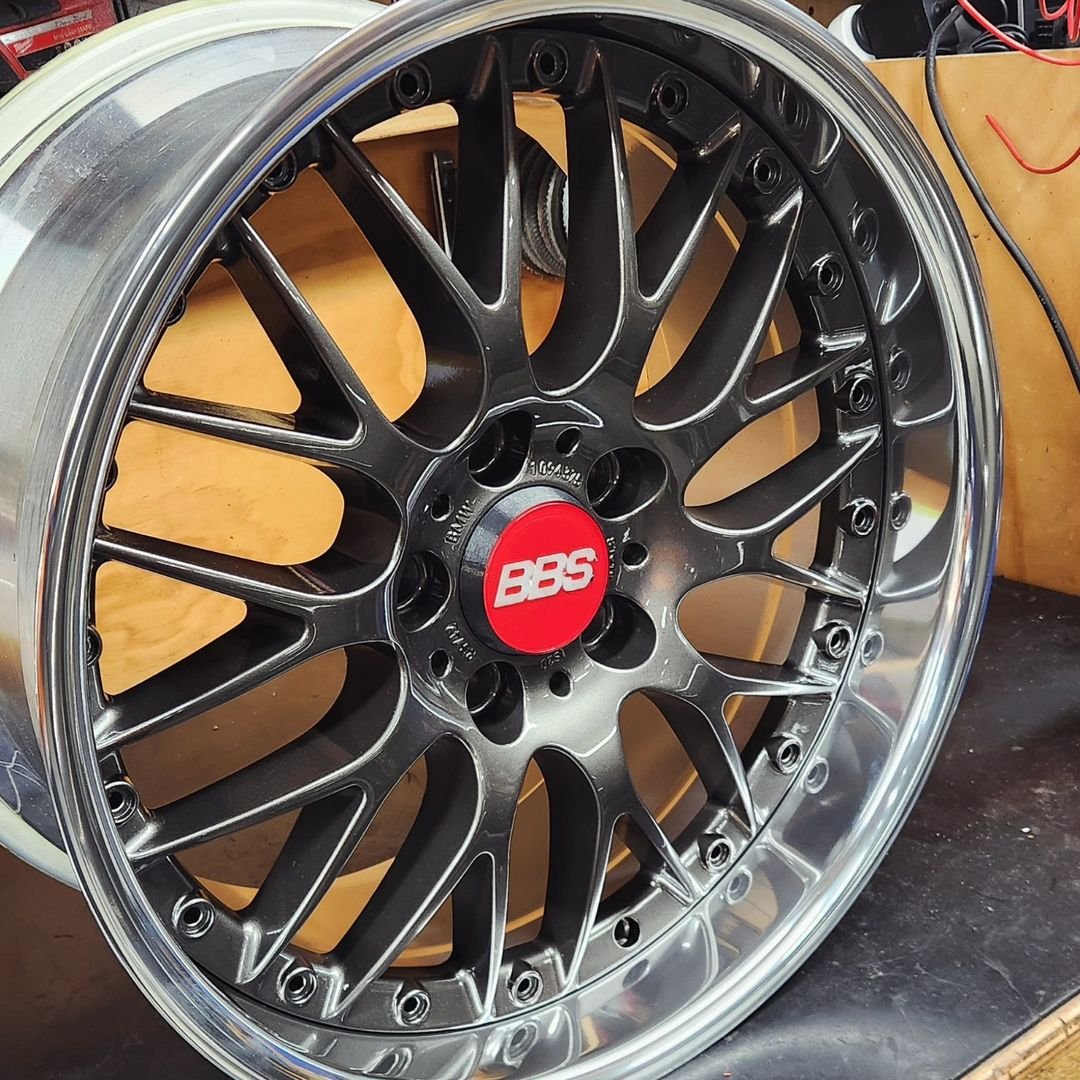
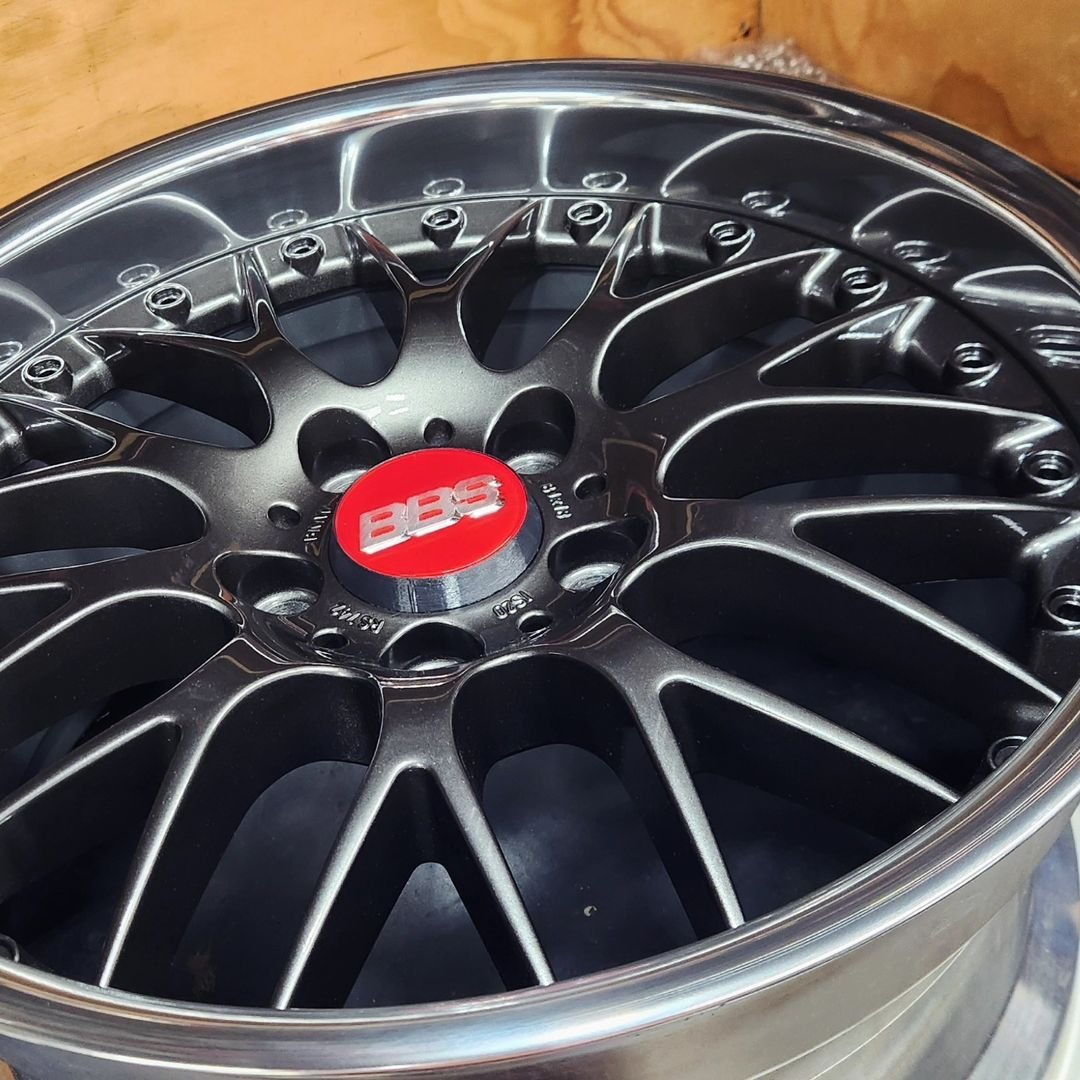
Wheels have been making progress, painters has sorted the centers in a custom mix gunmetal with silver on the inner barrels, & RKM sorted polishing the outer lips looking sharp now, just gotta finish polishing bolts to assemble them
1 point
-
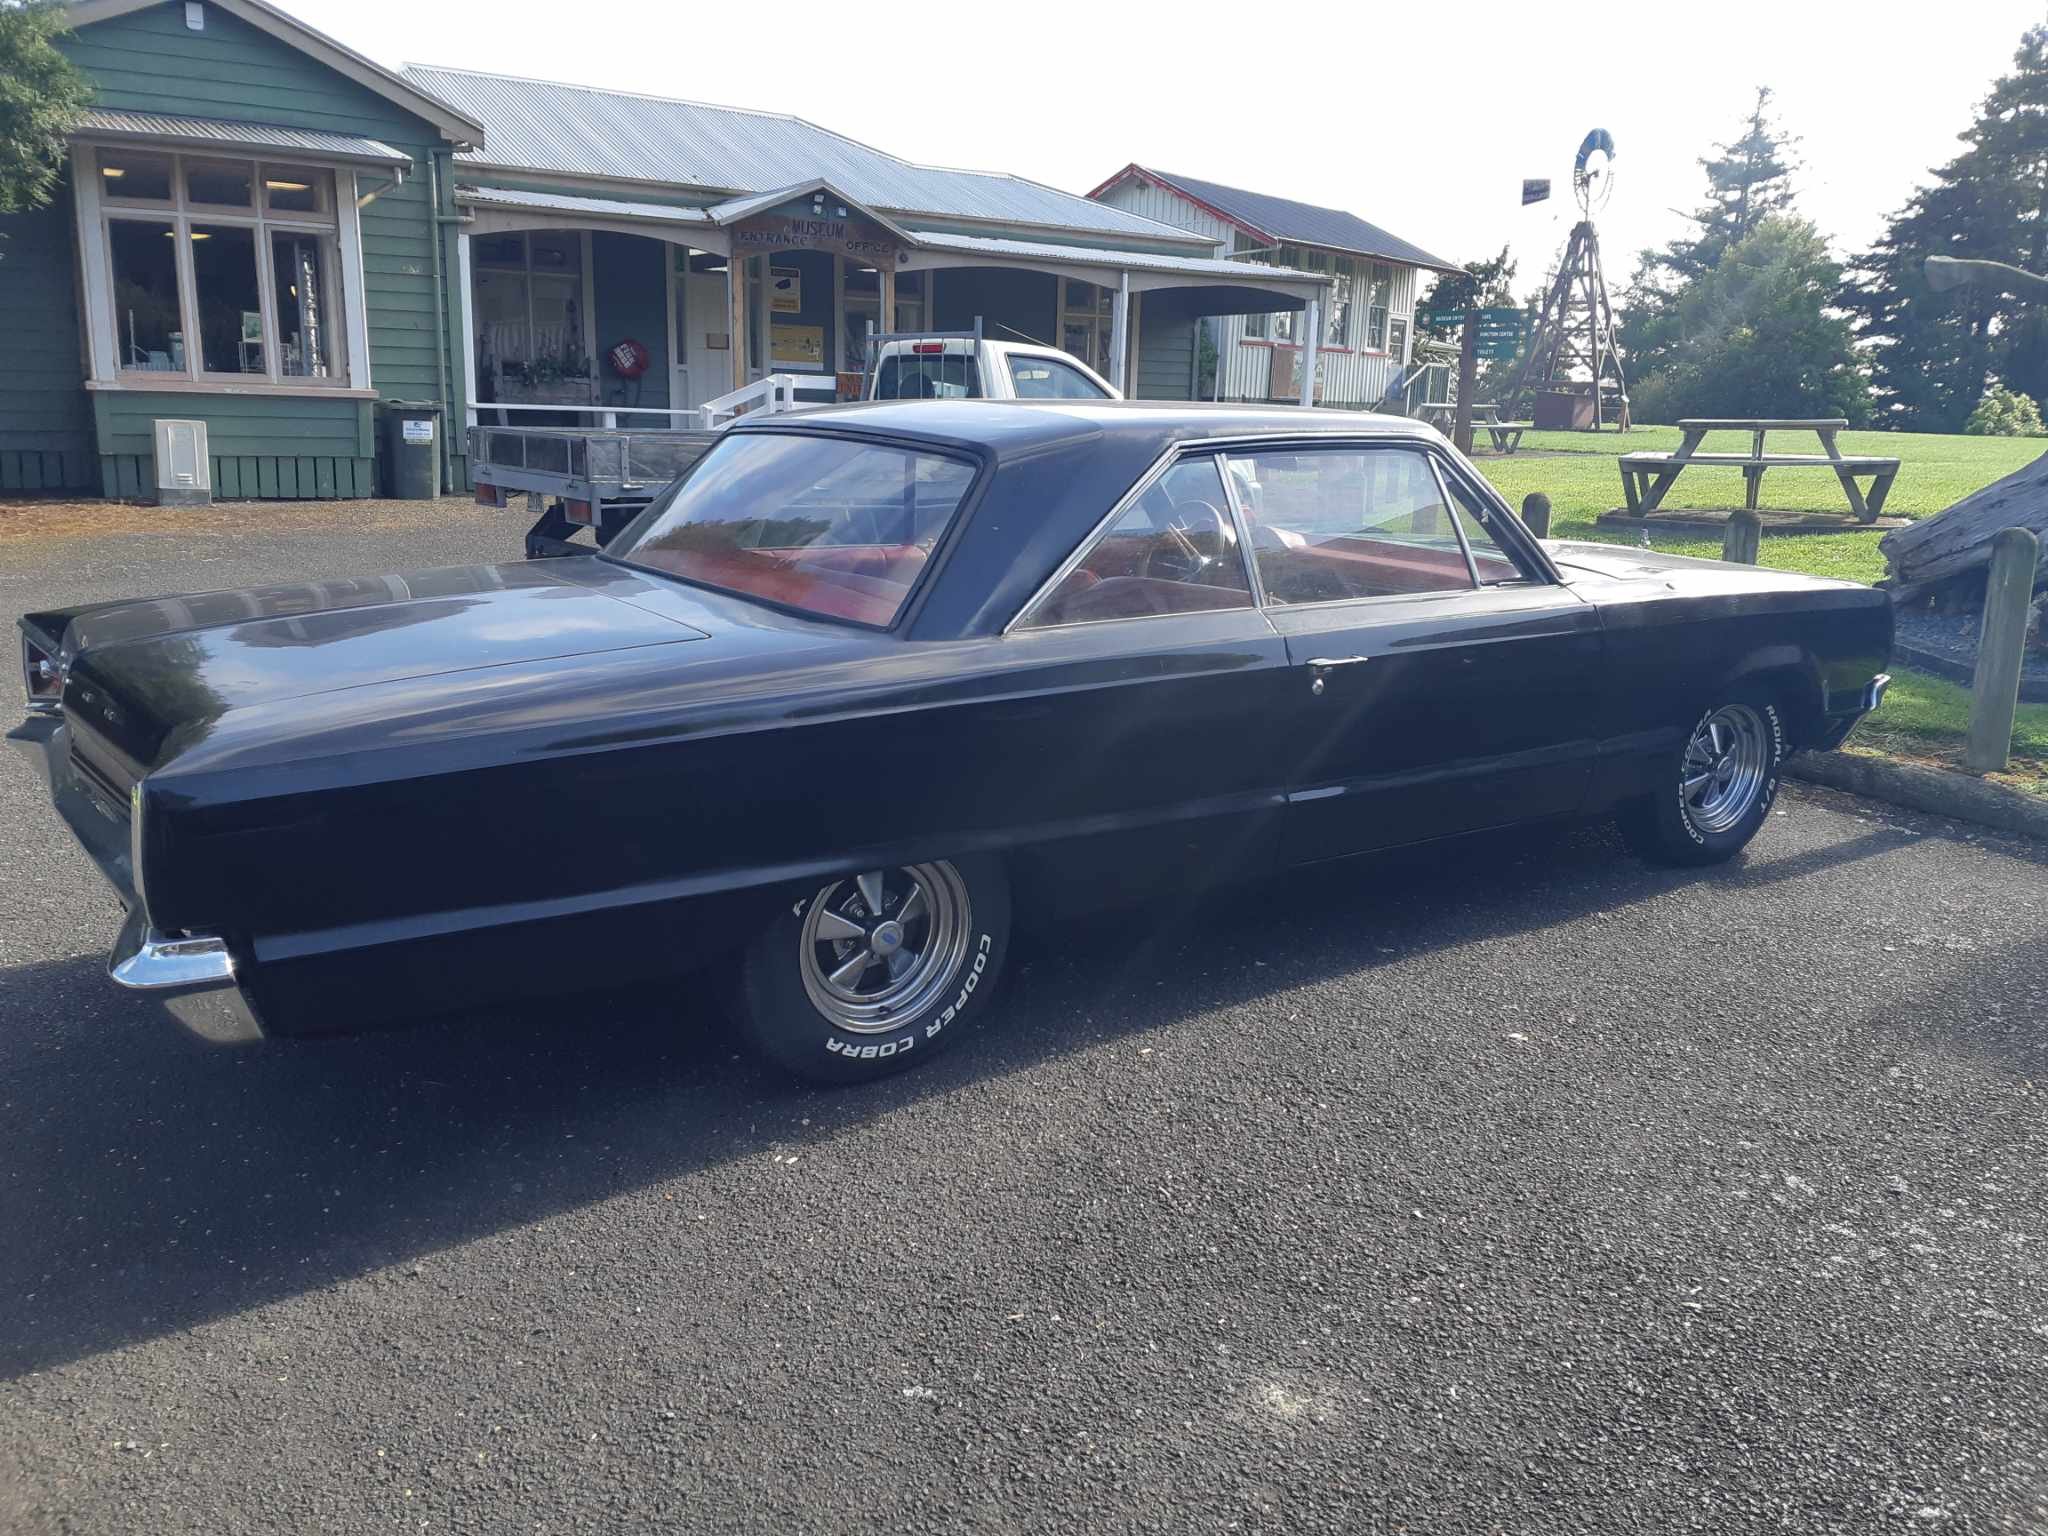
Dodge goes in for its first wof in my ownership friday, thought i'd get the new outer tie rods on. In the past i'd always done these with a jack and a hammer to separate the joint. This time I was armed with an aliexpress balljoint separator, the wind up sort - amazing, should have got one years ago. I spent a bit of time measuring and remeasuring to try and avoid the need for an alignment and I reckon i've got it pretty bang on, certainly good enough for a car which will be lucky to see 1000km a year. While I was at it I greased and cleaned up all the joints in the front end, couple of zerks were broken or blocked so luckily I had a box of aliexpress imperial zerks handy. I think I am going to start hunting for a 4 barrel manifold now, upgrading from a carb that looks like it should be on a lawnmower ought to really wake the car up.
1 point
-
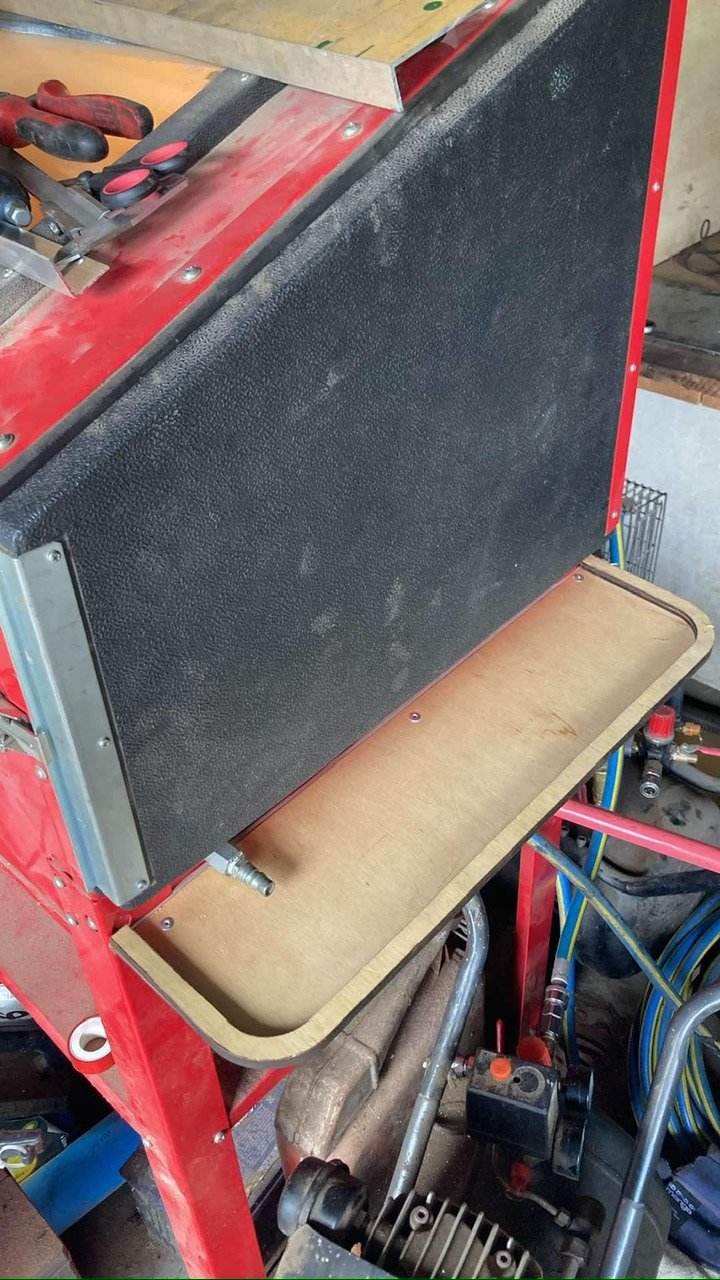
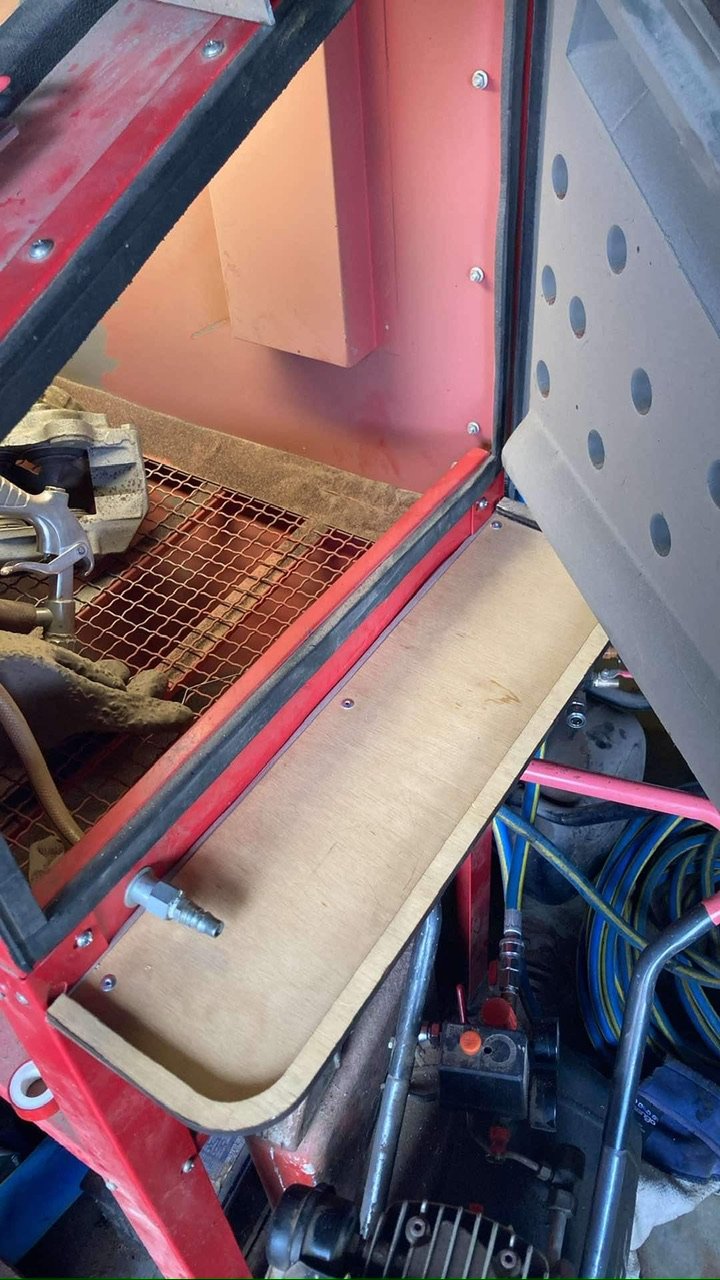
@Dudley is working on my car so I don’t have to, but it means I’m in the shed doing jobs I’ve been putting off. I hung the air hose reel that I bought about a year ago so I don’t have to coil and uncoil the hose all the time. Thread taped all the air fittings everywhere, and coz the sand blaster drops sand everywhere every time you open the door I made this little shelf for the sand to land on
1 point
-
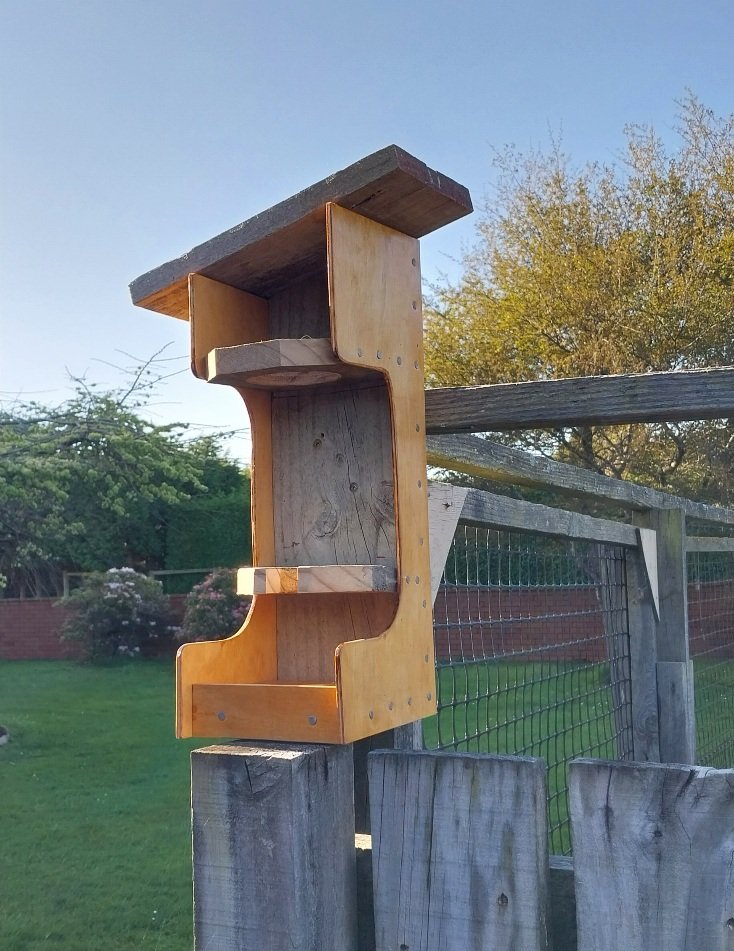
Better pic yeaterday in sun. But reposititioned after watching birds landing preferences...
1 point
-
1 click equals about 1psi i wound 4 clicks in as a starting point as instructions say start with no more than 1 turn. Immediately hit 12 psi which it took apparently with no issues puffed some black smoke i wound it back 2 clicks and now have 9 psi. It's a bloody rocket! Super fun at 12 pound will save that for the hail Mary run at end of day. Think i better fit a heat shield to protect all this shiny stuff and fit the blow off valve. Sounds different as with more boost through it.
1 point
-
Just did the servo upgrade could of done it in 5 minutes if I hadn't cleaned up and found extra parts....... yes I did that. Fortunately it was the plunger just under cap so didn't have to drop rear mount or exhaust again. Was very filthy around servo looked like fishoil and road dirt so I thoroughly cleaned that up before reassembly with a new o ring. Nice little upgrade it seems to be getting better and better more i drive it previously power mode was all good no slipping but normal mode it would flare at part throttle. That's gone now and power mode is nice and snappy no slipping anywhere. Very pleased thanks for the tip @jakesae101 i feel it's gonna live now.
1 point
-
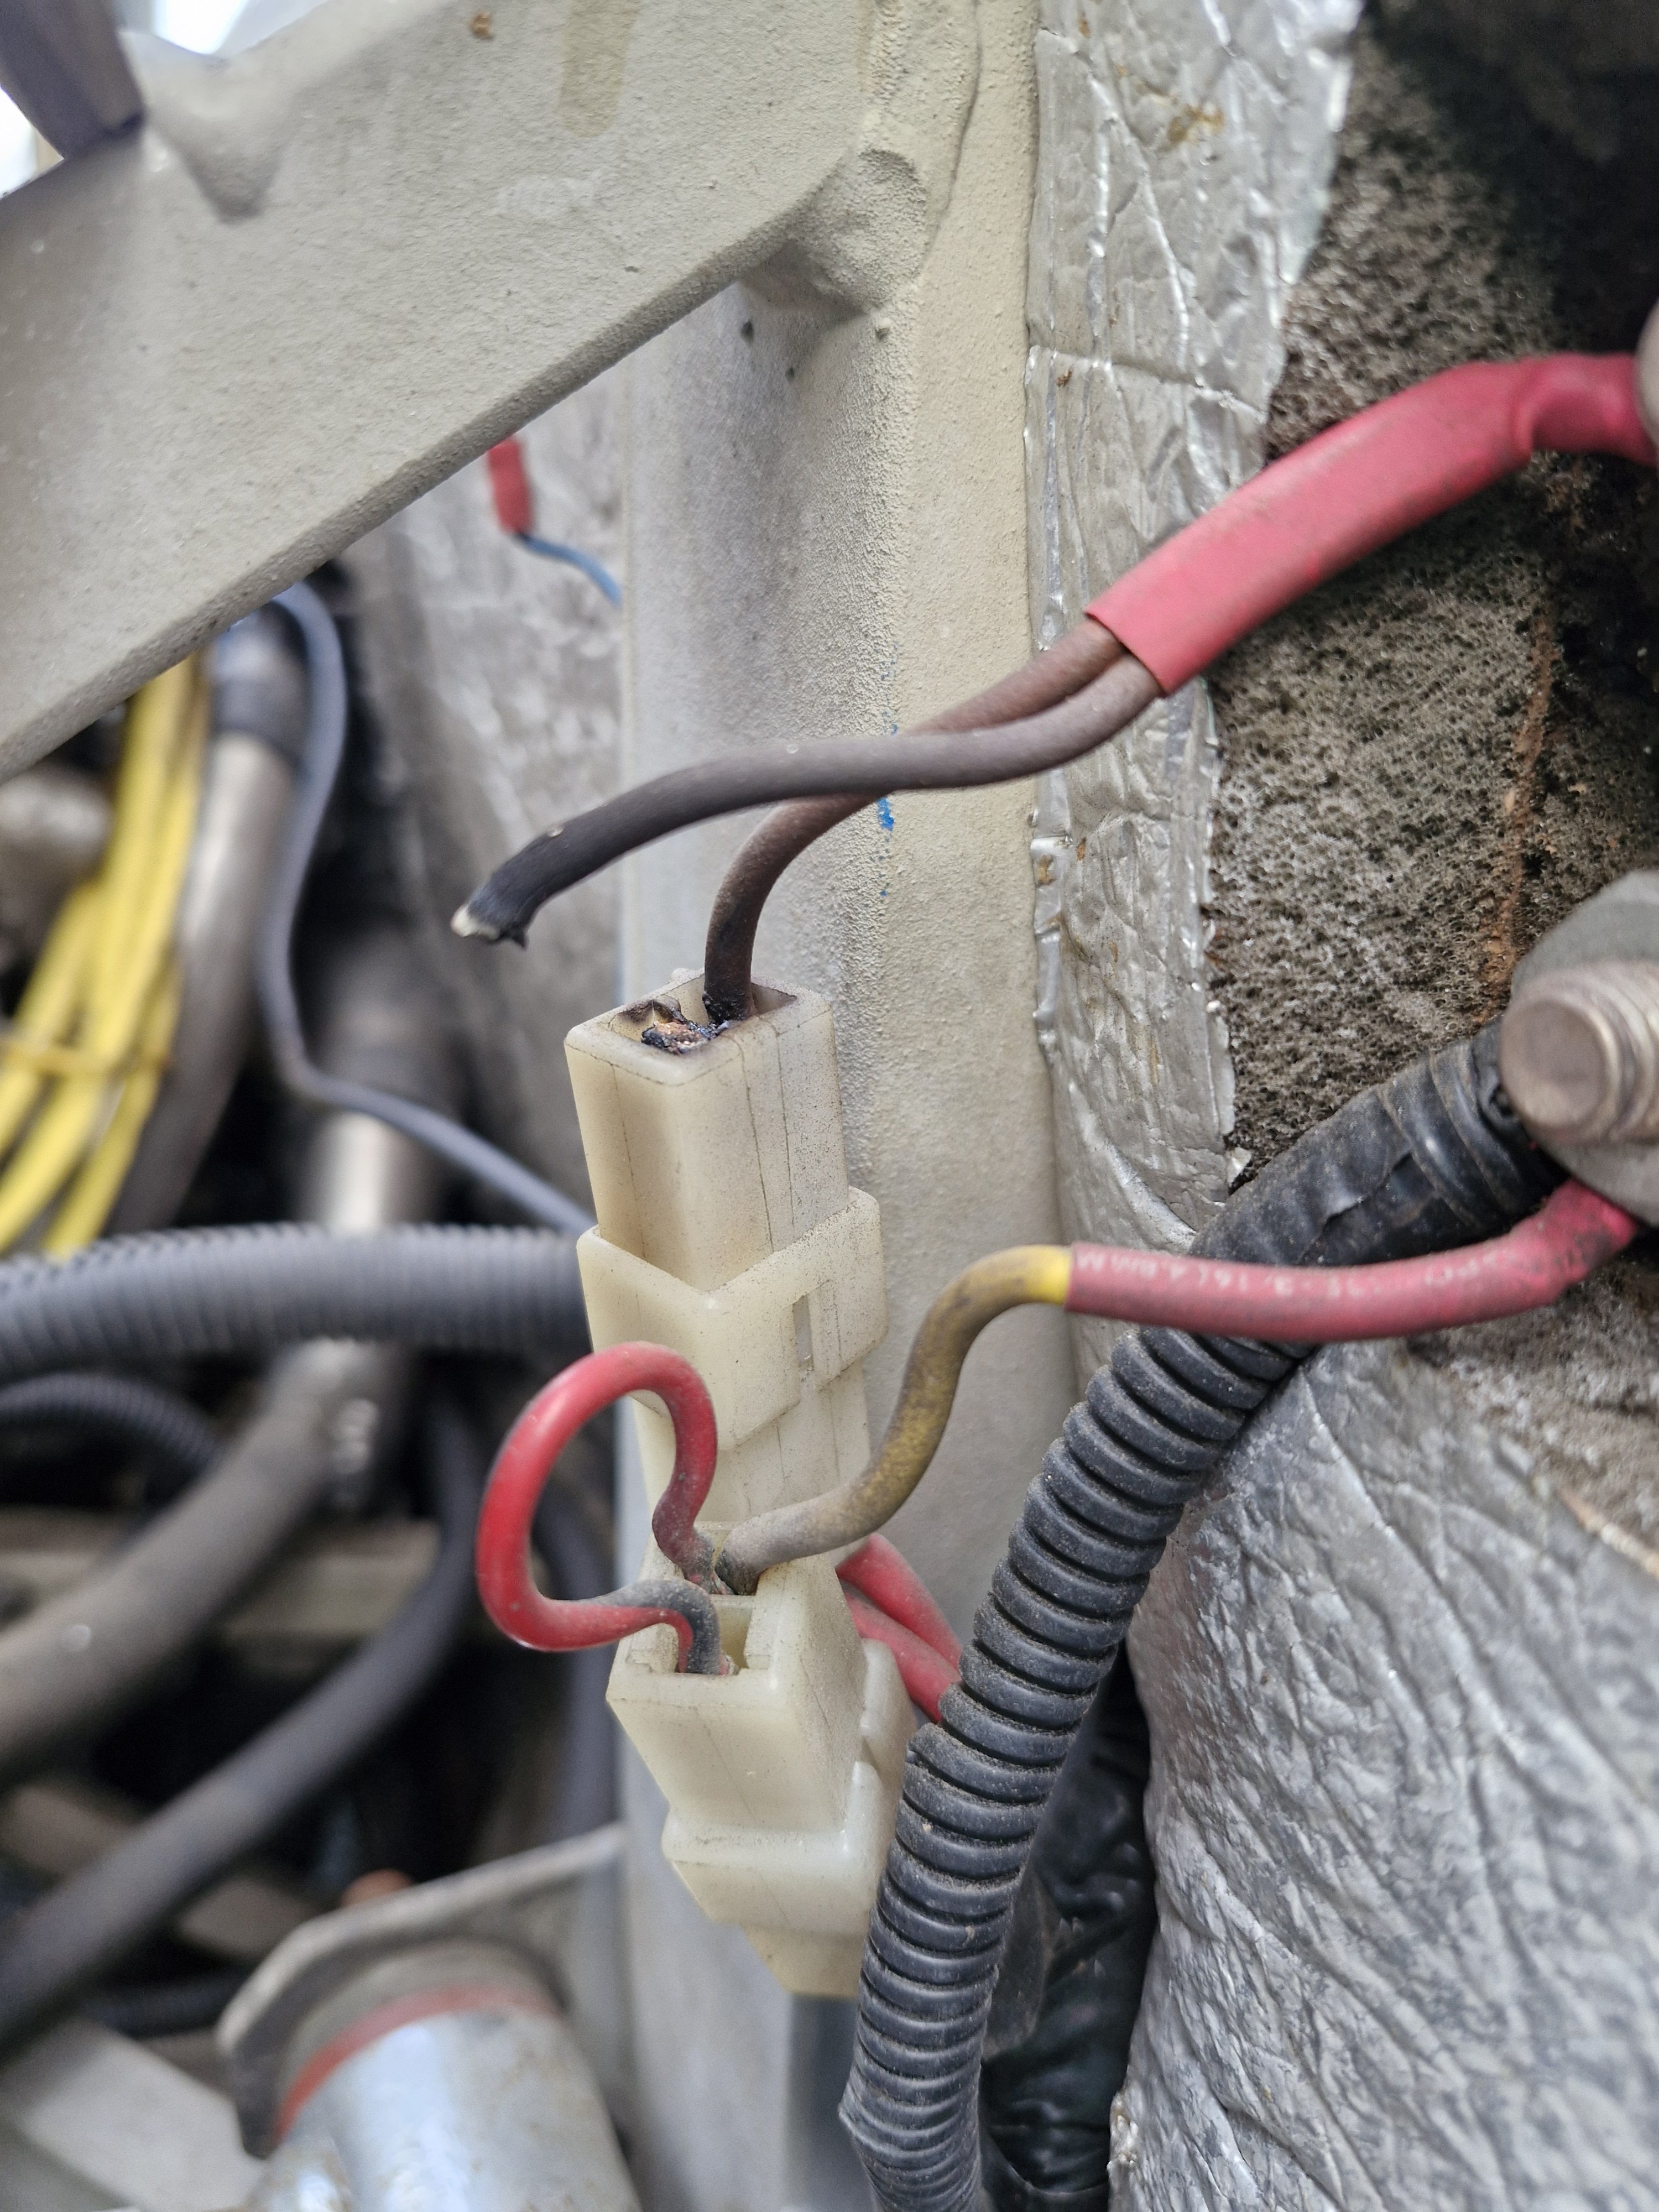
The dirty bitch has bitten already, melted a wire, only off the kill switch, only in the middle of papakura.. mate came and helped push it off the road in to a carpark and wedged a piece of my work lanyard in to hold the wire in to get me home..
1 point


.thumb.jpg.570970b401ac8d26ce9af7c1bf2bd8cd.jpg)


This leaderboard is set to Auckland/GMT+12:00