30DegreesRetarded
-
Posts
28 -
Joined
-
Last visited
30DegreesRetarded's Achievements
Member (2/5)
170
Reputation
-
 How do I get the diff head out of the housing. I’ve pulled the axles and removed the nuts but it seems pretty dam well sealed
 -
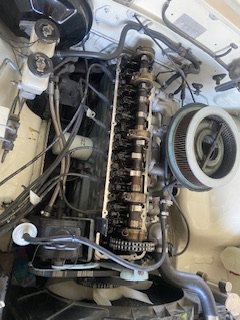
NGK SPARK PLUG QUESTION- bp5es vs bp6es I have replaced the point and spark plugs on the L26 (not condenser). There were NGK bp5es in there so I replaced with the “manual recommended bp6es” spark plugs. Checked resistance on leads. Engine sounds completely different. Sounds cleaner/quieter. However, I can’t seem to understand why? So after doing some research…Apparently as NGK numbers get higher the plugs run cooler. I purposely purchased 6 over 5’s as I thought it was the other way round. Assumed my fouling issues on the plugs was due to the incorrect plugs and running short engine starts in the shed on choke. I’ve recently redone the tappets as I think I’ve got it correct this time. Should i run these plugs and see how they last or just go back to the bp6es ones?
-
Any one got any good links to setting timing. i got a timing light for Xmas from the wife. Pretty cool she’s thinking about stuff I want/need and not just undies and sock which I require/need. so, Haynes manual says warm engine, in Nuetral and at idle it should sit at 10*advanced. What I can’t figure out is when I backed off the advance to sit it at 10* I then gave engine a little rev, let it idle and the at idle it dropped prob 15* retarded?!? So now I’ve put it back to the original setting which is dizzy turned full advance. im assuming what I should be doing (with the reading that ive done) is I need to go back to the points, dwell, lead resistance etc first before timing? I run 95-98 so assumed a little advance is good.
-
Tappets went smoothly. Only had to adjust three all up. Need to buy a timing light. I ended up getting a WOF but failed on a leaking break line. Turns out I needed new rear shoes and one of the valves were leaking in the rear left drum. Local brakes shop couldn’t help so off to chch for a rebuild. Managed to pick up some shoes for $4! Couldn’t fit the 2inch blocks as they hit the inner wheel. So reset leaves back in and off to Nelson for a Wet Datsun Nats. 3rd kid arrived last week so now I def don’t have time for working on the wagon. But the kids have some time spare.

- 12 replies
-
- 19
-

-
Okay … so this is a little bigger than an A series. My first attempt at checking tapets take 1
-
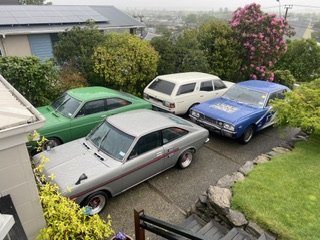
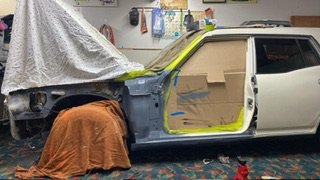
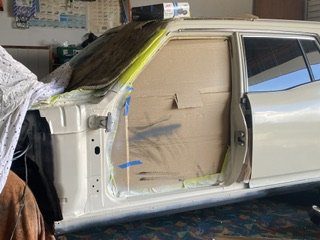
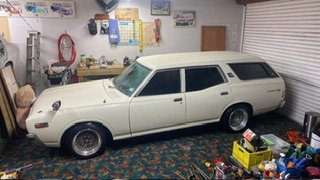
Found a sedan rear sway bar to fit to the wagon. Already had the mounting points on the diff so assumed it would fit up sweet….nope. No bracket coming off the rails. Unsure if the effort to cut and weld in the mounting points is worth it. also, started just a general scrub/clean and somehow got distracted. Not paintshop spec but better than what it was. Where I could I rubber wheel’d down to steel but there wasn’t enough patience to wheel all of it. Plus the bloody primer never went hard. That sucked balls as I then had to thinners the whole dammed thing off and start again.
- 12 replies
-
- 13
-
-

-
I never asked him what it’s for. He seems to keep to himself but is a nice enough chap. Kinda reminds me of Wilson from Tim the tool man Taylor. Only ever talk over the fence. I believe he owns the local Jaycar here so seems fitting I guess.
-
Quick question. Is it best to remove door with hinge attached or leave hinge on the car? Or does it not matter.
-
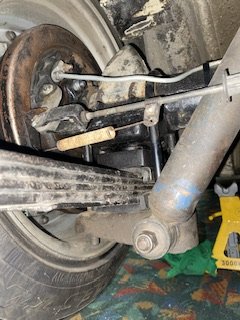
It’s the shock absorber mount that’s rubbing on the inside lip of the rim. Maybe due to the axle being 100mm shorter and the 10” wheel?? I’m going to have another go at it as maybe I was not concentrating properly. I’ll get a better pic then the u bolts are fine as they don’t rub at all. Ah yep I’ve got nylon nuts on. Prob due to replace though as I’ve had em off and on enough now that they prob aren’t so effective??
-
Had some 2” blocks arrive for the rear. However I went to fit them tonight and I can’t seem to get them to fit without the bottom purch plate thingy (rear shock attaches to) to fit without it hitting the wheel rim.
-
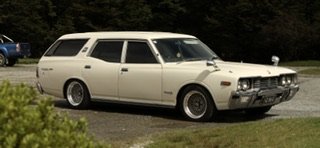
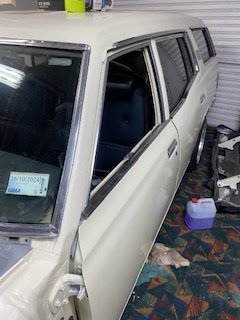
Got windows tinted. Drove over to Nelson to do it, and she went smooth. I think they look good so I’m happy.
-
OS Hanmer Springs - August 2024
30DegreesRetarded replied to JustHarry's topic in South Island Region
I can’t, we’ve got a chch trip booked that week with the wife and kids. -
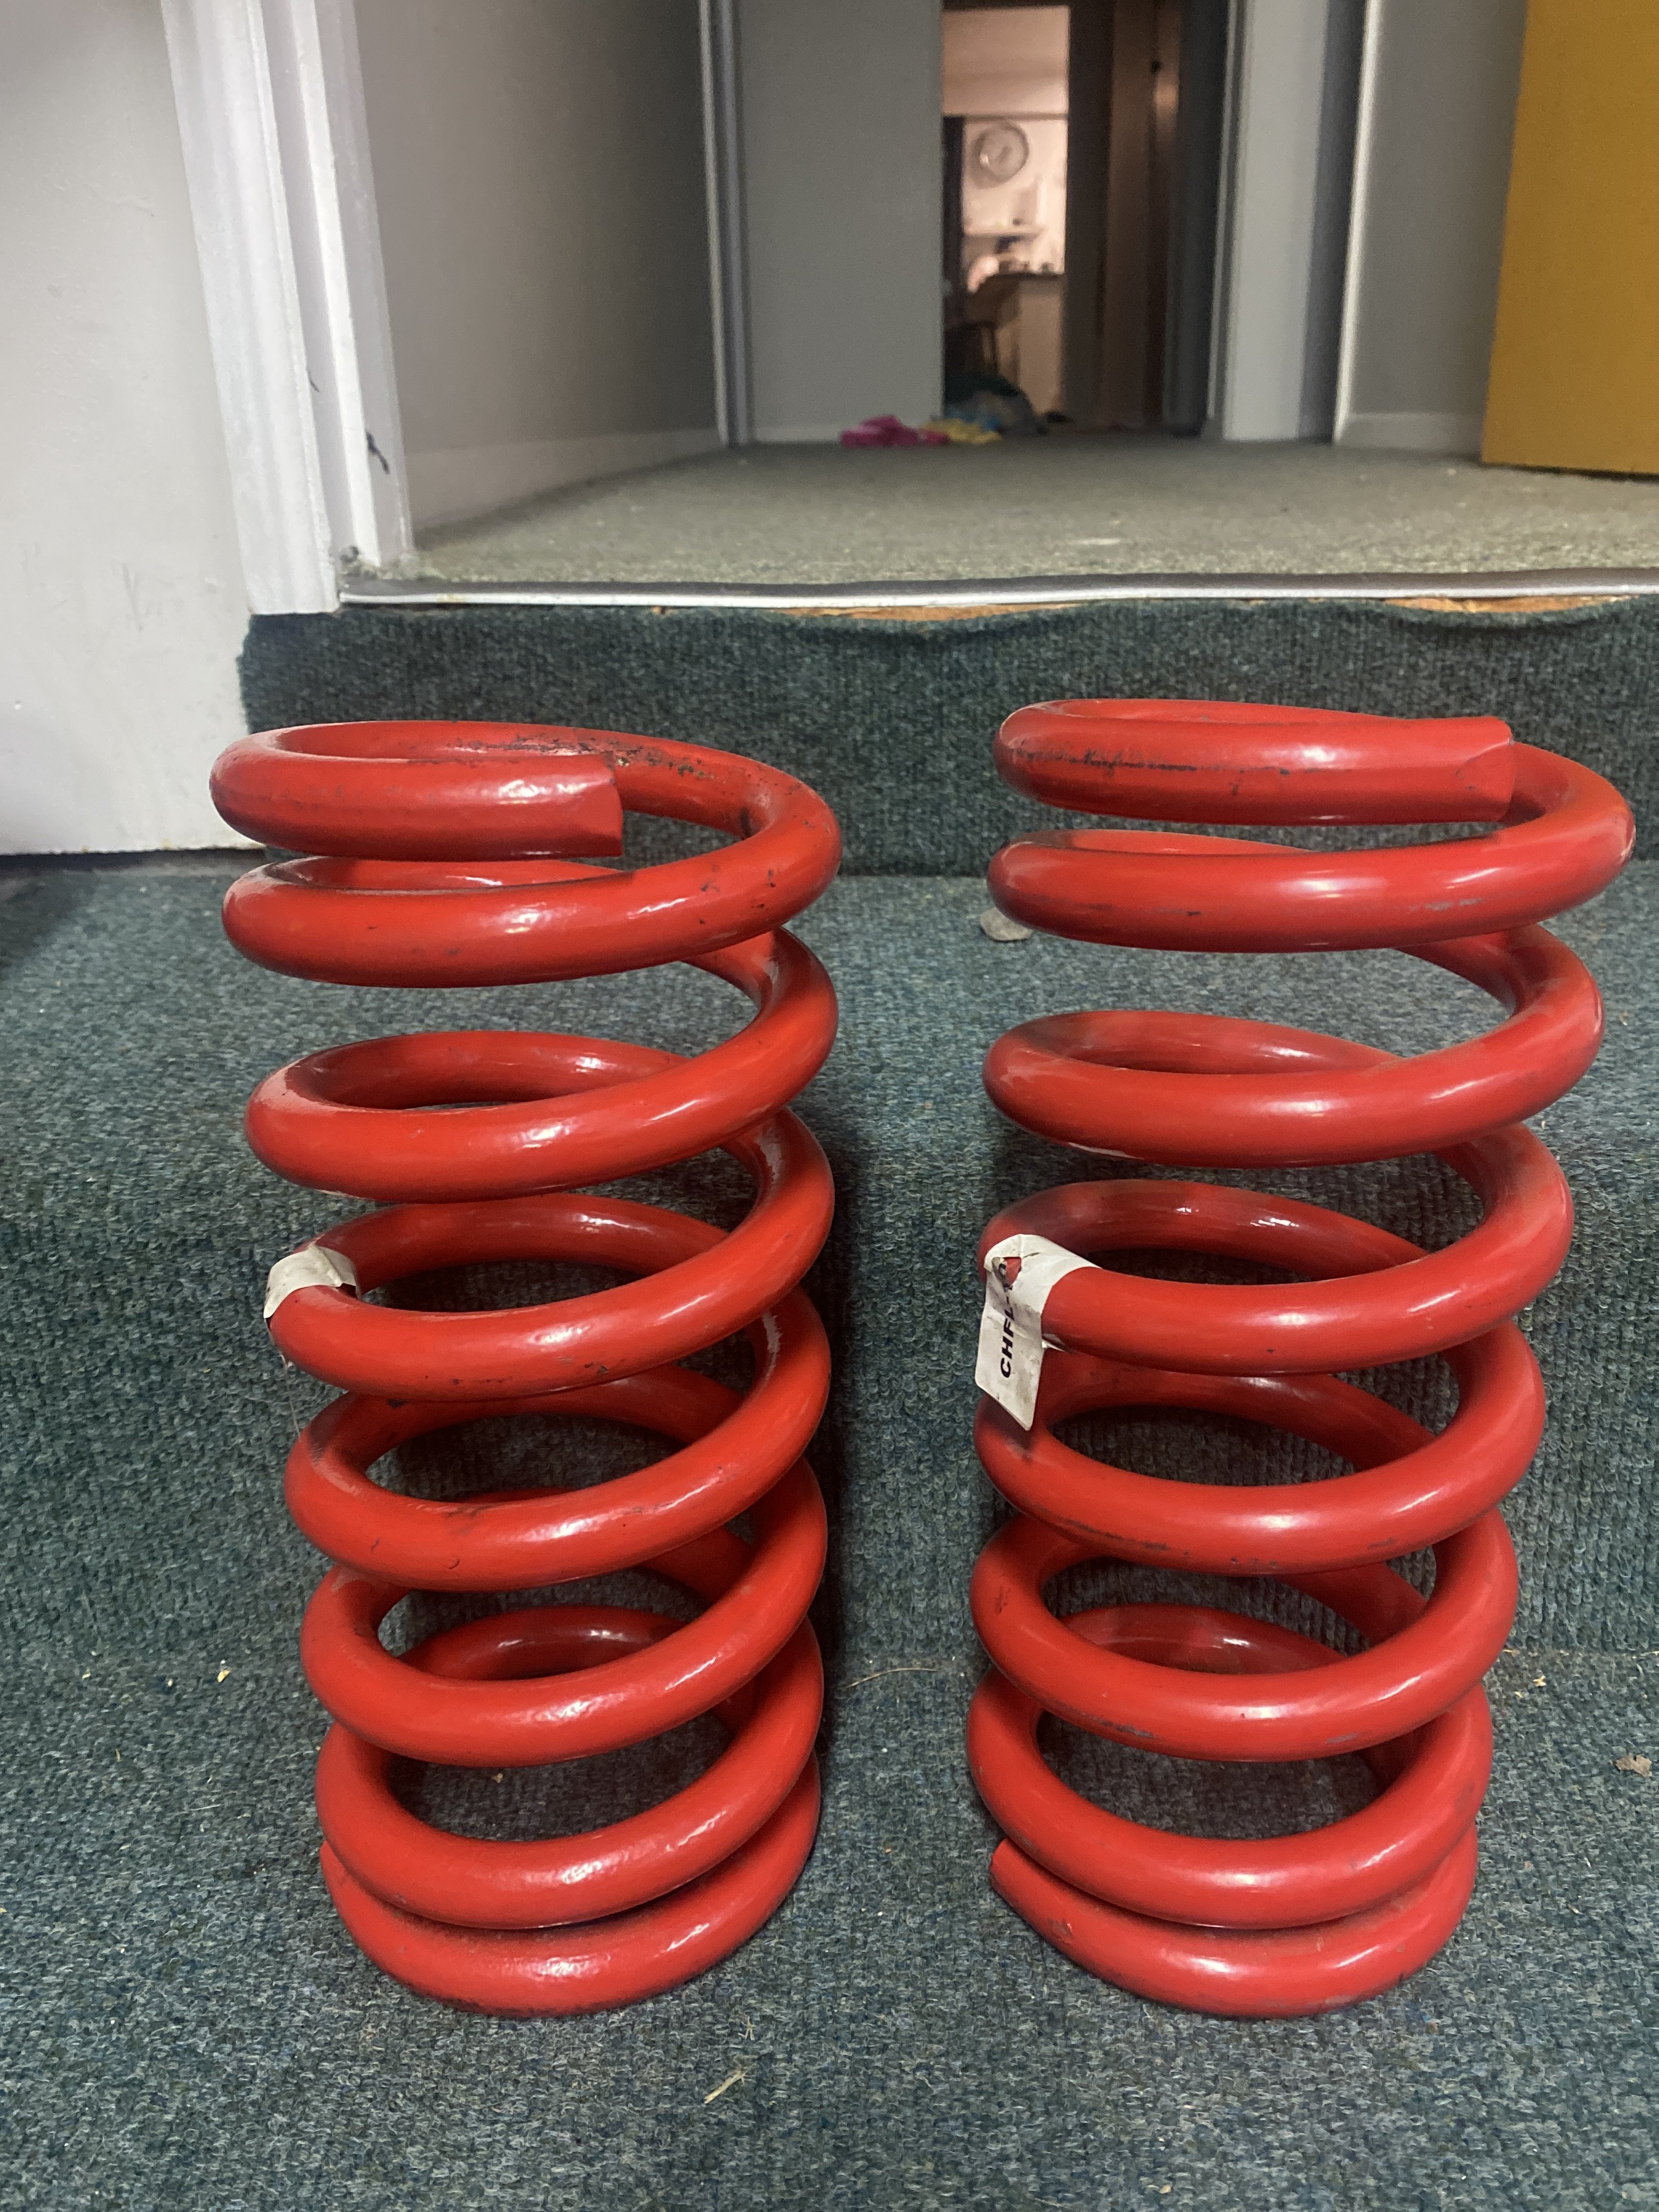
I ended up drawing an outline/stencil of the spring and marking the top end of the springs because my eye gauge couldn’t tell them apart. One I think is about 10mm longer. Springs 2years new, only done 50km one em. Both towers have their own spring perch and Haynes manual has them at top of tower (which I’ve done). Hopefully this has it covered. I’m reassembling again now so let’s see.
-
I’m stumped. so I’ve sorted all the dust boots, reassembled to what I thought would be exactly the same set up. But no the passenger side assemble sits lower than the drivers side. (I finger space vs 2). pulled apart again as I read potentially have left and right spring around wrong way…pulled springs and shocks out but I’m dammed if I can tell ‘em apart. springs are HQ 6cyl with identical markings. Spring perch is the same. Would camber spaces/shims have anything to do with it? now that I’ve looked at the dam things so long I can’t remember which one was in the left or right.
-
Na chch and Wellington. I give em a try though cheers