
Leaderboard


Popular Content
Showing content with the highest reputation on 08/07/22 in all areas
-
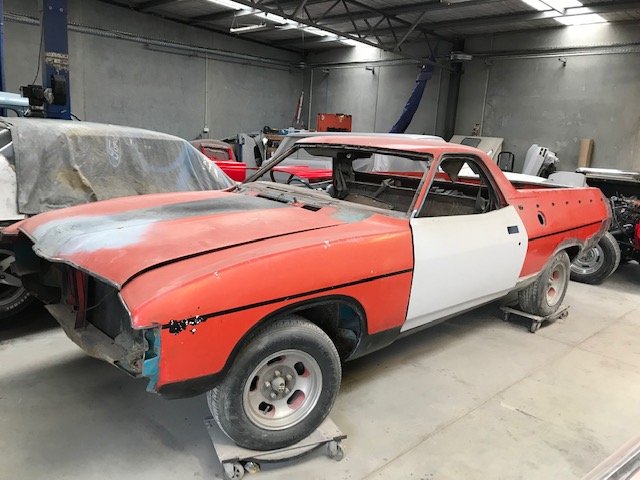
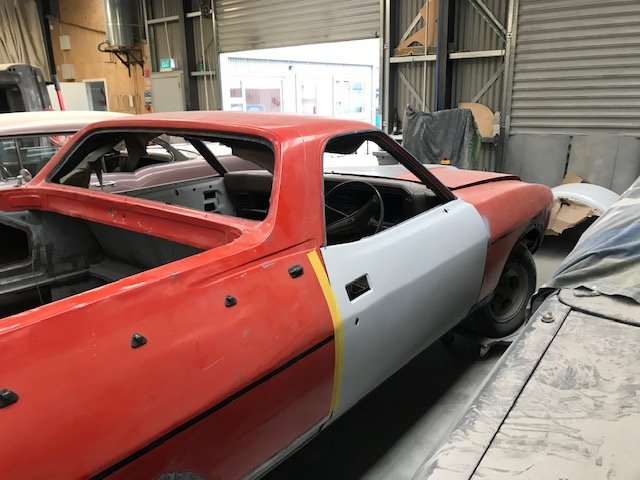
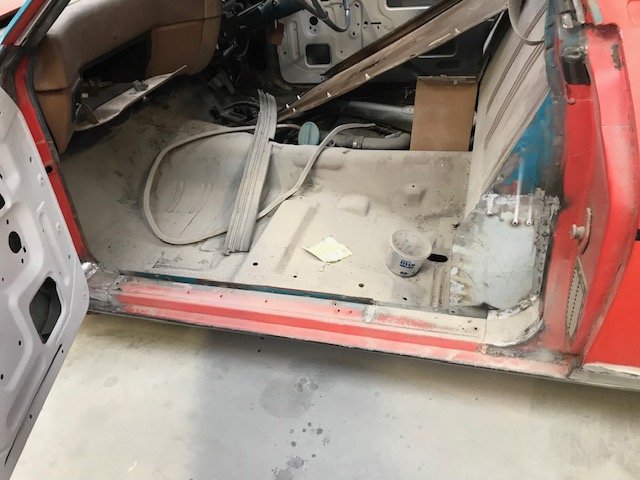
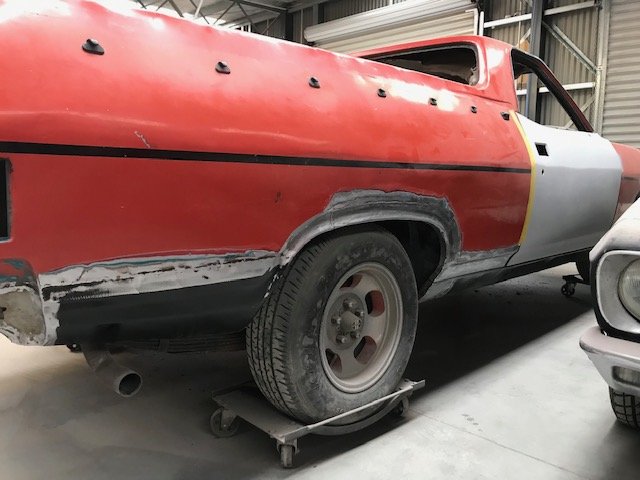
The photos so far are where things were left at Christmas, with the assumption that this would end up dismantled and forgotten in the shed. Was surprised to hear a month later it had been lined up as a downtime job at a local panelbeater and was dropped off shortly after. Got to see it a couple of weeks ago and there’s been decent progress: Replacement doors sourced: (For those following from the discussion thread -@Lord Gruntfuttock and @locost_bryan - think these were out of an XC coupe, and he’s deciding whether to tweak for XA handles or just going with the XC ones). Minor repairs to each door step: A tidy up of the quarter panels etc:
 16 points
 -
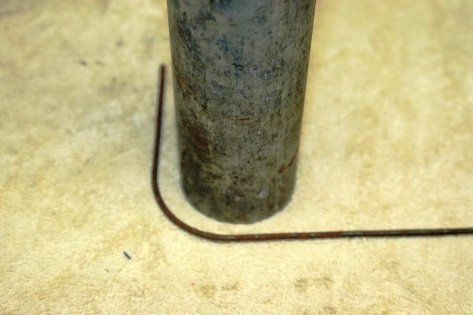
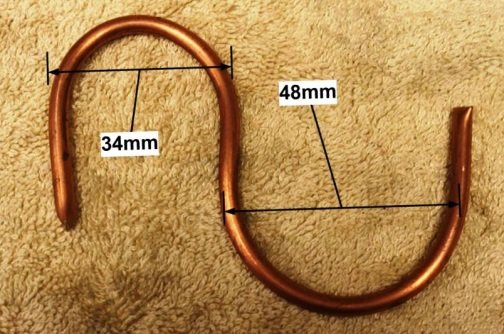
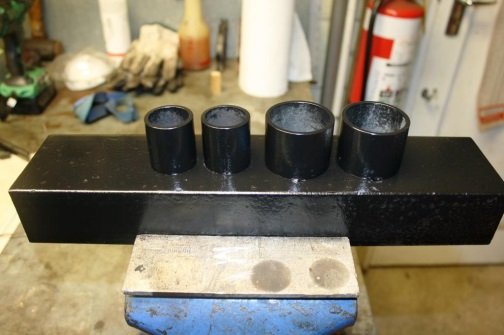
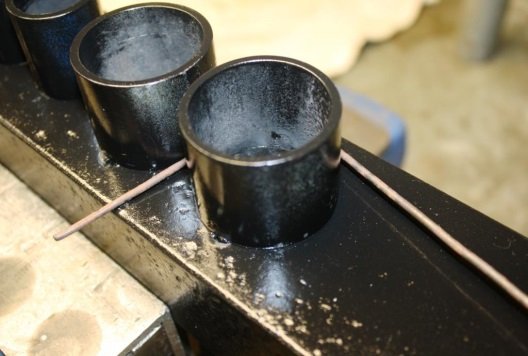
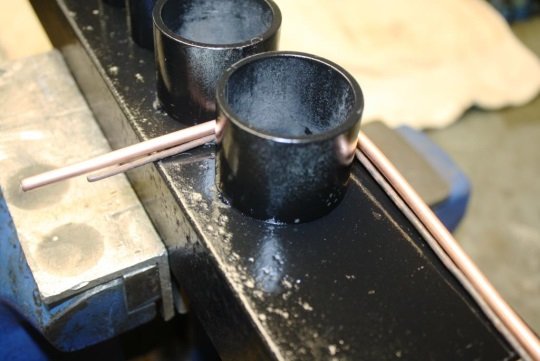
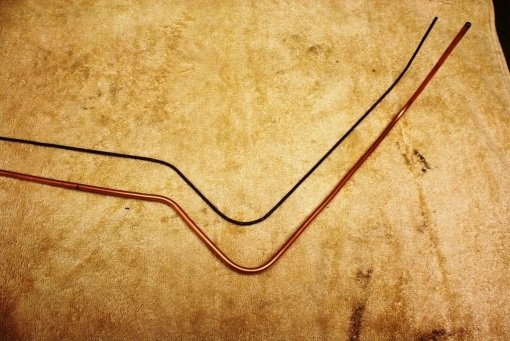
Brake line bending 101 Hi guys; more semi-incoherent, sanctimonious musings from the Universally Renowned sr2 man-cave University of Beer, Bullshit and Bad Manners. As always feel free to comment, disagree or just sling random insults. https://oldschool.co.nz/index.php?/topic/49843-sr2%E2%80%99s-1947-vauxhall-%E2%80%9Crigamortice%E2%80%9D-discussion-thread/ Just finished a brake & booster upgrade on a friends MBG GT and thought I’d share my brake pipe fabrication technique. For what it’s worth this is how I do it. In the late 70’s and early 80’s copper tube was commonly used and we produced some very pretty hand bent installs. In its defence despite copper being soft and susceptible to work hardening we had no failures due to the material used. These days with higher pressure/less displacement systems copper is frowned upon and after a brief flirtation with steel Bundy tubing (bloody awful stuff) most of the industry has settled on copper nickel tubing. It’s malleable, looks the part and is a joy to work with. Traditionally I’d make a pattern using 2.5 mm welding wire and then attempted to replicate it with my trusty bender. Problem was replicating handmade wire bends with a set radius bender at best produced an average result. After a rare Wild Turkey inspired flash of inspiration (i.e. a rush of shit to the brains) I tried using a piece of scrap pipe of the correct diameter (i.e. 48mm as per my tube bender) to bend the wire pattern. Things got a lot easier but it was still challenging to get the length of tube between the bends consistent with the pattern. I had a little play and discovered that with copper nickel I could ditch the bender and just wrap the tubing around my pipe former and better than that I could even manage a smaller 34 mm radius bend without distorting or collapsing the tube. Next step was to knock up a 34/48 mm bending former out of scrap. I use the bending former to bend the wire pattern… And then line the tube up to make the same bend in the same position. Easy as… Bottom line is if you use the same bending former for both the wire pattern and the brake tube you save yourself a lot of grief.
7 points
-
last on the road 2007 ish. spent about 7 hours on it today.
7 points
-
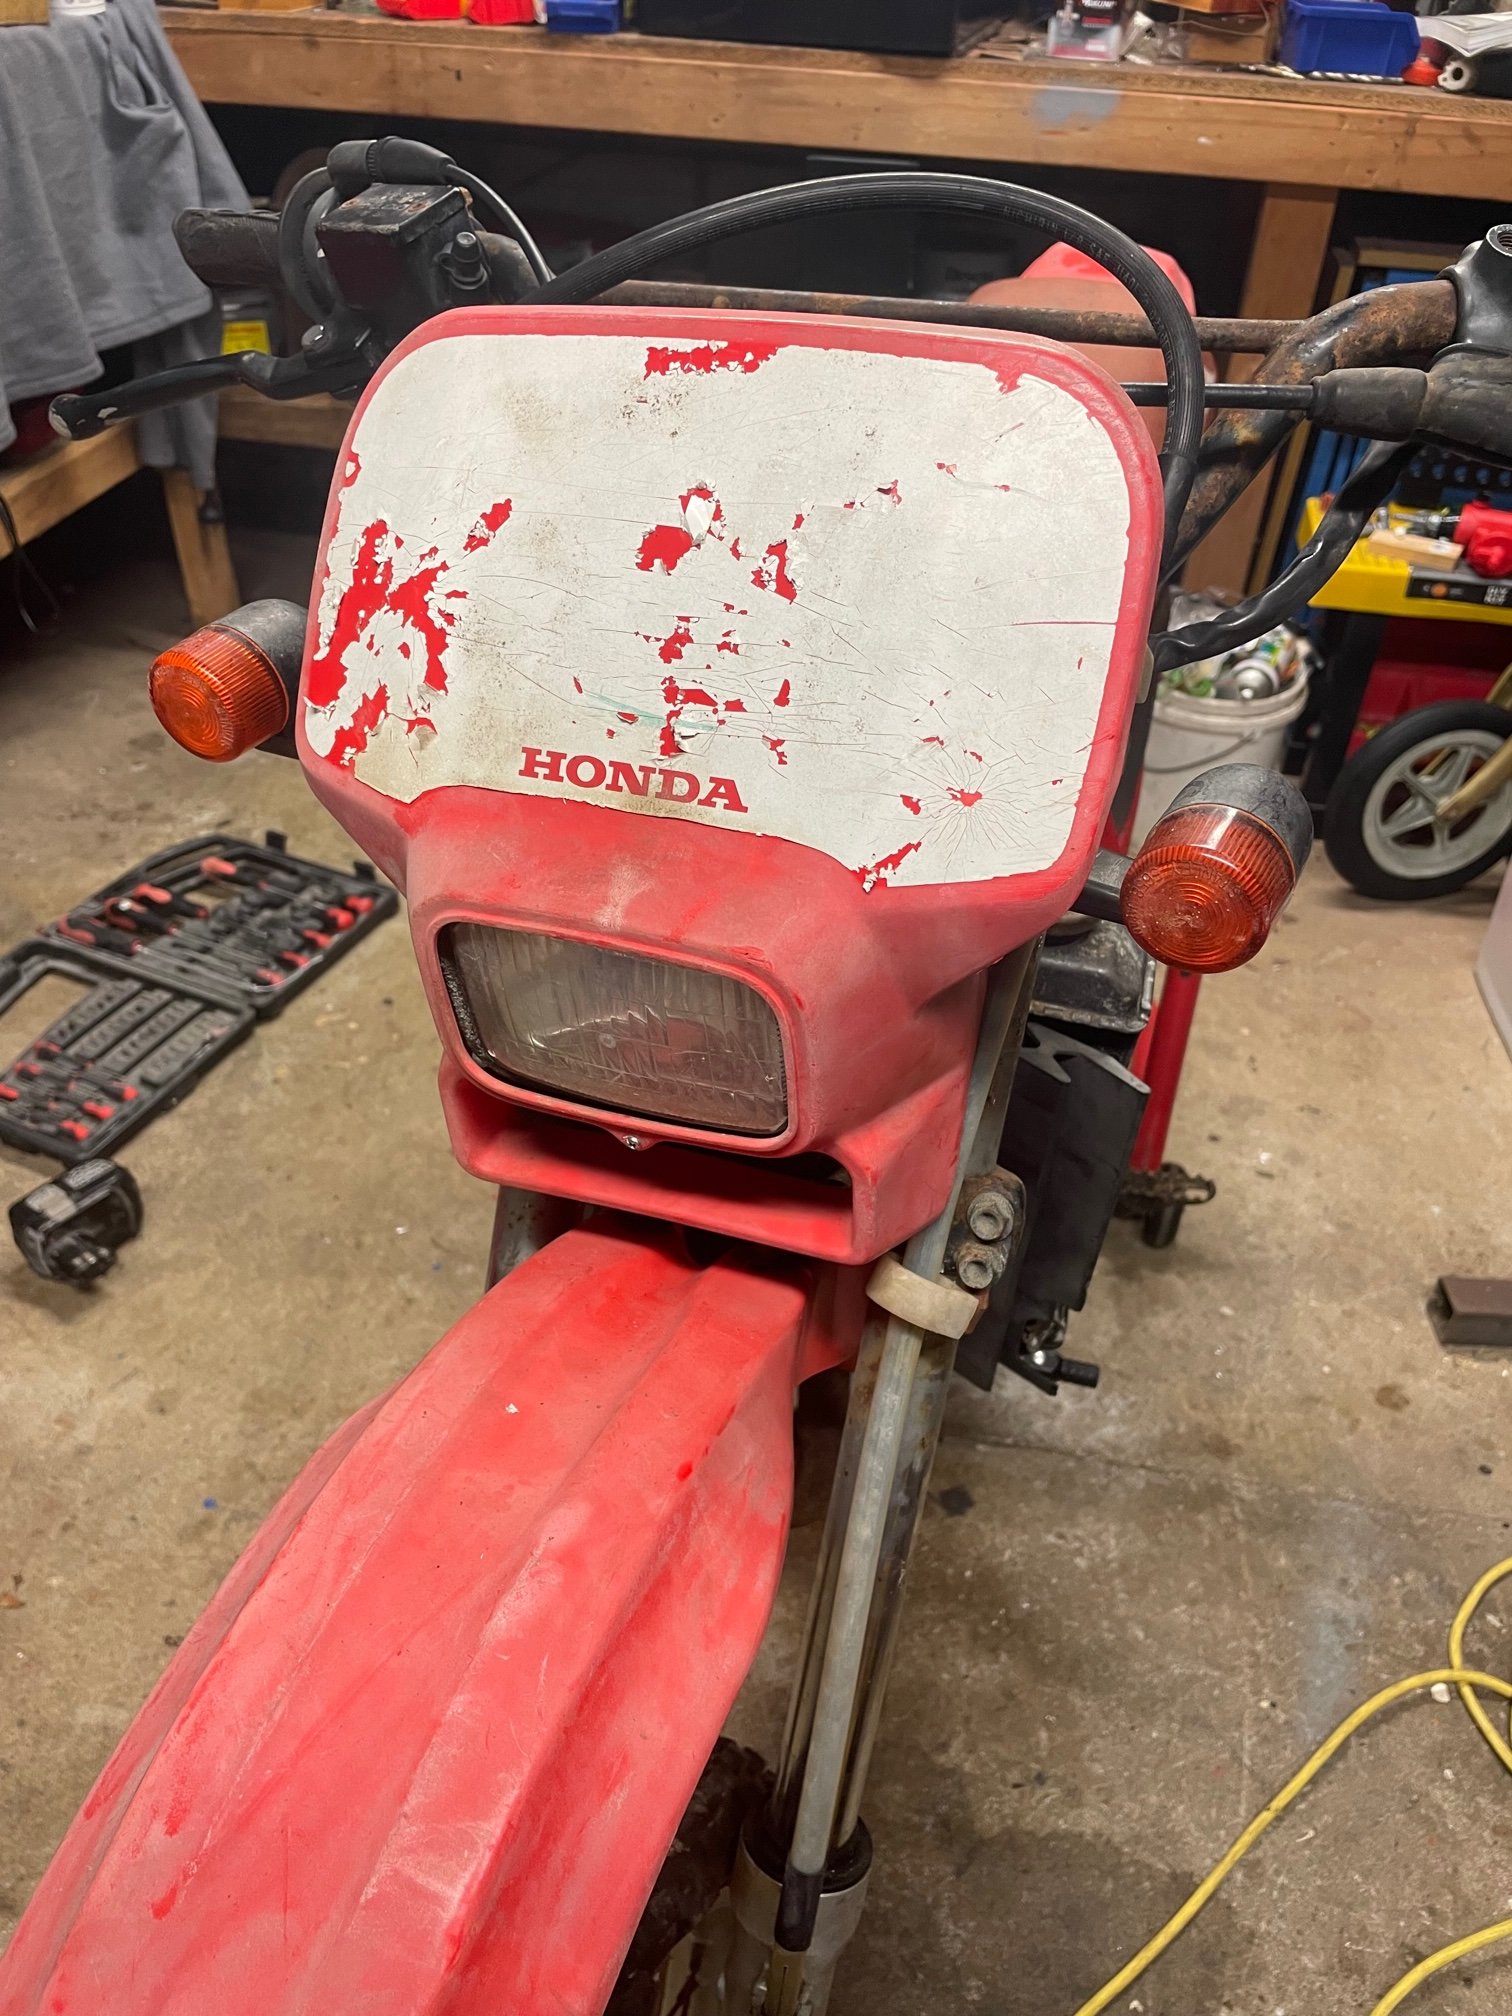
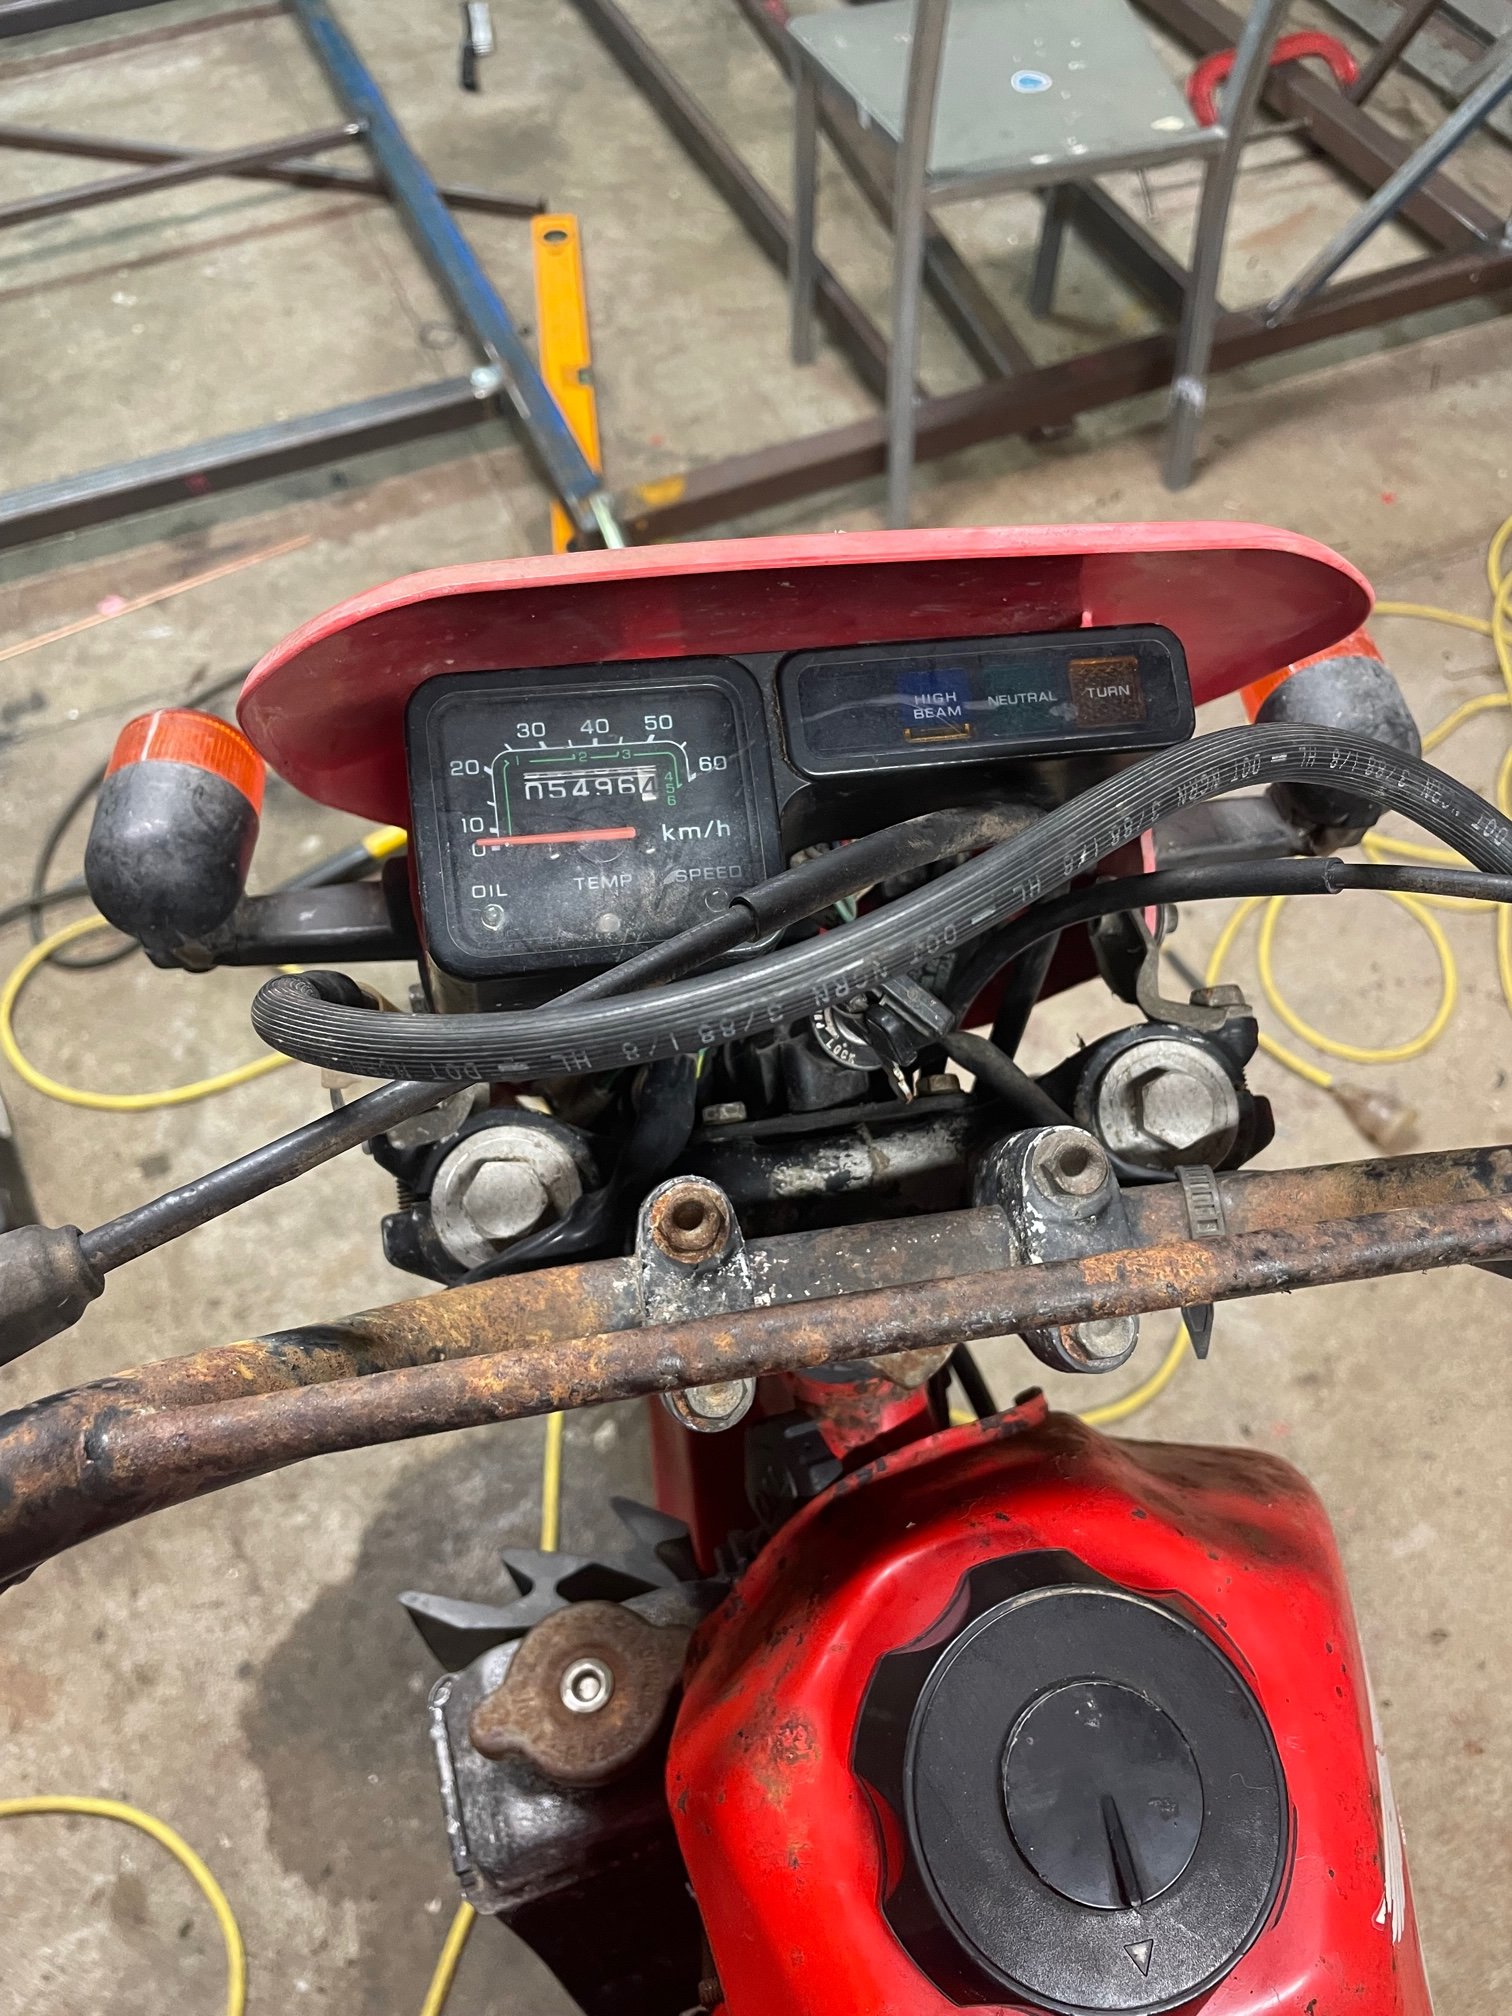
brought this off trademe, picked it up on friday. mileage not really known speedo has been replaced at some stage. 1987, blake plate, on hold. painted the frame on saturday with a rattle can.6 points
-
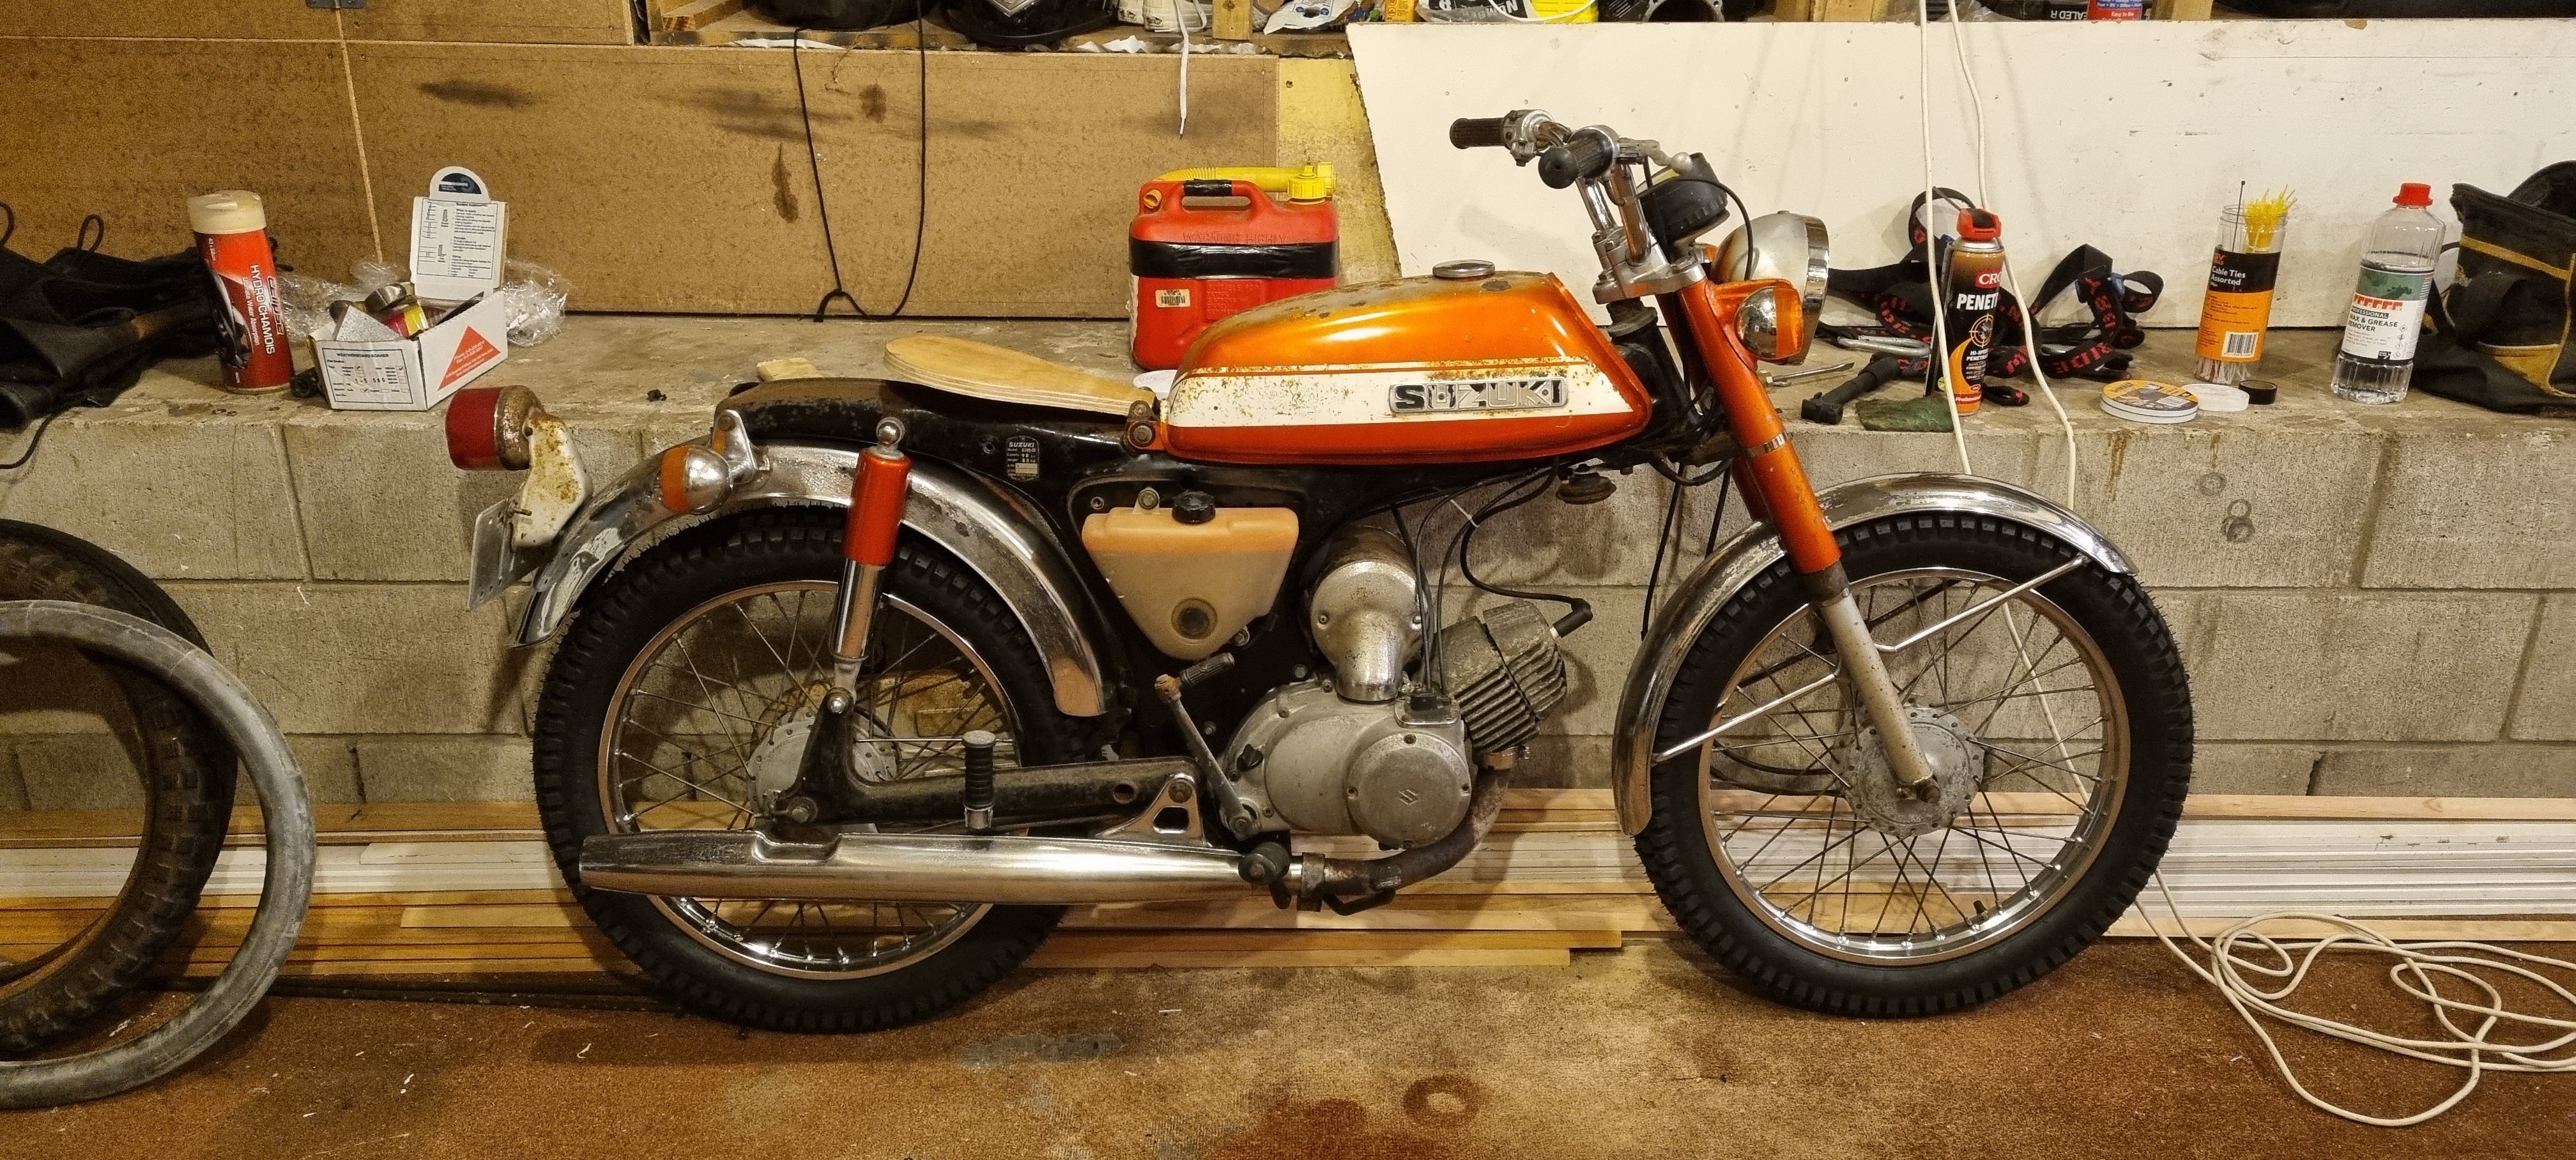
I’ve still got some carb issues to sort. The hoses are very hard and aren’t sealing so it pisses fuel everywhere and I think it’s sucking air into the oil hose. Last night I thought I’d see how much of the road gear was in the box of bits and assembled the front. I was so stoked it was genuinely all there including most of the original screws. None of the wiring has been cut. The Speedo cable wasn’t lost. It even has the original key that matches for the fuel tank! I fired it up quickly and it all came to life
6 points
-
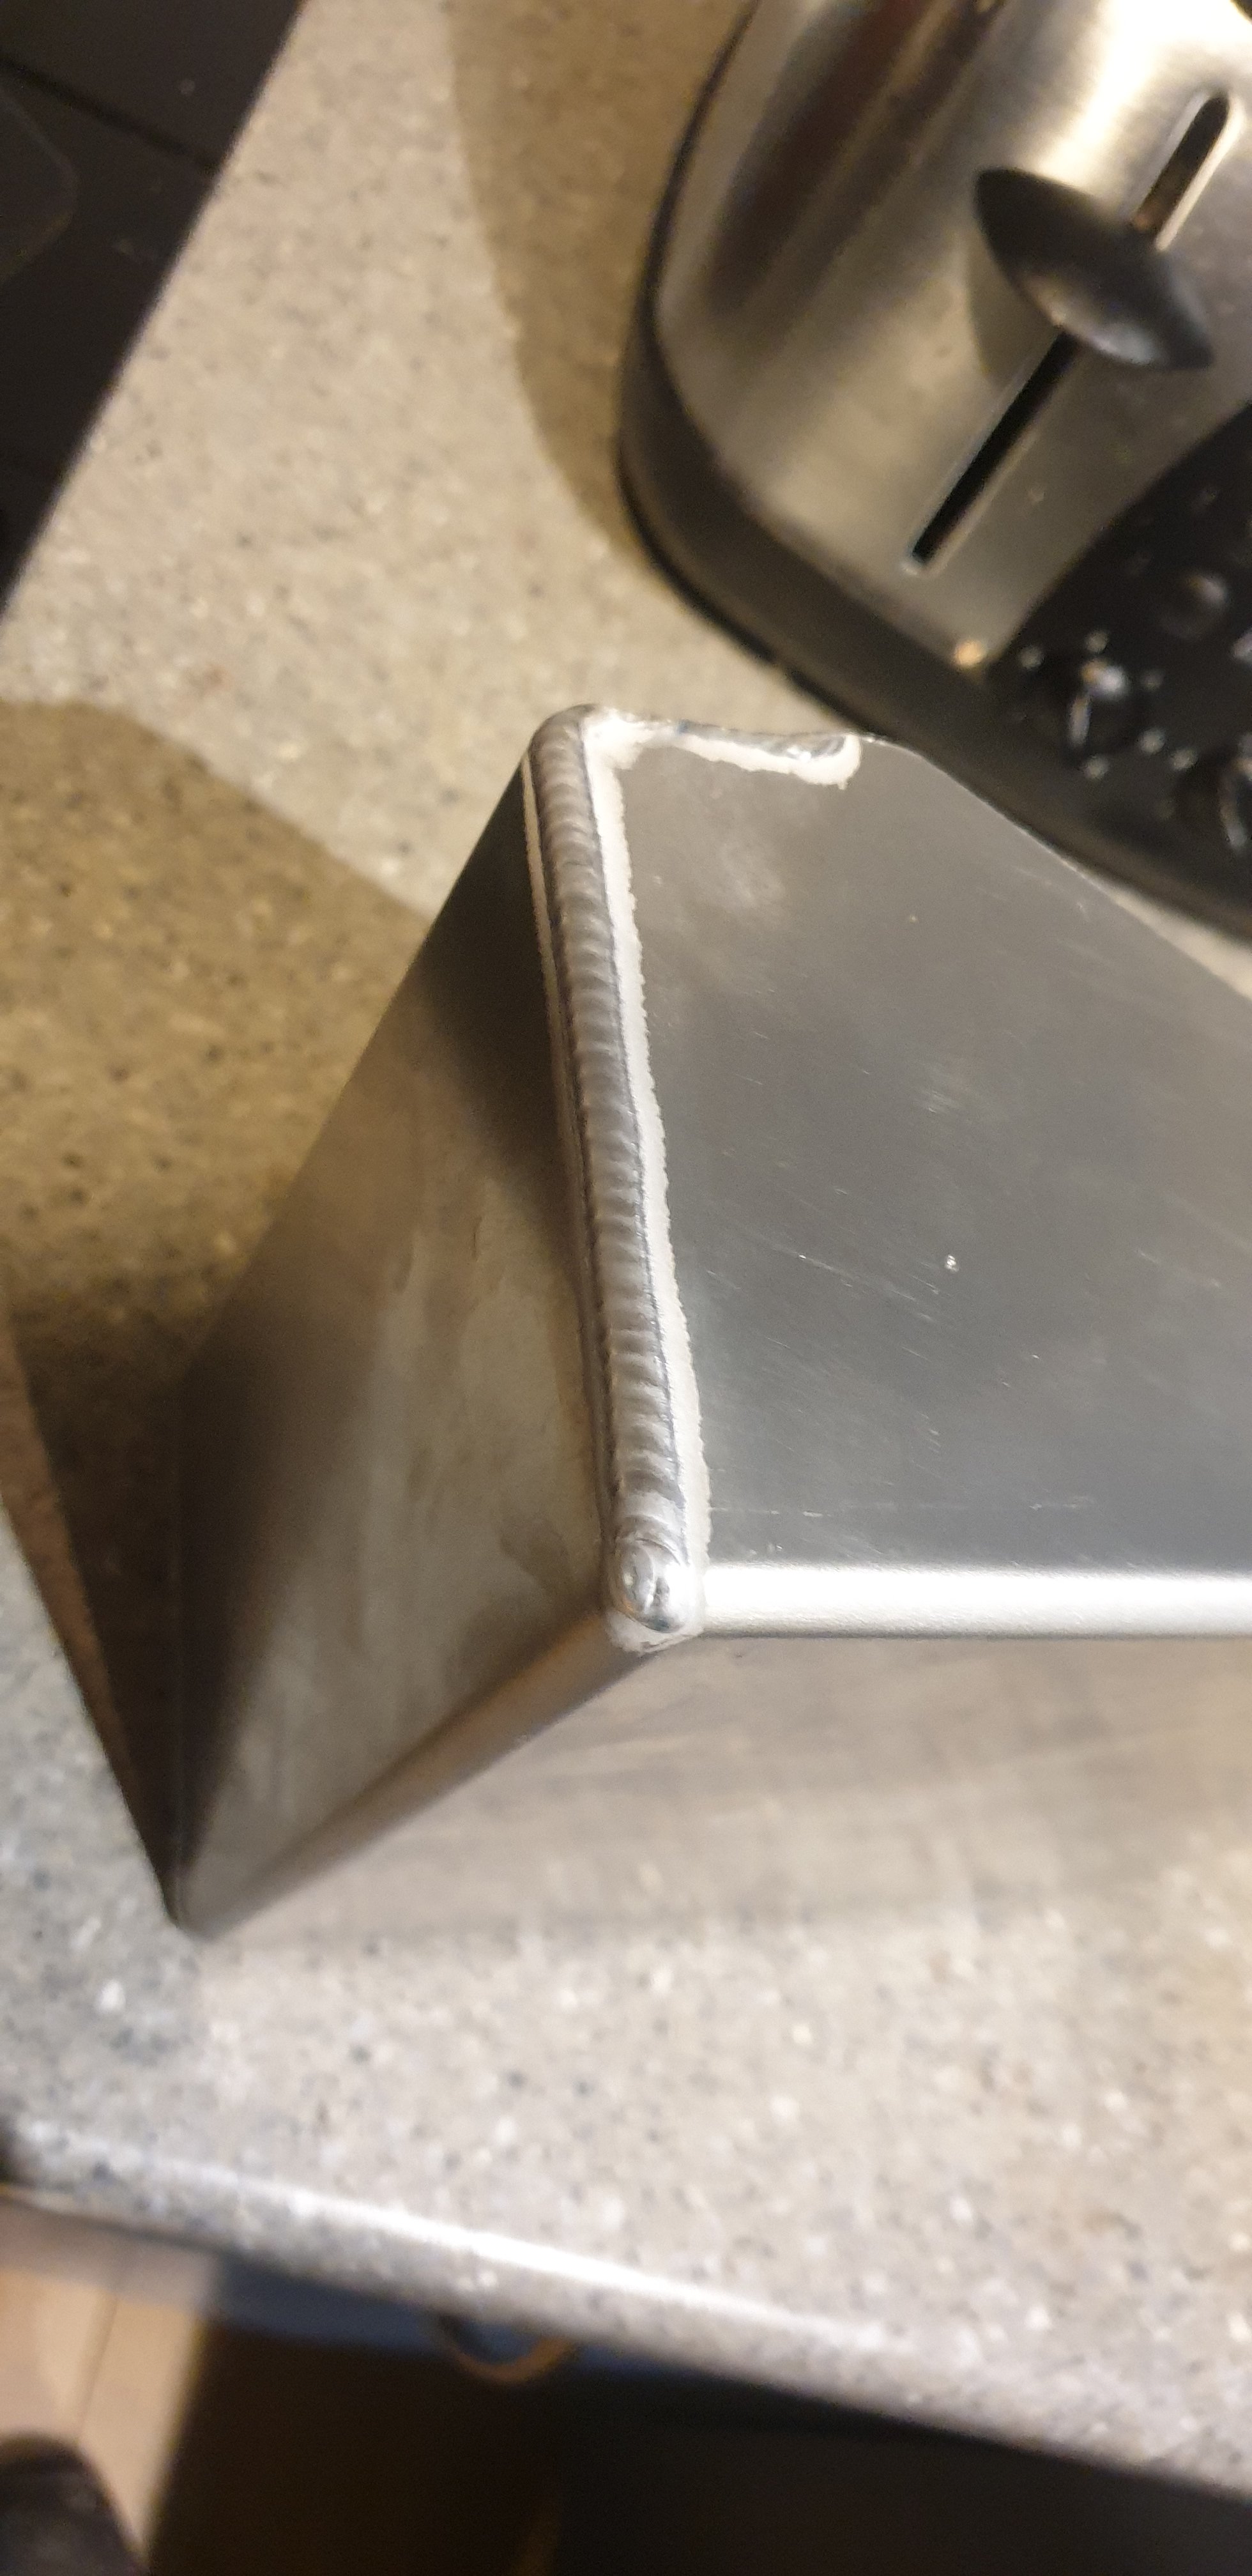
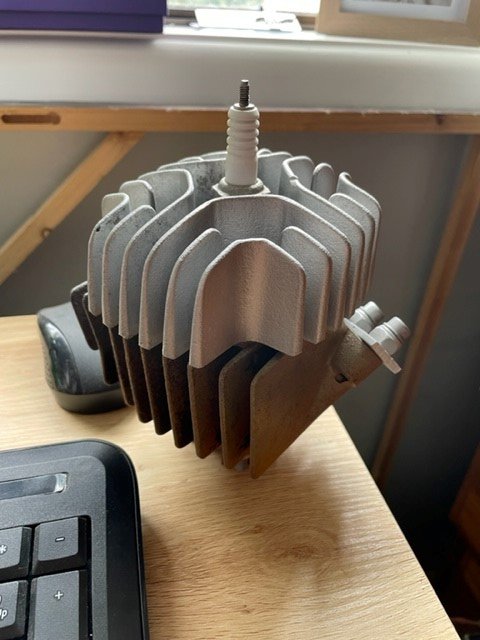
I can weld that no problems. Done heaps of shitty oil filled cast alloy stuff and it's fairly easy too. Probably be couple hours max in it. Good surface clean. Grind a big vee weld prep, go nuts here. You need a bit of room to get the tig torch to the bottom of the vee. Leave only 1-2 mm wall thickness at the bottom of the vee with the original break so it lines up perfectly. File the ground surfaces so it's clean, a grinder tends to rub and fold alloy over itself trapping crap in there. Good preheat to draw the shit out and final clean. With the tig tack it together. Here's where you need to take your time. Set the tig to a bit more cleaning than penetration. Strike the arc and puddle the torch around a big area. (Don't add filler yet. Castings are full of air bubbles and you don't want to try add filler wire on top of a bubble). Keep moving the torch around until the bubbles come to the top and the surface becomes smooth and shiny. Now you can add filler. Once all tacked in place, clean up any more oil that's come out. Then use the above technique to clean and weld the rest of the join. If crap keeps getting drawn through when trying to get a clean smooth surface then dial in a bit more cleaning on the balance control. Don't be tempted to chuck filler in there to cover it up, it goes pear shaped.6 points
-
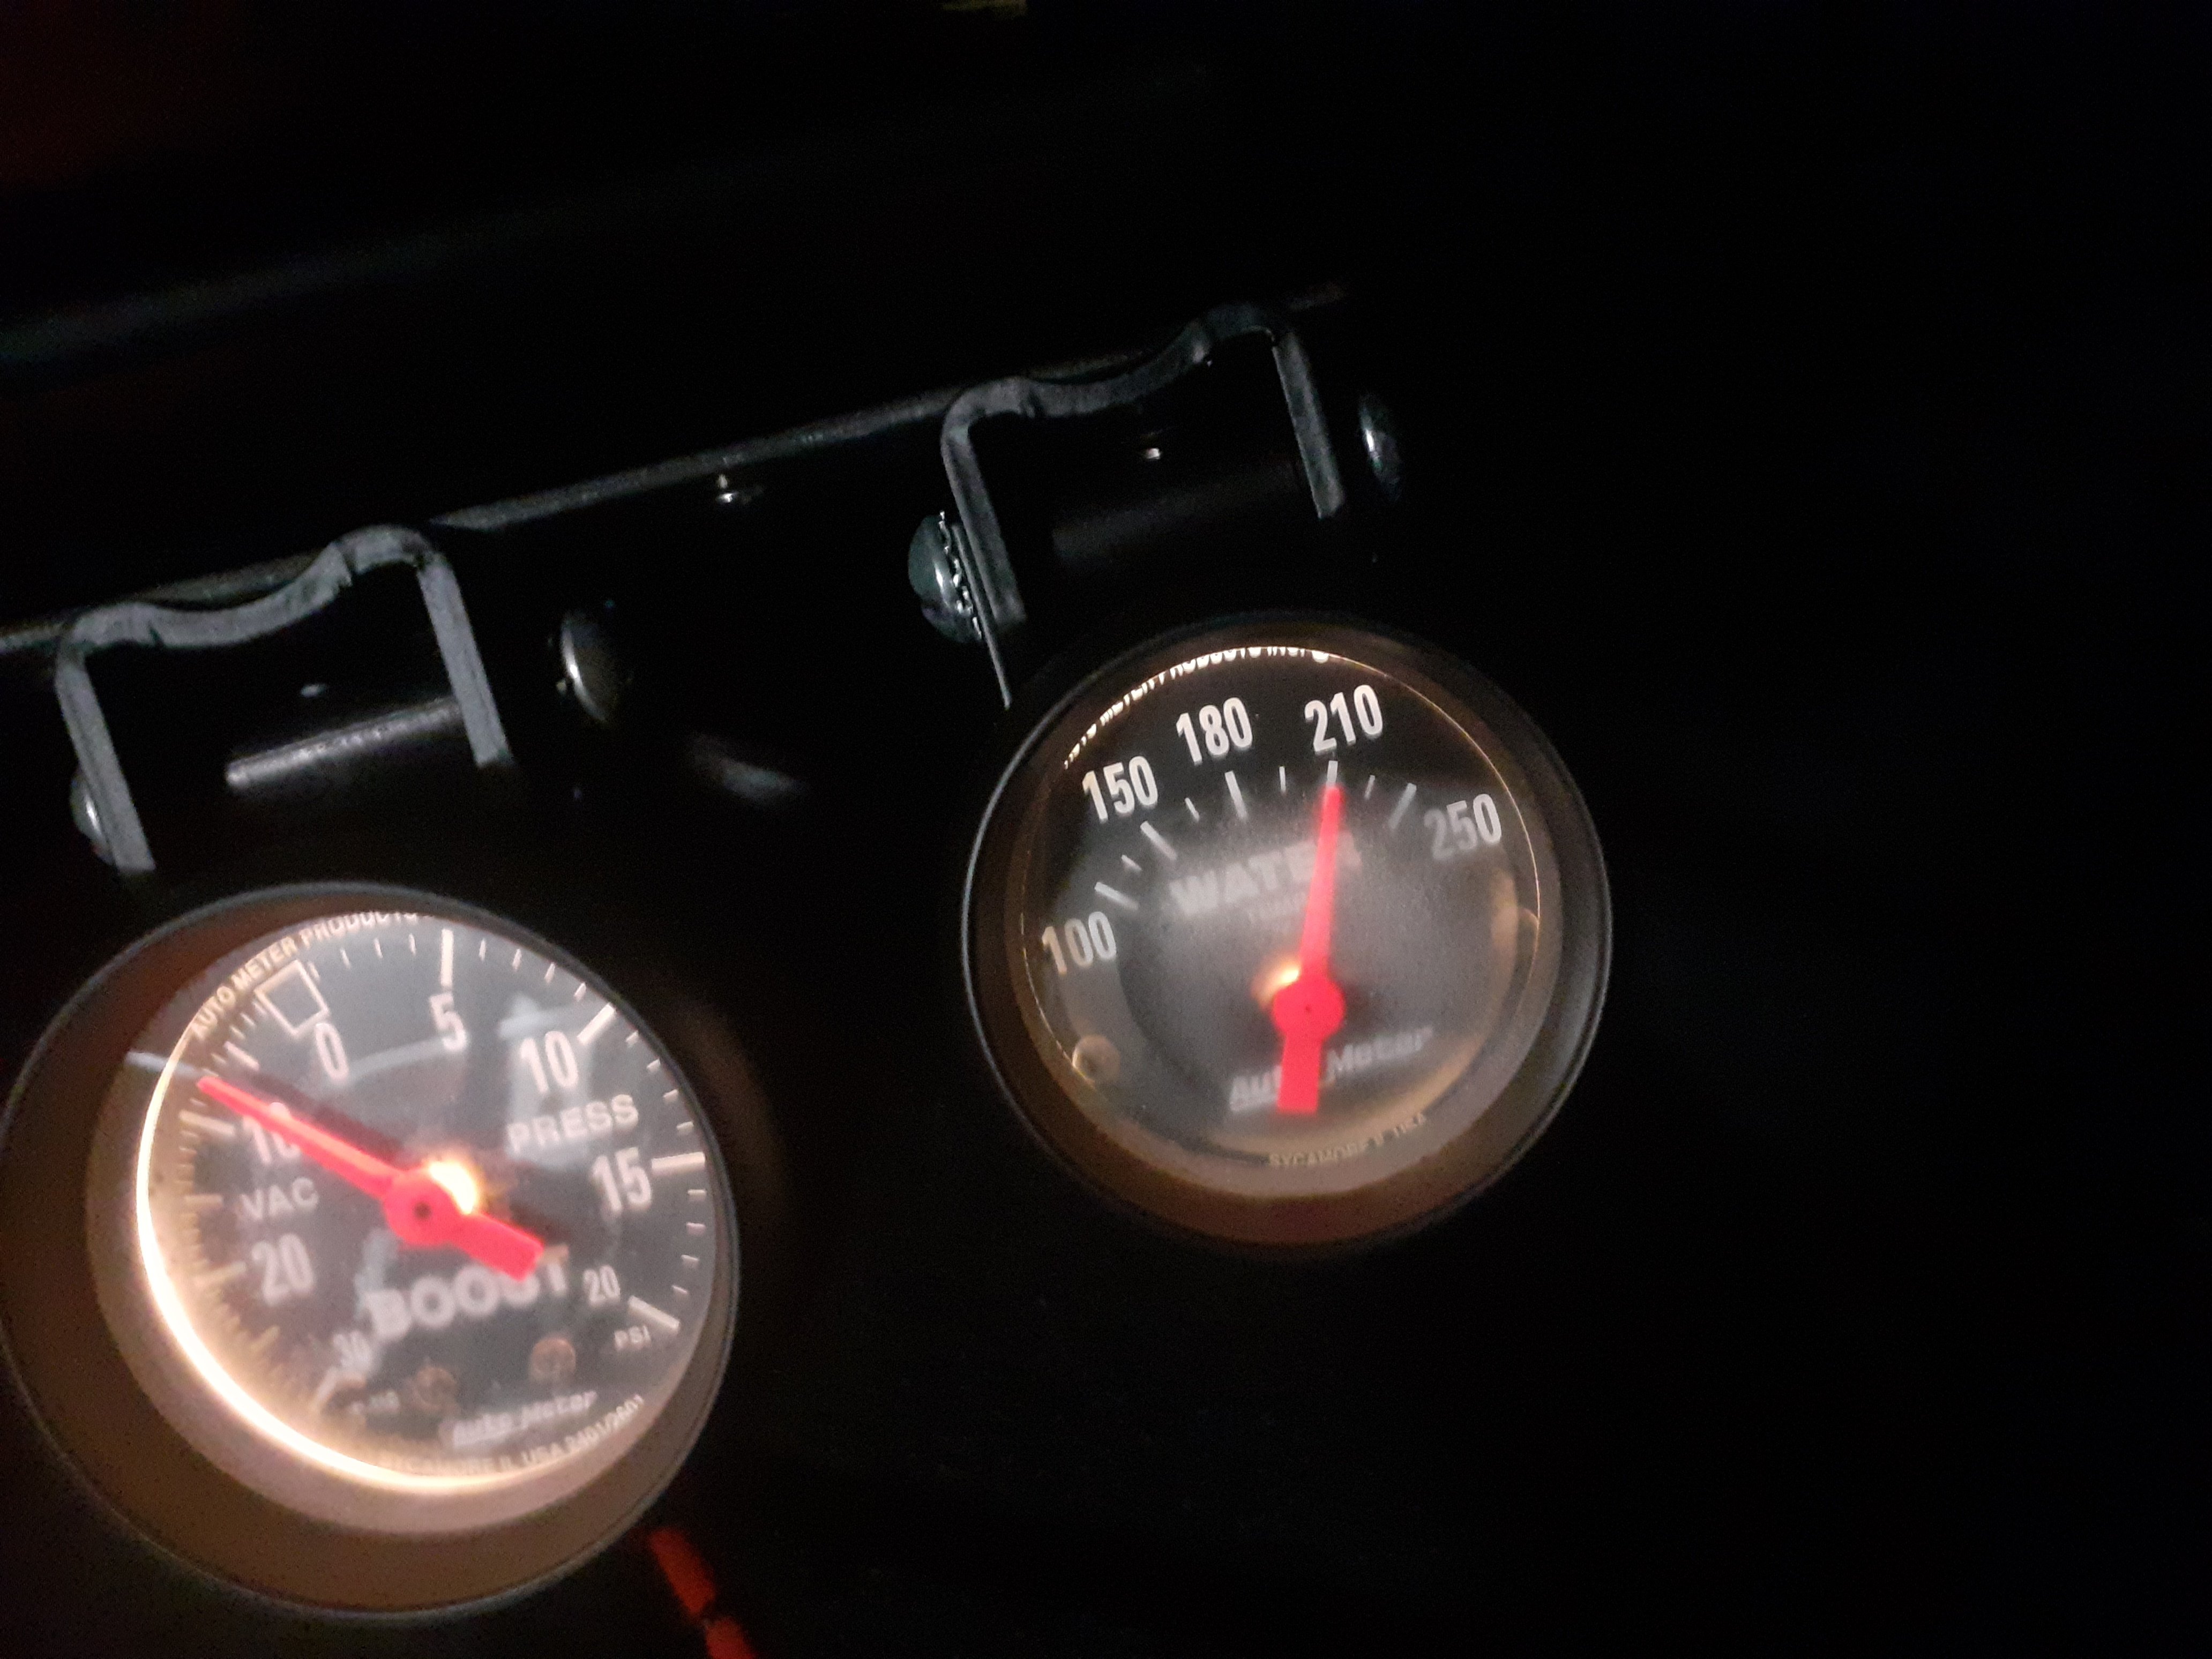
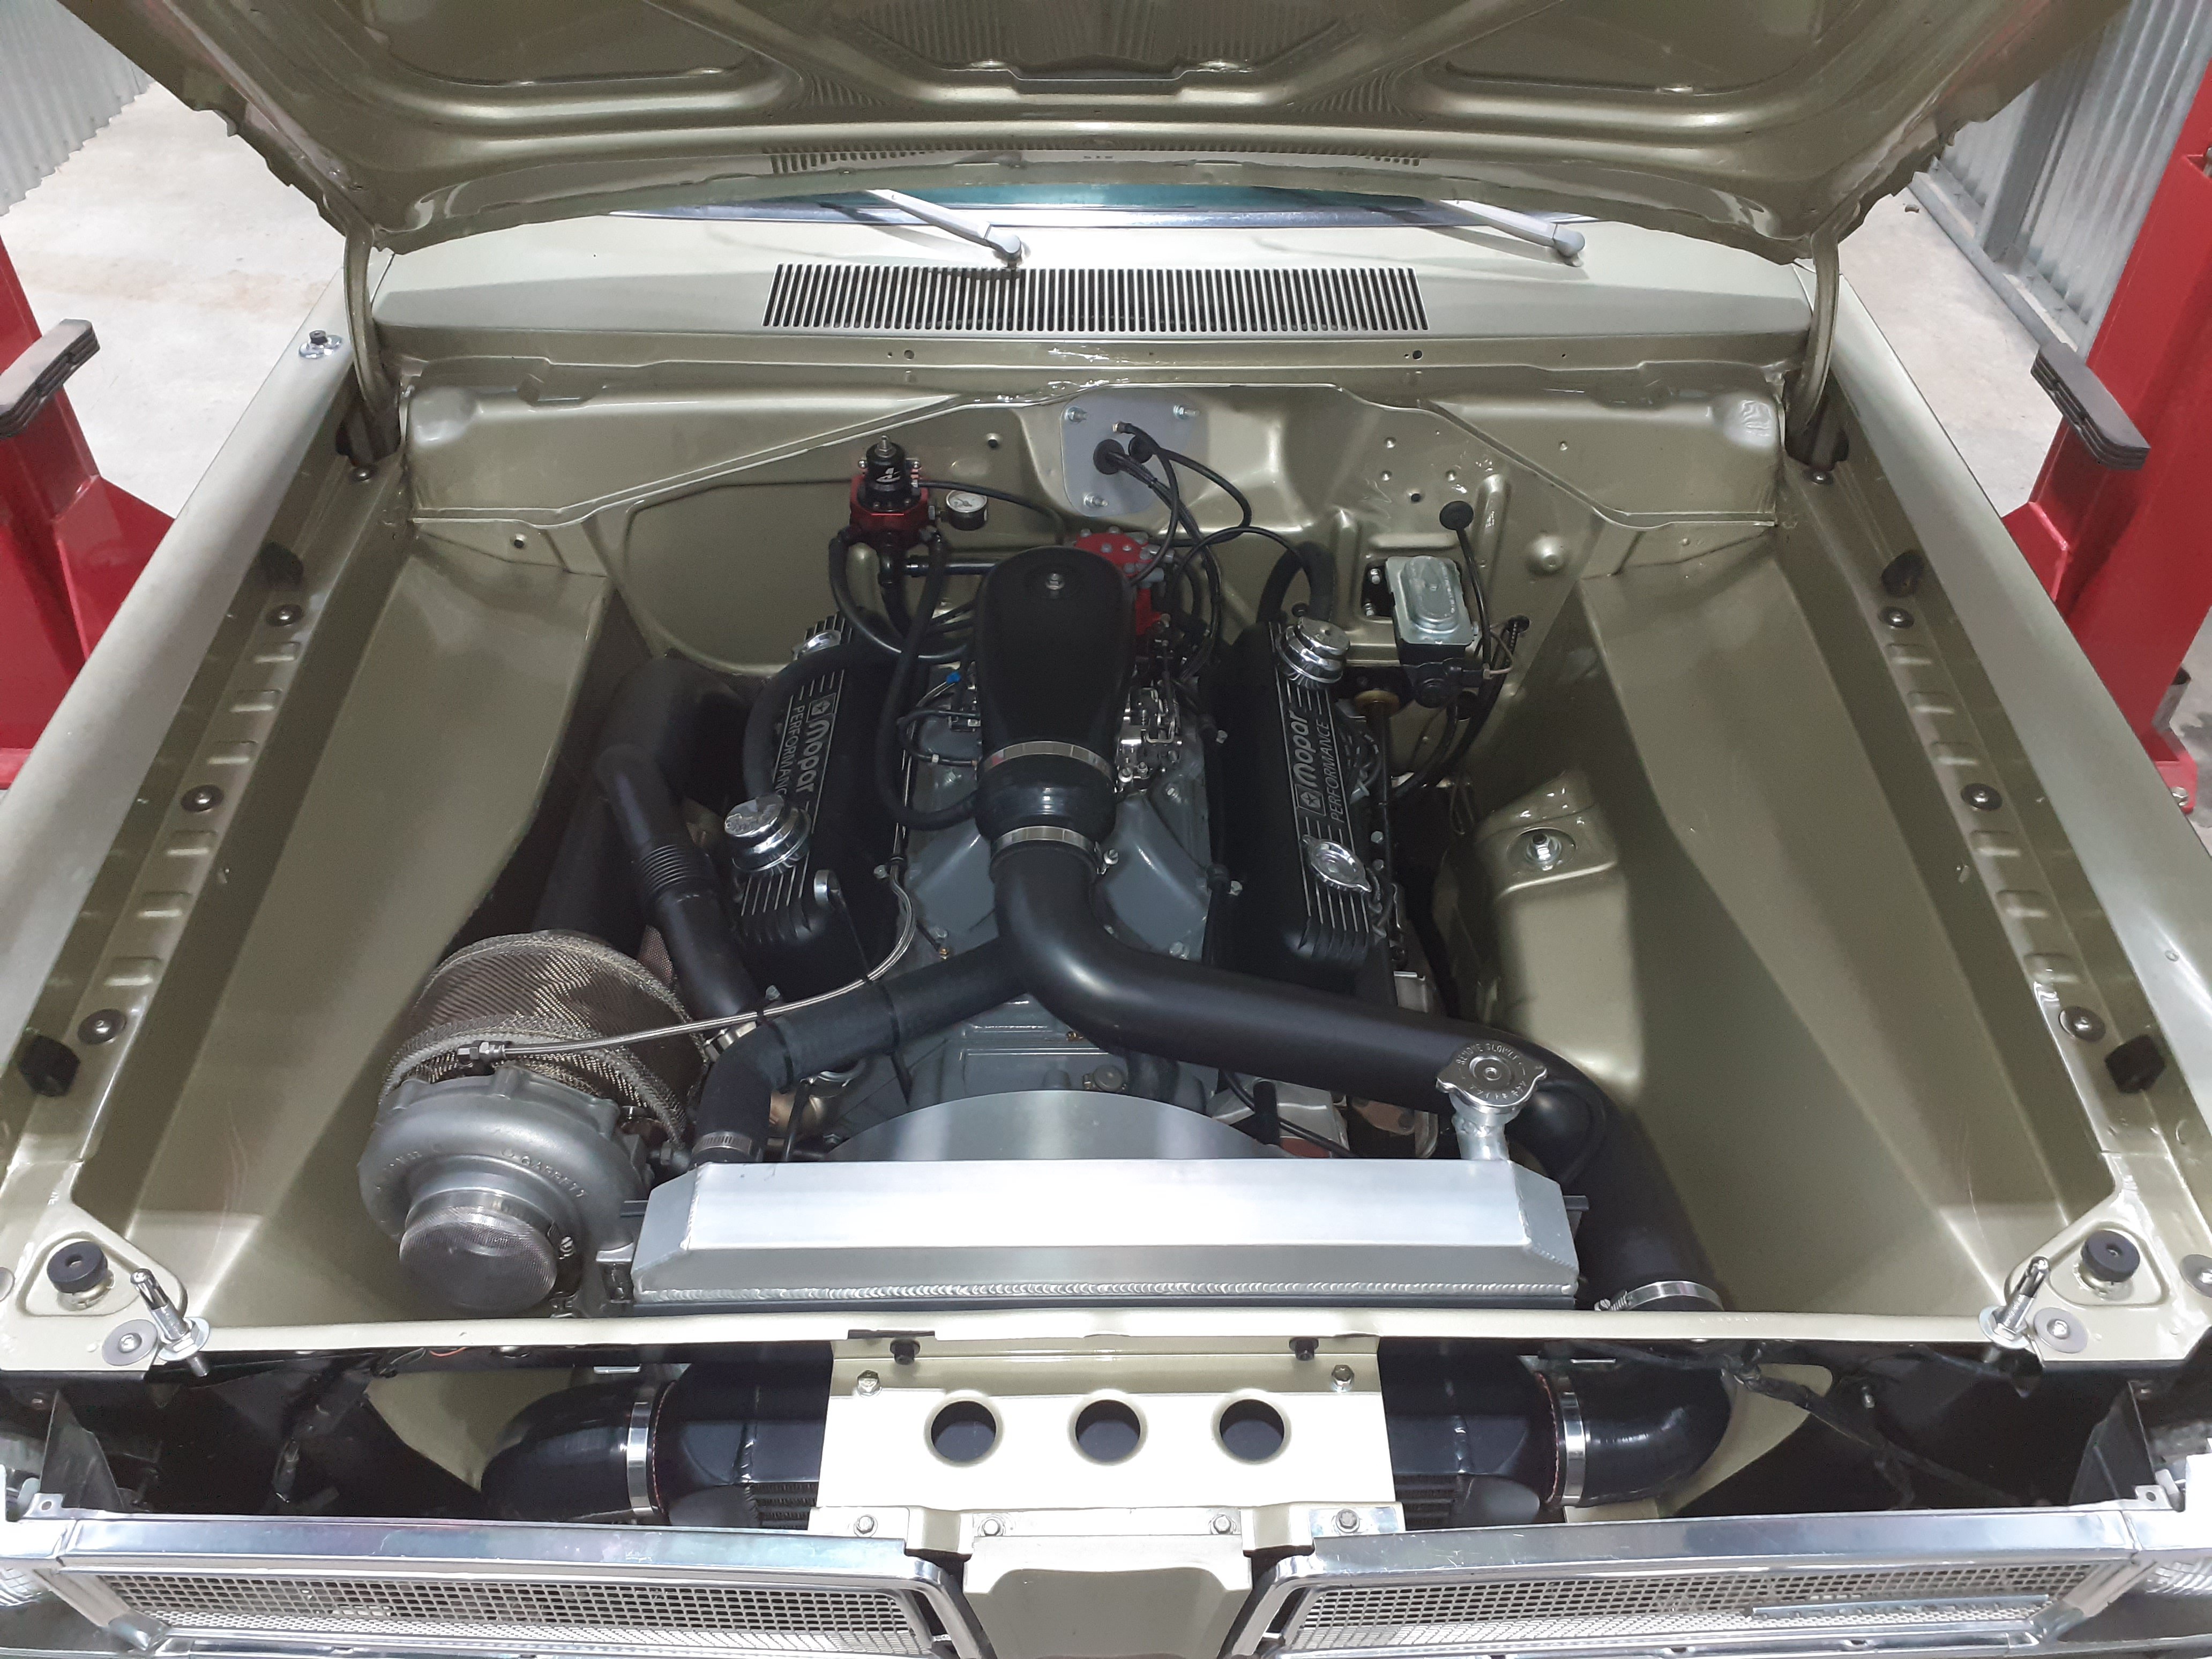
Can also add to the list of "probably slowed the overheating but did not stop it" Heater core auxiliary cooler, this showed an 18degree difference in hose temps between hot and cold side Removal of intercooler. Side note at idle there is a warm breeze of 54 degrees coming out of the turbo
5 points
-
My new water pump controller arrived Saturday, props to Davies Craig for sorting it quickly. I plugged it in and everything looked good. I gave it a test today and ran it for about 30 mins. Temp limit was set to 85 degrees so when it hit 88 the fan came on and within 30 seconds the temp had come down to 85 again, pretty happy with that. I let it do this a few times and it seems to be working well. Only issue remaining is the time it takes to warmup, I suspect they'll recommend a thermostat with some extra bleed holes in it but I'll run it past the manufacturer and see what they recommend.5 points
-
5 points
-
Hks turbo kit on the buyee https://buyee.jp/item/yahoo/auction/k1056861506?conversionType=yac_item_bottom_recommend_list5 points
-
Ready to take to the local craft shop
4 points
-
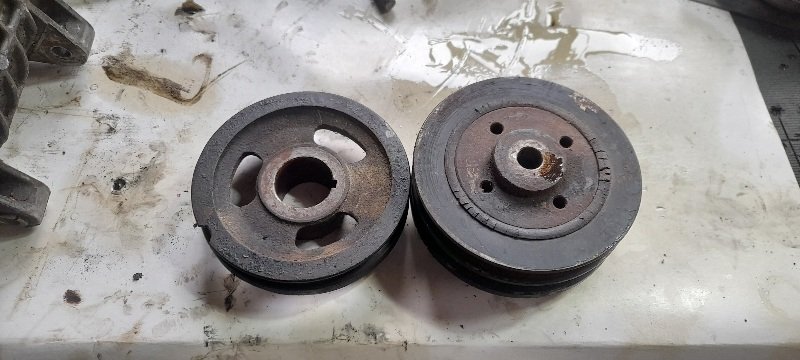
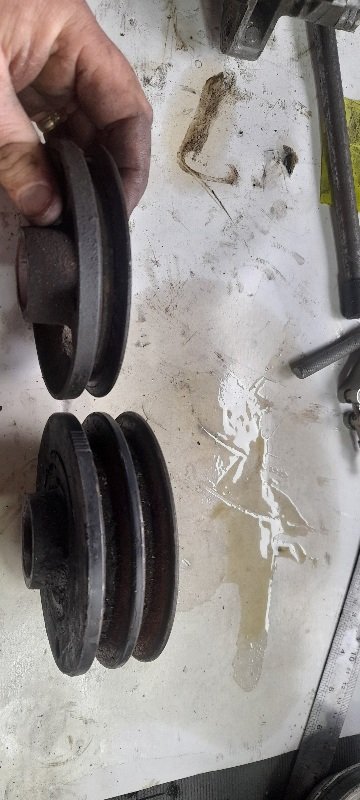
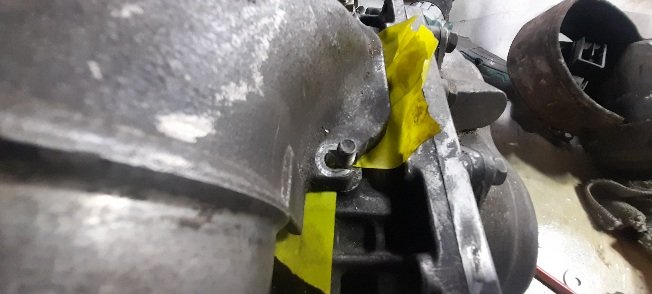
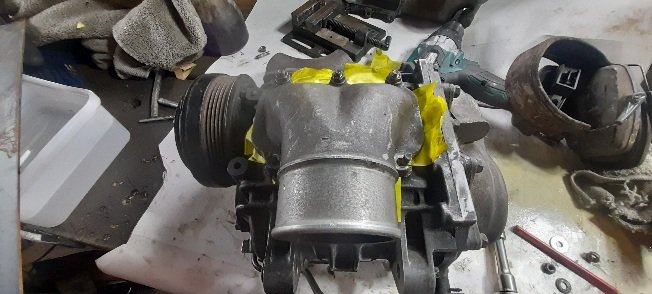
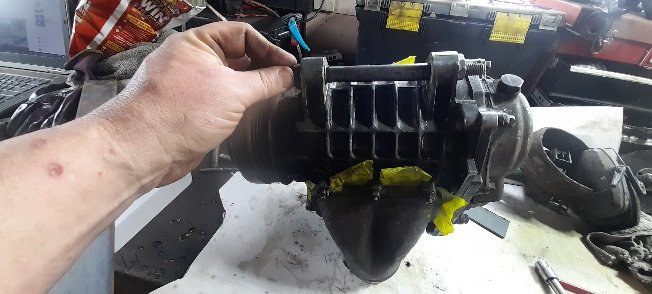
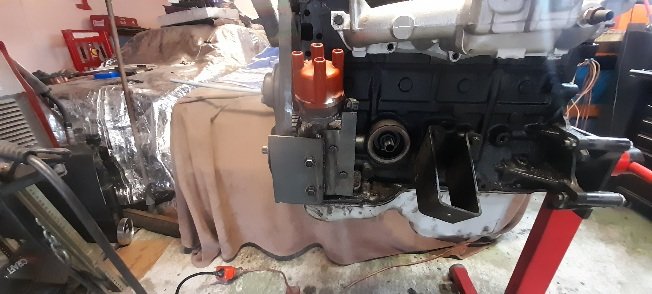
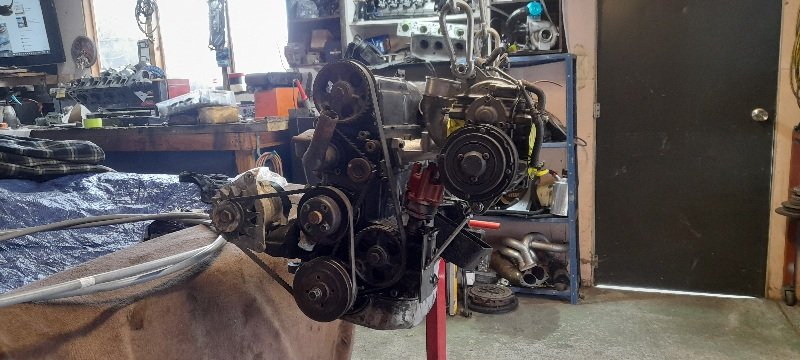
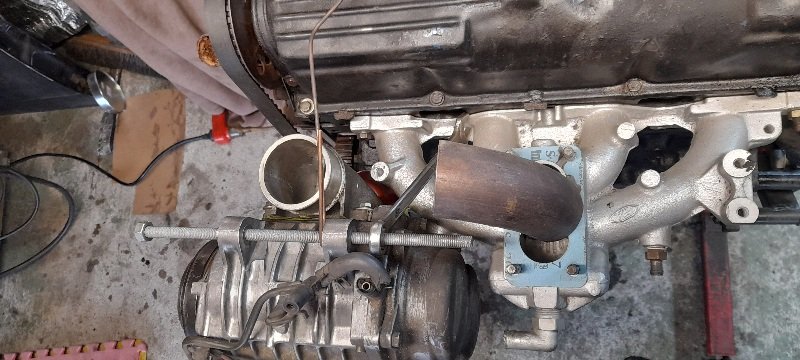
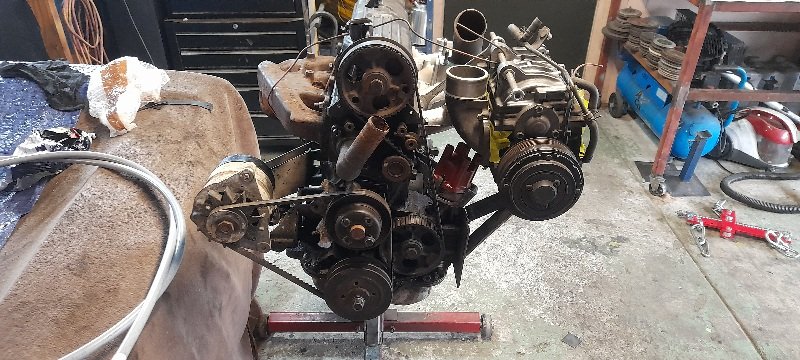
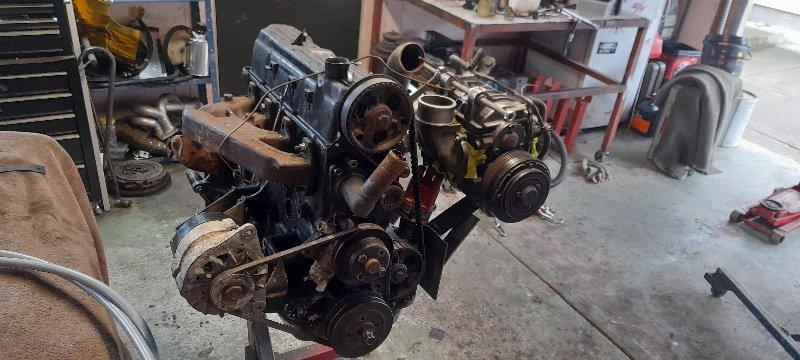
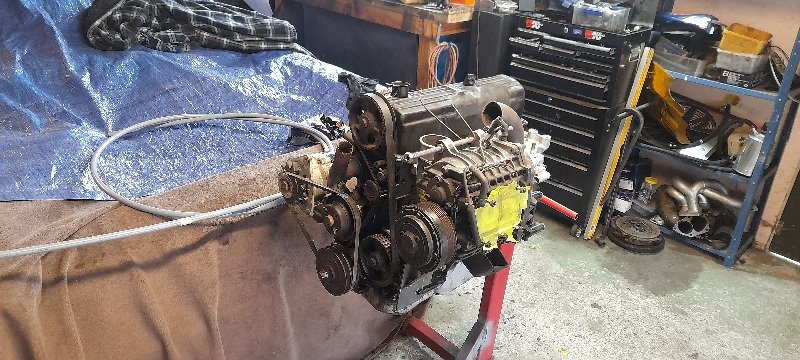
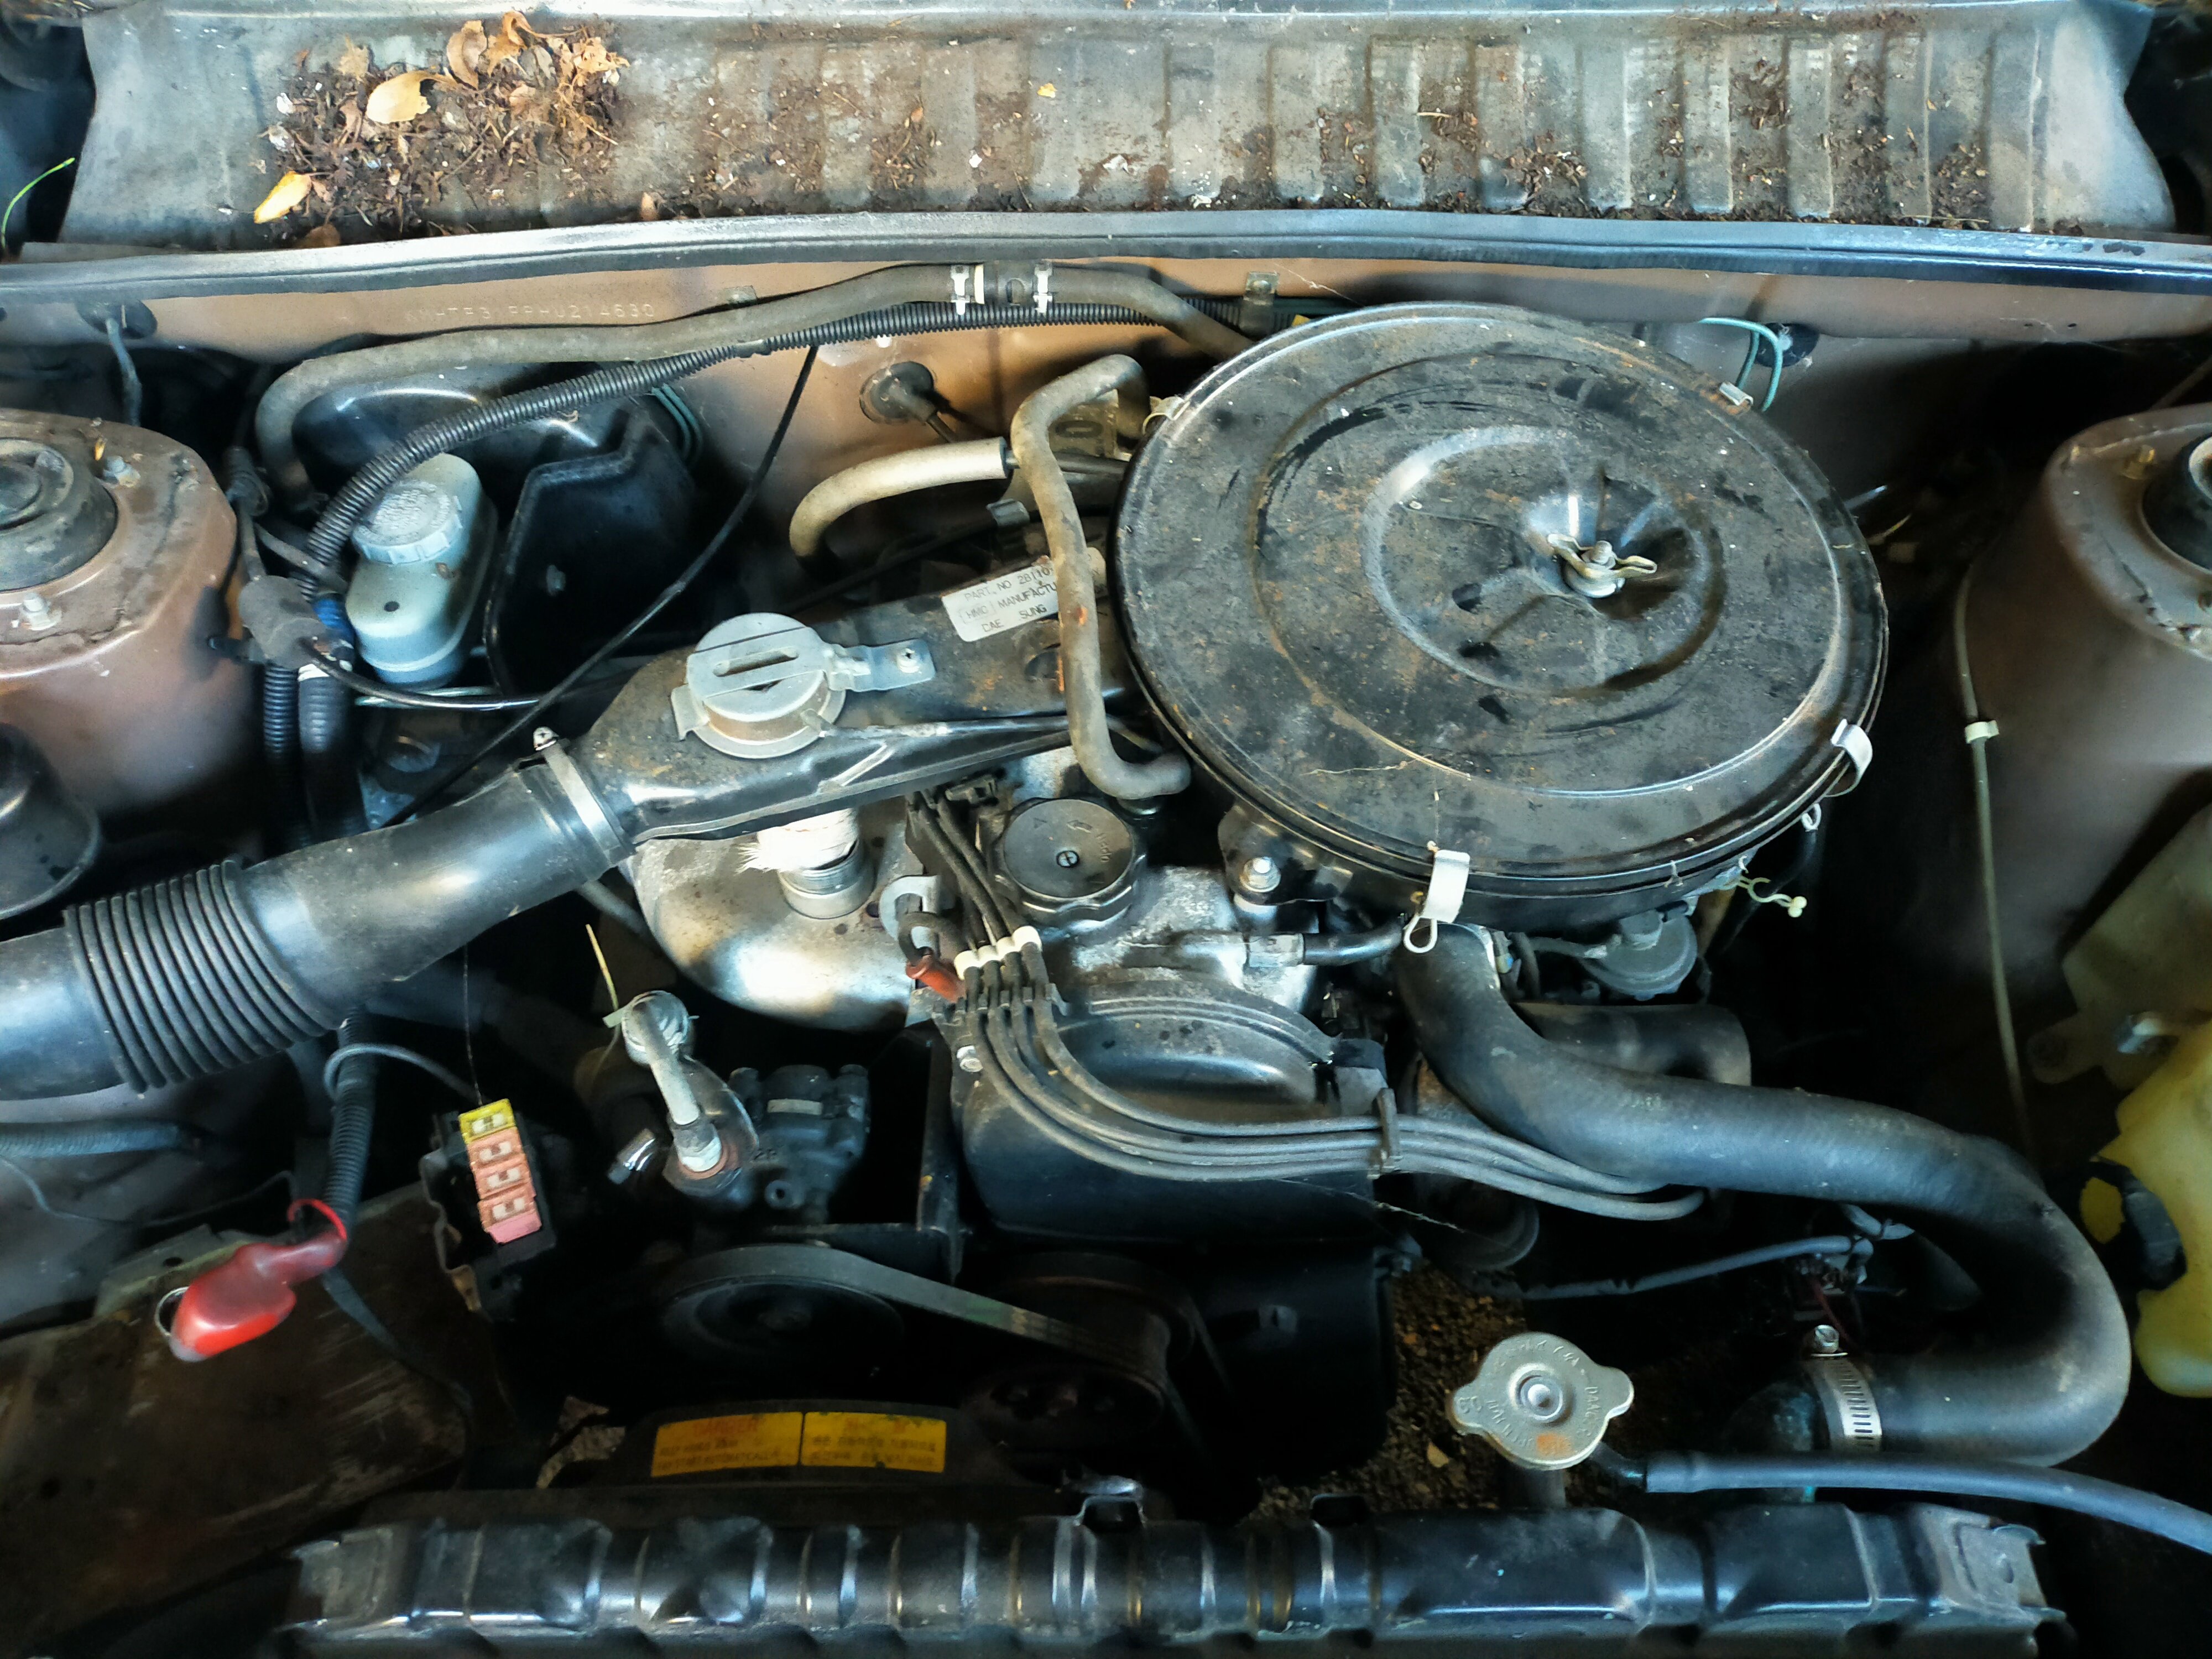
so some stuff I ordered for my motor has now been lost somewhere in the world ...so I'm a tad over it now.. so decided to play around with the supercharger (for my nephew)on a spare motor.. 1st thing was to take the inlet side pipe and put it on the outlet side (just slotted some holes and removed a stud for that). made some basic mounts and plates to be able to weld to. sorted a location infront of the inlet manifold and above the dizzy.(will need to go a little higher).. now the outlet can just go to pipe straight onto the inlet manifold (where carb was). join them with a silicone joiner. Going to run a side draft on the intake side of the sc14 (actually thinking SU carbs). found a twin belt crank pulley from a sierra (timing marks are the same ). going to run a v belt so on the hunt for a late 80s early 90s sigma/magna aircon pulley.. and will make a tensioner. as for my motor .. parts I ordered are now lost somewhere....so I'm a tad over it. cheers
4 points
-
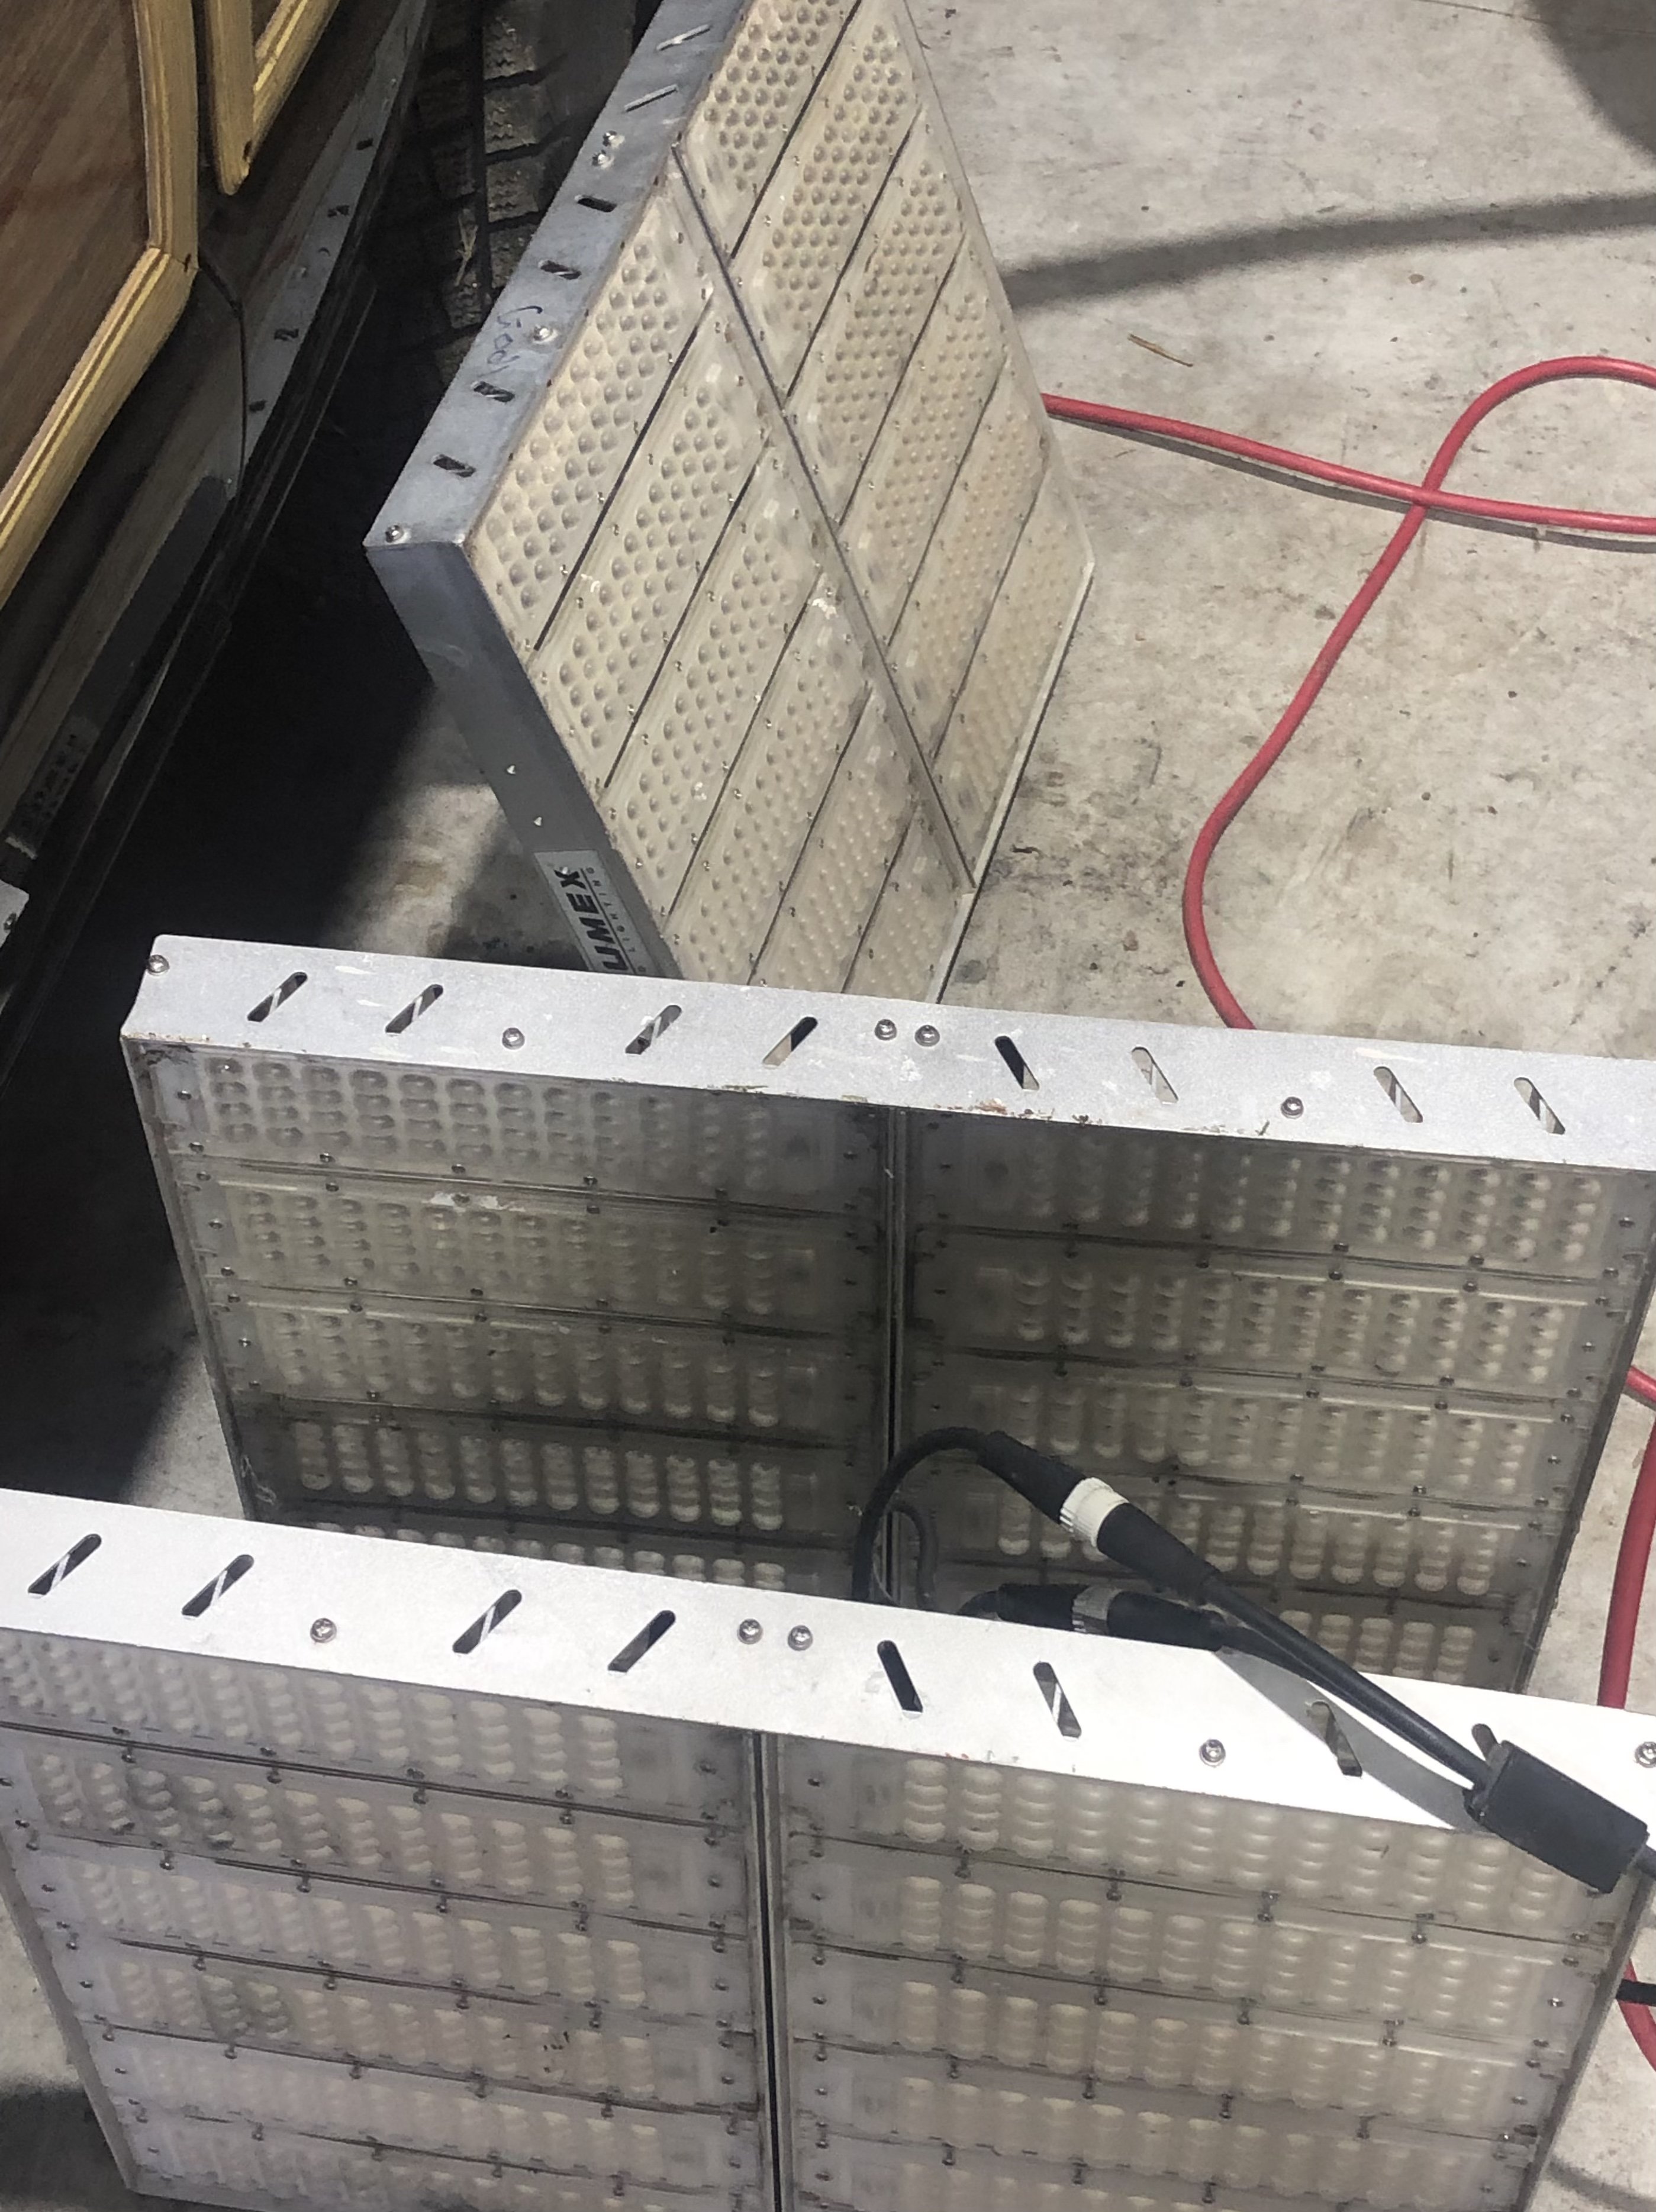
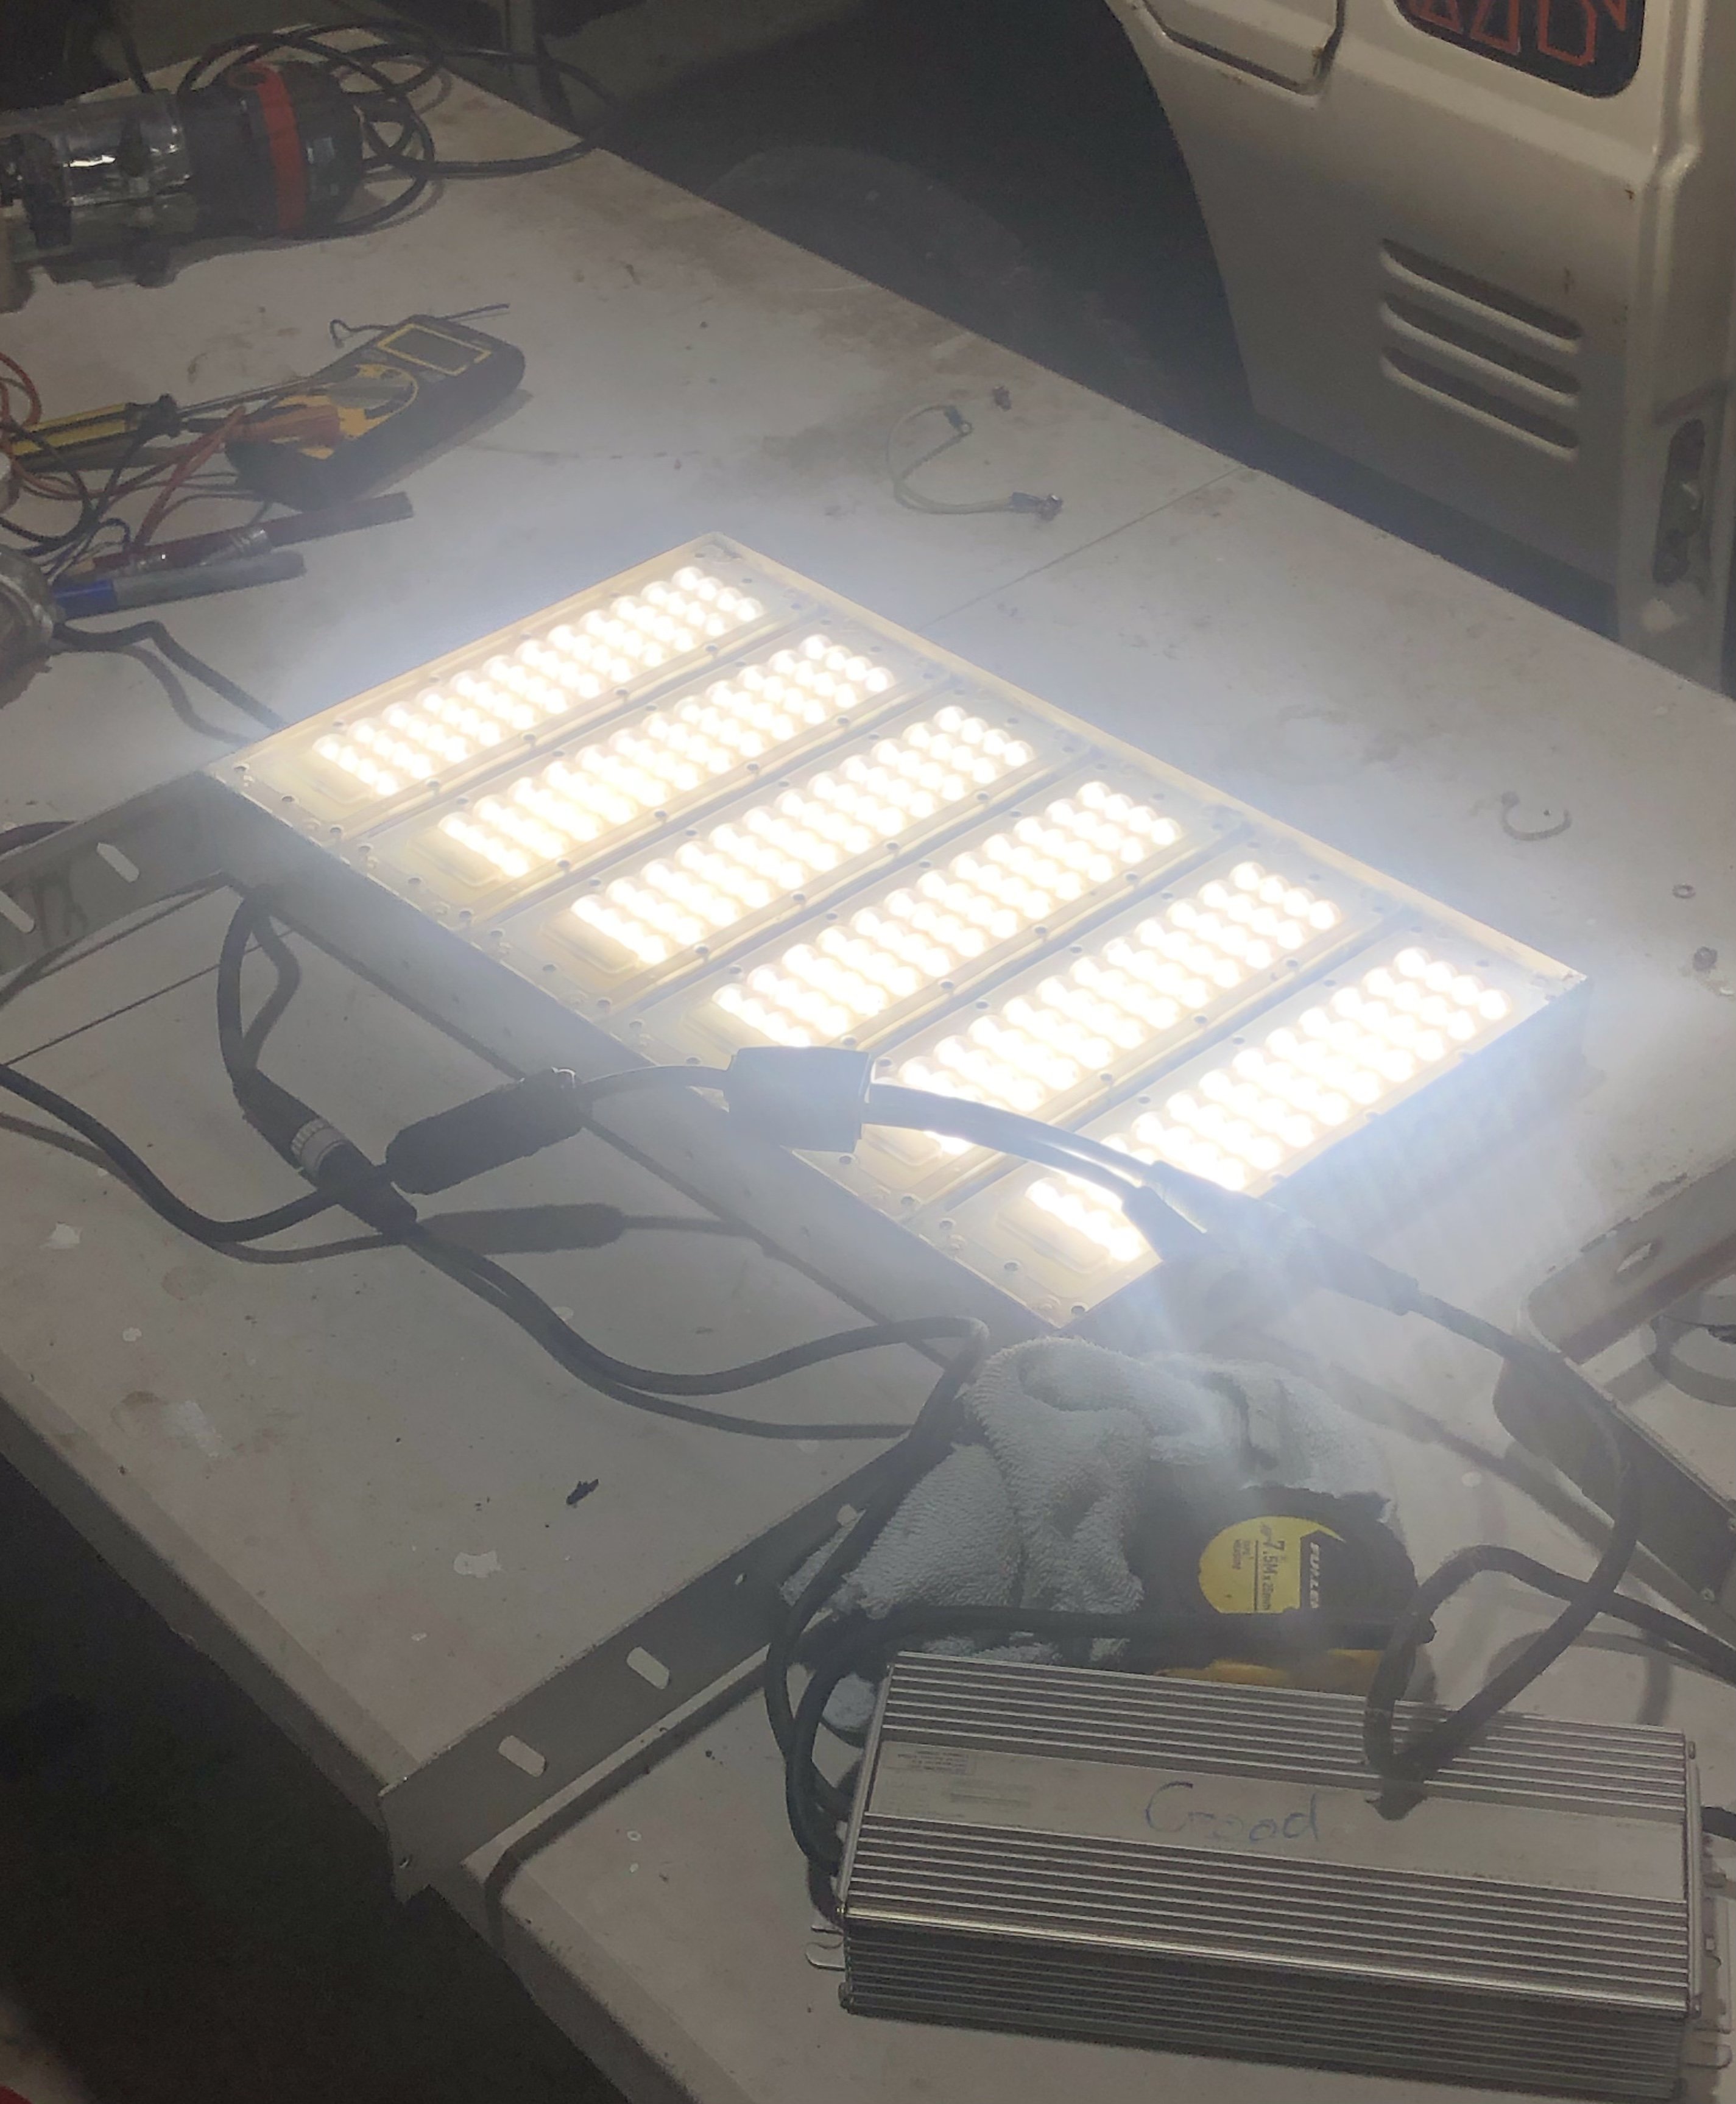
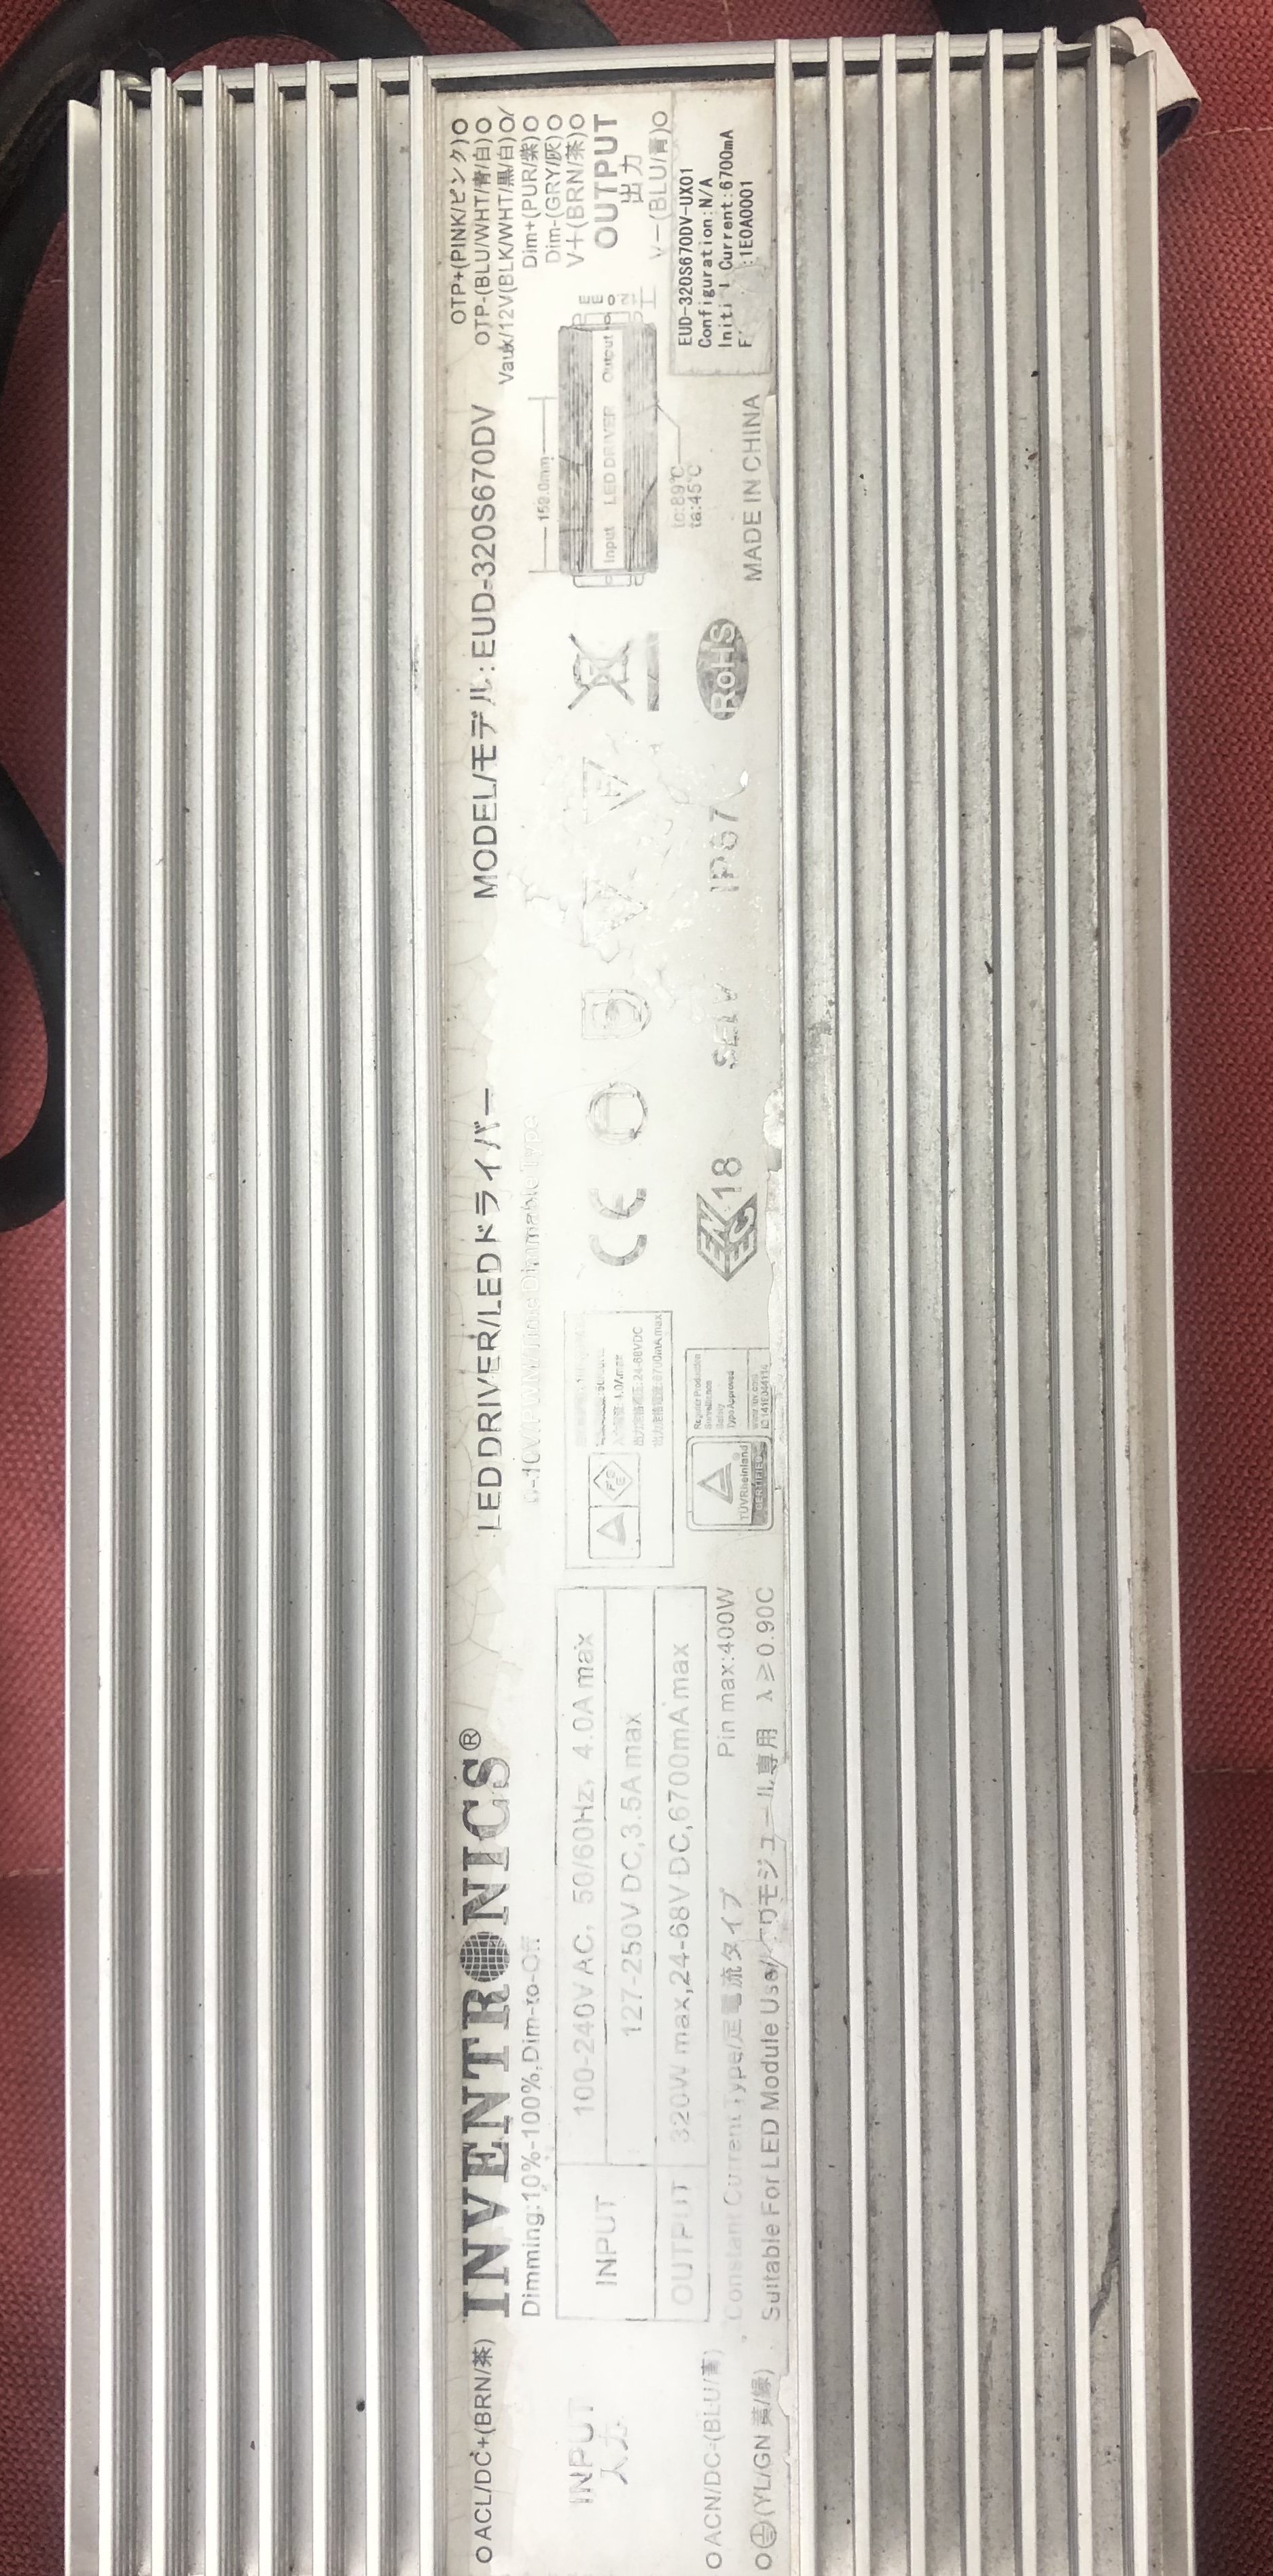
There are about 50ish of these going in the skip this week, ex stadium leds, however quite a few of the drivers have blown but the leds are mint, are they worth salvaging? The new drivers are over $300 on Ali. Each big panel has two lights and two drivers at a total of 600w. They go hard for what they are, will sling a few up around the shed
3 points
-
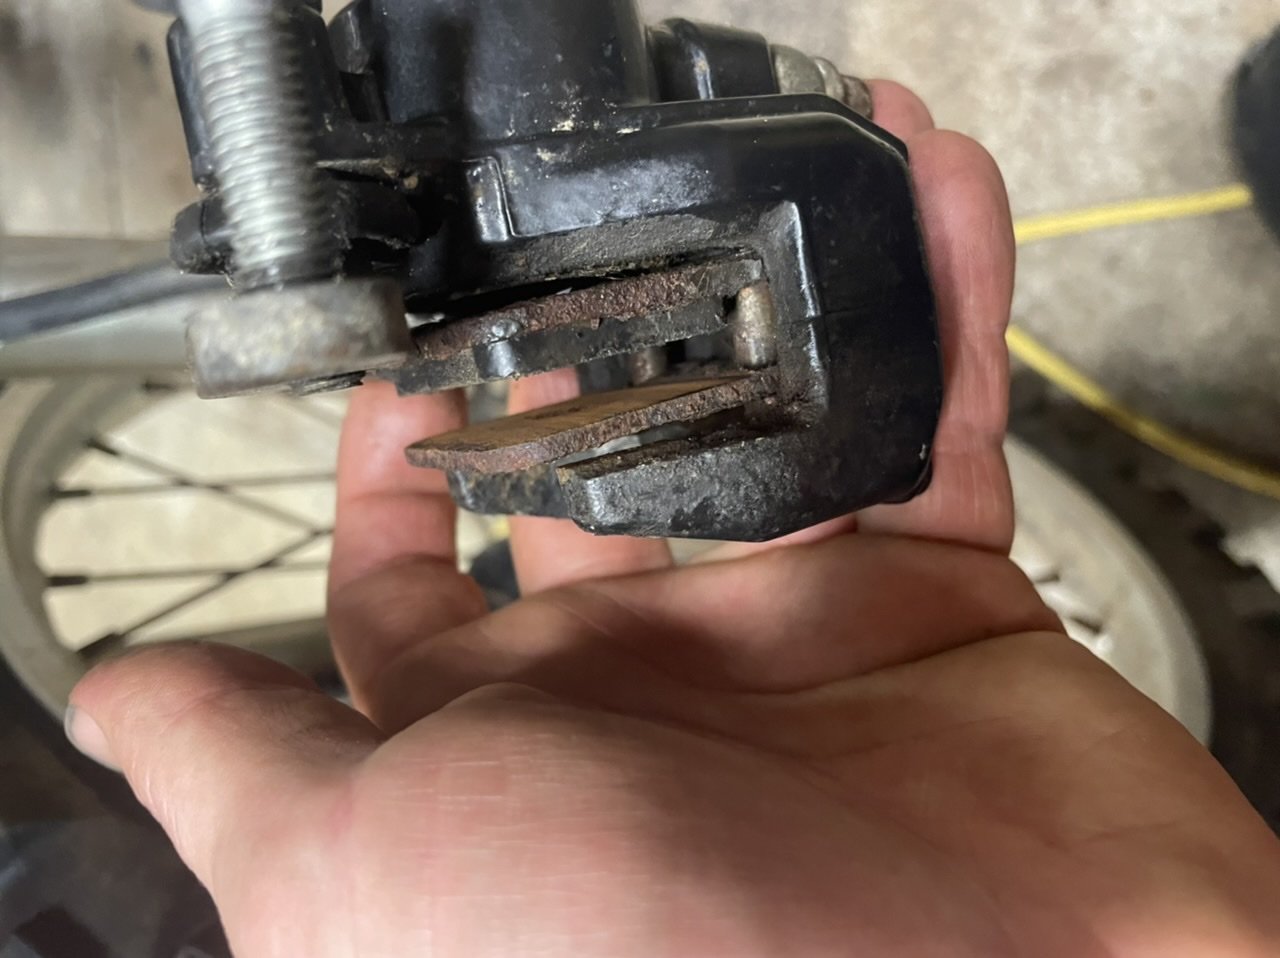
Next on the list is the front brake pads. i think they’re due…
3 points
-
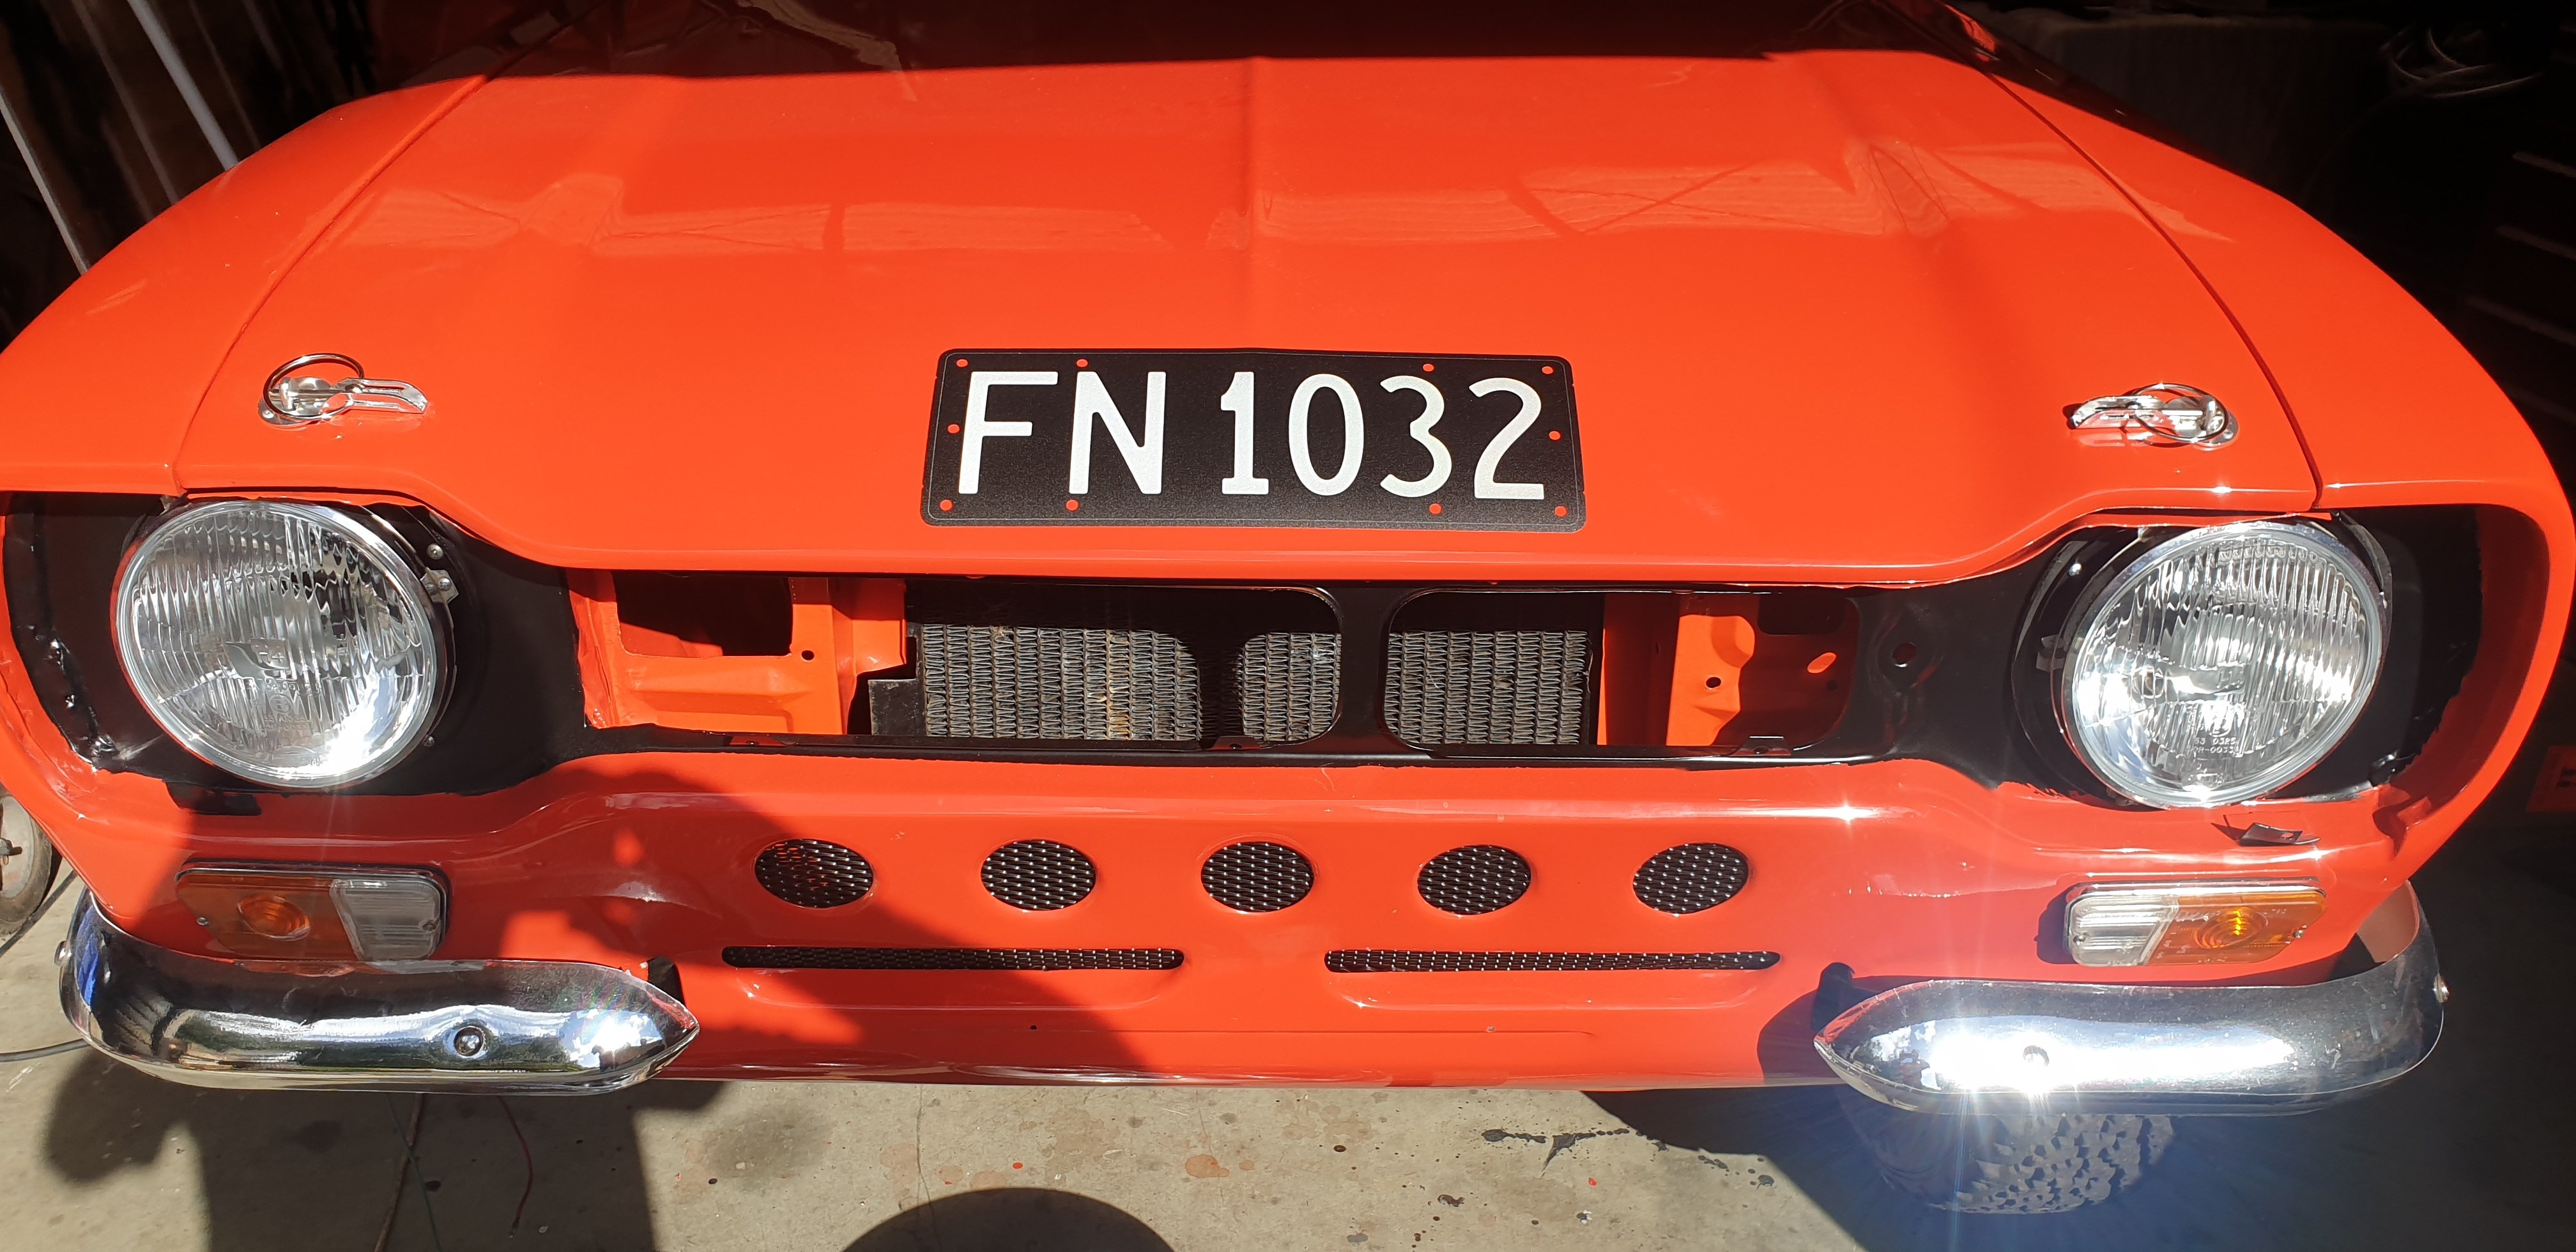
9New direction, I was taking the fog lights off when I remembered I had a box of lights that might work. So now I have DRL's instead, dekatora running lamps. I have some spare if anyone is keen.3 points
-
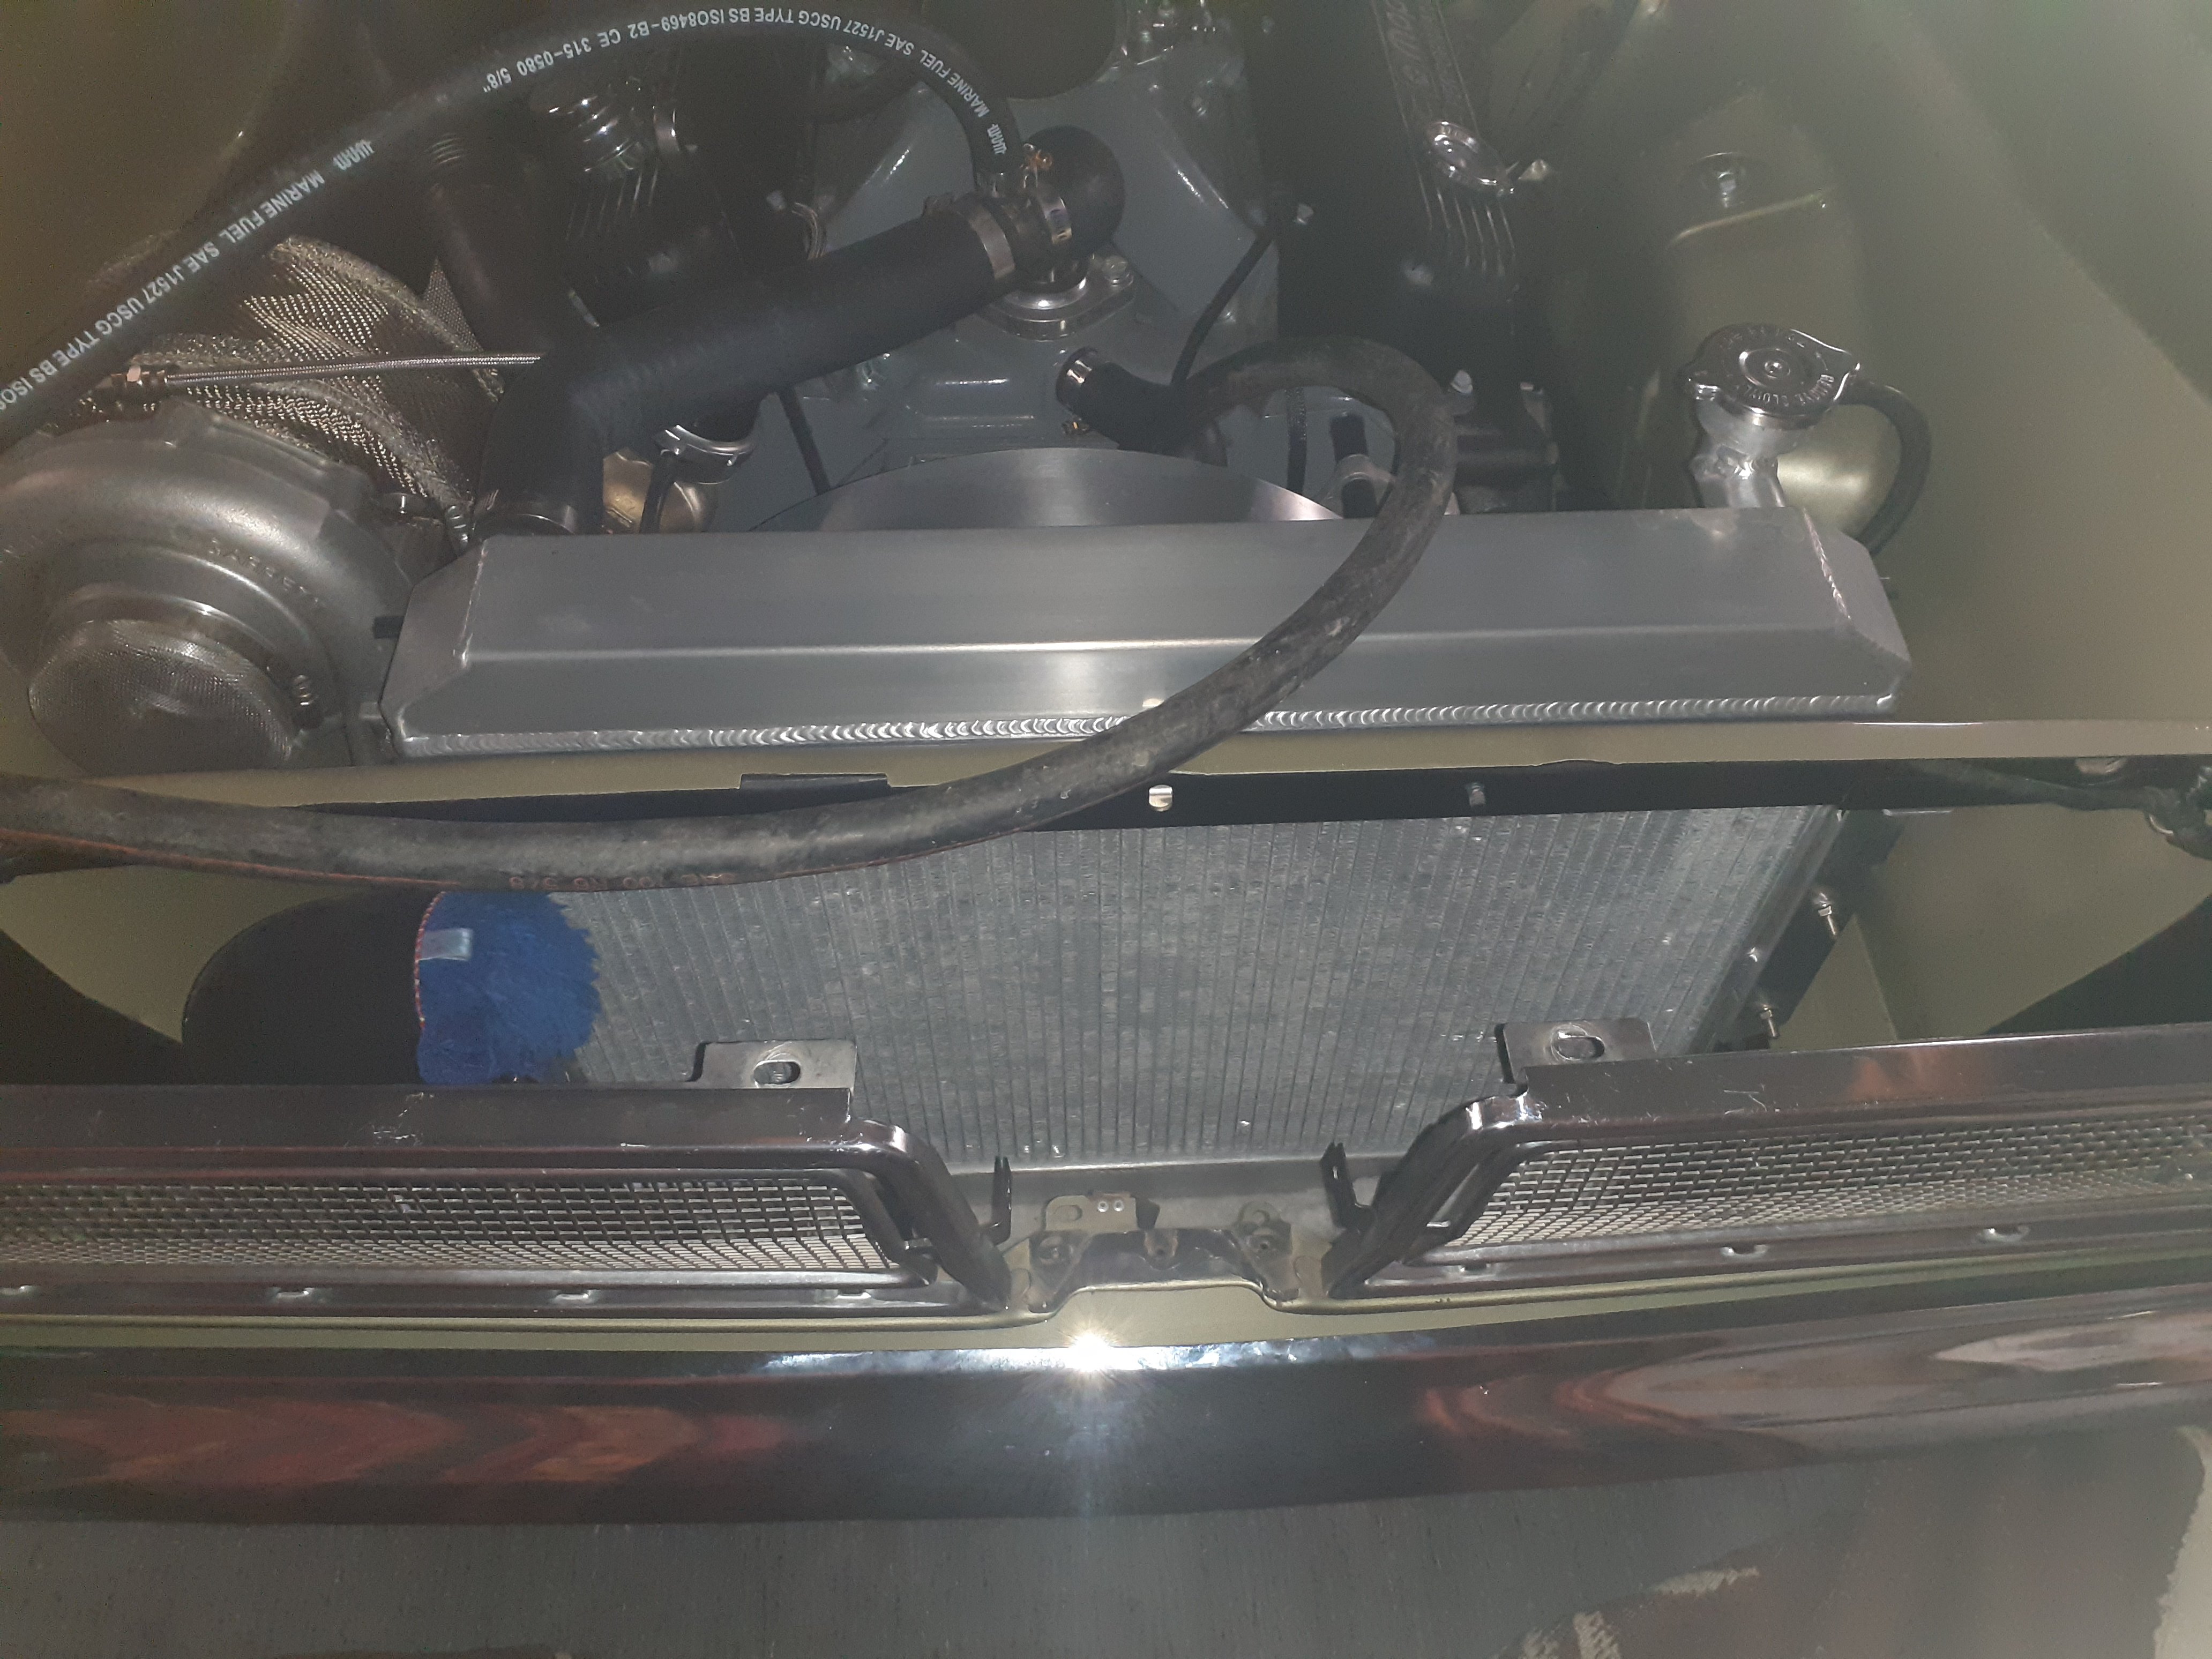
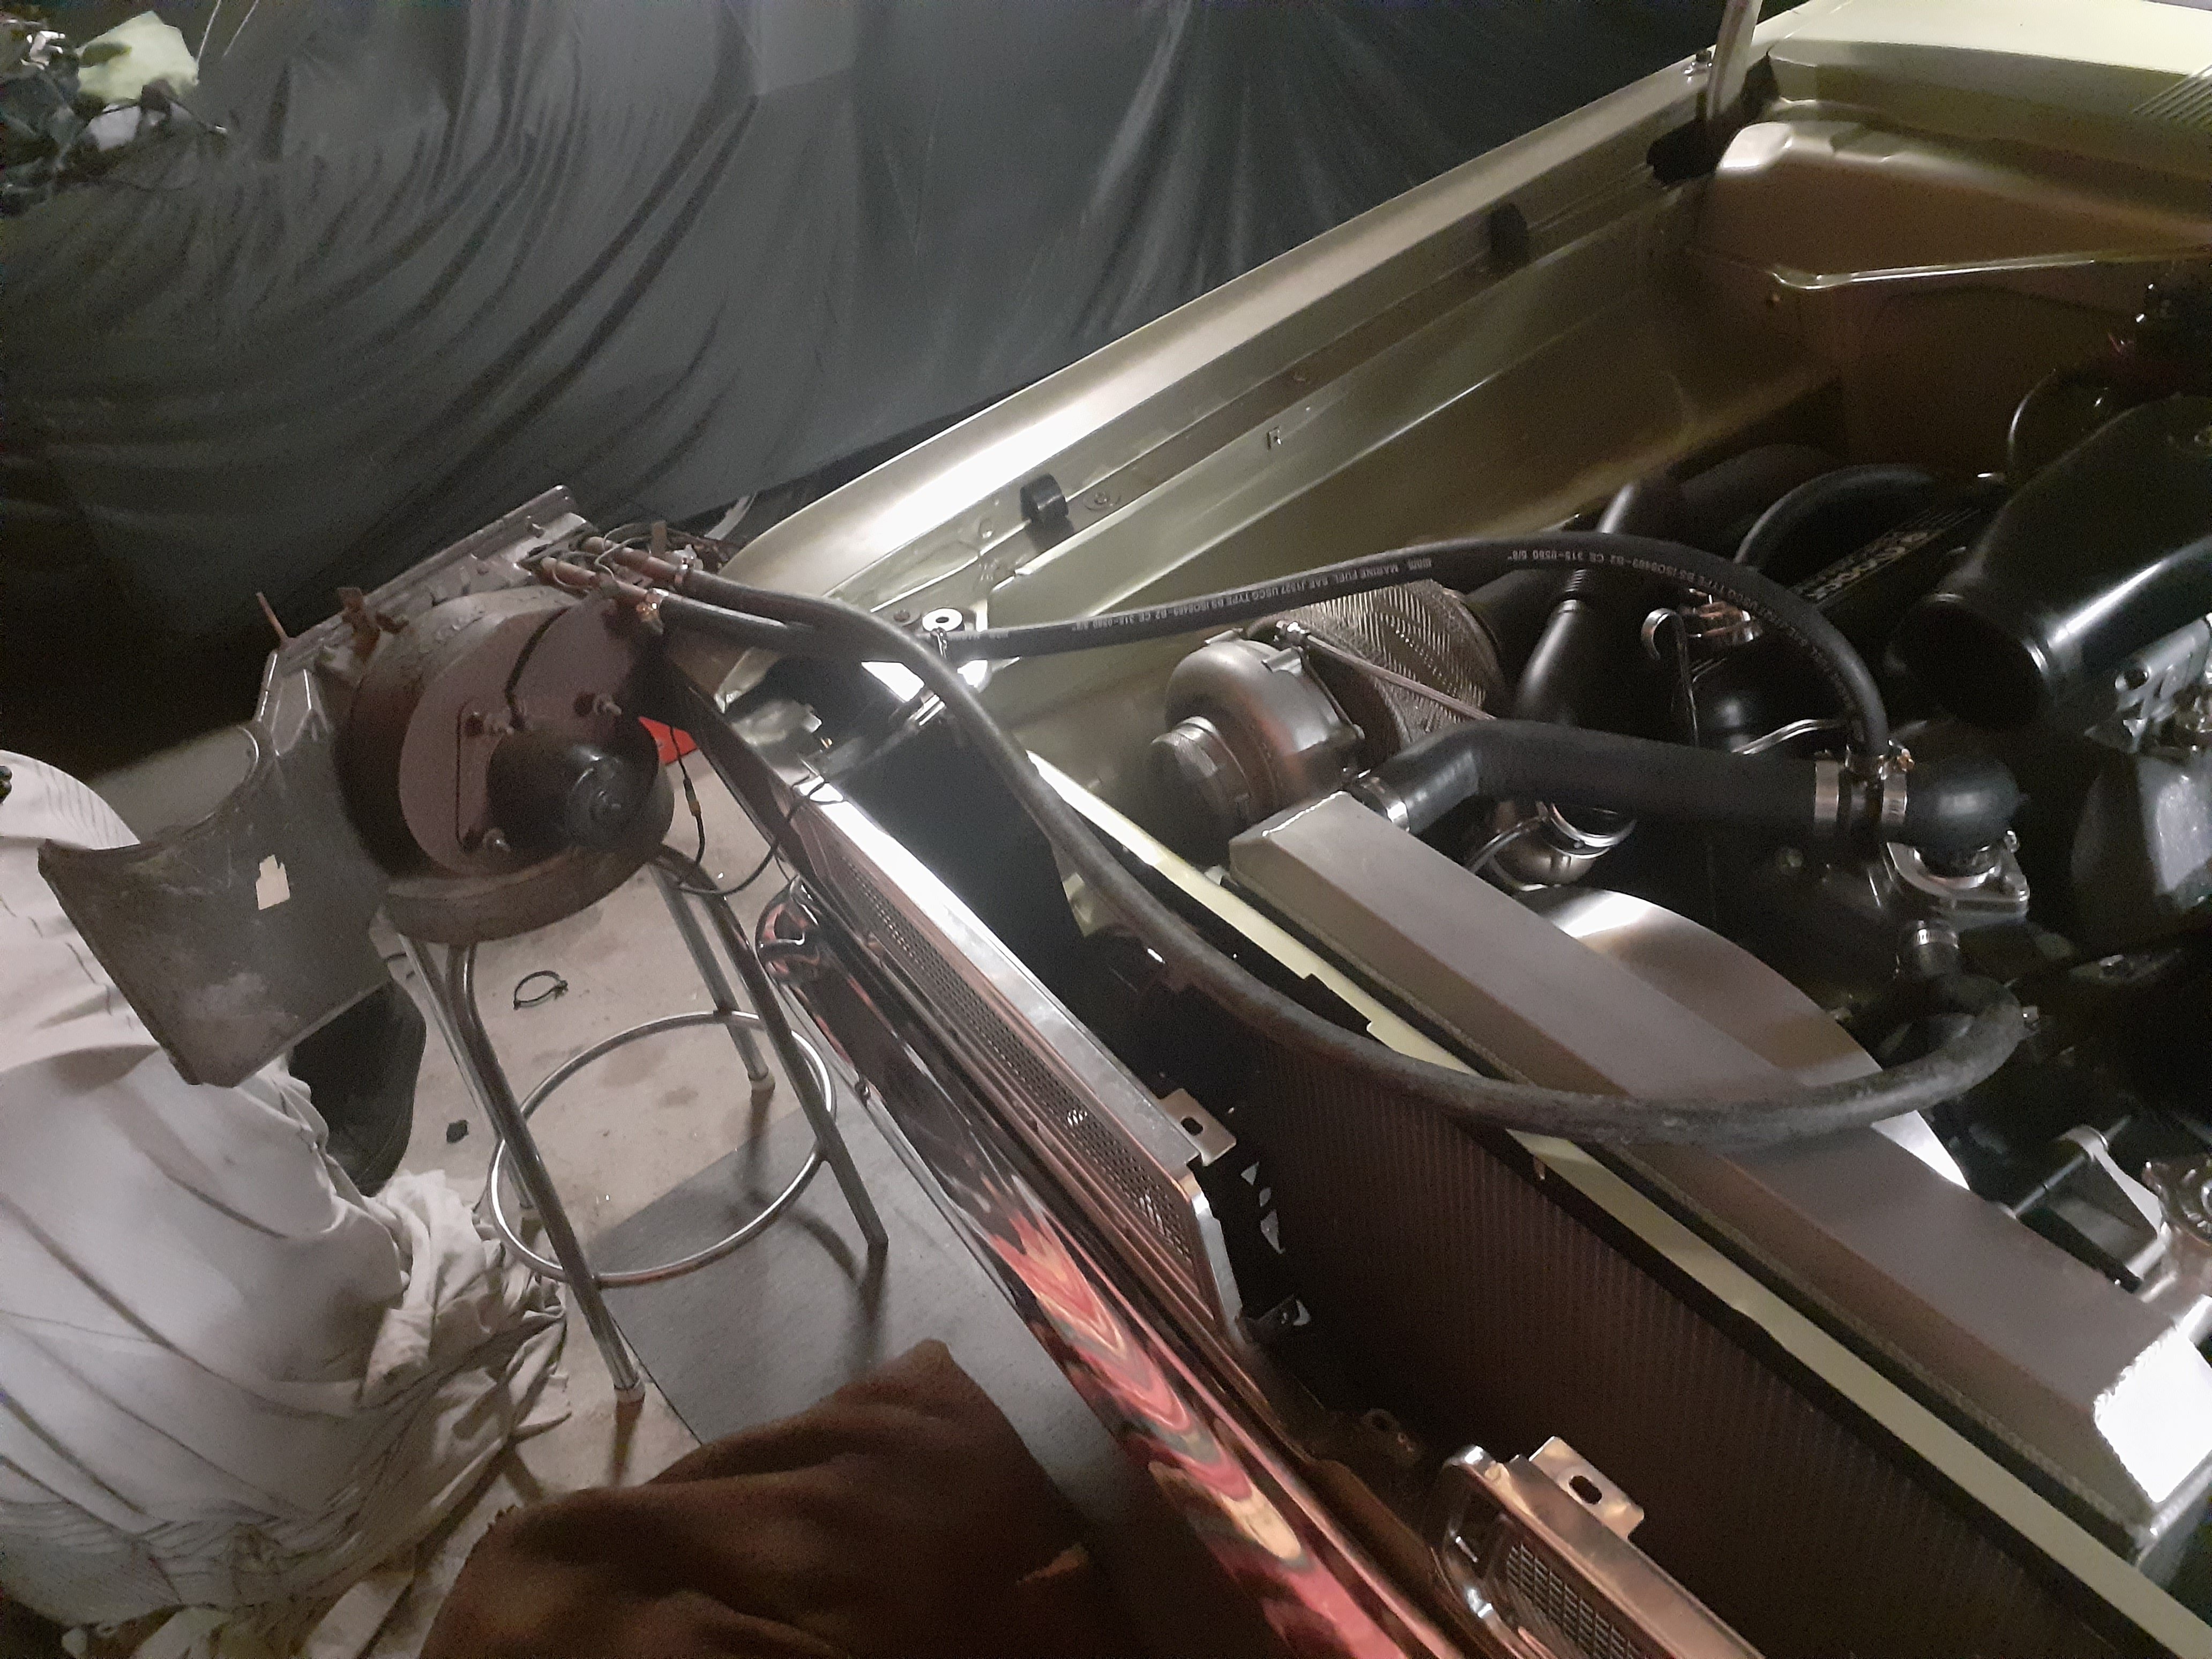
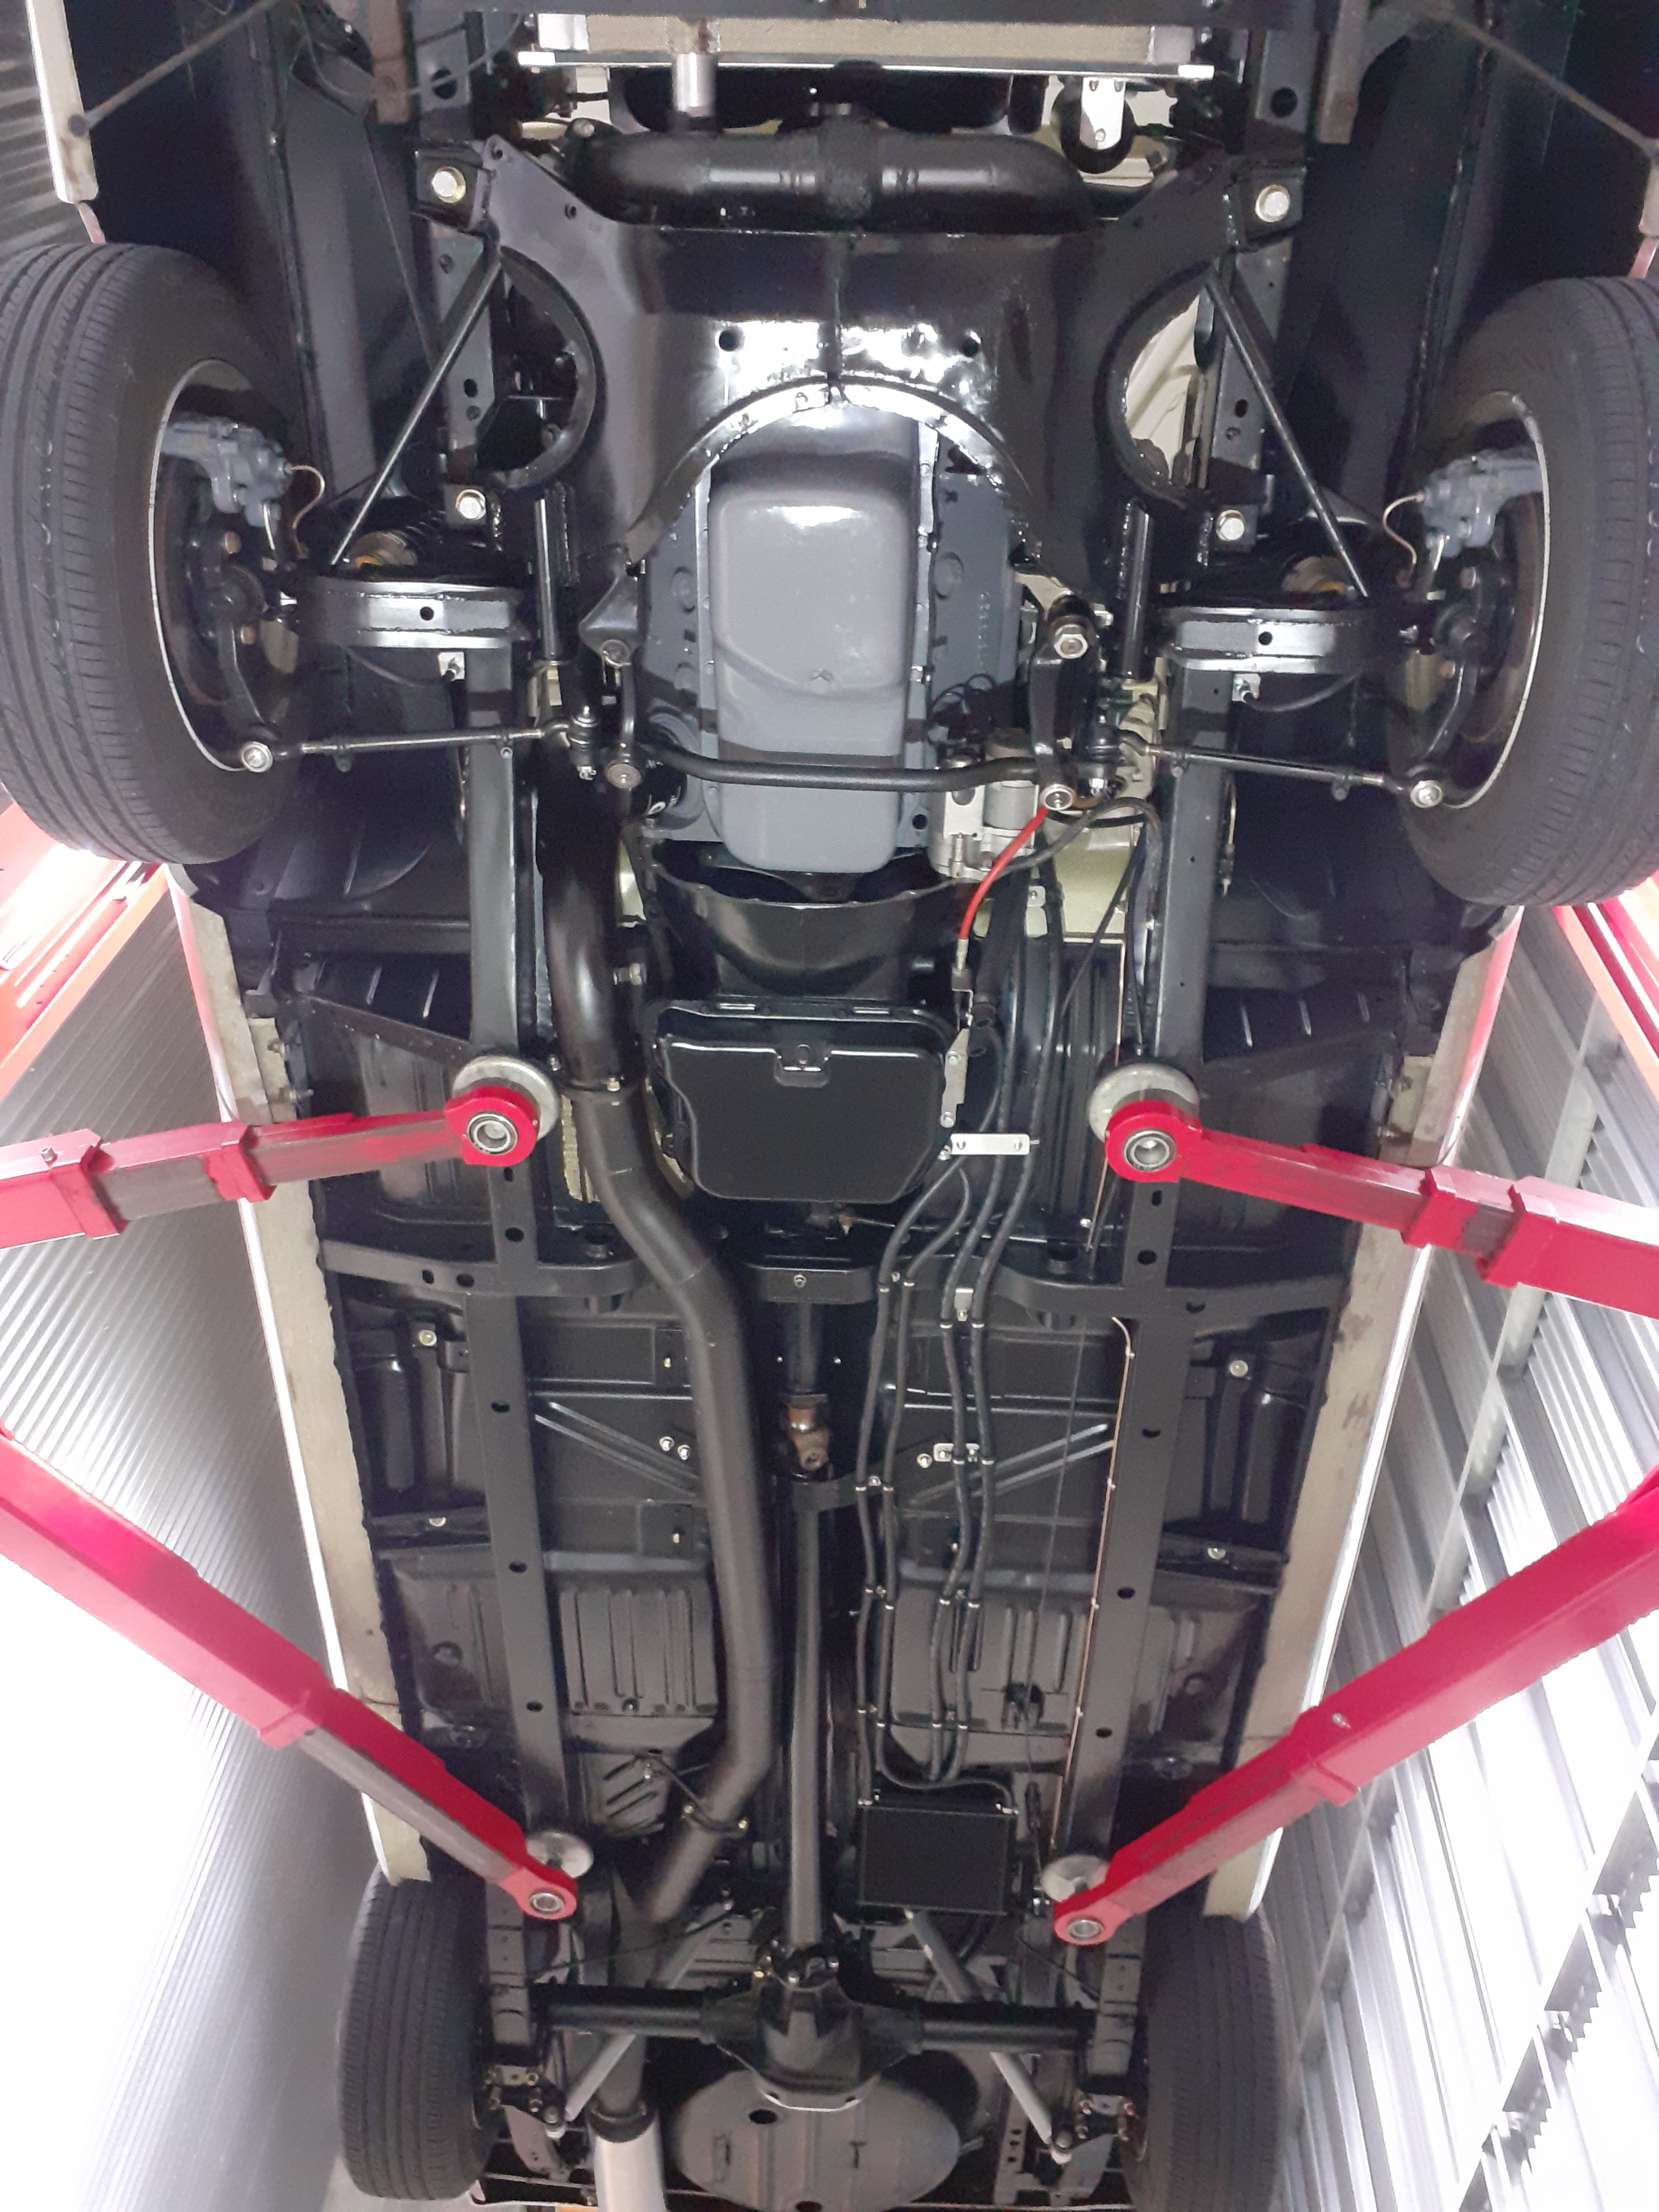
OK V8 fan and sealing around the edges of the shrouds made it better Good enough that I drove it in total over 100 miles over a couple of days and it was pretty good, doesnt go over 180, at open road speed it's mint Today I made a heat shield thing between the exhaust and radiator Still gets hot and boils at idle though. So I'm pretty sure air flow is the problem So next will be try it minus the intercooler, I'm picking that will make the radiator work better, plus then there's space for a big electric fan on the front That will mean I'll have to redo the piping and swap the rad hose to the other side of the top tank. Dumb. Anyway, have some pics.
3 points
-
New shiity bike acquired for this year. Also keen to jump in on accommodation if any going or someone hasn't booked
2 points
-
Yuck ^ Number would be up there if it logged how many liters of oil it used2 points
-
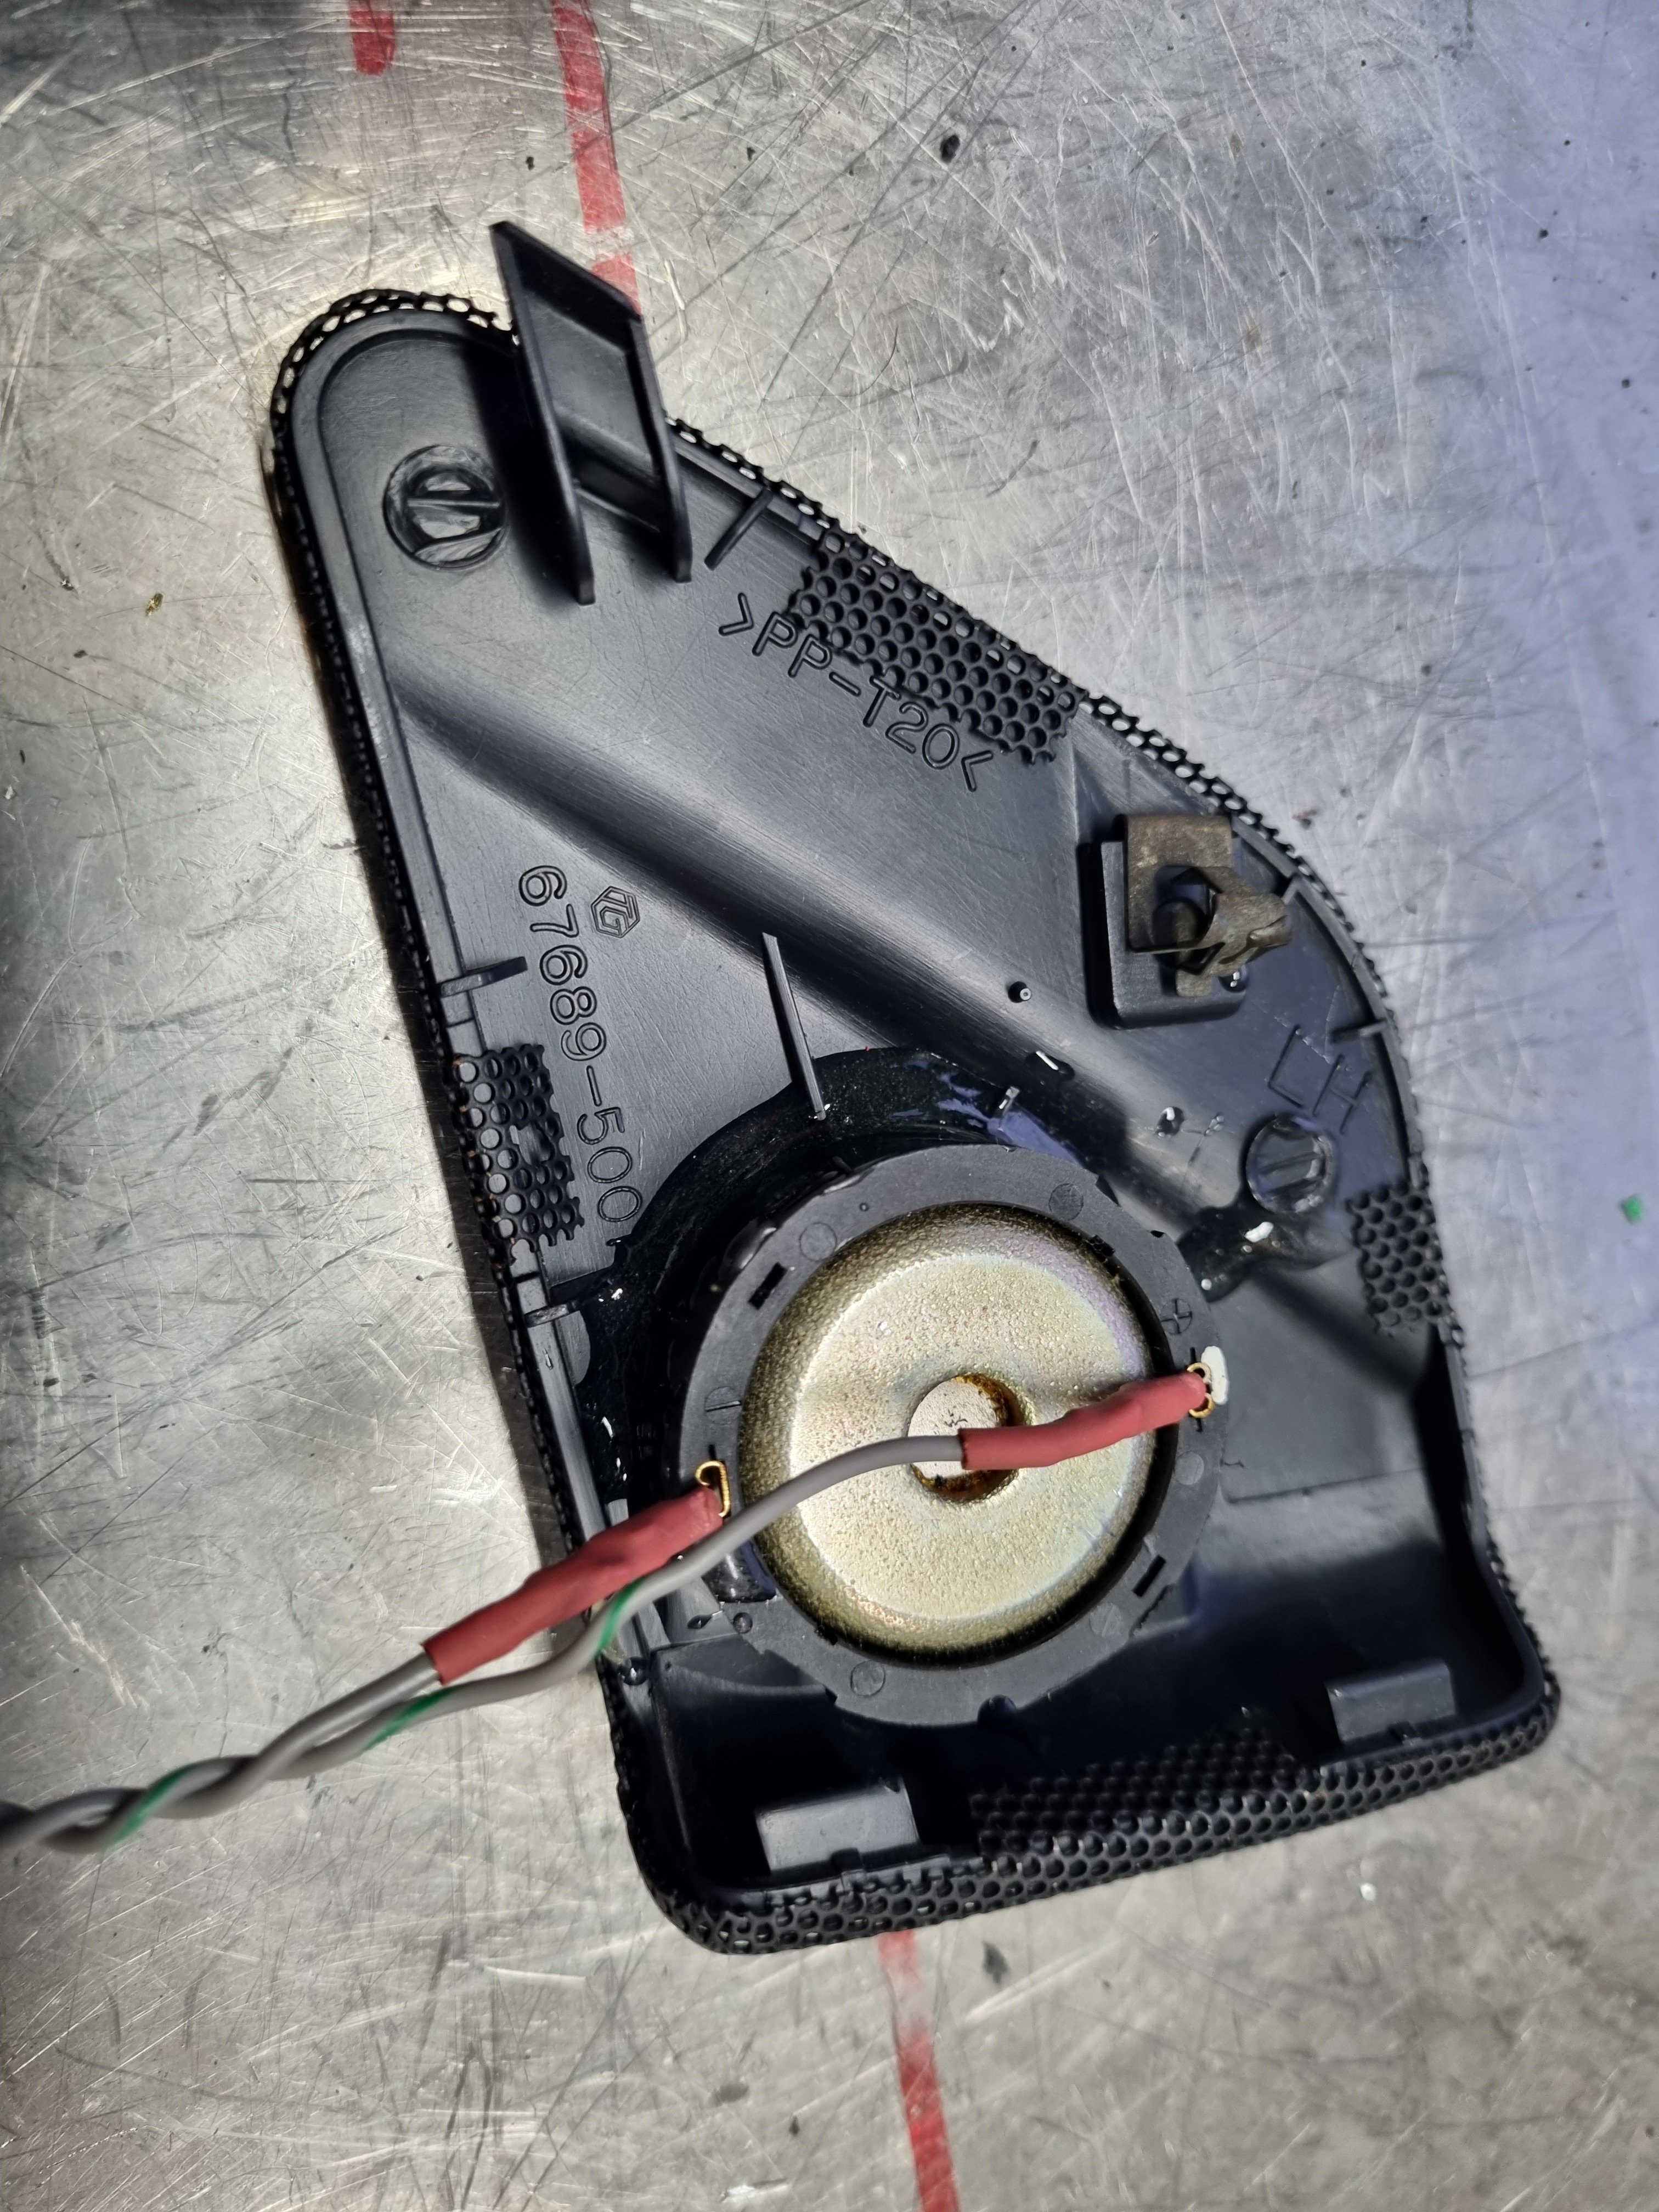
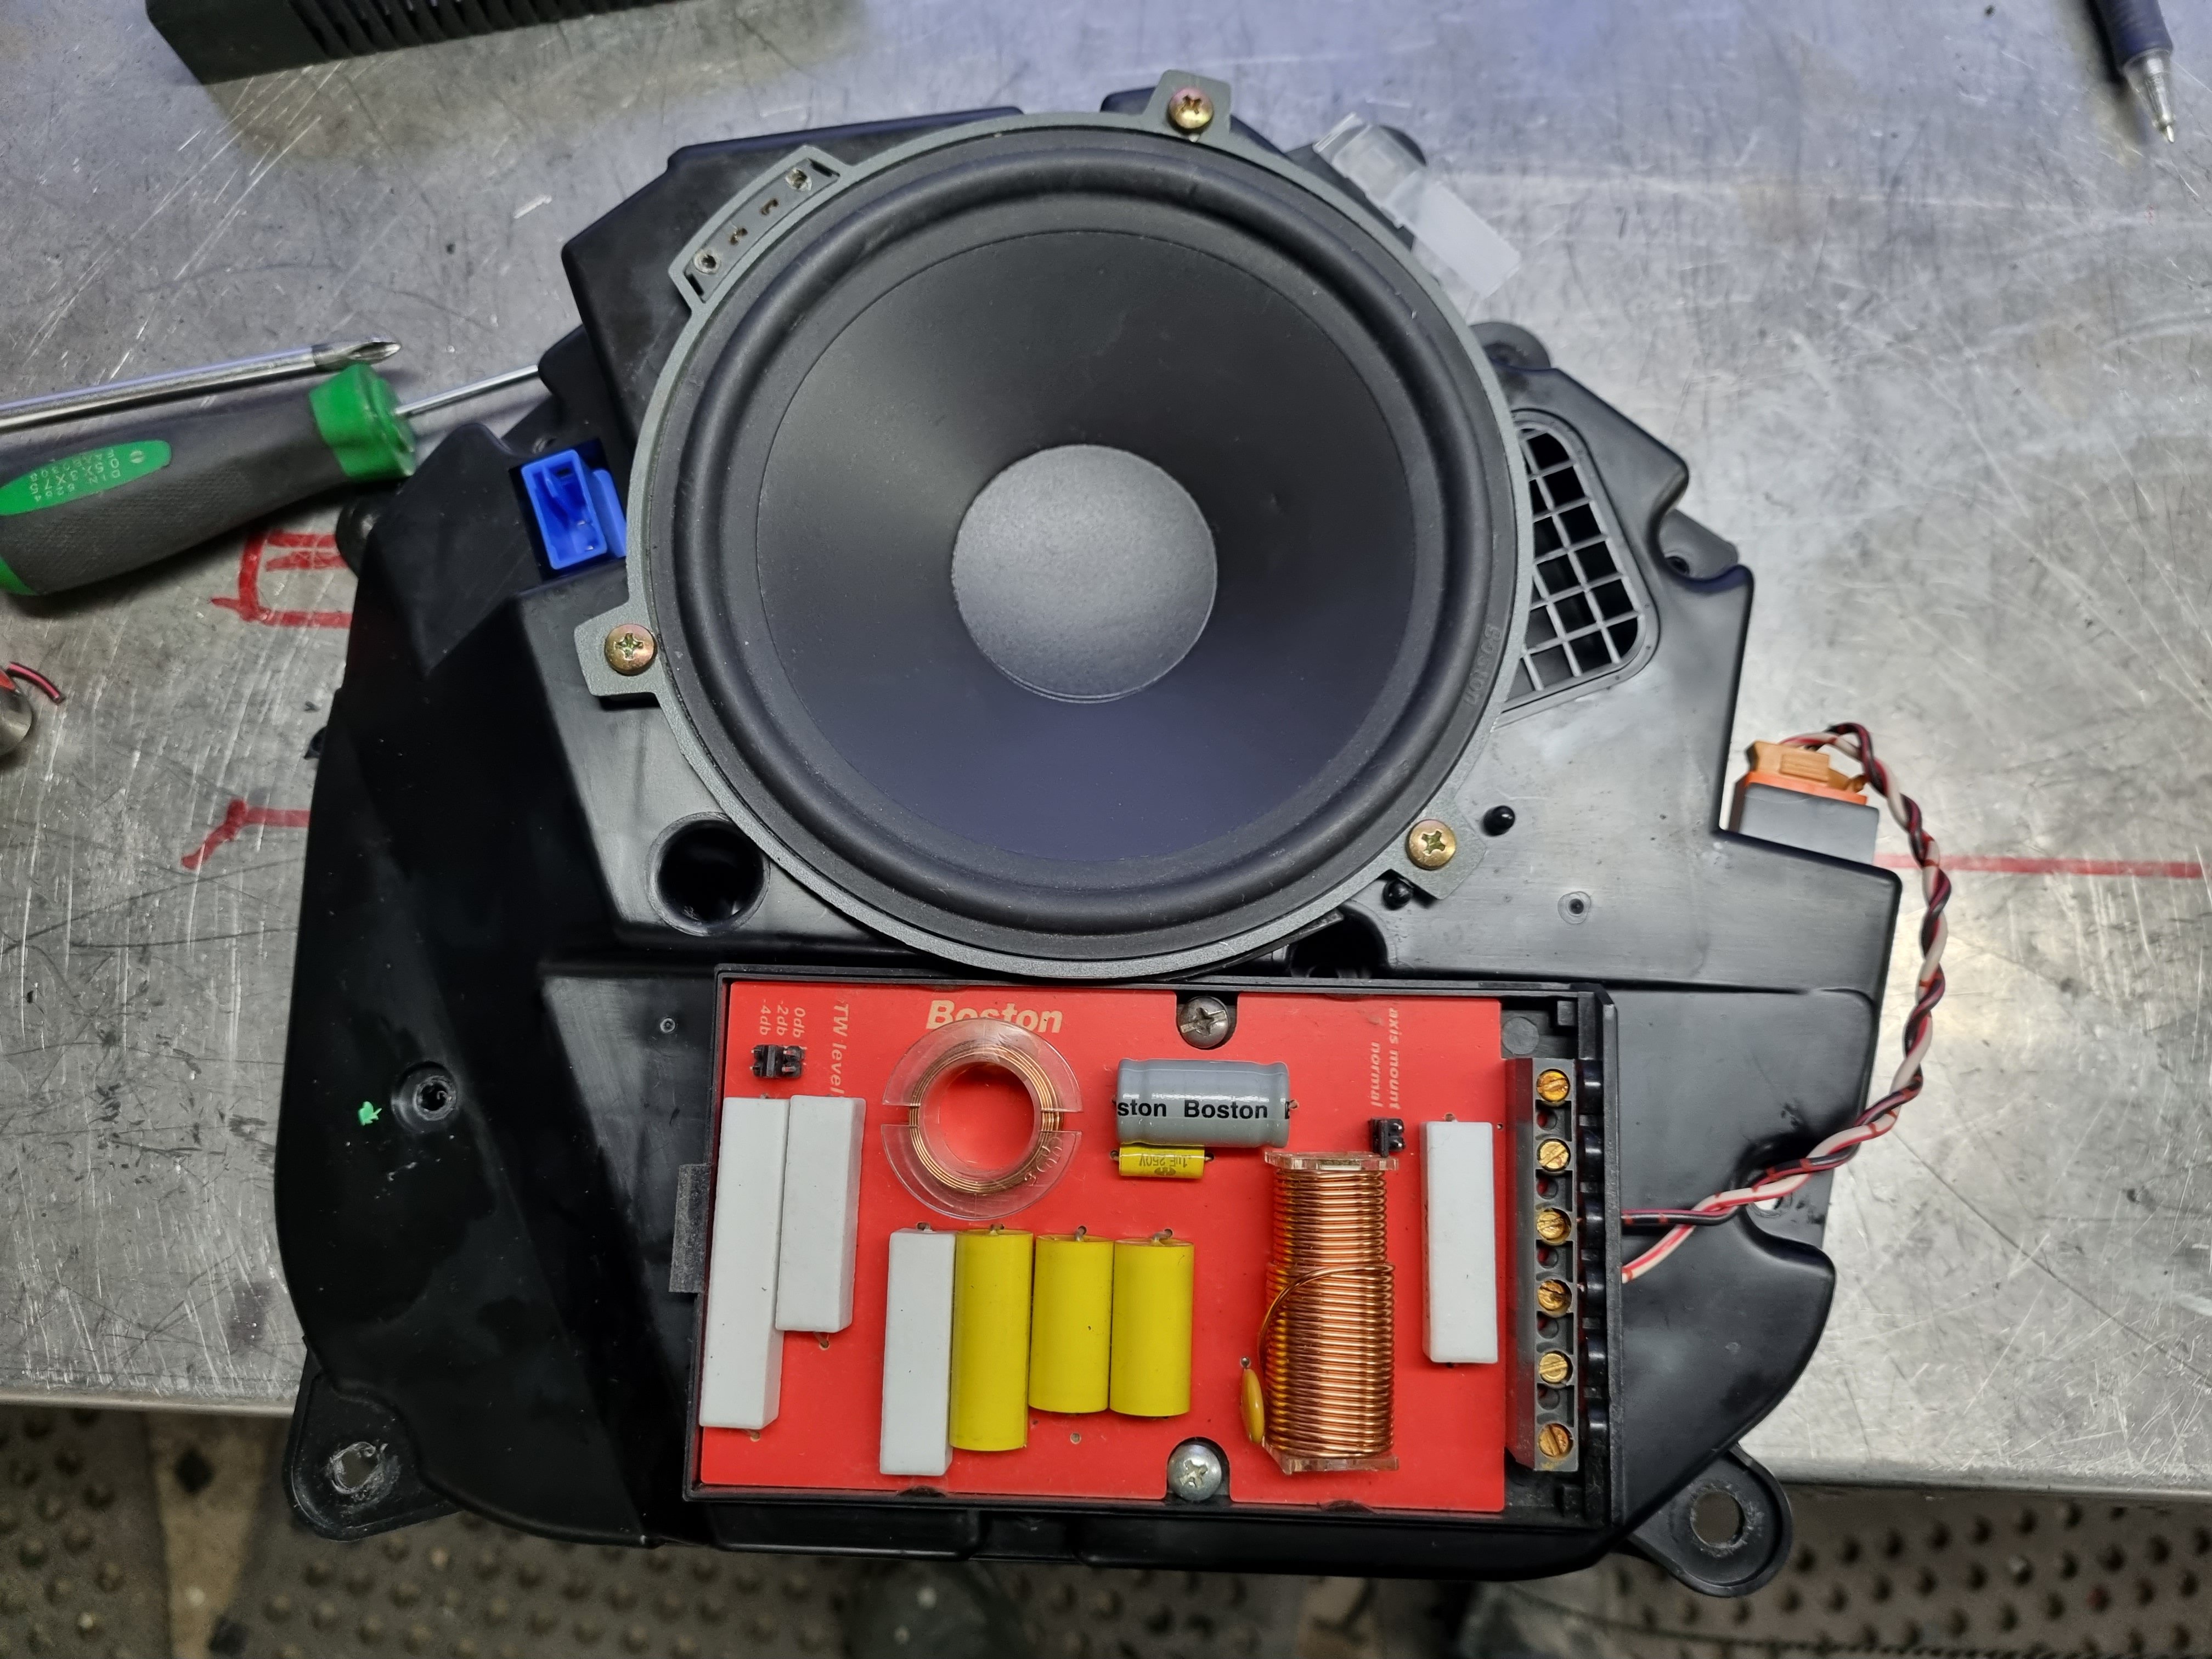
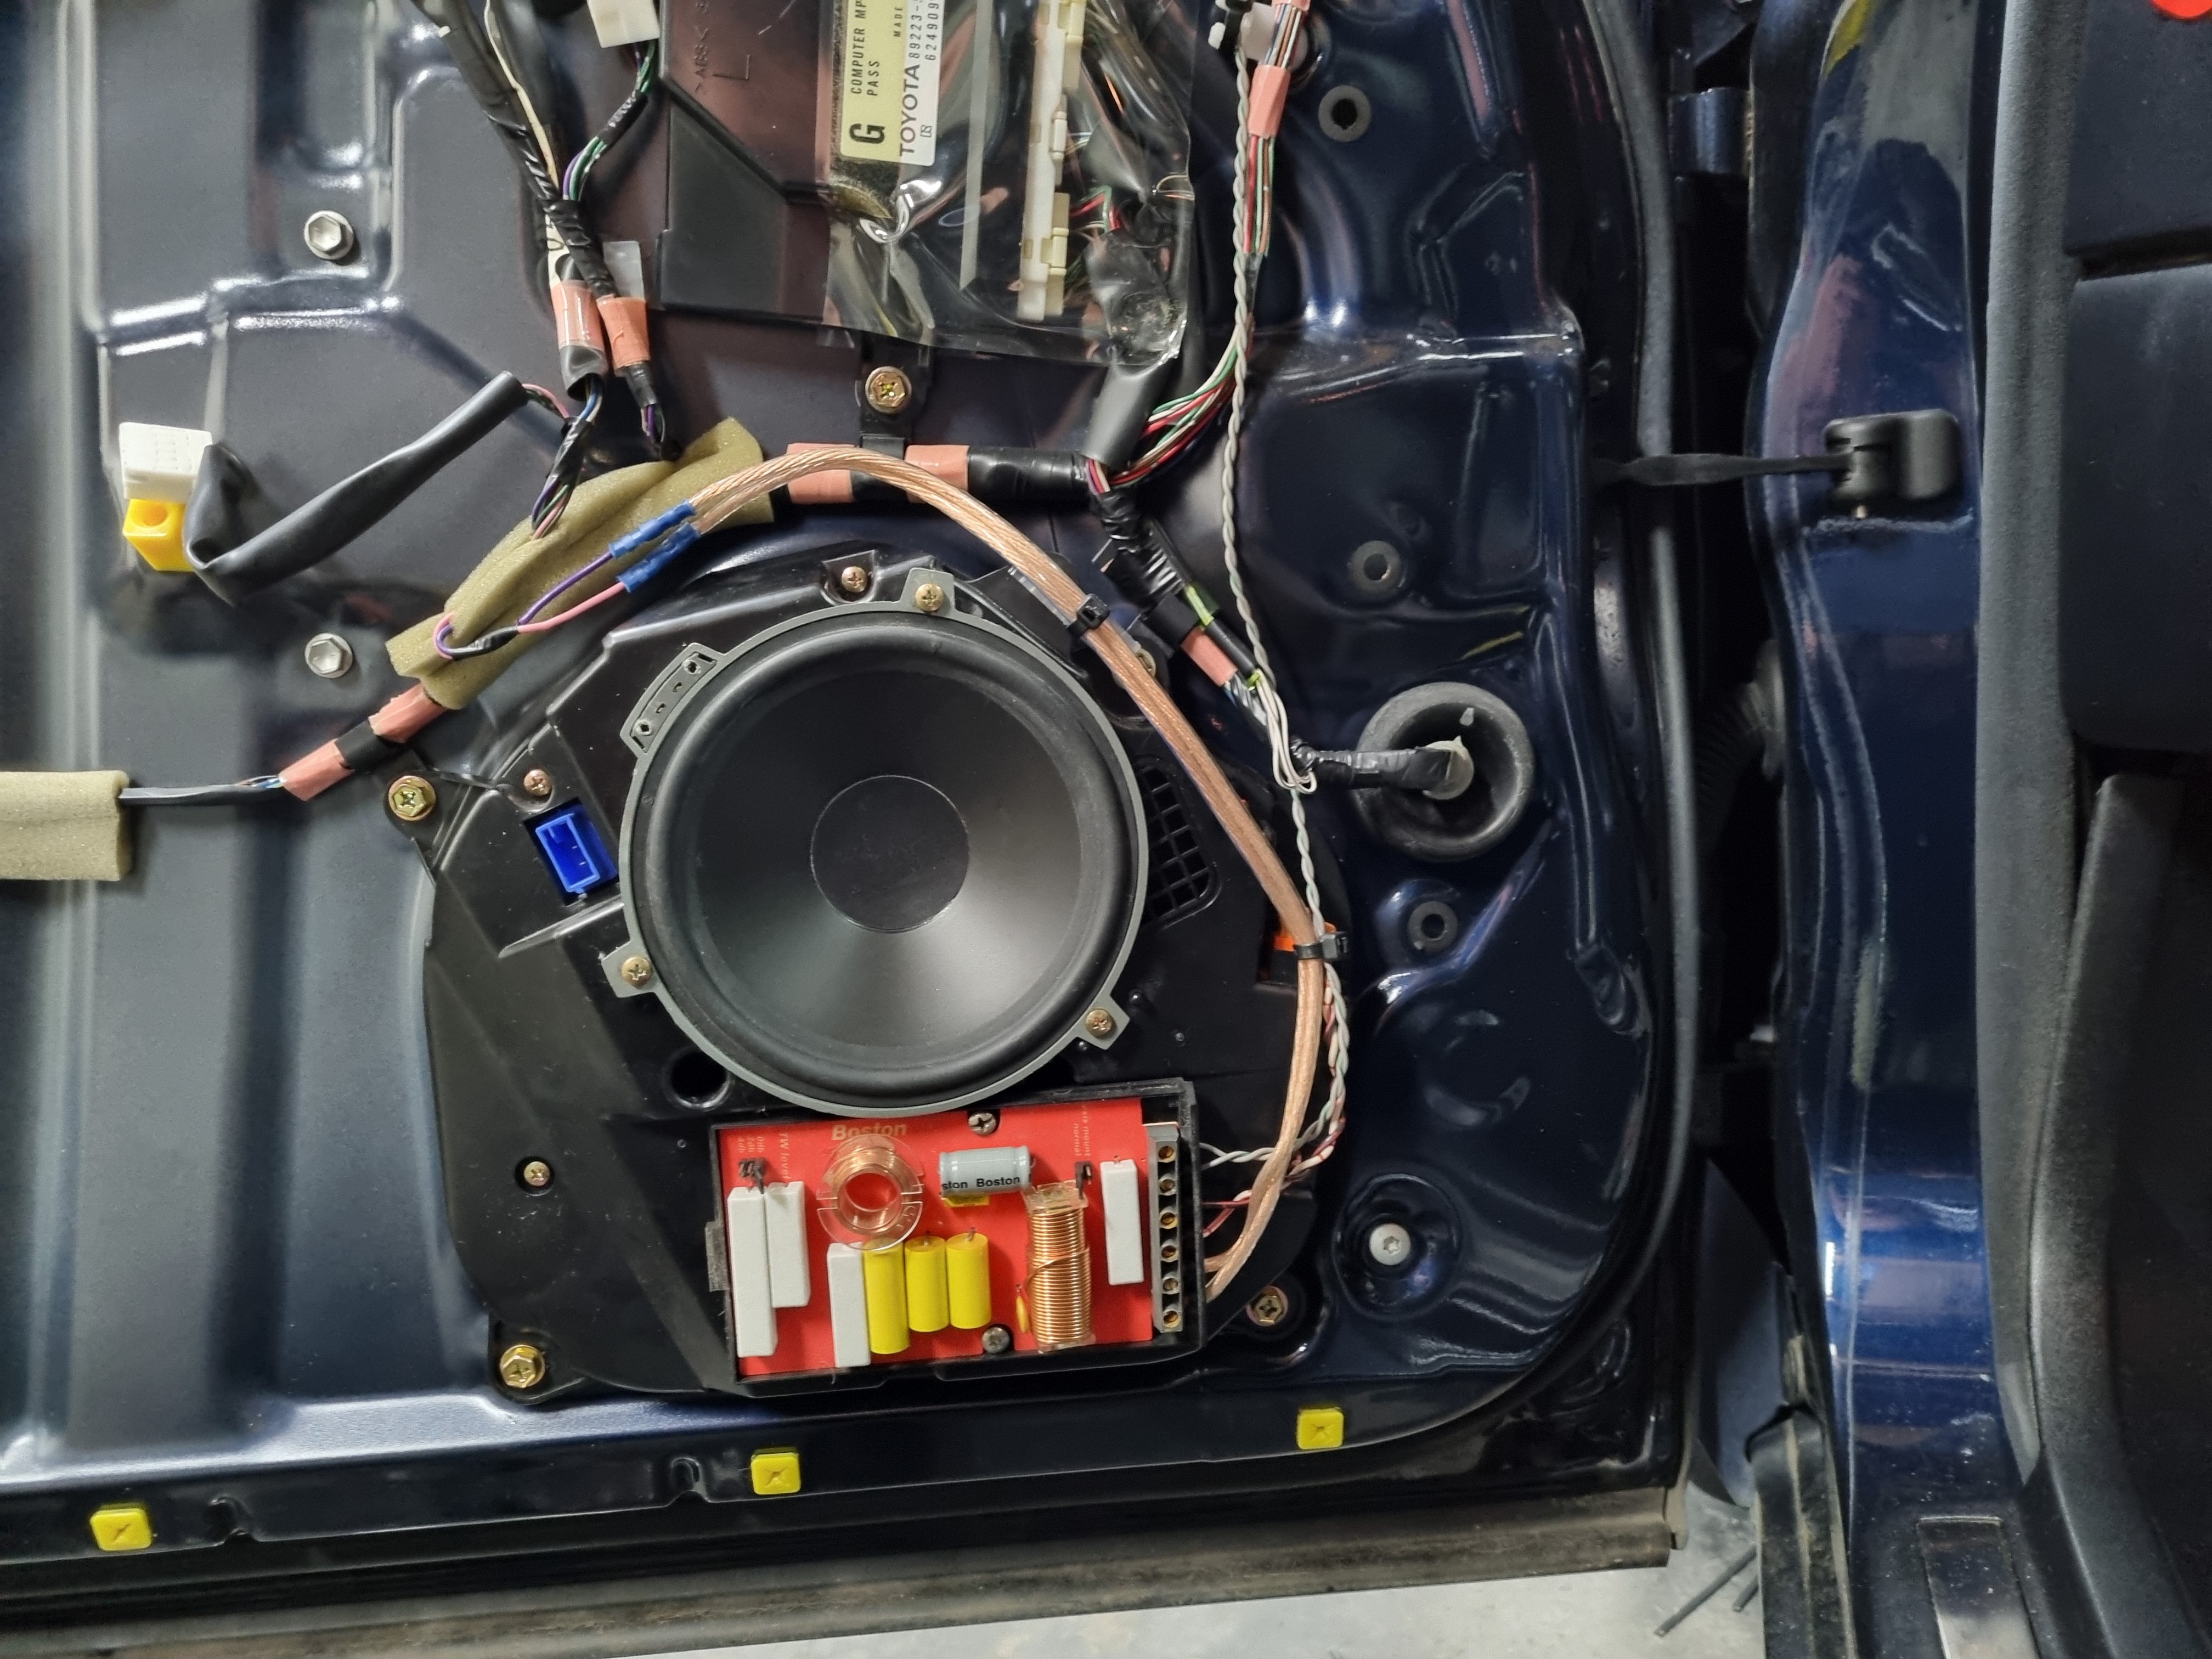
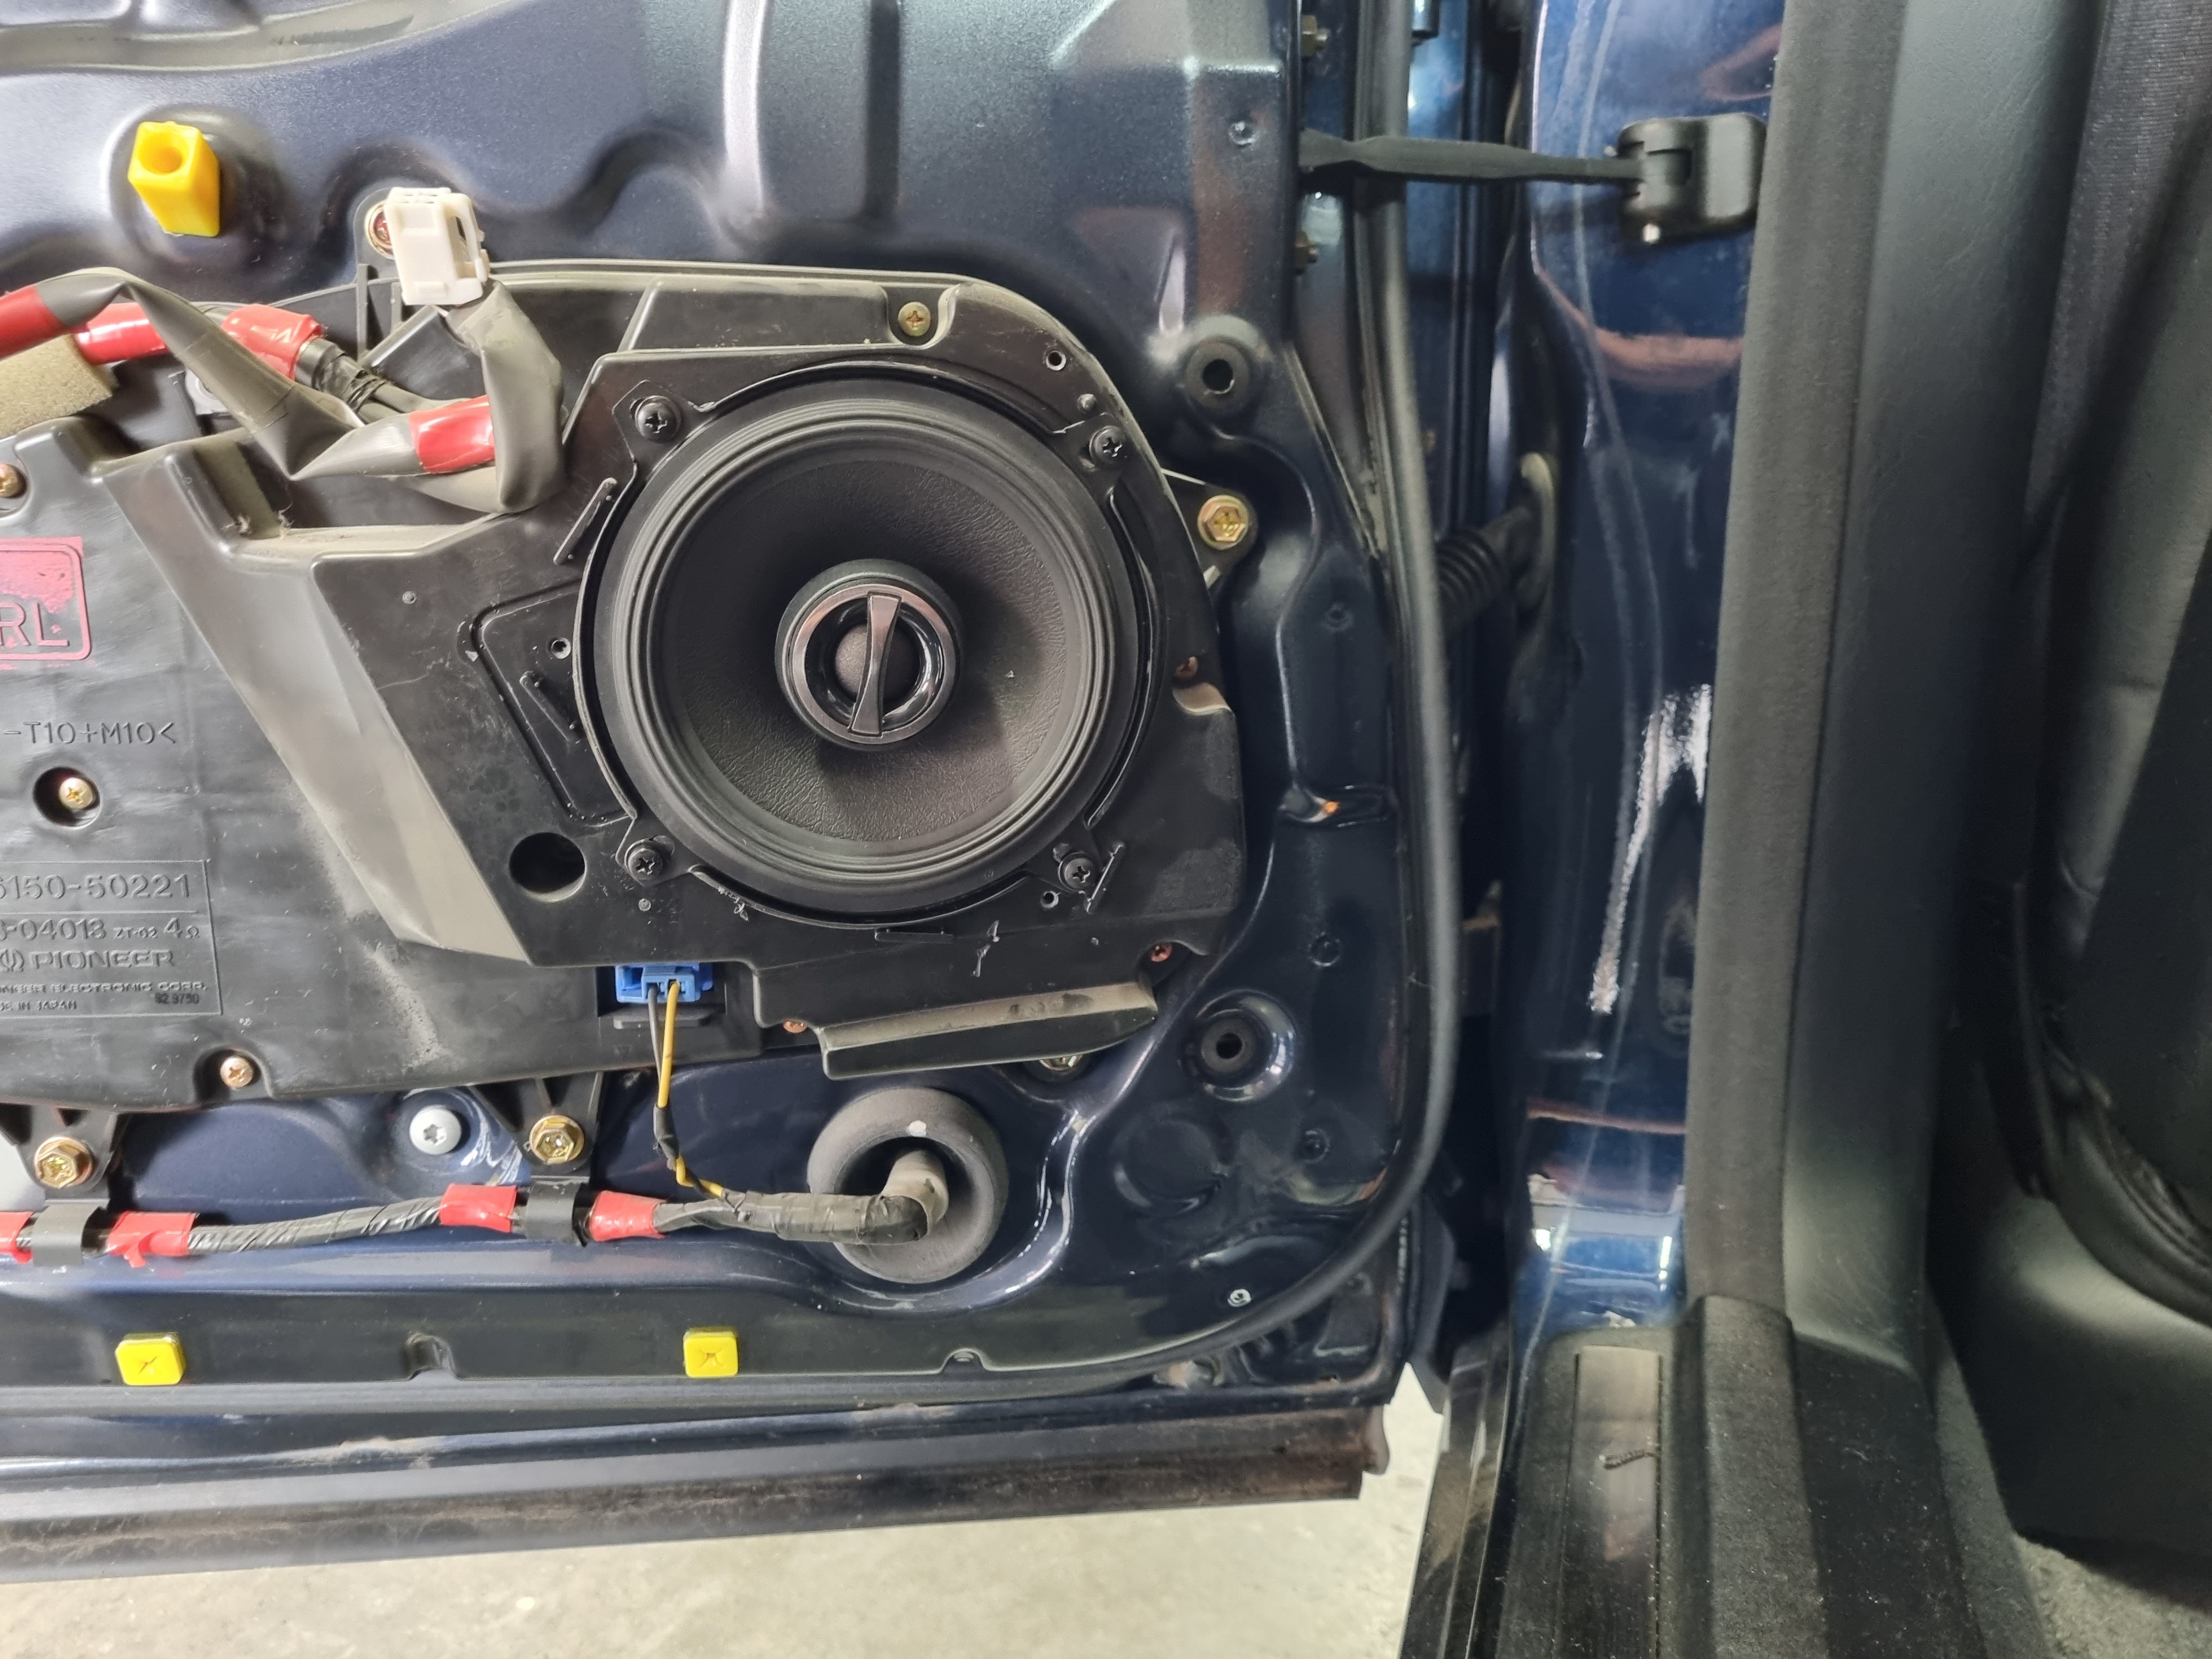
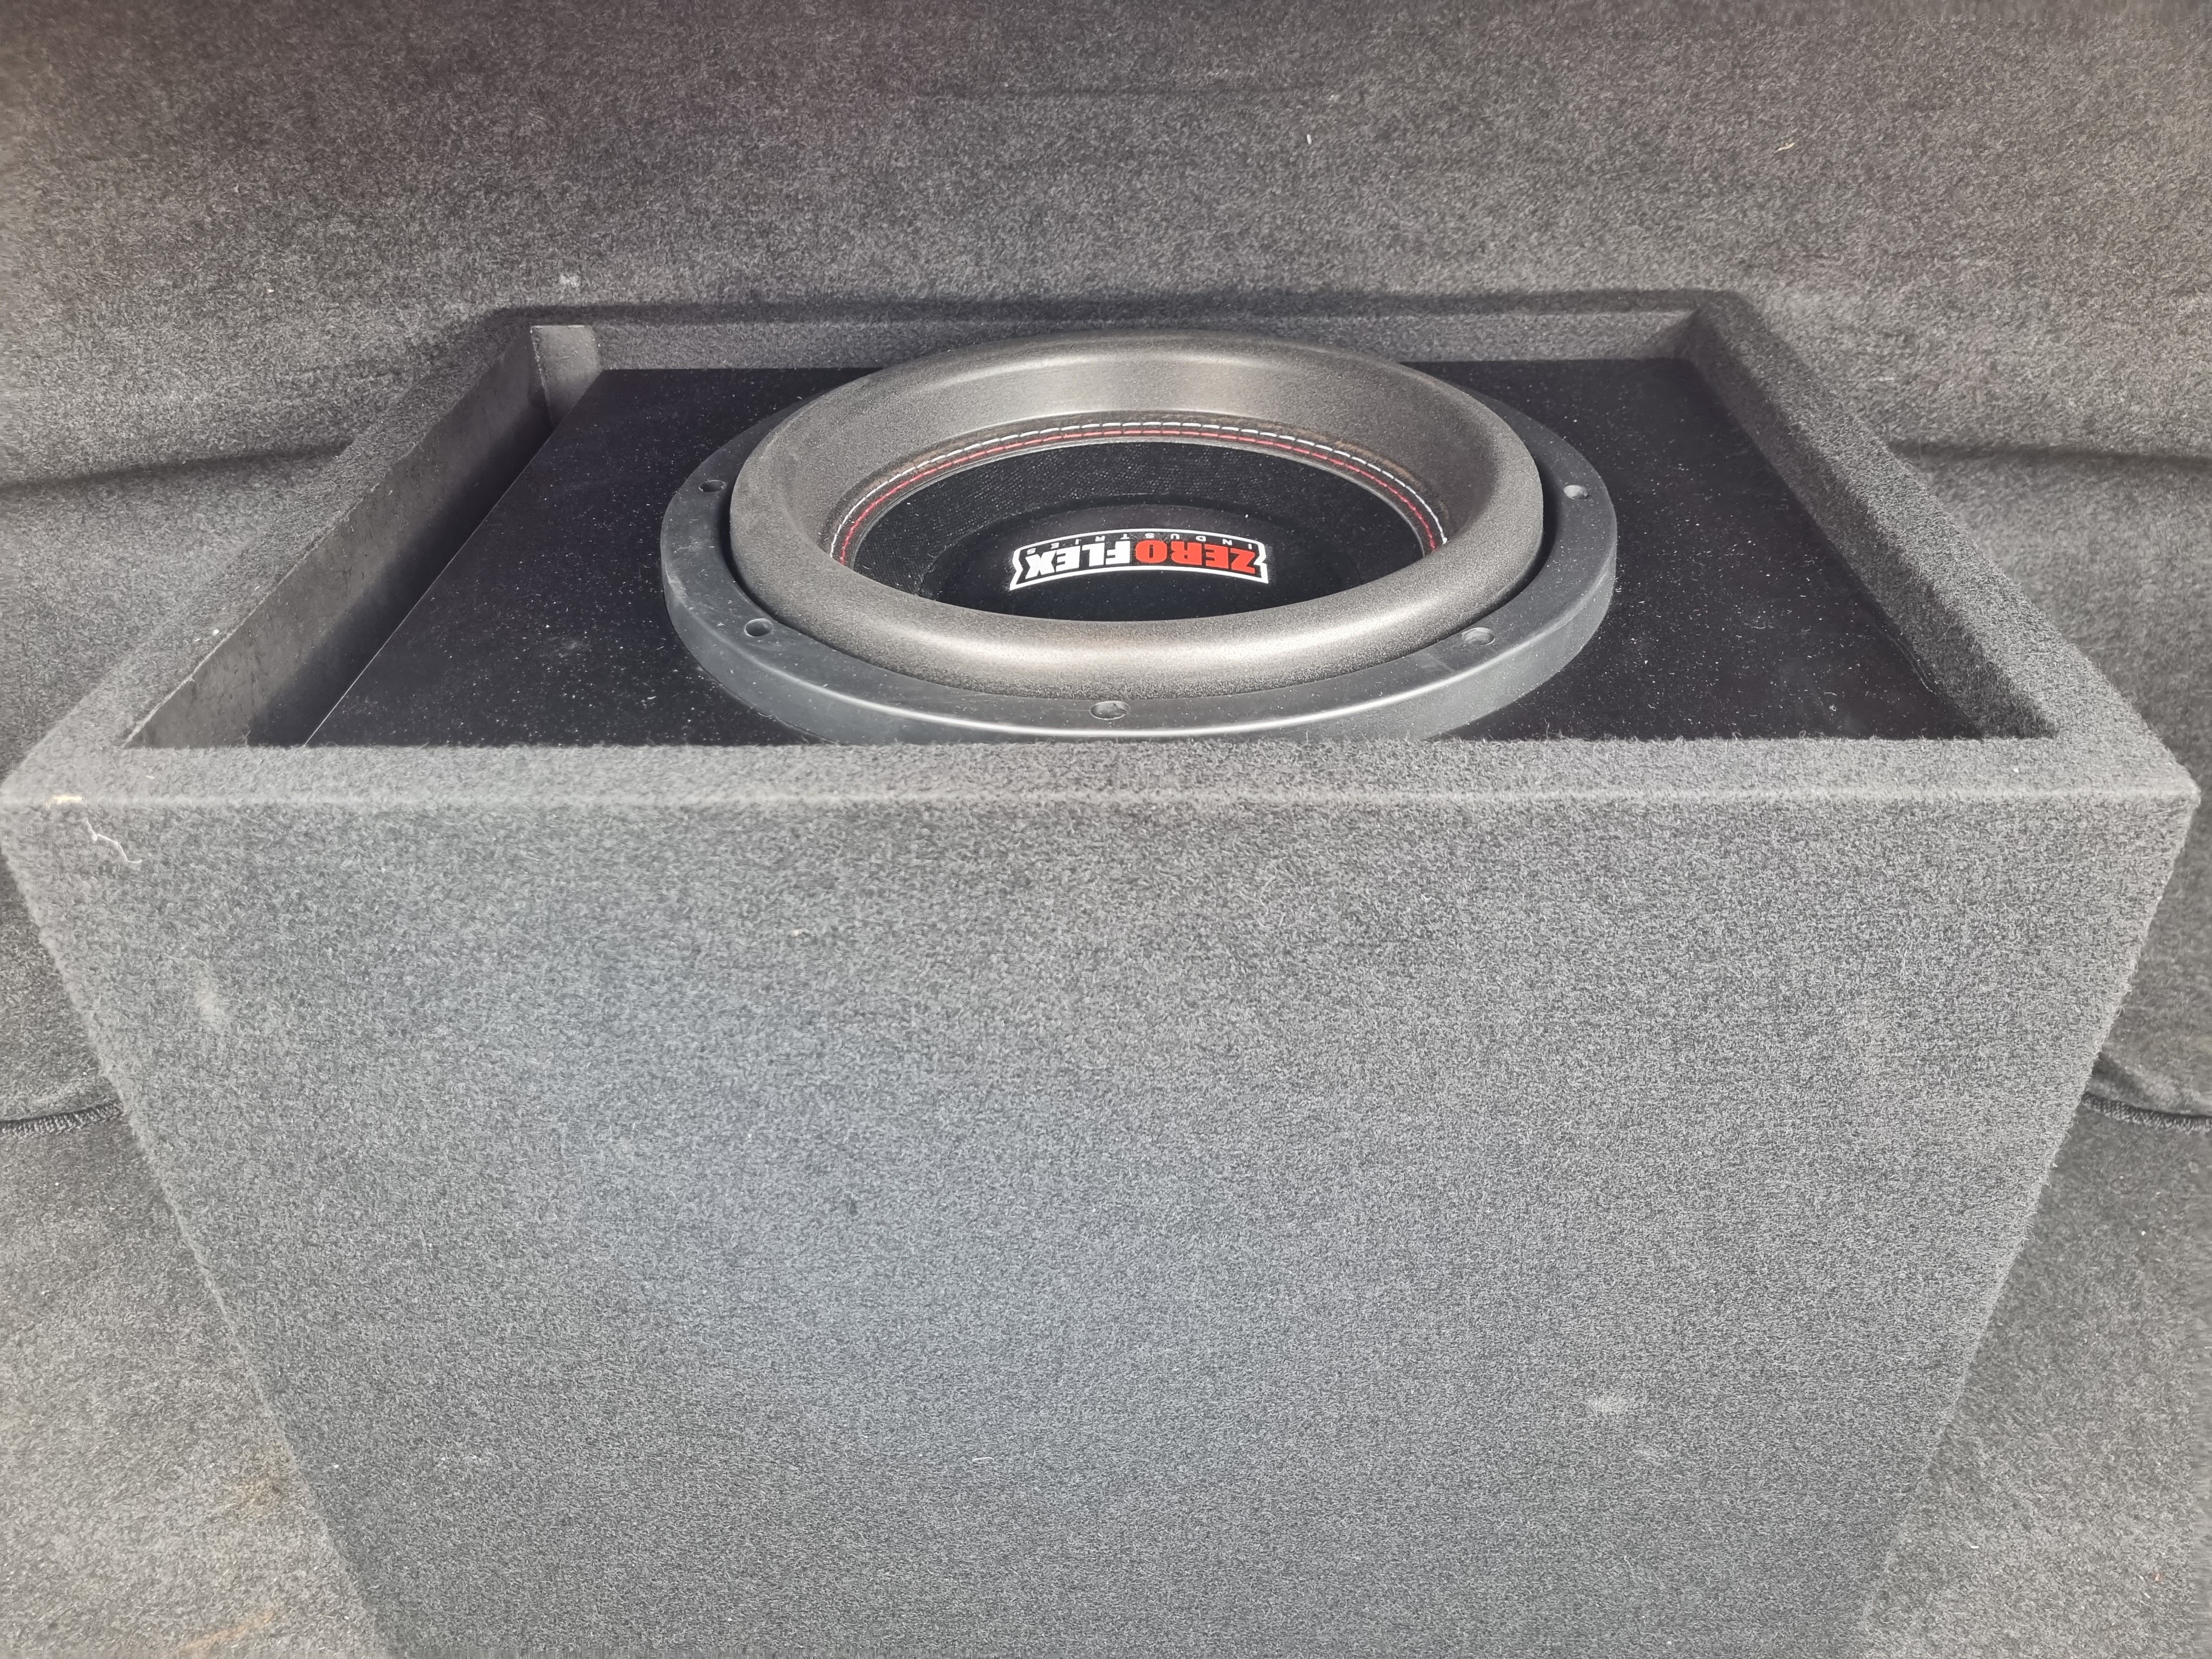
New stereo. Factory system was OK but no Bluetooth no hands free etc. So I replaced everything. Had to re route some of the factory loom and patch in a couple of wires but it was pretty easy. Running the power feeds under the car was the hardest bit, fuck I can't wait until I get a shed with a hoist. So anyway head unit is a kenwood one. It's got buttons and shit. There's a 100x4 amp under the drivers seat and a 600w amp running the sub. Front doors for a pair of boston 6.5LF pros that I've had for a while. Had to cut the hole or a bit to get them in but the rest was easy. Rear doors got some 5" alpine things that work great. Sub is a zero flex 10" which absolutely cranks. I'm still fucking with the steering wheel controls to see if I can get some basic functions working off the steering wheel, time will tell in that one.
2 points
-
2 points
-
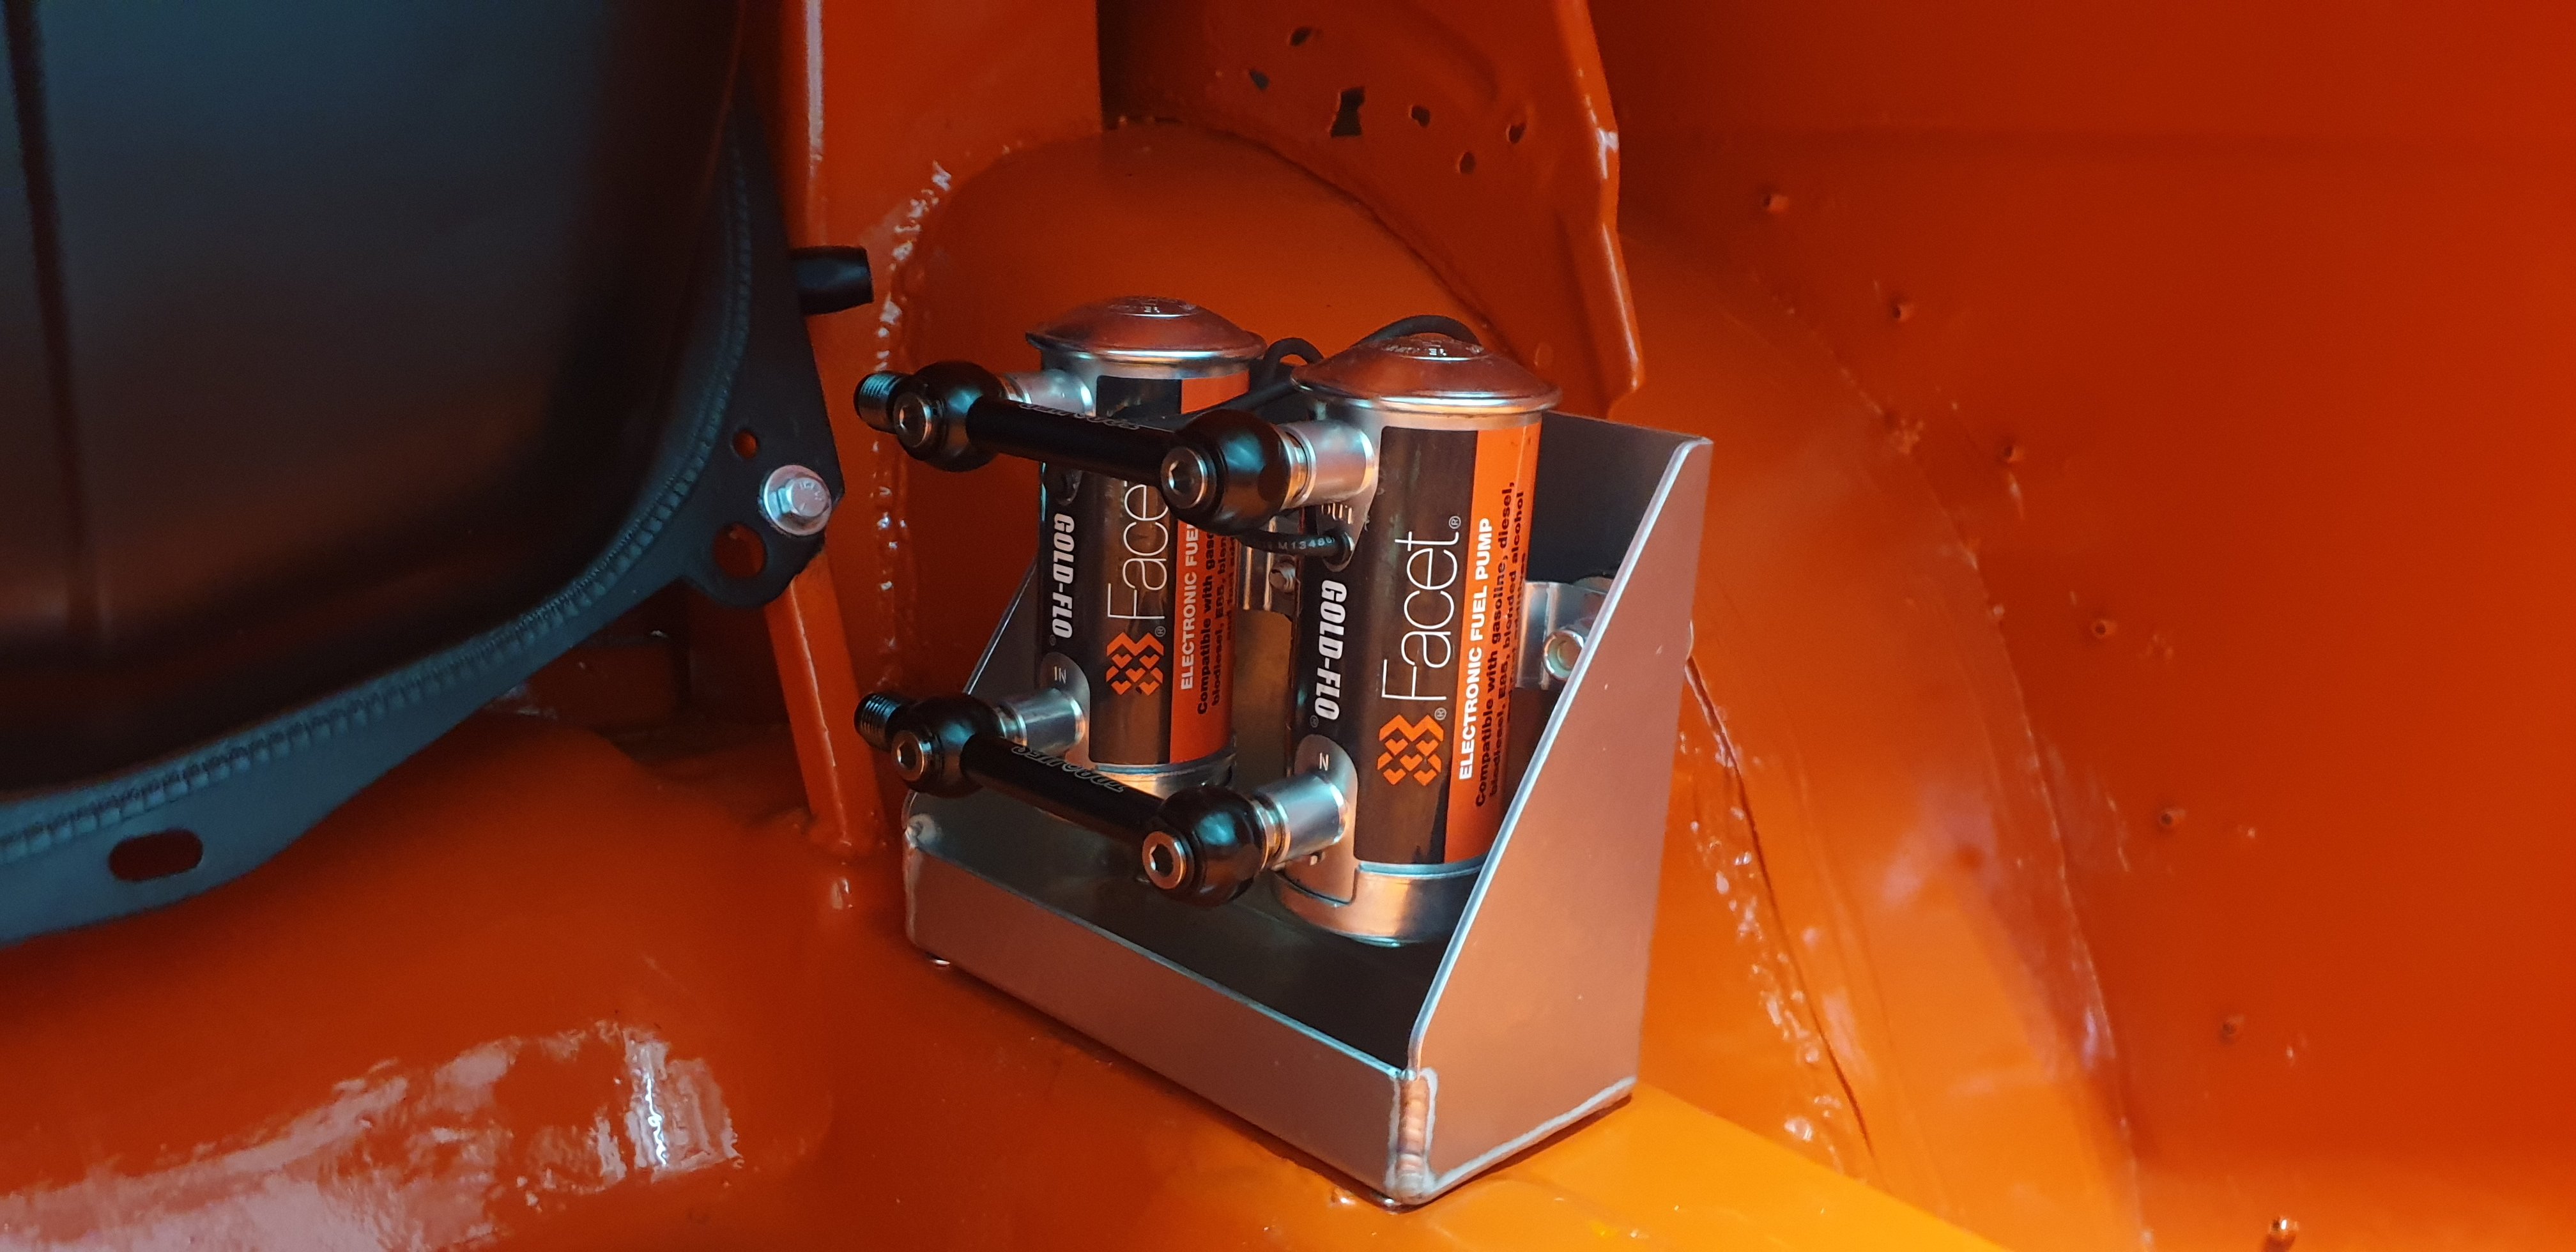
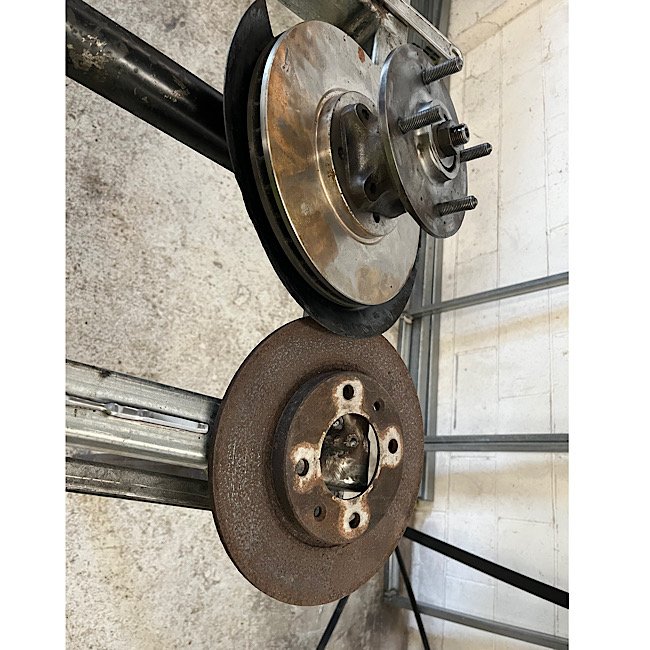
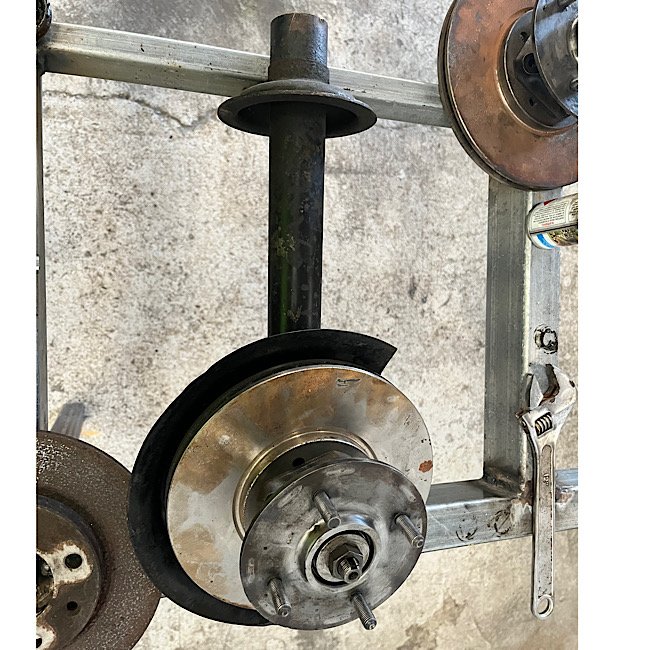
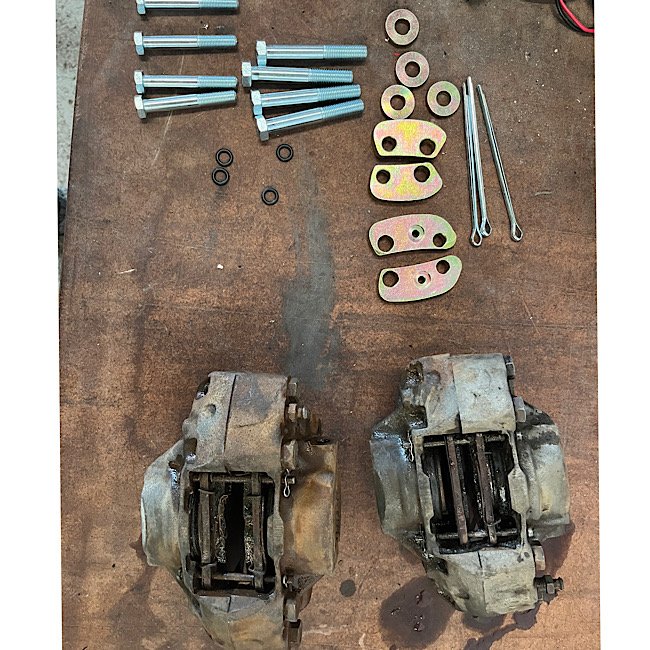
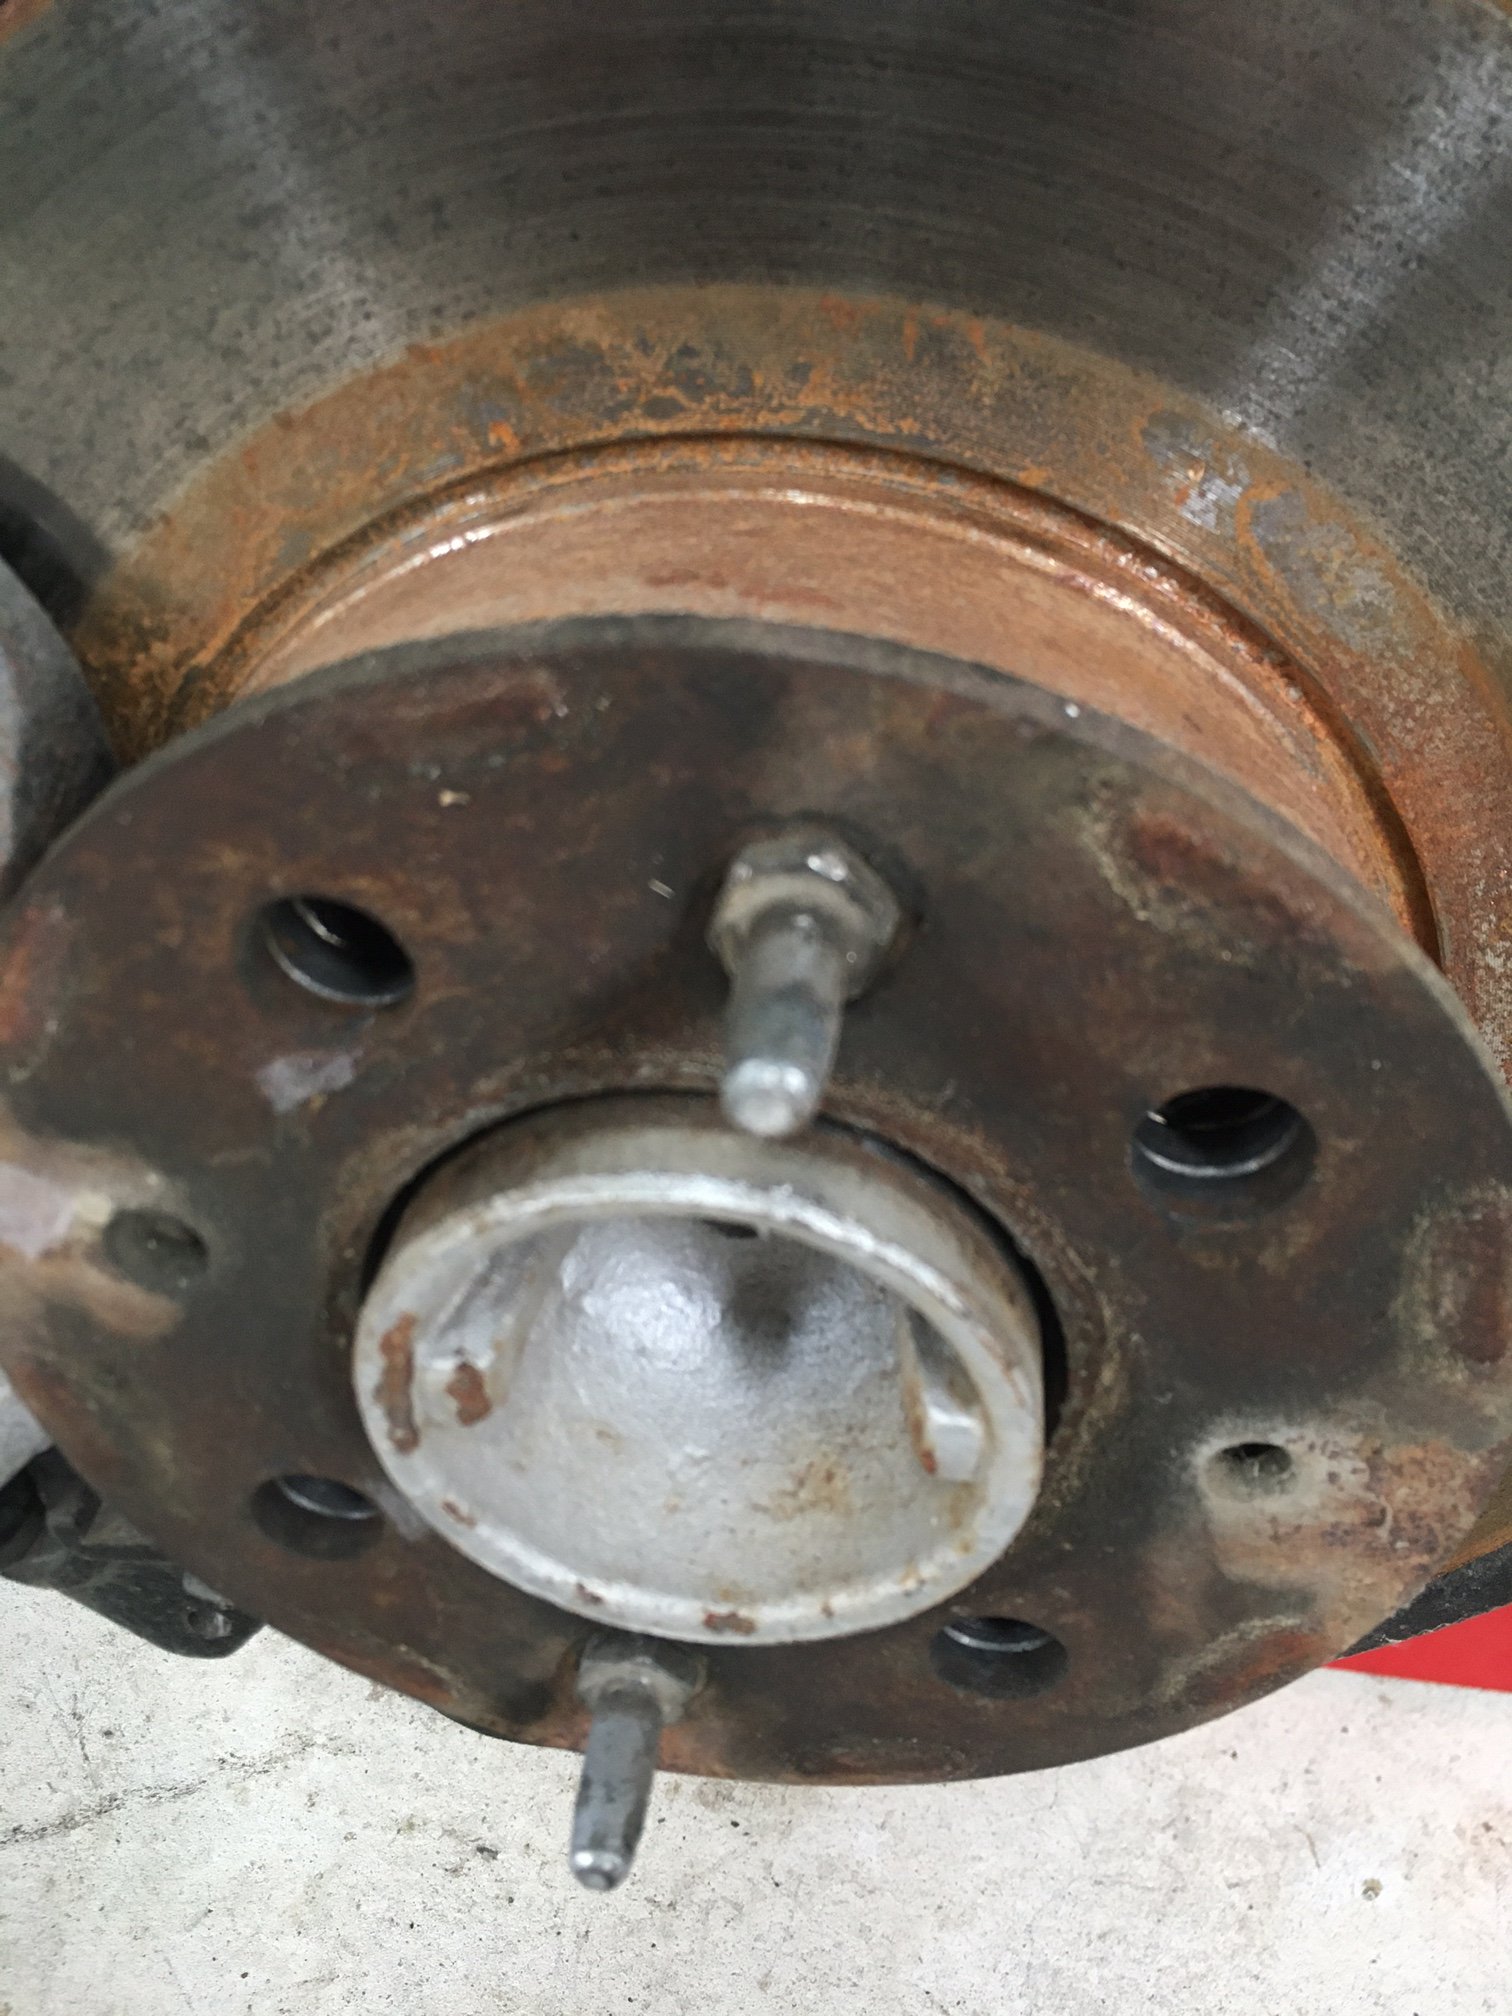
Have started on the front brake upgrade. first task was to fit a remote booster that would’ve come standard in these. id say the original had failed and was deleted on. so I salvaged one off a parts car I had. Got that fitted up. then sent my spare hubs and new capri vented discs off to Chris at suspension tech to get machined up. just need some wedge lock washers so I’m told. got a calliper spacer kit for the type16 escort calipers. these calipers are fugly, so have got a pair of rebuilt ones on the way. then lastly will need to get new hoses made up or an adaptor. Cert is booked in next month with Cletus, so should be plenty of time to get it back together.
2 points
-
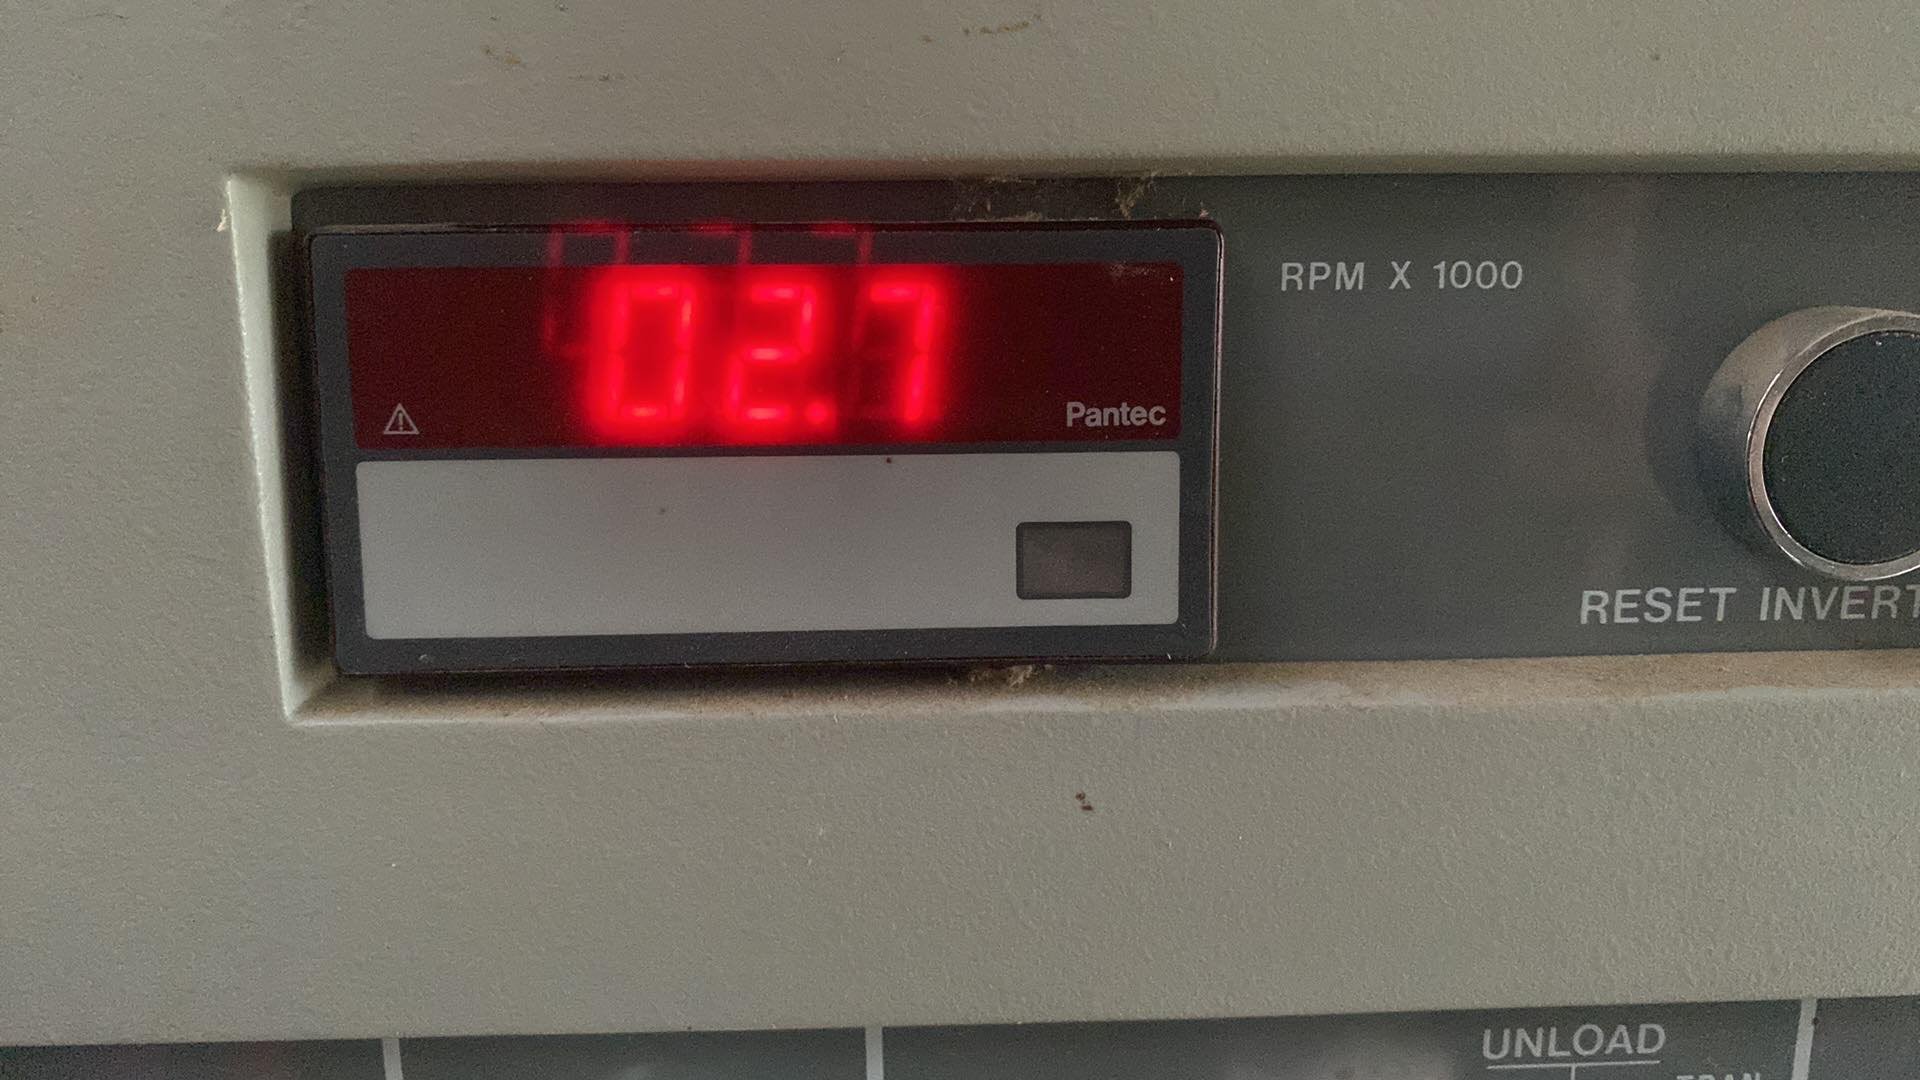
Hmmm it just gets more interesting..... Had a good read of the VFD manual, Power Electronics SD50, from that I identified the most likely settings which were in need of a check up- Control input, remote operation, min/max speed, control input type etc etc. Well, before getting to the inputs it turns out the basic characteristics are all wrong, input voltage, motor power etc so quickly dragged them to range, then moving to the control side I found it was set to remote operation, local speed control, set speed 400Hz or ~8000rpm. A quick reassignment of inputs and she's all happiness, typing GCode into Linux activated the VFD and spun up to speed, even the tacho now reads a reasonable value when asked for 3000rpm, no doubt confirming parameters will get things inline. Its a pretty big win in the overall process, but mindful that there may be some more bad settings I shut down and tomorrow will dig through the entire VFD menu and confirm each and every setting, yuck.
2 points
-
Another cool bike for someone wanting a maybe cheap steed for Eastcape... https://www.trademe.co.nz/a/motors/motorbikes/motorbikes/classic-vintage/honda/listing/36975480112 points
-
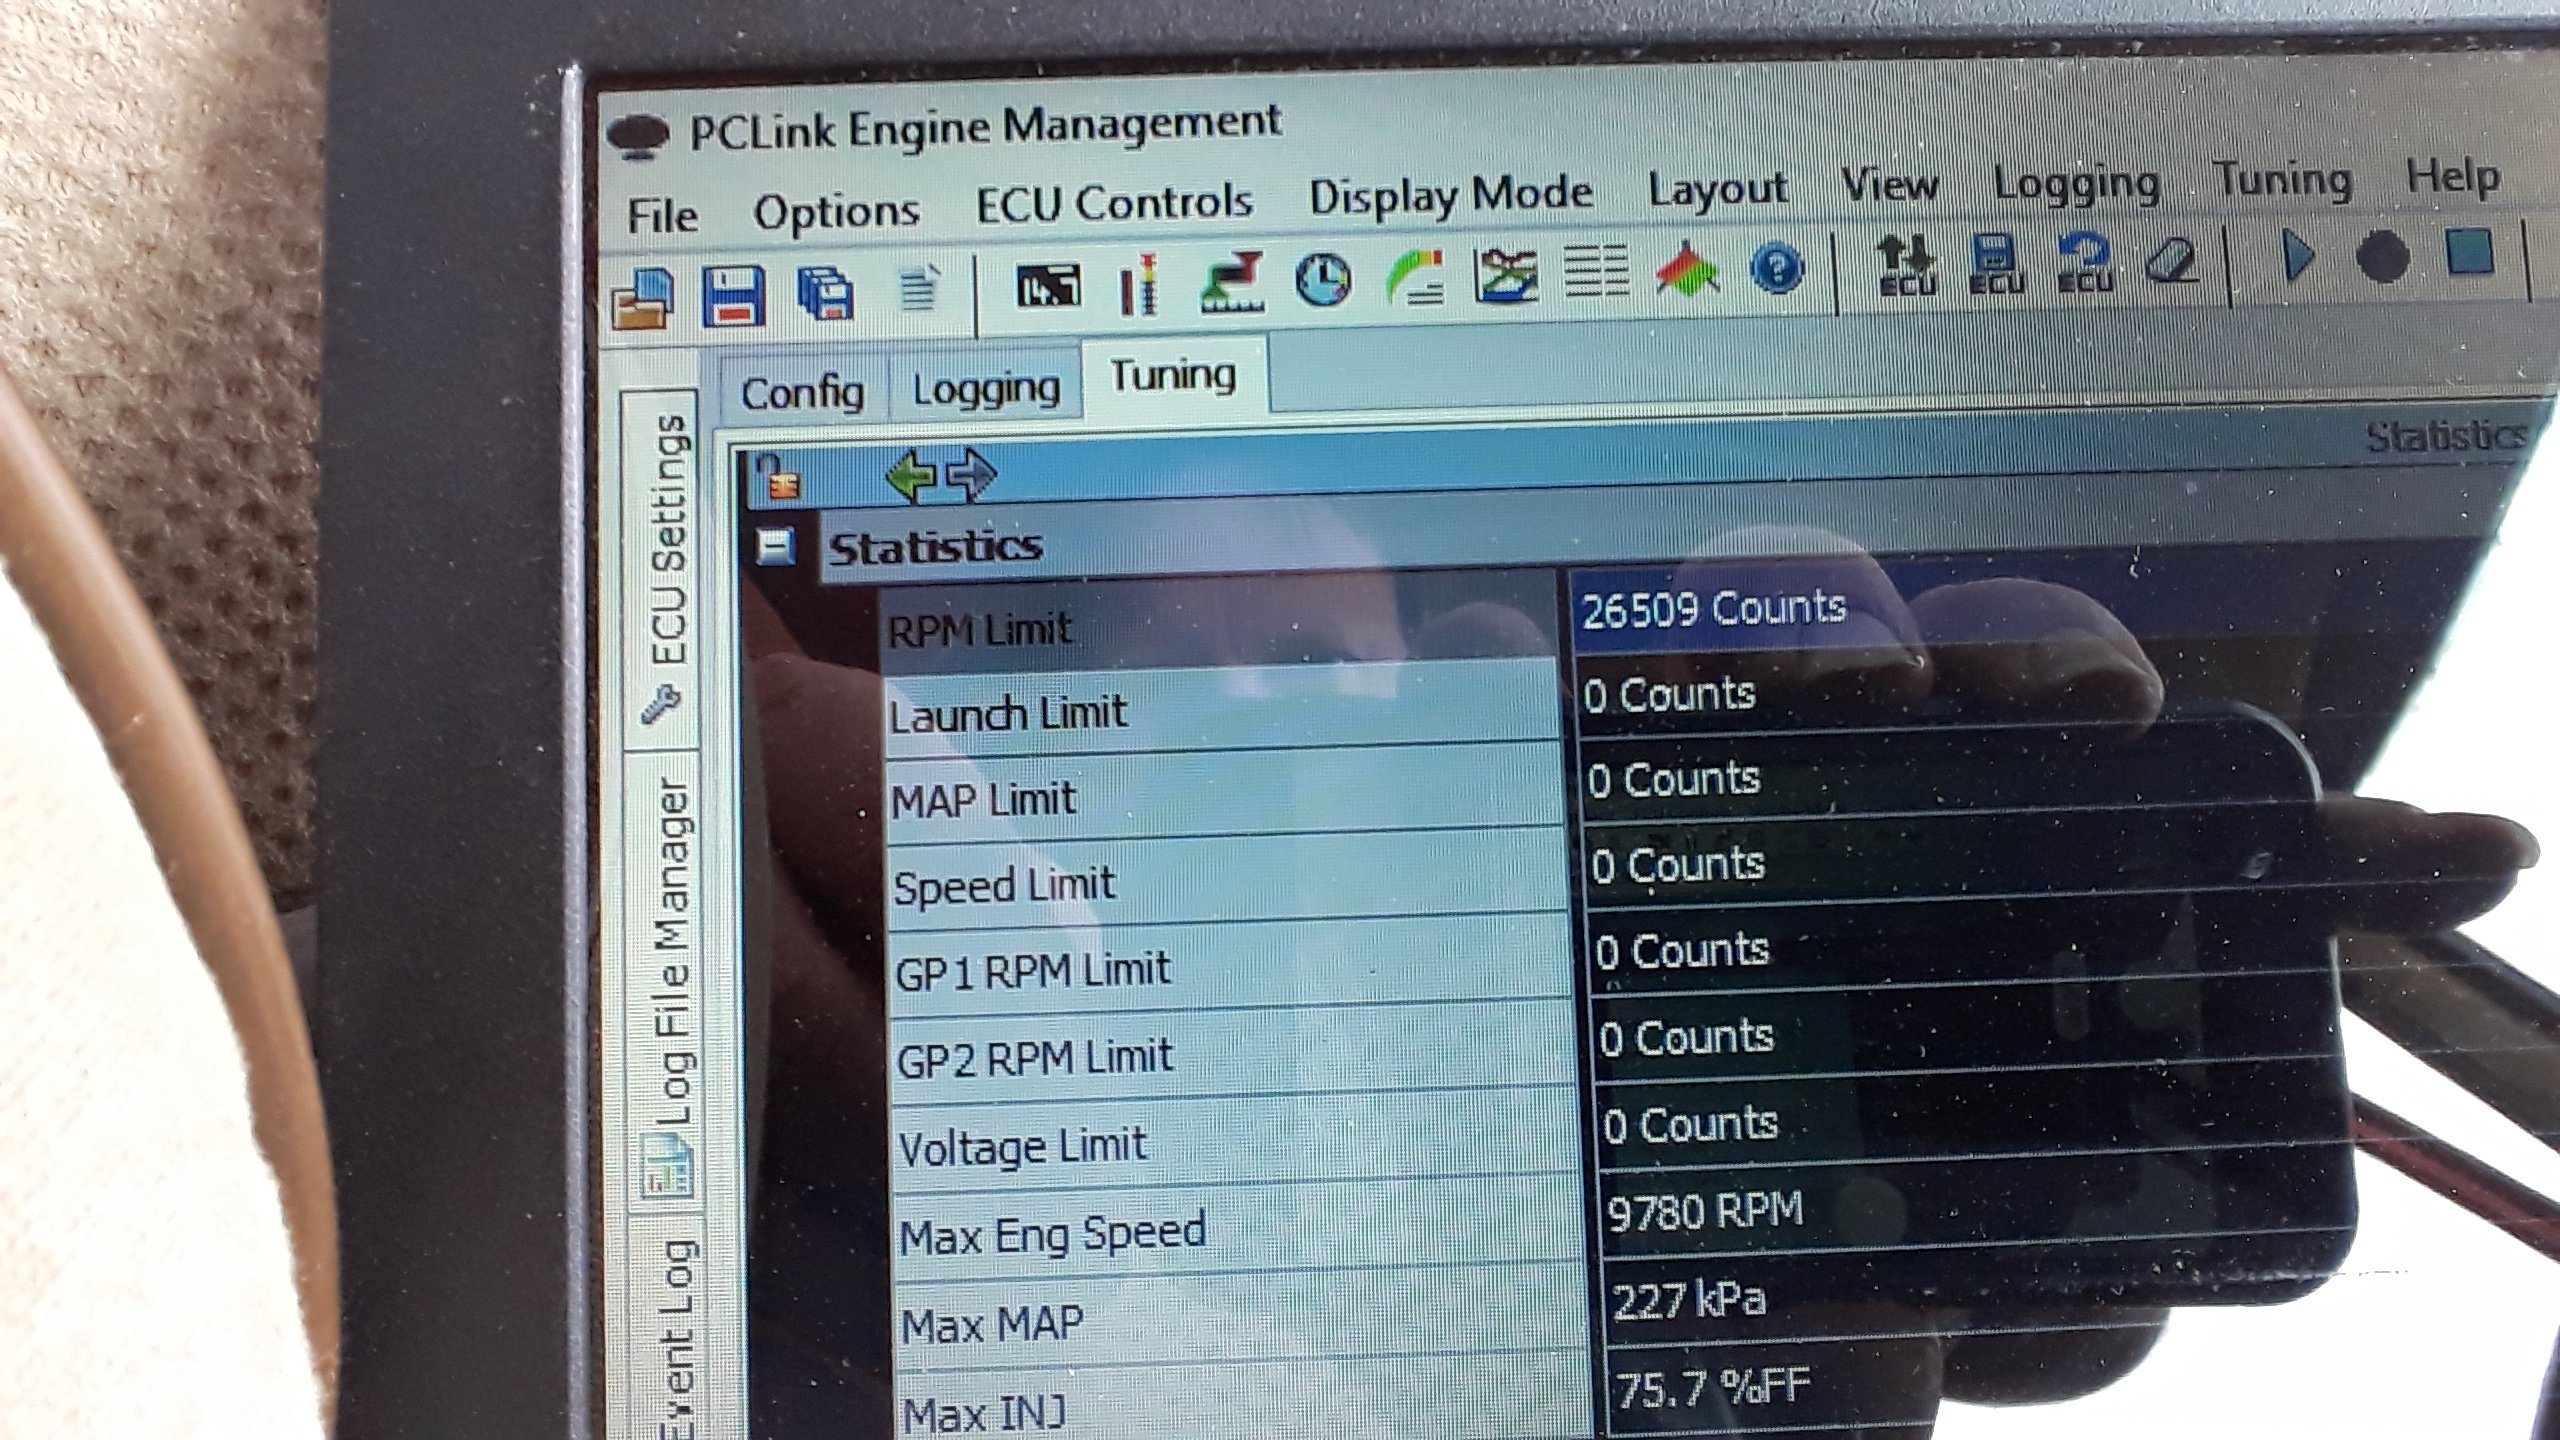
Once you get your "life back in order" (then tell me how its done) can you log the number of 9k pulls this engine does? When this one goes Bang! You'll have an idea how long one lasts. But once your shit is sorted, time for Round two of crowd funding. I'd say sub one month to raise enough coin for a third engine, and a set of forgies. Then you can build it up while waiting for this engine to scatter its gizzards all over the road. This thread is better value than Netflix.2 points
-
Be a shame to scrap them if there’s a cheap way to get them going/give them away
1 point
-
What volts amps? Might be cheap/dirty psu options we can suggest.1 point
-
if the steering controller are the type that pull different resistances for each button press. there are both stereos that can handle that out of the box, and adapter boxes for the stereos that want a standard input. there are also all manner of adapter boxes, many from axxess, that can handle specific steering wheel controls. super lush having them work so well worth a little bit of money imo1 point
-
I've only skim read, but you mentioned something about the intercooler could you add side thingies to it so the fan is pulling straight through the "assembly" instead of just the rad being the one with the pull. I'm Wondering if there's turbulence of pull through the intercooler vs pull going around/ under it. Prob not, don't have wind tunnel. Do you have oil temp and coolant gauges, can tell you heaps as the oil is usually way.more stable so if both are xx and then coolant jumps up but the oil stays the same after half and hour then maybe it is a flow issue? Iunno too many beers deep now. Oh, and are you sure you don't have a rag in one of the rad fittings. Don't laugh, it has happened.1 point
-
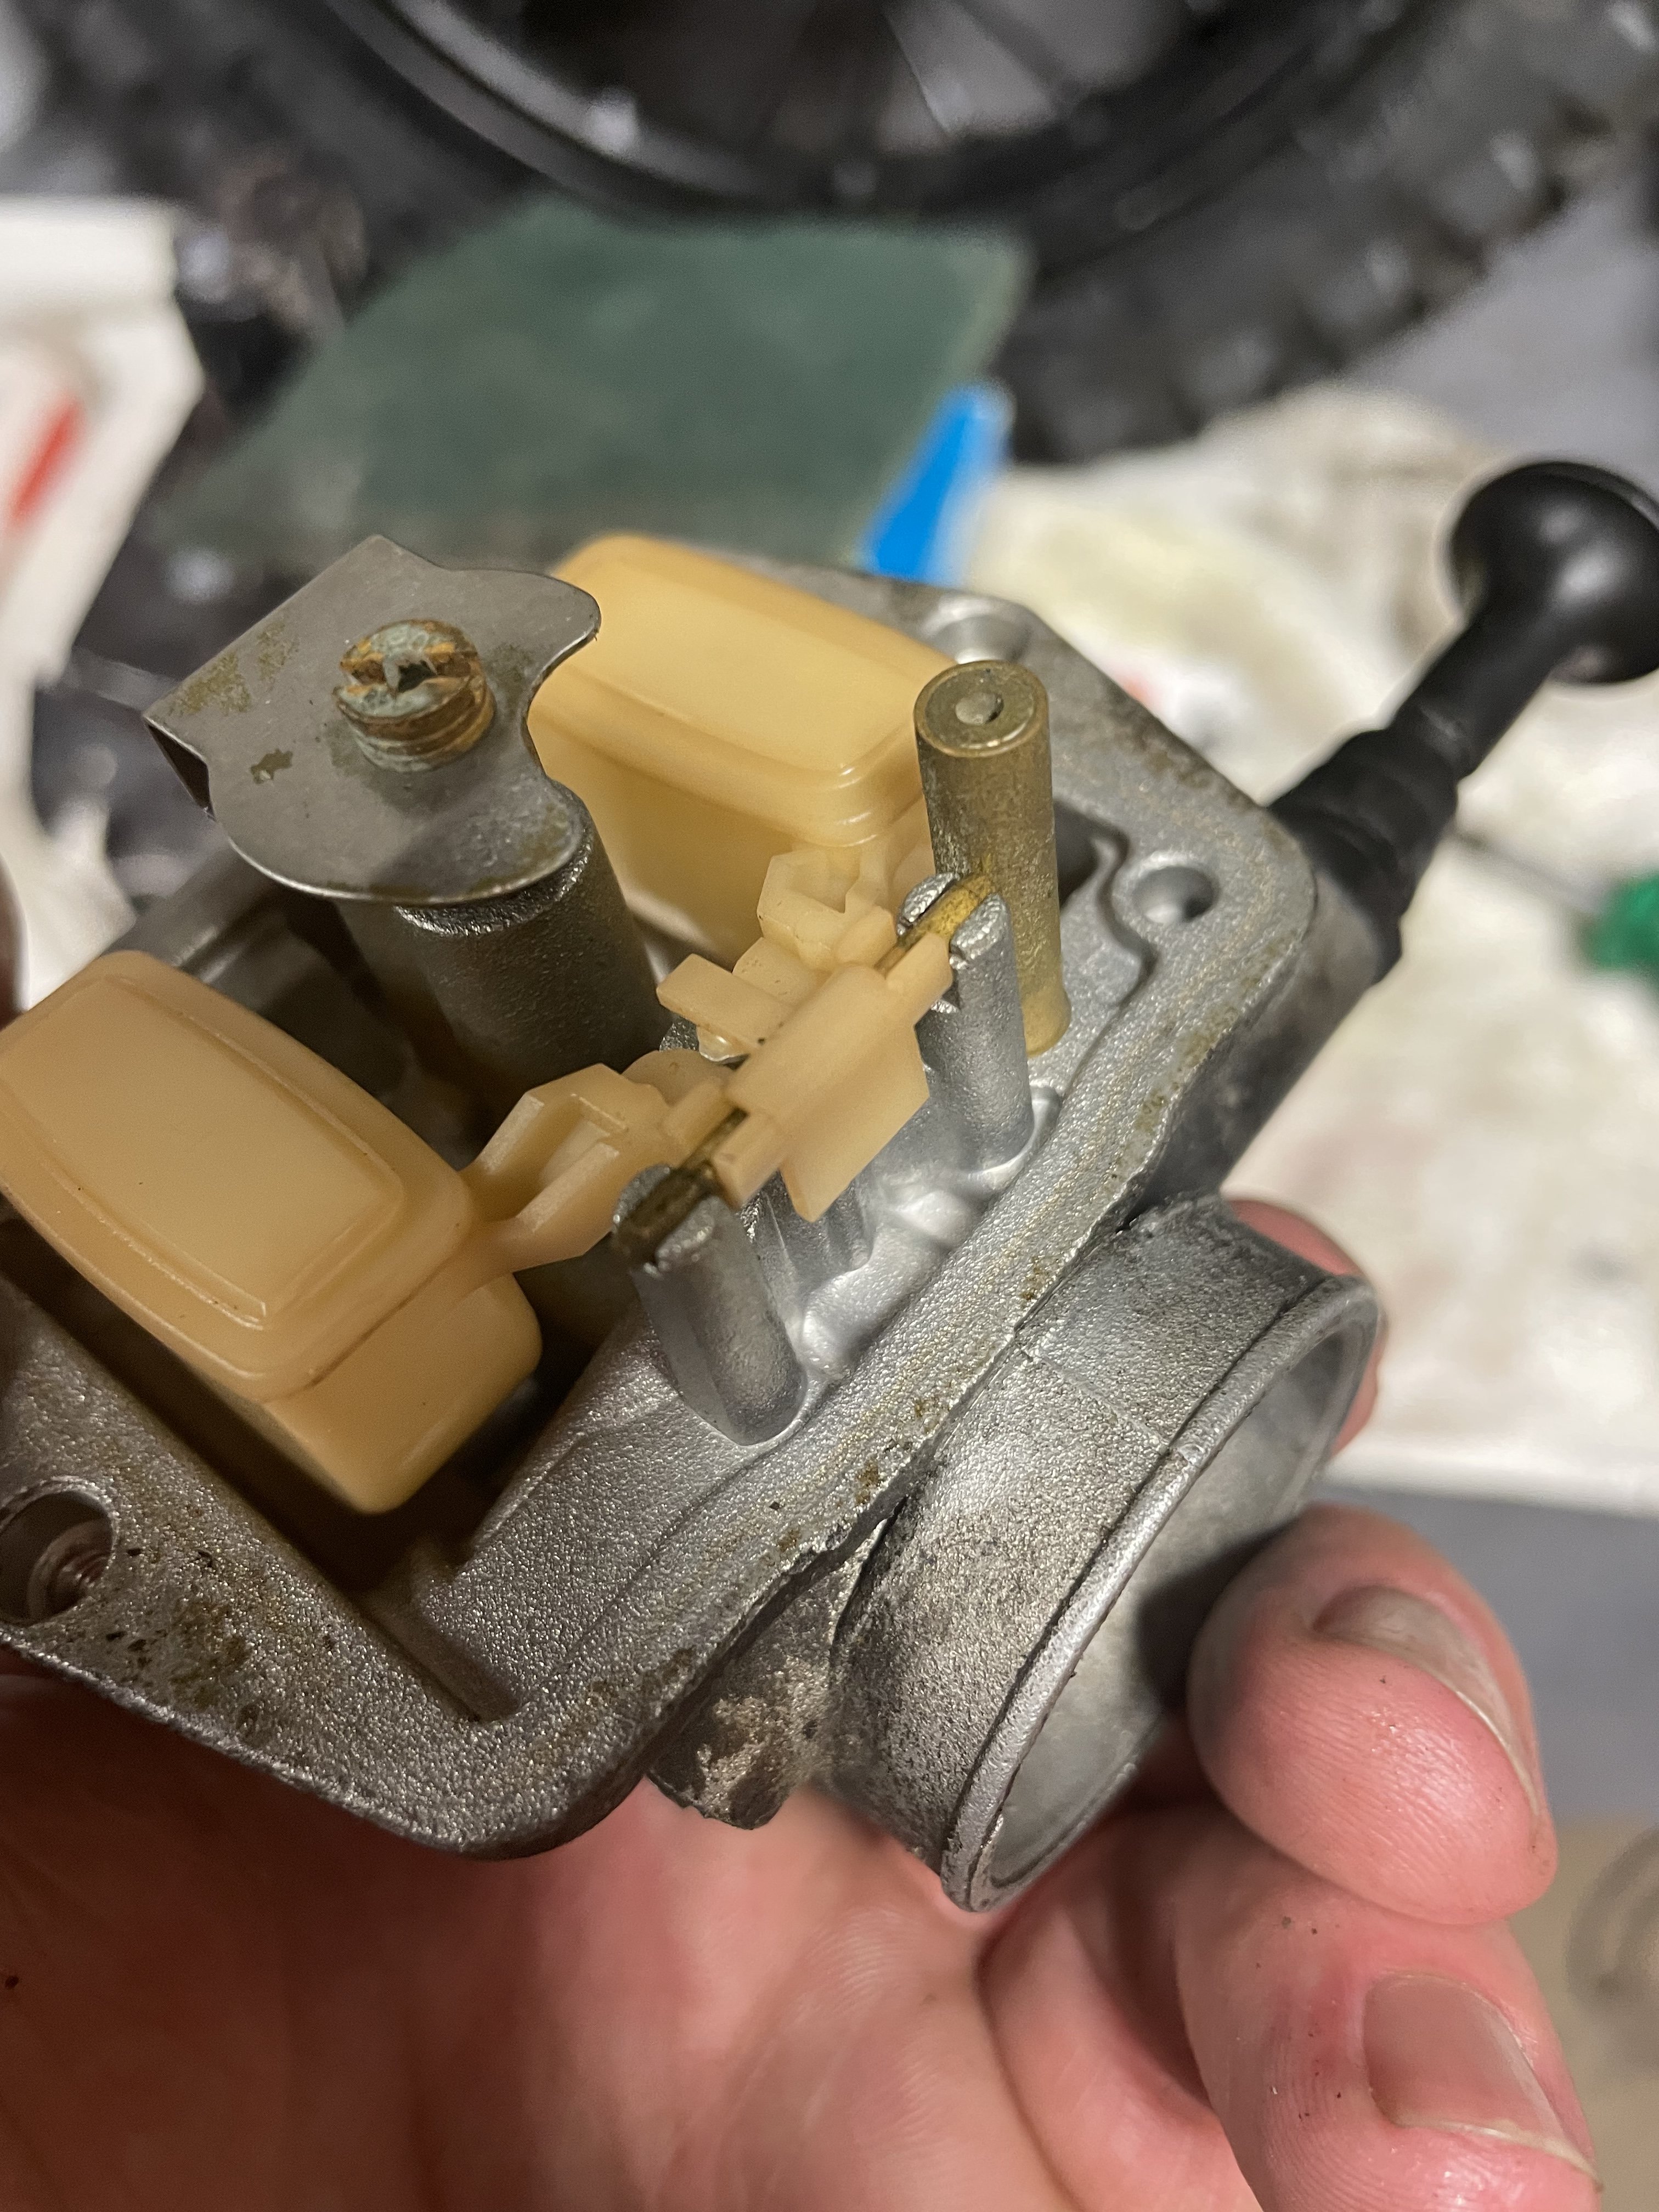
Alrighty. CRM update. Manawatu Hondas finest parts man organised me a bunch of parts from Japan to get the carb back together and reinstate the auto oiler. Choice. I asked around on the bucket bike pages if anyone had a spare choke knob, as these are the same carb as an NSR50, but a 15mm carb is no use to anyone on a race bike, so I knew there would be some hiding in parts bins somewhere. Sure enough I got a whole carb in the mail. Excellent. I rebuilt my carb like a new one but the bike just wouldn’t run for more than a few seconds. Like a float issue. I stripped and compared both carbs and found that the little posts that retain the float pin were chipped, and the float pin was well, floating. Good one pictured. So tonight I tossed the spare carb on with my original jets in it and hey presto, second gentle kick and it’s running! stoked!
1 point
-
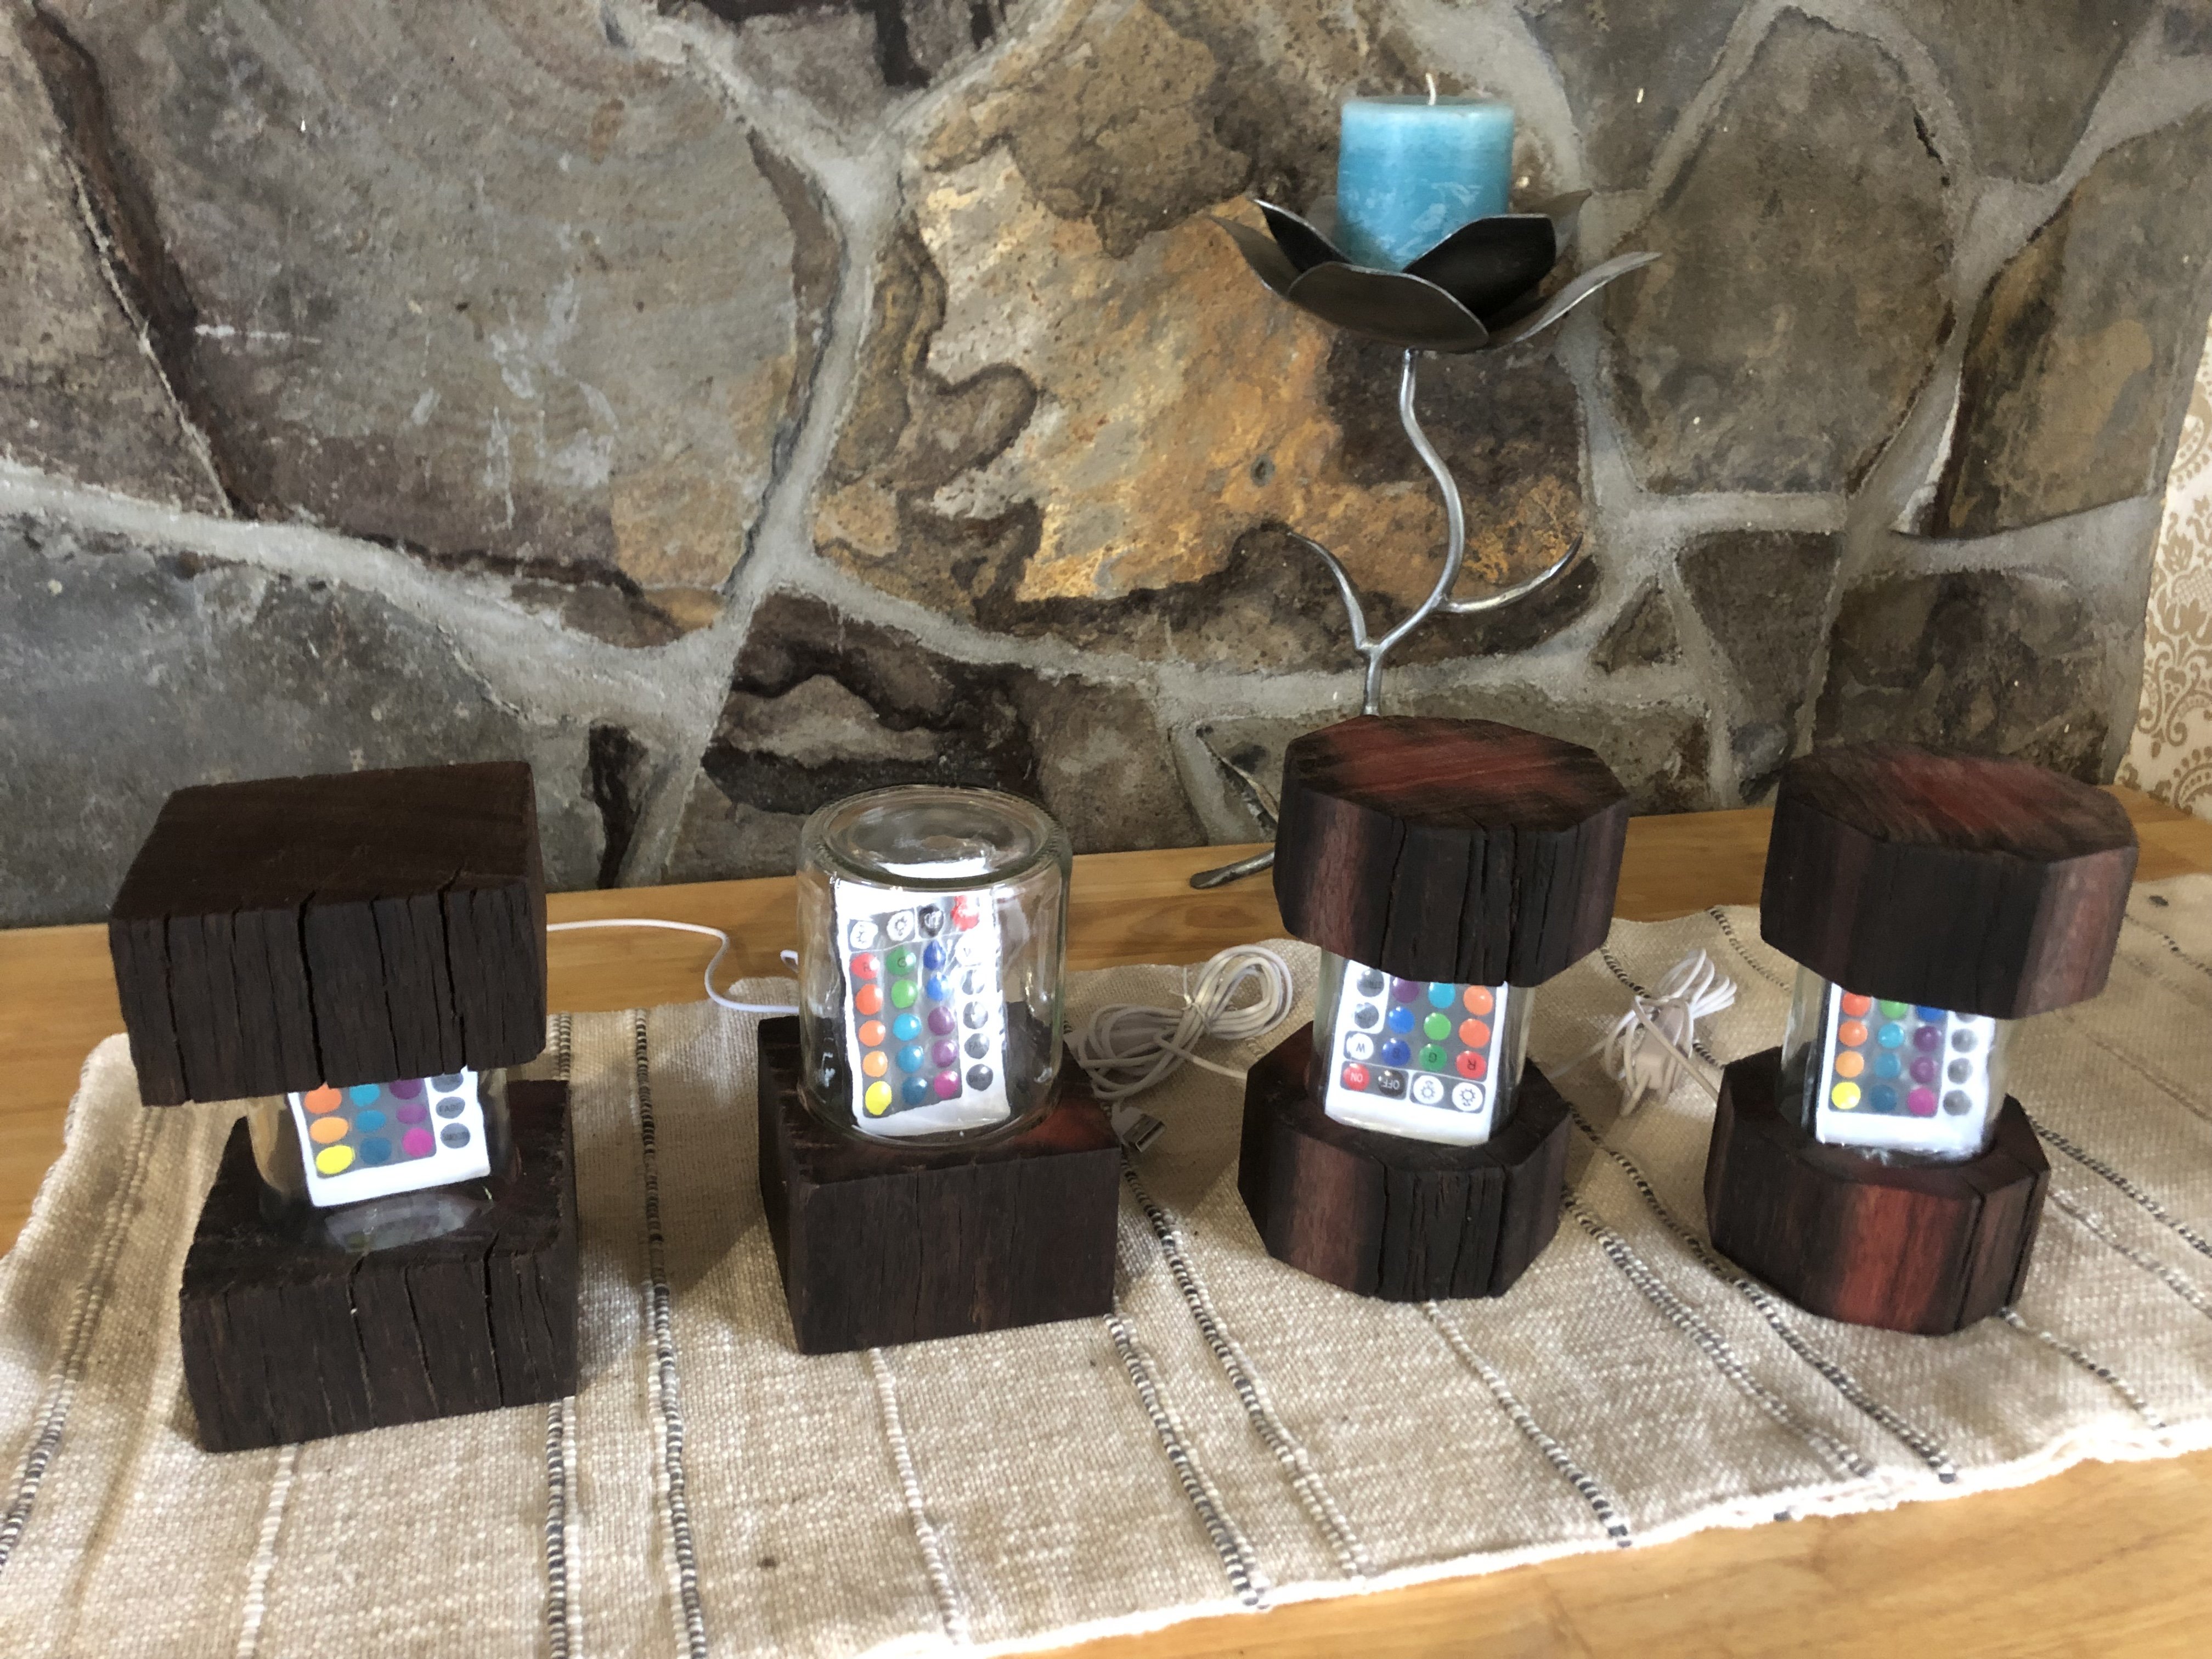
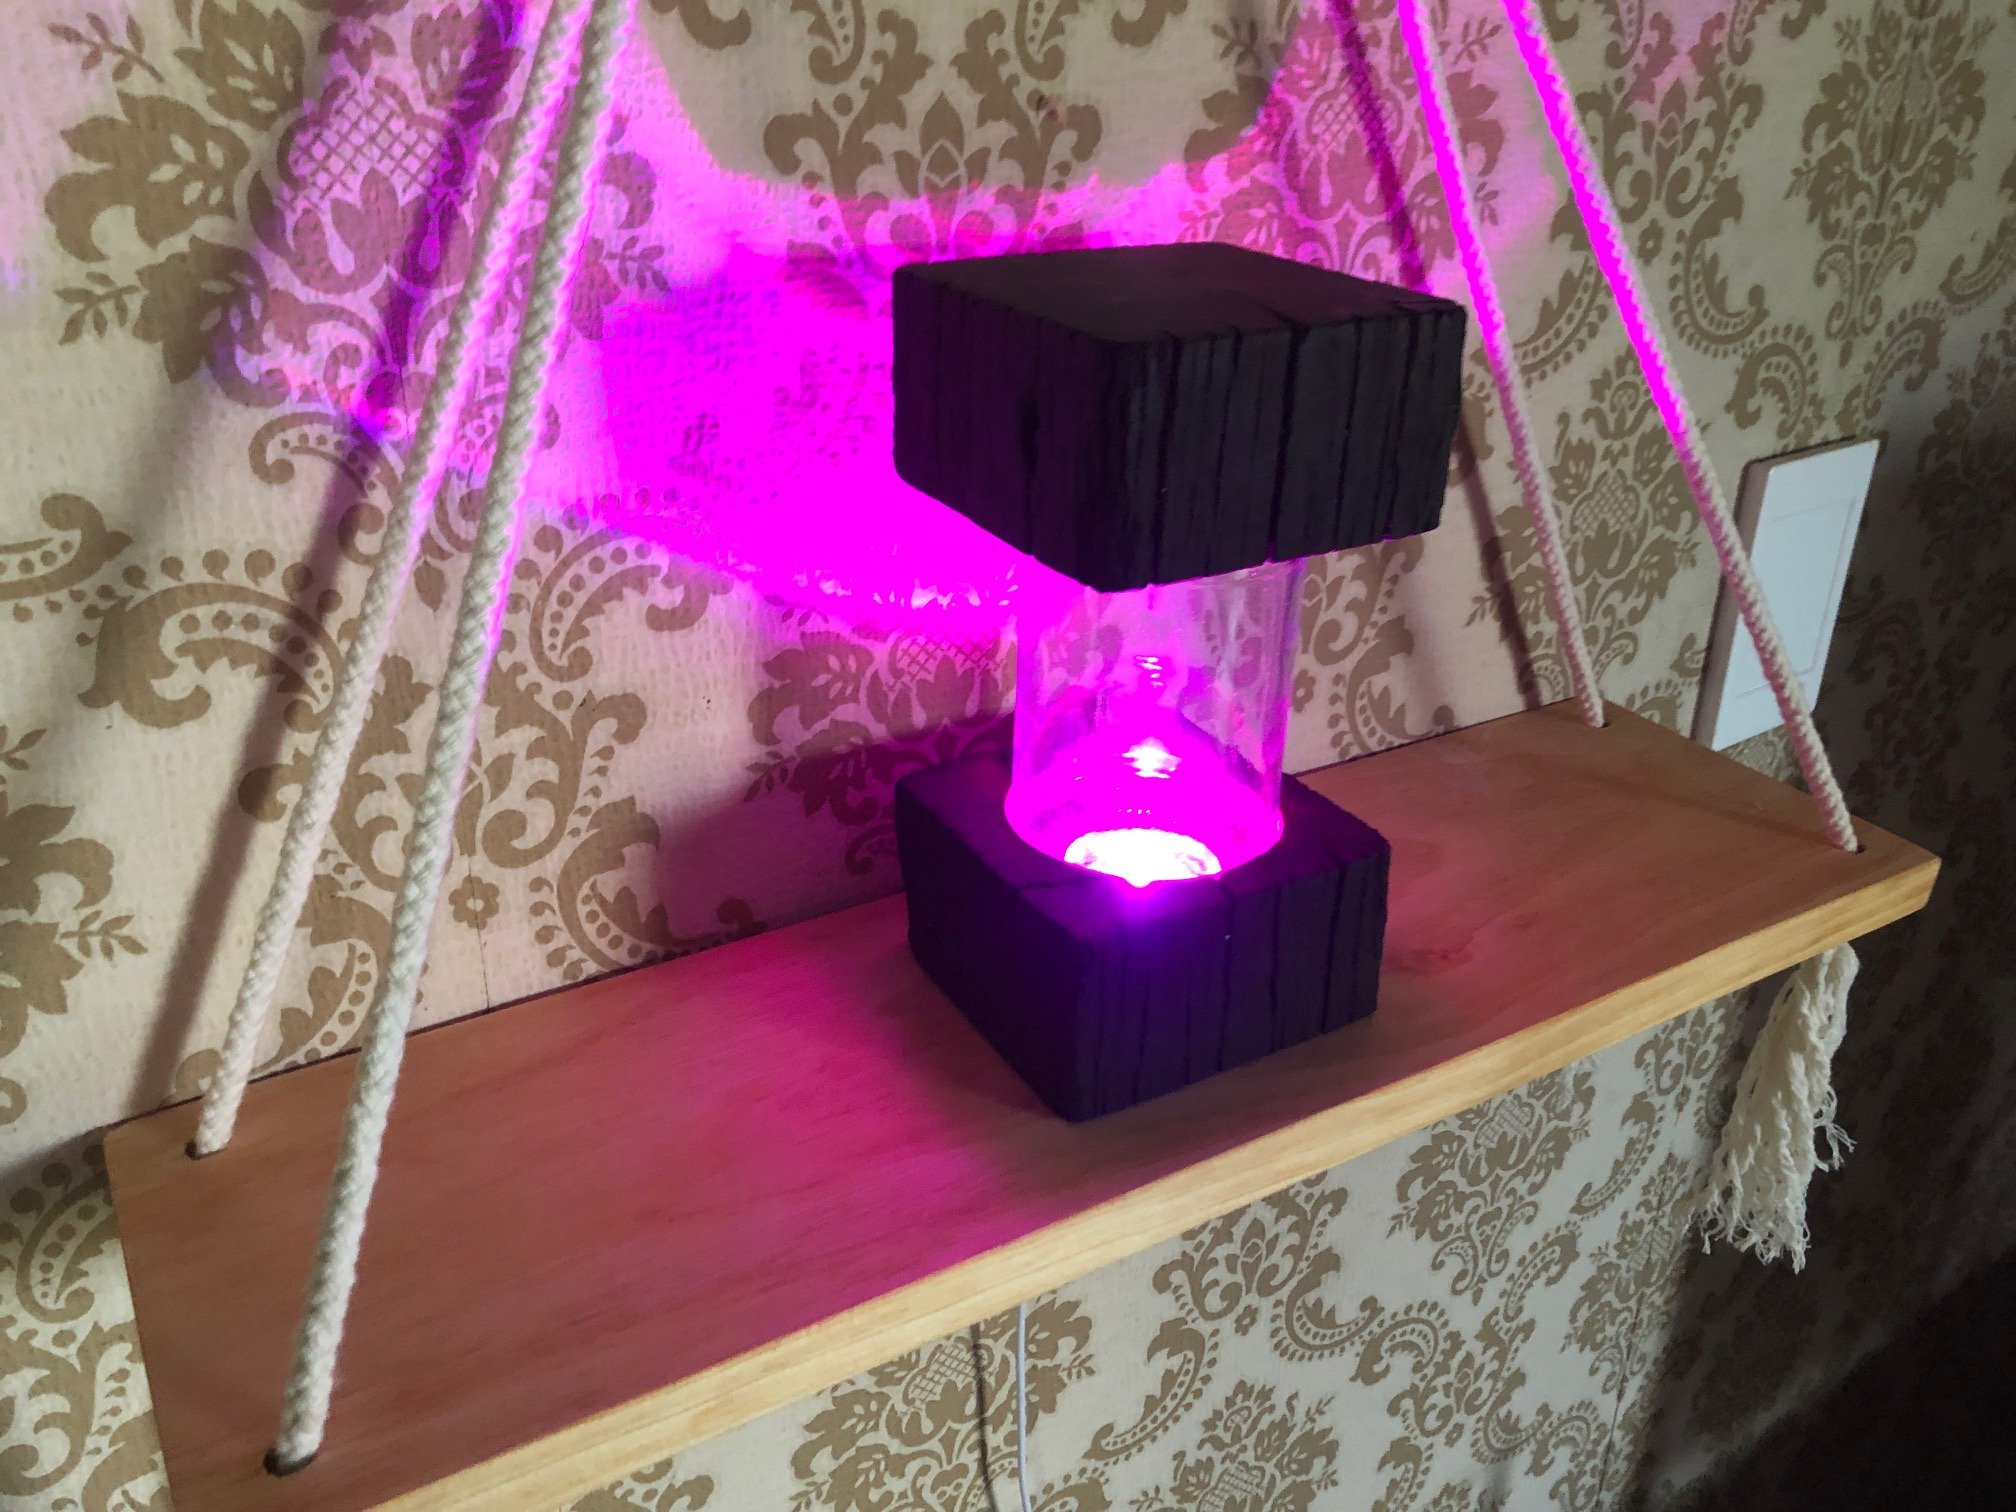
Today’s project was to pull apart some colour changing led lamps I got from aliexpress, I then made a new base and top out of an old power pole cross beam and repurposing a Barker’s jar out of the pantry
1 point
-
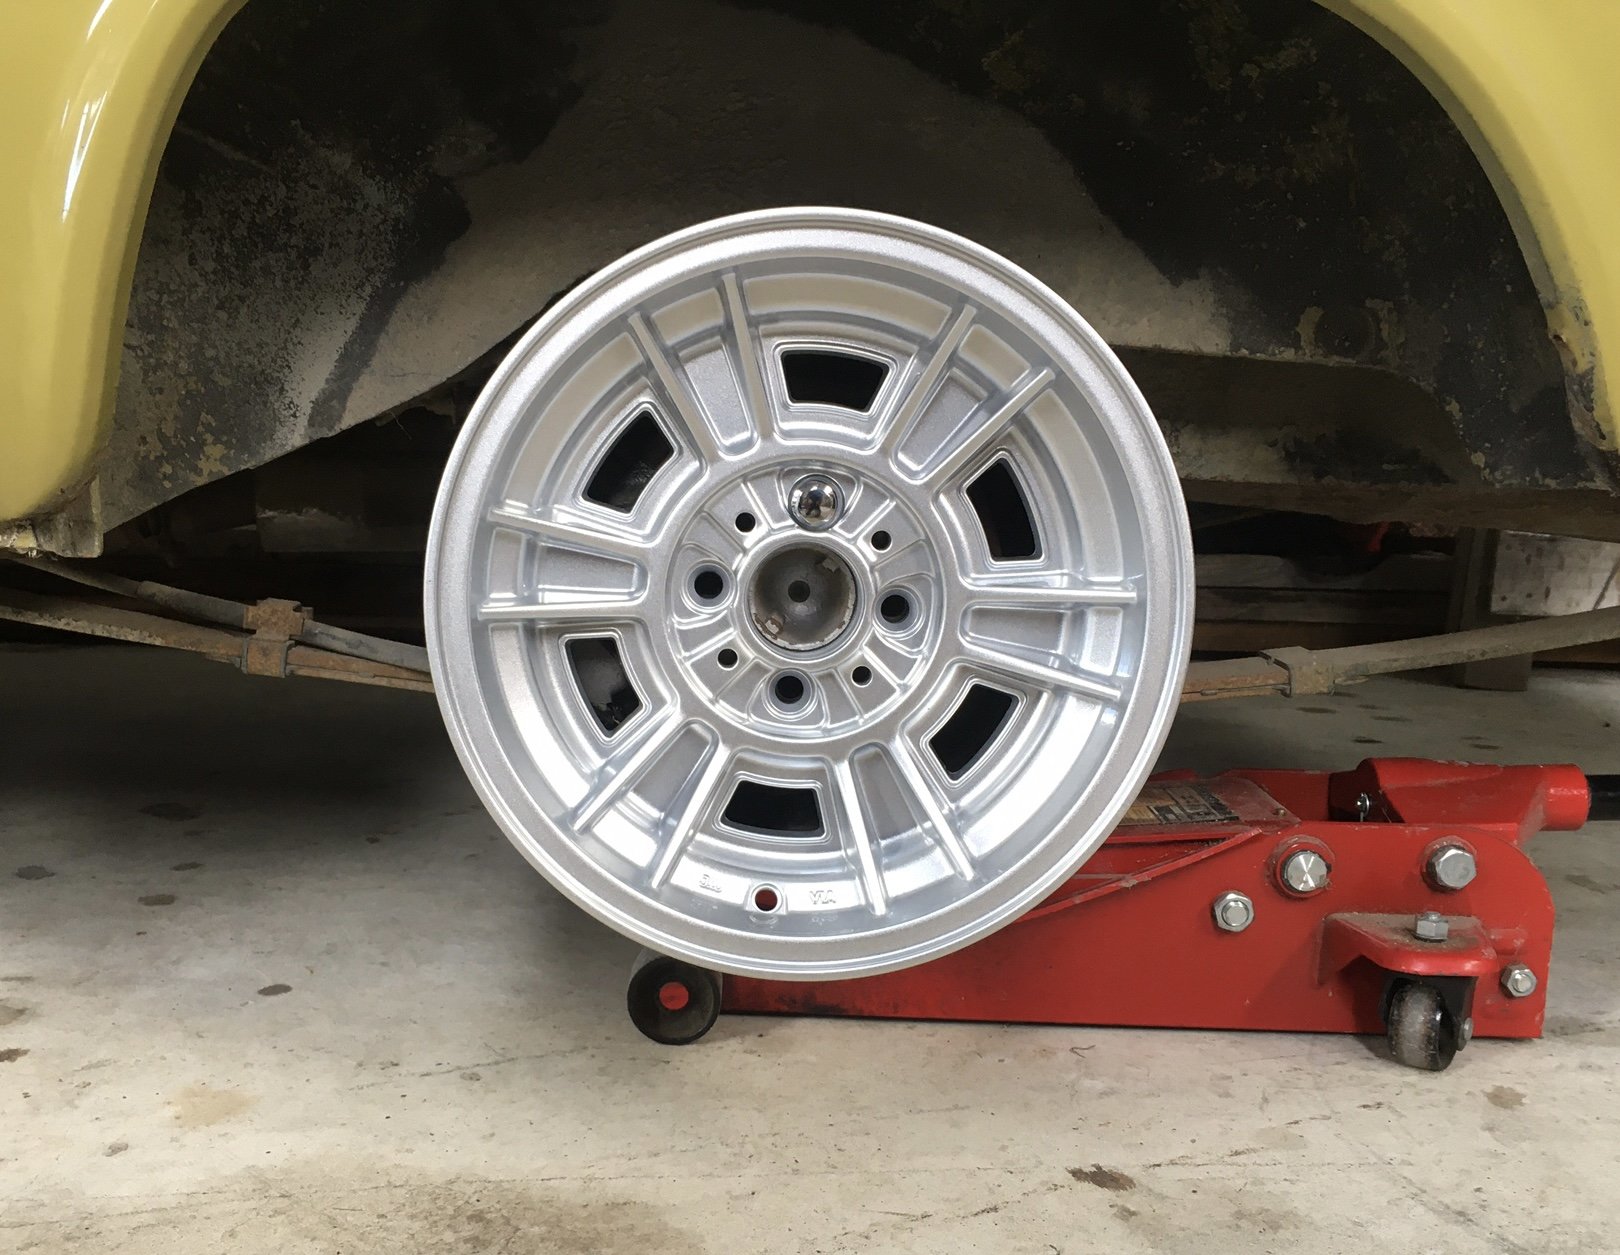
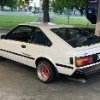
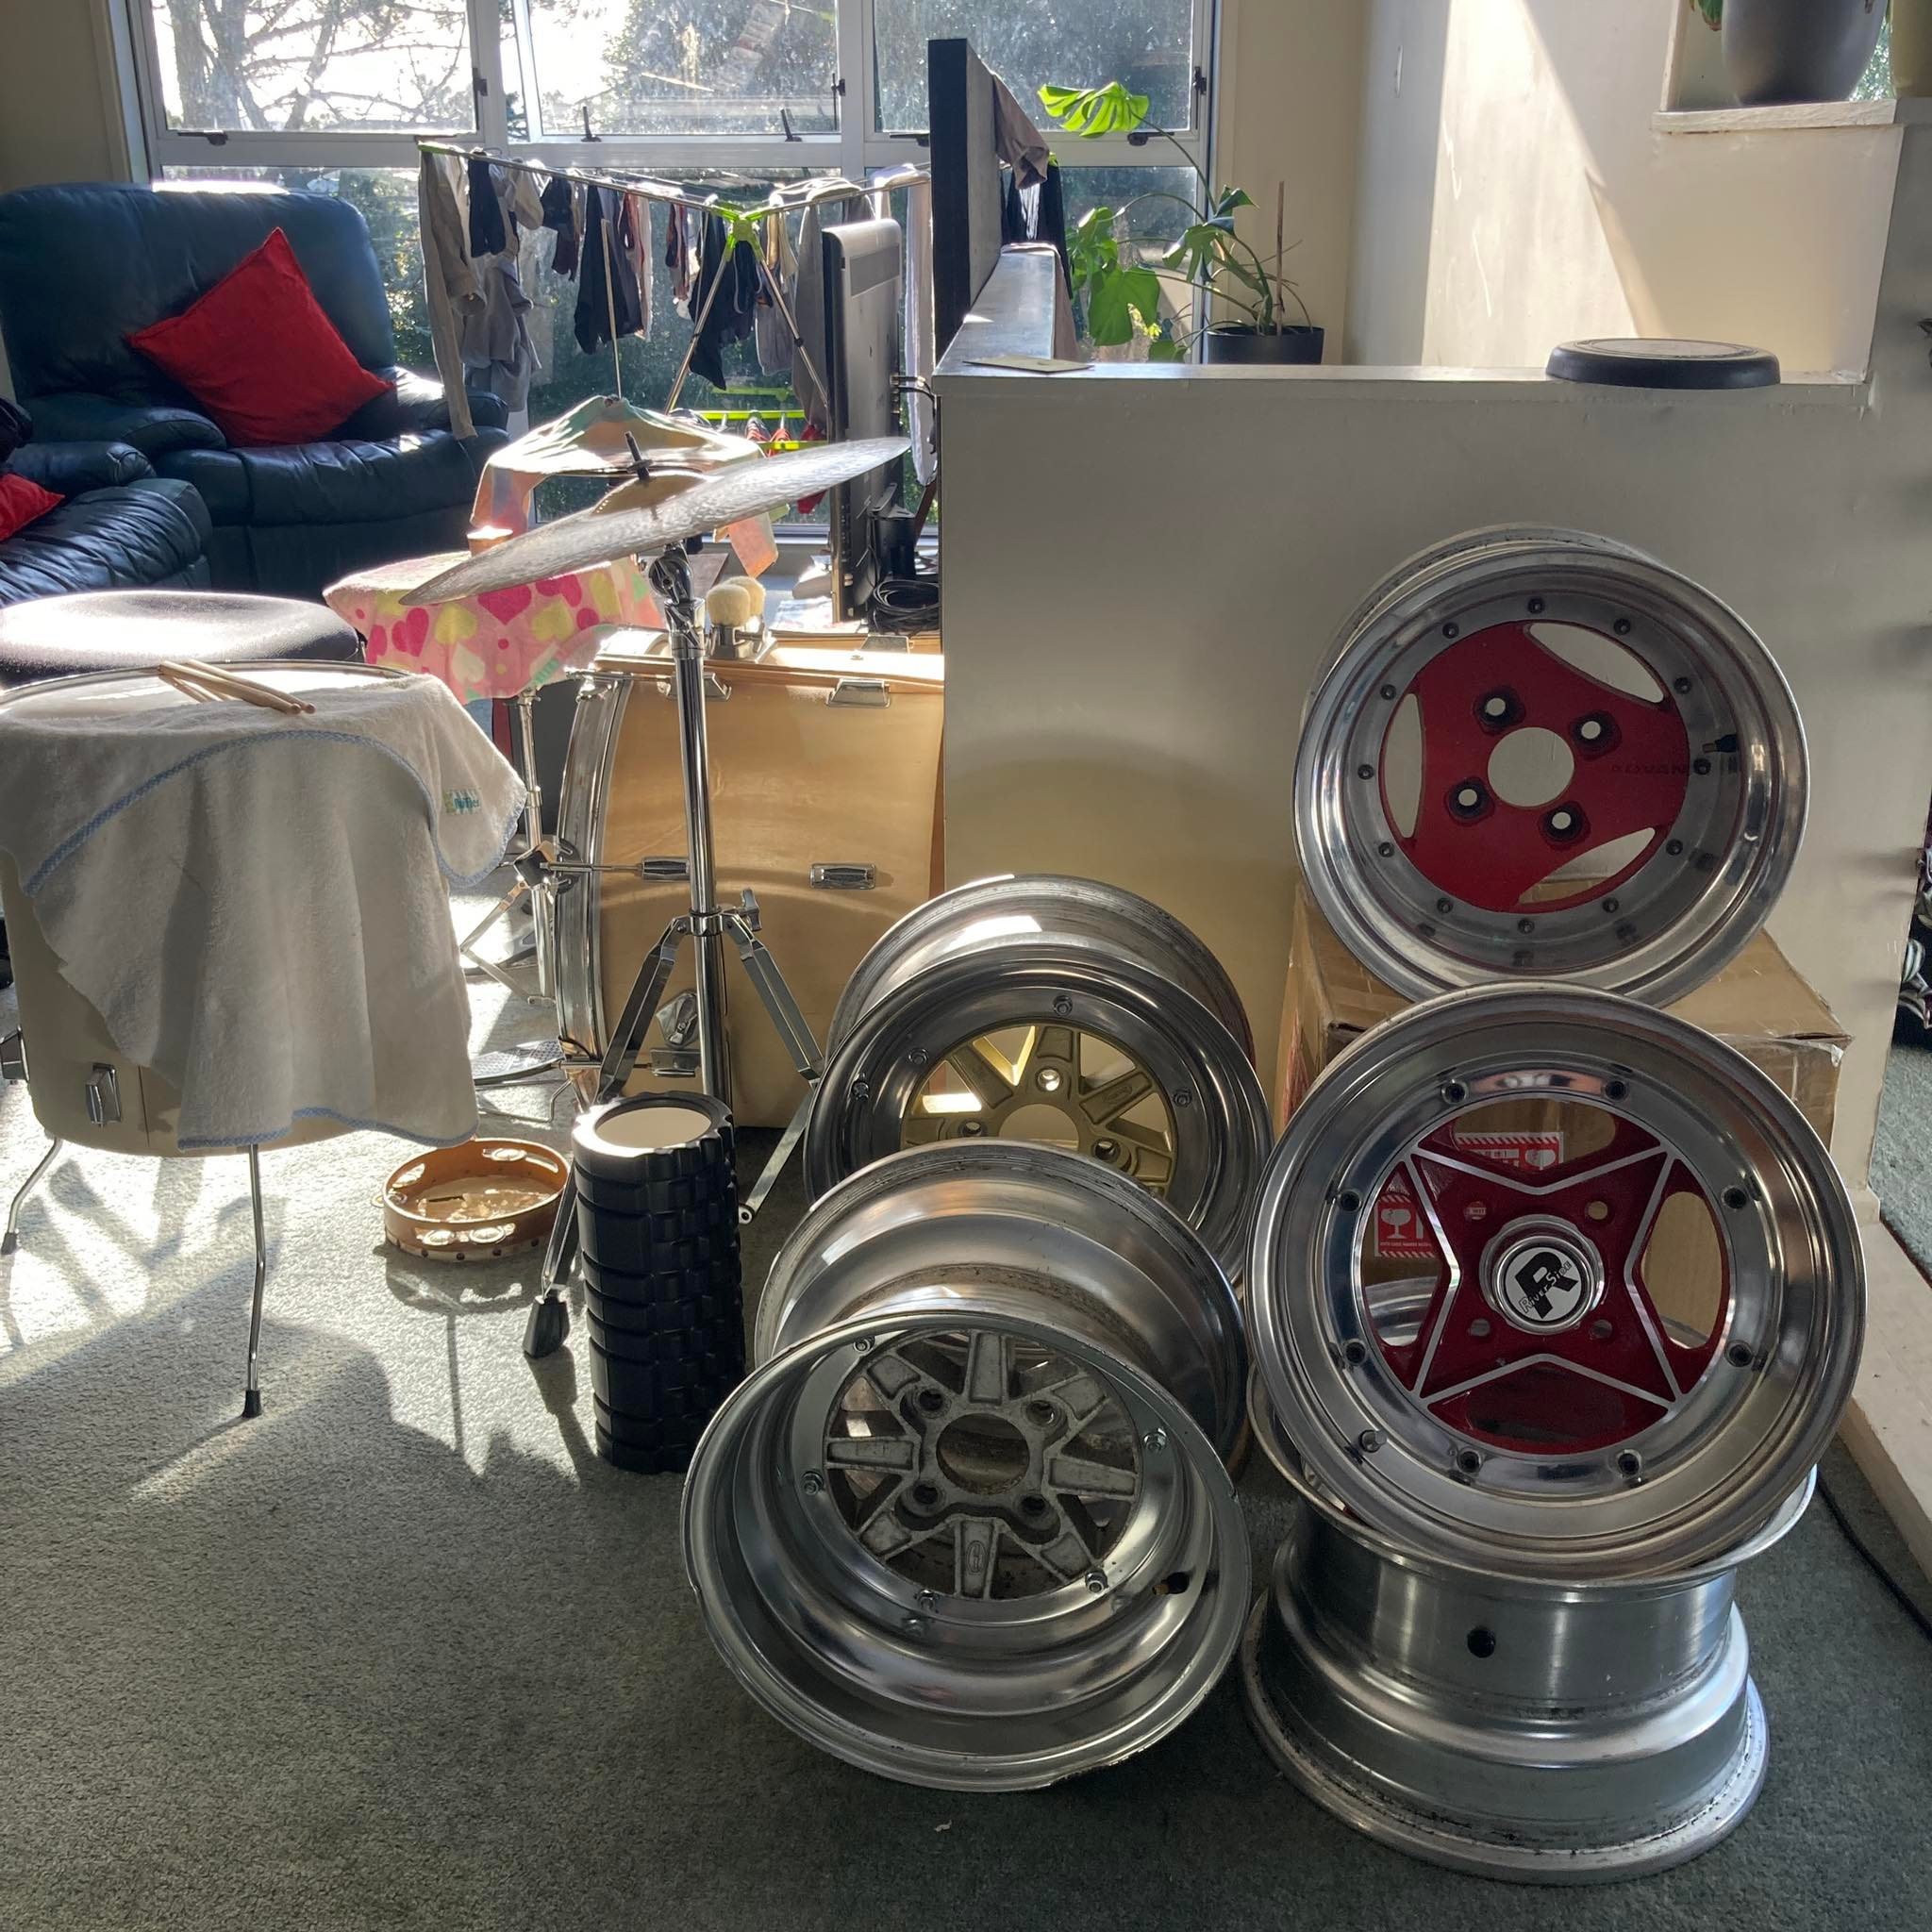
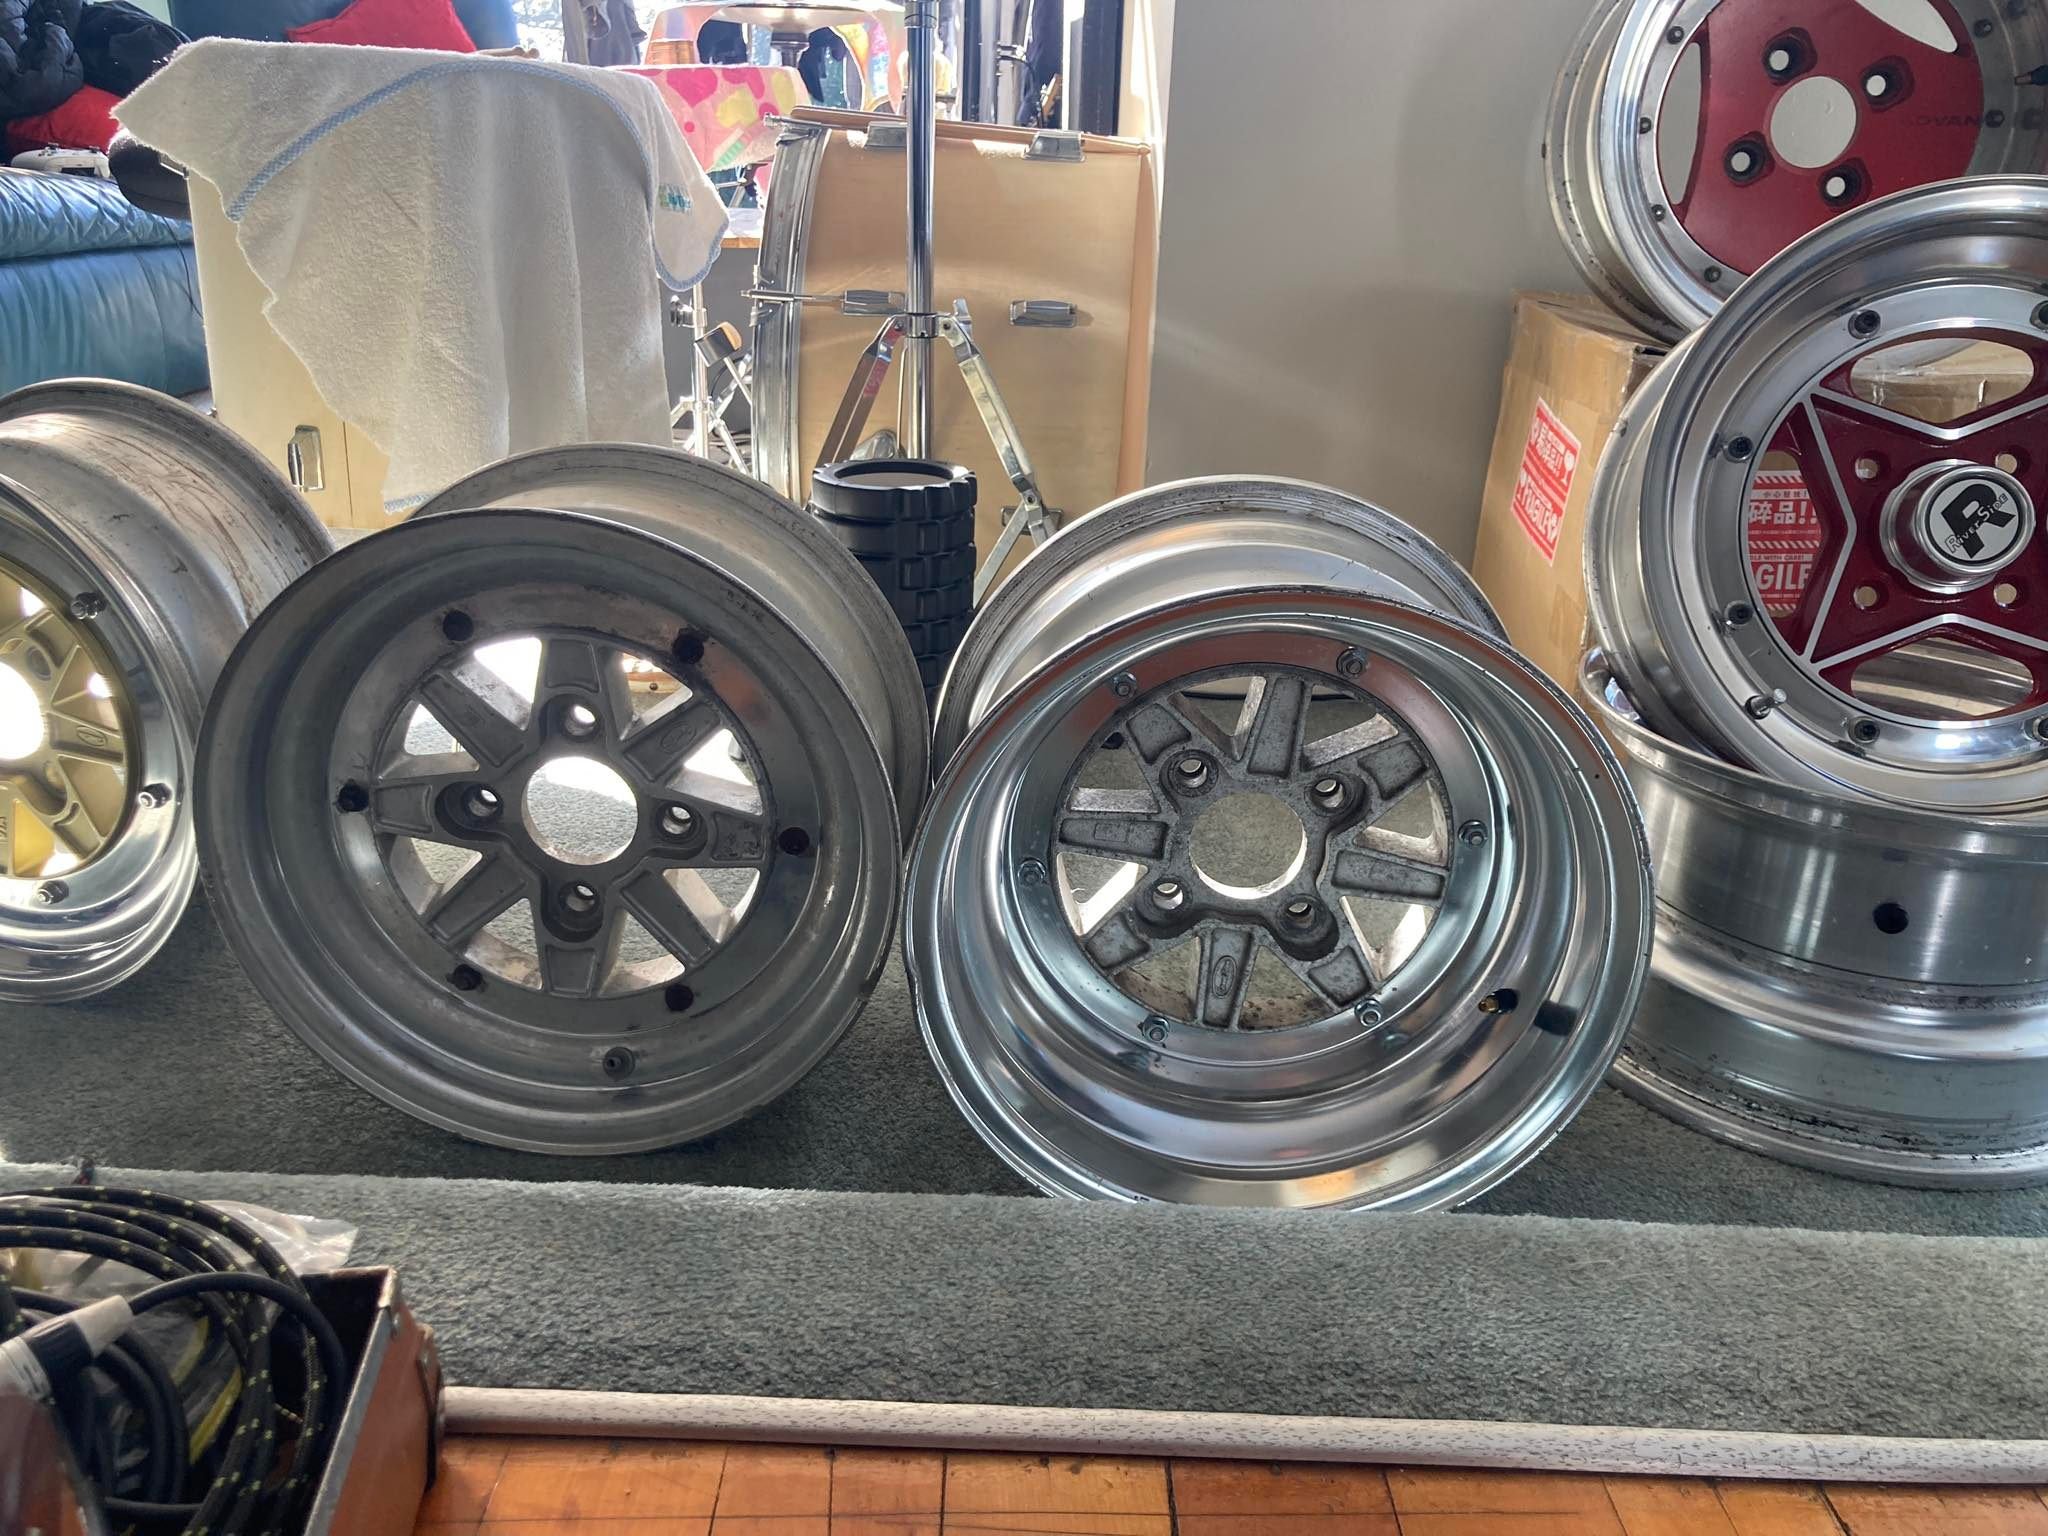
The engine block is still sitting untouched on the floor at the machinists. Grrrrr. I’m giving it one week and then I’m picking it up and giving it to someone else to do. Any recommendations in Christchurch? Anyhoo, FIZZZ FIZZZ look what finally turned up! Front fits, but quite snug on the hub, so hard to get off. Rears won’t go on. Looks like I need 0.3mm off the hub centre. Also, they dont fit over the locator pegs. The hex doesn’t fit in the relief in the wheel. I can probably make do without the hex, as they don’t need to be super tight. Well worth the wait getting them shipped in a container. This way they ended up 150 per wheel cheaper than the next best place I could get them on the interweb. Shout out to Palmside in Christchurch, they were good to deal with. Also, they have a couple more sets in stock now too for you Fiat foamers. Specs are 13x7 et10. They appear well made, and not that heavy. EDIT: also poos, because the wheel bearing cap sticks out too far to use the centre caps!
1 point
-
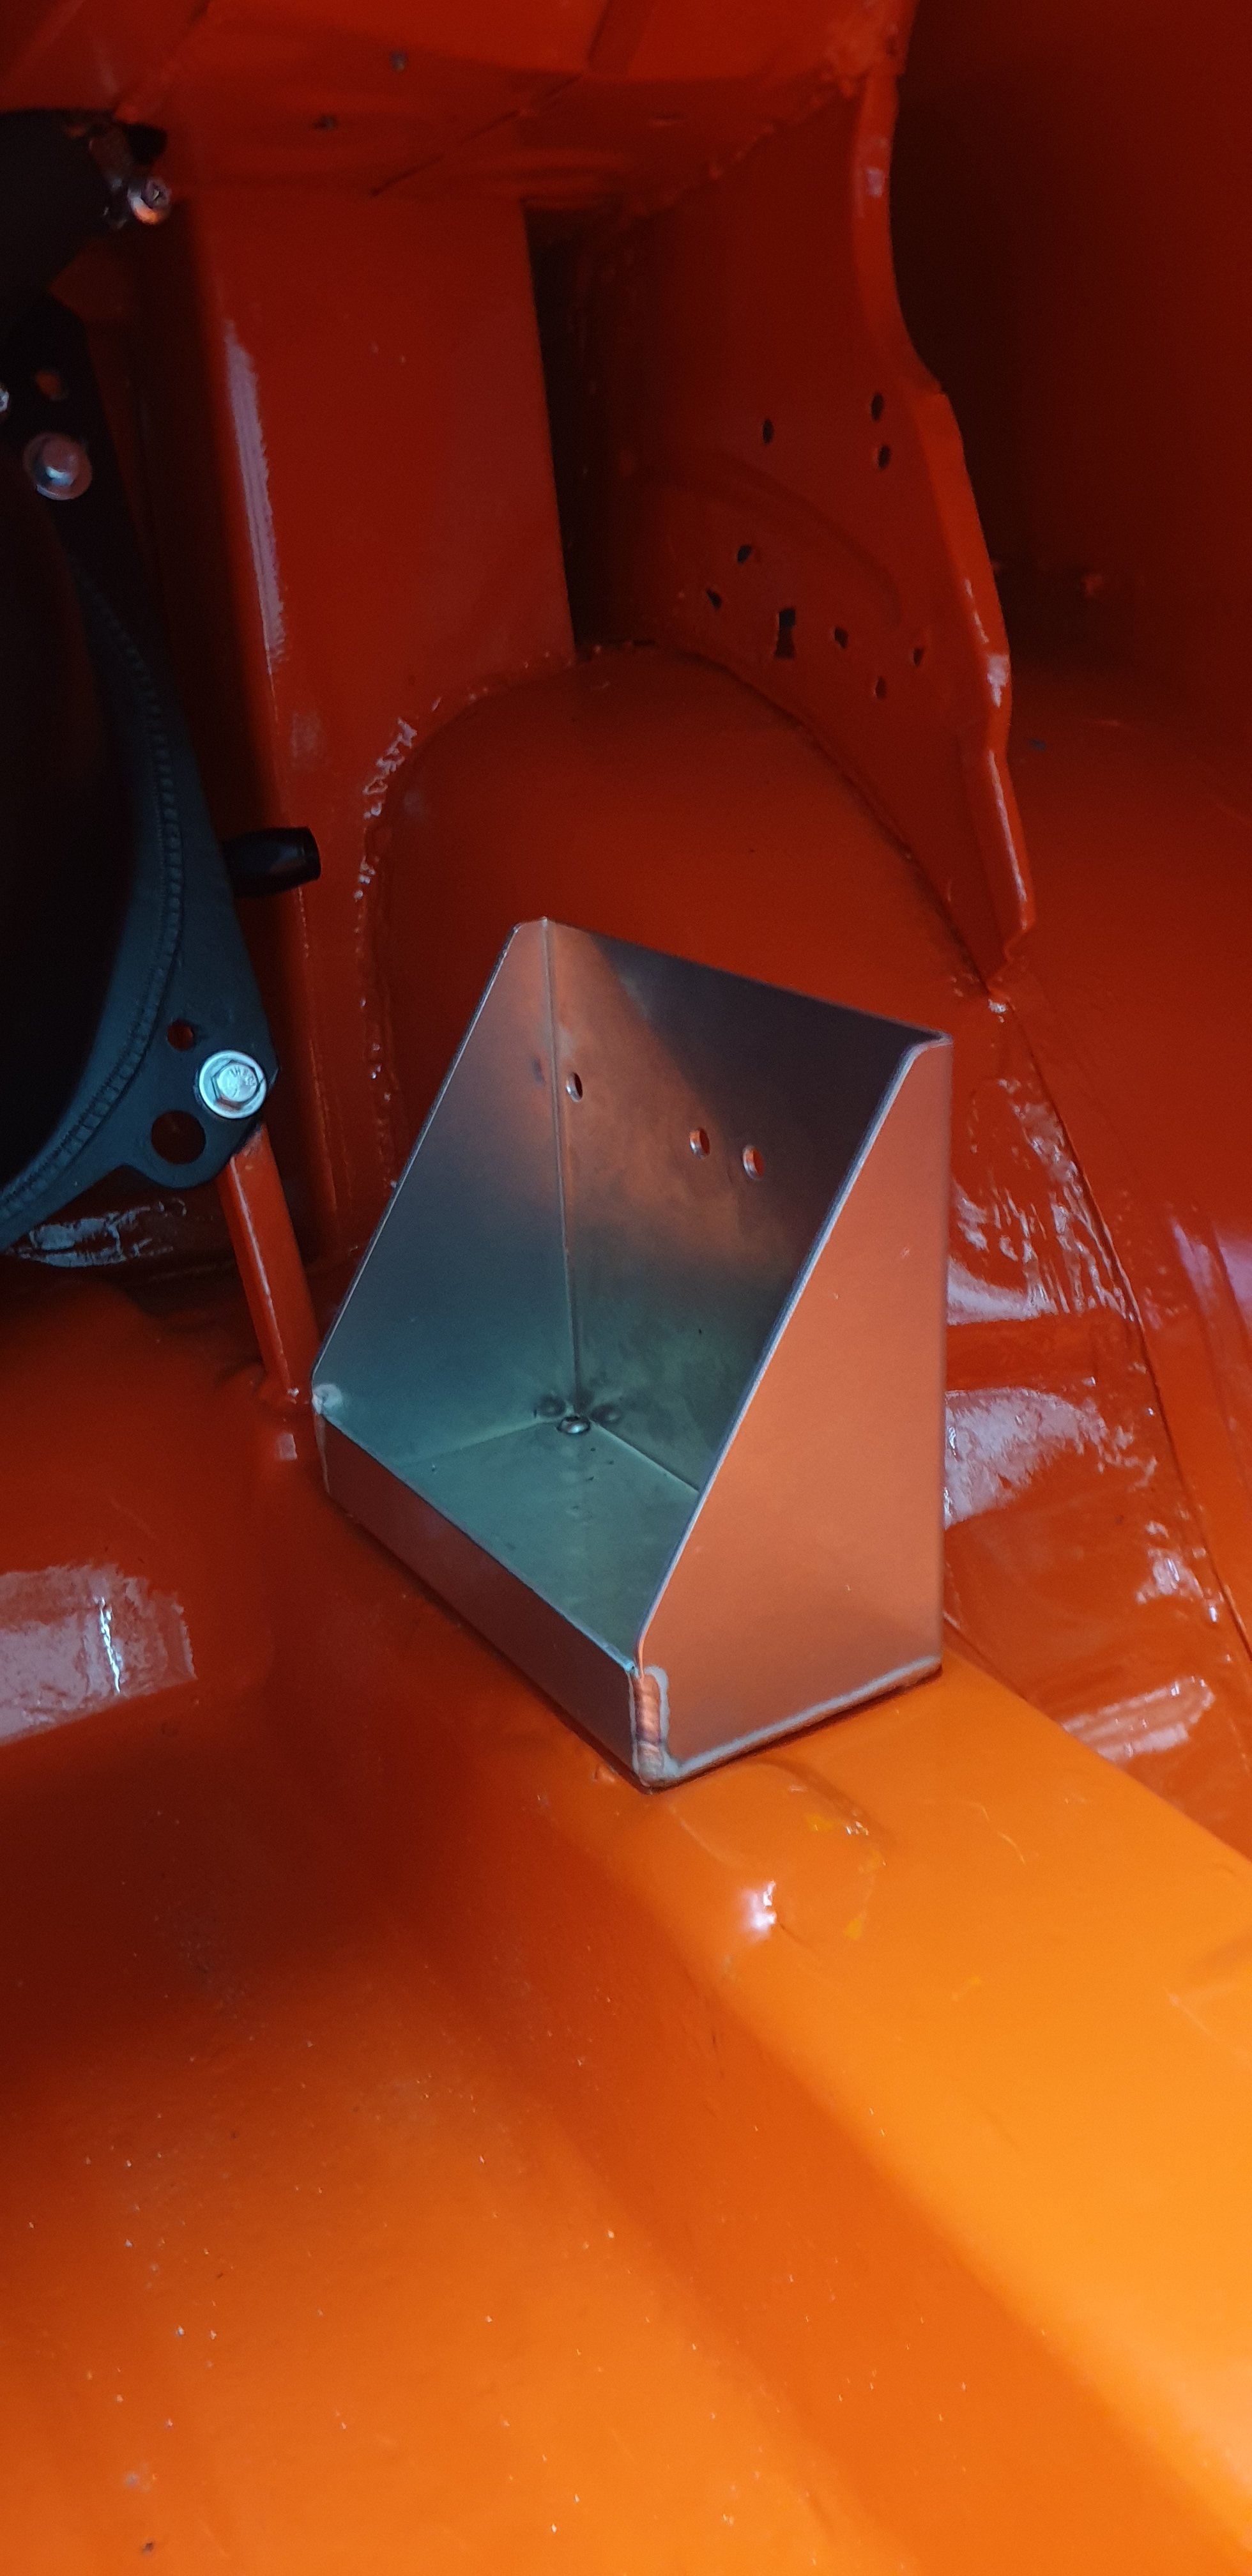
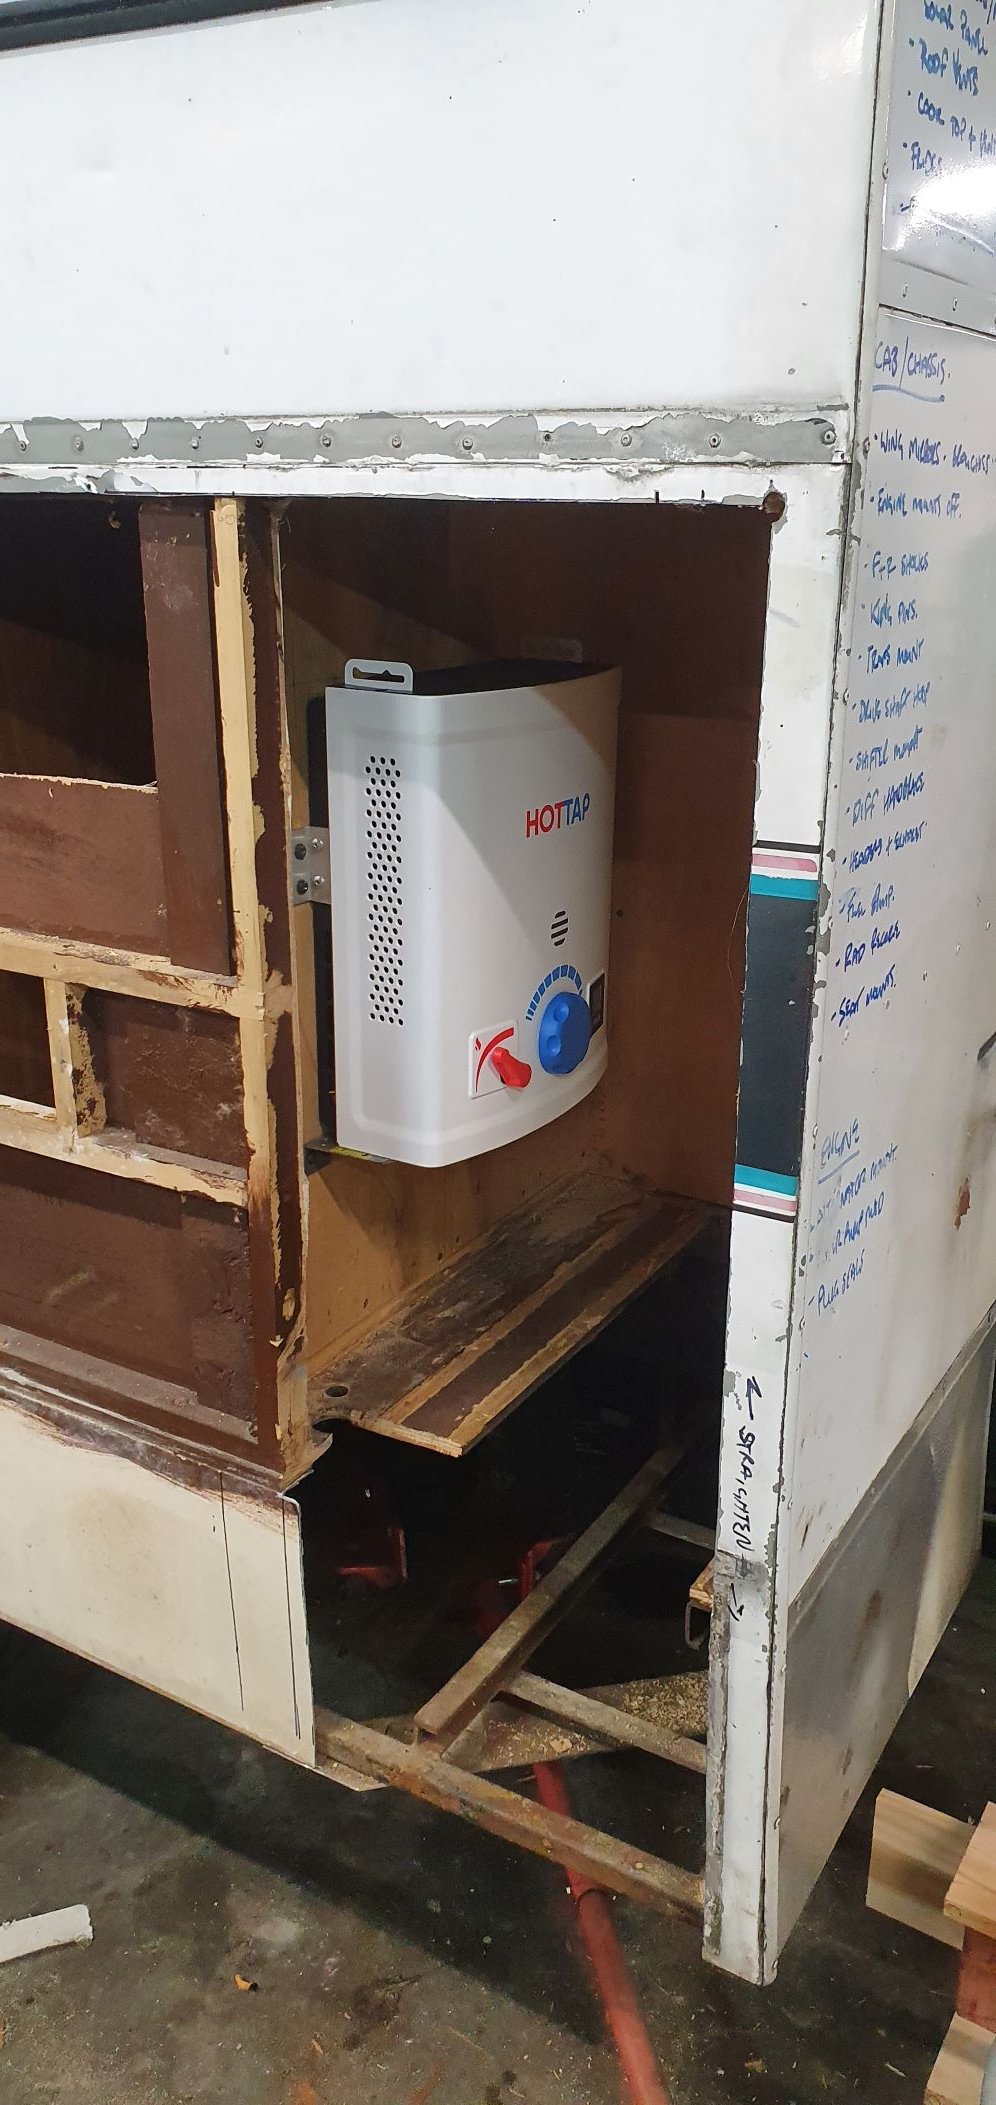
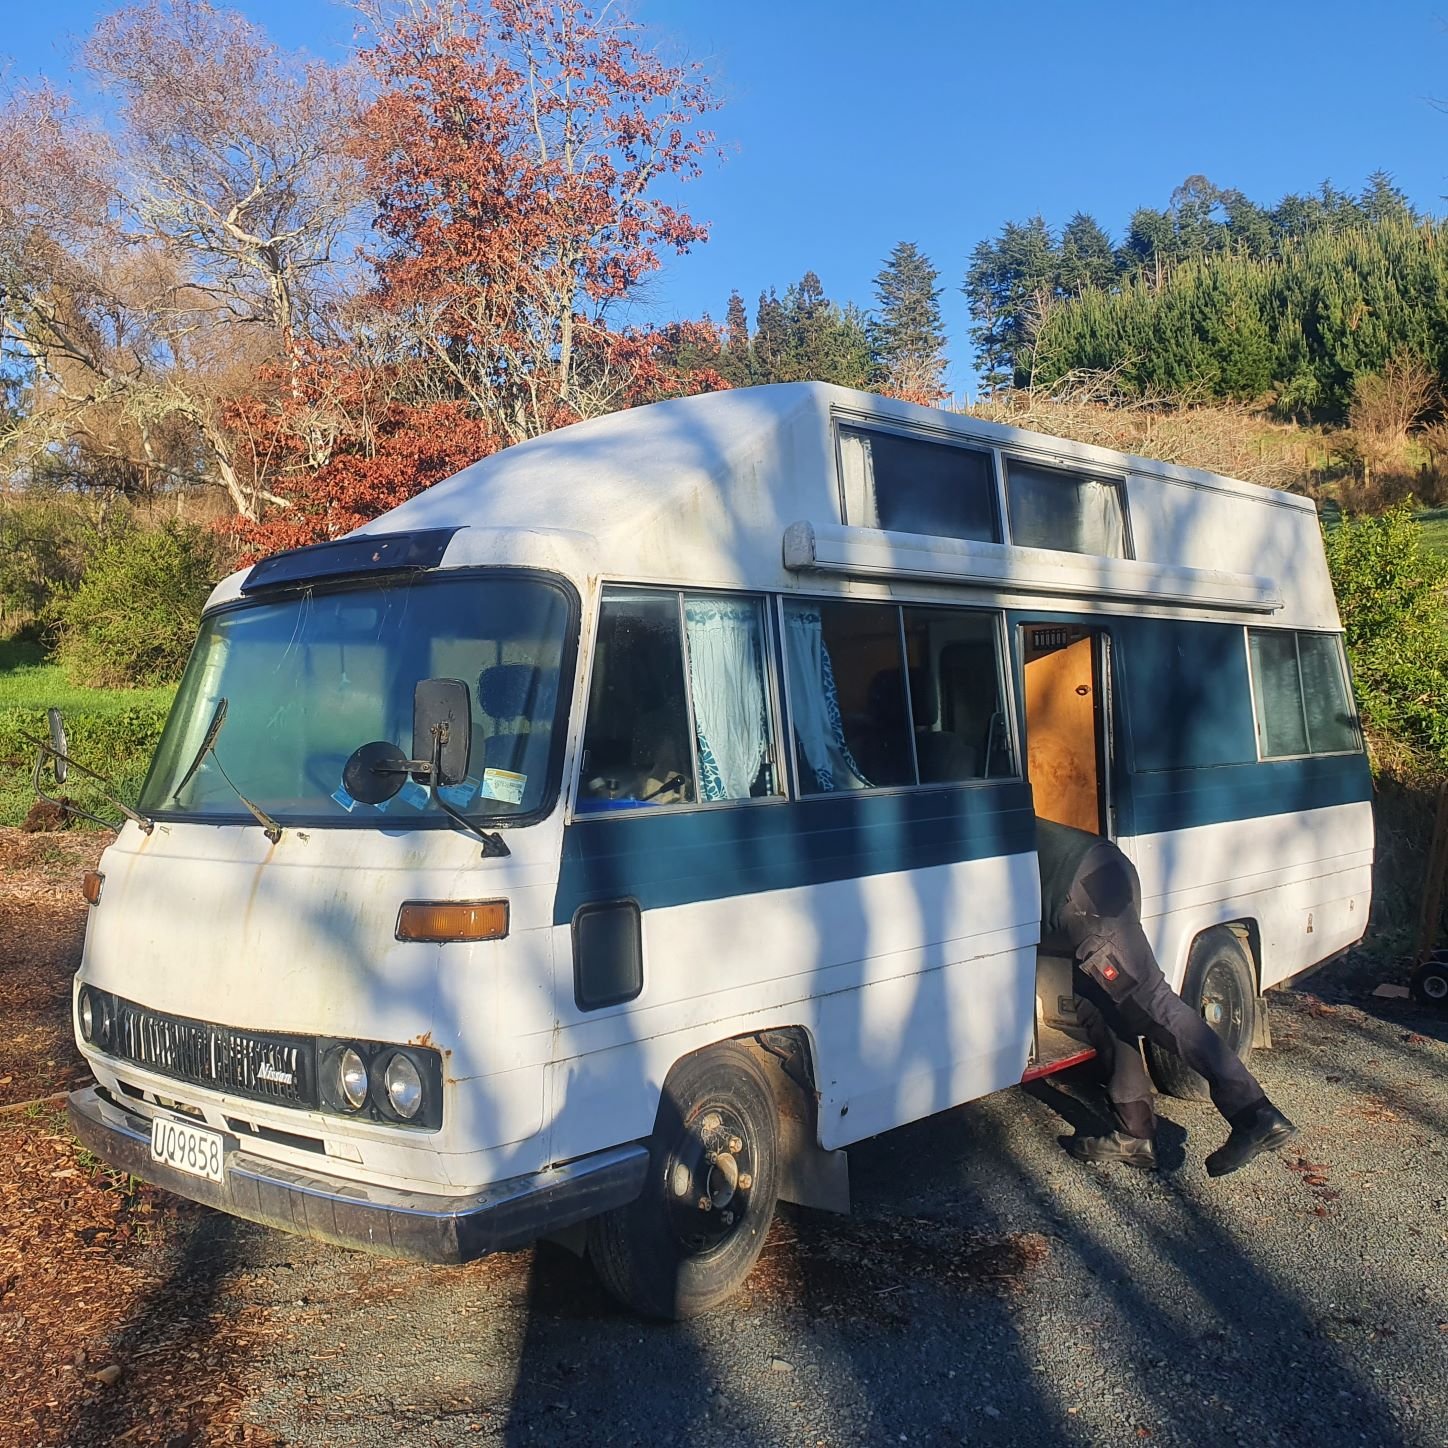
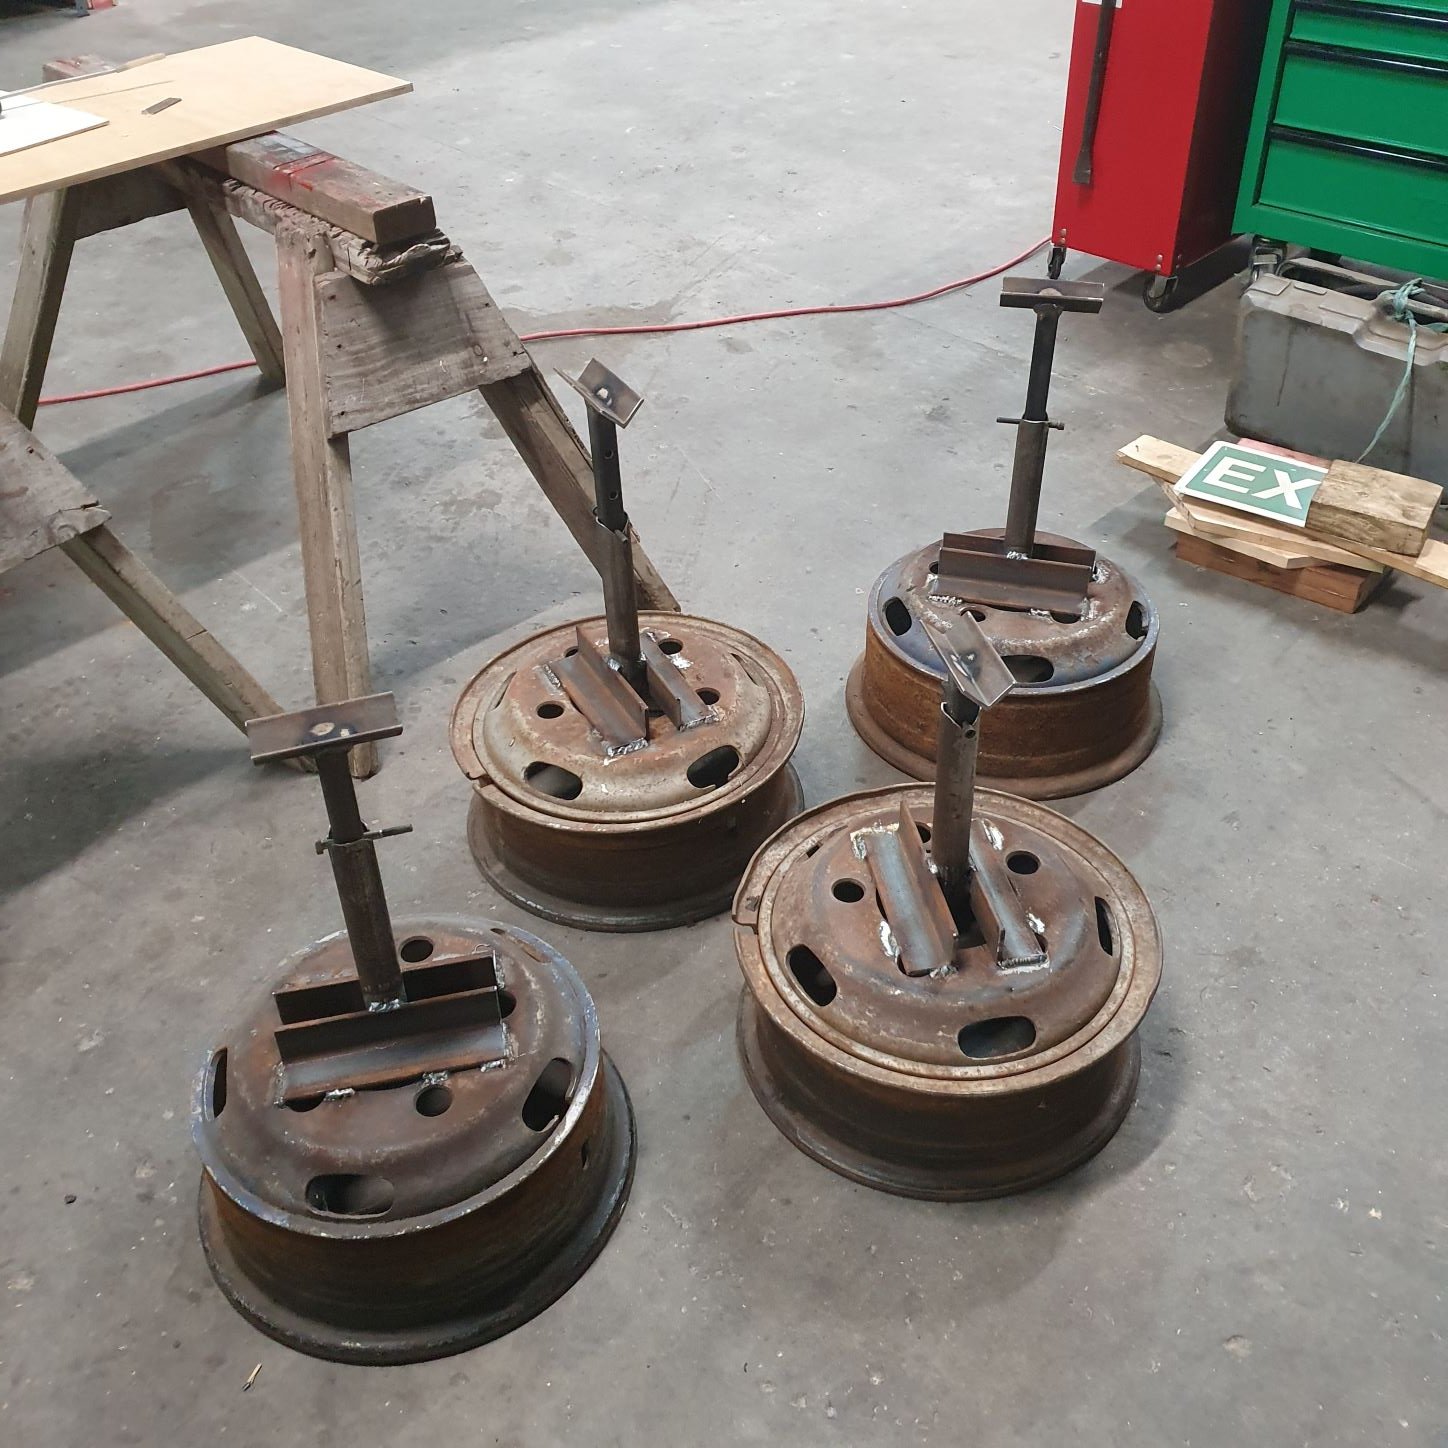
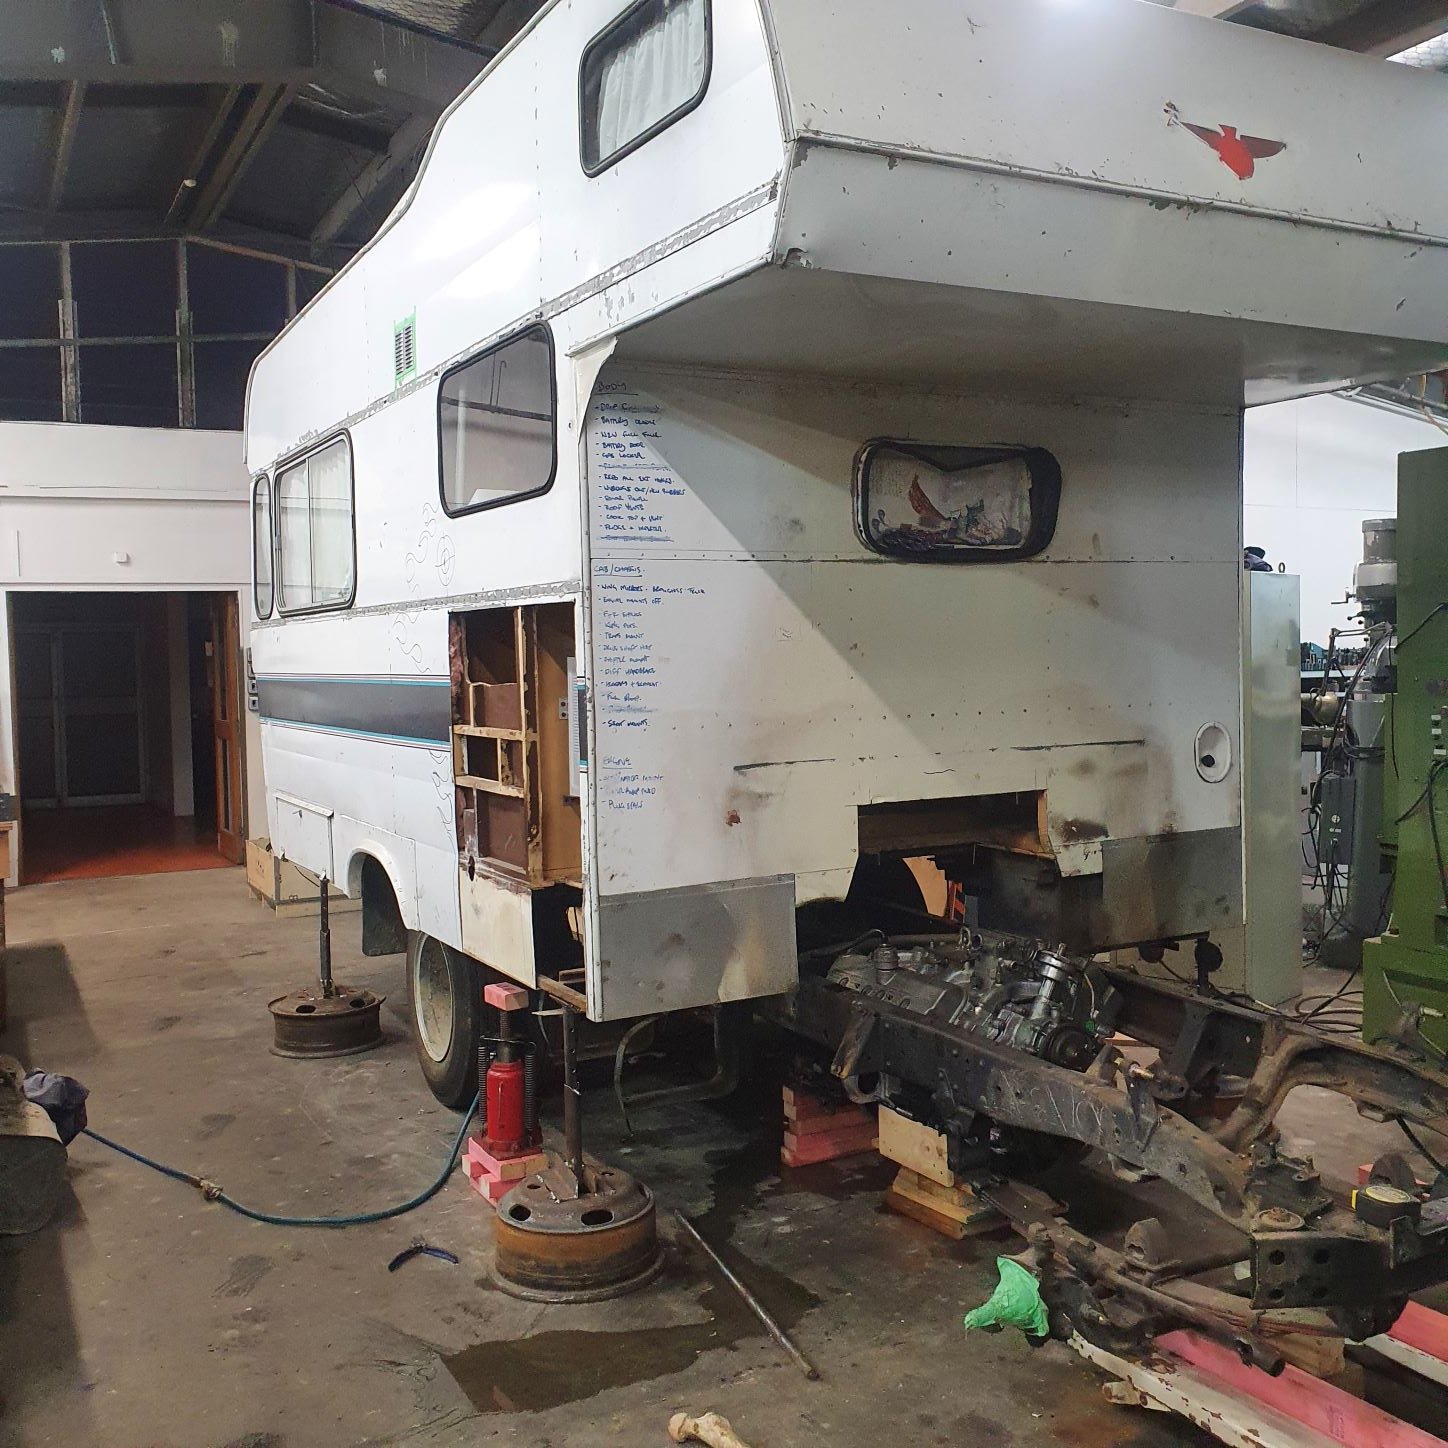
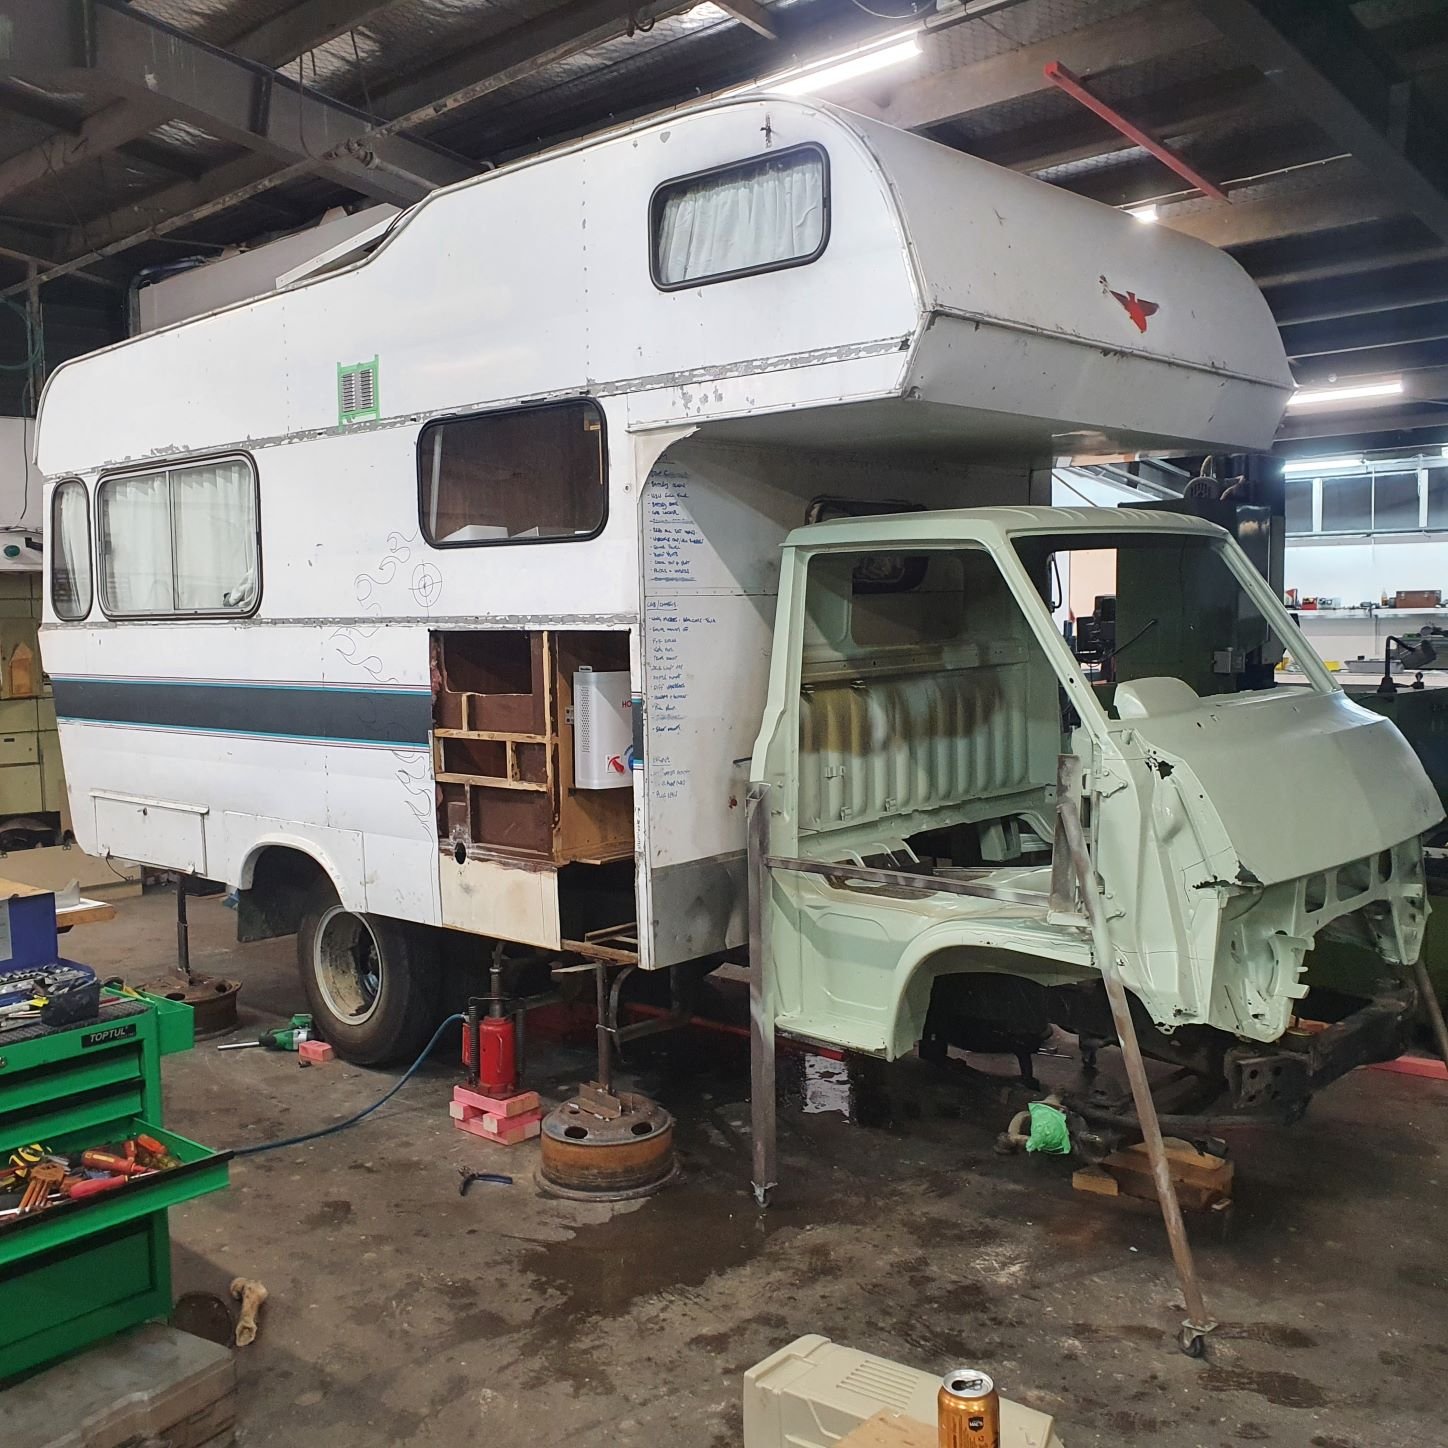
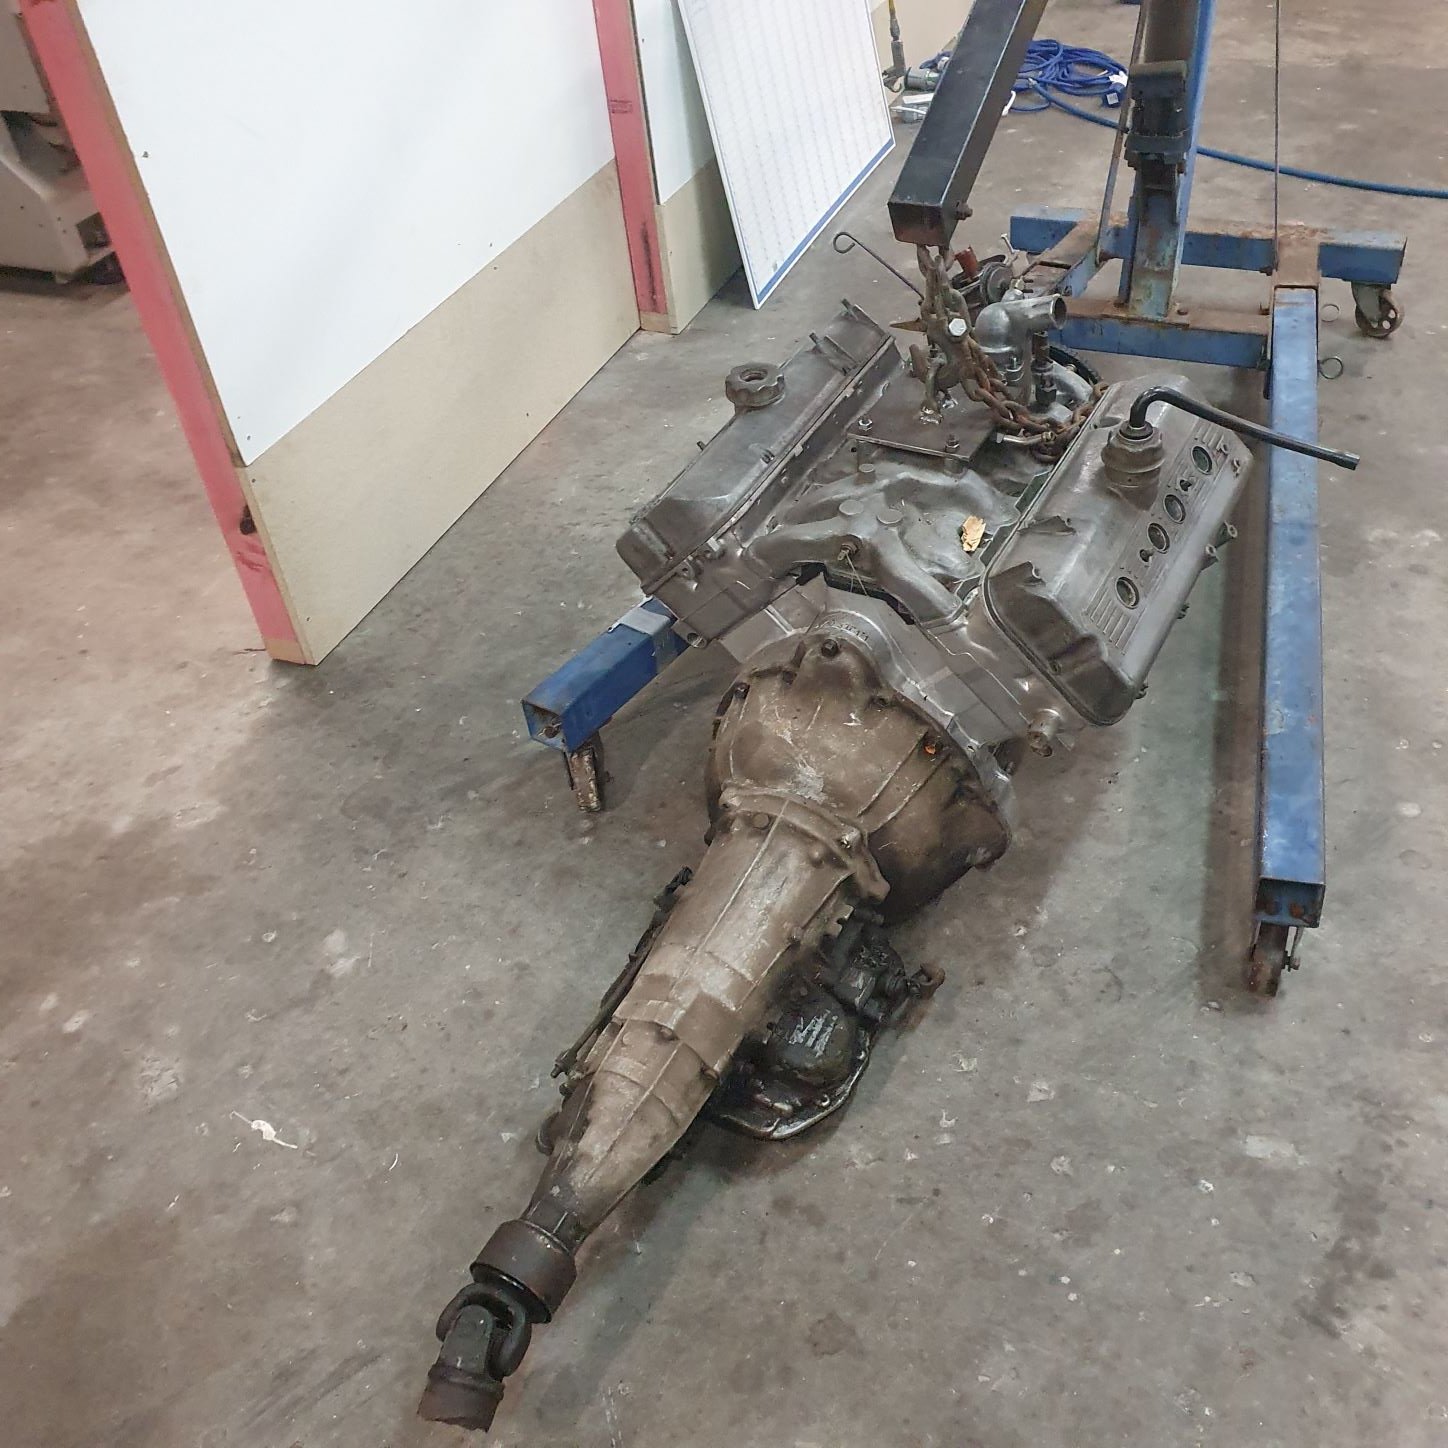
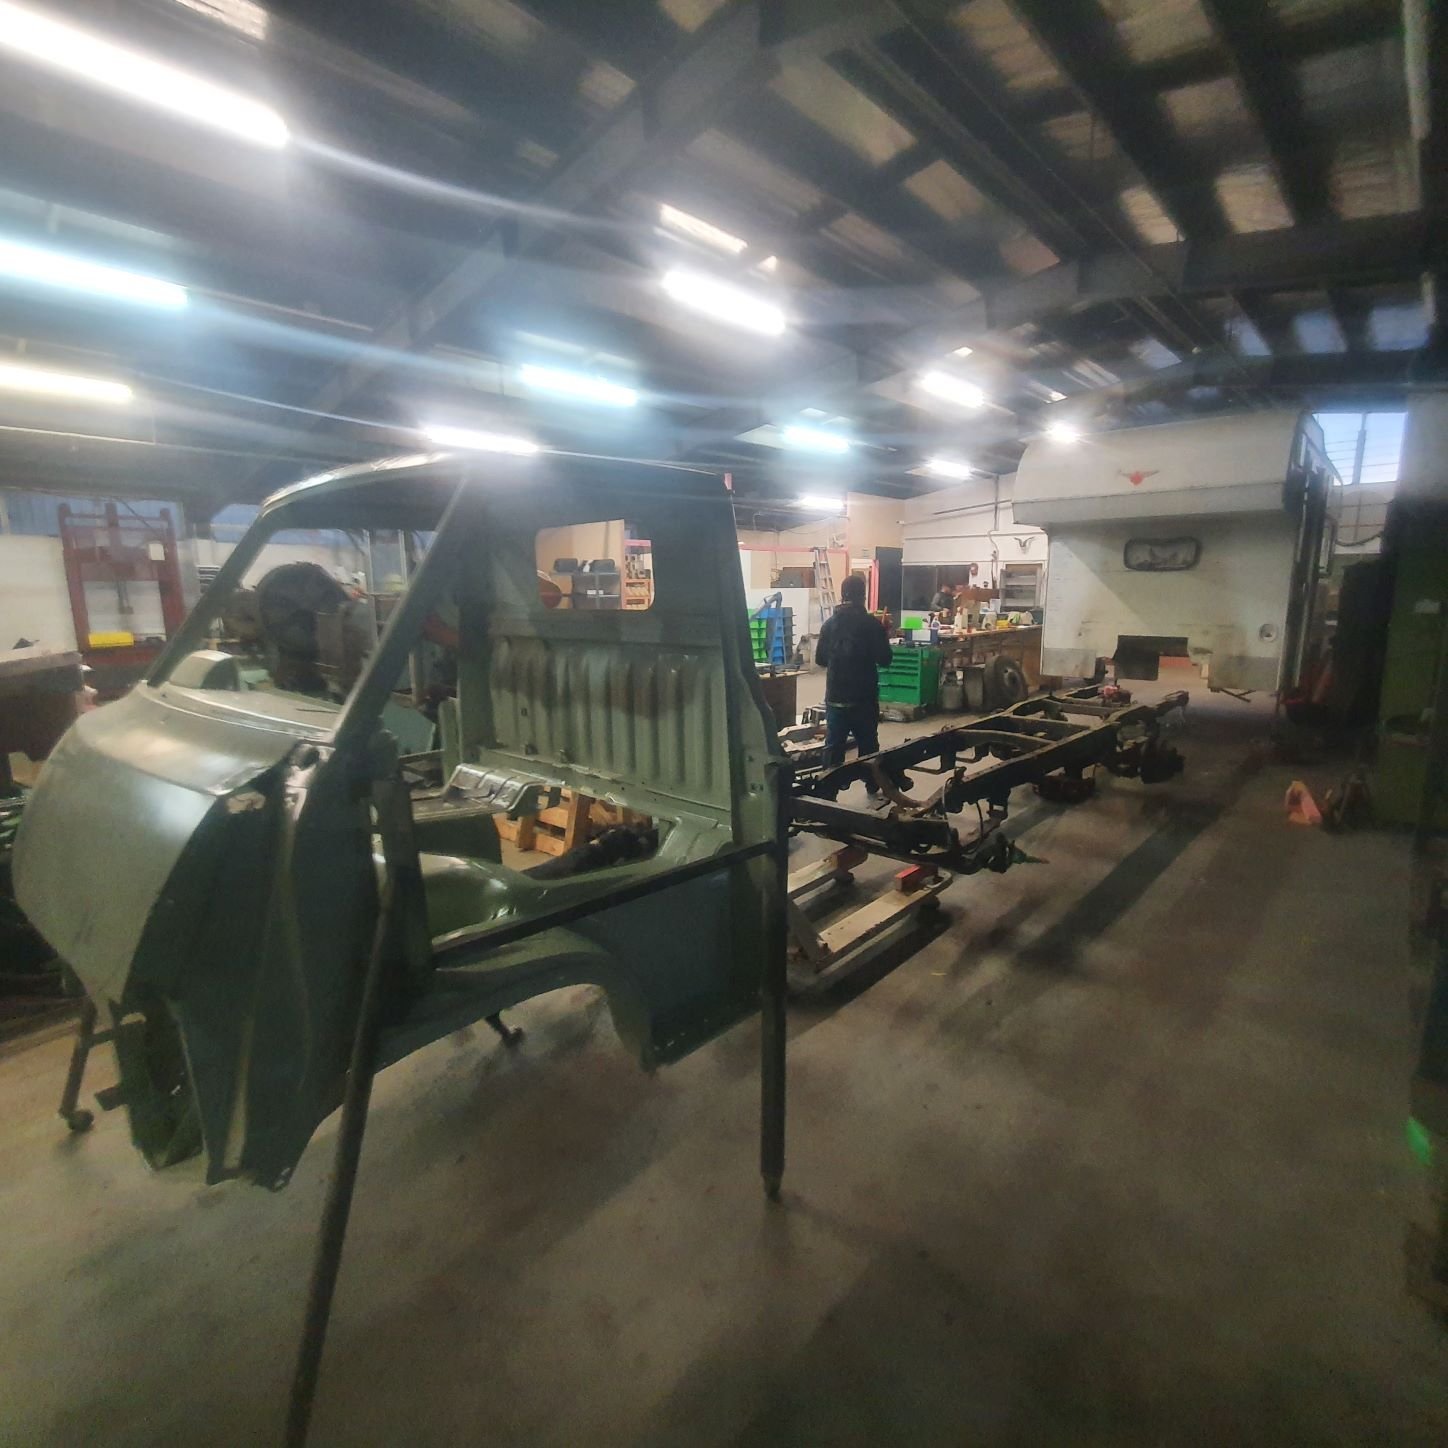
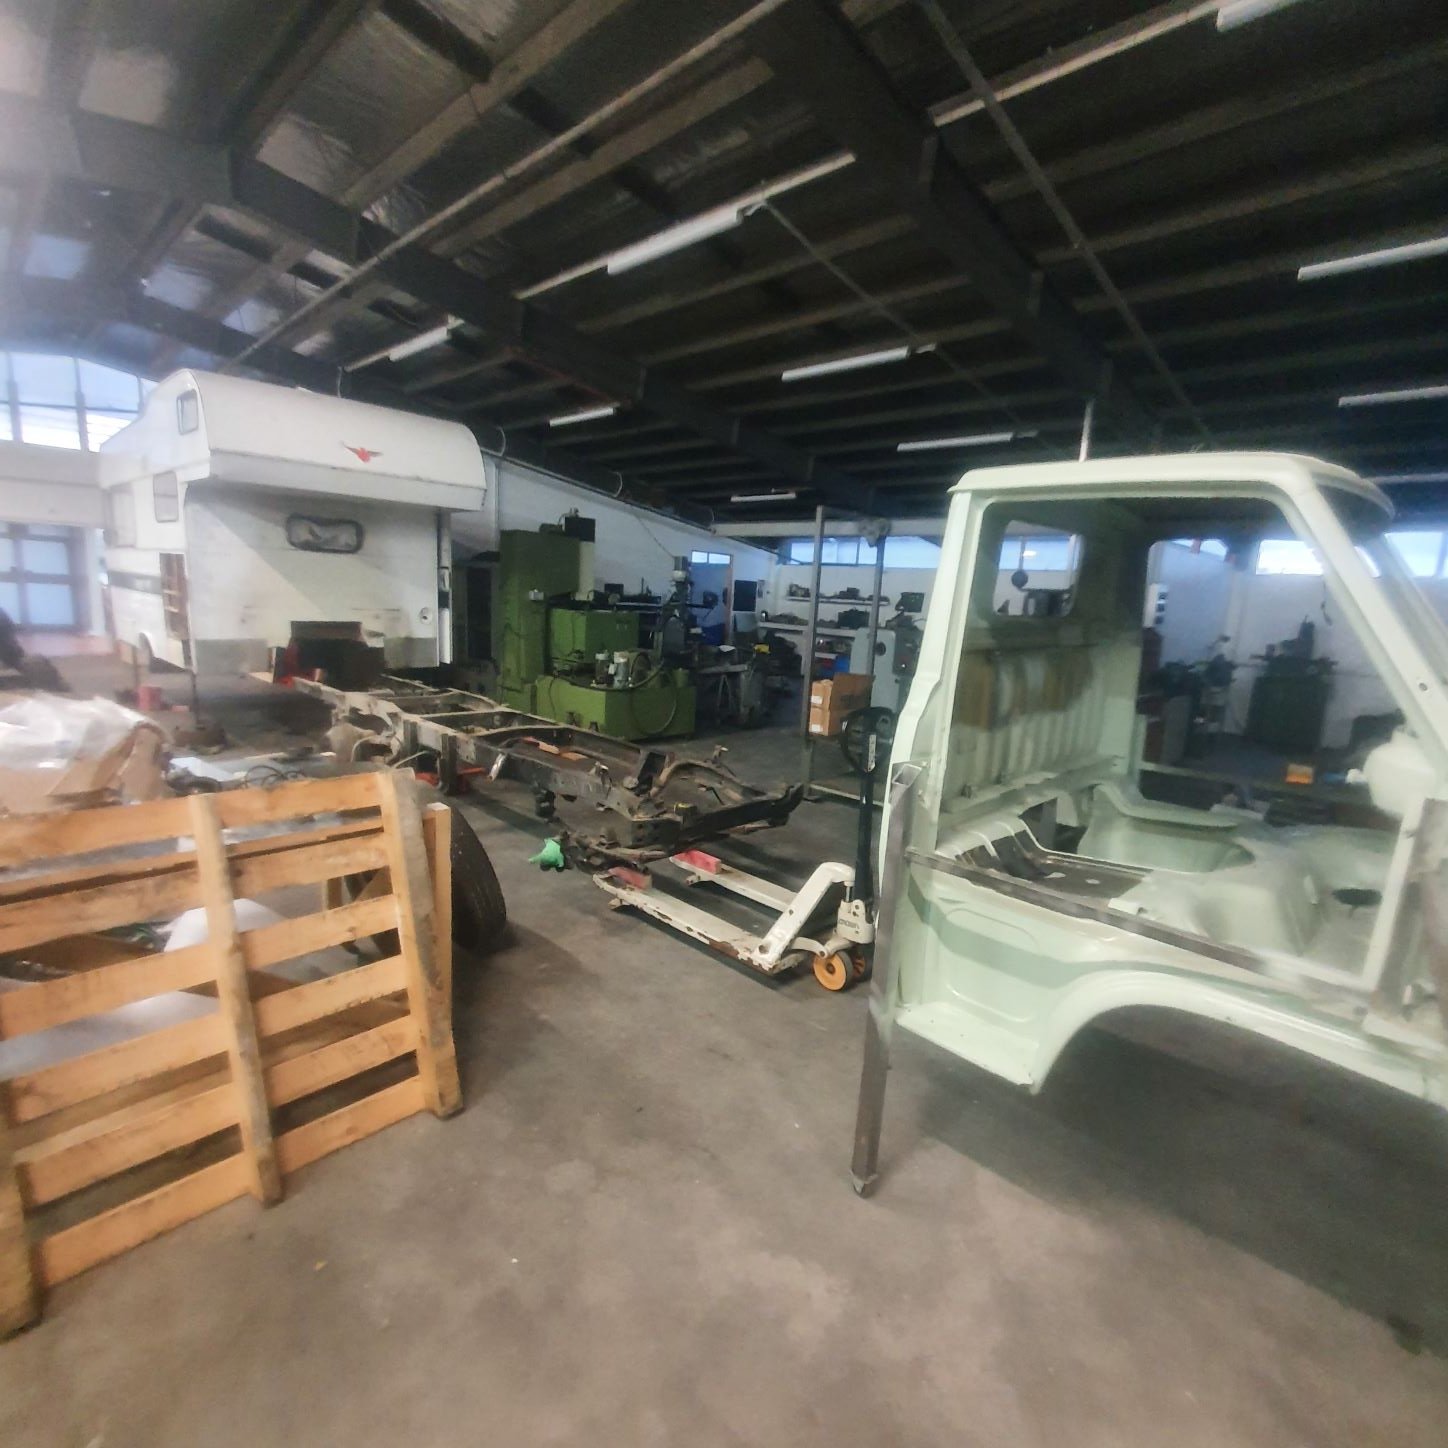
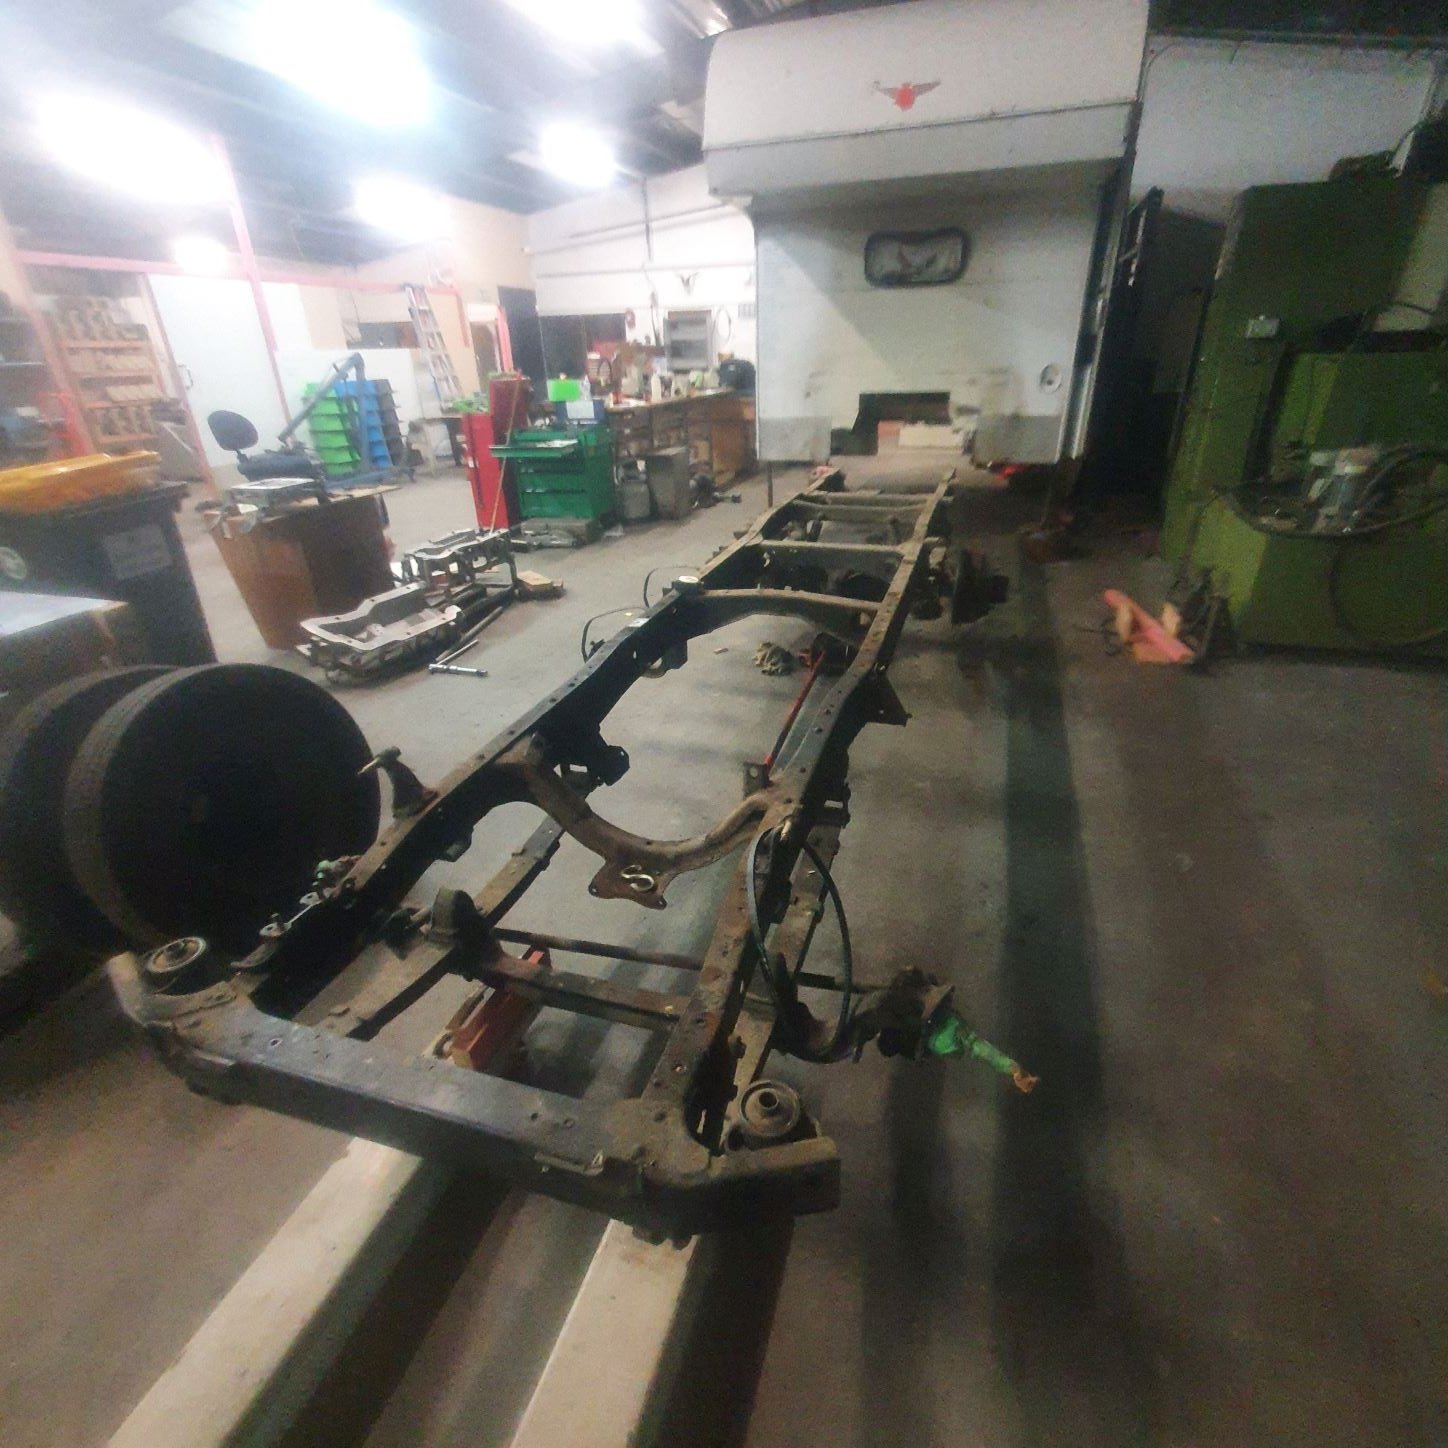
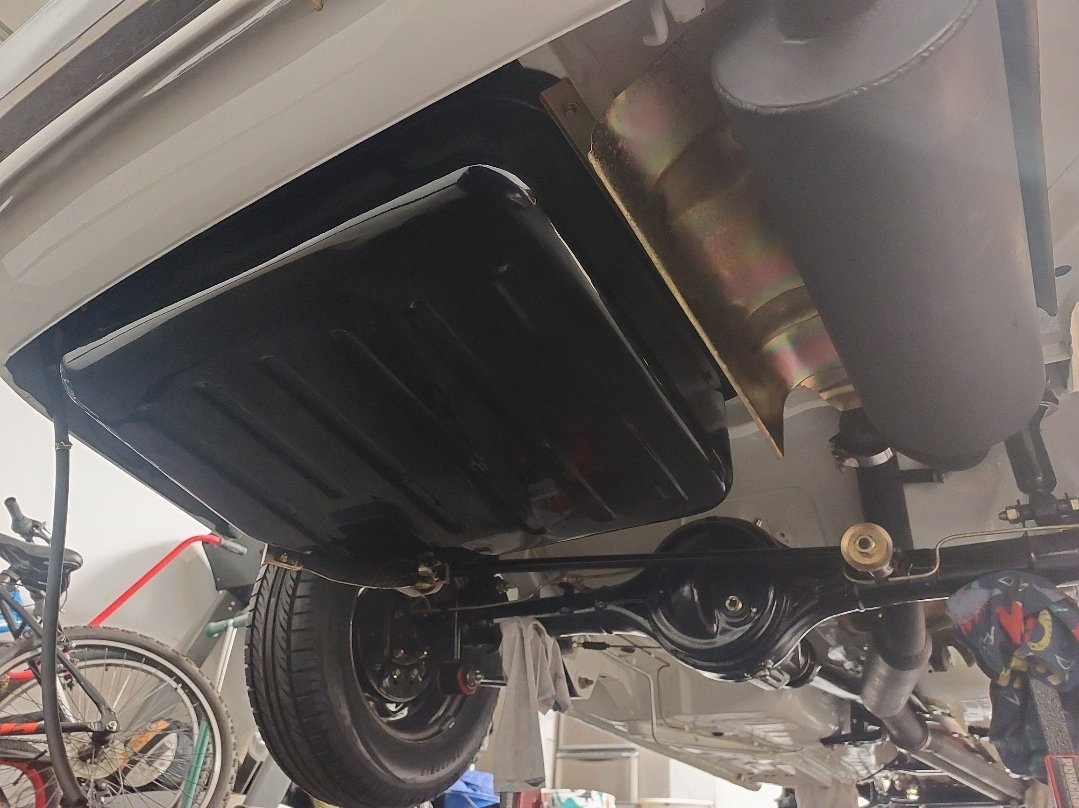
Time for another update. Slow and steady here, nothing major to report but just little jobs ticking along. I had a bit of a panic moment as I started thinking a bit more about the califont, and the legalities around that. I asked my gasfitter broher-in-law but he said dont touch it. So I stopped talking to him and went to my local gasfitter next door to my workshop, conveniently. He came had a look, basically I cant co-locate the gas bottle where the califont is so have to build a separate gas locker, and just fully line and vent the box where the califont will be going, as well as some separation from electrical. I was happy. He essentially said, its all down to the dude signing it off being happy - to which I asked "will you be that dude?" A bloody good cunt, even happy to guide me on what I can do without him, hes pretty disinterested in doing the actual job, and I am a cheap cunt, so I think we are going to get along just fine. I finished the ply lining in the califont locker, and decided to mount to the rear face of the locker. Made a couple brackets and got it dummied up. Now I can starat planning out some plumbing, and obviously the gas situation. I need money for the next steps in here, so I have elected to keep moving on with tasks which are not of cost at this point. I also went to the south island with my kids for a week and visited @ThePog - here is a picture of his ass sticking out from Uncivil Ian. I was also fortunate enough to convince him to let me drive The Dynafari. I nearly accidentally offroaded it - the look on that cunts face was priceless. It goes bloody good, I feel like my cock grew 3 inches that day from the manliness one is imbued with when driving. It has since retreated back into its tiny pocket under my beer gut. Also, Ian needs some love, so I think Dylan is tending to that. So returning home from a bout of inspiration from my southern friends rather impressive workshop, I set too on the camper again almost immediately. I have decided that I am going the full hog, as its already pretty deep and Id be fucked off it it failed wof on some scabby bit of rust I missed or whatever. So next inexpensive job on the list was to whip the chassis out from underneath the body. Not exactly easy, just a cunty job really. I made these sweet stands one arvo out of bits of shit lying around the workshop. There was a bit of maths involved in figuring how much I needed to lift it, and a bit of pondering over how complex to make them. It would have been great if I could have essentially made them jacks, but my brain hurt thinking about it, and I wanted it done in an arvo so I just made something simple. Unbolting was a bit of a cunt, and I had to kindof lift, then slide forward, then lift some more, teetering on one jack I got up a few notches then decided it was getting dodge, so borrowed some jacks to get it up higher. Ended up lifting it about 600 off the ground, not quite high enough to clear the wheels, but high enough to remain safe, which was starting to be my greater concern. Anyway, finally slid the entire chassis out a few nights ago, then finished pulling the loom out. Next job it to xy12 and steam clean, then start the glorious task of wire-wheeling, rust converting and painting in black enamel (eventually once fab is complete). While it was half-way jacked I slipped the cab back in. It looks rather Over-landy and quite beastly. There was some conversation around the potential to pursue this vein, but I just cant be assed, and the thing will handle like a pig. It handles pretty sweet so Id rather keep the weight low. But it does look cool lifted! So we whipped the wheels off and rolled the chassis out on a pallet jack and trolley jack. Its good, cause I can stow it back away each night and it doesnt take up space. Also I have included another gratuitous engine (and trans) shot, just for good measure. So after all of this, we have now started really thinking out the chassis tasks. There isnt a hell of a lot to do really. Mount engine and box, make a disk handbrake setup mounted to the Diff Pinion, driveshaft and hoop, radiator. Fuel tank. Ok, there are a few things. We finally also measured the diff ratio - a very spritely 6.2:1...By my calculations at 100km/h with the original 5R was spinning at about 4150rpm - obviously 85-90 is a more realistic cruising speed for that, but anyway, thats not really going to work on the V8. I want to cruise at 100k. My original thinking was to find a 4speed overdriven Auto, but I couldnt conclusively find anything Toyota that would bolt to the existing bellhousing, dont want anything electronically controlled, and basically got lazy and/or didnt like the price/hassle on the GM and ford 4speed boxes. So that necessitate trying to find another diff head. Which luck would have it, I think I may have done from an early 80s diesel Diahatsu Delta - just down the road even. Im going to look at this on Sat, and if its the go Ill load the truck on the trailer and bring it home. https://www.trademe.co.nz/a/motors/cars/daihatsu/delta/listing/3615732978 The dude has already given me some critical measurements/pics and spun the wheels to count the driveshaft turns - its looking anecdotally around 5:1 or perhaps a fraction under ratio which is way more acceptable - cruising rpm should be around 3300 at 100kph. Anyway, fingers crossed this is the same diff head. If anyone wants some Delta parts hit me up! Thats all for now
1 point
-
The ecu stats on link is fun game, this is off my starlet a few years back
1 point
-
It's going to be a parts car. Pretty much everything is going to come off. It's also got a 4G63 2.0L, with a 4 speed auto with OD. Both will be going into my other Stellar, and I'll get rid of the 1.6L 4G93, and the 3 speed auto.
1 point
-
So missed it but you have some china H beam rods? the ebay ones? CP make pistons? like $1000? is that the path to spin this to 9k later once this one throws a leg? Said it like three times but I didnt chuck any in the engine $ it got closed, happy to chuck in 1/10th of piston costs for the best project on oldschool.1 point
-
So much 2nz blood on the floor1 point
-
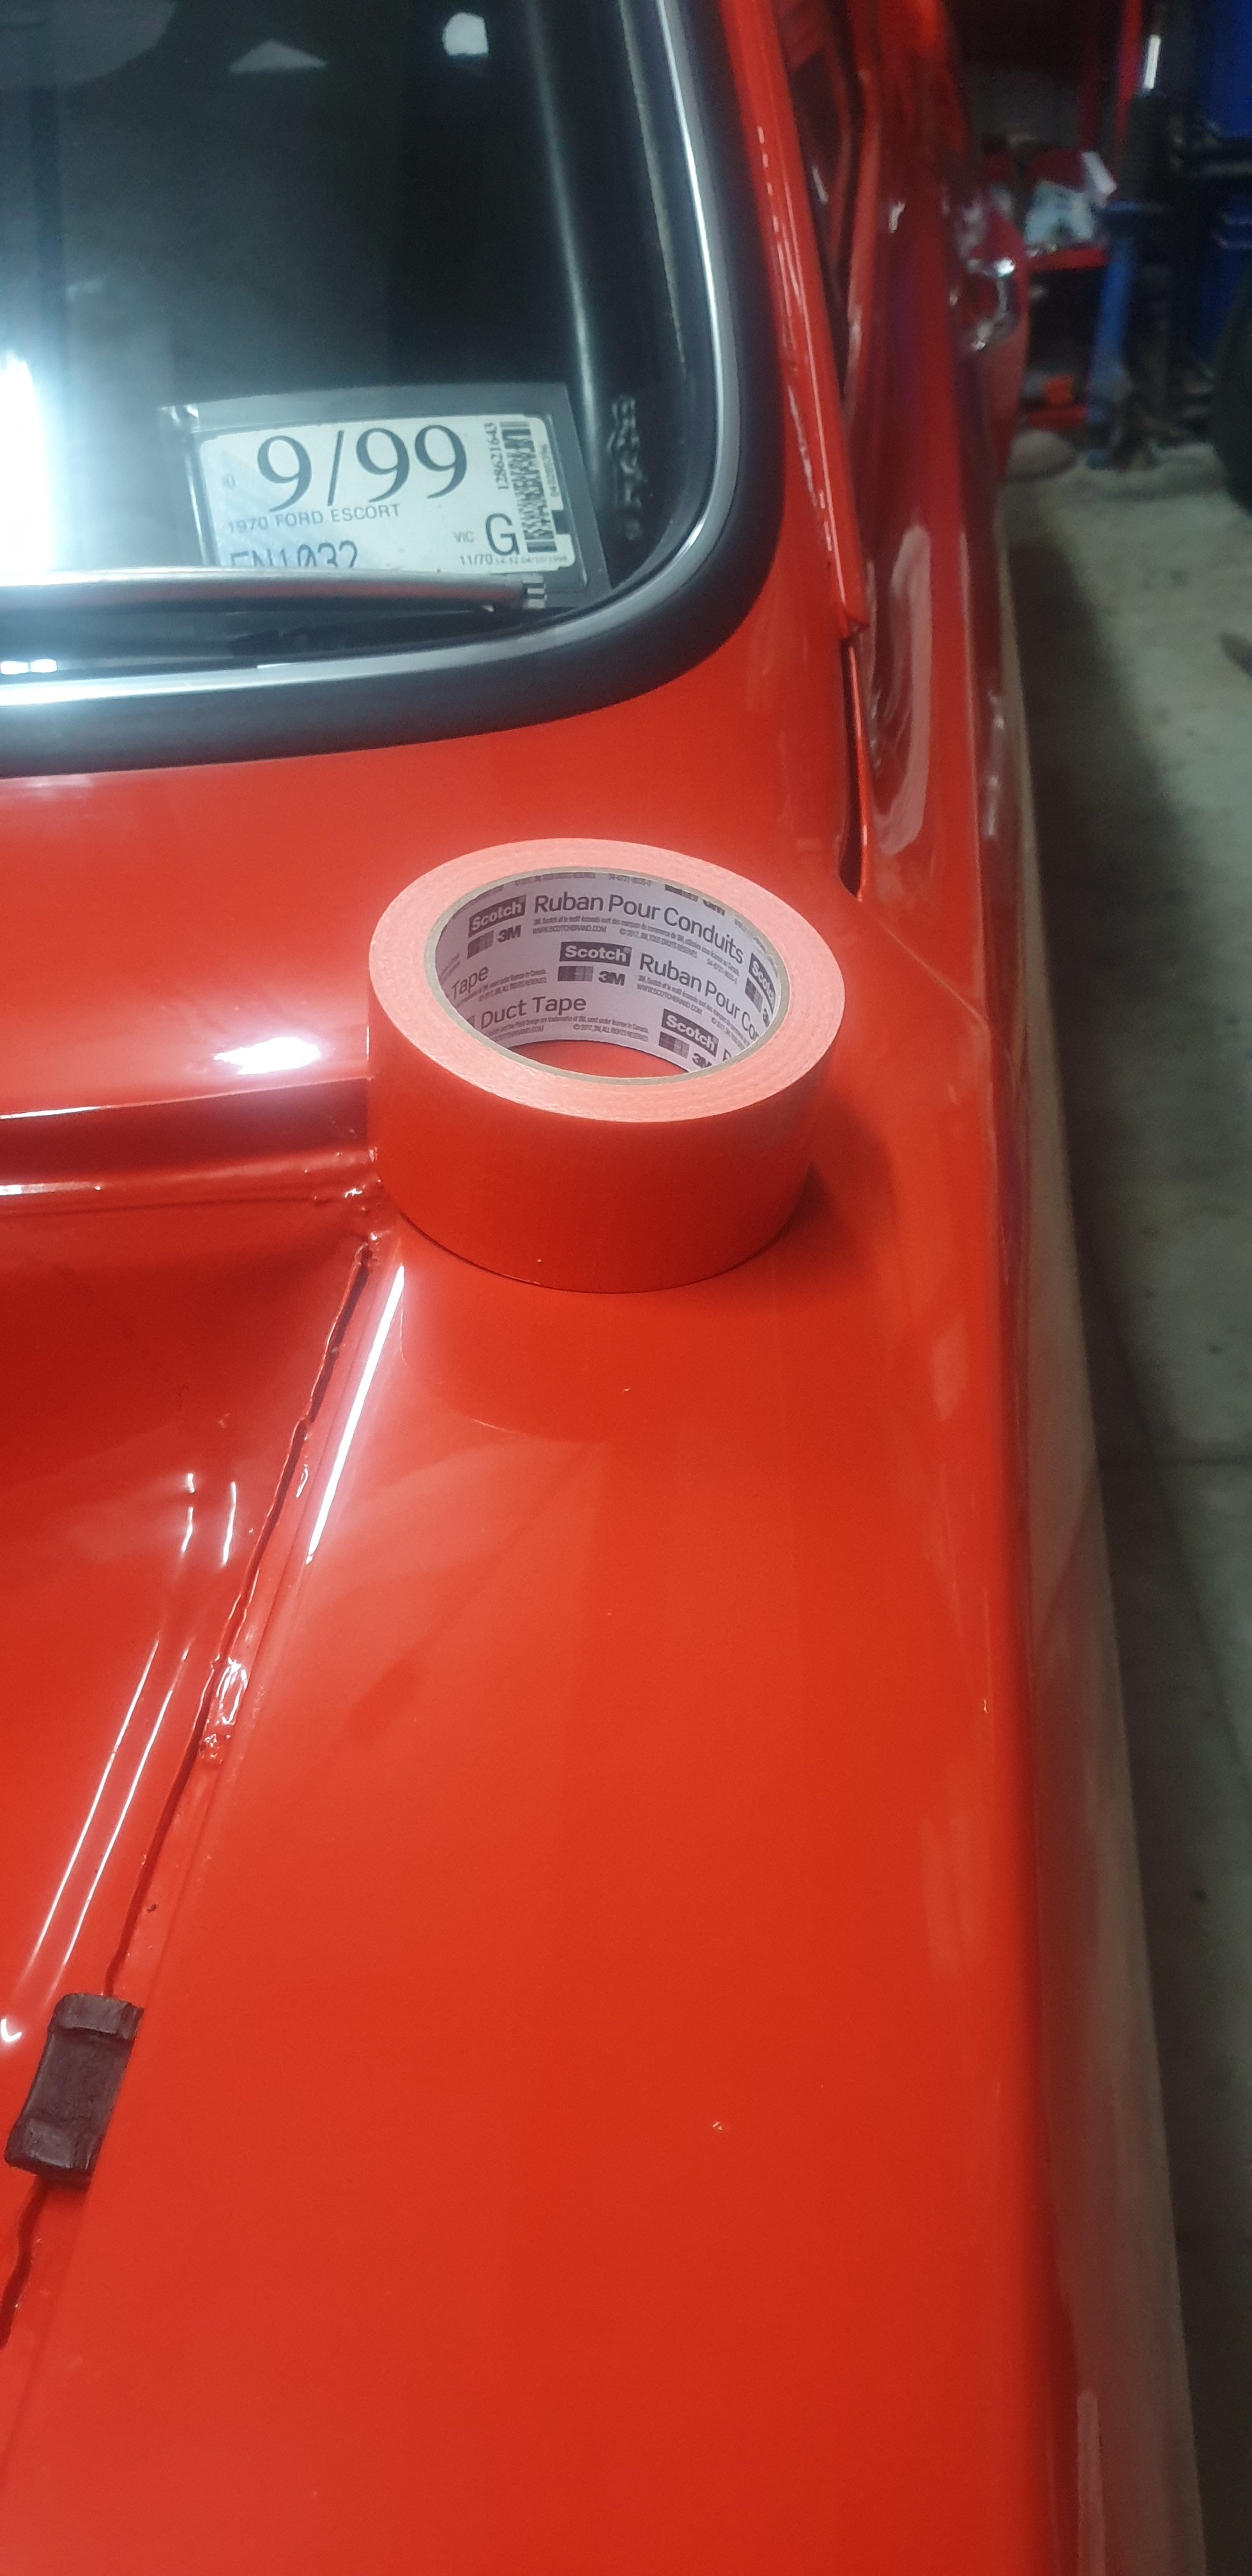
Been pretty slack recently on getting our to the shed. Mainly due to it being freezing.. Found some almost perfect match 100mph tape ... just in case something happens..
1 point
-
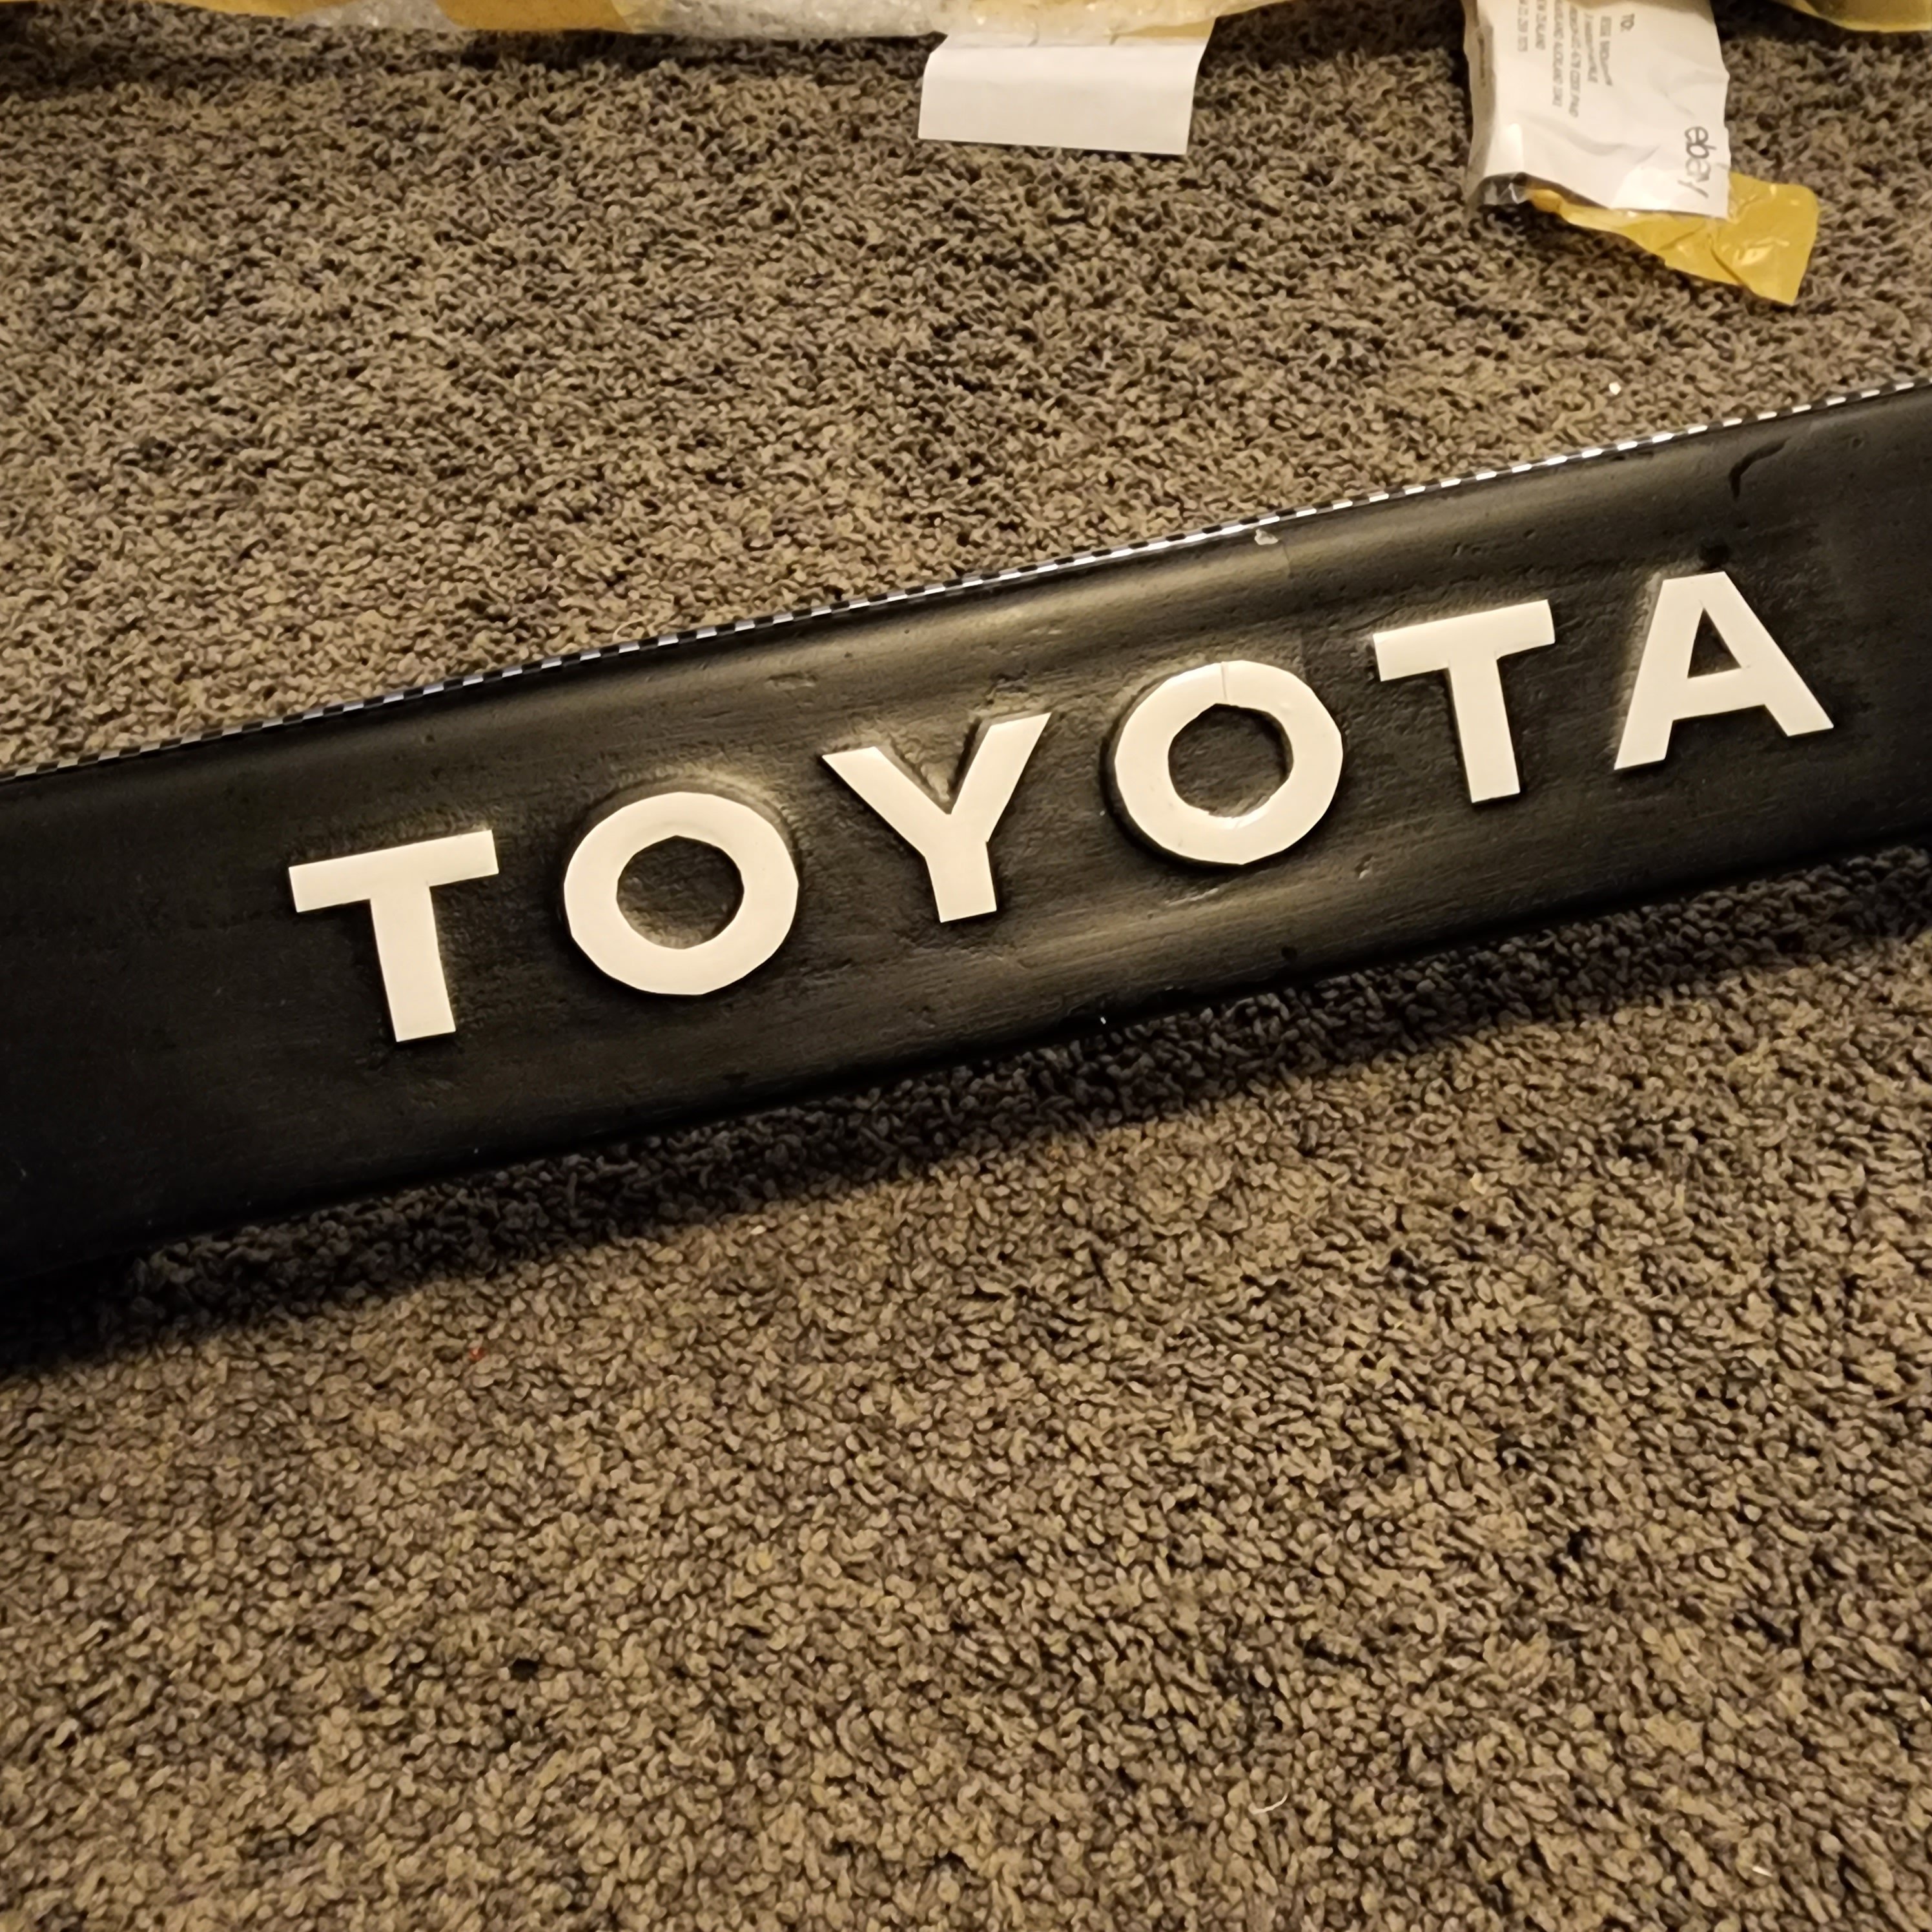
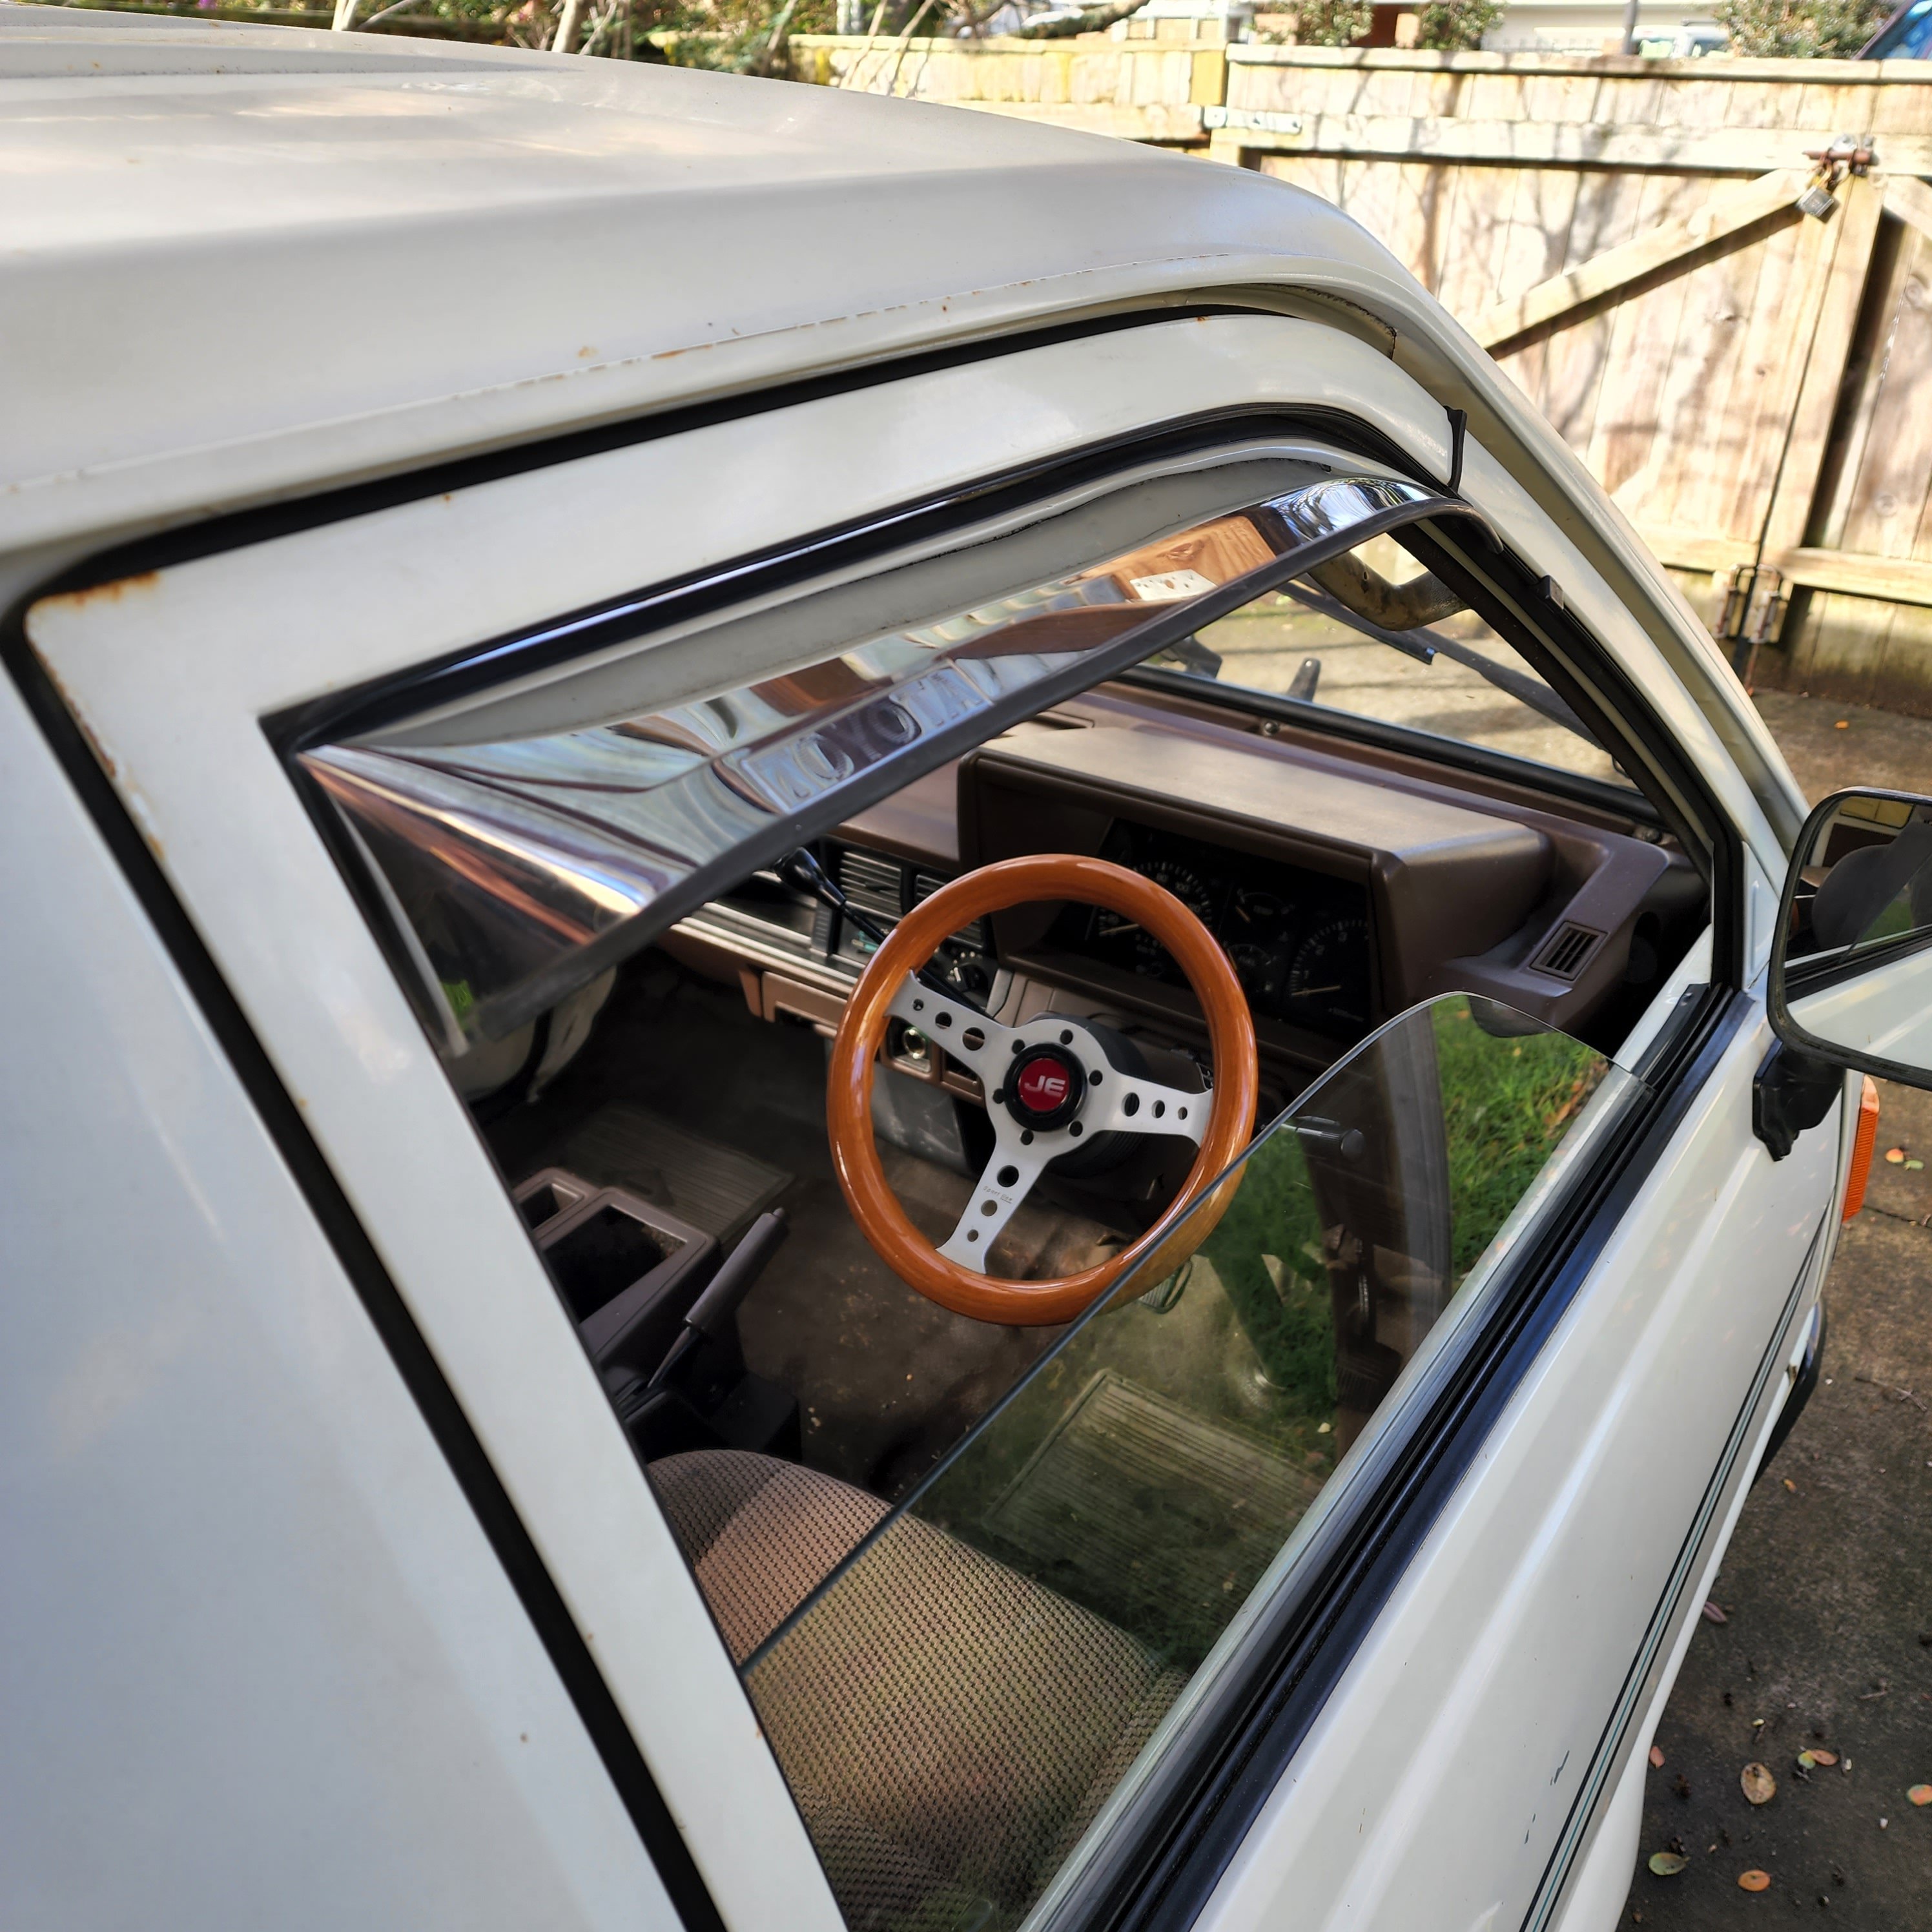
I ordered a reproduction boot handle from Sri Lanka via ebay for $150 The thing is handmade. And very poorly...
1 point
-
Cheers for the offer! But will give it a go on the 50cc first time around. Have entered! Will sort accommodation later / plenty of time for that.1 point
-
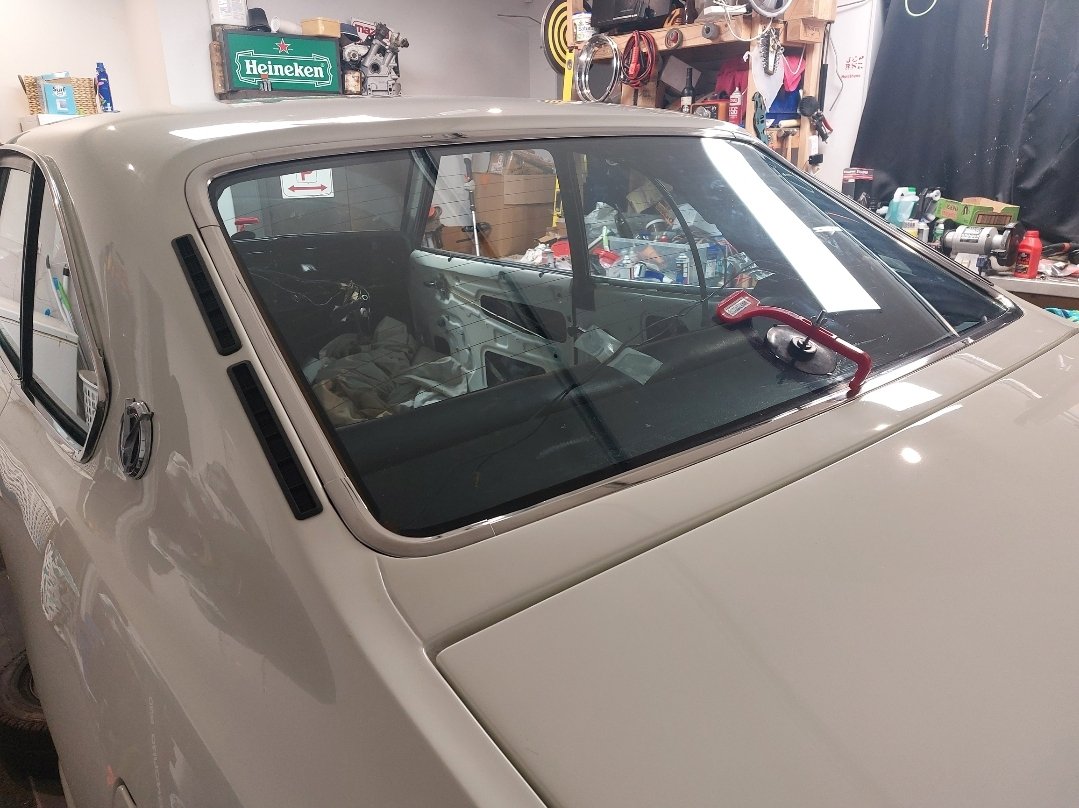
Screens in new front, had to reuse the rear, it has a few scratches being 50 years old, but i have no choice. Clutch all bled up, pedal feels good, not too heavy. And typically i cant go forward without going back on this car, Filled the radiator, and the waterpump leaked, was supposed to be mint, can't buy new, so have to send away for reco. Fuel tank in, just got to complete the lines.
1 point
-
hello and welcome all. its a sunday and im at work with no trains moving so lets get into this and give you guys the update you havent been waiting nor have been asking for. it was Saturday 2nd of July and time to get some shit done, time to strip the engine and rebuild it. i got sweet bugger all photos of this process as i was on a crunch for time. new crank proceeded to clean all the parts and put it all back together with the new crank. this is as far as we got as we didn't have the balance fan back from ATL balancing. while nothing was open on the Sunday i shot out to @Geophys place and got some welding done, we cut off the heat risers on the exhaust manifold so they wouldn't protruded thought the tin wear any more, and we modified the mustache bar to now fit the new oil pump on it. geophfey been skilled this is what it looked like before hand. we cut the engine mount off as it would interfer with the oil lines and this is what it looked like with it gone this is it on, you can now see the cb performance oil in and out pump in place and the lines interfering with the 3rd engine mount so with that all done and with shops now open on the monday, i picked up the alternator fan. here is a picture of it with added weight for balancing whacked the rest of it together. got a new peace of tin wear which doesn't have the holes cut out for the heat risers as well. looks a bunch nicer not having them in there. quick start up and we are good to go. next up we wait around for my gearbox to be built / finished, ended up getting a date and got @Leebo3 to pick that up for me. smashed down to his place on friday night with @bobby1930 and spun some yarns. box back at home and lets get this done. monday comes around and we are off to the vdubshoppe to smash this back together Gearbox in at 10:30 engine in at 11:30 time to do all the small things and now to put in the remote oil filter, here is a image of the filter bracket. drilled a couple of holes in the rear wheel arch/mud guard and bolted it down got the wrong type of hose and continued on my way fitted it all up. and finished my day like that. i lost my little red isolator key so shot to burnsco and brought another one and headed back on Tuesday. checked everything over and went for a drive around the block and i was stoked. 1st time i had driven it in 6 months so it was time to leave, packed up my crap and got on the road. made it out of town and tested the new expressway new diff gears go really well, this is just over 3200 rpm and then i noticed my oil light come on so i pulled over quickly to which i found my inlet oil line into the filter had come off and my engine was just pumping oil out onto the expressway at 110kph......... a phone call later and put the hose back on and tightened the hose clamp again we were back to the vdubshoppe the hose i felt was weeping at the fitting so i bit the bullet after trying different hose clamps to get a better clamping force and went with -8 AN fittings. the reason we didnt got with these to begin with was the vduphoppe didn't have a 3/8 bsp to -8 adapter in stock. he also said id have no issue as hes done it on other engines this way and i wanted to just get the bus going. so i found some adapters locally and got back into pulling the kombi back apart. now going AN fittings the mustache bar needed more clearance as the fittings where much bigger and touch it. ended up cutting it longer than this as i needed more clearance smashed it down with a hammer like bellow and well yeah cut it longer and then blazed it up with the welder smashed it back on and i still had little clearance so i ended up putting a 45 fitting straight from the pump. you can kinda see it here in this image. time to put the fittings on the lines, this is where i found out i had put the wrong hose in general on and put breather pipe on instead of the -8 i should have. rookie mistake from myself and not knowing what i was doing and also maybe a bit of mistake from the new parts person as well. so with the new hoses made up we smashed it back together and i went on my marry way again. to get home and see it was still leaking a little bit. out with the adjustable spanners and tightened up with fittings and done them fucken tight this time. so far I've used it for the last two days and i haven't seen anything like below from underneath it so far. should check to see if its got oil now that i think of it. but other than that shes going good, need to fine tune the shifter location and maybe try the bigger spacer the linkage kit comes with now my gearbox is mint, but 10/10 happy to be out driving again. thanks for tuning in and reading my shit yarns, hopefully see you all out and about. keep safe, your stupid vw owner xx1 point
-
fucking 10 years latter.... we were trying to sell our house and that fucked up many things including any progress on this engine. anywho, here we are. ive been doing many measuring and many modeling of things and i am 99% sure i have a piston shape that clears the bigger valves and the increased lift but yields 11.5 to 1. i figure if the CR is too high i can remove material but if its too low that's a bit harder to fix... so yea now i need to do a final check of piston clearance and then find someone to make a set of them to my drawing. ill start the ball rolling with getting the head work done too. with the head sorted and the pistons under control the rest of the project seems like its achievable. however we shall see. still got a whole ITB system to craft for this as well as many other things.
1 point
-
Yay another arrival today, and got my 14x9" A3A's back from a friend who was borrowing them. so i only got one of the 14x9 -25 (a type) MKIII, but i have another 14x6.5 a type so as i suspected its just a case of ordering a single outer barrel to make a matched pair. woohoo!
1 point
-
Easy fix1 point
-
1 point
-
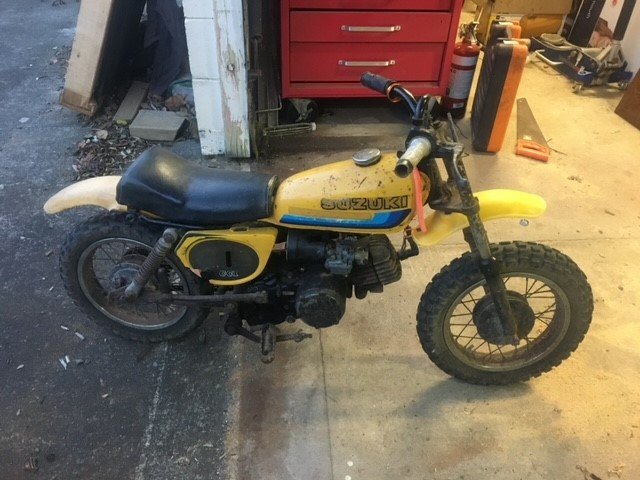
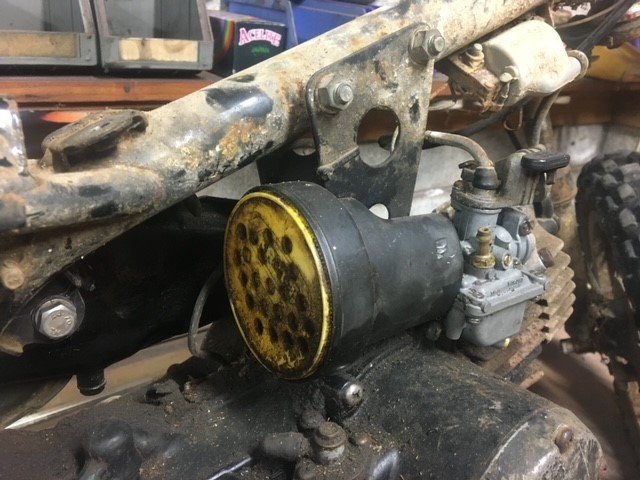
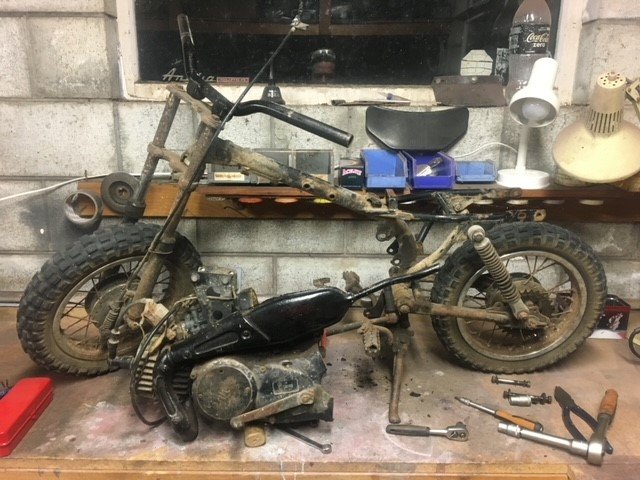
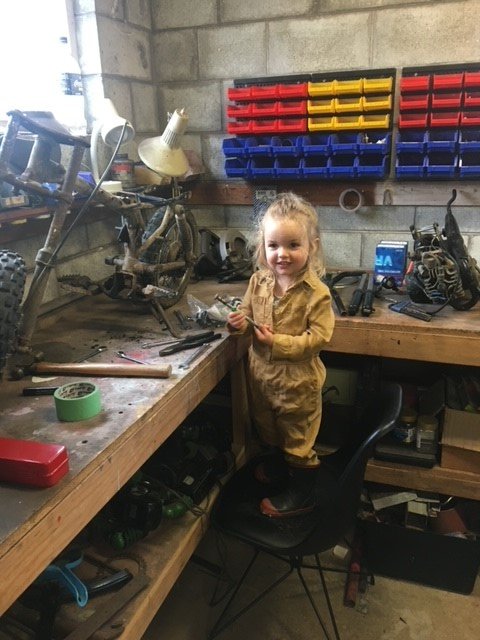
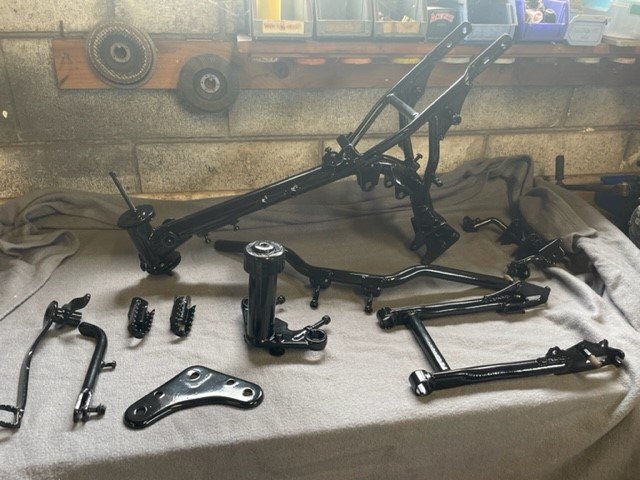
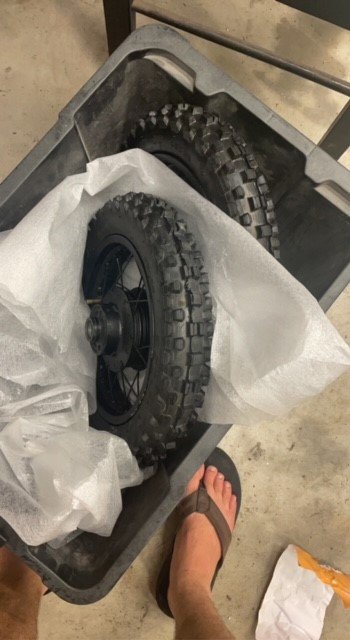
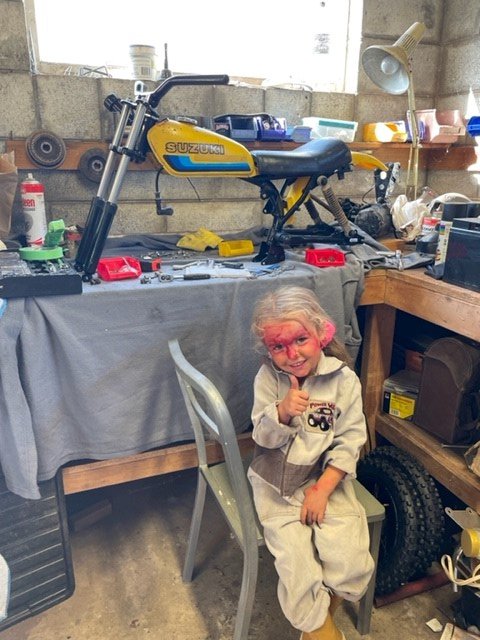
The other thing we have been working on around here is decidedly more miniature. This JR50 belonged to my older cousins, and then I rode it when I was little, and then it saw use again at the occasional party when @Duke Blackwood and I were big. A while back my daughter spied it hiding in the back of grandads shed and went and sat on it. She doesn't usually have the courage to go and sit on scary things like motorbikes, so it was a bit of a big deal for her, but at this point her favourite thing to watch on the TV was Dora (The biker, not the explorer). Here she was sitting on it in grandads shed doing her best Dora spec bike tour: I pushed her around the lawn on it and then we took it home for a restoration. Its been slow going as we have tried to work on it together and she's not always interested, being she was only 2.5 years old when we started and all... We stripped it down at xmas 2020 so its been an 18 month rebuild so far. (Peanut butter lid air filter cover my dad made once upon a time) We have pulled the whole thing down, powdercoated some bits, painted some others, new bearings here and there. Lots of old stock suzuki parts. New tubes and tires. New forks from China. Whipped the barrel and head off and had them vapour blasted and honed. Its very very close to finished now. The last piece of the puzzle is the fuel tap. Suzuki used this fuel tap on 2 models from 79-80, so its rocking horse poo. I'm going to have to make something special up for it and haven't quite managed to make it happen yet.
1 point
-
In daylight you can hardly tell... Should keep Mr policeman happy.
1 point


This leaderboard is set to Auckland/GMT+12:00