
Leaderboard


Popular Content
Showing content with the highest reputation on 08/22/19 in all areas
-
i have entered i have no bike see you in 3 months7 points
-
Another good monthly meet even with the short notice. Good to see all the normal faces out and new ones inc new cars. Lets do it all again next month.6 points
-
dont use POR15, its fucking useless. epotec 408 is a fucking great two pac primer but its 1/4 the price of durapox. sandblast or dip, whatever. once you get it back clean the fuck out of it, scotchbrite the hell out of it then spray it with epotec. whatever you do after that doesn't matter, with that base your good.6 points
-
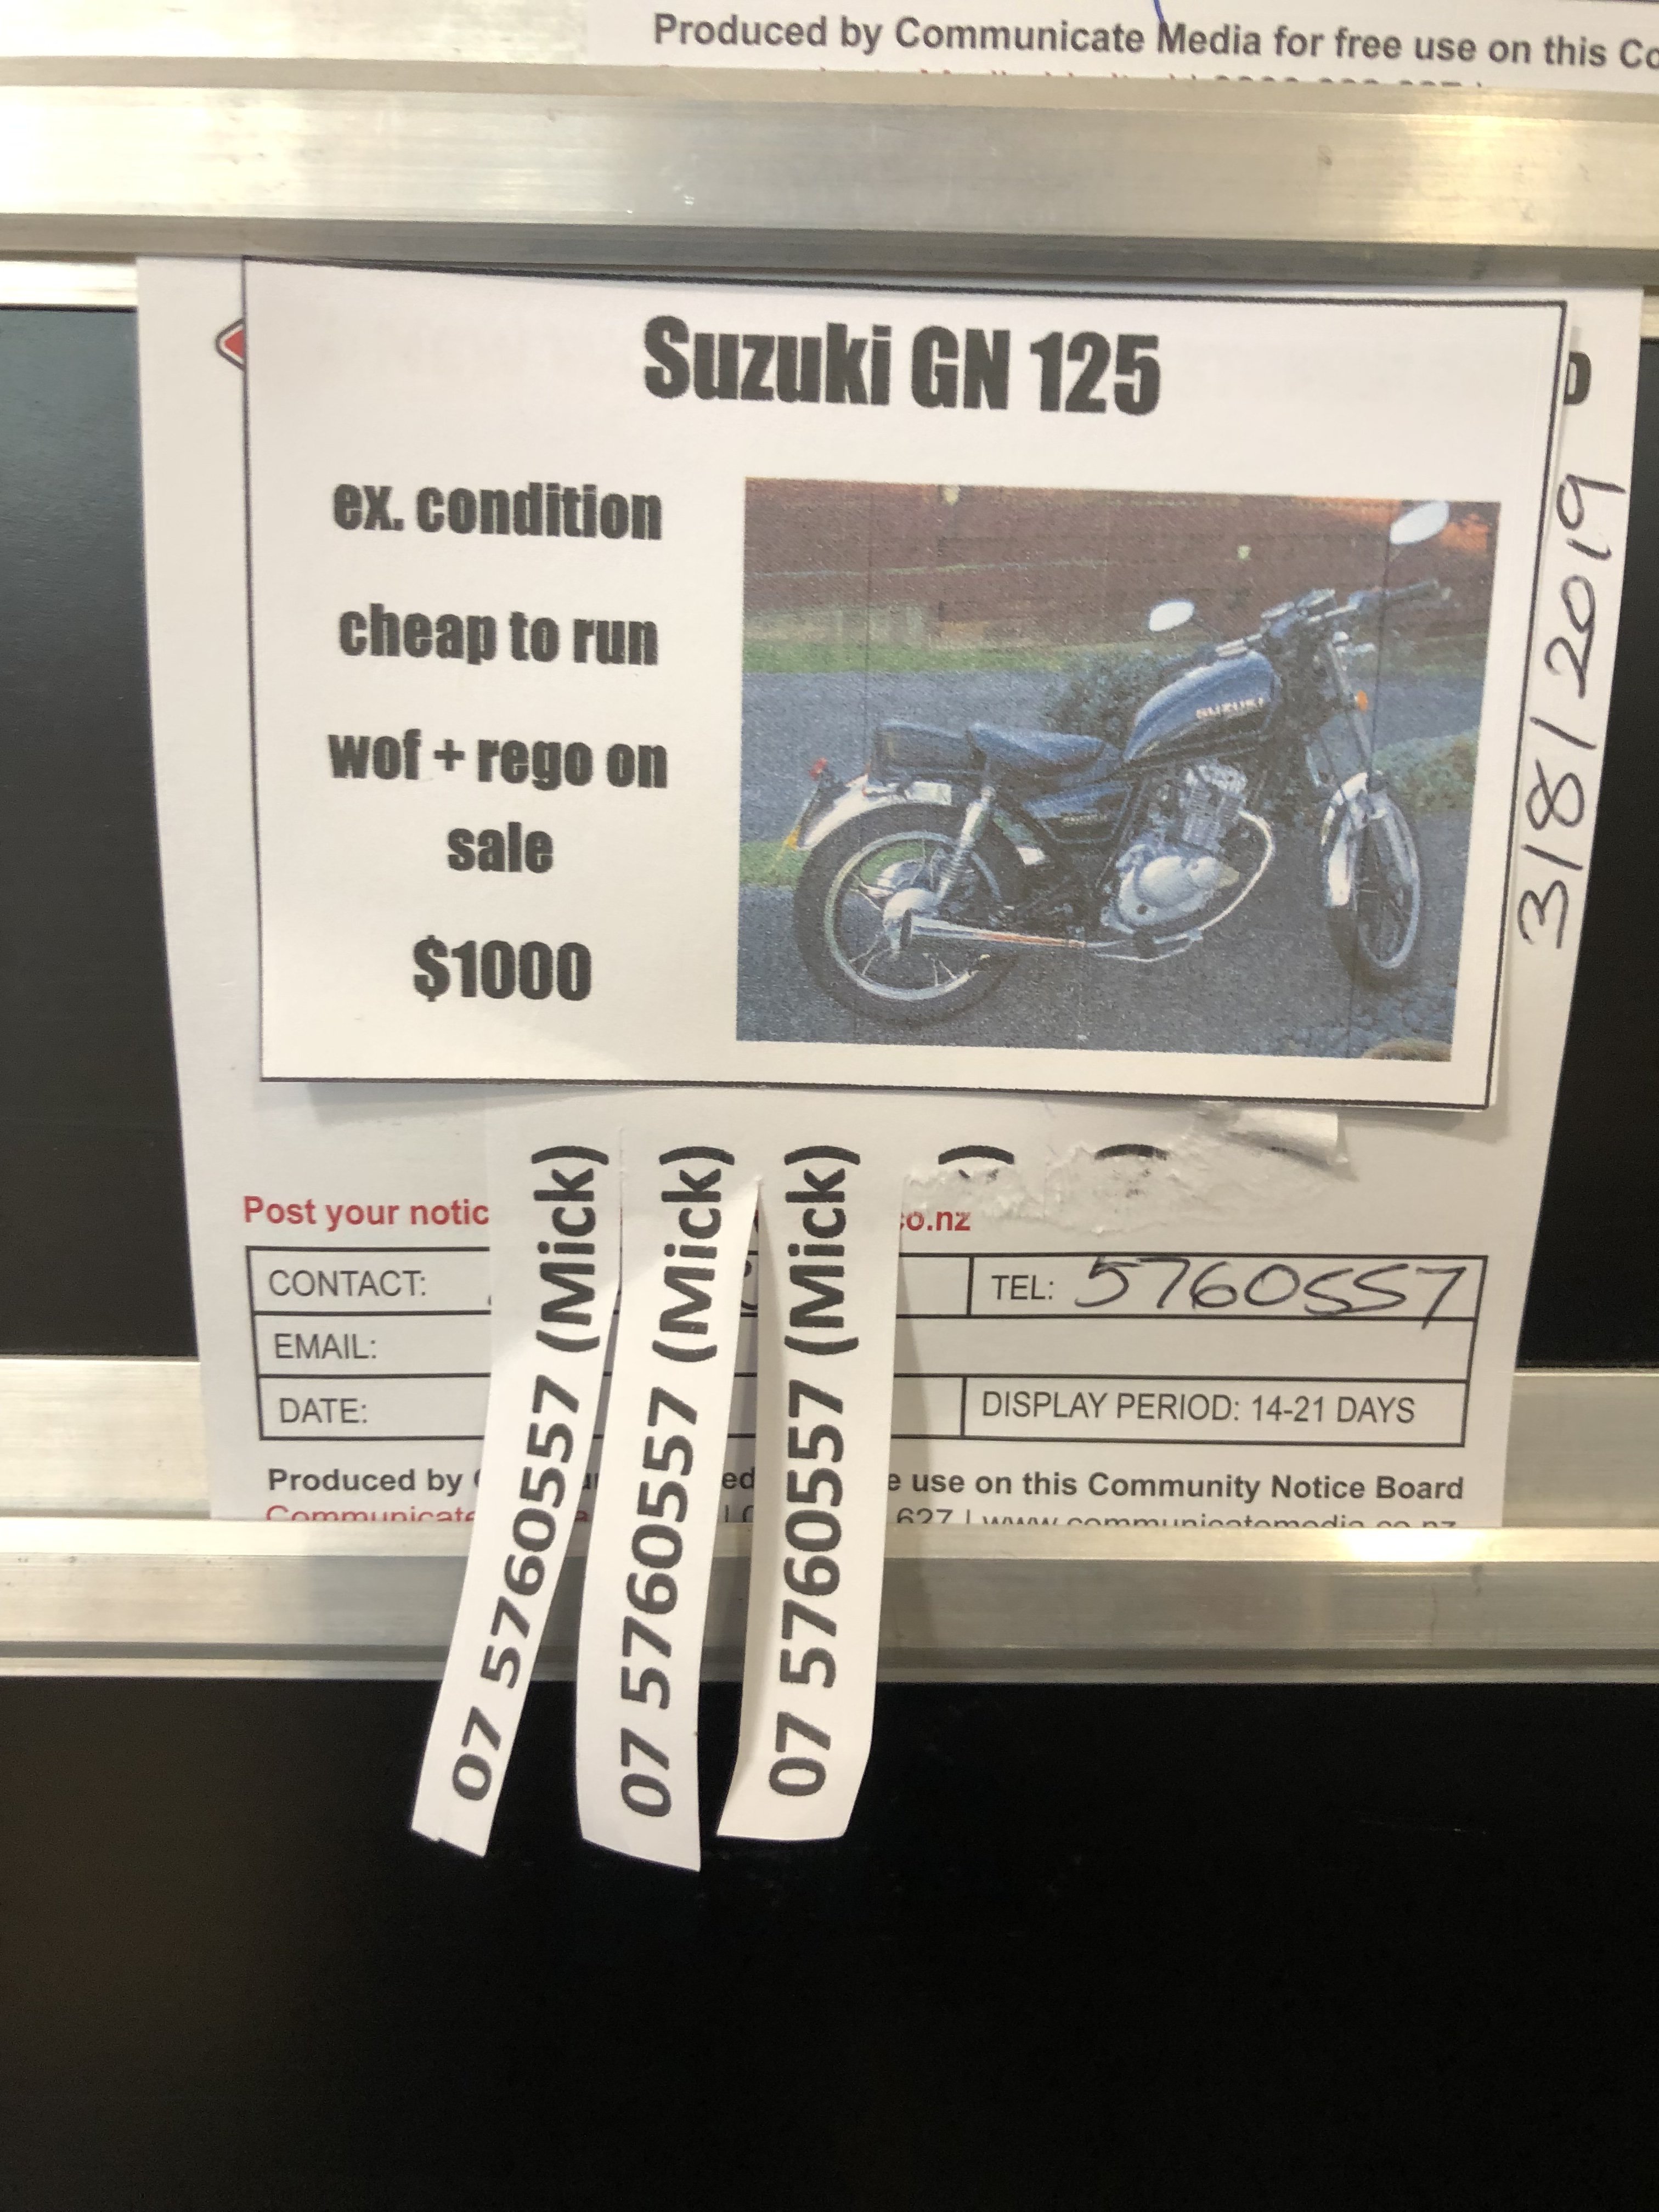
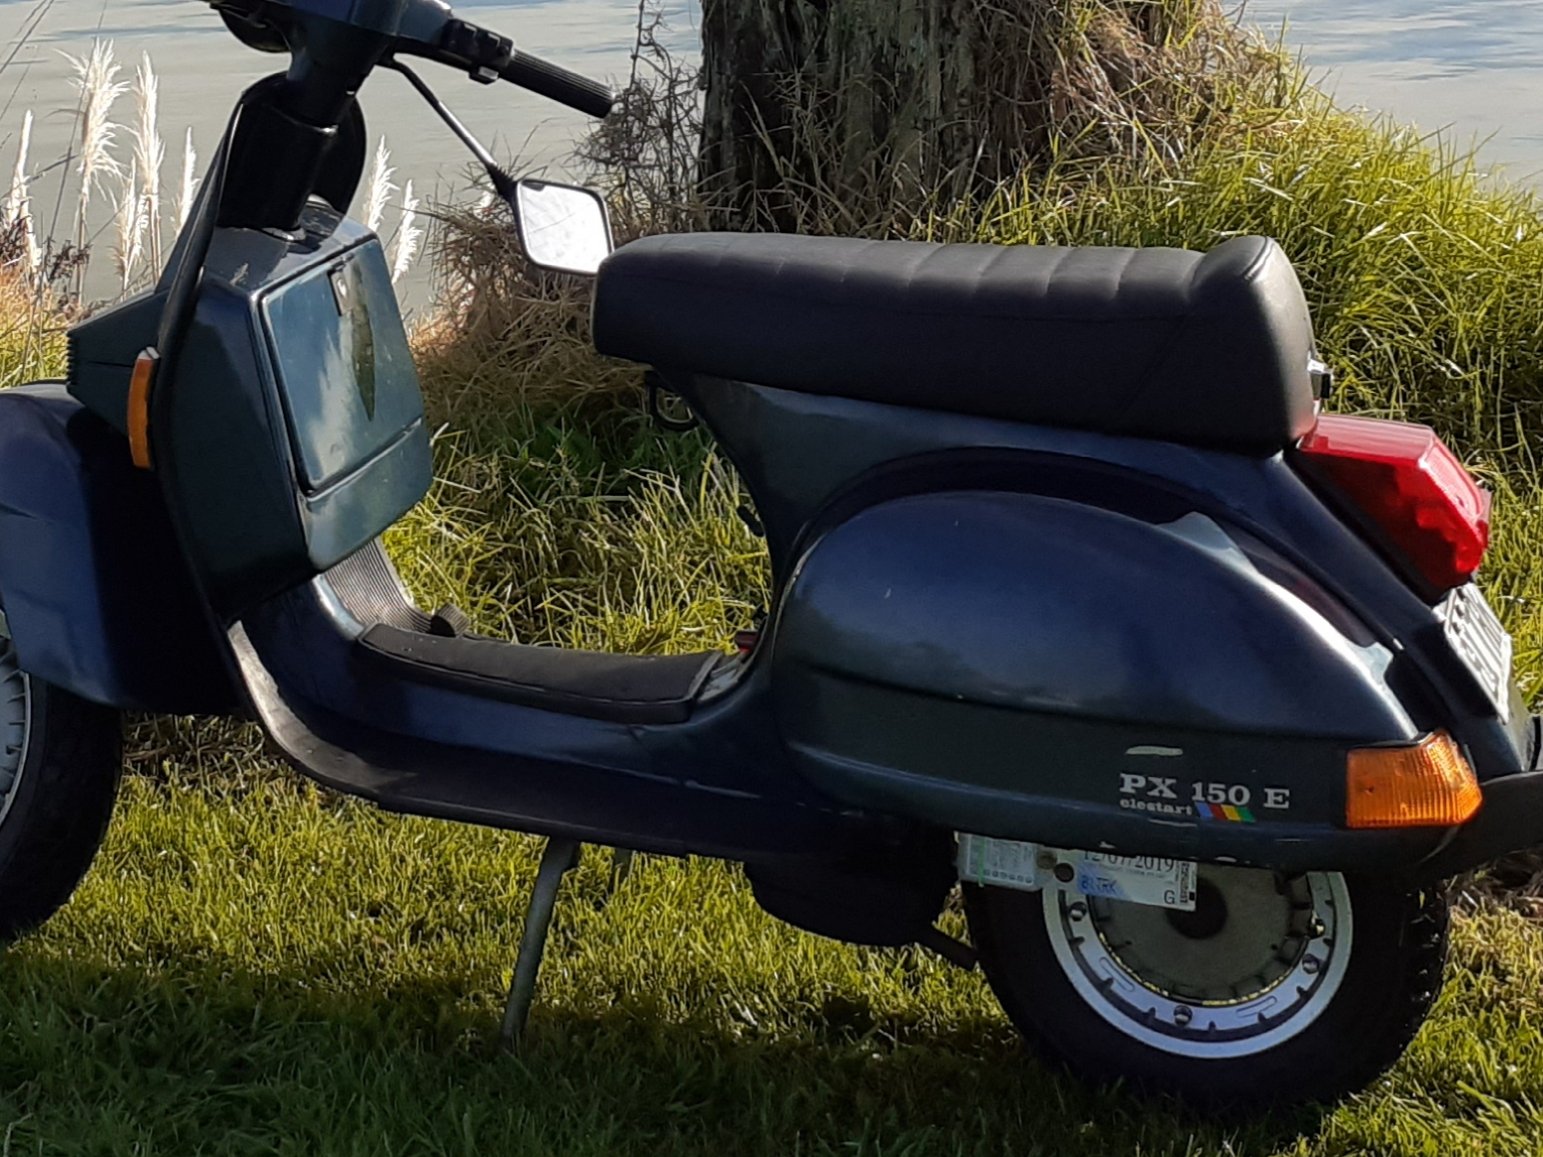
BY.JINGOS THIS ISNT THE BRIDGE CLUB FORUM???!?! ANYWHO I CANT WORK THIS INTERNET TJING OUT MUCH TOO COMPLICATED FOR MY ME SO I GOT MY LOVELY GRANDSON TO WORK THE INTERNET FOR.ME AND HE GOT INTOUCH WITH A NICE CHAP FROM DUNEDIN.AAHHH DUNEDIN EDDINBURGH OF THE SOUTH THE CALL IT LOVELY TOWN.I REMEMBER TAKING MAVIS THERE FOR OUR HONEYMOON.But SADLY MAVIS ISNT WITH US ANY LONGER SO MY LOVELY GRANDSON FOUND ME AN ENGINE IN THE INTERNET ON SOMETHING I BELIEVE HE CALLED tRADEM.I HAD TO GO TO THE BANK AND DO AN ELECTRICAL FUND tRANSFer. WHICH HAD ME MOST BEWILDERED BUT NICE LASS AT THE BANK SAW ME RIGHT AND HECK KEITH YOU SHOULD OF SEEN HOW HIGH ABOVE THE KNEE HER WORK BLOUSE WAS. LOVELY LASS AND QUITE THE LOOKER? MY BIKE IS A SUSUKY MADE BY THEM JAPS WHICH WOULD HAVE JERRY TURNING IN HIS GRAVE BUT IT HAS A VERY RELIABLE ELECTRIC SYSTEM MY LOVELY GRANDSON HAS THE ENGINE BEING SENT TO THE RESTHOME AND IF MY ANGINA ISNT.two DICKY I WILL FETTLE AWAY AT GETTING IT TO FIT MY SUZUKY WITH THE HELP OF MALCOM AND TREVOR AT THE MODEL ENGINEERING CLUB. Have.YOU SEEN THE 5.INCH SCALE MODEL OF FLYING SCOTTSMAN THAT MALCOM IS BUILDING!? I look forward to ENJOYING A CIGARETTE AND COLD CAN OF LEOPARD OVER A GAME OF EUCHRE. Tell.IRIS I SAY HELLO AND THE HIP IS DOING GOOD AFTER MY RECENT SURGERY OH AND.PLEASE FEED.THE CAT WHILE IM AWAY?6 points
-
I'd skip the POR and go direct to durapox if painting The steel plate (heavily pitted and showing rust heave) I wirebrushed a couple years ago and gave 3 coats with the gun has sat outside since then and looks like the day I painted it4 points
-
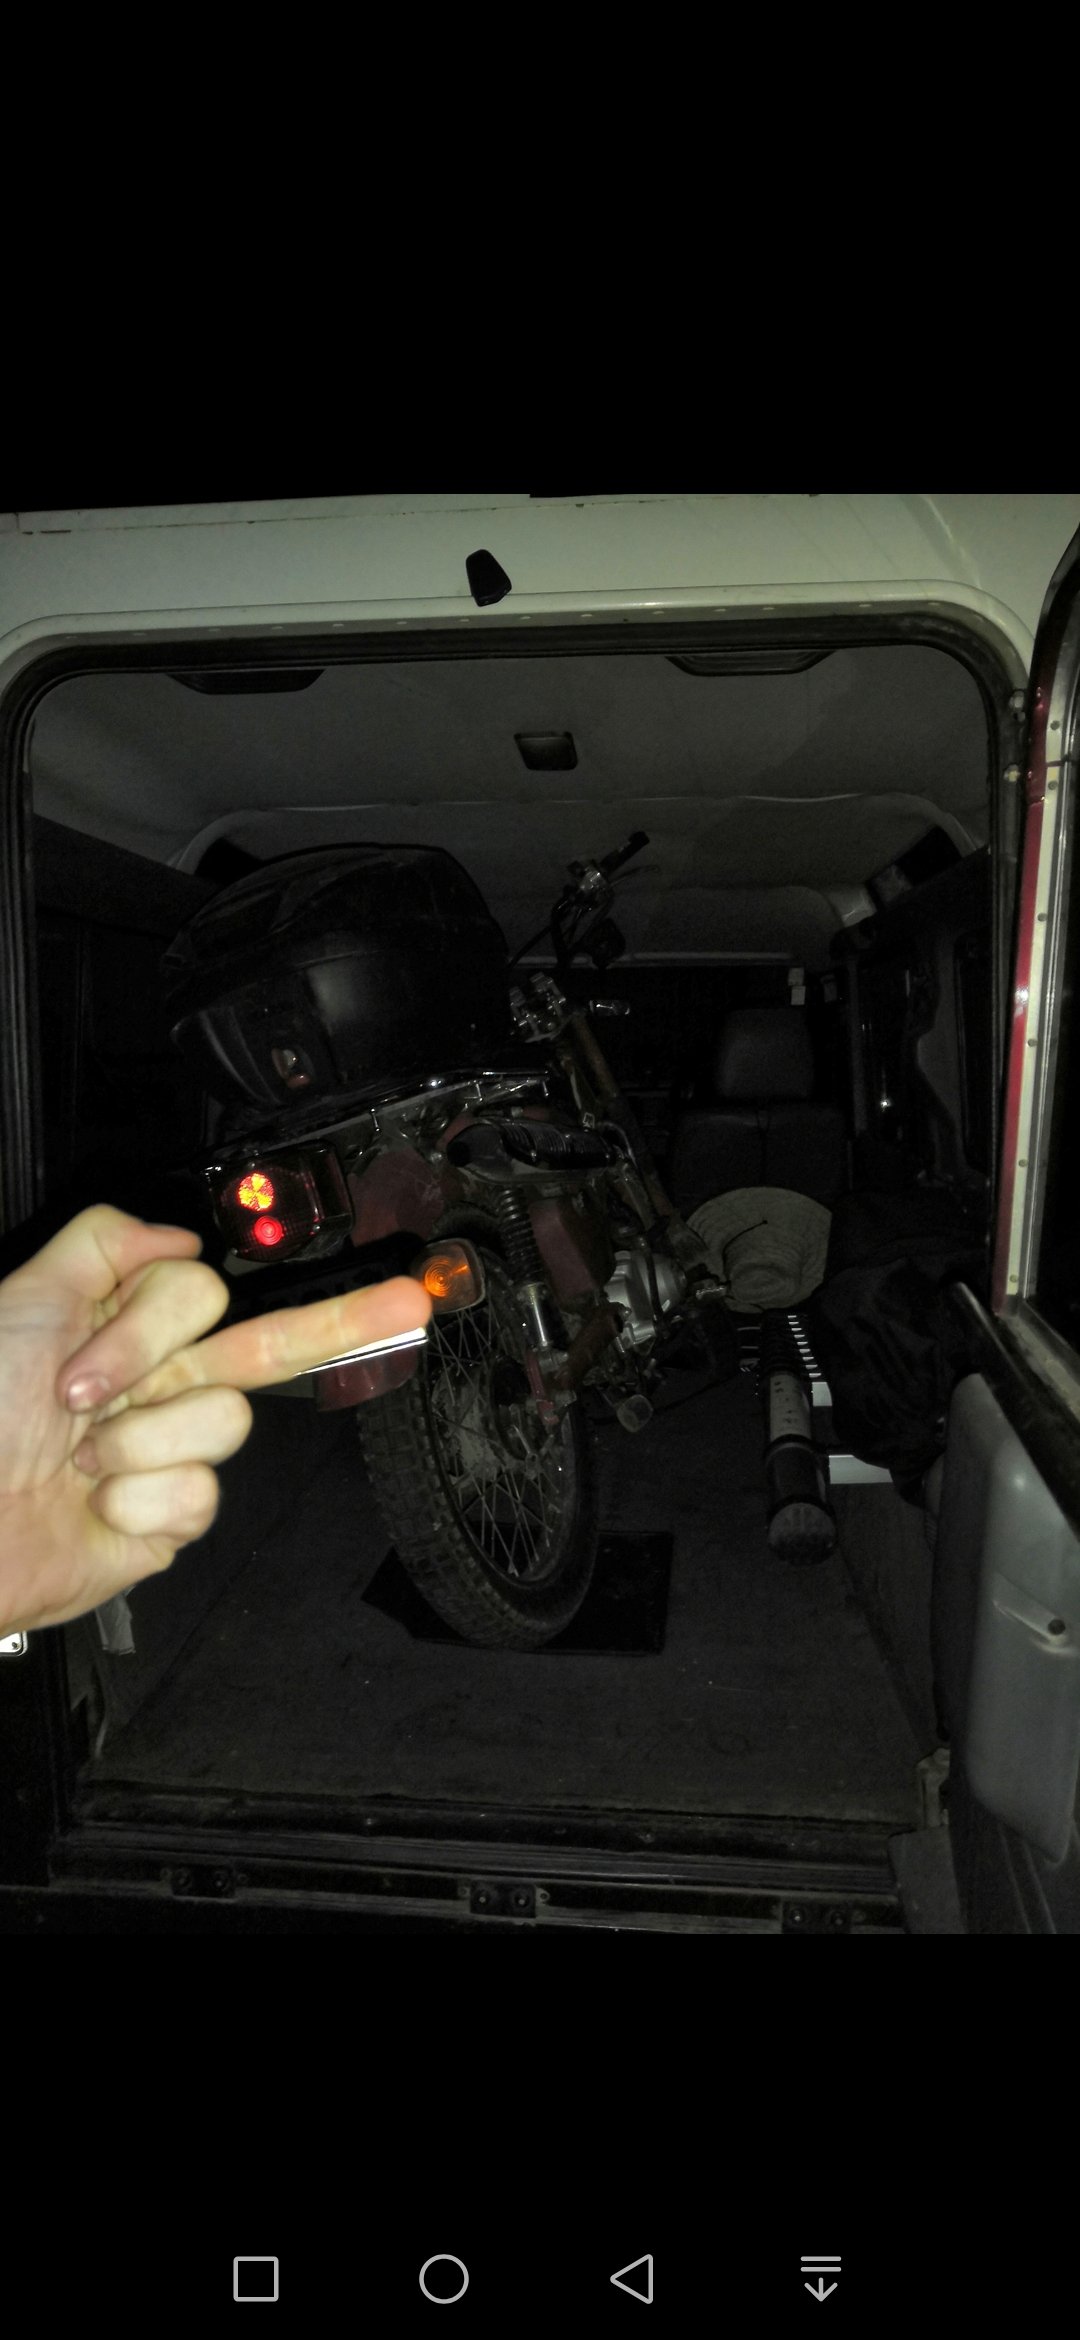
ON MY WAY LOL
 4 points
 -
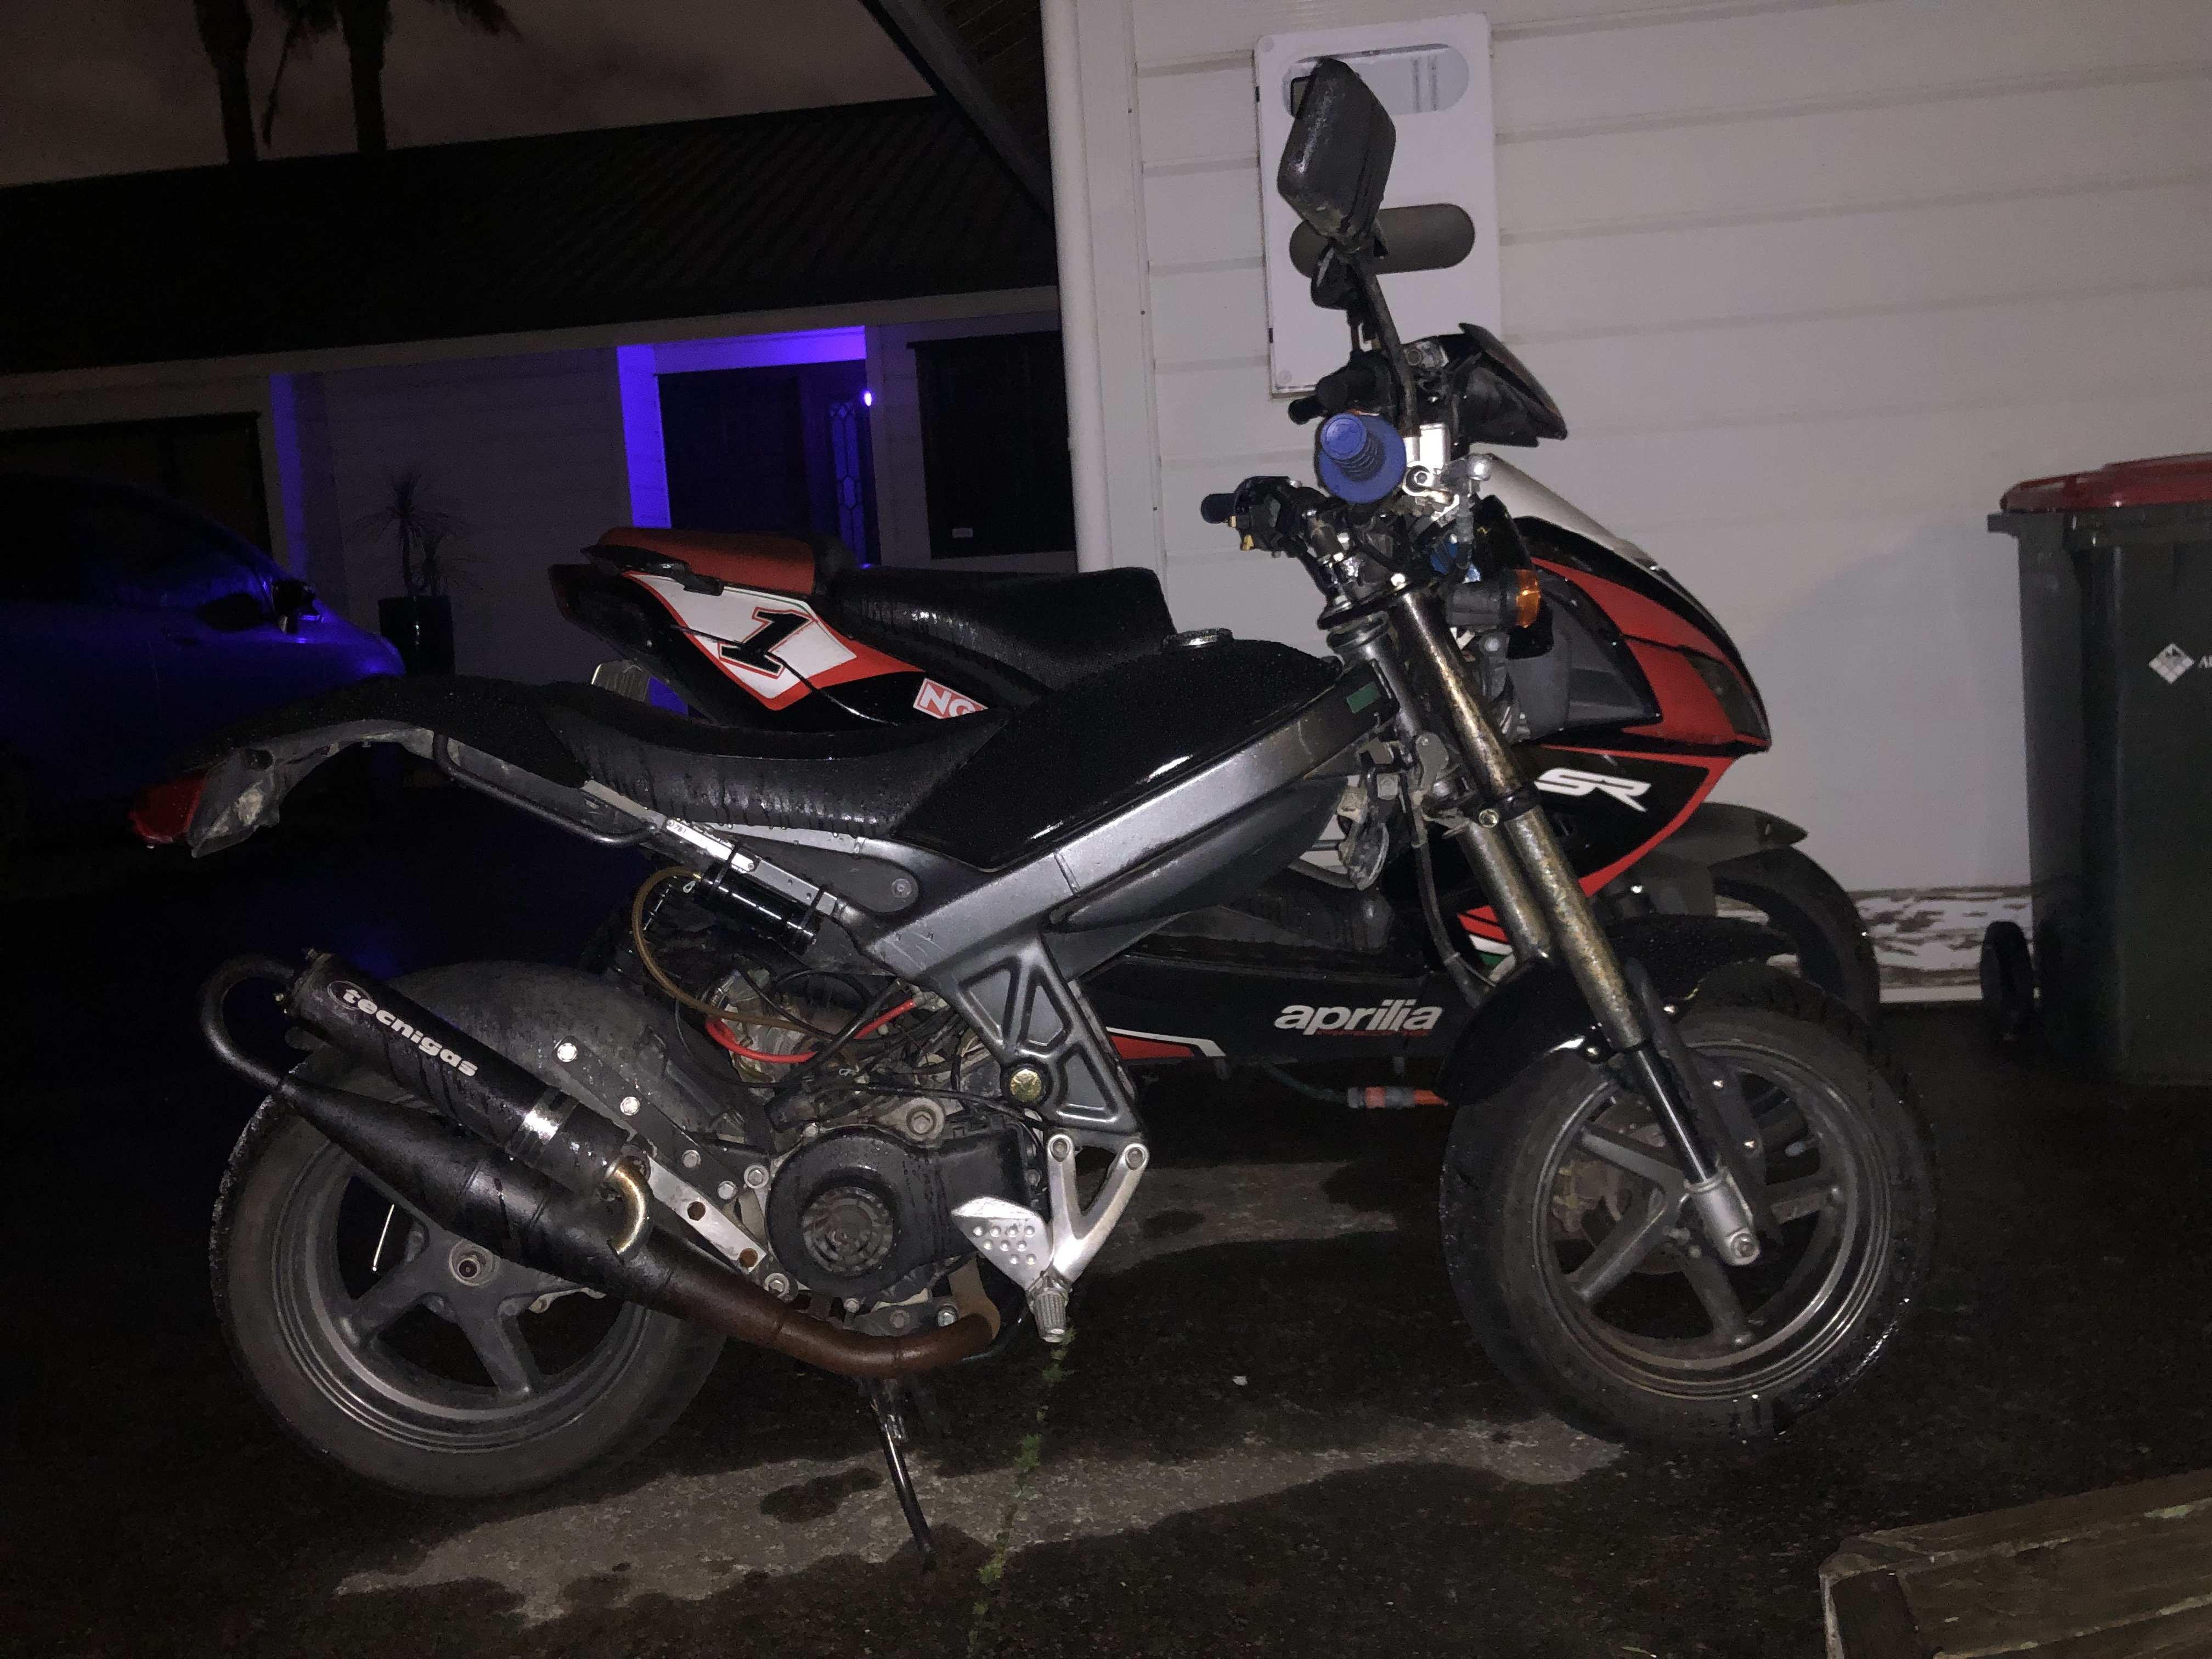
HERE IS A PIXTURE OF MY MOTORBIKE3 points
-
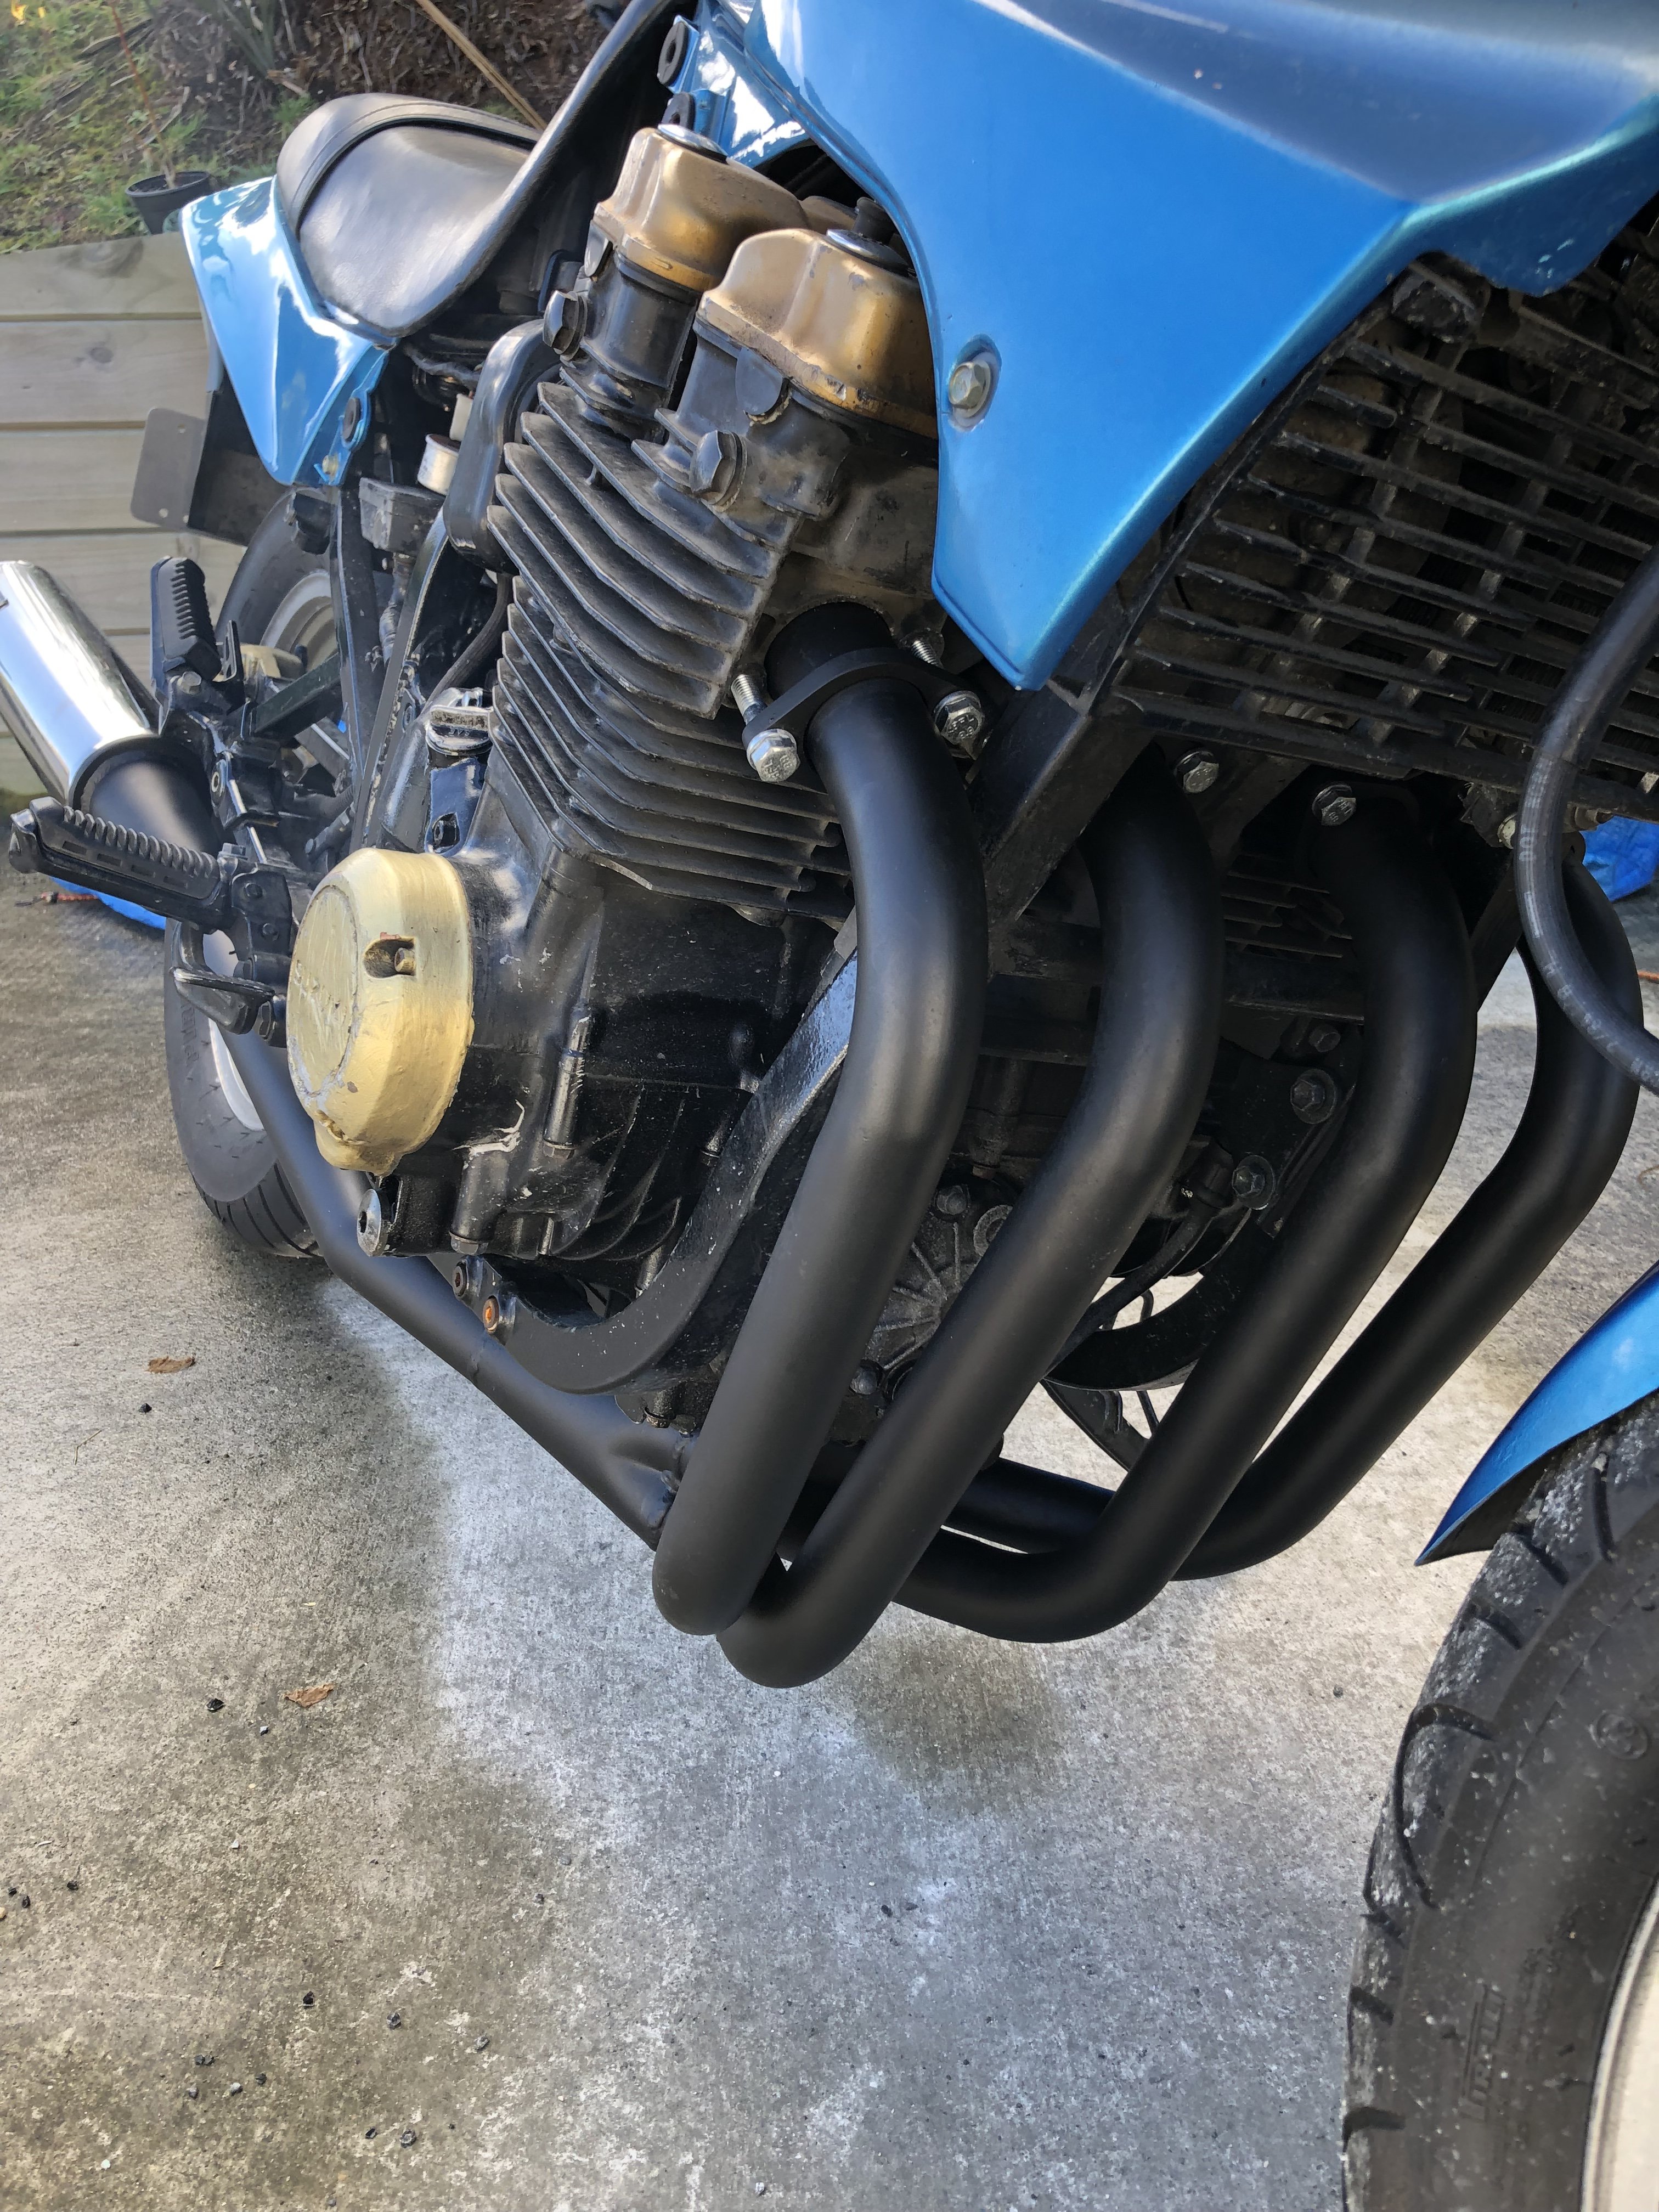
Wasn’t kidding when I said I’m pretty sure the PO painted everything black with a brush. Those are fork cap rubbers
3 points
-
+1 for giving it to Autoblast and paying them to deal with it, A+ people to deal with.2 points
-
^ this is the only way. Find your Protec supplier and use 408 epoxy. Protec also do cheap black industrial spec 2K urethane top coats which are great for this kinda thing.2 points
-
LOL Sent from my iPhone.
2 points
-
There's a place that sandblast and electro galv spray. Supposed to be good for 30 years on an oil rig https://www.autoblast.co.nz/services/underbody-rust/2 points
-
ILene h0w do you turn this damn camerA thing around!!2 points
-
I took the day off work and had a me day Repainted the new exhaust because it was starting to look a bit surface rusty. Pulled the front wheel to go down and get the leak sorted. Ordered a replacement side cover to replace that Barry one $88 later but at least it has all its lugs. “Cured” the exhaust paint by running the bike, sounds great after pulling the clutch and sorting that rattle. Next on the list is to sort out the carbs flooding, I think the floats are getting stuck so it keeps fuel flowing. I think I’ll just replace all the float valves to hopefully sort it out. I was going to buy a pingel tap to replace the original, not sure if I will now. Getting a replacement gauge case and tach from Canada and hopefully if he has a spare light cover to replace the folded sheet metal one.
2 points
-
Moving pictures or diorama please2 points
-
LARRY HERE, IS THIS WHERE WE DISCUSS OUR BURNT PENIS? I REMEMBER BACK IN THE GOOD OL DAYS WHEN ROGER AND BOB TOOK THEIR OLD PIG HUNTING CYCLES UP THE YOUR’A’WEARA’S. BOB FORGOT HIS FUEL CAP AND RAN WITHOUT ONE. THE BLOODY FUEL WAS ALL OVER THE PLACE. WELL BLOW ME DOWN, WE CROSS A RIVER AND BOBS CIGGY FELL PUT OF HIS MOUTH, THE PETROL IGNITES ON FIRE AND DAMN NEAR FIZZED HIS DICK CLEAN OFF! SMOKEY SAUSAGES AND BURNT PUBERTY HAIR IS ALL WE COULD SMELL FOR WEEKS. ANYWAY, I WANT TO COME ALONG ON MY 1981 MX100. ITS REGISTERED AS A 50CC - DONT TELL THE COPPERS!
2 points
-
Tauranga New World.
2 points
-
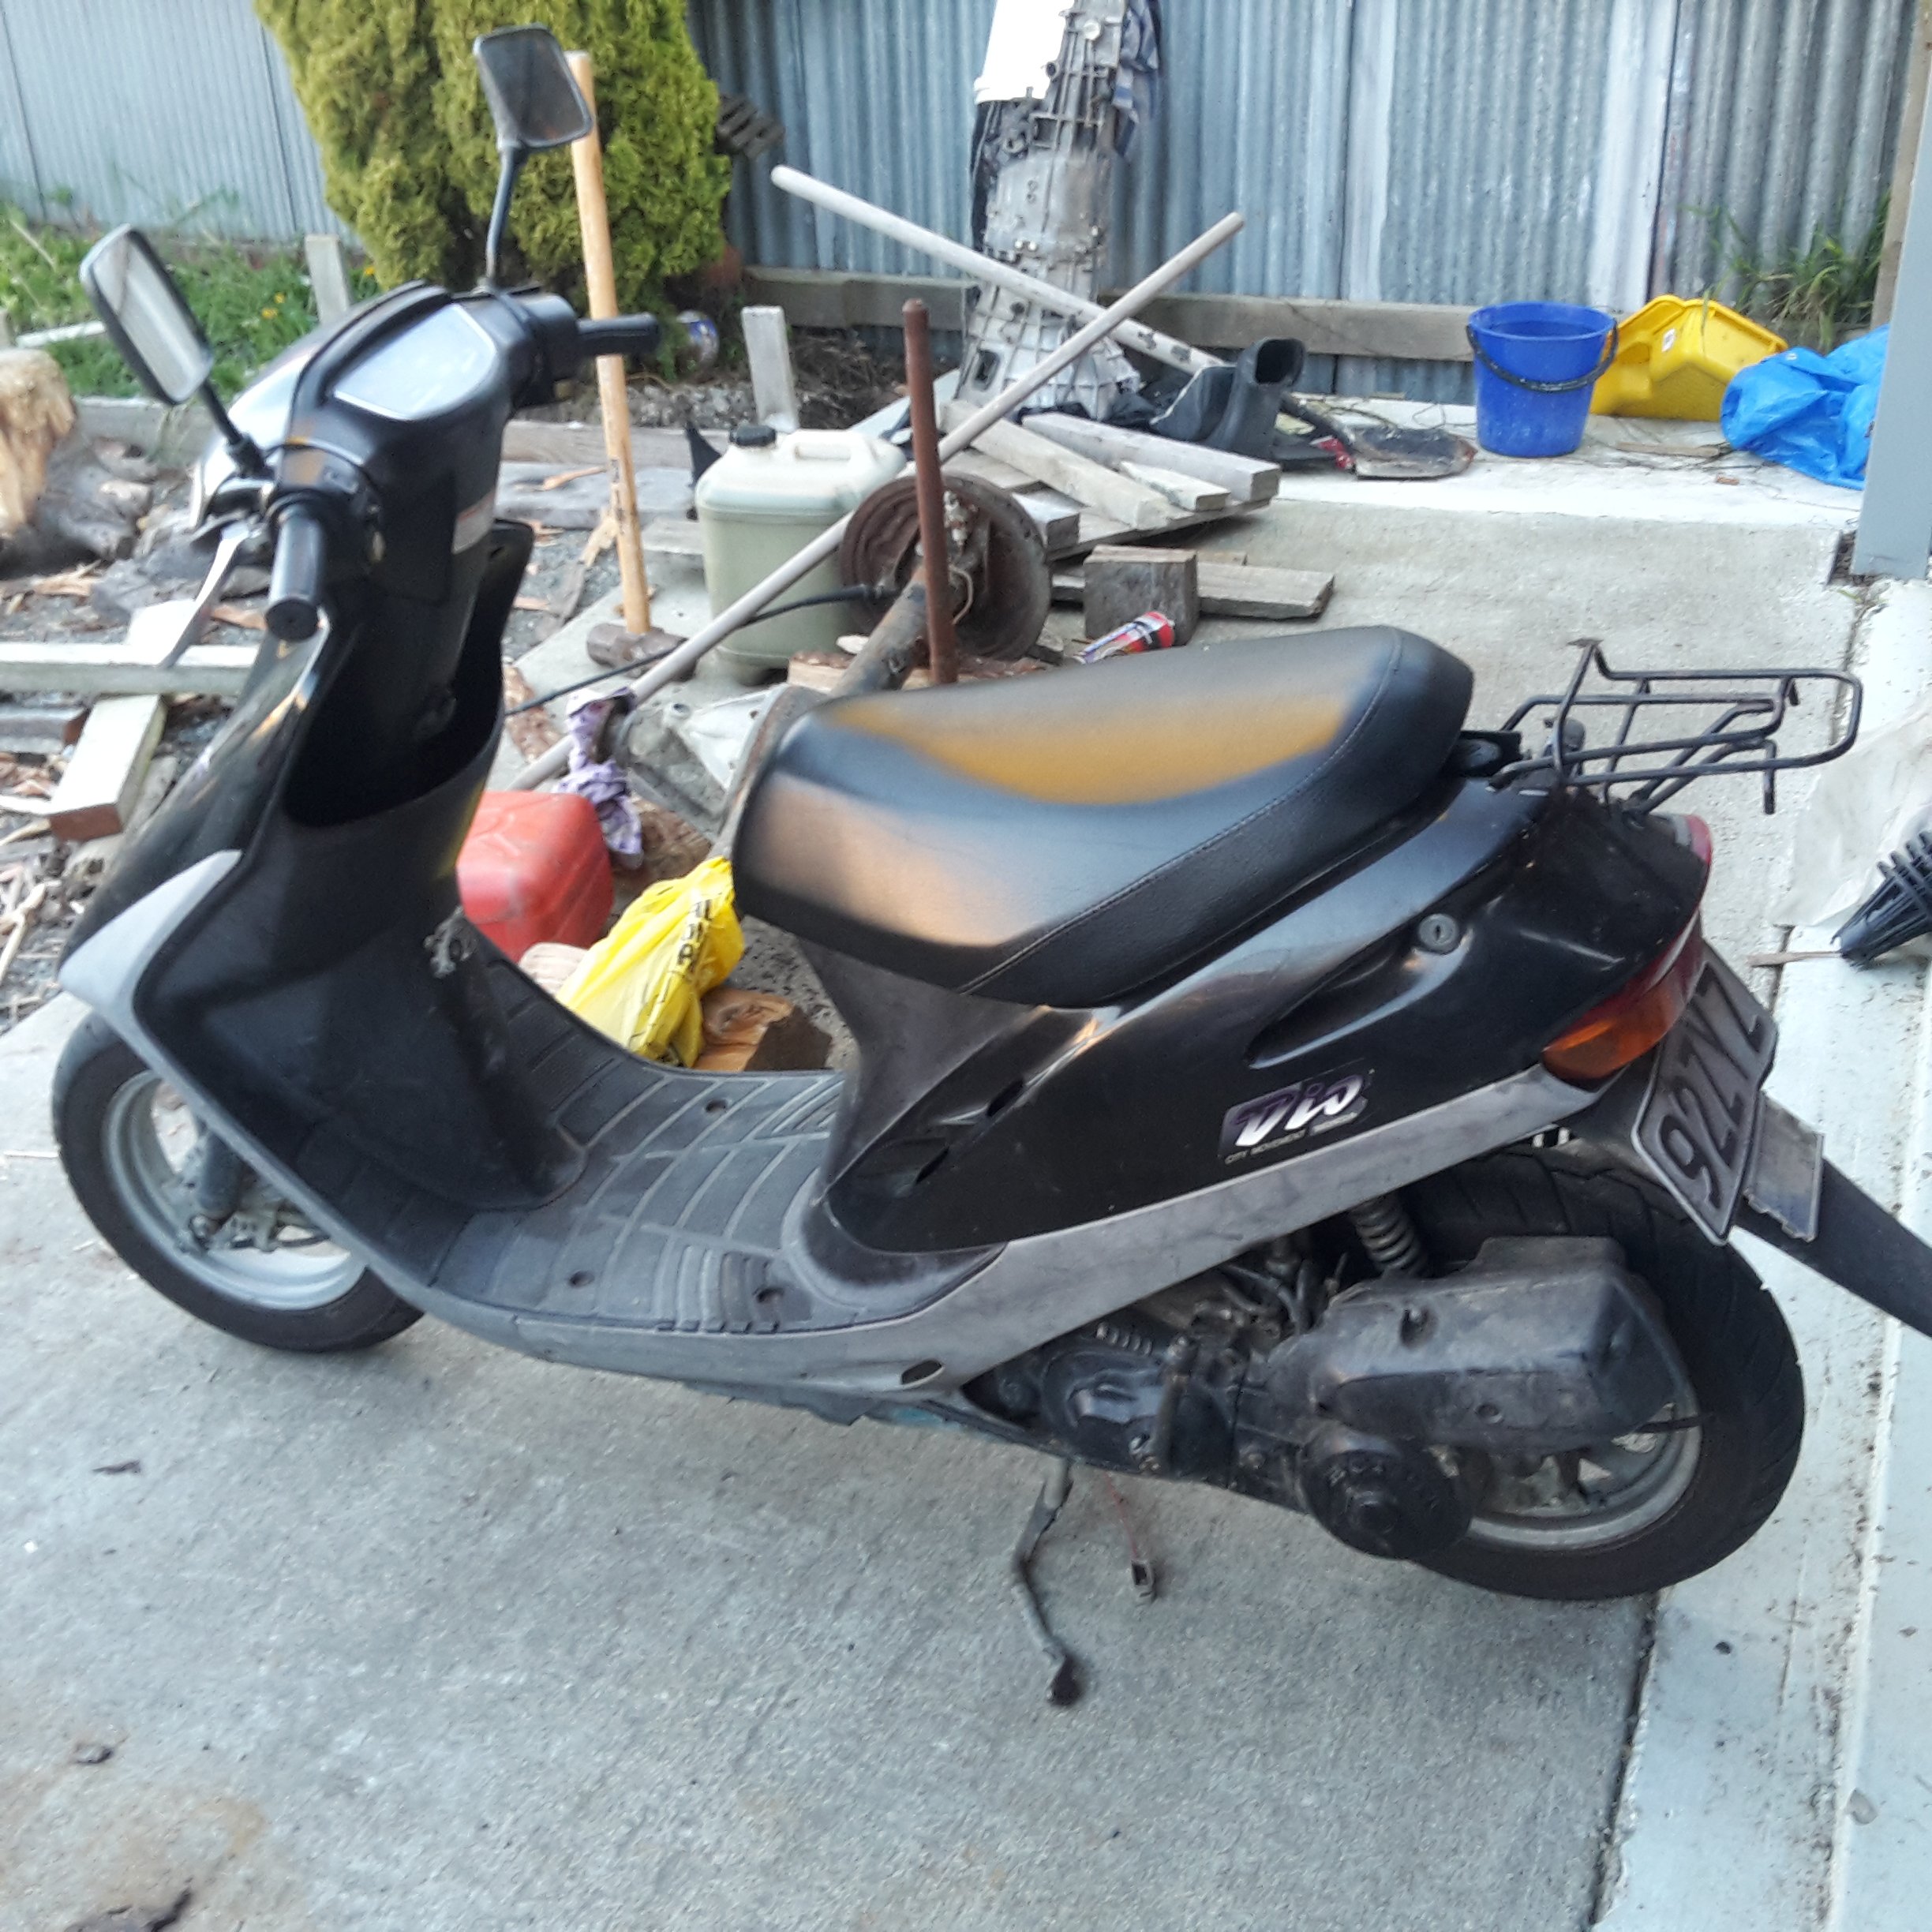
My name is Bart, I've been sober for about 9 hours now. I hate long walks on the beach, I do enjoy sinking piss, and laying down sharns of biblical proportions. My trusty steed Ronnie the Dio isn't all that fast. He's stock bar about $20 worth of parts of aliex. What he lacks in go, I have to compensate for with my generous testicular endowment. Plus he can sit wide open all day every day. And never miss a beat.
2 points
-
Got a little bit more done. Got an out of date unused 6 point harness, modified it to be 5 point, and fitted that. Just had to make a mounting bar for behind the seat. Then I got a small car battery (will have electric reverse + winch + lights in the future, so didn't use motorbike spec battery) and set about making a shitty mount for it. It used to be in the nose, but got the bash, so I've mounted it on the side. I might have to make a cover to stop it getting owned by debris in the future. I recycled a bit of seat belt and buckles, but couldn't get it tight, so changed it to good old fashioned rods N nuts. I also put a speed sensor on the front wheel for the trailtech dash. I just have to reroute some wiring and mount the magic electrical boxes, and it's ready for a gentle shake down run, hopefully this weekend weather permitting. If all goes well, I'll make a new front bash plate thing, as the old ones a bit rooted, Then paint all the bits that need painting (probably just rattle can it, as shit will keep getting modified) then start fitting all the alloy panels. I also have to make a dash that the bonnet will join up to. Hopefully the next post will have evidence of a successful test run. Regards, VG. XOXOX2 points
-
Update on the open chequebook: It has been up North getting work done for compliance, and so far has 15mm to go until the chassis is completely straight, and the front inner guard has been cut off to straighten out any creases caused by the impact. The creases were a fair bit more than thought, up under the strut tower and the engine bay was pretty bent, but it's had a massive weight attached to it and pulled the creases out where possible, and then will be softly hammered with Billy Mavs back into place. But the headlight surround area is too smashed, so a new piece will be made and welded in. Coming along nicely, it's just a shame to not have any control of it as a project at the moment. Most of pics go to Instagram as I forget to update here so much. Feel free to follow along @theamyable.2 points
-
It seems like I'm stuck in a never-ending loop of dodgy fuel hoses. The TVR is no different. After I paid for the TVR and whilst waiting for the transporter to collect it, I was let in on a little... issue... the car had. This is what I was told, as a little "oh btw" side note "And last but not least – I never cured a petrol smell from the tank and guess he hasn’t either … I couldn’t leave the car in the internal access garage cos it stank the house out." Well, that could be interesting, since my only garaging is internal access, under the bedrooms, and my driveway is too steep to park a classic car on (not to mention uncovered). When the car arrived, there was no obvious smell. I suspect that was to do with the fact the tanks were empty. Once I added fuel, a noticeable smell was present at the rear of the car. It wasn't enough to stink the house out, or even the garage, but with only 10L in the tanks I can only imagine it gets worse the more full they are. I have receipts for one of the tanks being removed and repaired in 2011, along with all the fuel hoses as the "recently replaced" filter was leaking. This dashed my hopes that it might just be a simple case of dodgy old fuel hoses causing the issue, as they had been replaced (we'll see). Today I jacked the car up and had a look. Unfortunately I found that due to differences in early and late chassis, despite seeing this car up on QuickJacks, I cannot line mine up with the chassis tubes to safely lift it. The later cars have body mount plates on the chassis, where mine doesn't. Oh well, the old jack and stands come out to play again You can spot the silver fuel pump in the top left of the above photo, behind the exhaust. The tanks are more or less above the pump, on each side. A quick look around and I suspect I found at least one of the causes of the fuel smell. The main feed hose from the tanks to the pump has horrifically perished The way the hose has been run also causes issues too, with the hose being squished flat in at least two places as it goes over chassis tubes (top and bottom photos are good examples). It's not cheap hose either, being Aeroflow. The Tee piece between the tanks has been replaced with Aeroflow parts. The small hoses from the pump are showing signs of perishing too. All in 8 years, and minimal use. So surprise surprise, despite being done before, it's all dodgy looking and buggered. I have my suspicions about the filler and balance tube couplers, but I'll deal with them if replacing the under car hoses doesn't help. They looked ok from what I could see under the car. I have ordered new 5/8" fuel hose for everything to the pump, a new brass Tee piece (to replace the Aeroflow one), a new fuel filter, and I still have stock of good 8mm hose for the other hoses. Once it all arrives I'll drain the tanks, rip it all out and start again. Hopefully that sorts the fuel smell, and may even help the system run better if the hose isn't being crushed. One last little thing; I gave the other side of the rear window a polish today too. Now you can see through both sides. It's far from perfect, but much better. Interestingly, from the inside, I'm pretty sure the clearer spot on the left was my test patch. I'm going to buy a foam polishing cone and try polishing at a higher speed and see what happens, especially with that pitted yellowing. Just need to take care with the surface heat, not to cause more damage.2 points
-
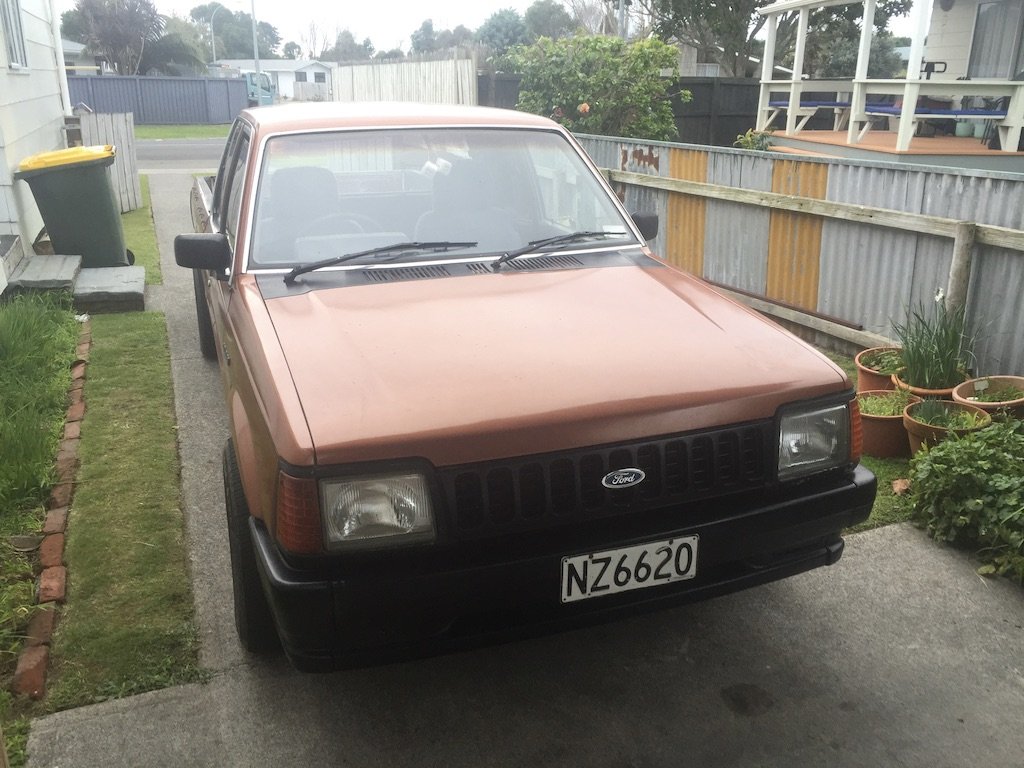
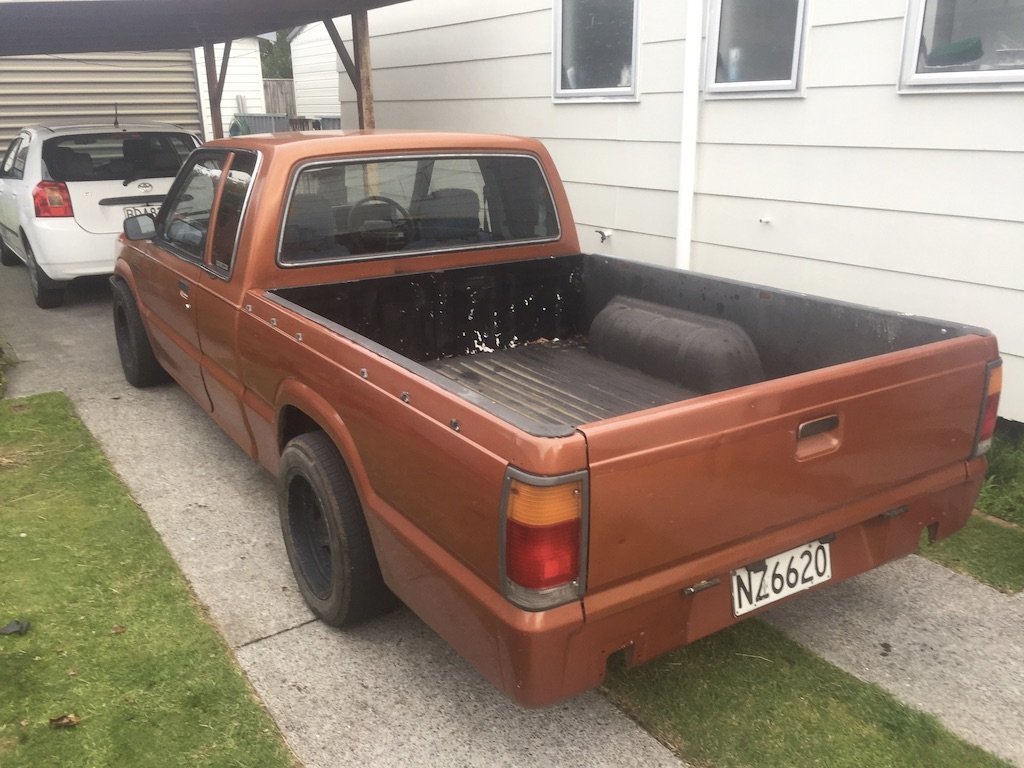
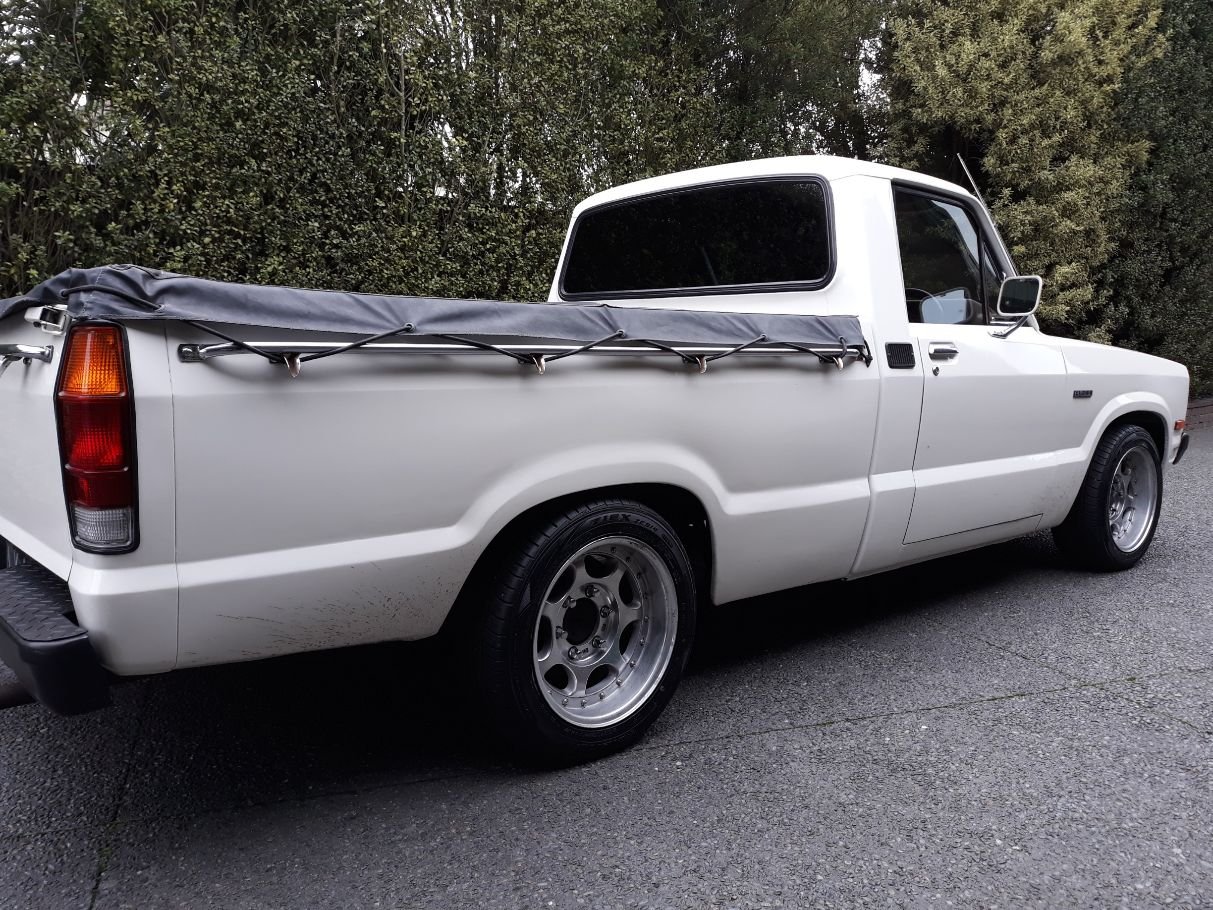
Hey Team. Been AWOL quite a long time. Had some serious hickups in life that slowed me down and forced me to let go of my last project. a mk3 Ford Cortina. And frankly, I went through a pretty nasty period of depression. But you can't keep a good guy down. And you won't stop a grease monkey eventually getting covered in grease. Around a month ago, My Daily Driver 2000 Ford Mondeo slipped a tooth on the timing belt on the exhaust cam, and did some bendy valve stuff. A friend had this sitting in his hay shed taking up space. And Rather than try and rebuild the Mondeo motor (Which had only done 30,000k since I did a rebuild on it anyway) I jumped at the chance to get into something RWD, with a carb, and a tray. Repainted sometime in its past, But rather neglected of late. I saw this as a chance to tinker with something oldish again. Fresh Battery and some fuel and she fired right up. She didn't sound right, but she did start. Got her home running like a bag full of assholes. Popped the bonnet to find green alien blood pretty much pissing out the Number 4 exhaust. (Sigh... Headgasket) So.... List of things on the to do list... Head Gasket (Or just pull the motor and rebuild the whole thing, It's done 300,000+ k) The steering wheel is toast. The Fuel Sender is bung (This is pretty common in these from what I've read) The tray needs that water trap bedliner scrapped and a spray on liner done. The offset on those rims is FAR too positive. Add more tie down points. Fix the Fuel door Stupid little interior blanks with holes drilled in them need sorting Screws missing in the interior. Giant speaker holes in the door cards. Apply power steering (If I can find the stuff to do it) Headunit with bluetooth. Other minor cosmetic things. Sort the suspension. Answer every question/problem in life with "Just chuck it on the back of the ute" Create discussion thread.
1 point
-
ho ho hoooo park your peepers to the 500m mark and check out the latest edition of RX125 escapades As previously mentioned, carb has been doing mega wees out the overflow of the carb bowl, and i set out to rectify this problem. Well fuck me dead this drove me up the damn wall. no matter where the floats were set, it would leak out the overflow. i had two carbs to test out, and both leaked when i put fuel through them. There's not much information on these bikes on the innerwebs. seems they have been forgotten/no one gives a fuck about them enough to put any decent info up online. the closest spec i could find was 21mm float height. After setting both carbs to this height i was still getting wees all over the motor. adjusting the float height either way by bending the brass tab was not changing anything. Only way it would stop leaking was if you set the floats so high that the needle valve was closed all the time. This should have raised alarm bells to me... turns out the overflow tube in the float bowl was loose - meaning any amount of fuel in the bowl would wee out the overflow. perhaps in the ultrasonic clean this had been rattled loose or it was like that beforehand. I guess the other carb i had had a fucked needle/seat which was giving me a false negative type set up. So yea have a video of it running nicely all on its own, no choke no leaks! it does a tiny dribble out the overflow which can be solved with a little fine tuning of the float height, but stoked that its holding its fluids like a big boy. NANGS Can someone whos not a spoon like me embed it haha Only a few minor jobs to do - free up sticky throttle cable - fit joiner elbow thing to airbox/carb and tune properly - get all lights working properly etc - get a mirror - take it for a decent spin - revin!1 point
-
From the way the tach' drops, providing the video is in sync' with the audio', there's an electrical supply problem, possibly a short circuit. Is it possible to wire an alligator clip from the battery straight to the coil & see if it's some kind of dead short like an immobilizer?1 point
-
Definitely a spark issue, tachometer dies when the spark goes out. Dicky ignition switch?1 point
-
i spray it all the time. mask and glasses obviously. if im spraying something large i have the door down and let it settle before opening the door again. something small i usually dont bother. 10 years and no complaints from the neighbors so far. dont spray clear with the door open though, that shit stinks and goes for miles.1 point
-
the ONLY thing i will say against epotec is that the resins tend to float to the surface as it dries. so the first sanding that you do tends to gum the paper a bit. however if you use a DA sander the paper wont load anywhere near as much. also, also, you can wet lay onto epotec with great results. over thin the primer to about 40% and it flats out like magic. wait about 2 hours (depending on temperature) then you can top coat straight over it. only ever done 1K base and clear but im sure most top coats would be no drama.1 point
-
sand blast, and that POR 15 chassis black stuff Powdercoat would be spendy, and wouldn't last, once it chips moisture can get under it eventually lifting it off, and it cant be touched up1 point
-
Bllody hell thanks dear, put the kettle on would ya love yeah na three months plenty of time eh1 point
-
well since bort is bringing a 50cc, I'll be bringing my street magic. Last time my bottom was punished, so this time I will be trying to roll without a pack and strap a bag to the back of the bike. Hepefully it will be more reliable this time and with some knobbly tyres
1 point
-
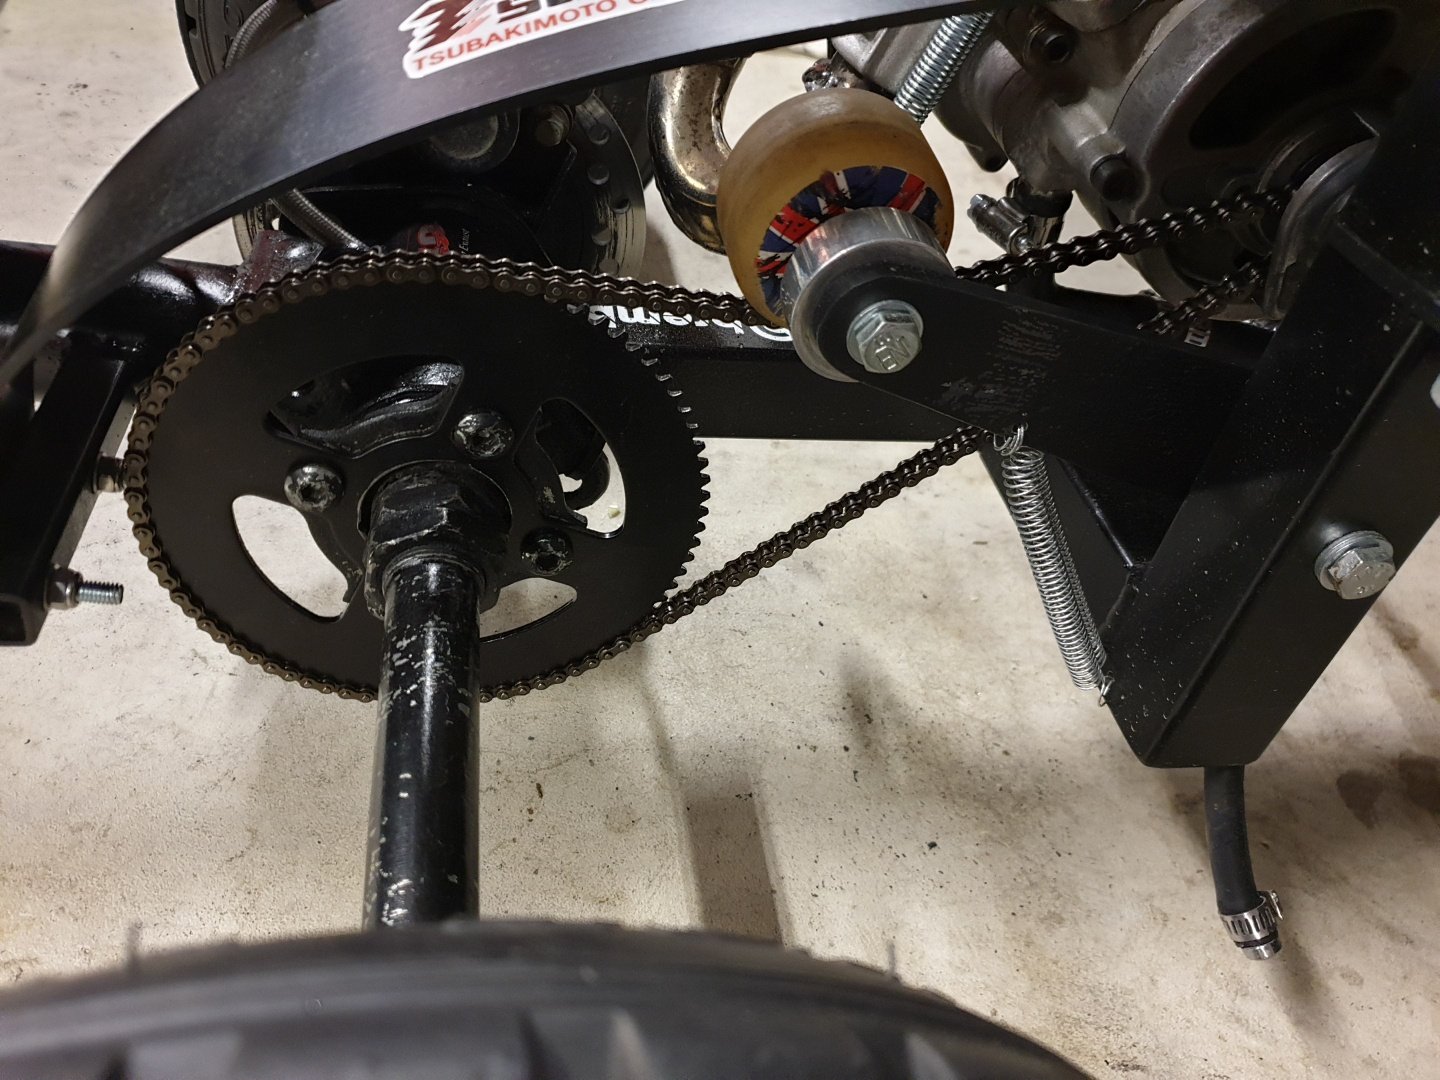
Holy-moly, if you look in the dictionary for the phrase "world of difference" you see a picture of this trike with it's new rear sprocket! Fucking hell this thing screams!!!! Fried the tyres/sleeves and revved to max just like that! So cool...1 point
-
GOOGLE SEARCH CLEAR HISTORY PORN HUB CLEAR HISTORY HOW TO GET ON GOOGLE
1 point
-
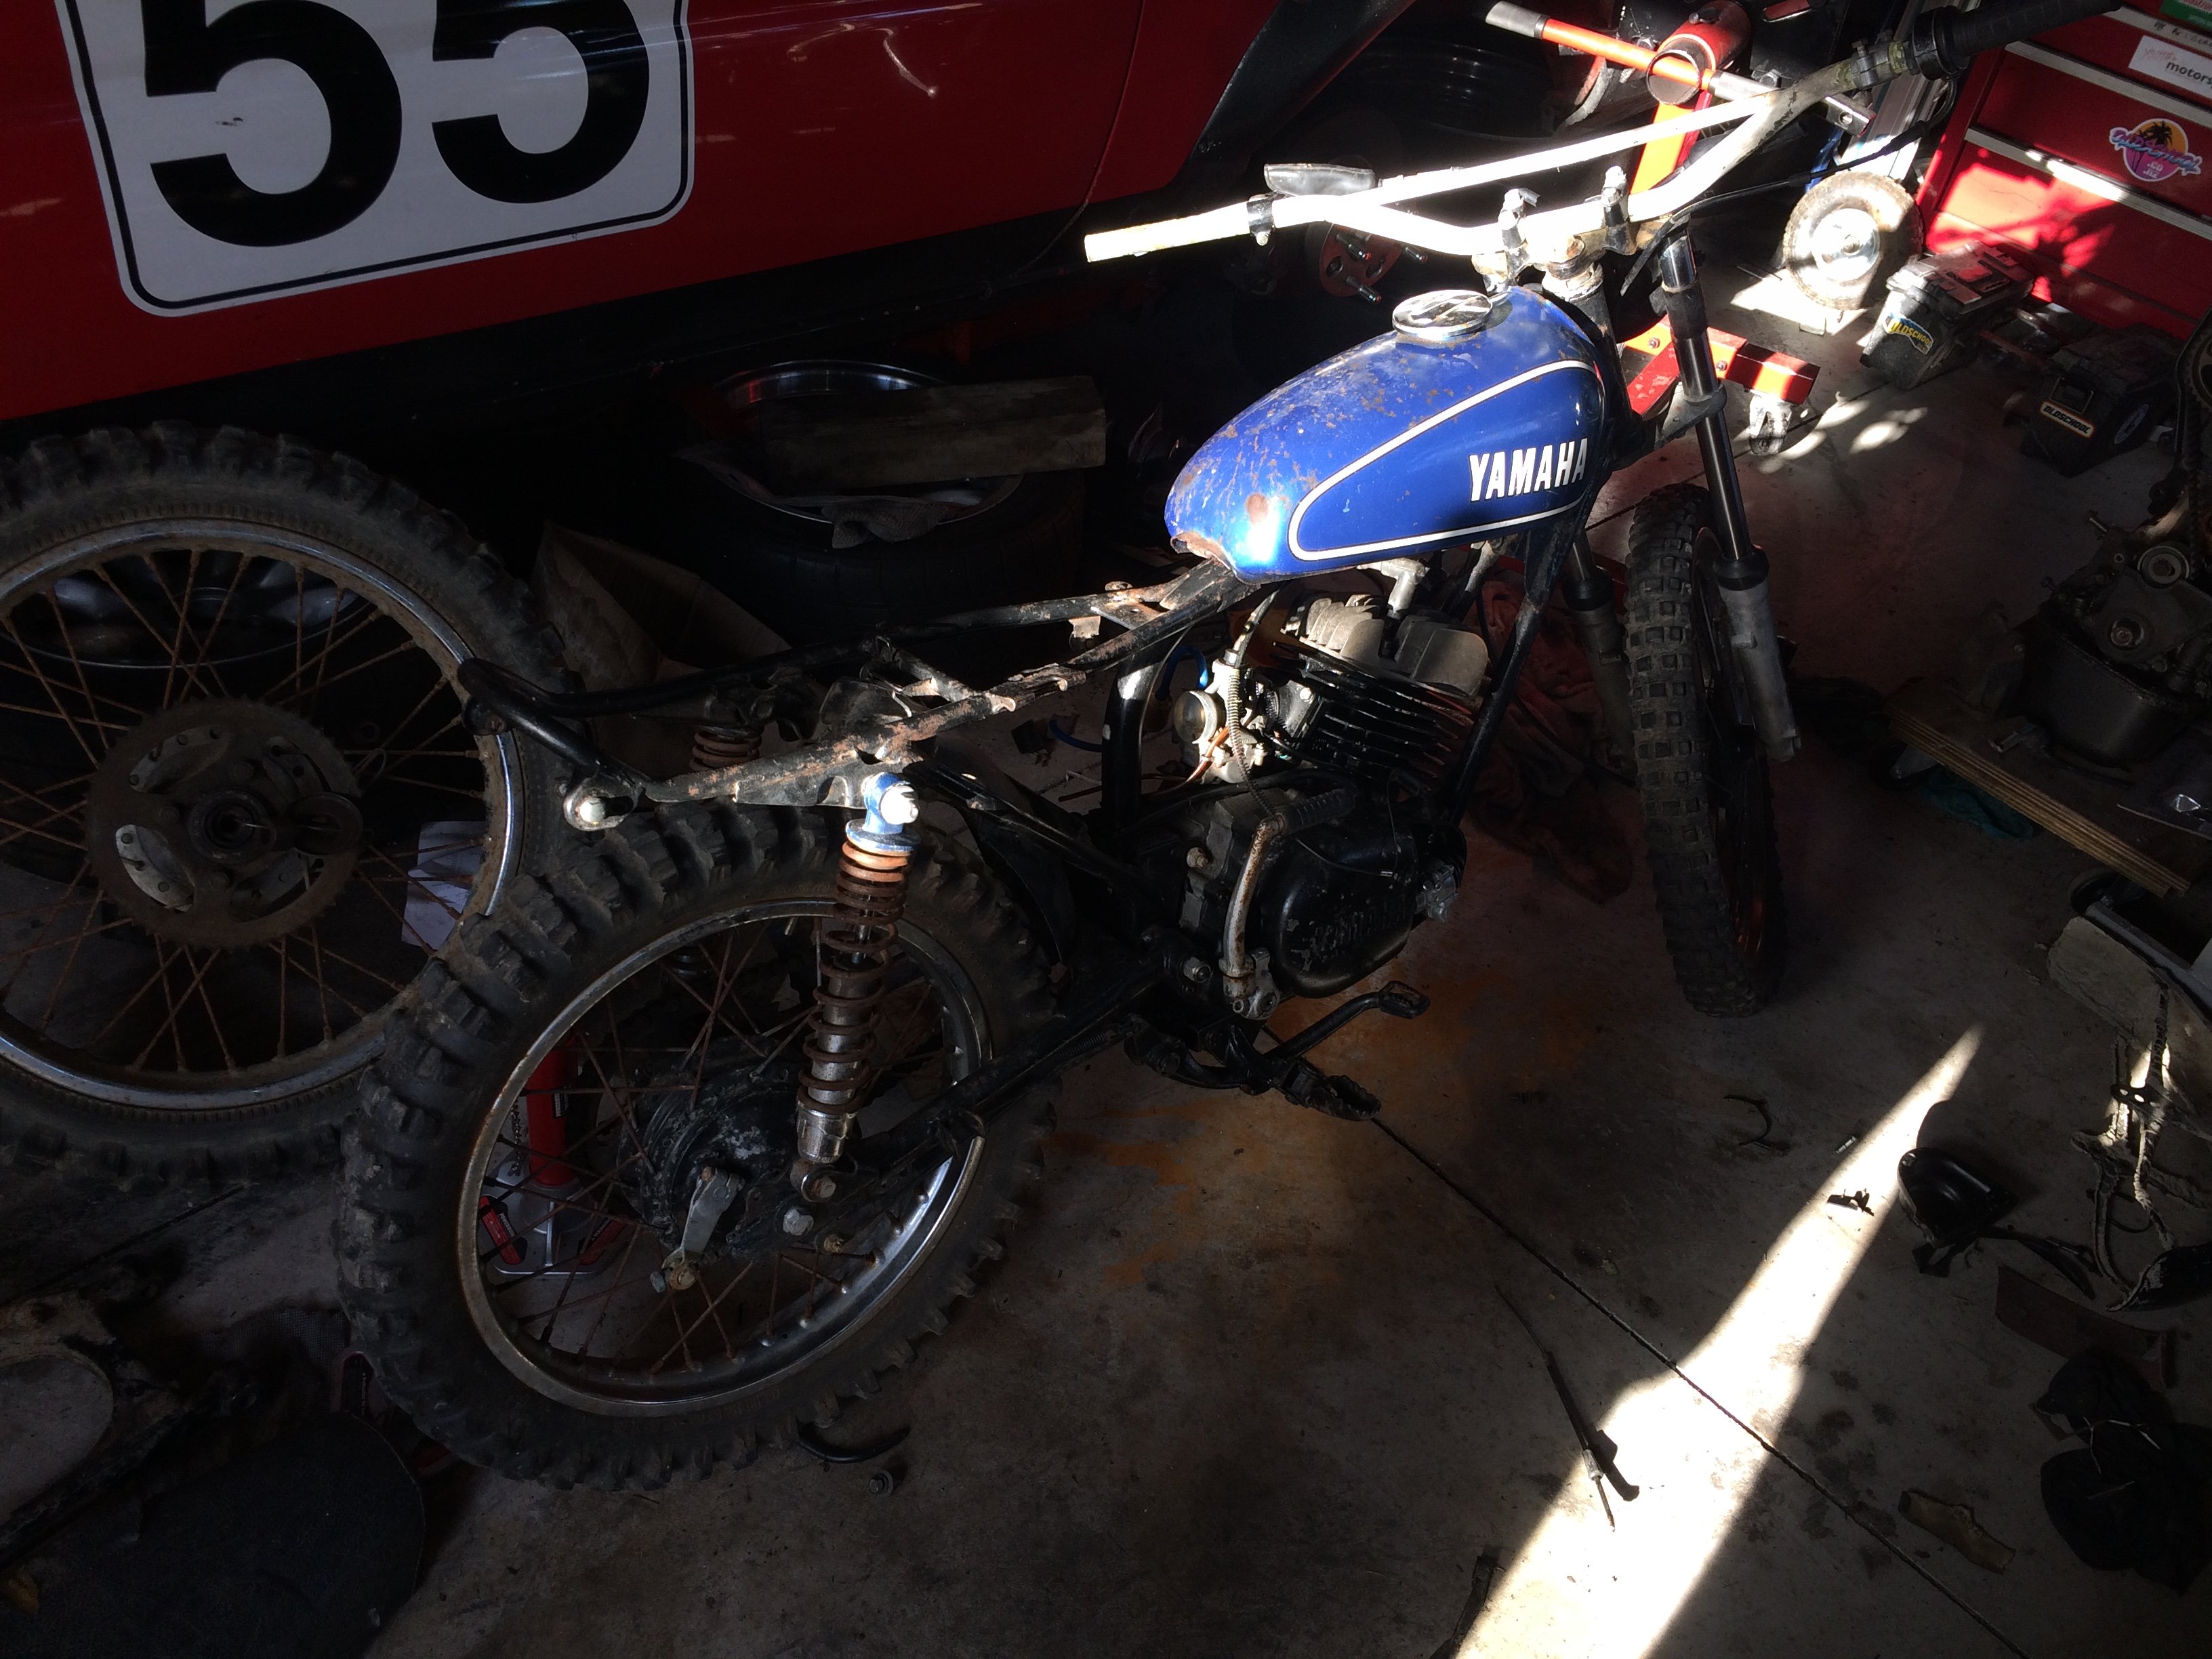
Bike at back of shed, under a 1970s pink floral sheet, covered in dust and behind 50 years of dried out paint tins1 point
-
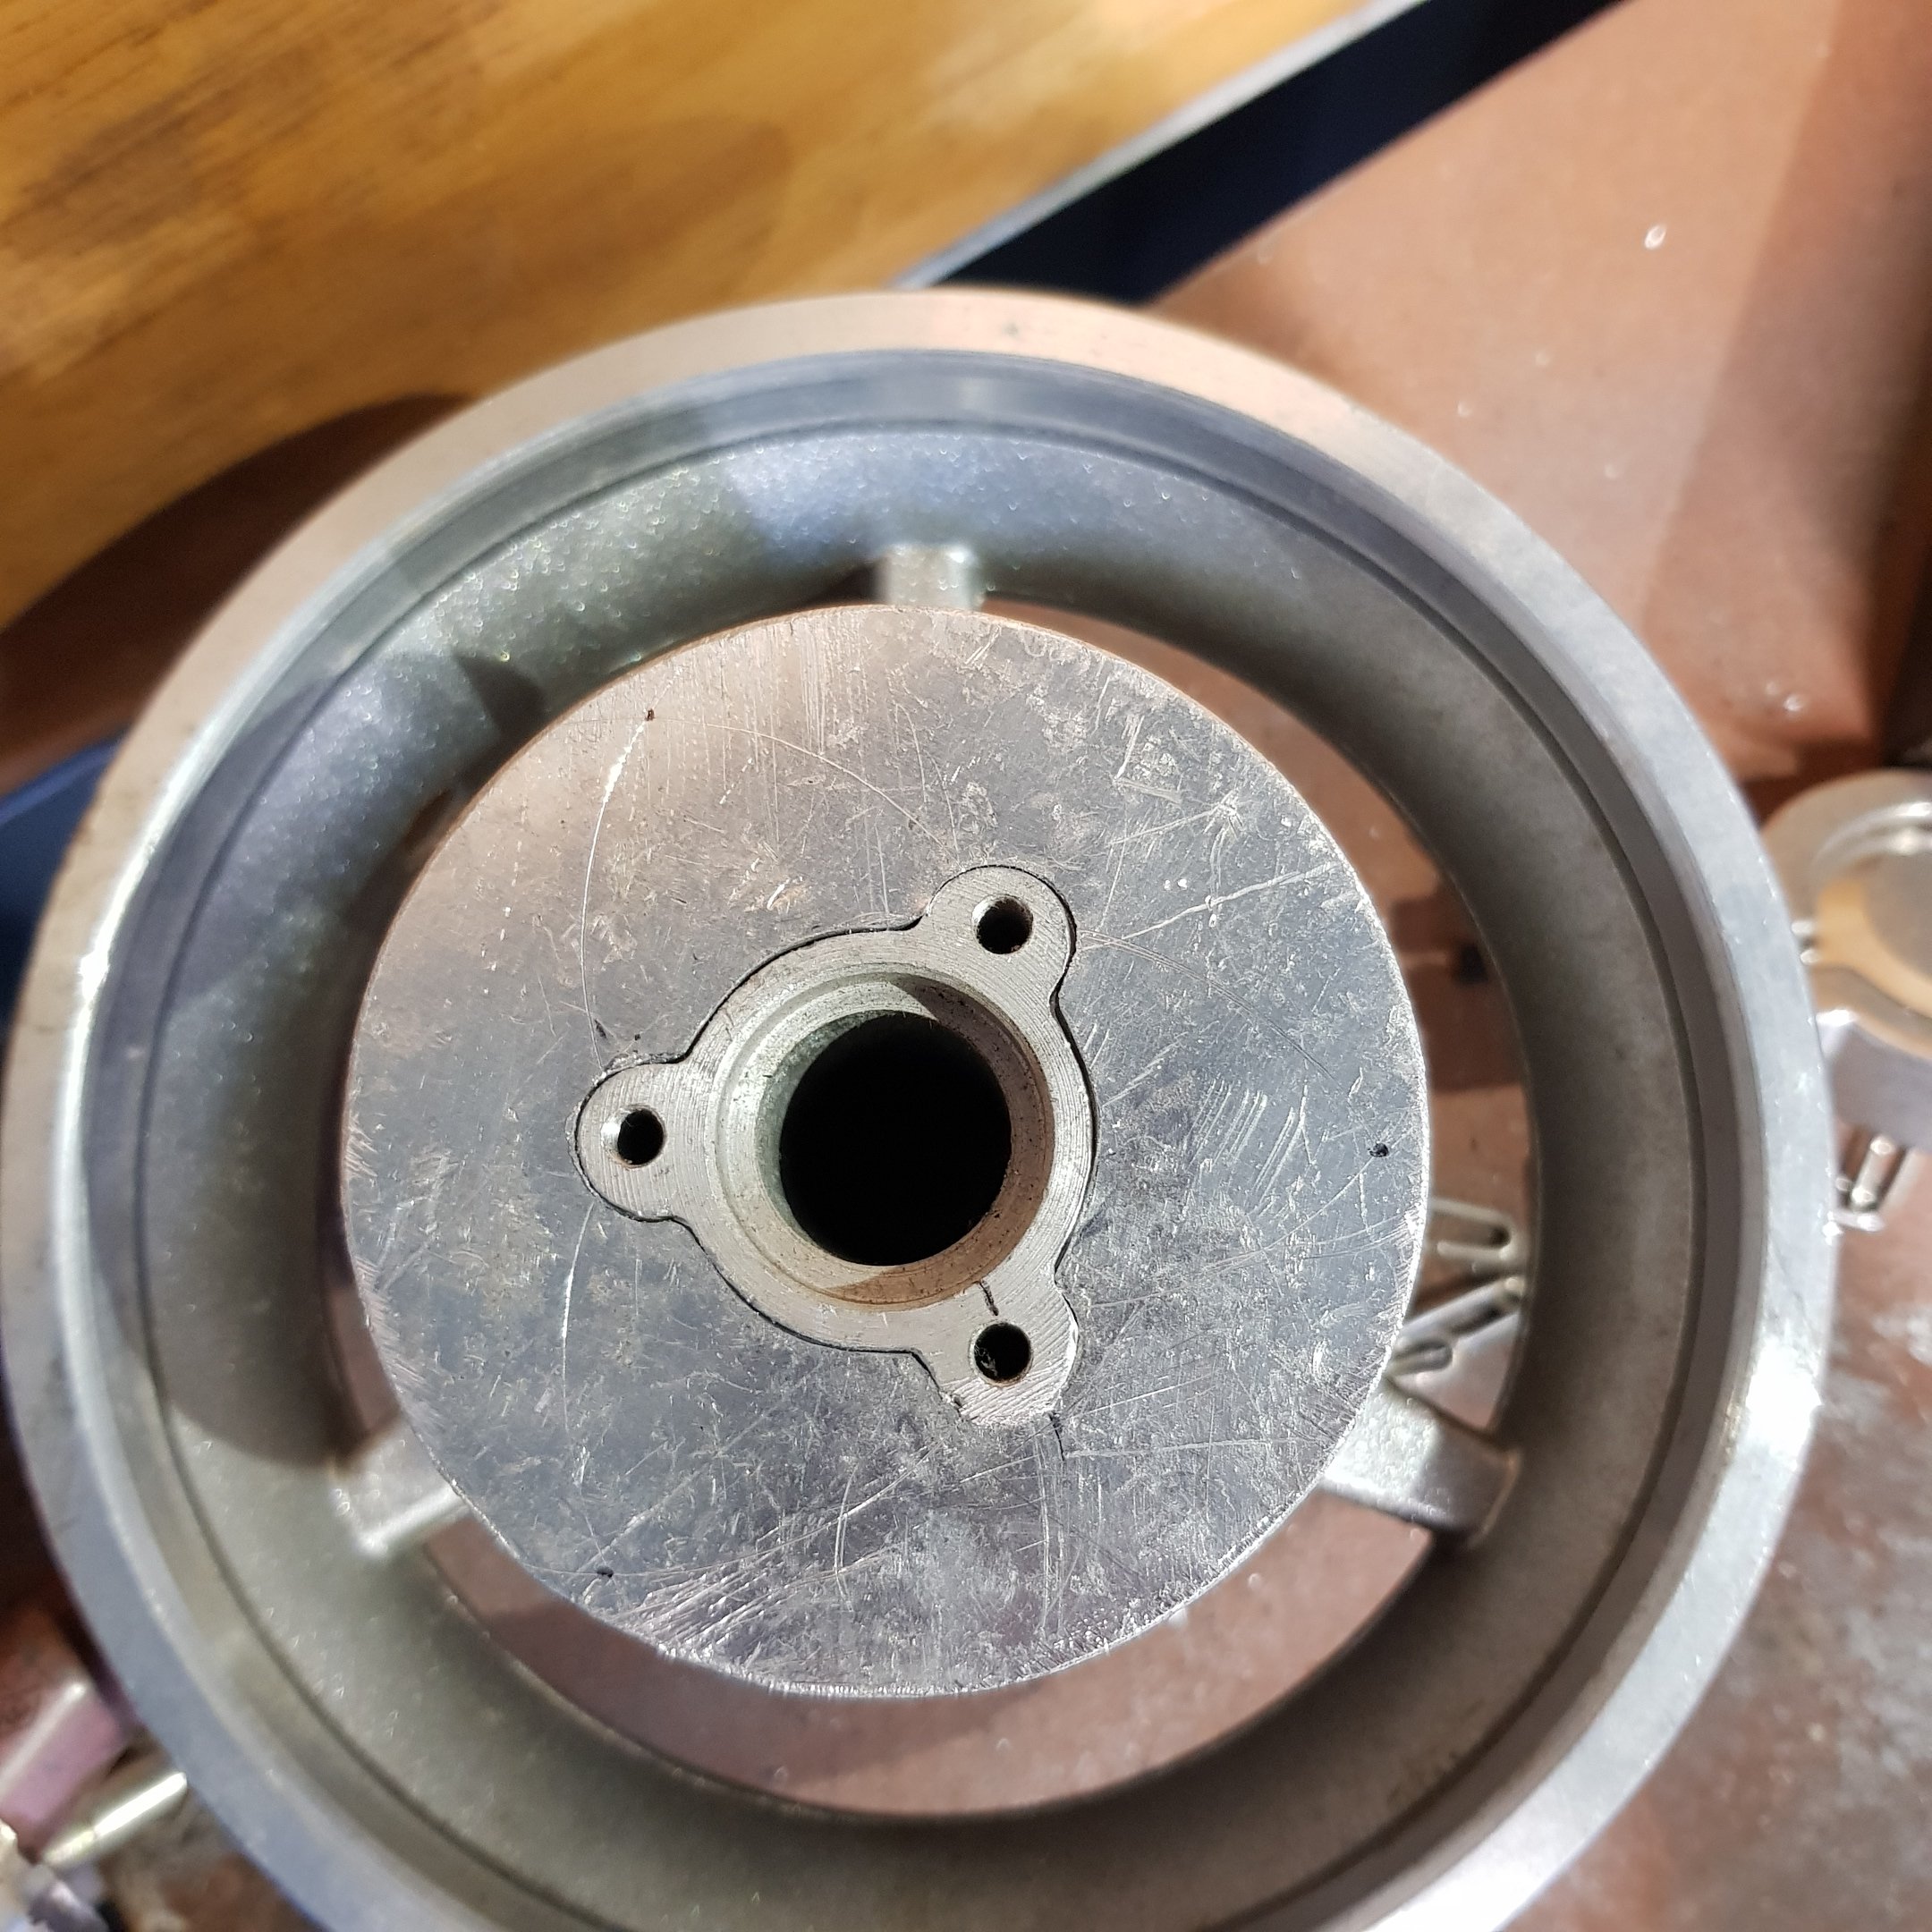
Scored a new back rim for this to get it going again. Ive added this support to the drive ears and bearing carrier to take the drive directly to the hub instead of the 3x m5 bolts its a very snug fit i wont weld it on though so i can get it off to fit to the next wheel after vaporizing this one. It Will get 3x m8 bolts through it to bolt up to the sprocket.
1 point
-
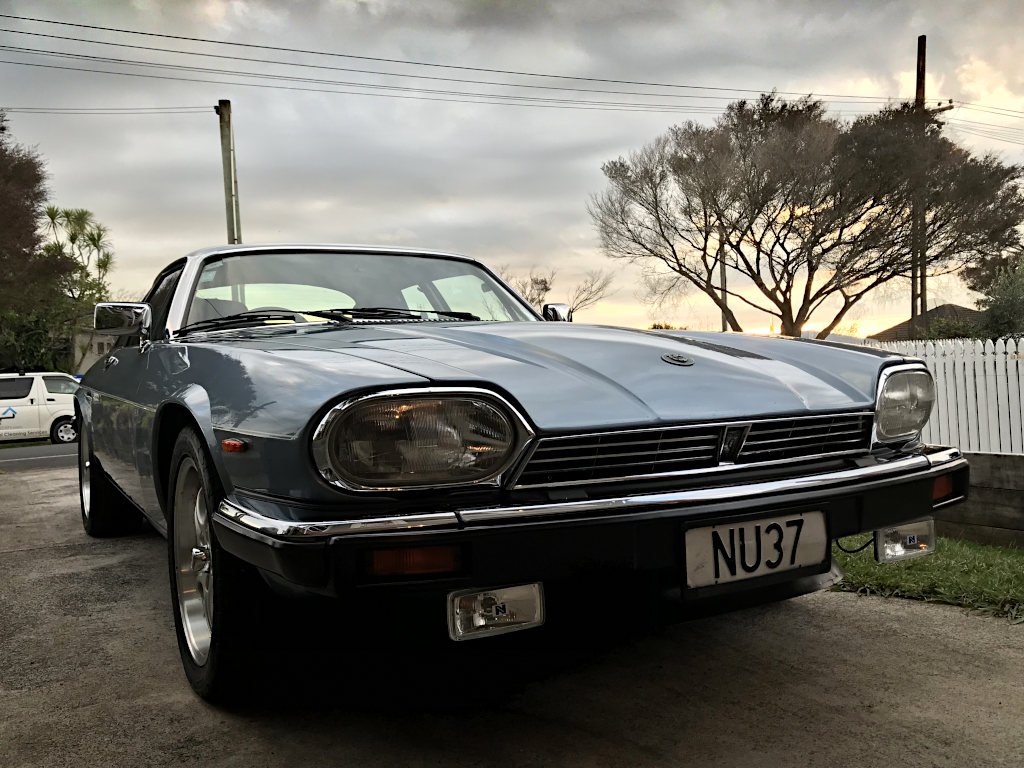
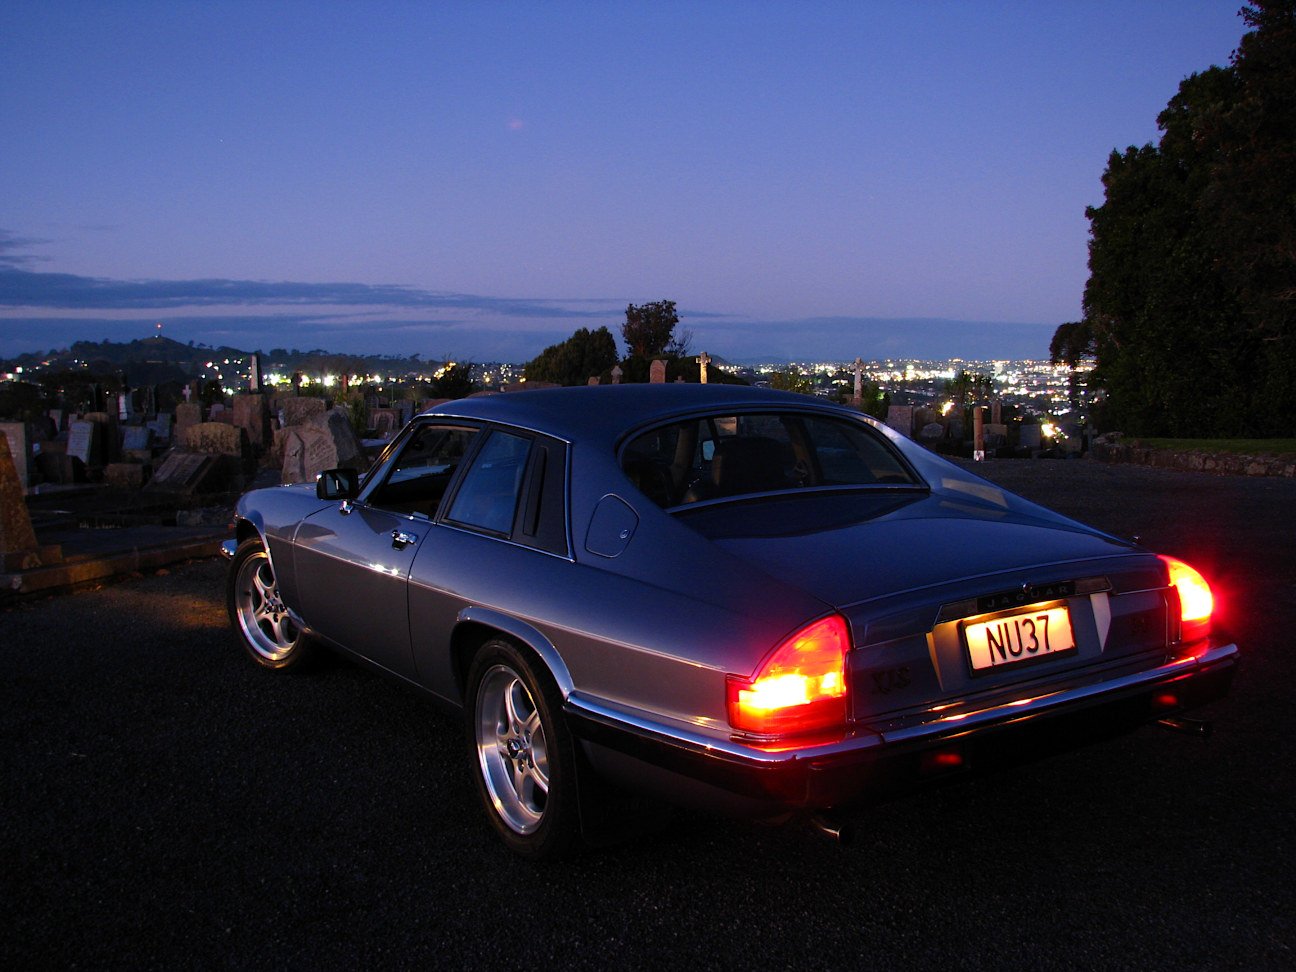
Thanks for checking in on the nonexistent-Burgerfuel-meet thread. Here's your monthly pic for August, brought to you by the third Wednesday of the month: My Jaguar is blocked in by my pranged Alfa, which is running on about two cylinders these days so isn't easy to move out of the way. Could be a challenging burger.
1 point
-
I've re geared the rear end, from 68 to 78 rear sprocket now. Too late at night to annoy my neighbors...so untested. But should be like once trying to start a car off in third gear...to now putting it in first. Hopefully this is the last step in making it awesome!
1 point
-
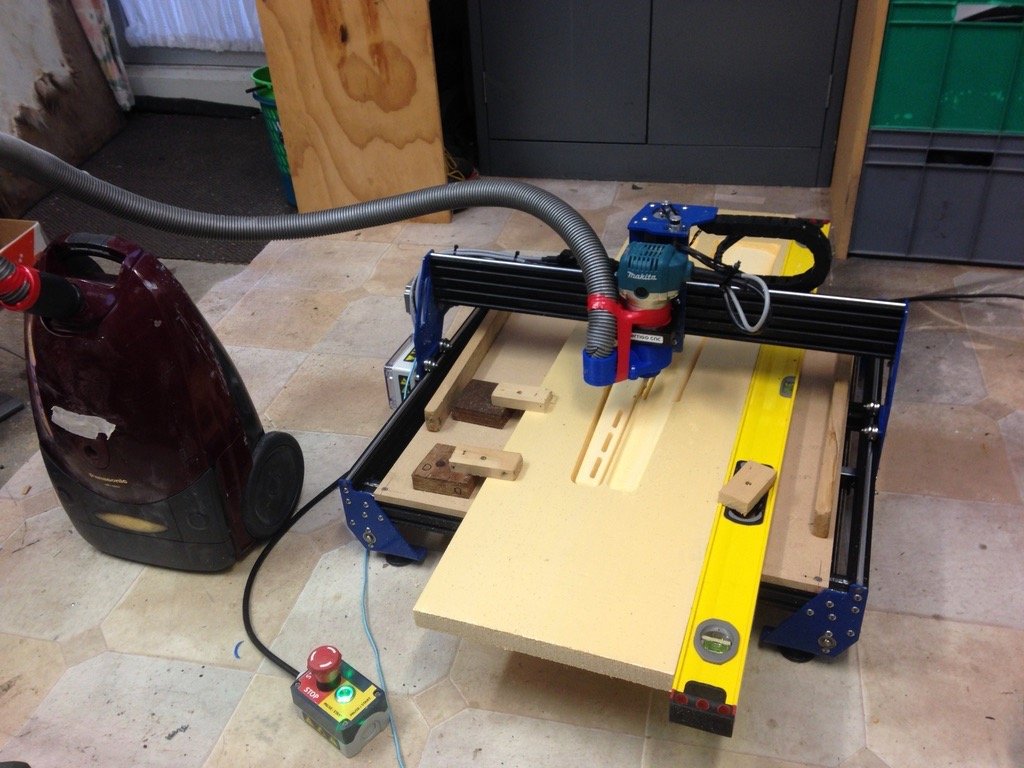
Asked a mate to carve out some foam core for a project, he declined as he didn't want the dust through his shed. He did however have a spare machine knocking about that I was welcome to make a mess in my own shed with! Gotta get me one of these toys, so simple and easy! Cores will be used for a carbon fibre rifle stock, hopefully pics to come.....
1 point
-
So yeah it's pretty much finished, except... Bathroom: First idea was to flatten out some copper cylinders we had to line the wall, so after scraping back all the insulation and probably getting a mystery disease in the process, then cutting them to tiles, we decided it didn't look great. So instead used one of the best looking pieces as a feature in the bathroom cupboard storage area. And subsequently lost the cupboard storage area as it looked too cool to cover up. Bought a concrete pot plant thing to use as a vanity, painted the inside black, but didn't like that either. Bought railway sleepers, but cutting them up seemed like you would lose the point of them being sleepers. So we have a sink, pot, and sleepers just hanging out here now. However, we did definitely want exposed pipework, so got the external copper pipe bent around which looks fantastic against the black wall, and my flattened copper. It finishes now where it will eventually be behind a "floating" mirror, and down into the valves and taps. The old stool is the makeshift bathroom shelf, it's helped paint and waterproof the place, oh and I have successfully managed to kill that plant now. Stephen even bent the original pipework from the bathroom into a towel rack which looks sweet And finally used some leftover pipe to create this vision I had of a hanging rack for my favourite rally jackets. Stephen's dad referred to the place now resembling a second-hand shop. Which is perfect by me. I want to end up wrapping the rack around the wall and including shelves for the huge collection of Mazda shit I own, but we are waiting for the concrete dudes to come back and coat the walls prior to making it a better fit. Other than copper pipework and my rally memorabilia, the interior has been gradually added to downstairs, but gets changed around a lot as things move on or come in. The plinth was made for the Sachs rotary bike, but has now ended up as the desk upstairs which is far easier. And that brings me to the rotary storage... it was meant to be for the RX2 Coupe as a priority. But I ended up storing my 808 here for a while, which was bloody cool to wake up to. However, we have managed to break Stephens 808 after a mission to the snow on Friday that ended with a tow truck from Smash Palace to Auckland, arriving at midnight on Saturday. So it's temporarily a piston workshop but it might need an engine upgrade so might sneak a rotary in while it's here as payback for dropping petrol on the concrete and stripping a circle of coating off. (have managed to get rid of most of that stuff on the left now so it's getting tidy) Also birds on tin roofs are hilarious. This little guy smashed his apple core on the clear-light but it bounced back and spooked him so he's left it for the rest of the bird bro community. Hopefully next time we will have a bathroom sink...1 point
-
Anderson is common in industry. https://www.jaycar.co.nz/anderson-35a-sbs-mini-connector-grey/p/PT44841 point
-
Wow, that's some real Barry ingenuity right there.1 point
-
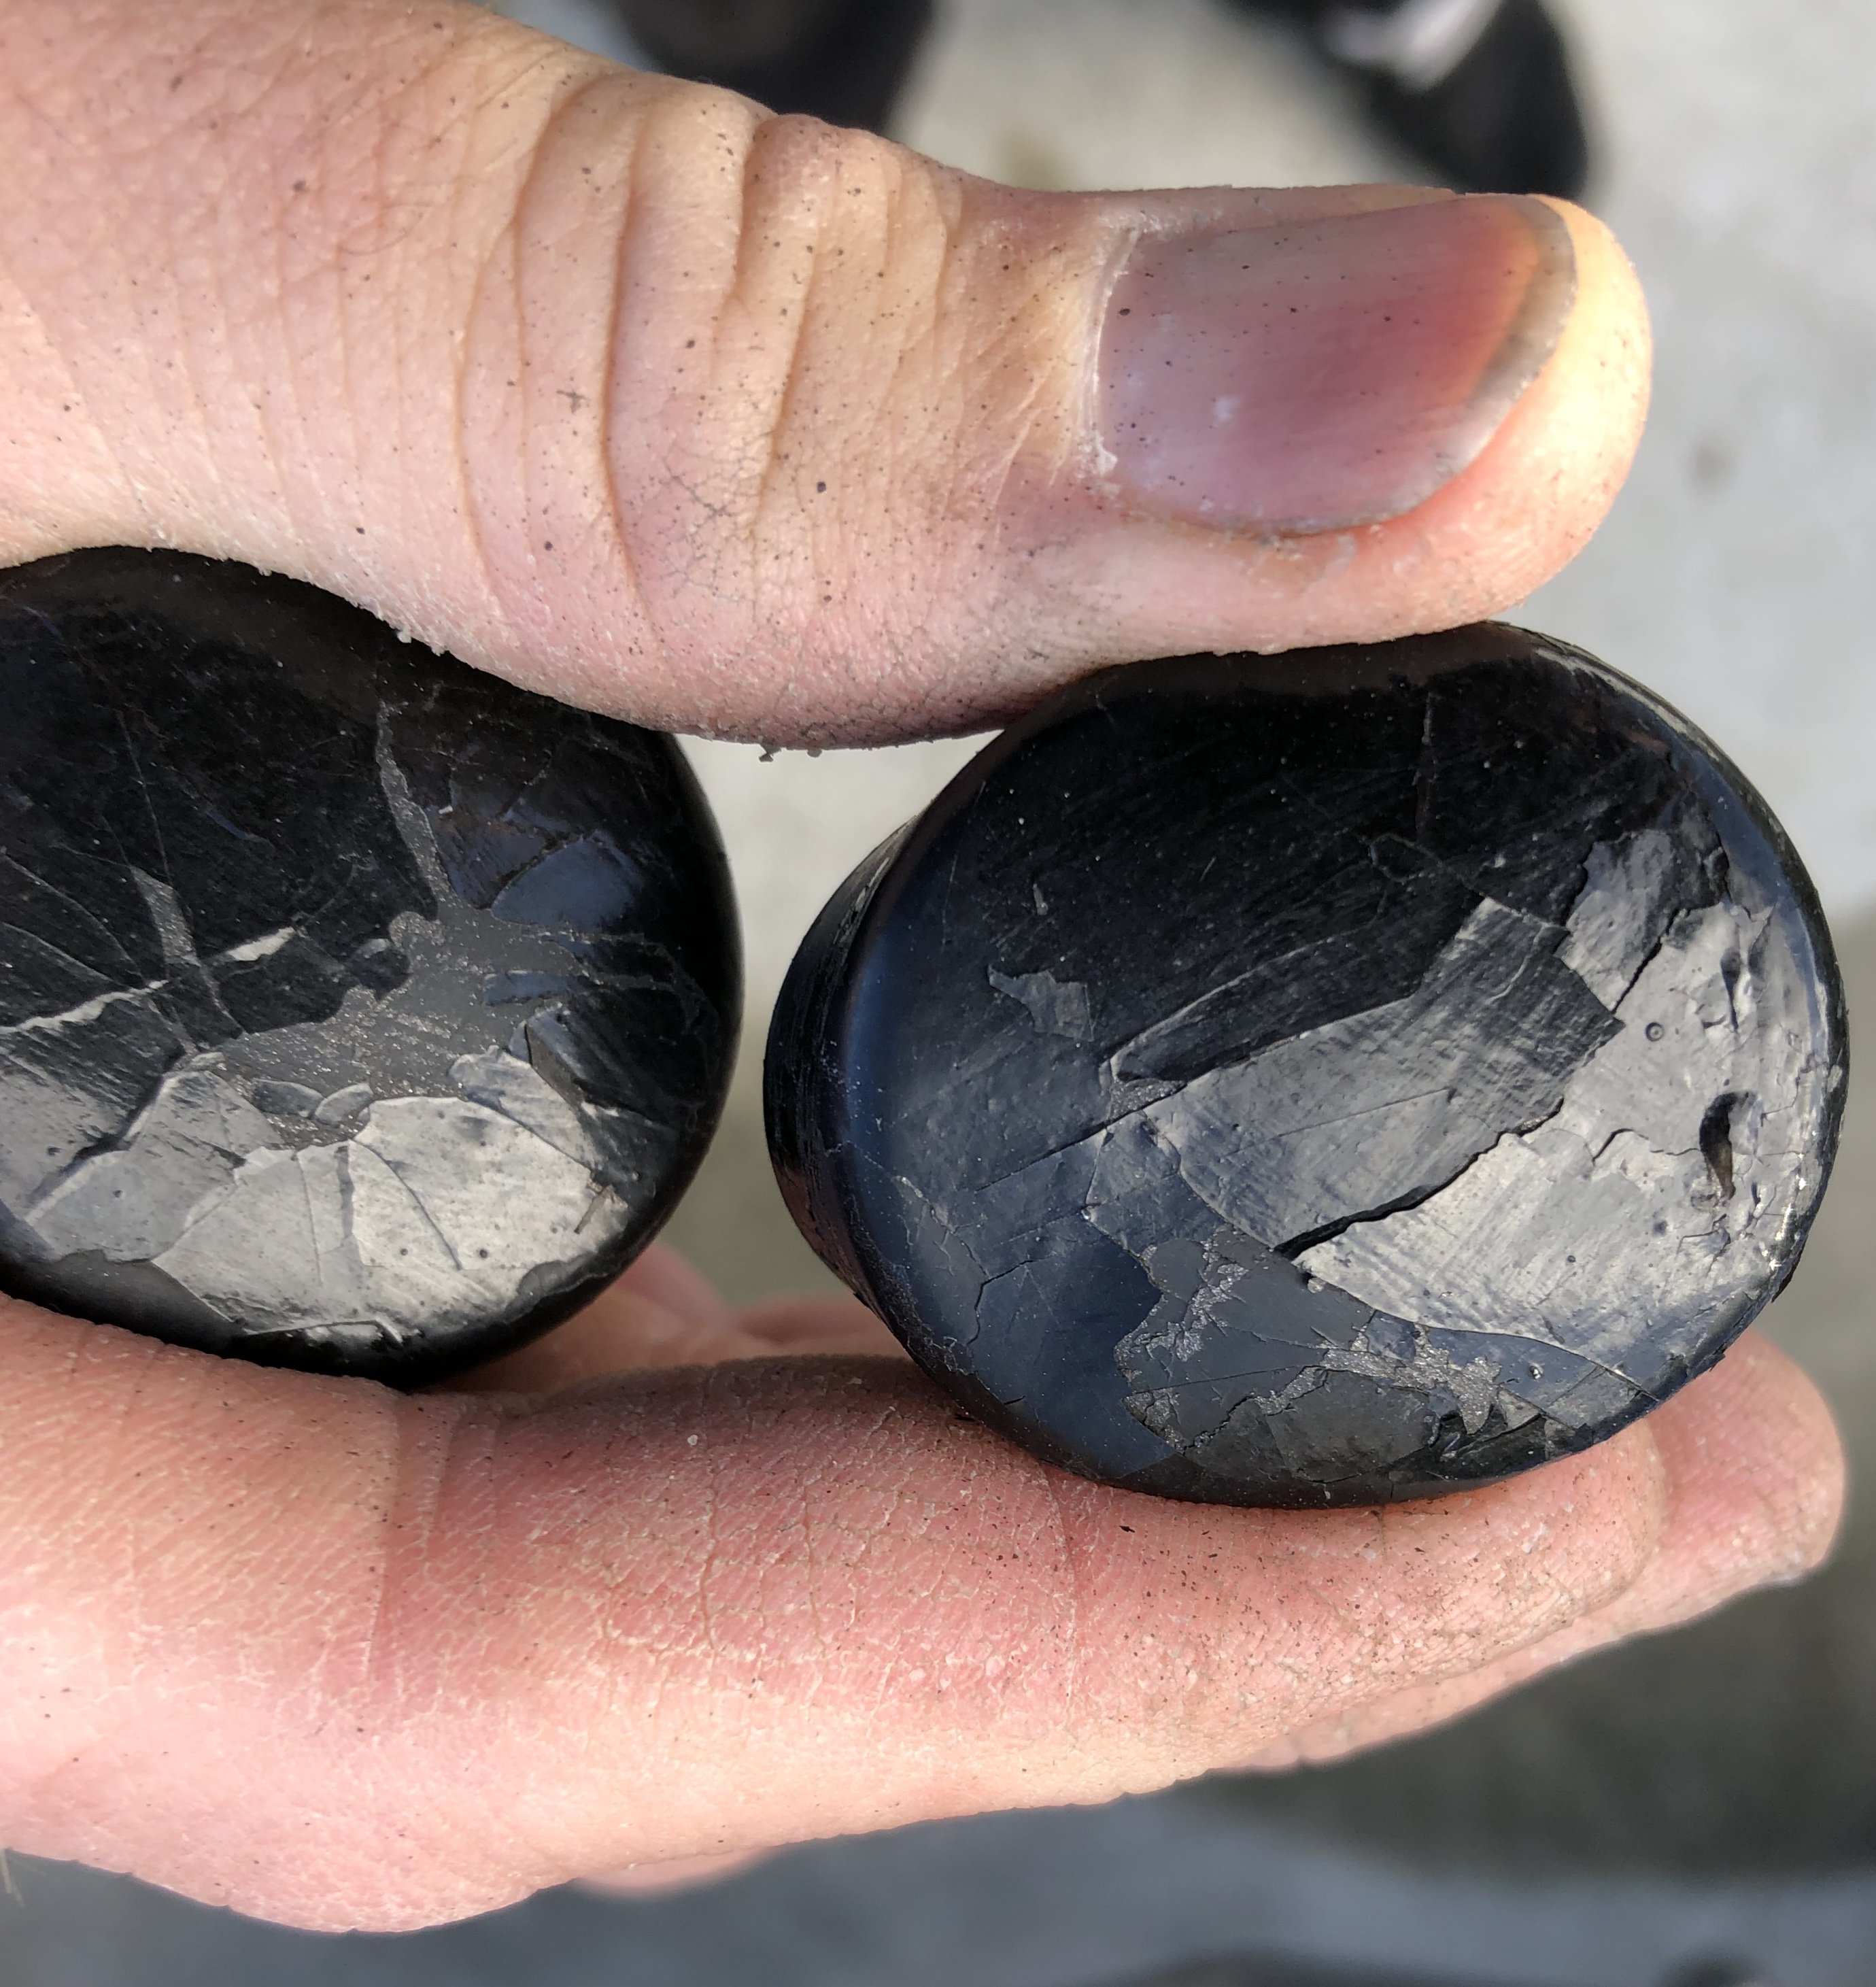
I gave up on those things and put a magic box in instead. No more problems https://www.summitracing.com/int/parts/msd-5520/ I might have some spare ignition boxes if you want them but I think as mentioned ^ the resin has started to come out so I dunno if they are any good or not1 point
-
Those things are full of resin and tend to leave a mess when they fail. Not too cheap either.1 point
-
Slowly but surely1 point
-
We never got onto the interior, got a bit side tracked with my mazda. But after hunting off and on for some other wheels, a mate spotted these on facebook. Stoked with the fitment, and best of all, Rebekah agrees with me that it needs more low, so I've been given the go ahead to go down another inch and a half. After a morning at the hotrod breakfast, she now wants a small front chin spoiler/air dam.
1 point
-
I had a lot of issues with the printer. Clogging, warping, delaminating, poor quality 10kg of material wasted and 3 weeks changing parameters but learnt a lot and got it sorted. Now I need to figure out if I can recycle this stuff!1 point
-
Hadn't heard from Stephen so gave him a call just now on the number his wife/partner gave me a few months ago, had a good chat and he said to give him a couple of weeks and he'll see what he can find. Other than that I haven't pulled the distributor off yet, its winter and its outside. Need more garage space haha.1 point
-
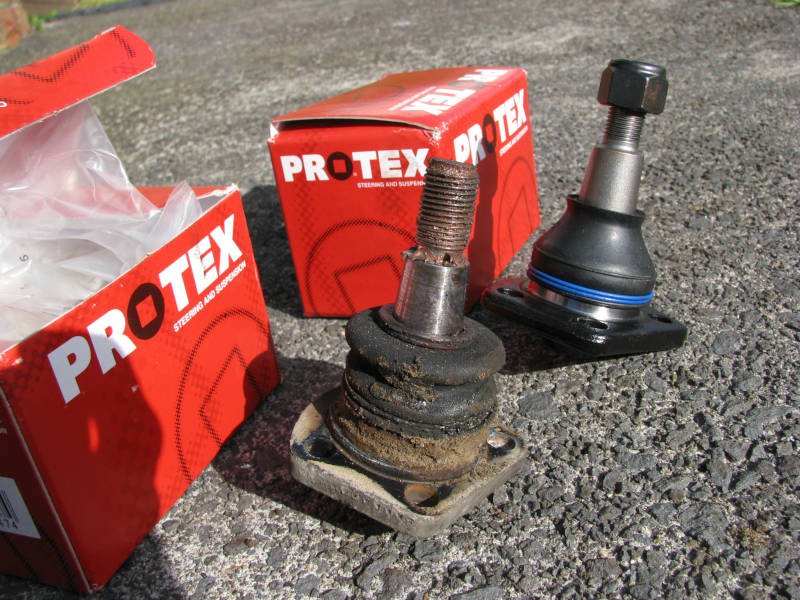
These new wheels have a tyre diameter 3% smaller than stock, so my speedo is even further out than before. It now seems to under-read by around 10%, officer. I went looking for more reasons for the vibration at 80kph, and found the diff seems to leak oil from the input seal. Probably explains its woooo noises on deceleration. So many things to fix! This car will keep me entertained for many years. I found a bit of play in the front wheels when rocking them at 12 and 6 o'clock, but not at 9 and 3 o'clock. I ordered some lower ball joints (an unscientific guess) and installed them this weekend... While doing this, I found the shock absorber top mounts were loose, one by a reasonable amount. After replacing the ball joints there was still some play in the wheels, so I think I guessed wrong. The vibration situation seemed to have improved for some reason though. Maybe I need to do the upper ball joints too / I don't know what I'm doing.
1 point
-
Long time no share... no gains made
1 point


.thumb.jpeg.384ff72c8d2b0ee0d34a7bdedb55bdcf.jpeg)


This leaderboard is set to Auckland/GMT+12:00