
Leaderboard


Popular Content
Showing content with the highest reputation on 09/07/17 in all areas
-
only took another year and a half to get all barred up about this again24 points
-
quick update re did a bunch of things no one would notice and installed a water injection and still didn't make a proper tune returned this to nats did some nats nanging/banging/popping/farting bunged the exhaust on the way back form nats then fixed it betterer Had a brainwave during/on way back from nats as to cause of terrible misfires above 4000rpm, general shit running, and smell of excessive unburnt fuel out the exhaust this being that the excessively large (1000cc) injectors can inject the full amount of fuel in a very short period - such that the period of intake/exhaust valve overlap is quite a significant amount of that injection event even at 7000rpm, full load, let alone at lower rpm and lower loads. basically if the fuel gets injected at the wrong time a heap of it fucks off straight into the exhaust. so did some more research into this and found some some stuff like this then drew up my own version with numbers for the actual cam timing in my engine. changed my injector pairing and injection timing such that half the fuel for each cylinder is injected prior to intake valve opening and the other half is injected after exhaust valve closing but still while the intake valve is open. presto no more misfire over 4000rpm and things running much better. still need to tune more now, but everything is now finally making sense so its a lot more straightforward than trying to do so while going round in circles trying to figure out strange misfires, pops and bangs.
 18 points
 -
I got the battery hooked up good last night and it barely had enough juice to run the fuel pump.Had it on charge all night will see if it works tonight pretty sure it's FUBAR. Lookie Lookie what turned up yesterday!ah yeah.was slightly worried they might not fit under the engine lid, my old single dell had the shorter 1inch filter which rubbed.the 1-2 side is close but no touch also had another play with the front drum adjusters and the pedal adjustment for 1/2 inch of free play,much better! still seems a bit soft and firms up after a pump but at least it's not hitting the firewall anymore.air in the lines? needs more bleeding?? what you guys think?10 points
-
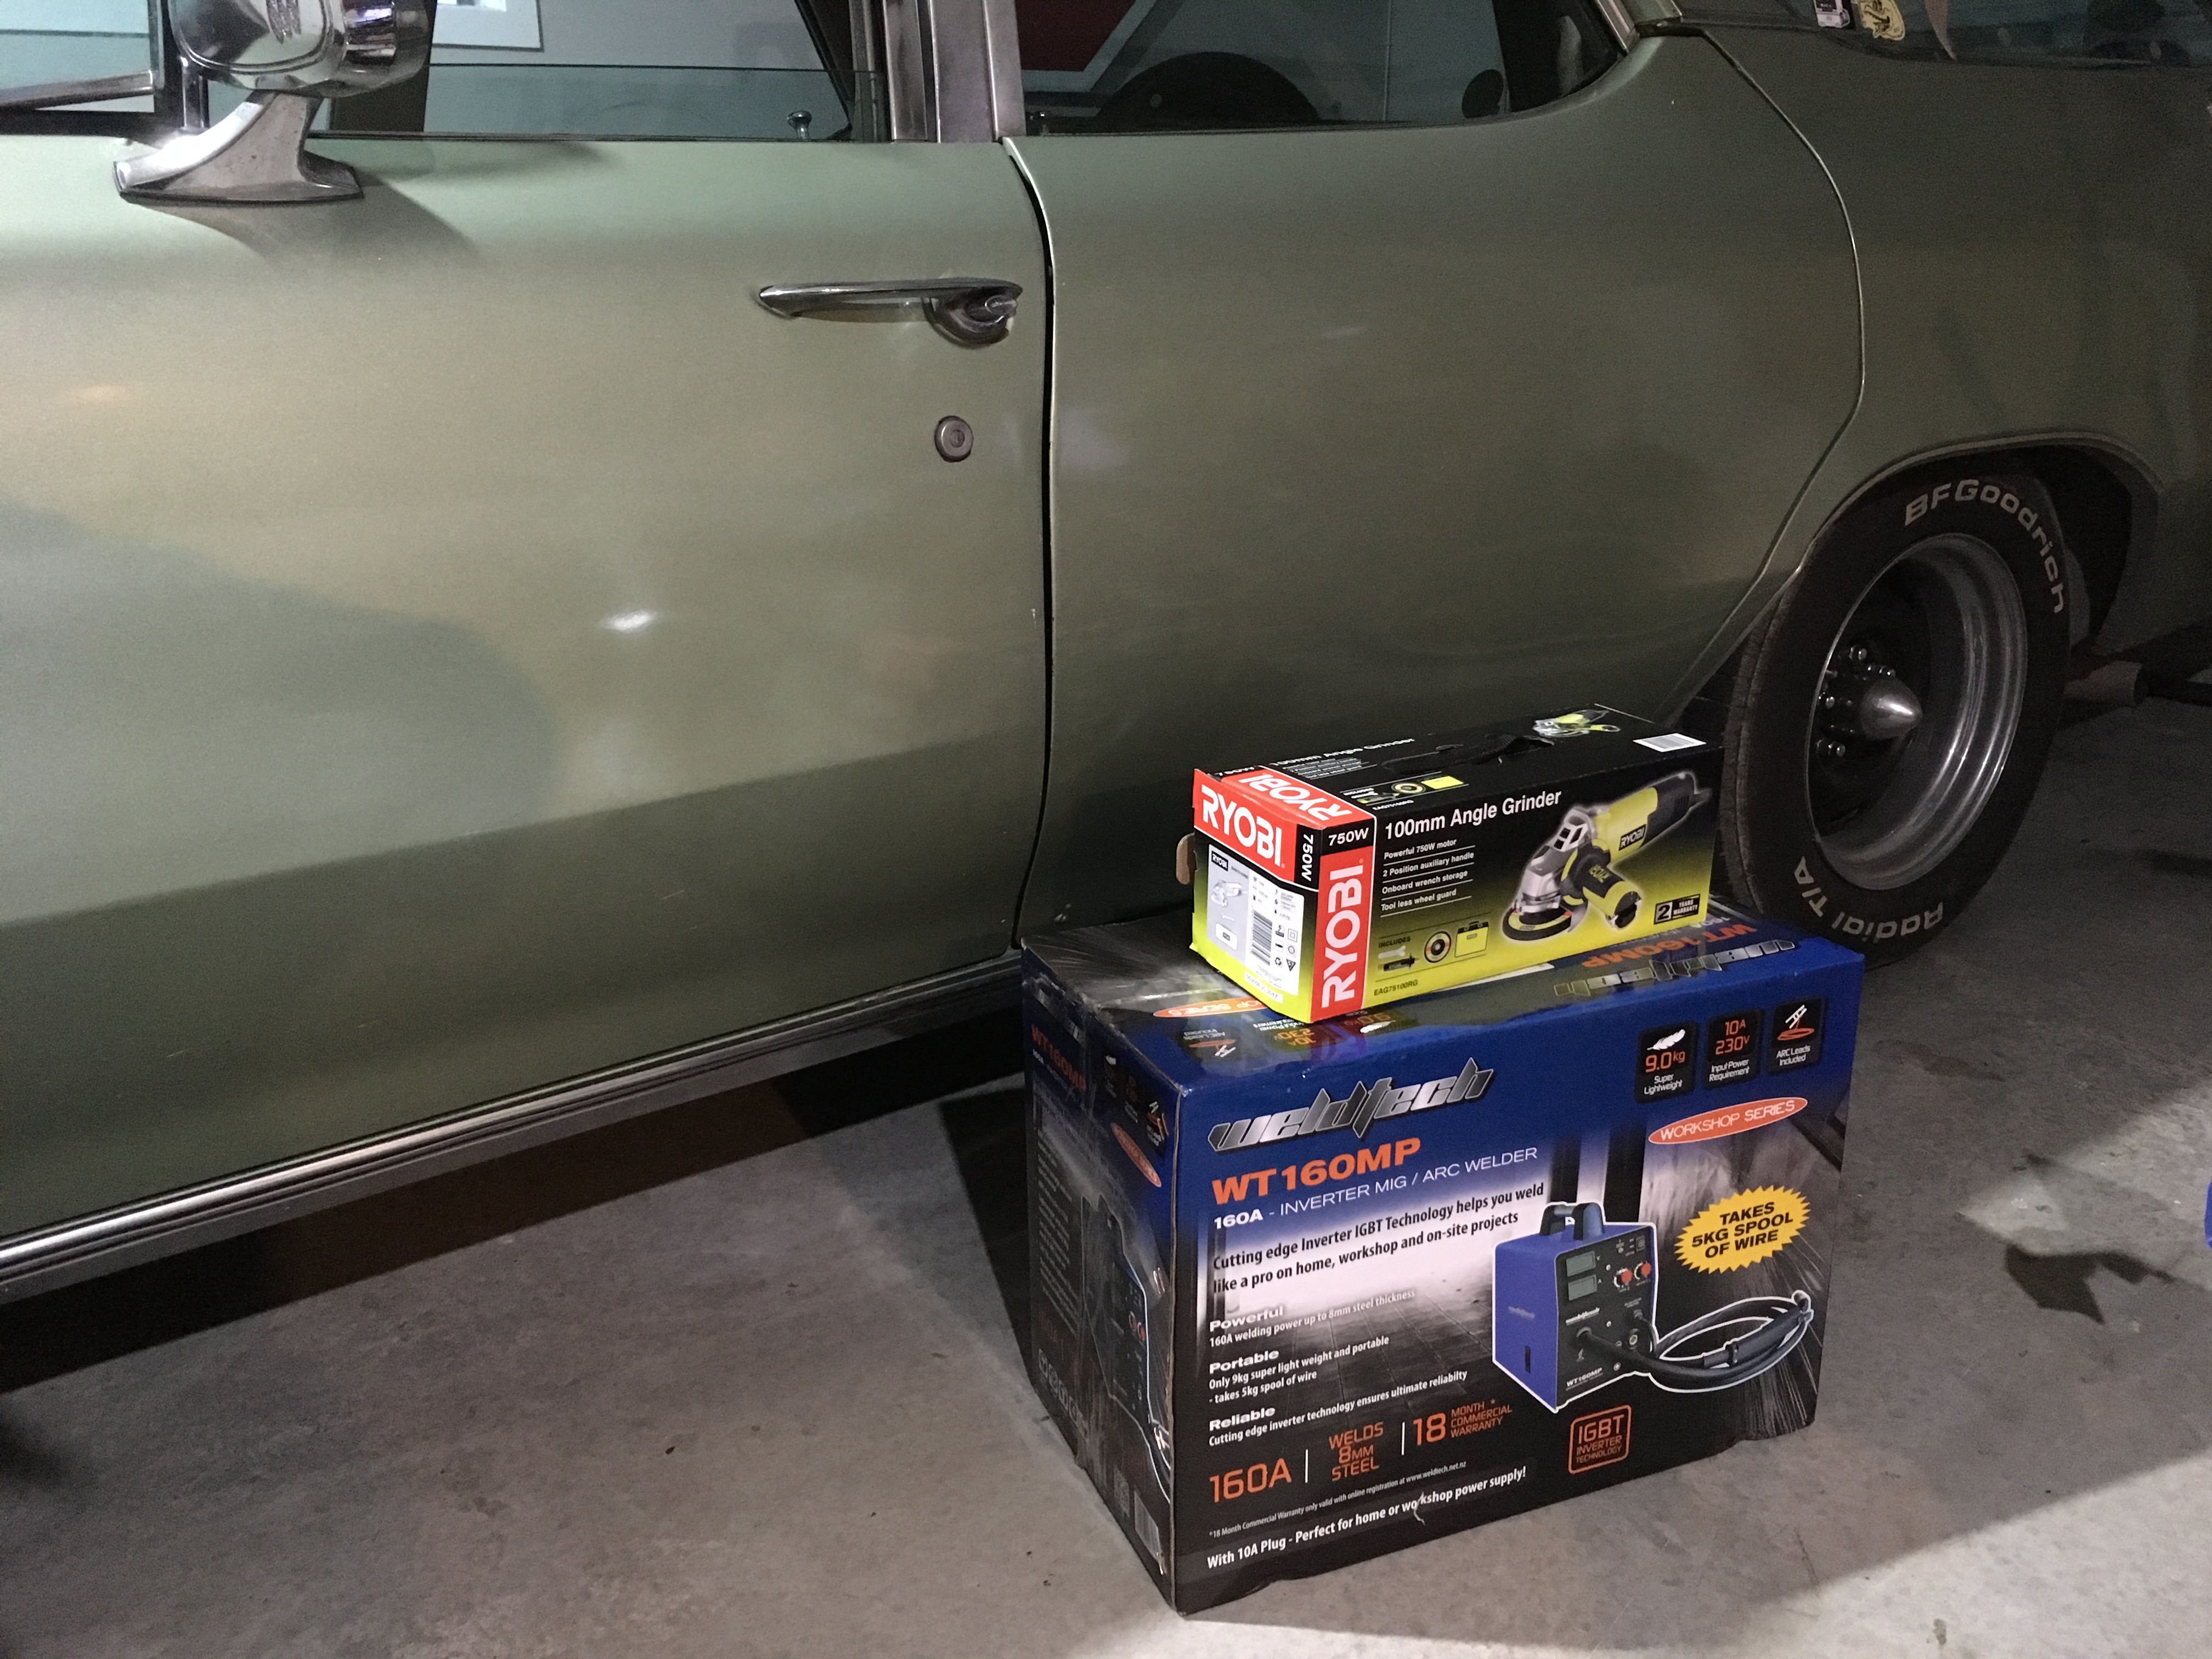
I bought a thingy. Got a $50 voucher for signing up to MachineryHouse, so it was basically free freight. So much easier than using the vice and bits of angle iron. It does up to 1mmX610mm. The majority of stuff I will be doing is 0.8mm, so it's fine.
7 points
-
6 points
-
So shit late model scooters seem to attract other shit late model scooters. a SJ50qt. $100 Facebook deal that was 5 minutes from my work. Collected it within an hour of it being posted on facebook. Dude said it doesn't run. Fuel tanks bone dry. Motivate Battery has 4v, has good compression, appears to have a upgraded Mukuni crab and has a fancy looking NGK Sprak plug lead. So it may have been loved at some point. When I get 5 minutes gonna clean the carb/charge the battery and see how we go seriously. What am I doing with my life? At least it has rego on hold.
5 points
-
Just wondering what the out of town-ers plans were for the Thursday night preceding the ride? Are you needing a place to stay, or did ya'll plan to rock down early Friday morning? Its obviously going to be a fairly relaxed affair, so just putting this out there. Me and at least one other rider will be departing from Whakatane Friday morning, and heading out to J5's place which is on the way. So if anyone wants to start in Whakatane with us, just let me know. I have room on my property for probably up to 6 or 7 cars, so storing them there for the weekend wont be a problem. If you wish to start from J5's, i'm sure that's also all G, he probably can squeeze in up to 20000 cars on his property. Another note would be to pack lite-ish, as we will only have one support vehicle, likely a hilux or commy wagon towing a trailer, so internal room to lock items away will be limited (the ladies driving it will probably stop at every shop selling trinkety crap along the way, puhuhuhu). We will probably have a good range of tools with us, so maybe only bring special tools applicable to your bike if needed? Maybe a spare tube and some oil/gas. I'm not sure where we will put the bikes at night, if we can fit them in the rooms with us I guess we will? I might be able to get a couple of long ass wire ropes to lock them all together also. I think that's about all the questions/thoughts I had? Regards "Still audibly fizzing at the foam hole" VG.5 points
-
Wednesday 20th September 2017 Click this link to see the location on google maps: Link to Countdown Mt Wellington covered carpark on google maps We will be using the covered carpark which is situated directly below the Countdown Supermarket, as pictured above. The Countdown shopping complex is on the corner of Mt Wellington Highway and Penrose Road, Mt Wellington. Food options within the complex: - Burgerfuel - Pizza Hut - Dominos - Rack & Roll Ribs Food options across the road: - Sal's Pizza - Waves Seafood (Fish and Chips) - Chunky Chicken Food Bar FIRST MEET?? If you are new to these meets then here are a few points that may help; Most people usually show up between 7:00pm and 8pm-ish. We'll be parked in the covered carpark below Countdown . Remember its always a casual affair, a place to yarn to mates and make new ones. An Oldschool car is not required at all, but if you've got one on the road then bring it along. Doesn't need to be flash or special. RULES AND THE BORING STUFF!! Basically these are in place so we have a fun and friendly meet and leave the carpark clean and tidy like we were never there. Take your rubbish away with you or put it in a bin, Use the public bins provided throughout the carpark or the ones for the food businesses themselves. Don't be a messy cunt. Smokers please don't dispose of your butts on the ground! Again, don't be a messy cunt. Be a good one. No alcohol consumption at all at this event. We are not allowed to consume alcohol on the premises. You are welcome to invite a few mates, but please note you are 100% responsible for their behaviour If you belong to other clubs and feel they might be keen to come check out our meet then that's cool but please PM Threeonthetree, Shakotom or BDA780 for permission before inviting them. NO Skids or Reckless/Dangerous driving. We're in a covered carpark that echoes so don't be a dick and rev your engine unnecessarily because then you will get us kicked out. MOST OF THESE ARE COMMON SENSE. WE WILL PROVIDE A FEW GENTLE REMINDERS WITH THE NEW RULES BUT REPEAT OFFENDERS MAY BE ASKED TO LEAVE. If you have any suggestions or input for the meets then PM Threeonthetree, Shakotom or BDA780 Thanks!!4 points
-
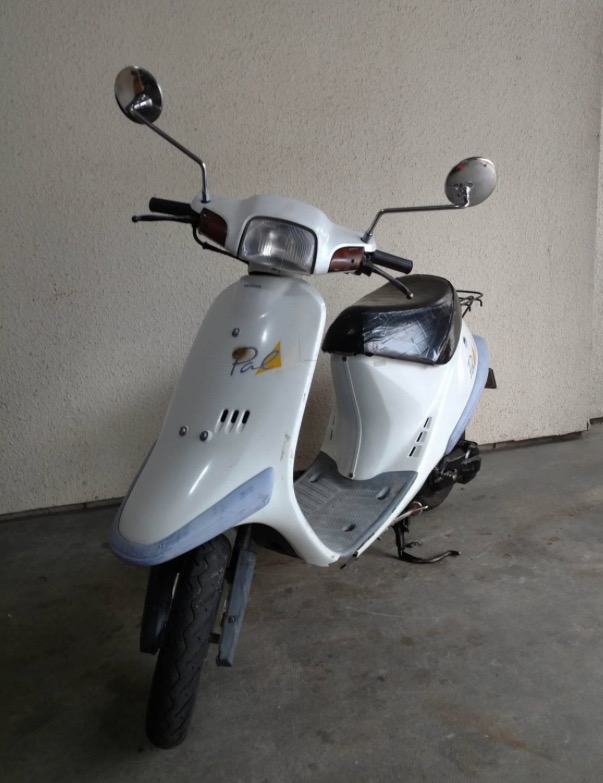
Woops. @Shakotom and @GuyWithAviators are the worst. They've conditioned me to peer pressure myself into buying shit now. Introducing: Me old mate, Pal:
4 points
-
wohooooo getting there now, one niggly job to sort was the exhaust, even with the motocross style starter and bending the exhaust as far in as i could to the engine the kick start still just hit at the end of the stroke. A bit more fiddling and some grinding of the kickstart and this is all sorted now. becuase the footpegs are spaced downwards about 10mm to clear the casings the brake pedal was too high, so i cut about 10-15mm out of this and welded the footpad back on, i also cut the pedal to bend it away so it didnt hit the casing and then welded that back together. Well the ergonomics for that are all sorted now! just the seat and side covers to go! oh and to trim the outside lugs off the front tyre so it doesnt rub like a bitch some hilarious side cover art to patch the penny pinchers theme courtesy of sparkle and my seat turned up from Craze genuine custom in bali, these seats are the lushest of lush quality, and very affordably priced. I like the look of no seat / foam on the tank, and im not phased about bum comfort but being 188cm tall i would be bent over like a maggot having a crap sitting on the tank, and need to sit just behind it, cue the craze cobra seat not mounted up yet, thats this weekends job, hoping to do a few kms this weekend to break the engine in properly and have a bit of a shakedown for DGR, much excite!4 points
-
Okey doke. Forget what I said about the other place on night two (Saturday 25th), and instead look to the Gisborne YHA. (06)867 3269 You will need to make your own bookings if you do want to stay here the night. Pool together if you like etc. Sorry for the bother and change of plan but without the ladies coming with us, there is no one to drive the looser cruiser. Regards J5 PS, so excited4 points
-
Glad we aint sharing a room, puhuhuhu. And by glad, I mean jealous.3 points
-
Yeah the three of us are gonna share one pair of undies. To save weight etc.3 points
-
I think @GuyWithAviators and I are planning on cruising to Tauranga to stay with @MopedNZ then leave TGA early Friday am to meet up with you guys to start the ride./ will need somewhere to leave car/s I guess plz I also think is 3 are gonna build carriers and try and carry our shit on our bikes/ pack light/ wear the same pair of undies ect. also fizzing at the bungs. My tyres turned up. Cleaning up some spare wheels to chuck them on, have sorted a carrier rack to modify/ purchasing a crate of beer to have a crate. Aliexpressing some longer shocks/ can this be this weekend yet?3 points
-
find some rusty scrap and simulate heaps of practise repairs gee, wont take long to see what happens and what helps.3 points
-
Hey Guys, I rented the track for my birthday in September and my associates that drift have all bailed on me, unfortunately I cannot cancel my day however I can move it to October 21st. To give back to Oldschool for all the meets, Drags, BBQs, and good yarns over the last 8 years I have been a member, I would like to offer you guys a relaxed as day to come and have a bash, do some skids, enjoy a BBQ and get some basic pointers down at Meremere. This will be a super relaxed day, doing cone work in the large open area. The greener you are the better. I dont care what care you bring, could be new, could be old, just has to do a skid. NOTES: Car must have, seat belts and windows, you must have a helmet, extinguisher isnt required but recomended. Track rules, Hit the Armco you pay for it, Do a burnout or skid on the yellow lines or return road $1000 fine, doing standstills $1000 fine Gates open at 8am, Driver breifing at 9am, driving by 9:05am. Lunch at 12, closed track until 12:30 Pack up at 4pm, gates closed and locked up by 5pm Entry $130 Final Payment Date October 13th leave a message below, PM me, text me 021 794 705 if you are interested. If you are a Joe Manji Superstar, and want to just slalom up the track all day YOU WILL BE BORED as I want to give everyone who has never had a go at drifting, doing a doughnut, doing a figure 8 seat time to get comfortable and enjoy themselves.
2 points
-
Are you allowed individual wheel brakes?2 points
-
Well there goes the theory that it had been loved haha2 points
-
SJ's have decent Mikuni crabs and fancy NGK plug boots from stock Good score for a hundy!2 points
-
I have had best results with feeding it more air (to bump the idle RPM up a few hundred RPM more than your desired idle RPM) and then a bunch less timing to settle the idle back where you want it, then outside of the idle zones crank the timing back in to it. this normally gives pretty sweet off idle response / stall resistance on the junk I work with. I have had to "re-do" a couple of mates cars then have come back from certain dyno tuning experts with crap off idle response and poor stall resistance. I have never bothered tuning idle to a specific AFR just to what "feels" strong (can even do the old carb trick of leaning out until revs rise then richen a bit). The return to idle stall can sometimes be attributed to injector over-run cut depending on wether you have this set-up, easiest way to check is to switch this off (or extend duration out to somethign silly like 30 seconds) and everything else should behave exactly the same. Keep in mind i don't have any science to back up these suggestions it just what has worked for me in the past, and the majority of stuff i deal with is turbocharged.2 points
-
I like .6mm for panel, I think i do the same as Tom is suggesting with thin jap steel I use more than required tack amps (will cause burn-through if you sit there too long), and modulate with the amount of wire stickout, so start close to material to settle a nice flat tack and draw gun away from material to effectively reduce amps due to extra length of wire, maybe 1/2 second tacks. generally i run a lower wire feed rate for this sort of stuff too. lean the torch over more if you are still getting burn, through and don't be tempted to pull the torch away until the post-flow is complete. if your post flow is adjustable suggest an extra couple of seconds of that can help a bit too. It kind of just feels natural after a while, you will know as soon as you strike the arc wether is's on the money or tool cold/hot.2 points
-
Me wife was also keen on a cabin for the sleeping, puhuhuhu.2 points
-
Yeah, as VG says, I'm about 30 mins by scooter past Whakatane on the route, can park things everywhere and can sleep a few people the night before/after if anyone is traveling far. As far as the accommodation for night two in Gisborne goes, there might be a little change if everyone is ok with it. My partner it turns out isn't super thrilled about mass sleeping room lol. That place also are a bit iffy about booking out cabins that weekend due to a dog show or some nonsense. Currently looking at the YHA Gisborne as an option, should be OK. Will update as soon as there's some more certainty.2 points
-
Things are looking good.Surgery was required & the firewall was cut up a lil bit. This has meant the engine could be brought back a bit whats solved a raft of issues. Clearances for PS rack hose connections solved. It was right up against the sump. But now we have ample room. Able to bring the engine into the center more. Its now only slightly offset by about 20mil. Engine mounts will work way better. Able to get the carbs to the ideal flat positioning as it was on a bit of an angle. Positioning for bracing to join the two sides of the rails will be better. Being able to go under the engine in a bolt in set up. How the trans will sit along with the two piece drive shaft will be way better and pretty much flat whilst not having to modify the floor pan other than maybe slightly at the very front. The distributor will be hidden more. I wanted wires out of sight as much as possible so this suits me. Being a pertronix unit I shouldn't need to get to it much but if needs be will still be able to with out to much hassles. Weight and center of gravity move a bit more back behind the front wheels instead of over them. better clearances for sump. Doing all this means we may have a heap of room up front. Not what I really want but we will have to wait and see how it all looks with the alt, PS pump, radiator and fans. the custom fan shroud I was envisioning may need to be bigger than I was thinking to help fill the gap. Time will tell. once I have the panels on & rad in.Speaking of the radiator. i have decided to keep the original Hudson radiator. Its getting re-cored by a local shop Timaru Radiator Repairs. Russell the guy in charge is a top man and been bloody helpful with some great input. Gave options for different cores etc for the old four core copper rad that included different row spacing etc.Since the tanks are off etc im getting him to do a few other modifications. moving the bottom outlet to the other side to match the Nailheads inlet then shifting the radiators top inlet to the center to match the Nailheads centrally mounted thermostat. Thinking of using a flexy hose to give it that vintage look you see in all the old 50's and 60s mags. Plus the ribbing will go with the fins on the engine.Since its not a great idea to have the filler at the same point as the inlet due to pressure etc im getting it moved to one side on the top but im also getting a dummy one added to the opposite side. This is merely to please my OCD nature. when im standing with the hood up looking down at the engine I want to see the top hose running center rad to center engine then two caps to add balance on either side. My train of thought was with just the one to one side it would be a bit lopsided for the look im after. The dummy will also have a dummy overflow pipe just to keep it symmetrical. OCD much? /twitchA slight notching is needed on the chassis rail above for the steering arm.The engine mounts minus the side supports shown. Along with PS hose clearance. Once the trans is lifted slightly and bolted up it will get the carbs flat along with increasing clearances around the racks hose fittings & rocker covers. Hard to tell from that photo but its looking like very little if any modifications will be required to the floor pan. Will pop it in soon to have a look. Should still be nice and tucked up even at air out.A look at the old Hudson rad and where everything is being shifted to.2 points
-
also, proof it has been out of the shed. all the neighbours came for a jack, colour looks different outside, got the carbs tuned a bit better, set the tappets, changed the oil, and then it wouldn't start. faaarrk!2 points
-
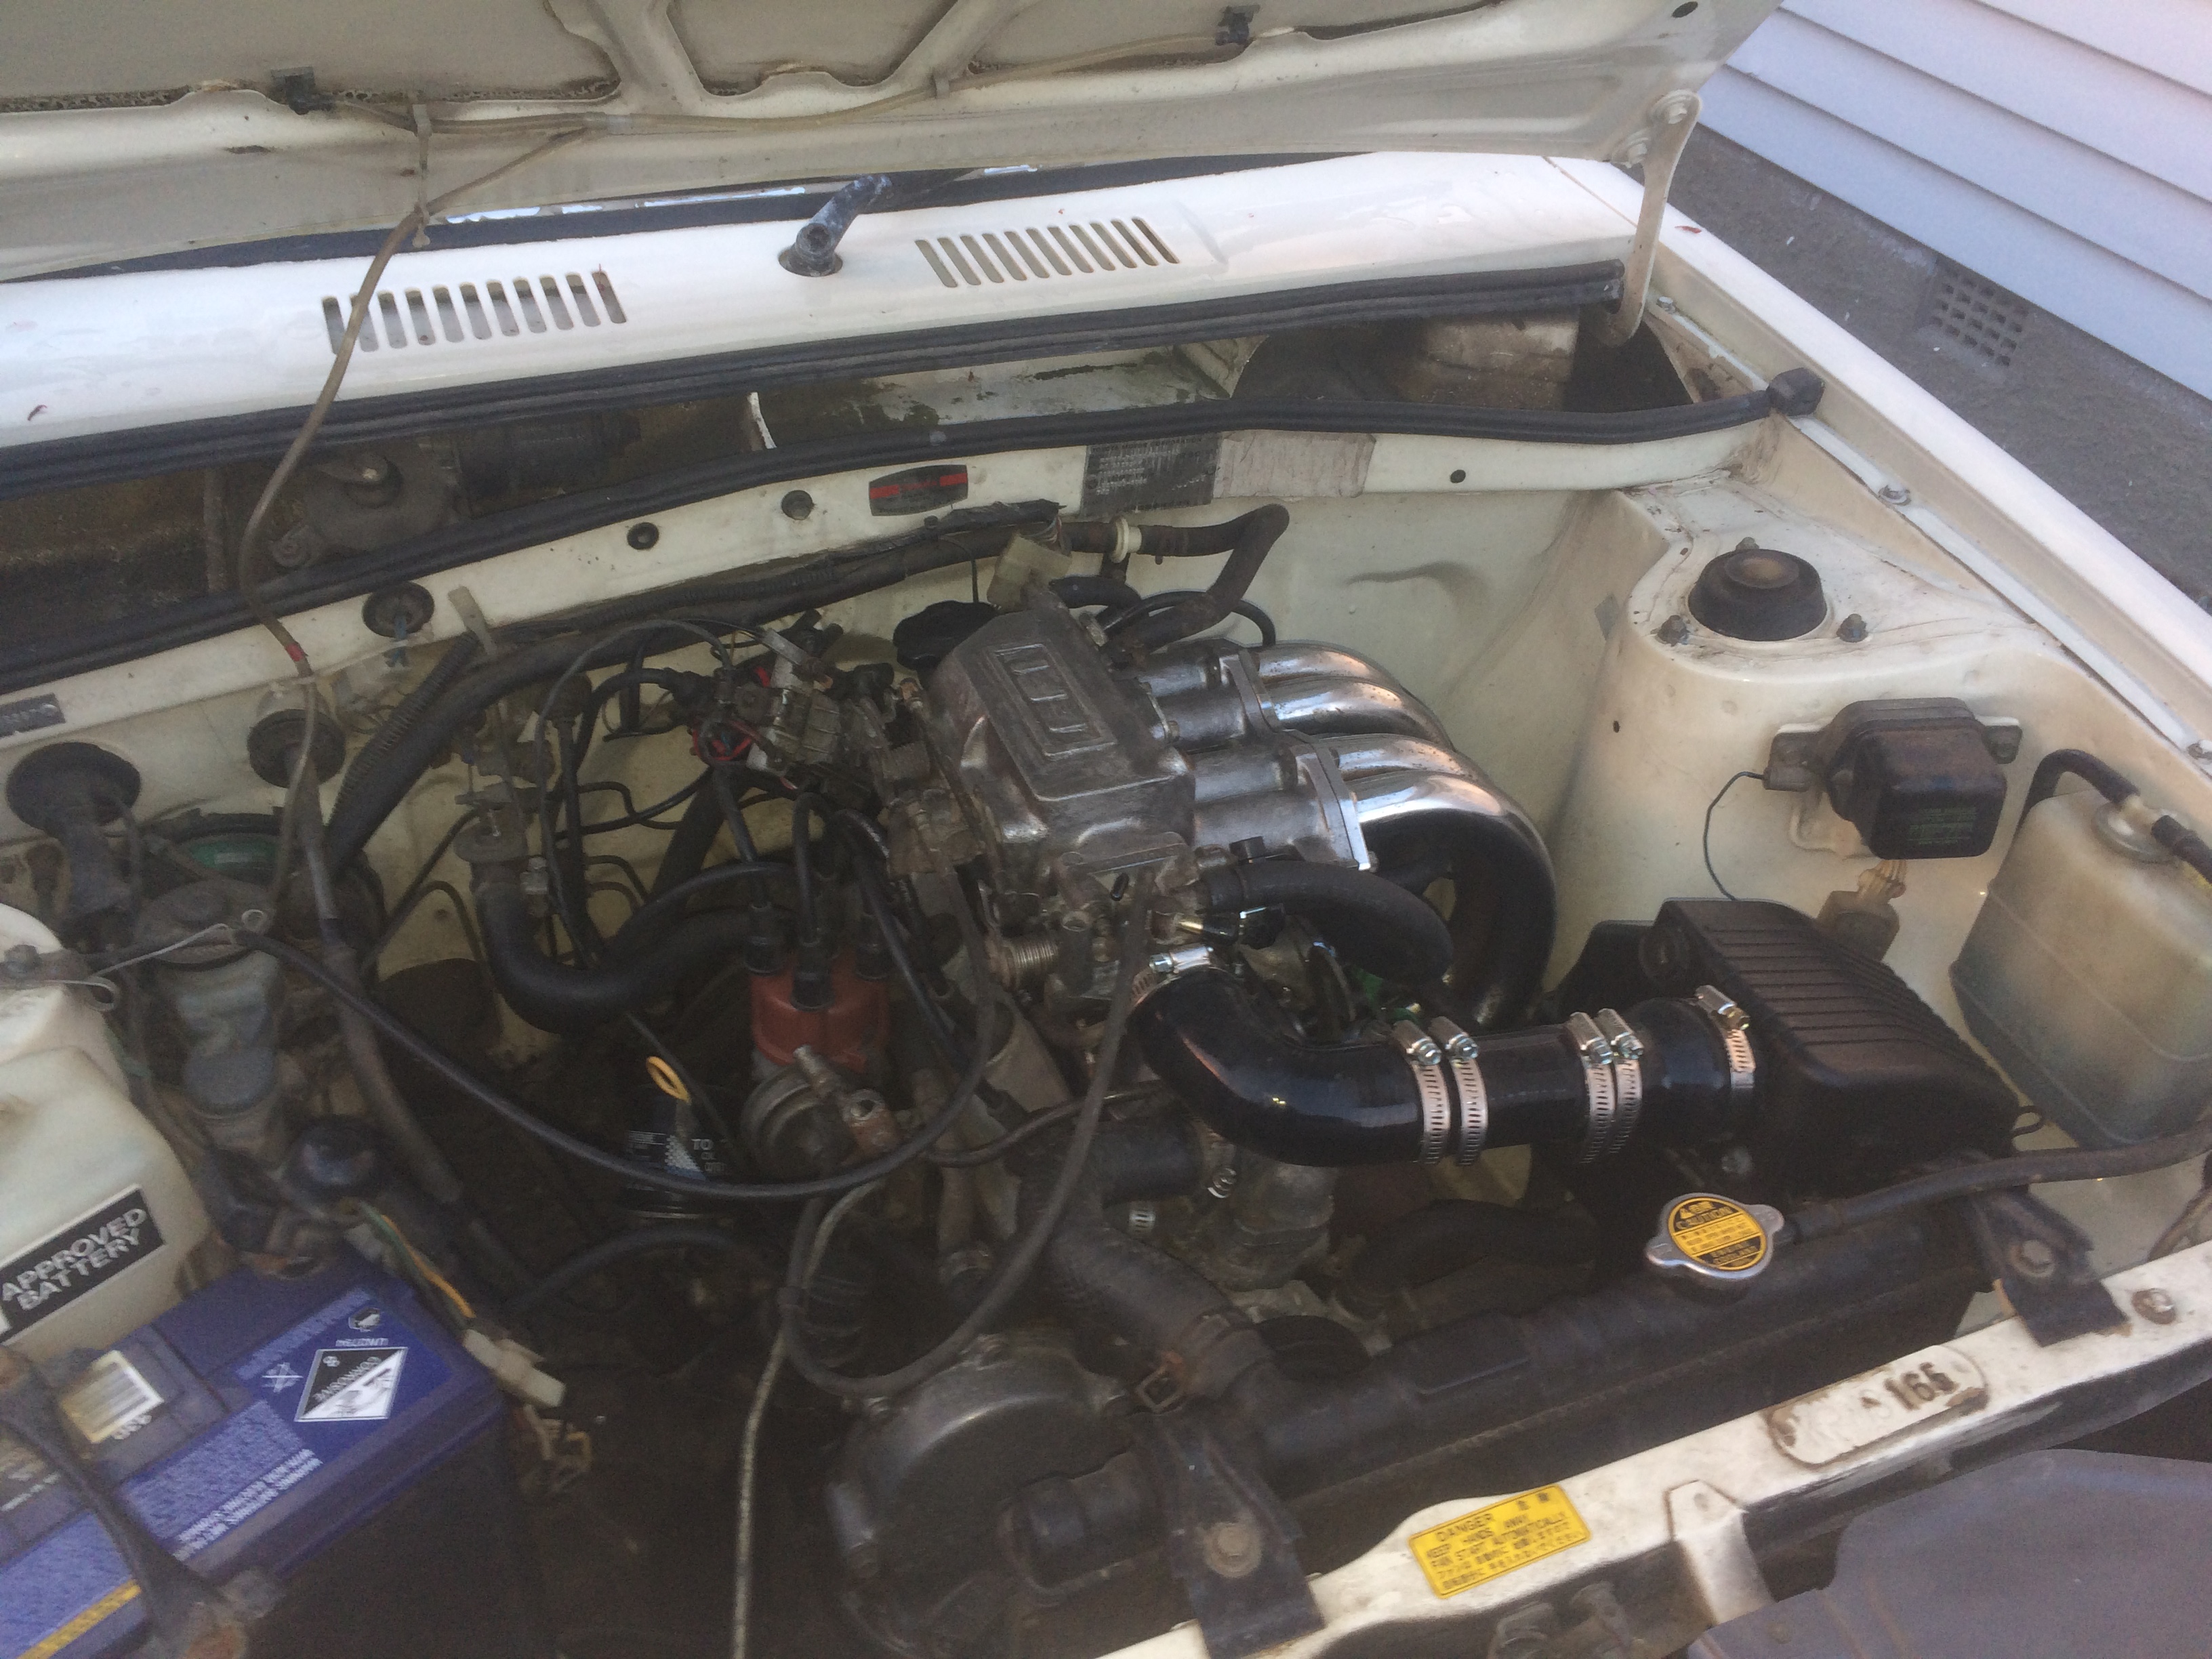
So I've been accruing bits and bobs to convert this car to EFI recently. I'm currently just waiting for the ECU (microsquirt) to arrive in the mail, hopefully this will be tomorrow or the next day. I started to diddle with the car today, ripping off the carburetor/intake manifold and making the EFI stuff fit. Until I have the ECU I can still work on a fair few things, mainly the fuel plumbing. I have all the required hoses, fittings and pump so I will try get those all in place over the next few days. I'll need to make a bracket to mount the pump to existing mounting locations on the car as I don't want to drill any holes on factory bits. I also need to make up some braces to support the plenum and air intake box. I will need to swap out the lower thermostat housing for the EFI one (extra sensor, to provide temperature to ECU) and run a coolant line to the idle speed control valve. I also need to remove the mechanical fuel pump and put a blanking plate on the block, this shouldn't be too difficult. The oxygen sensor will need a hole put somewhere in the exhaust system. Most sources online say to put it about 600mm-1000mm downstream of the engine to reduce overheating of the sensor. I have a blanking plate on the exhaust manifold underneath where the carburetor would have been but I think this may be too close to the engine. Otherwise it would have been ideal to place the sensor on this plate (so as to not drill a hole in a factory component). Has anyone on here got experience with placing wideband sensors close to an engine of low power? Once I have the ECU I can do all of the wiring and hopefully have it fired up fairly quickly and then employ Jane to give me a hand tuning it. That photo makes my engine bay look disgusting... I'll have to give it a good cleaning out at some point. Hopefully I don't end up having any issues come WOF time as I don't really want to fork out another pile of money getting it certified. I'd probably end up just putting the carb back on if I have any trouble like that.
2 points
-
man i have been fucking around with this thing something shocking, need to commit and just finish it as i have everything to do so now. Shed is currently taken over my honda monza red, cams C50 is in for a new exhaust treatment and sparkle has given me his CT110 to chop Quickly hacked the rear guard off sparkles CT at lunch today, looks gay as frig now with the extremely large postie seat but once he gets a new one it should be lush Mocked up my cub with sparkles brown seat off his C50, i have ordered one of the same but in black which should look pretty lush. The bars are on now but i need to cut them down as they are too wide for the wheelbase of the cub and look a bit out of proportion Scratched my head with the wires a little bit but got all that sorted the other night. I know i could get away without running a battery but it thought id be a good boy and run one, then lights can work if engine isnt running etc which could be handy at times, and the new gel battery was only 30 bucks went to put the side cover on and realised i didnt have a screw for it, bit of threaded rod and an old imperial spanner later and jobs done jim Hope sunday will be a good day, will mod bars a bit and get them straight (seems forks are slightly bent) make some changes to the exhaust and get that on properly, re jet the carb with the jets that arrived today, slap the chain on, mod the rear brake pedal then slap some gas and oil in it and go do a skid, yeowww!2 points
-
My sister has a new workshop and she said you should come see it, particularly if you like Nissans & Toyotas 28 October. There will be pizza and drinks http://www.facebook.com/events/174566376421391/
1 point
-
I have been busy on the van, and finally got it running and driving today!! Very impressed with the way the new engine goes, considerably more power and torque than the old engine. The first bootful I gave it left two big black lines from the RH side wheels! Sounds great too with the new big bore stainless exhaust To give an idea, my daily driver is a Mondeo ST220, which is a reasonably quick car. The Transit has very similar acceleration to the Mondeo, and jumps harder off the line, thanks in part to the shorter diff ratio, auto trans and higher power output. Anyway, still a number of jobs to finish off on it, but really nice to have my first drive in just over a year. The power steering is fantastic too -so light compared to the heavy manual box it had fitted the new Lokar shifter- nice piece but what a mission to fit and get working properly! and just after the test drive this afternoon. Engine cover not fitted, and still some tidying up and finishing off to do.1 point
-
You have too many scooters, giz one for cheaps1 point
-
I've just recently been going through same thing, wanting to improve that first bit of power when coming off idle. Found same conclusion as per above, give it lots of air and then bring idle down with pulling timing. So then it gains timing back when it leaves the idle ign table and then its much easier to get off the line.1 point
-
either 0.8 or 0.6 can work just need to adjust technique. which is most of the battle - finding what settings and gun angles work for your welder in which positions on what thicknesses and shittiness of surfaces etc. a lot of the time for car stuff you are pretty restricted in position and length of bead before overheating the thin stuff or just running into movement obstacles that require you to physically move yourself. so I usually end up running relatively hotter than what "normal" fabrication welding would recommend because you have to do a series of tacks or very short welds and you need the higher power to get enough penetration at the start of the weld. this then means you have to stop and/or increase your torch distance shortly after starting to reduce the heat input. other recommendations - tip within 0-5mm of end of nozzle - sometimes you need to cut the nozzle of the welder shorter to achieve this. start welds with the gun real close/ short ~5-10mm wire stickout from tip when starting to give you more initial penetration with less power and wire speed my 2c anyway1 point
-
It could well be! I don't remember hearing about it last year. Word on the street is they are hoping for about 200 V8's and Hot Rods and some cool planes too. There is also a swap meat and trade stands. It's $20 bucks a car to enter with all monies going to the save Gore fund or possibly a different charity.1 point
-
I can't commit 100% yet but I am interested.1 point
-
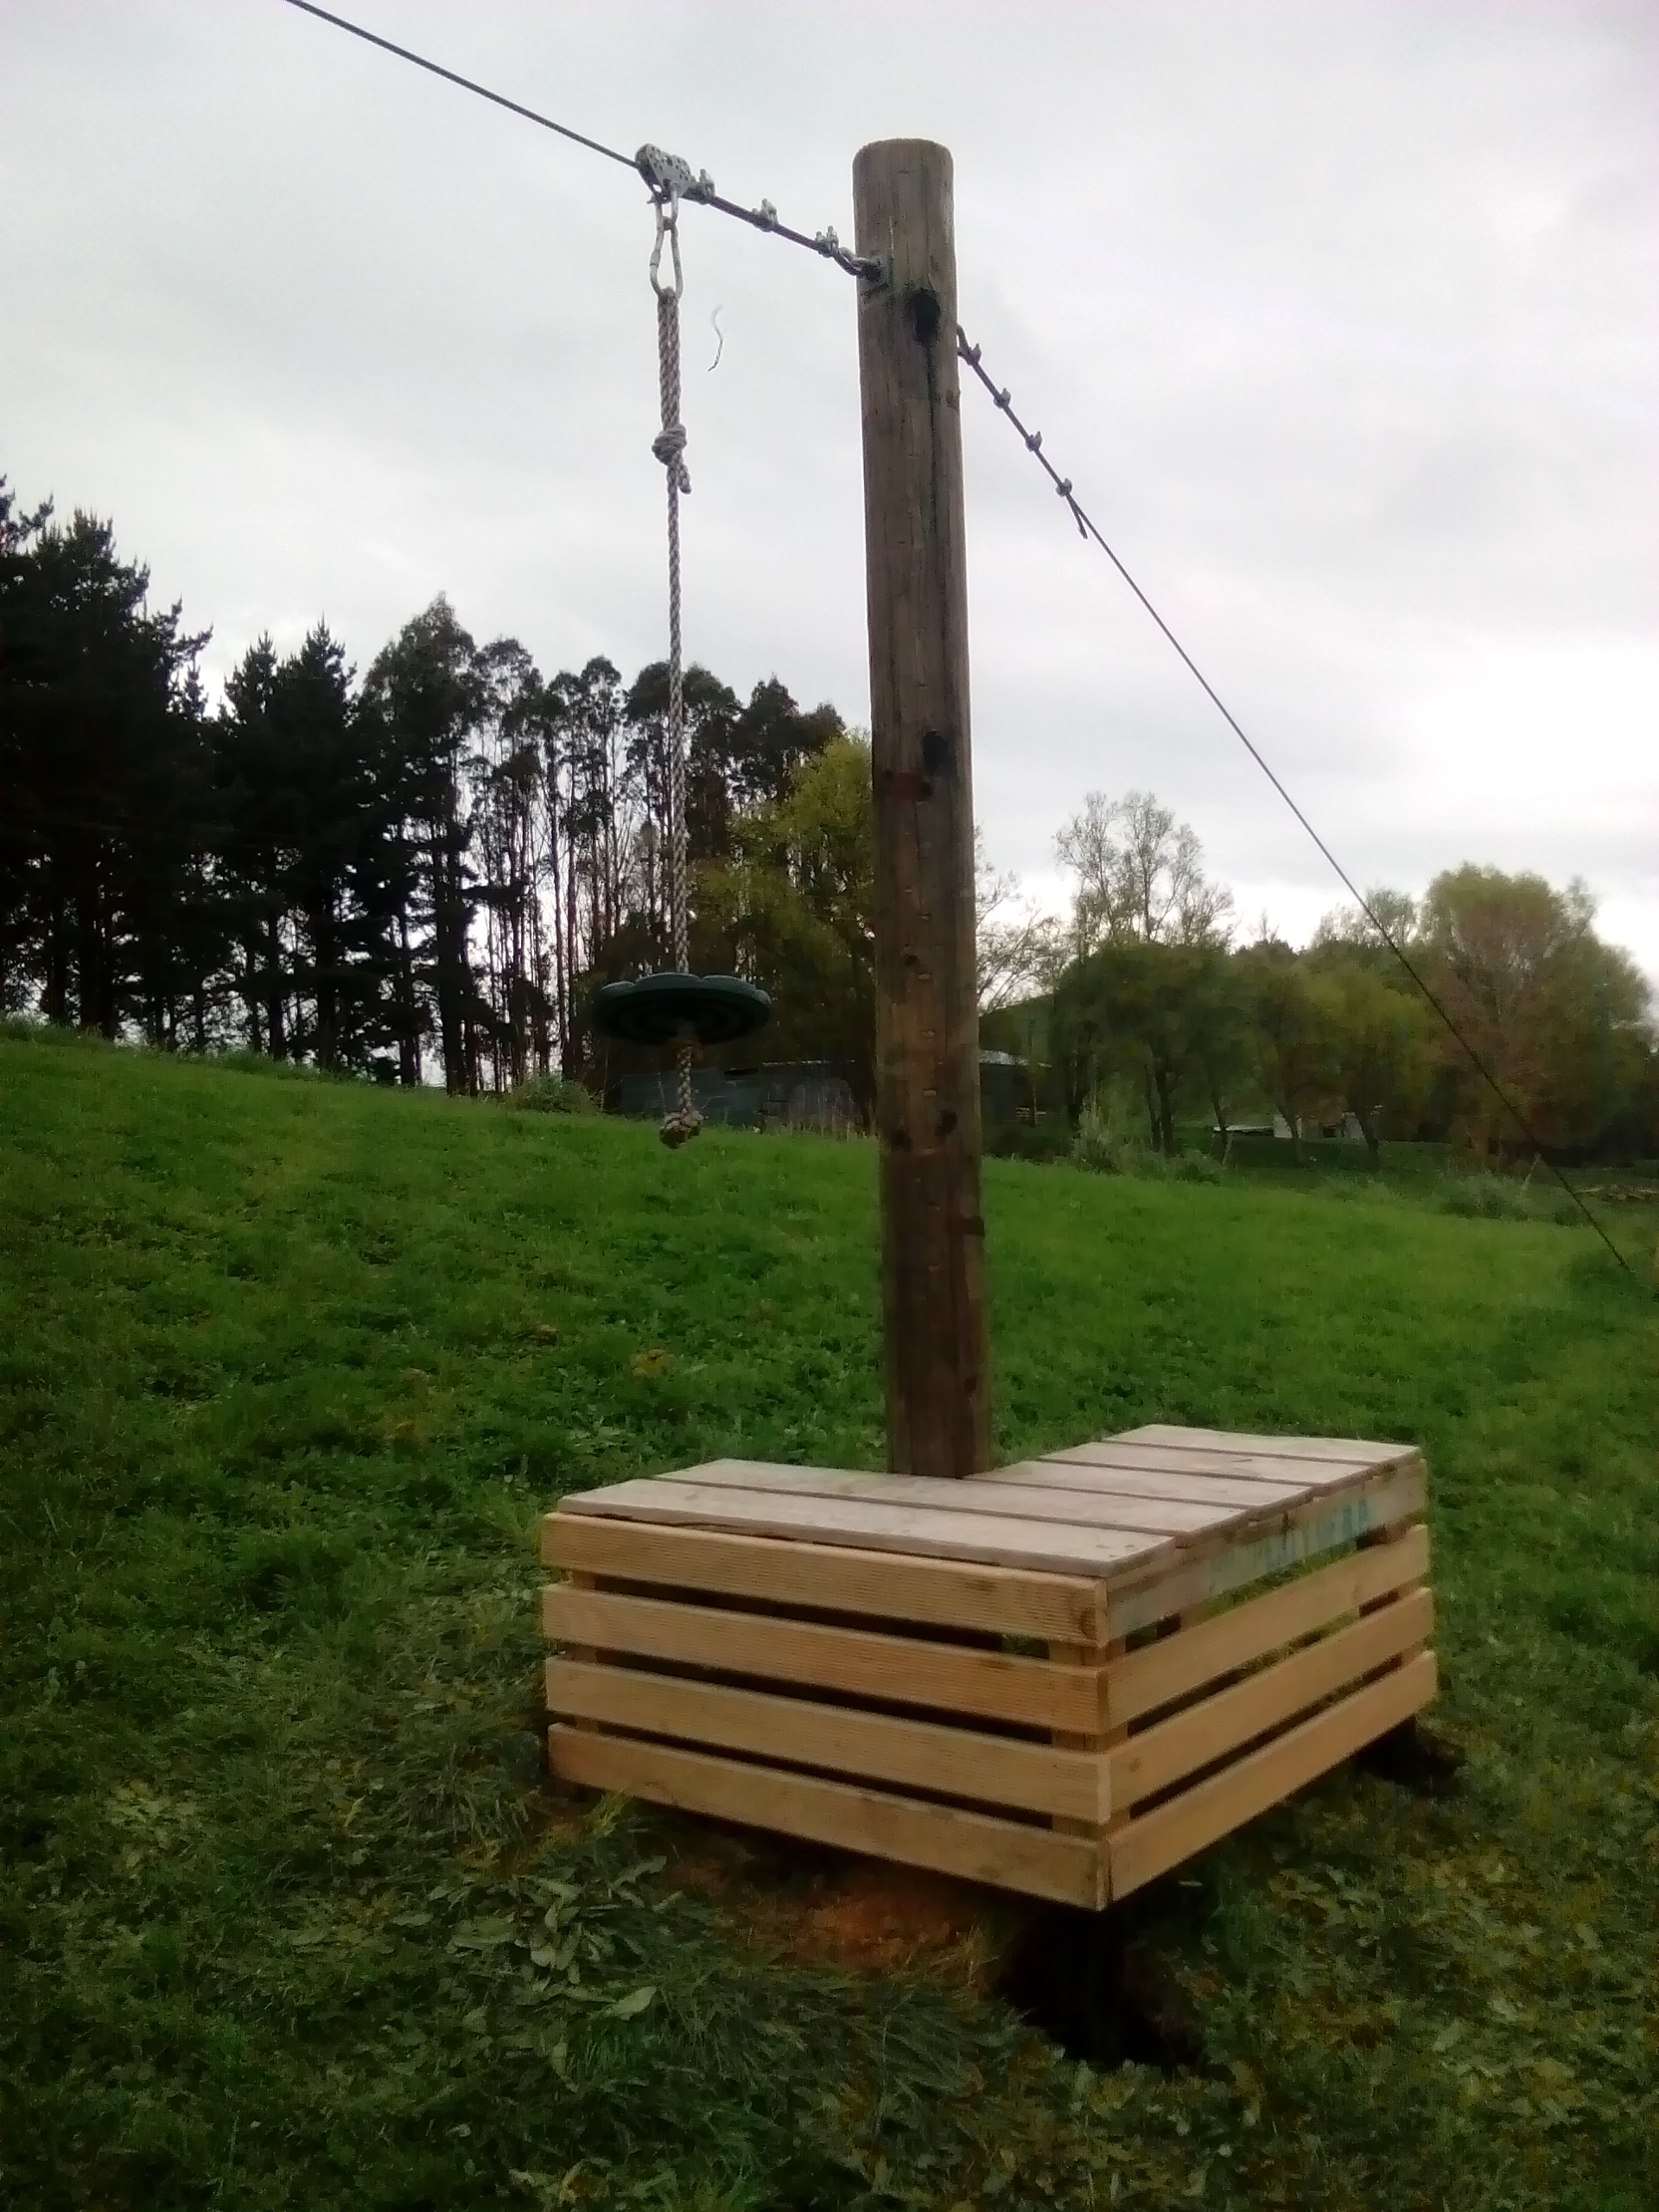
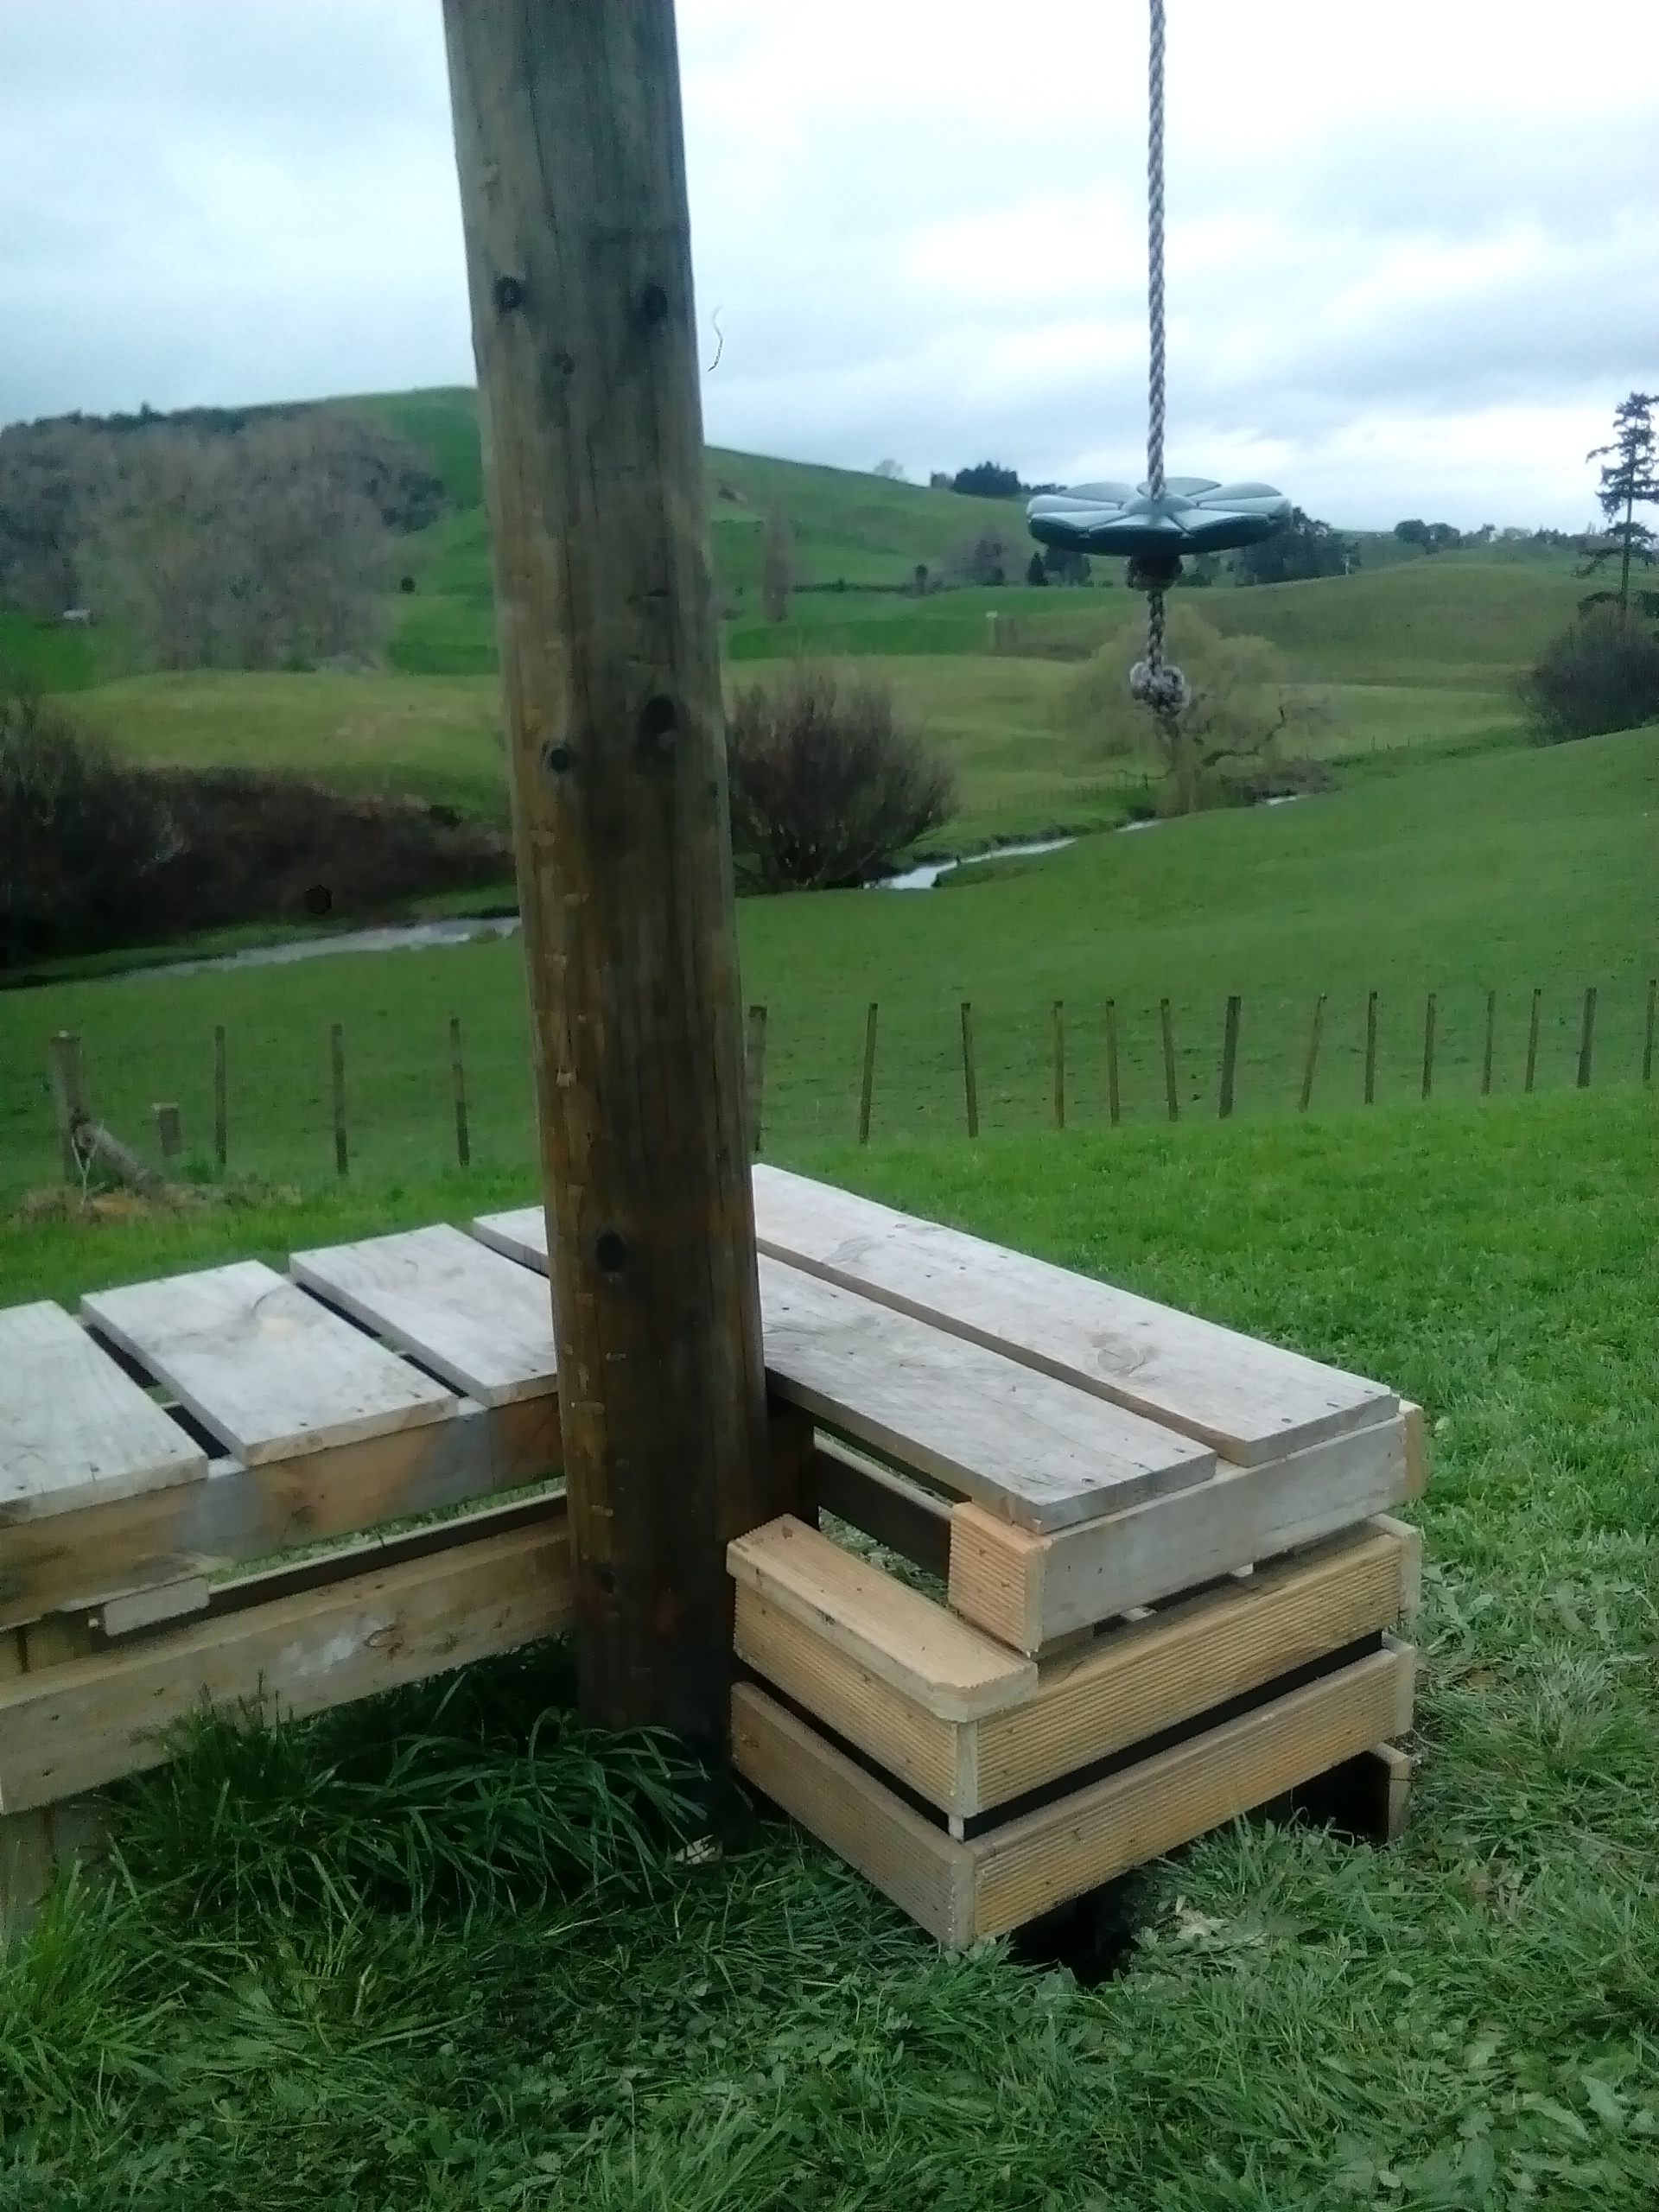
The flying fox had one of those temporary fixes that kind of gets normalised. See the kids were too short to get onto the seat, so I chucked a couple old hilux rims under it...9 months later... So, considering I didn't want to invest a fortune in building this, an old pallet, some decking offcuts, 4m of rough sawn timber and a couple bags of quickcrete were all it took (about $35 total cost). Much better than the doggy old wheels. Kj
1 point
-
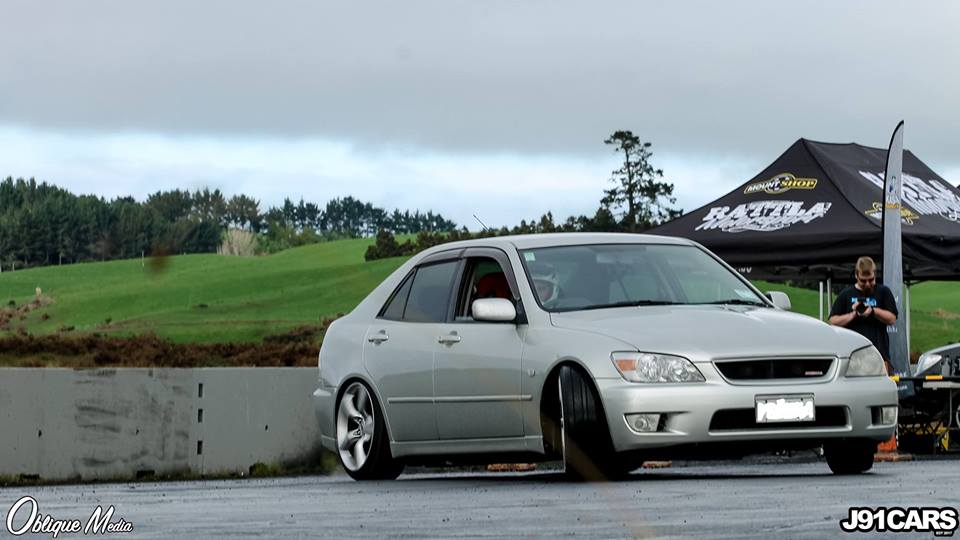
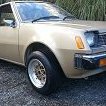
Still for sale everyone, although now Rego and Wof and running perfectly!1 point
-
I'd link to grunta's too, but his photos are all dead/pb'd1 point
-
Ryobi one ways and a welded diff? Cutting the bonnet for a bug catcher? Welding up cracked Astro's?1 point
-
and the wheel arch, there is was a 6mm factory hole just inboard of the tub seam in the apex of the guard for a plastic fuel line clamp to mount. Good one. I have also been here before, check out the thickness of the wob (thats me!) on the right over my last patches and the paint archaeology on the left inner arch repair patches made, getting a solid non popous base for the needed bog skim to join up the previous patches was more important than getting it perfect nice and slow tack wait, move, tack wait for less warpy, but also more grindy after skim number 42, its like it never happened apart from the offerings of oxide Car is now turned around with much the same to do on the passenger side, aiming for drag day1 point
-
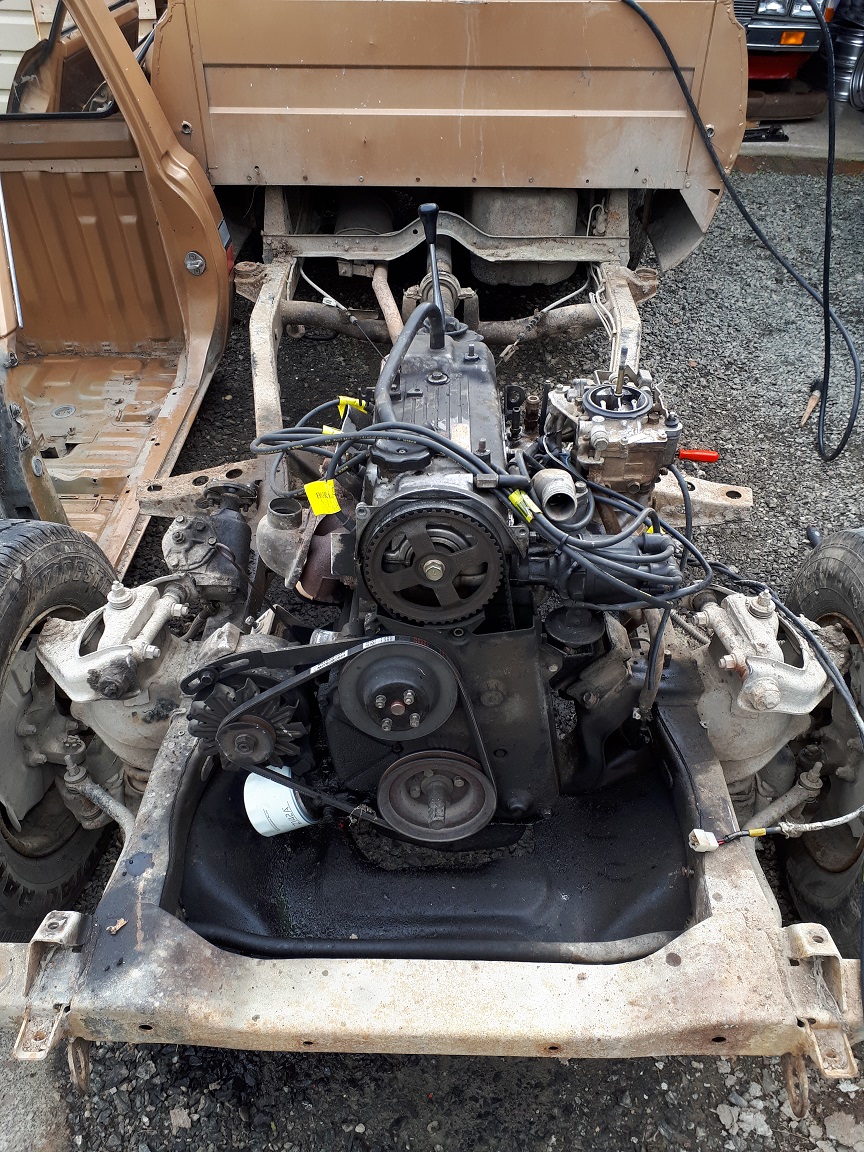
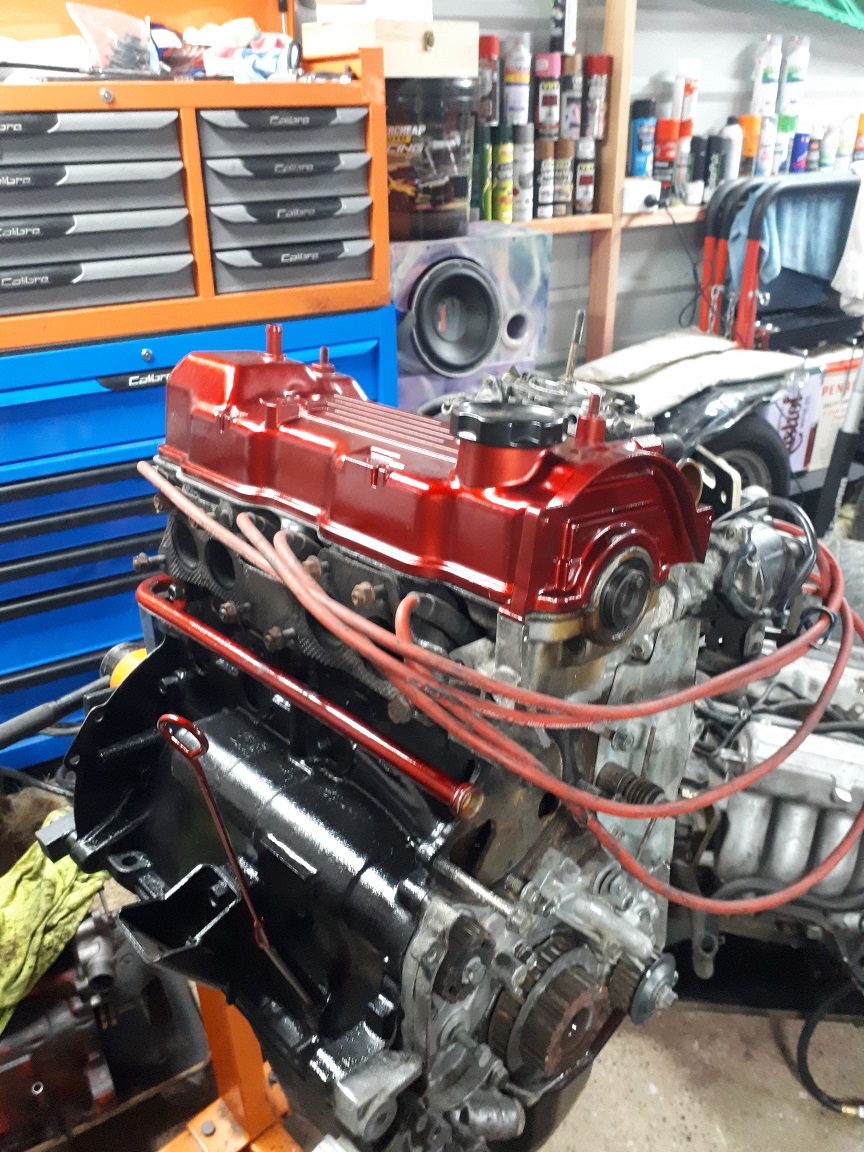
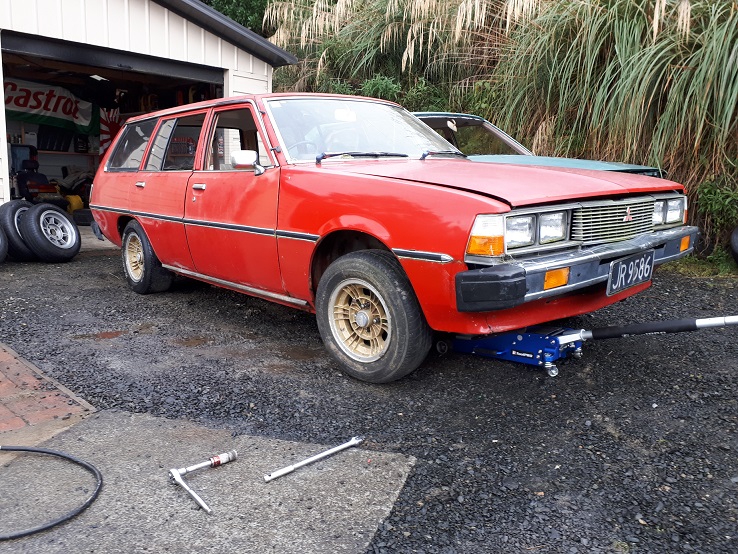
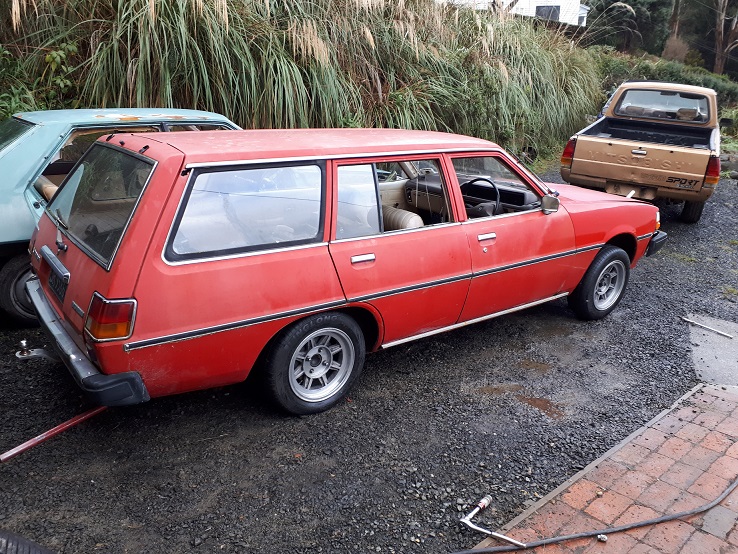
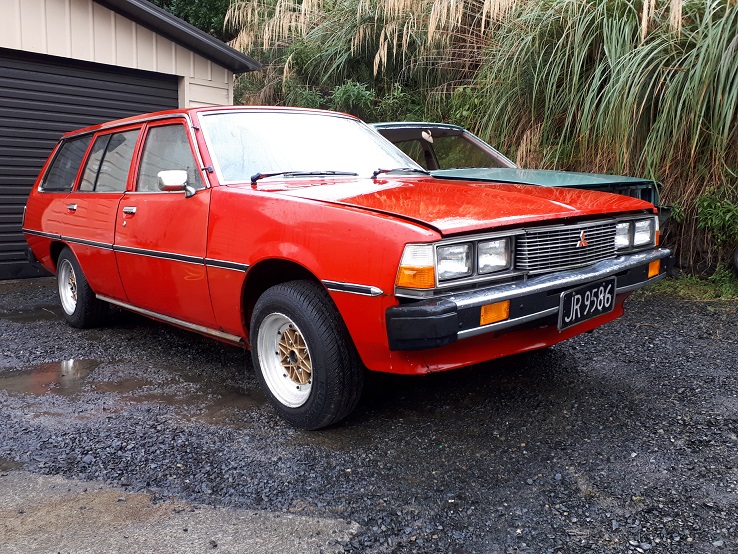
Progress has been slow over winter. I've been trying to find new front guards for her as the ones on there have speed holes. Have successfully acquired motor to drop in. Its a 4G63, nothing special but should run nicely. Came with a parts ute for my ute wrapped around it. Makes it much easier to remove a motor with no body in the way. Ripped it out and starting stripping the cambelt off to be replaced and to start to paint it up. Will look similar to my utes motor just going to use a metallic orange instead of the red.
1 point
-
Sister obviously.1 point
-
of sister or work shop?1 point
-
Huhu haaa someone know my password, and it's not me.1 point
-
Can't get at screws from the inside1 point
-
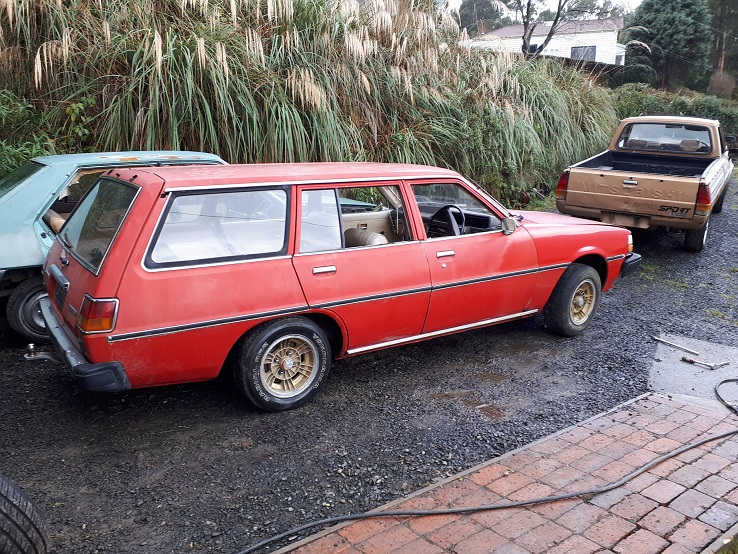
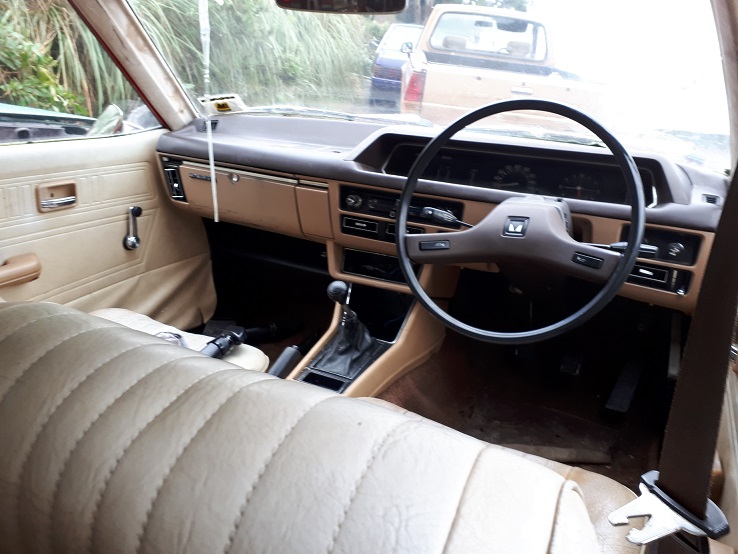
Updating with better photos. Did the first thing you do with any new car and tried on my sets of wheels to see what they all looked like. Think I've decided on the Enkeis for her. 6s for the front and 7s for the back. Also gave her a wash and started to clean all the random crap out of the car.
1 point
-
Been ages since I have posted. I find at this time of year i can make an excuse out of anything to put work aside and stay inside being nice and warm.Winter here in New Zealand.My mate Flockie who is doing the brunt of the work has been pulling some long ass hours at work as well and only recently has been able to find a bit of time to get back on to the Hudson.Still as I last said its time to move on to the front end.Loaded up the Nailhead and took it to the Hudson den so measurements could be made.Plonked the engine up front along with the front rack just to take a look.Decided to raise up the low / air height a bit from 2" to 3".Front chassis tacked & assembled. Reid front end in position.Further bracing is still to be added.The whole front sub is bolt in/out. The four holes you see (lower right) is where the front bolts attach. The rear ones obviously are not shown. Some of the bracing will be removed as its just there to hold everything in position.The front clip will be in and out a few more times as things are drilled, welded and god knows what. But still the basic structure is now laid.Slight modification is needed to the rails for better clearances of the front rack.Engine will be in soon enough. Seems like there is heaps of room for it.So things are still progressing.1 point
-
Pretty slow progress on the Red Rover. Spent the last few weekends sorting out my daily Rover with new brakes, hub seals and full service. Anyhow, started on rebuilding the front brakes on Red. Old discs were stuffed, very pitted and some of the brake lines were blocked as well as some very leaky hub seals and bad wheel bearings. Started by stripping them all down, big job cleaning it up! So much grime! Great fun removing caliper bolts that haven't come off in who knows how long. This week's job will be rebuilding the calipers and hubs with new seals and bearings. Then hopefully in the weekend installing them all with new rotors, pads and lines. Also been trying to get to the bottom of why it seems to be down on power. Starts and idles fine but very rich and plugs are coming out very black. Replaced a torn diaphragm in one of the carbs but still no luck. Think I will just take it to a carb wizard to sort - I have heard Hitec Motorsports in Dury are good. Any suggestions? Looking forward to bolting nice shinny bits on next weekend. Parts hauler is going well now. Wof passed and running well. Looks massive compared to the little Turbo City.1 point


.thumb.jpeg.384ff72c8d2b0ee0d34a7bdedb55bdcf.jpeg)


.png.8c880082c7828e04f162a00220cdef64.png)


This leaderboard is set to Auckland/GMT+12:00