
Leaderboard


Popular Content
Showing content with the highest reputation on 06/25/17 in all areas
-
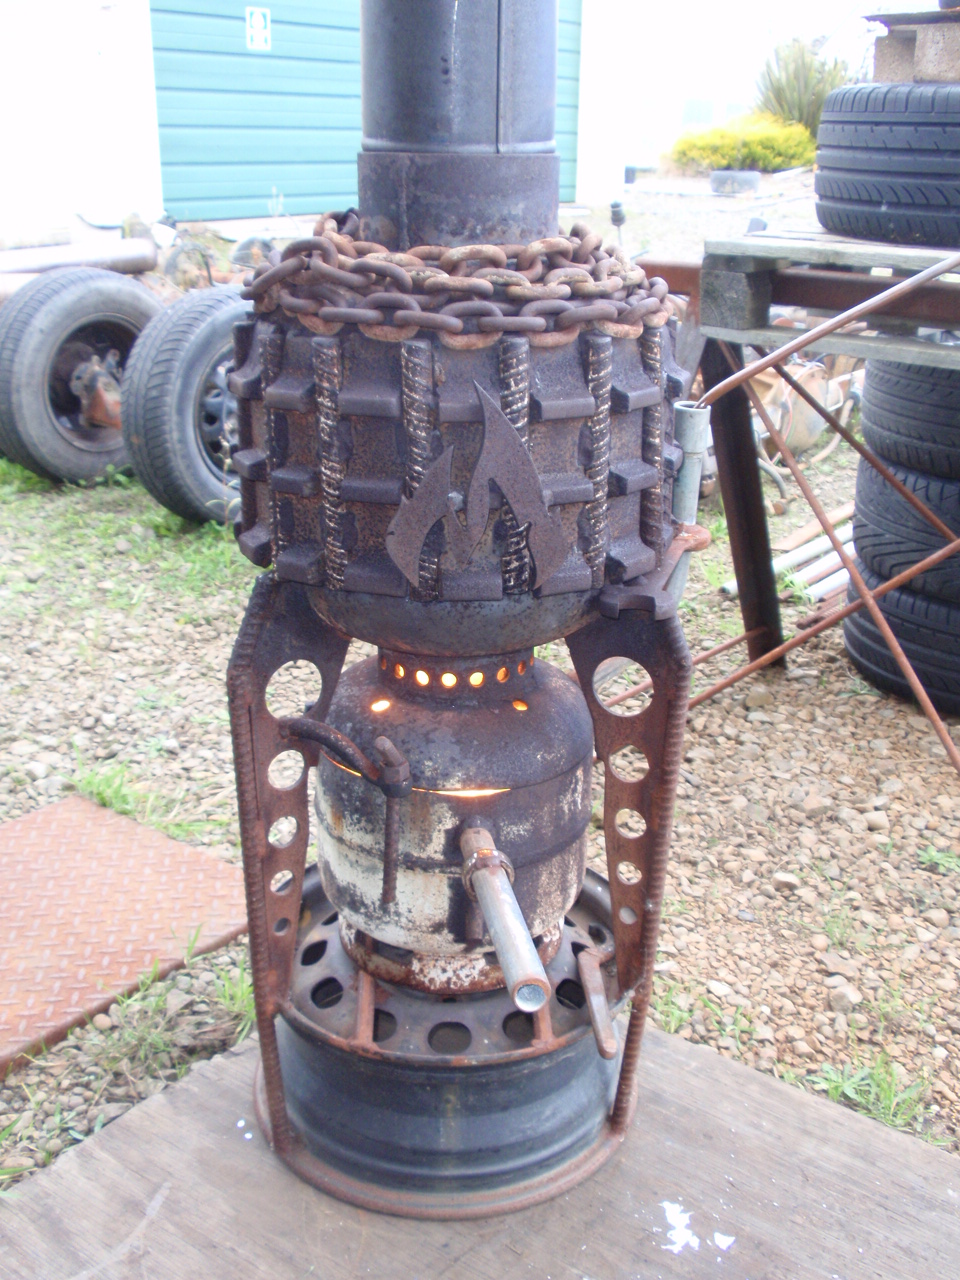
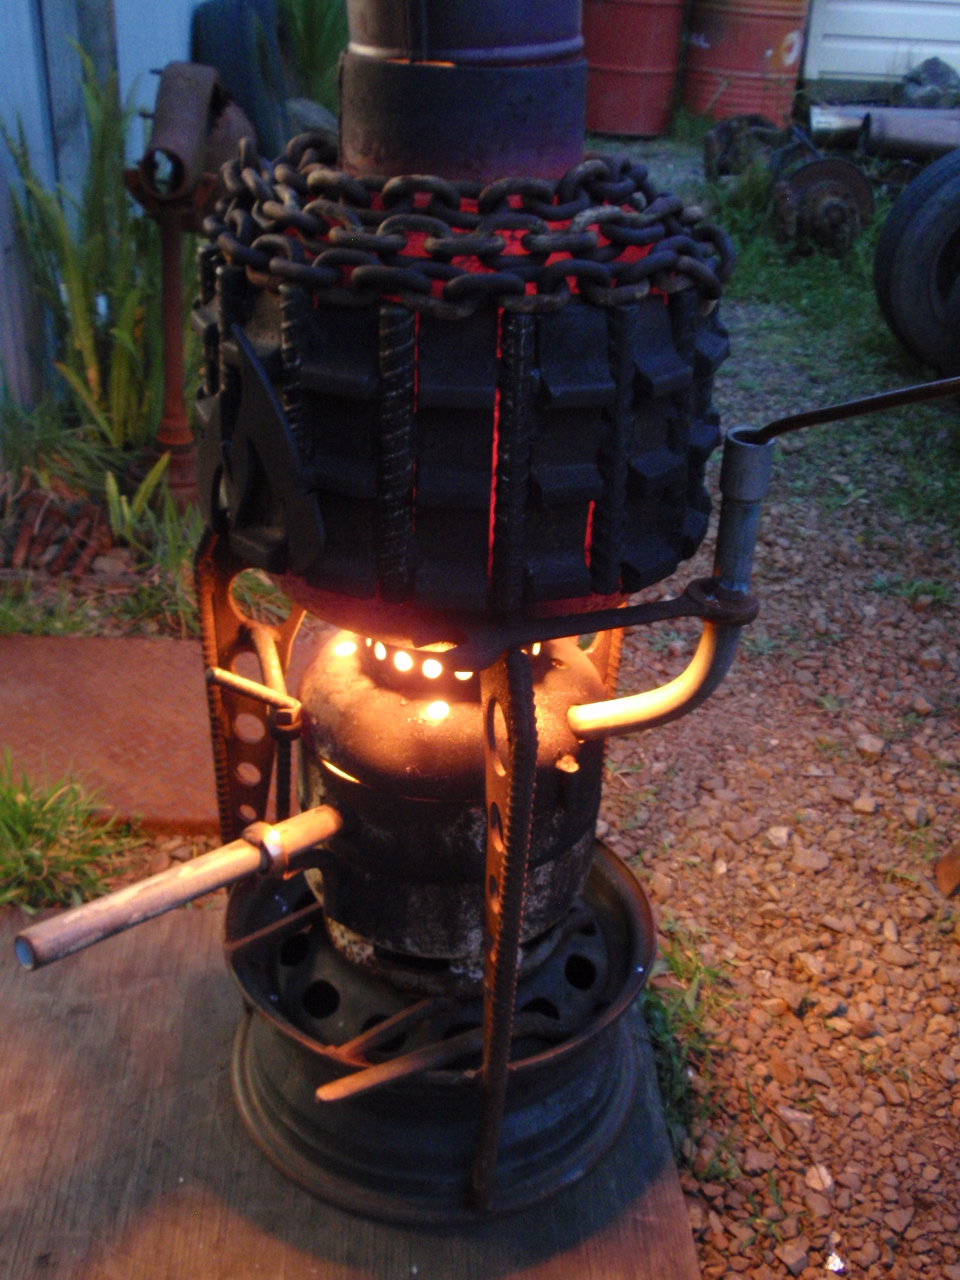
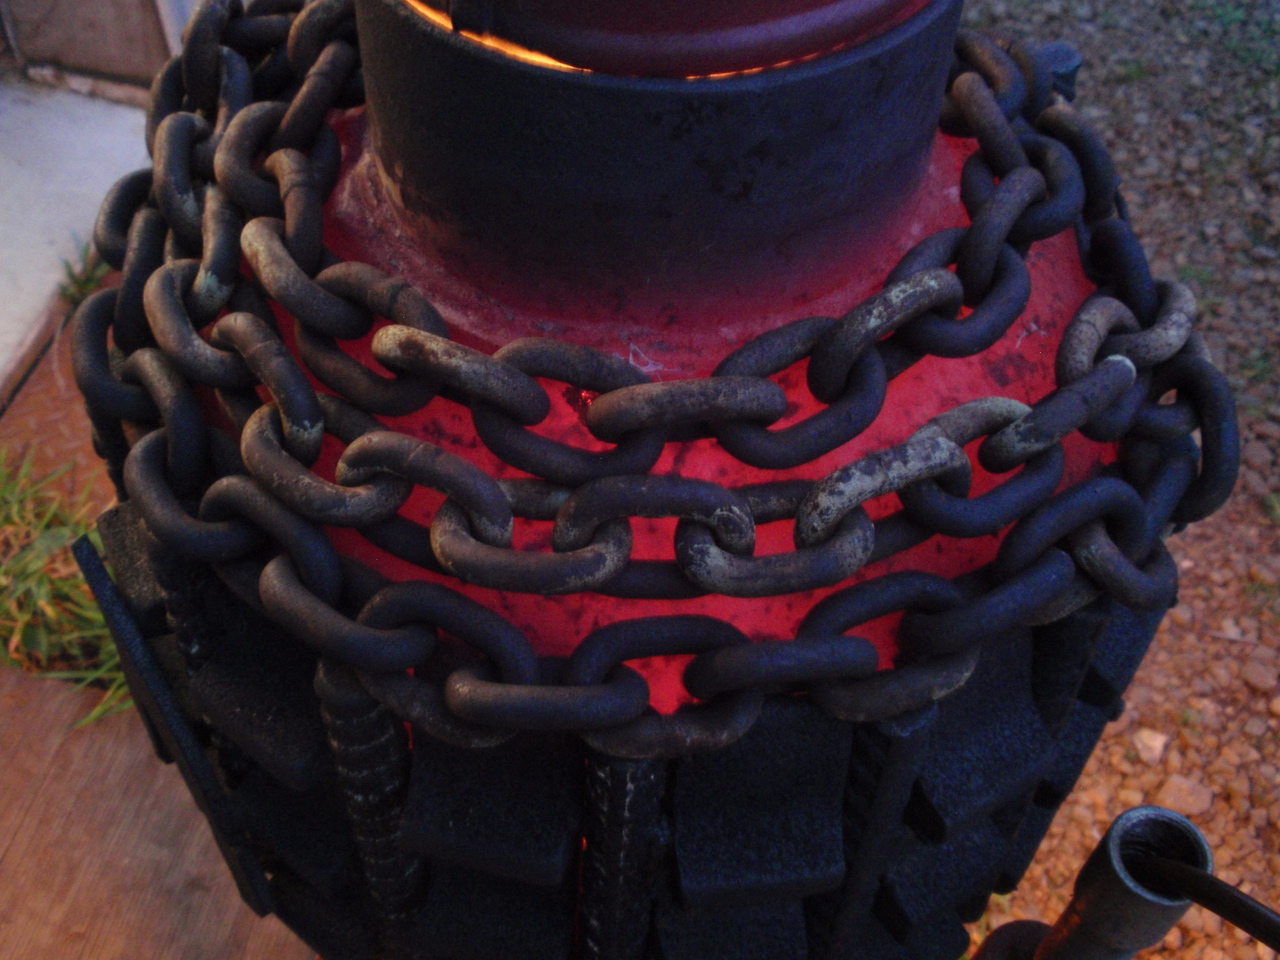
When you should be trying to earn an income or advancing progress on your hotrod ... your mind wanders and this shit happens, lol! More recycling/re-purposing. I fucking love it! Of late, I have dragged my toosh to a couple of art craft show/market thingies and had a look round. Attended a Steampunk thing too. Decided I had enuff dirt under my fingernails, the gear and resources to have a go at doing it myself. Free heat from scrap mixed with waste oil. I love living the life of a fucking shedrat.
 11 points
 -
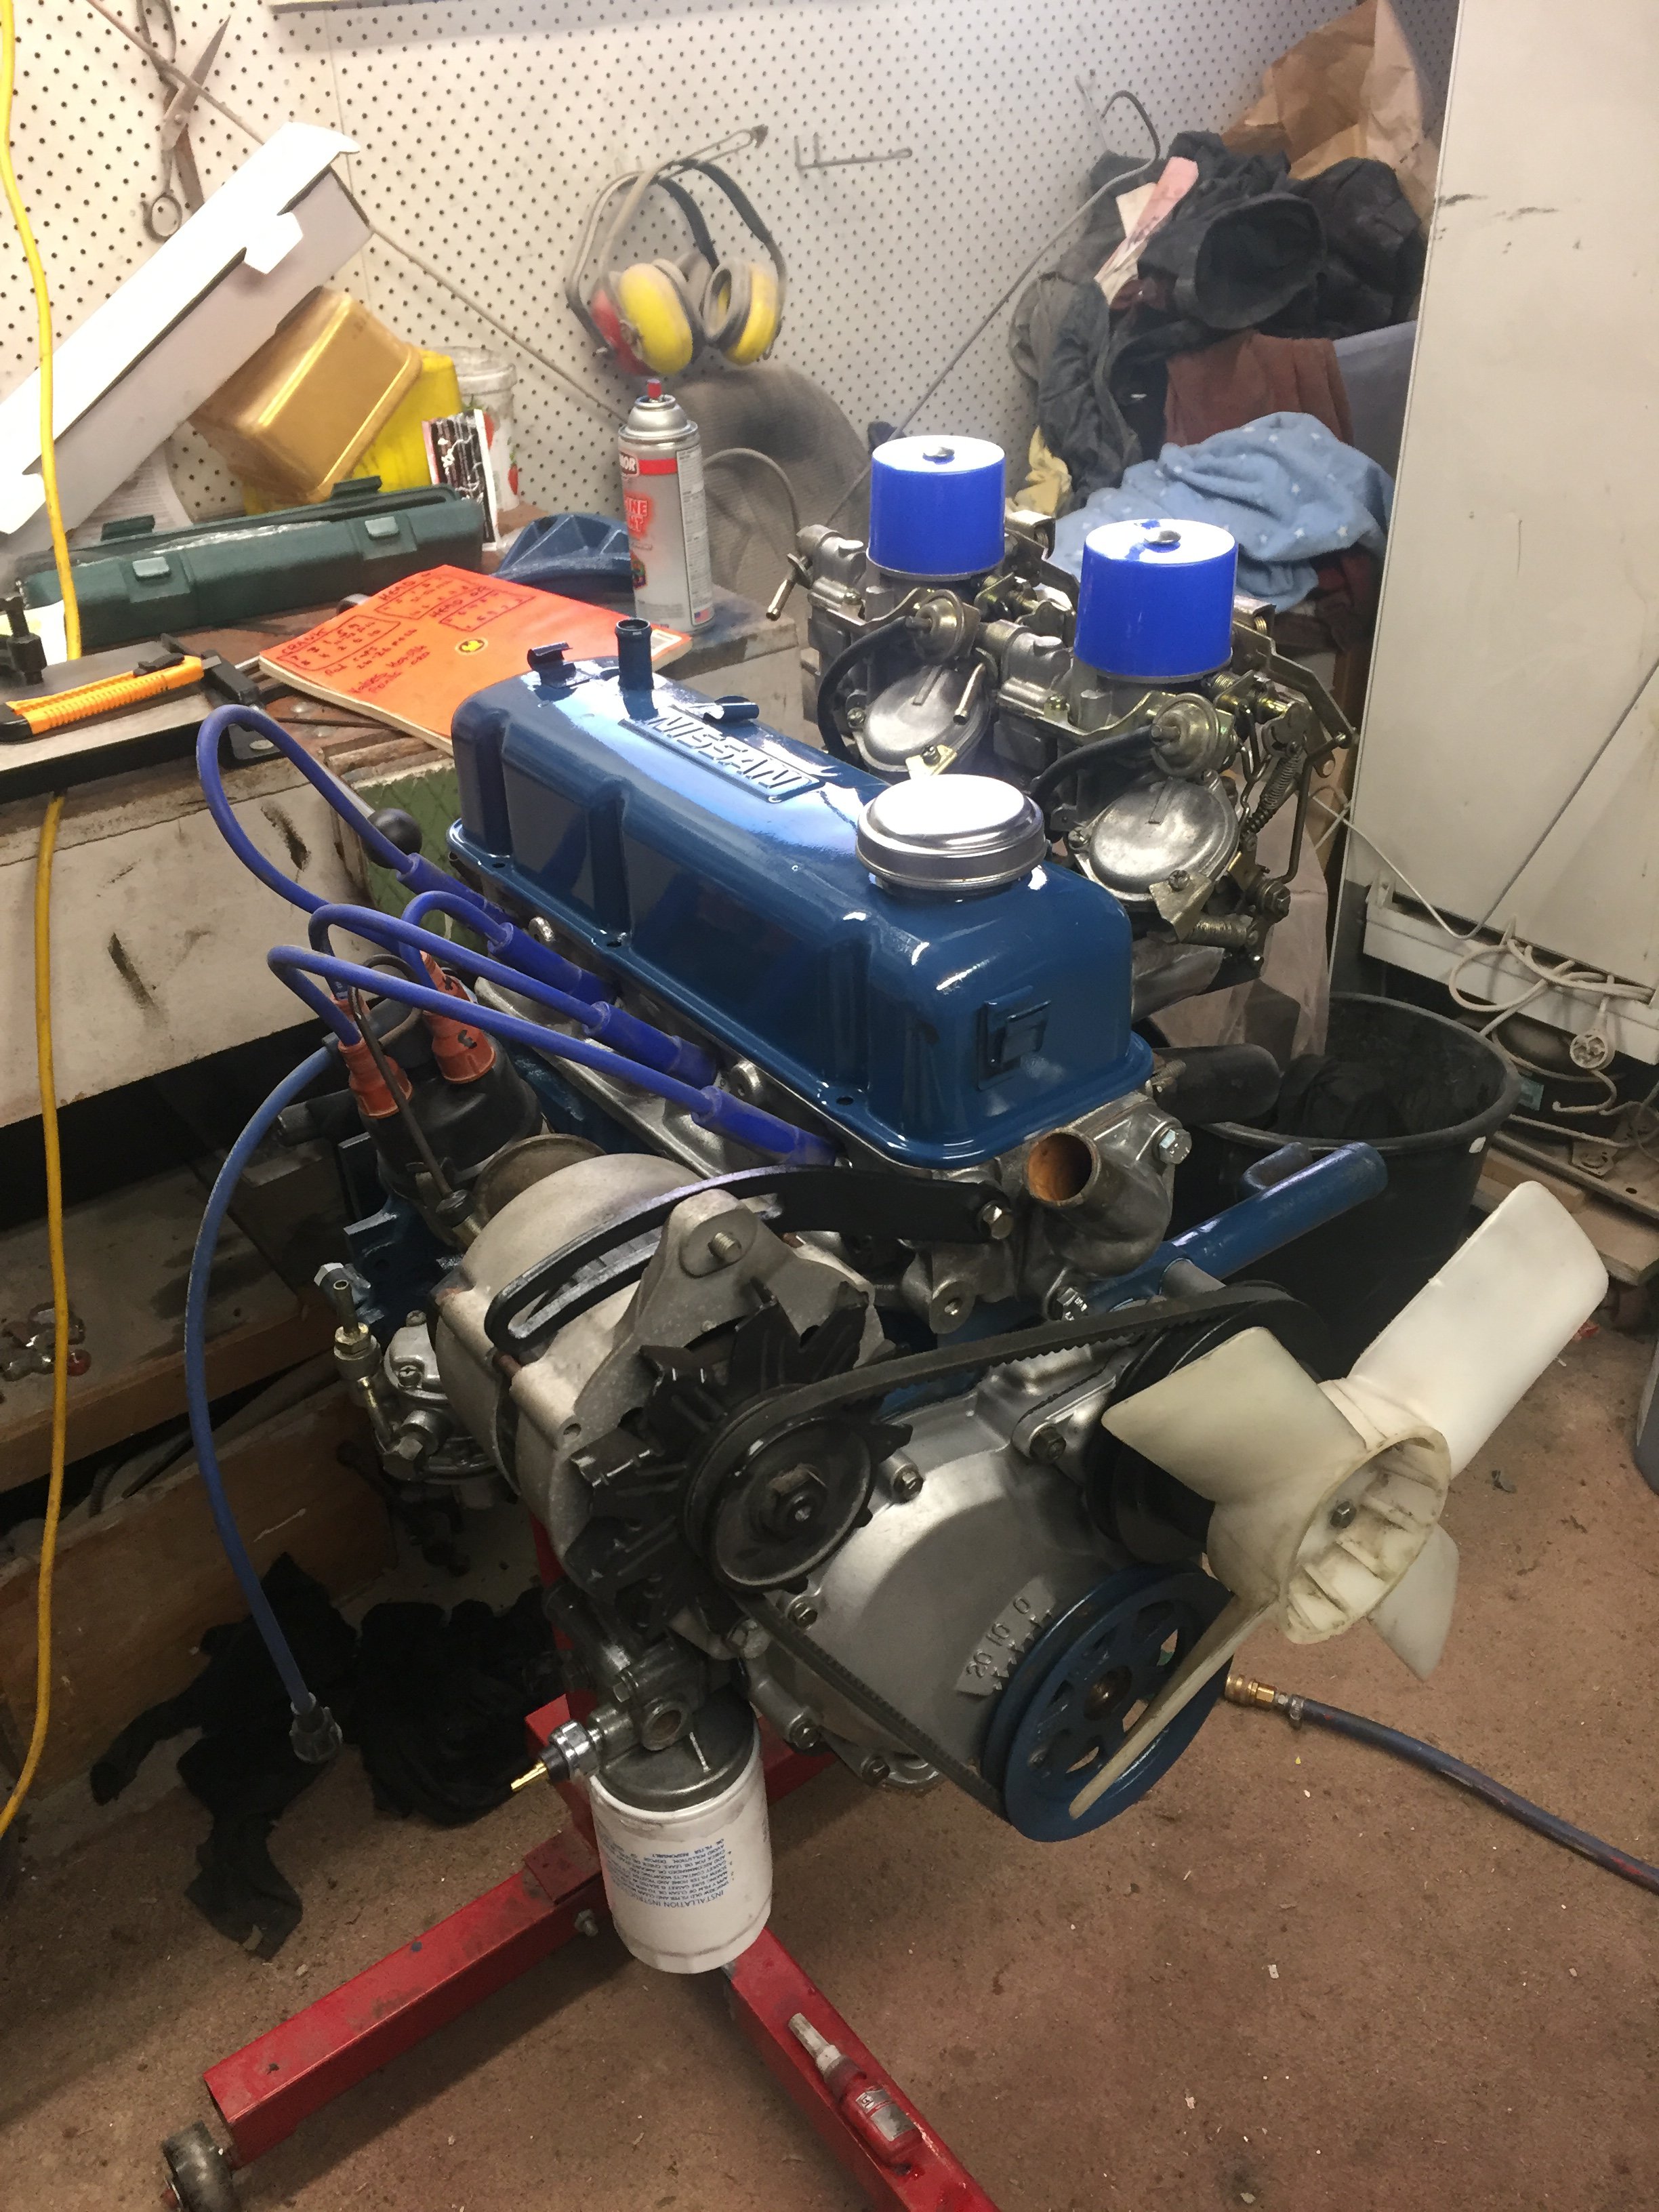
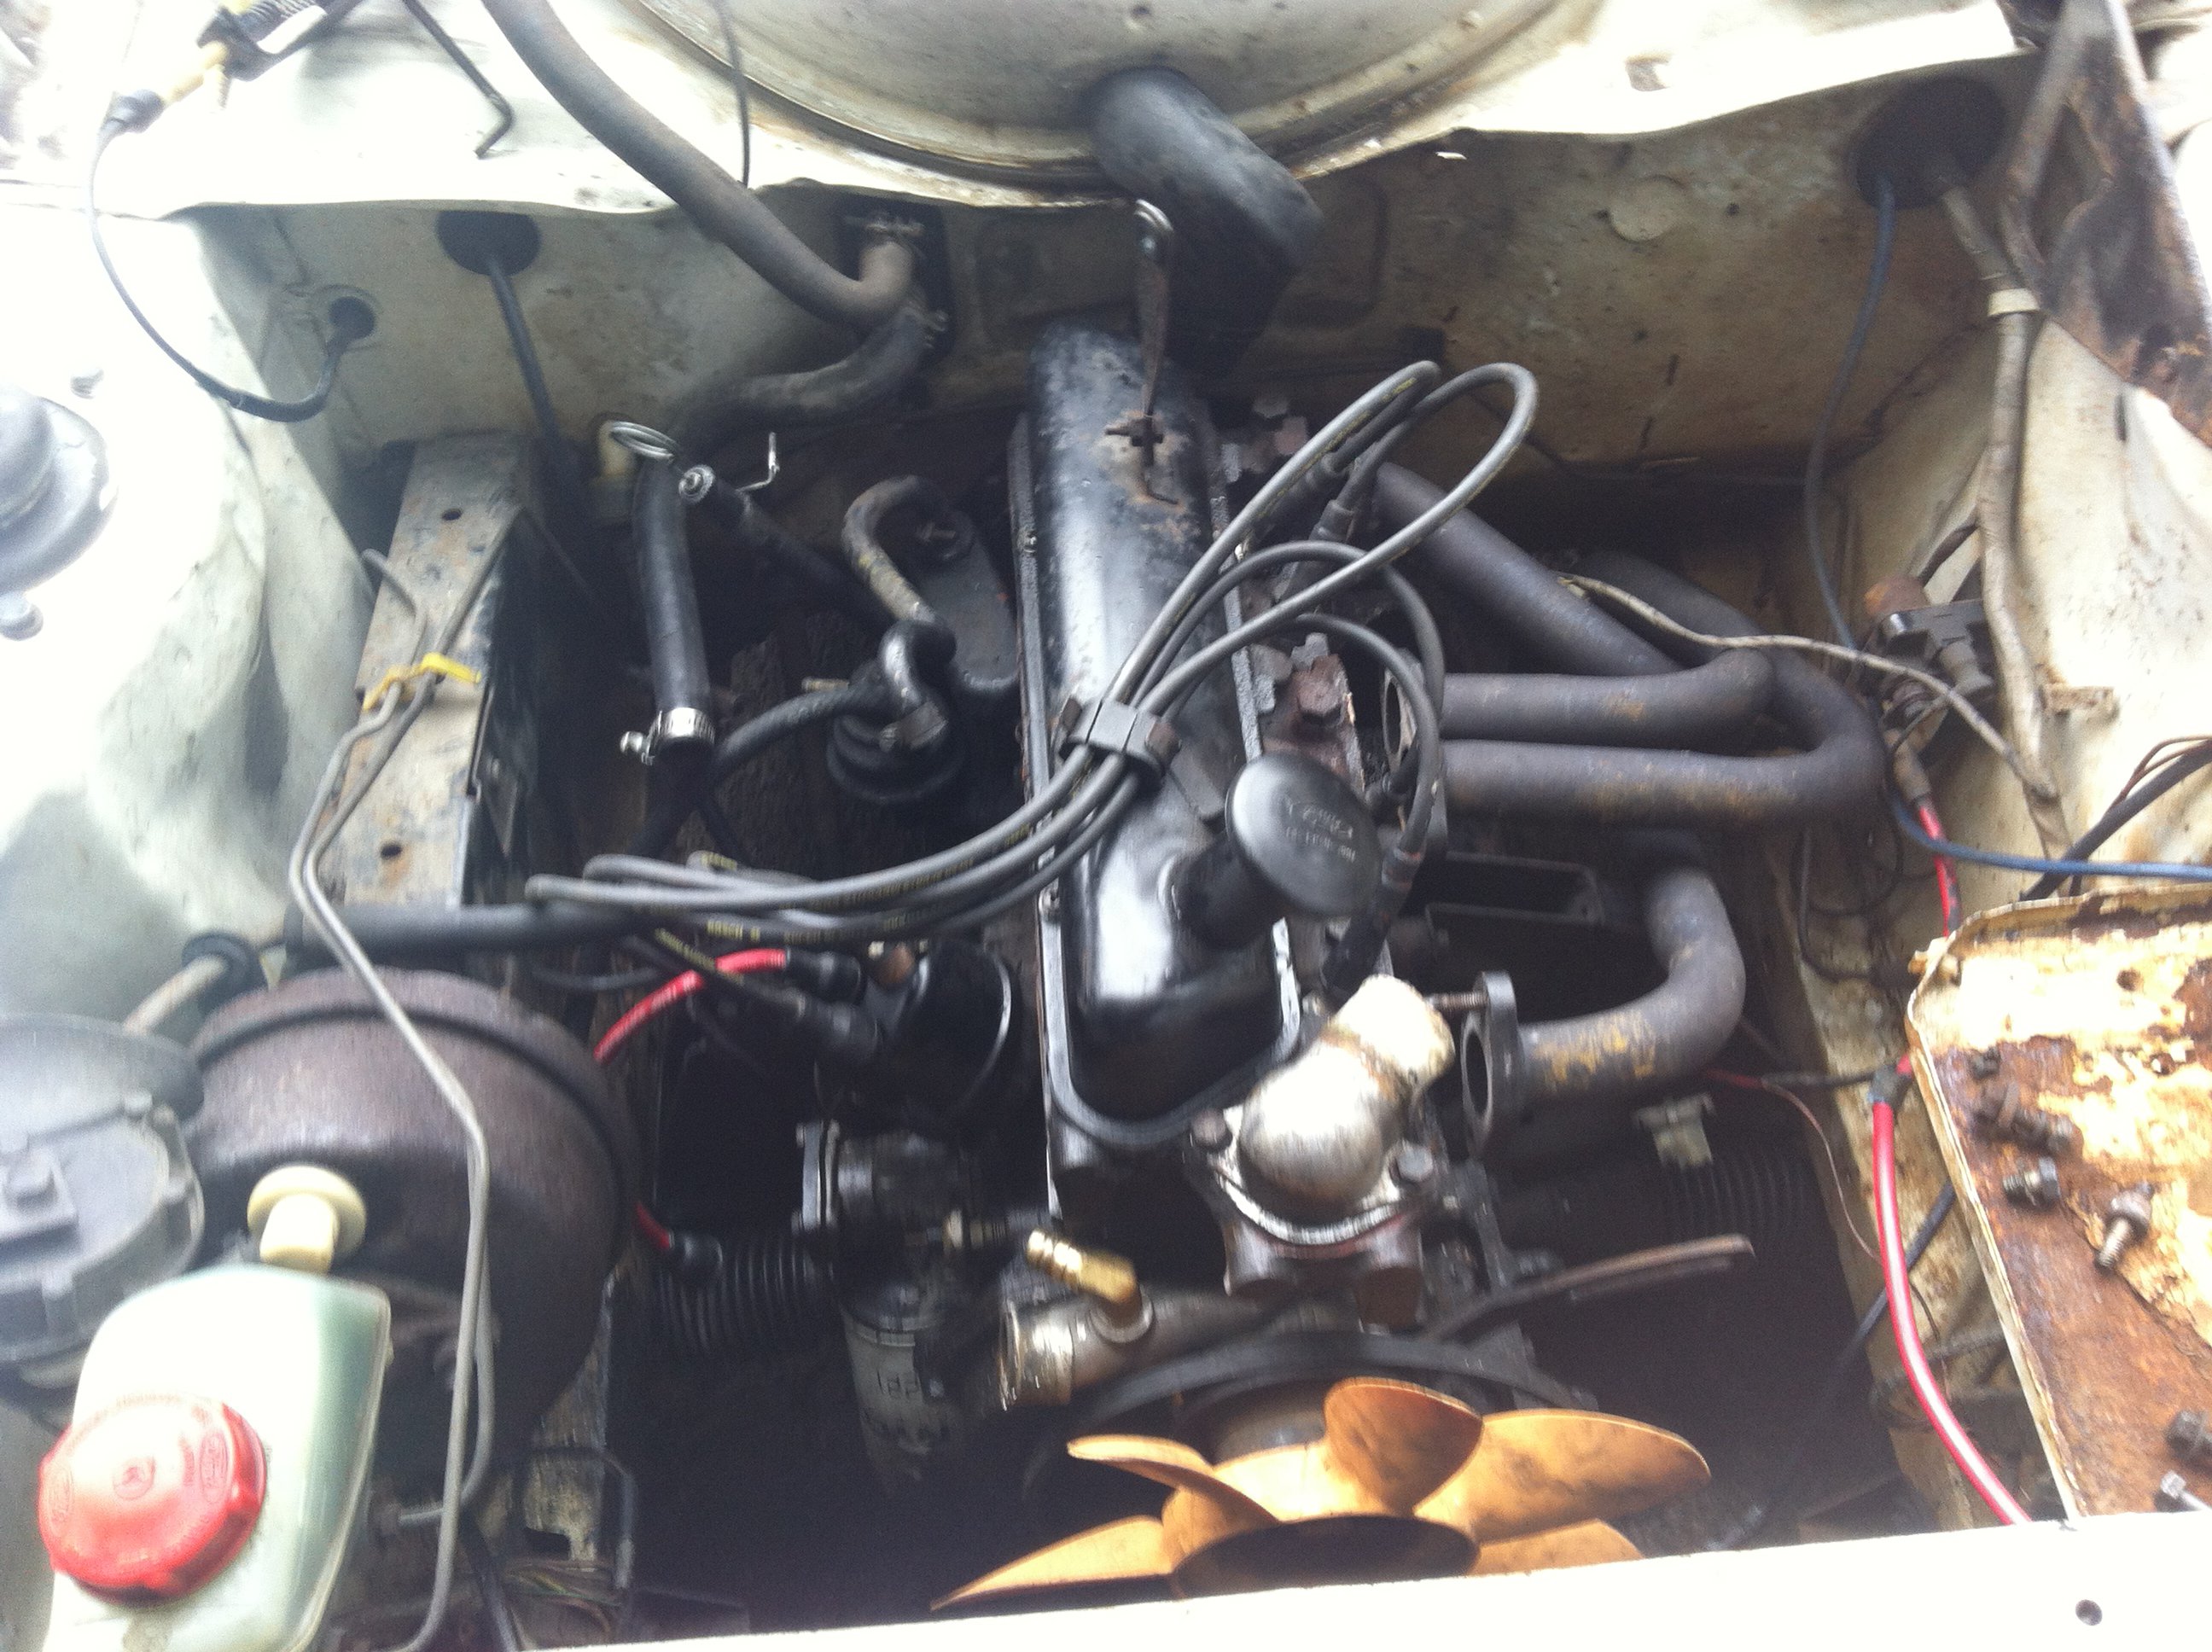
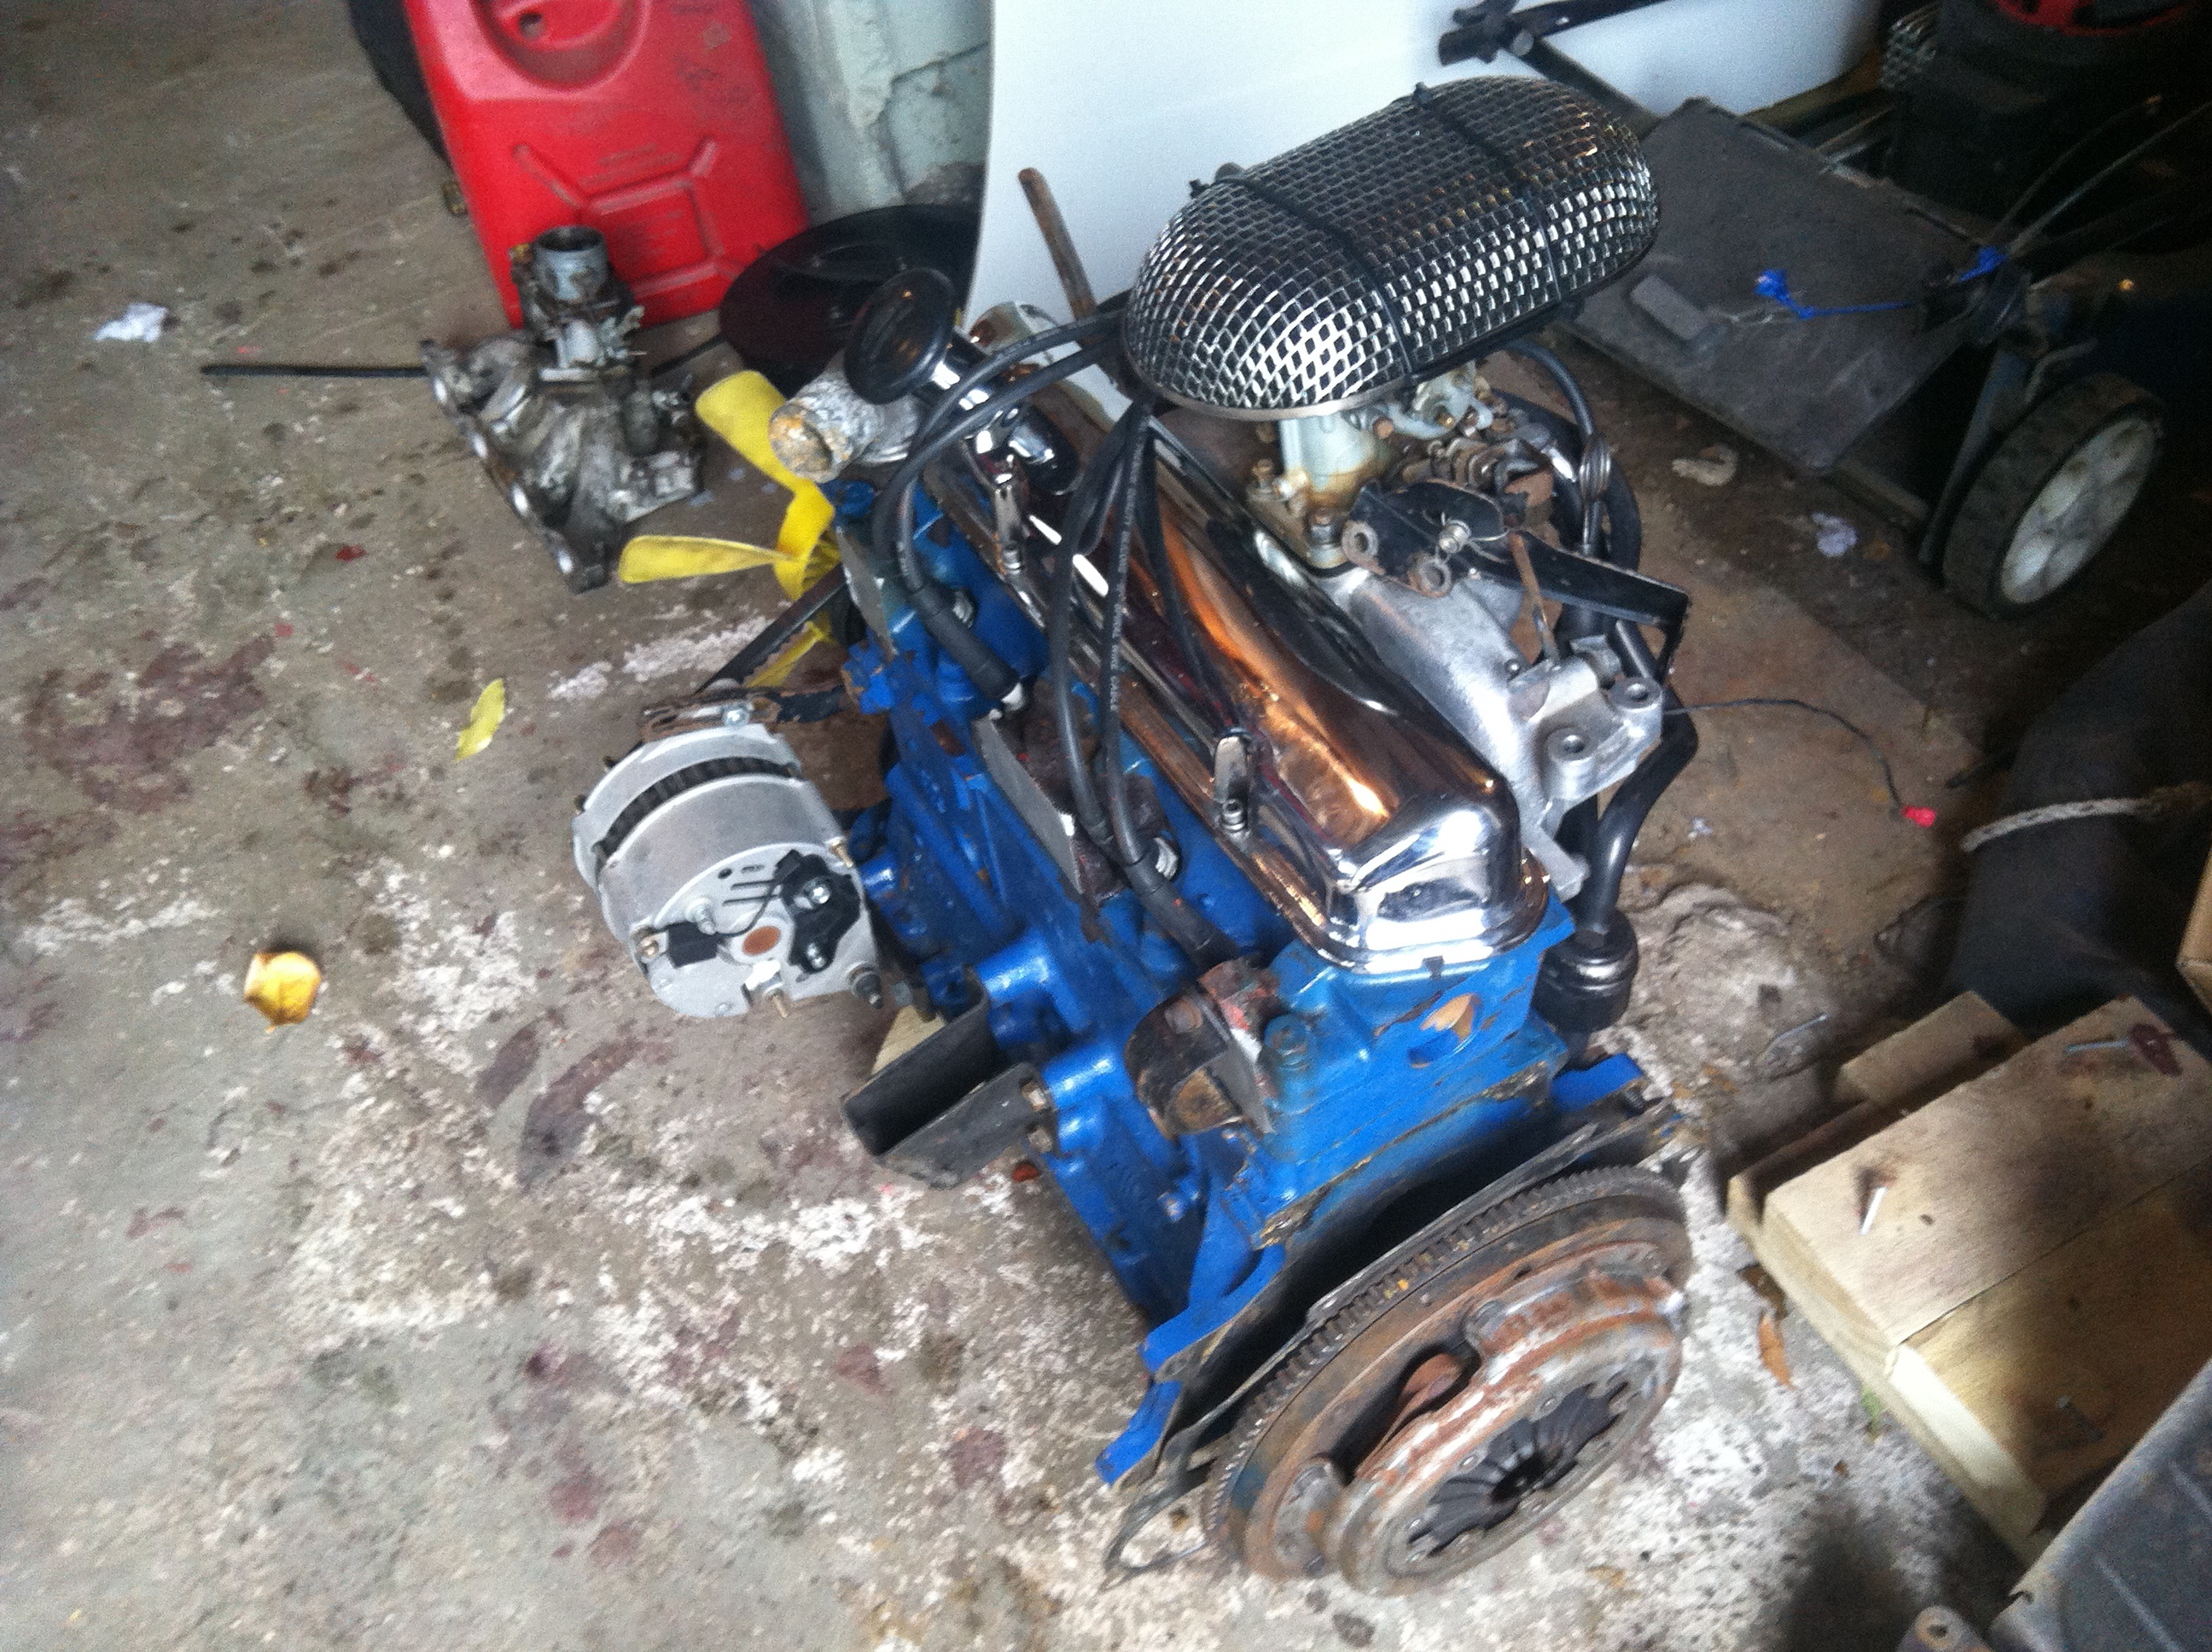
Got the thing assembled...mostly Heres the cut and shut manifold we made, came out wicked, thanks nick! Was choked by the gasket set missing 2 sump parts and a rocker cover gasket... ACL set had lots of spare Manifold and hotbox gaskets and missing the vital ones. Permaseal has EVERYTHING! the set was left over from when engine builder supplied gasket set for wife's A14. And I too had permaseal from work. That and no crank pulley bolt. Pinched the wife's one while assembling and luckily remembered to give it back.
8 points
-
Had to make another steering column tube since the first one was too long and the spline didn't stick out from the end. Also made the slot for the shifter longer so it has more gear selection. Laser cut a mount out of 12mm Ali for the steering column, needs a little bit ground out of the main mounting hole as it's a bit small and the triangles could also be polished more. Have also polished the shifter/indicator part of the column, looks heaps better than the silver paint. The steering columns going to be the flashest part of the whole truck haha. Done a bit more to the dash, has come out really well, very happy with it. Wasn't sure how well this would turn out, but so far it's turned out mint. Can't really see from the photos but I also fixed the left gauge surround, as it was terribly deformed, the front face was flared out a bit/not flat and out of round so the gauges didn't fit. It's pretty good now, just has a small rust hole that needs fixing. Not looking forward to welding it as there's so much!6 points
-
And today, was a good sharn/tow expedition
6 points
-
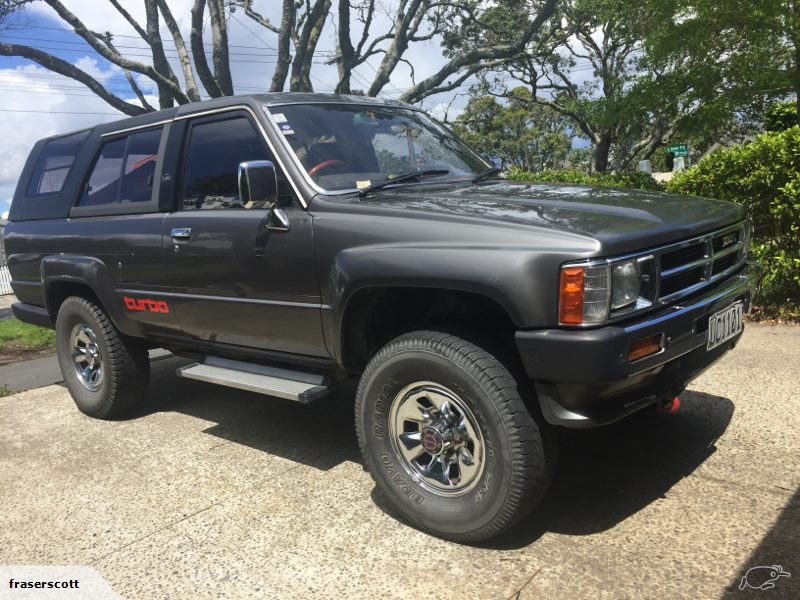
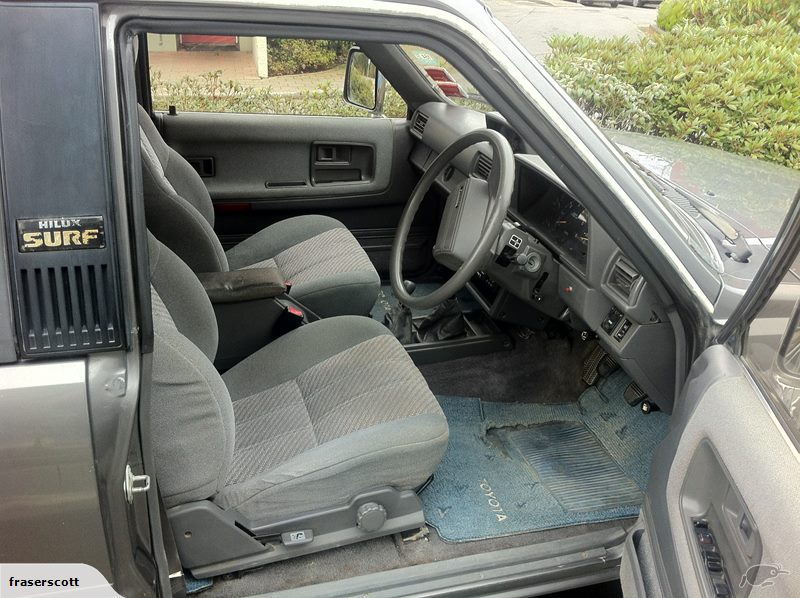
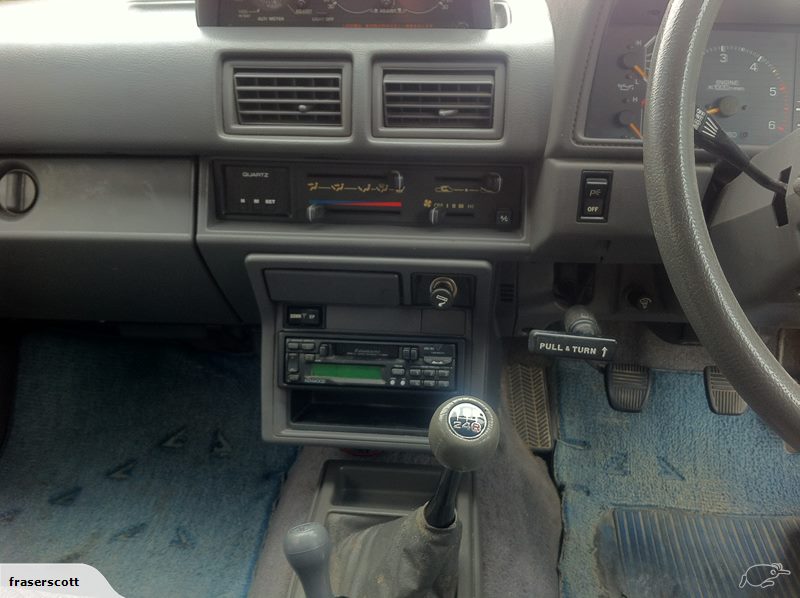
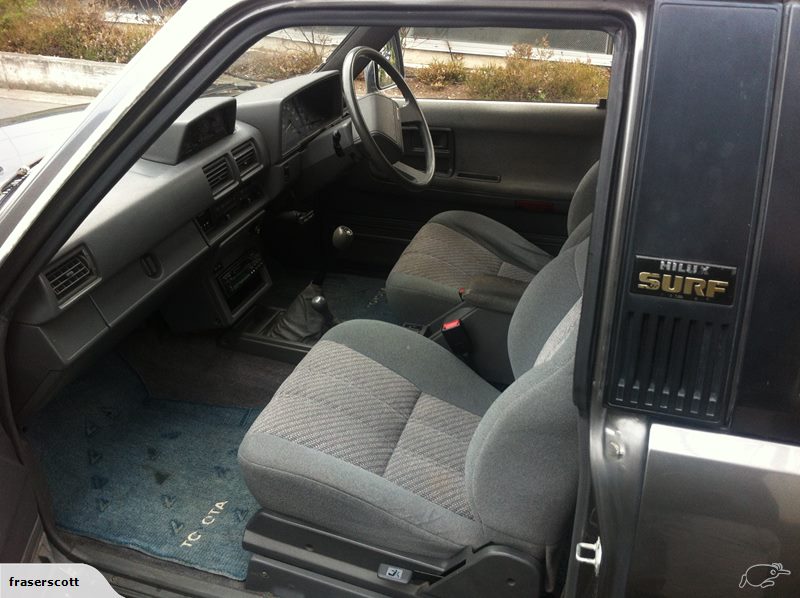
Last week I finally managed to get my hands on a very tidy 1st Generation Toyota Surf. According to the records from the PO the 2.4 2L-T had quite a major rebuild a couple of years ago then ran a bearing not long after. It was then replaced with a 2.8 non turbo 3L engine. Unfortunately the PO was not very mechanically minded and so when he attempted to change the oil himself he overfilled the engine resulting in a diesel runaway. So I bought the truck as a non runner and trailered it home. Once I had it home I drained the oil to the correct level and tried to start it but it wouldn't fire, so I sprayed some brake cleaner into the air intake and it started right up. It poured out smoke for a few minutes but as it warmed up it cleared and actually started to run quite smoothly. I took it for a run around the block and it all seemed ok so I booked it in with a mechanic for a general checkup. Sadly on the way to the mechanic the engine started to get a bit noisey which they diagnosed as a big end bearing noise and advised me to take it home and stop driving it. On the 10 minute trip home the engine got worse and as I pulled into my road it lost oil pressure so I crawled it back in the drive and parked it up. Plans are to do a sort of mini restoration on it. Basically tidy it up some more and keep it as stock as possible, but rebuild the 2.8 then turbo it. It will get a very mild lift and bigger tyres and eventually a factory respray when I can afford.
3 points
-
A full seal kit is about $2k. Replace the 3 piece apex seals with later 2 piece, but will still only be 2mm. Also upgrade the corner seal springs wth FD ones. Could go 3mm but you will need to get the slots done professional slotted. Everything will need balancing. The shit part will be if you have blown an apex seal, then it's probably done the housing too. New ones are about $800 from Mazda I think. If it's damaged the rotor well yeah, you can see how the costs start to add up, even if you plan to build it yourself. Of course you don't have to do a full seal kit, but a good opertunity once it's open. The hardest part about rebuilding the motor will be getting the clearances correct. Not sure if your vid covered that? But I say go for it. Remember to drill some new ports.3 points
-
All of the frame mods have been sorted now, started buy cutting this piece of yuck out New tube in Thats better, cut off a few other unneeded mounts and tabs as well Then this happened, cleaned the bits up and got some Durepox primer on it. Evenings entertainment this week is to get it all sanded down ready for some top coat, Excited!3 points
-
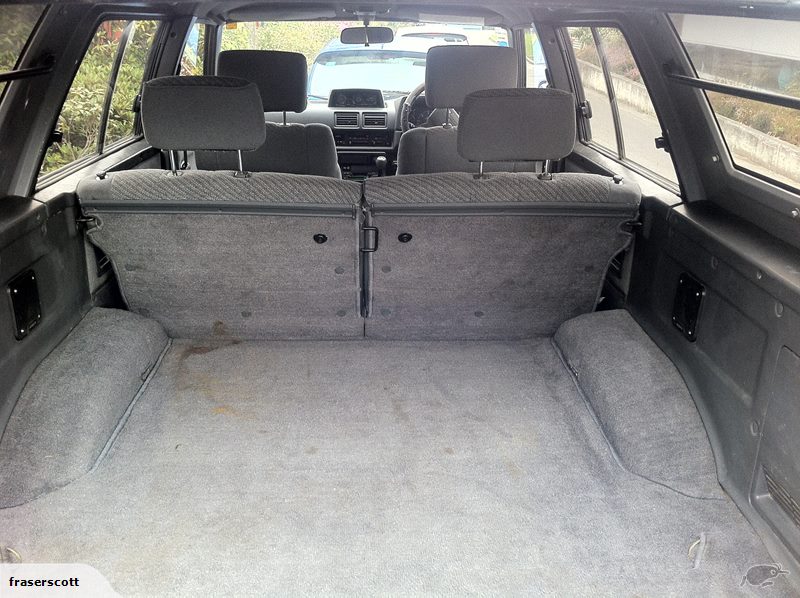
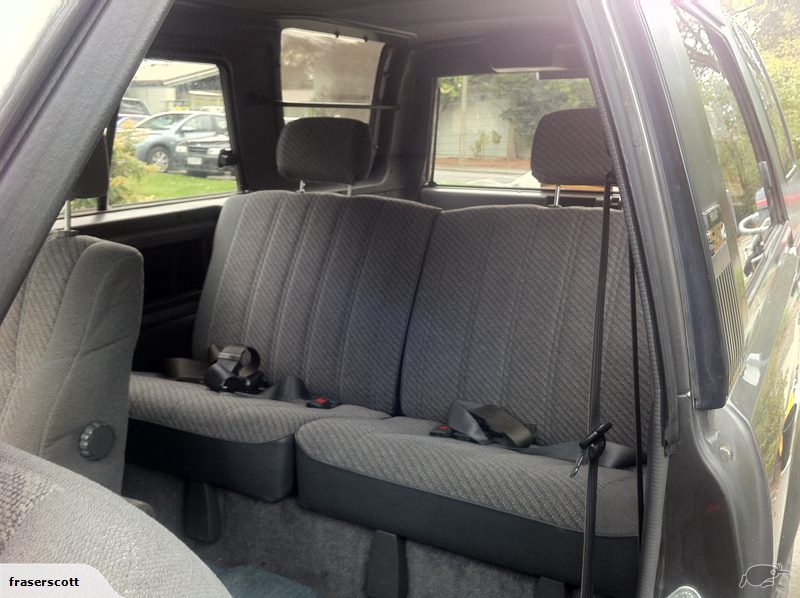
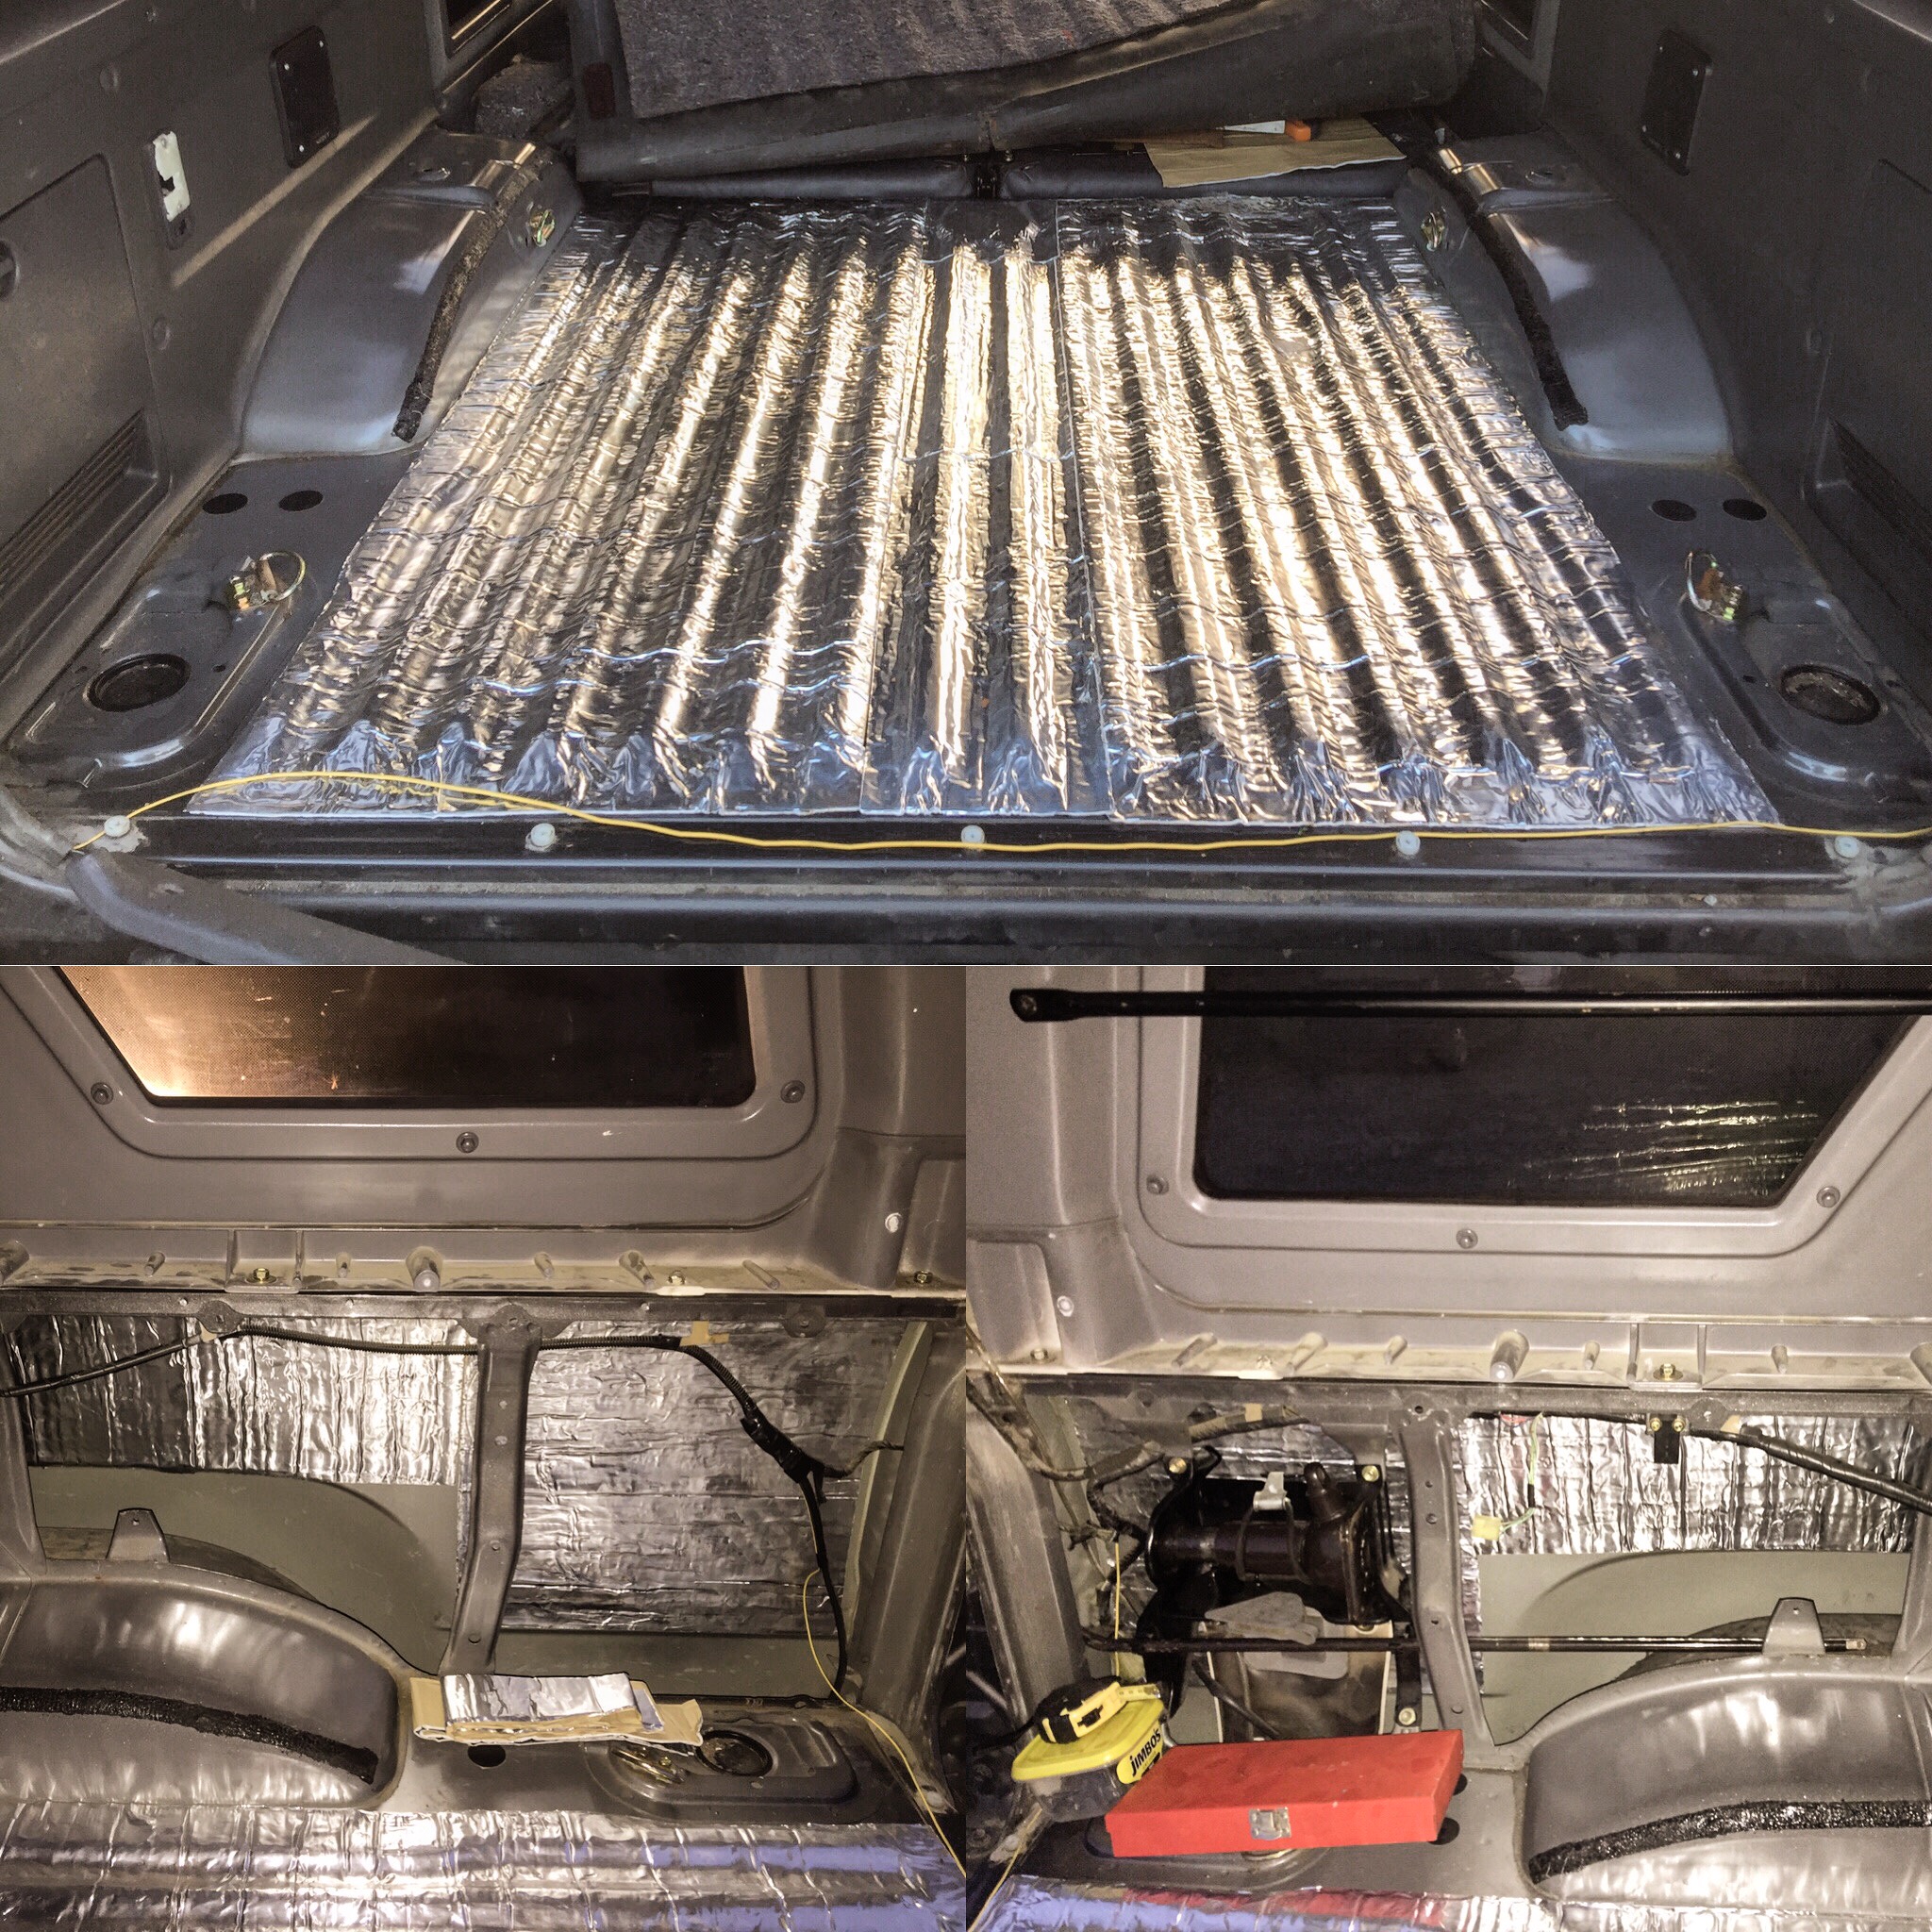
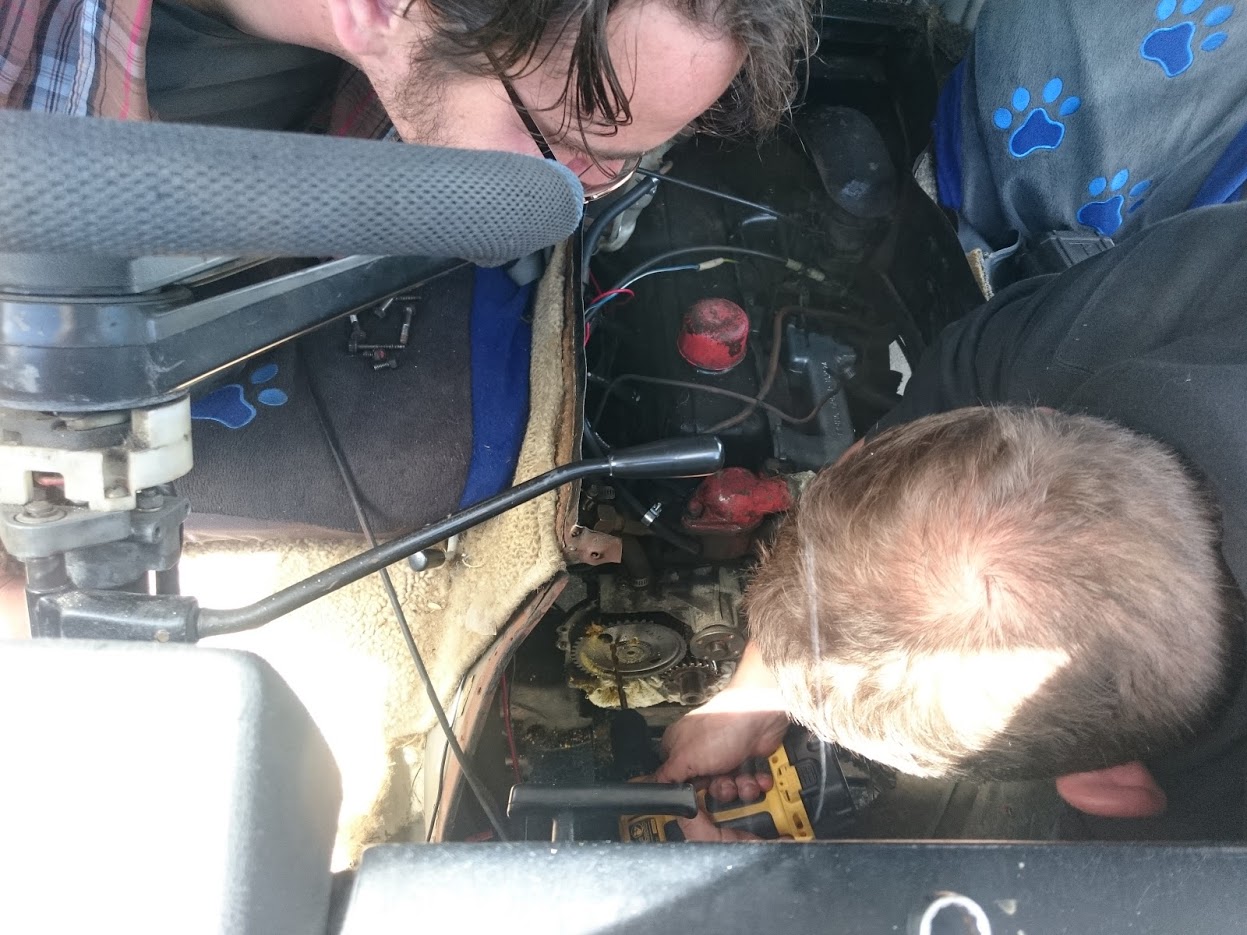
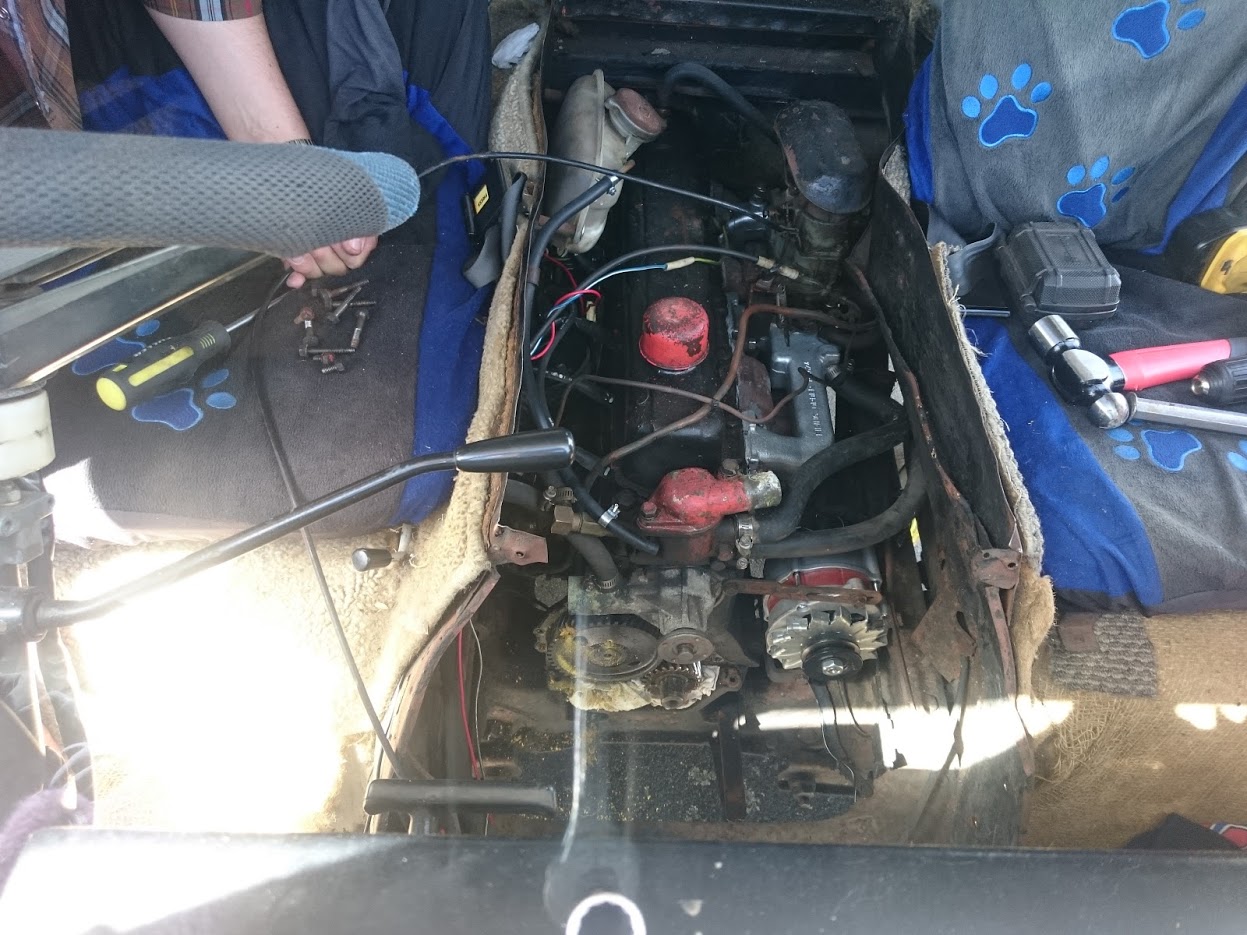
On Friday night my brother and his mate helped me get the engine removed and onto an engine stand. We pulled the sump off and 3 of the four big end bearings were damaged. So this week it's off to the engine reconditioners... In the mean time I'm getting stuck into the interior. During the couple of short drives before it finally died I noticed the truck had a lot of rattles and road noise. The carpets needed a shampoo so I started stripping the interior so I could line all the sheet metal with a sound deadening material and get the carpets cleaned. I've just finished the cargo area and it has made a huge difference already, it's noticeable just working on it. Previously when you tapped on the rear quarters they would ring like a steel drum, now there is just a solid thud. I can't wait to drive it again!
3 points
-
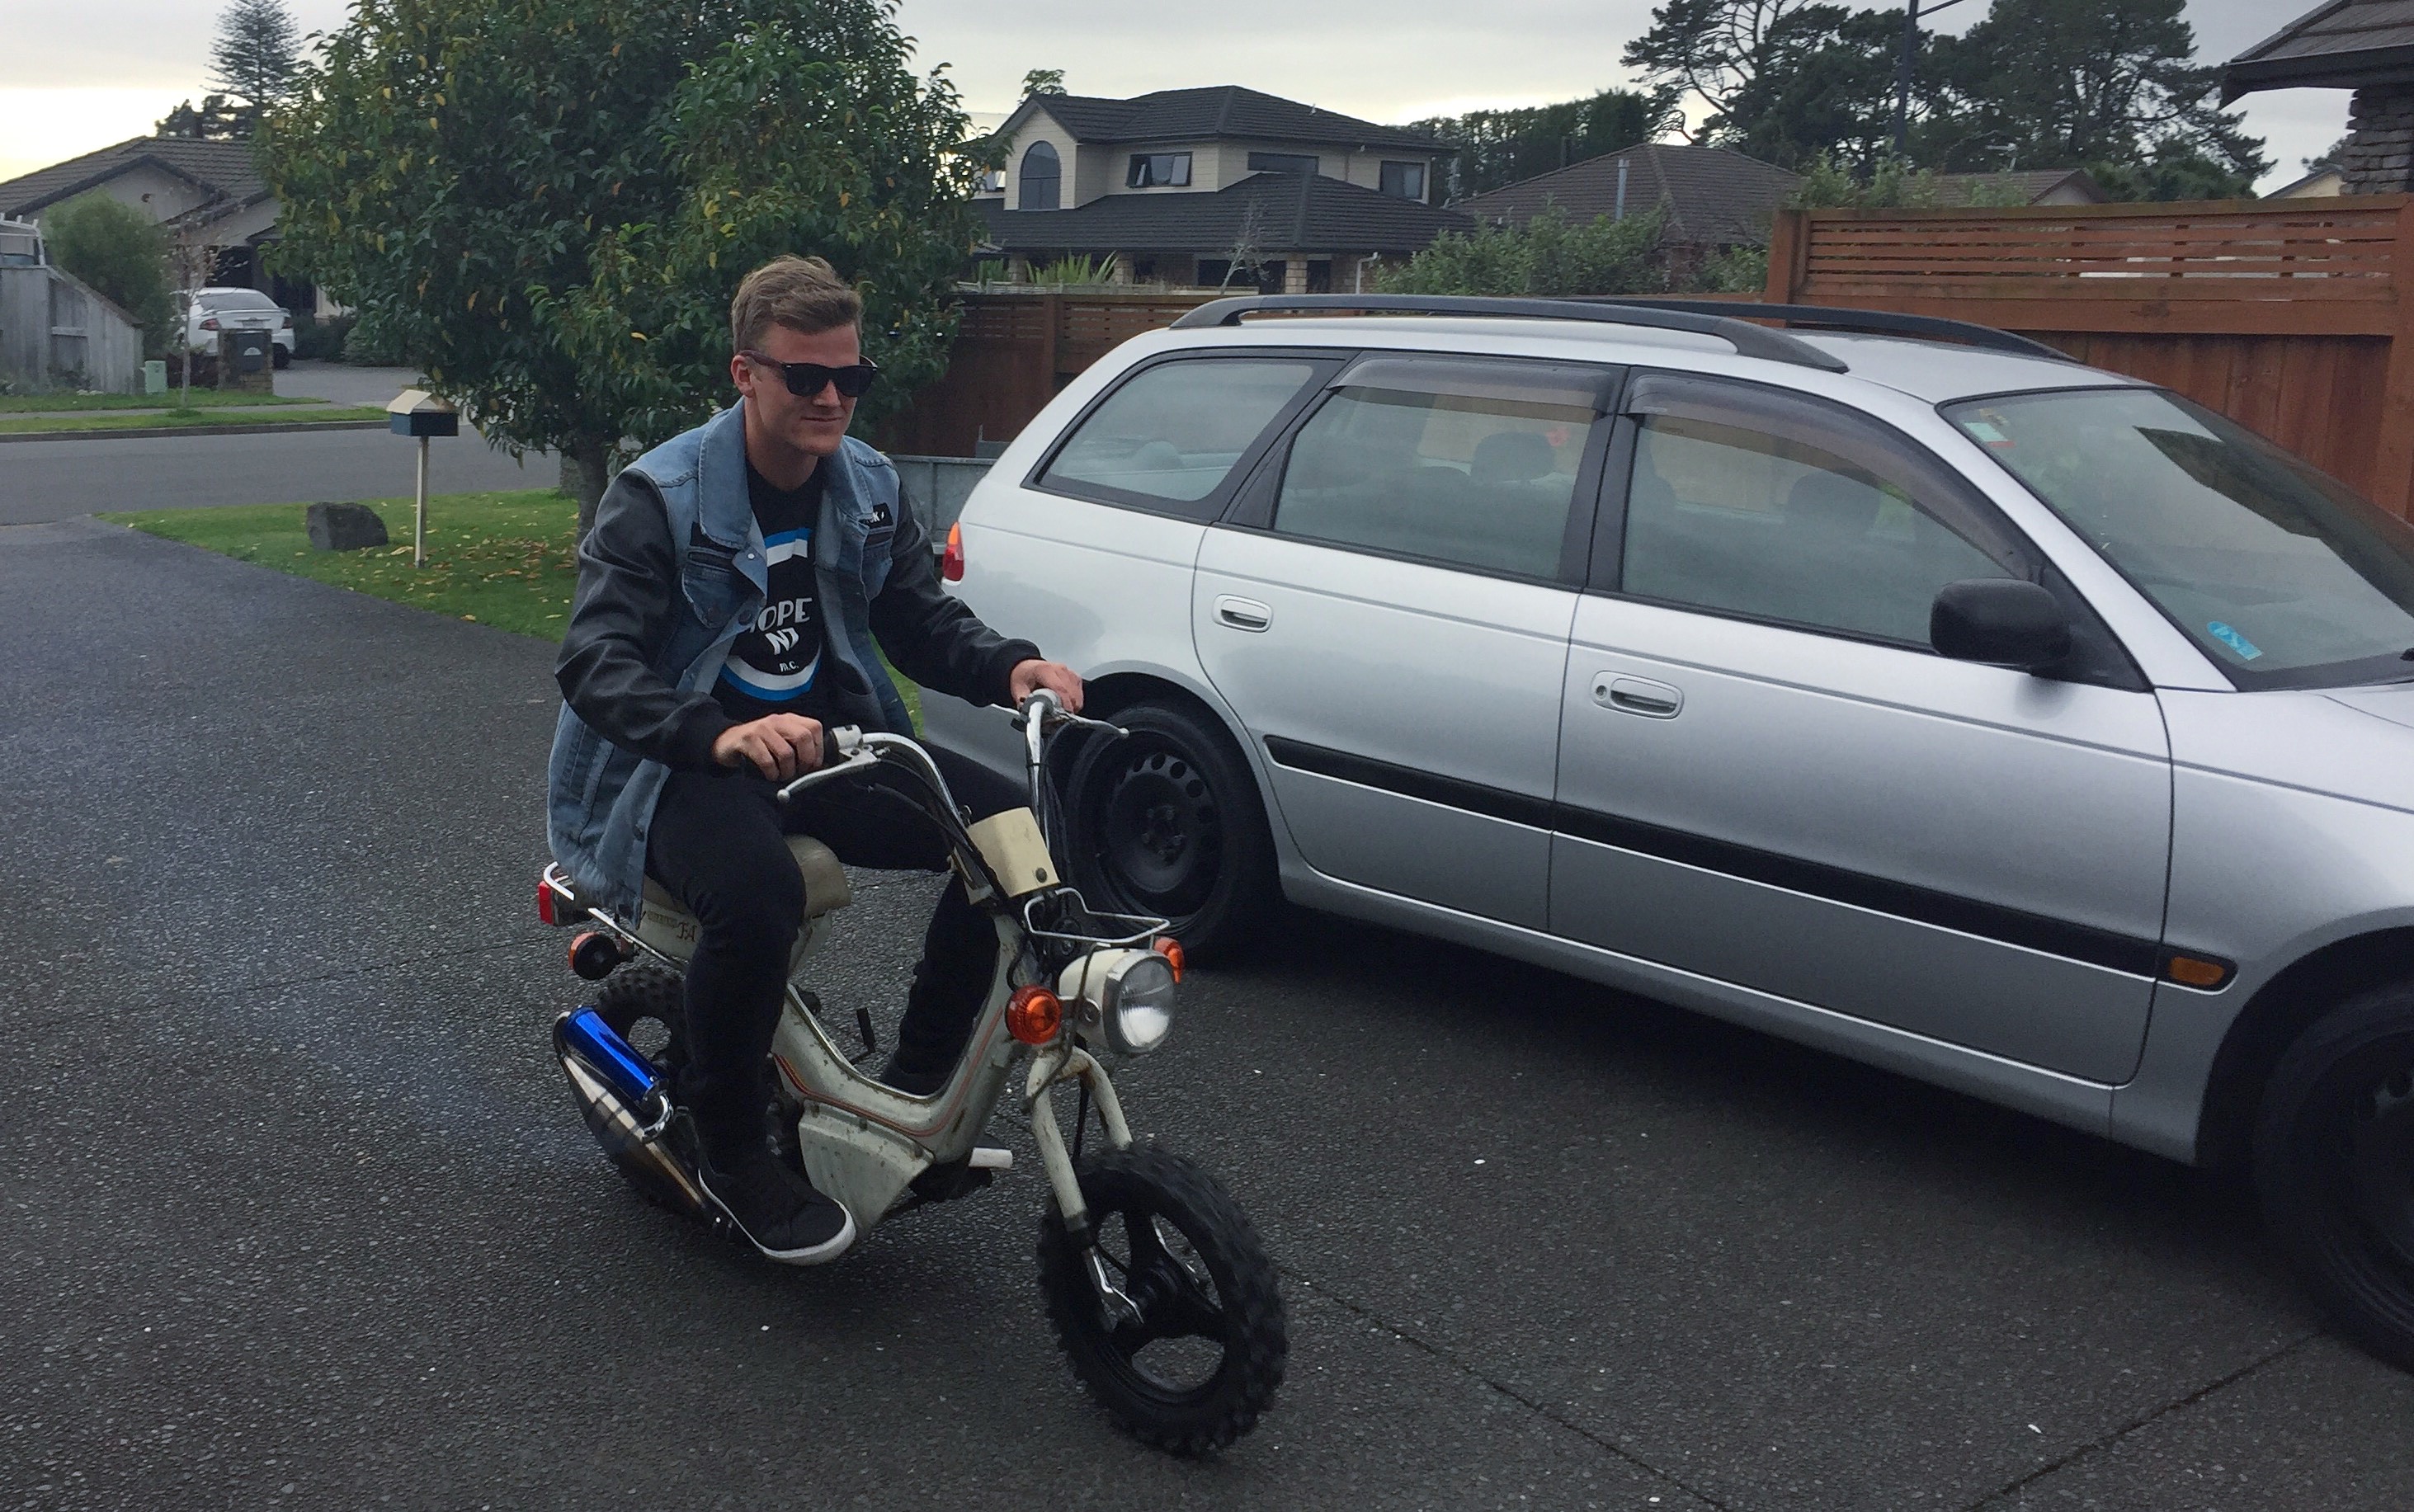
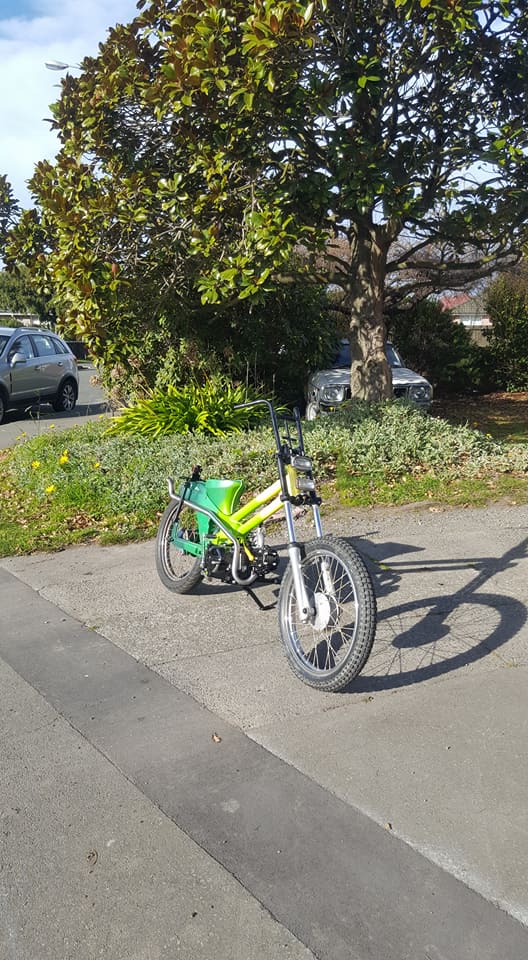
Gary got dirt tyres and he's about to become a filthy FA69. 70 kit from 1977 mopeds is on its way. A few other secret plans on hand for the next month or so. Check out Moped NZ M.C on Facebook if you haven't. A few old schoolers there. Just search the name.
3 points
-
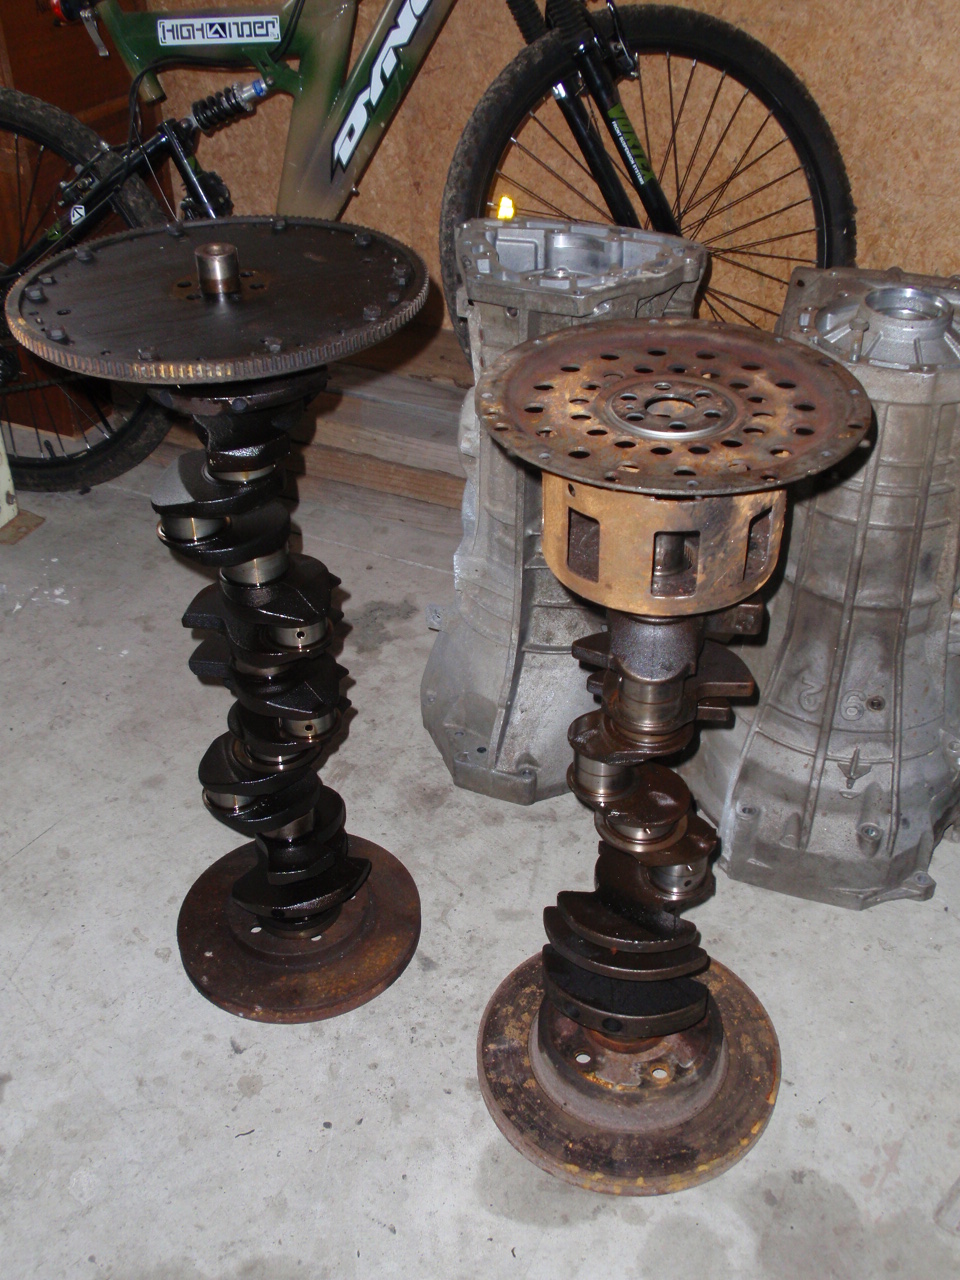
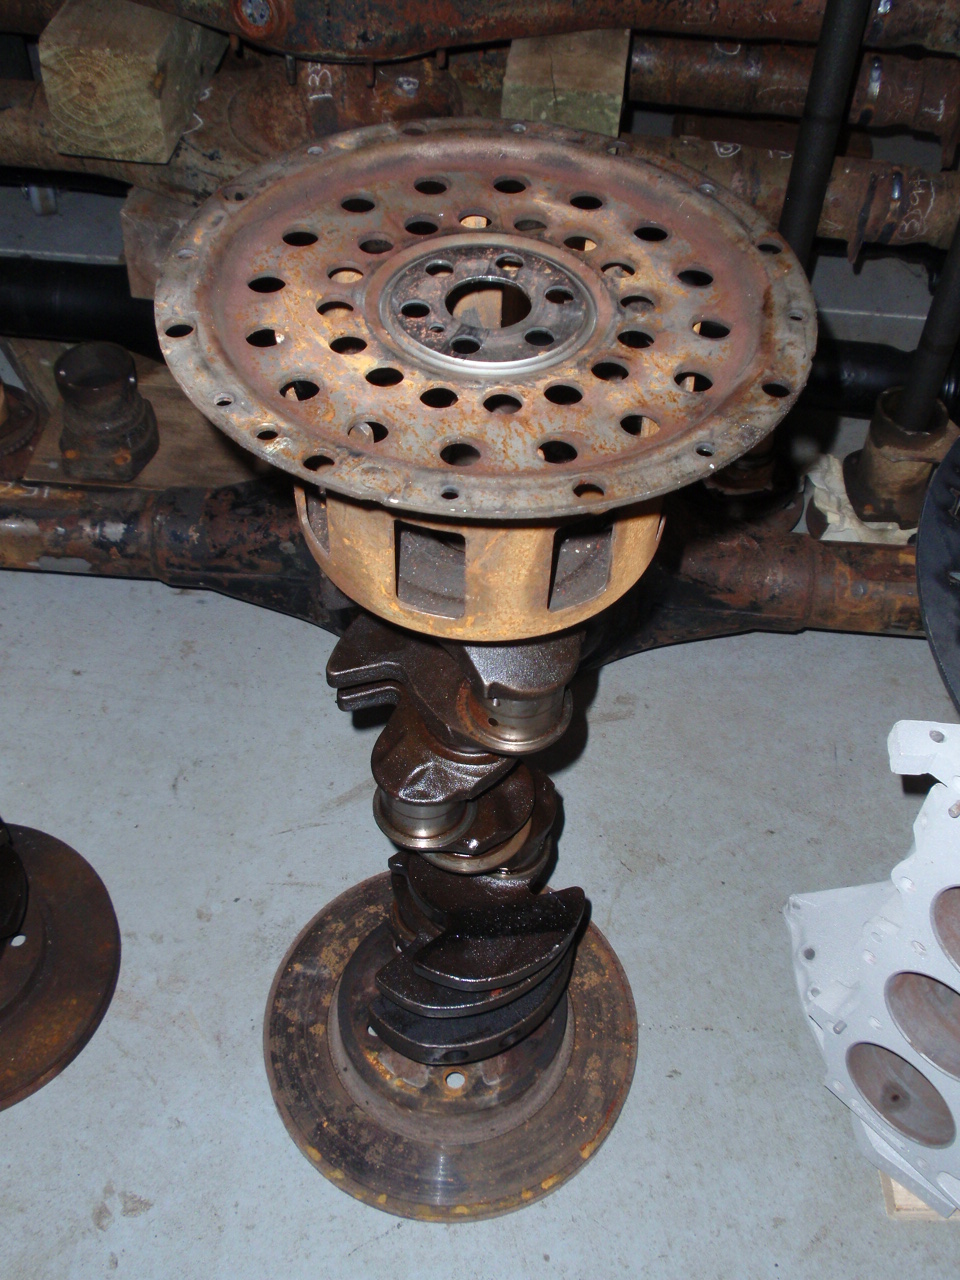
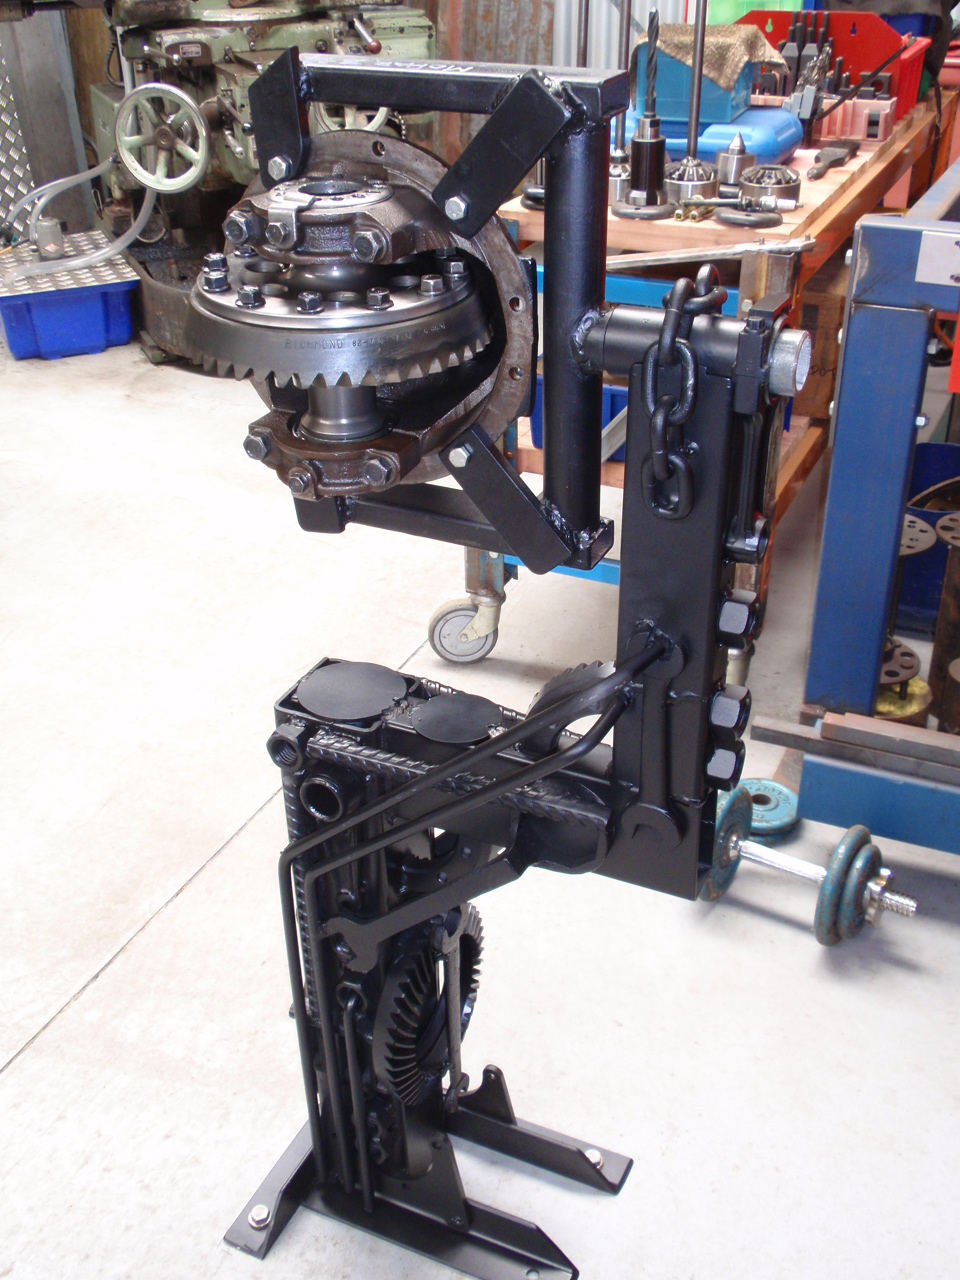
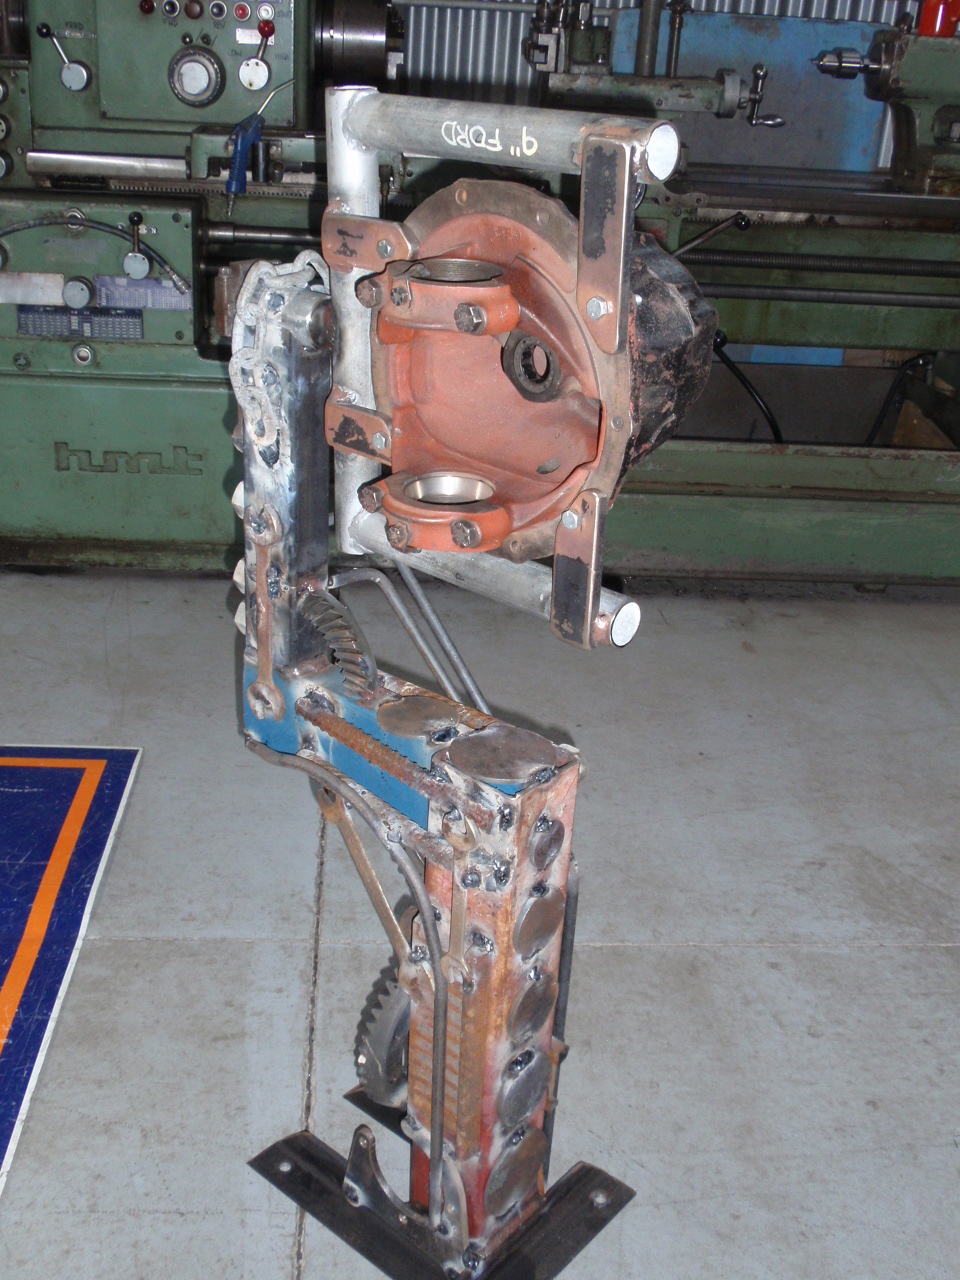
More practical application of scrap in the shed. Sick of chasing diff heads across the table when torquing down the cap screws? Do more than a few heads at times? Get one of these. Bolted to the deck with nothing going nowhere. Head able to be rotated 360 degrees for spanner application anywhere you might want to try some. Have multiple jig thingie/head holders to suit the differing heads i muck with. Looks Steampunky/Shedratty cool. Makes me dosh. Put together with the same loving care and dirty arsed 50's era stick welder all the heavy iron projects get around here. Churr.
3 points
-
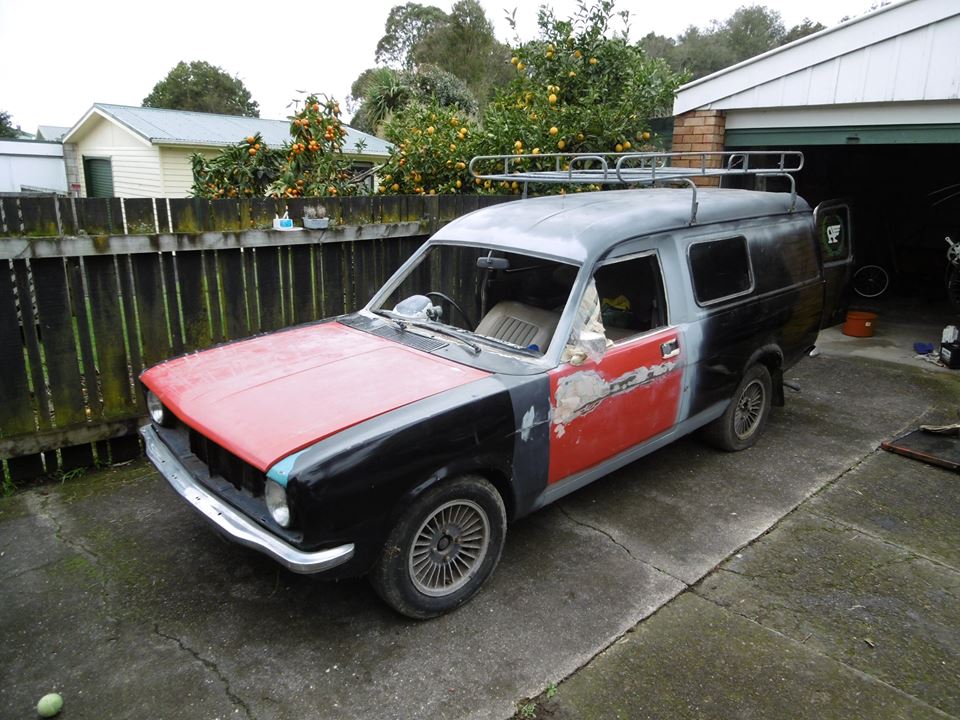
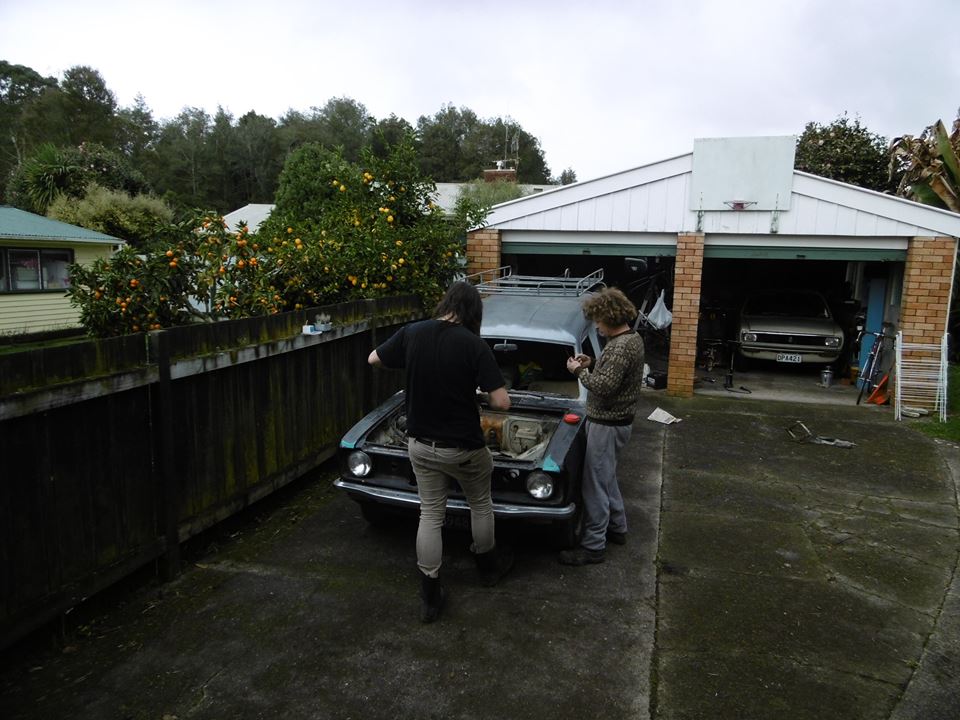
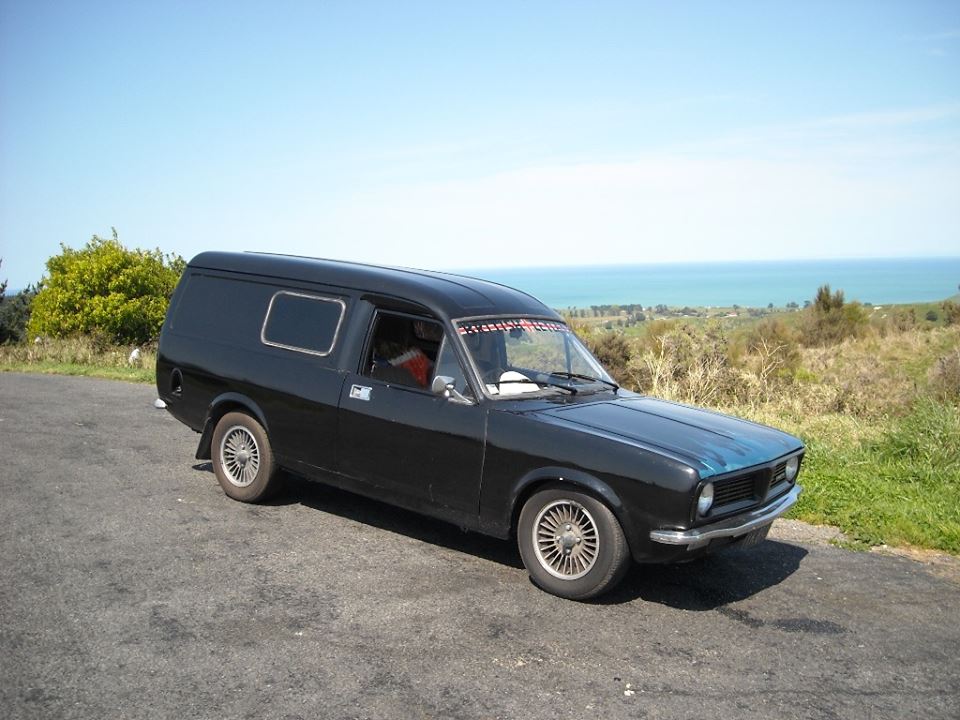
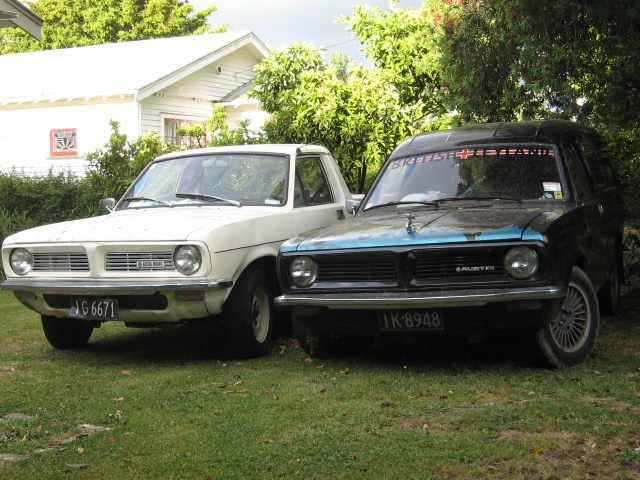
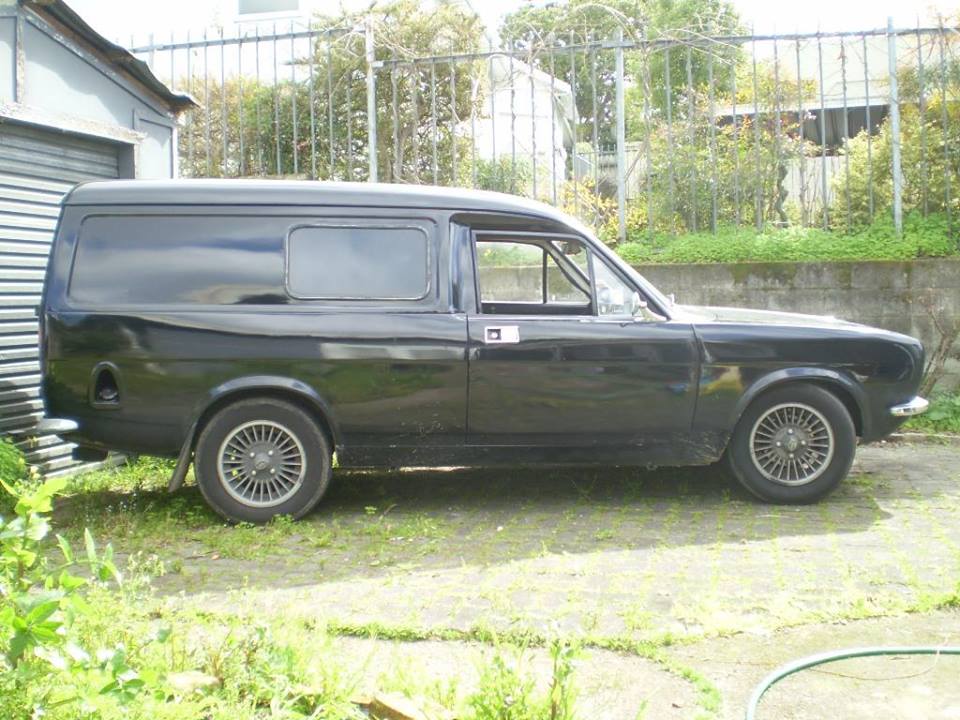
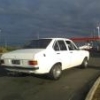
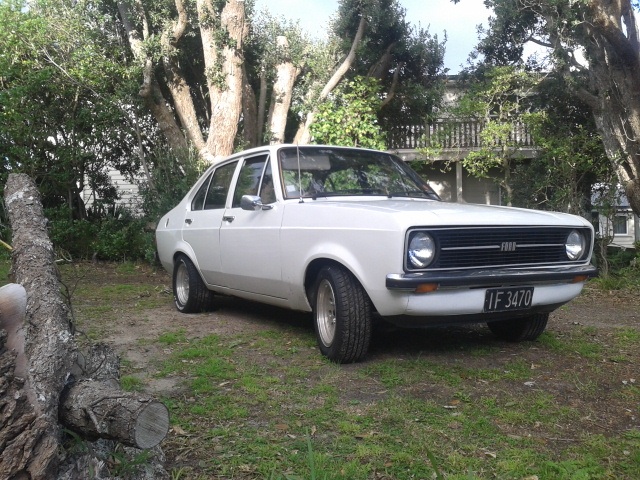
Better start at the start I suppose. At the tender age of 17 I bought a 1977 Austin-Morris 10cwt (ok, its a marina) from some barry in rukuhia for $1200. 4k motor, 5sp, disc front, air shocks rear, certed in 94'. Had it for around 7 years, and had a blast in, on & around it. Painted it repeatedly, and had to fix everything on it myself as my beer, ciggy and tinny budget was tight. Sold it to a mate of mine, he ran it for around 2 years until the intake gasket went, it then went on a suburban lawn & had the windscreen pinched for a marina ute, which was the last I had seen or heard of it, so assumed it had become poor quality refrigerators. Caught up with the mate on facebook, hadn't spoken in years. Asked him about the vans fate, turns out it had been shedded with the rego on hold since a few weeks after I last saw it, and would I like it back? Apparently the footwells were now pretty rusty etc. Was pretty keen for nostalgia's sake, so sold the 48' superpoise to make space. Went to have a sharn & pick it up today, was pleasantly suprised by it's condition. The fancy paint job ain't so fancy anymore, but the van is still very solid. footwells only have rust on pass. side around one of the drain-holes, and where the old (now discarded) toyota seat reinforcing plate sat against the floor. Came with heaps of parts, i'd given the guy a good cond but woefully hopeless mk3 marina estate at the time I last saw the van, he'd dismantled it for anything useful, so should have just about everything to put back together, and then some! His kids had been using it as a playhouse, they've painted the inside rear of the van with clouds, rainbows, dinosaurs etc, I think i'll leave it as it'll be brilliantly creepy. Also found my marlboro lighter that had been m.i.a for a decade haha To do: -patch pass. floorpan, clean & paint entire floor & underside (cbf dependant, doesn't look too bad.) -chuck driver door on, was removed to make it easier to push haha -few dents to beat n bog -new sprayjob, colour to be determined, probably black again for nostalgia -jam in one of the windscreens, even has good rubber -hook the rear brakes back up, he had planned to put the estate diff in as its taller, however its marina stud pattern (4x95?) and I wanna keep my cheviot 6x14's. -set tappets, bolt on exhaust & intake manifolds -new fluids etc etc ETC, get er running -brakes, bearings etc if needed -wof & escapades -presumed death by piano -2 points
-
Still better than a mondeo - fact2 points
-
I watched the video on rebuilding rotaries and it looks easy enough... When I get my other projects more complete then I'll rip into this. I need to focus on finishing one thing instead of having 3 un finished projects on the go2 points
-
Some more paint work progress, Whole car is now in undercoat. This week i will be taking it in for its first Re-Vin inspection. Hopefully on Tuesday. After it is re registered ill be high filling the car and then working on getting it fully repainted in baby blue. Updates to come after its first inspection2 points
-
https://oldskoolautoparts.com.au/index.php?route=product/product&path=1923_12_803_818&product_id=10433 straya cunt2 points
-
These are actually under-rated as far as 70s panel vans go.2 points
-
will have a hunt around at work tomorrow, we have some old x? stuff/ should be the panel shops problem to find the parts not yours2 points
-
This thing reminds me of the Mk2 Escort van my ex had in the early '90s. Same colour and similar style but a lot less fucked.2 points
-
Some old pics from its heyday (I think around 04-05)
2 points
-
Ahh. So i made a bit of a large cock up. The cams were far too big for the original pistons, the valve reliefs were to small and when I was dialing in the cams the lobe was hitting the piston by a long shot. Instead of crying about it, I ordered some 82mm (2mm oversized) 12.5:1 compression pistons from Barry at MRP. Took my spare 7-rib block in to the machinists and got that block bored, cleaned and decked also. All is not lost with the other block, I will be using that in my AE86. I put some new frost plugs in the new block and gave it a blase of semi-gloss paint Whipped the head off of the old block Removed everything as it was instead of dismantling it (take pulley -> timing sprocket -> oil pump off, all to put it back on again) Went over to the NEW block, gapped the rings and dumped the goods in. Much better I set about to degree the cams, this time. No fowling on anything! Reconned alternator which is an 80A one It's nice to work on an engine and still have clean hands at the end of it. new bits e'ry where. So that's that for now, I will be installing the clutch and then putting it into the car next. Excited So, lesson. Do more research before completing an engine rebuild so you don't have to take all apart again. Talky talky. //oldschool.co.nz/index.php?/topic/52401-pbaines-1971-toyota-corolla-ke25/#comment-16793492 points
-
Today was a good day! I got my head back from Barry at MRP. Here are some photos he sent me of the head. No need to take my own. The head had to have some extra work done on it so that the 10mm+ lift cams were able to rotate without hitting anything. With receiving my head I also received the last few gaskets and bolts that I was after. Especially for the intake side of things so I could get these beauties bollted together. I installed the front input shaft seal, the output shaft seal, and also the spacer ring between the box and the input shaft that I forgot to install first time round. Nice new slave cylinder I am using OEM head studs so I have used the Toyota torque specs, so need to do the +90 +90. I just did it by eye with my last engine, decided to do it properly this time round. [ Fastforward an hour of fiddling around I got everything bolted together. I am still waiting on some new shims to arrive from Australia so I will have to wait a little bit before I can install the cams etc. [ With that, not long to go before i drop it down the guts into the KE25 and can finally start on another task. I am thinking diff shortening next. Hopefully less expensive than this engine! Discussion //oldschool.co.nz/index.php?/topic/52401-pbaines-1971-toyota-corolla-ke25/2 points
-
Build Thread This is the part you need http://www.trademe.co.nz/motors/car-parts-accessories/performance/carburation-induction/auction-1356044285.htm1 point
-
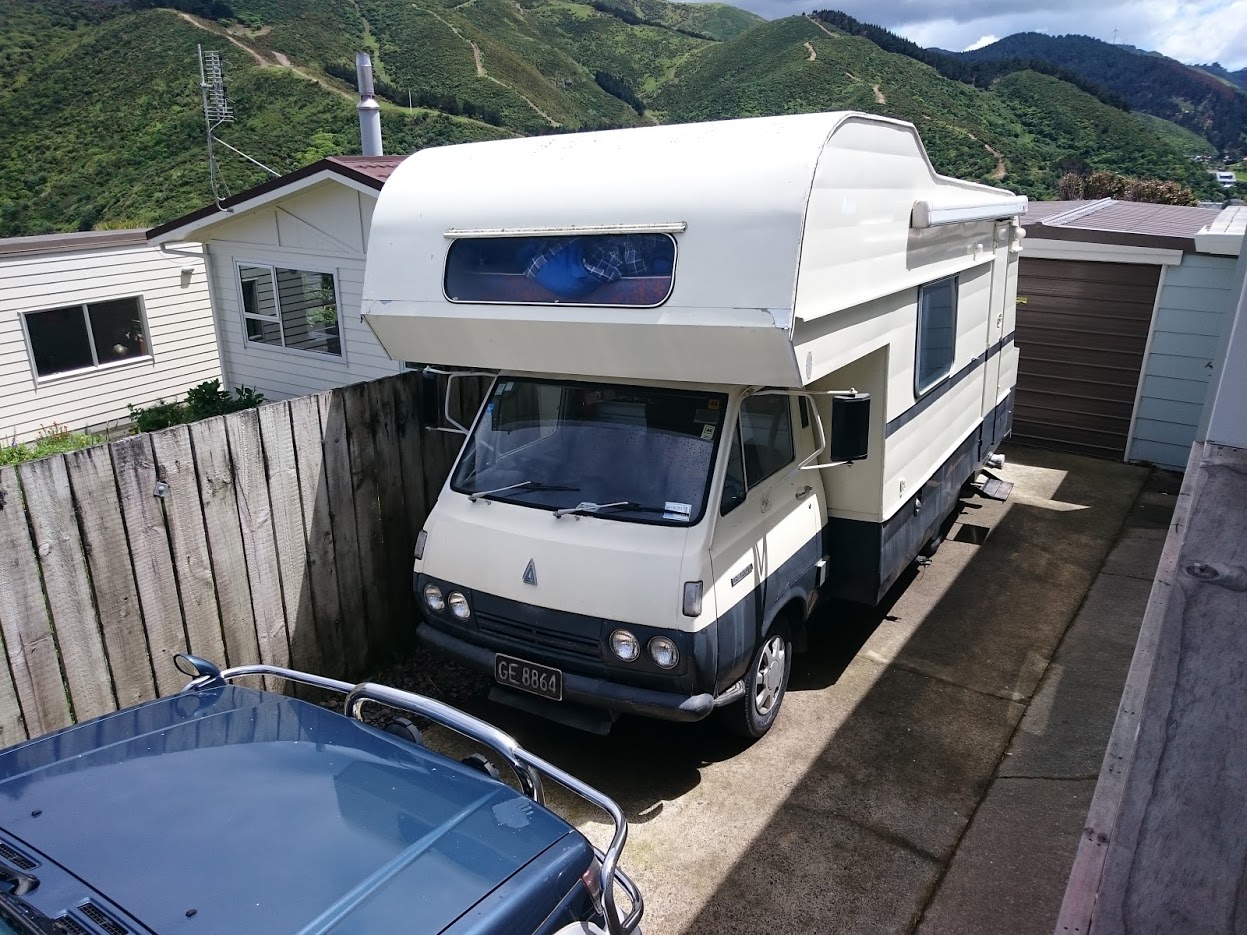
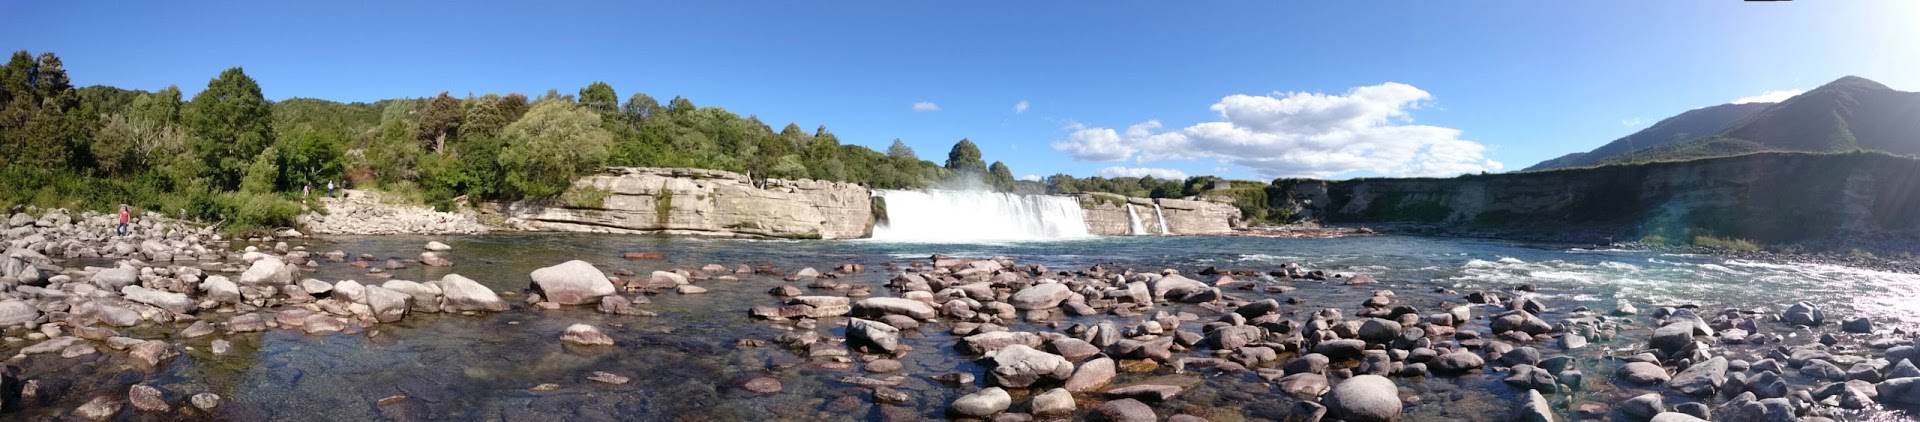
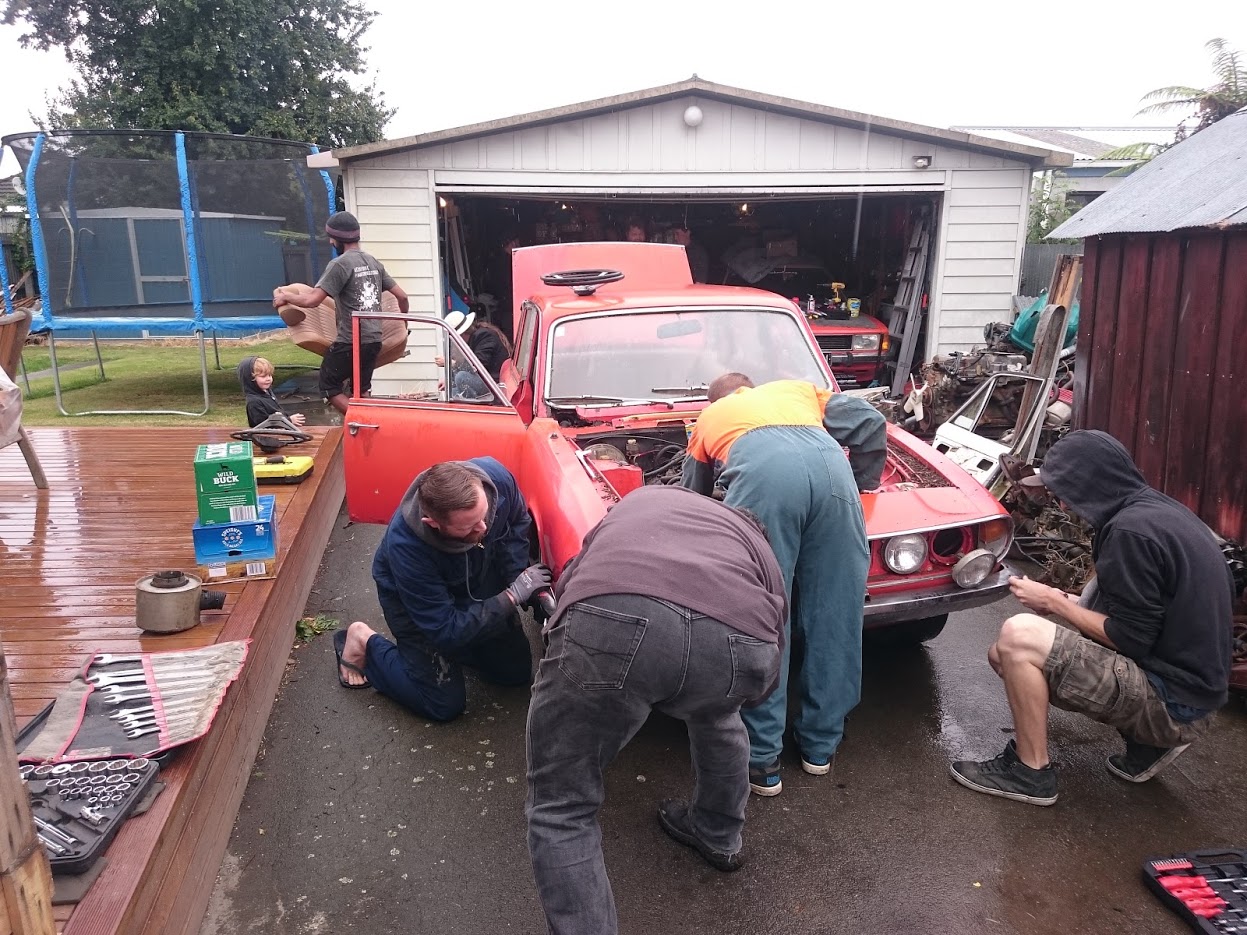
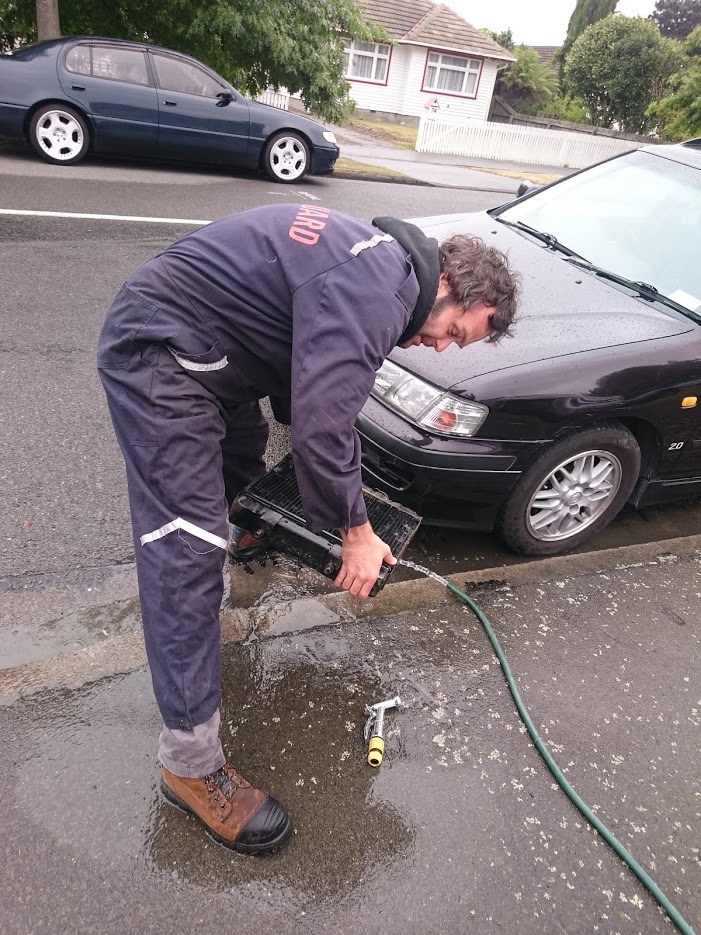
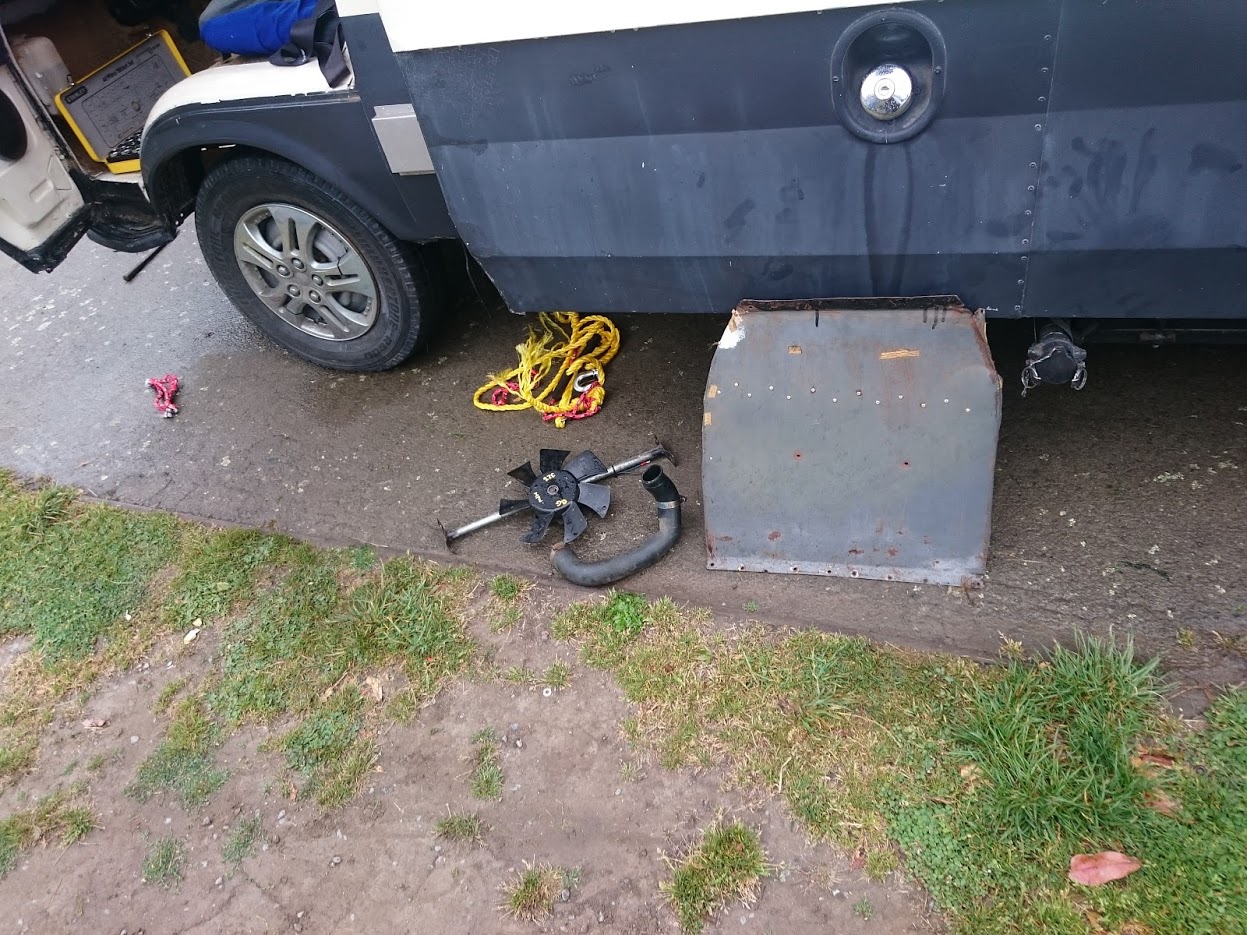
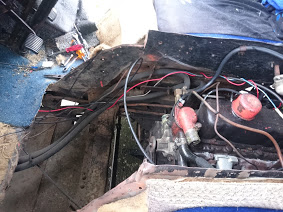
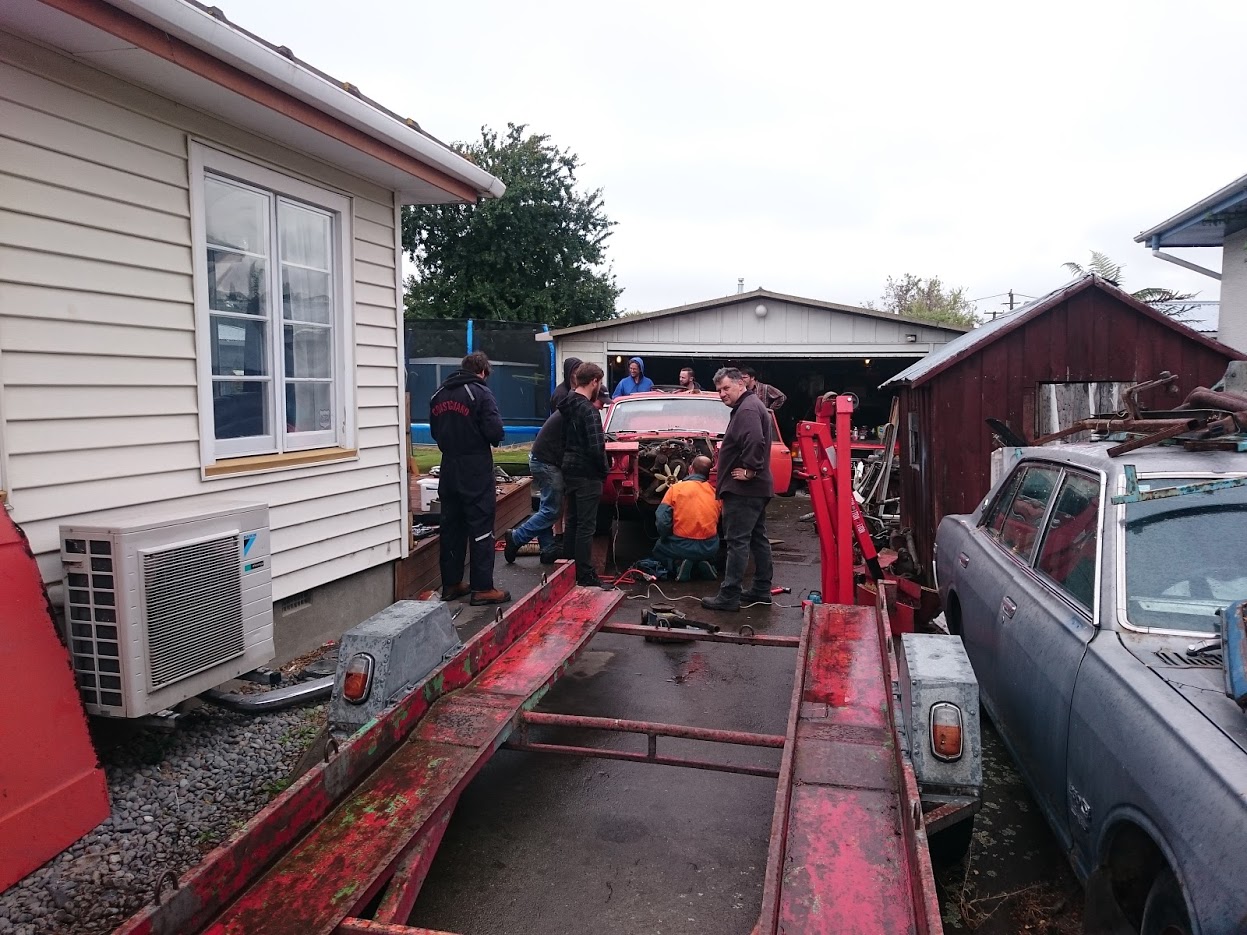
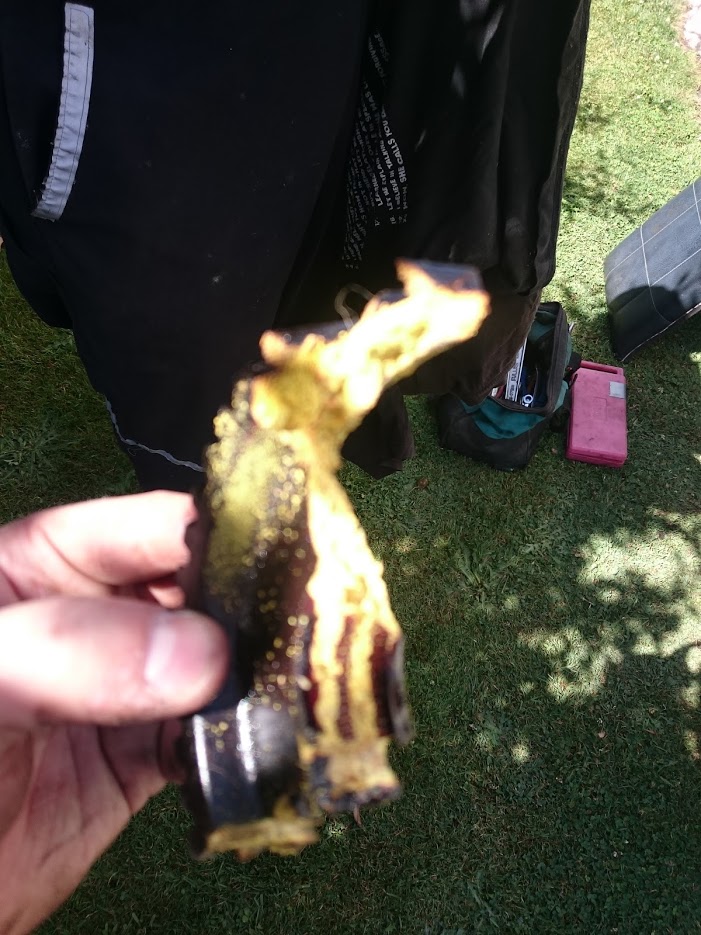
Discussion - I picked this campervan up late 2016. I took a bold risk by sending an OS member to go and see it for me and then agreeing to buy it unseen. So we flew to CHCH and got the bus to Timaru. Picked it up, so off we went. Drove it 30 mins down the road engine cut out. Good start... One overnight stay later, I check the dipstick in the morning and the oil level was super high. The guy came with his tools, fucked around doing random shit as if he didn't know what he was doing and it wouldn't start. Told him to just drain the oil for me and see how it goes. It started. So off we went. Get to petrol station, fill up, won't start. It was obvious that the battery was flat as no lights etc were coming on. Asked the petrol station lady if I could use my leads on her car and she agreed. So off we went. Luckily I'd agreed to collect an axle/diff for Kicker from Karl. So I rang him and said can I meet you at a petrol station and can you bring your jump leads? He agreed. Met him and then he jump started me.. So off we went. So for the rest of the drive back we agreed to fill up with the engine running as it was OK when it was running. Get to Picton, So close to the finish line! - Engine cuts out as soon as I pull up.. FARRKKKK SAKE. Anyway had a mobile mechanic guy come out and he gave me a new battery and put it on. So off we went. Drive it off the ferry, all good. Get to the hill just next to where I live and it was pretty obvious that the clutch was now starting to slip. What the hell have I got into I thought to myself. The van very shortly after we picked it up. Luckily I am surrounded by GC's so I got Seedy involved and he basically replaced everything that was old and shit on the engine (including new alternator and ALL the wiring for it!). He also fitted a revometer cos he was all like "Dude you're a deaf twat and you're revving it soooooo much so I'ma fit you a revometer in so you can see what you're doing". Like seriously, that's so awesome how he made the van more accessible for deaf people. There was still some hesitation on the engine wanting to rev, but it ran and started reliably so road trip around the south island for 3 weeks.. So off we went. The beginning of the trip.. One of Jokers Work of art Waterfalls Had a pretty fucking couple of days then headed towards CHCH. When bomf, no power at all. Fuck. Called AA. Guy came, Timing gears have stripped. This is where OS really shined. Never met any of these people before apart from Karl and you all made sure we got back to being on the road. Felixx came and towed us to a campsite near him/karl where we lived for the next 4 nights until the shops were open again for us to pick up parts. In that time, luckily ThreeOnThree was in the area and had organised with Karl a South Island meet where they would be destroying a triumph, but they also now focused their efforts on helping me get the timing cover, gears, and harmonic balancers off. This was harder than it should have been but everyone came through. So thank you all. Triumph being dismantled. Engine and rad Felixx clearing the rad out The pony old electric fan The engine OS south island krew. When good head comes together. Shitty Fibre gear. Went to rare spares, bent over and pulled my trousers down and said please rape me, I want the timing gears for an holden 202 in alloy. They preceded to truely butt fuck me but at least I had the timing gears at last. Got a mobile mechanic to help me finish off the job and we were back up and running.. So off we went.
1 point
-
So.. about 4 years ago I brought this little banger off a kid in Cambridge. He didn't want it anymore as it wasn't as fast as all his friend's skylines and shit. I thought cool, I'll take it. This is pretty much how i brought it Nice standard and straight. Good little 1.3 that went hard for the first year i had it untill i managed to get hold of a 1.6 to chuck in. This is back in 2015. We put the 1.6 straight in, was a cunt of a job without the extractors being on a flange... many a curse word was yelled at me from my brother as he helped me out. The 1.6 went hard for about 6 months until christmas day 2015 where it decided to melt a piston going over the kaimais... So off i went on an adventure to melbourne to work and save money for this engine i wanted to get rebuilt. decided to stick with the 1.6 xflow over a pinto as i felt it suited it better than a pinto and also i wouldnt have to get a cert... 6 months past and i returned from melbourne and the rebuilt banger was ready to be picked up from Stick Automotives in Ohaupo. Fully rebuilt with all new internals. Bored out and honed, 1300 pistons, lumpy cam, 10-1 comp, Ported and Polished head.. blah blah the list goes on. Was made to have sidedrafts but they were not in the budget so it got the 28/36 dcd put back on it... Fast forward 7 months, the old twin throat just wasnt coping with the amount and gas i wanted to give it so managed to score me a set of twin 40 delorotos off trade me for next to nothing.. got them rebuilt and chucked on Another 6 months went by which to about feb this year. Moved back to tga from auckland, engine started running like a sack of shit so took it into dynopower to get it properly tuned and balanced... Boy what a difference that made. turns out the little banger is putting out 150hp..
1 point
-
I'd recommend going lpg dedicated as @8ball suggests. The 214 powered TK Bedford I had was dual fuel but I ran it on lpg almost all the time for the price advantage. Think I only tried it on petrol twice in the three years I had it and it ran like shit anyway.1 point
-
Parts pile continues to grow 4.22 LSD 2nd gen diff and spindles/brakes from the same truck. Spindles let me run vented risks and I have more scope to upgrade the brakes further, rear brakes should also be ever so slightly better which this truck really needs. No way was this thing towing anything heavy. Should also do a mean skid, but I mainly wanted it for the better handling and brakes........... Also got a auto shifter surround from a VP which IV hacked up and will fit to the centre console so it looks more finished1 point
-
Jamie/Deluxe ford spares? he sure has some shit stashed in there.1 point
-
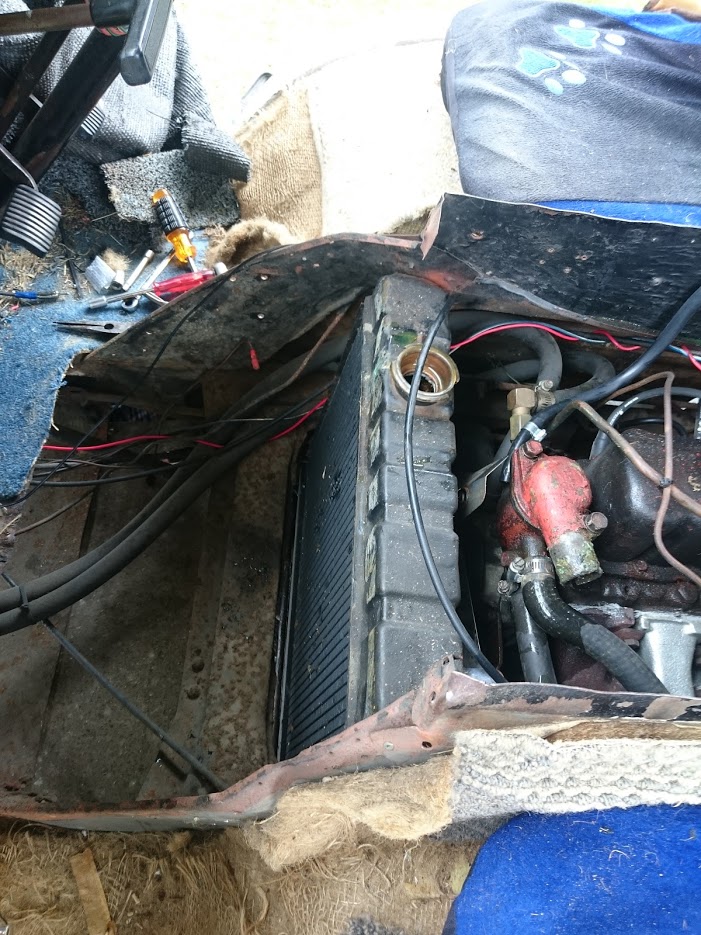
Decided to clean up the footwell areas as some surface rust was coming through so penatroled it and painted it. Before After (wrong side but im too lazy to go and take another picture). Also @Steelies has been hard at work for me, creating a shroud and mounts for the rad for the new fan. He's also going to be modifying the engine lid and engine panel so it all fits. Here's how the fan looks ATM. Getting really excited now. I have also been offered a 202 black (with manifold) that I can potentially replace the red with. The 12 port head should be gruntier than what I currently have. It has good compression but carbs a bit fucked. I've been told that the varijet carbs are a bag of wank anyway. I'm probably going to fit an electronic dizzy while I'm doing that too. This leads me to a few questions.. a) Should the black and red swap fairly straightforward or is there more differences than the manifold? Was talking to @k-trips and @Seedy Al and they advised that you can get adapters for the manifolds so you can fit different carbs - what would people recommend here? Weber? c) If I were to get an M20 or M21 gearbox (I currently have the 3 speed) - (shorter first gear on the M20 and M21s I think). Should the column shift still be ok baring in mind my current one is only 3 speed - are the movements dictated by the gearbox or the column shift assembly in the van?.. Hope that makes sense.1 point
-
Yeah they've had it on PT for 2 weeks now and managed to get a tailight but I think he said it was scratched and a corner is broken off. I think he has got that at least so when I take it away while trying to find the bits it will have working tail lights. Could just leave it to the panelbeater to find the parts but I'm fine to help out where I can. Will pop in and see him Wednesday and see how shits going anyway.1 point
-
As always you're workmanship and eye for details is fucking amazing. Looking forward to more haha.1 point
-
I assume they've tried Partstrader then. As they're supposed to. That said the boss got a side cut for his XE ute privately because PT failed at coming back with anything. Give the young fella you got it from a ring, he's probably got some hookups/connections.1 point
-
Does anyone have hookups for taillight and mirror? Turns out that they are harder to find than good cheap scotch. /insurance is asking for me to hook them up, anyome got leads?1 point
-
Everybody used to think it was an escort van, especially if I put on the morris grille rather than the austin one in the pics. Marina is a bit bigger in all directions if put side by side but very similar proportions1 point
-
You can spray a whole can over a radiator and still see copper, I see the ones from the reco shops just have a light dusting1 point
-
The pressure gauge will be on the injector side of the regulator1 point
-
Is that good or bad? (Just googled answer...cheers) Just did a quick test to check that caliper geometry is right, Success!1 point
-
1 point
-
Another good day today. took engine out and started to strip down the engine bay. taking out the brake servo tower was a cunt of a job i must say. feel like it took way longer that it should have.. dont even know if i want to put it back in... Left side is nice and straight, right is pretty patchy and rough.. Cleaned everything i could with the angle grinder. pretty much onto hand sanding now... any tips for getting right into the corners? right side panel work which looks like its been done by 10 different people.. also a pic of the painted floor which the dog walked over...1 point
-
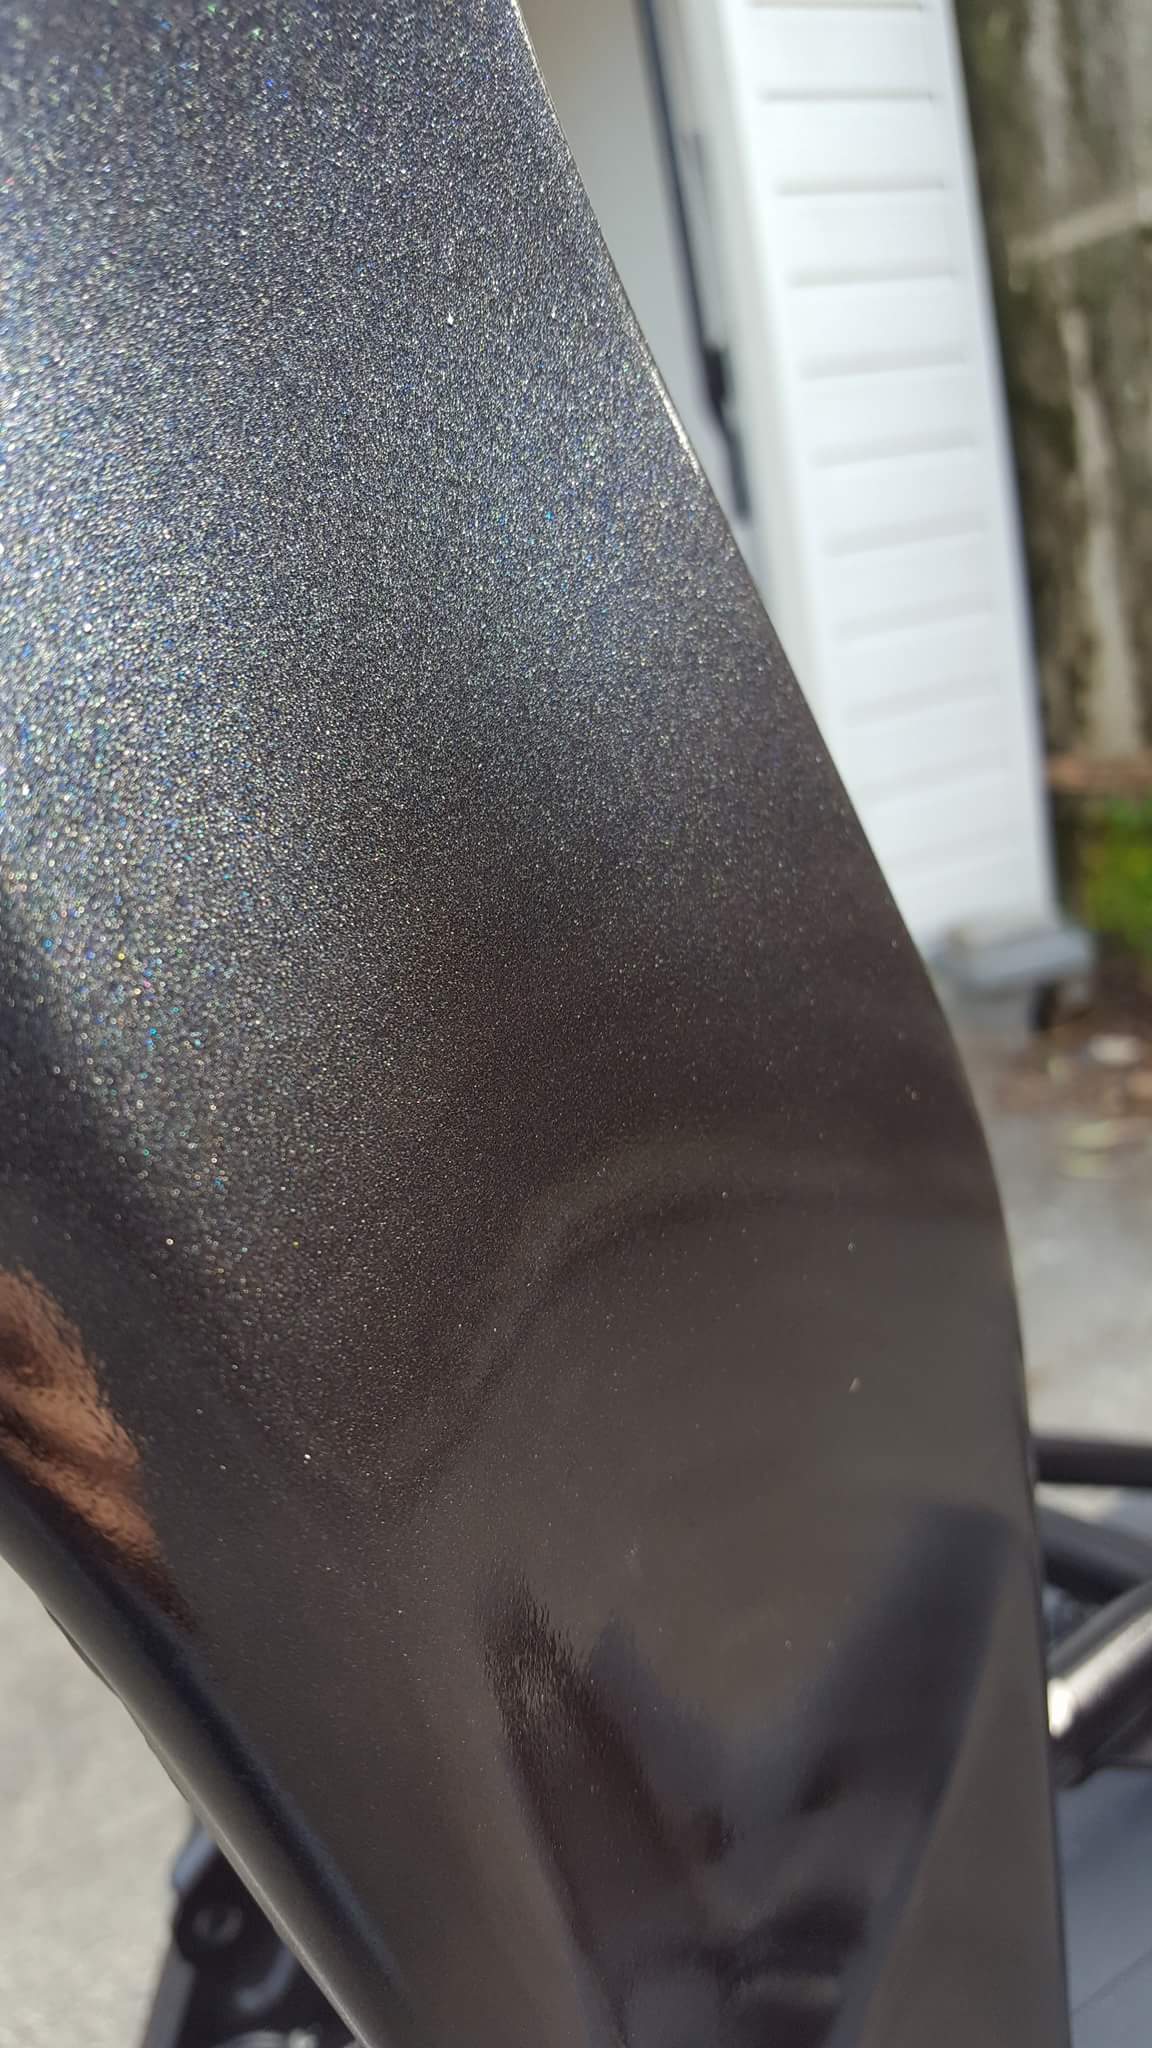
Got some clear on this afternoon. Not a perfect job but my first go painting with a gun, so I'm happy. Close up of the colour in faint sunlight:
1 point
-
shit man, condolences. clearly your wag/tyre combo is too phat for people to pass.1 point
-
Shut your whore mouth!1 point
-
1 like=1 prayer1 point
-
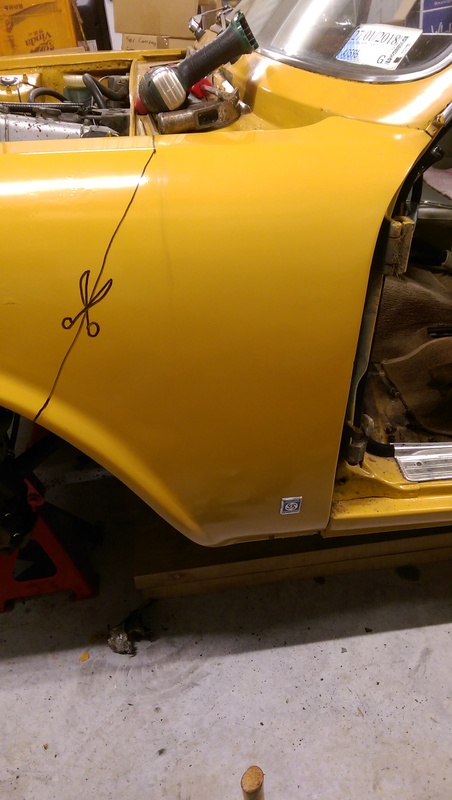
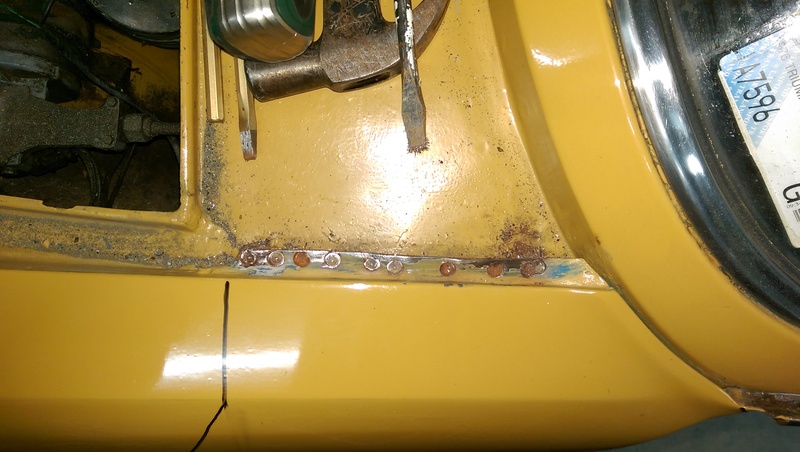
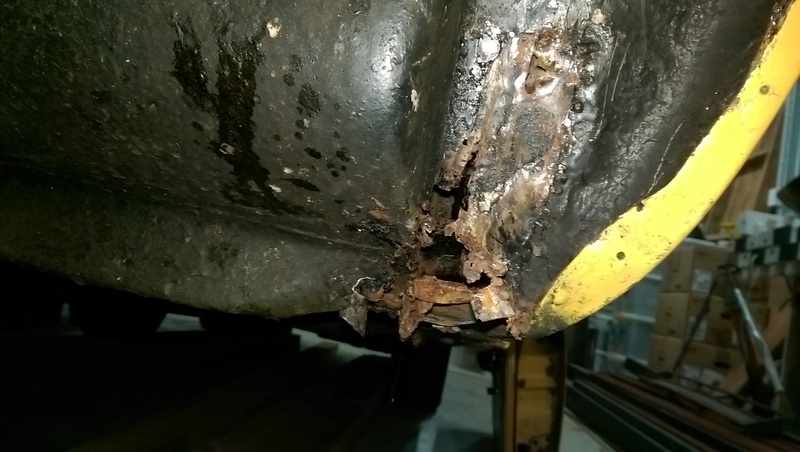
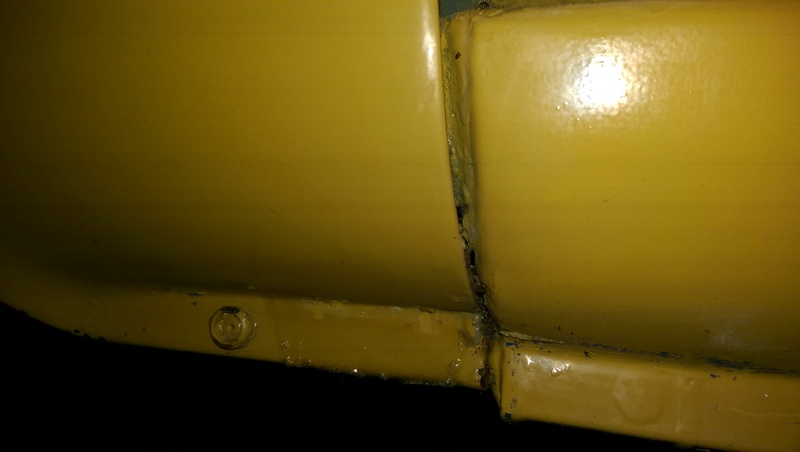
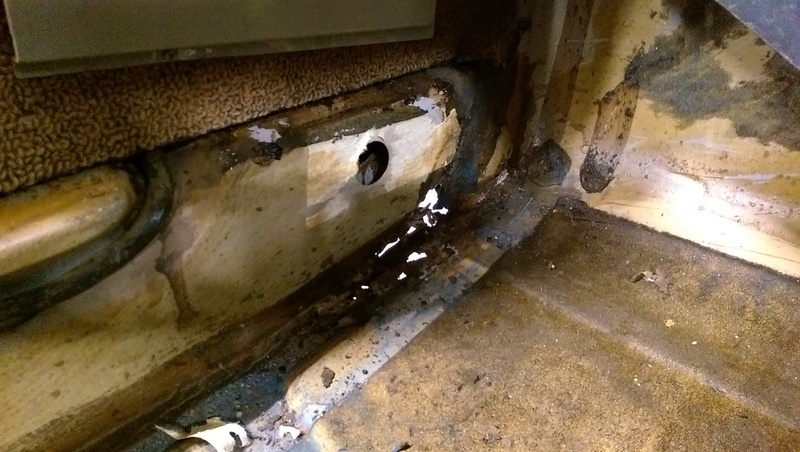
Passenger sill. I can shove a screwdriver through this gap. I removed the dodgy patch welded on with bird shit. And.... To get behind the guard I'm going to do something that scares me a little.
1 point
-
1 point
-
Turns out I was lying about it being a treefiddy. I had a look at the build plate and figured out all the codes. It looks like its a povo pack with a few extras. 305? TBI explains why it started and drove so nicely. A01- WINDOW, TINTED, ALL SHADED, W/S A12- WINDOW, RR, STA BACK DR A51- SEAT, FRT BKT PASS, DRIVER A57- SEAT PASSENGER AUXILIARY, ONE, FLDG B3W -TIRE ALL P205/50R 15/N BL RIPE ST TL KW4 C5S-GVW RATING, 6600 LBS C60- HVAC SYSTEM, AIR CONDITIONER FRT MAN CONTROLS D1V- GEAR, SPEEDO DRIVEN D20-: SUNSHADE, WINDSHIELD, PASS SIDE D45- MIRROR O/S, SST E24-WWR SIDE, CARGO, HINGED E5Z-SPEEDOMETER ADAPTER (DELETE) E60-?? E9Z-SPEEDOMETER KEY (DELETE) F59- STABILIZER SHAFT FR, GU6- AXLE REAR, 3.42 RATIO G50- SPRING REAR, HEAVY DUTY, VAR 1 JB5- BRAKE, POWER, DISC/DRUM, 6400 LBS K19- REACTOR SYSTEM, AIR INJECTION K60- GENERATOR, 100 AMP LOD- ?? L03-5.0 LITER V-8 TBI ENGINE MX81-?? M40- Turbo Hydra-matic Transmission NA5-EMISSION SYSTEM, FEDERAL, TIER O NL7-FUEL TANK,I25L, 33 GAL N33-STEERING COLUMN, TILT TYPE N40 - STEERING, POWER, NON-VARIABLE RATIO SLM - ?? V37 - BUUPER, FRT & RR, CHROME V73 - ANTENNA, FIXED XET - TIRE FRONT, P245/75R16-109S BW R/PE ST TL AT YD3 - FRONT AXLE, BASE EQUIPMENT FOR SCHEDULING, GVW PLATE YD5- ?? ZET- ?? ZW9-B0DY EQUIPMENT, BASE BODY OR CHASSIS ZY1 - COLOR COMBINATION, SOLID Z53 CLUSTER, INST, OIL, COOL, TEMP, VOLTS 12U-?? 62I- INTERIOR TRIM, LT SADDLE (I) 62V-TRIM COMBINATION, VINYL, LT SADDLE (V)1 point
-
So over easter weekend i cracked into the firewall rust Gave her a bit of the ol razzle dazzle and filled everything up with rust converter and coated with PA10. banged seam sealer in all the seams. there wasnt any so they were filling with water everytime it rained. Ol mate had jammed some jb weld in the rust holes to stop water getting in the cab and covered almost all of it in black silicone. pulled all that awful crap out and did it right. the firewall had pretty much separated from the A pillar/guard area so was just kind of flapping about, and there is pretty much no original floor left so some of the previous fixes were a bit rough but i got it sorted well enough. coated what needed it with underseal, everything else left in primer till i can spray some top coat/never because il want to take the engine out. Also adjusted the steering stops so the tyres wont rub on the sway bar and steering box on hard turns1 point
-
Went out to buy some resonators, realised how overpriced for how simple they are, so decided to make my own. Rolled up some perforated sheet, wrapped in stainless steel wool and fibreglass strand. Will probably make another couple to put in behind the diff, which hopefully will make it reasonably quiet. It's a real shame no-one is going to see underneath here once it's done.1 point
-
Done a little bit more. Tried the x-flow underneath but there wasn't really enough room. Move it back to here and looks pretty good. Can be dropped out from here as well. Resonators go somewhere around here. Ran out of stuff to do on the exhaust since I don't have the pipe or flanges yet, so went and filled in some more holes in the floor.1 point
-
someone gave me one of these once. its the worst thing that has ever happened to me. well, that and being press ganged into club thirtyidiot.1 point


This leaderboard is set to Auckland/GMT+12:00