
Leaderboard


Popular Content
Showing content with the highest reputation on 06/23/17 in all areas
-
18 points
-
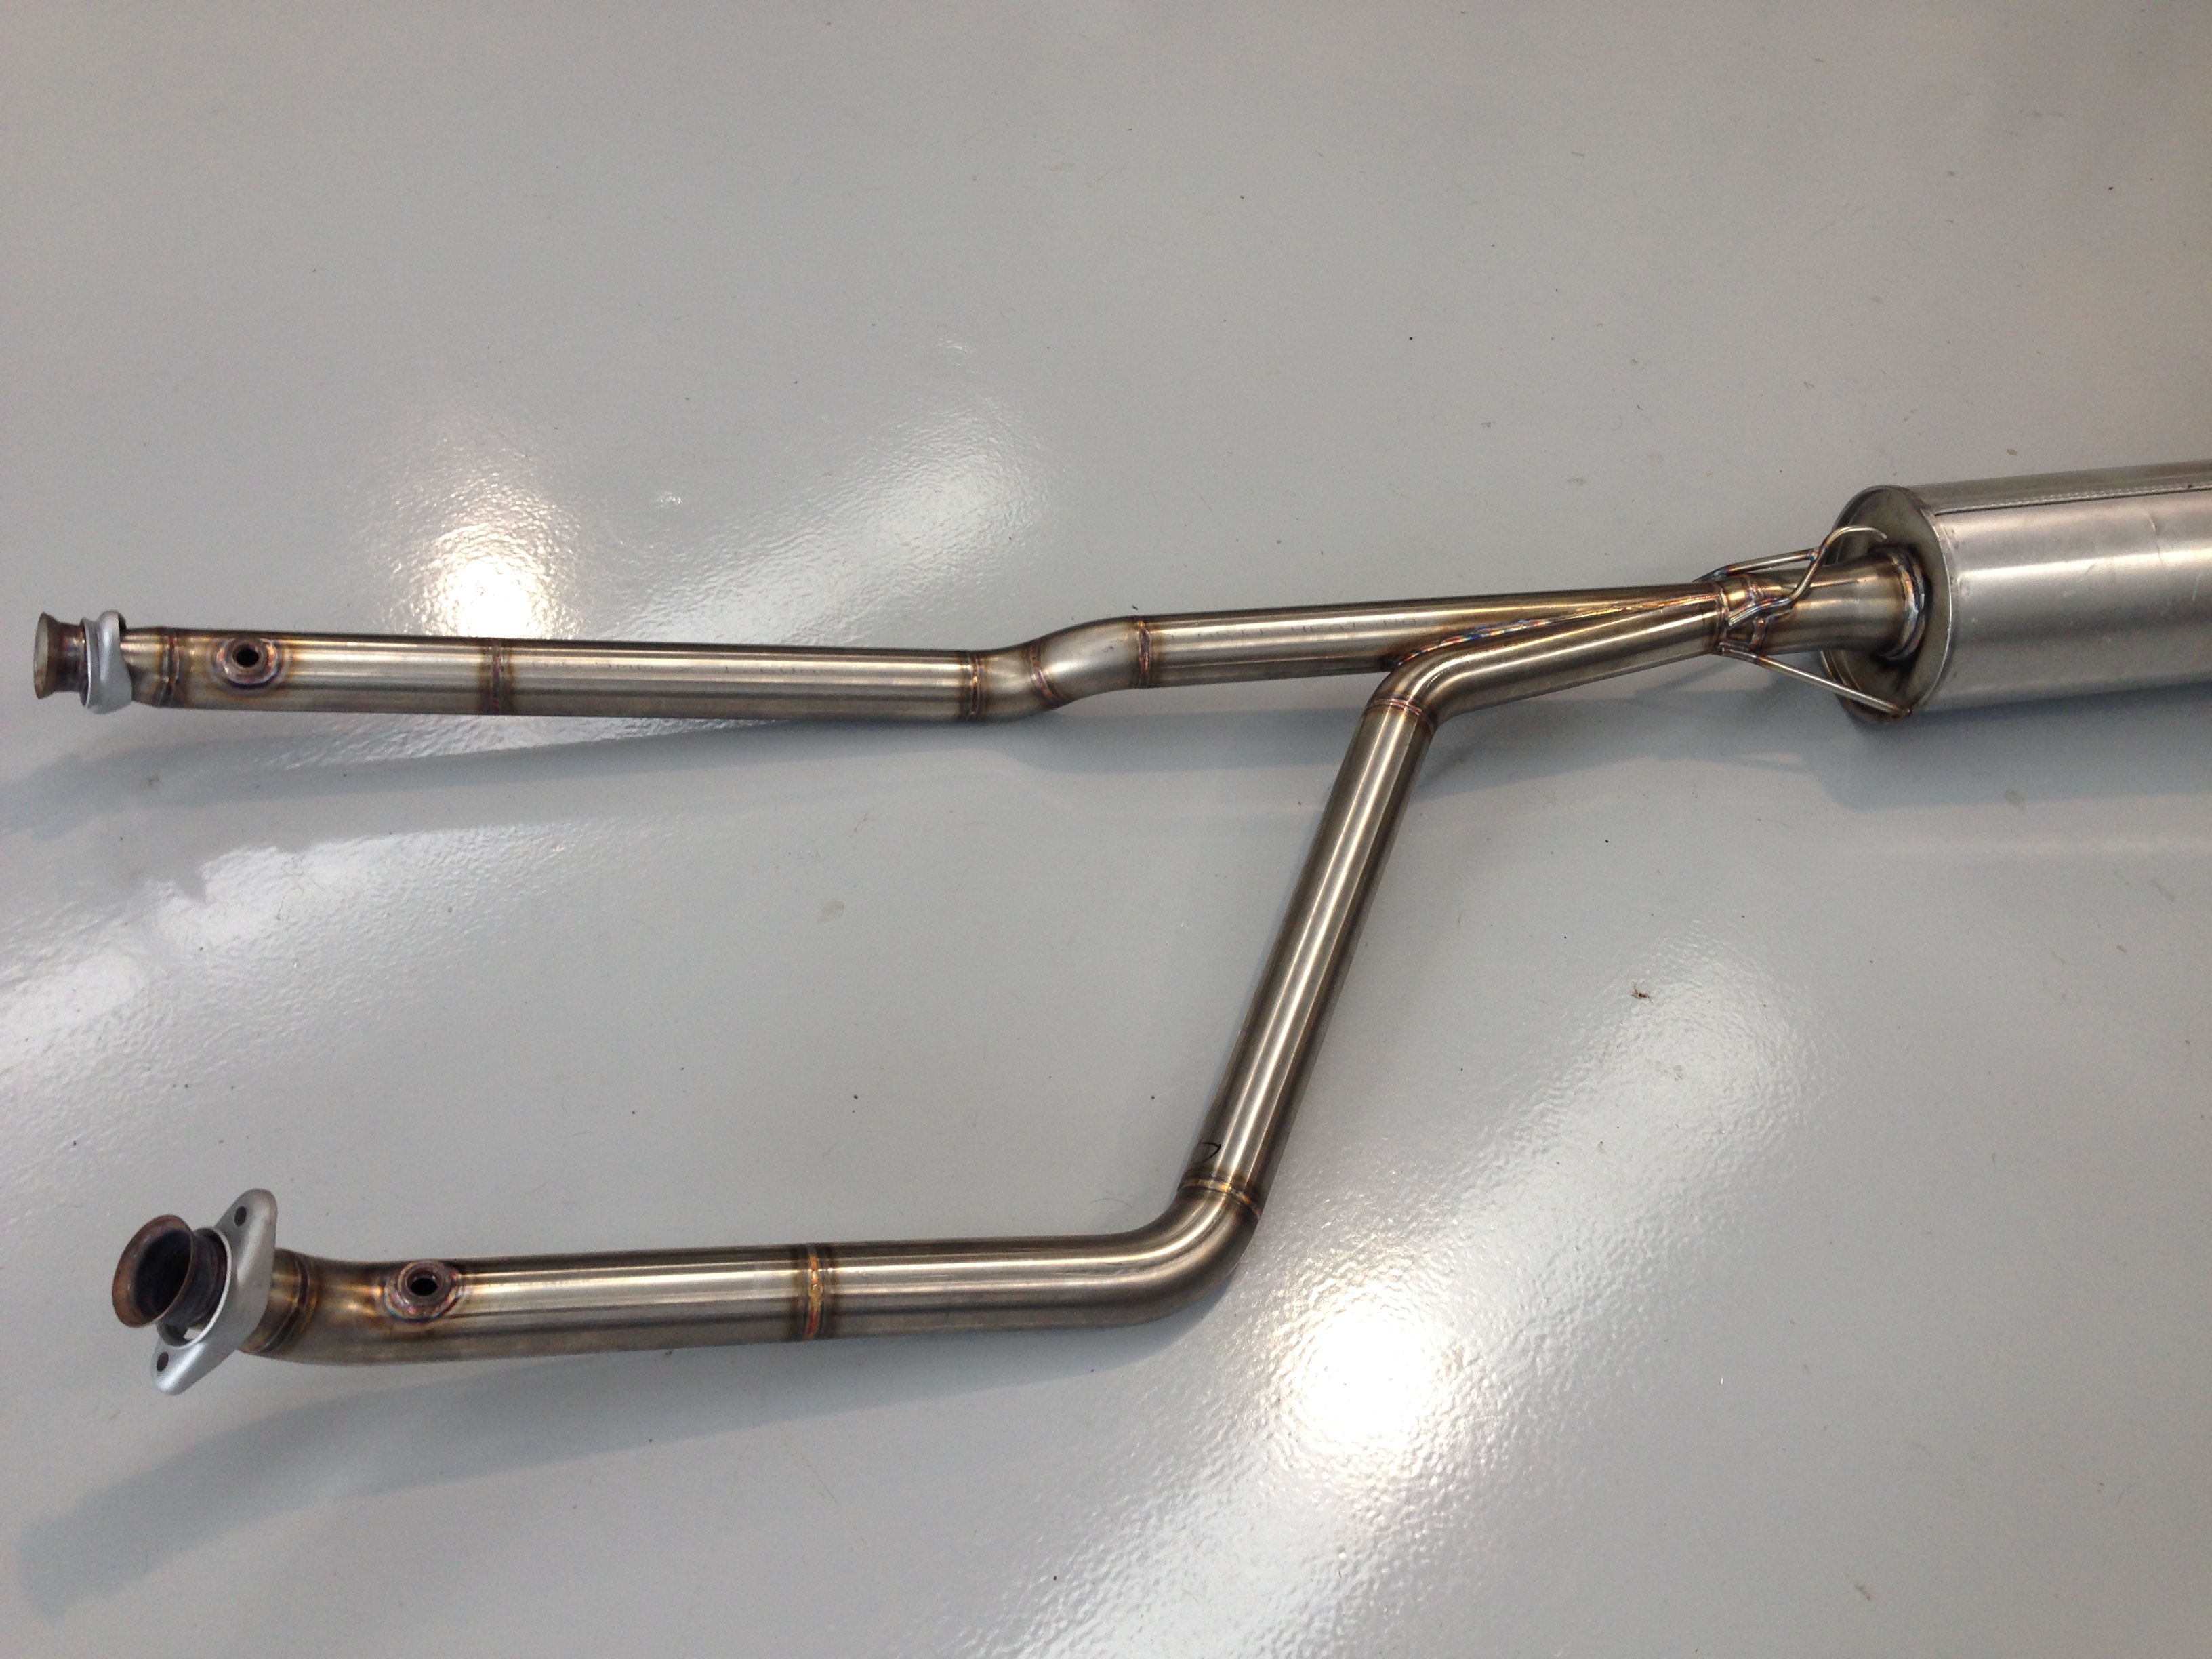
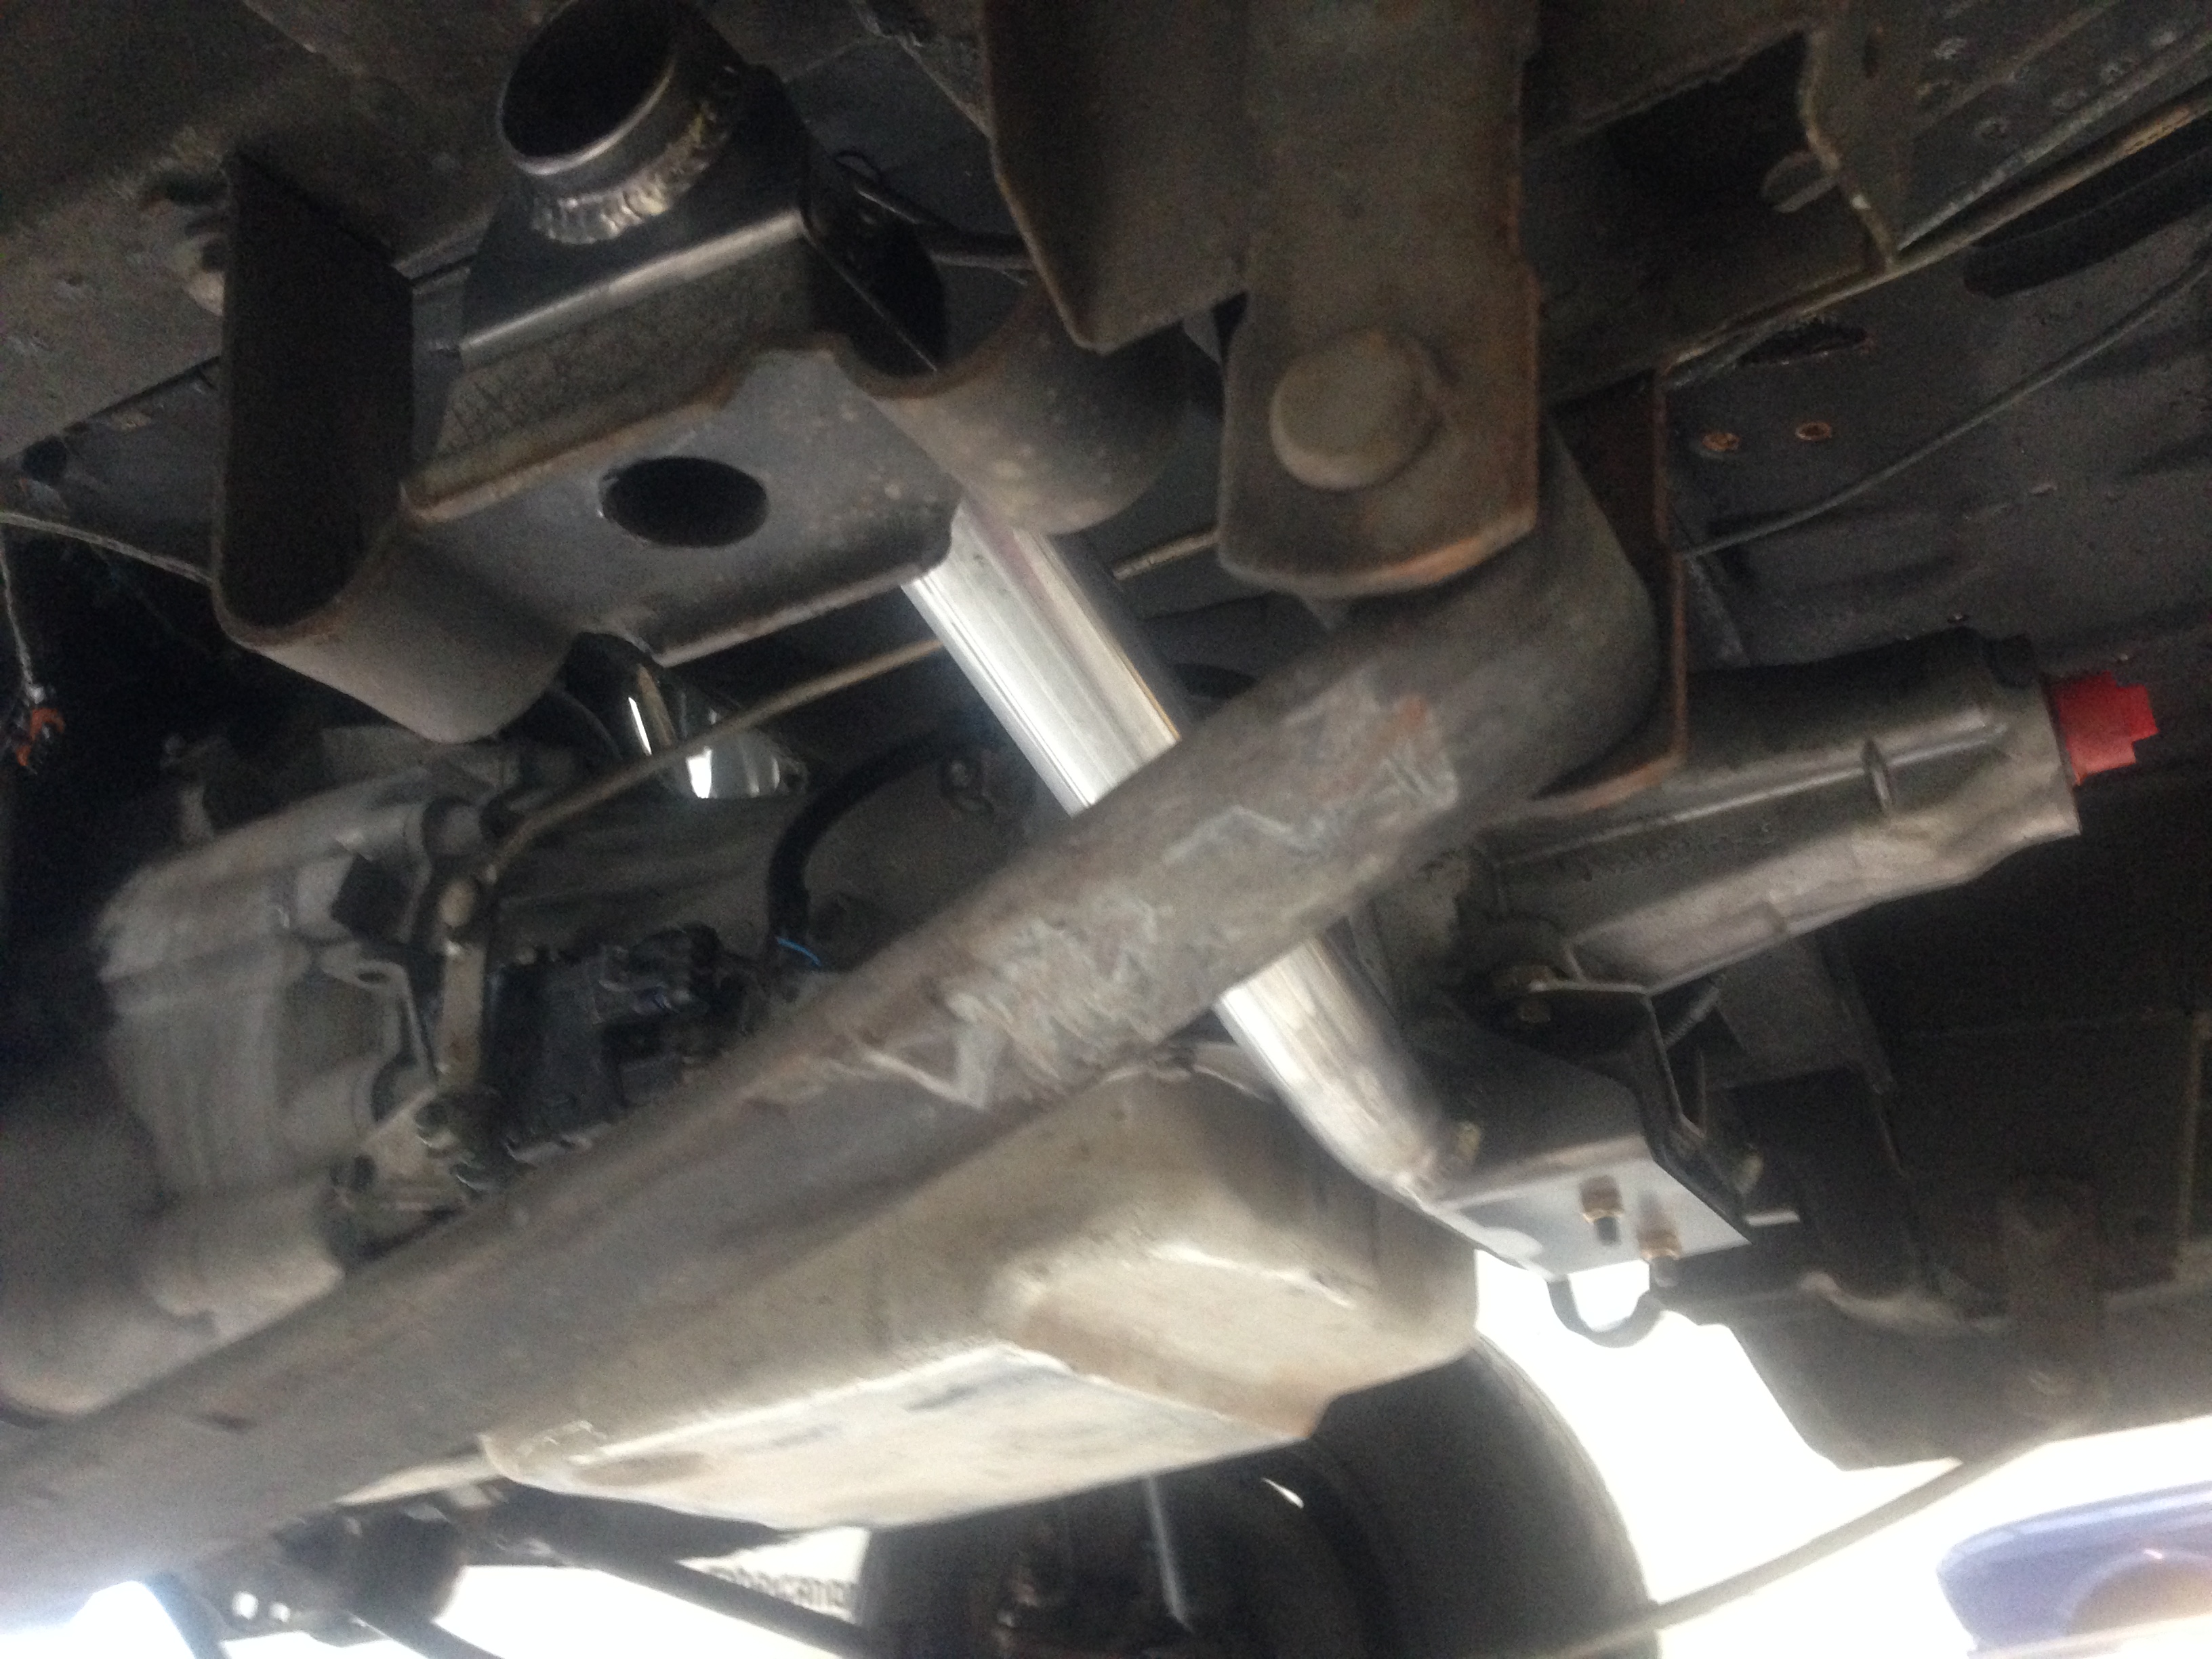
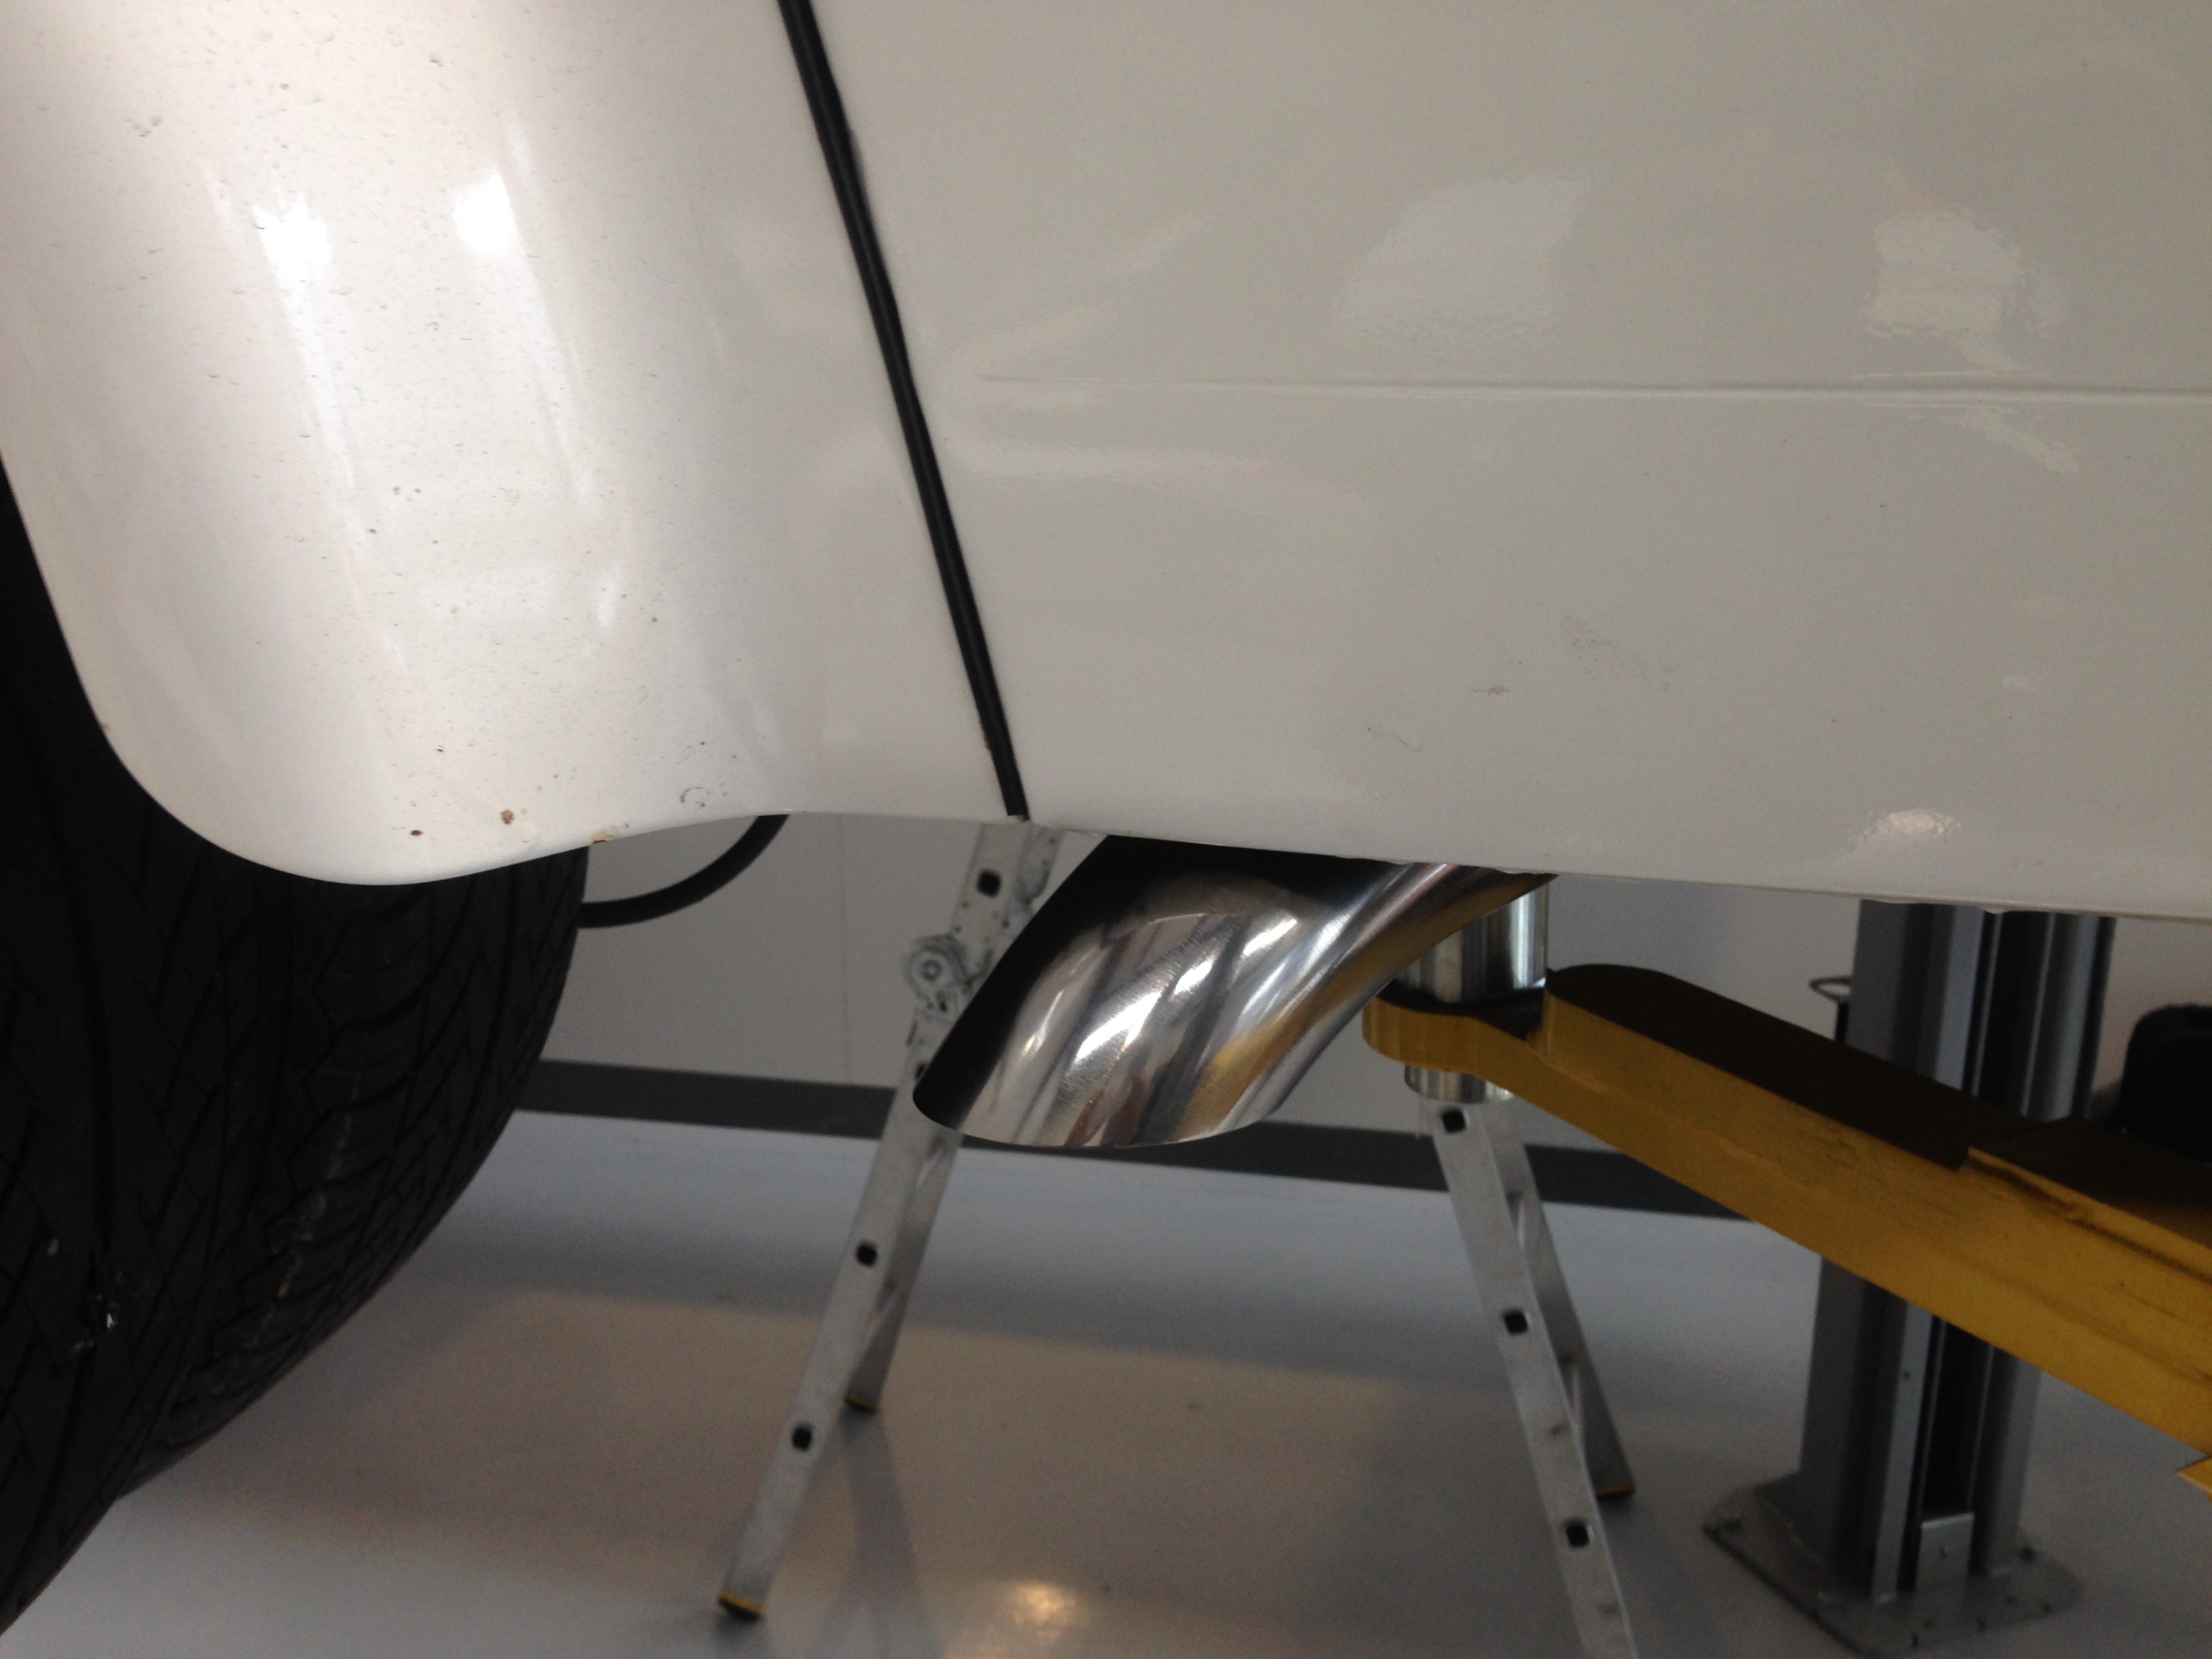
Time has been marching on, and I haven't touched the van for ages, as I have been so busy with other things.So I decided to book it in at work, as we have a new fabricator just started, and he is rather good! First job was to make the trans mount, and exhaust system. The trans crossmember is a tubular design, from 1 3/4" roll cage tubing. The exhaust is TIG welded 304 stainless, 2" primaries into 3" main pipe, and large muffler with side exit pipe. Next week will be a new engine crossmember and mounts, to a similar tubular design as the trans mount. Also a swirl pot for the fuel injection, weld in the battery tray on the RH side, wiring, fuel lines, air intake, etc.
 9 points
 -
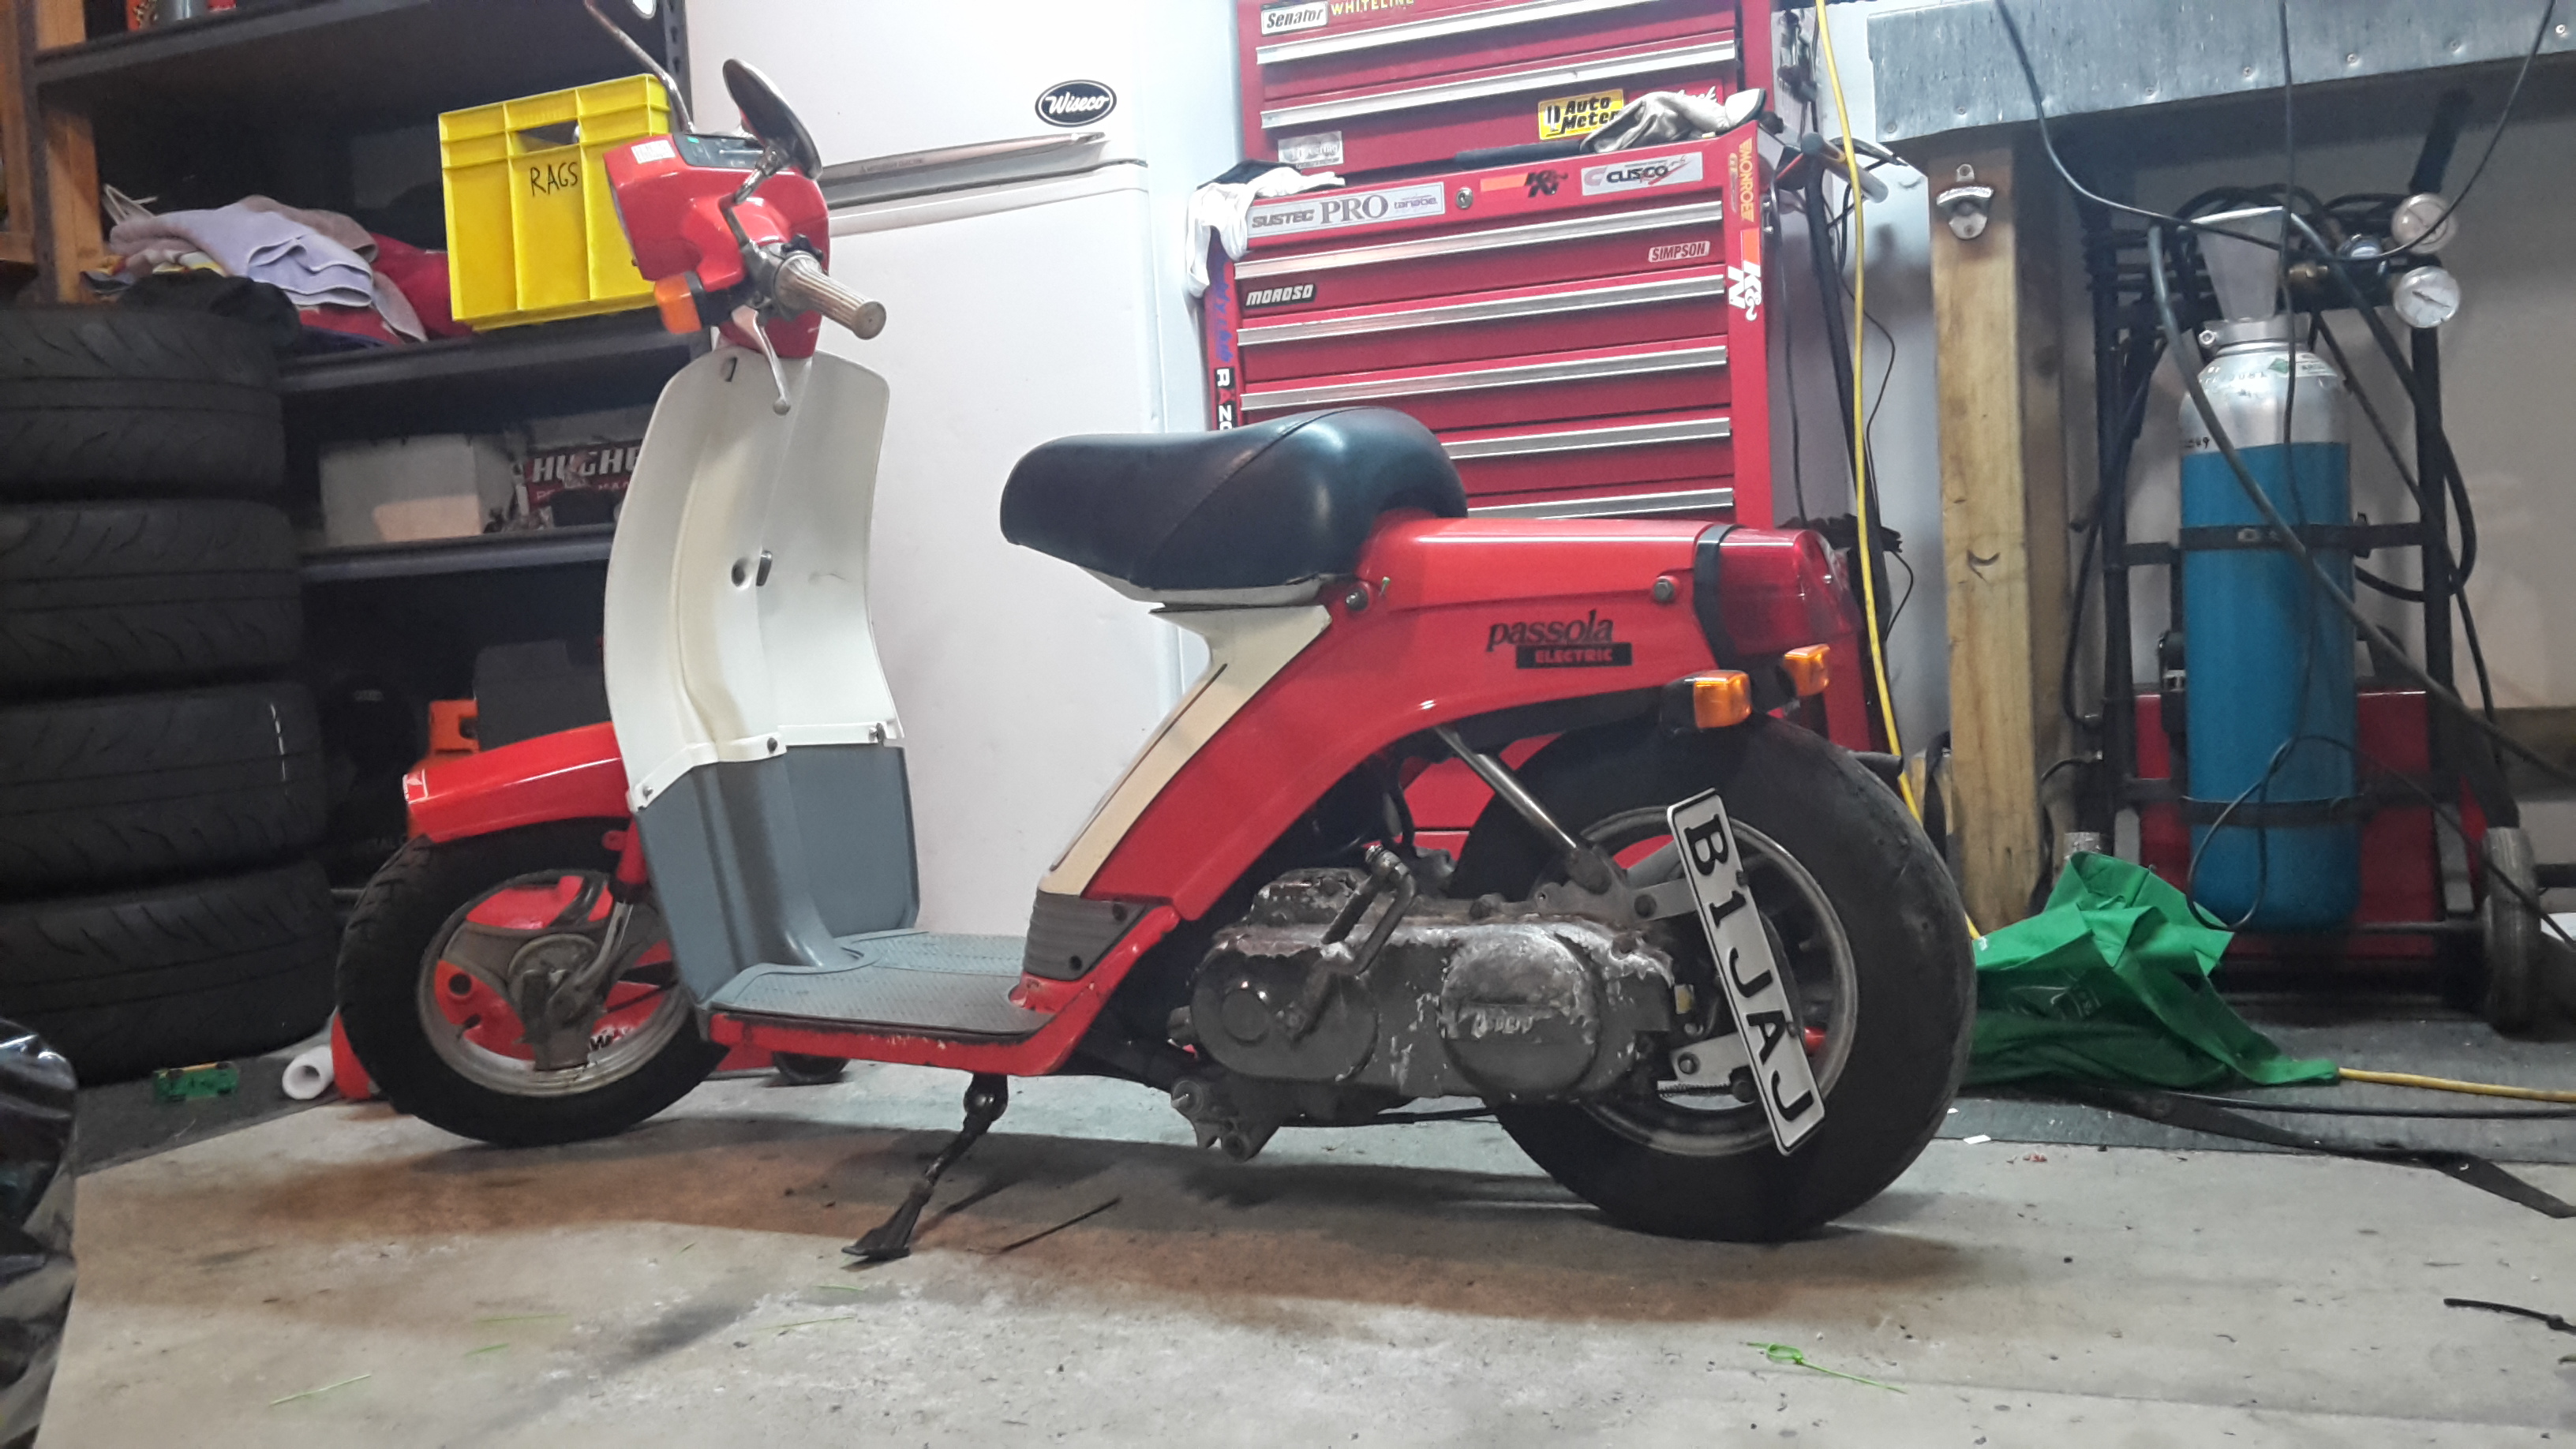
exhaust fitted today
8 points
-
Managed to find some time this week to finish tidying up the upper control arms. I got all carried away and gave them a couple of coats of paint and then took them into work and pressed in the new bushes. Looking very flash now. I am going to take the good advice of OS Valiant gurus and do the lower arm and radius rod bushes as well but that will be next weeks fun.6 points
-
5 points
-
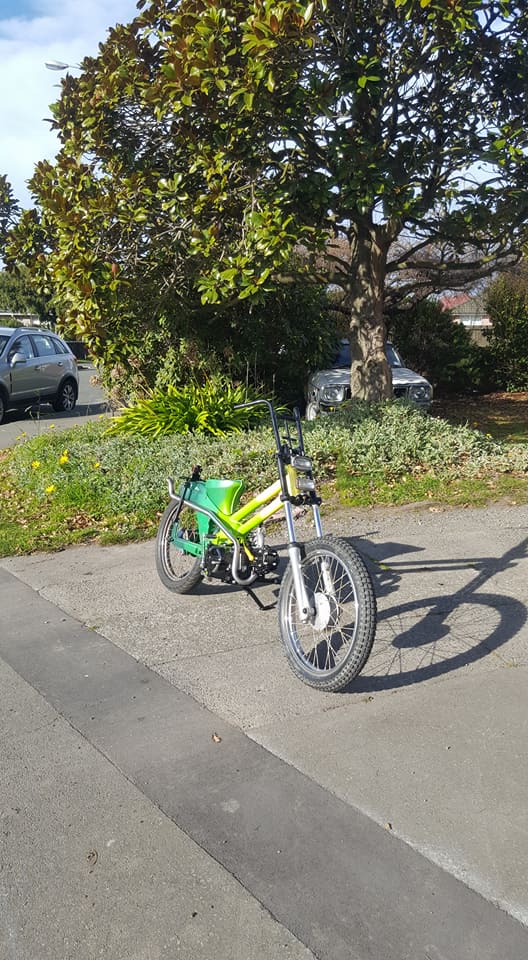
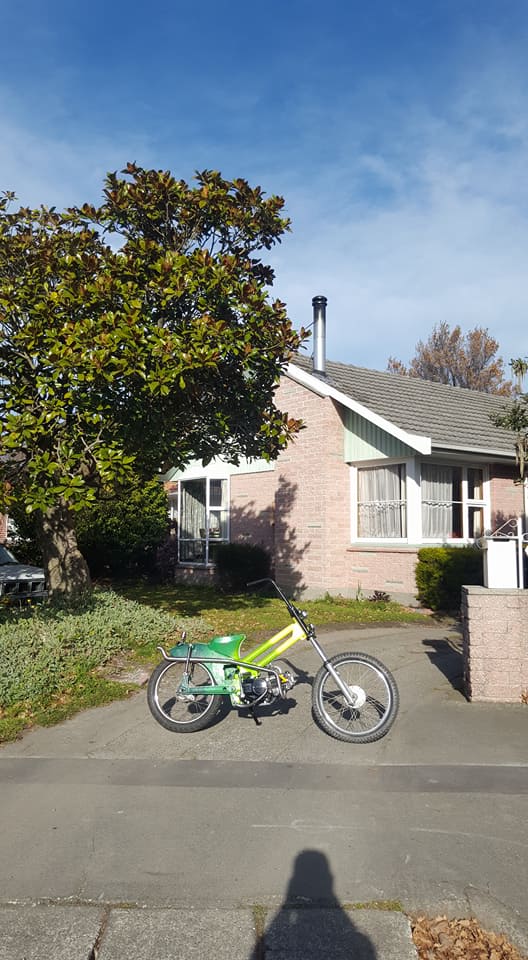
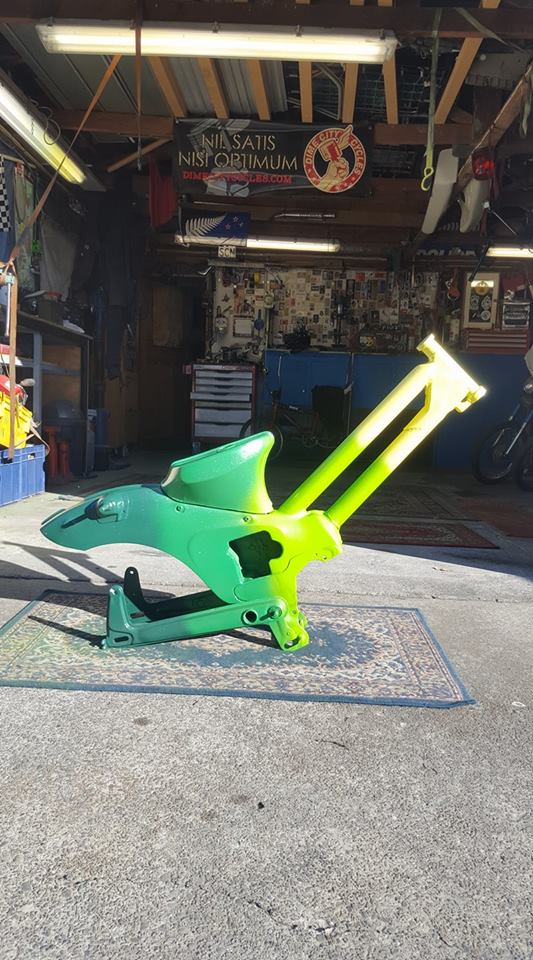
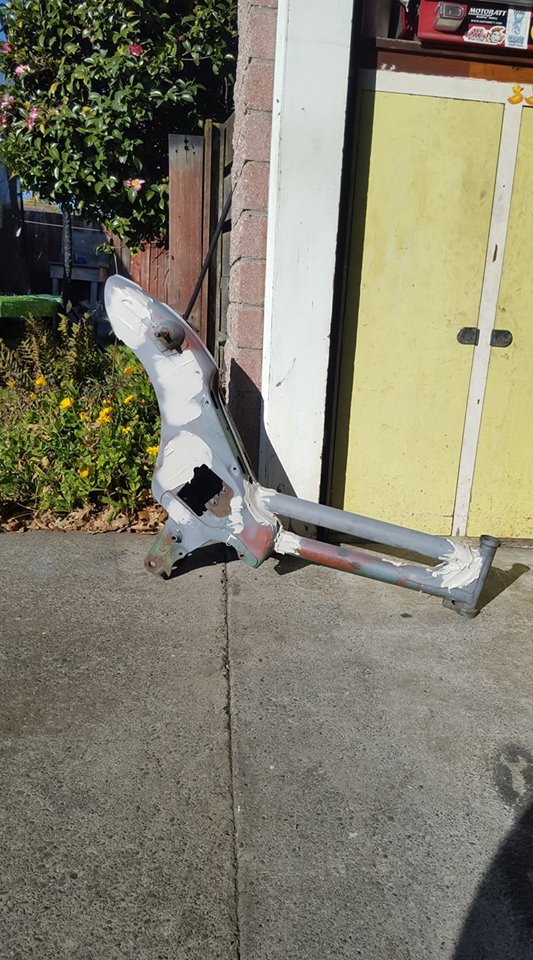
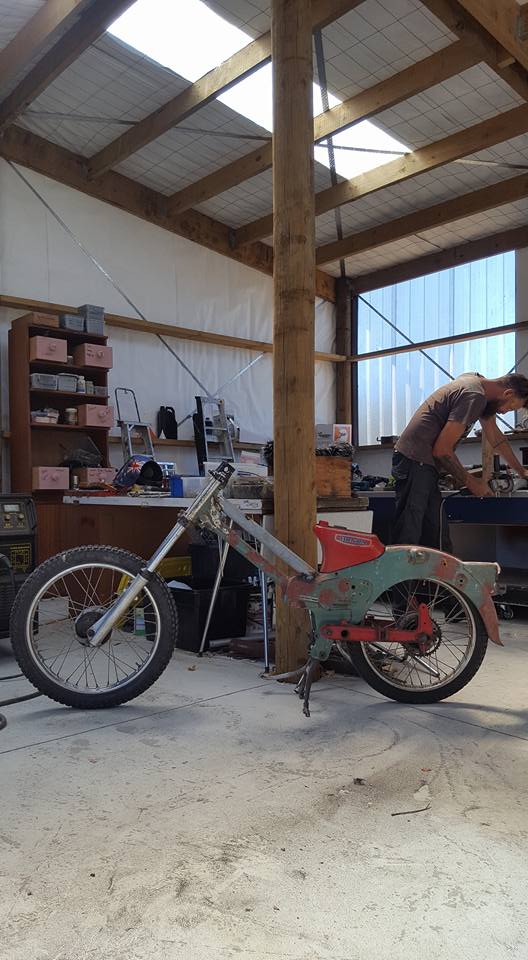
so not too much actual build progress has been going on for this thing but i have been aquiring a few parts. Have ordered a set of 1.85" Black rims out of Maylasia, these should be here soon, coupled with black hubs and the new chrome spokes i got they should look the businessss with 2.75" tah on the front and undecided for rear yet, wither 2.75 again of maybe a 3.00. main exciting news was a wrote a letter to NZTA asking if i could keen my chur as black plate cos black plates are cool, sent them a photo of it with the letter then like a week later i got a letter back saying i could and to take this in when you go to re register it. 5 minutes later at the local AA at $66 dollars poorer and i left with this - Pretty stoked about that, yay for the beach / cheap rego. nek on the parts hoard was a new legsheild, tick - then a new front brake cable, cush drive, and front end rebuild kit, tick have also got bars, throttle mech, have ordered an 8 pin cdi and loom, bunch of gaskets, next week ill order my 140cc GPX engine and PZ30 mikuni carb, so will pretty much have anything except a seat and tyres. dont want to rip into it quite yet as im still rebuilding a shitty old CT110 that i got, chucked a good weekend at that last week and got it all stripped and painting, just chugging away at the reassembly of that at the moment, hopefully finish up this weekend, just need to true up the rear wheel after i relaced it with new spokes, wrong thread but it doesnt have its on so here is a pic dump of that wee side project - shes a 1994 ag spec CT110 with Hilow box Pretty keen to get this C50 together and to see what it looks like with the mix of nice new parts and super patina paint, hopefully comes out as i am expecting and not just looking like a polished turd!5 points
-
Stupid update #3Thought I'd save Darrell the shit job of bolting up the front fenders as some dickhead (me) thought Stainless allen head bolts would be "cool" pointless photo. shitty photo.they do look pretty, I hope I never have to touch them again, the ones up behind the headlight buckets were pigs!Started cleaning up all the dash components, ignition switch came up awesome! love the solid old quality these old "economy" cars have. I got a dip switch off tedz awhile ago, which I had also cleaned up and fitted.My original switch fucked out years ago and was replaced with a modern version which when used would make this hollow boing! sound. the lovely old one makes a very satisfying "click clack" like a small rifle being loaded. much better.had to test fit the tail lights. yeah.did a few other wee things like fitted the engine lid seal, polished up the dirty old fuel line and started to suss fitting that, also pulled the new wiring loom out of its box for the first time, would like to try and feed it through the roof before I stick the body back on the pan.5 points
-
4 points
-
3 points
-
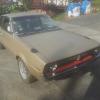
As per project thread it's road legal, have been going through my emails and text correspondence with compliance place, can't believe it took so long for what, after the panel work, was so little. Anywho, made a cameo at auckland burgermeat on wednesday night, looking forward to a drive or few this weekend3 points
-
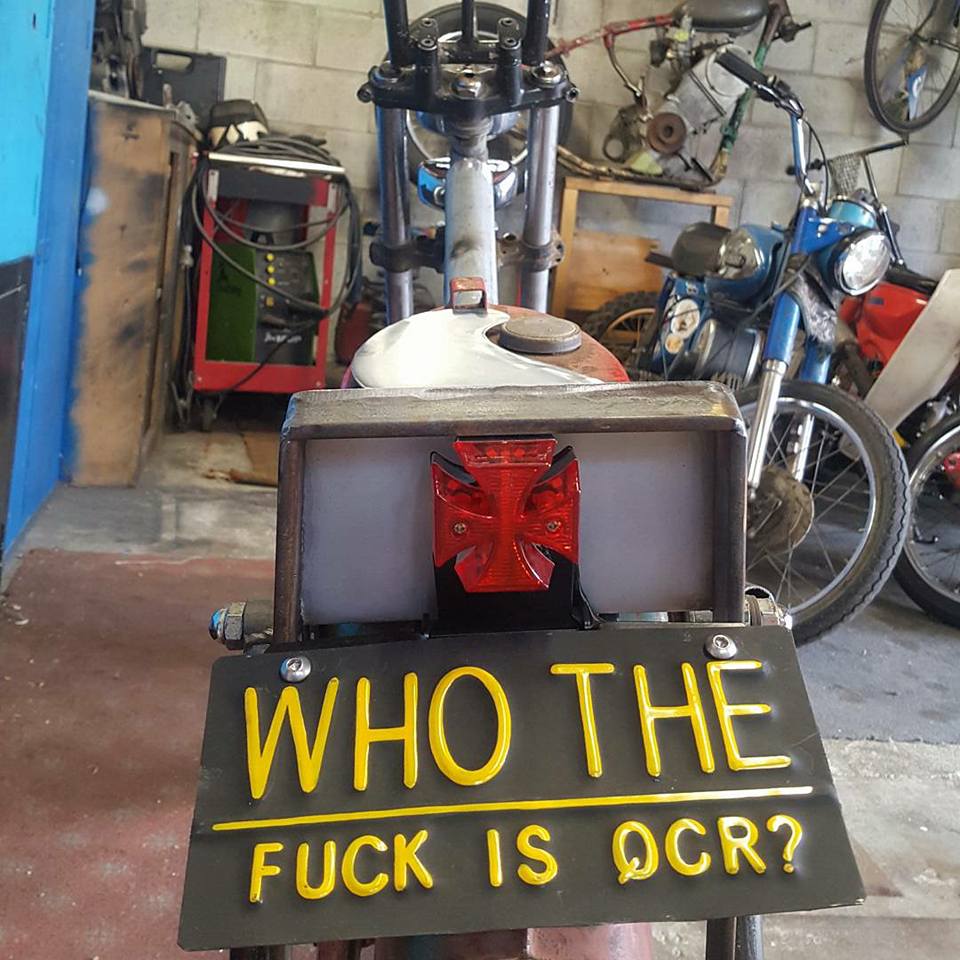
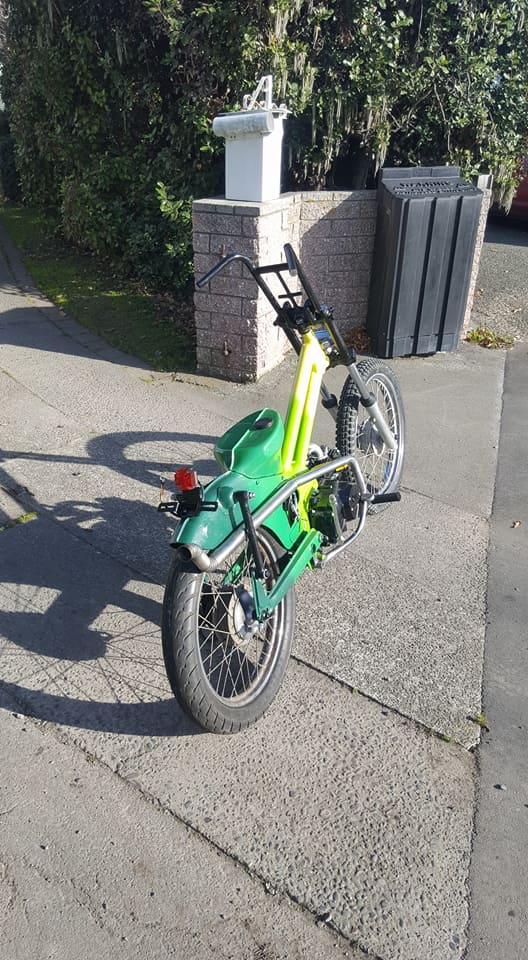
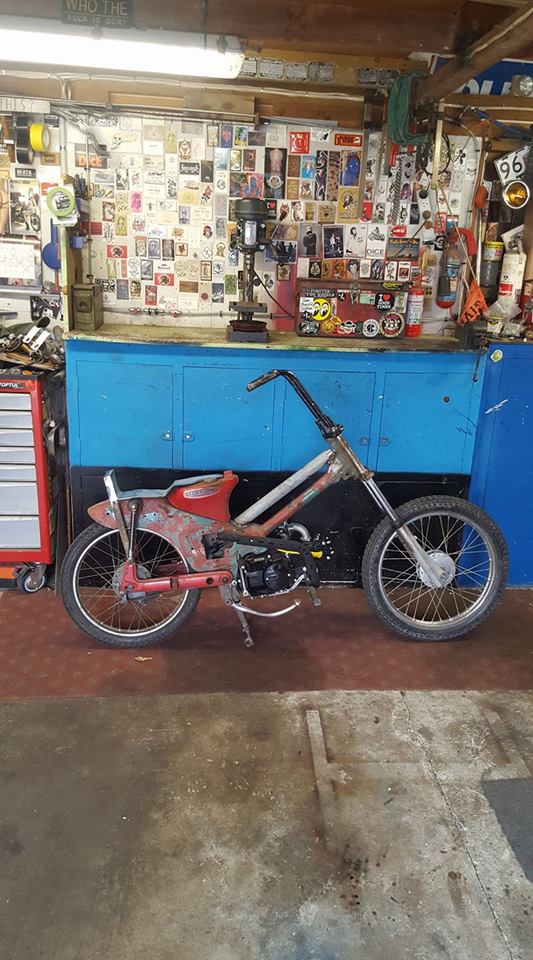
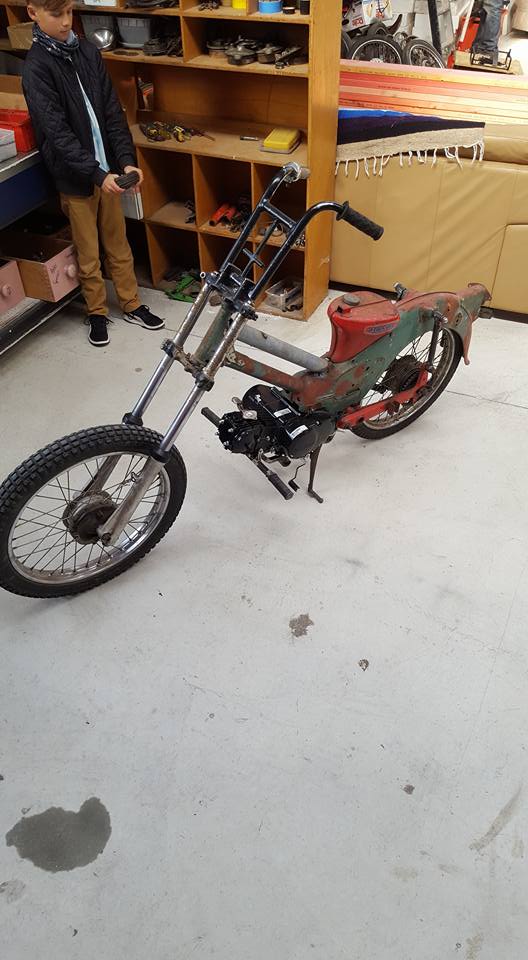
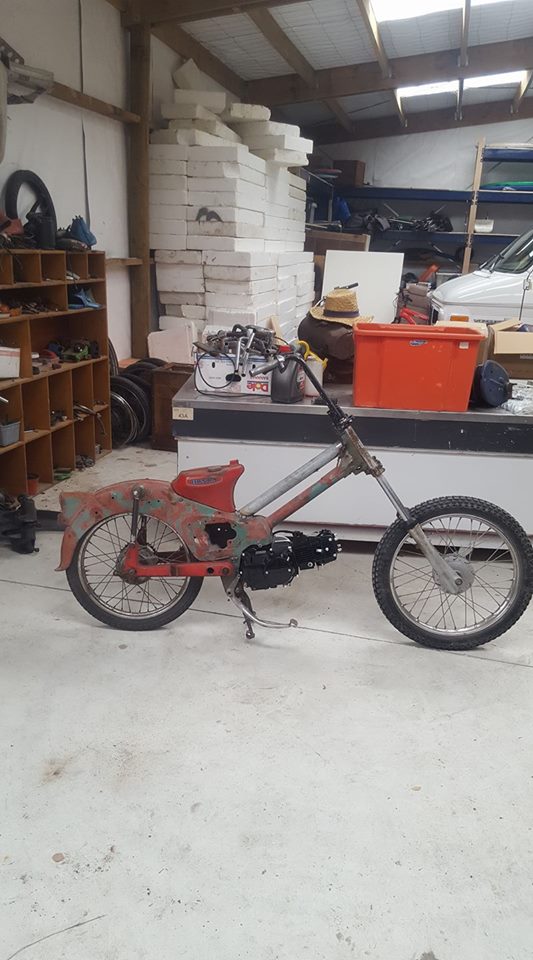
Decided to start a thread on my latest build as I feel its one of my best yet and its quite a short build time and very low budget using spare parts from another QCR mate Aaron. Bit of Japanese inspiration and a bit of American chopper styling with the front end and stance Frame is a stock dimension Honda C50 with a additional top tube. Wheels are 17 stock rear . 19" front Forks are unknown model but 300mm longer than stock Bars are off a earlier build called the Hound. Nice pullback and quite narrow with invertes cross to keep the god botherers at distance Whipped up a sissy / seat pan which Lewis is currently re trimming Taillight is slightly bigger than a matchbox from Aarons spares Headlights are swapmeat specials Motor is semi auto Lifan 125 Exhaust is straight thru Stainless steel from a good mate Jesse. Nice lobsterback with flared tip Paint was done with grafitti cans from my good mate Mark . Tried a bit of fading and im happy with first attempt. Then jammed a Dulux Duramax metal flake Clearcoat. Shit is poppin in the sun ! Not much longer and ill have it popping wheelies and tires !2 points
-
Ahh. So i made a bit of a large cock up. The cams were far too big for the original pistons, the valve reliefs were to small and when I was dialing in the cams the lobe was hitting the piston by a long shot. Instead of crying about it, I ordered some 82mm (2mm oversized) 12.5:1 compression pistons from Barry at MRP. Took my spare 7-rib block in to the machinists and got that block bored, cleaned and decked also. All is not lost with the other block, I will be using that in my AE86. I put some new frost plugs in the new block and gave it a blase of semi-gloss paint Whipped the head off of the old block Removed everything as it was instead of dismantling it (take pulley -> timing sprocket -> oil pump off, all to put it back on again) Went over to the NEW block, gapped the rings and dumped the goods in. Much better I set about to degree the cams, this time. No fowling on anything! Reconned alternator which is an 80A one It's nice to work on an engine and still have clean hands at the end of it. new bits e'ry where. So that's that for now, I will be installing the clutch and then putting it into the car next. Excited So, lesson. Do more research before completing an engine rebuild so you don't have to take all apart again. Talky talky. //oldschool.co.nz/index.php?/topic/52401-pbaines-1971-toyota-corolla-ke25/#comment-16793492 points
-
2 points
-
2 points
-
2 points
-
2 points
-
Sweet black plate with white dicks m8.2 points
-
I look forward to going for a ride with you sometime! Man that is SWEET2 points
-
Tiny uneventful little album; https://www.facebook.com/media/set/?set=a.552649914859095.1073741886.340084572782298&type=1&l=eedf832ca52 points
-
been busy but heres pics of concrete 2017-06-21_03-22-28 by sheepers, on Flickr 2017-06-21_03-24-34 by sheepers, on Flickr 2017-06-21_07-59-25 by sheepers, on Flickr 2017-06-21_07-59-12 by sheepers, on Flickr2 points
-
This makes zero sense to me. Wankers2 points
-
1 point
-
1 point
-
1 point
-
1 point
-
1 point
-
Got a bit done on the pivots this afternoon. Needs more work, but I have some ideas to improve it like turning up some more plain bearings etc First step was to fill up the original fork holes with the "hot metal glue gun", then Linisher to bring back to flat again. Then I started the pivots Plain bearings and split pins will be added later, plus tidy it up.1 point
-
I drilled and tapped the fuel rail bung so I can chuck a pressure sensor in it to see if something is playing up. Slapped some goopy loctite on and I'll leave it overnight to chooch. A blind man wouldn't be happy to see that shit. Not quite at ms paint/graph level of datalogging but we'll get there one day1 point
-
you can apply for a log book for any vehicle via MSNZ, having a log book doesn't make it safe but helps keep track of events & inspections (just making point you don't have to have a "race car" to have a log book assigned to it, it can be a BOS class car too ie Bucket of Sh1t can have a Logbook)1 point
-
next update, had to rebuild the calipers again grrrrr damn no longer stocked piston seals, any who rebuilt now and also ordered a kit for the front 3 pot calipers. still got my eye out for a transmition as i need to fix the release bearing anyway so may as well use it as an excuse to upgrade. hopefully next update will be quicker than this one.1 point
-
....you cant get that smell off your shoe? I also have a secret shame for the so wrong its right look of this shape in wagon form (my mum had a white one, blue interior)1 point
-
Once you step foot into Vivadom.....1 point
-
The GM180 was also sold as the Trimatic as fitted to many Holdens. So it may be easier to find someone with Trimatic knowledge. Try Auto Care Kilbirnie and speak to Kevin, he knows his Holdens and may be able to recommend someone suitable.1 point
-
Been tempted to try one on a project. Have one in shed. Just surrounded by an ea i need to remove from it 1st lol1 point
-
1 point
-
The neighbours house who you share a roof with is going to look so shit! Like an ugly conjoined twin1 point
-
You could probably just take it to a rad place and get it done for fuck all. Rad paint smells great.1 point
-
I'll be there - but have mismatching tyres. Got the burn-out tyres* on the back y'all. *T's & C's apply,. Burn-out only possible if someone covers the carpark in a thick coating of lard, ky jelly and pamolive dishwash. Burn-out will actually be a combination of wheel bearings, tire rub and clutch exploding. Credit criteria and a $99 dollar booking fee apply. Goes hard for what it is. Cut cat M8. Like a shit on a rail wrapped in blanket.1 point
-
Mate she got all the vents in mint condition. Fancy living.1 point
-
I made this a couple years ago using a mates workshop, tools and help. He said to me if I ever decide to get rid of it, be sure to send it his way. Last year that time came...so I gave it to him to keep. It seemed only fair considering without his help I never would've been able to build it i first place. I told him about the drome racing and sent him a YouTube link...now he's keen as! So too are two more mates, so if possible we have a gang of 4 ready to take on the dome!1 point
-
New shoes! Bridgestone Potenza RE003 in 225/50R16. I also sold my 17" Racing Beat wheels. The workshop forgot to do my WOF though!1 point
-
I ended up getting a brand new one off a local company im friends with. And yes i know its probably very expensive but i wanted it asap. $285 for a brand new one never been used.1 point
-
I agree - the rear panel looks killer. I have a complete rx2 beaver panel, lights and garnish that will remain a wall hanging for now, as it's likely I keep this look. The auto badge haha yea.....I need to double side tape the garnish on and this particular one has all the pins in tact on the back. My mate has another one with no pins, so I probably will get that as I'm loathed to cut the pins if someone else can use the original un-messed with one. 6 of us bought a tyre machine and balancer last week - this will be stashed in a mates shed and should save us loads on trye changing etc. That and earn us beer money for letting others use it. Some tyre places charge like wounded bulls for tyre removal/fitting.1 point
-
it did go faster after i dumped the tools and spare, but i also lowered the tyre pressures at the same time so it was probably more that. I didnt bother at first because they weigh around 1800kg anyway, but after a couple of 15.0 runs i thought i had to do something to try and get it in the 14s at least i think even if it had traction it would probably still only do mid-low 14s, the mph was fairly consistent around 96-98 which is a good indicator of how much power it has. the vg has less traction problems and runs 14.2 at the same mph i wont be doing anything more to improve its dragstrip performance, that effort is better aimed at other things. goal is to get into 11s in the brown valiant1 point
-
raced the ute at drag day, i wasnt sure which car i was going to take until the night before when i remembered this had near a full tank of gas, so i chose this one. instructions said to do 1000km before abusing it, so i did 76km before drag day, near enough. i figure if you let the clutch out quickly enough, it wont slip= it wont get damaged. its a tricky thing to get off the line- as previously sharned about, it doesnt have many horsepressures under 3.5k rpm. letting the clutch out at low rpm then flooring it- it bogs down, if you give it too much beans it axle tramps and feels like the diff wants to escape. i dropped the tyre pressure down to 30psi and the quickest run was when it wheelspun through most of 1st gear. i tried various shift methods and rpms but it went fastest when i just left the throttle pinned to the floor and shifted when it hit the limiter- the rev limit is a bit different, i think it shuts the throttle for a bit instead of cutting spark and after all that the best i got out of it was 14.8@98, which is slower than my VG with the no turbo engine, ha. does good skids though1 point
-
^one of their mechanics got DIC'd whilst road testing a customers car. Thats how you know they are good.1 point


This leaderboard is set to Auckland/GMT+12:00