
Leaderboard


Popular Content
Showing content with the highest reputation on 04/23/17 in all areas
-
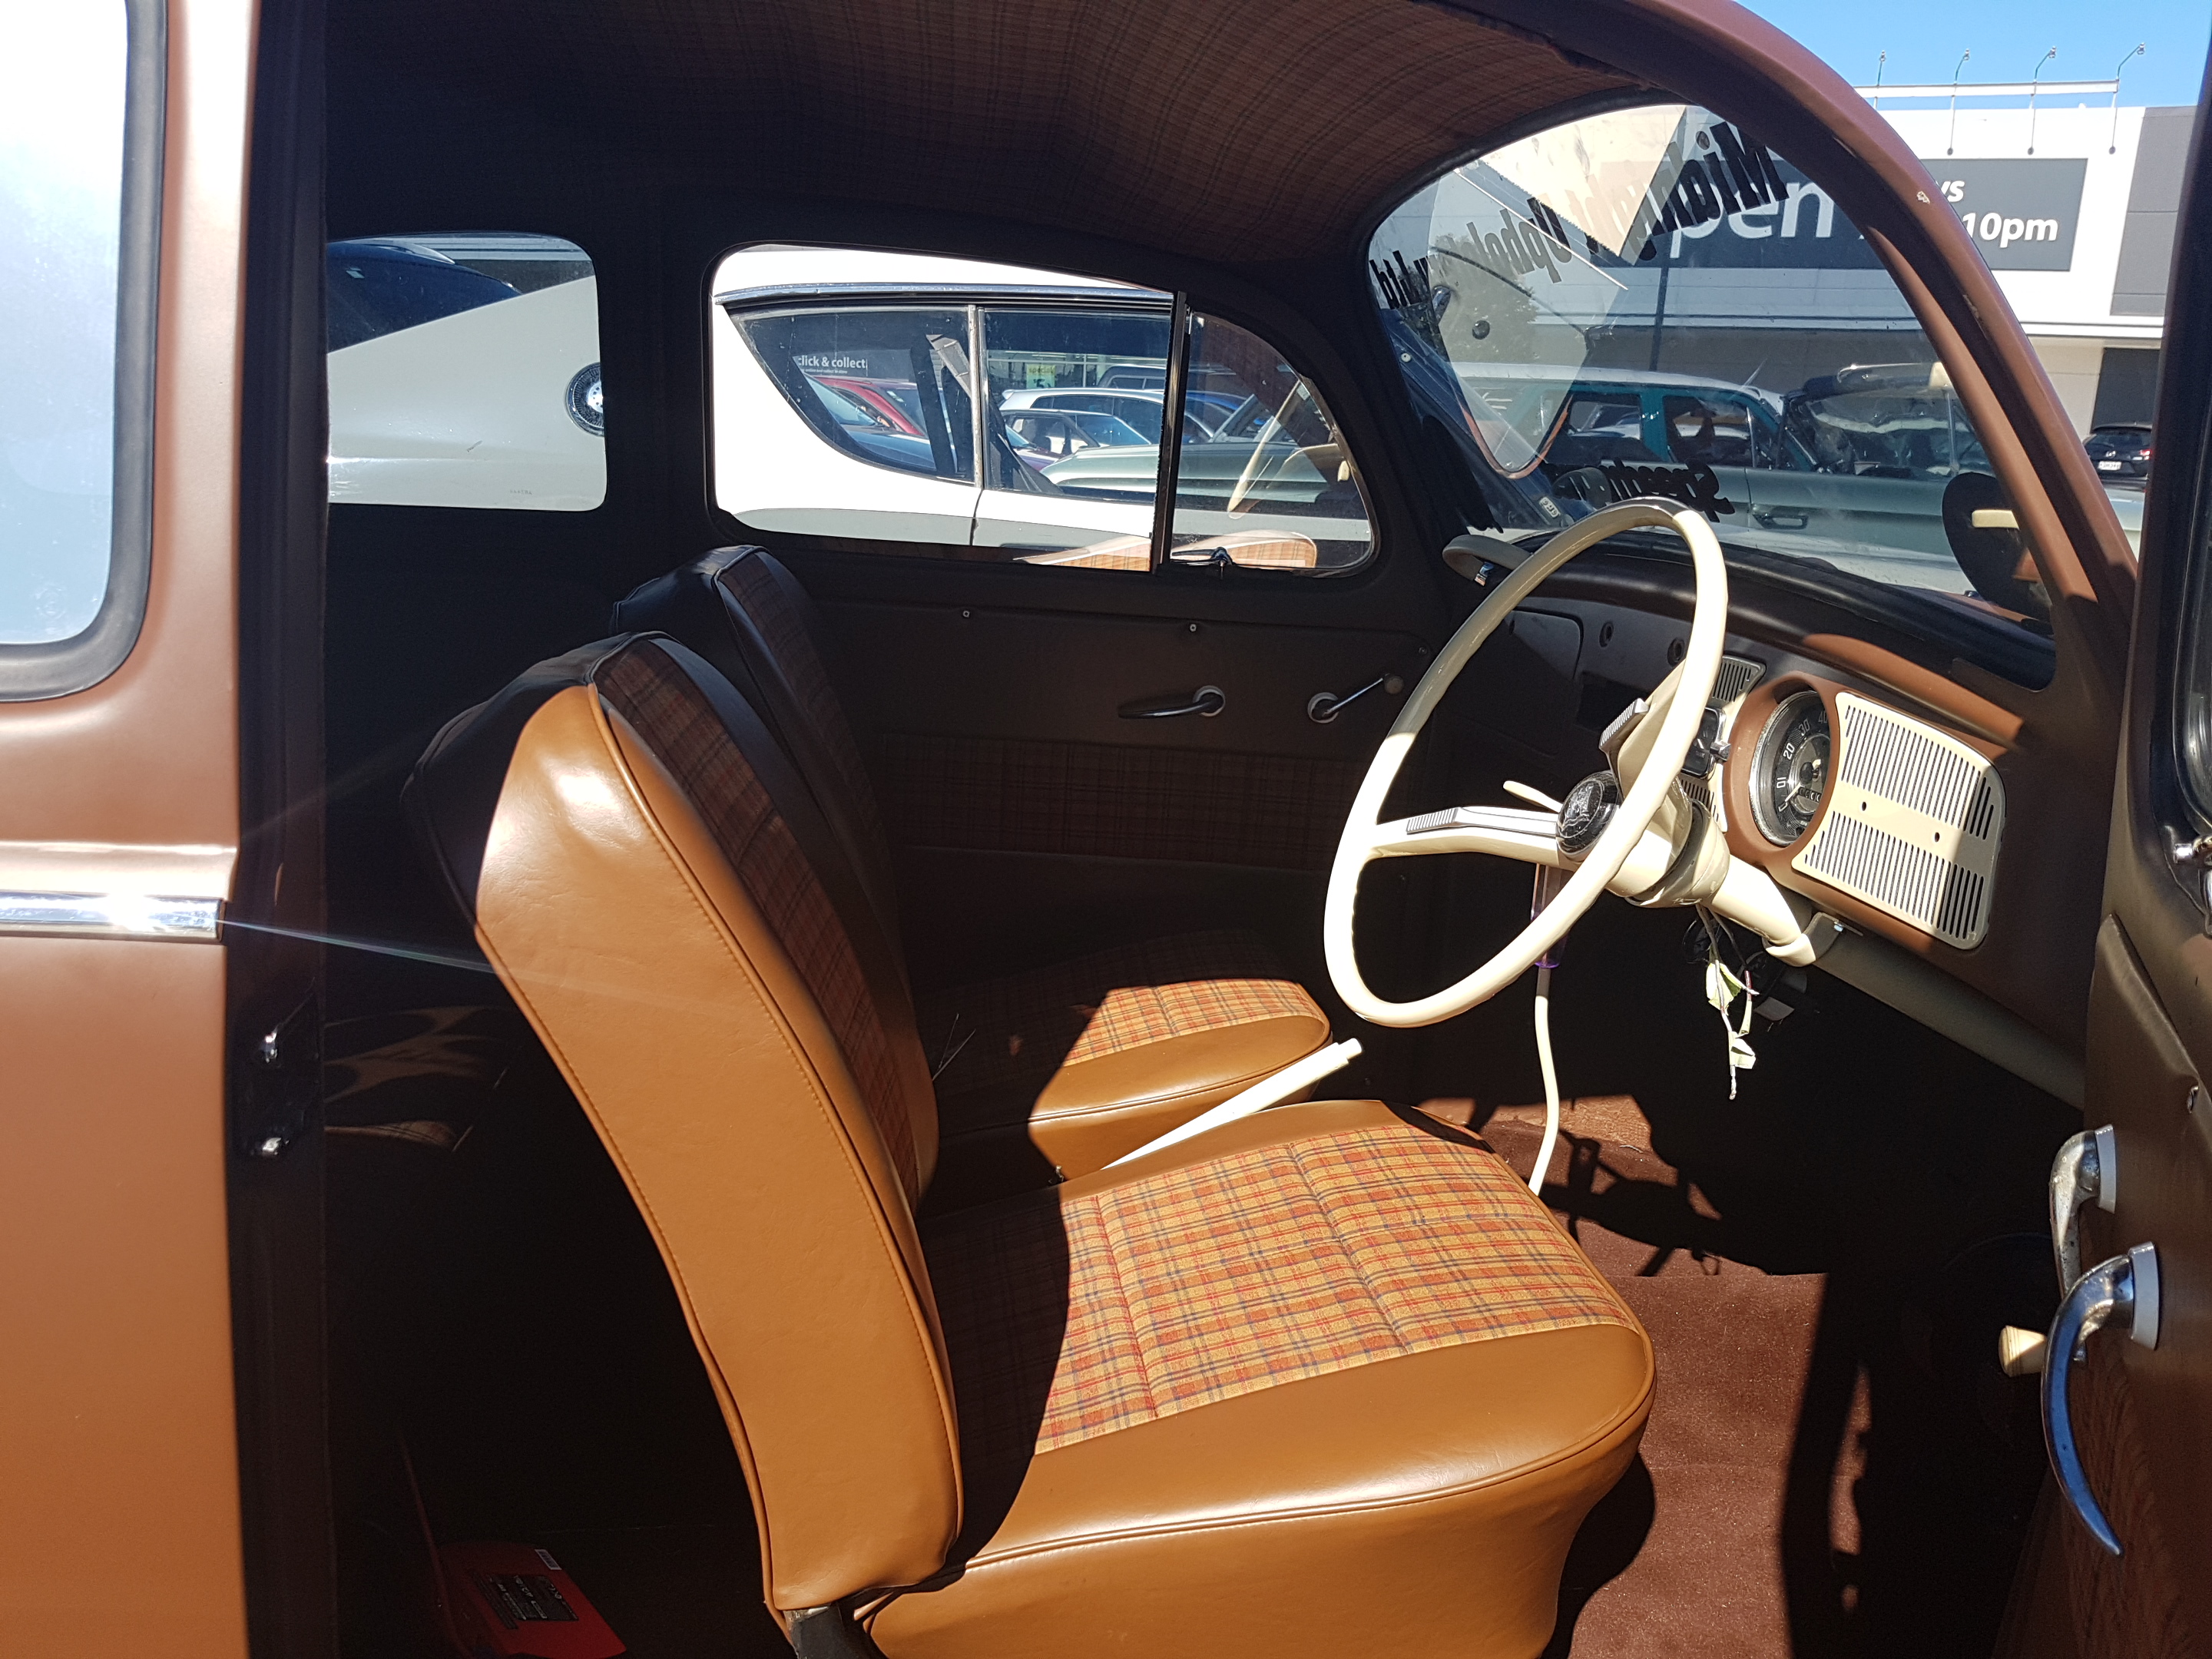
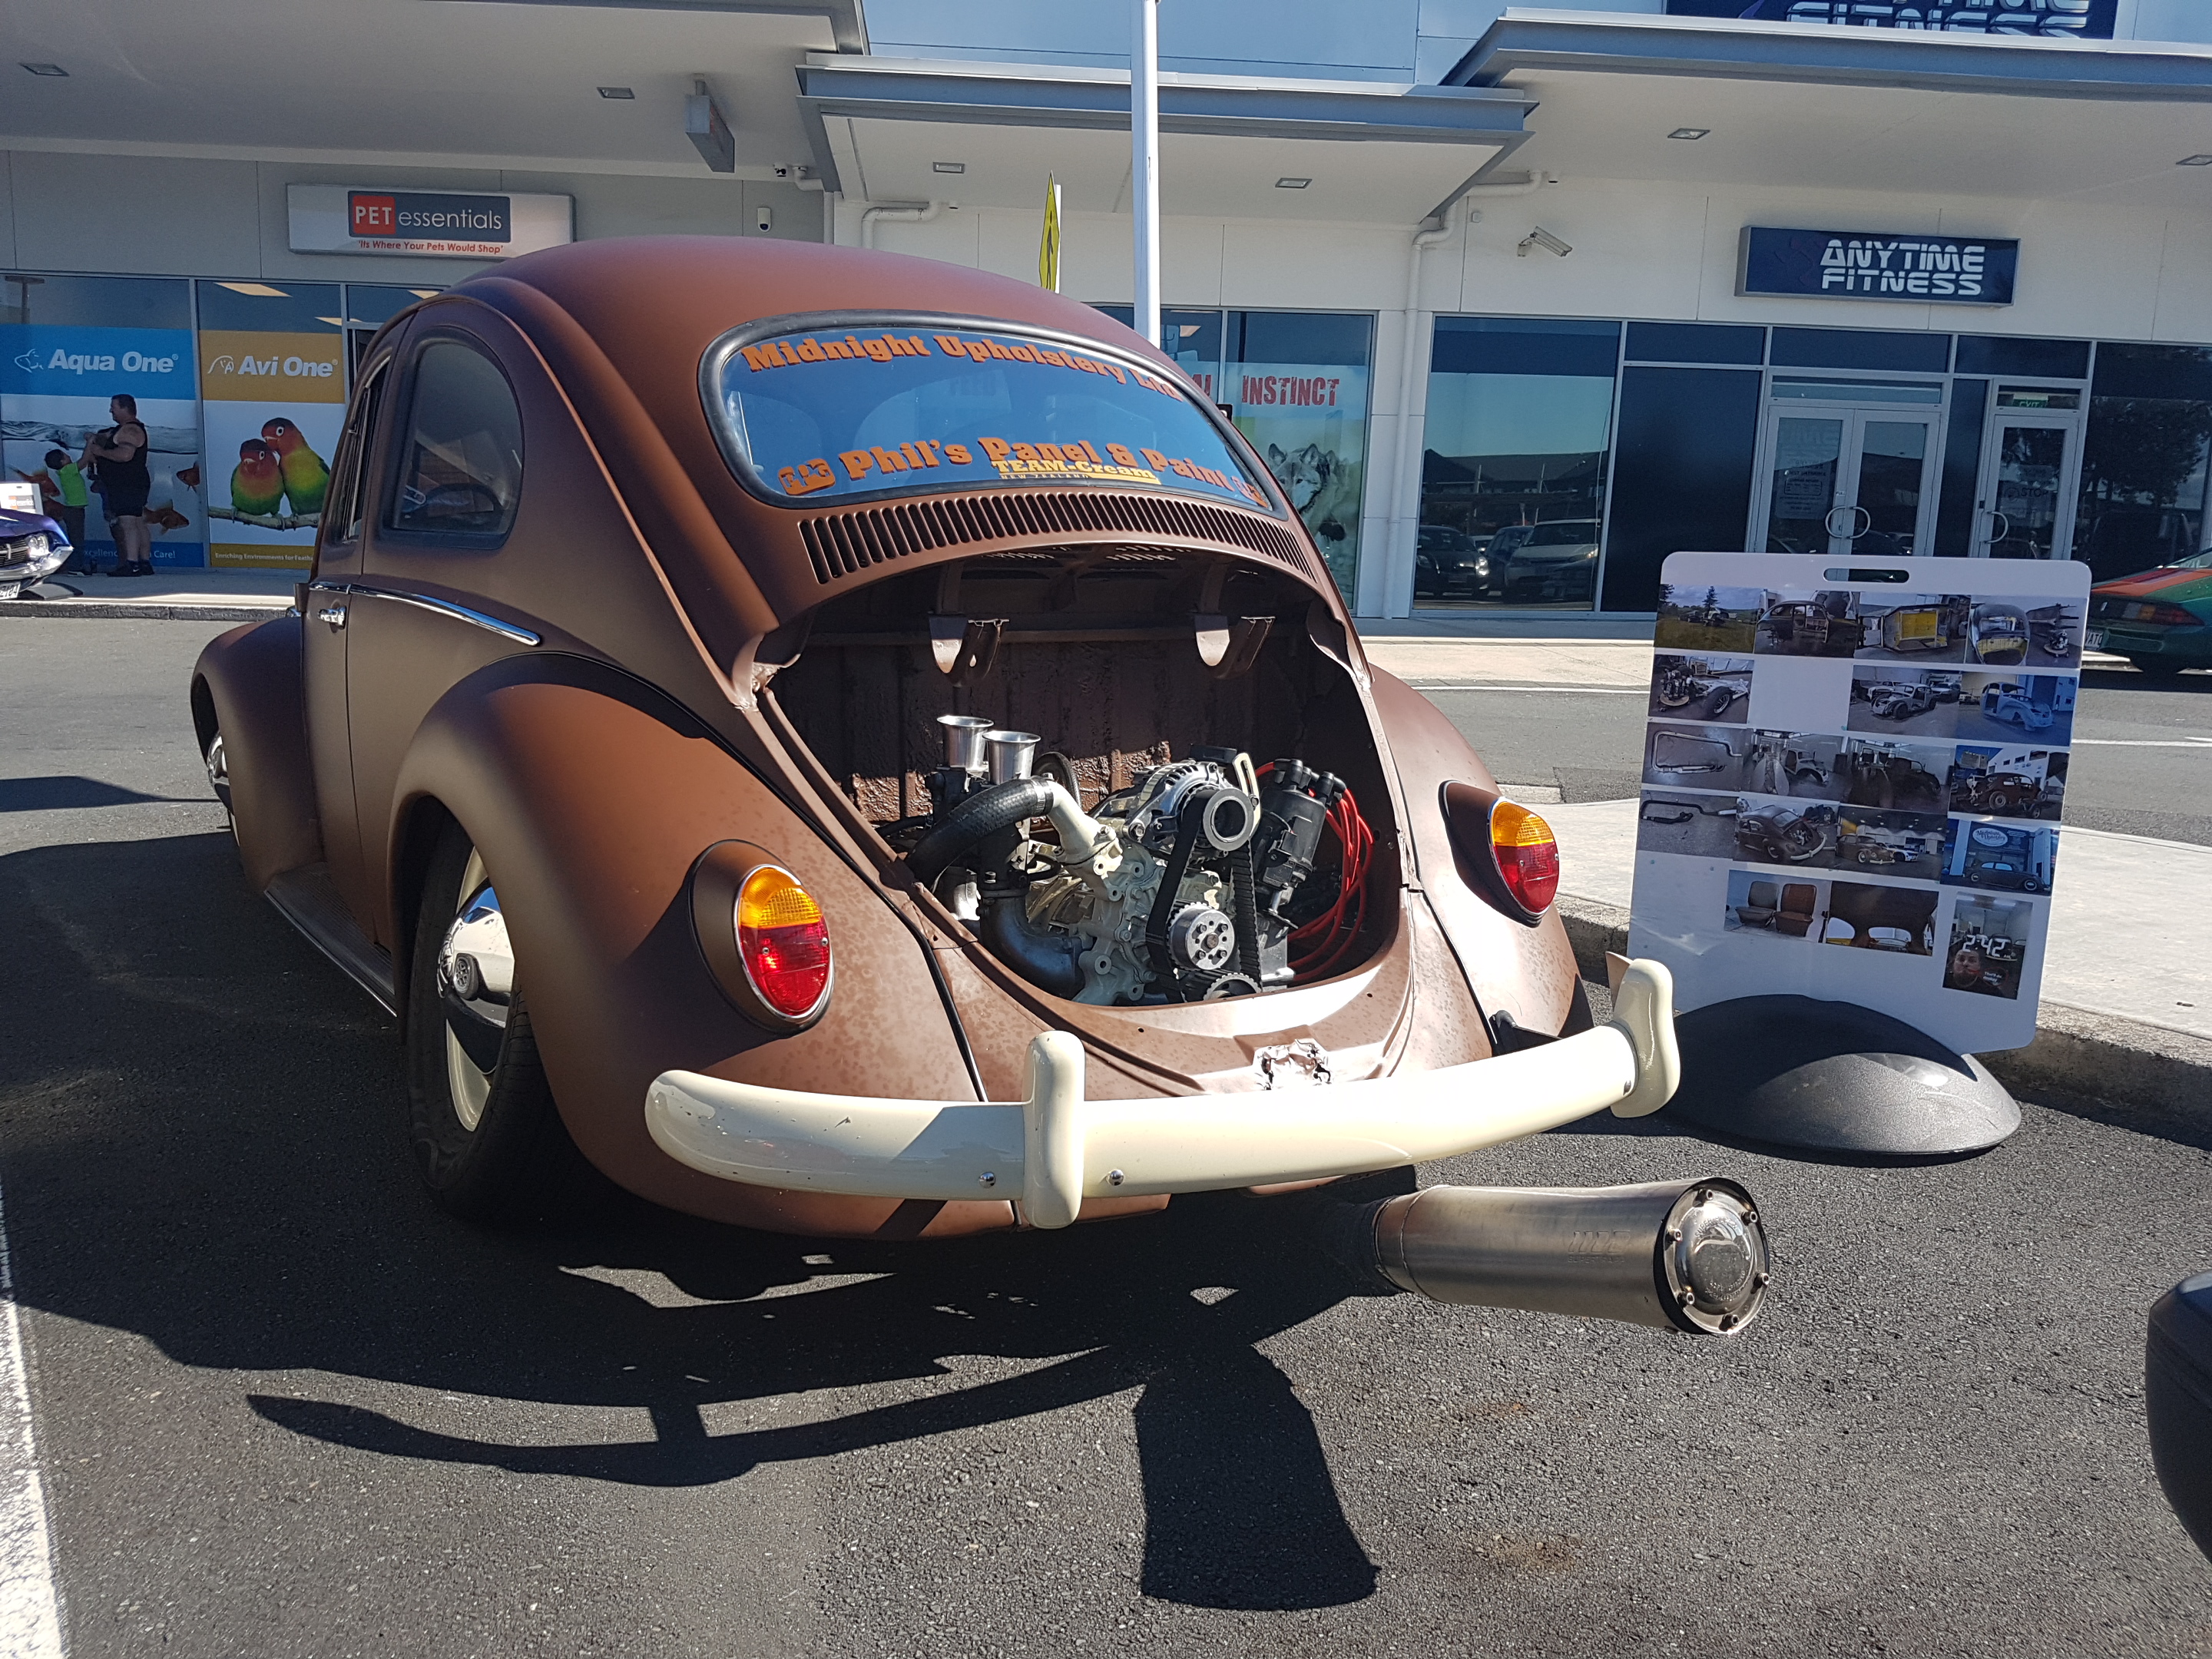
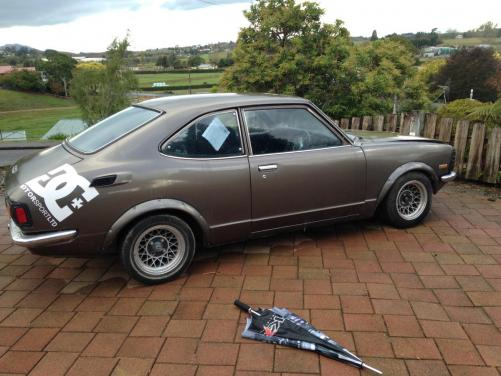
Moral of the story is don't leave your freshly paneled and painted old car on the lawn for a decade.8 points
-
Paint a massive cock and balls on it please before you cover it up8 points
-
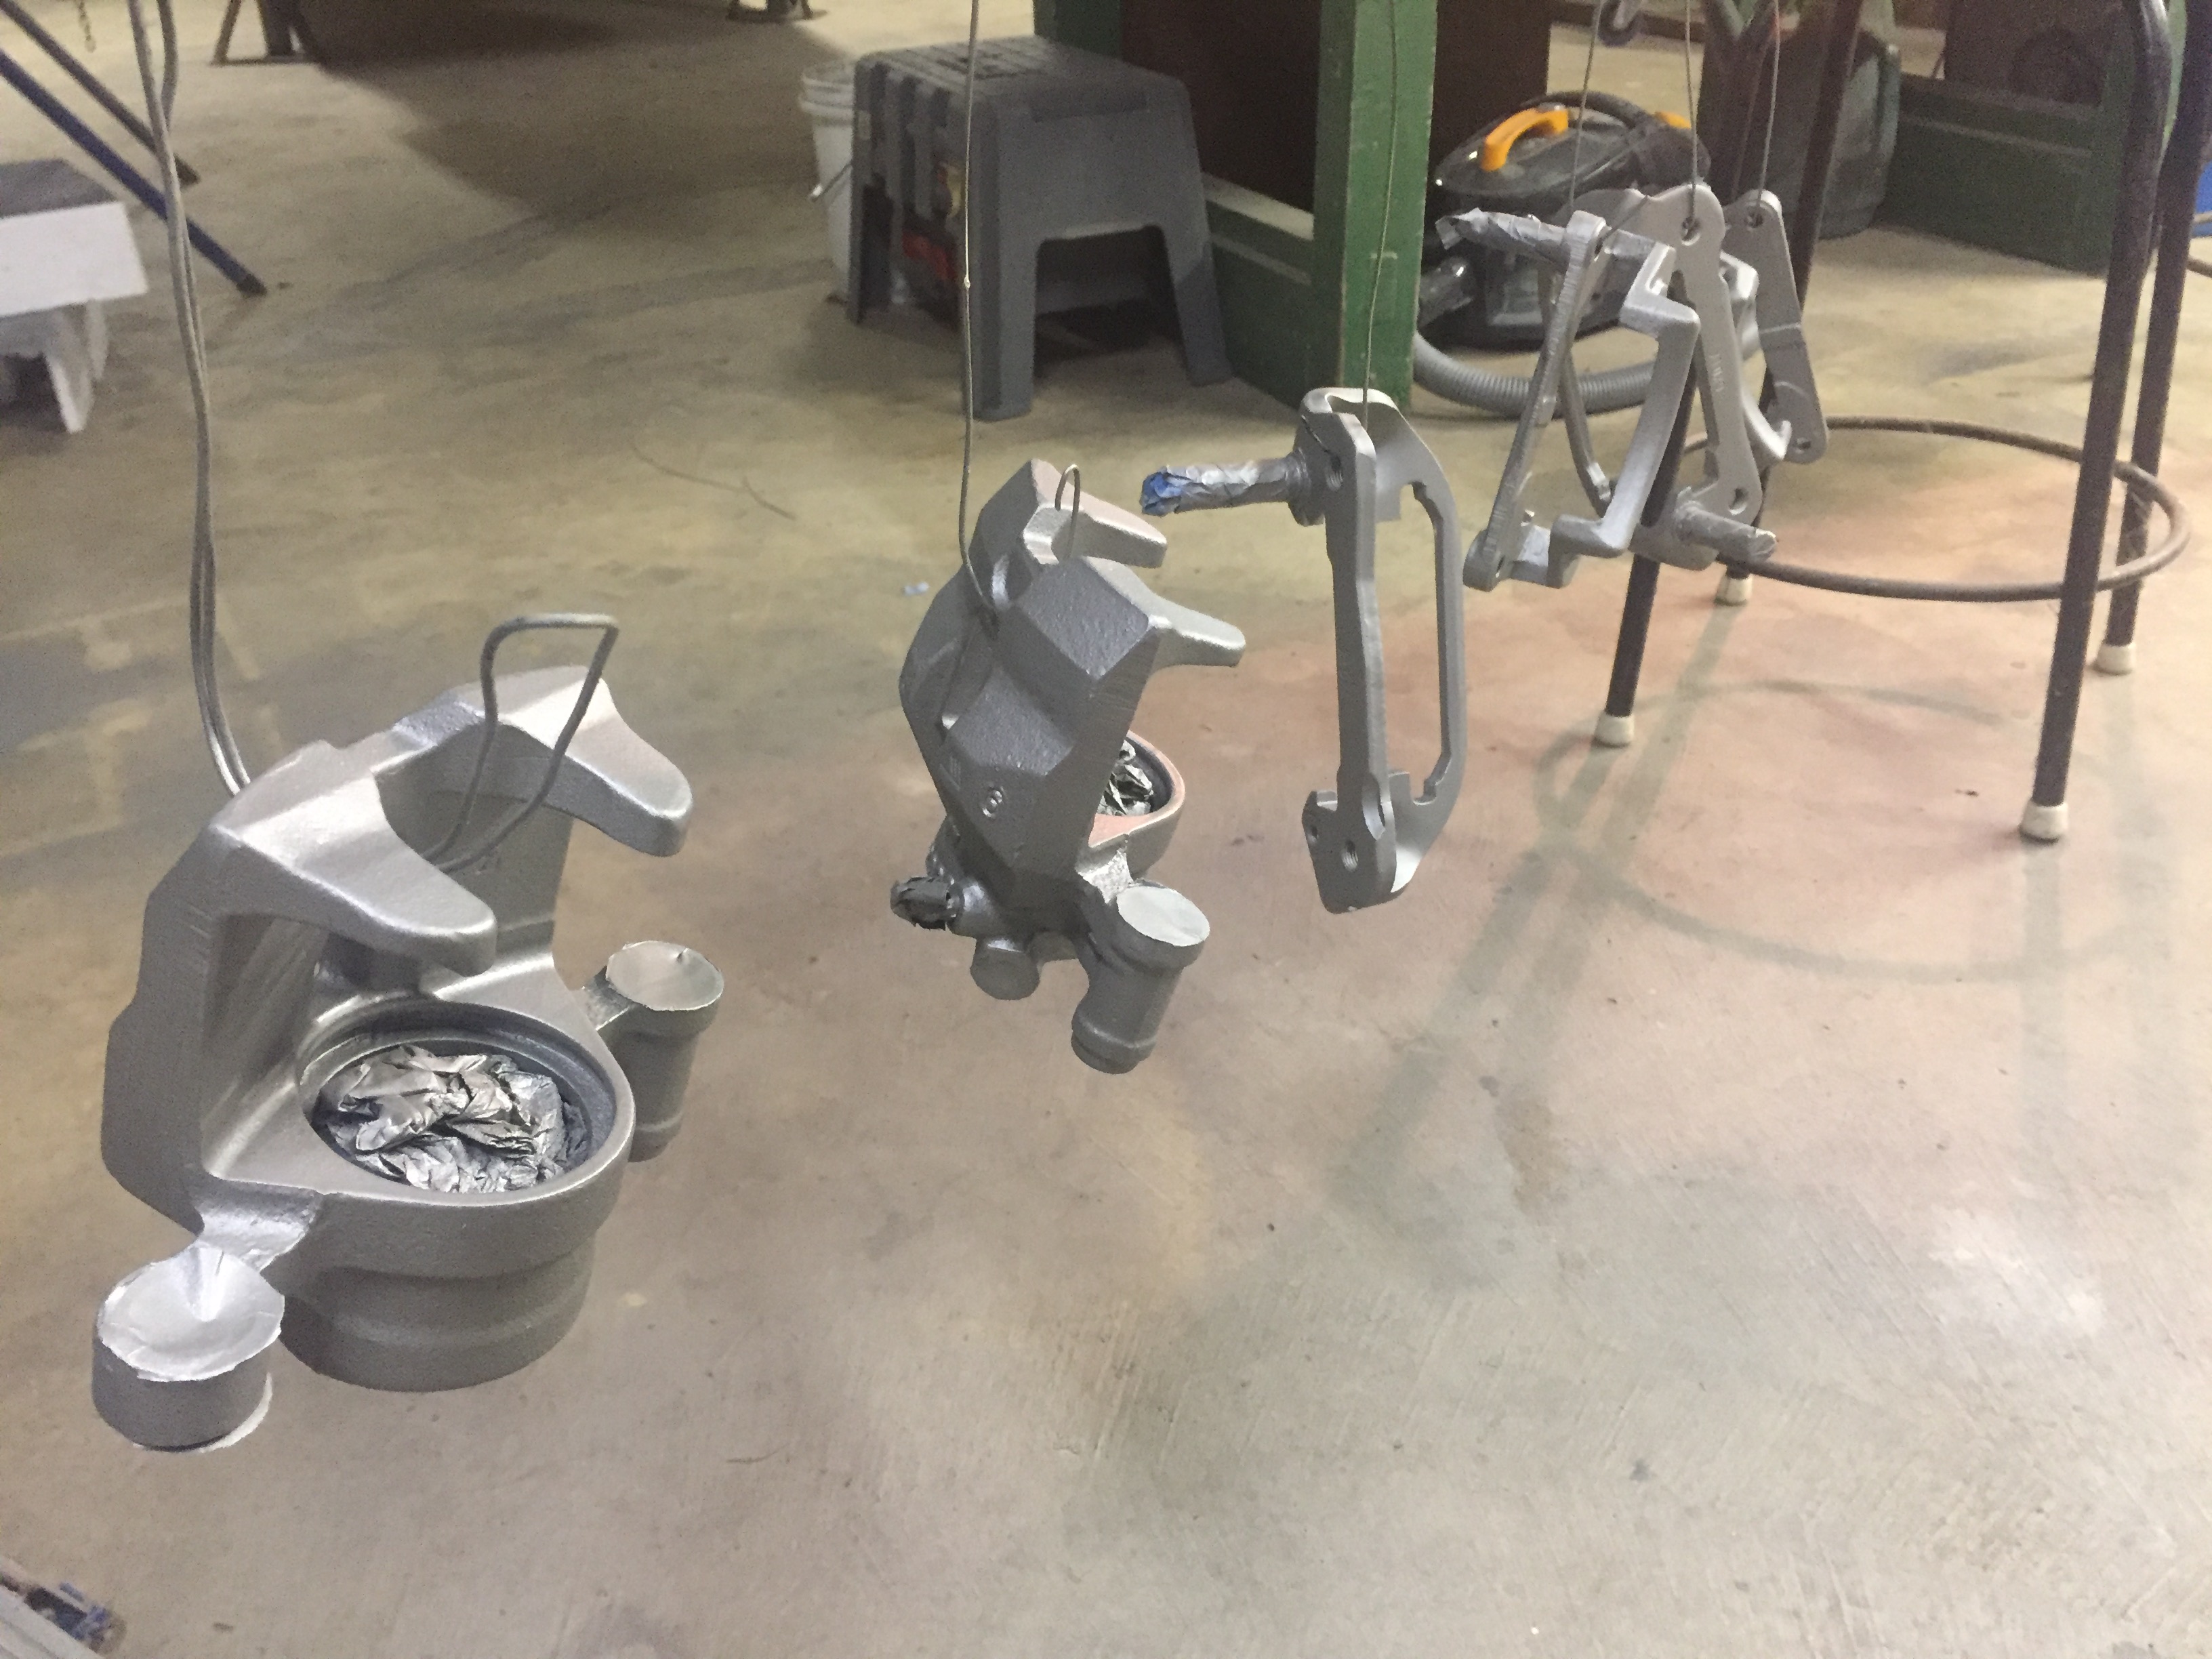
wow - October was my last post...... all my time has gone on my family and new business - and so has any money i've made from it too (who would have thought). I've painted up my front callipers and hubs and will put them back together soon - I've got to find things I can do with no spare $$ or major time. Bit of a plea for help here....... I'm in desperate need of an experienced friend!!!, a jack of all trades - a mentor to take me under his wing!! I look at my shell and all there is to do and maybe redo (and the fact I'm a total first timer and my experience is limited to, reading oldschool posts, internet research and yarns with people)....and I am feeling a bit overwhelmed, well a lot overwhelmed! I try to think I have a handle on the next step etc but man I could go on about all the questions and doubts I have about things..... My old man had a stroke a few years back and he's pretty closed off to getting involved because it makes him feel pretty shit that he can't do anything these days. Is there any folk out there in the Waikato that could lend a hand? even if it's a few yarns to help me get my head around it all and put a few doubts to ease?? I have beer in the fridge and an espresso machine.......whatever takes your fancy!!
 6 points
 -
mounts all on the diff for good. cant paint over the chrome..6 points
-
So I got a bit behind with the thread, oops. Just going to do a bit of a photodump catchup: New braided brake line. Serviced front caliper with new piston and a seal kit at the same time. New repro carb diaphragms. This has twin Keihin CV carbs, and one of the diaphragms was split (pretty common problem apparently). Ran miles better after swapping these in. Had a crack at condensing all the electronics down into an under-seat box. Tiny gel battery means that the original battery tray (which was incomplete anyway) was unecessary. Got carried away. Also converted to blade fuses with some AliExpress goodies. Has gear, hurrah! Despite the stealth electronics box, I wasn't quite happy with the side profile. Had to keep factory airbox as apparently the CV carbs have a mare if you run them on pods, so the whole area was a little cluttered. Only had one side panel and it was damaged, so decided to make some simple ones up out of sheet to cover it up a bit. Pretty happy with that.5 points
-
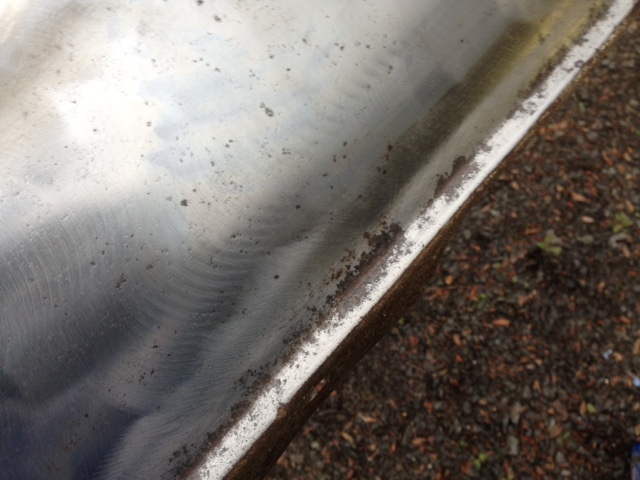
That rust really has runamuck5 points
-
We'll dig as deep as need be. She's a dry carpet model. And despite being rusty now, ten years ago it was completely rust free. The cancer doesn't run that deep. I've met your mate. That business caters to cheque book builders. It's no more rusty than you'd expect for a car of this age that has spent 20 of the last 47 years out in the weather. ......4 points
-
One complete box ready for action. Body work will start again in a couple of weeks so looking forward to finally getting progress
4 points
-
Happy days. Of to kaikoura for 3 nights with the kids tomorrow in this thing. Pics will come4 points
-
Bike starts, runs, changes gear, and stops. Lights all seem to work, so I'm calling that 'about done' for now. Just need to get my license...3 points
-
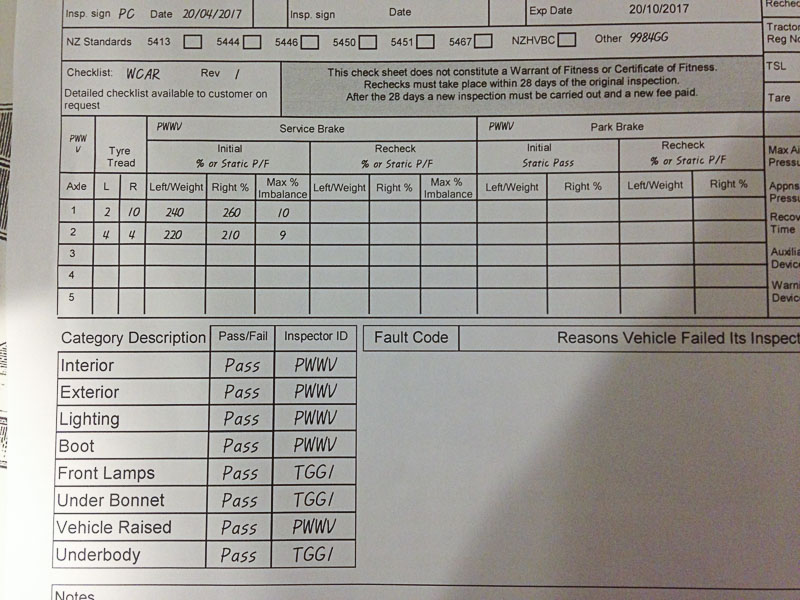
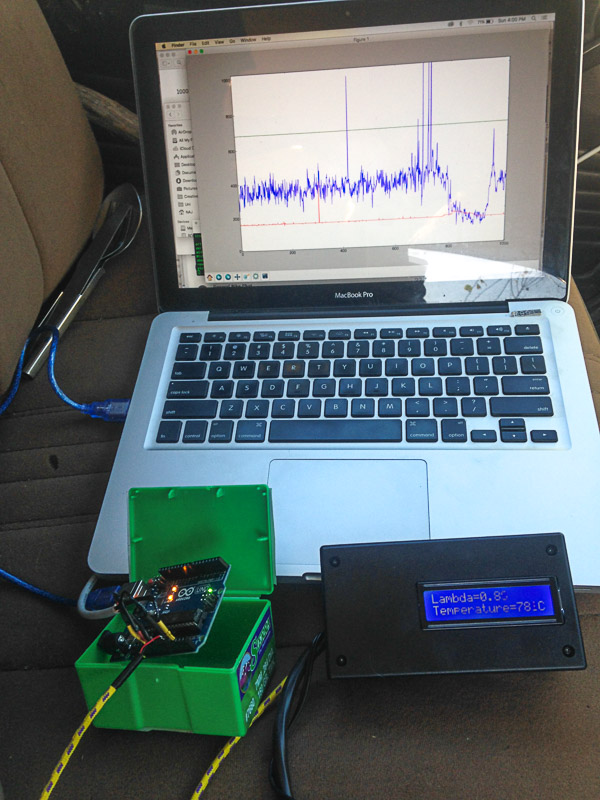
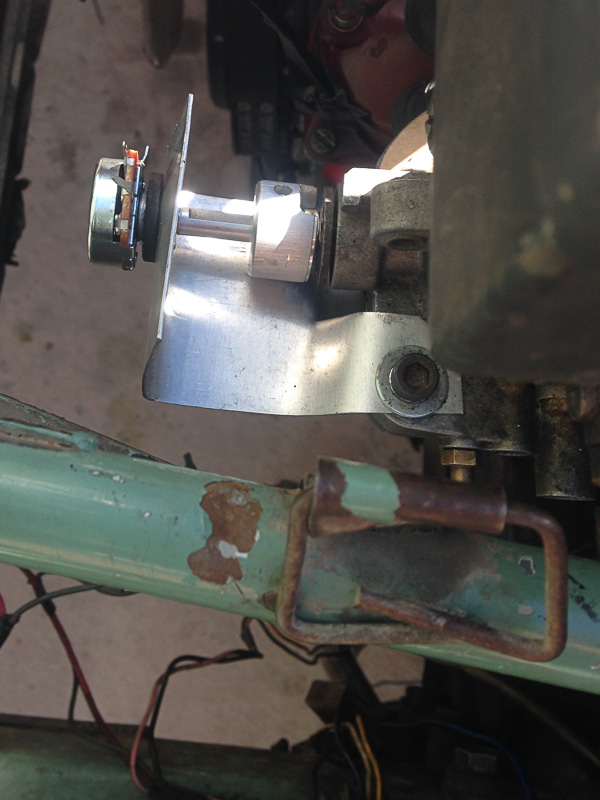
Much to talk about... First of all, #CleansheetVTNZ #Levelimposibleclocked Time to set my mind onto more interesting things, hooked up the wideband to the Niva and had a horrible surprise, all nice at idle and up to 50kmh, but then open up the secondaries and she's rich as, so rich no amount of tweaking and miniature jets could alter, I gave the single carb a full half day of messing about but in the end ditched it for the dellortos, even though these are rich, the results were far more consistent and changes to mixture followed changes I made. With the twins on it was time for some serious thinking, driving around with the wideband on the dash wasn't really the easiest thing to do so I sat down last night with a beer and bashed the keyboard to get python to read throttle position and mixture via arduino, all thats needed then is a tps on the carb, PAP wanted $40 but i'm too cheap for that kind of extravagance, headed down to jaycar and grabbed a $3 10k potentiometer and aluminium knob for $4, mix that with a bit of scrap ali sheet and boom, tps! (well not quite, still had to hack a slot for the shaft to engage in, man I wish I had a mill!) All that set up I dumped the laptop in the passengers seat and had a play Worked out far better than I imagined, managed to tune Idle much quicker than listening, by simply looking at the rev counter and O2 reading, awesome! Pre-drive calibrating of the tps found this wee fella: The 3 equal peaks are me pushing the throttle pedal, the larger peak is holding full throttle on the carbs, few free ponies if I sort the linkages better! With that in mind, I went for a drive and things got tricky... Blue line is O2, red tps, scale is kinda random, but ~500 = good for mixture, tps runs 180->1024 and ignore the green, thats there for when I get engine speed mixed in, but so far its floating along for fun. Oh and graph reads right to left. At cruise and idle mixture is about right, average acceleration (pulling away from lights etc) is lean as, while planting foot runs mega rich(after a brief lean out), my conclusion is the idle jets are a bit small, and needs a size or two up there, and the mains need to be dropped a similar amount with a little more on the pump jets to see about the lean as the pedal hits the floor. Fun times, but man I wish I could just go full EFI without having to cert the darn thing! Discussion about carb tuning tips please:
3 points
-
I've wanted an RX7 since I was about 11 years old. I think the first FD I ever saw was a bright red one parked in a driveway, while I was walking to school. I had no idea what it was, but its beauty stuck in my mind. One of my classmates was a big car fan, due to his father running a workshop, focused on rotaries, and had an RX2 rally car, and a HB Cosmo, and an RX7 dirt track car...! So my friends influence really set me on the path to RX7 obsession. 20 years later and I have bought an FD. I've daydreamed about it for a few years as my savings grew bigger. Since 2016 I've been looking seriously, having inspected 5 cars for sale. Then this one turned up. 1994 Type R with 45,000 genuine, verified kilometres. It was imported last year by an old guy who is an old-school rotary fan and serial car collector. big photo album: https://goo.gl/photos/1KavduxG5q638suD7 The current mod list is short, and were all from Japan. - Fujitsubo 3" cat-back exhaust, which sounds perfect to me. Quiet at cruise and idle, no droning, and a good sporty tone when pushing. - 17" x 8.5" / 9" Racing Beat RB-02 wheels. Allegedly made by Work Wheels, they are a nice 3 piece set. I have to measure the offset as the labels have worn off, and the centre caps are missing. - Apexi RevSpeedMeter mk1. This nifty but useless device shows a digital readout of revs and speed. It can estimate acceleration times and flash speed and rev warnings. I need to investigate if the ECU is standard. The sills have "Blitz Access Super Computer" stickers, which was apparently a plug-in ECU upgrade from the '90s. My current modification plans for the car, after tonnes of research: water temperature and boost gauges alarm & immobiliser - mandatory for insurance aluminium AST aluminium radiator full set of tyres (eg. RE003 245/40/17). The current ones are over 10 years old and still have the coloured streaks from when they were brand new... not safe! auxiliary injection (e.g. AEM water injection) General maintenance comes first of course. Then, just drive it. I love track days so I'll be getting into those as soon as I can. I don't have any desire for more power, as I drive quite sedately on the street. The car is only a weekend ride so it always feels special to use.2 points
-
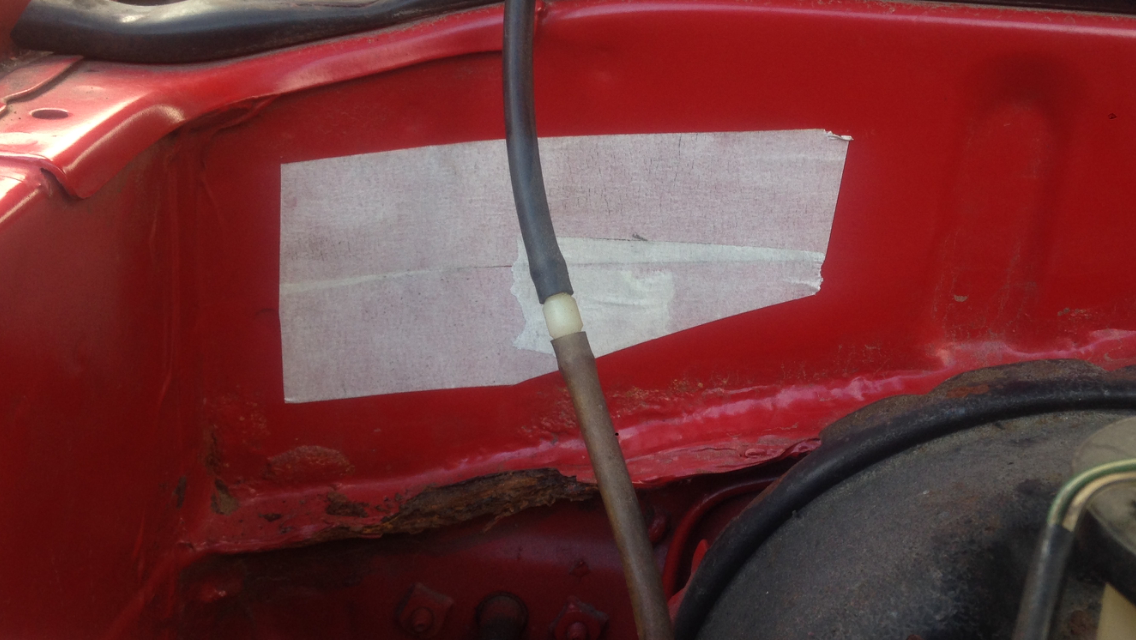
Been off the road for a wheel with a leaky wheel valve and an indicator relay that gave up. Relay is one that doesn't change flash speeds from jaycar, I'll pull it open and see why it gave up, wouldn't think it would be loading with only two lamps but maybe. other shit storm is the last place I haven't removed rust. you can see it's eating into the seem where the two layers meet, and has made a hole so waters getting into the drivers foot well. the masking tape is the area I'm thinking of cutting out to get at the rust and repair. My welding skills aren't great and I want a good job of it. i found a bloke by the name of chris grant that seems onto it so hopefully he's not to busy to help and I can get it sorted. after that it'all be rust free and sealed up and I can focus on getting that motor in
2 points
-
Finally, another thing that’s been bothering me, fixed. I started prepping the washer bottle the other day, and today I finished it. My painting skills leave a lot to be desired, but its a whole lot better than it was. The rust converter left a fairly rough surface, even after some prep work, maybe the metal was pitted? The new strap from the club fits and looks great. Bit of a difference? I forgot to take a photo of the new brass radiator fill plug I fitted, so here it is From this old plastic one that always felt like it was going to cross thread and strip when fitting To a nice brass one which screws in smooth as butter These stickers came in the other day, so one went on the car. Jolly good.2 points
-
Sigh. This car must have the cleanest coolant of any car – ever. I replaced the water pump today. The old one started leaking from the weep hole, indicating that an internal seal had failed. I’m not overly sad about having to replace it. Someone badly painted it black at some point and it was bloody ugly. It wasnt in good shape anyway. Since the car was already in the garage overnight, the first step was to drop the coolant. Again. It seems like this car gets new coolant every month or so. I caught most of it this time, with minimal spillage. Wish they had added a drain plug to the radiator when they reconditioned it. Yes that’s coolant on the grille and valance…. The coils had to be moved out of the way so I could take the tension off the alt belt to remove it. Thankfully someone smart built the coil bracket and it moves out of the way easily with only two bolts. The fan was also removed. Then it was a matter of undoing all the bolts, and removing the pump. Thankfully someone in the past had used grease and copper grease on all the bolts, and all of them came out ok, not a single one broke. Guess I don’t need the Ez-Out set that I purchased last night. It wasnt a pretty sight. Badly painted The reason im replacing it. The weep hole. Looks like it was an original Leyland part. Maybe it was rebuilt years ago? This hose outlet has been weeping since I got the car. Even with the brand new hoses. This is why, it’s got a horrific buildup on it. I tried to wire brush some of this off last time I had the hose off, and got no where. The insides don’t look much better. Some weird crusty stuff inside it And compared to the new pump The new pump is much nicer to look at, and it spins smoother too, so maybe the bearings on the old one were starting to go. The replacement pump has a shorter snout than the old one, so the fan will sit slightly further away from the radiator The front cover of the engine looked pretty good. No buildup and only slight discolouration. I swapped over the pulley, with all new bolts and washers And then a fail. I forgot to fit this bolt, and it wont go through the hole with the pulley on. Oops These are the PN for the pulley bolts and washers. 3x each So I didn’t lose track of where the bolts go (even though in the end it didn’t matter as its pretty obvious), I traced the pump onto some paper and laid the bolts out as I removed them Water pump came with a new gasket, which I fitted with a thin smear of sealant on each side Now this is where it gets annoying. I ordered all the bolts as per the parts guide, and even though I ordered more than the quantity needed, I still didn’t have everything I needed. Maybe I mucked up, who knows. I needed 5x BH505441, which are the really long bolts Somehow I ended up with 2x slightly shorter bolts too, which were useless. I needed 5x SH504091, the shorter bolts I also needed standard flat washers for each short bolt, which somehow I completely missed. This wasn’t an issue as I ended up just reusing all the washers as they were in good shape. A couple of the long bolts have weird, really thick washers too, which don’t show in the parts guide. There was one bolt at the top of the water pump which is a different size to all the others. Its short, but 5/16″. I think it might be 254020 in the guide, but Rimmers doesn’t list it. I reused mine, but you would be buggered if you broke it off. The newly fitted pump looks awesome. So much nicer. With the shorter snout I chose to try the “correct” fan, that wouldn’t fit with the other pump. Looks good, but dammit, the bloody thing has a stuffed clutch. Locks when cold. So I had to swap back to the other one, which I will now stay with. I can trust and rely on it. Its a bit colder than I would like to run, but i have set the Speeduino up to compensate. I’ll change to an electric fan at some point anyway. Since the coolant was out again, I chose now to loop the coolant lines for the throttle body. I don’t need the coolant “hot spot” anymore. Apparently its there to stop the throttle plate freezing over, but there are other theories about it helping fuel atomization when cold too. Either way, I’ll let Speeduino do what it needs to do, without warm air being added in after the IAT. It was easy to do, remove one hose, and loop the other into the inlet manifold. Also, since I found the source of the intake drone, I refitted the air inlet trumpet All buttoned back up and ready to go I finally got to drive the car again, to bleed the system and get it up to temp. God its good to drive this car, I love it. The last tune we did was really good, it pulls like a freight train and drives very smooth. System bled OK, heater is hot, and coolant temp is stable. Its holding all its coolant for the most part. I noticed that the long bolt that goes into a coolant gallery is weeping, so I’ll need to get some sealant on that one. I did find come up against the infamous Rover SD1 engine ground issue though. When trying to start the car, it would act like it had a flat battery, despite it being a new battery and even adding a jump pack to it. I remembered hearing about another SD1 owner that had a grounding issue and mentioned that their throttle cable ended up being the main engine ground and melted. Sure enough, the cable was warm to the touch. Dammit, the main cable was attached, on both ends, and obviously still wasn’t good. Back when I fitted the coil bracket, I moved the ground strap to one of the bolts on the alternator bracket, and it was working fine. I loosened it off, gave it a wiggle, did it up again, and bam, the car started. Guess I’ll need to look at that at some point, maybe even add another ground just in case. Oh well, its working again now. Typical Rover. Oh, and just as a little teaser…2 points
-
Least you could do would be to mount that window on the wall somewhere conspicuous and then decorate around it leaving a window into what could've been..2 points
-
Rustisize and mirageman in one car together!!! Unsure which picture fits better.
2 points
-
all gone. 2017-04-22_02-37-50 by sheepers, on Flickr2 points
-
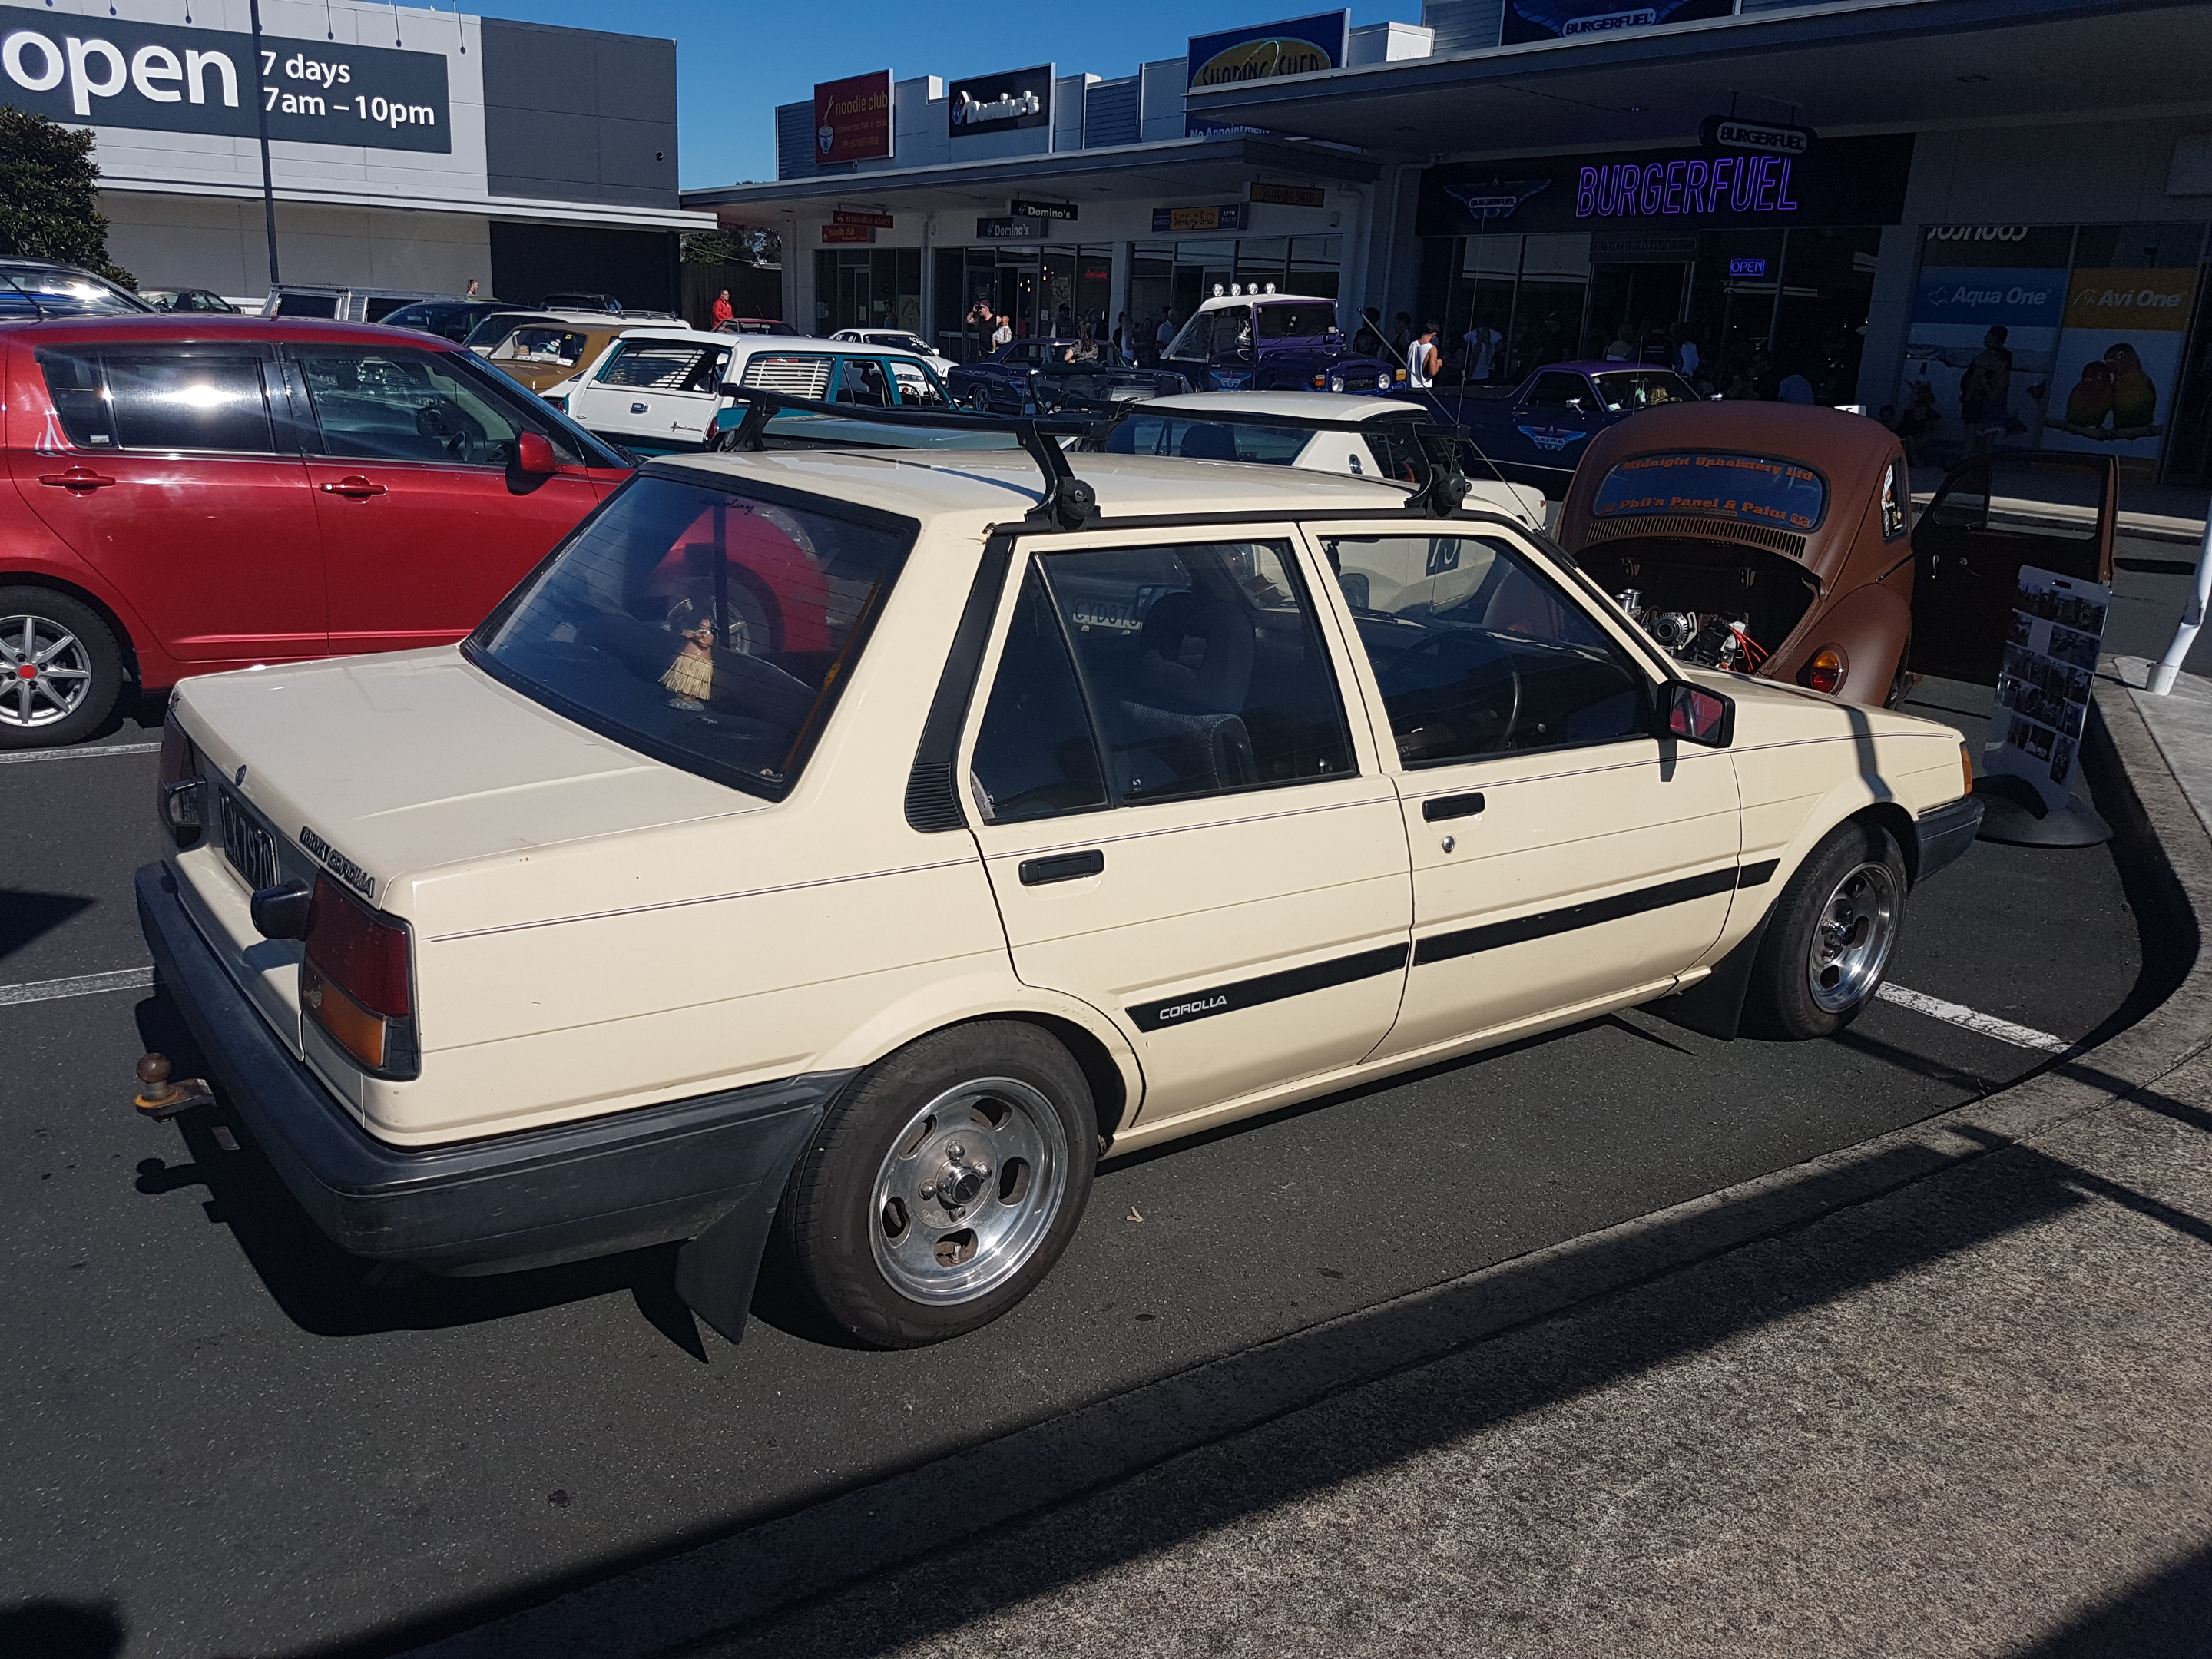
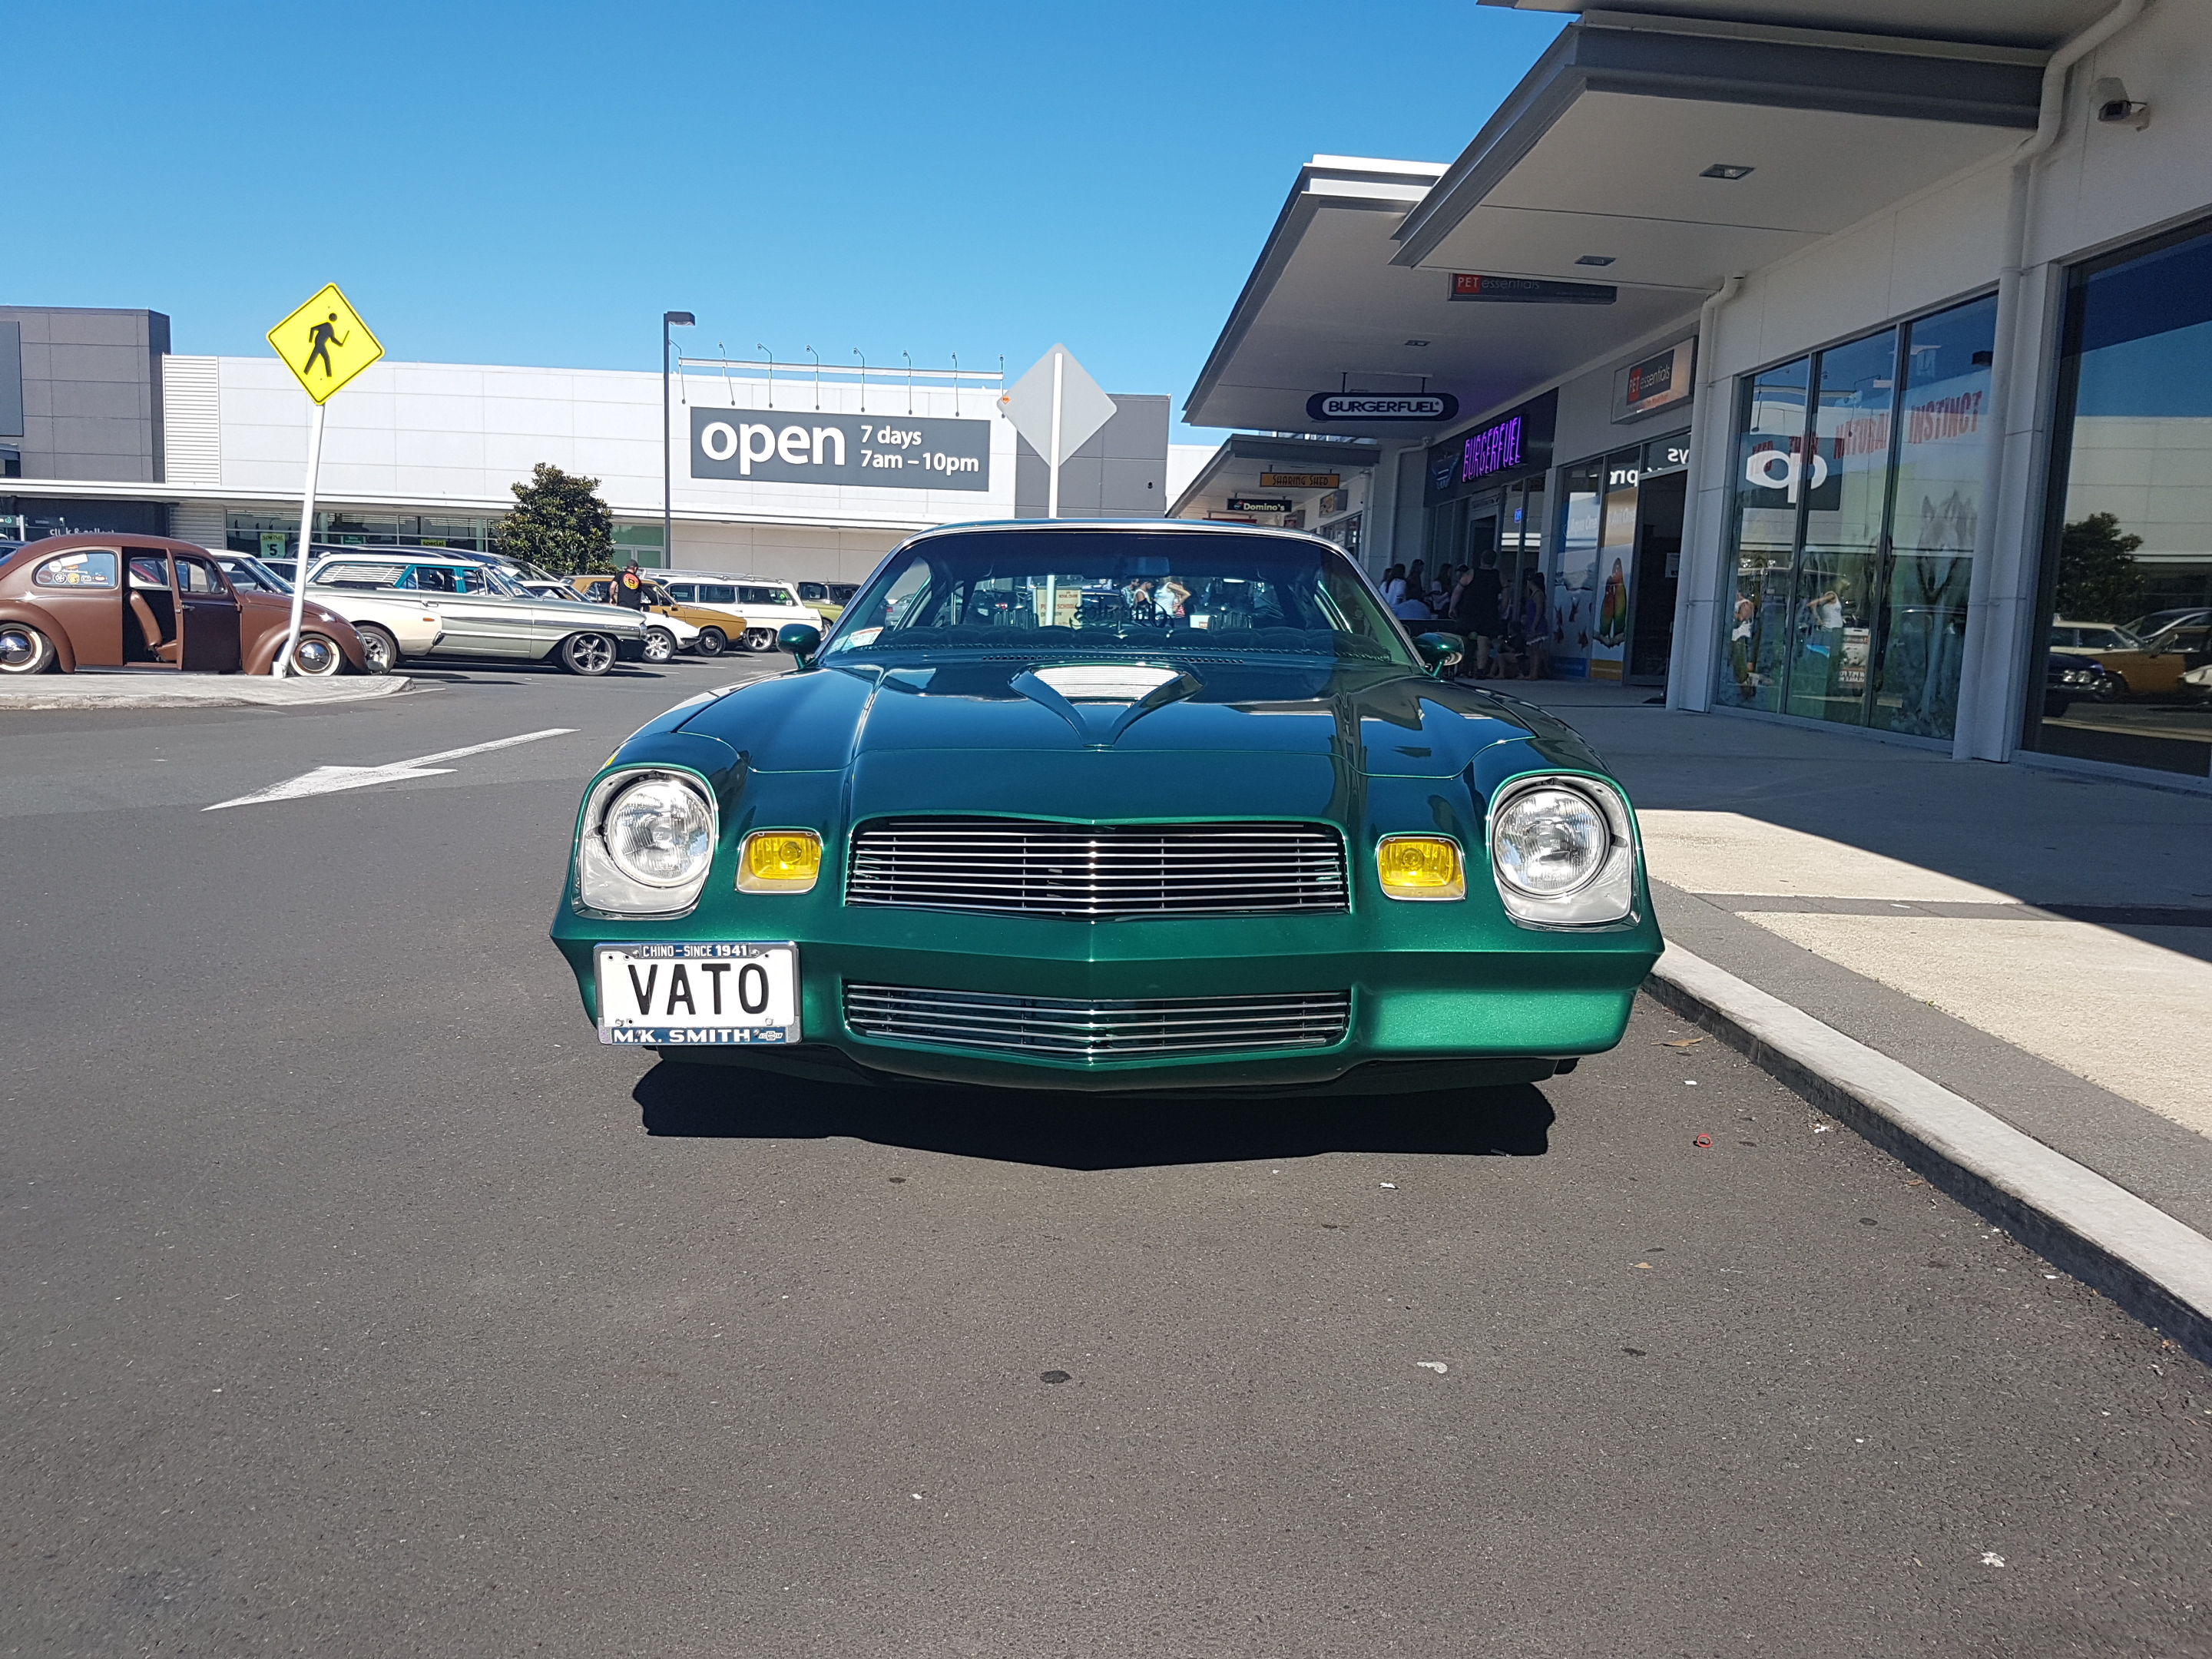
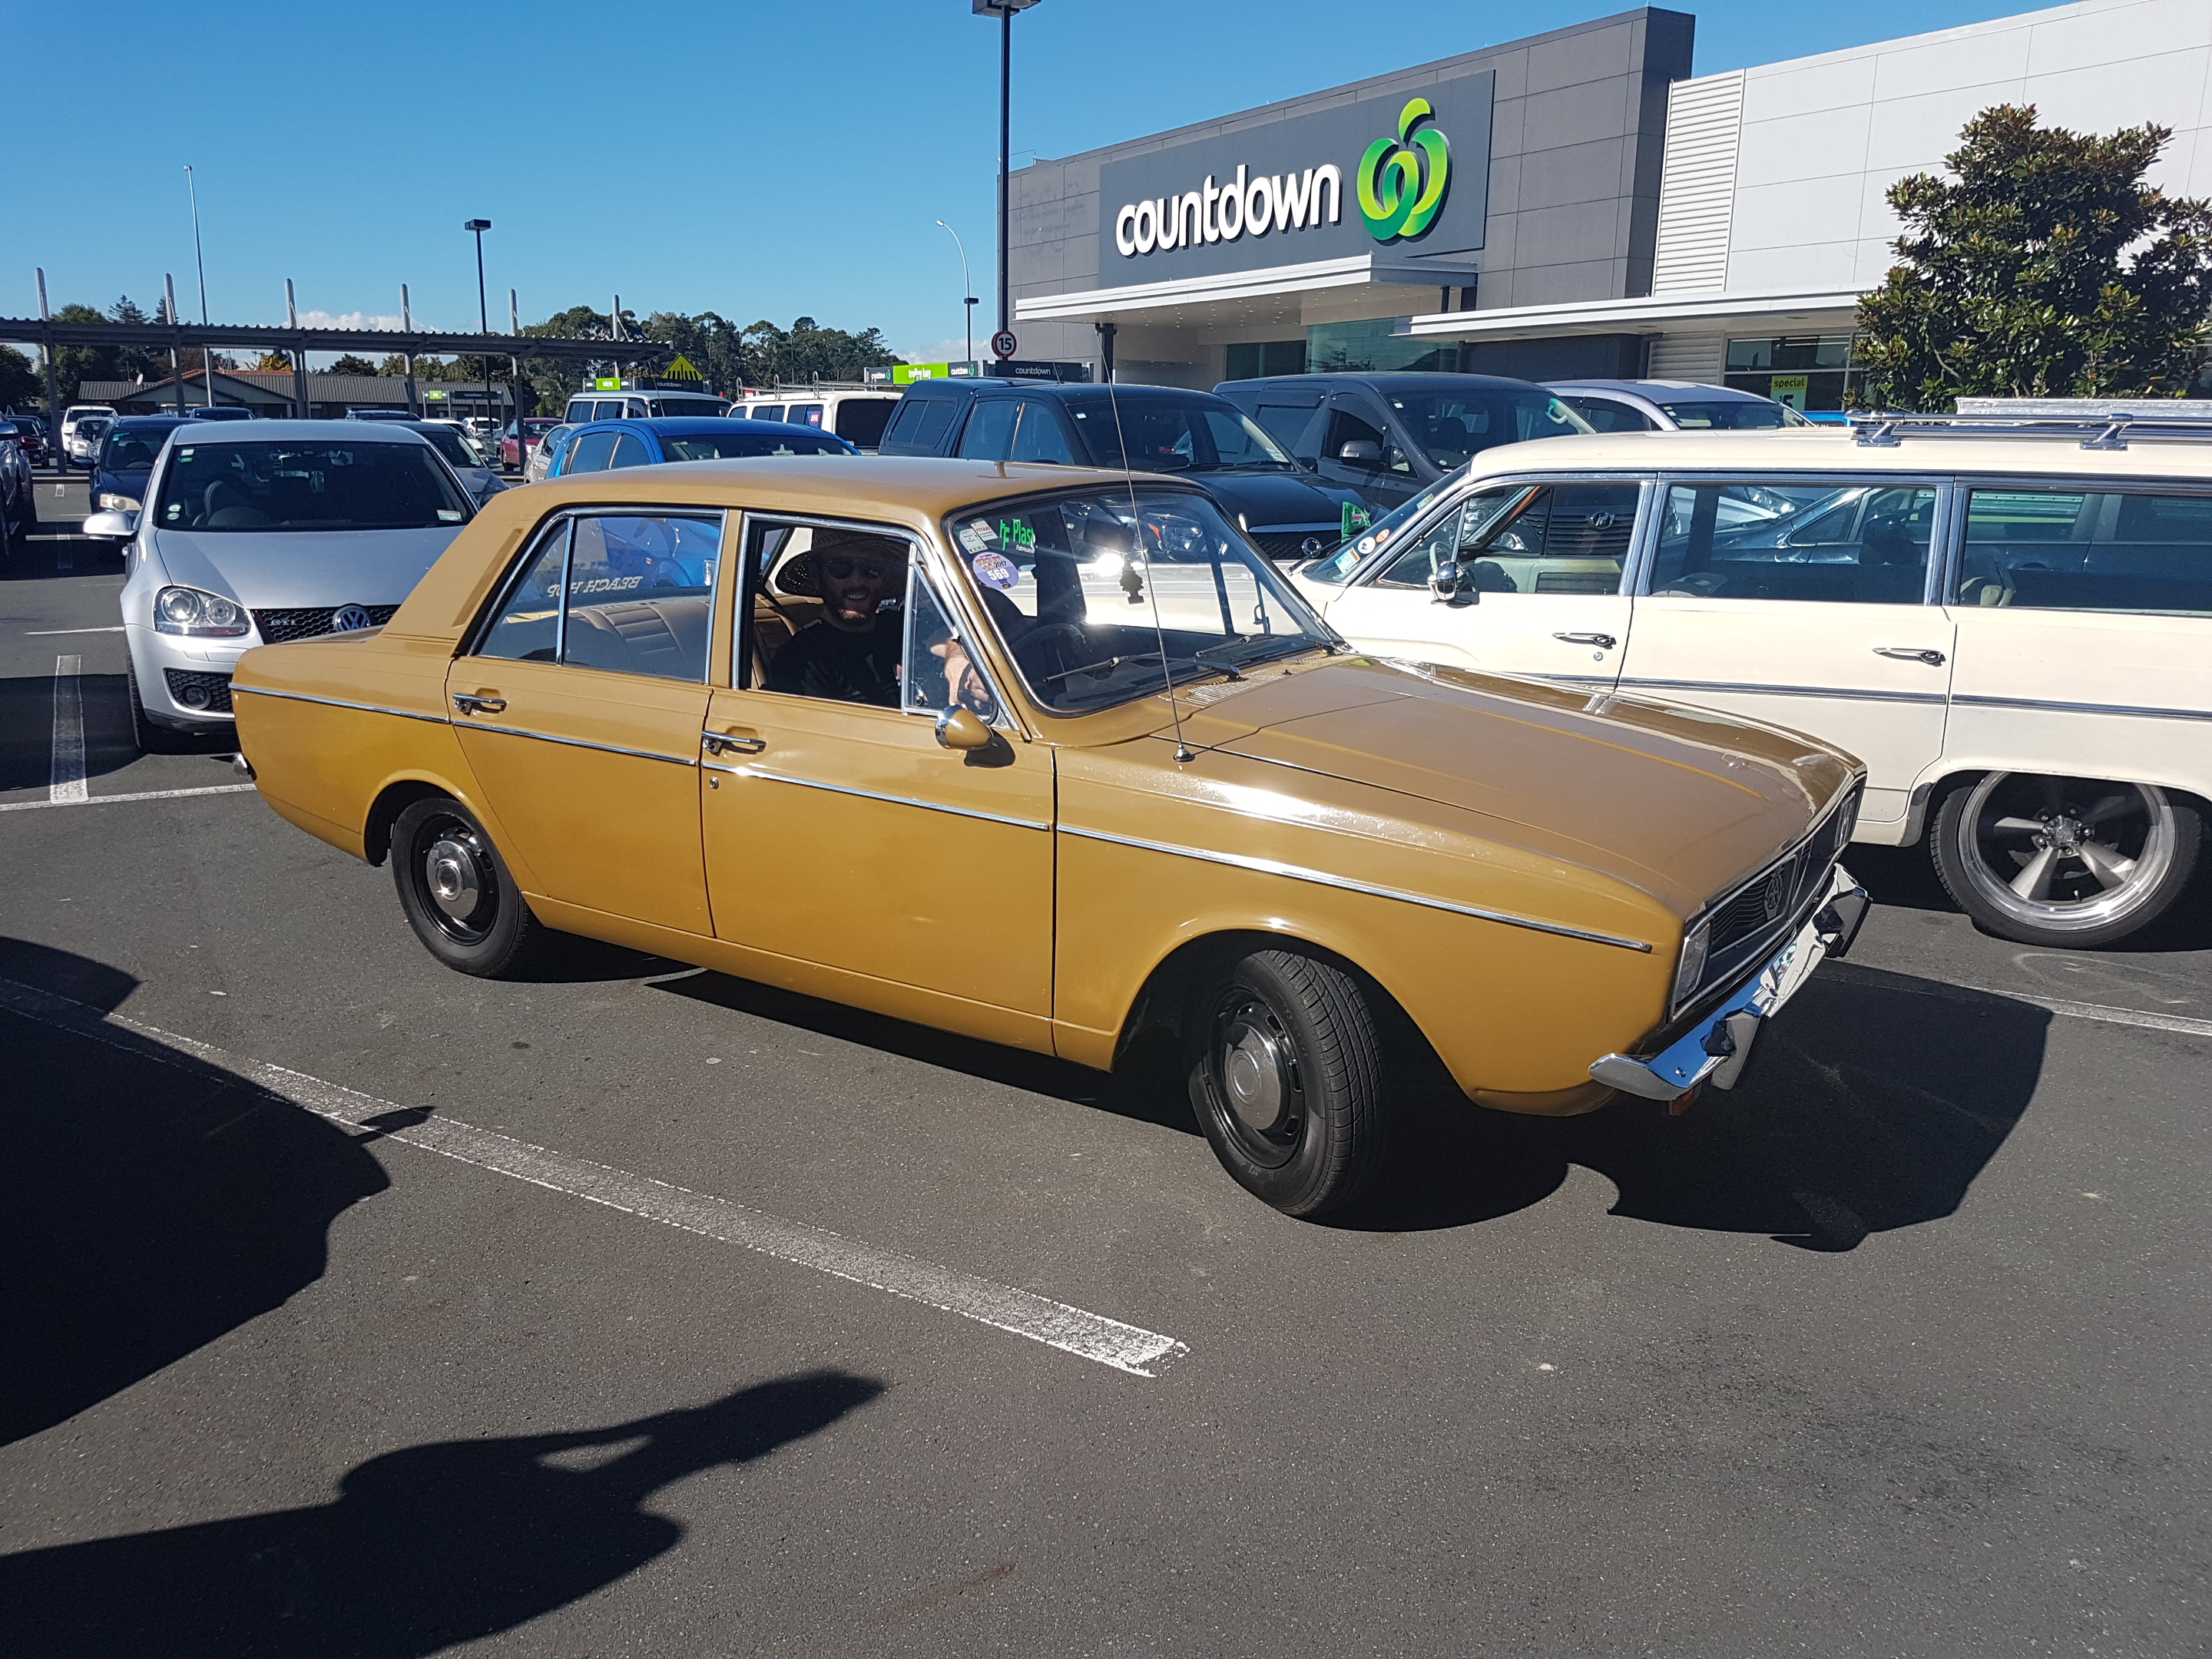
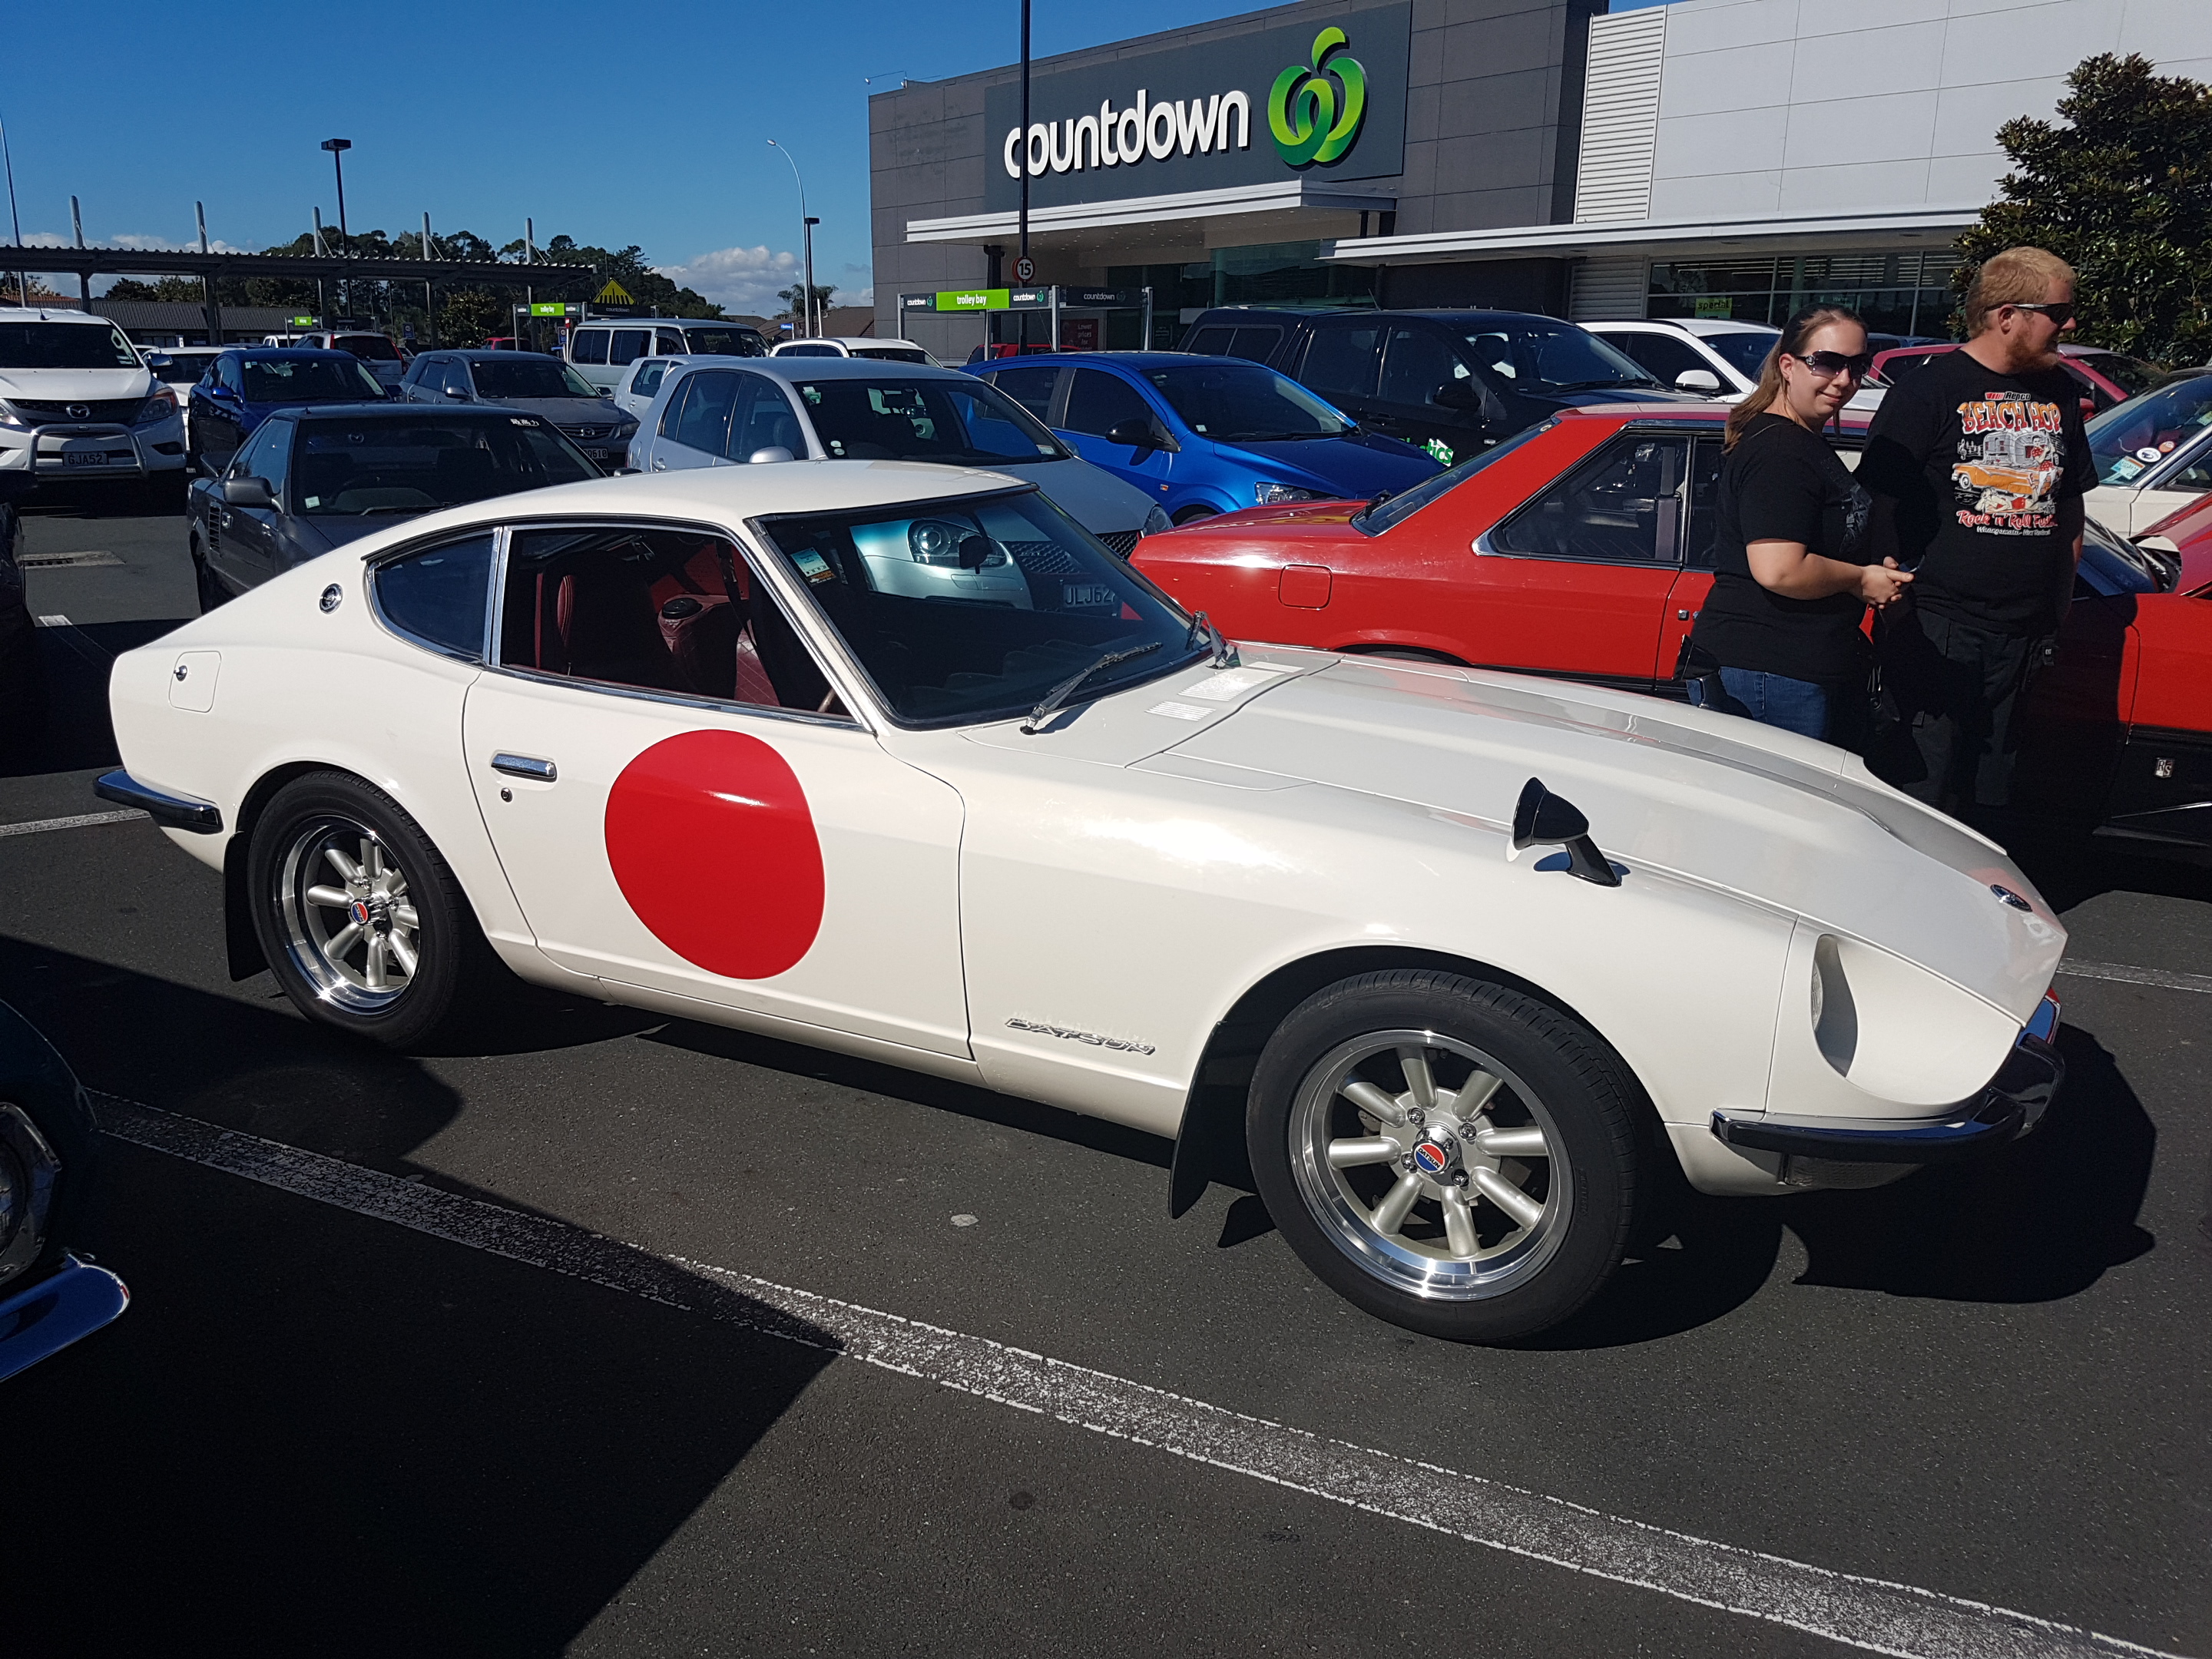
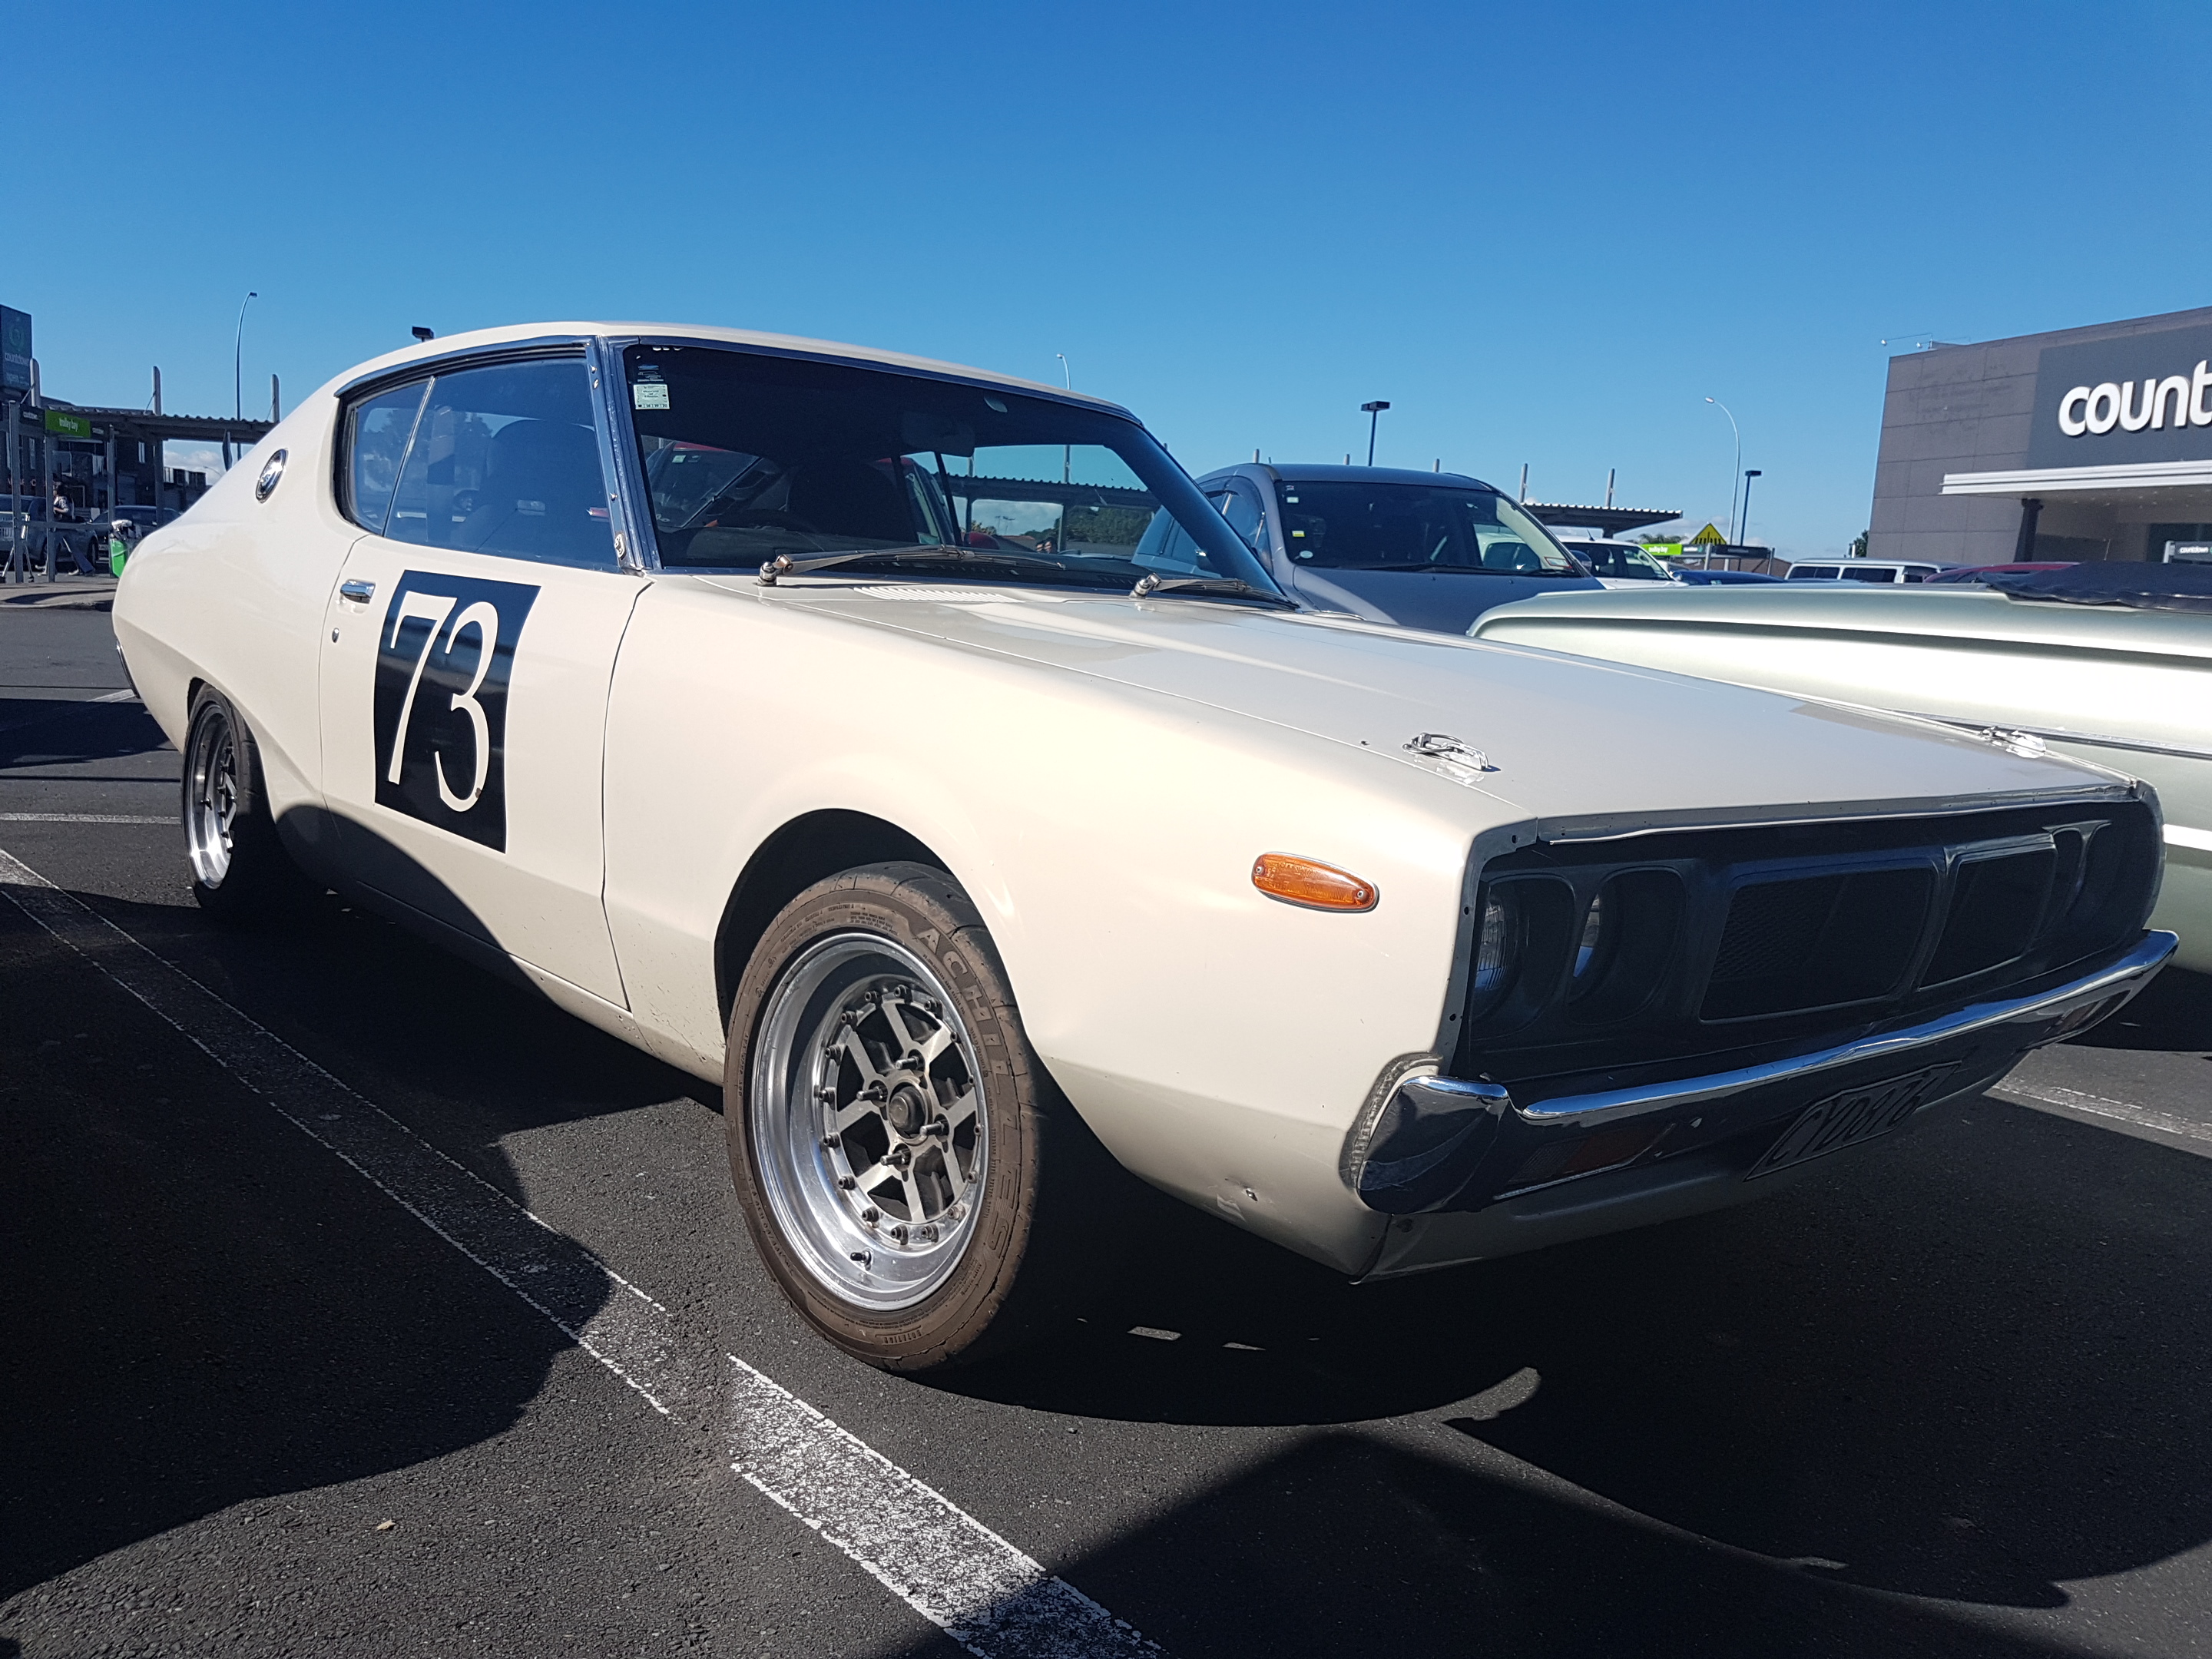
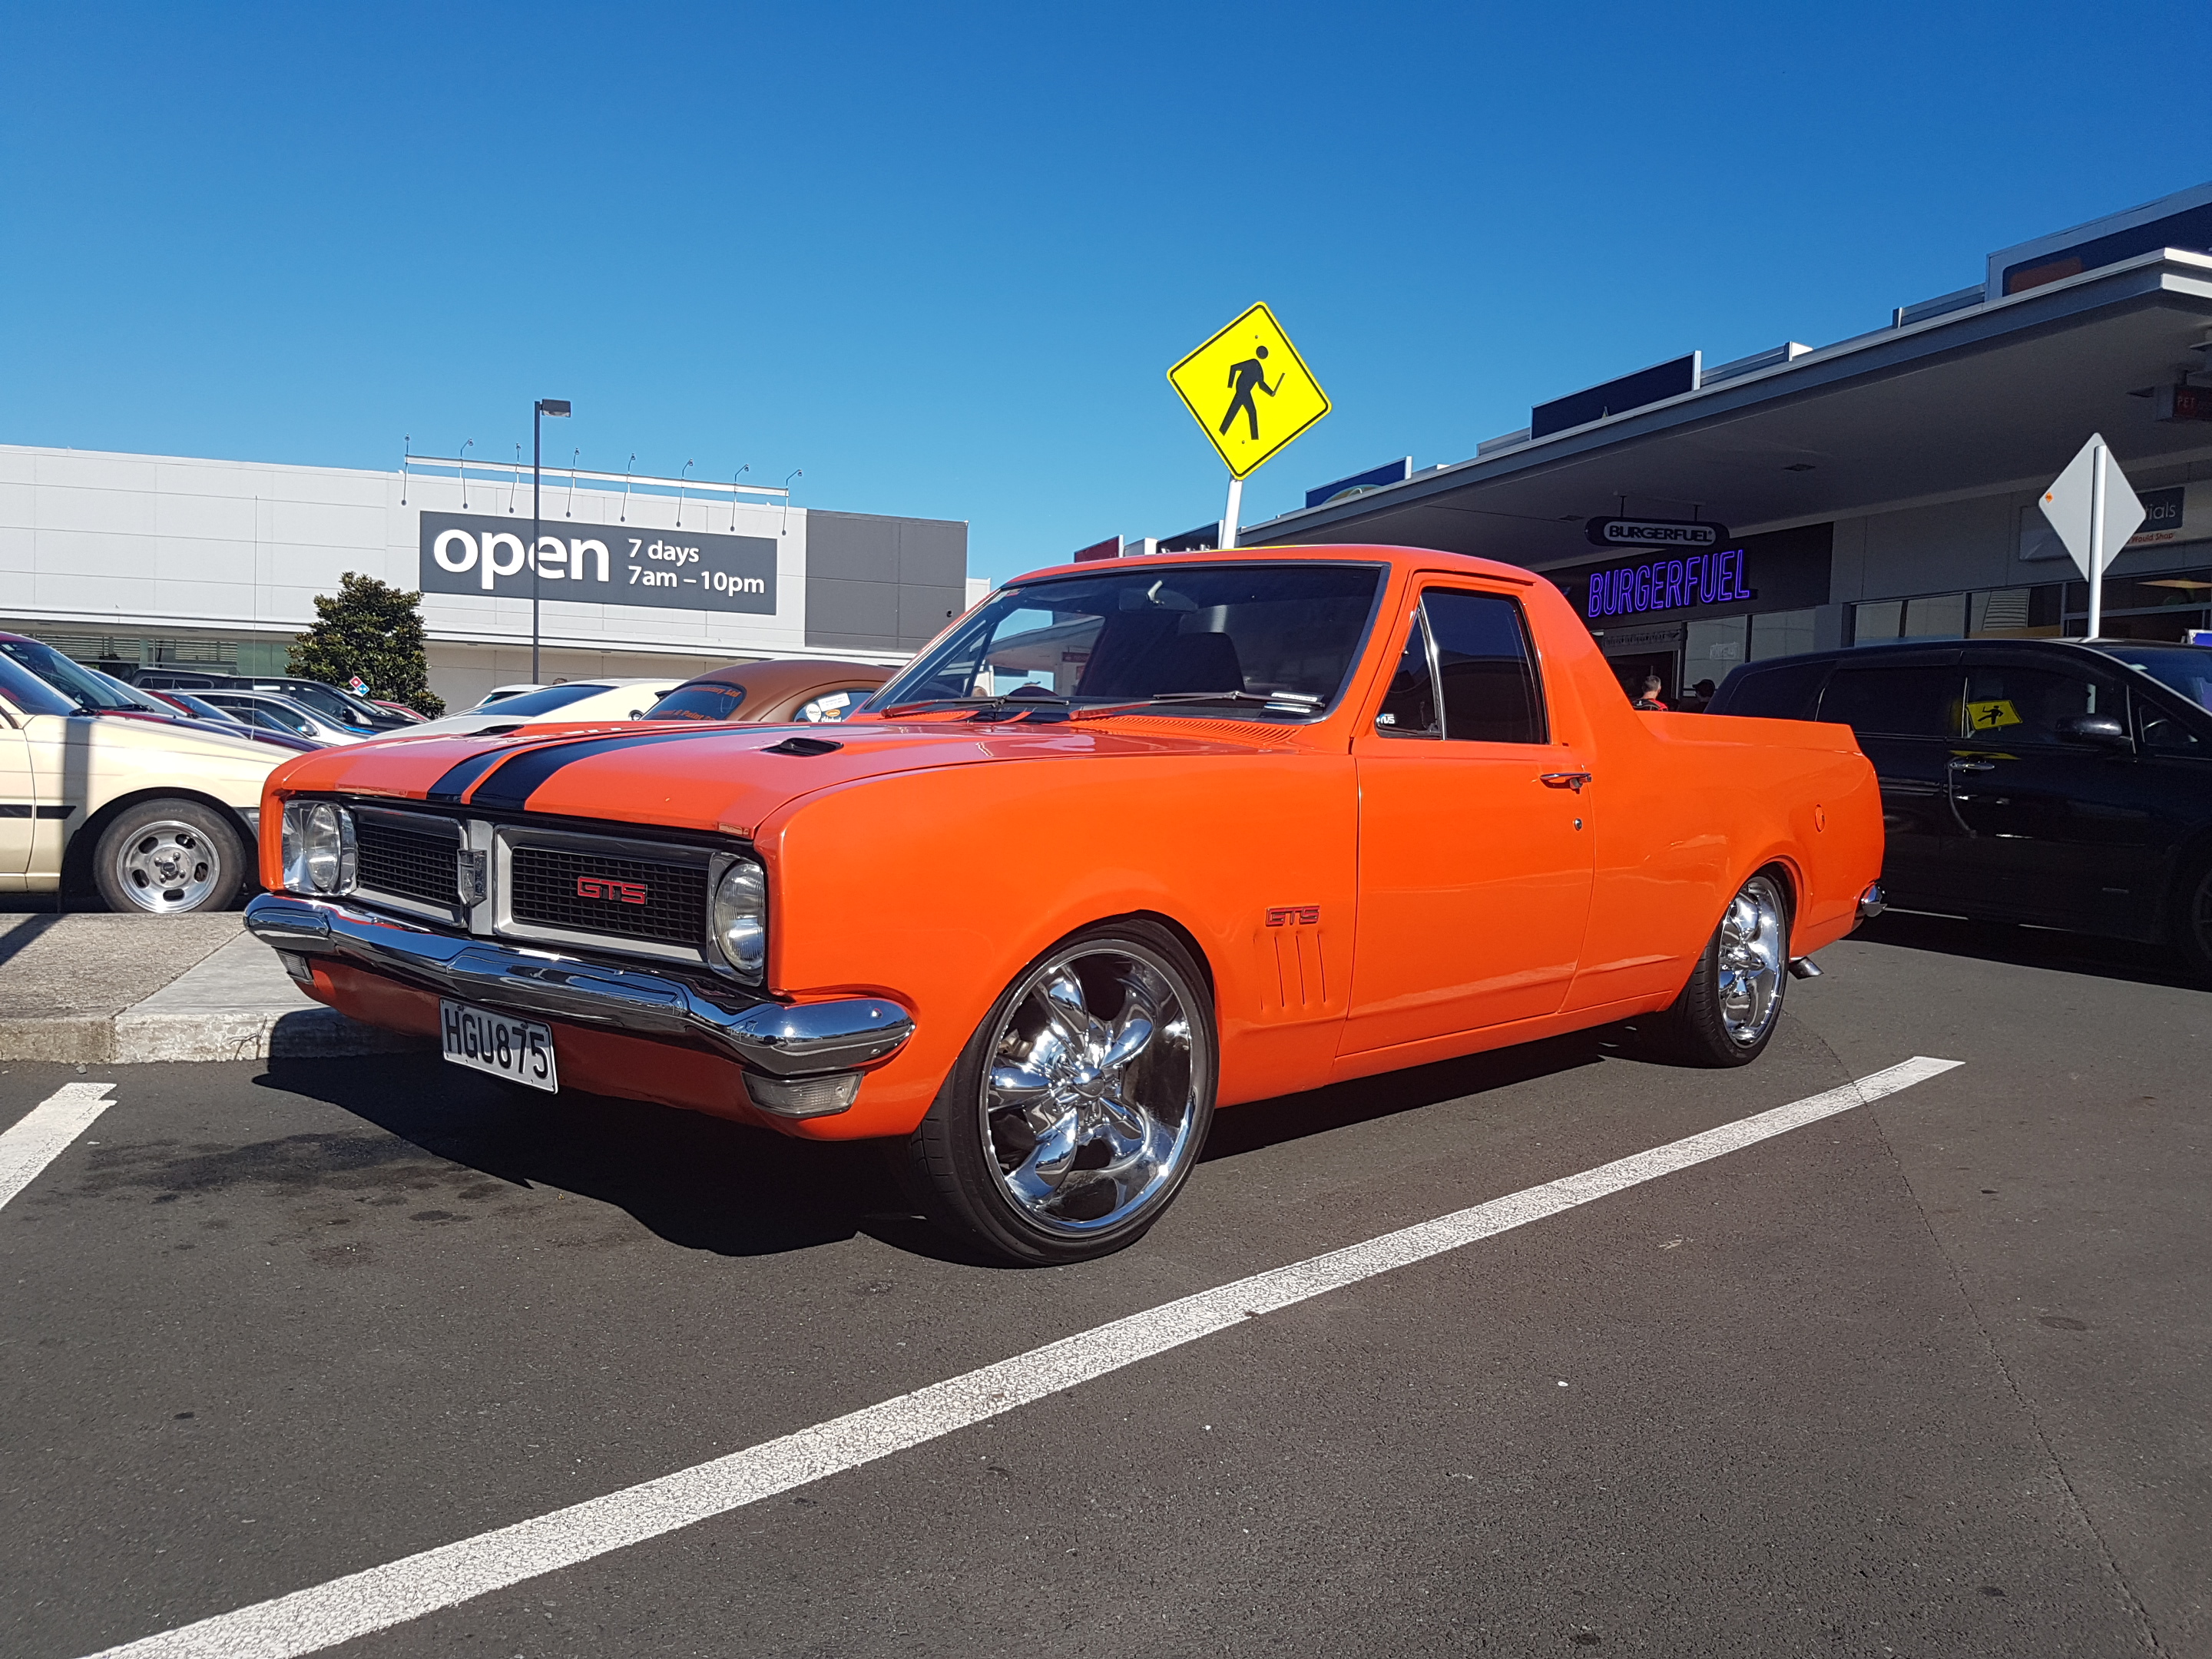
Awesome meet guys! Thanks for making the effort to come down. We had perfect weather, free food and good company. Cameron from Burgerfuel is stoked. I think we all agree that this should be the new location for our monthly meets?
2 points
-
Lets be honest Done.2 points
-
tell ya, its been nice having this back on the ground, its been some time. Would seem on the test drive most of the stuff I went to sort out with the gearbox is all takin care of, shifts good, no clutch shudder etc Super nice having the dash all back together too. Given long weekend it seemed like the best opportunity to get this into work and on a hoist. Main goal was just to complete the exhaust, which after a few convos with my work mates, convinced me going under diff would be the best option as A) easy. B ) actually fuck all of fuck all room on top of the diff Personally I hate under diff exhaust, but I will let it fly on this one, as I truely am not sure I could have made an over diff work. SO yeah, besides a few simple things, which off the top of my head is put a second set of nuts on top of the front struts, then this should be cert ready. I know it will need a wheel alignment for the cert, but going to leave this till i know everything is good under there. So, current plan is call up tomorrow and book it in, probably for next week, think he is usally over this way on a Thrusday, so a week and a few days. Anyway, none exciting pics IMG_5549 by Allan Ainsworth, on Flickr IMG_5587 by Allan Ainsworth, on Flickr IMG_5586 by Allan Ainsworth, on Flickr IMG_5588 by Allan Ainsworth, on Flickr2 points
-
Hey there guys and gals, My first car was a ke25 that I did a chicken wire and bog job on, and always wanted to restore it properly when I was all grown up. My dad sold it to a farmer who's kids trashed it and tipped out down a tomo I picked this up a few years ago (now that i'm all grown up) and the restoration began..... She's now fully stripped. And I've since collected a bunch of rare parts (ke25 and JDM TE27) and am waiting for the weather to improve so I can make a trip to Rototua and have the shell dipped. Plans are for a 20V Blacktop 7age with T50, Ae86 front shocks & brakes, Ae86 rear end with LSD and possibly repsol orange..... I'm pretty much a mechanical noob with limited experience so i'll do what I can and will have some pro's help along the way...... Any help from some seasoned Oldschool pro's would be much appreciated Discussion thread here //oldschool.co.nz/index.php?/topic/49950-alasdairs-1974-ke25-corolla/
1 point
-
Yeah the 14point7 stuff is pretty good. My Spartan2 has been doing a solid job to tuning the Rover.1 point
-
tridents are like mustangs and belly buttons. factory snowflake fairmont wheels ftw.1 point
-
mean. quite getting into my ultilitarian type atvs at the moment. currently got an old YTM200E that I like to bat around the place wearing shorts and hiking boots. loves wheelies and hates turning on ashphalt/hard surfaces/at all if you have people on the back. good fun to slide around gravel backroads cheap fun. owes me $200 haha. my brother used to have a 300 king quad, about 1996 vintage. gearing was amazing for some road work (95-100kph on teh speedo) but took forever to get there. I always found it unstable too with all the weight at the back and IRS. bro has pics of it rolling down the side of the ruahine ranges with a spiker strapped to the front and a fallow on the back. hmm.1 point
-
Yeah the old tidy it up and leave it outside trick, Bart. You should be ashamed. Still. On the right track now mate so good on you.1 point
-
Jesus ! Its in good hands tho !1 point
-
Wow. Toyota and their crazy chassis codes huh. was there single cam versions of the M series? I thought the likes of the 5m, and the 7m-bhg were dohc? Pretty sure that this crown was a sohc. I like learning bout stuff. I can repeat what I've heard at parties, and people think I'm tons smarter than I really is.1 point
-
What the hell was toyota up to in the 80s1 point
-
I've always had dreams of slamming the fuck out of one of these on a 2wd hilux chassis..1 point
-
fuck i love 60 series cruisers. much prefer the low roof but they're all good. I wished I'd never sold mine but needs must. i don't like your chances of finding front doors that aren't fucked, it's like they had rust fromthe factory.1 point
-
Yeah there will be 0 vibration tbh Linesman's splice and forget1 point
-
Rear suspension is in and the front is finger tight so I can roll it out of the garage tomorrow. I am much happier with how the rear is sitting now, its a tad higher than with the other shocks which is good. That silly side skirt needs to go but I think i'll wait untill a piece of ground takes it off and deal with it then Ive gotten used to it being on axle stands and I forgot how low/small it actually is1 point
-
nah i'm into the 4.1 for real monies now dude so thats the donk i'm sticking with. cheers though, if i hear about anyone needing one i'll send em your way.1 point
-
So this happened: Long story short, I took it for a WOF, and it failed on excessive steering play, which turned out to be a worn bush (which is better than a fucked rack or tierod end, I suppose). While it was in the workshop we noticed a weird squealing/chuffing noise from one of the belts, so I got Karl to inspect further. What he found next will shock you! Nah not really. But he did discover that the cambelt was really old and perished, and chunks were flaking off it - and the waterpump seals have started weeping - even though it had been changed at 90,000km (less than 20,000km ago). We're guessing that it was done maybe 10 years ago and the car simply hasn't been driven a lot in Japan, then I got hold of it and drove to Nats 2016 and around the country like a lunatic. Ha! So with that in mind, out the hole it goes for another new cambelt, tensioner, seals, waterpump, belts, blah blah blah. I'm slightly disappointed that I haven't even had a chance to stockpile more upgrade parts yet, because I was so confident that it wouldn't need any serious work done for another 50-60,000km and I had ages to collect more shit for it. At least I will now be able to fit the shiny extractors I bought a while back, but it would have been nice to throw in an upgraded supercharger pulley, LSD box, and rear swaybar at the same time. Discuss: //oldschool.co.nz/index.php?/topic/49412-80s-kid-part-ii-eds-aw11-sc-chit-chat/1 point
-
Six months of wof all used up. Had a good four months use out of it. Had next to zero issues in that time. I had to swap out fuel filter when it starting running like a bag of dicks after getting fuel in Hahei and had some tyres fitted in Auckland after the tread disappeared. That's it! According to the speedo I've put 6000kms on it in that time (I'd say it's closer to 5000 though). I took it to Leadfoot and then to Rotary Reunion in February. At some stage soon I'll put some new shocks in the front and lose some height. I've got some clips sitting in Sydney to put the sill trims on and yeah I'm fairly happy with it currently. Pics Courtesy of Snoozin Courtesy of MichaelJFox And a pic of the daily cos it's too new and boring for a thread. JZX110W with a 1JZ-faeces, 18x9/10 work emotions and BC BR series adjustable coilovers.1 point
-
1 point
-
So I made up a parts bath using a big old plastic container and mixing 50/50 degreaser-water and letting parts go swim for a day or so then water blast them and tooth brush clean them. Today I did the bellhousing, the gearbox outer casings, tail shaft housing and rocker covers are soaking at the moment. After a clean, has come up pretty good! I then set onto installing the new clutch fork assembly. Using all new OEM parts gives the peace of mind that everything will be all nice and dandy. Strange, can't get the fork clips new from Japan but found them on https://partsouq.com/ so that was good. The ones I had spare were all rusty. Clean backside/booty. always nice. I dummy fitted the new bolts to make sure I had them all. Found that I was missing the starter motor bolts so those will be added next to the OEM order which is already 20 items long. Not the most interesting update... but the next one will be the head install Discussion: //oldschool.co.nz/index.php?/topic/52401-pbaines-1971-toyota-corolla-ke25/&page=21 point
-
Holset recore went in quite a few months ago and has been going strong. Car is running about 17psi constantly with no issues. Whipped a wideband on it for an afternoon and its running nice and rich still. Who says you need a Link? Power is good now, pretty happy with it, if it stays reliable then even better. Next on the list is rebushing the rear subframe and some wheel bearings. Probably need to get onto some minor rust work sometime soon. No new pics soz.1 point
-
failed hard, cant get bolts out of cross bar. yeh the towers look ugly from the top, but wont see them once done v21 point
-
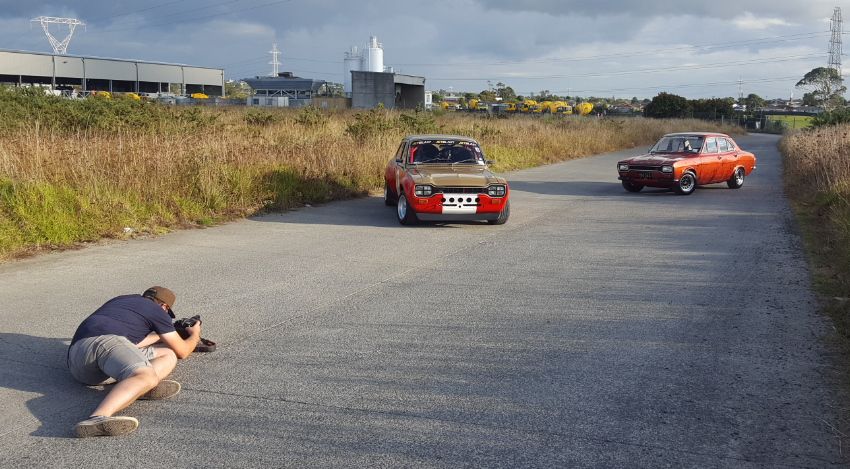
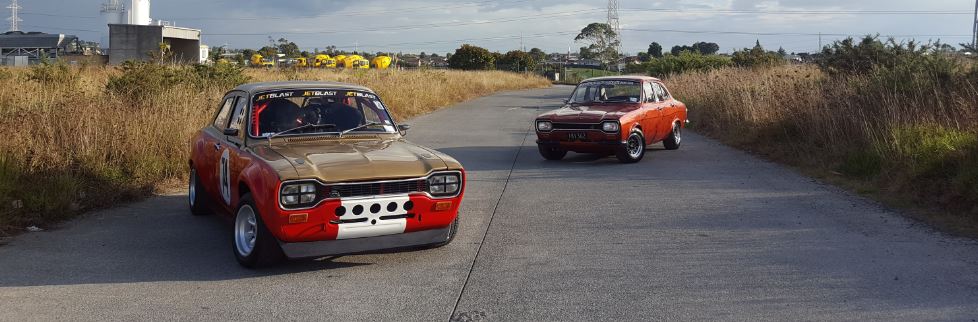
Snoozin hooking me up with a sweet photo shoot for NZ Autocar magazine on both my escorts Working his magic as the sun goes down Some rolling shots to finish the shoot Thanks Richie for the opportunity , great fun
1 point
-
but not as fun as twisting a throttle/riding a miniature train..1 point
-
Its going to be 3 link, with panhard. will have a single link that runs above the driveshaft. it needs to go up fairly high to get the link separation and anti dive numbers where they need to be. will likely have to notch the drivers footwell 50mm or so, and relocate the engine mount. plus some other stuff the diff and steering links are going to hit. most people would just raise the truck up.. at the moment every day i work on it, find another 2 days work1 point
-
Well, unproductive weekend. Have a new front bearing for gearbox, a new clutch fork on its way, and a new rear main seal Non of which have been fit yet unfortunantly Will make a stab at gearbox tomorrow. So yeah, looks something like this in the engine bay now1 point
-
Coilovers installed. I needed to weigh the truck to give me a starting point on what spring rates to run. Also to give the guys building the shocks, some idea what valving to put into them. just measured spring compression times the spring rate to give a rough idea. 440kg on the front corners 248kg on the rear corners 1376kg total inc mud tyres/wheels (guessing it could go at least 50kg either way) not that bad considering each wheel weighs around 40kg. and compared to the weight of 2wd cars around same size. 64/36 front/rear. yeah its basically a race car,...1 point
-
The big rush was to get the new engine up and running as I'll be competing at the Leadfoot Festival this weekend 2 more days to go Come and say Hi if you're down at Hahei this weekend
1 point
-
Even told me how many times he farted on the seat1 point
-
Honest Bart's Autos free sharns with every purchase!1 point
-
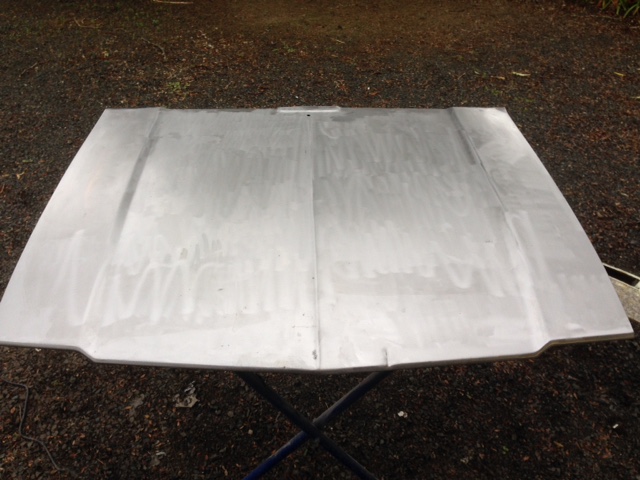
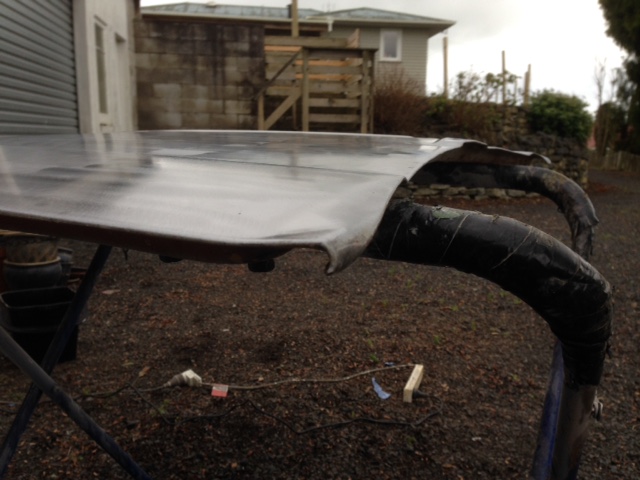
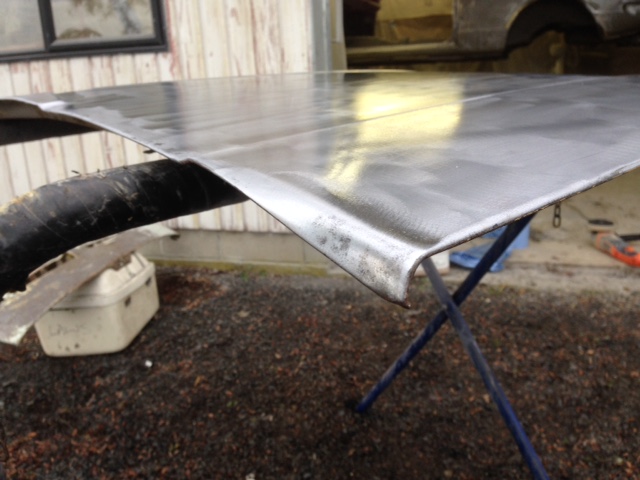
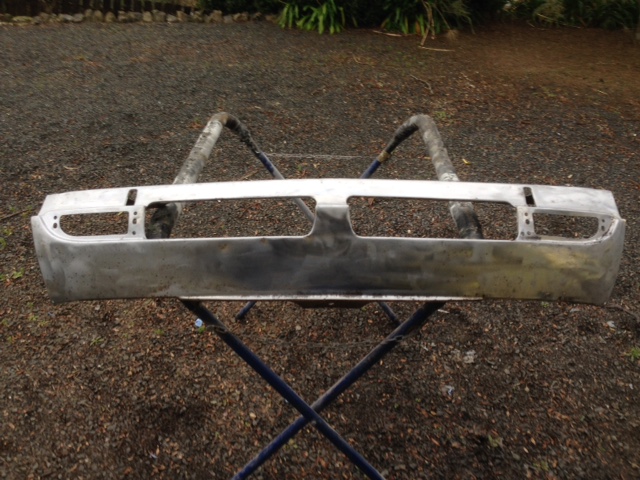
Churning through the strip discs now......just when Mitre 10 is going to stop stocking them!! Only minor surface rust, a small dent and some bent corners........these are usually swiss cheese along the front - SO STOKED! Easy fix for a panel beater? I have lots of small spots of surface rust here and there like this - do I leave it for sandblasting or what? Help me out rust guru's!! http://oldschool.co....4-ke25-corolla/
1 point


This leaderboard is set to Auckland/GMT+12:00