
Leaderboard


Popular Content
Showing content with the highest reputation on 04/17/17 in all areas
-
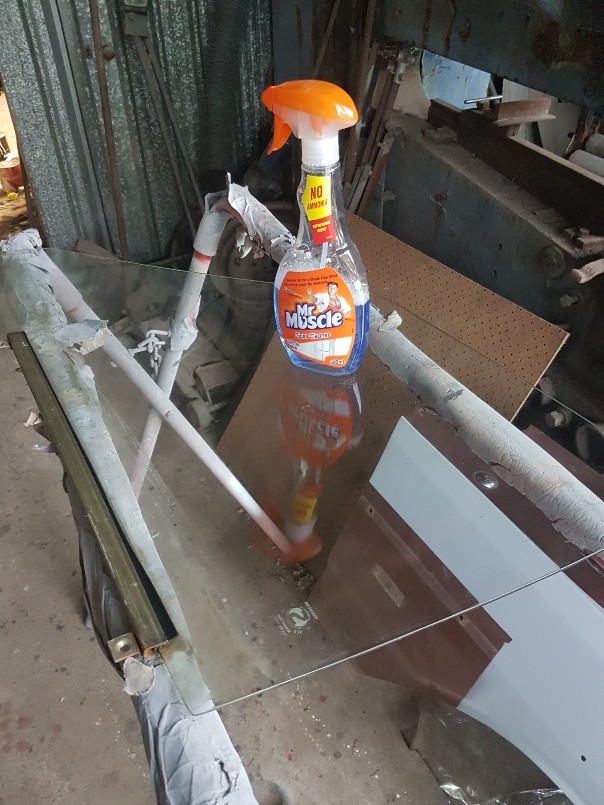
Just a small update. Been putting the car back together. Gave all the windows a good clean, got them looking crystal clear. They did have tints on them but they were quite rough, so decided to pull them off and clean up the glass. Also been doing more upholstery, almost completed the seats, but ran out of material and thread. I tried covering the dash in vinyl but gave up. Iv glued up the cracks and put a textured finish on it, and then painted it, its come up good.
 6 points
 -
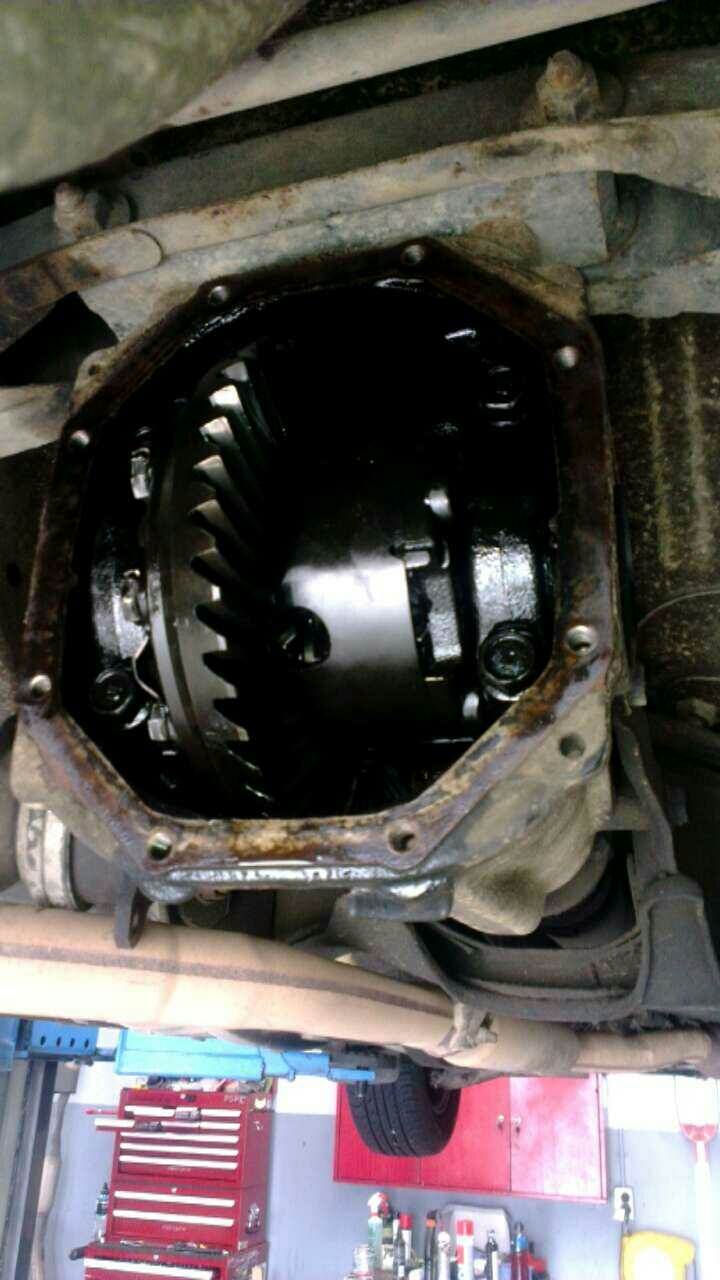
tell ya, its been nice having this back on the ground, its been some time. Would seem on the test drive most of the stuff I went to sort out with the gearbox is all takin care of, shifts good, no clutch shudder etc Super nice having the dash all back together too. Given long weekend it seemed like the best opportunity to get this into work and on a hoist. Main goal was just to complete the exhaust, which after a few convos with my work mates, convinced me going under diff would be the best option as A) easy. B ) actually fuck all of fuck all room on top of the diff Personally I hate under diff exhaust, but I will let it fly on this one, as I truely am not sure I could have made an over diff work. SO yeah, besides a few simple things, which off the top of my head is put a second set of nuts on top of the front struts, then this should be cert ready. I know it will need a wheel alignment for the cert, but going to leave this till i know everything is good under there. So, current plan is call up tomorrow and book it in, probably for next week, think he is usally over this way on a Thrusday, so a week and a few days. Anyway, none exciting pics IMG_5549 by Allan Ainsworth, on Flickr IMG_5587 by Allan Ainsworth, on Flickr IMG_5586 by Allan Ainsworth, on Flickr IMG_5588 by Allan Ainsworth, on Flickr6 points
-
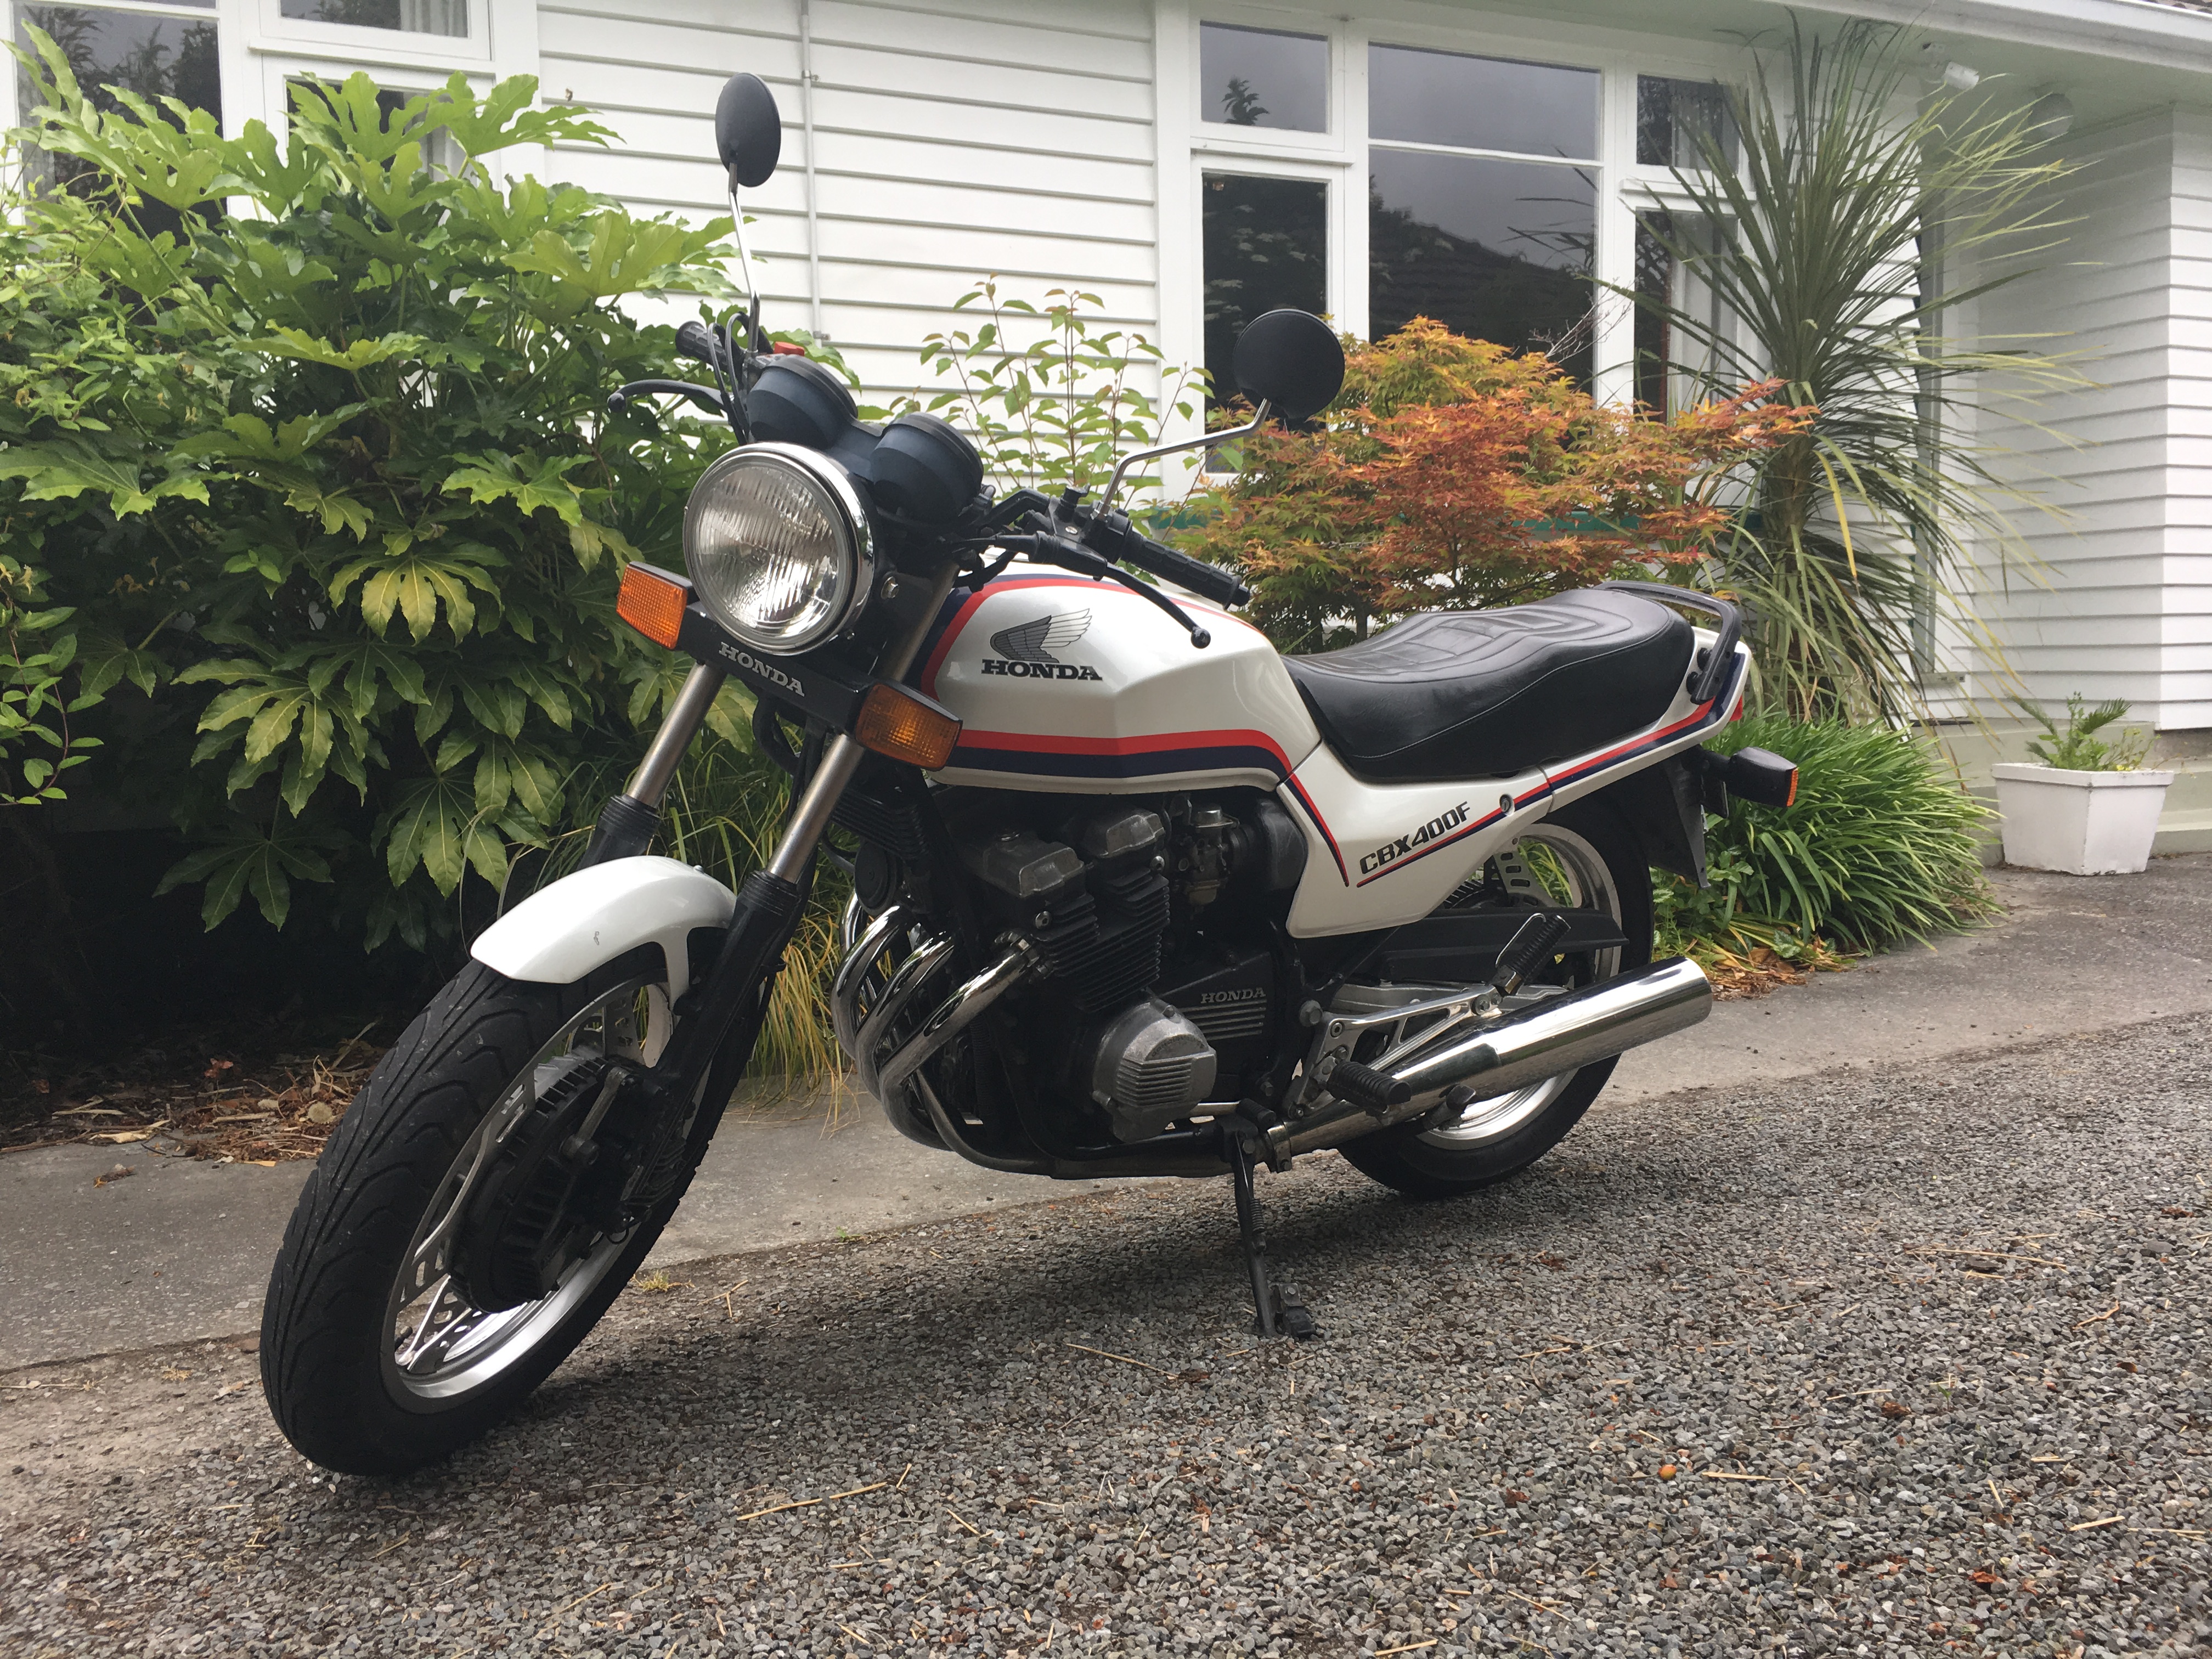
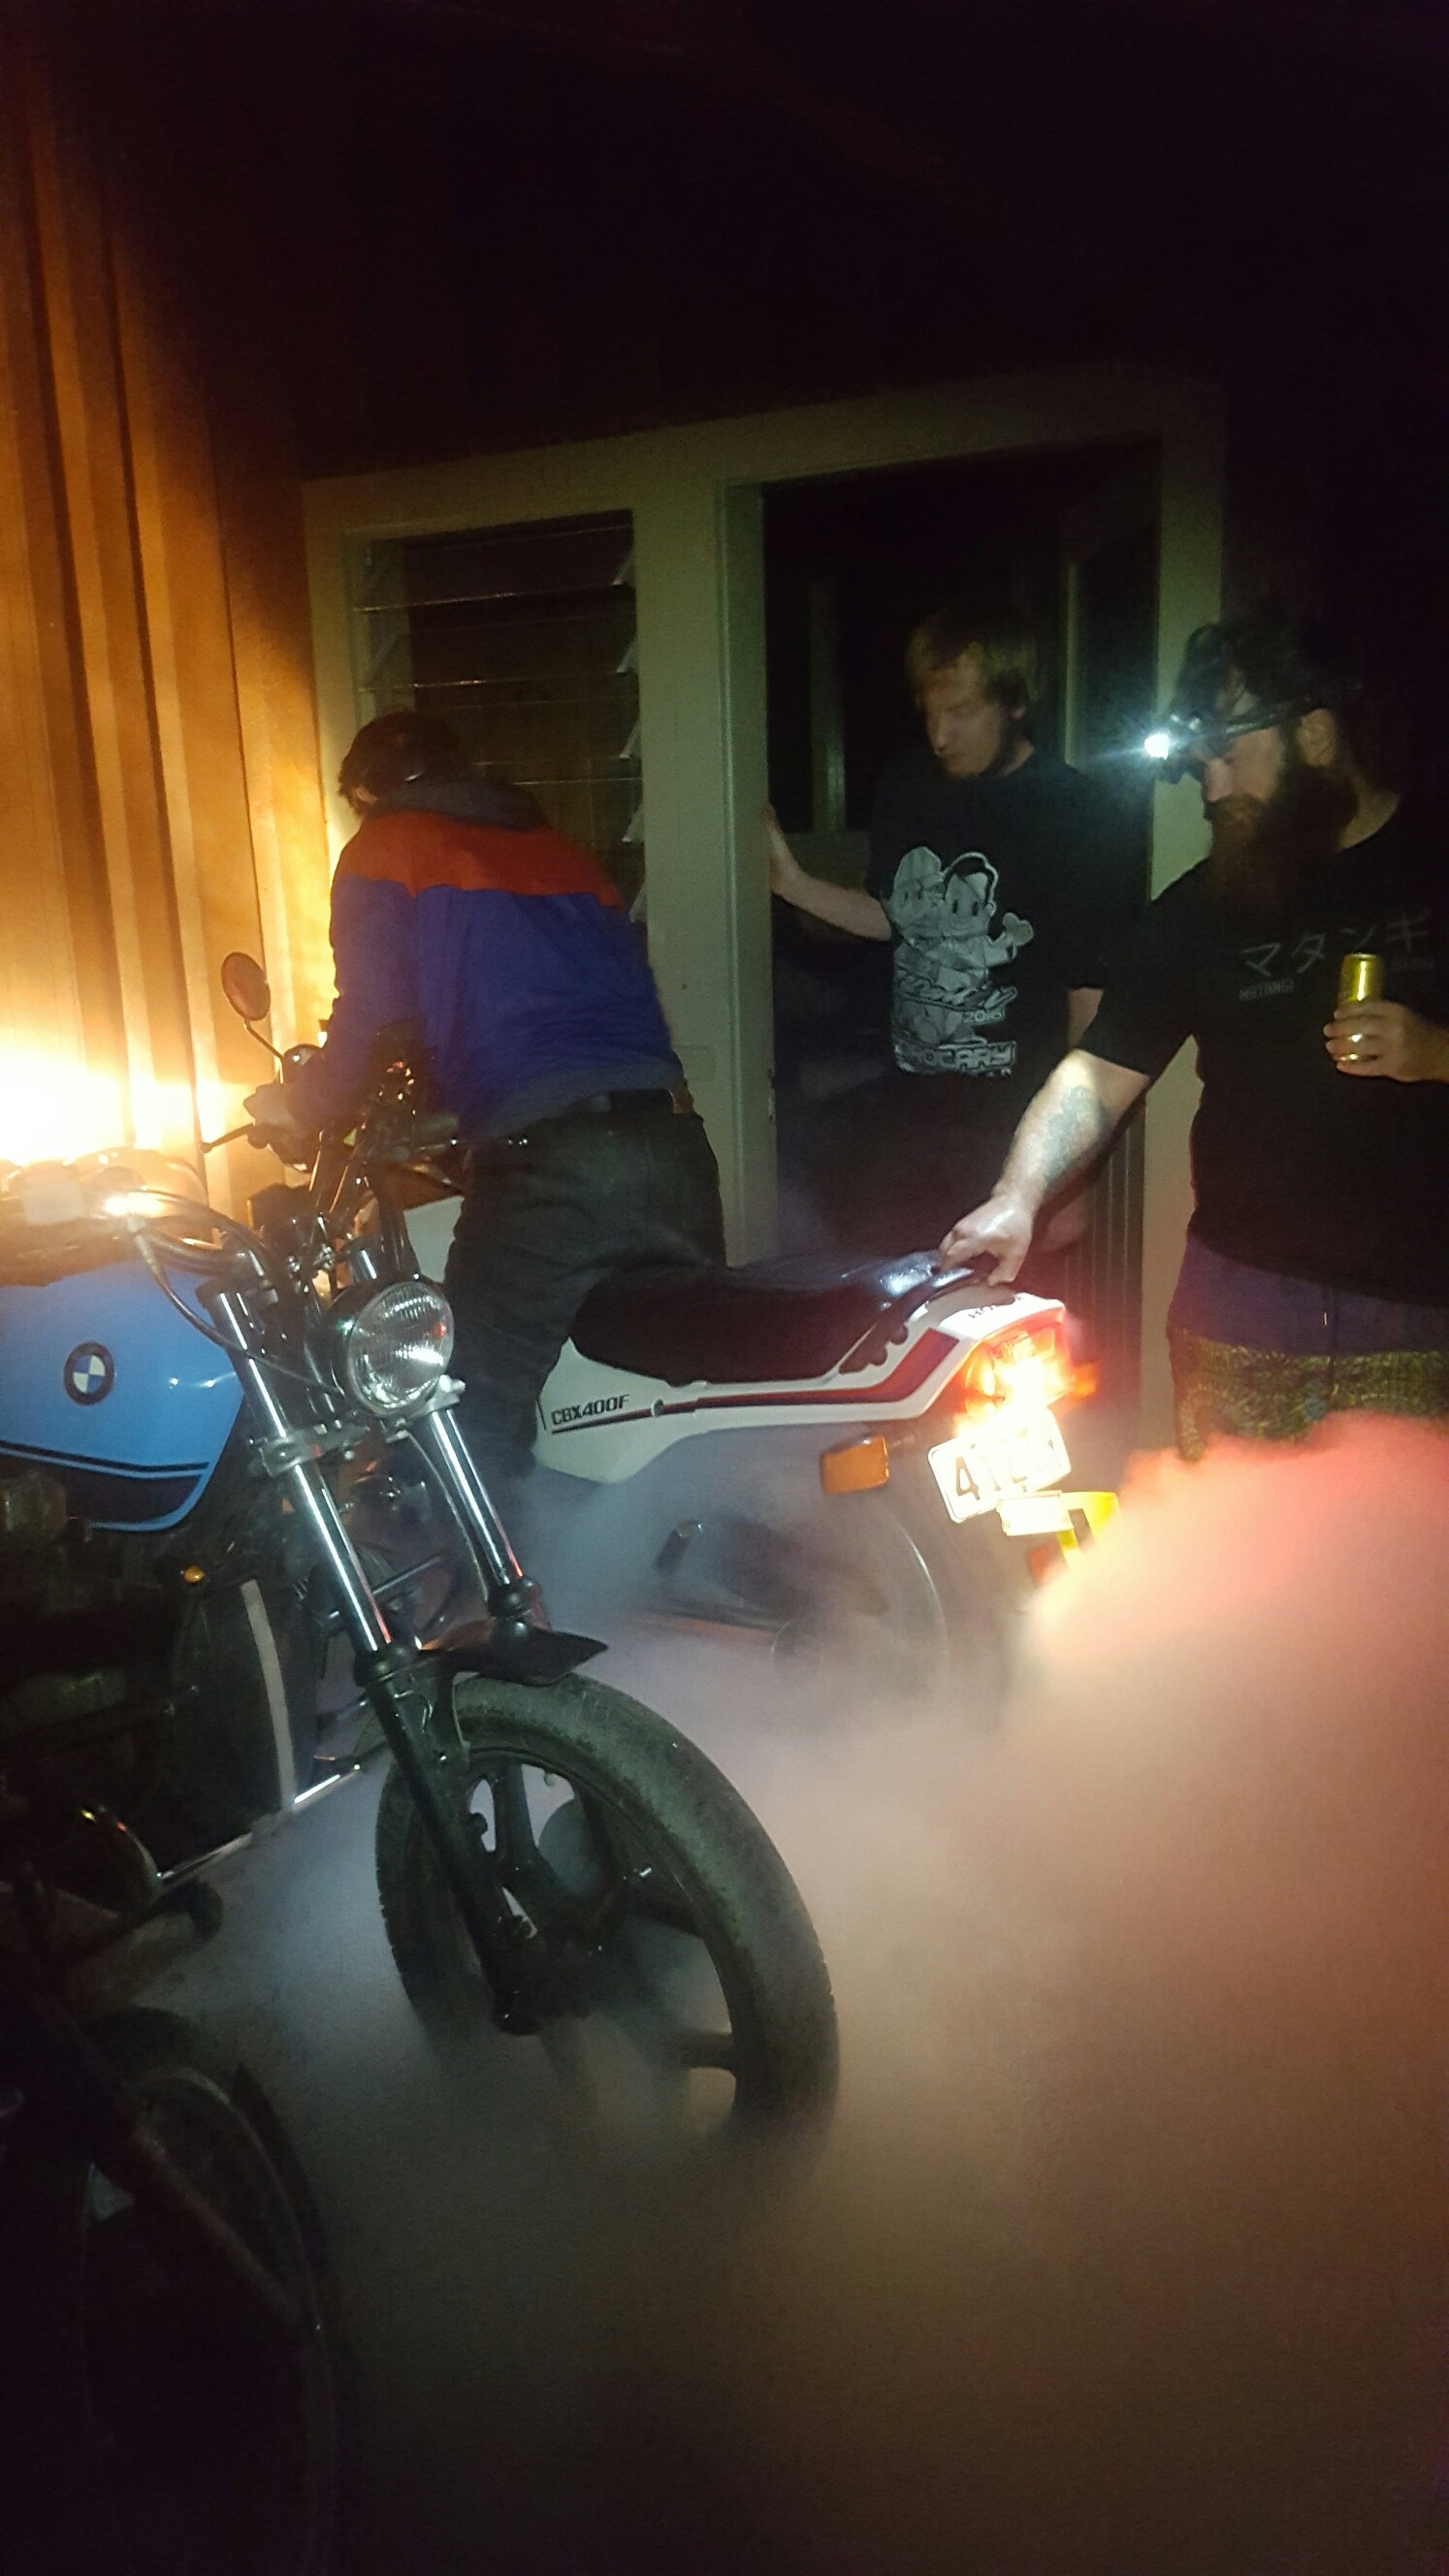
Got this bike a few months ago. Pretty sweet. Probably going to keep it stock as its pretty mint but might be swayed into some cheeky mods if I can easily revert the bike back to stock. Sounds good and found out a couple of weekends ago that it does good burnouts.
6 points
-
Goes hard for what it is
5 points
-
4 points
-
So not too much has been happening whilst I spent money on safety gear, Purchased a new Sabelt 3 layer FIA suit , Second hand hans sport 2 and a omp helmet and a headset for the intercom. However I had been looking for some cheap 15s and a something to protect the engine bay area. Some honda type r wheels popped up on facebook so nabbed them and a mate was selling a 6mm alloy bash plate that was on his runix race car so ventured to palmy today and picked the wheels up in levin on the way. With the larger front brakes the track gets pushed out 6mm so the new rims fit perfect on the front but the tyres are rubbing on the strut body on the back so have to run some 5mm spacers to clear they will be for gravel tyres only anyway as cheap second hand ones only come in 15 or 13 inch. My mate also gave me a big bit of underbody plastic as he doesn't need it now his car is track only. Now I haven't done nothing in between updates 63Ragtop saw a momo benetton steering wheel at a tip shop and posted it in spam knowing mine was really rough I asked him to get it for me and send it down. Now I never thought to look to see if my old wheel was legit and I never had the horn center on it as who would copy anything so ugly its cool but turns out it was a fake! I also installed one of these gizmos that gives me launch control and rev limiter easy to install and works really well and is easy to change4 points
-
Methanol will keep it running cool.4 points
-
No, if it's covered by the authority card, it doesn't need to be on the cert plate3 points
-
I pulled a front spring right before Nats to see if a Makita drop would work, but no-go. The lower spring pan is a bolt-on so could possibly be lowered that way, but I was out of time. I've now removed the upper tailgate and glass (those little screws were holding the glass in place) The tailgate is from the previous model, so this lock isn't needed on this car It's a little rusty but way way better than the original one for the car.2 points
-
Also OS Nats trip. I bought a roof rack from Seedy Al that didn't exactly fit either way, so I made it fit with a cut and shut. Drove to work in the rain. Made it to the top of the Rimukatas no worries. Needed an oil topup (hadn't checked it for a while, oops) Met a cousin.2 points
-
2 points
-
Hey guys, this is coming up on Saturday. Cars and burgers = win. I still need a couple of more... presentable... cars to feature out the front of the shop. We've got Greg's beetle and Chris's Holden wagon. It would be nice to have 5 "OS Nice" cars next to the front door. All volunteers skip to the front of the queue for a free meal (burger, chips, drink).2 points
-
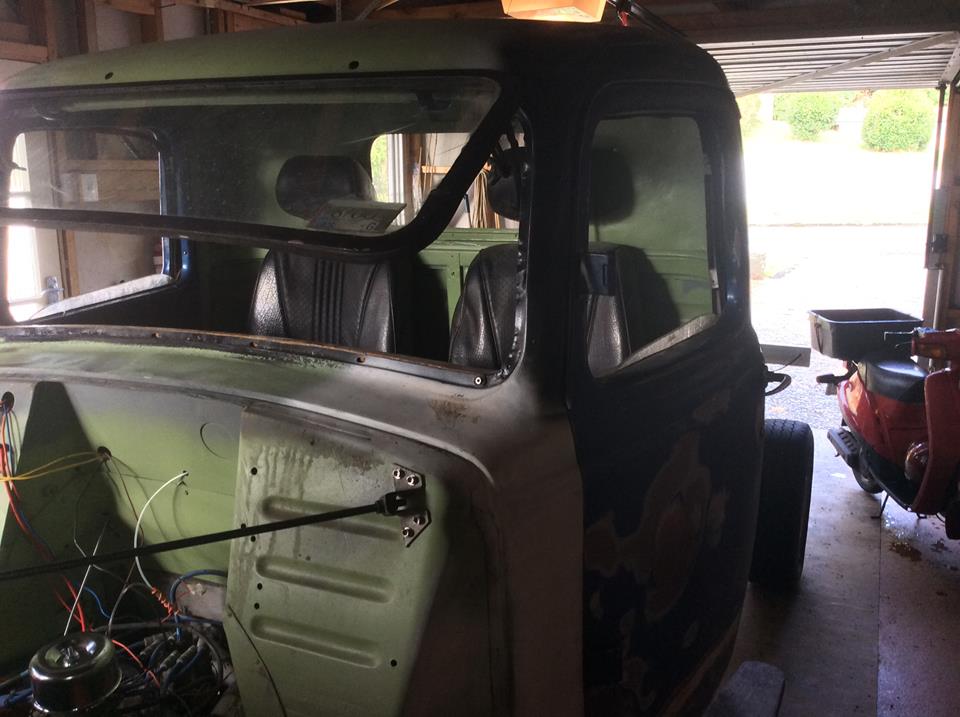
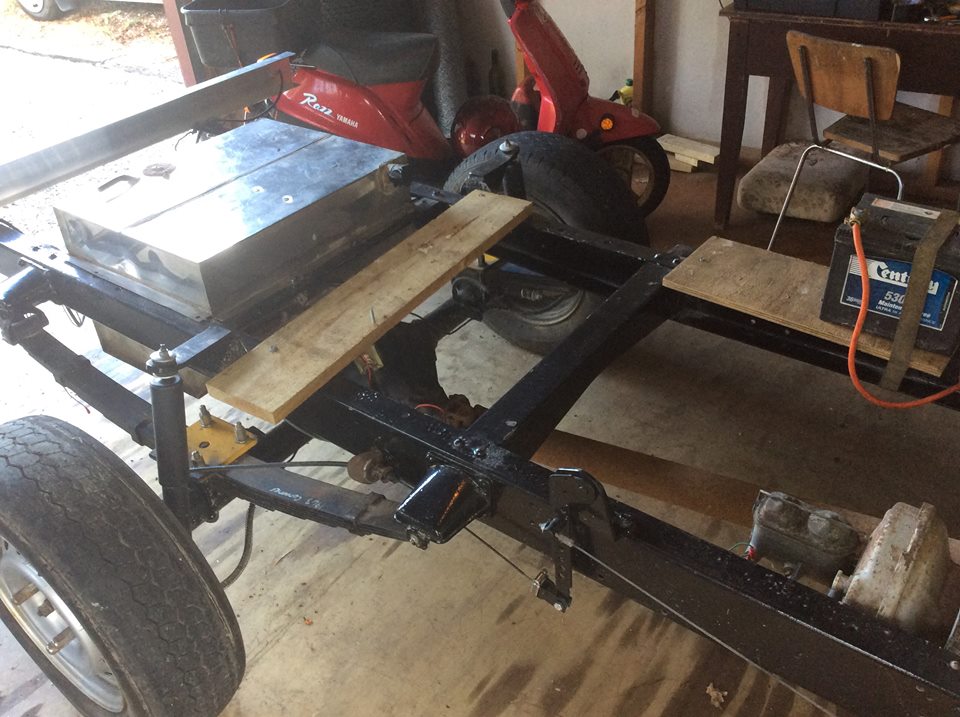
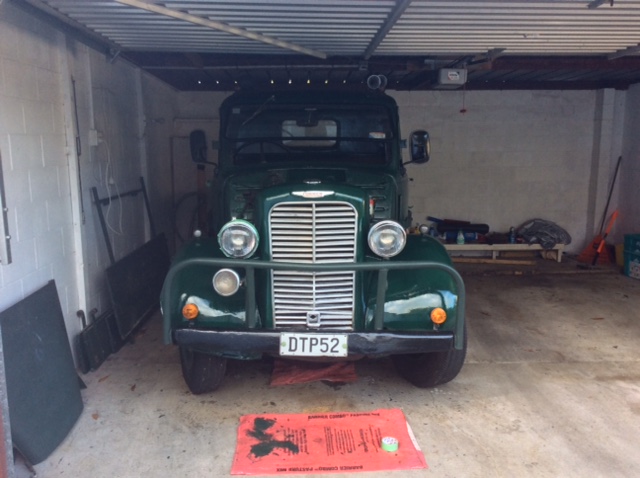
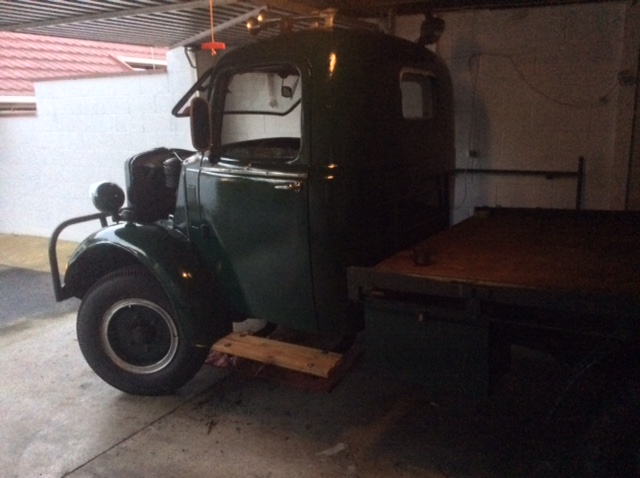
Got another Q also, it can be jammed in this thread too. 1943 Karrier superpoise, has an hq front subframe and a very nice cab & chassis. Is declared for 350/th350/9", but has 253/trimatic/bw78. Actually drives really nicely, but realistically it will probably be easier/cheaper to return it to 350ci etc than cert it as is. All i've done so far to it is rig up a choke, jam an air filter on it and swap out the plugs, just for ease of starting/moving round the property etc. Will probably tart up the body and interior and when circumstances allow, hand it over to a shop for full drivetrain conversion.
2 points
-
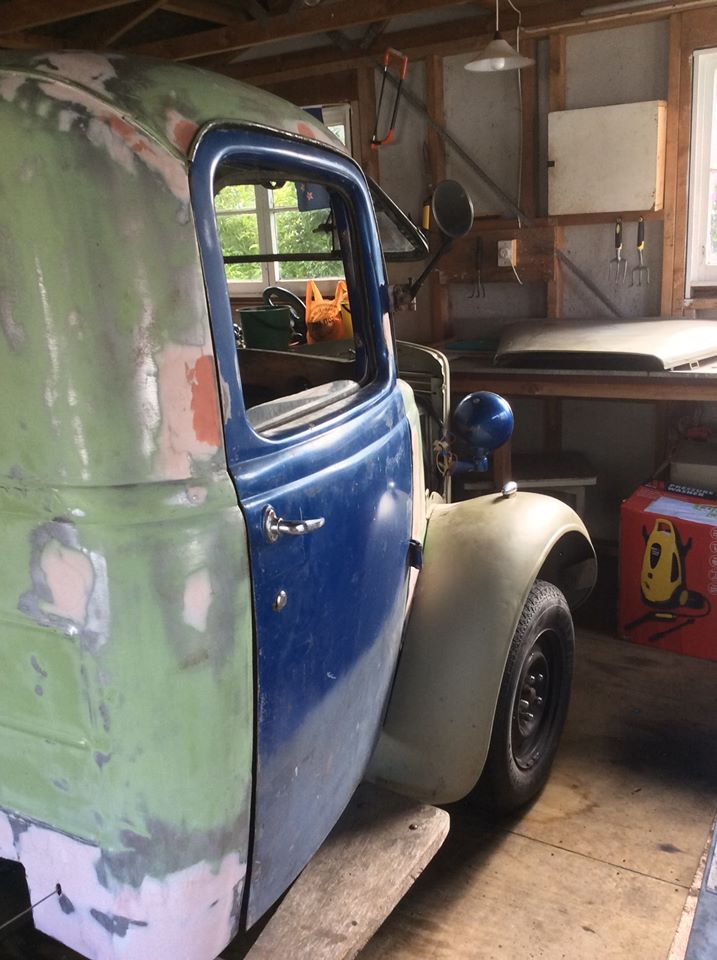
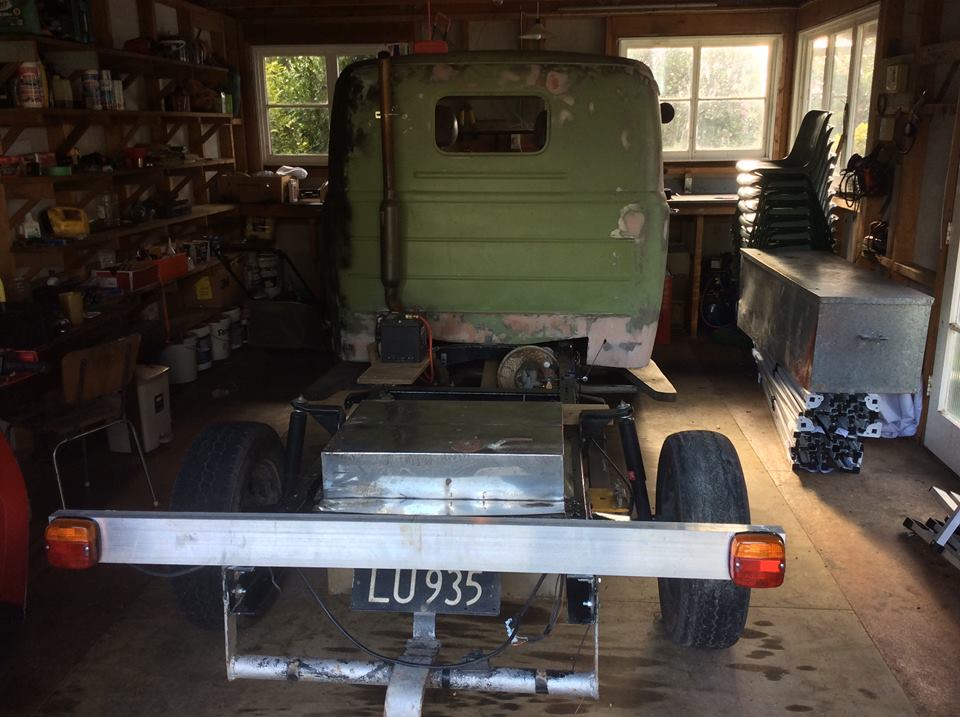
Tortron was kind enough to make me a discussion thread, you can provide me with personalised or generic abuse here: Update time! Dulux rebuild almost finished, just the chassis from cab forward to go. Actually looks ok for $2 shop brushes wielded by a man high on paint fumes. Painting a vehicle with a brush is very therapeutic, so much less hassle than spraying. No point pushing the boat out on this one! Wasn't going to paint the whole body but by the time i'd painted all the ex-rusty bits, chips etc etc it was looking pretty patchy. Also got all the lights & the wiper going, various blown bulbs/bad earths & so on. Found the diff appears to be minus any sort of breather, will rectify & see if it helps with the leaky axles, as they don't seem to leak while stationary. Fell through one of the running boards so replaced them both with some leftover decking, as you do
2 points
-
bit of a boring update, did the same as yesterday but in the fuel tank access panel..i took the tank out and was well chuffed to find it pretty good under there. few scabs but no holes. so, wire wheel, rust converter etc etc i'll chassis undercoat it in a few days once the rust converter has done its magic. i need to get some sills asap, then the tank can go back in and it'll be running again cos its a heavy bitch to be pushing around. also a mate dropped off 2 more heater cores so i can hopefully plug and play with the dash now. we'll see but it looks heaps easier from what i can see. thats the plan this week to get that in and working. heres hoping.2 points
-
Holset recore went in quite a few months ago and has been going strong. Car is running about 17psi constantly with no issues. Whipped a wideband on it for an afternoon and its running nice and rich still. Who says you need a Link? Power is good now, pretty happy with it, if it stays reliable then even better. Next on the list is rebushing the rear subframe and some wheel bearings. Probably need to get onto some minor rust work sometime soon. No new pics soz.2 points
-
Having several broken odometers in an XE dash is still better than staring at an XF dash. They're horrible. With you all the way there.2 points
-
If the vehicle had been deregistered, it must go through the registration process. No way to skip it. Always pays to keep your Plates and Tags live2 points
-
failed hard, cant get bolts out of cross bar. yeh the towers look ugly from the top, but wont see them once done v22 points
-
Done the floor patch, just need to do the bit up the side and then there's a few little patches of rust, where the top of the guards bolt to the cab on both sides and a pin hole in the rear cab corner. That'll hopefully be all the rust in the cab done, then I can start on the transmission tunnel.2 points
-
Been a while without an update on this. i've got into it over the easter wekend this far after collecting a few more parts. the head is still in the machine shop. spoke to a cam guy and once i pull my motor out i'm dropping that off to him and he'll regrind it and supply springs and lifters. yesterday i took off all the plastidip paint which wasn't quite as bad as i was expecting. it was tedious but if its a thick coat it pulls off like a balloon skin. i went in this morning to do the dash and start grinding back the trouble spots but stan turned up a day early so i ditched the dash job half way through and just got into that. Niiiice bit of bodgery there. masking tape under the bog. mmmmm. tasty. Lunch! so after patching the passenger sill which was way better than the drivers side i kept grinding and finding more and more holes. rather than have a patchwork stan and i decided that i'll buy a set of outer sills and replace the lot. that way it also takes the guesswork out of the inner sills which we're still not sure about. i blew them out with an airline, and put as much rust converter in as i could but its still an unknown. although it'll set me back another week i'm happier knowing that it'll be 100% under there. Heading towards that goal!2 points
-
Spent a few hours this weekend sorting out the suspension. When I bought the car it was pretty low and as it turned out the front springs weren't captive. They may well have been "V8 Falcon coils" as per the declaration paper but whatever they were they'd certainly been cut. I ordered a set of Cobra lows, P/N CFFL23 which are 40mm lower than standard. The lowering springs are about 10cm longer than the cut springs which makes the cut springs close to half the length of a factory spring. Took the struts to work and had the springs swapped pretty quickly. Struts went back in without too much drama and I removed the 2" blocks from the rear to even the ride height out. I trimmed the U bolts as they hung lower than I was comfortable with so they'll need to be replaced if I have to put the blocks back in to get a wof but I'll cross that bridge when I come to it. Haven't measured the front ride height yet but I suspect it's come down more than 40mm due to the extra weight of the engine. Pretty stoked with how it sits now, nice wee bit of rake and it rides a hell of a lot nicer now that it's not hitting the bump stops over every bump.2 points
-
Hi everyone. Andrews right I'm hopeless on these forums but I thought id share that I have the car running now and have driven it. It is off to get tuned and dyno on Monday. rearJust need to do some finishings and that side of its done.Just waiting for the rear lips to come back and then we will tackle the tubs.2 points
-
So I did something dumb, I bought another Zephyr. I bought a VL churbo wagon that turned out to be a turd so I flicked it after a few weeks and was looking for a tidy 5L VL and then this turned up on the tard. I had a couple of goes at organising to have a look at and got mucked around so I gave up and forgot about it. Came back from a holiday with no reception and discovered that the seller had dropped the asking price significantly. Finally managed to have a look at it and ended up buying it. Its running a 302 Windsor with a C4 and an 8" diff. Modified in 1992 and on declaration form not cert. I've had it for nearly two months now and so far I've had the left hand rear sill section replaced, made and installed a speedo cable, recored the heater, replaced the brake booster, rebuilt the carby and reset the massively retarded timing as well as a bunch of other fiddly little things. Doesn't sound like that much when I write it down but everything's been one step forward and two steps back so far, if I'd had any idea how much I was going to have to do to it I never would have bought it but them's the breaks I guess. I haven't taken many photos so far as it's gotten to the stage where I just want to get the thing going but I think I'm on the home stretch now, have new springs to go in it this weekend and then touchwood I'll be able to take it for a decent drive and take a few photos.1 point
-
1 point
-
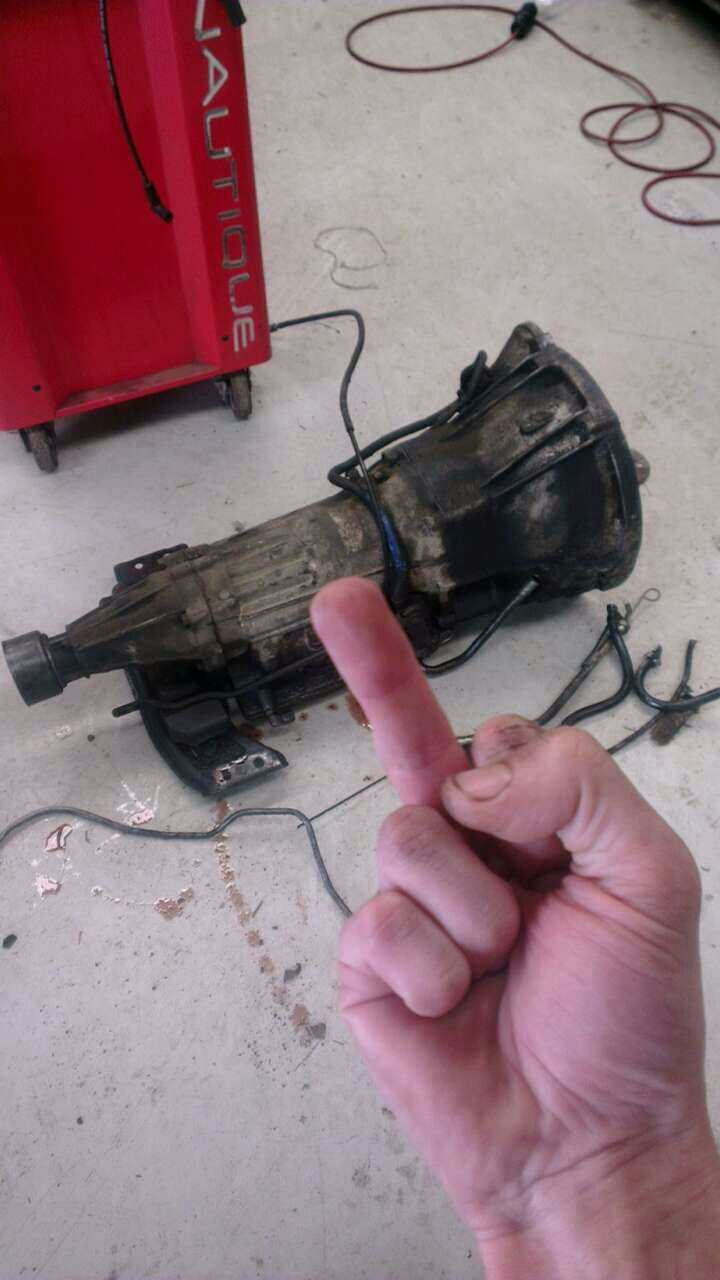
So I made up a parts bath using a big old plastic container and mixing 50/50 degreaser-water and letting parts go swim for a day or so then water blast them and tooth brush clean them. Today I did the bellhousing, the gearbox outer casings, tail shaft housing and rocker covers are soaking at the moment. After a clean, has come up pretty good! I then set onto installing the new clutch fork assembly. Using all new OEM parts gives the peace of mind that everything will be all nice and dandy. Strange, can't get the fork clips new from Japan but found them on https://partsouq.com/ so that was good. The ones I had spare were all rusty. Clean backside/booty. always nice. I dummy fitted the new bolts to make sure I had them all. Found that I was missing the starter motor bolts so those will be added next to the OEM order which is already 20 items long. Not the most interesting update... but the next one will be the head install Discussion: //oldschool.co.nz/index.php?/topic/52401-pbaines-1971-toyota-corolla-ke25/&page=21 point
-
Hey there I noticed that the Weber carb you have for your car is the later model version with the anti-pollution gear on it. I recently rebuilt one of these for one of my cars and it works awesome however you will want to do away with the 2 stage idle jet as they almost always cause problems when they get old due to the little diaphragm inside failing. Weber performance in Australia can supply a simple and cheap jet holder that allows you to replace the problematic component and also allows you to fit different jets for tuning a modified engine. http://www.weberperformance.com.au/product_info.php?cPath=6_268&products_id=1345 The 2 stage jet is a 70 when the engine is cold to aid warm up and a 50 when the engine is warm for improved economy and reduced emissions (but probably not optimum performance). I am running a 60 in mine and it seems pretty good all round. This picture may be helpful showing the standard jetting for the 34ADM, it's good to check that nobody else has messed with the jets etc.1 point
-
No still has to go to TSDA ie testing station or compliance center that does re registration1 point
-
do they have the easily broken gears? $10 on ebay and 20 mins to replace1 point
-
It you've got a car with a Valid Motorsport Authority card -full cage/harness/seat ect do you still need a cert for those modifications? even if car already has cert for suspension?1 point
-
Usually you keep the inner and outer CV joints in place to hold the wheel bearings together/stop the gearbox oil coming out (if running original Subaru 4WD trans) and then remove the driveshaft portion.1 point
-
Today i got the dash out, the XE is well different to the XF which is understandable tbh, but still annoying lol. gonna take some thinking to get it all to work. plenty have done it but theres fuck all in the way of info with regards to wiring diagrams etc that i can find, but i'll make it work. spent most of the day then removing trim and getting the soggy sound deadening out with a heat gun and scraper. left it with some rust converter doing the good stuff. rubber mat, yum! niiiiice! bit of a score this i reckon. early bench seat. the later ones had the headrests integrated so it could be an XA/B/C / Fuckknows. but yeah. its in good nick .1 point
-
just to be clear im not building the new house. once the smashing is finished that's about it for my involvement. im making the steel portal and some SS flashings but thats all. ill help out where i can but it wont be much. speaking of smash, front of house removed. after i took this photo we cleaned up and put all the timber into away and generally made things clear for the digger which is turning up Tuesday 2017-04-16_03-00-05 by sheepers, on Flickr 2017-04-16_02-59-42 by sheepers, on Flickr1 point
-
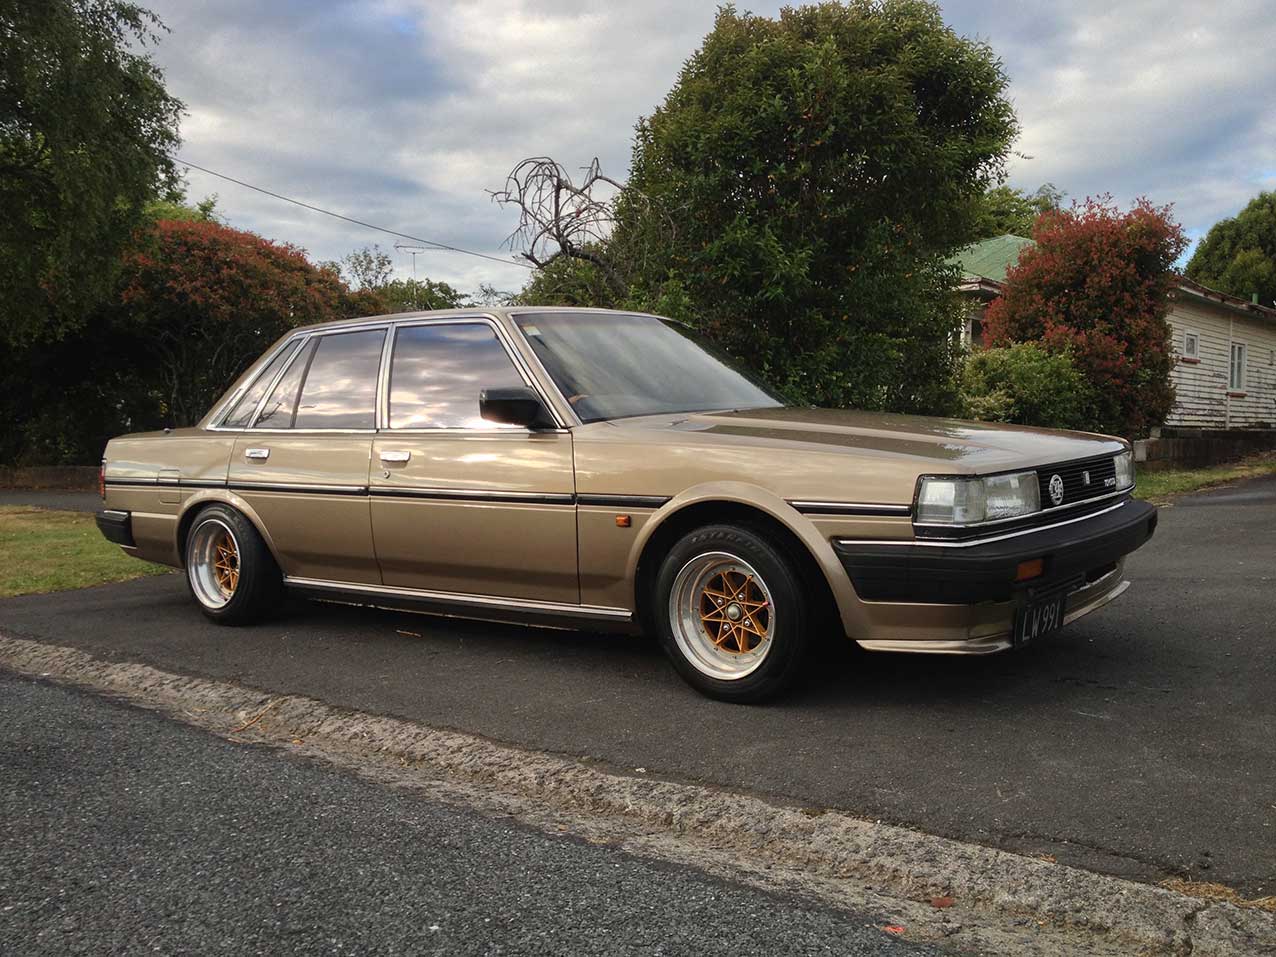
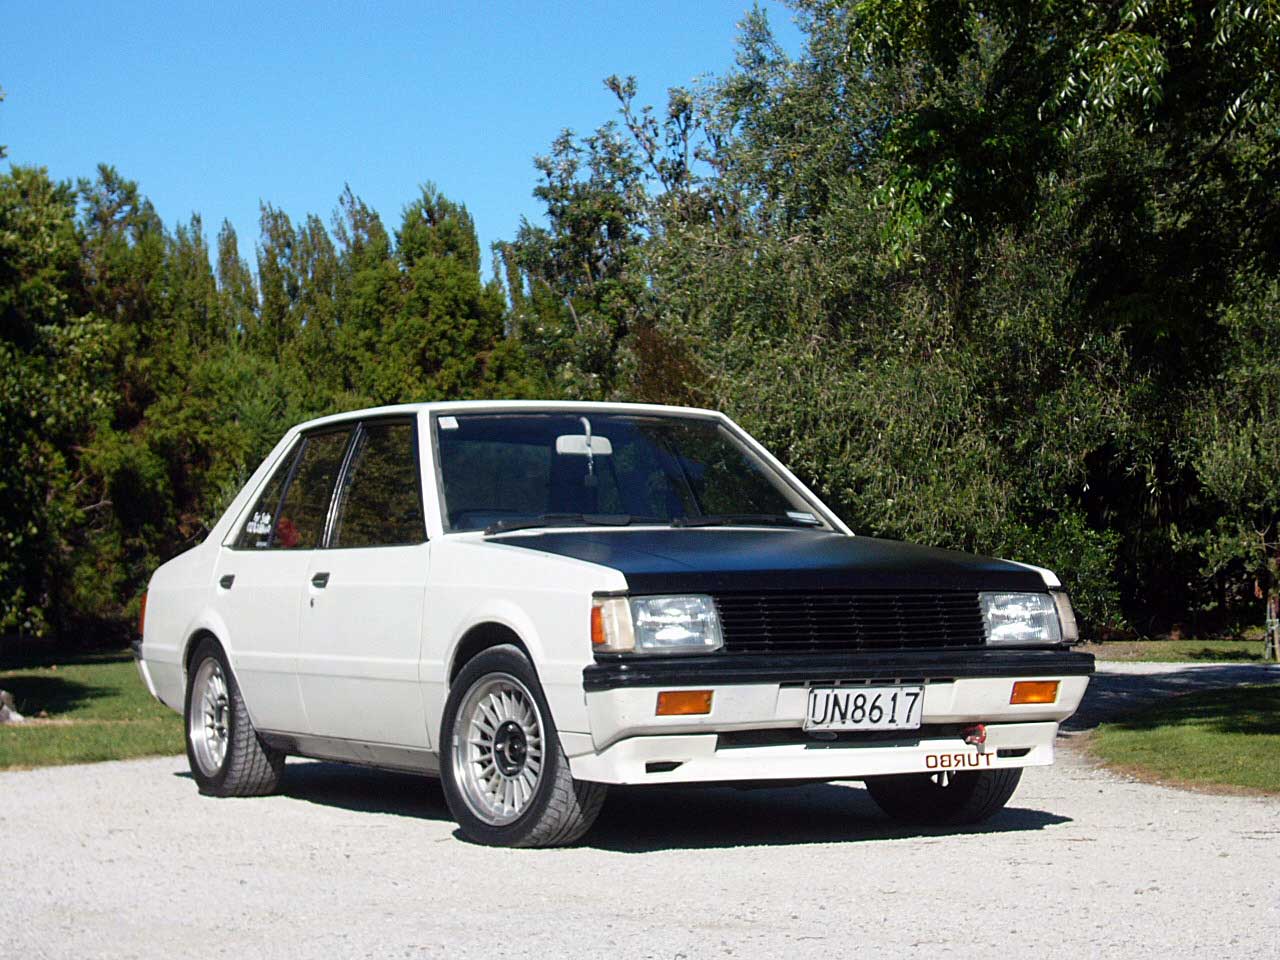
These are a couple cars I've had in the past. There have been others but these are the ones that meant the most... 1982 EX Lancer GSR. This thing was awesome. Factory injected turbo, 4 wheel disc, LSD blah blah blah... Loved this car, still kick myself for selling it. I still seeing it kicking around Hamilton. After it went through a few hands it looks like its found a good owner: And my 85 Cressida. Manual and had a 1g-gte coversion done when I got it but nothing else. I chucked an LSD in it, repainted it, wheels, lowered and gave it a good tidy up. Was a tidy car, I used it as a daily but had to let it go. Kick myself over this one too: Cheers, Kenny
1 point
-
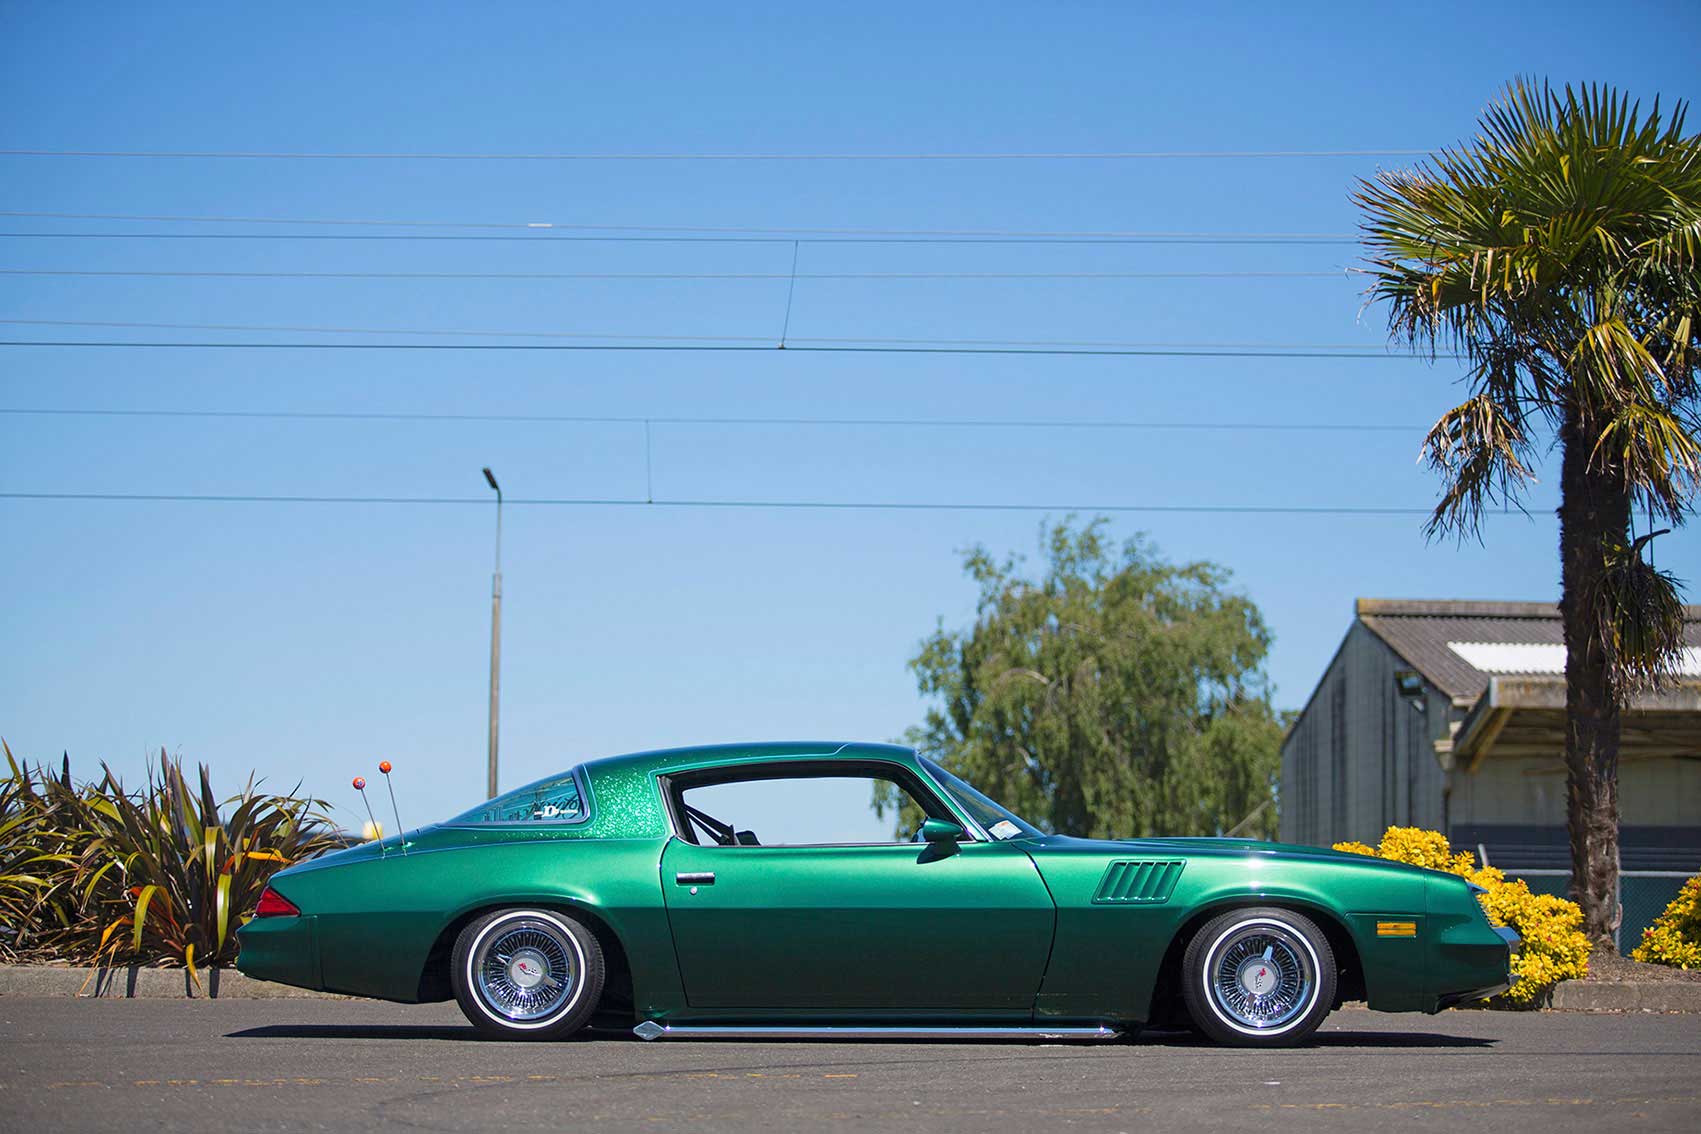
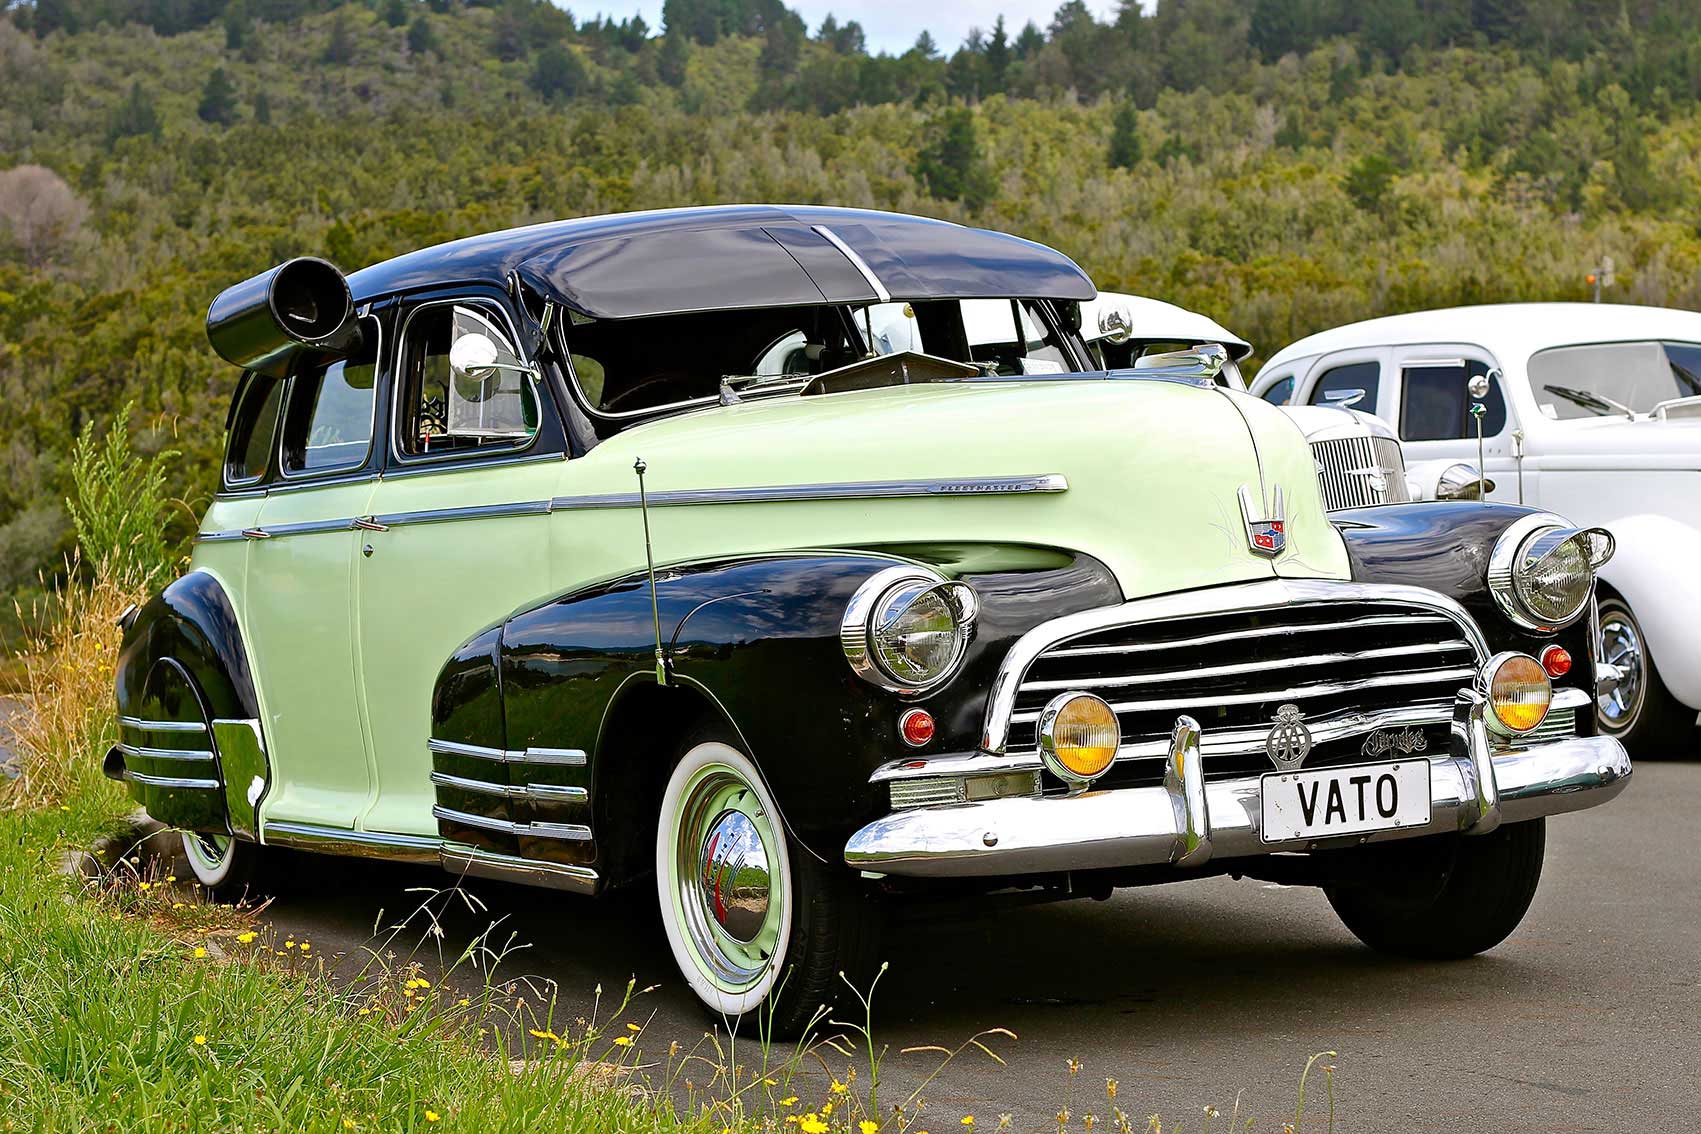
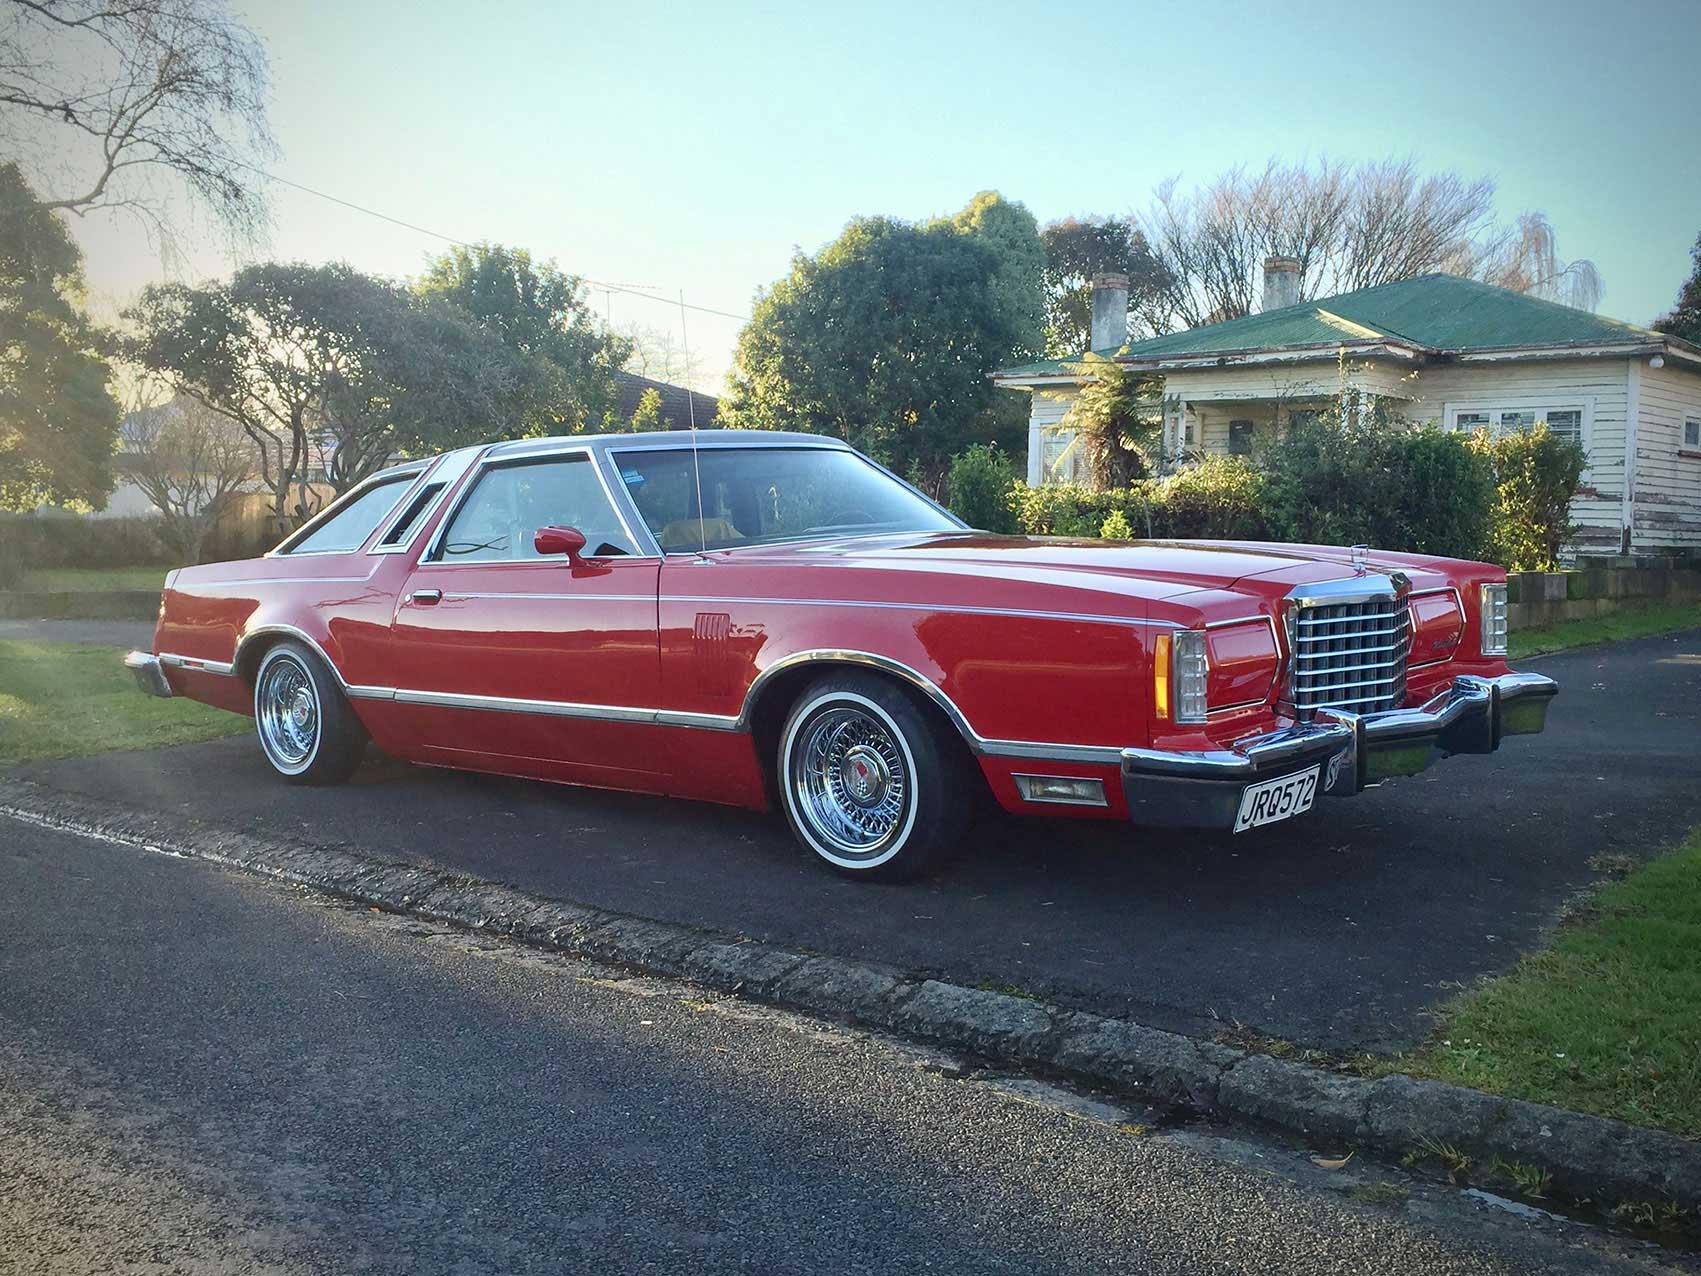
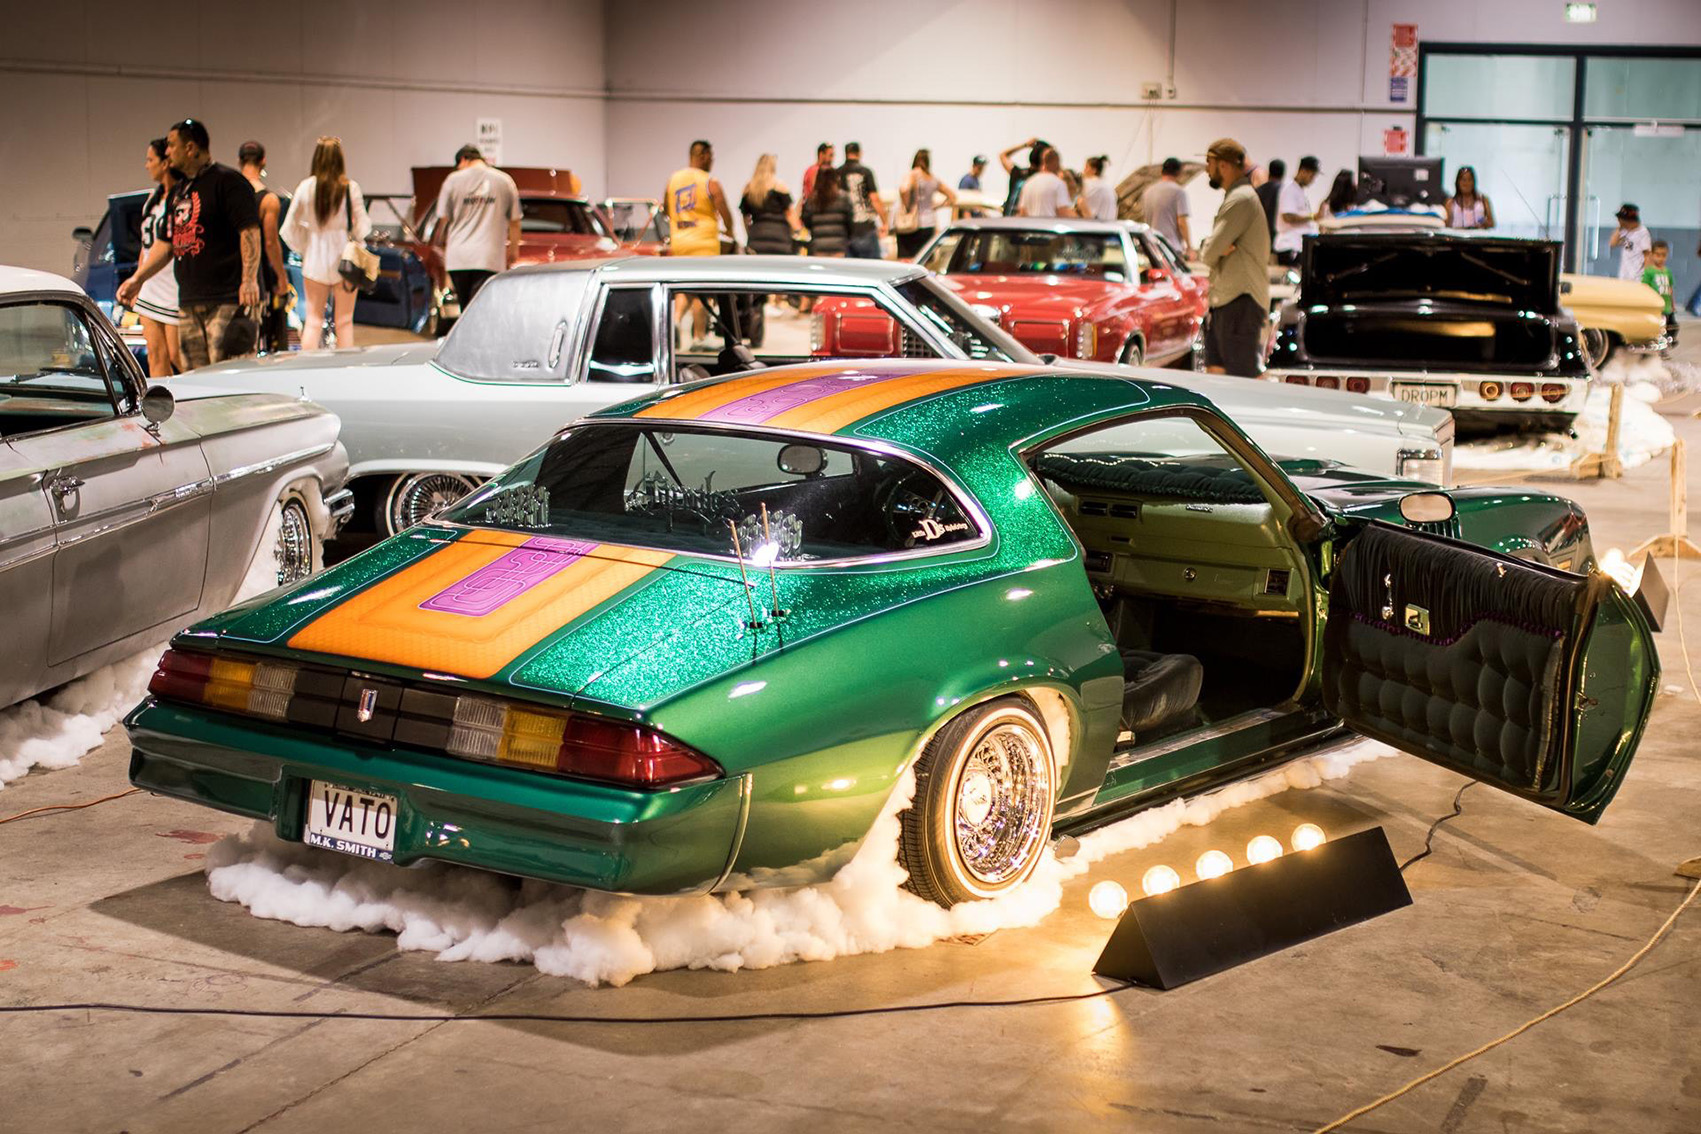
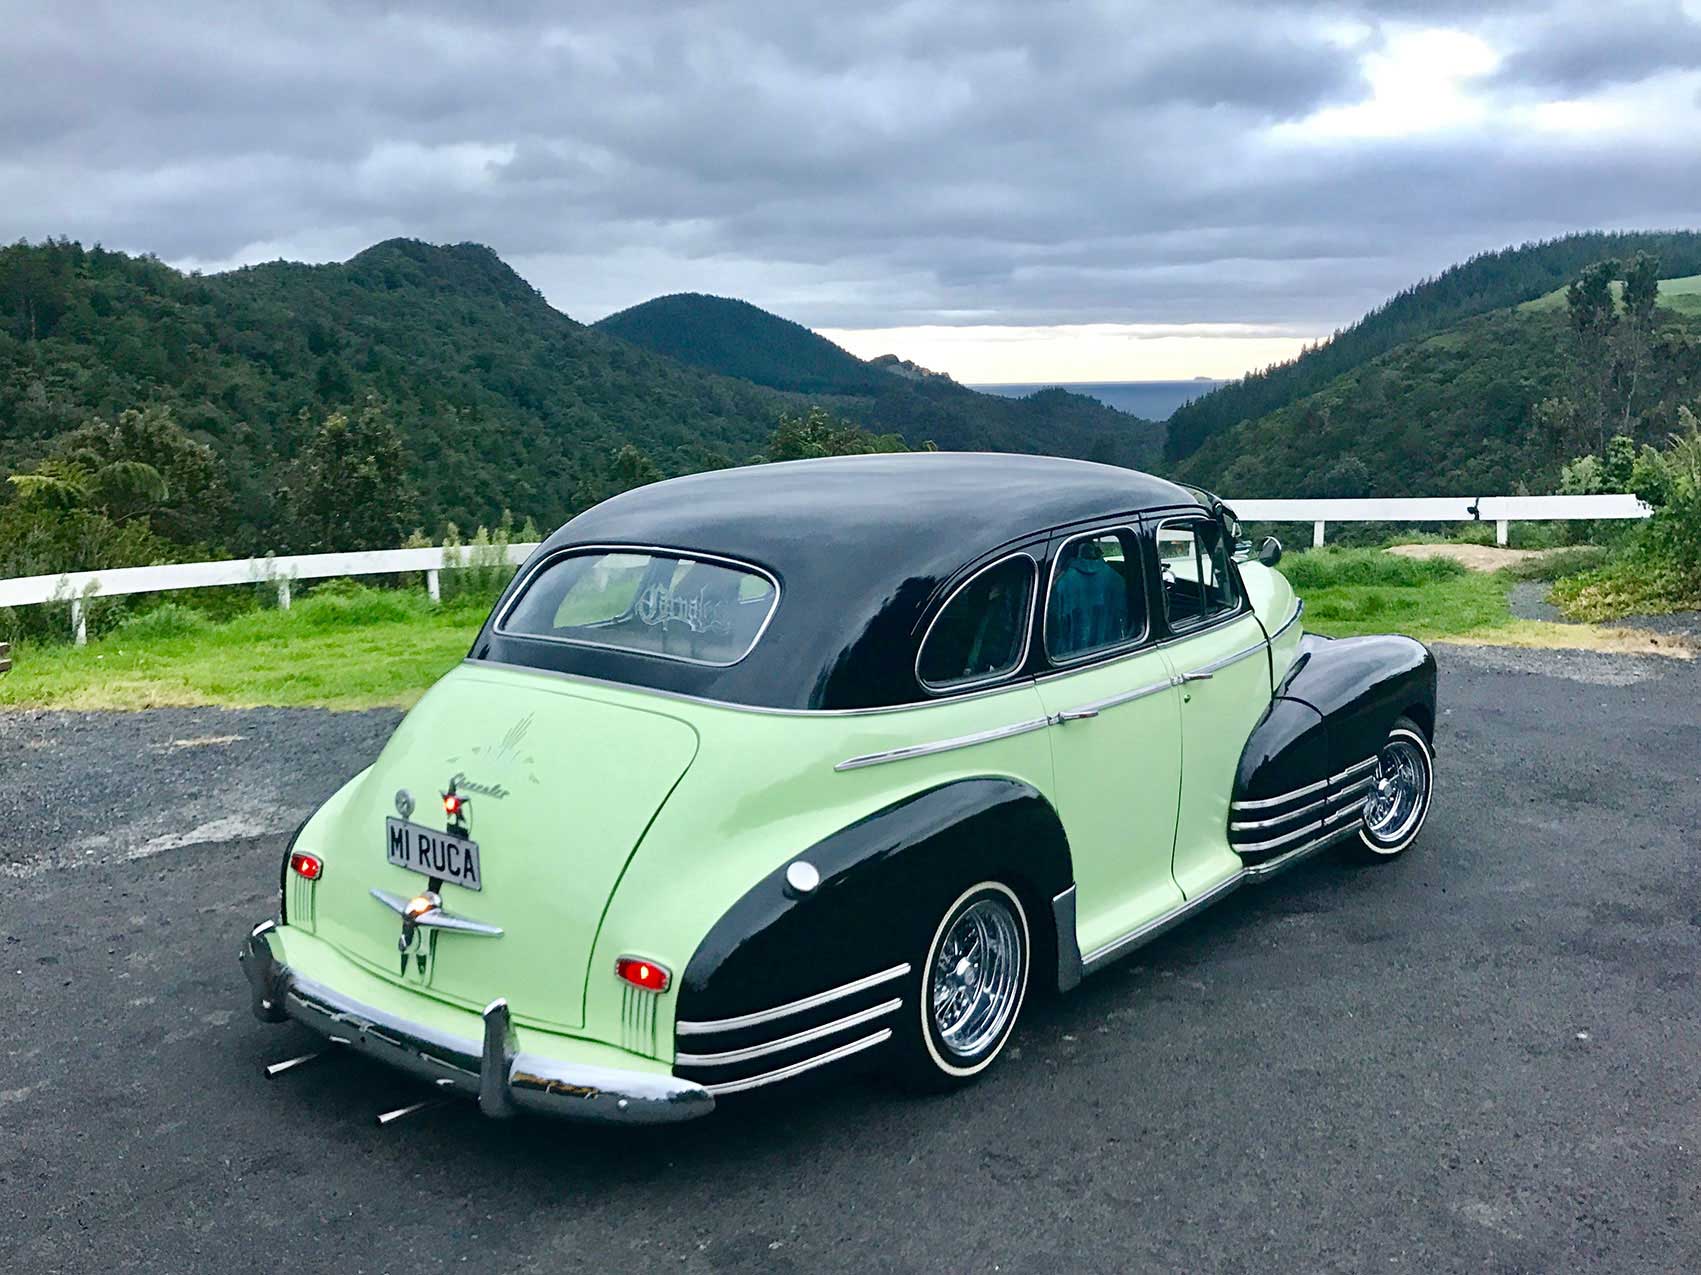
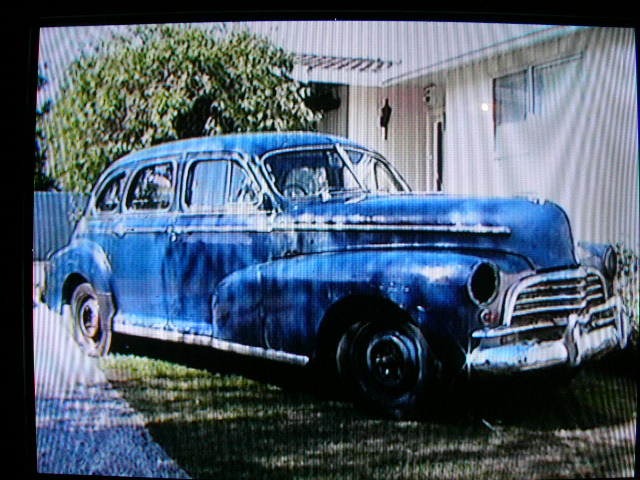
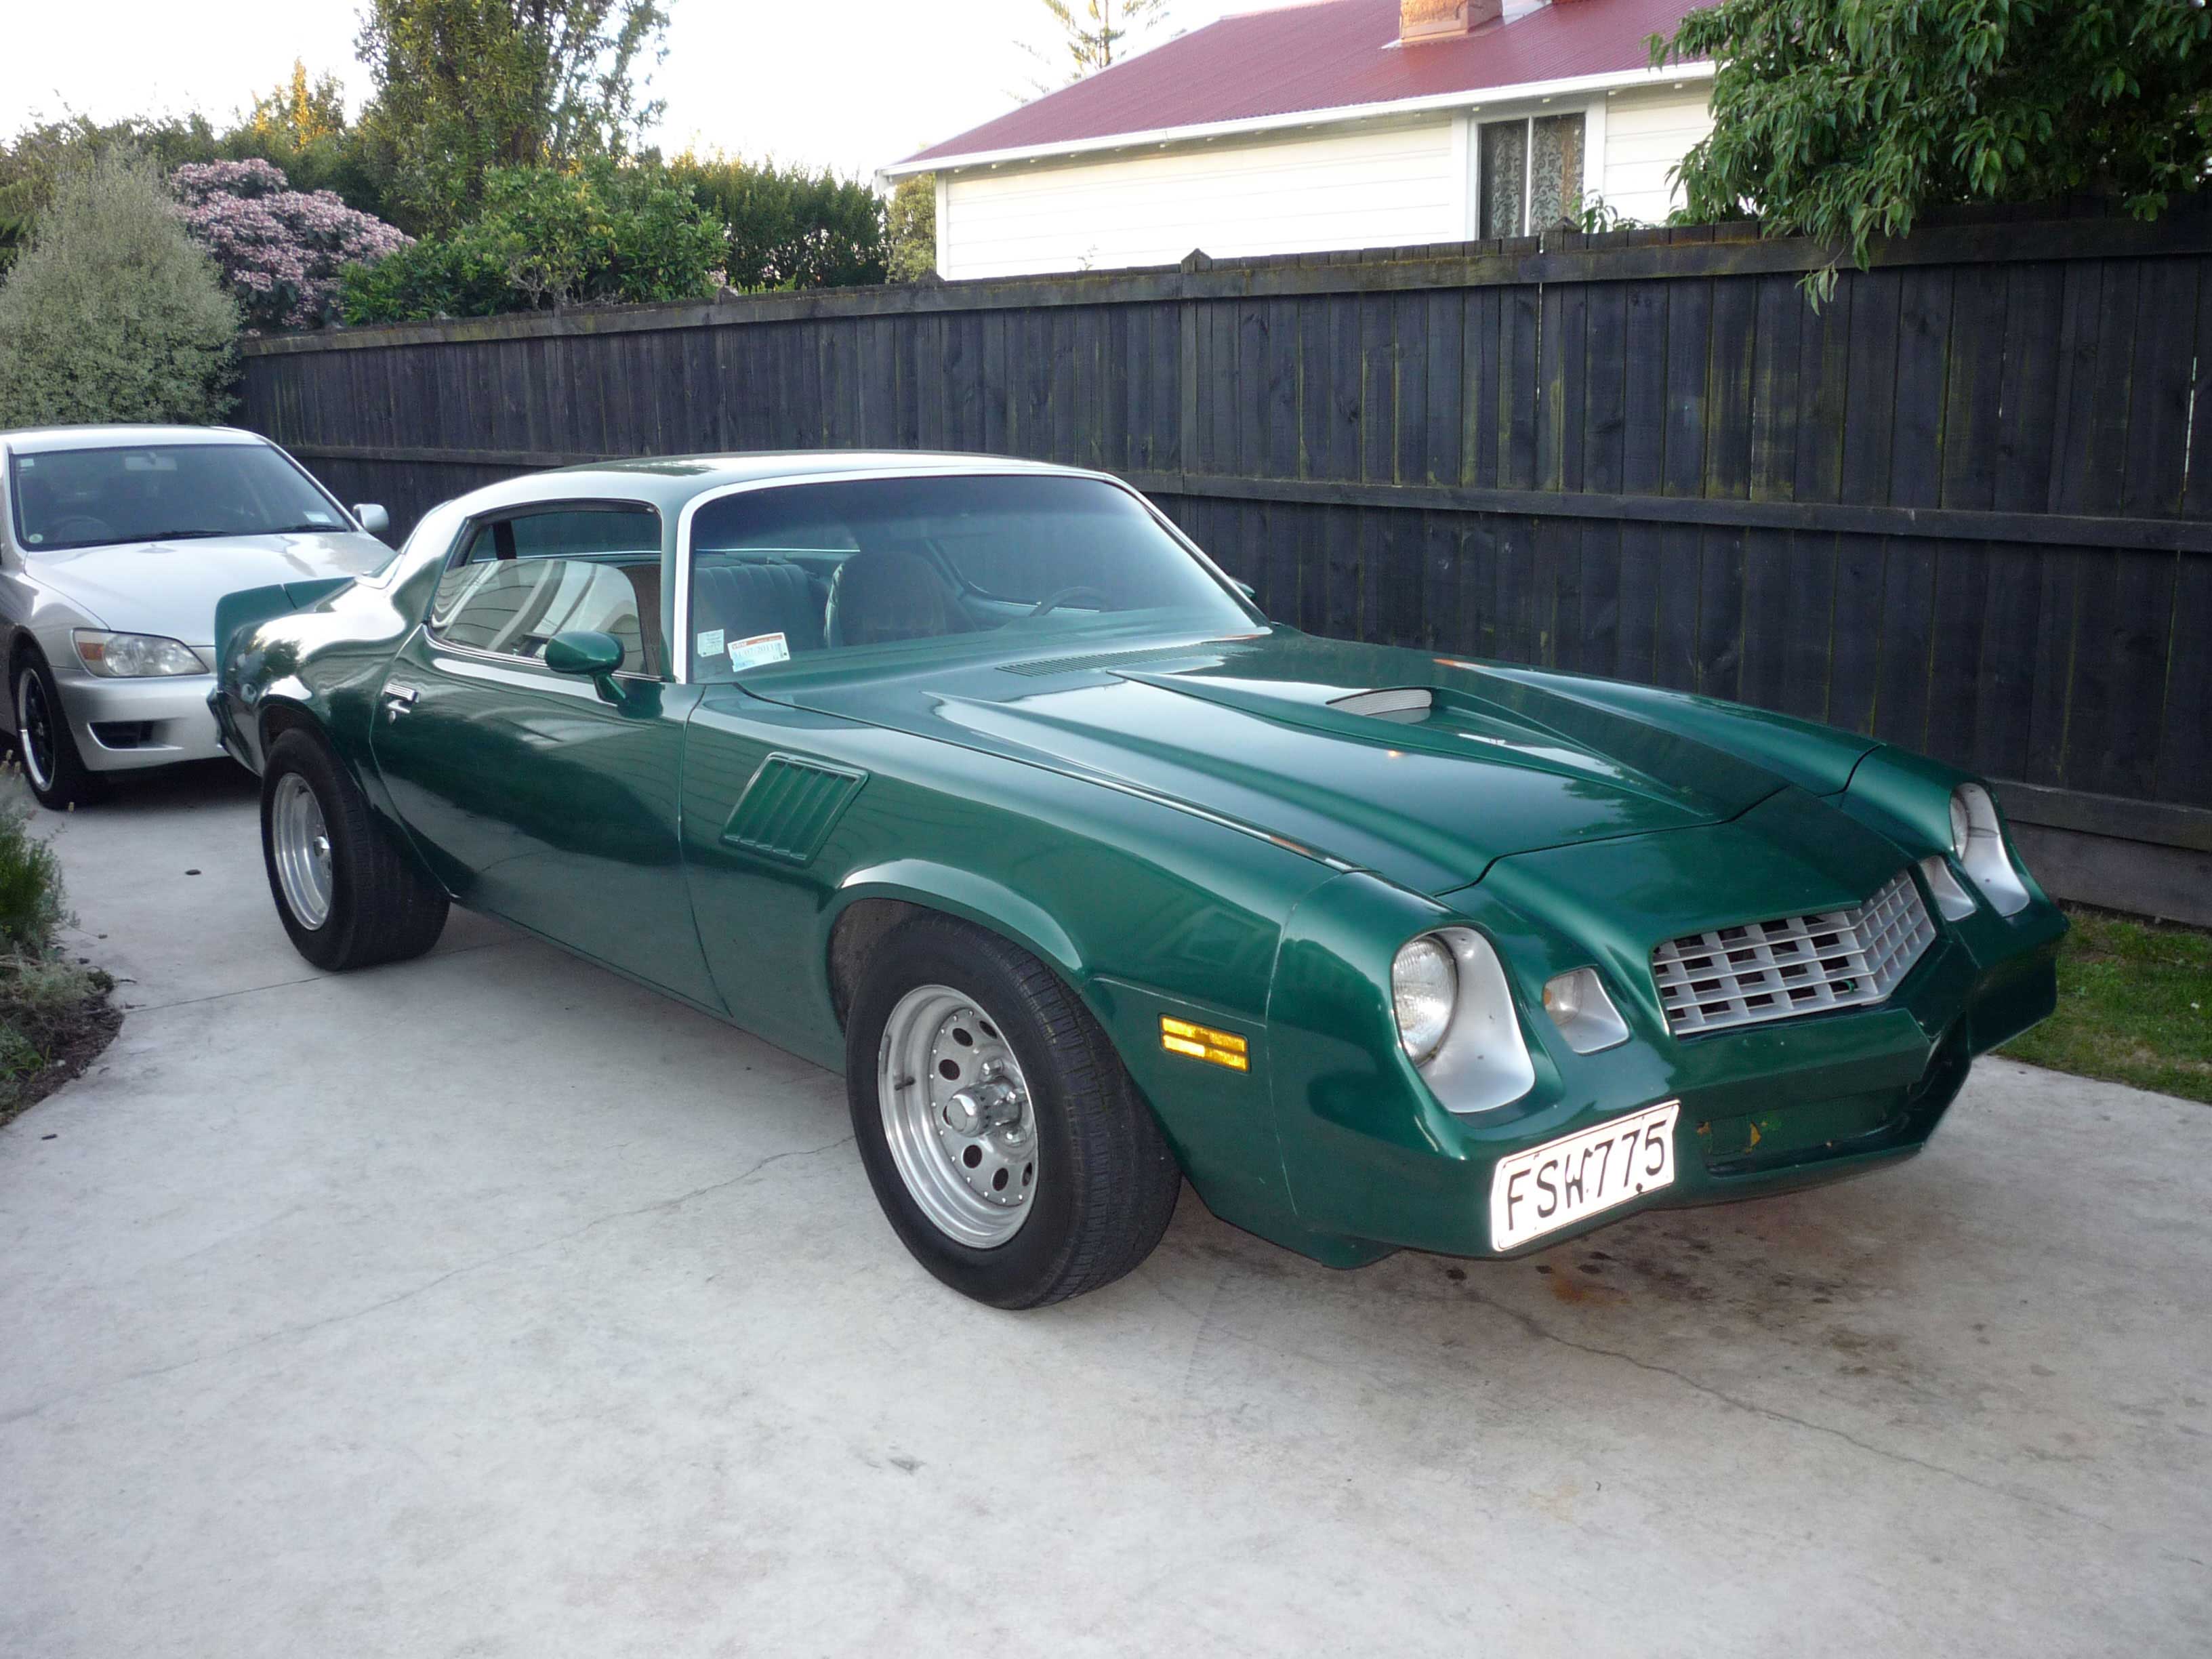
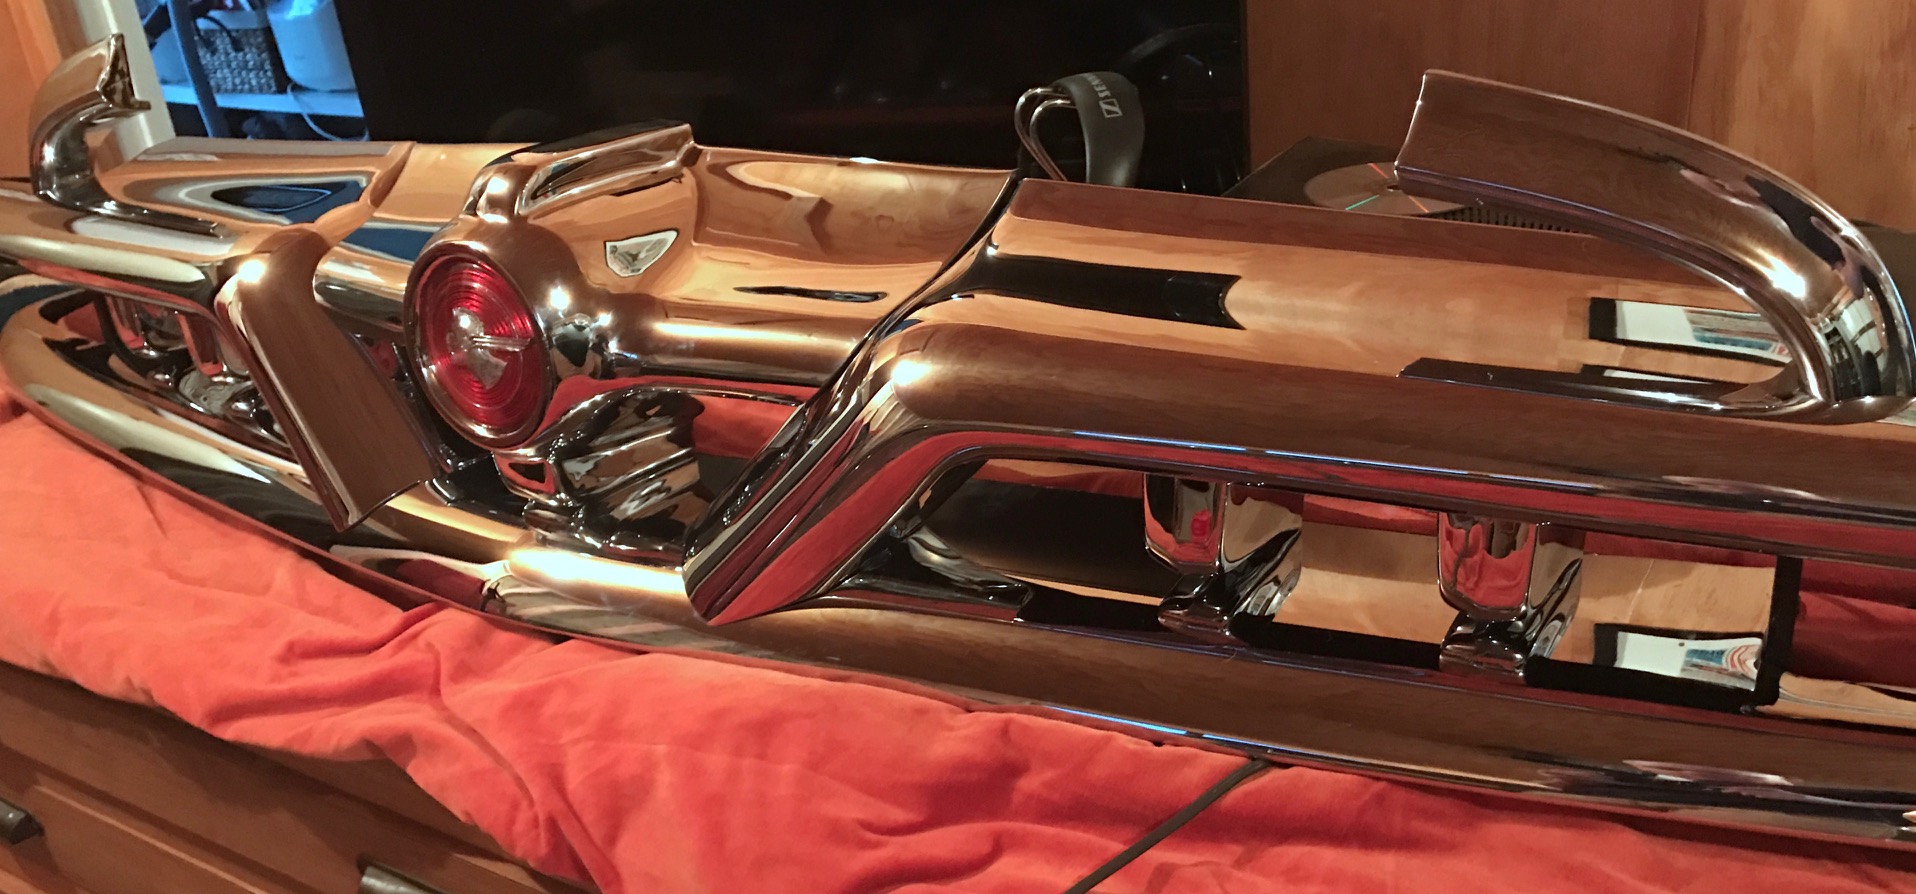
So some have asked to see pics of some of my other cars. You've probably seen 1 or 2 of them around no doubt. I've had the 46 Chevy Fleetmaster for the last 14 years or so. Its an ever evolving project. Love this thing. Recently converted to 5 stud using 55 hubs for the front and changing out the dif to a Nova dif. Doing this I converted it to open drive using a converter on the end of the original gearbox. Now its geared up to cruise a lot nicer on the open road. It still runs the original 216 dipper, never misses a beat: Then my 78 Camaro. This build has been a real eye opener haha: And the most recent other than the Corvair is the 77 Thunderbird Town Landau. Its fully specd with, from what I can gather, every factory option it can have, down to the fake luggage straps. We picked this up in Wanaka and did an epic roadtrip back to Hamilton. Loved it. The cars real tidy with 49k OG miles on the clock, been in the country since 81. Slowly putting my touch on it: Those are the current cars I have. Don't get me wrong, I don't have a lot of money haha I've put a lot of time into these and a lot of help from friends and family. Also my crazy obsession doesn't help. Sometimes its a curse haha
1 point
-
Small steps...
1 point
-
Rhona and i did more smash. drain layer is coming Tuesday to repair sewer line which runs under the new house. he wanted the front of the house gone so it wouldn't fall on him. can do. tomorrow im having a day off to cook and eat pork belly but sunday should see the rest of the front of the house gone. 2017-04-14_03-38-57 by sheepers, on Flickr 2017-04-14_03-39-23 by sheepers, on Flickr 2017-04-14_03-39-34 by sheepers, on Flickr1 point
-
ever seen an American modified car that wasn't held together with zip ties and wire?1 point
-
Inhibitor switches are a good idea,1 point
-
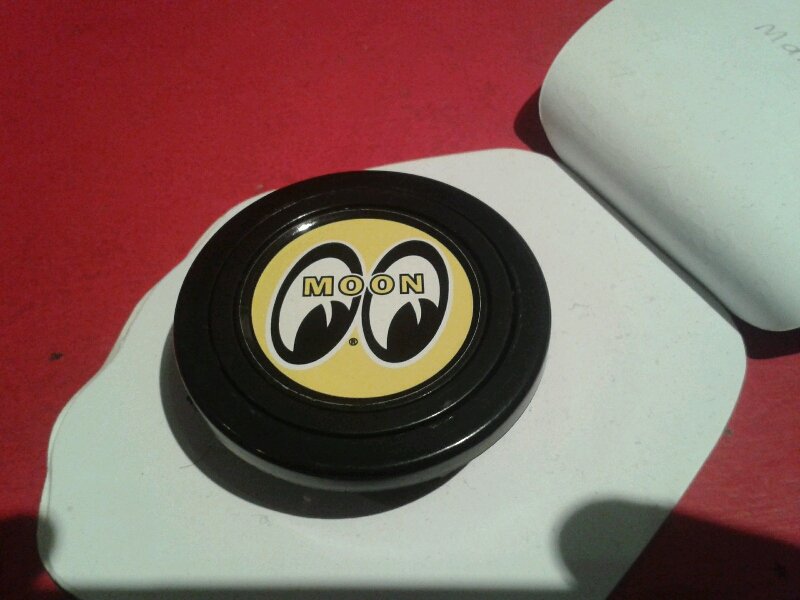
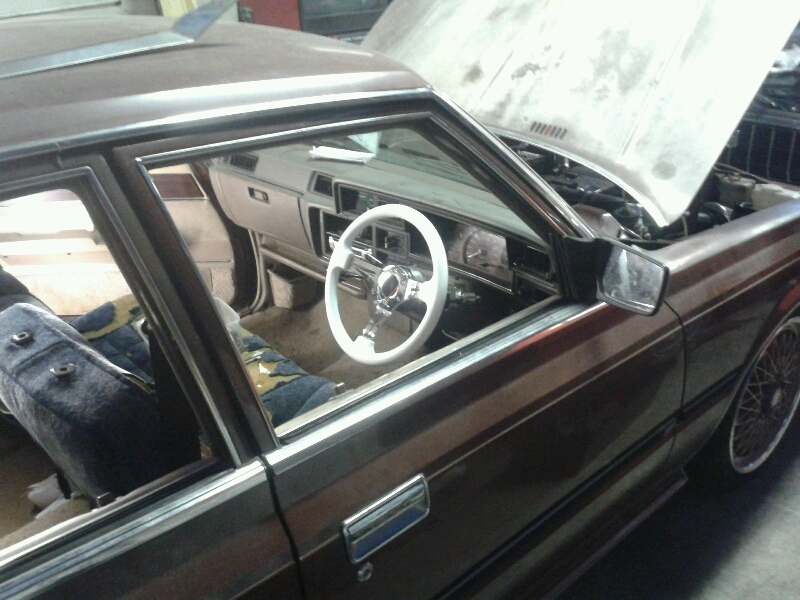
Woop woop. Been pretty busy with swapping motors in my wagon, nats and leeboes daddy shower. However finally been getting some time on this. Spent the last few evening's tidying up the wiring and refitting all the dash, kick panels etc. Pretty happy to have that done. So fit my new steering wheel. Pretty happy with it. But needed a more fancy horn button. Thankfully, I had bought a bunch of mooneyes stickers when I visited von makooooooo at magoos hot rods over nats weekend. Was perfect size. Much win. So driving this to work at some point over the long weekend to finish the exhaust. And that should be it really. Cert ready! (I hope) Anyway. Rock and roll.
1 point
-
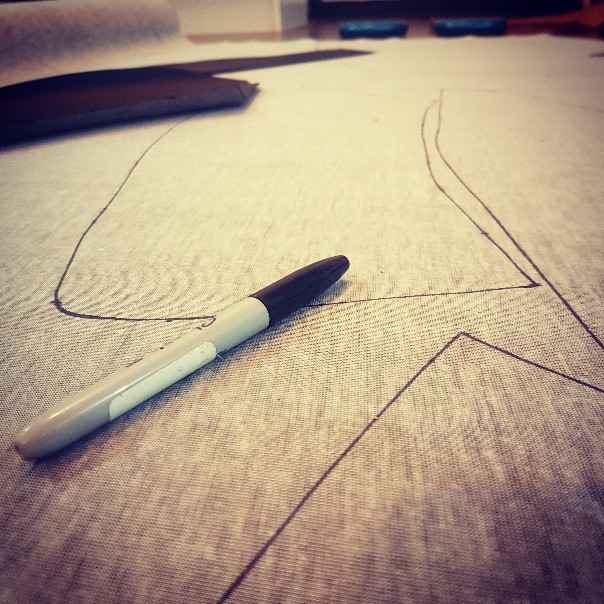
This is my life nowsanding sanding and more sanding.had to buy some more Autothane primer filler, 4lts used up already, all the small removable parts are primed, working on the doors, then the front fenders, going to take the shell off the spit this weekend so I can finish up the front and back ends, aiming to have it all done by the end of the month, BUT, my work is relocating at the end of the month and have just started paying us Monthly(broke ass) the Mrs is filling in for her charge nurse who has just resigned and is working full time for the next month and a half not to mention the boys Rugby is starting soon, we're going away in the school holidays and all the other normal day to day shit like mowing the lawns and other diy crap still needs to be done!Fuuuuuuk.YeaHaw!!!1 point
-
do they know the type of cars that we have1 point
-
Free delicious food? I'm in!1 point
-
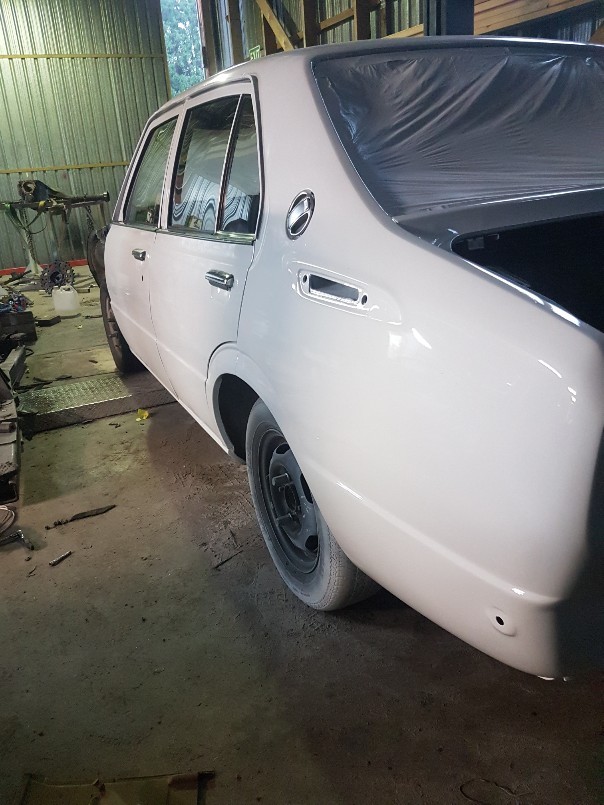
had a busy week and weekend, got the first couple coats of red on the car.did the bottom and the inside and dash area,pretty pleased with it, did one coat on saturday, missed a couple spots, worst thing that happened was sweat running out of my glove on the wet paint, bugger it! gave it a wipe with thinners and it came really nice on the second coat today. Got a few small runs but stoked with it. not bad for a rookie!1 point
-
Took the Rover out for a Rove today, its driving really well, with only minor hiccups every now and then. Still some ironing out to do in the tune. On the other hand, i filled up today. Spotted this in the owners manual and had a lol Clearly BLMC had some sense of humor back then.1 point
-
Nothing too exciting going on with this. just working my way through all the stuff in the way, to get the extra up travel. Driver side engine mount got chopped off and new one made higher up to clear the top link. Alternator had to go as well. will use a fwd bracket to move it up. a new inlet on the water pump should make it work with the rwd pump. Last thing giving me drama is one of the steering links and the the sump. if can get another 30mm clearance between the 2, this will be max up travel on bumpstops. kinda lost count but got around 3 inch more up travel than the leaves other than that just been welding... bottom chassis link mounts are on for good. i forgot to drill the lightweight hole in this one. Crossmember was way too much to weld with tig, and was to lazy to drive an hour to my old boys to use mig. Arc it was. still got a little work to go on it1 point
-
The flowmaster mufflers that have been under my Silverado for the last 9 years fell apart. The tail pipe rusted completely out of one side and the other muffler wasn't far behind. When i climbed underneath for a proper look both were starting to look like Swiss cheese. I had never been super happy with the sound that came out of them, the truck just didn't sound quite right and there was a real drone at 1800 rpm, or 95 kph in top gear. The new mufflers are a straight thru design, much like the magnaflows in the video above and so far I really like the sound. It sounds like a V8 driving around normally, motor way speed is quieter and it awesome when given a boot full. A big win so far. I am not sure that I would bother using the flow masters again.1 point
-
Procrasti-shopped a photo from Beach Hop... maybe one day.1 point
-
wow mega update So yeah, eventually got a wof, had to get a wheel alignment and other sit to get it sorted, but it is sorted. Used it to get up to Parmy swap meet, first decent drive since doing the head gasket etc. went pretty well, including towing a slam trailer. So yeah, been pretty keen to get it lowered as we are planning on driving this down to the hanmer meet. So over the last week been sorting out the bits and pieces I needed to get it slammed Done deal. as you can see, the springs are different, in a good way. holy crap those cobras are so yuck! and the result much better. and no more yuck wires. Really need to clean up my SSR's tho. been sitting for too long. However, the back needs to come down a tad maybe, looking like its got a bit of rake on, not surprised really as I took a quarter of a coil off the front, as I concluded if the car still had original bump stops in it, then it must not have been low enough, so I modded the bump stops also. the back is just captive, which I am surprised about, as all my other crowns have had shorter shocks in the rear. So that might be on the cards soon also Next step is to cut out the inner wheel archers where the tires rub, pretty common practice on crowns, for me anyway. word. Discuss //oldschool.co.nz/index.php?/topic/43431-seedy-als-brown-crown-non-wag/1 point
-
Valve Seat Recession Exhaust valve seat recession (VSR) is a complex process affected by many factors of engine design and use. Amongst these however, high engine speeds and high engine temperatures are major factors in making an engine susceptible to VSR. VSR is a phenomenon experienced only by poppet valve four-stroke petrol engines. Valve Seat Recession Explained Valve seat recession (VSR) is the name given to a process of accelerated valve seat wear. The mechanism by which this occurs is as follows: 1. The very high temperatures at which it operates (typically between 600 and 800 degrees Celsius) causes the exhaust valve to weld locally to its seat. When the valve is then opened a small particle of the iron seat is pulled away. This particle is converted into iron oxide in the hot exhaust gas. 2. As the valve then closes again these particles are imbedded in the valve face. 3. With these hard lumps of iron oxide imbedded in it, the exhaust valve becomes, in effect, a grinding wheel. Thus any rotation of the valve will cause it to grind away the seat. Valves tend to rotate under the action of the valve springs and by engine vibration. Tetra ethyl lead, dangerous if absorbed through our skin when in pure form, is a form of lead previously used extensively, and highly diluted, in gasoline. This compound has TWO major effects. First, in sufficiently high percentage, it can raise the octane value a fair amount, very important in WWII aircraft engines, especially those that were supercharged; some were both supercharged AND turbocharged. The original purpose for using tetraethyl lead in gasoline was specifically for raising octane. Some of those aircraft engines required 145 octane gasoline. Usage for the purpose of raising octane was carried forward for decades for cars, because it was cheaper, even when the lead was sold to the refineries expensively by the then Ethyl Corporation, than using only refining methods to increase octane. Many decades ago, premium (higher octane) gasoline's were simply called "Ethyl". Usually those gasoline's had MORE TEL (Tetra Ethyl Lead). The 'seat' and 'valve' protection effects were something noticed later on, after WWII [i think]. Tetra ethyl lead leaves a microscopic layer of lead on the valve and seat; some folks call this cushioning. It was generally originally accepted that this effect, a 'lubricating', if you will, prevents microscopic welding of seat and valve, or at least reduced metal to metal microscopic contact, sort of how oil works. Lead is, at very high temperatures, a LUBRICANT, AND A TERRIFIC CONDUCTOR OF HEAT. The conjecture was that a small amount of lead makes the seat and valve much less likely to weld at microscopic scattered points, and that the valve head heat is more readily transferred to the seat. Lead was thought to generally totally prevent the welding. Advice on the precise fuel requirements of a particular vehicle should be obtained from its manufacturers, Where leaded fuel is recommended purely for its anti-knock or octane properties the following options exist: a) Adjust (retard) ignition timing to permit use of standard unleaded (95-octane) fuel. Use super-unleaded (98-octane) fuel. c) Use lead replacement petrol (LRP, expected to be 97 octane. Further information on LRP later in this leaflet). d) Modify engine to a lower compression ratio to permit use of standard unleaded (95-octane) fuel. Where leaded fuel is recommended to protect against valve seat recession (VSR) the following options exist: a) Fit hardened exhaust valve seat inserts. This is the approach used on modern engines designed to run on unleaded petrol and is totally effective. However it can be expensive and is not possible on all engines. Use a commercially available lead-replacement additive in unleaded petrol. c) Use lead replacement petrol (LRP). What is the problem? Lead additive in petrol prevented wear (recession) of the exhaust valve seat under the combined effects of heat (due to combustion) and valve closure (hammering on the seat). Lead acted by inhibiting impact welding of the valve on to the valve seat. Such welding, even on a microscopic scale, eventually leads to a significant loss of soft metal from the valve seat in cast iron heads, and allows the valve to sink further and further into the head. The withdrawal of lead from fuel removes the protection your engine has enjoyed for all its life. What exacerbates the problem? a) Cast iron heads without hard seat inserts Overheating c) Sustained engine speeds above 3000 RPM What can I do to reduce or prevent valve seat recession? There are several options relating to choice of fuel and engine modifications. Your particular choice will depend on pattern of car usage and the state of your finances. Fuel Options Use plain unleaded fuel Probably OK for low mileage drivers who take it easy, and whose cooling system is in good shape. Problems may not arise for some years. Use LRP Lead replacement petrol (LRP) contains alternative additives (potassium based) to combat valve seat wear. The efficacy of these additives is unquestionably inferior to lead, but they will offer limited protection (read the disclaimers!). They are widely available but moderately expensive. The view is that branded additives used with unleaded fuel will provide a higher level of protection, but this is unproven since LRP was not submitted for comparative testing. Use Unleaded Fuel with Branded Additives Do-it-yourself liquid additives are available. The Federation of British Historic Vehicle Clubs carried out engine tests in association with MIRA and, as a result, gave its seal of approval to several brands including Superblend 2000, Nitrox, Redline, Castrol Valvemaster, and Millers VSP all of which performed acceptably well. These additives have different chemistries and the advice is not to mix them; choose one and stick with it. Rumour has it that Superblend 2000 performed best under test, and has the advantage that its chemistry is compatible with LRP in case you run out. Note that some of these additives are also available with an octane booster component. Engine and Other Modifications Install Fuel Catalyst Pellets So-called fuel catalyst pellets (often tin based) can be installed in the fuel tank or in-line feeding the carbs. Rely on them at your peril. They’re inert and won’t do harm, but neither will they provide any protection. Install Hardened Valve Seat Inserts Specialist engine machine shops can machine out your cast iron valve seats and press fit hardened valve seat inserts which will resist wear and enable the use of unleaded fuel without additives. Only the exhaust valve seats need to be replaced. Cost is moderate and performance should be reliable if the job is done properly. If it isn’t and the inserts drop out, you’ll probably need a new head and an engine rebuild. Install an Alloy Head The ultimate modification. Aluminium alloy heads come ready fitted with special valves and seats. You can run unleaded fuel indefinitely, obtain better engine performance due to the improved head design and carry a lot less weight! However, they’re expensive1 point


.thumb.jpg.b5491dbec1053270a4d99ed376fc2c36.jpg)


This leaderboard is set to Auckland/GMT+12:00