
Leaderboard


Popular Content
Showing content with the highest reputation on 12/02/20 in all areas
-
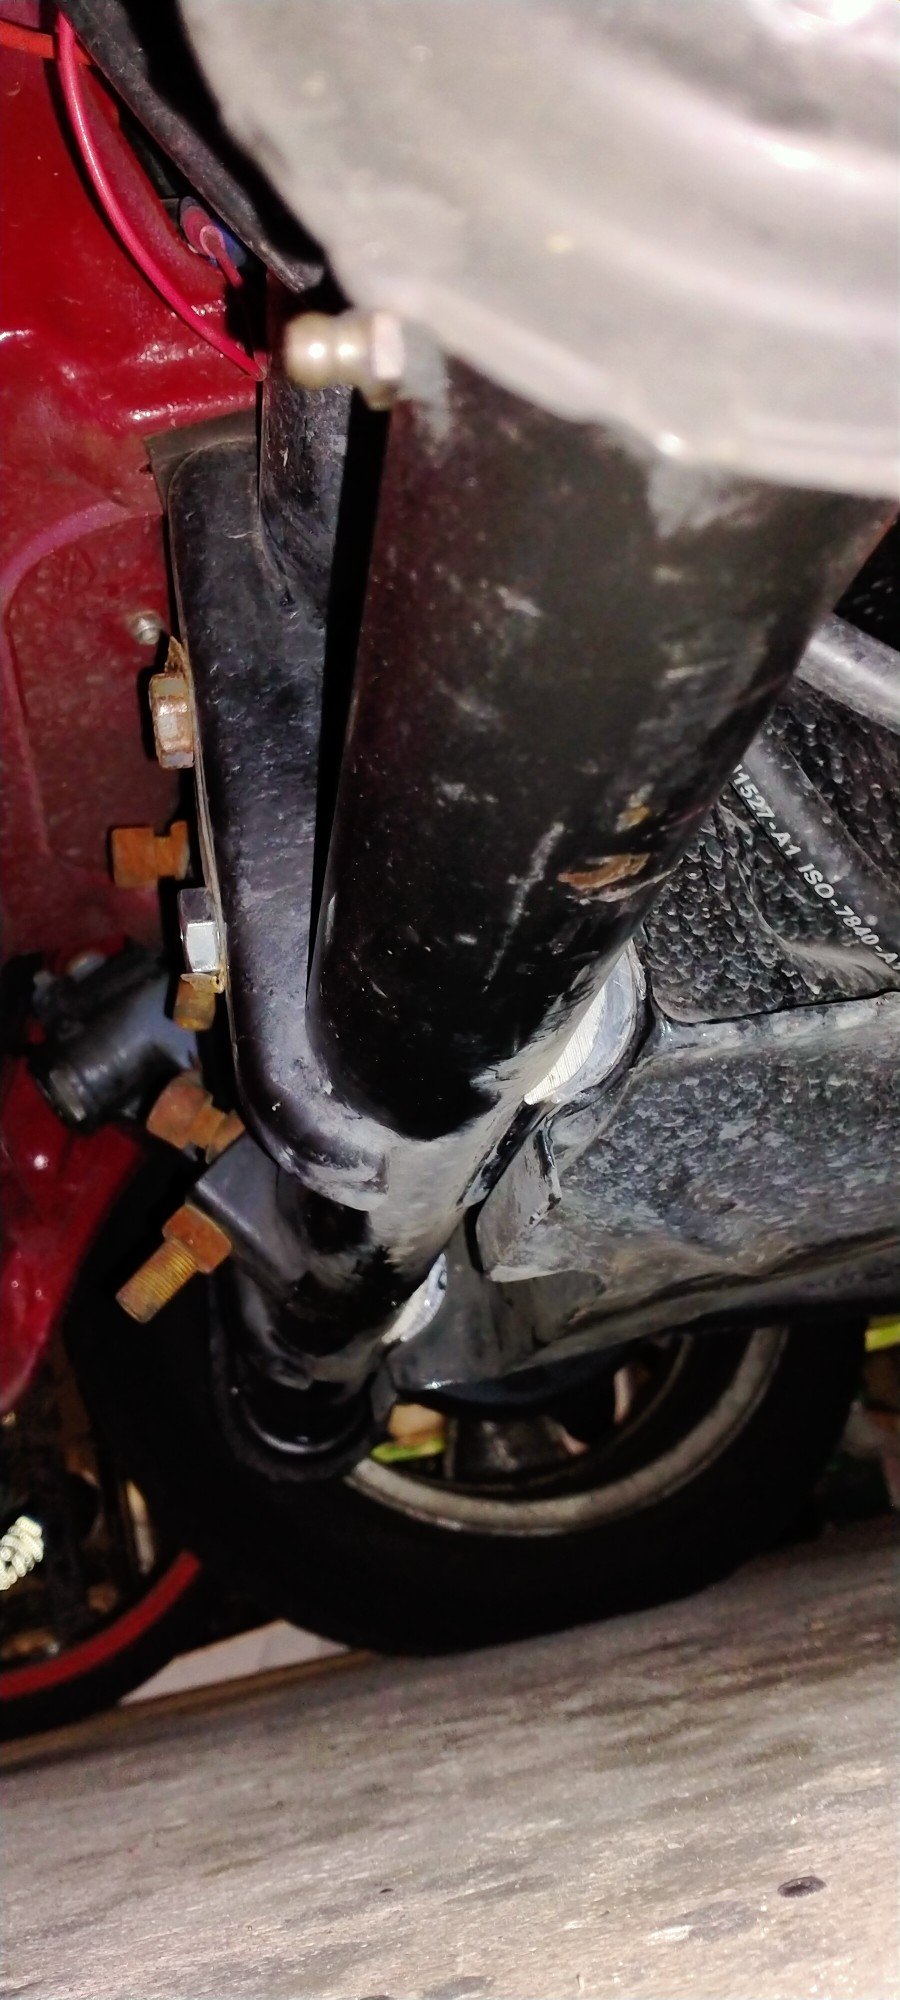
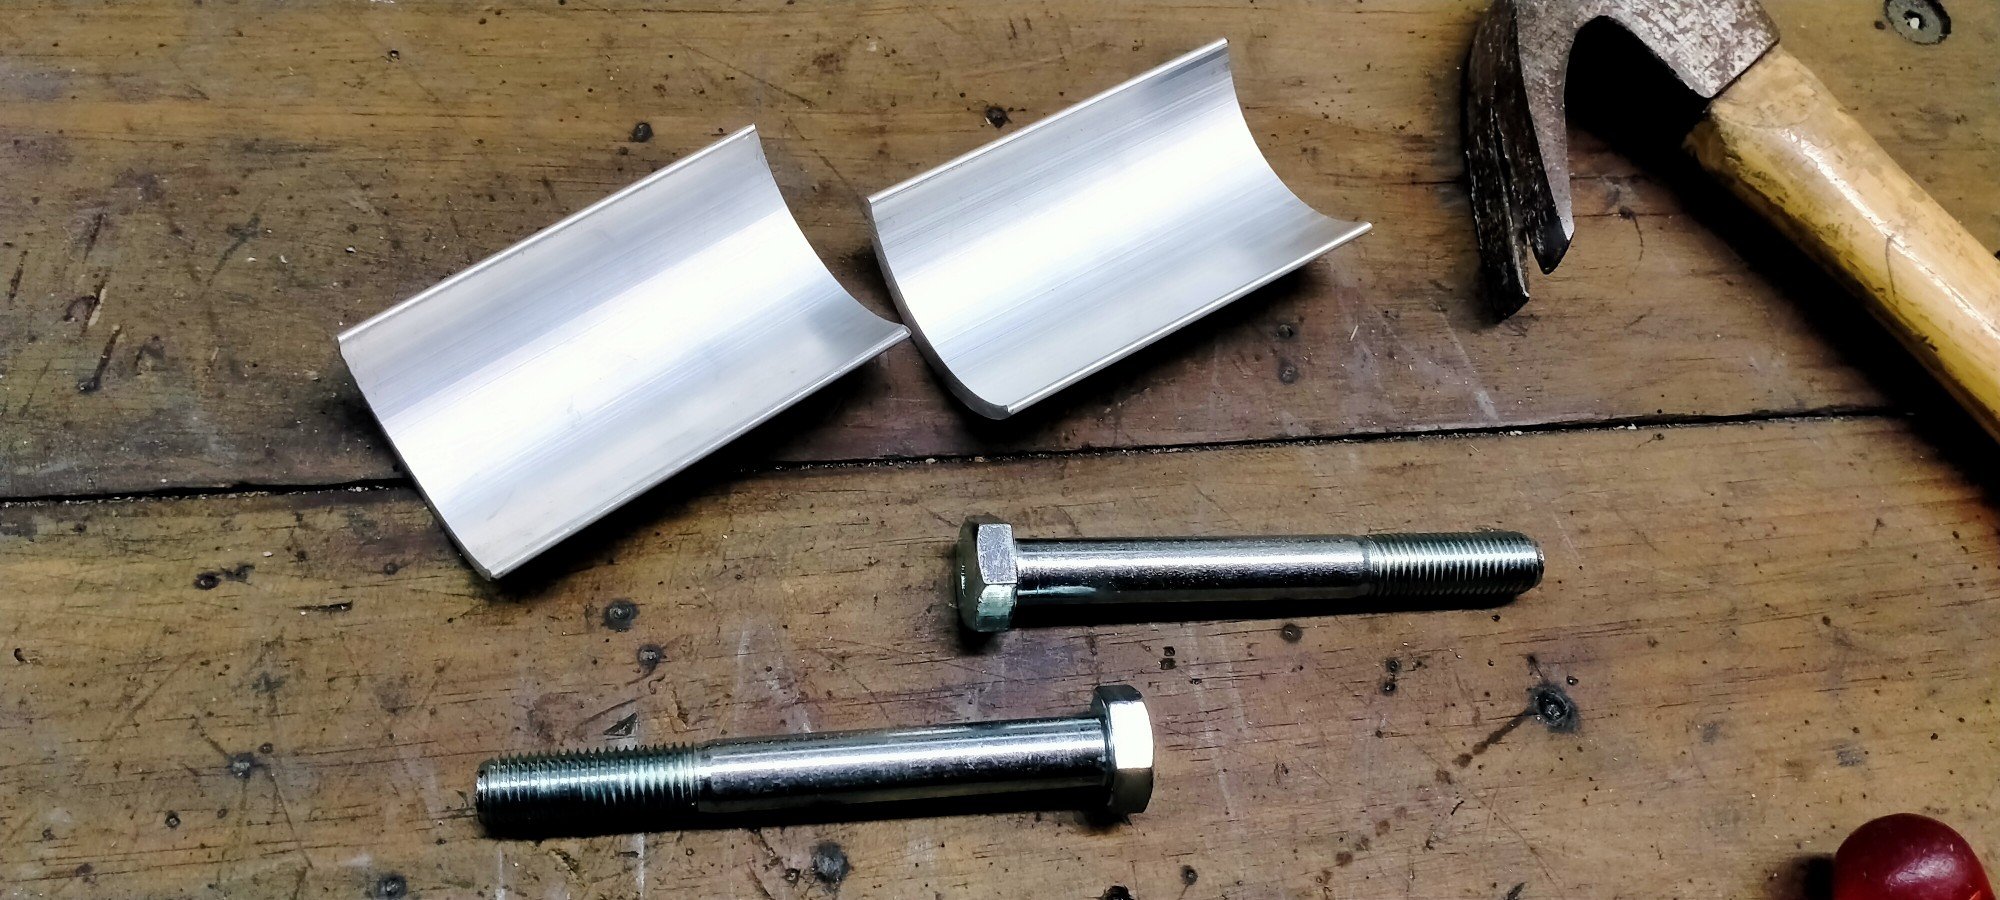
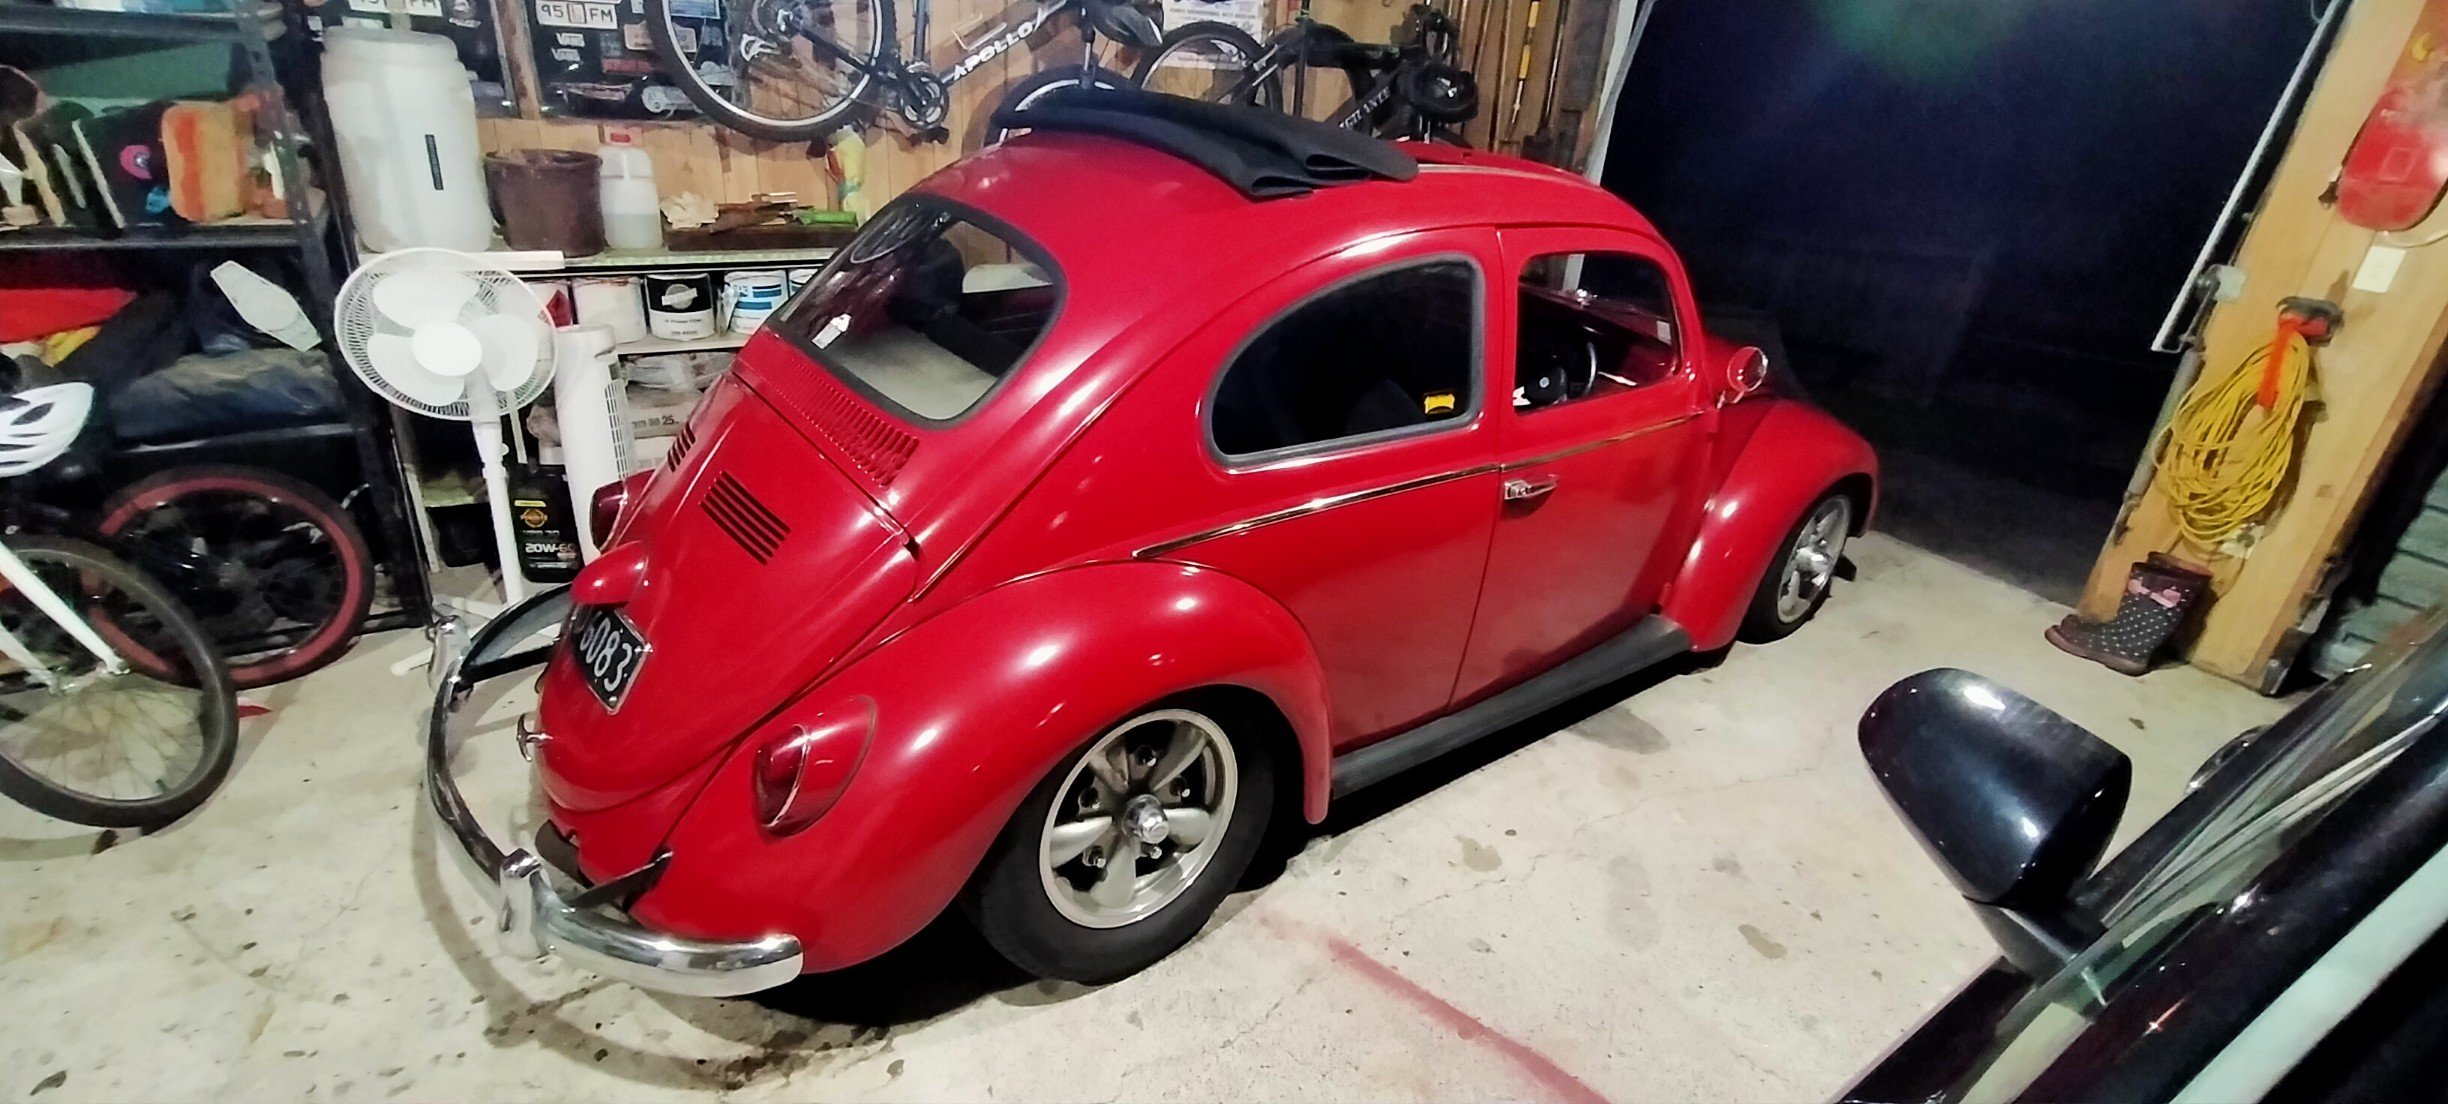
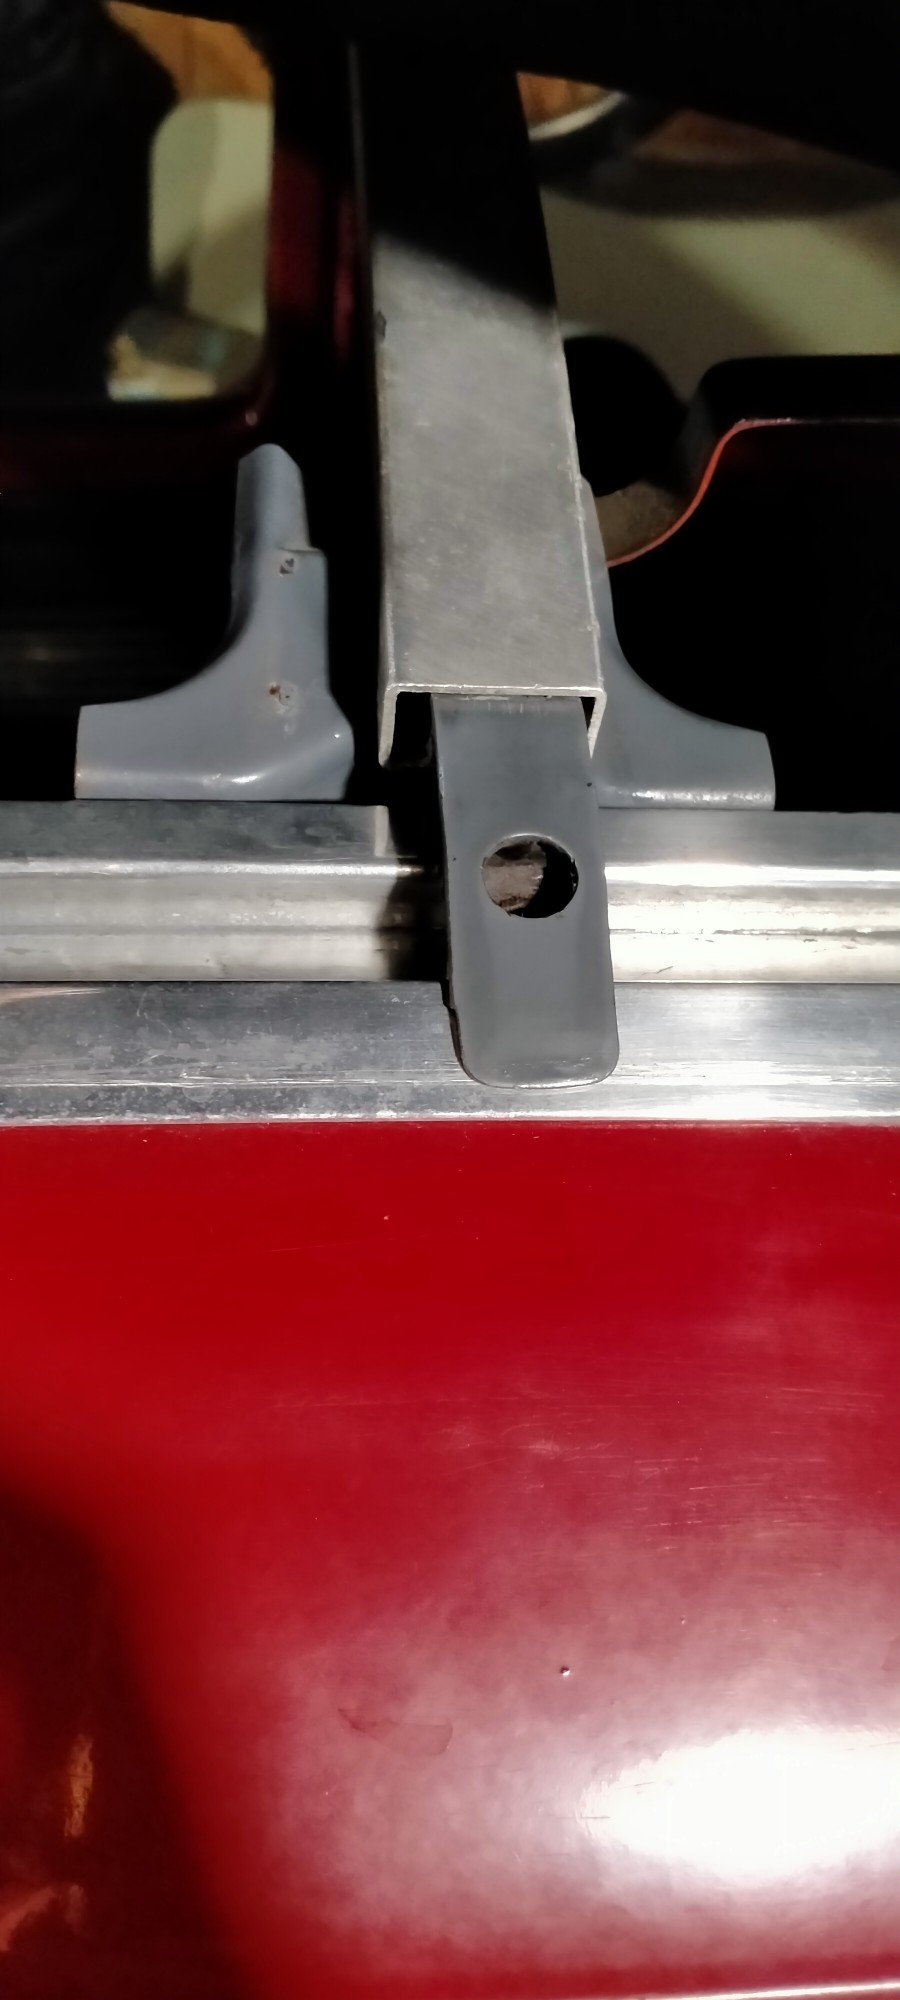
Had a play with the sunroof the other night, things been a bitch to open and close since the resto, put some of it down to not having a headliner to help pull the second bow forward, but it also a dickhole going the other way. Had a good look and tried the second set of hole in the end of the wheel holder thing. Much better! Why the fuck hans drilled the second set I do not know. The only other instructions I've been able to find say bend the outer runner to fit? Was never sure how. After some careful prodding with a screwdriver and little progress, I found the use of the round hole in the runner. The two small rollers inside need to be even so the bow moves smoothly, by putting a screwdriver in the hole in the opposite side you can easily and gently bend the steel to just the right tension. Clever hans. These are castor shims, and longer beam bolts. These improve the road manners of a lowered vw at highway speeds. I already had a set installed but on very low cars, another is needed. As the shims space the bottom beam away from the pan longer bolts are required. Managed to install them without dropping the beam out. Easily the best 40-50 bucks I've ever spent on the car, it will sit on 60-70mph, one hand on the wheel, relax. Before you needed to keep your wits about you as it was very twitchy and unsettled. Now, just need to sort the vibration at and after 70mph, the deafening noise and smell of hot engine fumes and we're sweet. An't she cute dough?
 14 points
 -
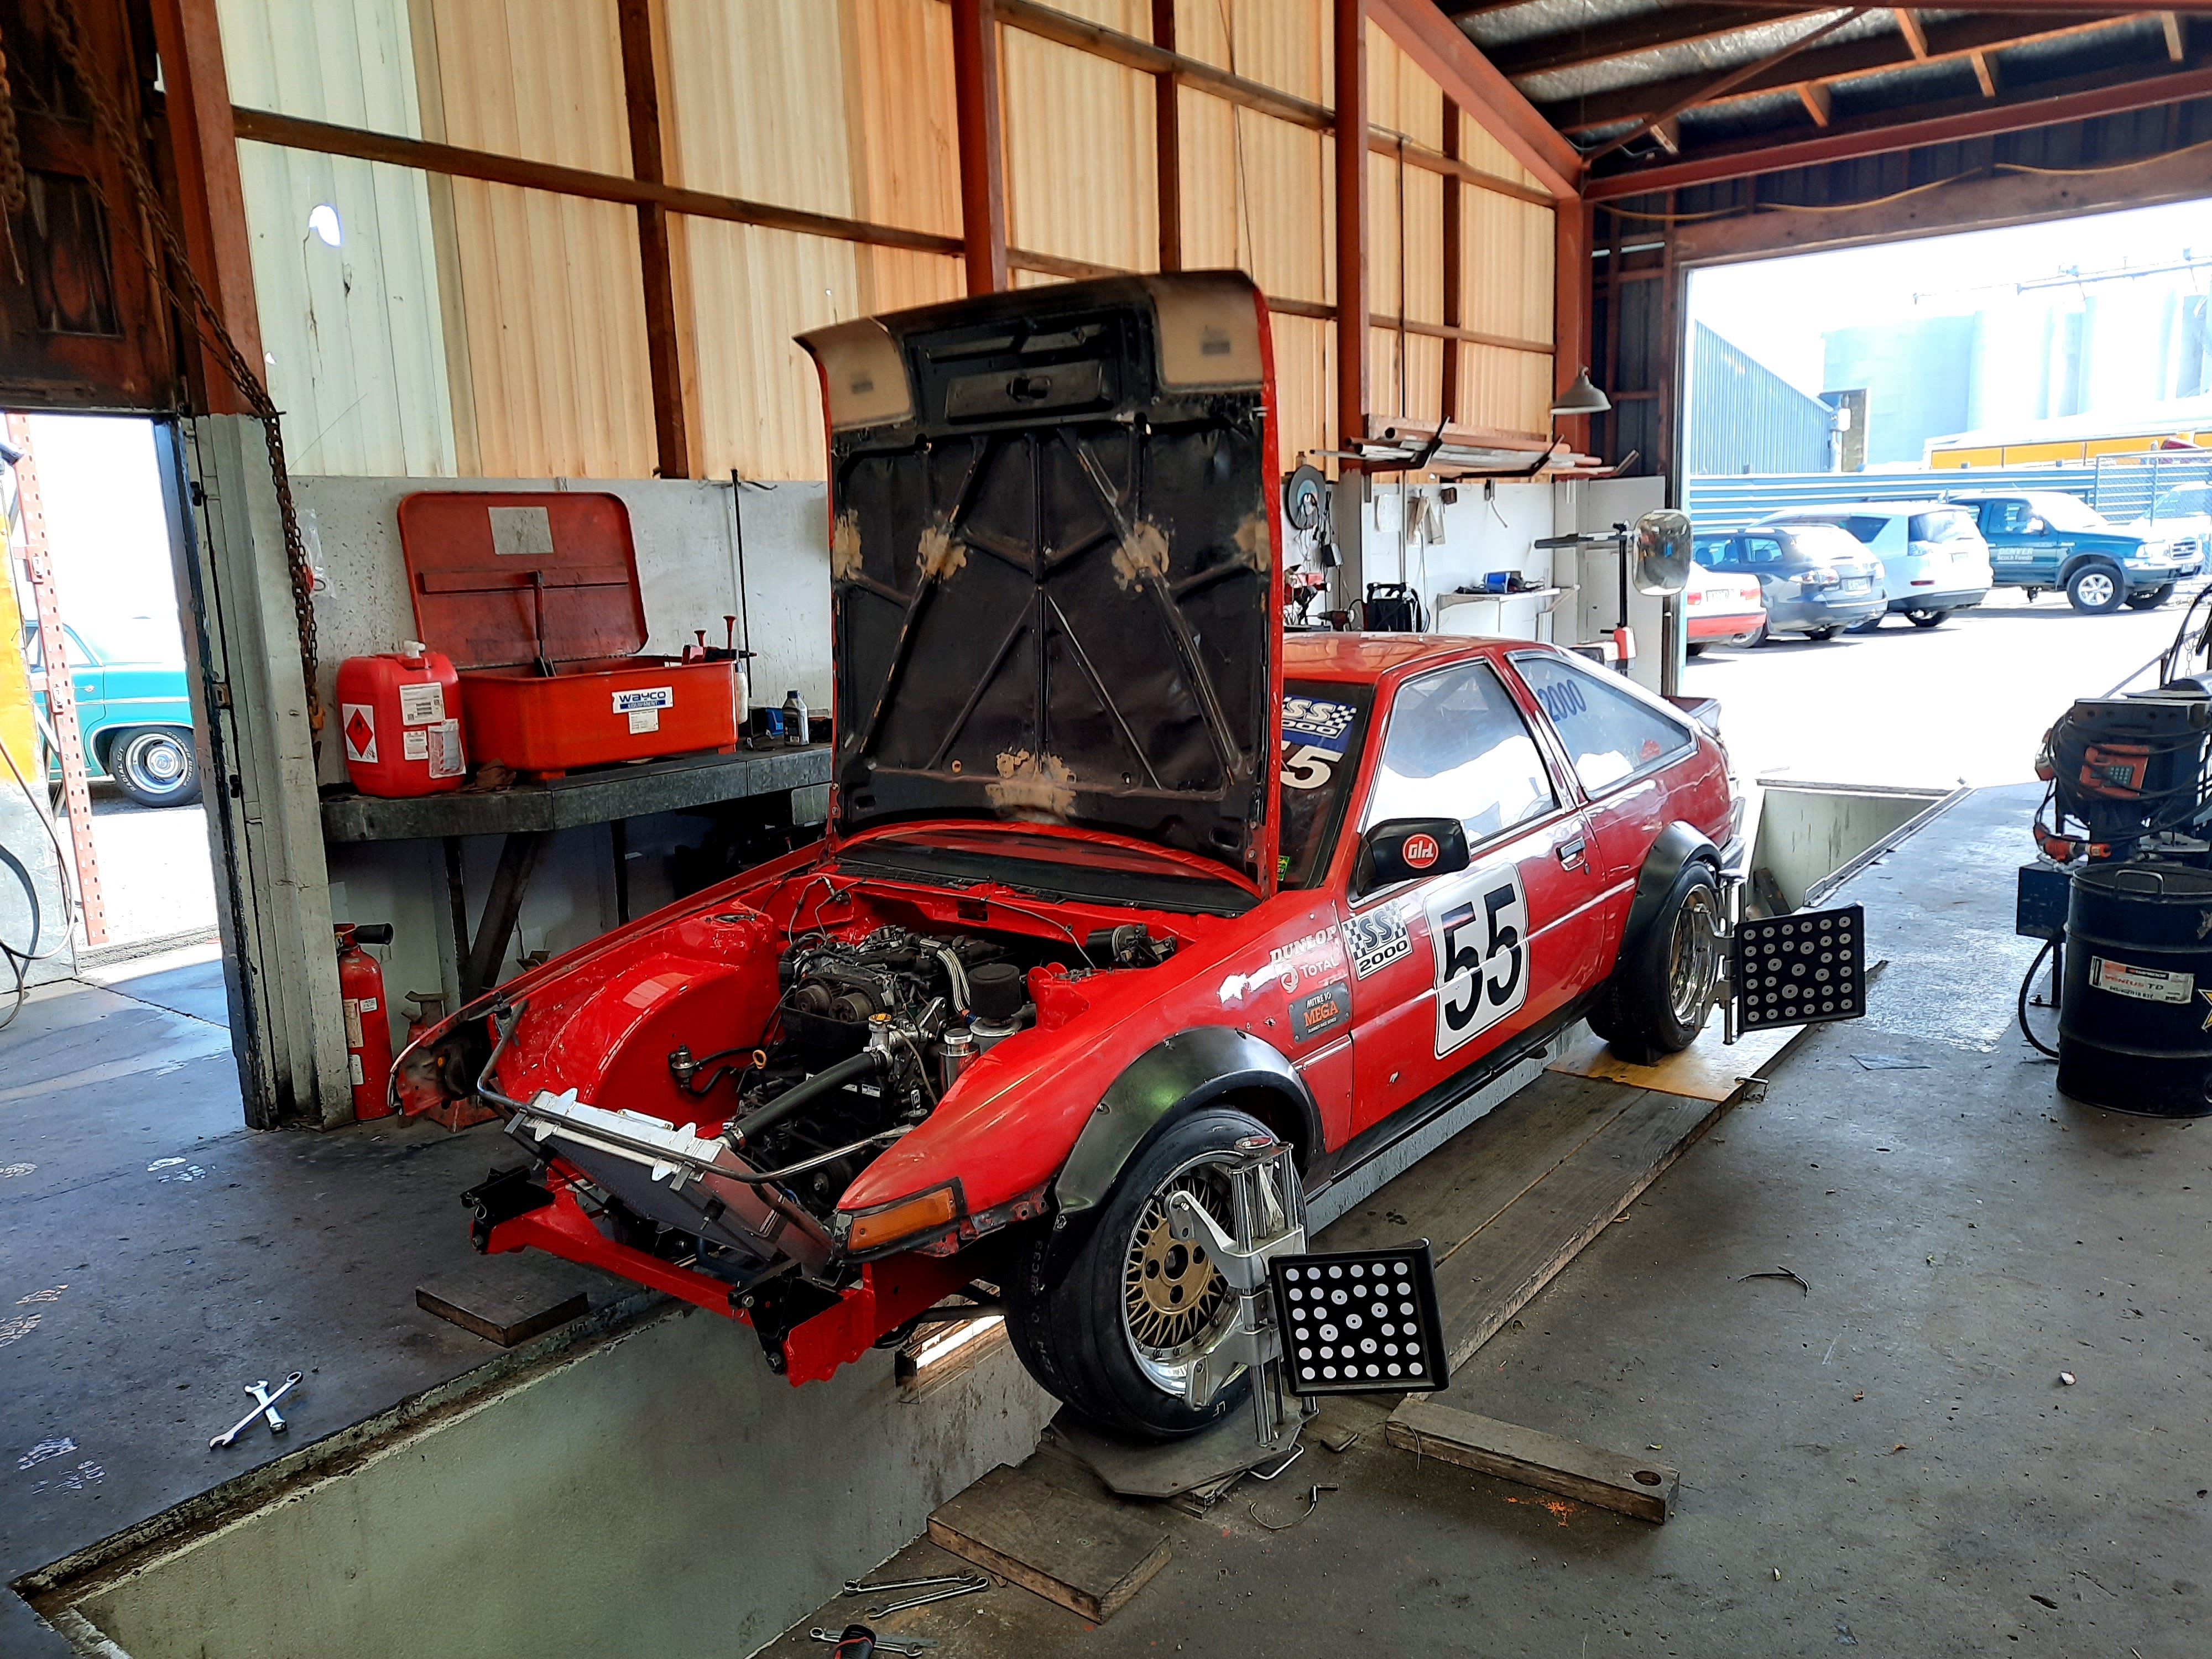
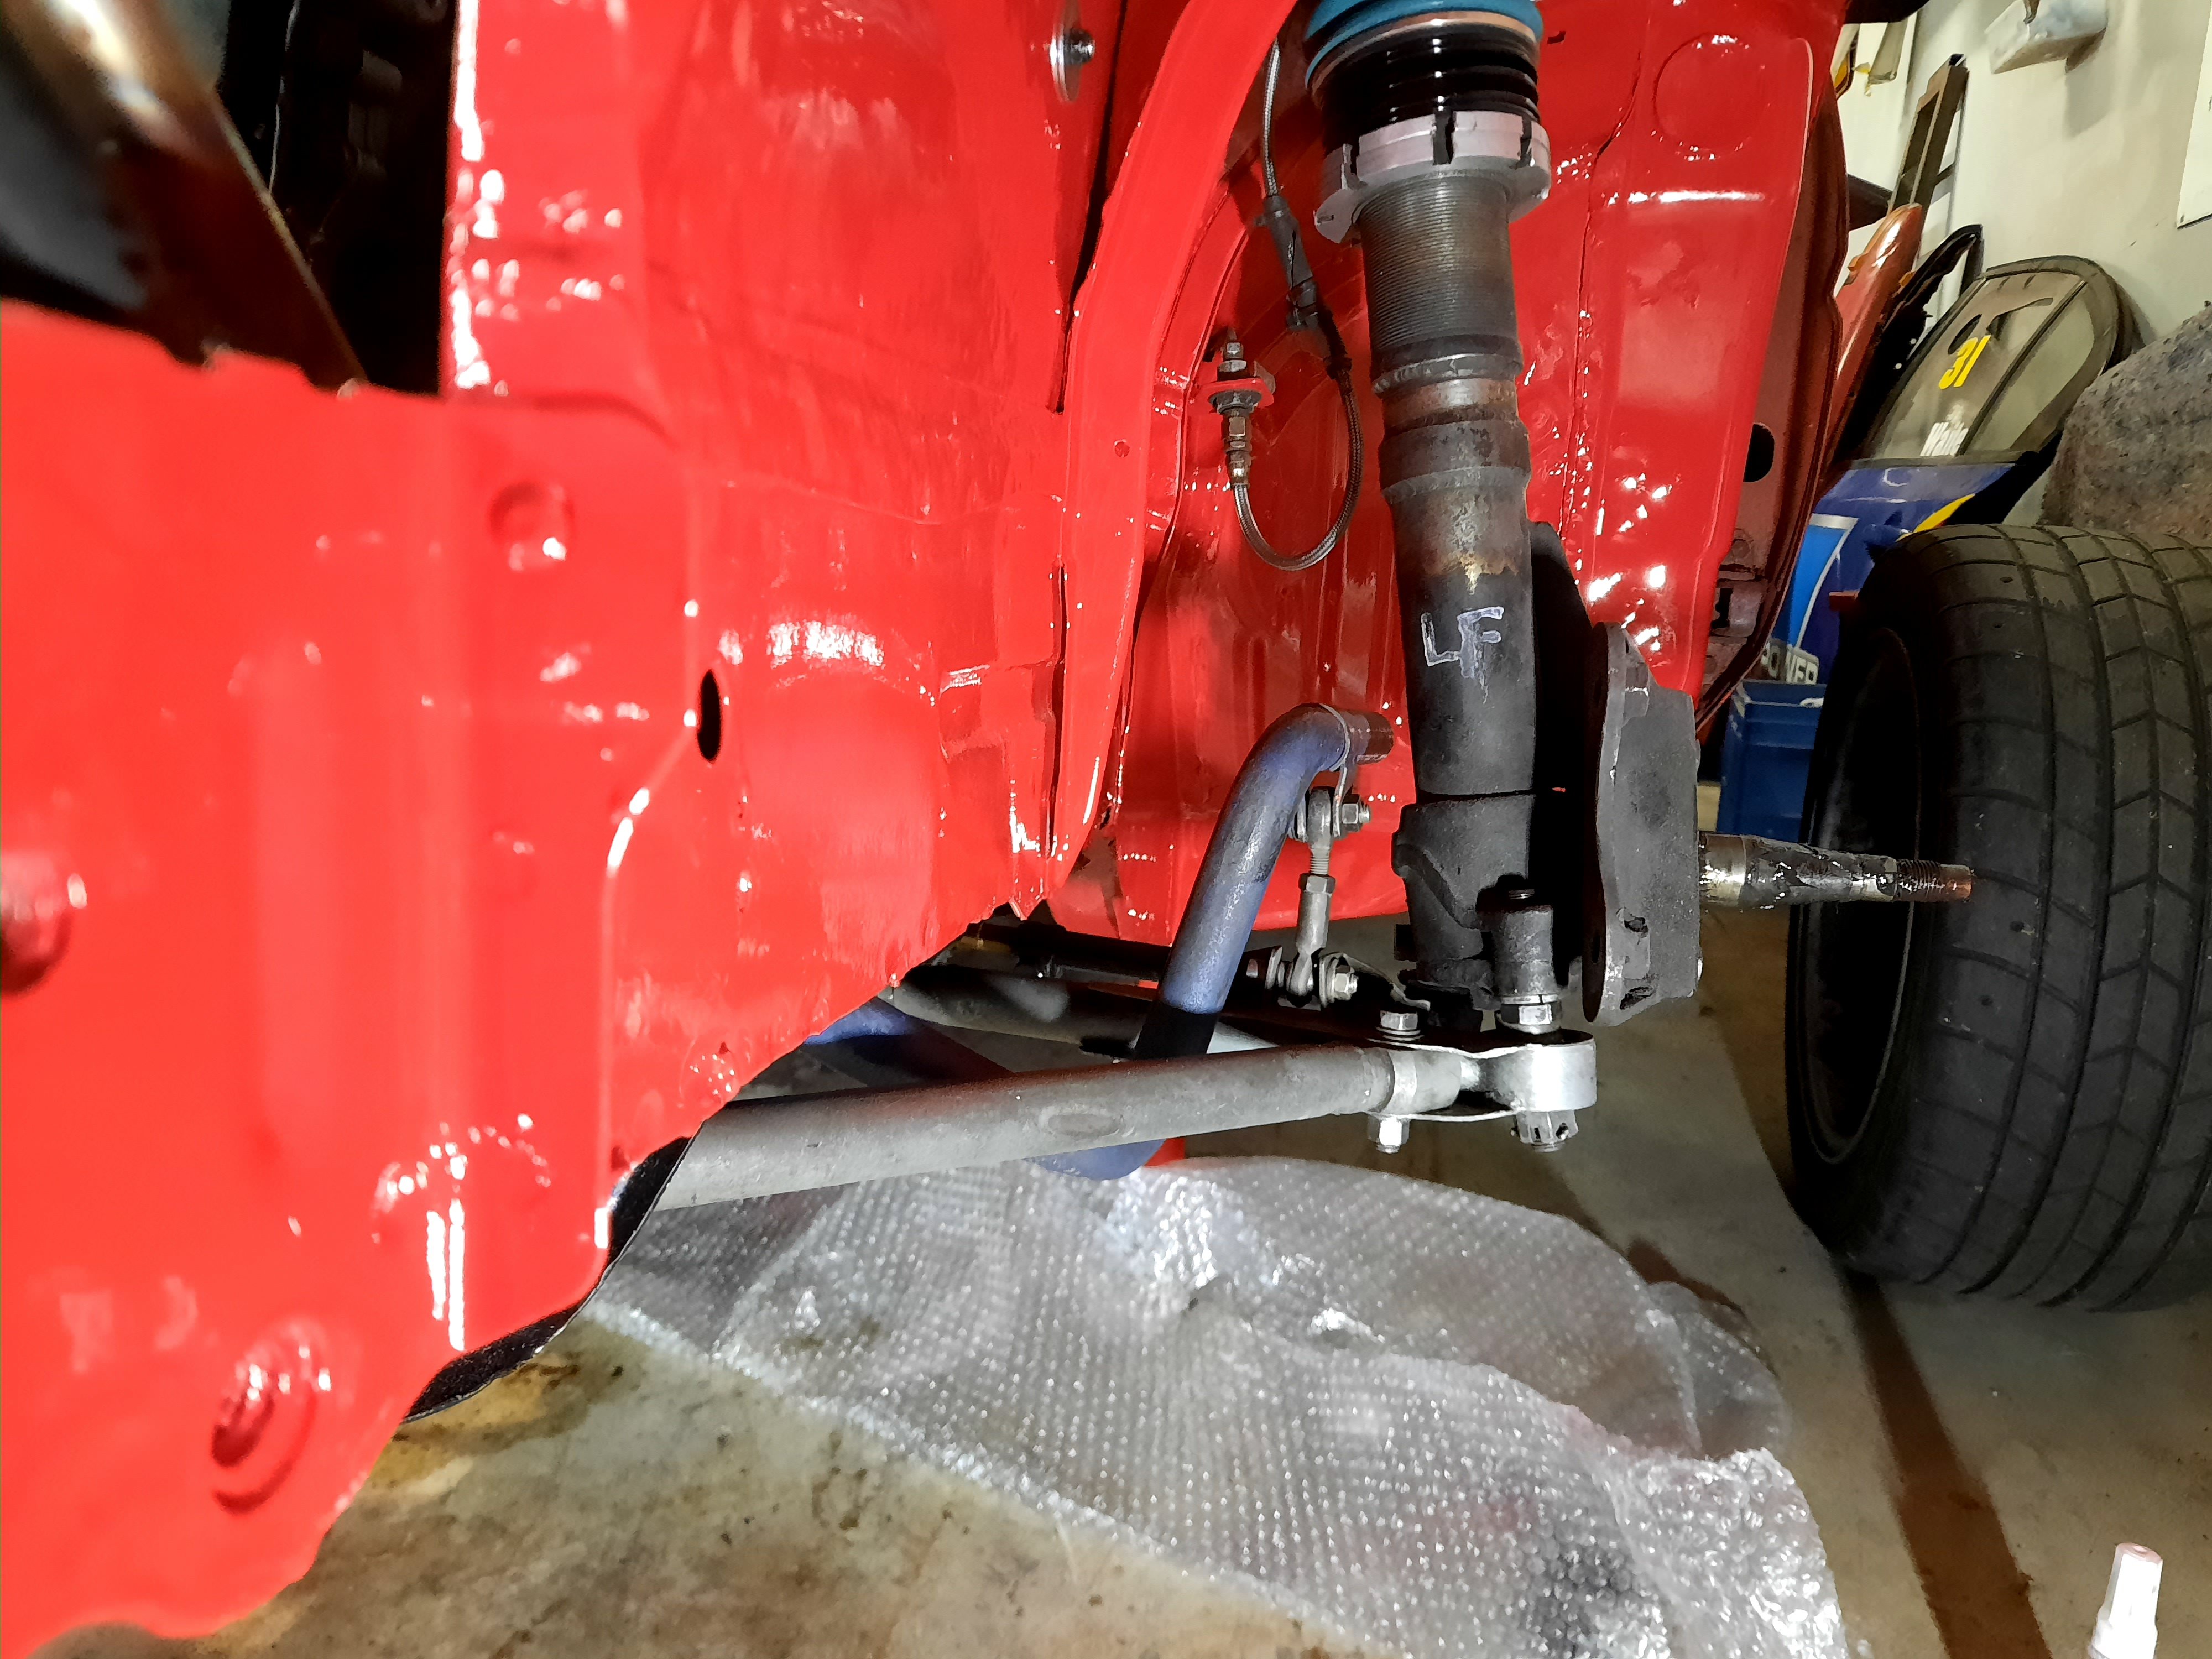
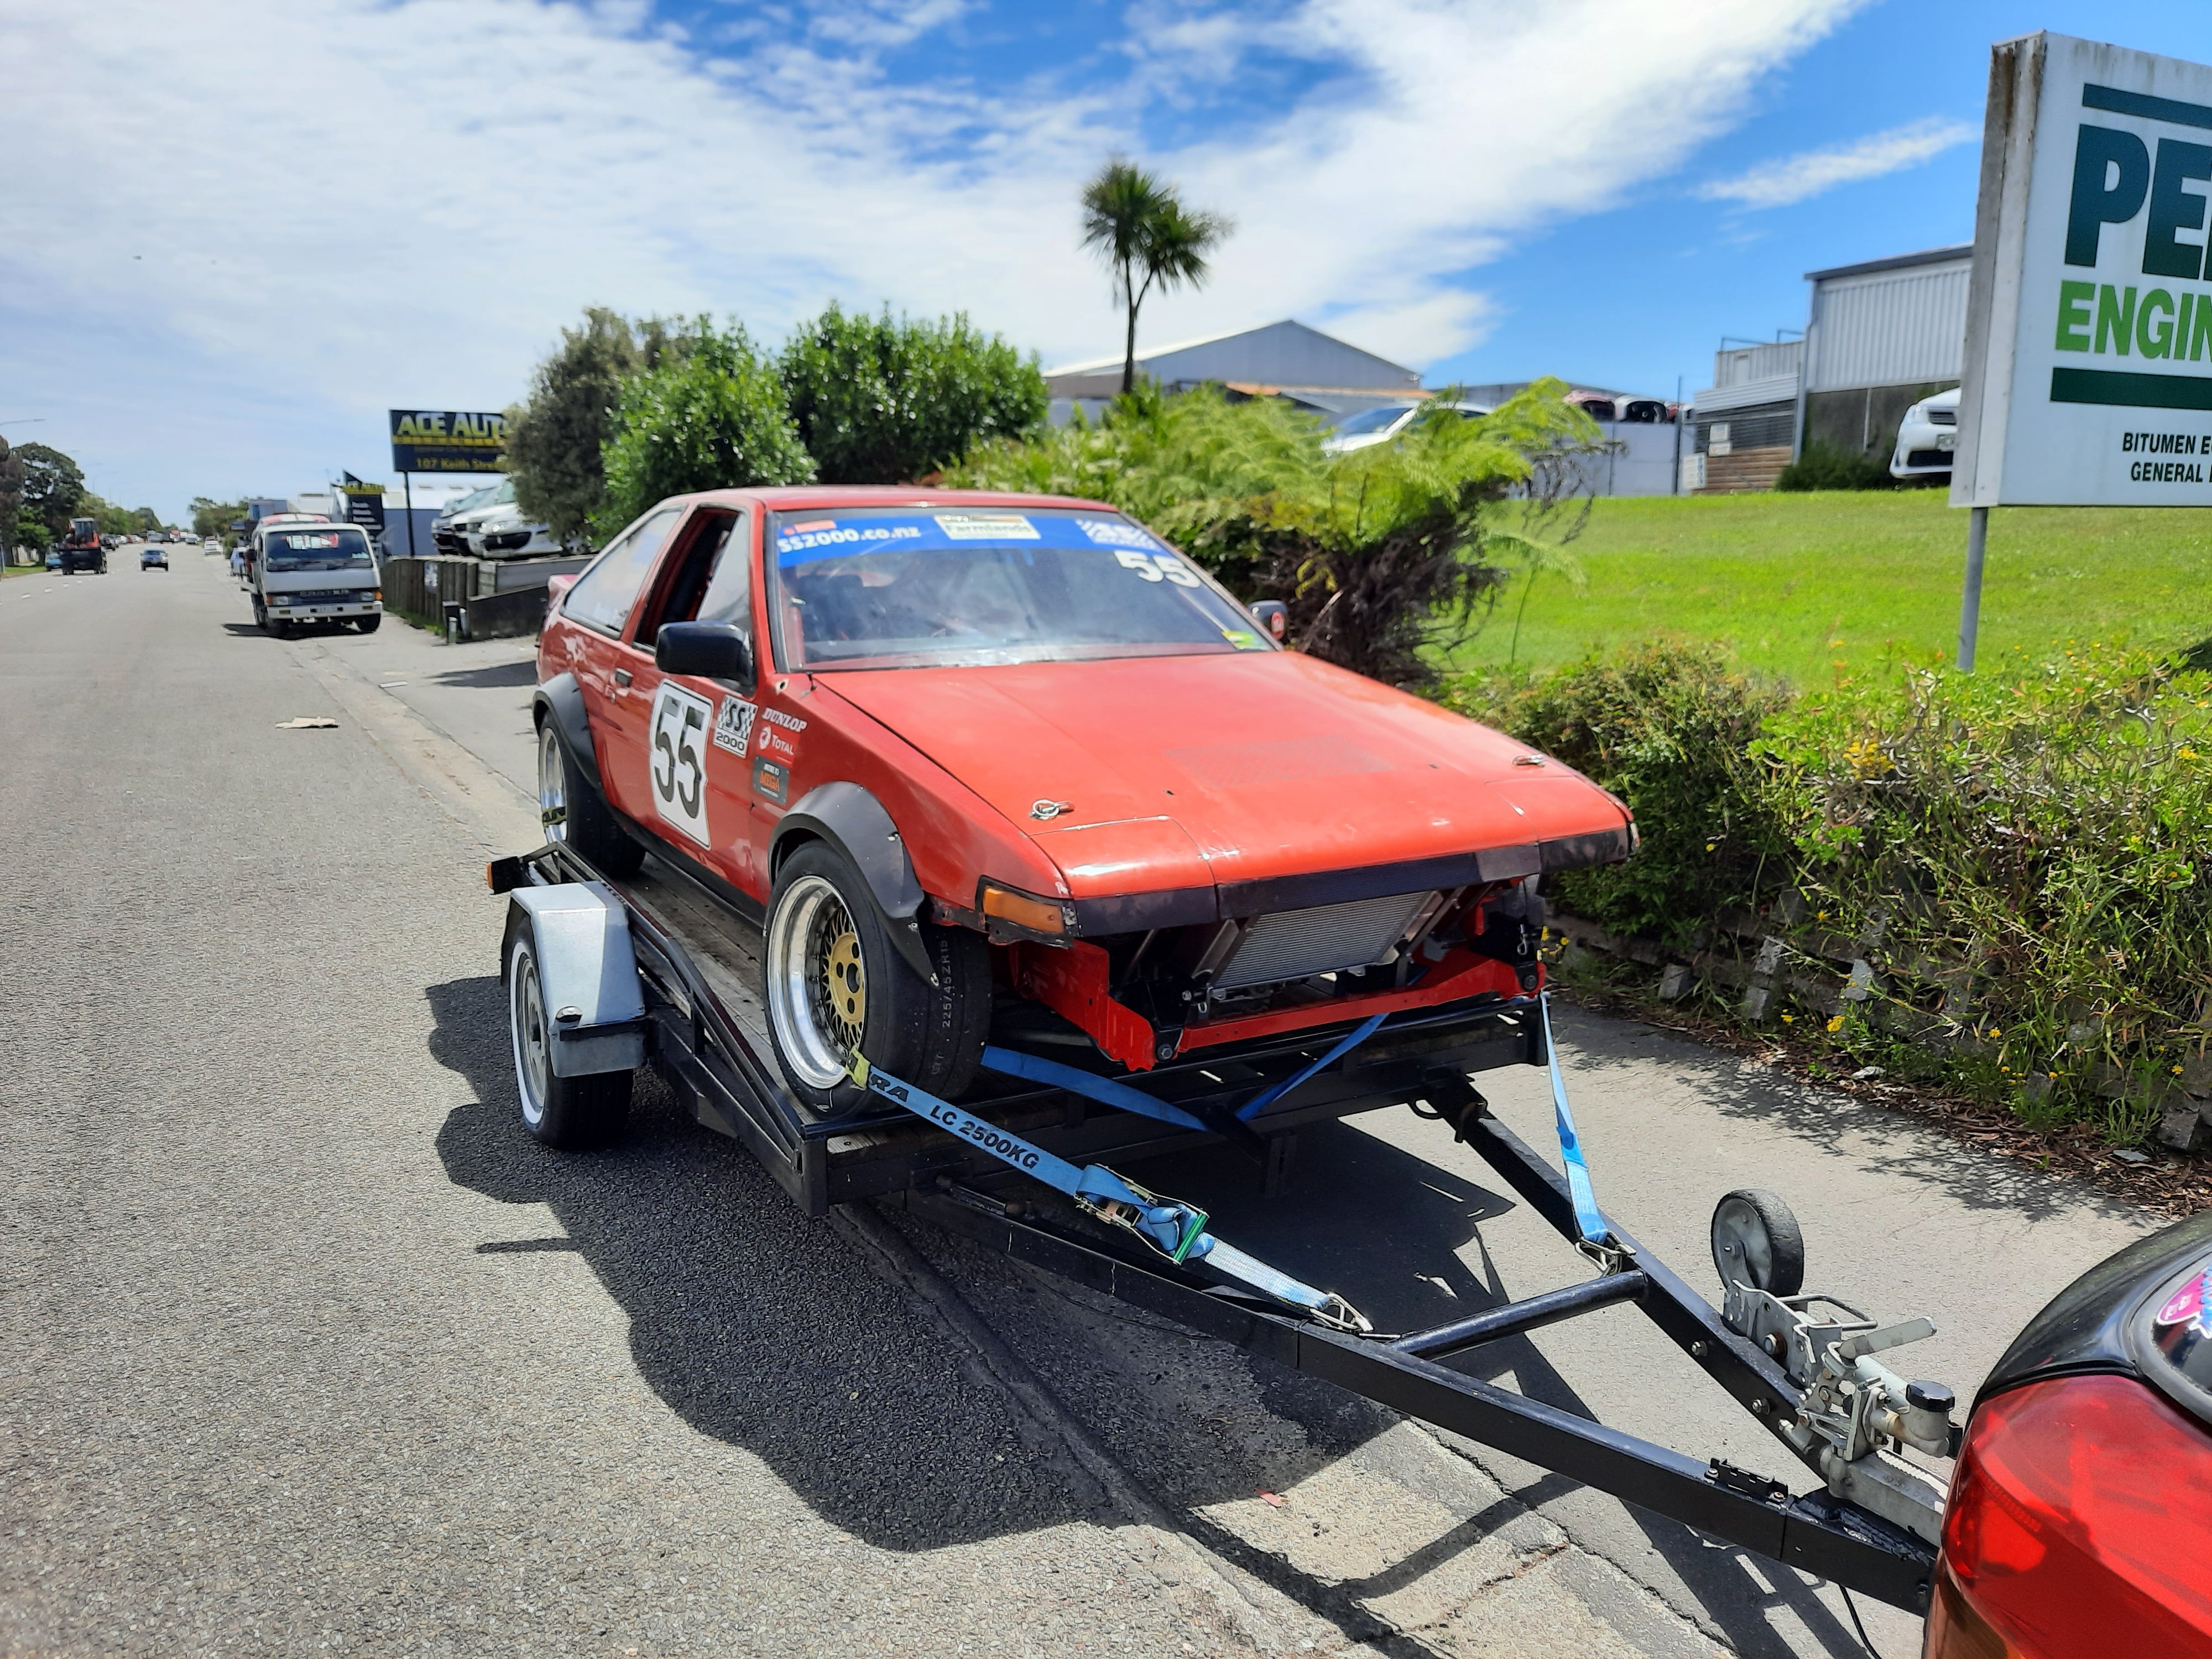
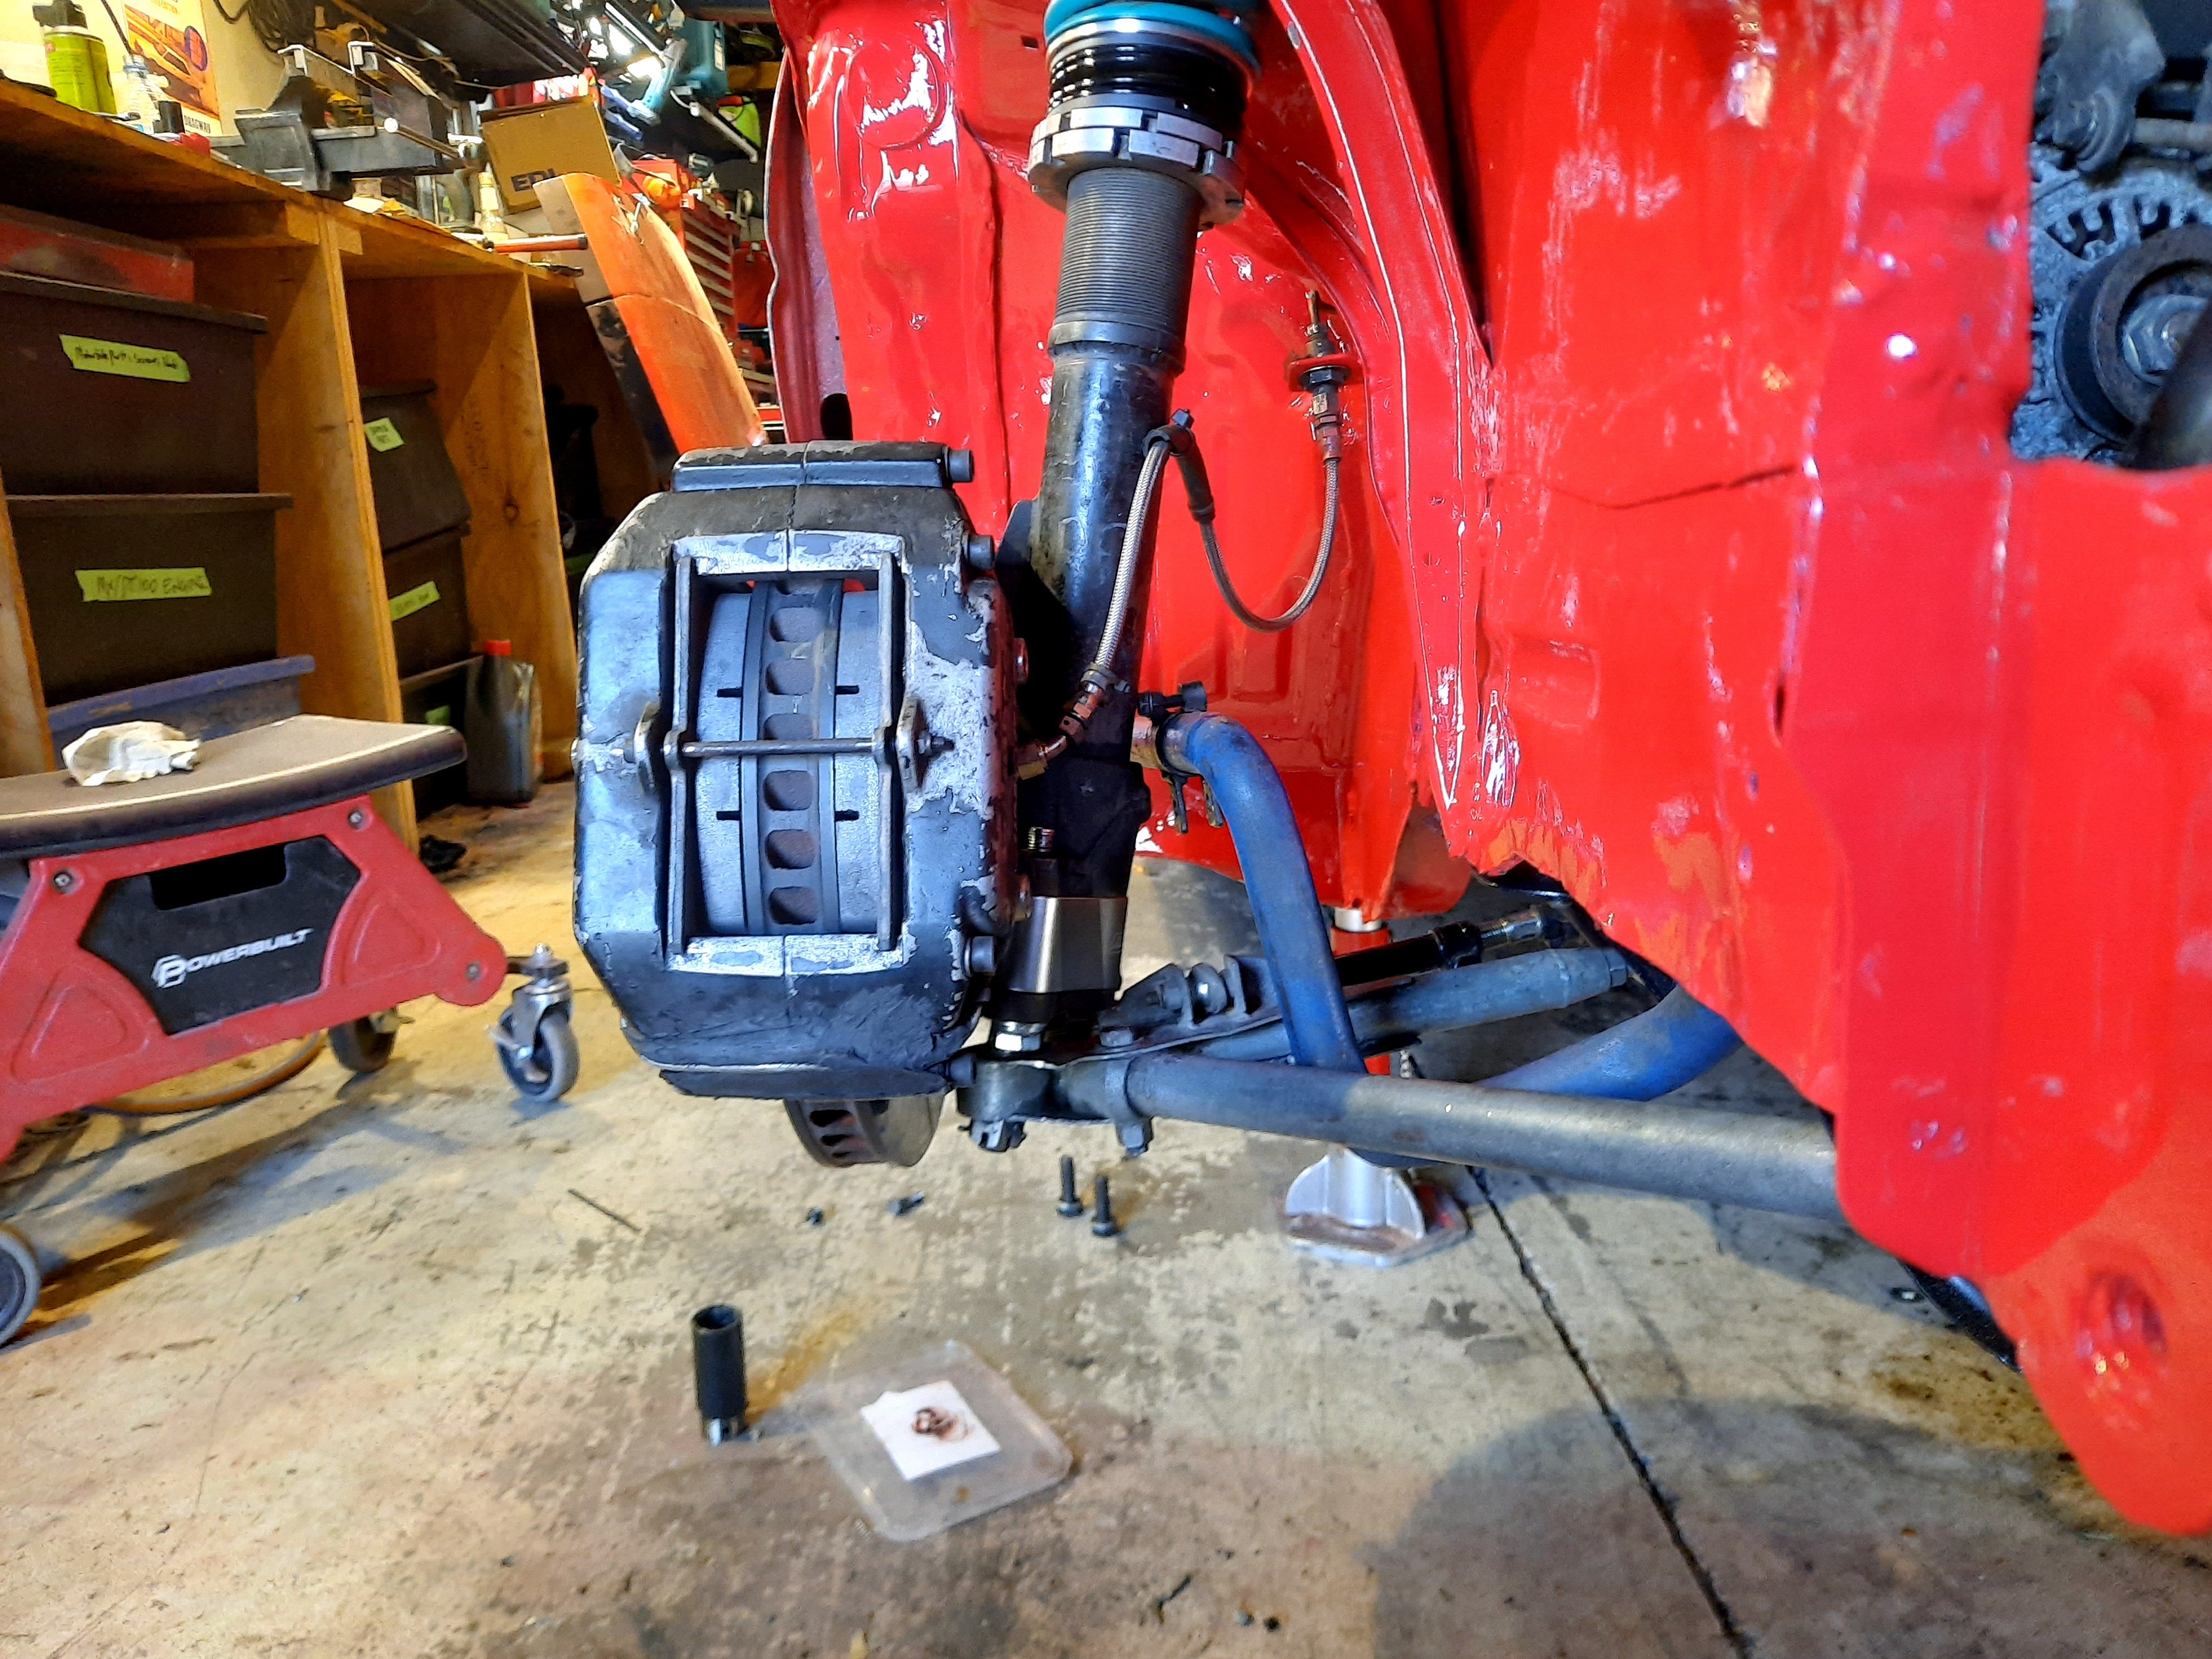
Ticked off a few more jobs in the last couple of days. My new RCAs, caliper brackets and rotor hats arrived from MRP late last week, so I spent a couple of evenings fitting everything. Old setup - the arms were basically level at full droop (not what you want). New setup - this is much better, but I could possibly go even bigger with the roll centre adjusters. These are 38mm. You can also see the old vs new calliper brackets in these photos. With the caliper installed: Popped it on the trailer and took for an alignment: Pumped the lower lower arms out by a decent amount. Ended up with about 3.5° camber, 6.75° castor and 3mm toe out in the front. Also squared up the diff while I was under there. The extra track width looks tough from this angle. Hopefully it works well too!
11 points
-
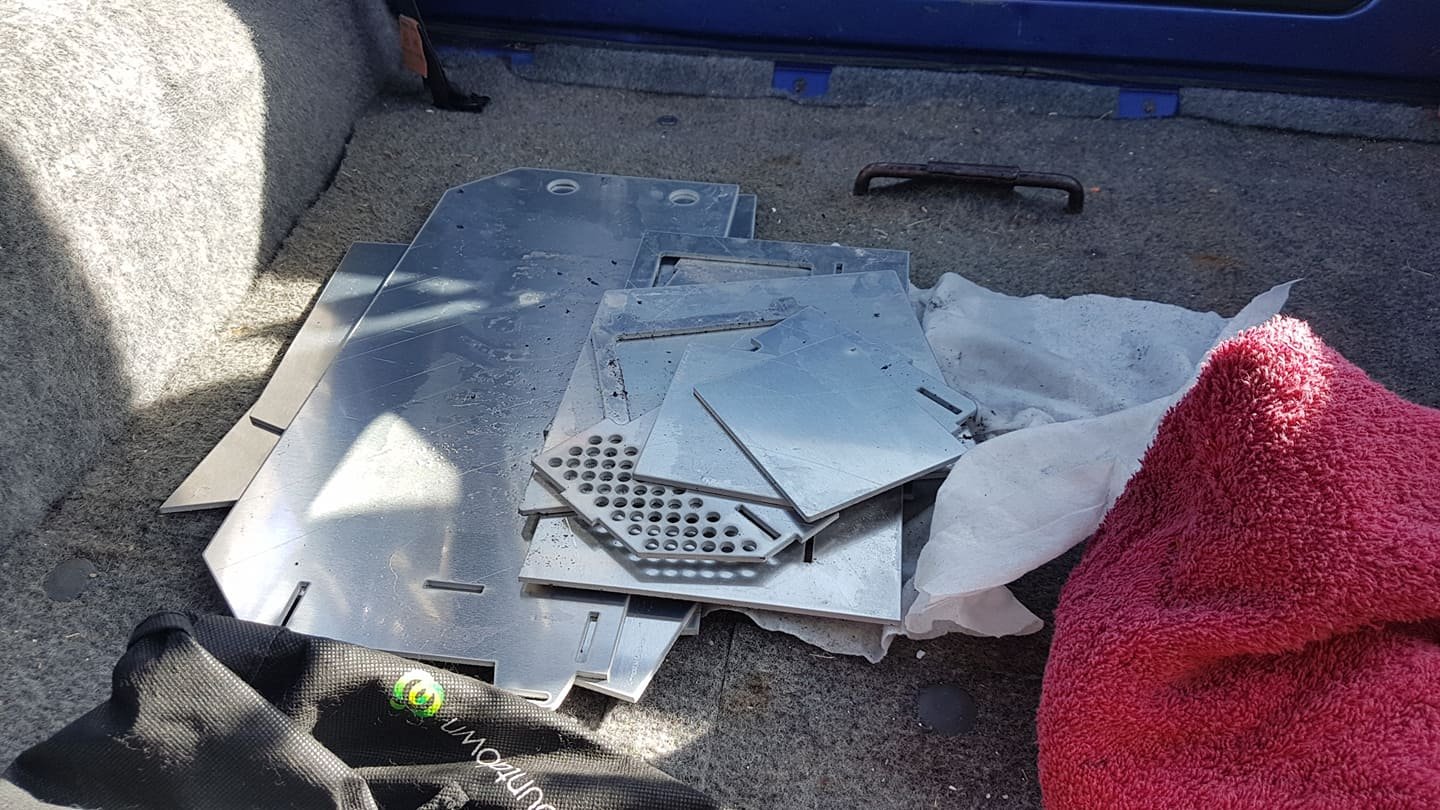
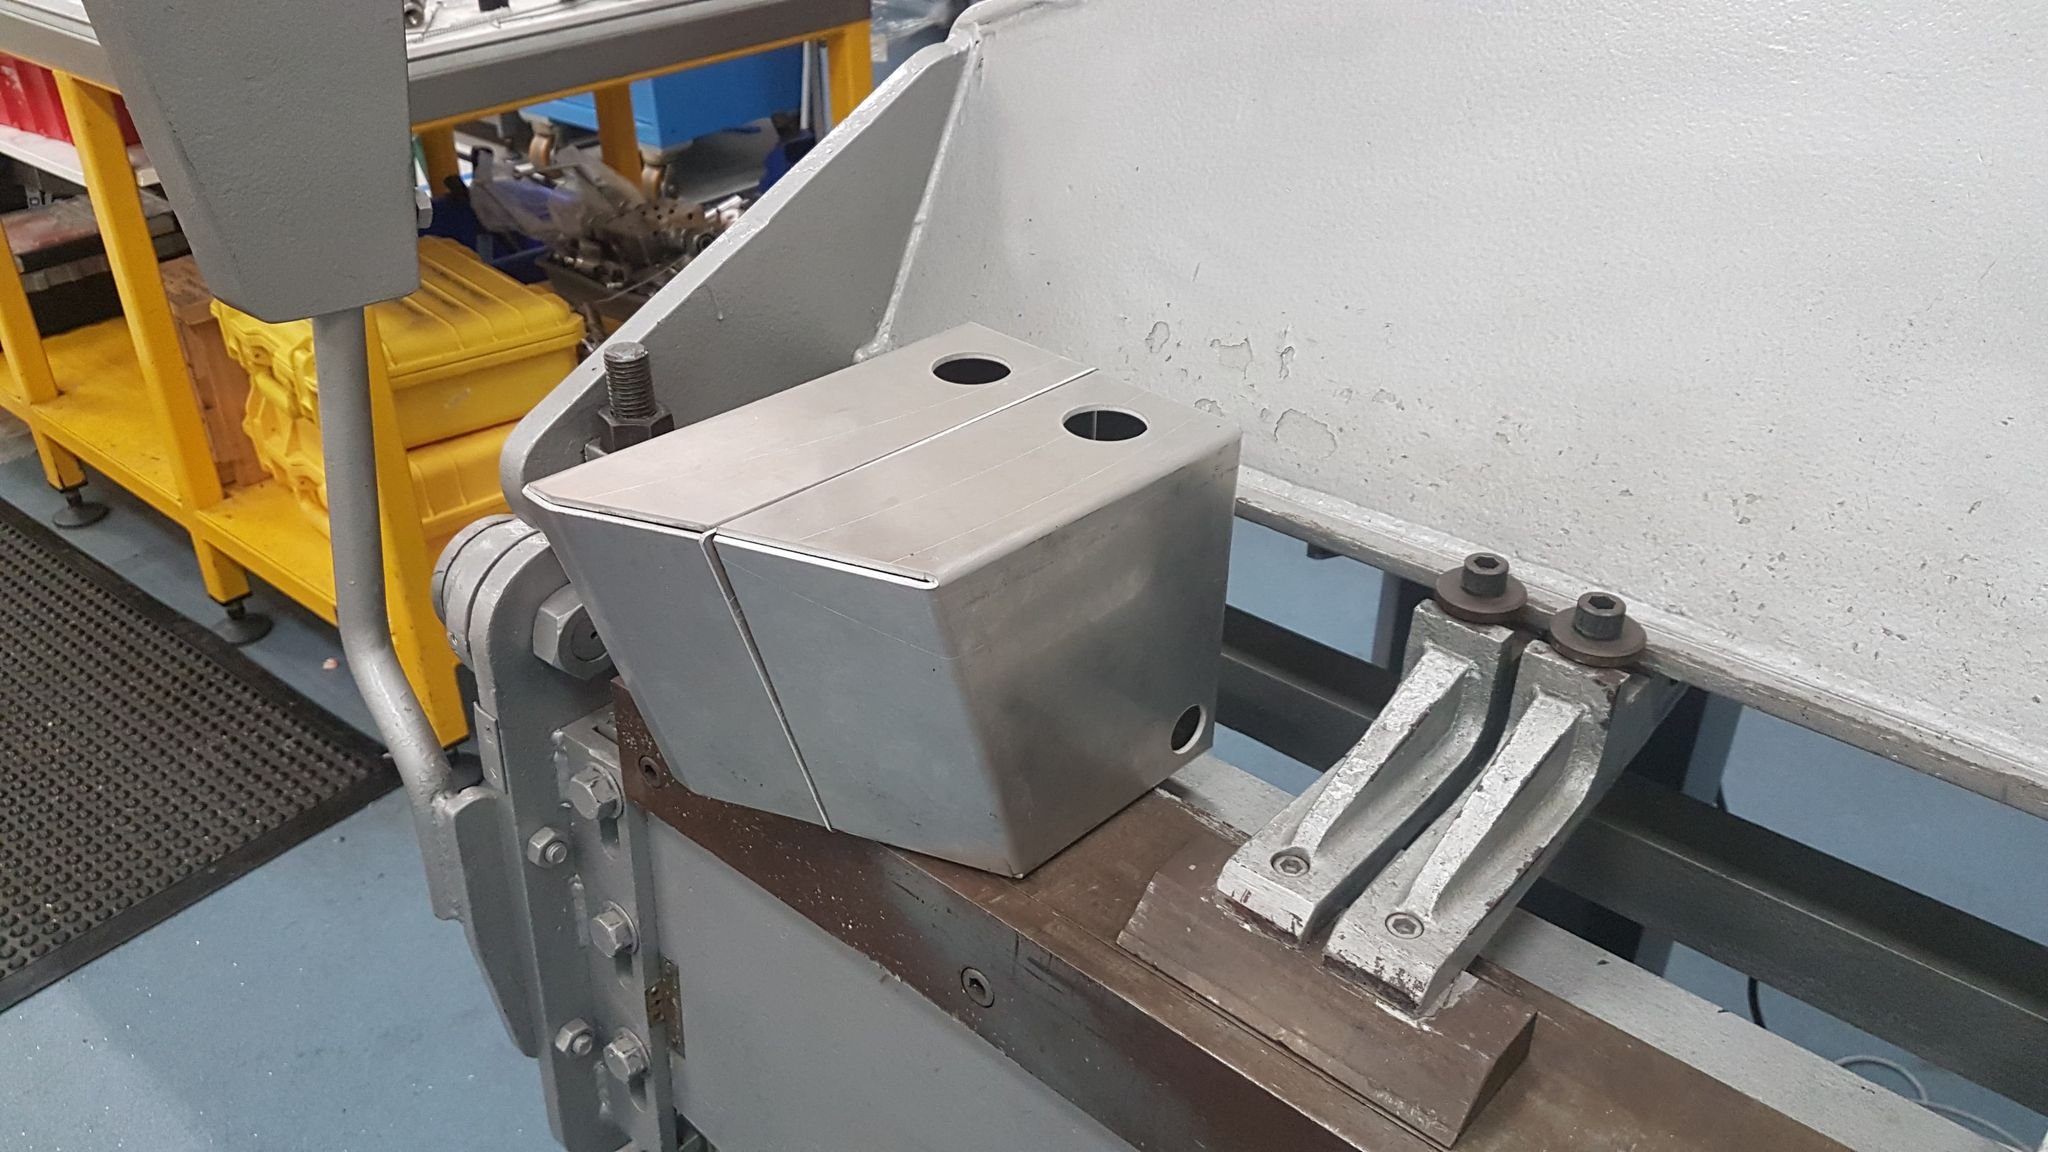
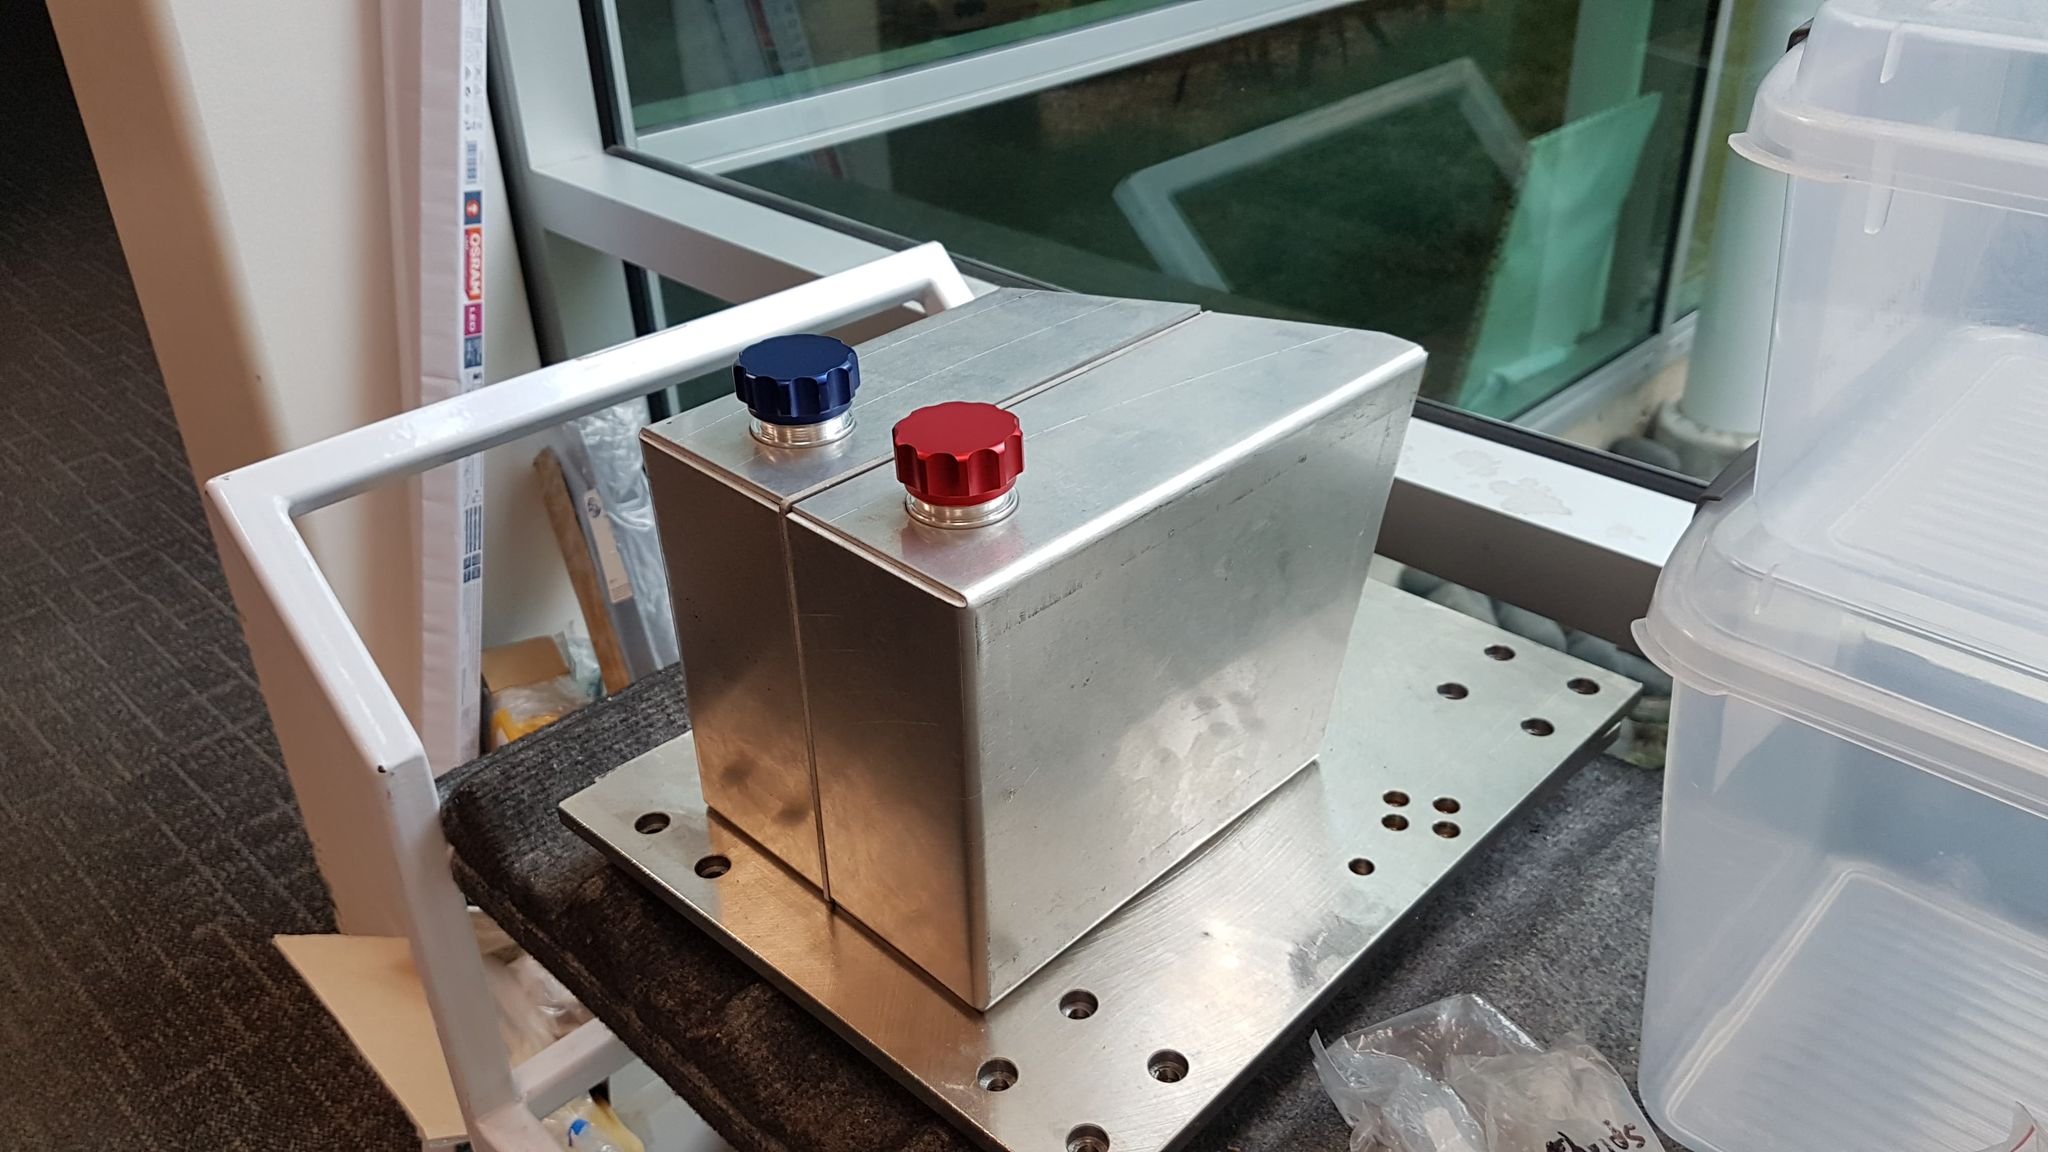
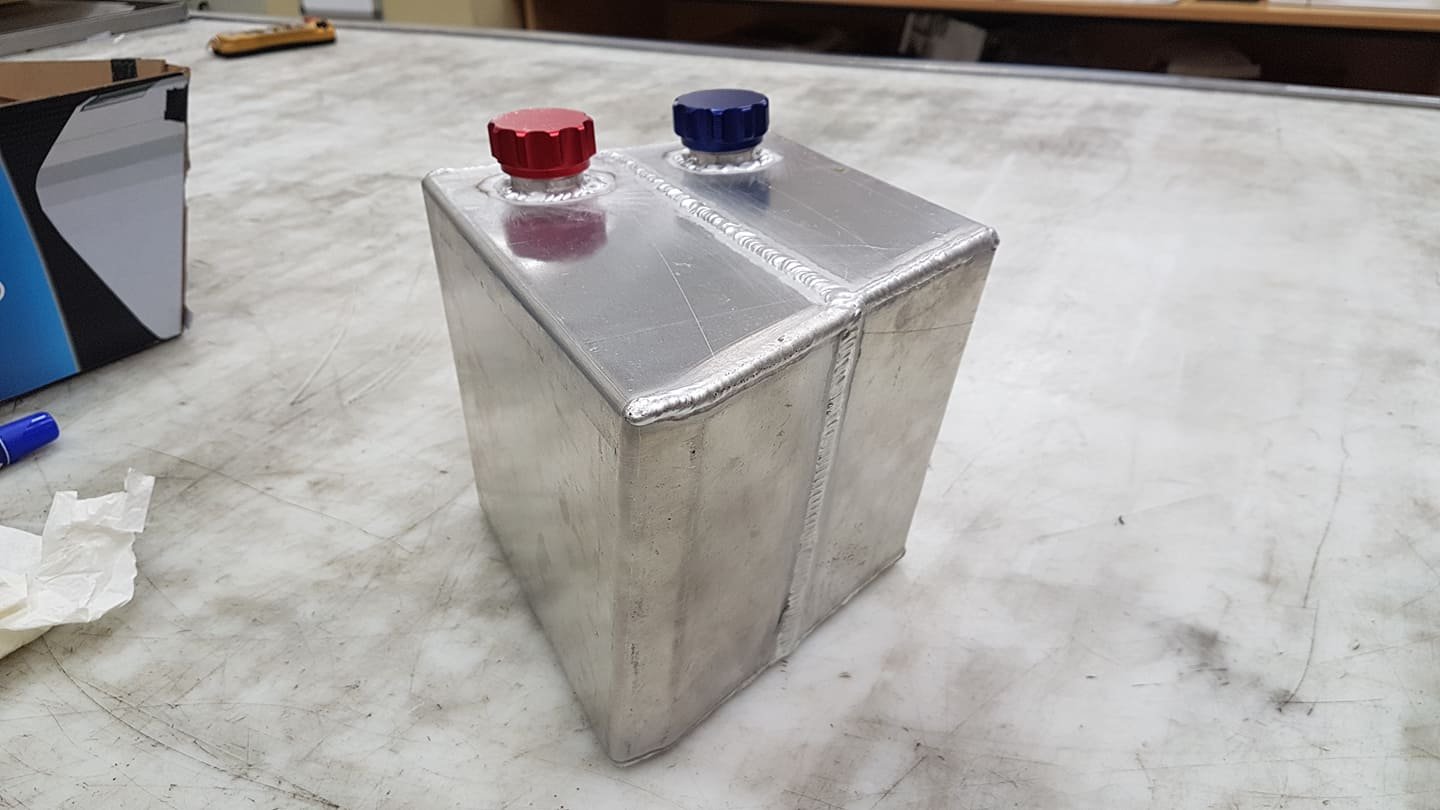
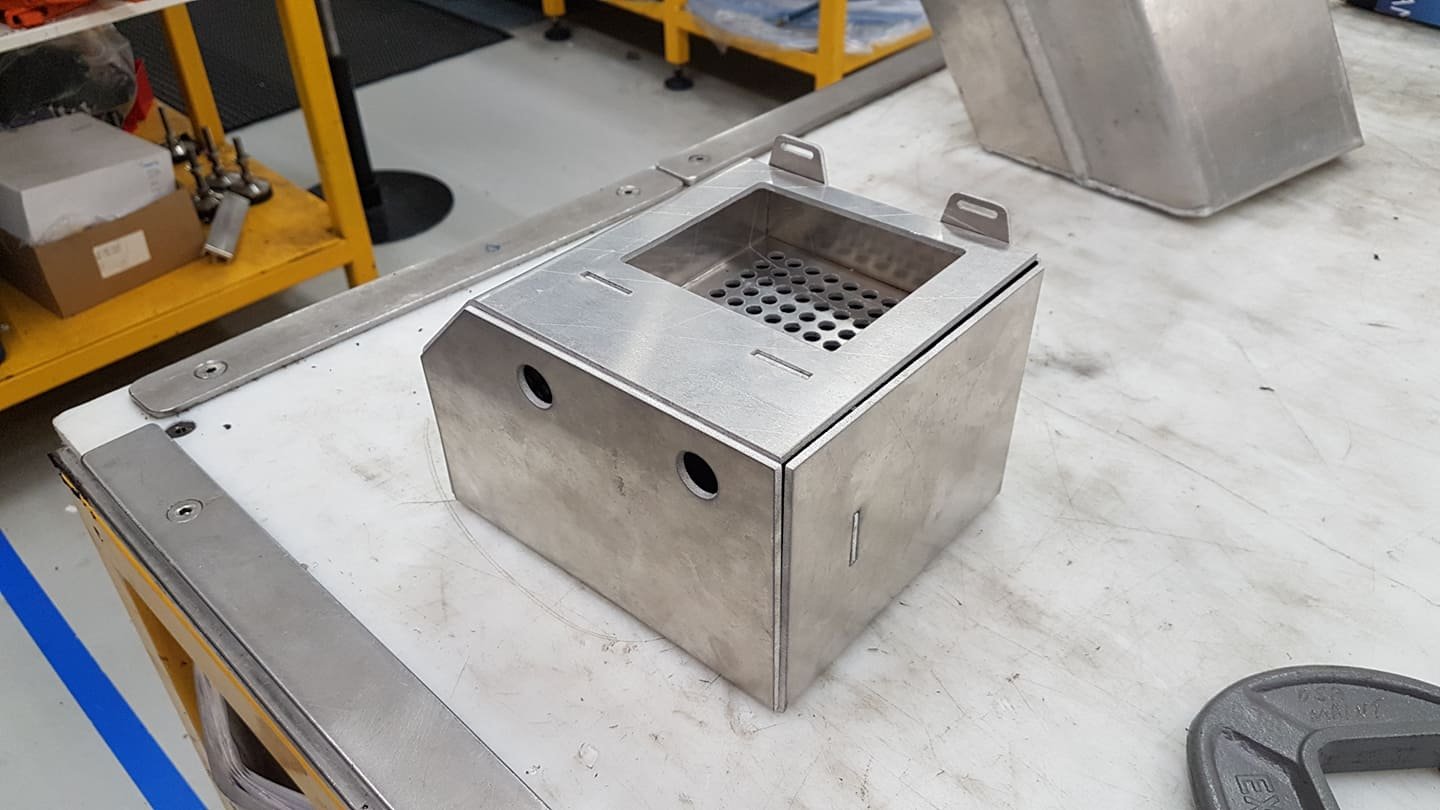
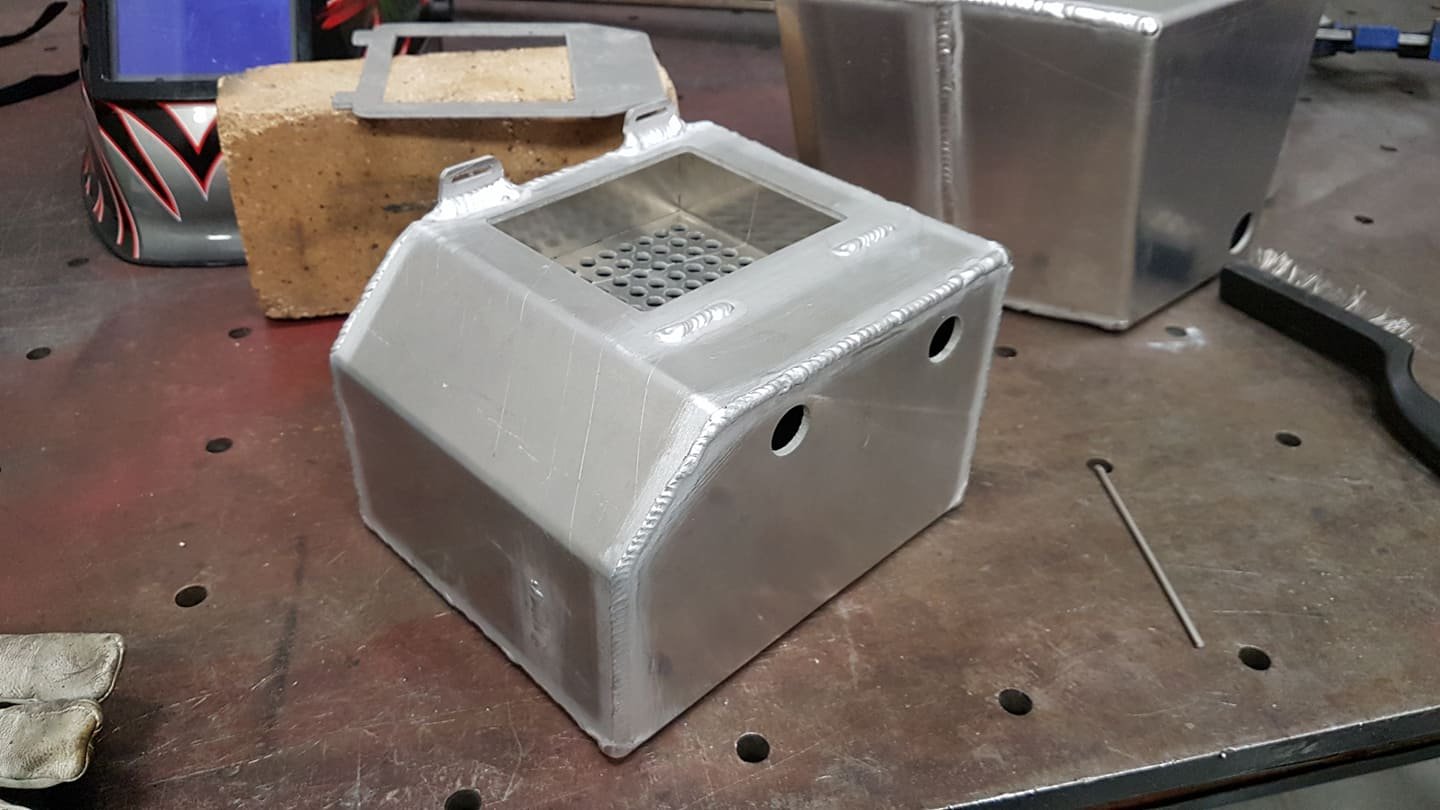
This update has been a very long time coming - just due to life and covid etc. Ages ago I got in contact with a friend of a friend who was willing to help me make an oil catch can and a combined sprayer reservoir and radiator overflow. All the parts cut up: Reservoir/overflow bent and mocked up: He warned me that he was newish to TIG welding, but I'm happy enough with how this came up: There are still a few bits to do on it to get the washer motor and overflow inlet attached, shouldn't be long now. The catch can bent up: And welded: Both items need to be blasted and scotched up, but I'm pretty happy with how things are going. Once these are sorted I can start thinking about starting the panel work in the engine bay!
9 points
-
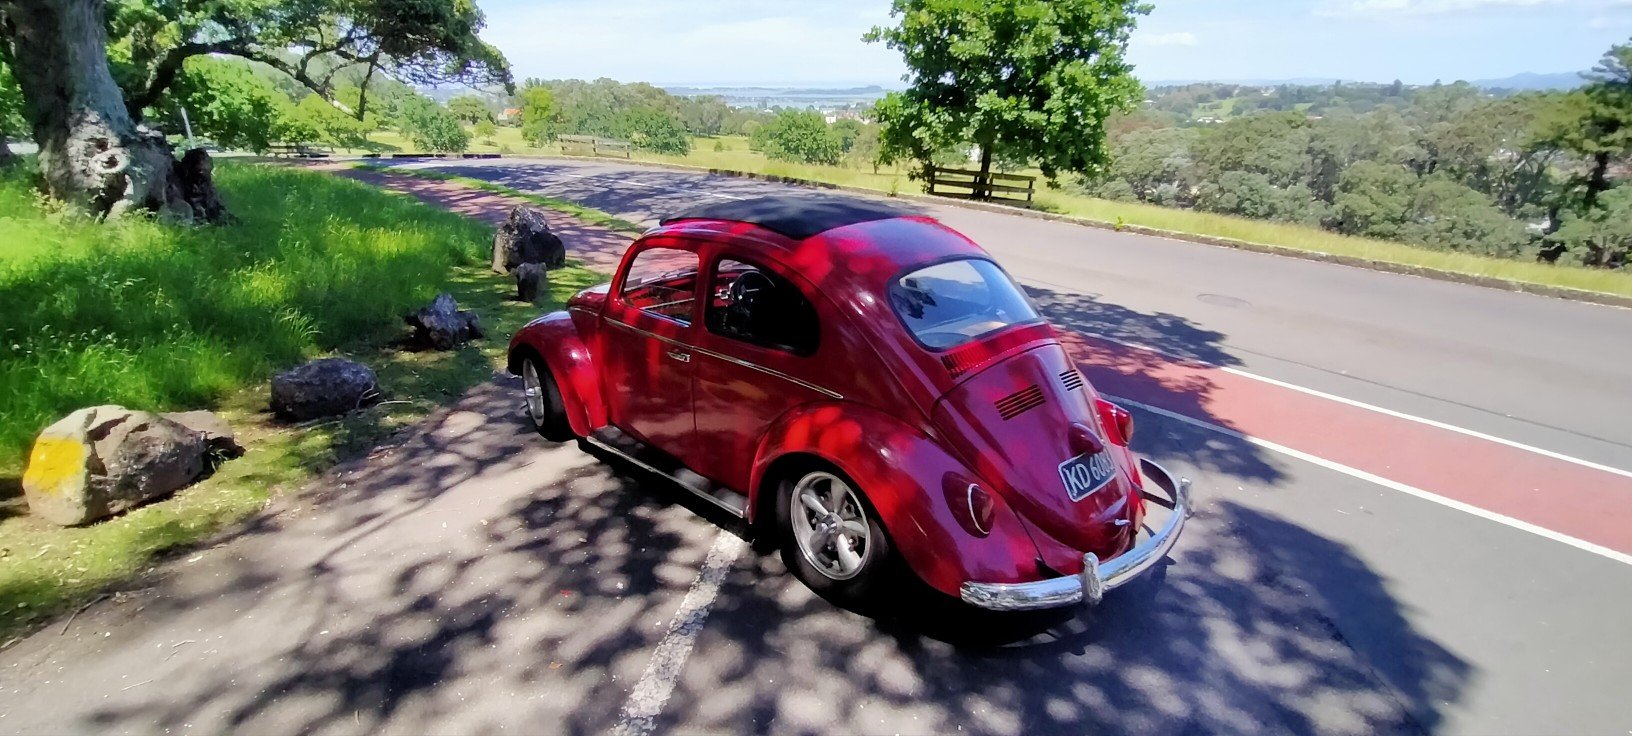
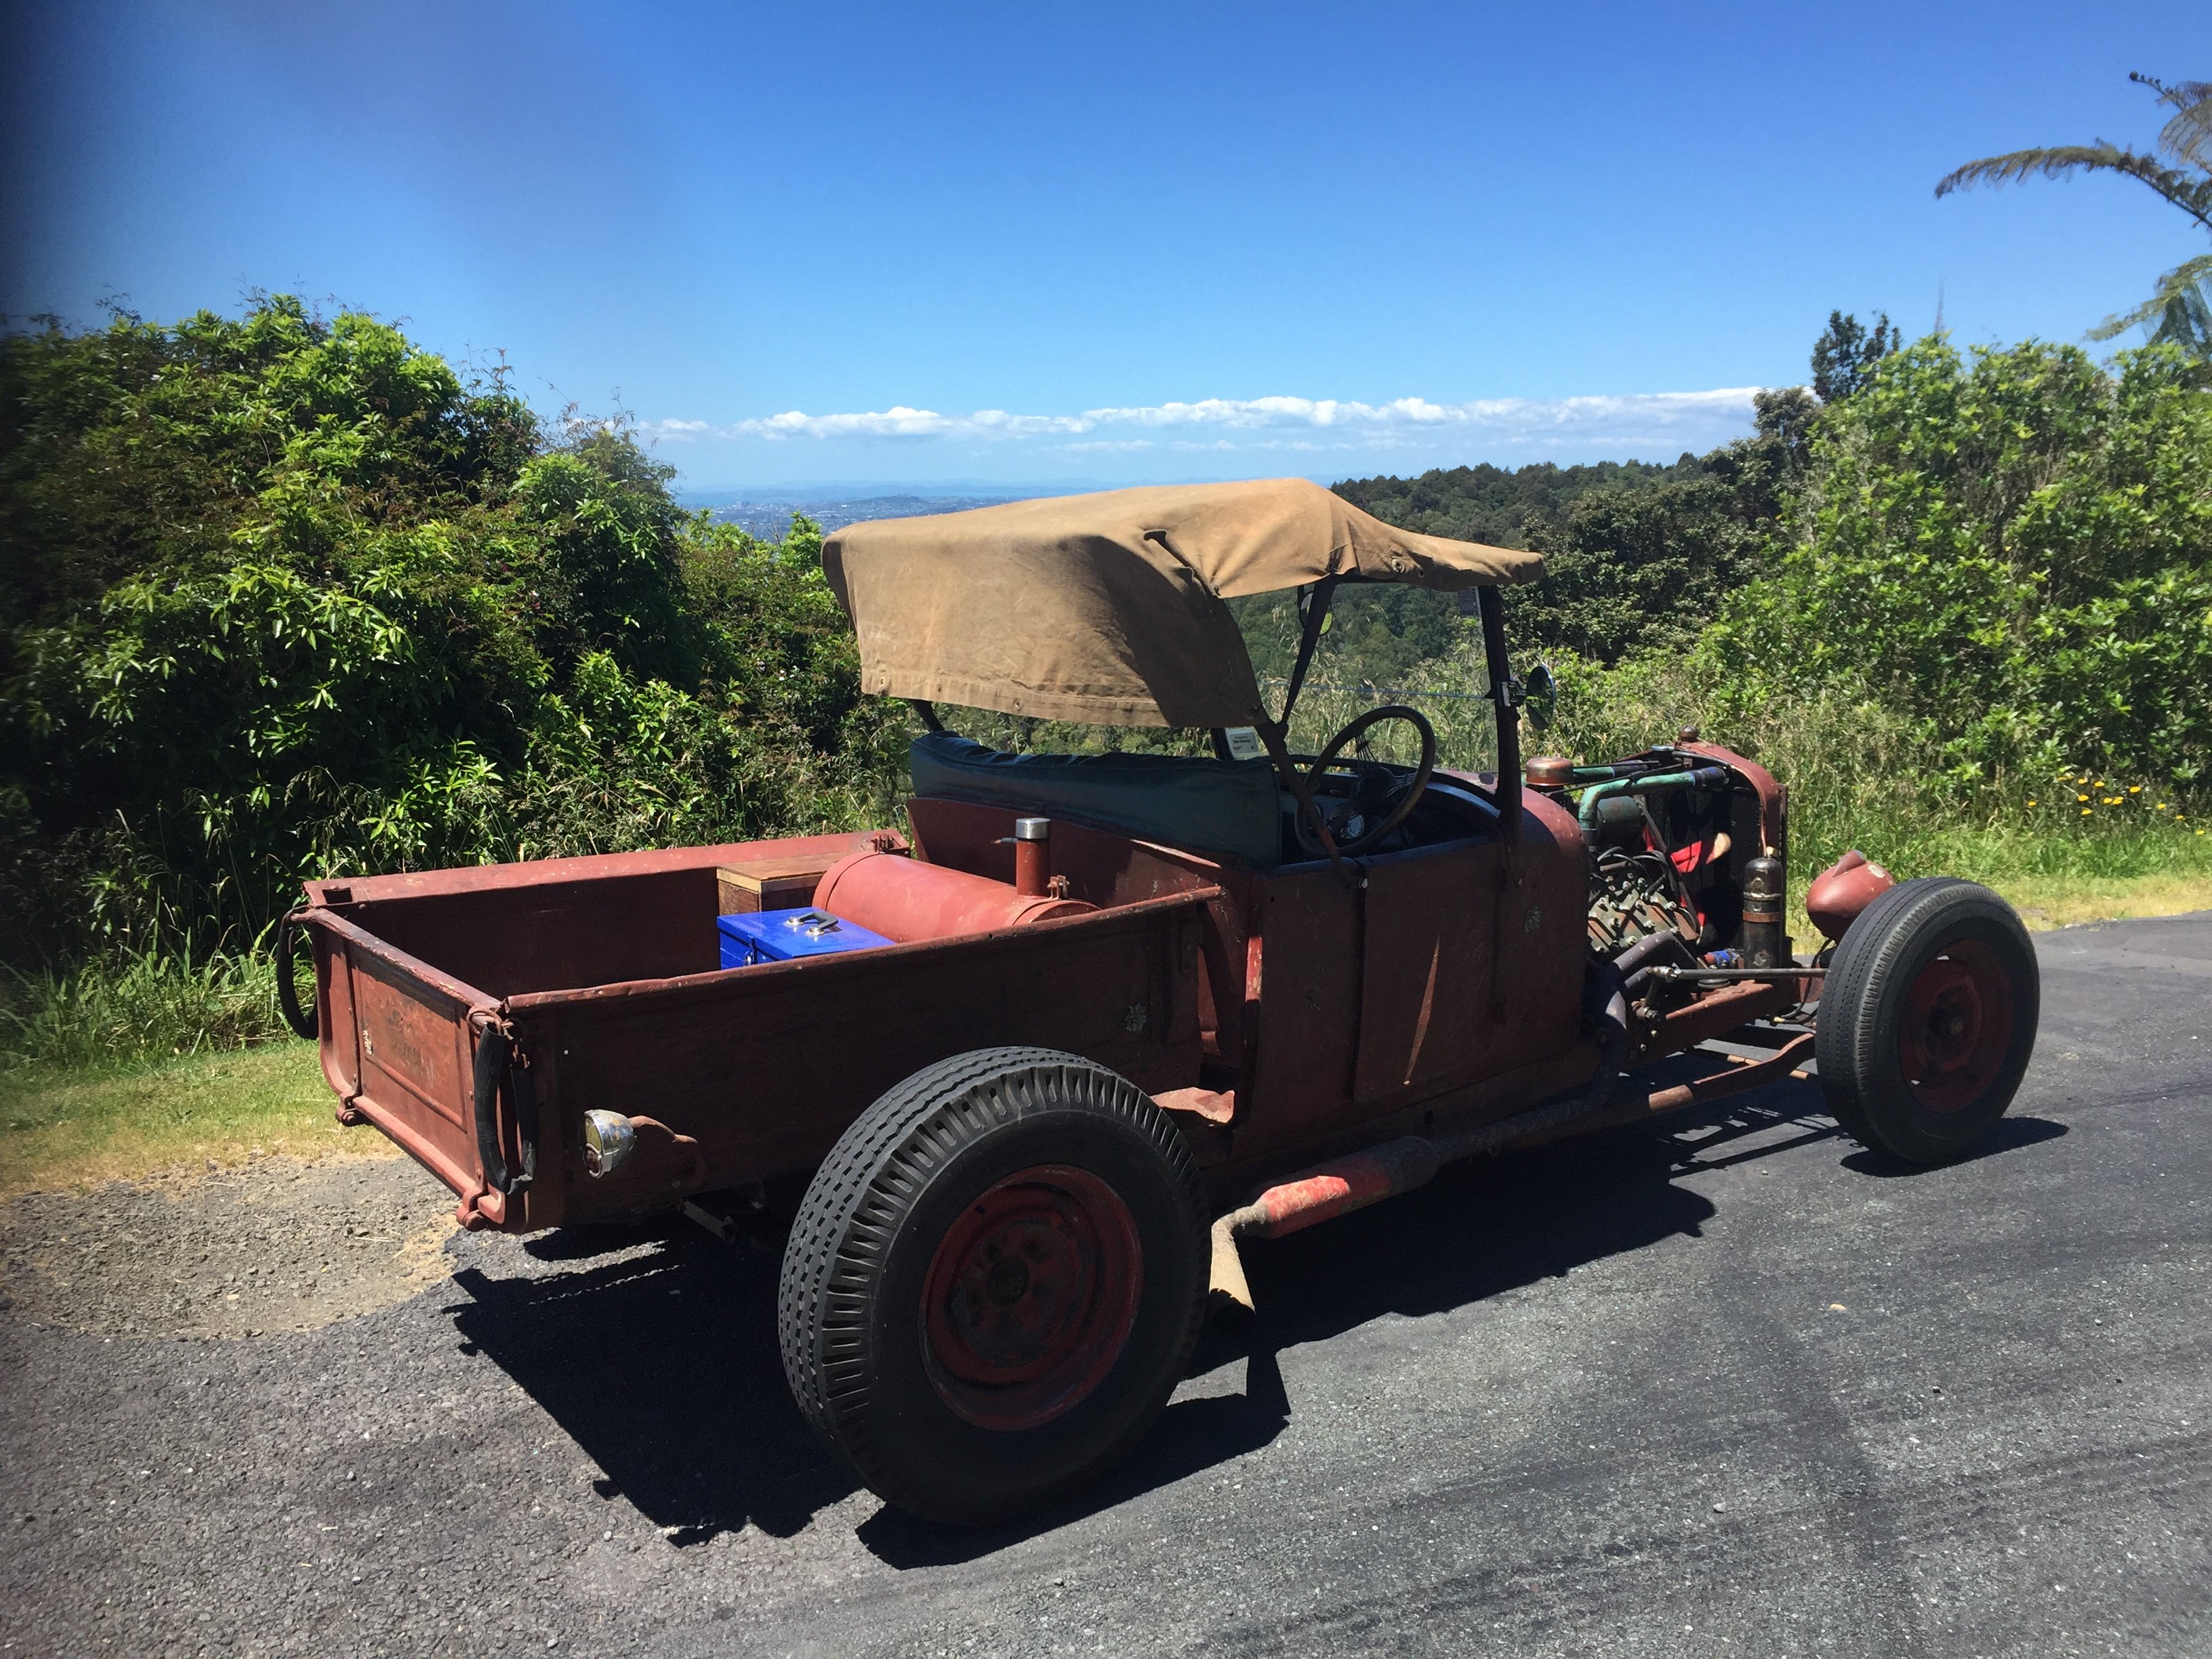
Nice day for a hoon up a volcano.
6 points
-
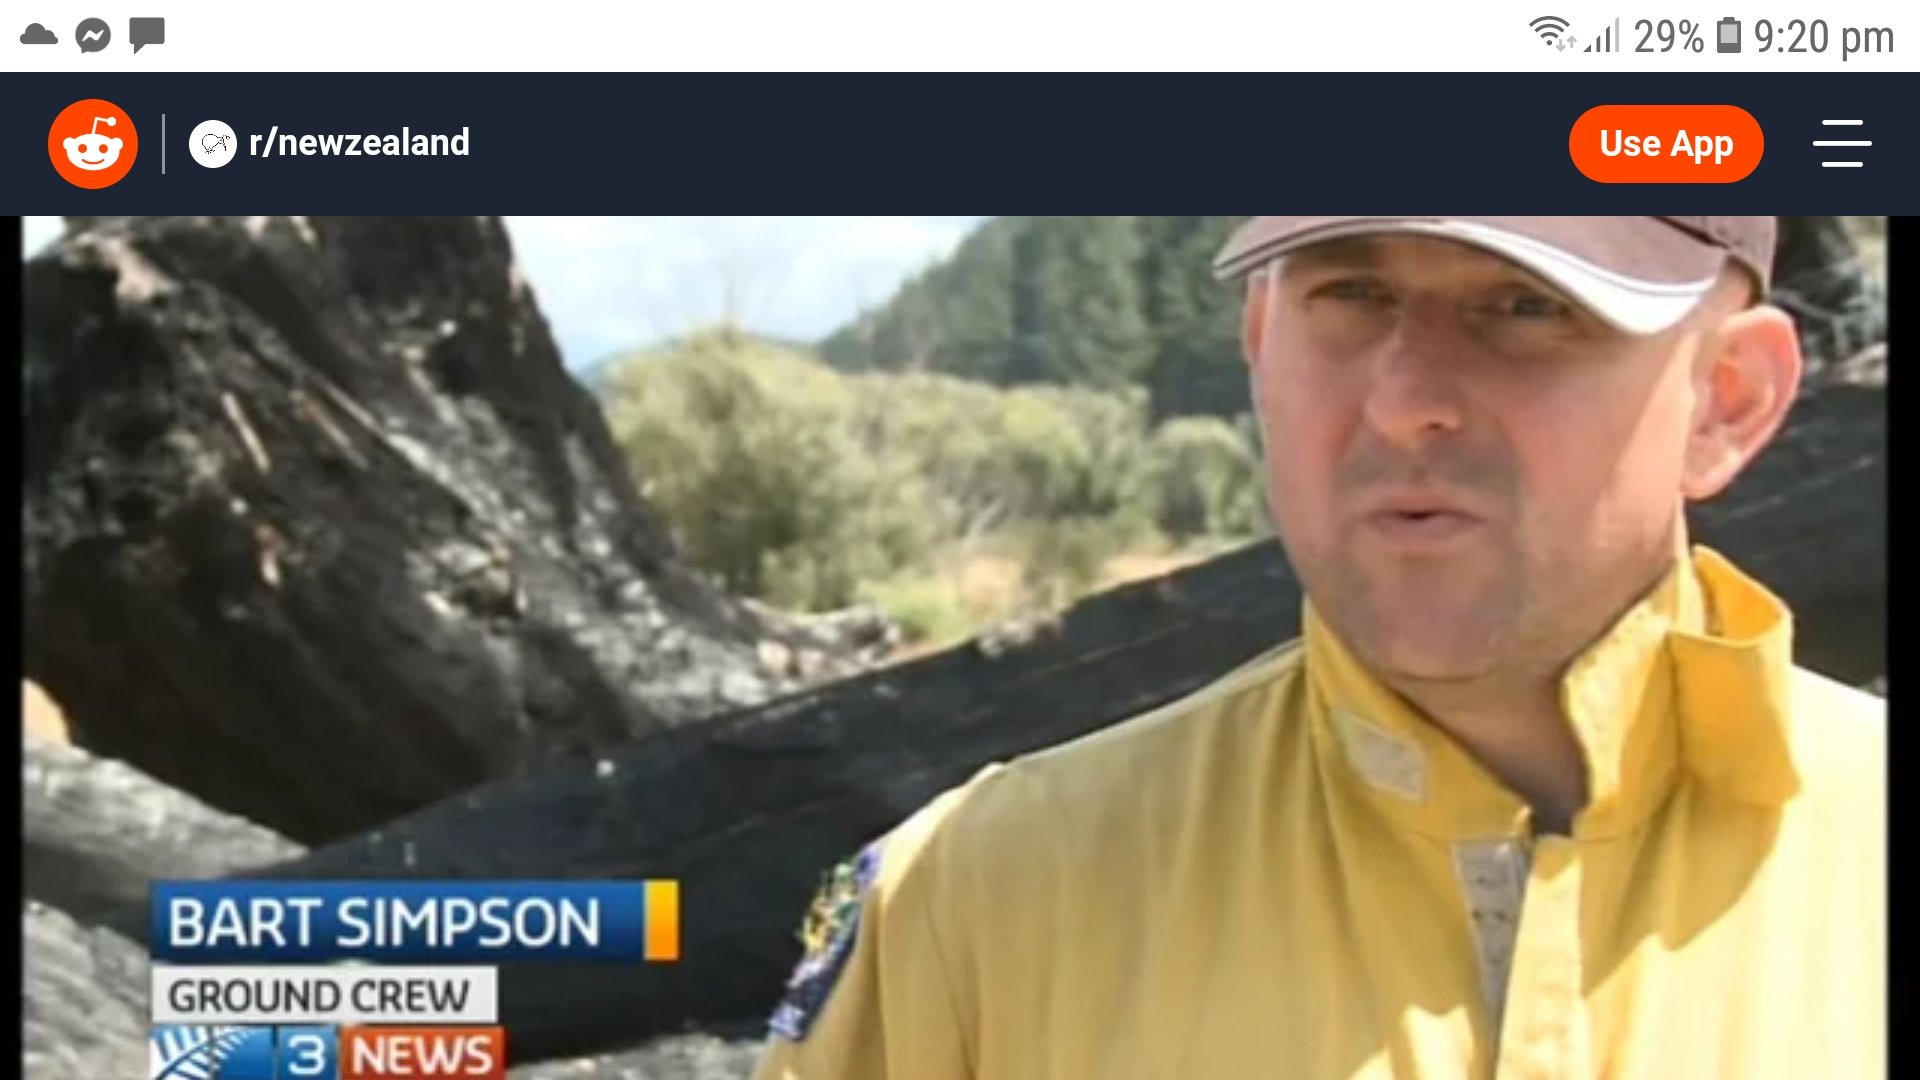
Pic for fred
5 points
-
Also, there is one extremely important detail that needs to be discussed. Is there a South Island equivalent of China Palace that we can terrorize during a dinner session?4 points
-
I'm looking at heading down with my ute and perhaps a trailer (if the bike numbers add up beyond 3 bikes) from Hamilton on the Thursday, then back on the Monday. I need to start planning as part of the fizz build up process. Any interest in throwing a bike at me, preferably not literally?4 points
-
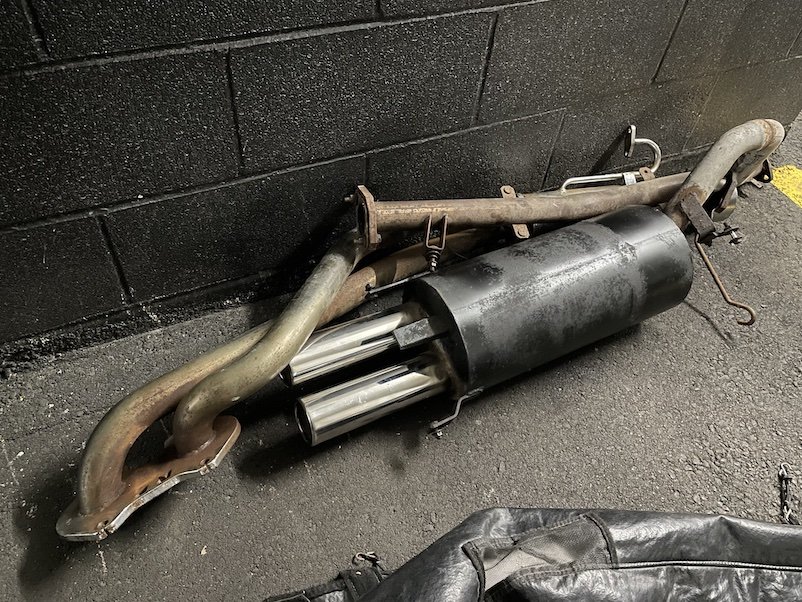
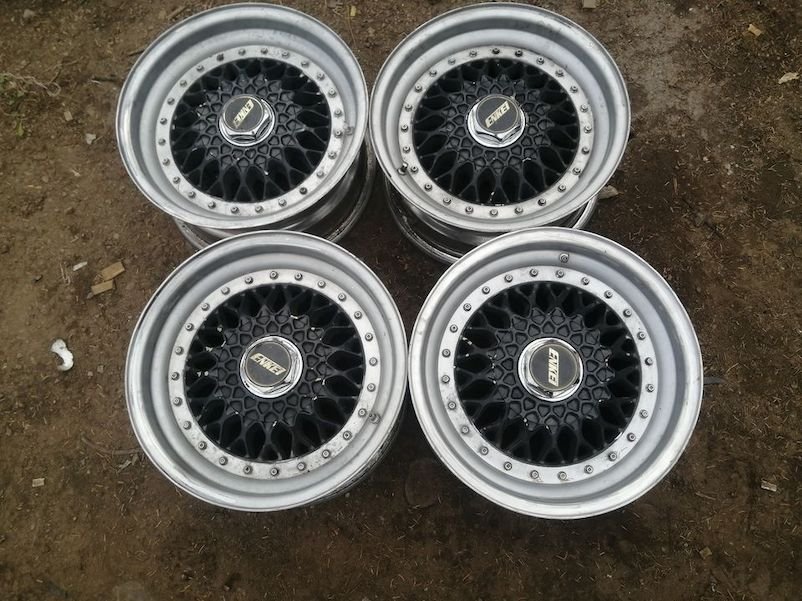
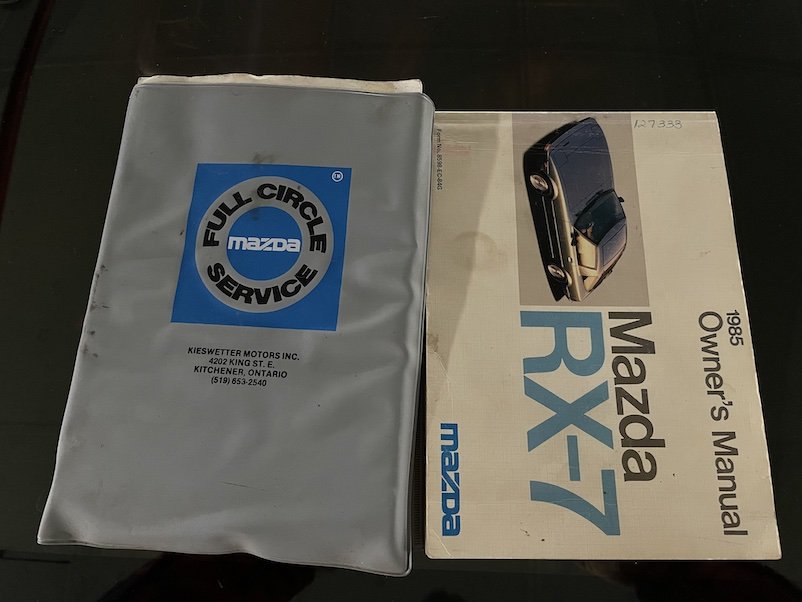
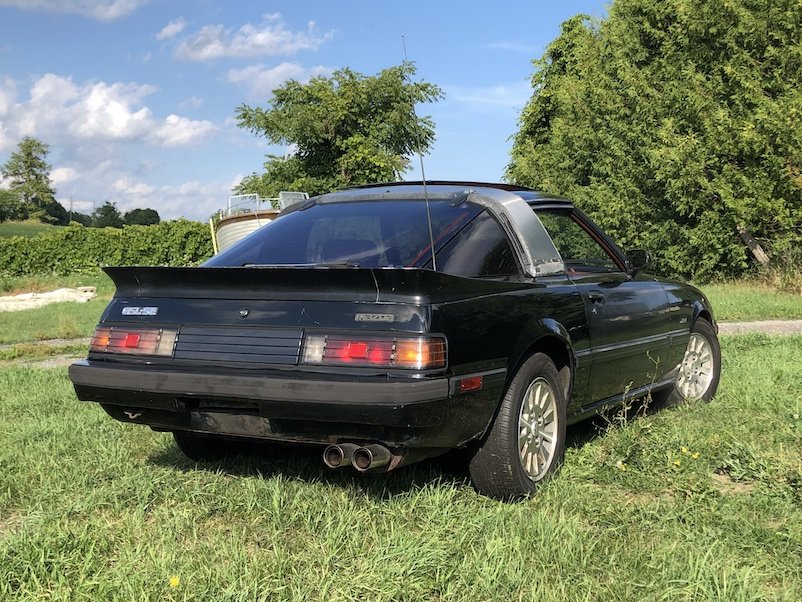
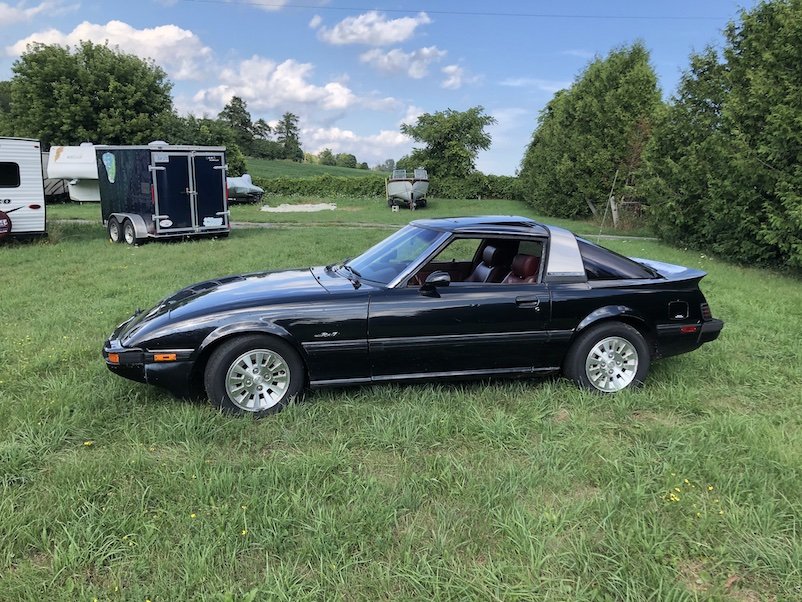
** Discussion https://oldschool.co.nz/index.php?/topic/74793-helium-elbows-magical-rx-7-fb/ ** As 3-4 months of winter snow is coming up in just a few weeks I'm going to take it off the road and do a bit of a refresh. It needs a bit of a tidy up body wise as there is some faded/crazed paint on the passenger guard and door, and some little bits of surface rust here and there to tend to. I've salvaged the Racing Beat Road Race header and Power Pulse pre-silencer and main muffler from the parts car And picked up some Enkei EK98 15x7 -3 wheels which could do with a bit of a tidy up. The lips have been painted silver and I want to take them back to polished metal. Not keen on the black centres either, looking to go a metallic silver or bronzey/gunmetal. Also found the original owner's manual
4 points
-
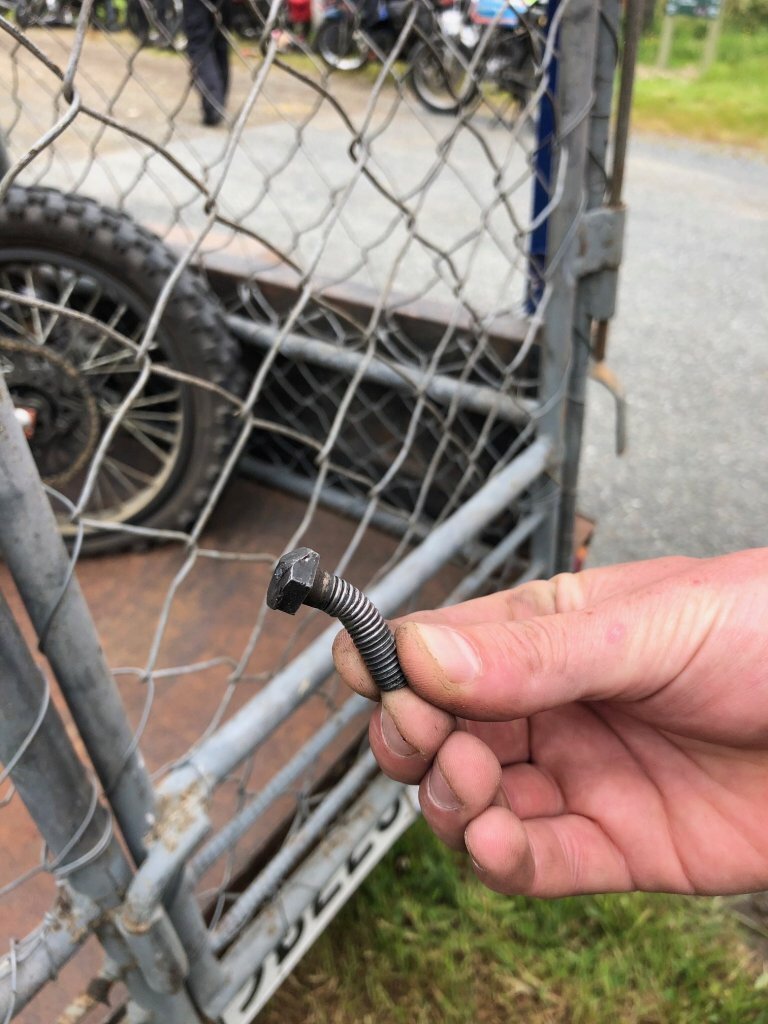
Te Urewera Undertaking successfully completed with a couple of hiccups The wires into the ignition snapped off so it was twist 2 wires together for headlight and dash to work Numberplate bracket snapped off on the last day and went byebyes down a bank into a swamp And the most exciting incident was just at the start of the Motu road Bolt holding the sprocket to the back hub worked its way loose past the lock tab and jammed into the swing arm while doing 75kph thru a corner resulting in a big lock up thinking id seized it then the tyre spinning on the rim and destroying the tube, it was exciting to say the least. Bunged it on the trailer for the day then fixed it in Gizzy with some decent cap screws and locktite for piece of mind
3 points
-
Wonder what happened to the 9113 points
-
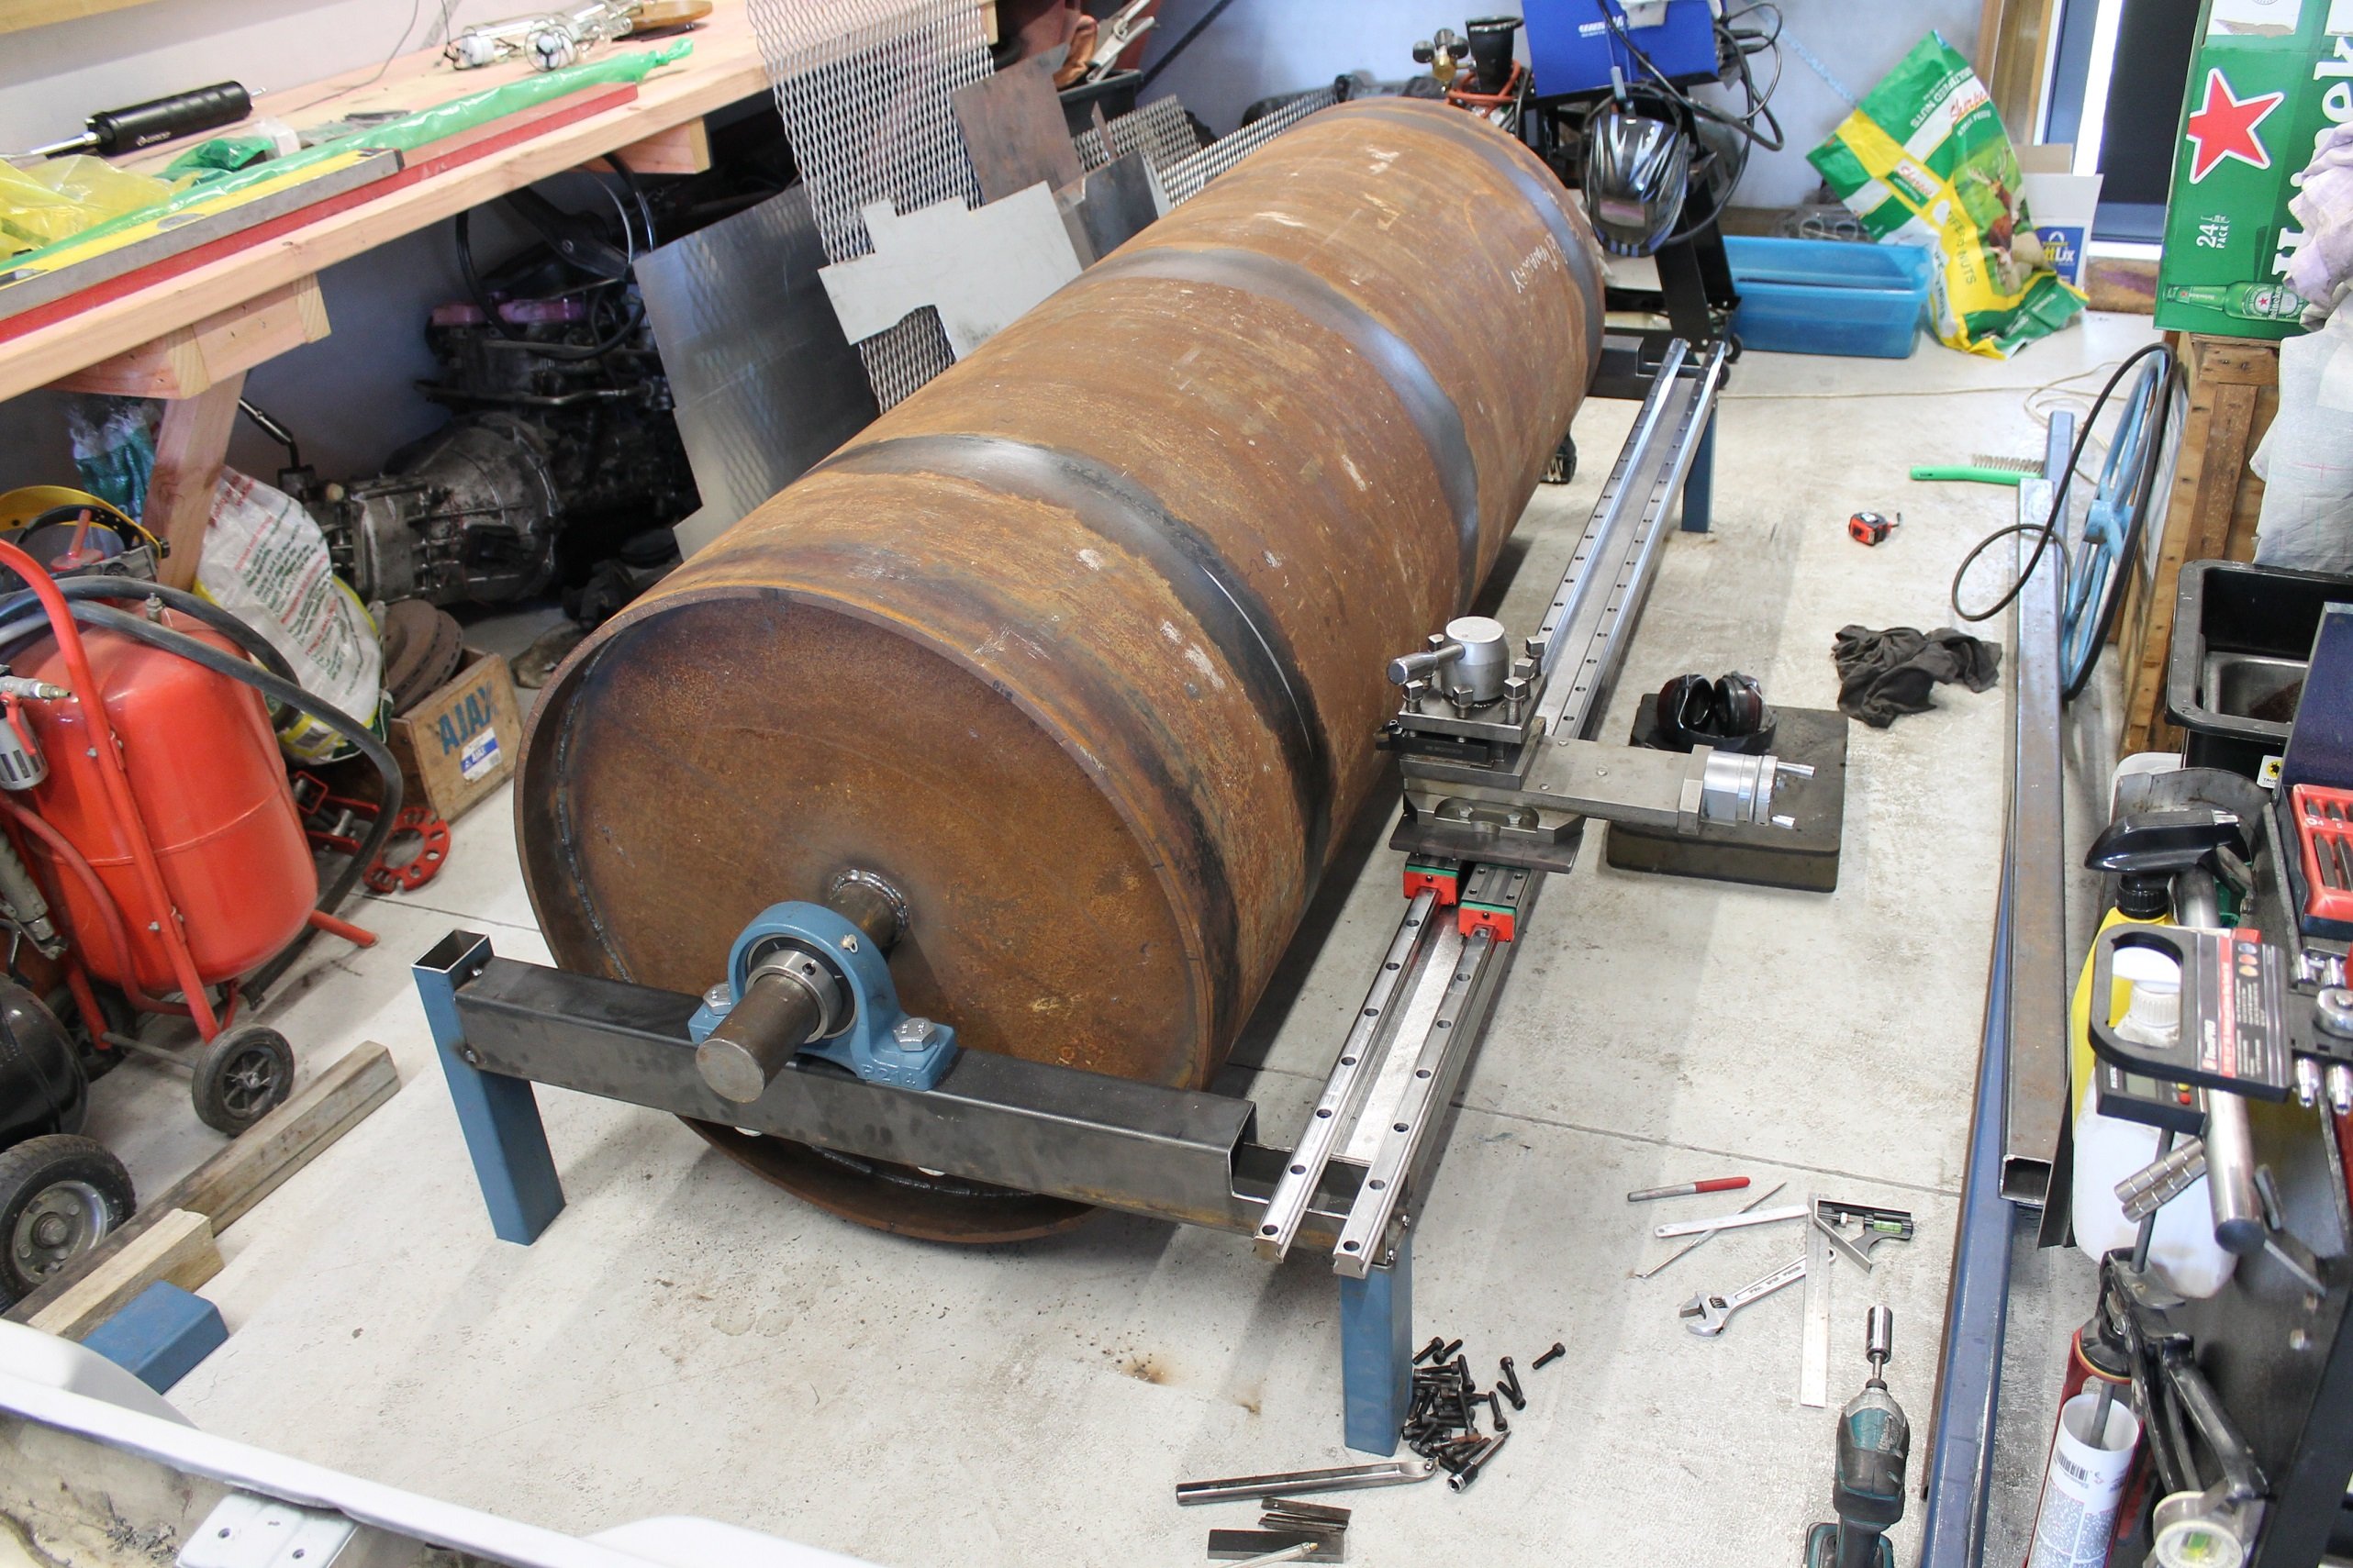
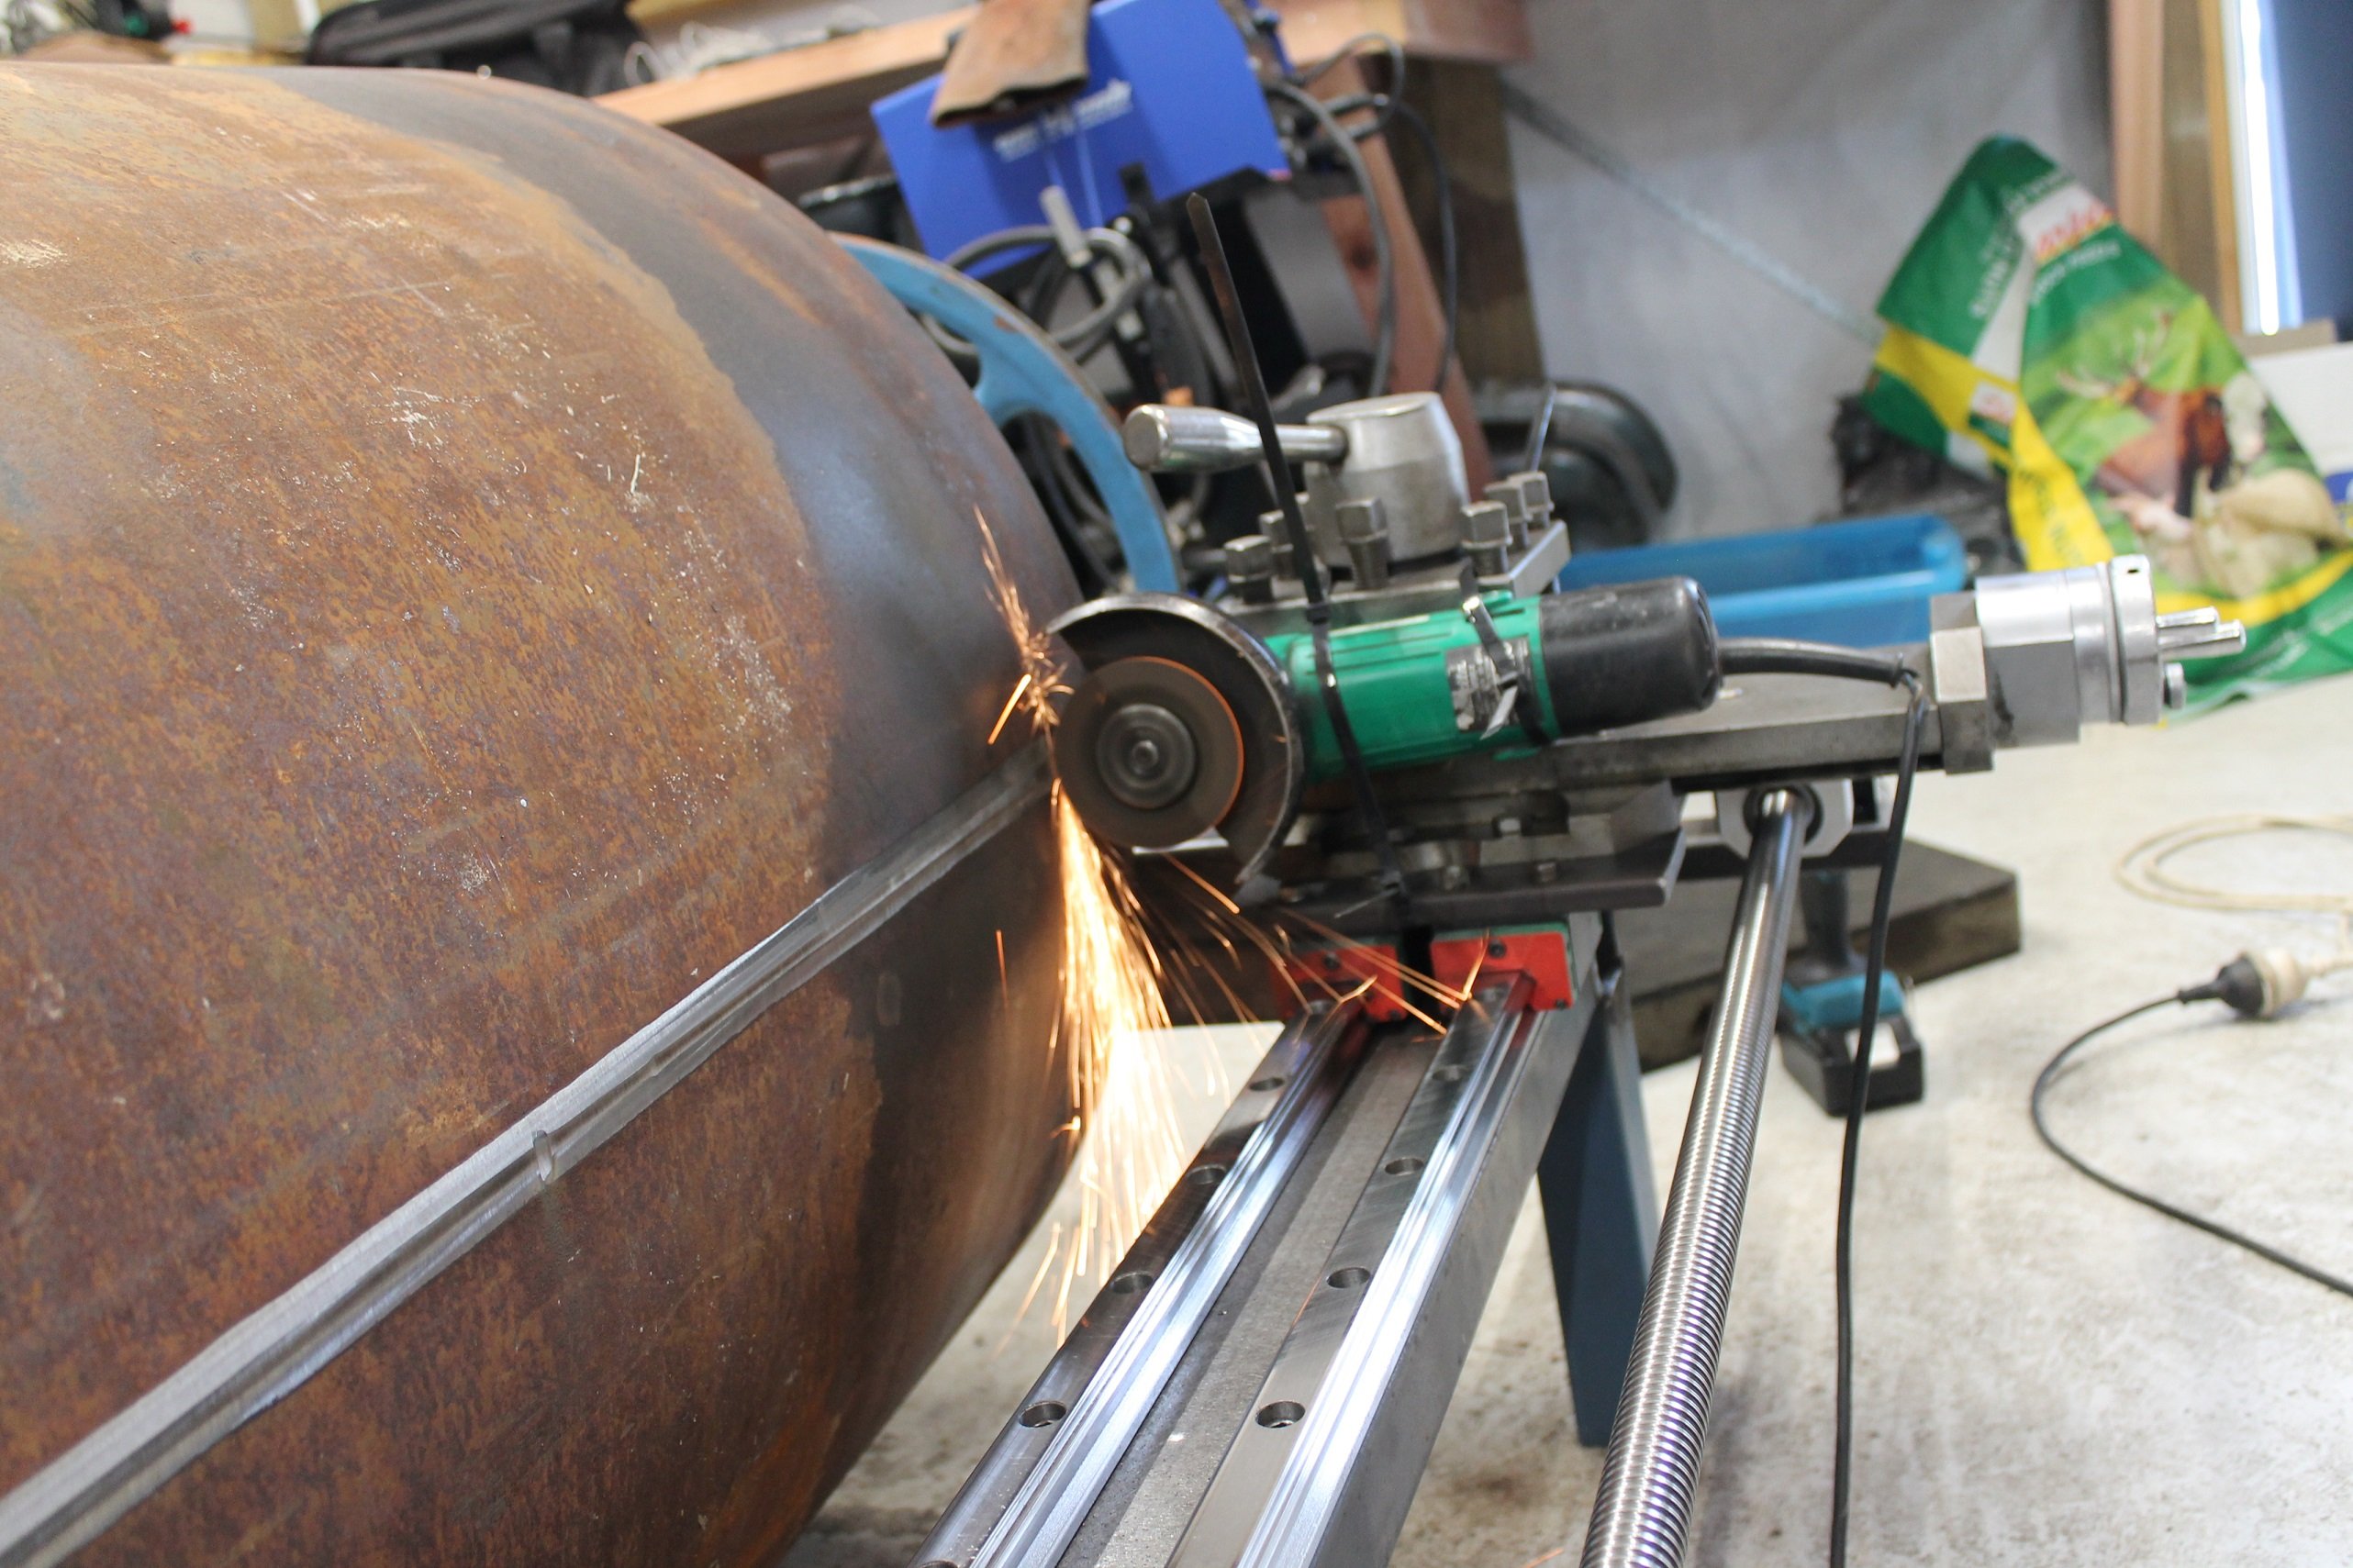
While I was fabricating the roller, I visited a bunch of engineers in the region and found that no one had a lathe big enough to machine it. Bugger. After getting some quotes from further abroad that would have blown my entire budget by themselves (15-20k). I decided that I'd just build my own lathe.. I jumped onto Ebay and ordered the cheapest set of linear rails I could find, including the ball screw and bearing blocks. 3-4 weeks later I got set to mocking up the "lathe" using the compound slide from my Stanko mounted to some adapters. Spinning the roll by hand with the compound slide clamped to the linear rail, I took the first test cut. "Fuuck yeah, this'll work" I said.. It would have taken forever to machine the 3mm x 25mm weld bead off, but I remember once when @kpr mounted his angle grinder in the lathe to cut through some hardening on a set of axles from memory? (that image is burnt into my mind, probably thinking it might be a useful trick one day. cheers dude!) The grinder worked really well and made short work of it. Spinning the ball screw with a battery drill.
3 points
-
After I got back from America, I listed the FZR250 and sold it, got side tracked with the rest of the year / moving out / life /other shitty bikes and left the CB360 sitting sad in the corner. That brings us to the present, I ordered a few basic bits from 4into1 to try get this thing going / back on the road for summer 2021. And made a start on getting it going.2 points
-
Theres a terrific shit yarn attached too. (Best told over a beer)2 points
-
Continuing to remove the blue paint, am getting there. Thought I'd remove lights etc so I can make a proper job of it. Well not happy with the twist and tape wiring connections, the soldered on wires inside the lights and the homemade number plate light. All new stuff coming tomorrow. Also going to add clearance lamps onto the taillight mounts to aid with night reversing. Ive also got rid of the god awful pool noodle shit as the hull wore straight through it. I had mentioned this to a workmate and front up to work this morning to a couple of really good second hand rollers and an "axle" to chop up. Trademe purchase of a rubber snubbing block for the front gets rid of the pool noodle at the other end. NO PICS..... Typical2 points
-
I dont really know what dining offers Blenheim/Nelson have tbh. I like eating food in places that sell beer in jugs tbh. Or just some beige food with some cheap beer from the supermarket works fine too.2 points
-
Sweet Downloaded XDF File now i can see whats goin and turn stuff on and off. Compared the tune I downloaded from net against stock from the ECU I installed only minor changes so will zap it in tonight can always go back to stock if its balls.
2 points
-
It will be minutes and alot less money if you put a Lifan in it2 points
-
Hey mate if you use stainless bolts make sure they are marine grade and try to put plastic washers so the less stainless hitting the Ali, the 2 metals react and it eats the Ali (even worse it it’s old Ali).2 points
-
forgot to mention, a supercharged 1UZ pulling hard at 7200RPM sounds pretty ace.2 points
-
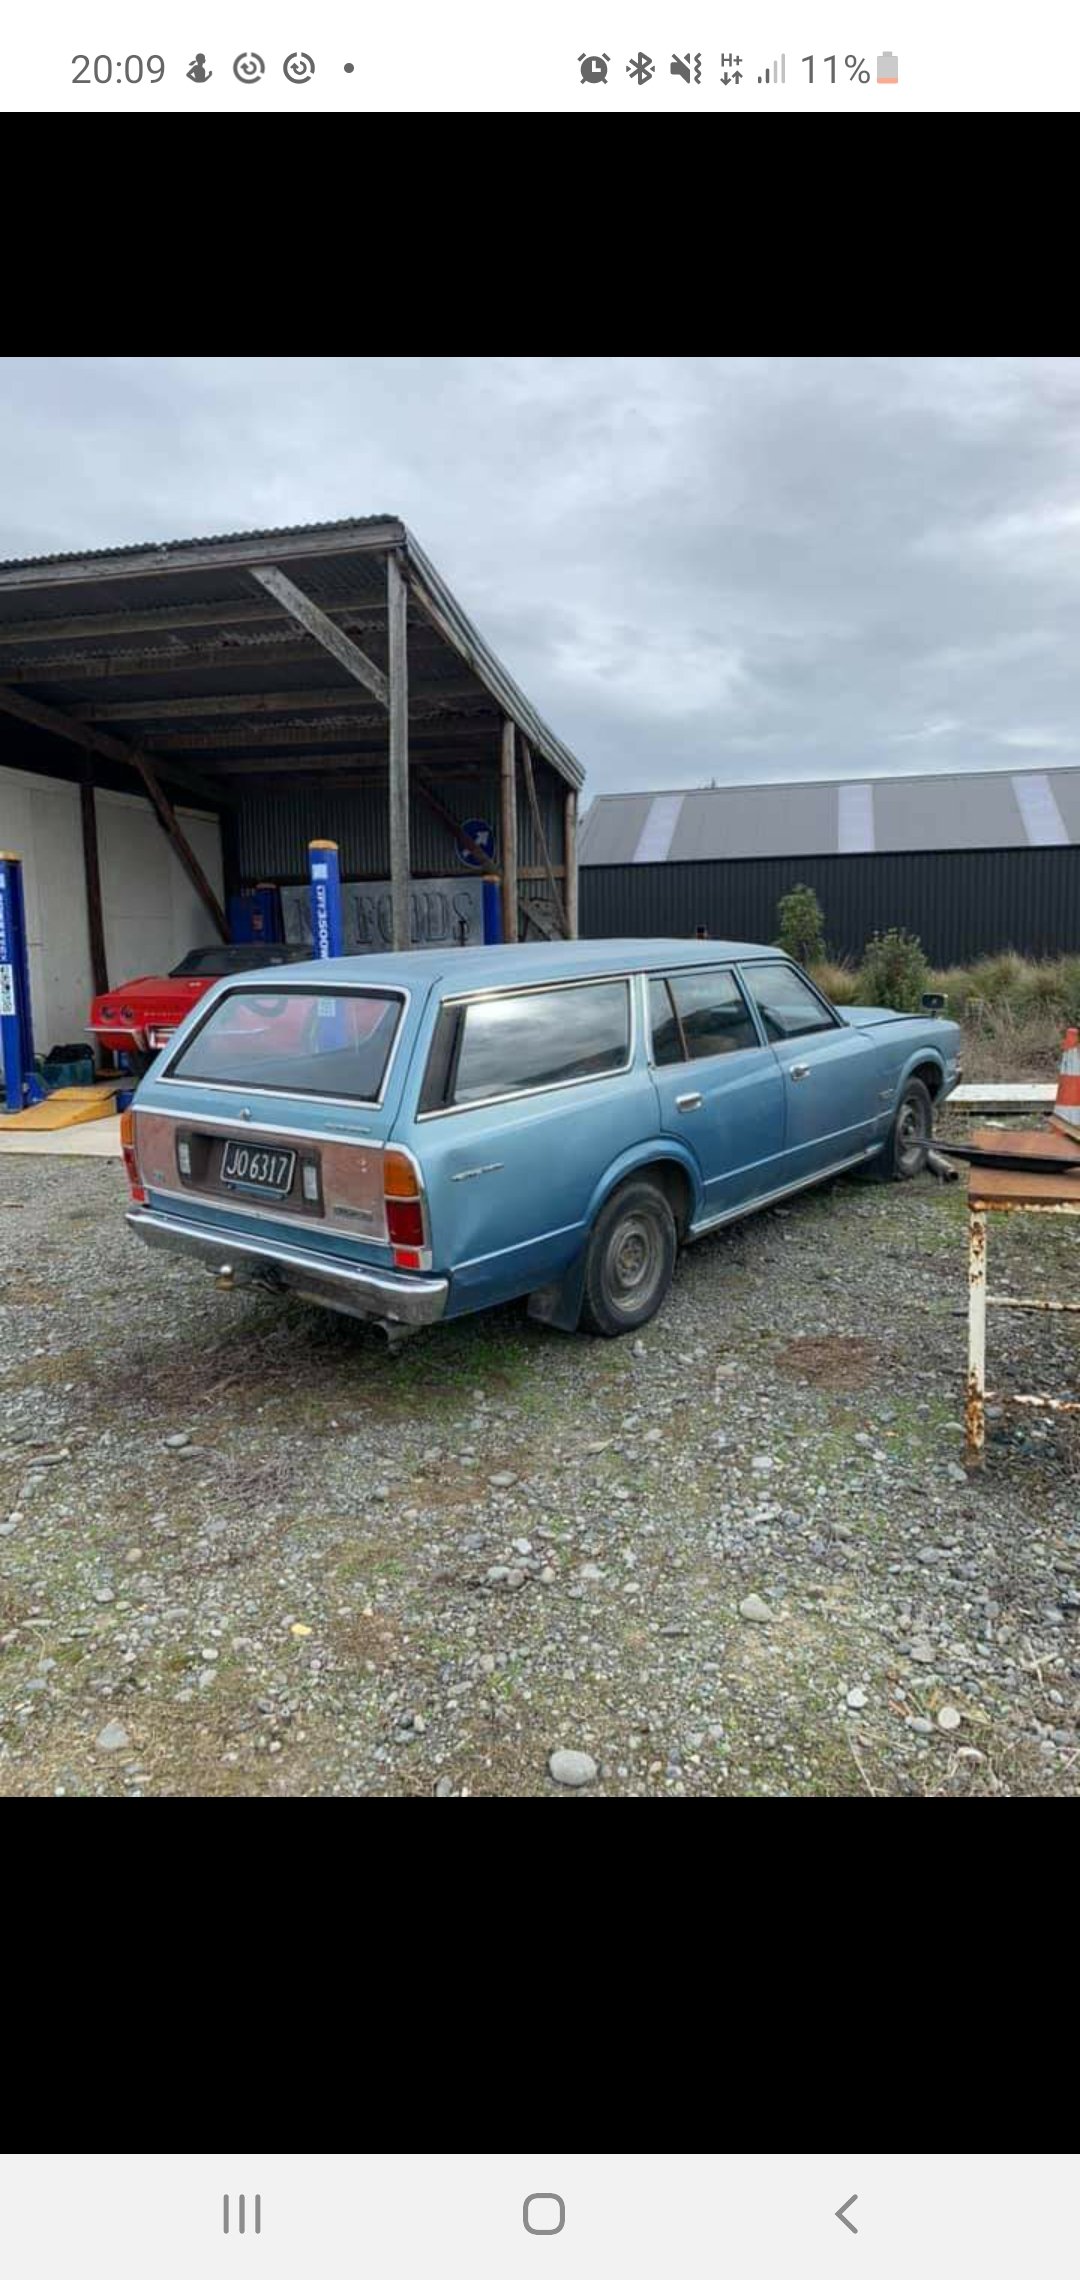
tidying a few things up with the tune. i had no speed signal so the ECU didn't know if we were moving or not. with an E throttle that makes quite the difference. so i put a wheel speed sensor in the back so now it knows we are moving. the other major thing that needed sorting was the rev limit, it was set too low (6500) and it was pretty harsh. so now th rev limit is a more excellent 7500 with a really nice cut that just works. lots of little things were made better in regards to coasting to a stop, the fan coming on, part throttle curse, just more drivability. the other thing that we did was add a bit of timing up top which coupled with the higher rev limit it made 275 killer wasps at the tyres. keen for drag day TBH.2 points
-
Went for a drive today, it’s going better than ever apart from the hot start problem witch may be related to the worn out ignition switch witch causes a misfire sometimes. Speedo is working well, 30 MPH works out to be about 58 KPH I can live with that, side mirror blew off but luckily it landed in the car, PCV is wonderful, oil stays clean and way less fumes, I am wondering about slotting the distributor for more advanced, I set it max advance all ready and I am running 91 with no pinging. On the hunt for some 600-15” tires, my front tires are old and hard like they are made from stone
2 points
-
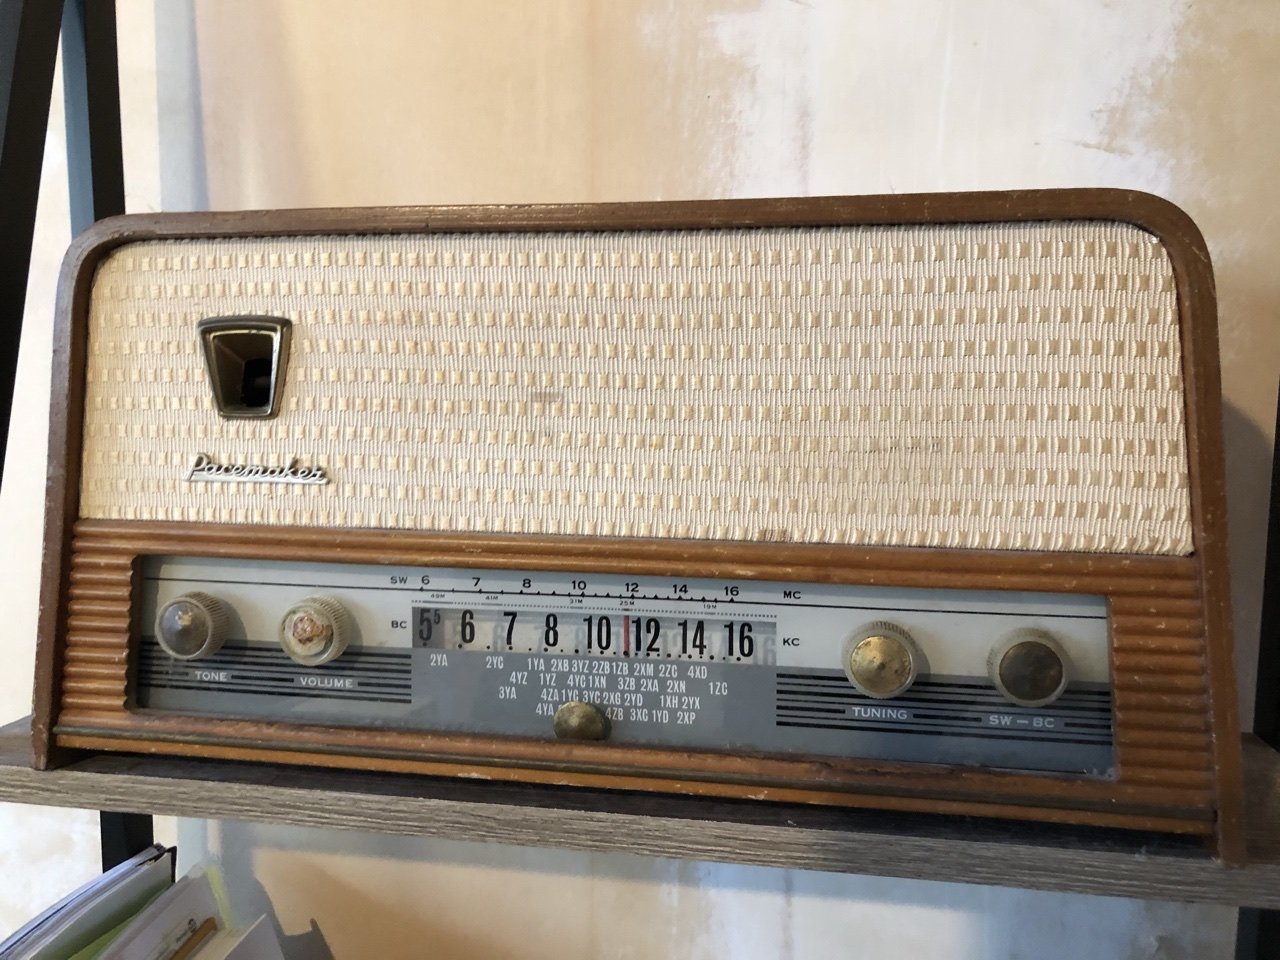
I was looking for a box to fit my nixie clock in as leaving the circuitry bare was a bit dangerous. So I found a box. Plan is to fit it in where the radio frequency tuner was behind the glass. Then add a blue tooth amp board with modern speakers.
2 points
-
Grew some balls. Drove it up West Coast Road to home. Made it. Everything but a wof. Calling that a tick on the goals for the year.
2 points
-
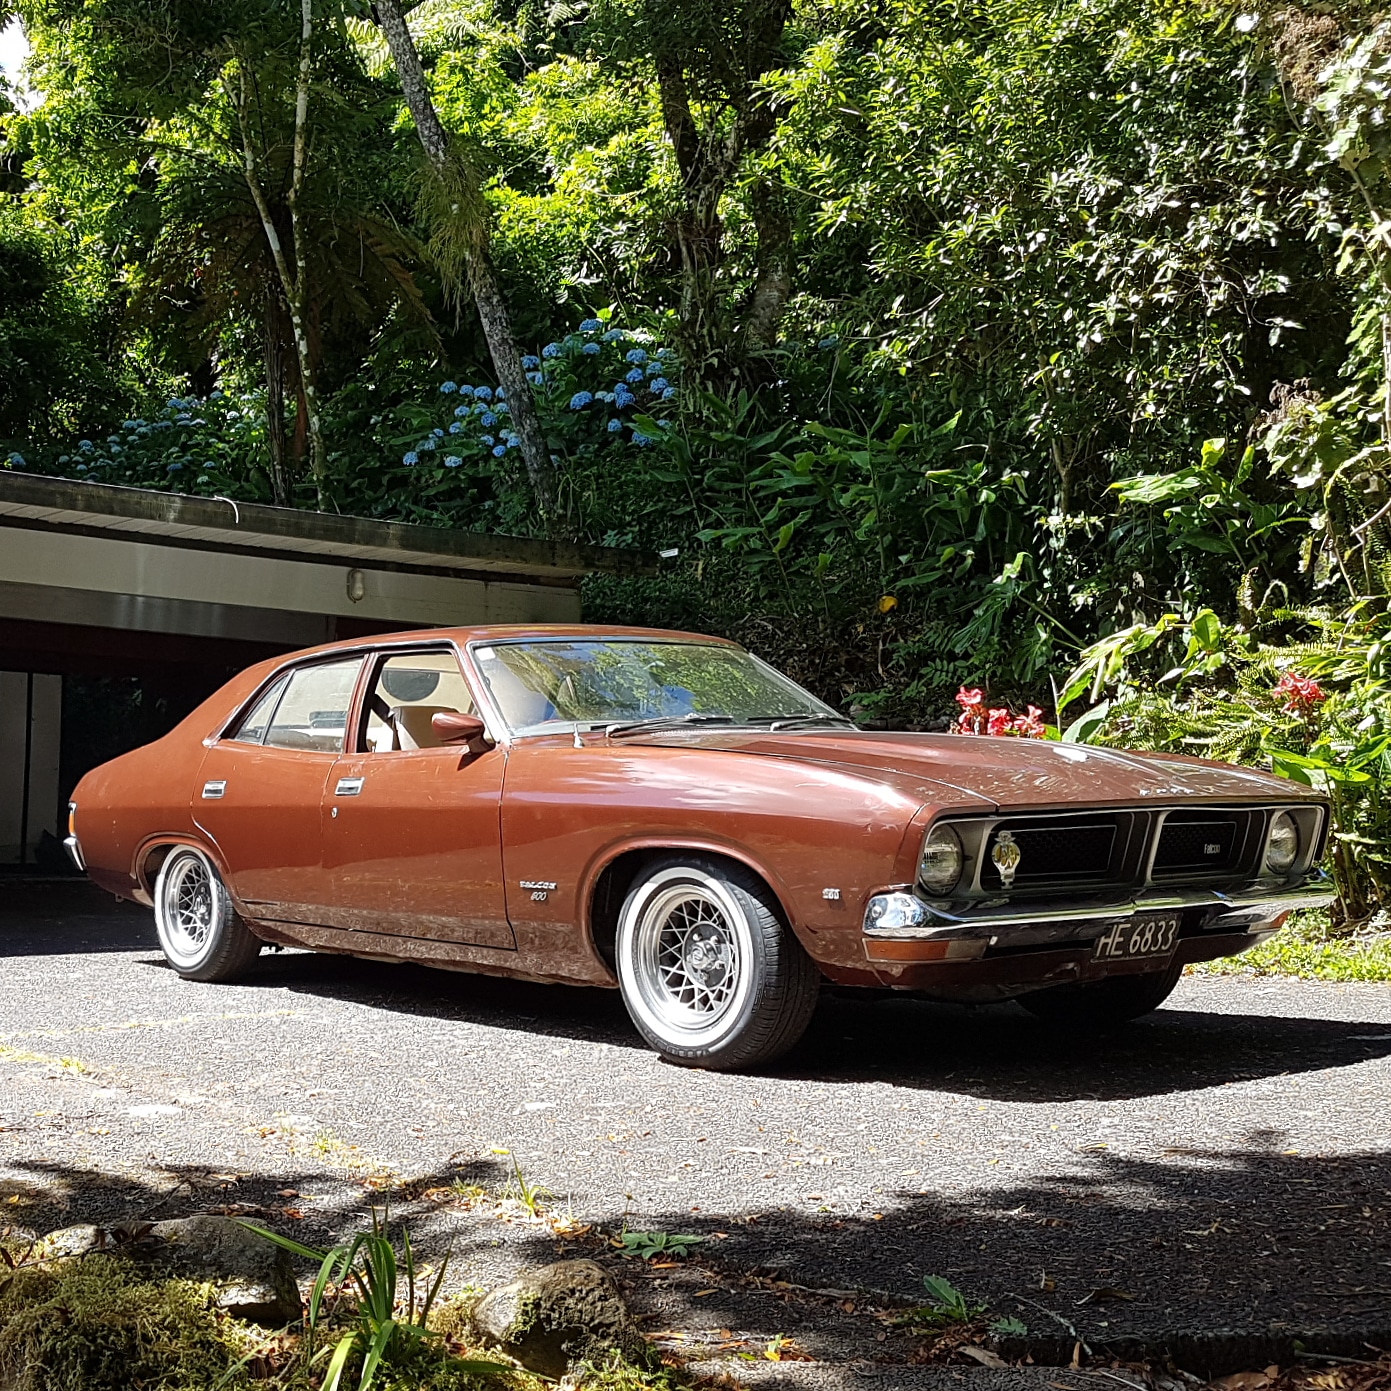
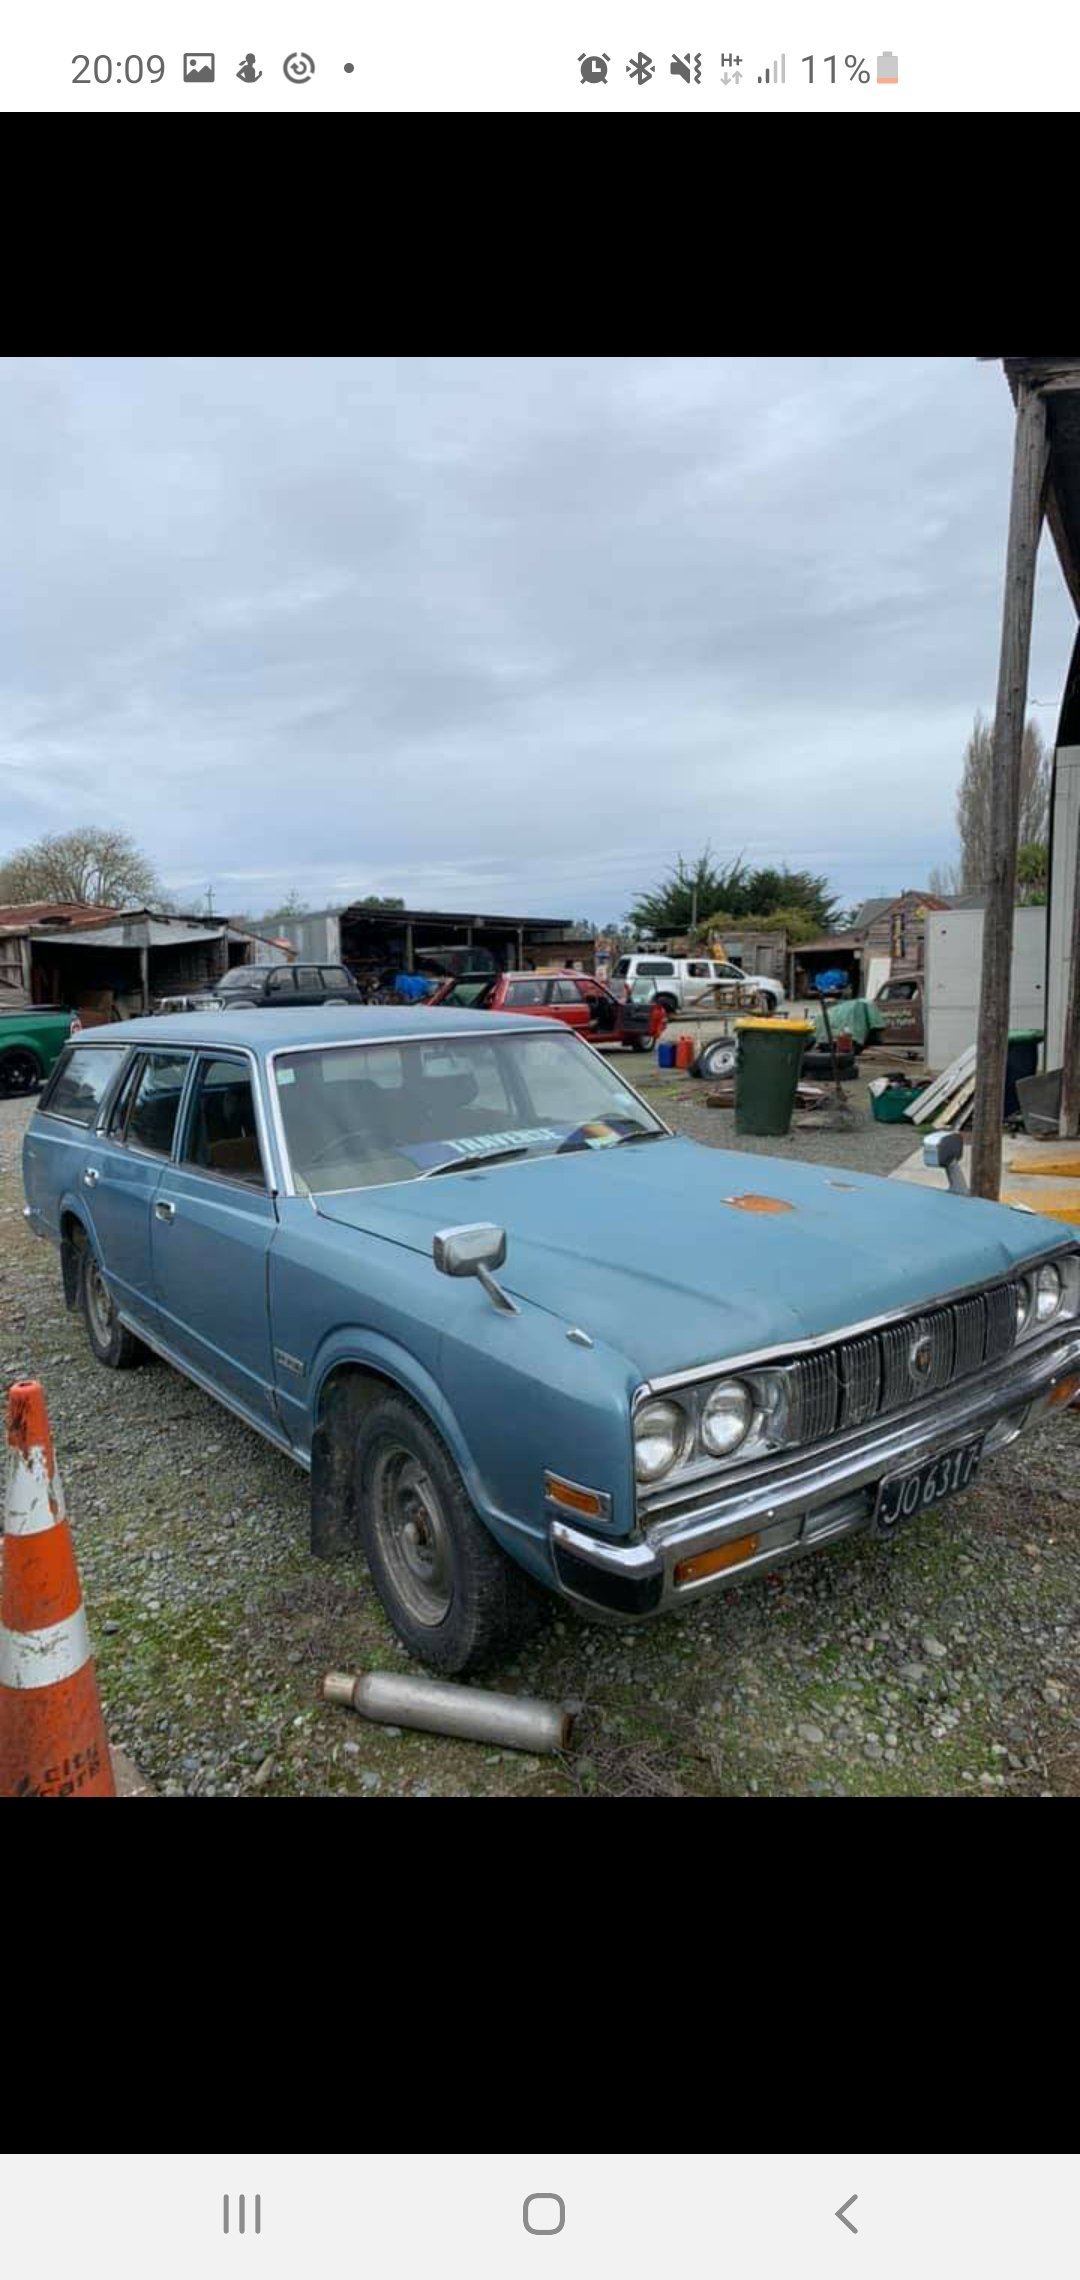
Discussion thread First build thread so am still working out website. Hope everyone enjoys and feel free to add comments as am still learning so much about these crowns. Earlier in the year I had purchased my first toyota crown. I've been a long time toyota fan building them and playing with them since I was 16 (8 years ago). I brought it off a fella in Christchurch and coincidentally had a week off work at the time. So I spent the next week getting the thing a wof as it hadn't had one in 10 years. Its a mettalic blue Ms83 crown wagon. Rough around the edges but it ran, it drove and it had no rust. I brought it for 4.8k with the reg on hold. I suppose I should have knocked some cash off my offer but I've been a massive crown wagon fan for ages so I just payed the asking and picked it up the next night.
1 point
-
I stayed at a motel within walking distance of the springlands tavern for the Onamalutu valley fire back in 2013. They had pub nosh, and beer in jugs.1 point
-
Callum can do the legwork and find the most succulent Chinese meal in marlborough for us. Consider yourself tasked @Chunky_t!1 point
-
@Chunky_t will be living in renwick by then so we can just all roll up half tanked to his place1 point
-
I'm not going to make it. Sprog #2 will be near due, run out of annual leave, and planning a south island trip for when the new bubba arrives. Maybe next year.1 point
-
"HOT Tune" yeah nah car didn't like it tried to run but kept stalling. Got a check sum error after loading it so stuck original tune in fired straight up and ran fine. Will find something else a bit more mild perhaps.1 point
-
I'm thinking about selling this. Had a wof. Reasons it might not get the next. Headlights aren't working. Don't know why. Suspect switch. RH rear outer door handle is jammed. These things went bung since last wof. Can't remember when that was. I suspect last Summer.1 point
-
Just to follow up, I'd been massively overthinking the complexity of this job. (with head on the bench off motor) Step 1: place stuff under the valves to stop them moving/bending Step 2: place a 19mm socket with a magnetic thing on the inside, on top of the retainer Step 3: hit it with the hammer step 4: Valve retainer thing is off Too easy Now to try the rope trick and get a knot stuck in it Might try on a pick a part engine first haha.1 point
-
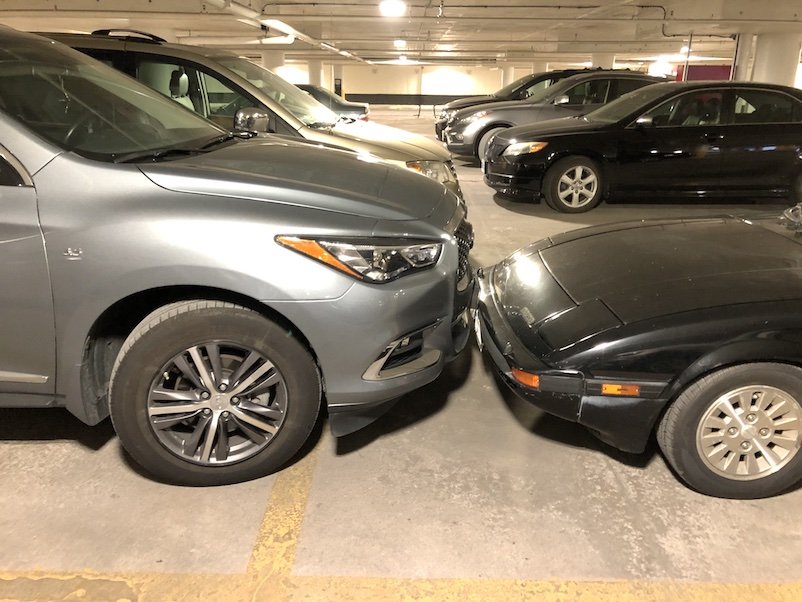
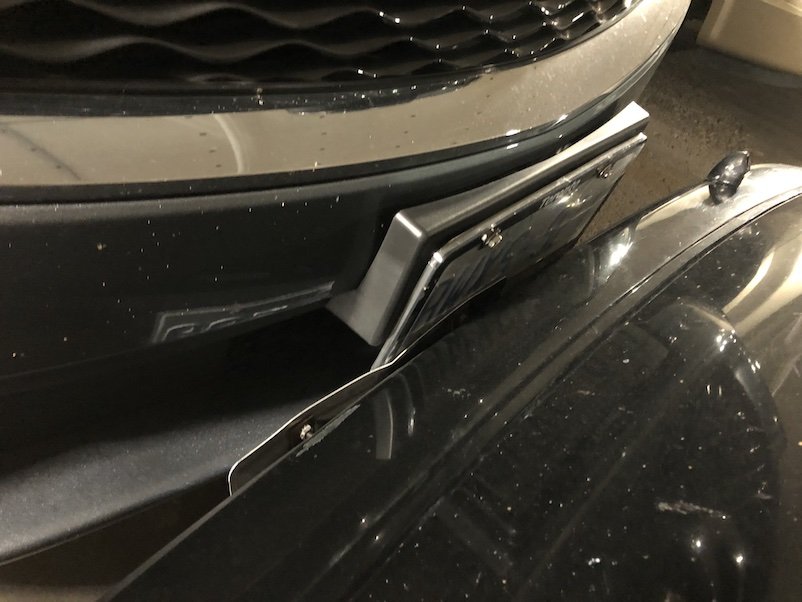
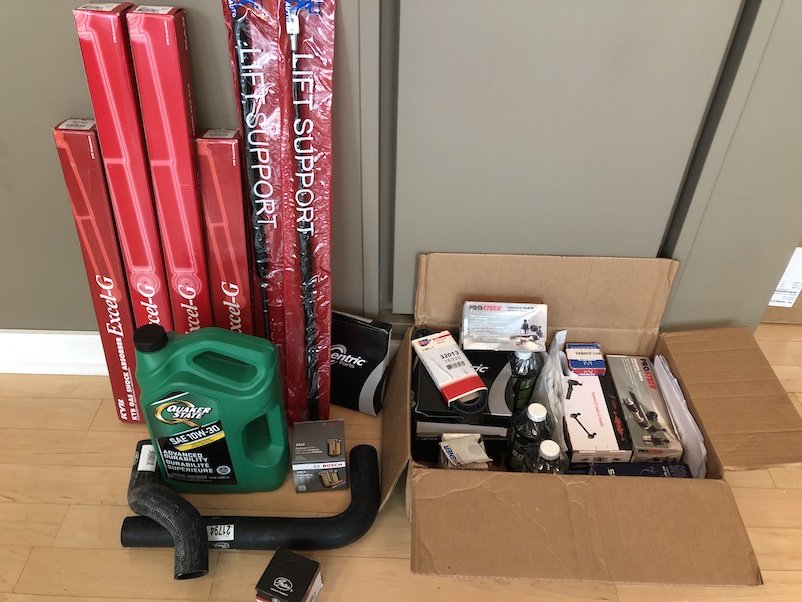
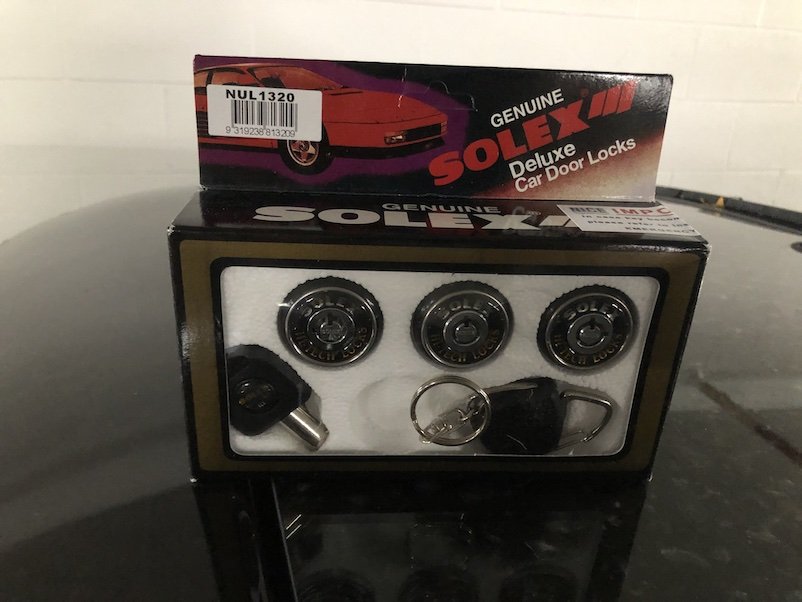
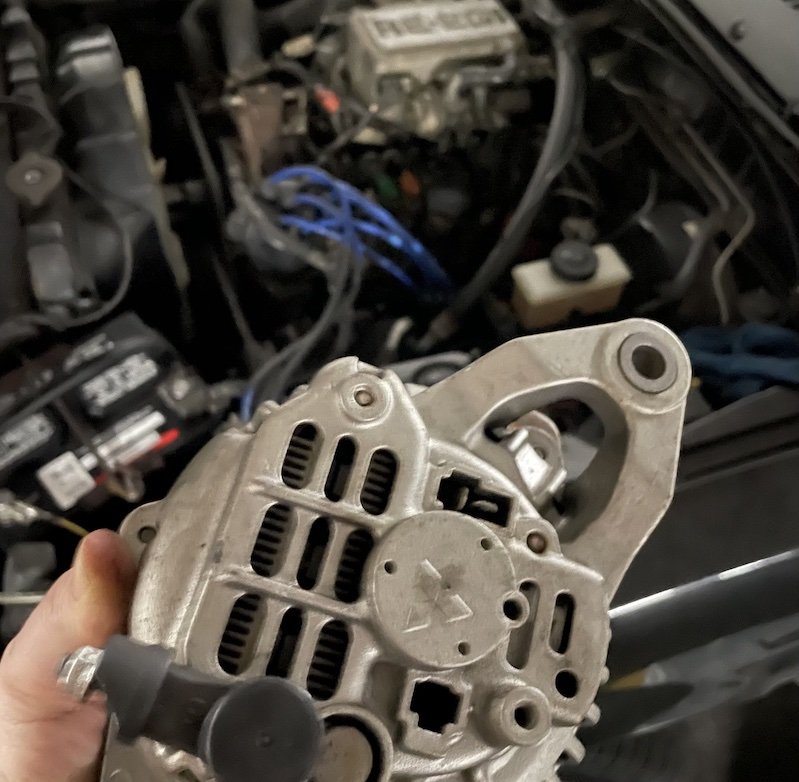
Just a small update - not long after getting it I put it through the Ontario equivalent of a WOF, the "Safety Check" which it passed not needing much. With new plates (old owner takes their plates off) and ridiculously expensive mandatory insurance it was back on the road. It's first legal trip was to the supermarket, where someone in their oversized Datsun prompted used my bumper (and 2 day old fresh plate) as a parking spot. I now have a dashcam & tyre valve stem remover kept in my glovebox for these times. Bought many a box of service items from RockAuto And some Solex locks from 'straya maaaate because the original lock barrels can be opened with almost any key and it has keyless entry anyway. Also had my first break down, can you spot the problem? ** Discussion https://oldschool.co.nz/index.php?/topic/74793-helium-elbows-magical-rx-7-fb/ **
1 point
-
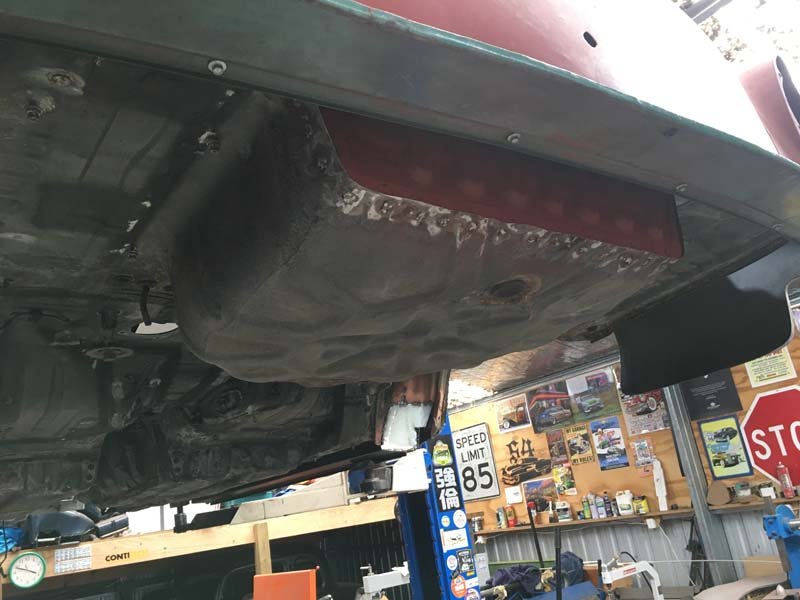
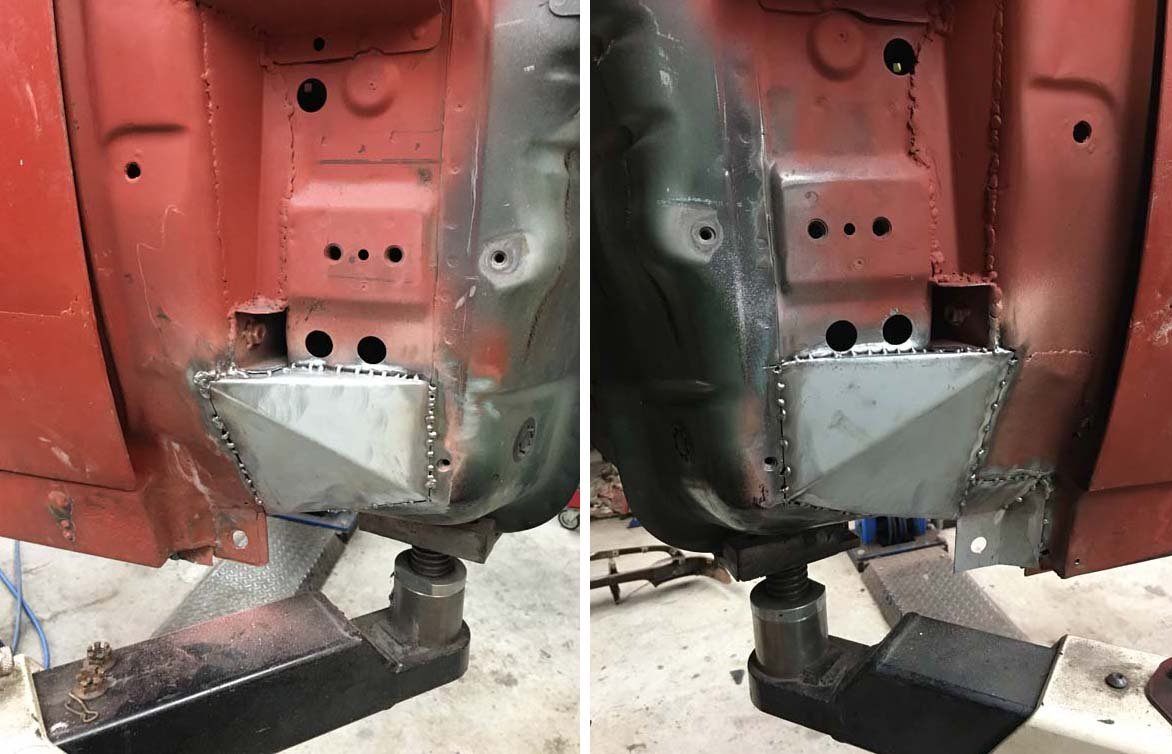
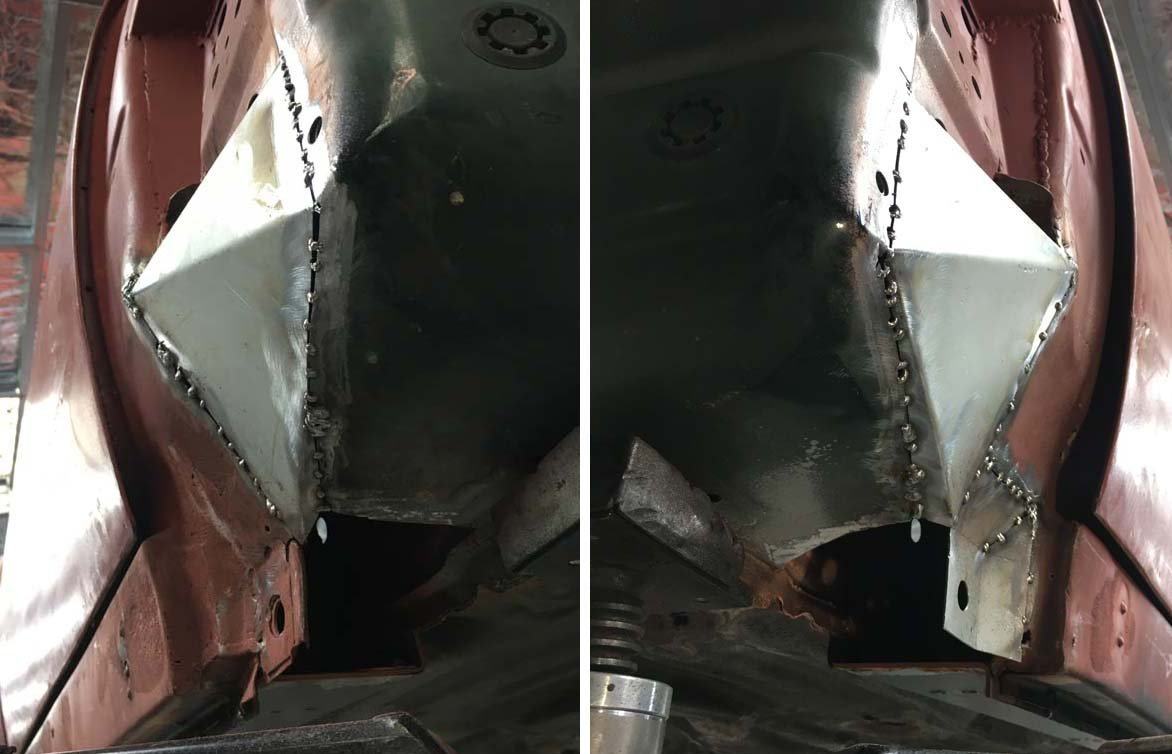
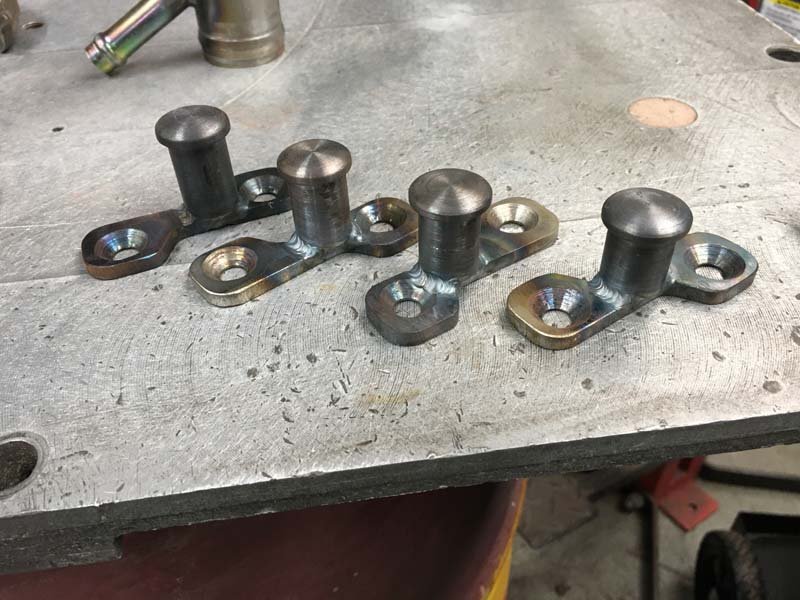
Another Shot of the rear spare wheel well. came together quite nicely. Cut the bottom and inner supports off a spare RH guard I had. And welded them onto my slightly better, but rusty on lower parts, RH guard. To go with the new Dakota Digital Bearclaws. I spun these new pins up on the lathe. (no hex bolt head on them compared to the Dakota Digital ones) And my brother, Matt welded them to some countersunk plates. Which fit like this to the factory adjustable mounting plates/ And work great with the bear claws installed in the doors. Today I managed to partially fill two more holes that still exist between the chevy and lexus. Front of the sills, and a new Guard mounting point on the RH side, as it had also rusted away. From beneath you can still see the hole left to be filled between this new patch and the sills plate.
1 point
-
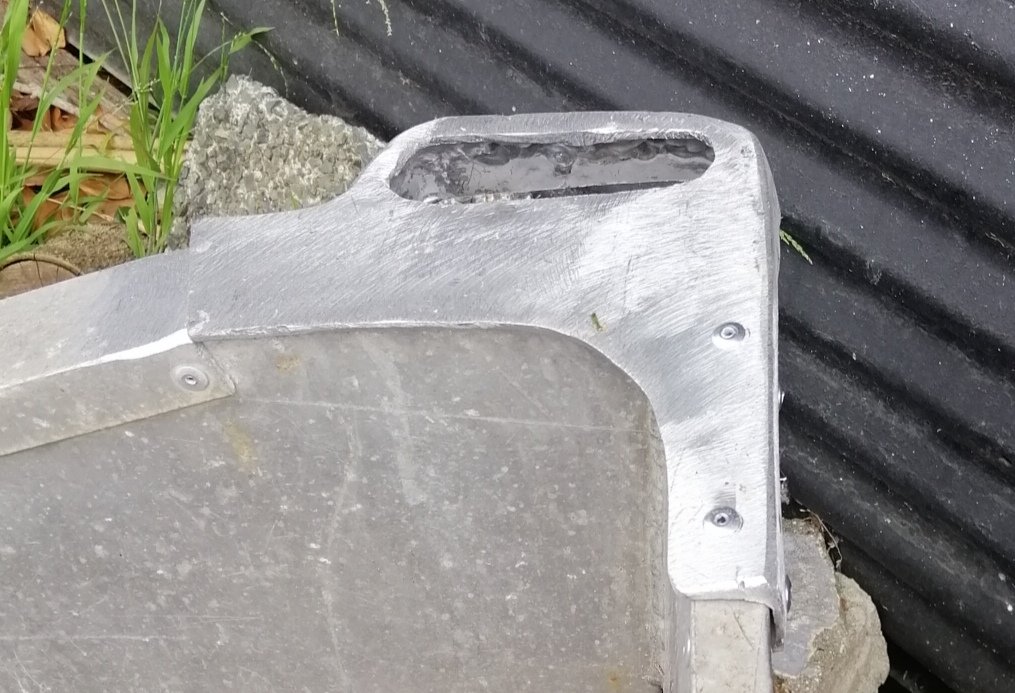
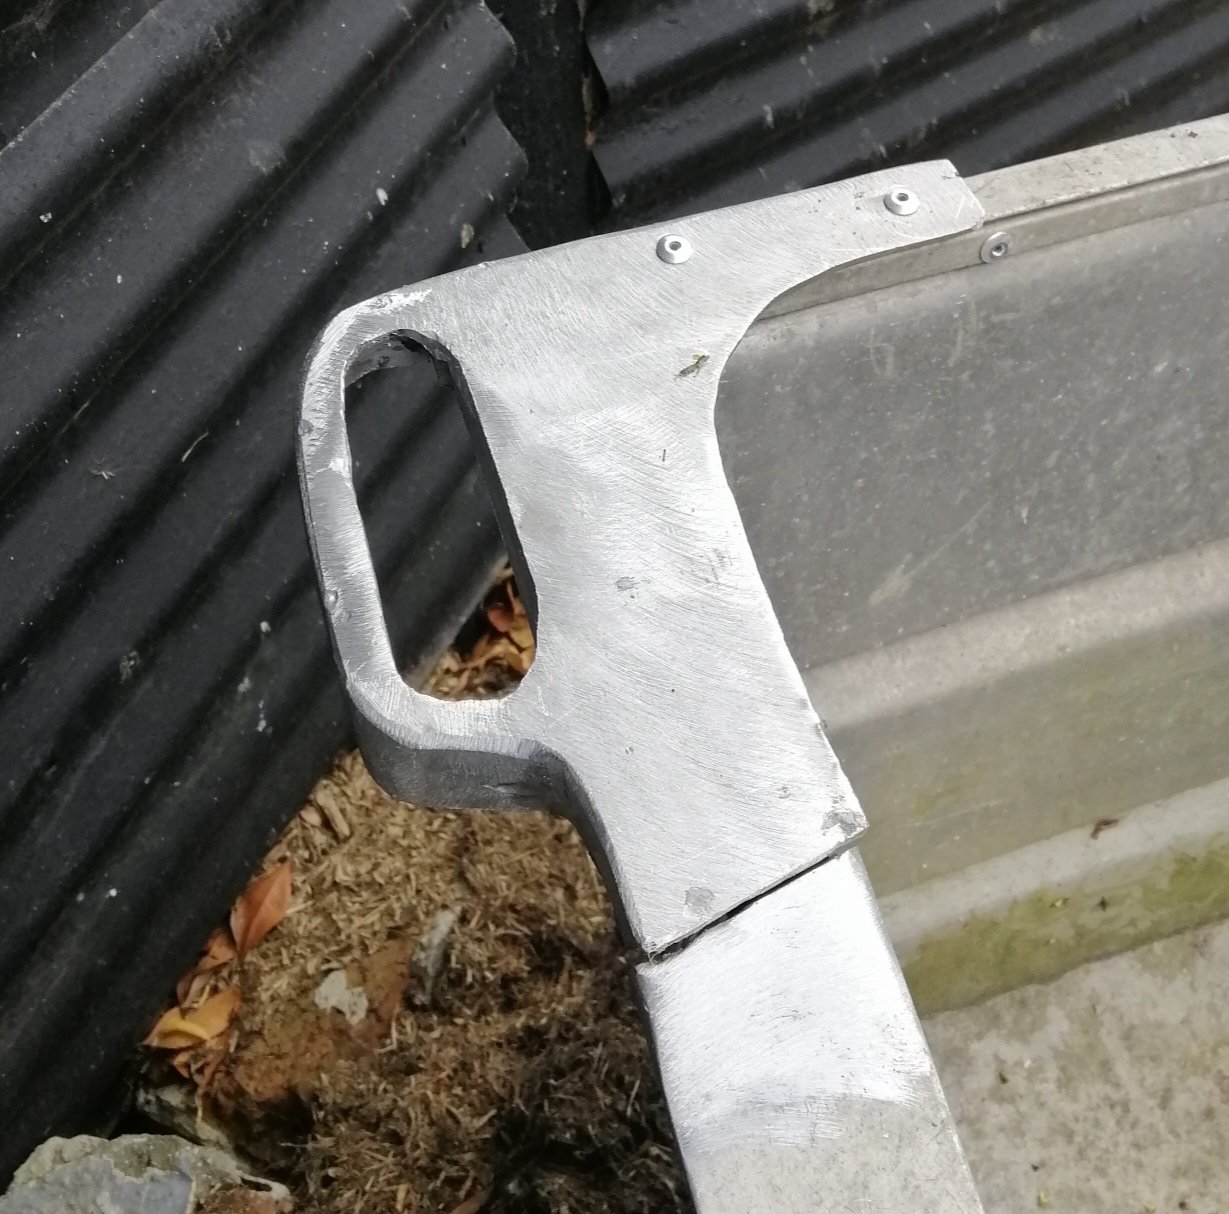
Got the transom corner cap home and took to it with a sanding disc, doesn't look too bad. Once I get trailer finished, I'll need to get a plate, register it and get it wofd. I'll tow it to work and TIG it to the transom top. I've been working through replacing all the (few) steel nuts and bolts with stainless items.
1 point
-
So in other words, not worth the money. I suspected as much. Thanks guys.1 point
-
I would also like to register my interest for this ride, looks grouse! Better get my a into g and build my cb125/200 rig and ride that1 point
-
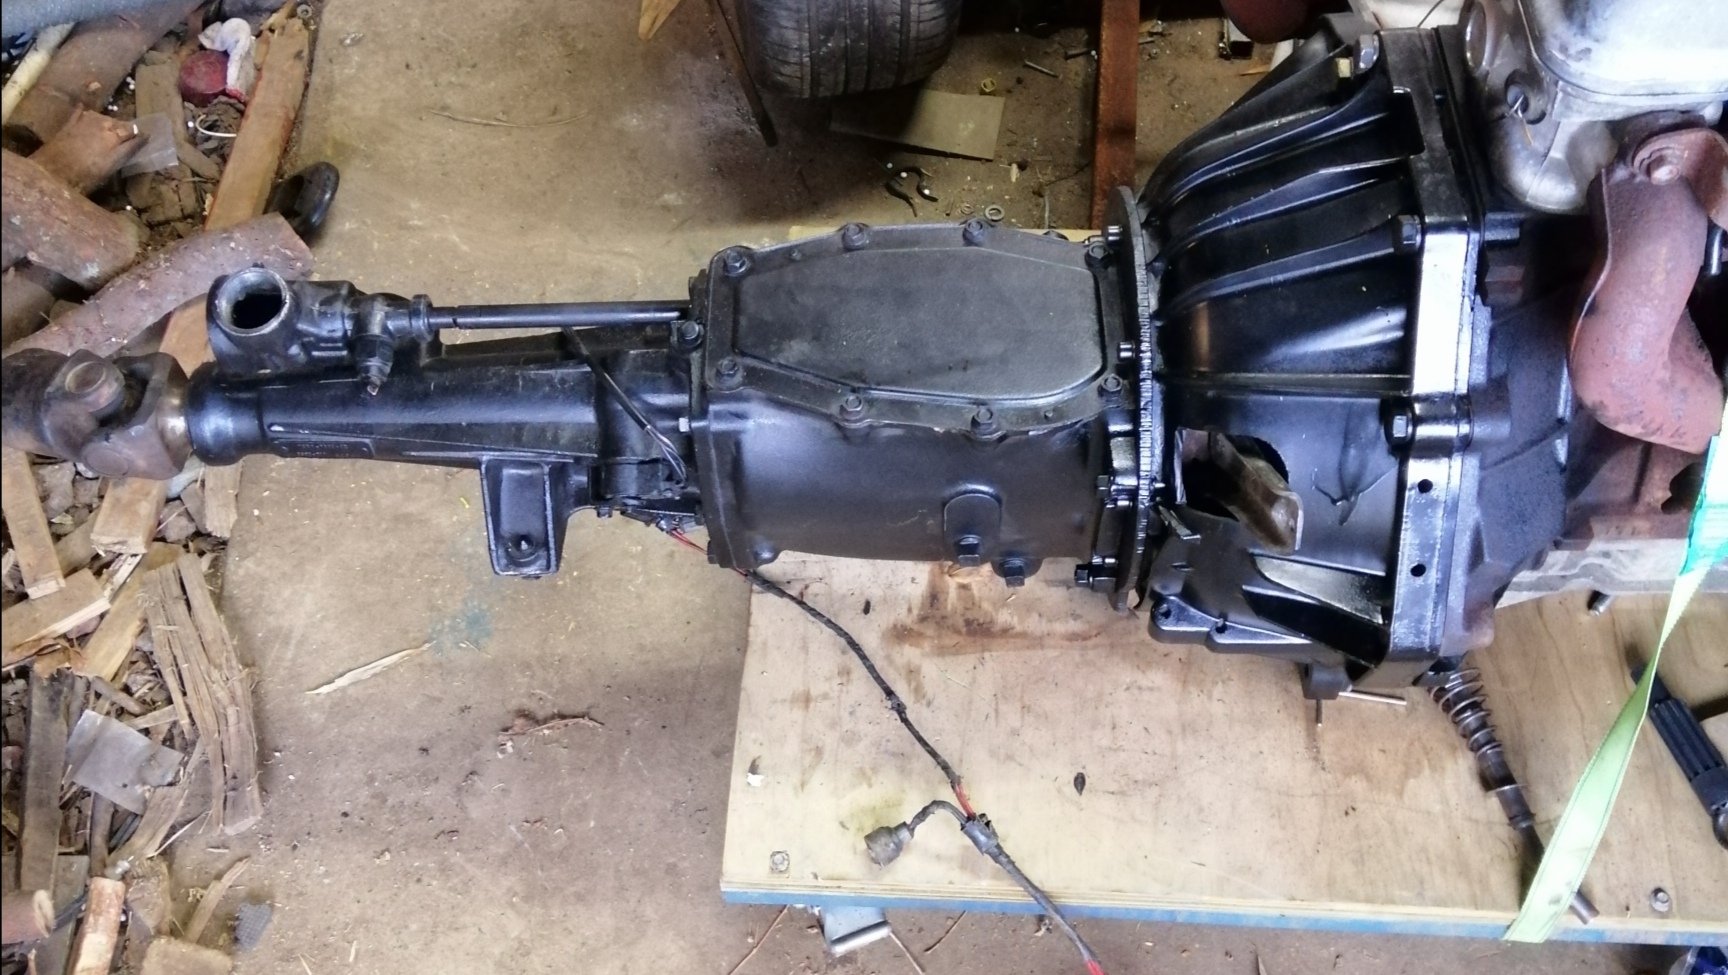
Feels like it's taken forever but it's now a complete unit apart from master and slave cylinders
1 point
-
awwww unluggy1 point
-
You've built your Morris v8 subframe and mounts already. I'm impressed! Some black paint and you're done.1 point
-
50cc only needs car license. /I did half of cape ride with no motorbike license on a dereg crashed gn1251 point
-
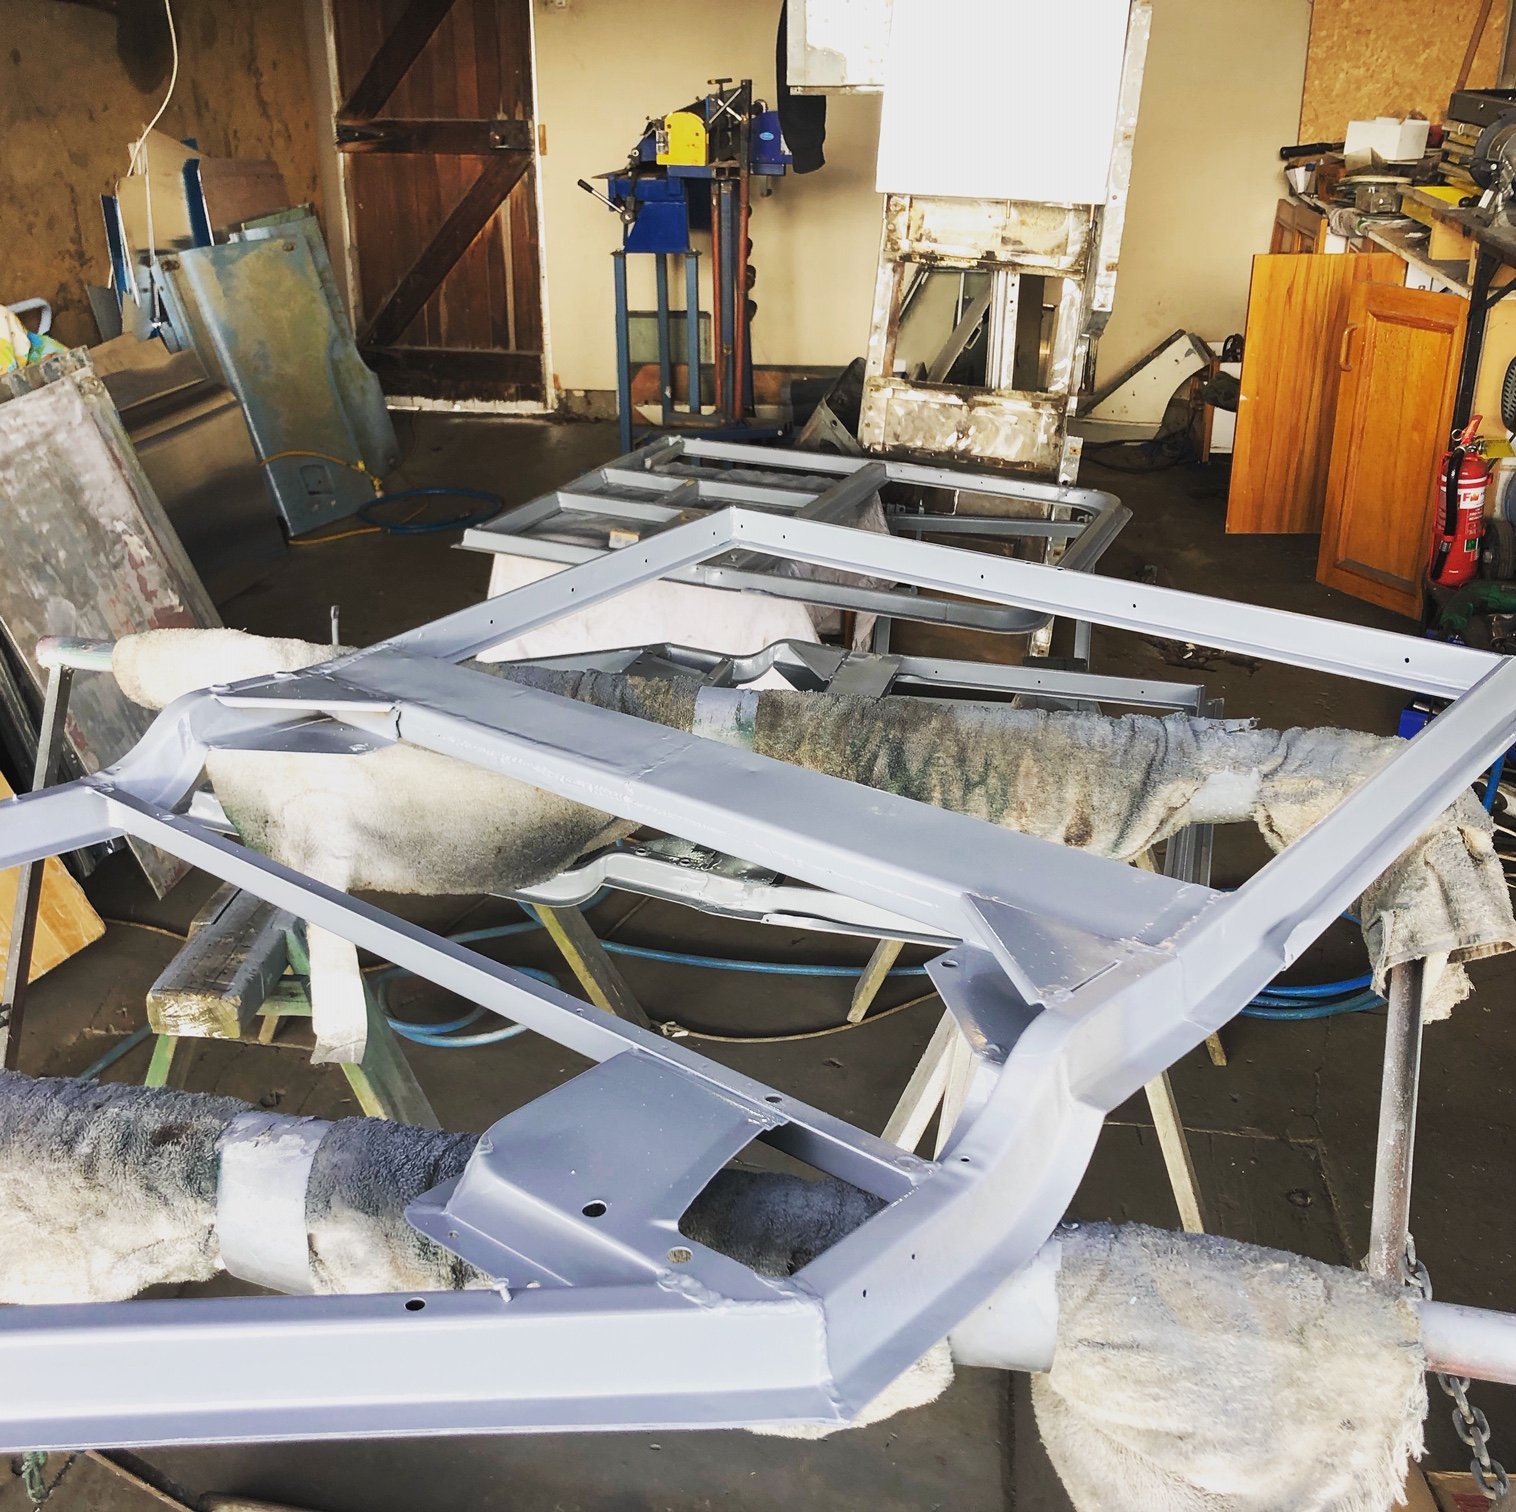
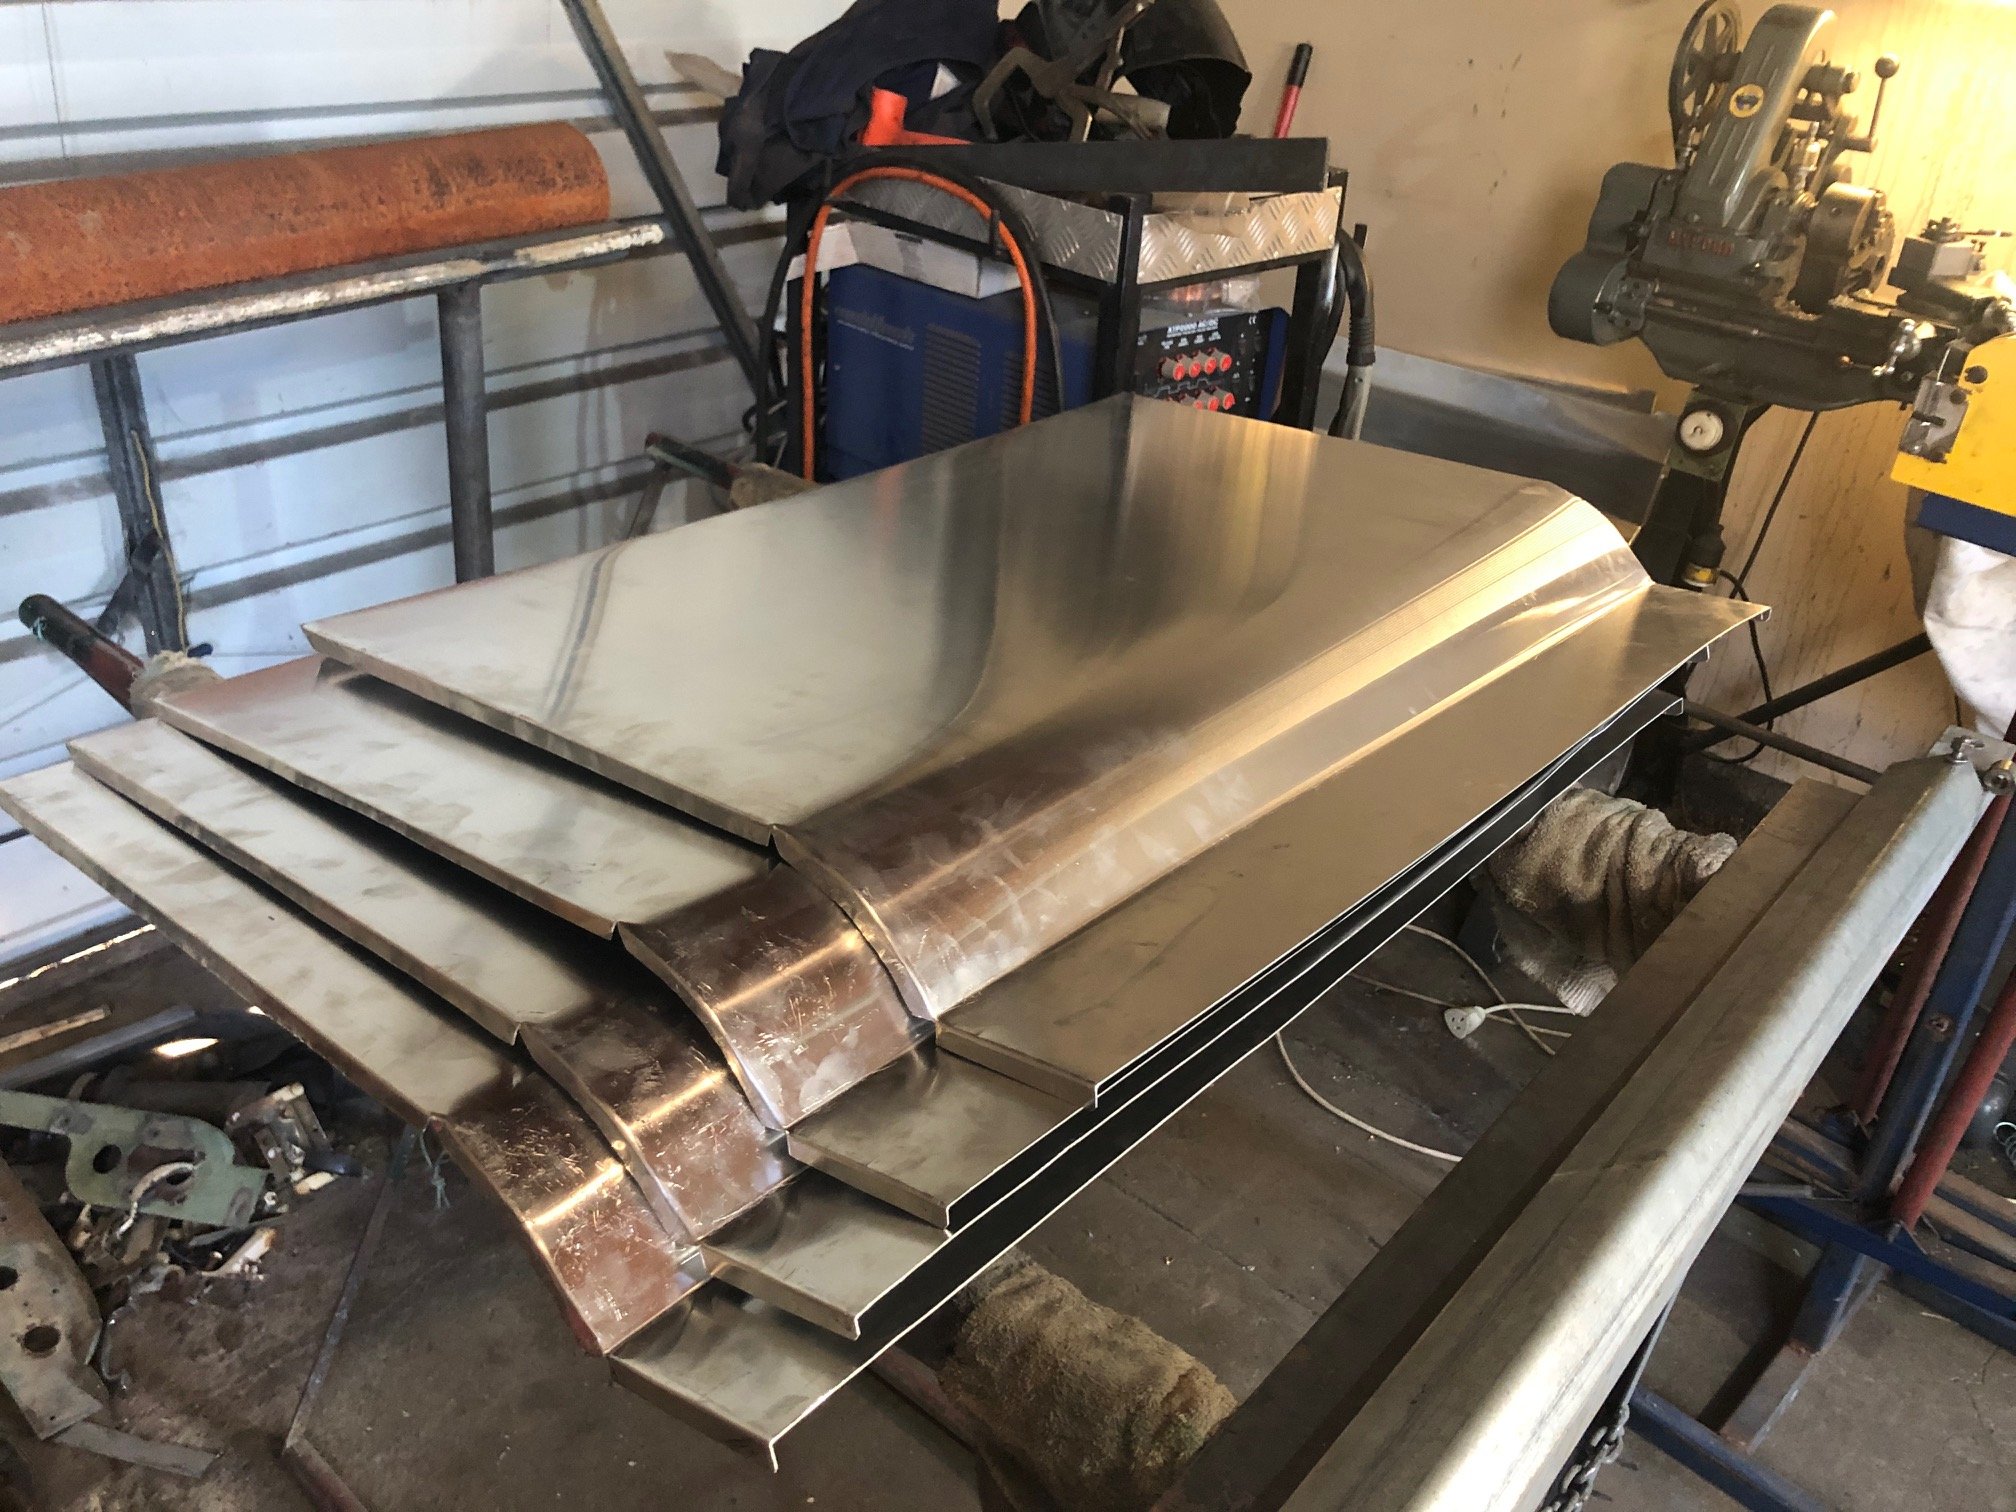
Quick job to get these frames sprayed with epoxy. Using a kit from United paints, suits me well and good $ point. Going to drop into Bunnings today to get some seam sealer but doing any final tweaks to get the skins laying right. I've kept all of the old skins I've pulled off as they make handy patterns for making replacement skins - still making sets for people as I get enquiries.
1 point
-
Lining up another batch of these skins for people who want them.... have all of my steps pretty well sorted but thinking of getting a smaller radius setup on my pipe anvil
1 point
-
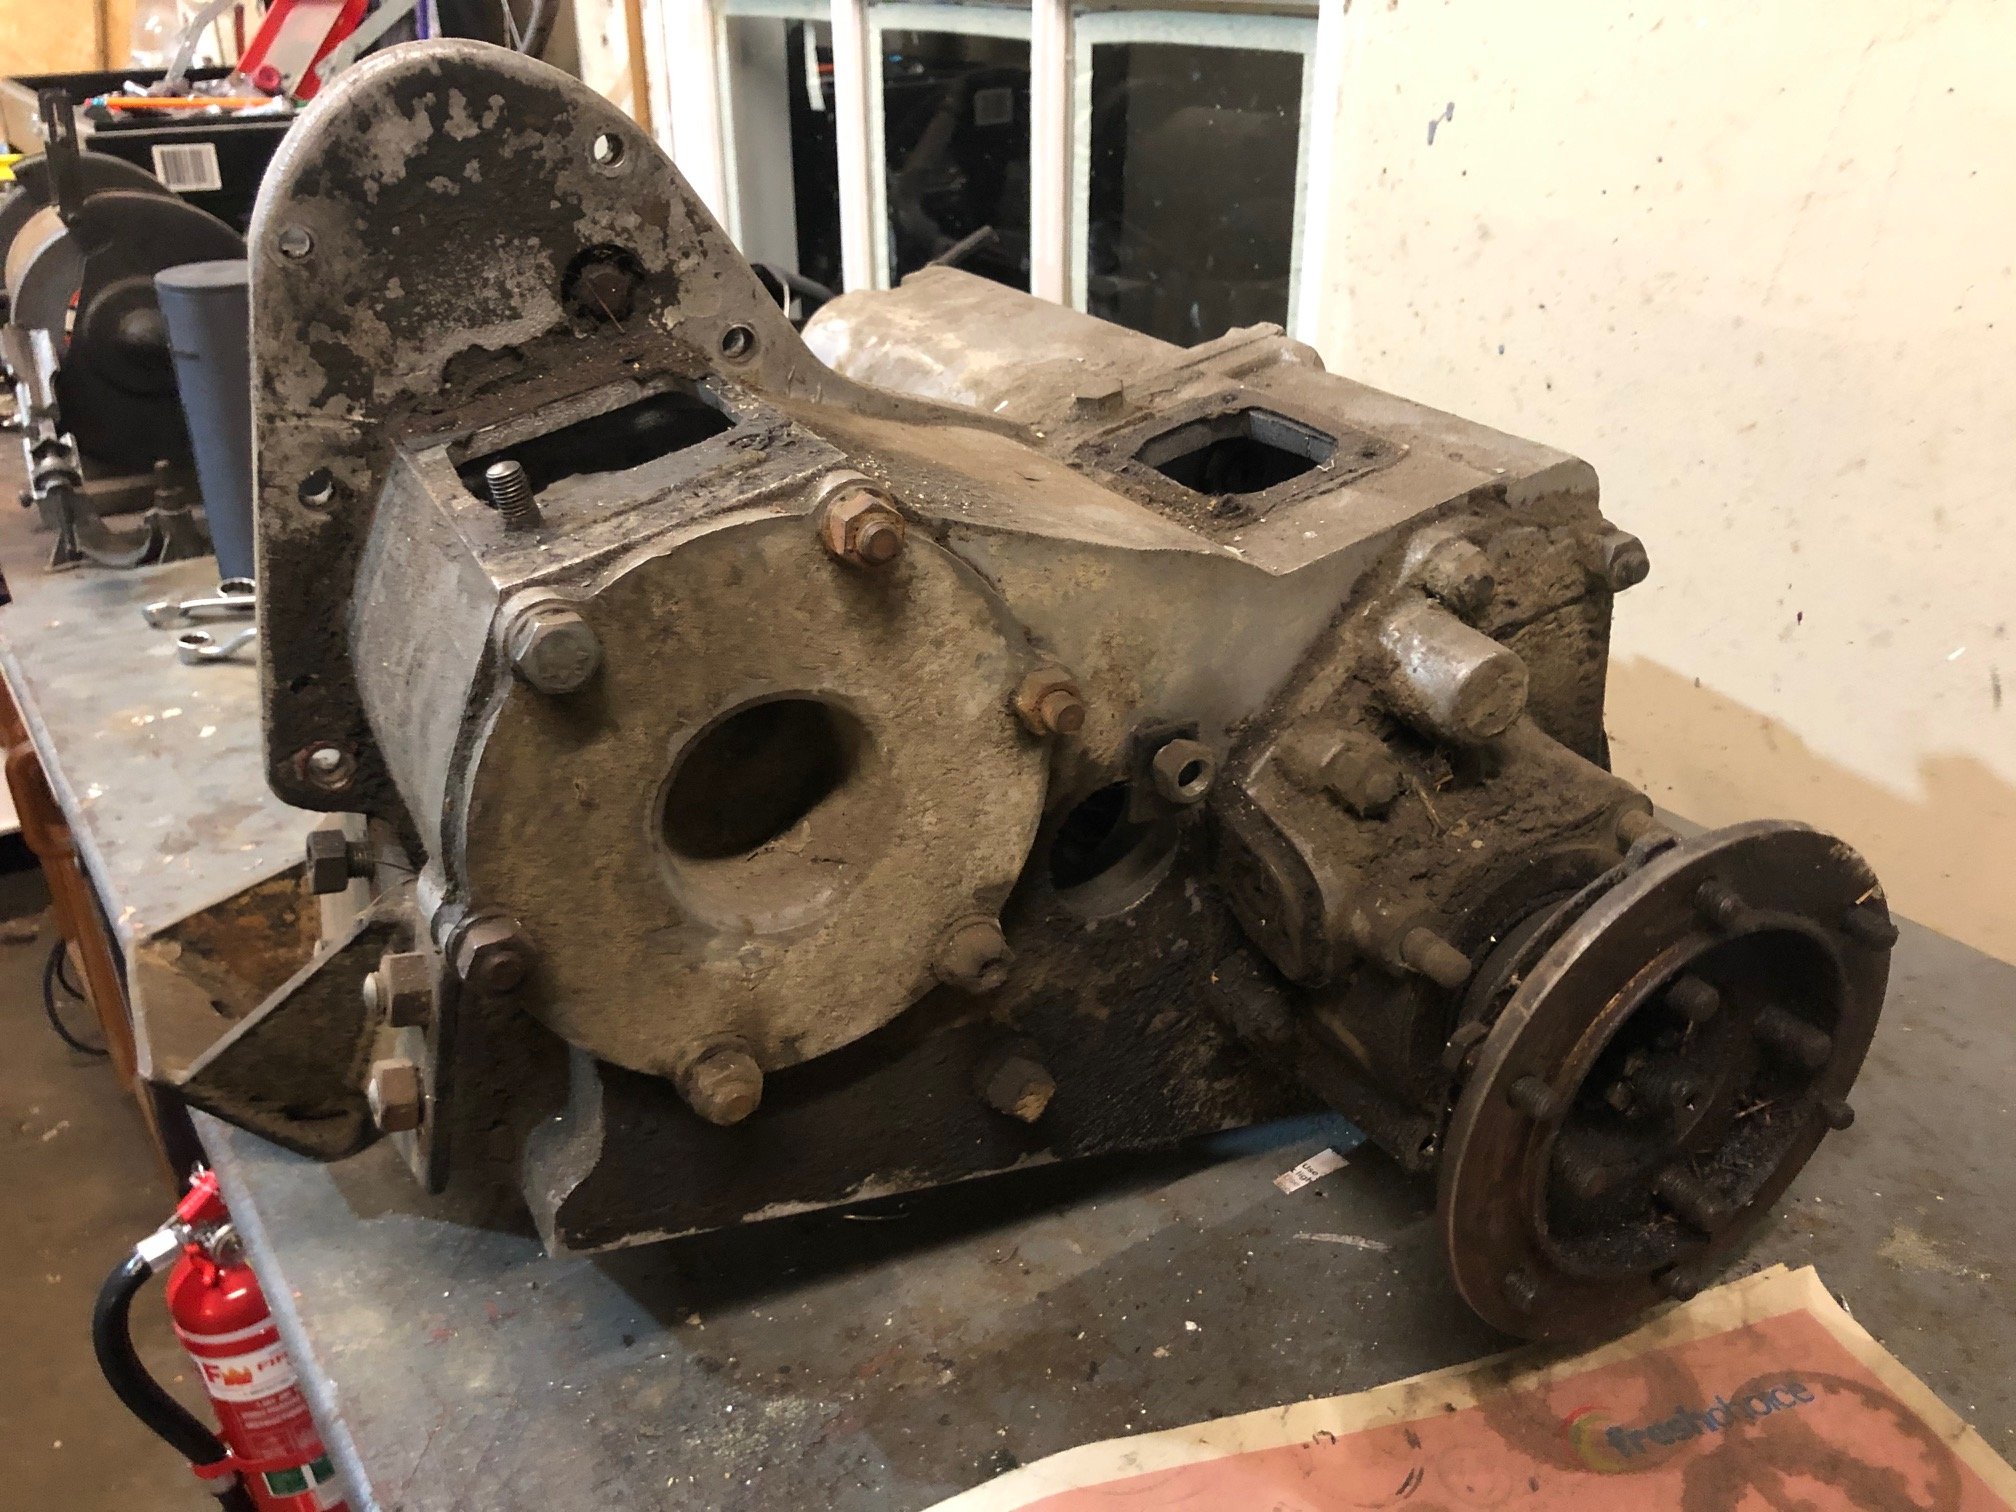
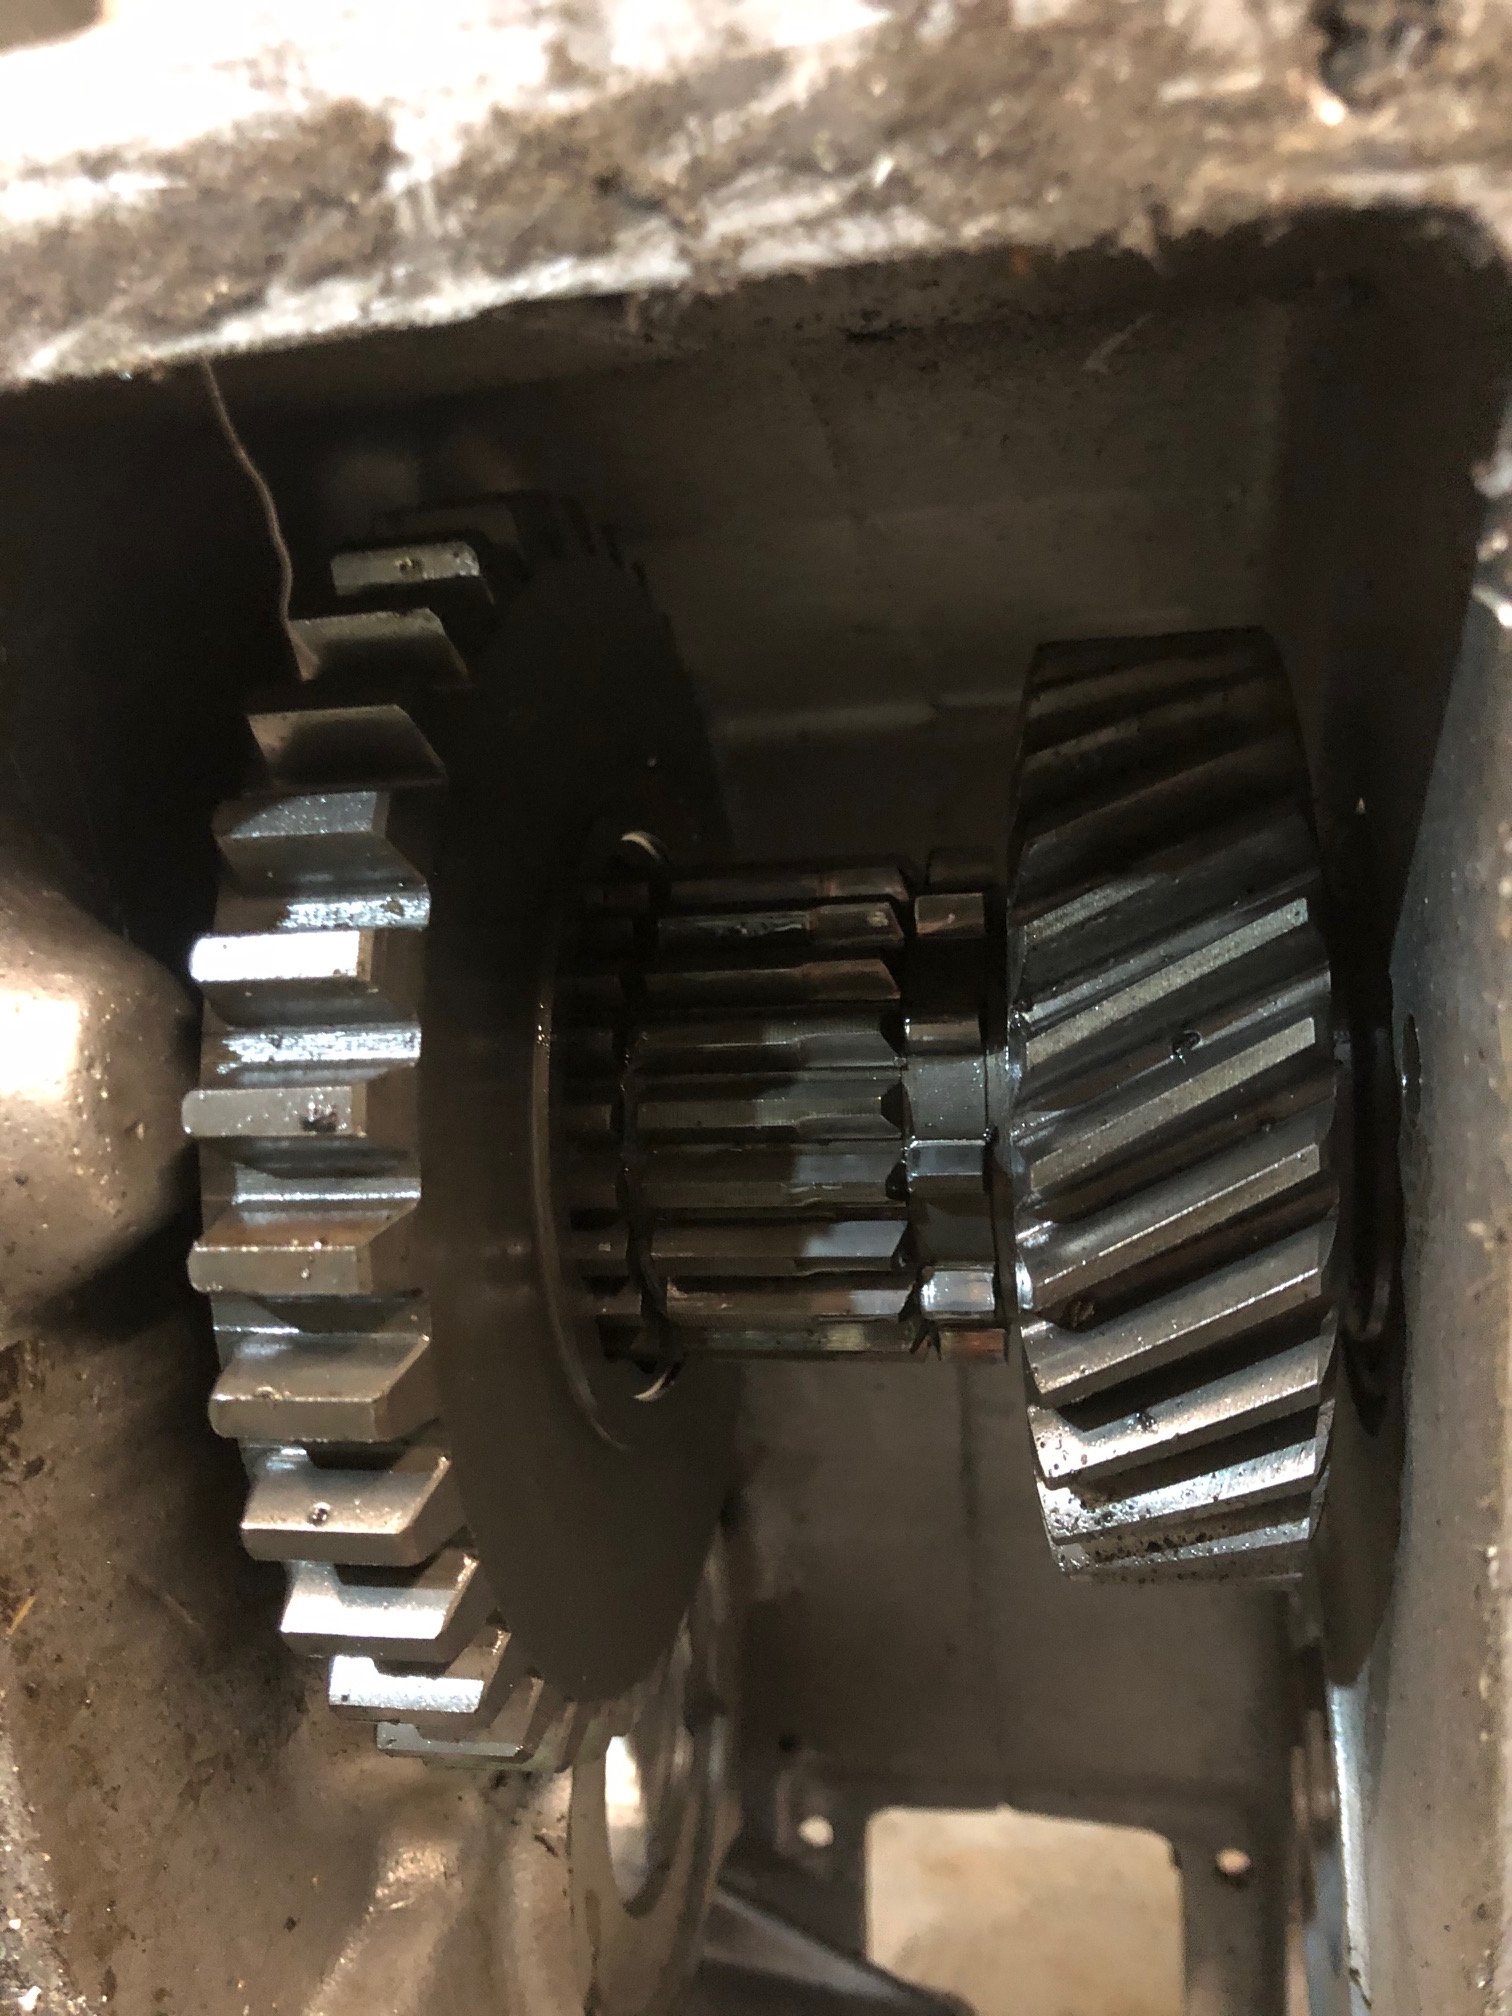
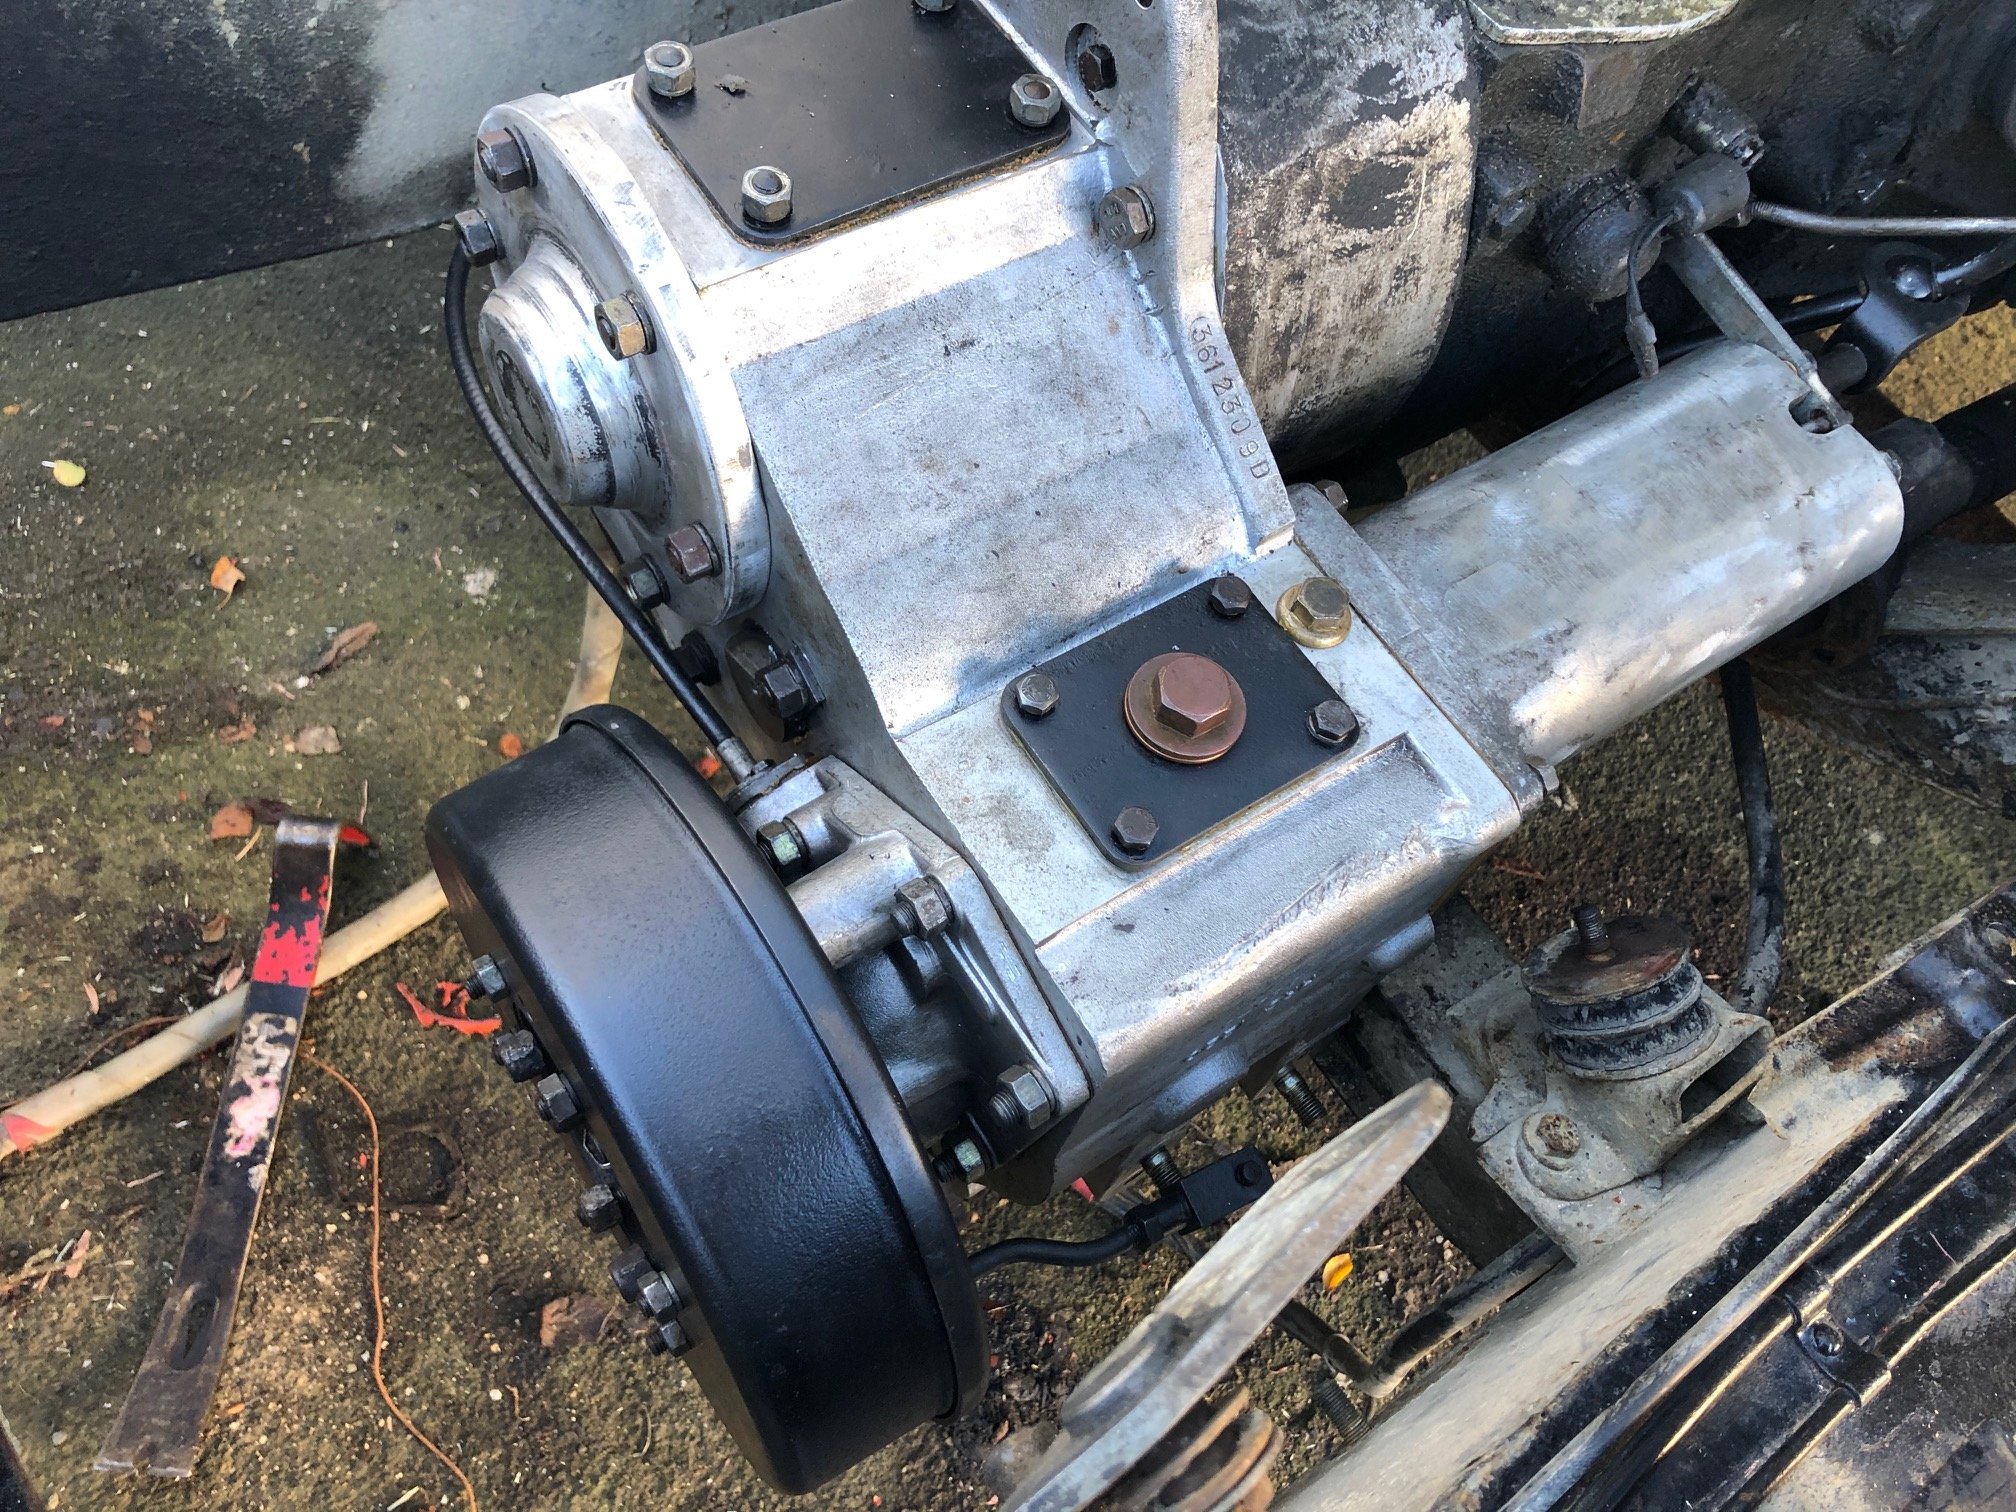
Have transfer box #3 to see if this one is any good. Later suffix D (Barry points there...). After cleaning all the crud off it this one turned into a minter, didnt bother pulling the shaft/bearings as other than a little bit of spline wear (I really cant be choosey at this point..)looked in great nick. Got it all mounted back in, new gaskets/orings etc, all went reasonably well
1 point
-
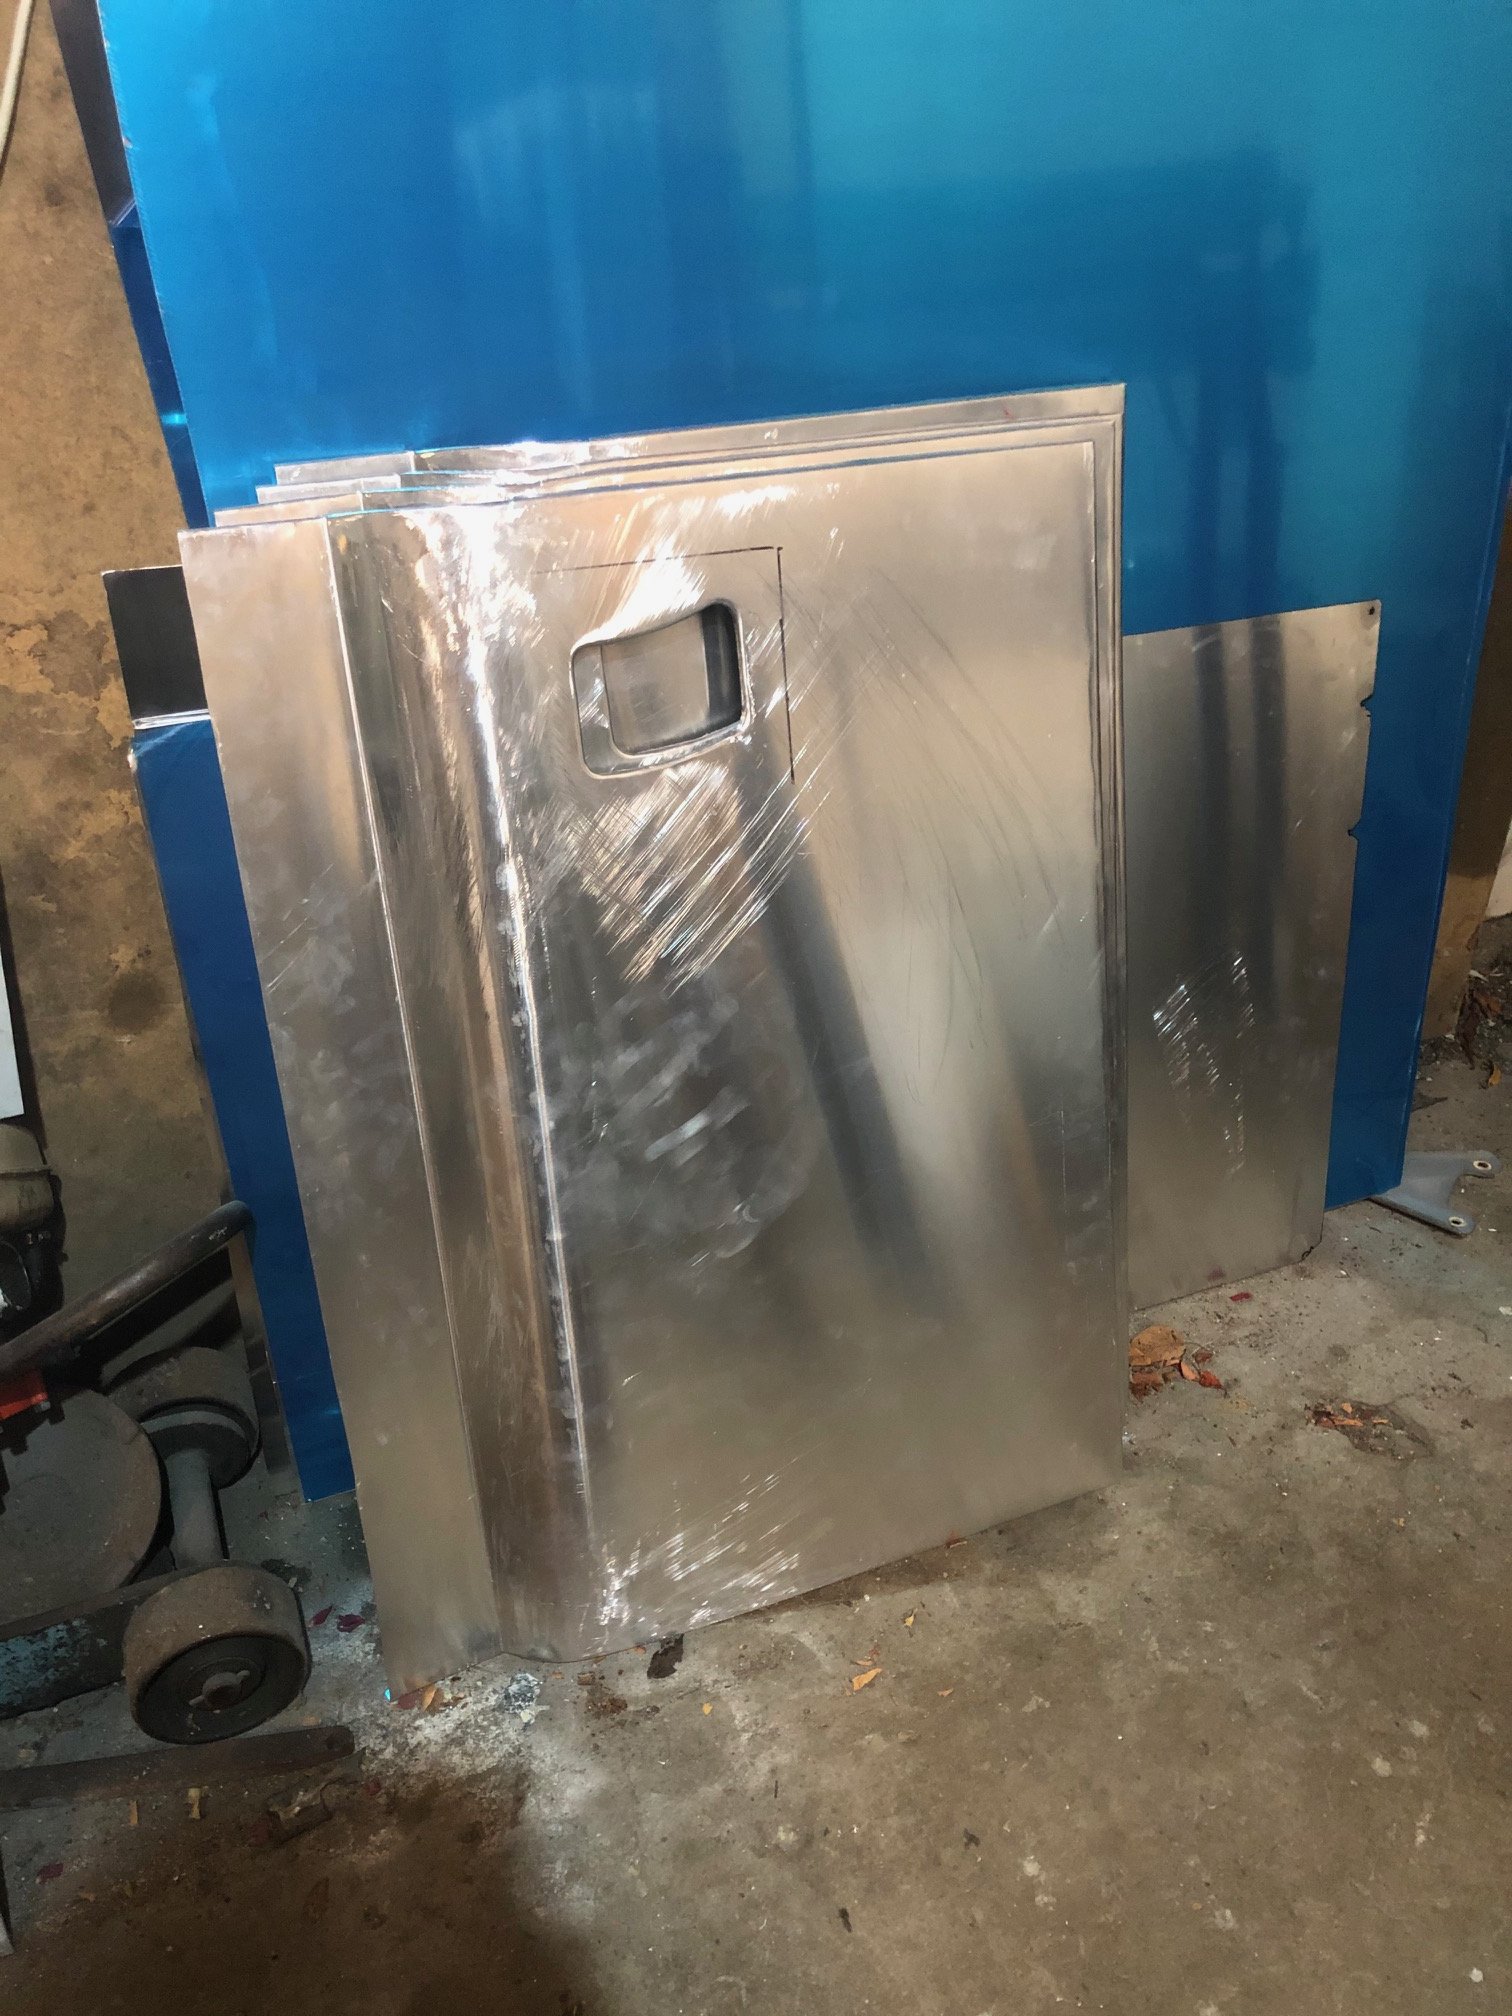
Bit more time in the shed. Got these skins knocked out. Hammerform approach worked really well. Would ideally have access to slip rolls to do the radius a little bit better (and a nicer folder) but got there in the end... Will drop the frames off at the blaster, still alot of work in the back doors
1 point
-
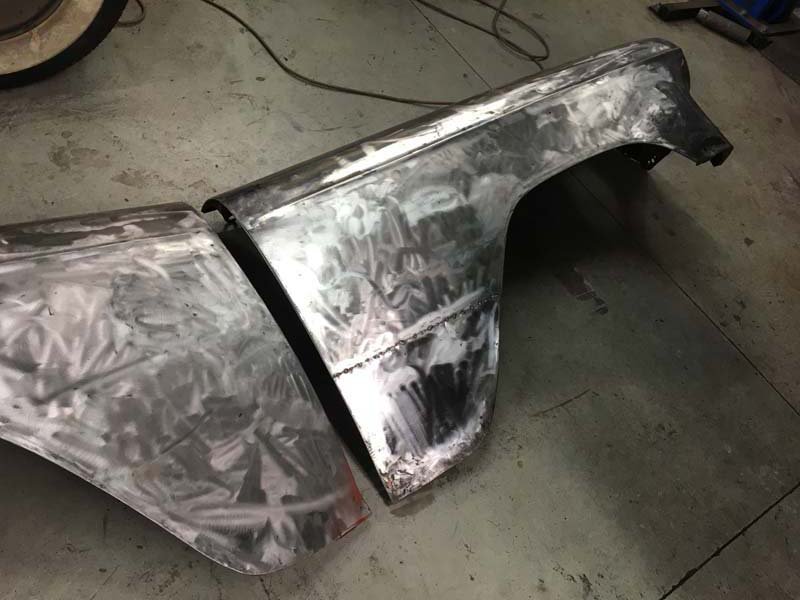
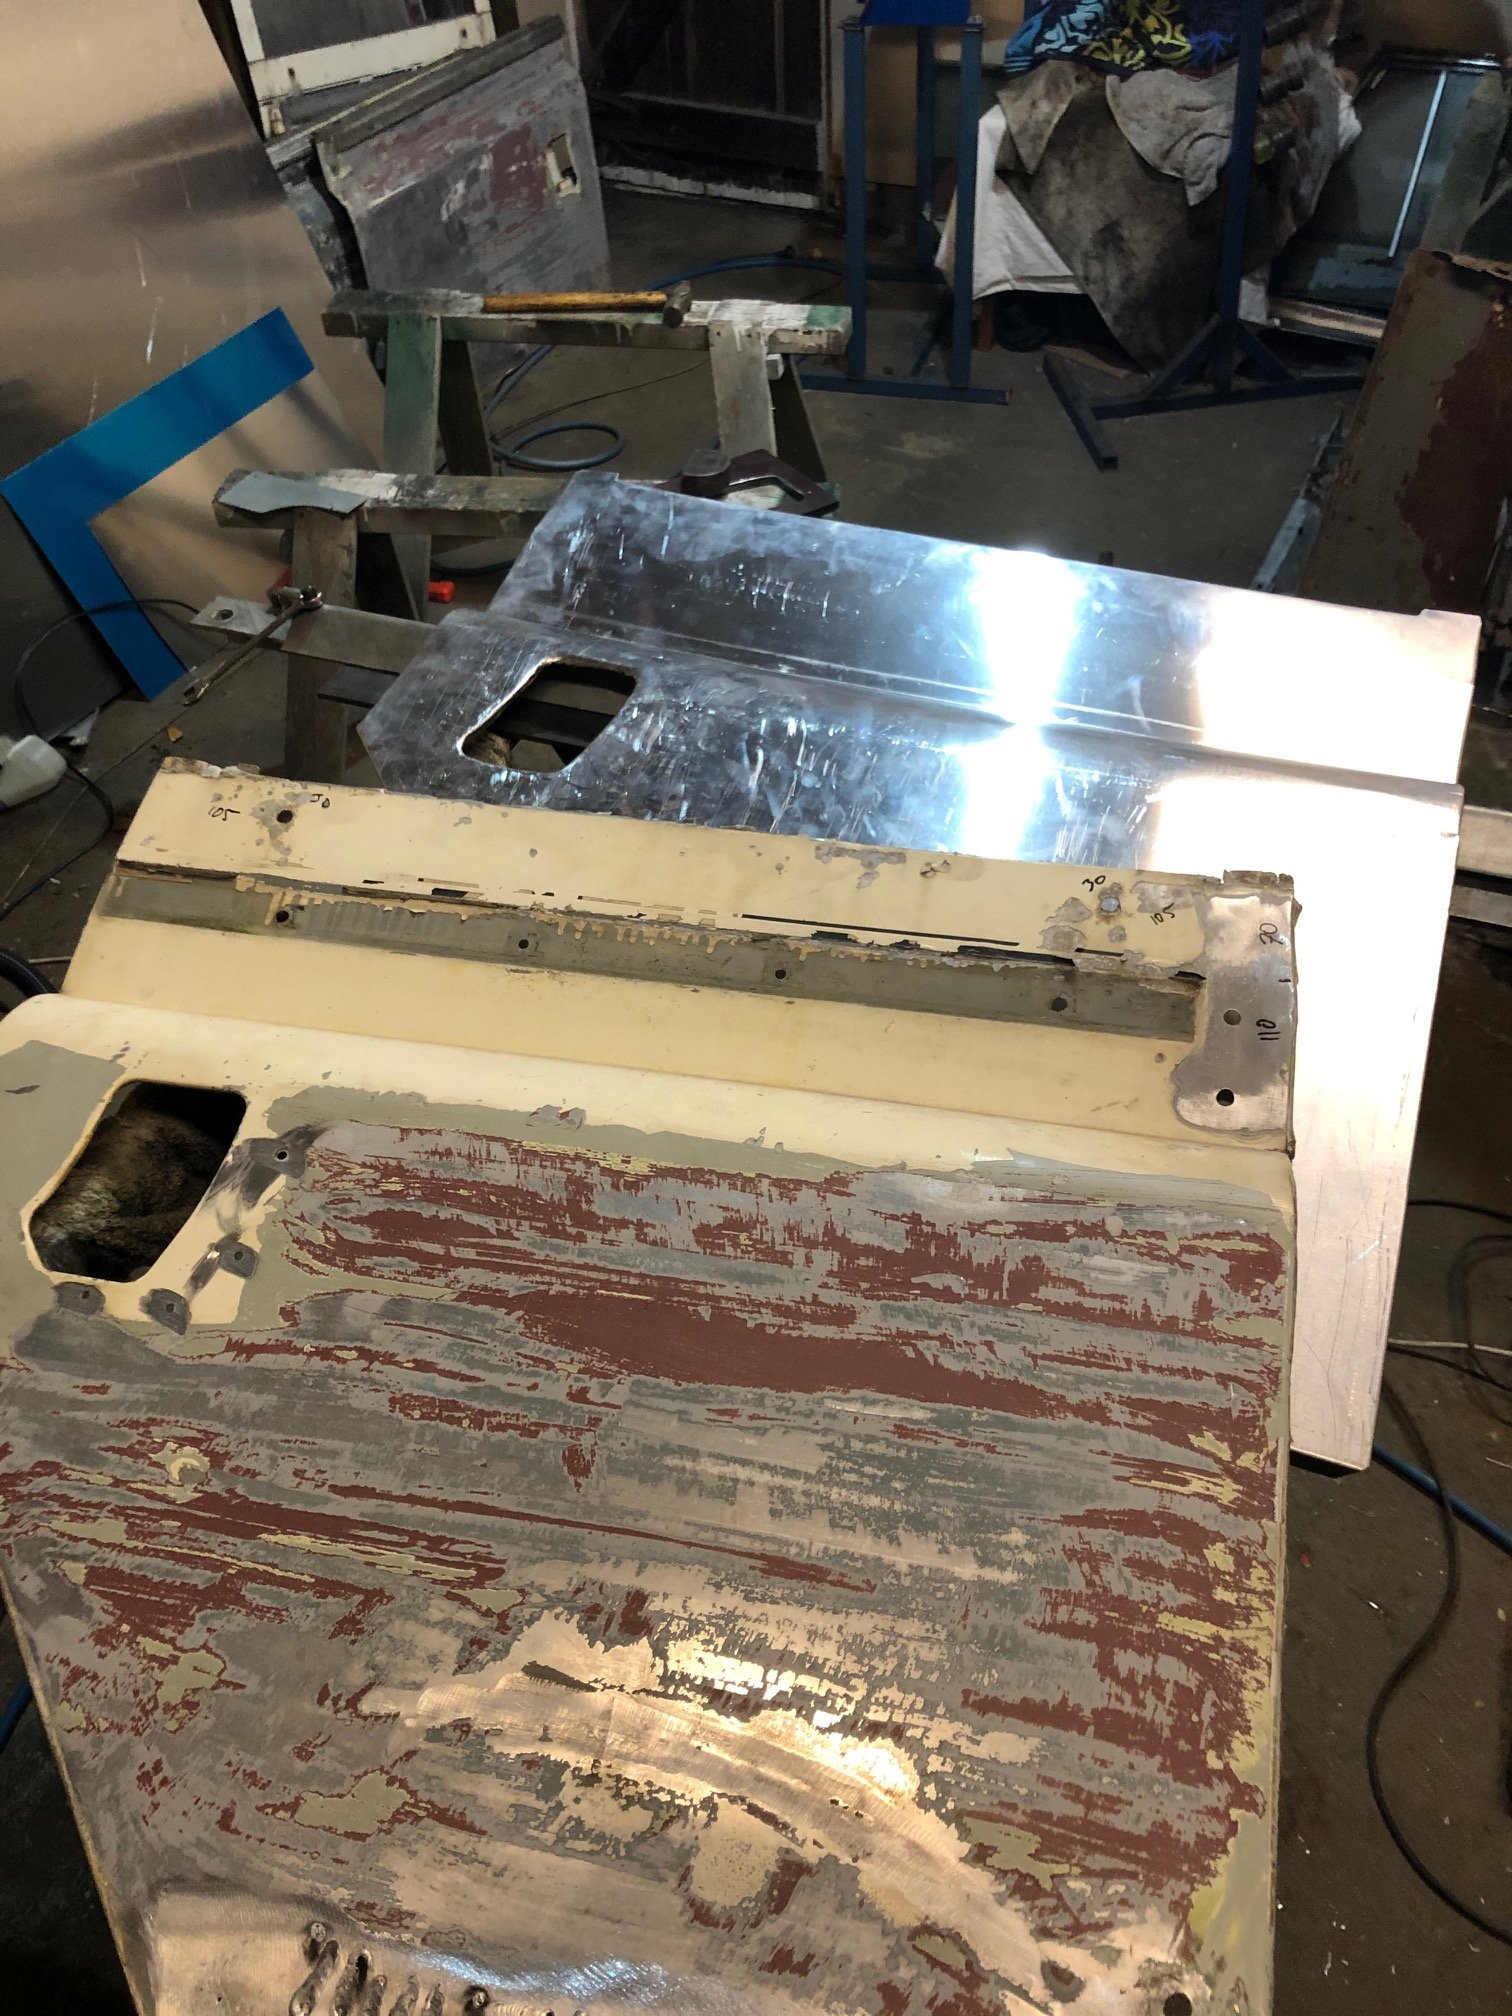
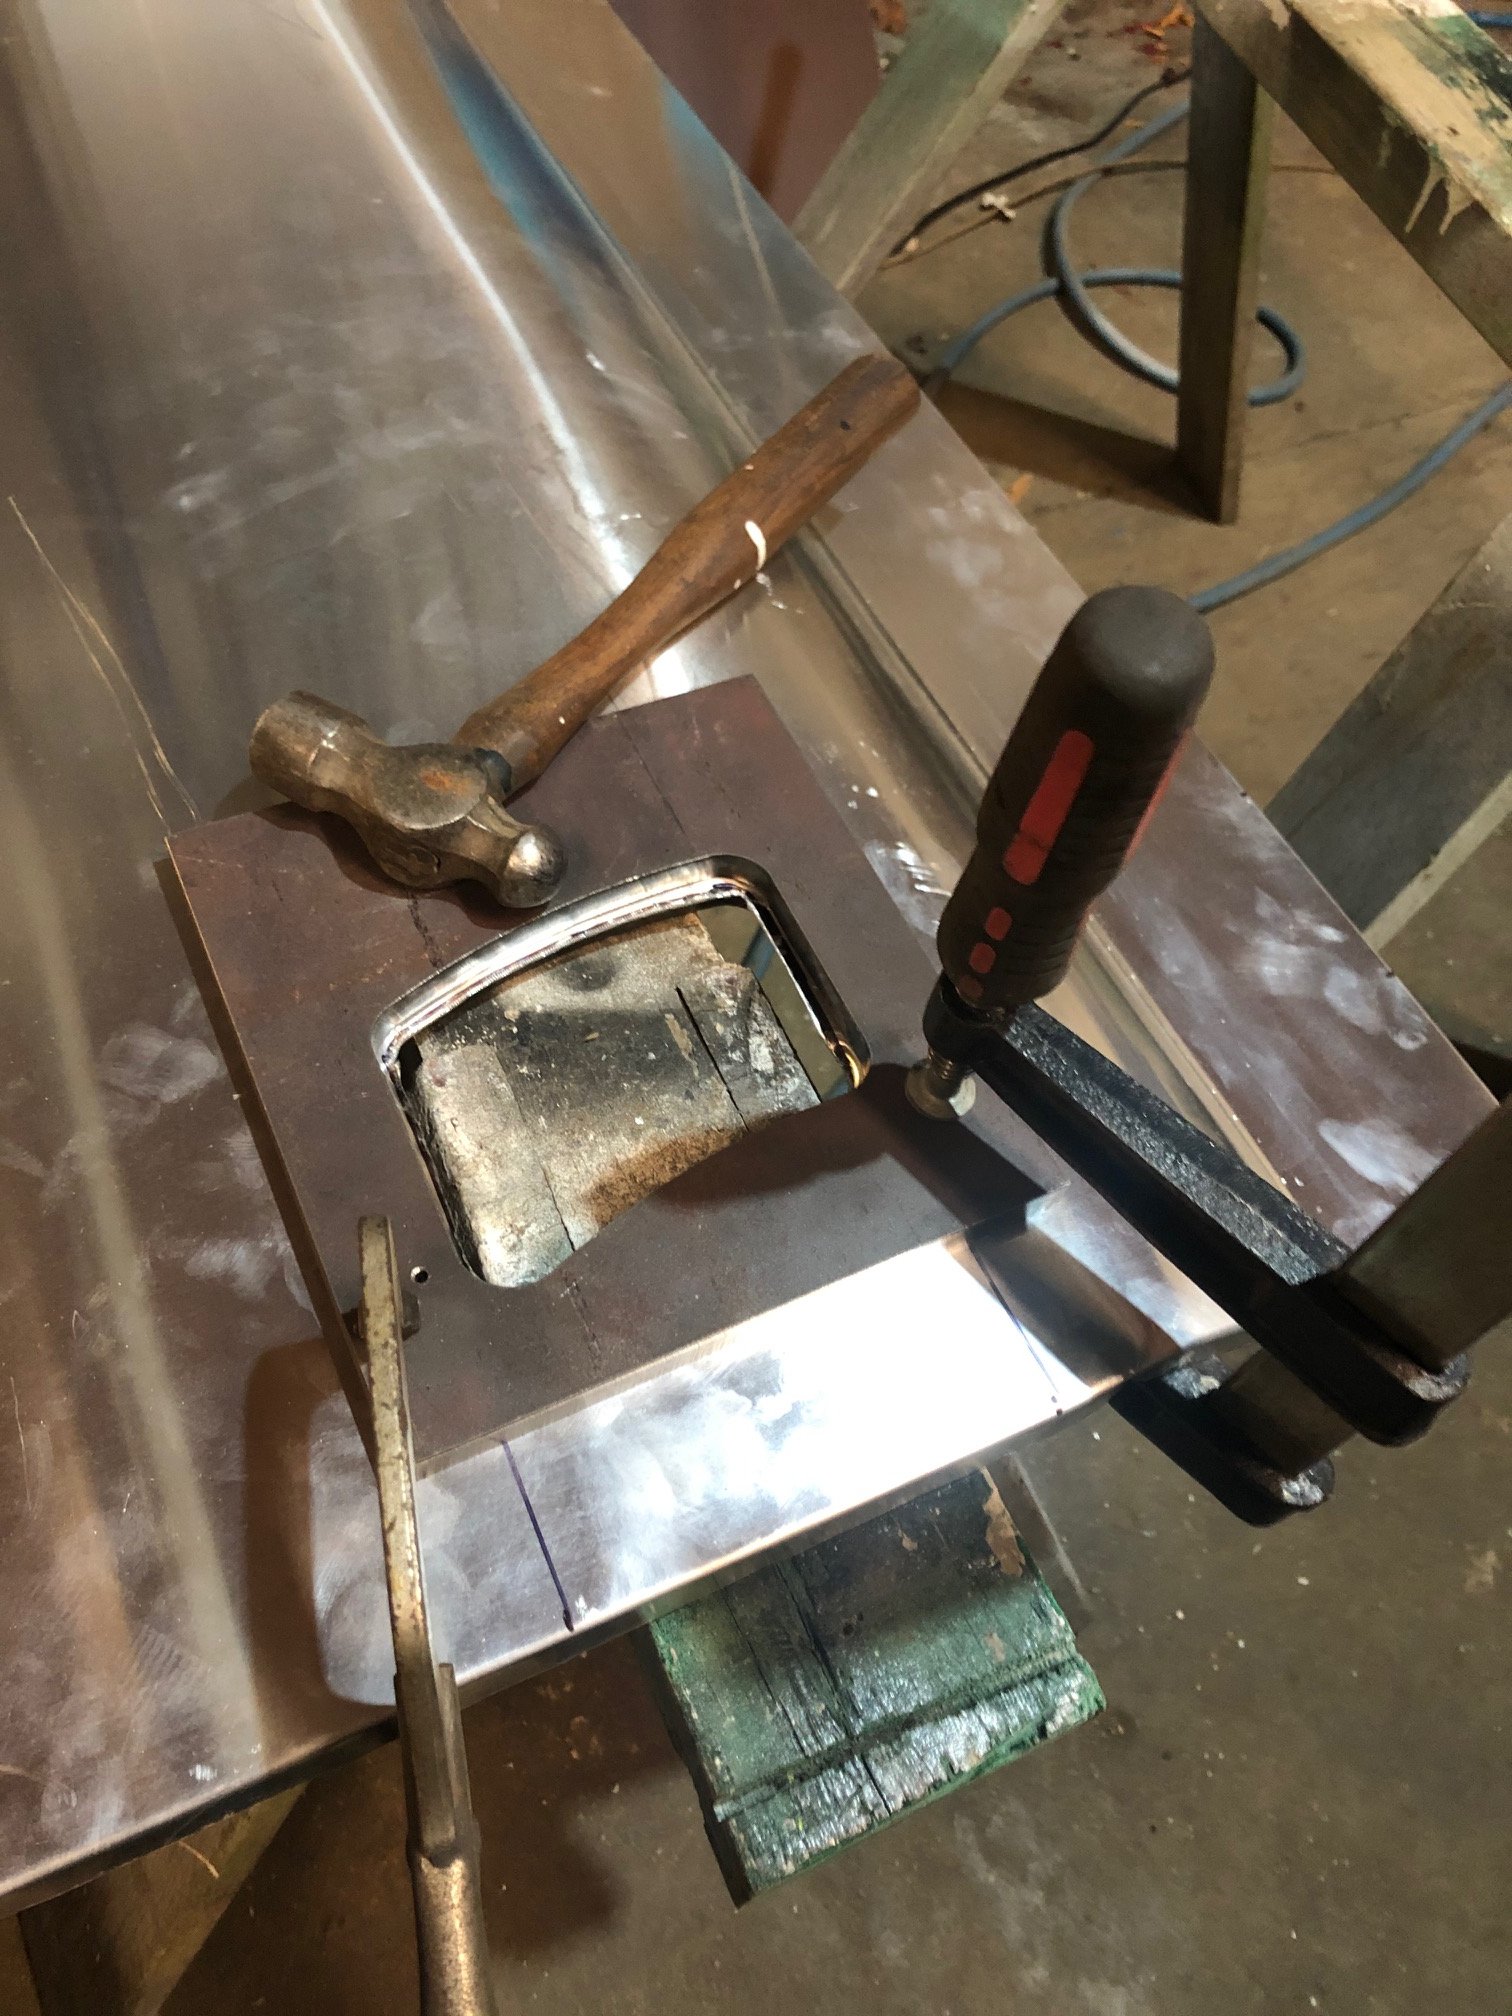
Going to put this here, its not very interesting but it might help someone. This is the same picture as above, it 'looks' good but has alot of problems. In below, the red circles highlight some massive hollows (1") in the panels. You would think the solution is to get a hammer and bash them out but those hollows are a symptom of the problems.... The blue section is massively stretched and it has a brace behind it which is bent, the green shows the lower edge which is bent into a curve. With flat panels like this I need to sort the edges first and the rest should follow.... Here I've drilled the spot weld of the brace out (the clecos are holding it in) and using a leather sandbag with heat and the hammer have shrunk the green section back in, it has pulled alot of that lower hollow flat. Straightening this flange was a right pain. I ended up heating the edge and got medieval with the hammer and dolly. It doesnt look pretty but its now straight across the panel which is most important. Its still hollow below this, but thats due to some stretched ridges which continue from the green section, I'll planish the fold out and then shrink them down....
1 point
-
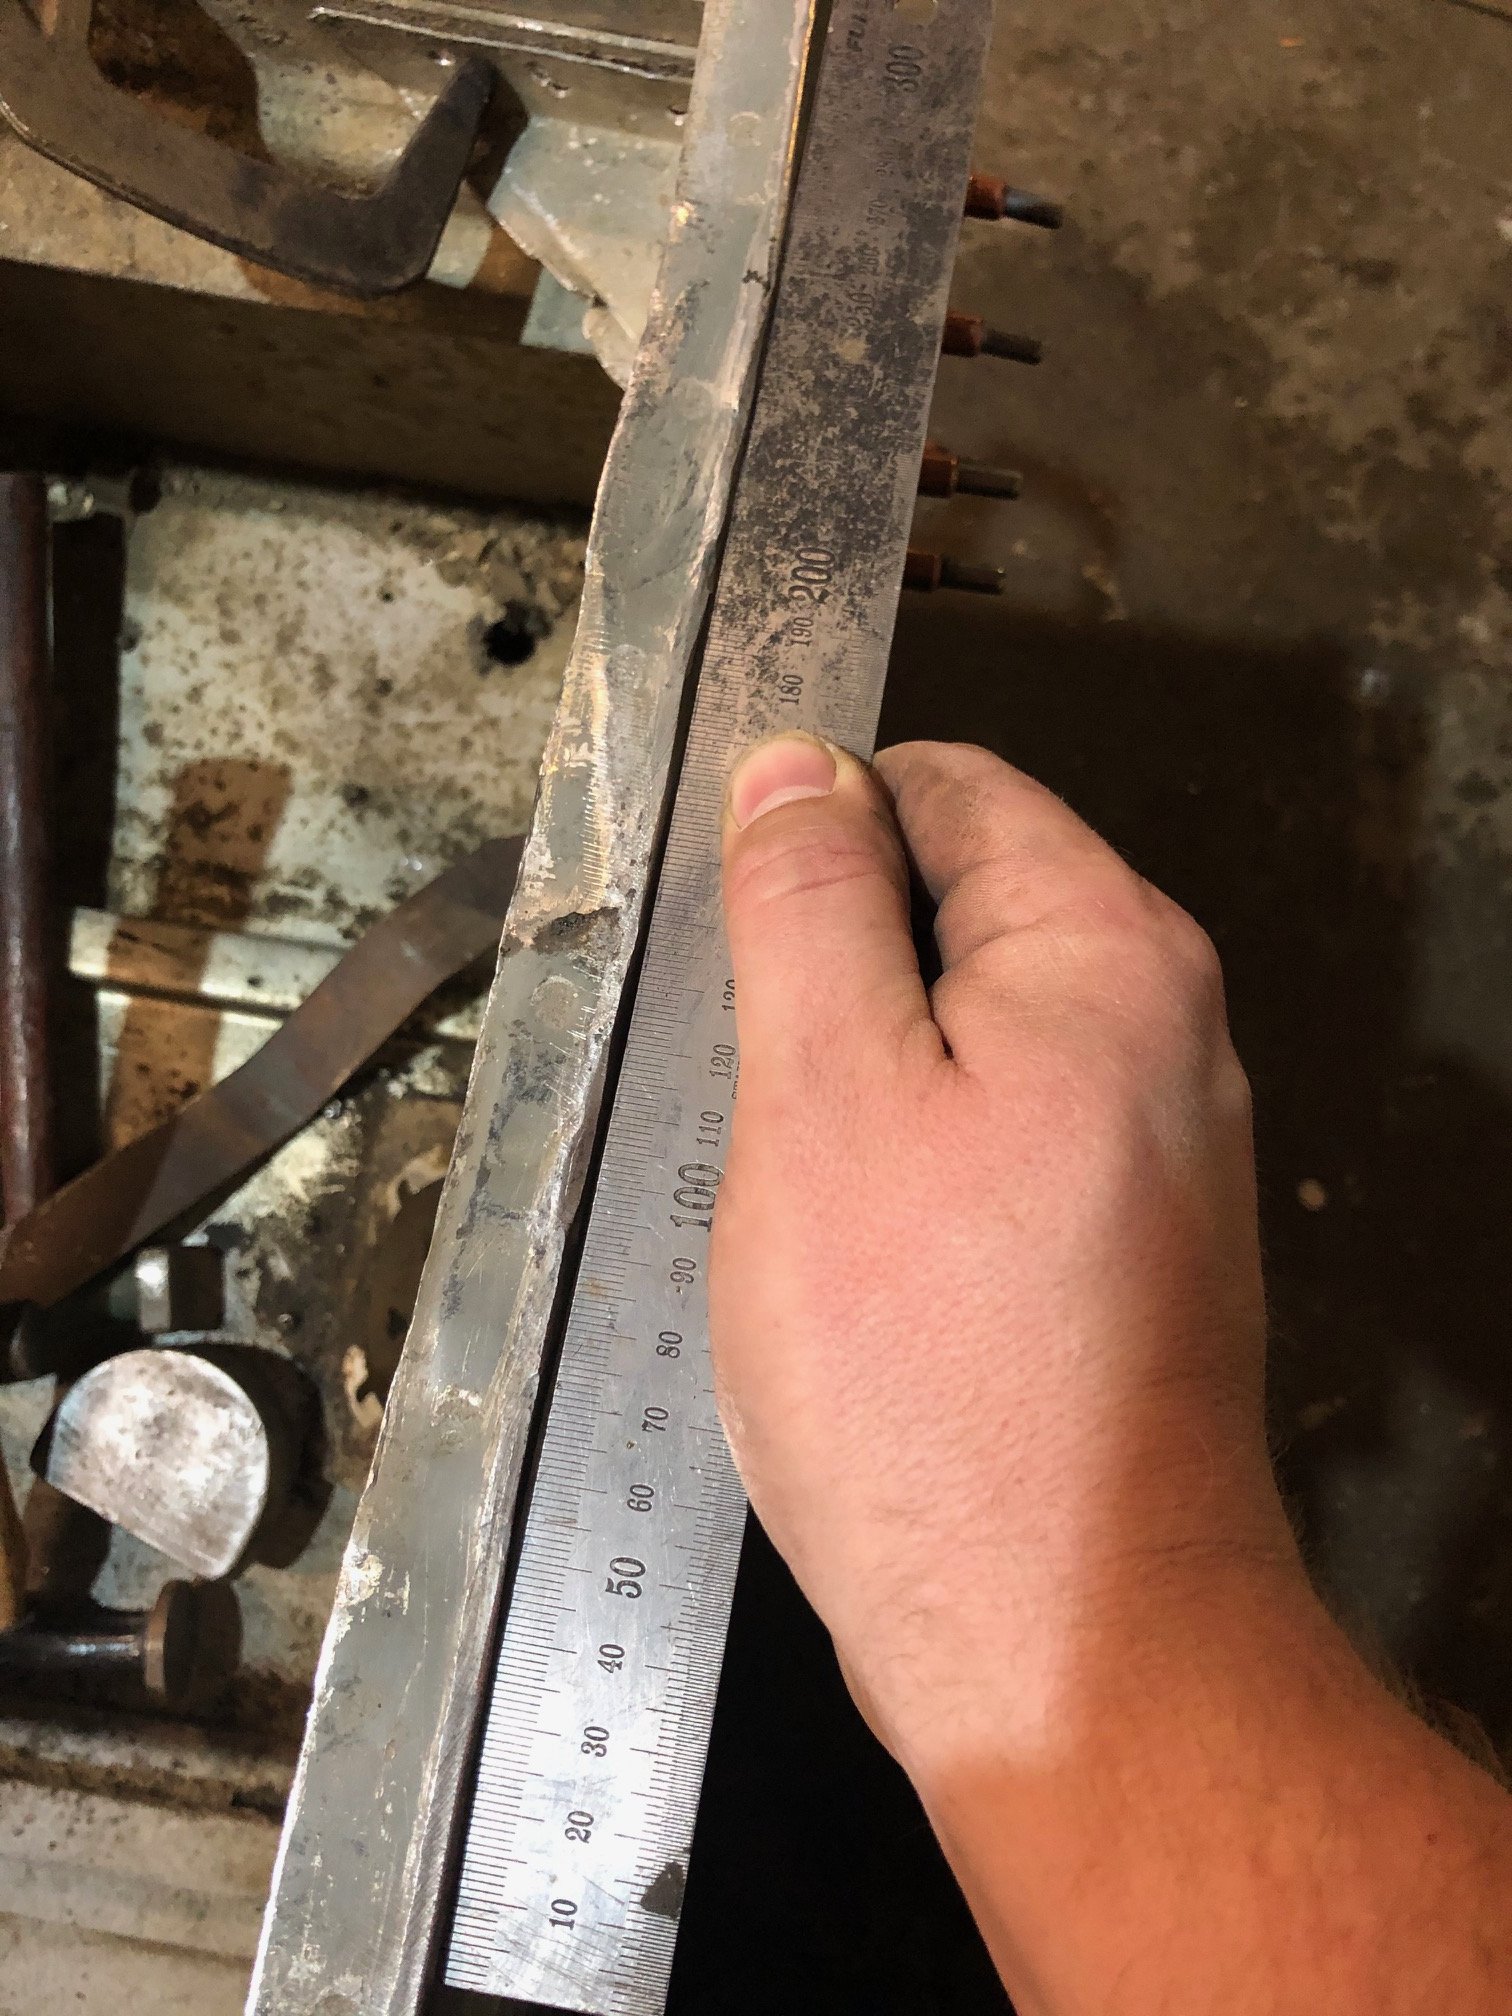
finished off the holes today and didn't ruin the holesaw Did some 202 spec porting (Made the holes too big as I was having fun with the die grinder) couple of welds filled in the air where I needed to put the mounting bolt holes All bolted up. This took way longer than it should have but thats barry life I'll probably spend all of tomorrow getting mad and trying to drill the mounting holes for the copper. Hindsight says I should have clamped the copper on and drilled the holes through the plate and copper at the same time but I cant turn back time so I'll figure something else out tomorrow1 point
-
I remember as a kid my old man doing the same with his BMW R80 and Suzuki TS185ER...1 point
-
In 2015 I built the Sven Reloaded kit from nixiekits.eu : It has multicoloured LEDs under the tubes which you can program for different RGB settings for every hour of the day. You can dim or blank the tubes over certain hours for weekdays and different hours for weekends. There are so many setup options I need to get out the manual every time. I built the kit into a metal box because the futuristic plastic case it comes with doesn't suit the radiogram where it will eventually live. If you turn on that switch on the right, the clockwork cogs run off a little electric motor. They're a bit frantic and rattly though. At some point I'd quite like to build a stereo magic eye VU meter as my next kit. I can't decide on my favourite tubes out of all the various green designs.1 point


This leaderboard is set to Auckland/GMT+12:00