nzstato
-
Posts
2,169 -
Joined
-
Last visited
-
Days Won
1
nzstato's Achievements
Committed (5/5)
6.7k
Reputation
-

Random slightly cool stuff you built but not worth its own thread, thread
nzstato replied to h4nd's topic in Other Projects
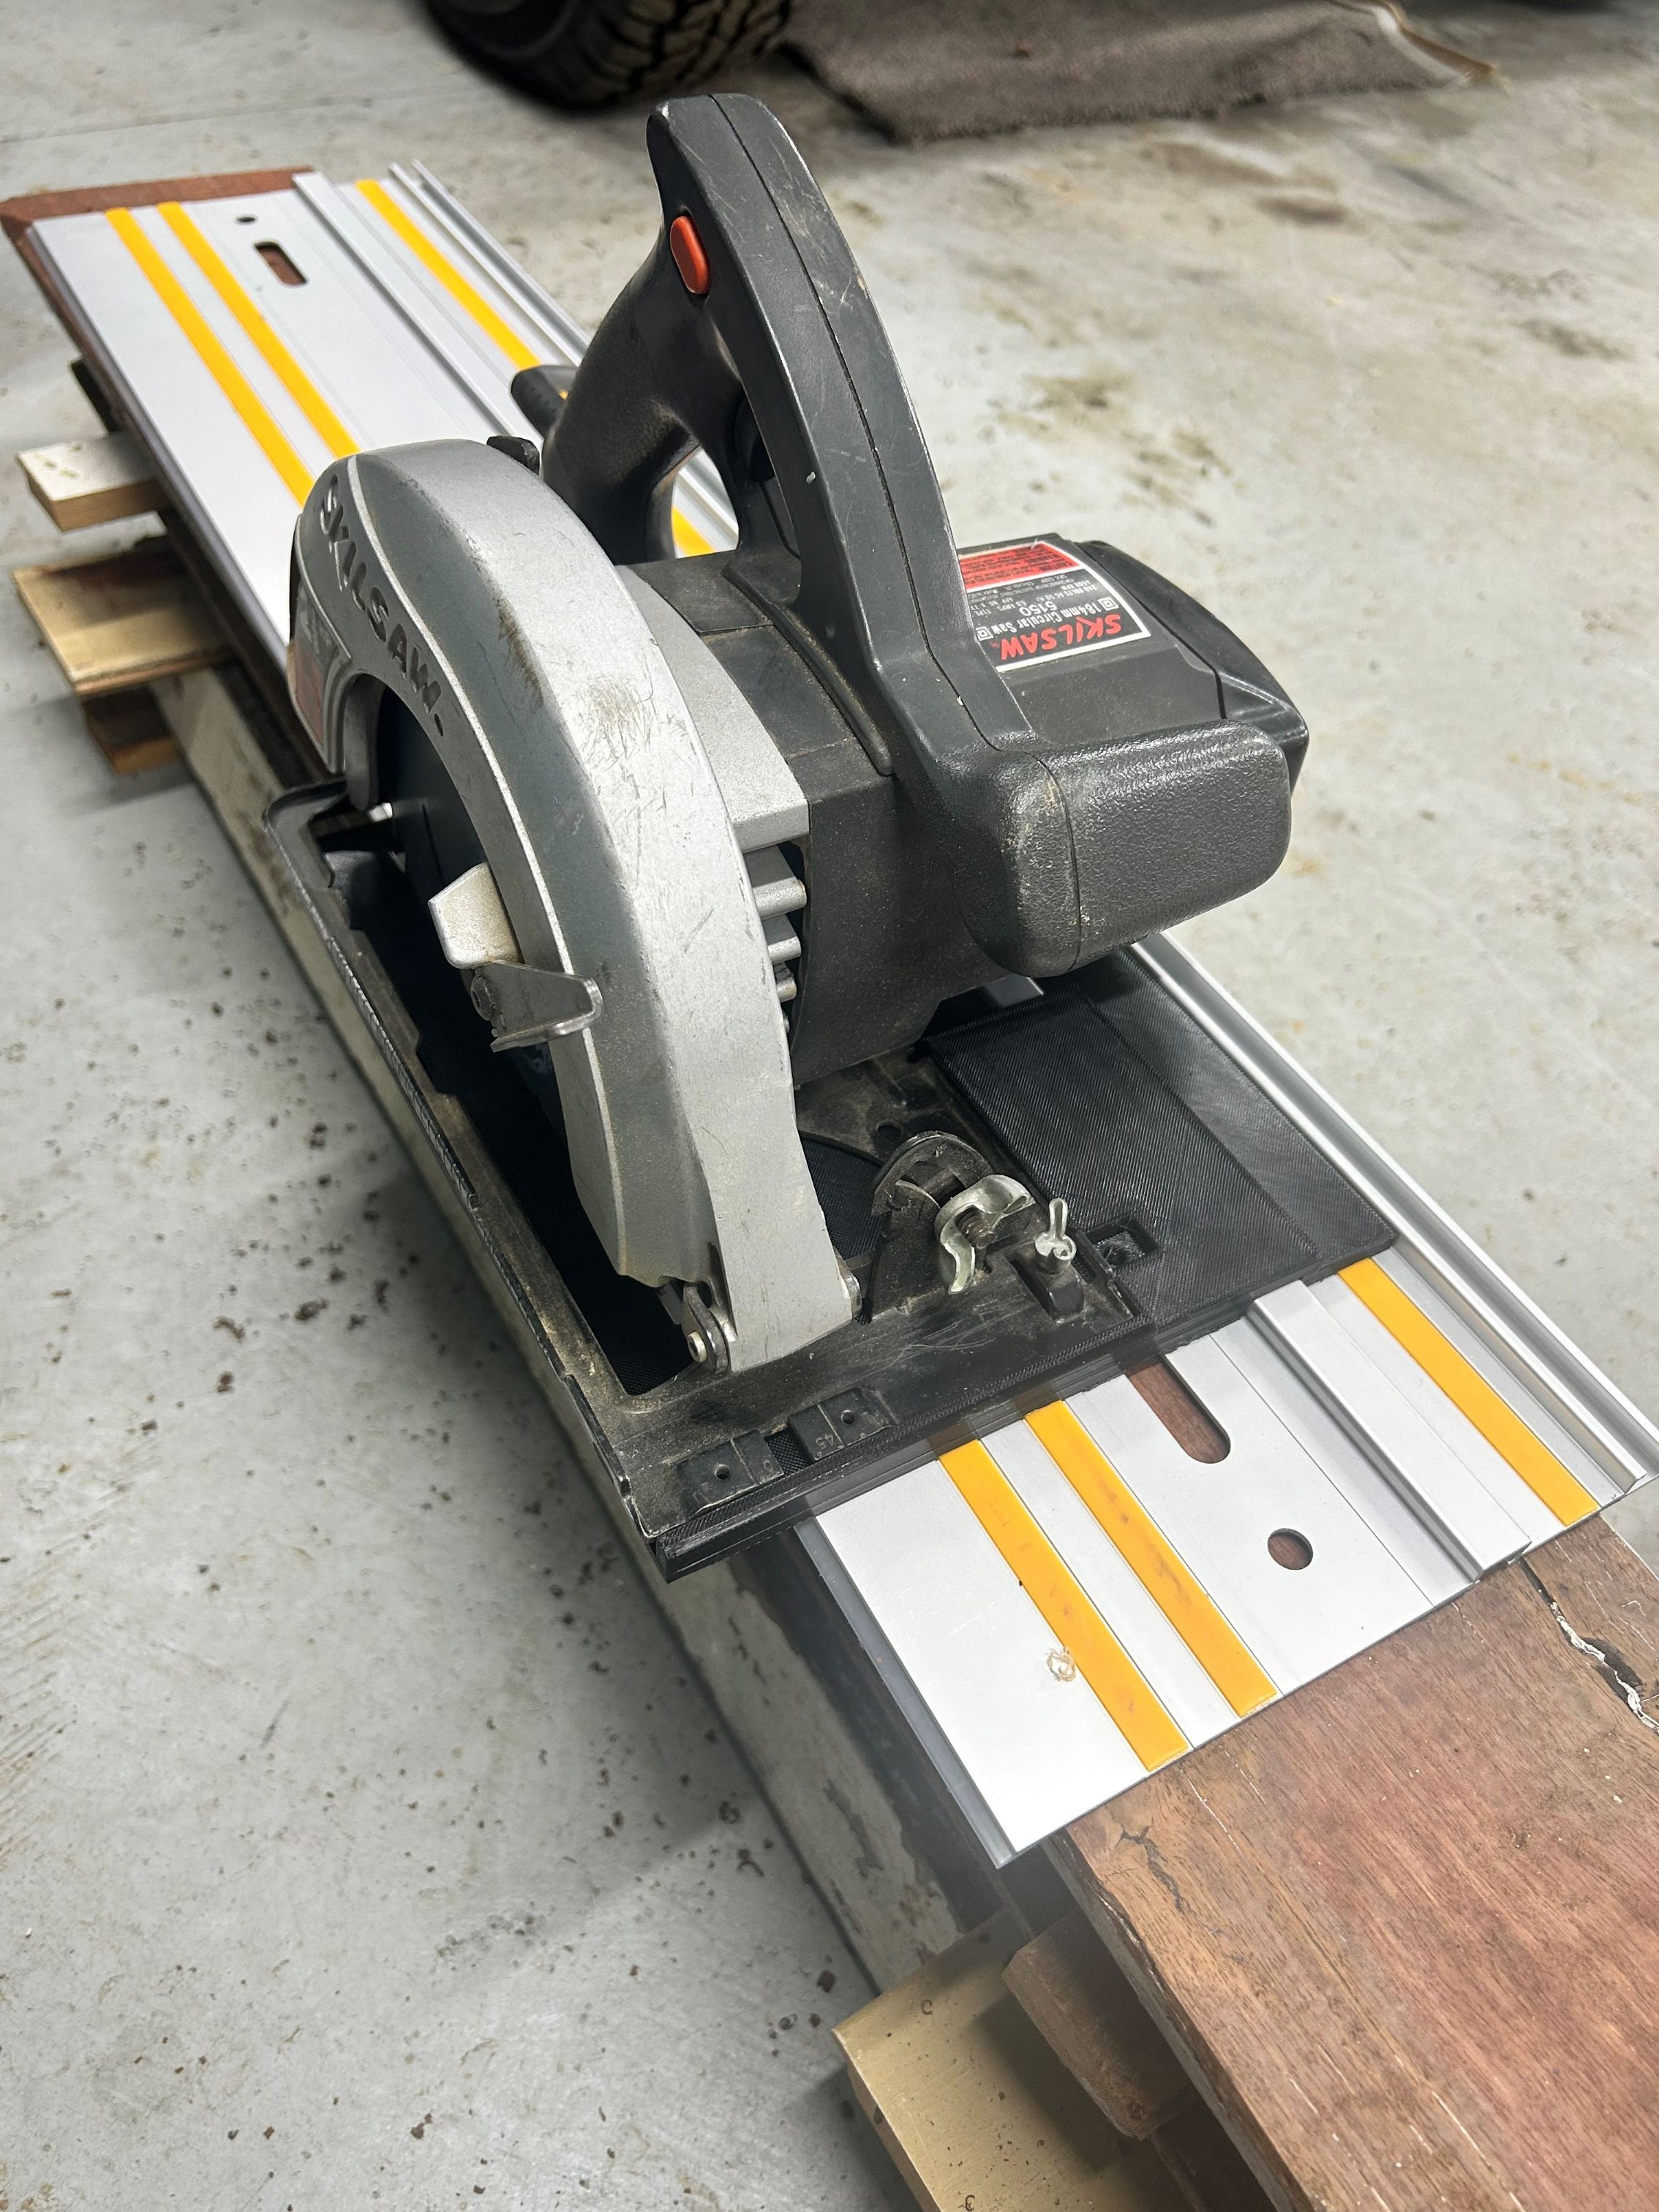
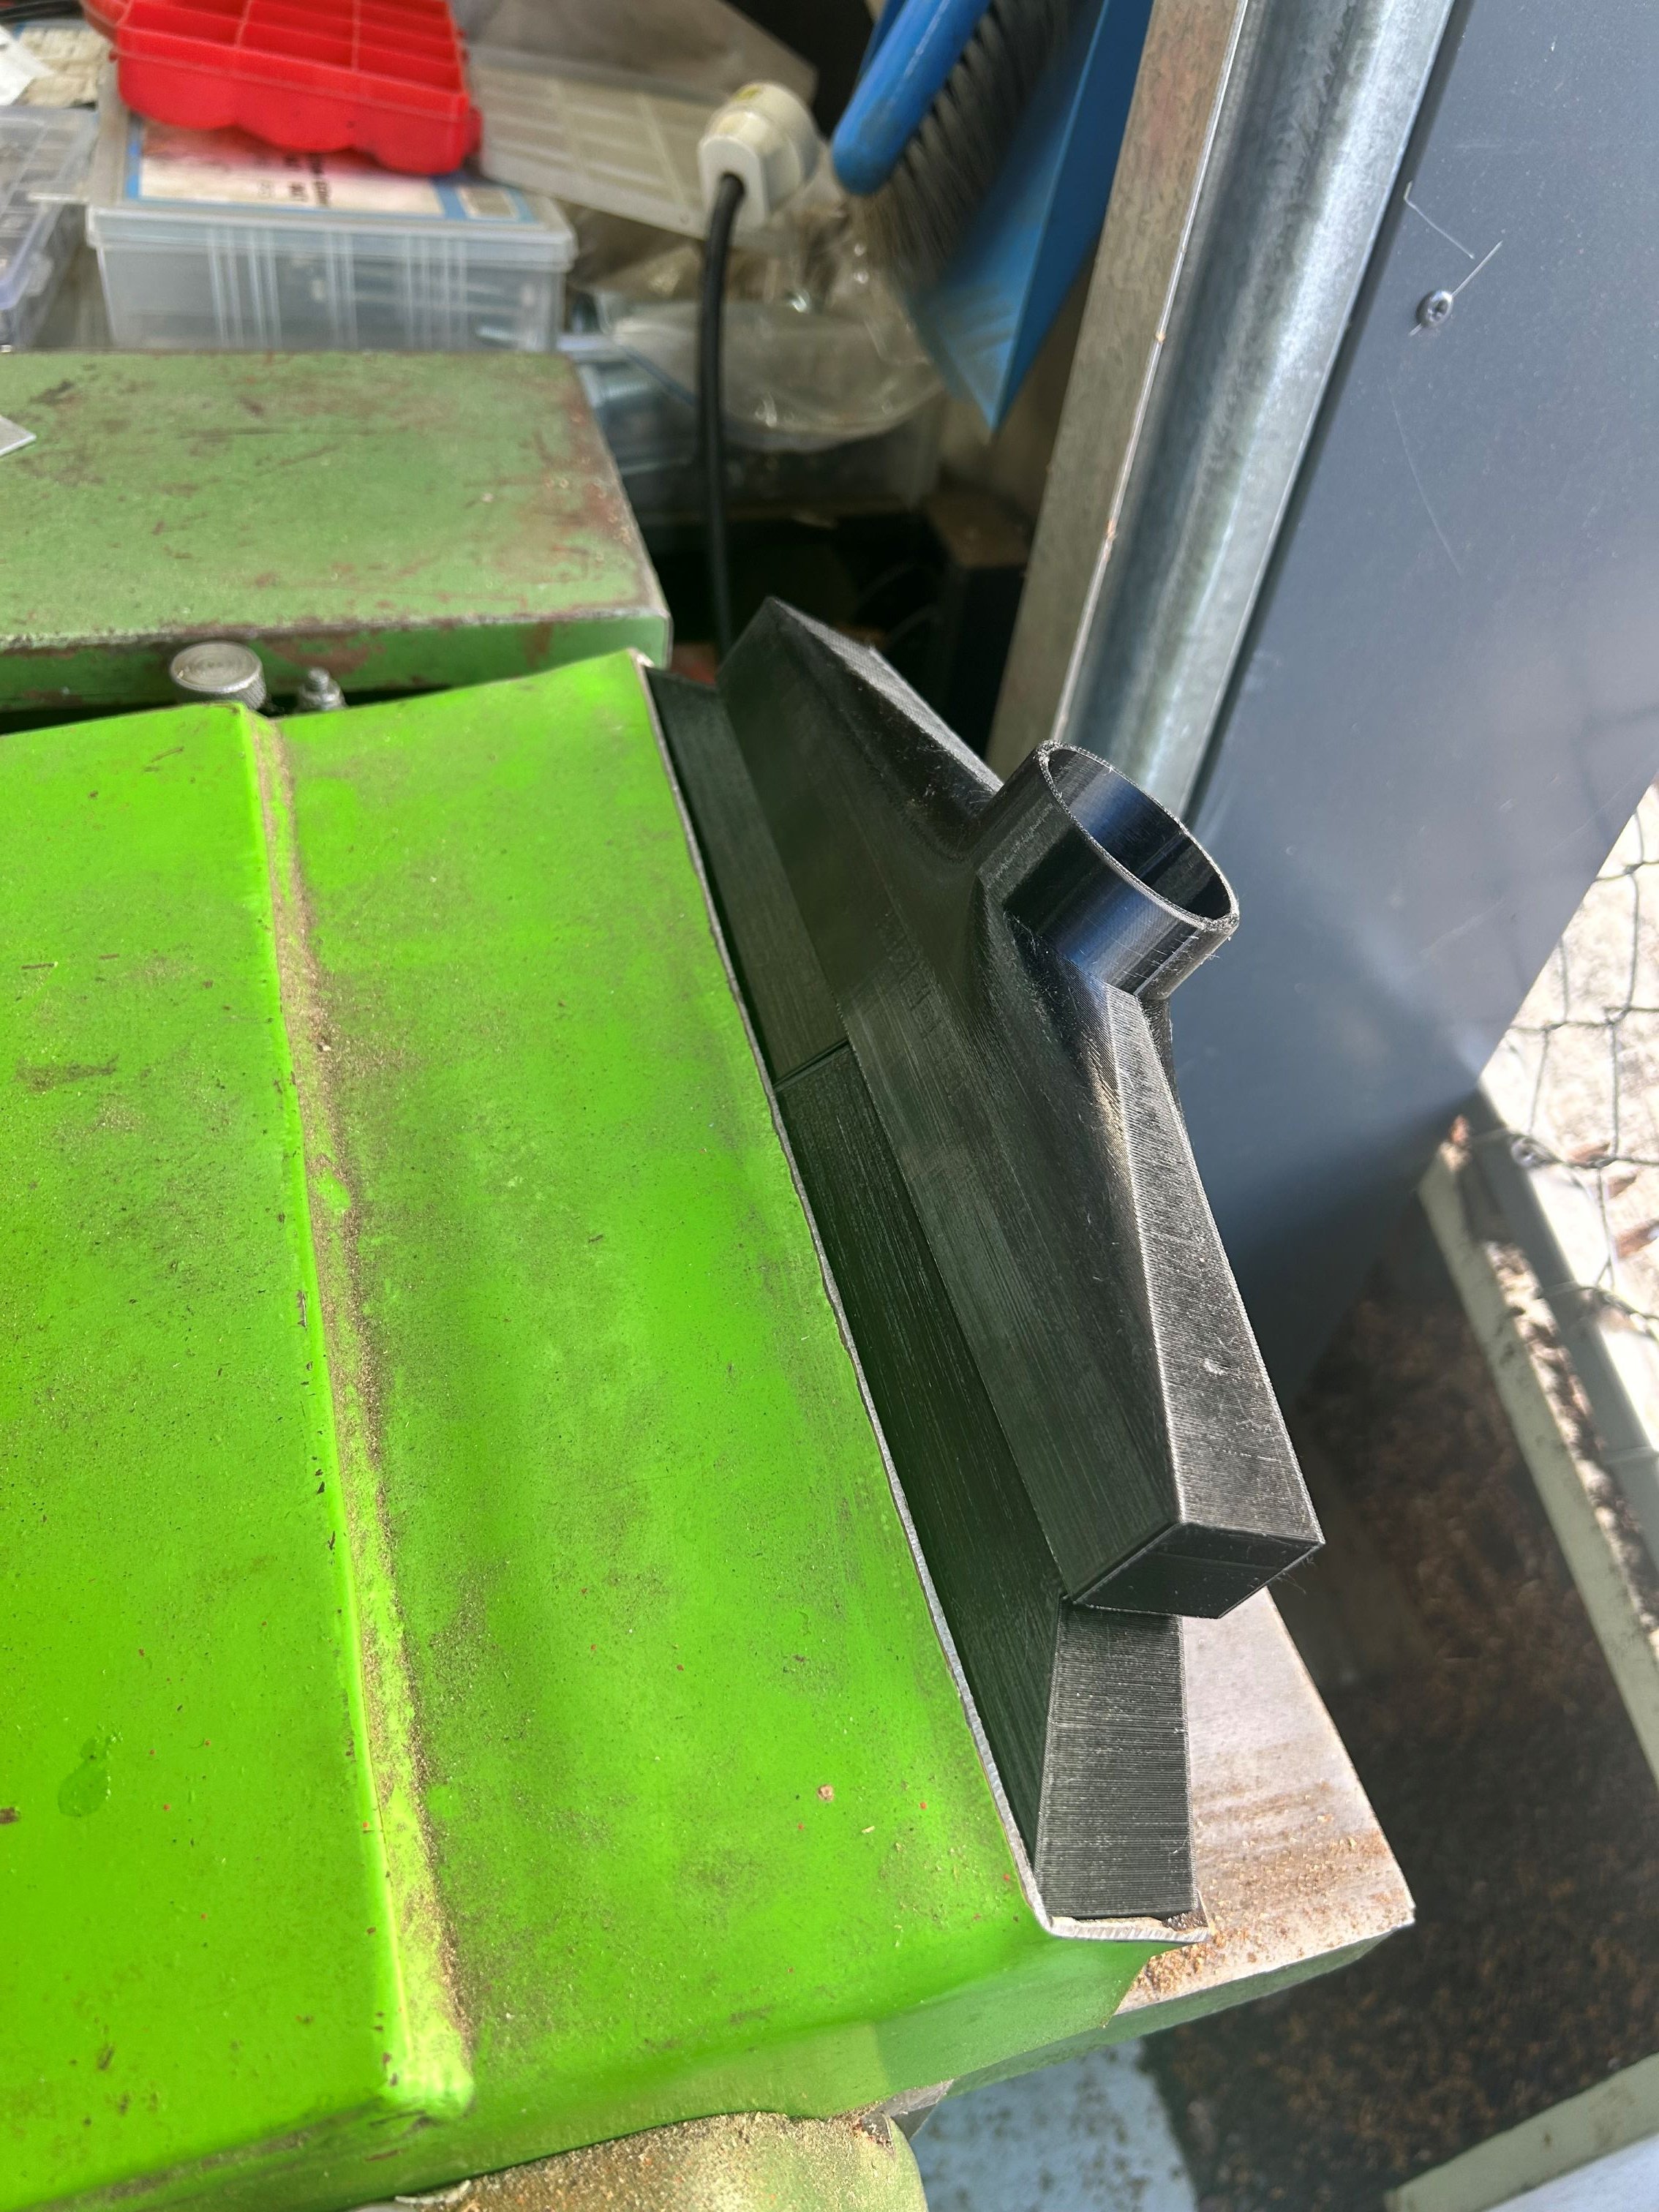
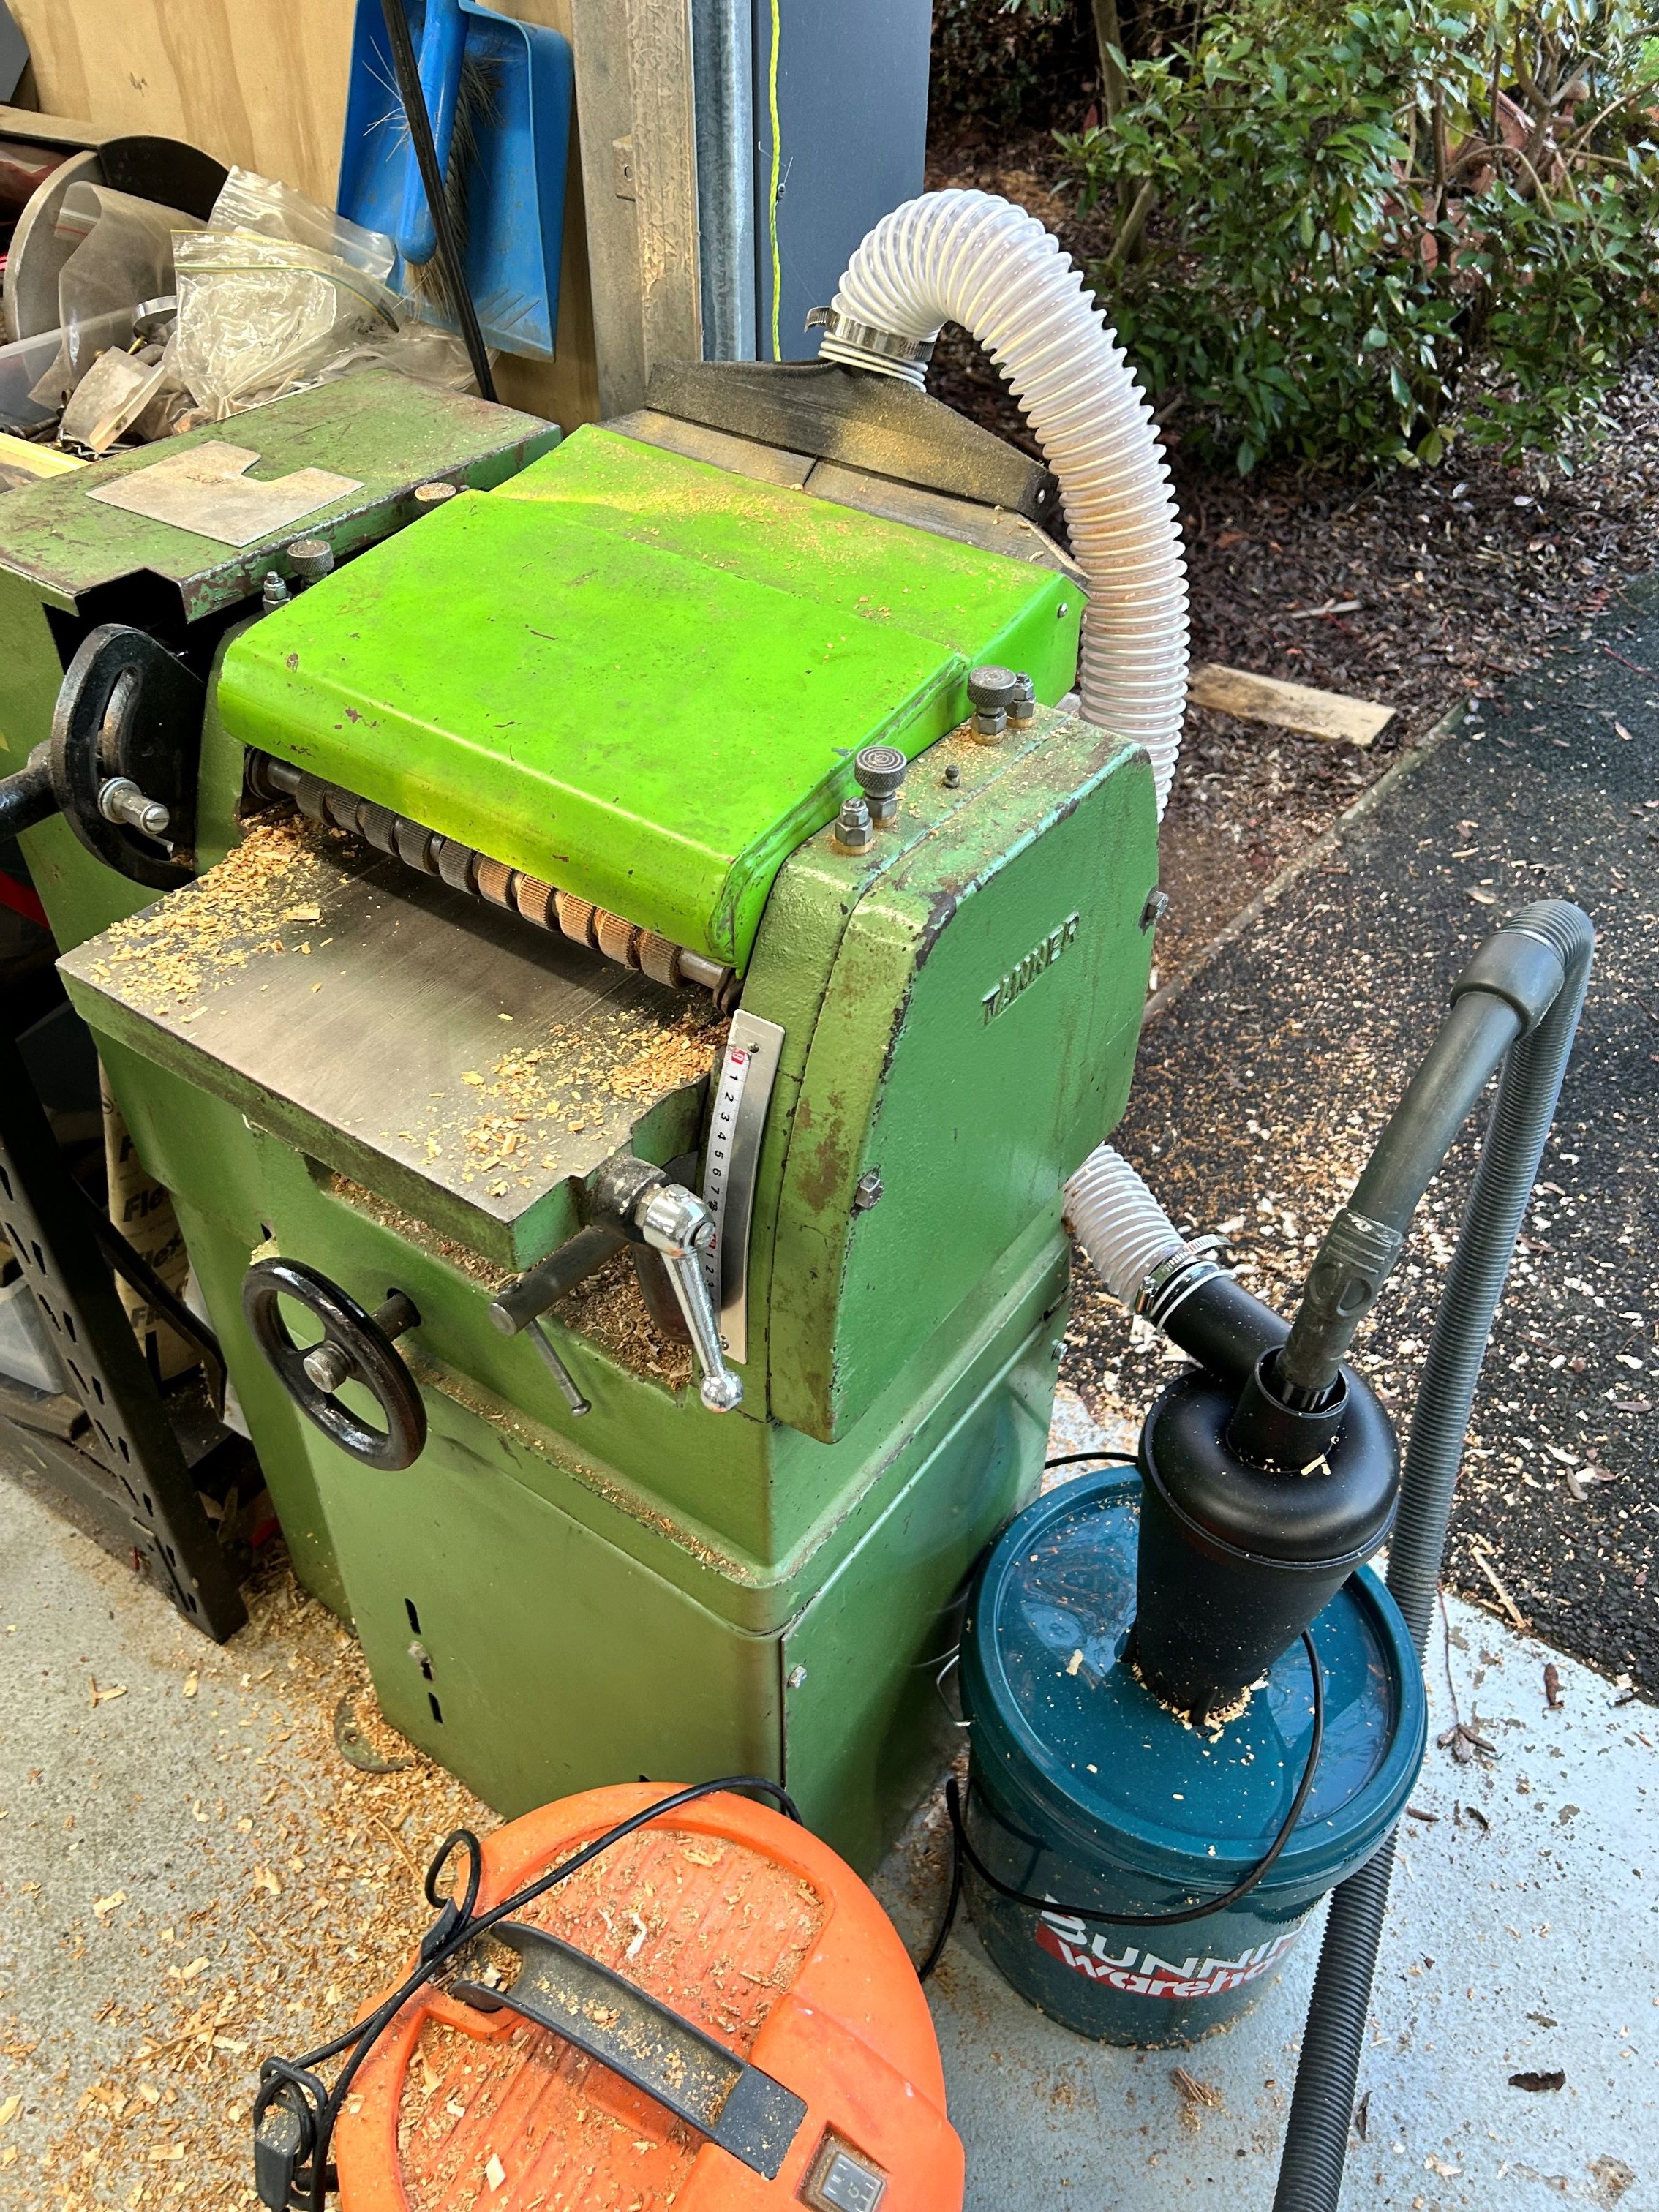
Kinda 3d print thread, but also here. I have decided that I do need a little bit of dust collection on my thickensser as have a project upcoming where I'll be using it alot. I made up a simple 2 piece collector housing to go on the thickesser and printed it out in PETG, found a cheap vortex separator on Temu (though in hindsight I could have printed that too), then a bunnings bucket + hose completed the ensumble. Isnt 100% (but I dont need it to be) and a quick test run has it working fine as long as you're not expecting it too much of it. Beware of the 'dust collection barry' rabbithole which exists on the internet. Continuing the wood tool theme.... I very much like the concept of a track saw (and will be handy to process some beams I have here) but refuse to pay the $$ that is demanded by festool + others considering. Found some alloy extrusions from Temu for ~$40 which come close to the Festool profile and the printed a 'sled' which matches the groove profile + my skilsaw base. Doest have the depth of cut as a retail plunge saw but worth it for the $ I have into the whole affair.
-
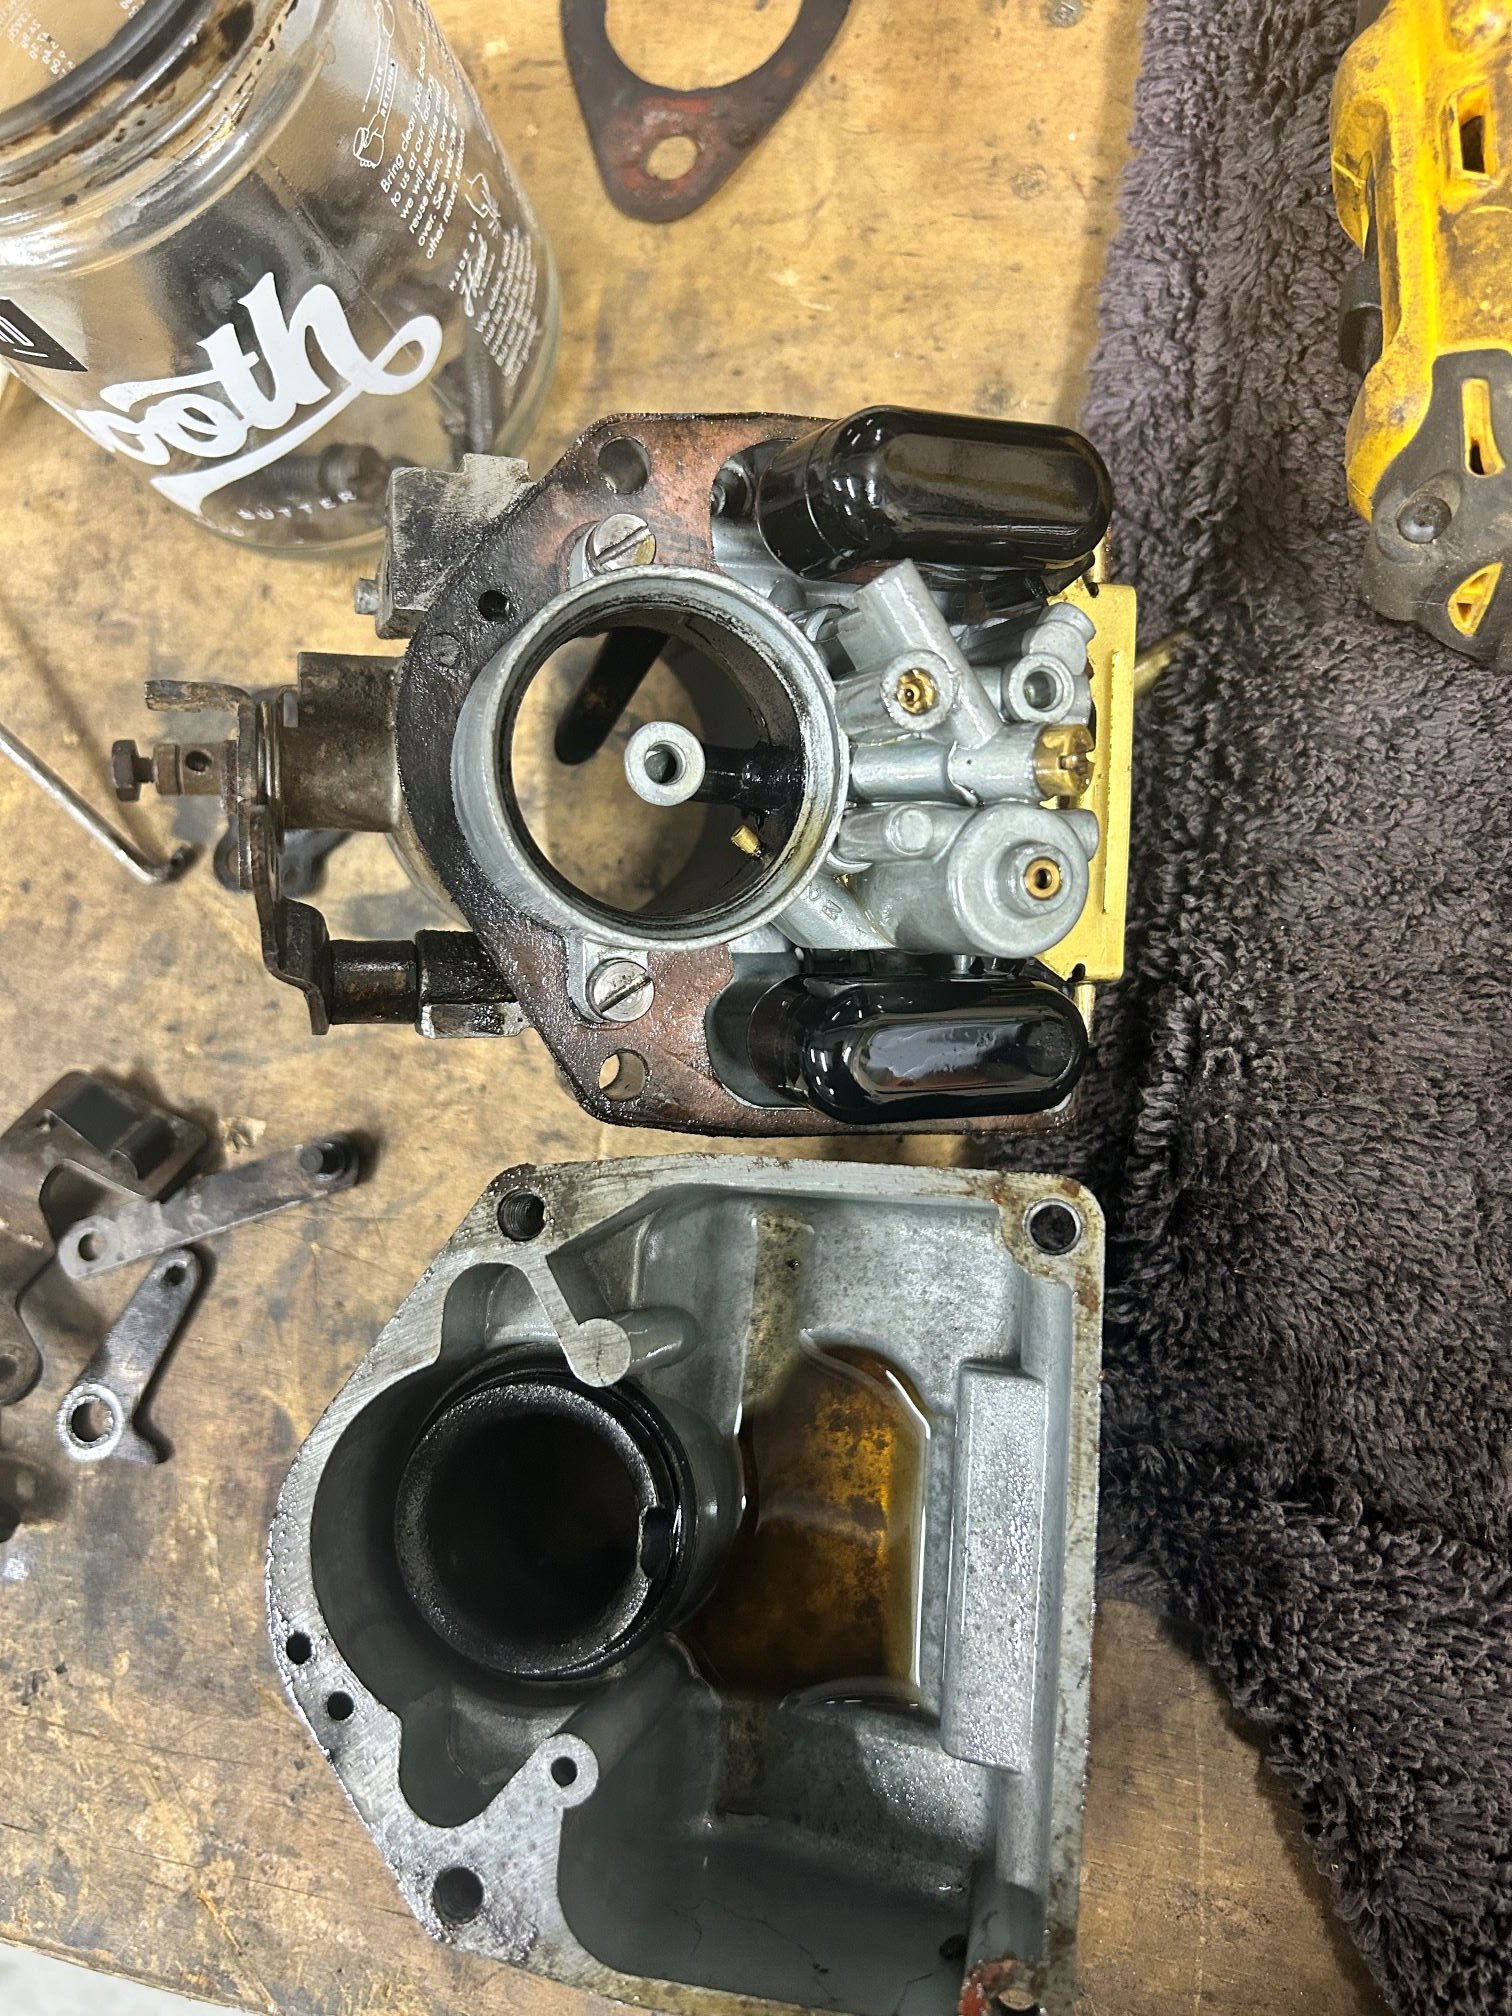
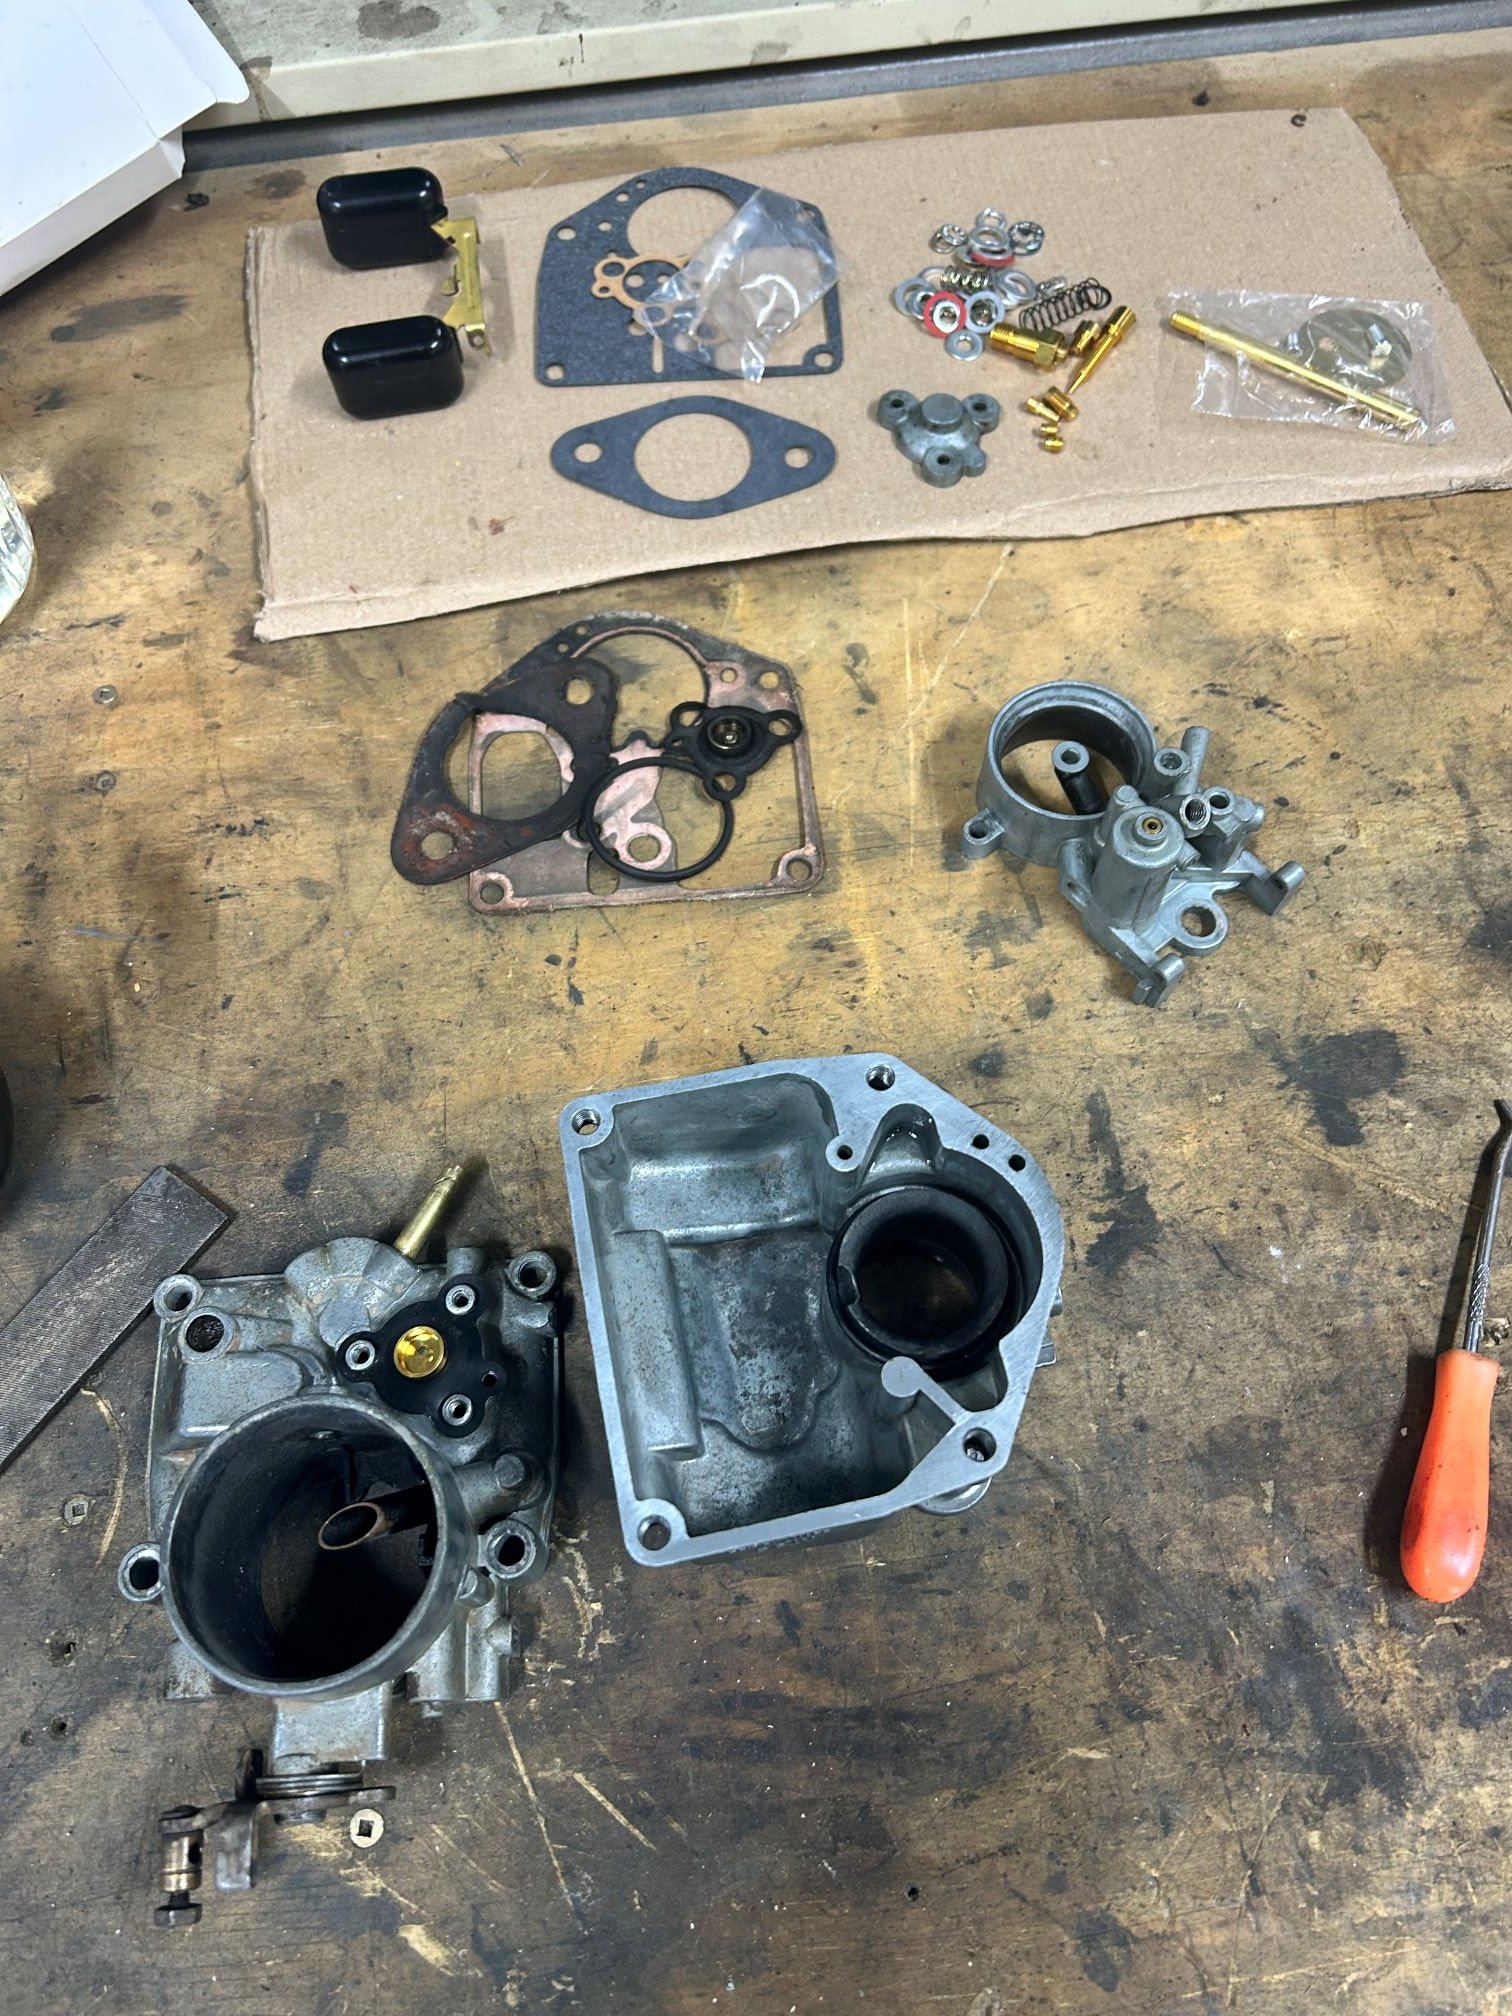
Some more updates which might help others out there.... While the Zenith 36IV carb is a pretty simple bit of kit, and largely 'set and forget', it does come with a major issue over time... Sitting over a hot manifold the light alloy casings will warp, and with only 4x bolts holding it together it will do so to the extent that fuel (or more problematically, air) will seep past the gasket. You can see this here by the blackening on the gasket nearest the venturi, the ports that are now open to atmosphere control the economy diaphram which causes the copious fuel consumption at idle. The fix is to sand the faces back down flat, you can see the area where the feeler gauge can still get through. Assembly on these are pretty simple, with just a handful of jets/diaphrams to worry about.
- 75 replies
-
- 20
-

-
noice, I was thinking about a new gun. What settings did you land on to dial it in?
-
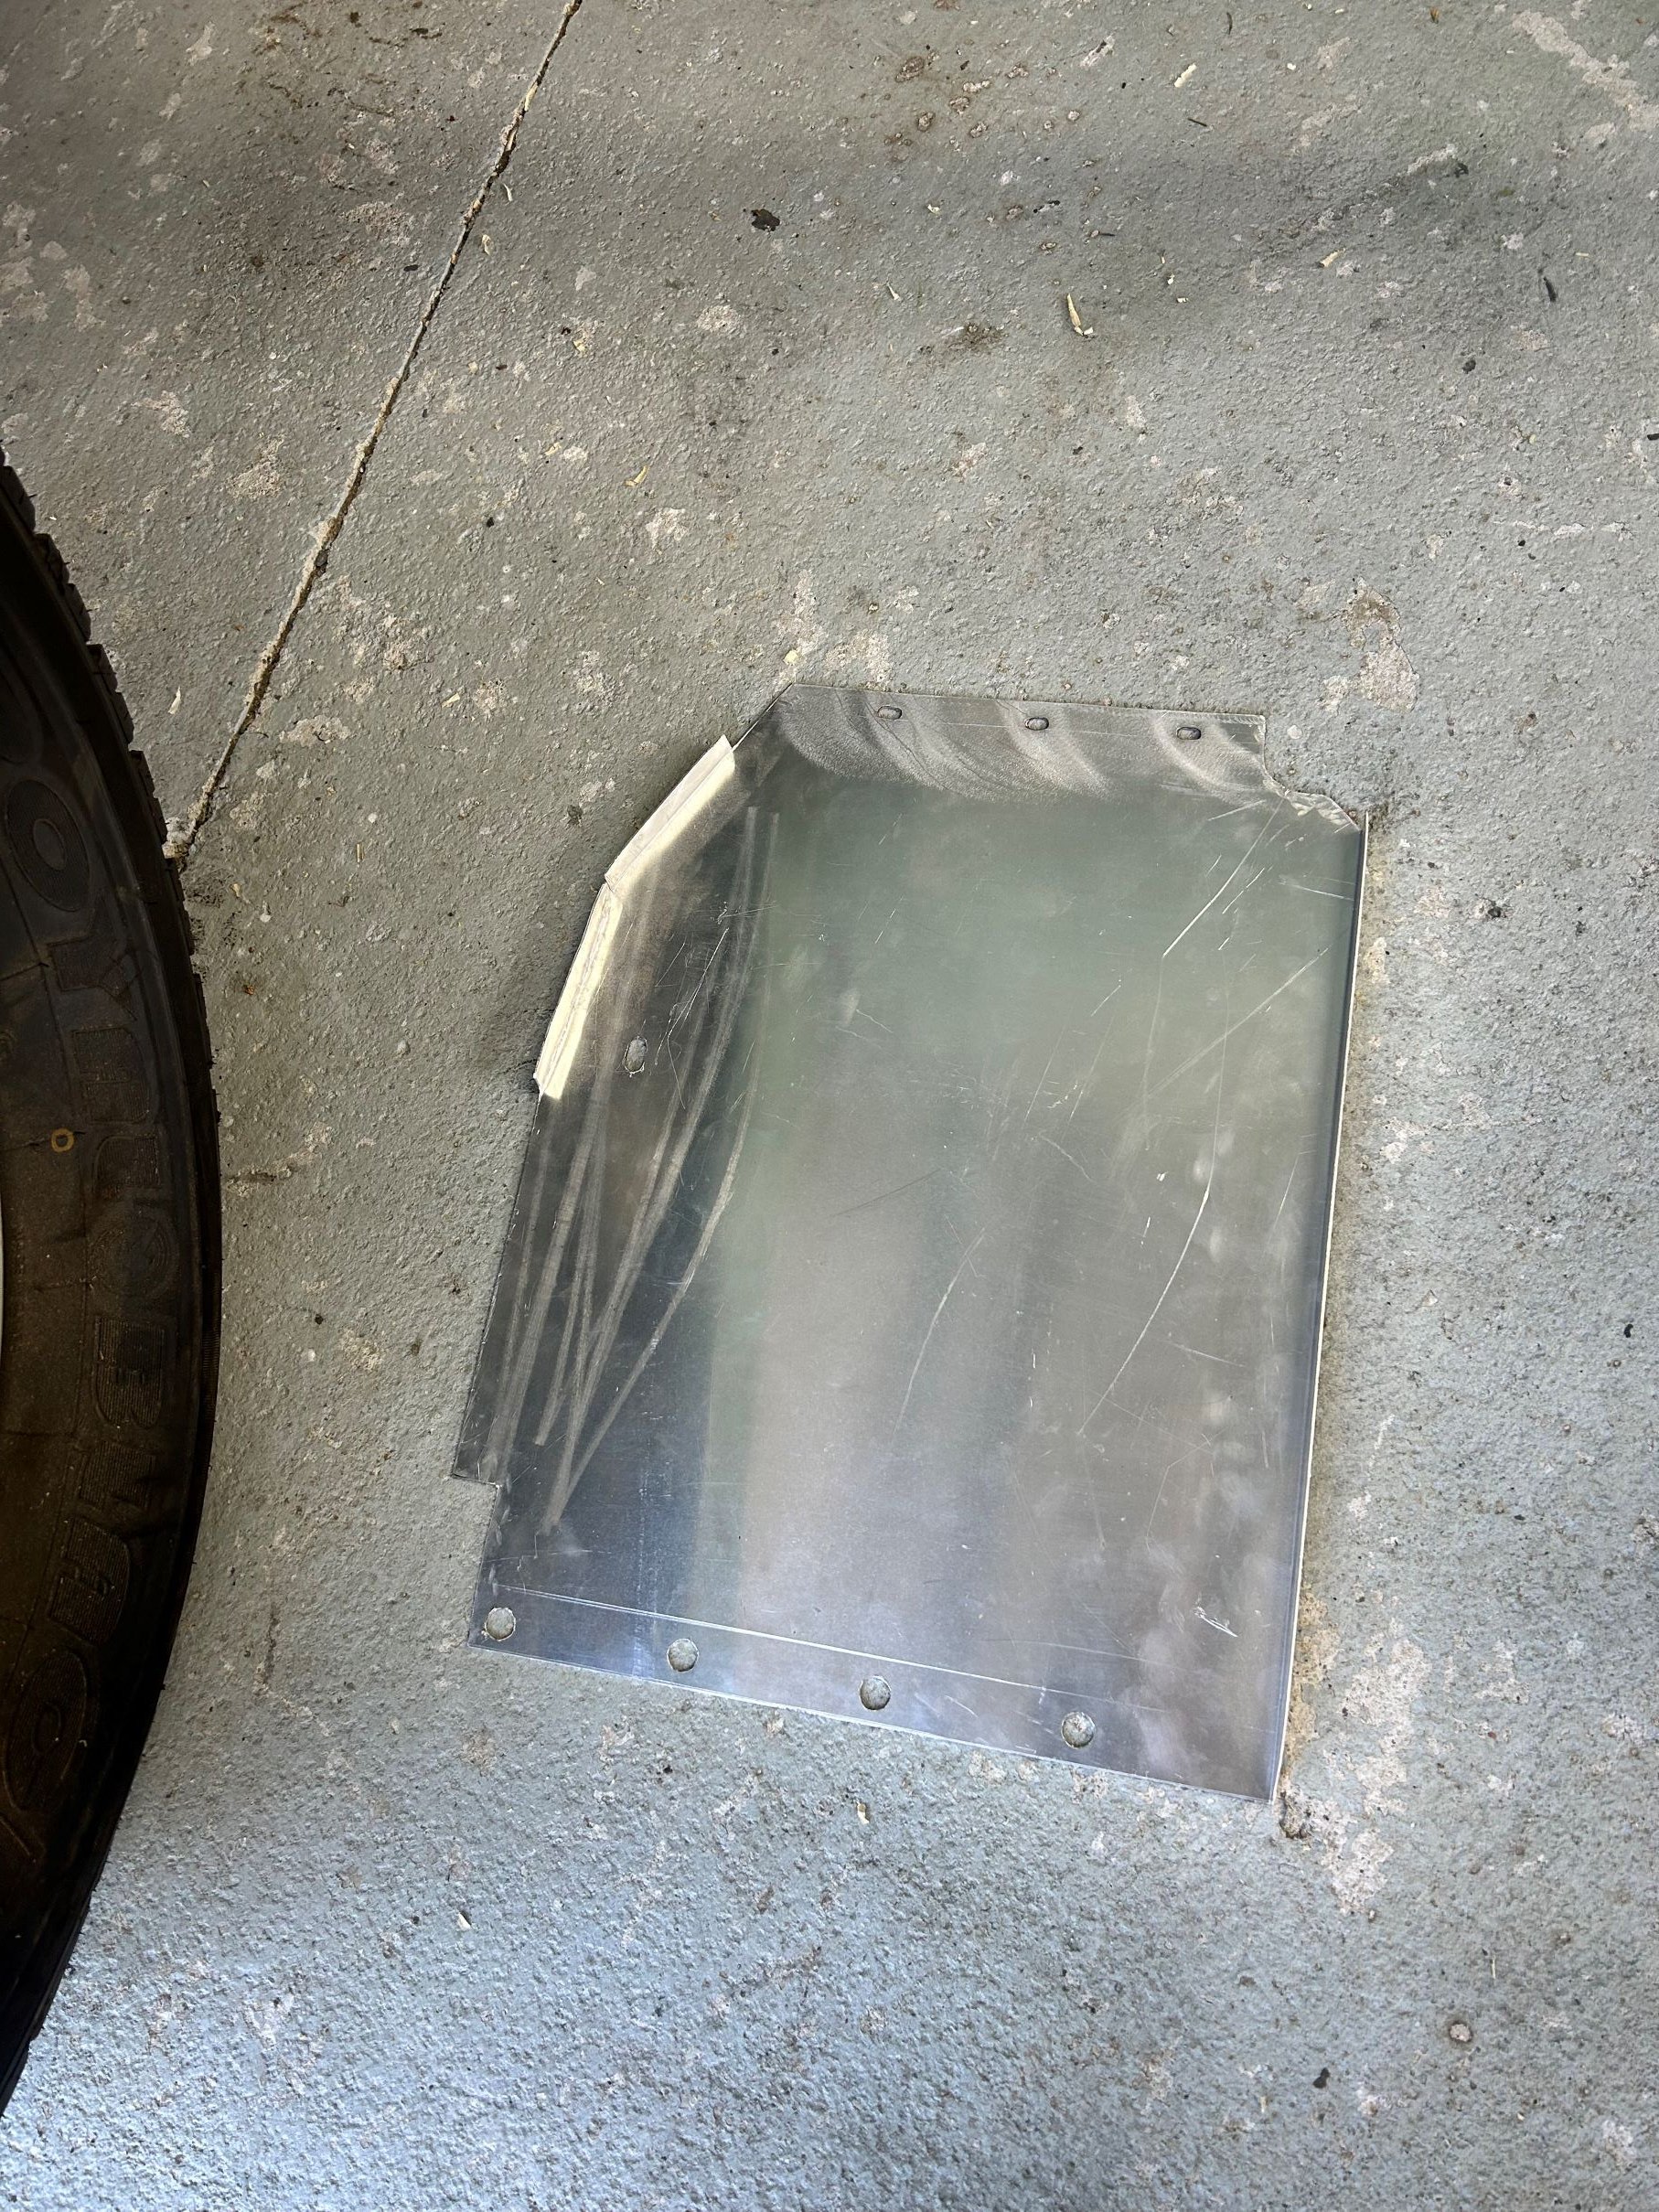
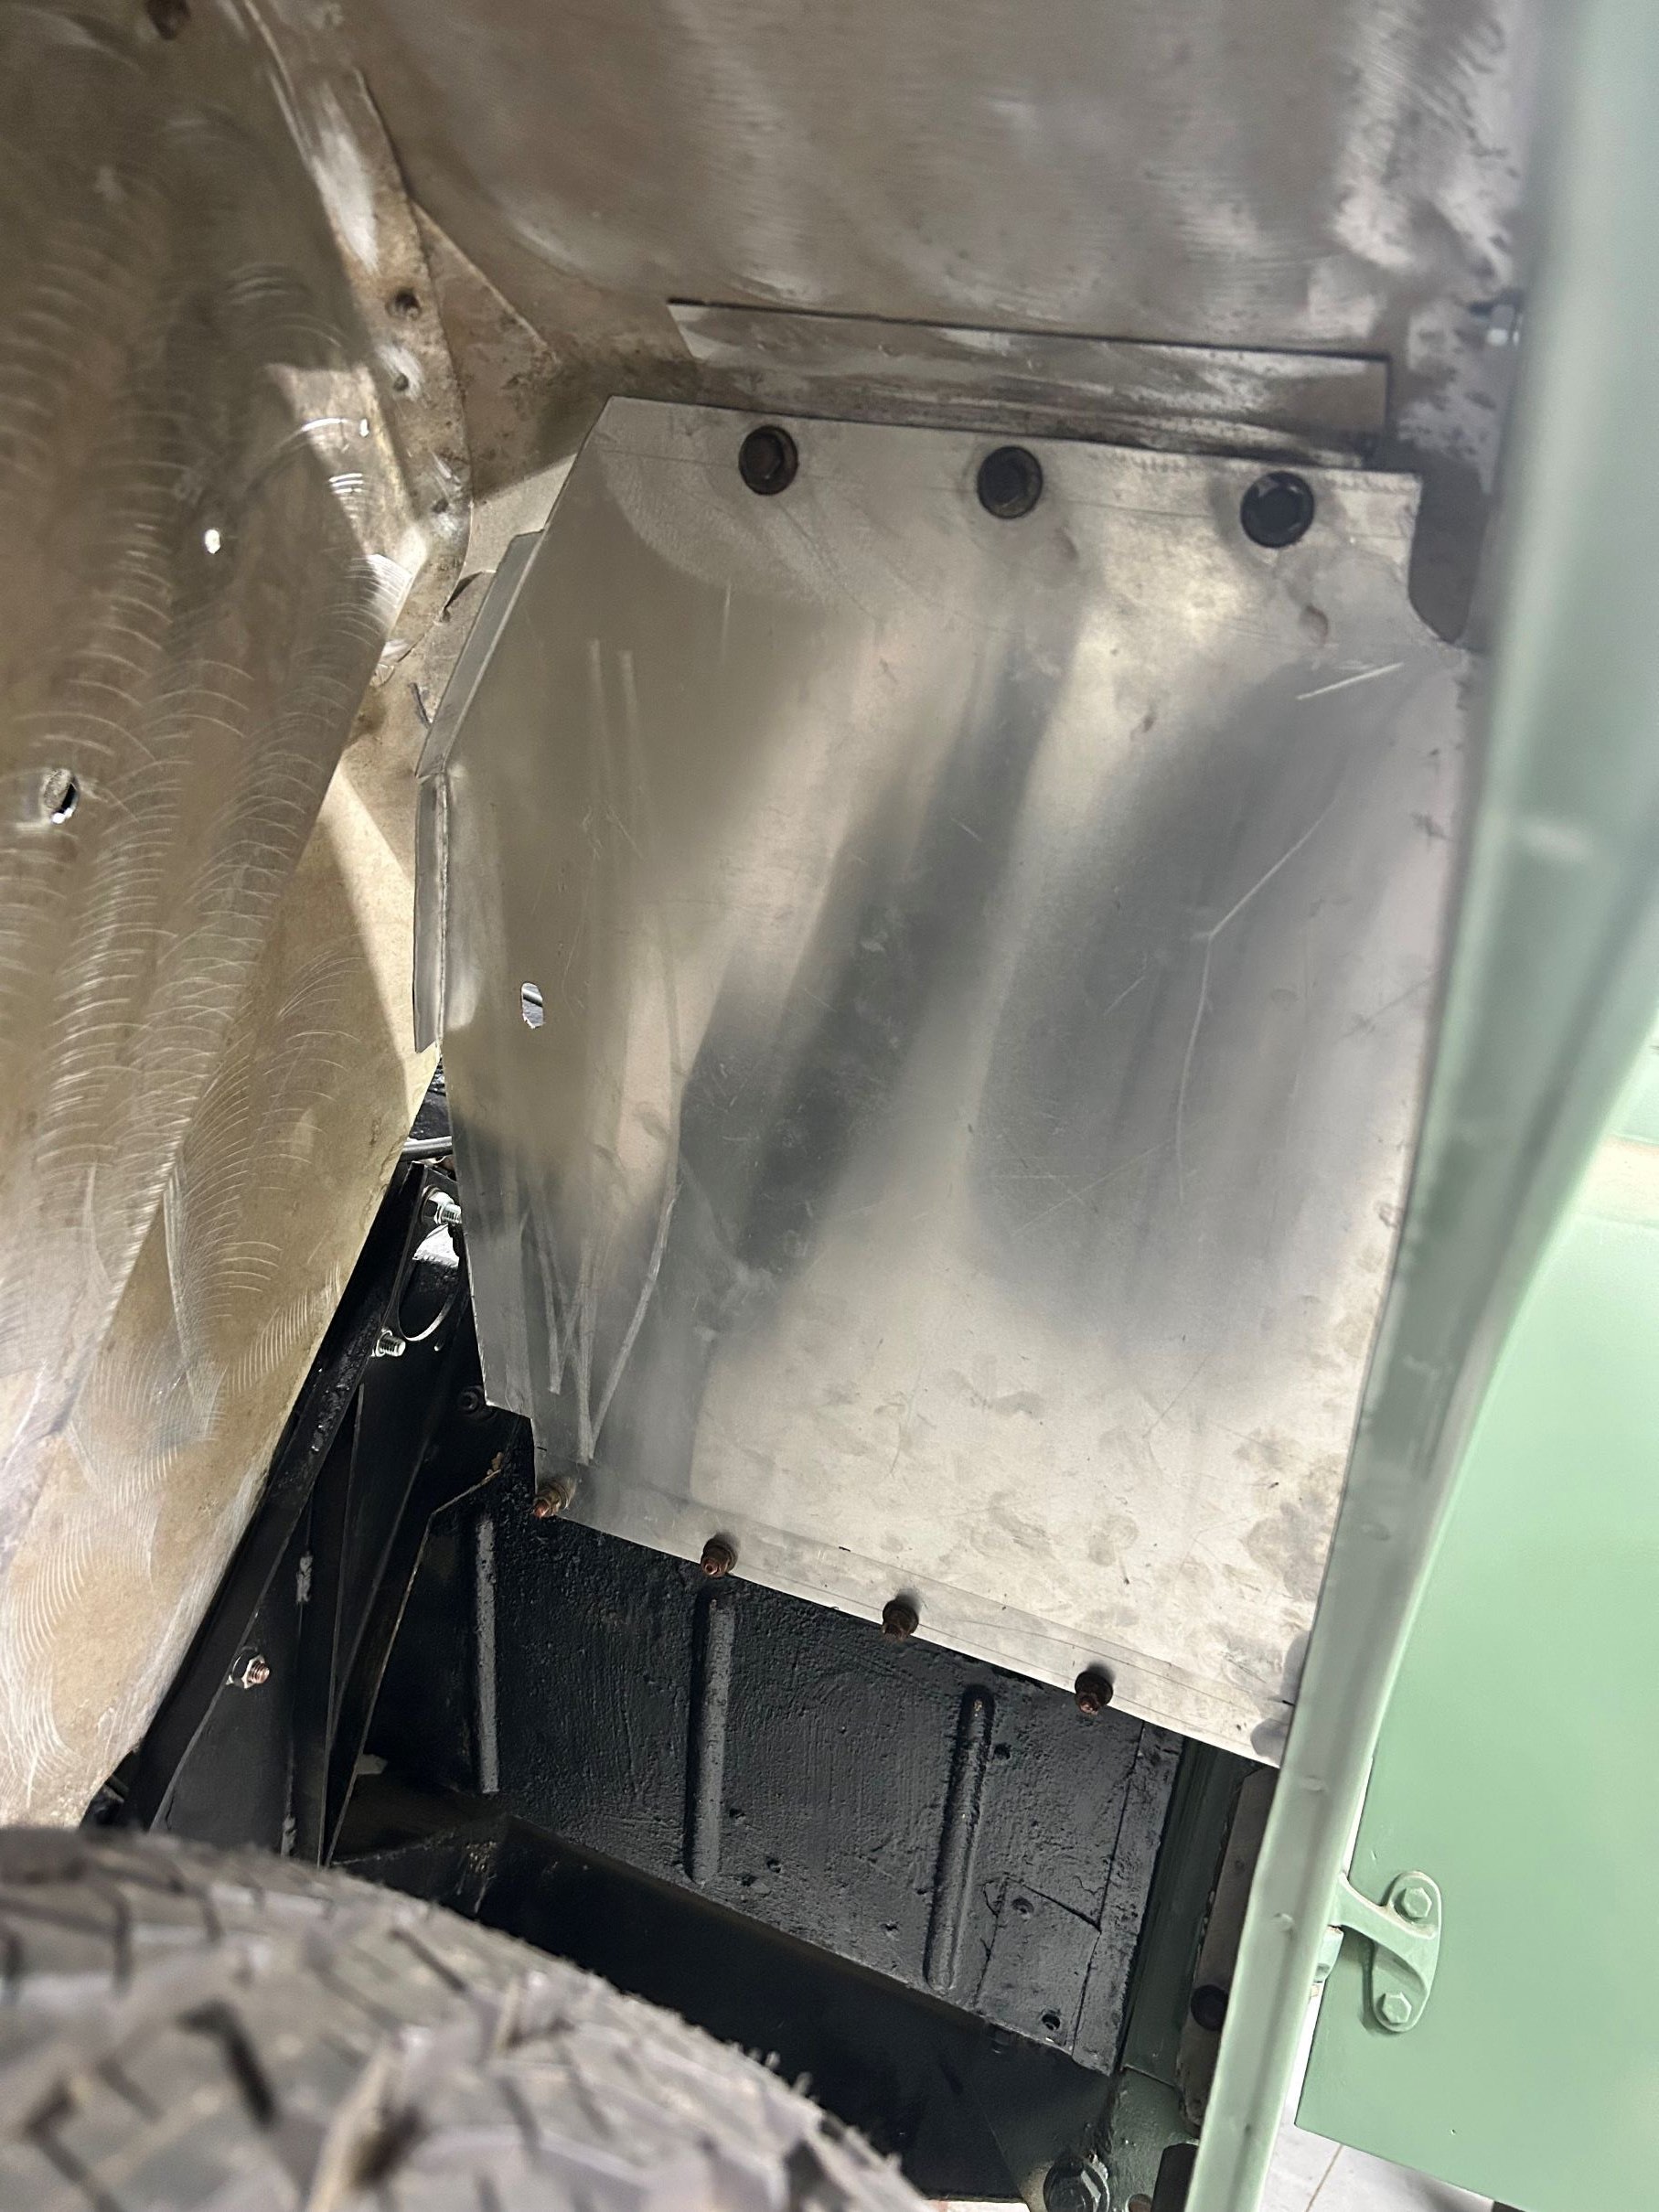
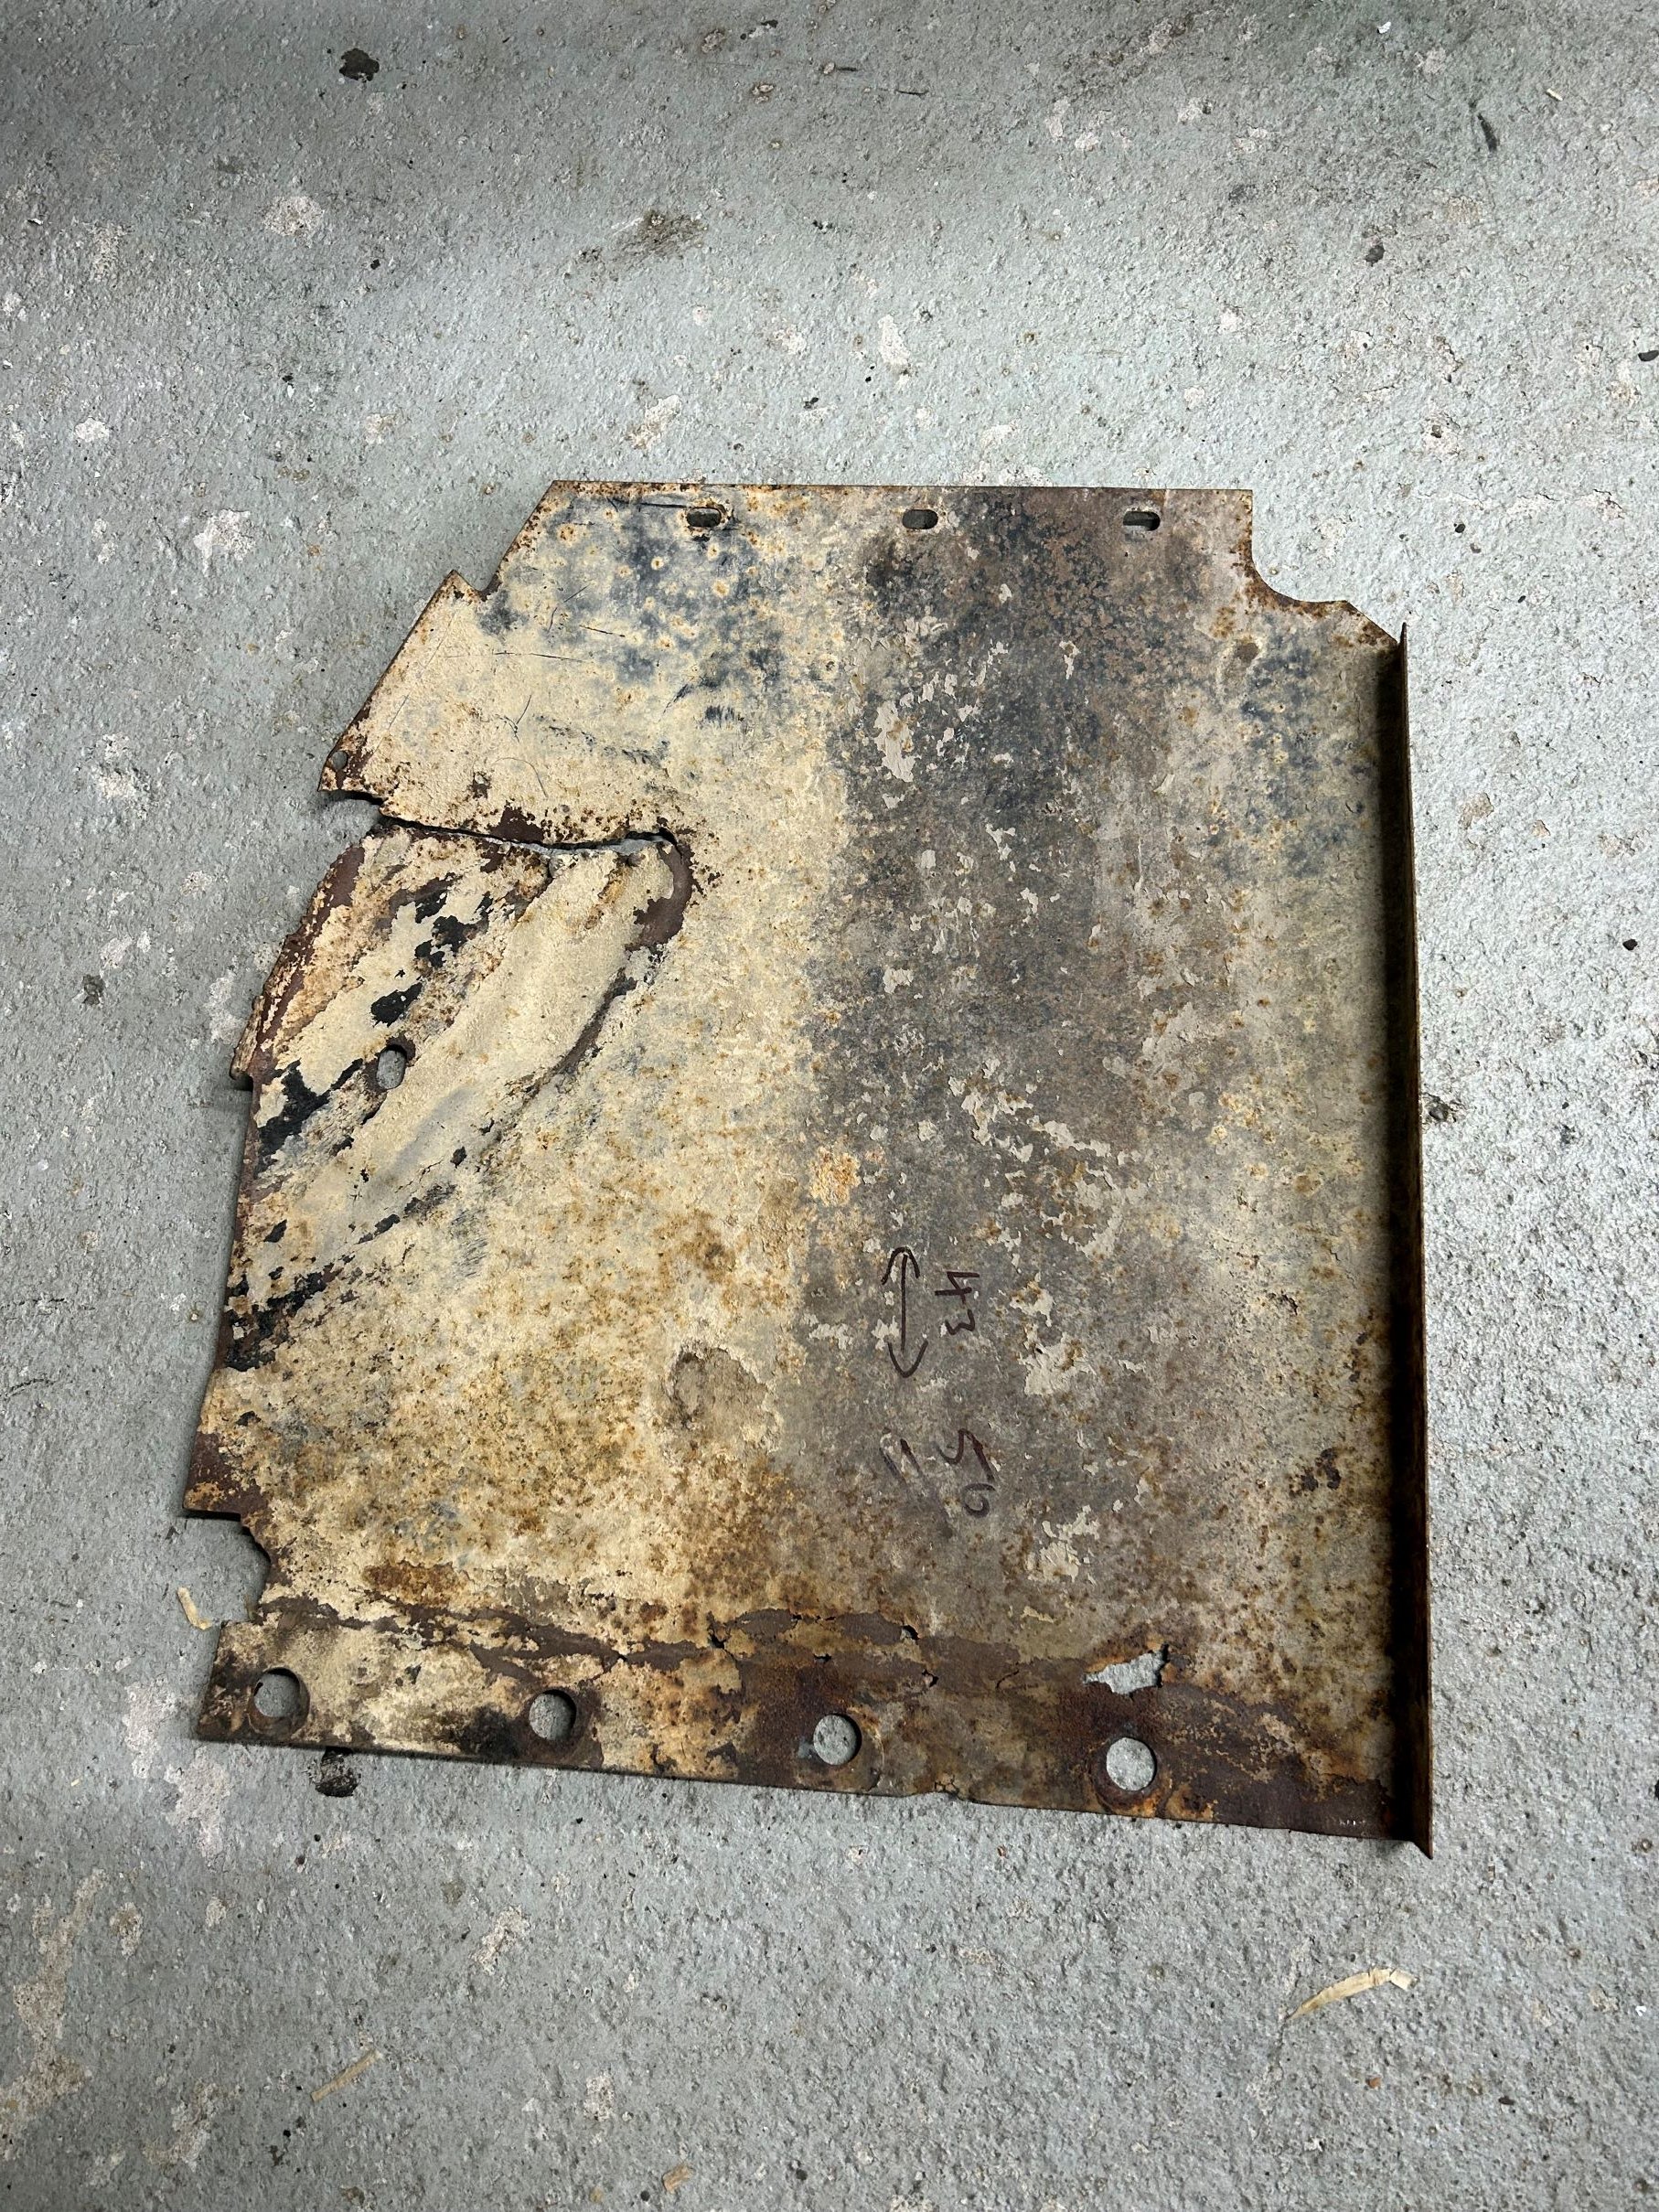
Some updates.... 1/ Have now confirmed that it can move under its own power, consuming a vast quantity of petrol at idle so a rebuild of the carb is needed as the mating surfaces are probably no longer flat. 2/ Front wiring is all mostly sorted so I now have functioning lights. Last major jobs is I want to replace the rear fuel tank with another one I have here - I have a suspicion that it may still leak after my repair and it has a diesel return line on it I no longer need. Likewise need to sort out seatbelt mountings, I have factory ones here. Also some further fabrication.... the inner wings have basic splash guards which were mostly gone/rusted/bent when I got it. There was a change between the early/late wings for these and as I have 'late' wings with an early firewall it was a whole lot easier (but still fiddily) to replace them from scratch in alloy.
- 75 replies
-
- 21
-
-
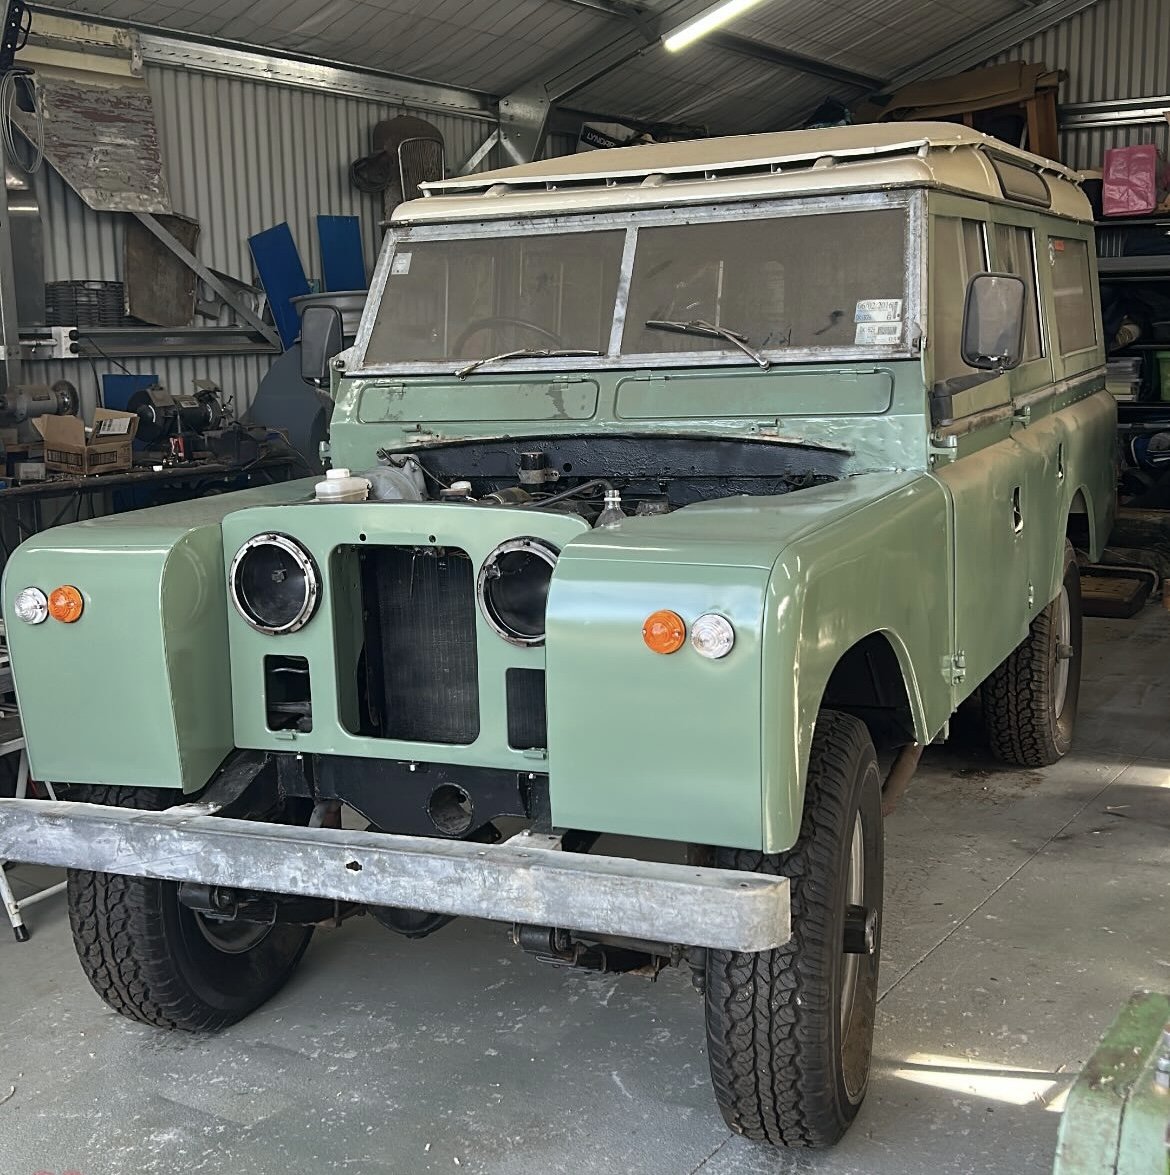
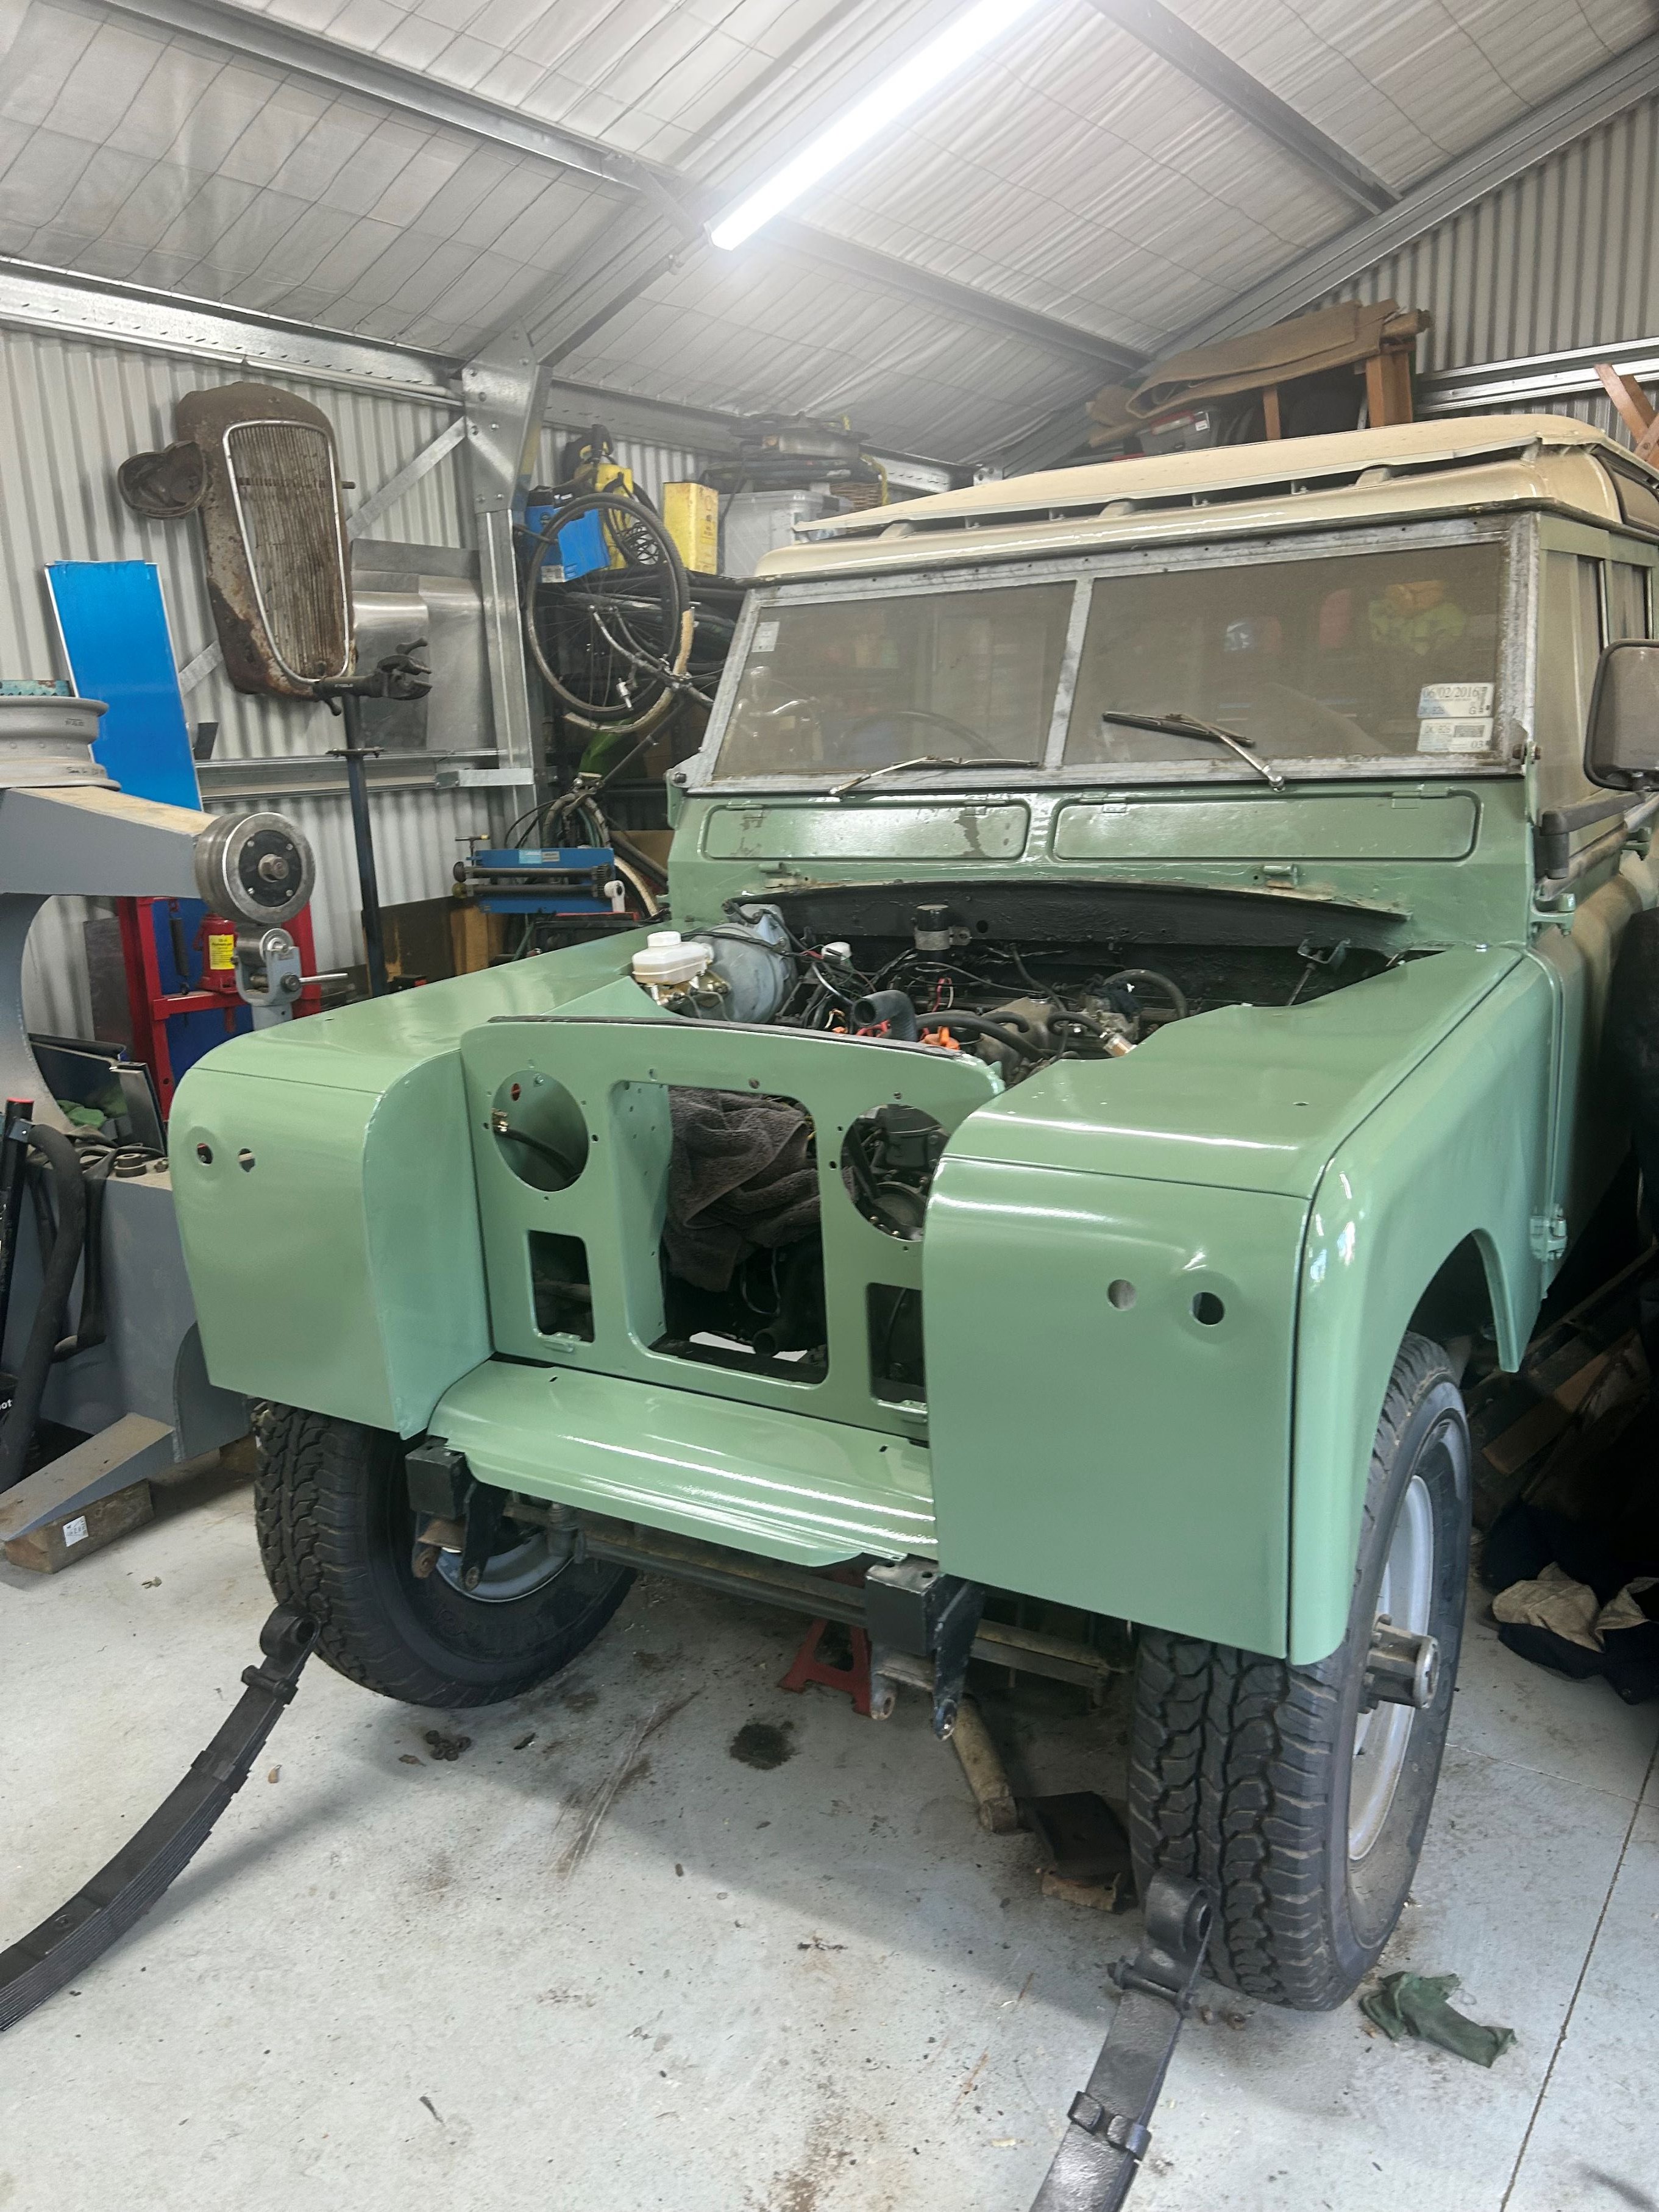
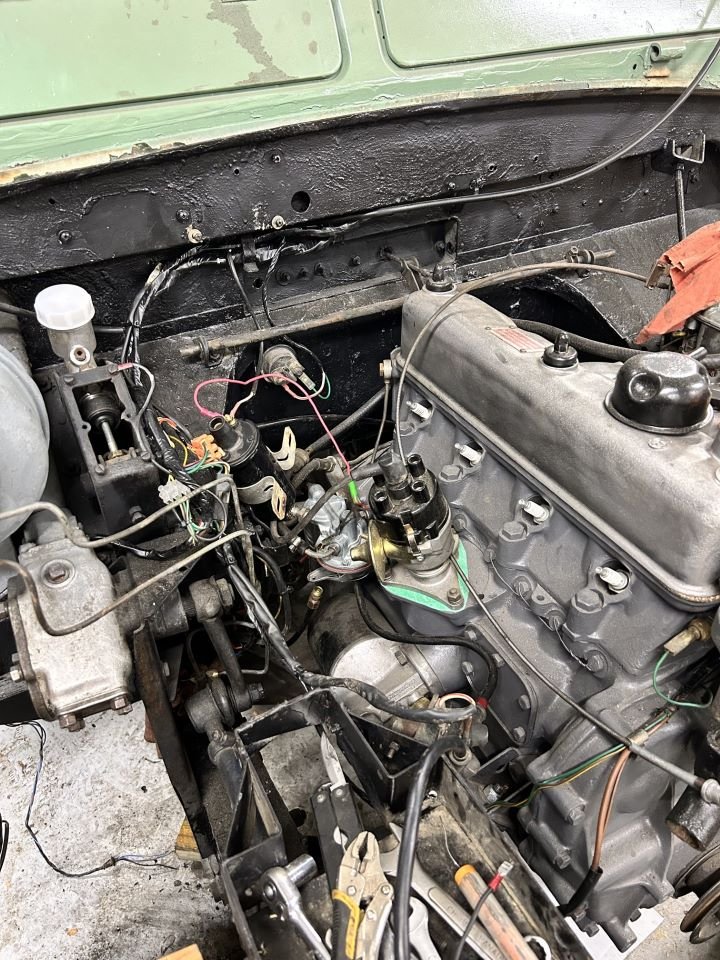
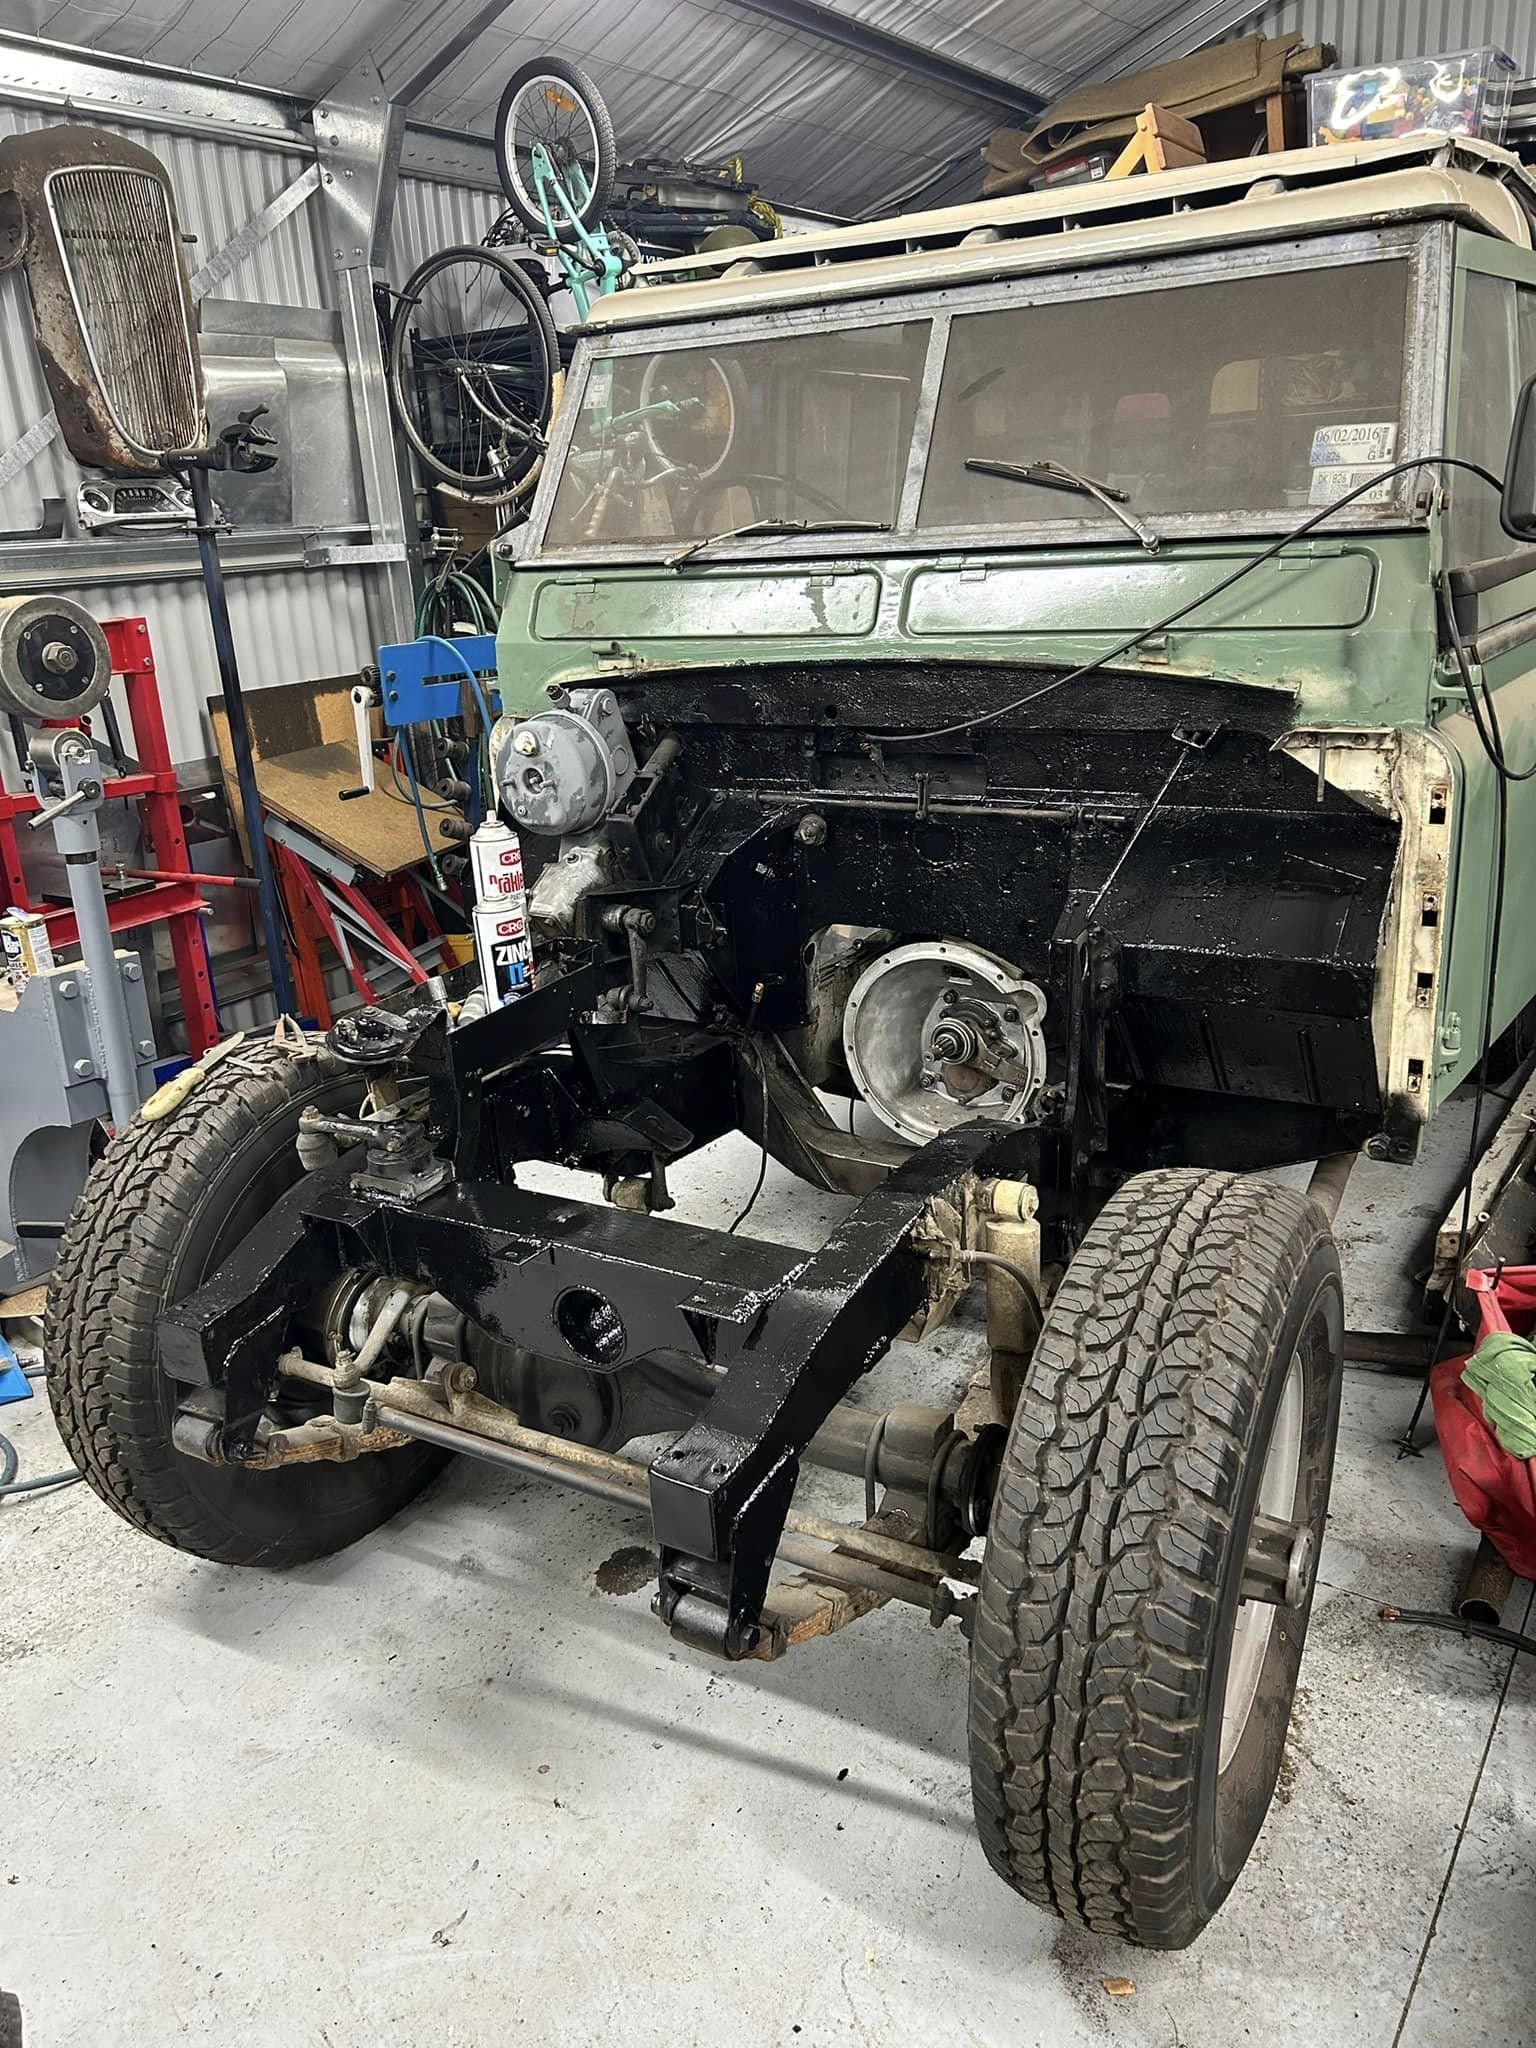
A general update with more documentation needed.... did some dry runs on the engine which seems to start/run ok for a short period. Was a bit of a pain to run some fresh brake/clutch lines but likewise we got there. Got some much needed enthusiasm to sort the painting of the front panels before the weather gets too cold. Now I have no excuse to mount the rad and sort the cooling for some longer runs, then its just 999 little things before going to the WOF man.
- 75 replies
-
- 27
-
-
Either ply, or shop around for some dressed macro?
-
You wanna buy stuff we can go past Shingle creek - heaps of old iron and nick nacks.
-
yup
-
In going to EFI, and the 'long' engine they changed the oil pump to crank driven which I believe changes the front cover. The above should be your 3.5 dimensions A quick read, the 3.5 could interchange to a 3.9, but not 4.0 or 4.6 with snout length https://www.gomog.com/allmorgan/40difference.htm This gives you the engine codes to look for https://rimmerbros.com/Images/PDFs/V8Engine.pdf?srsltid=AfmBOor_I3tL7xS6UYiylAxSk9bzs2zCuvbc74FOr7DgacdEnW6D0L_h Best bet would go look for a 3.9 EFI out of a D1/D2 - plenty around for cheap, do fresh head gaskets + studs and you are away...
-
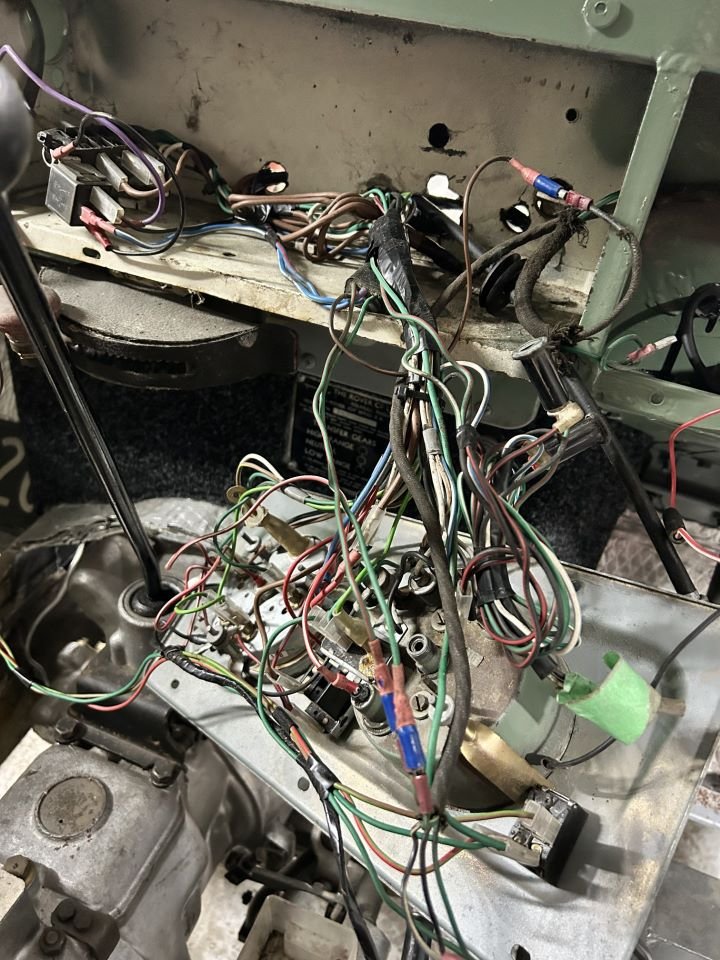
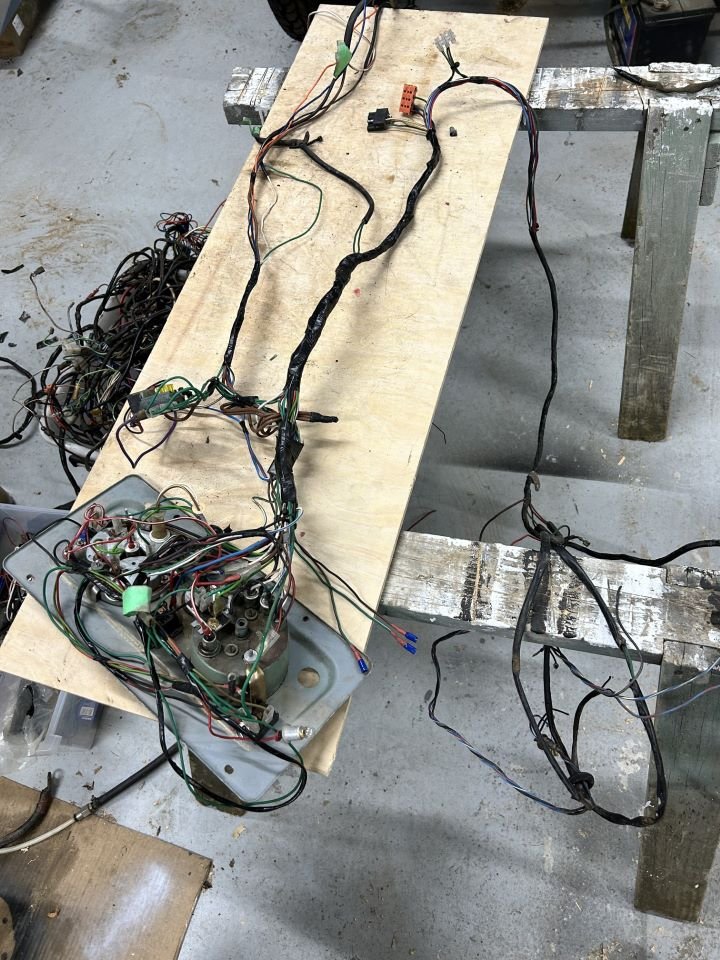
Progress is slow, but I am getting there... Engine slotted in and getting the ancillaries on, because this is an SII engine (not an SIIa or later) its a bit of an odd duck and aftermarket parts arent a straight swap. Have replaced the brake/clutch masters and run a few new lines where needed. Been spending the last week on constructing a new wiring loom - ended up making one good one out of 3x hacked ones. Its mostly an SIII loom which I've adapted to the SIIa facia and run a few extra wires for the floor mounted dip switch and remote starter etc... May not look like much, but its nicer and tidier than what replaced it, and I can go to a proper fuse box etc. Should be ready for fire up soon and we can see if this thing can move under its own power again...
- 75 replies
-
- 26
-
-

-
Put a piece of timber across the caliper where the disc would be and that keeps the H&S clipboard monitor happy.
-
The ol' air compressor in the port works well on gettin the pistons out. The pistons are chromed, but not very thick so expect the may or may not clean up.
-
Random slightly cool stuff you built but not worth its own thread, thread
nzstato replied to h4nd's topic in Other Projects
It’s a fun bit of electrochemistry just don’t be smoking or making sparks around the bubbles….. -
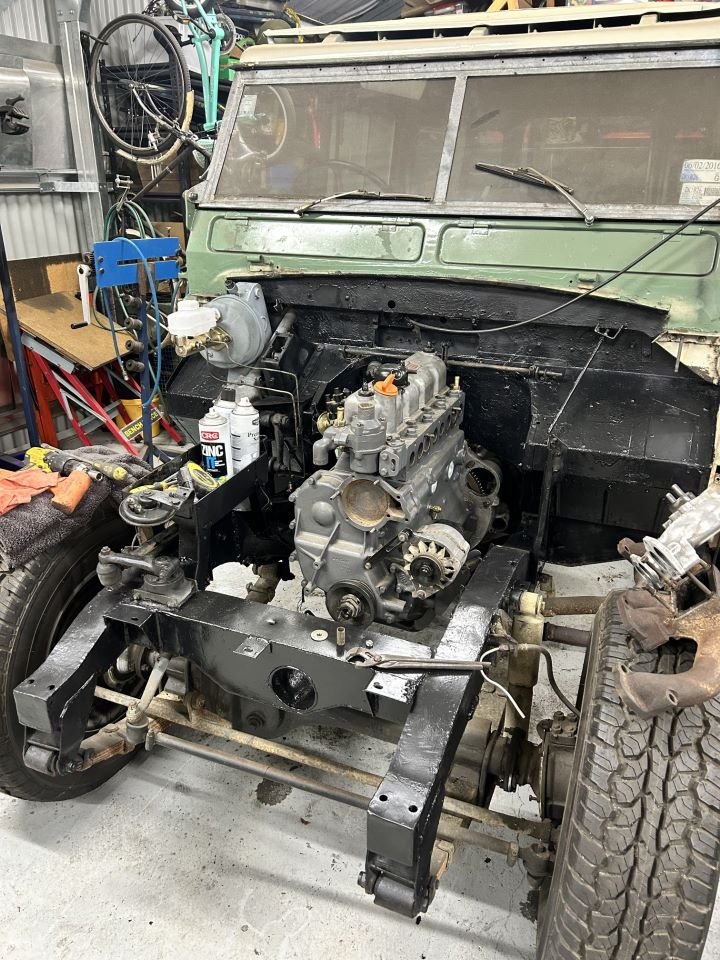
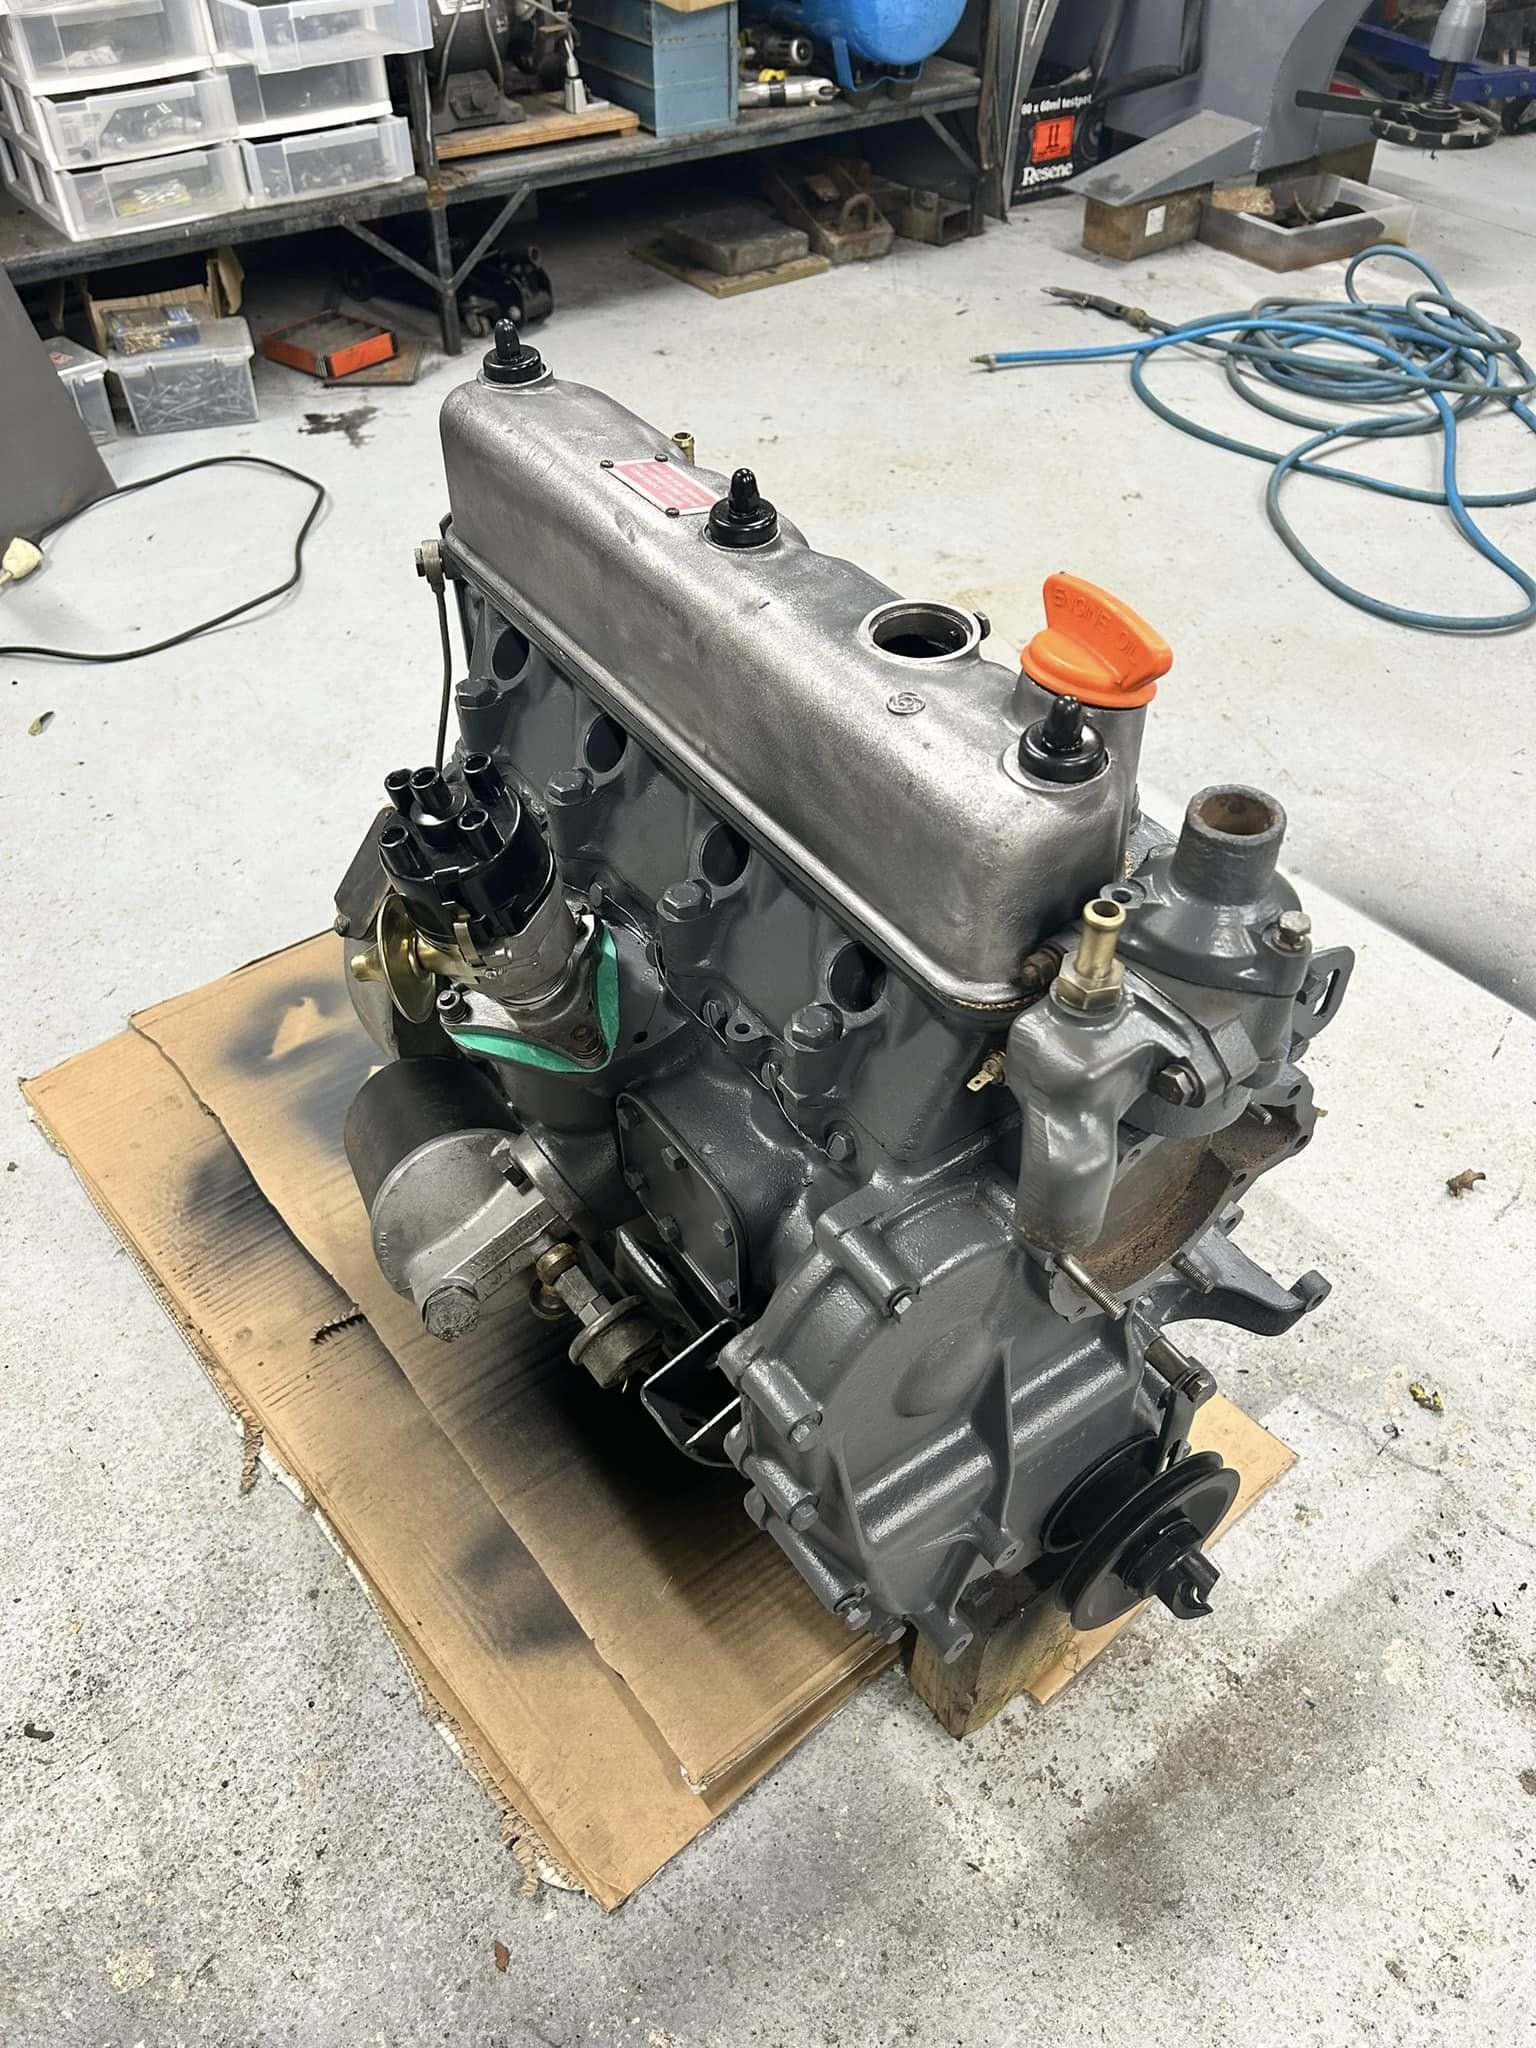
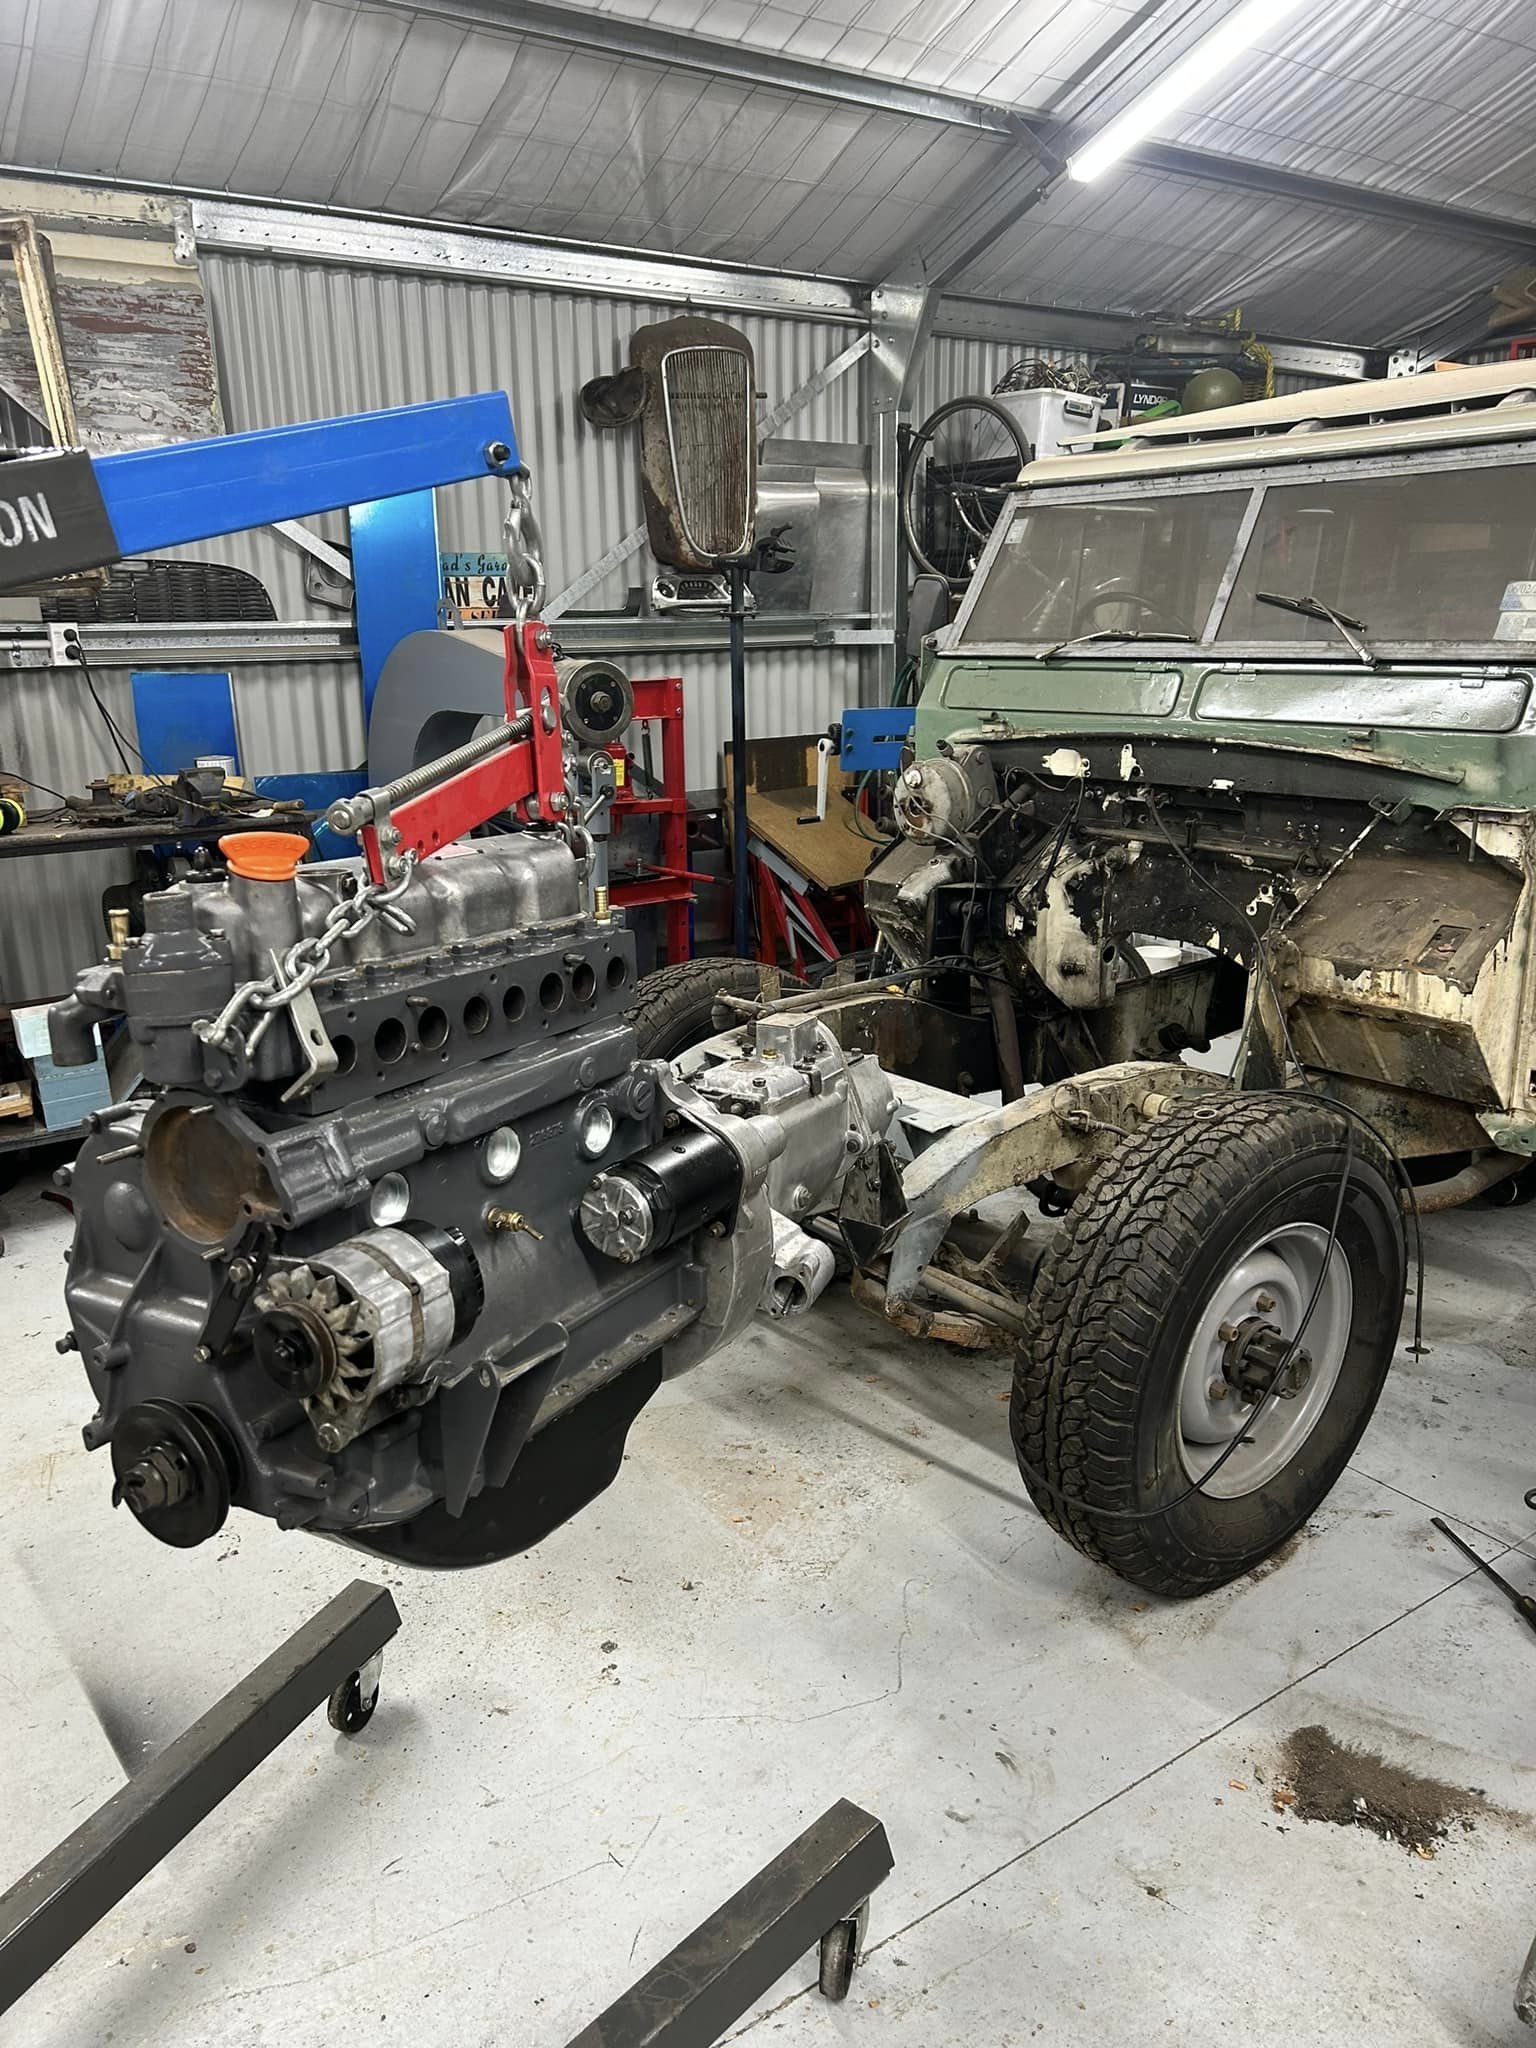
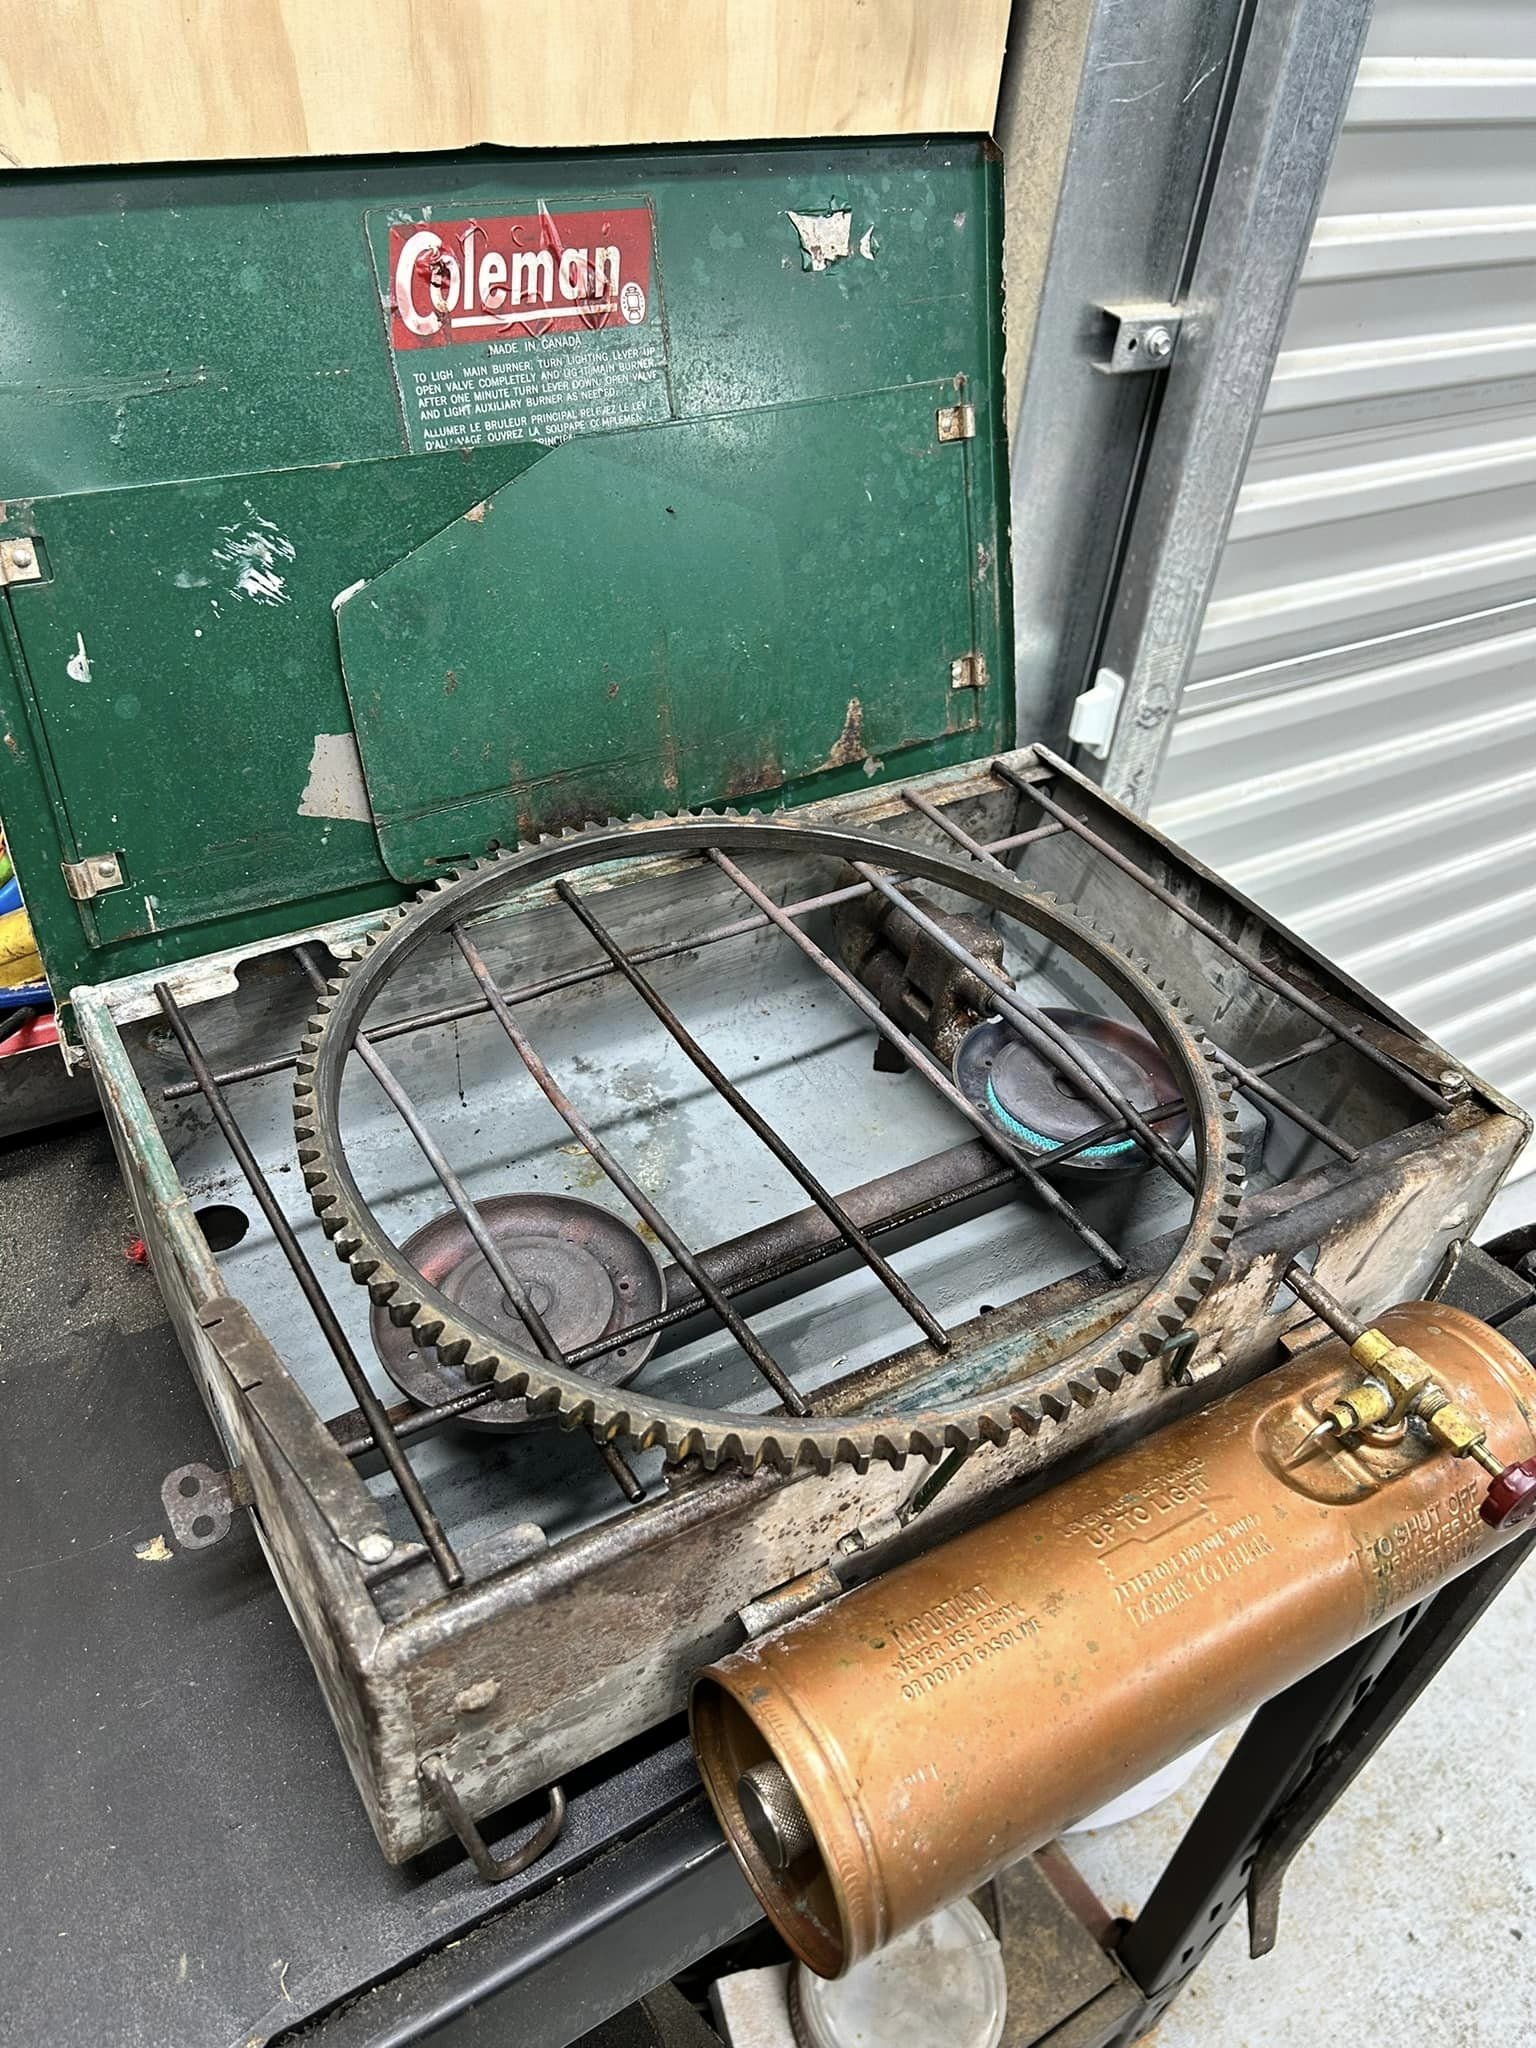
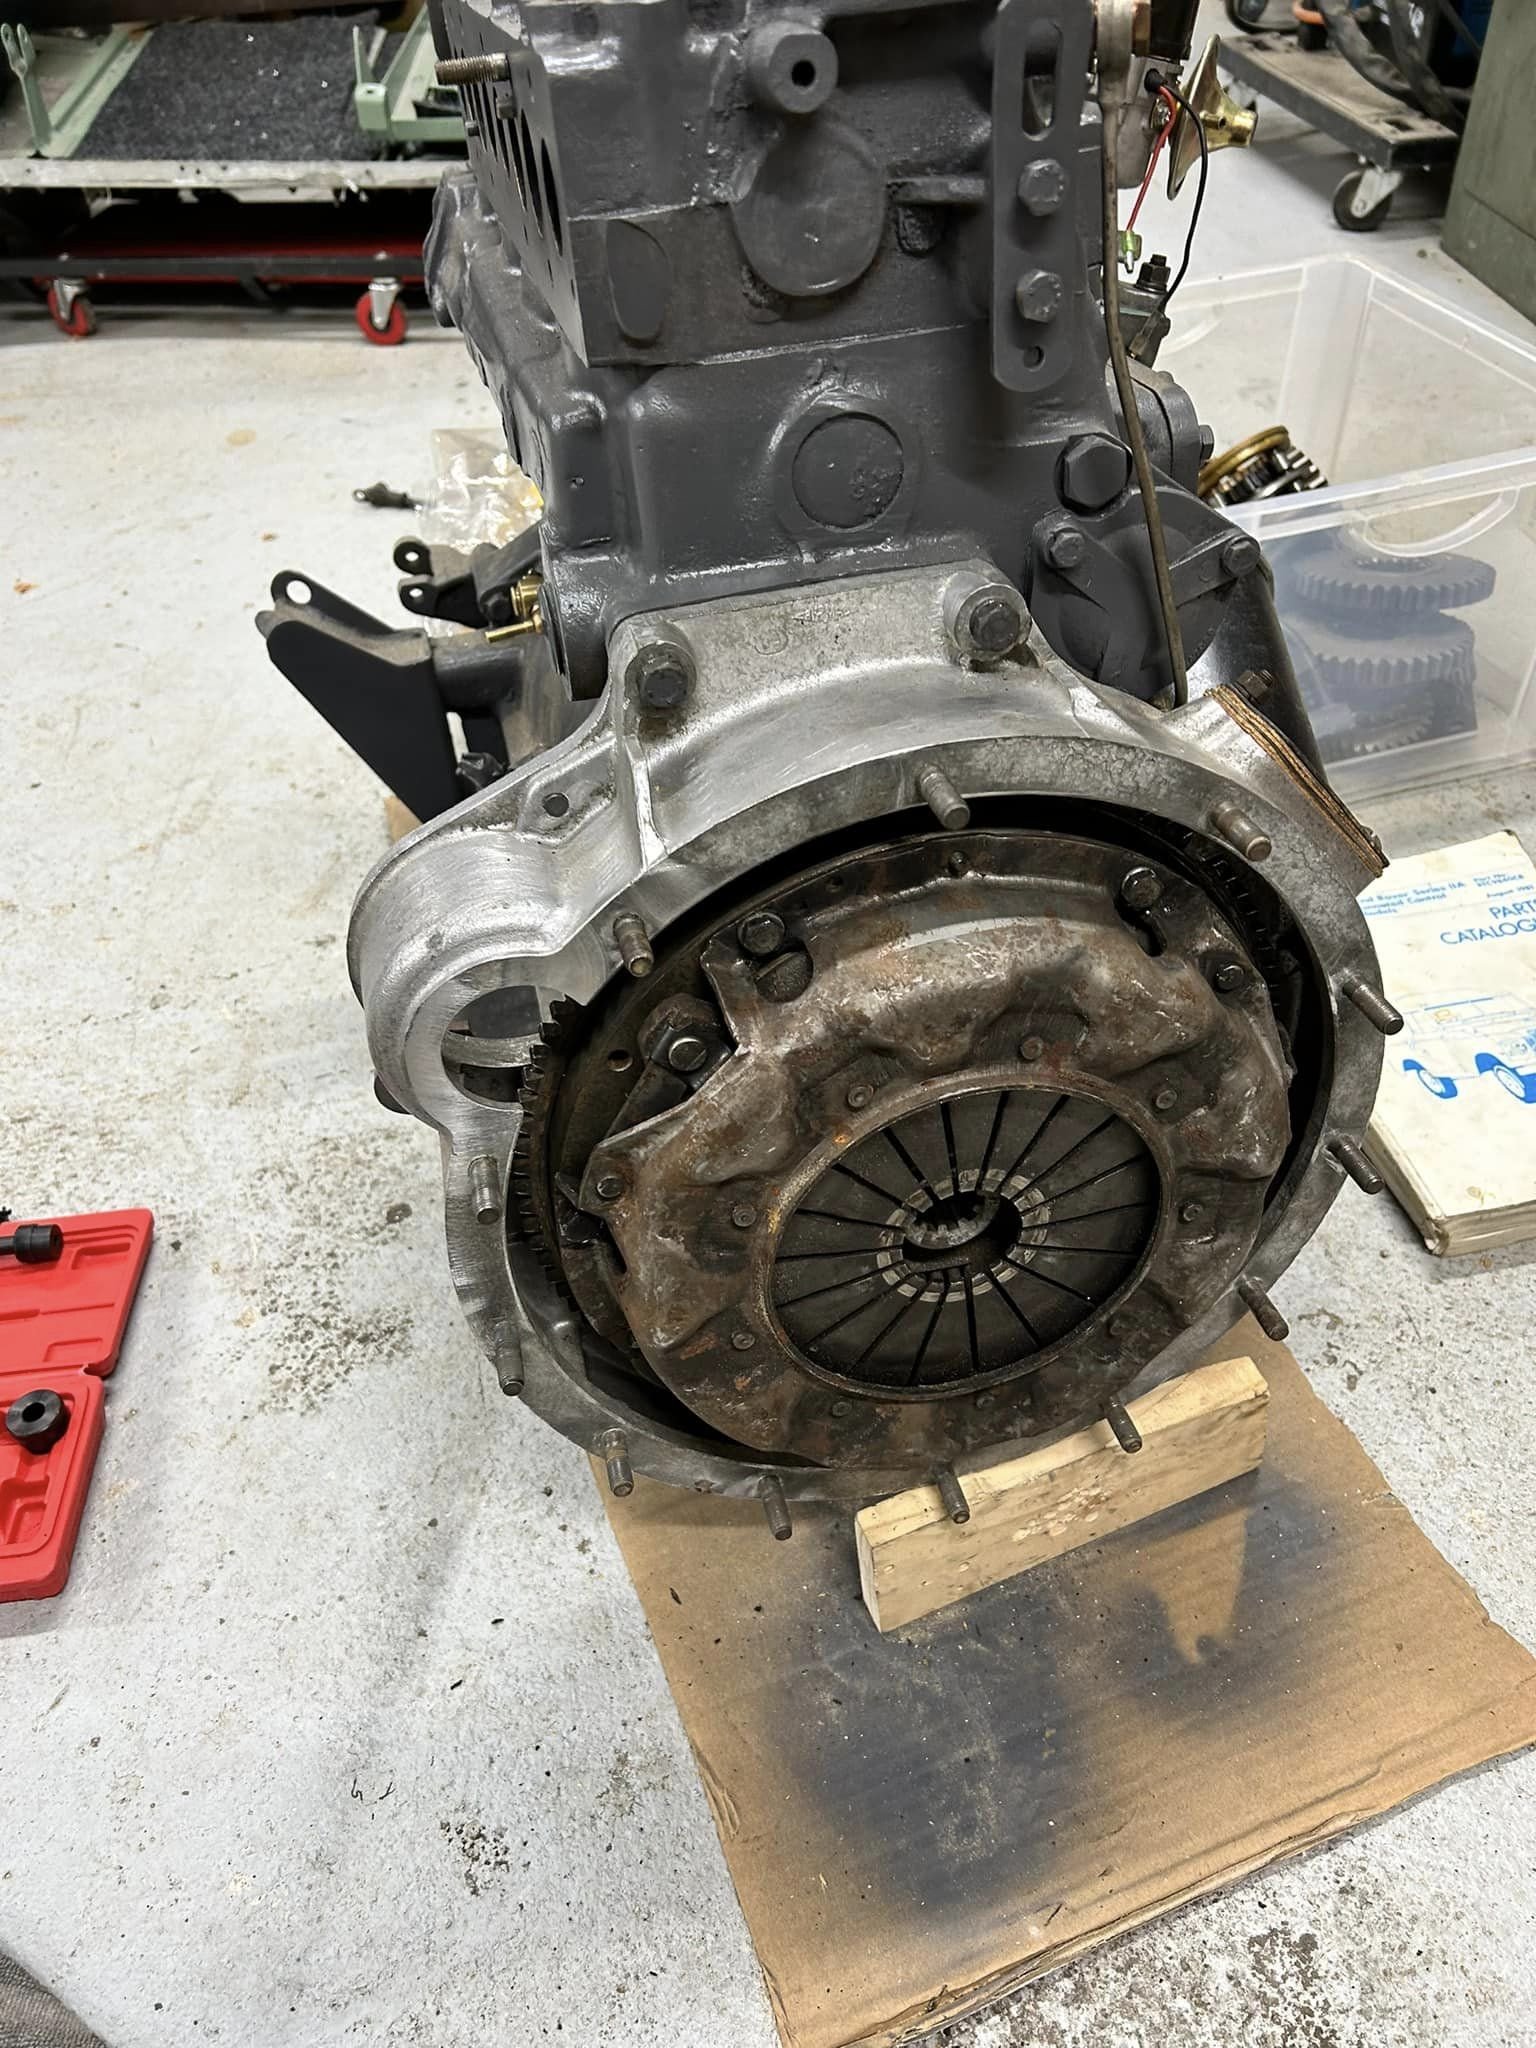
Ok, update time... really trying to push on with this. Gave the block a good tidyup with new gaskets/paint and ancillary parts - these early SII blocks are just different enough to the later (far more plentiful) ones to make sourcing bits annoying. Clutch was in very good nick but the ring gear was well worn (though still engaging) - gave it the ol swap using the 'perfect for all occasions' Colman liquid fuel burner. While ignoring all advice on the internet I too learned that you cannot get the engine/gbox into one of these complete. But after doing a general tidy up to the bits in the front of the frame/firewall from years of butchering it was ready for some chassis black. Got the final lot of parts on order, need to swap in some new spring bushes, run an exhaust and then we aren't too far away from having it move under its own power....
- 75 replies
-
- 25
-
-
Advice required: Making complicated brake duct out of aluminium sheet
nzstato replied to Hyperblade's topic in Tech Talk
Choice of materials just depends on your comfort in fabricating them as such? I think making it out of alloy sheet from a basic wireform is ideal. Once you have the pattern you can flip your sheet to mirror the same on the other side. Keep the alloy section is small as your can get away from otherwise could cause some local cracking.