
Leaderboard


Popular Content
Showing content with the highest reputation on 08/18/18 in Posts
-
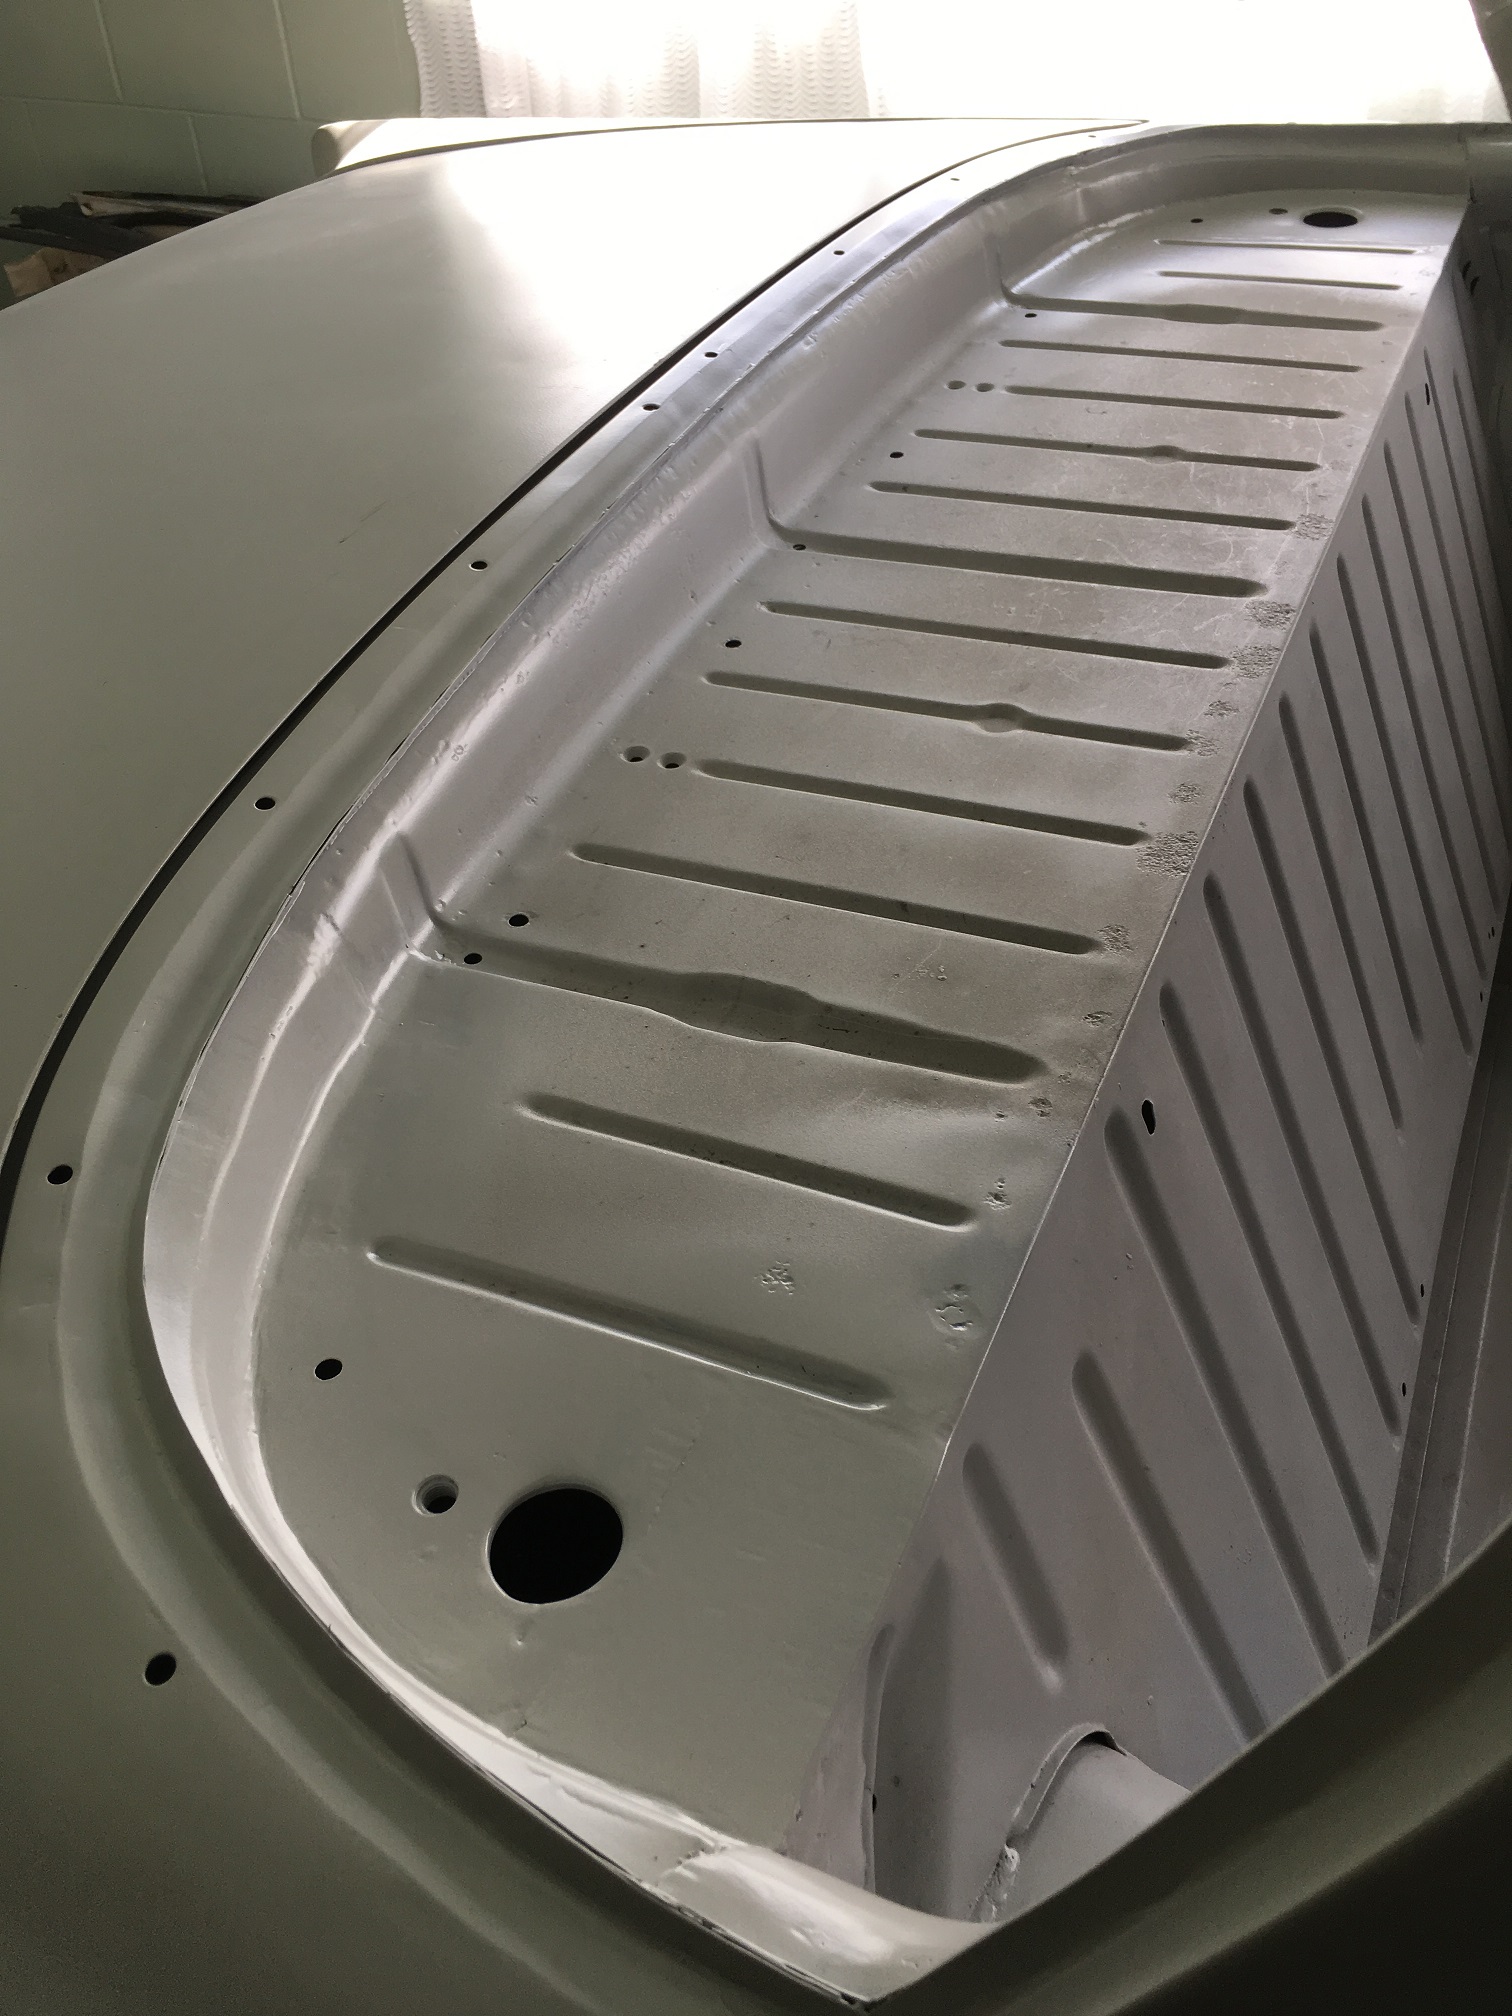
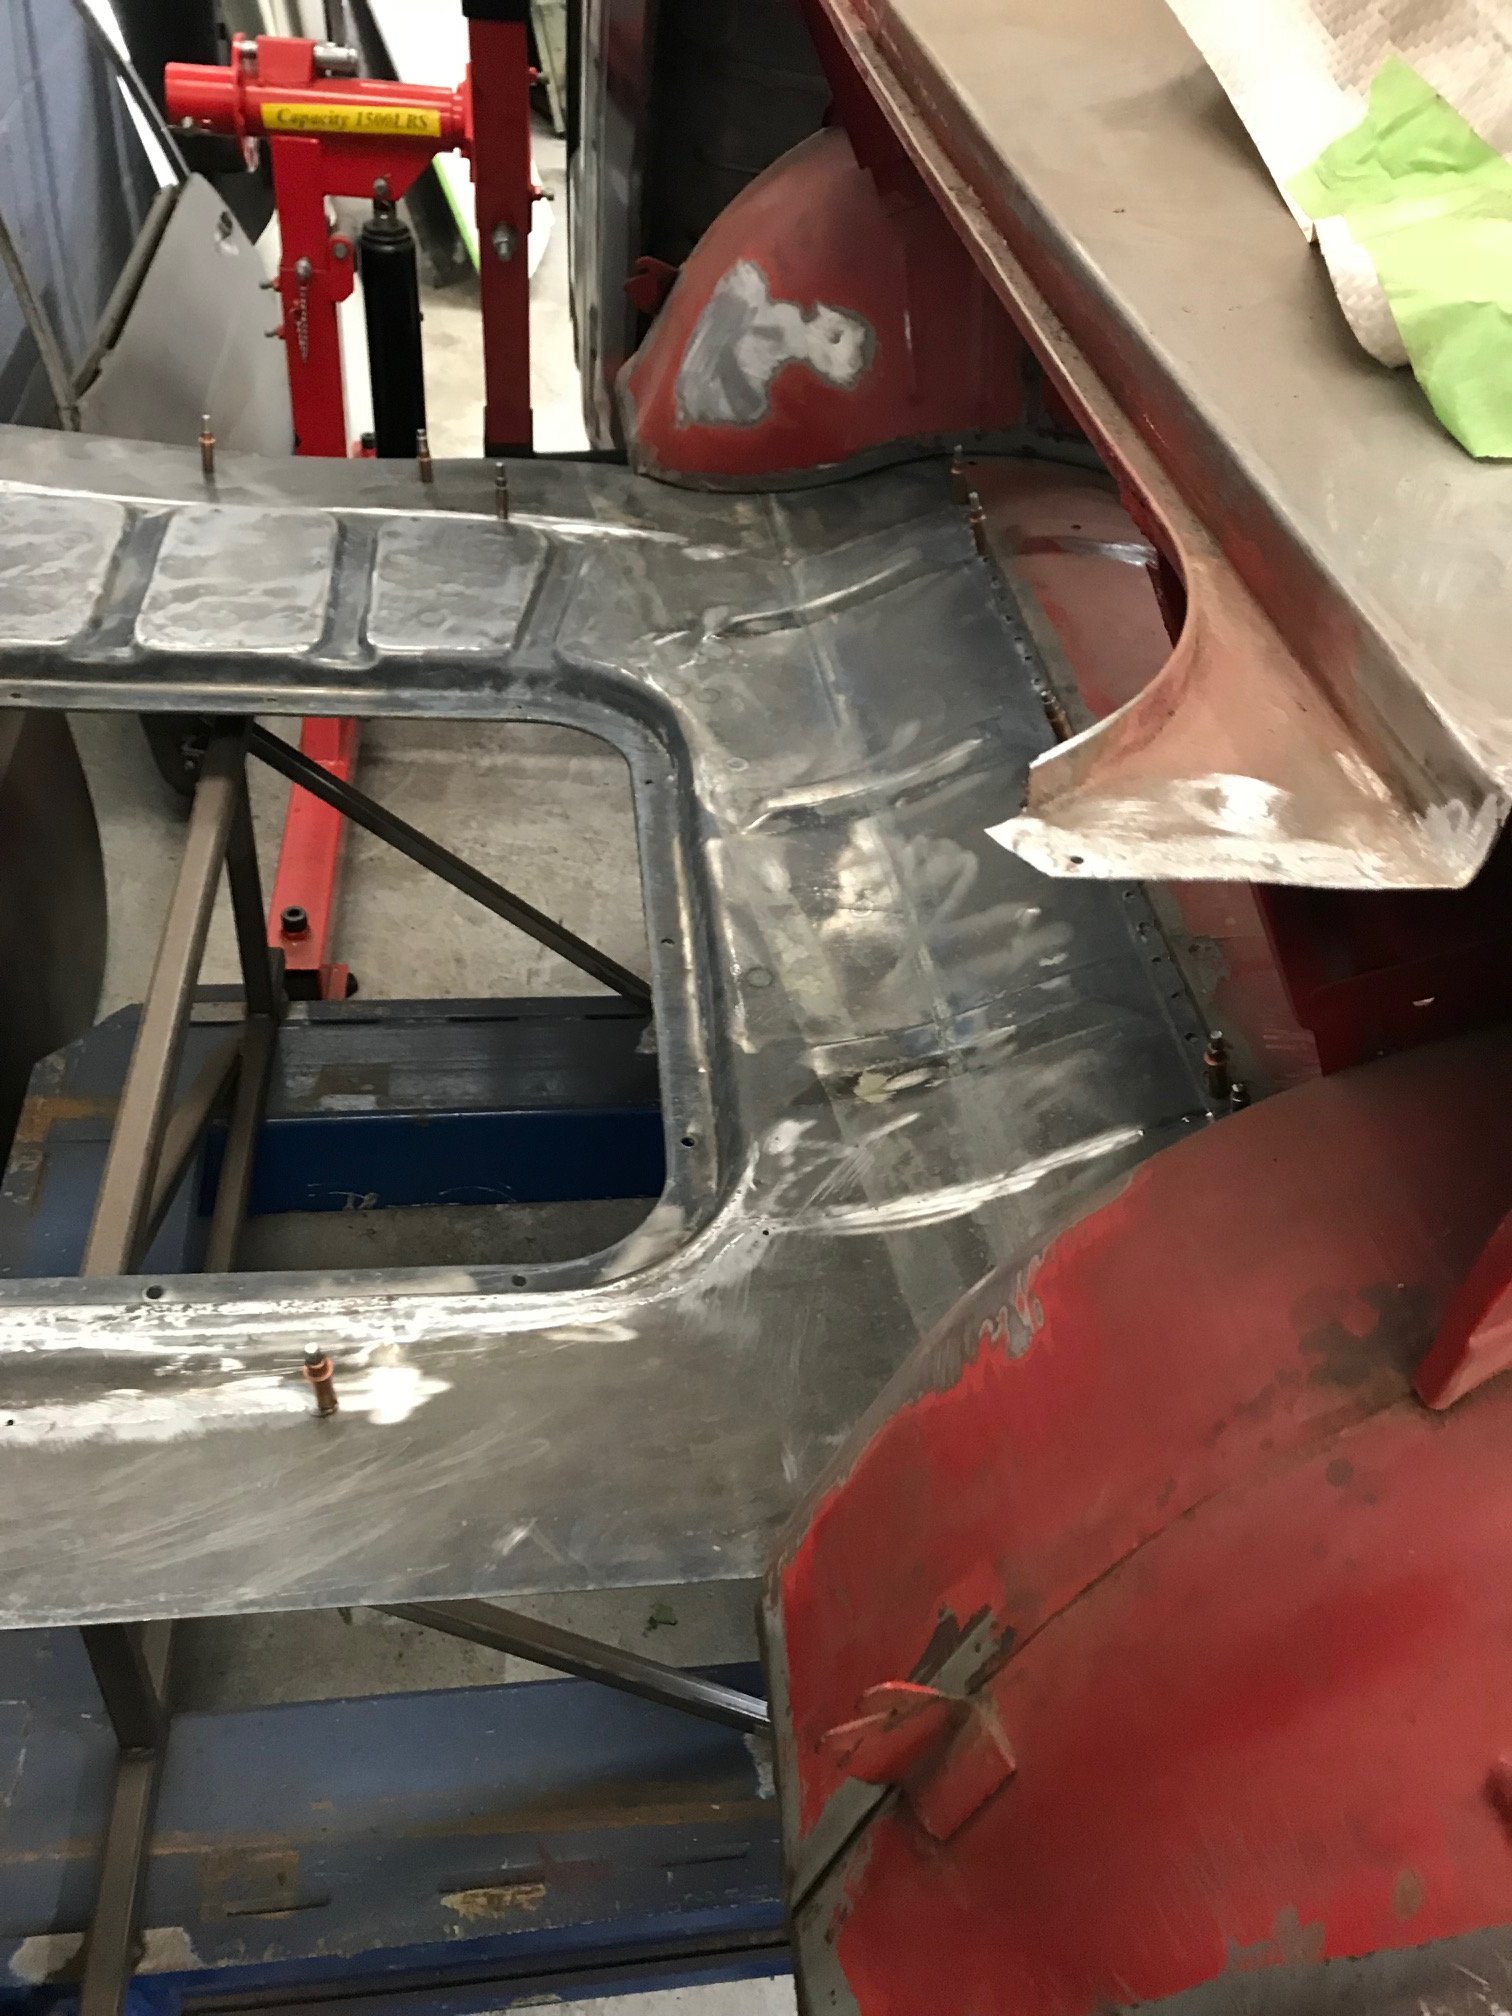
Ta da! That's the last bit of rust on the shell taken care of, you can see some pitting on the parcel shelf but meh, it'll be ok. The whole thing is in primer now and at home while I save some more money before having the actual panel and paint done.
 11 points
 -
Started making a grille Who can tell me what that is made of? Cold now, hungry, going inside
6 points
-
It did only end up taking a few hours but finding the few hours took a while. Never mind though. Started with the cardboard as per usual then moved on to the steel. As a bit of a side note, this is what happens when you use the wrong tip on the Rivnut gun without realising. After they were all done I welded them on and mounted the rad properly for the first time. It's solid as a rock now. I'm really happy with how it turned out. With that done, the front panels are almost all fabbed up. I still want to modify my original replacement radiator mount panels to tie the slam panel down a bit more solidly. I'll cut them somewhere along these lines and fold up a flange to give them a bit more strength then weld them between the inner wing and slam panel. I would have done them next but I wanted a break from the panel work and I've been wanting to have a go at the clutch system for a while now. So that's what I did. I bought a second-hand clutch pedal assembly from a wrecked RX-8 with the plan of essentially replicating it with the standard Escort pedal. This is the Mazda pedal on the left and the Escort on the right. You can see that with the pivot points in similar positions the pedals are actually fairly similar in length and shape. You can also see the pushrod, clevice, and pin that the Mazda uses to activate the master cylinder. This is somewhat different to the cable that the Escort uses but I think I can make something work. I started by assembling this assortment of bits: Which come together to make this: I fully welded the bracket and turned up a quick bronze bushing to take the clevis pin. It comes in handy having a bunch of Grandad's old boat building bolt stock around sometimes. This should last much better than the crappy plastic bush that was in the original Mazda pedal and remove a lot of the slop that was present. Then I welded everything together and cleaned it up. You can also just barely see the bush that I tapped in there. Finally, I assembled everything and had a look at how it was going to turn out. It turned out mint actually. I'm fizzing about how well I managed to pull it off. I threw the pedal back onto the box and mocked up the master cylinder in about the spot it looked like it wanted to be. It turned out that it would end up about 20mm further from the pedal than it would have in the Mazda so I extended the pushrod by 20mm. The rod I used was a little larger diameter than the original but it works fine. This is at full engagement: And full disengagement: I made a cardboard template for an extension to the pedal box that would mount the master cylinder You can see how close it's going to end up to the brake tower mounts. This won't be an issue though because the brake tower won't fit anyway. With the exhaust system and the radiator set further back than factory, it never stood a chance. My plan right now is to find a brake master cylinder that has essentially the same internals but has under and over mounting bolts. That way there'll be shitloads of clearance between the two. Then I'll put a remote booster under the dash or inside the inner wing or something. The plan for tomorrow is to turn the template into steel and start modifying the firewall to take the new pedal box layout. Should be sweet.6 points
-
glued the screens in today. it went ok. ended up using a Henkel product which is the right stuff apparently, we'll see........ i reckon a car doesn't really look right until the screens go back in. so, the screens are back in. 2018-08-18_12-17-15 by sheepers, on Flickr 2018-08-18_12-17-08 by sheepers, on Flickr4 points
-
cheers! I keep meaning to put a post in the depression thread, but every time i read it people are having a way tougher time than i was. but the advice given there was invaluable. focused on the shit job being temporary and kept looking for a new good opportunity and backed myself hard when going for it. after my entire professional career being fixing things i got pretty sick of it, and now i professionally break things cars, trucks buses at high way speeds into roadside barriers. hard work, but shit its satisfying, and then at lunch we play with company race cars, which is a seen as a learning and development exercise for all those interested.4 points
-
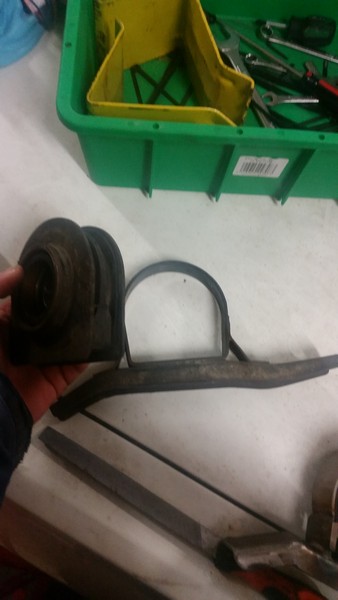
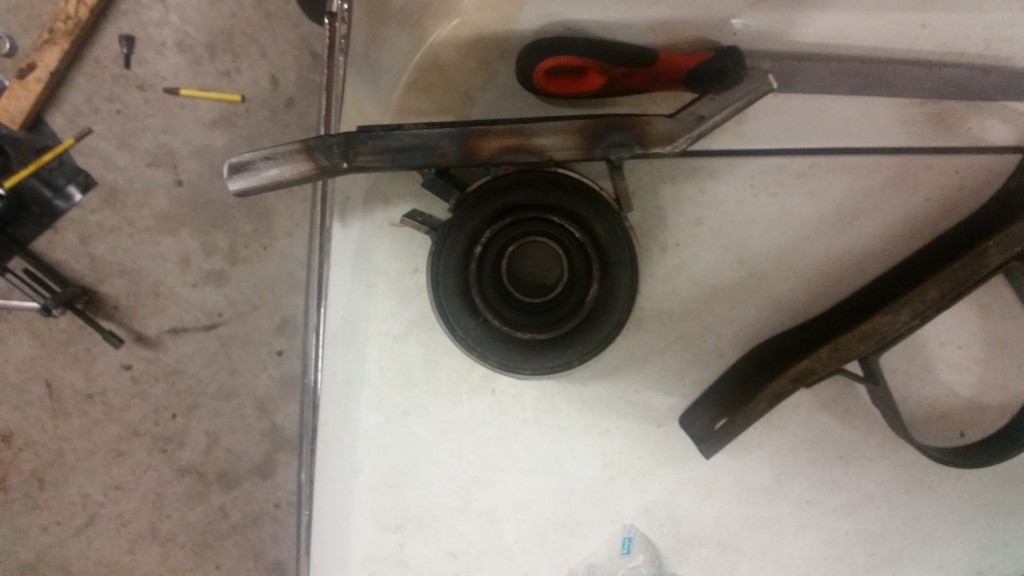
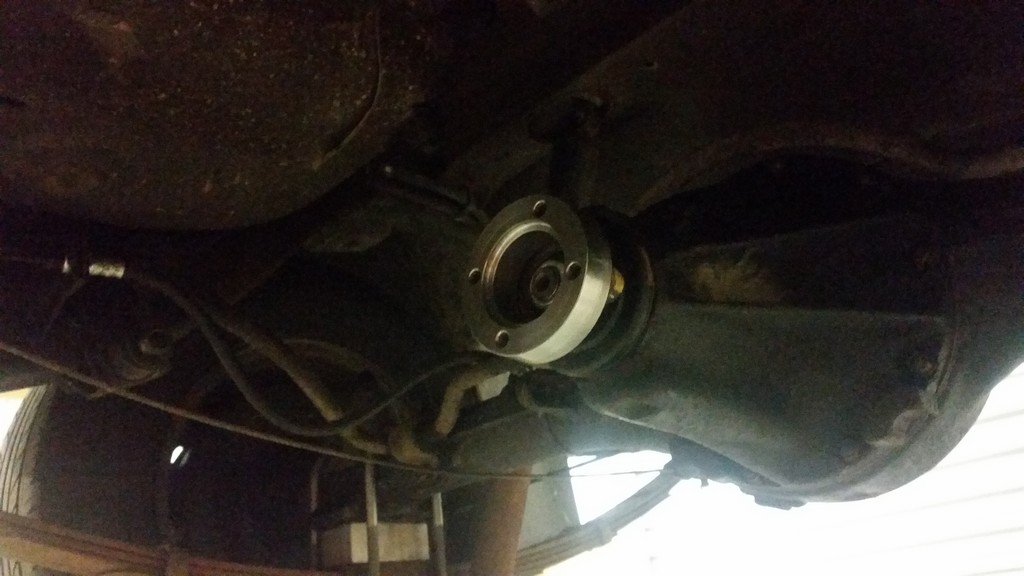
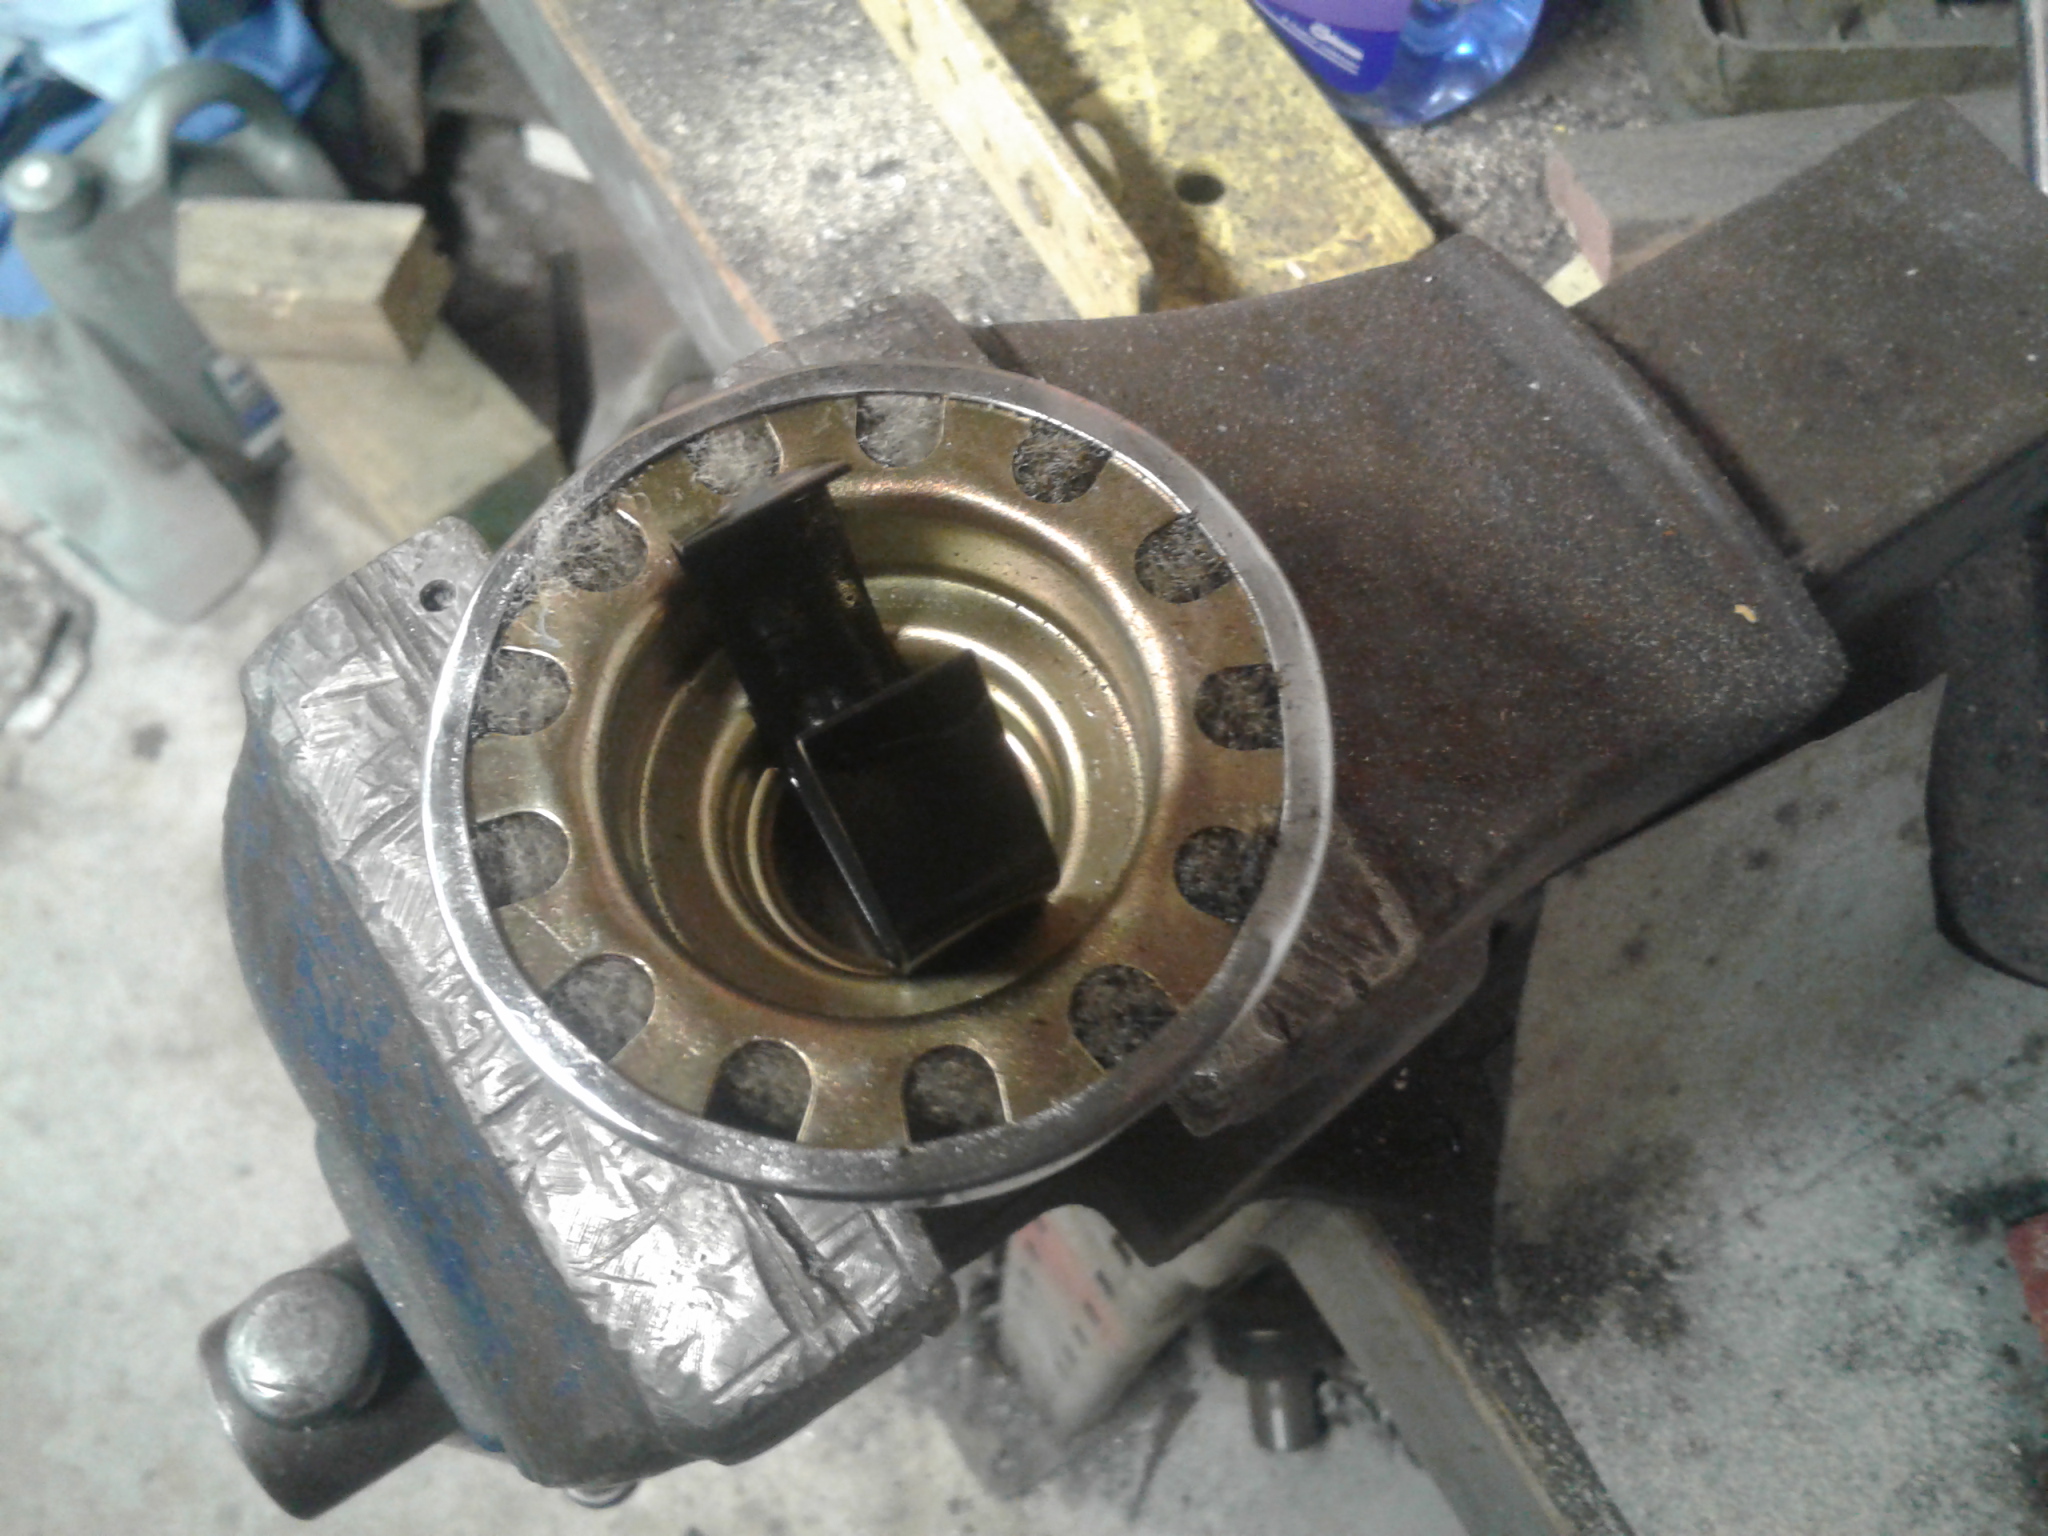
So this made it to swapmeat and back, but i needed to change the hanger bearing as the driveshaft needed some more engagement in the back of the box, and the rubber was flying apart due to it not being designed to move with the suspension. I made a new hanger bracket to fit the later bearing and a spacer to lengthen the driveshaft. it took a few test fits on the hanger to get it right, but i got it fitted up Wednesday night and made it to chch today. win. except, somewhere north of amberley i smelt what i thought was rubber grease, and 10 minutes later i pushed the brake pedal and uh oh. made it to the thieves at safe r brakes in chch 5 minutes before closing to get the required caliper kit and limped to the inlaws on the handbrake. the front brakes are dunlop calipers as fitted to late 60s jags and aston martons. yes thats right, british. ughh so thats my saturday sorted....
4 points
-
Got the last sill on today, Did a couple of the facings as well but then had to go out, hopefully get a few more on tomorrow..3 points
-
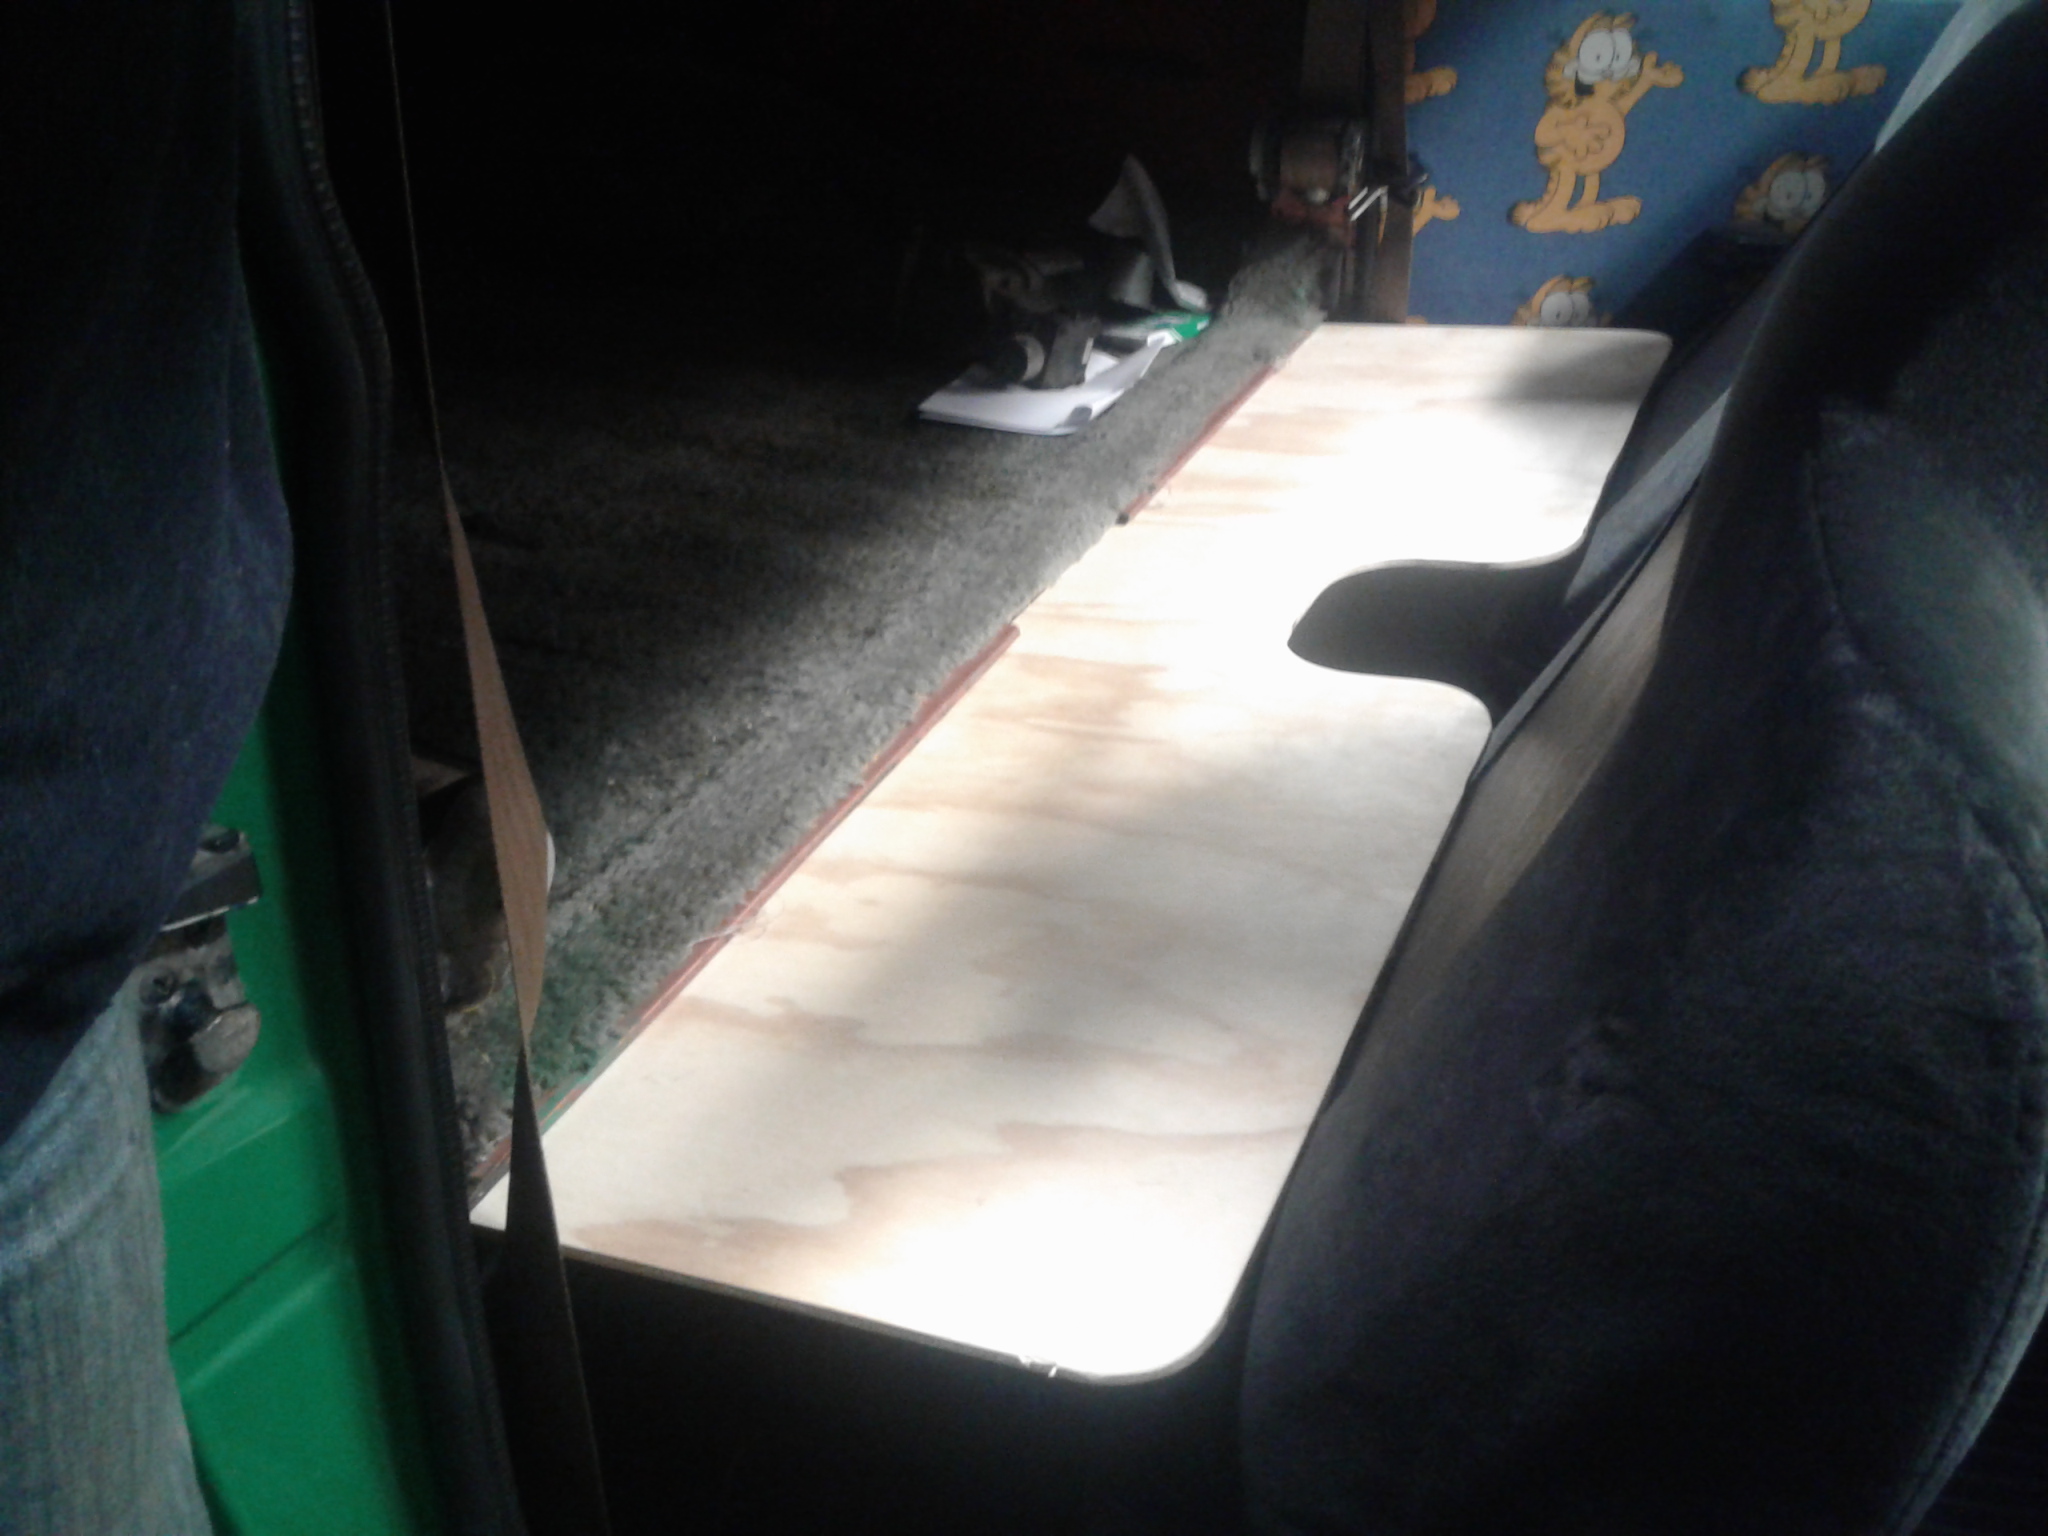
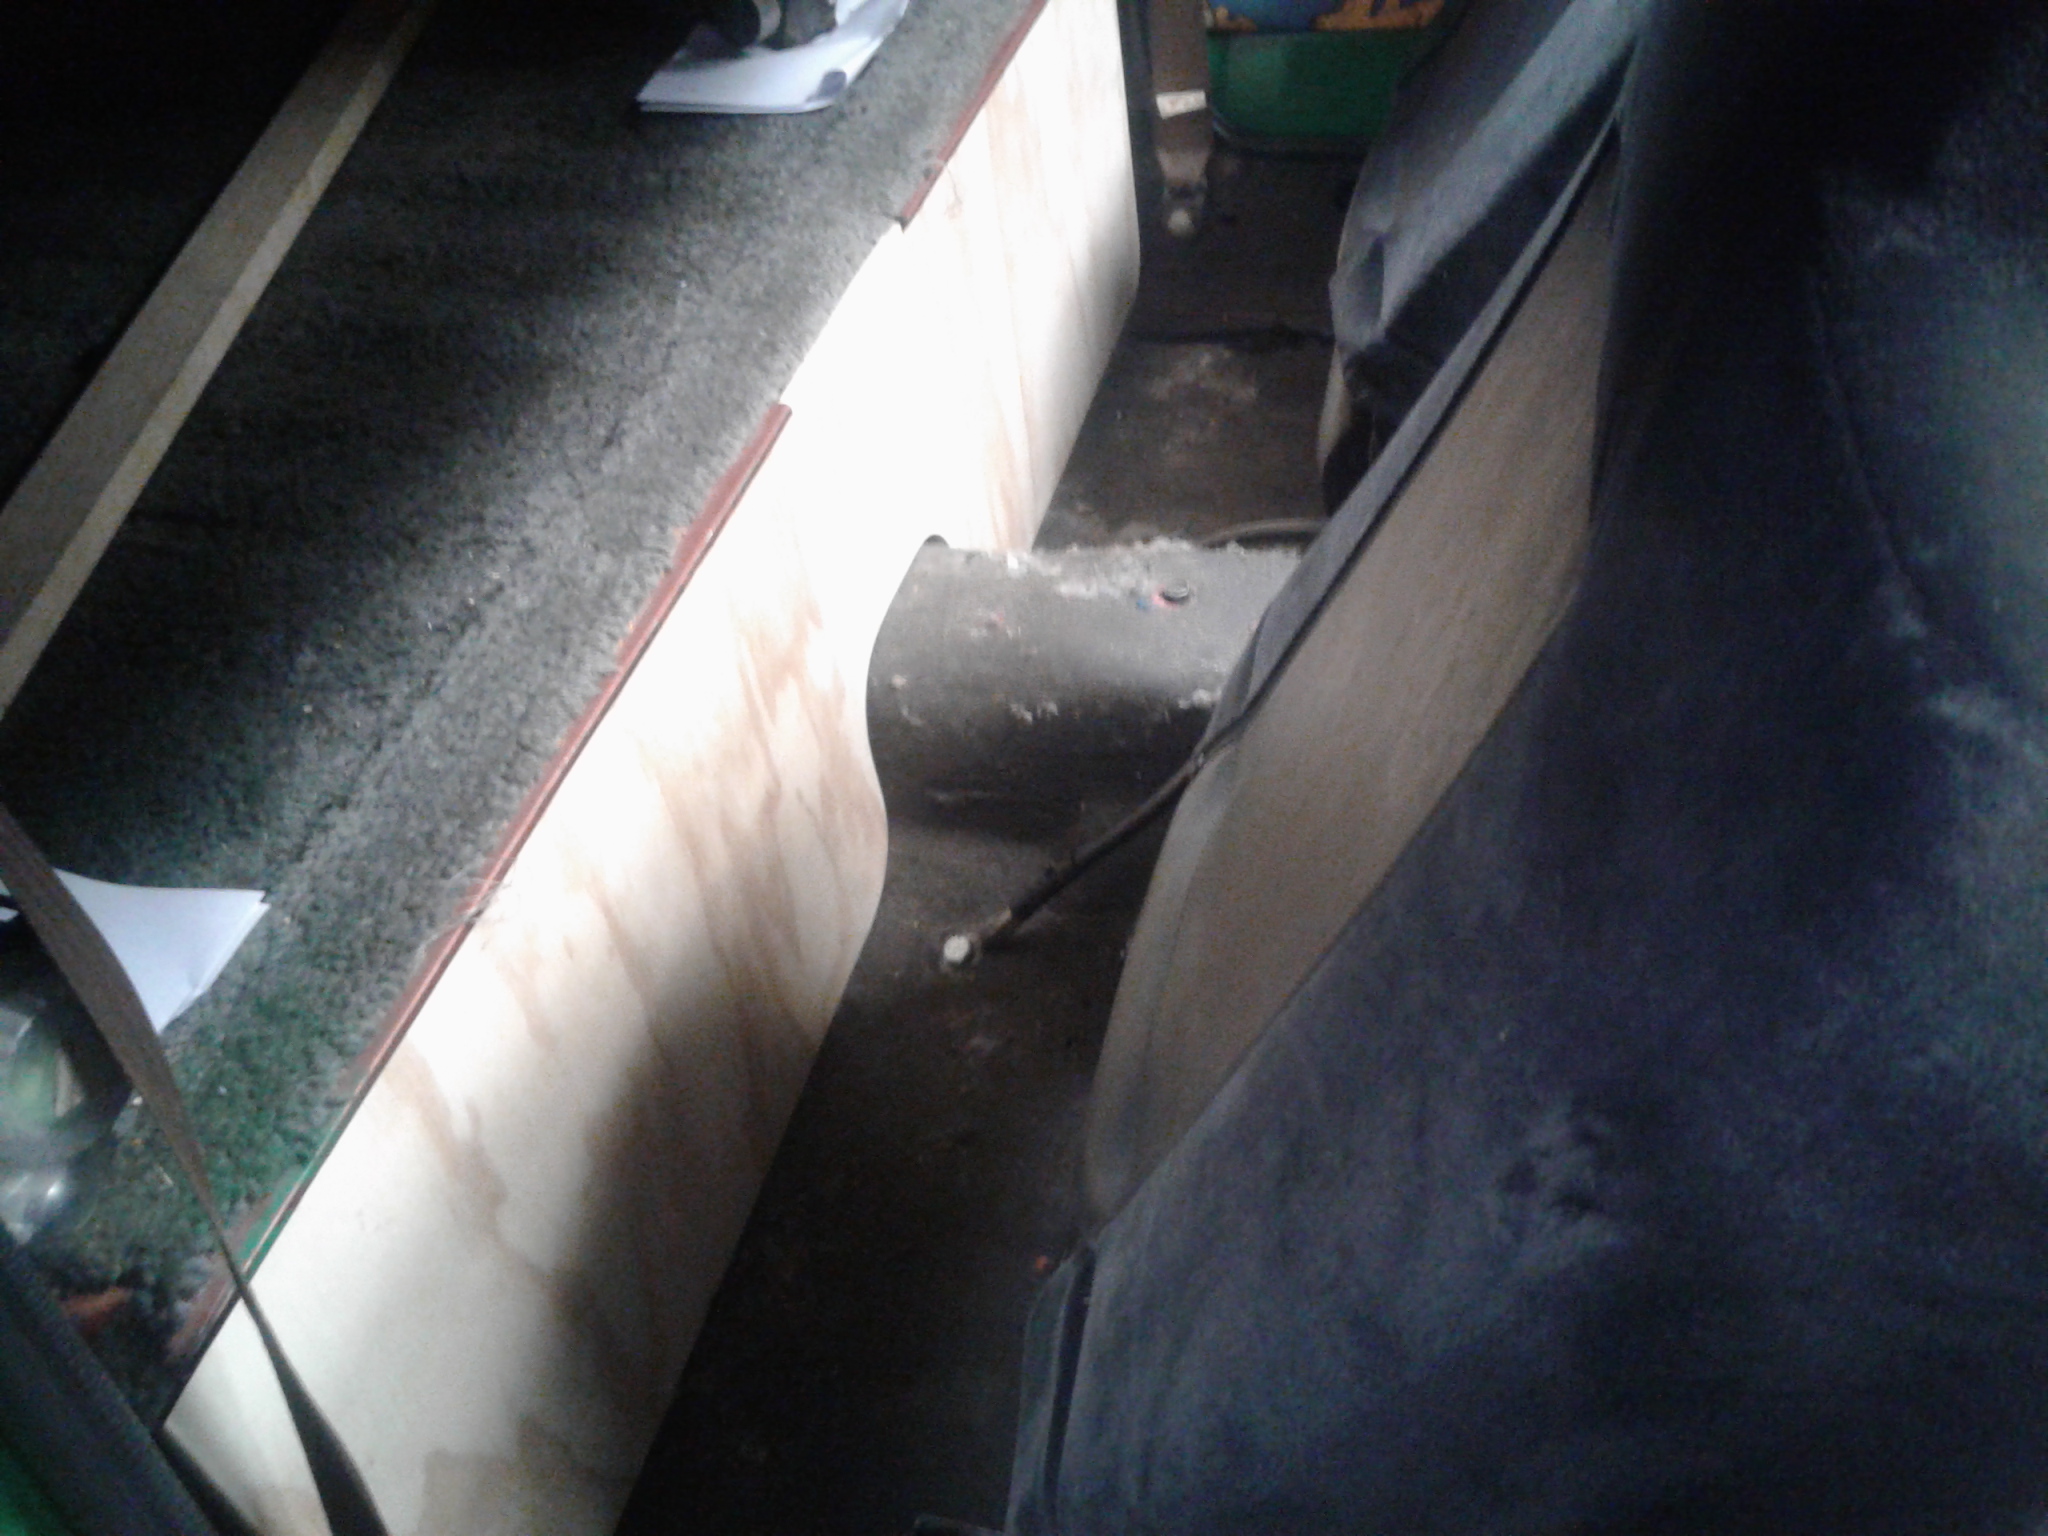
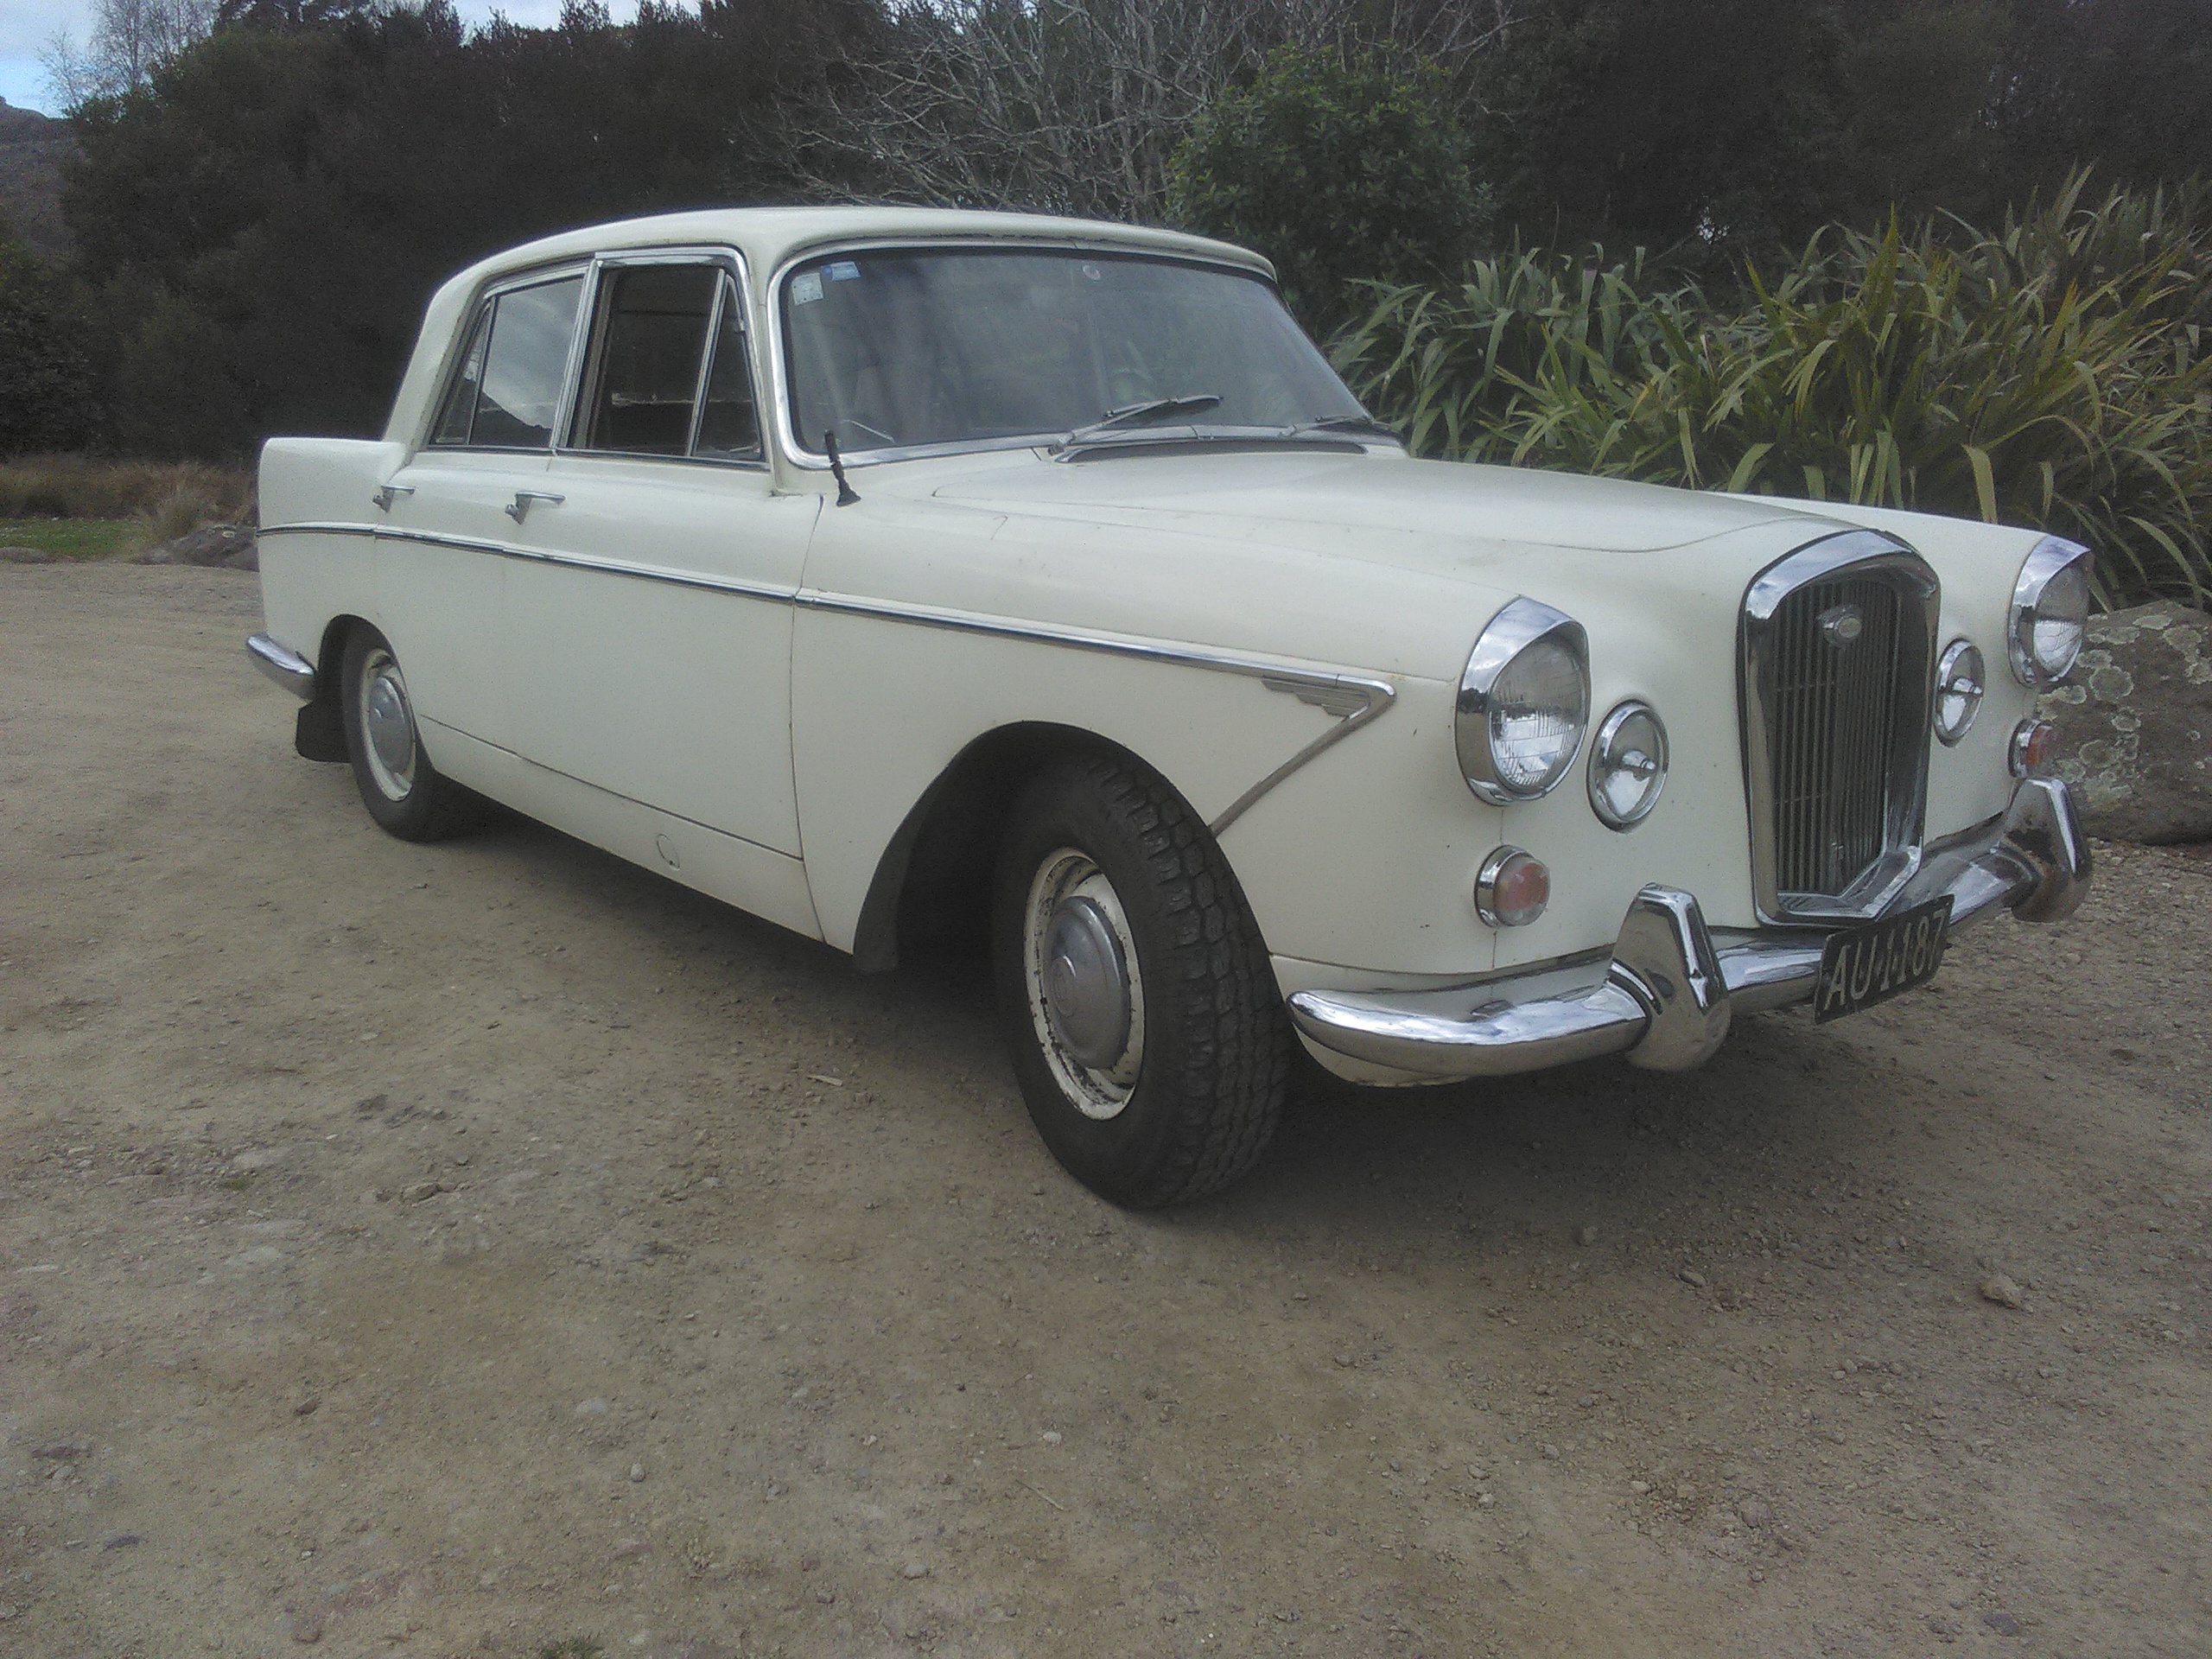
Flushed out the cooling system again, changed the thermostat which was opening too early when I tested it, and changed the temperature sender as well for good measure. Now the gauge goes to just under half and stays there. Also ran the hose through the heater core and got a bit of rusty goop from that, now I have a heater that gets warm. I'll have to pull it one day and get it rodded to really get it working properly. Made a false floor extension so we can sleep in the back Which also doubles as a hole cover panel
3 points
-
Who needs knobblies!
3 points
-
This arrived today. LSD.
3 points
-
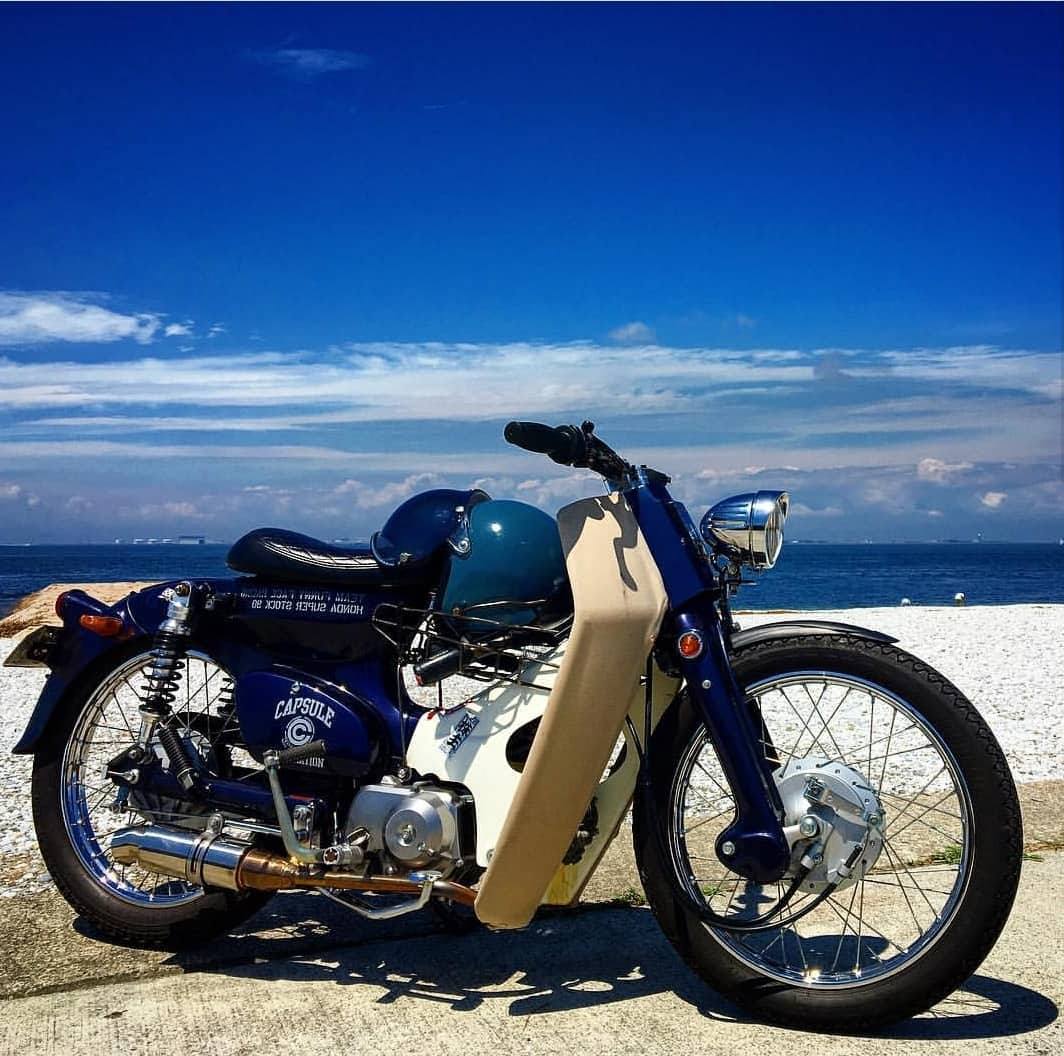
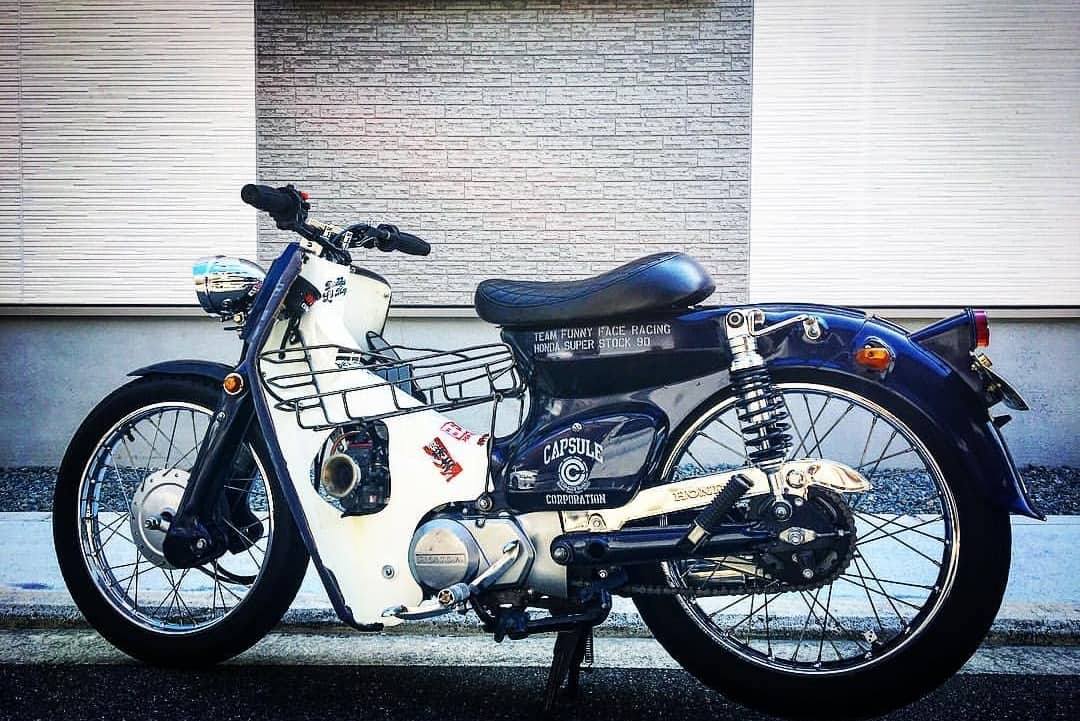
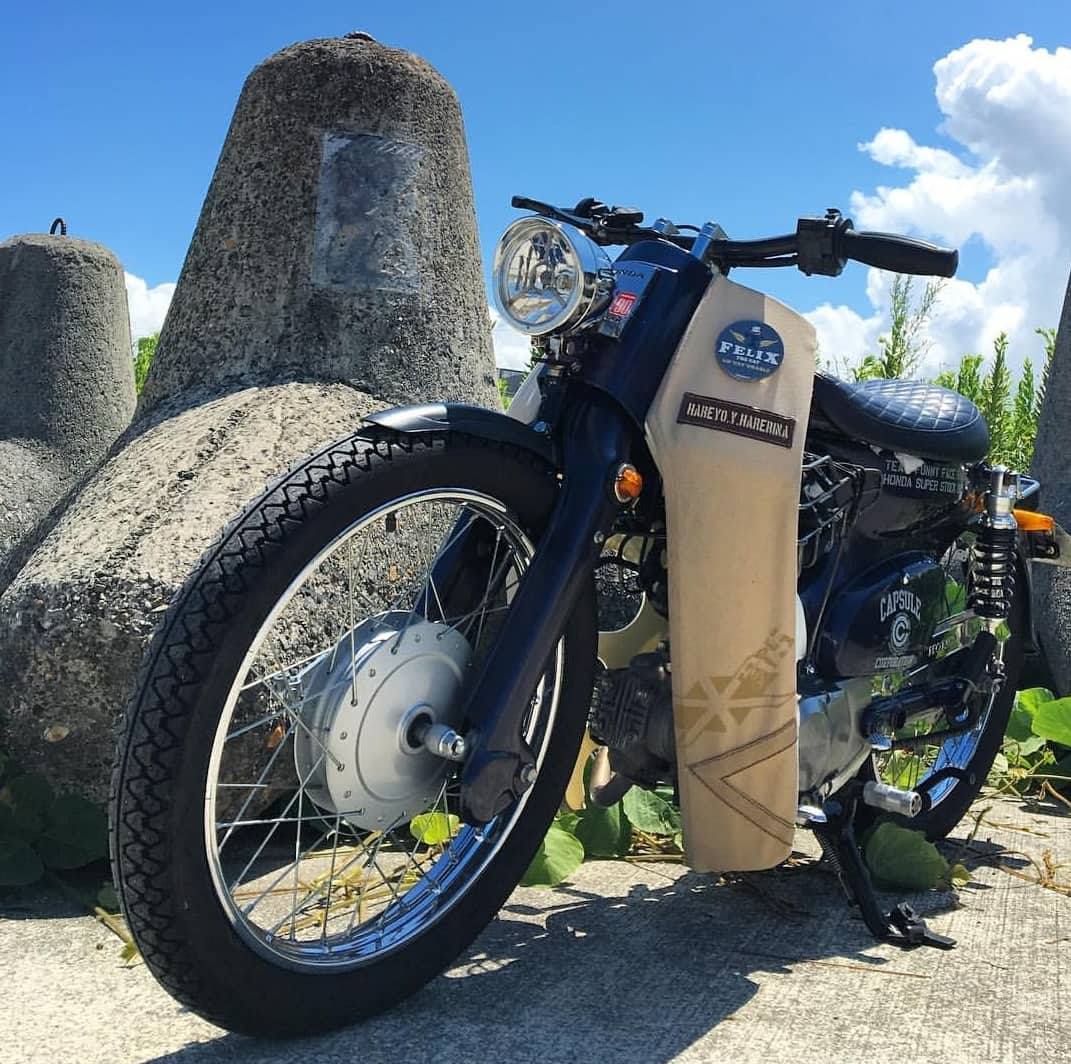
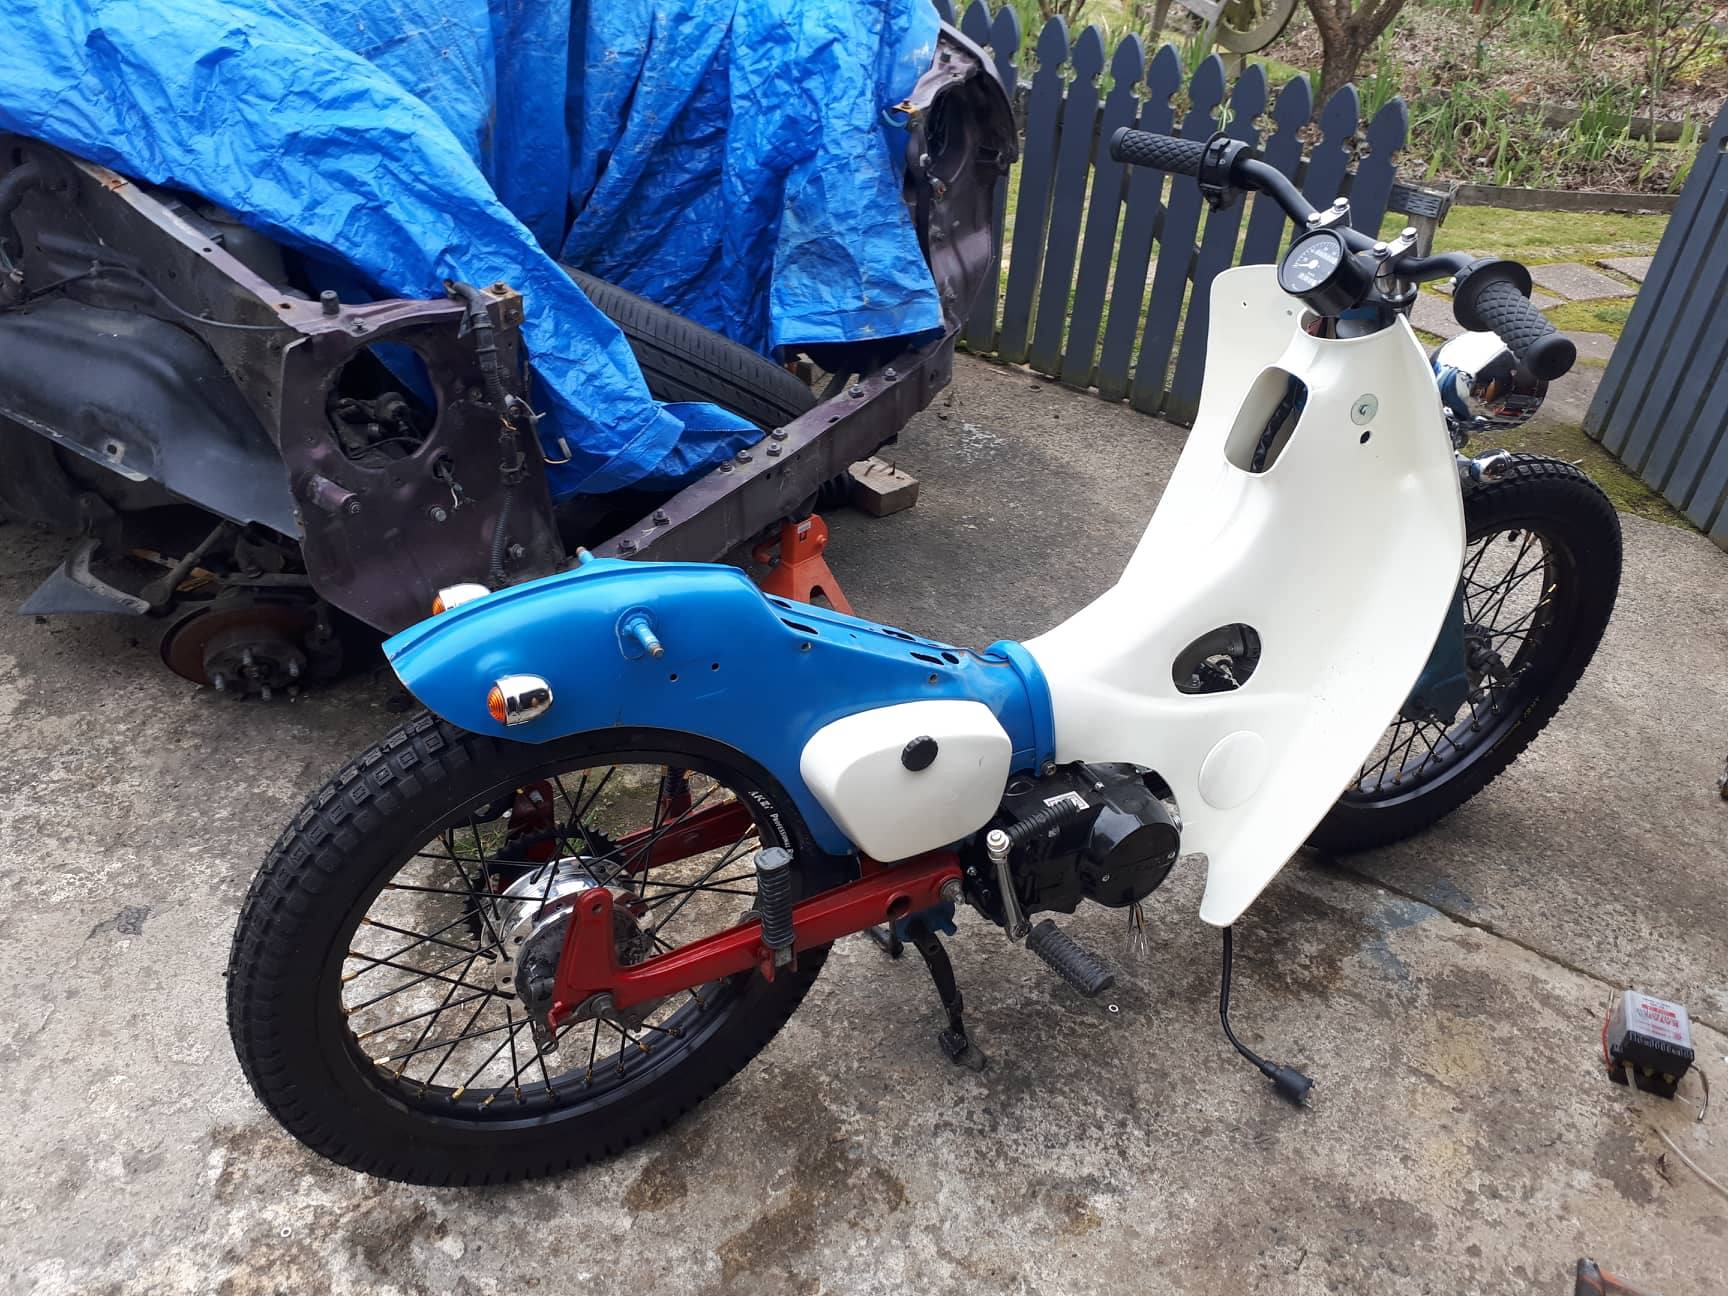
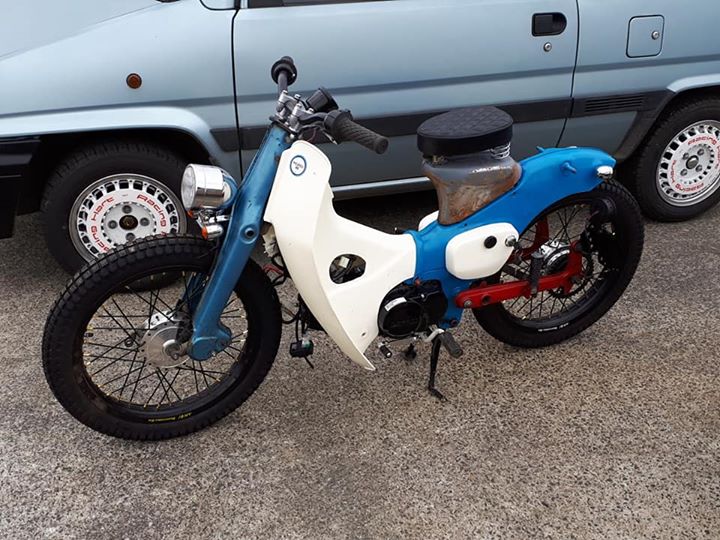
@Chris.QCR check these out. The fork arms from Draft in Thailand. Advertised 30mm front end drop. These are up against my c200 fork arms which are from ‘63. No idea how different they are to cub ones. I put one below and one above for comparison. But sitting in the same place as they would be mounted there is a 25mm difference from centre of axle hole to axle hole. The weight of the bike combined with the shorter rear of the arm, meaning a different bumpstop position; should give it over 30mm drop. Interesting enough. Pretty simple but awesome concept.
3 points
-
Broom broom, took it for a Hoon.
3 points
-
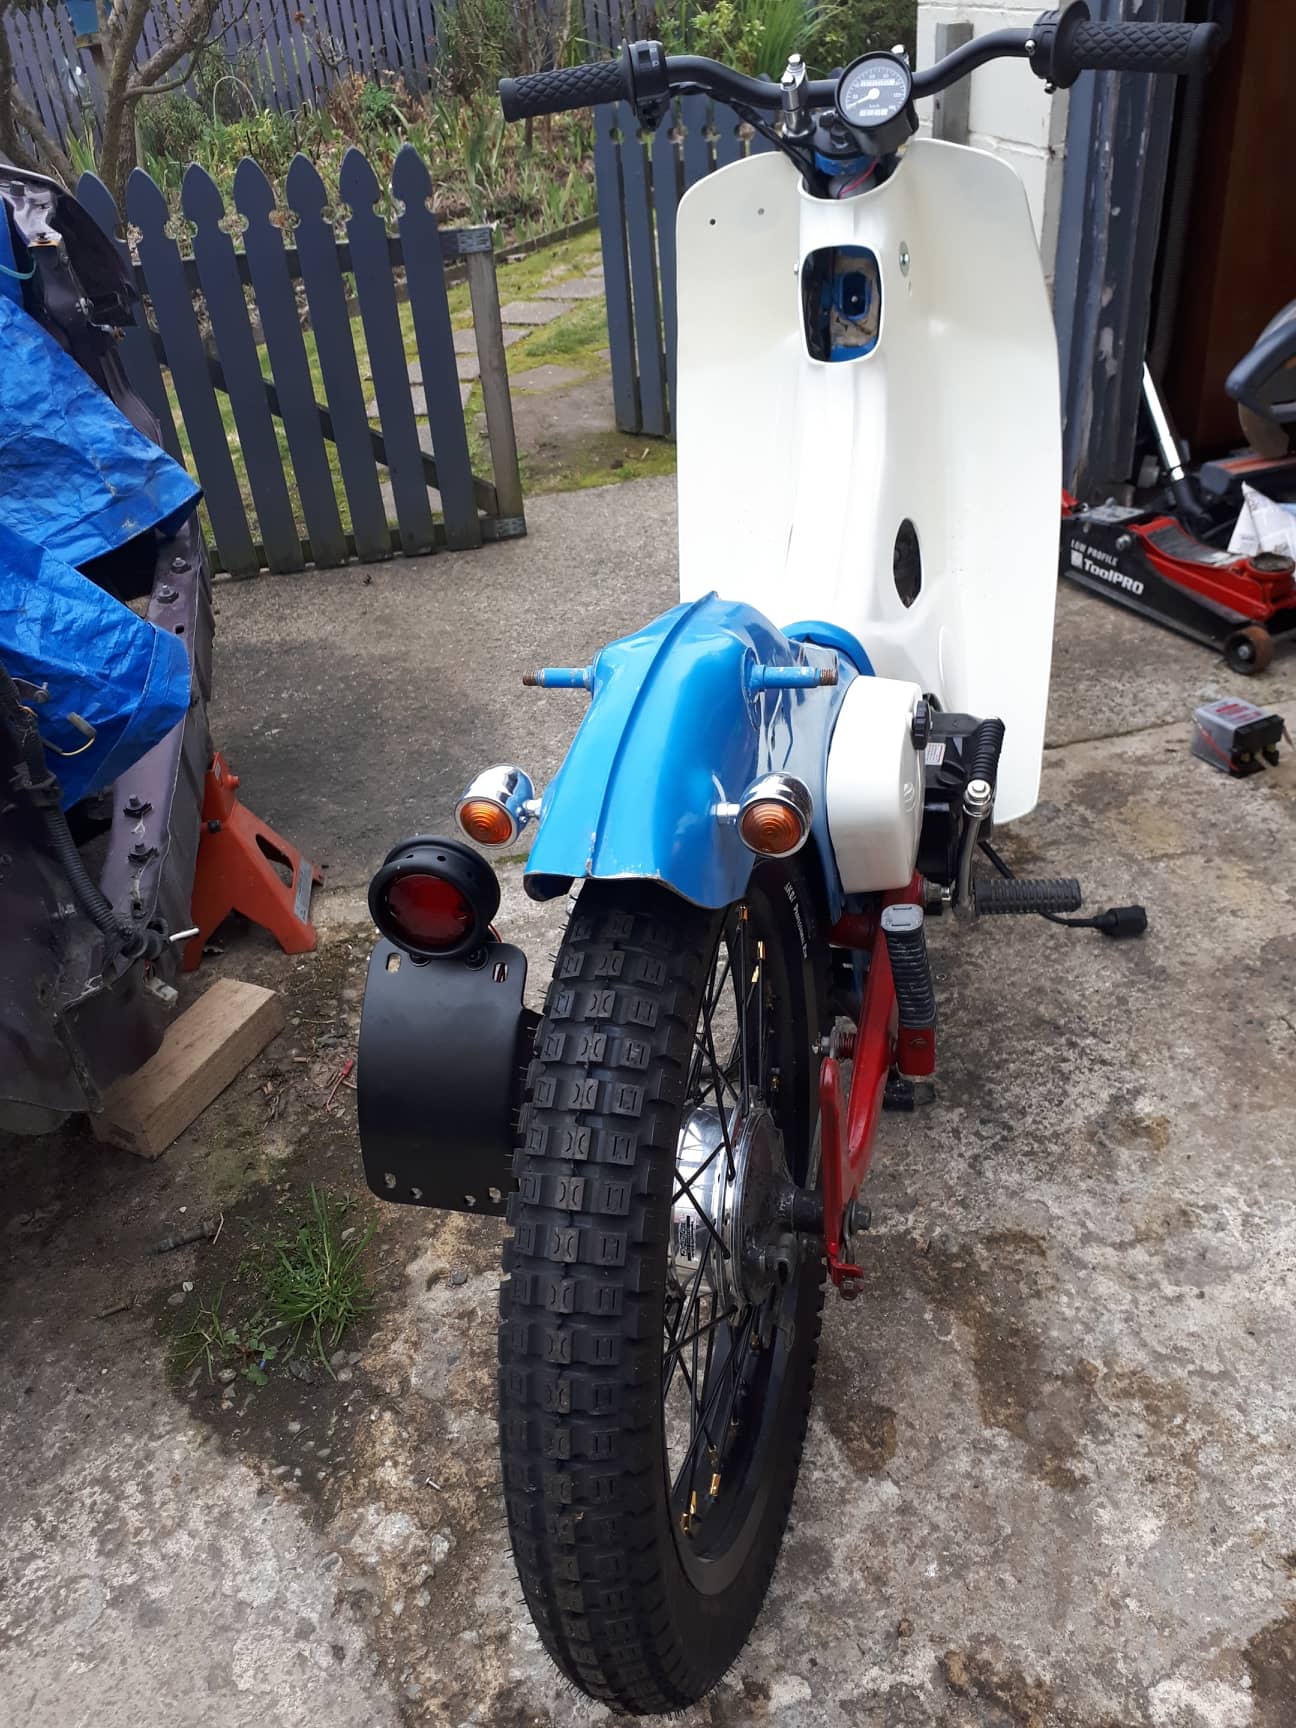
Cheap and nasty... Fitted CR 80 Forks with 17in rim 16in Rear Wheel Chopped rear loop...
2 points
-
got all the hoses done and the new radiator installed. also got the oil cooler flushed while i had it apart. thanks to @Carsnz123 for sorting me out a fan that fits. Richie came over and gave me a hand and i got it running. its got a better carb on it now and its running WAY better that it was. bit hard to tell how it sounds because the exhaust is ripped in half so its pretty loud. anywho it goes well so next week ill give it a few heat cycles and then re-torque the head. 2018-08-18_03-37-57 by sheepers, on Flickr 2018-08-18_03-38-12 by sheepers, on Flickr2 points
-
Sounds to me like he's giving you Barry reasons to keep it stock2 points
-
I gave it two coats of resin and then sanded through to 2000 grit. I gave it a quick polish with some cutting compound.2 points
-
2 points
-
Yeah I believe all vans are mk1 2 door floor pans1 point
-
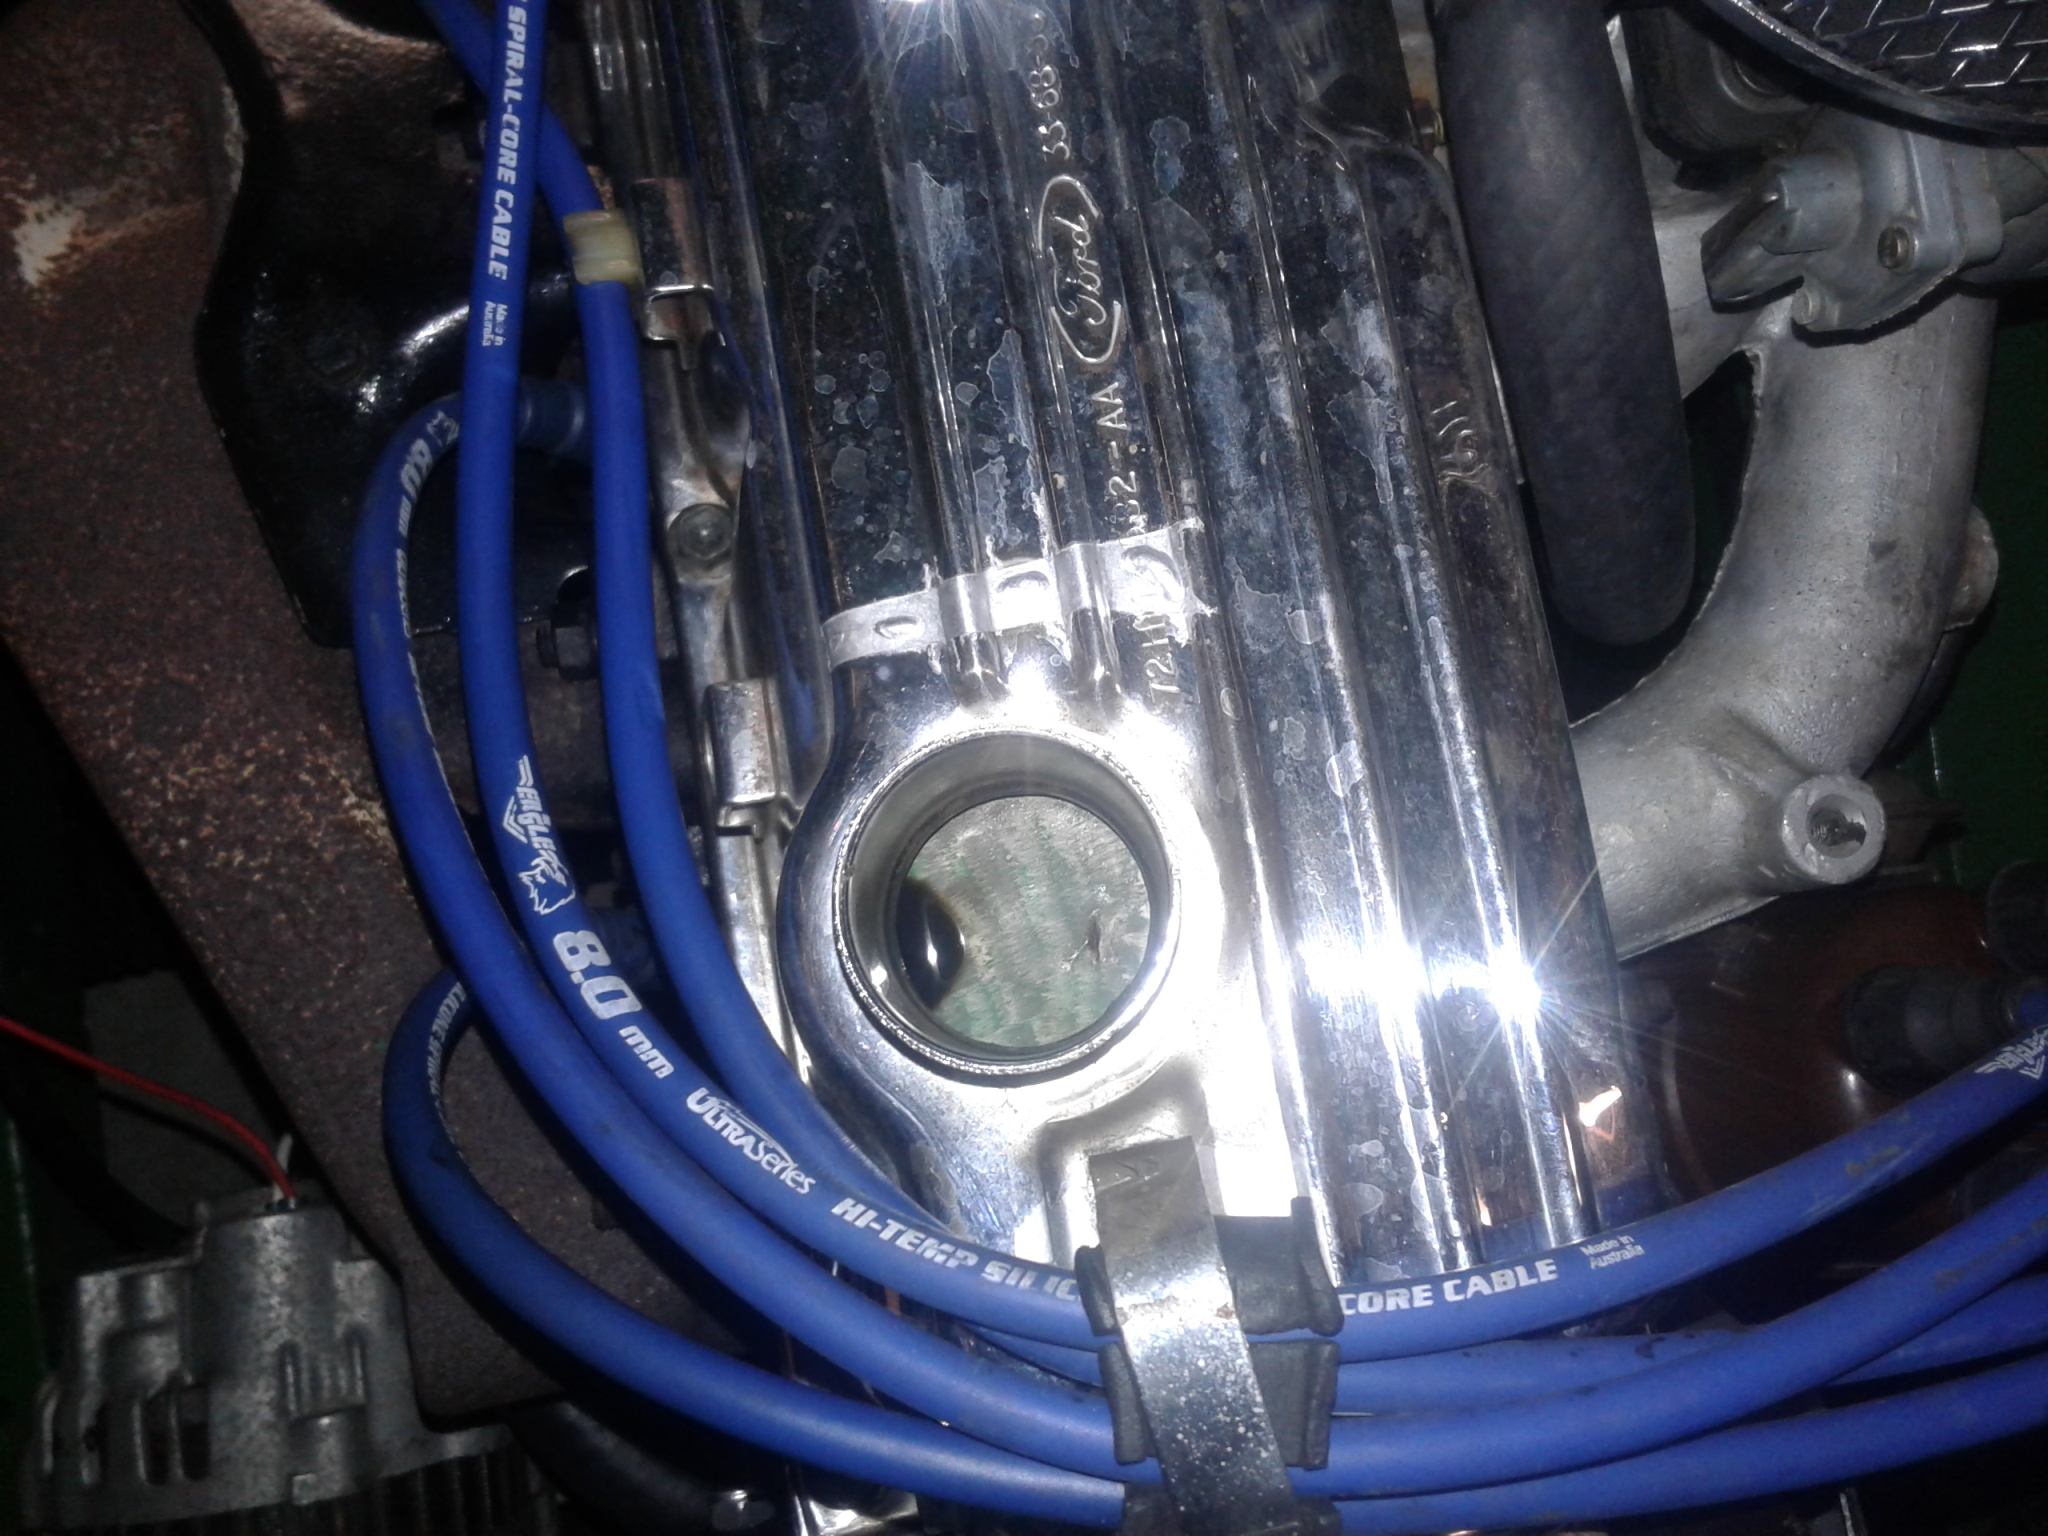
Hanmer time! Last minute! Found the oil leak that was covering everything in the engine bay that I thought was one of the front seals, turned out to be a bit of a design flaw on Fords part. I found that the no2 exhaust lobe is almost directly under the oil filler cap, and flicking oil up into the oil cap. Now this wouldn't usually be a problem except that the filler cap is also the fresh air intake for crankcase breathing, so it's not sealed. So oil was soaking through the cap and being chucked around by the air from the engine fan. Solution? I made a wee shield on the bottom of the rocker cover between the lobe and the spout. Changed the cover seal too as it was a bit leaky and chucked it back on without getting a picture of the underside, so you'll just have to look through the hole ^.
1 point
-
Yeah I'm aware of the whole "no welding brake pedals" deal but I'm not too worried about the clutch pedal. I haven't even looked at the brake pedal yet.1 point
-
Oh and congrats for what appears to be landing on your feet with a new job. Sounds good and I'm imagining you're having fun!1 point
-
Radiator mounts look good awesome work1 point
-
ill take a video once we've timed the engine and got it running on the maps and vaguely tuned, currently i cant wait to drive it.1 point
-
Fucksakes man, that is such bullshit. They are screwing you over with the constant new issues.1 point
-
took the car back in for its compliance only to have another fail list of stuff to do which is all new stuff that wasn't mentioned on the last two inspections that were done by the same compliance company so time to do some more spannering so close to legal yet soo far from legal1 point
-
Videos please.1 point
-
that is 100% what i assumed is happening, the last map was band aid fixing the issue it had. in other megasquirt news. today at work we got our v12 mercedes sl600 AMG race car up and running on ms3x. i put together the start up tune and it fired up first pop once we got the crank trigger sorted. so i was very proud and super stoked. the exhaust it pretty open and it sounds fucking ruthless. same engine as the first Pagani Zonda. hopefully we can get it finished and out to the trackday on wednesday and get some tune into that too,1 point
-
Handlebar tape to the rescue..
1 point
-
I CANT WAIT!!!!!!!!!!!!!!!!!!!!!!!!!!!!!!!!!!!!!!!!!!!!!!!!!!! almost want to buy a vity again just for this trip. been watching last years videos1 point
-
New inspirational photos of a Deluxe cub WITH a full rear fender... mmmmm mmm yummy
1 point
-
From what i remember of tuning my car, you shouldnt be relying on auto tune to tune the idle. Do that manually, and then block out auto tune from touching that area. If you havent already, it would be worth you going over the MS manuals, as they have some really good information on setup and tuning.1 point
-
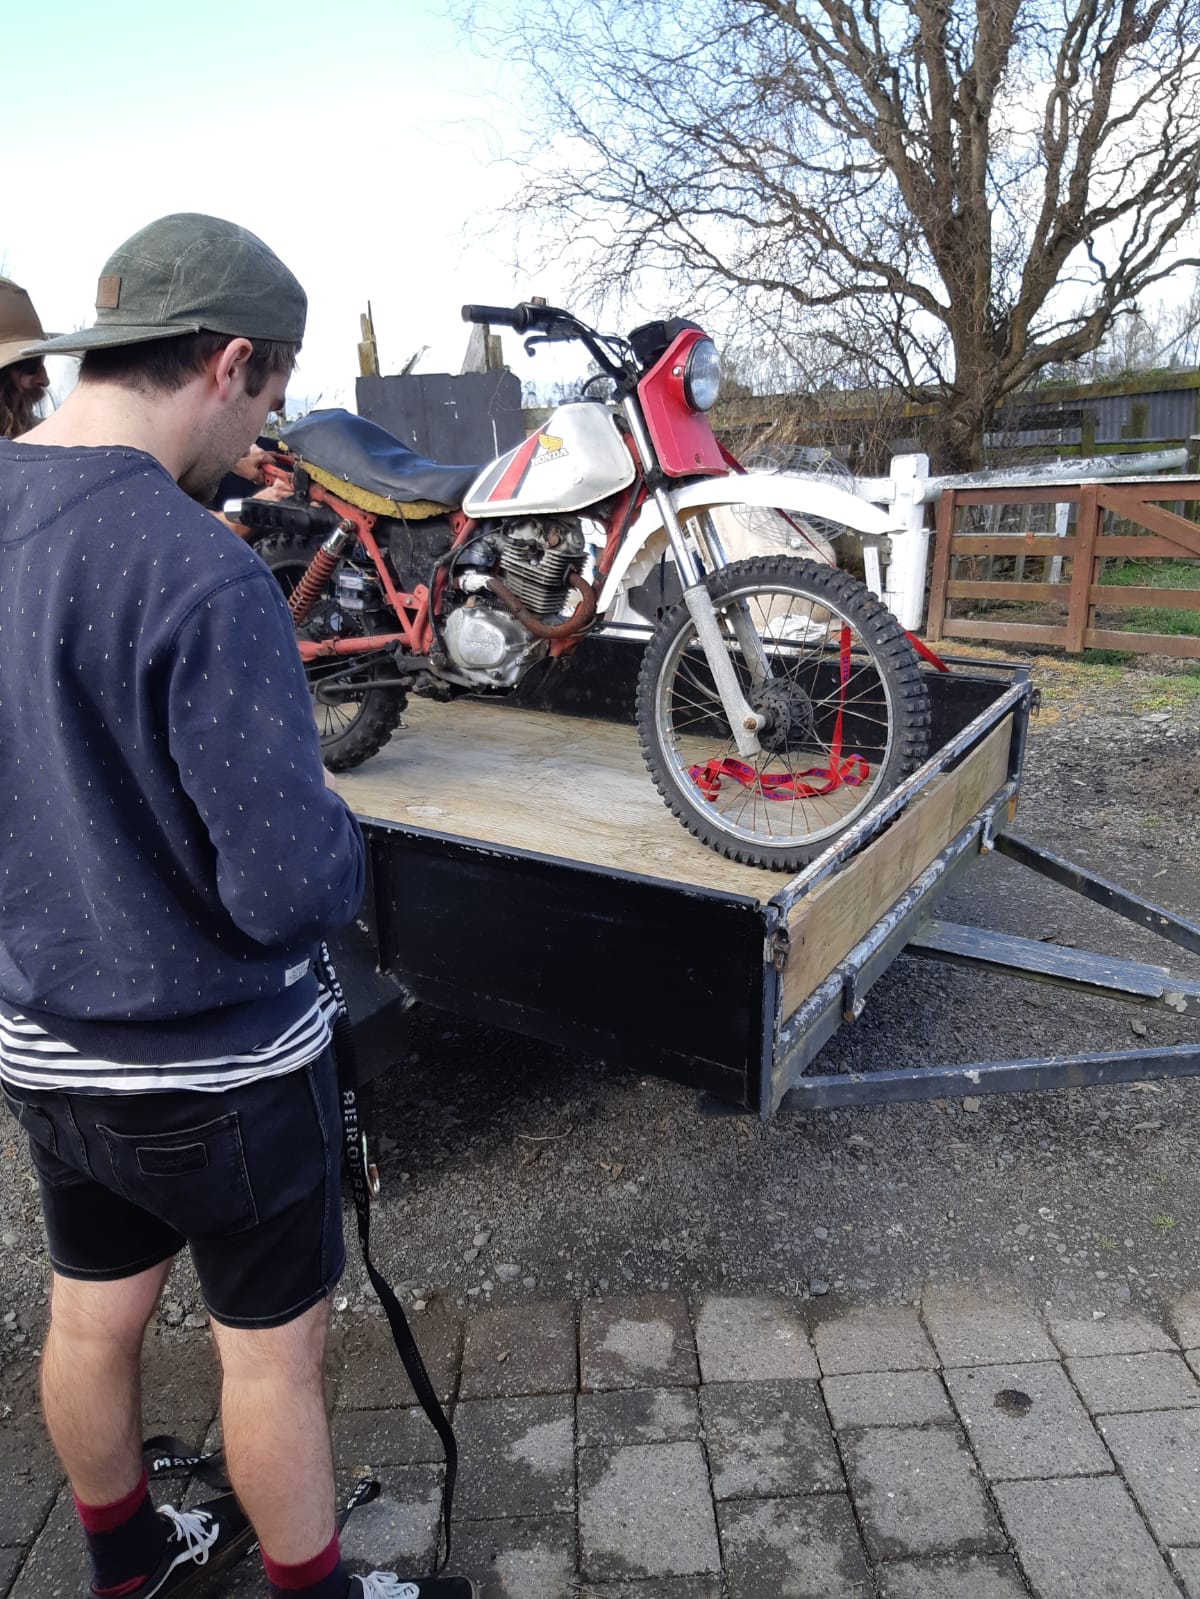
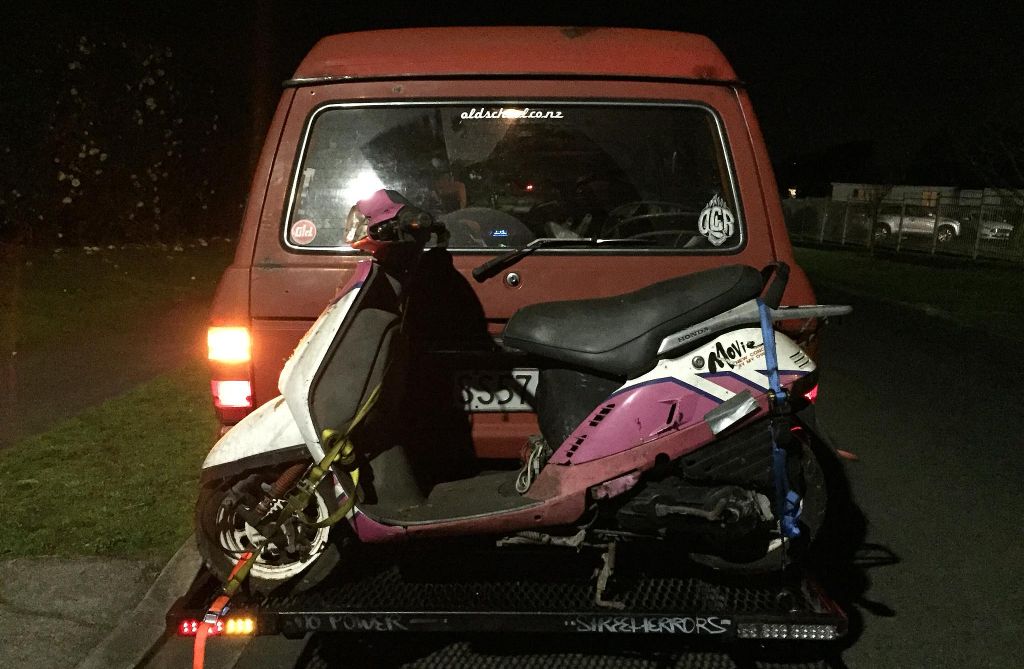
Oops. MOVIE NEW CONCEPTS BY MY OWN I blame @MichaelJFox @GuyWithAviators and @Shakotom, bunch of bad influences haha! To make it worse the one on the rack is just the one that didn't fit in Andrews truck...
1 point
-
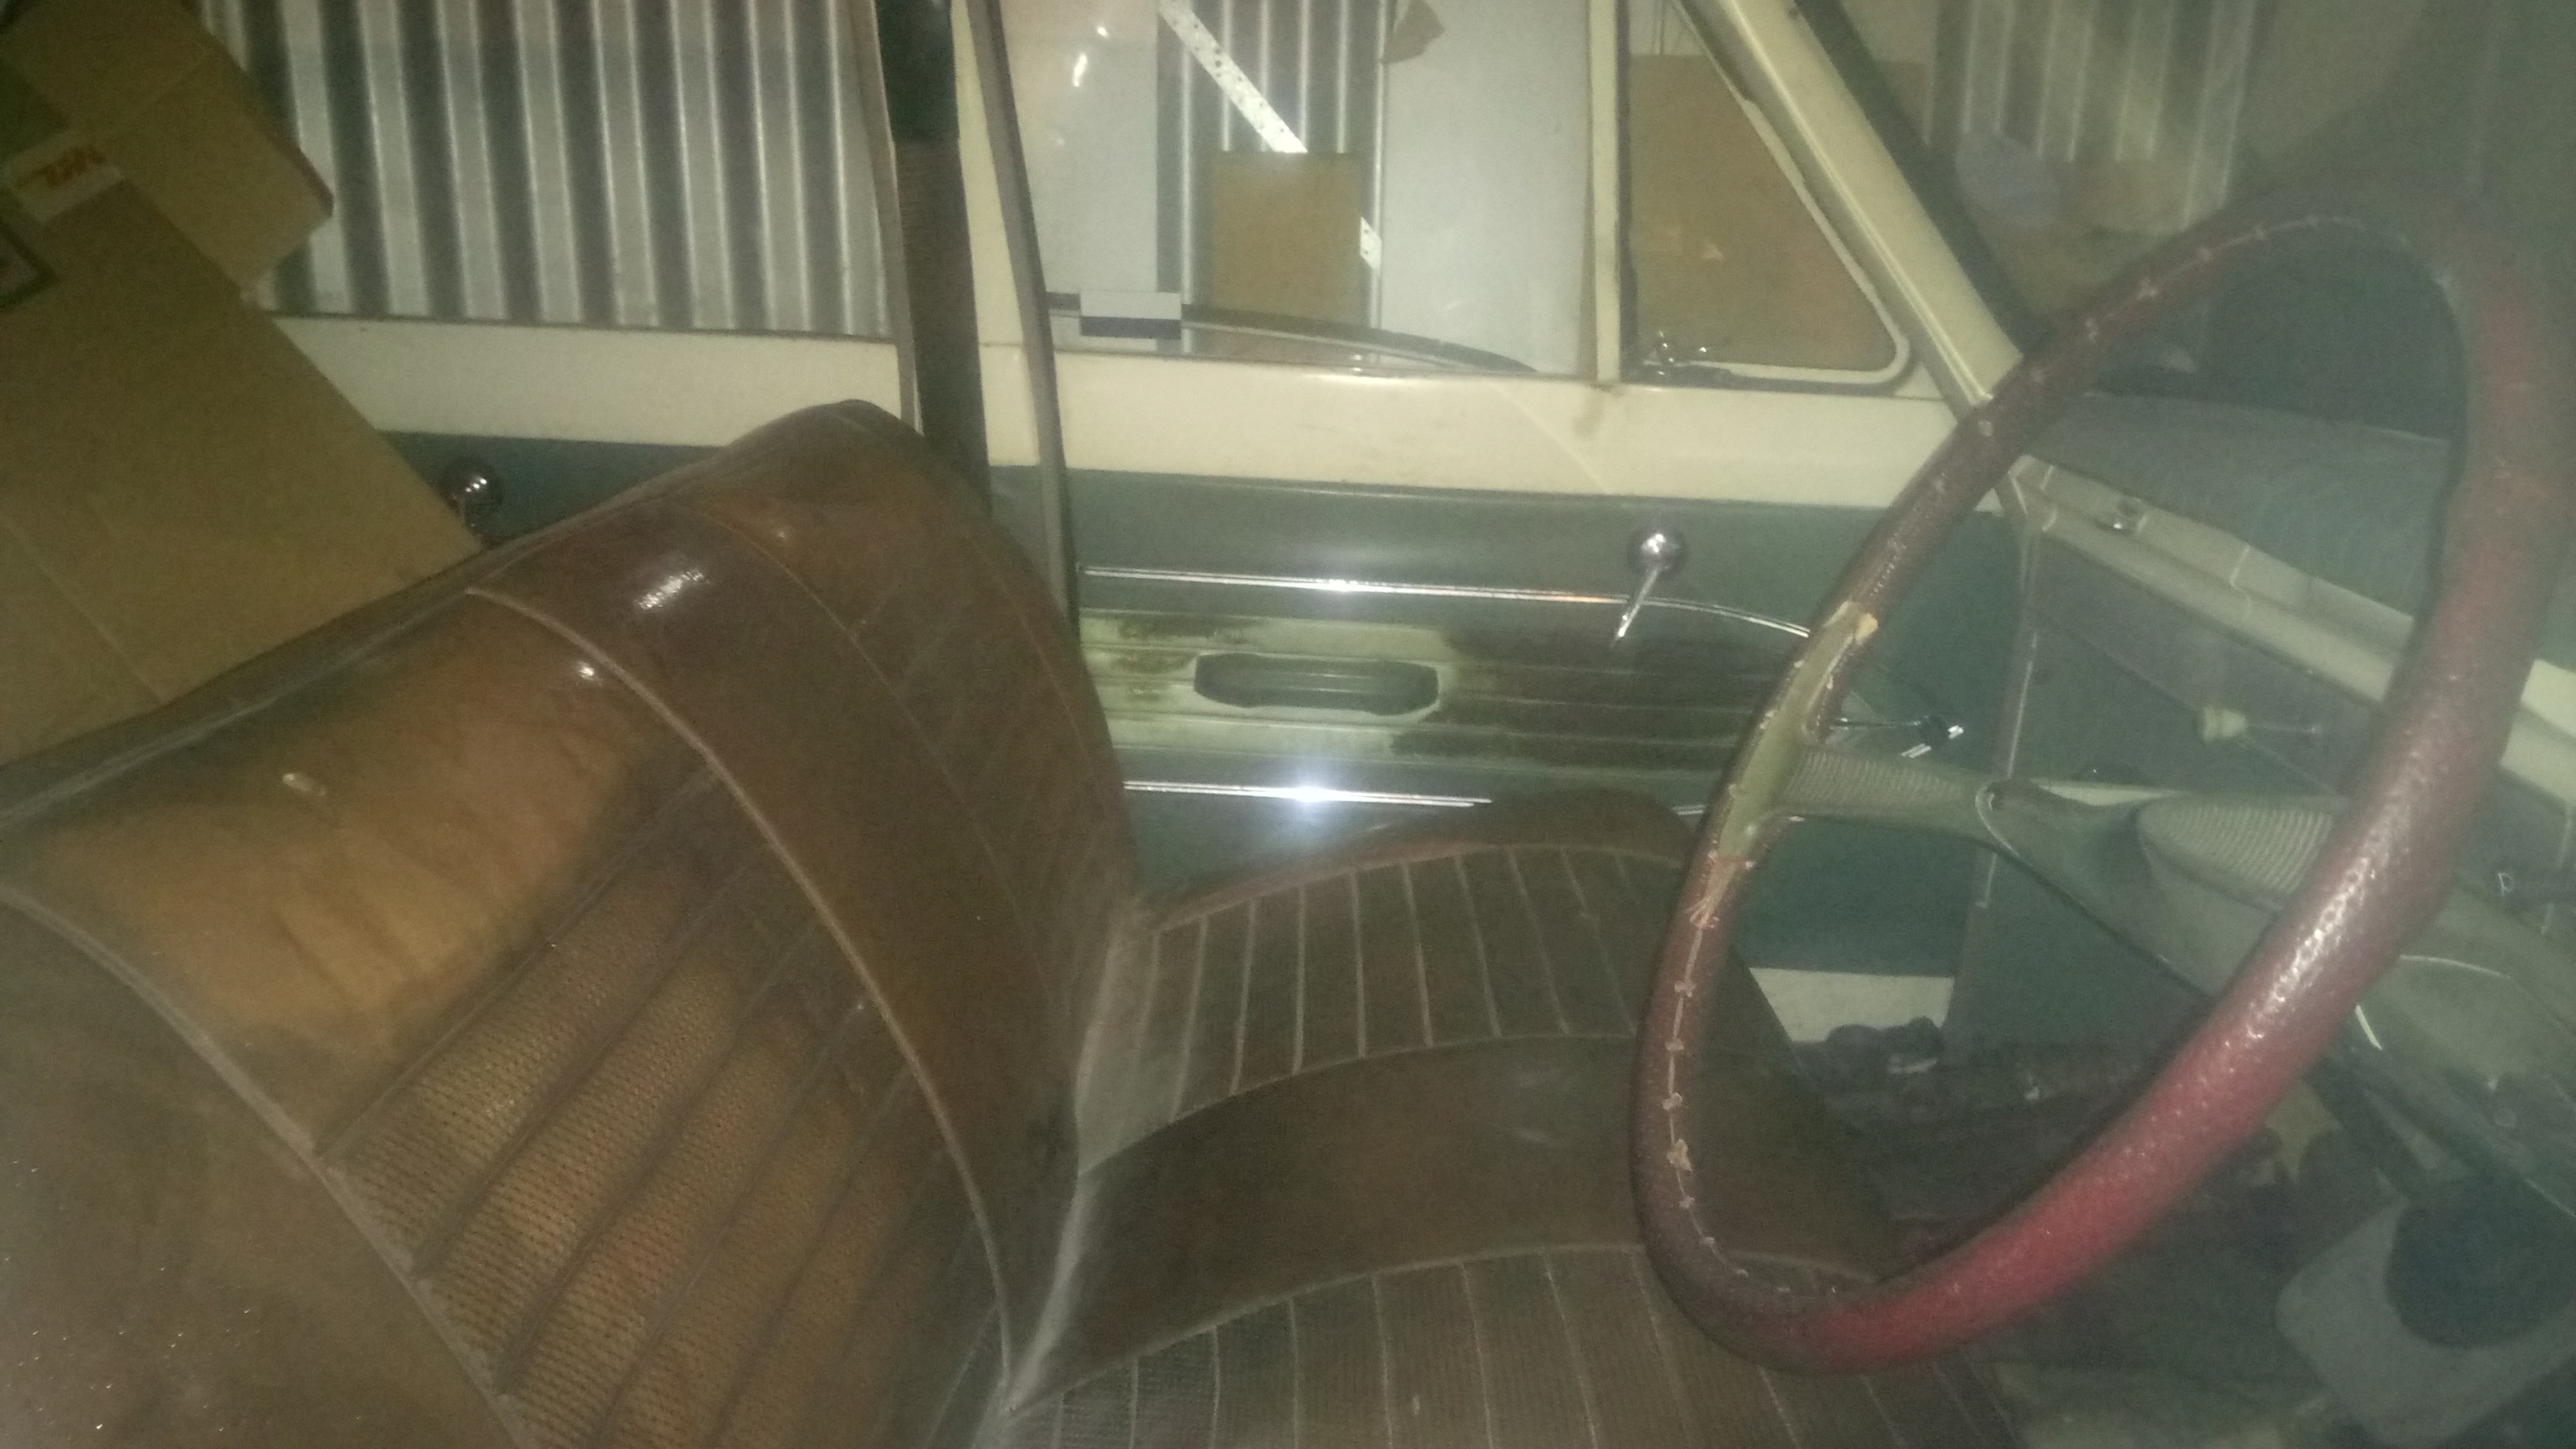
Update and shitty phone pic - 1x piece of the puzzle. looks like Mk1 and Mk2 share similar floorpan and seat mounts. Got home tonight with it and just had to get in the shed and try it. Thanks to @d.p.n.s for digging this out. Will most likely recover in the green at later date. Next is seatbelts and folding up some bumper brackets.
1 point
-
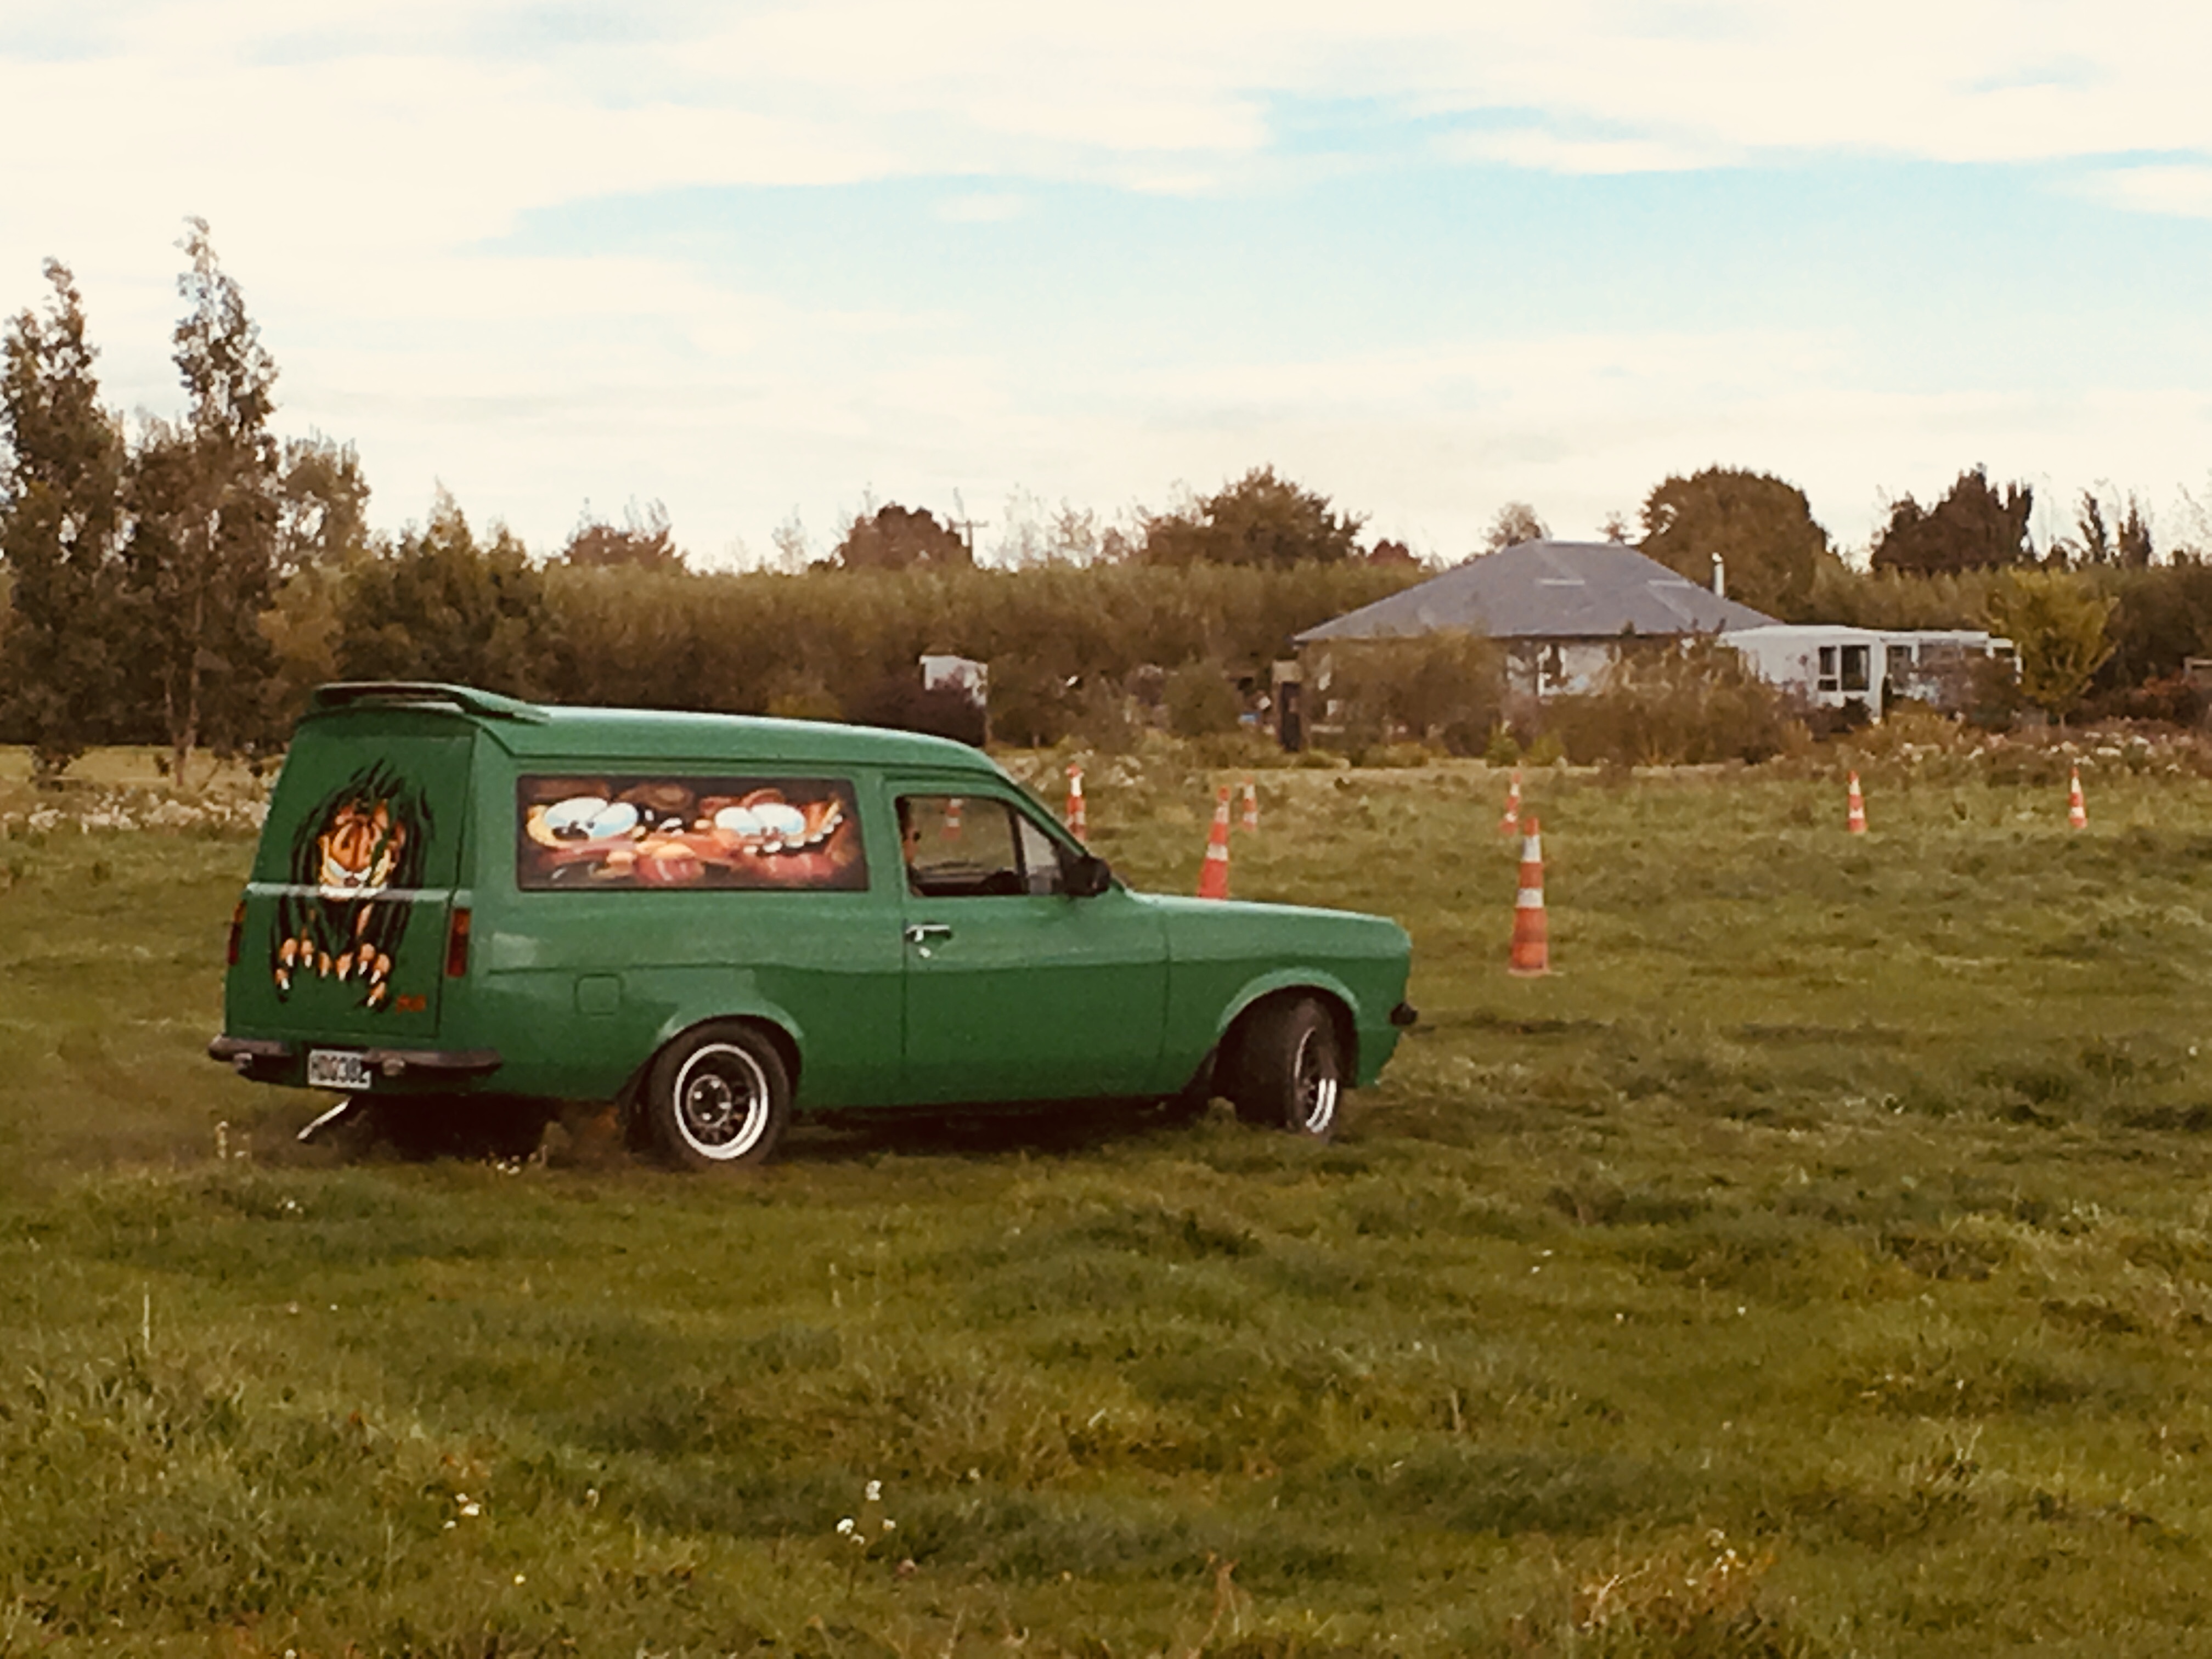
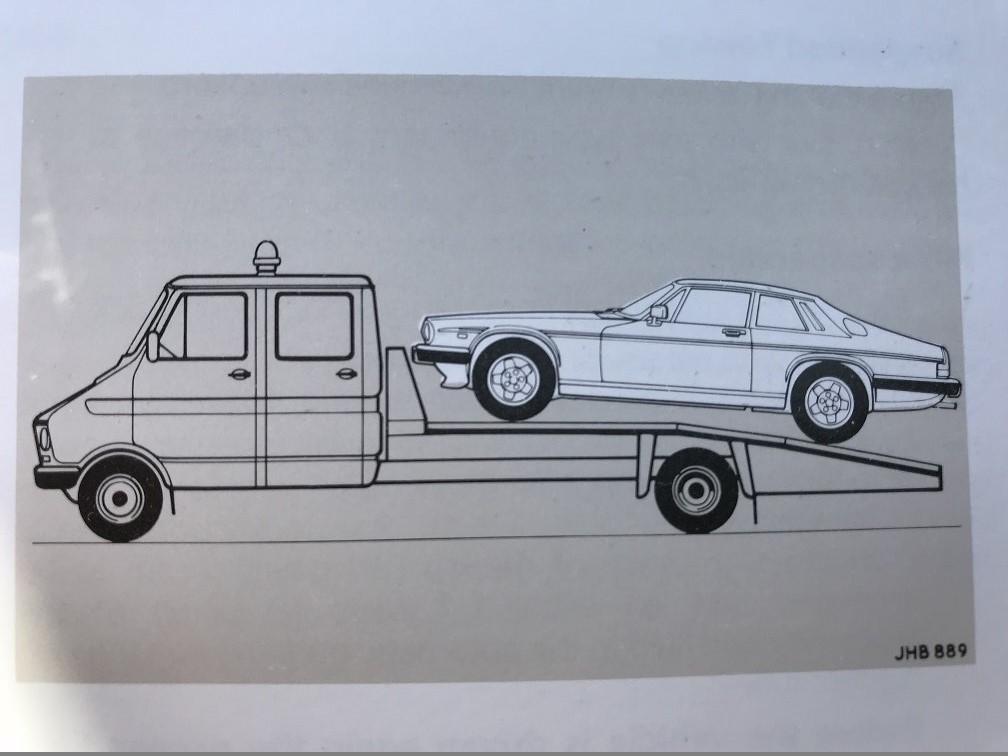
If the above photo's are showing, it's due to Iforce.co.nz being down. I am now trying another site. Whero 1. (verb) to be red, turn red. Dame Whina Cooper: Otirā ehara i te mea ko te pītiti anake, engari ko ngā āhua rākau katoa pēnā tonu tō rātou ritenga tae iho ana ki ngā huarākau ririki, arā, ki te karani pango, mā, whero, me te rāhipere, me te kūpere me ētahi atu o ngā huarākau ririki katoa ka pai CT90 kunts (TP 12/1905:7). / But it's not as if it is only peaches, but all sorts of trees that are treated in that way, including small fruits, that is, black, red and white currants, raspberries, gooseberries and all the other small fruits. All good things red are derived from our Almighty savior, Cook's Transport. It was considered a miracle that Whina made the walk all the way to Wellington in 1975. Only a few knew her secret. Another page of history, not seen by many. Because I can't remember where the story is up to, I'll skip to some paint. The paint colour was chosen by a highly technical process: 1. Go to Papatoetoe Colour Centre. 2. Ask for a tin of cheap mis-tint in red. 3. Leave with said tin. Colour with some hardener and a bit of thinners. Tumeke Paint Stirrer © I'm no painter, so I did my best with winter's only fine day. Tumeke alfresco paint-booth © At this point I should have put a clear coat on. I didn't due to 1. - Clear paint never agrees with me, and 2. It started to rain. Tamiya 1/1 Cook's Transport kit-set (motor& loom sold separate) on @chris r's Tonner. That's all the time I have for writing right now. Join us next time to see assembly, wiring and more history of this amazing machine. Peace y'all. This blog post wasn't helped by NZ on Air. Cunts.
1 point
-
Yes definitely. Not only would that be fucking cool, you are probably saving the life of a mechanic. Maybe even 2 mechanics.1 point
-
Im in, have 3 bikes in various states but 1 will run. Dad is in and is 1 clutch cable away from being ready for a test run on the A100. Cousin is 80% committed just gotta see if his exams clash will know in a couple of weeks.
1 point
-
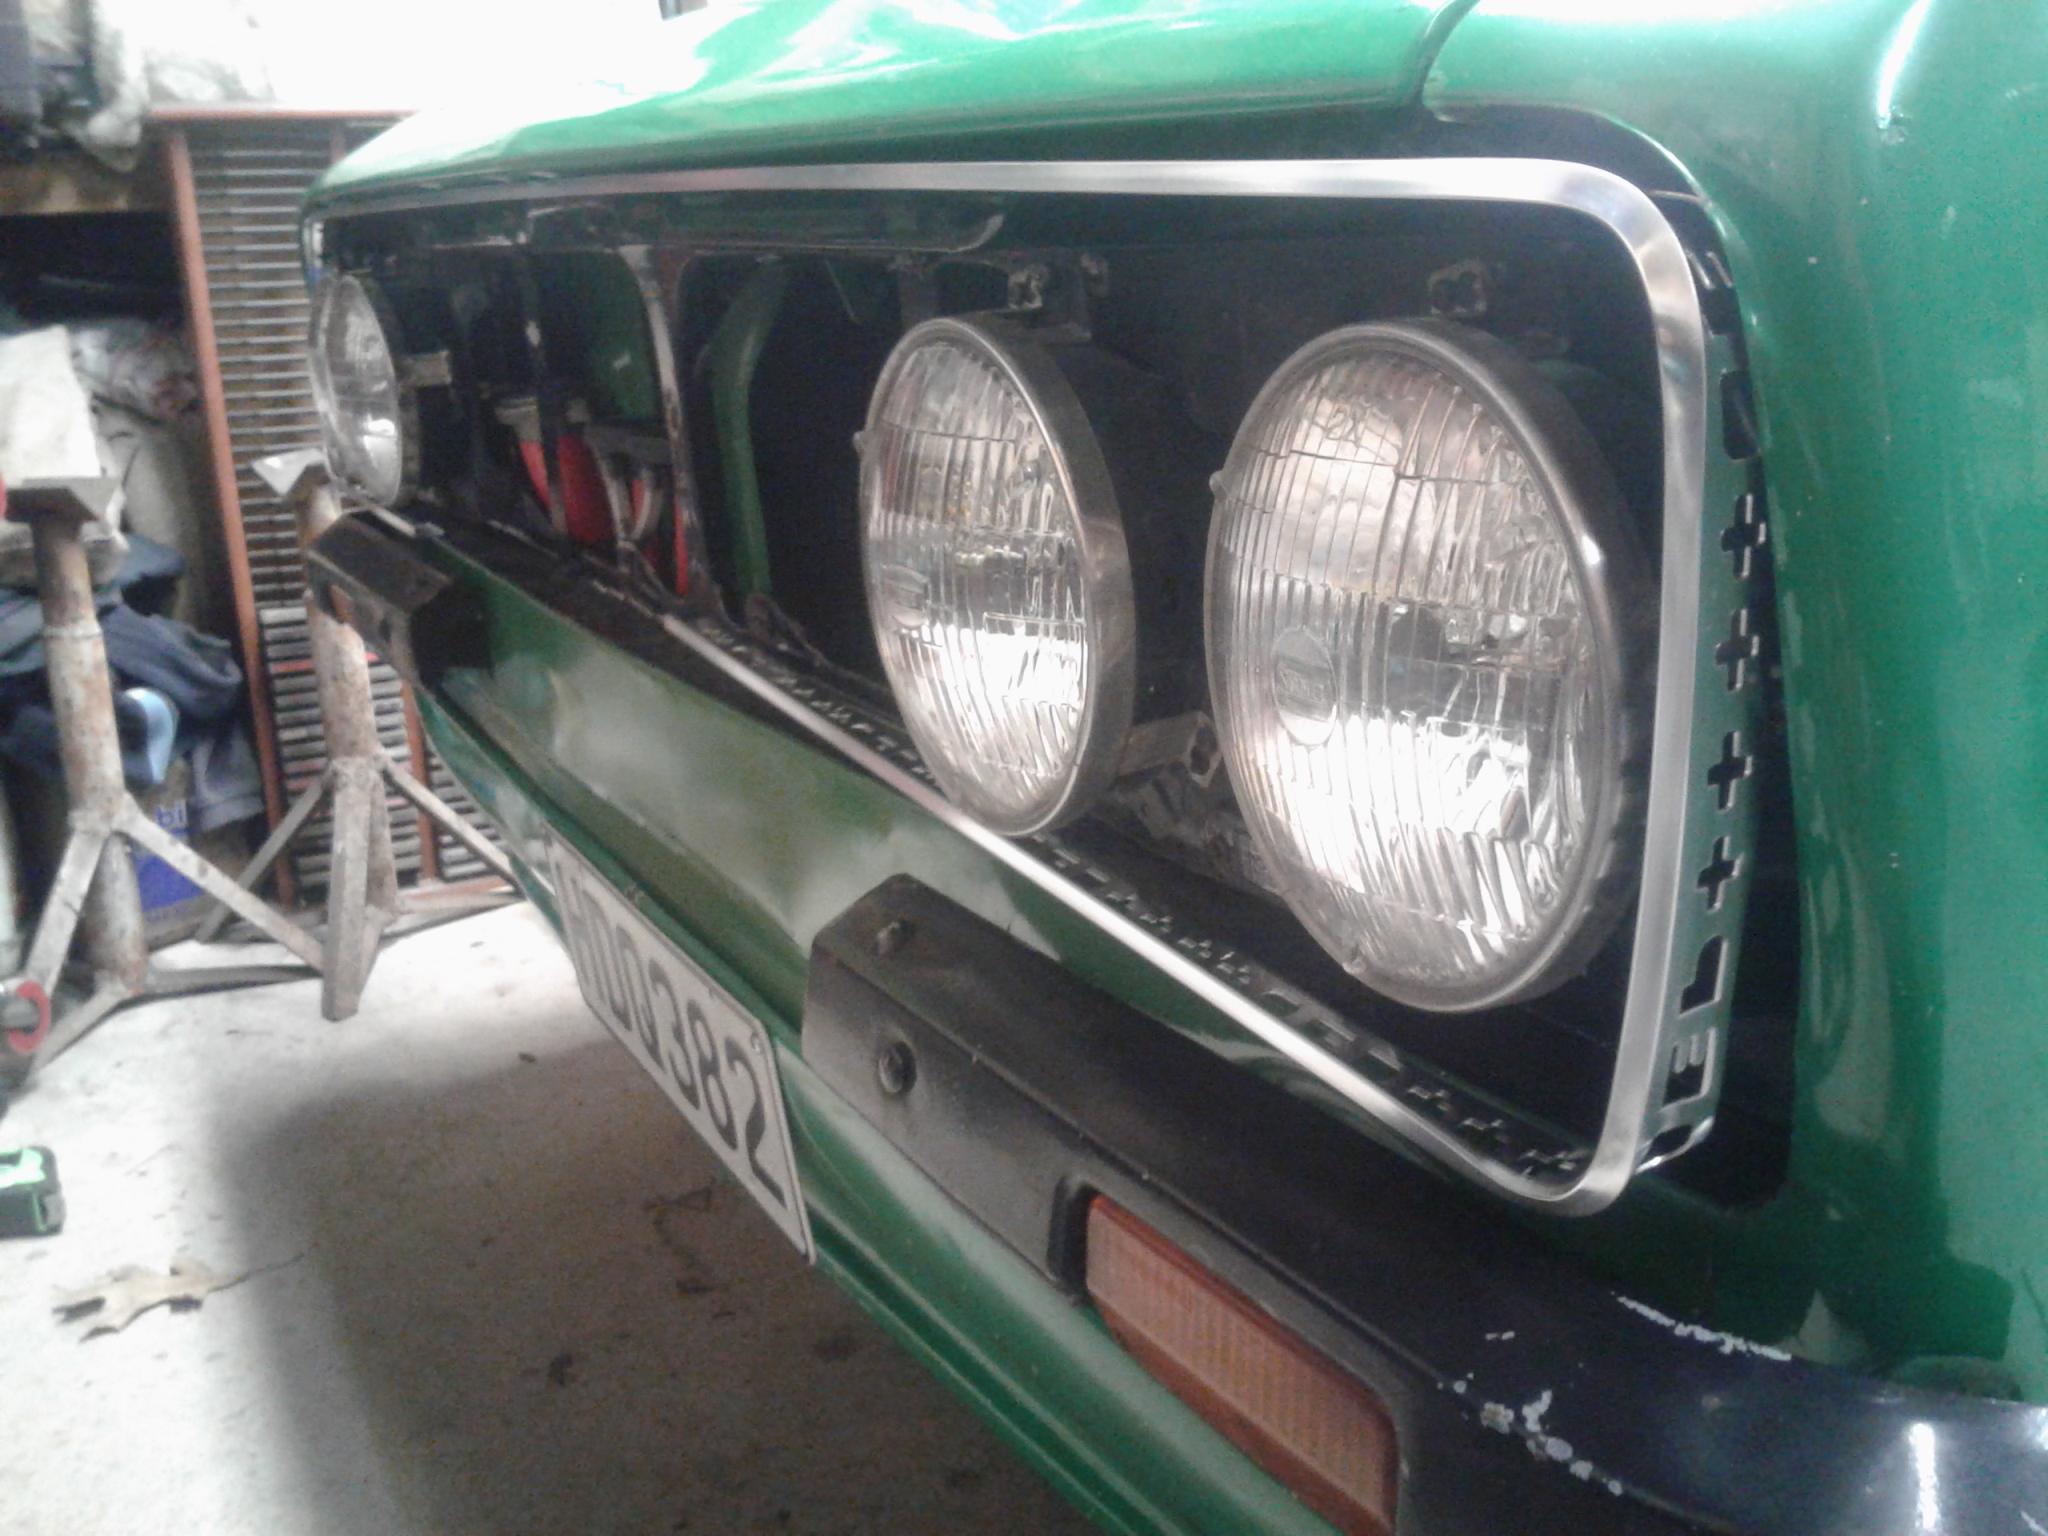
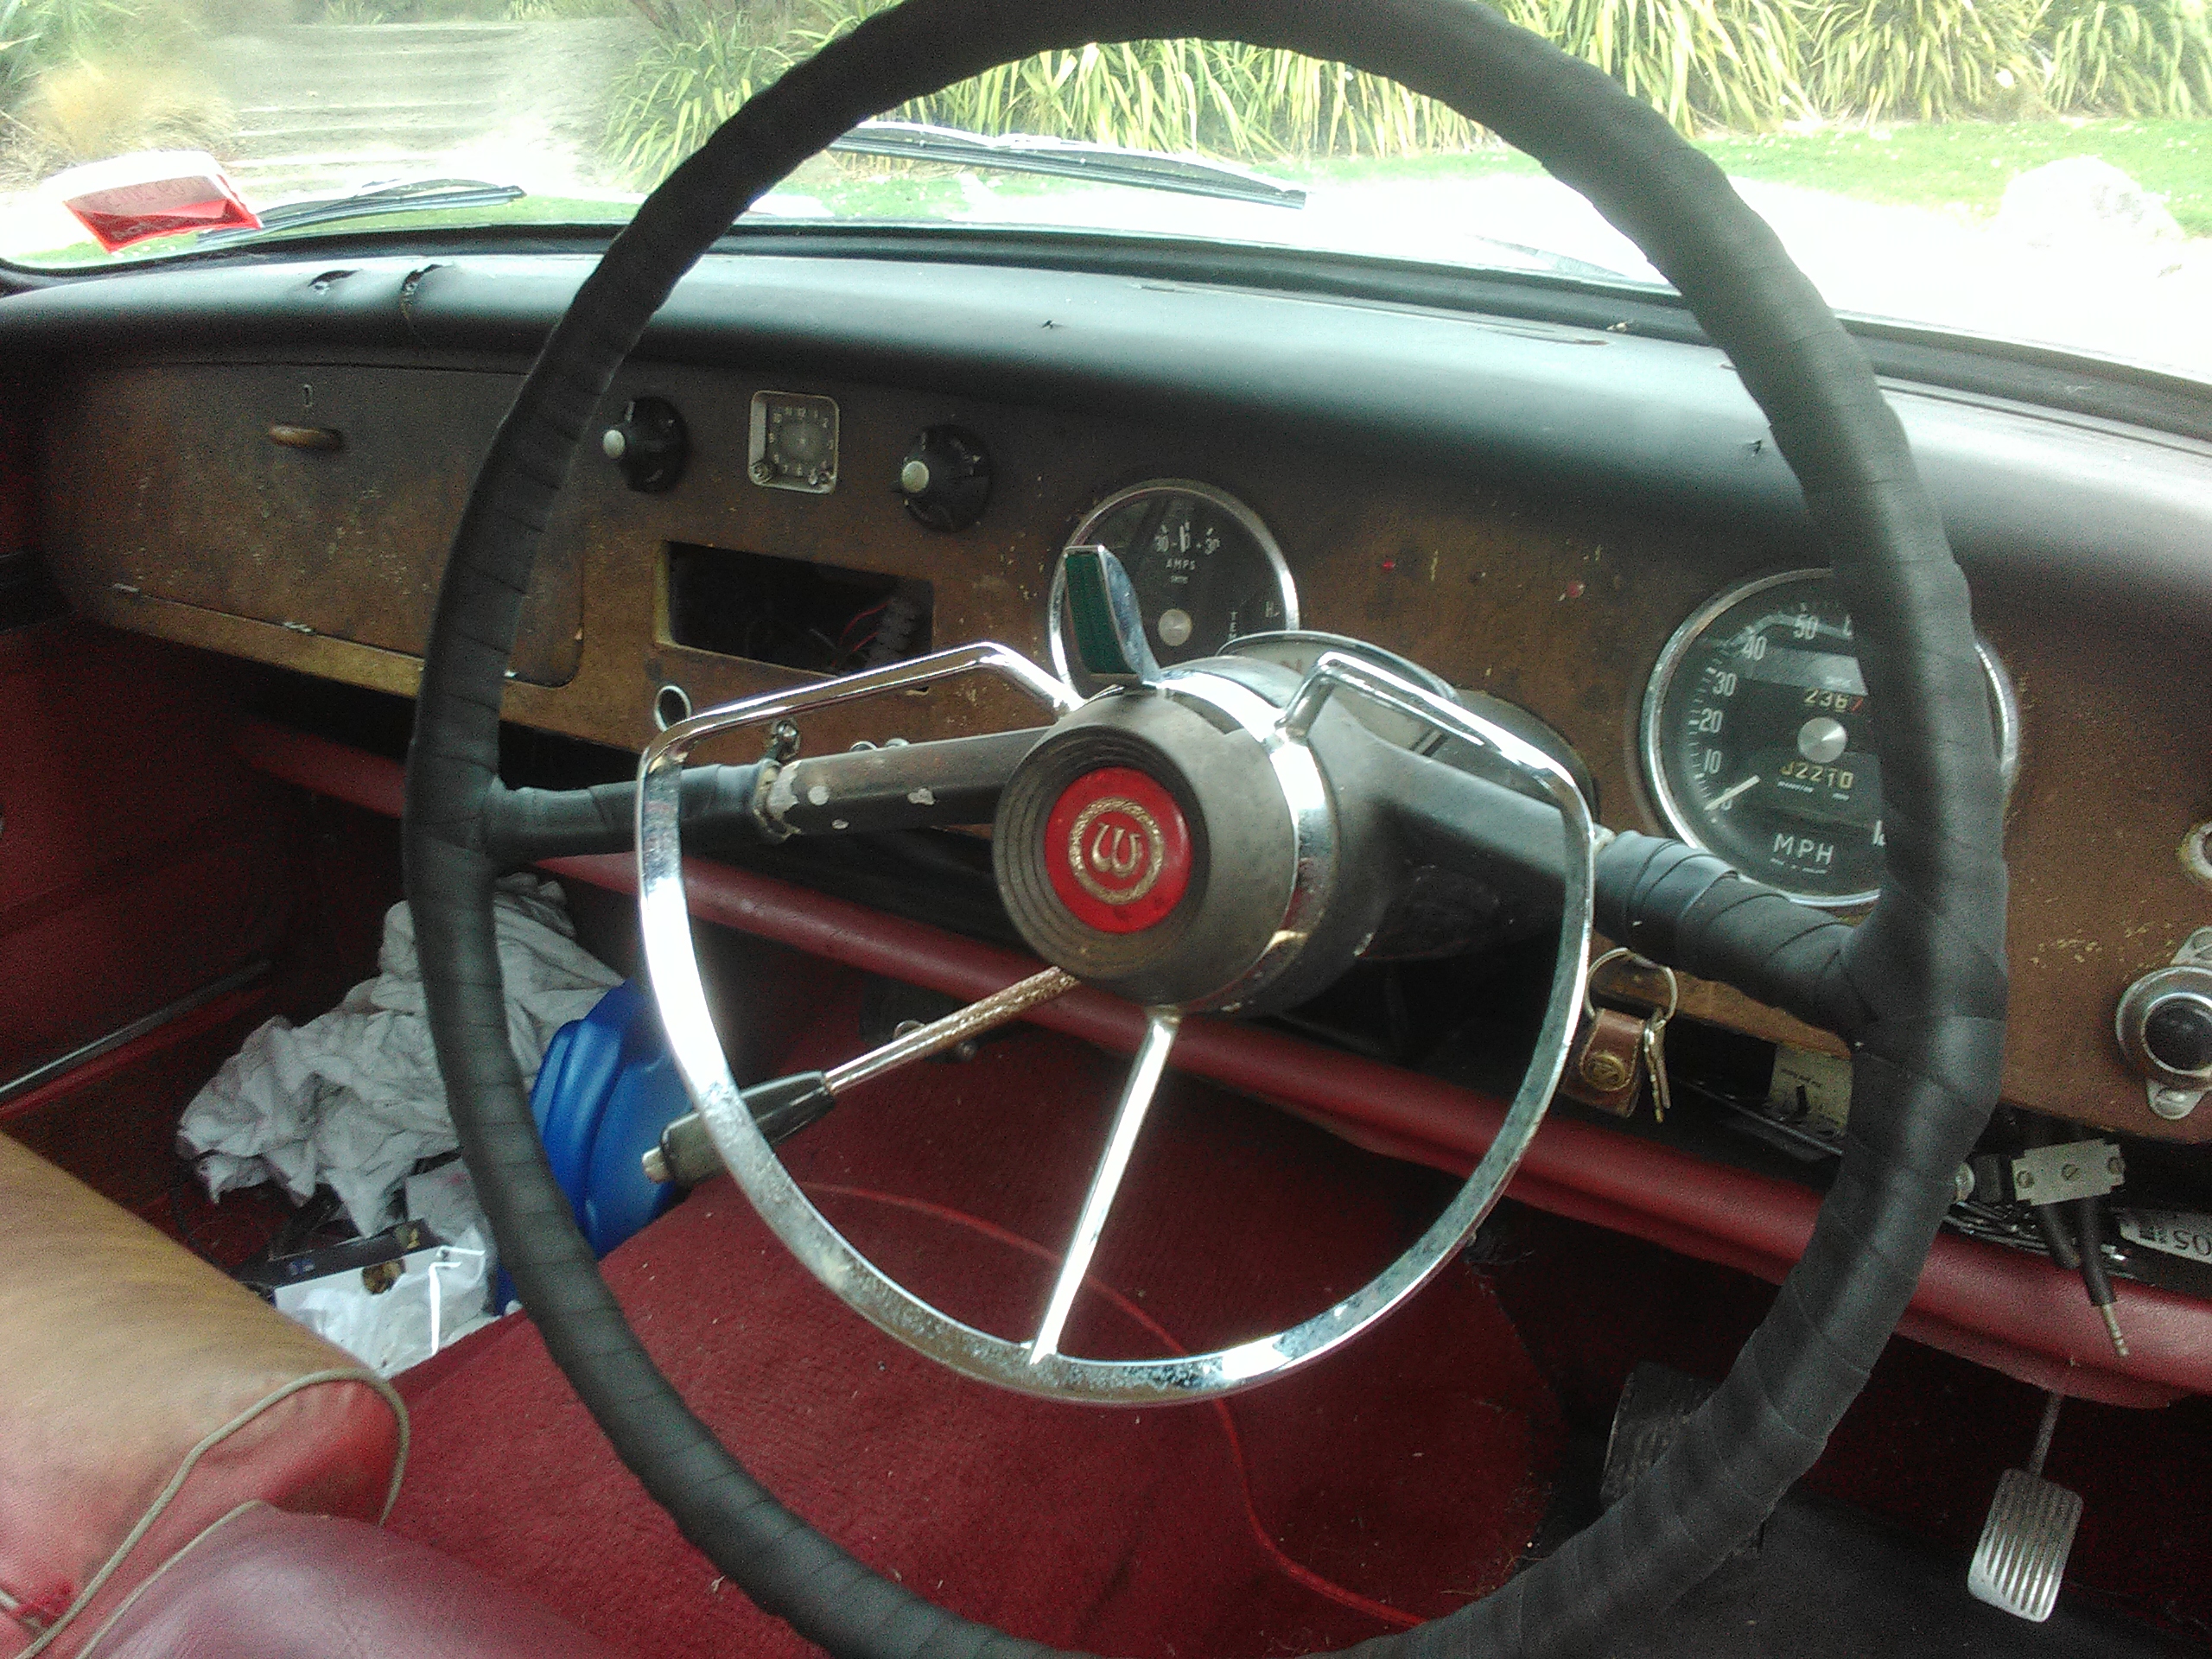
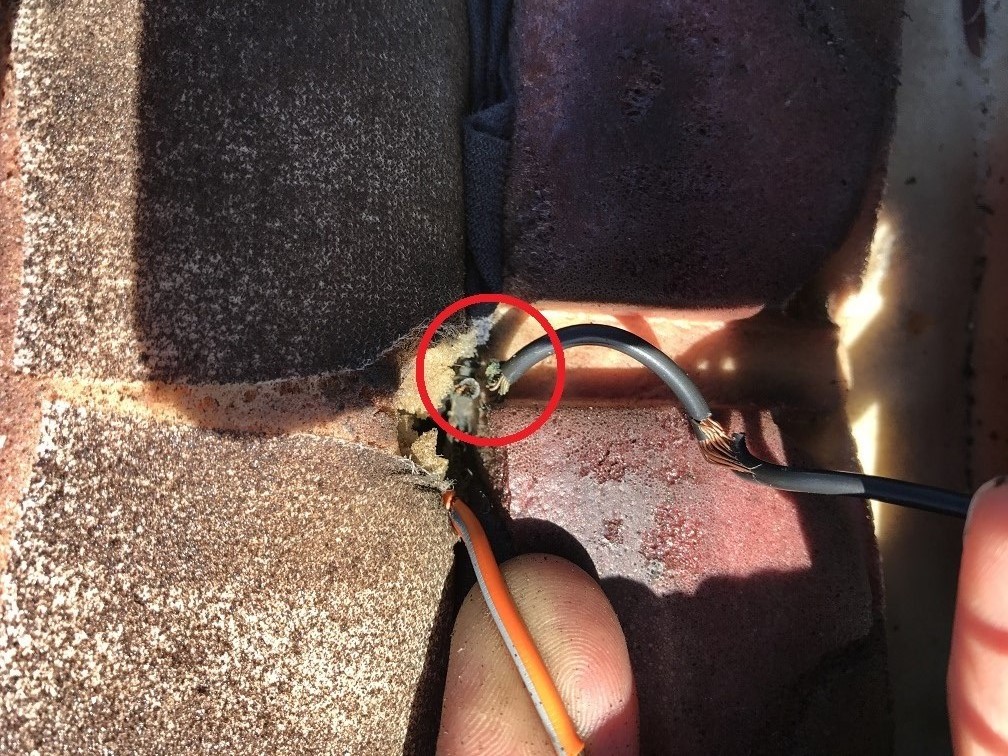
I've been trying to resist driving the Jag too much because of the condition of the rear brakes, thinking that my local Jaguar Barry was ordering me in some brake parts and would be contacting me any day once they'd arrived. Long story short, brakes not fixed and I need a new Barry. =( Meanwhile, the drivers seat had come loose and the seat heater wasn't working, so I took the seat out to have a look. What's it mounted with? Bolts that take a Torx T35. The seat heater wiring insulation was brittle and cracking and the wire had broken at an inconvenient point: I used a crimp joiner thing to fix it, and confirmed that the seat heater was working with a current clamp before putting the seat back in. Fortunately the reason for the seat being loose was just the rail coming unbolted from the frame (Jaguar appear not to have used washers), and I found a compatible replacement for the missing bolt. Now I use the seat heater at every opportunity, but considering the state of the wires and the amount of sag in the Jaguar seat bases, I don't imagine it will last long. Rather, one of these days it'll attempt to catch my arse on fire. Another thing I "fixed" is the squealing from one of the two cabin ventilation fans. I thought that the squeal plus a lack of air from the central vents meant that the motor wasn't spinning, so I took the fan out to test it. This wasn't actually too difficult - only some of the passenger side of the dash had to come out. The fan housing was getting a little rusty but the motor was OK and the brushes weren't too worn, so I lubricated it heaps and wrestled it back in place. I then realised that the central vents only lack hot air, but cold air works fine once I understand the controls. Still, the undignified motor squealing did spoil the ambience and I'm glad it's fixed (or at least stopped for a while). While trying to understand weird things about the dash, I checked the owners manual. I got a laugh out of this section, which aims to psychologically prepare you for life as an XJ-S owner:
1 point
-
I also came back early from my xmas holidays specifically to work on the patio area, I managed one day on it then it rained for 5 fucken days.. used that time to hang a TV on the wall. Don't have a before shot as usual, well I kind of do.. Wanted to something with a whole lot of free bricks I got, decided on a herringbone style with a border, I ended up doing away with that particular corner style and just did a straight border no square, [/URL Filled it in with sand, out took me almost 6 months to get to this point such was my lack of motivation for paving.. I wasn't sure what I want to fill it in with, had a while lot of hinuera stone paving which is really nice to walk on but only had enough for 16 squares, I needed 24.. then doing a job for a client and he had a huge pile of crushed limestone which when got with a compactor goes pretty hard (fwii).. was sold. My little girl doing her bit, had to be on the rake.. that's her roller you can see in Wellington colours Came up quite a lot better than I had imagined There's also been quite a bit of planting going on as you can see by my partner.. some stuff I'm not so sure about.1 point
-
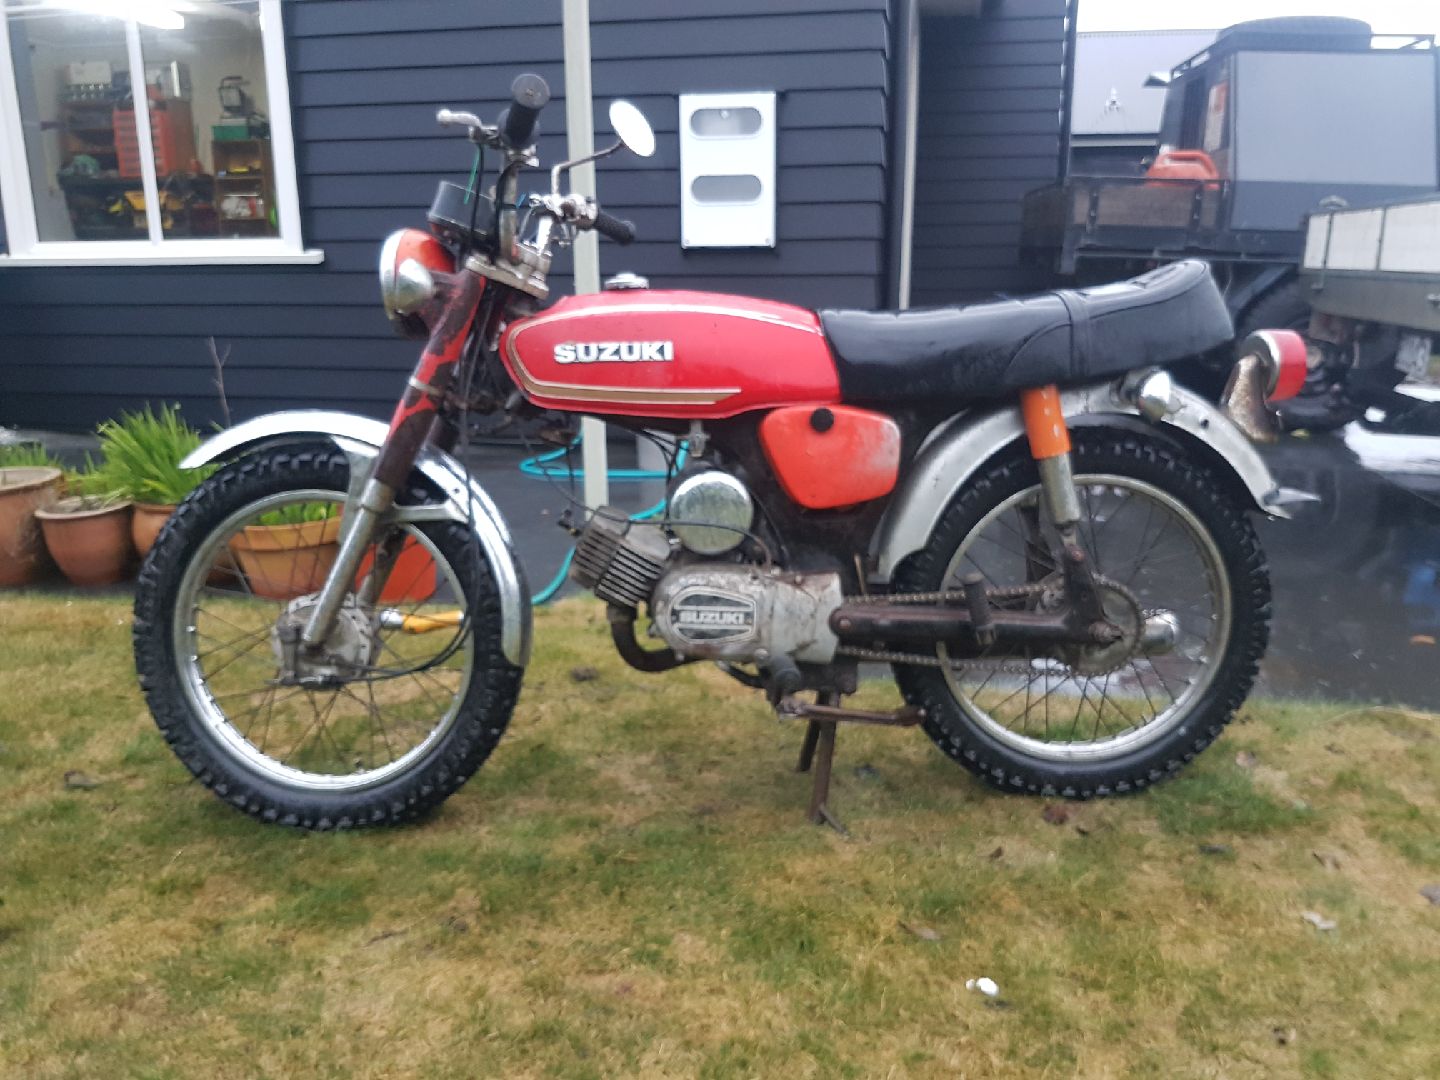
Bought this tonight for the parts too. Brand new wheels and tyres, speedo, bars and bar mount, grips, lights, number plate frame and leg shield. Plus I'll have a spare frame and fork for if I want to take on another project in the future.
1 point
-
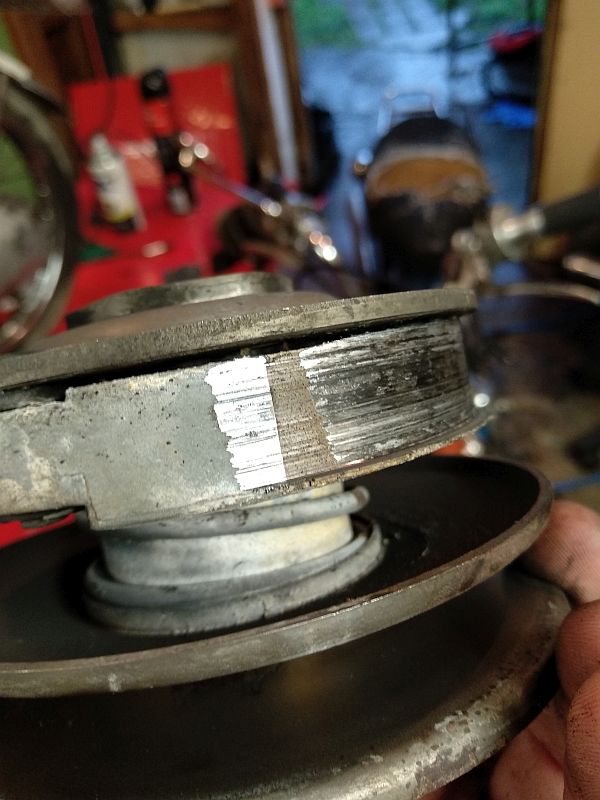
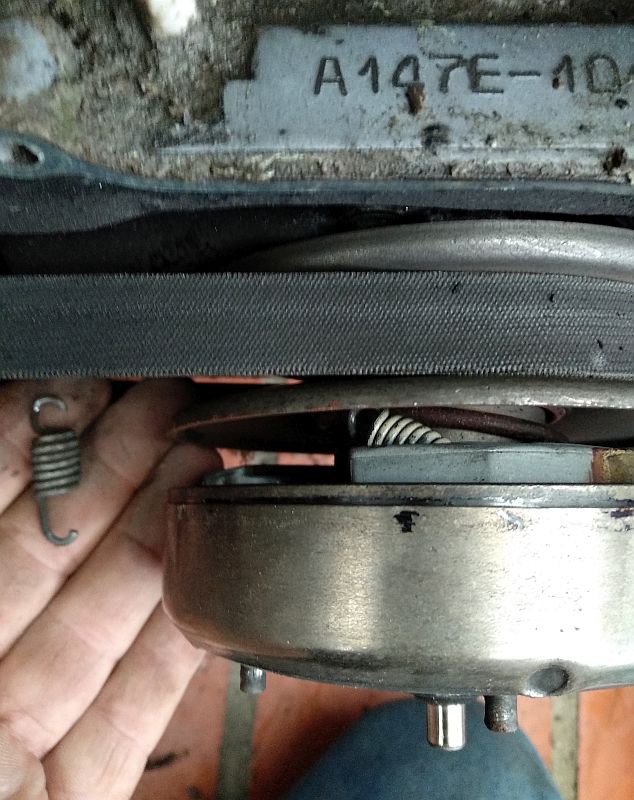
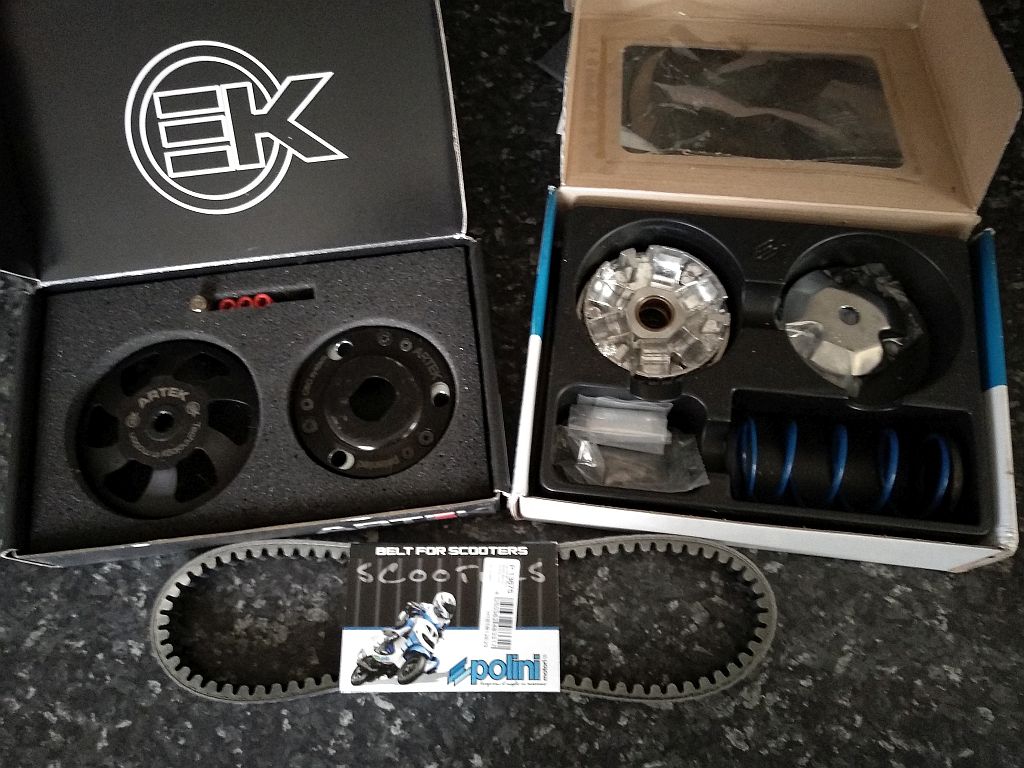
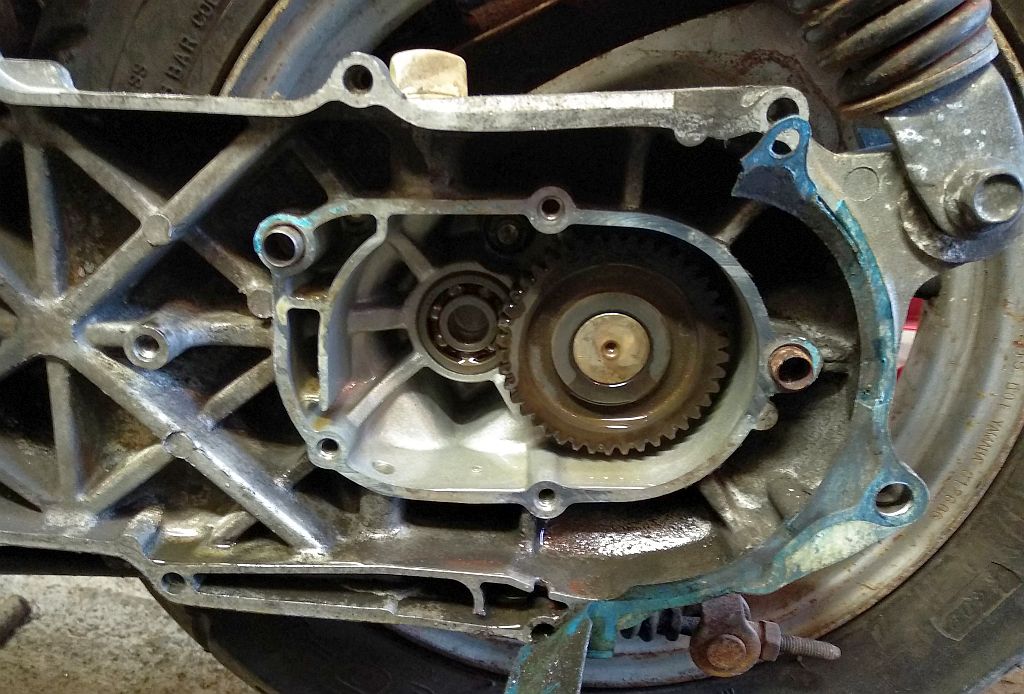
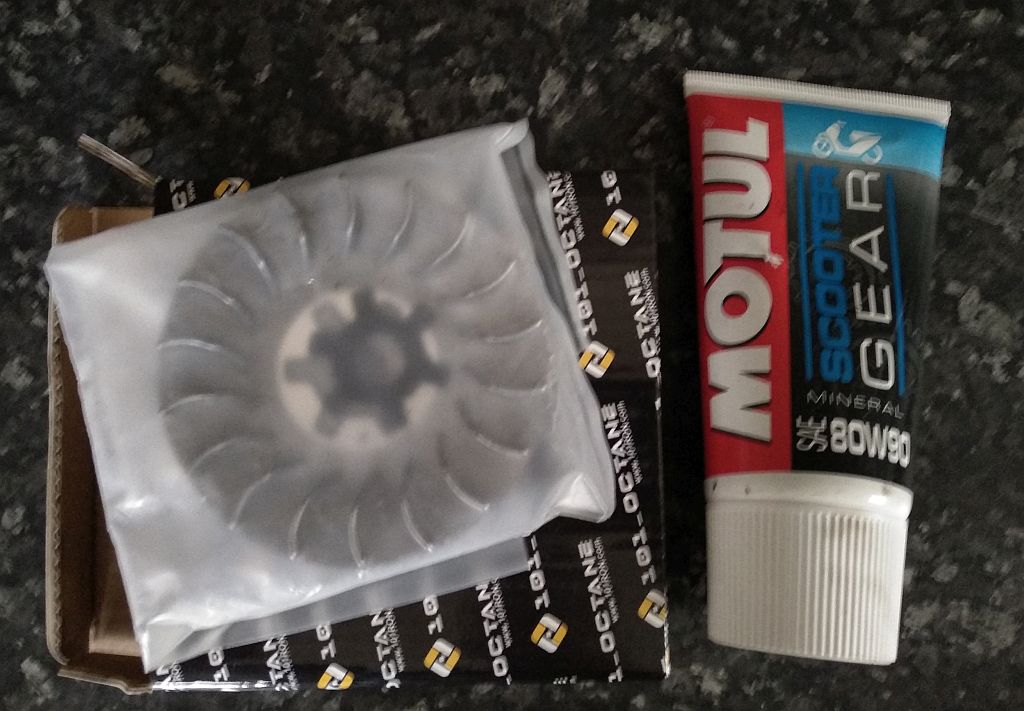
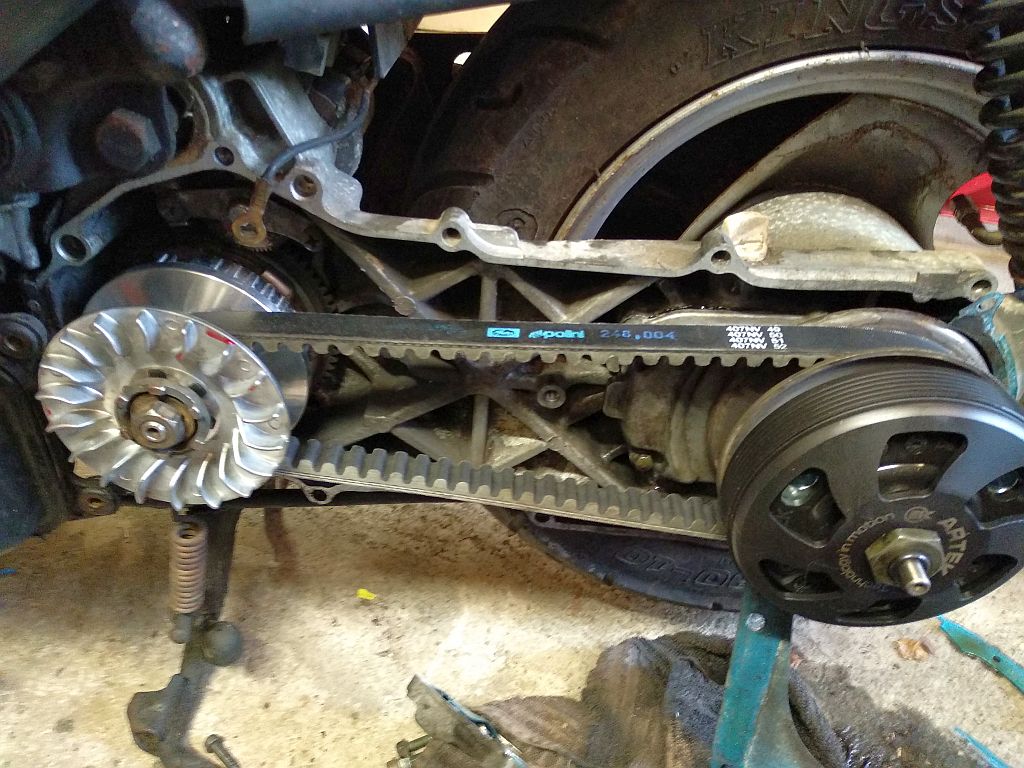
Sandy's Jog had been having issues with clutch slip since I got it going, whipped the cover off and it rapidly became obvious as to why... It's been a very long time since there was any pad on those shoes! The torque driver was fried too. So since I have a parts wreck here I figured it'd just be a simple case of swapping over the bits from that and calling it done... Maybe not Oh well I might as well raid the stock shelves then! ARTEK K2 clutch (really really nice kit!), Polini Hi-Speed variatior kit and Polini Kevlar reinforced belt should do the trick! The gearset input bearing sounded pretty bad, so while I had it apart to swap out the bearing I cleaned out the disgusting sludge from the gears And went back to the stock shelf MUCH better! Works damn well, although it's all rather overkill for a stock 49cc, so I may yet chuck a 70 kit and a decent pipe at it in the near future just cause it'd be a waste of a race clutch right? Oh and once again @64vauxhall came through with the goods and did a seat for it a while back Should be all good to go now!
1 point
-
Have put a lot of Ks on the Chandler since my last post, crashed it again being a dick drifting on grass lol, fitted Polini brakes in the front and then did a 70odd K ride in the rain the other weekend for something to do/see how far the 2L tank would get me. The other night I got pulled over finally, I was shitting myself but it turned out they pulled me only because it'd blown the tail light bulb again, the 2 cops loved it! They just said I might want to chuck a baffle in the pipe as it's the loudest 50cc in town hahahaha Snapped the exhaust right after that and rode home with just an open headpipe lol. Couple nights ago I re-welded the exhaust, beefed up the exhaust mount, went to an even bigger main jet, swapped the oil again and also added a ballast resistor to try and keep the lights happy.1 point
-
With all that done it was time to spend a bit of effort on some landscaping as essentially it was just a house on a block of sand. Set out the edging and put down 11 cubes of top soil, Came up pretty good I thought, better than ready lawn and one 10th the price, did a shit load of weed pulling tho, At the same time I built three raised garden beds, 1m x 2.5m.. thought I took pics but seems I either didn't or I didn't.. you can just see one in the above pic, as with the bark I put down..1 point
-
And done...booyah!!!1 point
-
haha, Should see what it looks like now with the final layer!! (will save pics until i have done the other half) I did the last half out of the car. I just wanted to make sure nothing warped for the first few layers. Also. You should see my garage floor under where i do this.. Its like there was a circle of asian men and my trolley was a school girl.1 point
-
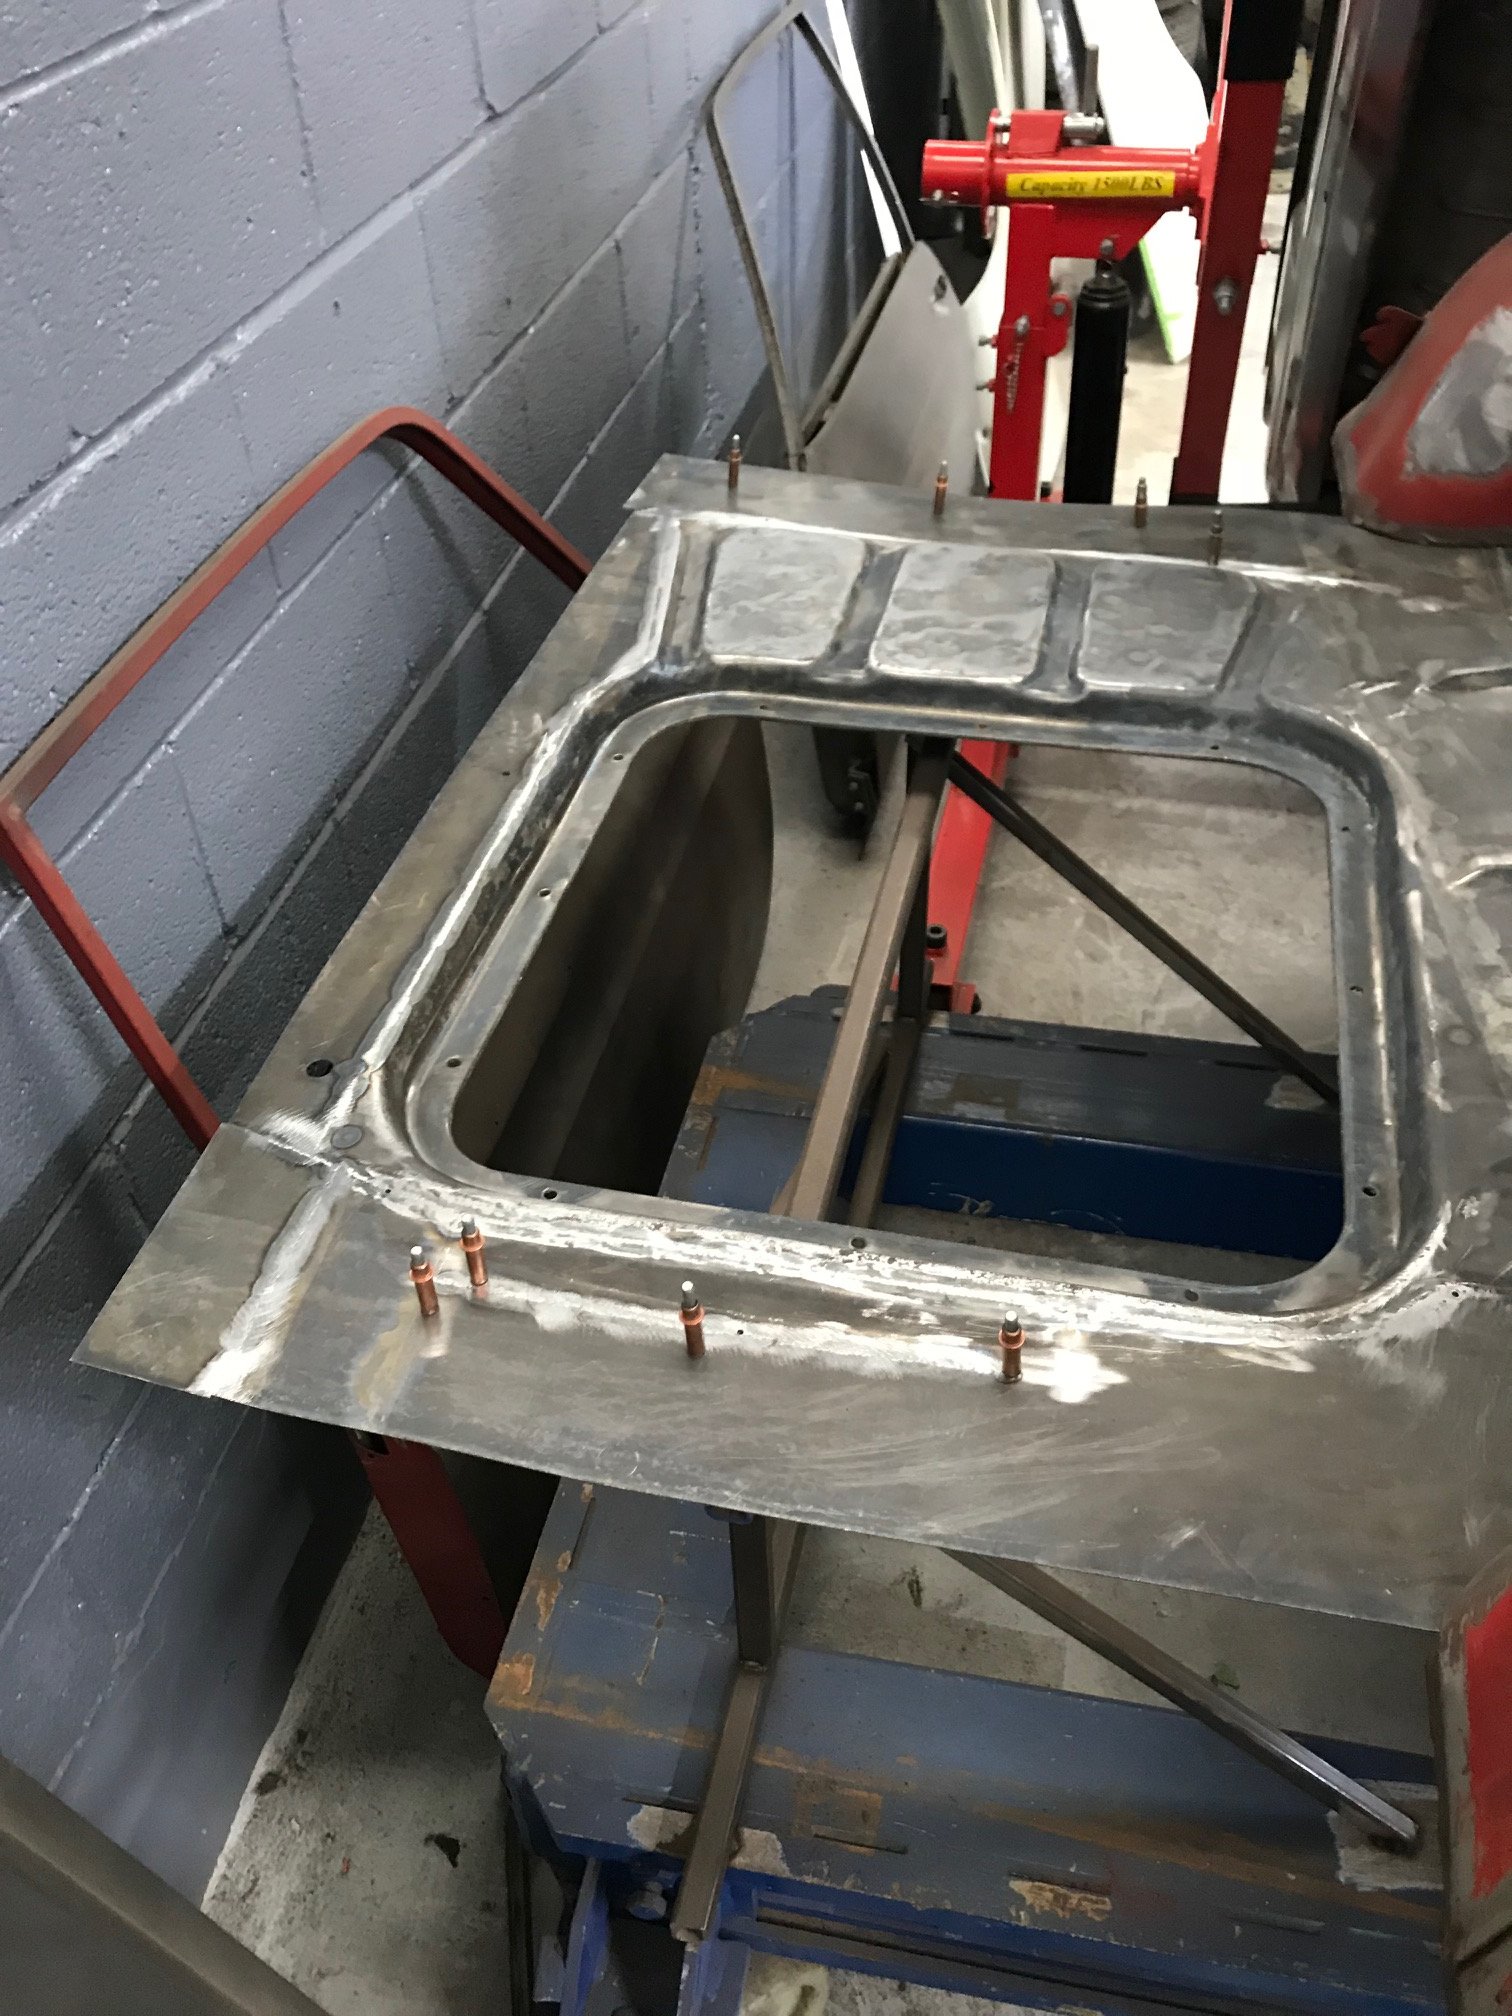
Boot floor going back in. Once finished off on to the rotisserie for blasting before final weld off. Both rear quarters have been file finished and loo superb.
1 point
-
Now some low required1 point
-
Car bodies are actually really shit at carrying electrons despite being metal1 point
-
God I love reading your Mitsi posts.1 point
-
At the risk of hijacking the thread; may I put forward a little welding helmet tip for fellow old school-old farts out there. Yes I know our mothers told us it would make us go blind and yes I know both sound advice and youth is wasted on the young, (I blame the demise of my eyesight on Ellie McPherson's considerable err... um... 'attributes') but a $14 investment (even if it is from the BOC Gestapo) can have you welding as well if not better than 30 years ago. I use a 1.75 lens (while still wearing my reading glasses) and with an average quality auto-dark helmet I can see everything and most importantly have confidence again in the quality of my welds. https://www.boc.co.nz/shop/en/nz/boc-welding-magnification-lens1 point
-
I use one of these and they're amazing. The bigger view is great, especially if you're trying to weld stuff while looking straight down or over the top of something1 point


This leaderboard is set to Auckland/GMT+12:00