
Leaderboard


Popular Content
Showing content with the highest reputation on 05/10/17 in all areas
-
Forgot I had this one ;D In Japan finding Inspration In Japan Finding Parts7 points
-
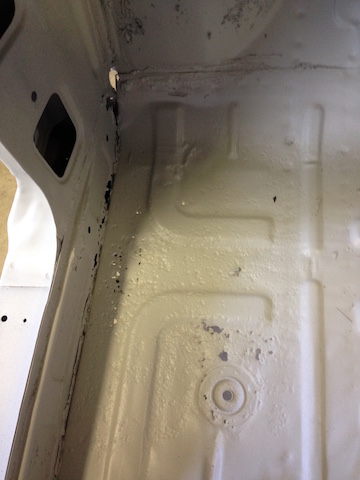
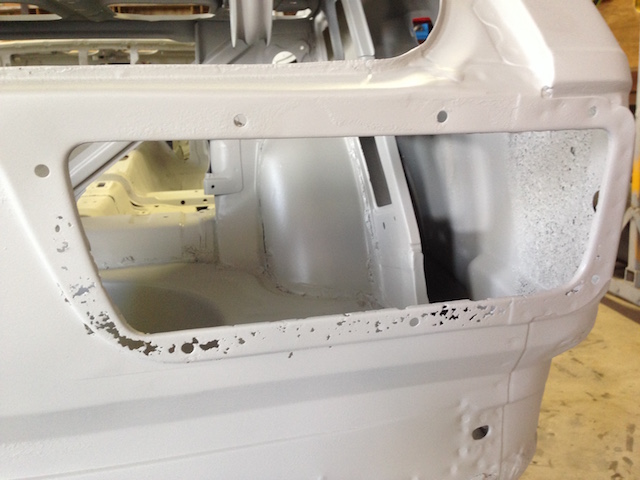
Ah, the culprit to all of the roof woes!! I wondered what the knife marks were around the fuel cap, the roof use to have one of those vinyl covers on top of it. I haven't ever seen one of those come out good after 30 years. they all have a mountain of orange metal under them. I was about to start the front cowl but underneath it was a rusty river so it all has to come off. I drilled these welds out with a drill but have gone and bought a spot drill bit online as I guess it is good to do things properly! I shall resume with the cowl removal on Friday. As you can see, good I removed these. rusty as, and would hate to think how much is under other panels like this. I finished off some more of the body, overall quite happy with the rear end, a couple of dents but all very easy fixes and over it's very straight so that's a bonus. Duscussion: //oldschool.co.nz/index.php?/topic/56136-pbaines-1977-toyota-corolla-ke30/6 points
-
i drive this to work every day and its the only car i have access to at the moment. no issues to report other than an idle issue that needs some tweaking in the program to sort out and it nearly went up in flames. 2017-05-10_06-31-41 by sheepers, on Flickr stock toyota headlight wiring. toyota have a relay for the power feeds to the headlights from factory. BUT they switch the negative for high and low beam so the full current still goes through the switch. i would recommend fitting a relay to switch the negative if you're still running stock toyota wiring. the factory wiring will let you down eventually and it ain't pretty when it happens.4 points
-
Come on bro.. it's not the movies.4 points
-
Ordered some wheels, 2 turned up today. 15x8 for the rear, 15x6 for the front. Probably paint them either a pale gold, body colour, or cream/white
 4 points
 -
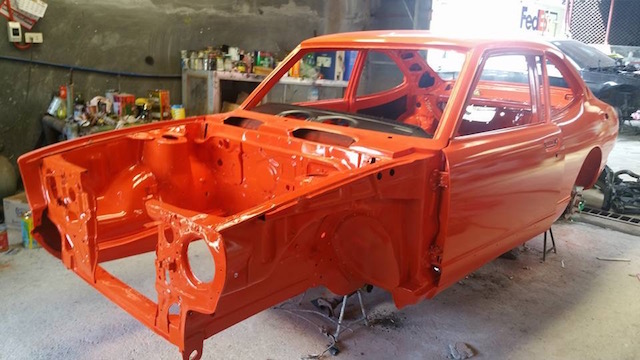
Before After This has been a long drawn out job, only in my spare time. Will be loosing this workshop soon so needed to get the paint on it before winter. Bought a Iwata gun for the final coat, instead of the $150 gun i used for the primer. Just didnt want the risk of it going on bad, glad i did, but prob could have done ok with the cheap gun too. Now it turns into a assembly job, which is going to be prob as much work as the panel and paint, in that its never really been assembled before, so its going to be like a jigsaw puzzle, without the box, and grey side up!3 points
-
Aiming for something similar to these except not sure about hubcaps, probably get some push in caps spun up
3 points
-
Nearly done the transmission tunnel. This piece of the firewall has always annoyed me by how it isn't symmetrical, so cut it out and fixed that. Just need to do something with the little hole on either side where the tunnel, floor and firewall meet. Also built the fuel tank. Drew it up in Solidworks and then lasercut it. Added a couple of baffles that located and slotted into the top. Here it's fully welded, will give it a polish or something one day. The big flange is for the pump, the smaller one is for a sender unit and the small holes are for the return line and breather. I think it's just under 60 litres. Now to figure out how to mount it.3 points
-
Some better pics.
3 points
-
one of the reasons i put 17s on it was so i could run bigger brakes. i had to make some brackets (well, Neil at Whiters made them for me because he's a super GC) to get them to fit and it all went together perfectly. they are a Yellow Speed kit designed for a V spec R33 GTR - 330 dia x 32 thick with a 6 piston caliper. they arent bedded in properly yet but sweet baby jebus do they stop you in a hurry. i used a G meter to calibrate the difference between before and after and the calculations came out at 2 billion percent better. pictures of things. 2017-02-25_05-17-32 by sheepers, on Flickr 2017-02-25_04-36-53 by sheepers, on Flickr 2017-02-25_04-36-41 by sheepers, on Flickr 2017-02-25_04-36-28 by sheepers, on Flickr3 points
-
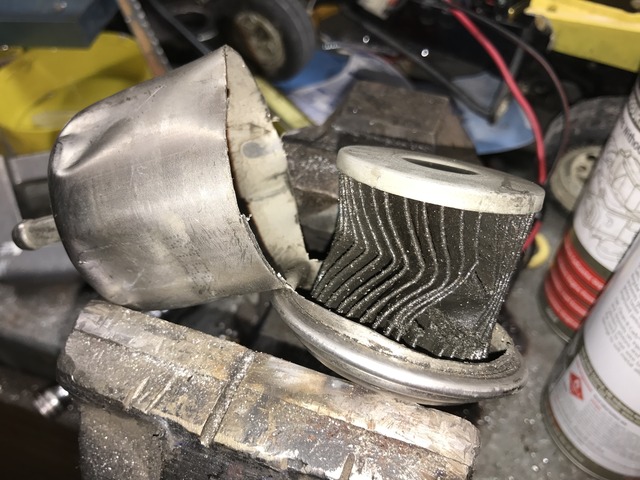
New filter in and now its running much better, not leaning out but its now bucketing in fuel, so need to sort out SAFC wiring. When I took the filter out I blew fuel through both ways and a lot came through so I thought I needed to get back to the drawing board. To confirm I cut it open, holy fckn fck.... I didn't think to change it because it looked brand new, it looks like it was actually old and already on edge clogged. Lesson learnt though. I bought two new filters so I can change it again after some km's.
2 points
-
i leave for work at about 5.30- 5.40 so they aint gonna bother me weekdays. and tbh im usually awake by 7.30 on the weekends anyway so i think we'll be right. the wife leave early too so no drama there. its taken so long to get to the actual construction phase of this that i would love to be woken by builders turning up on site on a saturday or sunday. it would be music to my ears.2 points
-
well then. when i got home from work some vandals had tied string all over the place. i tried to shoo them away but they just laughed and said they would be back tomorrow!! and not only that! they said that on Thursday they were going to dig holes and then fill them up with concrete!! 2017-05-09_05-08-25 by sheepers, on Flickr 2017-05-09_05-08-39 by sheepers, on Flickr2 points
-
Have been pretty quiet on the build thread front. Got the 18rgeu engine fitted and driving well before using it for my wedding car. ran awesomely all day and looked great! once the wedding was over i started on the supercharger side of things. the factory air con bracket with some chopping pretty much fits perfectly up to the blower and ill make the top mount after all the piping is done. spent today getting all the pipe work sorted and its now ready to weld up, just need to find someone to do it! space is at an absolute premium, so have been taking my time planning the whole setup out. there's not alot left to do, but im not looking forward to wiring in the ecu again. notes - the center silicone joiner isn't the right size, just sitting there to show what i plan, ill pick up a 63mm joiner with the bubble thingy in the middle to provide flexibility in the system and that pipe under the blower/inlet is just scrap metal helping support the whole lot for the pic disussion thead - //oldschool.co.nz/index.php?/topic/30375-flibois-1971-toyota-corona/&page=82 points
-
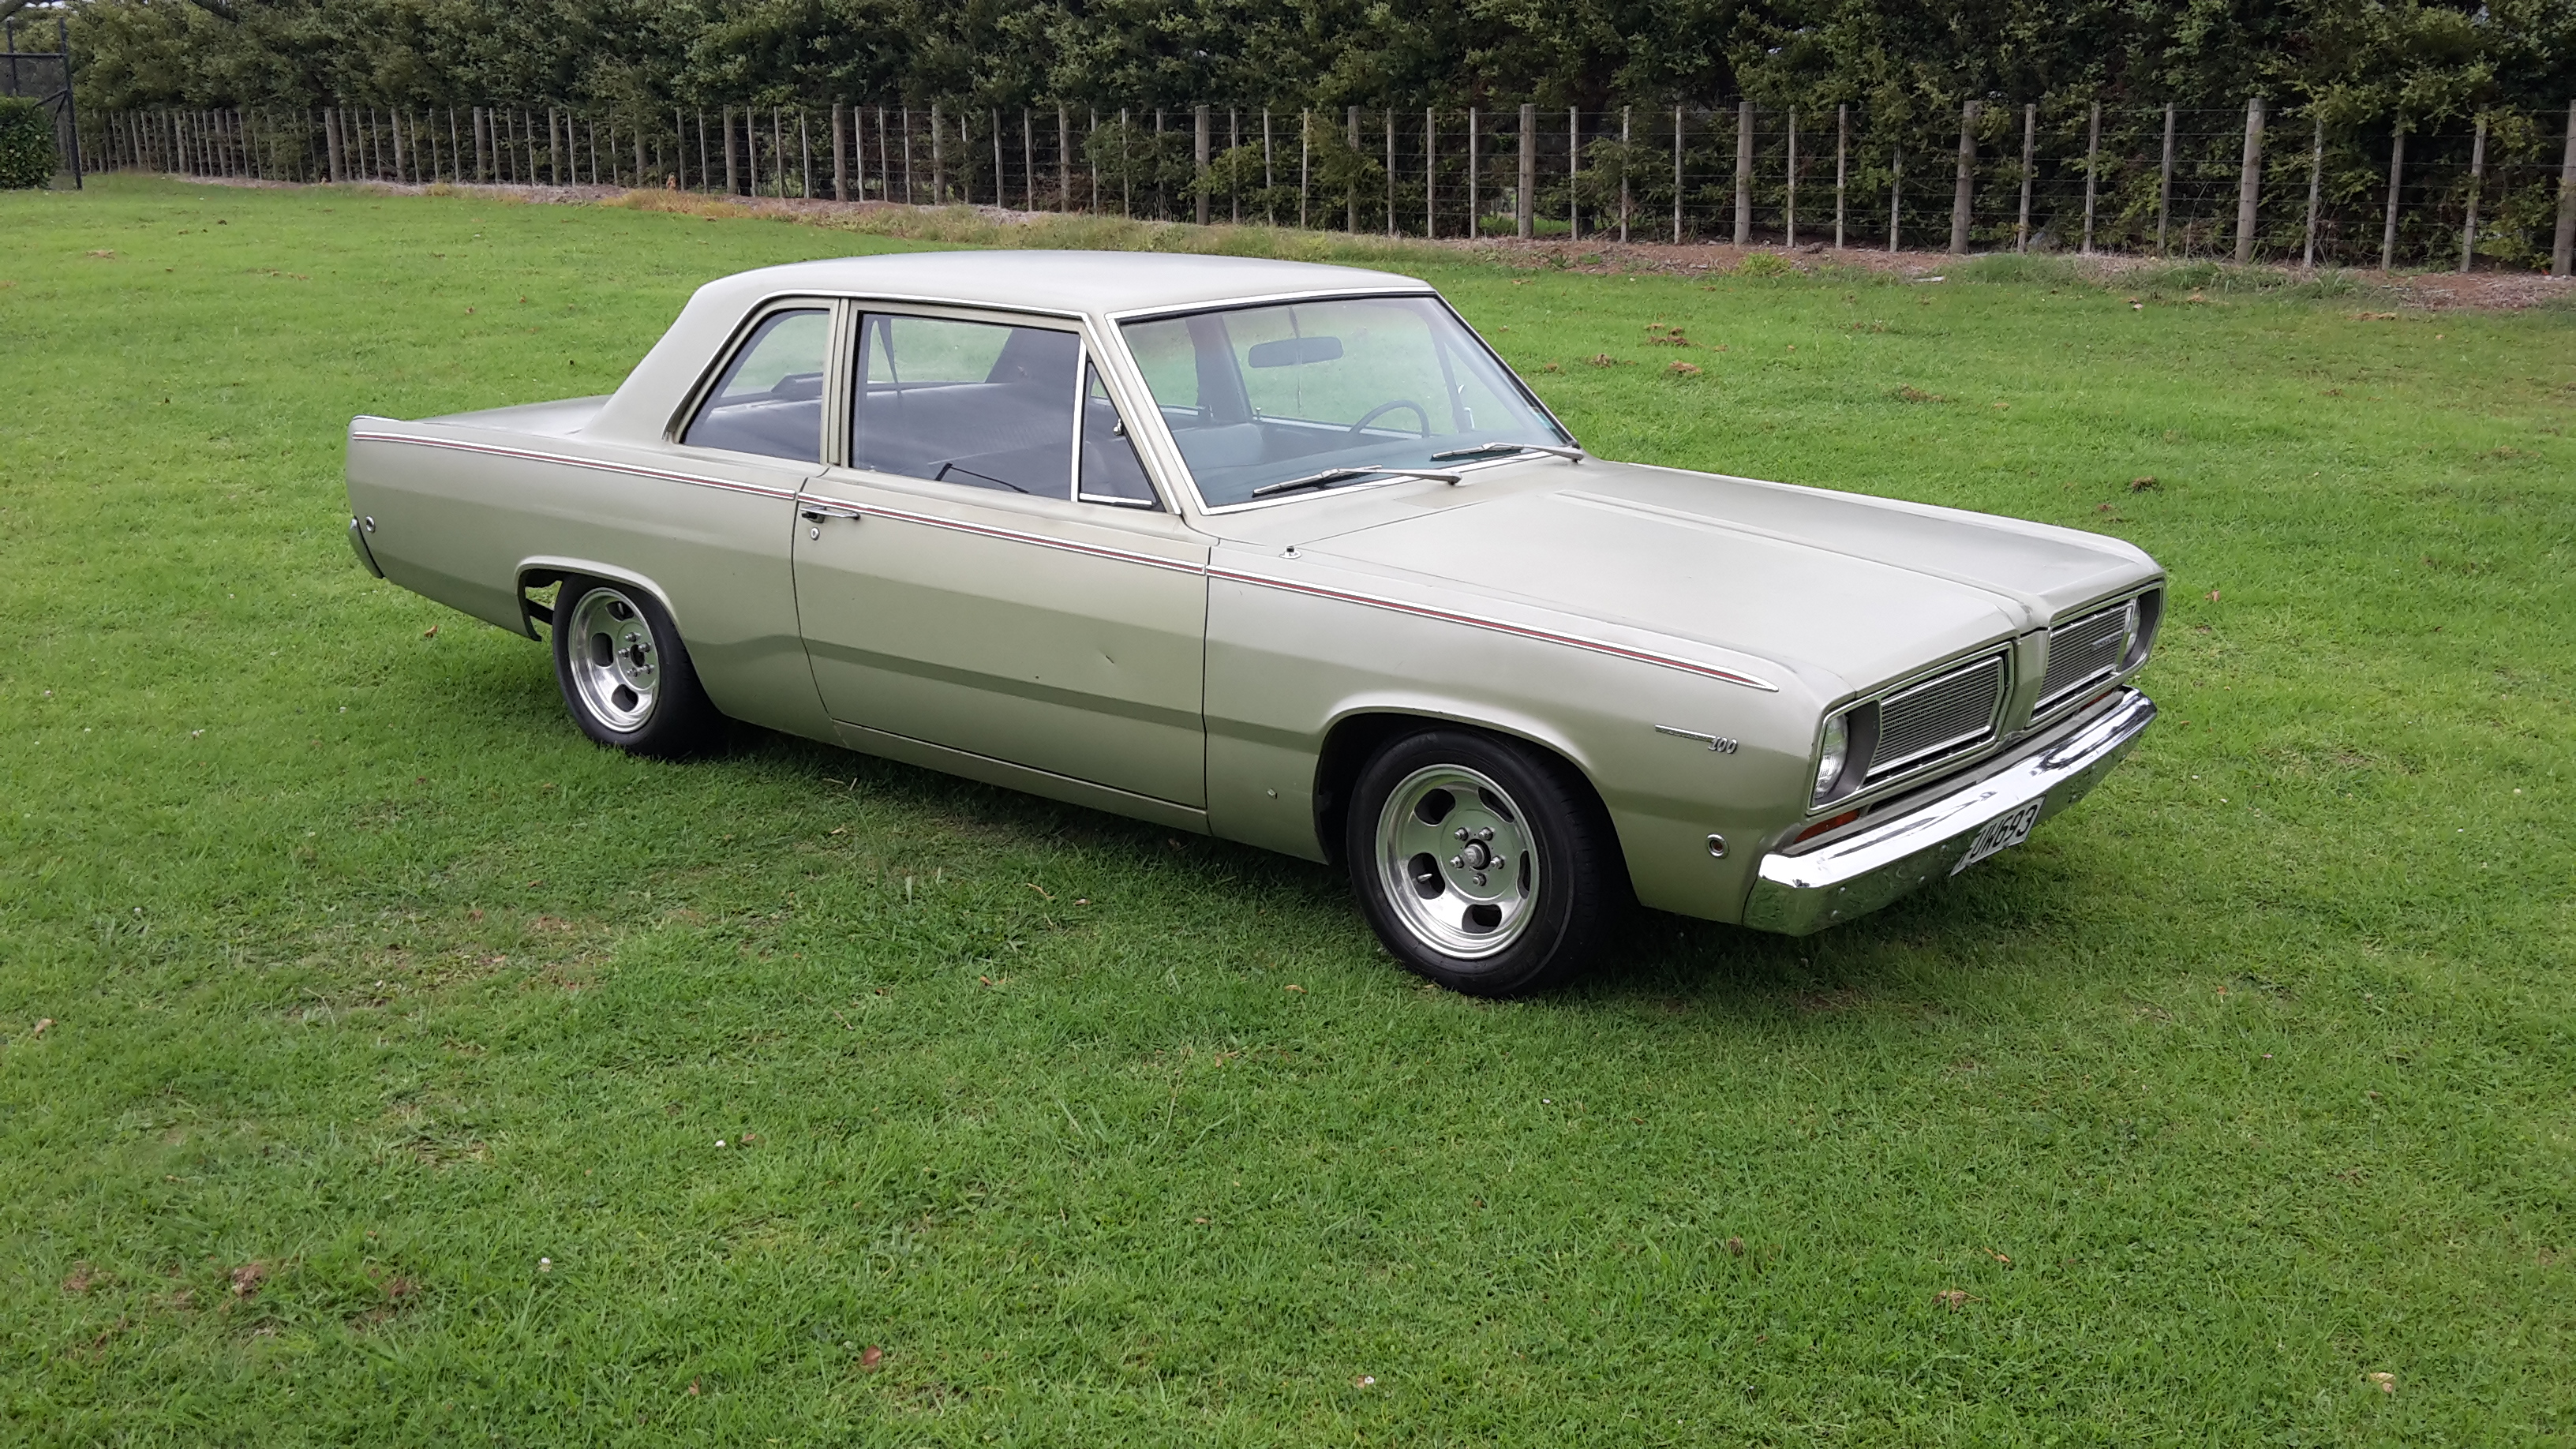
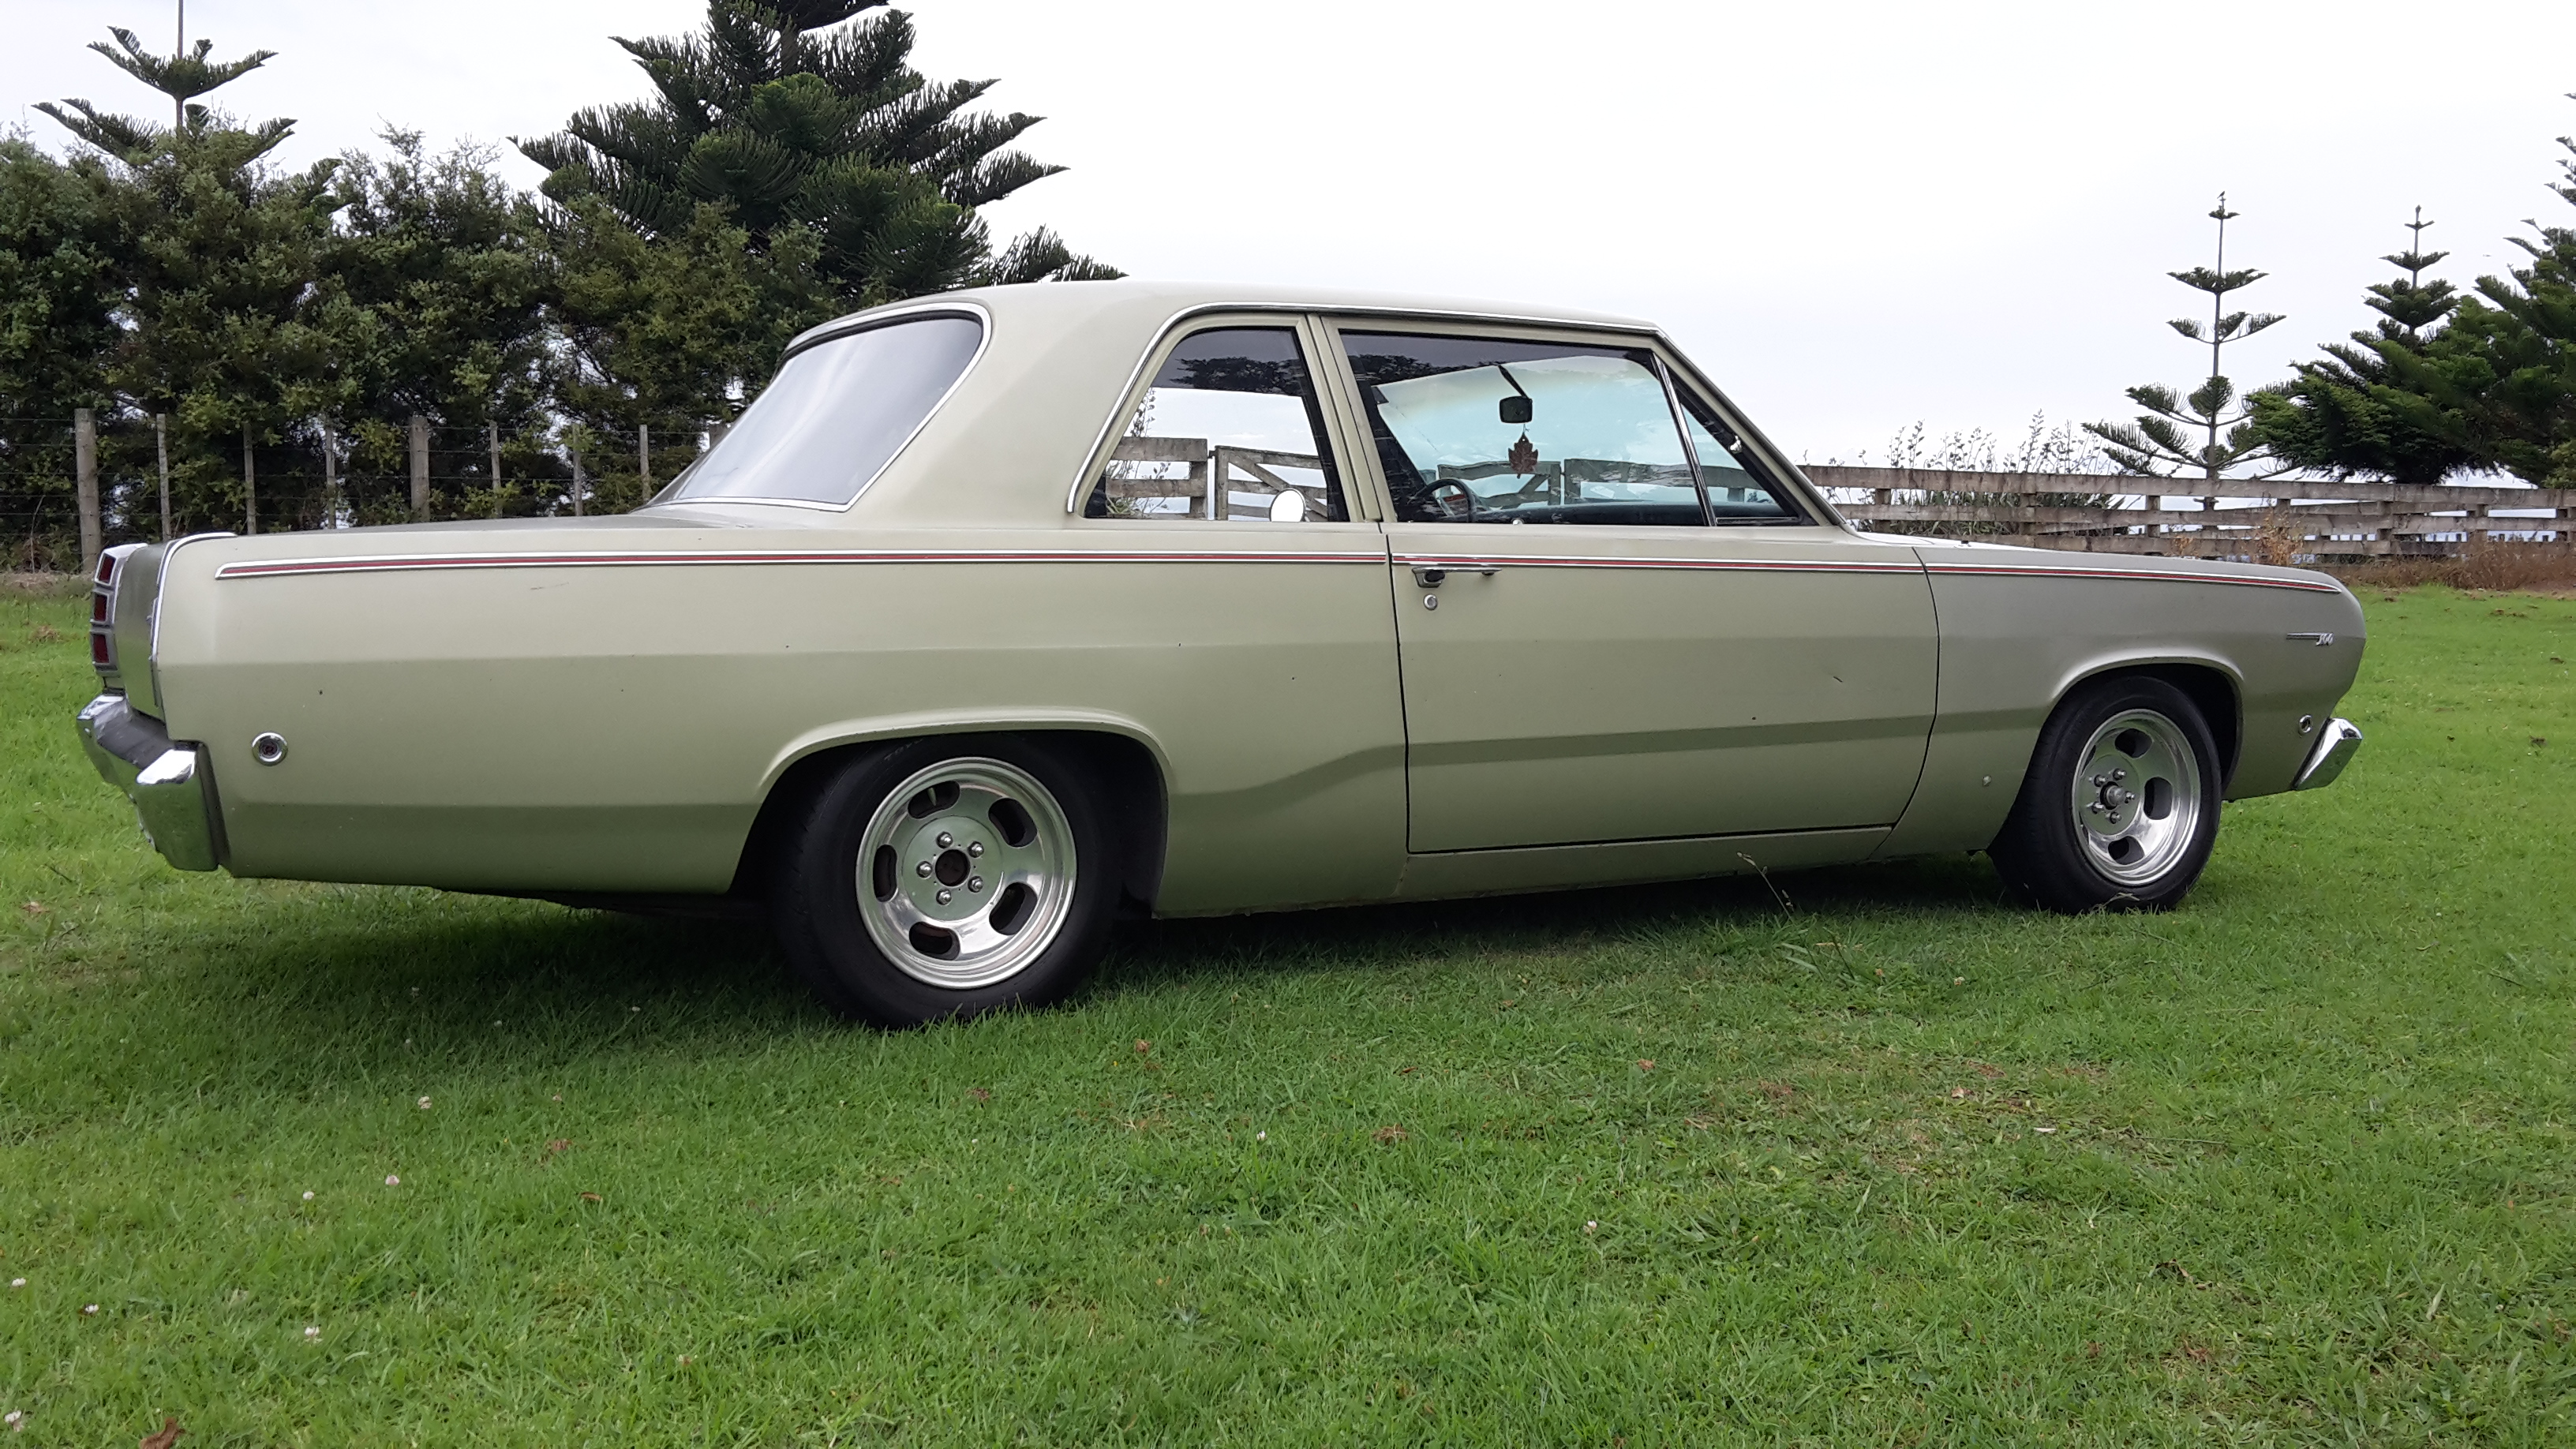
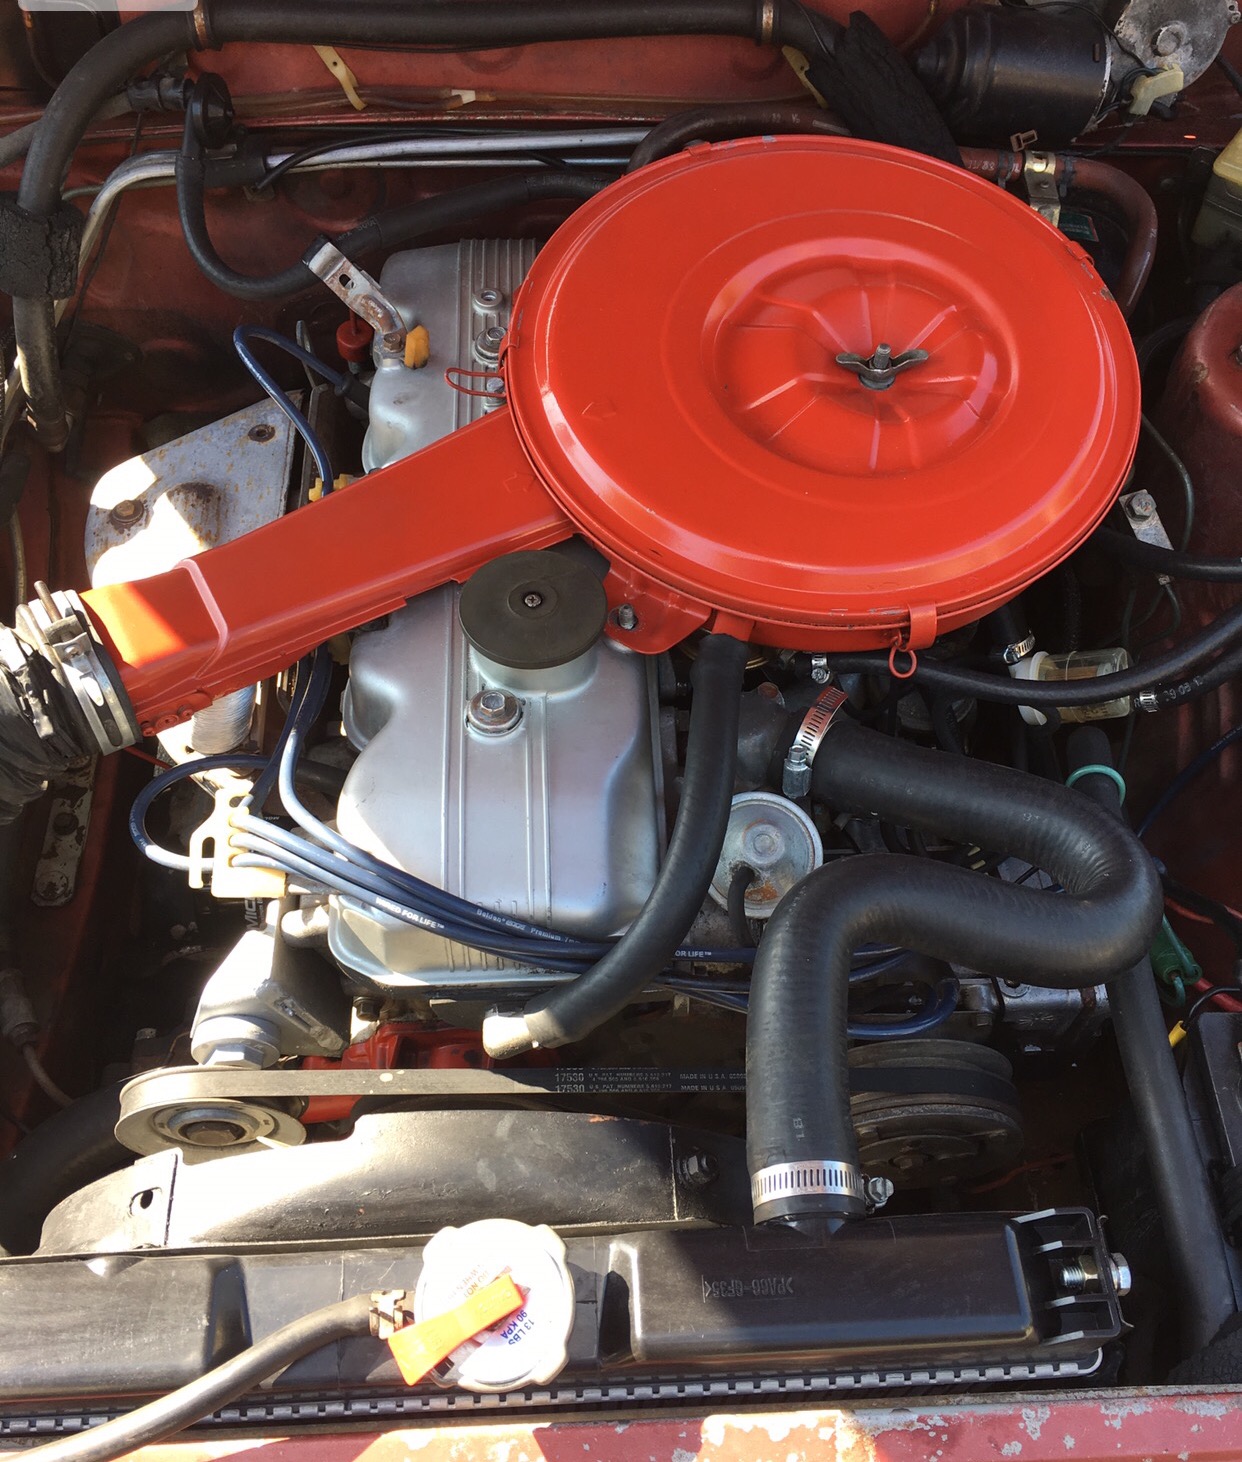
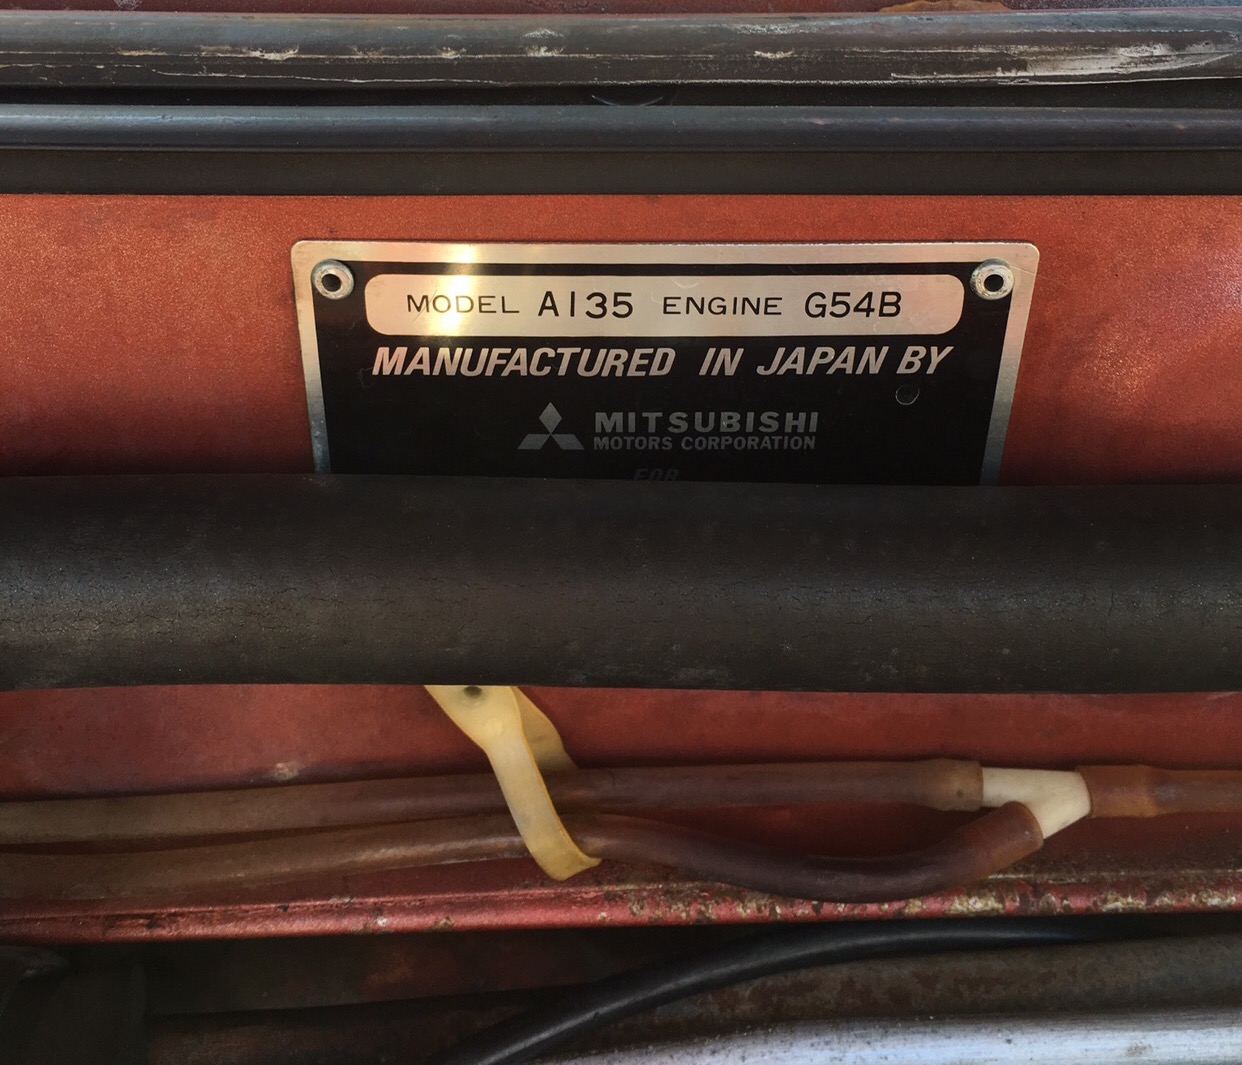
Registered as a Dodge Colt. See the tag in the pic as well. I wanted to be positive about the springs because every forum that I've dug around on shows different thoughts about it. You all obviously have been tooling around on these for some time so I'd rather hear what you guys have found to be the best...other than cutting springs. I just finished primering her today so I've got time before I get to lowering her. Next is finding a replacement 3-speed auto since I only have one speed and reverse right now.
2 points
-
Love a good cutaway drawing. Correct colour too!2 points
-
Thanks to the guys with the offers for help! I gave the calipers another clear coat and they are finally coming right - will give them a bake soon too. When I bought the Dupli Color paint, I didn't want silver, but a darker grey, so I got a high heat paint with the dark grey top, not caliper paint. But they still came out more silver like........went to get another can for the rears and discovered they have recently changed the colour of the lid to a light grey for the same paint because they knew it was a misrepresentation - thanks dicks! Anyway.....teaser pic of very cool things to come........Recaro seat custom skinned ala TE27
2 points
-
Try to lock him in a British Leyland sharn. Eventually he will glaze over and make an exit, never to return. In keeping with my record this year, I will not be able to attend this meet due to being elsewhere. 5/5 fail.2 points
-
So nearly four years after mentioning it and well over four years after coming up with the idea. Here it is! FINISHED! I took it for a quick ride up the road, it feels awesome, taught, light, and responsive. I'll take some better photos of it in the sun over the weekend. *Pine*2 points
-
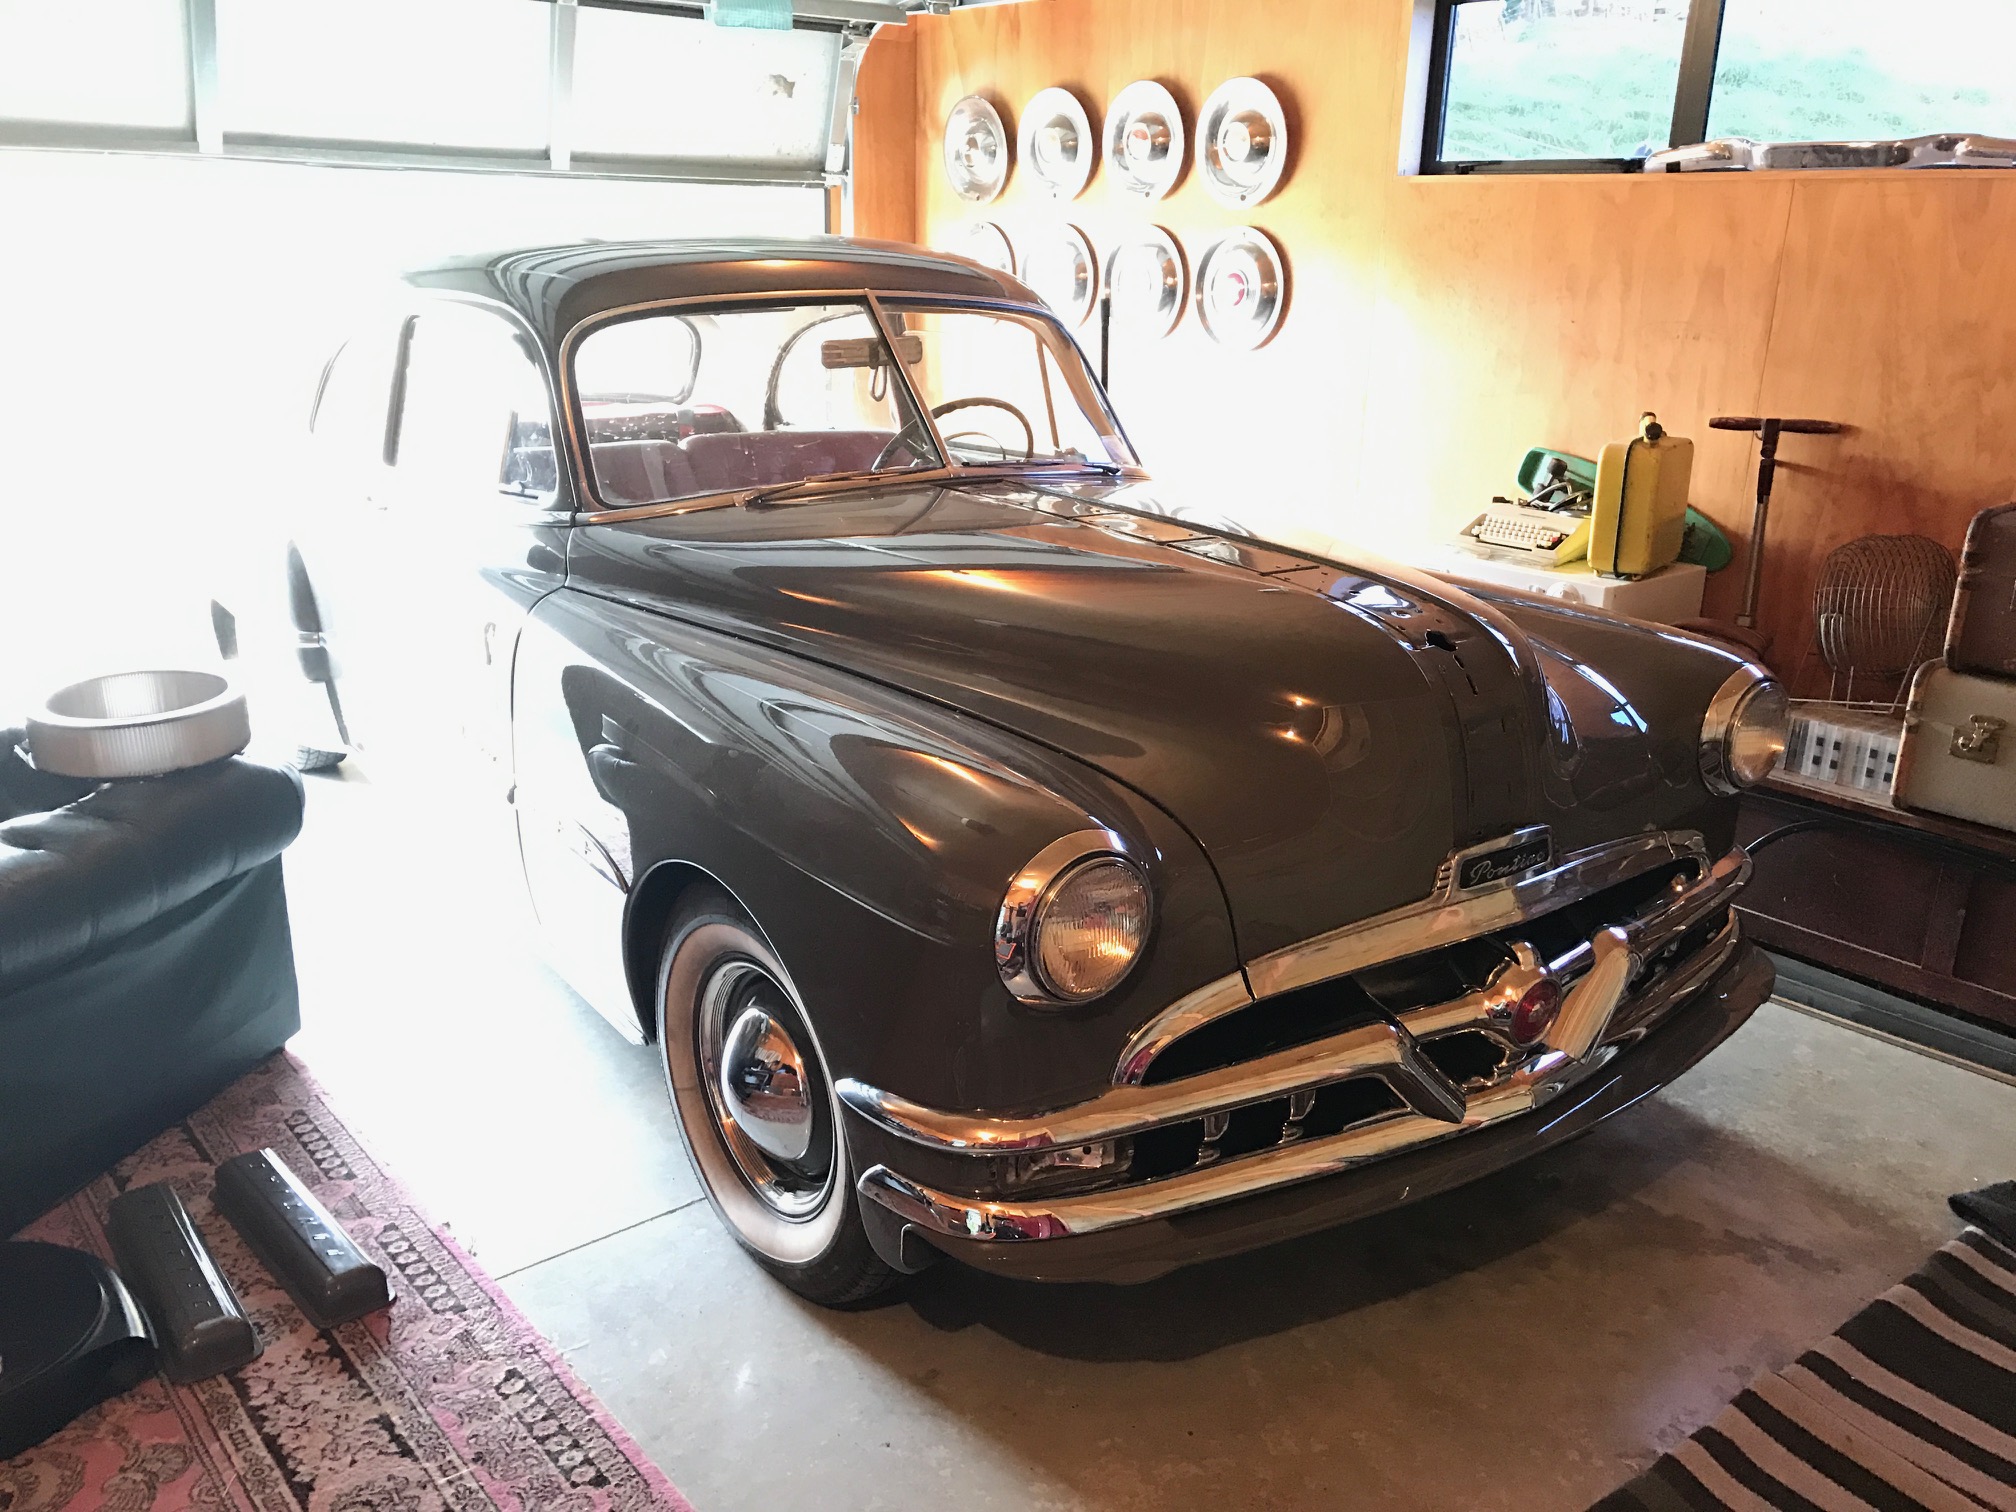
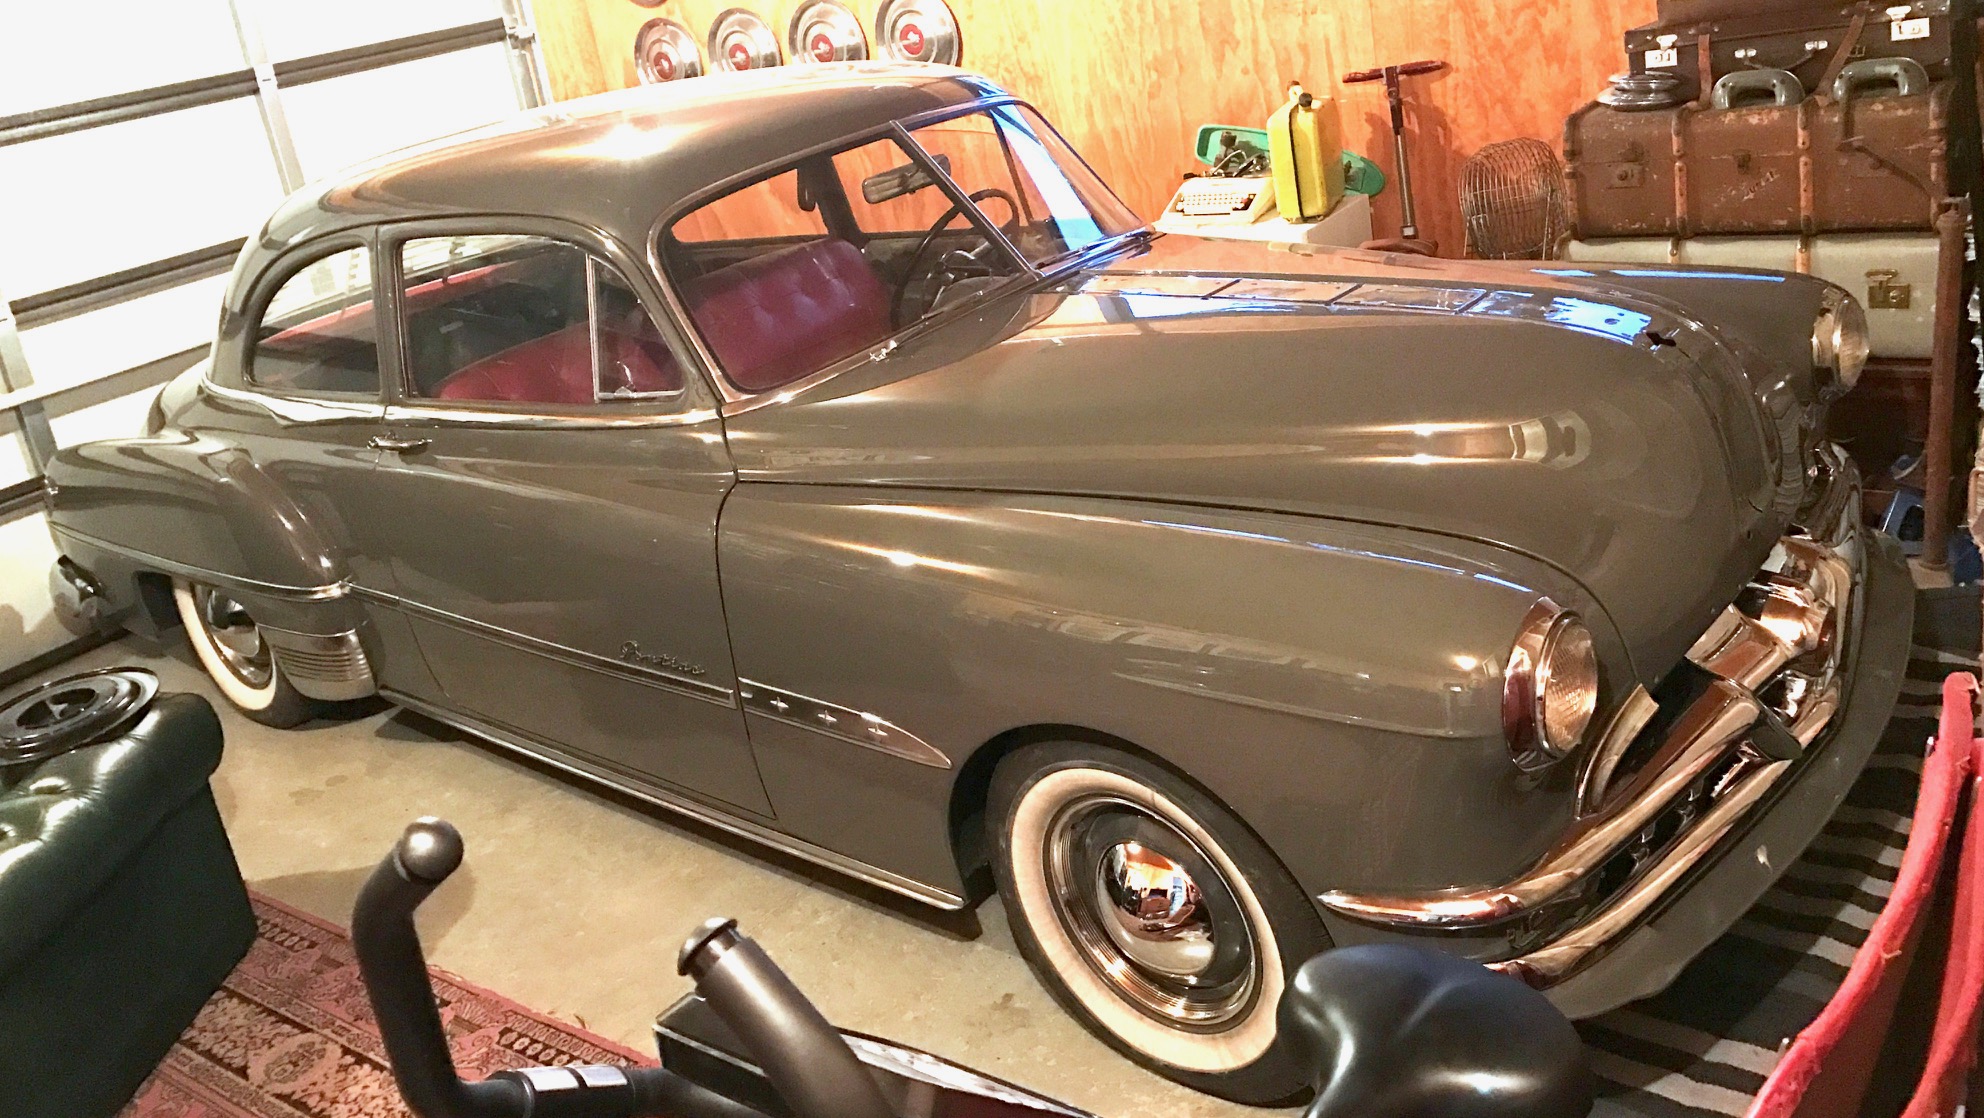
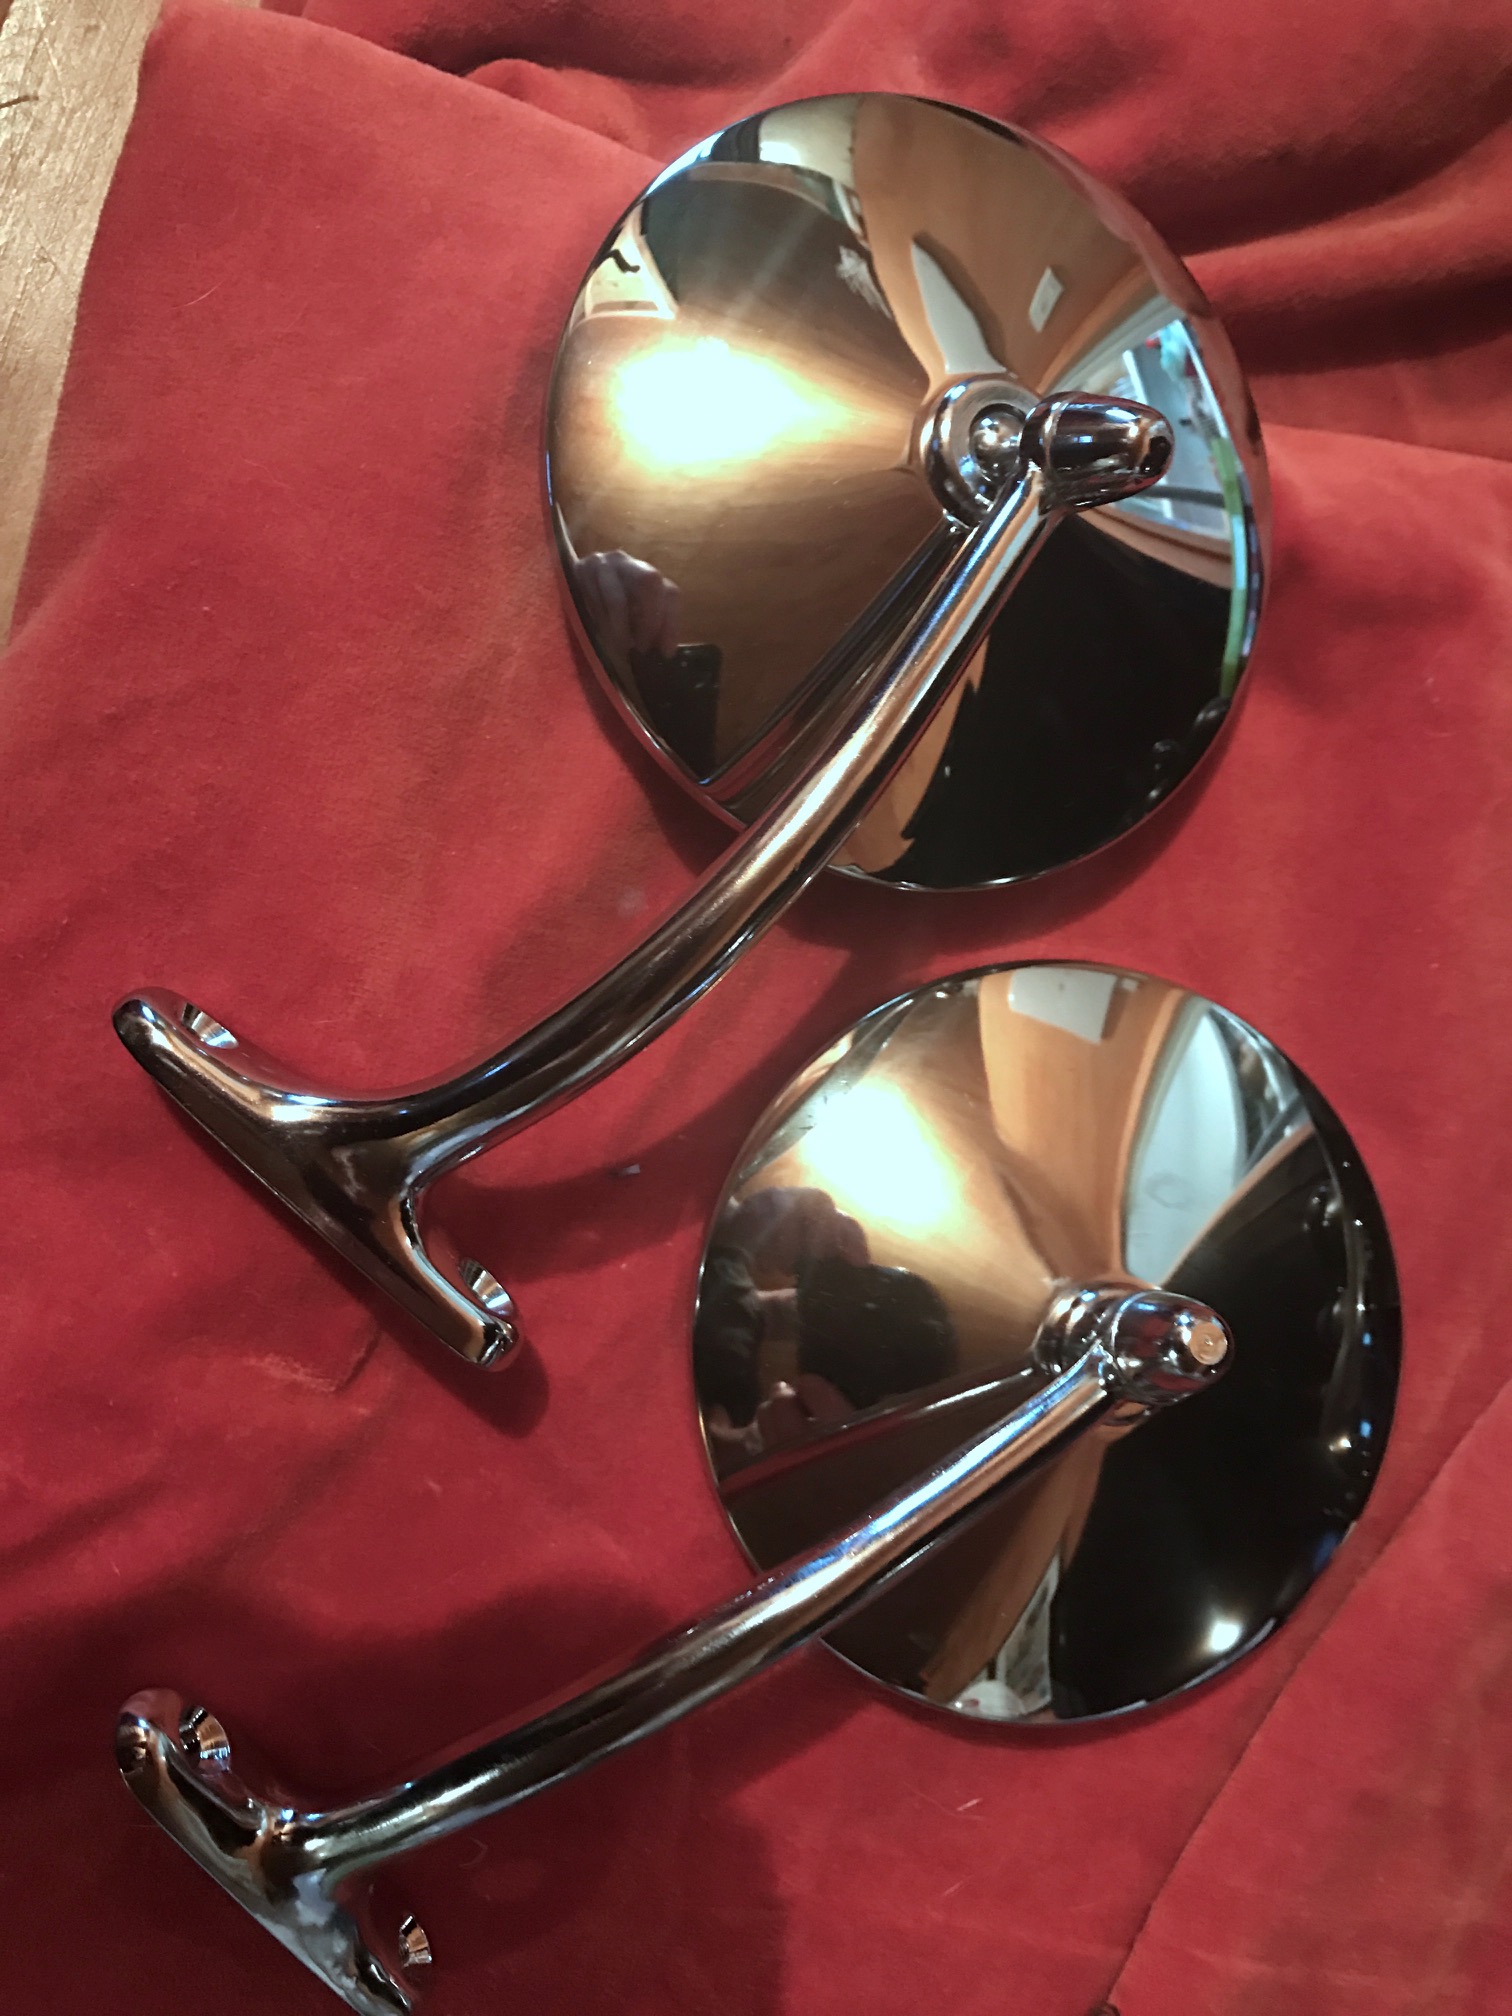
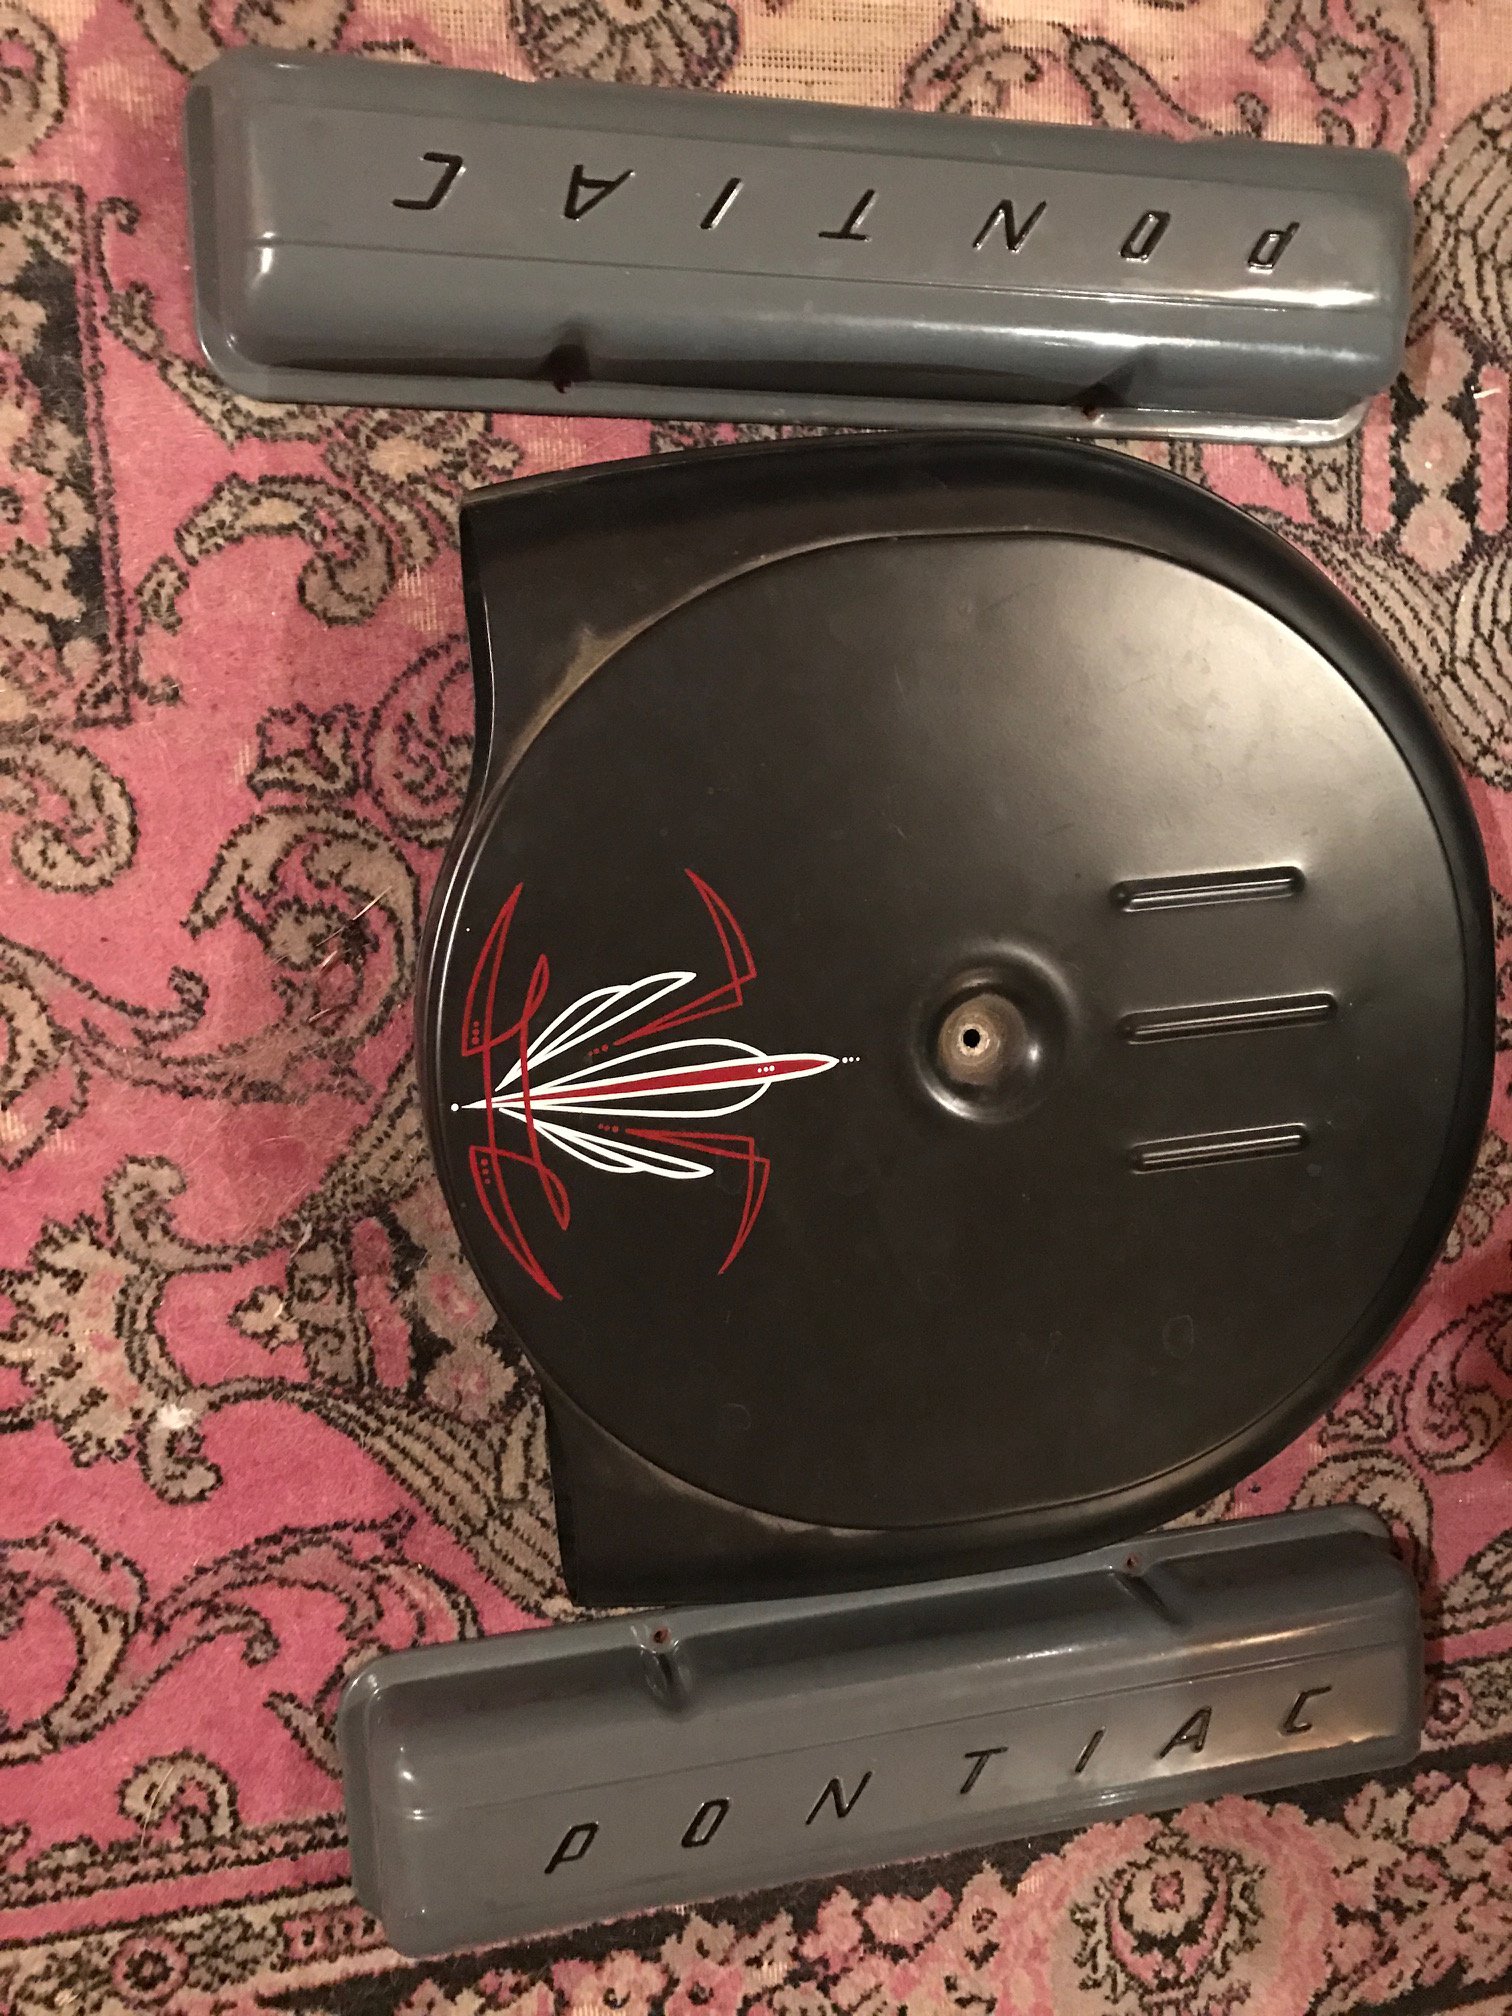
Busy as with work but still chipping away/hurting the credit card when I can. Bomba aka Kenny and Nick kindly came around and helped get the grill in place. Was recommended to do it without masking tape being fresh paint and all, which I thought was going to be a pain but went into place pretty easy. Every bit of chrome and stainless going back on makes such a difference and there's still heaps to go. Pulled apart side mirrors to get chromed and new glass cut but on closer inspection they weren't original so wasn't worth the expense. Hit eBay for some repro King Bee mirrors which are nicer and cheaper in the long run anyway. Dusted off some engine dress up bits which have been patiently waiting on the shelf and drained the stale gas out of the tank. And that's about it. Waiting on my stainless for the hood and trunk and skirts which are getting paint where applicable, then will get visor and mirrors mounted. My tyres are still annoying me too. They're about 3/4" - 1" too thin on the whitewall for the look I want. Which is going to be an annoyingly expensive fix but it's going to keep bothering me. So let me know if anyone is in the market for some near new 205/75r15 Coker radials. //oldschool.co.nz/index.php?/topic/53947-shifters-51-pontiac-chieftain-talky-stuff/
2 points
-
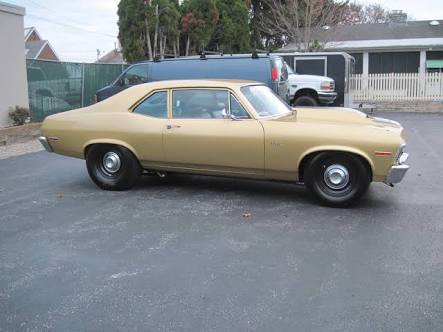
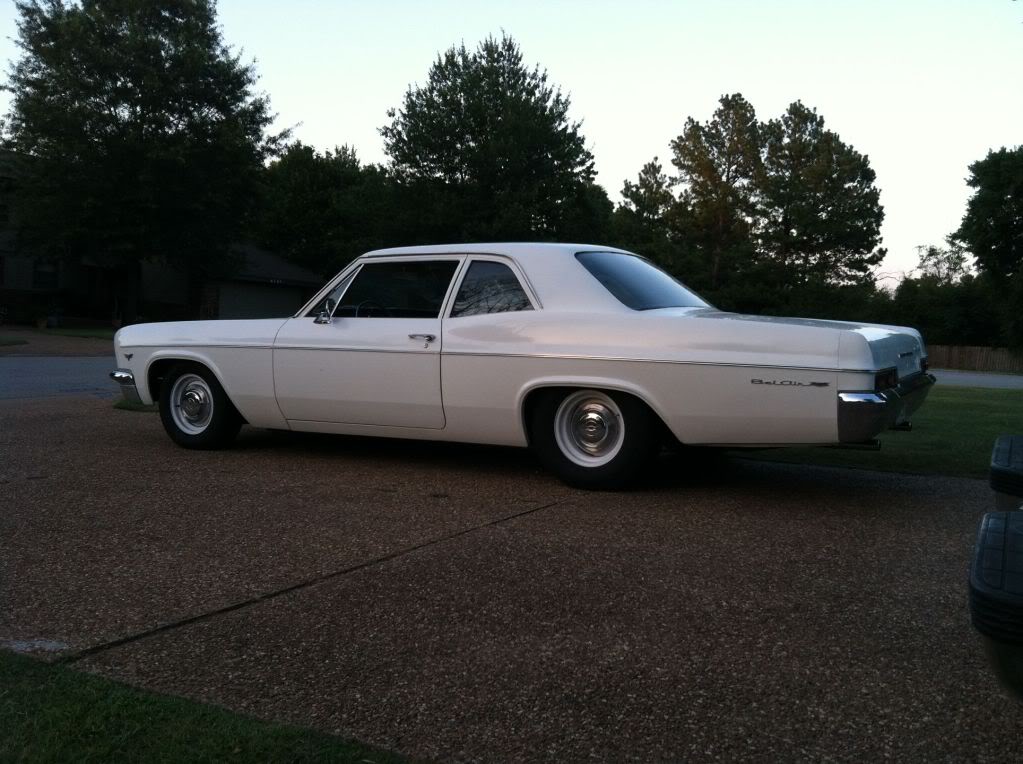
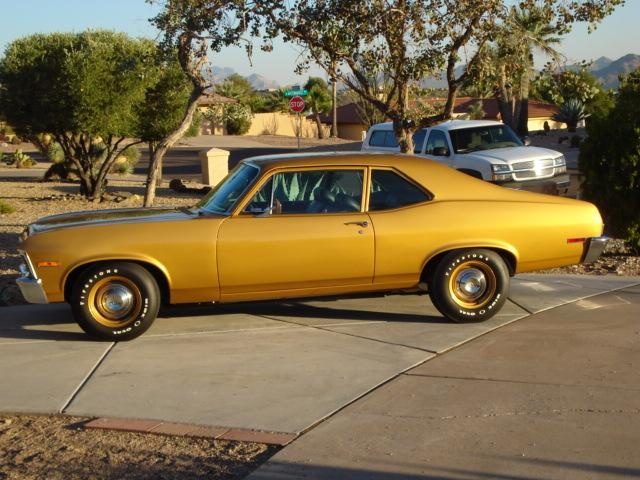
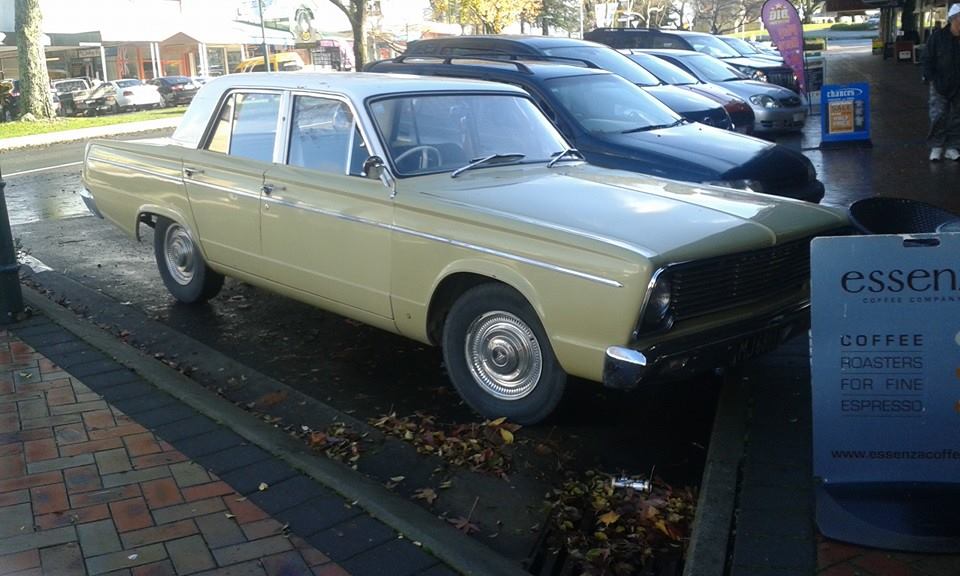
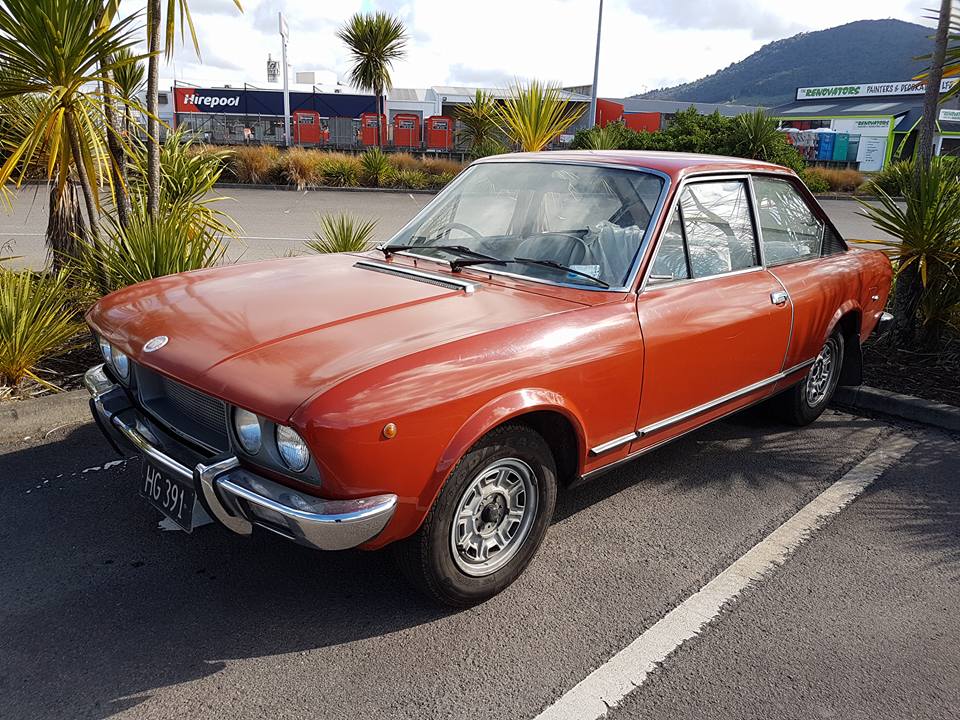
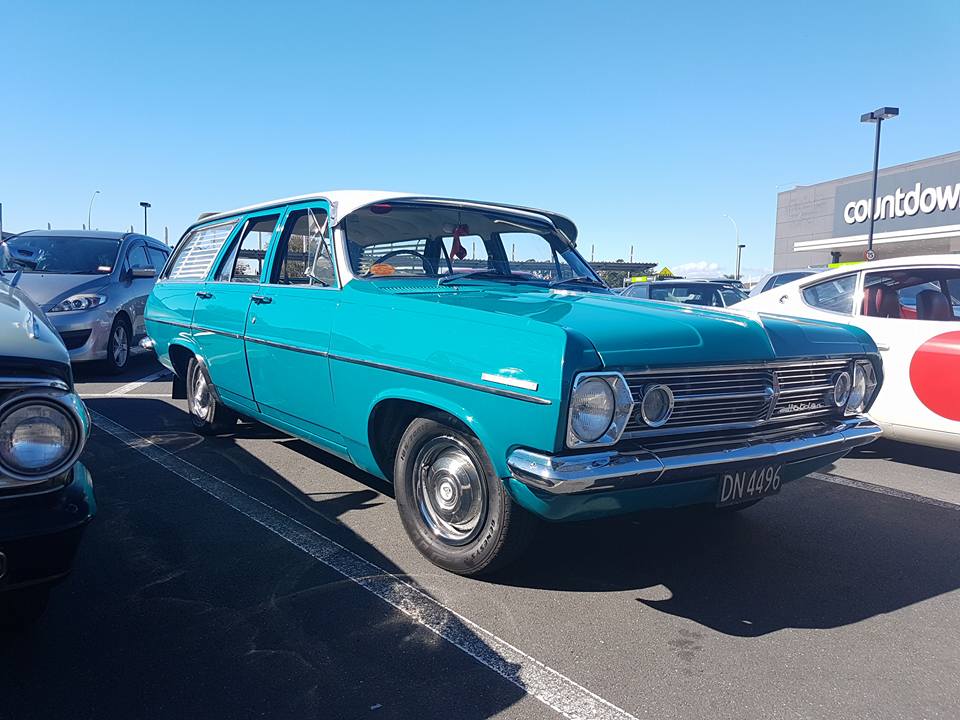
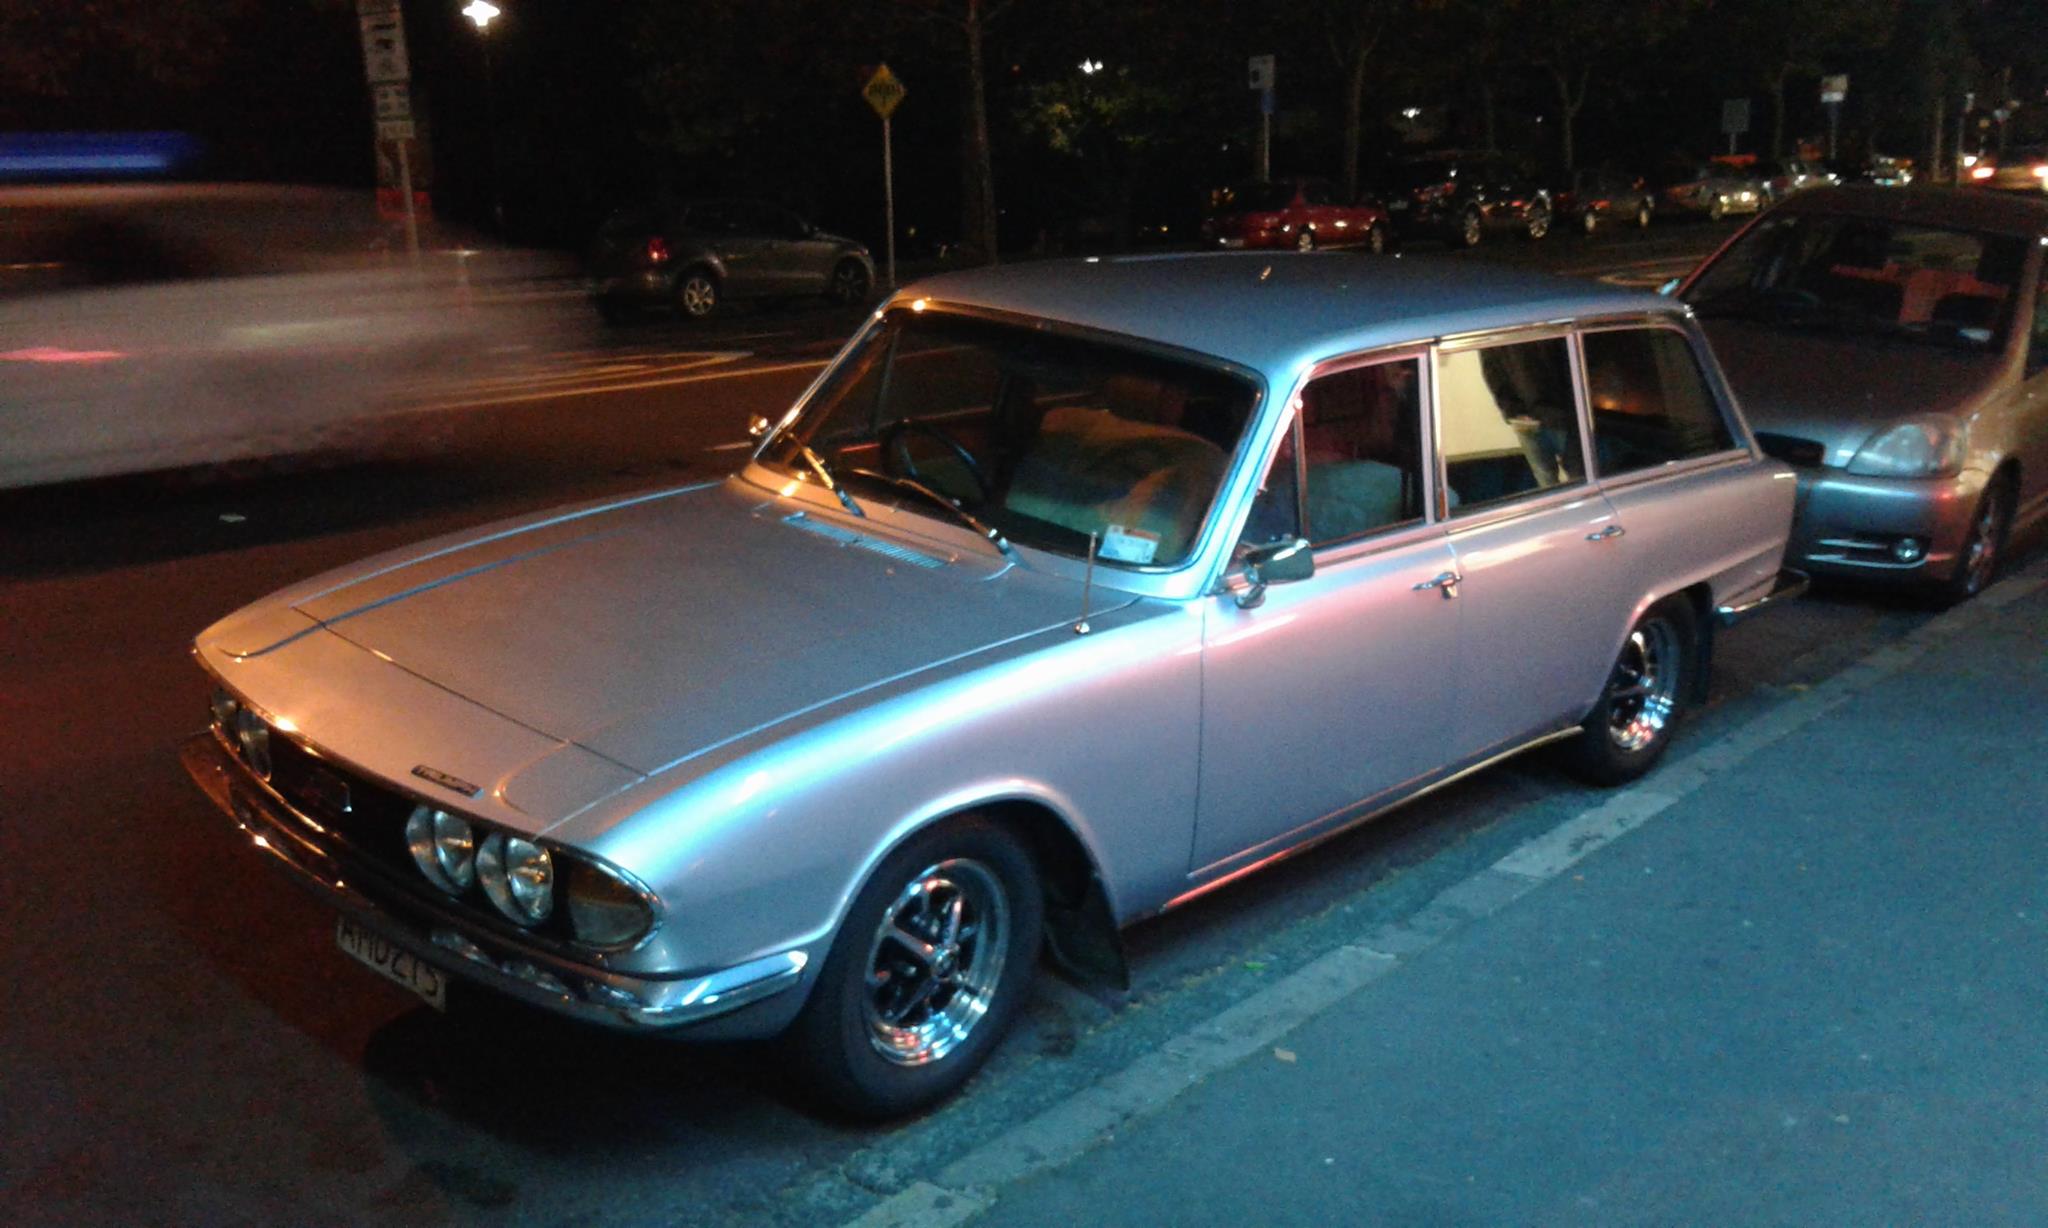
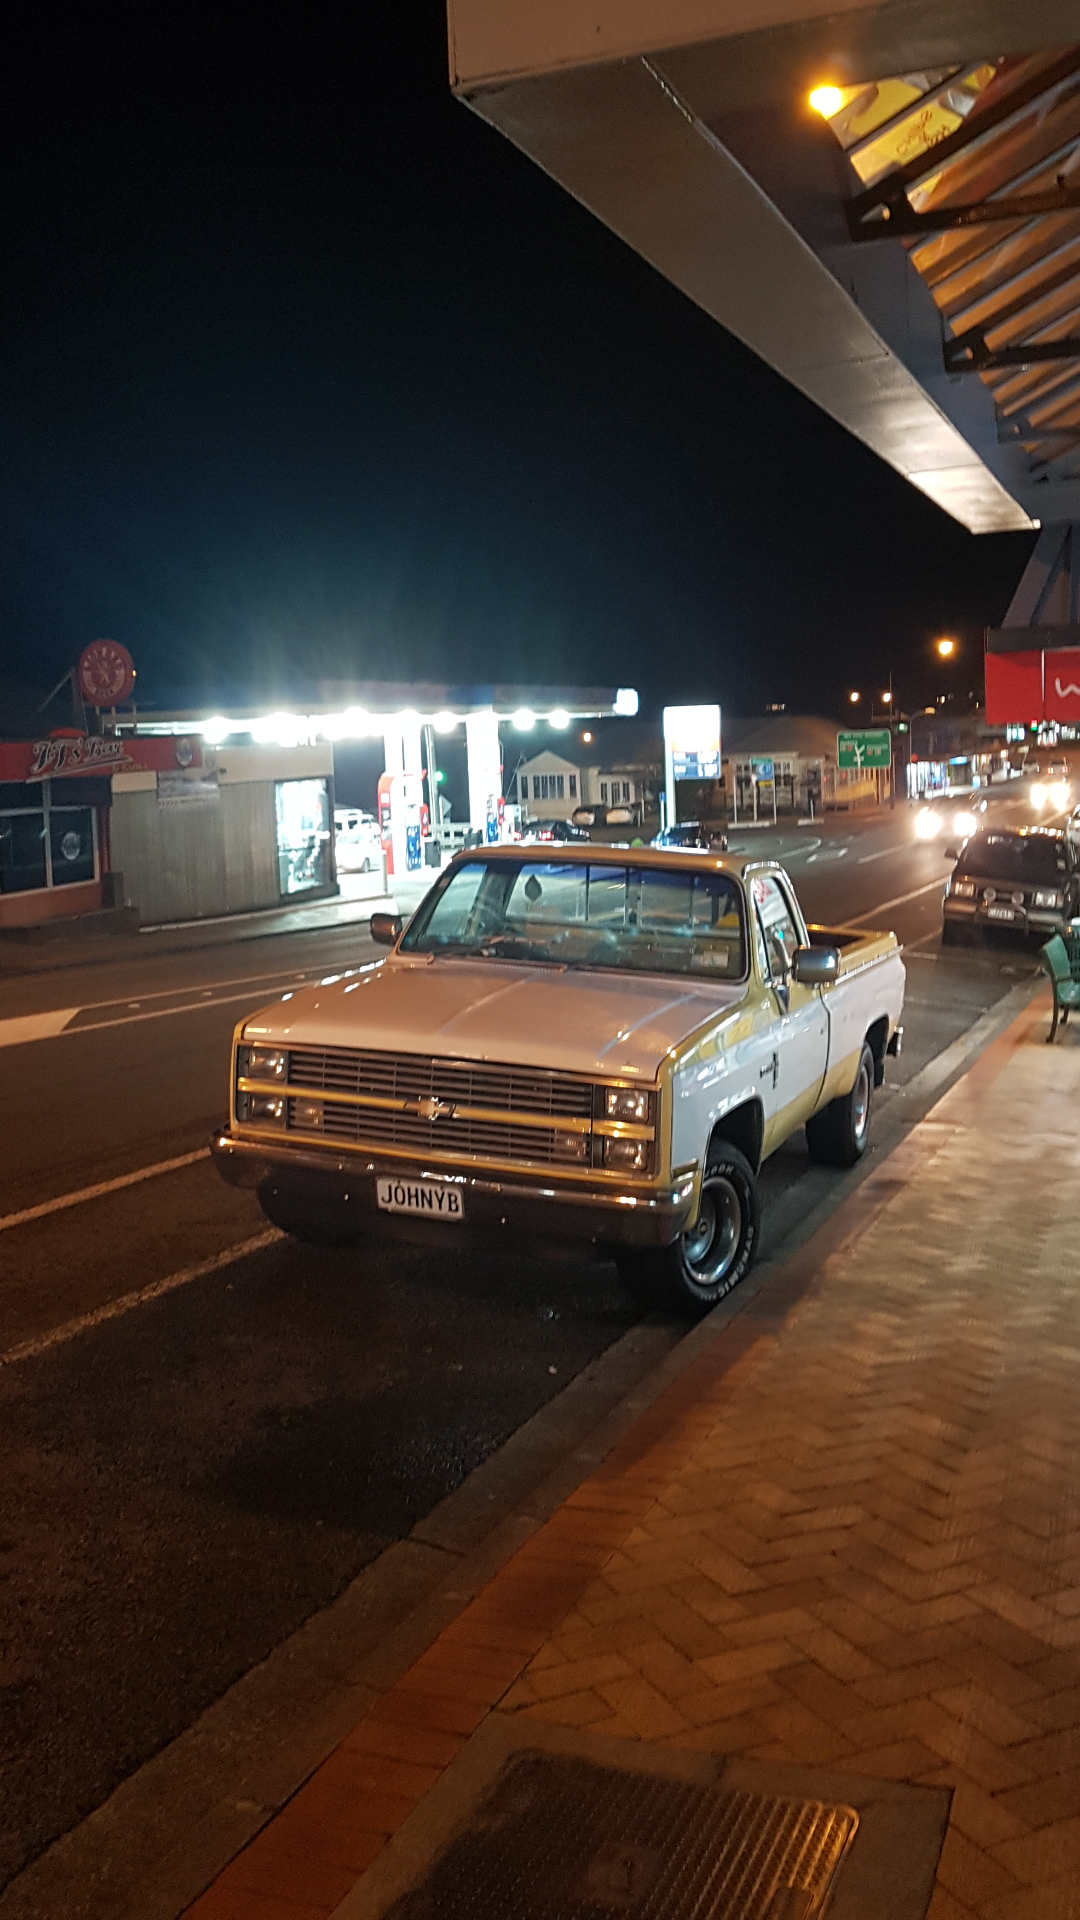
**EDIT** - We've since found something elsewhere. Thanks! Hello! We're filming a music video for a new artist this Friday night (12th May) in Ellerslie, Auckland, and are looking for a car we can film in for the night. - It'll be parked on an off-road driveway, stationary, and it will be 'rained' on...whether by real rain or a sprinkler is up to the weather gods on the day. - We can offer $150 cash at this point - Would ideally have the car on site from 4pm and will be done by 3am at the latest, so it can go home first thing on Saturday morning if you like. We can talk about getting you home in between too. Excuse my lack of knowledge about car types here...we have reasonably broad requirements as the main focus is interior. Large windows and five seats preferred; bench type seats in front and back are good too. Wagon style with boot space is a bonus. Will be needing to fit 2-3 people in at a time (including the cameraman), so will no doubt be cosy anyway, but will make do. I've attached some pictures from the OldSchool Facebook page of cars that would be similar to what we could be going for, but am open to suggestions! Happy to answer questions. Thanks in advance Sherry
1 point
-
Try Mico Metals in the Hutt. They have all kinds of non ferrous metals and sell offcuts.1 point
-
so cool, can you make me one??1 point
-
it's surprising how much work can be done when no one is around and there aren't any distractions!1 point
-
old people sleep less1 point
-
Makita hand held drill port services1 point
-
I didn't realise this was a trailer queen....?1 point
-
/Mangere-Bridge Porting (courtesy of @xsspeed) available for Rotary engine automobiles to increase Tanging.1 point
-
Alright so I guess everyone has to turn up with open headers just to keep the tranquil feeling?1 point
-
Fucking brand new BMG cambelt tensioner with less that 2,000 kms on it has started screaming and belt is not in the center of the pulley anymore. Fucking rubber cooling system seals didn't last more than 6 months and are not 3 times the size they use to be.1 point
-
Trucks been running like a champ for a long time now! Have been looking at other cars recently and am considering selling this on so if your interested send me a pm. 15k all day
1 point
-
Thanks your artical very helpful going throuh the same excise auto to manual with OD1 point
-
Nice man. I cut the center out of my gemini wheel and turned that into a bosskit thing.. worked well.1 point
-
Or one of these1 point
-
update, after not having a wof since 2009 she failed on two things spilt brake hose on the front and also scratches on the inside window that obstruct your field of view, talked to the auto glass man and said it was utter bullshit, so happy days fix those and hopefully get that sticker =D1 point
-
A little more progress! I rebuilt the front hubs and swivel housings. Nice new brake rotors, wheel bearings and coat of high temp paint for some of the bits. New favourite tool - Gift from the wheel bearing gods (Mitre 10). Front end light surrounds and grill powder coated - looks good but the old one had some small areas of filler which hide the small dents. Any recommendations on powder coating places? Hope to get the bumpers and steel wheels done shortly. Front headlights also got a refresh and secondhand light surrounds came up well after an afternoon of polishing. I've started to rebuild the callipers and I hope to have them ready to bolt on next weekend with new flexi and hard lines. The old callipers were seized solid and the pistons are pretty stuffed - luckily the bores are still in good condition! A coat of high temp paint and they are starting to look good again. Assembling bits in the living room. I'm still on the hunt for some bits - if any one has any, let me know! I'll end on a full Barry moment. Factory tool kit that is 100% complete and what looks to be brand new. Half of the bits look like they have never been used! (which is strange if you own anything British). Duncan out.1 point
-
so this just passed the 1 year in the shed mark and i have been plugging away at small things trying to make sure it all fits made a cut down sump using the bowl of another sump ... it was ugly welding and looked too small on capacity and leaked like a sieve so i made mk II version deeper and with new 2mm steel much easier to deal with made 1 flat plate right thru at cut line and then made the cutout and bowl for ford v8 pickup l very minor weeps on testing and i just hit it with the full POR tank sealer system to sort that out oil filter remote and oil cooler mounted and plumbing mocked up lots of little bits to sort so they dont try to occupy the same space under the bonnet1 point
-
PLEASE READ THE FOLLOWING At last months' meet, we had a disgruntled resident turn up and cause a fuss. Accusing us of being unnecessarily loud and a blight on his tranquil neighbourhood. He was unreasonable and arrogant. He then complained to several of the businesses in the area and convinced other residents to also complain. We have since been asked by the majority tenant of the premises to refrain from using the upstairs carpark, though we have been unable to contact the property owner to confirm this. Even though the property owner themselves are the only party that can prevent us from using the carpark, this months' meet will go ahead BUT it will be in the downstairs carpark. DO NOT use the upstairs carpark. While we aim to sort out this issue, let's not try to agitate things any further. Also be aware that the same complaining resident may show up again. I will try to be there earlier this month so just direct him to me and I'll stand there and listen to him rant for as long as I need to. Cheers, Neal.1 point
-
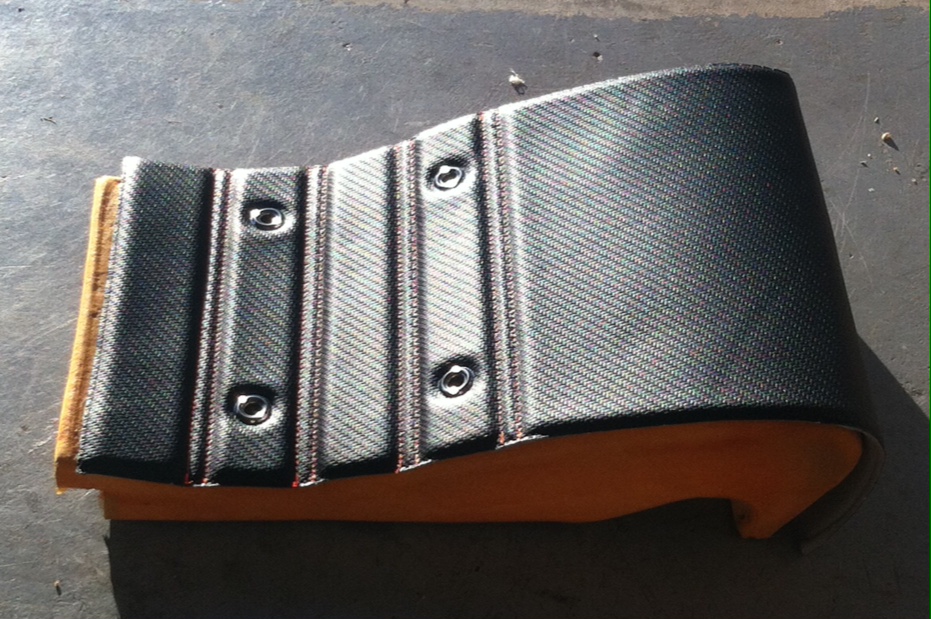
No pics are gay Heres a picture of the sweet blanket I bought on sunday to cover up the blue bench seat IMG_5613 by Allan Ainsworth, on Flickr1 point
-
Trimmed each side of frame. Left hand side slightly more than right. screen capturecertificity.com And probably the most important note, make sure the motors drive shaft is aligned with the centere of the swing arm for the chain to clear either side. This pic show the motor 30mm to low. Also make sure the motor is mounted parallel to frame otherwise the output shaft will drive on an angle can cause the seal to leak picture hostingcertificity.com Cut some tabs upload images freecertificity.com temp image uploadcertificity.com Add some kneed-it or LPG mig them in place (Rusty chain is temp to confirm all aligned ok) uploadimagecertificity.com Cross fingers they don't fall off. Looking at pic's probably should have made the tabs have a slightly larger lap onto the frame, feels solid enough for now.1 point
-
Hey OS Trying to find a replacement leg shield. Anyone seen any Suzuki F50 or F70 leg shields for sale? The one I have has been trimmed at the bottom. EBay used to sell them I'm sure. image sharecertificity.com capturecertificity.com SLURP SLURP1 point
-
Who want's to take bets on the rubber that turn's up looking nothing like this: hosting imagecertificity.com1 point
-
There are youtube vids of these (Eberspacher D1LC) and in good knick the start is almost as soon as the fuel hits on the first glow cycle, mine will just about catch on the second cycle. Running it on kerosene improves things a fair bit tho. Pretty sure my multimeter is true RMS (it was my AuCom leaving gift and I was slightly puzzled at the why they would buy one for a mechanical engineer, but holy shit it has been invaluable), but I was measuring the input side straight from the battery. I will need to check the glow side as well, as I guess there could be something in the controller dropping the volts. The unit is 24V and so is the solar power supply side. There is a stainless mesh shield around the glow. I will have to take pics of the resistor when I get home, but basically it looks just like the glow plug, but with a different mounting. I reckon I will stick it back together once the gaskets get here and see how it runs, if it is still not ok I will start messing with glow plugs and resistors.. I should be able to calculate the wattage that a different resistor will give.1 point
-
Pretty slow progress on the Red Rover. Spent the last few weekends sorting out my daily Rover with new brakes, hub seals and full service. Anyhow, started on rebuilding the front brakes on Red. Old discs were stuffed, very pitted and some of the brake lines were blocked as well as some very leaky hub seals and bad wheel bearings. Started by stripping them all down, big job cleaning it up! So much grime! Great fun removing caliper bolts that haven't come off in who knows how long. This week's job will be rebuilding the calipers and hubs with new seals and bearings. Then hopefully in the weekend installing them all with new rotors, pads and lines. Also been trying to get to the bottom of why it seems to be down on power. Starts and idles fine but very rich and plugs are coming out very black. Replaced a torn diaphragm in one of the carbs but still no luck. Think I will just take it to a carb wizard to sort - I have heard Hitec Motorsports in Dury are good. Any suggestions? Looking forward to bolting nice shinny bits on next weekend. Parts hauler is going well now. Wof passed and running well. Looks massive compared to the little Turbo City.1 point
-
No real updates yet. Work seems to be getting in the way! Hopefully getting started on a brake rebuild this weekend Anyway, my buddy Kieran who is helping out me took these rad photos with his Leica a few weeks back.1 point
-
Awesome brochure shots from the 70s.1 point
-
concur, and milling plate to thickness is 100% barry level achieved1 point
-
over the past couple days ive had about 2.5 hours seat time in this, and i love it, the new engine just works so well. couple little things ive noticed and will sus in the near future is that weird pulse, and there is sometimes a rattle from the timing chain on cold start which will probably call for new tensioners, though it could a do with a touch thicker oil, as i just used the 15w40 i had on hand and im going to engine clean and dump it after a few kms my mechanic brother enlightened me to the fact that there is an actual order of wheels to bleed the brakes, so this should sort the air bubble im sure i have. he also noticed the firewall flexing due to the booster, and its brace being removed, so i will make up a new brace and that will also help with pedal feel im sure. The radiator fan also sucks, but Im not surprised, it's not cowled properly and its a China unit I bought from scarles for cheap, but still too expensive really. took some flash pics with a proper dslr and got a short gopro video of driving. i sure do enjoy looking at it.1 point
-
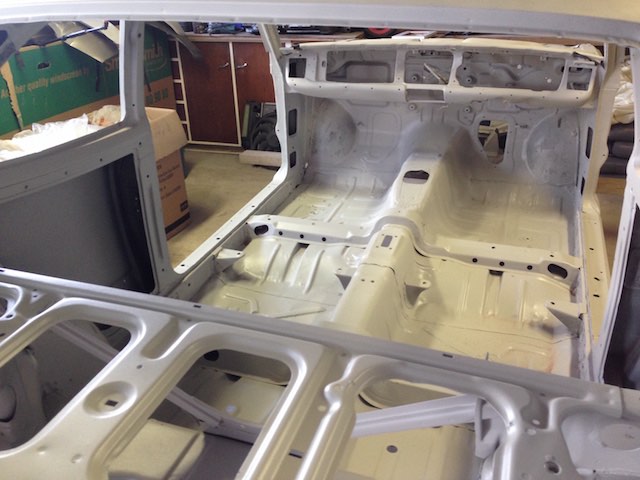
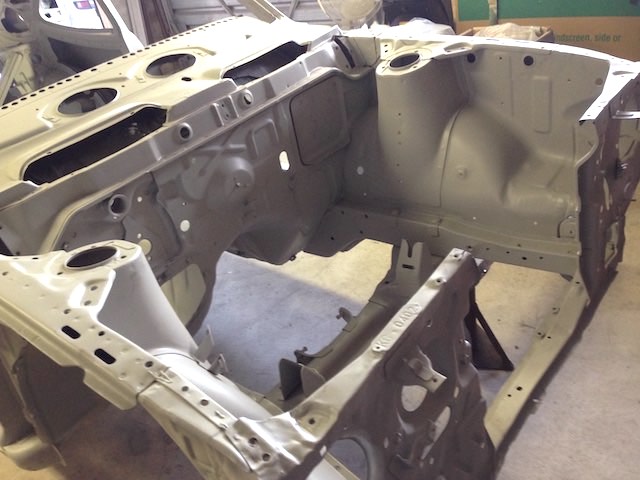
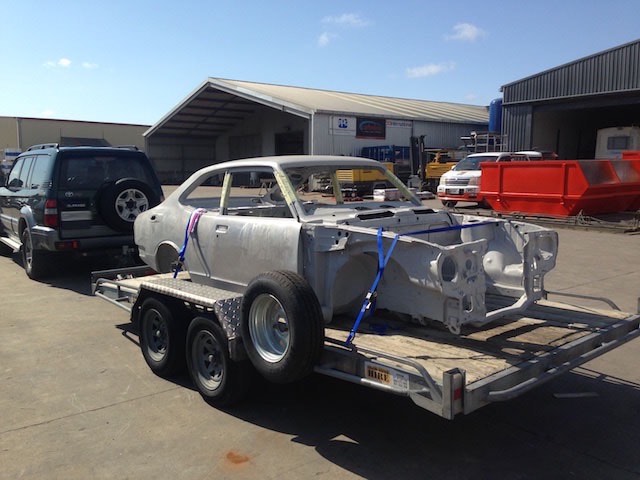
PROGRESS!!!!!!! Picked up the shell etc from getting blasted and primed. Waikato sandblasting did a good job of removing all the rust, paint etc from the underside and engine bay, and everywhere i couldn't........and with no panel warpage. No extra rust uncovered! just a few spots where it's true extent was revealed Also just a little bit of motivation (courtesy of some dude in the pillipines - SIC) ALSO: Engine is all good, just need 0.5 OS pistons and new rod bolts. Diff is all stripped and ready for leaf spring perches to be welded on. //oldschool.co.nz/index.php?/topic/49950-alasdairs-1974-ke25-corolla/page-2
1 point
-
1 point


.thumb.png.b2aee08688778d18bdc7b3e3c1852d9c.png)


This leaderboard is set to Auckland/GMT+12:00