
Leaderboard


Popular Content
Showing content with the highest reputation on 03/23/17 in all areas
-
I don't think you're ready for wagon ownership with that type of attitude mayte.13 points
-
There are a few things in life that are never big enough...ummm yeah, well that too... But other than wishing I was hung like Dirk Digler, a mobile workbench was pretty high up on the list. Something to store tools in, be able to roll around, and assemble stuff on top of. But at around $4000 to buy one, it only left two options for someone like me...make one, or go without. So I'm making one: Collection of 3 draw filing cabinets. I cut about 60mm off the total height of each one. It would have been way to high otherwise. Some were also 4 draws, this didn't matter as I just cut them down to match the size of the others. Next was to mig weld all 5 cabinets together. I stich welded them around the edges. Then made up an angle iron base that it will sit in. 8 caster wheels were added to support the weight. Yes this is epic over engineering...but they are cheap, so I don't see any negatives in this. And paint time... Mounted on roller chassis. It wheels beautifully! All the casters are the type with brakes, so it can also be locked if you don't want it to move. Draws painted And assembled....Boom!!!! Pretty happy with it for the money. Basic cost breakdown: Filing cabinets off Trademe total $70 Caters x8 total $106 Steel $50 Paint $77 Grand total $303 Not bad considering the cost of anything remotely similar is $3000 - $4000. My brother makes kitchens, so the top is on order from his scrap pile. So it will be a freebie for me. But it's still very usable as it for now:-) Kj12 points
-
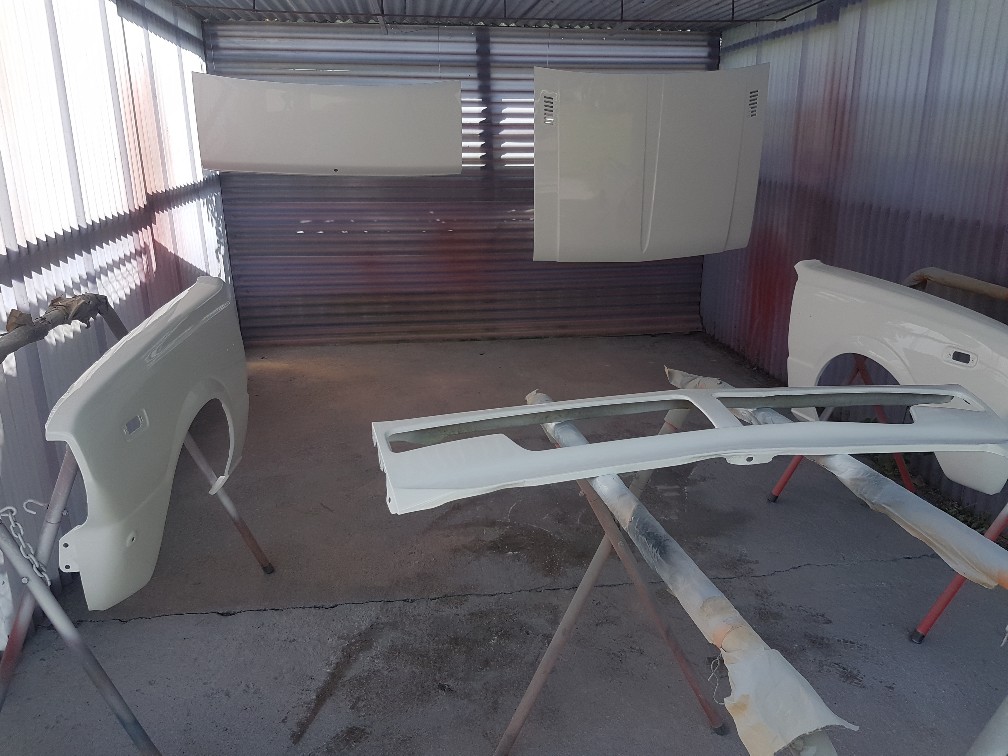
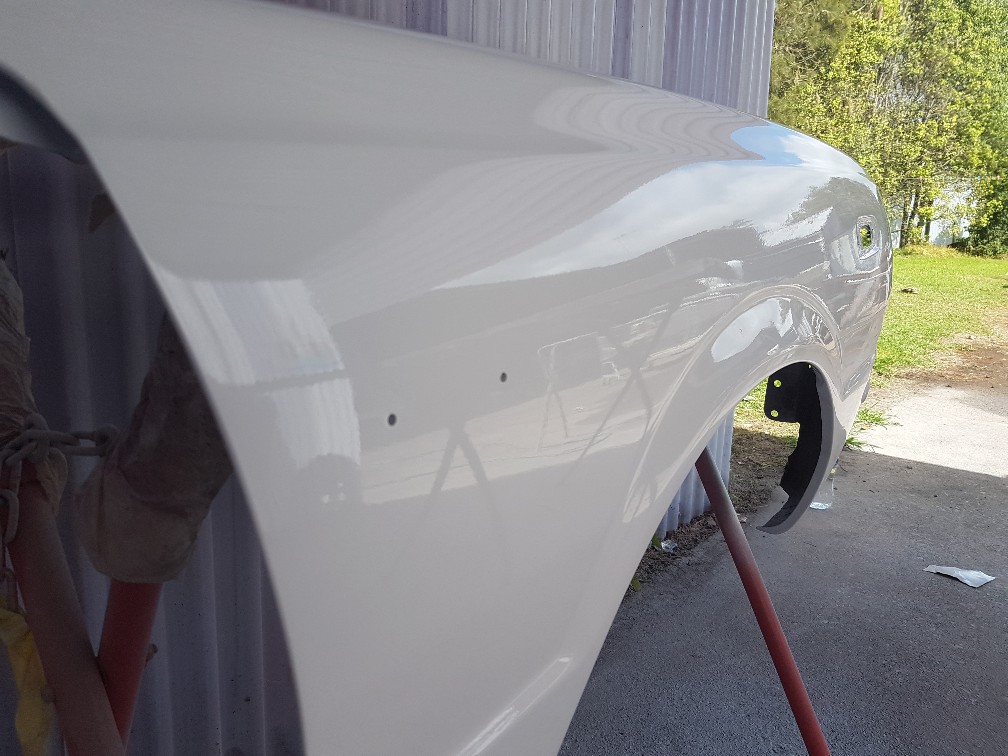
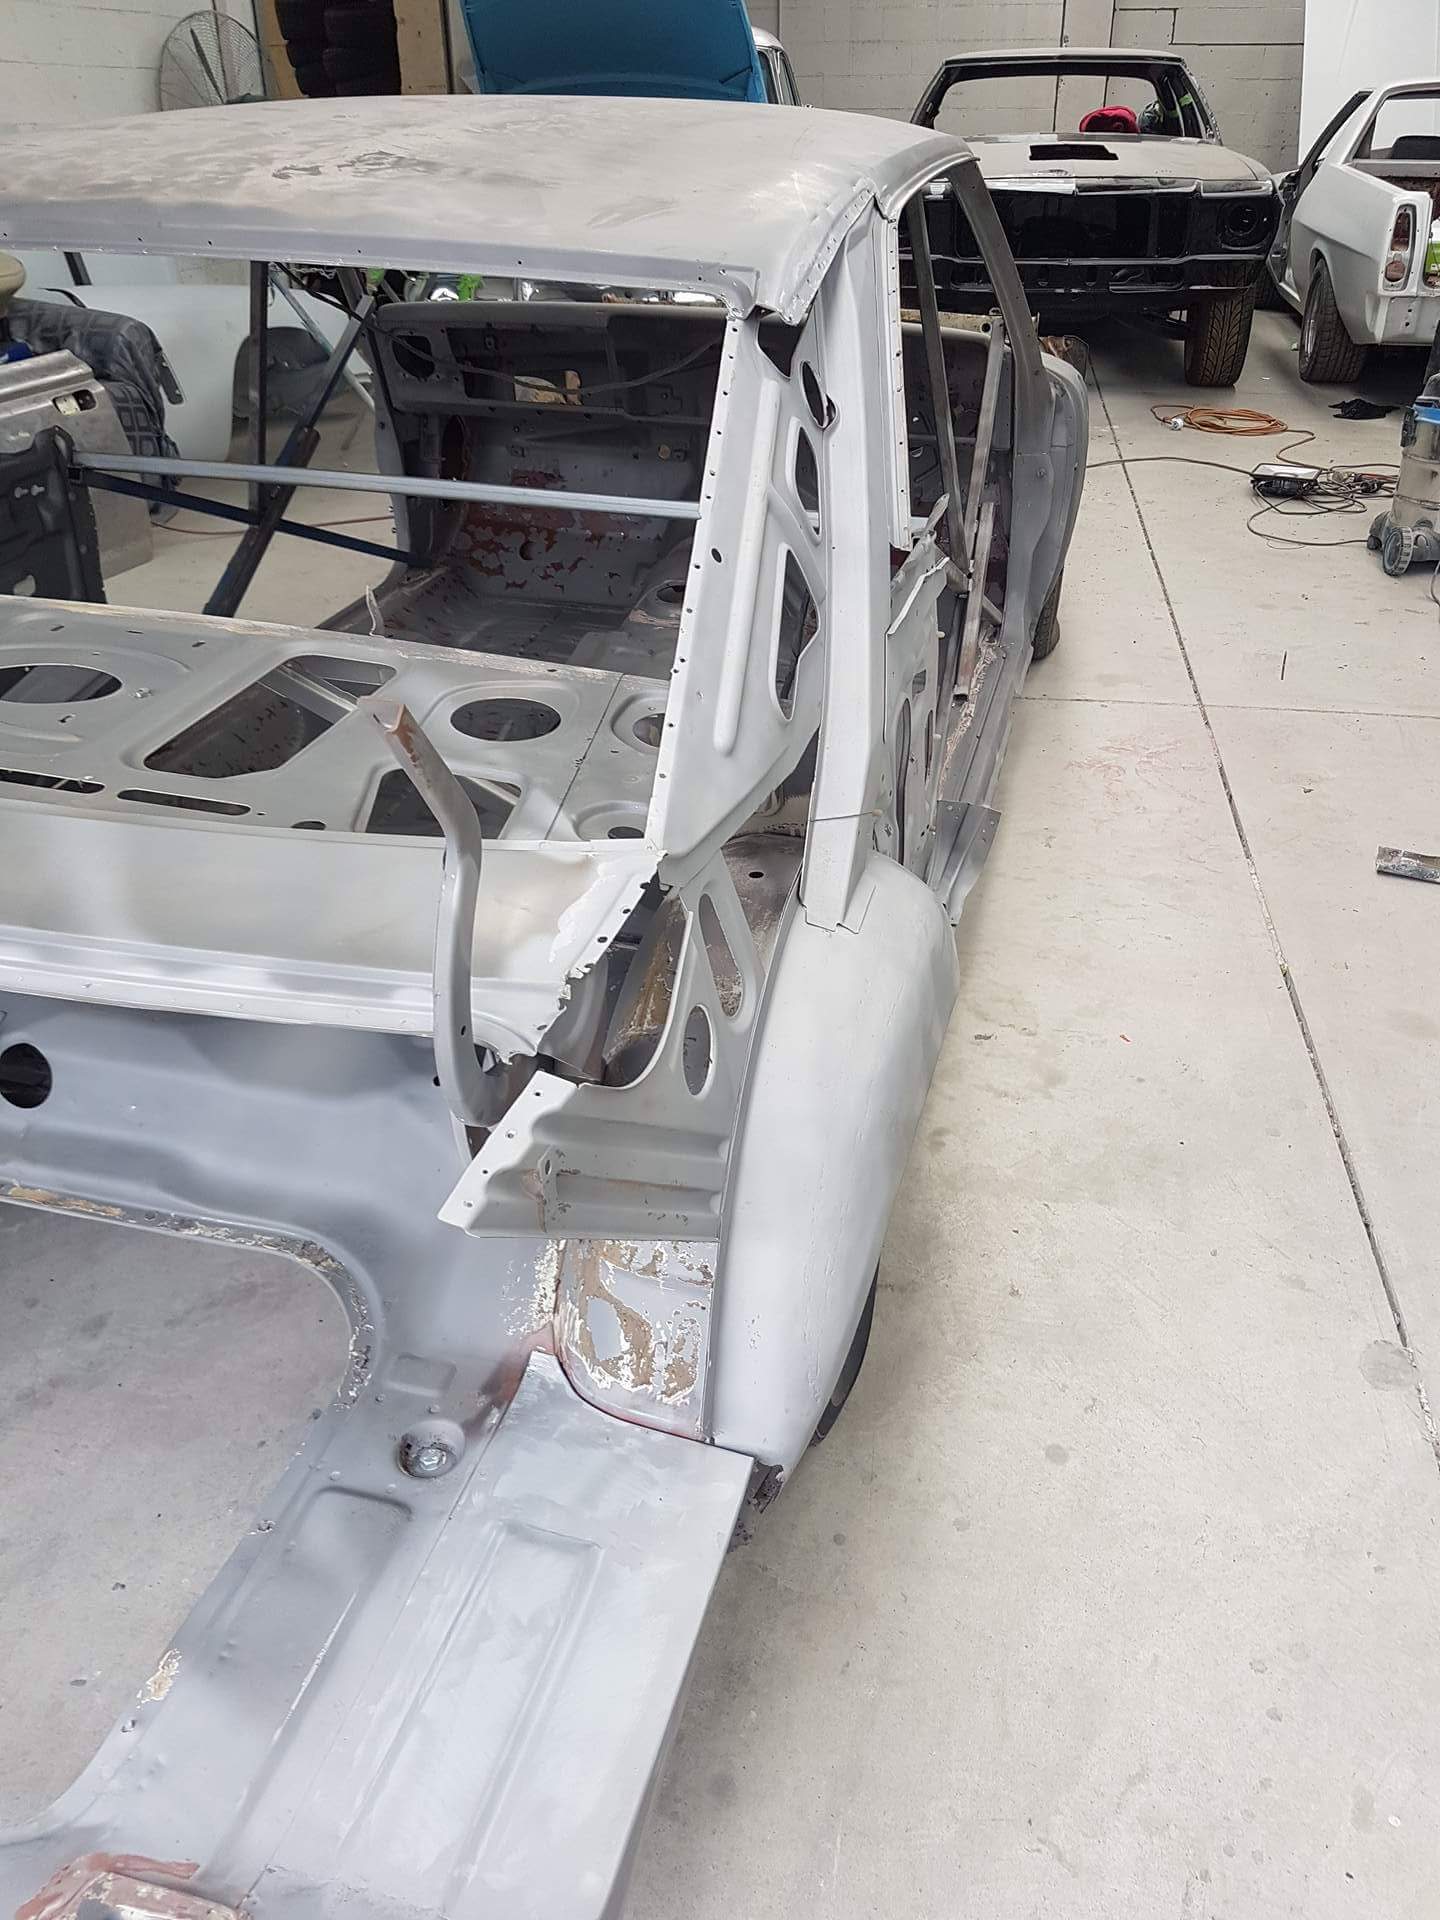
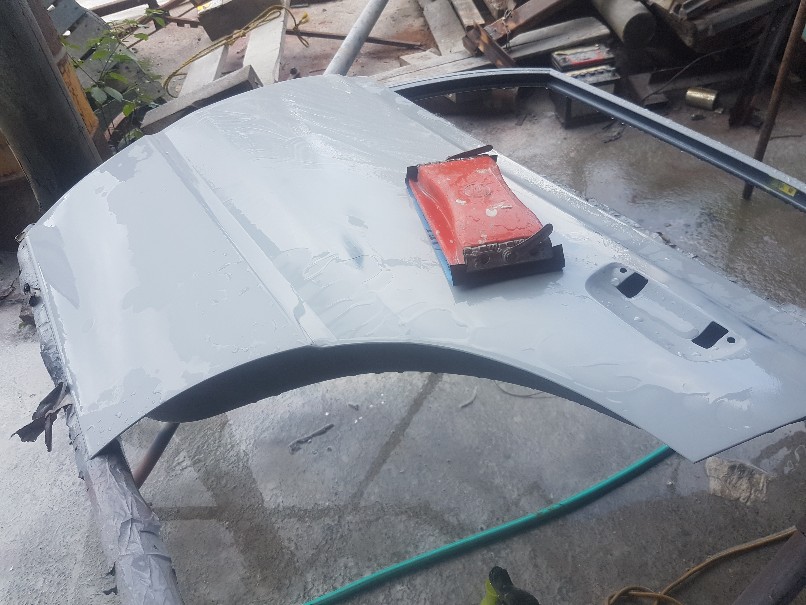
Had some nice weather here, so got some of the panels painted. Iv decided to go gloss white. It will suit the more original look im after. Everything car related iv done is all just self taught over the years. Always trying to improve and get better. Restoring cars is just a hobby of mine.
 12 points
 -
As promised... look at that paint dry.... Battery box is all done. Forgot to take photo of wooden lid and a strap to hold it down, made from the nylon belt from some old endura bike shorts. I knew it would come in handy one day.. I couldn't resist..I had to cut open the filter for a look. Wow.. Ok.. so yeah.. that'll be a bit blocked then... I refitted the tank, added a new line so now the fuel rail return runs straight to the main tank and the overflow from the surge tank runs into the other new tank fitting. I ran the system through to clean it before connecting to main rail feed. Started car.. ooohhh. Much quieter and seems a bit smoother. Popped the car outside and plugged the laptop in. Watched it warm up and waited till it was off the warm up enrichment. Idle was tad out so a tweek here and there. Its better but more importantly it should remain consistant. I still have the lean out idle surge in the first half minute after starting the hot engine when its been sat a while. I have suspected for a while that this might be due to heatsoak from the hot bay/radiator area into the inlet pipe where the inlet temp sensor sits. Maybe it sees a much higher temp and alters the mixture? I dont know? The temp sensor is plastic bodied and insulated from the alloy by some foam. Hmmm. I need to work this out as its annoying. Some one suggested ages ago to turn off the 'use inlet temp at startup' feature.. but that would only affect the fist startup and few seconds after? Its starts fine as is, hot or cold, but just starts to stumble up and down for a half minute. Any ideas? You can tell me here... Anyway.. I decided that the car was a bit dirty and was due a wash. The evening was warm so Kevin the cat and I gave it a clean. Kevin actually only played in his bowl of water, chasing sticks. I cleaned the car. I might even apply some wax on it in the morning since its so clean...10 points
-
yea the pommy guy was next to me at the stop sign and asked if i was going to a show or a club meet in my car. i say yea and he asked me if there were going to be any Escorts to look at and i told him more than likely so they followed me up. nice enough fullahs.8 points
-
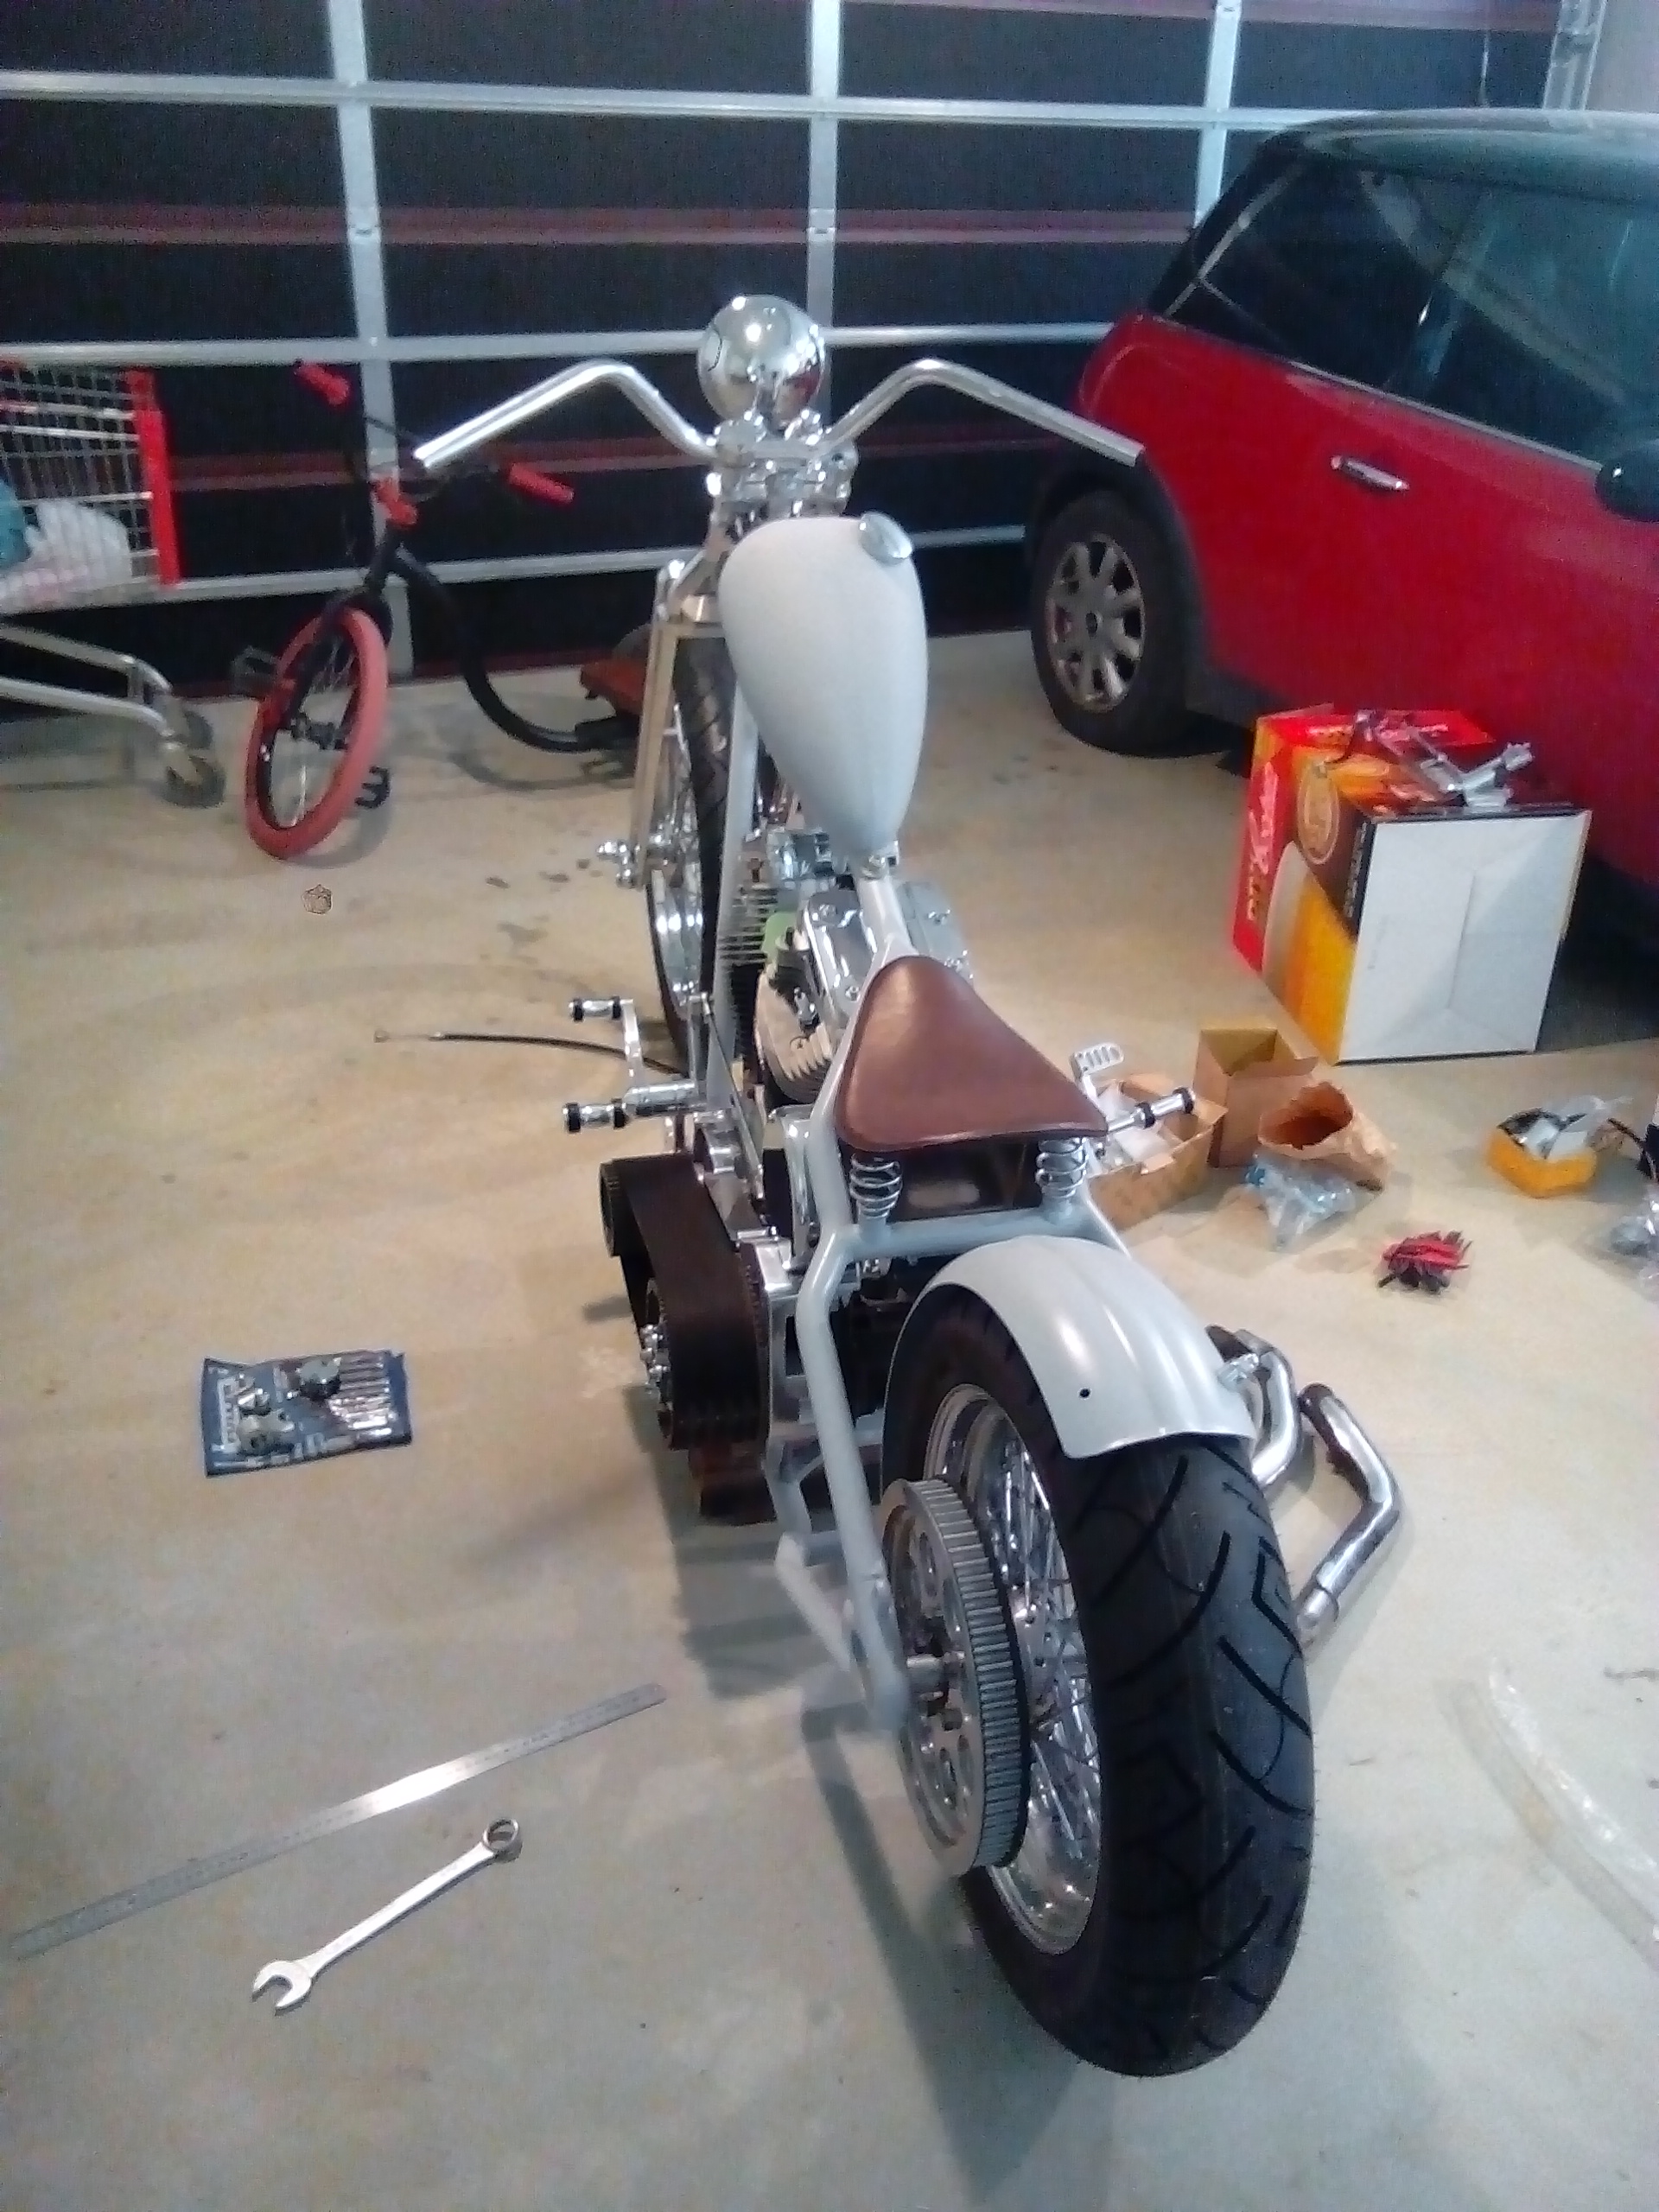
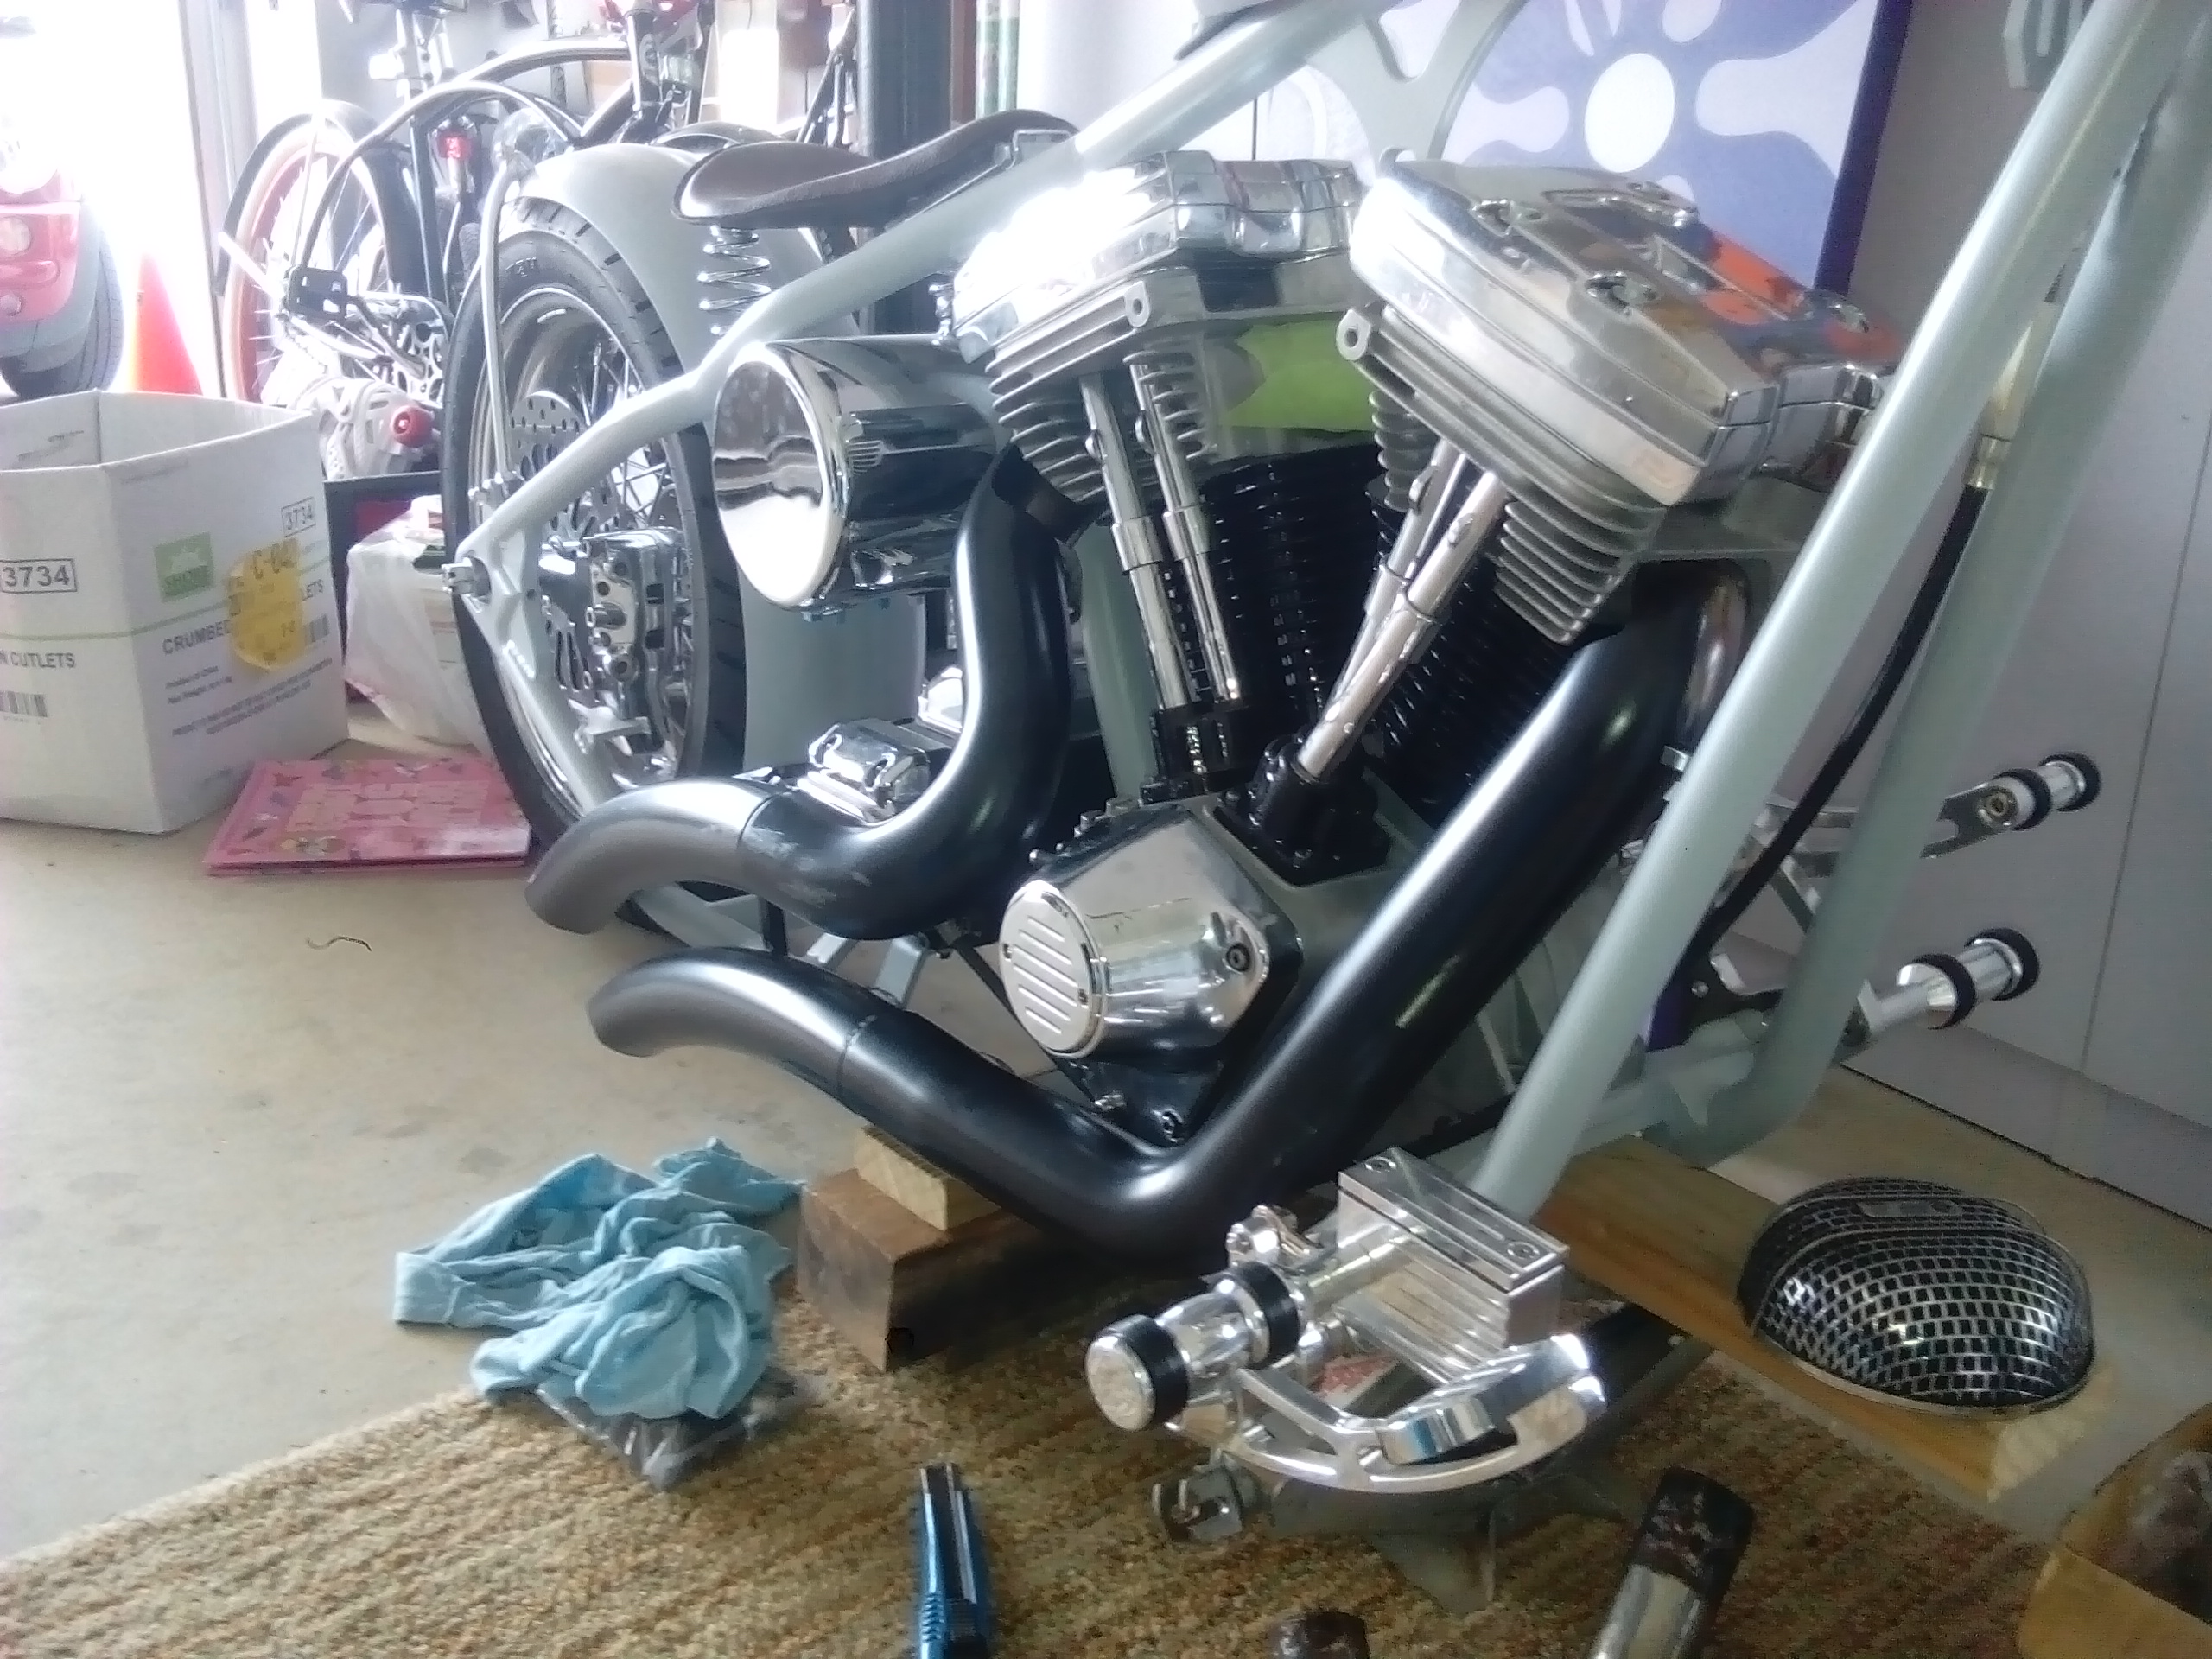
Photobucket sucks balls. Can't be bothered updating the pictures, and without them this thread seams pointless. So revised; long story short I've made a hardtail harley motorcycle. Started with nothing, now looks like this!
8 points
-
Deleted photobucket pictures, as they (photobucket) suck balls.
7 points
-
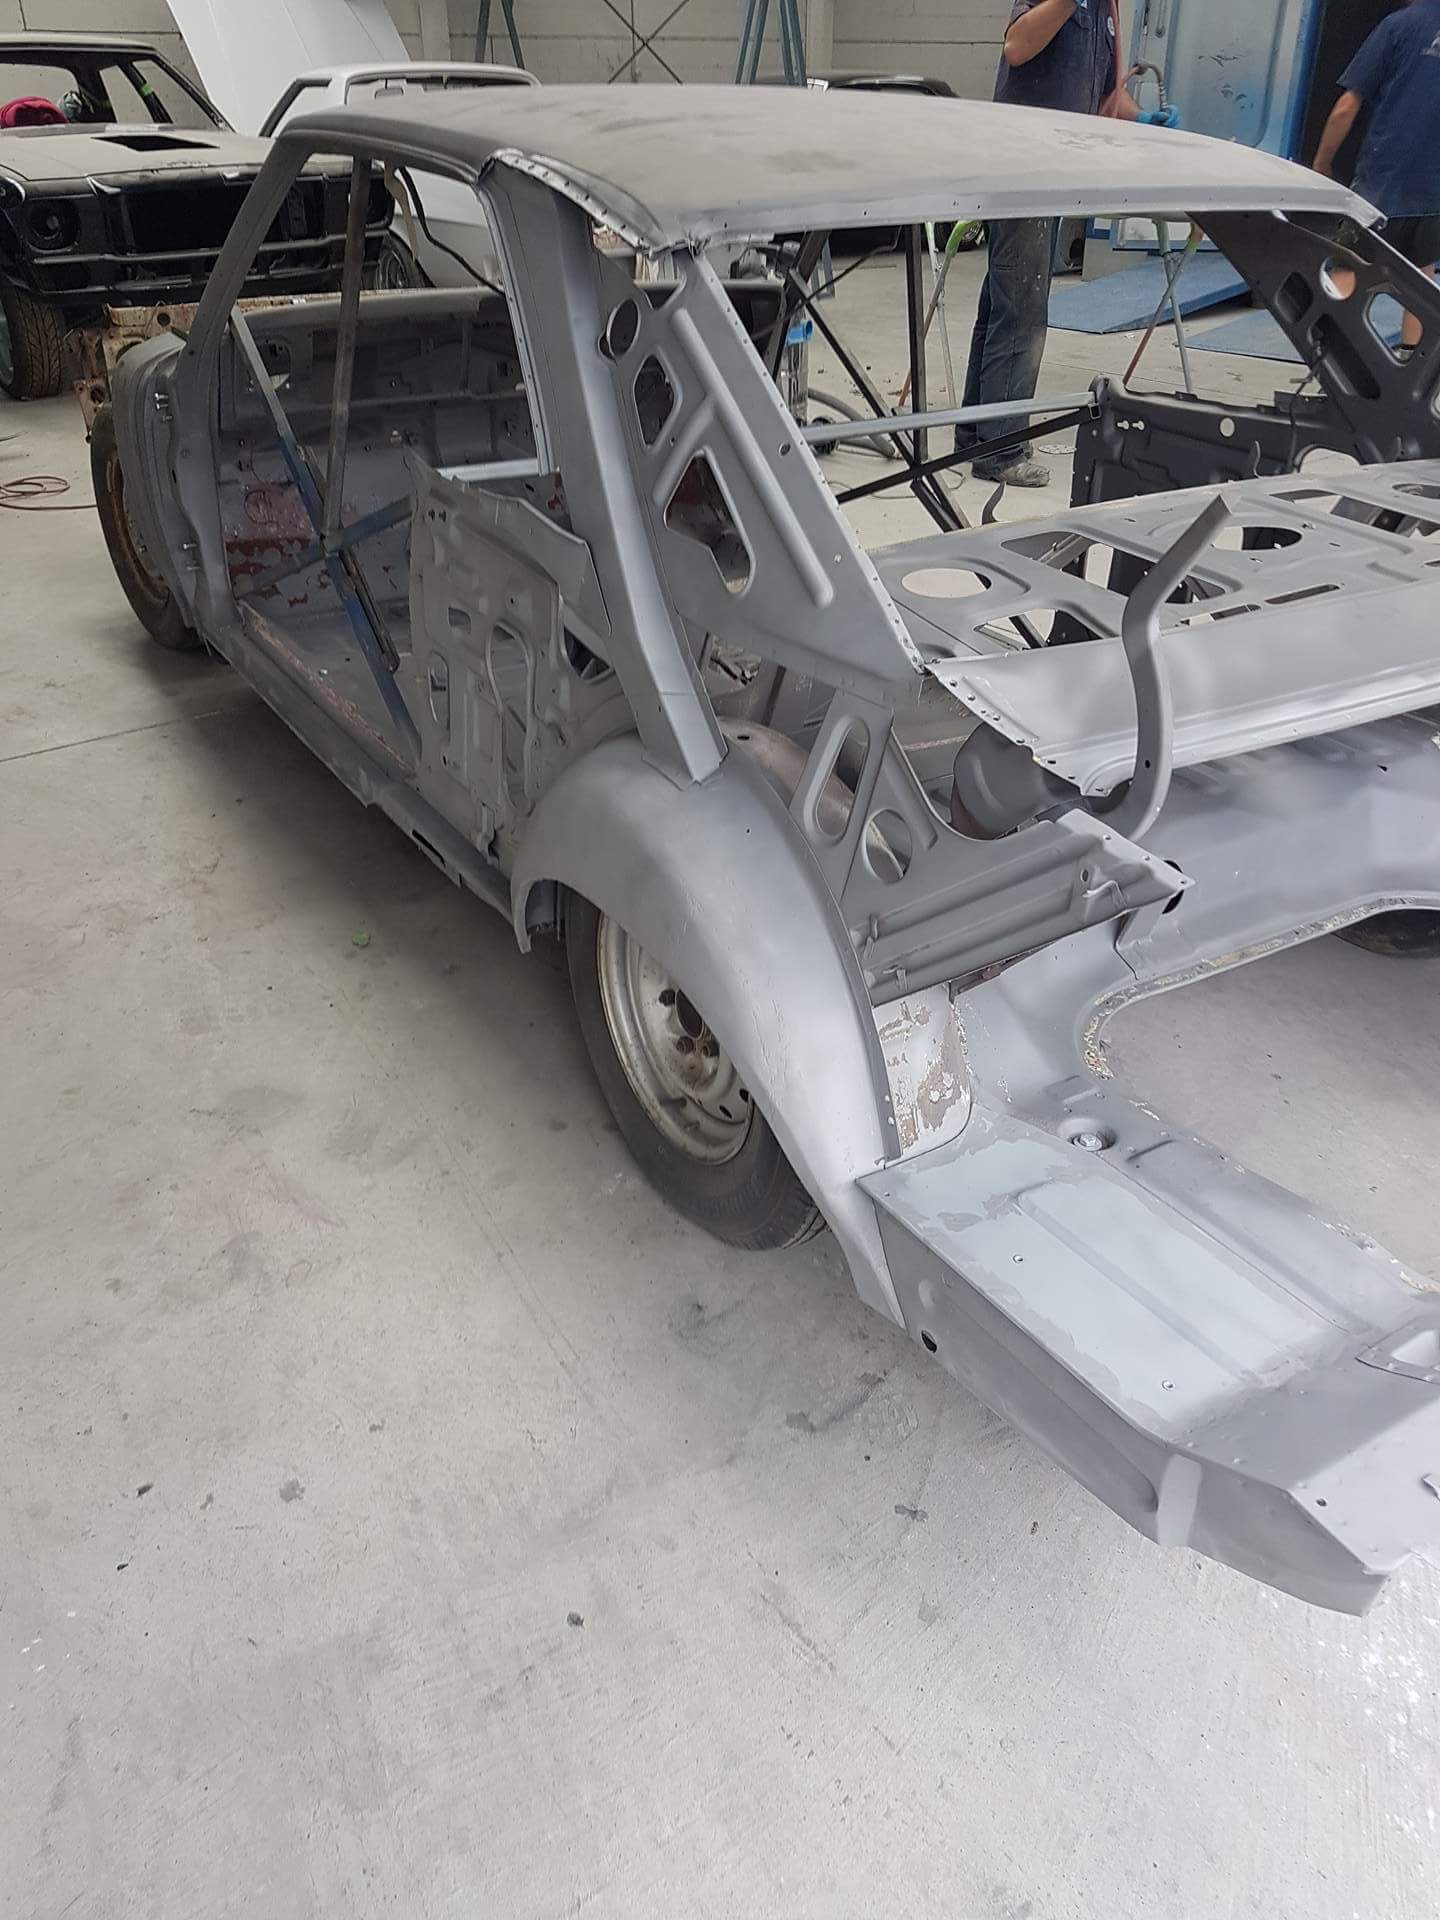
All sand blasted the new steel and ready for rear guards
7 points
-
Lewl at @Threeonthetree leaning across the windscreen shielding his 2015 WOF'd Trumpet from the fuzz.6 points
-
Shes a pretty big job. Been at the machine shop for a week. 1 more week to go! Casting is looking good. Yet to find any lumps of sand or porosity apparently!6 points
-
Decided I didn't like it all jacked up in the bum, so got some 1.5" blocks to level it out. Much betterer
5 points
-
Good Meet indeed, and thanks all for the positive feedback! Great photos too everyone. Ok to steal (with credit) photos for threads? Cops were pretty GCs, i think they just wanted to see what was up with reports of a 'car enthusiasts' meeting. They may have just been hanging out when people started showing up and decided to hang around, dunno? A good attitude* goes a long way Anyway, they left laughing, and pretty sure without issuing any tickets, tho im sure they could have if they wanted to (self included) They were poking at the camber/tridents combo on Richies trump for a while but i think ol Snoozin barry-sharned them senseless (i overheard talk of certain camber degrees stock and trailing arms when i glazed over...) . Anyway, A+ sharns! (*as in, getting a bunch of 'howzit, sweet bike mang', instead of 'fuck off pigs' probably made a difference)5 points
-
Took some snapppssss5 points
-
I'm moving to Queenstown in a few weeks! Looking forward to meeting some South Island OS crew.4 points
-
Added this sticker: Drove about 300 miles in preparation for beach hop, car ran flawlessly, drove to beach hop, car ran great again, after being here for a day or so, the want for a V8 has increased substantially, so watch this space once the weather is consistently bad enough for me to justify taking the car off the road until next summer,4 points
-
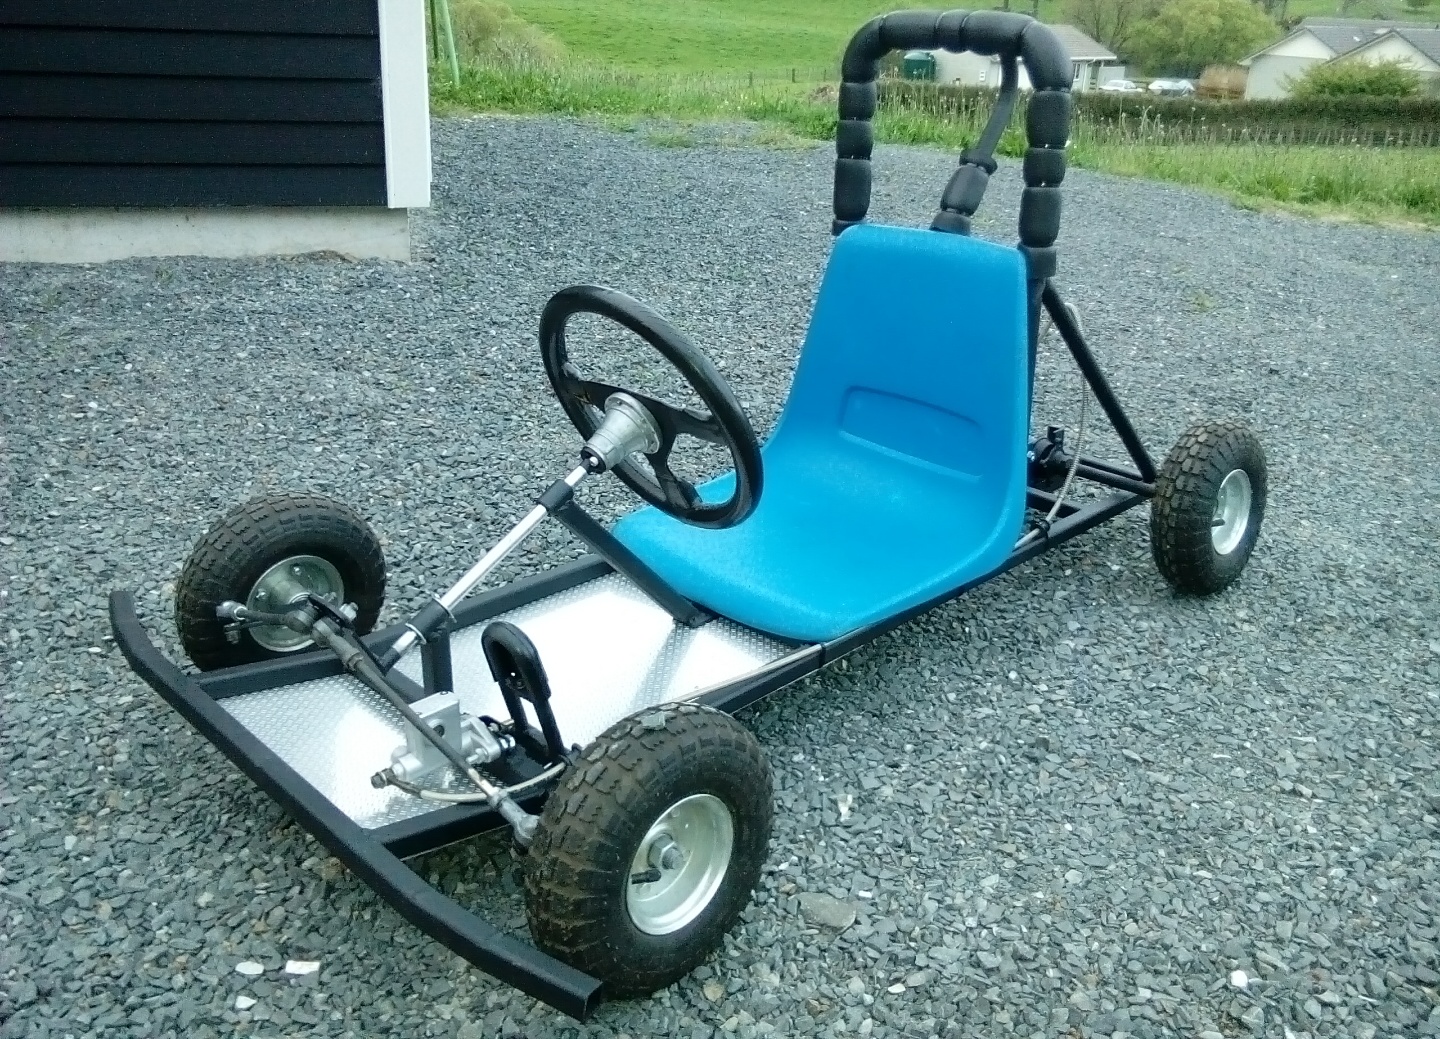
At high school there was kid who had an"American pie" moment with a Swedish exchange student...poor guy saw out his days at high school with the nickname "2-stroke"... sorry funny story that always comes to mind if someone says "2-stroke". Anyway, I've always had an affinity for 2 strokes. My parents weren't rich, so my love affair with these engines wasn't realised until I had an income of my own. My first purchase was a MX bike. A 125cc then moved on to 250cc of craziness! Then a 12A rotary RX7... technically a "2-stroke". Cheap speed, fun times! And although I'm more into my V8's now, I'm not afraid to admit the odd rotary catches my attention, and makes me smile. Next was a Kt100 gokart. You'd wonder how a 100cc engine could produce so much power...actually I still do wonder how - absolutely incredible! Then came gopeds. I have 5 goped sports, all in various extremes from near stock to insanity! This is my dream build...this bad boy will be nuttier than squirrel shit! I just finished the motor today, its a hybrid...I won't bore you with details, but lets just say it will be fast:) The expansion chamber is a work of art! Anyway, the above is the result of the dangers of the internet and a paypal account;)... let this be a warning! Oh and while my wife and three kids are away on school holidays...hell yes this gives me the right to build a gas engine on the kitchen table! Started off as an already high spec little engine at 22.5cc. The cylinder head had 4 transfer ports...these have been port mapped and ever so slightly ported to change the port timing a tiny bit. The head has been replaced with a hemispherical dome head specially calculated to the right volume to run on 95 octane gas/oil mix. The new cc rating is now 28.9cc due to larger bore of new top end. The flywheel has been lightened. The timing has been advanced. Massive dominator tuned expansion chamber. Huge walbro carburetor. Velocity stack. K&N filter. 0.7" drive spindle. Third bearing support added. Chrome fan cover and pull start. Yes...lost the plot...but everyone needs a hobby eh. You'll have to use your imagination a little at this stage. But this pile of "parts" will be made into a goped roller...the motor will go on it. Will be badass! The frame I picked up didn't quite live up to the trademe description...but beggars can't be choosers. These aren't that easy to come across in NZ. So rather than dwell on negatives, I welded up the broken bits, and stress fractures. Next came a trial fit, a few extra holes were needed. And with the magic of a mig welder and a grinder...a few holes disappeared! I've got to figure out forks and some form of head set arrangement to hold it in place. Handle bars will then be the next headache. But I like a project and an idea (cheap idea) will come to mine:) Frame all finished. Found more stress cracks, drilled holes in the ends of the cracks (old trick, logic being that a crack will stop at a hole) then ground out a v into the crack and welded it all back again. Finally ground the welds back flush and you'd never know any different. I took it all back to bear metal, and dropped it off at local car painters for a coat of etch primer and some 2 pak paint. I looked at other options briefly...then thought paint is as good as anything else, and secondly it is just a big kids scooter after all, not a show car. I milled up this plate up. The rear fender was snapped of the frame, I could have replaced it like for like...but I had this idea in my head for something a little different. I think I will look the part once final assembly takes place. Started the motor for the first time today. It roared into life with relative ease. I soon realised it was starving for air, so tore it down again looking for reasons why. Didn't take long to see why, the velocity stack had an internal diameter of 15.4mm, but the carb internal diameter is 19mm! I bored out the inside, then while it was dialed true in the lathe, thought I'd contour the shape to aid flow. Pretty happy with how it turned out. Okay, things are happening fast with this one. Here's a before pic of what I was dealing with: And after: Chrome "bothy" forks DDM Racing third bearing support My milled aluminum rear fender: Tank, with billet DDM cap all installed with my own lathe turned aluminium spacers. That's it for now. I've ordered a few parts off ebay that I'm waiting on to complete this project with. I'm going to machine/weld up the handle bars this week while waiting on ebay parts to arrive. I'm pretty happy with the silver...I've been known to say unkind words about silver in the past...basically it does suck as a paint colour, but for this project I think it compliments the chrome nicely without being overly tacky? I'm going to put some blue parts in the mix too break it up a little... all will be explained later.:D Had a cool idea for a kickstand. The originals had a large two sided loop. Hard to explain, but irrelevant as I didn't have one anyway. So I welded this up: And lean it to the right and it automatically "springs" up under tension. The spring holds it out of the way...pretty trick! It's the devil in the detail:) MKII model: I had to make it clear the part where the deck bolts on, as I forgot about the rubber isolator. Looks a bit more shapely now with a few more curves:D[/QUOTE]3 points
-
Like last time club welcome to stop at mine for refreshments3 points
-
This is Awesome! Slash I'm actually keen to build an old wooden trolly for max nostalgia with the old rope steering and 1 sided Wood on wheel brake.3 points
-
Is it wrong I want that engine for a weedeater of doom? /Nuts looking little scooter!2 points
-
Mate, wagon time is no crime.2 points
-
makes the same sense as 2 grinders, one for cutting, t'other for grinding. 'cos i get really fucked off swapping discs all day.............. when i play in my toybox !!2 points
-
It's alright mayte, the LNI wagon contingent drive on wagon time. Or as the police would call it a "rolling roadblock".2 points
-
It was awesome to see the Fiat in the flesh after following the thread. Also congrats to Roman on the job2 points
-
Its recommended to jam it in the manifold, not the dump pipe.2 points
-
just been exploring nightcaps on google maps. im excited for next adventure2 points
-
Some of mine. Easily the worst of the lot and mostly just of the BMWs. https://www.flickr.com/photos/98811558@N08/albums/72157679763374511 Thanks to the others for the decent photos. Was a good meet.2 points
-
Sexellent. Synchronizing watches...2 points
-
Yeah so I bought another set of rims, been looking for some Hayashi Street fins for a while and found out that Joe (Goat) had some laying around that he wasn't using. Even sent them up for free, true gc. Anyway, before: And after: Running 195/60 on 6jjx14 with +7 offset. Do you guys think I'll have guard rubbing problems if I run 2" blocks in the rear and lowered springs in the front? Now just need to get all the body the same colour, and maybe some centre caps (if anyone knows of any send me a PM).2 points
-
For those that have glanced over my build thread but not my discussion thread, replacing the oil pump didn't solve my issue. So motor is going to need to be stripped down. So 6th time lucky for now. Although its actually the 4th motor going back in.... so fuck knows what that makes it. But yeah, can't justify having a dead car around, but also am 100 percent over this, so yeah swapping motor till I can be fucked pulling other turd motor apart Nats or bust or some shit.
2 points
-
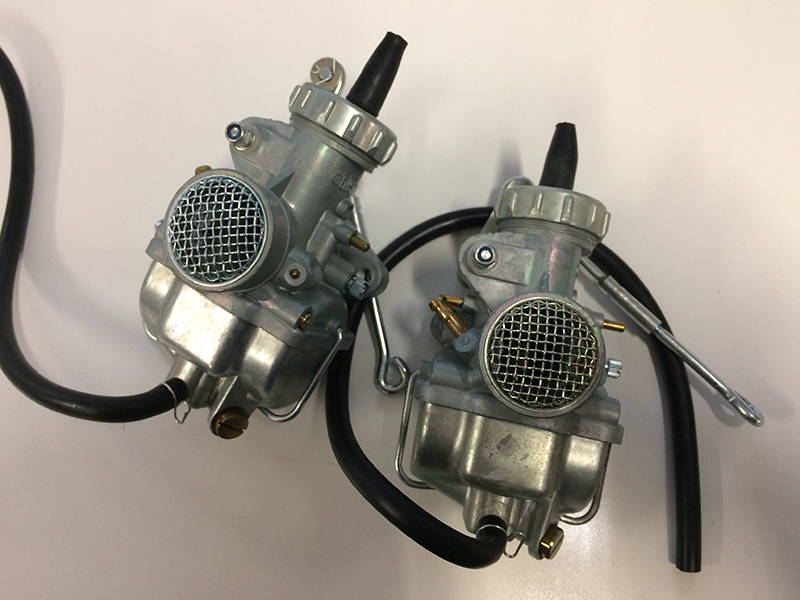
New carb day!
2 points
-
A few spills and frills later, we entered the local schools Trolley Derby. Where she got 2nd place in her age bracket. Don't worry, the other girl was fine. There were plenty of crashes...but no one was hurt. Its so cool that a school allows such things to go ahead in this crazy risk averse world. Kj2 points
-
ok, not long ago i bought an 1989 r80rt monolever beemer, i was actually looking for an older r80/100 gs-pd or older g/s air cooled for a scrambler project the reason was they had the wire wheels, and i detest the cast wheels on these old beemers, but they were going for stupid money here in the uk, and then this old rt came up for about 1/3 my budget of what i was willing to pay for the gs model, so i thought fuck it, i can some how make it spoked, i was going to change the front end of the gs any way, so that would only leave the rear wheel that would need some thinking about, so anyway, collection, i had to drive down into england to pick up a bath room for the old merc camper, and this bike was kind of on the way, in so much as it was south of scotland met up with the guy, paid him the money and would return in the after noon to collect after getting the bath room, all was good did that and rode back to edinburgh with no issues, the rt models when they came out looked like this whoa, super ugly fairing massive screens etc, perfect tourers, but one of the ugliest beemers ever mine didnt come with the fairings (previously crashed) which suited me just fine also the guy changed the rocker covers from the flat newer style to the older skool ones no really fussed either way, i had already ditched the tail section and gave it to a mate, as ill be completly changing the back end any way the plan, 1 change the rear wheel to a r100gs wheel, i bought that already and as we speak its being machined down to fit the monolever hub (there is no straight replacement wheel, but the gs wheel is close enough, and just requires 21.25mm (in my case) to be machined down inside the wheel itself) so no biggie after that will be the front end or exhaust ill be using a usd front end of un-known manufacture as a replacement to the stock beemer forks wheels, triples, etc, probably a drz or crf may be some white powers, price will determine that, the exhaust will be a high level custom made running high from the start either 2-2 all the way through like a cl360 or 2-1 like this unsure yet i will also raise /drop the swing arm and probably move the mount onto the steel part of the swing arm and possibly lengthen the swingarm to gain a bit of extra travel im going to try and get it look a bit like this but obviously a monolever, with exhaust on 1 side only, and usd forks yeah, so, this will be a long-ish project, im a bit low on funds after bumming around europe in the campervan for the summer, and skiing all last winter, really should start looking for a job1 point
-
Yip with the EGT gauge, Just drill and tap, peice of cake. Do it in a place where the probe can go in a reasonable distance.1 point
-
I was exactly laughing at that as I was uploading it. I was intentionally avoiding my car incase they asked me what was under the bonnet. Hahaha.1 point
-
Cool meet. Sharned some sharns. Here's a couple pictures: https://flic.kr/s/aHskRsDnrn Highlights here: Not up to the calibre of MJFox on prev page but still somthing^ Album: https://www.flickr.com/photos/45457939@N08/albums/721576783637594831 point
-
Been wet sanding all the panels today, they are all basically ready for paint. Still have to panel and do some rust work on the body.
1 point
-
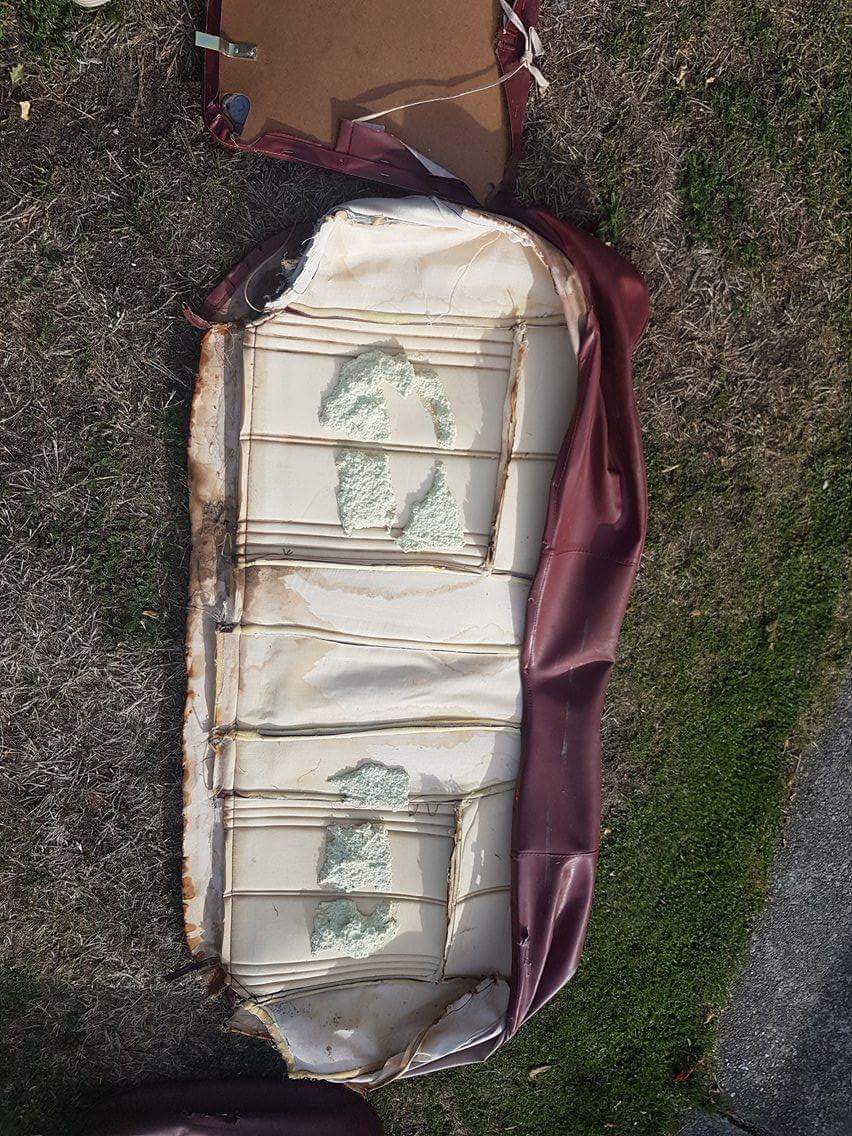
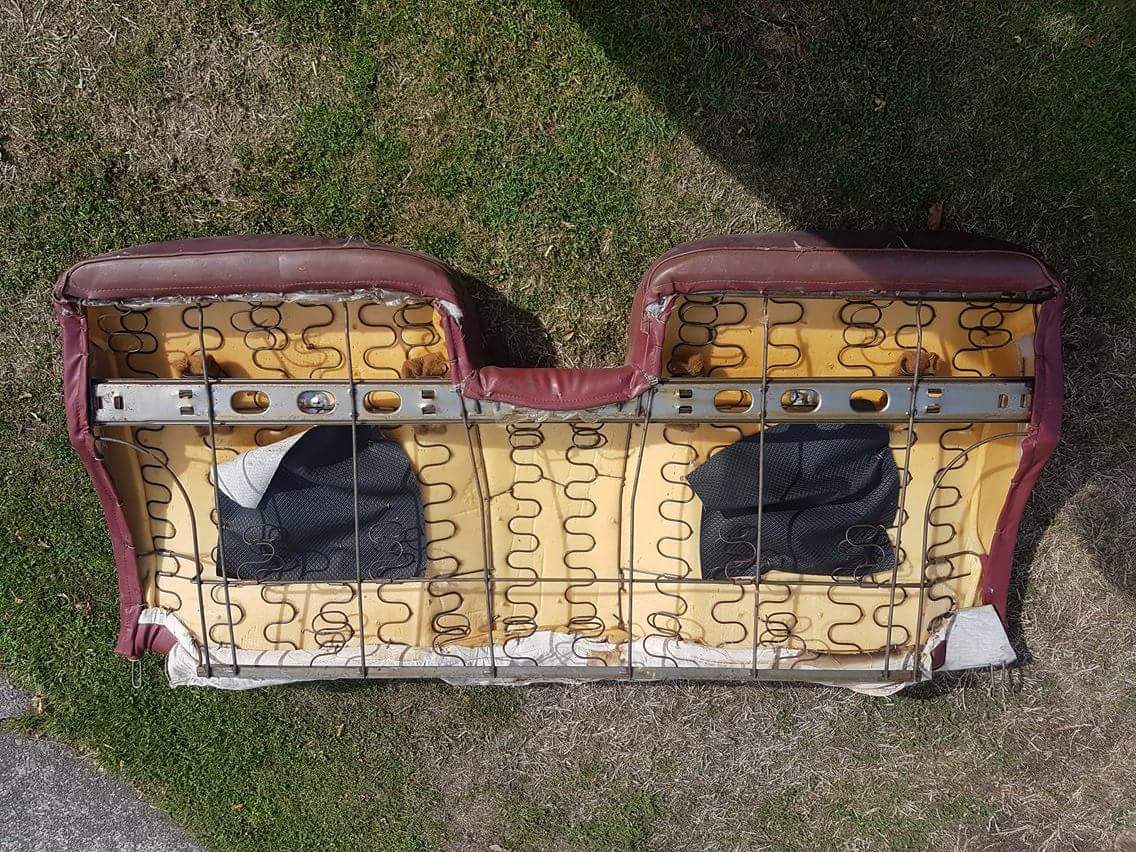
Seats striped down ready to be retrimed
1 point
-
In the weekend I fixed the divot in the roof. There was a high ridge in the back corner and at the time I decided it was more work than I wanted to do to fix it so left it. But something was crook and it got bigger after paint. so evened that out and sprayed it, also did under the bonnet, sides of bonnet and the inner guards and upper firewall. Could see the primer in the bonnet gap and it was bugging me. And GC nosco me his double sided tape so lobbed on the pillar badges. I toyed with the idea of centralising them and moving them up ala mazda, but went with the factory placement in the end. Im onto the final deluxe badge for the boot, will be a box of Woodstocks if it's right.1 point
-
Got some more thinners and got the front under bonnet/boot painted next.tried to get a good coverage on everything.over the years many stone chips had done a number on the paint under the arches.one more wire wheel dead.had a crack at heat shrinking some of the mess I'd made of the front quarter, worked a wee bit, stopped it popping in and out so easy.bog time!I spent Monday, Tuesday and Wendnesday night last week from about 9pm once the kids were sorted and the next day organized, sanding, sanding and sanding till about 1 or 2 am.And finally on Thursday night.a bit of etch.followed by...just the engine bay and the front valance to prime.but that will have to wait till it's off the spit as I still need to spot weld the bonnet seal strip on both valances as the frame it's bolted to is in the way.still needs heaps of work, found a few dips and bumps after the paint went on, needs lots of sandpaper marks filled in/sanded out, but I should be able to do the seam sealing and smash some red on the bum soon!1 point
-
Also her'es a few photos because I can1 point
-
So the above list was remedied..........mostly, I may have missed 2 of the outer seat belt bolts, when I re-positioned the brake line to stop it rubbing on the airbag it turn out that I had moved it right into the path of the bump stop, I thought i had created enough clearance between the Tyre and the lower shock mount (I had shortened it by around 20mm when i did the rework on the shock angles) but still wasn't quite enough it turned out, And while i had stopped the bags rubbing on the diff, there still wasn't enough clearance so needed to sort that, so I: put 2 new bolts in the outer seat belt lower mounts, made a new brake line that ran onto the rear of the diff, as the original line couldn't be manipulated any more with out risk of kinking the line, as per Clint's suggestion I flapped disc'd the remaining thread that was stuck out past the lower shock mount nut, and gave the lock stops a tweak, I flapped disc'd down the weld seam on the diff and created an angled shim to sit between the top rear bag mount to roll it forward, not only did this create the clearance I needed it actually means that the bag is on a better angle when its aired out, that resulted in this: which resulted in a compliance pass, which lead to: Which mean we could get this: Pretty happy made my goal of getting the car legal for beach hop with 6 days to spare (must be an oldschool record haha), going to rack up a few miles this weekend before we drive it to Whangamata, pretty F#cking stoked to be honest, it drives great, nice and smooth, feels less boat like than it used to with the springs in it so I'm calling it a win!!1 point
-
Got the cab back from sandblasting. Has also been etch primed. They did a very good job of it. Patch panels for the right hand side floor should be here in the next week or two. Made up a plate to replace the door hinge captive nuts that were turning. Plug welded it in. Pic for thread because these updates aren't that exciting and so I don't forget how cool this will look once it's done.1 point
-
so had some more doorts on the weekend at the first round of the engine room automotive sprint series at millstream rd in Weber. Managed to take out a 4age ke25 and just about got a b16a civic. Also put 7 seconds on the other A class starlet that was there, but most importantly i had a huge grin on my face because the car is proper fun to drive now. Next round of the sprint series is on the 5th of march at Pattison rd in Waipukurau. If any hawkes bay peeps want to come down have a look on the "engine room automotive sprint series" page on facebook for details, if you can fit my spare set of overalls i can squeeze 1 or 2 people in for a ride also, just give me a PM if your keen.1 point
-
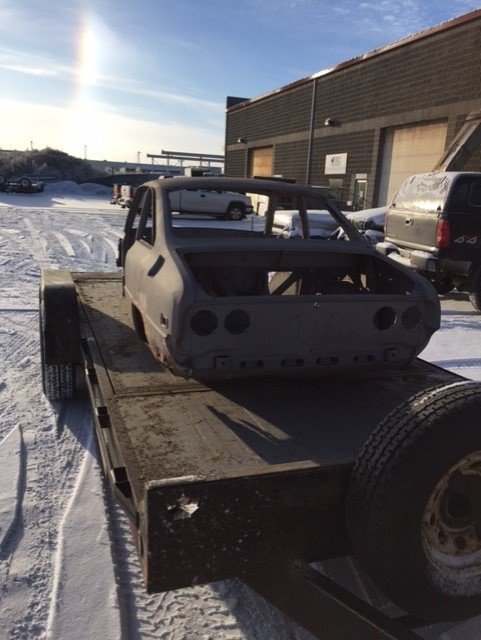
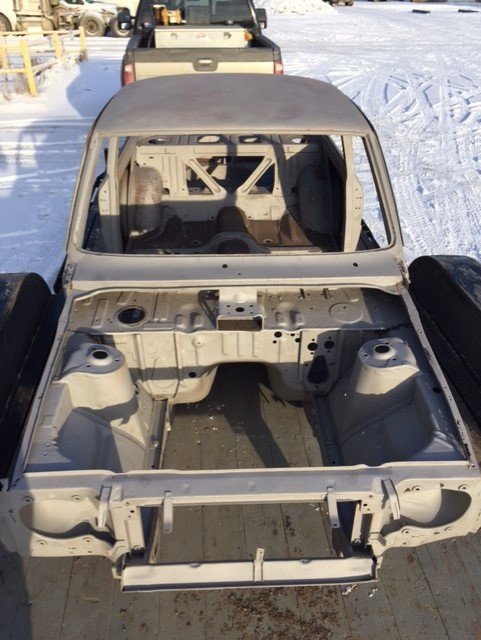
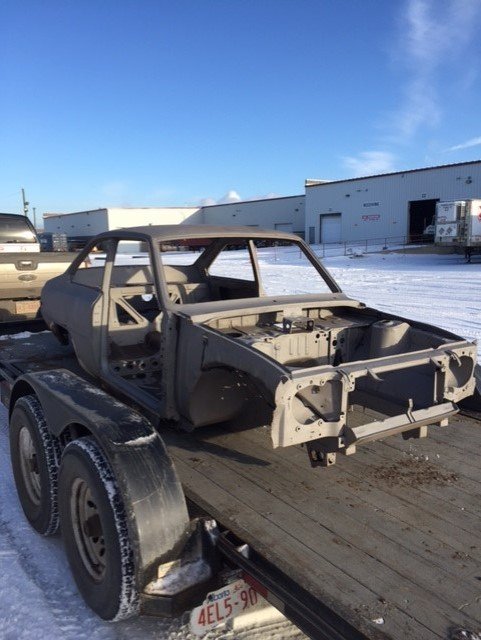
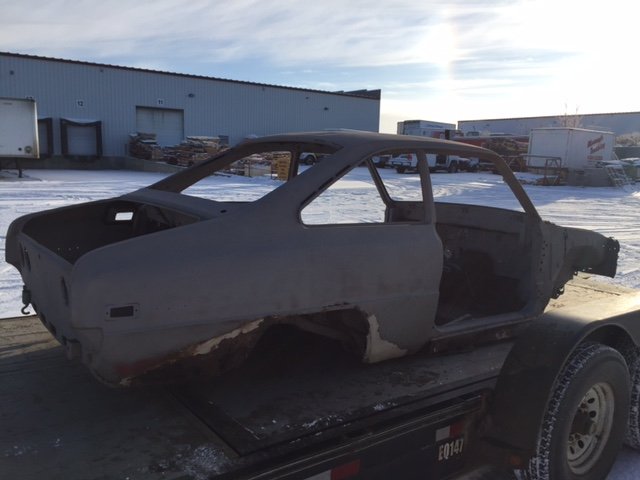
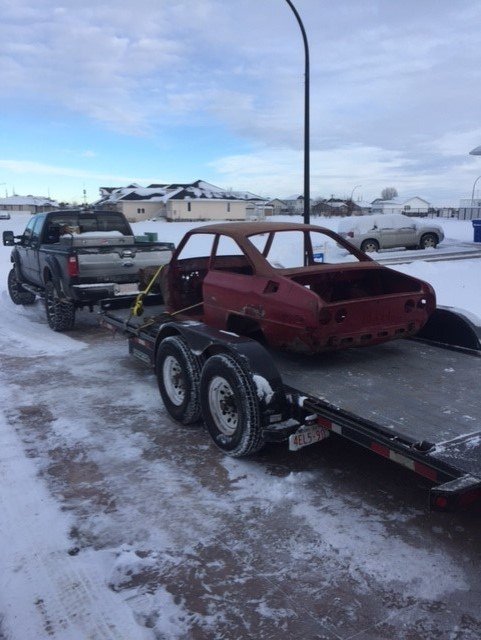
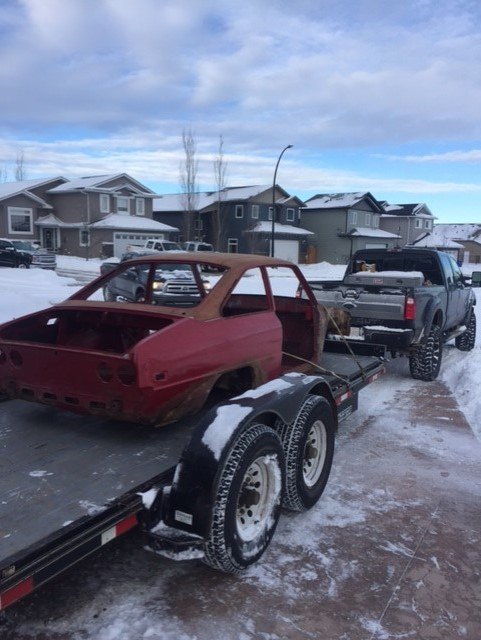
Picked the Are One Hunge up from the blasters ready to give it a lick of etch. Turned out slightly better than what i thought. Got the underside %100 too. Only filler was around the rear quarters. Its pretty bad in that area.
1 point
-
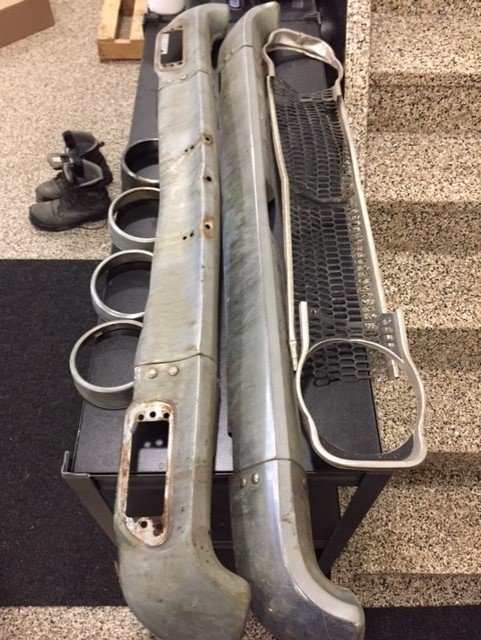
Dropped the bumpers and tail light surrounds off at the chrome platers . Should have them back by end of Jan 2017. Bloody hell can't believe the price of chroming. Daylight robbery!! Oh well they will look sick when done. Cant beat shiny chrome r100 tail lights!!!! Also need to find someone to restore the Grille. The mesh is paper thin so I need someone who knows what they are doing to alloy weld up the one hole where it looks like a bird has been hit or something.
1 point
-
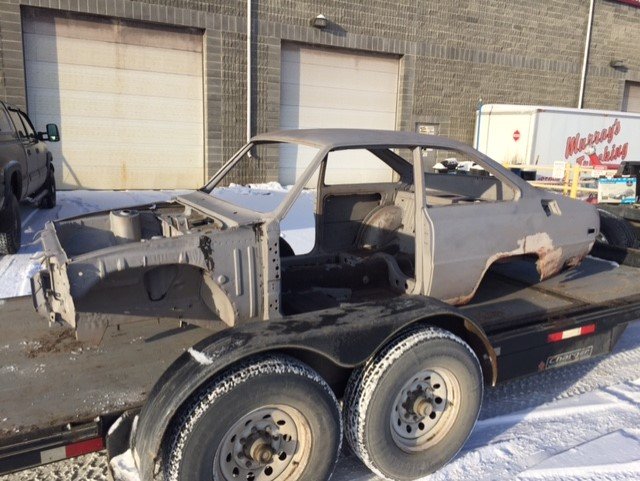
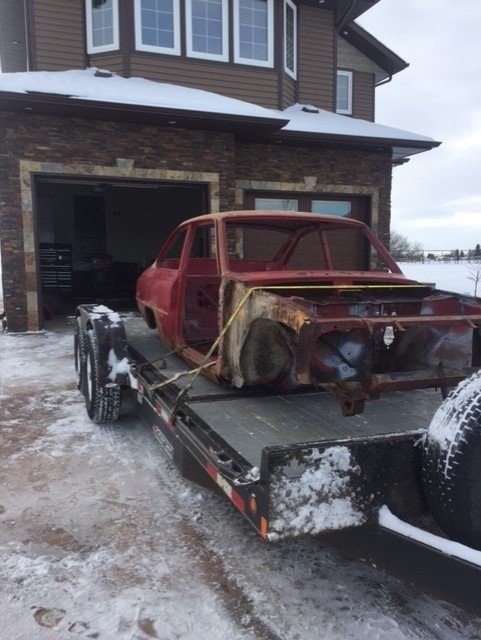
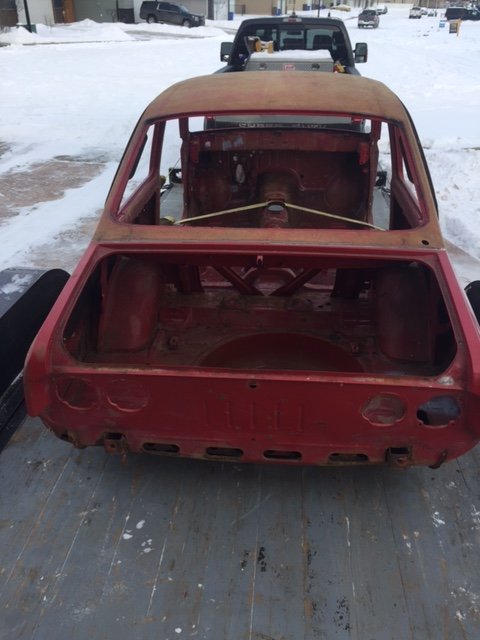
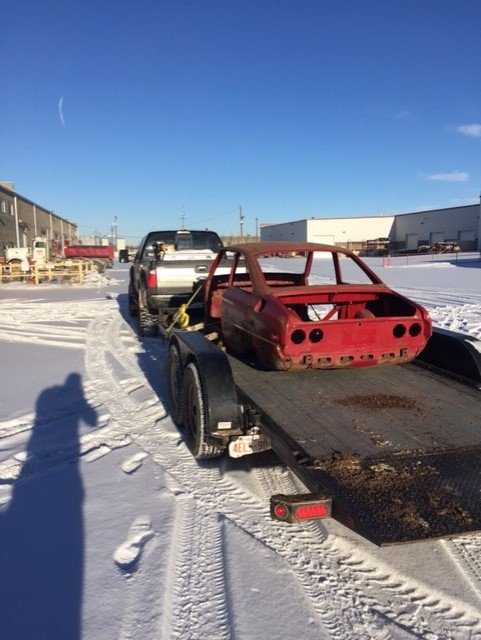
Loaded up and off to the blasters. Getting the car Plastic Media blasted then coated in etch primer. Should have it back early Jan 2017.
1 point
-
Removed the engineering marvel that is the 10A engine. Ready to give it the PP treatment at some stage down the line.
1 point
-
Then time for the outer patterns. Filter and sprue area added. Then fit them all together. Then stack them on top of each other to make a 40kg sand castle.1 point
-
First sand core. Cylinder and port core.1 point


.jpg.d7efe34d9e11fb0e34ca0f9146b06b07.jpg)


This leaderboard is set to Auckland/GMT+12:00