
Leaderboard


Popular Content
Showing content with the highest reputation on 03/16/17 in all areas
-
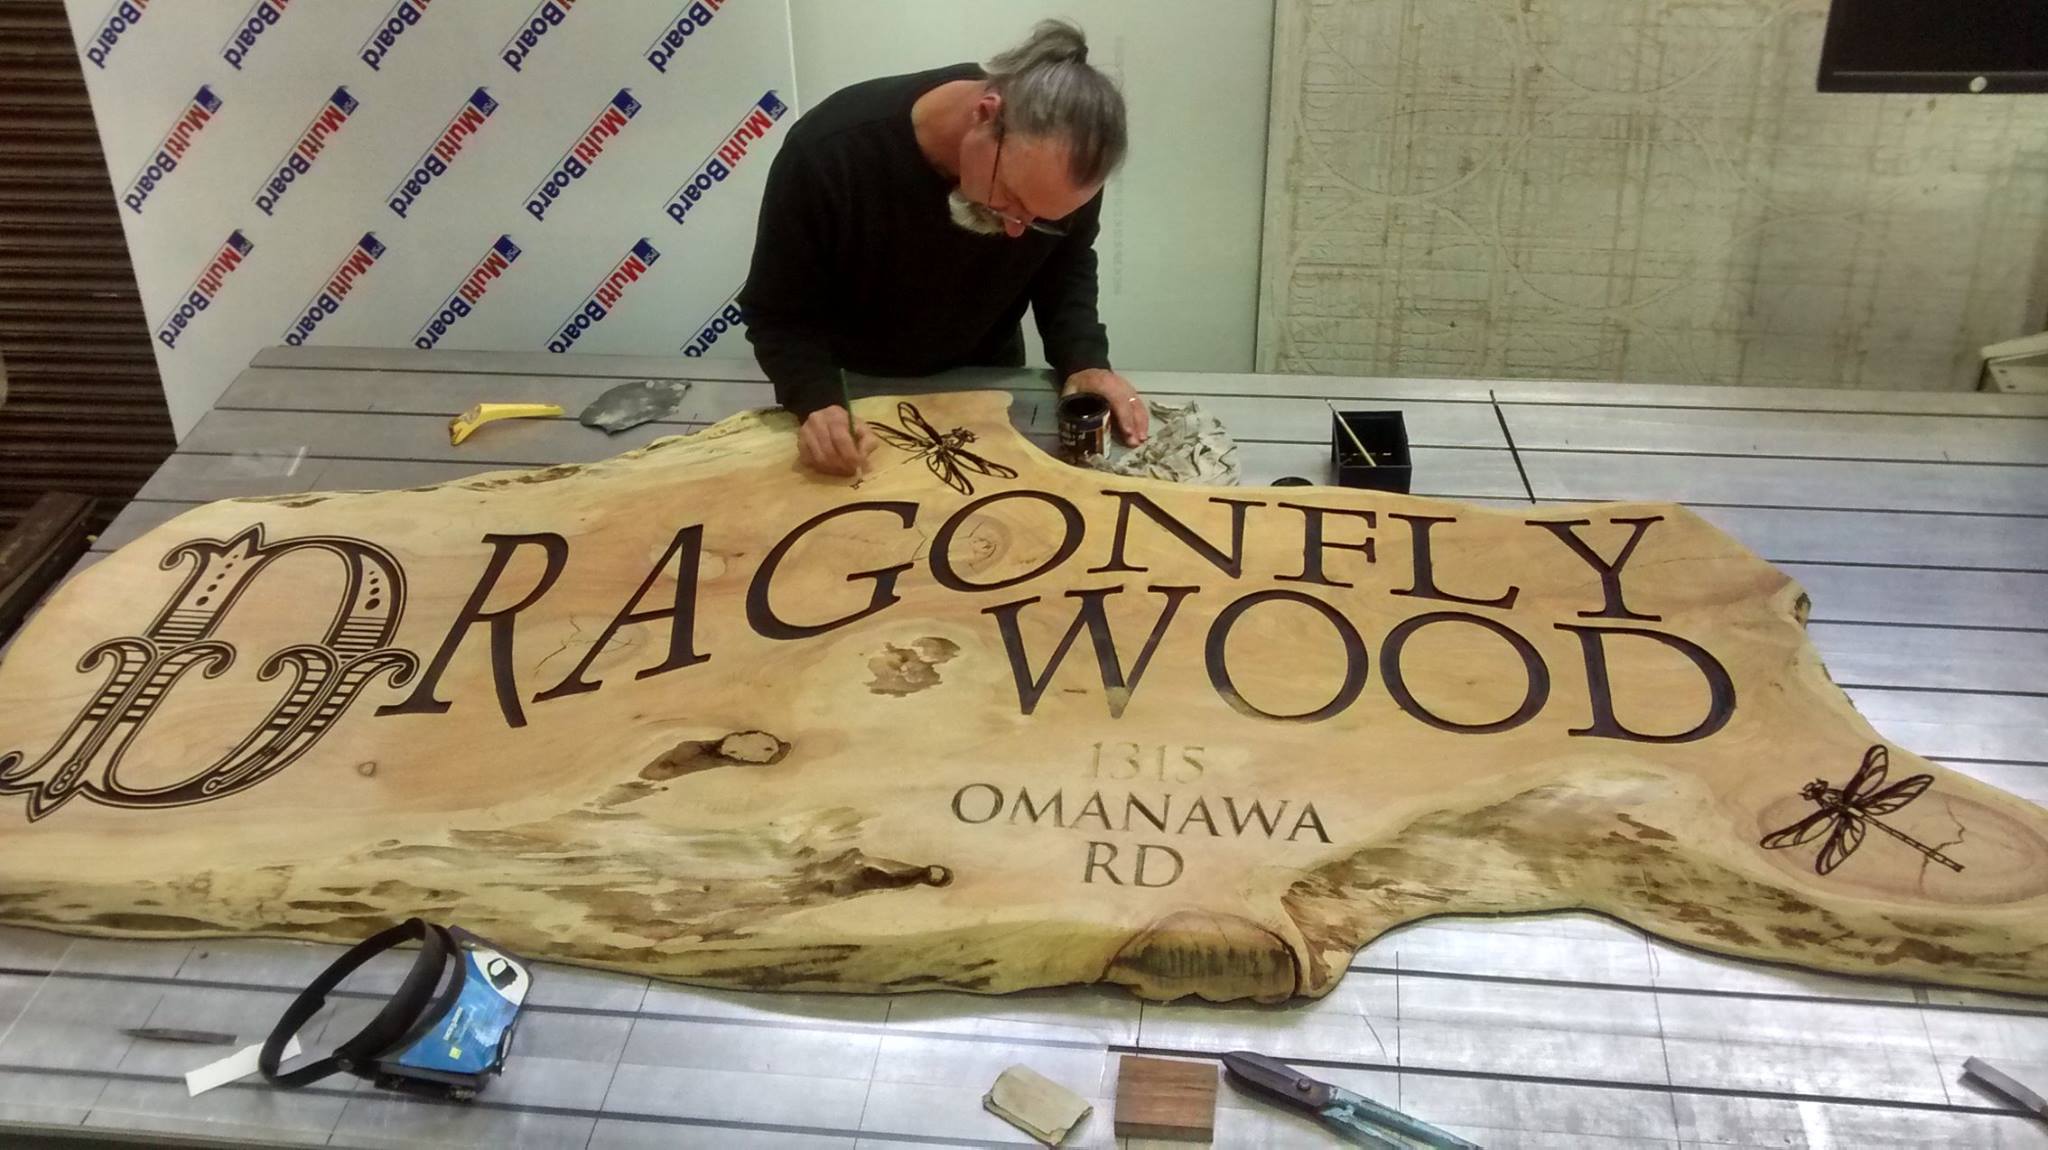
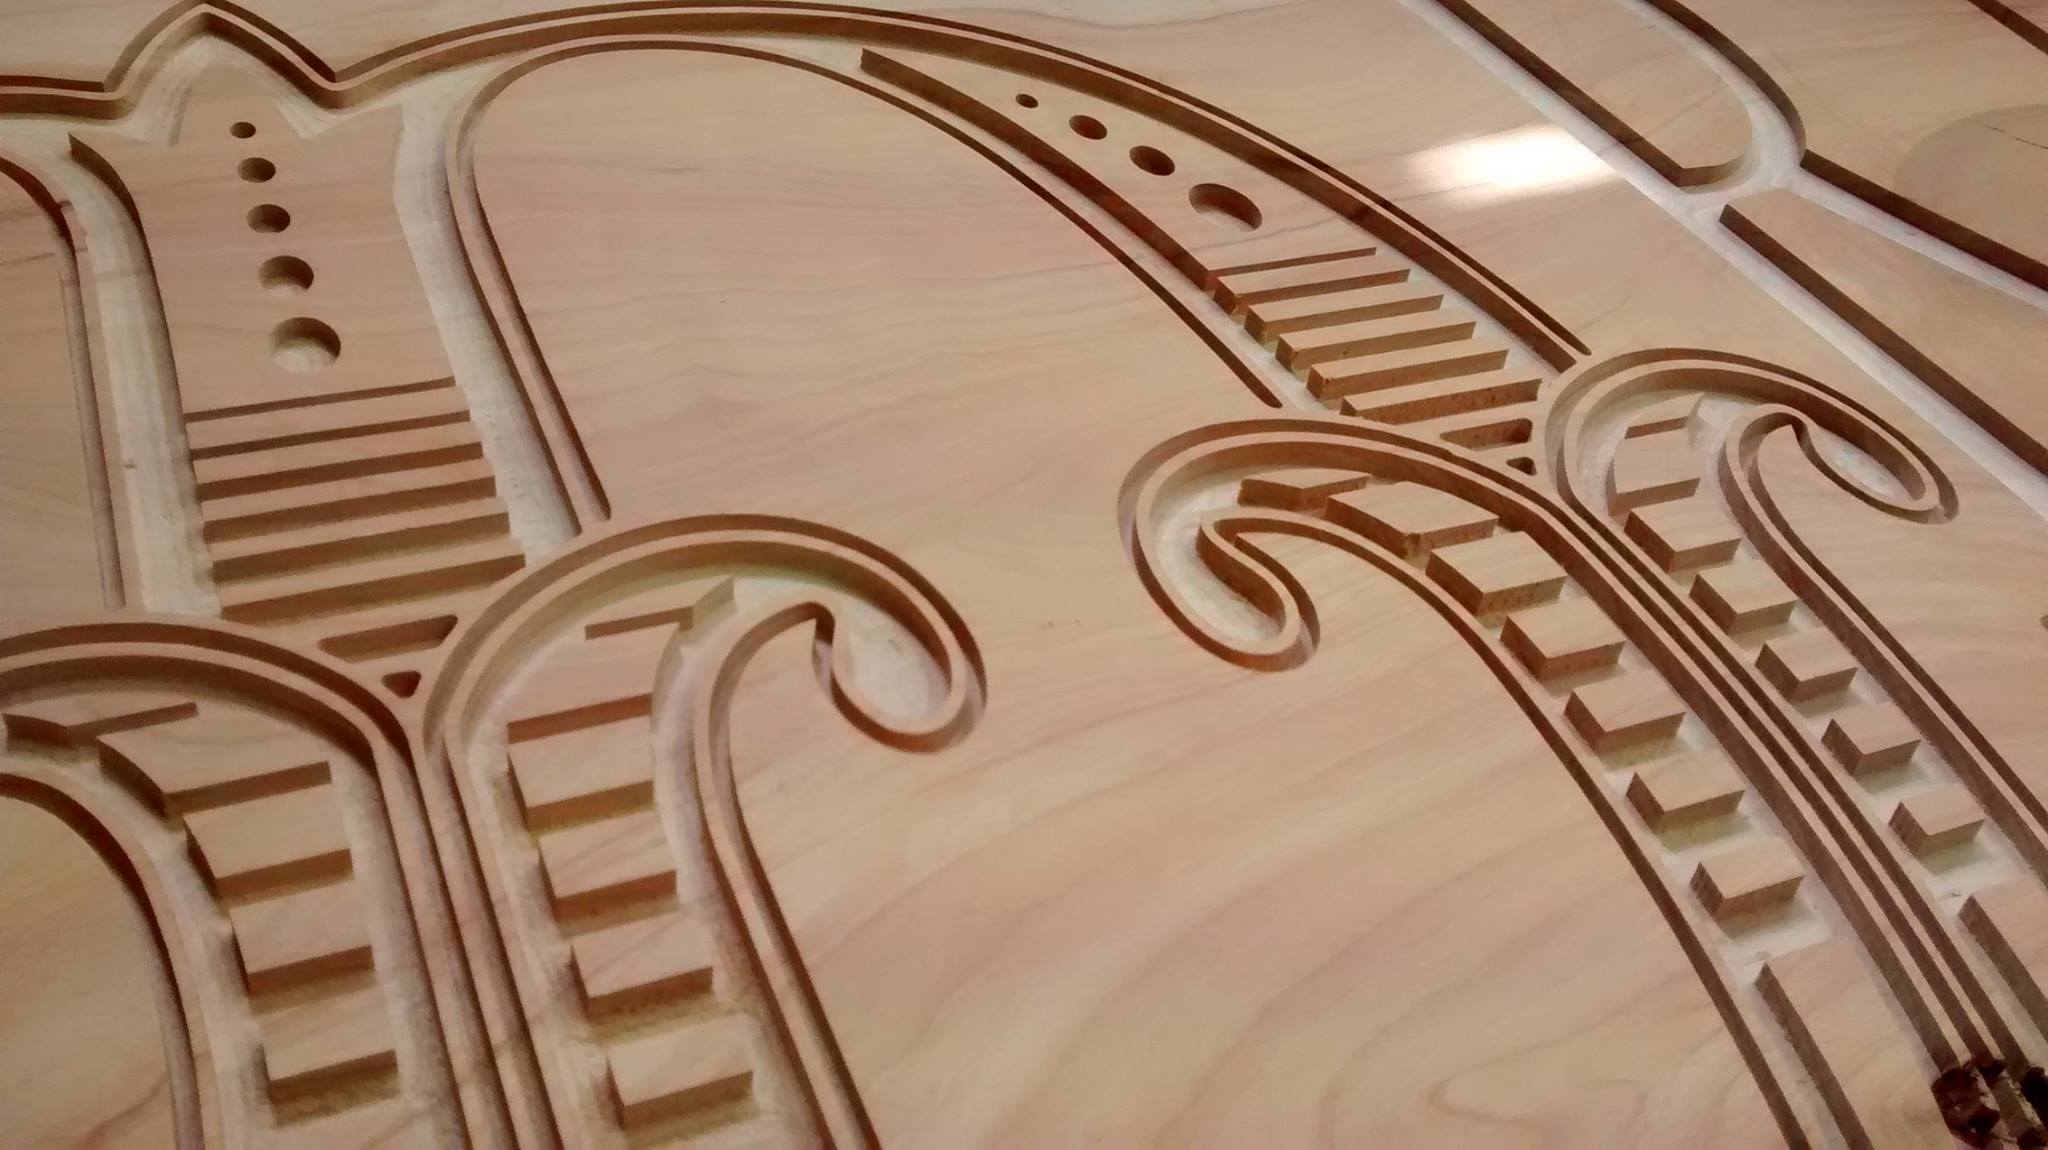
Also her'es a few photos because I can8 points
-
All the red7 points
-
So the above list was remedied..........mostly, I may have missed 2 of the outer seat belt bolts, when I re-positioned the brake line to stop it rubbing on the airbag it turn out that I had moved it right into the path of the bump stop, I thought i had created enough clearance between the Tyre and the lower shock mount (I had shortened it by around 20mm when i did the rework on the shock angles) but still wasn't quite enough it turned out, And while i had stopped the bags rubbing on the diff, there still wasn't enough clearance so needed to sort that, so I: put 2 new bolts in the outer seat belt lower mounts, made a new brake line that ran onto the rear of the diff, as the original line couldn't be manipulated any more with out risk of kinking the line, as per Clint's suggestion I flapped disc'd the remaining thread that was stuck out past the lower shock mount nut, and gave the lock stops a tweak, I flapped disc'd down the weld seam on the diff and created an angled shim to sit between the top rear bag mount to roll it forward, not only did this create the clearance I needed it actually means that the bag is on a better angle when its aired out, that resulted in this: which resulted in a compliance pass, which lead to: Which mean we could get this: Pretty happy made my goal of getting the car legal for beach hop with 6 days to spare (must be an oldschool record haha), going to rack up a few miles this weekend before we drive it to Whangamata, pretty F#cking stoked to be honest, it drives great, nice and smooth, feels less boat like than it used to with the springs in it so I'm calling it a win!!7 points
-
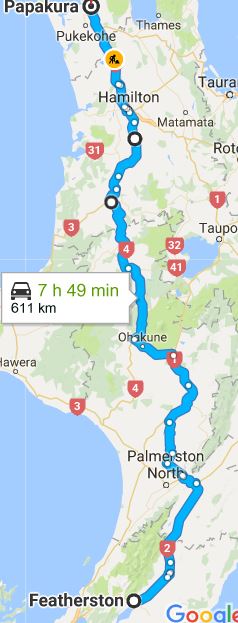
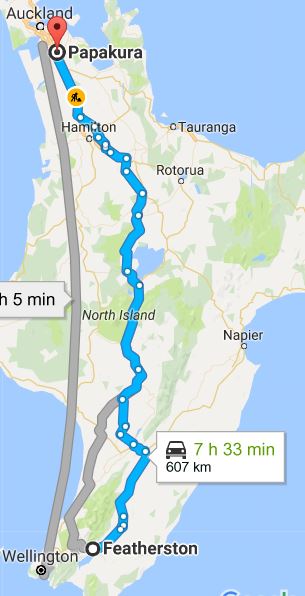
I'd wanted an Estate for quite some time but never thought I'd end up owning this particular example. That is until I saw it for sale on a Facebook Triumph page (yes such a thing exists). However it was well out of my price range so I pined over it and got about fiddling with the many other cars in my life. But a while later I found out that the engine had let go and that the price was heavily reduced. The engine issue didn't phase me, but I was still a bit worried that I couldn't afford it. After plenty of discussion between myself and the owner, I decided to drive down to Tauranga and take a look at it in person. A deal was struck and I made plans to come back that weekend and collect the car. So with the help of @Tumeke and his Dad's 2.4 petrol LWB L300, we hitched a hired trailer and set about collecting the car. IMG_8129 by Neal OnTheTree, on Flickr IMG_8132 by Neal OnTheTree, on Flickr IMG_8133 by Neal OnTheTree, on Flickr The L300 towed surprisingly well and we trundled along at a leisurely pace back to Auckland, along with a stop in Ngatea for some fuel for both the van and ourselves. IMG_8137 by Neal OnTheTree, on Flickr IMG_8139 by Neal OnTheTree, on Flickr Once in its new home, I poured a fresh four litres of oil into it, wound the engine over until it had a bit of oil pressure and fired it up. The car had a horrible knock when I went to see it because it had been run with no oil. It will run okay at idle but there is still a faint knock from time to time so it will have its engine removed to be stripped and inspected. It currently resides in my shed under a cover while I sell a lot of the other projects and parts that I have. This is the car that I've always wanted so the plan is to fix the engine, run it in for a WoF, get it road legal and start fixing it slowly while it remains regularly driven. It has suffered much neglect which is not apparent in the pictures but I am confident I can rectify this.7 points
-
Today's effort. New (half finished) gearbox/transfer case cross member. Lower links don't agree with the old one. new one will have a tower for the upper link with some adjustment holes. +50mm shocks look pretty short.6 points
-
Got bits back from blasters. $30 to get these done, shit that's worth it to save a lot of time and effort (cheers Sievwright). Saw an XA shell on a rotisserie while there too... Bit of damage from someone's previous attempts to get rivets out by the look of it... So quick blat with the welder/grinder/drill at lunchtime, and ready for paint. Will try to get some on tonight...4 points
-
for anyone who wants to borrow/use a sewing machine i have three here in hamilton that your more than welcome to pending they stay in the same spot but everyone is welcome to the work shop tools. eyelet pres and few other things.4 points
-
Offerings from the Americas4 points
-
Discuss here:3 points
-
Pic of driveshaft installed in gearbox please.3 points
-
3 points
-
Leaks on the floor? As a possible new name? Nice wagon btw. I like wagons.3 points
-
When is threeonthetree going to become 4speedOD????? Time for a name change Neal now that you have swapped the bogan holdens for the British stiff upper lip.3 points
-
Was good to meet everyone, you guys and gals are a friendly bunch. Would trade again.2 points
-
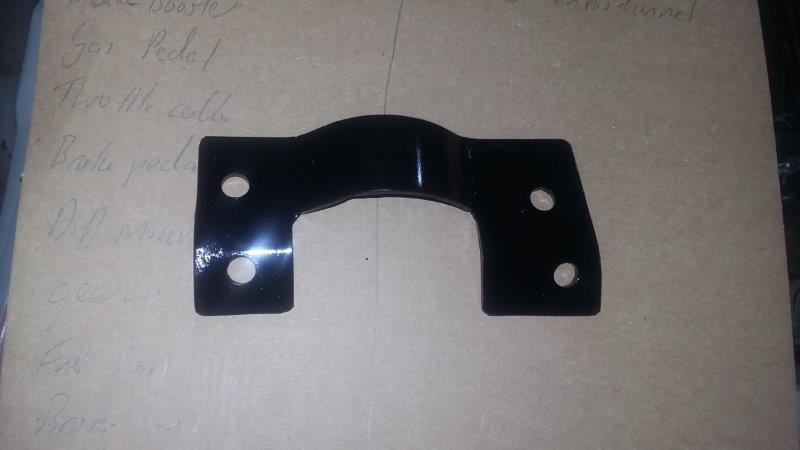
I had been holding off on an update until after the shed raid, I didn't want to give away too much before the team came round and had a look. The engine is in and mounts welded up, still some finishing to do on the drivers side once the engine comes out again. The gearbox cross member is in place. HQ holden narrowed by 300mm. Again some final welding to finish off when the engine is out. Brake booster brackets made, final hole in the firewall to finish off. We didn't do it the other night because my kids had gone to bed and the die grinder was going to make too much noise. I have been stuffing around with the diff angle and finding how much change there is in angle in normal suspension movement. I have decided to have the diff 2 degrees nose down, same as the Firebird. I have traction bars that mount under the spring pad at one end and below and forward of the front spring eye on the chassis. At expected ride height they are almost parallel with ground and the diff angle stays constant. The main thing I want is no axle tramp and I think these will do the trick.Traction is always going to be an issue with 215 tires. Still plenty to do but getting rapidly closer to all cuts cut, shuts shut and then off for final rust work and paint. Photos to come.2 points
-
Minitubing started
 2 points
 -
I'm going to turn up just to spite you all2 points
-
Either of these two? Many options and I'm sure some of us have been there done that - Around the western side of Taupo could be quite cool.
2 points
-
Hey Neal! Nice score. at least the body is tidy as fuck mate. looking forward to seeing this progress rad2 points
-
Might even bring my scallywag2 points
-
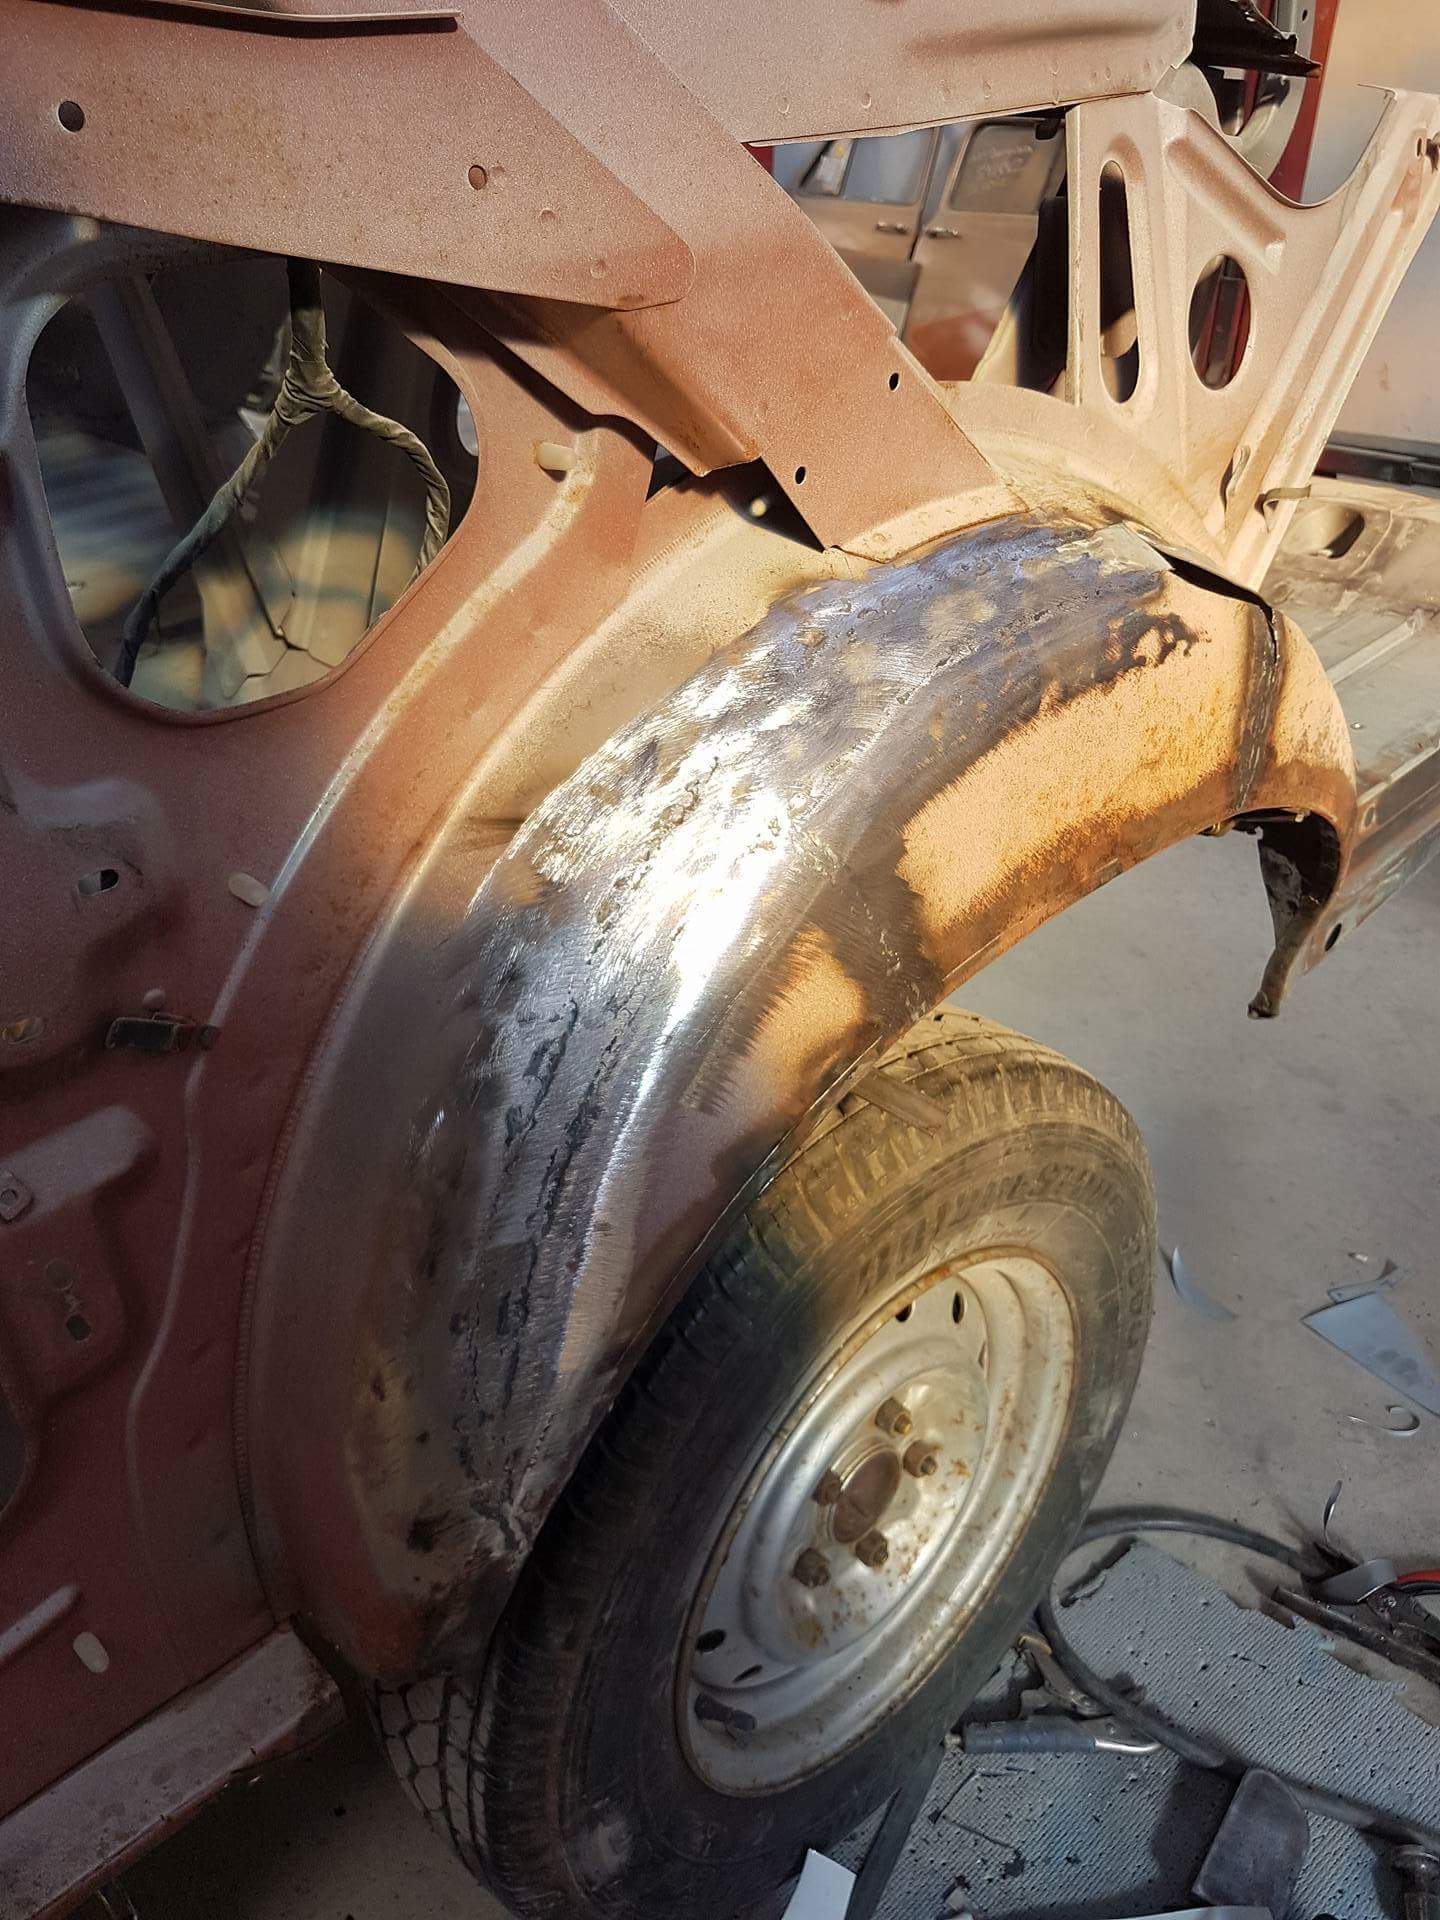
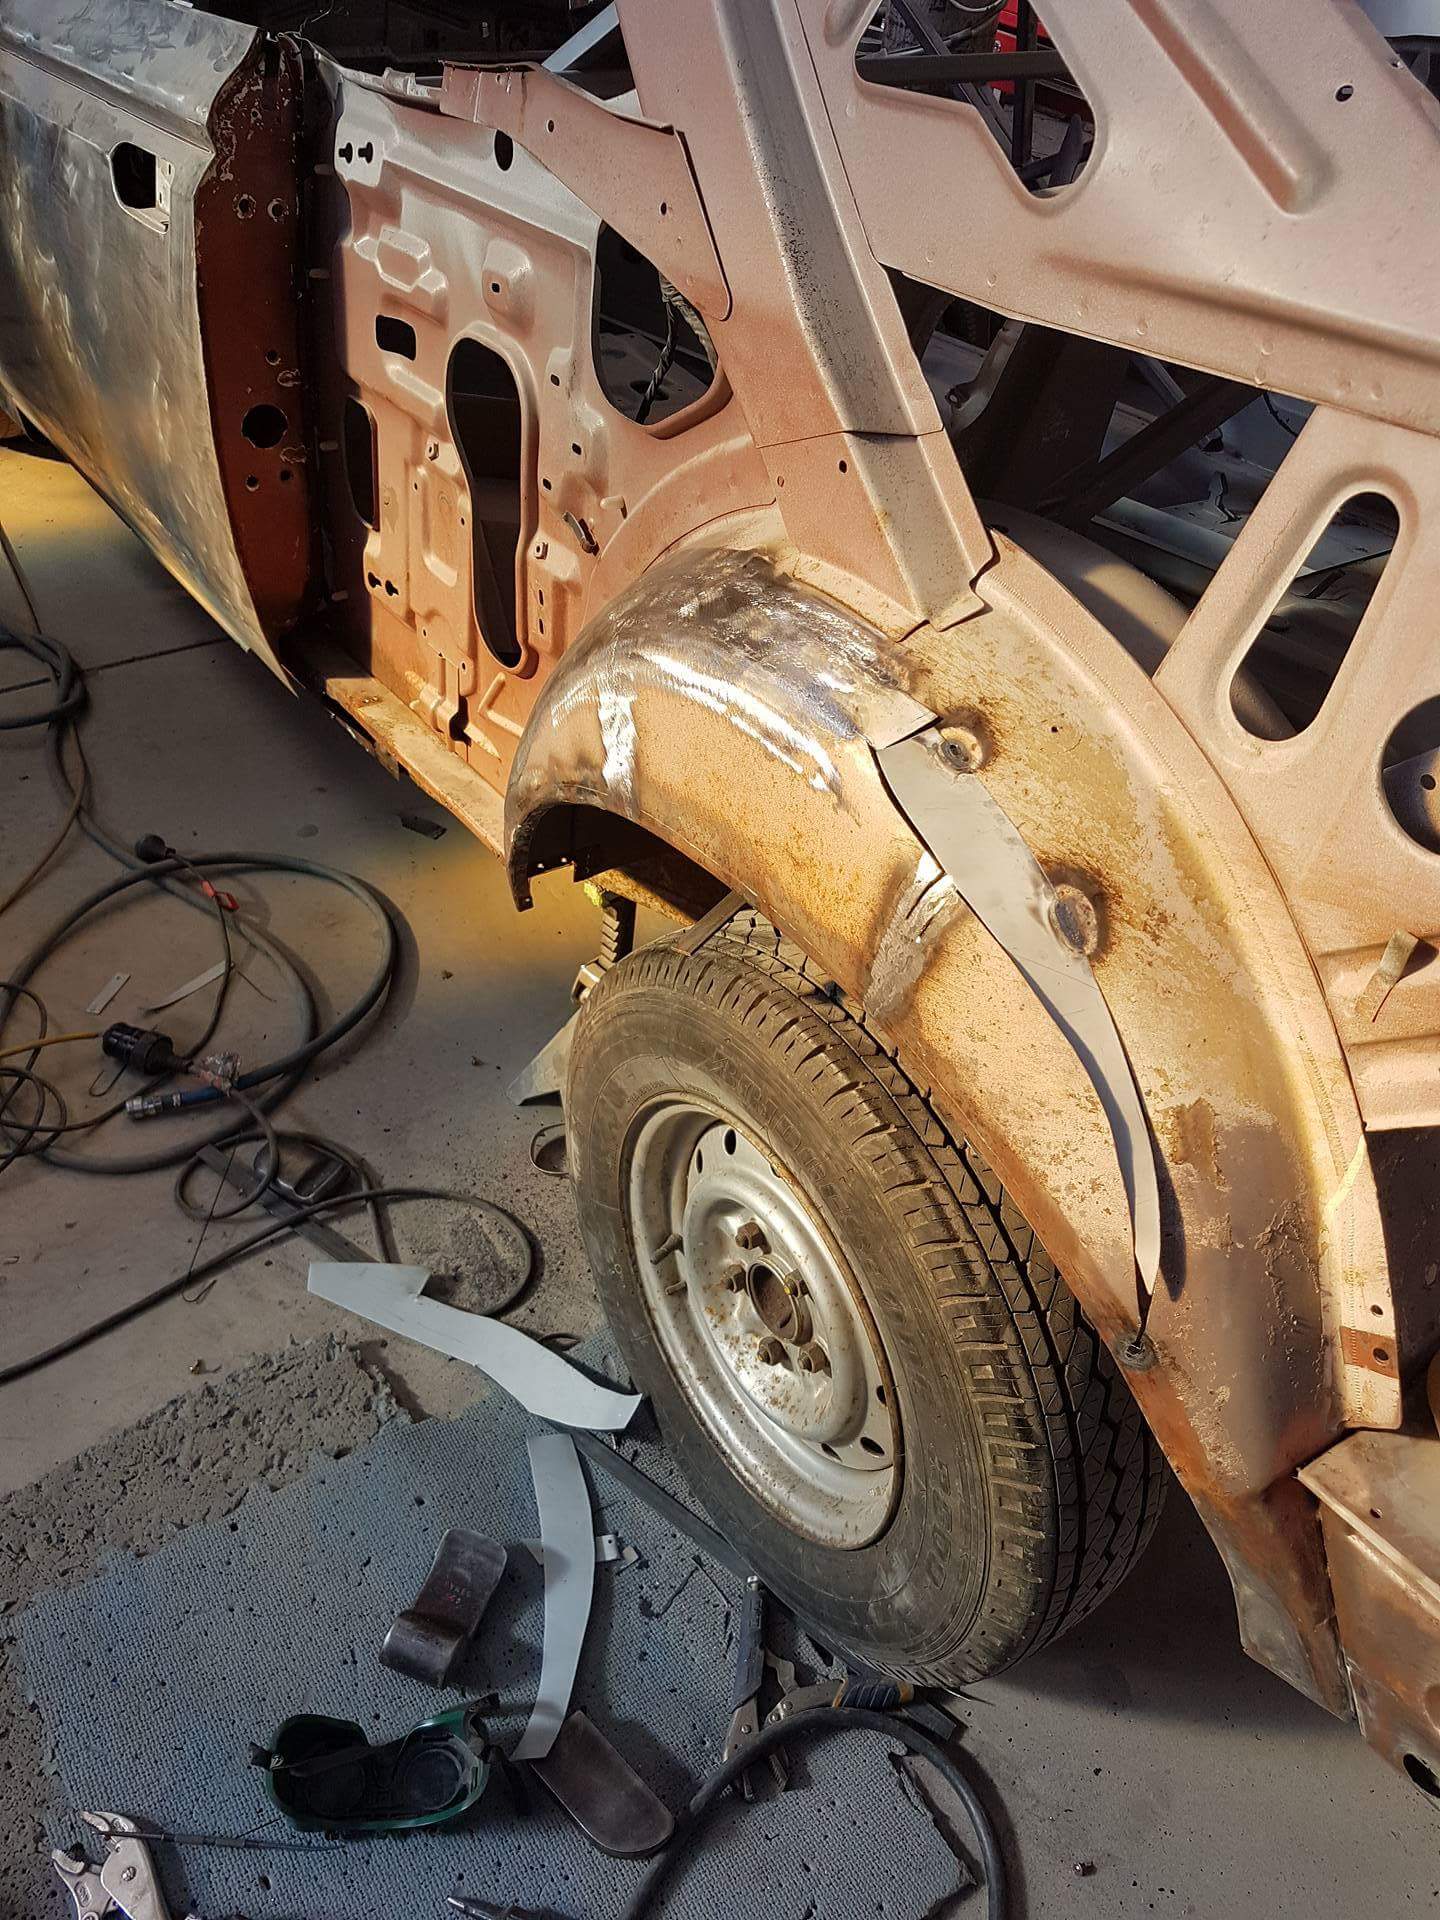
Got a bit more done, not quite as much as I hoped as the weekend was a total fail but I am getting there All the fab is done Front welded back together So the motor can go back in now, however there is one small snag, because I can't leave things along there was something else that has been bothering me, basically the muffler hangs too low and it would be good to quieten it down a bit so a few months ago I bought these Now the exhaust is a bit of a basted to get in as it is all one piece so I chopped it and added some v-bands, this way the headers won't have to come out again Not sure if I will get the whole exhaust made this week as there are a few bits to figure out so it may end up with the old one back in for a bit longer yet, will just have to see how the week goes....2 points
-
Its started, hours of grinding. Lower links. the tube adapters were for some usa spec "dom" tubing. machined them down a few mm to fit sch40 1 1/2 pipe. Have cut all the existing mounts off the diff and tacked the lower link mounts in place for test fit. will do the same with the top link before finishing and welding them. Lower link chassis mount, will be trimmed and braced more, as they will likely get a bit of a hiding Its kinda working. lower links look like they will be ok. still trying to find some more up travel. easy way would be to run the truck at a higher ride height, but want to make it work at stock height, to keep it stable as possible. current things spoiling the fun are: sump, alternator, engine mount and the floor..2 points
-
Eggcelent! /lingling post2 points
-
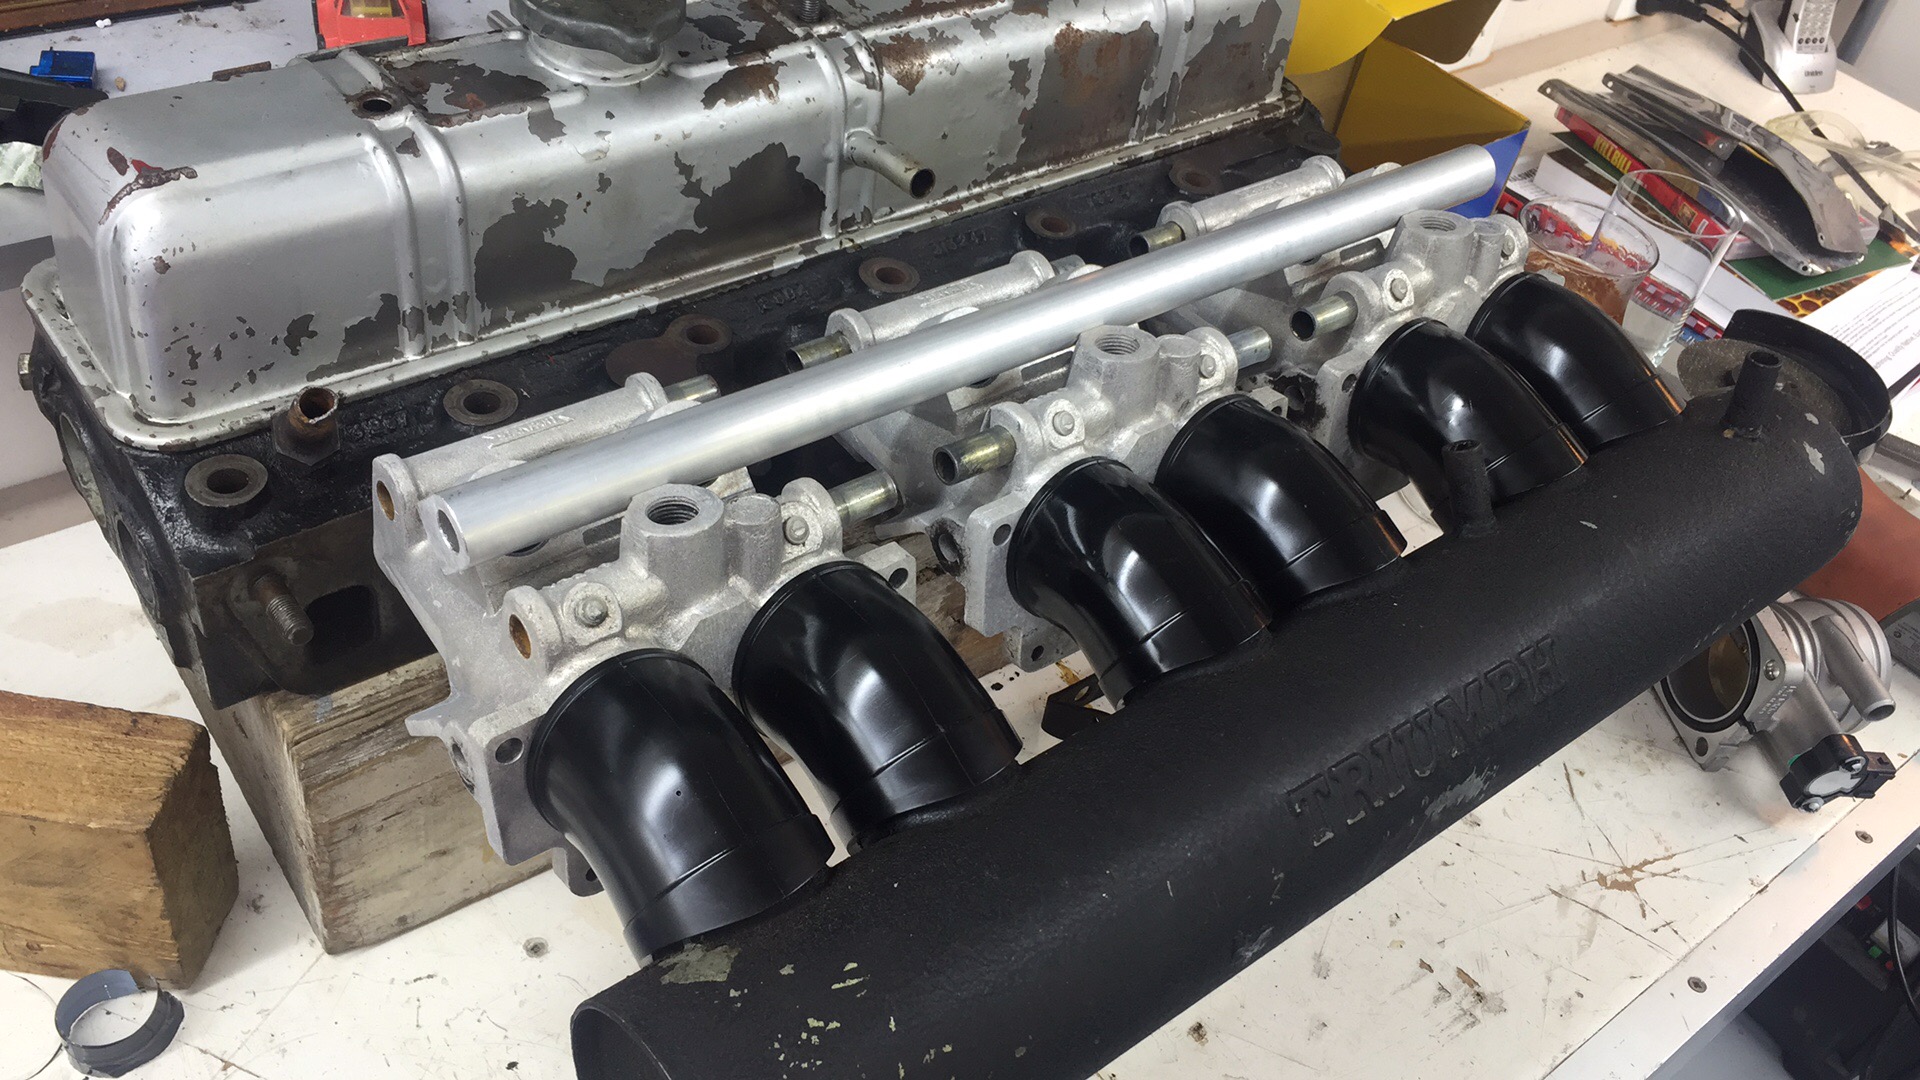
Been a while since I've posted anything up on my Trumpy but have been having heaps of fun with it. The OD gearbox has made a world of difference to how it goes on the open road so that was definitely a worthwhile excercise. Since I got it back on the road last June it's done about 4500 miles with no real faults to speak of. Been mostly just around Nelson and Mot but have been up the lake half a dozen times and once down to Westport which was a blast... I am really stoked at how it handles now compared to before the big upgrade but have been pining for a bit more grunt. For a little while now I've been collecting bits for a new donk and am just about ready to pull the trigger and get it built. Plan is a 2.5 bored out a bit, up the compression, EFI, cam, headers etc... Ive got most of the stuff together for the EFI setup and have been modding a set of PI manifolds to suit. As soon as this is done I'll get the engine itself underway....
2 points
-
Progress. Car now runs and kinda drives. Four weeks to the day since i took it off the road. http://www.tasteslikepetrol.net/2017/03/speeduino-rover-sd1-four-weeks/2 points
-
meant to post this up a while ago. Rob kindly drove his mates Coupe DeVille for my wedding and all i can say is, if Rob ever offers this car for your wedding, take him up on his offer! the thing is downright cool in every way. Much appreciated Rob!2 points
-
Heard back from machine shop this arvo, ring gap was way too big, and block is worn around 4 thou (I could feel a slight lip and expected as much) so they recommend reboring to 40 thou over, new pistons and bearings. I thought 0.030” over was about max for a thin-walled sbf, but apparently going + 0.040” is ok for a street motor. Plus it is only 0.005” (0.127m) larger each side than what it is now which puts it in perspective. Gave them the go-ahead to proceed, and I’ll drop off the gasket kit I already have to lower cost a smidgeon. If it wasn’t the original block I may have looked at other options, but the matching numbers thing makes decision easier, plus it’ll be nice to bolt everything up knowing it should be sweet underneath. Just more $$$ I’ll have to explain to wifey, who is losing her tolerance… Did some maths, and this will take it out to a 308 Ford, which will be a talking point I s'pose...2 points
-
And once again, I've started a small job that has grown. Pulled the passenger side out, bit more difficult as it's against the wall in the shed and I've got to wriggle into position (usually forgetting the important tool). More shock bolts sheared off, plus much hammering to get ball joints/tie rods out, more piles of muck to scrape off and tricky rivets to drill out, but got to a stage where I've got two piles of parts roughly cleaned... and a whole lot of bits to toss... Have ordered new brake pads & wheel bearings as well, plus brake shield gaskets and new grease caps (a surprising $5 delivery from a Mercury speciallist in th' States). I probably should remove the calipers and clean them up/replace seals etc while I'm at it but I may replace all brake lines later on so will do it then. Thought I'd try my blast cabinet with the new compressor (last one was painfully asthmatic/slow) so wrapped all engine parts in gladwrap and sealed in box before making things dusty... And it worked ok, still slowish but much better air delivery. I can't see myself hunched over for hours doing the control arms etc tho, so will prob get these professionally blasted... So aiming to press old bushings out and get parts blasted this week, ready for painting over the weekend. Then it's the fun stage, assembly. Will finish with pic of my apprentice - he's bloody useless. Gets covered in oil, chews stuff, widdles in the shop, scatters tools and generally gets in the way. Still good company tho...2 points
-
Thought I'd have a crack at chucking the new springs in. Never done any suspension work before so playing it by ear. Pulled bump stop plate out inside guard and removed the shock. Things were really covered in crap, looked like decades of grease and dust had accumulated, and everything was pretty much seized when I had dug it out to get a spanner on it - one lower bolt sheared off the shock, then when I undid top bolts the thing didn't move upwards like I expected, guess shocks were well overdue for replacement... Spring pulled out no bother (scored set of compressors for $30) and rubber insulator on top looks ok... And I pulled the upper control arm out, this is after a clean, it was covered in around 10mm of dust coloured muck... And the spindle had issues with the o-rings, one end had bulged out, while the other had a section missing. This would explain why previous attempts at lubing had just pumped grease under the guard... And old vs new. new ones are Lovells lows, matching them with KYB shocks... I was hoping to just chuck the spring in and move onto replacing the rubber suspension bushes, but cleaning the pivot revealed some wear (potentially the source of my slight but annoying Falcon squeak) so looked at replacements... Upper ball joints were equally scruffy, so ordered new ones of those too. Under the crud in this pic is the lower ball joint, I suspect these are riveted in rather than bolted so will have to drill them out after I've cleaned up. The top joint resisted all my attempts at getting it out till I shot into supercheap and grabbed a $20 separator tool... and naturally the tie rod rubbers were also shagged... I looked at replacing the rubber on these but seems tie rod comes as a complete unit, so - have ordered: * new upper control arm pivot bushes * upper and lower ball joints * and inner and outer tie rod ends. More costs I hadn't intended, but might as well do it now...2 points
-
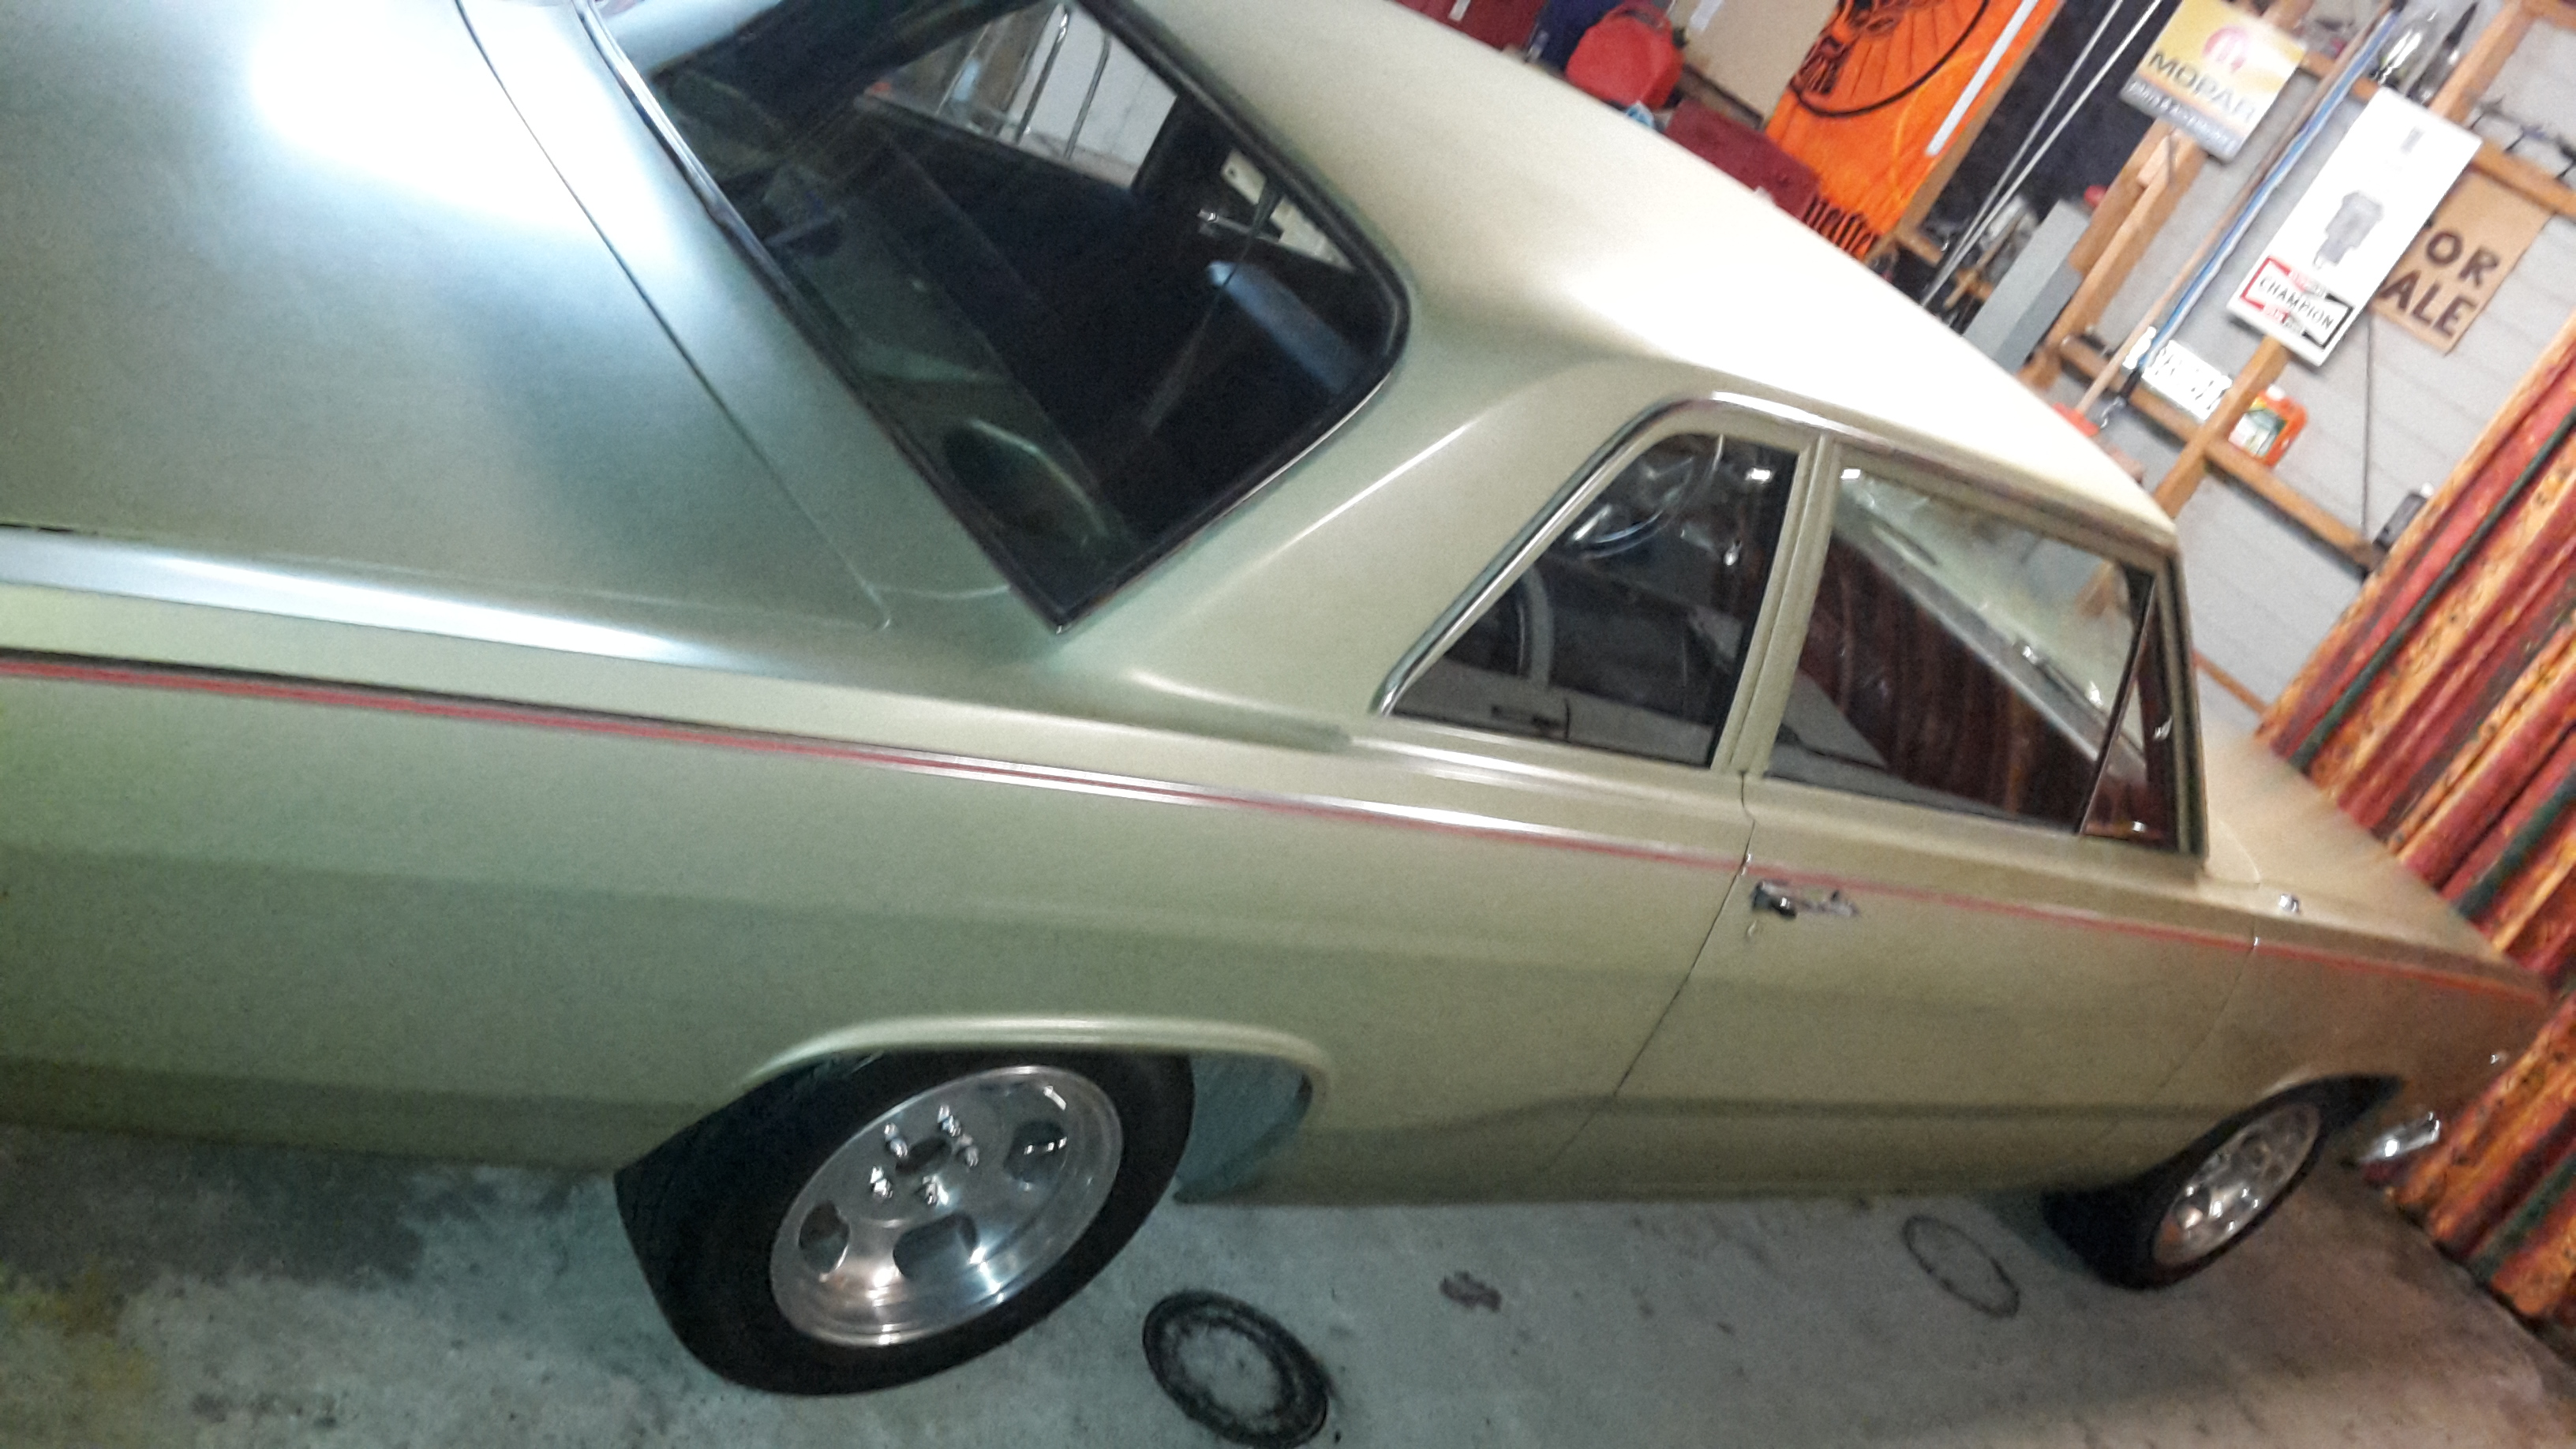
Nice work now enjoy the shit out of it, one of my favourite shapped chevys1 point
-
I saw something on the HUHANZ facebook page this morning about a dog friendly place in Stokes Valley.1 point
-
I said could be driveshaft too short wobbling on the gb output shaft on the first page.1 point
-
Good stuff man, loved my mk2 wagon (the white one Conner started his build thread with). Such an odd ball shape, all the barrys be swooning.1 point
-
Speeduino can do upto 4 cylinder sequential, but im running it in batch mode1 point
-
Six on the stick?1 point
-
A quick update for today http://www.tasteslikepetrol.net/2017/03/speeduino-rover-sd1-a-gas-stations-best-friend/ She's thirsty!1 point
-
six on the floor. Nah..doesn't work eh. He could remove the 1st/2nd OD limit switch and be... Eight on the straight!1 point
-
Just a gentle nudge of Hannah's post in here... Glad to see you scored this one Neal! I remember spotting it up for sale ages back on the Chch based trump club site and posting up somewhere on OS.. I then noted you gave the post a like. Trump wagons...so lush. Man this one so reminds me of the S wag we had while in the UK... Carmine red? Edit; what a crap photo. All focused on the bloody leaves. Sadly we took very few photos of that car even though it was our daily for bloody ages and saw a lot of miles from it. The nice fella ,Collin Radford, on the Truimph fanboy facebook group bought it from us and its still going strong.1 point
-
See you at Wagnats '18.1 point
-
Yeh what he said. On paper it might no require a cert to simply change the box and put in a clutch, but I doubt you would get away with leaving in the original brake pedal (massive) in anyway/who does that. But if it helps you sleep at night, then yes, you are "correct" Yowzer.1 point
-
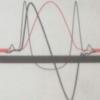
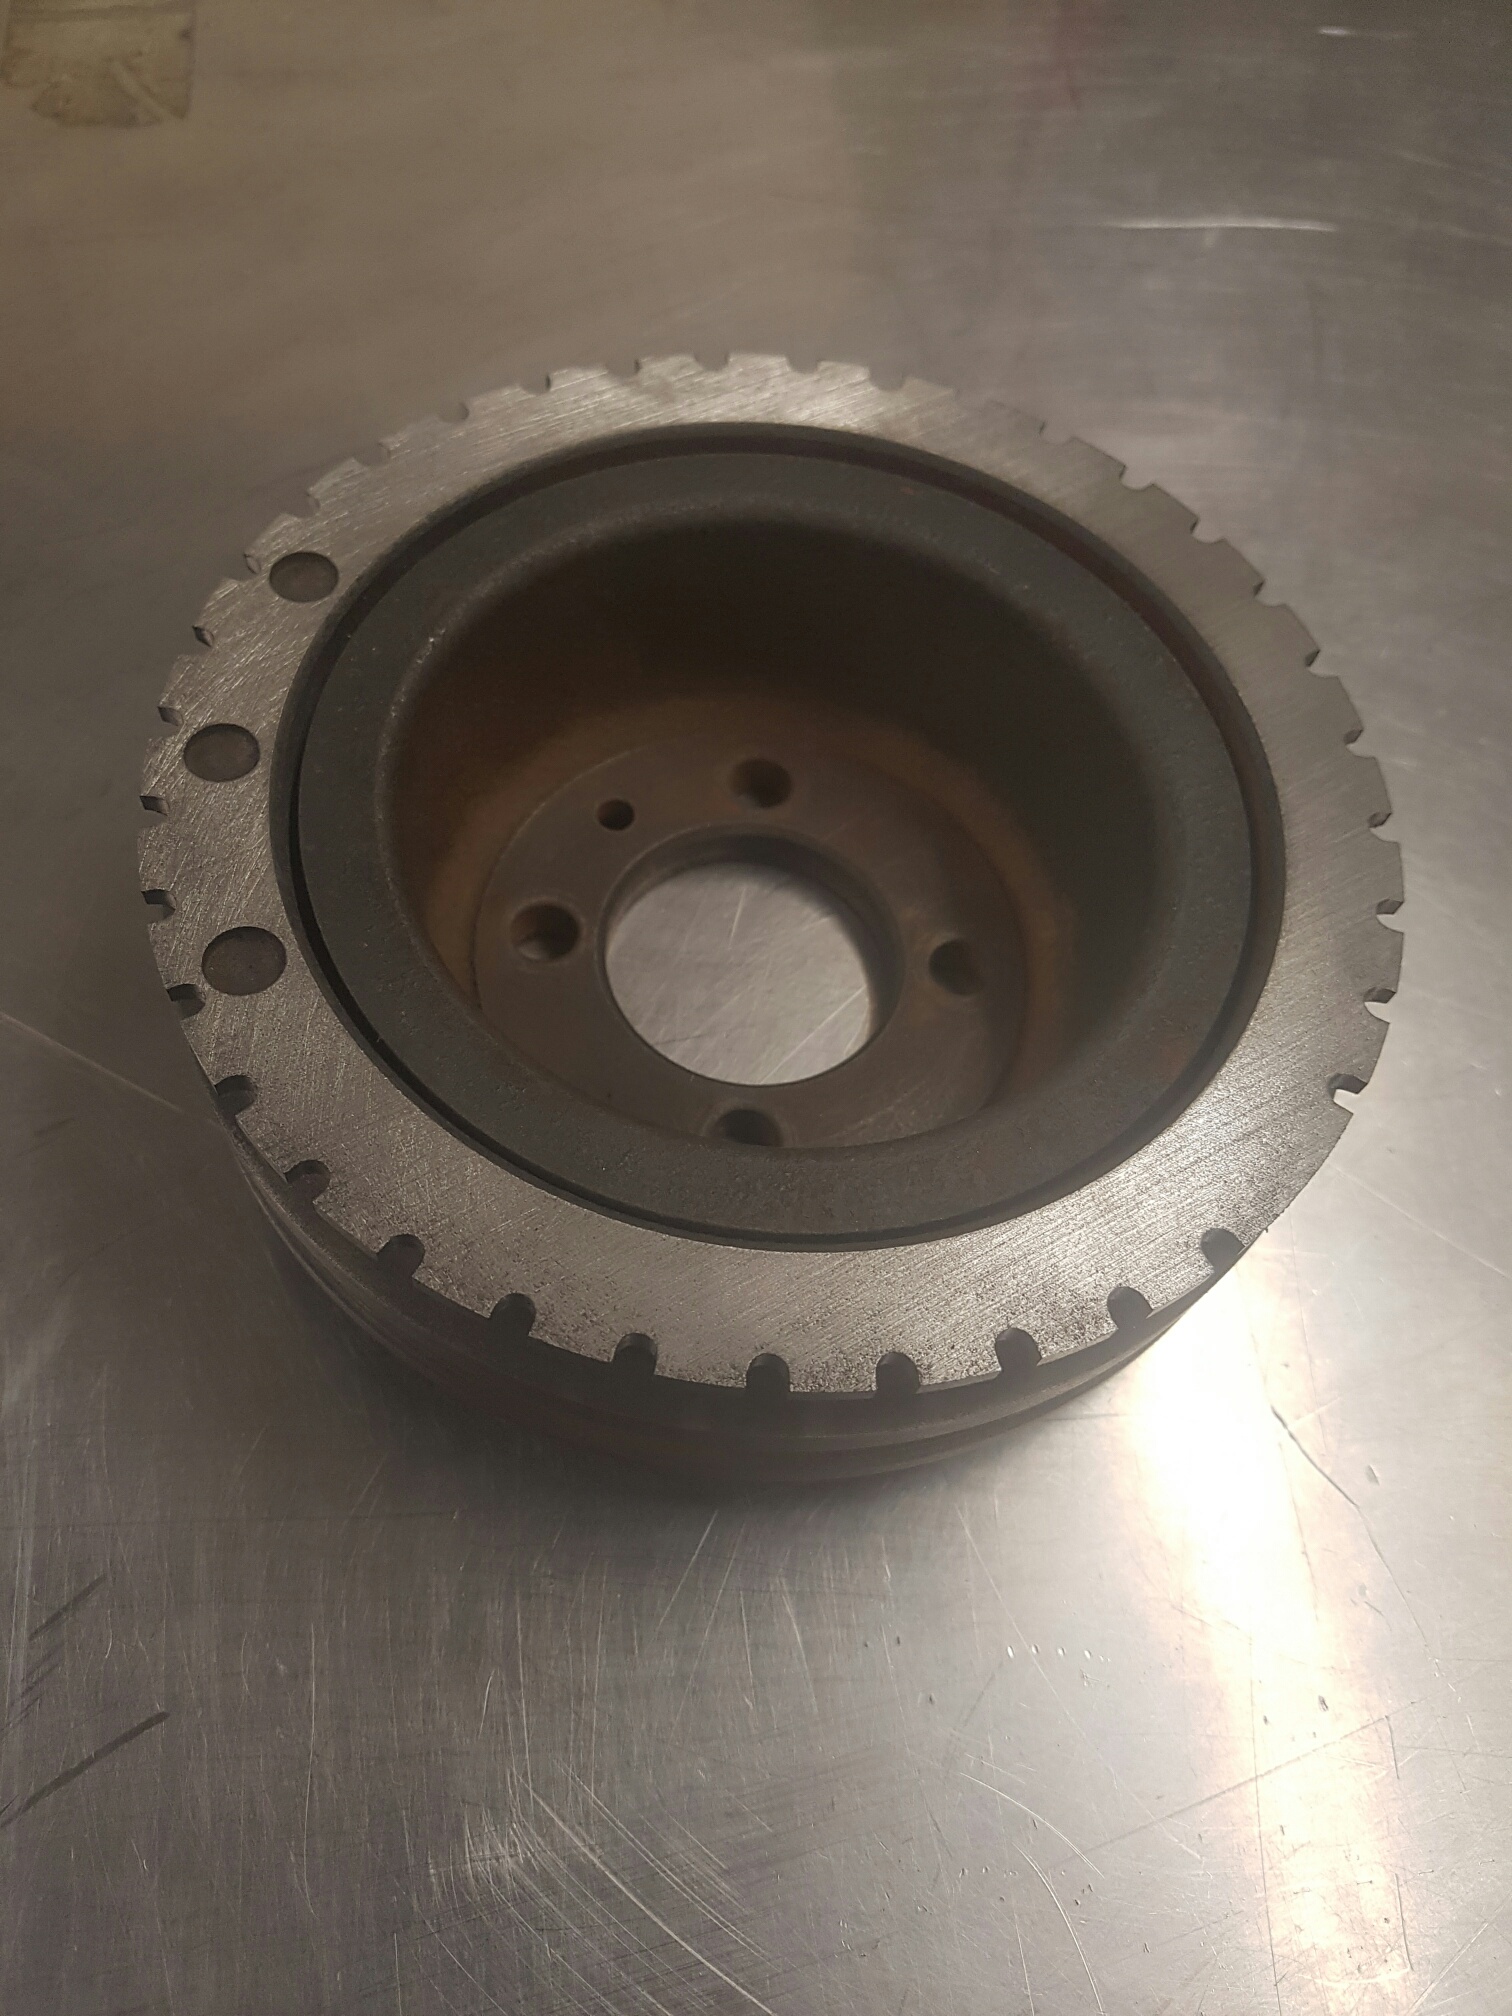
Machined teeth into damper for crank angle pickup. Hopefully enough to provide an accurate pickup.
1 point
-
Had a similar issue many years ago , turned out there there was a pair of pliers inside the tyre , had almost completely rooted the inside of the tyre though the wire, we had the tyres balanced but the pliers where almost held in suspension by all the rubber fluff from the pliers spinning in the tyre1 point
-
Brown car left on a trailer headed to dunedin on saturday, so spent the rest of the weekend cleaning out the garage and went and got the white one back from storage, so i could start getting this one ready for Nats. Had the radiator fixed, it had a couple of small leaks, I think the 16 pound cap probably didn't help, put a 7pound one on instead. Have ordered some new seatbelts from www.classicseatbelts.co.nz so just waiting for those to arrive. gave the brakes a once over, greased and checked the front end, and for now have borrowed the wheels off the vg, I didnt trust the tyres on a long trip. Also I thought it would be rude to not remove some of the height out of the front while it was jacked up, so I did.
1 point
-
FINALLY it's rolling happy happy joy joy1 point
-
Just got this out of the workshop Friday.....
1 point
-
Hello. I have edited the date to the second to last Wednesday of every month. This is what it should be but I made a few fuckups last year and the date got all scrambled. Soz bowls'. I'll advertise it on facebook too so we can hopefully get a few more newbies and steer them away from the path of large diameter rims and back towards widened steels and cellular telephones used to measure the dish of said wheel. See you all there!1 point
-
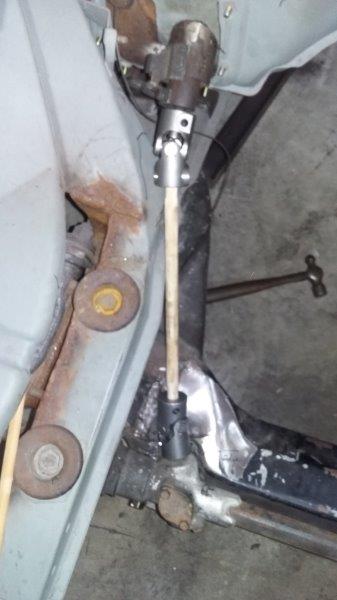
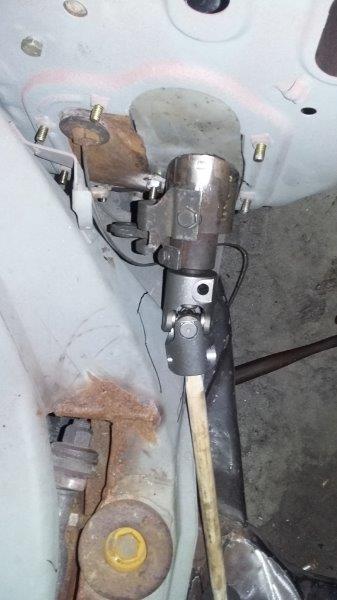
Here are some photos as promised The final mount for the steering column. The steering column in is final place A couple of the steering so far. Still more clearance needed around the universals.
1 point
-
But it was okay, cause I just drove it with almost no brakes. Like a fuckin boss.1 point
-
Yep, it worked perfectly and didn't take long to melt either. Only problem at first was a small hole that the solder leaked out of. Tapped the hole closed then it was fine, its never coming off. Whole lot cheaper than buying a big ass crimping tool!1 point
-
Right, so this happened then this Even managed to get it insured...... So yeah all done, well not really still needs an interior and some paint touchups but that can wait, its now time to put some kms on it, this has been a pretty long project so now all I am going to do is enjoy driving it. Pretty funny car to drive gets a fair few looks some good some not so good and mostly surprised, gas mileage is so bad, like next level bad, I took it out today and my average was about 4.4kms per liter but it is running really rich (yeah that'll be it, not the rotary under the bonnet ha ha), anyway combine that with the 30l Anglia tank and I am going to be spending some time at the gas station for sure! The biggest problem that I will have now is keeping it under 5000RPM (so hard to do when all it wants to do is rev....) for the next 1000kms which is what the engine builder recommended, work is about a 30km round trip so I only have to do that 34 times and at current gas milage it will only cost me about $500 ha ha ha Anyway it's all good And I will leave this as the last shot, and in my opinion the best angle of the car1 point


This leaderboard is set to Auckland/GMT+12:00