
Leaderboard


Popular Content
Showing content with the highest reputation on 06/18/16 in all areas
-
Having a go at making my own kitchen knife. 1095 Carbon Steel. Also building a mini forge for the heat treat out of a rubbish bin. Should be interesting!7 points
-
Does cross threading the thread in the end of your crankshaft, for the pulley, count as a form of masturbation? Because I think I just fucked myself5 points
-
So here is todays effort. The existing seat mounts were shit beyond belief, it was a selection of scrap steel and what looked like filing cabinet rails cobbled together with a vast variety of fasteners. This is the passenger seat mounting on one side; Note the filing cabinet bracketry. And this was the rail and fixing method on the other side of that seat; The stack of nuts was to clear the bit of box section, fuck knows what they were thinking. Anyway, I thought I had better start with the drivers seat as it is by far the most difficult seat to arrange all the required functions. I took very few pics as I was fully missioning this, but i did get pics of the results. Basically I need the seat low enough so my legs clear the steering wheel, I need plenty of forward/backward adjustment so her indoors can still drive it but it can slide far back enough the it will clear the steering wheel when swivelling. I had a few false starts, the worst of which was realising that although everything was sweet seating wise, I could no longer open the engine hatch without removing the entire seat itself. This was because all the seat tilt gubbins poked out a bit too far over the hatch. You can see the difference on the last pic of the previous post. This was after some pretty serious mods to the seat to get more low in there.... So I decided to use the other seat which had all that tilt crap on the other side, so i had to do all the same mods to the second seat... Then I had to do even more drastic surgery to the underside to clear the rail release mechanism while swivelling.... etc etc. And I had to mod the extra side engine hatch to clear all the rail mech and allow the seat to slide backwards enough. Holy shit what an effort. Naturally this one seat became an all day job. It is all sorted now though and this is the result; Shit slides forward And slides back And then swivels And then goes right around There is a locking detent for straight ahead and straight back, this is good. The passenger seat I think I will not put rails on, as all it really needs to do is swivel. This should be pretty easy to set up then. Should be able to sort this tomorrow...3 points
-
More VVTI related WTFs. Today I replaced the VVTI pulley with a brand new one. Now it follows orders perfectly and drops to zero degrees as it should. So it wasnt a problem with cam offset, and it wasnt a problem with minimum duty cycle on the solenoid. The problem was some crud stuck inside the old VVTI pulley or something like that. Soooooo this is interesting news as gaining 12 degrees more cam angle retard should help with top end power. If it makes more power, it should run a little leaner... Previously it has been +- 13:1 all the way to redline. Results: wtf! Mega lean now. Either I've just unlocked a shitload more power (skeptical) or this 12 degrees difference has now made injector timing critical at that sort of RPM range. Or maybe a bit of both. Interesting results anyway though, look forward to fixing up the fuel tomorrow and then seeing how it goes by comparison. Would be awesome to have unlocked some more doorts for trackday at that rpm.2 points
-
I think I've managed to bodge it. I think the trick here though, is to never undo the pulley ever again, ever.2 points
-
upload an image2 points
-
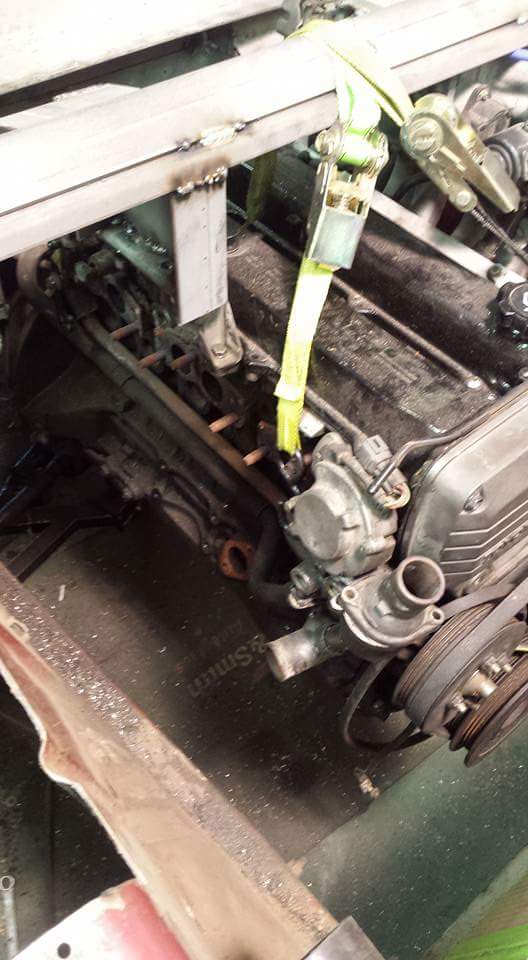
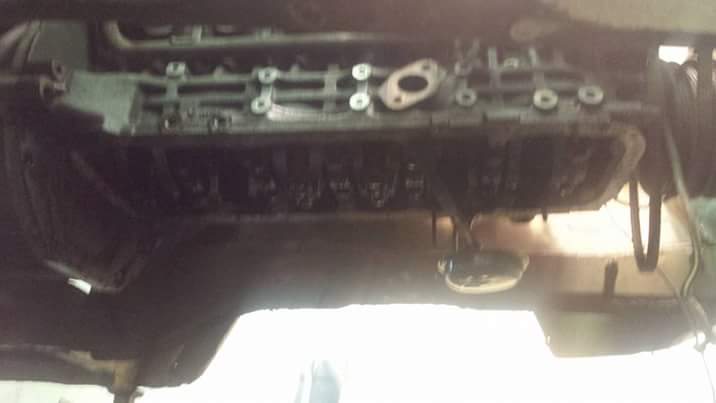
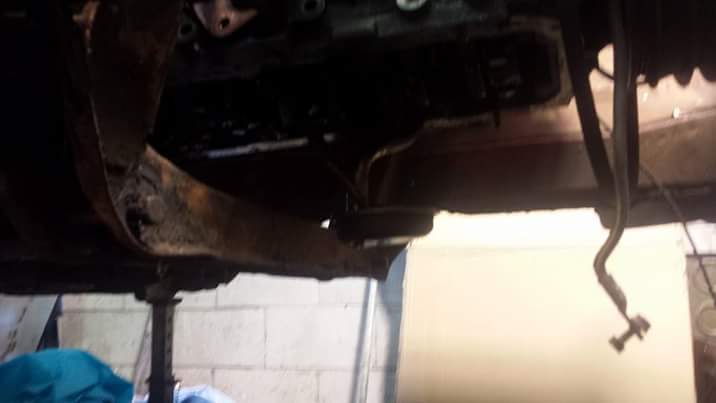
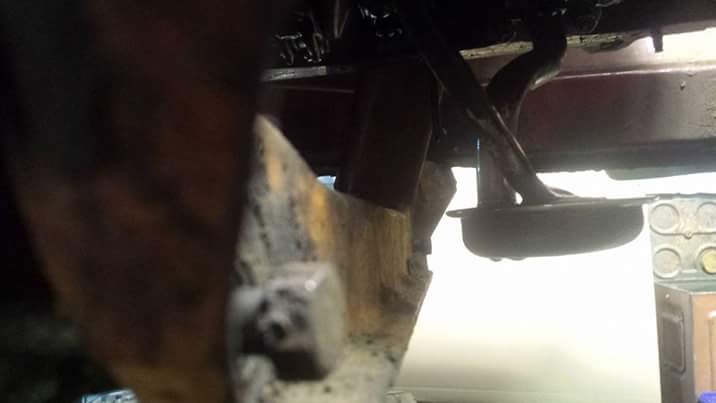
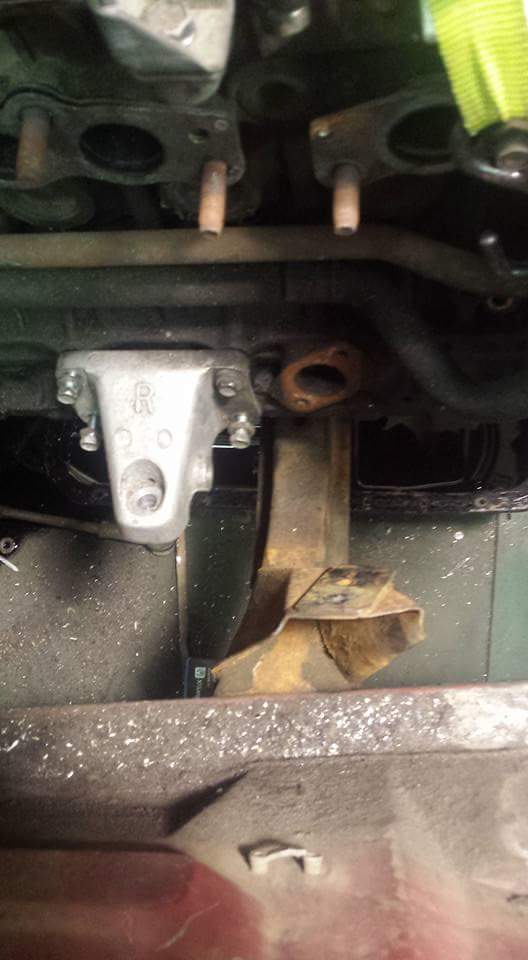
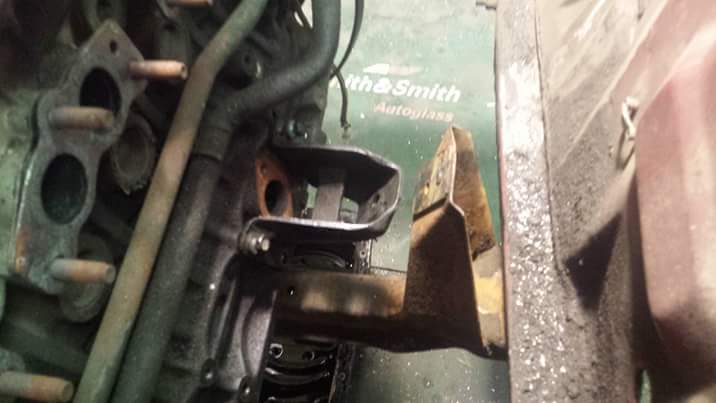
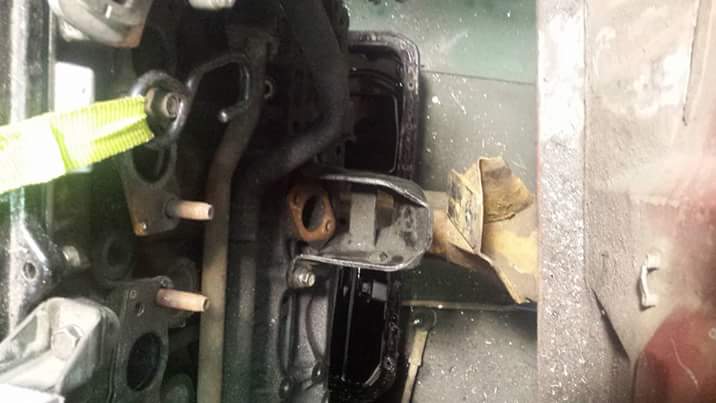
Sooooooooooo I went into the garage today to make a start on the new cross member and engine mounts. Well it was nice to see the jig I made work as I removed the old cross member not even once did the engine fall on my face and kill me......it did drop all of 2mm so I'll be able to get that back with winding up the adjustment bolts I put in the jig. I tryed the new cross member in place but as I thought the sump was in the way . So I will have to cut and weld some of the sump. I removed the sump and bolted the cross member in place and as you can see its a wee bit close to the oil pick up but I think I can work around that. As for engine mounts ....some of you know there are NA ,turbo and SC versions of the 1G and they came in tons of different Toyotas......... So not only are there a few types of engine mounts there are also 2 post ions you can joint the joints to the motor. So with the cortina cross member in place and the alloy mounts I used on the last setup it looks like this. But by using another set of mounts and moving them to the forward mounting position ....this happened And I can still get the oil return in with a wee trim and if I use the factory mounts from the 1g I'm pretty sure it will all work nicly
 2 points
 -
Who owns the dribble of fuel that comes out of the nozzle when you poke it in the car before squeezing the trigger? Sometimes it seems like a lot. Where does it come from? Or is it water and aids and should I purge it onto the floor before inserting the nozzle?2 points
-
I have a tip. When I get a supermarket fuel voucher for ten cents or better, I'll gas up the family 'goon, and also fill extra cans for my dailys fuel for the week too. And if your paying for gas with cash, put in four cents more than your intended spend. It rounds back down to the nearest ten. #jewlyfe.2 points
-
Stay away from Sheppard and kime, They fucking butchered my mrs car a while ago. Had to take it back there three times. in the end we gave up trying to get them to put it right. Fast forward to now, and their painting looks like it was out of a spray can from bunnings compared to the rest of the car.2 points
-
Made some coilovers. Ended up getting MR2 inserts I think, they weren't really short enough and 5kg springs. I shortened the struts and TIG welded them up. Applied paint Test fitted and the springs were too hard, didn't go anywhere low enough unless I pulled out the keeper springs and wound the collars right down. De-sprung the rear to see how low it could go. Removed the bump stops as well Did some calculating and figured some 3kg springs would be better and shortened the insert shaft a bit. Bought some cheap evo camber plates and drew up some new top hats to get laser cut. Cut another coil off the rear springs and installed some shorted shocks, so this is how it sits now. Hopefully settles a bit lower. Bought another K50 shifter housing thanks to enzee. Shifts much smoother without the one that's been brazed and welded!2 points
-
So heres my current project 1989 Eunos roadster import - 1st year model manual windows no frills not quite oldschool Bought as a winter alternative to motorcycle - like the handling and the fit but not the lack of power in top gear or for passing Looked at lots of red ones went yeah/nah and then this popped up local and cheap Did the usual stuff to it - new soft top - better shocks lower springs new discs and pads some JDM mazdaspeed Rays wheels and scored a hardtop and some nice old made in nz autosport fixed back bucket seats So the plan is underway - 1600 motor out - 2.0 quadcam KFZE v6 from a mazda cronos 626 in slowly Plenty of these have been done worldwide and all end up being a bit different Mazda v6 onto 12mm adaptor plate onto series 1 rx7 bellhousing onto mx5 box centre and tailhousing - retains the PPF gearbox mount 626/v6 /mx5 clutch are same size splines and even pressure plate so thats easy 626 clutch fork and release bearing fits into the rx7 bell and seems to line up right Mocked up with plywood adaptor template and slung into the hole for a look at clearance Everything stock on the v6 for is for fwd only so needs chopped or thrown away for rwd setup Distributor = no way is there room back there Inlet manifold - tricky i was thinking chop back the rocker cover and mount it facing forward like the pic but its gonna be poking thru the bonnet so custom intake is looking like the way Big list of other stuff to figure out is Spacer the front subframe down off the body for sump/steering rack clearance Build a sump and oil pickup Exhaust - ebay headers then chop hell out of them to fit rwd Engine management - EMS stinger v4= hope they are not crap and will do what i need Engine mounts - mx5 lowers onto custom plates to engines - bolts holes everywhere on the block Coolant reroute Alloy radiator and mounts to suit the coolant hoses A/C = gone = easy Steering rack = depowered Driveshaft hoop needed for lvv So not quite oldschool - people either love mx5s or hate them I have read almost every interweb site relating to this swap or the mx5 or v6/mazda/ford probe/telstar/323 a few times And been picking alex Yoeddys brain for v6 swap info Not looking for crazy power but the stock v6 160hp/160lb will make the little thing fly Any discussion advice crap or otherwise welcomed Hi im Steve and this is my car build thread ...1 point
-
Shedrat Engine plate construction RB Chrysler/A833 in Hilux chassis Front sparkplug behind front axle CL Fabricated rear torsion mount and crossmember Diff works Co owner and assistant
1 point
-
Early last year I was on the hunt for a car I could take mates on MTB/tramping missions, without caring that I night come back to it with smashed windows etc. be4ver was selling this in Ashburton - after a few hands through the OSGC freight service, (cheers Karl and Corbie) it made its way to Hanmer where I got to know it better by spending 2 nights sleeping in it. After watching VGs achievements in the Carib I had decided that 4WD was the logical next step to waghappiness. I came across the weird vehicle that is the Honda Beagle - as far as I can tell this was Honda's last attempt to get rid of shells they had stockpiled, as it was sold alongside not only the EG, but also the EK Civics. A few months ago one came up for sale in Nelson, and I convincingly sold the idea to my wahine. I turned the Shuttle and new Beagle into this and this. The Shuttle sold within a day, and I enjoyed mucking around in the Beagle - it's far more capable in mud than it has any right to be. The only issue was a stuck ABS solenoid making a horrific noise - skillfully internet diagnosed by KK. Last weekend I took it on its first decent open road mission to the local OS monthly meet with all the whanau on board. Unfortunately after ~ 100km it lost oil pressure at idle and started making an awful knocking noise. I towed it home on Monday night (stupid me not opting for AA plus BEFORE I needed it). My brother volunteered his workshop as neither of us has mucked around with east/west engine layouts - having put feelers out for a new engine in a few places it looks like I may have sourced one of these. It's a ZC DOHC but with a few other goodies - we'll see how good once it shows up! Aiming for this to be back on the road ASAP, but with an absolute deadline of Hanmer.1 point
-
Approx. 450 Cars & Bikes Drag Racing and 1500 Classic Cars, Bikes and Hotrods at Cooly Rocks Here is my pics from the 2016 Cooly Rocks - https://www.facebook.com/Graham-Gaskells-Photos-612338512125663/photos/?tab=album&album_id=1449358971756942 And some drag Racing from the Winter Nationals - https://www.facebook.com/612338512125663/photos/?tab=album&album_id=1448596655166507 Video of the Cruise @ Cooly Rocks1 point
-
Sounds dodgy catching ther dribbles as they pull out.1 point
-
This arrived today: It's a Getrag six speed from a 2012 Mustang which will live nicely behind the quad cam and give my right hand something to play with. Also arrived was this: Which is a sprint car chassis. It's damaged, but I want it to cut up so I can use the tubework and brackets etc. Cost was $34.99NZ, a fraction of what the Dzus brackets would have cost new.1 point
-
would need cert. i have seen someone do that, where all they needed to do was swap left to right and rotate it1 point
-
Nominal mate, thanks for the info awhile back re schedule line pipe and threaded rod. I pulled out the bits and pieces I have been collecting today and had a go running a tap up up the pipe. Did one and it turned out ok. Ya can't do it under power eh unless you are friggin coordinated, lol! This was my experience anyway. 1" UNF is big stuff eh? I have to make a jig up that will hold everything in alignment so i get consistent results with everything. There is a pic above of my pig and a motor. I sold it this week. (the motor not my pig) As part of the deal I take possession of a 500ci RB bracket engine. Will suit this car wayyy better for my intended use. Things are moving again! Churr.1 point
-
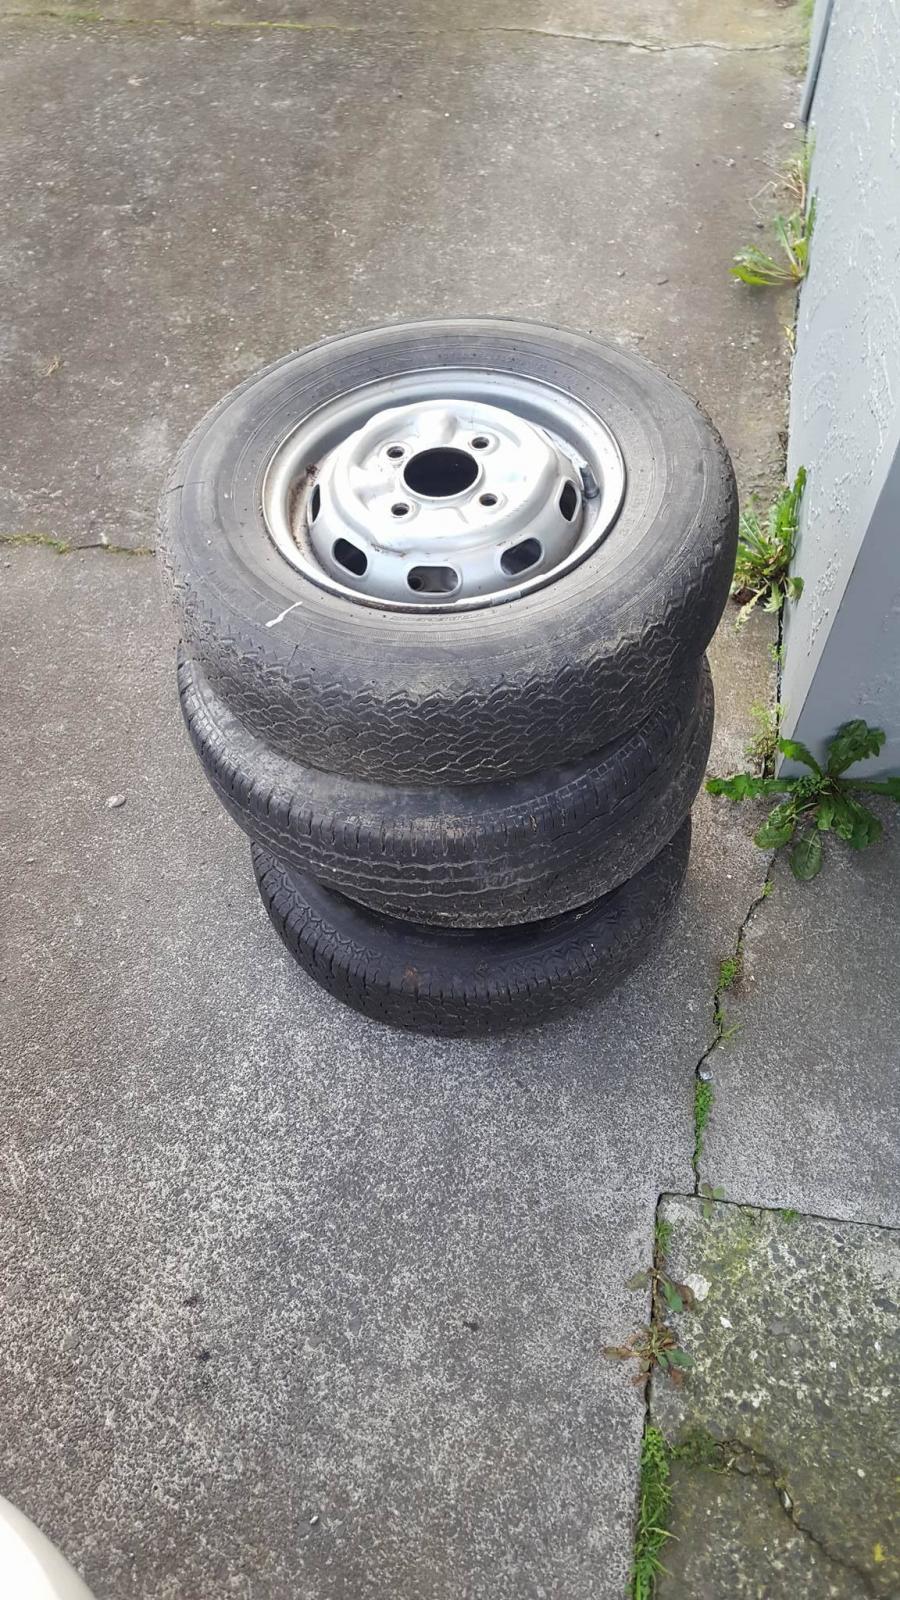
slight update , managed to get 5 stock rims for $50 and ill sell the modern rims that came on the car , all the money i get from those are gonna go towards whatever i decide to do with the engine
1 point
-
Extended swingarm for life ! Looks good on the bike ! How great are small bikes dude. In the space of a fortnight you have repowered with a brand new motor just about twice the cc and done frame and suspension mods and rewire for under a grand easily. Love it1 point
-
Swapped the carby from my derby car onto it today, had to remove auto choke gear and manual choke shit wouldn't fit with the way it was laid out, so it's got no choke system on it (auto choke was fucked on the derby car anyway) but, started up and runs and idles mint now, bloody stoked. took for a hoon round the block now under it's own power and it drives like a dream, timings a bit out but i'll take it into work on monday and get a timing light on it.1 point
-
They're on and bedding in. Once the bedding in is over will pump some more fresh fluid through the whole system bled up as best i could using kids to pump the brakes for me. The dreaded shudder is gone so very happy this far, the old pads which weren't more than 1/4 worn had a weird wave looking wear pattern on them.1 point
-
Vid would be sweet. I have a newly developed passion for chainsaws. And Huskys are sweet. I don't know a lot about hedge trimmer, TM bargin, got it running(badly), have no use for it.1 point
-
Package arrived normally i hate it when the wrong stuff arrives. SLOTTED BREMBOS! On this occasion im happy with this substitution.1 point
-
Only 4 more sleeps until this meet/meat.1 point
-
Vauxhall64 http://s.aliexpress.com/iIFRnqmE1 point
-
Thanks Dwlee, no I havent considered a custom PID as I've considered it beyond the scope of my abilities (especially since theres a VVTI preset already there) I think the high derivative gain is on account of that the pulley naturally tries to pull itself back to the most retarded position when the cambelt pulls on it? However, the plot thickens! Check this out: When my RPM drops below the minimum threshold that VVTI operates at, the cam angle does drop to zero. But when it comes to the VVTI operation rpm range, if I look at custom PID settings. The minimum duty cycle for the oil solenoid is currently set to 20%. Which causes... 12 degrees advance. Mind blown, have been driving the car for years like this and never bothered to check, just assumed 12 degrees was zero haha. It likely means more power up top by retarding the cam that extra 12 degrees. Will be interesting to see if my fuel map changes by much. Tomorrow I will reduce the minimum DC for the oil solenoid and see how it goes.1 point
-
Yeah knox make pretty good carpets, seemed to be the go to carpet for most restorers in melbs I knew..1 point
-
See Greg for carpets.1 point
-
that's all steelies mate1 point
-
Have had a couple if autodec carpets and none have been flash. Seams pulling apart etc wouldn't trade again unless there was no other option.1 point
-
Not much of an update... but the y is running sweet just clicked over 23 thousand km's in since march last year. Gave her a full service including gbox oil, will be getting a wheel alignment soon so i can get the 15x8's back on! Went for a loop drive from Wairarapa to Kapiti coast then back over the Rimutaka hill (400 odd KM). Went happily with no trouble. Welded an extra muffler on in the morning to keep the girlfriend happy. Have been working on my sisters 120y as well, rust cuts underway. Classic dat with rising sun. lol. //oldschool.co.nz/index.php?/topic/48815-120whys-75-datsun-120y/#entry16467091 point
-
Oh. That was like 15 years ago and the doctor had put his finger in my bum before I went to see it at the movies so the main thing I remember about F&F is the weird feeling of having a wet lubed bum that doesn't go away by wiping it with toilet paper and farts that don't make any sound.1 point
-
Durepox from resene. It's the only stuff I have used (aside from aquapox but that was on something totally different)1 point
-
I seriously doubt he's a fun guy1 point
-
Diesels are great. You need one in your life.1 point
-
Maybe it's because anyone who bought the diesel version had already given up on life.1 point
-
The 4g11/12s maybe underpowered as fuck but they can take an absolute beating. I thrashed the shit out of my old hori'd out matte black hatchy for a good 3years straight with no problems at all and it still ran like clockwork!1 point
-
For what it's worth in 20 years of building/racing competition cars I've only once ever encounter gas build up issues, the idea that this could be an issue on the street (presuming you’re running good quality pads) isn’t even worth consideration. Our current race car has been reaching temperatures where we are cooking the ceramic buffer between the piston and the brake pad to the point where they are crumbling, and I'm still running non slotted or drilled rotors (still with no hint of gas build up). My feeling is that there is a lot of aftermarket misinformation (i.e.B/S) out there being pushed by 3rd party suppliers. Originally Rotors were only drilled to reduce un-sprung weight, great idea if you’re running a state of the art single seater but probably irrelevant for most other applications. Yes slotting can help control gas build up but unless you’re experiencing it all you’re doing is adding potential stress risers and reducing pad/rotor area per revolution. It would be great there was a magic bullet for rotor selection but there isn’t. The only advice I can give is that you will never regret buying quality components from reputable well established suppliers, (AP, Brembo, etc.).1 point
-
Yup - it's an EF5. The only car I've driven with a ZC DOHC was a 1980s Civic Si - as a 15 yo I thought it was amaaaaaaazing.1 point
-
gone. 2016-06-13_03-42-56 by sheepers, on Flickr1 point
-
I bought some seats from the wreckers, some fixed ones out of an Escudo, some swivelly ones out of a Previa, plus some swivelly mechanisms out of another previa to graft into the Escudo seats. This is because I need to use all the space we have, and have 4x seats that don't swivel and become the lounge is not an option. I got shit bored doing quotes today so decided to give the seats some loving instead. Some Escudo Seats; Some swivelly things with extra lumps; Swivelly things without extra lumps; I trimmed the long seat legs and rewelded the tab mounts back at the same level as the short ones, the intention was to mount the swivels to these points but i discovered an easier way; Which was to weld bits of metal directly onto the frame; And not forget to reinstate the lever springs for the lever that locks the swivel in the ahead position and the 180 deg position; Then weld the swivel things on, plus a lever to release the catch; The result; I shall mount these on rails now and put them in the bus....1 point
-
A bit more progress on my Kids Gas Station.1 point
-
Totally, we need to round out the mid life crisis sports cars.1 point
-
Tried to make the door work this afternoon. It's so handy being able to access so much of the door innards by taking off the strakes. Slightly alarming how little side-impact protection there is though.1 point
-
Phwoar. That Triumph in the second photo.1 point
-
tow truck driver must be like, WTF at this guy.1 point
-
chicken mesh then bog for big holes. or nutech, its as good as steel and magnets don't pick it up.1 point


This leaderboard is set to Auckland/GMT+12:00