
Leaderboard


Popular Content
Showing content with the highest reputation on 09/20/15 in all areas
-
Well, not quite ready for nats, but good things take time right? On Thursday evening it fired into life for the first time. After lots of fiddling, and a round of fish and chips, we shuffled the E21 onto the dyno at approx 9.15pm. Big thanks to Roskilda autos! Rodney and Ari are great guys who know who to get stuff sorted, and went hard to get me doorting for the weekend! After the first run was worked out properly on a calculator on my phone translating to "old barry horsepower" figures, my face turned to a big notbad.jpg Things only improved from there. I rang the engine builder the next day to tell him the numbers. Pretty sure it's one of the only times I've heard him curse. We were both pretty happy! 152wrhp/190hp at the engine16 points
-
Dyno plots, one in 3rd, one in 4th15 points
-
Wow- after a bit of digging about through her old photos my mum finally found some of our old 120y wagon from back in the late 70s/early 80s. What I was after was confirmation that the car for sale on the oldschool classifieds area.... http://oldschool.co.nz/2011/forum/index.php?/topic/49659-fs-datsun-120y-wagon-nelson/ Mum phoned me this morning with good news. Yes!!! it is indeed our old car. Damn this is cool news!!! I have spoken to Dave's (avenger tiger) boss and its still up for grabs so I have said I'll take it away Mum and Dad are very excited about the prospect of getting their old car back. Mum has been talking about getting a Morris Minor Traveller like they had before the Datsun but they are too expensive. Getting their Datsun on the road for them would be awesome. Luckily it sounds like I might be able to get the old original engine back as well. Its currently in a Suzuki 4wd but the owner wants something else to power it. So this will be good if I can secure its original heart. Anyway- I'm so excited. I should be in the workshop right now welding my Viva wagon but I couldn't help but start a thread even though I don't yet have the car. I am under no illusions that it will be an easy resto. It will be rusty like Ive not seen before. But I don't mind that. Hopefully if I need any parts there should be enough bits floating about in NZ on the vibrant datsun nz forum. Another choice thing is that because mum has photos of it with the plates visible hopefully I can apply to reuse the old plates when it come to the re-vinning process. So here are some cool photos. All taken in the late 70s or early 80s. This is up the Westbank road when we used to go visit this mad old farmer/recluse fella. He would hang weird things about in trees if I remember correctly and thats what we are looking at. This is me and my brothers and sister in the boot along with Bella the smelly old Lab and Pipi the cat (who lived to be 19 years old!). I'm the little fella sitting on the back seat on the right in the white collared top. Here's the two family wagons. My Dad was very proud of his Mk4 Zodiac wag that he brought over with him from the UK. It was always giving troubles whilst the Datsun just purred through life. Dad never bought another english car again and we ended up with two more Datsuns after the 120Y. Mum and Dad did buy my first Triumph off me when I left for me 10 year OE and they loved that old car. But that's because Triumphs are bloody awesome too. Finally here is a photo of a Family reunion at Woodend. It was my Mums family and this was the mens beauty contest. The little Hillman Superminx wagon next to the 120y was my cousins and that was a cool car too. I think my cousin Helen ended up crashing it Here it sits in its current condition.. Discuss Here7 points
-
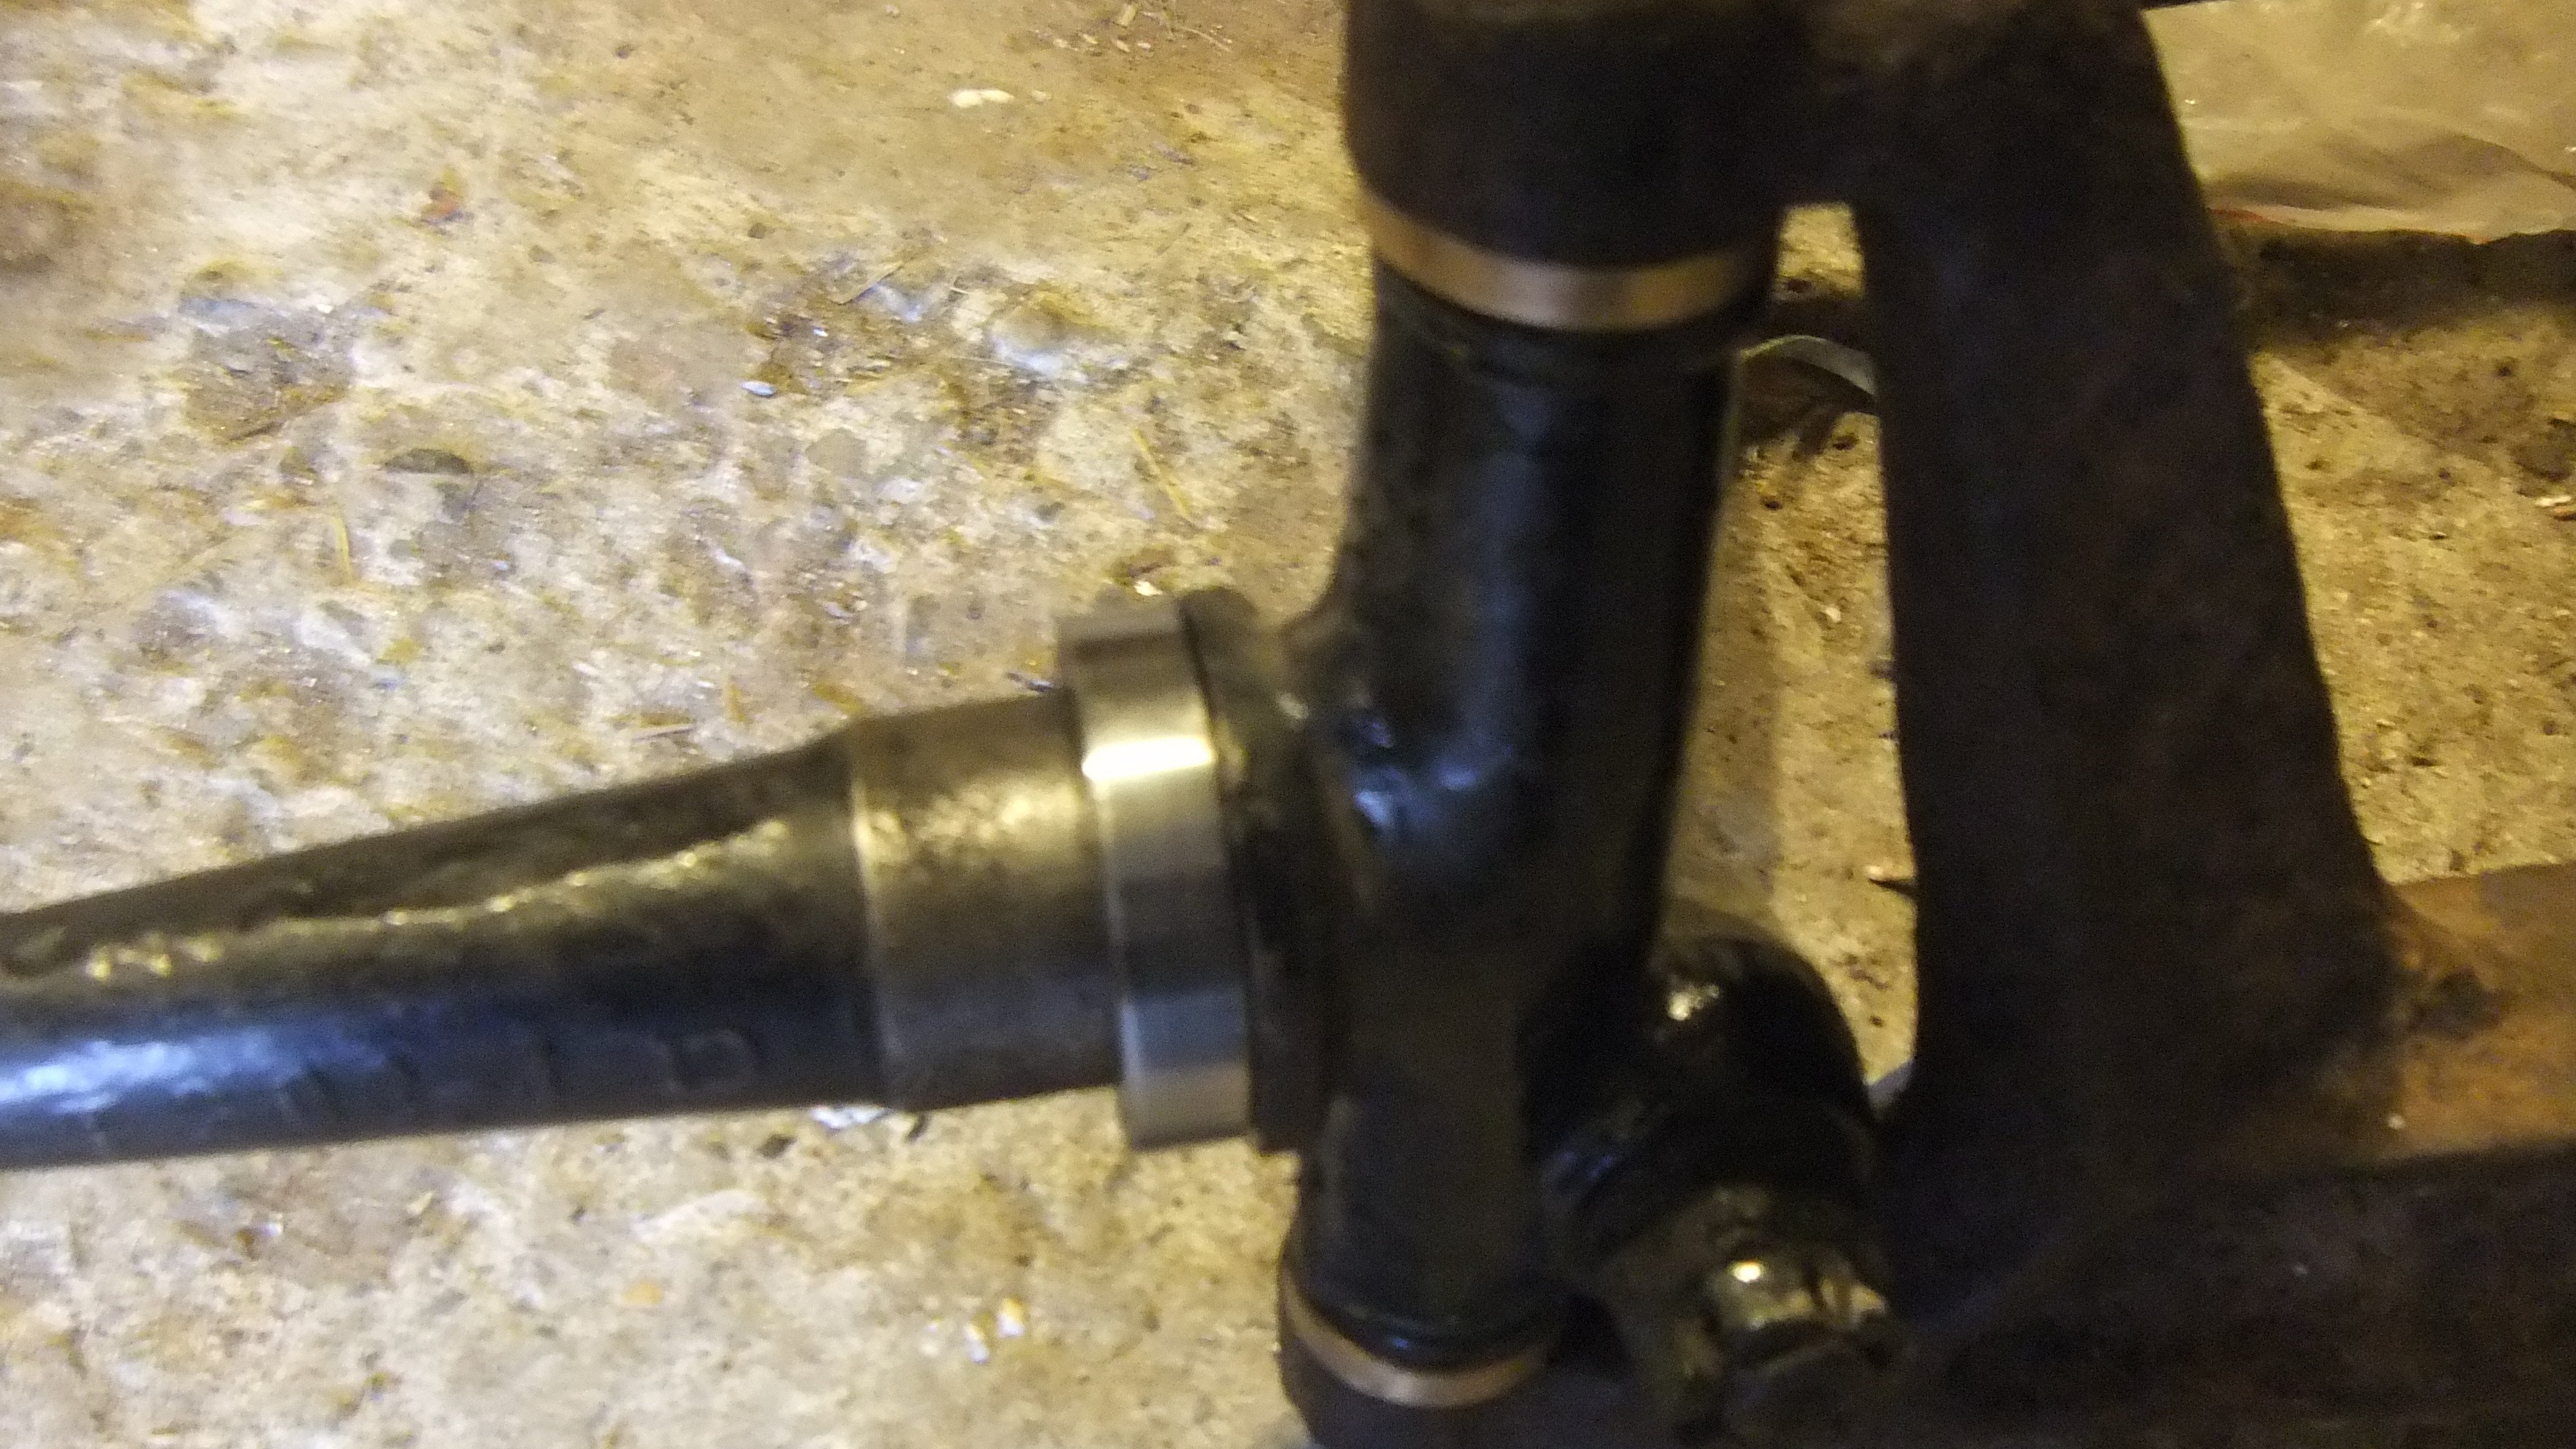
more welding then used cunning rat technology the worlds nutterest right angle non variable high speed drill combined with much bastardry to hopefuly get the instant center higher up and further forward given the ride height desired but I think now the tide may have turned, with just about all the horrible upside down welding to shitty sheetmetal done and more straightforward and obvious fabrication left anti roll bar tacked in place and prepping to install the coil over mountiing bar. have to box out the rails and make some towers for that to mount it high enough for the desired ride height with the 7" stroke shocks I have6 points
-
I finally made it to a round of dual sprints, had a lovely day, with no problems or crashes. I even played with my front sway bar. I went from full soft to full hard (like when I see your mum) and it made me think I was going shit tons faster, but I went no faster at all. Which is odd because it even looks faster in the video's I took. ALSO, I was lazy, and drove the car to Taupo and back on the semi slicks, and wholy fudge, what a difference good tyres make. I've never driven the car on the road with good tyres (its always had king stars or wang dangs on it) it was like a whole different car. Going through the Rotoma's on semi's has changed my life, so new road tyres is real high on my to do list. ALSO ALSO, what is too hot for engine oil? Mines still getting to 125c, is this too hot for a good full synthetic in your opinions? I was day dreaming of increasing my sump volume on the drive back, which couldn't hurt I guess. ANY WAY, here's a little vid of one of my runs, its the only run where i'm chasing a car, so a little less boring than my other runs. Regards, V "put a 4age in it" G. Edit: Also I got a new pb, 1:23.8, 0.2 faster! Lewlz.6 points
-
Painting going on and sissy sticks coated.5 points
-
another long day but worth it. both bottom corners still require a bit of work but the bulk of its good. hopefully paint it tomorrow night. 2015-09-20_03-50-35 by sheepers, on Flickr 2015-09-20_03-52-33 by sheepers, on Flickr4 points
-
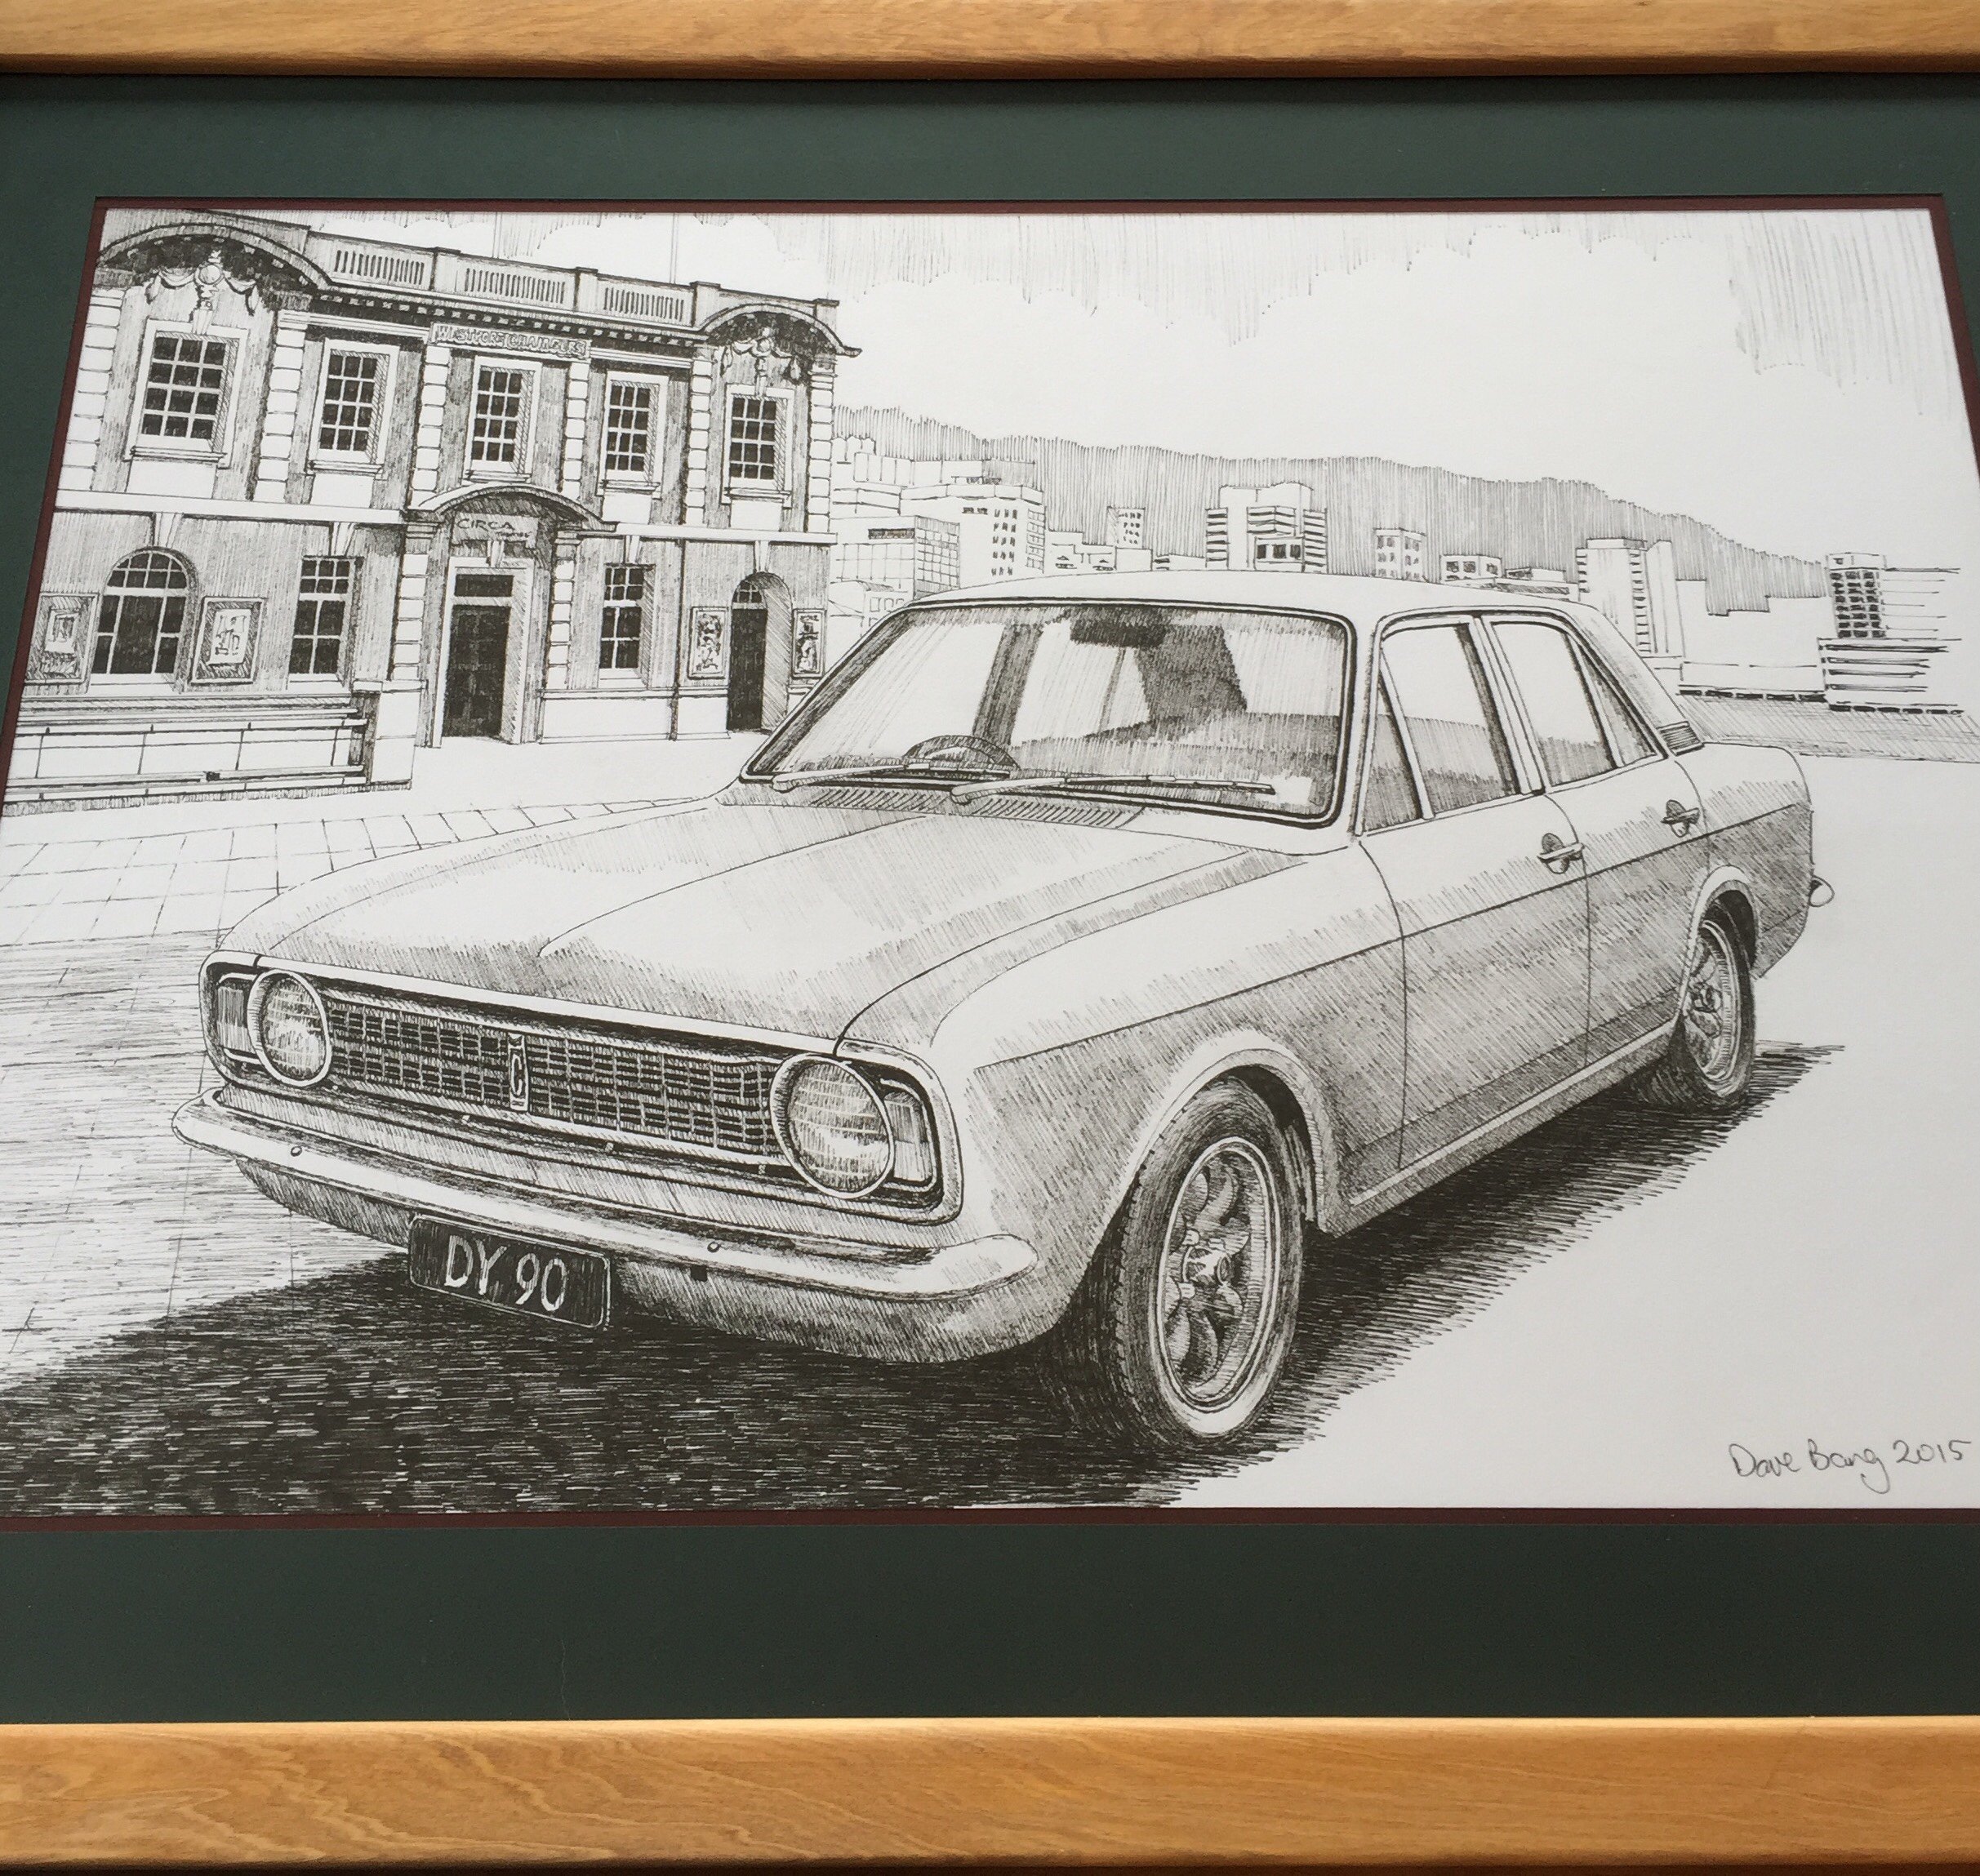
Birthday time, my better half got this done for me. My uncle is the artist, he's a talented guy.
 4 points
 -
Im back! Well I was always around but on one night a couple of weeks ago A cold sneaked up behind me, threw a sack over my head and dragged me off to a place where I did not want to do anything but sniff and feel yucky. This was just after having been busy fixing other peoples cars for that money thing. Basically put.. my roll had stopped rolling and this wagon stayed up on blocks. But yesterday I got my rust mojo back and got stuck back in. The wagon has been sharing the workshop for the last few weeks with a cool old Volvo 145, a very bright Saab 95, Bimmer 320 plus Hannahs Trump Mk1 wag. I do like lifting the door to see intersting cars in there Not too much to show because it was all slow repairs around the chassis rails and jacking points which I want to really make sure is nice and solid. I have now just earlier finished the worst of this area with not much to go. I used a combination of 1.6mm steel and a very handy piece of box section that happens to be the correct width and thickness. This has been saving my folder from trying to fold 1.6 too often- it being really only designed to fold up to 1.2mm. Luckily the rust has been along the bottom of the rails where the damp has sat thus leaving the uppers attached to the floor nice and strong. I remade the gearbox mounting brackets and made them semi fixed with an extra bolt rather then the little tabs that Vauxhall had fitted, now rusted away. As I have been working my way along the rails I have sprayed the insides of the new steel with zinc rich paint. Later on it will get a heavy dosing of wax. So the last very interesting photo for this mega update is of the underside sort of almost rot free. I promise I will try to do better next time although I most likely will just take more photos of rust. I am very much looking forward to the mechanical/bodging/fiddling/tweeking updates when I get the car moving and stopping. I have been having many day dreams whilst chilling in the sun under the influence of man flu about what I could do with the engine/what I could swap it with. I still love the absurdity of a grand plan I dream about where I squeeze a BMW V12 with a manual box in place However I usually come back down from cloud nine and mull over more realistic propositions such as a sneaky carb fed turbo, perhaps a Datsun engine or maybe fit fuel injection from another 1200cc car (that last one more for the technical fun in doing so rather than any real benefits it most likely wouldn't really bring) For now though it has to be rust removal.4 points
-
in this update, more rust... Got sick of sanding bog on the fender and sill, so put the front/side down rolled her forwards a bit and jacked up the back. RH side rear wheel has a pool of diff oil on it, so i guess the axle seals are pooped. Oh well more parts for the list. anyway, onto the oxide. I fixed one tiny wee hole behind the gravel plate at the rear of the sill/front of the rear arch, but the rest of the sill was really good. So onto the Left boot well. a BIG cut to start with i cut the lot off as the inner skin is pooped as well, but mainly so i could also access the 'roof' of the inner skin. before i cut any more out i remade the outer skin while i had prlenty of datums this is why it rusts: damp and crud in the boot get trapped between the skins - this side also has three openings all behind the wheel so of course it was full up to the top with 50 years worth of road gunk. - one for the bumper mount (the skins were not spotted together here - helpful as i ca reuse the indent) - one for the petrol flap drain pipe and - one moreanother for the rear lights loom keep on digging corner of the rear bumper/valance was a bit frilly too and start putting bits back in, pretty happy how that square bump lined up, shame about the welds I have also now removed the remains of the old well floor/roof of the inner skin and remade it so the outer iwill have a single skin by extending the floor straight accross to the inside of the outer skin (instead of leaving a small gap to collect shite) so there is one less rust trap. Will also save quite a bit of material and save me from remaking such a complex piece that cant be seen but it needs some grindering first so will fit that up later in the week. hard part will be tacking the skin on without it warping to heck. lucky the bumper will cover most of it Ive saved all the CAD templates for when i get to the other side - its not as bad but may as well get the same treatement when i make it around there.3 points
-
You wanted to know about the mk4... Well it's still rego'd ran out of wof in august. Lives in rangiora. Funny thing is, that in 2006 it got new plates, then had a set of personalised plates, then went back to the origional plates. But it's only changed hands to the new owner in April this year..3 points
-
nope. Condition and performance1. The risk of a component (Note 5) hooking a vehicle, or hooking or grazing a person, has not been minimised, eg a bonnet or bumper has been removed, exposing sharp, moving or hot components.3 points
-
150 dorts at the rubber? Fuu aye, I bet that's fun! Run in and then some wailing on it or 'drive it as you hope to' run in spec? With some typical sparkle nana driving that thing will have glazed bores in no time!3 points
-
not really an update. i put the pipes back on that i originally built it with and mocked up an oil tank that im gonna use. i'll make a mount for it and probs weld it on this week. i'll try amd knock out some seat bungs too and weld them on i built up a tyre rack to get my shed more organised2 points
-
Interested to see how you get on. I like the idea of changing curves because the Viva has a very snappy throttle which coupled with a super lightweight flywheel makes for a sensitive throttle. Im used to it and most people get used to it quickly but still wouldnt mind more of a rising rate setup instead. I looked into making a bigger TB pulley but I cant because of my enclosed cable routing through the plenum. I cant gear it down at the pedal end because design wont cope with that much travel. Thought about offset pulley at TB which would make it rising rate but cable will rub at extremes. E throttles do scare me though. I picture my ECU having a spaz suddenly just as I slow down at a crossing and the Viva lurches forwards to take out an entire family. Scary. Its one place Im happy to stick with a wire and some decent TB springs.2 points
-
2 points
-
The more I looked at this the less I liked it. I cut it back off and welded the old pieces back in. Then trimmed the top off. Made a couple of brackets up. Lined up the radiator with the hole in the bonnet, and away we went. I've remounted the alternator to the lower left, I think it's where a P/S or A/C pump might go on a car? Anyway it will give more room to mount a hydraulic pump up where the alternator was. The bottom hose has been altered to point into the front of the chassis, the radiator has had it's inlet and outlet changed to match the Datsun motor and I made a tensioner and dummied up a radiator hose. The alternator sits out a little but no problems. I've found a problem. The hydraulic pump I have, it's designed to rotate anticlockwise and I wanted to turn it in a clockwise direction. Aliexpress have pumps that look like they should do the trick, I'll order one this week.2 points
-
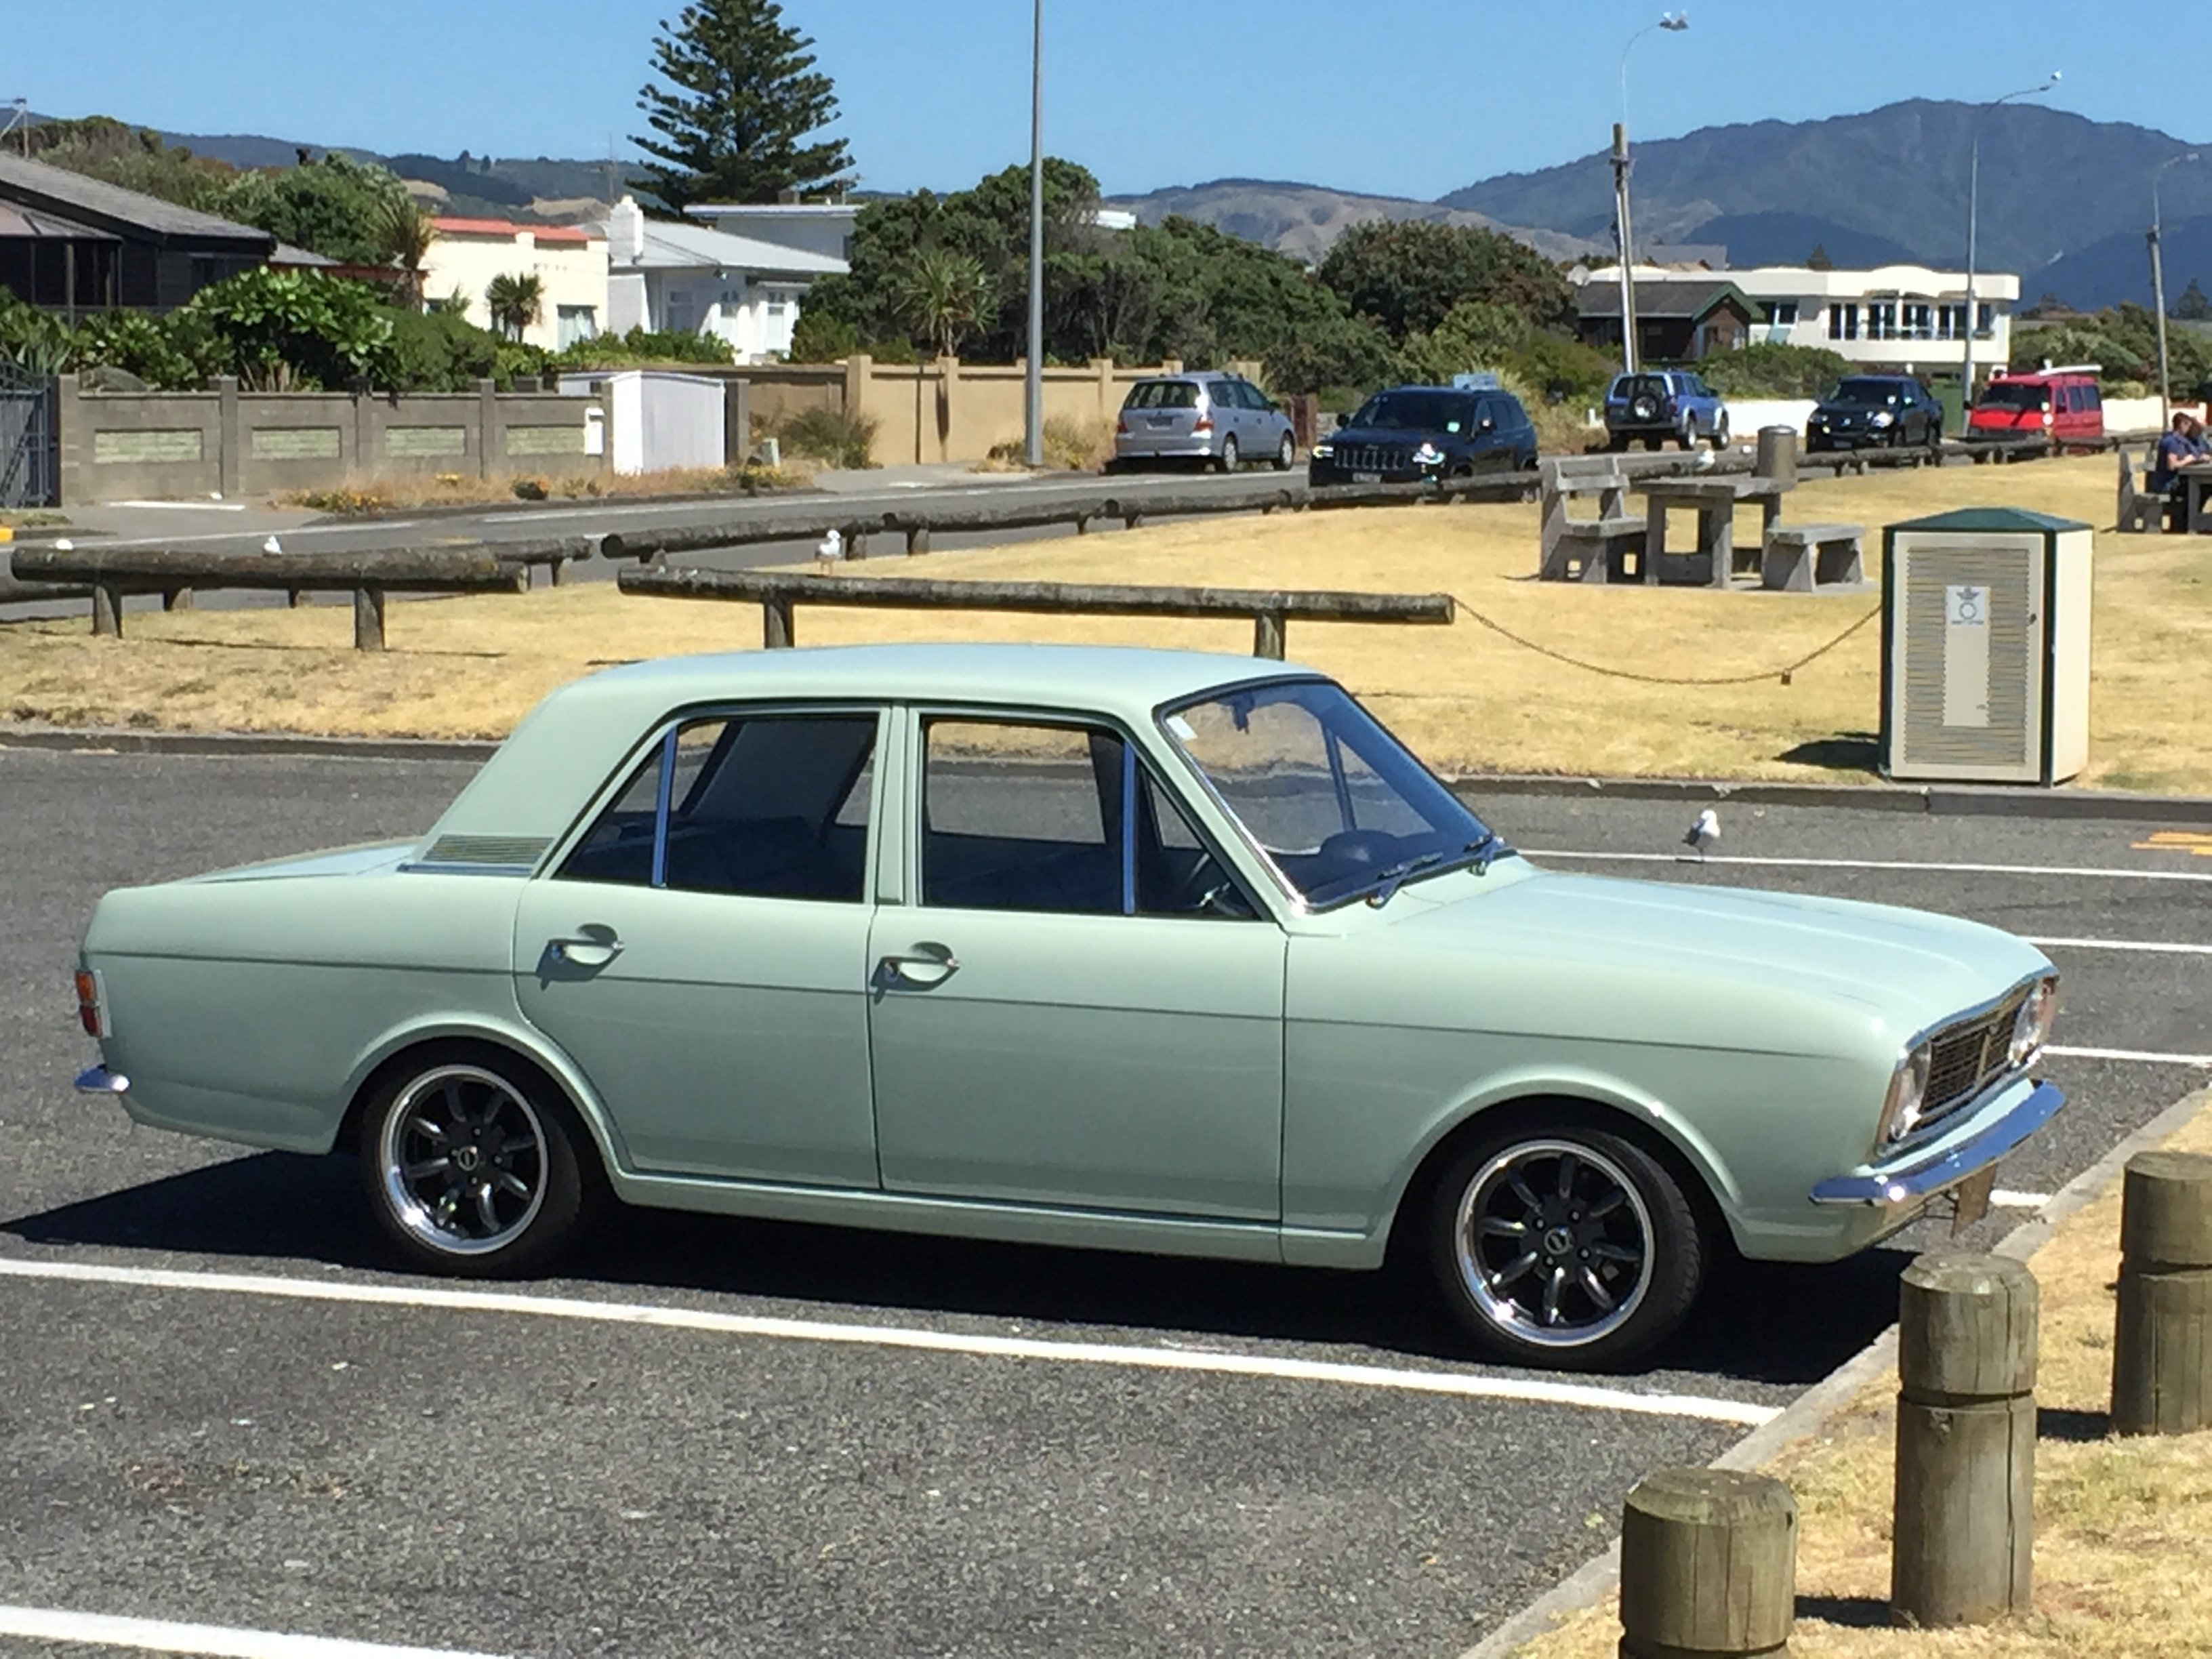
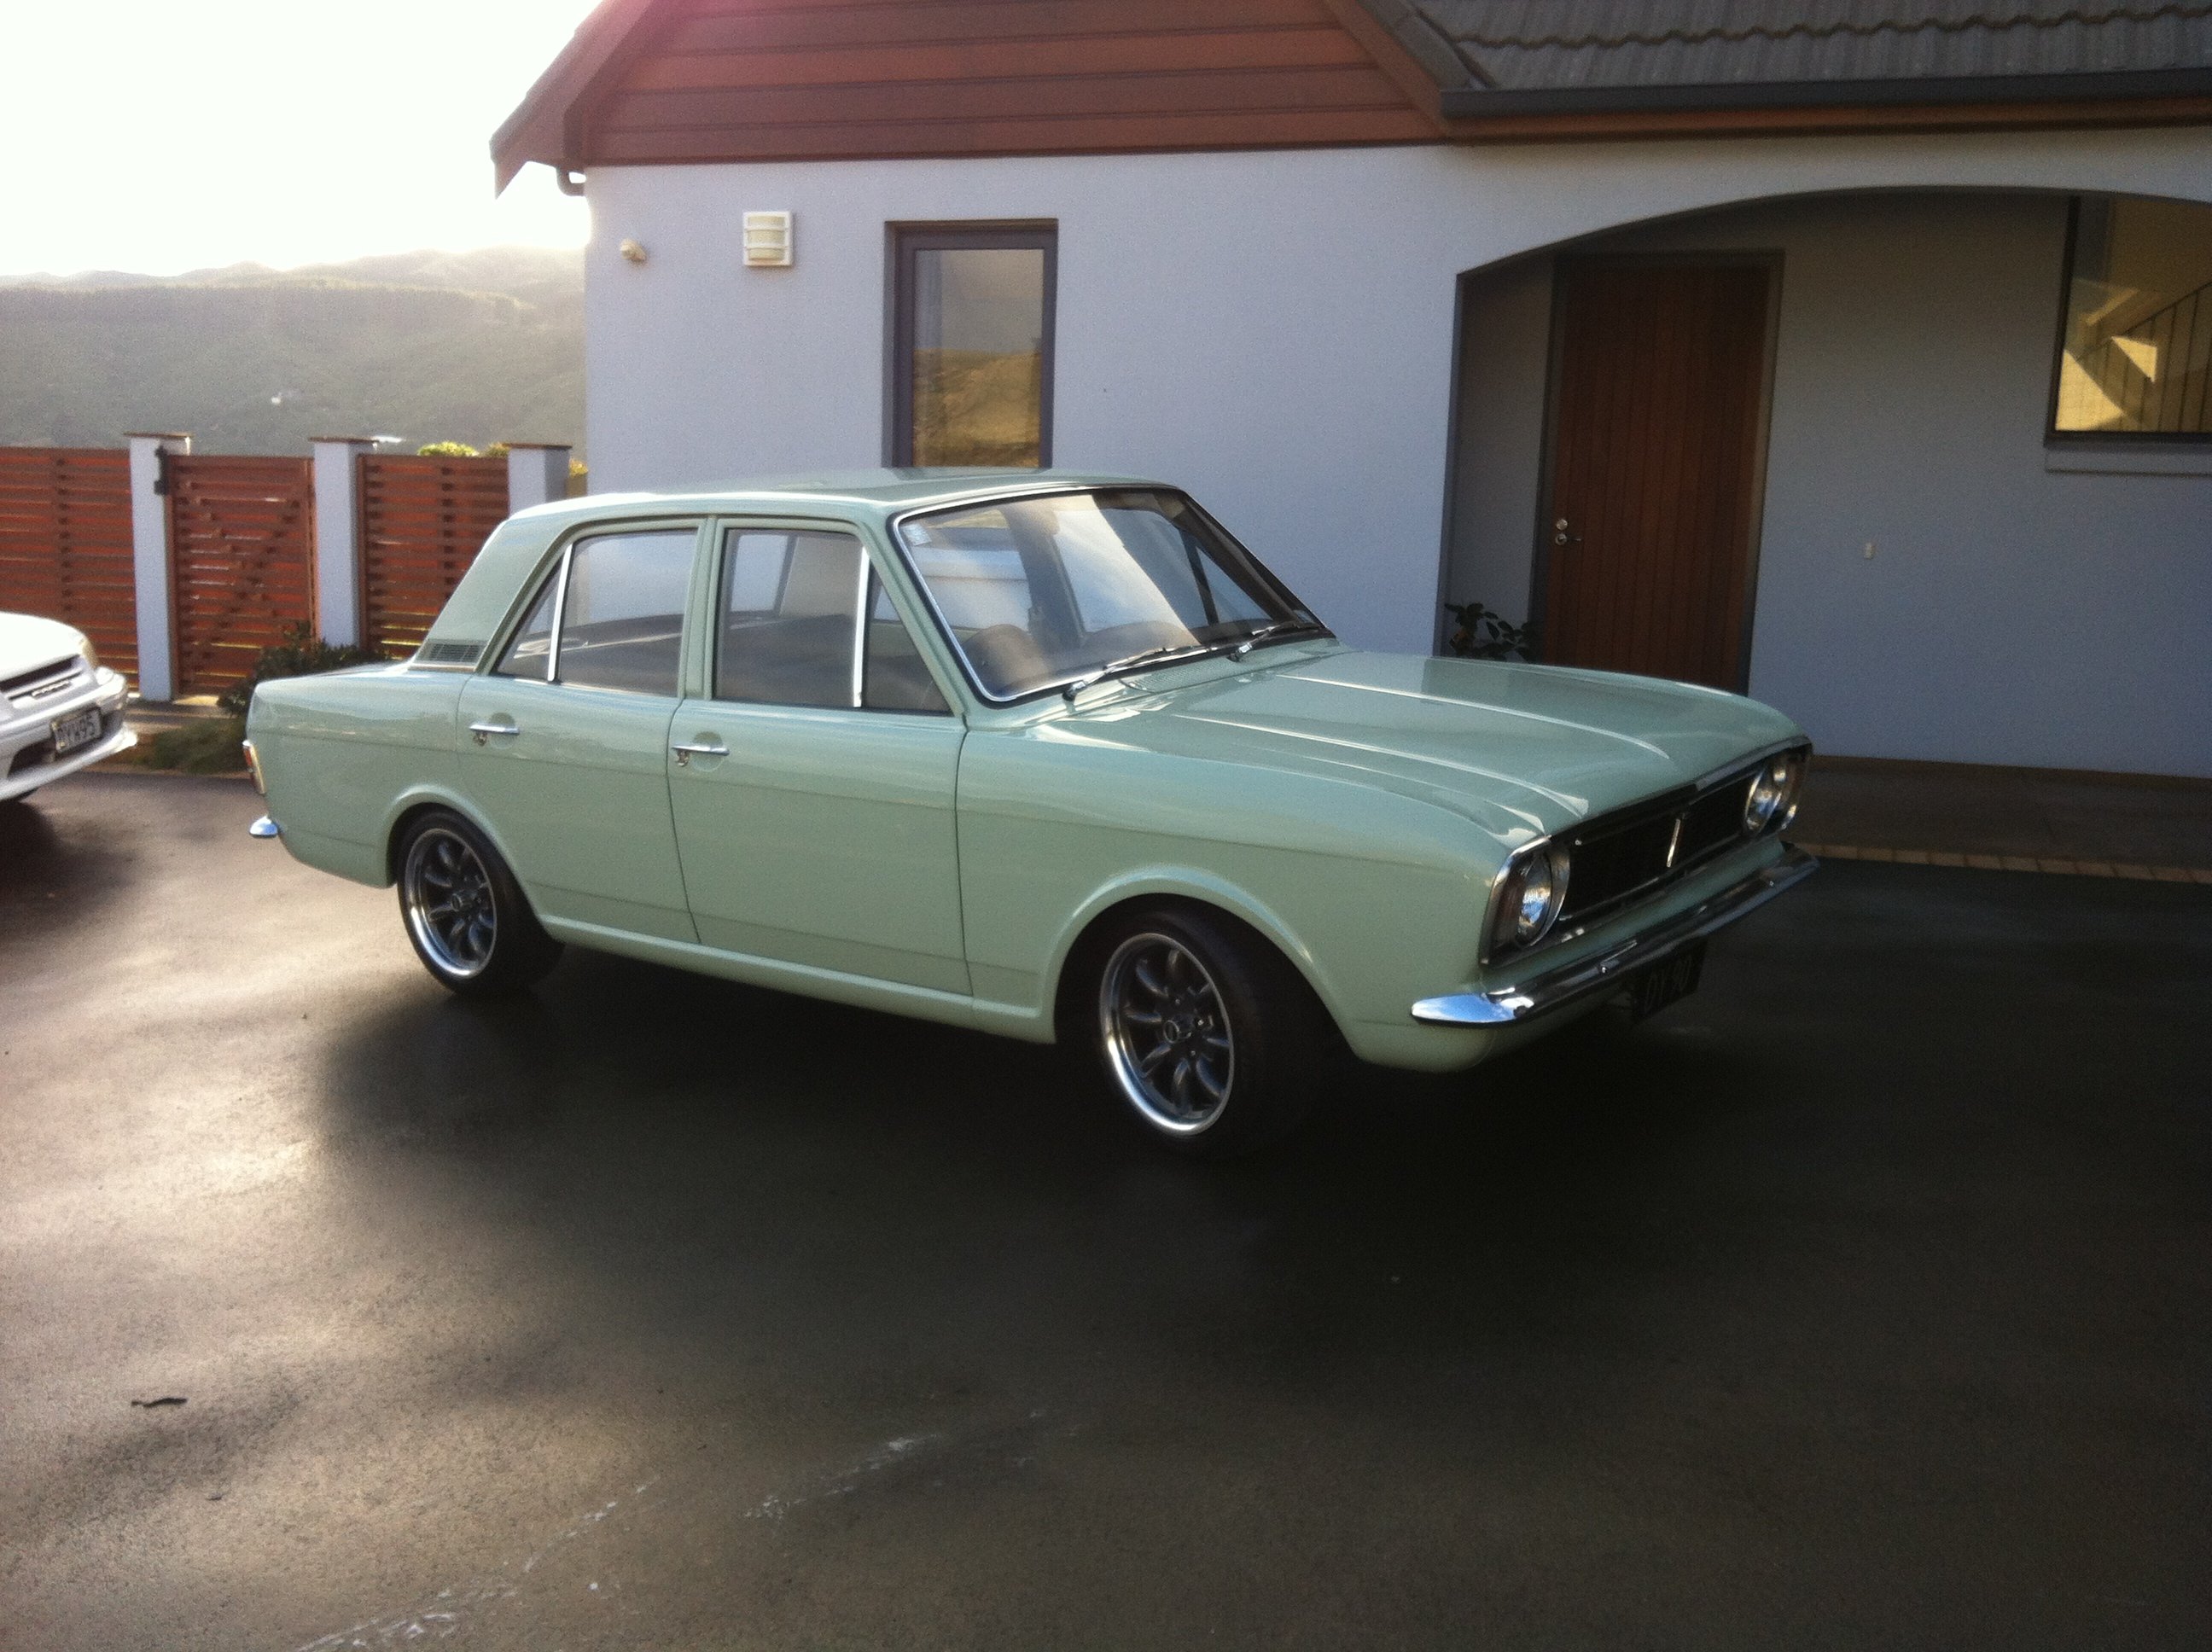
Did some photoshopping of the wheel colours, drip rails and window frames to see which ones I liked the best. Still no idea which I prefer. Open to suggestions. Also how would I go about lowering it another 30-40mm? It already has cobra springs which I think are just lows. Cut or compress them a bit with shorter shocks? Or get some superlows? Adjustable coilovers are out of my budget atm. Discussion: //oldschool.co.nz/index.php?/topic/48889-matts-81-kp60-starlet-discussion/2 points
-
the crusier has been ticking along great.although i lose charge out of my new batteries,i may get one of them exchanged as it never fully charges on the bench either.Changed the wheels/rims to r15 black 4x4 rims with 31x10.5 kumhos,handles alot better.also buying a house so a trailer will be in order to drag behind the truck. YN57 hilux single cab deck with the crowns old widened steelies2 points
-
Delete any rich spots if the carb can.2 points
-
The annual Mustang Convention is coming up in Labour Weekend, its a massive event with 120+ cars registered and this year its in New Plymouth. I thought I'd start getting the beast all spicko the other day and gave it a really thorough wash and dry. My last phase of the "very thorough dry" was to dry it off with a microfibre, unfortunately I picked up one that I had once used for polishing and left a greasy film of damp polish over every inch of blue paint on the car... Very fucking thoroughly... So I had to wash the whole thing again to get it off and by that stage it was dark, so not as clean as I had hoped. Oh well. The kenwood stereo its had since I bought it only gets stations ending in an odd decimal point for some stupid american reason (93.1 93.3 etc) and ALL the local stations are even points. Lately I've been sick of listening to my ipod via a tape adaptor which is starting to pack up, and I found a new CD player I forgot I had, so I got busy today and made a nice bracket and fitted it in. It sounds great, I dunno why I didn't do this years ago. 1.6 welds so nice with the TIG, don't even need to use filler Sorry for the state of those photos... Also, when I brought the car into the country 7 years ago the handbrake lever was broken and it failed compliance on it so we made a "temporary" one to get it through while a replacement came from the states. Its been on the shelf for 7 years and I finally fitted it today. I bet the fucking thing will break next week and I'll be putting the "temporary" one back on haha Ive also bought some spare front springs for 1-way adjustables and will fab some blocks for the rear at some stage. Then I need to do something about the tyres to allow it to get a bit lower. I'm not excited about that job though, I'll probably put it off for a while cos I hate putting springs in and out.2 points
-
Got my E-throttle setup today, which has been interesting. Basically there are a bunch of values you can adjust which determine how responsive/laggy it is. If you set these values too high, the throttle plate flutters because it overshoots the value and then overcompensates back the other way, and so on. So took about 1/2 an hour to fine tune the variables to give the best response without any flutter. It's a bit of a laugh seeing your throttle plate flap around crazily when nothing else is going on haha. Very dangerous if you drove on this setup without taking the time to fine tune for your individual motor, the suggested settings were way off what works on mine. I might need to end up fine tuning it a bit more later on when the motor is running, because at the moment its running at 12v supplied to the motor instead of 14 when the alternator is going.2 points
-
Engine has been purchased and is currently in a running bike. Will put up a proper post up with photos tomorrow2 points
-
fuck, what a day. i have worked my arse off today but its been worth it. got shape 90% finished on the passengers side rear quarter and then i put some paint on it. badly. made a schoolboy error by blazing paint on without setting up my gun first. id only used it the other day but i forgot i changed all the settings when i cleaned it. i thought it was all set up but it wasn't. runs all around the guard lip. don't matter, its got a bit to go yet but still disappointing. 2015-09-19_03-43-45 by sheepers, on Flickr 2015-09-19_04-19-22 by sheepers, on Flickr 2015-09-19_05-10-56 by sheepers, on Flickr2 points
-
2 points
-
Hello to all, it's been a while haha Pictureless update/ Problematic update: So my EST light came on whilst driving home from uni, Is idling like a fucking dog, but when driving you don't notice it. I've hear some horrific stories regarding EST (refer to K-trips weed story lol) and does sound bad in comparison to some. To all those that aren't aware, the VK Commodores came out with EST (Electronic spark timing), and basically when some of that shit goes wrong an EST light comes on around the dash, now I myself don't 100% understand how it works compared to the HEI system (Points vs High Energy Ignition). So anyway, I thought I try provide some information in the hope someone can help me out (Head over to the discussion thread lad& lasses). So basically the EST replaces the timing function of the distributor, in which it has several sensor units including; an engine speed sensor, coolant temperature sensor, inlet manifold vacuum sensor, throttle position switch and a starter motor sensor. After receiving information from the various sensors it also makes allowances in the ignition timing in which fall into one of the following categories: 1) "Normal Operation - Under normal operating conditions above 900rpm, the control module advances the ignition timing to provide maximum power, fuel economy and low exhaust emissions" 2) "Cranking operation- at cranking speed the ignition timing is 6 deg BTDC" 3) "Idle- at engine speed between 400-900 rpm with the throttle position switched closed, ignition timing is 6 deg BTDC. If the engine is cold or additional load is placed on the engine, the control module advances the timing to increase idle speed." 4) Overspeed- When engine speed exceeds 5800 rpm, the control module limits spark advance to 20 deg BTDC to prevent engine damage" 5) "Deceleration- When decelerating the throttle position switch is in the closed position with the engine speed exceeding 900 rpm. The control module senses that the engine is under deceleration and adjusts the ignition timing to reduce exhaust emissions." 6) "Limp operation - of the control module detects a fault in the system a warning light appears on the dash and the limp operation is activated. Ignition timing is at 6 deg. BTDC an does not advance" So yeah I'm in 'Limp operation', bit of a shag up. I Have been told you can change out the distributor to a VH one but don't know the full extent as to the benefits other than no EST. I will check all the sensors to try and resolve it, but in the long run I'm guessing it best to ditch it ? Fuck I write way too much yarns.2 points
-
Progress, I should really charge my proper camera instead of using phone photos.2 points
-
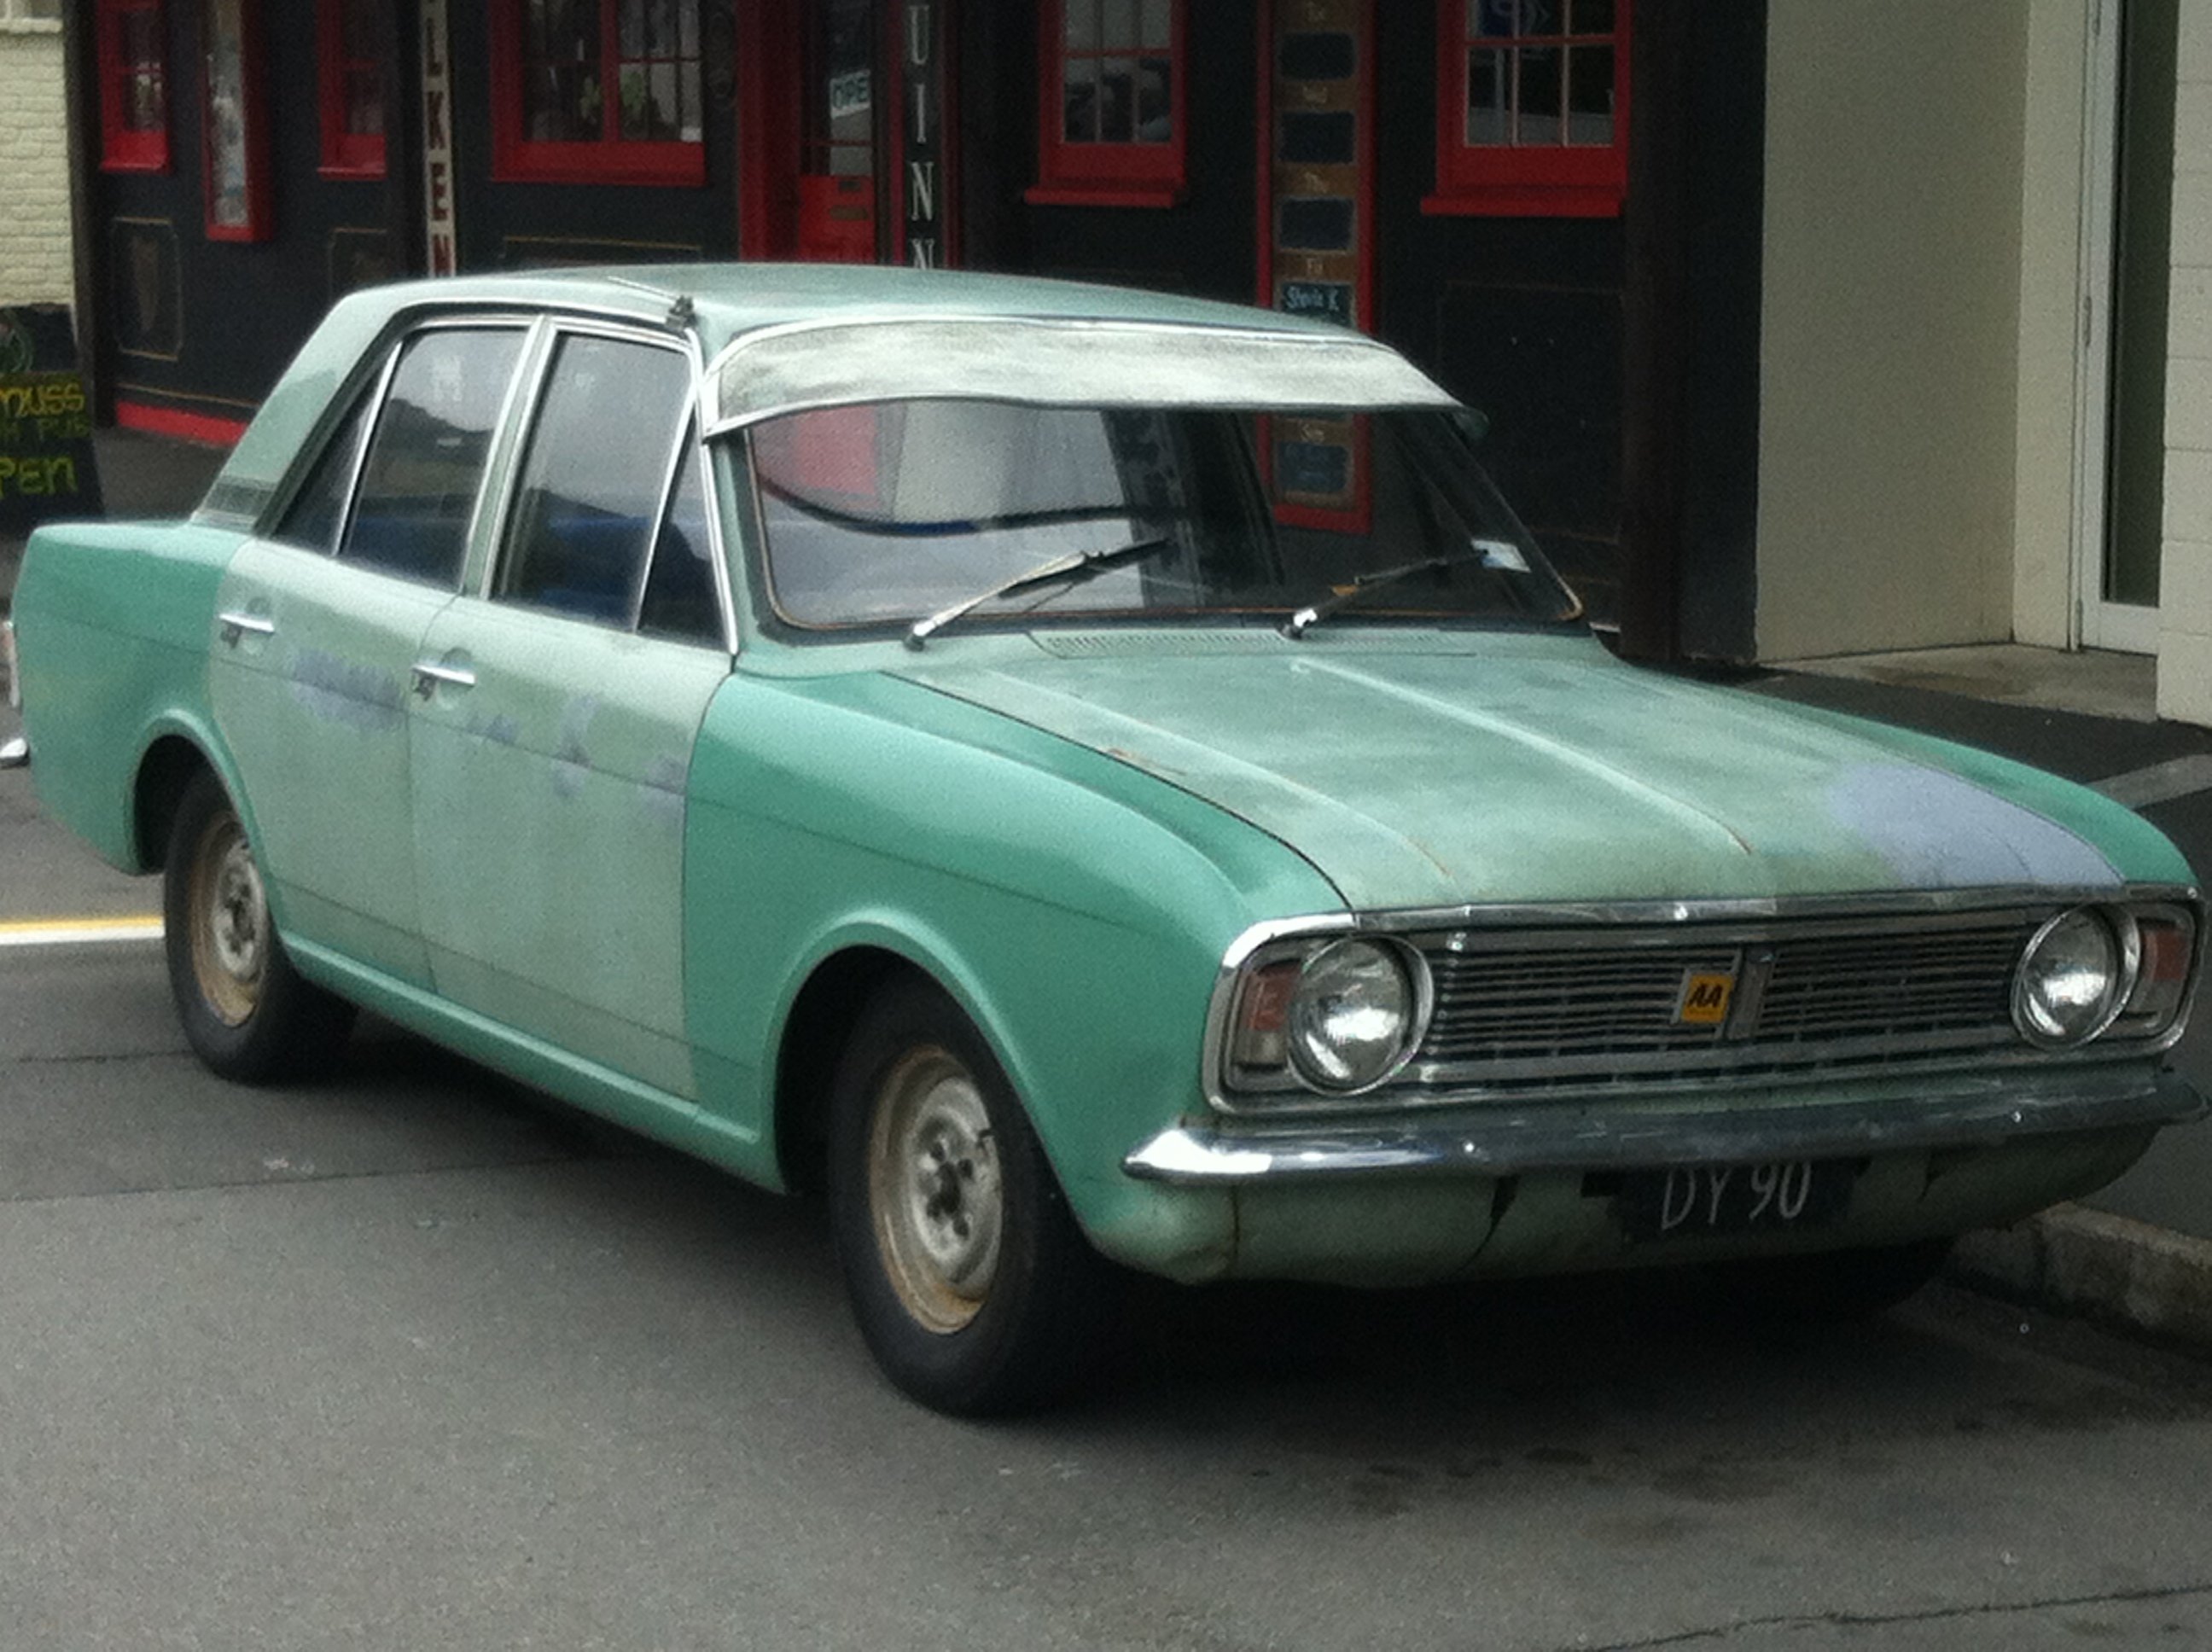
Picked this old girl up back in August, thought it was about time I posted it up here. Back in high school my family had a 1300 Mk2 that I learnt to drive in which led me to buy my own a 67 (supposedly, but Im pretty sure it was a series two 1300 originally with the plates and tags switched) Mk2 for my first car, warmed 1500 with a anglia floor change box, it went pretty well till it ran a bearing right before I went off to uni. Being a poor student for the next 4 years and moving to a different city I decided it was best to flick it on as I wouldn't be able to fix it or afford to fun it. During my first year at uni my folks picked up a rusty old GT and stripped it for parts with the plan to swap them onto their little 1300, but before that happened my step dad got himself a 56 F100 and decided to flick off the cortina -but kept a bunch of the GT parts. A dozen or so years down the track and I was in slightly better financial position, owned my own house with big garage and an understanding partner - it seemed like a good time to hunt down another old cortina. There seemed to be a few floating round but most seemed to have suspect recent paint jobs, were somewhat butchered or were $8-$10k. Eventually I came across this old girl down in Blenheim, sure it looked rough with dents in almost every panel but at least I knew what I was getting into. Exchanged a few emails with the guy and flew down south the next weekend to pick it up. She's an early 67 with a 1500, column change with benches. The glovebox was stuffed full of receipts, over $4k of engine work in early 2013, its bored out a little now with a fast road cam, electronic ignition, electric fuel pump, extractors, alternator so it gets along alright and touch wood has been reliable to date. She has had a bit of rust cut out from the usual places and replaced with new steel- hence the different shades of green going on. Parted with the Ernies and headed off to catch the ferry in Picton, started to rain while waiting in line and quickly became obvious that neither the front or rear screens were water tight. Clutch was a bit hit or miss so gave the master cylinder a birthday and that seemed to sort that out. Discuss here //oldschool.co.nz/index.php?/topic/41854-bangas-67-mk2-cortina/
1 point
-
Yep I hear you, I've tossed it up a bit, pros and cons etc. It only takes a split second of the throttle running on, and then you're flying off the side of Takaka hill or Scenic Drive which is less than ideal! It's fairly robust with its safety features though... The TPS outputs two seperate signals, and so does the FPS (foot position sensor) So if one of them goes faulty, it sees that it doesnt match the 2nd signal anymore and shuts the system down. It also has a relay controlling power to it, and an electronic clutch to disengage it both as safety features if the TPS readings arent as expected etc. I guess another way to think about it is, a cable pull throttle can still jam open as well. And some people have had that happen too. The Atlezza TB has a cable pull system, that if the electronic junk shuts down you can still open the TB half way by cable. So can limp home if need be. There are zillions of Altezzas out there which all seem to be running fine with their factory fitted E-throttles... Lots of people moan about E-throttle being mushy and unresponsive, but I reckon it's all about how the factory ECU is controlling it, not a physical throttle lag. Looking at the datalogs the physical delay in throttle angle is near negligable, An interesting use of E-throttle that I heard of, is a guy who's in a race series where there's a "Breakout" laptime that you're not allowed to beat. He sets his E throttle to limit throttle opening so that when he's going full throttle, he goes just over that laptime every time. But then when he gets stuck in traffic, he flips a switch and it reverts to full throttle angle and he roars past everyone. Flips the switch again and goes back to "laptime" mode. Or the cars with big horsepower, having a "rain map" that makes the bulk of their pedal angle more usable in the wet. Most of these things dont apply when I've got a peaky motor with only 200hp, but will be fun to play around with anyway1 point
-
yeah if that is a navara, there should be another curved long leaf under the main one, and the bottom short overload leaf looks like it is upside down1 point
-
Man, you're a cute kid.. what happened? Would be cool for your olds, specially since you restored it.. would like to that for my old man but all the cars he had when we were kids are fairly expensive now, even for pos examples1 point
-
1 point
-
Try do as what the above post says. You would be one to pull it off.1 point
-
1 point
-
125 seems extremely hot. I wouldn't want it going over 90-95 on a track day1 point
-
Have a set of period correct mags for this. Willing to donate them to this project if you want...1 point
-
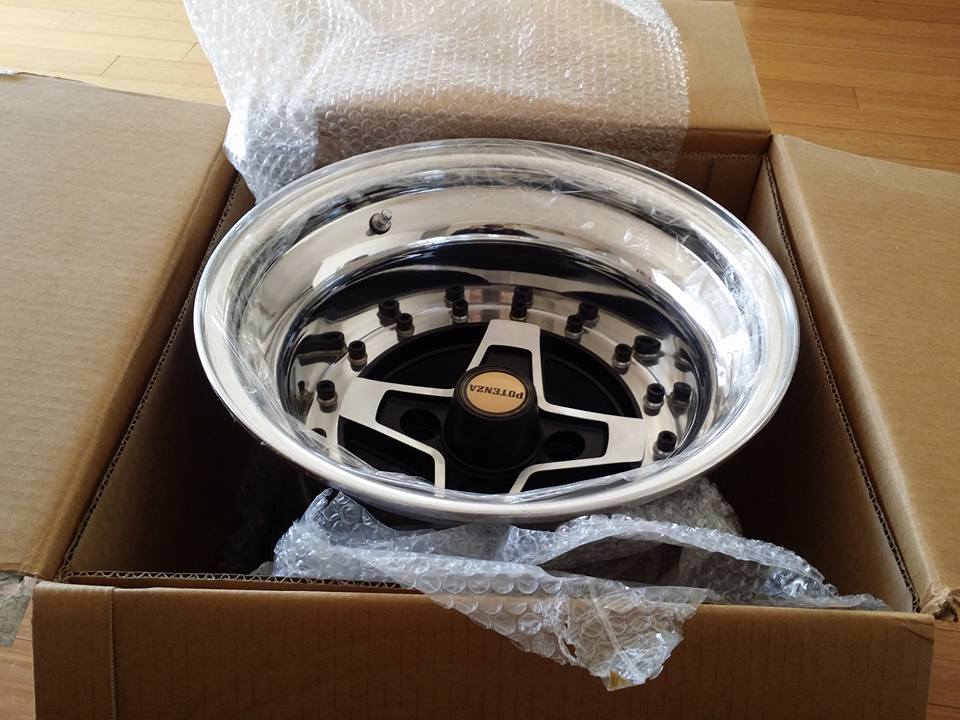
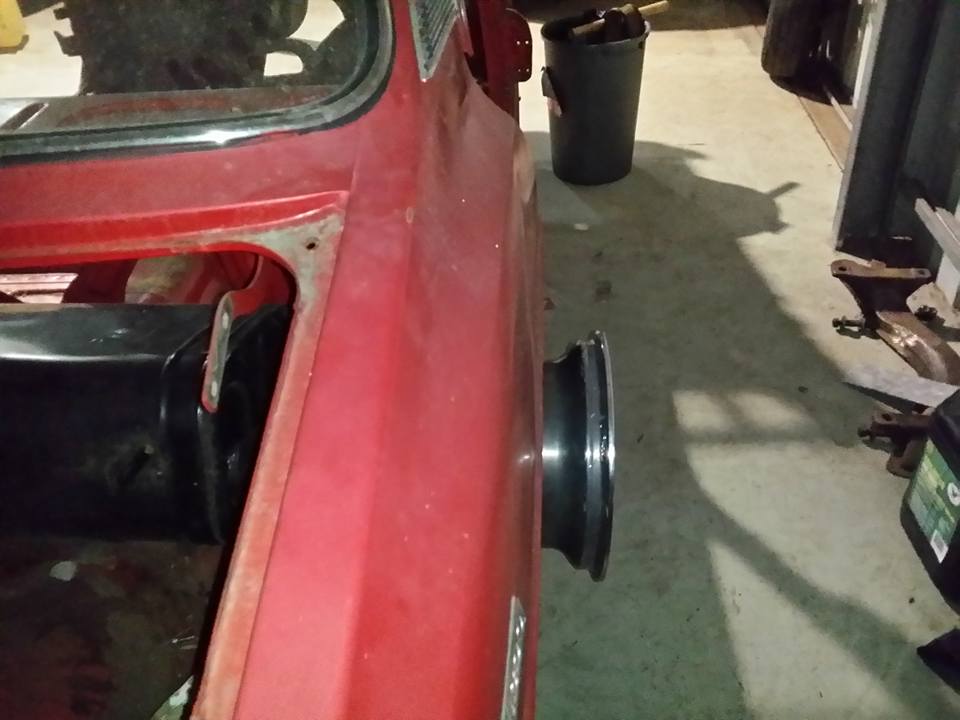
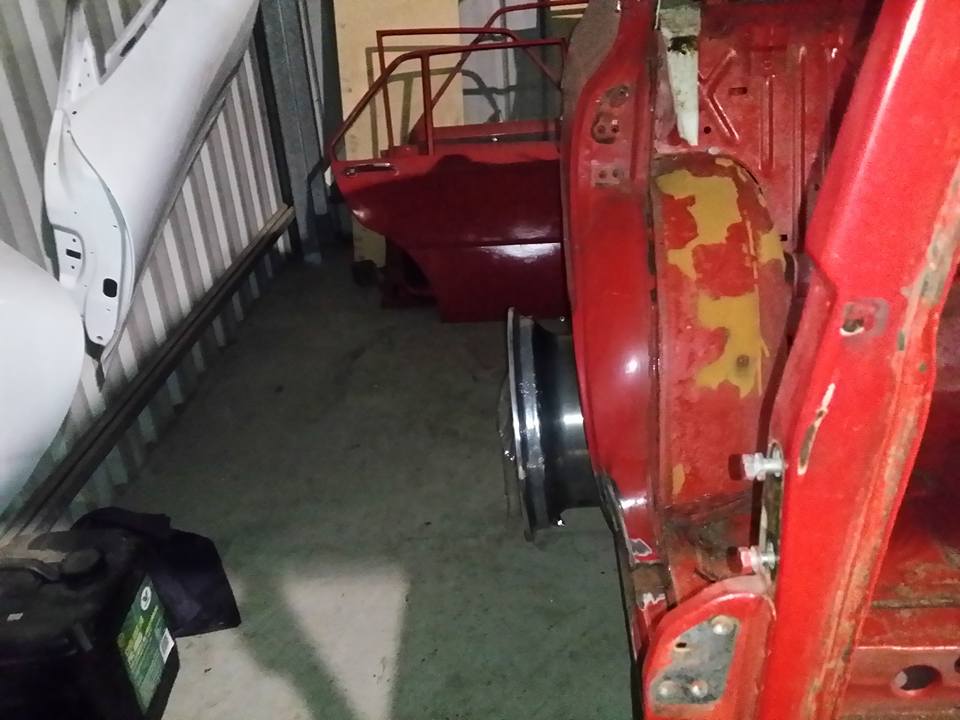
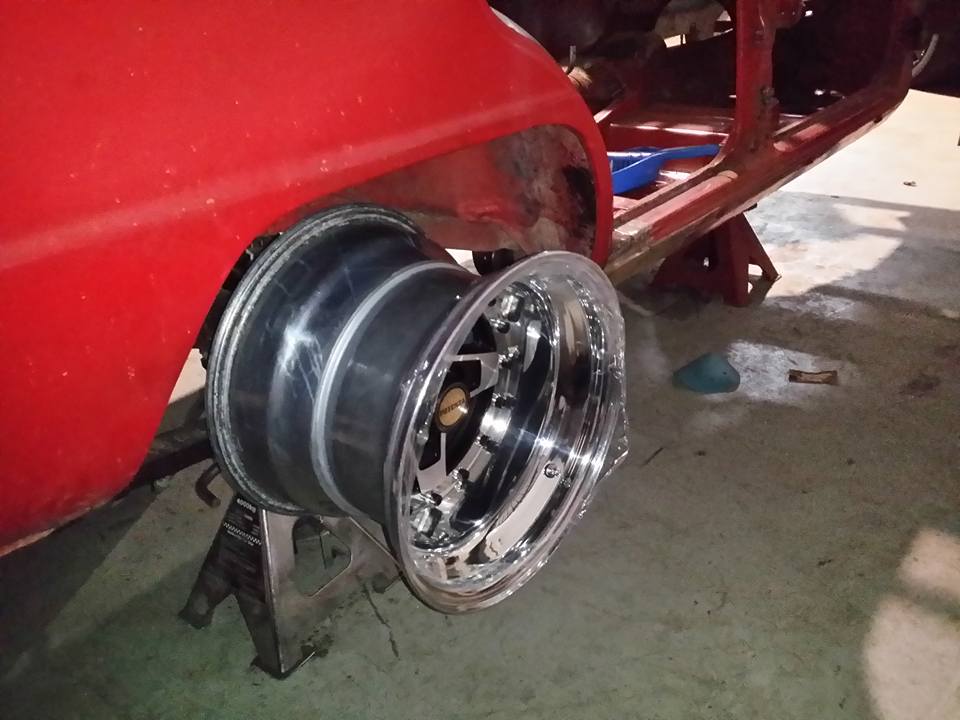
Some boxes arrived. Daaaamn these are bigger than I pictured in my head. So stoked though! And here's what they're like on the back... oh shiiet.. The rears are poking out approx 60-70mm!! Luckily there's enough inner guard clearance in the rear so no mini tubbing required there. Haven't been able to fit up the front yet as it's all apart, may need to need to minitub the front for clearance at lock but no doubt outer guard work is required.
1 point
-
So SOHC helped me turn these wheel bearing spacers. Actually he did most of the cutting out, i only did one cut and the radiusing of the corners and honing and gave them a really rough polish. Now more modern type wheel bearings will fit //oldschool.co.nz/index.php?/topic/47381-rustiz-1920-26-ford-t-bucket-of-rust-discussion/
1 point
-
Woo! Wheels finally arrived from Japan. They turned out to be 13x6.5 instead of 13x6 which is good. Gave them a bit of a polish and some new nuts and bolts. They didn't polish up as good as the other pair because they have a clearcoat on them. Will have another go removing it at some point. Was going to paint them all gold, but I think I like the red a bit more, because it's darker and has more contrast with the polished bits. Just need to lower it a bit now.1 point
-
underside of the bonnet prepped and painted. there was a tiny bit of rust in between the skins right at the front lip. i tried to take a photo but it was pointing into the light so it didnt work to well. but you can see right at the front of the bonnet the lip is all wrinkly. what i did was prize the two skins apart between the spot welds and i used the air hacksaw in the gap to act as a scraper, using the sides of the blade rather than the face, to get the shit off the two surfaces, then i rust killed it a few times while using the air hacksaw in between coats of the rust kill. it came up really well. so then i painted it. i mixed up the paint then used a brush to flow paint down between the two skins. its better than new in there now. then i painted the rest of the underside of the bonnet. ill give it a sand with 240 odd then wet lay another coat of primer then colour but thats a little way off yet. next is to fit the bonnet and get the hinges right then ill weld some gussets into the hinges so they don't fold like the frenchmen they are. 2015-09-17_11-36-05 by sheepers, on Flickr 2015-09-17_02-37-20 by sheepers, on Flickr also i blocked the bonnet down and wasn't happy with it so i put a tiny bit of green spot putty in it and primed it again. i hope that this is the last coat of primer before colour. i bet somewhere in this thread there is the immortal phrase "I'm not going to get to carried away with this build" whatever dick. 2015-09-18_12-43-47 by sheepers, on Flickr 2015-09-18_01-58-58 by sheepers, on Flickr also did some snow tyre traction testing. snow tires don't traction too well. 2015-09-18_05-50-17 by sheepers, on Flickr1 point
-
I had a hair drier in one of the ports, a fan heater kind of blowing on the biggest one, and in the sun, left it like that for a couple of hours, though "that'll do" moved the drier and heater, and proceeded to pick it up with my bare hands........ realised when I had it about chest height that my hands were burning, didn't want to drop it so had to suffer those few extra moments gently putting it down. I'm not a smart man, Jenny1 point
-
good to see another turbo sigma still alive,brought one ten years ago for $200 and pulled the motor and scrapped the rest,little did i no. think they only came in white the early ones? have a spare new clutch master for one here if yours shits itself.same guy had a 78 sigma,offered it to me for a hundred bucks and thought it was too pricey.1 point
-
Car running sweet now - see discussion thread. Just a few small leaks to sort. Got two indicator lights today for the alternators and connected it all up. Works really good so far. On the left, voltage from car battery and alternator 1. On the right, voltage for the stereo from the other alternators 2 and 3.1 point
-
bit more rust, working my may way around the car, front left sill and fender. yum! take that! No wonder it rusted, there are at least 5 or 6 overlapping seams all facing the back of the wheel! I will slop some seam sealer on and plenty of underseal and is should be good for another 50 years. --- pretty happy with how this sill cover turned out i reused the door seam part, just replaced the bit below the door, the jacking point helped to keep stuff lined up on and off to check fitment and tweak at least once... ready to weld on noice and the aim of the game, more rusty bits for the scrap pile have another small section aft of this to whip off ( ayou can see my markings in the last image in the gif (and ill be onto the boot area, the rest of the sill and rear wheel arch is fine.1 point
-
Ahhh that makes sense, cool - having a MAF wired in would make for some generally really interesting comparisons and data And gotta love (/need) a quick reacting IAT, I find them (and baro pressure too, actually) quite mesmerizing to watch and compare when dyno tuning and road tuning. No worries, the effects of wall wetting & evaporation and X-Tau is a handy thing to know about ... it's interesting too, when people outside of tuning seem to talk about the black art I think they imagine certain areas as where the wizardry is and not realise how much of the art is really just trying best to model the ECU with what actually is going on in the real world. Finding power doesn't tend to be the hard part, the devil is in the detail1 point
-
I got a coupe last week. Black with a oil.cooler.on the front bumper . It's a hotwheel got it from countdown. But m looking forward to seeing your progress.1 point
-
So decided to do somthing to make this cool so I get some more motivation de springing it worked, The back is a pretty good height the front needs some cutty cutty to make it the right height. Now Im pretty keen to get rid of that grill the makes the rear window sit to high because I hate it and lower the rest of the roof to suit, a bit like this. Any advice welcome as Iv never undertaken a roof chop befor cheers.1 point
-
A bit slack on the updates over the last couple of weeks but plenty has been happening. So I figured out that I fried the electronic ignition module when I tried to wire up the rev counter.... not ideal. Got a new module and had spark again. A little more research and it looks like I can't use the rev counter with electronic ignition set up as its the wrong type , RVI when I need a RVC. There are a few conversion kits out available to convert to a RVC so that will happen at some stage in the future. Pretty much all back together now, had to pull the look out again when the wire for interior courtesy light sorted out and melted through the loom while we were putting the headlining in, melted a hole in my nice new headlining too but luckily that is covered by the rear view mirror. Took it for a WOF last week, just need a few new bulbs as the ones in it were a bit dull, so pretty stoked with that. Needs a bit of tune, it's running a bit rich at the moment so will get that sorted at some stage. Recovered seats and new carpet Already had holes in the parcel shelf so figured I'd put some sounds in. Took it for a drive up to my folks place in Levin on Sunday, no issues over the couple of hundred kms which is always good. Hopefully will get along to one of the monthly meets at soon, heading away to the states next weekend so looking like Julys will be the earliest.
1 point
-
Still progressing do a few hours each night during the week and a as much as I can on the weekends. Sorted the no power problem from last weekend, didn't have the Amp gauge connected when meant no power to the loom or ignition... I've got all the side windows and doors back together now, the door cards are dark green and look pretty good with the lighter green paint. I was putting the dash back together and thought I would wipe the 40 year old dust off the top of the glove box, which revealed a 40 year old note/service record- pretty sweet All the windows back in. All the rear lights and bumper back on, just need to grab the boot lock off Karl /-i500GT- Got my GT dash back in, all the gauges work too which I'm pretty stoked about Had it running this morning to check the mechanical oil pressure gauge didn't leak before I put the dash back in. Next job is to get the tacho wired up, I've only got the dash portion of the GT loom so the engine bay loom is missing a few wires. I had a go this afternoon using some directions off another forum- wasn't a great success as now I don't have any spark... definitely not cut out to be an auto sparky!1 point
-
Been a while since I updated this, haven't been totally slack while its been away getting painted. Just been tinkering away stripping paint and polishing bits and pieces. Spencers Citric Acid rust striping plan works a treat. The major thing that I managed to get done was recovering my benches, sent my old covers away to Autosport upholstery in AK and he whipped up some nice new covers in almost the same colour as the originals. A few hours and a few dozen hog rings and this was the result, first time trying to do any upholstery and pretty stoked. Still have to get some heat on them to get the last of the wrinkles out. Had the B pillar sections re done as well, all looks pretty sweet1 point


.thumb.jpeg.384ff72c8d2b0ee0d34a7bdedb55bdcf.jpeg)


This leaderboard is set to Auckland/GMT+12:00