
Leaderboard


Popular Content
Showing content with the highest reputation on 02/21/24 in all areas
-
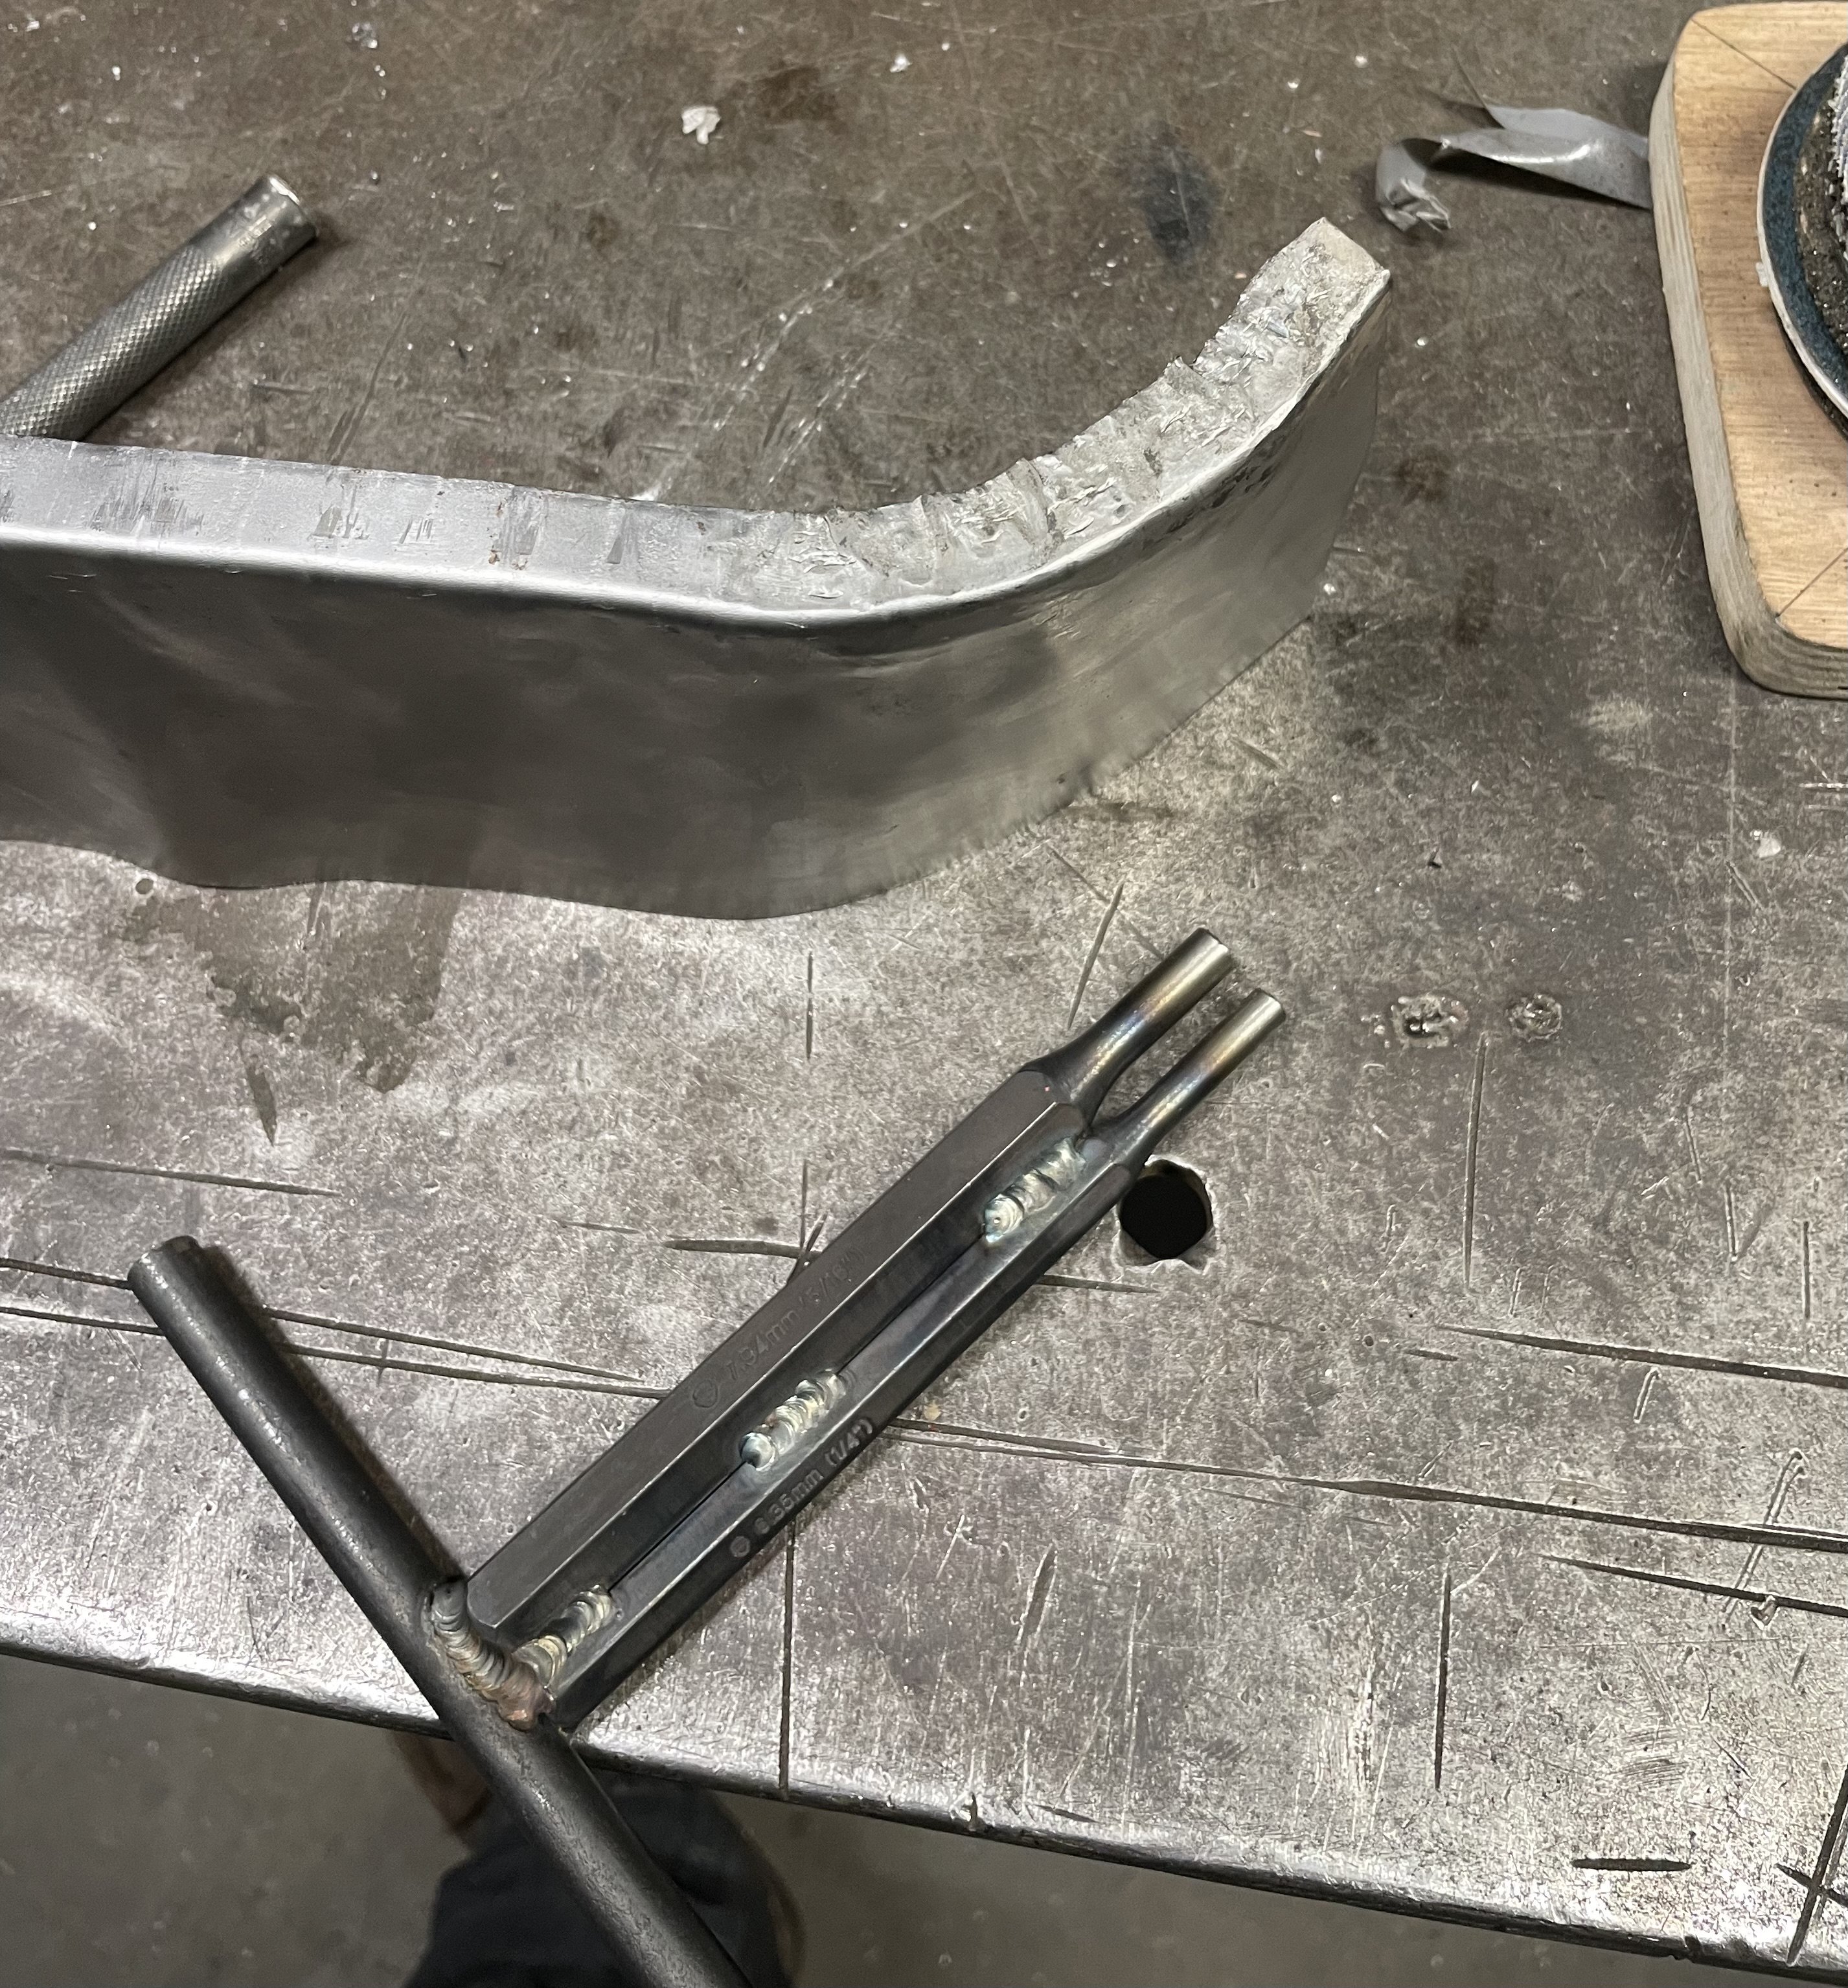
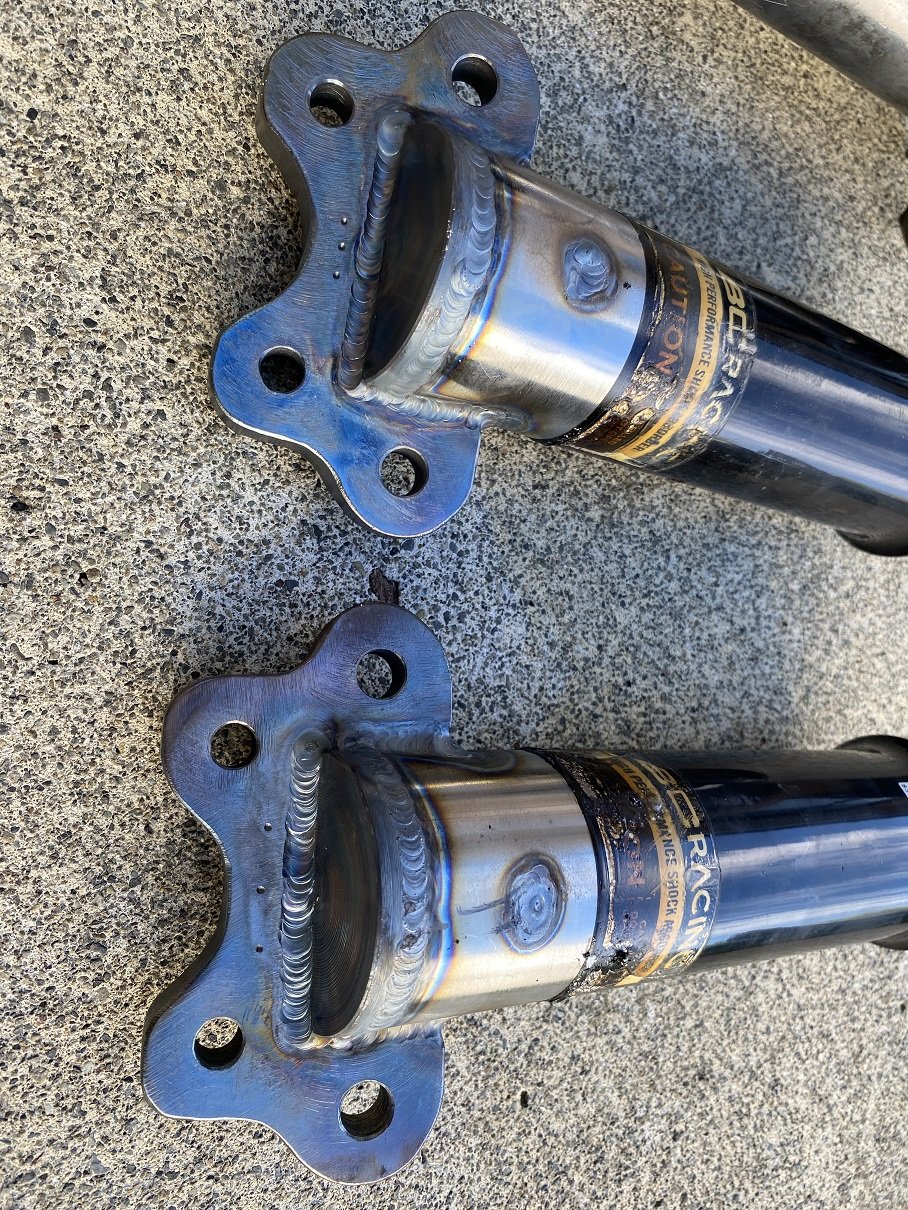
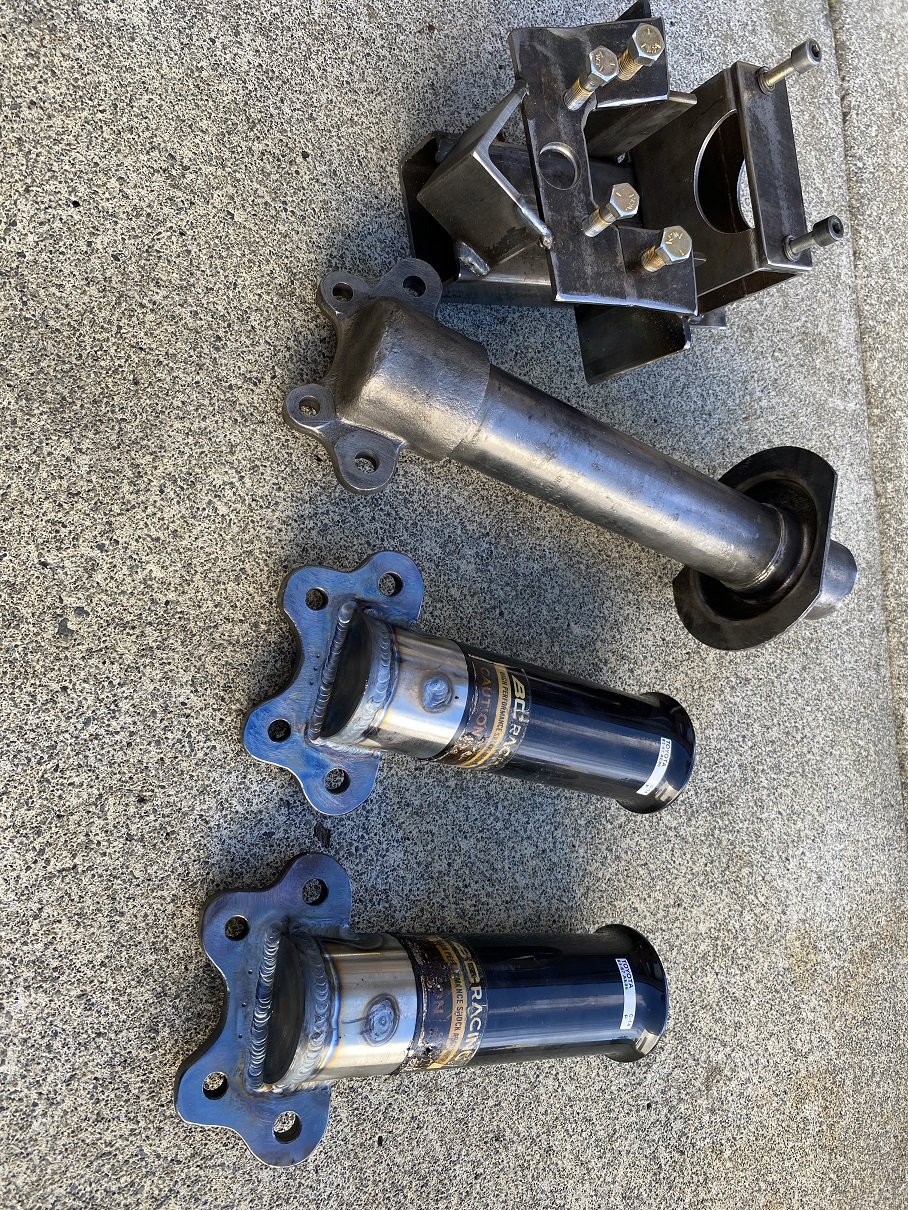
Albert the NDT man in Wingate has tested the welded struts for cracks. Took 10 minutes. He has an electromagnet and a solvent containing iron particles dyed with a flourescent dye so they glow in a UV light. He puts the magnet across the weld and sprays it with the fluid. The magnetic field aligns the iron particles which you can see under a UV lamp because of the dye. Any cracks will cause misalignment because the field goes around them. So I've got a certificate that says it's passed. YAY!12 points
-
Now to enjoy it
 10 points
 -
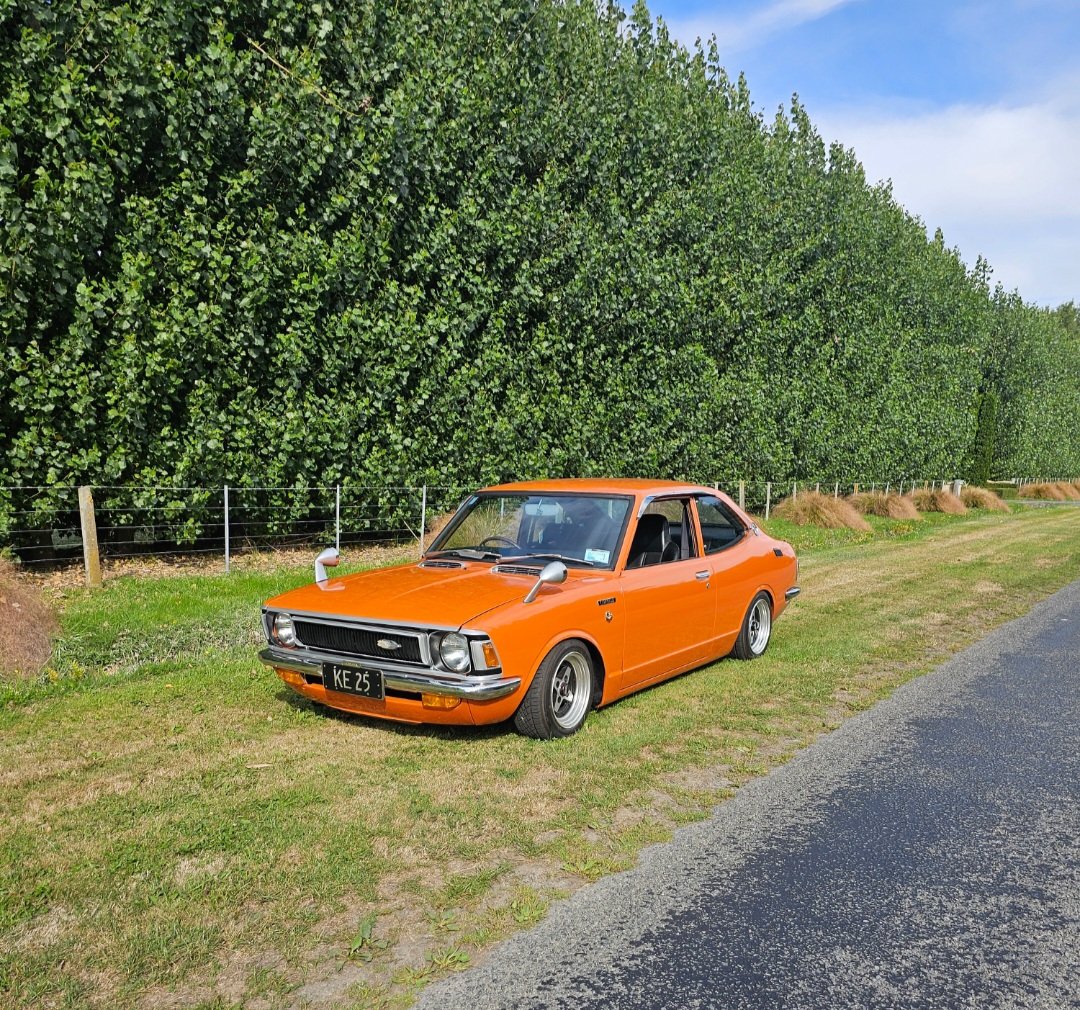
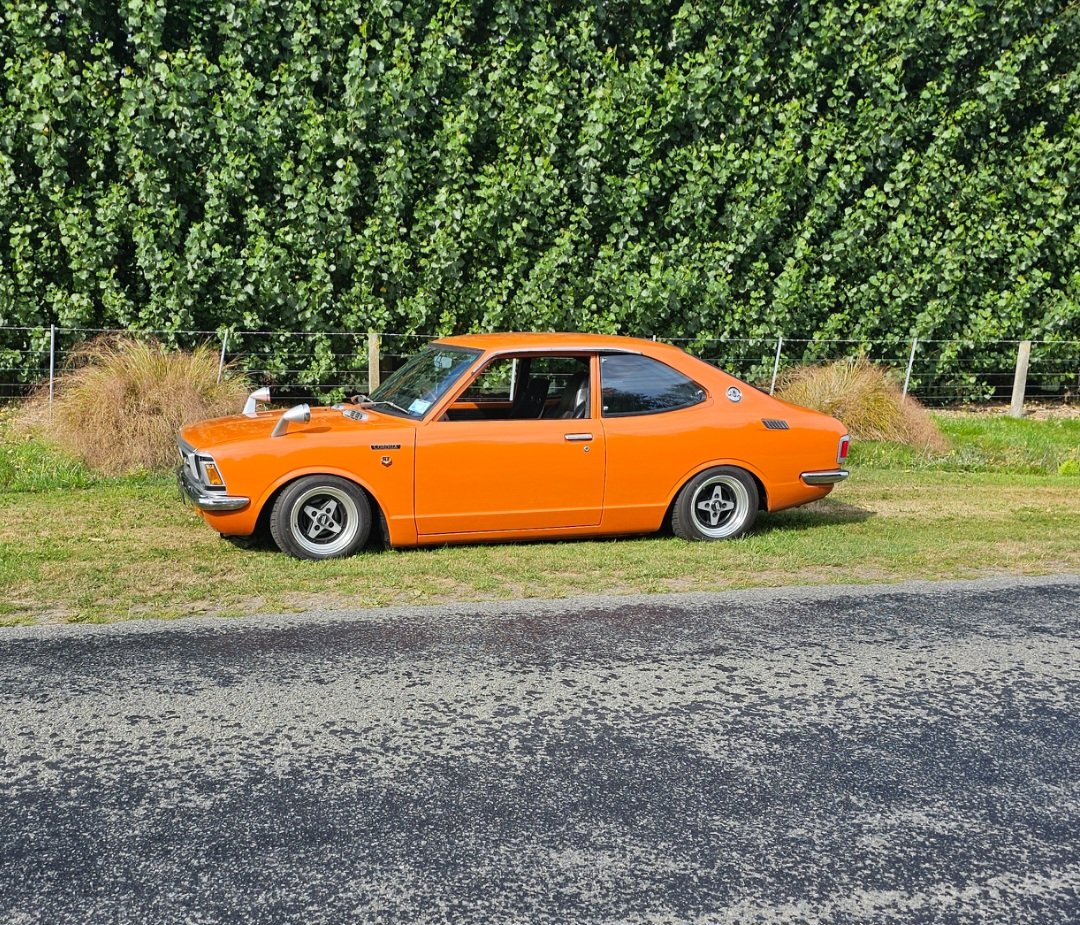
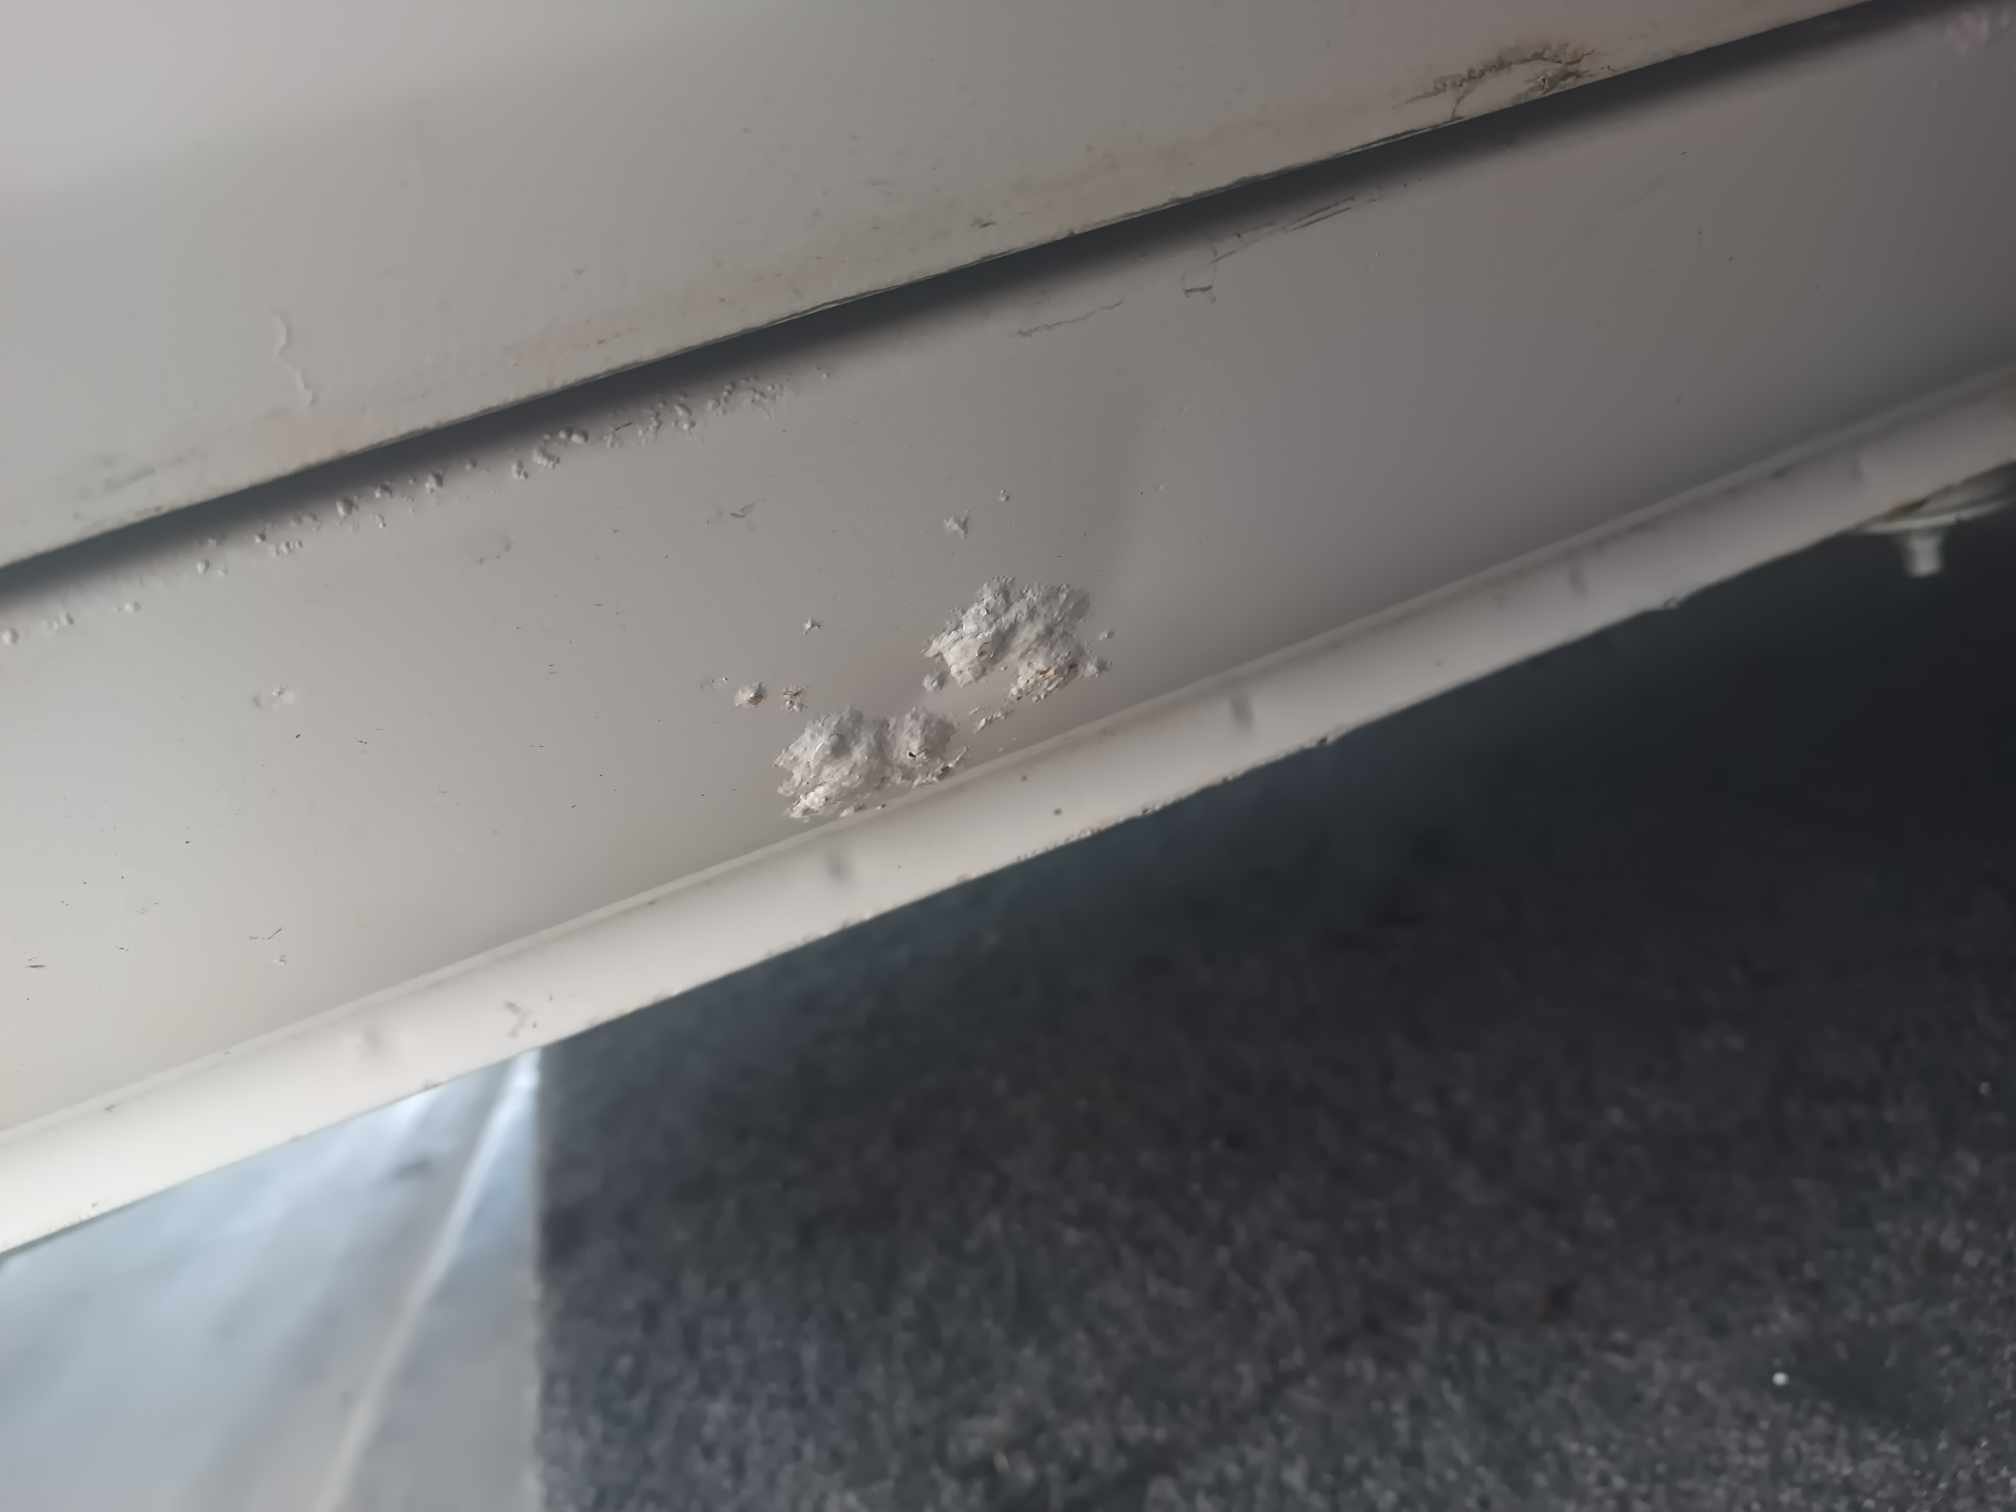
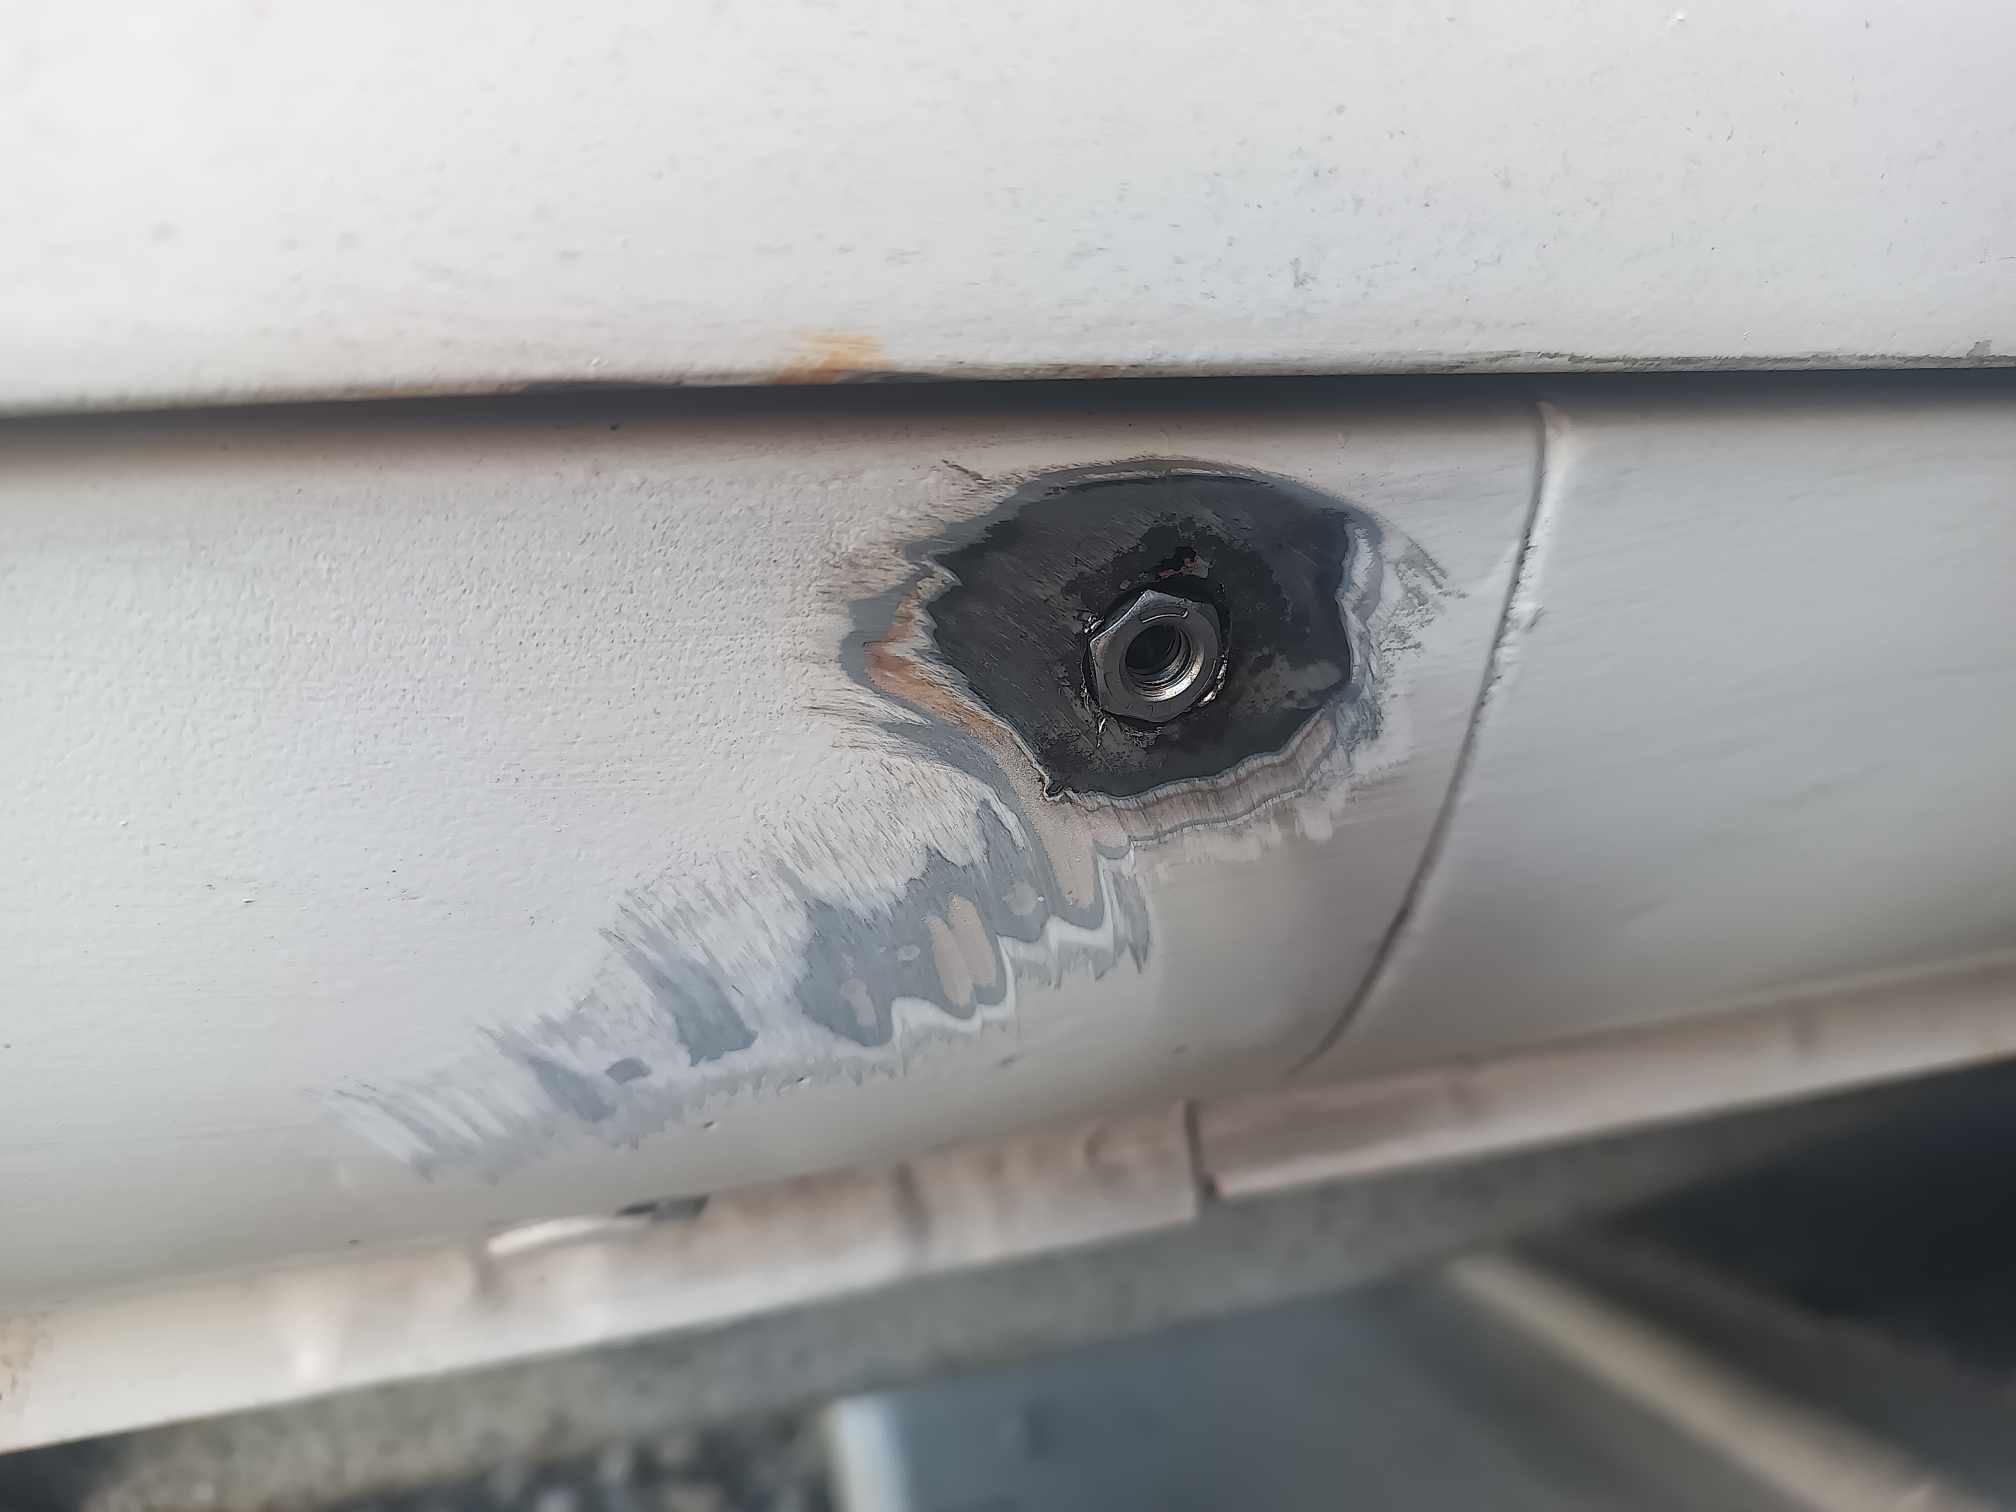
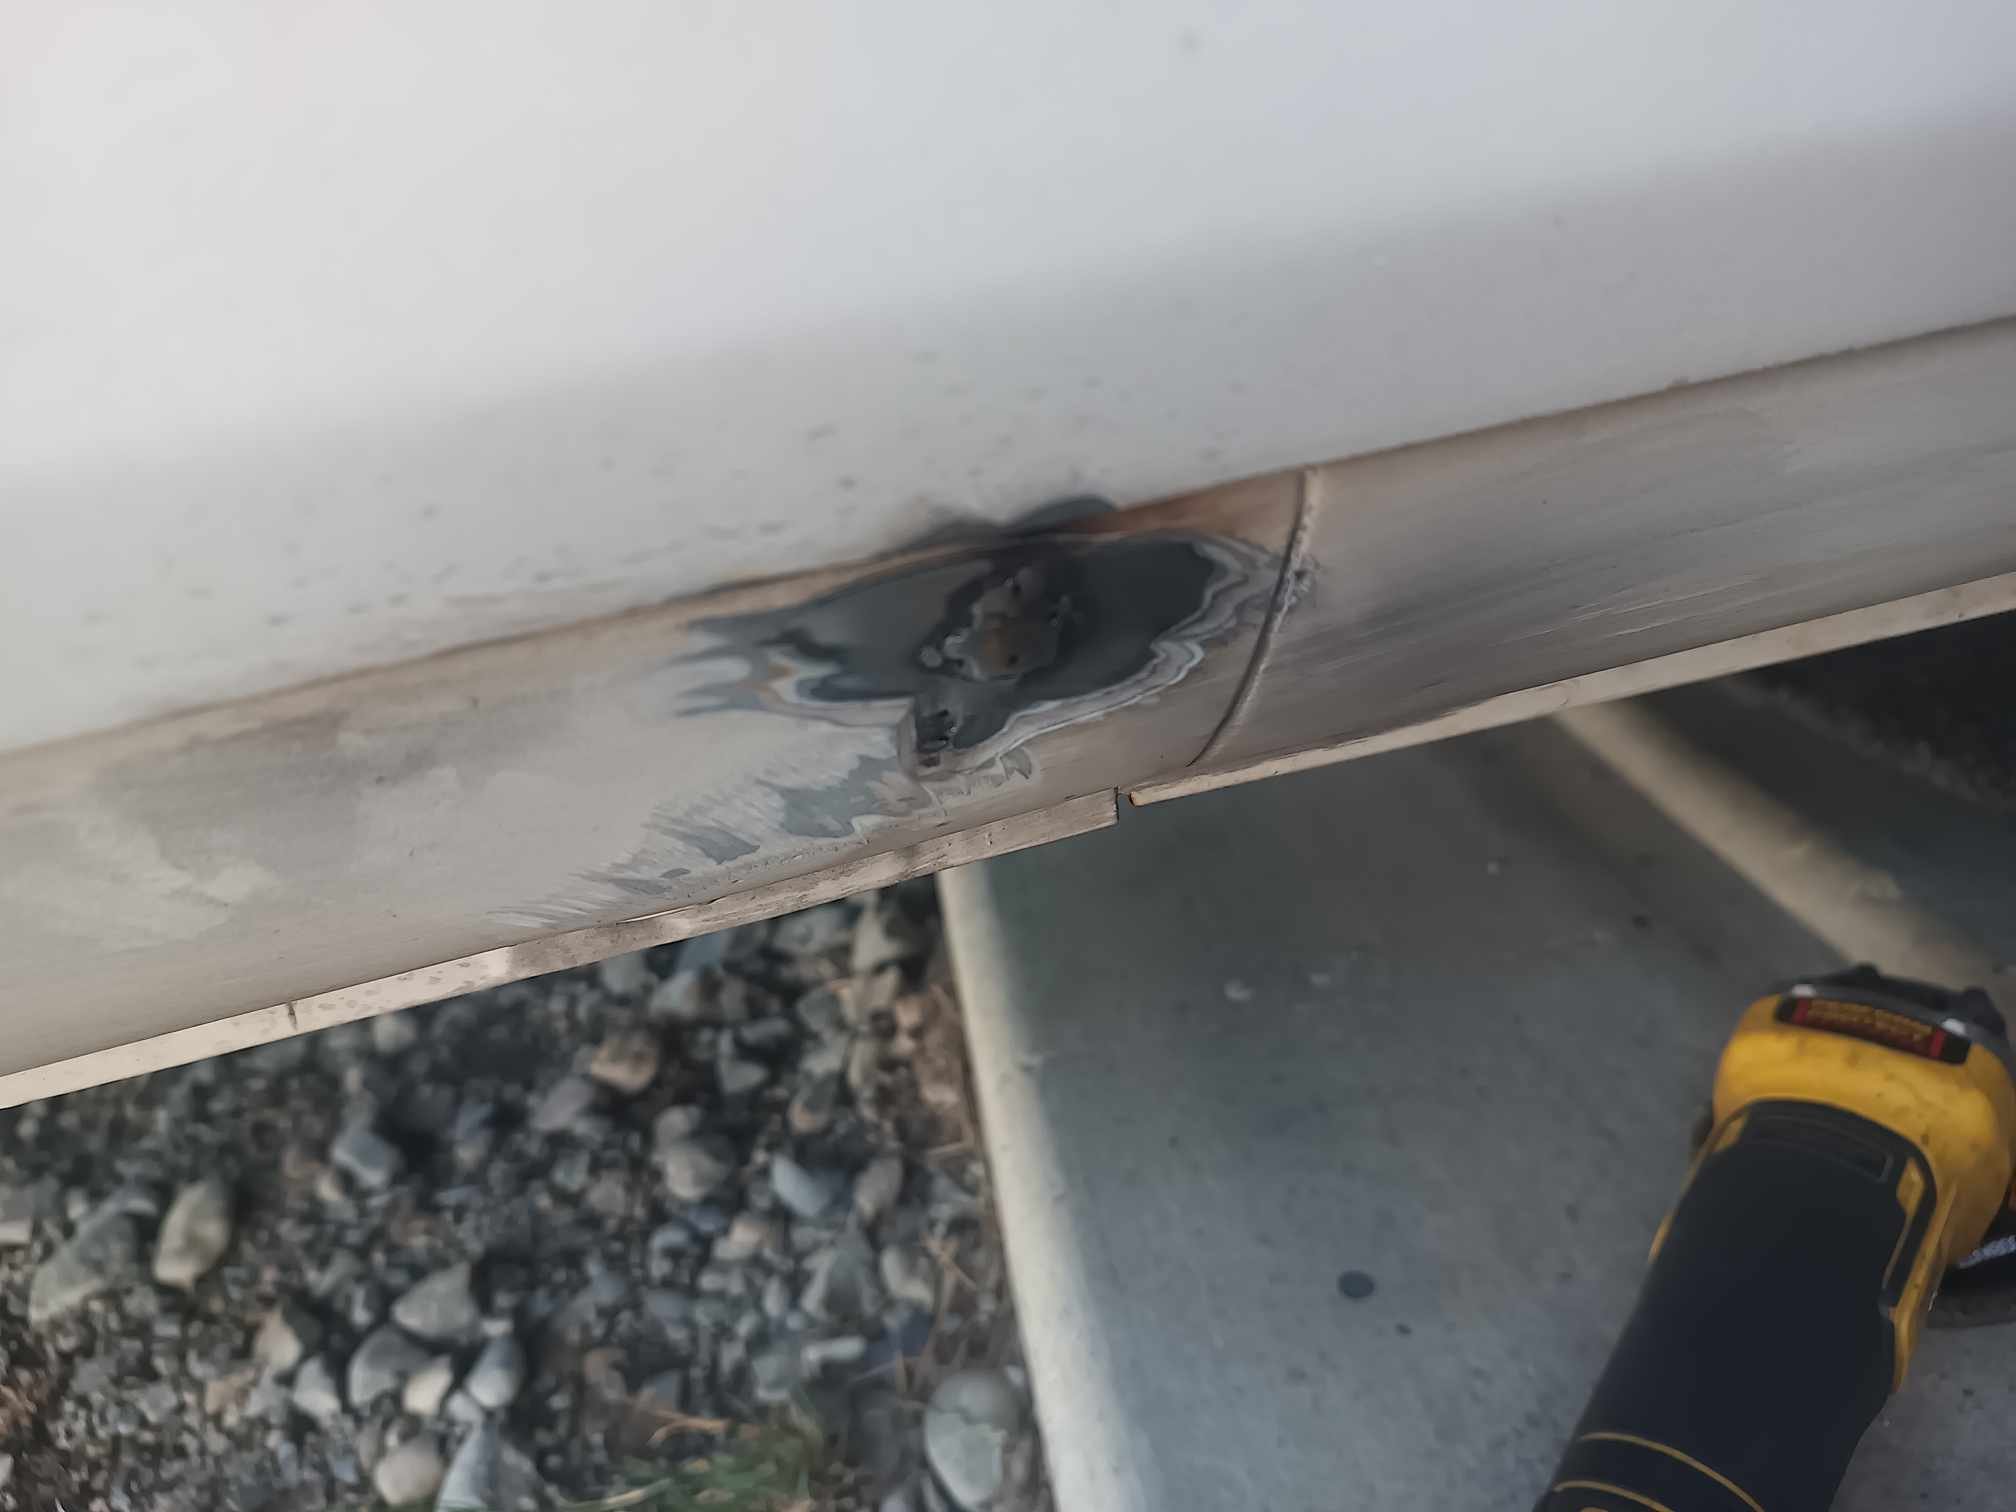
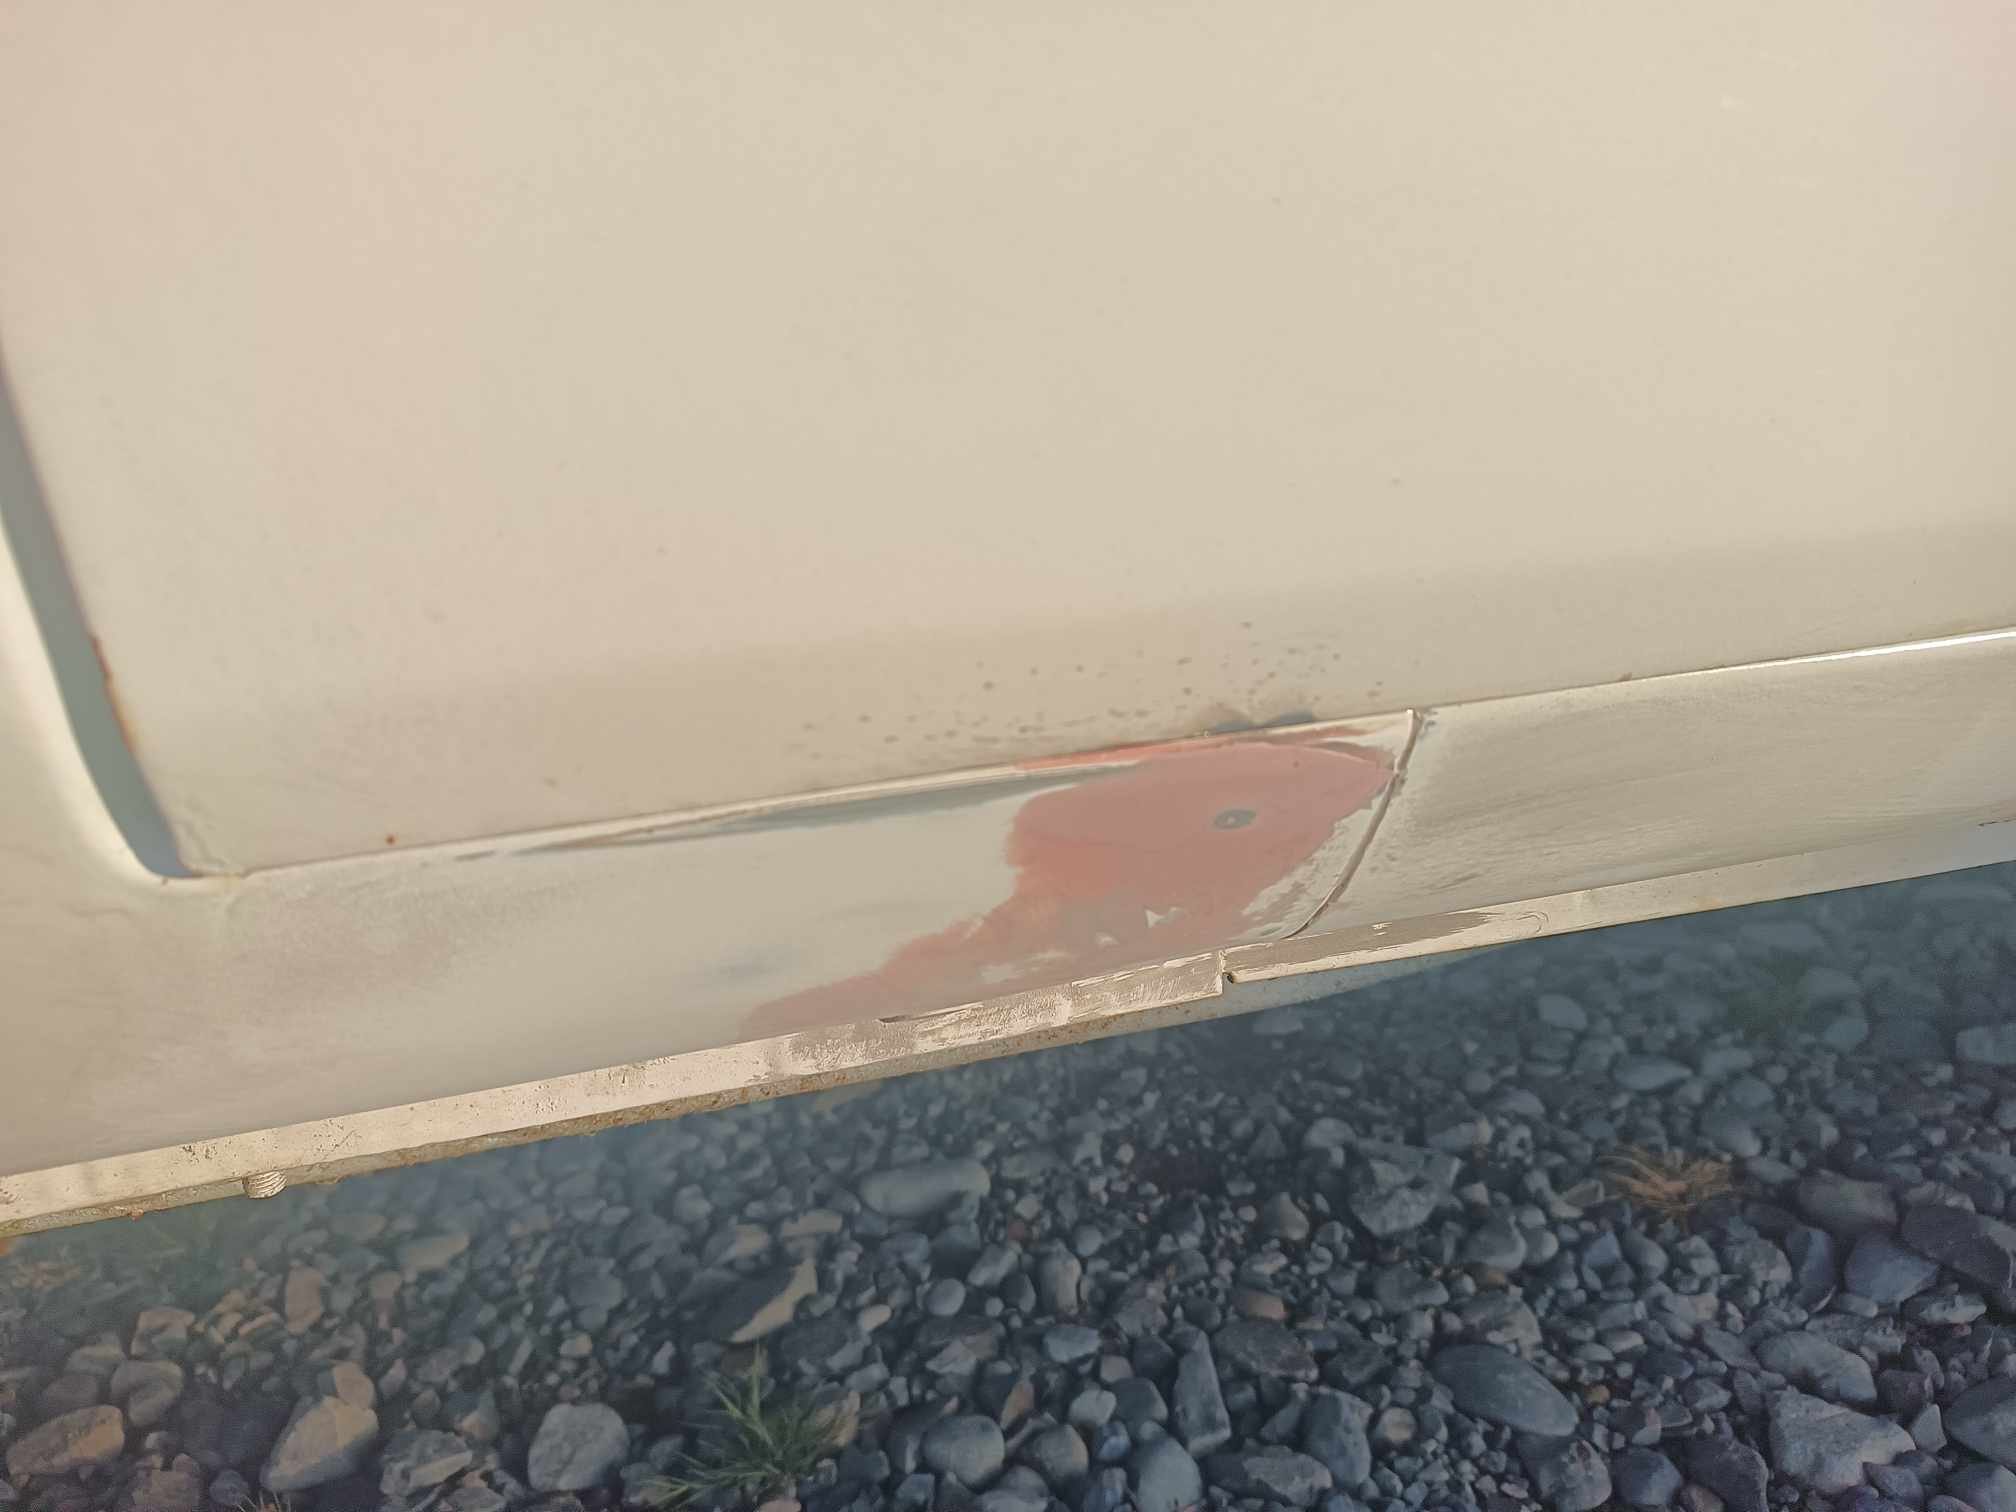
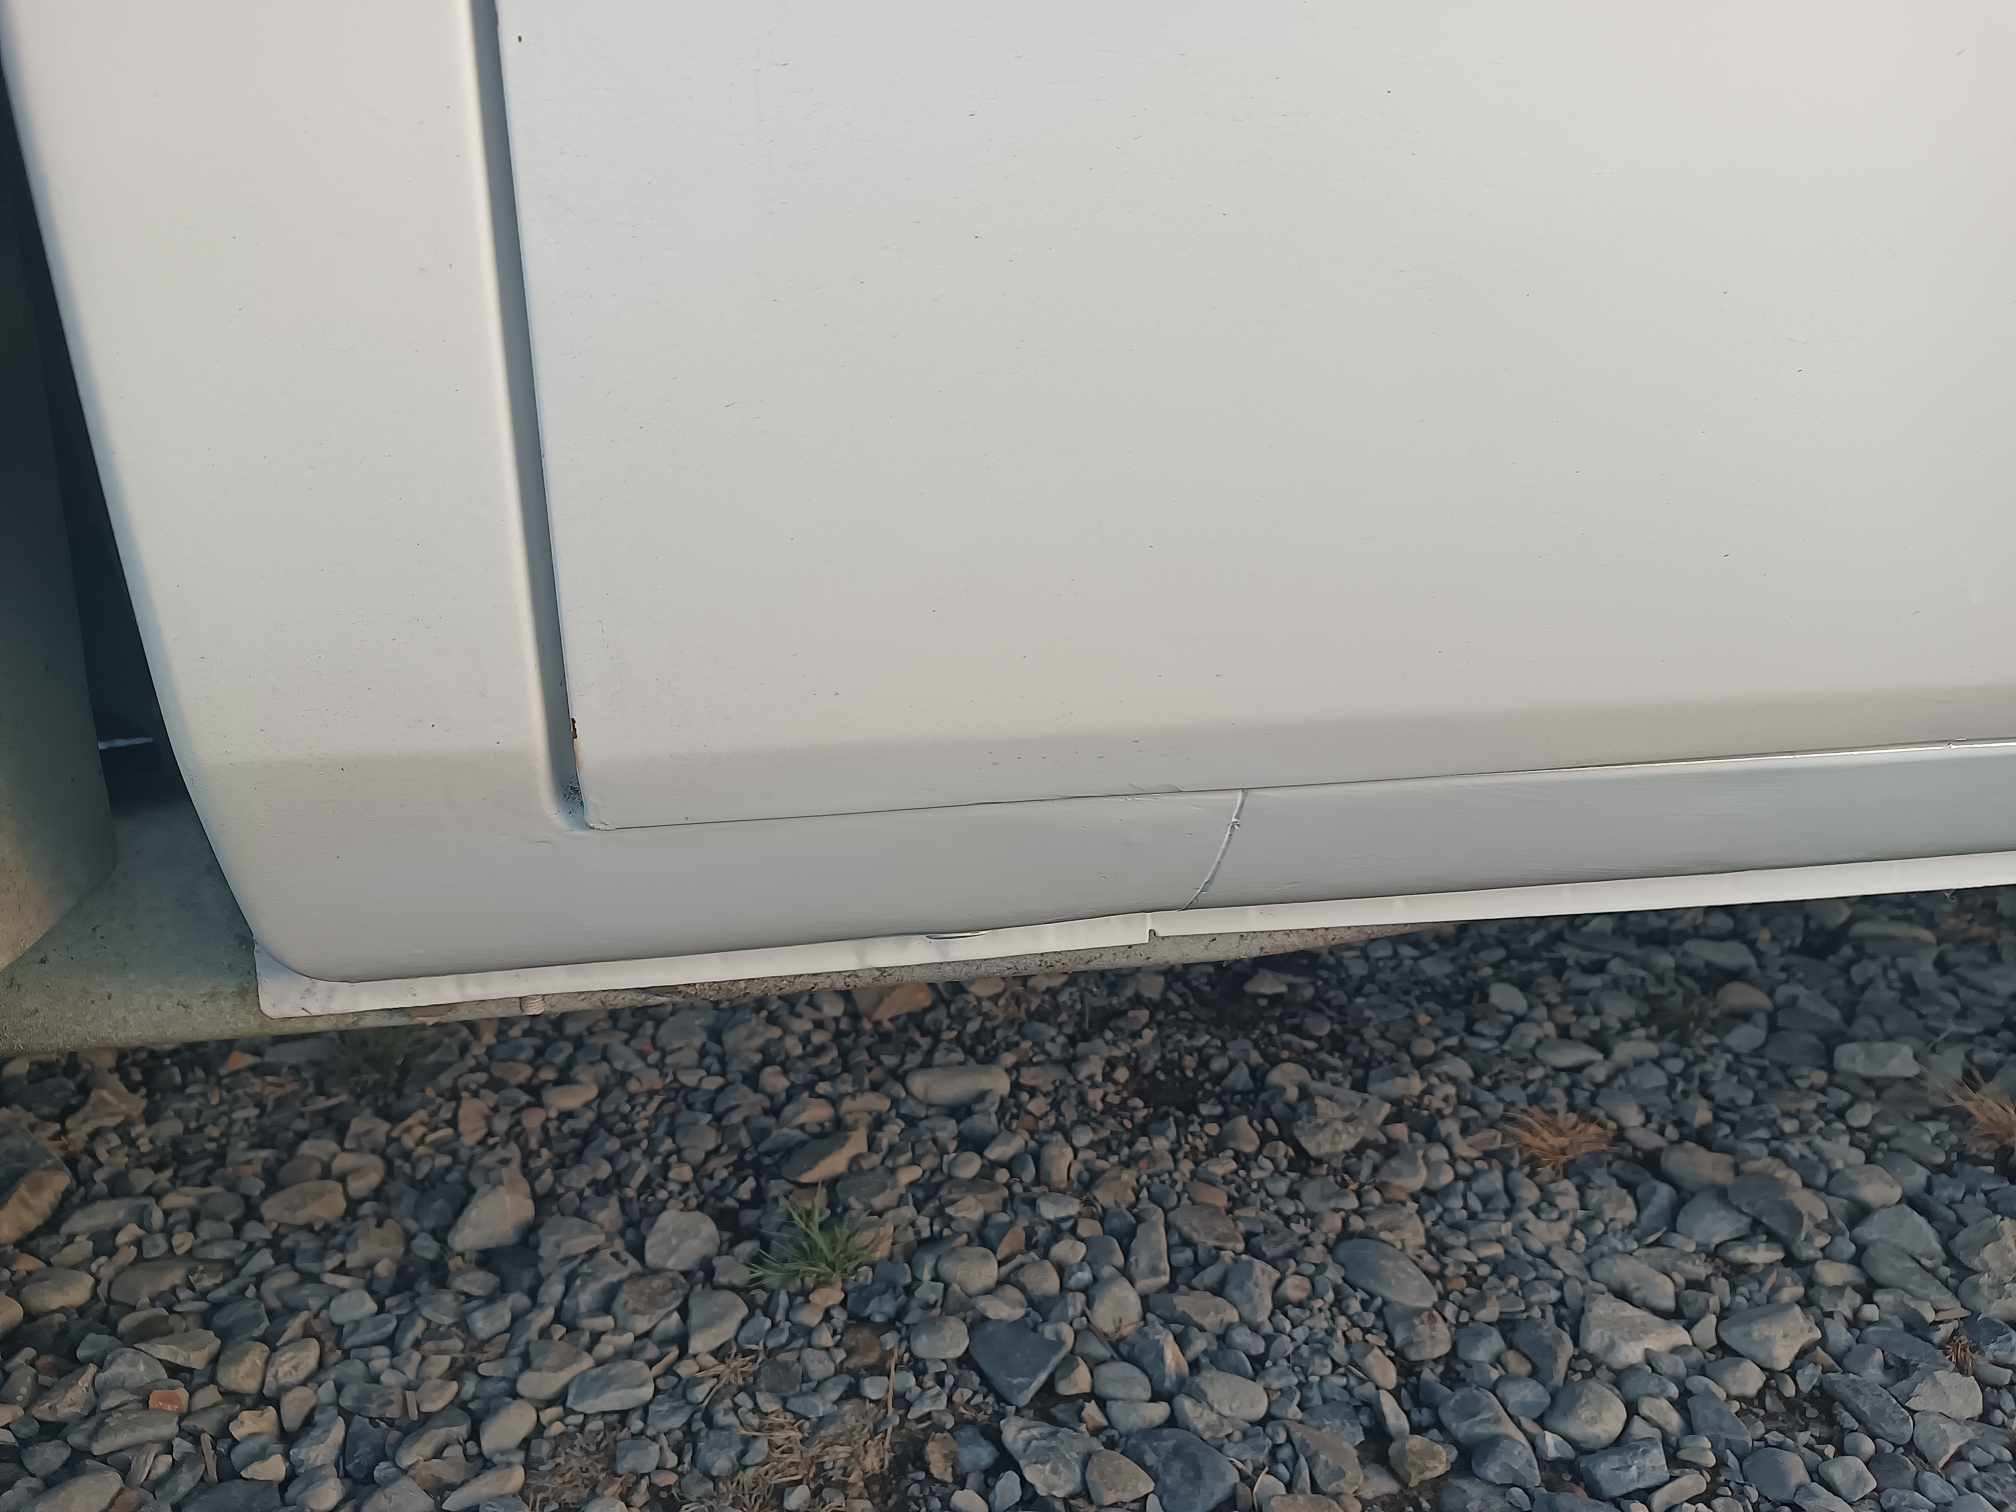
Got her down for a wof and it went reasonably well. There was some bubbling in the sill and around the wheel arch he wasn't happy with so I went home and sorted it out. Wasn't anything major. There were only 3 patches needing welding and the rest were just rust treated and painted over. I'll see how it looks at next wof if I have to take it more serious or not.
8 points
-
Body painted, trunk and hood should have been done today. Popped up the road and collected the rear bumper and other parts from the panel shop. Plan is to be all back together for the Beach Hop.
7 points
-
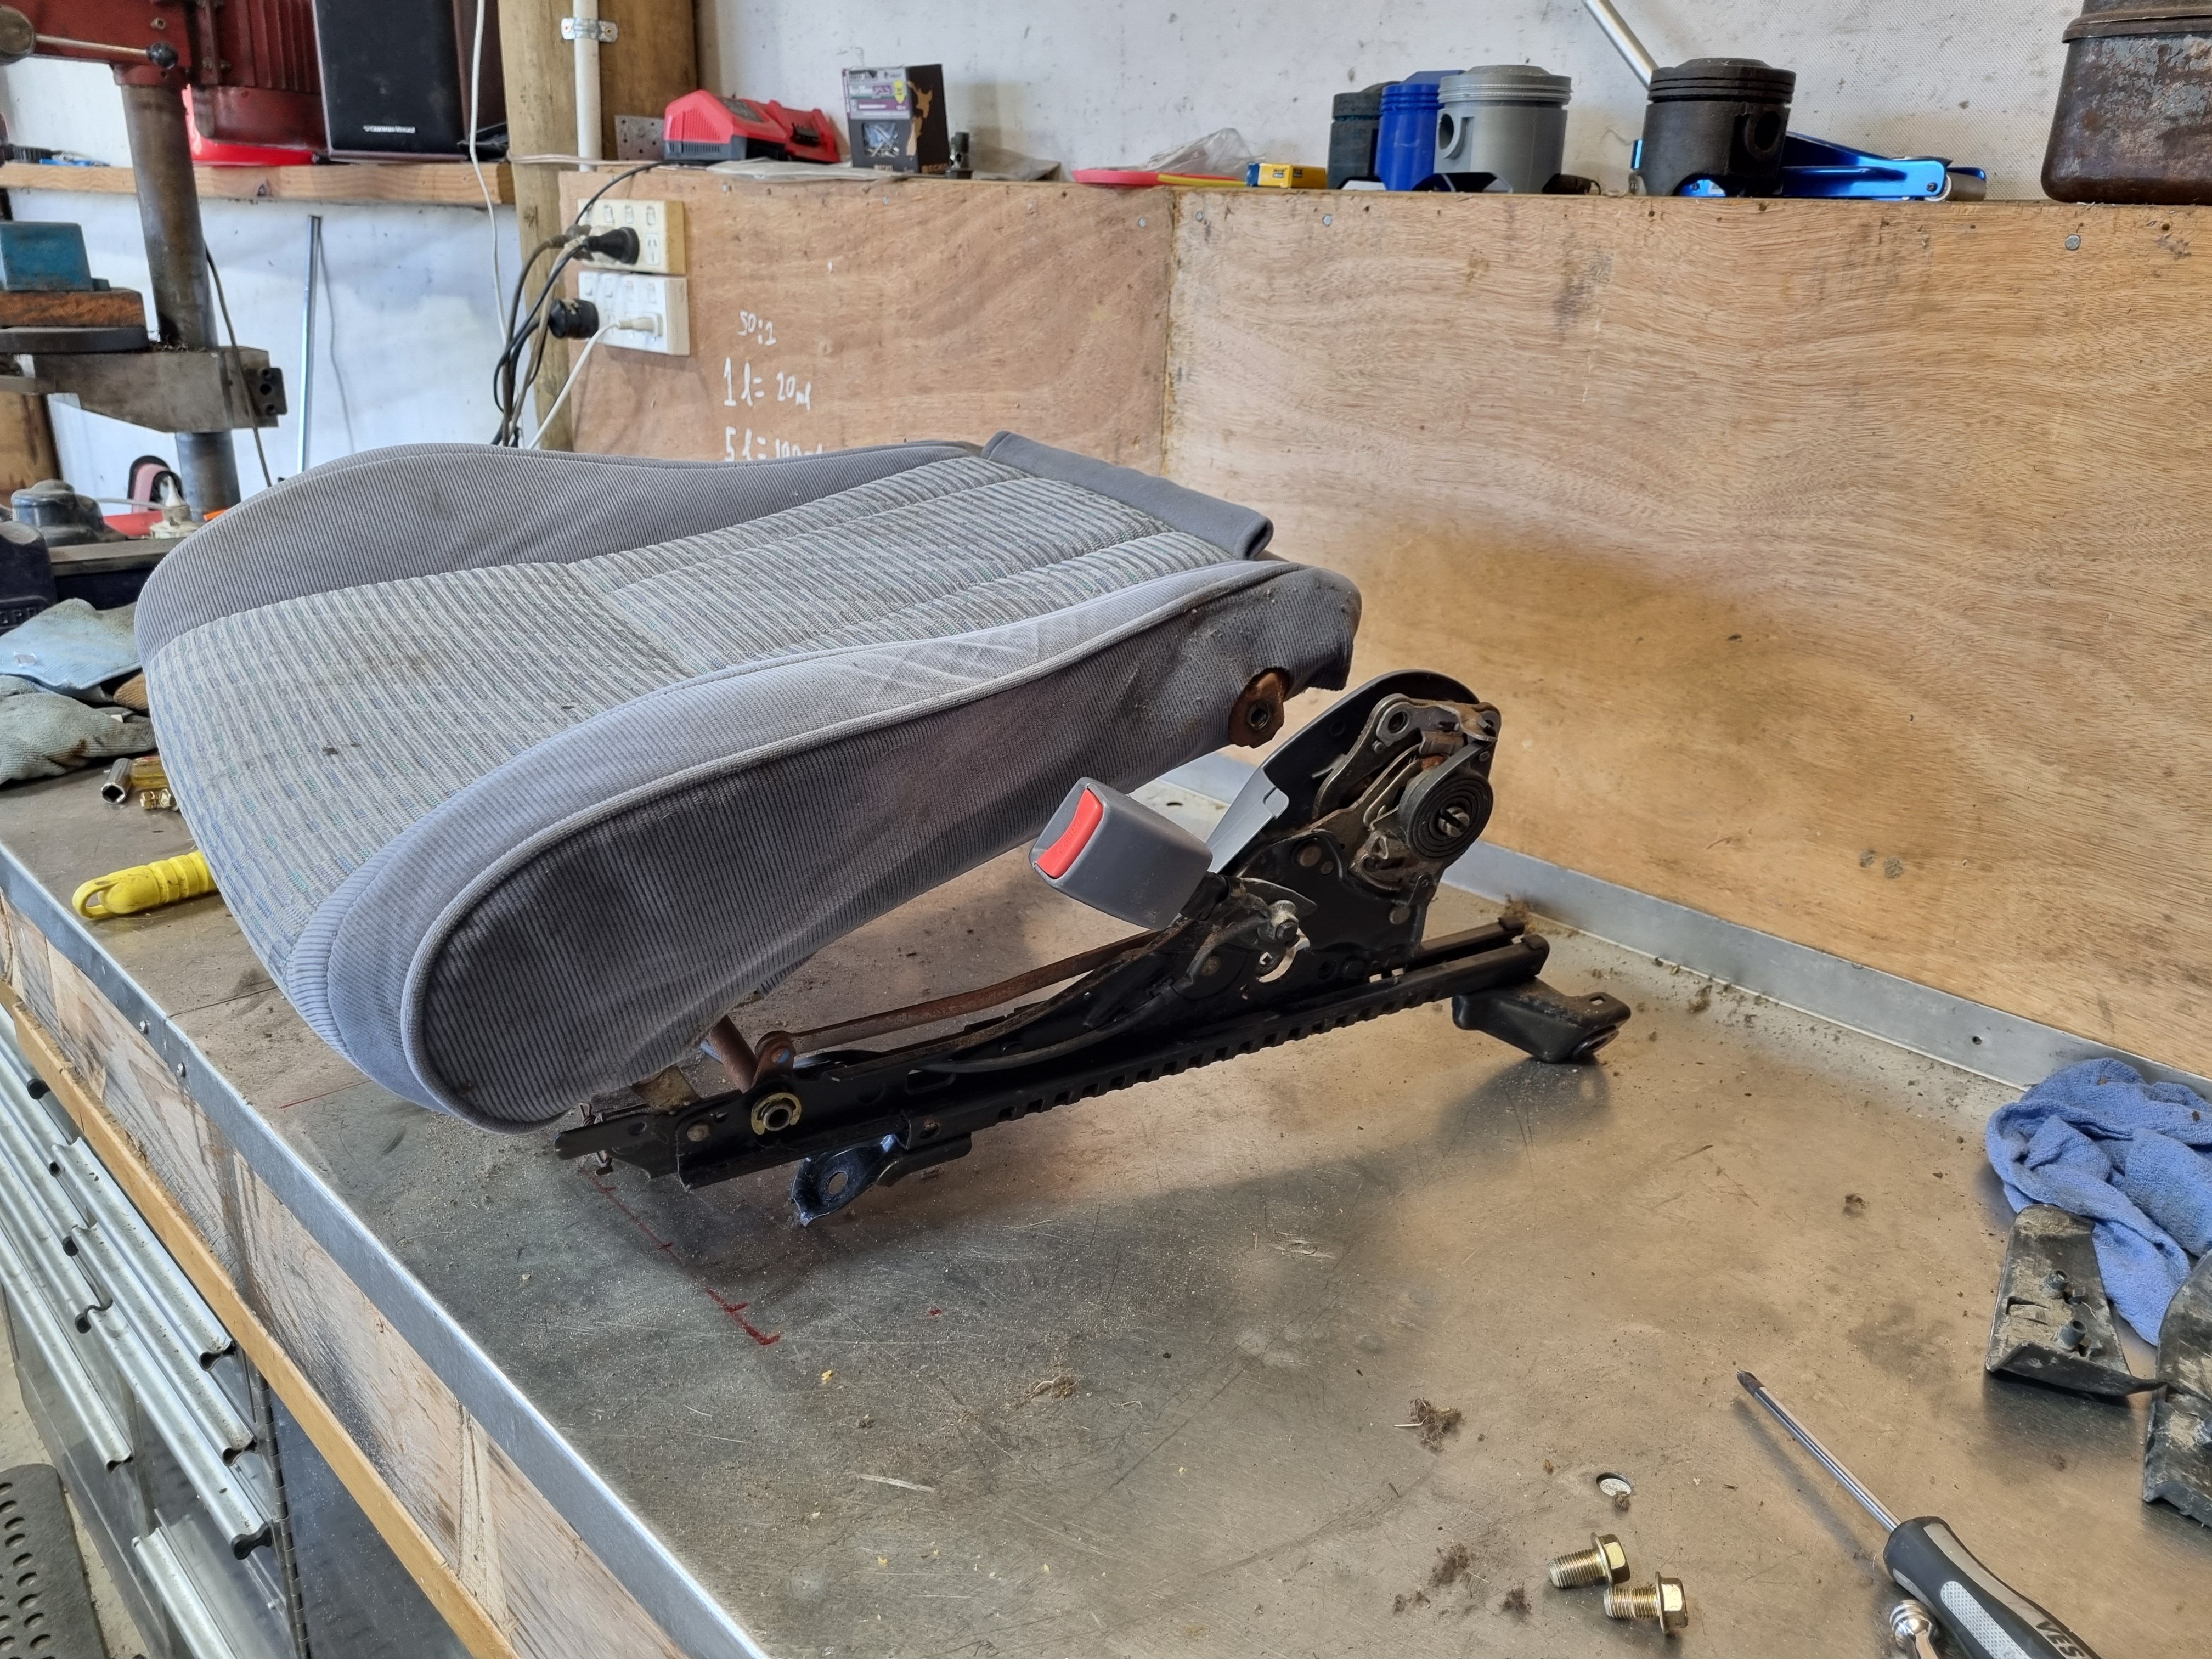
With no idea what I'm doing I decided to pull the seats apart and see if any parts are interchangeable. Long story short, the cushions can be swapped over. So I did. I now have a fucking ace drivers seat and a fucked passenger seat. Then I found a pair of good looking seats on TM in the same colour so I bought them. Between the 4 seats I should have no issue making 2 good ones. Stoked tbh
7 points
-
Ha. So pretty much the day after I had cleaned up that old alternator up and got it running on the engine the second hand replacement for my original unit turned up in the post. It came with a 3 month warranty so I'd better check it works before stripping the engine of its ecu etc. Started to fit it and oh.. Poos. It wont fit. So I took it apart, along with the original.. Discovered its just the front housing that's different and I can swap them across.. So while its apart it would be rude not to clean all the parts up and polish it all (tempting fate just a bit...) Fitted to the engine and started it up. Yay - it works and it looks great, which is really quite important given its right there, in the middle on display. I'll keep the other one in storage just in case I need it one day. Now I could strip the engine back down, removing all the cooling, wiring and fuel lines that I had installed just for bench testing. Then I removed the transmission and put the engine back onto the engine stand 2000, stashing it away because its gearbox tinkering time. This Leone transmission has a few little issues that need sorting out in order for it to run in reverse rotation and not potentially turn itself into an expensive insinkerator or coffee grinder. I could probably get away without doing these modifications because the box is overbuilt for the application but I wanted peace of mind. Remember I had acquired the two gearboxes, 1600 and 1800 items, before getting the engine. Ages ago, in fact 4 years ago I think!!! I had wanted to know if it was feasible to run these boxes in reverse. This pic I posted up way back then gives a good idea on what's going on inside... I had already worked out some of the issues back then and knew what I was up for. With more study I found a couple of other areas that need addressing. Here's another bit of wonderful scribbling I did this evening.. The pink arrows show the new axial forces that are being imparted onto the main (driver) shaft and pinion (driven) shaft. The circles are areas that I think needed attention to make sure it doesn't throw it toys from the cot. 1 : the blue circle. Under high torque loads this area could possibly create the sound of nashing teeth but with much messier consequences. The top left one being the third gear driver wants to move to the right and clip the teeth on the bottom right second gear. In normal rotation they would move apart. There's 1mm of clearance there which is probably enough tbh. But I wanted a bit more and had already worked out how I could get it with no other issues and just a bit of tool making. Which is fun. 2 : The yellow circle. This ring was no going to take thrust loading. It is a strong ring and has a deep groove but I wanted to make sure there was no way it could ever shift. 3 : the green circle. In this area there is a thrust bearing that also acts as a neat little oil pump and squeezes oil through the gear hubs/bushes. Under the new loading the thrust aspect is removed but I still wanted to it pump oil and it was going to be the wrong shape to do so in reverse rotation. So I set to work and checked off each job. I made a bolt holder for ease of reassembly - several different sizes and lengths. Once apart I started with the gear side clearance. First off I needed to split the mainshaft assembly down. 4 years ago I had out of interest tried using a puller on the spare 1600 box, which shares the same layout and design but with smaller parts in many cases. The puller didn't work. But this time round I have the rather handy workshop press I made. I just needed some extra tooling to do this job. Starting with some press plates... Allowing me to carefully press the shaft out... Because I'm not posh (or rich) enough to own a surface grinder I needed to make one. Yes its a bit basic but it will work. I made this... Which allowed me to do this.... I ended up with this gear having the 0.5mm more clearance I wanted. Super happy with the result. Now onto number 3 - the little oil pumpy thingee. I went to my friendly engineering workshop in town and got a big lump of 4140 steel. I drilled it out... Machined out a ring which had to be an exact width. Just in case it needed finishing after the hardening process I made an abor to take it.. I carefully machined it to the right profile, cut the sides down and filed the shapes in, just like the original but in reverse. Happy it was going to work I heat treated it. I have not done any heat treating for over 25 years since I spent a fair bit of time in the blacksmith department while doing my apprenticeship. But it wasn't a super loaded critical component and just had to have a durable hard surface. I didn't take any photos. Hannah was there helping as I carefully heated it up with the oxycet to the austenitic stage and agitated it in some lovely rice bran oil (because I can be posh sometimes) then slapped it in the oven to temper it... Following morning I polished it. It came up sweet and the old file test showed it to be as hard as the oem item. You can see the reversed design here... Here's a little vid I took showing it in action... While stripping the mainshaft down I was also pleasantly surprised to discover that this 1800 box has needle bearings in all of the gear hubs unlike the 1600 box which uses bushes on the mainshaft. So oil starvation would not have been as much of an issue but I'm still really happy I did this modification. Last issue to sort was number two - that ring on the bearing. It would hold fine I'm sure but if could make it bulletproof then why not - it's just a bit of extra machining. I started with another lump of high tensile steel and machined out a ring to suit... This fits over the other ring and then the main thrust plate that sits over the bearing was machined out to suit my reinforcement ring. Its all held in place by the end housing which I have yet to fit. All the potential issues covered I set to cleaning out the casing and then started reassembly. In doing so I discovered that the original axle seals are sided on these boxes. They have those helical lines on the lip surfaces which aid in pulling/pumping oil back into the oil side of the lip ( the lip does not actually touch the steel when the axle is moving and in fact runs on a tiny bed of oil) which I had not realised before I'd bought plain lip seals from an engineering supplies. This pumping capacity is shown to be twice as high in helixed seals. Subaru fit left and right handed items. But I'm running mine in reverse. Luckily the originals were in excellent condition anyway so I machined up a stepped tool, popped them out and swapped them to the other side. The diff axle seal surfaces came up good after a clean. Cute little diff.. I'm now about ready to put some 3 bond gloop on the case half and drop the other side in place. Its looking all very nice, clean and shiny in there...5 points
-
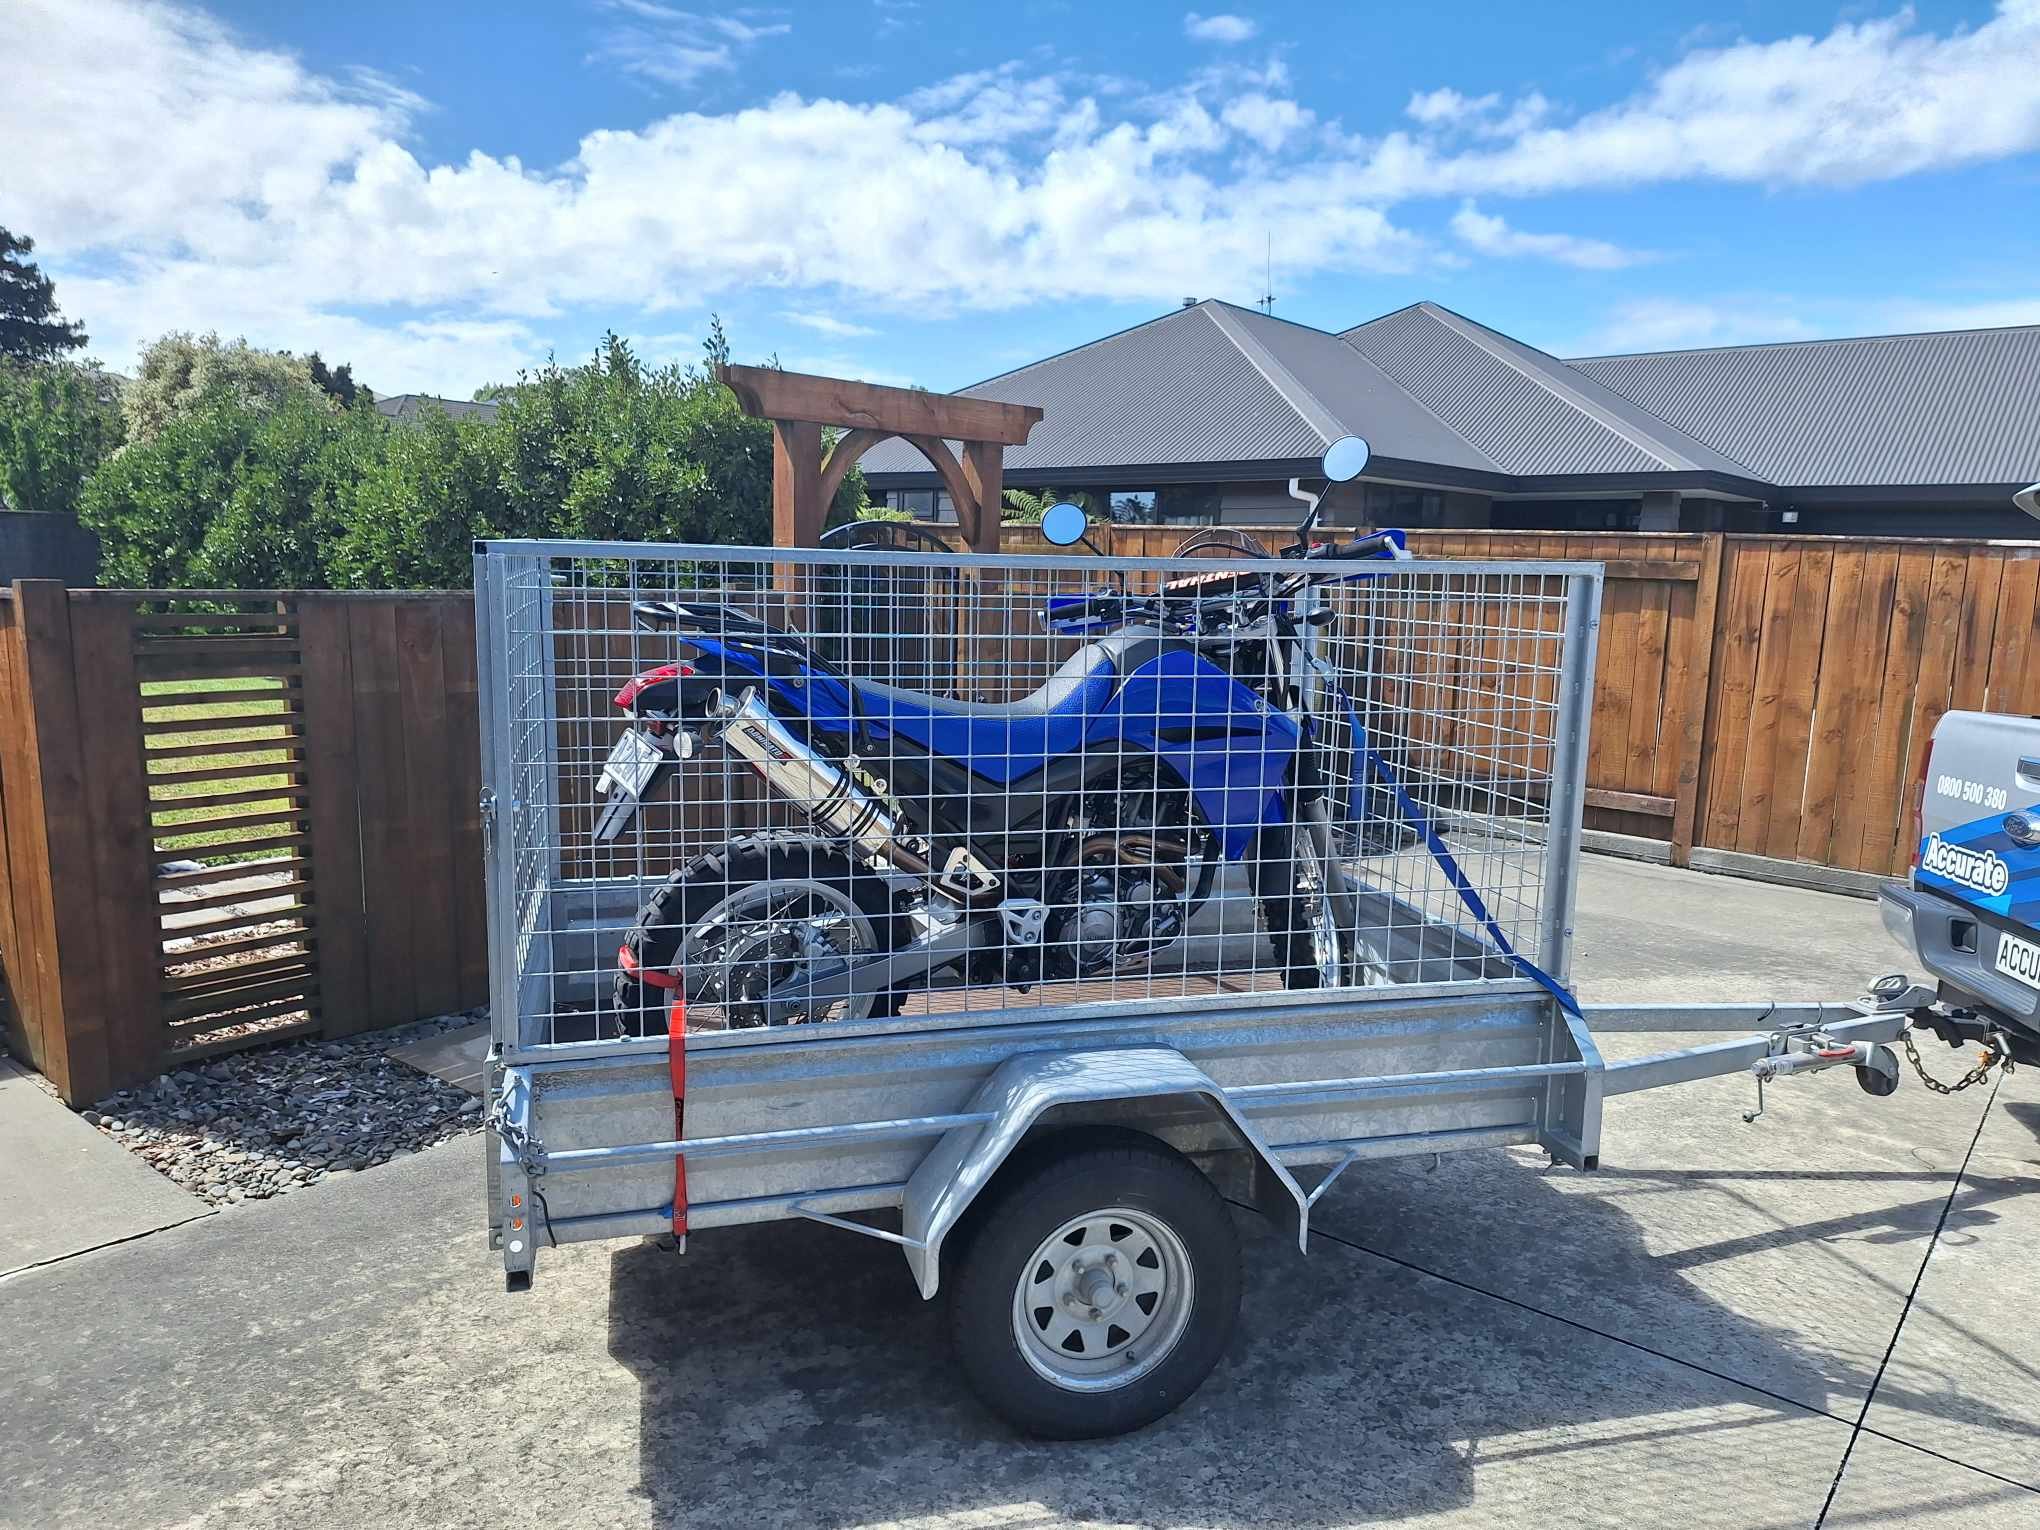
Well that's the end of this era, departed as it arrived into my life. Back down to just the one bike, well, sort of anyway. Something else is sitting in the wings that's been waiting for me to pick up for a number of years.
4 points
-
have updated first post, but here they are again Entries: D van Asch R Begley A Williams G Gaskell A Mealing J Burgess V Findlay R Moffat D Chaston B Simpson S Wallace N Ritchie K Raines H Dawber S Buttle A van Asch S Jensen an email will be coming out to all registered persons this week.4 points
-
The time has come... What a full on weekend getting this done. Stage 6 camshaft from Auckland Cams, 5.8kg flywheel & new clutch. Something I have been wanting to do for sometime but haven't had the opportunity. Saturday - pulled engine & box, installed camshaft and timed up as per specifications (18 deg adv), installed lightened flywheel and new clutch. Engine back in and carbs bolted on, chokes changed to 32mm from 31mm (need some 34's) and the main jets upped from a 125 to a 130. Engine mount changed as I found it was broken in half (lol) and causing the radiator fan to hit the shroud... I thought this noise was the clutch being fk'd hence why I got a new clutch and installed the lightened flywheel... alas I was wrong. Sunday - First start, ran for 20mins at 2000rpm and then went for a sedate drive! Sunday afternoon, drove to Mount Maunganui for a beer and some chips, then hauled ass home, man does this machine sound great on full song. Video: Discussion:4 points
-
4 points
-
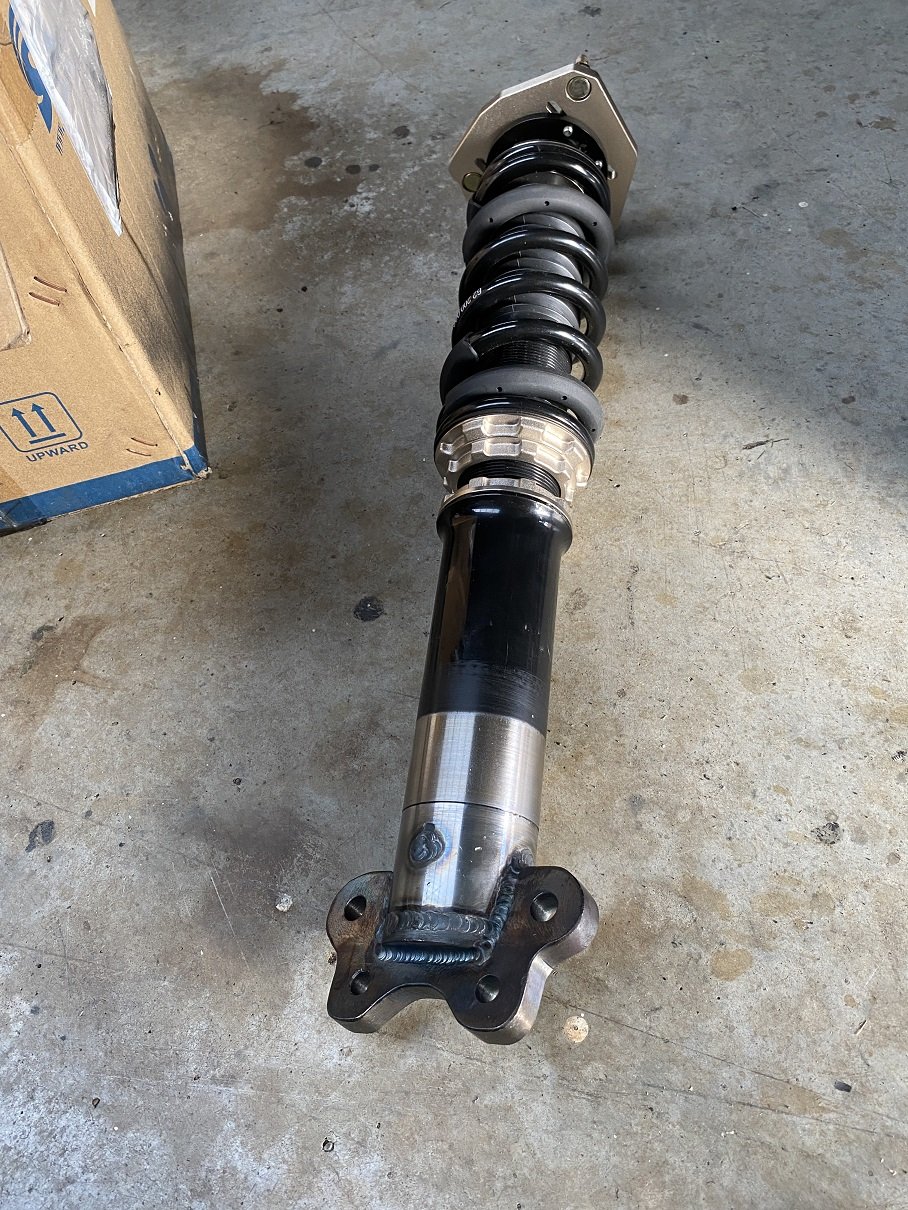
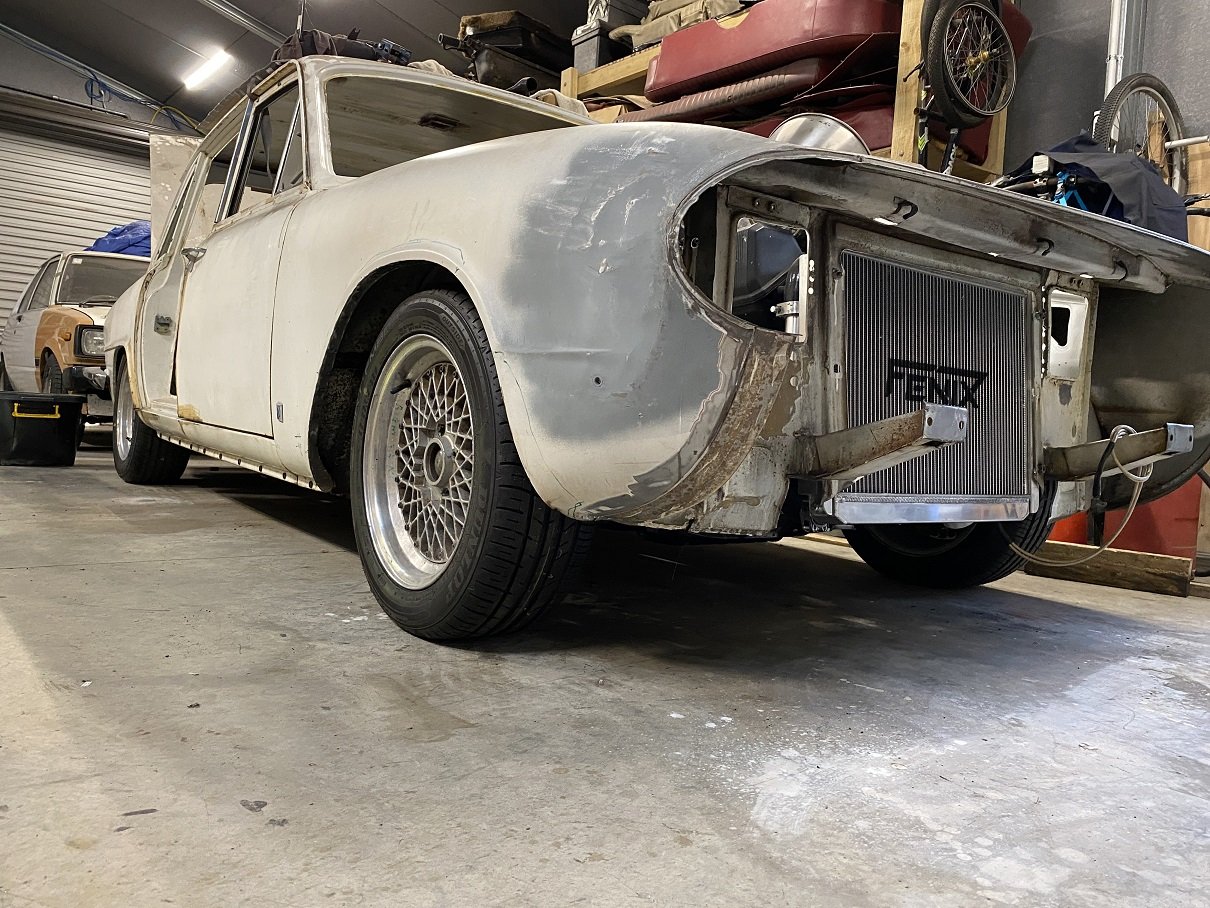
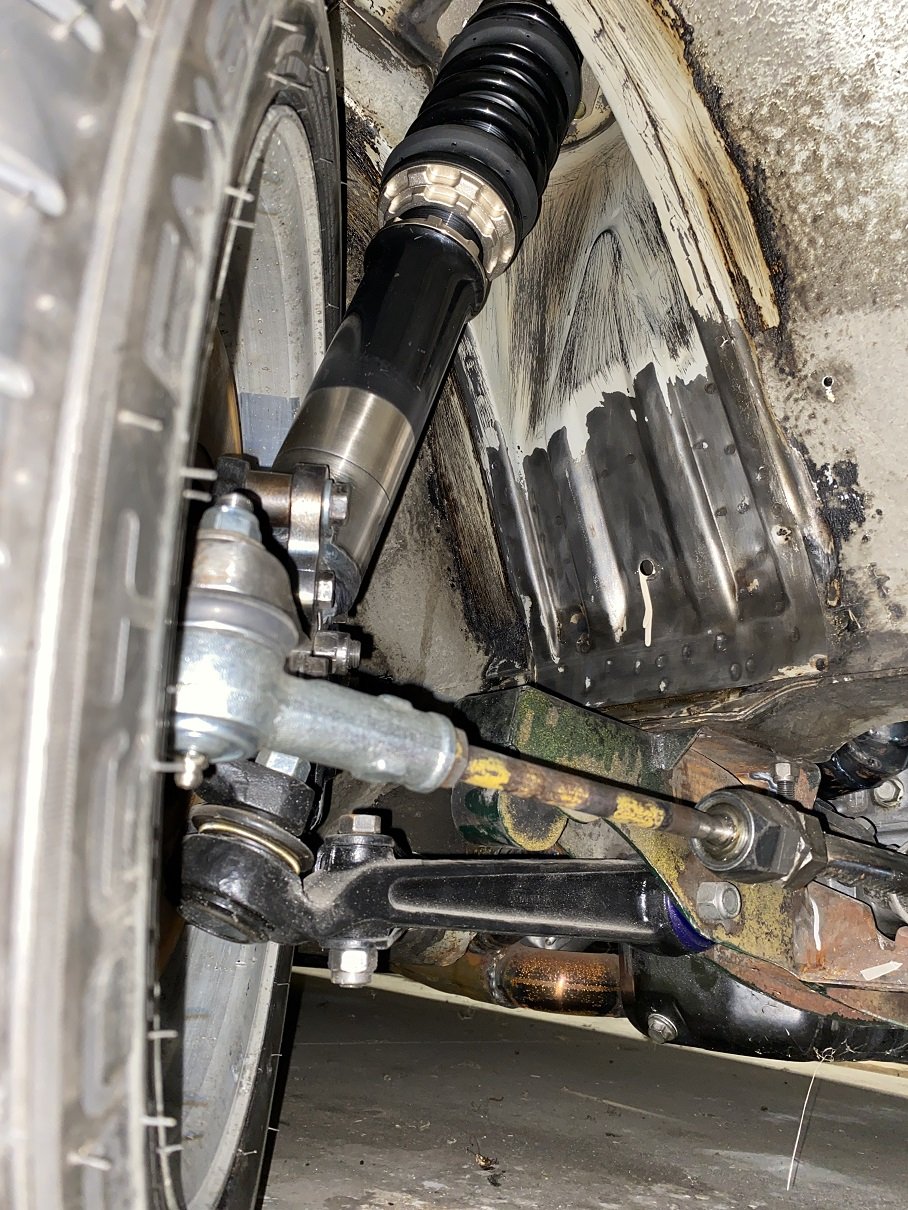
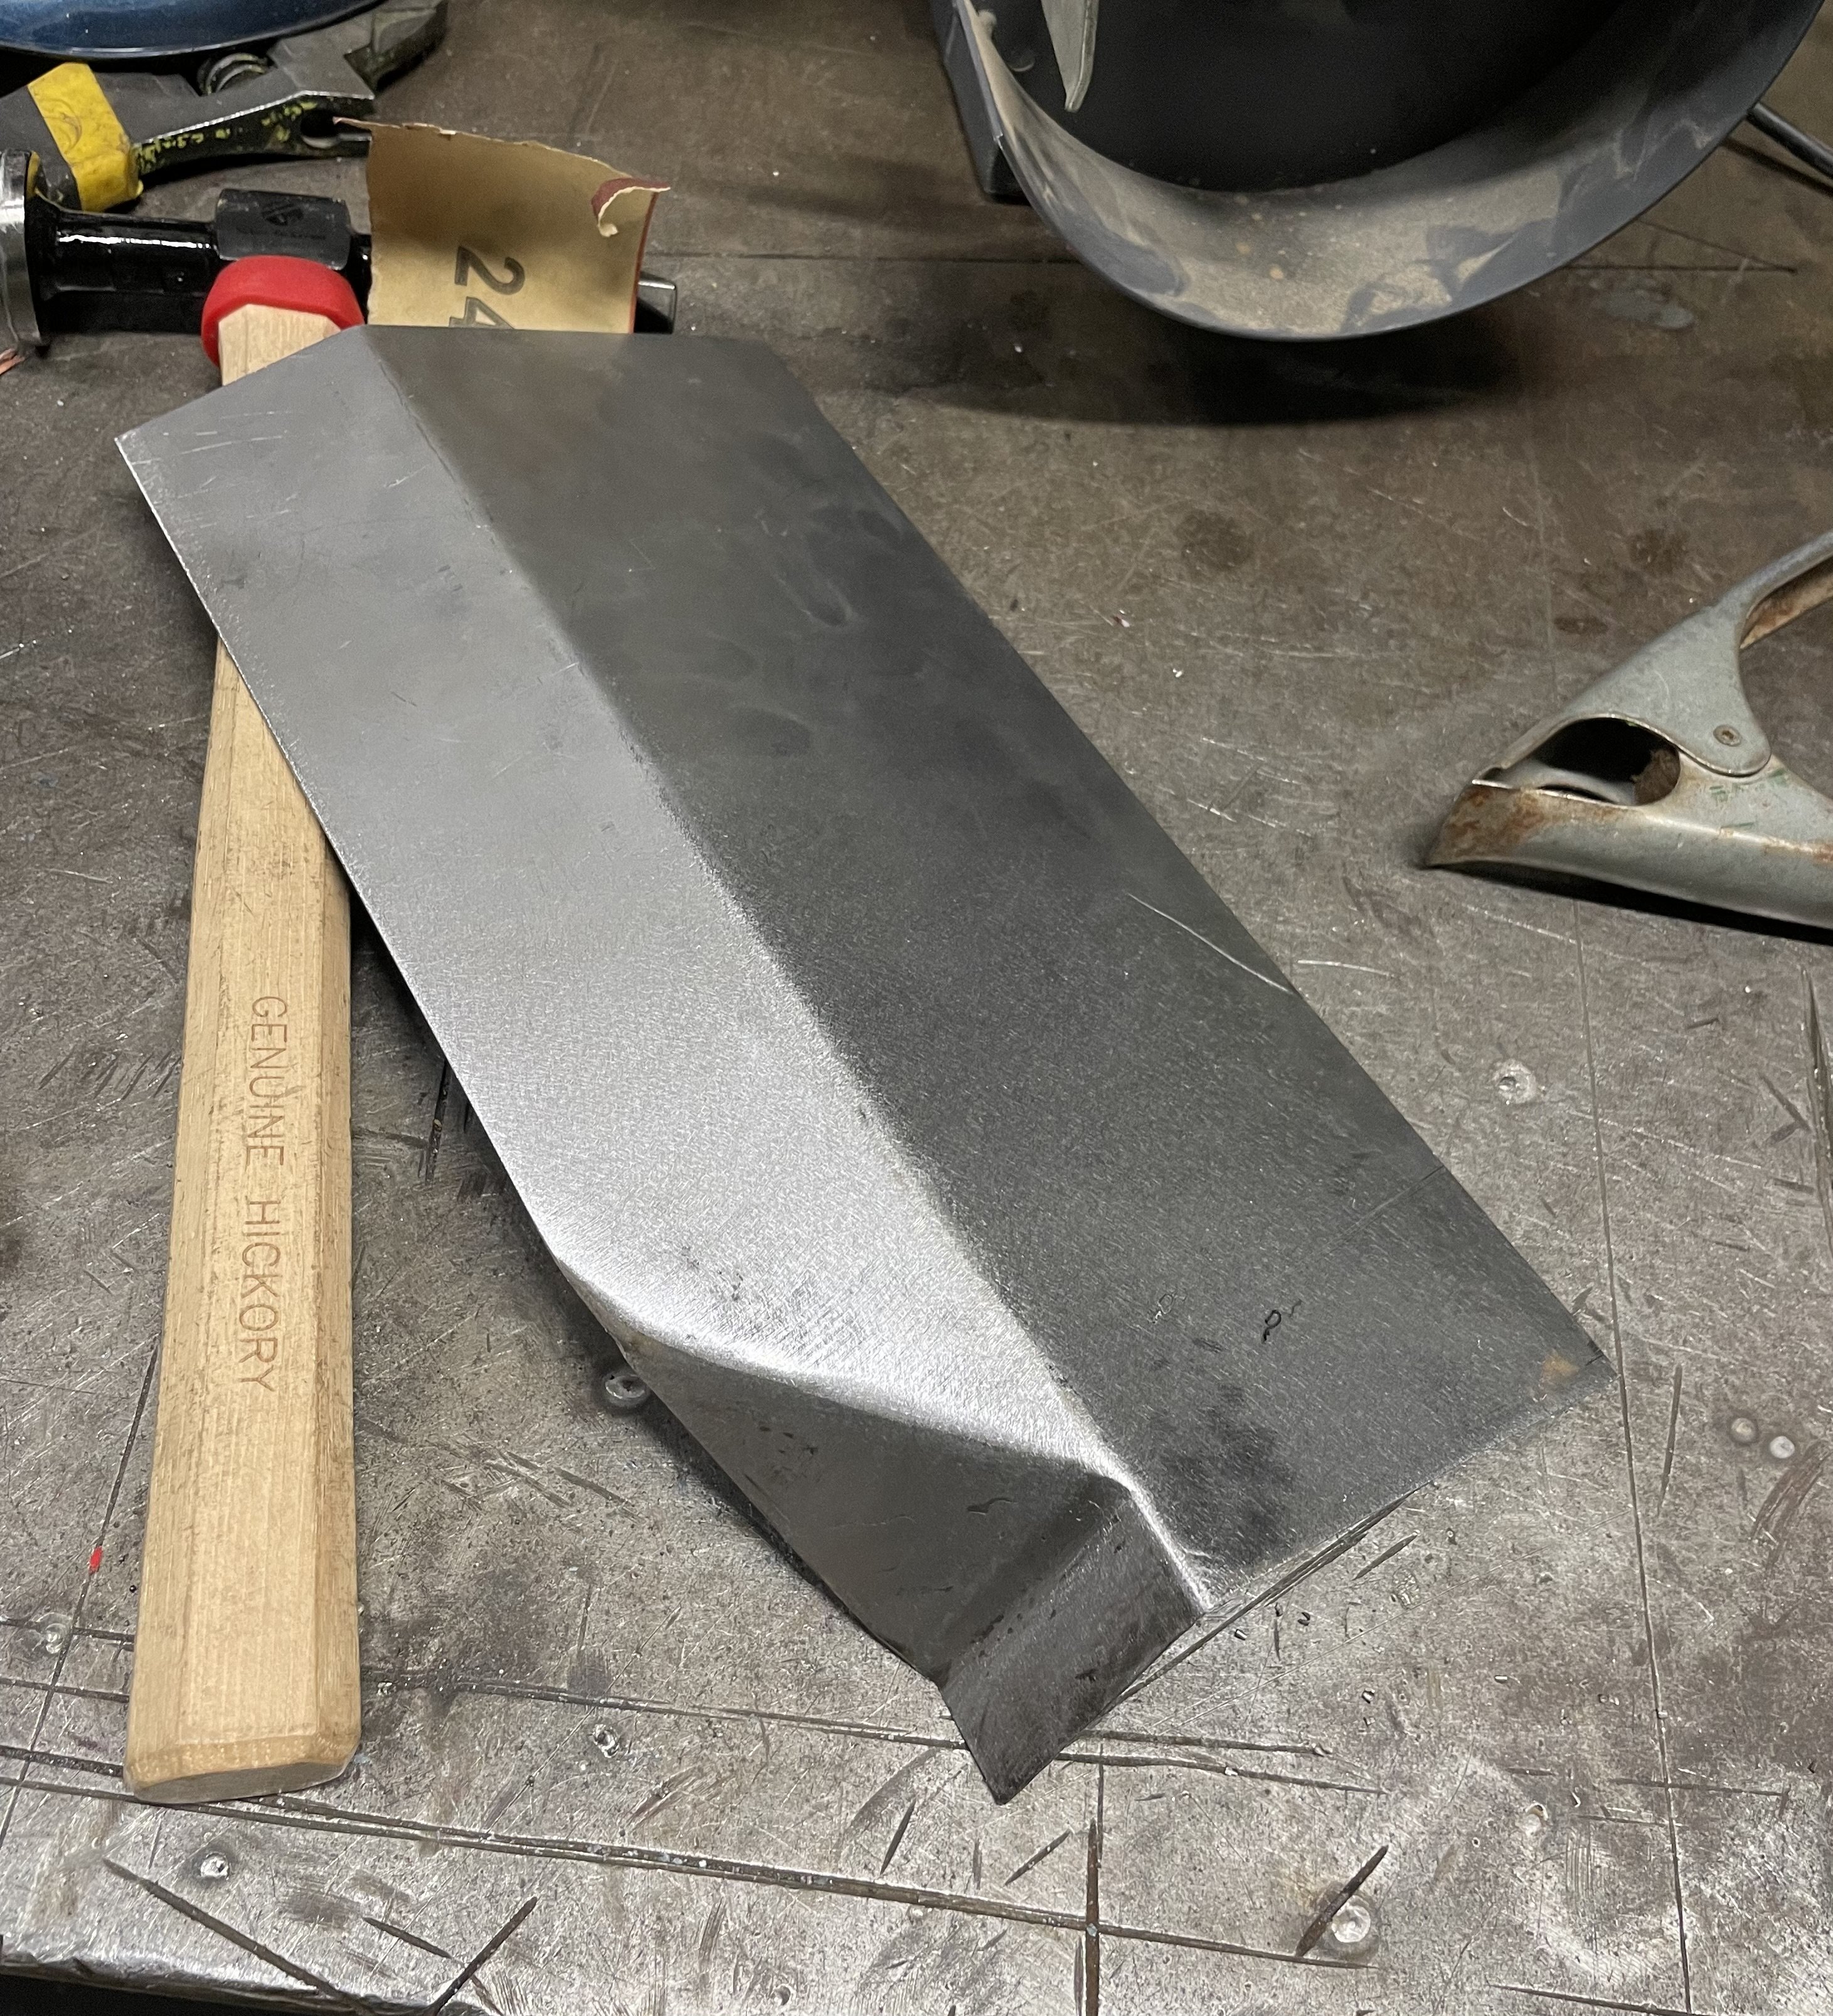
I sent in my design approval forms for the LVVTA Technical Advisory Committee in late Dec. Their next meeting wasn't until Jan. Late Jan. At the end of Jan it was posted back to me and the design was approved. So THE NEXT DAY I went to may certifier's favourite welderm Graeme Kidd in Upper Hutt. A couple of weeks later, he'd done it. AS SOON AS I got in the gate at home. I put them in the lathe and sanded off the burnt sticker and powdercoat. They still need to get NDT tested in Wingate. Graeme says it's a crack test. But I could not wait to try fit them. I had already modified the top plates and the strut towers the previous week. Using a straight edge and the angle thingy in my phone, it's got 0 deg camber at ride height with plenty of adjustment in both directions. They ended up 10mm shorter when installed than I'd calculated. So that's a bonus, the adjustment won't be totally bottomed out at ride height. On it's own wheels and suspension! I can push it around! It's 10mm lower at the front here than the back. I may raise it up that 10mm so there's a bit more travel. The springs are 6kg I think. I was expecting them to be WAY too hard, but If I bounce on the guard it doesn't feel massively stiff. The engine needs to come back out now so I can redo the engine mounts on the chassis in thicker steel like the cert man said. And to weld in the lower steering column mount. I should paint the exhaust manifold while it's out, it's getting surface rust on it. And one of the front split rims has a leak, so the tyre needs to come off to redo the sealant.
4 points
-
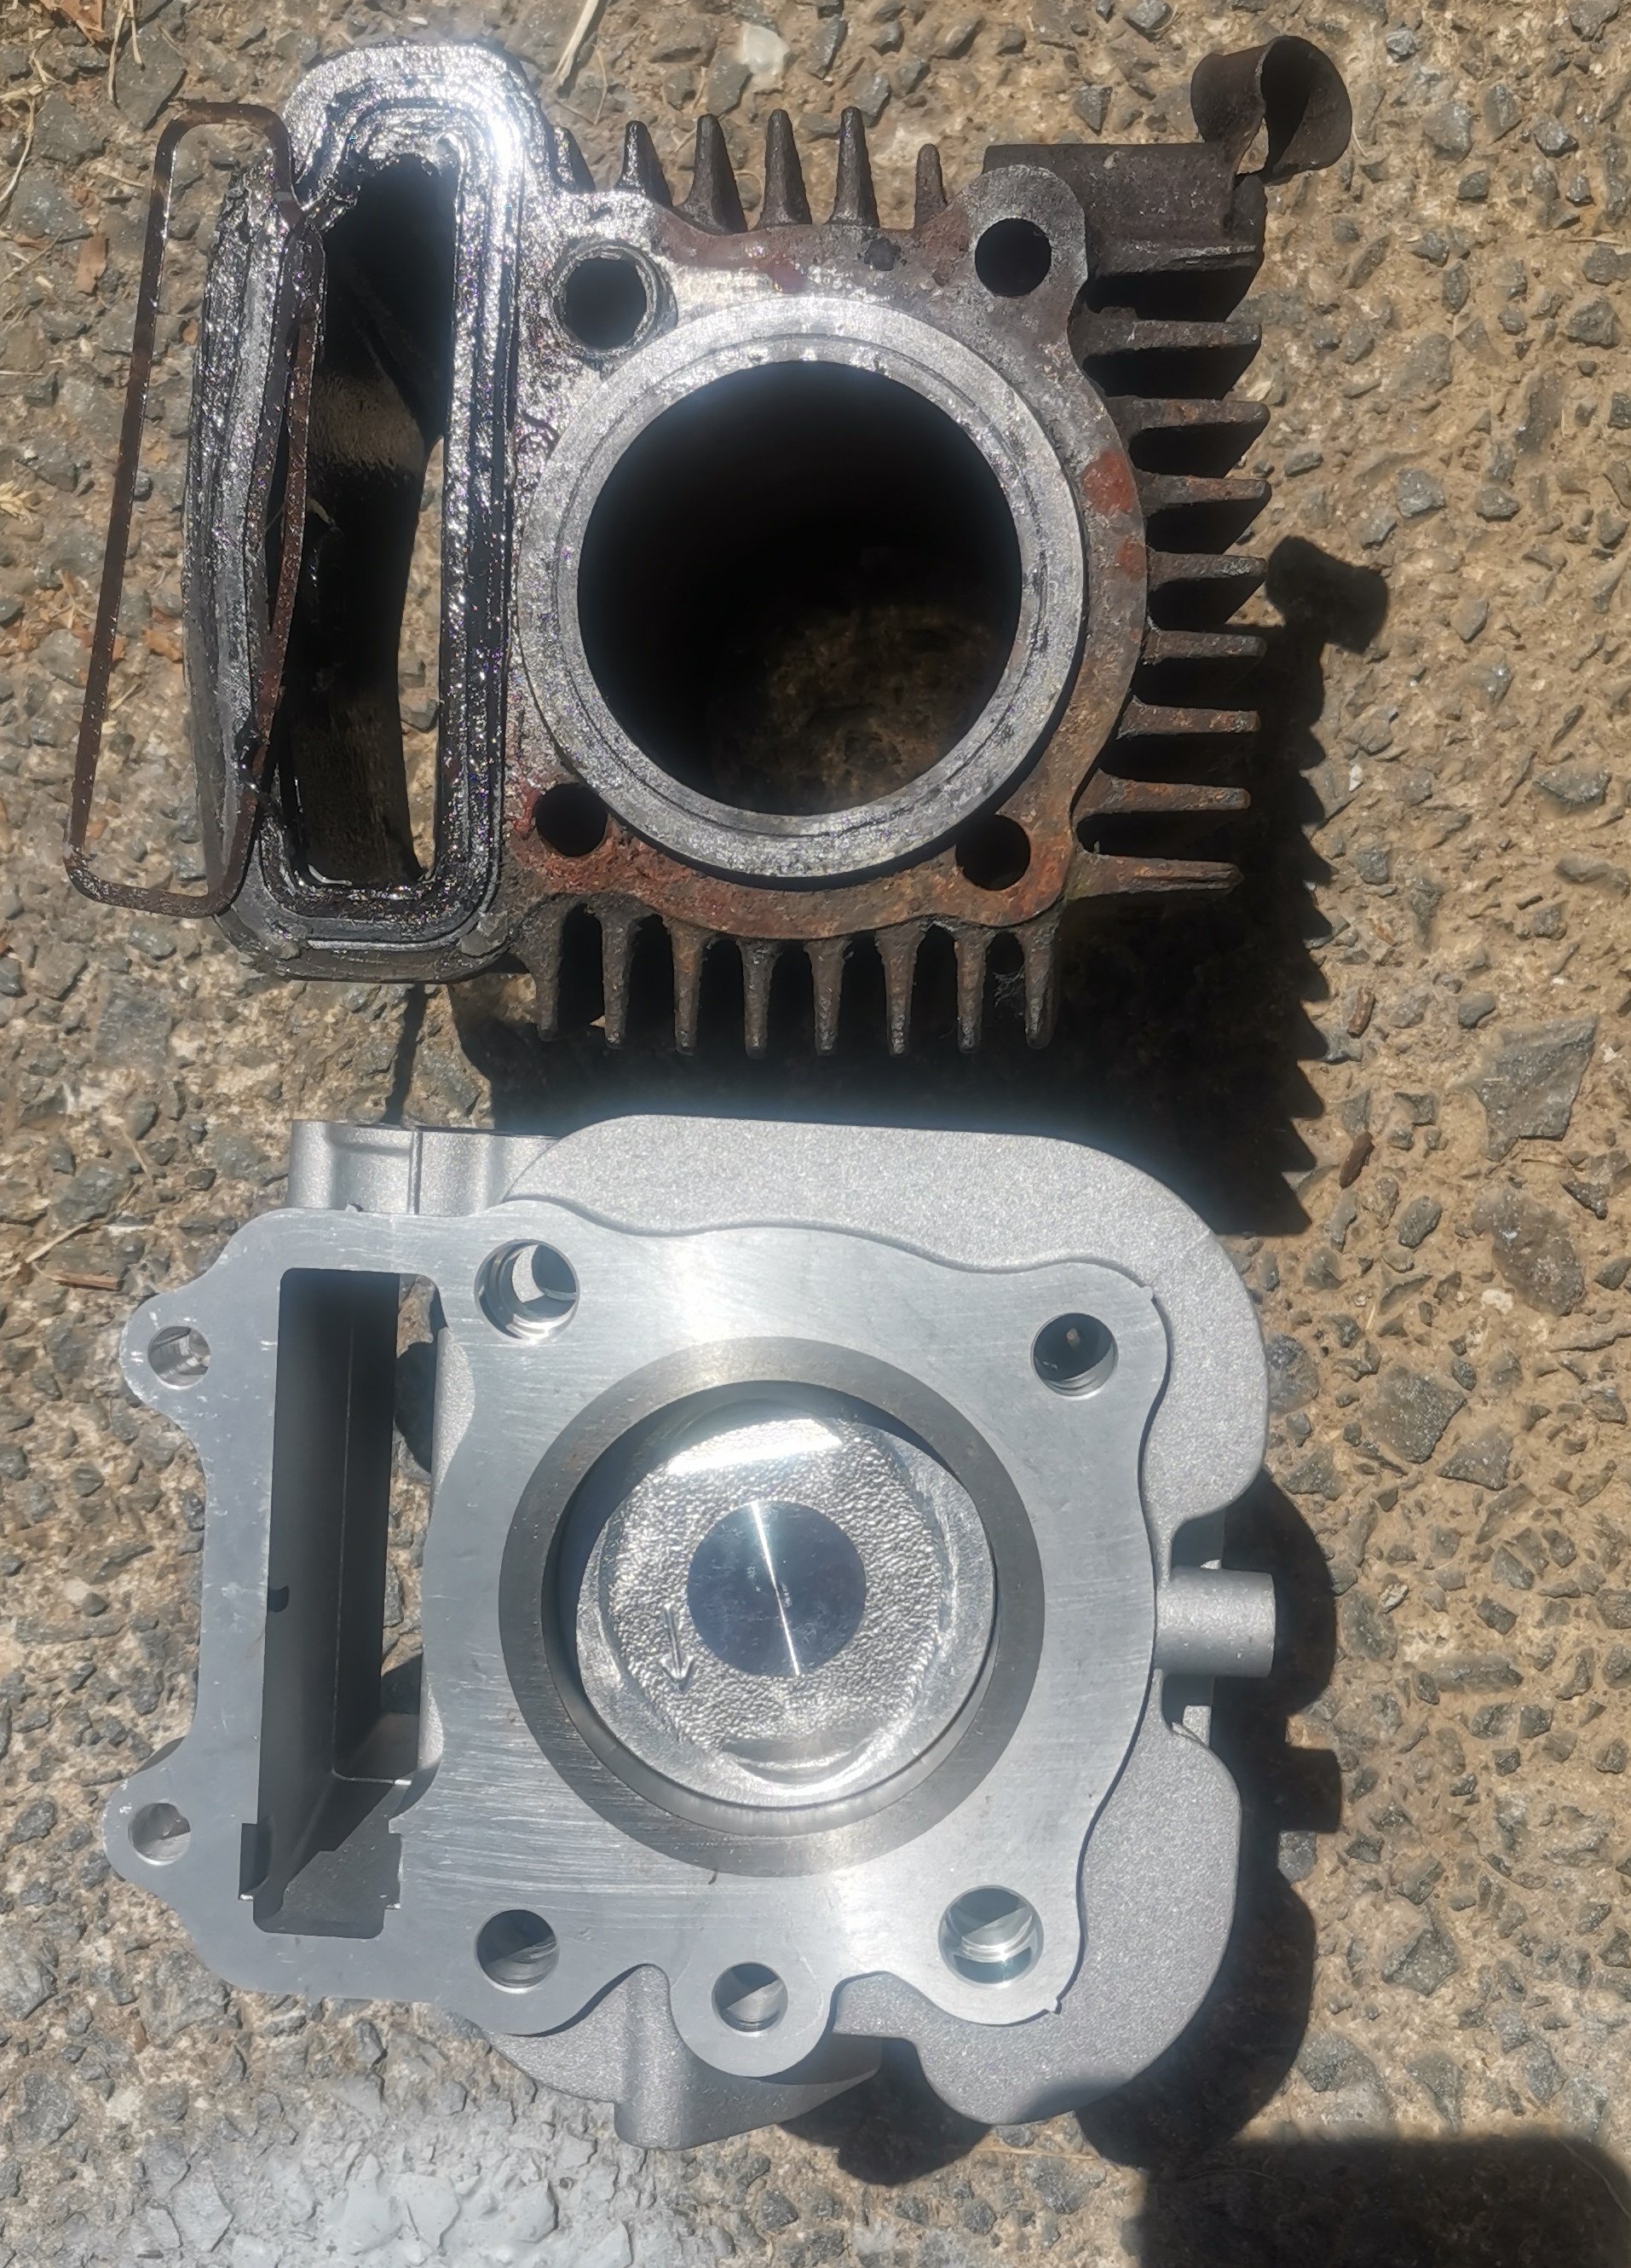
You can fit a gn125 cylinder with some slotting of the bolt holes apparently. (that's actually an an125 cylinder but it's almost the same) looks like there's enough meat to do that. 2 on the right are pretty close Is about 1cm taller
3 points
-
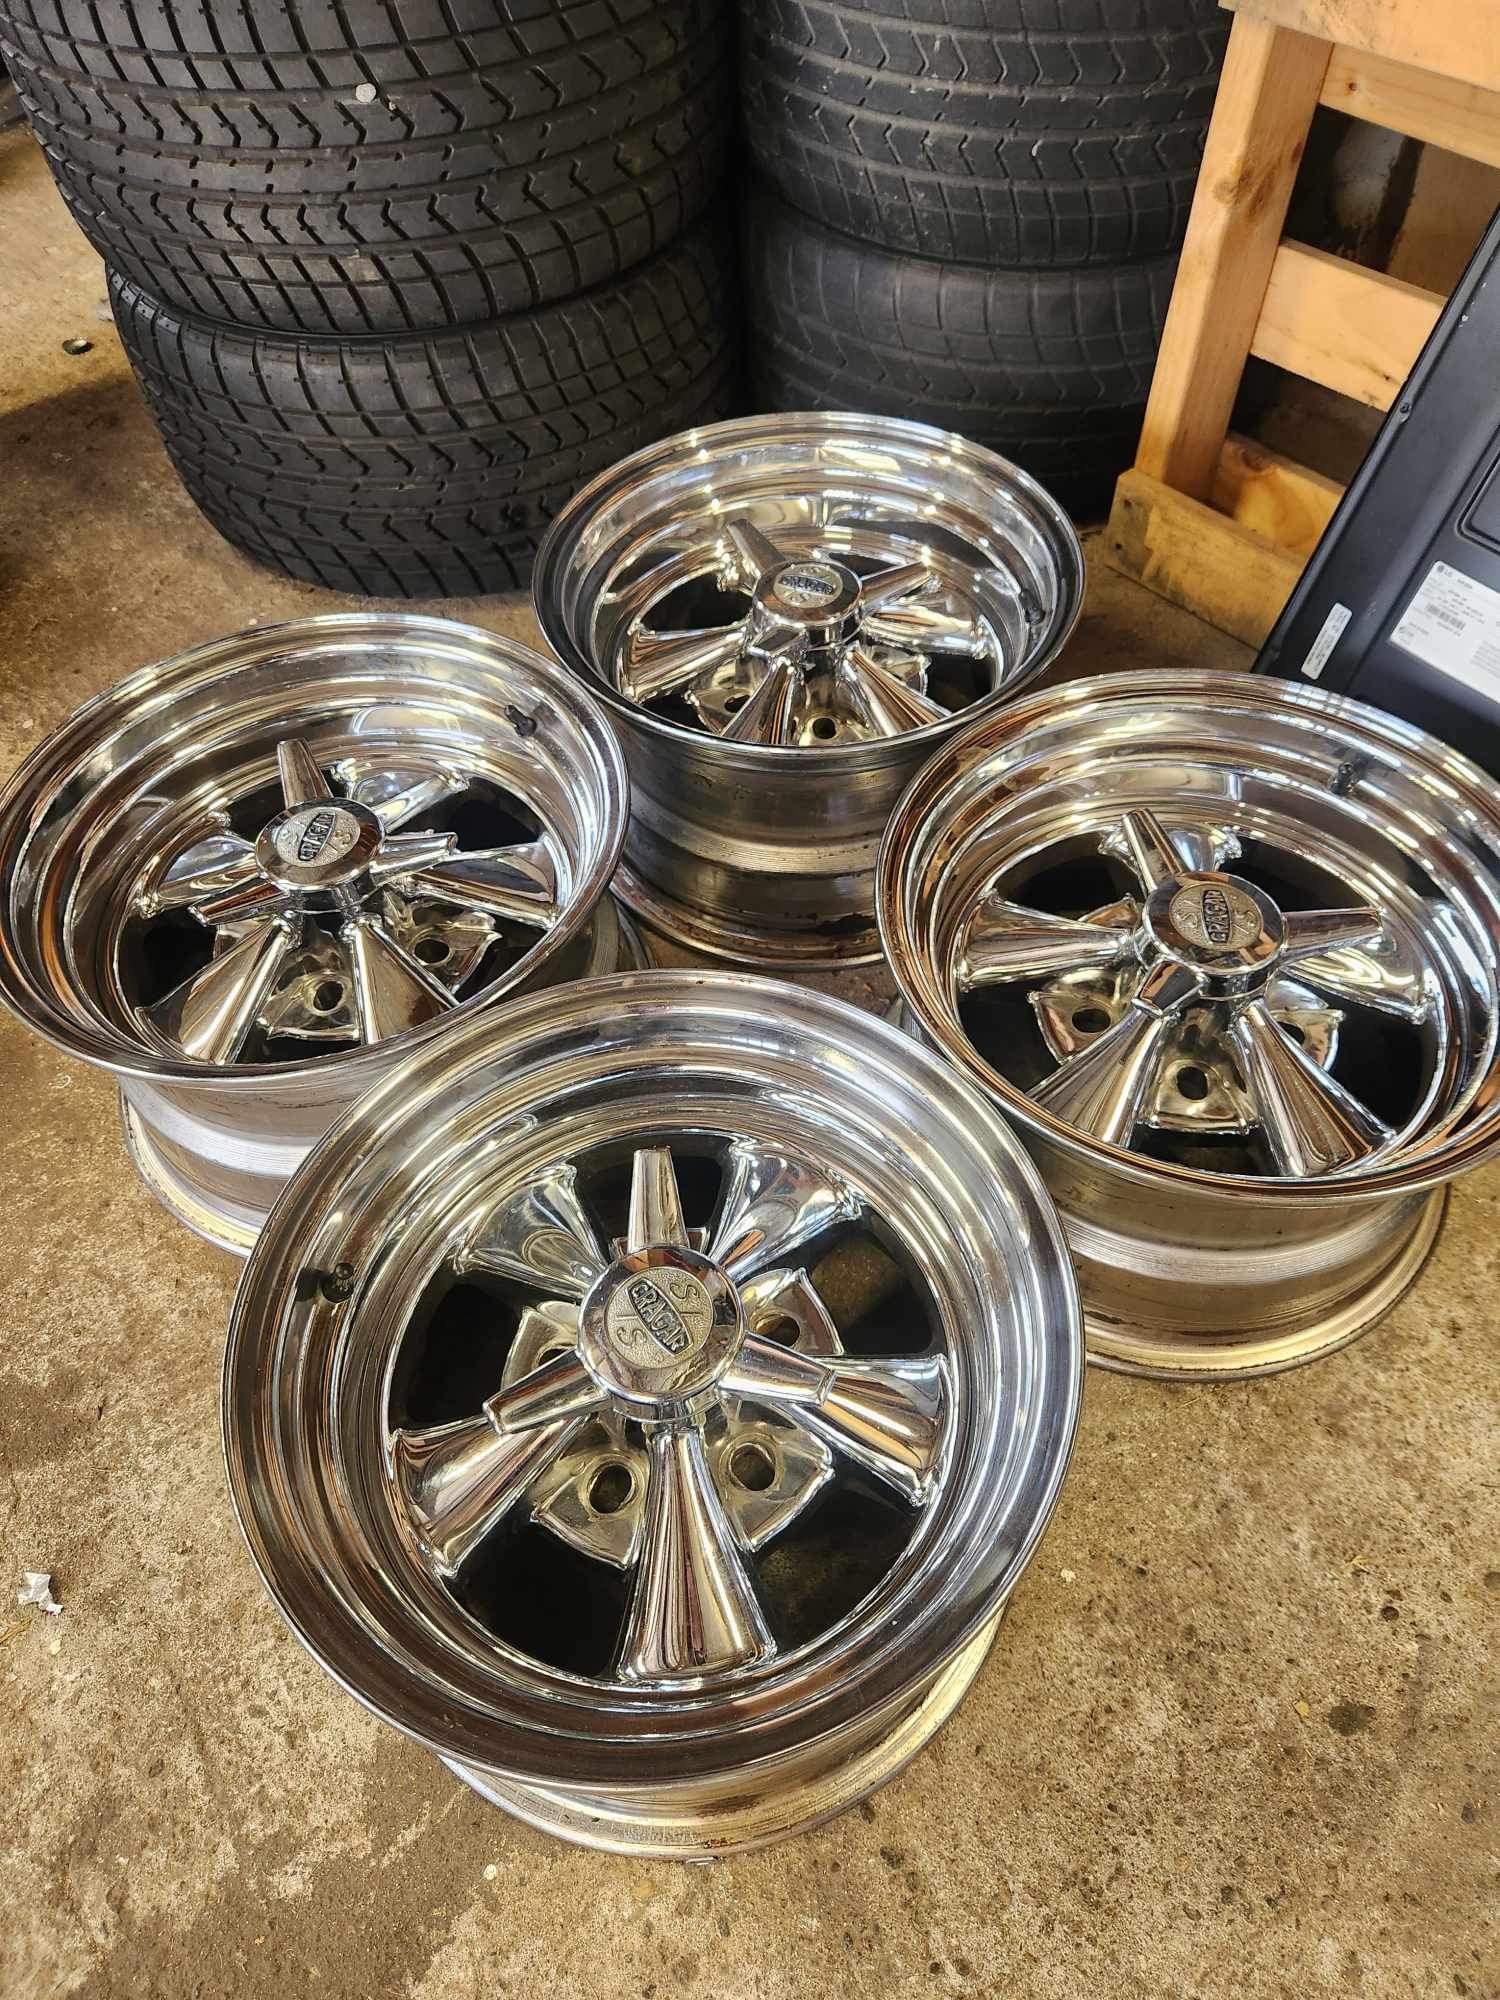
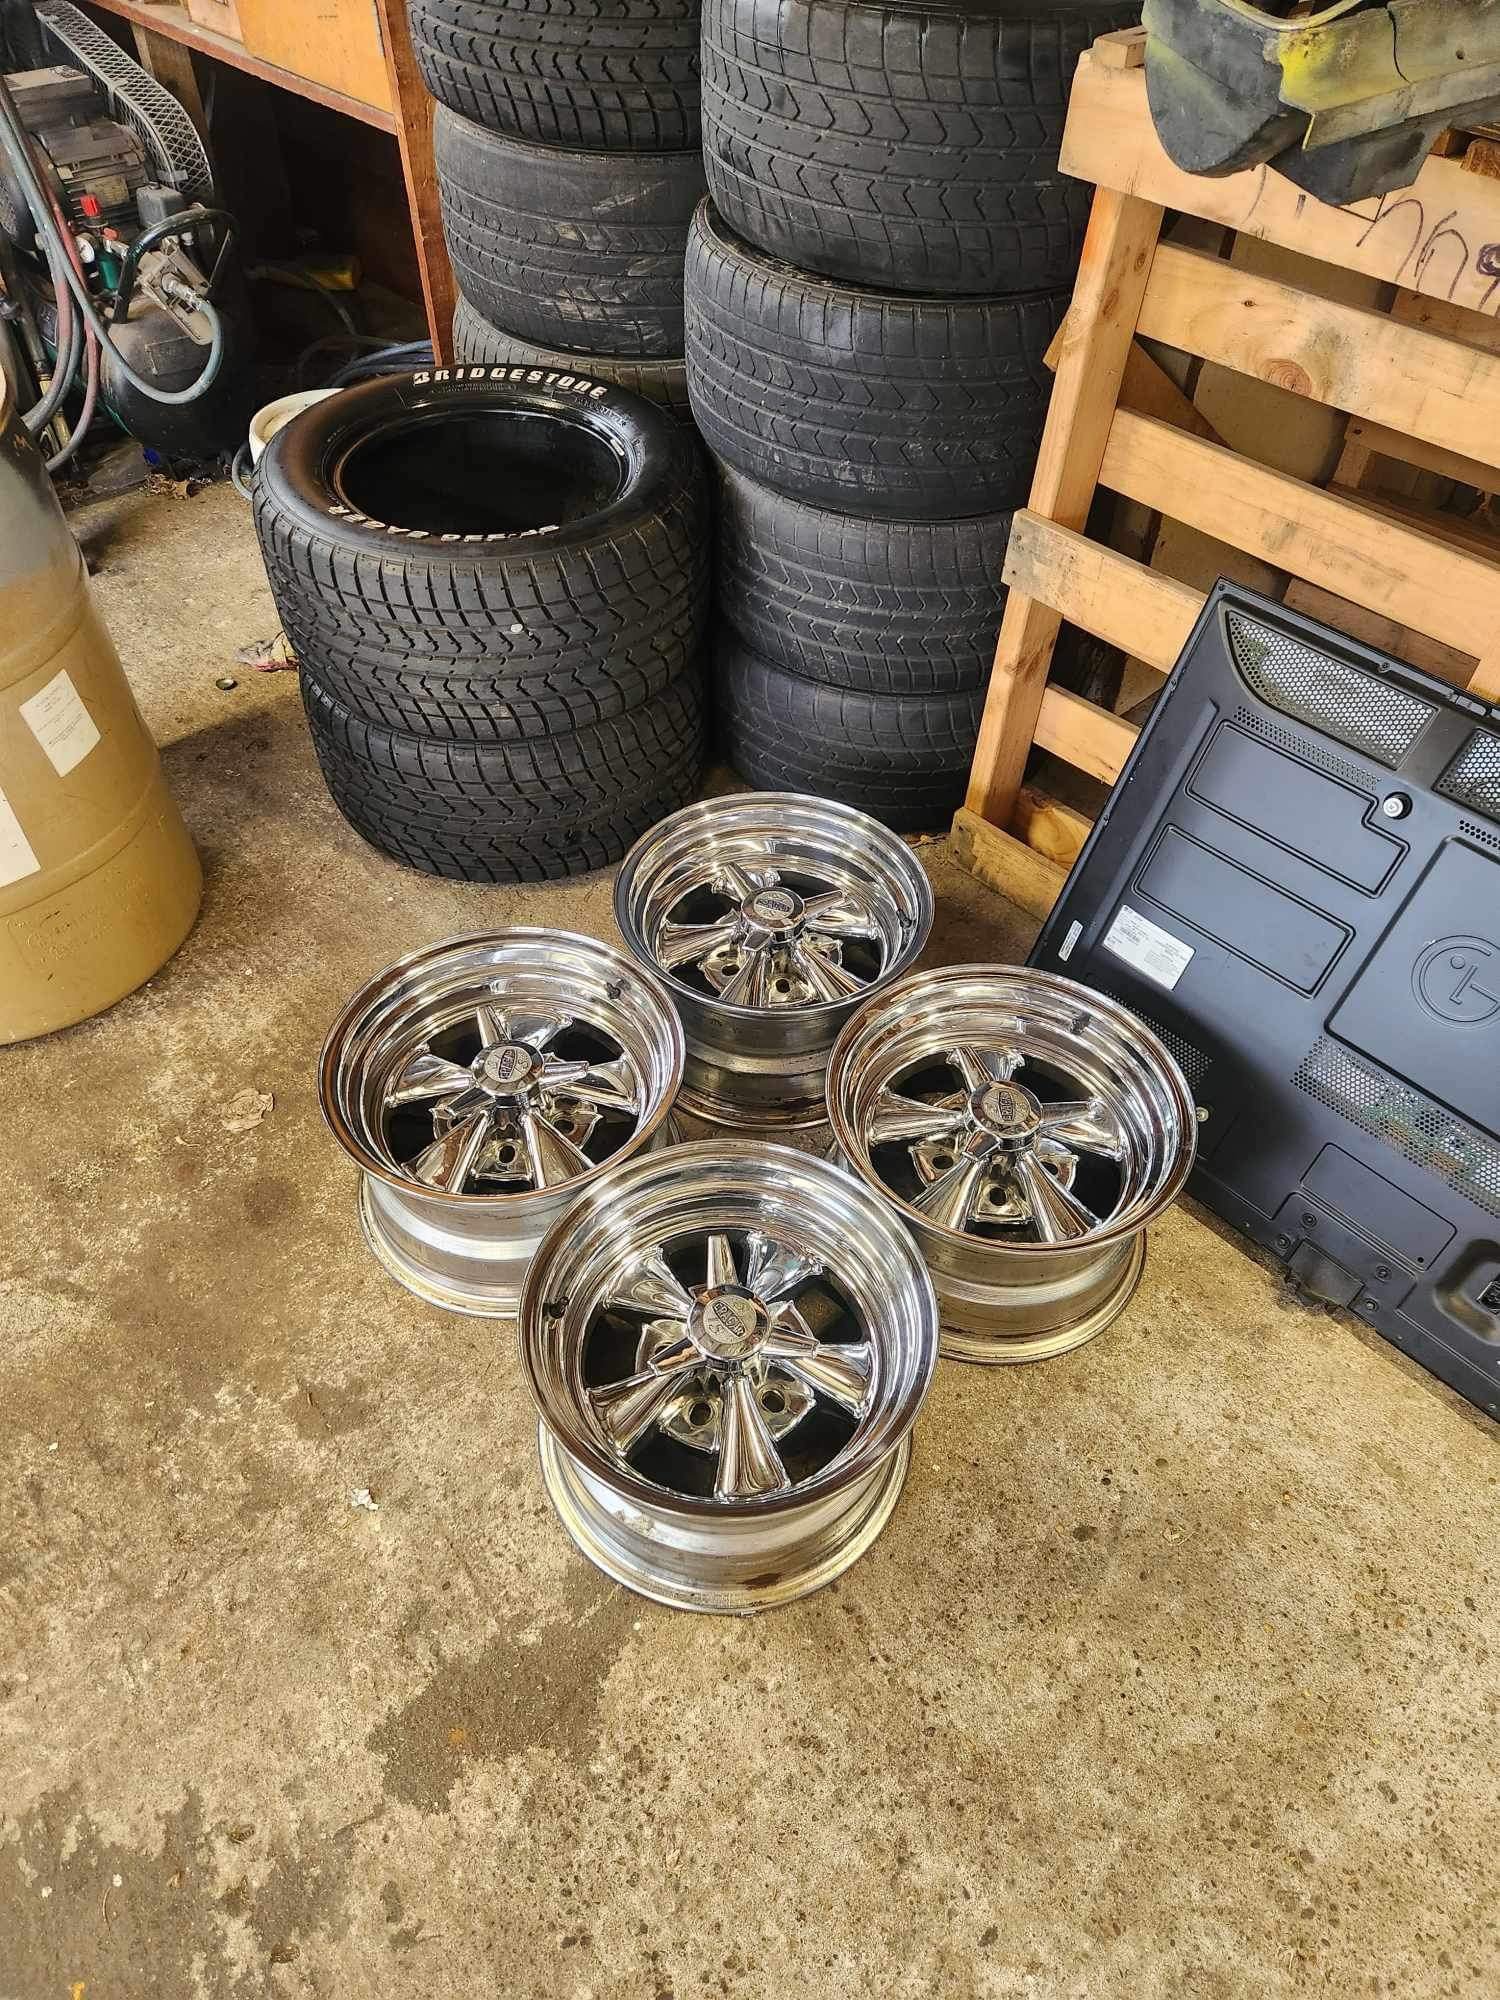
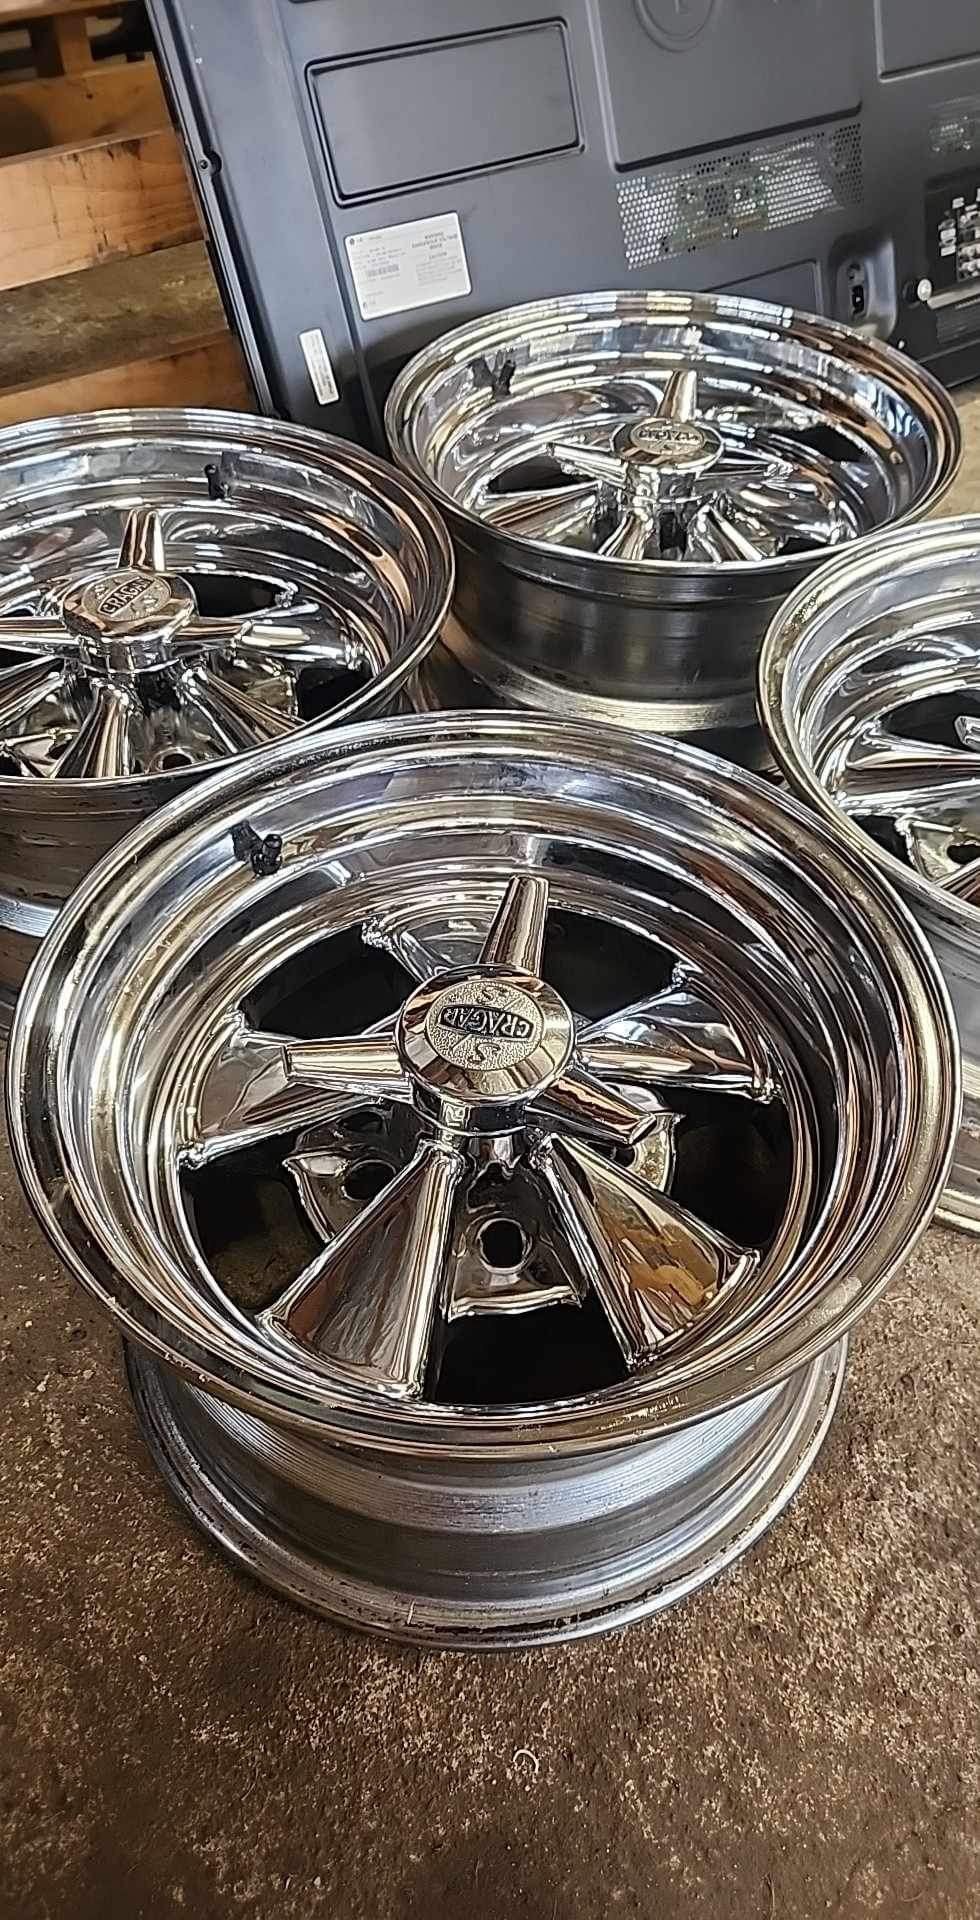
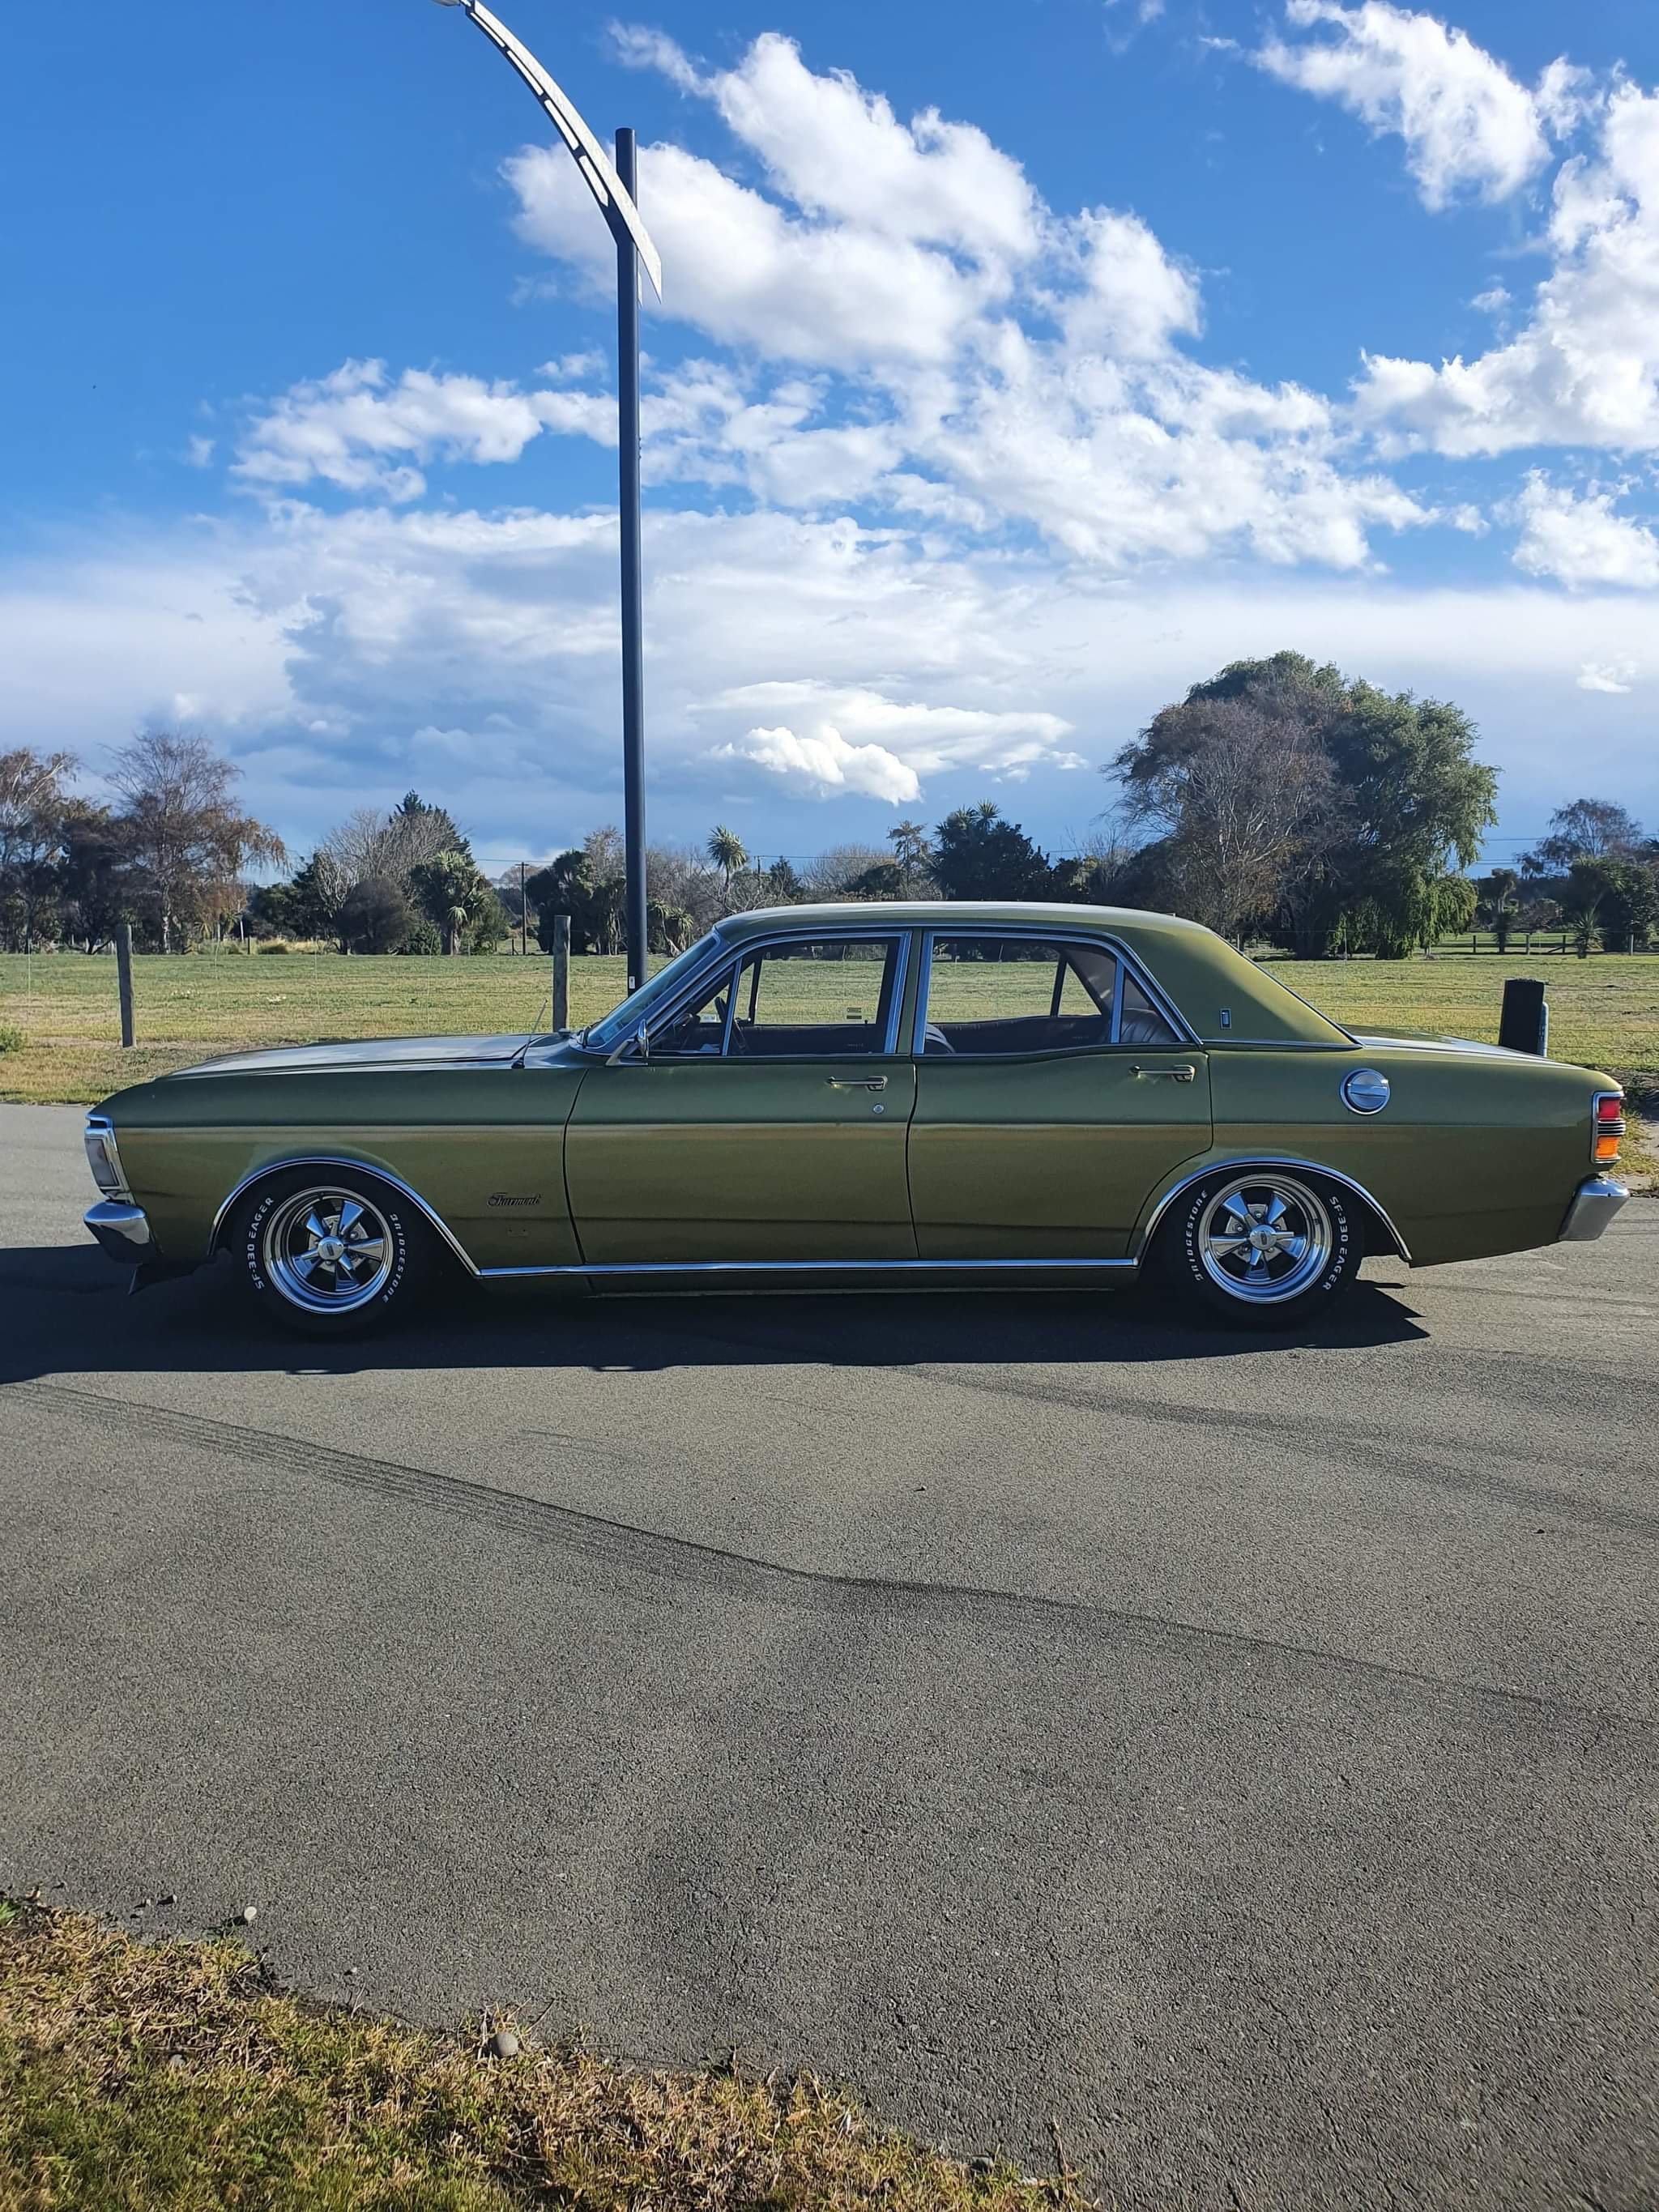
Welcome to the family to my mint 14x8 SS Cragars. the 12 slots and Tridens/tridents have been sold. last pic is file footage of how my XY will look approx.
3 points
-
so i done some digging and some searching around with the rims. wasn't having any luck with finding one so the next step was to look at different swing arms to either modify or try fit in the rear of the bike. a Suzuki gs1200ss swing arm popped up for sale in tga. i have a mate local to me that has one, so i shot around to his house with my stock swing arm and got some rough measurements to see if it would work to modify and the common consensus was that its probably going to be the best option to make a swing arm work. so i hit the buy now and had @Mop Head pick it up for me. had a few people concerned that it wasn't going to work and that it was going to be a rather large thing to undertake but i didn't really have many other options if i wanted to fit this 5.5 rear wheel in. and after some comparisons and some measurements the 1200ss swing arm is rather larger and stronger. factory swing arm is 60.2mm tall and 3.2mm thick the suzuki gs1200ss swing arm is 74.9mm and it is 5.2mm thick time to chop it up. gotta trim it down a little bit on the width as well and removed the twin shock mounts off time to get more precise with the measurements chucked them in the mill and @Kimjon showed me how to do some things then we needed to cut some space for the rear shock like the stock swing arm. got it looking like this and i took them home to get them welded up and to do some more measurements cleaned my work bench and got busy again. worked out where the center of the swing arm is and done some basic math and made some brackets. factory mounts trace some out and draw them a bit of grinding and a stepped drill bit later and thats one side all sorted. the bottom side now, kim had already cut these out while i was doing other stuff at his house one day. i trimmed them to shape and chucked them in the bender (vice) and got to shaping them up and making them fit kind of a before and an after well during that time i did go to @flyingbricks house and steel this lathe to re make those peaces that go in the top of the mounts. we some how made the center hole to big. i reached out to josh to see if he could weld these up for me but some times he replies way to slow and often has stuff going on in his own life. so i also reached out to @Rhyscar to see if he wouldn't mind doing some welding for me. he said to pop over and we could run through it see if it was possible. next images can tell if you if it was or wasn't so happy with it. back out at kims again while i adulted with my daughter at my toes. time to try make this fit in. hey thats close enough, lets put the seats and plastics on before i go to see how it looks blue tooth chain but we still got a fair few things to do. daughter loves granddad garys motorcycle so she wanted to sit on her seat. and we are now up to speed a bit more. huge thanks to those who have helped out so much so far and kim for letting me keep it in his shed and use all his tools3 points
-
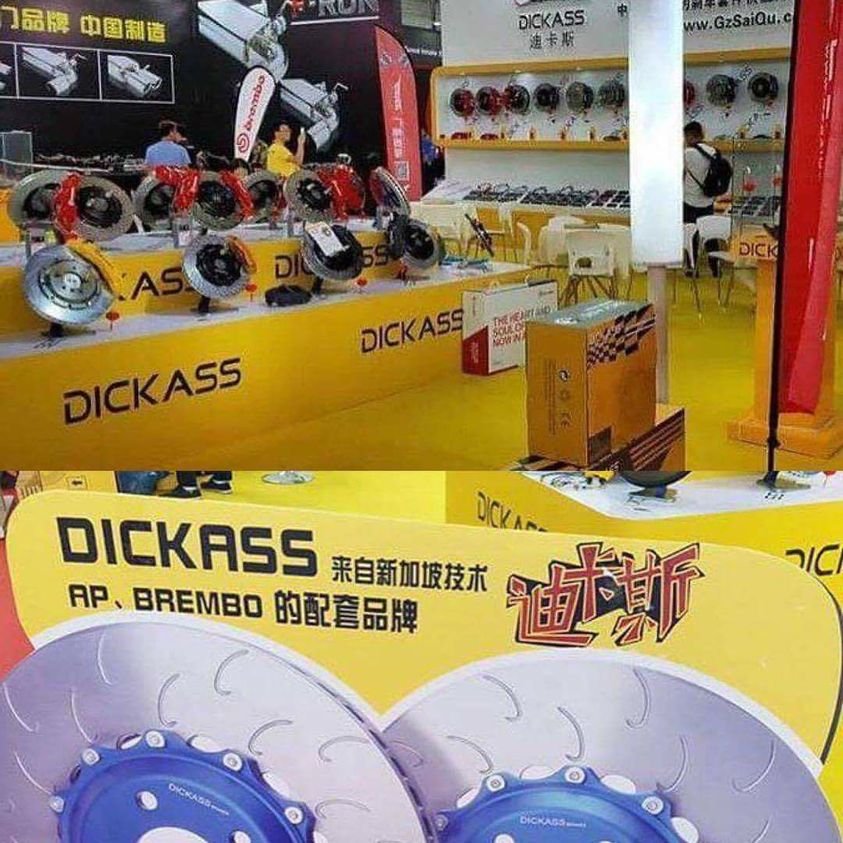
Well, if I was called maxpeedingrods I wouldn't put my name on things either.3 points
-
Back in the country means back in to work on the ol' 86. Firstly, the time has come to get the front bumper repaired. So, off it came and off it went. The plan is just to make it structurally sound again, I think there are too many hairline cracks to warrant a full resto on it. If it's structurally sound and painted, i'm a happy man. The bro's cracked in to it! When i've previously removed the dash, i found it not possible to take out the dash clock surround without breaking it into 30 pieces. This has been an eye sore for years and luckily toyota still make them new Next was to install the JSP coolant overflow/oil catch can combo unit. 10x better than the previous solution. I will hook it back up to breathing back to the engine, I just need to acquire a -10 120 Degree fitting so that it can point down to the ground a bit more as using a 90 degree will make it hit the bonnet Turbo water lines installed. I need to order another -6 90 degree bend fitting as I didn't order enough, luckily I had a -4 premade hose sitting about which works fine, but it's 90 Degree to straight end hence the U bend to where it connects to the back of the head. This will be resolved shortly! Tidied up the NASA heat shield for the overflow bottle, I will get a beanie at some point for the turbo but hopefully this is sufficient for the interim. I've also misplaced some U Channel moulding I was going to install around the folded edge of it so that it wouldn't be possible to cut into the rubber line to the windscreen jets. it'll turn up.. Clean! Gave the interior a clean, still need to address the small rip on the drivers side seat.. I've always wondered where the handbrake light loom was situated in the car, I assumed that it was just that I was missing the wires and it never had them. Turned out in my spares box I had the spare loom, plugged it in and we now have a light. something that isn't that helpful just good small win For 10 years i've put up with using a wooden stick to hold the hatch up. FLOS.ie have new gas struts so in they went. much satisfaction TODO: - Replace oil pump. I'm having lower oil pressure at higher RPM's than I'd like (with a rebuilt bottom end), so i've got a spare oil pump which has the SQEngineering pressure up spring unit to hopefully address that. If that doesn't resolve the issue i'll be getting plasti gage out to measure the cam cap tolerances as I can't think where else I would be losing pressure the way that it is. - Recheck pinion angle since the 15" rims and slight height differences to bring back to 1.5 degrees both sides - Pull out gearbox to replace the output shaft speedometer worm drive. The plastic gear for on the speedo output is stripped, and without knowing what the worm drive it suits, better to pull it apart and replace it with the correct stuff which I now have. - Maybe try cert?2 points
-
https://www.trademe.co.nz/a/motors/car-parts-accessories/austin-rover/listing/45654395092 points
-
The aux tank is the main reason I took it, but I might keep it for my other bikes Have original carb and new carb. Original is probably fine, it didn't look too bad Hone - nah its fucked, cylinder is all pitted. What I think happened is someone got it not running, gave it a hone and new piston, despite the bore being stuffed, and maybe it ran for a minute or two before the rust fell out of the pits and it stopped forever. I wouldn't trust my cousins recollection of it running Possibly can take it out to 1mm or 1.25, will see, aliexpress cylinders don't look to be correct. Same pin size as a GN125 tho...2 points
-
When I was dealing with ordering from China for work they would paint things any colour you wanted and print anything you wanted on them even on small orders. Got afew full lift kits for utes for free to try in a container once and I just put them in the scrap pile2 points
-
Also just about every single microchip or processor or whatever in the world comes from Taiwan. China doesn't want to take it over so they can have cheap coilovers Also to be faaiiirrrrrr @kpr has used MaxSpeedings... Rods. in his projects with success. Rods yes, coilovers no.2 points
-
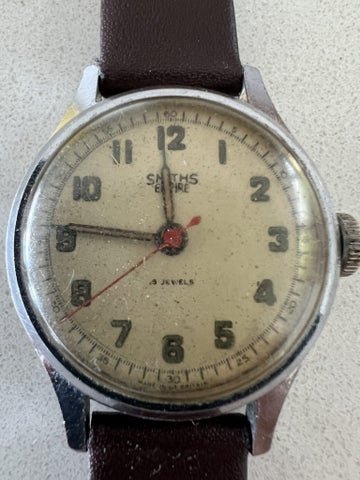
Got this wee honey running within seconds over the last 3 days after a slight adjustment on the timing. What a joy. There's no way to adjust the seconds on something like this. Some watches you can "hack" and move the second hand back or wind the crown in a certain way and it pauses the hand. But with this you just set as close as possible, within a minute was about all that was expected apparently. Even the railroad grade pocket watches don't have that feature, apparently a second stopwatch was sometimes used for that. Higher grade pilots watches have the hacking button, but they everyman just lived with it2 points
-
As a Jeep owner I concur that letting your kids grow up with a sentimental attachment to the brand would definitely constitute a form of abuse. Theyre better off on drugs.2 points
-
At first glance I thought that said StopBitch.2 points
-
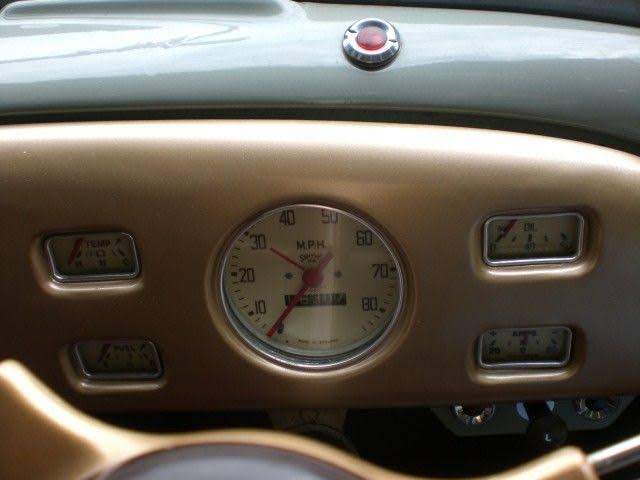
Turns out the mechanical fan does a better job with the new water pump.
2 points
-
She's touch wider than what Honda built I think
2 points
-
Cut cut cut
2 points
-
Oldschool Nats Chathams 2026. Entry Fee: Building materials carried on as hand luggage.2 points
-
Hot-mix would cost all of the millions Corbie. I could probably do it cheaper in concrete TBH... but I'm happy enough with the crushed schist we've been laying over the last couple of weeks We were very fortunate to buy the property as land here is very, very hard to get. It's a little over 24ha with half a kilometre of sandy beach to the north and another half kilometre of semi-tidal lagoon edge to the south. It's an 'oldschool' title from the late 1800s so I own down to the high tide mark on both bodies of water. TBH I've never walked to the lagoon side of the property. It's a low lying wetland which will just need to stay like that for now. Today we collected timber, rebar and underfloor insulation from the port. Tomorrow I need to go to work to pay for some of it. Ha2 points
-
to be fair on Taiwan, a lot of the decent mid-range brands originate there. BC, Fortune Auto, XYZ etc all come out of Taiwan. Maxpeedingrods is the finest of Chinesium trash.2 points
-
A good rule of thumb is if the manufacturer won't even put their name on the product= bad2 points
-
Dunno about other certifiers, but I wouldn't cert them2 points
-
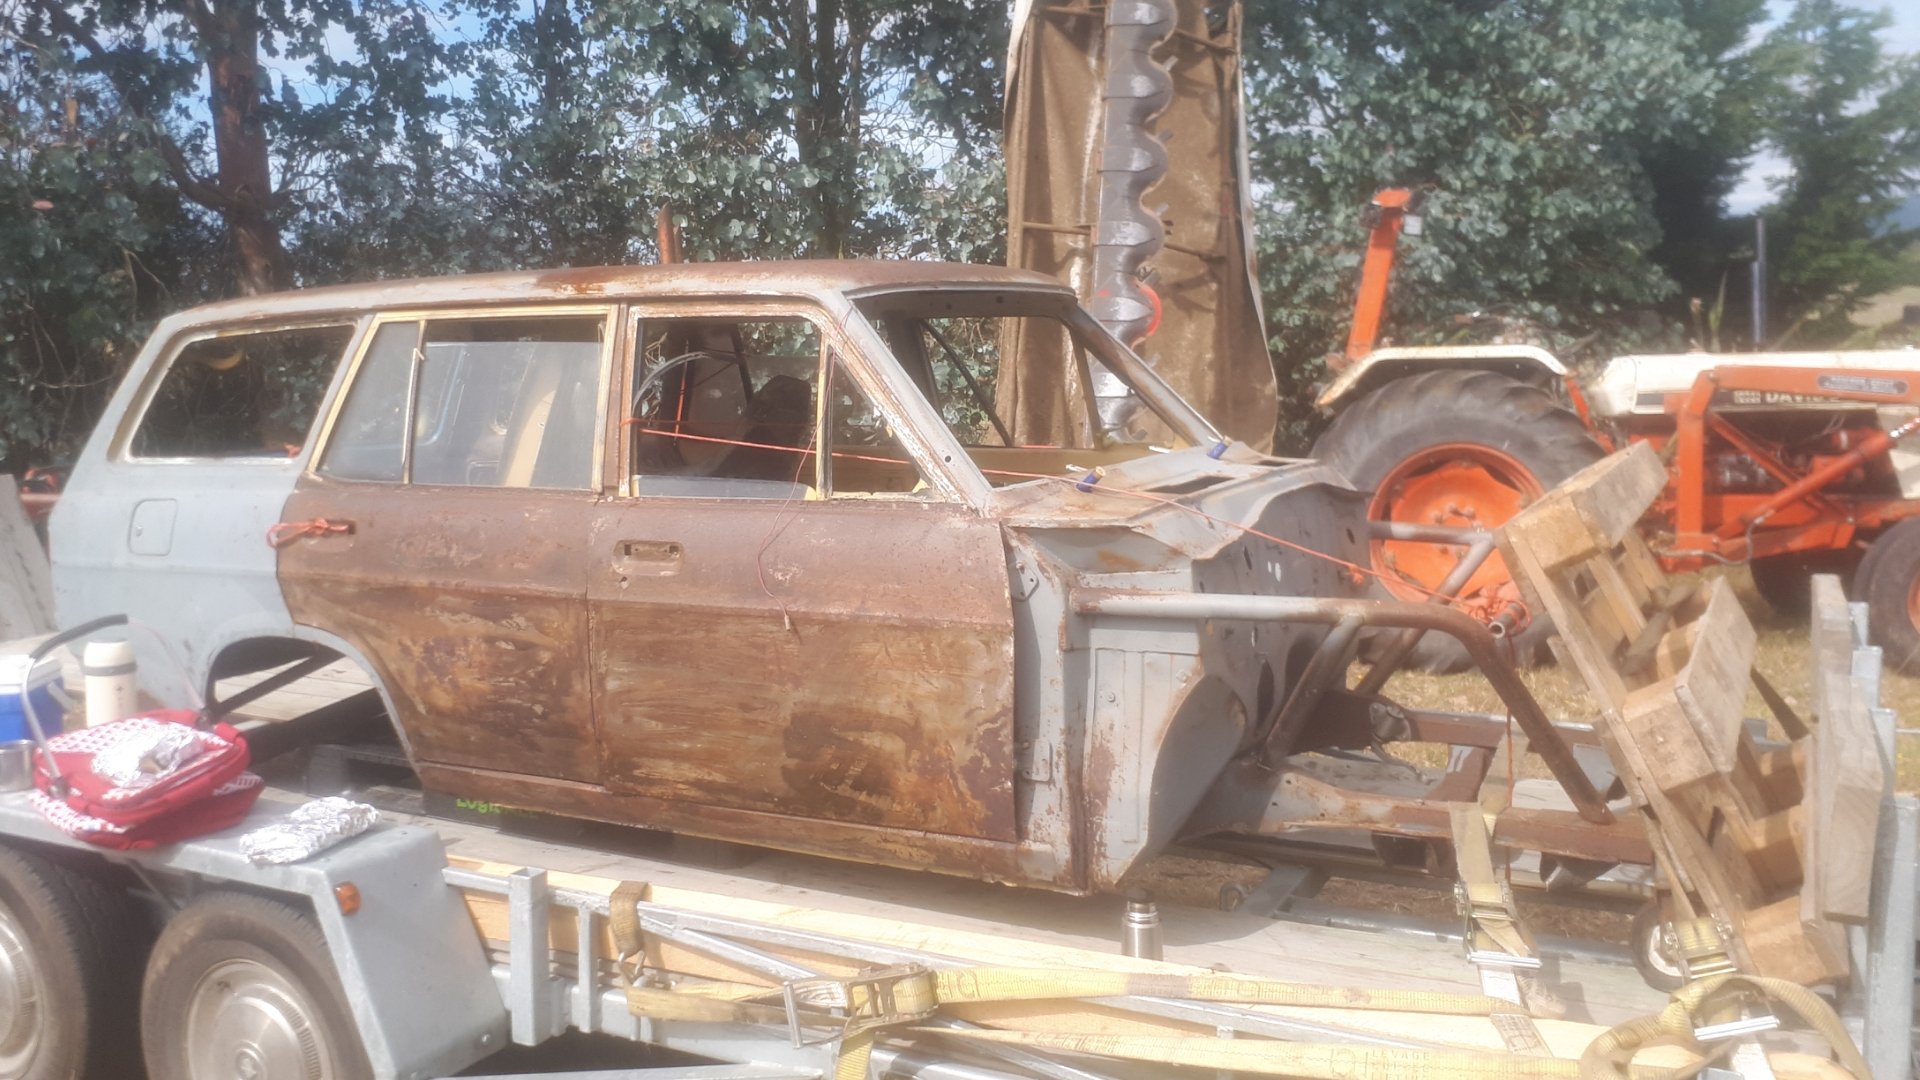
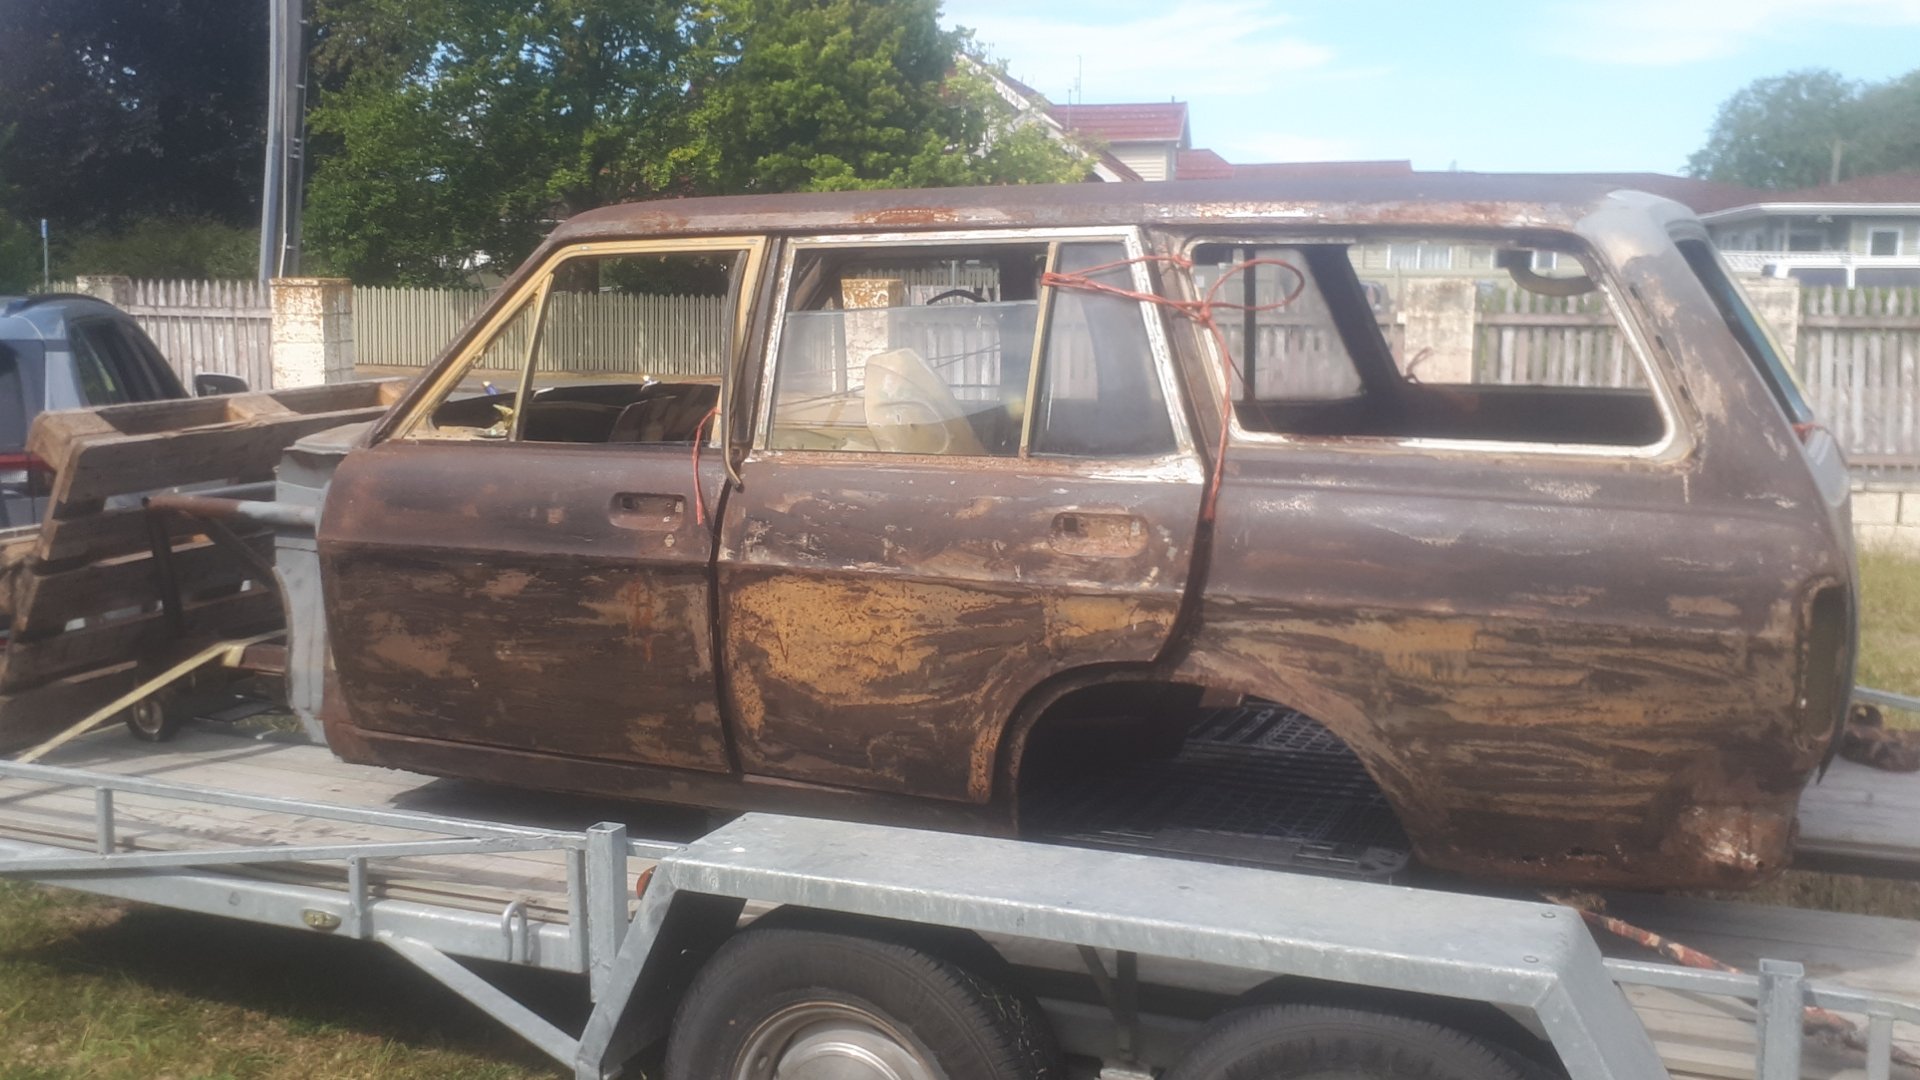
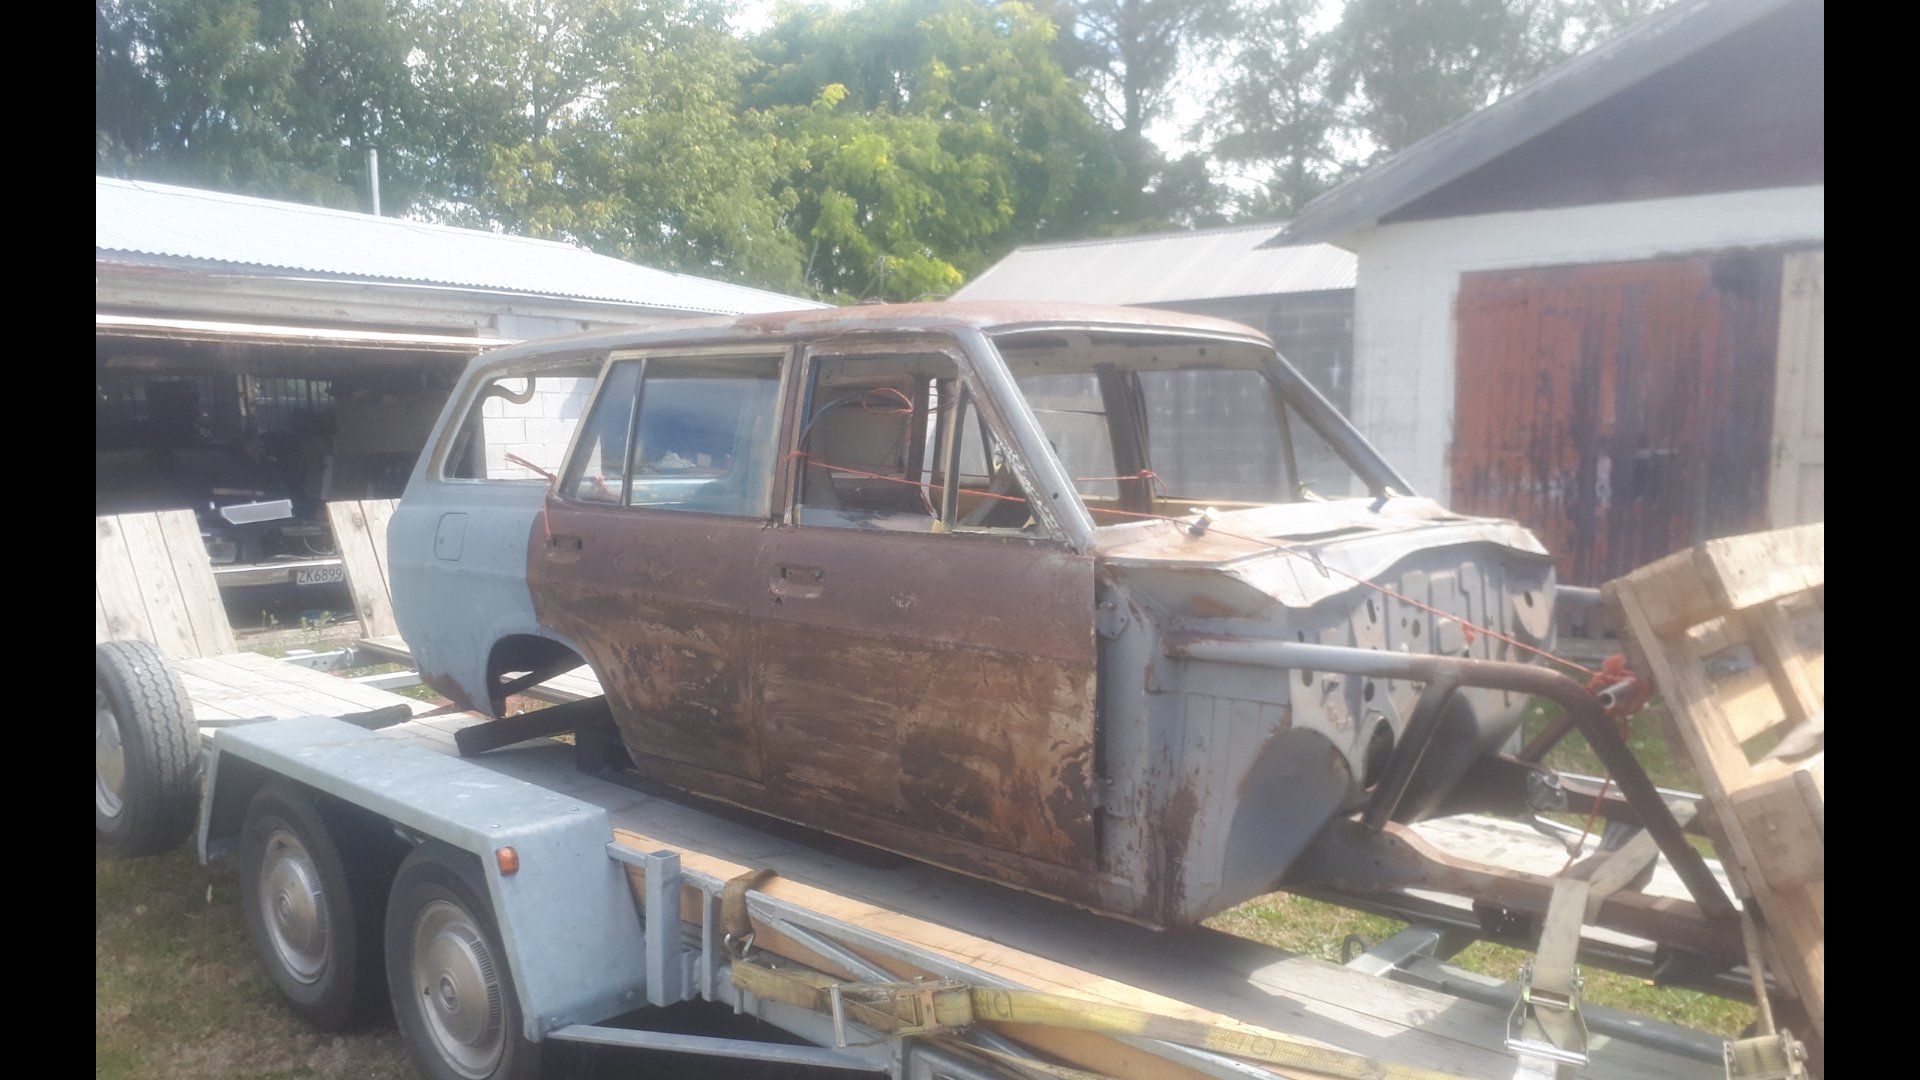
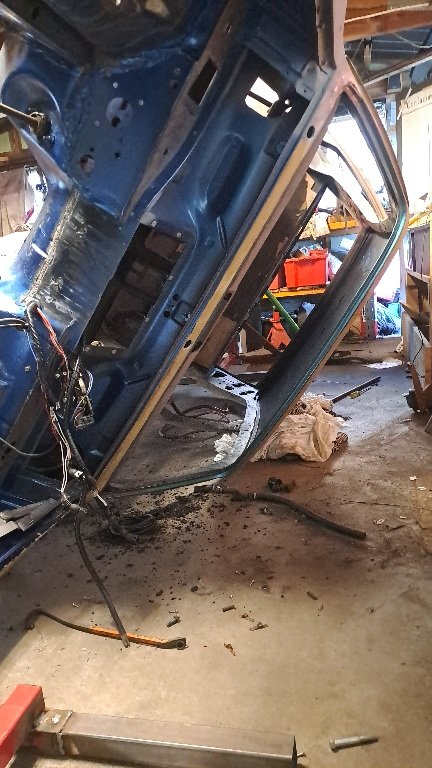
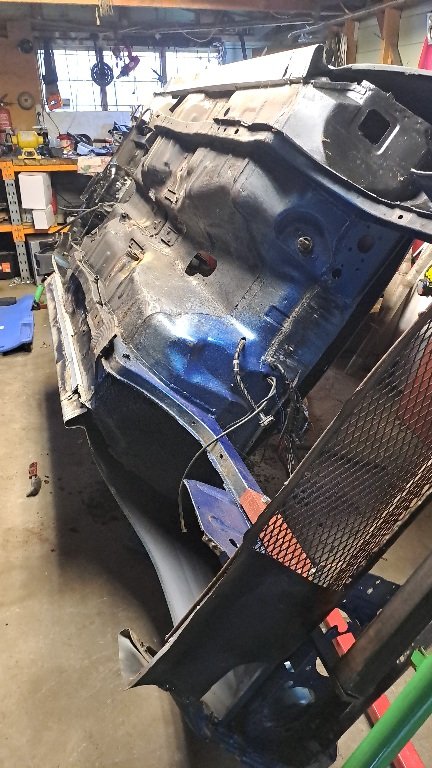
Today i pulled an 11.5 hour mish to go collect this thing. Loading cars that dont roll can be tricky. But it went better than expected. Came with a lot of tidy parts. But theres also a fair bit missing. (Including plates and tag) (the old rego number is etched into the window though. And it comes up in car jam. Theres been more work done to the undercarriage than i expected. Has a full C notch done. And the mounting points for the 4 link look to be there. Theres also lots of extra stiffening done to the floor. And fuck all rust. (For a datsun) it also came with (but not pictured) front guards and bonnet. These have been tack welded together. (The guy was planning a flip front)
2 points
-
Adrenaline r are good, I have a single 3.5" at the back on my car When I was doing noise testing they were a muffler that actually worked, rotaries usually needed a couple of them though.1 point
-
Fuck yes, keep the 90, they're great little chuffers when you get them sorted. I'd clean things up, hone, piston and rings if necessary and use. I re-kitted the carb but never had it running right so put china carb on it that goes ok. They need over 6V to fire and there's no drop-in electronic ignition available sadly, but I did the Brass monkey (~ 280kms one way) no bother on OG points, and have done a couple of trail rides where it went places other bikes wouldn't. I toyed with changing sprockets but factory ones work ok if you're not after something that will do 100kph (people chasing that end up with not enough torque to push it that high anyway). if you're just using it off-road you could prob sell the aux tank and exhaust for quite a bit of dollarydoos, chuck a cheap pipe on it and profit. Think I replaced rear shocks on mine with Ali specials, as OG too soft for my svelte frame... this will ruin other bikes for you. CT90 the world...1 point
-
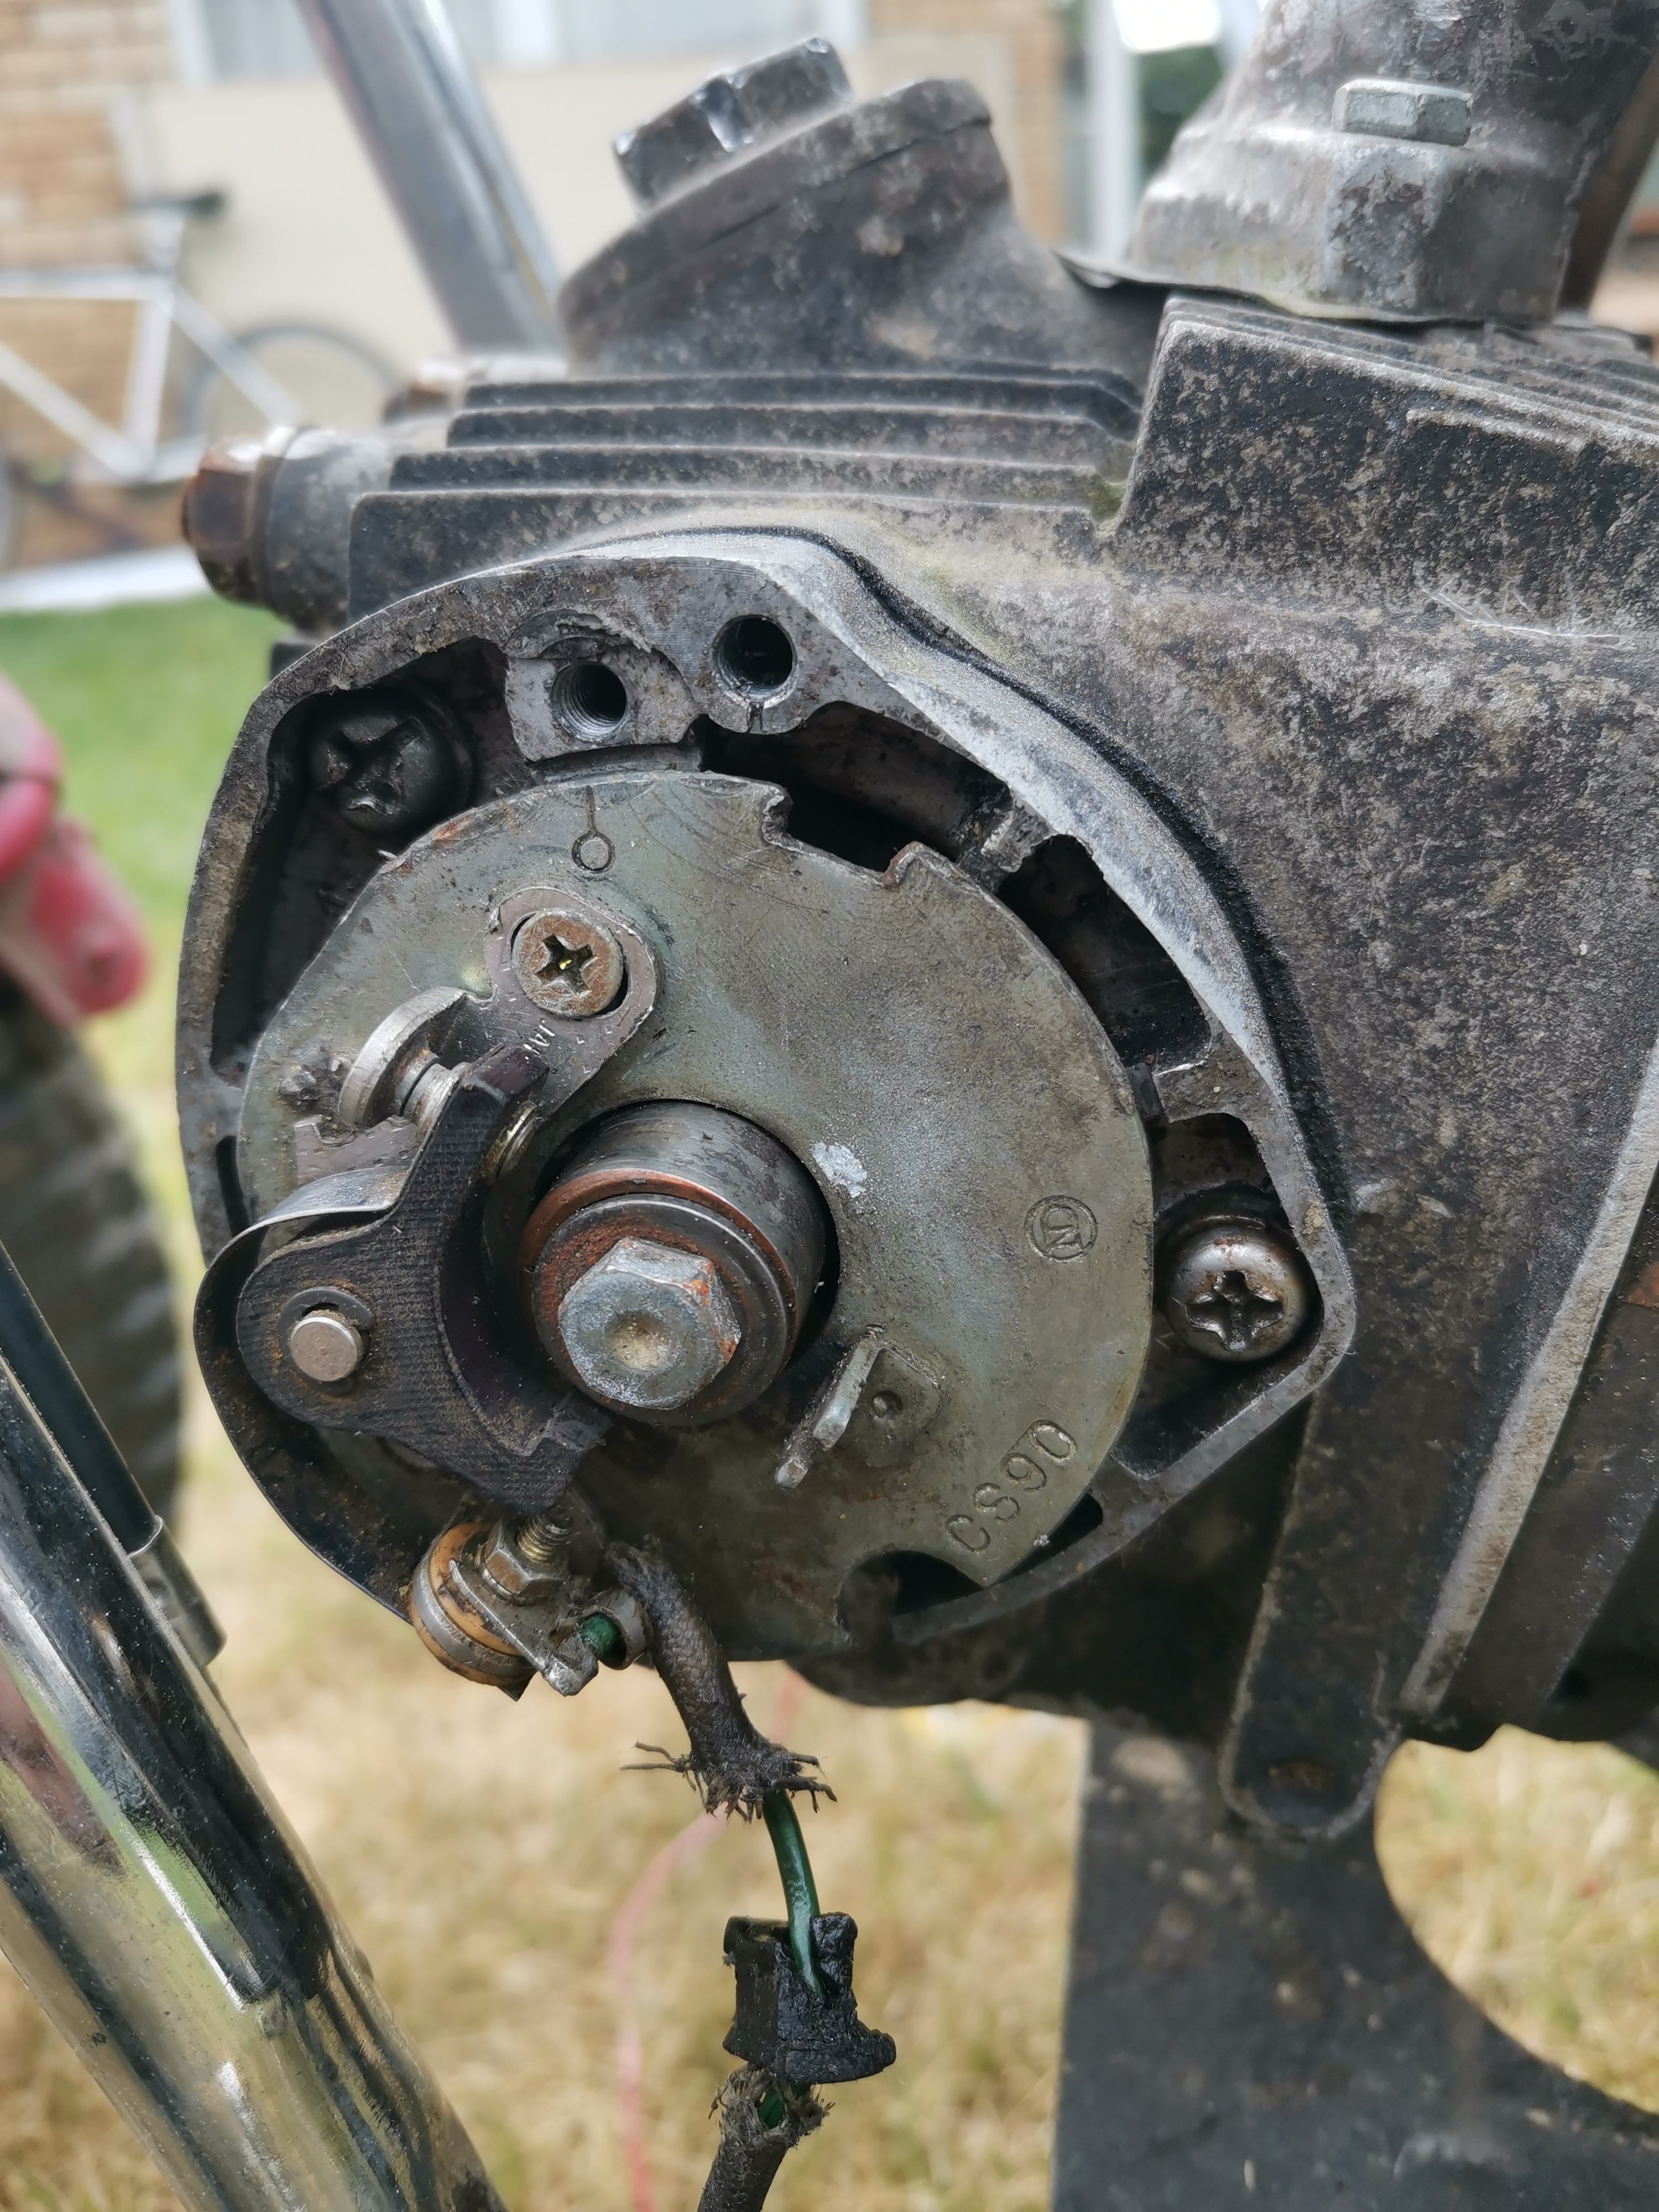
Looks like a fairly low hr 0.50 over piston in there too, but intake is scored. Rtv gaskets Timing was way out I think it had a rebuild not that long ago I might pull a side cover and look down the cylinder hole and see how I feel about the bottom end. Cam has some scratches on the edge of both the lobes, which may be normal as thrybare right on the edge and not where the rockers rub. At this stage I would like another 90 engine for it, possibly just a good top end. Maybe some front and rear shocks. I think there must be these components floating around after lifan, hard tail, and disc front end swaps?
1 point
-
1 point
-
Some things fell out and that's ok
1 point
-
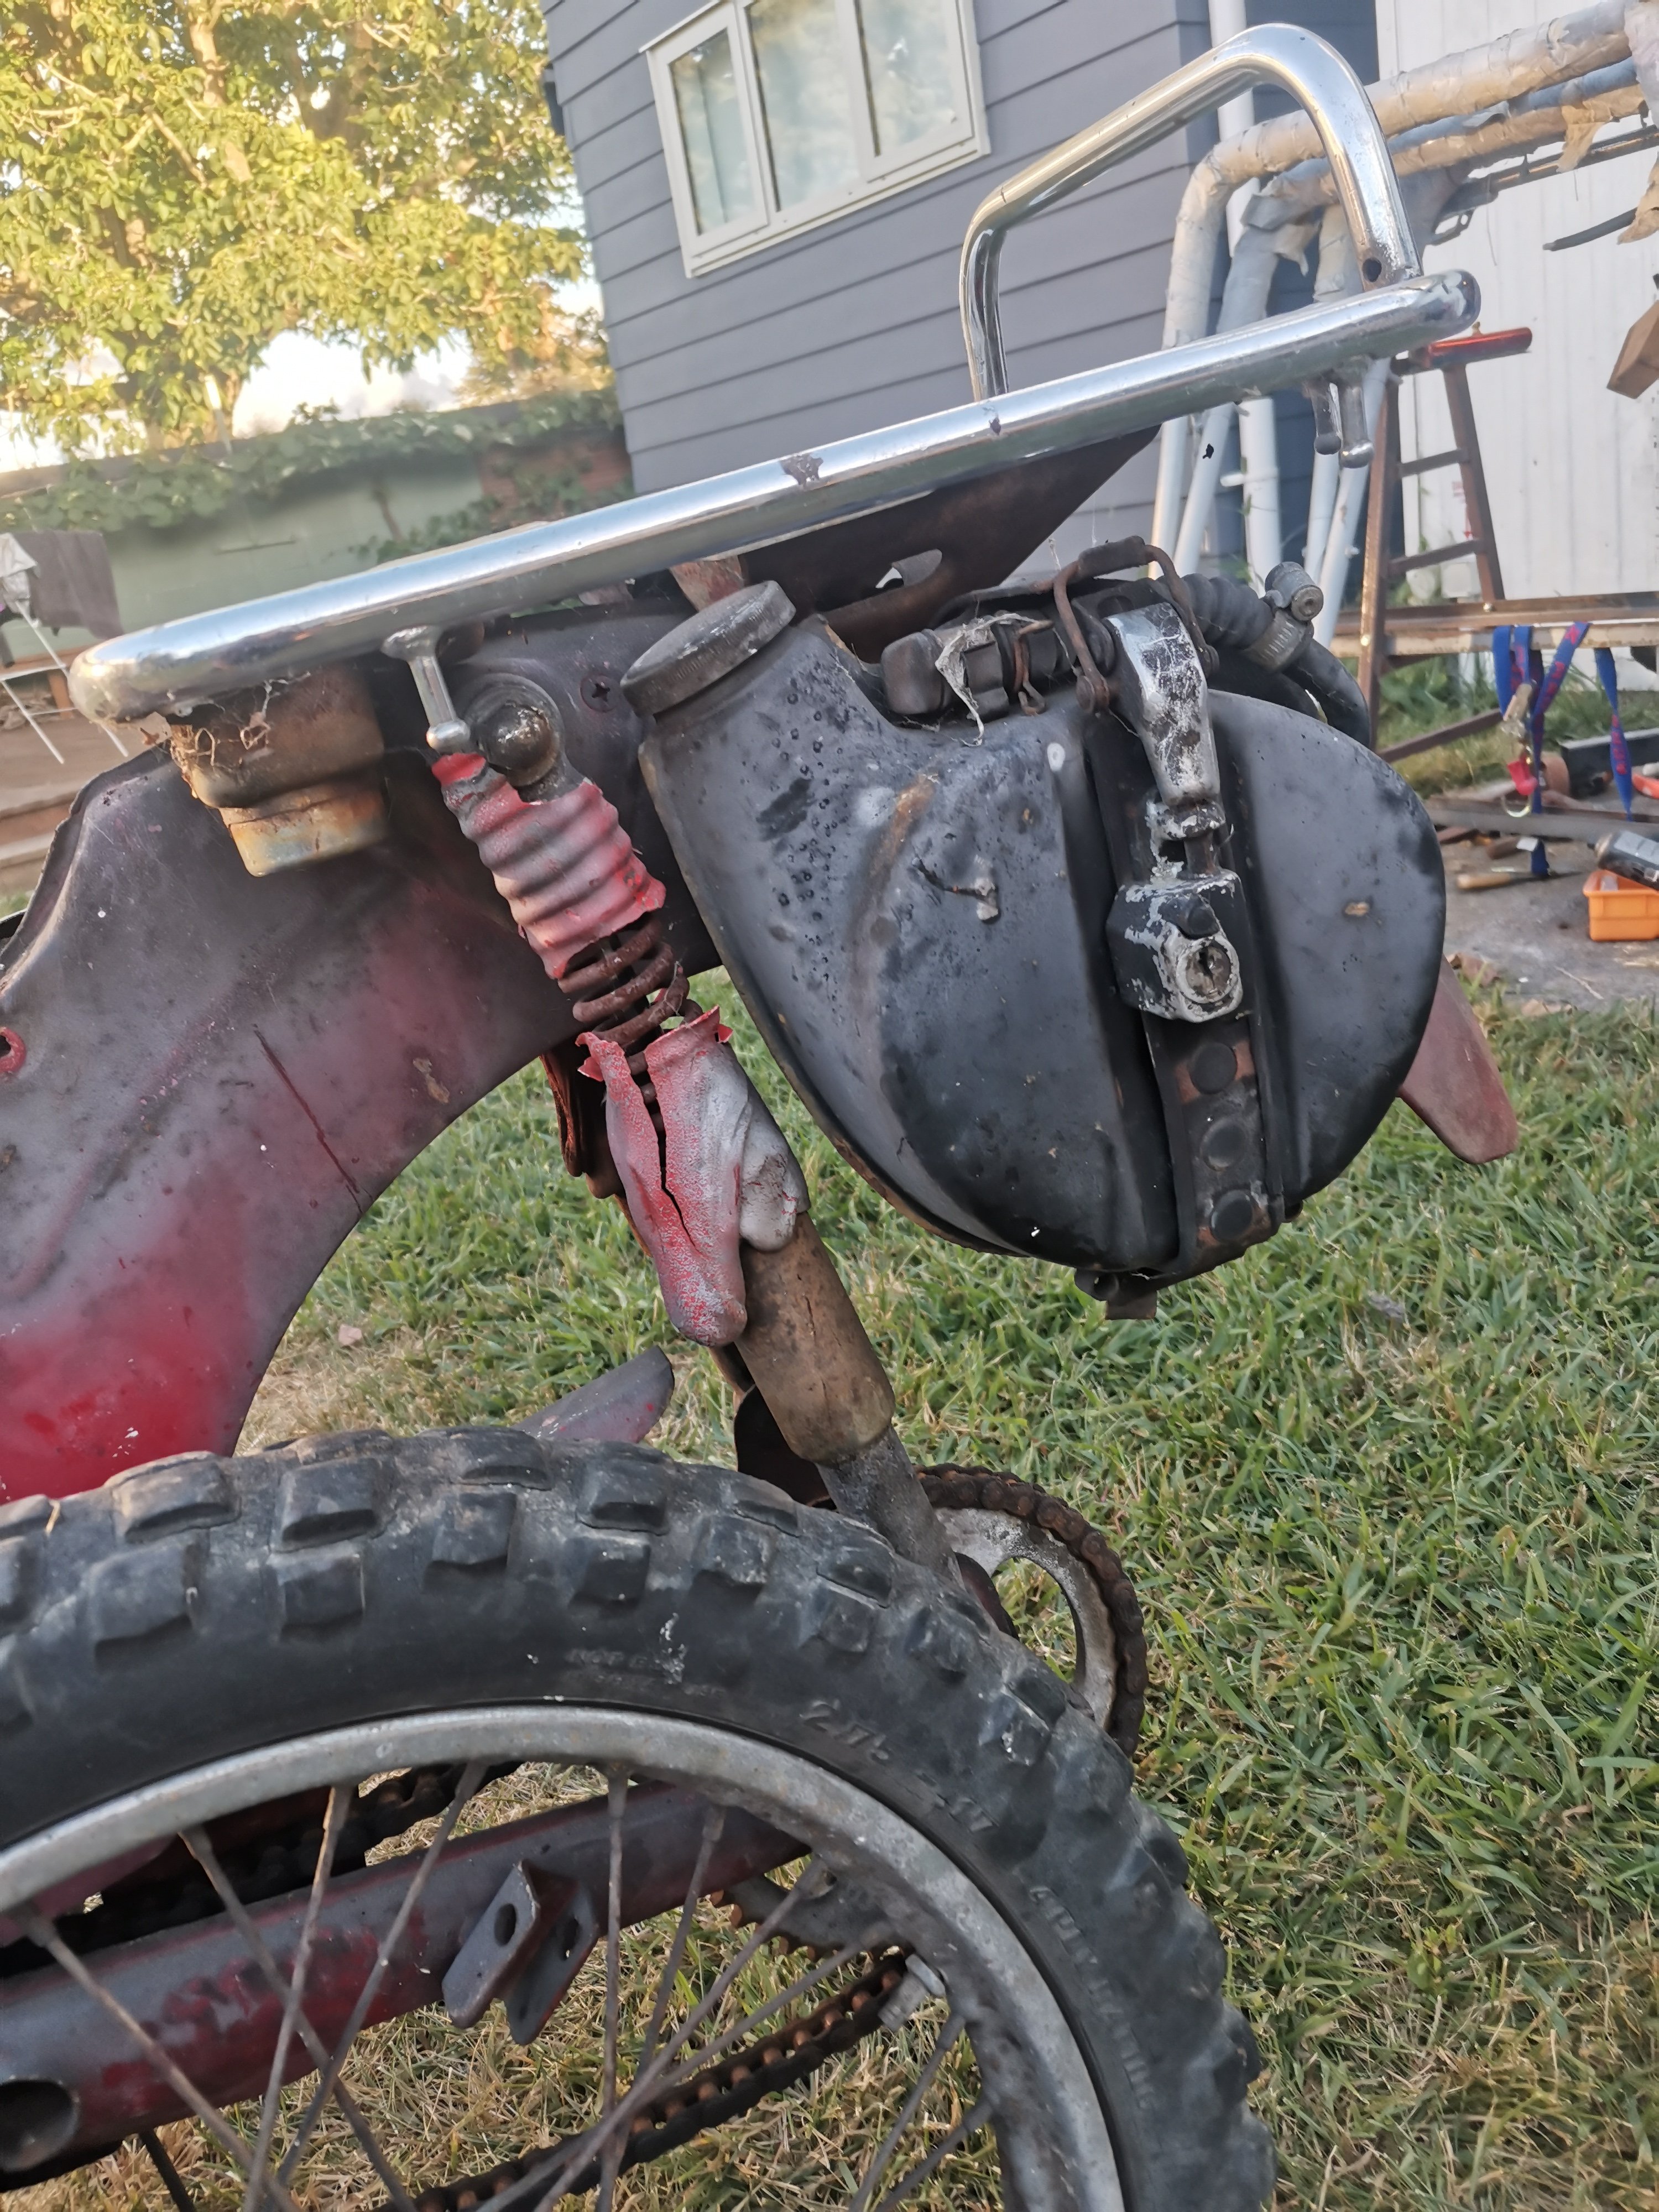
Luckily the aux tank and hose is still in good cond The shocks front and rear, well.... Do they actually have any fluid in them? I think the fronts did, as there's black smoo all down them.
1 point
-
Oops. I was just going to post a li'l update since things have slowed down while I wait for stuff, but I now realise I forgot to share some stuff. We disassembled the engine. It's otherwise fine really. The oil pump housing halves look fine fortunately, no scoring or anything. The pump gears themselves are impregnated with bearing material, they still turn inside each other without much resistance but without a reference I don't know if they're meant to be smoother ;). The block's journals aren't happy. You can feel the scoring on two of them, one is particularly gougey and definitely would need a grind, if it can be saved at all. At the time we were unsure if we could just use as-is but since then I've been learning some stuff from HP Academy and uh yeah that wouldn't fly I've dropped the block off to some reconditioners in welly. They asked for the rest of the rotating assembly so I slapped the caps on in 5 minutes in what I hoped was the right order (it wasn't) and went over there with Andrew. One of the first things Engineman asked was "want us to try save the crank?" We just assumed it was toast because of the overheating discolouration. I mean maybe it is, but if these guys can save the crank then that pays for the cost of saving the block! It's great to have "good news" dangled in front of me for once! That said it could easily just go in the other direction if the block can't be saved. Engineman didn't seem too bothered about the damage, but said it might be a PITA due to one side being aluminium and the other side (caps) being steel. We'll see what he says, this is a blocker for plans going forward because if we have to buy a block then it's probably cheaper to buy a whole new engine (which isn't cheap!). A brief diversion into engine swaps. A swift turbo engine swap would be nice, but honestly one of the fun characteristics of this car is its little 0.6 litre engine which somehow manages to make this little thing hurtle around faster than it should be able to. I wouldn't hate a K6A or something in there (if it could fit...), but it's a lot of fun to have this little angry thing make its noises and confuse people when the bonnet is up. ANYWAY. Here's all the bits strewn about. Consolation prize: expensive aftermarket coils. I have since sorted out the mess a bit. Andrew cut open the oil filter I'd put on the car after it had arrived from Japan, the one attached to the engine when it started quacking, and yeah, sparklies. No surprises there. It looked like a pain in the arse but in the absence of anything to do I picked up the saw afterwards and sent it on the old filter that was on the car when it arrived in NZ. Here's @kws's hands modelling for us. Oh my. Okay Heckies So uh yeah I bought a lemon. Kelv cheekily admitted that he was glad that I'd won the car. Fair. That said, I'm strangely not mad. Nor am I put off the car. I just want to fix it and get back in it. That's got to be worth something to find out about your relationship with your daily driver. More importantly it tells me two things 1. I didn't break my car. 2. The question of "how did I break my car?" is no longer present. On the surface this seems like a shrug of a point to make, but it's much deeper than that. If I didn't find this out I'd probably never be comfortable driving this car hard again - or possibly any car. Maybe that's why I'm not mad.1 point
-
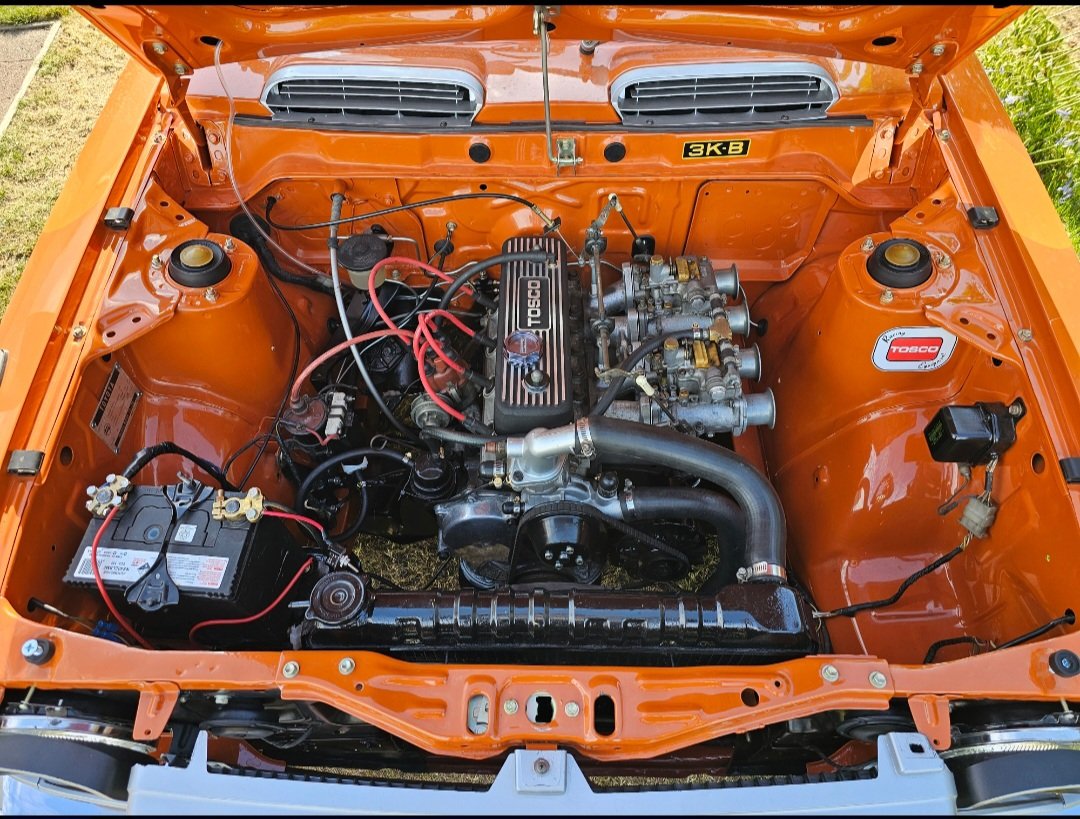
Bspeed tosco cover now on
1 point
-
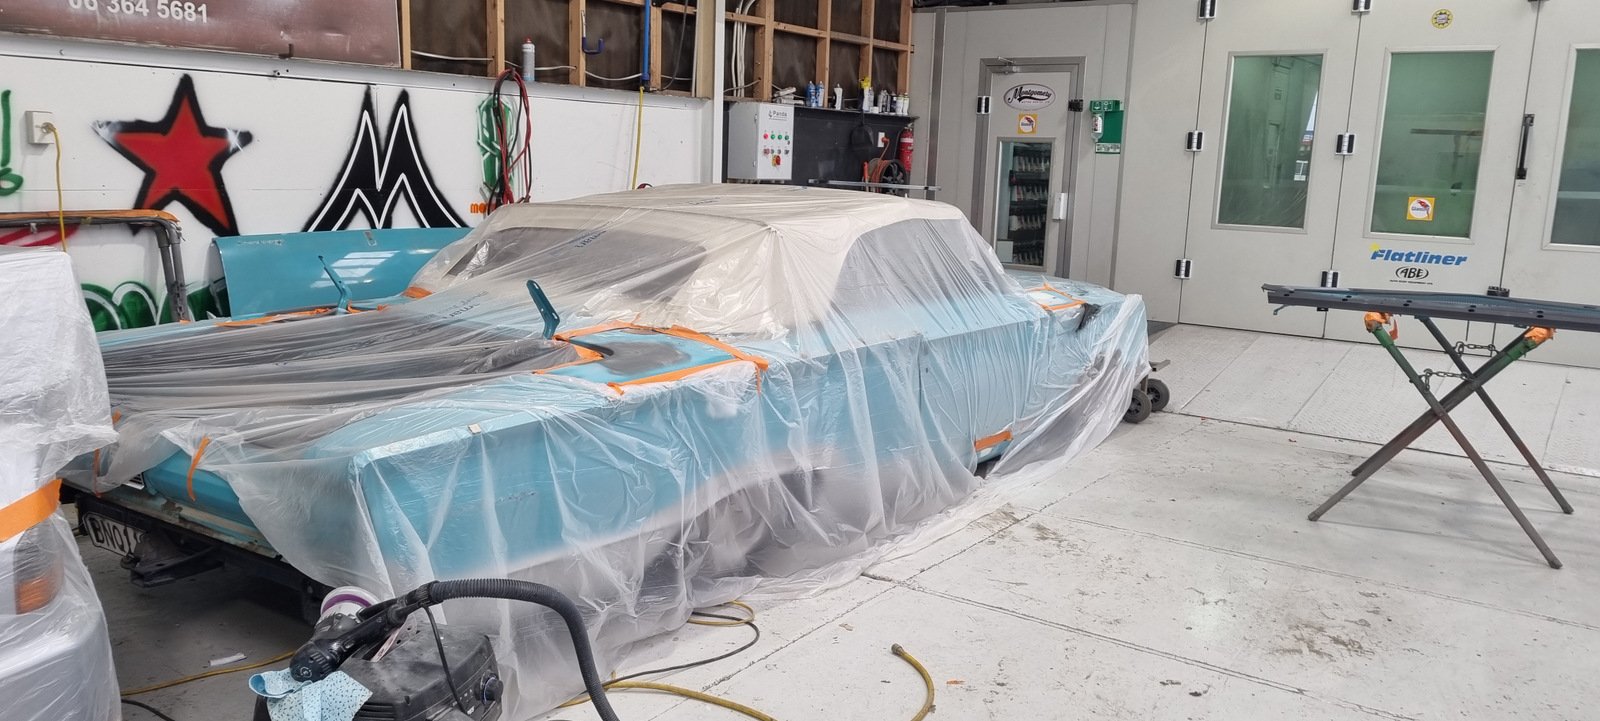
Progressing, should be painted next week.
1 point
-
Type59 Engine. Its a little different to the T57. Not as tall. The crankcase and sump seem a bit easier to make.1 point
-
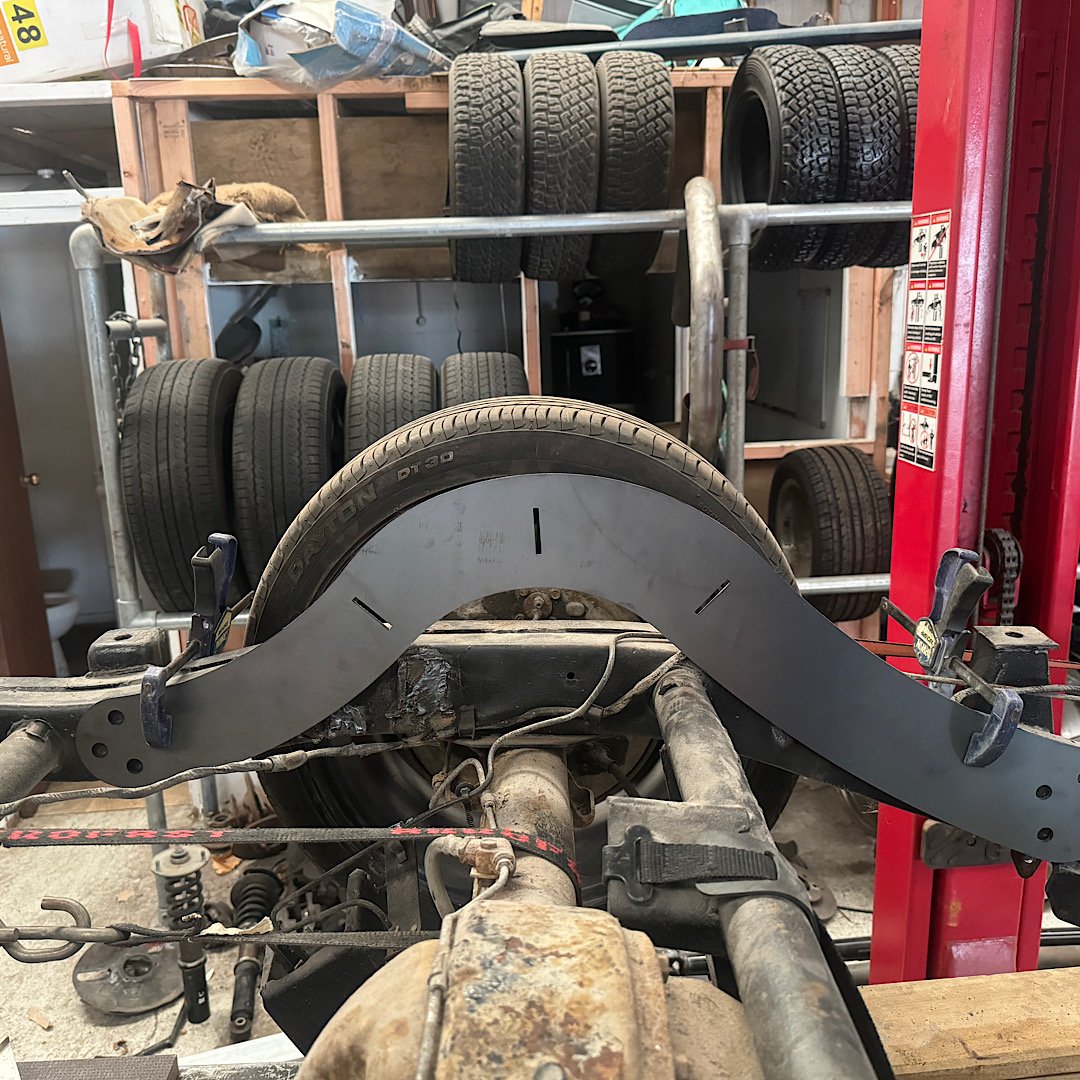
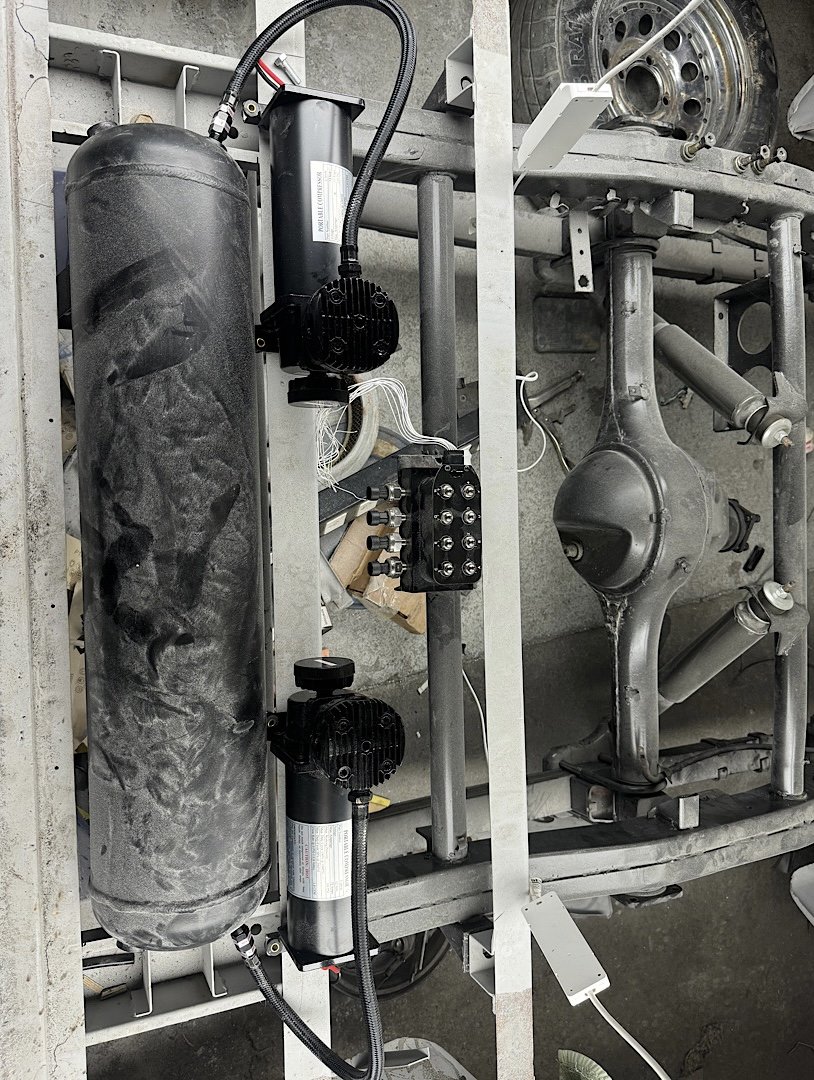
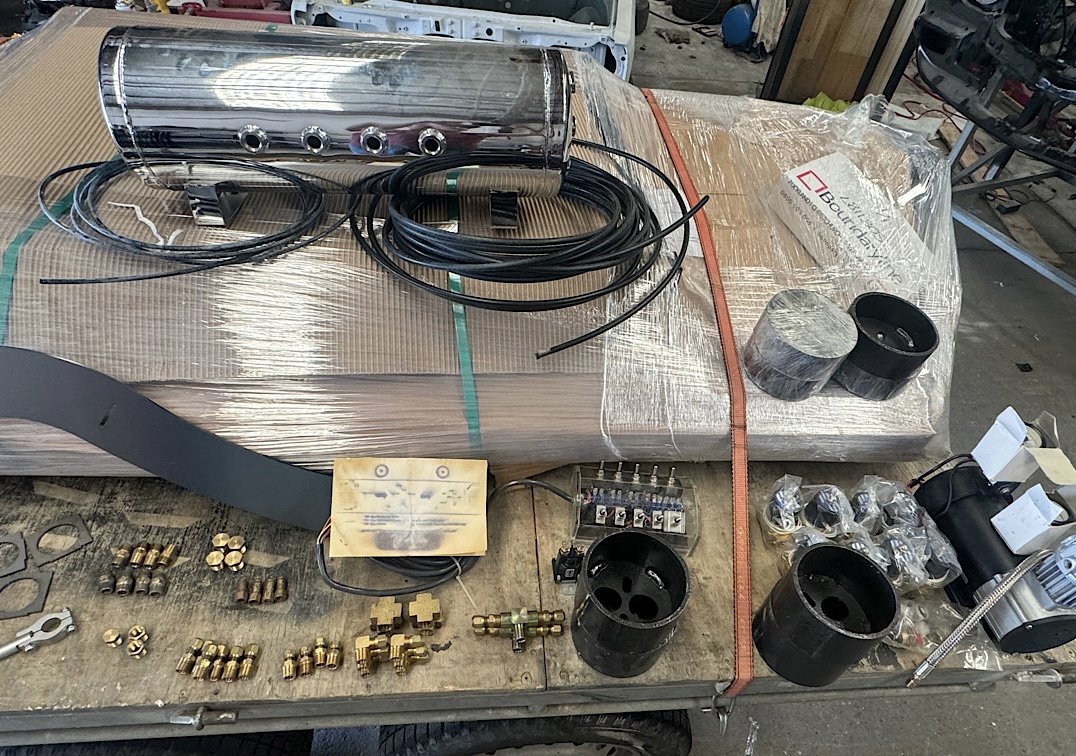
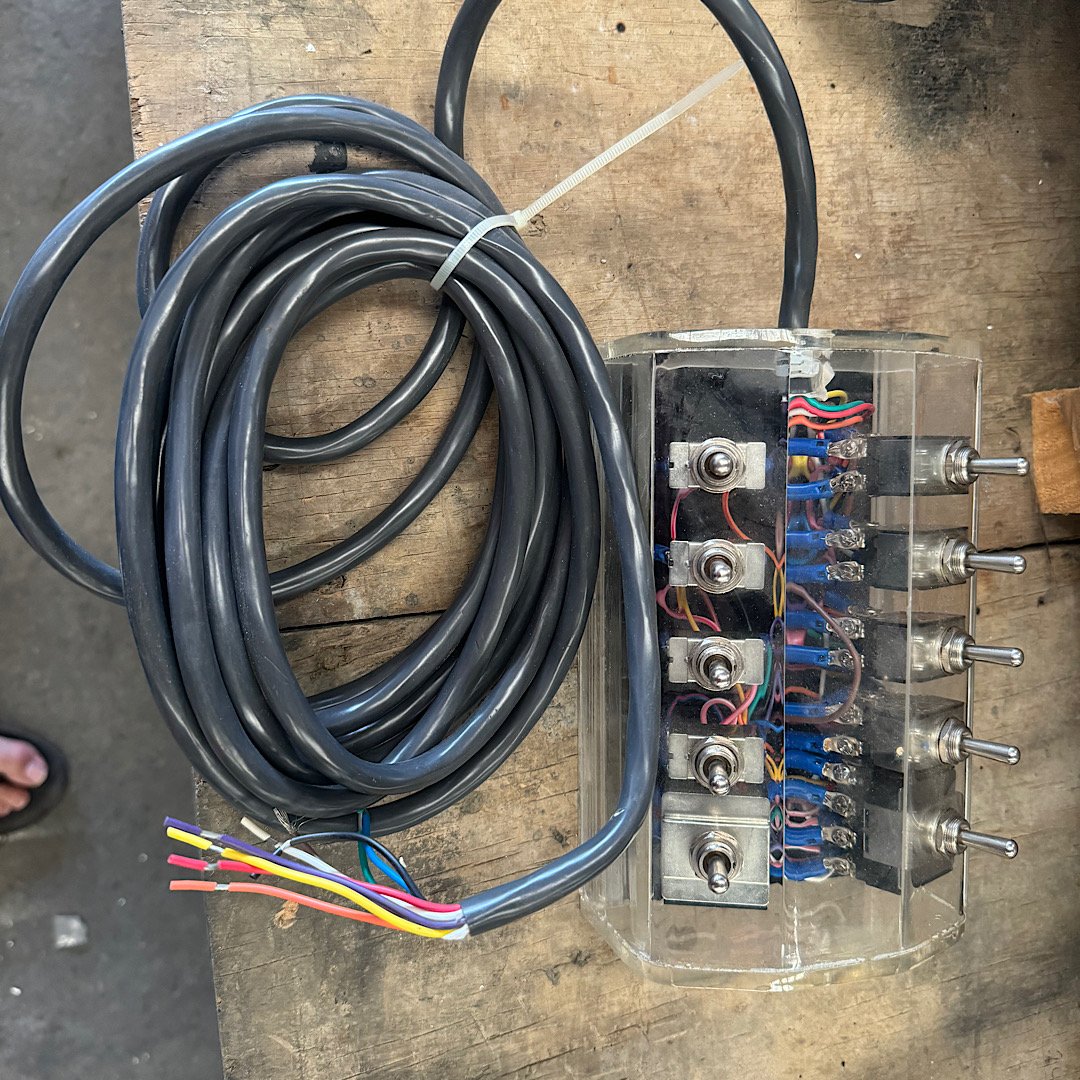
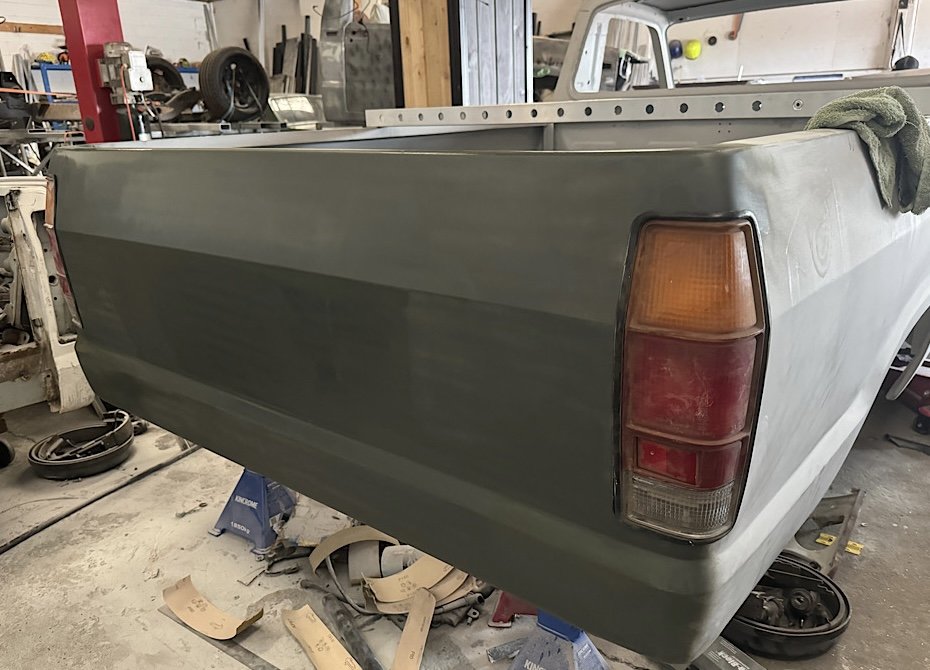
Not much of an update really. i ended up ordering a set of air ride nz’s notch kit that he had in stock. Listed as an 8” notch. i roughly sat one side in place, I figure it allows for a 70/80mm bump stop on the diff in this position. Had a play around with the air system layout on the other ute. It will all sit below the deck floor. And each compressor will have a water trap before the tank. the valve block can mount to the factory spare wheel mount. Looks quite good like that however, a deal came up on marketplace that I thought was pretty good. A “showtime” bag fitting kit for $250. this included everything in the photo below. Chrome 9 port tank, pressure switch, compressor, 2 gauges, solenoid, 10 switch controller, 3/8” and 1/4” air line, 8 x 3/8” bag solenoids, a bunch of air line fittings and a full set of bag mounts (cup type). I will use these solenoids, fittings, airline and tank. i won’t use the switch block and compressor, gauges and upper bag cups. this means my valve block, switch panel will be redundant ( this is a full kit minus bags). I can potentially buy 4 more bags to make another full kit (single pump). the air management system I will use is an air command air8000 system that has 8 presets with a digital display. i only need to figure out a way to lock out the system while it’s driving. maybe a wheel speed sensor somehow, this will be wired through the air8000 alarm circuit which locks the system when set/armed. I’m sure that will work. i slapped the tail lights in the tray for max visual, so stoked. Just need to finalise that concave line now. i fly out to Japan in 4 days, so nothing else will happen until after nats. i would like to hunt down a nice steering wheel while im over there.
1 point
-
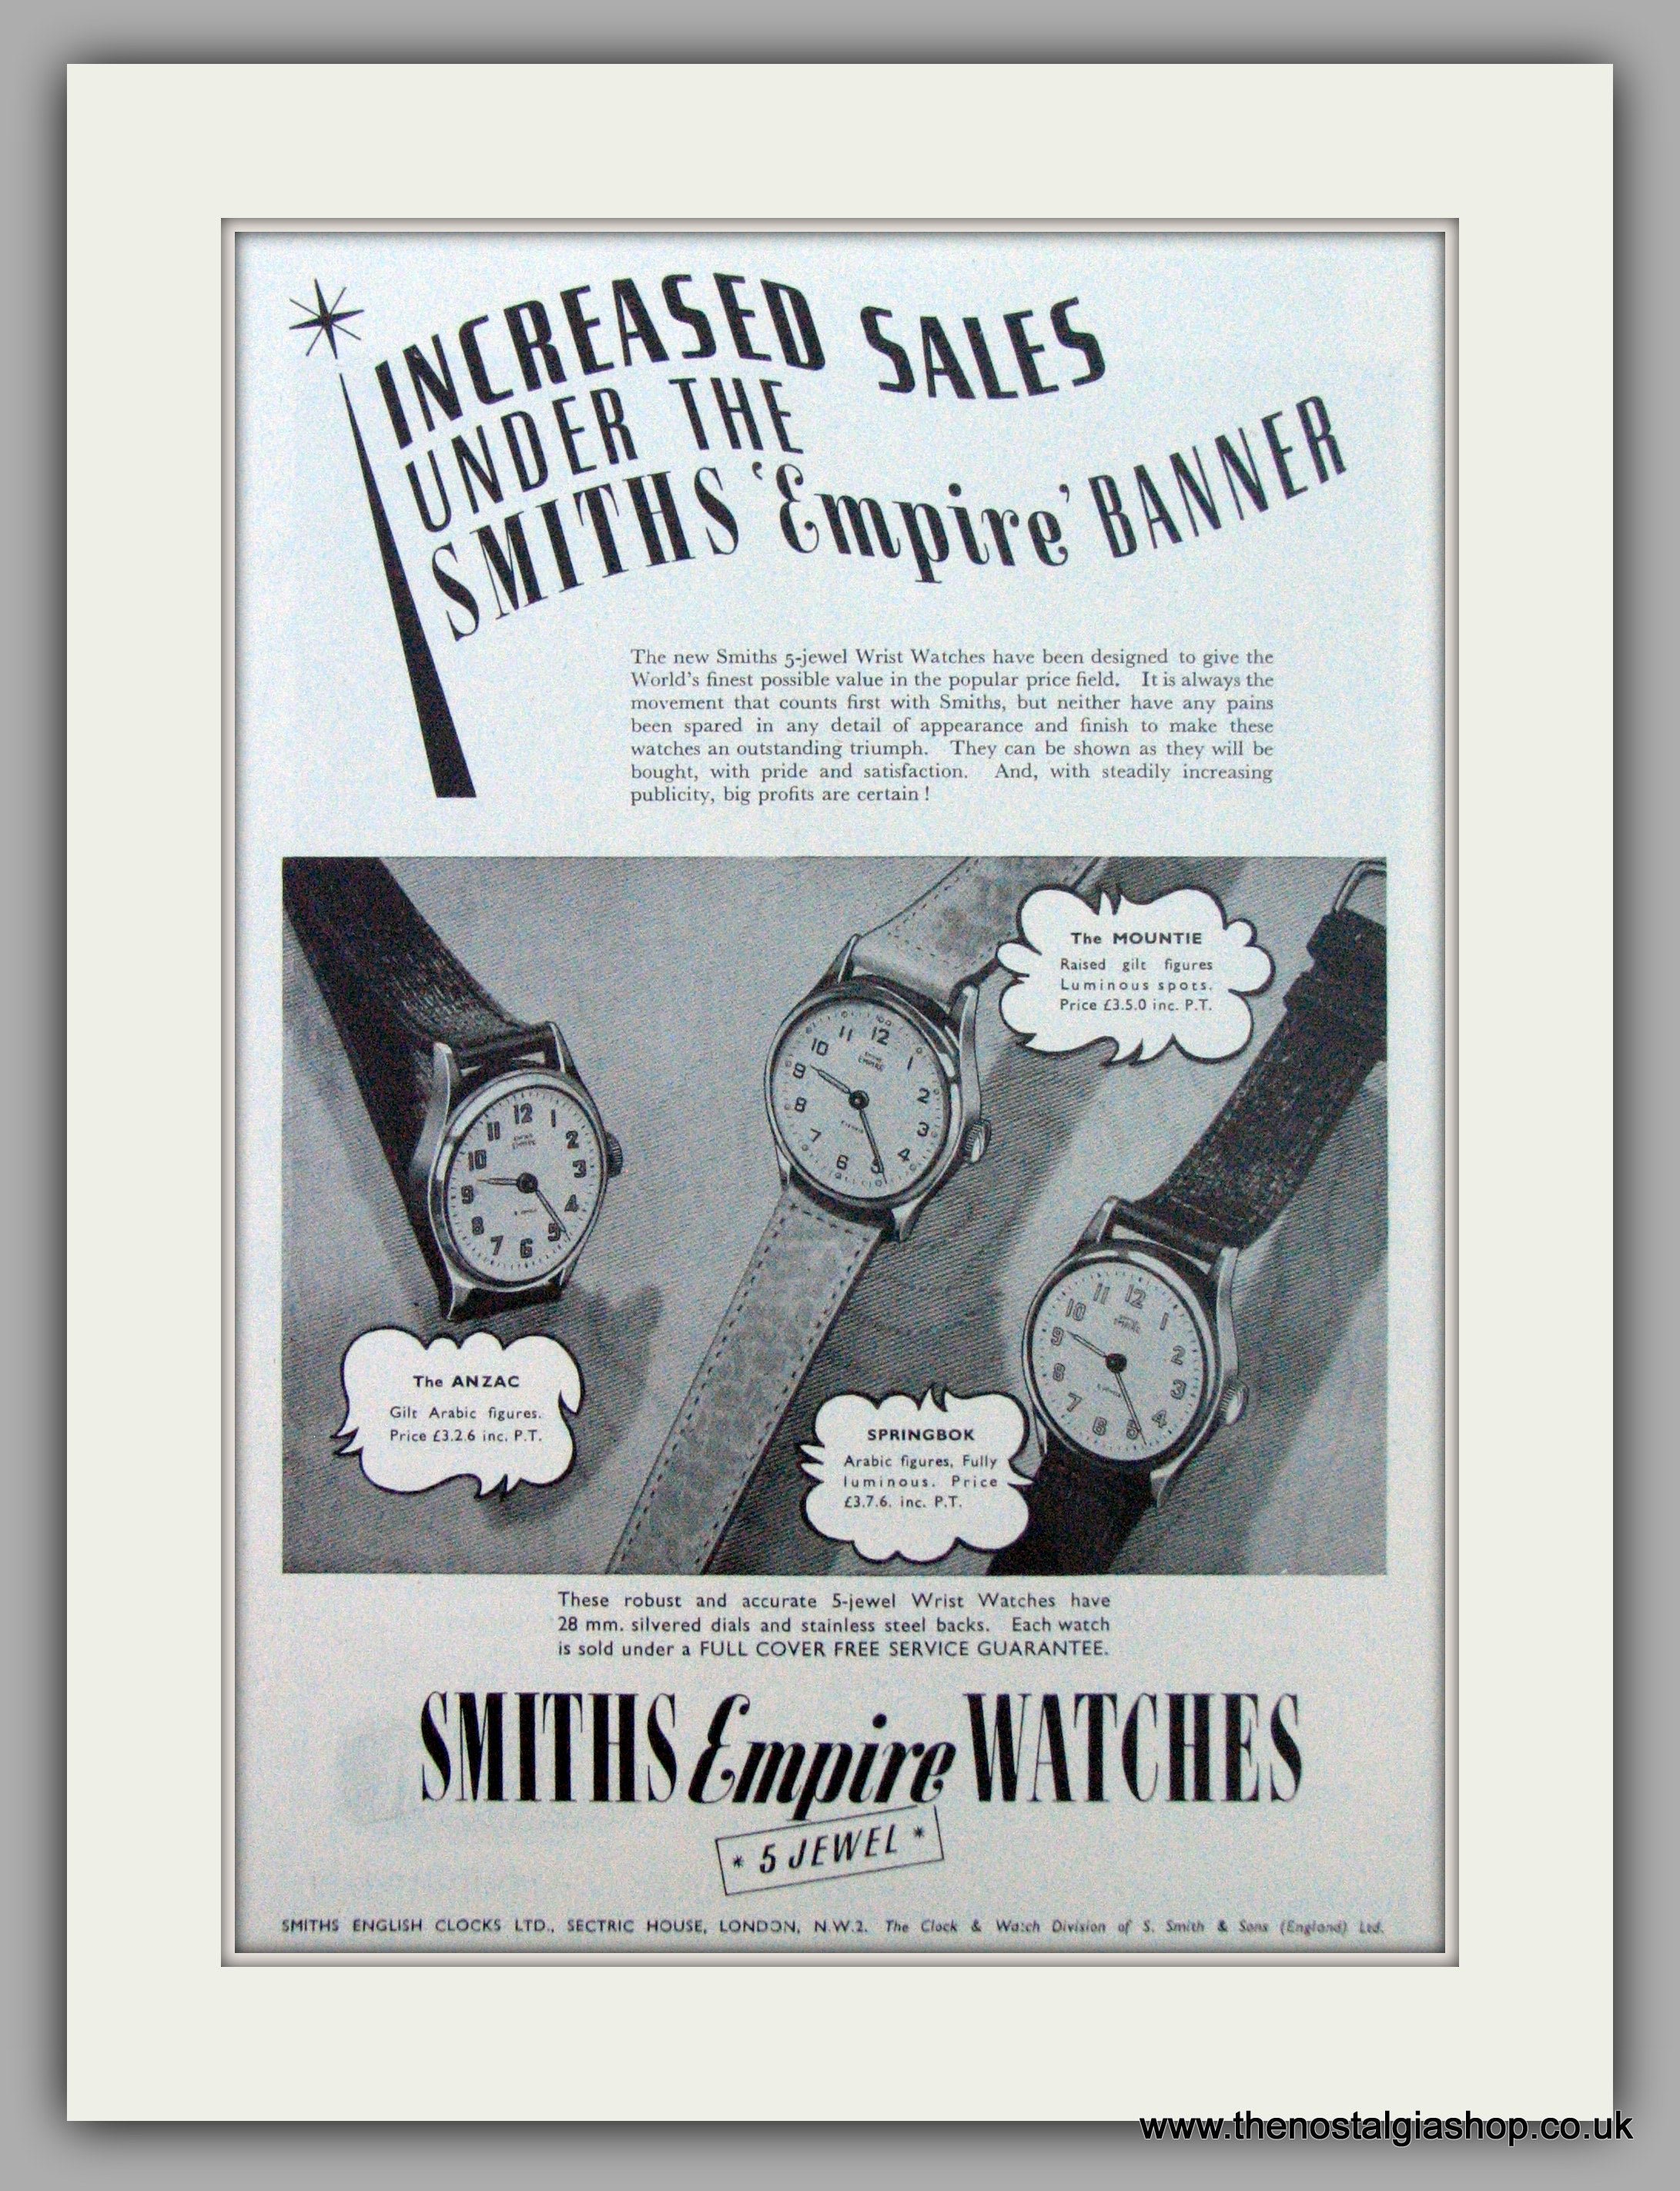
Jumping forward a war I just picked up an "anzac". Welsh built between 1947 and 1950, a cheap, reliable, and austere watch for the average man of the commonwealth. The Morris Minor of watches, who wouldn't love one. This one is a single owner, the gentleman's first watch in fact. They have a 5 jewel pin escapement, which is a fairly low cost but serviceable movement. Certainly there are many still running today with next to no maintenance (Morris minors) and still getting within a couple of minutes at the end of the day Also It matches my morrie too
1 point
-
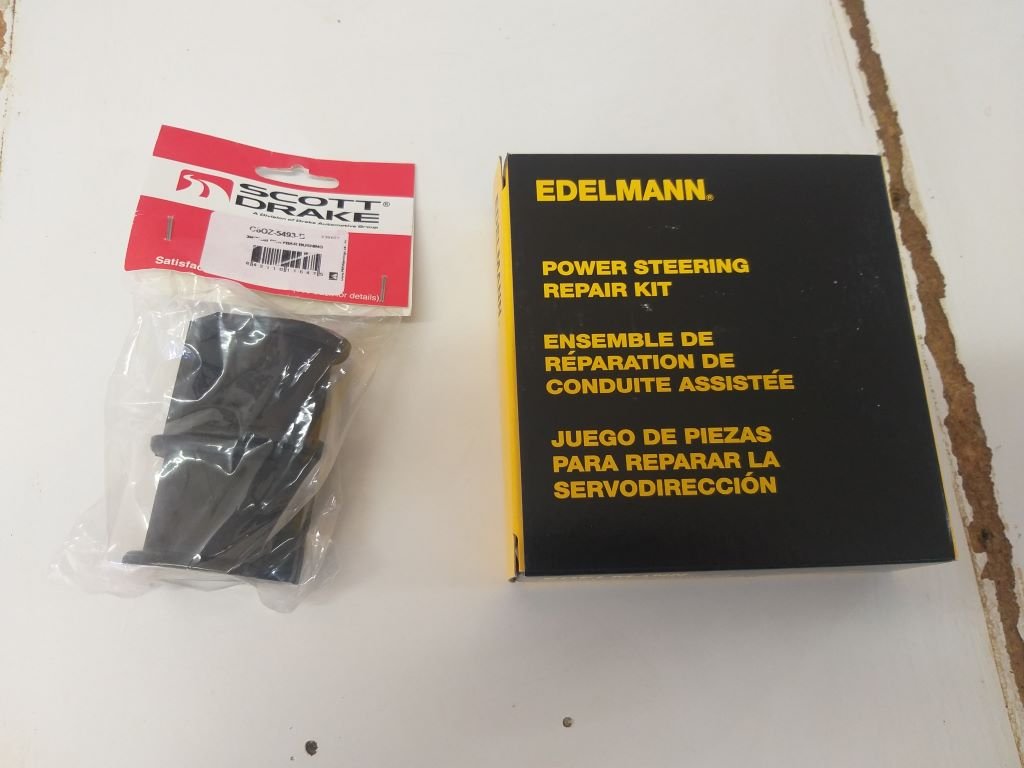
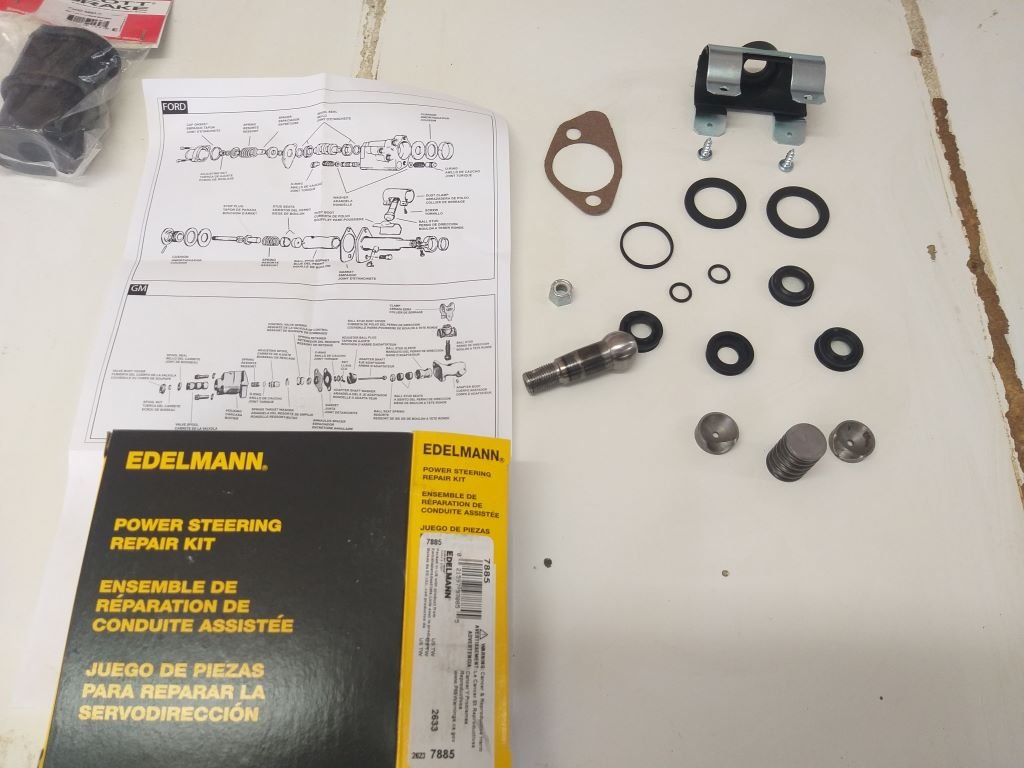
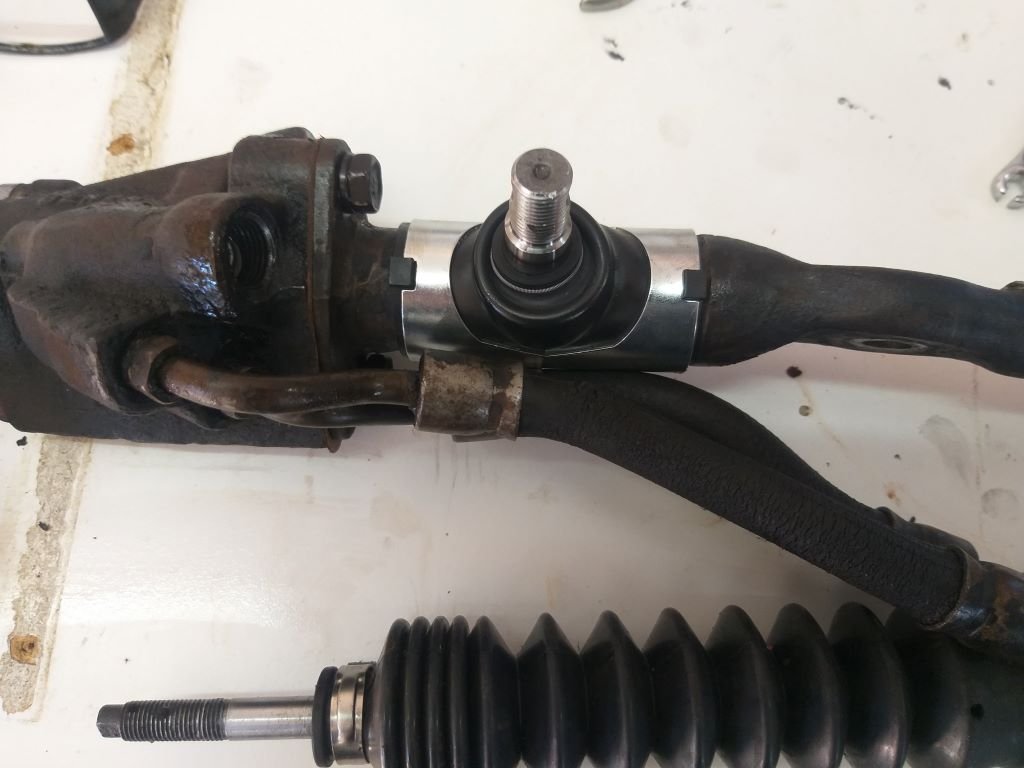
The rebuild kit for the power steering ram and a new set of sway bar bushes pitched up yesterday arvo. So, this morning I cracked straight into it. Nek minnit: Yummy.
1 point
-
Got a lot of CAD done this winter. Radiator: Diff/Axle Rear end assembly. Just external. Fuel Tank: Bulkhead/Steering: Gearbox: External1 point
-
Story time. The TL;DR version - really enjoying this thing, and once again I made a regular adventure ride turn into more of an adventure that it should have been, thanks to my idiocy. But yeah, this thread is likely to be more of a "sharns about stuff Richy attempts on bikes" as opposed to a proper project, as these things are pretty well just ride, maintain and occasionally modify. Apologies if it's a bit wordy. So I took the bike on it's second ride a week ago, a bit of a trip around the coast from Martinborough, via White Rock, then through a private station, to Cape Palliser and Ngawi thanks to @BLIZZO and a bunch of his mates on flash as KTMs mapping out a future rallye route. We kicked off on gravel roads, the road out to White Rock isn't bad at all, and I'm gathering a bunch of confidence in using my brakes and weighting the bike to get it to turn a bit better on gravel. Net result, getting a bit quicker which probably means it's just going to hurt more in the future. Ripper time. A couple of the challenges made me think twice, I dropped the bike once on an awkward, slower turn in some sand but got through and was chuffed I managed it without having to palm the bike off to someone more skilled than me to get the job done. However, first to admit I'm not the fittest, or the most elegant at getting through some of the stuff so I was a bit pooped early on, however once the trail flattened out a bit it allowed a bit of recovery. I also didn't take any pics because admin, and there wasn't a huge amount of faffing around with a bit of a schedule to keep to. Would trade again! The weekend just been, I decided I'd join up with a group doing a ride around the Wairarapa/Tararua region on primary gravel roads, culminating in Puketoi Rd, which if you've been following along, is where I punctured on the XT and had to turn back. 2015 Suzuki DR-Z400E Phone (4) by Richard Opie, on Flickr This is the group at the end of Bartons Line, the first stretch of gravel we encountered after leaving Masterton. Yes, I rode the bloody thing to Masterton... bit buzzy at cruise RPM but bearable. A range of bikes, erring on what I'd call the larger side with myself and a guy on a DR-Z400SM the smallest of the lot. The fella on the T7 with all the stickers on it, could PEDAL though and was fun to watch as he overtook me, and proceeded to powerslide like a boss through multiple corners. The road was relatively narrow and tight to begin, but opened out into some pretty cool sweeping corners, and fast switchbacks. I couldn't keep pace with the 3 fast guys but managed to acquit myself all right I thought. 2015 Suzuki DR-Z400E Phone (5) by Richard Opie, on Flickr Still looking fresh as after the first road! So after this, we trekked to Pori Rd, which would then lead on to Puketoi Rd - the rougher of the surfaces chosen for the ride. Again I lost sight of the quick fellas, but stopped to take a quick shot. 2015 Suzuki DR-Z400E Phone (6) by Richard Opie, on Flickr Pretty good nick roads, minimal corrugation. I rejoined and again found myself effectively riding alone, and when I arrived at the Pori Rd/Puketoi intersection continued straight as I figured the lead groupd would have. However, I didn't see any tracks (and T7s seem to leave hectic skiddies!) and got to the first gate, which was closed... and this struck me as a bit odd. Nevermind, on we go, and I'd go on to ride the entire length of Puketoi Road, not get a puncture, and end up waiting for over 30 minutes at the end for the group to arrive. Turned out they took the wrong turn at the intersection... 2015 Suzuki DR-Z400E Phone (8) by Richard Opie, on Flickr 2015 Suzuki DR-Z400E Phone (9) by Richard Opie, on Flickr I figured instead of taking Route 52 back to Alfredton, and then onto Eketahuna, the most direct route for me to go home was back via Puketoi Rd, in reverse. No problem then, off we go, having a blast and being a hooligan. I took in Tararua Road on the way, another flowy gravel road effectively between Pahiatua and Ballance. Arrived home happy as you like, until I looked down and noticed my tank bag was unzipped and... and... hell I was sure I popped my phone in there. Whaaaamp whaaaa. The Puketoi Road curse strikes again. Thankfully, technology is wonderful and Samsung helped me find it. The problem was, it was here. 2015 Suzuki DR-Z400E Phone (10) by Richard Opie, on Flickr OK cool. At least it's alive. But 1.5 hrs ride away. Logic said 1.5 hrs of riding was cheaper than a new phone, so off we went. Back to Puketoi we went, only this time it was raining and the terrain had changed somewhat! 2015 Suzuki DR-Z400E Phone (11) by Richard Opie, on Flickr OK past the first gate. 2015 Suzuki DR-Z400E Phone (14) by Richard Opie, on Flickr And then we arrived at approximately where the phone was. I'd grabbed the location and added a pin to Google maps, and used my work phone to GPS me to the rough spot. The phone was about 5m away from where I'd stopped, face down in the mud. I reckon it fell out when I'd given the front a good old heave to wheelie over a hole, while I'd been having a grand old time roughly 3 hours earlier... 2015 Suzuki DR-Z400E Phone (12) by Richard Opie, on Flickr No harm done, and time to head back... 2015 Suzuki DR-Z400E Phone (1) by Richard Opie, on Flickr And as you can see, it's not like conditions got any better. That's about where our adventure ends, with retrieval of a slightly mucky but perfectly functioning Galaxy A54 5G, clearly the IP rating on these is worth it's salt. But the real victory is more KMs under the bum, more grins and on the DR-Z I'm feeling better and better about riding off road (on the road is still scary tbh). Thanks for reading! No doubt more stupid yarns to follow, about riding a bike badly and falling over, getting up, having a giggle and continuing to the next low-speed mishap.1 point
-
Bit of an update as requested. See Discussion thread for a 'Life' update. My dad finished a second set of chassis rails (gotta both have a car right!) They were actually done close to a year ago now! Time flies! I came across some original Bugatti drum brake backings and pads. Not sure if theyll be useful but atleast theyre a cool to have. Finished a lot of proper detailed CAD on the front end. Wheels, hubs, axles, springs, hangers. The wheels are 8 main pieces, big radial spline onto the rim. They dont look easy to make!1 point
-
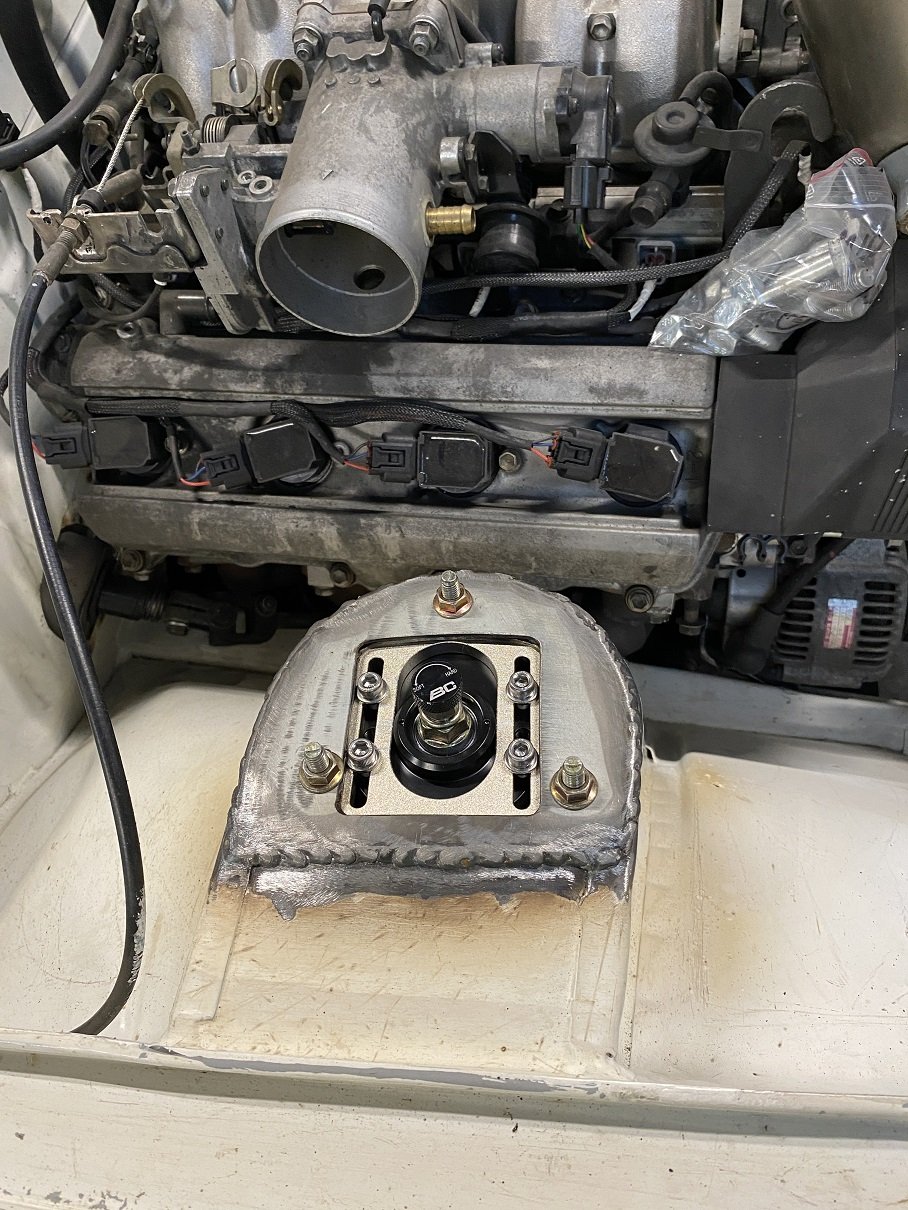
Howdy fellow isolated friends. I got my crossmember adjusted for my W55. I couldn't figure out where a vibration was coming from and narrowed it down to the driveshaft. Doing a UJ angle check I got it pretty much dialed in with spacers under the box to get it 2.5 deg on both ends, then got the member remade to sit where the spacers took it to 20200221_105825 by phillipbaines, on Flickr I made a patch harness by cutting a plug out of another small port ECU. Got the Link to fire up the motor and had the timing set. I did't have time to get it tuned for Toyota Fest so ran the old ECU down. Least I know that I can start having a play with the Link once I have some time... like ISOLATION TIIIME! 20200223_195148 by phillipbaines, on Flickr before the lock down we were lucky enough to head down to Toyota Fest for the weekend and what a treat that was. Such a good event and so grateful that Toyota put it on for us every year. The car drove down with no issues at all, and drove up with no issues at all. I couldn't believe it! Thrashed it around the track, thrashed it coming over the pass to Cromwell. drove it home easy. 20200307_123559 by phillipbaines, on Flickr 20200307_151653 by phillipbaines, on Flickr 20200307_153252 by phillipbaines, on Flickr Now that i'm back i'd like to increase the drivability. I've installed the A/C compressor and A/C lines again, once the lock down is lifted i'll buy a new O Ring kit so I can put the new AirCon gas through it (i watched a YouTube vid on how to do it.. wish me luck!). (no photo, oops) Added some conduit over spaghetti junction under the guard, surprising something so little/cheap can make things 1000x better 20200326_123514 by phillipbaines, on Flickr Before the lock down I went and got some offcuts of underlay. Shame, I just missed their dump of proper big sized pieces but ah well. chopping and sticking in puzzle sized pieces will still do the jerb. 20200326_143045 by phillipbaines, on Flickr 20200326_173129 by phillipbaines, on Flickr 20200327_144505 by phillipbaines, on Flickr For places that are vertical i've used some double sided tape. my god it could stick a 50kg weight to a wall, it's the tits 20200327_145209 by phillipbaines, on Flickr Puzzle completed 20200327_160001 by phillipbaines, on Flickr 20200327_164144 by phillipbaines, on Flickr This was the work station.. pissing down with this rain but i'd rather knock my jobs out now 20200327_160053 by phillipbaines, on Flickr Onto the front doors tomorrow, i'm not expecting silence but definitely less harsh doinks. That's all for today FB_IMG_1584328814380 by phillipbaines, on Flickr Discussion:1 point


This leaderboard is set to Auckland/GMT+12:00