77magnum13hundy
-
Posts
860 -
Joined
-
Last visited


77magnum13hundy's Achievements
Post Fiend (4/5)
862
Reputation
-

A bug of sorts 77's 69 beetle
77magnum13hundy replied to 77magnum13hundy's topic in Projects and Build Ups
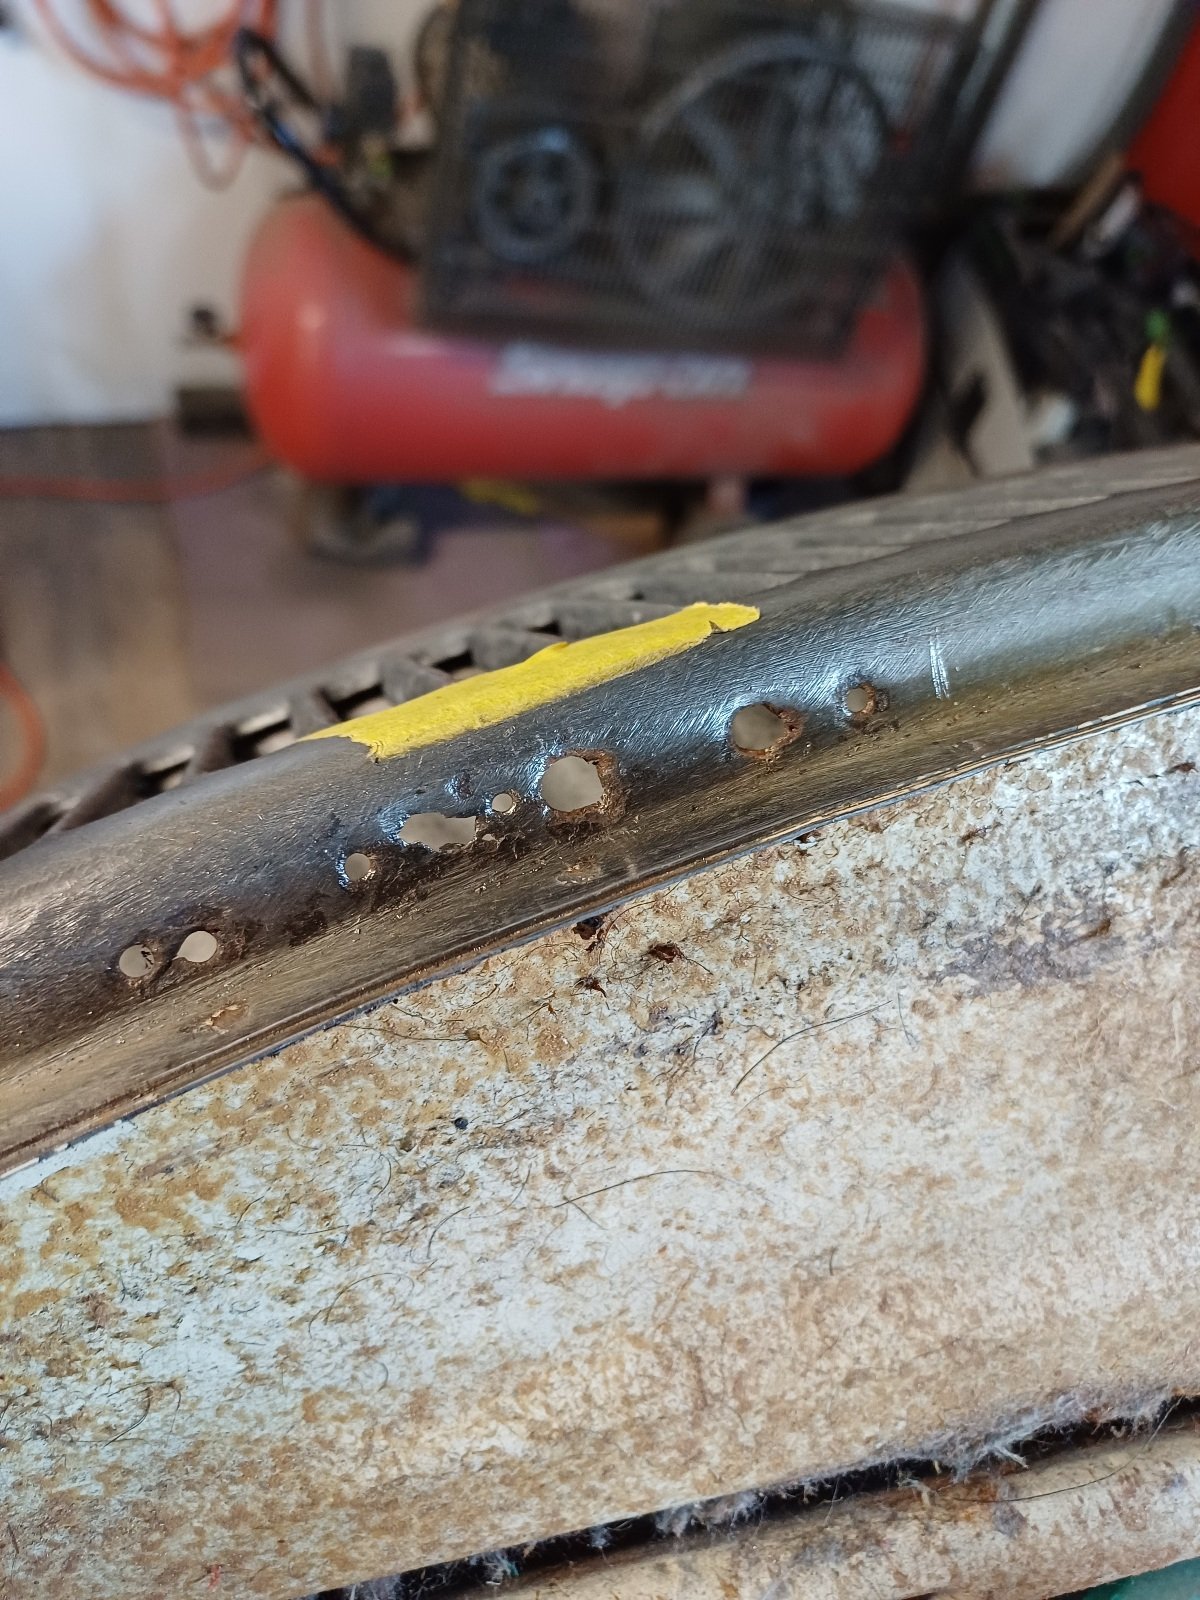
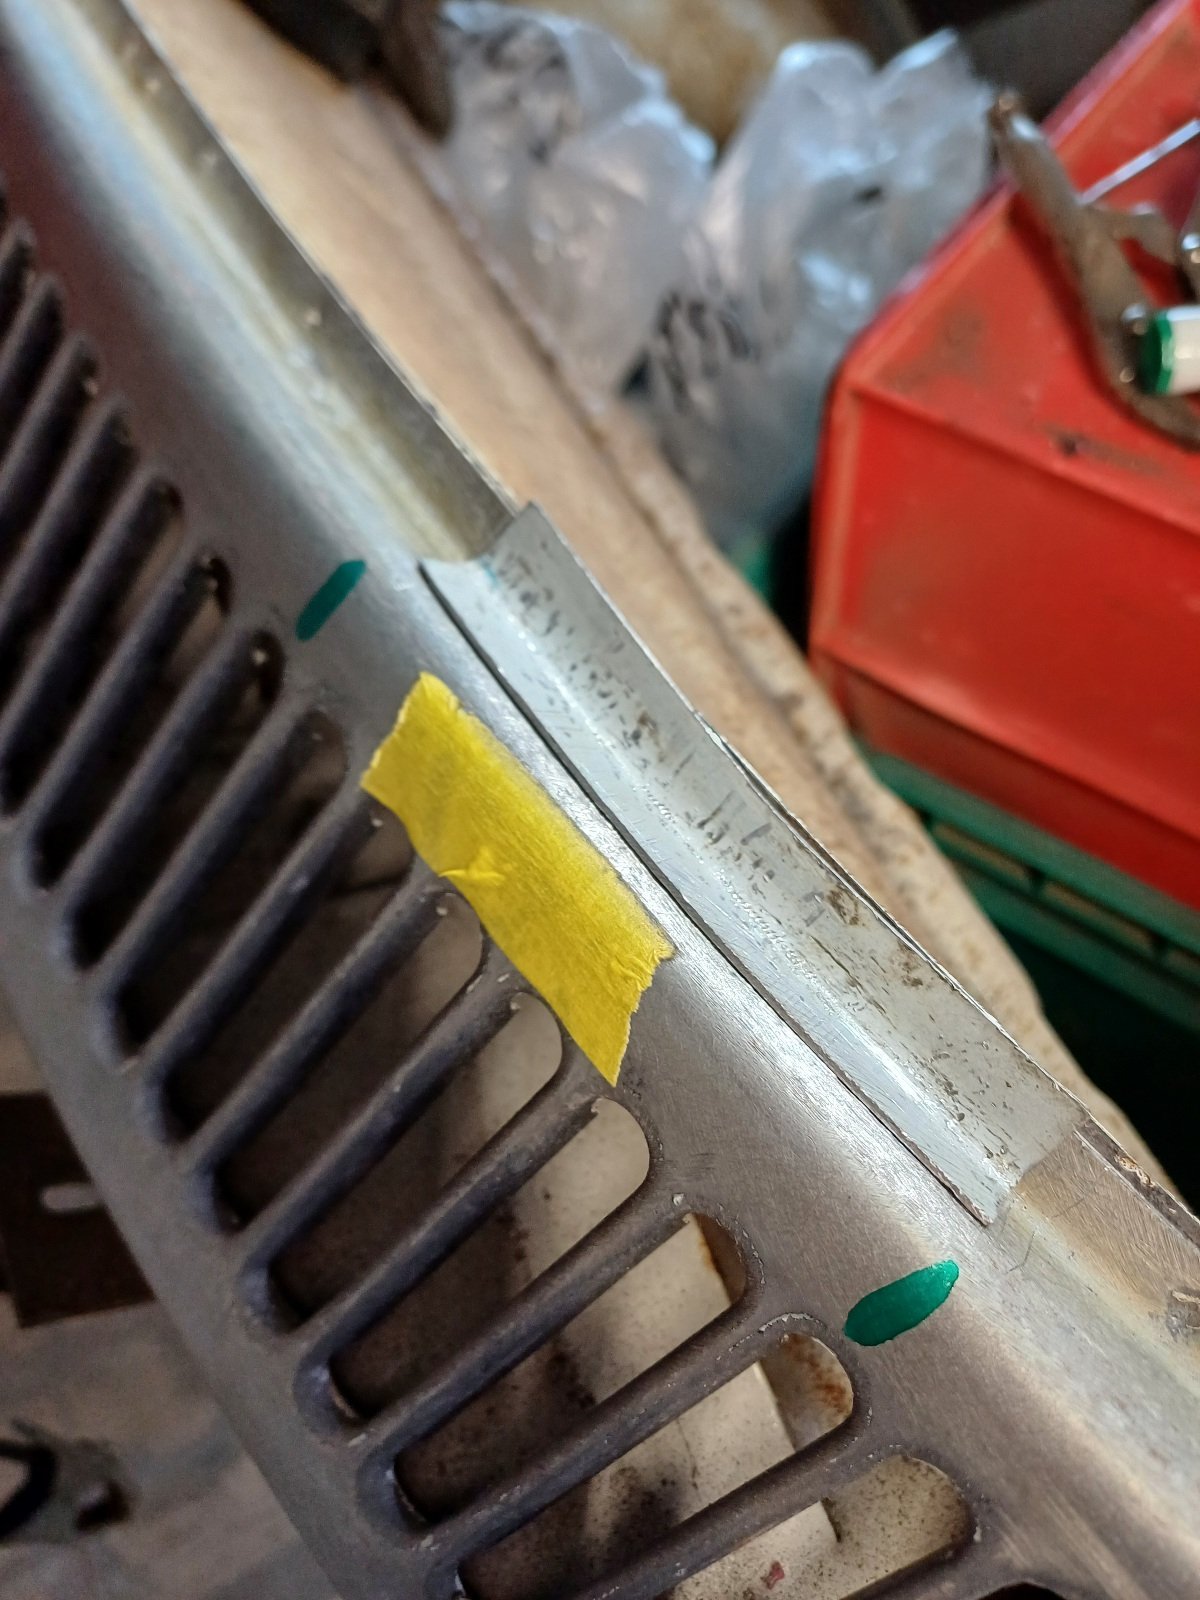
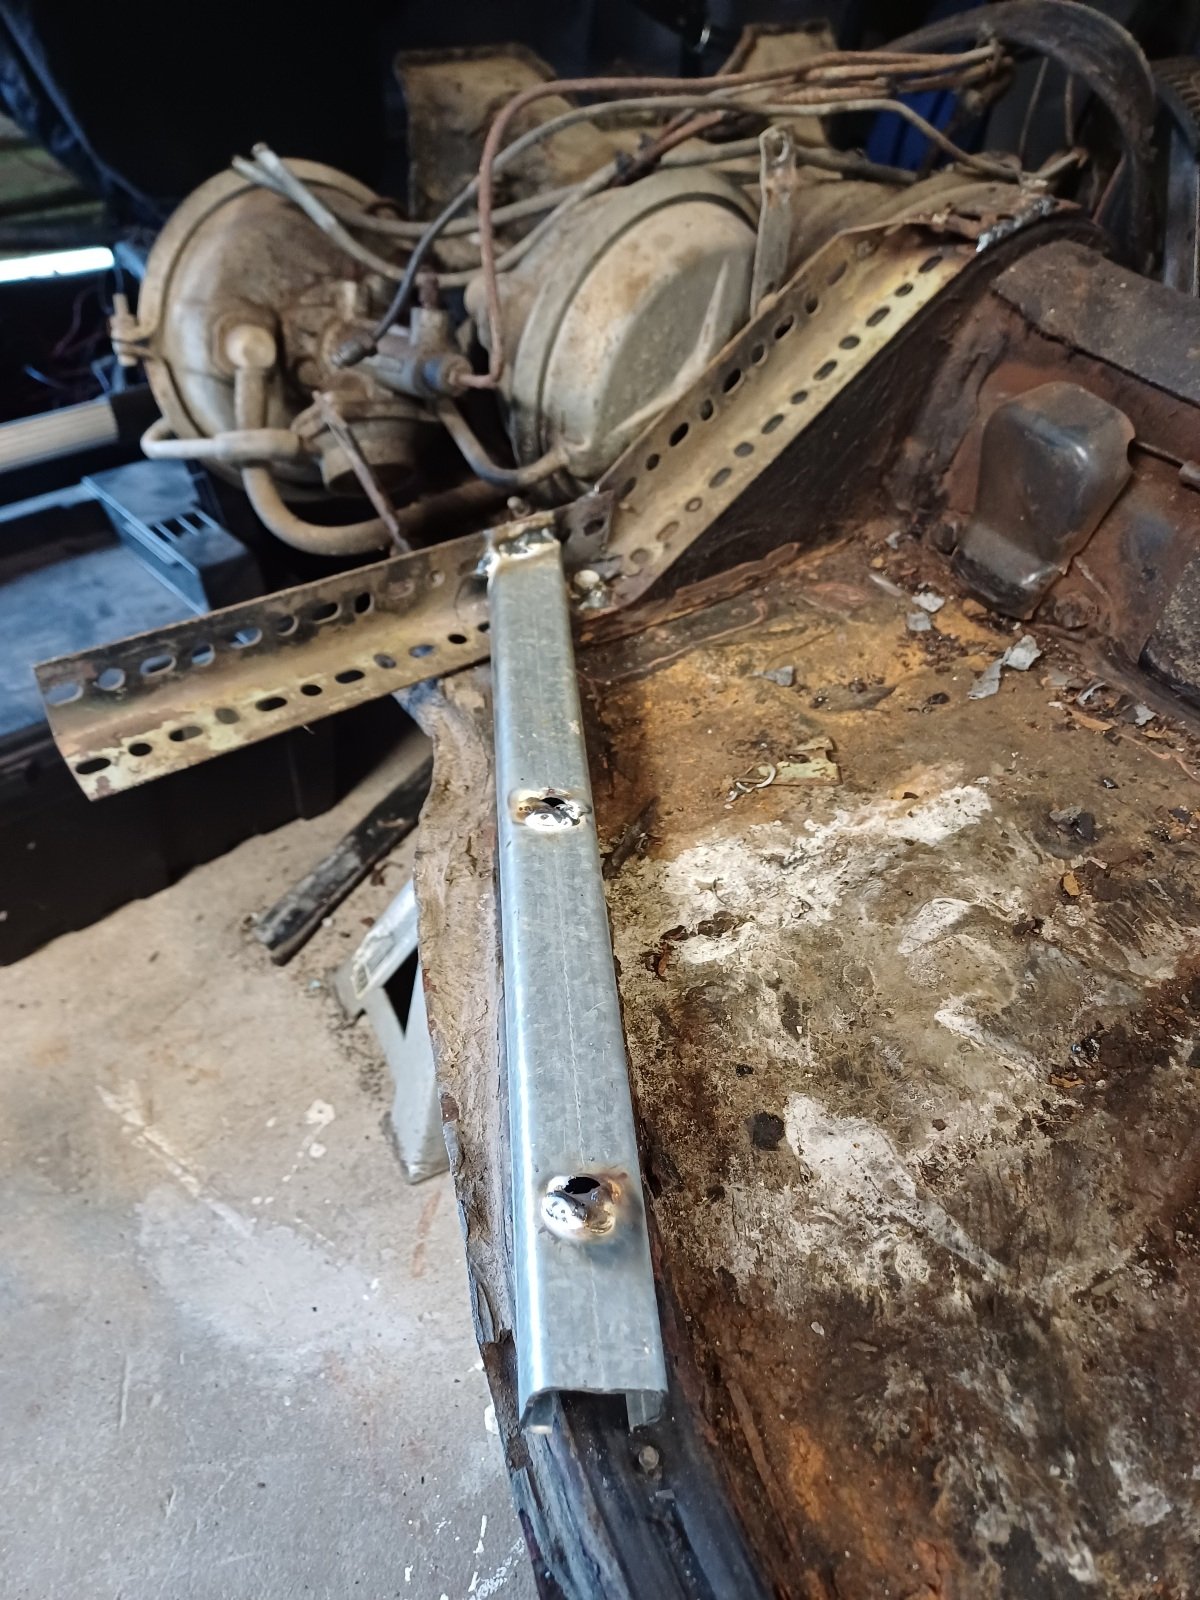
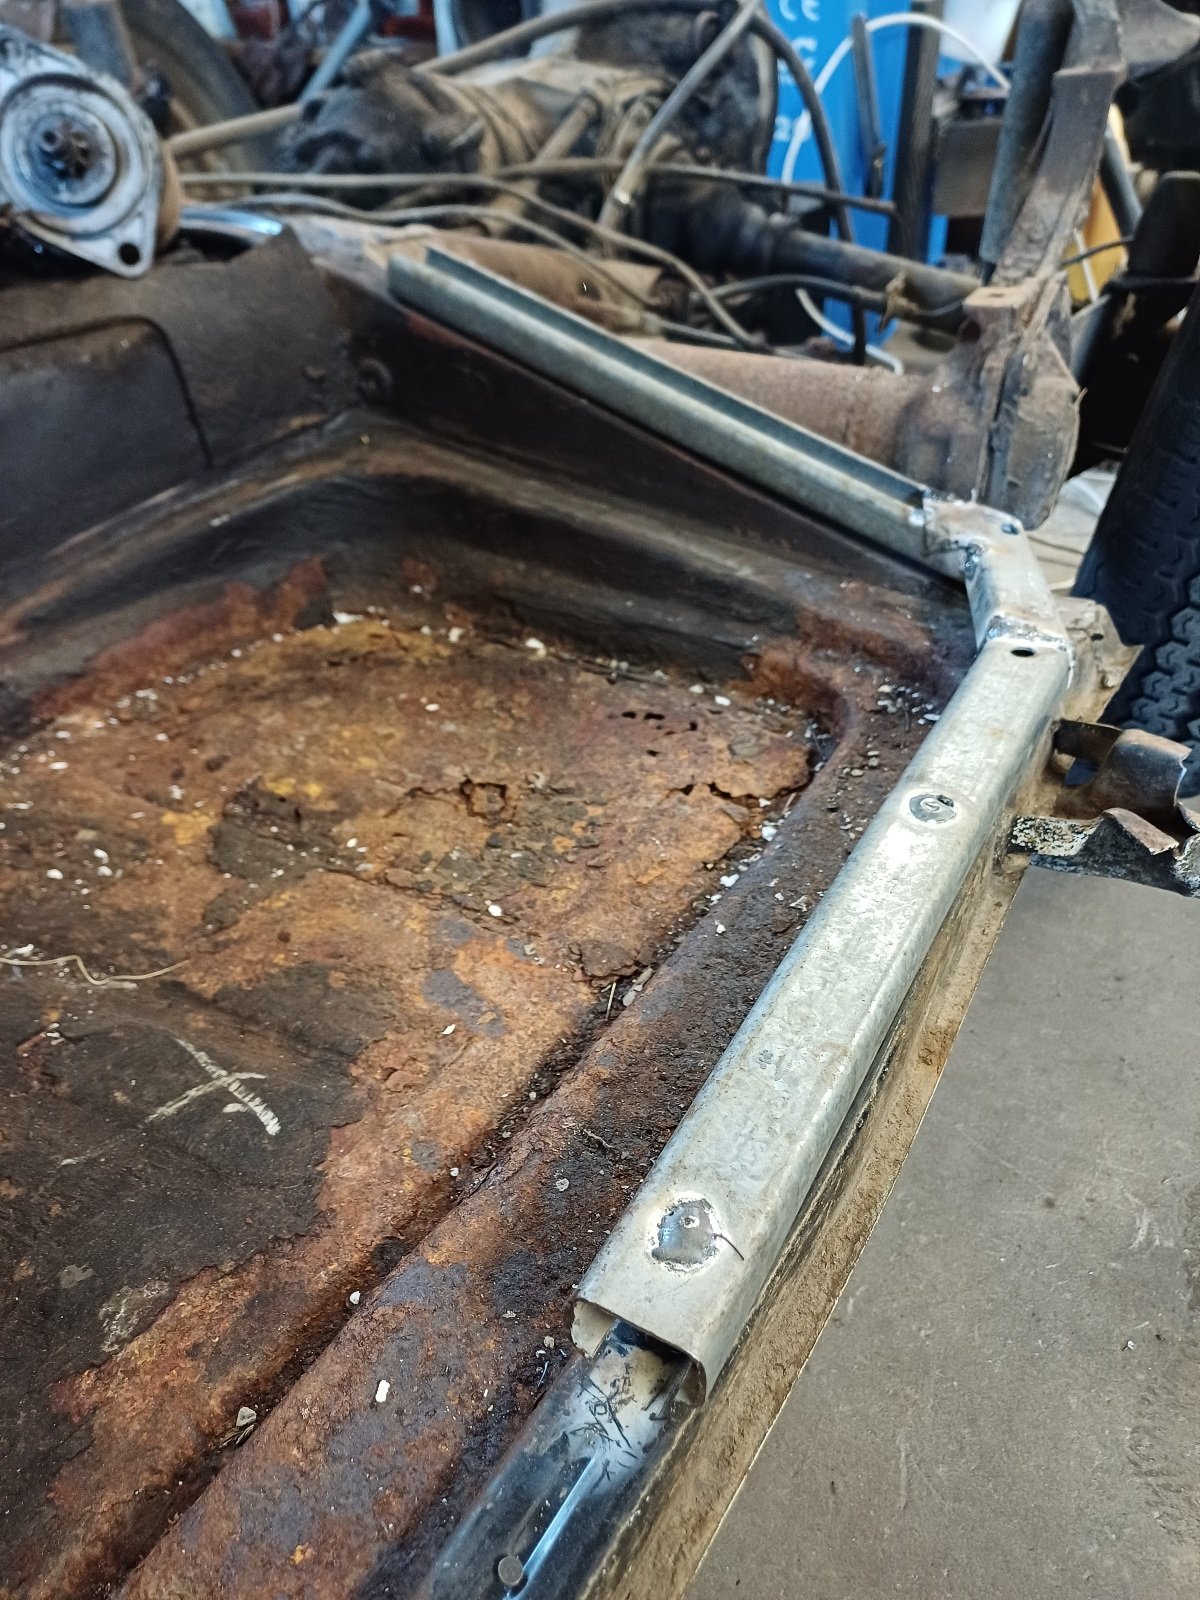
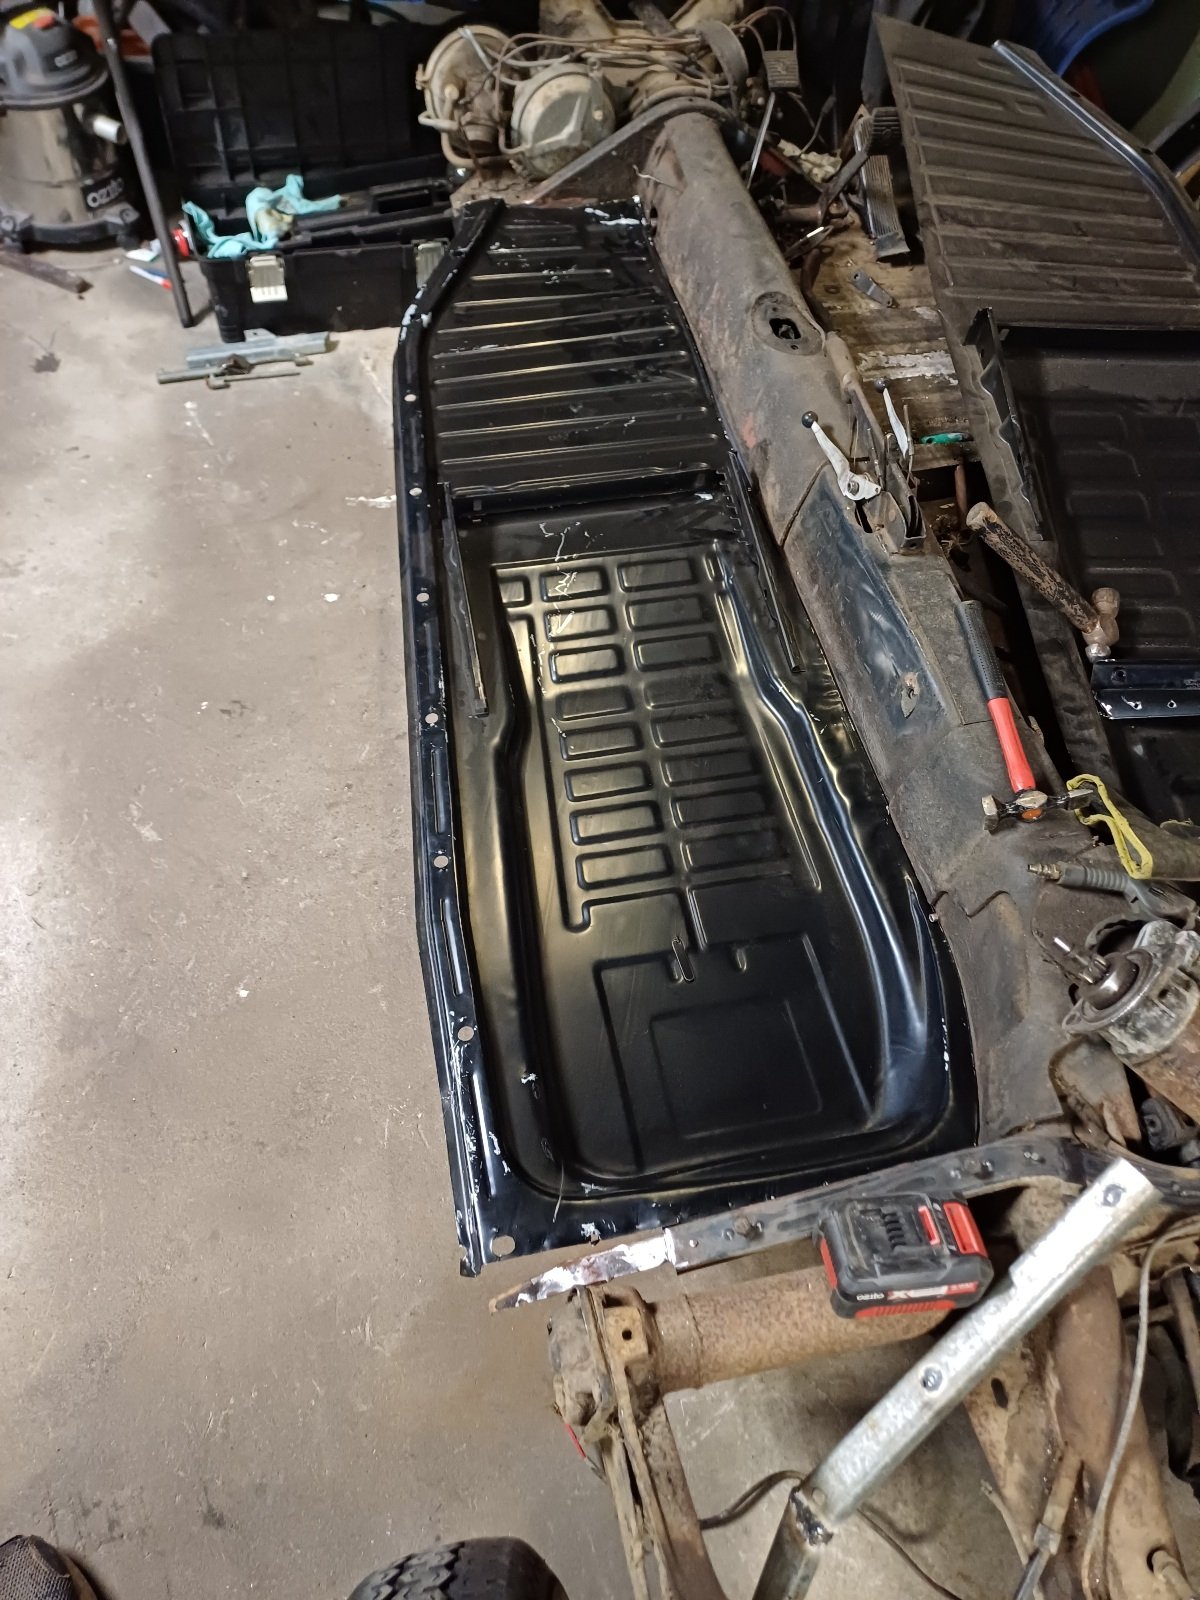
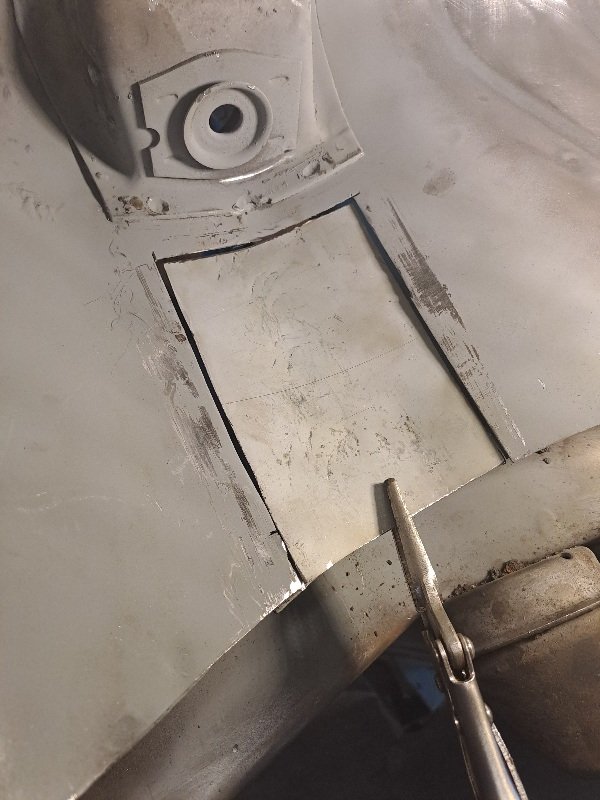
Back to the shell and a few minor bits need welding up, this patch was created and installed. Also I got 2 x heater channels so the problem areas floors pillars and channels will be fresh steel. Here's my handy work this lil patch was about 1.5 to 2 hours worth.
-
A bug of sorts 77's 69 beetle
77magnum13hundy replied to 77magnum13hundy's topic in Projects and Build Ups
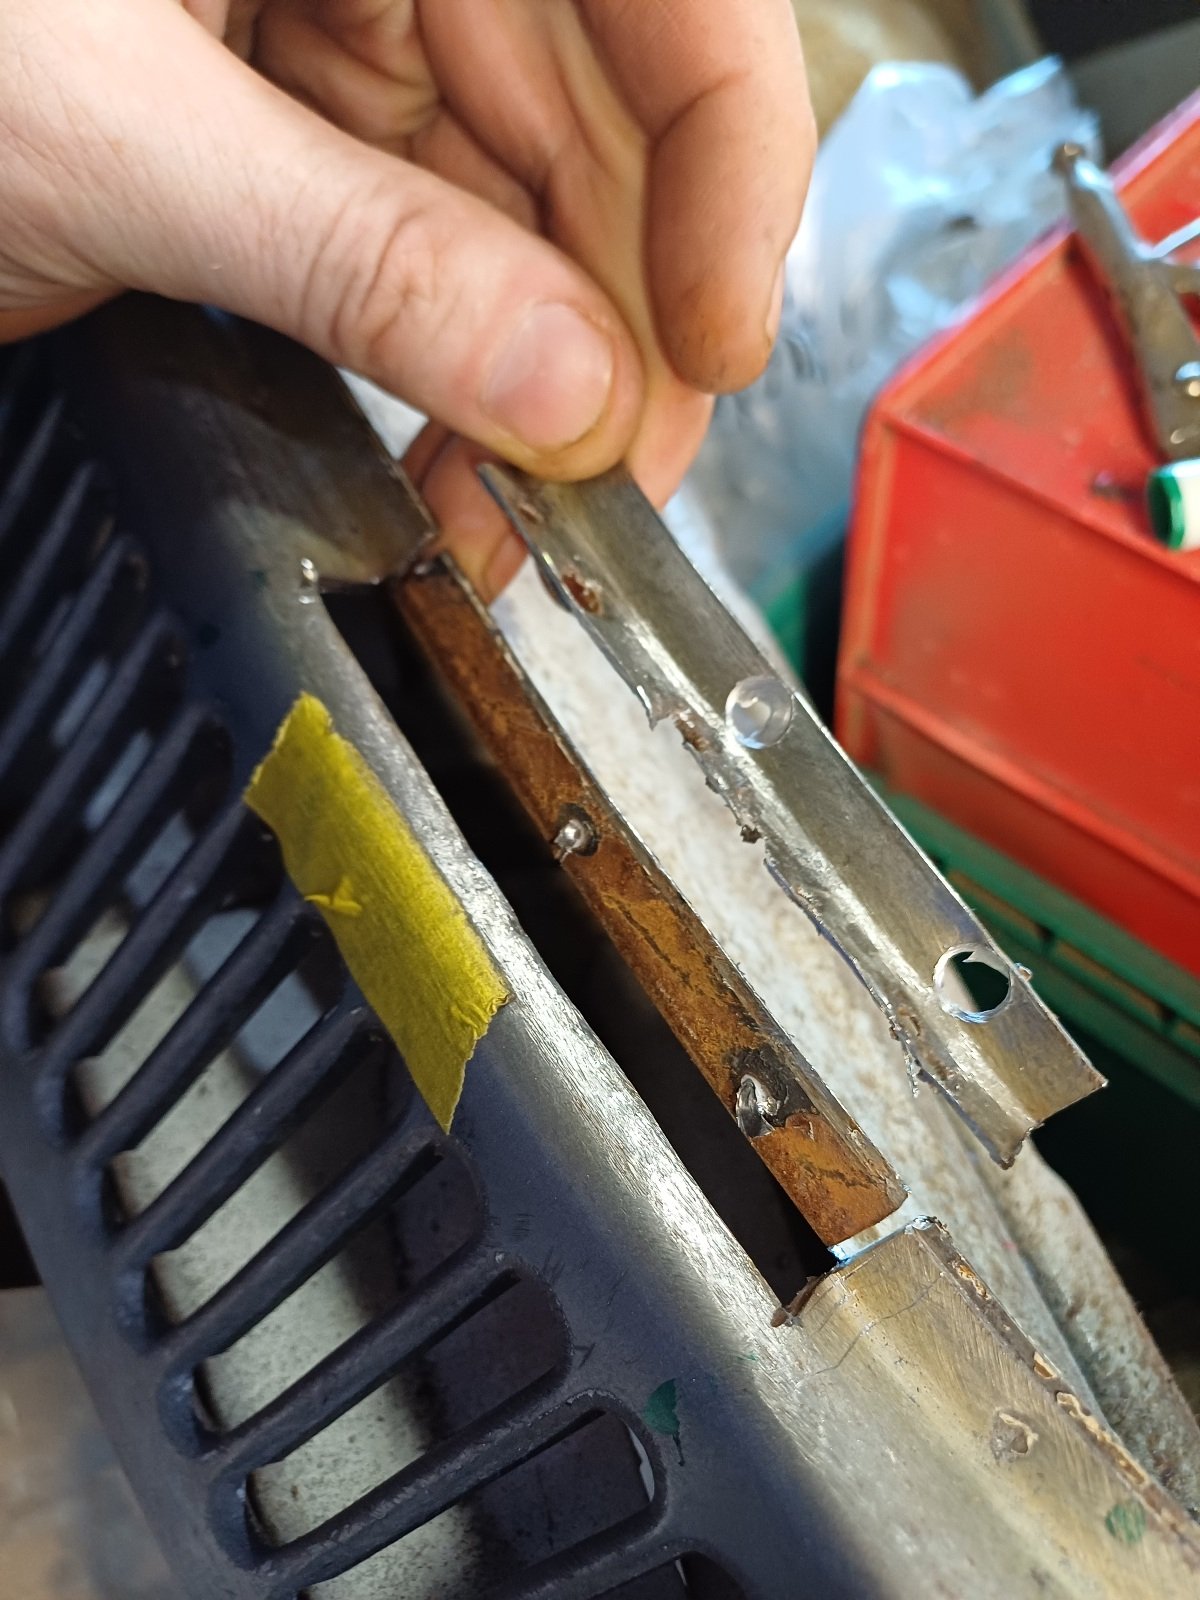
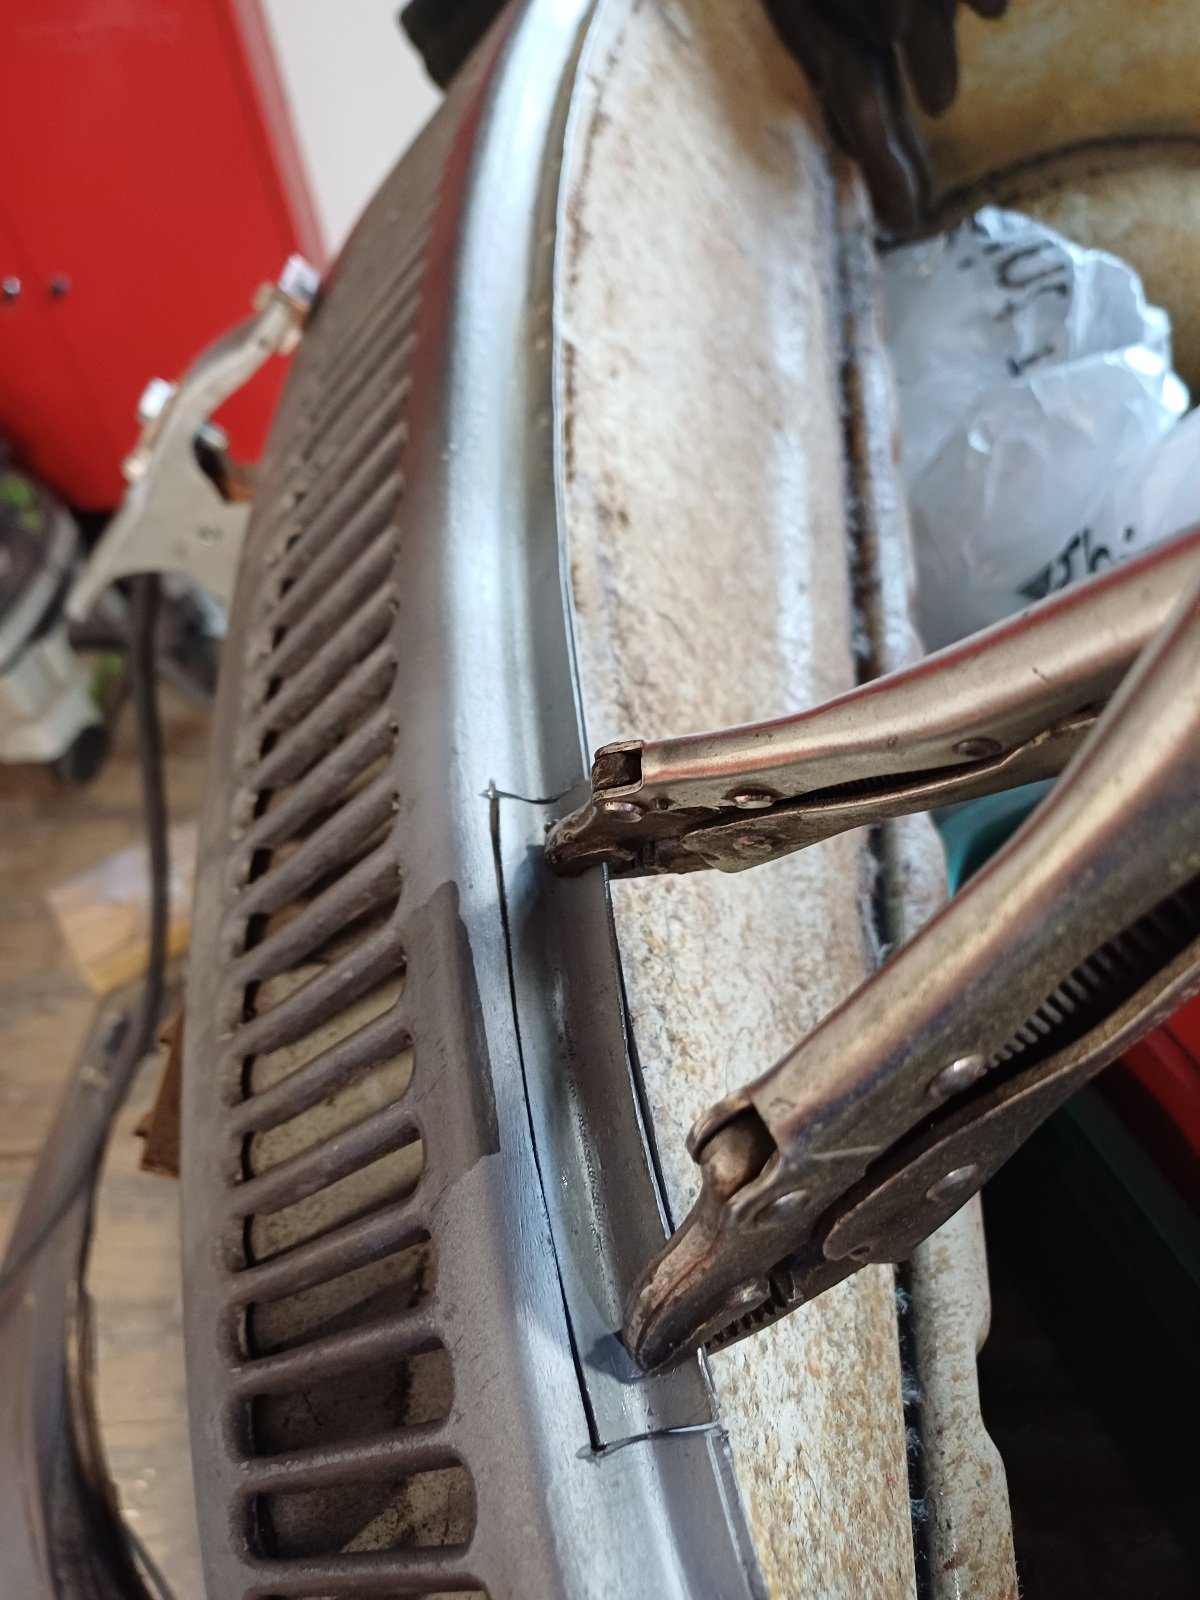
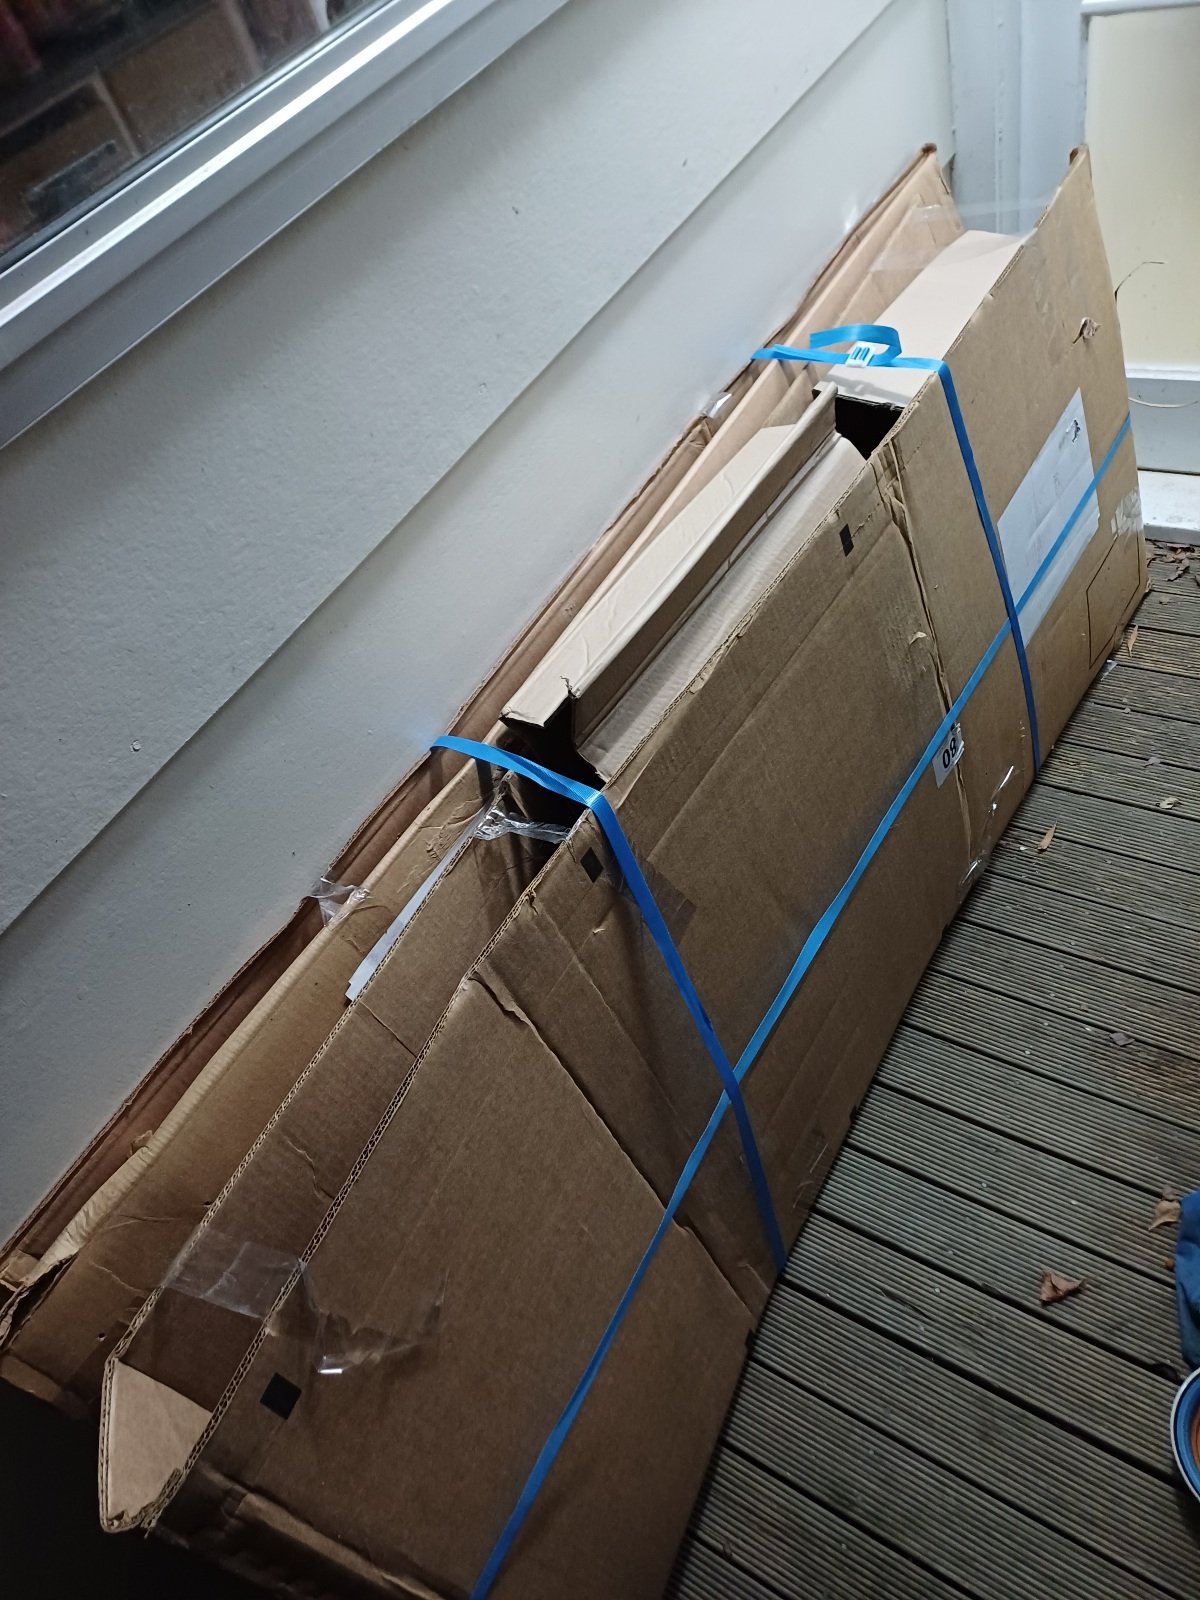
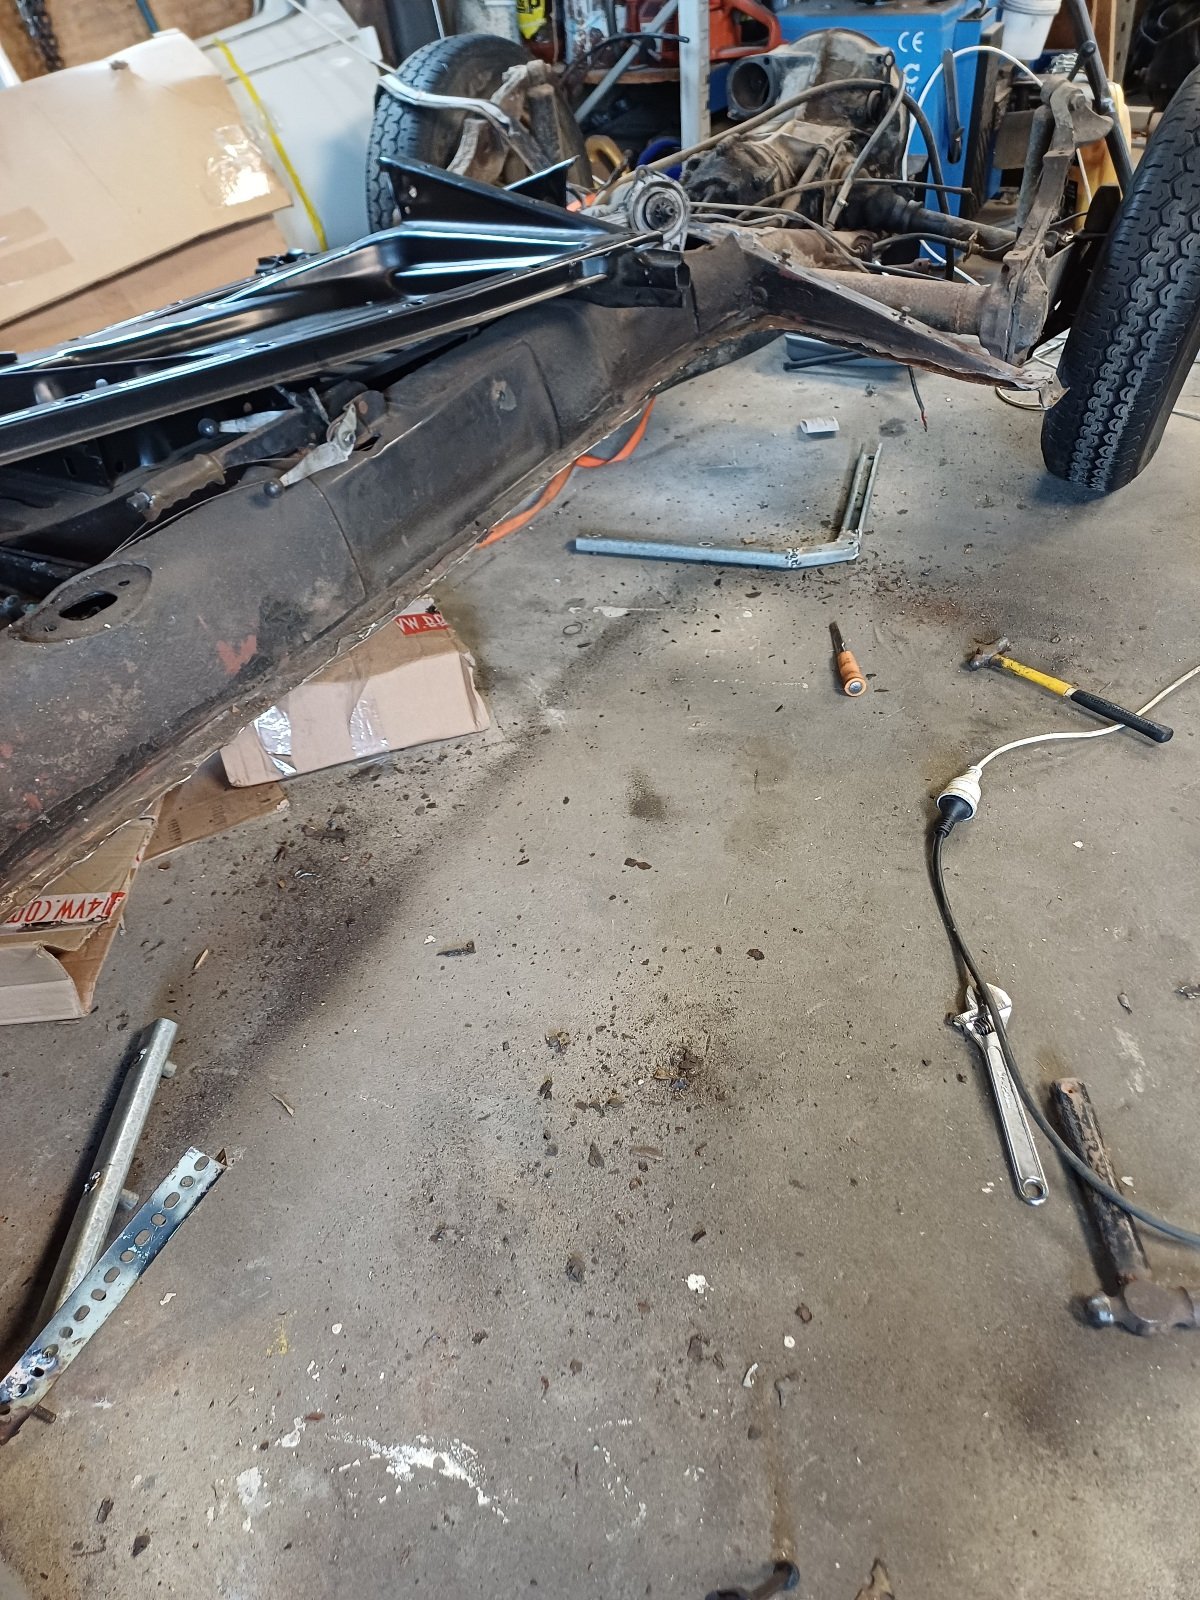
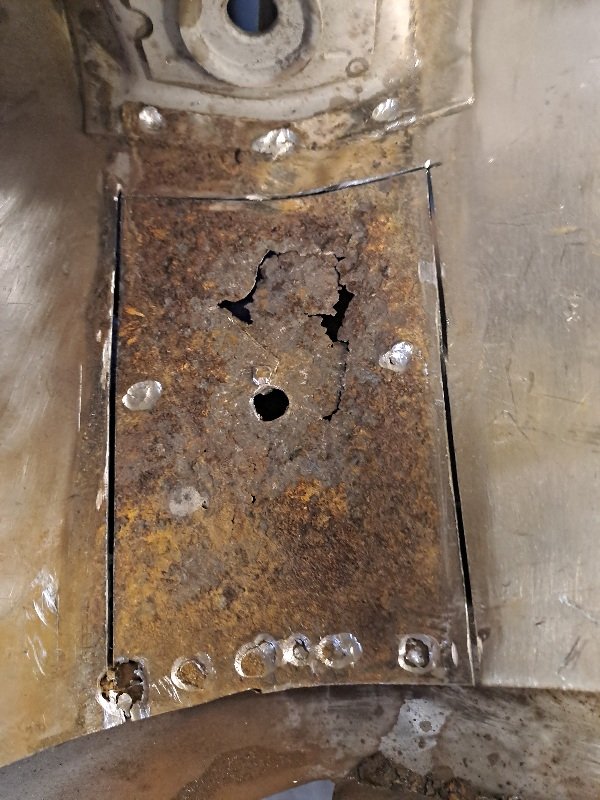
These showed up before the weekend so got stuck in and finished my jigs for the replacement panel just so it goes back in the same spot then I roughly cut the manky floor out and proceeded to attack the spot welds that were every inch and a half... not a bad effort
- 5 replies
-
- 12
-

-
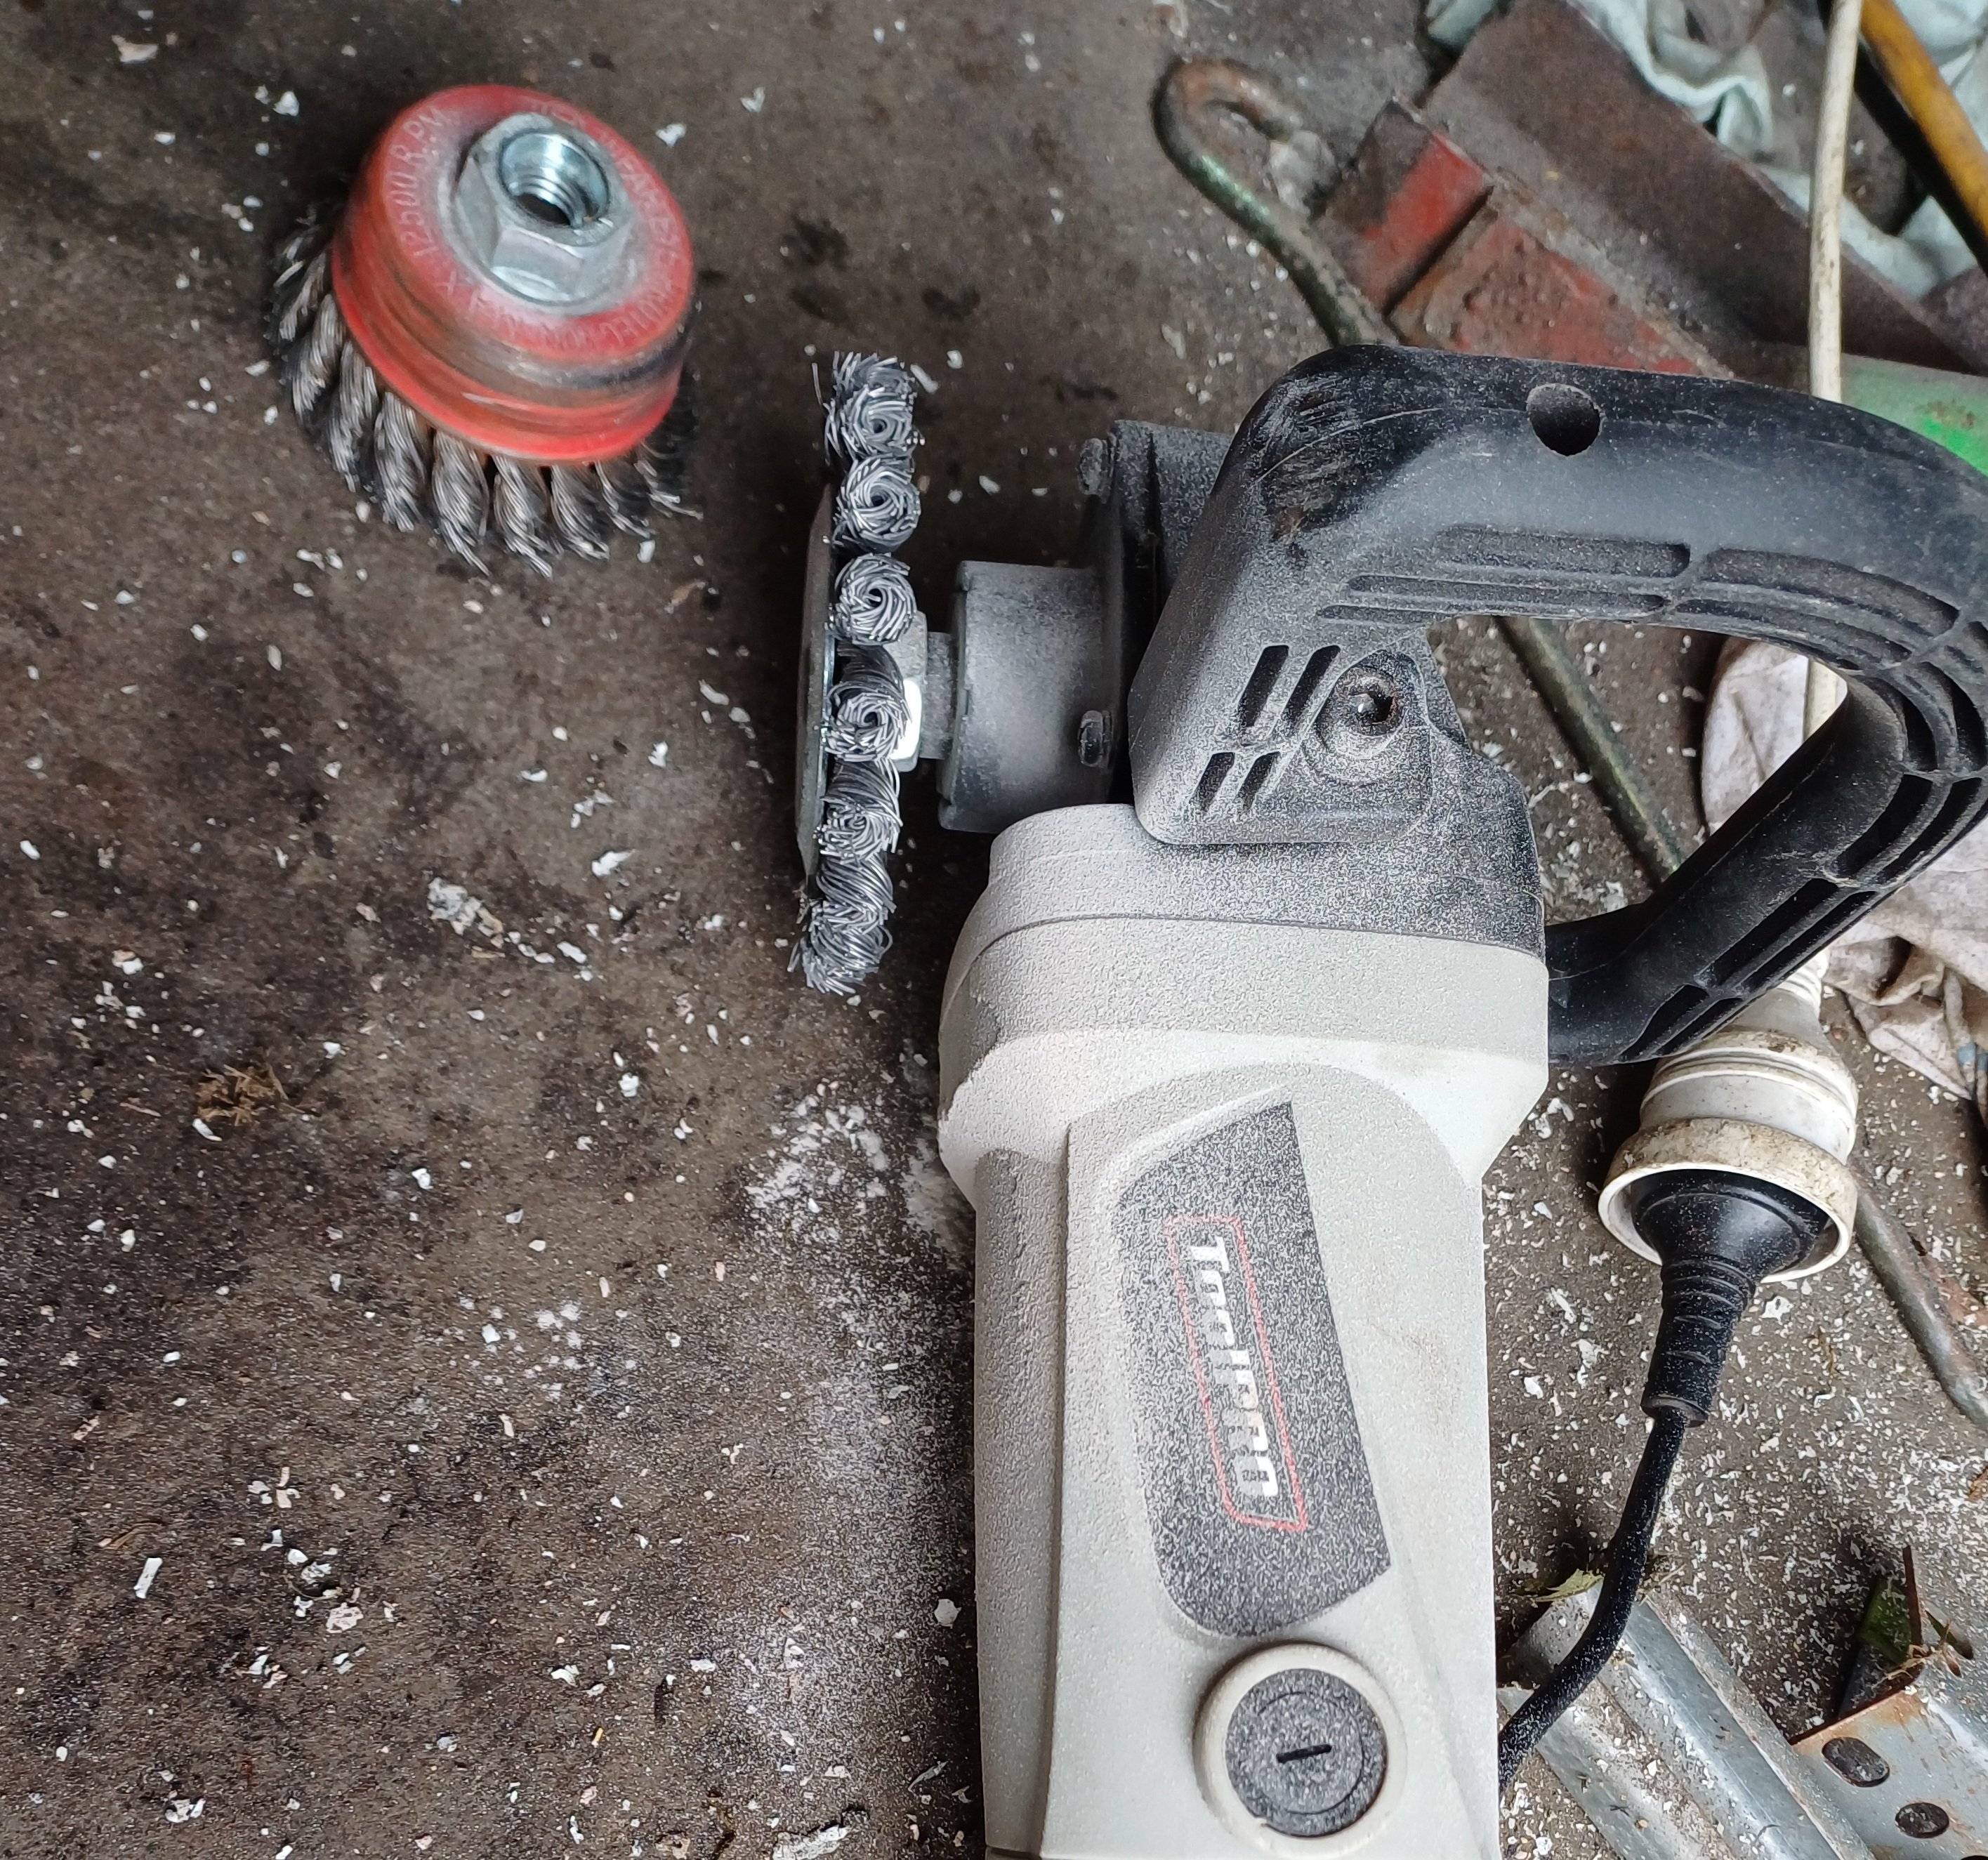
Thanks for the tip using variable speed machine, works a dang treat
-
Purchased floor pans and b Pilar repairs. Buzzpartsnz on the way. Surprised that most of the stuff is available. Made a jig one front and one rear to hold same reference points as the previous pan, so when I cut it out and replace it sits back in the same spot so shell can drop on.
-
A bug of sorts 77's 69 beetle
77magnum13hundy replied to 77magnum13hundy's topic in Projects and Build Ups
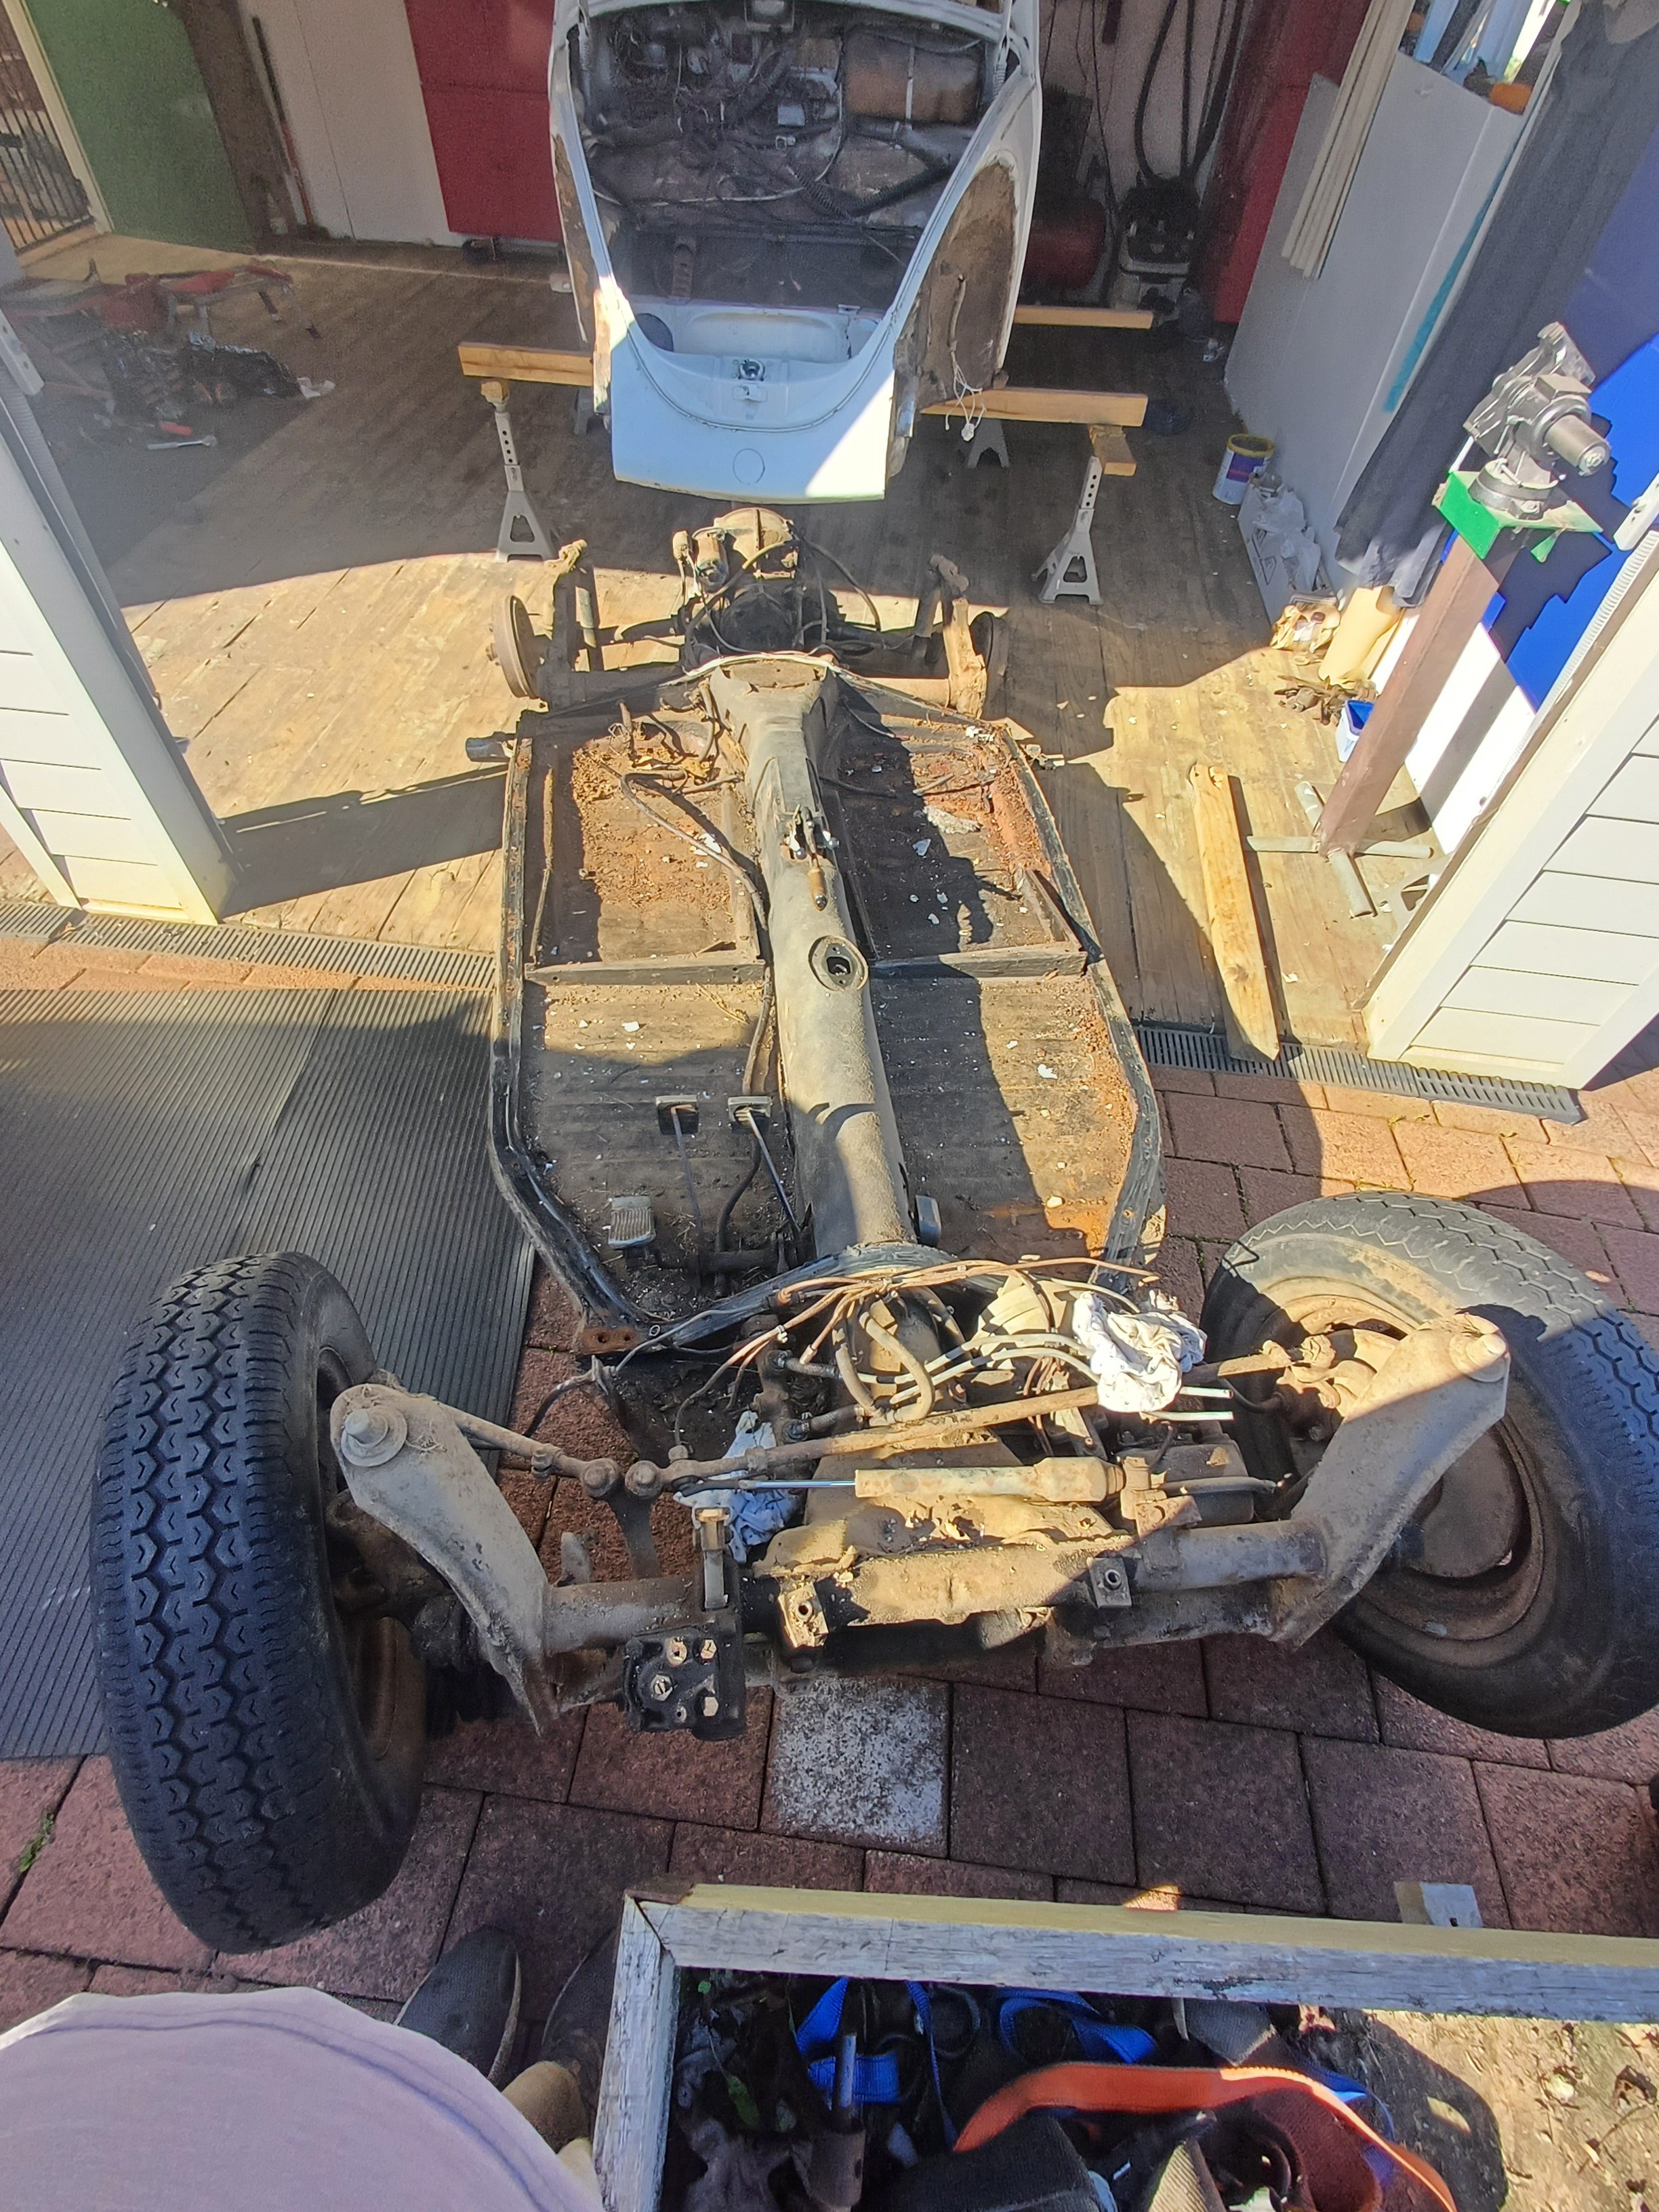
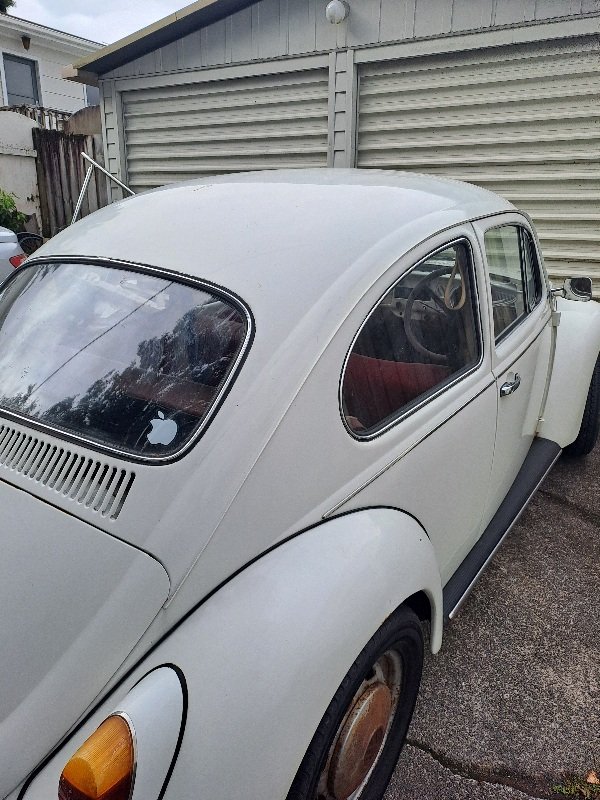
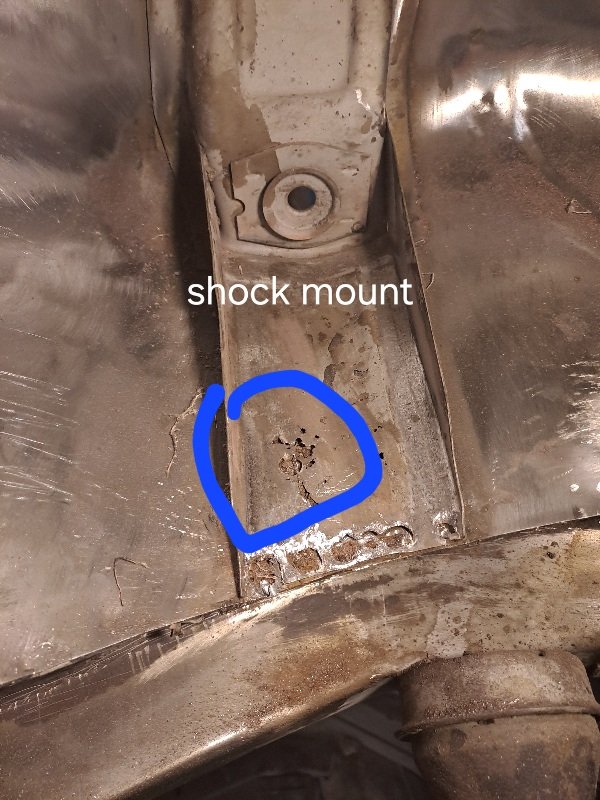
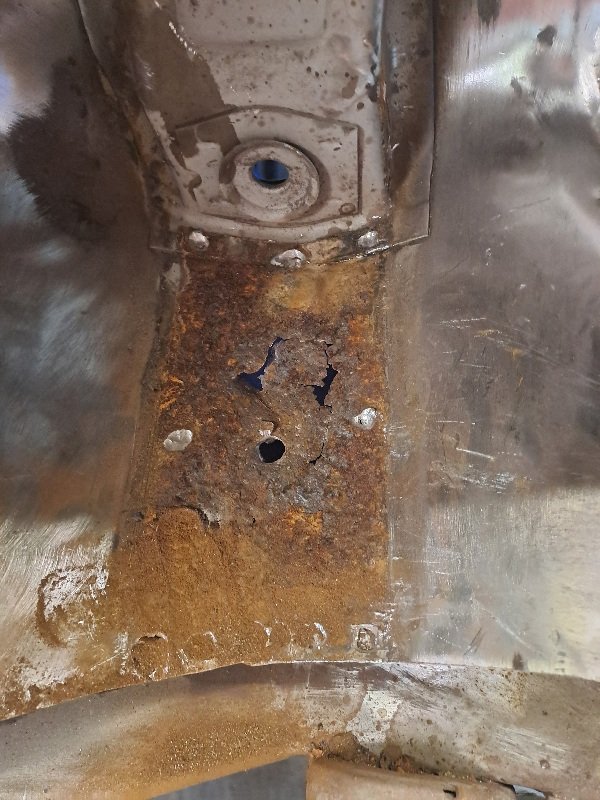
Once at the first stop it was time to assess and report on worthiness. Surprising it's relatively rust free, floor pans and pillars only need to be addressed in the bottom side, the shell only needing a bit of straightening as doors sunk and guards have defo had a prang due to the way things sat.
- 5 replies
-
- 15
-
-
A bug of sorts 77's 69 beetle
77magnum13hundy replied to 77magnum13hundy's topic in Projects and Build Ups
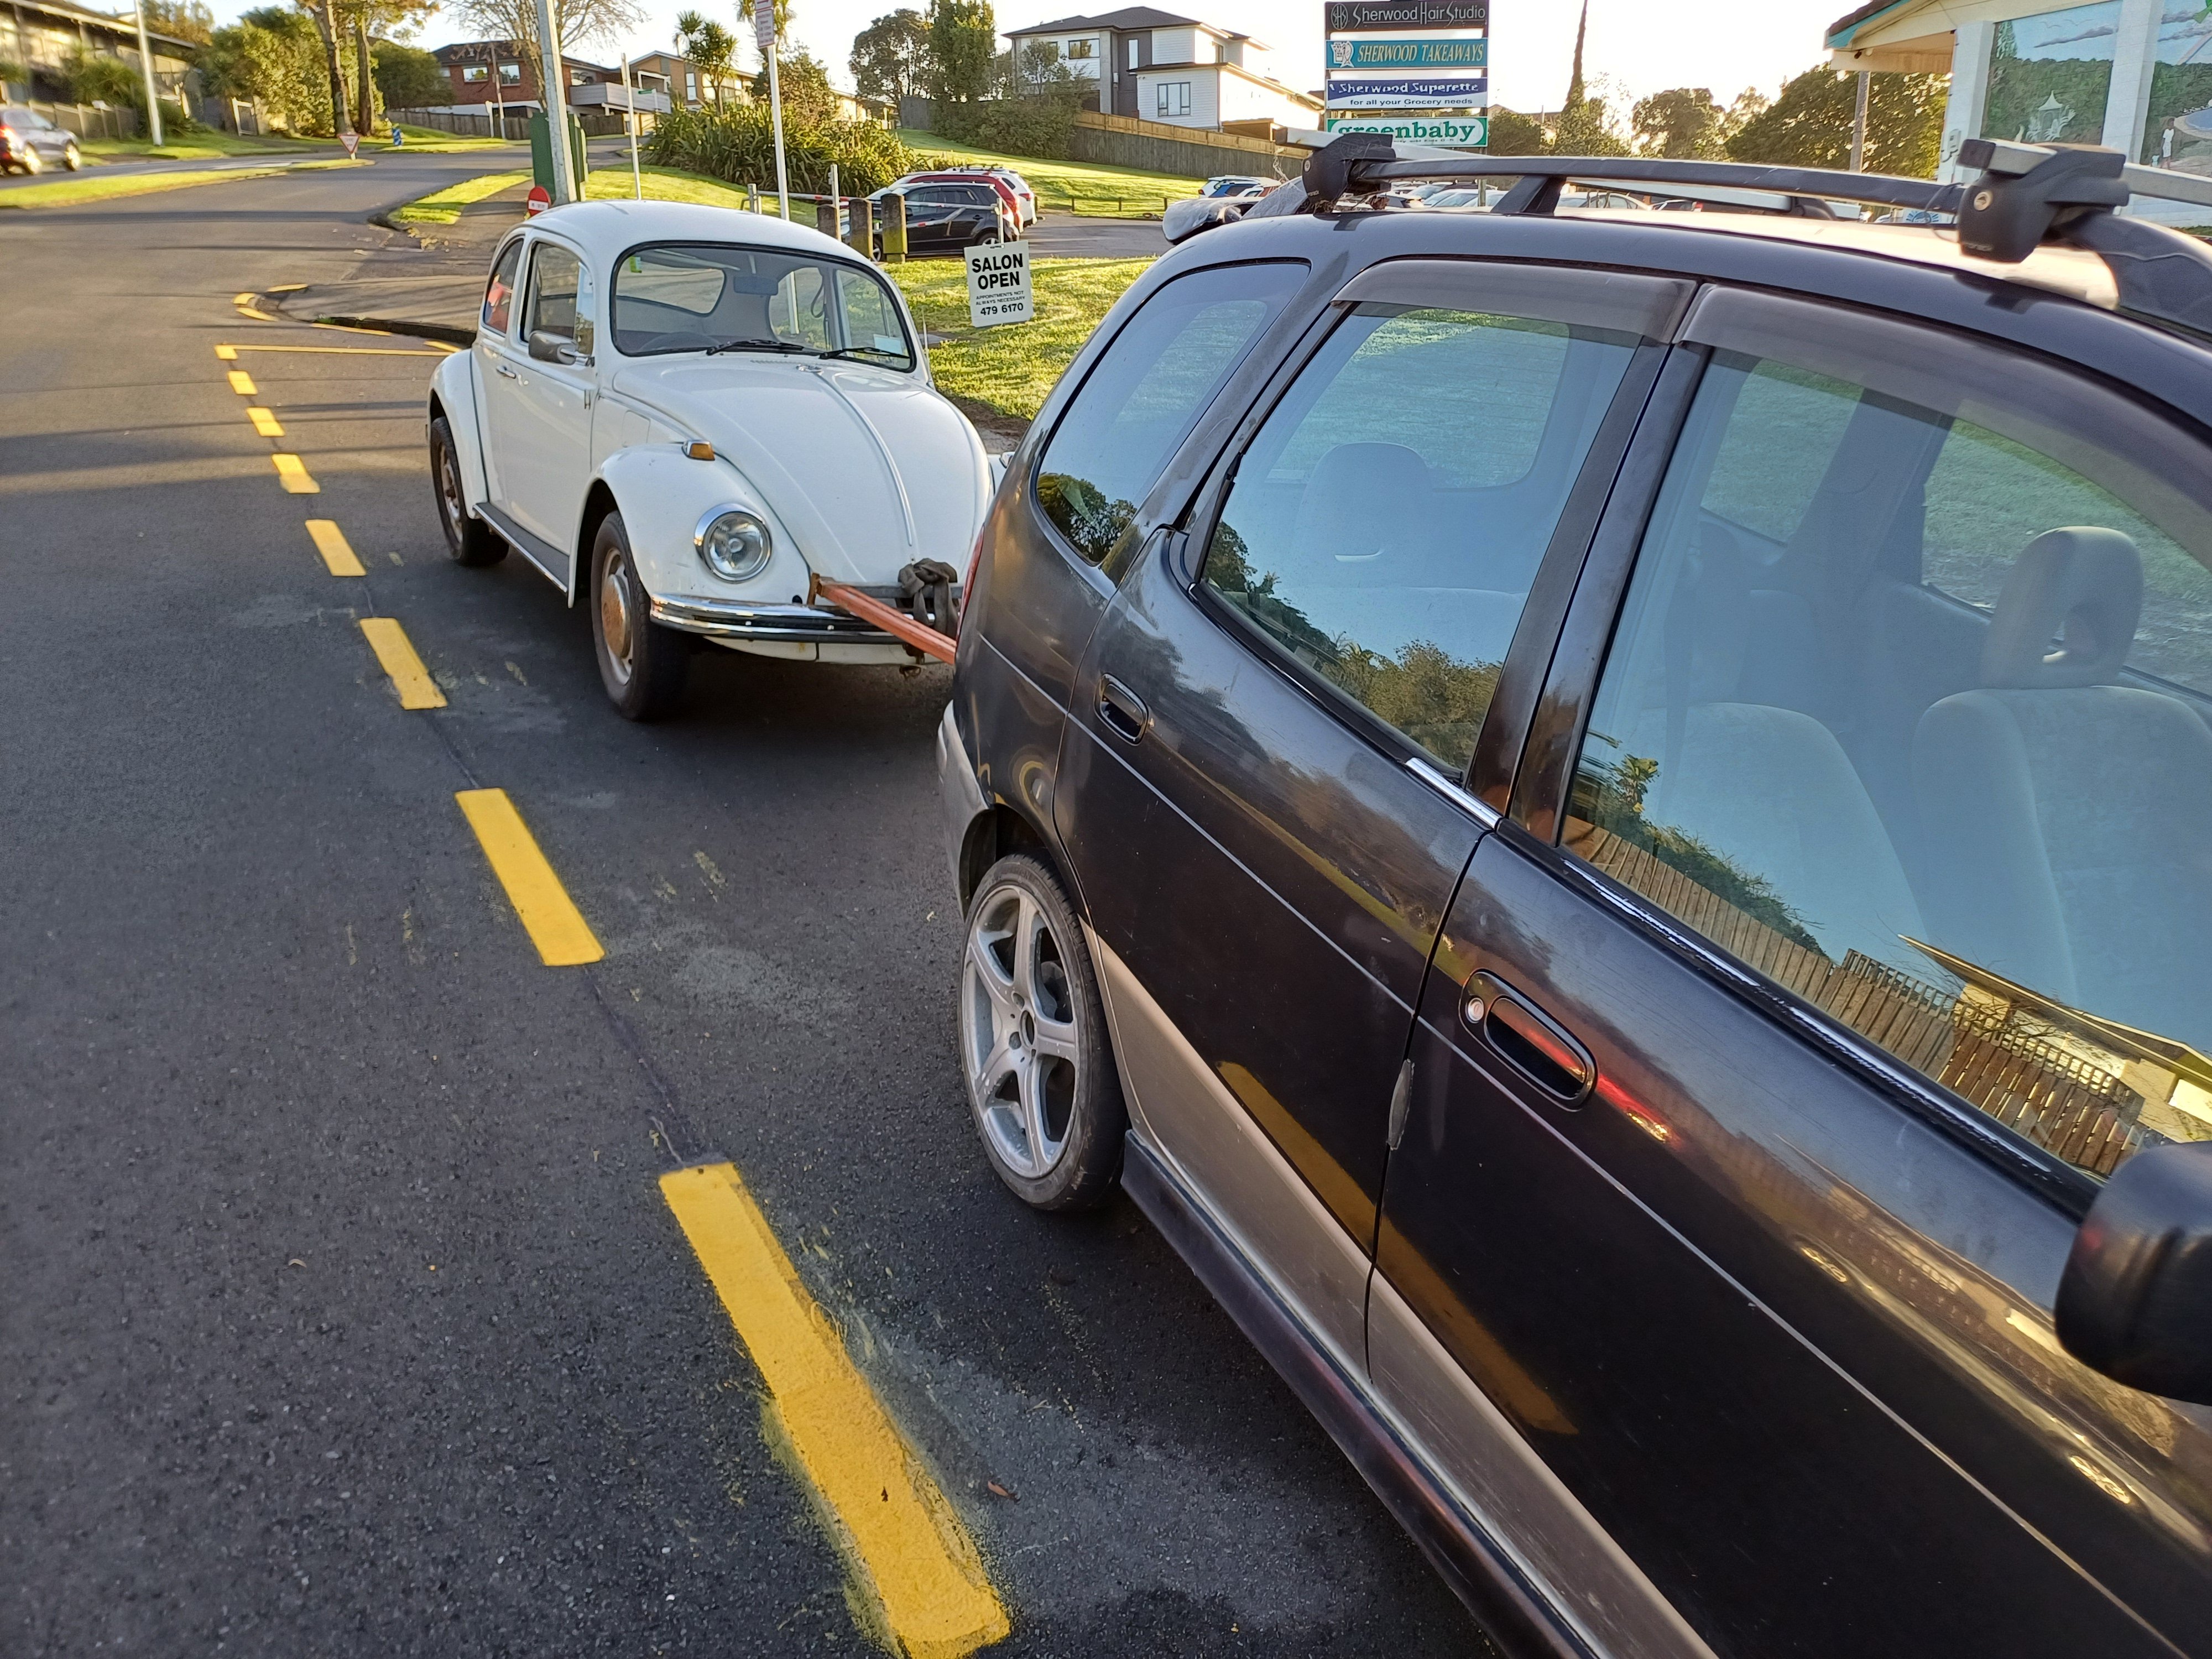
After umming an arring about what to do I finally decided it's time to get this out from under the covers and make a start... I needed help tho, and I called in a professional, not only does it get done properly I get to learn as well. I fashioned up an A frame removed the engine and fuel tank seats and drove it to its first stop. Not at all sketchy with unsprung weight towing and a bit of a issue towing where the wheels went left right left and the car was bouncing behind. I stopped then started and it settled.
-
Tim k’s 1967 EJ20 VOLKSWAGEN discussion thread
77magnum13hundy replied to Timk's topic in Project Discussion
Looks like you've attacked it in the proper sense, solid base is always good to start with, what's plans for gearbox and drive train? -
A bug of sorts 77's 69 beetle
77magnum13hundy replied to 77magnum13hundy's topic in Projects and Build Ups
-
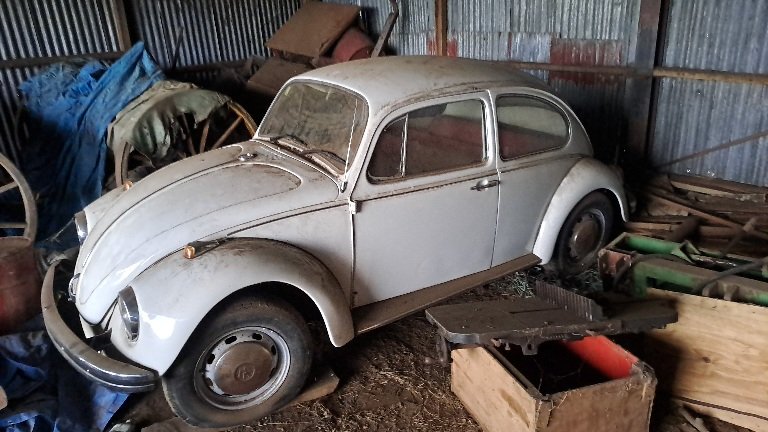
Tell me it's a worthwhile exercise
-
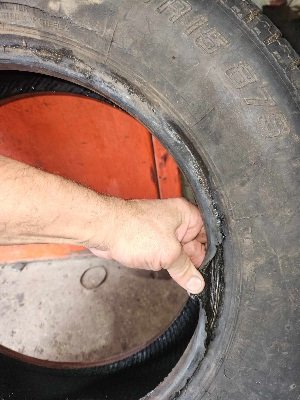
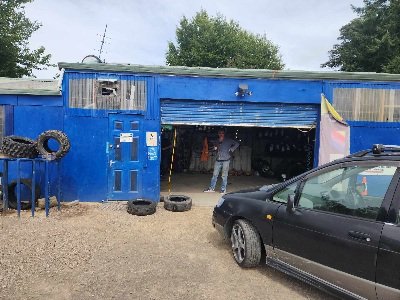
Not too long ago around Xmas I had heard that there was developing interest in my Auntys beetle and so in oldschool fashion I acquired another OS machine to add to my collection. To fill in some blanks we need to go back to 2007, I had a brush with the law lost my license and moved to Surfers for a few months for a cool off period.During my time there I got the use of this thing to commute around I had 2 jobs over there one a part time job at a tyre shop and another washing dishes up in Sanctuary cove at a high end seafood restaurant. The Lil bug was great and I only had issues with fuel delivery when it got too hot. I'd push it over to the side of the road between surfers and Miami and wait a while for it to chill... once I got fed up with part time work I managed to get a fleet job with Baurepairs down in west burleigh. First day on the job being kiwi got the general hazing from the lads and they got it back in equal amounts, they all enjoyed commies and falcons as long as it had a v8, so here we are with the Lil herby puttin about with a raspy exhaust note. Couple weeks later one of the lads had car issues and broke down and was resorting to the bus. I offered a lift as it was on the way home. Needless to say he was reluctant. Oh well suit yourself. Next day I offered again and he decided ok sure. We cruised along and headed up the coast towards his stop. At one of the lights I was waiting to turn right and this guy was beside himself, next to us was a beach blonde in her own bug waving at us. I wasn't paying attention and so I finally had a look and she was alright to look at. I played it down, so the next day he gets to work telling the crew about the ordeal and the bug is now dubbed a pussy wagon. The crew then insisted we do a Roady to Byron Bay via nimbin. It was a great time had by all and a few yarns about nimbin could be told. Better to not sharn on about that too much... back to the main yarn. A few years later... and a few more to be exact Since then it was exported to NZ about many years ago where it got parked in an old hanger and left to gather dust. I developed a curiosity about will it go and maybe putting it back into operation. At xmas last year I headed down to drag it out and see if it was still in one piece. Someone had wired fuel pump on backwards as I heard it bubbling into the tank so seemed like someone had borrowed the fp and then put it back. Got a fresh battery and a while later it barked into life. Dry rotted and coozed tyres were next on the list. 60 bux later we had a set of roadworthy treads the fronts were bad but they held out. 5 Hours later rolled into the 09 and parked her up. The was a mean mission. It's been parked up for the last month just waiting for garage space to accommodate this so we can begin stripping and assessing in conjunction with the viva
- 5 replies
-
- 24
-
-
Discuss here about Yoeddynz's little Imp project...
77magnum13hundy replied to yoeddynz's topic in Project Discussion
Loving the fuel tank shenanigans proper design and thought out... not that you do anything less than awesome -
77Magnum13hundy's 1977 Vauxhall Magnum
77magnum13hundy replied to 77magnum13hundy's topic in Projects and Build Ups
So chipping away I've found that having the options to sand blast the nooks n crannys works well and reduces the amount of dust and sand everywhere. On surfaces with underseal the petrol and rag method seems to be most effective. Followed by wire wheel or strip disk. I've started to tackle drivers real wheel well in this episode.
- 75 replies
-
- 13
-
-
77Magnum13hundy's 4age+t Magnum discussion
77magnum13hundy replied to 77magnum13hundy's topic in Project Discussion
Yeh any areas I'm able to get at are being dealt to with strip disc on grinder and wire wheel, the hard to get to areas as in pics are getting blasted. Have a heat gun and scraper and a butane torch to help get shmuts off as it clogs strip disc on the thicker areas of tar or underseal. Not in a big rush so sections only will soon have it sorted. To prevent rust im coating with crc weld thru zinc paint. -
77Magnum13hundy's 4age+t Magnum discussion
77magnum13hundy replied to 77magnum13hundy's topic in Project Discussion
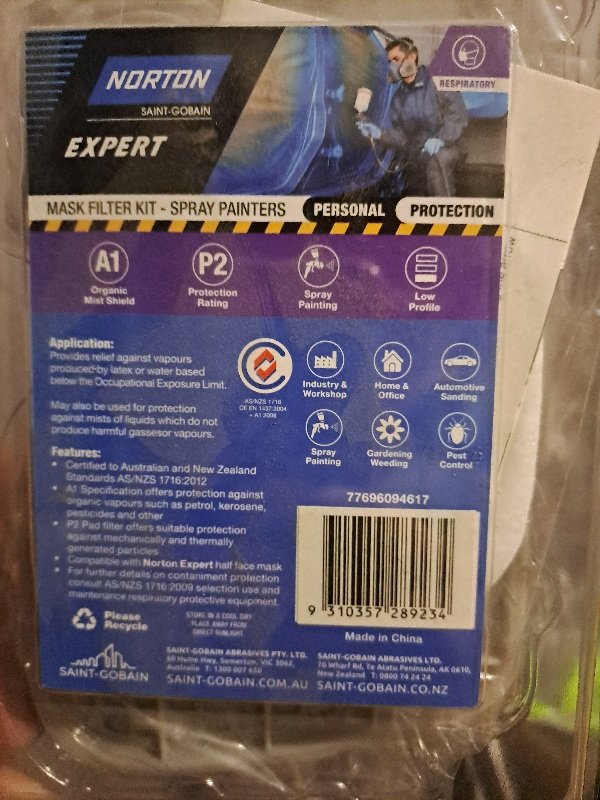
OK the P rating says that P1 is basic P2 is OK and P3 is the best... il check on the web what else is available but yeh thanks for looking out. -
77Magnum13hundy's 4age+t Magnum discussion
77magnum13hundy replied to 77magnum13hundy's topic in Project Discussion
Oh thanks for that, I was using a painting mask Norton branded which should be suitable? I do use a normal Fibre mask for grinding smut as black boogers accumulate...but yeh I can see a lot of airborne dust hovering after I've done a bit and wait for compressor to build up again.