
Leaderboard


Popular Content
Showing content with the highest reputation on 12/14/20 in Posts
-
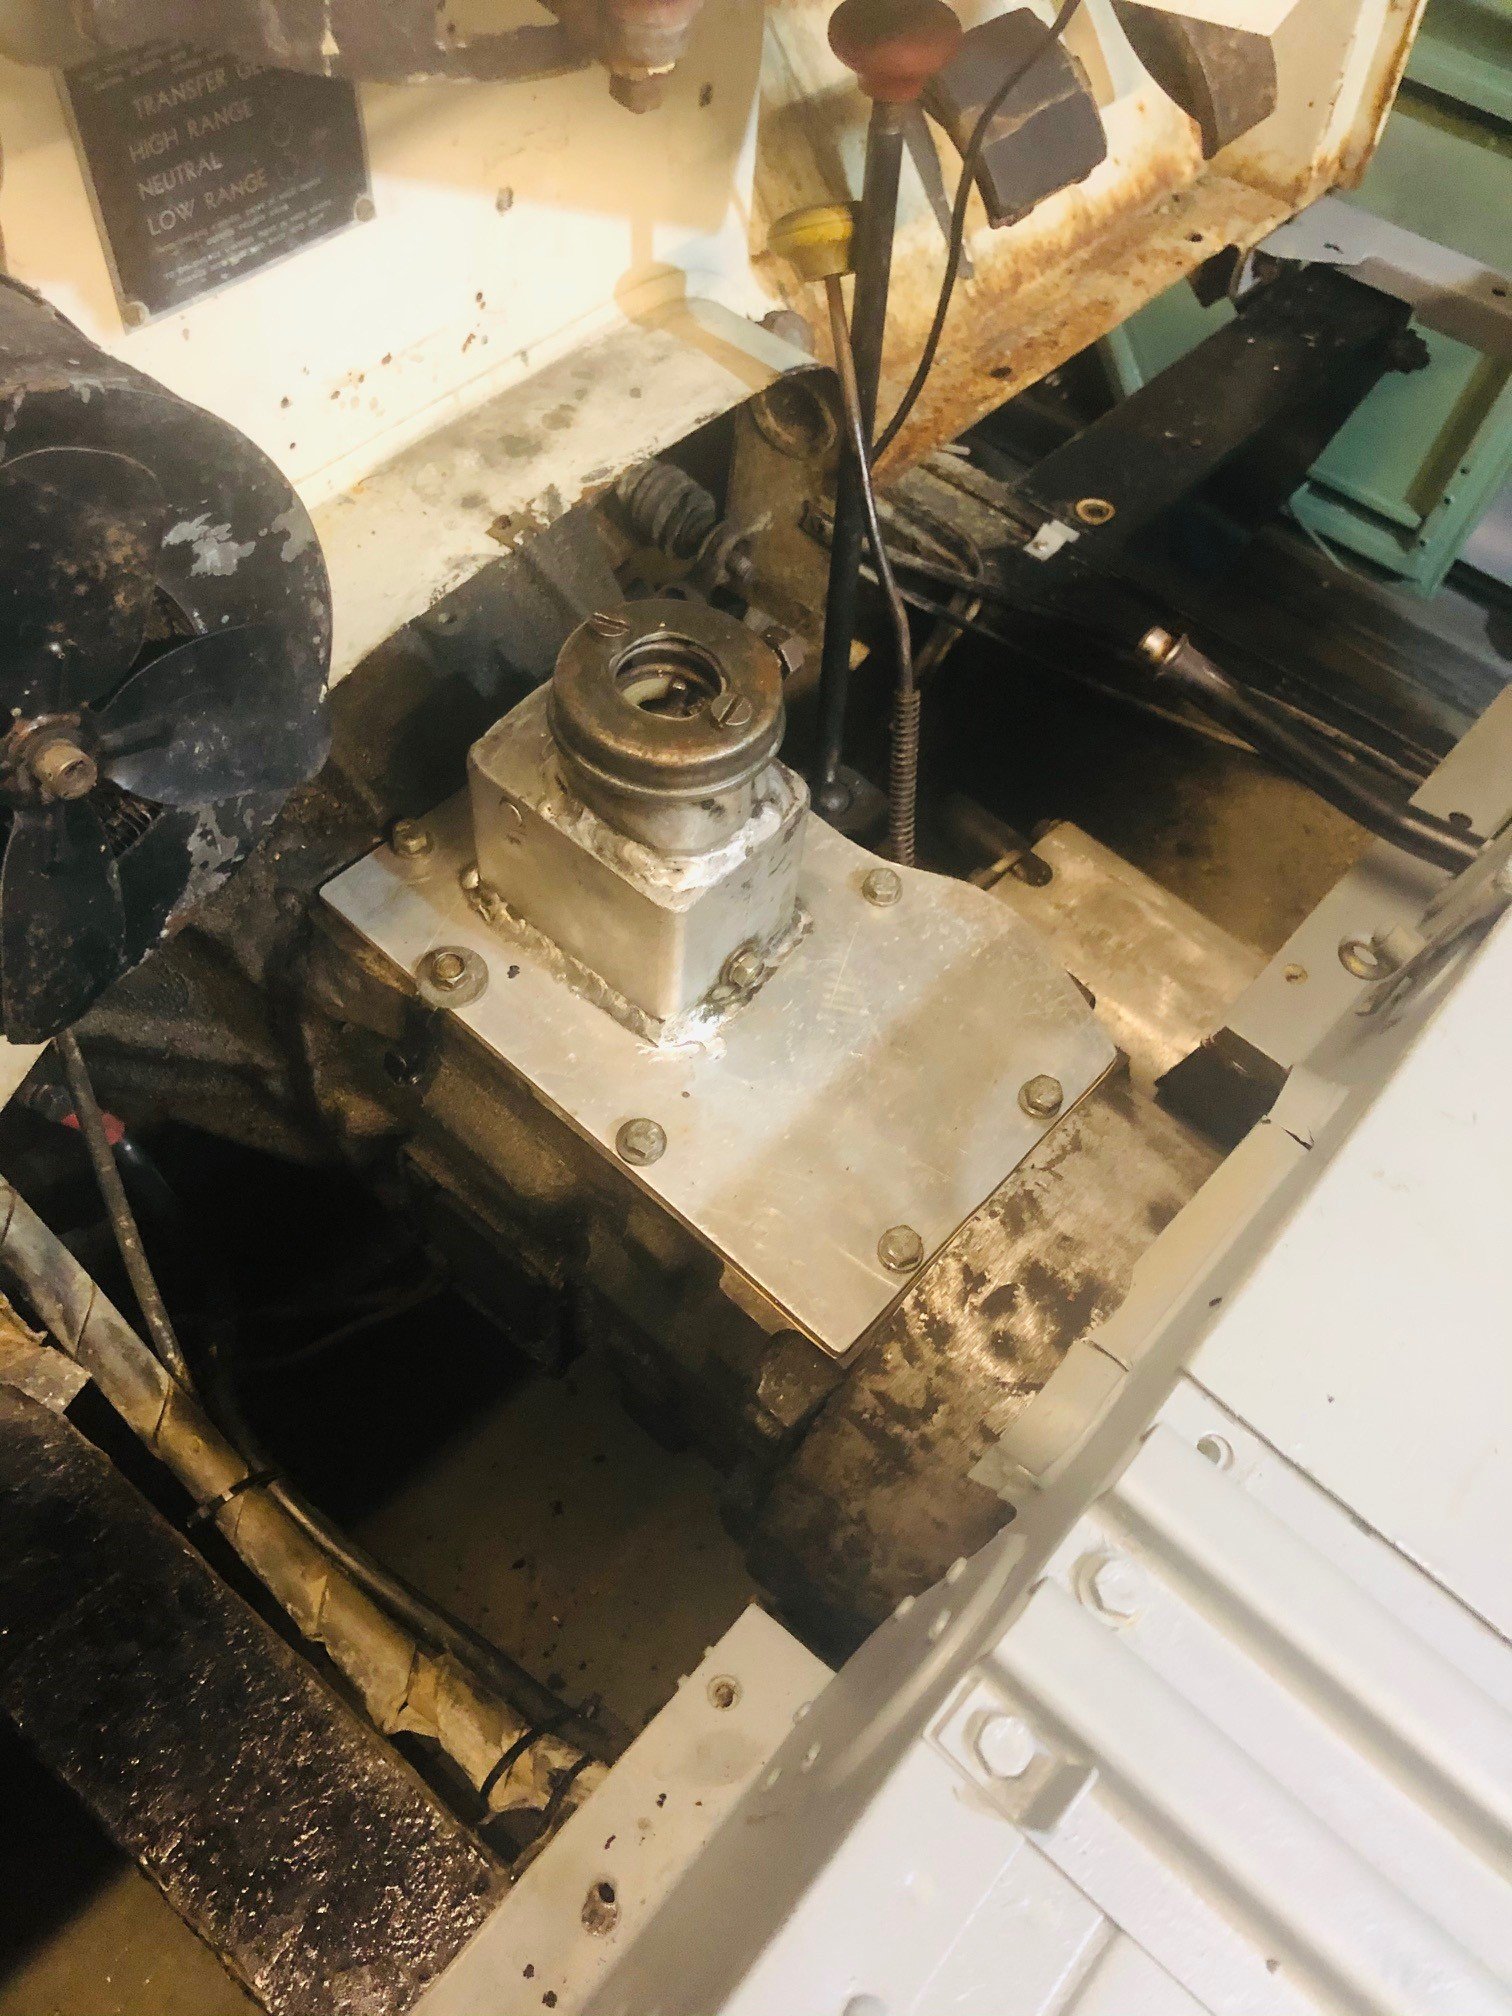
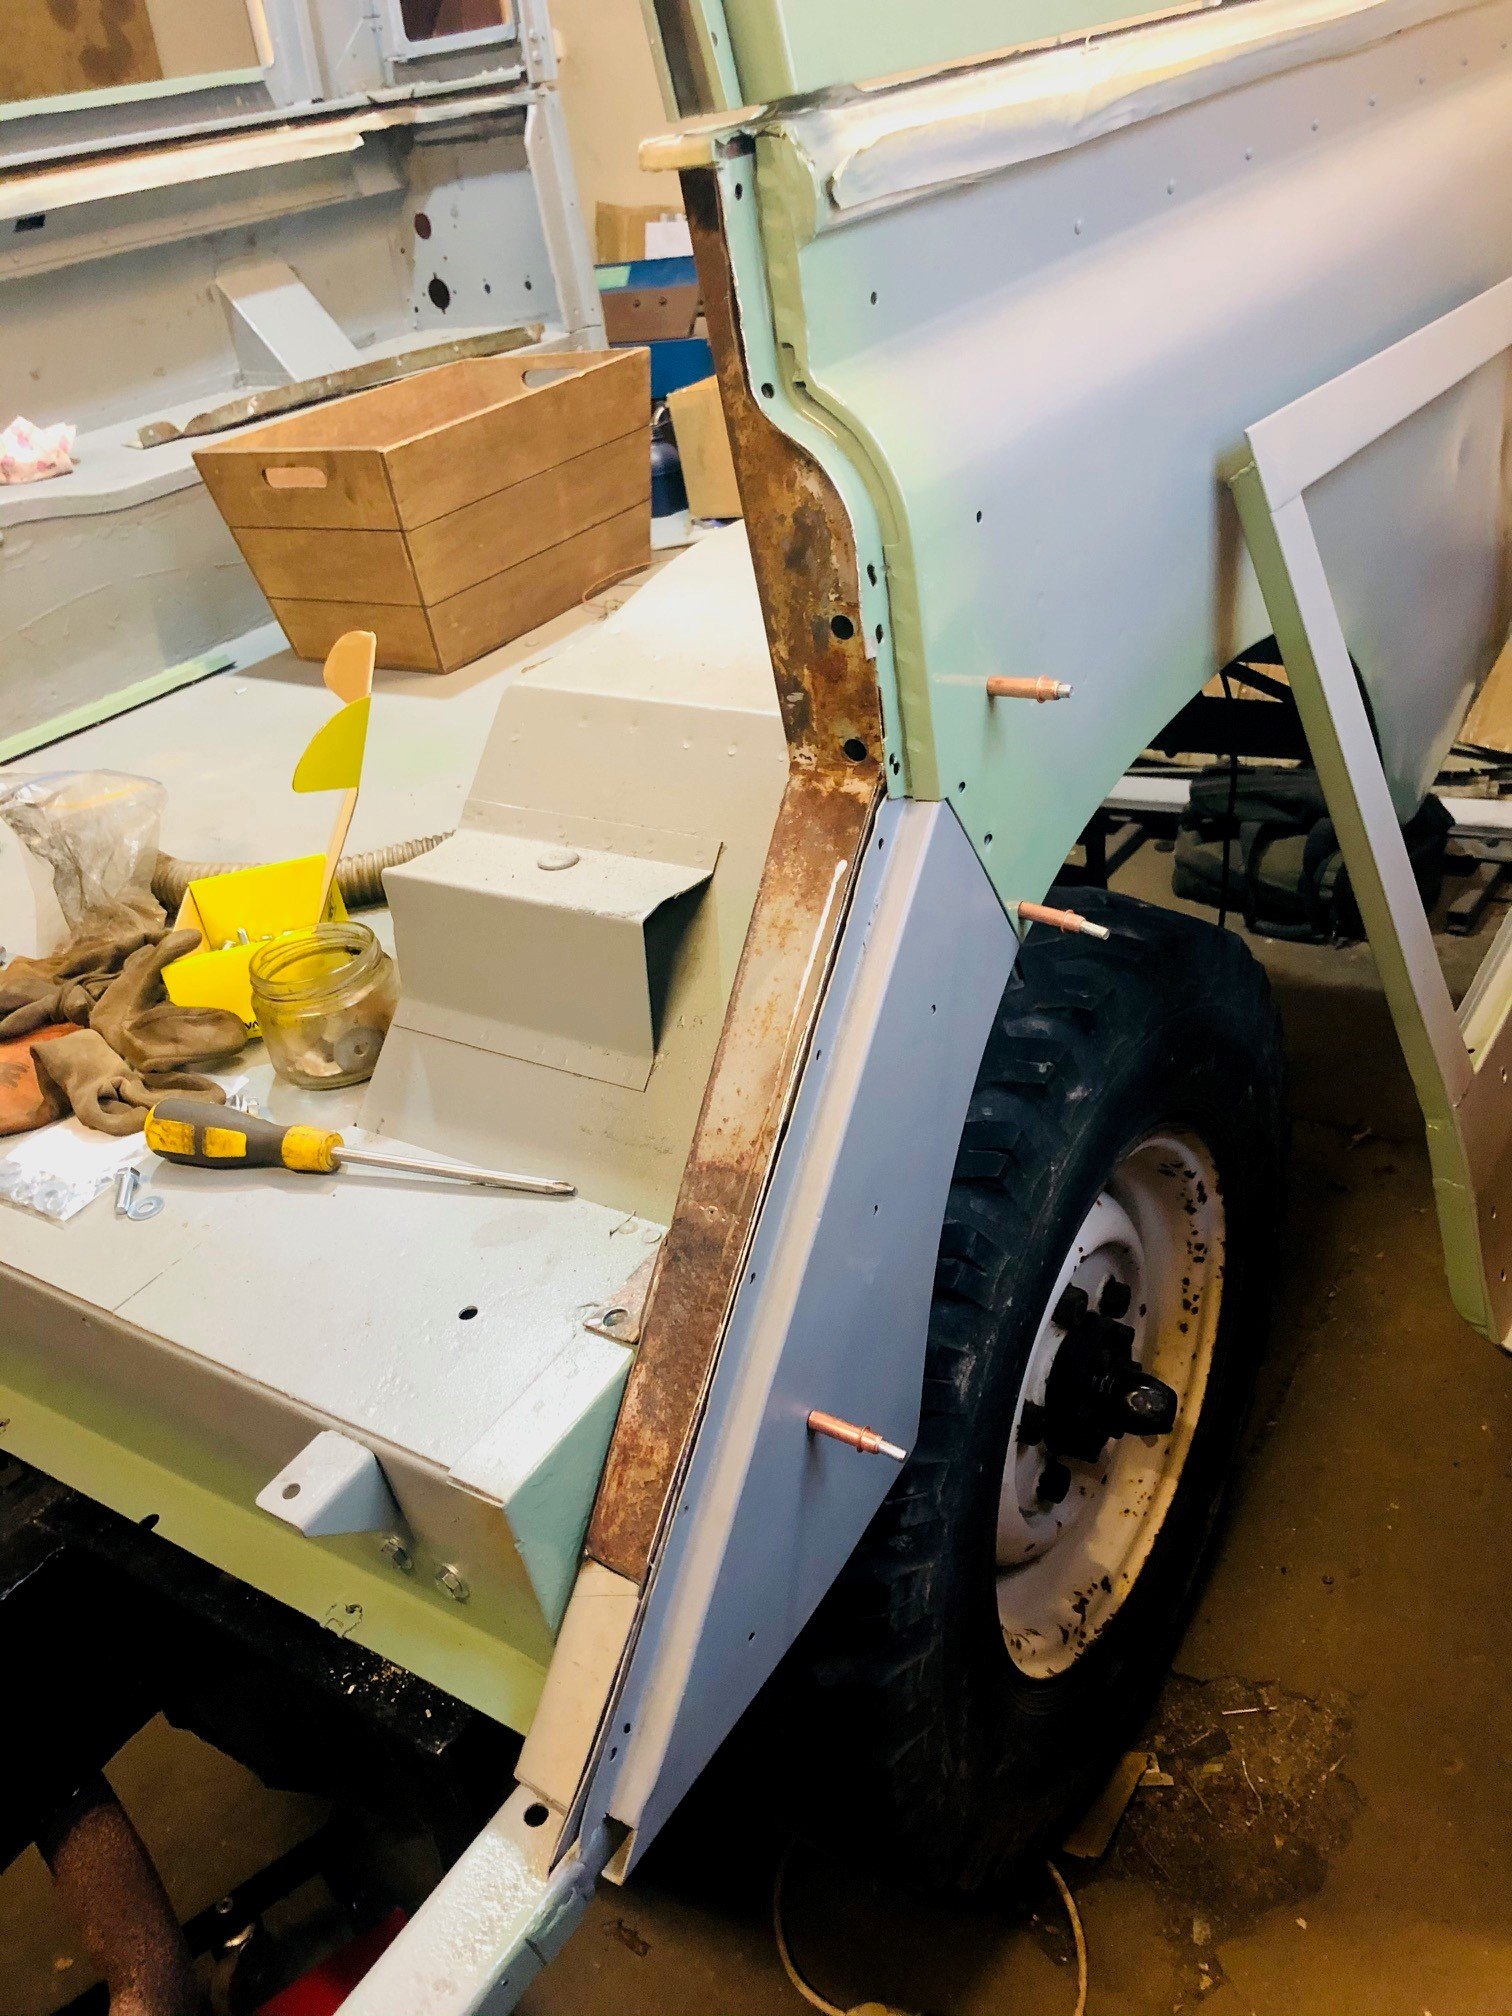
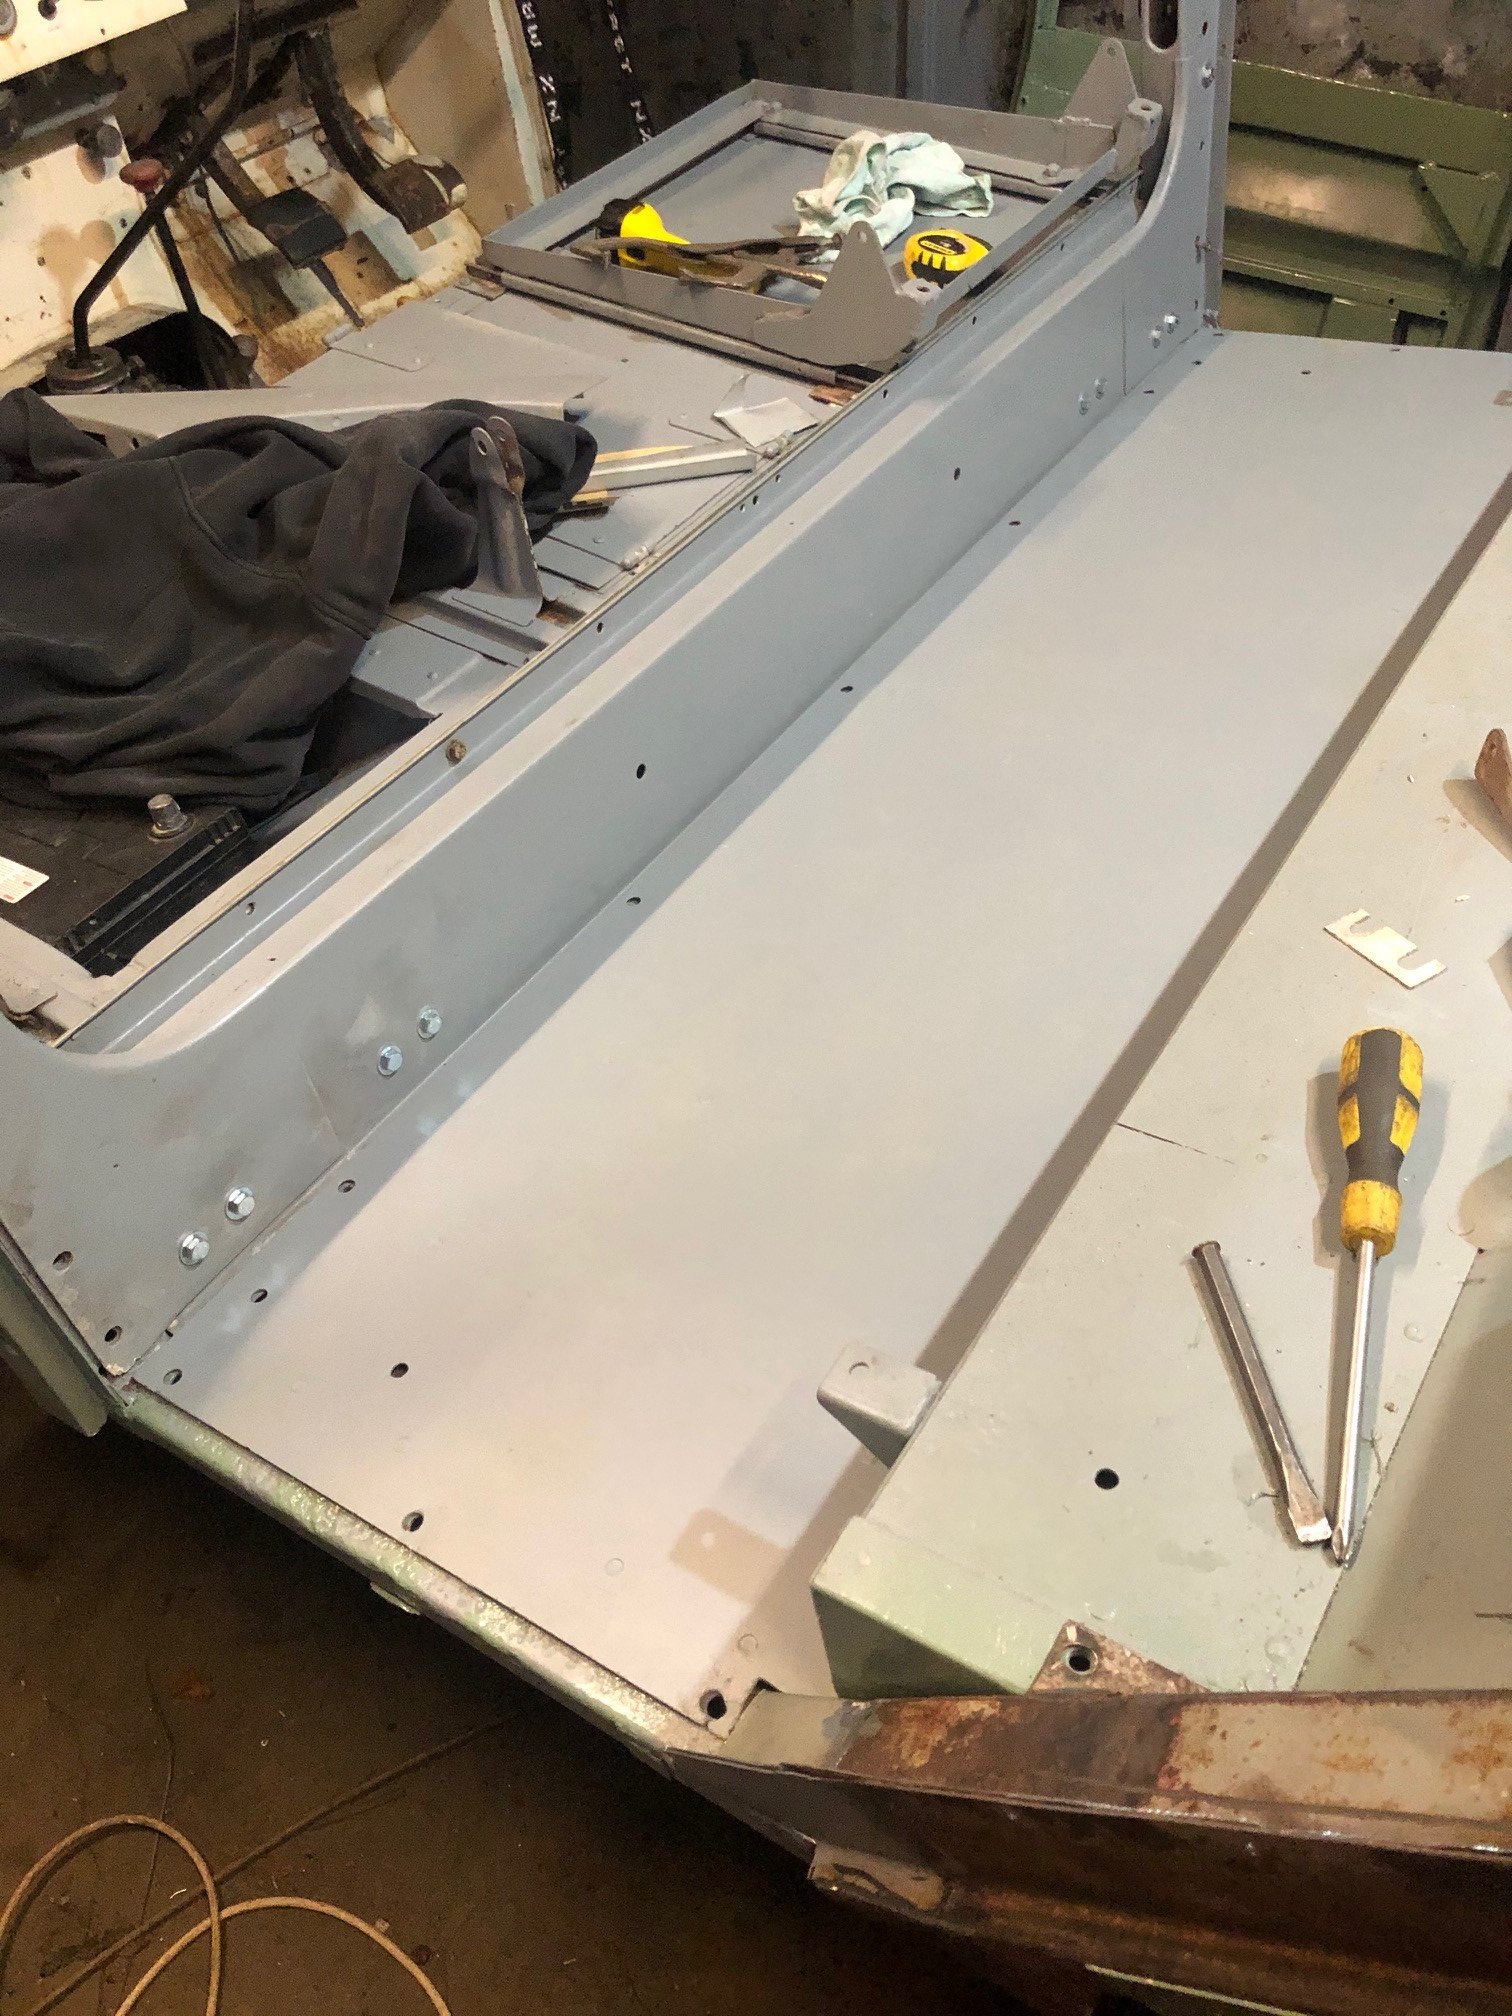
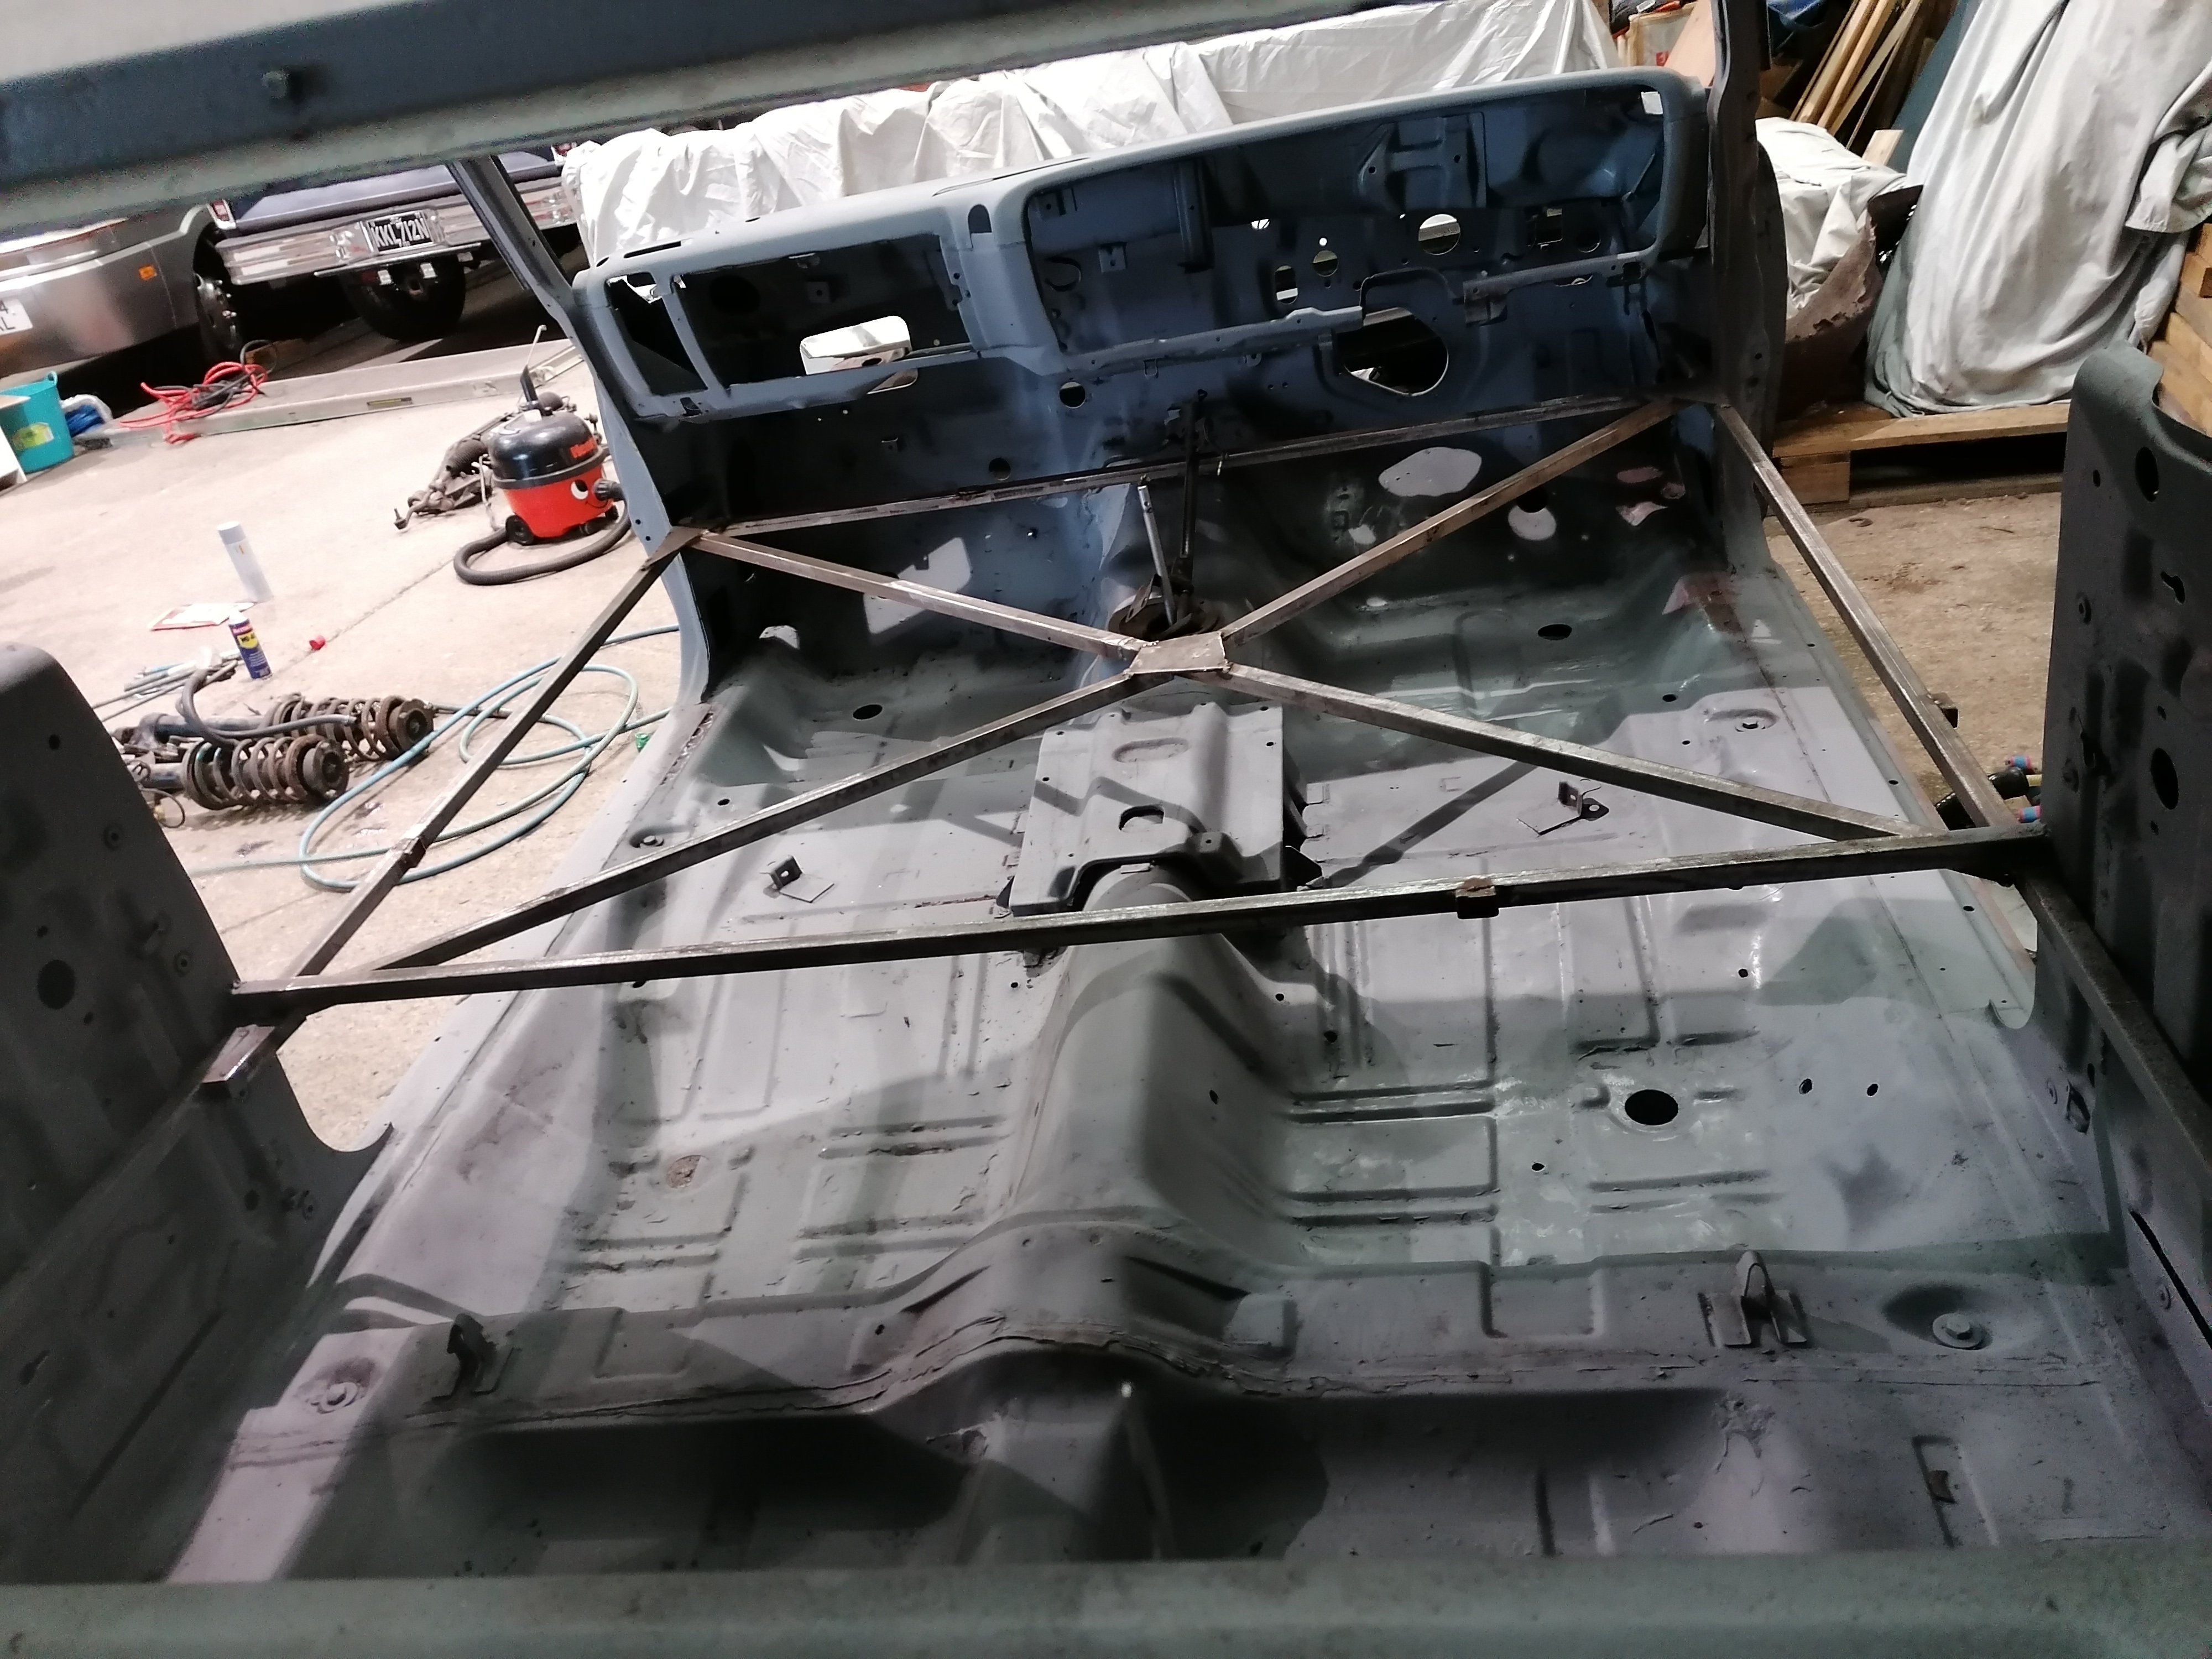
Gave the gearbox a lil clean and made a new gasket for the top cover (it never had one). The selector mech is still a bit sloppier than I'd like it but tough to make it much better with the current set up. Got alot of the sills/box bolted in. These dog legs are notorious for rotting out at the bottom (exposed to mud from the rear wheel). Got most of a repair done and checked the fitment. The b-pillars arent quite where they need to be so may need to be cut/re-welded. I'd love to replace the whole sill/b-pillar but at 3K plus shipping a side that isnt going to fly....
 10 points
 -
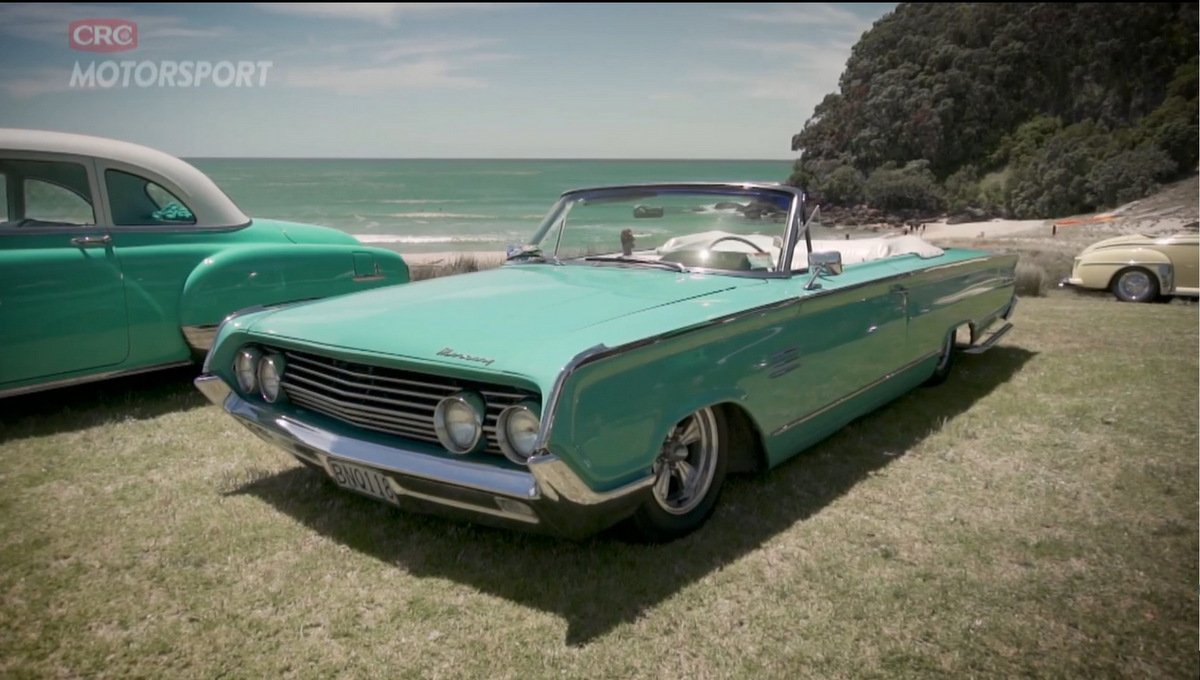
Beach Hop 2020 done and dusted, no issues. Even got a quick shot on the tele-v
10 points
-
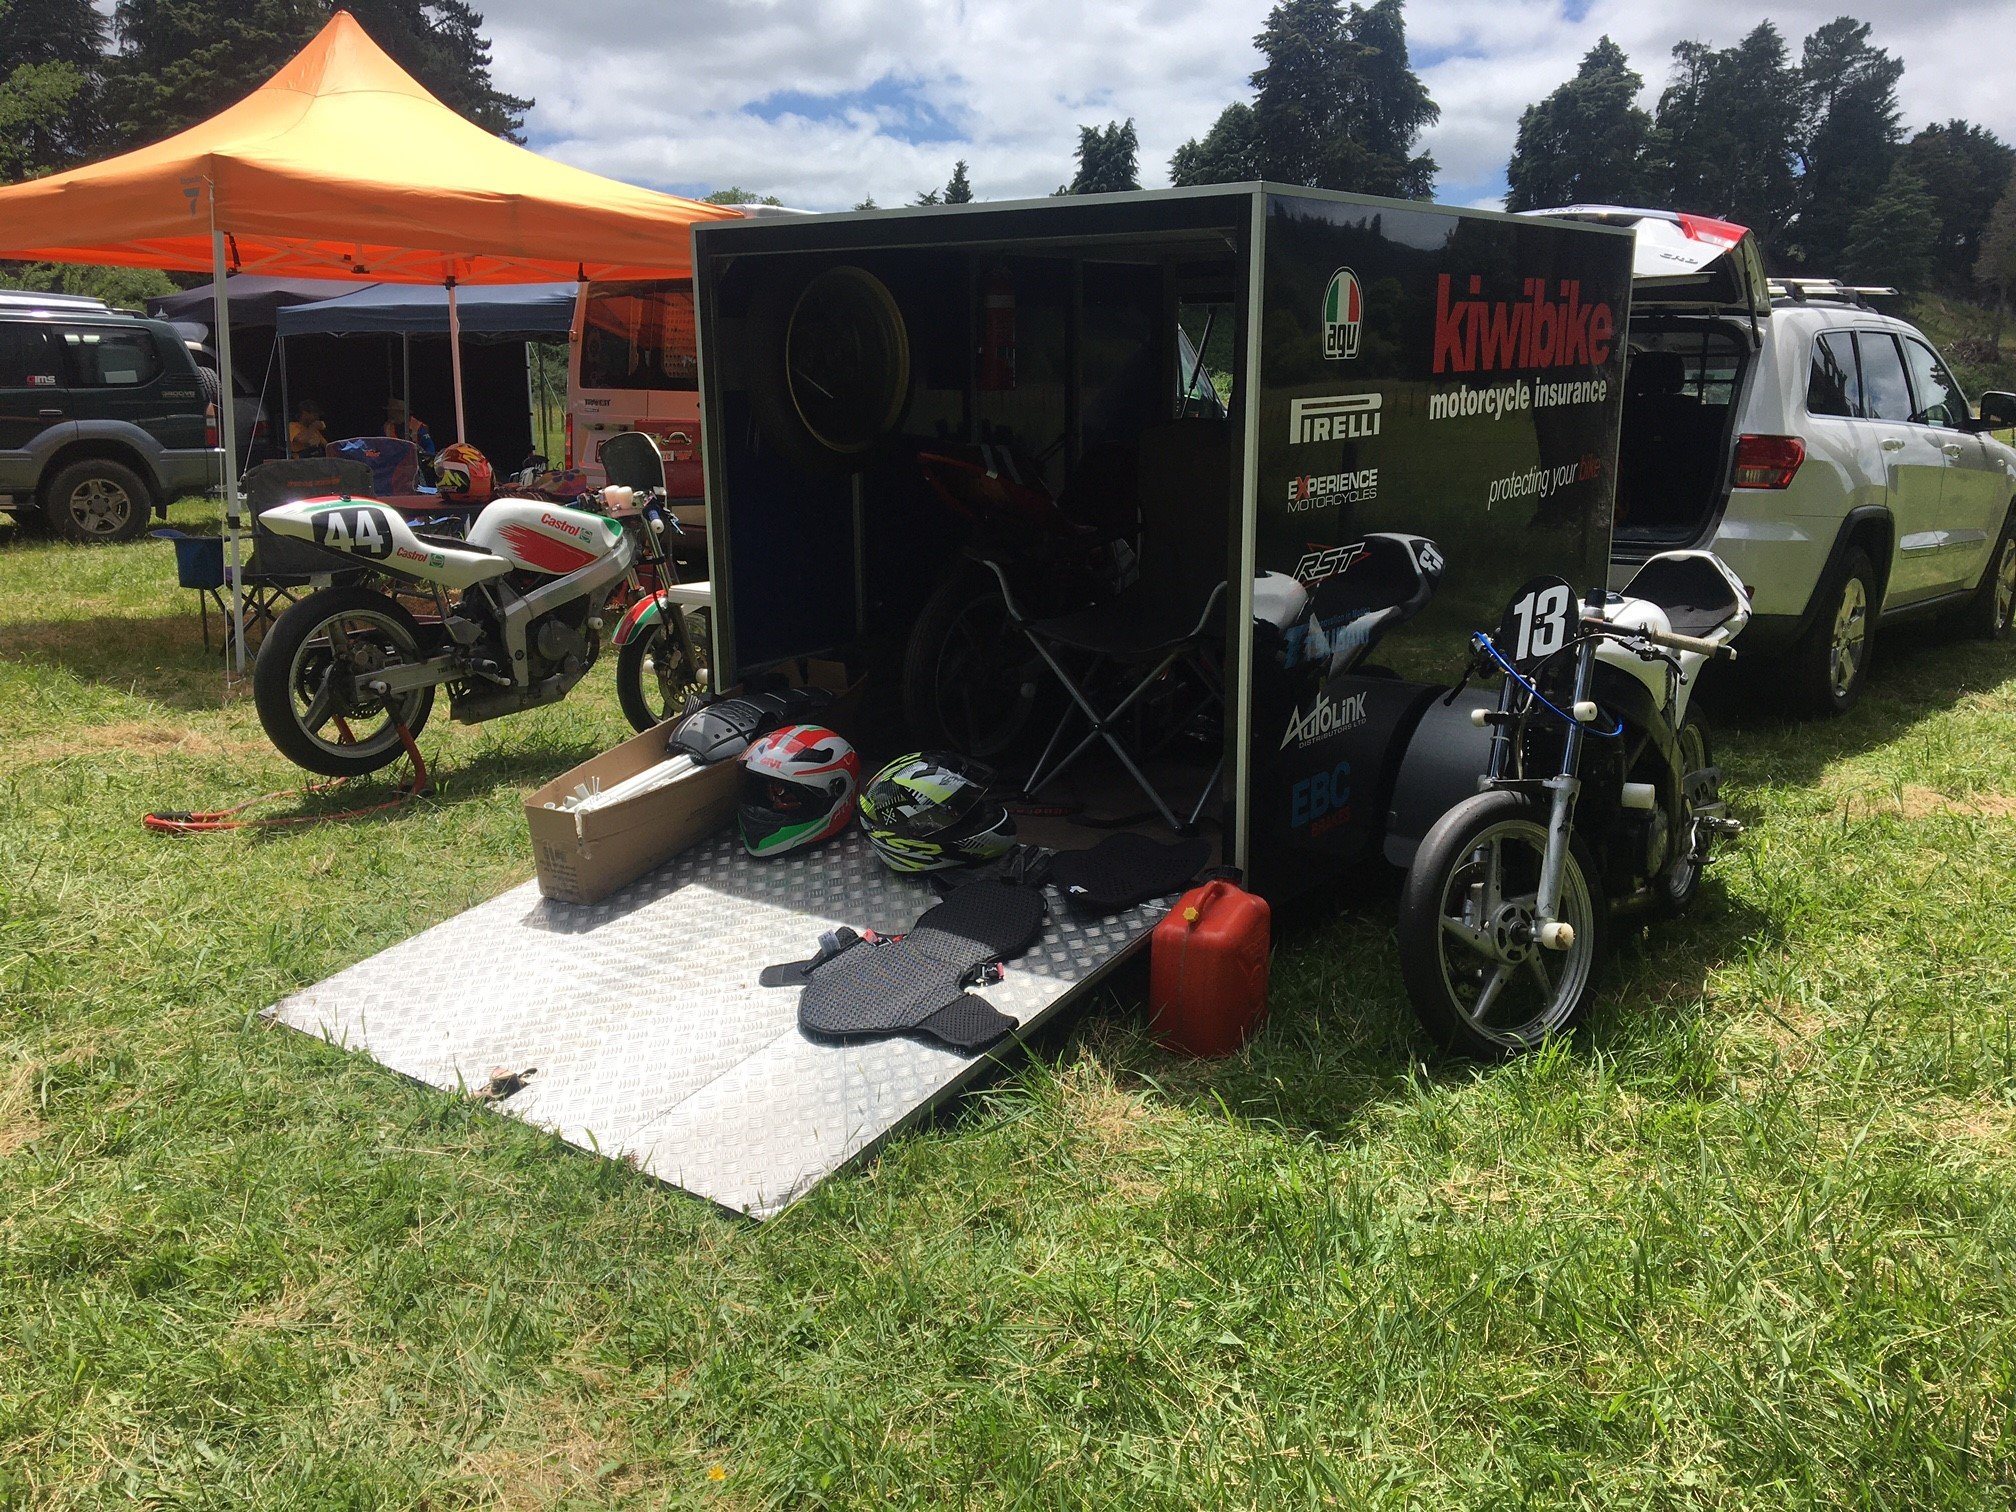
Yesterday was my first outing since that crash. I had a go at the North Island Series event at Taumaranui. These events are 2 days, practice saturday, racing sunday. But I had other commitments, so I drove up from New Plymouth on Sunday morning and got straight into it. It was my first time at Taumaranui. What an awesome track, big banking, really fast and flowing. Incredibly hard to overtake someone who is a similar speed though which makes for quite processional races until you meet lapped traffic. I qualified 7th for B-Grade. Finished 7th in Race 1, 6th in Race 2, and in the final there were a few bikes missing off the grid, I got a blinder of a start and held 2nd place till the end of the race. I'll try and get some video up soon. (Trailer is borrowed, I'm not quite that flash yet)
9 points
-
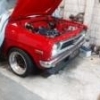
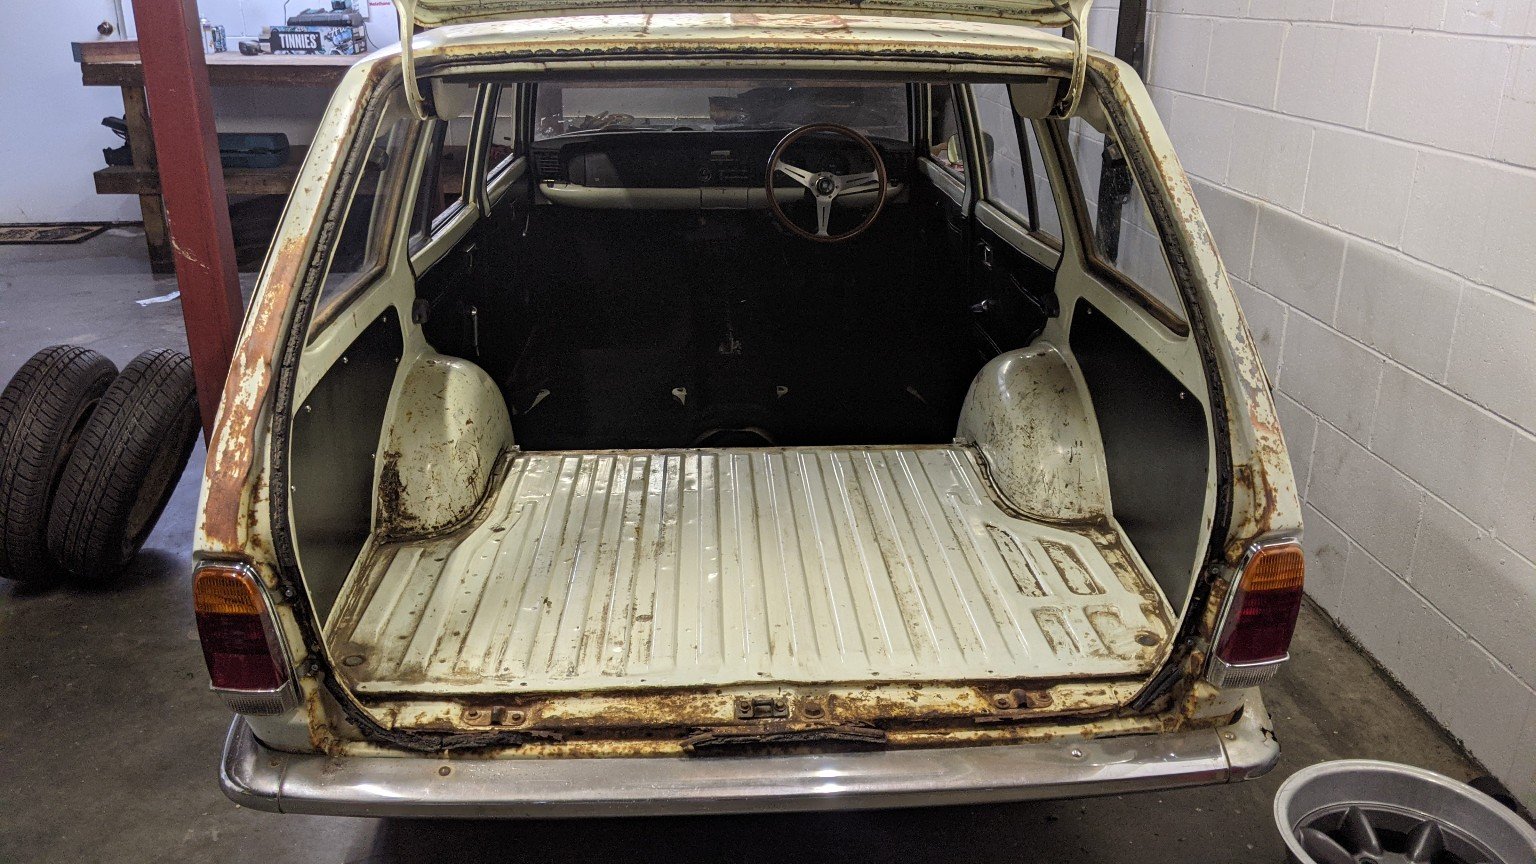
Drag day was awesome as per usual.. couldnt stay as long as I had wanted but that's what happens when you bring your 1yo daughter with ya! Anyway that sparked some motivation and today I got stuck into the Corona. I pulled the spare diff and leaf springs from out under the house, they were dirty so I gave em a clean up.. as you do Taa daa When I pulled the leaf springs out I noticed something different.. ha the top leaf has been flipped prob be just about right as is no need to reset or I'll be in the same boat again So I cleaned the leaf springs too The ones I was running were reset twice and would be inverted under load. I did the same test with the other ones before cleaning em up and felt better/stiffer Crazy how the metal all twists like this All back In and leaf/diff mounts all buttoned back up. I'll grab a couple wheel cylinders tomorrow I believe the drivers side has developed a weep. Much betterer Dummy fitted the wheel to see how it fits. Thanks for looking7 points
-
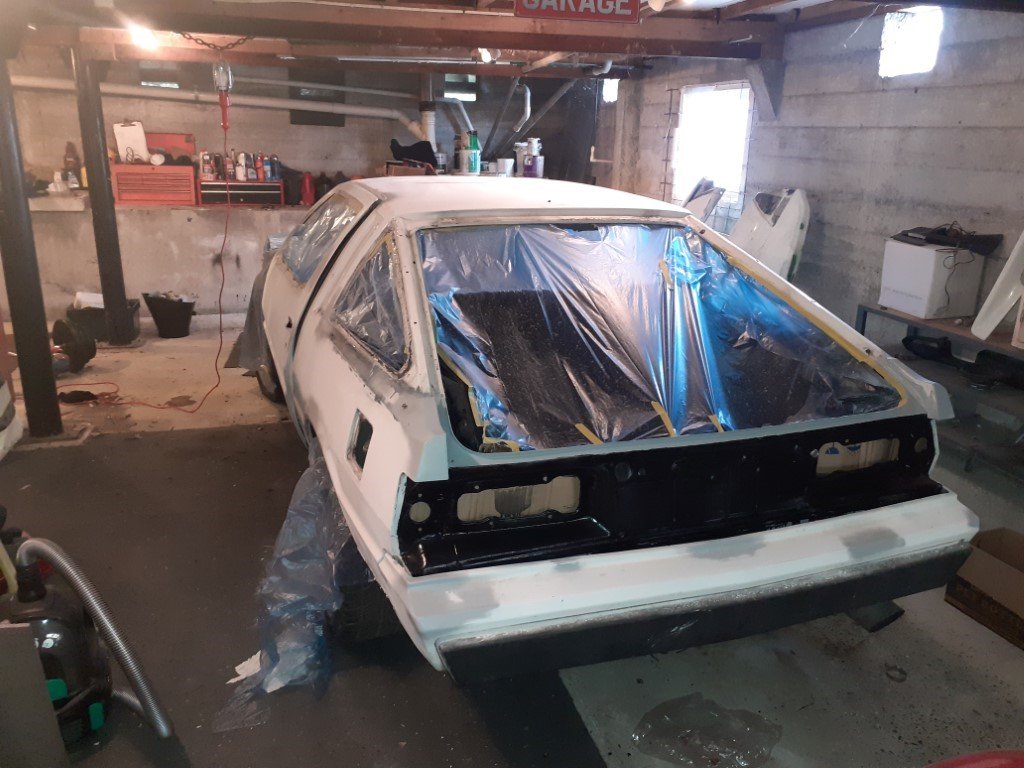
Been a while since I've updated this one, a mixture of the R34 stagea build, moving house & uninteresting progress, but finally something worth sharing - finally got the whole shell bare metalled and into primer.
6 points
-
drag day went super well. had a great day. struggling for traction as normal but managed to put one good run together and ran a PB of 12.93@110mph. i cant tell you how stoked i am to make it into the 12s. 2020-12-13_07-05-28 by sheepers, on Flickr6 points
-
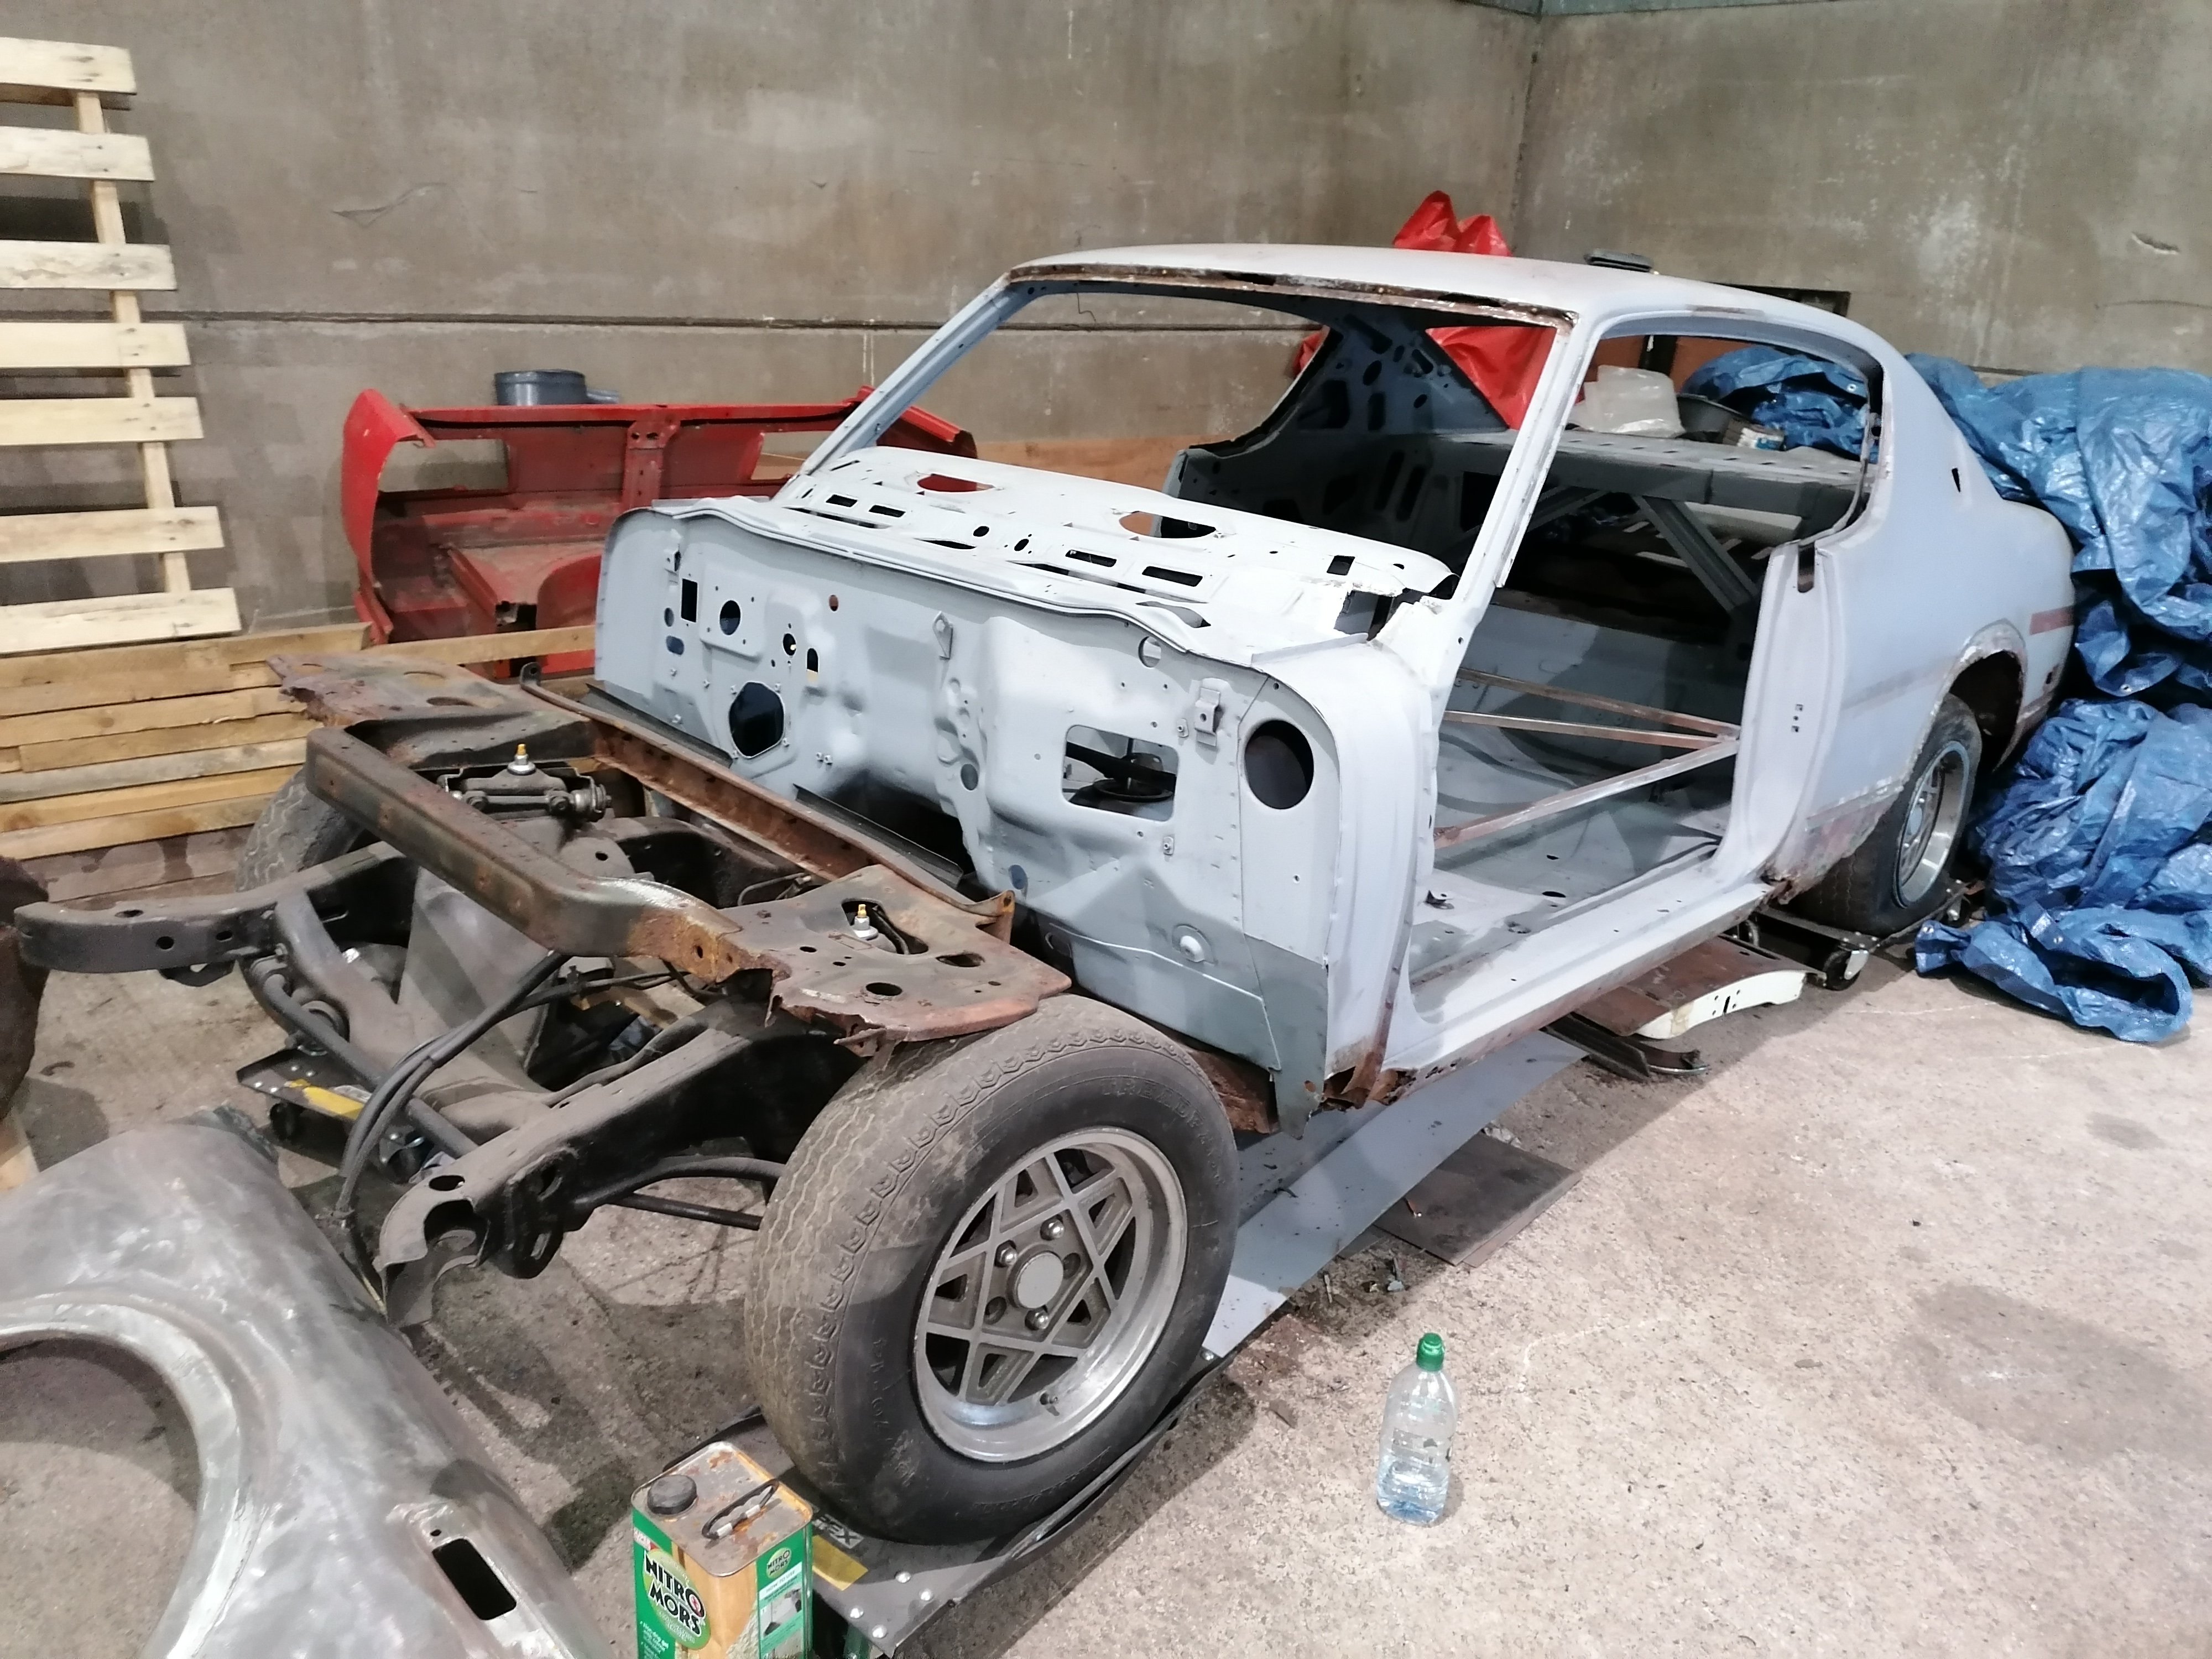
Maybe some more background as I've kind of started part way through. I saw this car pop up a couple times on Trade me and couldn't really get it out of my brain despite never being interested in this sort of thing before. We bought it went the price made sense a couple months after first seeing it. In my original post I put some asterisks after some words. This because we realised that the previous-previous owner probably told some porkies to the previous owner to sell it to him. They say they took the dizzy out as an anti-theft measure but it's the wrong dizzy, which calls into question all of their other claims (driven into a garage for storage 15 years ago for eg). And why cut the battery out? :\ Things we knew were wrong with it both of the boot latches are broken the distributor is (was) missing the battery has been removed via wire cutters fair amount of surface rust paint is horrific 14+ owners, and it's clear that the last few have not cared too much for it unrepaired front passenger corner collision (plus evidence of other historic repaired collision damage) interior trim is horrific or missing with only a few 'ok' bits only truly concerning rust was a piece at one of the rear latches and on the back of the bonnet The previous owner left a lot of fun stuff for us to find. Not pictured: all sorts of screws and bolts and trim bits that had fallen off deteriorated trim and found their way under the seats. Also 12 pence somehow. I considered the rust situation to be "ok" but after seeing a few restoration threads I have upgraded that to "pretty decent actually". No rust underneath, and the "usual" spots for starions seem to have escaped unscathed. There's surface rust in a lot of places but it's only eaten through or "bad" in a few minor spots. The rear driver's side floor doesn't look happy, but is surface only. Even the battery tray hasn't been eaten through Lots of dodgy looking bits actually cleaned up relatively ok with just a wire brush. It turns out that both latches have some rust that has managed to eat through - it's quite minor but will need some welding. I've dressed some bits with rust converter already. The only really bad spot we've found so far is the front crossmember which has a hole eaten straight through it. So we'll have to either find a new crossmember or get it repaired. I feel like we've dodged most of the rust bullets, but I do need to impress just how much surface rust is on this thing. There's also a ton of rando bog from historic repairs in places. So I'll likely get the whole thing media blasted down professionally just to make sure we're not leaving anything to get eaten away.6 points
-
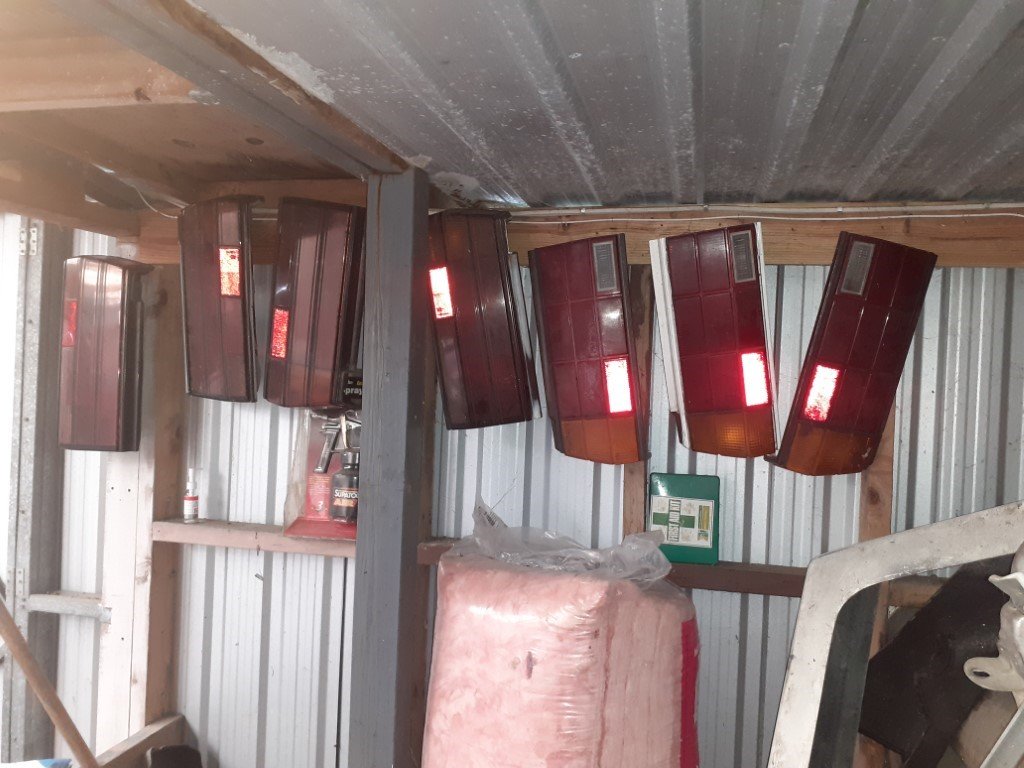
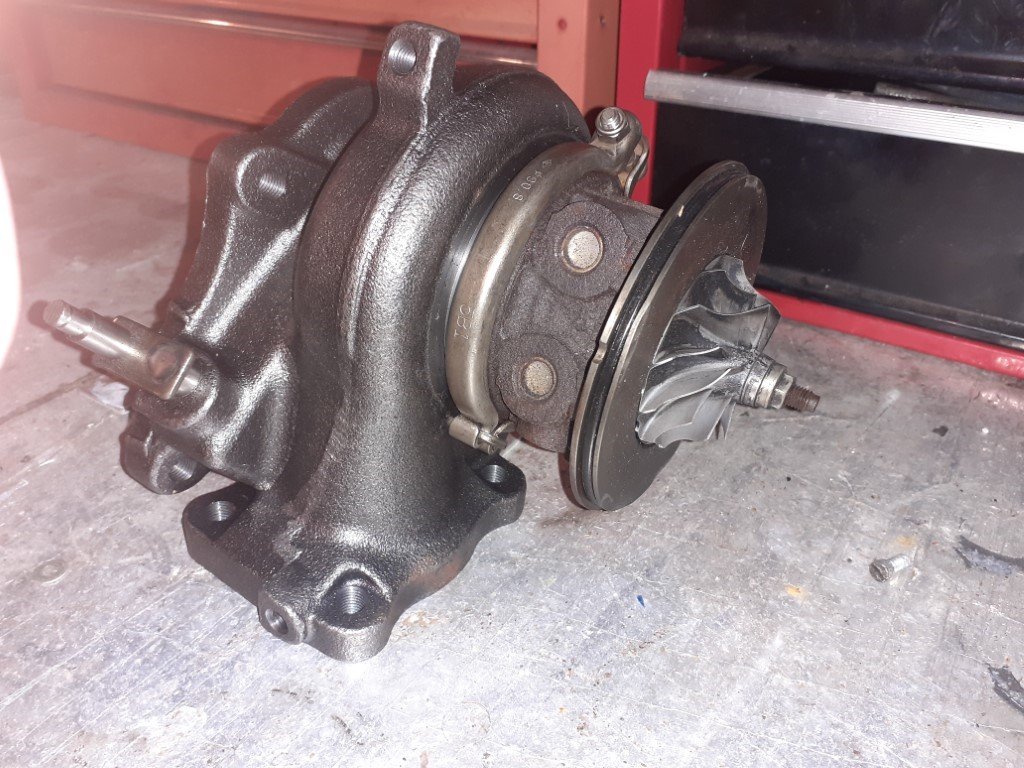
sort of an update, more to show that I'm still alive. Maybe not for long, having inhaled a few cubic meters of bog dust over the last couple of months. Caught up with the panelbeater as he had to weld up my other car to get it's WOF. I asked if he knew any good painters "sure I do, remember that Escort that was in my workshop? they just painted it, it came out absolutely awesome.... cost the guy about 12k if i recall" So yeah I'll be handling the paint job at home. So i've been bogging and sanding and bogging and sanding and bogging and sanding and bogging and sanding and bogging and sanding and bogging and sanding and boggind and sanging sag broggin snd srntibafhfsda;lkjdj,ngbdk;ljhfad;lkjs,k learned a lot of dumb and obvious lessons with bog (which I somehow hadn't clicked on to in my youth); 1. every little bit you put on, that you don't actually need, is going to have to come off again 2. just because you have some left over, doesn't mean there's still somewhere that needs that little more more added to it. 3. no the paint won't hide that I also chassis black'd all the sills, front quarters under the guards, and in around the rear light recesses. I haven't really looked at the bonnet, guards or donor RH door, just been concentrating on the shell. It's all there, it's all straight... just there sure are a lot of little nicks and scratches when you start hunting for every single one of them. my favourite pastime recently has been obsessing over this section just in front of the passenger rear wheel. There was a little patch of rust here which had cracked the paint, and the more i picked, the more came off, including over the ridge of the body line. So when I sanded it all back, the radius of the ridge was sharp in some places, and smoother in others. Then of course I started looking around all the other ridge lines on the car and could suddenly see where they'd been sanded back over the years for various repairs. So I spent a considerable amount of time shaping tiny ridges of bog to try and sharpen up the lines in a number of places. Meanwhile everything that's going under the bodykit got a shrug and a scuff. pick your battles. a while back I picked up a sweet tubular exhaust manifold to suit a sohc 4g63 (maybe off someone here?). but the turbine inlet port was too big for the teeny weeny starion turbo. likewise the stock downpipe is horrific and I wanted to replace it with something nicer, which would require porting the turbine housing of said teeny weeny turbo in order to make it worthwhile. So i said bugger it and bought a small 16g subie TD05H and lucky dip chinese pot metal ebay 8cm turbine housing that at least will match the manifold and downpipe. likewise the subie compressor housing isn't really suited for starion duty so that's another thing to go hunting for Then I cleaned up the garage a bit because I'm fucking sick of bogging and sanding and would rather do literally anything else. cleaned out a whole nest of tail lights which had been breeding up in the back of the garage, yuck The boss reckons we'll knock off for the year at the end of this week, so then I should have some time to get some actual progress made
6 points
-
5 points
-
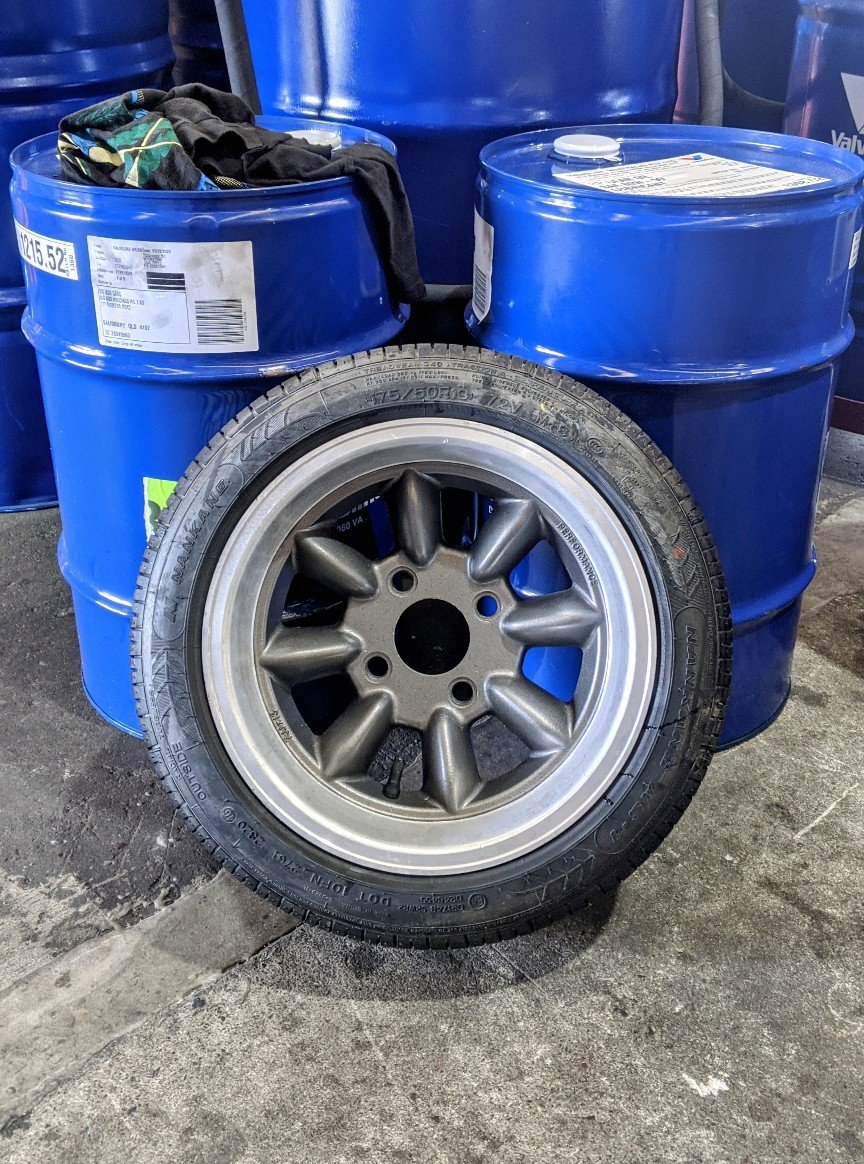
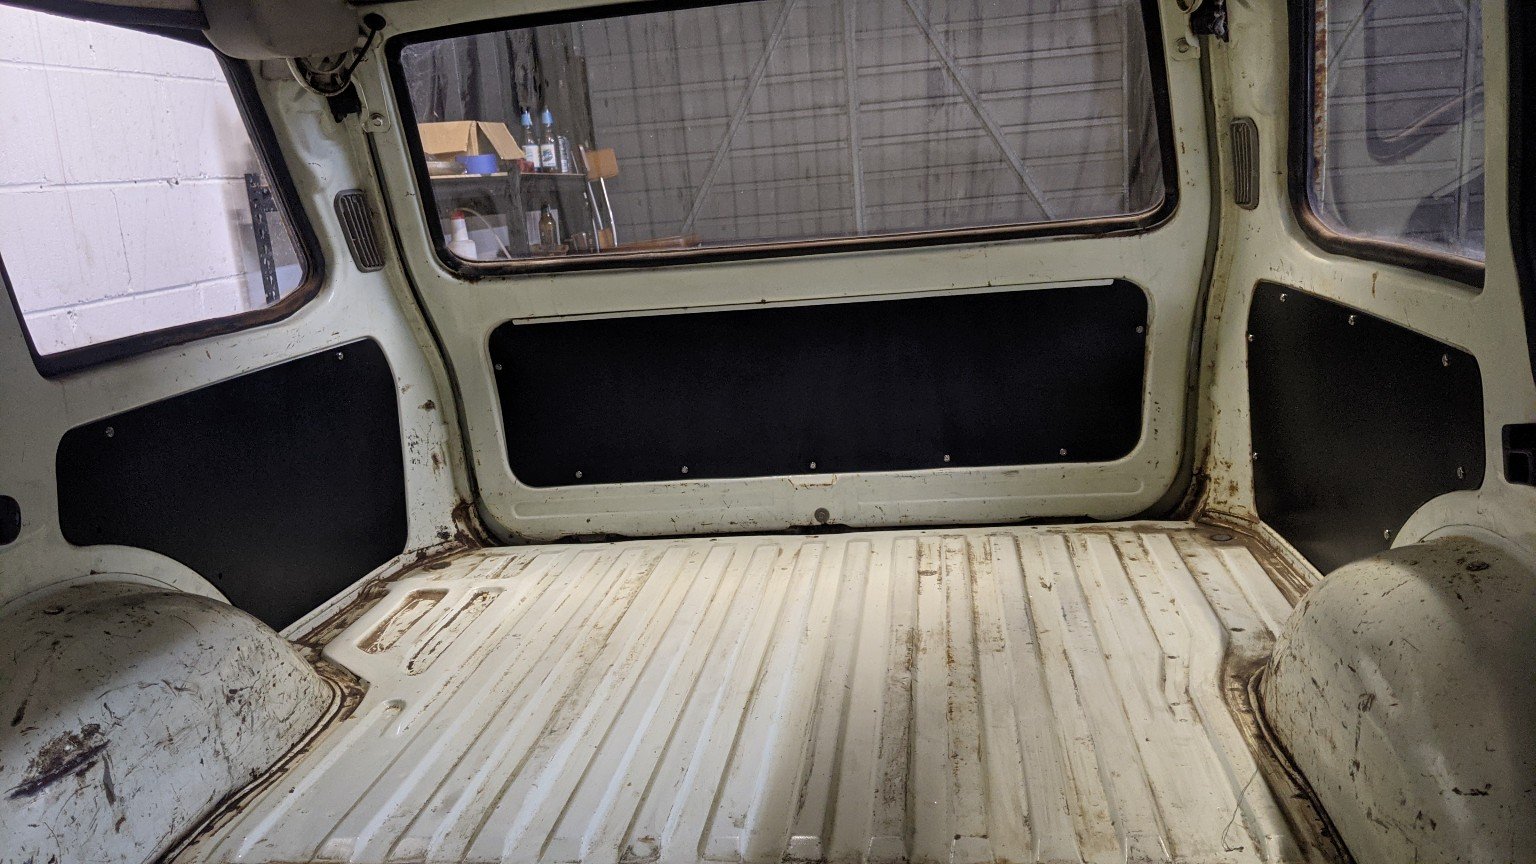
So I got a tyre fitted up today. Pretty stoked on the profile. 175/50r13 nankangs. Very cheap as well. Will fit the rest up tomorrow, and hopefully get some proper photos. Also bought some masonite in the weekend and finally made some boot interior panels, as they were missing. Has tidied the interior up tenfold. Highly recommend masonite over MDF. Much stiffer and easier to work with. Still need to get some speed nuts for the RH side. My front indicators showed up too. Genuine fakes from Thailand. Pretty happy with the quality though. Can't complain for $50 all up.
4 points
-
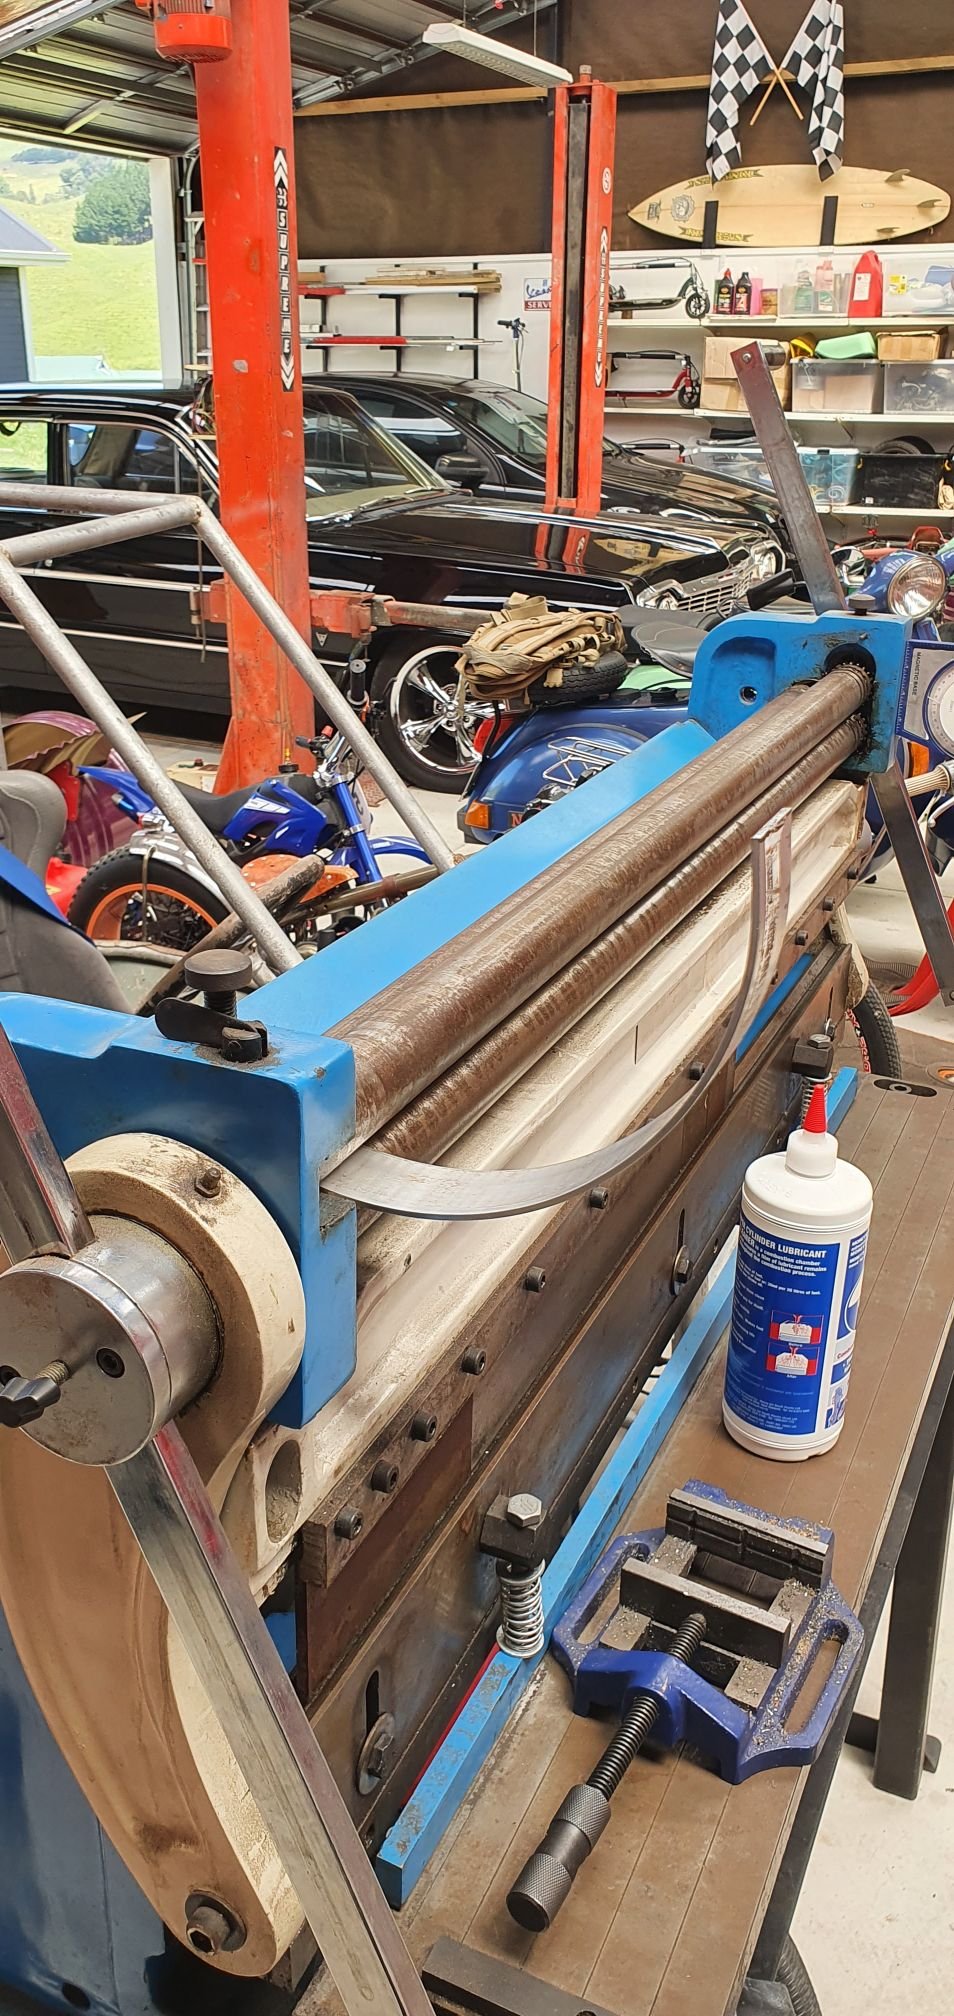
Another random project: Now I can get away from using those stupid valve master squirty things, that no gas stations appear to have anymore
4 points
-
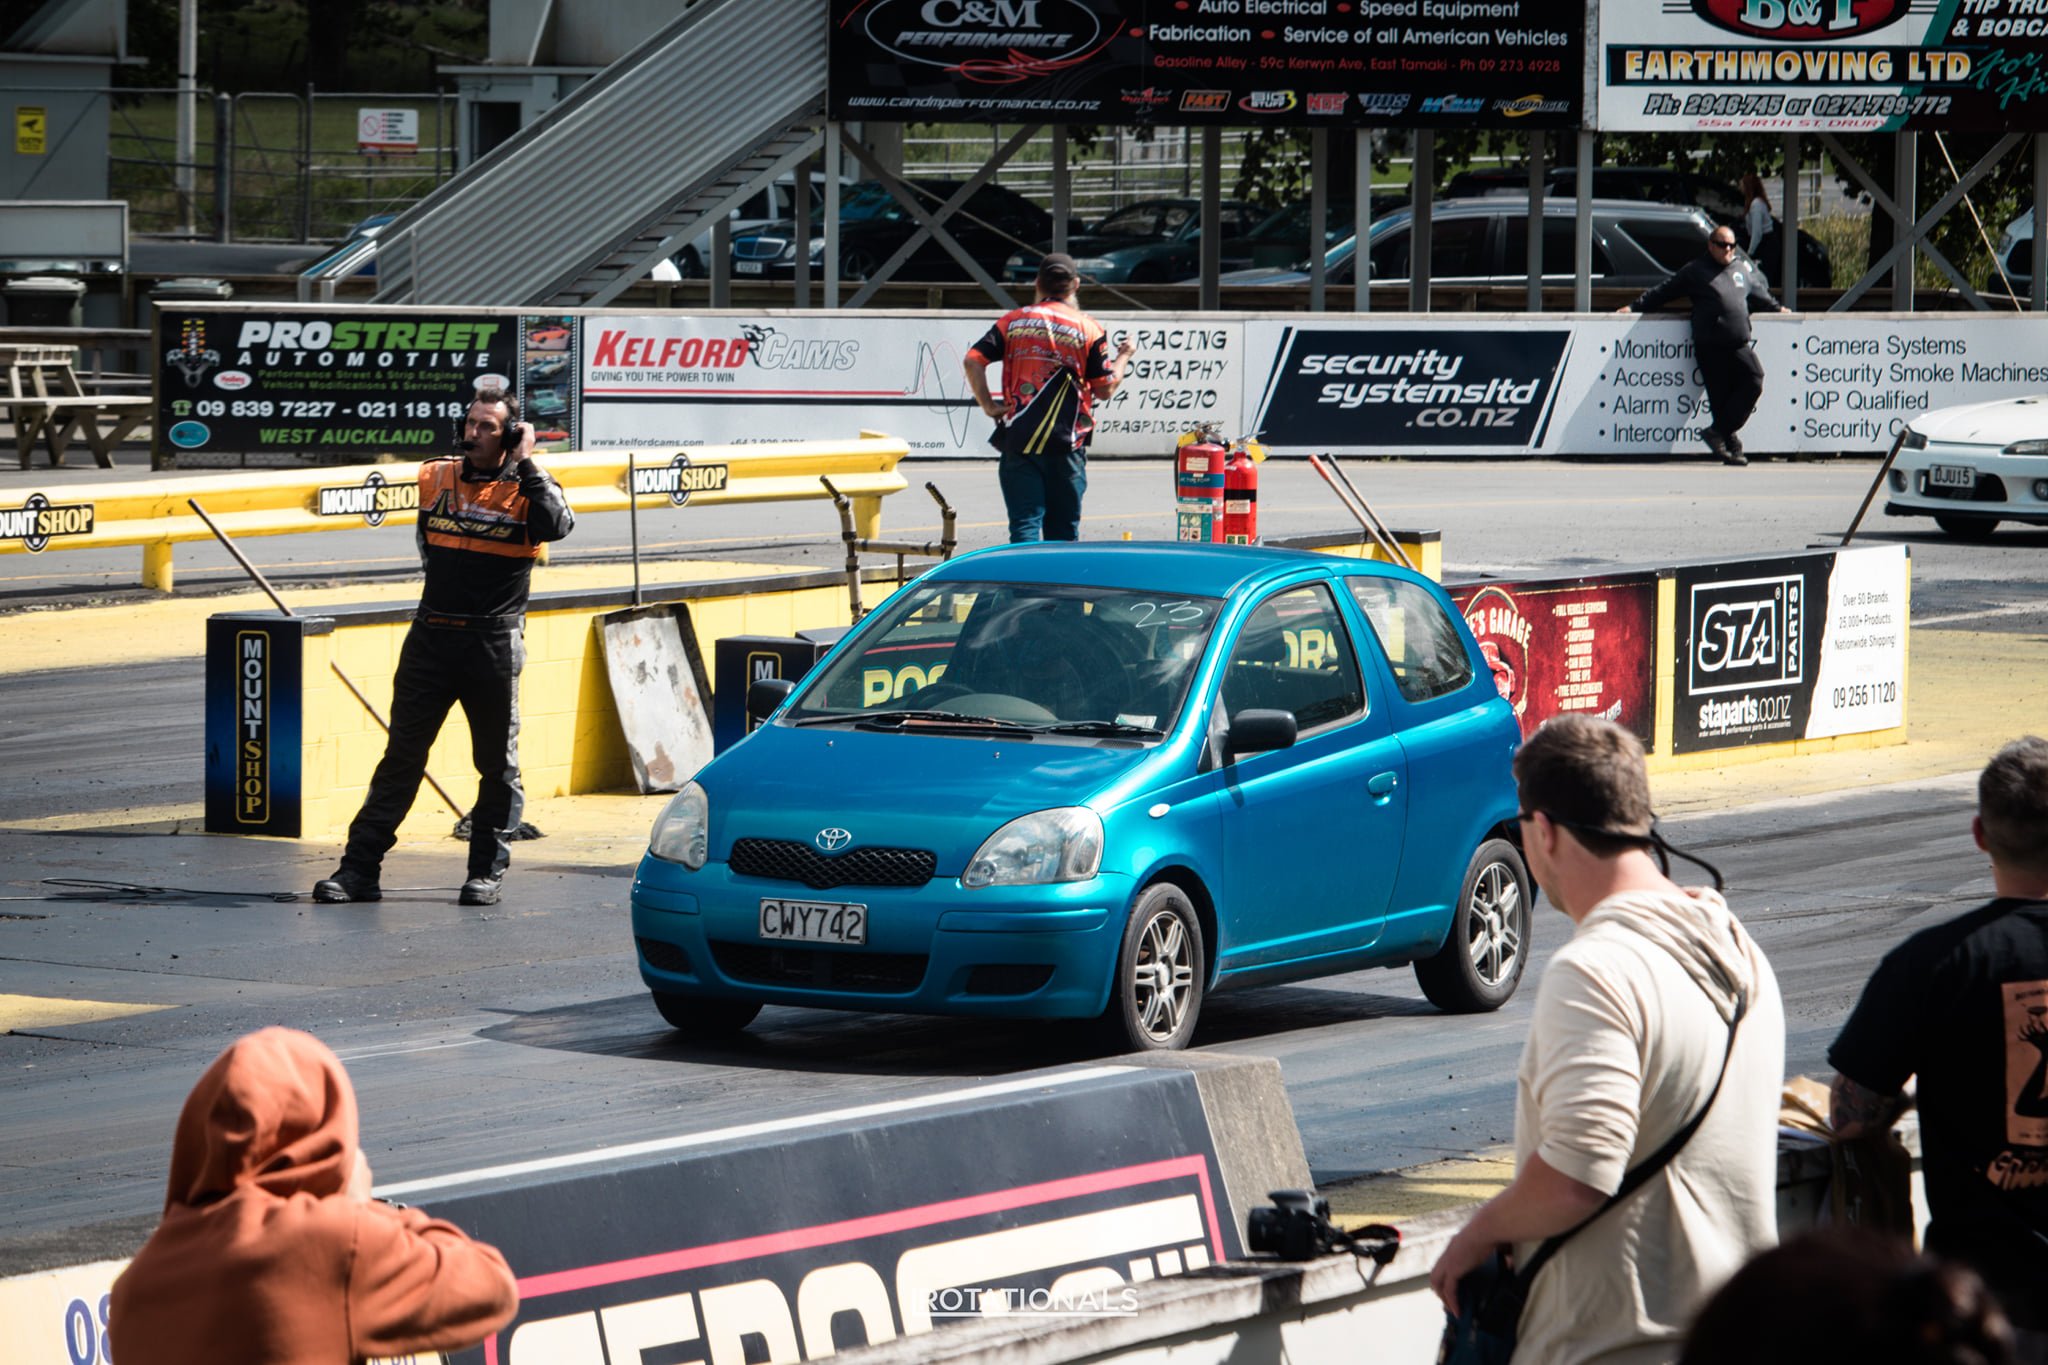
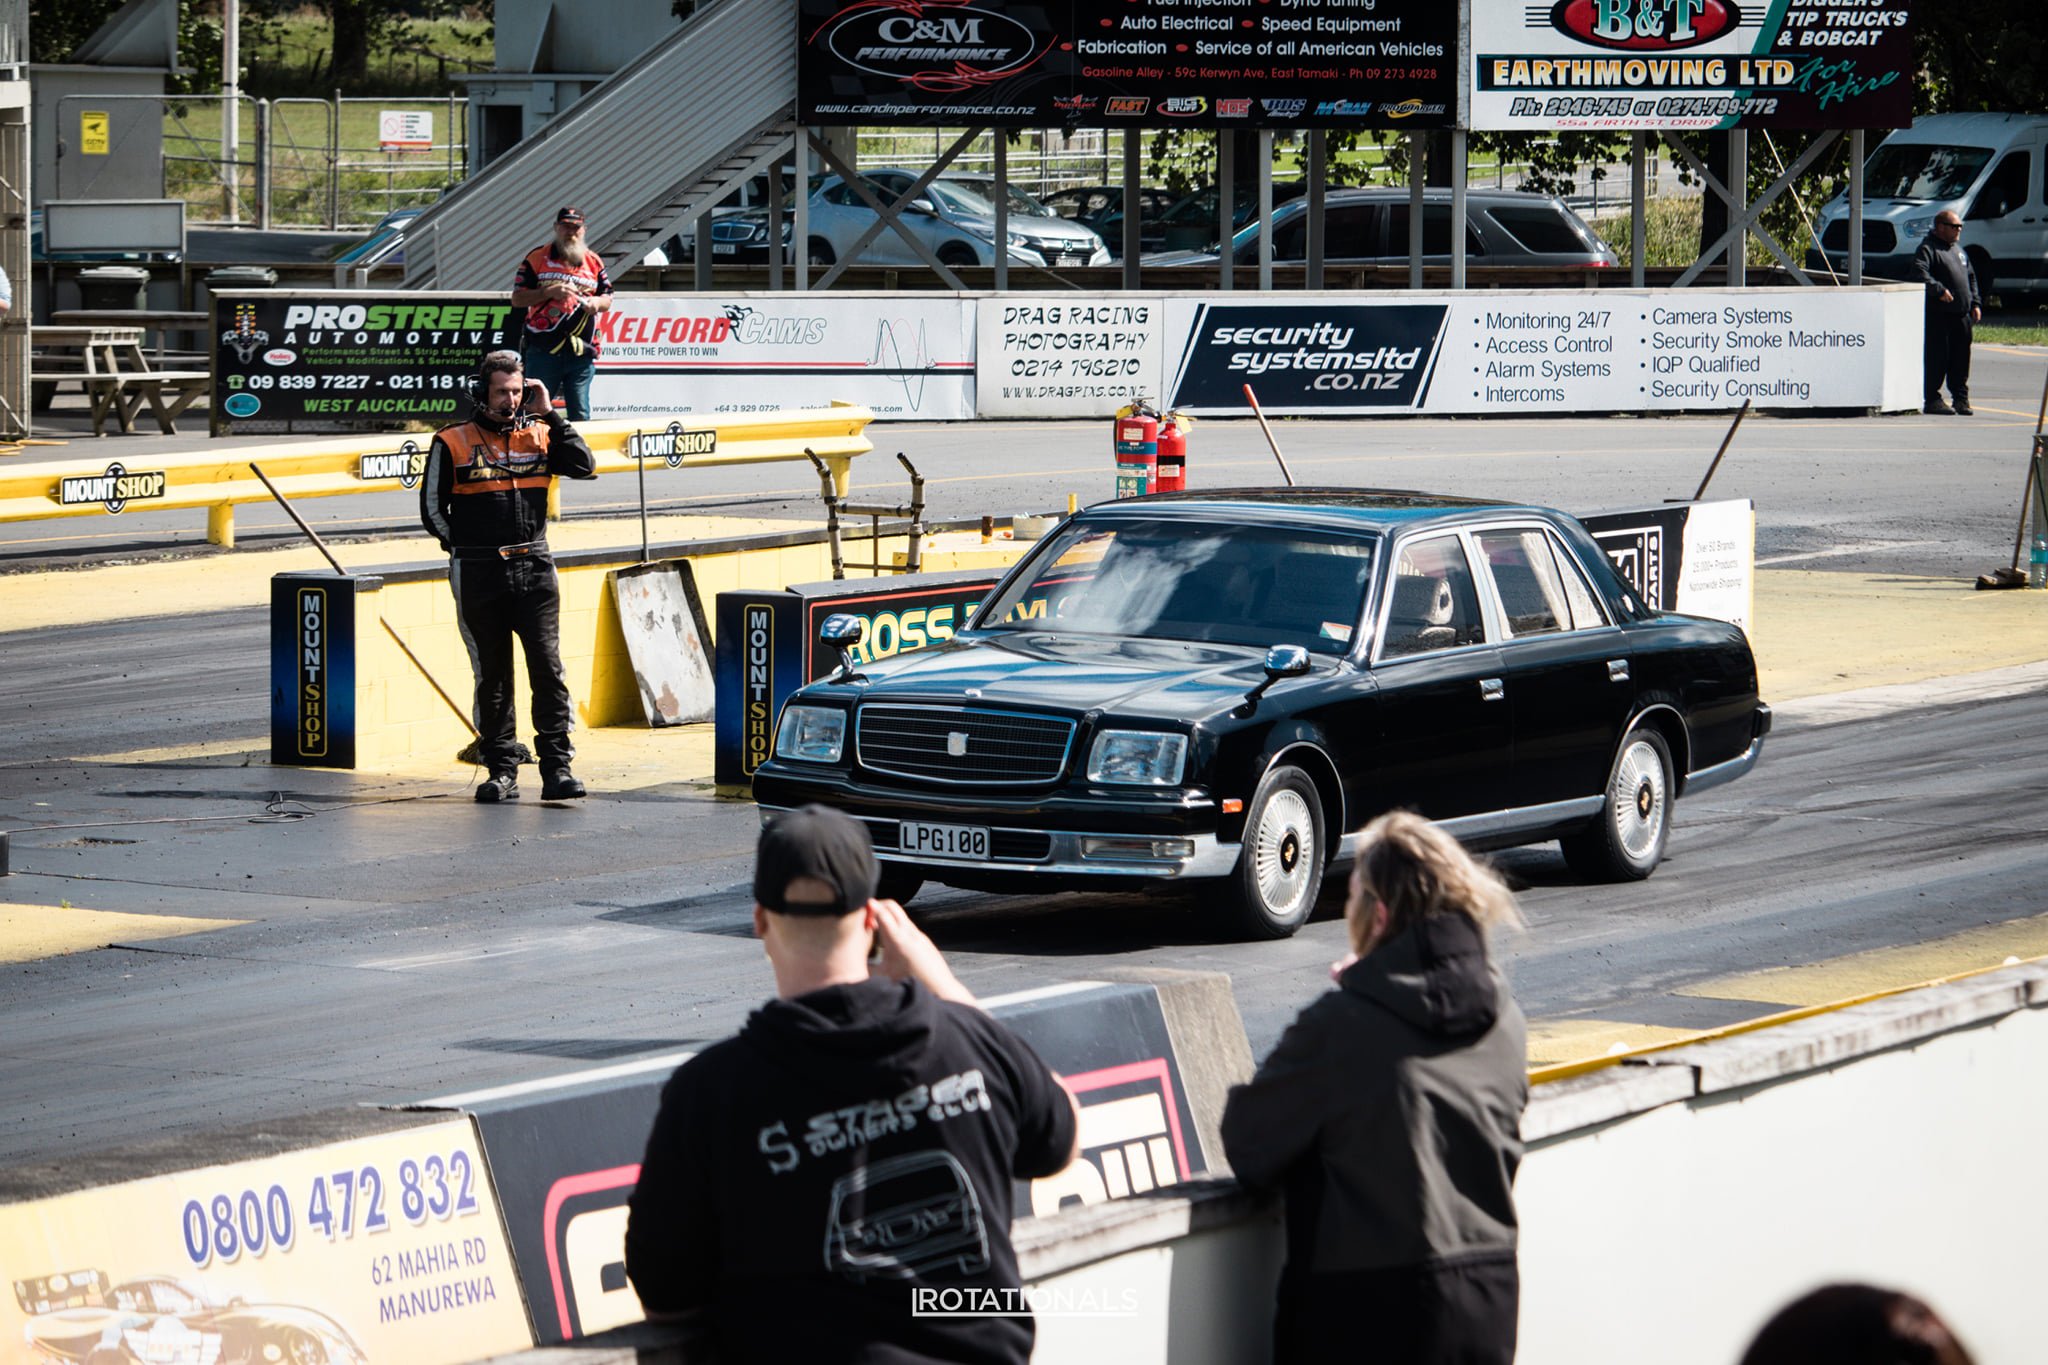
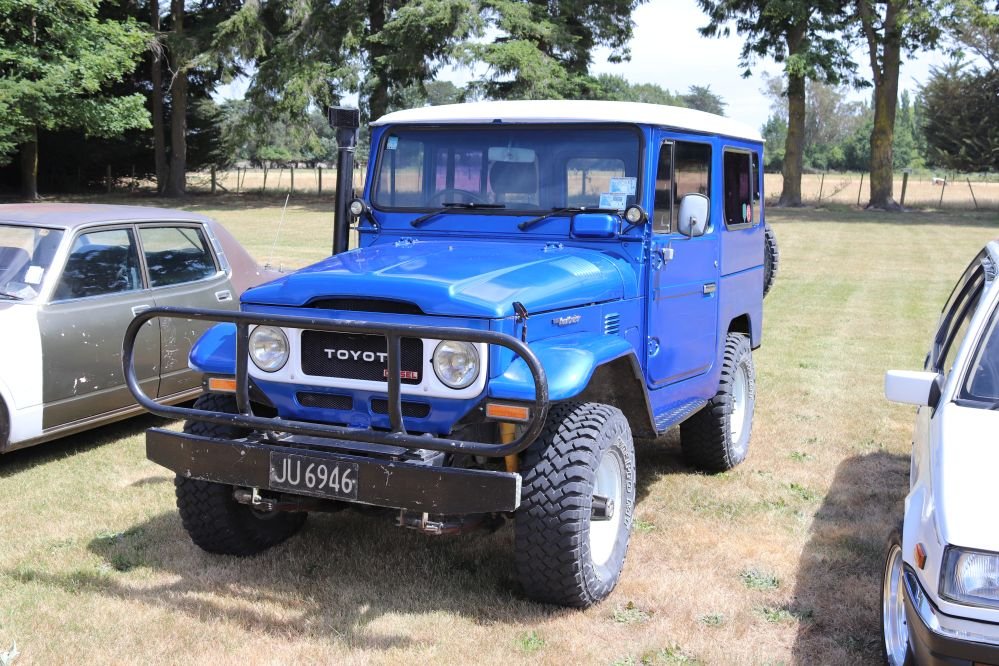
I'm hugely grateful that Dad comes along and participates in things, he was super chuffed to get the Century out there. It still blows me away that these things are in any way shape or form, affordable and accessable. However his PB is still definitely with the JZX90 which is a low 14. and the blue skittle The wind noise doesnt quite capture the racket coming out of it, but a vid's a vid:
4 points
-
Nang is your job. I'll provide the moo3 points
-
Burgers this Wednesday guys who is interested? @sentra @locost_bryan @sheepers @rich1179 @Shakotom @ul9601 @Styles @cletus @Tumeke @Snoozin @V8Pete @tortron @Kiwibirdman @punkoutnz @SOHC @michaelme @Avenga @MIRAGE-MAN @Thousand Dollar Supercar @Ghostchips @Ghost @Hurmeez @Snorkpipe @xsspeed @The Bronze @The Dude @ae85 fiend @63Ragtop @MichaelJFox @rusty360 @Matteybean @66gt @Mr Vapour @Corbie @SOHC @sluggy @Sambo @Not-a-number @Taistorm @zep @f100_dreamin @Ashkellybarr @sleeektoy @rivalrx @dabuzz @mk2marty @shizzl @beachlander @mlracing.co.nz @Sourkraut89 @slacker.cam @chris r @Threeonthetree And maybe some others i forgot?3 points
-
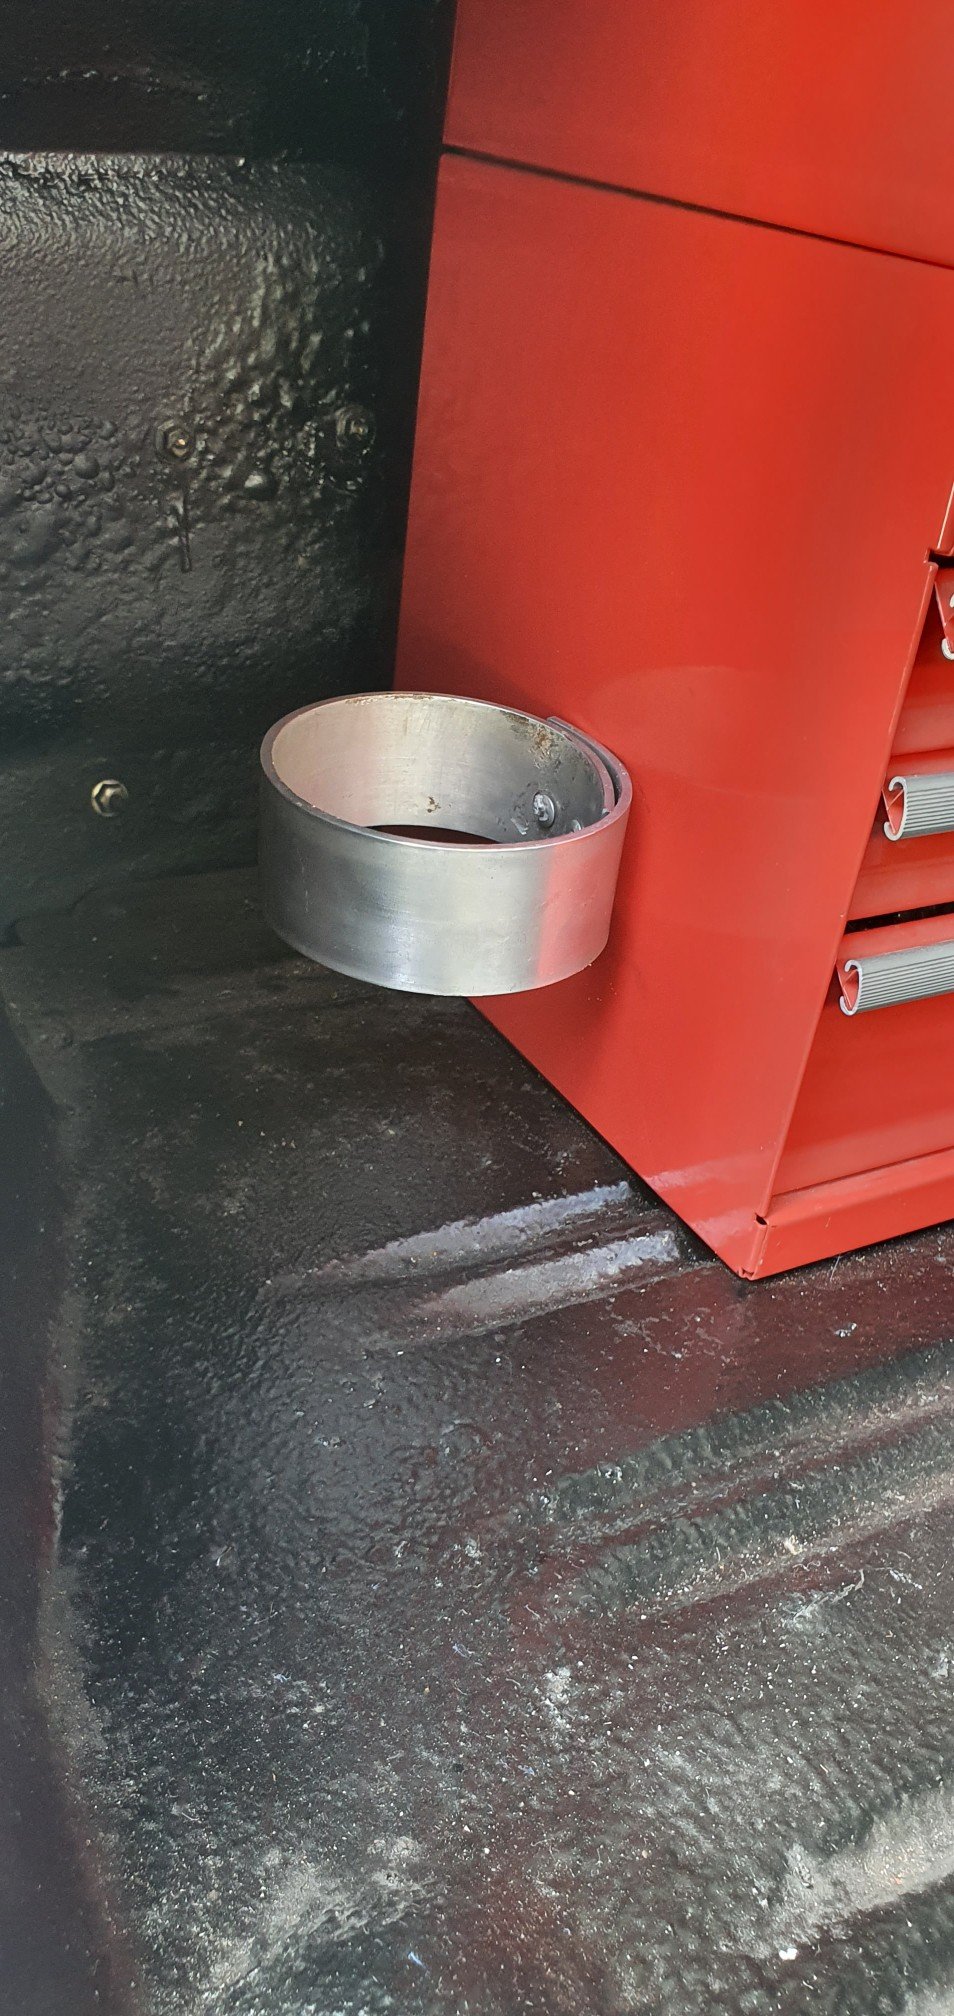
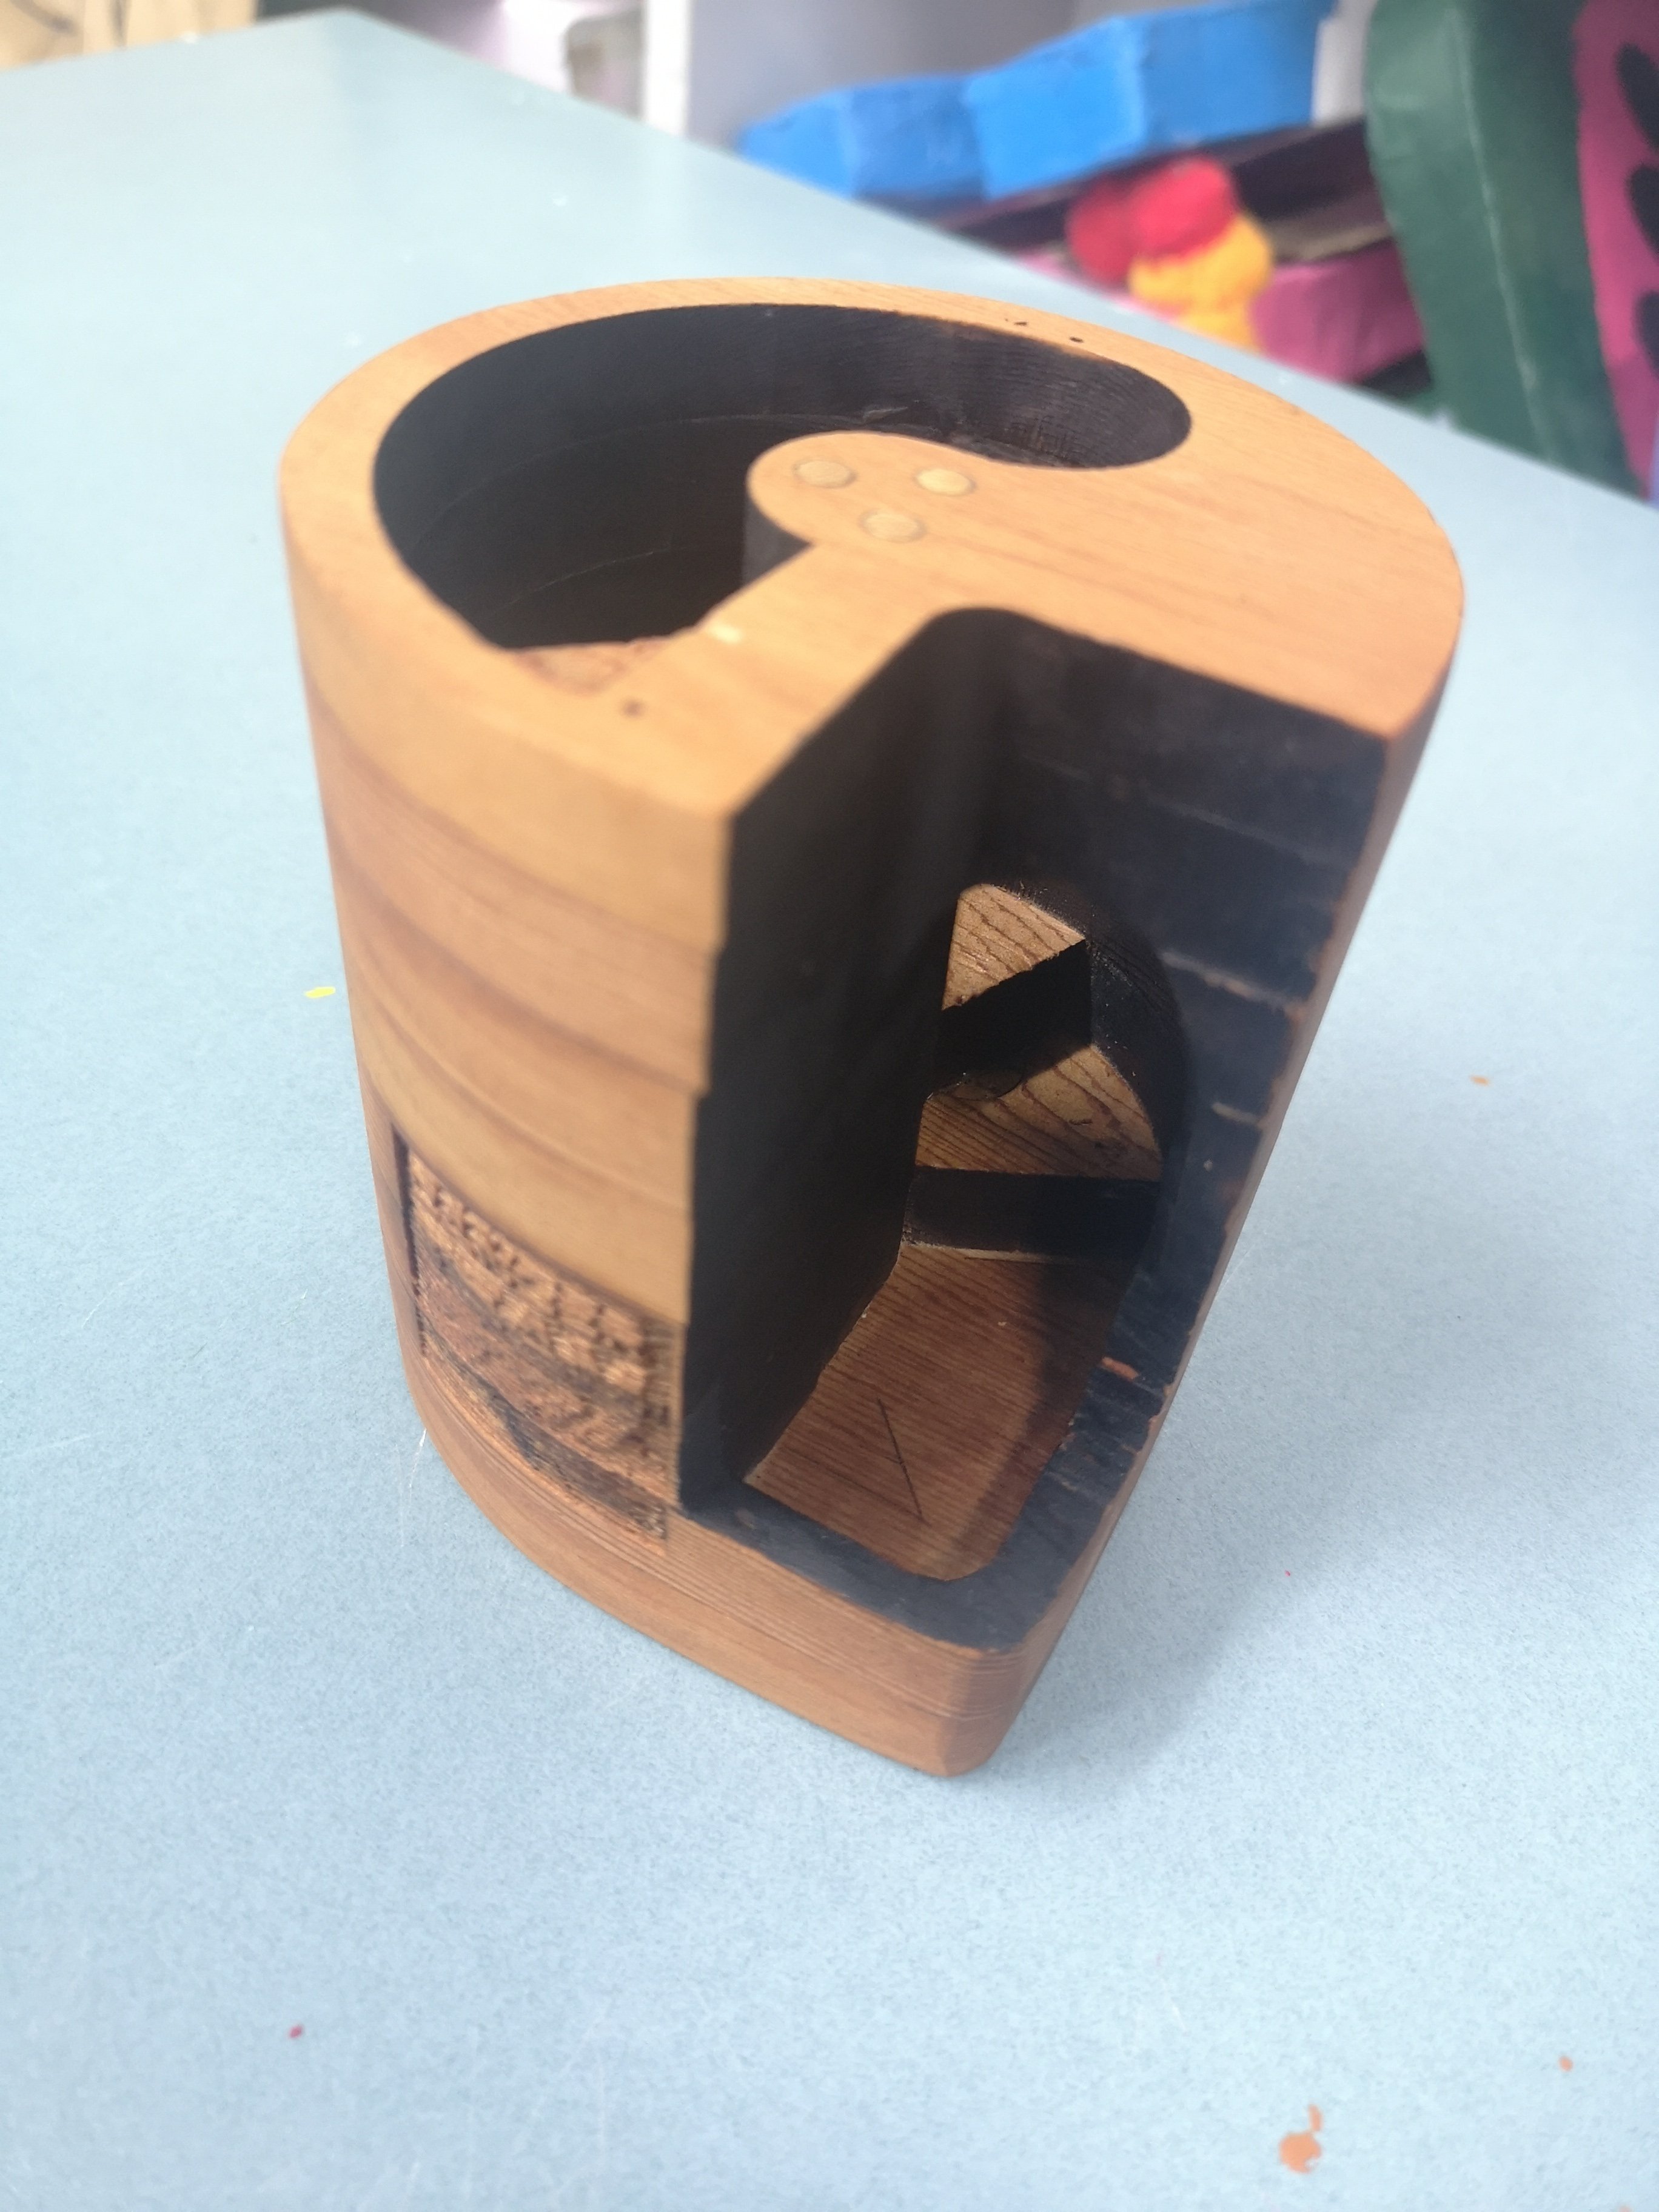
^ my brother asked if it was a cup holder for kidnappers?3 points
-
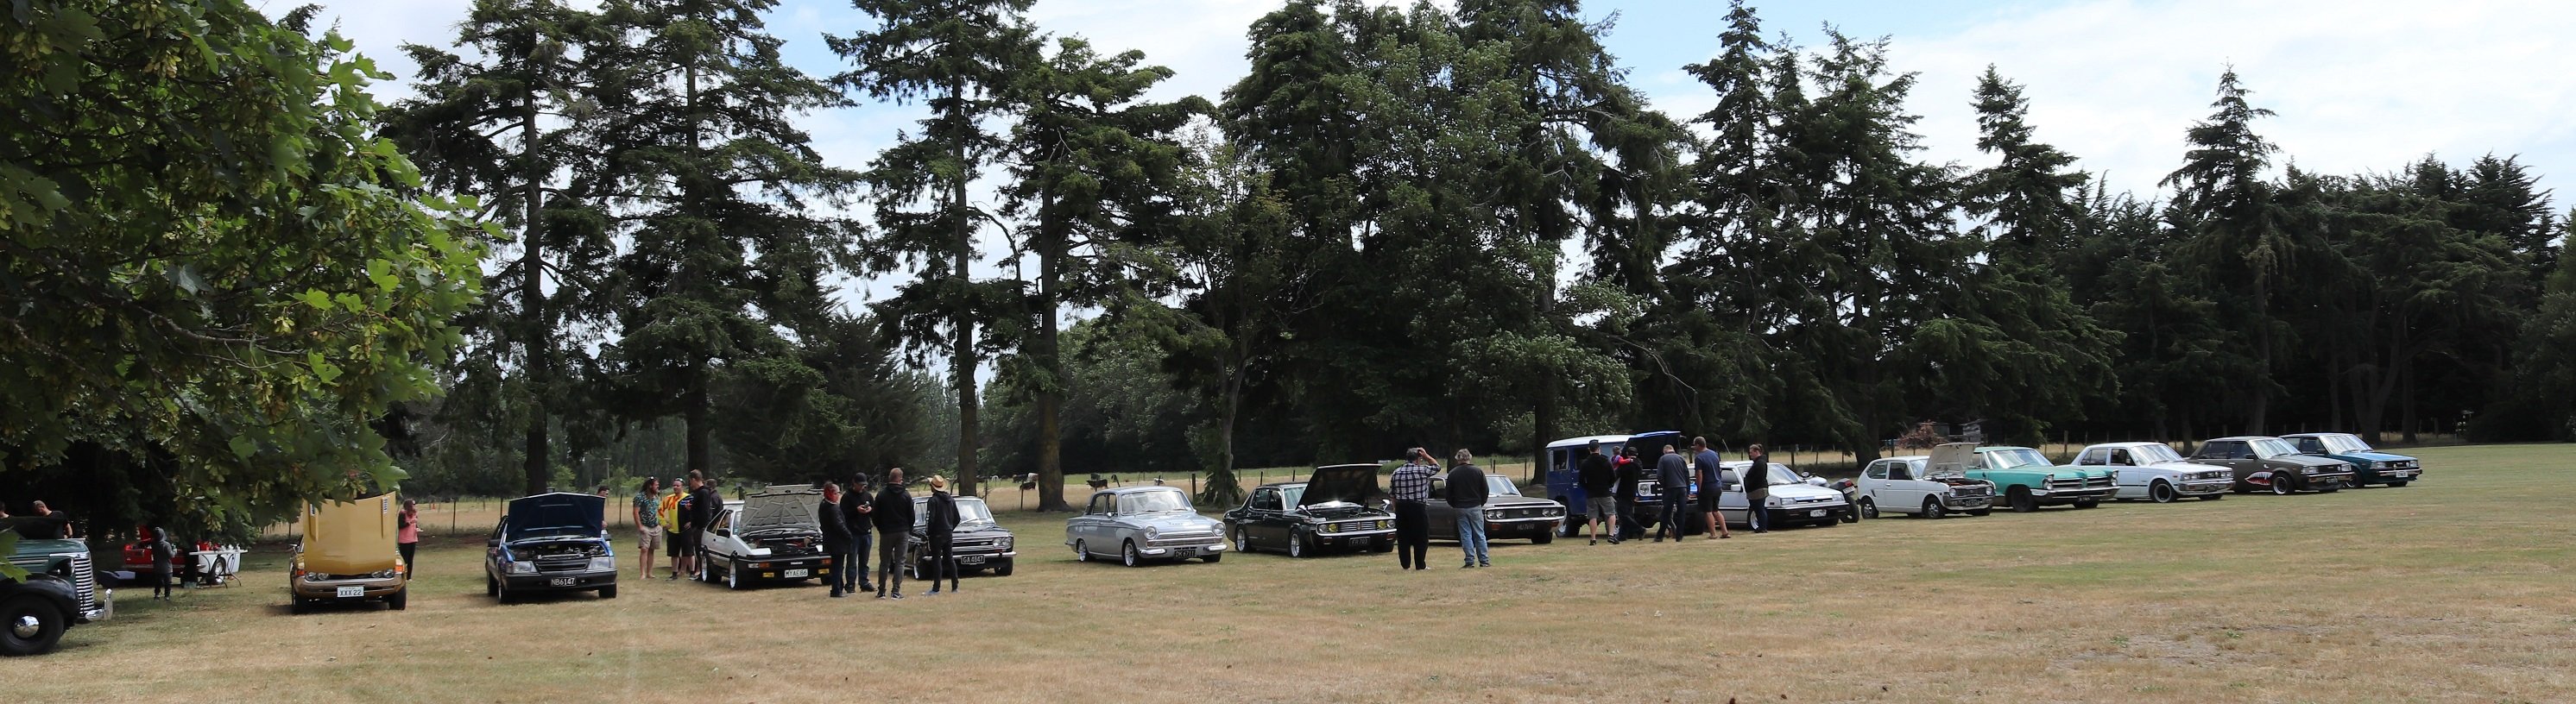
I had to leave early and a few had turned up after I took these, at least the weather turned it on
3 points
-
Took the door off again. Decided the passenger door lock can go in the bin with the mirror.
3 points
-
Yearly update Life has been busy, and while juggling kids, a growing business, and another couple of projects for people it's meant I haven't got all that much done on either car. I had visions of making OS Drags this year but yeah nah the 86 isn't running yet and I've left it too late to resurrect the EP71. EP71 wise it still starts up and drives fine, except the gearbox is now leaking so will need to come out. I've got a new Cusco LSD on the shelf along, several good gearsets that I already modified a few years ago, so really just need to put a box together and swap that in. Will aim to build the traction bars Ive got in my head at the same time. I also still need to build the 3 inch exhaust system from the stainless tube, bends and flanges I have in stock, but finding the time is the hard part. The alternator bracket that I made years ago has also mysteriously broken while the car has been in hibernation - easy fix though. I bought a new GTX2867 Series 2 turbo for this a while back and Kris has run this up on his Hilux for a comparison to his GTX2860 series 2. It made for some interesting results, and I think on the engine in the EP71 it should make some reasonably decent numbers compared to the GT2876 on there now. Anyway, will work on this car next year and hopefully actually put some effort into racing the thing the following summer. Pic for motivation. Onto the 86. I've made some progress, but no way near enough to make the OS Drags. Next optimistic goal is to make Toyota Fest. Things I have done though: My boys helped me fit the front and rear bumpers so thats all done and tidy now. The front lip has been grafted into the bumper, not sure I like this idea now but it will do for the time being. I definitely don't like the gloss black paint though, will repaint in bumper black once its going. Picked up a battery and made a wee bracket for it in the engine bay. I'm no longer a fan of relocating batteries so thought this was a good compromise. I've also been mucking around a little bit with the front end. Stripped the front end apart, cleaned up the arms, fitted power steer knuckles, new brakes set of rotors and pads. Dropped some lowering springs onto the stock shocks for now so its wof friendly but will swap in the coil overs later. I've got new rack ends, rack inners with spacers, new front Cusco sway bar and full bush kit to go in too - hopefully onto that very shortly. I'm considering a Cusco caster arm setup too, haven't quite pulled the trigger on that yet. Wiring wise Ive had the front chassis loom and rear chassis looms out of the car to make a few changes and re-wrap them. I've taken the aircon wiring out and added in larger dia wire for the fuel pump in the rear and new wiring for the twin radiator fans in the front. I'm setting up the fuel pump and dual fans on solid state relays so I can speed control them all. Jacked it up and ripped the fuel tank out, have fitted a Aeromotive Stealth pump and changed all the lines to AN fittings and black teflon braid that Ive had left over from previous projects. Also took all the old fuel lines out and have run new hard line through. I need to redo the brake line too at some stage. Gave the underbody some love so thats all tidy now. I managed to pick up a new Cusco panhard for a good deal and a new Cusco rear sway bar so those have gone in with new bushes - will get photos of that next time. I've got various CNC gear at work to play with so have been working on coil plates to suit Suby COP's that will fit under the standard small port cover. Finished product is in but I havent taken any photos yet so here's so progress shots while making a few trial units. Should have these for sale at some point. Other work underway is the dash wiring, have taken the loom out for a strip down/few changes/re-wrap and have the Link ecu wiring planned out and started. Getting back into the engine bay will be next, there's not alot to do really. The hall effect setup is all done so I just need to make up a blanking for the CAS location and that's done too. Also got this. And this to fit at some stage Hopefully will get a good week on this over the Christmas break which should almost see it running, fingers crossed.3 points
-
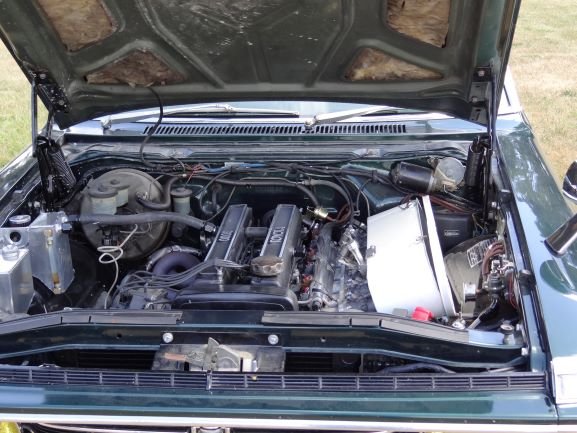
Tonight's update. Changed the plugs and re-routed the HT leads a bit tidier. Discovered you can't fit a plug socket between the manifold and the plugs....so had to use a spanner which may explain why I found one plug finger tight with sooty brown skid marks all around it. Used genuine GM plugs because they are OE finest quality/$19 for a set of 6. Also named the boat using a $4 K-mart stencil and a Sharpie. This weekend's goal is to go boating with VG and maybe take the missus for a hoon3 points
-
how good is a 3.8 at full mang tho beeautifyl2 points
-
Shed warming at your place?2 points
-
Yeah deleting trans codes would be choice, should get rid of the evap/purge codes while I'm at it then I can throw that solenoid away. I've got a spare EPROM to have a go at ruining. Took the boat out yesterday and it ran the best it ever has. I don't know if I'm just imagining it or if it really has picked up some power. Managed to suck some air into the pump mid turn, a 3.8 with 3ft of straight exhaust hitting rev limiter unexpectedly made me shit myself. I reckon with the motor running correctly and the pump freshened up, I'll be getting well above the hulls comfortable speed range. It feels sketchy as frig above 50 as it is.2 points
-
Ideal for removing the anodizing on some race face cranks I have that are a horrid green?2 points
-
Moar testing this afternoon. Tried different float needle, didn't really change anything. We think the choke plunger may be jamming on, causing the "not wanting to start under 70% throttle, and then hardly running, and then after a fiddle starting sweet as" issue, and it was still doing the "running out of gas after a period of full nangs, but then OK again if you idle around for a bit" thing, which was a bugger, but I have a couple of plans on solving this. Float needles, spot the rooted(er) one, Mr Jones going for a nang, Weed make boat go slow, I also have a plan to enhance my boating pleasure, so cunning, you could put a tail on it, and call it a weasel. Regards, VG.2 points
-
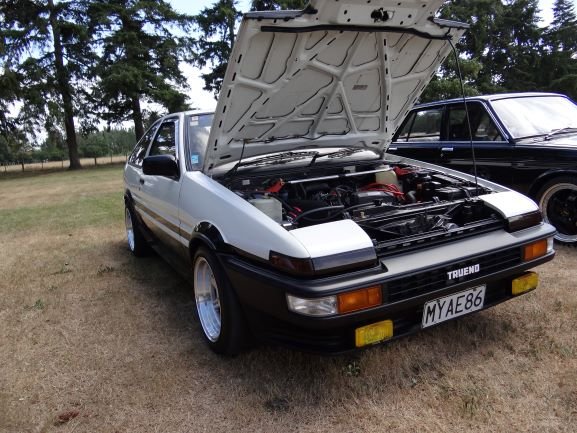
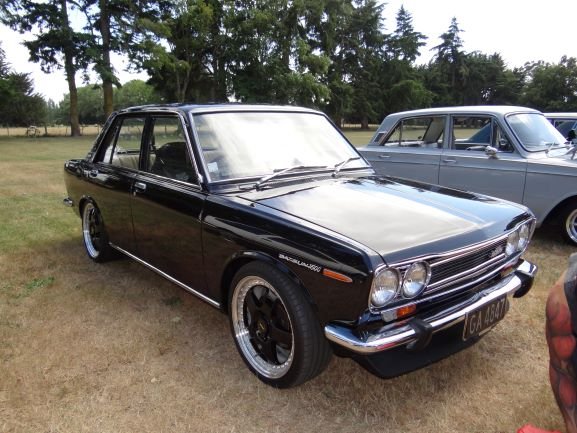
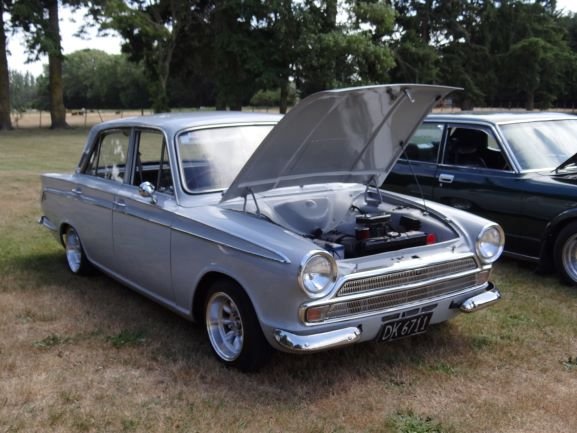
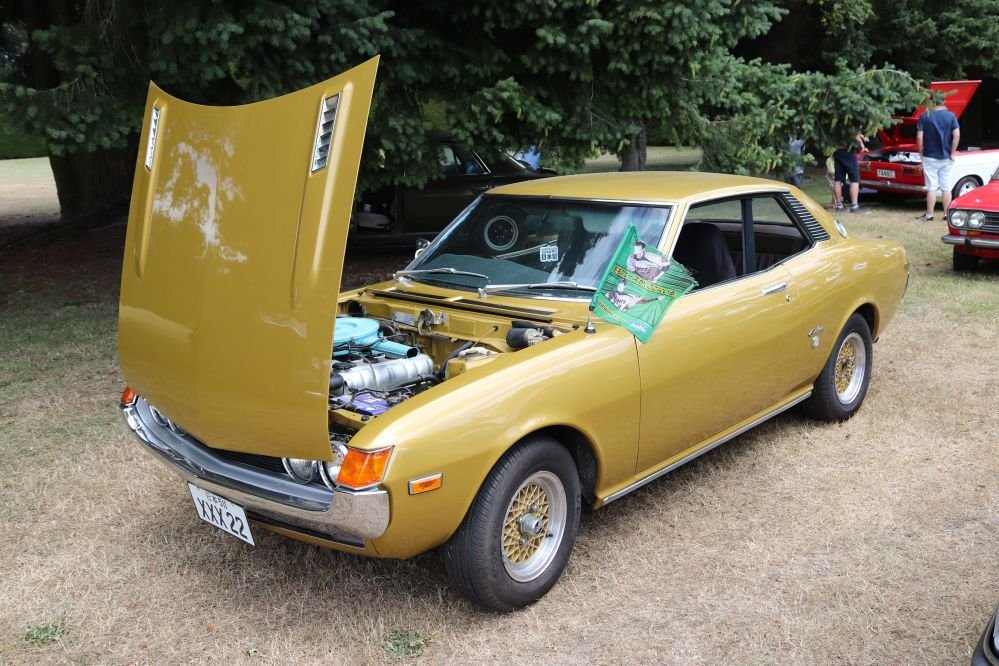
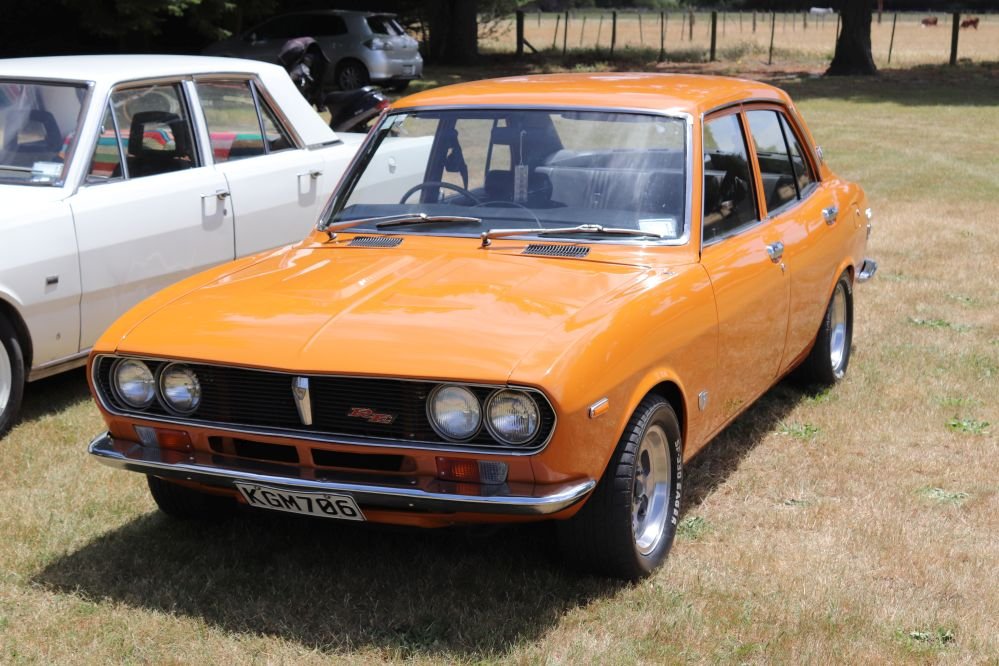
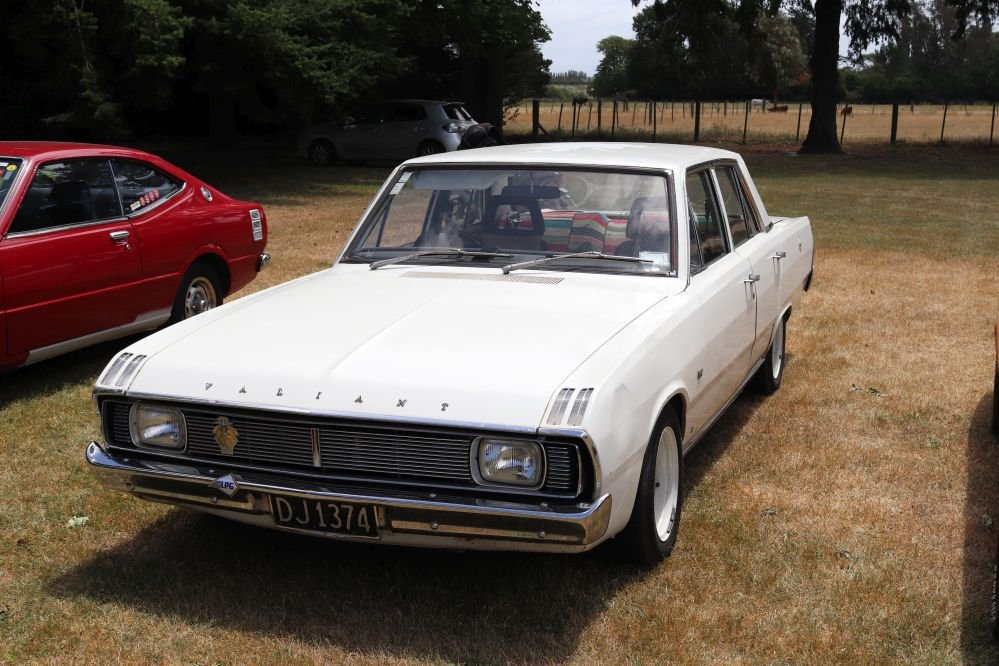
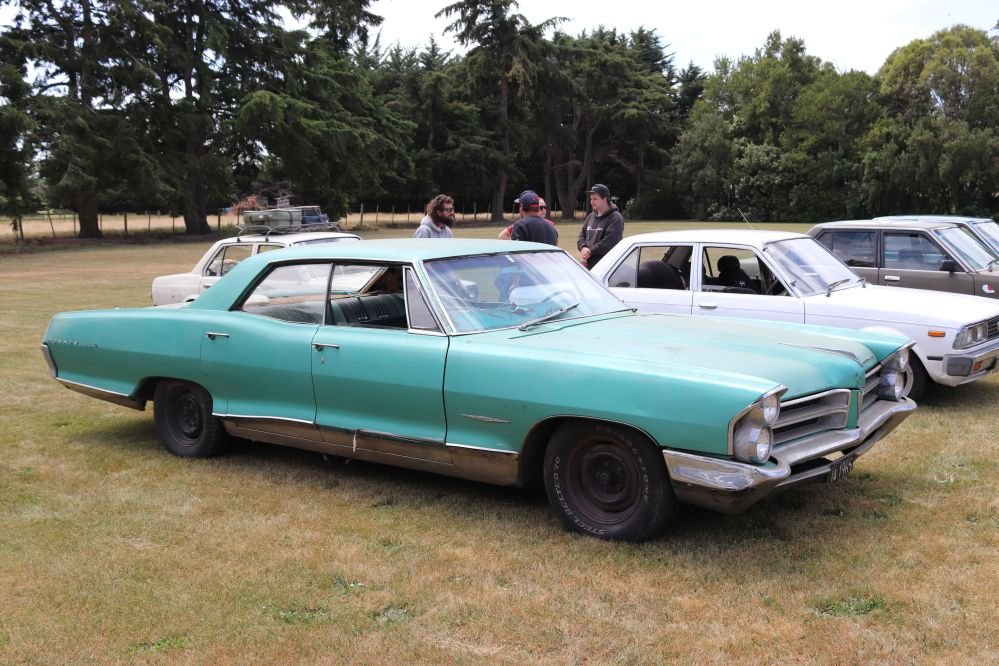
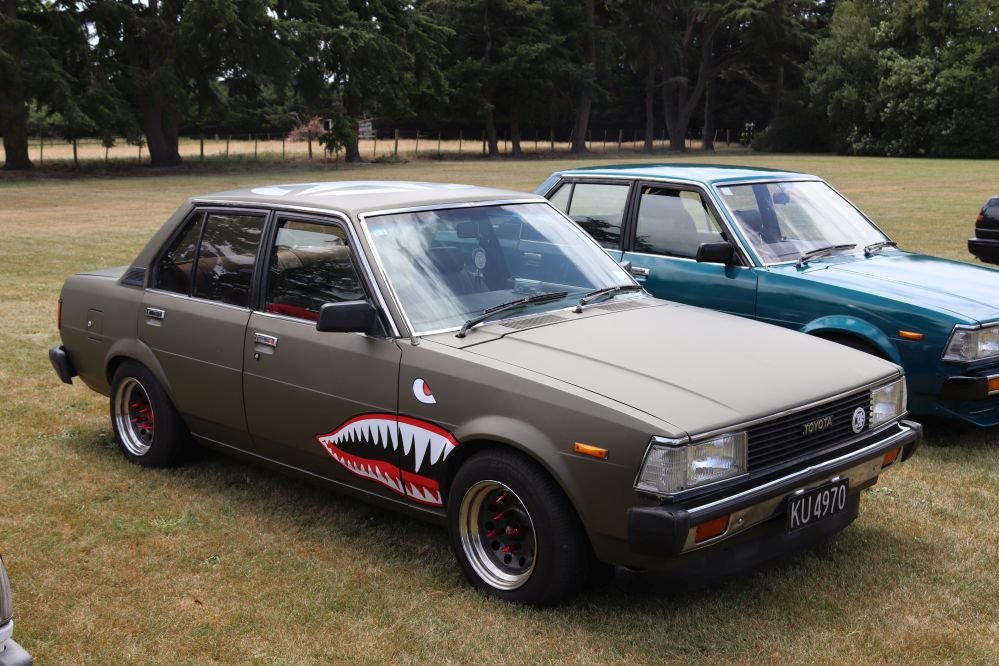
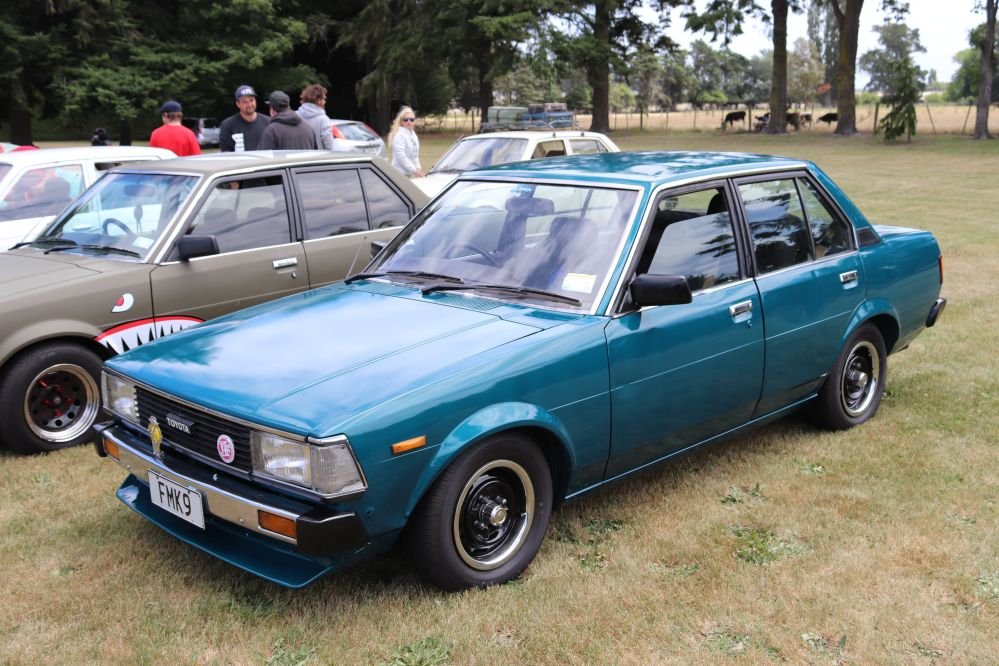
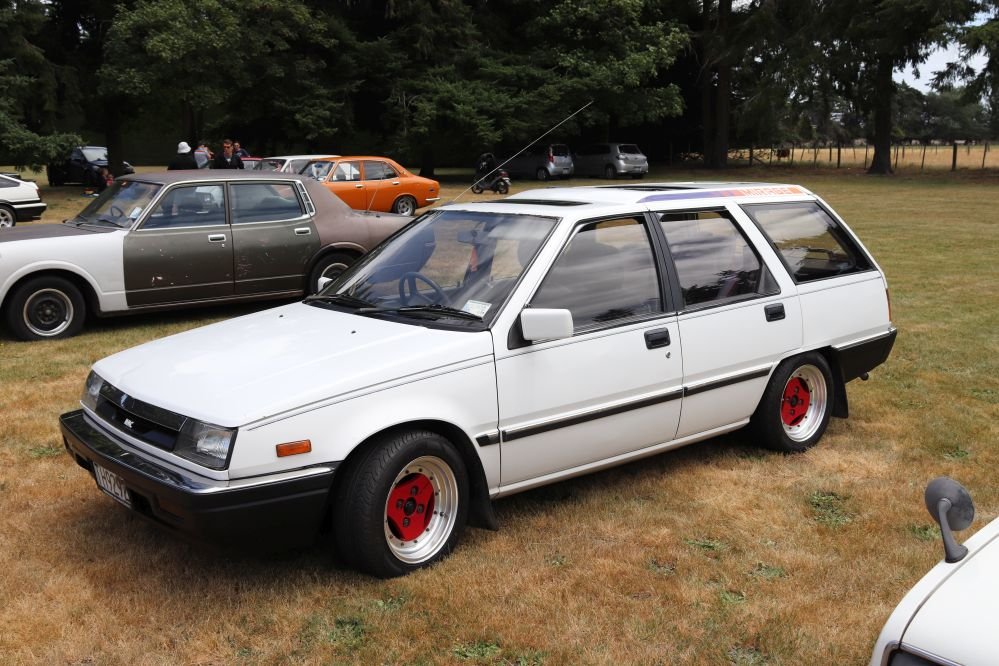
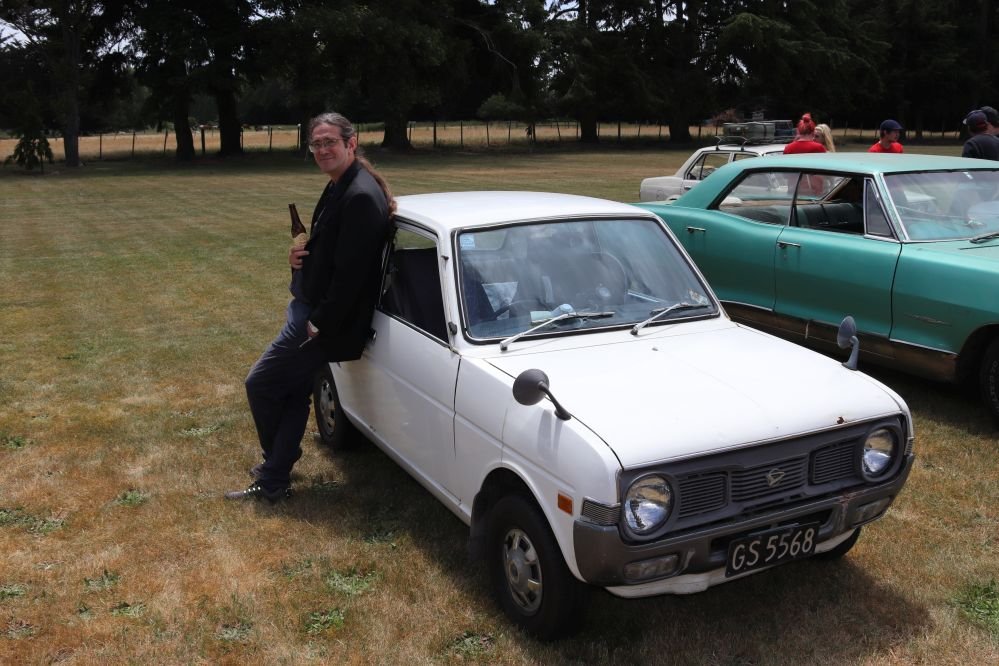
Good turnout, sun turned up the heat, bbq'd meats and sharns, job well done. A few pics, resizing them down is pretty killer. If you want an original size just let me know. The line up was taken early on so doesn't show the full turnout that was pretty impressive for a lazy Sunday.
2 points
-
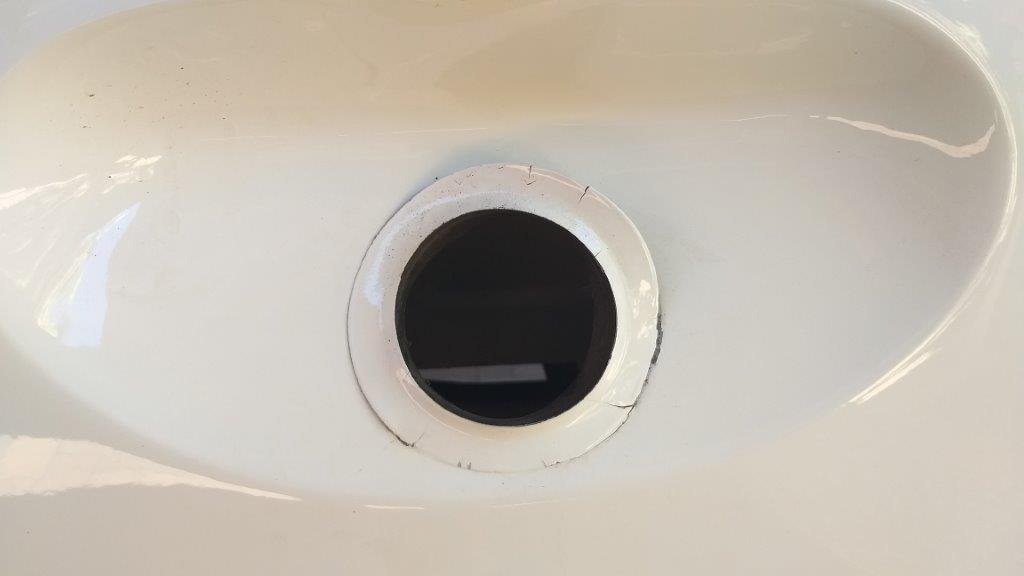
Getting the engine started is a milestone I want my partner to be there for so putting it off until the holidays when we have the time. So in the mean time let's take a look at our fuel system. I read that fuel drains slowly so I didn't bother to raise the back of the car to fit jerry cans/buckets under, instead opting to just use a pan and ice cream container and swap them over. This went poorly... But at least I didn't roll a 1 so the garage and everything is intact and I just have to deal with the fact that I need to keep all the doors open for a while. Also poor: my preparation. I bought a 10L jerry can and for some brain fart reason decided that is all I'd need. I had a couple more litres than would fit in it so I threw it in an old container and let it evap outside until I could get another one. 15 year old fuel smells and looks pretty bad. My old container was dirty so I was hoping that the crud at the bottom was already there. Foreshadowing Fast forward to weekend: Partner is over! I want to see what is borked and what can be cleaned and re-used. She removed the wheel and dropped the fuel tank after a bunch of dirt/fuel to the face. What a trooper. I disassembled it and found probably the first truly effed functional pieces of the car. I'm actually shocked at how bad this has rusted. It's like the rust has generated its own cities and infrastructure on these tubes. This float mechanism is truly beyond hope. I was hoping to be able to clean the in-tank filter and re-use it, but it's $15 from amayama and it looks like I'll need to find some other bits too so shrug emoji. I gave the tank a quick zhuzh with a smol brush and left it outside to tackle another day. I can hear debris shift around when I tilt it. A brief shitty look inside is inconclusive - definitely some rusty bois floating around in there but not sure what the tank itself looks like. The exterior has some minor surface rust in places, hidden under the geological layers of dirt. It sucks that the holes are so small, definitely won't be able to get my arm in there to clean it properly, so we may have to wait for some solvents to arrive courtesy of partner's chemistry connections. As a side, the paint around the drain hole peeled off from the fuel. Seems like a design flaw... also the fact that the heat guard can't be removed so treating up in there is going to be "fun".2 points
-
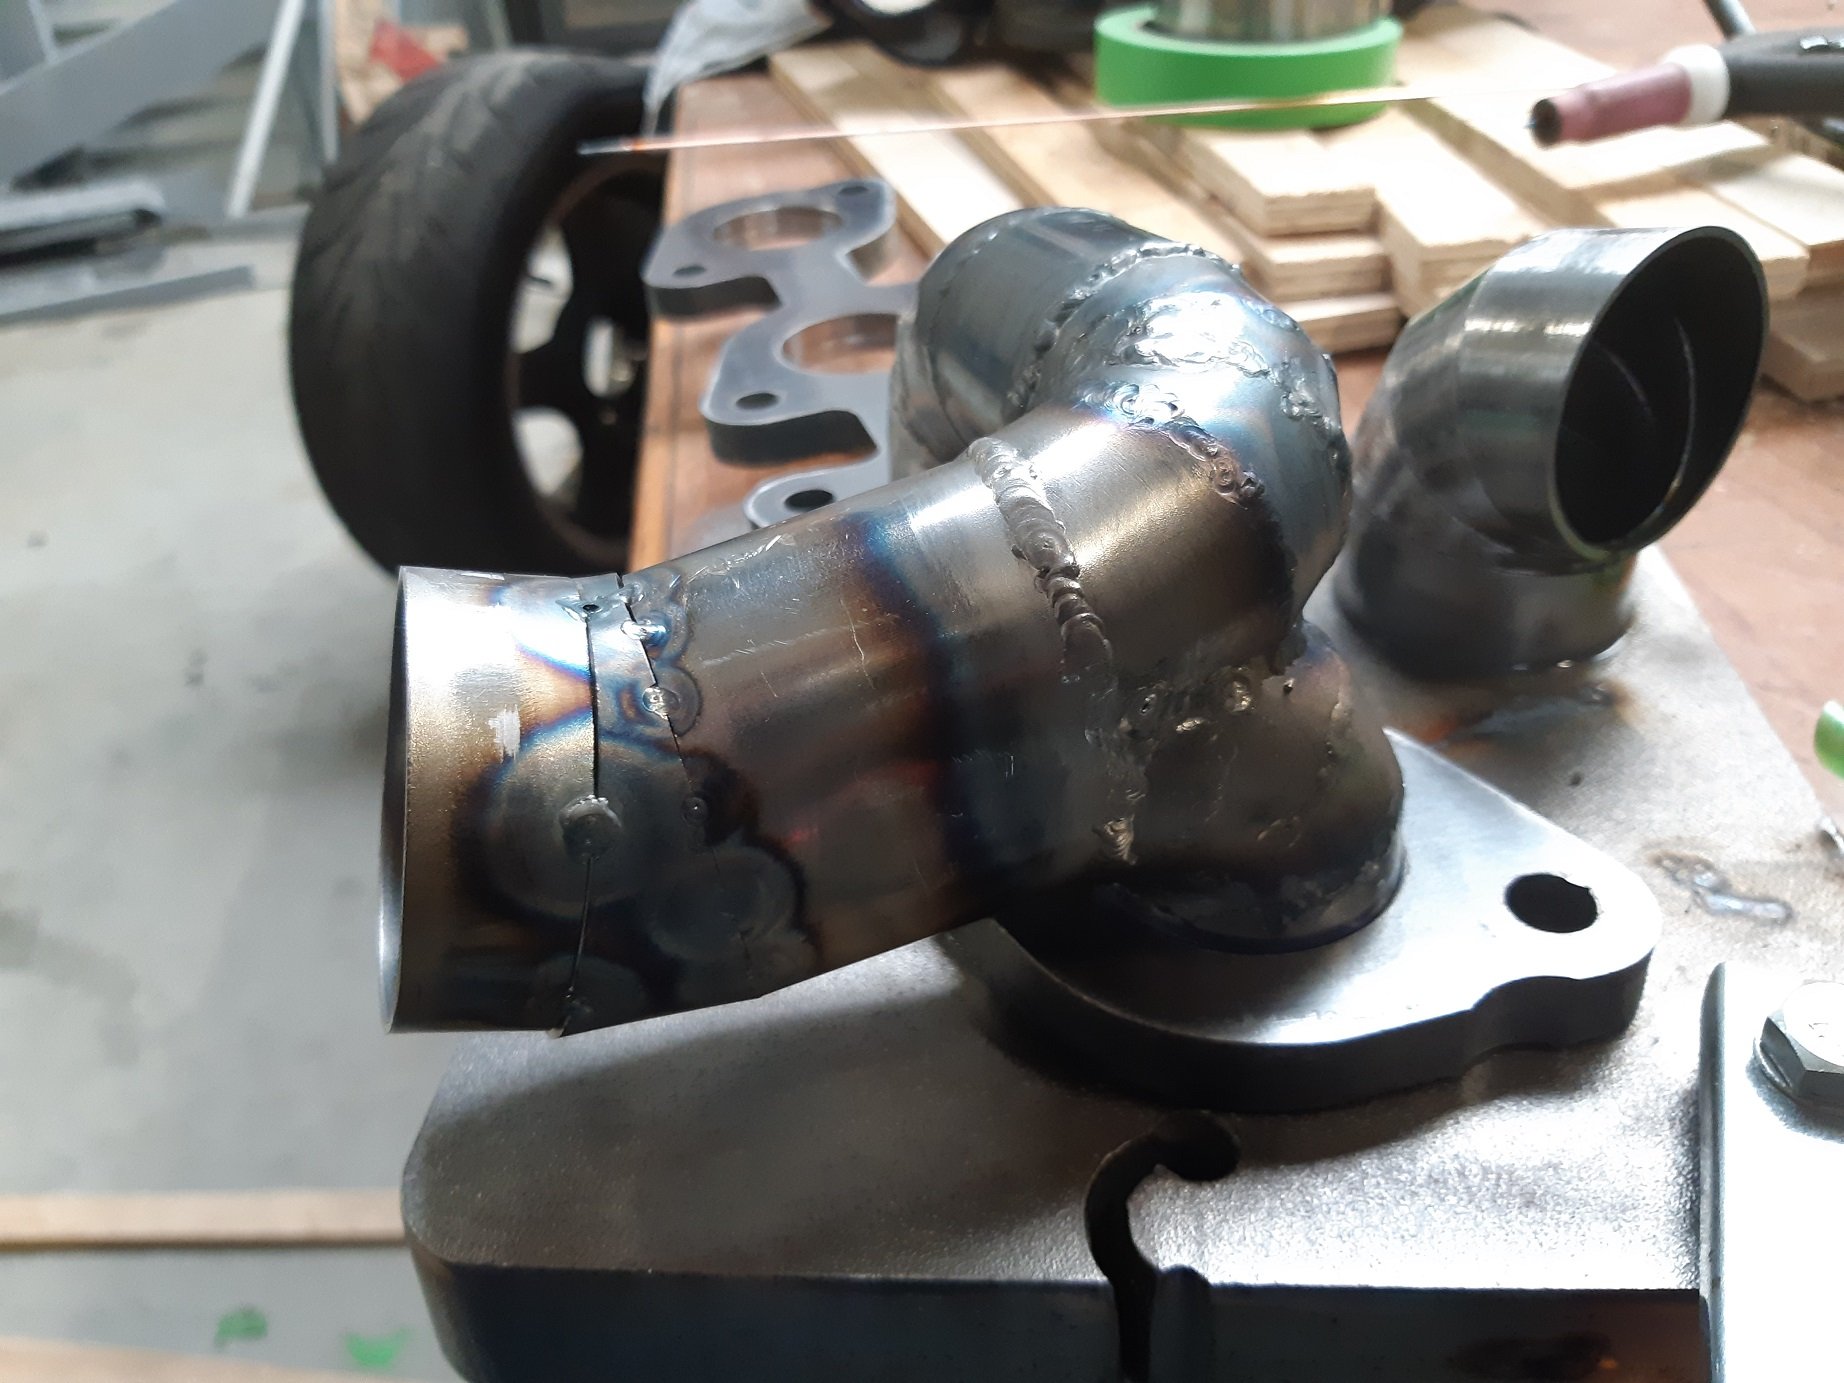
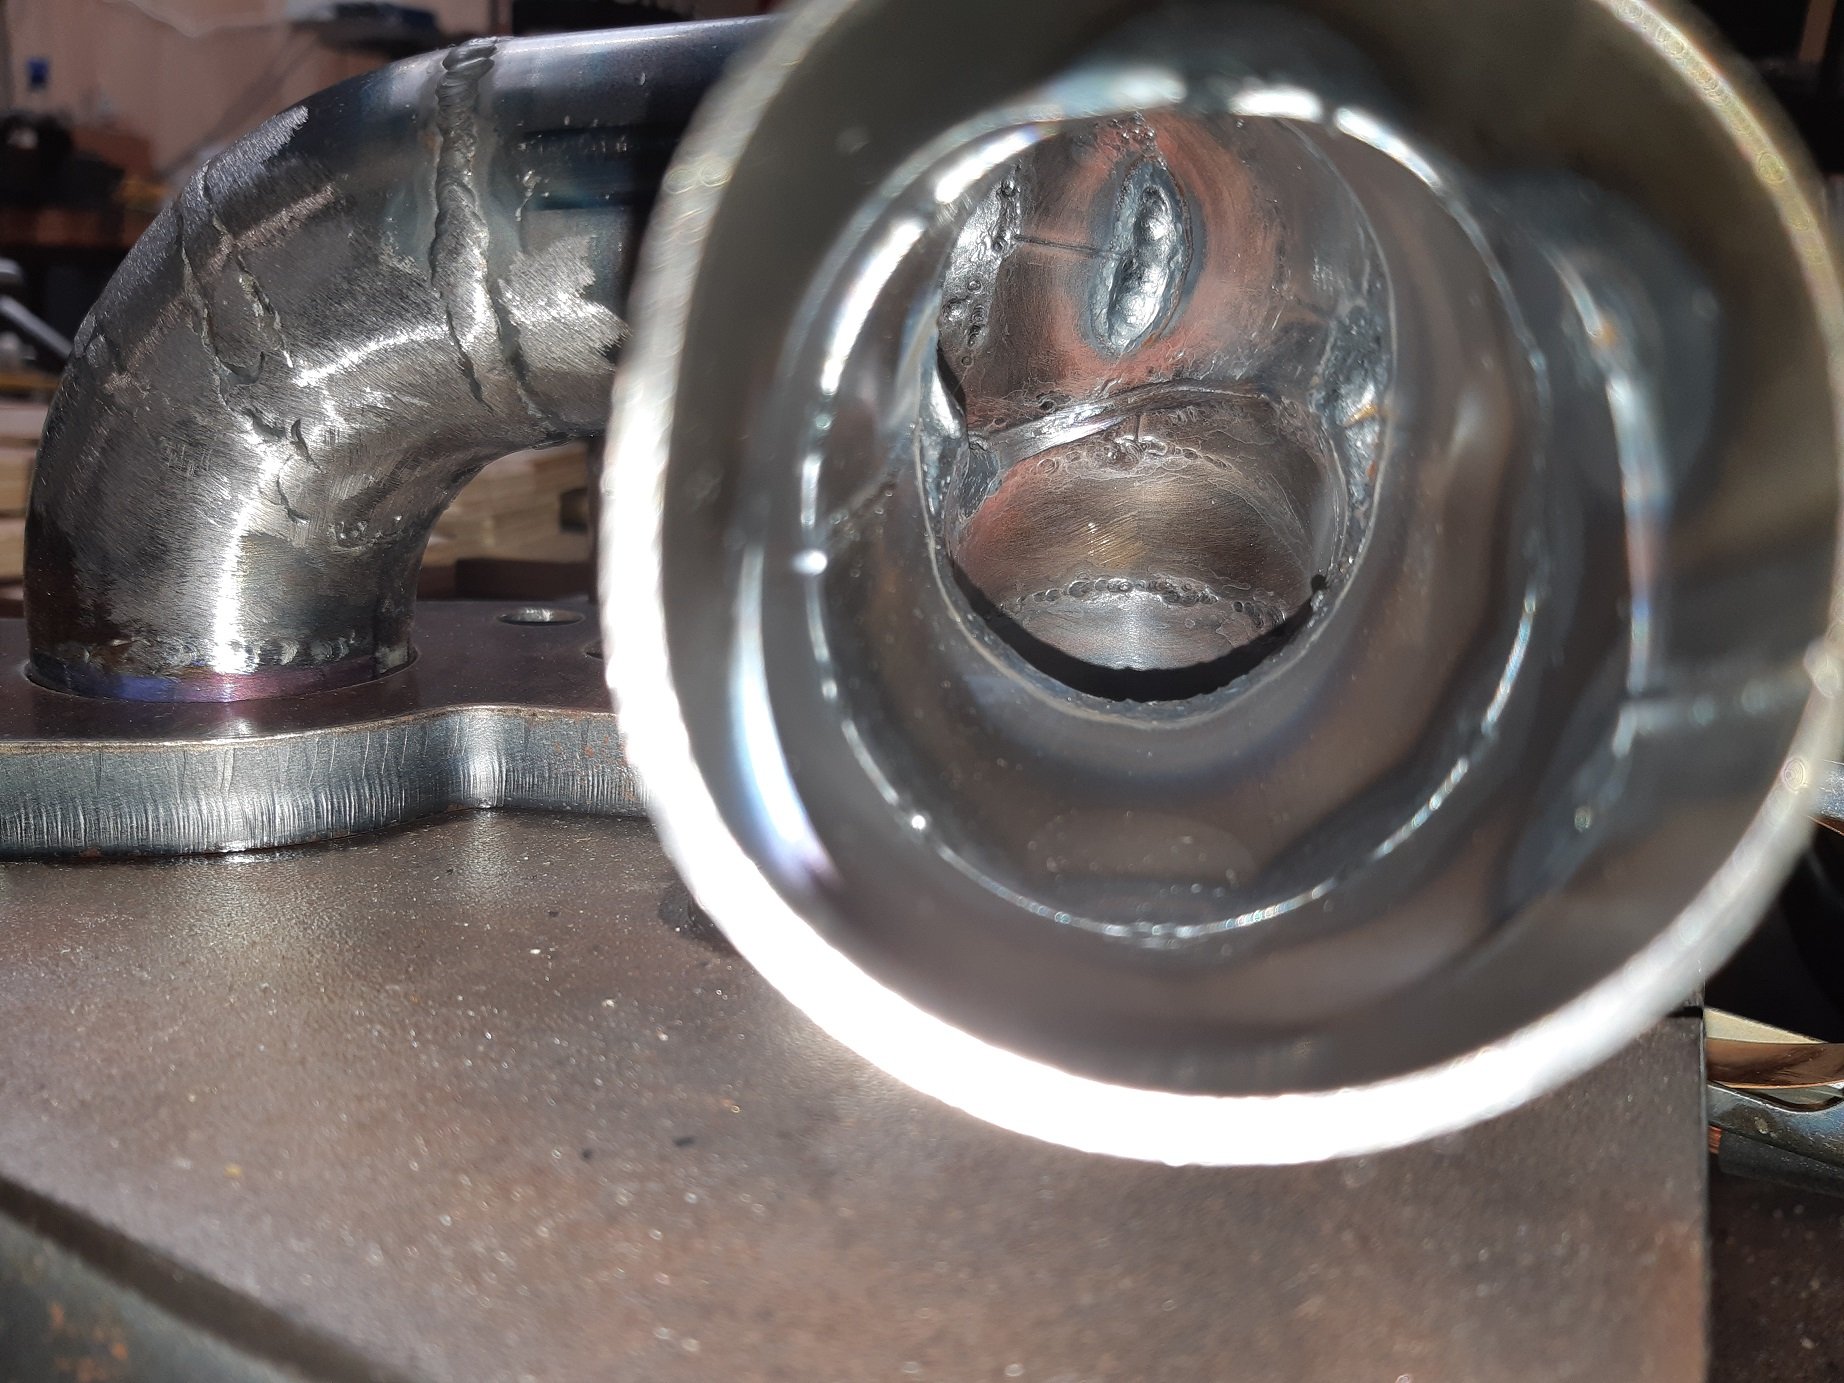
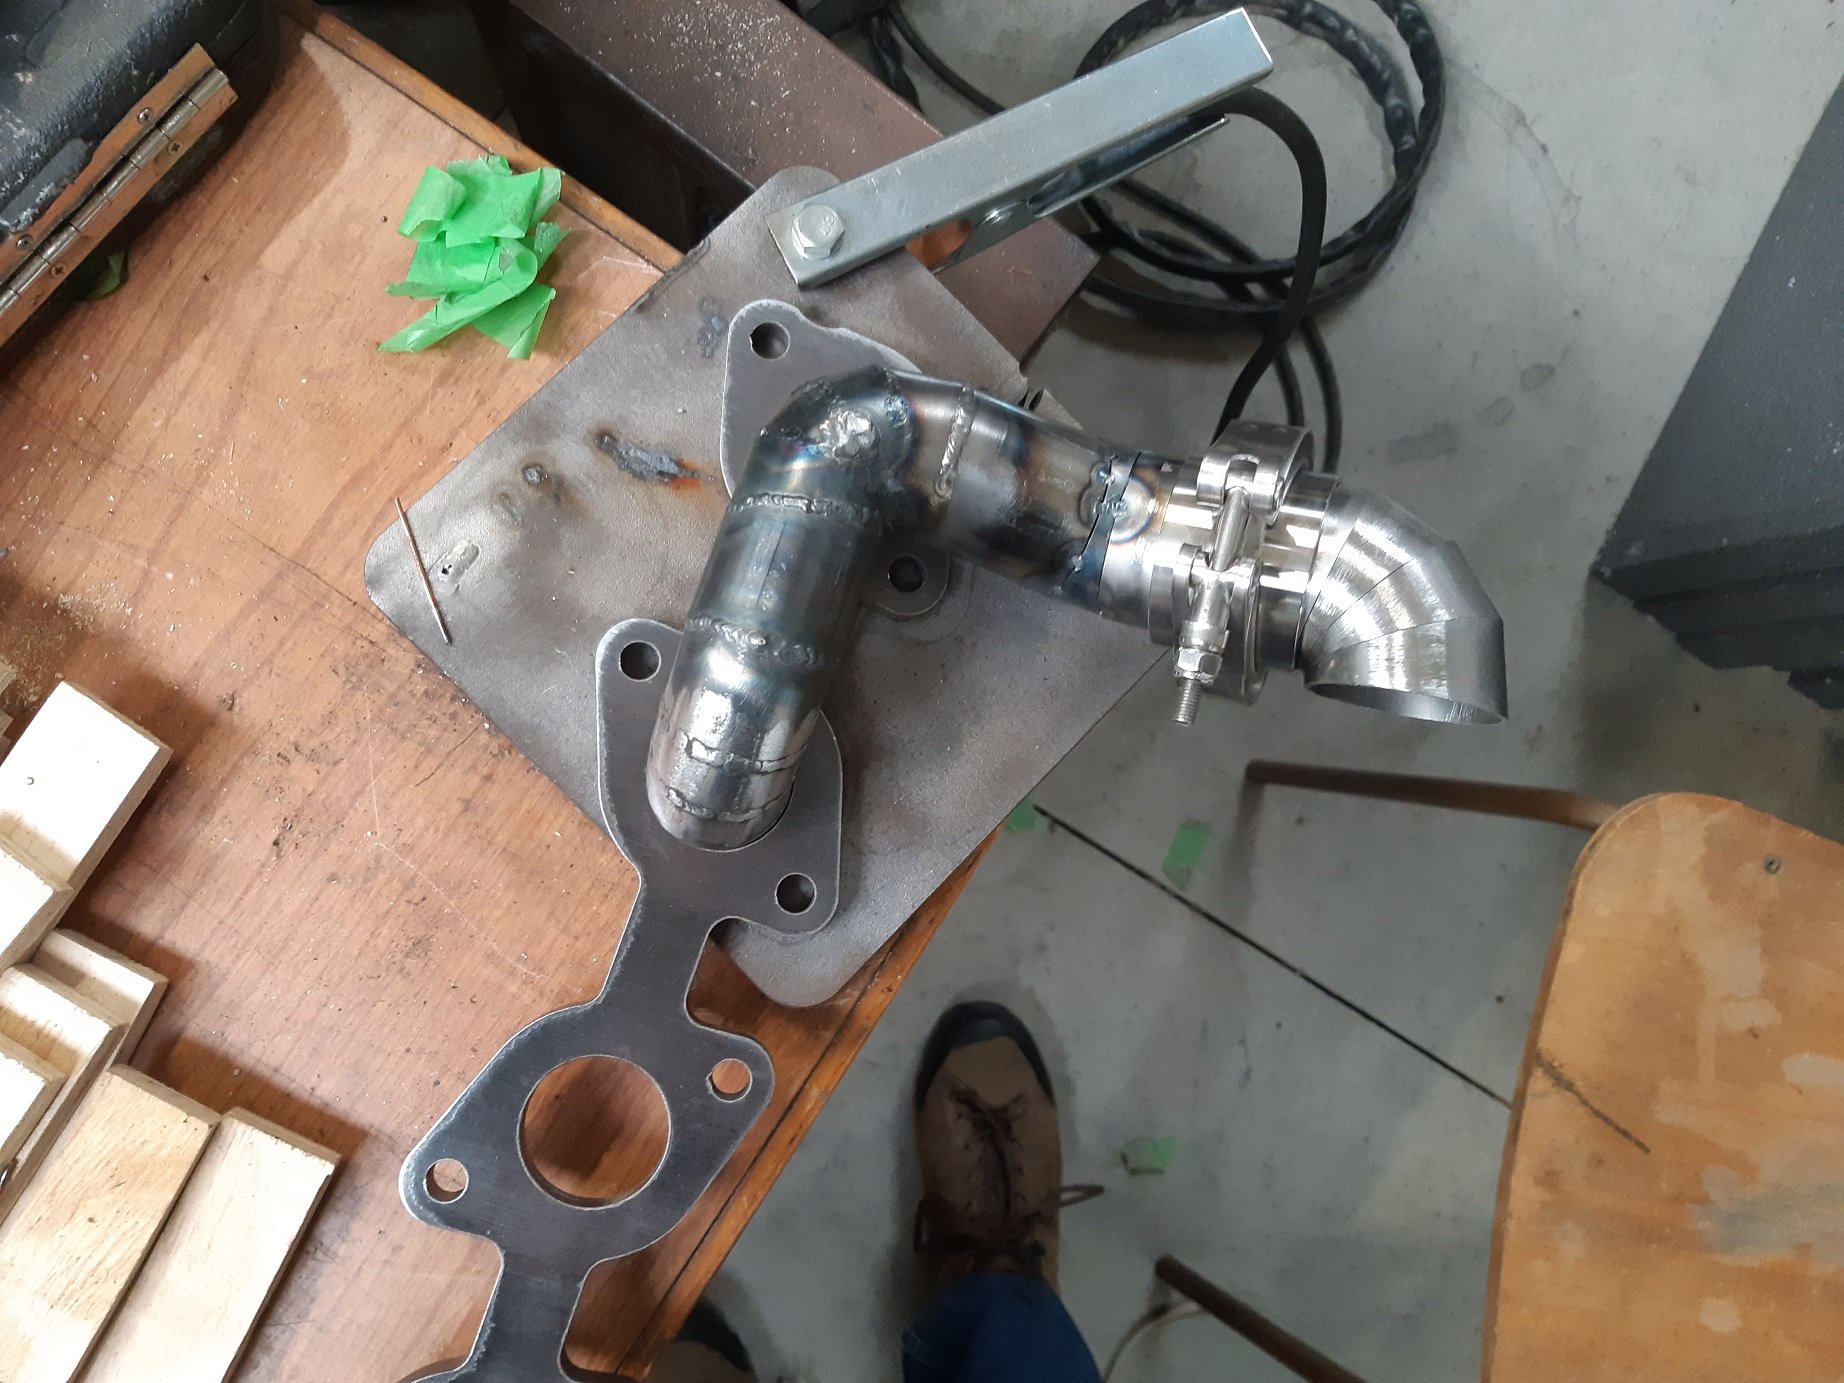
I've made a start on the convoluted snake nest that will be the exhaust manifold. The steering shaft and engine mounts are leaving me with fuck all options. I also have to avoid blocking any bolts that will make it impossible to install the exhaust. That rear stud needs to be replaced with a bolt, it only clears the universal joint by a few mm. The only direction the two rear ports can go is under the steering shaft. To do that I have to make pie-cut bends, the smallest donuts are too big. They will merge right away into a 2" pipe, then there will be a v-band clamp. The two front ports also merge into a 2" pipe then there is a v-band clamp. There will be a 2" pipe running under the engine mount that joins the two v-bands, then crosses over to the other bank in the gap between the sump and bellhousing. There will be another v-band just before the cross over pipe merges with the 2" pipe from the other bank. The two 2" pipes from each bank will merge into the final 2.5" pipe. Here's my start on the piping for the front two ports. The v-band won't be exactly there, it's just precariously balanced for the photo. My tig welding has improved a little since I started.
2 points
-
Very near the slowest time of day? Definitely blaming the 3.73 ratio diff. Heaps of fun, didn't break anything (certainly not any speed records) shaved a second off my first go and a really good reference point for when the supercharger kit eventually makes it on
2 points
-
Then I thought I would see if it still runs. Hasn’t been started since lock down. Connected the battery, primed the carb... Started first turn of the key. Let it run up to temp and gave it a rev for Trev.
2 points
-
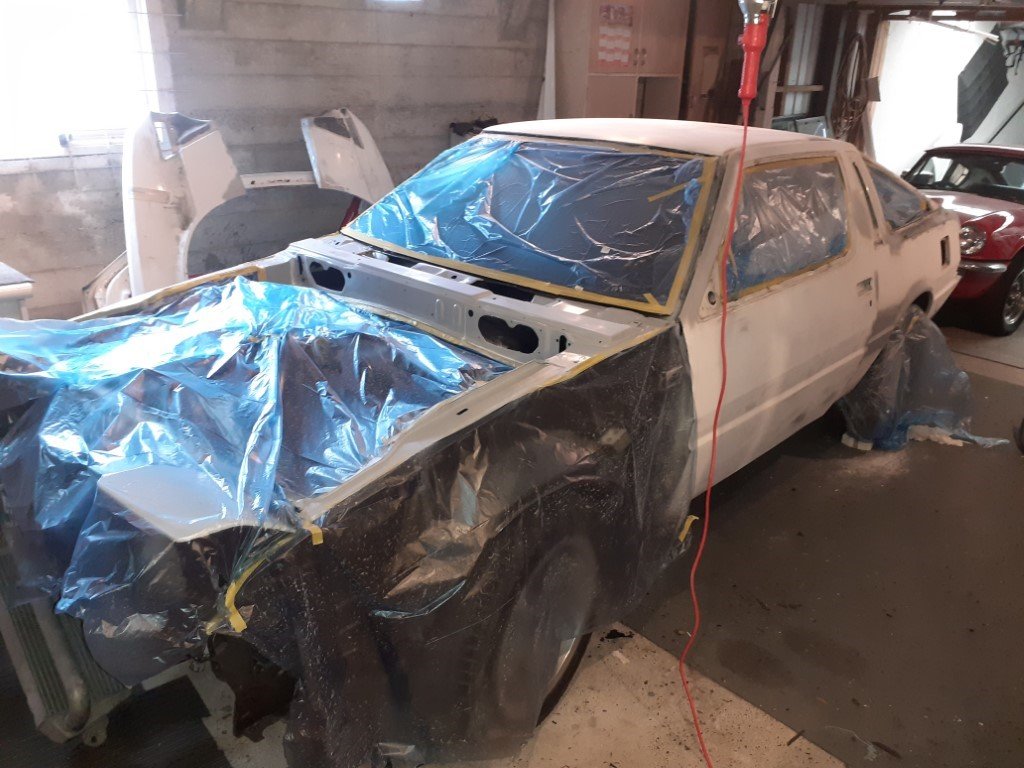
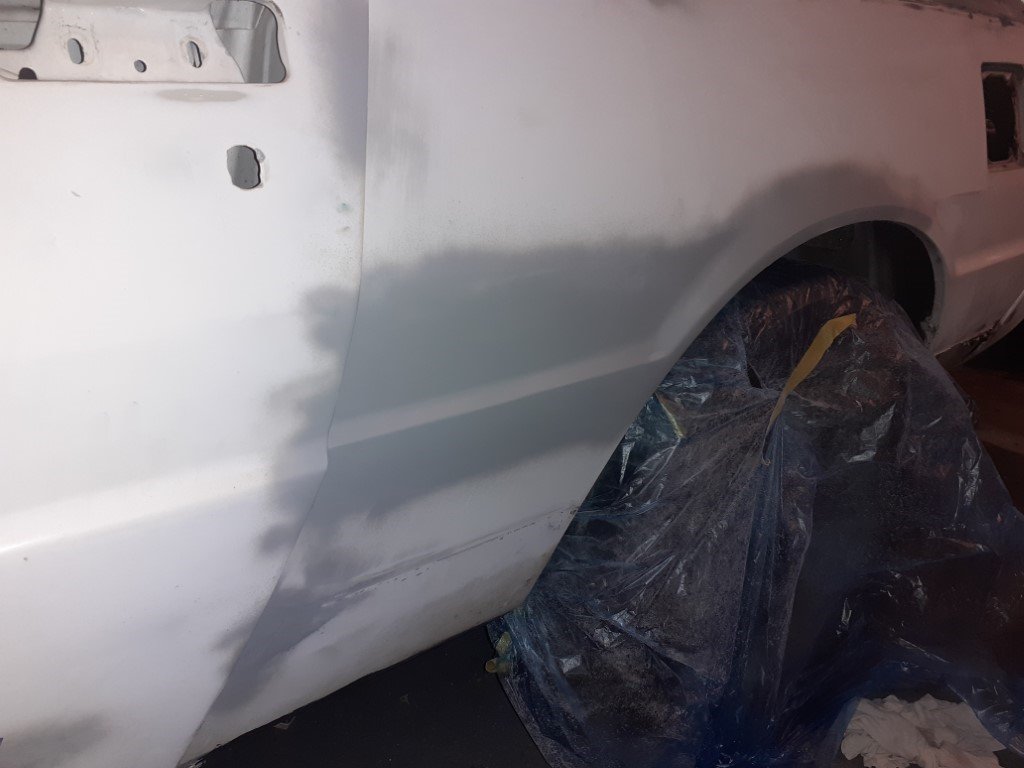
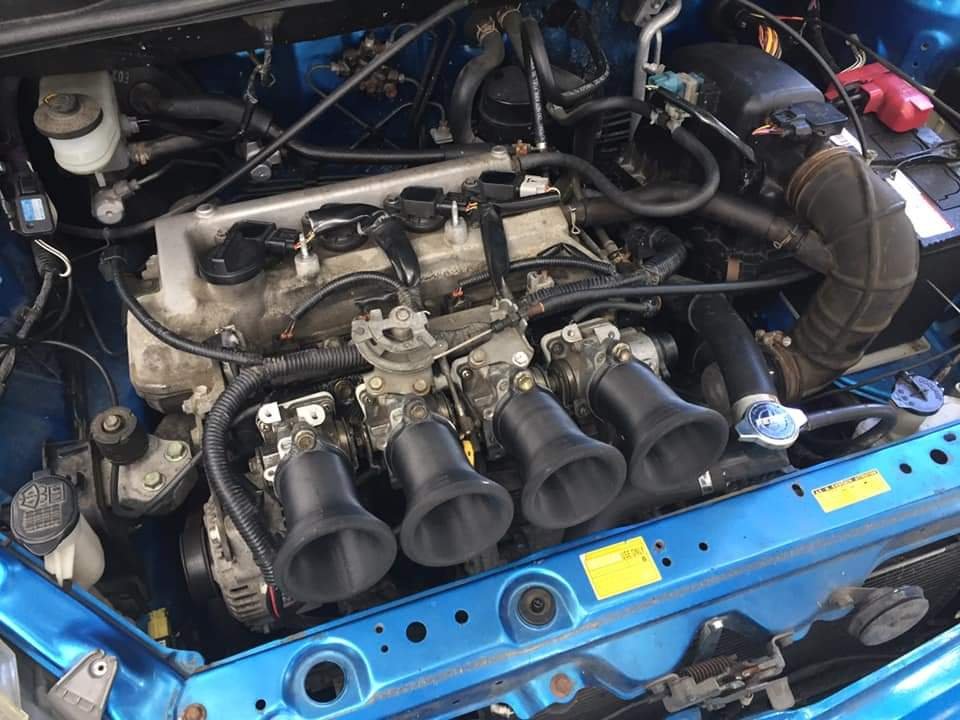
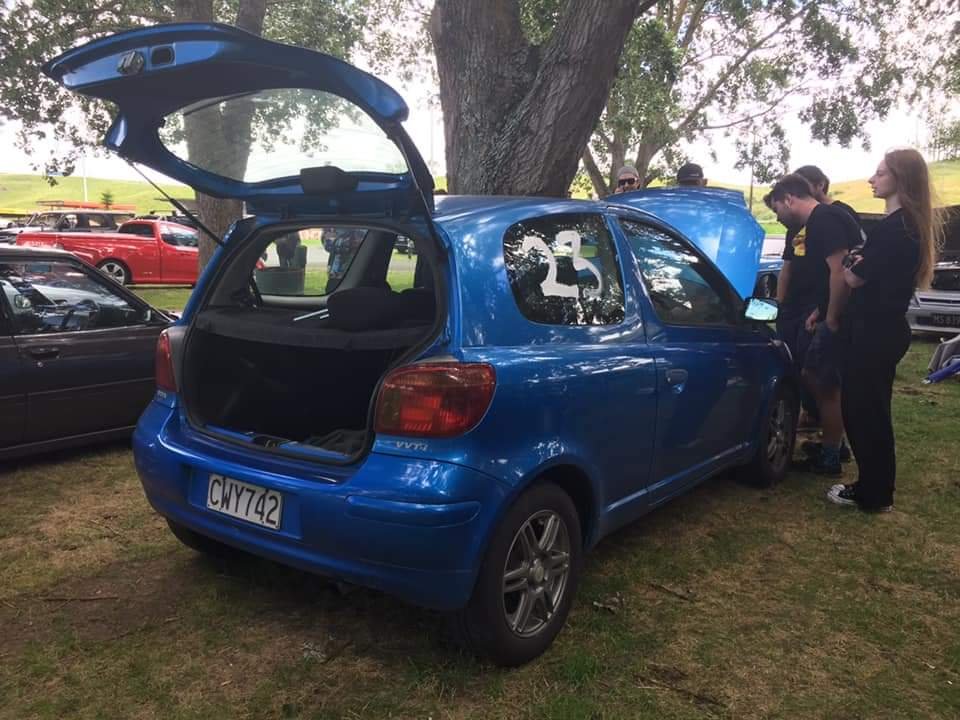
WOF acquired! we are legal! over the last month or so I've gone hard to get this thing legal to use over summer. Whilst I didn't make beach hop due to it being unreliable, I still managed a WOF and even attended drag day yesterday, although I didn't attempt a 2 second pass due to not having a coolant overflow tank properly setup as well as coolant leaks. but, regardless, it's going now and I've been idling around town trying to iron out problems as they come. the photos added are of how it sits now. the front end is super on the piss (panel wise) so my next step is to start straightening it all out and getting it to look a bit better. I've been fighting the engine as of recent, it idles on 5 cylinders (very noticeable in gear) but when driving its normal. Not sure what this is about, have changed carb, checked all vacuums, changed dizzy, new points etc etc but the problem won't go away. Hit the discussion if you're able to help in resolving this as it's quite frustrating! slowly but surely I'll get this sorted a little better than it is now and hopefully have it going all summer. cheers!2 points
-
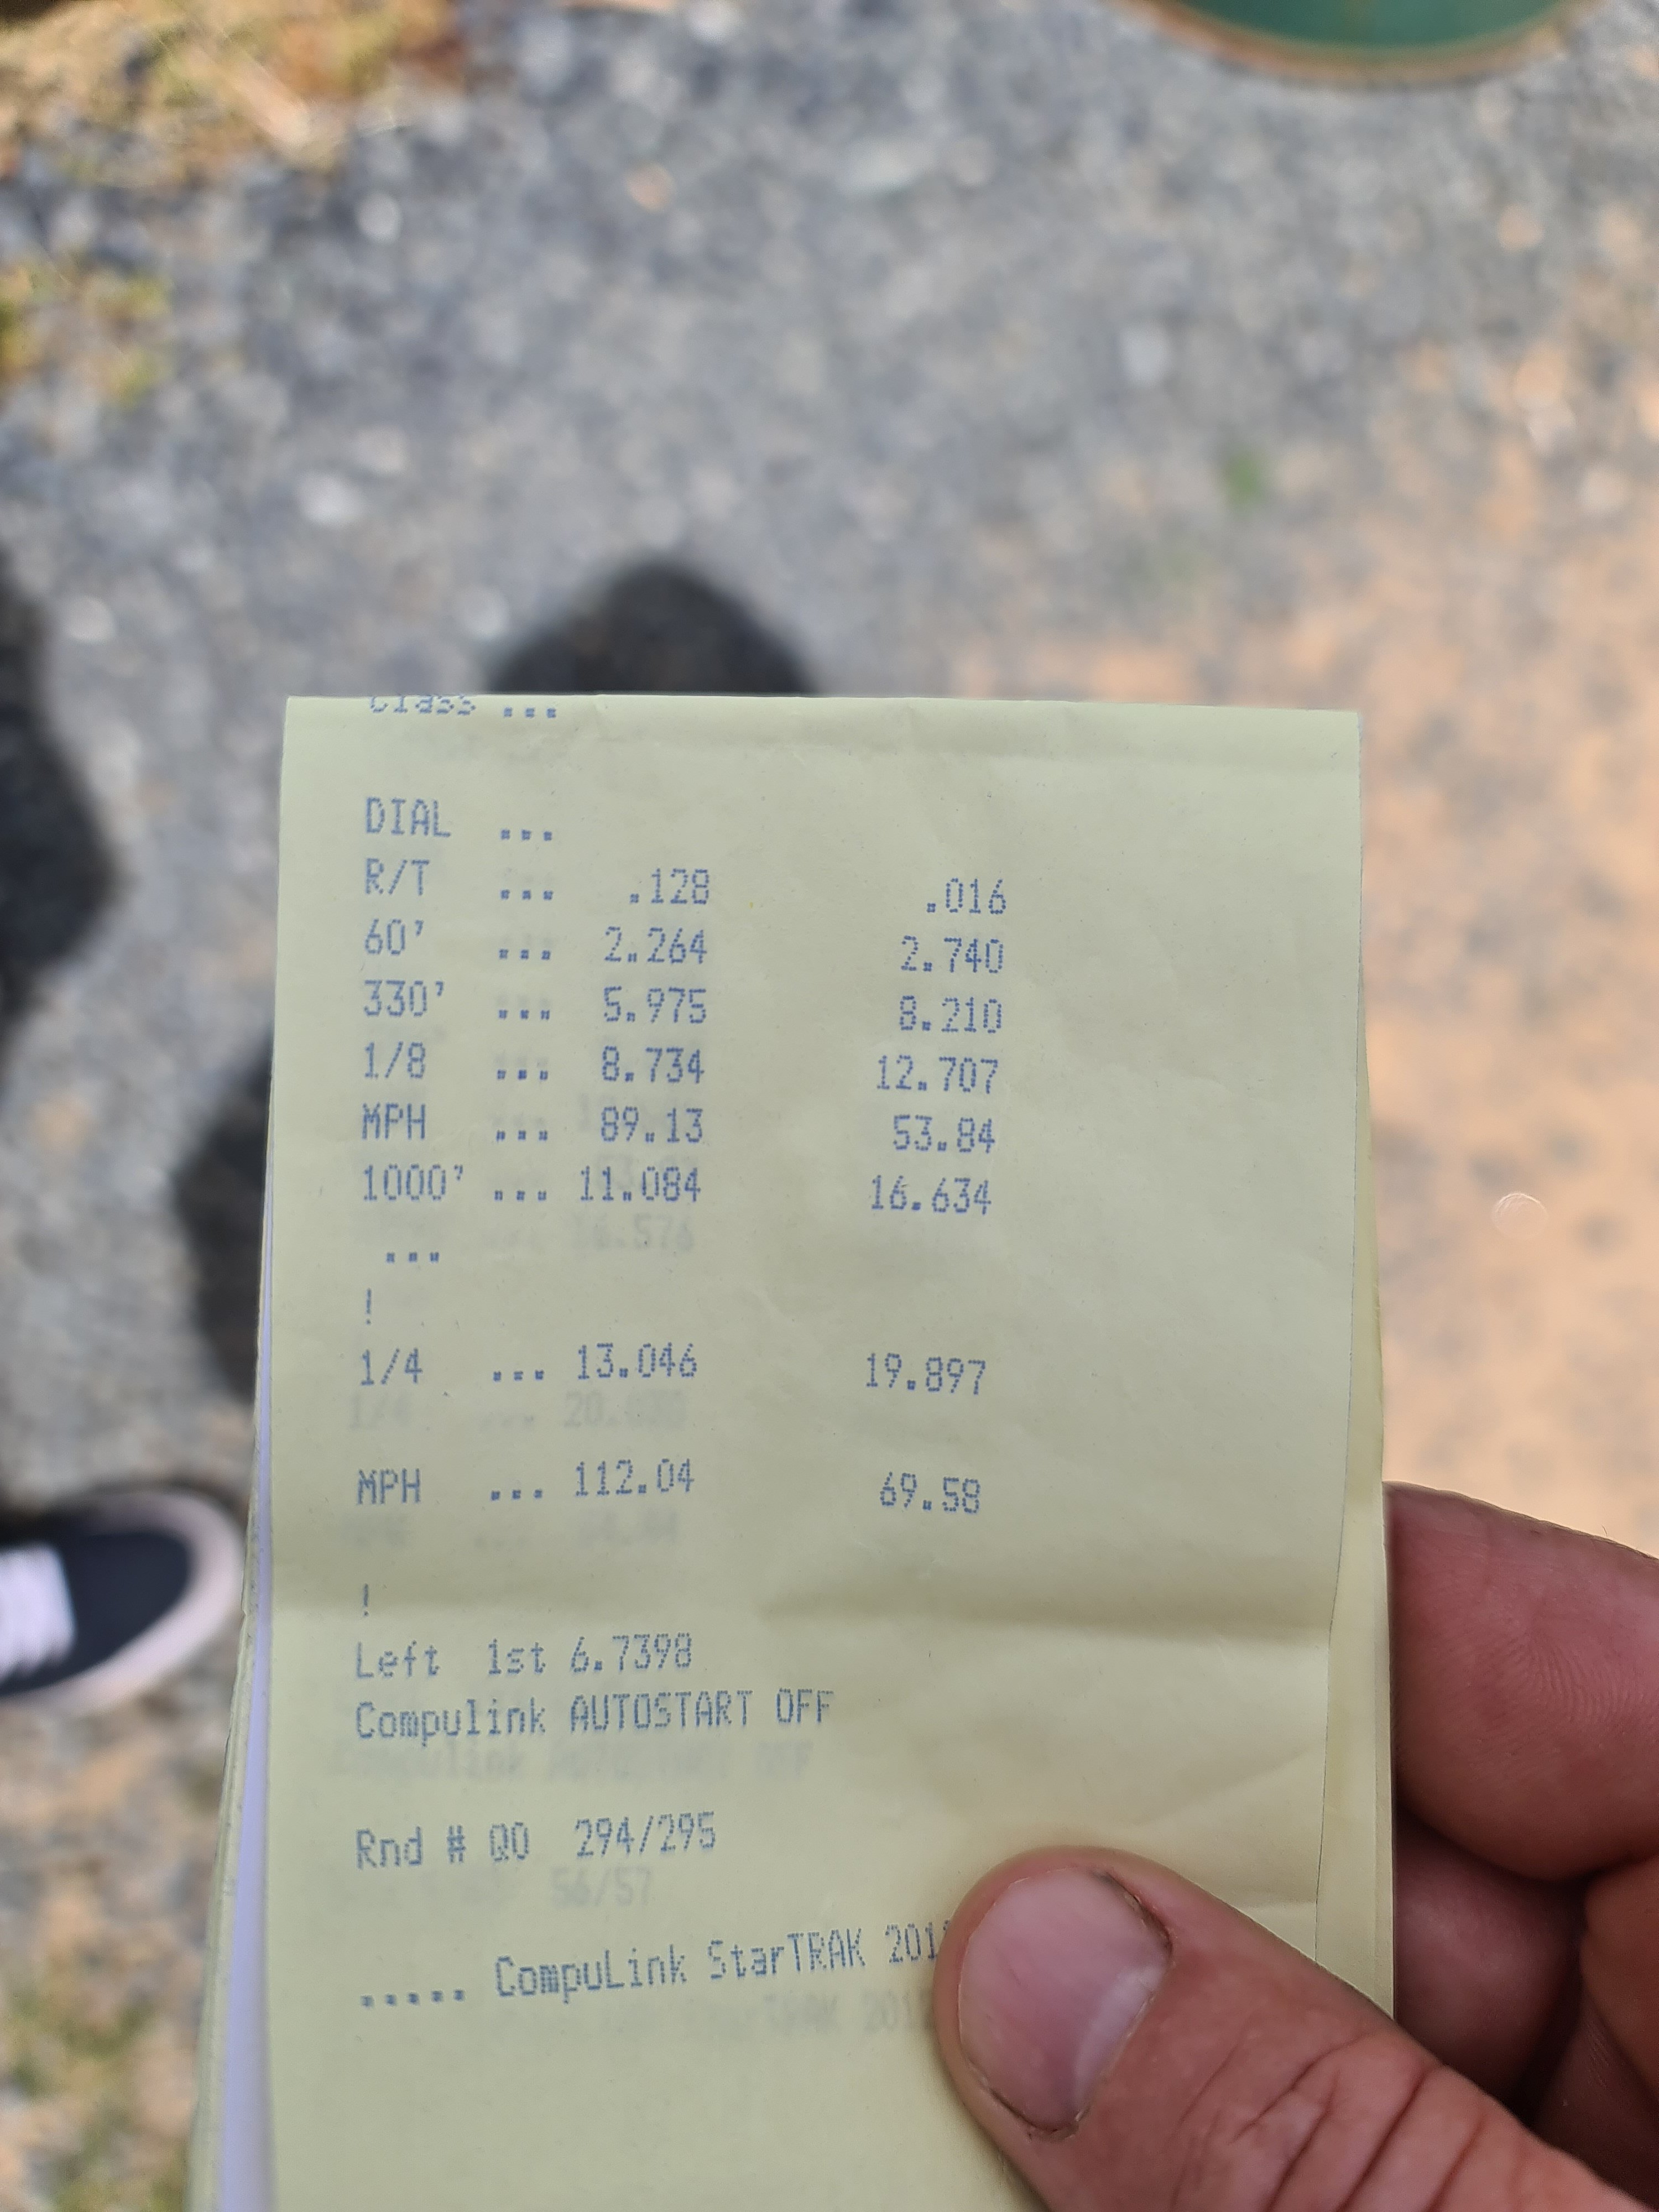
It held together and nothing broke - home safe Stoked with how things went, improved PB by 1.2 seconds to a 16.4 Only did 6 runs as it was clear I wasnt going to go groundbreakingly faster. But using the rule of thumb of " 0.1 off your 60ft is worth 0.2 off your 1/4 time" If I combined my best 60foot with best quarter I'd ideally end up somewhere under 16.3 which I think is pretty sweet for a 1300cc echo haha. But I was more worried about getting home okay this time so was minimal on burnouts off the line which might have helped. A++ would make drag day doort noises and excuses again. Hectic 1500 setup next time
2 points
-
Dice tower, laser cut from cedar pulled off my house...secret santa for my d&d playing brother in-law ( the engraving is of the name of his podcast...).
2 points
-
Did it. Much serenity was had and now she doesn't hate me as much for selling the spa pool to buy the boat. Swapped in another ignition control module and drained a good 100ml of water out of the filter. Will see on the next test run if the hot start issue is still there. I thought it was gone, but the second VG got in the boat - it did it again.2 points
-
I think he's stuck with the chassis rating and COF1 point
-
Fuck, just shows my commitment.. Didn't even know this was on.1 point
-
Do what OMS says.......1 point
-
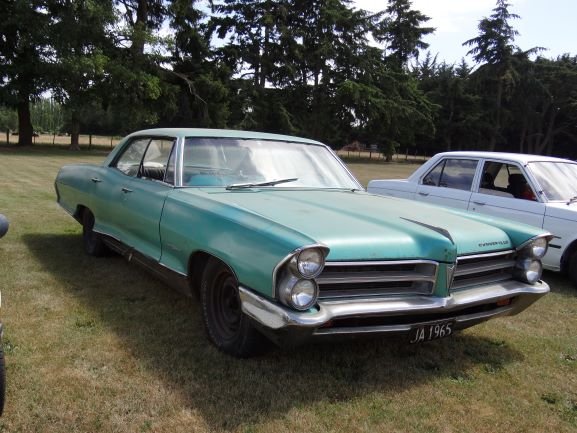
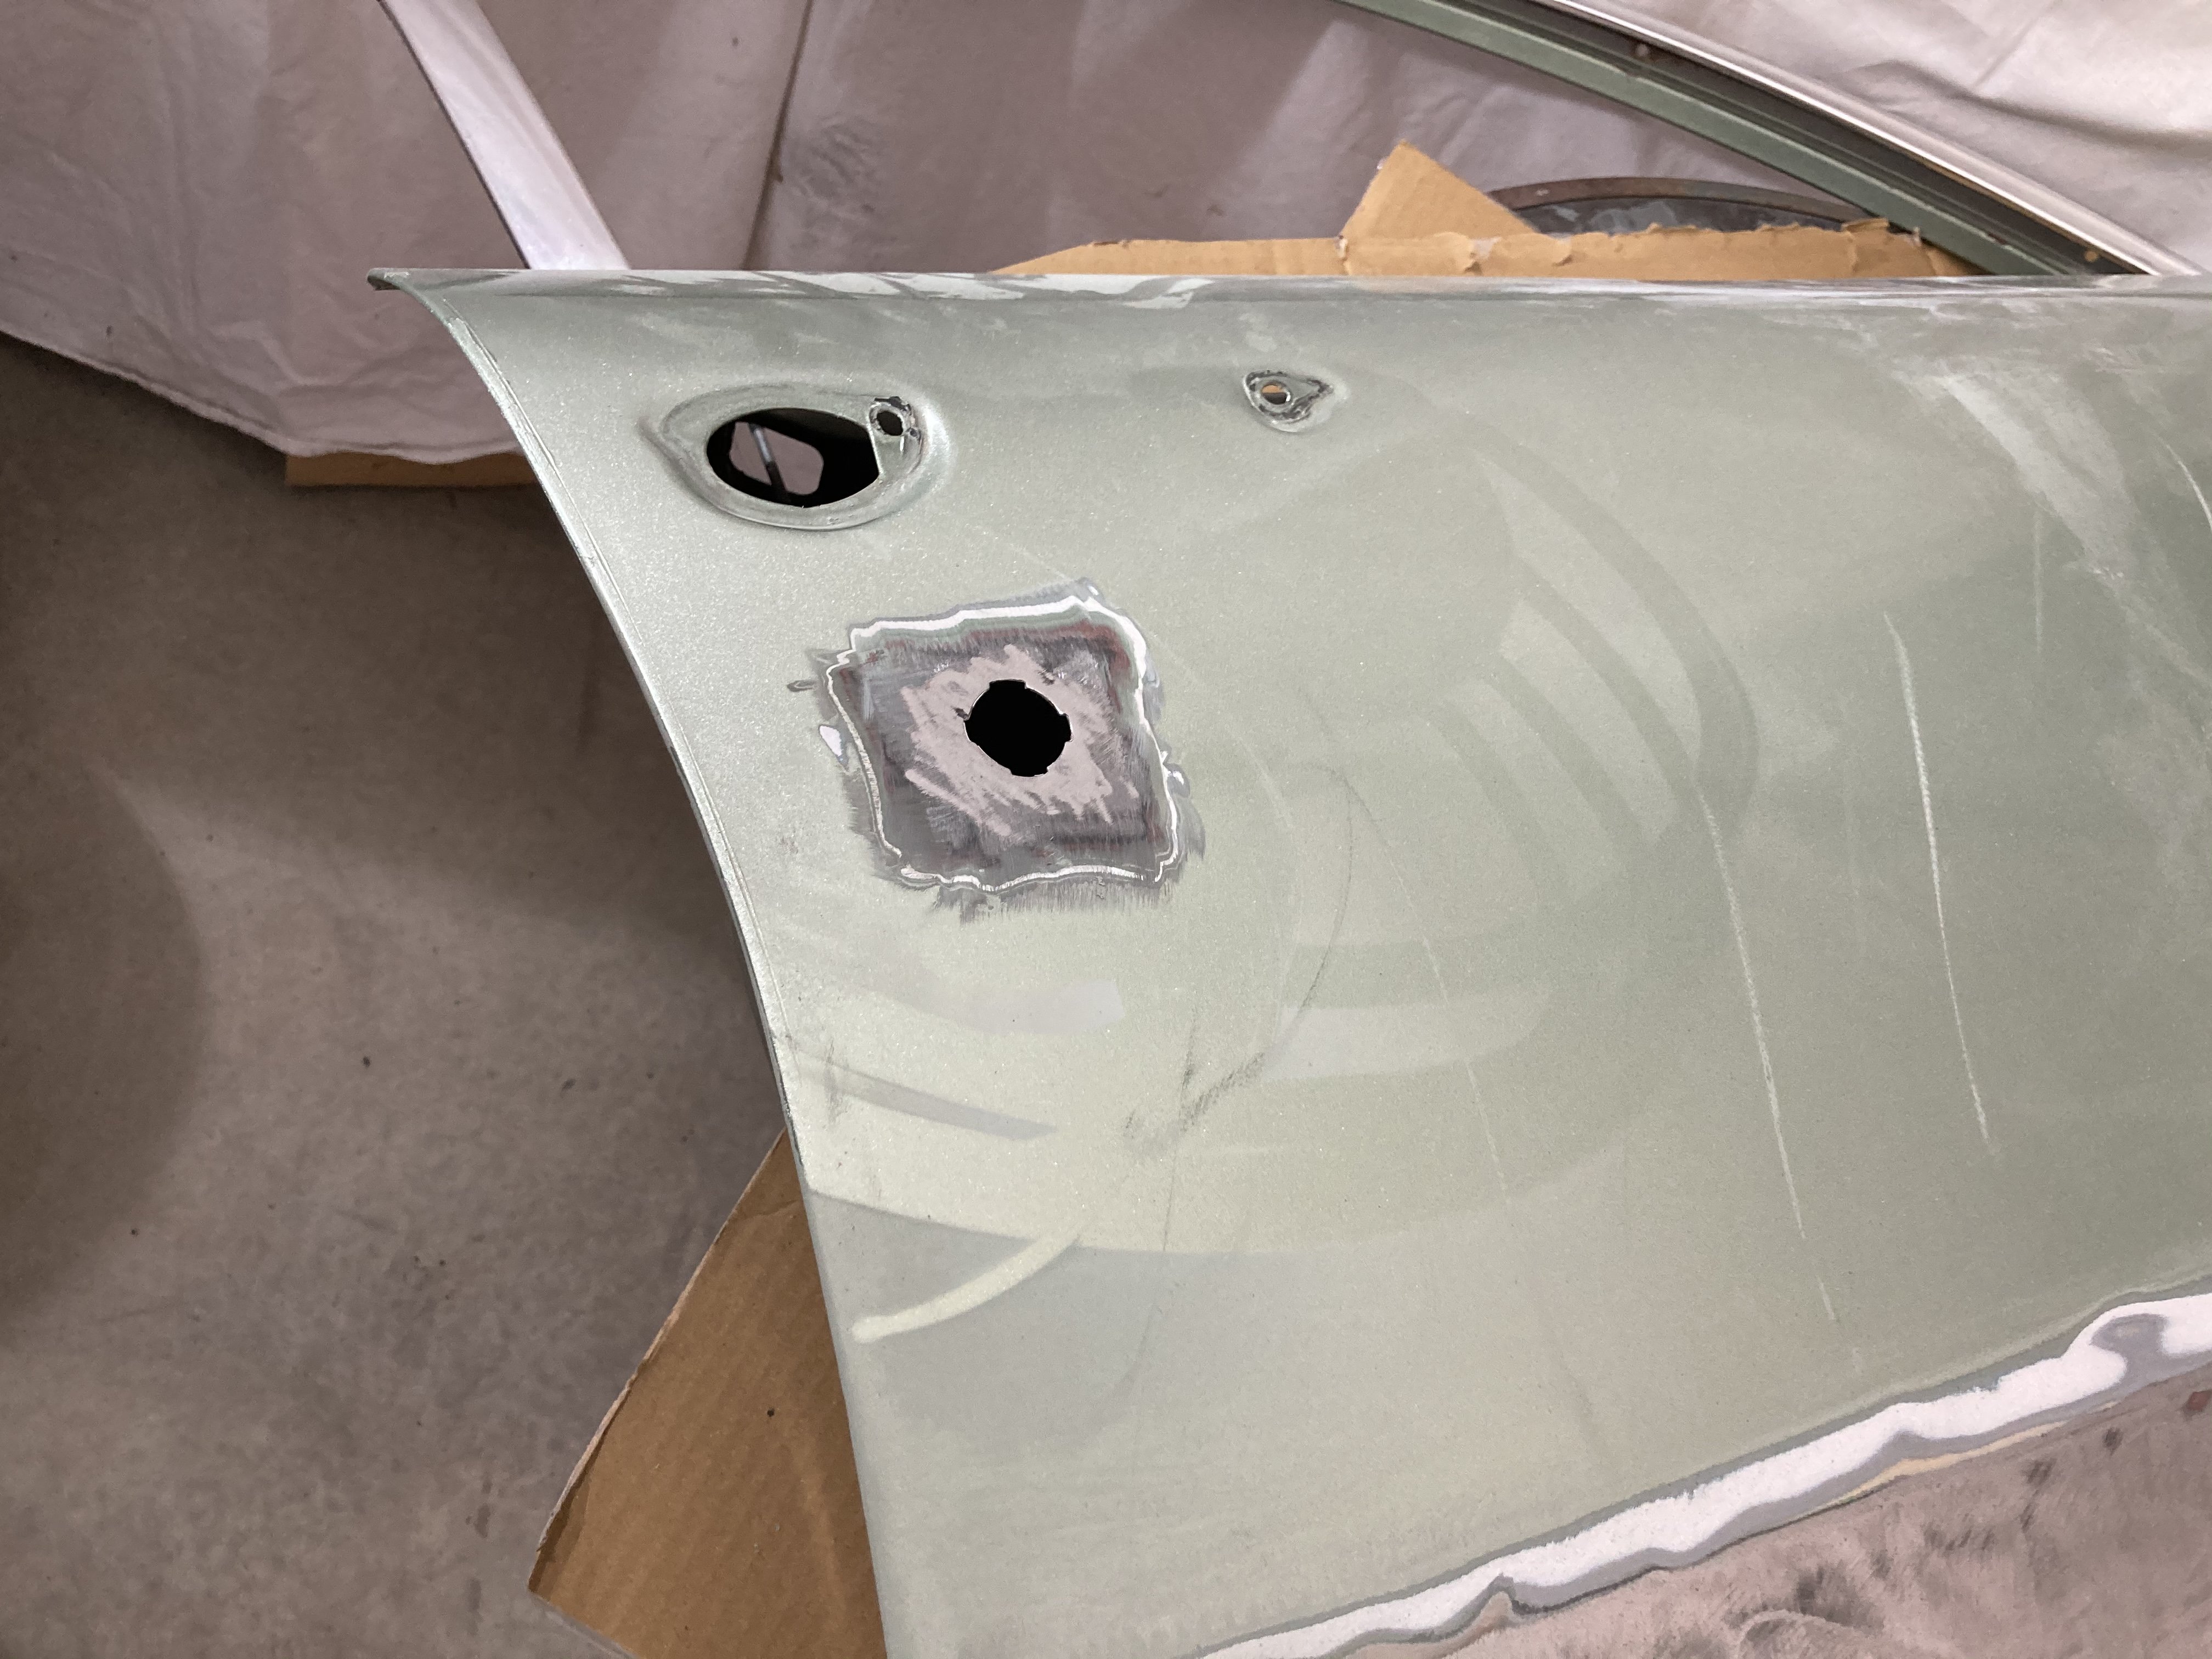
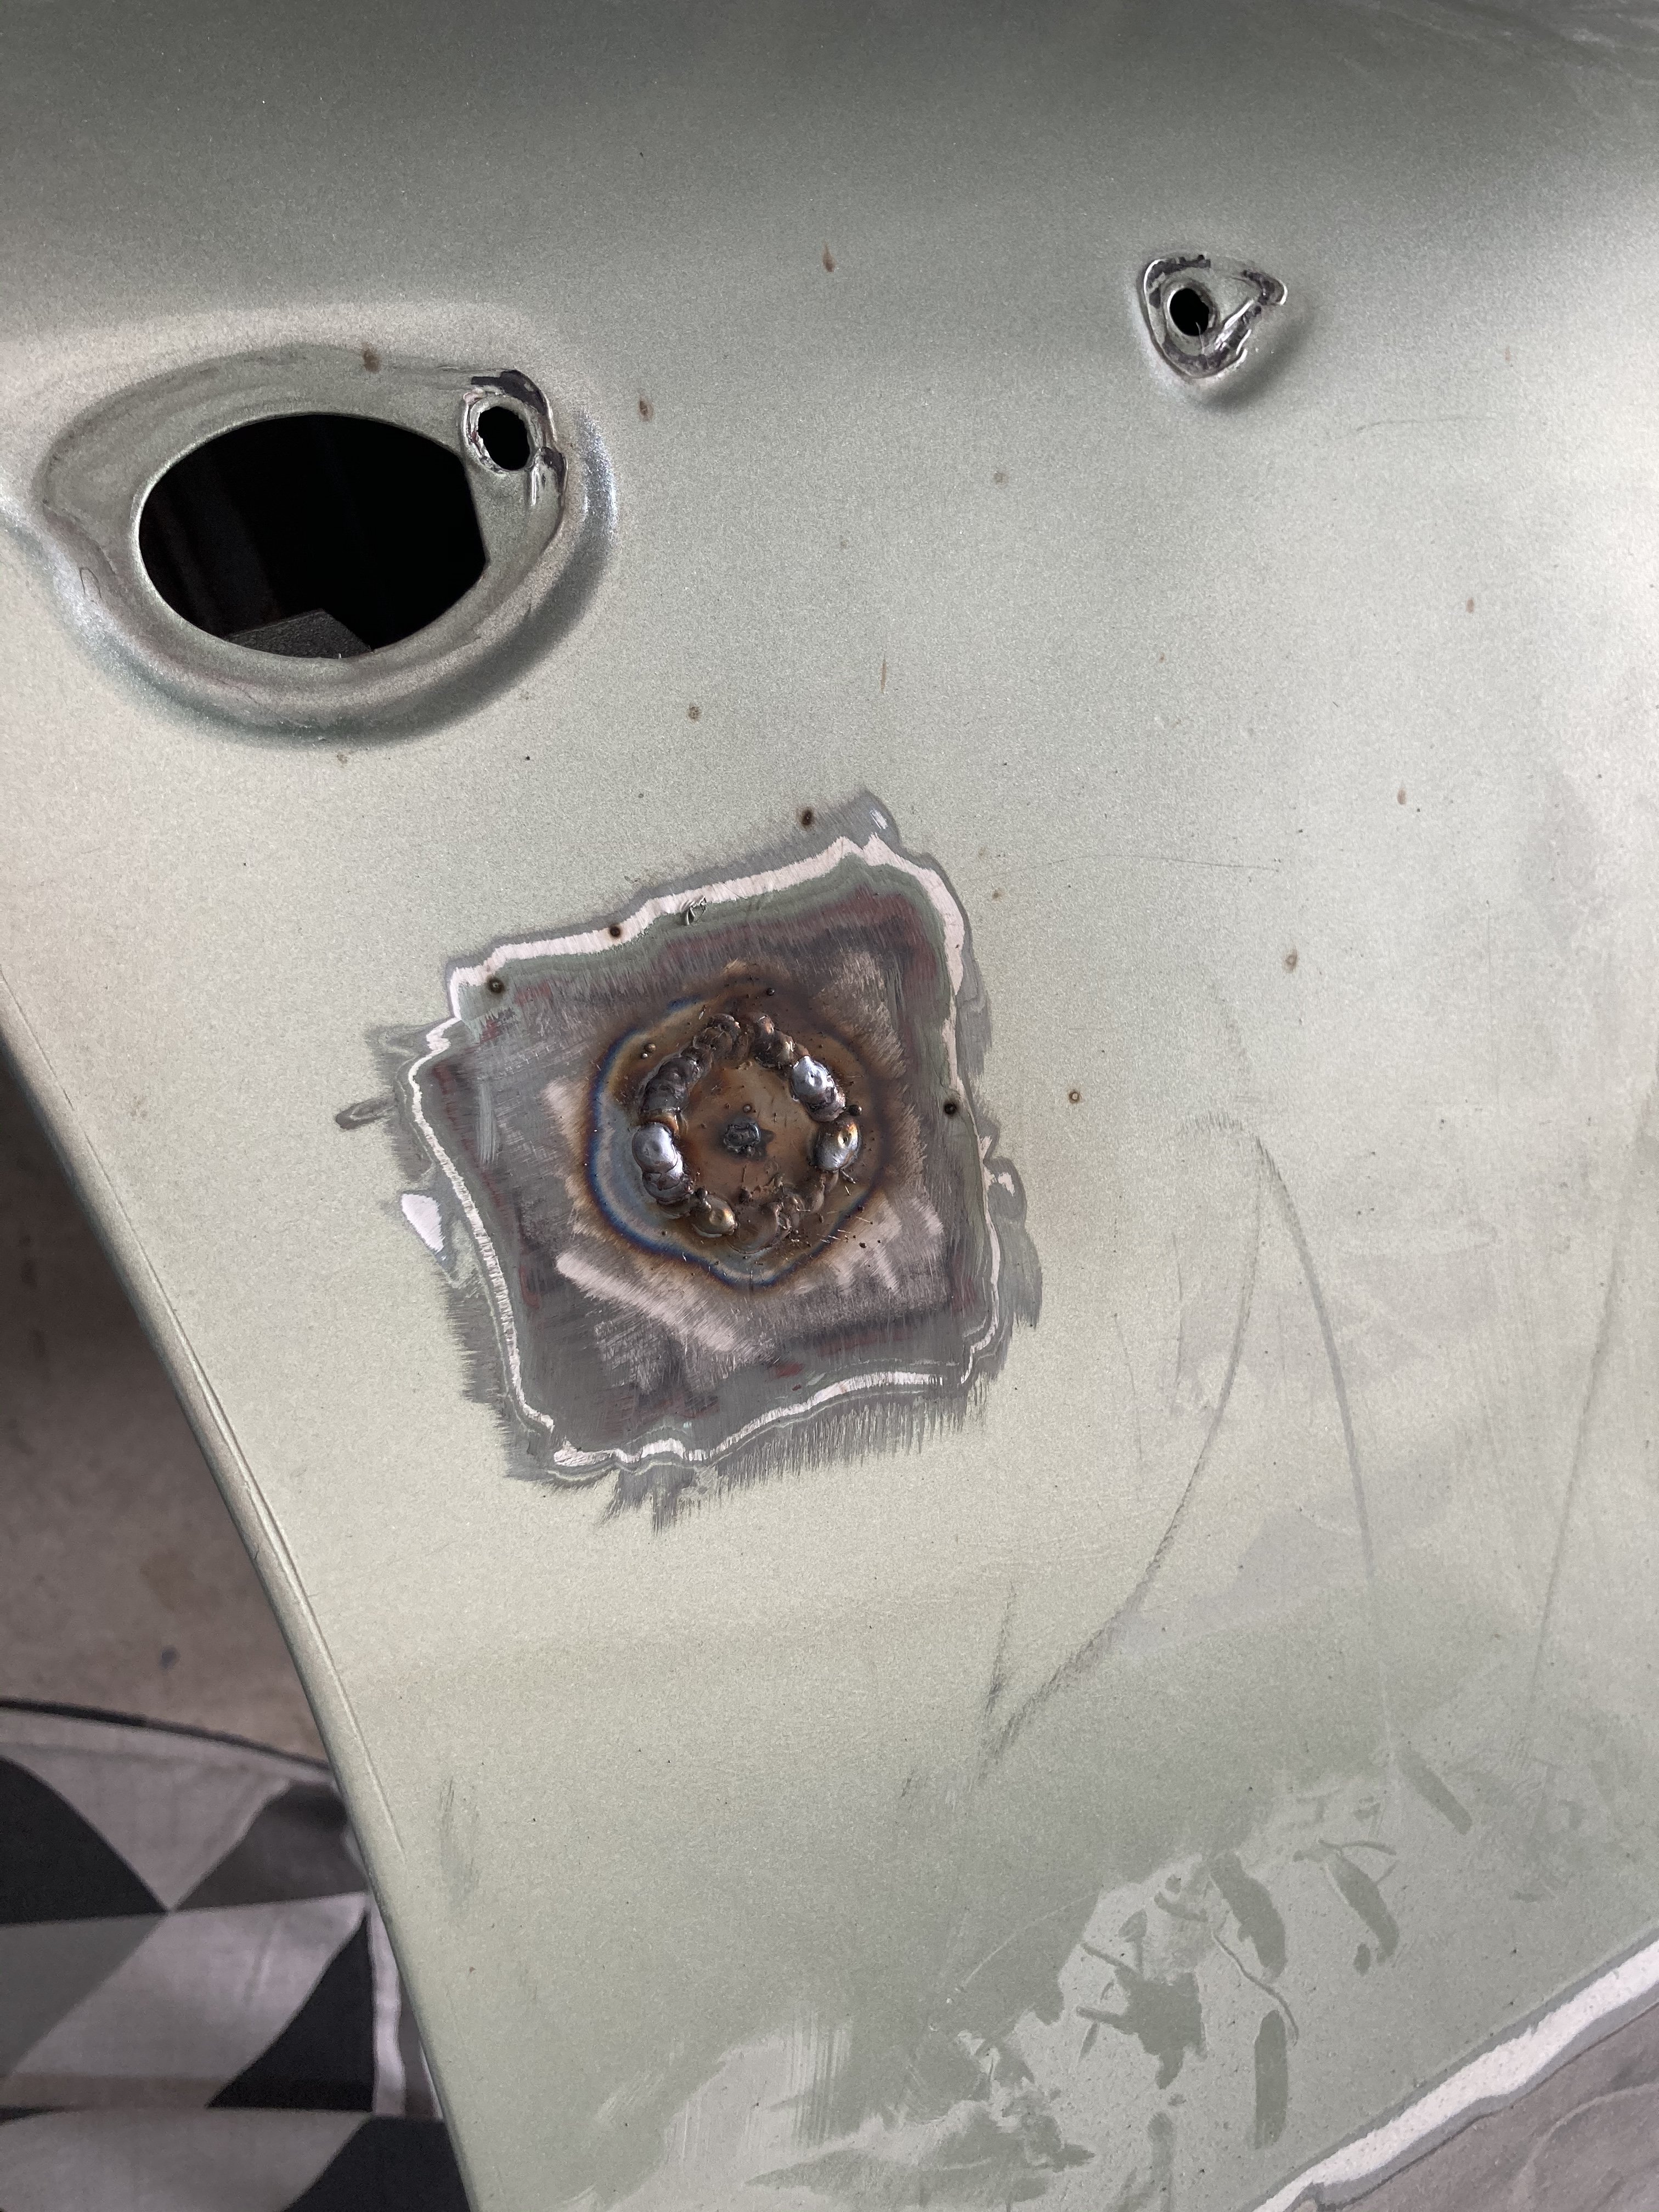
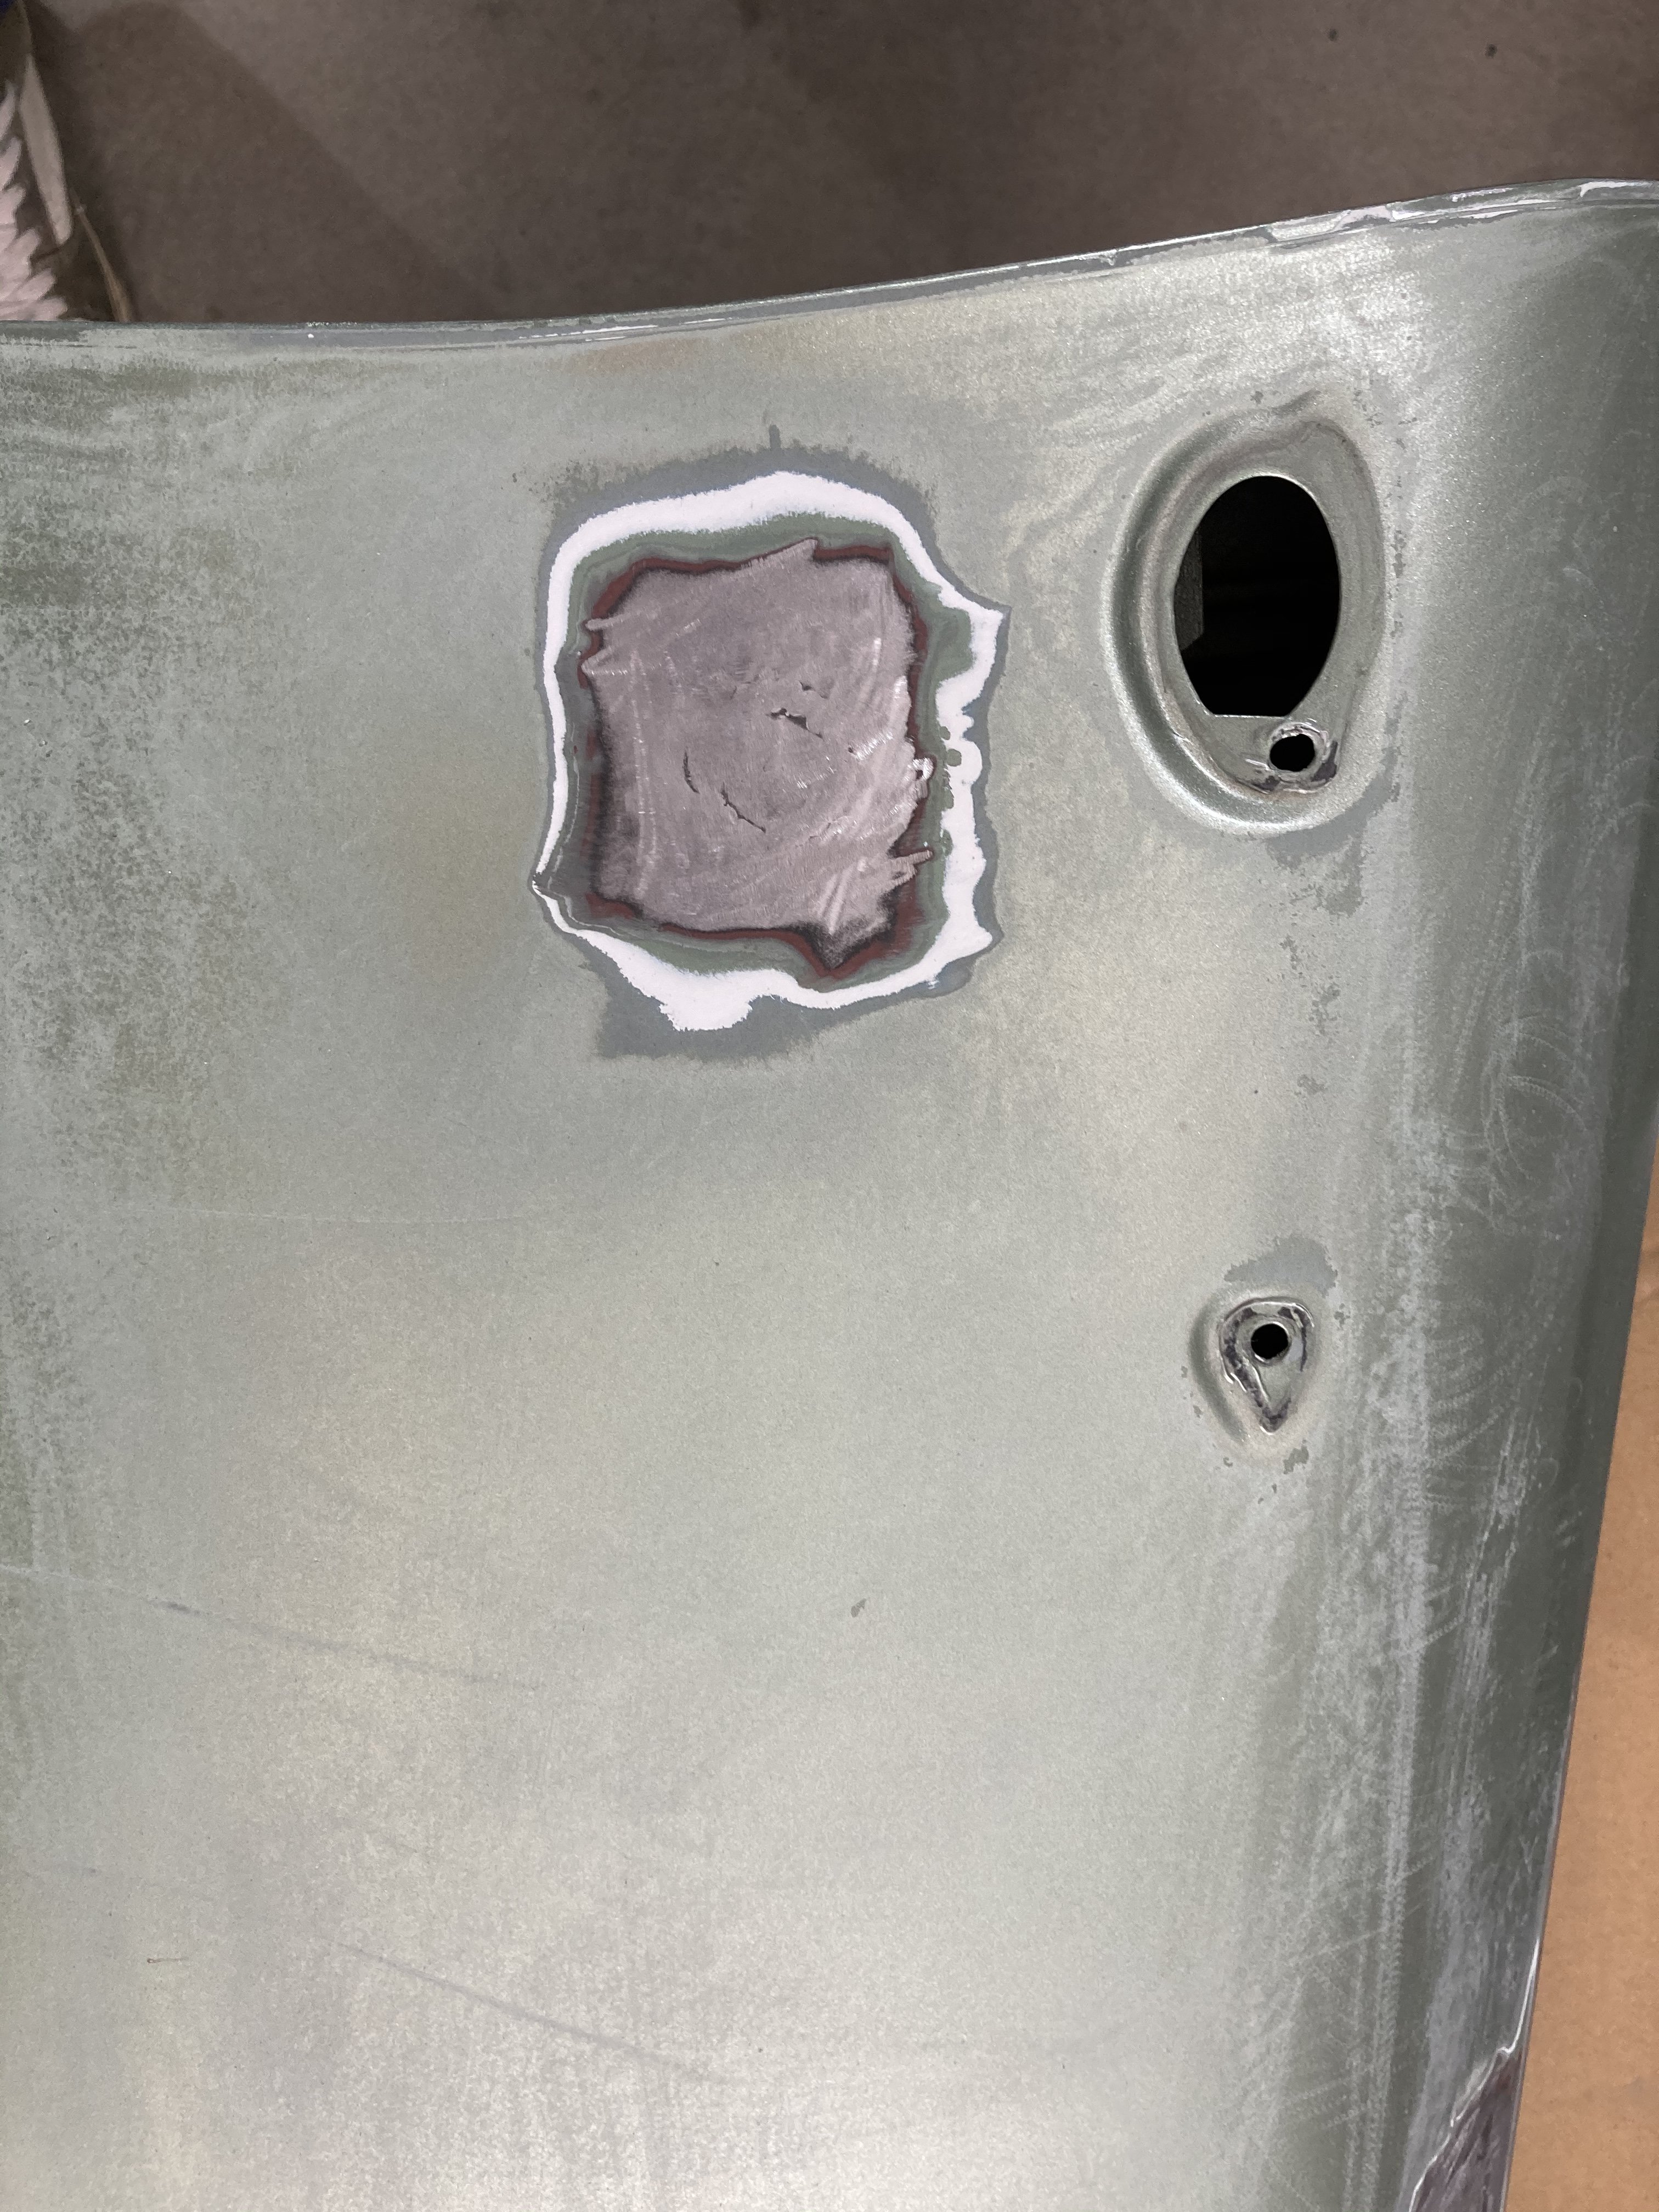
Talking about fuel tanks, what kind of muppet does a bare metal restoration and leaves the old rubber fuel neck grommet in place ? Hard to believe It was done by a professional restoration company. If I had been the one who paid for the job I would have been spewing. I carefully cut around the paint and was able to remove the grommet with no further damage. The grommet is shared with an Anglia 100E saloon and the good news is that reproduction ones are readily available in the UK. Further good news is that they have a larger outer diameter, so with a bit of luck the new one should totally hide the old paint. Thanks for reading.
1 point
-
To better diagnose my hot start issue, I figured it would be nice to plug into the ecu and see what it thinks is going on. First problem was where did the guy who built this thing put the diagnostic connector... Nowhere is the answer. So off to pick a part to liberate a complete engine loom from the VS commodore there. Then to figure out how everything should be wired in, a factory service manual sure would be handy. Removed the ECU from its waterproof enclosure. They did a pretty good job filling it with foam and bathroom sealant and even glad wrap. As anyone who's ever tried to waterproof anything knows....you can't. So off came the glad wrap and I popped out the EEPROM chip to shake the water out of it.1 point
-
I drained 30 litres of that crap out of my Landy. The old girl still ran on it! I’ve been mixing it with fresh gas and running it in the ride-on. The stench is everywhere now.1 point
-
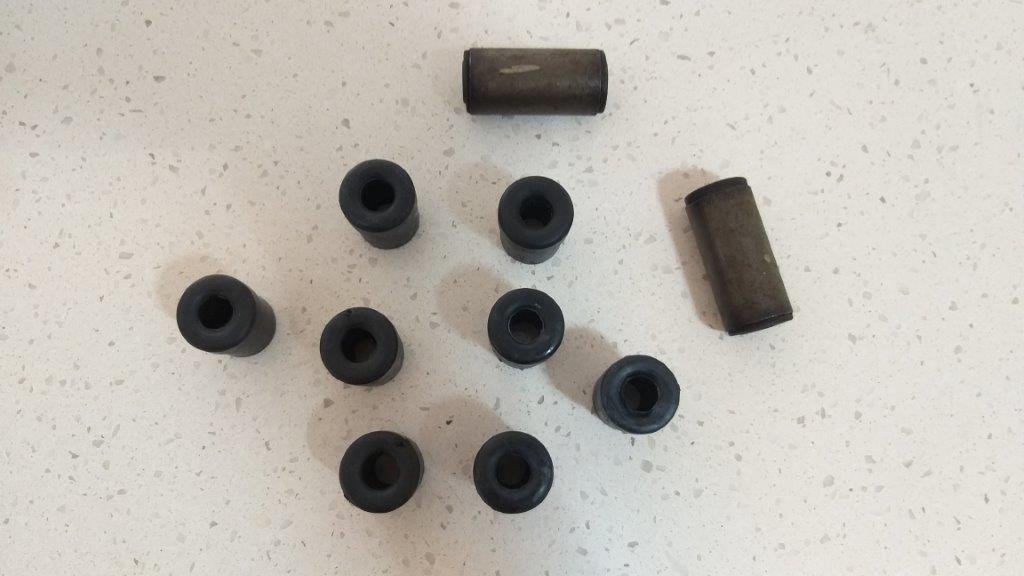
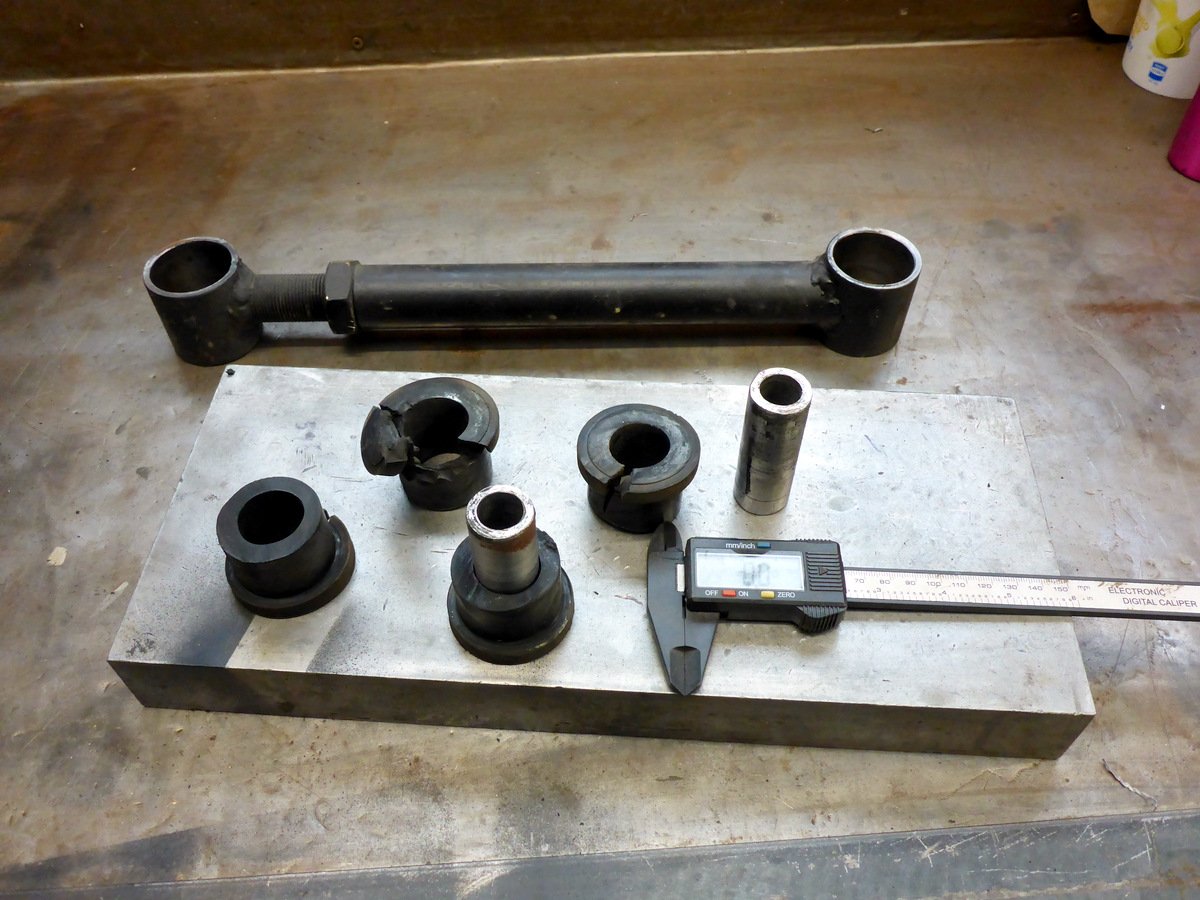
In other news the welding on the steering column inner passed it's dye penetration test with flying colours, so that's another box ticked on the way to cert. I made a start on the refurbishing of my rear leaf springs today and managed to get one completed. After removing the two small leaves I had to cut more thread on the through bolt. Luckily I had the correct imperial dye nut to complete the job. Managed to use my bench vice to press the old steel sleeved front bush out and the new one in. The shackle bushes are soft all round so were a piece of piss to replace. Everyone likes a pic of a nice clean bush, so here you go. More tomorrow.
1 point
-
@Firebrand to the rescue! He happened to have the right one (we think) floating around and used the opportunity to offload a bunch of other stuff he was hoarding, for which I am extremely grateful. And most importantly, it fits! Finally!!! This is just a test fit - I'll need to get it properly in. Next up is to sort out the spark plugs, re-dinosaur the oil system and de-dinosaur the fuel system, then we're pretty close to test firing this beastie.1 point
-
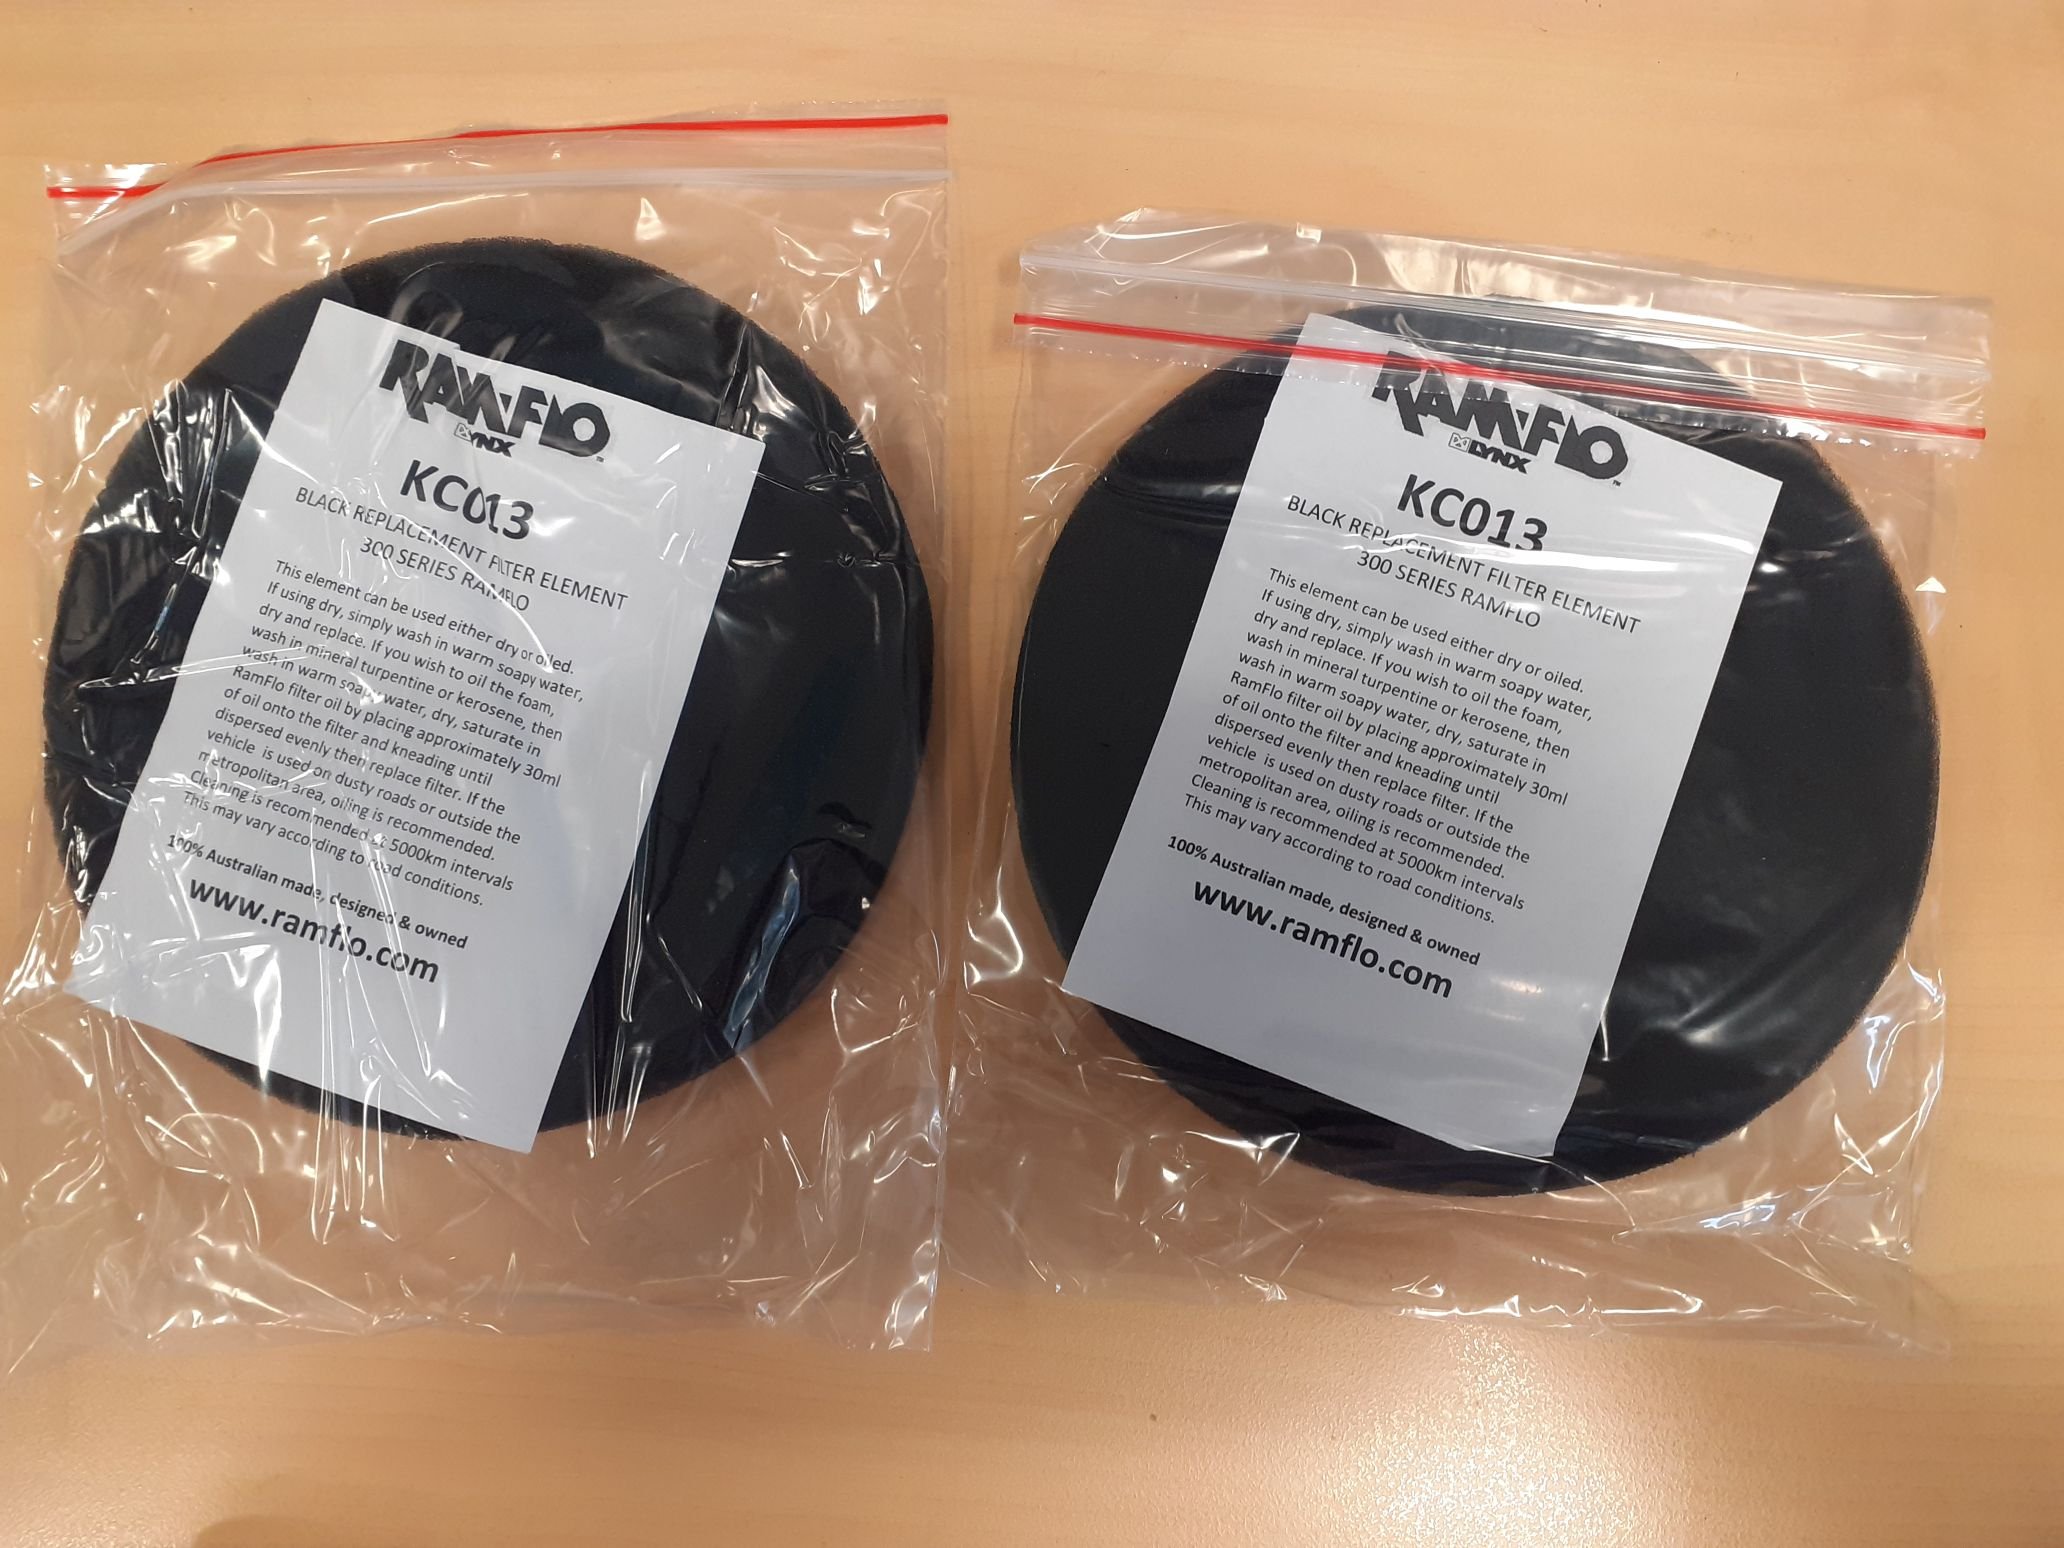
Still waiting to get the Marina back (not that I'm concerned, sat long enough like most old school projects lol). Last update the engine had been started up, after fitting a new battery. Old one had died, strangely it was dated from the noughties but I'd bought it less than 5 years ago. Not something I'd thought to check when buying from Ripco or Supercheap. Had a little drama when they tried to move it, and the brakes had locked on. Traced to a seized caliper. More fun and games as it is fitted with Australian Girlock calipers, instead of the Girling LF14 calipers fitted to virtually every small British car in the 60s and 70s. None of the suppliers had details for them, so while I suspected the Girlocks should be identical to the Girlings, no-one could be certain, so they got sent off to a Hamilton outfit who specialise in overhauling the Aussie stuff. Ordered new elements for the factory-fitted Ramflo filters, took two weeks to cross the ditch.
1 point
-
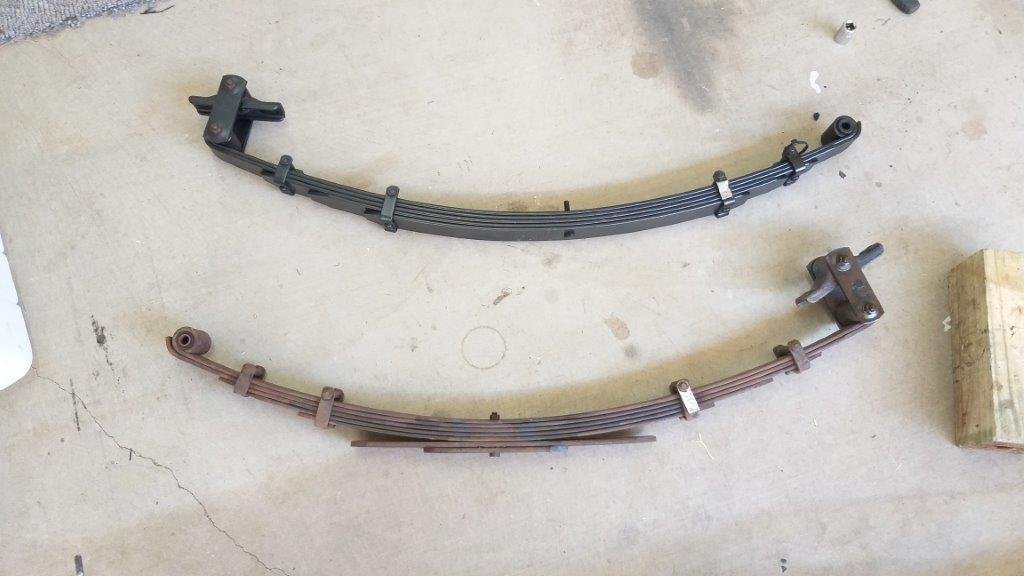
And shes back home again.. a year later than expected but better late than never. Snapped an axle at drag day 2018 and been in storage since then. AA plus membership makes moving cars very easy would trade again. Ahh yep thatll do it. Plans now are to swap the diff over with my spare.. which will mean the wheels will poke out 20mm more, raise the car slightly so its atleast legal height. The rear leaves have been reset twice so they dont work as they are intended too. I've got a spare set of leaf springs so I'll add one in to stiffen up and lower to required height using lowering blocks.1 point
-
took it down today for the recheck on the cert. All good......exccept I didn't put a heat shield between the brake line and the exhaust, I even looked at it when I did the other side .....dumb ass. Also it failed the brake test. by the 4th stop it had run out of brakes so fail. The pads that are in the calipers are probably 30 years old even though they haven't done a lot of miles. They have managed to be on 3 different cars. I don't know if they get worse with age or weren't that great to start with. I'll get them relined with the flash new material and working properly. Then I can adjust the back brakes to work properly using the proportioning valve. I had to reduce the back brakes because it was loci=king the back wheels up first. The certifier has driven it further than I have because he has to go for miles to get to an open road where he can do 100ks. He did say it drives a lot better than he thought it would.1 point
-
One of my customers (also mates with our rep) has an old jet sprint boat with a moo motor in it, and I think his mummy lives across the road from you. ANYWAY, he mentioned to me he might hunt you down to be a jet boat buddy, as he's just got his, and is worried about reliability/wants a tow buddy, puhuhuh. So yeh, if a big hairy guy in bib overalls and a stockman hat approaches you, he's not hostile. Yet. Regards, VG/Pointless sharner.1 point
-
Couple of action shots from Mr Jones snr I'm hoping the next pics will include other squirty things from Mr VG and Mr J5 in the same puddle at the same time.1 point
-
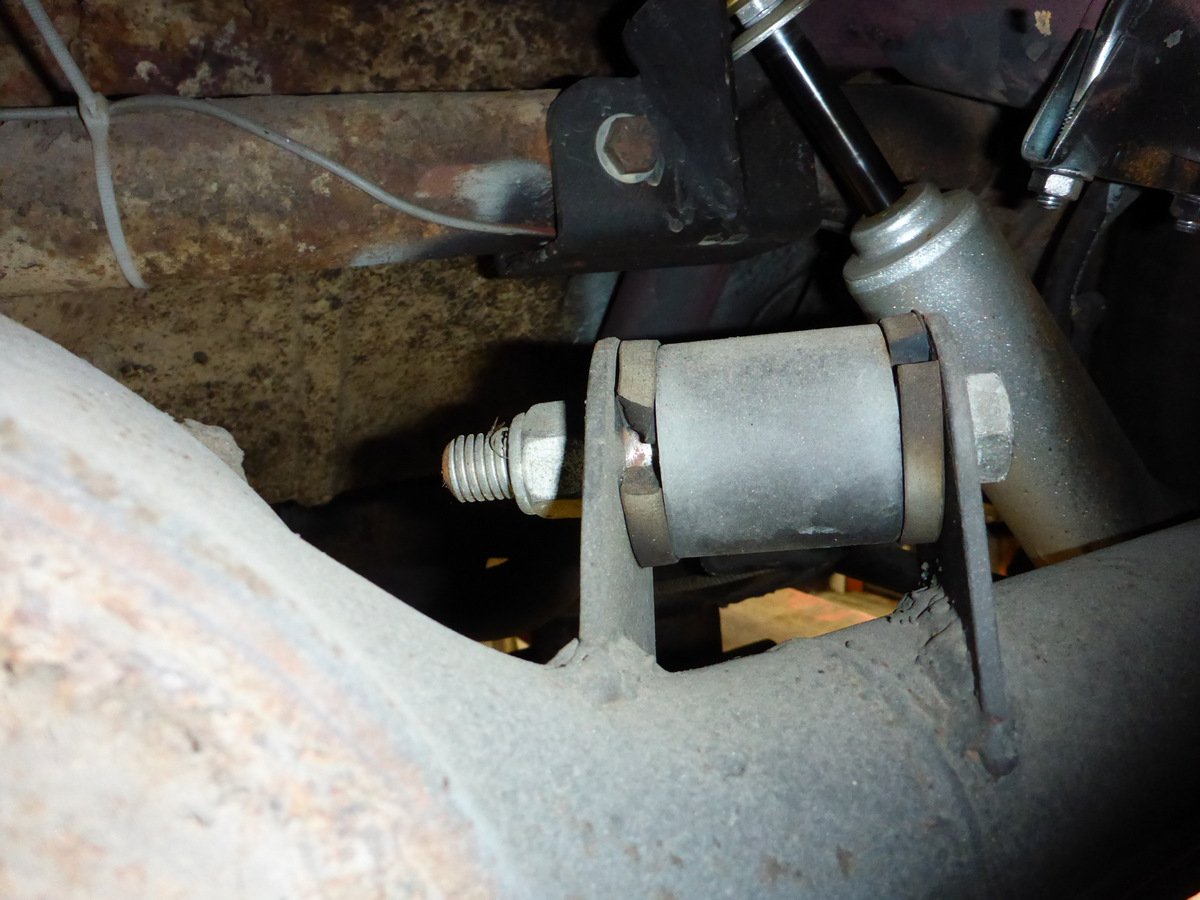
This split bush has been noted on the last couple of WOF checks, thought it was time I replaced it (while the Woodie is off the lift) Yep, pretty toasted, the ones on the other 4-link bars look OK. Might smear some rubber grease around the new ones. Luckily I kept the receipt for what they are from, dang Mitsi parts!
1 point
-
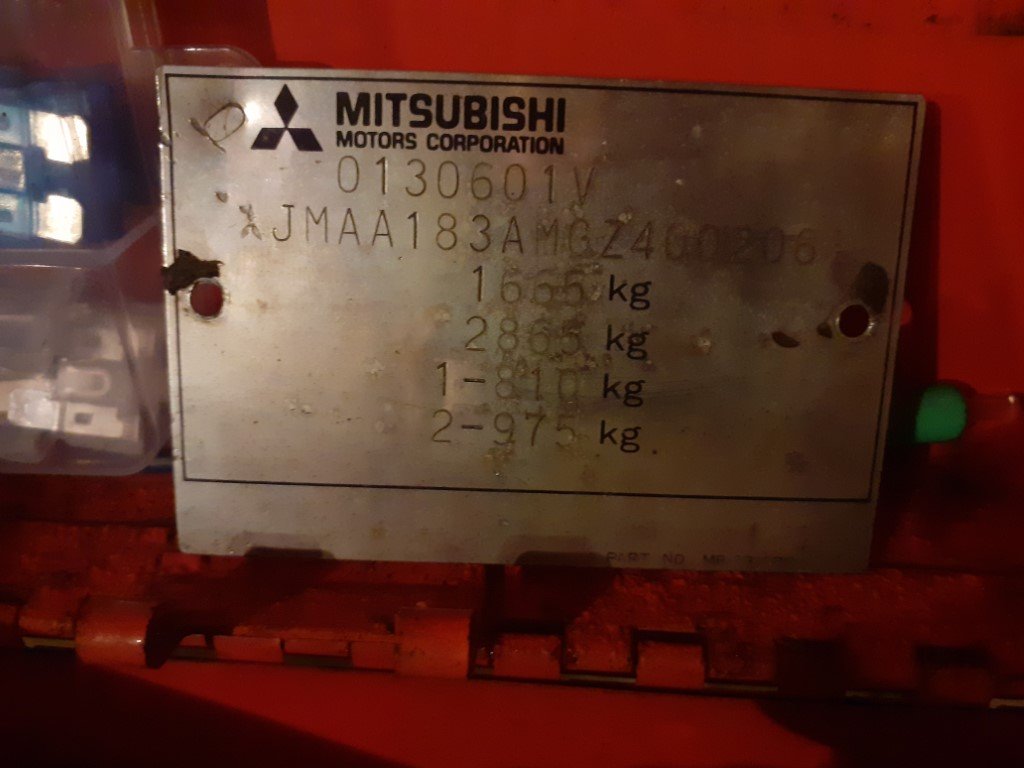
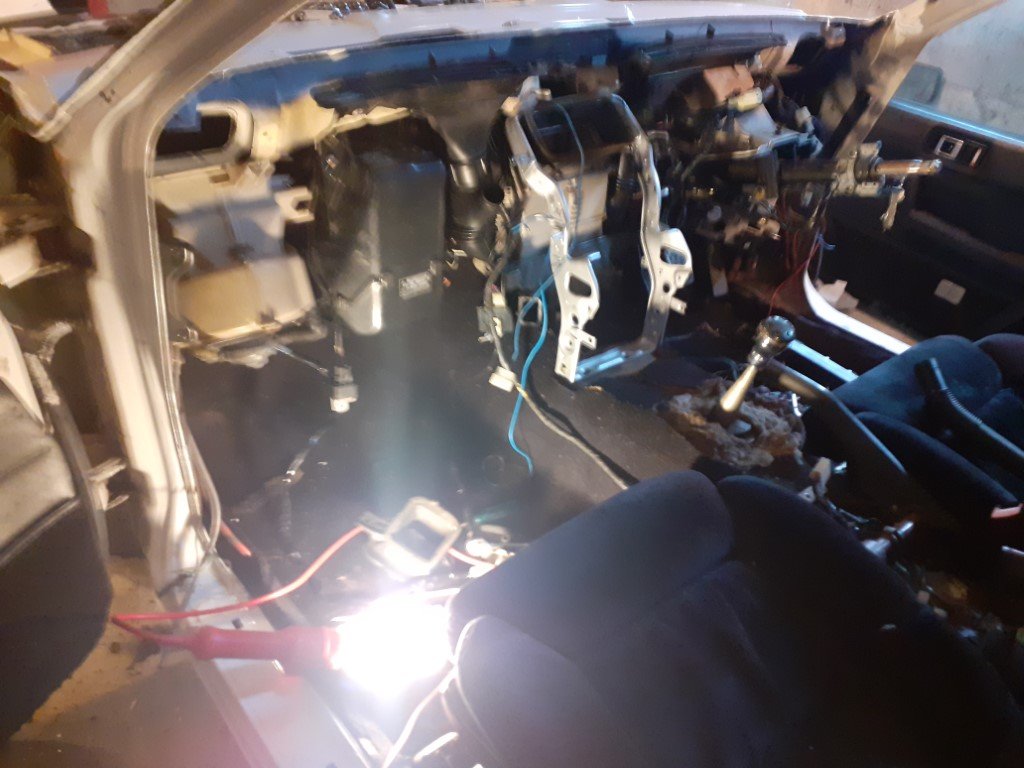
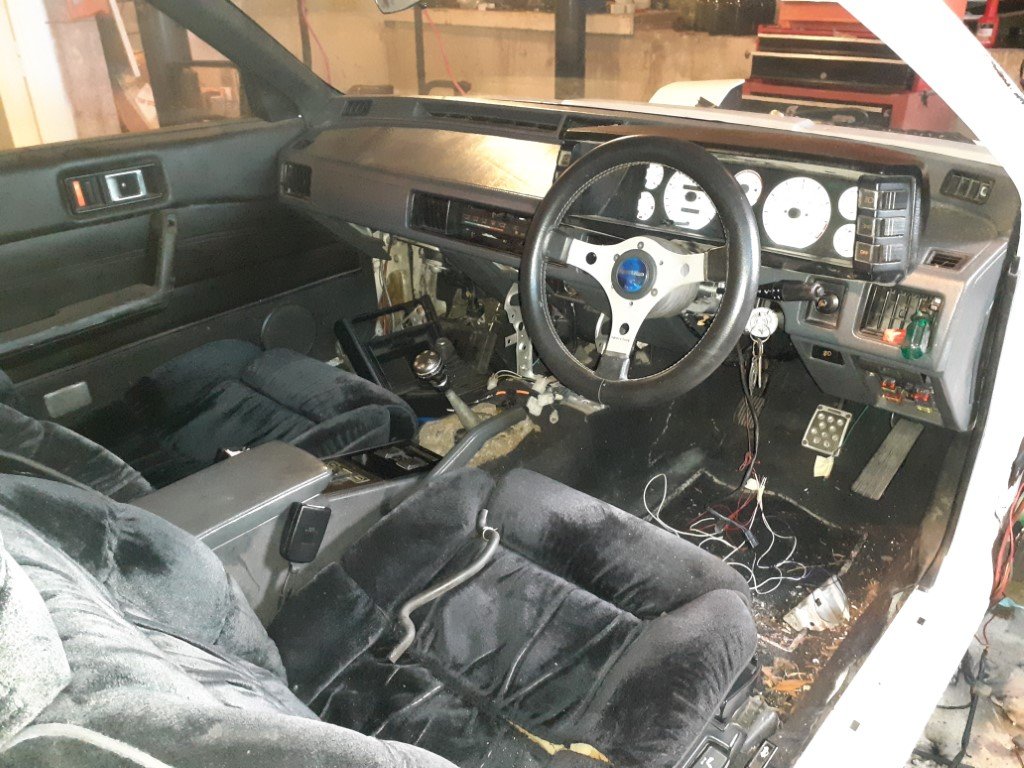
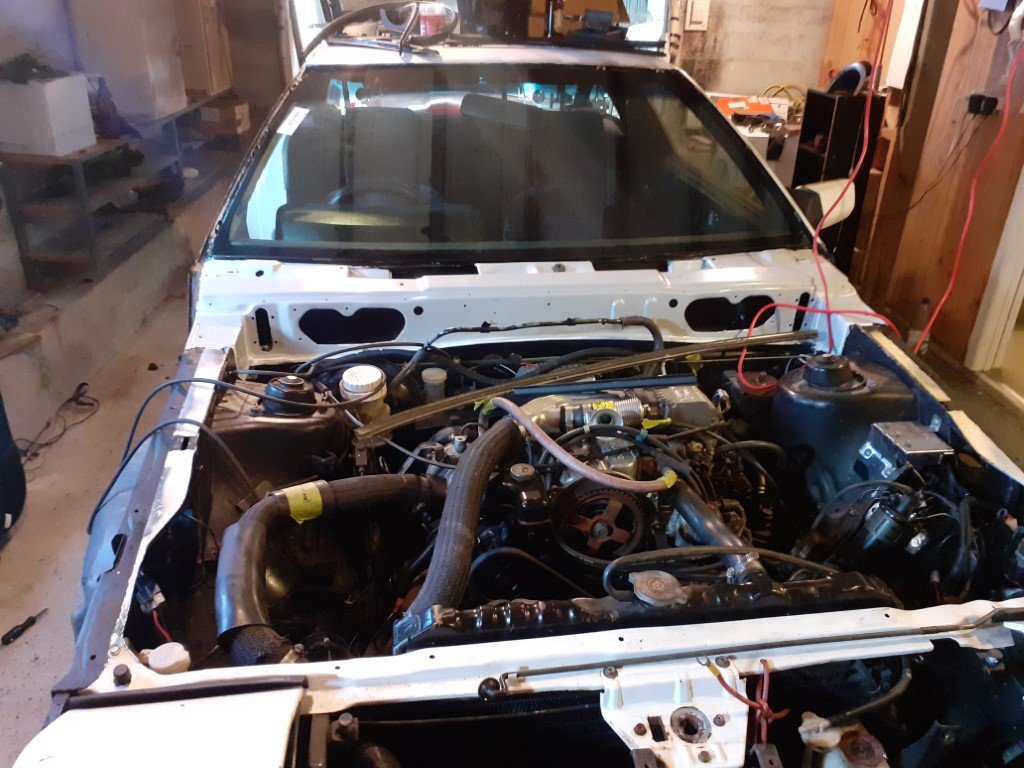
Been a slow couple of months, lighting in the garage is garbage so doesn't exactly lend itself to crawling around an interior or doing paint prep, which is exactly what needs to be done got all the heater doodads installed (and replaced the dreaded tiny water pipe that lives on the heater box, thanks to starquest forums for pointing that one out) dashboard back in... not gonna lie, not every single nut and bolt made it back in. I call it "interior by Lotus". Previous owner fitted some swank white faced gauges... however I also have a prized '83 digital dashboard in the cupboard which is kinda tempting. Windscreen back in and the engine and turbo back together, just the airbox left to go. Had so much fun routing allll the wiring back around the engine bay, gosh I've just started scuffing the body back for painting but unfortunately only have a half-hour attention span before I start half assing any given job (ESPECIALLY) panel stuff, so it's slow going. At this point I also heard my son sitting in the Triumph shouting "sticky! sticky!" so had to hurriedly drop tools and intervene Bonus question: what on earth do the weight numbers mean on the dataplate?
1 point
-
couple more pics for fun had the old scuttle sandblasted. Lucky it wasn't going back on RH door is kooked. Panelman said he could fix it but it'd be a fuckaround. LH door is spotless. In fact I've never seen a starion door rot out at the top like that Donor door has a tiny ding in it but is otherwise perfect. I have an entire unused container of bog (starion strength) which I have lost the hardener for, I'm disproportionally upset about this EDIT: found the hardener, score! My offspring attempting to torch the project. This guy is also the reason the brake pins went missing and I only found them days later when I turned the dryer on
1 point
-
well then, many happenings have been happening. firstly my good Mate Adam strapped it down to his dyno and he had a go at tuning it. the fuel pump died and it was making 15PSI which is way to much for a poor little M122. so i pulled the fuel pump out and replaced it with a walbro GSS341 and i made a bigger pulley for the supercharger. while i was at it i put the colder thermostat in it. put it all back together and this morning i went back to Adam's dyno for another go. everything was working so we set about basic setup, this is where i discovered that id set the timing wrong and it was retarded by 15 degrees. dont know how id fucked that up but i had. explains a lot.............. so anywho with the timing right things progressed well and the thing made power without getting hot so thats solved. pics/video can tell the rest of the story. EDIT - flickr is being a dick and wont upload any pictures. it made 250RWKW and the torque is literaly a straight line at 280 foot pounds. but youtube is working so heres the vid,1 point


.JPG.e540bd1596f6fdb63fb8080d4cc92ad2.JPG)
.JPG.2a04d3b782990aa55c3c402a6053889b.JPG)
.JPG.92f8cd0a725624eb922d949e07adba1a.JPG)
.JPG.c098e1cce08d286ae63a0f5879fbc57d.JPG)
.JPG.d9f5a61712342ba3342e07366885ab52.JPG)
.JPG.54ce56a09d13fd494a7aeaa279e7ed66.JPG)
.JPG.4e09d675a47c270dada7f41303b545e8.JPG)
.JPG.a10a86e177e685d26e26d7bc43f01afd.JPG)
.JPG.4fe1e474ad6a628f6b8a231c7487241d.JPG)
.JPG.f278bcc14c09a49c80620775126b055e.JPG)
.JPG.5227f860244c0e1b931e27b826d1c72a.JPG)


.thumb.jpeg.384ff72c8d2b0ee0d34a7bdedb55bdcf.jpeg)


.jpg.df813b4debd8738d955aac7a2903037f.jpg)
.jpg.278f74c9107bd91321766f56c47c3c9e.jpg)
.jpg.3c557d16acc4f97abcac030d8e35989e.jpg)
.jpg.7834d7e459b5e01b094bbc1df28c82e2.jpg)
.jpg.93cac6f7db5da551f068f01ad83e927e.jpg)
.jpg.c54dd4a2ab67aad34f1f022837c4f6ff.jpg)
This leaderboard is set to Auckland/GMT+12:00