jackeo21
-
Posts
302 -
Joined
-
Last visited


jackeo21's Achievements
Advanced Member (3/5)
1.1k
Reputation
-
 jackeo21 started following autumn jap oldschool meet 2022 and Sunday 16 April= Auckland cruise and BBQ
 -
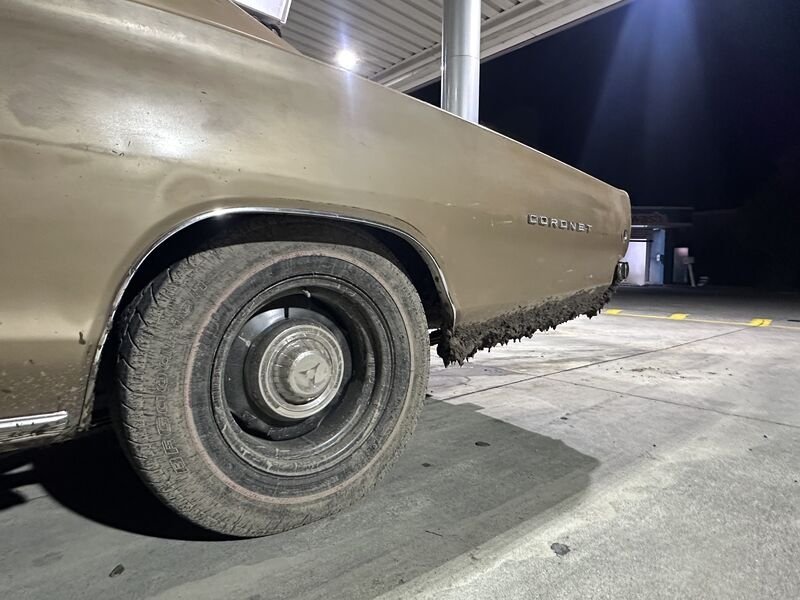
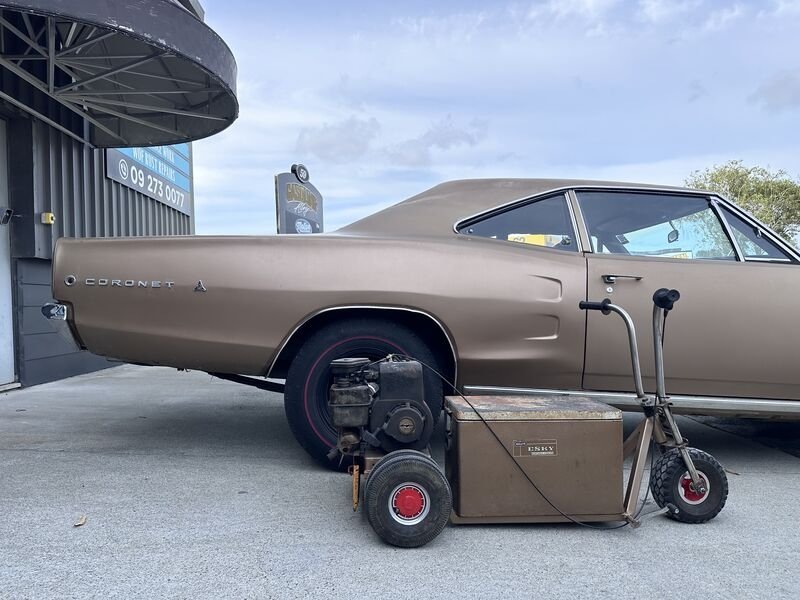
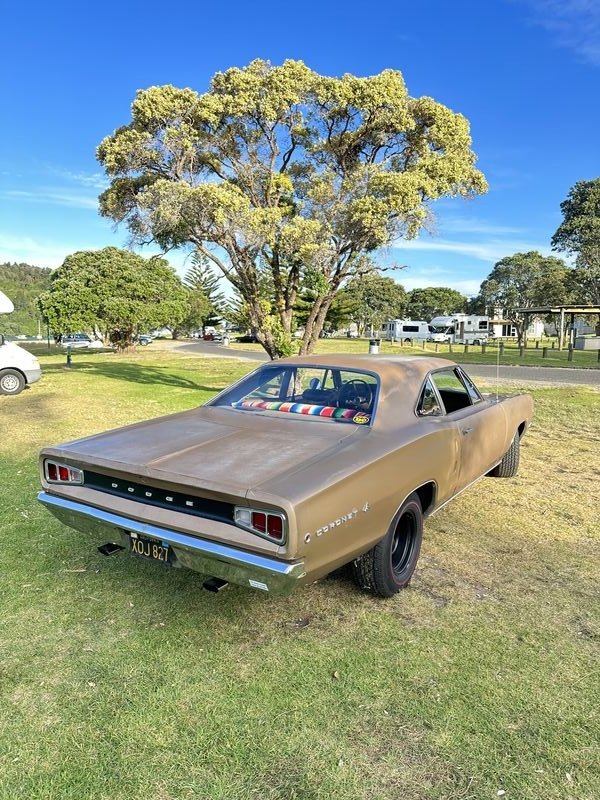
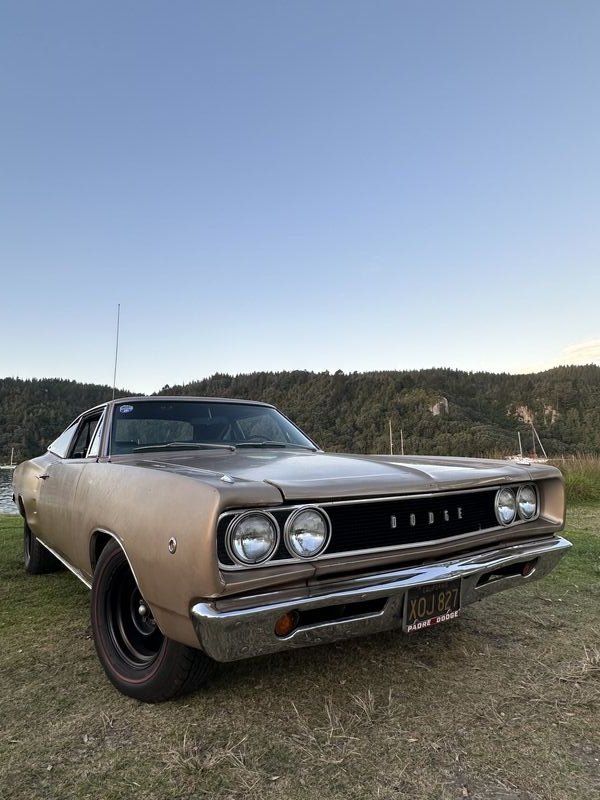
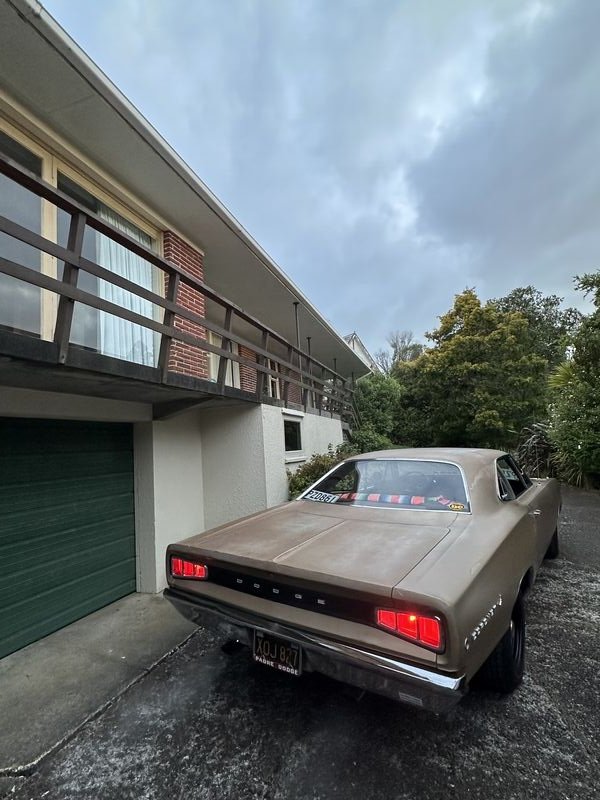
A few years later... The old girl has been on the road since the end of 2022. Since then, I've enjoyed 8000 trouble free miles of American motoring. It's truly been a fantastic cruiser. In my travels I've met plenty of fellow mopar enthusiasts, visited loads of shows and even got it out for an unscheduled mud bog (whoops). The 318 has been super dependable and goes hard for what it is. It buggered another 904, so it's got a reconditioned one now which has been mint for ages. I was recently offered a deal I couldn't pass up for a running gear transplant. The 'teen has been fantastic, but it's time to upsize. I'll detail that over the next few posts. For now, some action shots! I built this little ride on Esky to sort of match the car. It's not quite as comfy.

- 6 replies
-
- 19
-

-

-
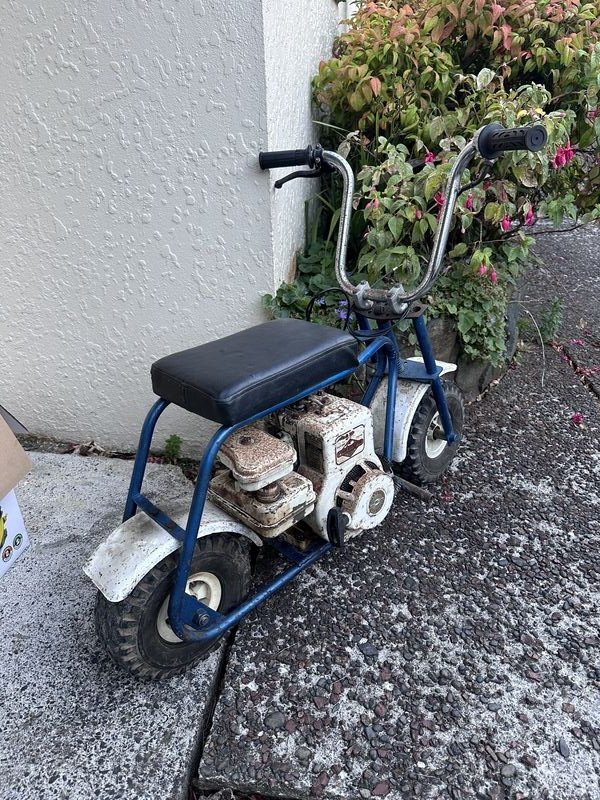
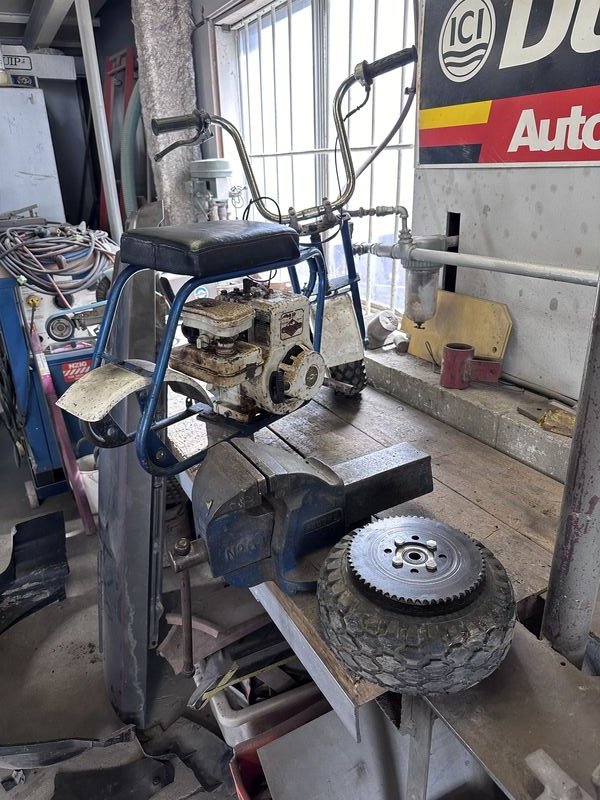
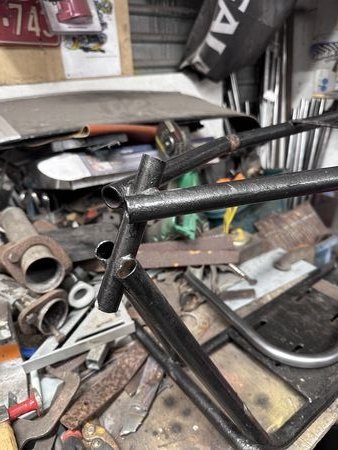
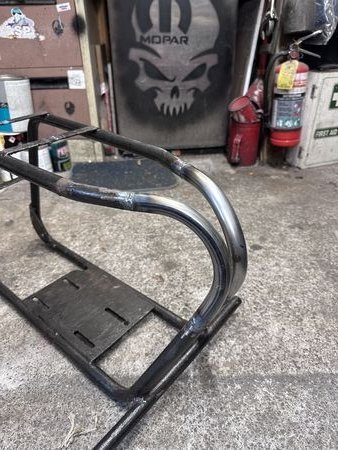
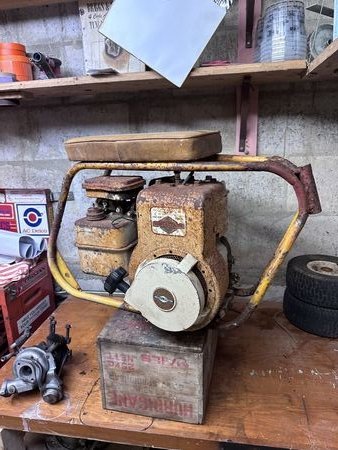
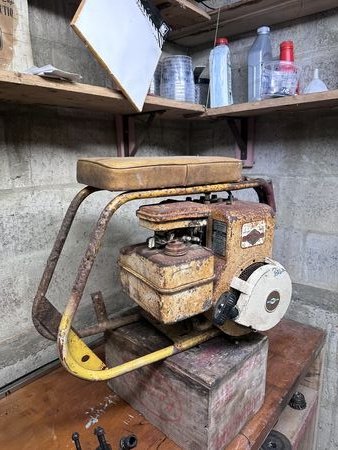
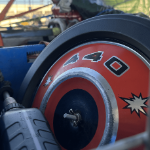
Only recently began tinkering with these little bikes after a wee hiatus from the hobby. I absolutely munted the rear sprocket and hub assembly doing a burnout with it on my birthday a few years ago and parked it in the shed since. An engineer mate whizzed up a nice new wheel hub and I changed the rear wheel back to a genuine 4" Tru Test plastic rim. Much better! one $15 sprocket later and I was nearly back in action. Had to make some new rear wheel spacers and get the chain alignment just right as it kept bucking the chain. The bike is now powered with a 3HP Briggs and Stratton. I pulled it from a reel mower and marvelled its "low hours appearance", turns out its so flogged that the flywheel tries to jump upwards and kiss the magneto on each rotation because the front block journal is super clapped lol. I have a (rare in NZ) Tecumseh HS50 engine in the works to replace that engine though. I'm waiting on a crankshaft from the states, once fitted I can complete that engine build and really make it move! The HS50 motors are nice because they're about the same size as the 3HP Briggs (and the Tec H35 engines the bikes had as OE) but you get a bit more pep without having to cut and mod the frame. The yellow bike is next on the chopping block. I've had the bike roughly 12 years, before that I think it sat about 25 years in a paddock. It's rough. I'm going to tig weld up the pinholes and replace a few small sections that really need repair in order to maintain what's left of the patina. I'll make some new forks soon and just paint them matte black. Power will come from the 5HP Briggs pictured. These can be fun to shoehorn in, I need to cut the engine plate off and shift it forward in order to gain some clearance between the fuel tank and the rear wheel. Finally, I've got a black bike frame which is slightly larger overall than a real Tru-Test. It had a really agricultural front fork tube setup and some pretty crude front forks. I've cut away the junk part of the frame and re-welded some new bends to give the bike a more authentic look. I'm pretty fresh on the tig, so this gives me some good practise. I have a Briggs 5HP in bits for this bike. More logical people might opt for a Honda clone but I prefer difficult starts and questionable dependability. You know, the old school way! More to come as these things take shape.
-
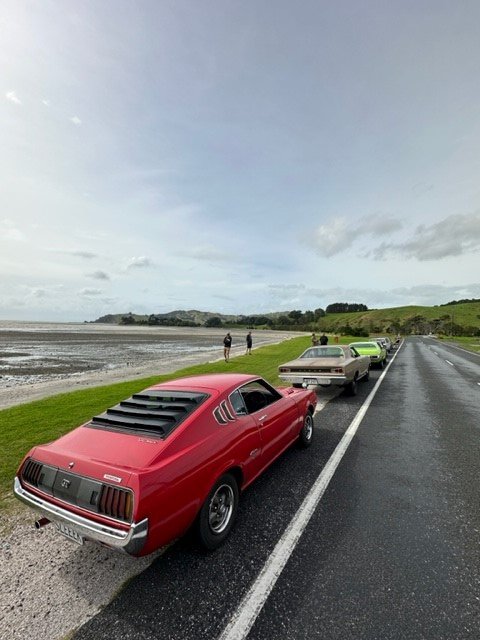
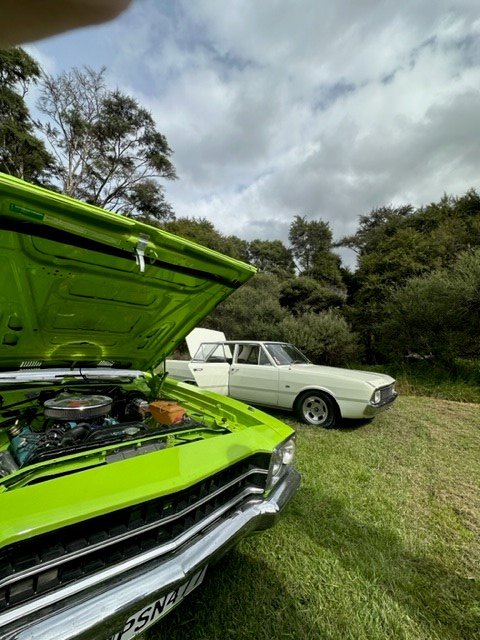
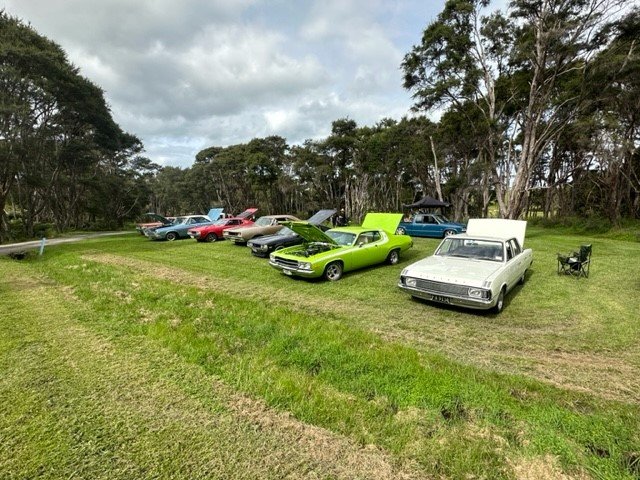
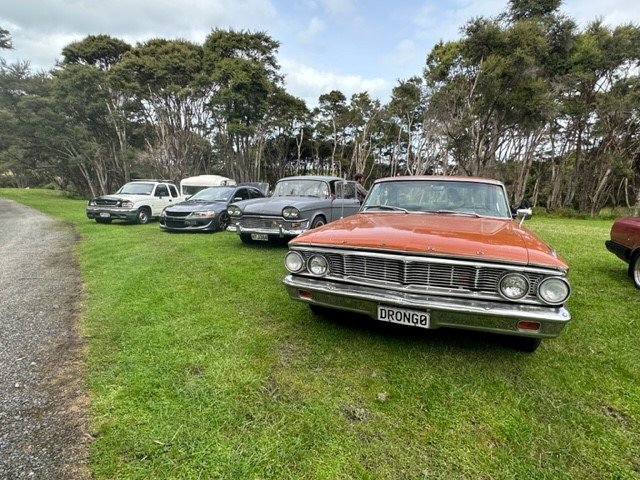
Sunday 16 April= Auckland cruise and BBQ
jackeo21 replied to cletus's topic in Upper North Island Region
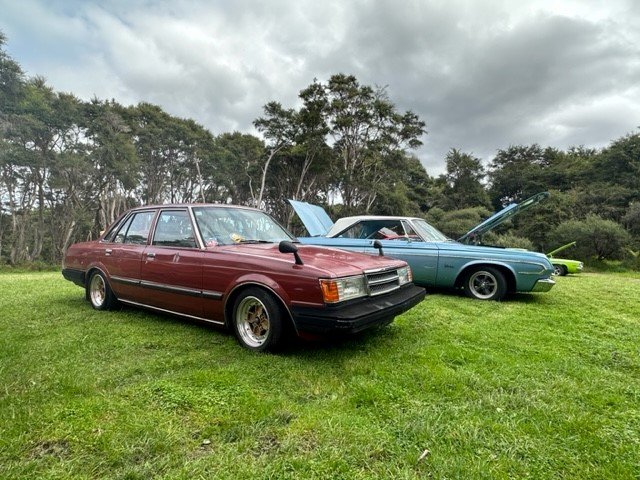
choice day, great folks, awesome venue. cheers @cletus for organizing the cruise, it was great to meet some more os legends.
- 27 replies
-
- 17
-
-
-
Sunday 16 April= Auckland cruise and BBQ
jackeo21 replied to cletus's topic in Upper North Island Region
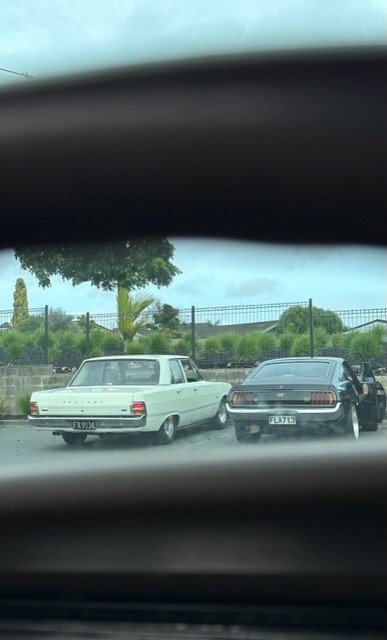
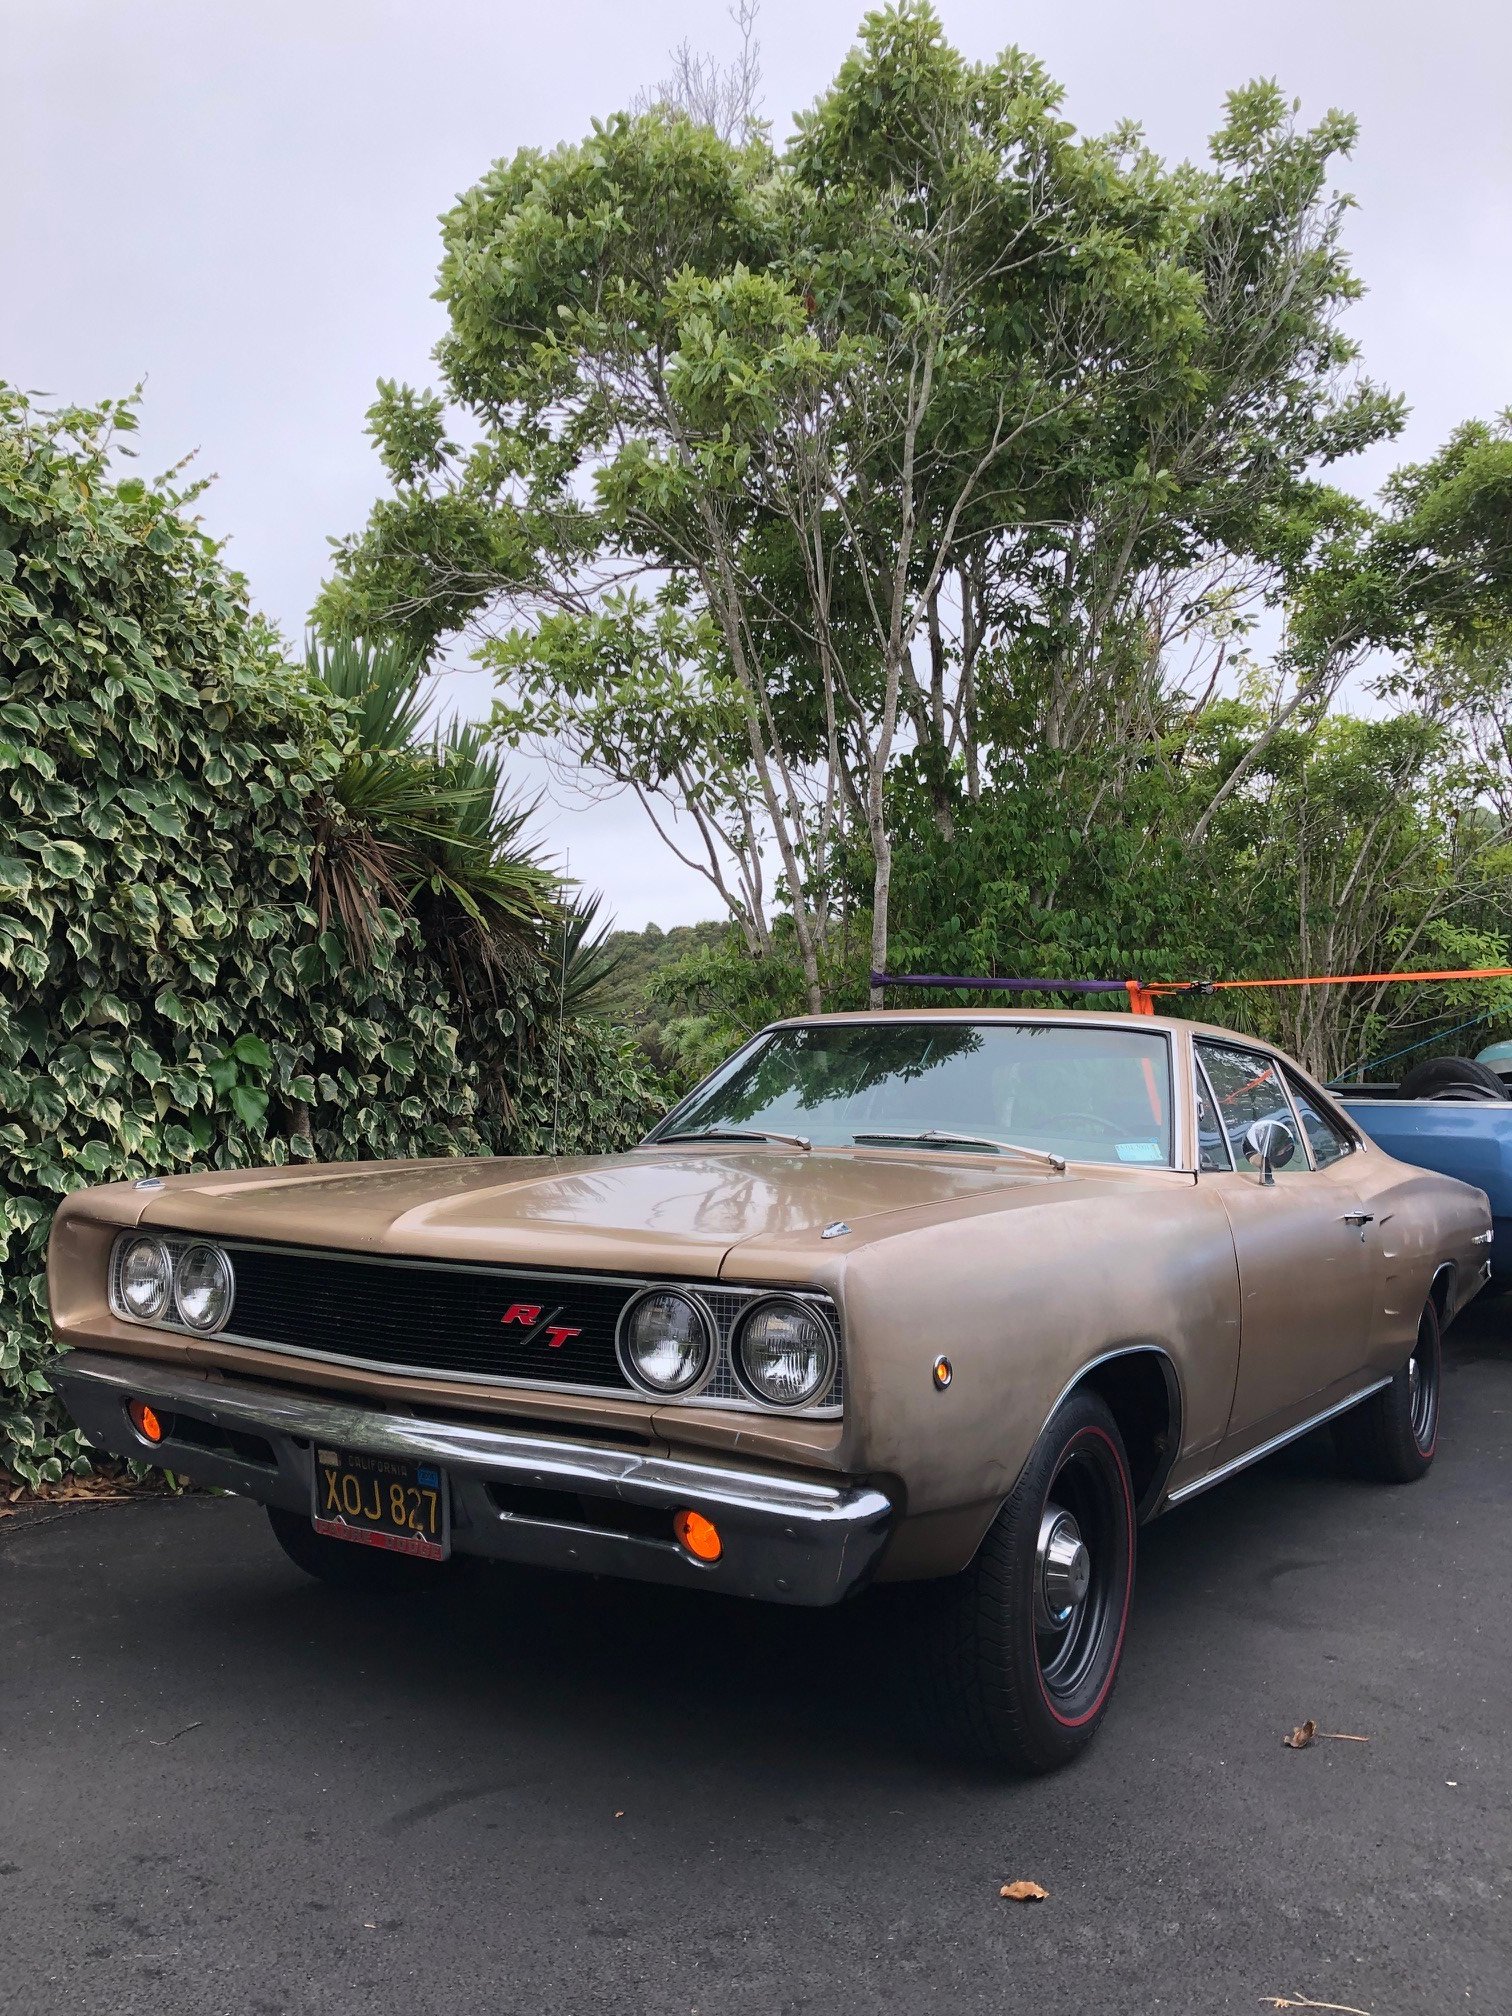
I'll be there too, and I'll drag dad along in his '64 Plymouth. Looks like we've fixed the trans right on time. choice! -
keen as, just wondering if there was any idea on a location/go ahead.
-
Slowly but surely inching towards a VIN and road legality. Few tidy-up jobs done around the car, with a few more to come soon. Auto has finally given up the ghost for good, so it's time to yank the A904 and go through it. I've never opened an auto up before, so what better time than to take this one entirely to pieces and fit a rebuild kit. All good fun. I will forever wish that American plates could be used on NZ roads, adds character. Hopefully the next update involves the car parked somewhere other than my house. Cheers!
- 6 replies
-
- 19
-
-
-
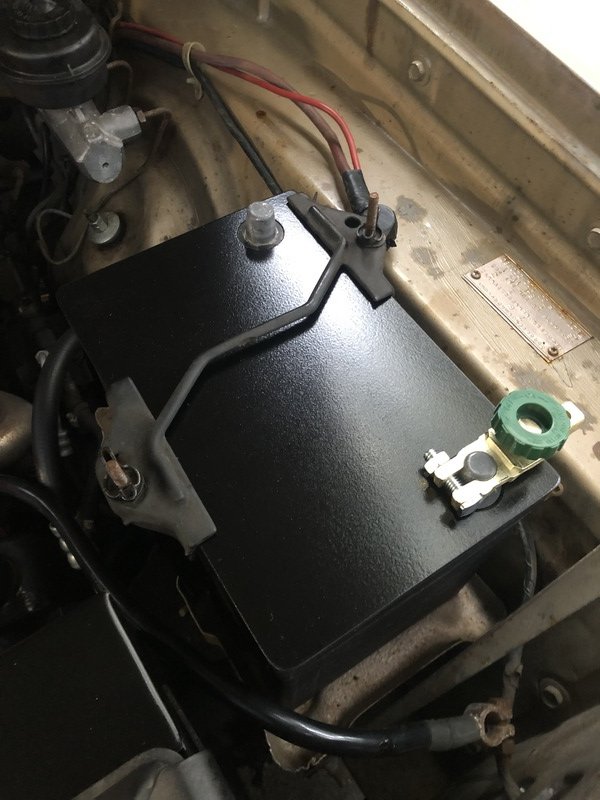
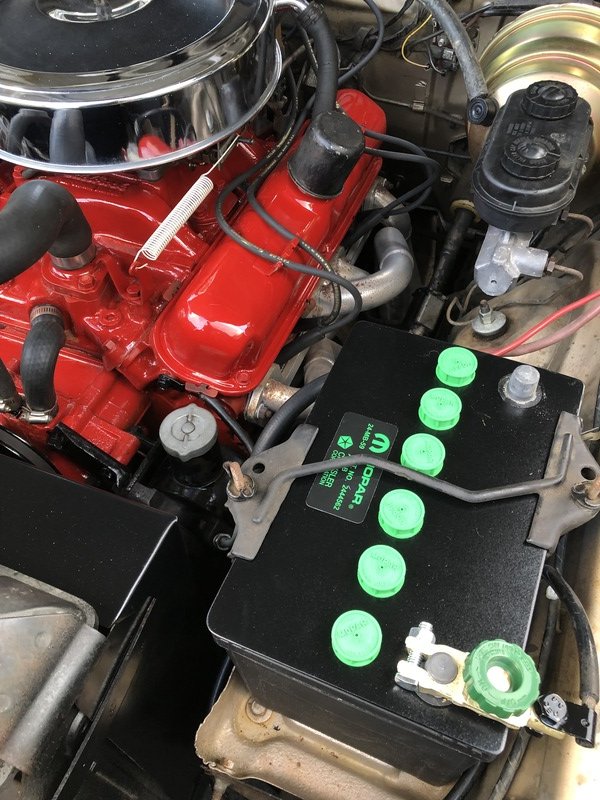
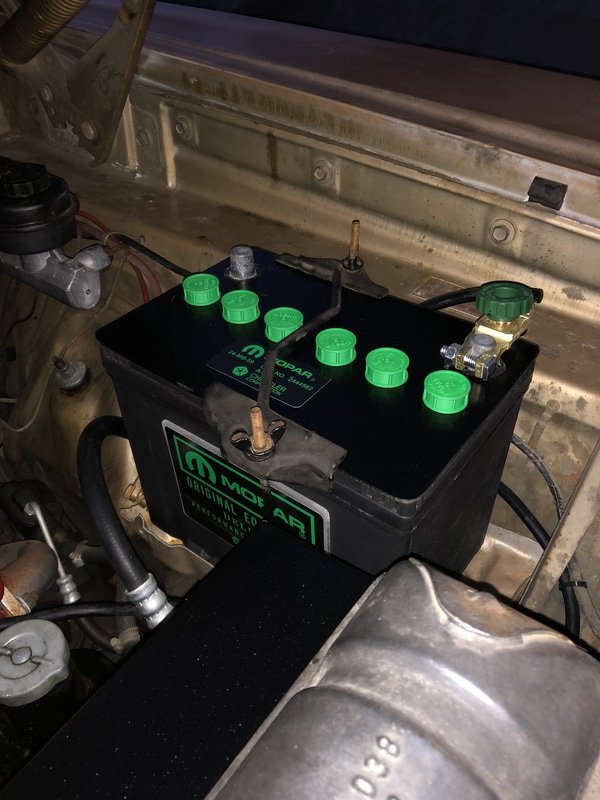
Not a super thrilling update, but I turned into a bit of a barry and decided to get all fussy with the details. I figured that since I like factory spec engine bays, and since my car is pretty close to stock standard, I'd go full circle and make the battery all og looking too. You can actually buy this style battery new from Mopar, but since my lotto win hasn't come quite yet, I've settled for the next best thing. I'll quickly detail how I disguised my battery to look old fashioned for anyone wanting to do the same (place I used does all different battery brands, quite neat). Anyway, I needed to make a "topper" to hide the modern style batteries handle etc etc, and it so happened I had some 3mm perspex laying around the shed. Once cut to size, I used a step drill to make holes for the battery posts to stick through (step drill gave the holes a nice looking chamfer to boot). A DA sander made quick work of the prep, some semi gloss black gave it that plastic look, and urethane was applied to stick it to the battery (but not too much, incase the battery needs to be replaced). Finally, my kit arrived. On it goes, a very satisfying job indeed. For the decal on the side, I decided that I should made a perspex backing should the battery shit itself, I'd be able to pull it off and adhere to a new battery. Oh, and if anyone was concerned about battery ventilation, these newer batteries vent through the sides of the top lid, so my battery topper isn't blocking anything off/causes no damage etc Overall stoked. The car is booked in for its vin in a months time or so. If drag day is still a go this year, you bet I'll be there, vin going smoothly in all. I have heard so much about putting American cars through a vin, so it will be interesting to see how it all goes. Cheers for reading about how I put stickers on my battery I promise more exciting updates will come in due course
- 6 replies
-
- 21
-
-
Mr.mk1's Mopar or No Car '70 Dodge Coronet
jackeo21 replied to RUNAMUCK's topic in Project Discussion
Wow, engine is looking great! long live the 318. The Mr. Gasket breathers are 70s cool - dad has a pair on his 318 and I've been eyeing them up for a while haha -
Cheers! Been following your build closely, what a sweet deal you got on that radiator! Looks like your car is really taking shape and its awesome to see. The originality stands out to me, just a personal preference to see everything "as it was" in a car, but with a twist. My goal is to go for performance engine/engine bay that looks like it was done back in the mid 70s.
-
Good info. I'm picking that my temps should stay low for the time being, but when the time comes for some go-fast bits, I'll assume that cooling might become an issue. I personally prefer the look and functionality of a mechanical fan, but had always been curious about the idea of running an electric fan in front of the radiator as a "helper" for worst case situations etc
-
It sure is the same, Mine is nearly identical, however I can't install it as I don't have the faceplate for the dash. I've seen those modified to have bluetooth etc in them and thought that was pretty wild. Unique looking radios with those thumb wheels.
-
As per project thread I made this fan shroud today. What is the general consensus on fans? My other cars use solid mounted fans, of the flexi plastic spec and steel spec. They do the trick but eventually get nice and hot if they sit and idle too long (as to probably be expected for old cars). I notice many turn to electric these days but for the sake of an "original period look" I think I'd like to hang on to my steel bladed wind maker.
-
Cheers, love the tip, I'll remember that next time I have my foot in it haha. It's not often it sees high speed driving, but loves the open road. Treats us really well. It's keeping the slant too!
-
Such a cool feeling driving the truck, the best part is looking out over the massive bonnet and looking down on cheap economy hatchbacks. It's unique for sure. Appreciate it! I'm aiming to keep it in basic trim, with a period set of oldschool mags to swap on for drag days and the like.
-
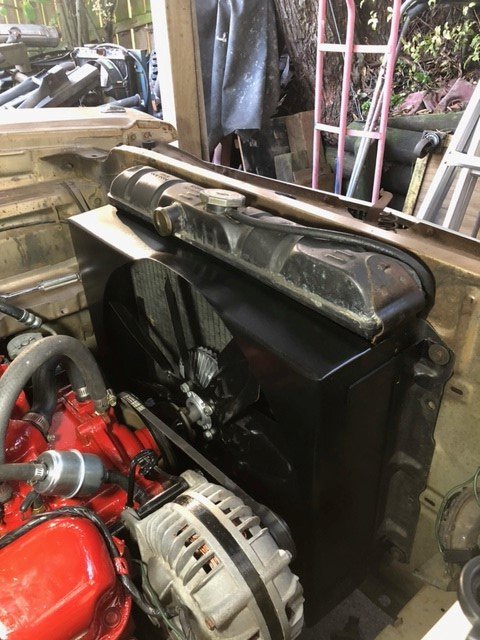
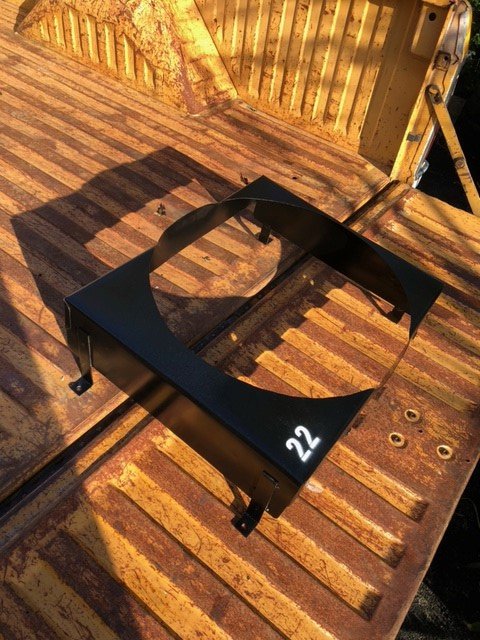
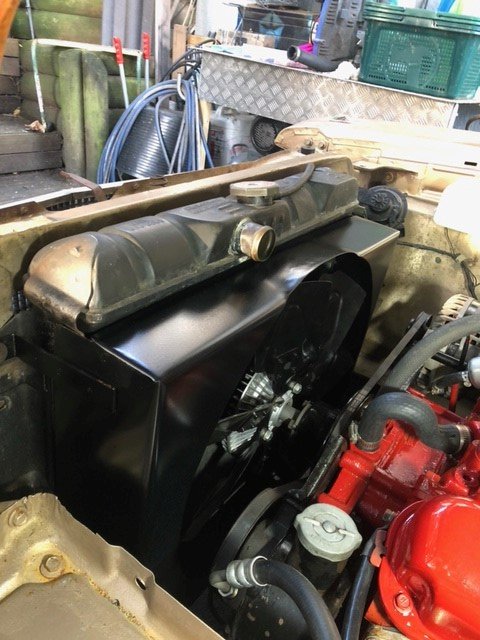
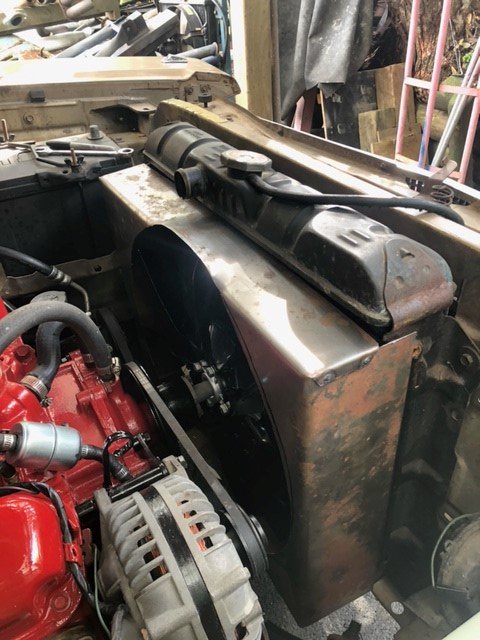
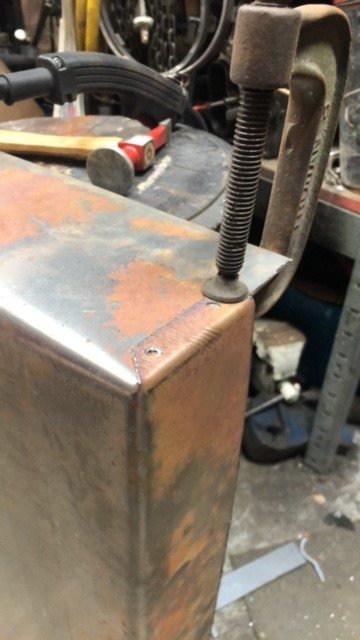
Spent the better part of my day today fabricating my own fan shroud. This car came from the factory with one of those meat cleaver spec 4 bladed fans of death, and at some point was changed to a Chrysler 18" clutch fan. It didn't draw much air, so I replaced the fan clutch with a brand new one, and had a bit of success but it wasn't to my liking. I decided it needed a fan shroud, and I sure as shit wasn't going to be forking out upwards of $500 for a new one. I just made it from panel steel, folded it up, and welded the corners to match the style of my truck one. Was a bit of mucking around involved, but I'm happy with how it came out. Now when holding my hand in front of the rad, you can feel it draw air through every inch of the core, instead of roughly just in the middle. Win. Spray painted it and mounted it this evening. It won't be hard finding some Auckland traffic to test out my revamped cooling system. The factory looking "22" sprayed on there is only there because I keep forgetting what size my radiator is The start, I made it 100mm too tall so I had to cut it down from this Welding it together the same way as a basic Chrysler one After some work on the sandbag with a mallet, the top had nice clearance and I was ready to make some mount brackets All painted, with the "22" as a half ass attempt at factory ink markings Installed and functional! Fingers crossed this keeps me cool at Beach Hop and cruise events. I haven't had years of metal fab experience but it's a satisfying result - I think the Valiant needs one now! Next time I'll have a go at putting some swages into one for a bit of detail.
- 6 replies
-
- 28
-
-