
Leaderboard


Popular Content
Showing content with the highest reputation on 09/13/19 in all areas
-
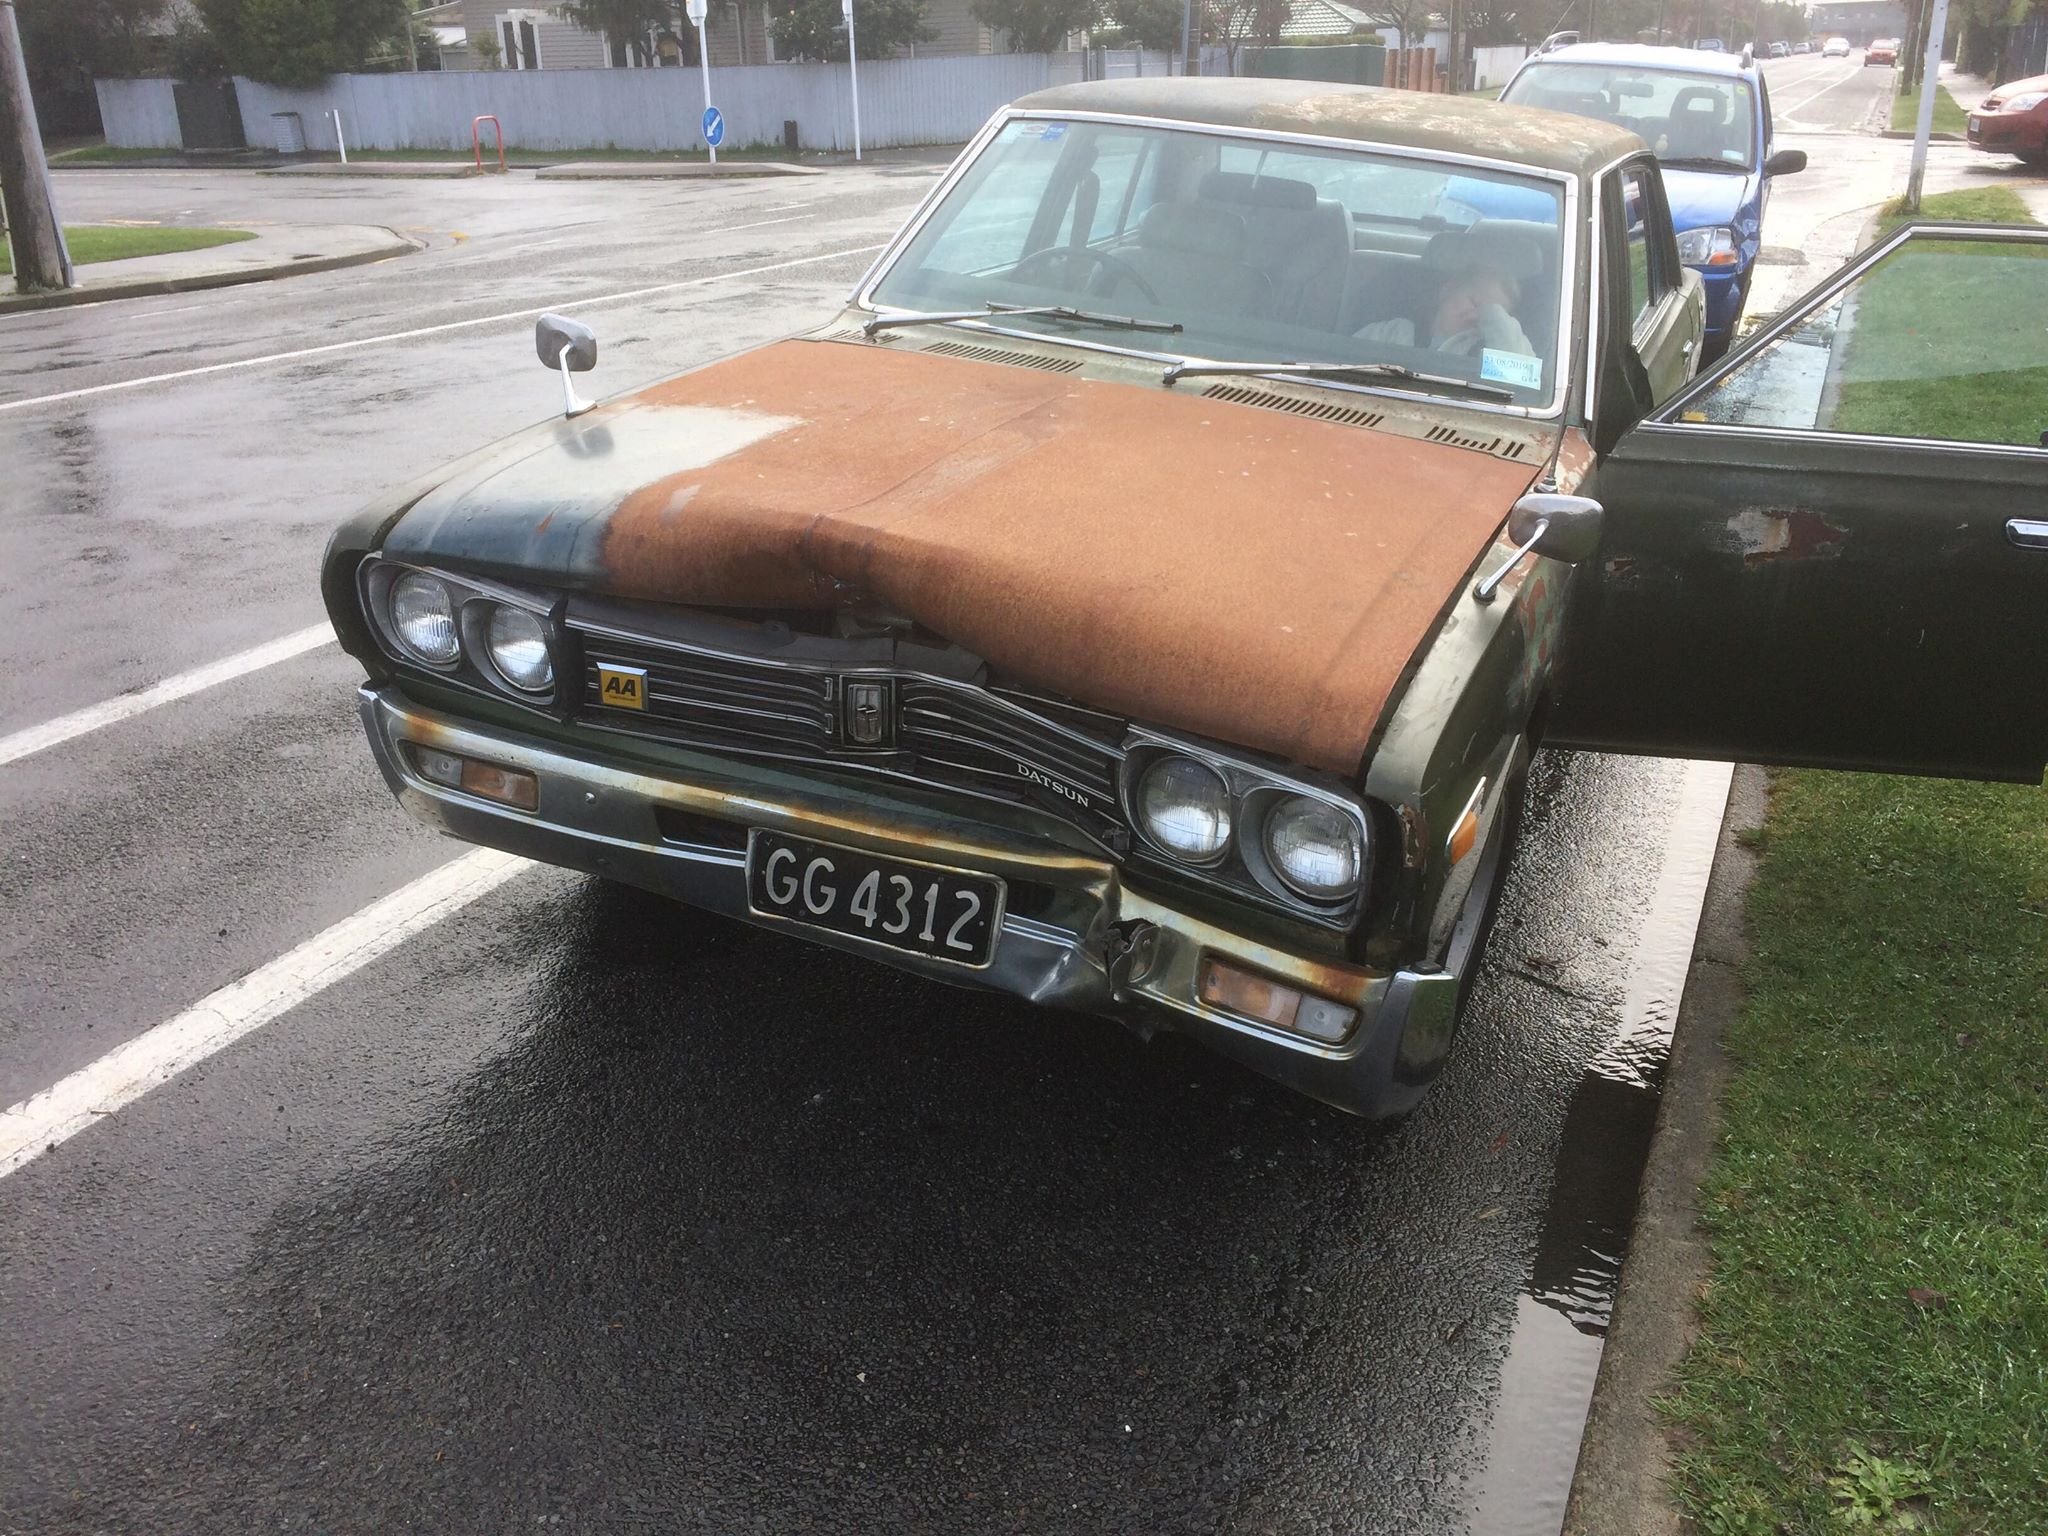
So yeah, I still own this. it ended up getting a full Brake rebuild, new fuel tank etc and some other odds and ends. I have been daily driving it along with the EB Civic. It ended up getting a part respray on insurance thanks to a young driver that pulled in front of me causing a crash... luckily I know of a few parts cars so the insurance company happily repaired it its currently waiting on me to clean up the surface rust on the back of the new bumper and fit it.
 21 points
 -
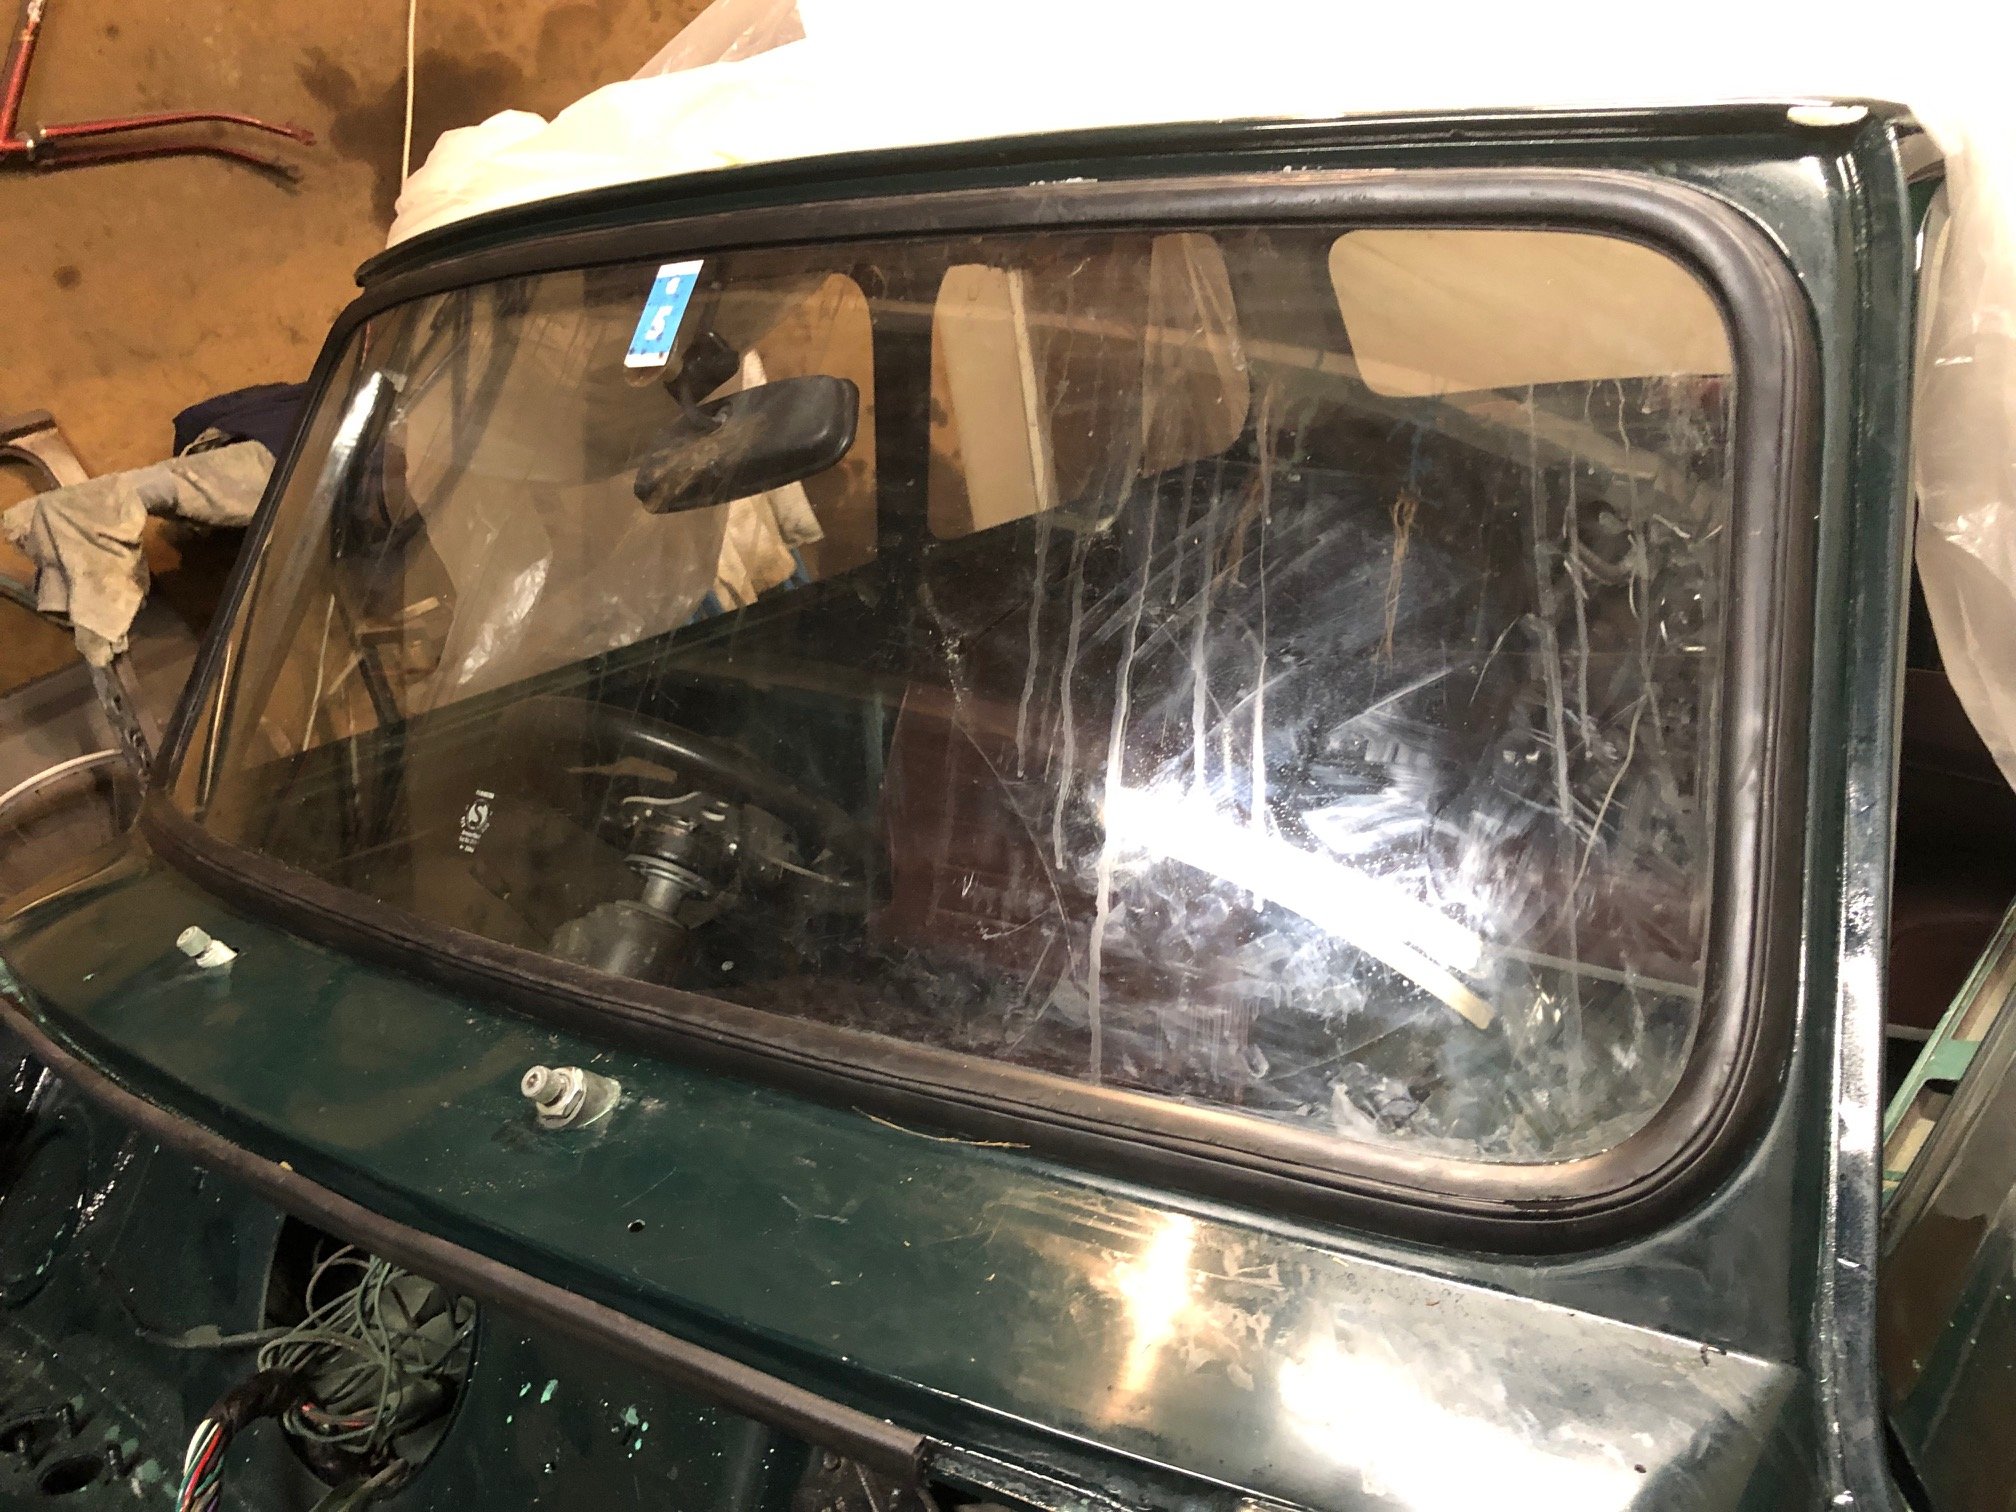
Got the screens in, what a painful job that is...... came with fixed glass for the rear (which I kind of like) so I've gone with that Need to get my A into G, first weekend with some decent weather I need to paint and start assembling the subframe.....
6 points
-
Kia ora te spanners Your waka will need to be looked at by a certifier , plate removed, sent back to LVVTA who then update landata so it doesnt say its modified any more. Chur Bleh5 points
-
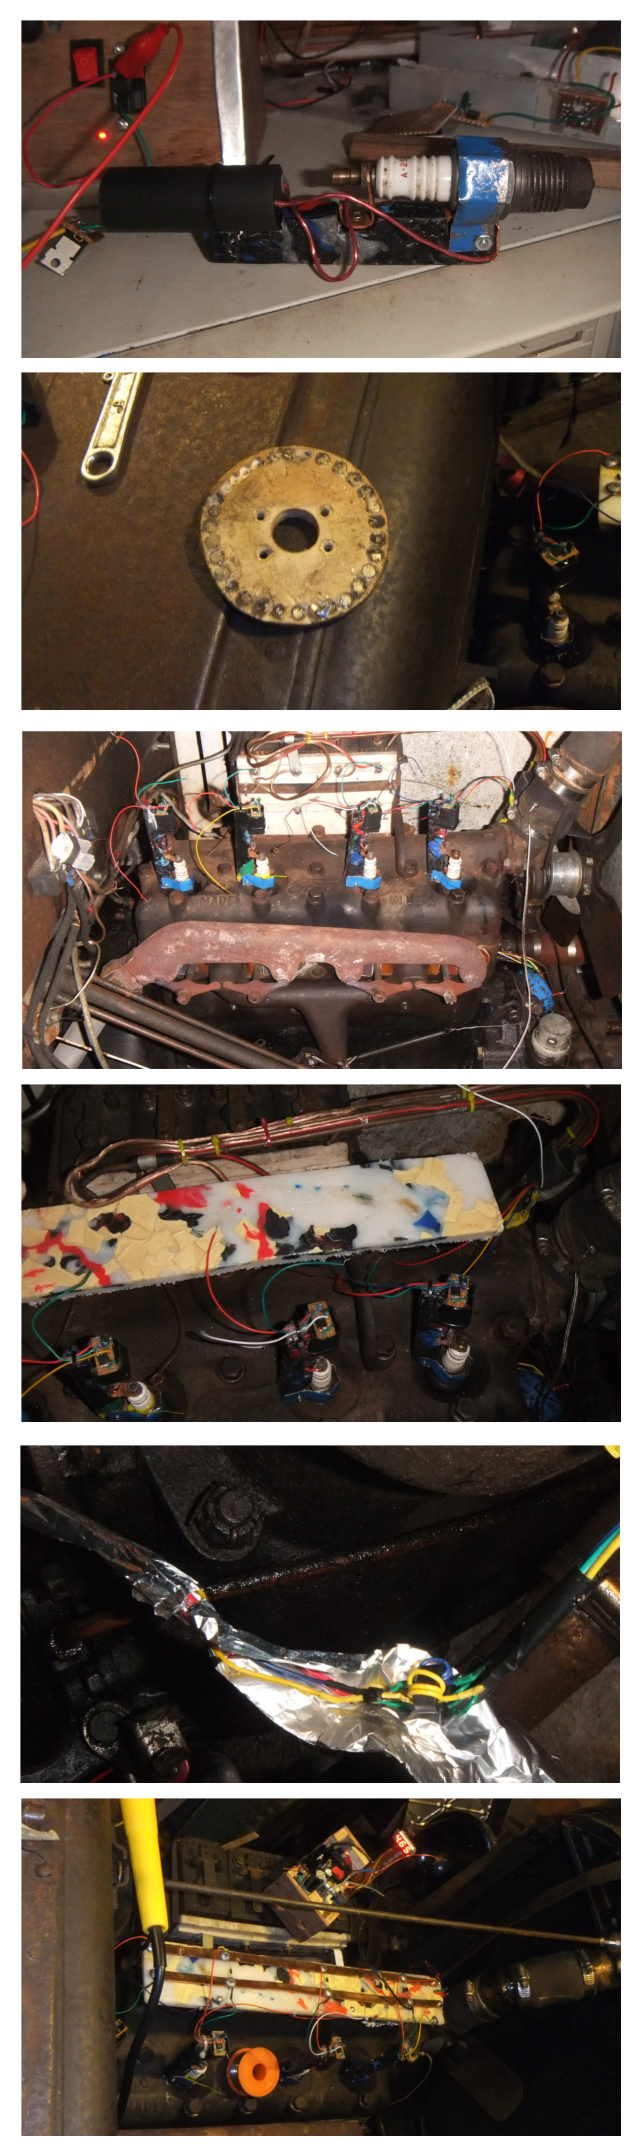
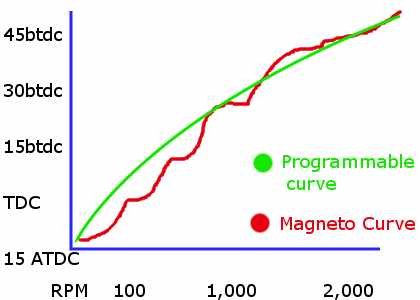
So i tried making my own coil on plug system with a piece of plywood with magnets glued in it in the front of the cam, an arduino pro mini with sensors mounted on the front of that, a sheet of plastic (Made from melted milk bottles & bottle caps) with copper screwed to it to distribute power i know those aren't proper ferrite toroids but thaat's just too bad. Wrapped in a tin foil tape to try & keep interference out (probably keeps it in?) The cool kids have MS paint graphs & stuff so i'll try be be cool too. The red curve is a rough approximation of how the standard magneto behaves. The green one could be programmed any way i like. If i put a high(er) compression overhead head valve head on it, then i can program a curve to take advantage of it. It'll also make old grumpy people sad. Most people just use a distributor conversion.
5 points
-
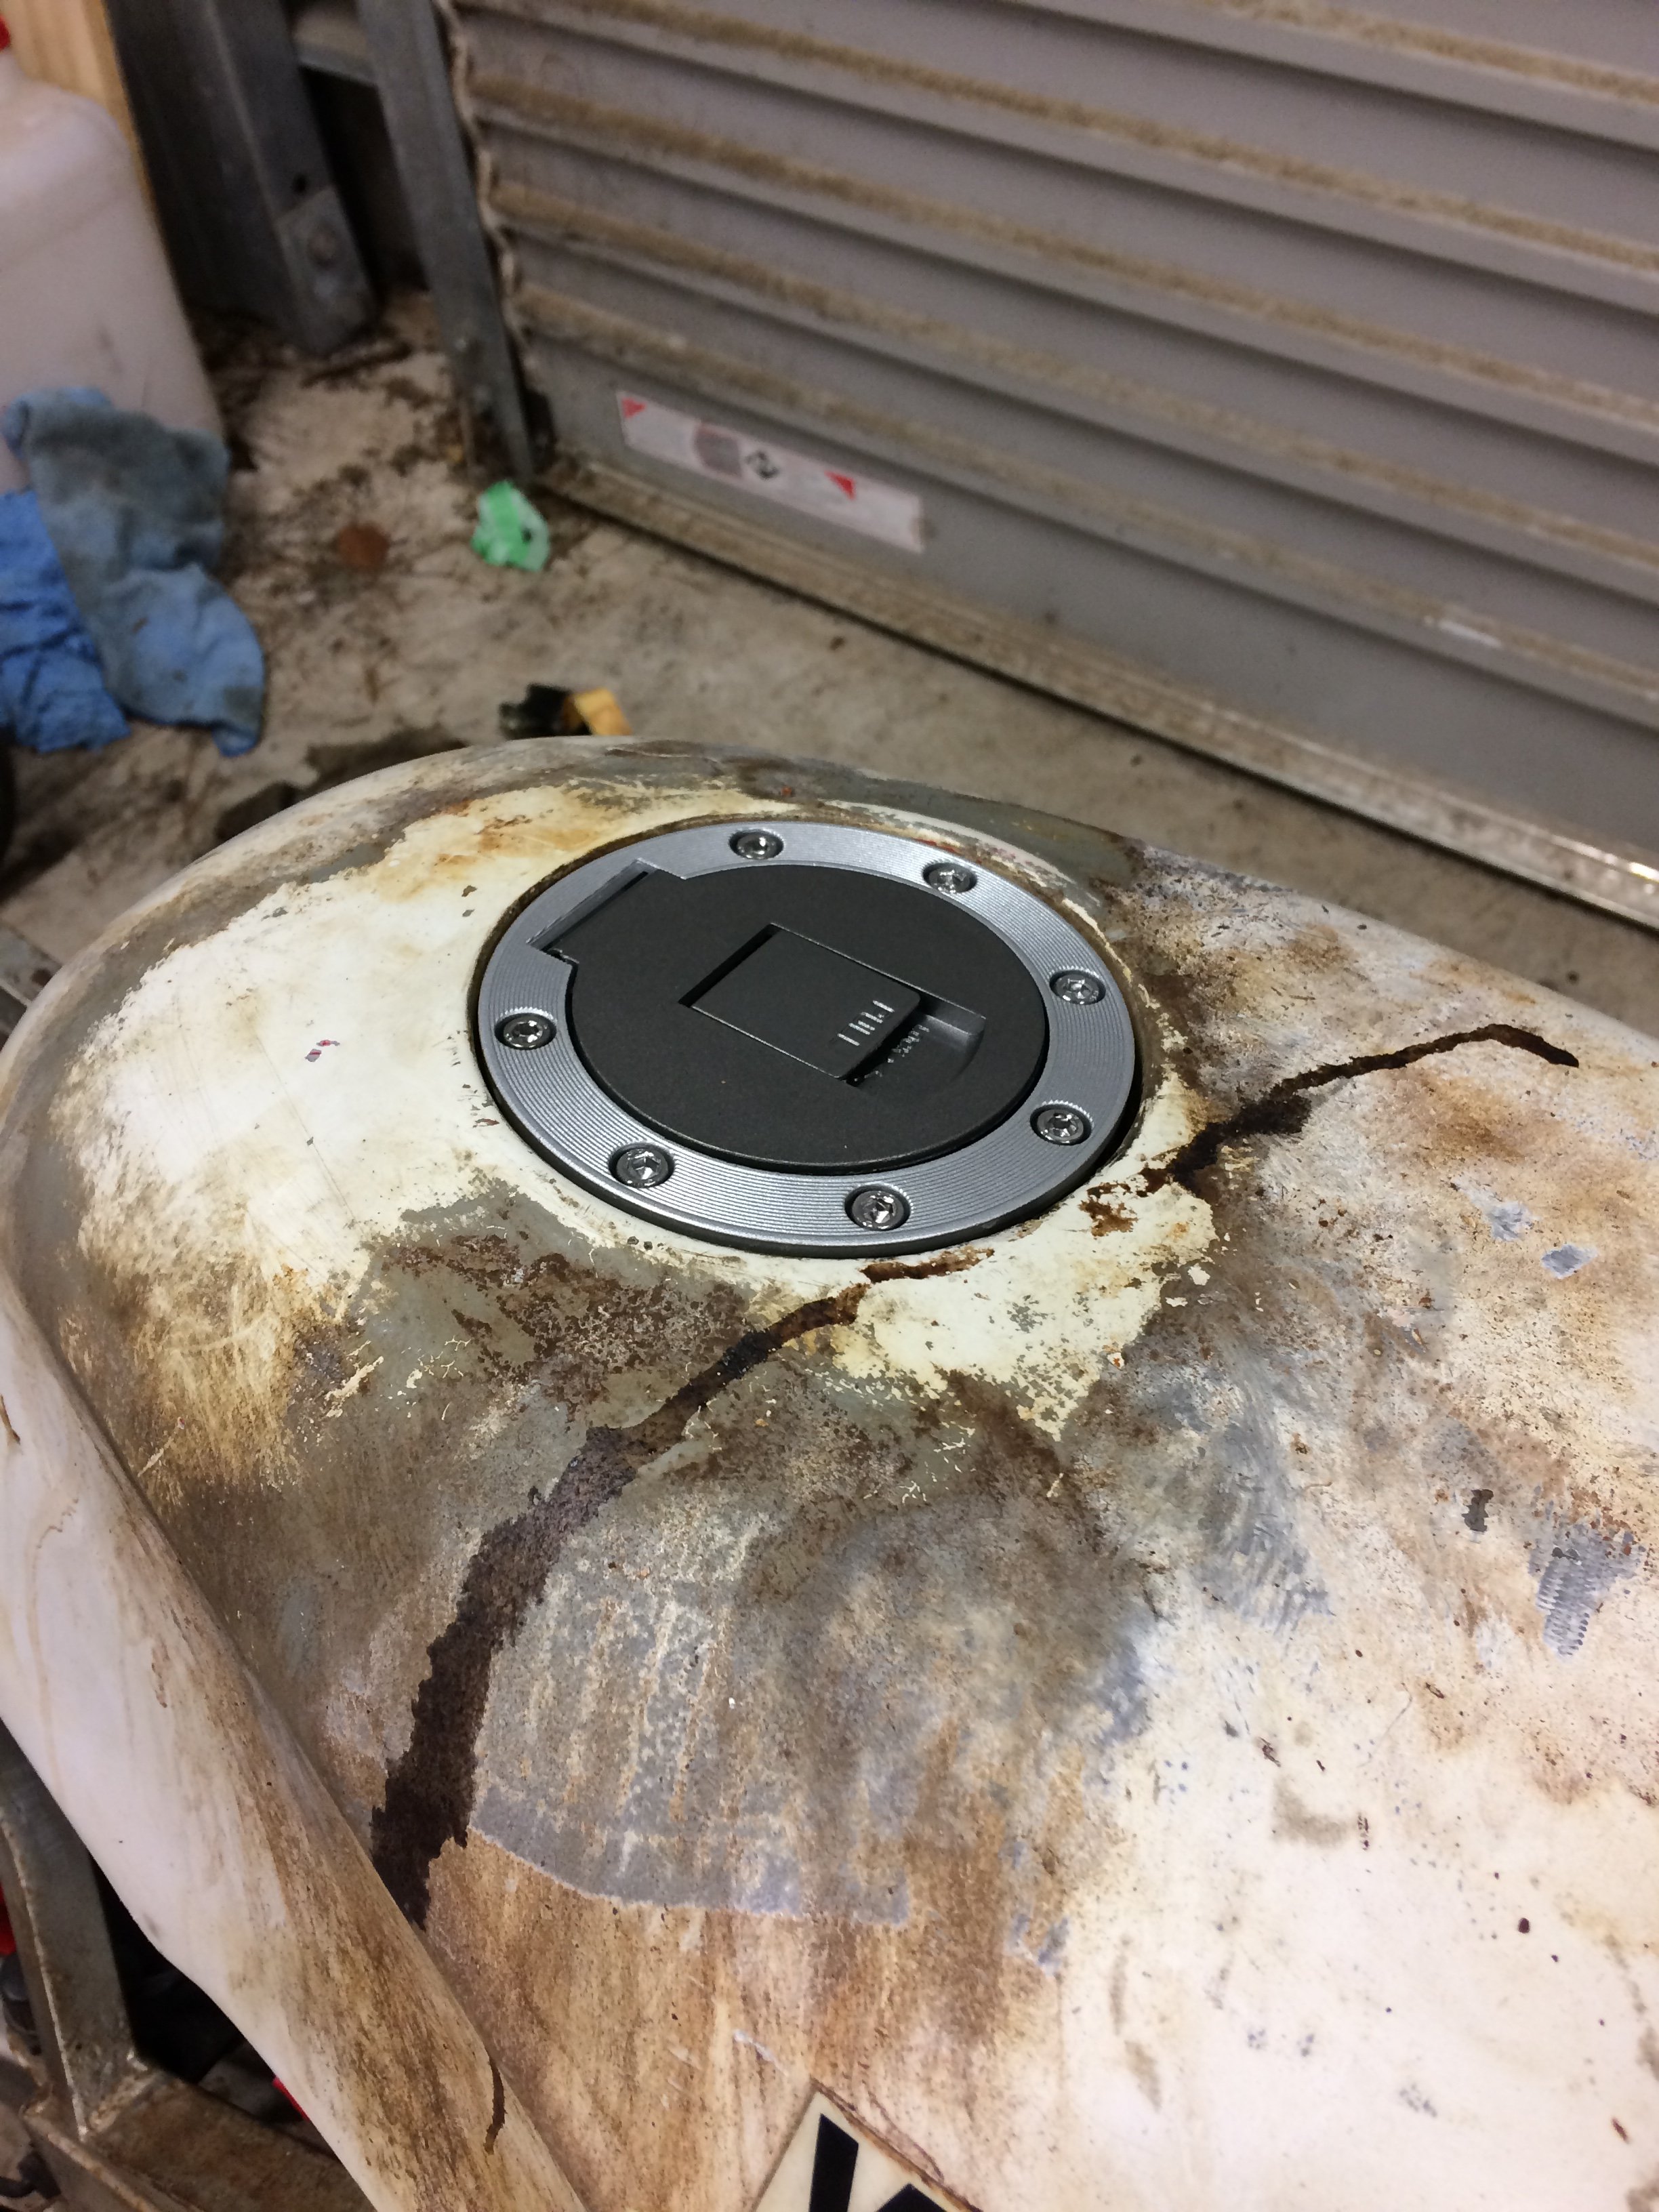
New fuel cap from China fits like a glove and cost beans, stoked
4 points
-
.4 points
-
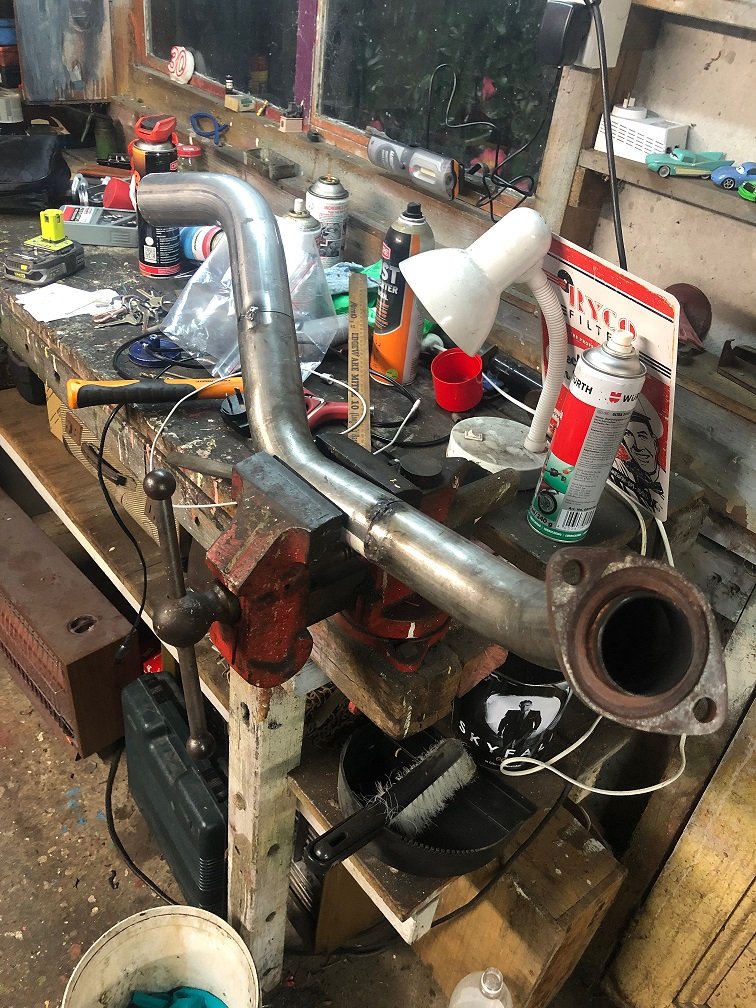
Another long stretch with no progress! I've been trying to find someone Id be happy with to run the exhaust, but as with most things on this build I've decided to give it a crack myself. I can only blame myself if it turns out bad. A big part of the motivation for this swap is the V8 sound, so I'm going to try 2 inch into 2.5 after the box with a decent muffler towards the back. I might change it around later if it doesn't sound right, definitely not keen on a high speed drone. Anyway here's the beginnings of my efforts.
4 points
-
Only if you mention it in public searchable forums...3 points
-
Turns out i need to use the cylindrical style transformers, they need a longer ramp up time of at least 8 milliseconds, ideally 10-12. The little cube ones are nice but they seem to foul. Although the cube style produce a hot enough spark to burn paper & start to melt the spark plug electrodes, when fouled with fuel they can't even light a pan of fuel. The cylinder style build up a charge and discharge it all at once, this appears to help with the 'self cleaning' effect. A big plug gap will make them lag like crazy, but the spark is loud enough to hear from outside the engine block.3 points
-
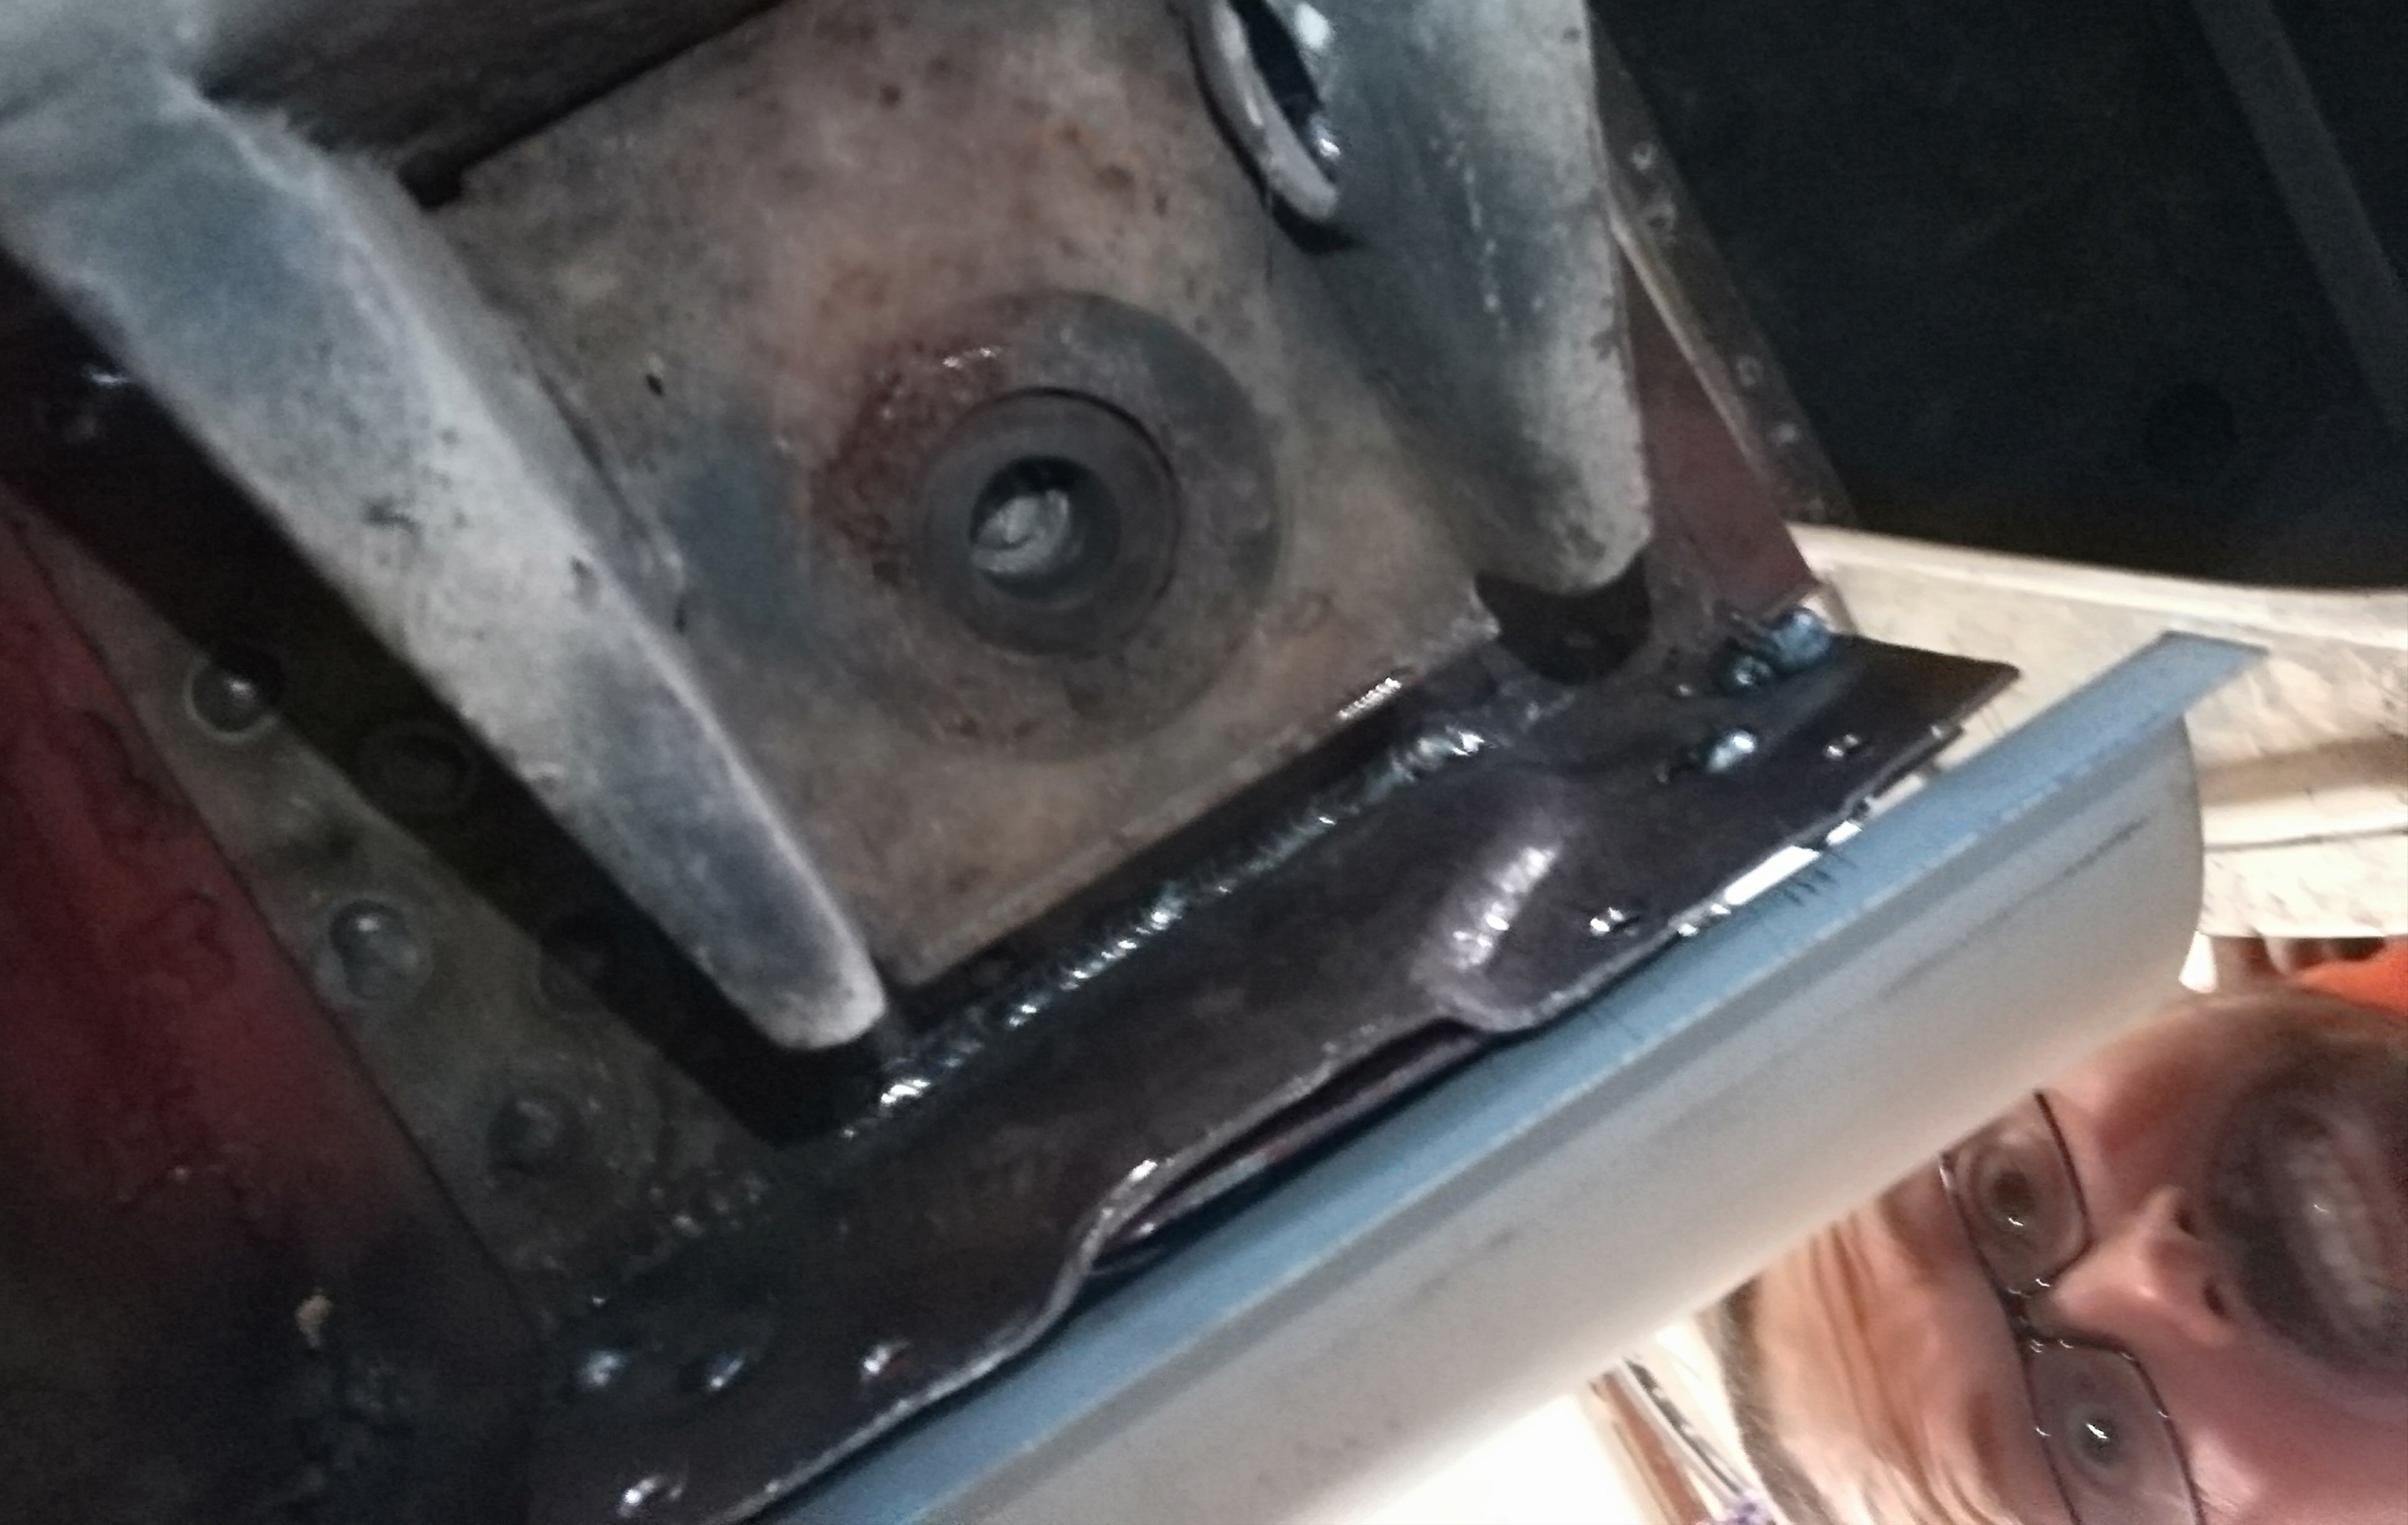
Made up a rear engine mount to try and prevent frame snap-ages
3 points
-
Video of it almost running. Cannot seem to get the mixture quite right.3 points
-
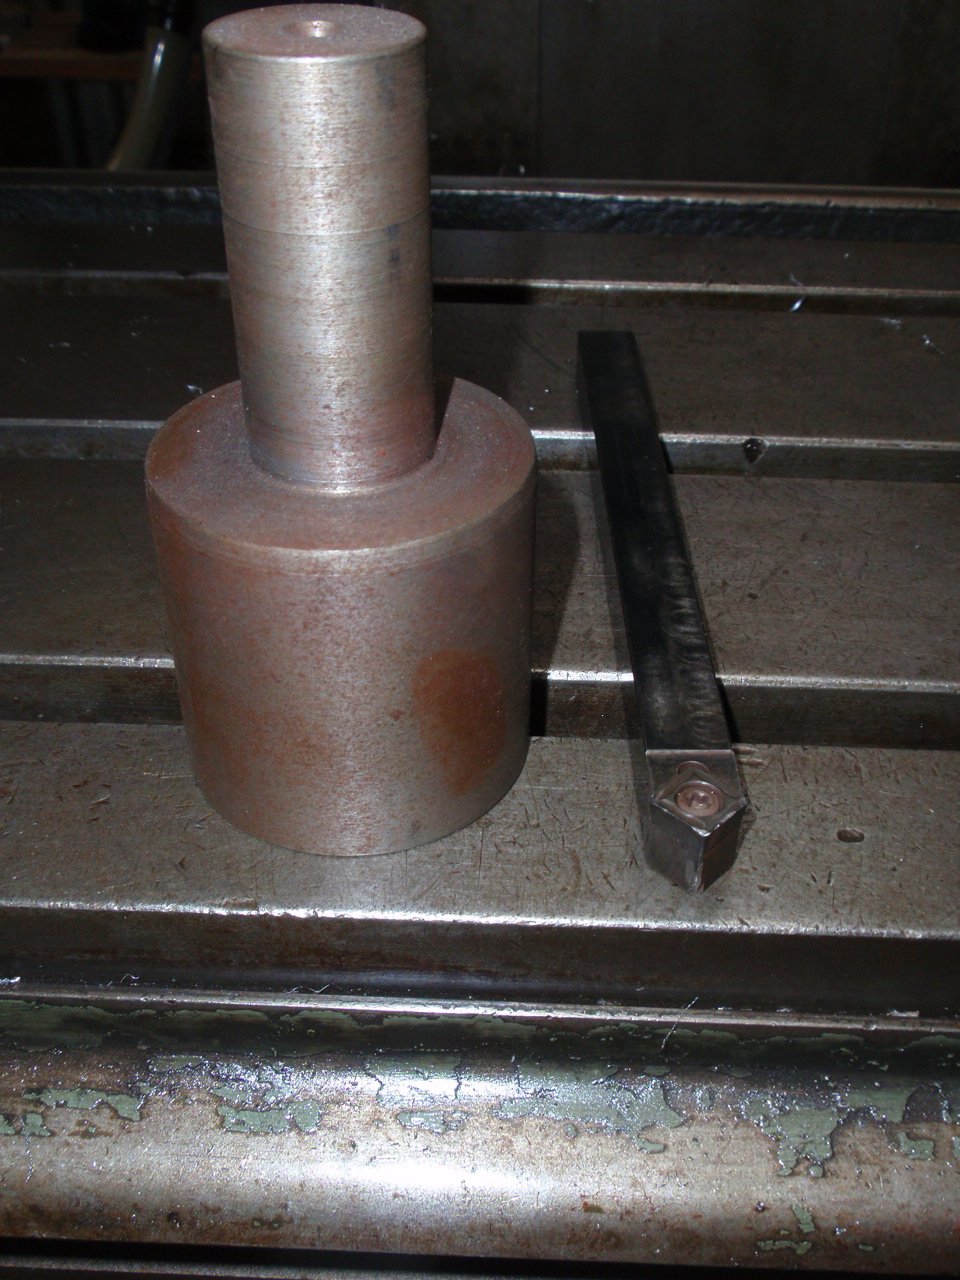
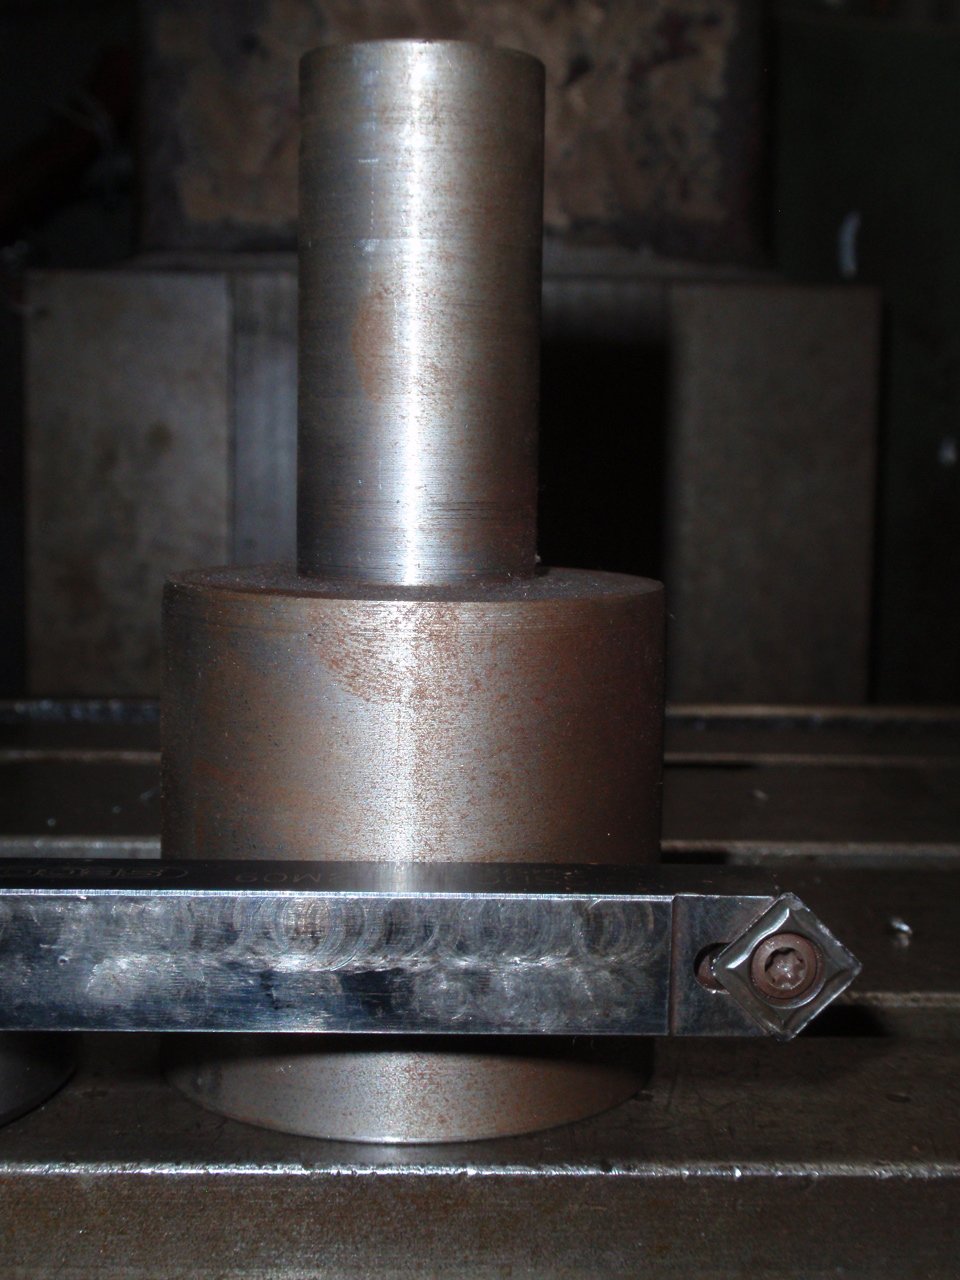
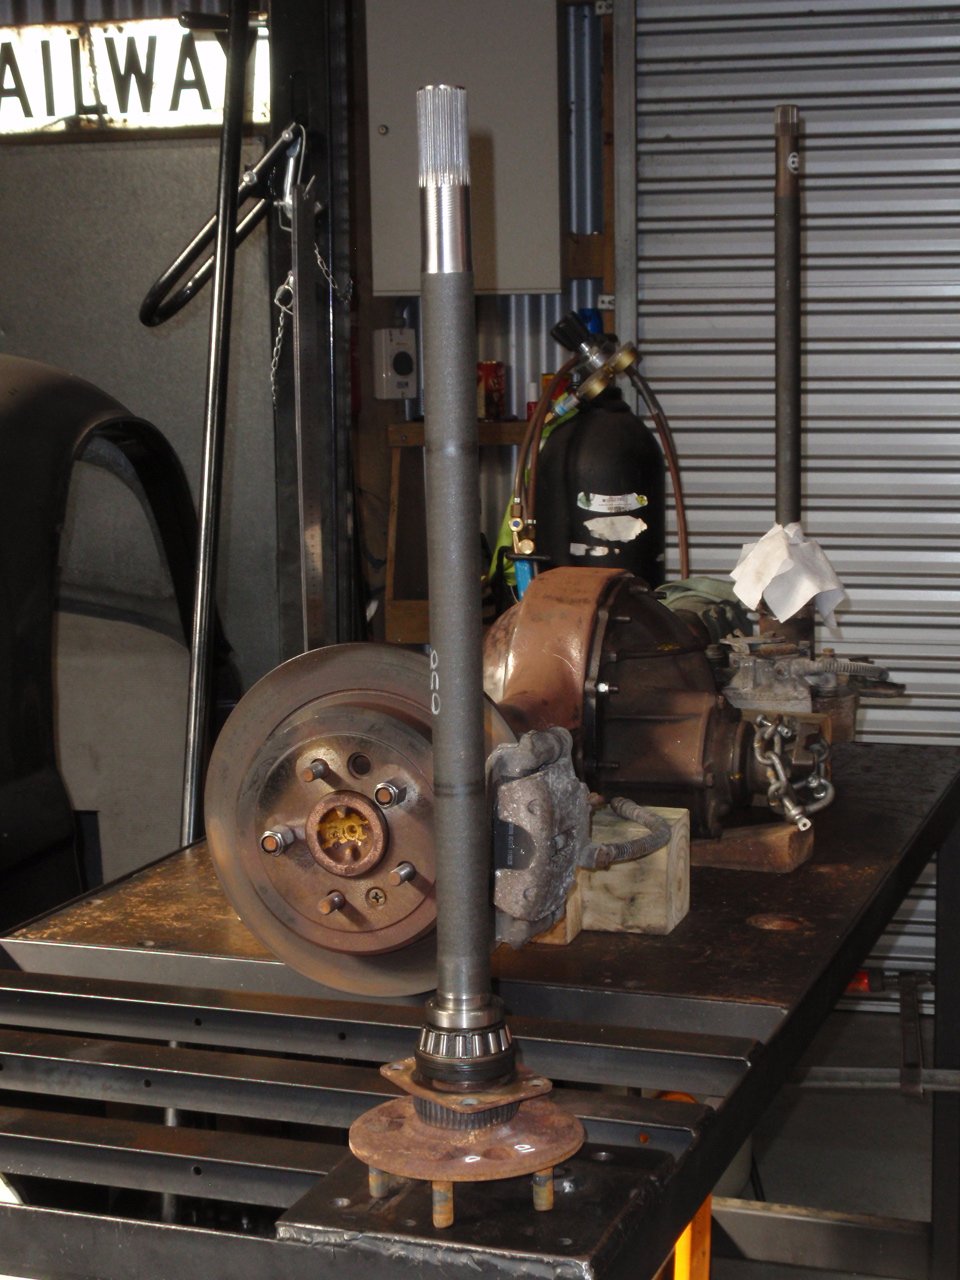
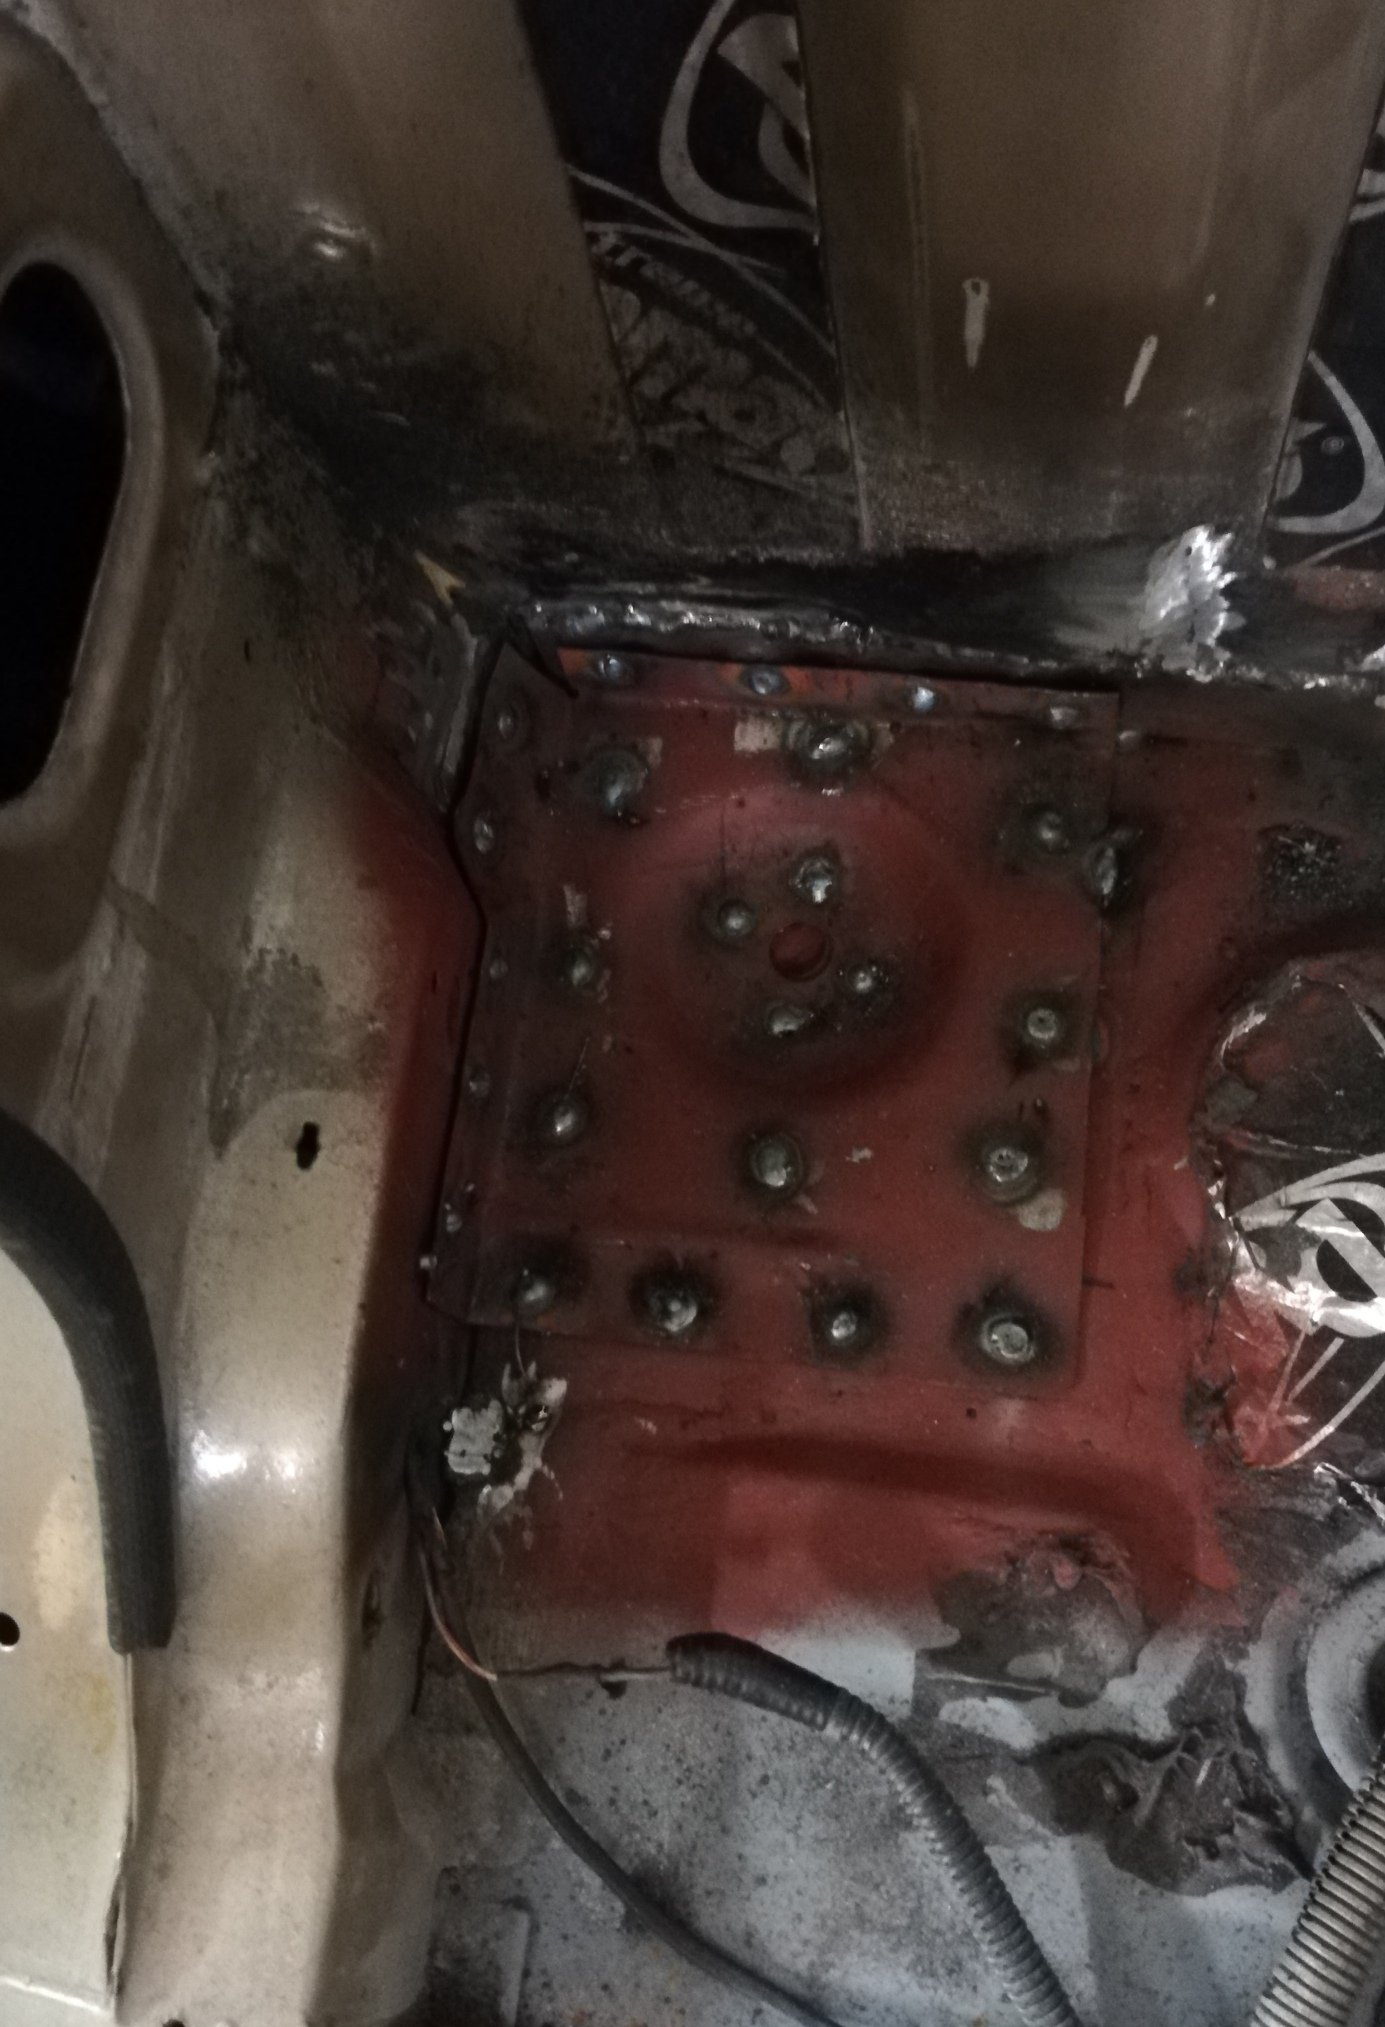
I am posting couple of pics so someone can have a look at them. Axle resplining stuff. BW78 Falcon axle shortened and resplined for use in the passenger side of an early 9". Disc brakes are the added bonus.
3 points
-
I had a td05-14b on a rebuilt G63B years ago. Managed 200rwhp @ 13psi with a type A injection system and 8.5:1 compression. Definitely doable without too much tweaking, but that was on its outer limits though.2 points
-
yea brand spanking clutch cable which ive made plenty of adjustments to. What ive noticed is with the bars being very low, my cables like to kink up behind the headlight and along the frame. need to swap out for some higher rise ones which may help as well. yep though i may as well replace em, may smash a couple washers in there as well for max tightness.2 points
-
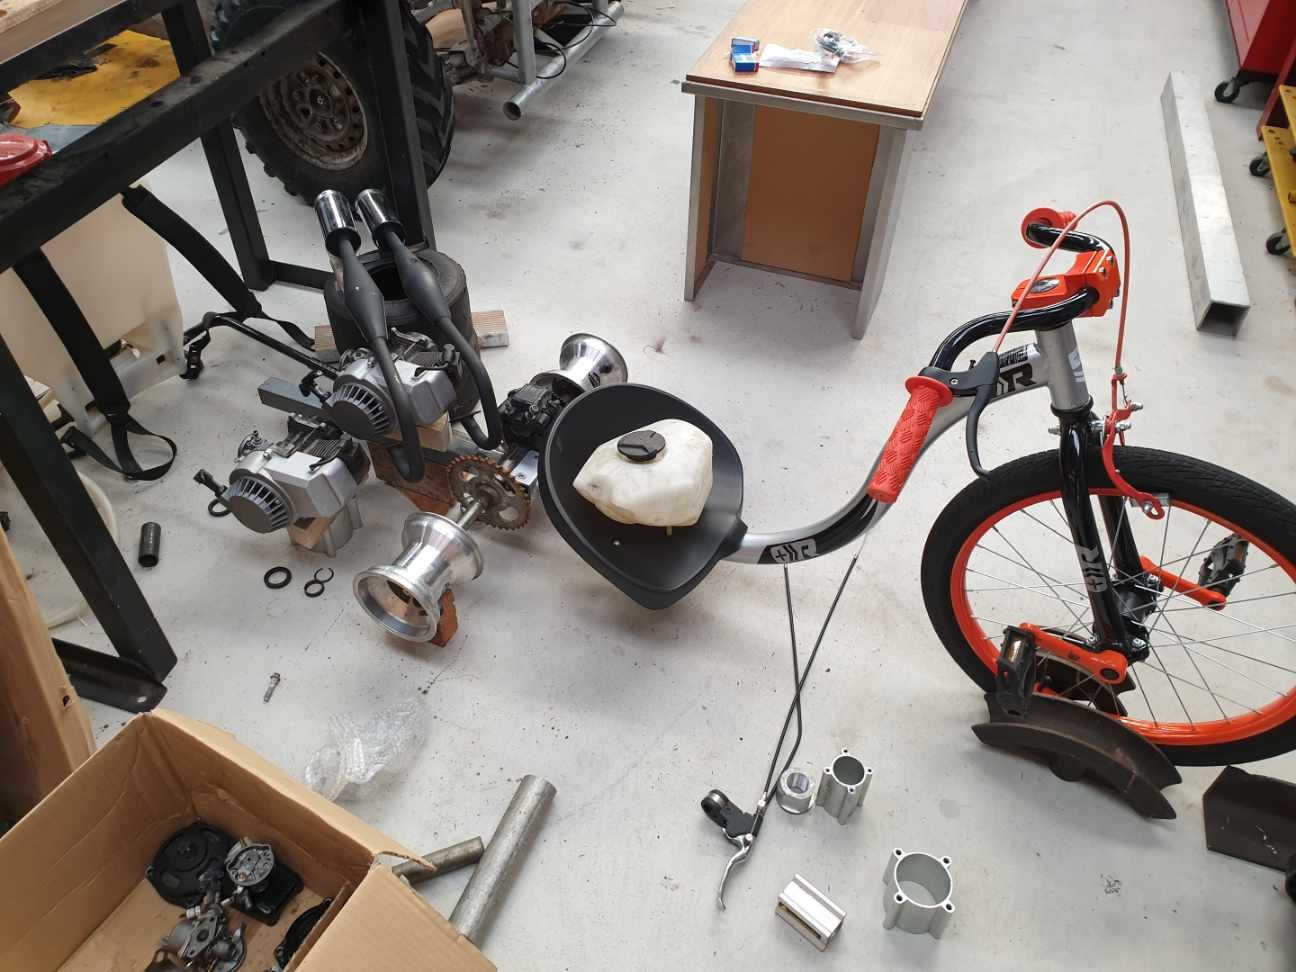
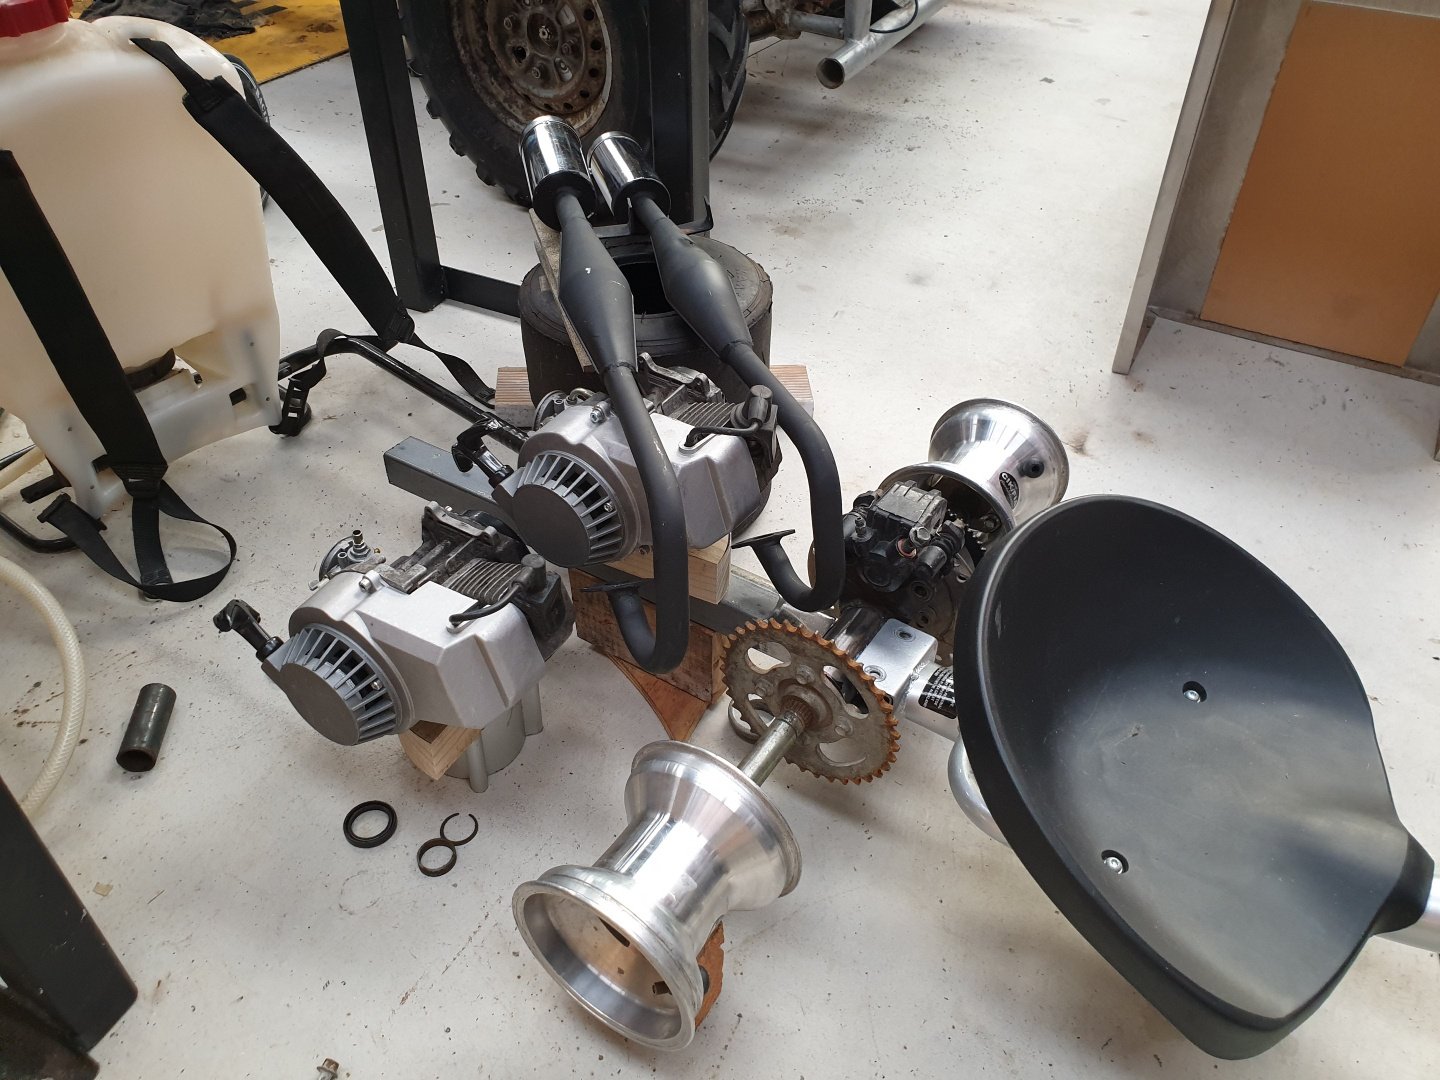
Okay, some progress... Mocking it up - will look similar to this. Yes that's right...and no you don't have double vision. Yup...twin motors...fuck yeah!!! Still lots to figure out and actually do in order to turn a collection of parts on the shed floor into a working trike, but progress is progress.
2 points
-
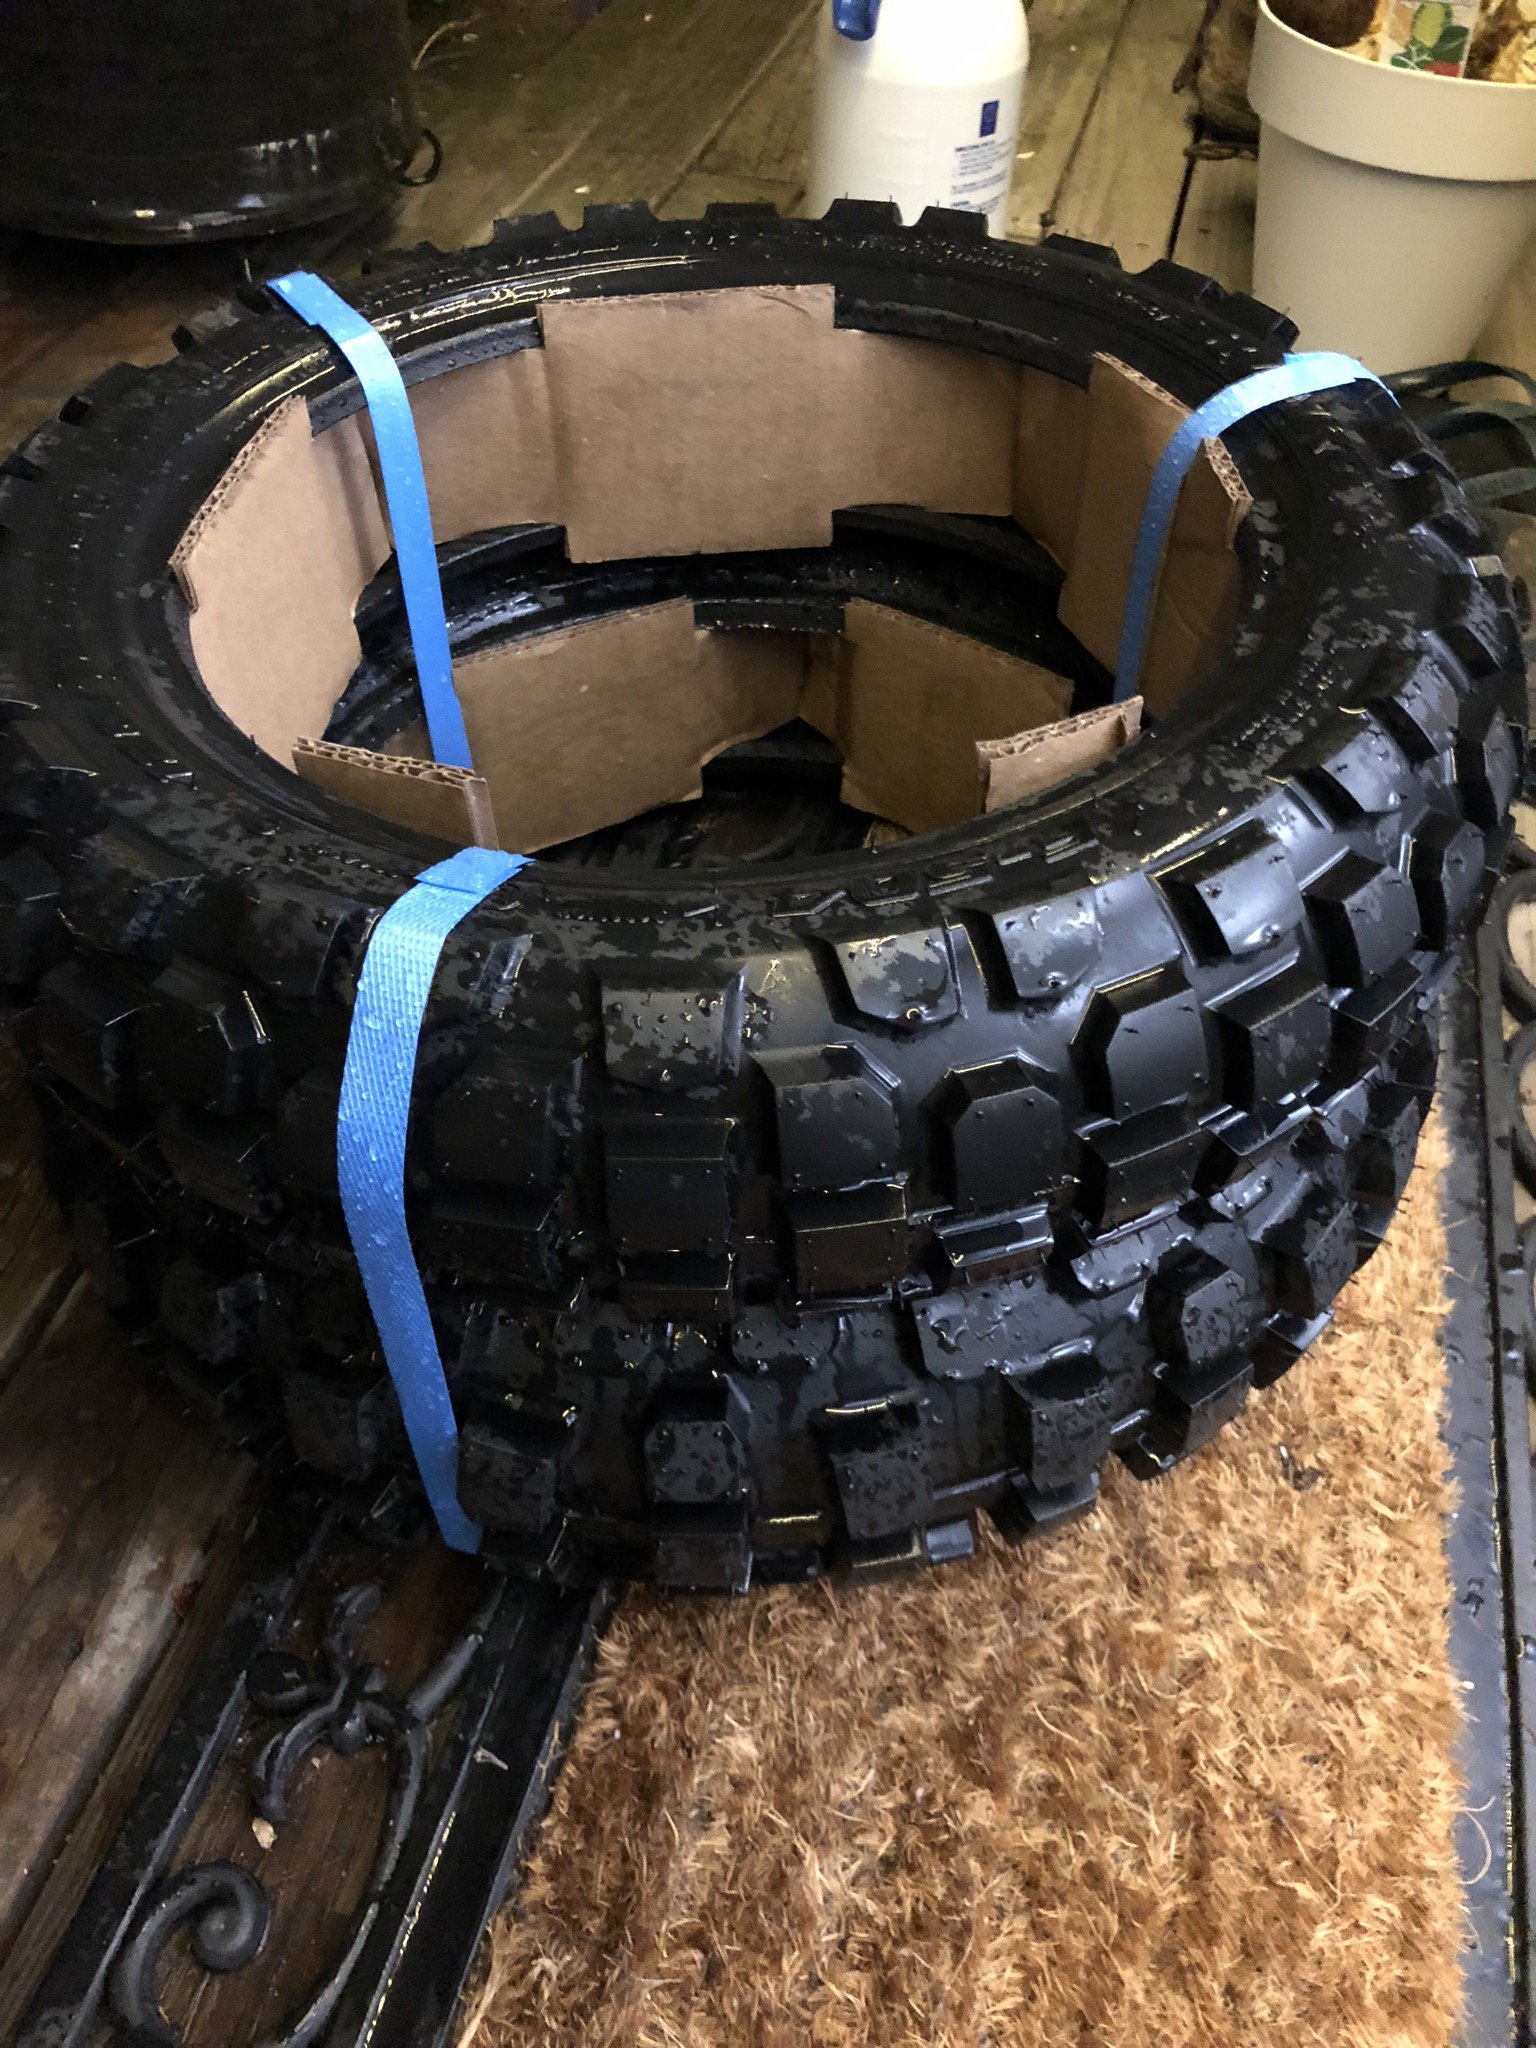
Good to know. I was going to get a set for the lead as it needs new tyres after last year. I said i wouldn't but looks like i'm going to end up rolling 10 inch again2 points
-
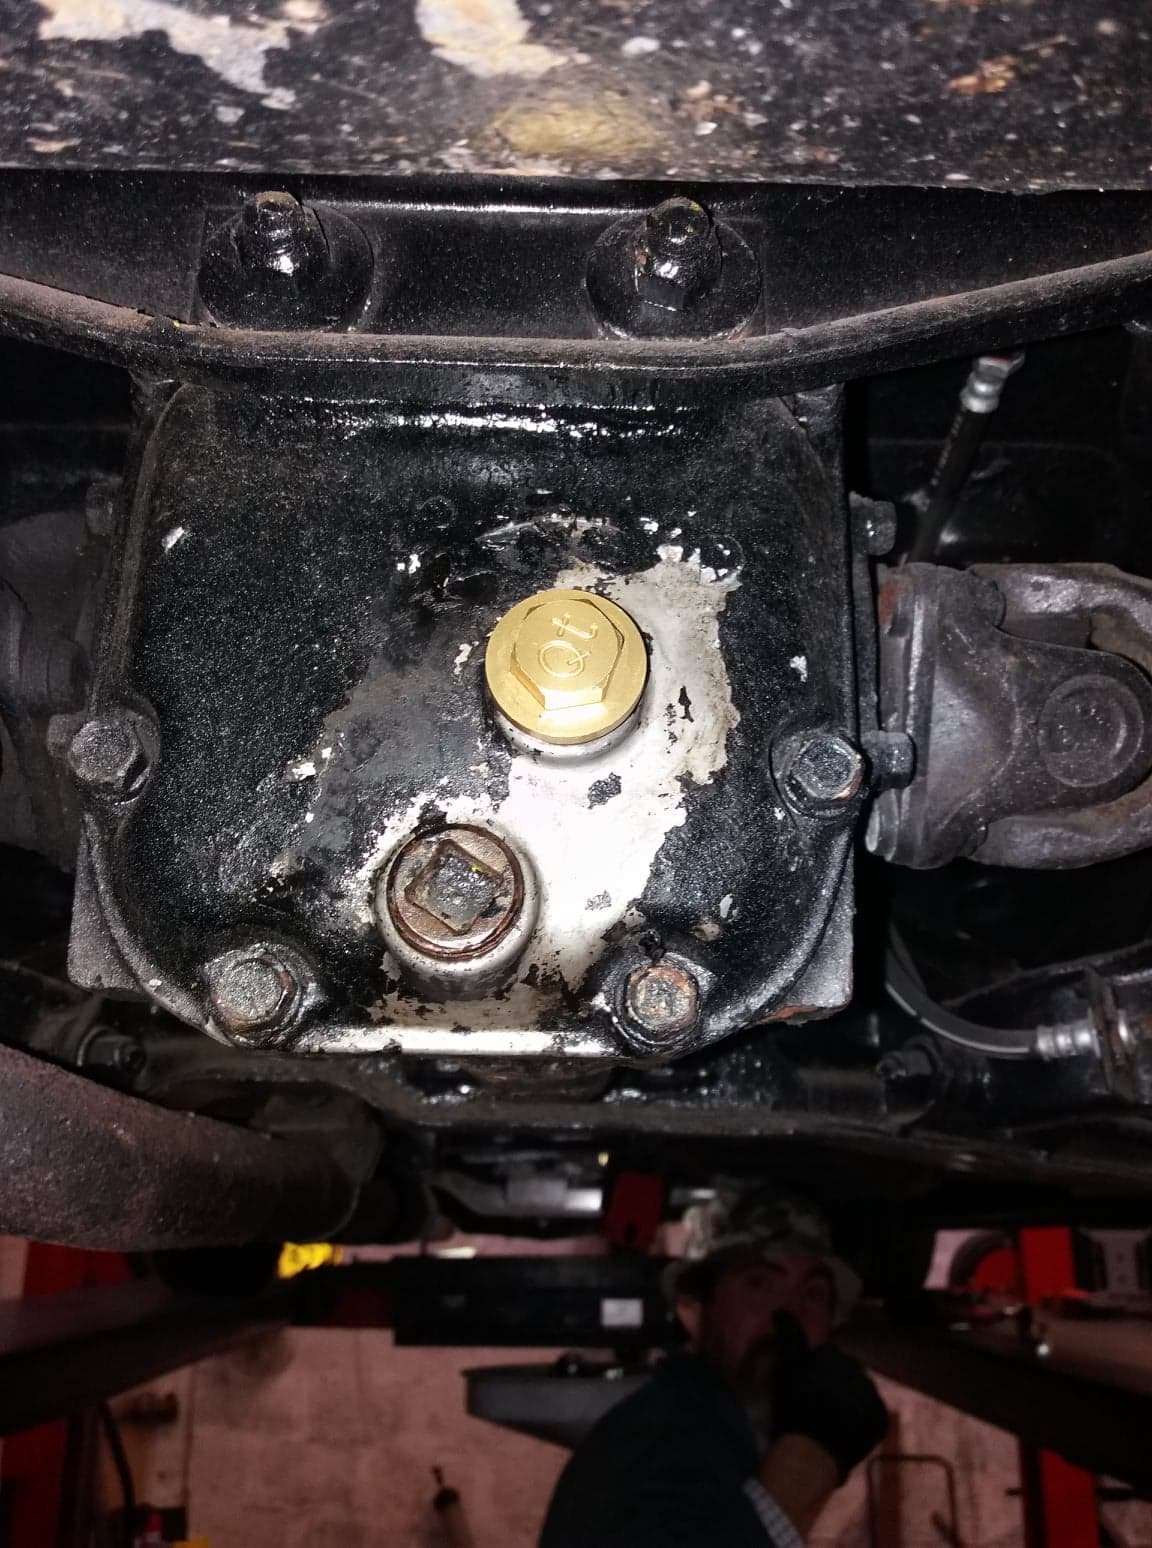
End of summer update.... Autumn's nearly here but the weather's still dry and the temp is in the high teens so I'll keep on using it until the winter rain and road salt arrive. It's been a good few months of Skyline driving, I've put quite a few hundred miles on it and am really happy I got my thumb out and sorted it for the road. No real problems except a continuing worry that the gearbox and diff are a bit low on oil. The plugs proved really hard to shift, at one point I had a set of 2 foot Stilsons with 2 foot of scaff tube and they still wouldn't shift. Finally today I got it on the 4 post ramp, stuffed a load of heat into them and got the bastards loose. Fucked them in the process and was glad/not glad that both g/box and diff were full of nice smelling, clean oil. Changed it anyway. They must just be worn out then. I'll let things develop. Started reshaping what was left of the bungs but then boss man Lee appeared with two shiny new gold anodised alloy plugs that are something trick for Land Rover axles or something, I zoned out TBH. Lighter than the originals so the car felt a bit faster on the way home. Pic for fred, hopefully more to come before it goes back in the shed till the spring.
2 points
-
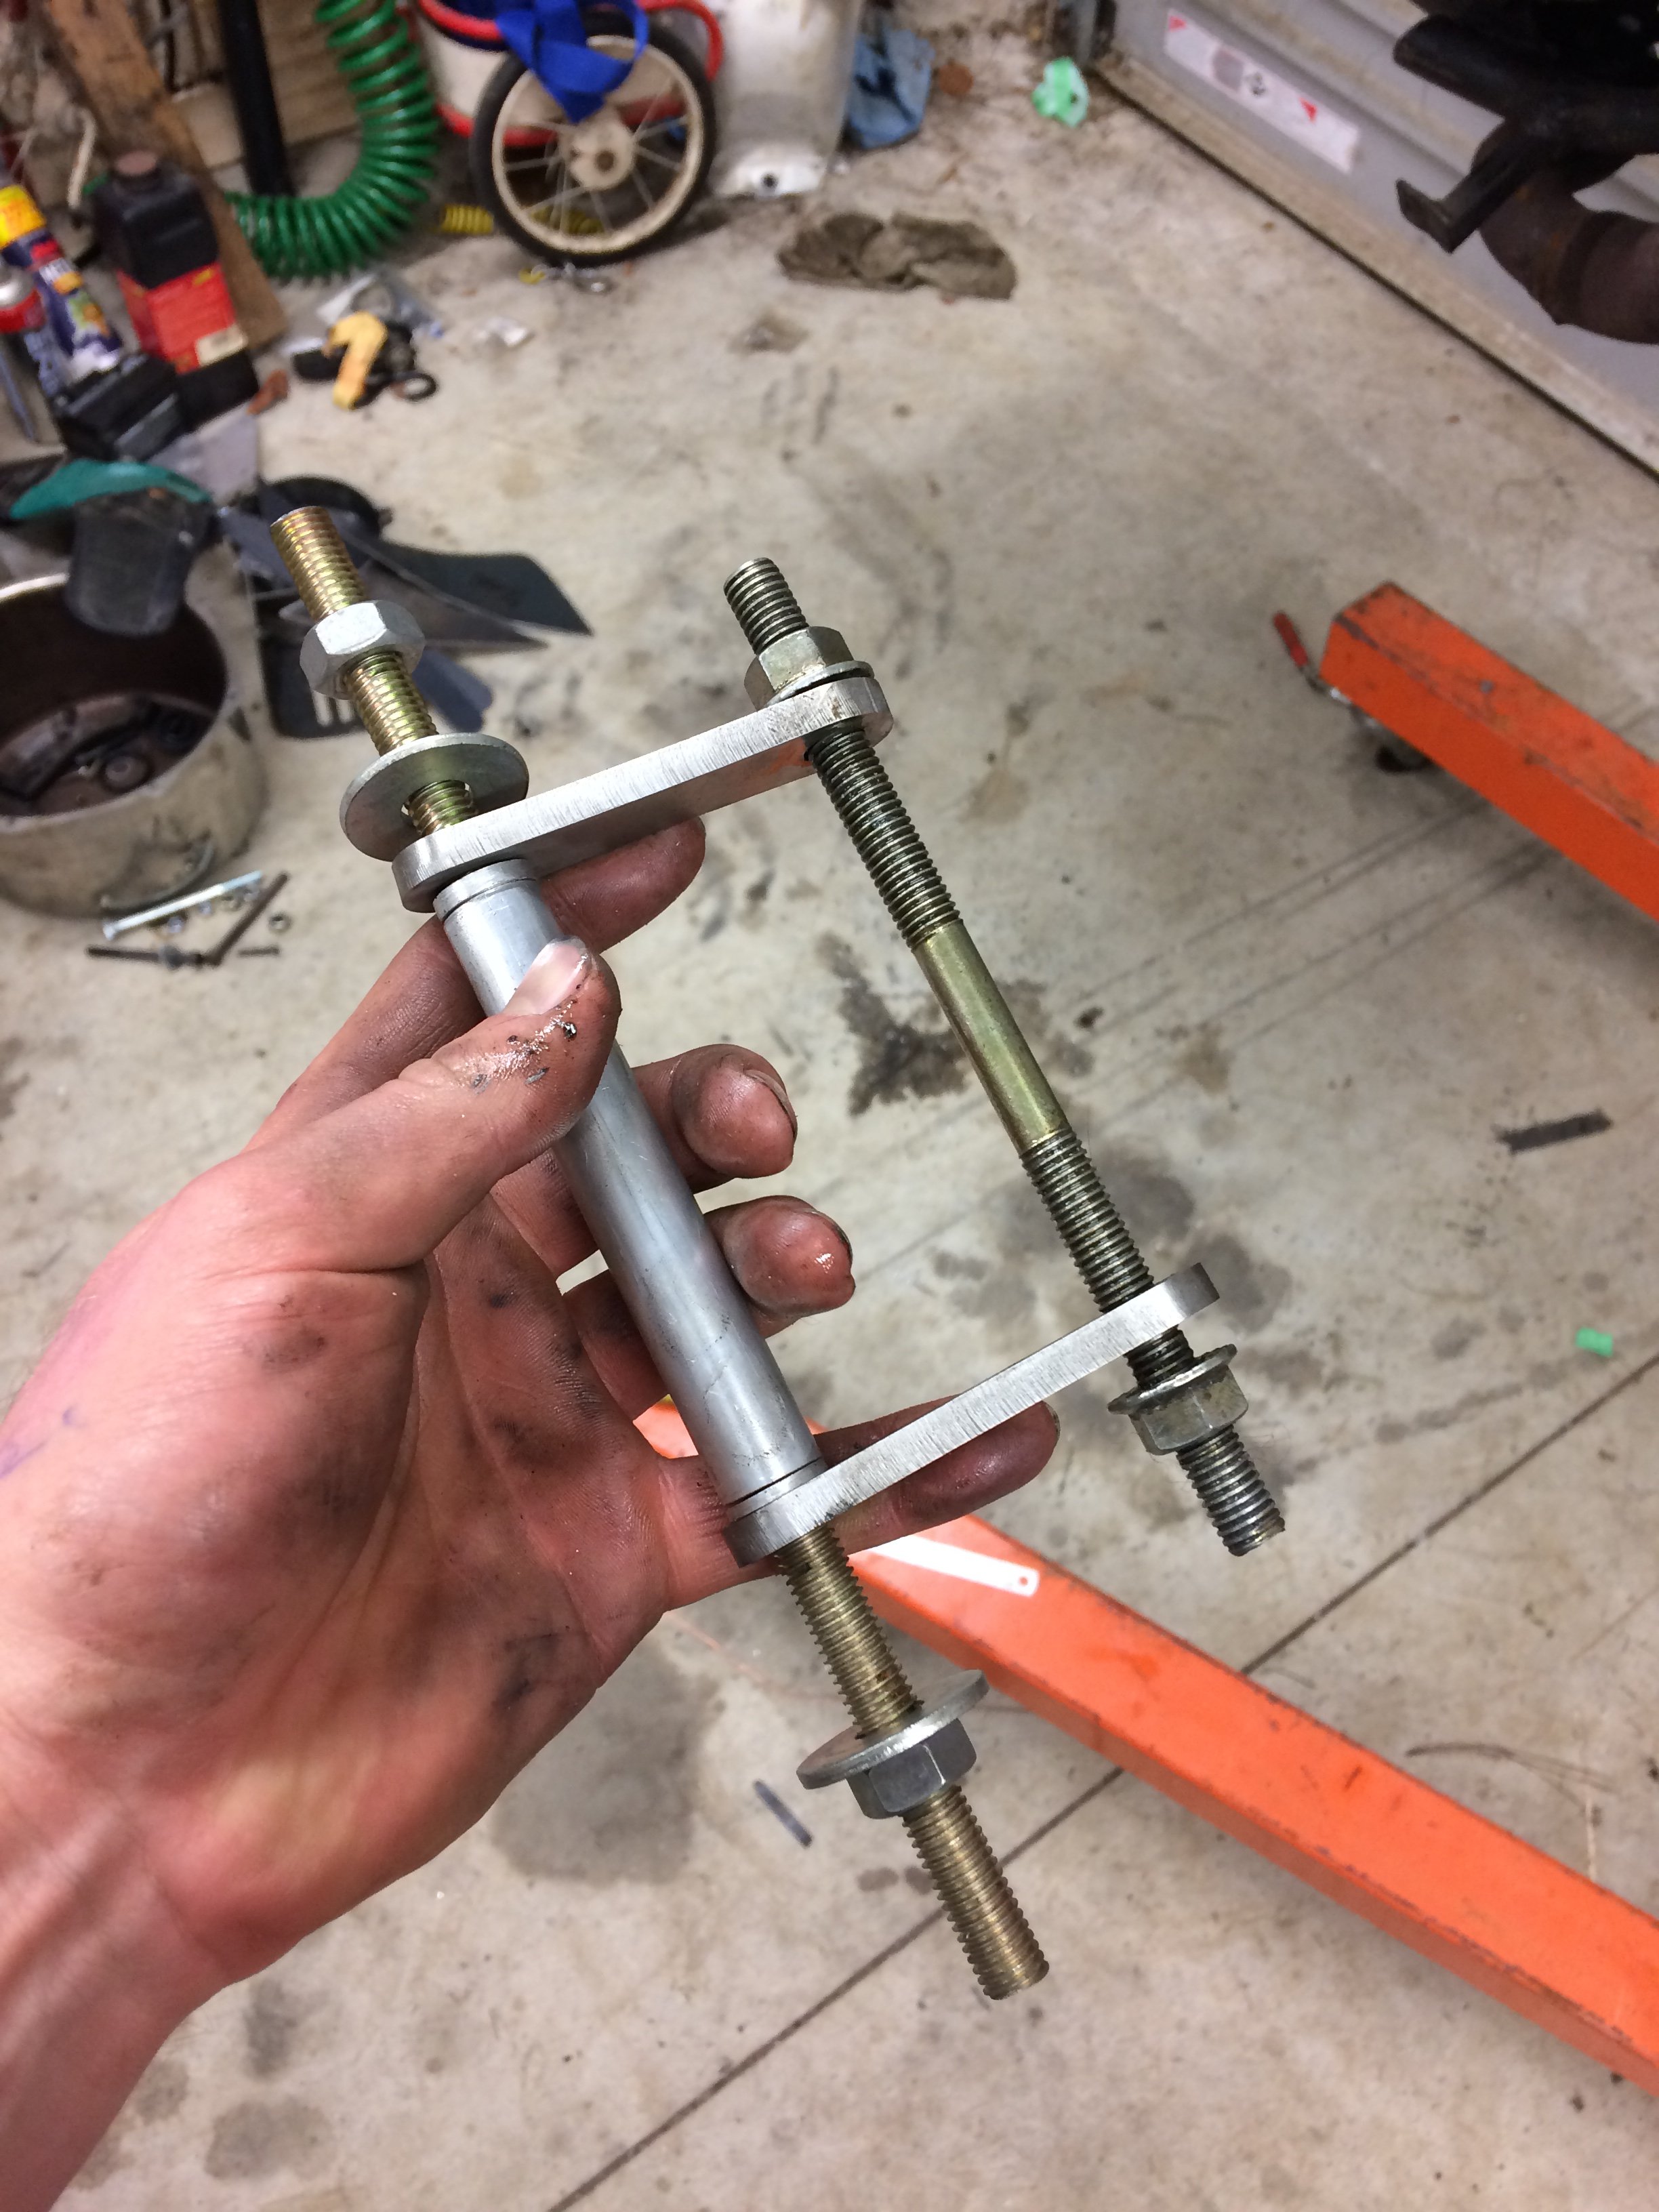
The Fxr motor is way wider than the Honda and the sprocket is nowhere close to lining up. Its sitting relativity centered in the frame so I don't want to try and move it over as I know I won't be able to get it square One option is to go for a wiiide Swingarm and wheel but that costs money. Why spend money when you can cut up a perfectly good motorbike. I chopped out the middle of the tube in the swing arm pivot so I could slide it up the frame. Looks like it'll work but this is the part I need a hand to get things centered and I square/a second opinion2 points
-
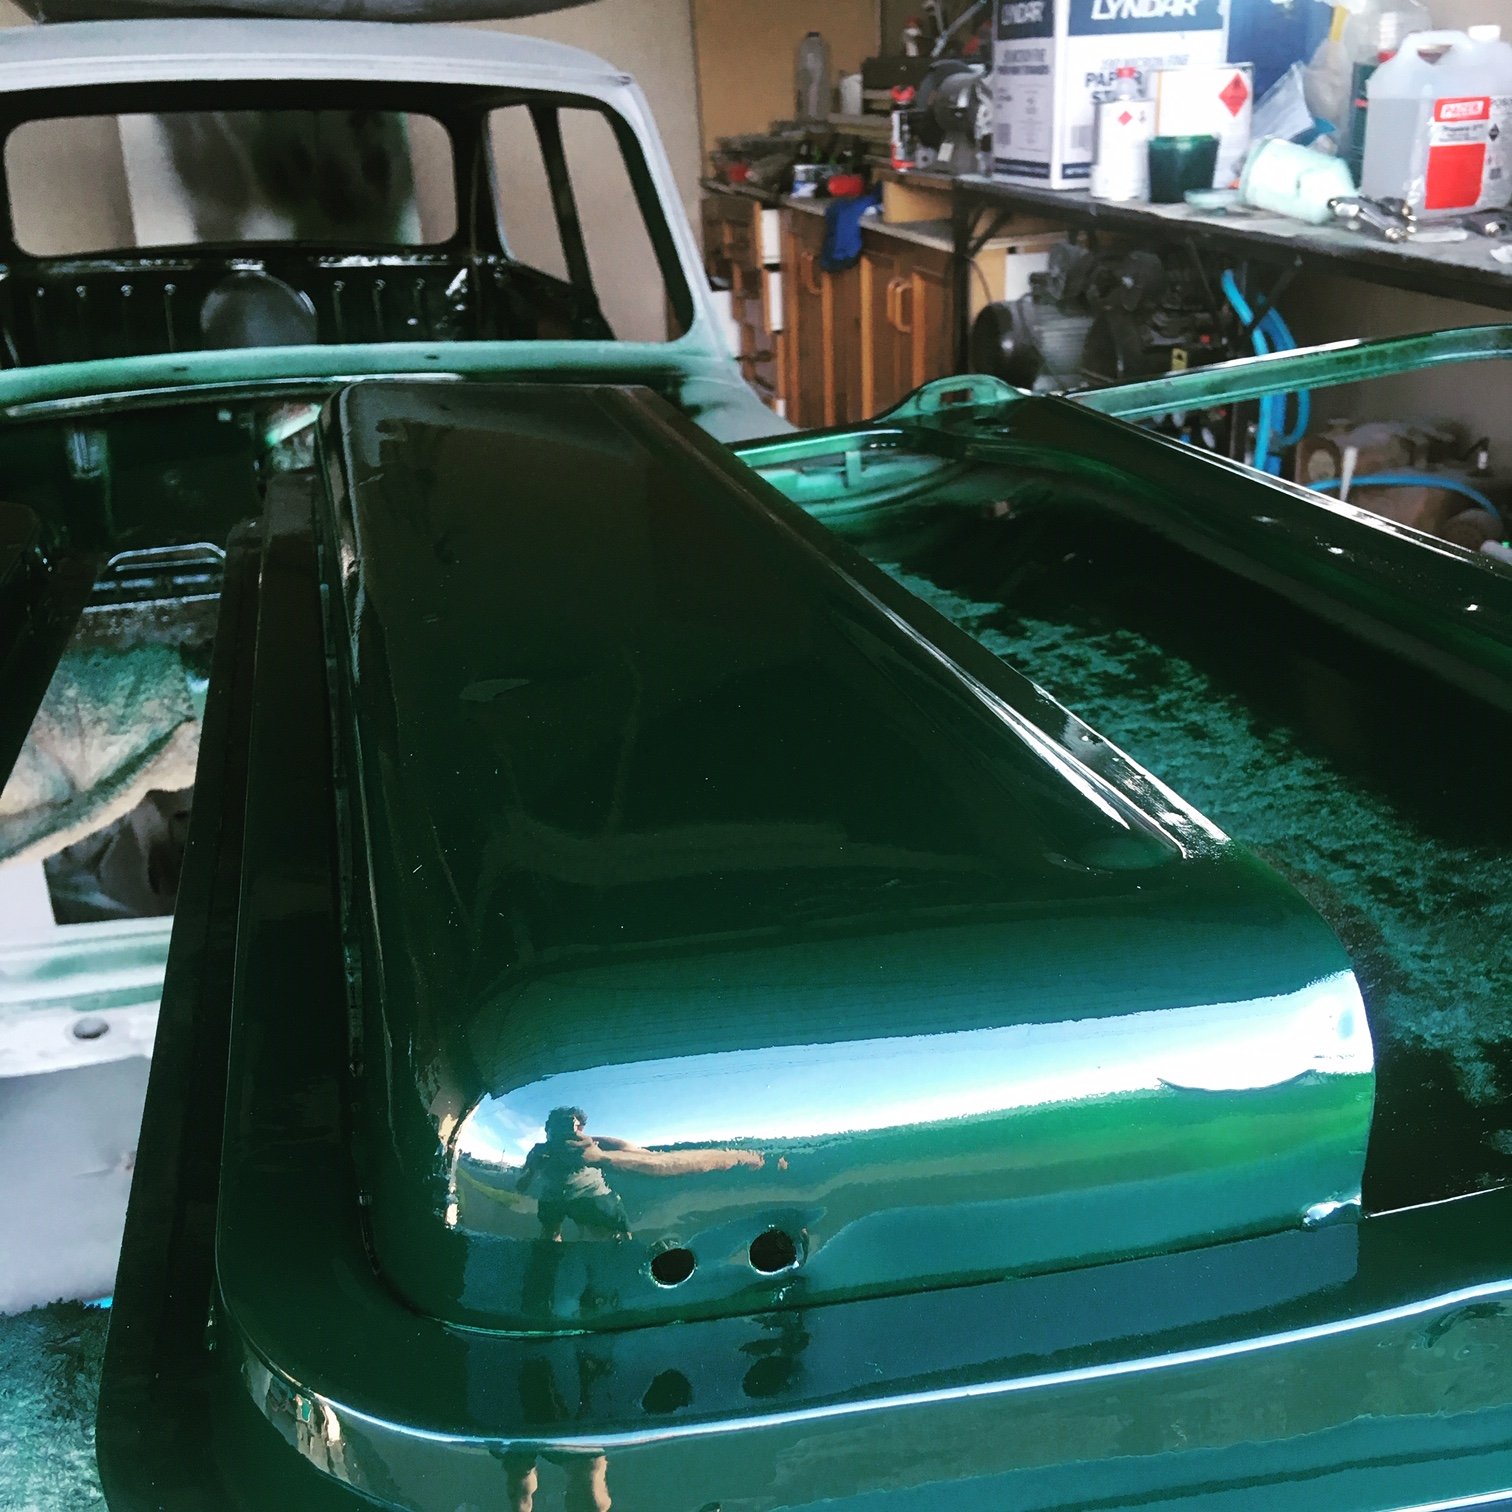
And we have colour...,
2 points
-
The legal way to do it is take to a tsda Get them to remove it Do paint etc Take back and they refit chassis number1 point
-
It's going back a while but I think you only had to drill out the holes on the turbo exhaust housing to fit the old studs, grind away a bit of the exhaust housing so that the nuts could turn, and fit a new oil line. You will need a new down pipe as well I think.1 point
-
Clutch springs should help a lot. I upgraded the FS1 to use MX100 springs and the slip has finally gone away.1 point
-
I was looking at the fortune auto originally, but when i contacted them they were unsure about the valving, and I would have had to send them all the way back to the US if they were wrong, which didn't make sense to me... I ended up going through Deane and Bert at Palmside. There was a couple of reason for that, one was that I didn't want to be responsible for the measurements I wanted someone who knew what they were doing. So I took the car in as it was previously and Bert measured everything and worked out what would need to be done and also what needed to be modified on the car (which was the rear shock towers to clearance the shocks that were slightly larger) he could speak their lingo so I knew they would arrive in the correct state for fitment. The other is that Deane works directly with Murray for the Rally guys and so already had that line of communication. Because I wanted the damper adjusting at the top of the front shocks Murray got Josh to supply the main shocks, then did some further machining to suit my car. They took 2 weeks longer then planned to arrive as MCA was busy with stuff. When they arrived Bert then had to fit them to the stub axles I supplied then he cut down the blank camber plates to suit my existing hole spacing (T3) which meant they all just bolted in (this was the advantage of getting someone to measure and plan it all, as off the shelf camber plates would not have worked). It all bolted in as expected which was nice. Quality seems good so far, only had one issue which is the height adjusting ring coming undone on the front, and they have advised on what i need to do to fix that, so will see how that goes. Other thing to note is they don't come with brake line holders, which for me is not an issue. Spring rates they recommended were 7kg (400lb) front and 3.5kg (200lb) rear i was previously running 400/350 (rear was too hard which i knew). So a fairly big change on the rear for me, which was noticeable, a lot more grip. They are definitely better then my old ones (Blisten HD/Gaz) as i can actually run over the curbs and it soaks them up, where as before it would be bouncing me off them across the track. Also the whole car is not rolling as much, even with softer springs on the rear.1 point
-
Oh I should have done bearings twelve times on that Cruiser haha I've never done bearings because they were needed, just people reading internet and getting them done for piece of mind or preventive maintenance. Also want to see bulletin, some of the high country stuff is running all day but very little mileage and I've never needed to do them either, front end rebuilds every six months though.1 point
-
Cheers Mate, yeah was bloody good to meet up. Dennis had an amazing time at Leadfoot, it was the first proper car event he'd been to in over 15 years and he yarned to heaps of people about the Spider which was really neat. He does still drive so it would be awesome to get him back in it, will hopefully be able to sort something out. Really looking forward to getting into this when i get back home, pulling the engine out and replacing the seals should be pretty straight forward and then it will be time to have a third driving session!1 point
-
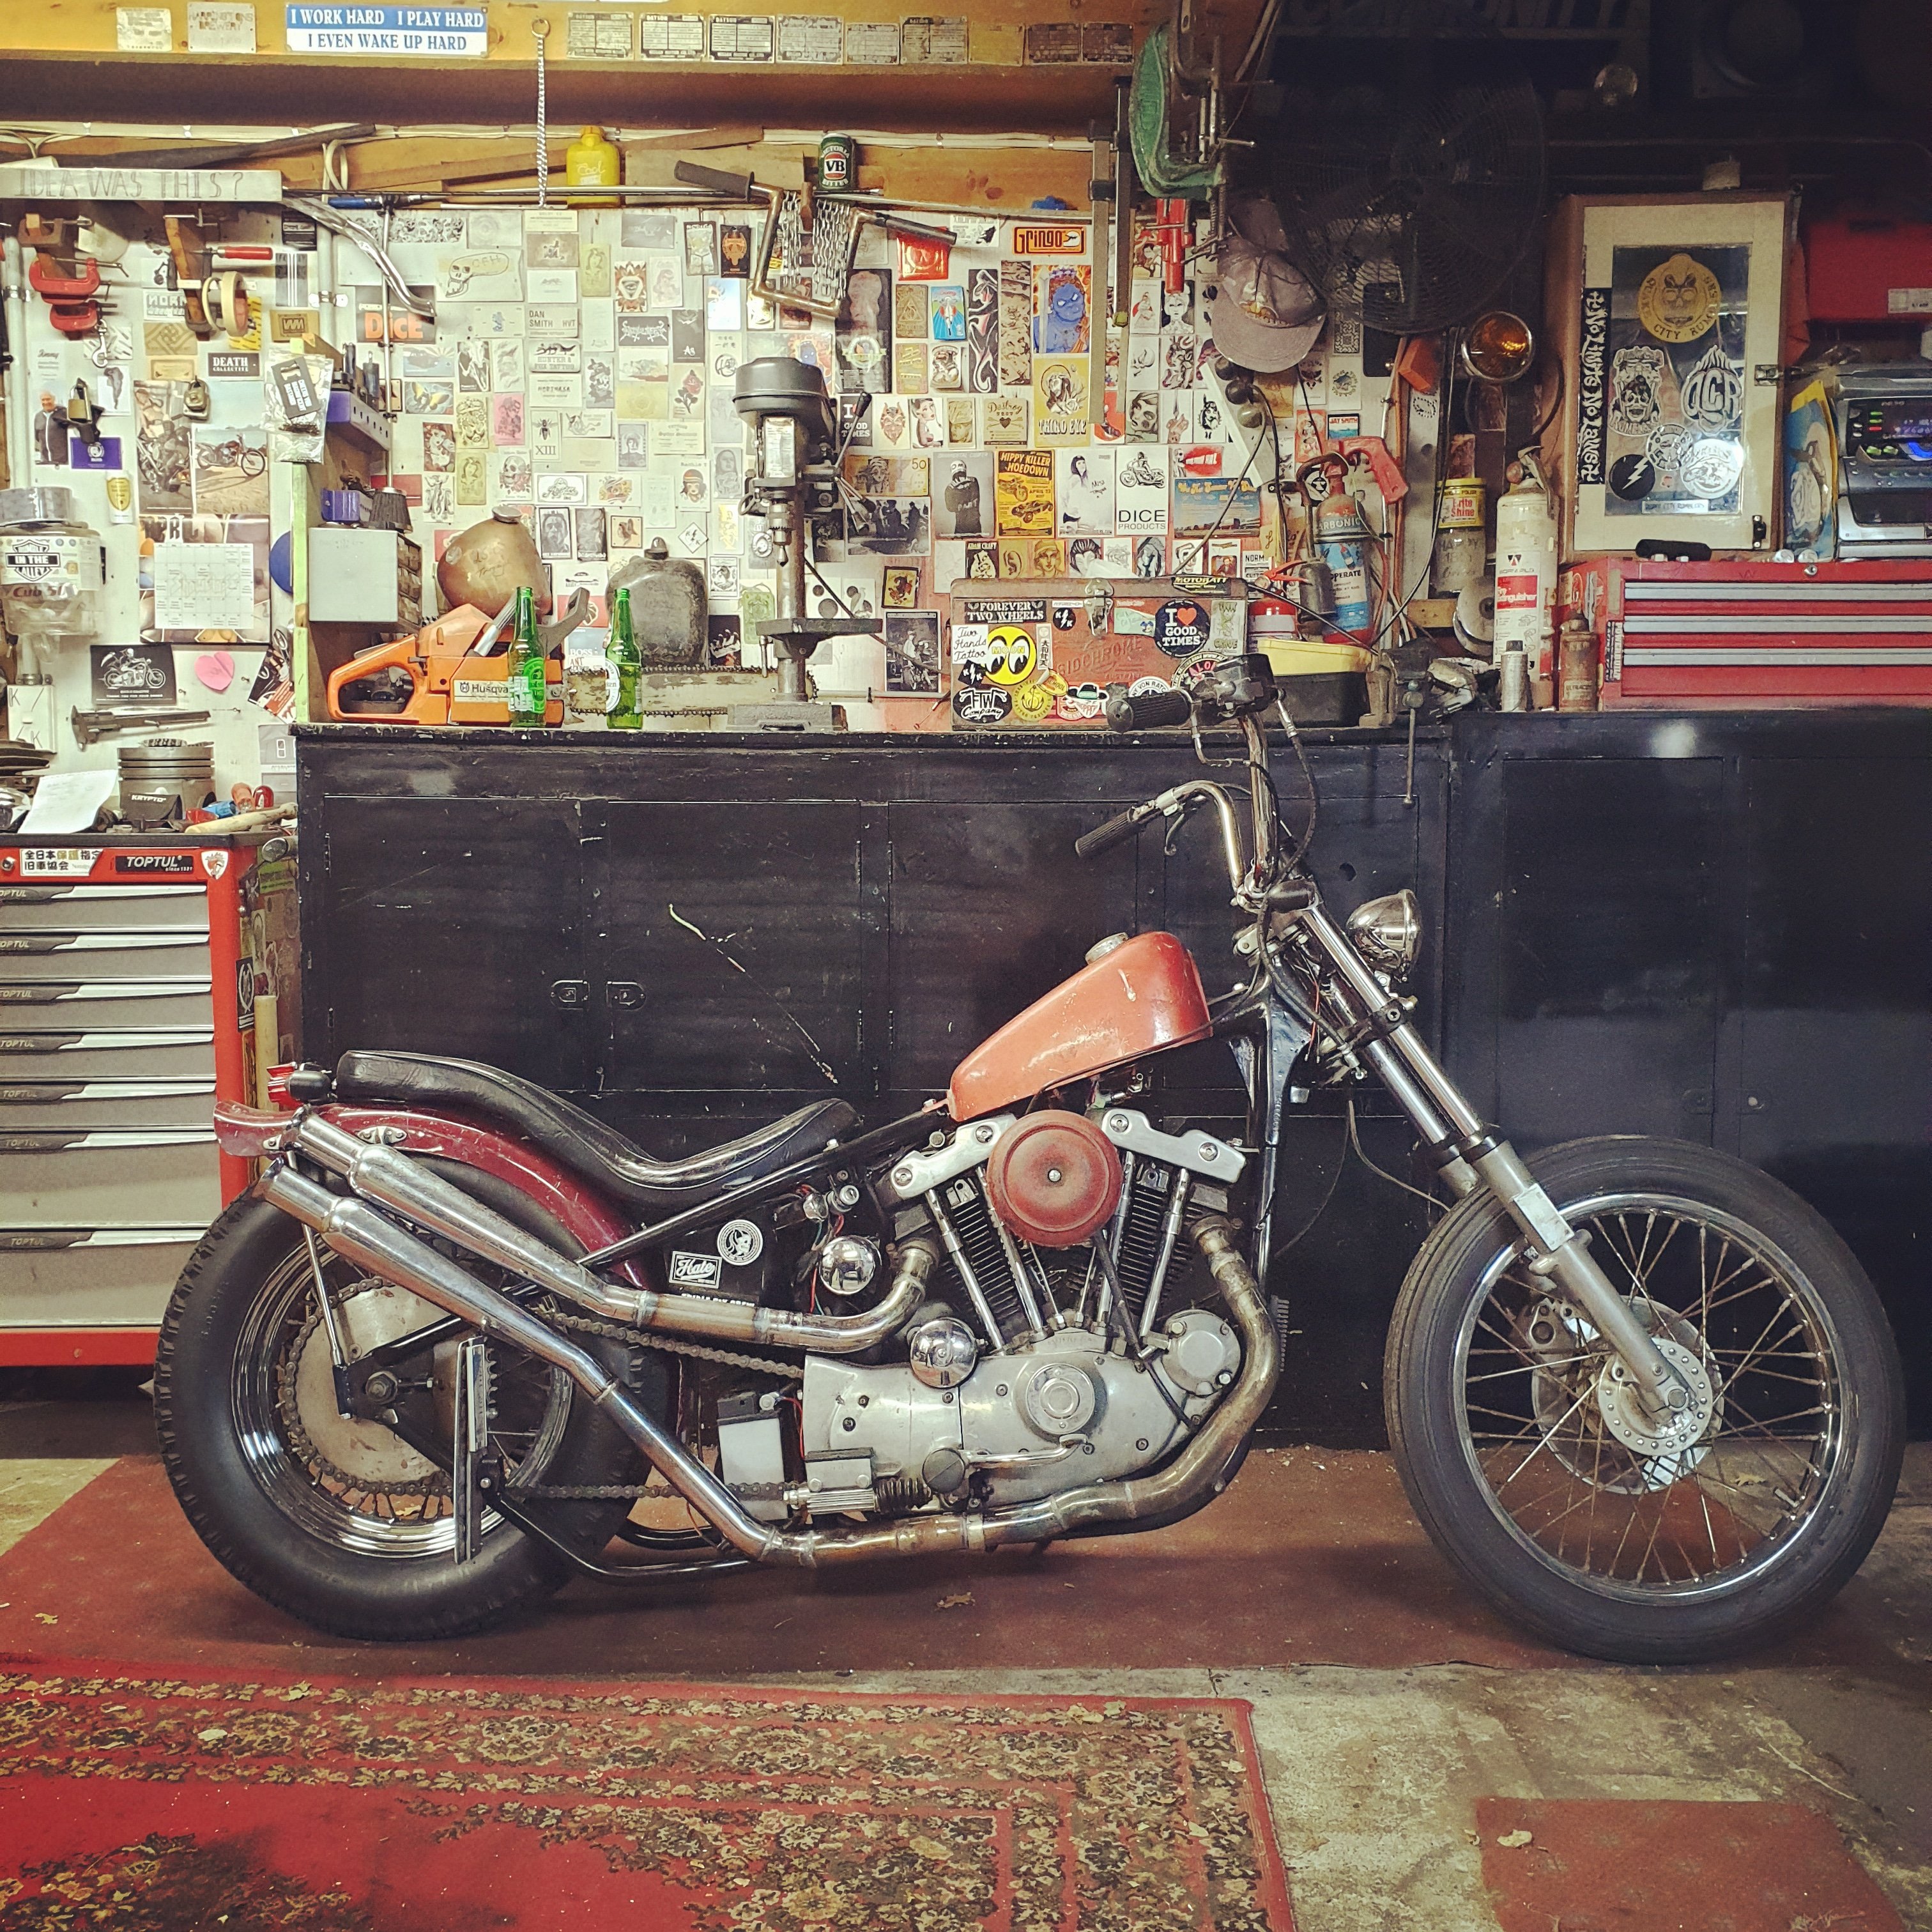
Stripped down to get some parts powdercoated. Then got fuel fitting to weld to tank and plumb up with new fuel filter. Then fit a couple plugs to the loom. Then final assembly with lots and lots of Nordlock washers & Loctite. Should Coincide nicely with this bike going classic on Jan 1st 2020 and I can actually afford to register it1 point
-
Had its first start last night, no dramas, just a couple small jobs now then it's time for first ride1 point
-
Handlebars part 2 Muffler1 point
-
Make seat base Wiring1 point
-
new street magic tyres arrived, wonder how much worse road riding will be shinko mobber 504 and 505
1 point
-
I feel like it’s in the same camp as @MopedNZ‘ claim of ‘I’ll ride a FA50 to ChCh Nats’ puhuhuh1 point
-
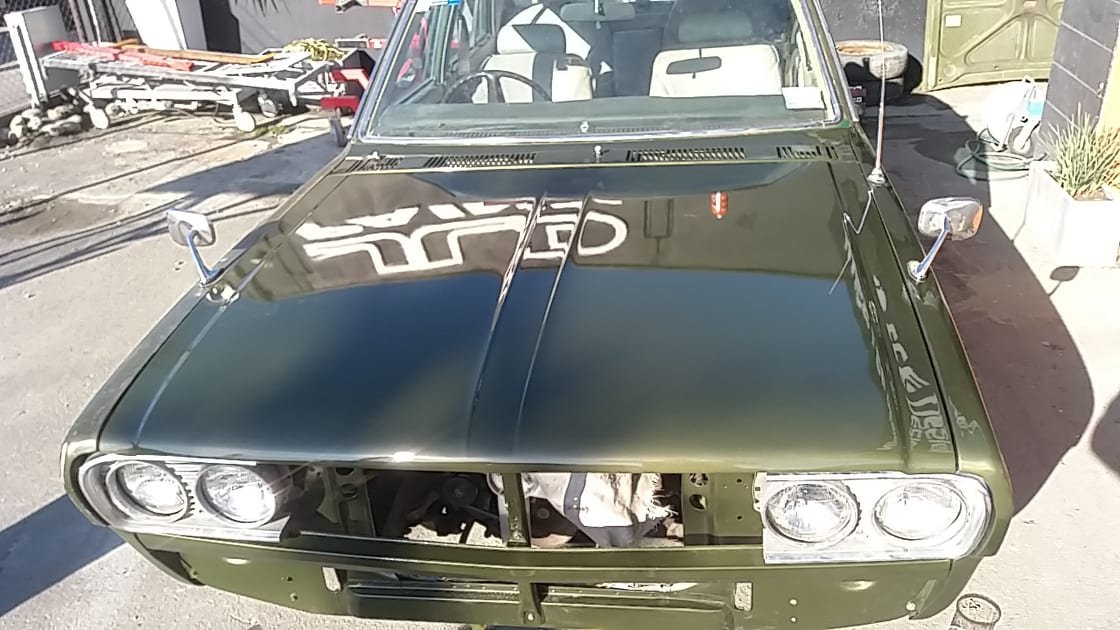
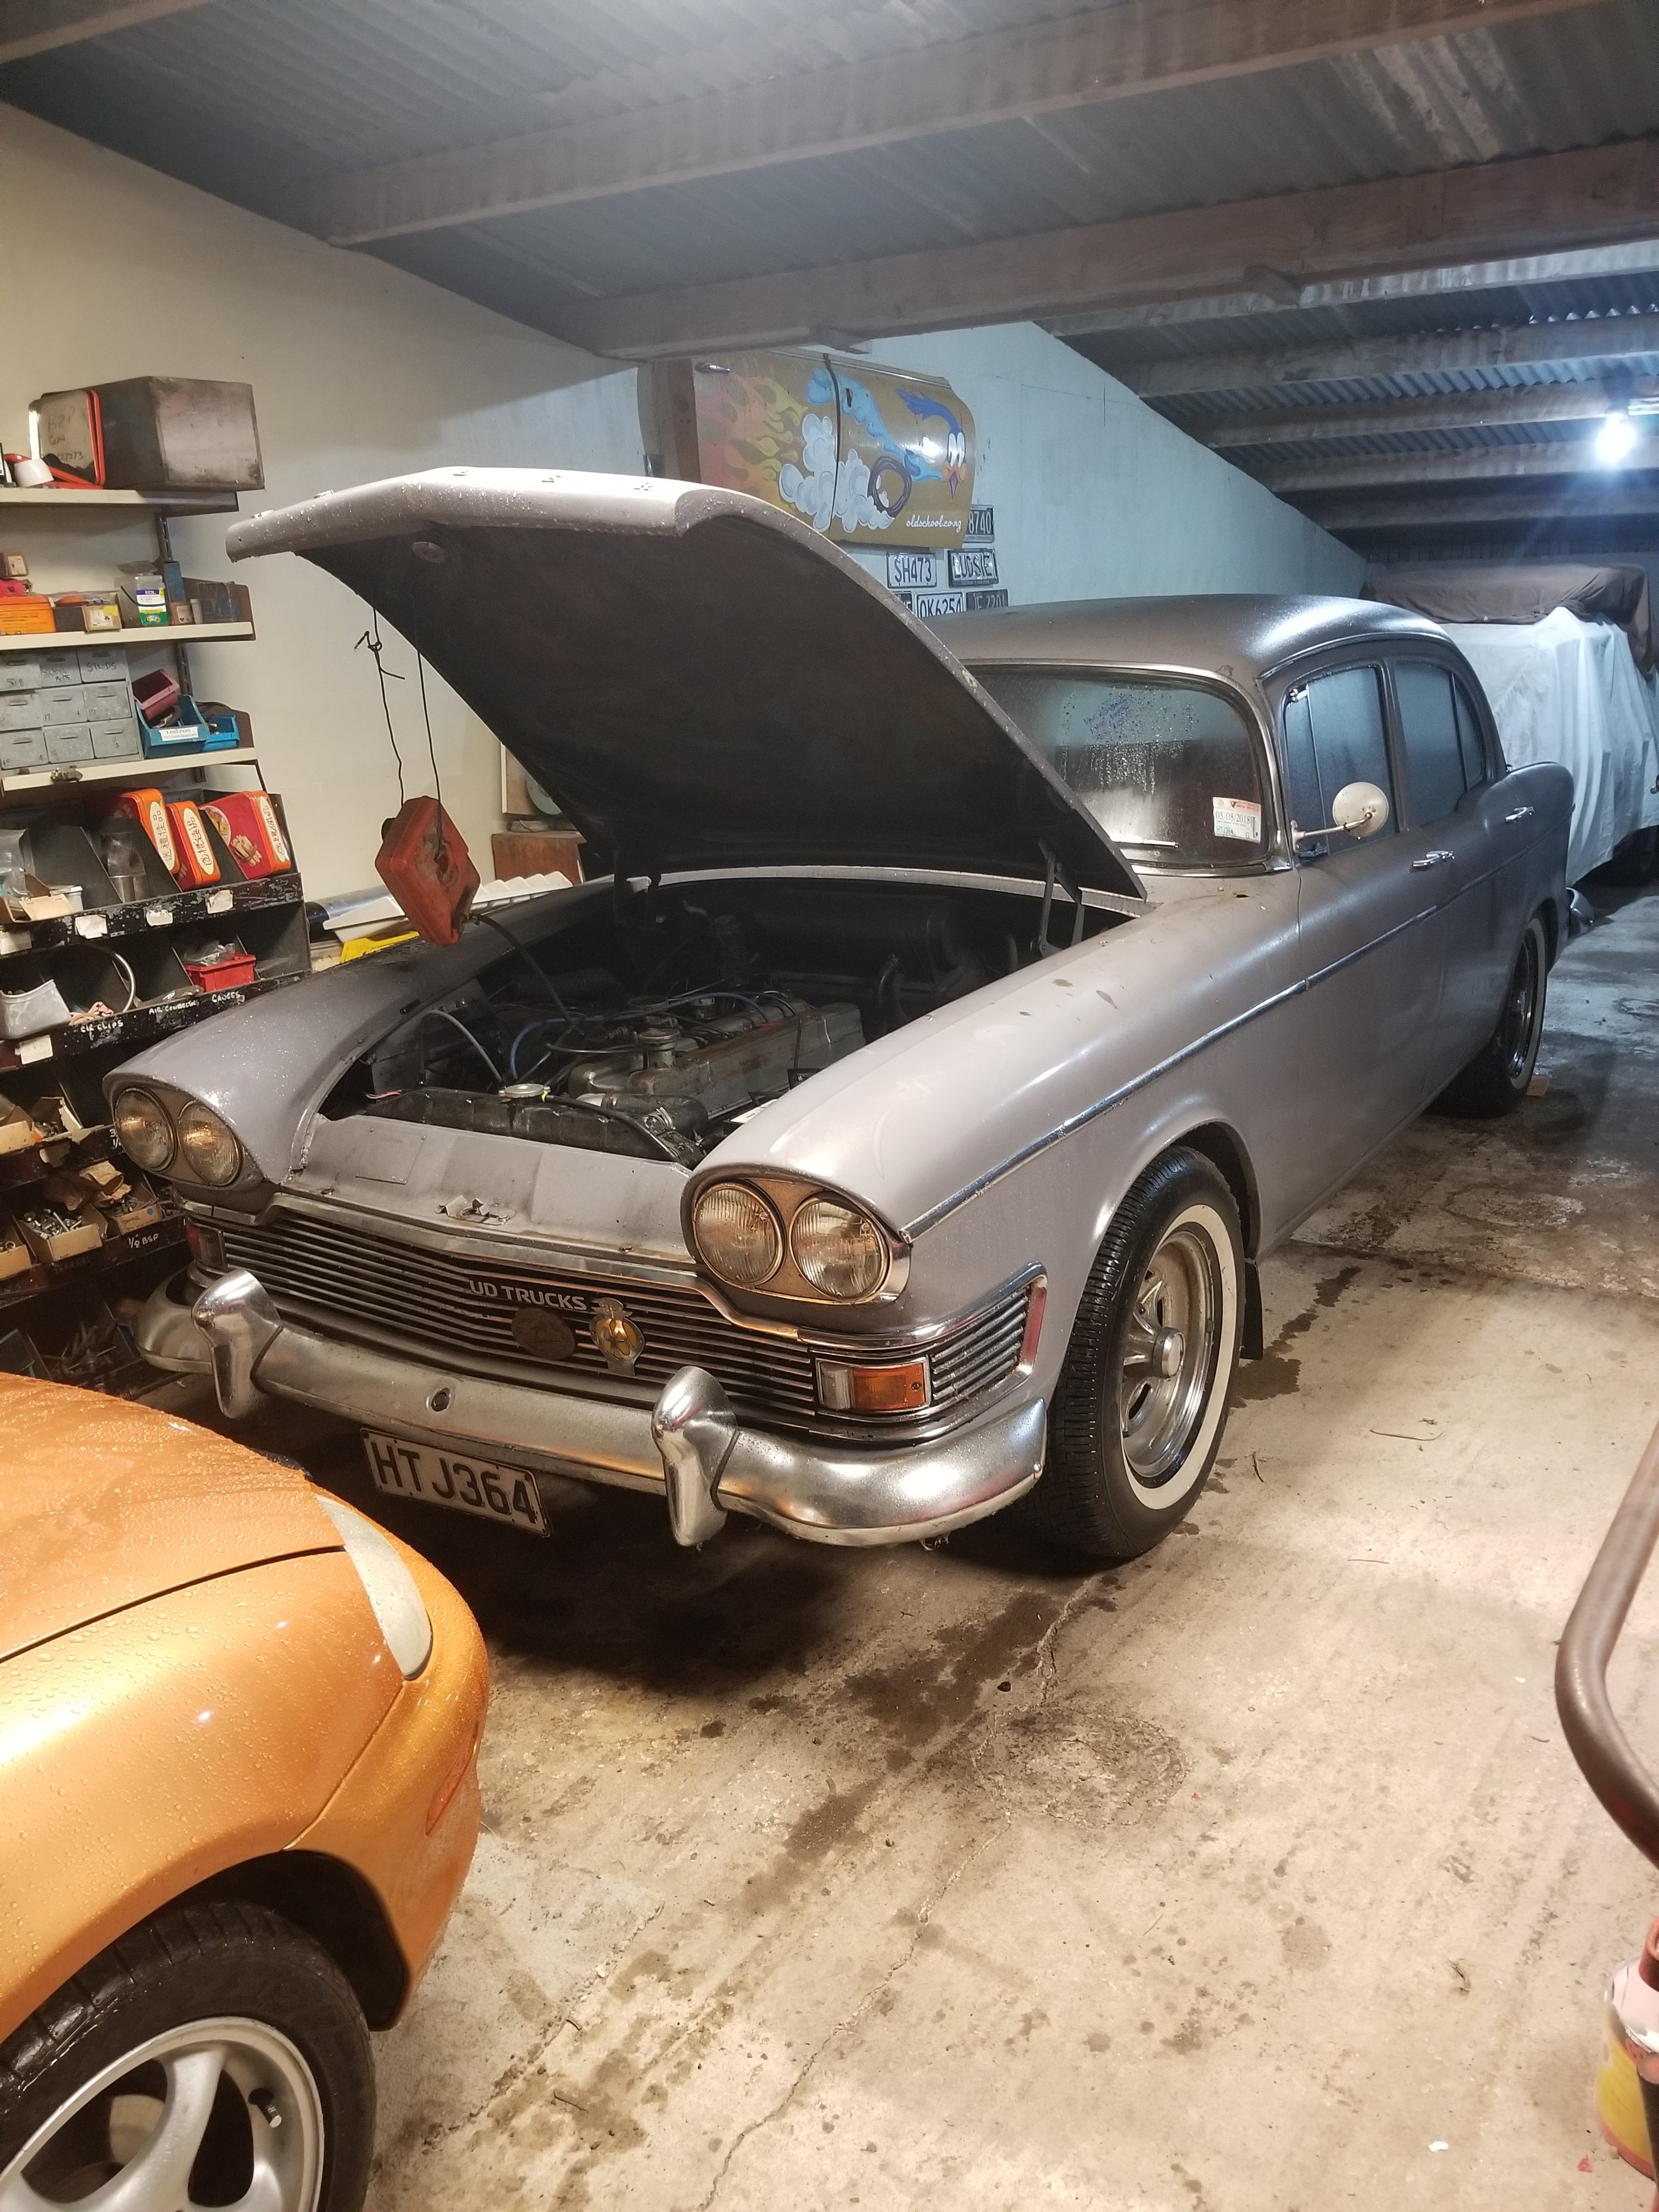
Success! The 1G SOHC crankshaft and connecting rods have, and will work perfectly in my twin cam block. Need to find time to get my block sent away to dipping. I'll be taking the head in to get refreshed sometime next week, I've had it quoted up. I'm currently waiting on the cheap and probably shit really good value complete gasket set from Aliexpress. Cringe all you like, I've heard good things and it includes every gasket + seal required On the body side of things, I really need to get into the rust spots that are forming under the paint. I'm expecting some lovely filler work when I go digging rust out, shes had a repaint at some point in the past. Hopefully it doesn't become a huge nightmare and I can keep repairs small and neat. The bonnet has rusted out on the inside, but I have a basically new, perfect bonnet that needs to be painted and put on someday. It would be really neat to have the stickers in the engine bay and under the bonnet reproduced so I can put them on after the engine bay gets it's respray. As far as ride height etc goes this is awful to ride in. If it weren't for the comfy seats I'd be seeing a physiotherapist by this point. The rear springs have had some meat removed and it has really short and stiff Mitsubishi springs to keep everything tight but it jumps over bumps, bounces over every little thing in the road. Suspension + springs etc is certainly not my strong point so any advice on making it a little comfier to ride around in would be awesome. I thought X73 king springs may be the solution, but I'm not sure they'll fit. I had even brainstormed the idea of fitting the IRS rear end but really haven't put thought into that. I don't really have the coin for S13 front coilovers at this point in time. That's all for now, I'll update the thread when I rip into it and start changing things (again). Grabbed some pics out on a weekend cruise.1 point
-
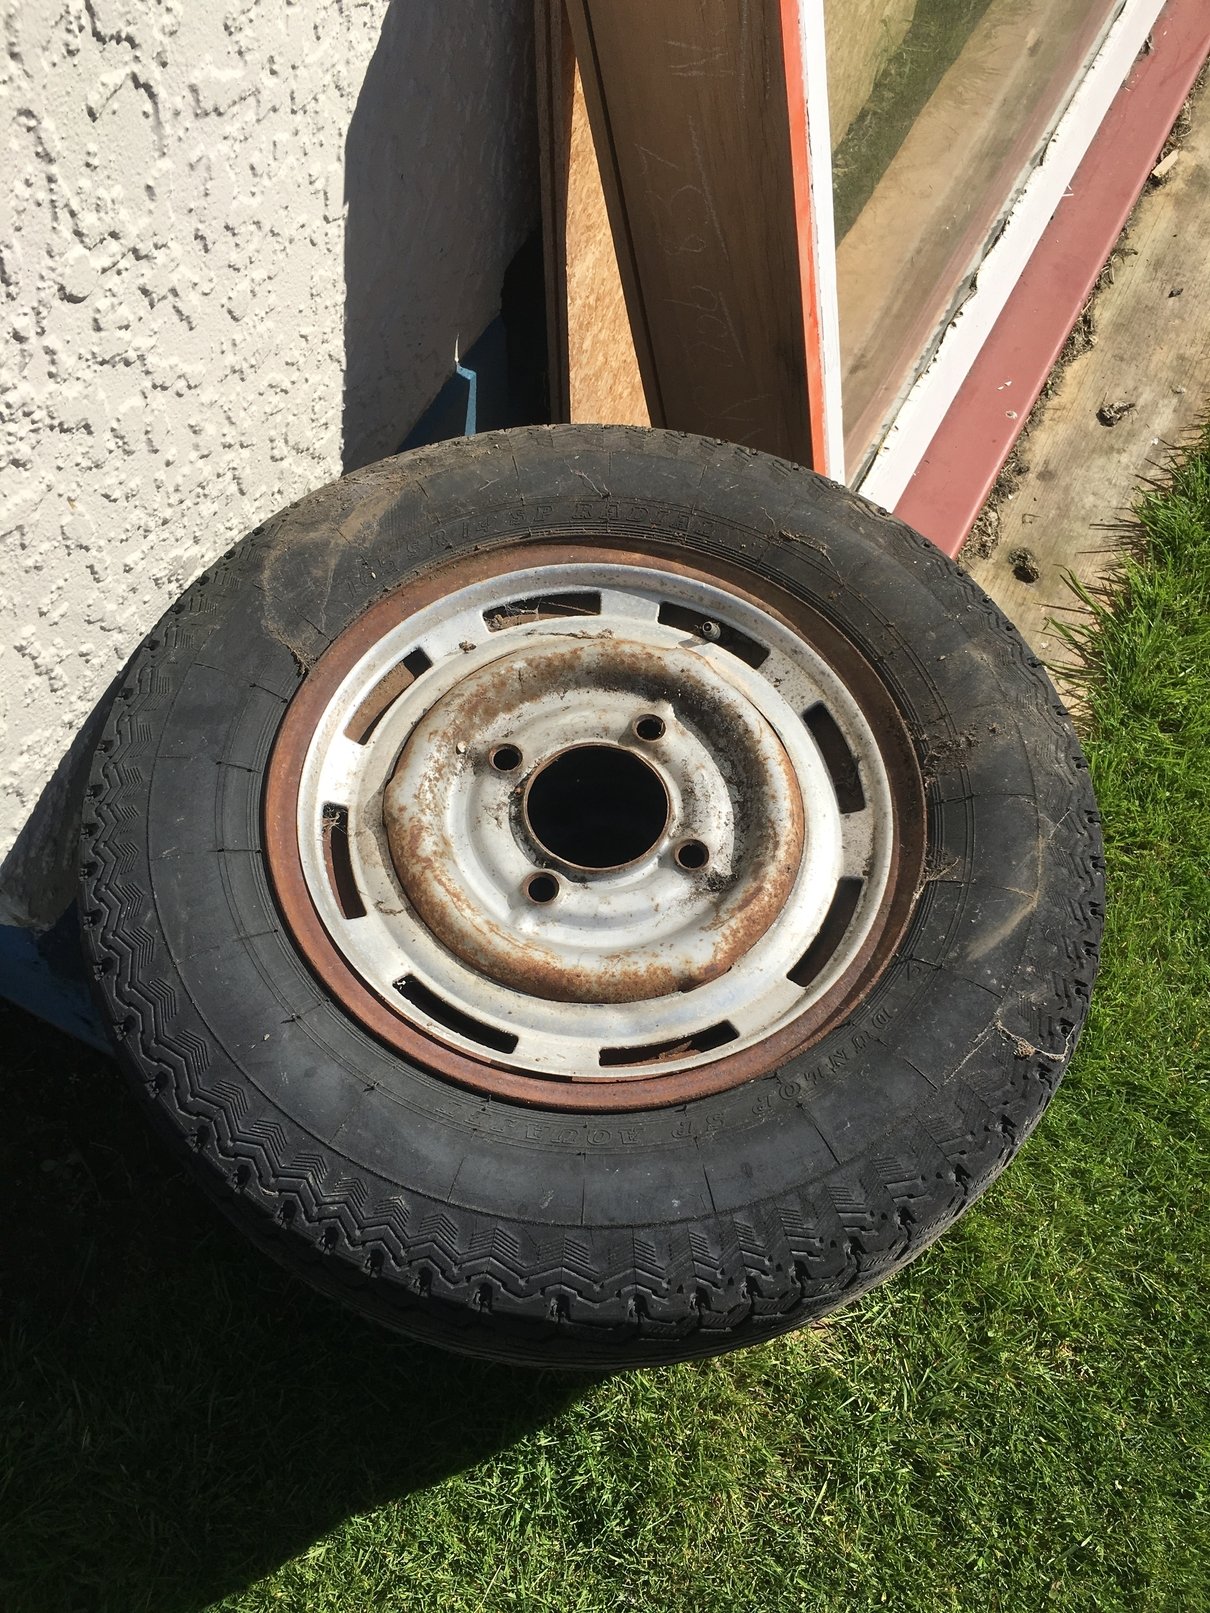
Long time between posts as usual, made another mission back to the Marshland yard before it's all gone. Managed to get four decent 14 inch rims to put the Sabre back to original and so I can fit the NOS hubcaps - will look the part once blasted and painted. Also found a floormat for it amongst the grass, I have the passenger side but had been missing the driver's so I'm a happy lad! Also dragged this monstrosity home because I couldn't bear the thought of it being crushed. I'll clean it up and then decide what to do with it.
1 point
-
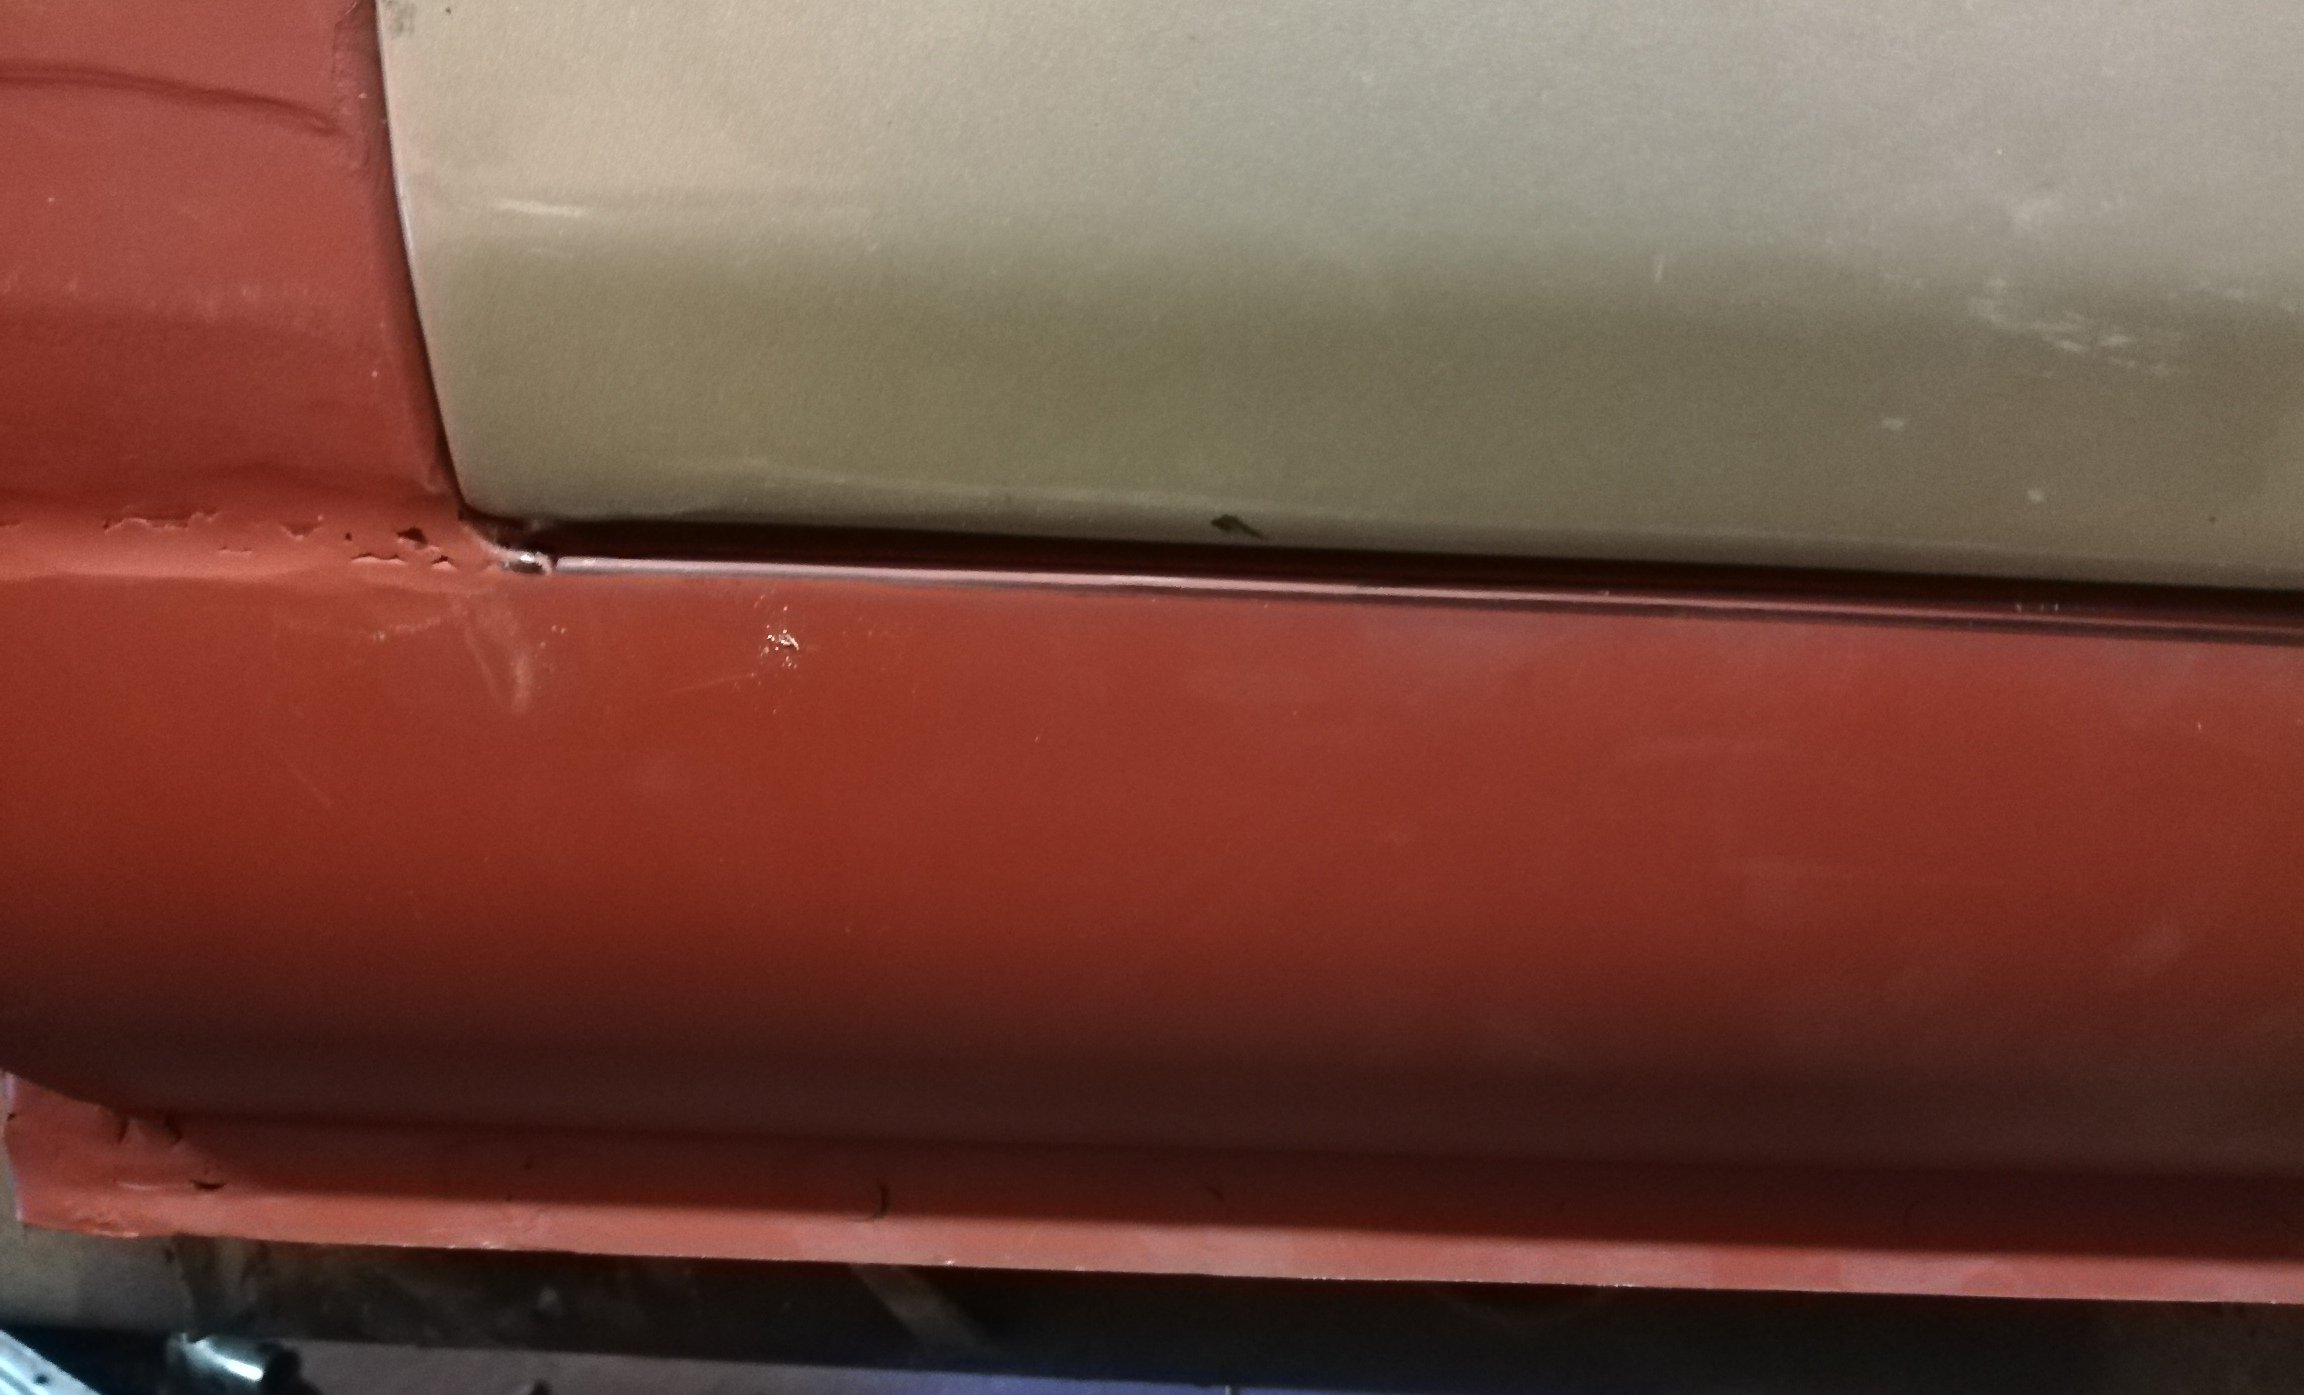
Door is being a pain in the ass to hang. The problem being that every point of reference has been dicked. Got the lines pretty good, but the bottom of the door over hangs the sill by a good 1cm in places How, I measured and checked everything and used the other door frame for reference. The sill is dead straight. Oh the door is bent Some hammer and dolly work and it's coming into shape. Looking at unmolested utes, there is a prominent angle here. Mine is smooth and bulbus . I assume it was either bent out to match the previous sill, or was bent already and the bogged the sill to match. (Same issue with the roof lines, bogged over and rounded off)
1 point
-
Put this shit in a storage shed two years ago. Dragged it into 'current projects' shed last night. #barnfind
1 point
-
@shizzl I've messaged you some of his details. If no luck I can try track him down.1 point
-
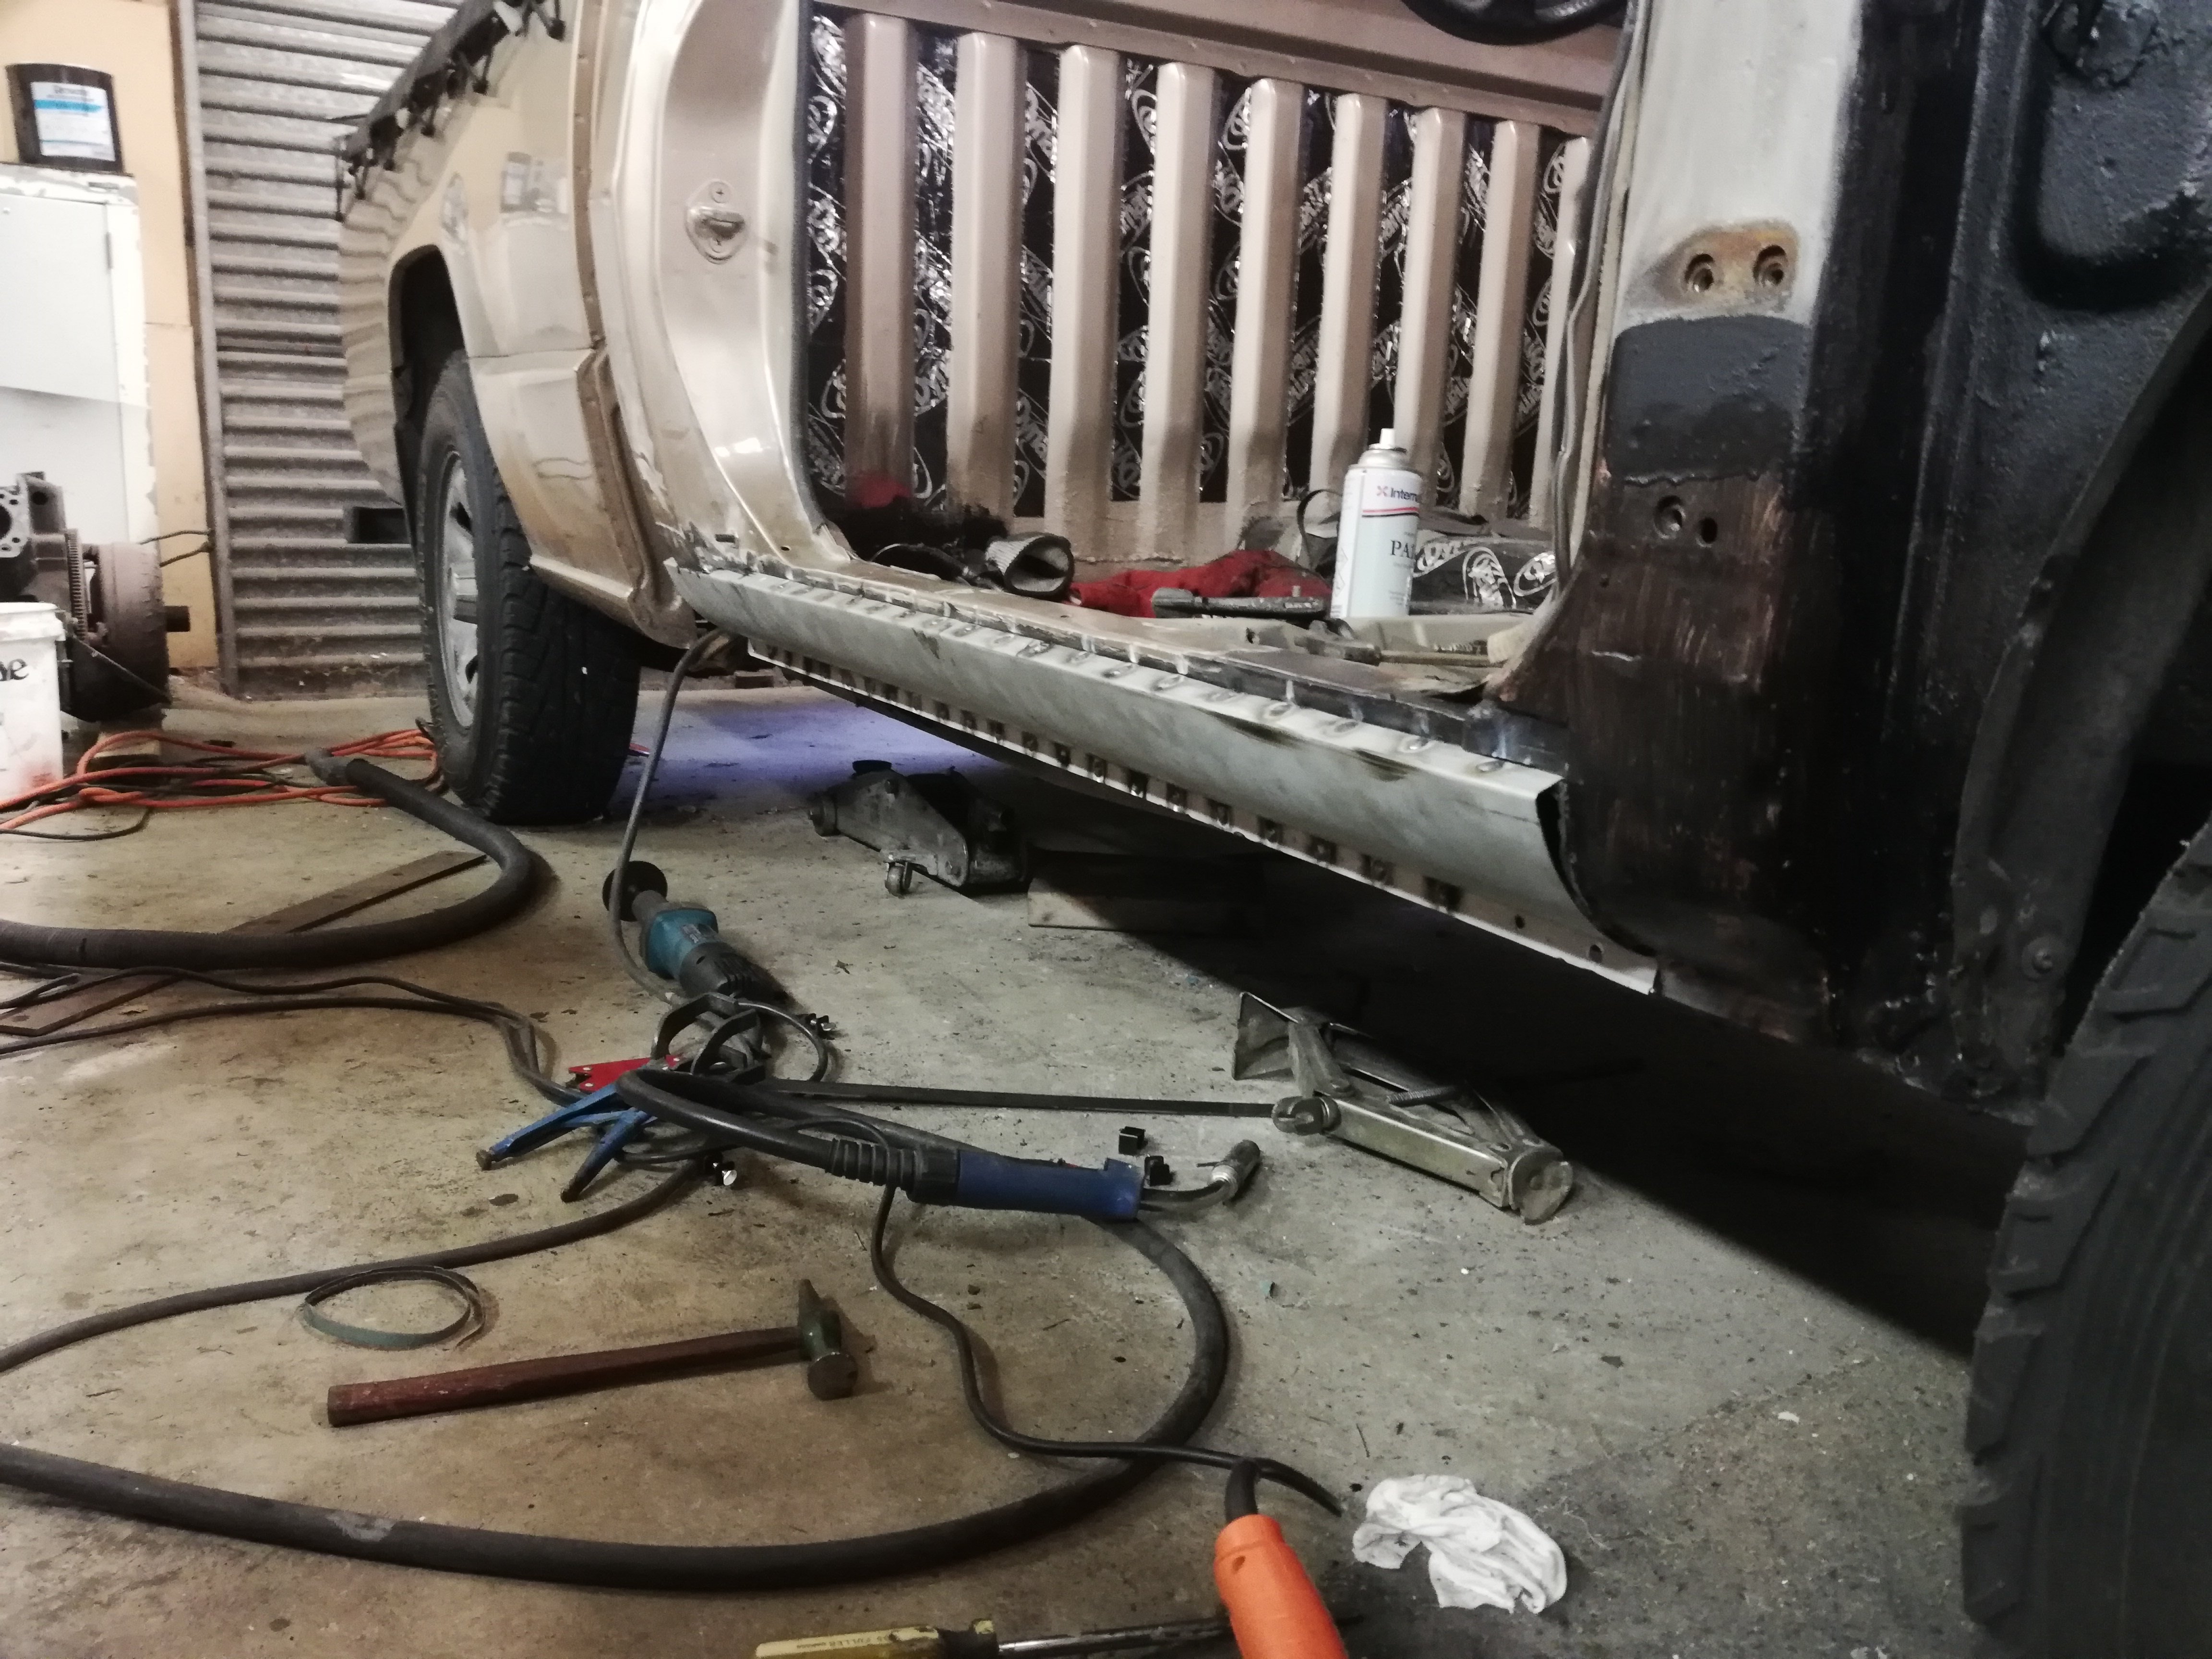
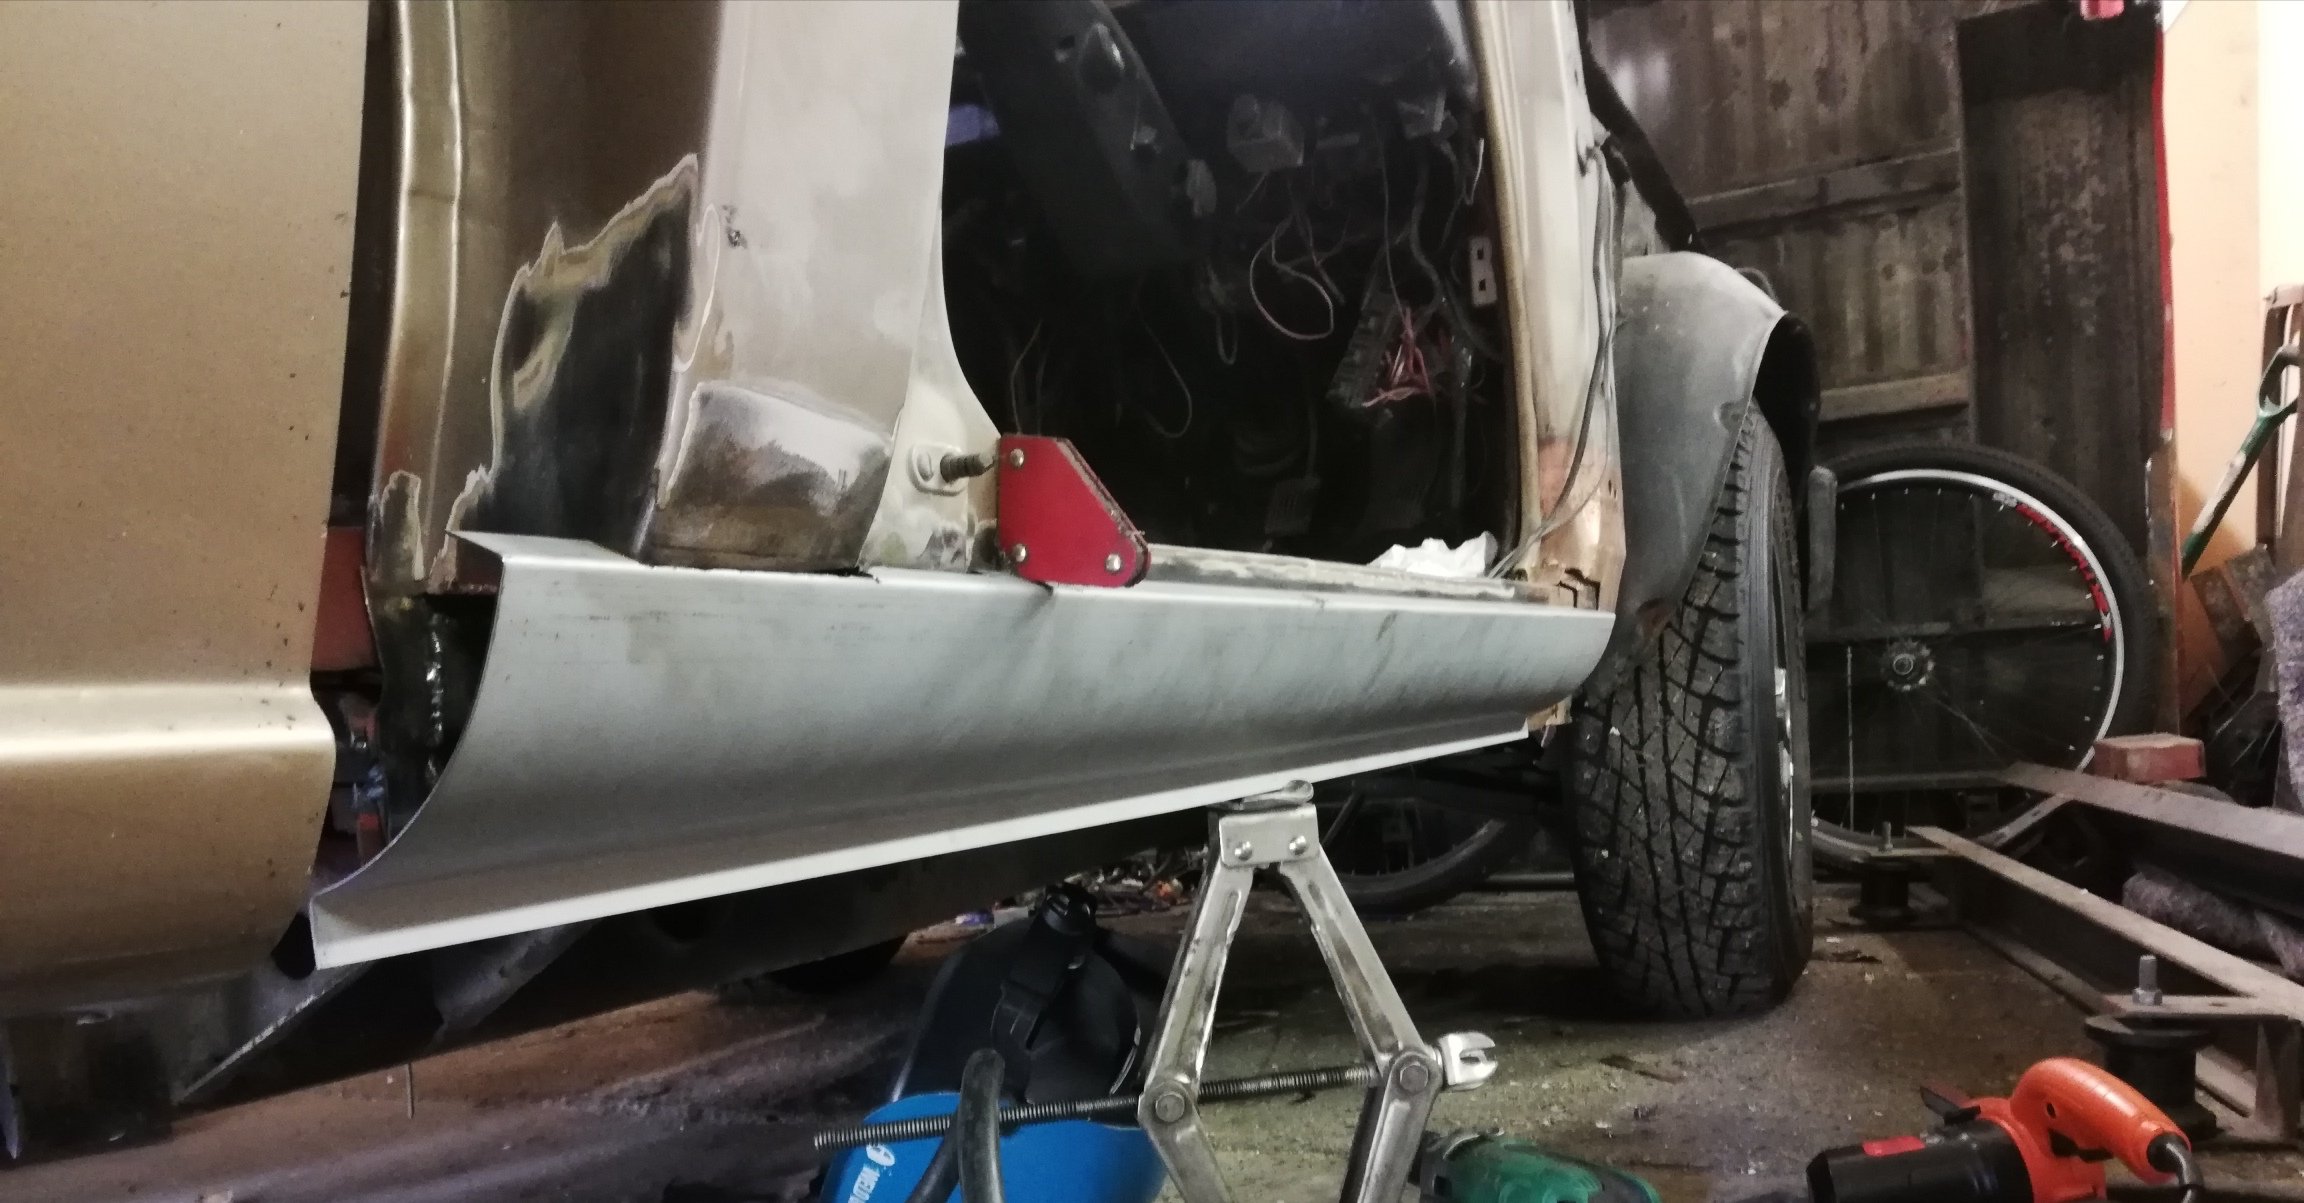
I can't get no satisfaction Except some times I do Was at a bit of a loss as to how to line the new sill up. Luckily A series engine components came to save the day. Looking at the step/scuff panel part of the door frame, it looked pretty squashed. Must have been stood in a few times. The section right in the middle where the seat frame mount is attached was unbent. So I used a rocker shaft from a 1098 Morris minor to reshape it. This must have worked because when I then set the top lip of the new sill where the old one was, the bottom of the inner sill also lined up (it was well out before) Needs another day to make a rear cab corner and join in the front of sill to the bit behind the guard
1 point
-
Ok ok What a balls of a job Floor is in Inner sill is in Cab back patch is in Inner cab mount plate is in Outer cab mount is in New sill getting trimmed to fit Not sure if I need an inside sill bracket like what was shown gas axed above, doesn't exist in my parts book.
1 point
-
Hey, where ya been ? Holidays got in the way, and then sorting everything out that happened while we were away so no Skylining for me until today Brakes finished, had to remake one flare and grind some stuff (bits of caliper) to make it all work, but it all works and doesn't leak, which is nice No pics coz phone's broke but y'all know what brakes look like I would imagine. This post has been brought to you by "Shit Post Mondays" /you're welcome1 point
-
P76 4.4 V8 and Borg-Warner 3-speed manual (or P76 2.6 SOHC inline-6 and same gearbag but column change).1 point
-
My oldest was super excited, he's done quite a bit on it over the last 2 years. Stoked to finally get it moving! There is still quite a bit to do before it's on the road, but the motivation is very helpful!1 point
-
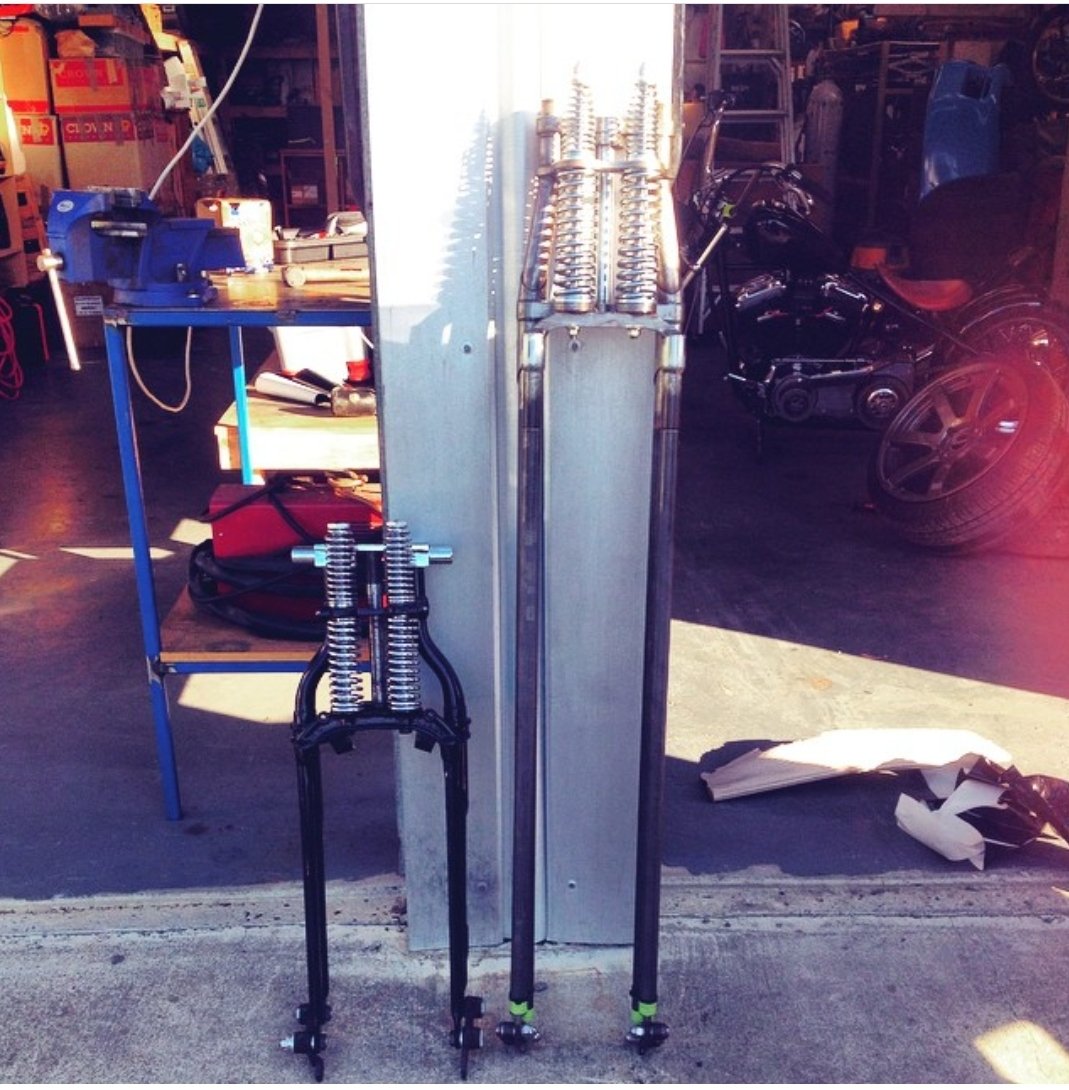
Got some longer forks lined up for it. Stock Harley Springer to the left for scale. Havent had final welding so I cam tweal the height a bit. Will run the springer with a drum 21 " front
1 point
-
I quite like where this is heading ! Will be quite the death machine with that motor and you riding it1 point
-
Made some progress tonite with my good mate Mush sorted out the cutting and welding for the pipes. Done !
1 point
-
Finally some colour....
1 point
-
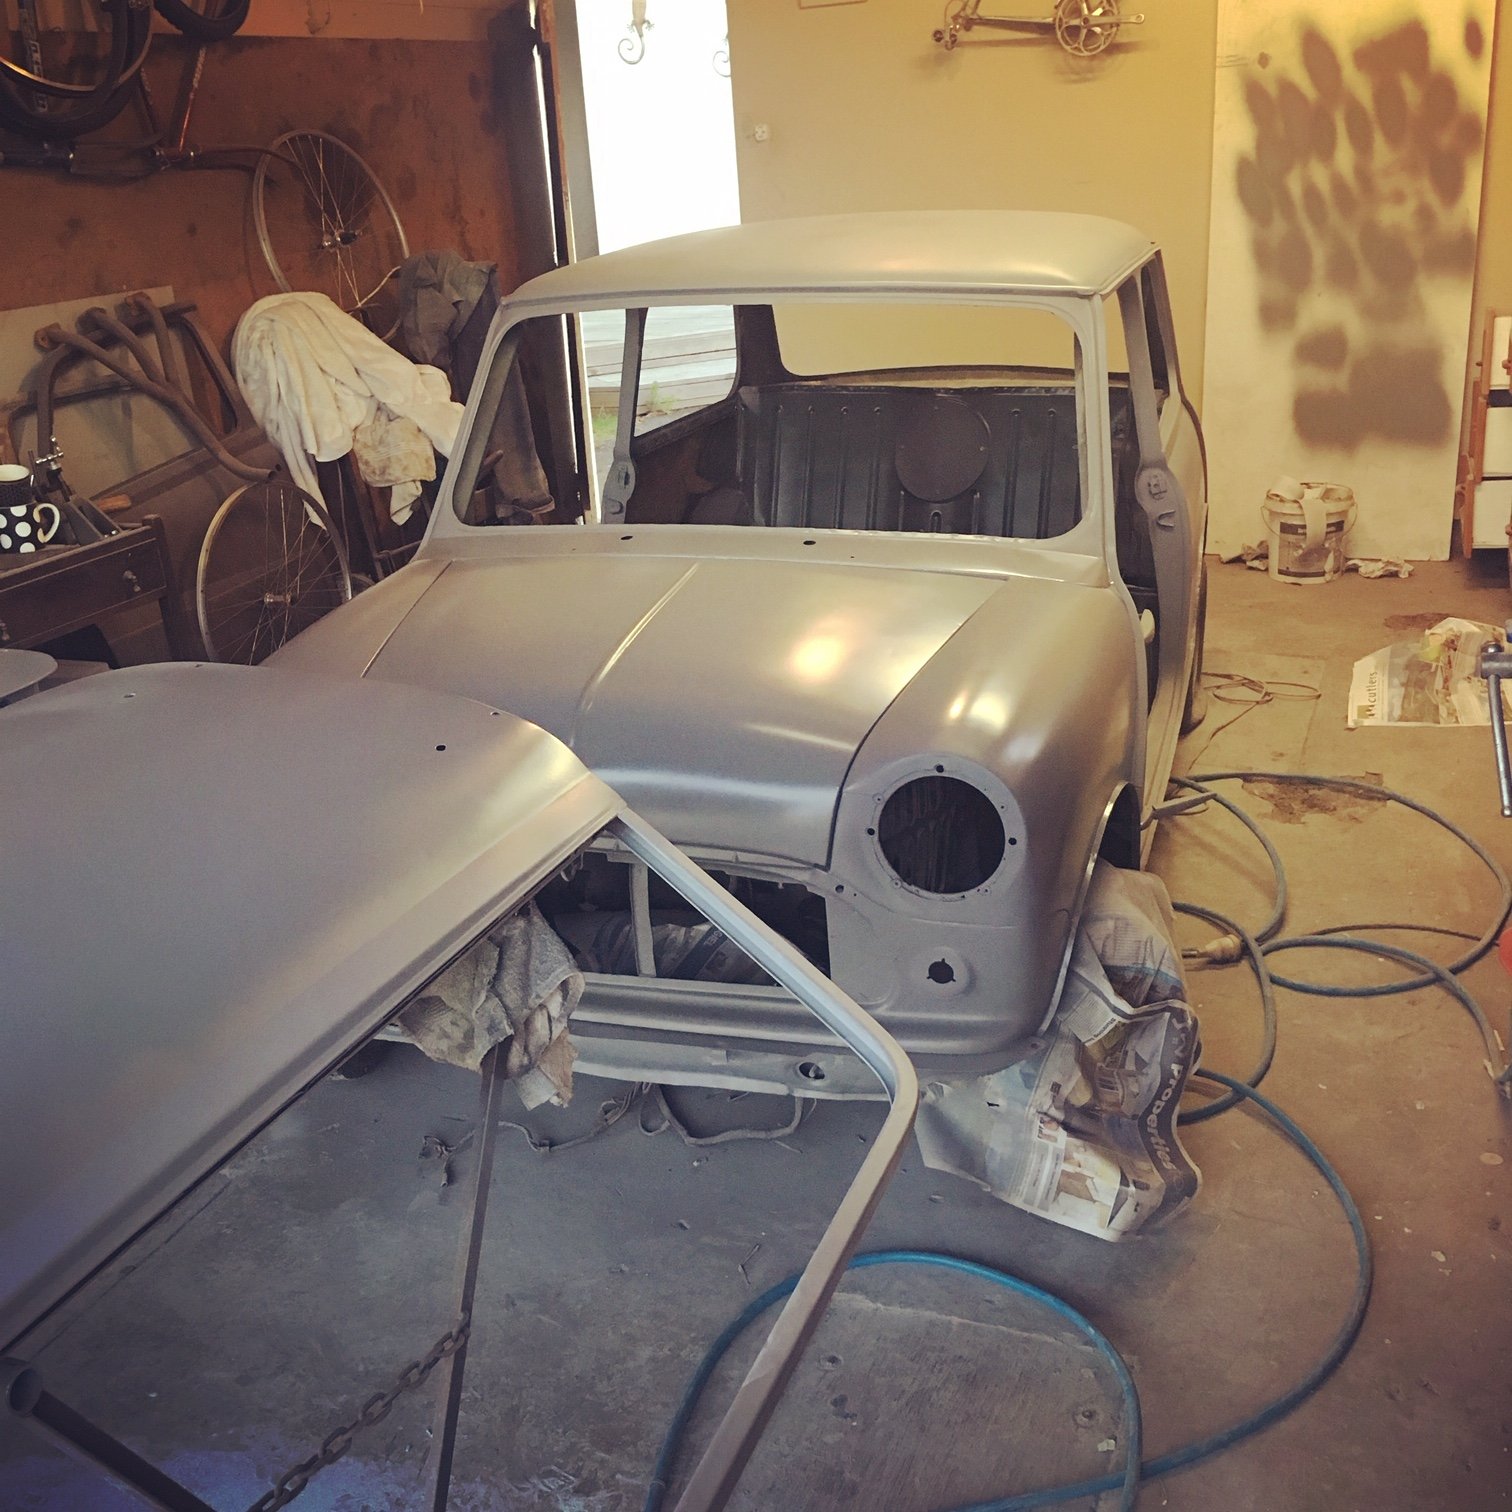
Primer #2 is done. Ordered some colour, hope to get the jams etc sprayed by the end of the week.
1 point
-
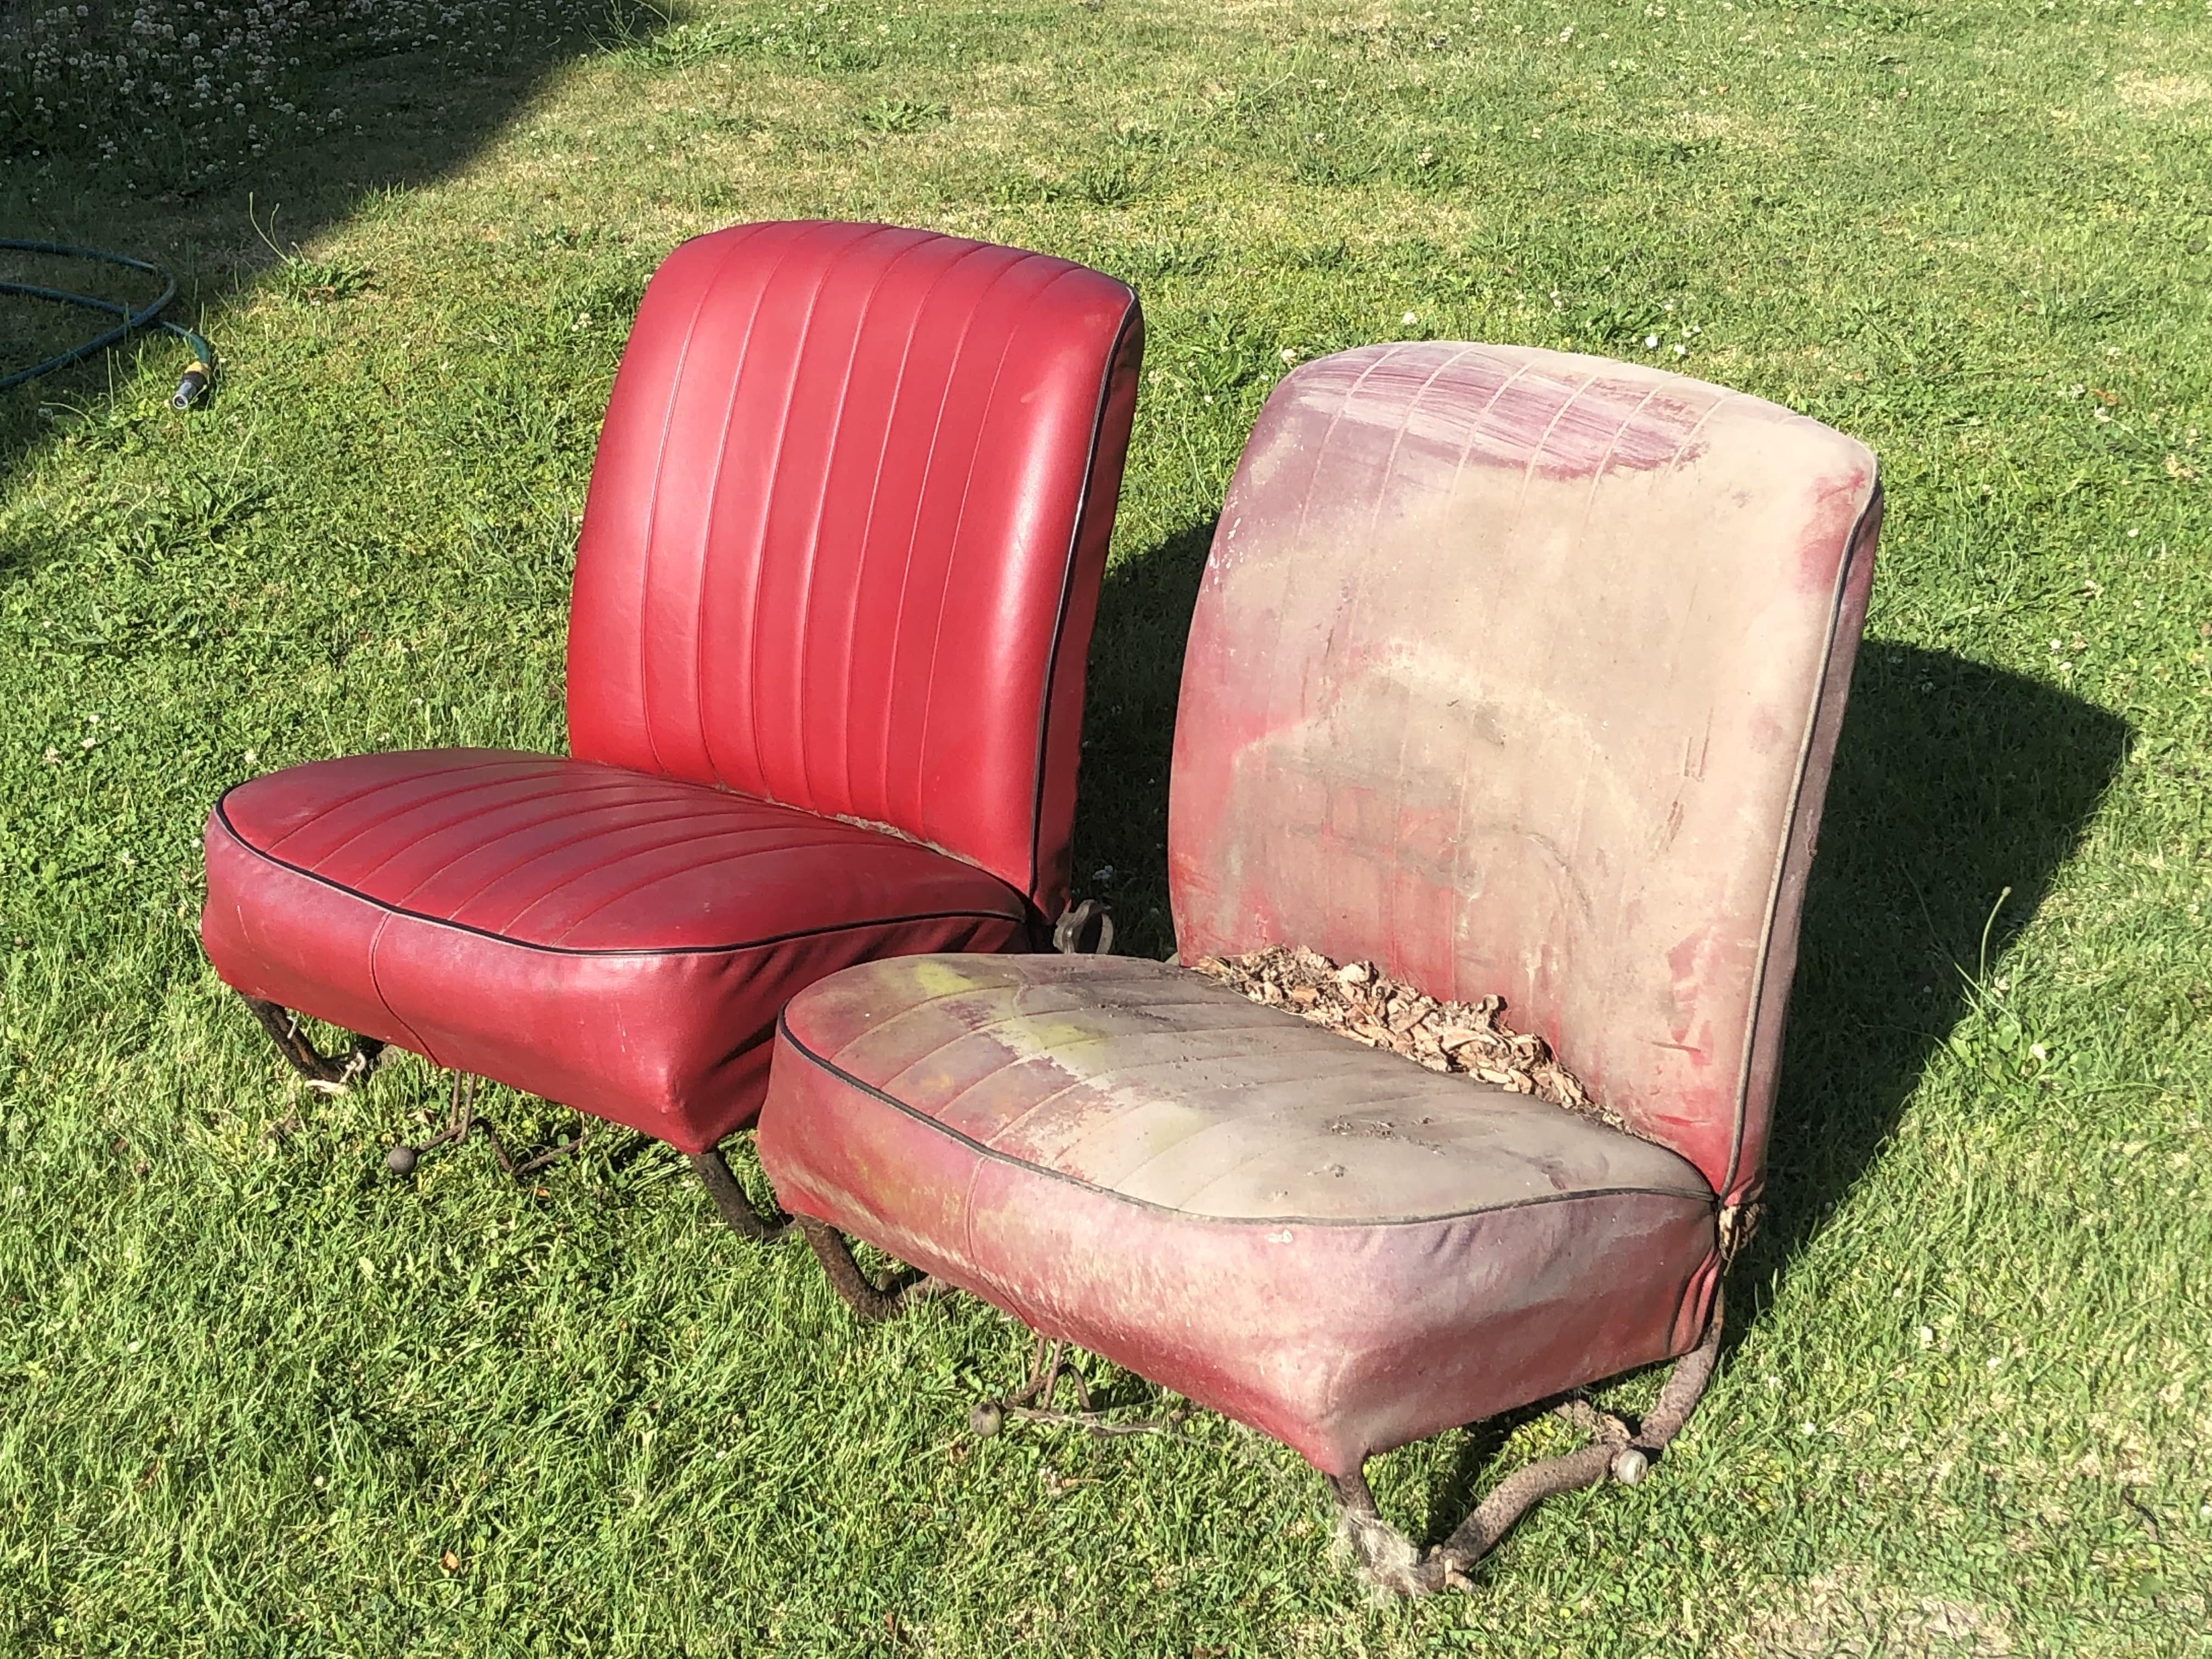
Managed to get the full set of seats out and they look like they will all scrub up like the one on the left - I am one happy lad.
1 point
-
Still plodding on this, bodywork progress doesnt make exciting piccies. Everything rubbed down And our first coat of primer, alot of sanding to follow. Did I mention this is my first attempt at a full body respray, and first go using 2K? Its new to all of us1 point
-
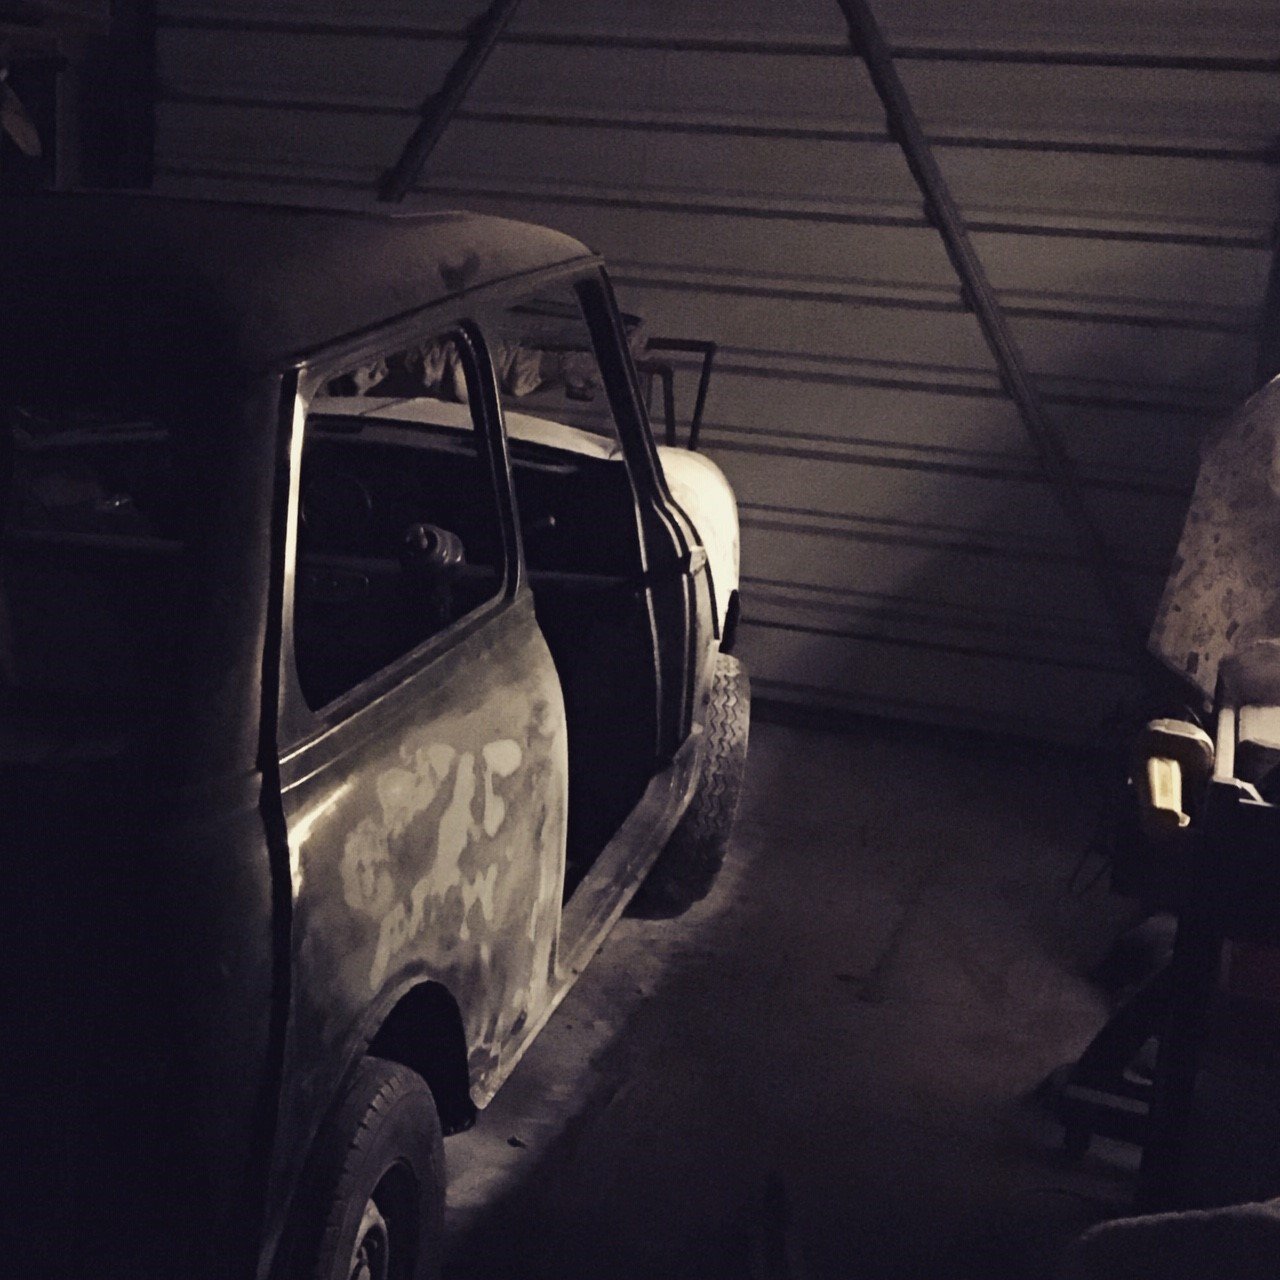
Just a quickie. More filler work this week, should be able to shoot the primer in a few days. I came across another boo boo, this panel has a very slight sweep back to the wheelarch but someone has done a bit off repair in the lower corner (probably just burried the mig in it) and distorted the panel. Only way to fix is to cut it again to relieve the stress on it. A few mm makes a massive difference here... Also, cue artsy shot....
1 point


.JPG.54bc86c29e66ff4f1548ad8a48564829.JPG)

This leaderboard is set to Auckland/GMT+12:00