
Leaderboard


Popular Content
Showing content with the highest reputation on 09/21/17 in all areas
-
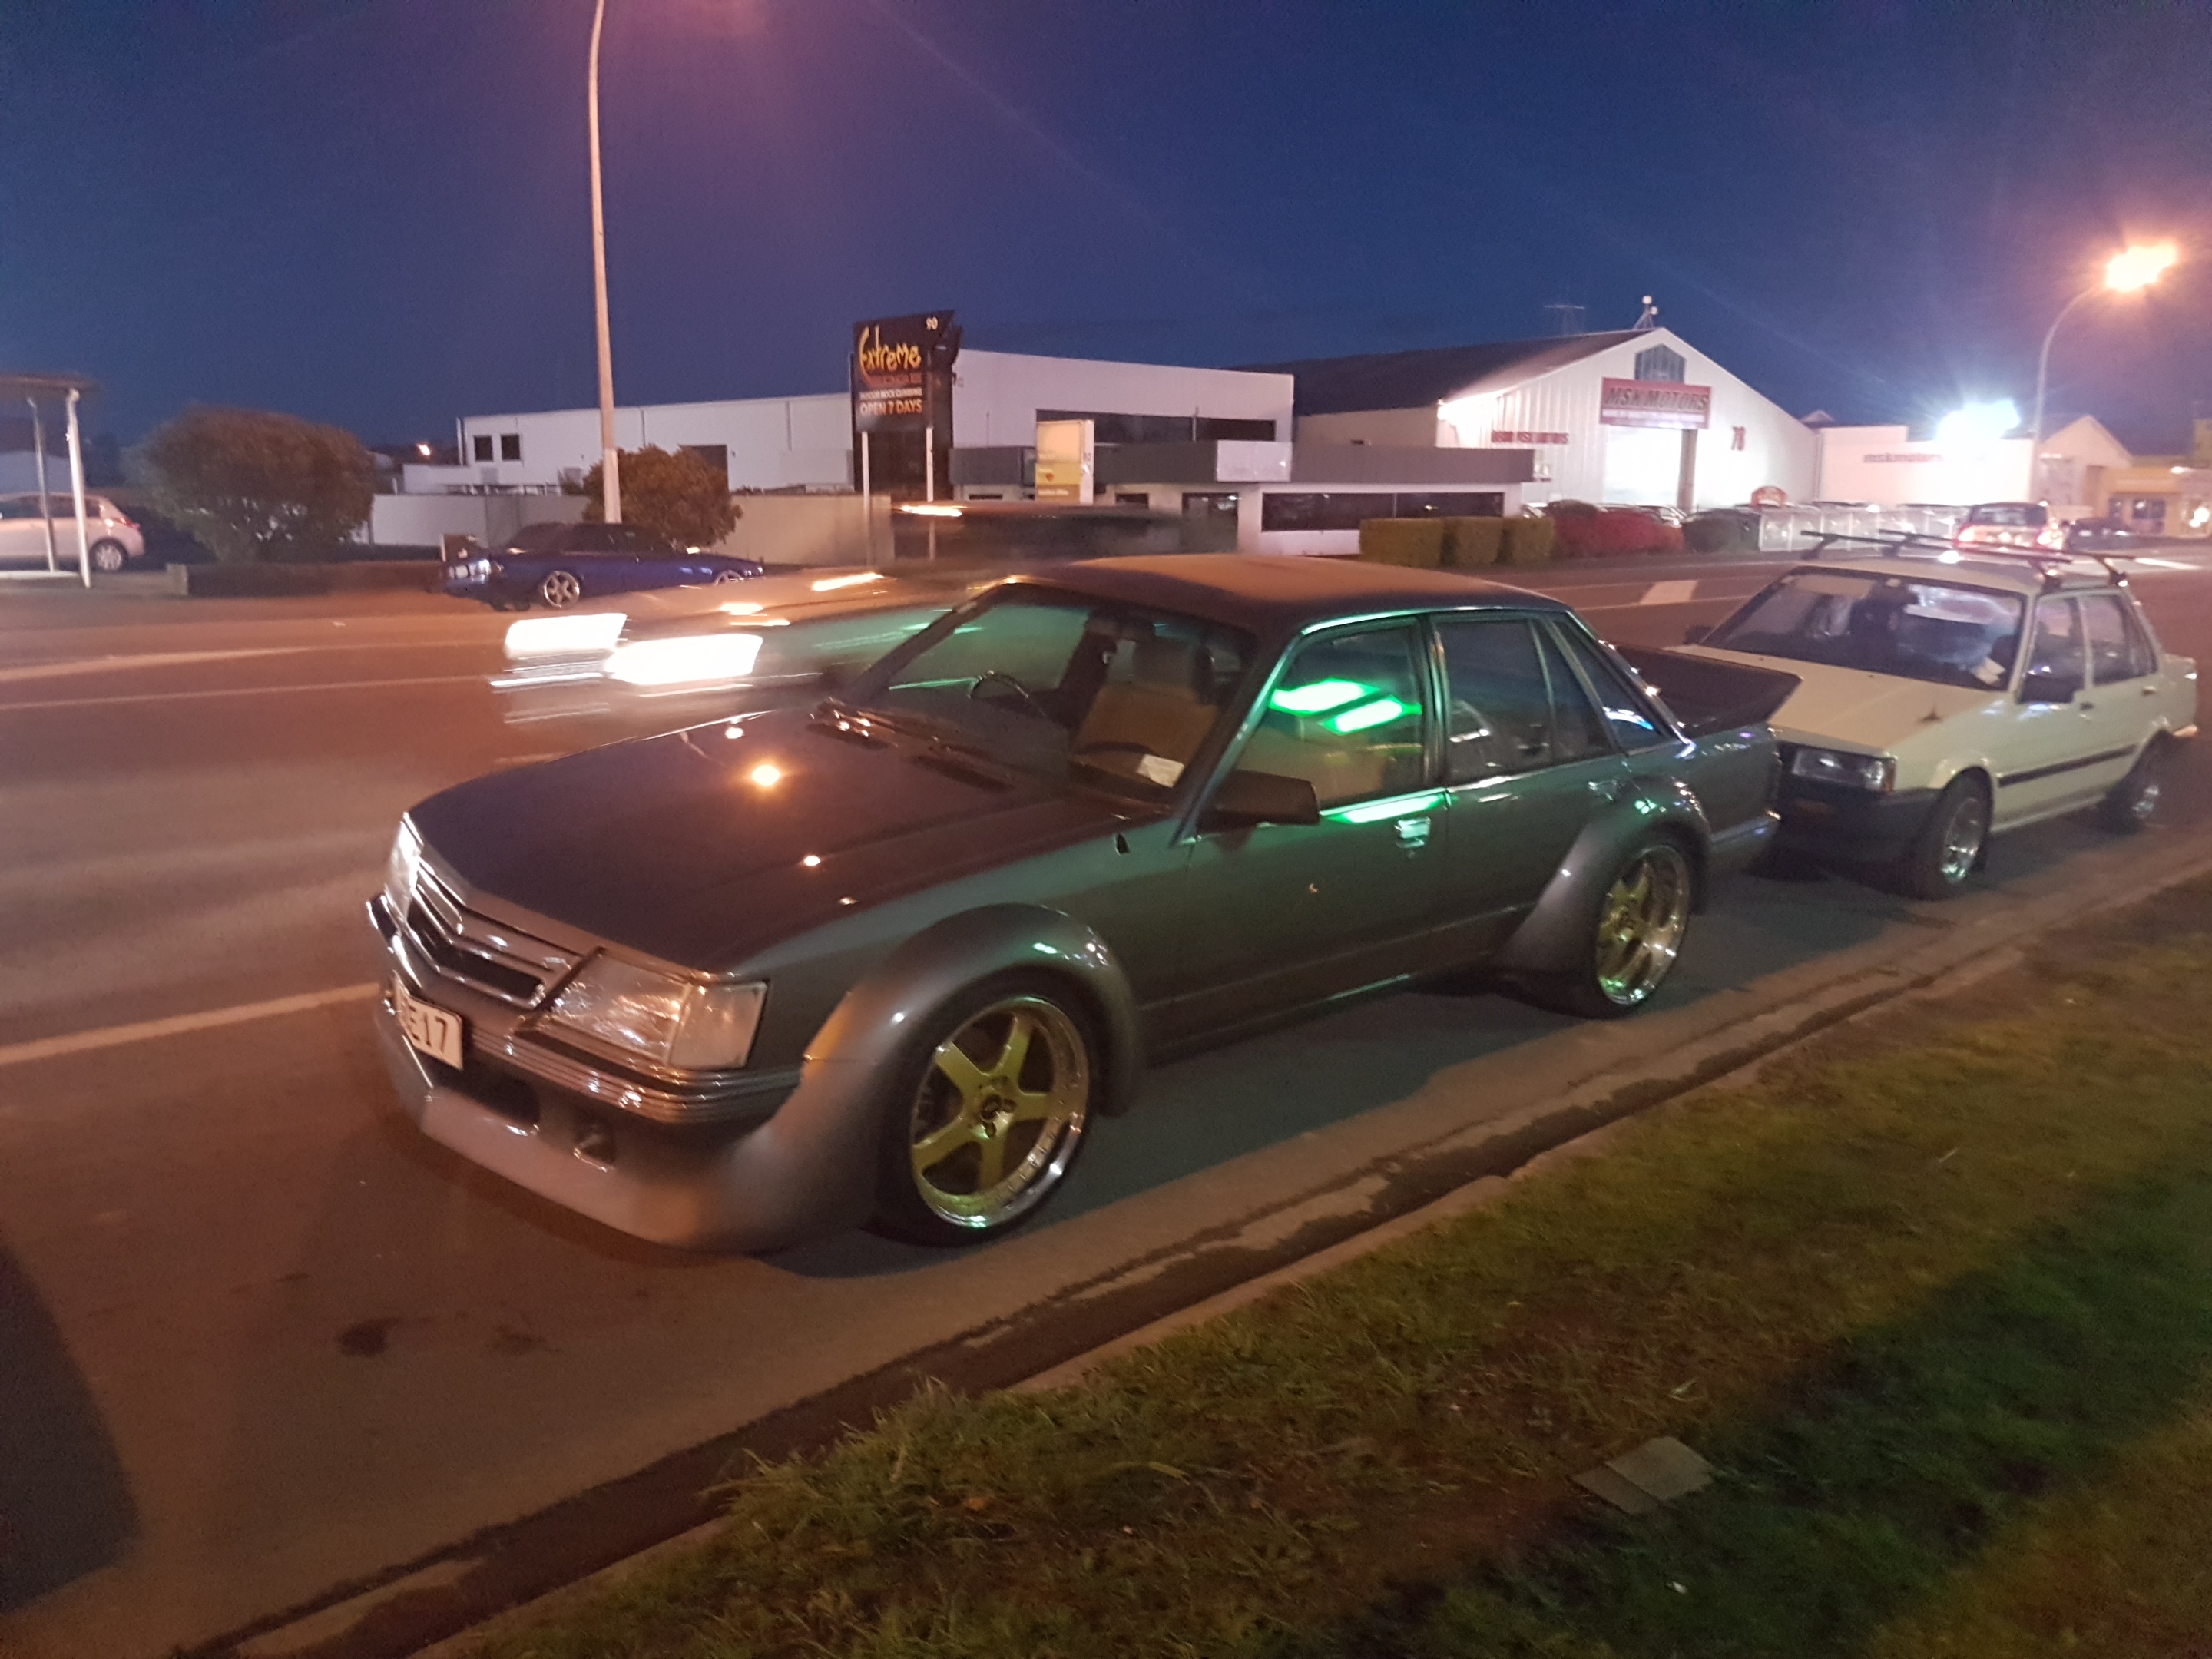
Well it's a year later and the only change is that is has grown plenty of lichen. Took the diff head out and had a go at fixing the LSD and crazy noise it has, that didn't work so I took it back out and tightened up the backlash a bit more, that didn't help either. Tried to do skids, single spinner, tried some more and it starts missing and running like shit. Because of how miserable it is to take the head out, I've been ignoring it. I did however just order a carb rebuild kit. I also just realised most of my pics no longer work, ah well.12 points
-
Time for another update? Might as well be! This afternoon I started assembling some of the new genuine parts, first off the new battery cover got a black knobing Then I fitted up the air vent flap to the new cowel, with all new screws and spring etc, genuine decal was the cherry on top lol + Need to talk to @Archetype about doing some replacement/custom Gyro stickers at some point too. Among the parts that came this morning was every bolt m6 and smaller from a wrecked Gyro in Japan, I just needed 4 that hold the floor on as mine were rusted out, they were 263JPY each for new ones from Honda (they have an oddball sized shank piece so are Honda specific), I got every single bolt from a Gyro for something like 250JPY, my mate in Japan kept all the bigger ones among his stash which helped to keep the shipping weight down. Soaked them all in vinegar for a few hours and they all look like new now, mint!9 points
-
Just drive around with a goon bag of Country Red wine under your shirt and you'll never need cup holders again. Bonus: If you spill some, It will stain faded parts of the interior back to new! Better living everyone.5 points
-
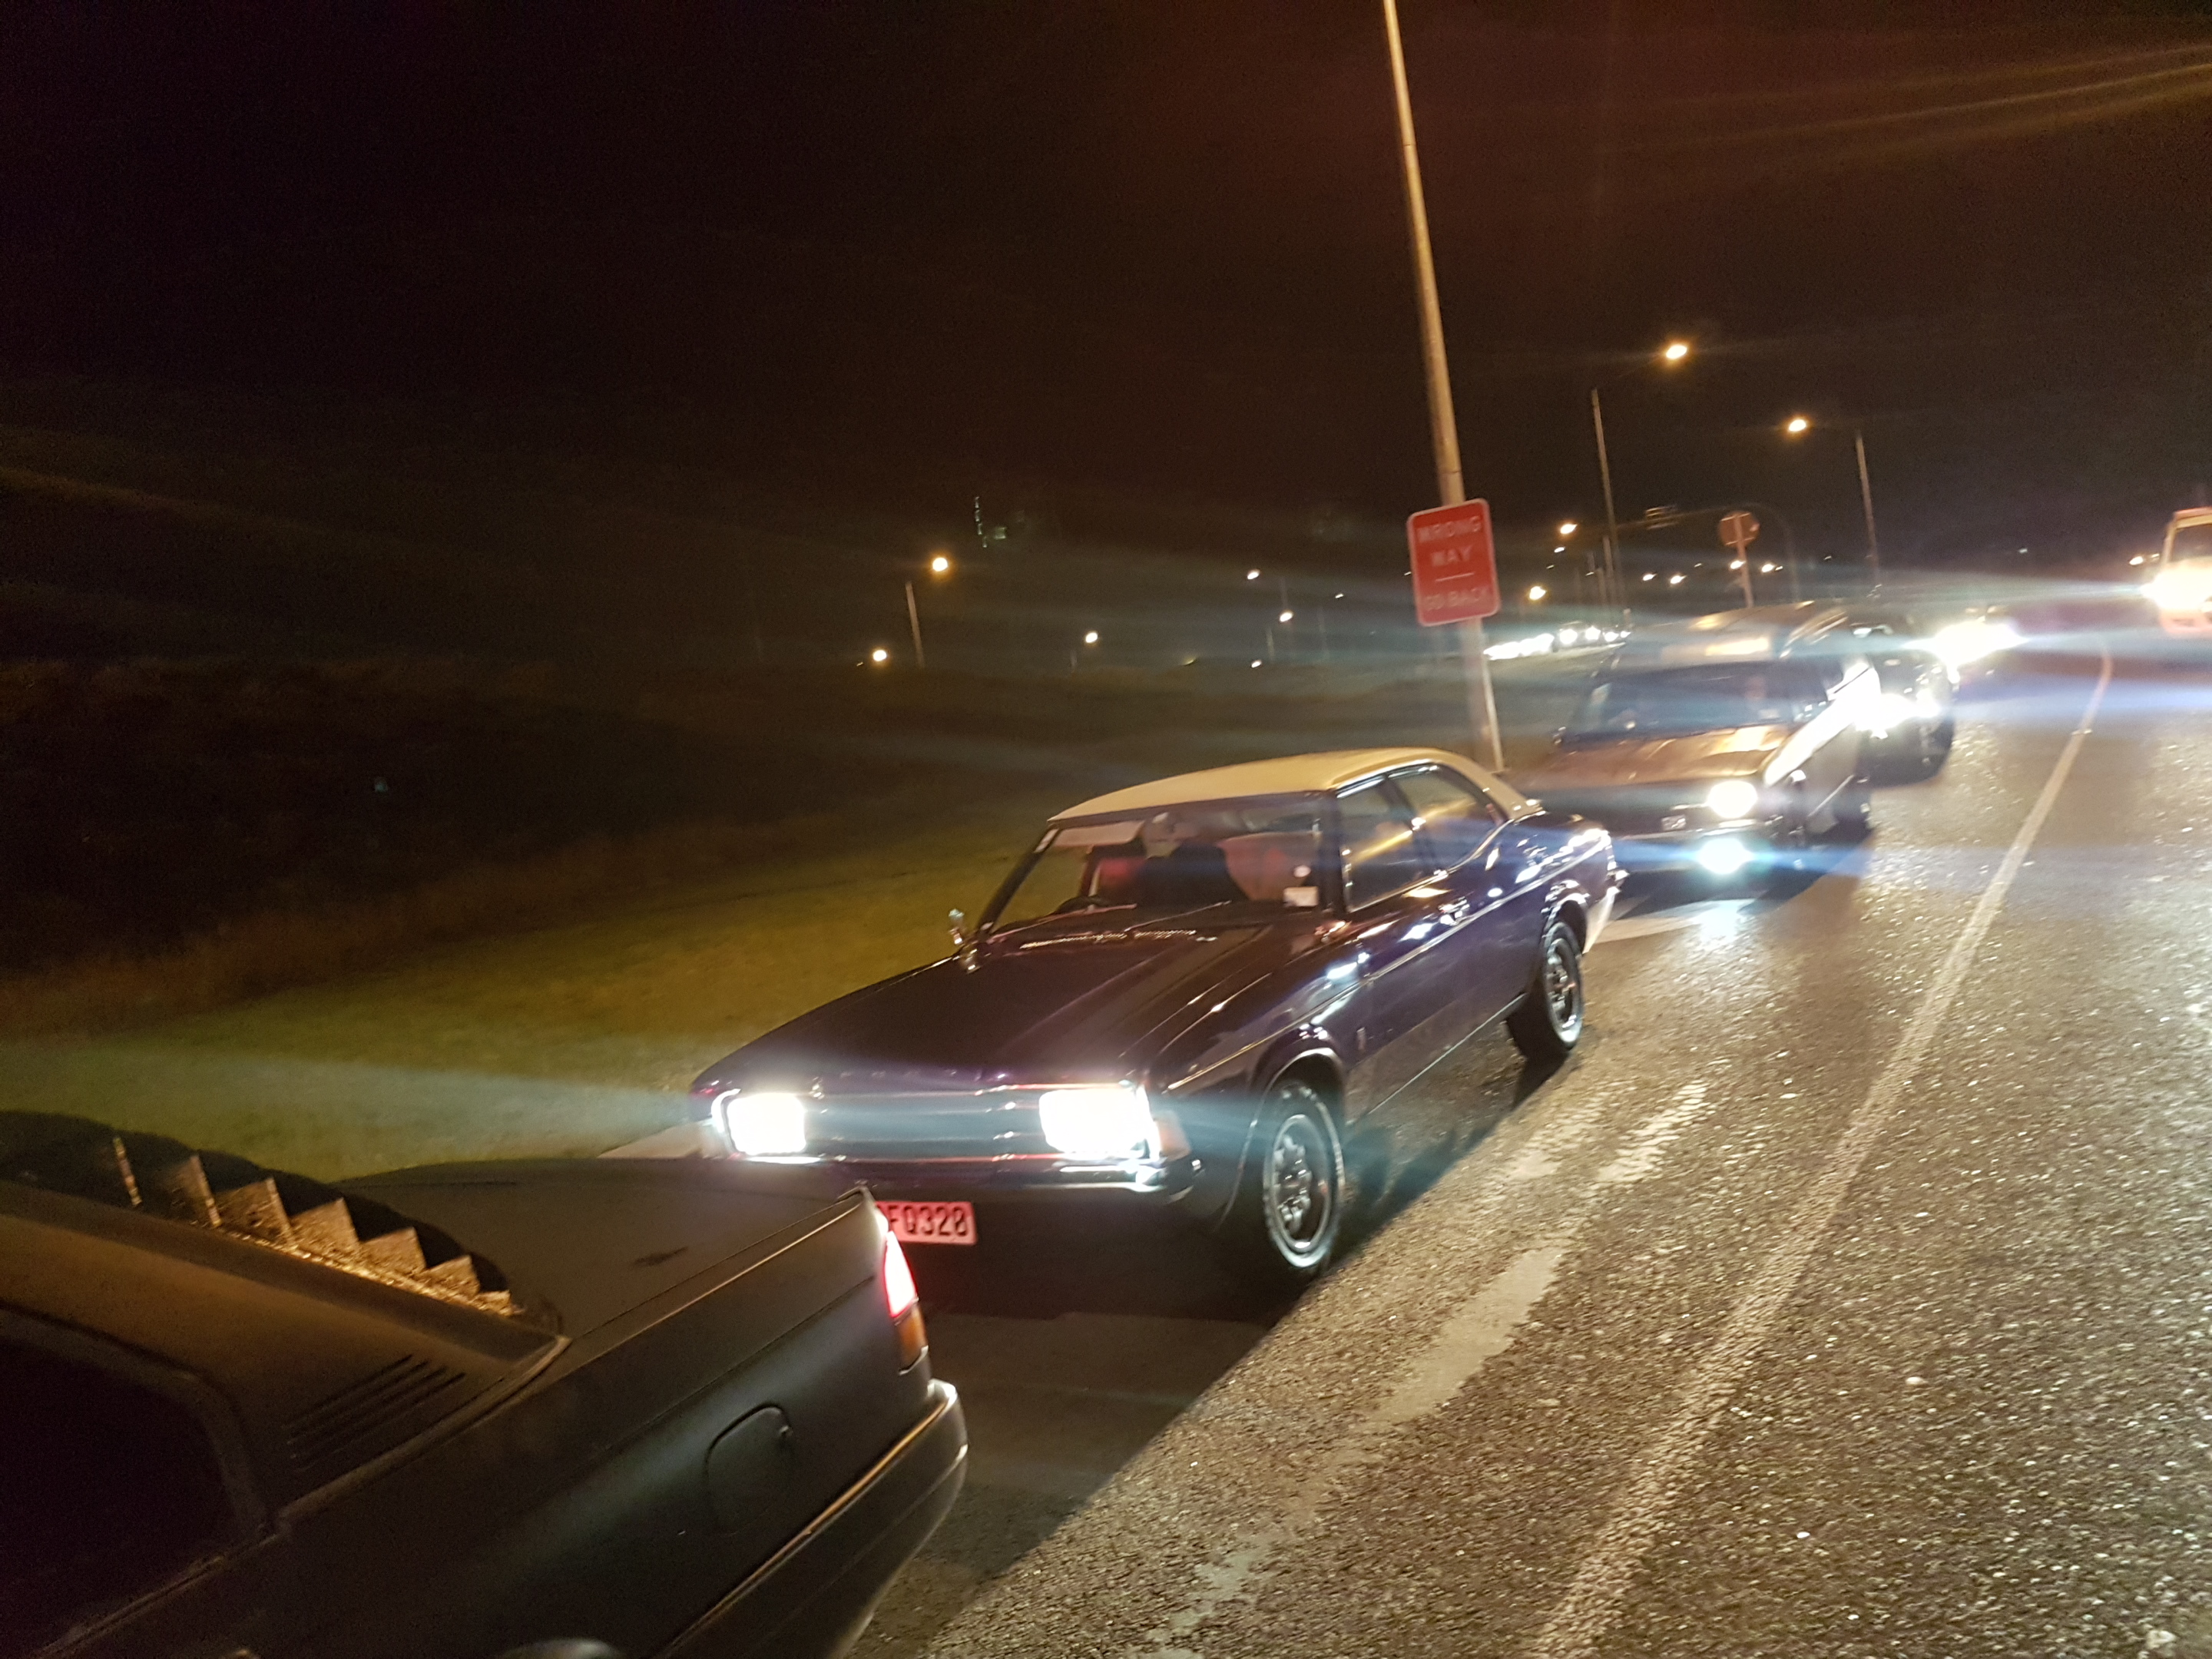
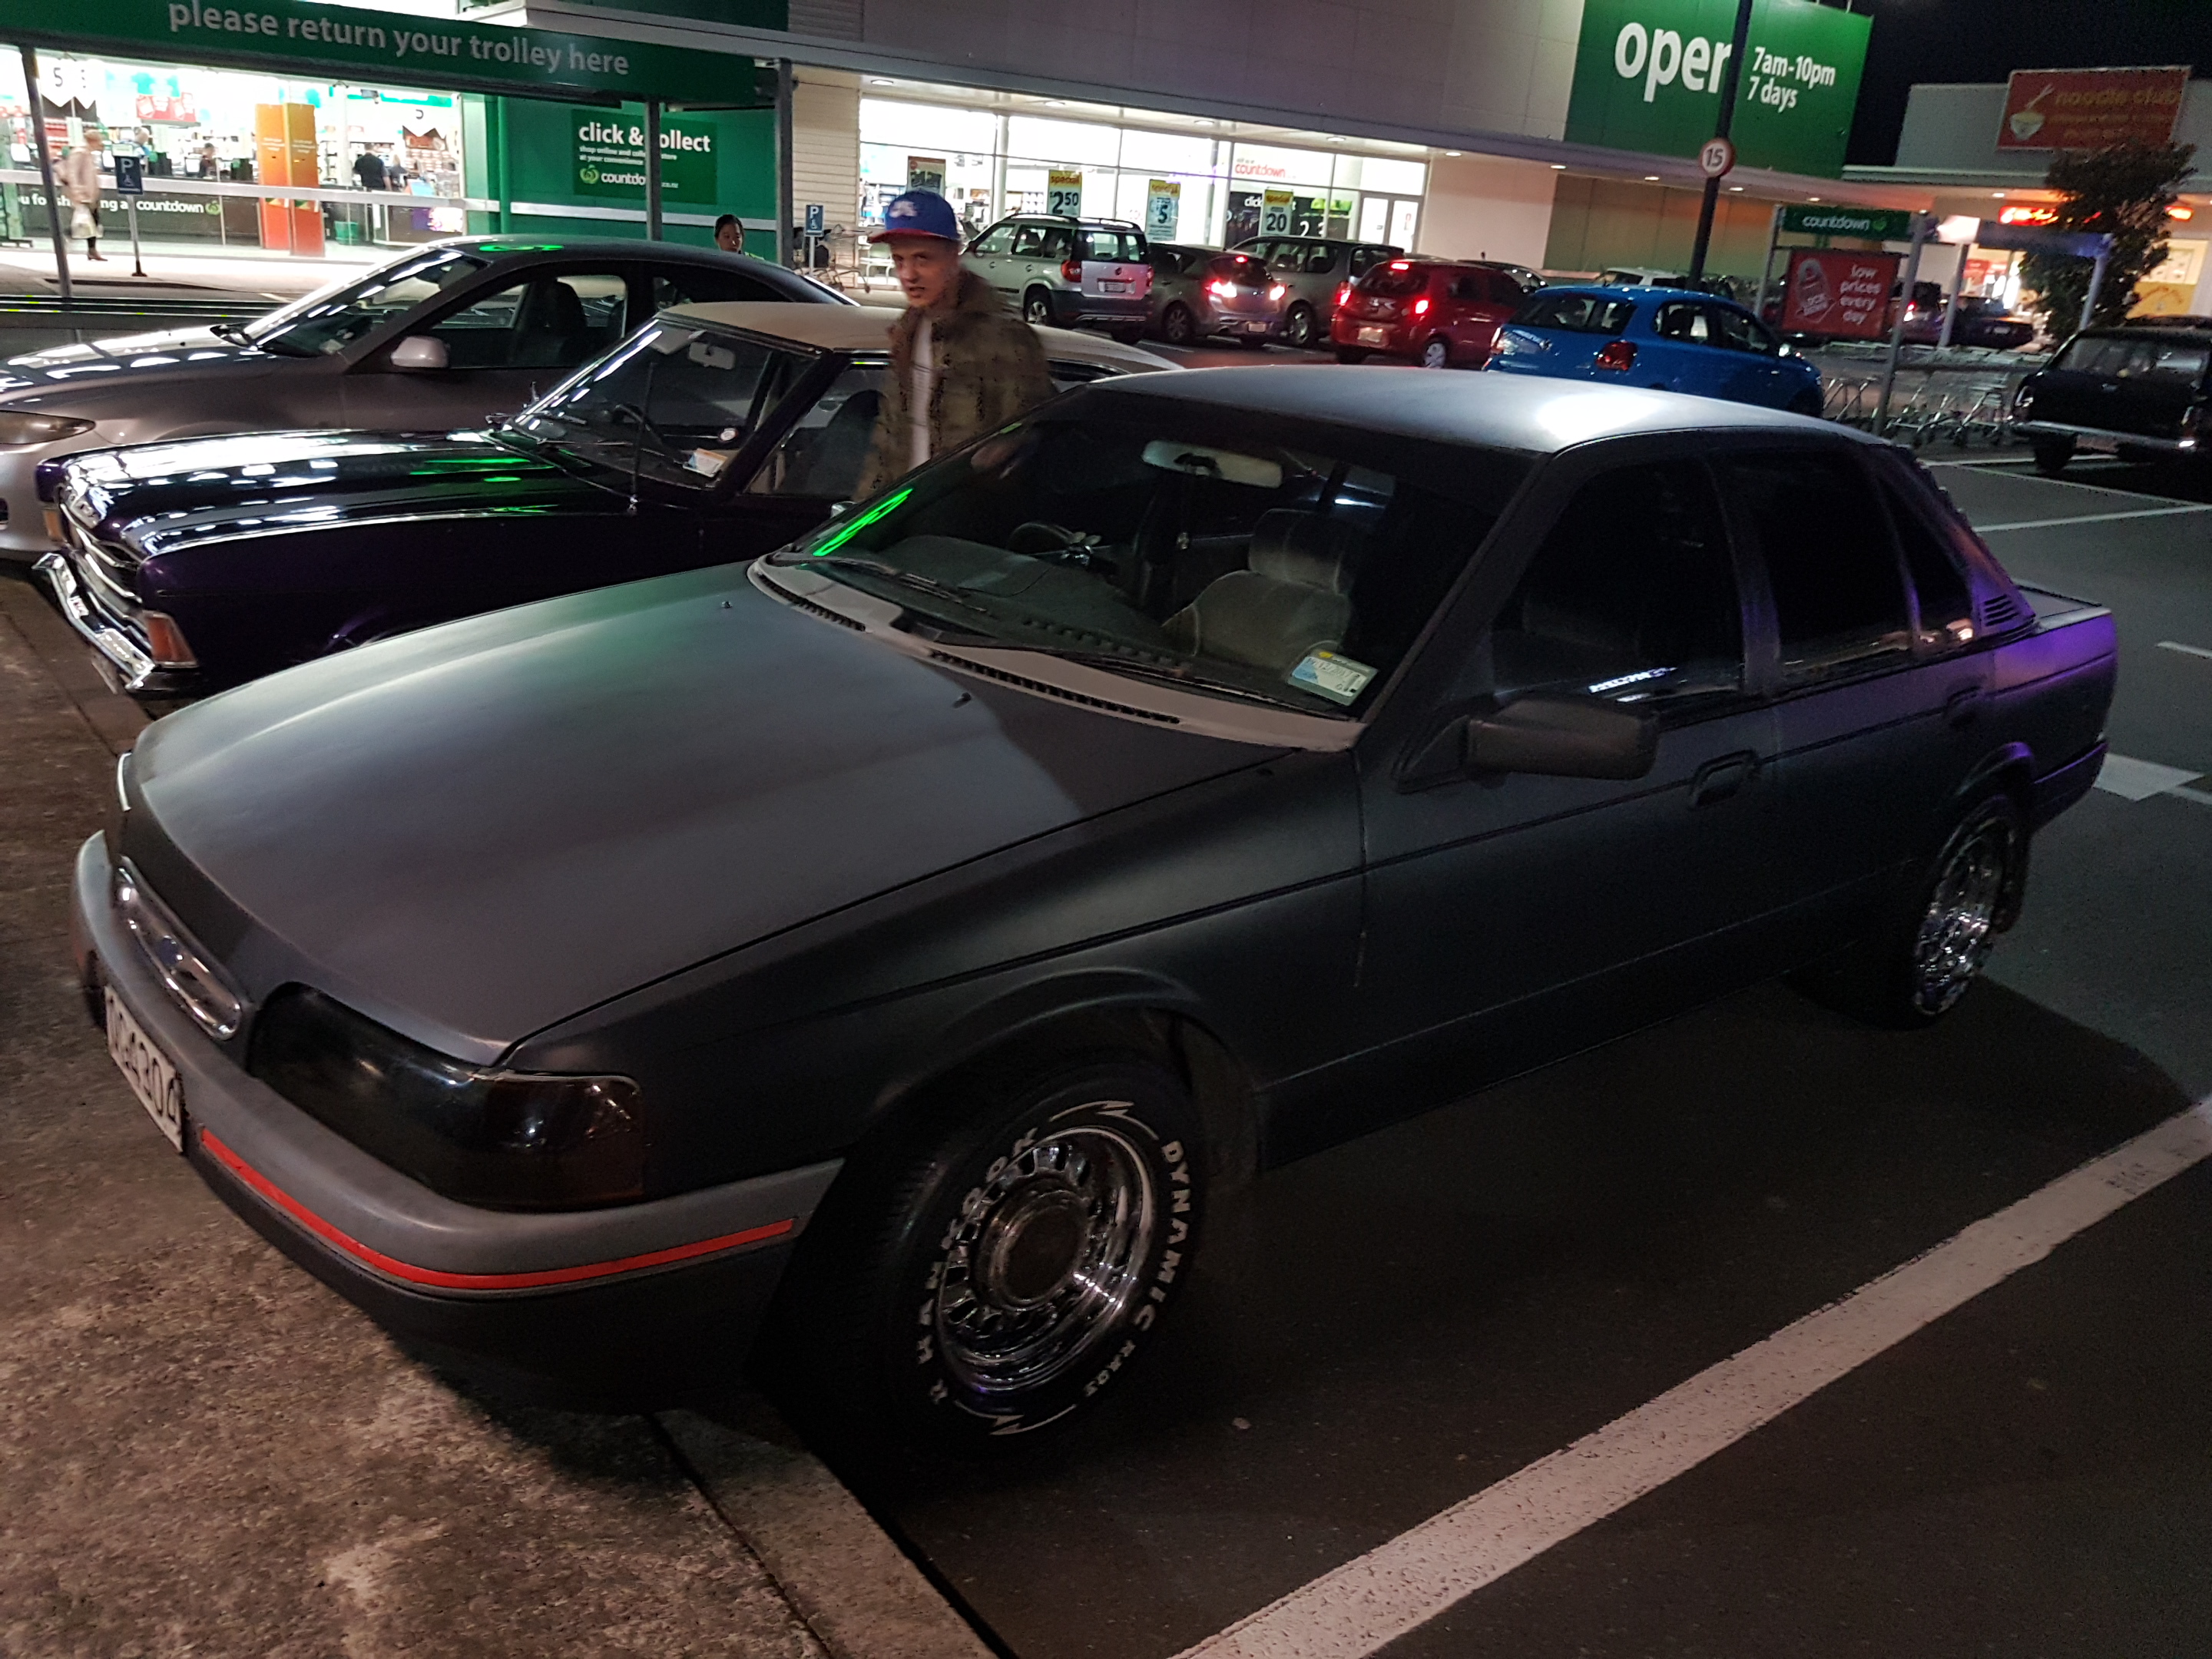
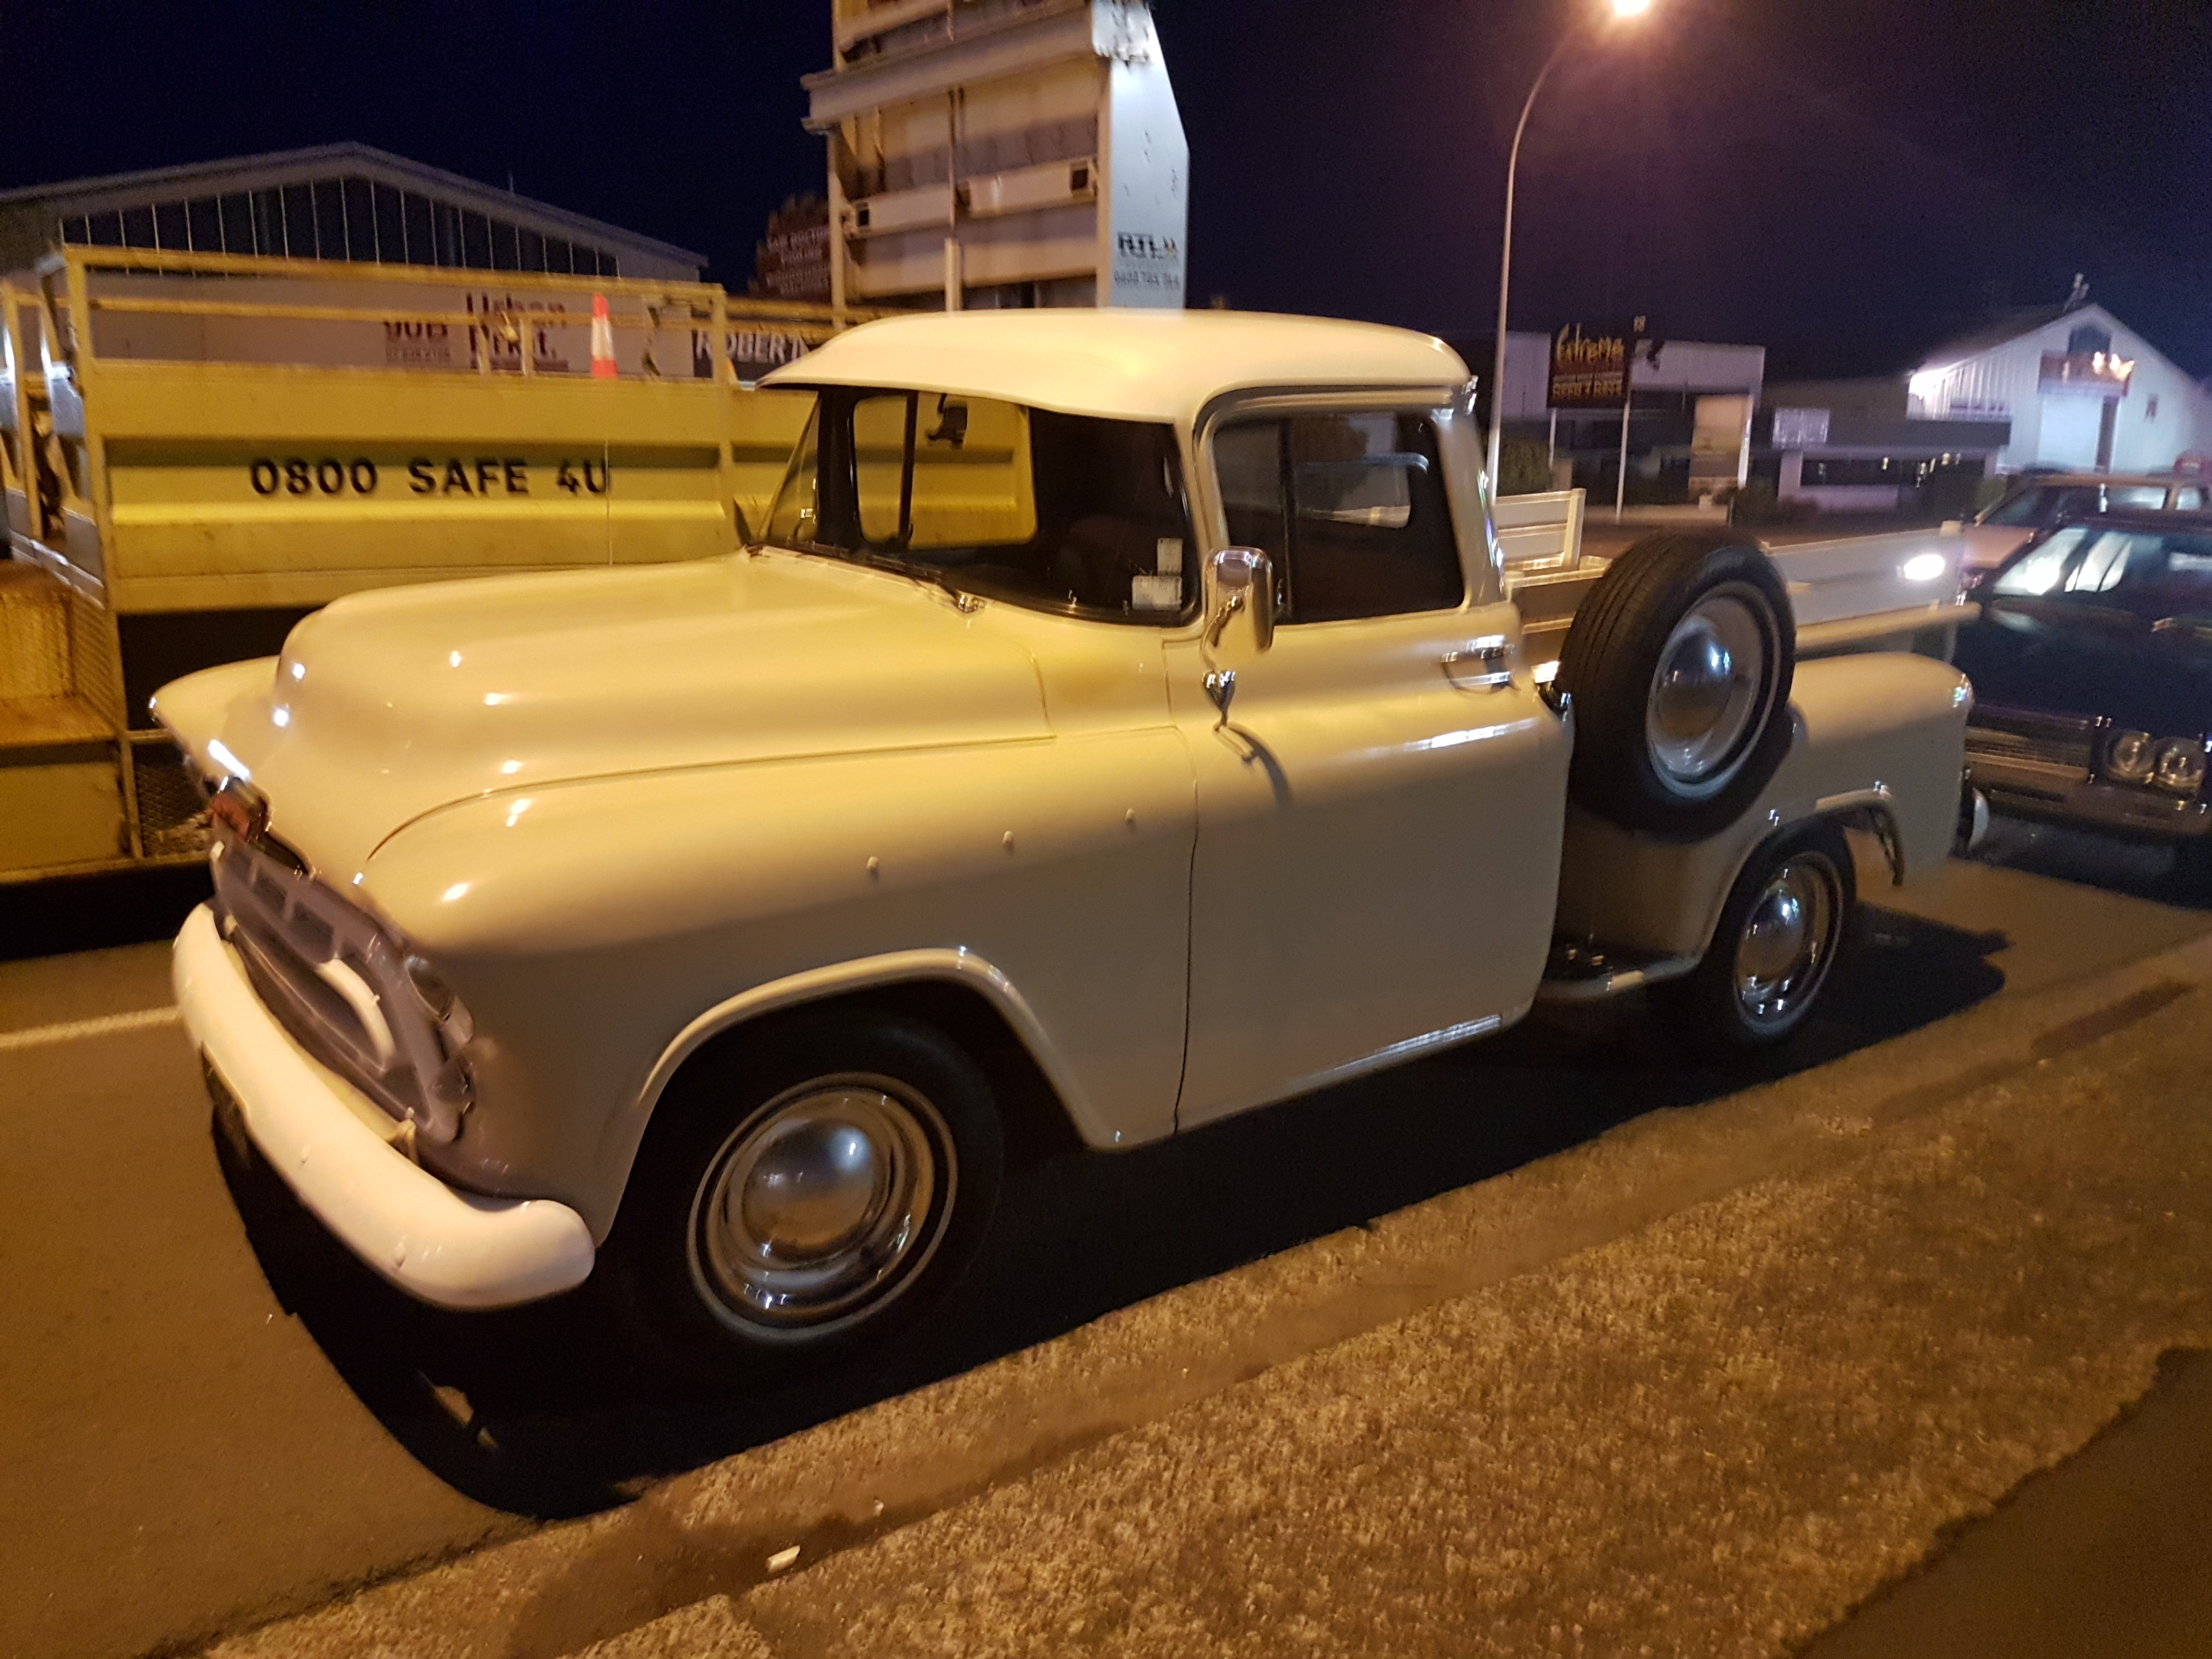
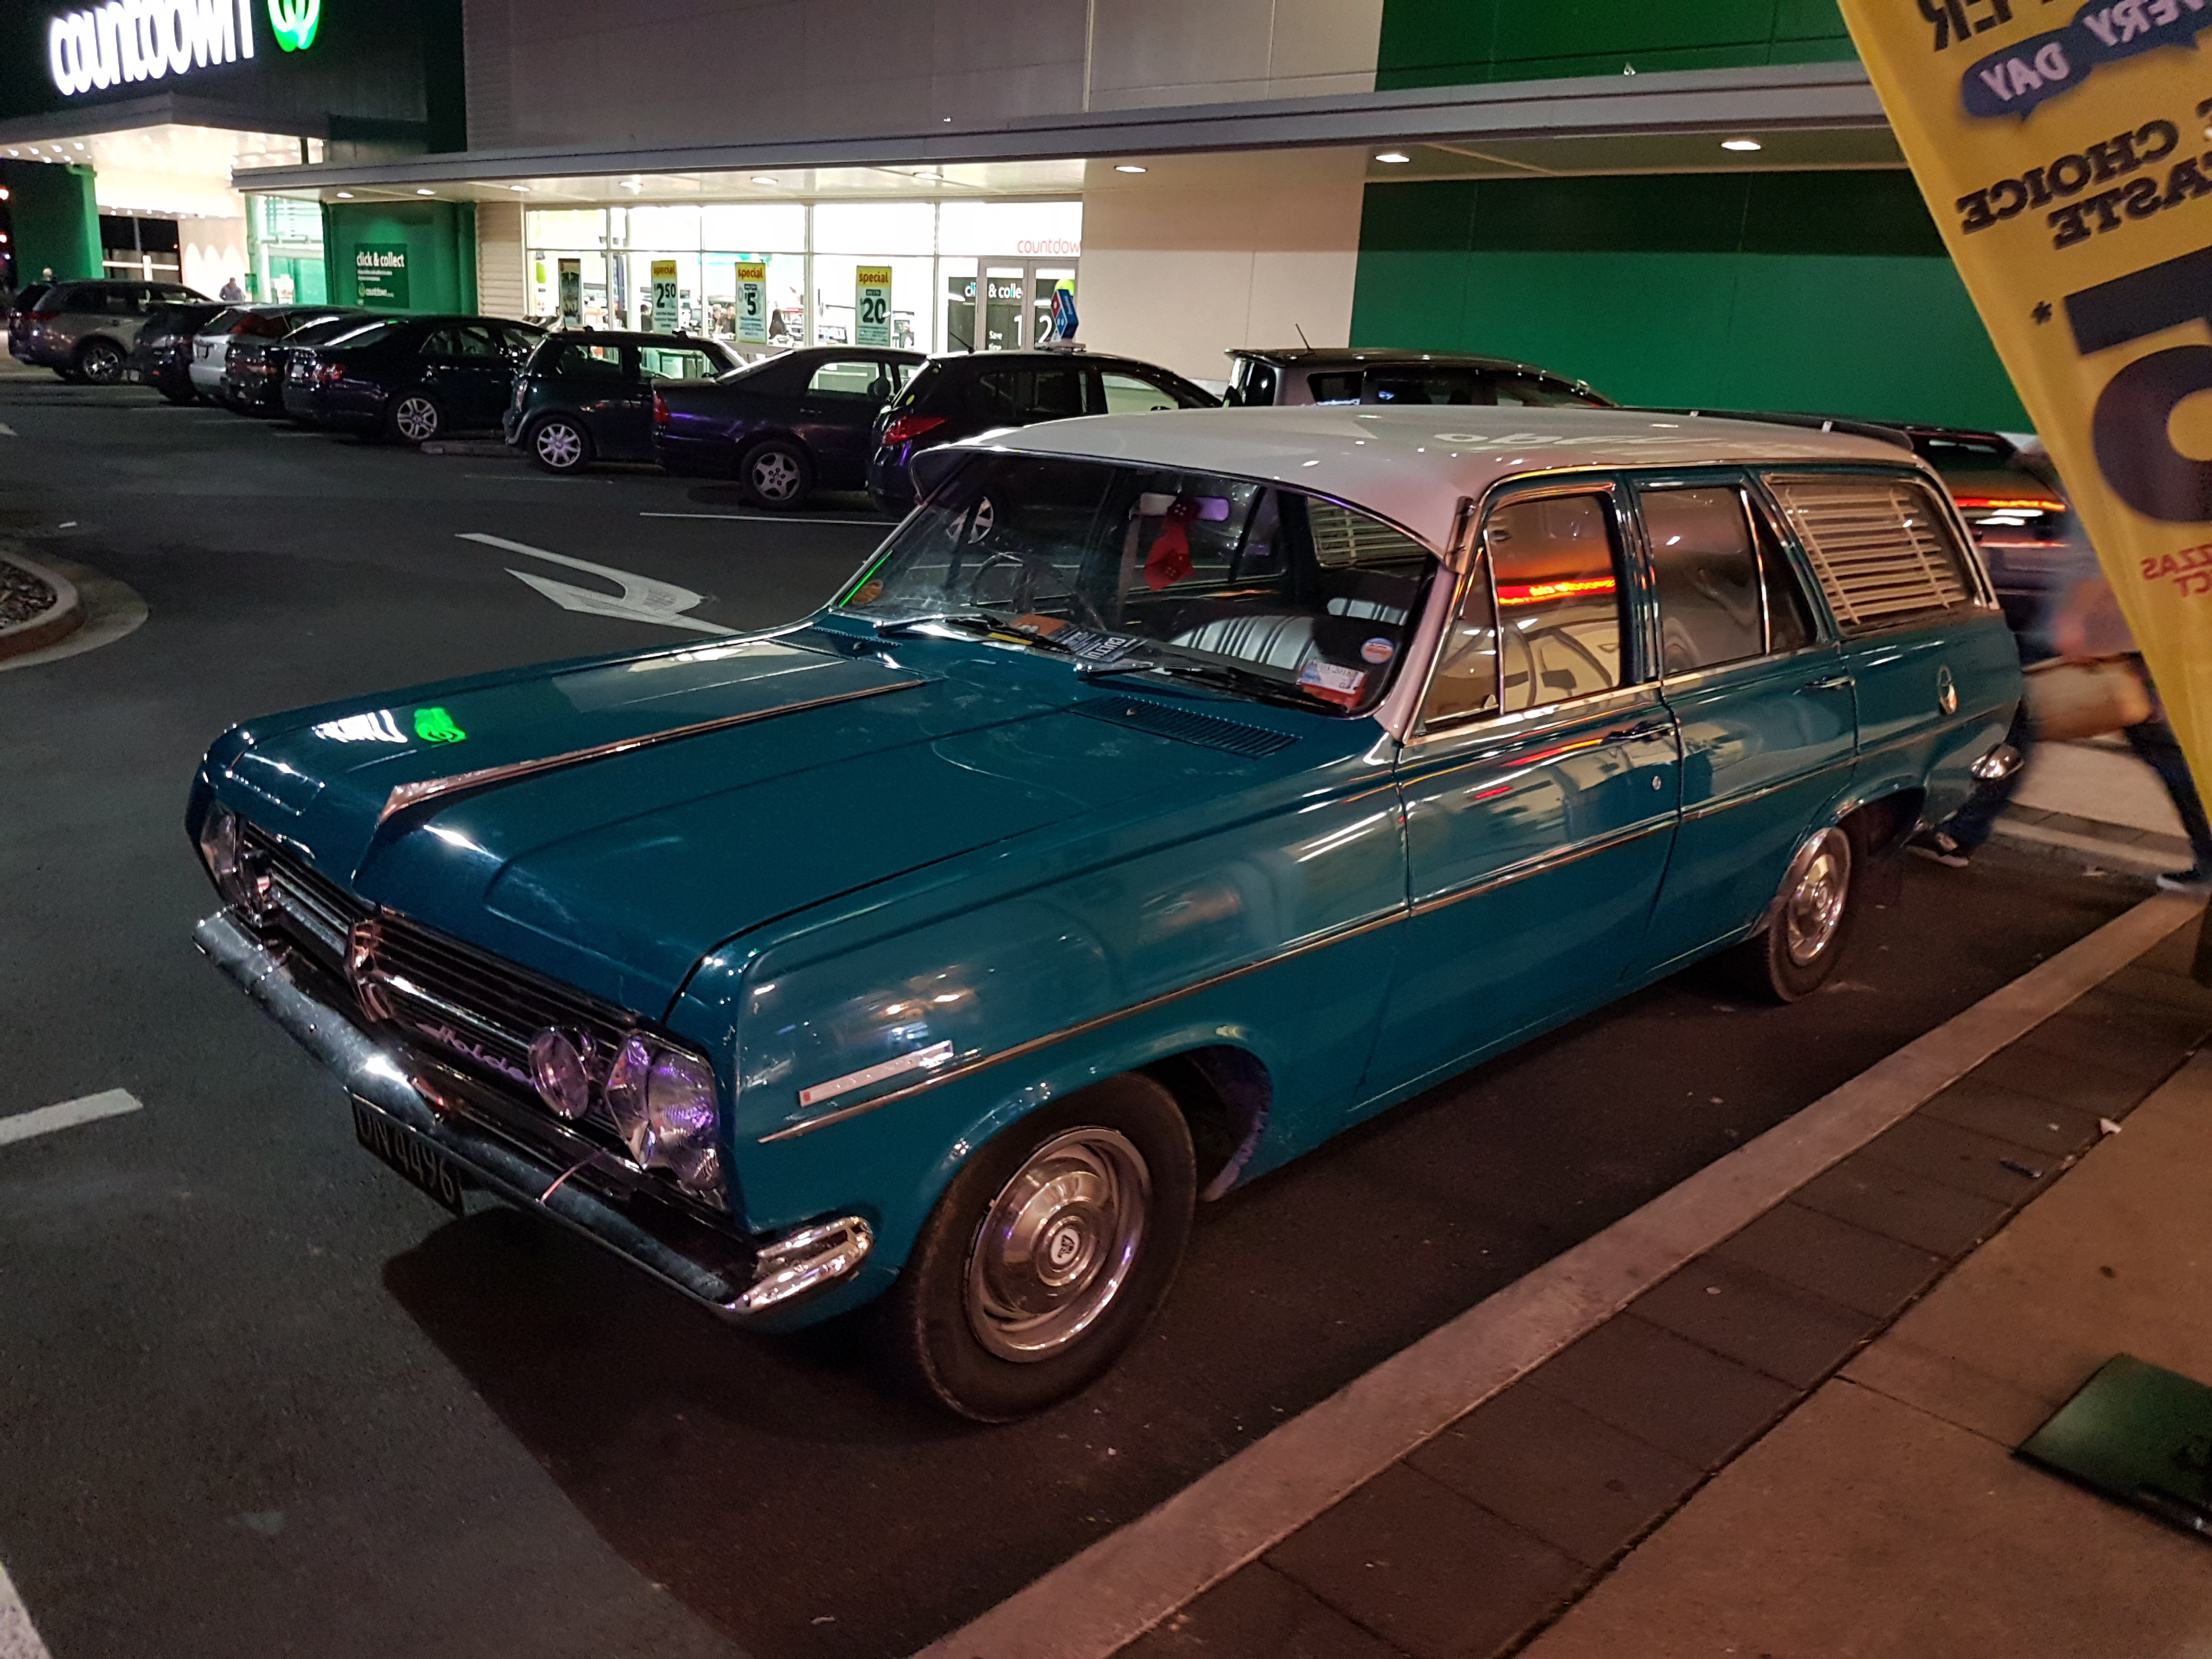
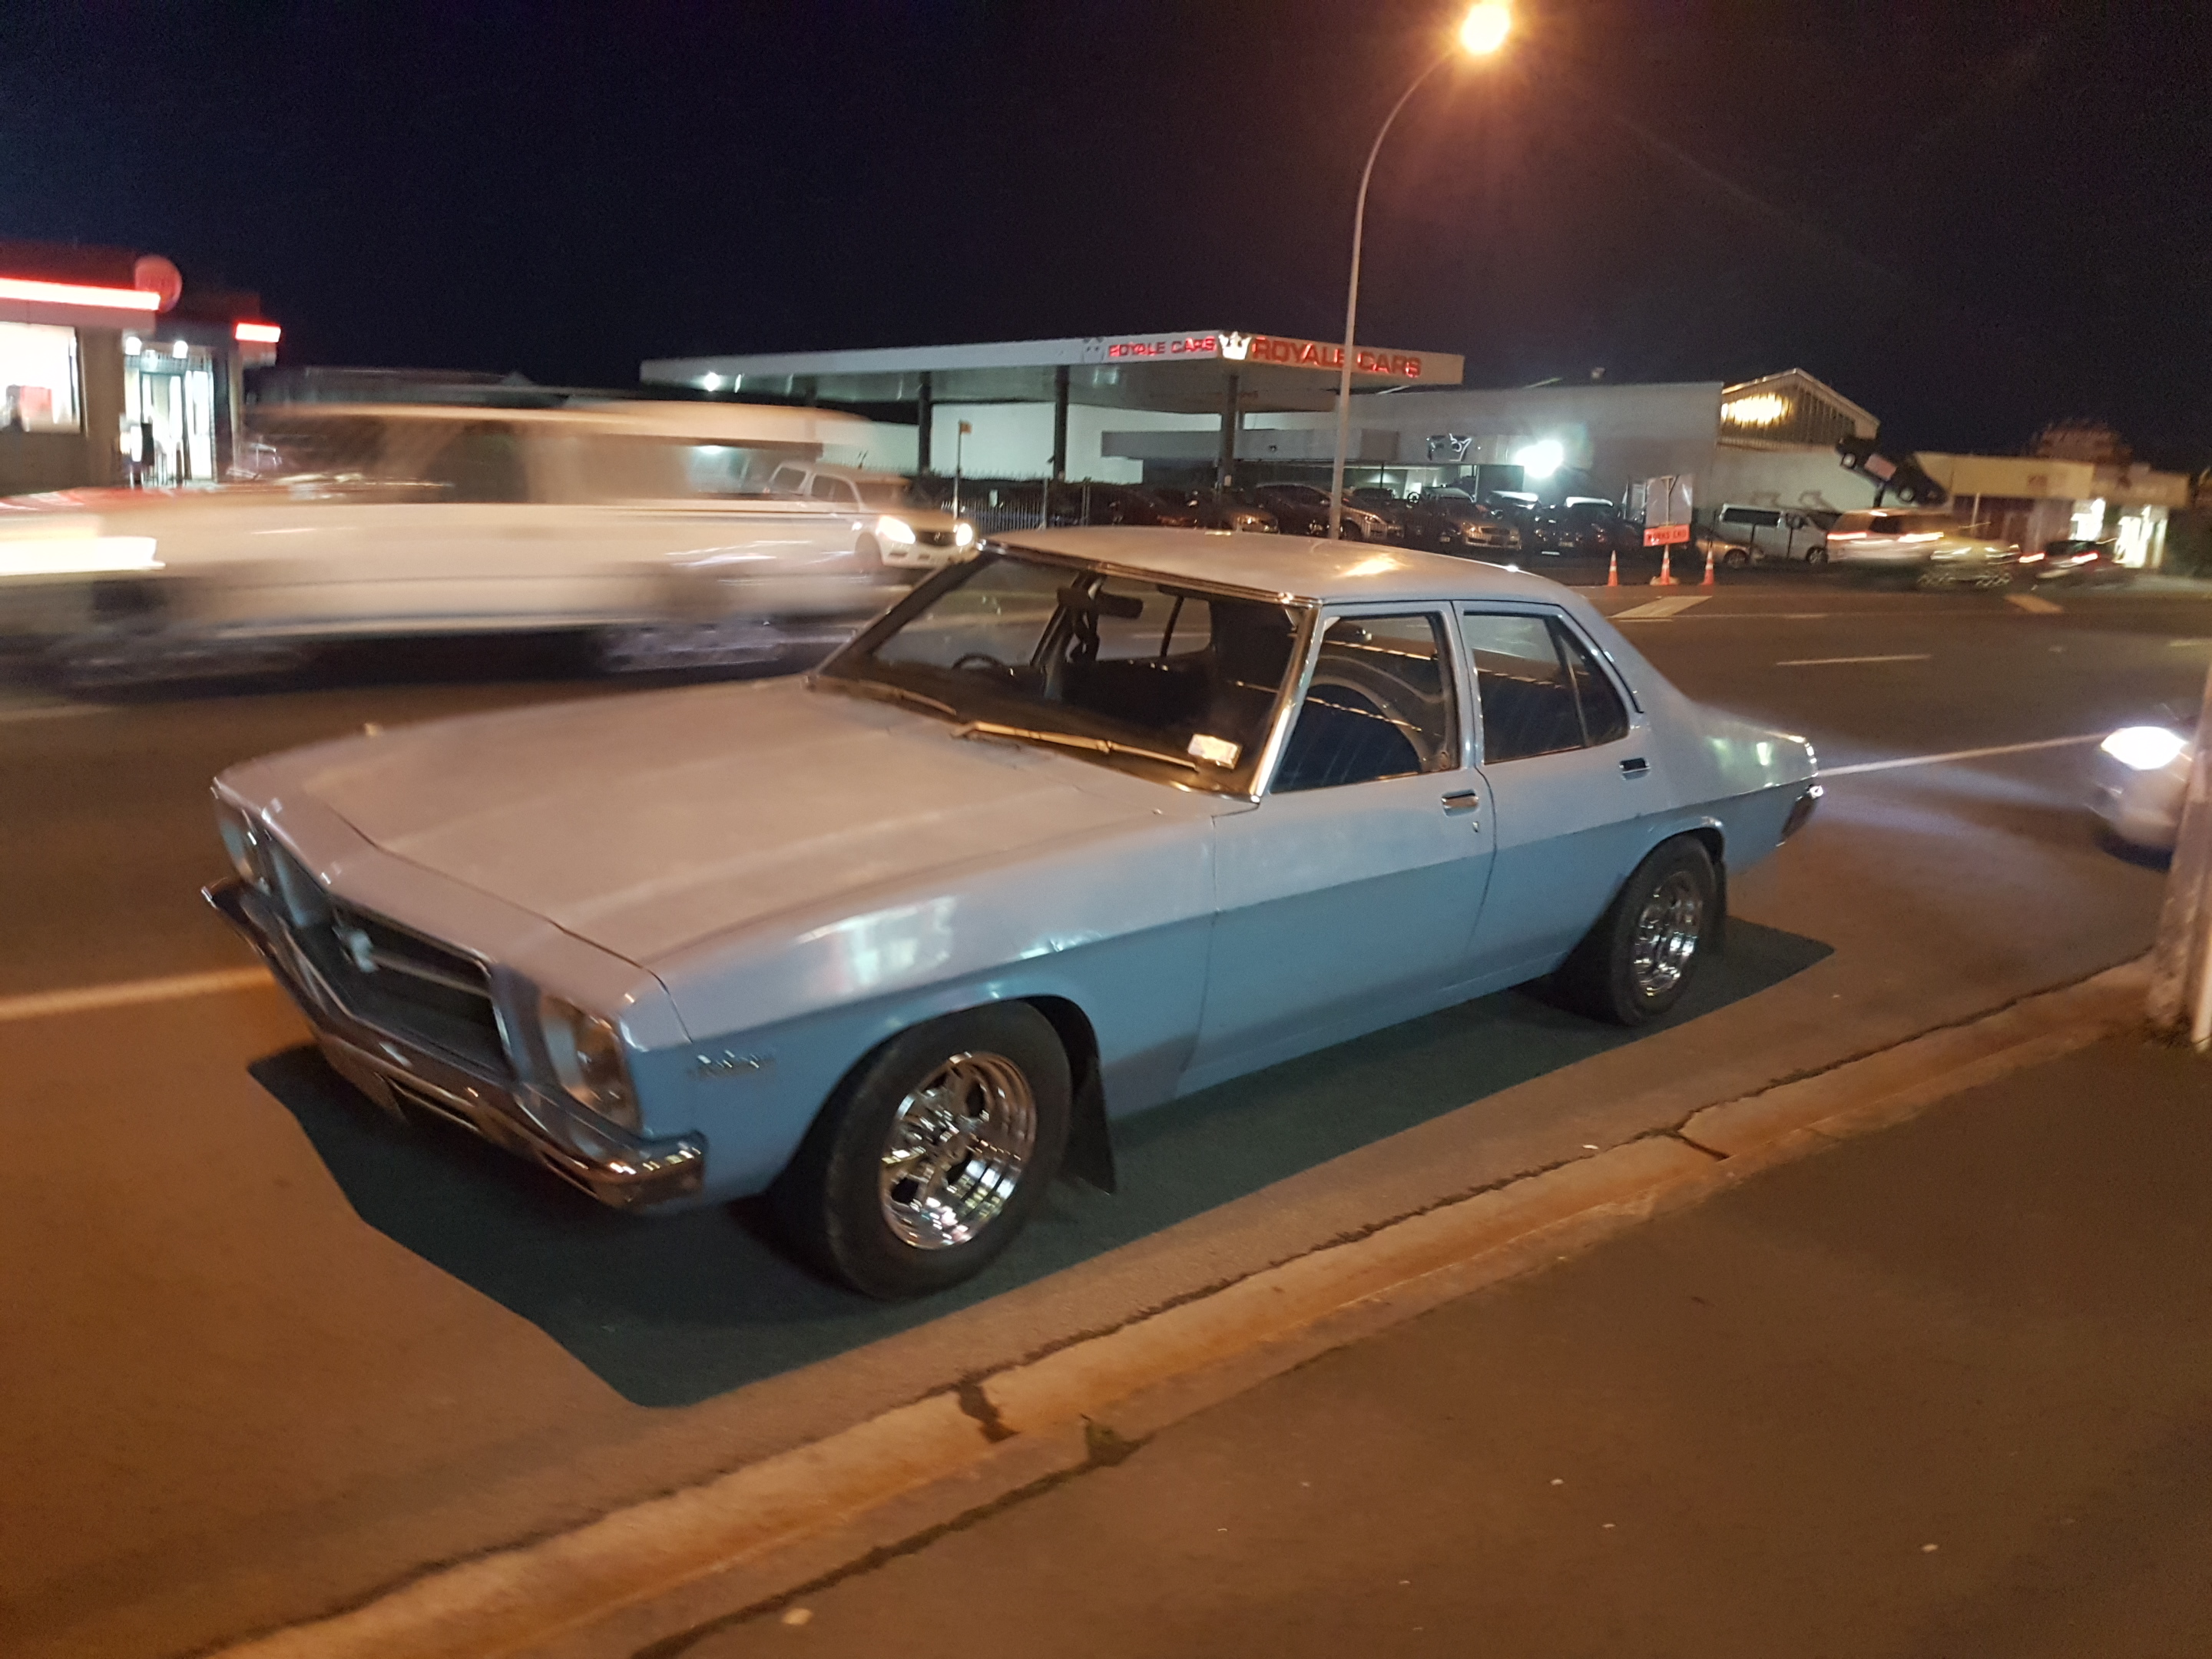
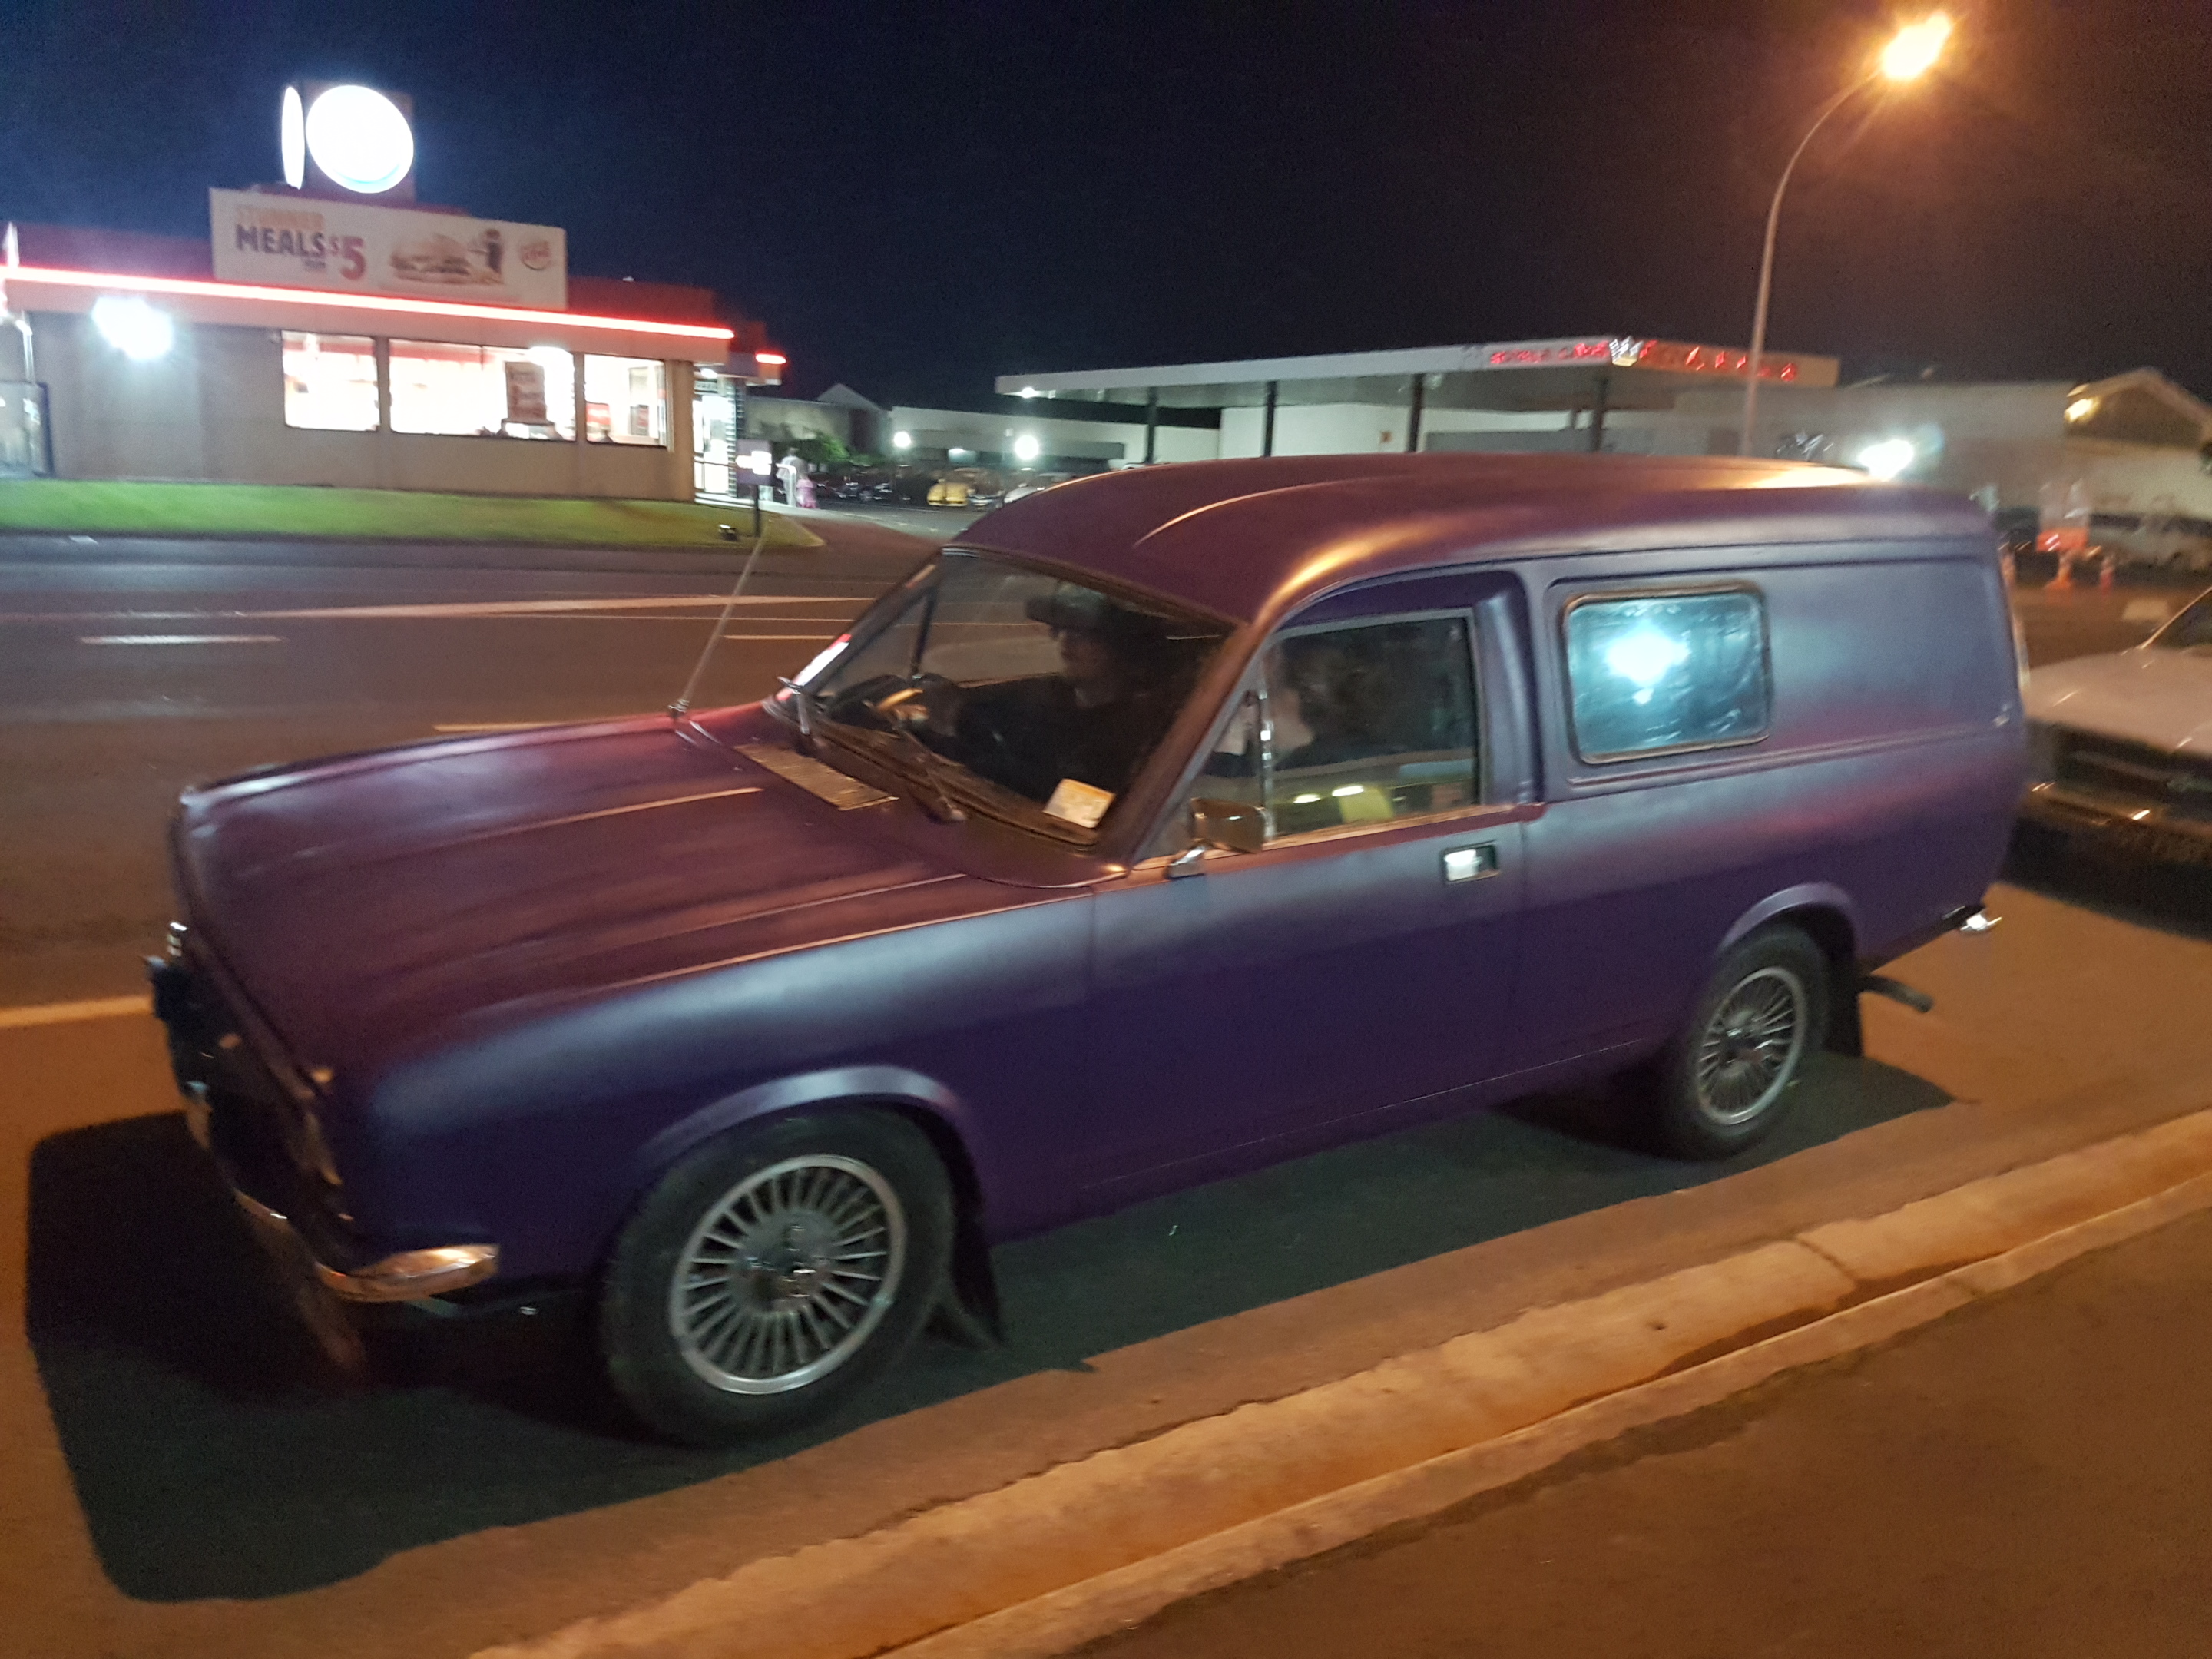
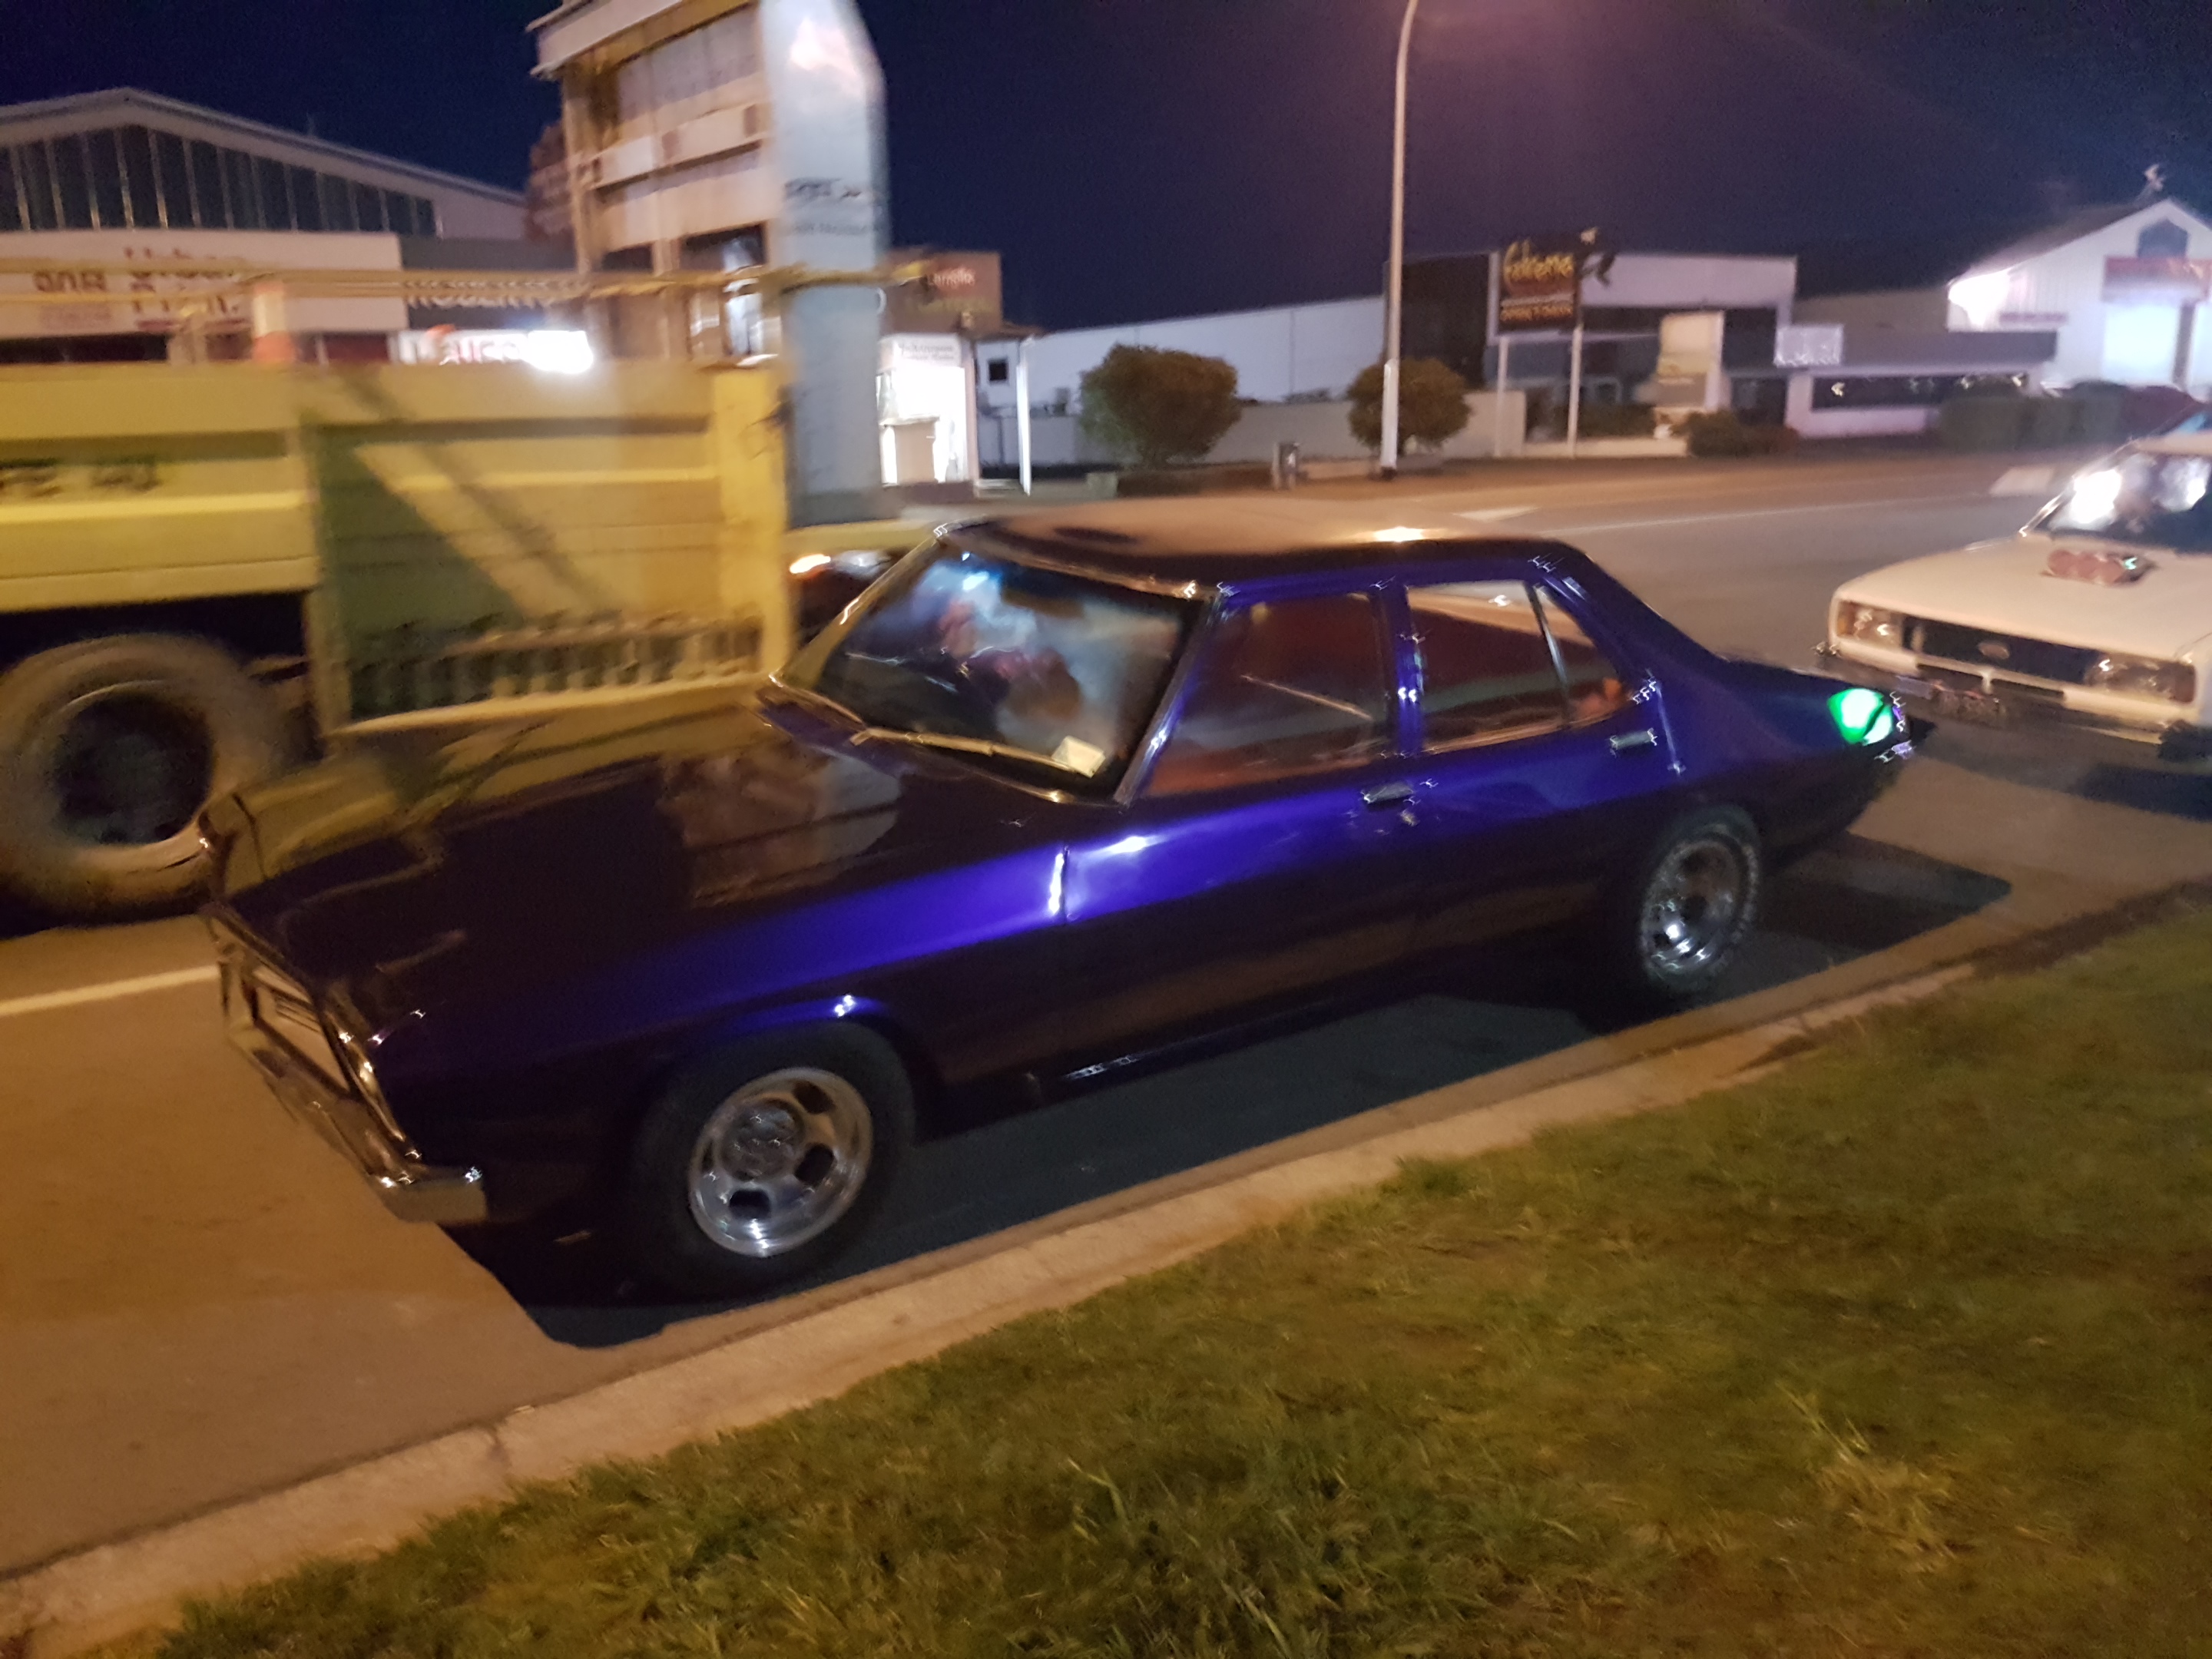
On the way home I did a lap of porsche guy's territory It was getting late but I didnt want him to miss out on old car sounds5 points
-
I got the van back together yesterday, and drove it around today dropping off some parts for work. A few minor issues to sort, but it runs really well! Anything more than half throttle from a standstill will turn 2 of the 4 rear tyres into tyre smoke! The power steering is fantastic, although a bit "pointy" now, I will fit another castor wedge in there to try and help with this. The new big bore stainless exhaust sounds so sweet, not too noisy when you are cruising, but has a nice deep bark when you put the slipper in! Still need to fit the evaporator into the heater box and connect up the air conditioning, but other than that it is basically finished. Super happy with it! A few pics of the finished product: The pulleys run really close to the radiator fans! I also fitted a smaller pulley to the blower to up the boost to 10 psi Roll on OS drags Mk5! Big thanks to Muncie for the loan of the blower pulley tool Mk3 power steering box, with hybrid Mk2/Mk5 steering column: I needed to make an extra auxiliary wiring loom for the engine, and fitted relays to the headlights, and horn while I was at it. That is 7 micro relays, 4 mini relays and 16 fuses! I tried to make it look as "factory" as possible, so moved the battery tray to the RH side, and fitted the original airbox (which I had to modify a little bit) to the LH side.4 points
-
Parcel from Japan arrived this morning Million times better than the floor mount I was dealing with. Fucked up my list and ordered a new battery hold down piece rather than the battery seat I need. Just waiting on my levers to arrive and I think I'll be about ready to get it back together!4 points
-
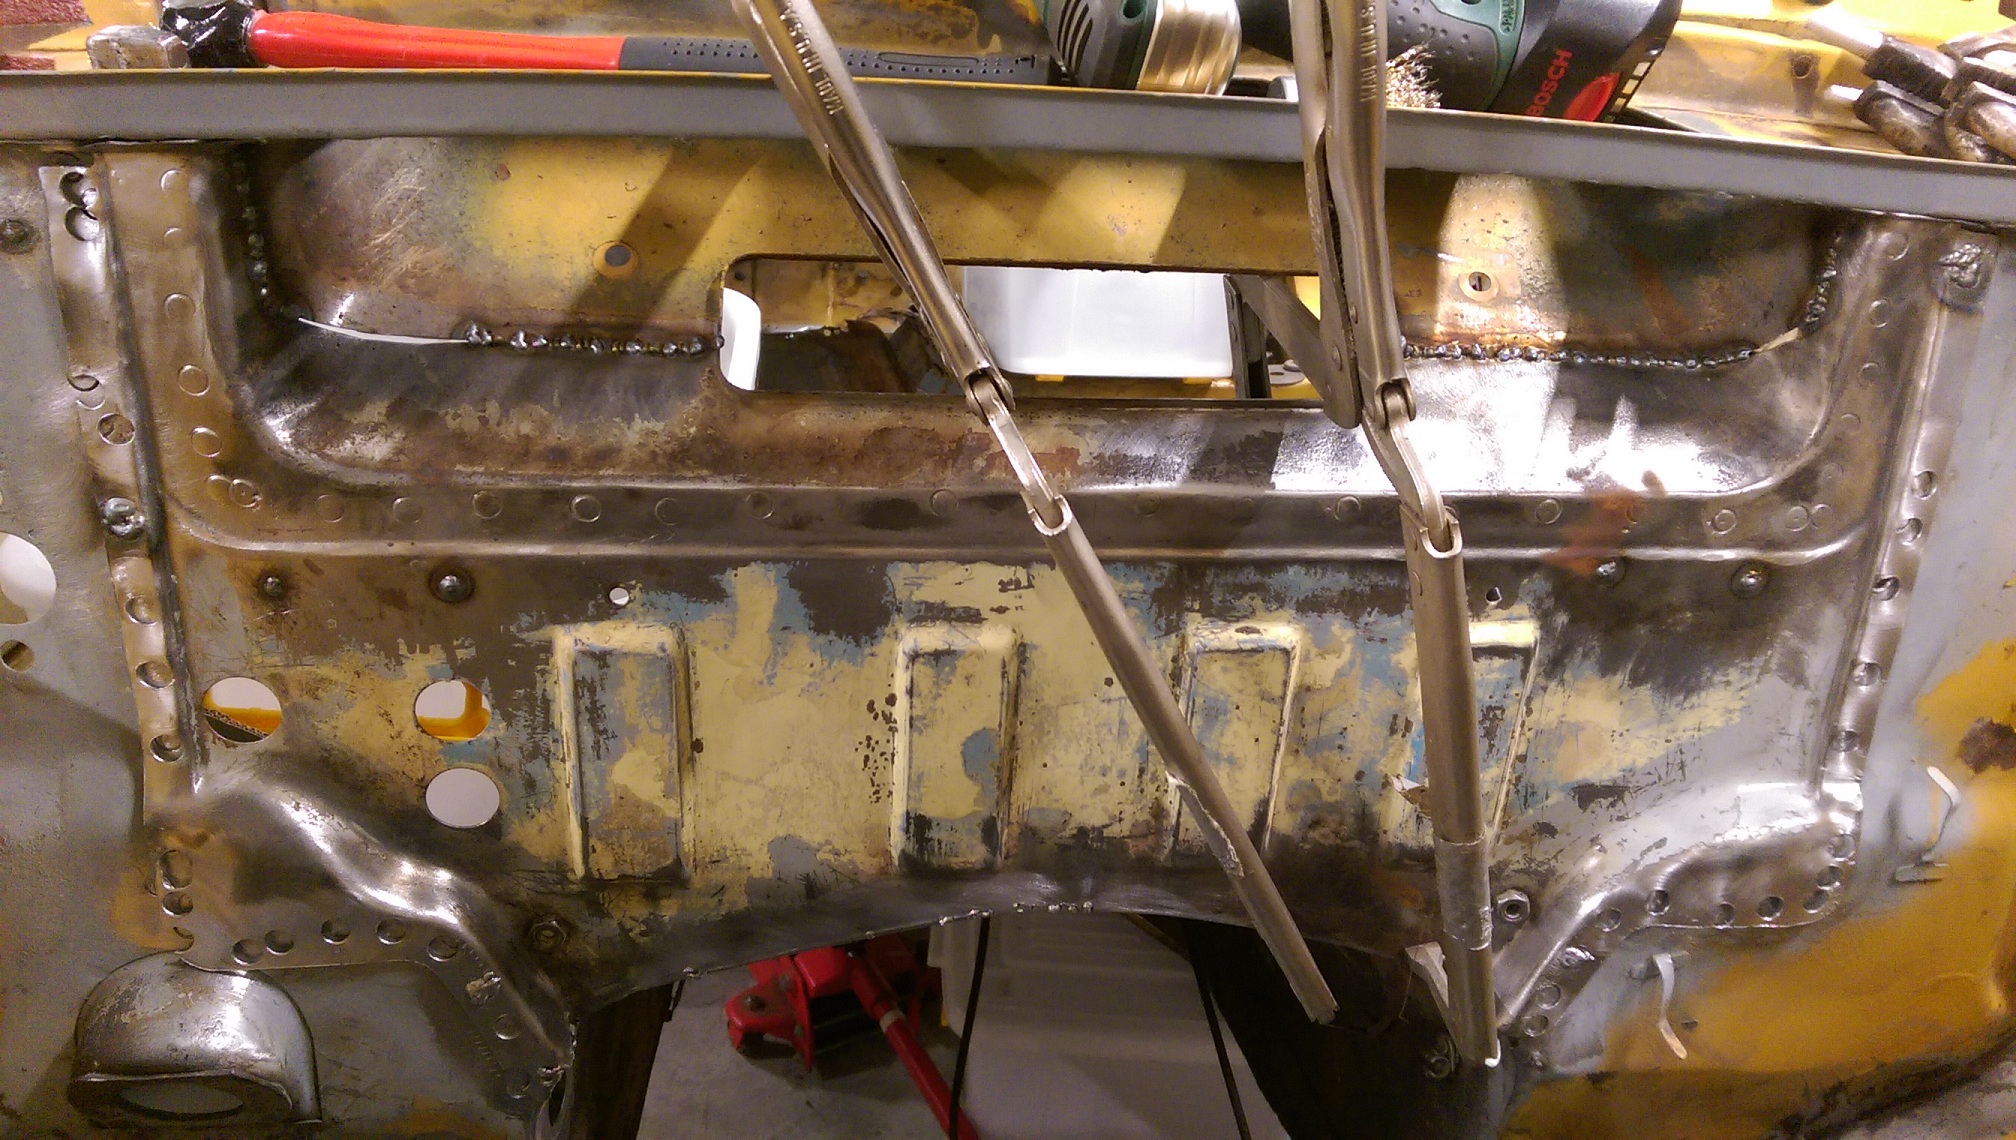
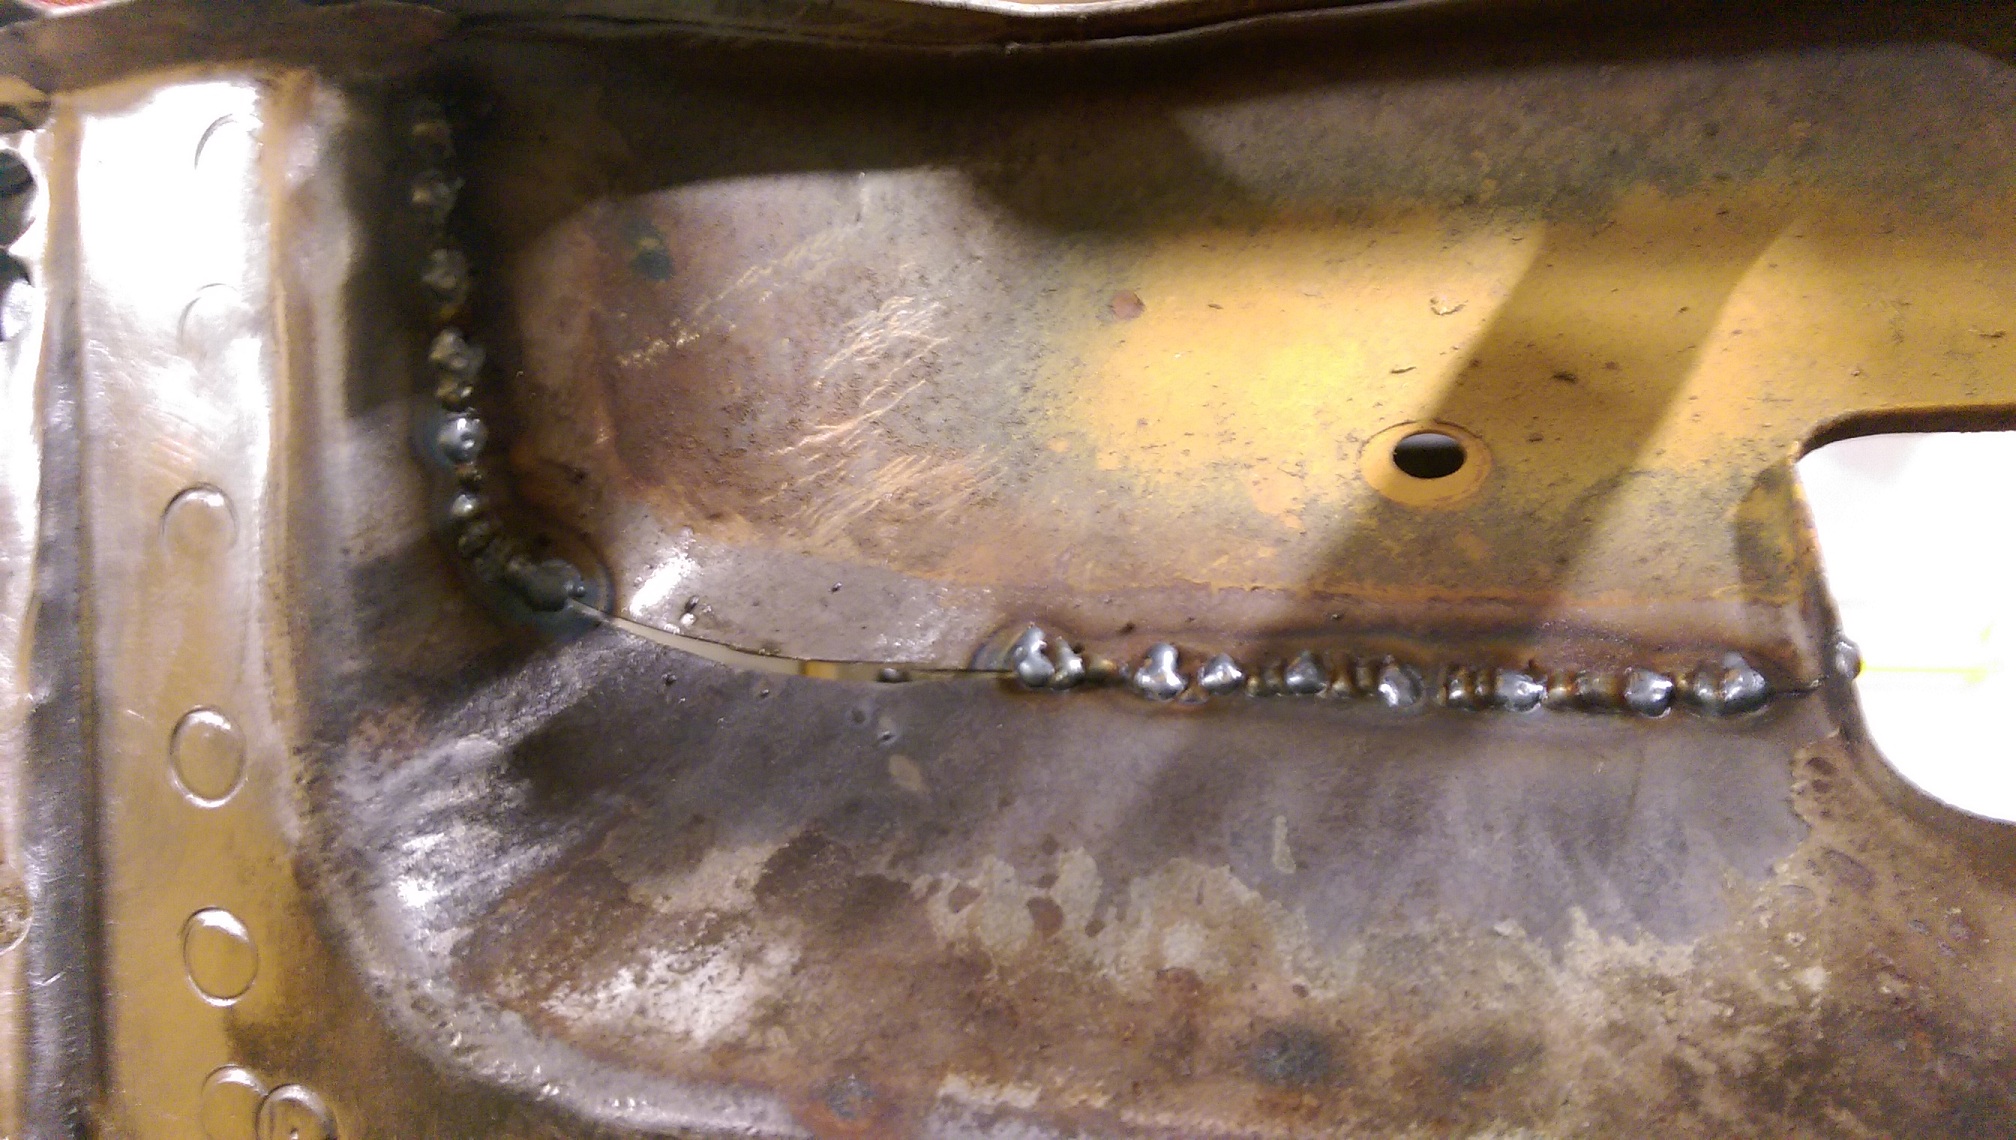
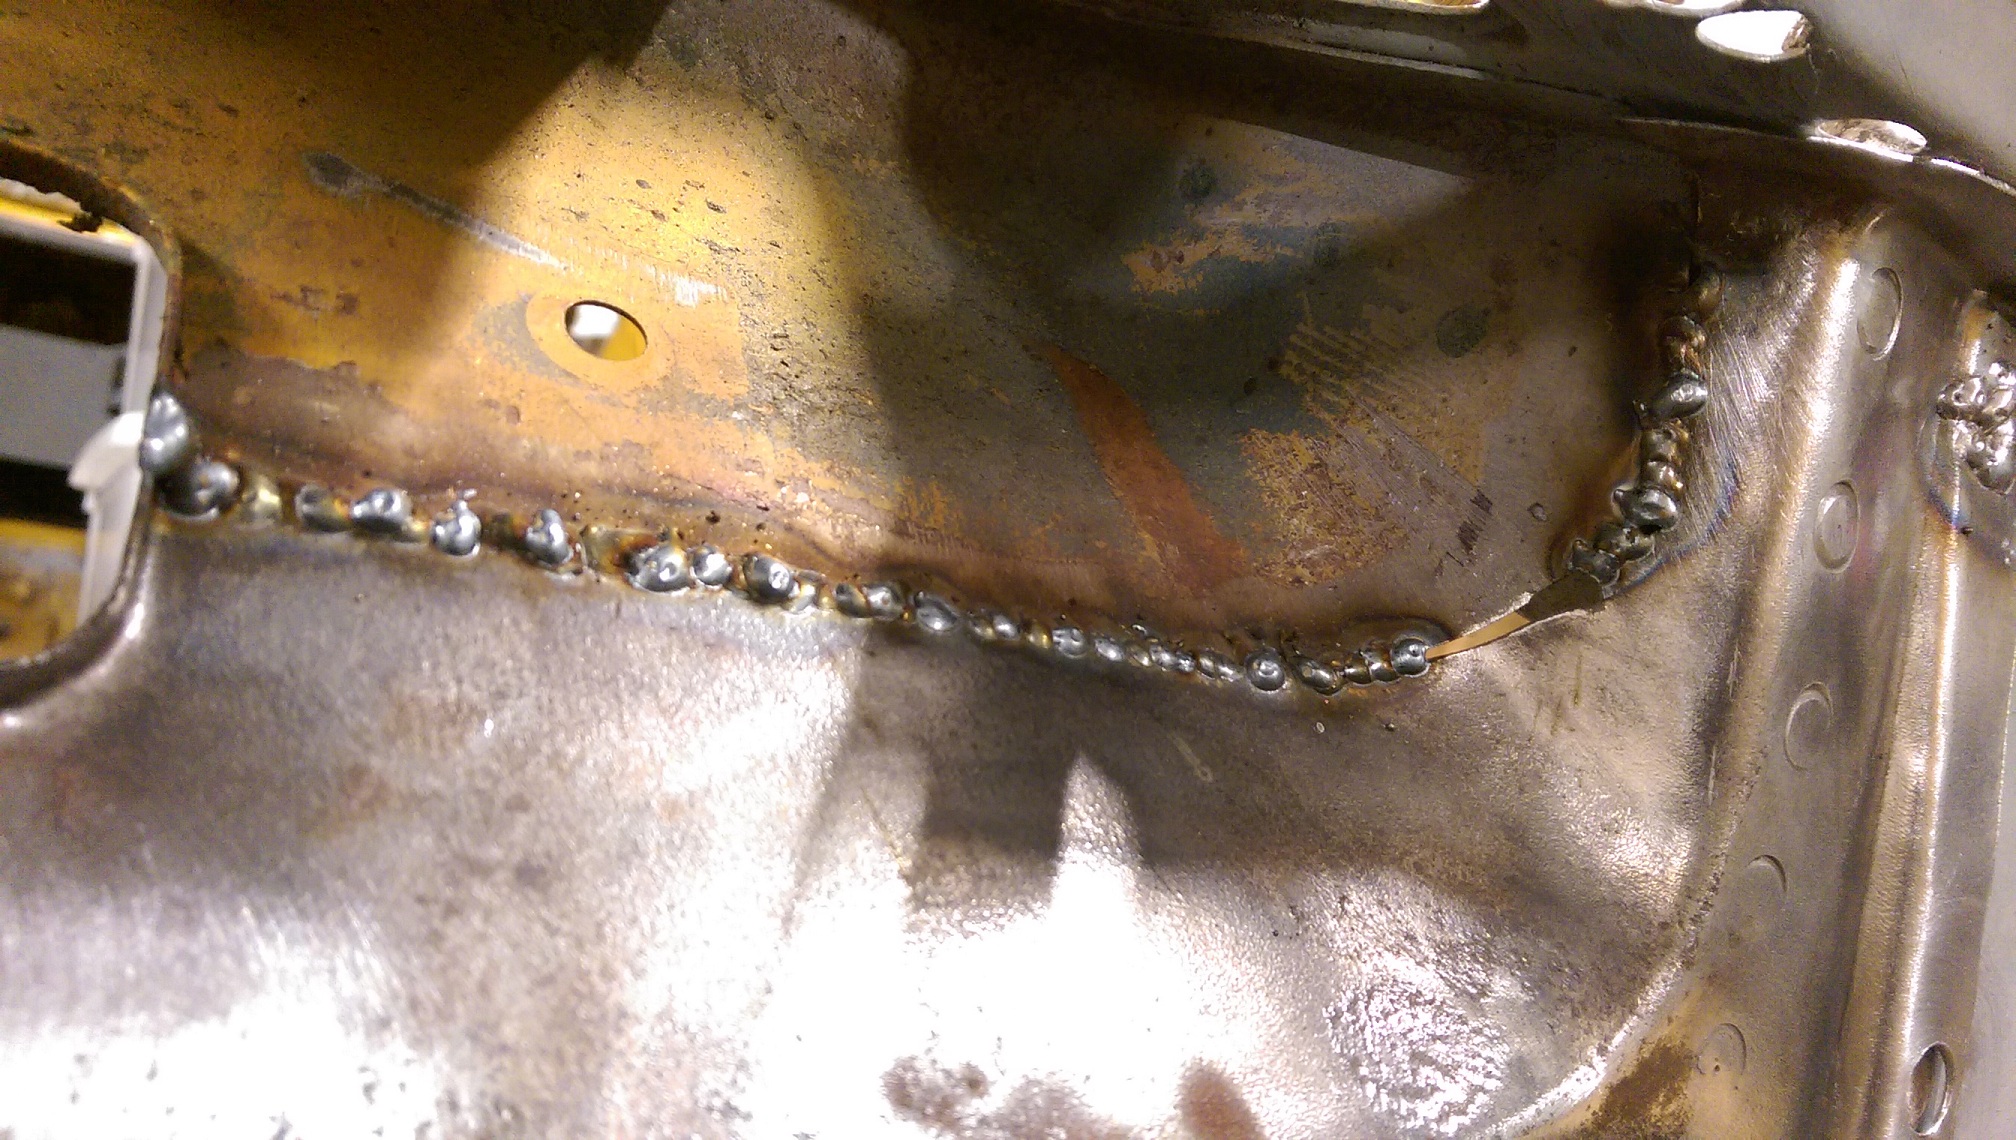
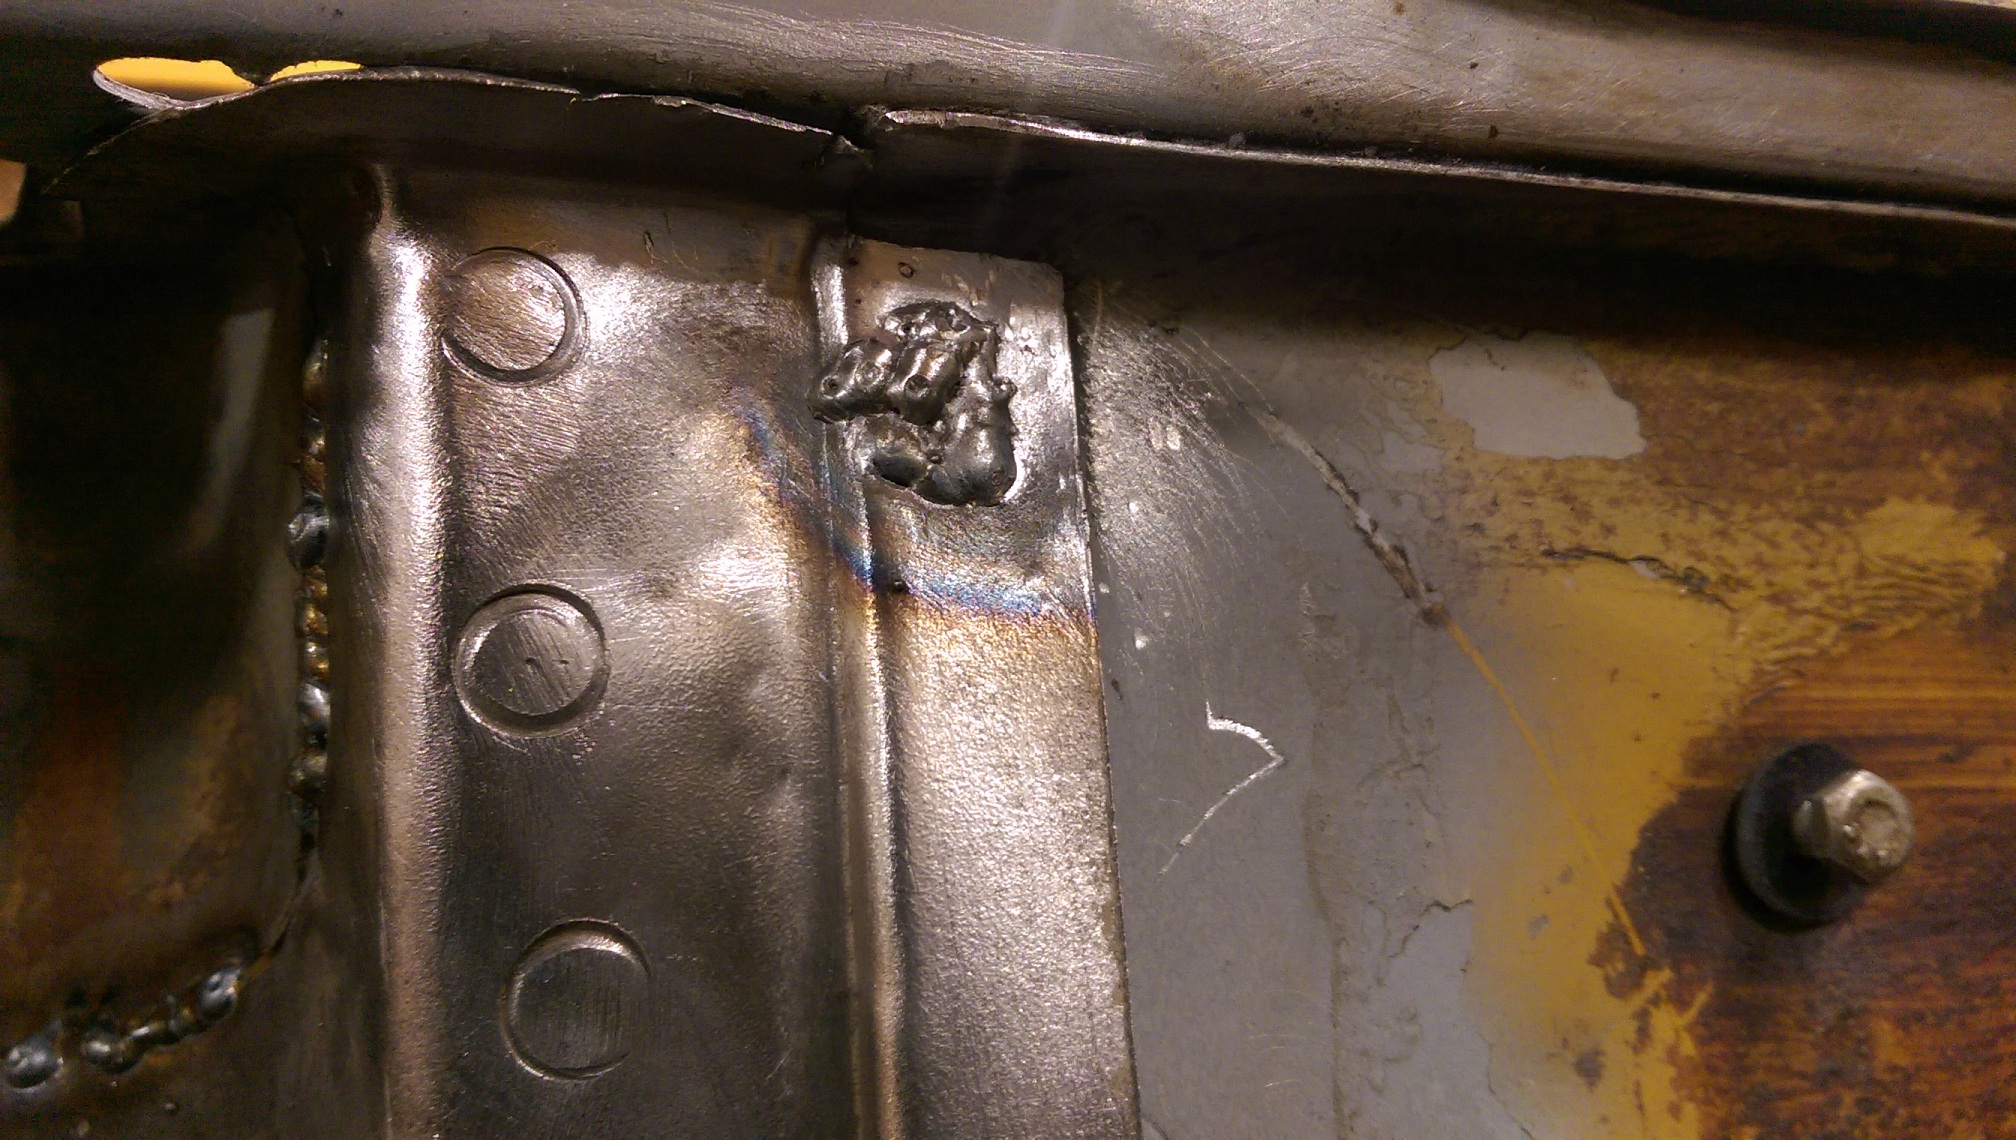
After much cutting, grinding, trimming, filing, bashing and trial fits, I got the firewall patch to fit acceptably. I also cut off the lower flange and bent up a flange on the top of the tunnel so I get rid of the lip that catches water and shit. I used crc zinc weld through primer on both faces where the panel overlapped. I tried some spots and tacks... Weld though primer is only kinda weld through, my welds looked shit as. So I stopped. Today I got a selection of wire brushes and did my best to clean off the primer through the spot holes. There was success. I'll do some more welding on the weekend. I kept getting blinded when doing those spots along the top because that gutter would block the sensors on my helmet.
 4 points
 -
Interior got a scrub down today!4 points
-
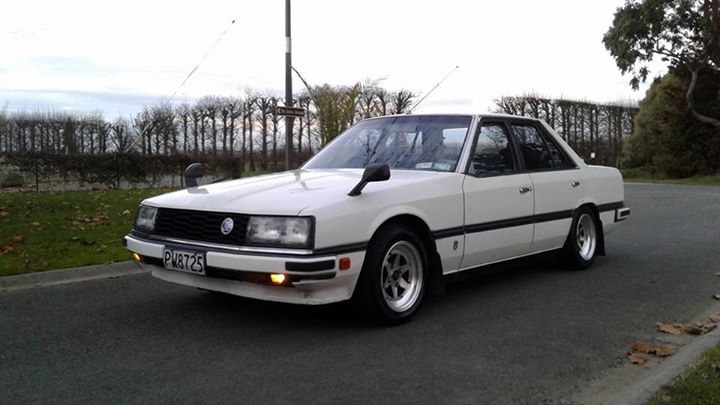
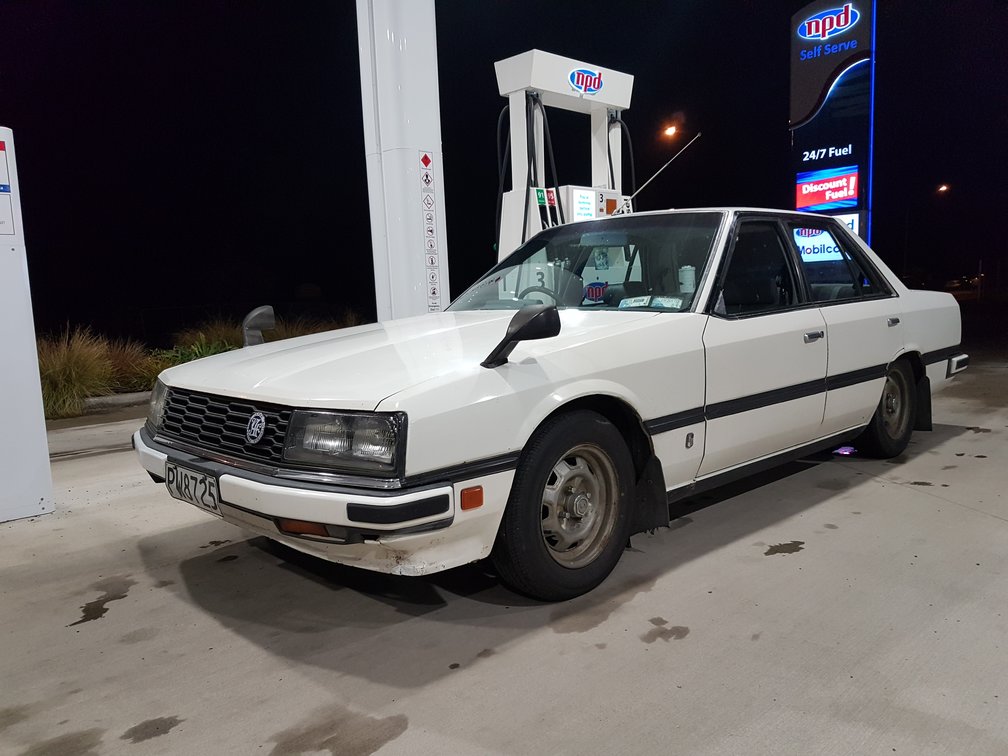
So I did a thing. I saw another VL listed on trademe and quite liked the look of it but didn't really think too much more about it as I couldn't really justify spending anymore coin. Watched it for a week or two and then the E36 I'd been dailying packed up again, parts for the Bimmer are bloody expensive and I loathe the thing anyway so that will be for sale soon and this will be taking its place. It's RB30E auto, paint is a bit tired but it does everything I want from a daily with the bonus of being something I actually like driving. The main selling point for me was the interior. Madeira Red is my favourite of the interior options, maybe one day it'll get Calais headlamps, an LS and a two tone respray in Tuxedo Black over Asteroid Silver but for now I'll get a nicer looking set of wheels/chuck my cop steelies on it and tidy up a few odds and ends and just roll it as is. Also included in the sale was a rather stuffed parts car. It belonged to the son of the seller and they were sick of it sitting in the yard so asked if I was interested in it. It's powered by a 3.8 out of a VP (I think) and has a 5 speed box and a V8 LSD diff. I'm going to pinch the diff for the Royale although I'm a wee bit concerned about the effect that changing the diff ratio will have as the RB30ET doesn't produce quite as much torque as the 5.0L Maybe not enough difference to be an issue? Also need to look into whether I can swap the crown wheel and pinion from the original diff into the LSD head to keep the same ratio and keep the speedo working correctly. That's a problem for another day though, current priority is stripping all the decent parts off the crashed Vacationer so I can get it off my long suffering parents driveway.4 points
-
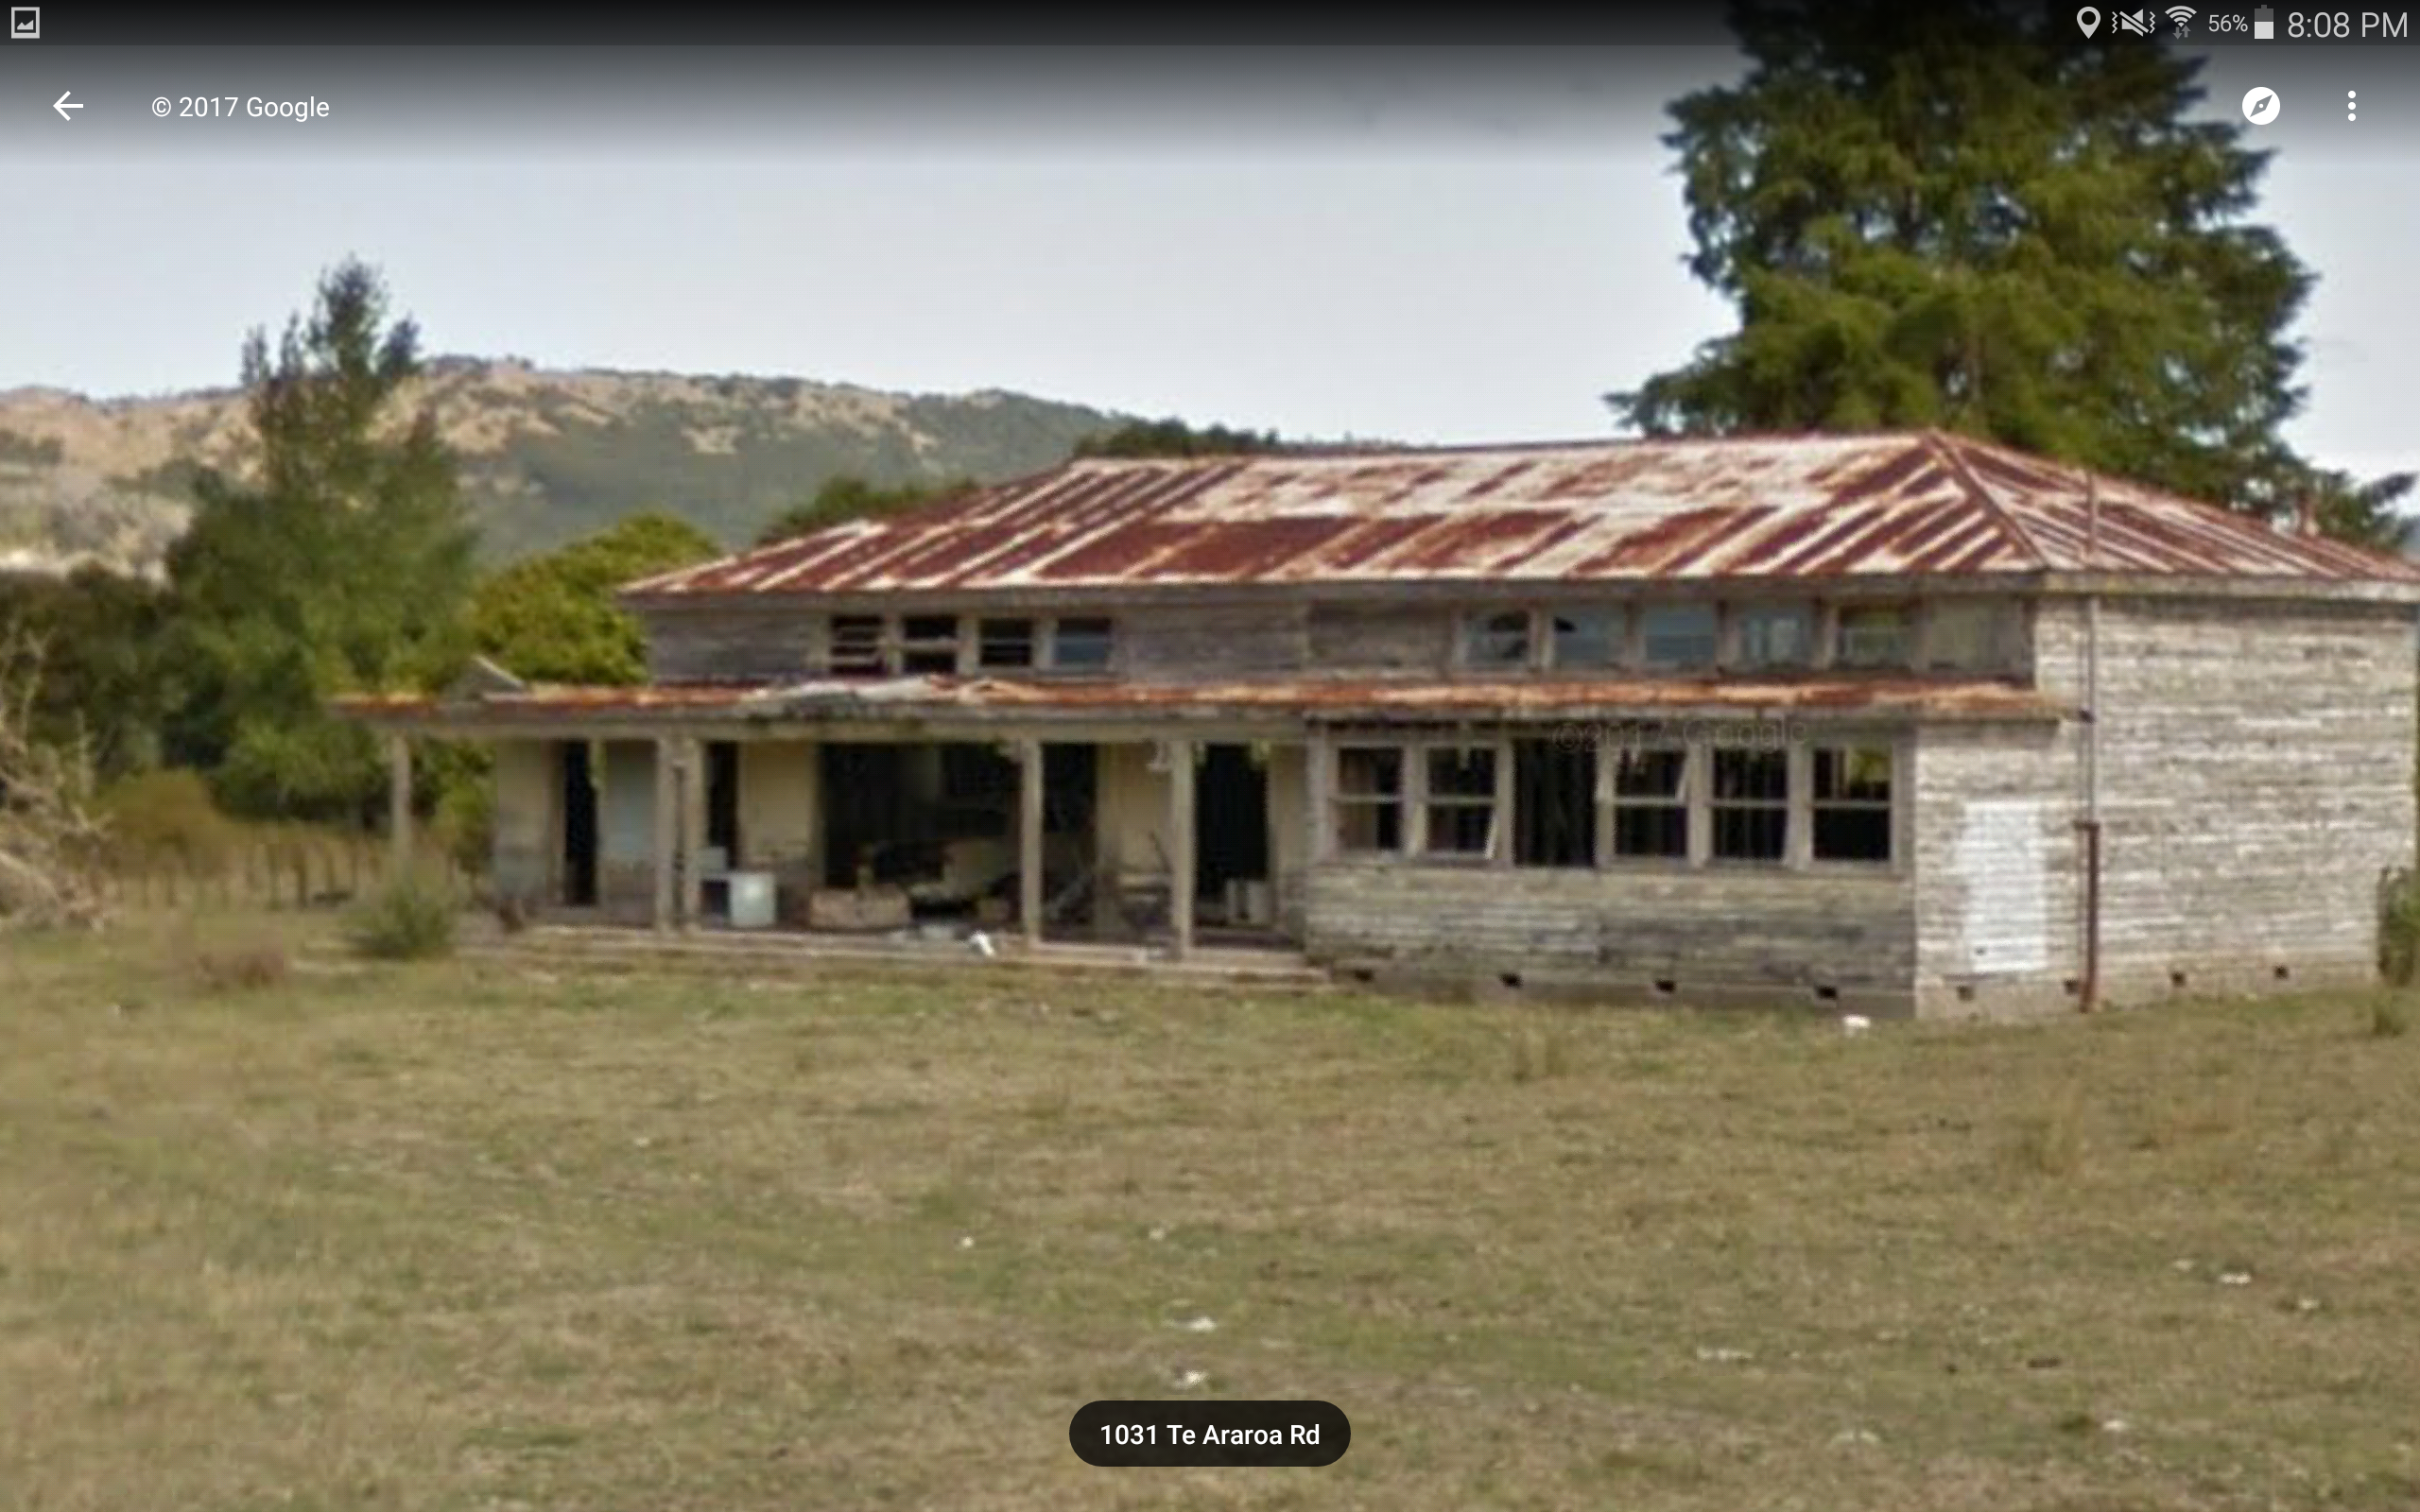
Keep an eye out for this legit barnfind just past tikitiki https://goo.gl/maps/ttUYMRii3r62
3 points
-
"RS-DIESEL" stickers on the rear doors would be a laugh.3 points
-
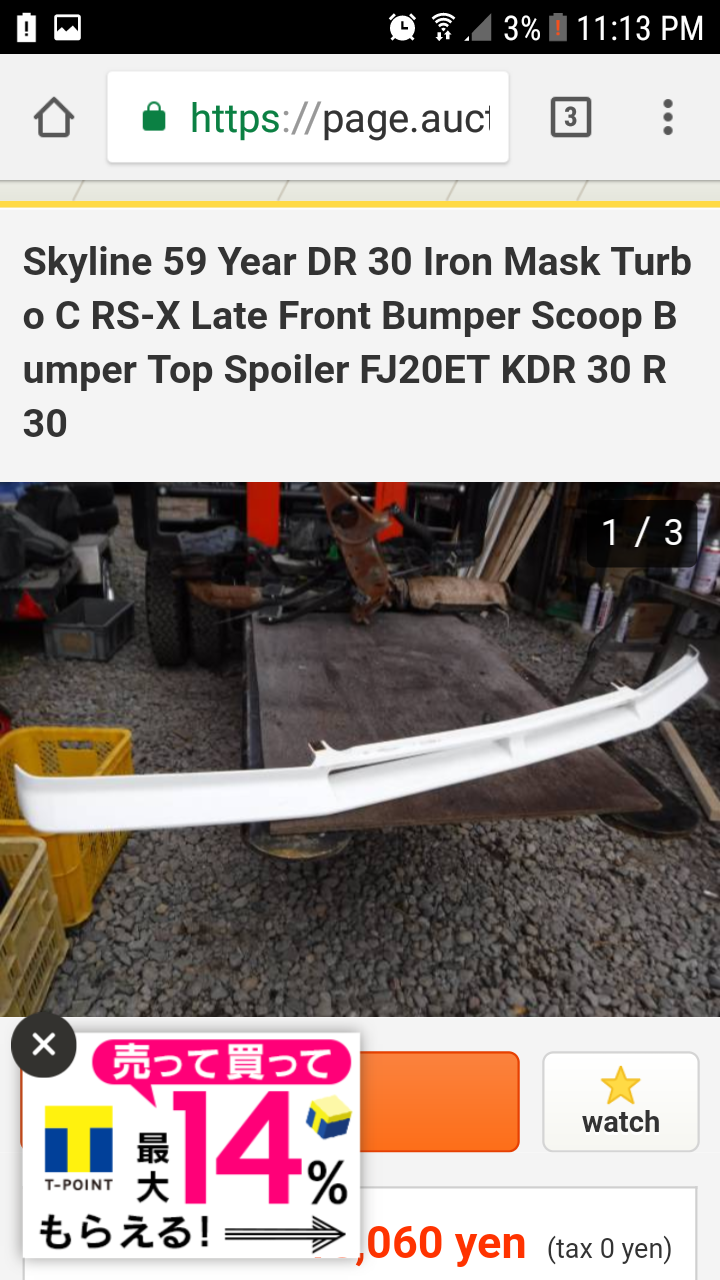
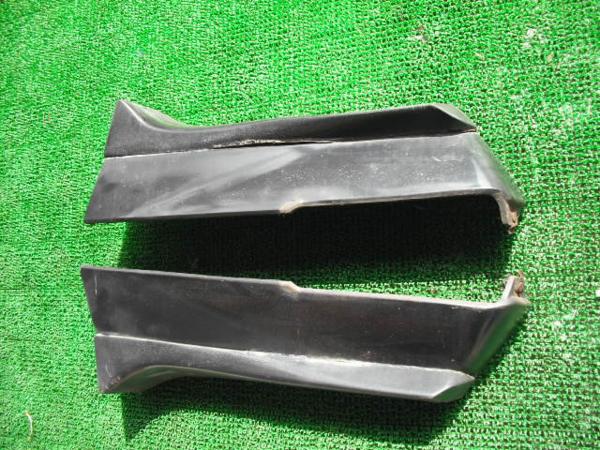
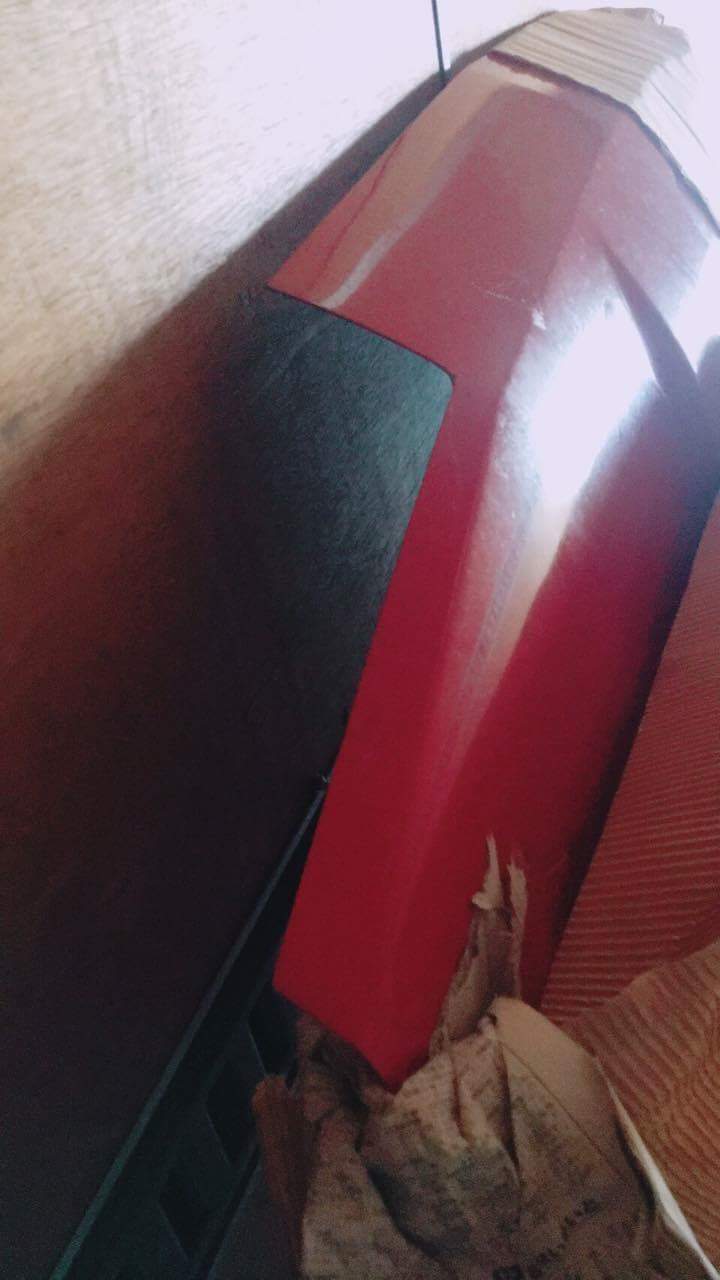
Sooooo, I may or may not have got a little carried away while browsing Yahoo auctions for r30 parts... It all started when I found this: And it quickly escalated And as a bonus (which I didnt realise at the time, the side skirts have rear corner caps too! FIZZING! they should be here in a month or so! Unfortunately now I cant afford any wheels... Would people hate me if I ran widened steels for a while?
3 points
-
because looks sweet pretty sure its 90% just for rigidity, certainly is in this case. maybe in a full on Winston cup car there is some voodoo to do with reversion and expansion/contraction of gasses but even there I am pretty sure they mostly do it for packaging/max lowness and its just bracing so it keeps its shape at a million degrees and 200mph3 points
-
New fanbelt, vented the cap, re-oiled the front shocks.. turned out what I thought was diff backlash clonking was actually the u-bolts being loose a.f clonking, phew! also much less rattly in general, not that it matters as I now have giant speakers All I can really think of now to suss out before random upgrades/neglect is a non-working heater blower motor (though enough crap came flying out of the vents during test running that i'm hopeful it will work now) and a non-working front interior light. Idles a little erratically too, sometimes steady at 700rpm, sometimes steady at 1000. Probably carbs a bit out of sync or timing but no big deal, she runs good!3 points
-
Shakedown run today, "little van in the big city". Went well, just need to tighten fanbelt a touch & vent the fuelcap (is a radiator cap fitting, typical leyland build-efficiency) bit of excess lash in the diff too to look at, not terrible though.
3 points
-
Right, I'm back again, to actually make a proper effort at a car, unlike my KE70 that I abandoned after a week. The R30 pine has been strong as of late and after sharing my pine with Scott (Brdflu) the week after Hanmer-nats he pointed me in Slacker_sams direction. A few Facebook messages and a 40 minute plane ride(stupid pencil planes) and BAM! Glorious! Topped off the tank with diseaseline at 6.45 in Motueka, swung past maccas and left at 7pm. 5.5hrs chugging through heavy rain, I was lucky theyd cleared the Lewis of the Spring snow fall that closed it the night before :S 461km from Mot to my door, didnt miss a beat! Safe to say the already noisey diff is making even more noise now though. On with the project! Discussion: https://oldschool.co.nz/index.php?/topic/57362-beaubots-1982-er30-skyline-sedan/
2 points
-
Will try make it, may be in the mundane baby wagon though!2 points
-
I should really put a boost gauge on the taxi and see what it is running2 points
-
Right! Darrell had a big old coil from before he switched to MSD, we tried starting it again this evening, started but ran like crap, hooked up the big boy and varoommmm! now I need to find another one of these small Bosch GT40 transformer coils, as a cylinder style won't fit where I've mounted mine at least I know what the problem is, has been drivin me nuts!!2 points
-
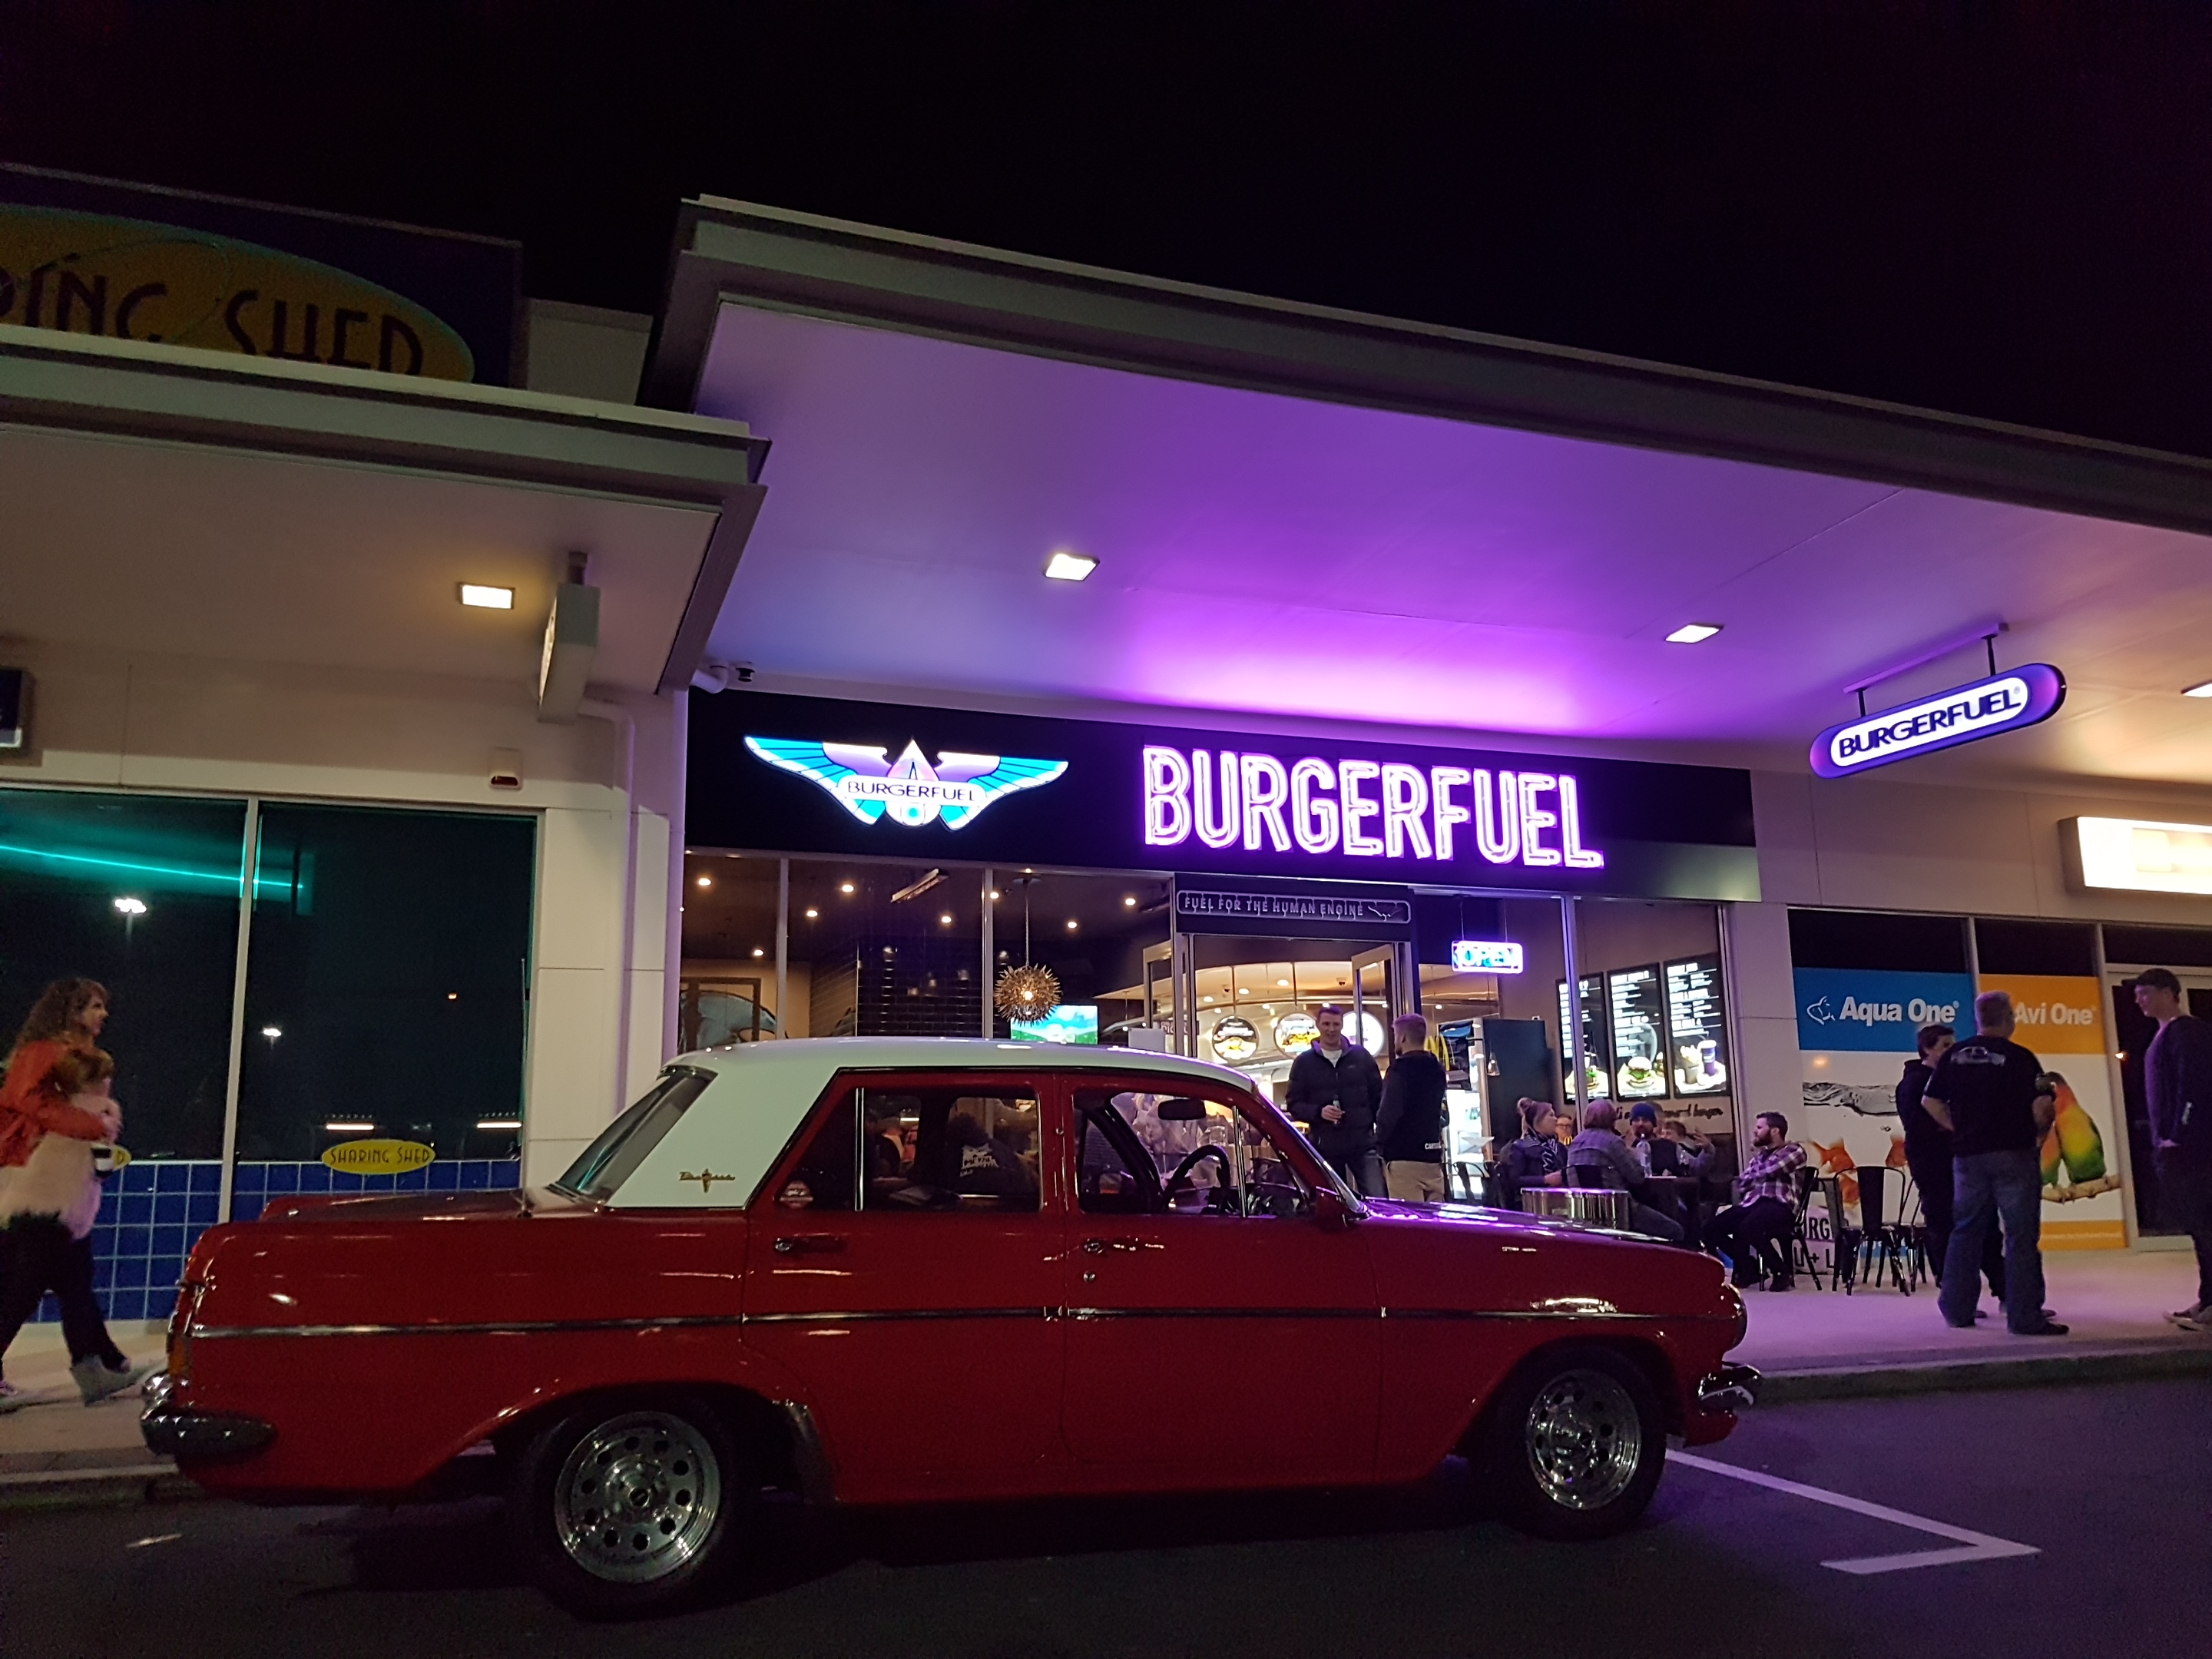
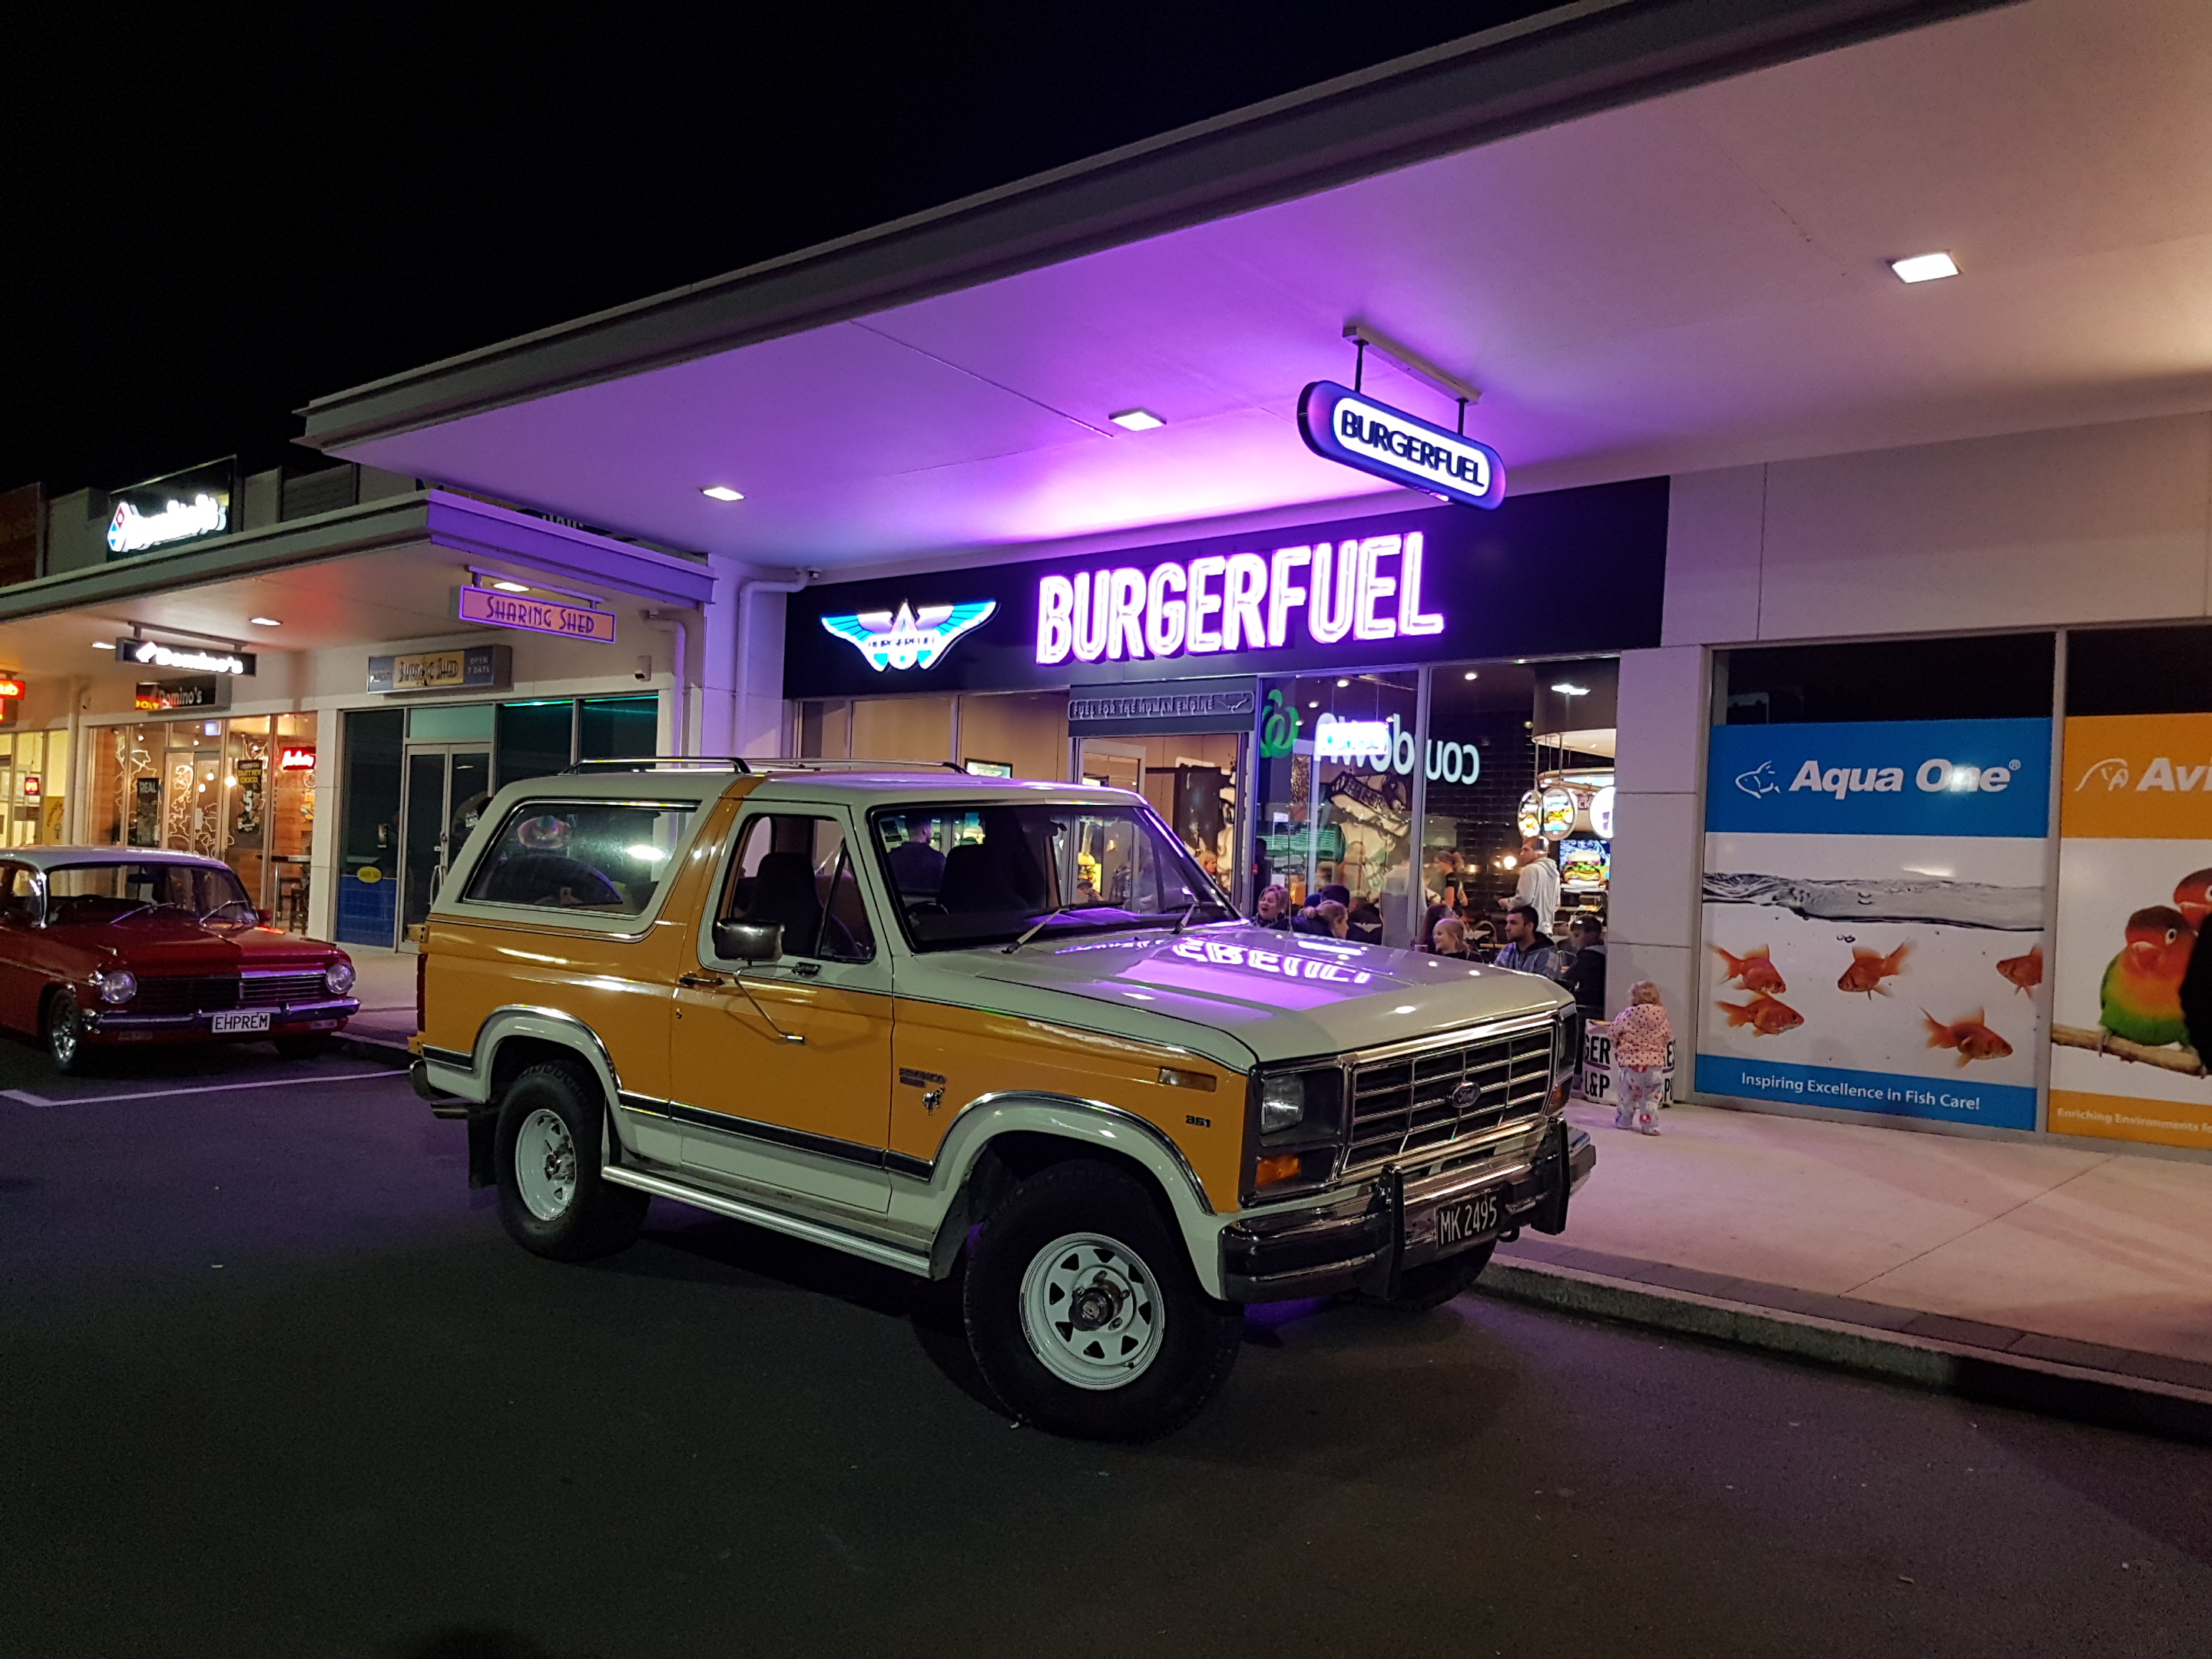
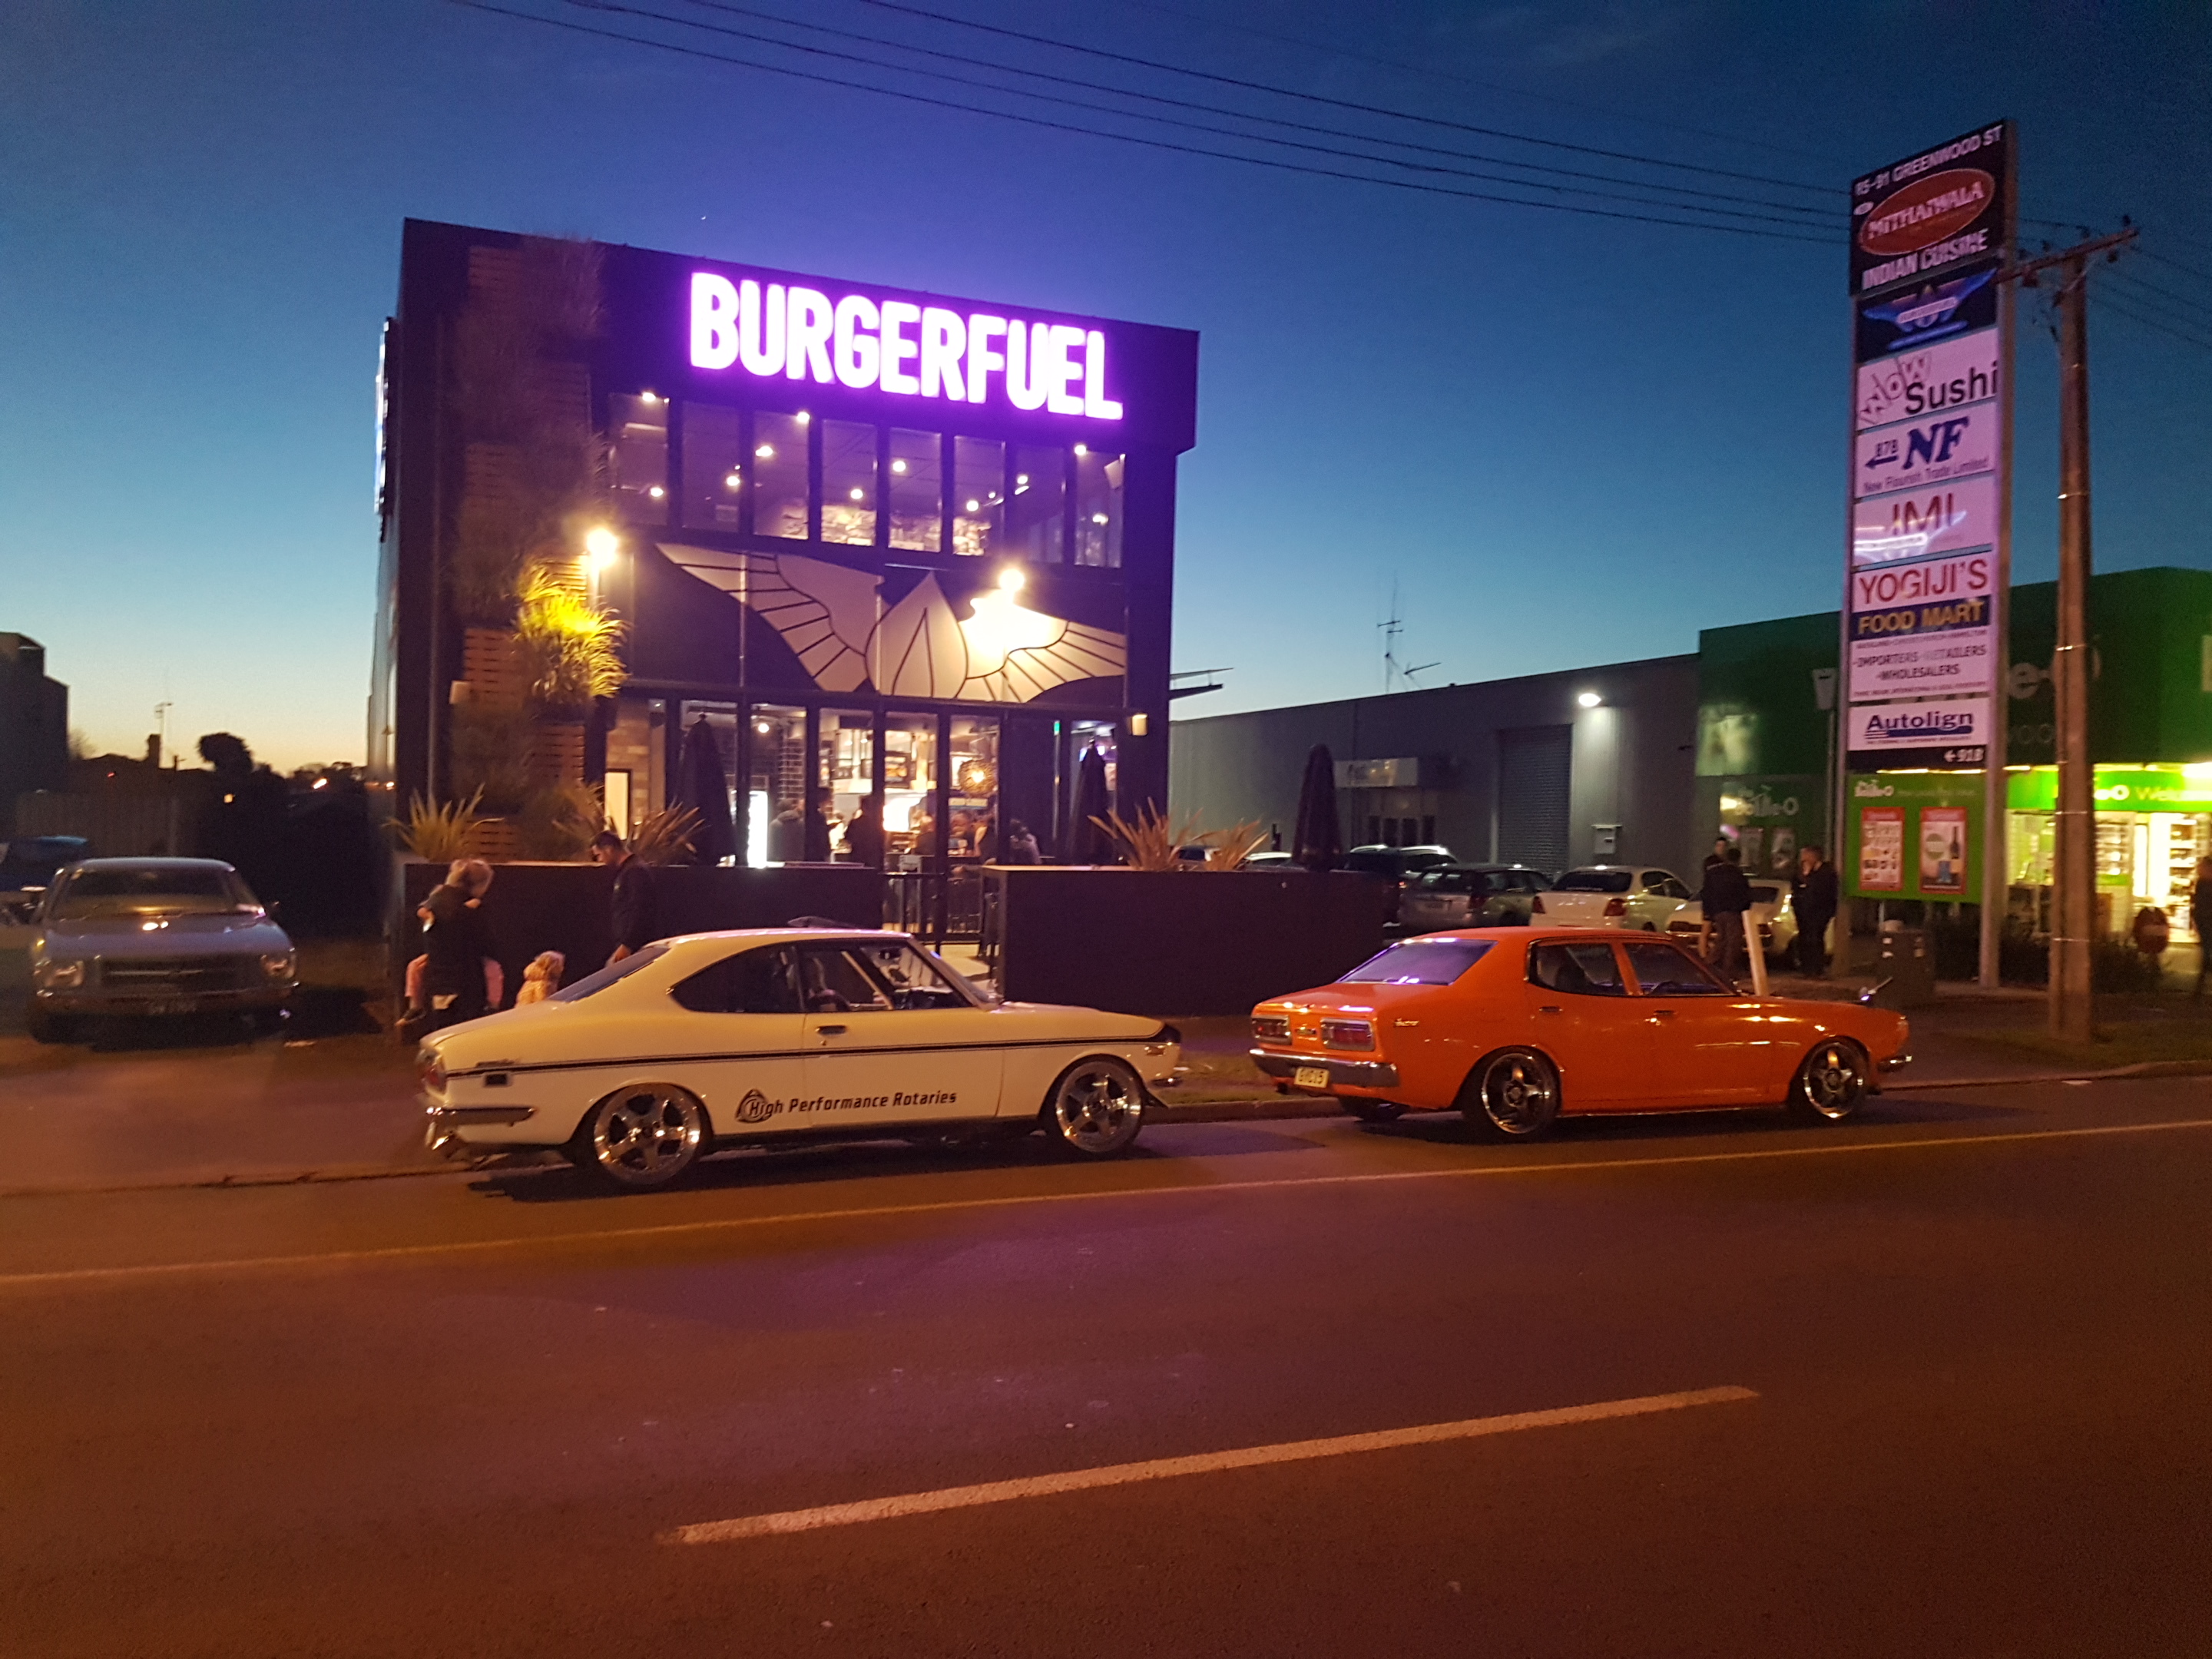
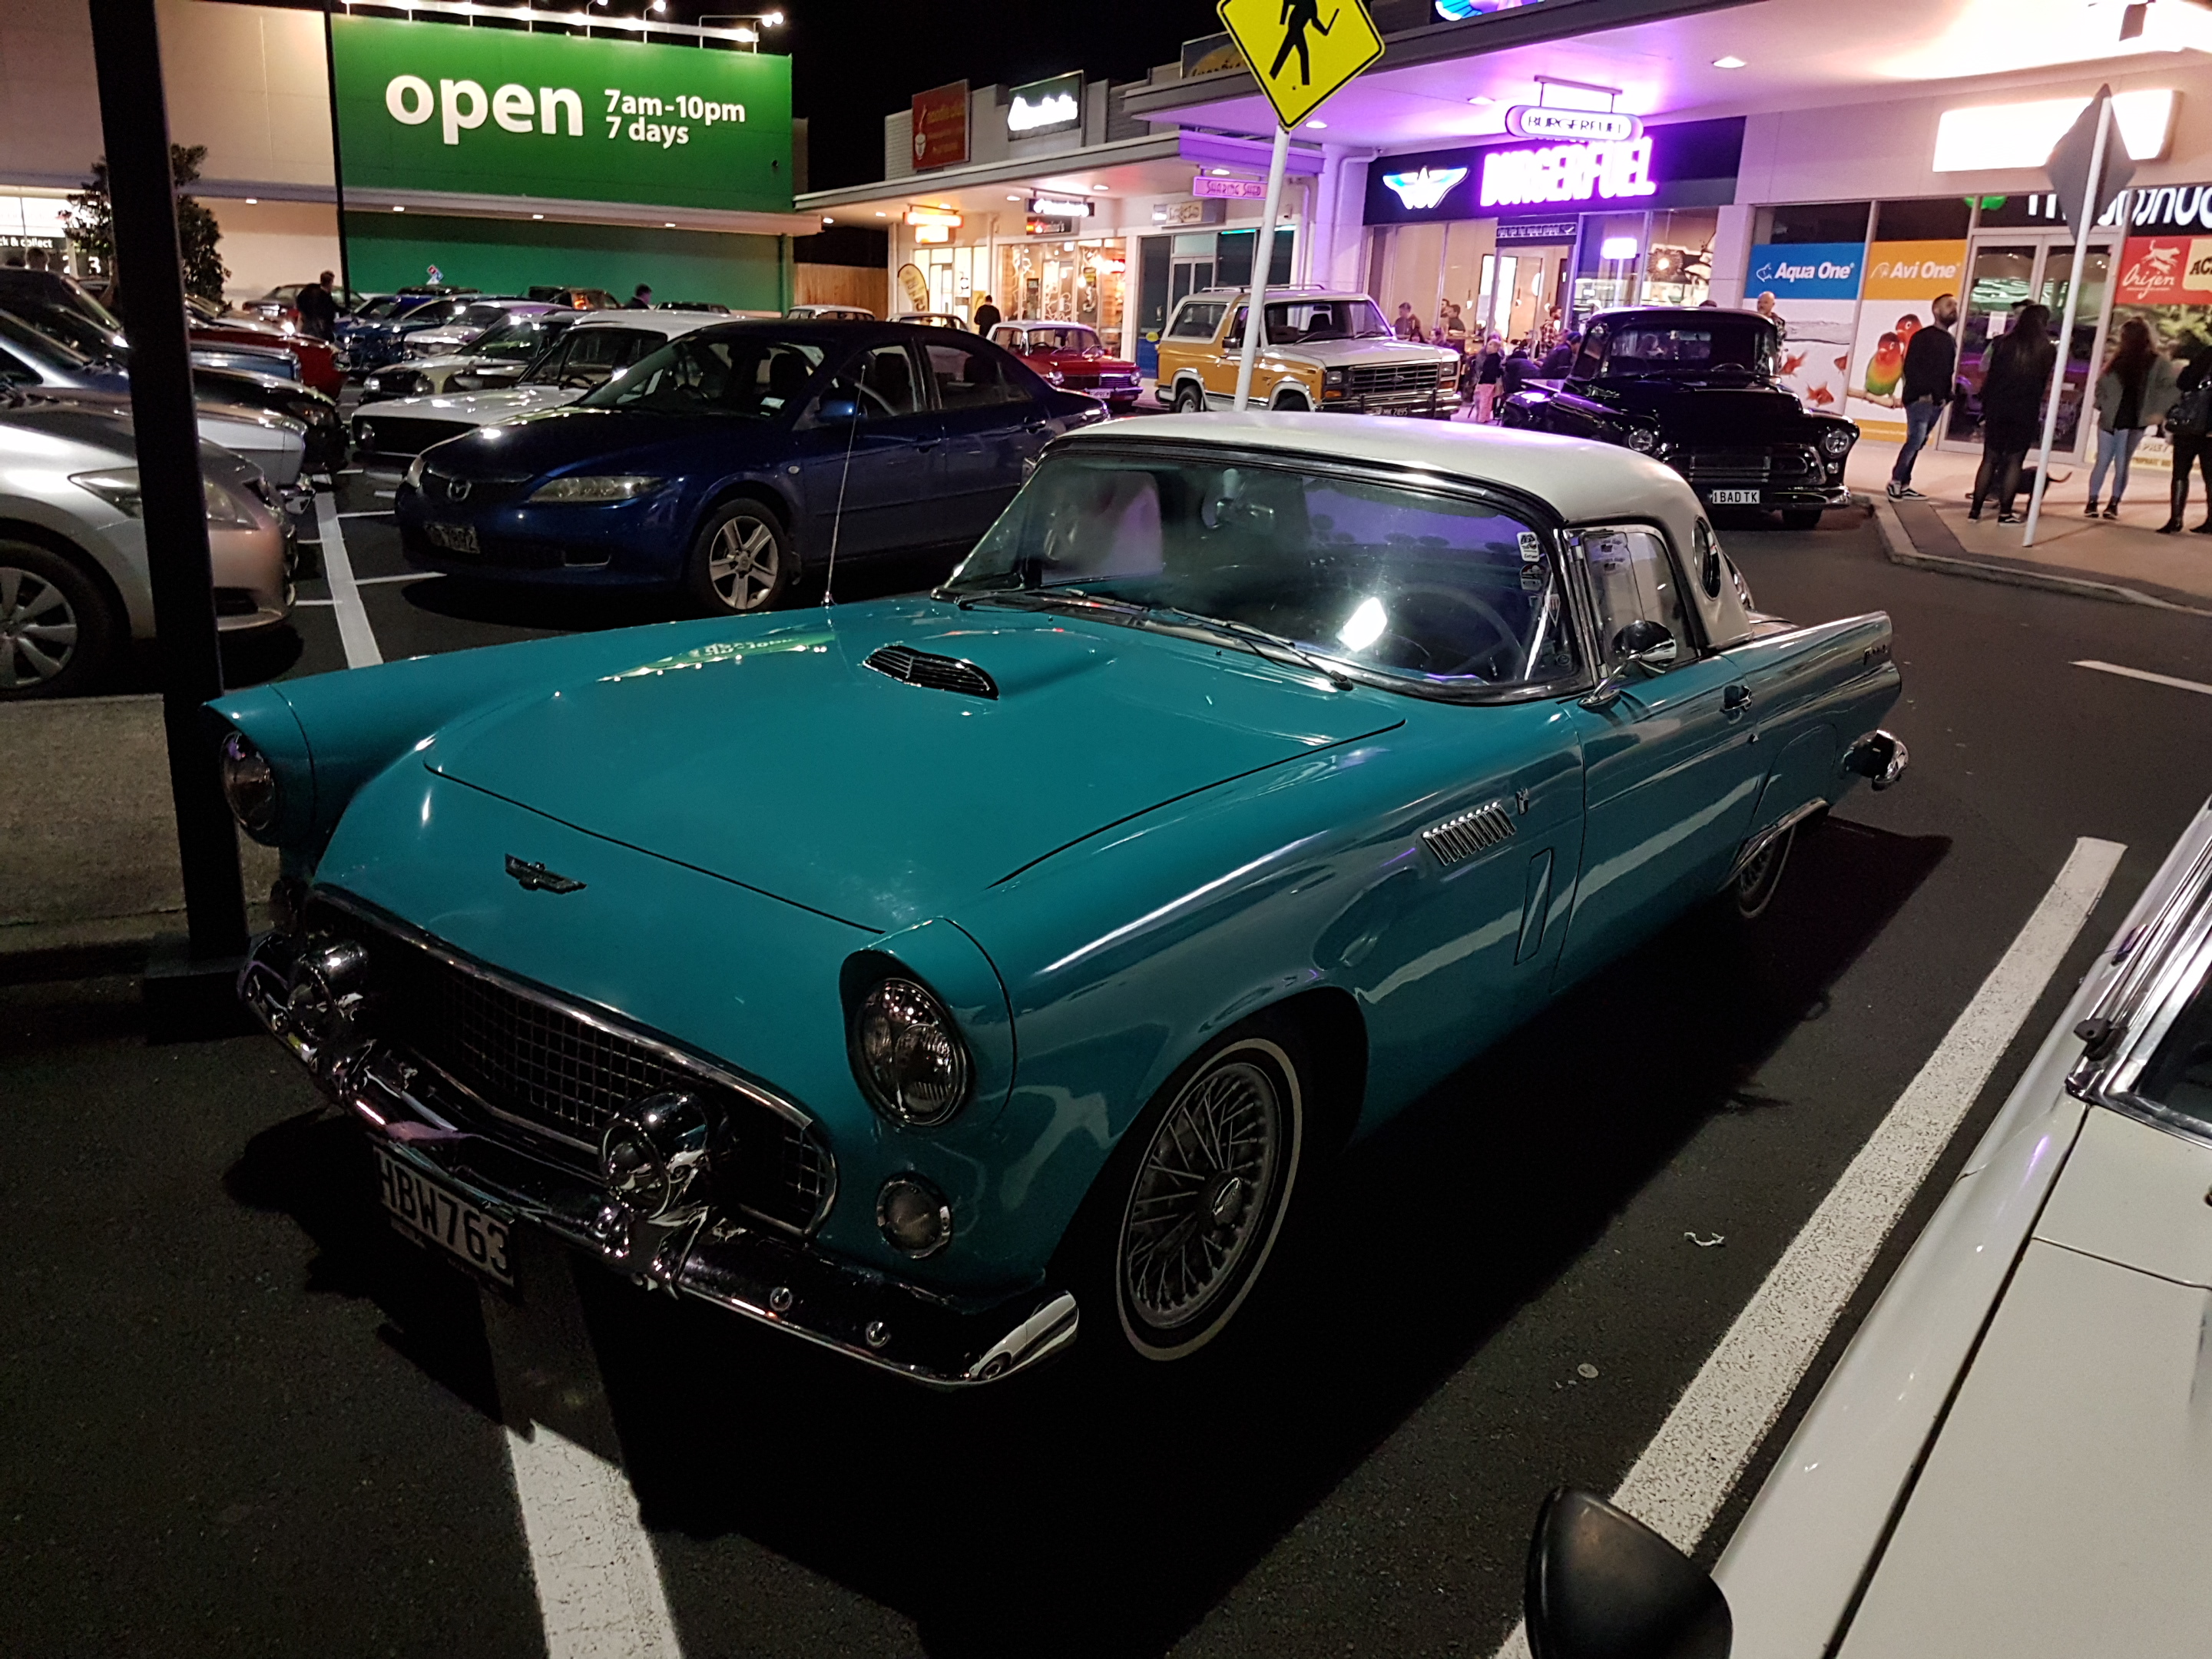
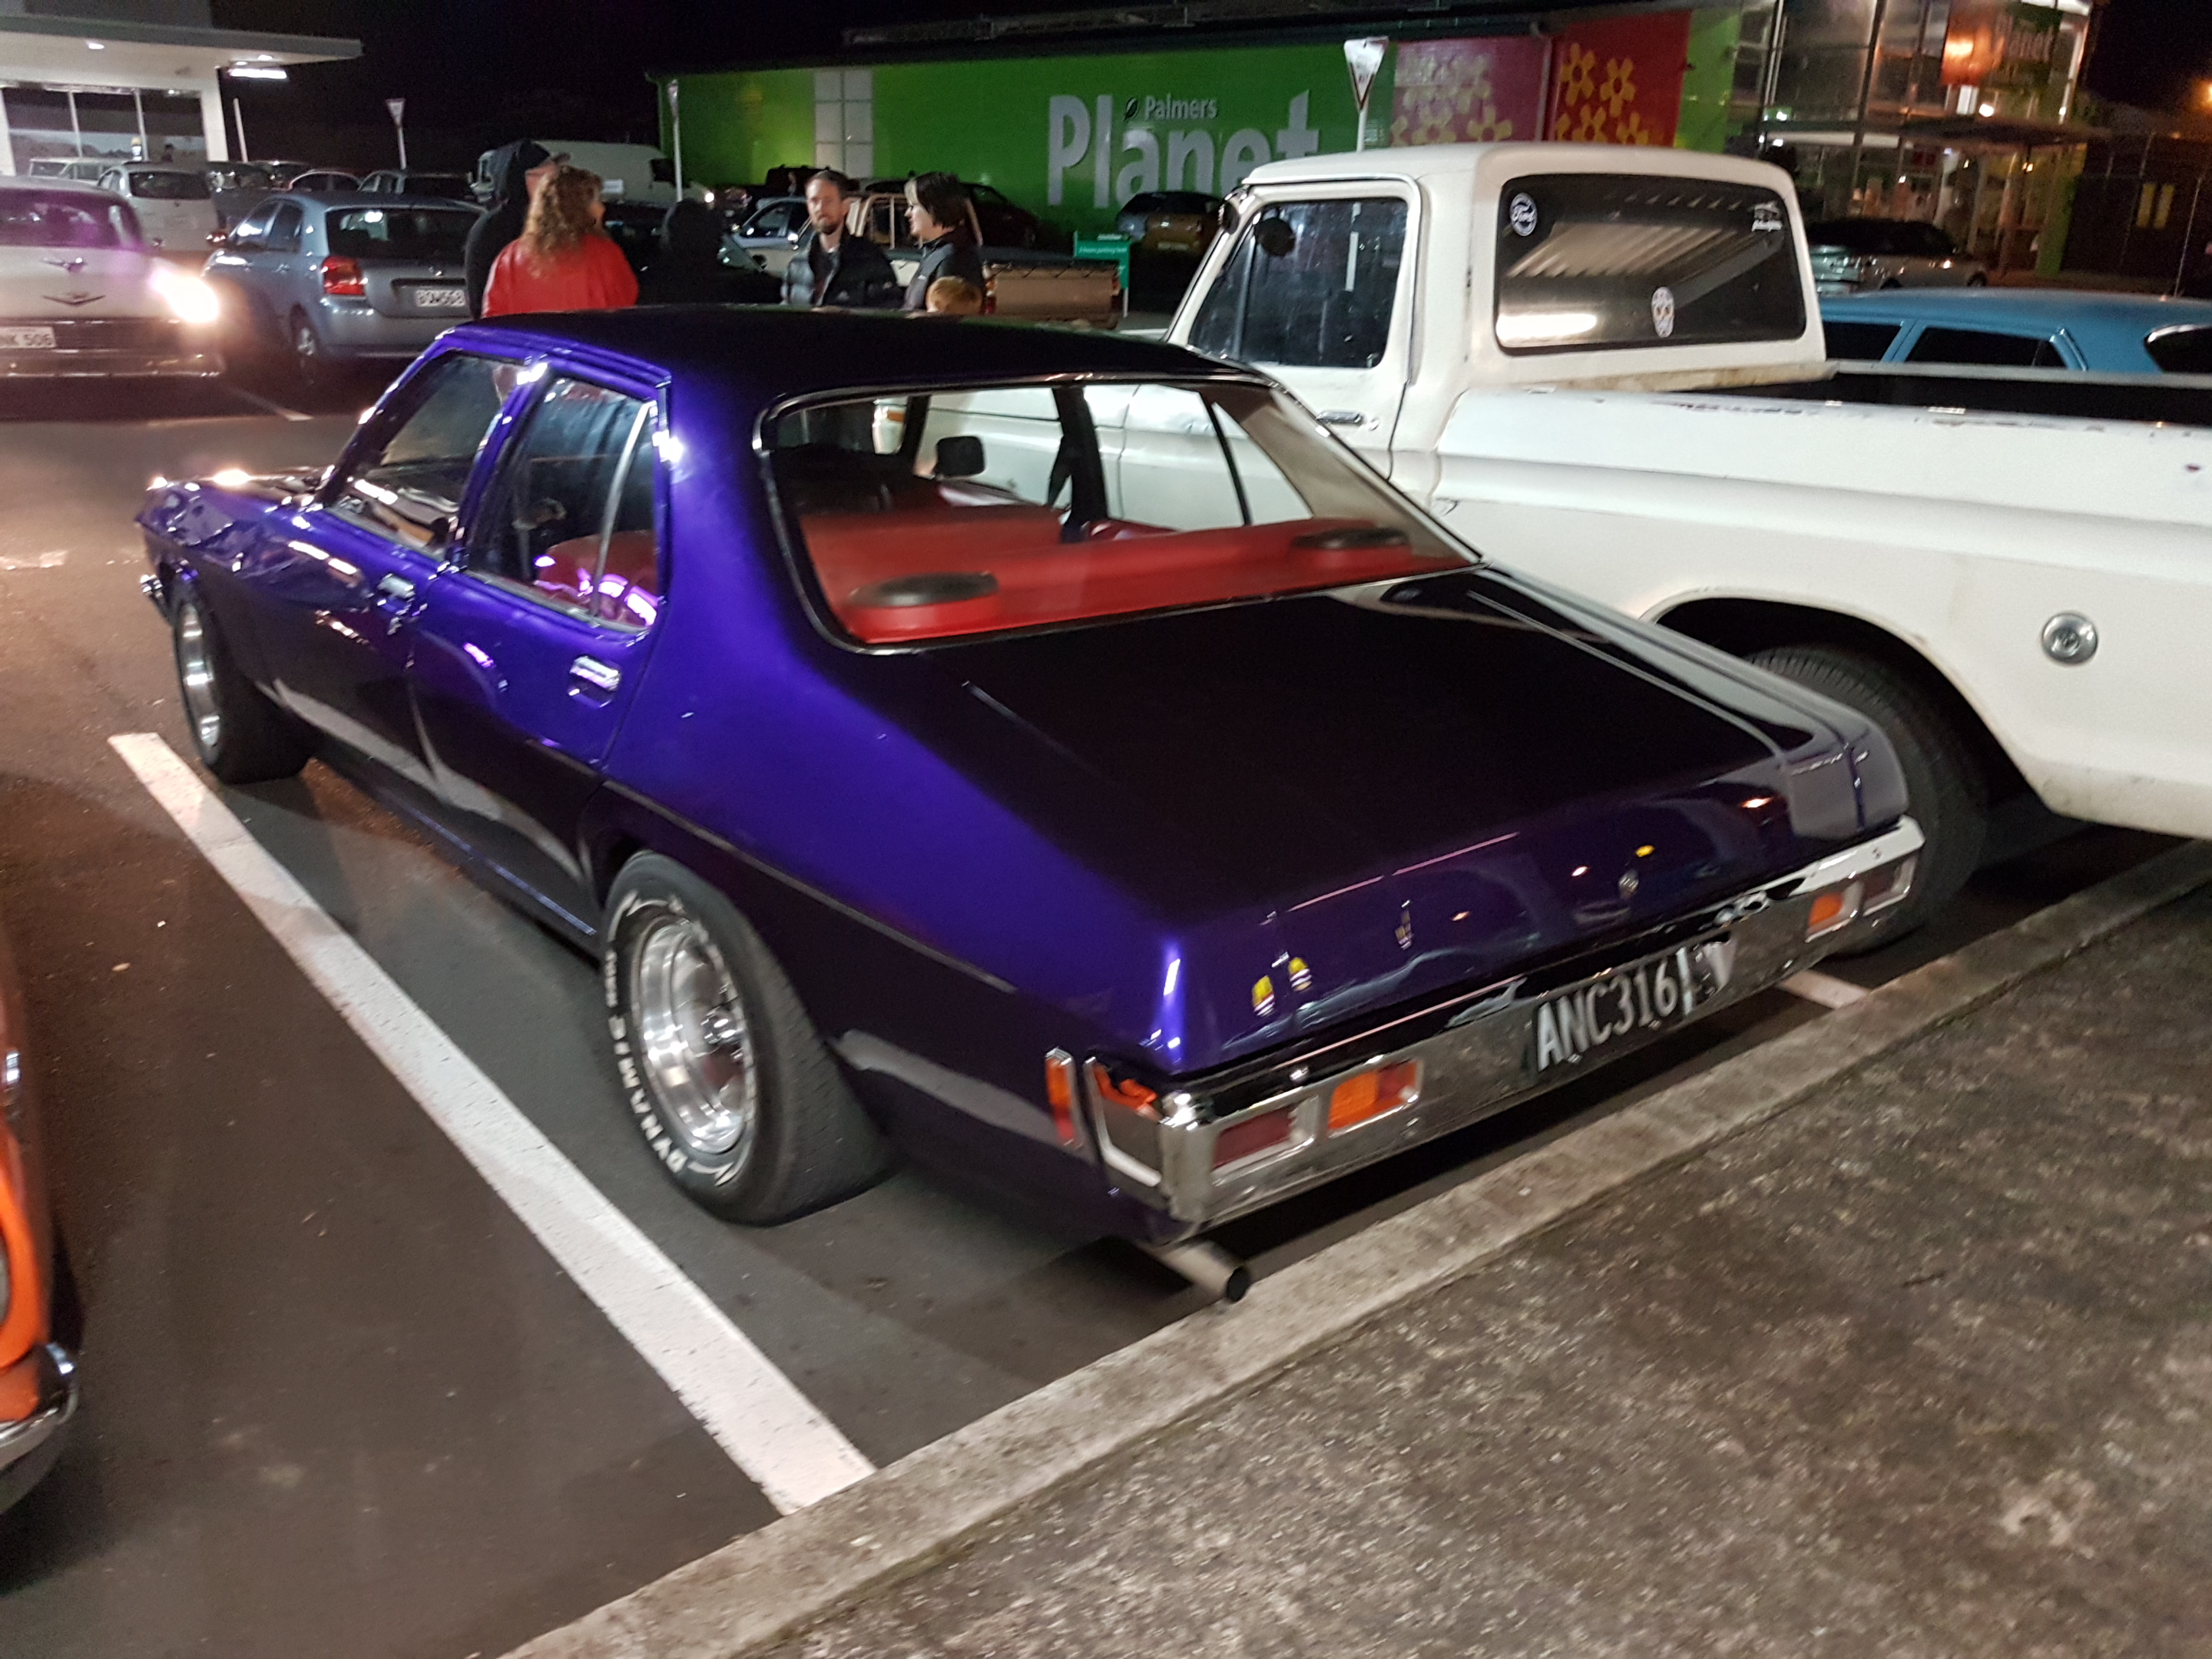
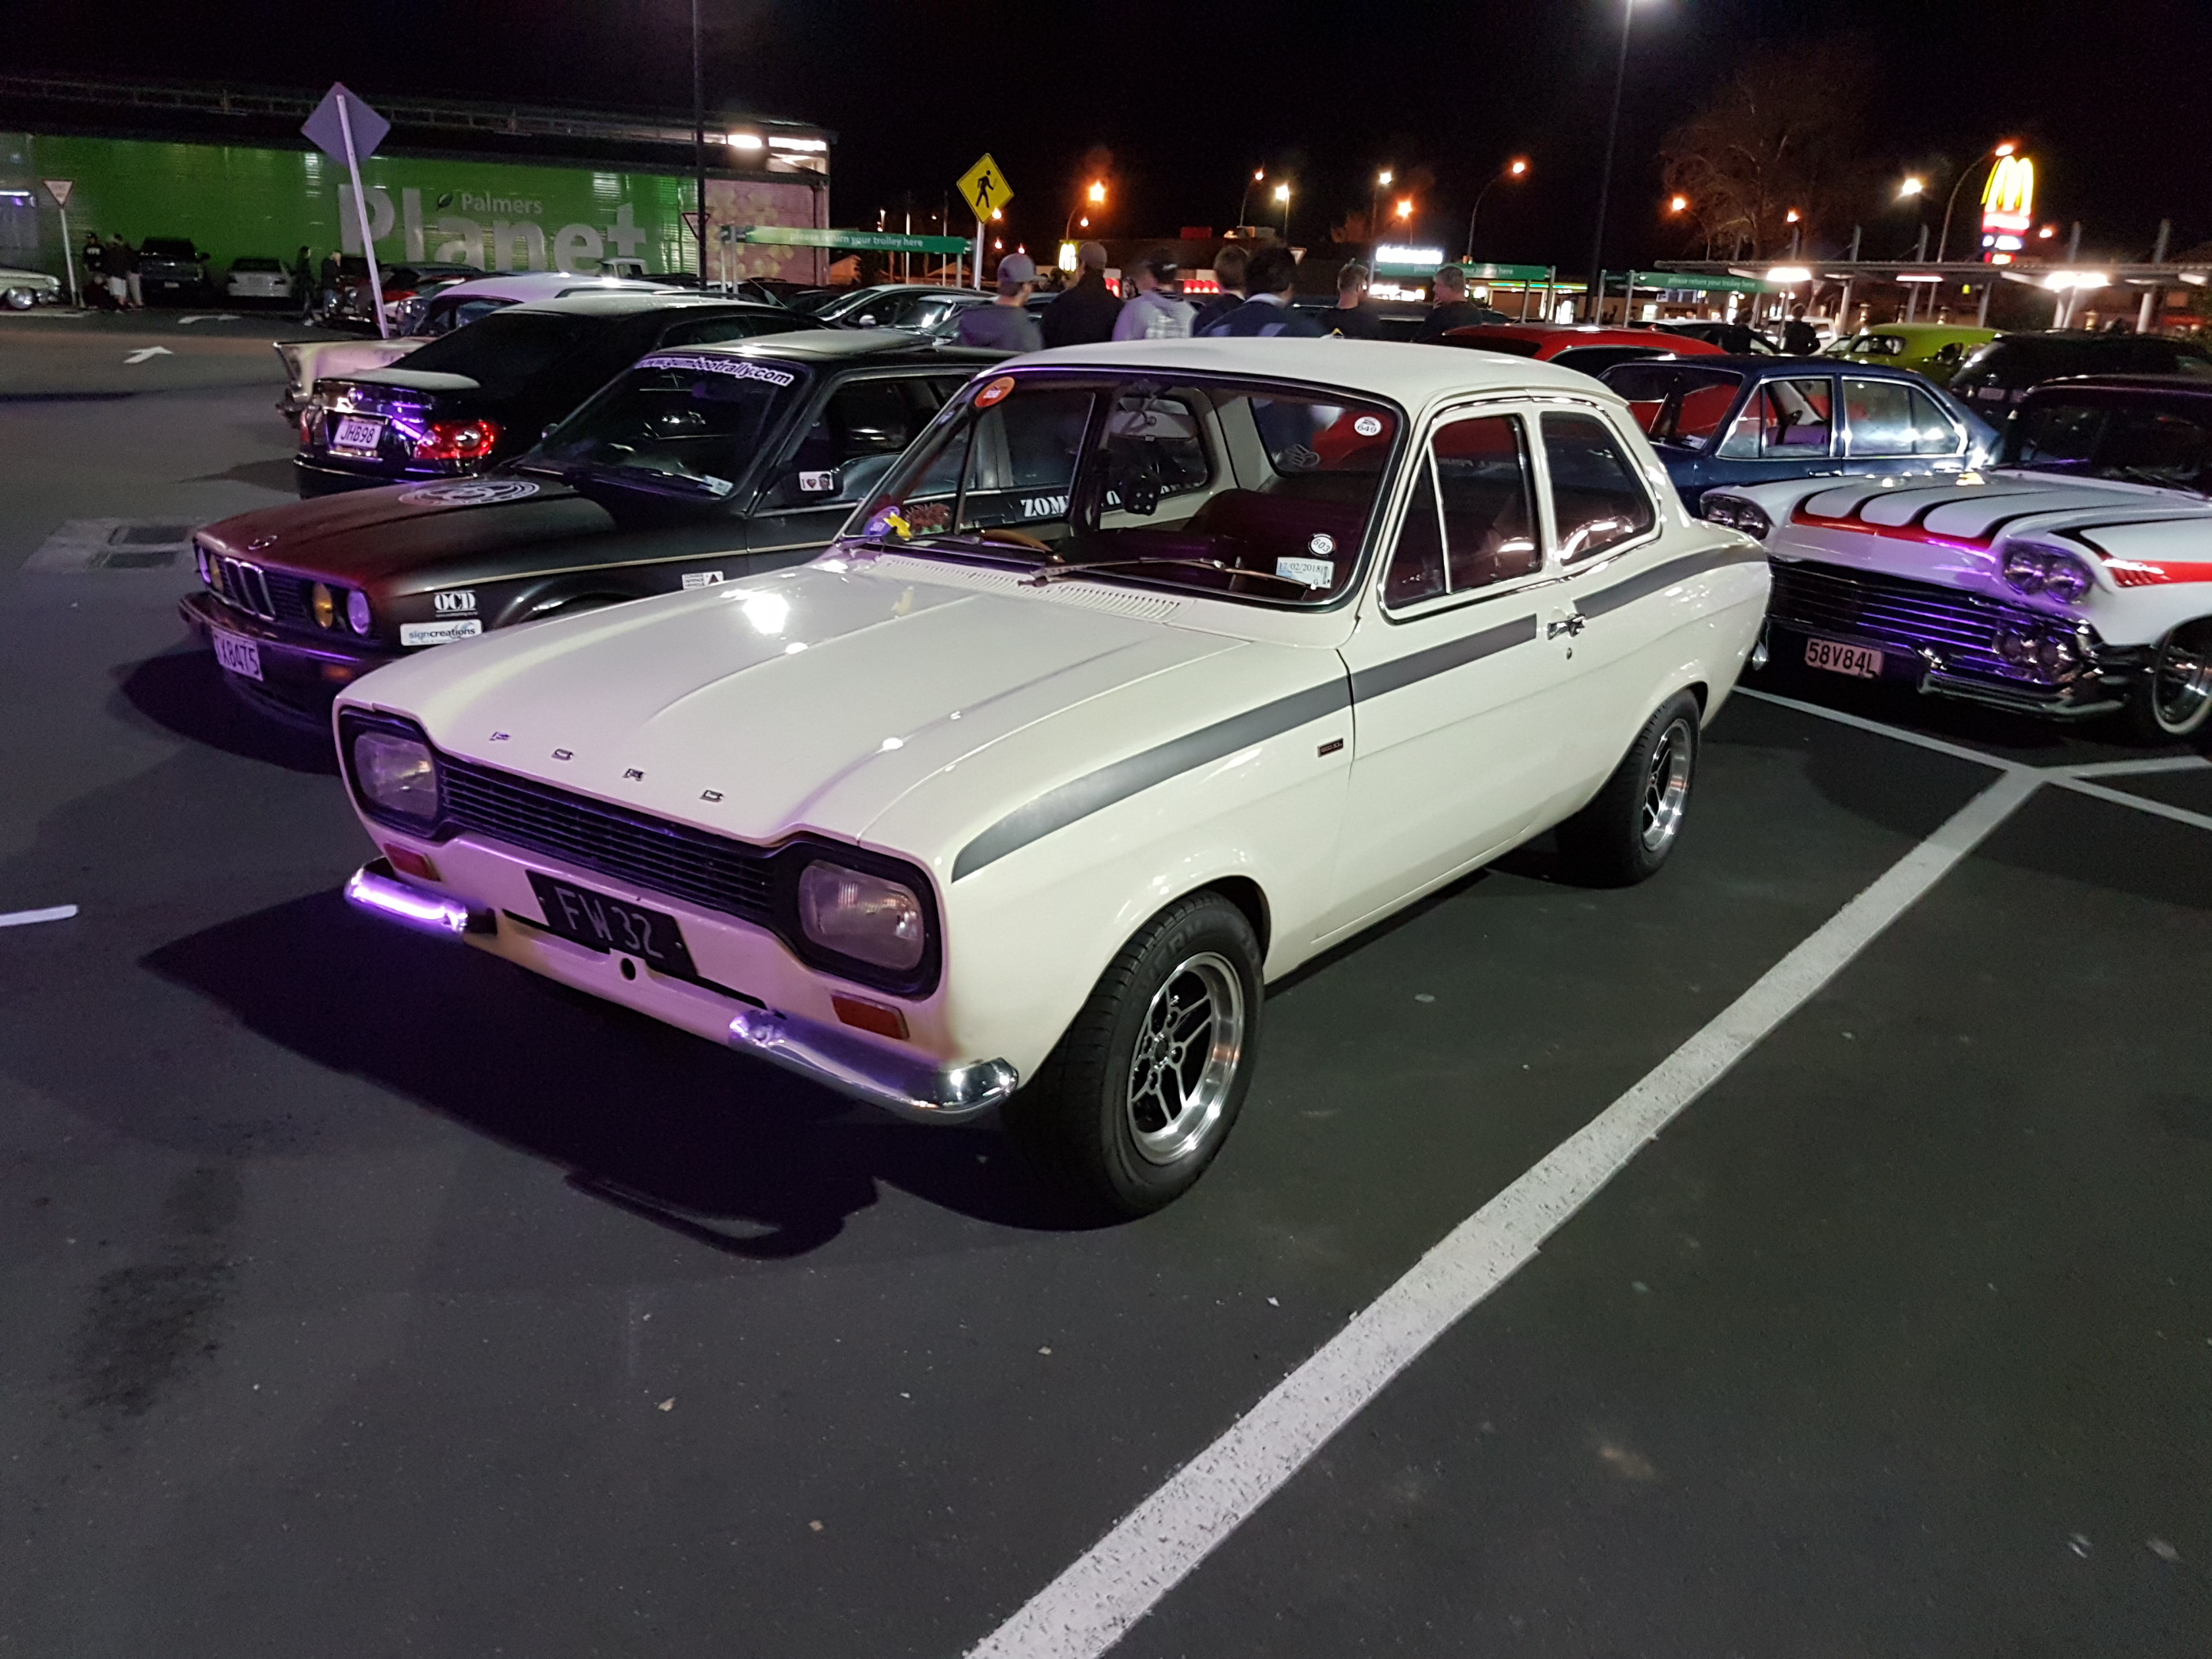
This thing is great @doullama! Well done on getting it road legal. Didn't realise you were a Waikato local! You should bring this to the Burgerfuel cruise tonight.2 points
-
new location is sweet A+ rating from me.2 points
-
I'll have a geeze when I get to work, I think they're an M or Z section or summin.2 points
-
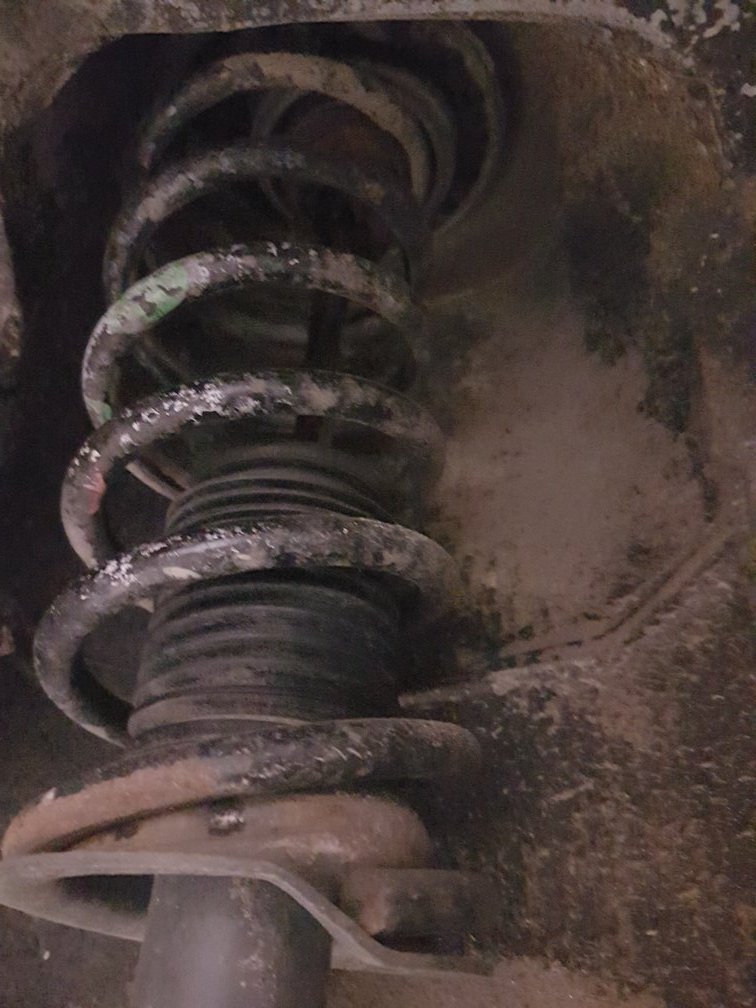
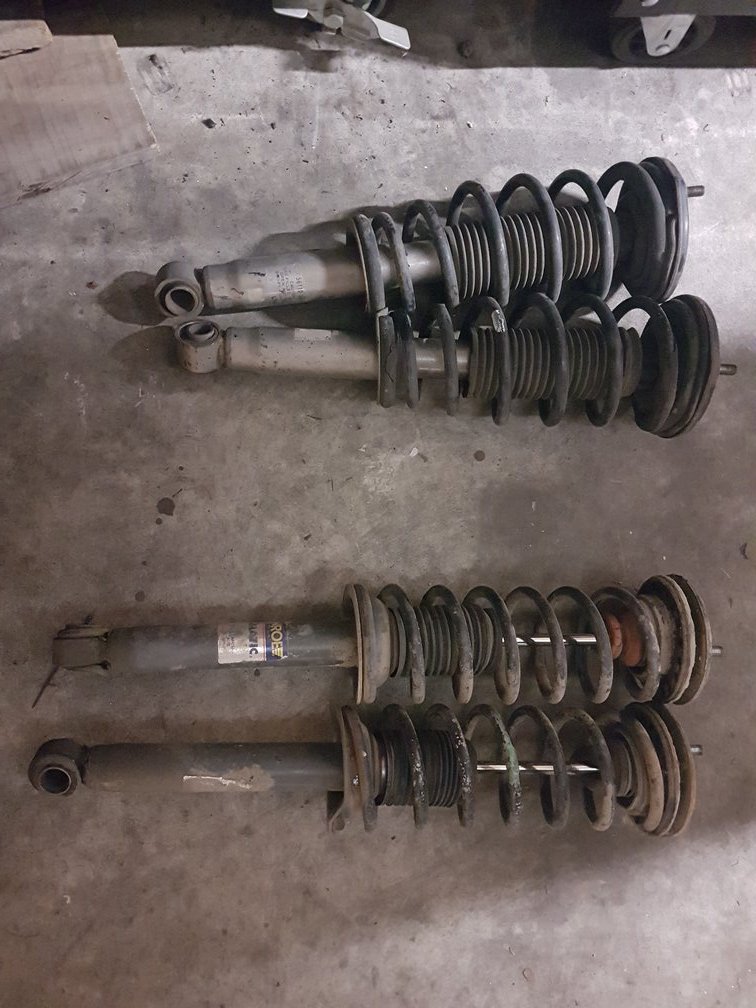
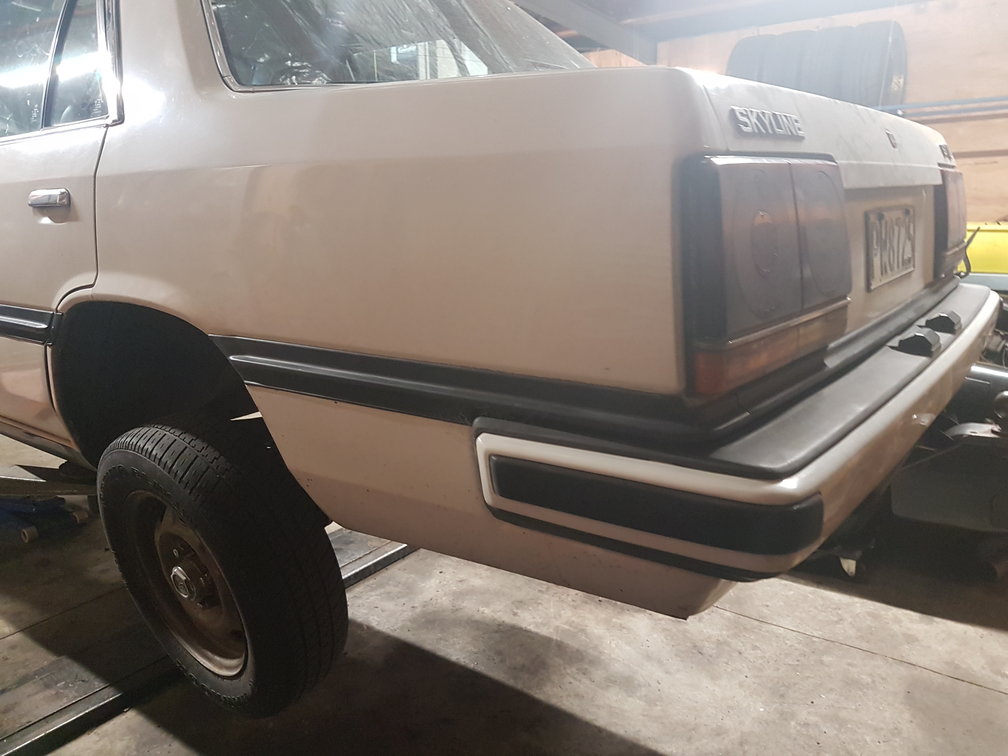
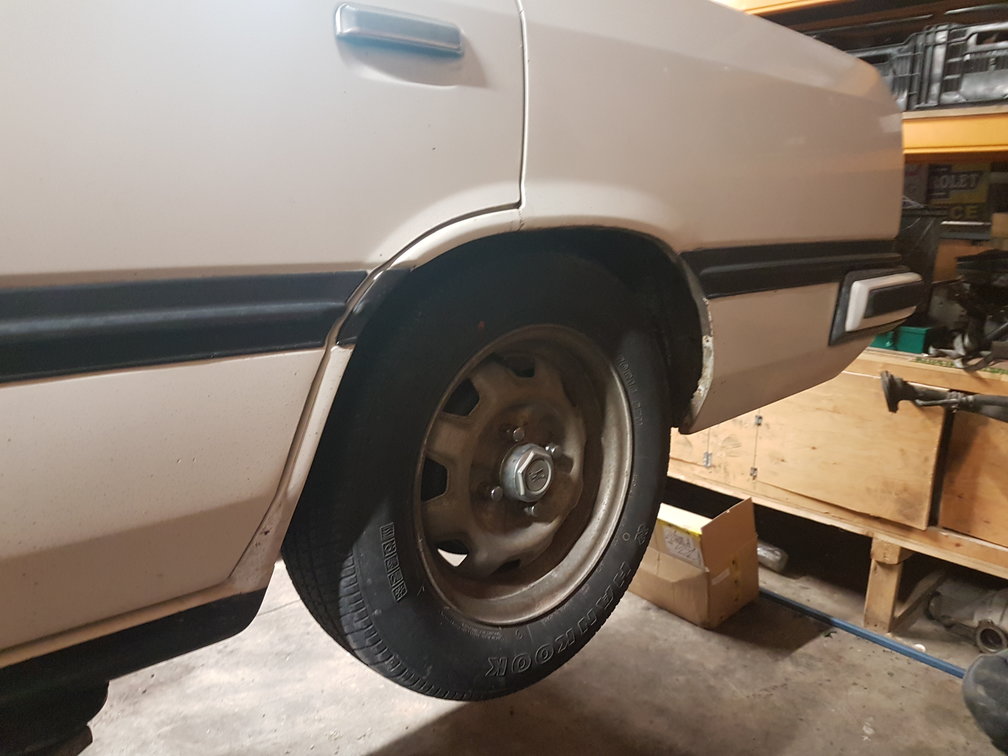
After a thorough examination on the hoist, everything seems to be in order. The body is really sound which Im extremely happy about and aside from some small oil leaks, tired glow plugs, the gearbox chatter and worn diff bearings (which @Slacker_Sam. told me about) its fairly mechanically sound too. After finding the RH rear makita one way was not quite as captive as originally thought and that the lower bushes on the rear shocks were in fairly average state, I got into my first free mod, using the original front shocks from my old Autech 26 R32 A quick tophat swap and viola, new(er) healthy springs and shocks. No droop required Soon Ill tell you all about getting carried away on Yahoo.jp Discussion, advice and suggestions welcomed: https://oldschool.co.nz/index.php?/topic/57362-beaubots-1982-er30-skyline-sedan/
2 points
-
so, heaps has been happening but I'm busy as fuck a the mo so haven't updated this. insulation is in. AC units are plumbed. we've painted the back wall of the house so the builders can finish the deck and the pergola framing. gib lining begins on Thursday. many other things oh, doors are also installed. 2017-09-20_11-58-09 by sheepers, on Flickr 2017-09-20_11-48-55 by sheepers, on Flickr2 points
-
made up a crossmember for the driveshaft hoop to mount to. need to take some 50x6 flatbar and use the rollers at work to make a circle to go on there. tig welded up the nascar rectangle thing. fuck me my left hand is shaky lol. good practice though apart from all the gas in my bottle disappearing rather quickly.2 points
-
keeping on smashing at this nugget quite a bit of time in welding up a bunch of seams, small holes and little reinforcements here and there. working on getting everything on the bottom of the car sorted. a bunch more measurements to figure more or less where things will likely sit. got prehistoric on the back end of the trans tunnel to make some more room for the drive shaft. fiexed up the hori gearbox mount rookiedave and mott made ages ago. ground off the bits they had glued on, welded up all the holes and re machined the crossmember to suit a factory GM powerglide mount. started on the exhaust next. with it being 3.5"/90mm really trying to tuck it up to the maximum possible to avoid getting beached at the still relatively unslammed slammedness that will be possible. to further this following some stick poking, umming, ahhing decided to make a nascar boom tube inspired rear section. keeps the same or greater cross sectional area with 40mm more clearance. still a bit of work to go go from round to rectangle but happy with the progress. need to get some more tube in 22x3 this week and try to scrounge a section of 200NB steam pipe for the driveshaft hoop. once those are done re fit the fuel tank temporarily to figure out how to mount the fuel system and get all the mounting points for fuel lines, trans cooler lines and such things done.2 points
-
right side up upside down welding removed even more car made a C notch for more slam and got fully sideways2 points
-
only took another year and a half to get all barred up about this again2 points
-
made a tree Started gluing things together2 points
-
It certainly was!
1 point
-
I reckon raizer almost likes collecting empty baggies with honda barcodes on em better. this is is gonna be so sweet!1 point
-
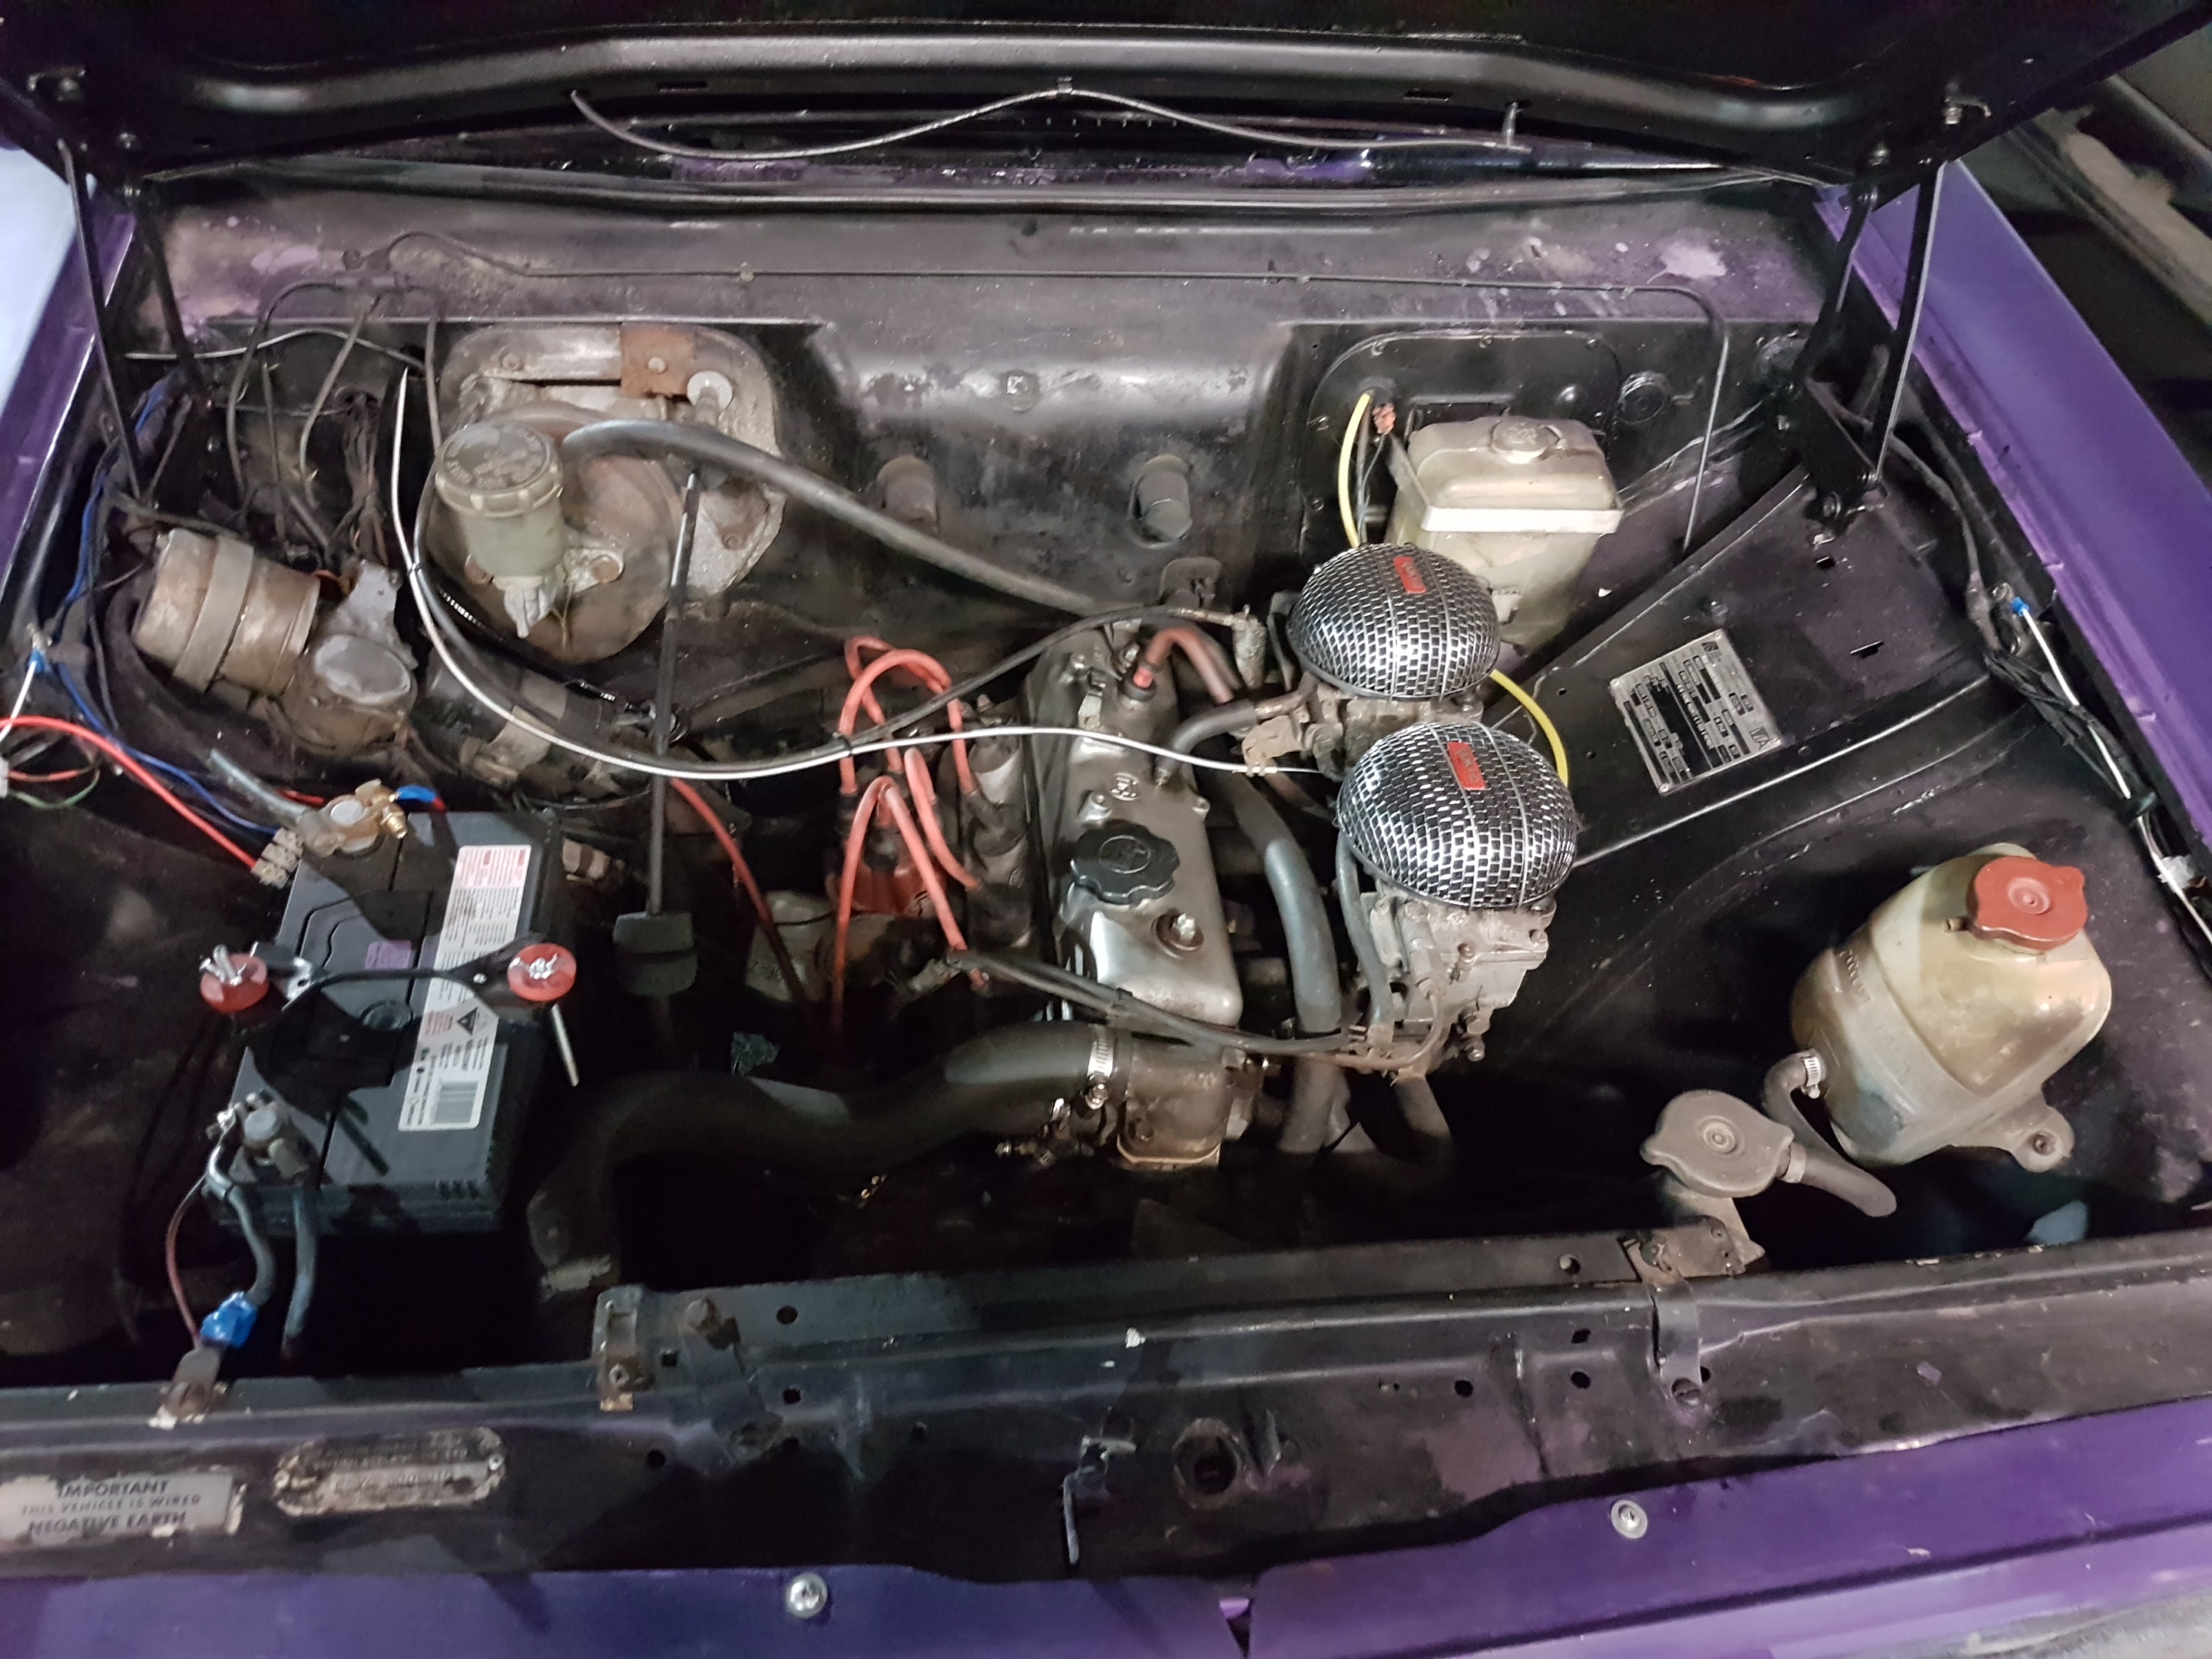
So what a major that turned out to be, so both front bolt holes in the inlet manifold were stripped. Ended up having to drill and tap them to M10, originally they are 5/16th (basically an M8) this meant that I had to then drill out the bolt holes in the carb so I could get an M10 bolt through the carb body. This thing doesn't have a choke either so the choke plates were just free to do what they wanted. So I've cabletied them fully open. Makes cold start a pig but I'll survive with it. Its running again, but then I left it idleing and it fouled up the plugs and stopped running. Cleaned the plugs and tweaked the idle mixture. Realistically i need to find someone with a 4 gas analyser so I can have a proper play. But who the frick has one of them nowadays haha. My old work has one and an old dyno, so may book it in with them and get it tickled up by them anyway here's a video for your patience1 point
-
@kickerIts a timing belt (thought it was a v-belt/couldn't see on my phone) 375-5M, and I happen to stock it, so can cut it at 6mm wide for you. They would be $4.70ea + freight down to ya'll.1 point
-
how did I only see these great memes of me now?!?! Also,1 point
-
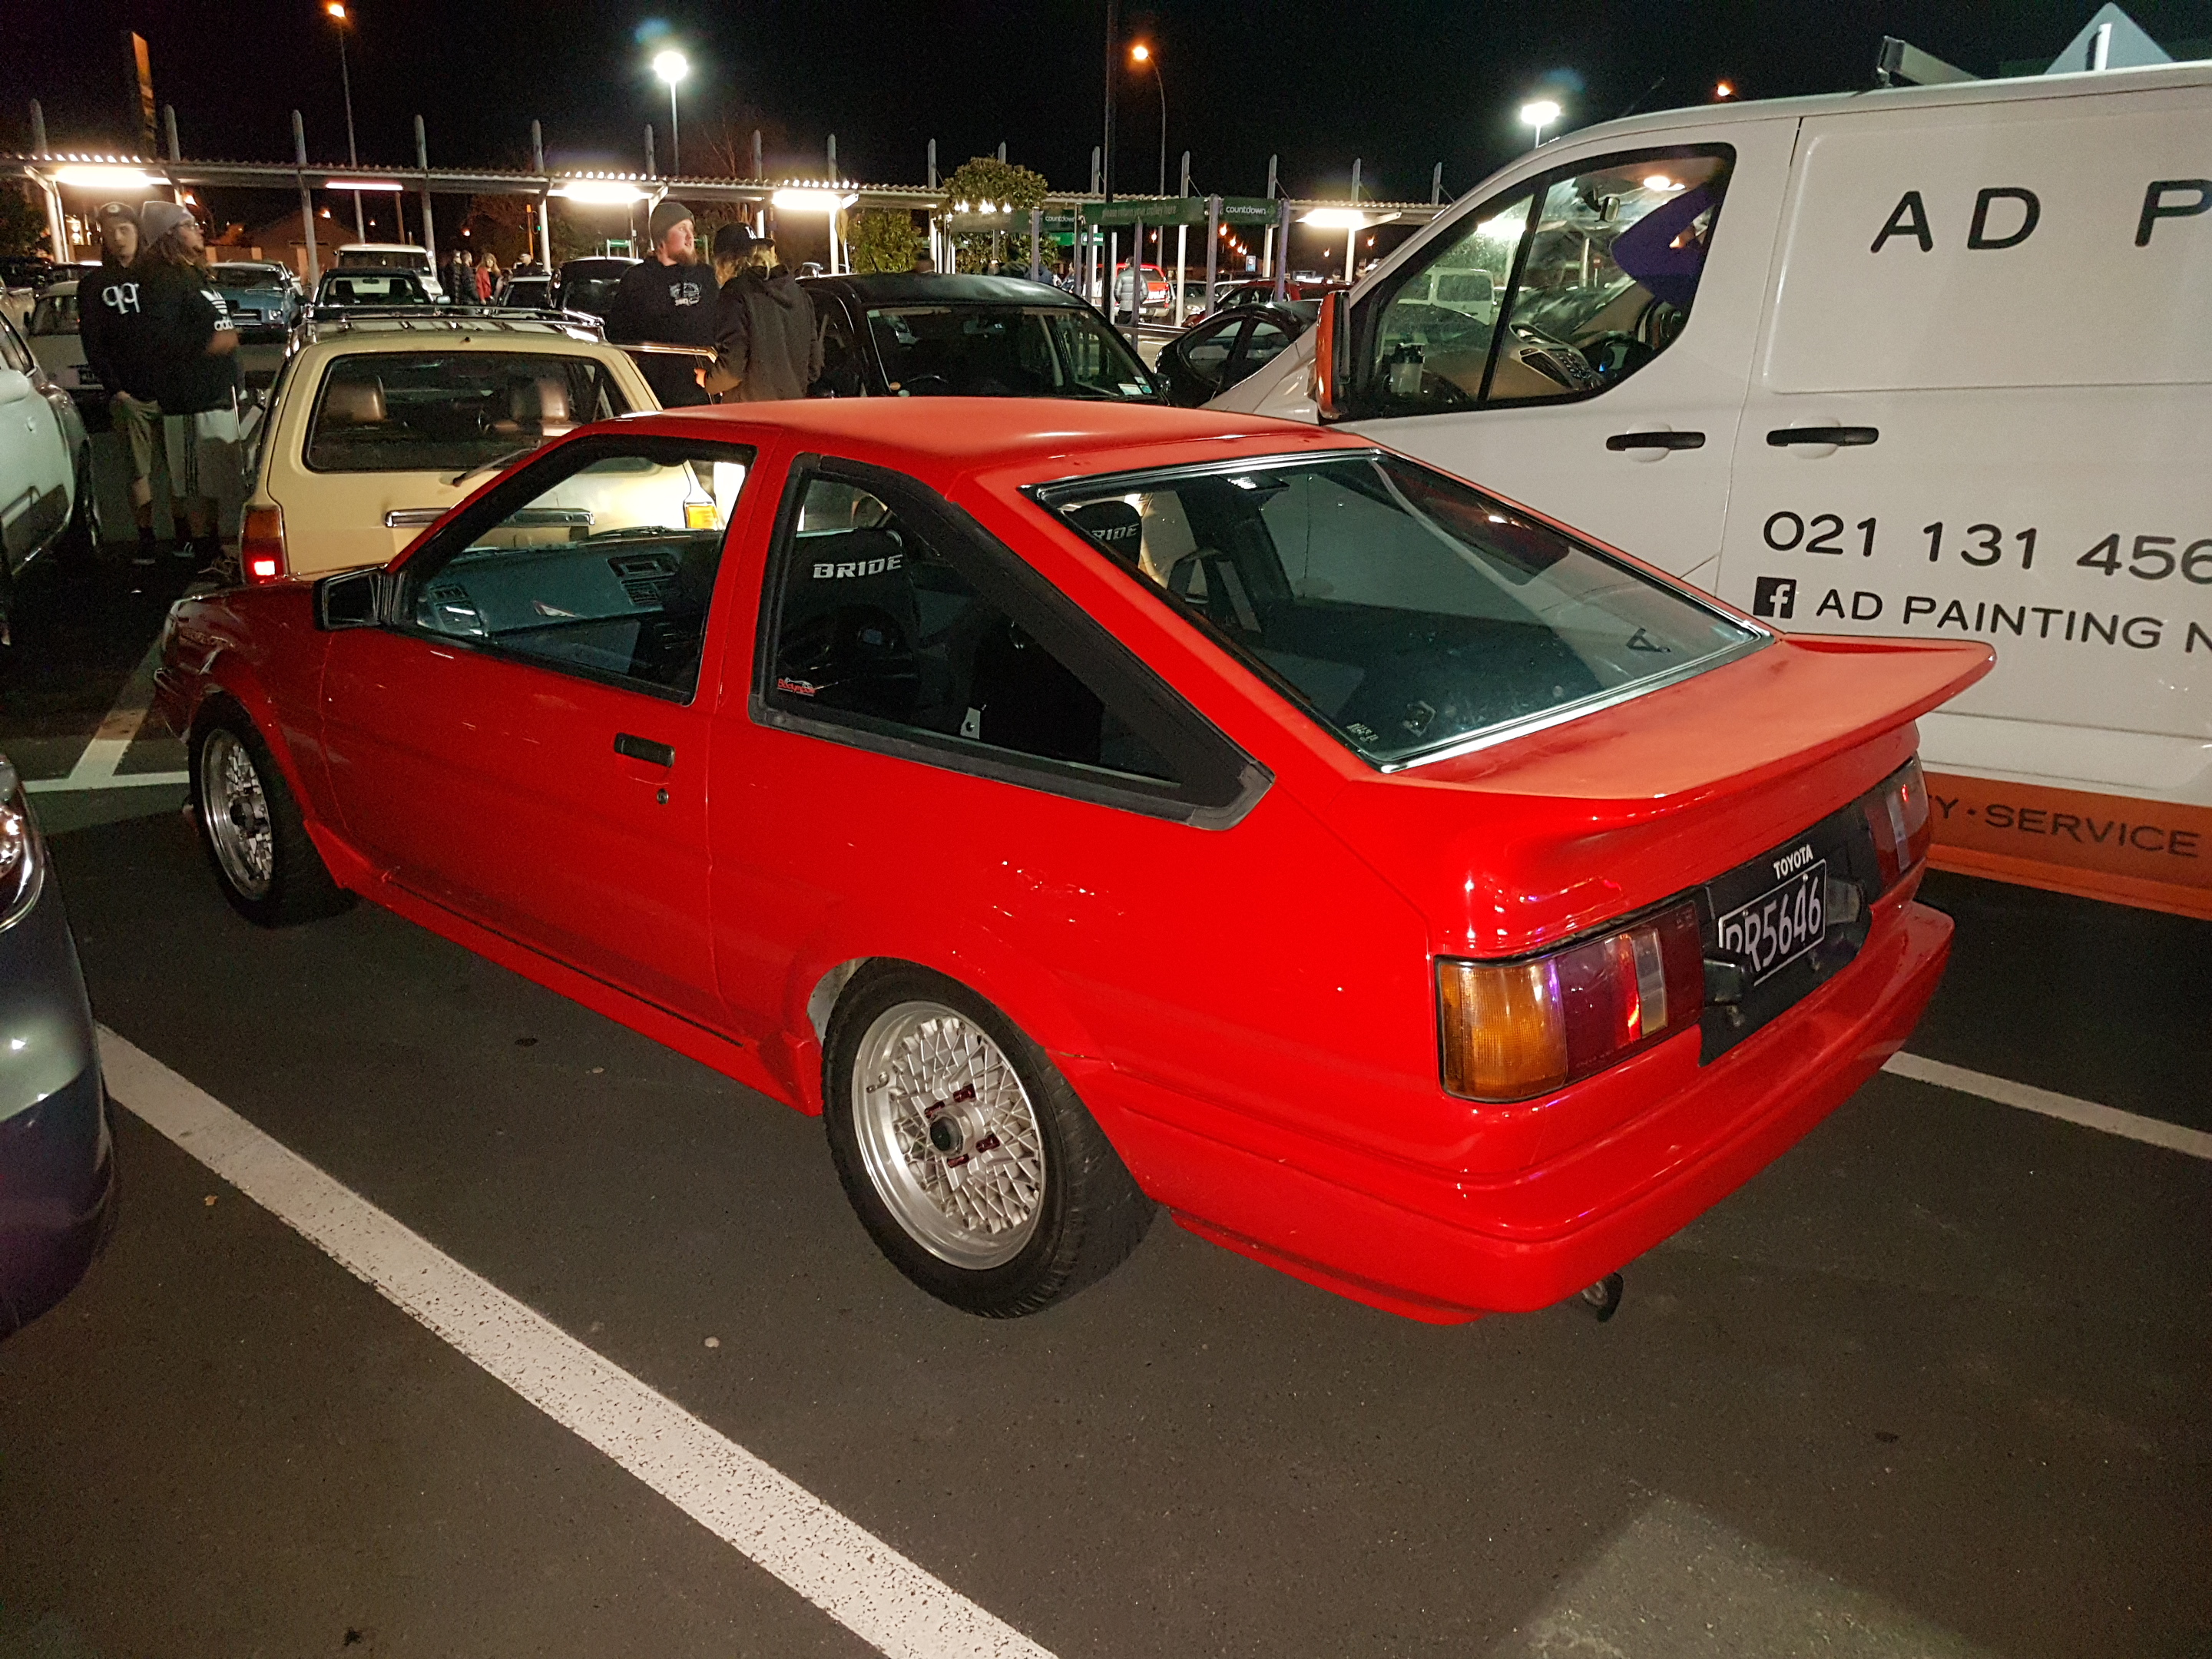
Great car park and was pretty much all for us1 point
-
Cool, haven't seen an r30 for ages. Had one with an L20et and auto back when they were "random old pos" rather than "appreciating classic", always thought it was great with so many random features, including the now-common windscreen fluid low light, and a light for when the spare tyre was missing! I'm pretty sure they were specced higher than the r31 in fact. may you have many happy miles! edit: also some motor honey like moreys stabiliser or its lucas equivalent won't fix your diff, but will shut it up at about 30% by volume (only for open diff, will probably wreck an lsd)1 point
-
right this minute the dog has a whole bunch of paint on her. I foresee it getting worse.1 point
-
Ok that was a fail ^ and a few more followed. Did some more runs and wasn't happy how unstable boost was. Put a bigger 40mm gate on it. inc bigger pipe off manifold Was just as bad, if not worse. Probably should have brought a 45mm and may have worked. Decided to try mount the gate on the turbo housing, before buying yet another wastegate Grill weld Grill cut a patch out of an old collector fixed Finally holds boost perfect now.1 point
-
Liking the sound of this Bach. Sorted my ride for the ride too. Now to get it up to scratch!
1 point
-
wohooooo getting there now, one niggly job to sort was the exhaust, even with the motocross style starter and bending the exhaust as far in as i could to the engine the kick start still just hit at the end of the stroke. A bit more fiddling and some grinding of the kickstart and this is all sorted now. becuase the footpegs are spaced downwards about 10mm to clear the casings the brake pedal was too high, so i cut about 10-15mm out of this and welded the footpad back on, i also cut the pedal to bend it away so it didnt hit the casing and then welded that back together. Well the ergonomics for that are all sorted now! just the seat and side covers to go! oh and to trim the outside lugs off the front tyre so it doesnt rub like a bitch some hilarious side cover art to patch the penny pinchers theme courtesy of sparkle and my seat turned up from Craze genuine custom in bali, these seats are the lushest of lush quality, and very affordably priced. I like the look of no seat / foam on the tank, and im not phased about bum comfort but being 188cm tall i would be bent over like a maggot having a crap sitting on the tank, and need to sit just behind it, cue the craze cobra seat not mounted up yet, thats this weekends job, hoping to do a few kms this weekend to break the engine in properly and have a bit of a shakedown for DGR, much excite!1 point
-
A Beat-iful day today, cleaned out the tank and fuel level sender, the sender was caked in corrosion so I disassembled it and cleaned up the tiny contacts. Bunged it all back together with the new filter and seems to be all good now. Also, if you have the carb off one of these at any point, bin the carb mount bolt on the inner side and replace it with a stud and nut. You'll need about 35mm of thread sticking out, you can just cut the head of a 50mm M6 bolt then loctite it in. It just makes it easier to get the carb off instead of having to inch it off due to the bolt hitting the inlet. After putting it all back together, double checking the oil pump and carb settings it was still bogging even though it should all be stock ( @Raizer any thoughts?) It was revving nice on the stand so I thought I'd put the 7.5g rollers in just to see what happens and it was 100% better. I haven't been able to confirm what the stock roller weights should be, it came with 11g rollers and the manual doesn't mention roller weights, only wear parameters. Took it for a hoon around the neighbourhood and it went like a champ, slow starting on the steeper hills but once the revs got up and I hit VTACS it was all on, can feel the powerband come on at about 8000rpm and thankfully the brakes worked fine (hadn't even looked at them haha). Pretty happy with it considering it cost me $65 (initially haha) Next step will be getting a new plate. @classic scoot @Herbamaster @earthcubed We should organise a Beat meet sometime, would be good to see some others up close.1 point
-
Update time on Viva two.... Lesson learned. Don't leave Vivas parked up for two months on damp ground. I went to move it the other day and the clutch is stuck ! I have tried all the usual things to fix it and no luck. Its now sitting out there with a stick holding the clutch pedal down. Funny thing is that I have only recently worked on a mates Viva HC and it had come in with the same problem, which meant we had to remove the box and free up a very corroded clutch. The reason for this mighty wagon of mine being laid up? Well it ran out of WOF at about the same time as I had picked up a genuine Viva '90' engine. I had plans to fit it but its not happened yet. Hannah went to the UK to see family and brought back some parts, seals etc so next week we will tidy it up and fit it soon. What is a Viva '90' engine you ask? Its the uprated 1159cc engine that was offered as an option on HB vivas, and standard in the Brabham spec model. It has higher compression, high lift cam (that found its way into the 1256 Chevette/Viva HC engine), twin outlet exhaust manifold and Stromberg carb. Possibly some other things too.. some foamer can quip in here.. It all combines to give a very useful jump in power from 50 to 70 bhp! Twenty extra ponies is not to be laughed at when you only start with 50. My wagons chassis plate states in the options that it came with one of these engines but at some point it has been stolen from the car. The engine I have scored actually came from this ropey old car here... ...which Slacker Sam had bought and then sold on to the fella I bought the wagon from. He split the car down as it was rusty as (although some of its shell has also made its way into my wagon) , hung on to the motor and I managed to score it a few years later for $100. Its been rebuilt and apparently goes really well he said, useful for towing other Vauxhalls around etc ... Came with all new ignition parts too. Pretty happy with this lot and looking forwards to fitting it! I have cleared a little area in the workshop to work on it....1 point
-
Grass has been getting a little long. so time to give it a trim in other news, just been making a few things stronger, chassis panhard mount. added some braces to lower chassis links on the rear. pedal box was flexing the firewall/wiper tray even tho i took in all 9 of the factory bolt holes. added another bracket back to the cross bar. and hung the brake light switch off it grass trails p/s cap is out in the paddock somewhere1 point
-
I will now rummage through all my fading memories the happenings of the last few weeks since the wagon became legal, weeks of holidays, drinks, sunshine, fettling of various old car things. Hopefully as I type it will become clearer.. Since getting the car back into life I have just kept using it for all sorts of trips and its been fun. I love the looks it gets. Often I get thumbs up, usually from young folk who might not even know what it is but certainly like the fact its shabby. Older people often smile too. Many comments But it was never 'right'. I felt it had better potential and didn't believe that the engine was knackered. It was not using much oil but enough to make me look further than just the patches it left here and there. Every time I drove it Id discover afterwards a new fresh coating of oil mist over everything. I checked the rocker cover and sure enough that was loose. But still the mystery mist kept appearing.. hmmmmm… Finally I worked out that it was spinning off from the front pulley. Luckily my stash of Viva spares had a new seal. I popped off the timing chain cover and swapped out the very very hard old seal. The nice soft new one stopped the mist. Yay. But that rough idle was annoying me. More so the engine shal=king about and making the exhaust knock the crossmember. This I had to fix. It was too close and sat quite low as well.. So I cut off the down pipe and while it was off I repaired my previous ‘repair’ to the manifold joining flange which had started to leak. Knock be gone but still the car idled rough. I checked the compressions and they were all good @ 150 psi each (which is way higher than the 130 Mr Haynes tells me to expect so I either have a gauge that lies or someone in the past has skimmed the head?) But still the car ran rough. I finally bought a new timing light. A self powered one. So good not having to plug in the battery leads! With my new light I was able to check the timing which turned out to be only about 5 degrees out. So I was happy that Id managed to get it so close just by ear but not happy that it was obviously not the cause of the poor idle. I checked the valve clearances. Now things got messy… the manuals all say check them hot and many sources out there say the best thing is to check them with the engine running….. NEVER AGAIN will I try using feeler gauges on a idling engine! What a kerfuffle and resulting mess! After I had spent many clean rags clearing up the oil from everywhere I set the clearances hot. They were all pretty good actually. I screwed the rocker cover down and started the engine. TINK TINK TINK TINK TINK…. WTF?!!! Where’s that coming from. Oh no.. have I dropped a valve? Sounds like piston slap or a broken piston top but higher pitched? Oh dear I thought. I popped the cover off and started the engine. Sound has gone! What? Looked at rocker cover and I could see marks underneath from where a rocker was just touching my altered breather gallery… Oh OK. So tightening the cover down further on a new hot cork gasket just pulled it down that bit more to touch. One swift smack with the hammer and the sound was gone So what is causing the rough running then. I had been pulling the plugs after every few runs to look at the condition. Always the front 1 and 2 plugs were clean and borderline lean. The rear 3 and 4 always a touch oily. Hmmmm. Then I looked at my servo and breather lines heading into my inlet manifold- remember back when I changed the positions?.. I popped off the servo one and sucked on it. Hang on… no resistance! What? Bugger me.. I have a split diaphragm in the servo causing an air leak. Which also explains the hefty brake pedal ( I’d just put that down to poor brakes bedding in or not being manly enough..) I plugged the tee on the manifold and started the car. Wow!! What a difference!!!! So smooth. I was able to lower the idle speed right down. Then double checked the timing, tweeked the carb jet a little and it was heaps better. Next drive was way smoother, engine had more pull and no lurching. Heaven. But I knew it could be even better. So I undid the breather pipe from the inlet and re-routed it down the back of the block, holding it in place by the bottom of the bell housing with a zip tie. I plugged the remaining takeoff on the tee and started the car… even better! Yes!! Having got rid of another ‘air leak’ helped no end plus was also explaining why the rear two plugs were constantly oily. I will source another HC servo and for now just put up with a harder pedal. The brakes work well but just need a shove. As for the inlet take off I will move the position to just after the carb in the middle so its even across all cylinders. The breather can remain to atmosphere. Now I knew the engine was actually OK I gave it an oil change. The old oil was not too dirty but it did smell. It burns a little oil at start up past the inlet valve stems. I have found out that this earlier engine doesn’t have stem seals but a friend who owns many Vivas said they used to slide an O-ring down the stem so most oil ran over the o-ring rather than down the guide. Nifty idea I might try if I do pop the head off. Im now a little reluctant to take the head off as its running well..but I am a little curious to see how carboned up it might be?. So my once rough running Viva is now a very smooth little car to drive. In fact its an utter joy to drive, allowing for a general lacking in power. My fears about driving up hills have been removed. Yeah it’s a bit slow but only on one very steep section do I need second gear, otherwise its third gear and cruise. Its ideal about town and fantastic for popping to the beach, a trip it has done many times now. I like it. I like it a lot. I just cruise. Windows down. Chilled out. Lifes a breeze. I love the way the car handles with the tiny engine up front. Steering is very light and it fun to flick around. Many more little things to tidy up now and make it a nicer place. Hannah’s mum is over from the UK on holiday so I made the most of her baggage and got her to bring over lots of stuff I got cheap on ebay Uk. See here… New dizzy cap, rotor, a full set of mint Vauxhall service manuals (only £1.50 ), full head gasket set (cheap), a few magazines, adjustable electric fan controller, a chrome air filter which doesn’t quite fit but I’ll sort that. So that’s where I’m at now. Just using it. Transporting mountain bikes (easy pesy).. Going to the beach.. Sitting pretty in the afternoon… Taking me down to my local village for moonlit strolls along the beach.. Just generally being a very good fun wee classic daily1 point
-
so much easier to work not lying on the ground in contorted positions1 point
-
Still waiting on parts, so can actually finish some stuff. But got a shit job out of the way, while waiting Was thinking about using a fuel cell, but thought i would at least try cut up the existing tank first Its not even the right tank. someone had rangi'd it in there. didn't really fit so well, pretty close to diff, sat low etc.. would have liked to make it smaller than this, since its massive. too much junk in the way meant i could only cut out a small section easily. Still, its enough to let bottom of tank up past chassis rails, so wont get wasted so much. Since i didn't blow up or catch fire. Didn't really have much use for my fire extinguisher . That got cut in half also. Was gonna put a baffle around pick up, but this seemed easier at the time . will use existing pickup as a return looking at this, i probably could have used a pot. maybe would have saved some grinding. its not pretty, but tank/turd was past polishing1 point
-
Got the exhaust manifold tacked together. Each runner has145mm of straight, 3 bends and enter collector in firing order. Because you need every last bit of power and crisp exhaust note, coming from your 4age Hilux1 point
-
W T F ? limited edition chrome diff?1 point


.thumb.jpg.b5491dbec1053270a4d99ed376fc2c36.jpg)


.thumb.jpeg.384ff72c8d2b0ee0d34a7bdedb55bdcf.jpeg)


This leaderboard is set to Auckland/GMT+12:00