
Leaderboard


Popular Content
Showing content with the highest reputation on 05/31/17 in all areas
-
KABLAM!!!!!!
 14 points
 -
Oh you guys..... So many lush ideas ! I must update thread but it's boring because it's all back together and has no spark. I've been going through the whole ignition , which I must admit is all new to me as its motorbike black magic stuff. I think /hope it's just the coil. The coil which I thought had a broken main lead and I couldn't find the break so I got in a hissy fit and chopped the lead off an inch back from the coil. Then I found that it was just the screw on cap that was loose... Umpfffffff! So I carefully twisted the copper inner back together and soldered it. Covered it in heat shrink. Stood back and pointed at my awesome bodgery, had a good ol belly laugh and then walked off for a little cry. Fucking electrickery . On a brighter note we sold the trailer for 700 bucks. So our quad only owes us 300. Plus 40 for the head gasket set. And 5 for the coil I just bought on a aliexpress(including shipping). What could go wrong with that.8 points
-
I still have this. Been long time since last update. Engines always detonating pretty bad always did but I'm sure it's getting worse and it's over heating randomly all the time even tho new water pump and new electric fan. So plan is motor out, small block chev in, fix the rust , respray, cert, burnouts!5 points
-
Lovely colour !!!! Here's it brother in motueka...3 points
-
http://www.trademe.co.nz/business-farming-industry/industrial/earthmoving-machinery/bulldozers/auction-1332398420.htm Detroit powered too so it'd be a win win situation3 points
-
Went to hamilton today to pick up this fine specimen. It's a 8.8 ford diff out of a 91-99 explorer. There are a few reasons for using this. They are cheap ish, have discs and a decent handbrake setup , lsd, 31 spline axles, same diff as a mustang so plenty of aftermarket parts available, and if you narrow one axle tube 3" and use 2 short axles it makes it just the right width and pinion offset for a valiant. I do have a 9" that I was going to use, but it has already been narrowed but not enough. New housing and axles was going to be 2k, plus rebuild the diff and get a lsd center, plus brake conversion, was probably the best part of 3.5- 4k. And yay, wheels fit over the brakes.
3 points
-
This is the most racecar looking piece I have ever made.. When the car was last together (quite some time ago now) the throttle pedal feel was terrible. I tried different cables and spring rates etc but always felt like it should have been better..maybe I'm just used to more modern things....I dunno. So the goal here was to reduce the cable length significantly- the snake will now come through the firewall and start directly behind the carb rather than above the gas pedal. I was going to use an aluminium or stainless tube but then found a carbon tube cheap on AE. I bought bearings from AE too- the housings are self aligning and they are CHEAP. Next I measured up the factory gas pedal assembly, copied it's basic geometry, made some quick drawings and had these cut. And bent the pedal pad Then this morning I took some aluminium And made these ends up in aluminium. they have lots of drilled and tapped holes for mounting the arms. And here it is together with the ends pressed in. It looks totally badass and is pretty cool to hold and play with as it's SOOOOO light and rigid....a shame it will never be seen haha. The pad will be welded on when it's bolted into car and I know that angles etc are right.3 points
-
Well just when you thought i couldn't finish my current projects, i thought why not add another! Discussion click here So here is my 1972 Vauxhall Viva Estate. Last registered in 2012 and been off the road since. It use to have the stock 1259cc but that has since been removed. A bit of a special car too, being the first in NZ with plate number 1. The previous owner has spent a lot of time and effort in getting the new motor built up. Its a Blydenstein 1259cc (1.3L now) and lets just say its not stock anymore. Heres how the car sat when it was on the road: Stay tuned in the coming weeks2 points
-
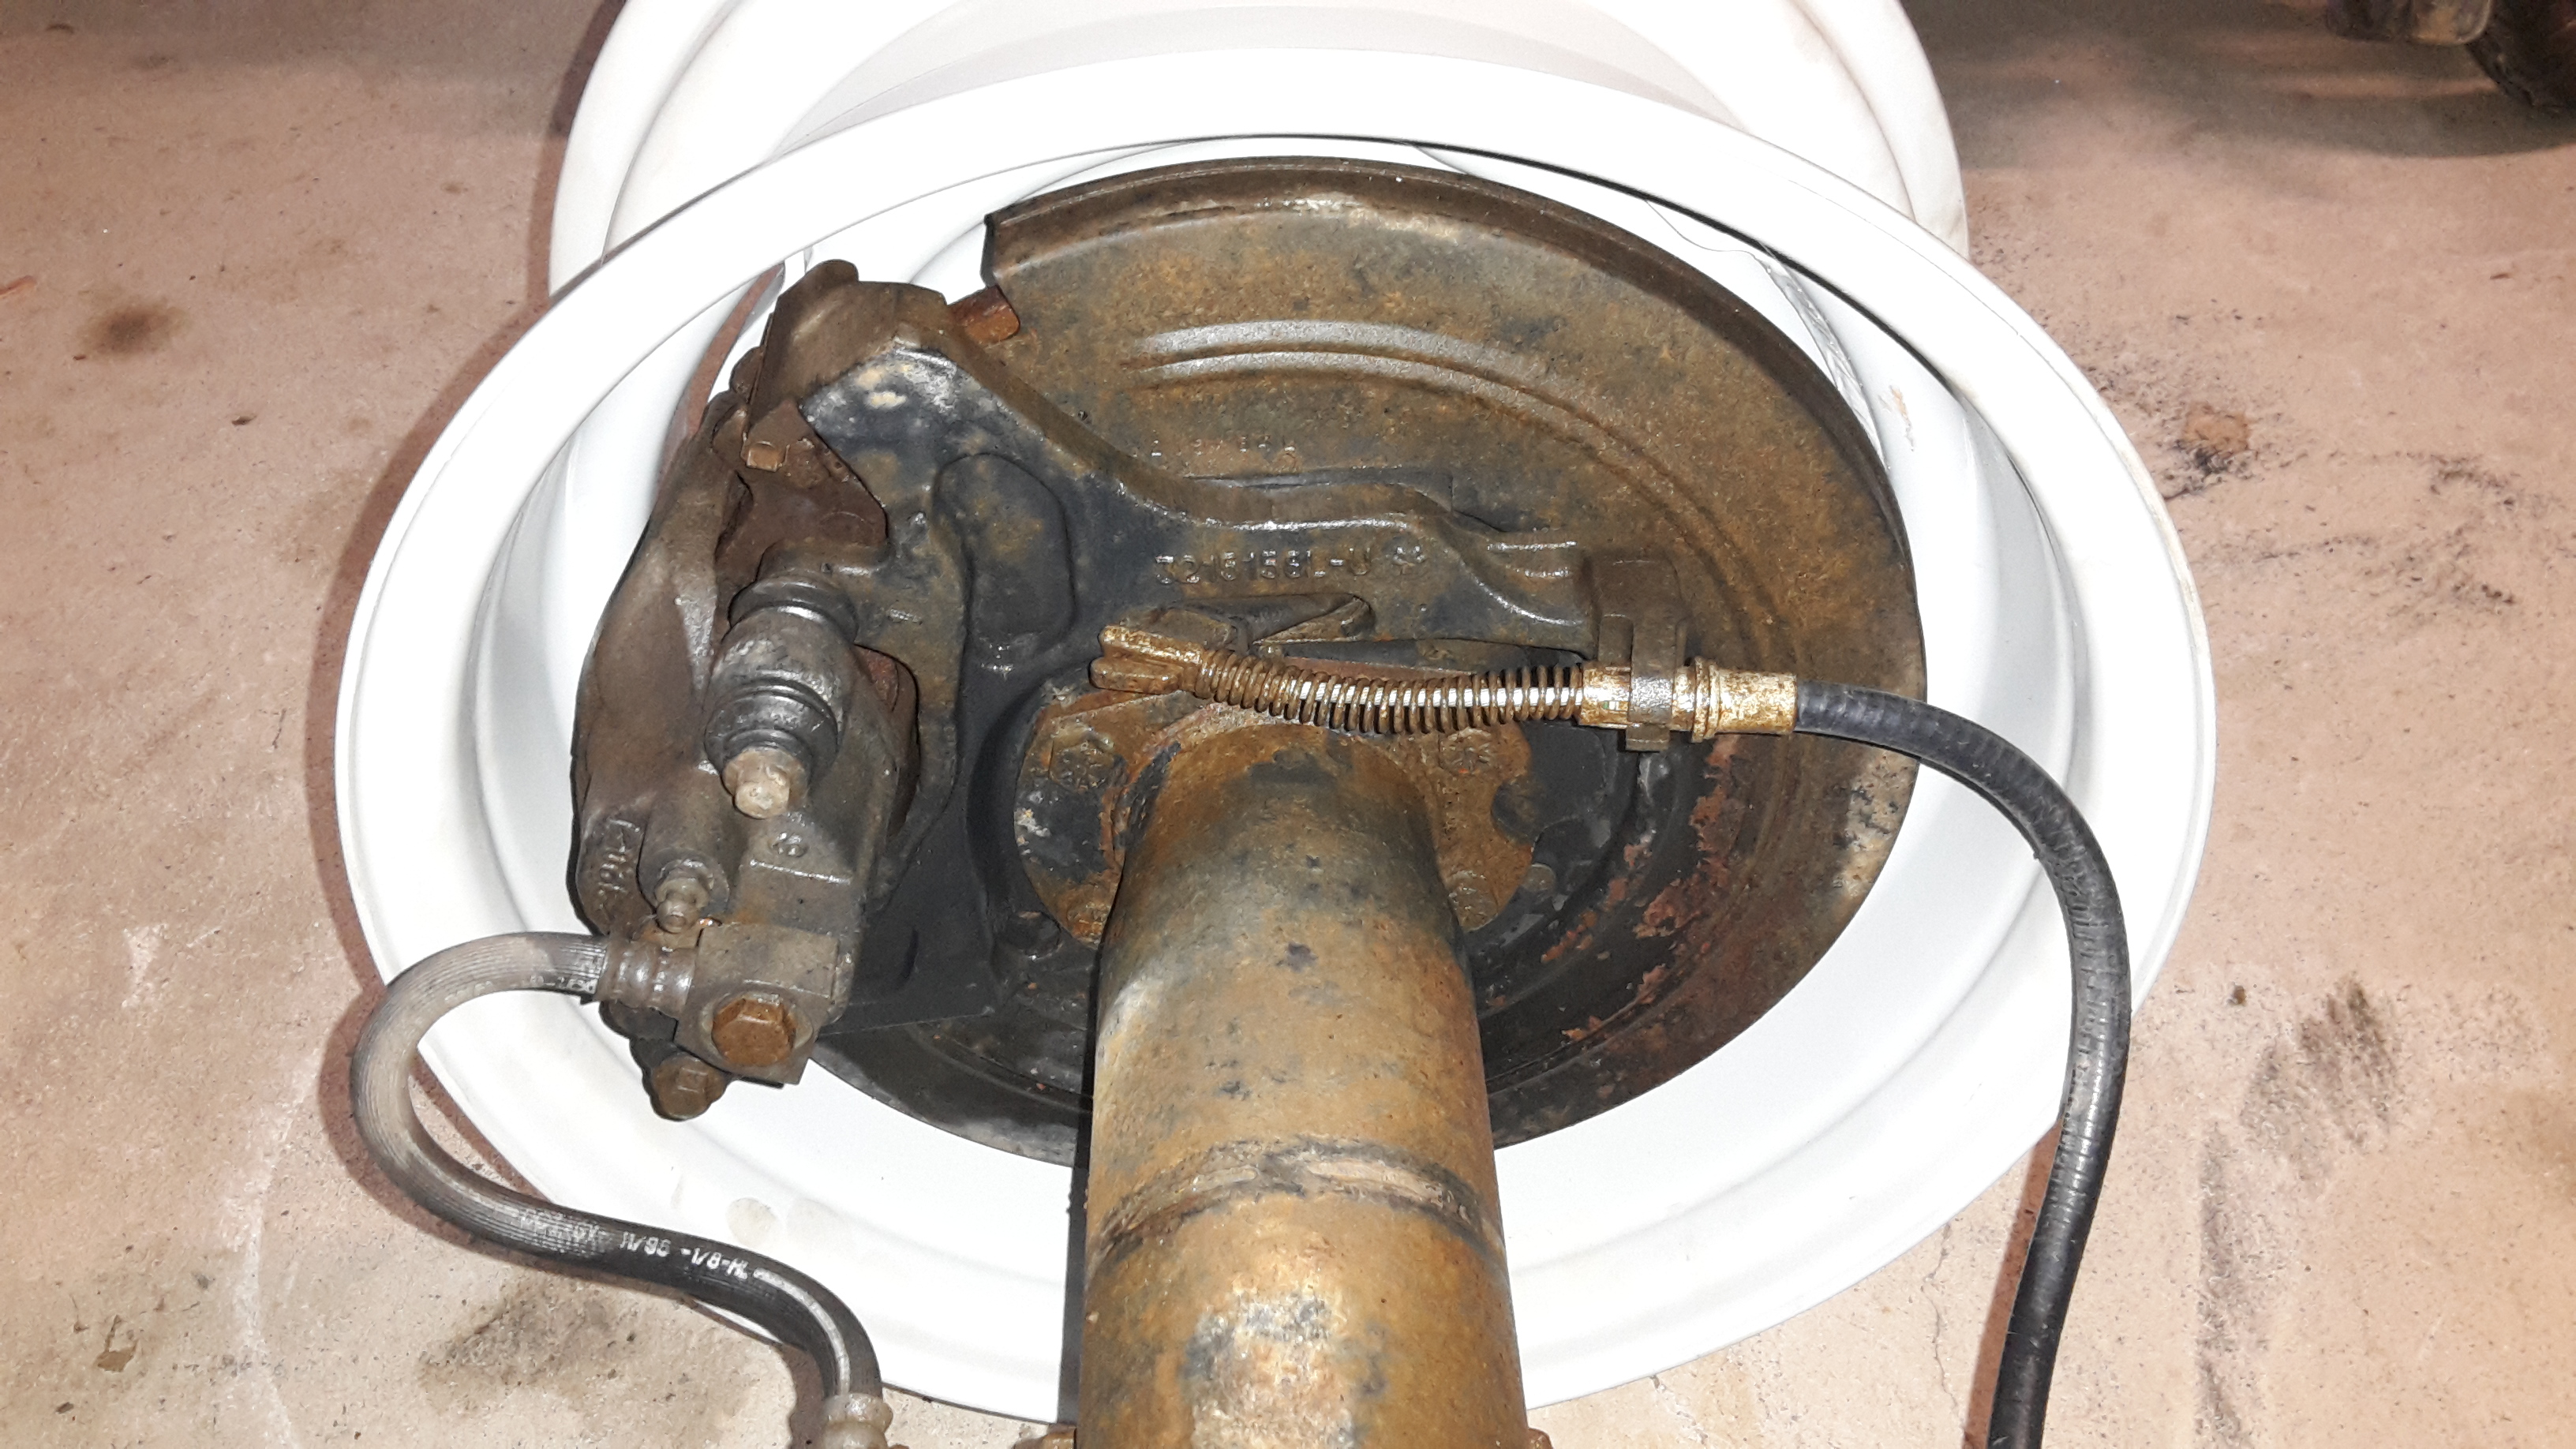
I spaced down the lower shock mounts from the lower suspension arms by using washers - you could probably do the same with proper spacers and longer bolts.2 points
-
I have a few sets of chains. What size? I probably have both sizes. Too big and too small.2 points
-
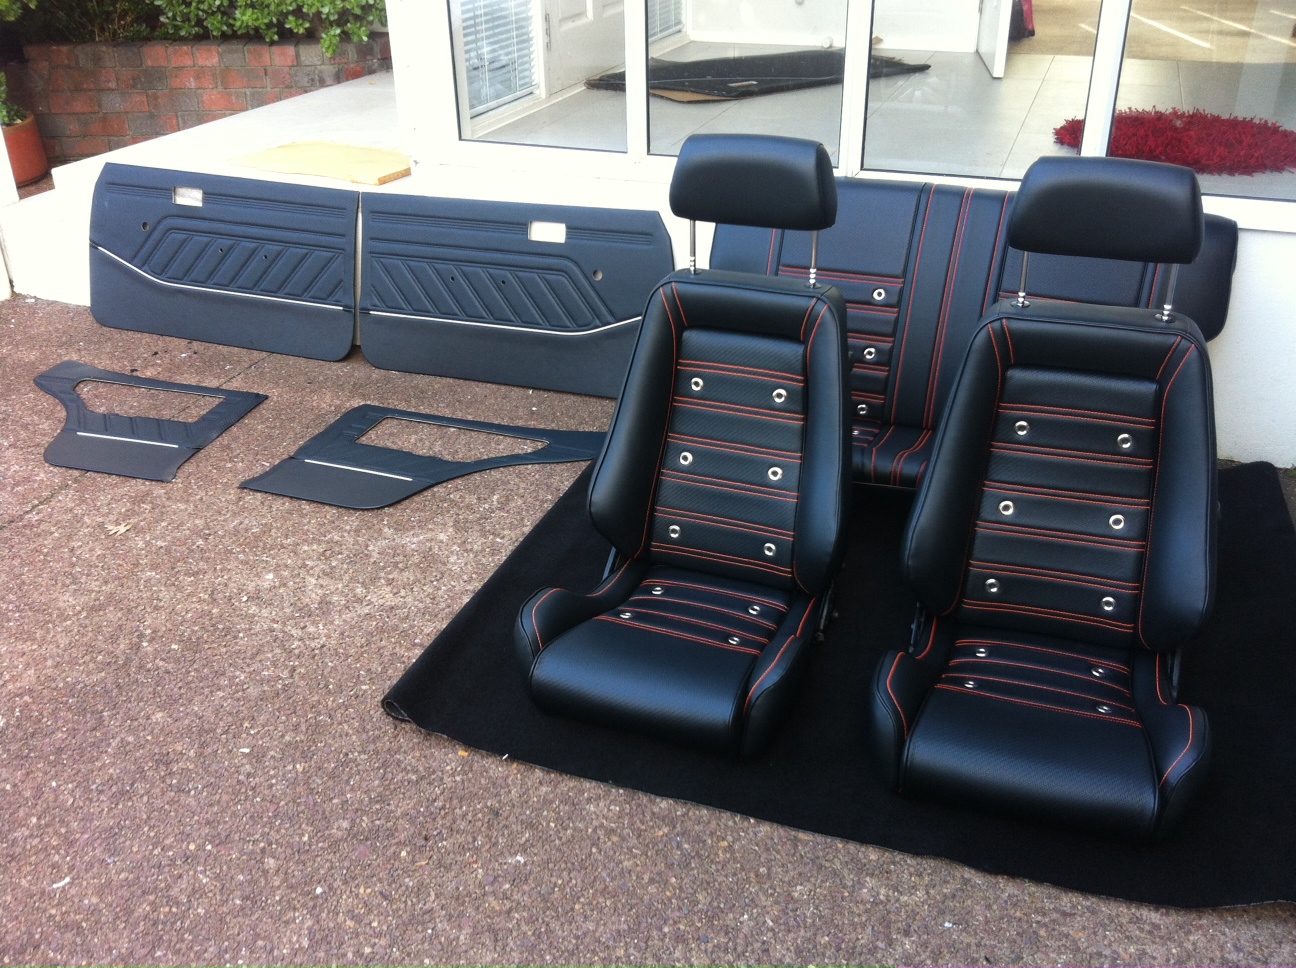
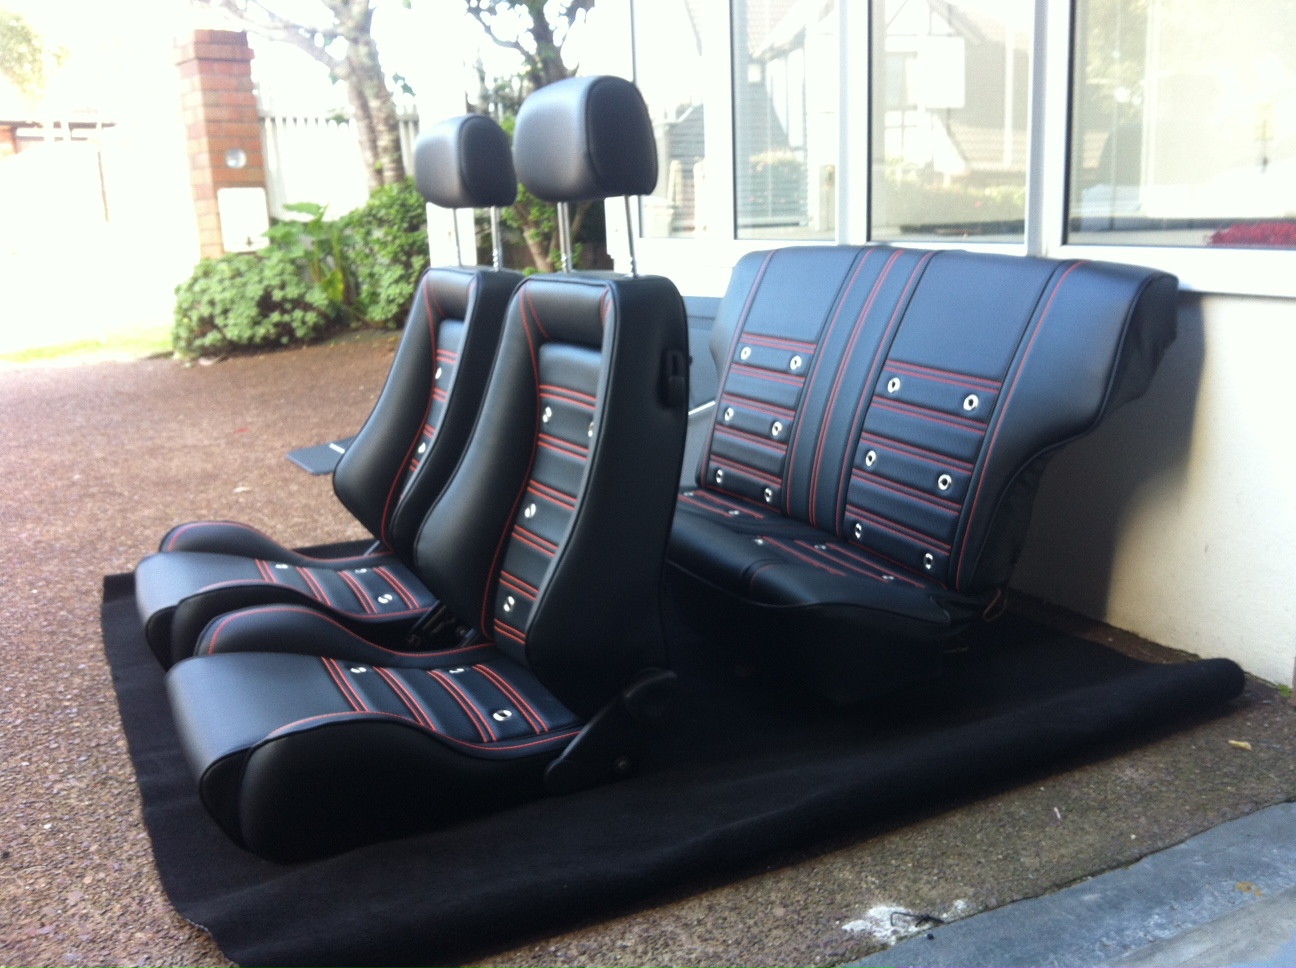
You've gotta be happy with that outcome, they look outstanding!2 points
-
Finally have a photo. And for the sake of it, a before (when I first got it) and after (today).2 points
-
First bit of floor in! Damn photo makes it look much less complex and note flat than it actually js2 points
-
So before our wee accident last year I had left some money with a friend to get a truck or van to send home. The plan was to spend a day or two with him when we returned the rental car. That didn't quite happen but he still had the money. We both spent months looking at craigslist and looked at a few vehicles but nothing was right. I saw this van one day but It was FULL of tools, I thought to my self I can't ask Scott to deal with a van load of tools so I passed on it. I was talking to him on the weekend and he said he just bought a van full of tools.... HE siad he bought it off a old guy who was retiring and ended up chatting for a few hours. It was a bit more than I left with him so I transferred some money to him and a deal was done. A few months and many thousand dollars later I get a email with the collection documents. @piazzanoob Offered to help pick it up so I met him at the shipping yard. I was stoked when it started nicely for the the guy bringing ti to me, no horrible starter noises like my old c10. I put some fuel in, topped up the radiator and drove it home. I didn't receive the title or and paperwork so i'm hoping its still at the importers somewhere, I'll email them before I start panicking Getting picked up from phoenix I finally spotted it at the yard (just) The old guy has made some pretty decent cupboards etc, I found a lot of receipts in the glovebox. The screen was replaced in 2004 and the trans was rebuilt in 2002 by the looks of it. I was wondering what the small peddle on the left was.. He had cruise control installed too, there is even the paperwork& guarantee with it! I'll have to figure out how to get it to work. The aircon has been converted to r134a so it should just need regassing and it'll be lush. Its got lovely plush seats with two arm rests and old mate has even made a cupholder with a build in stubby cooler! Lush. Scott got a whole load of parts for me too as its easier to have them arrive with the van, a set of shocks (air shocks in the back) pads, ignition stuff and a fuel pump. It was better than Christmas tbh. lush cupholder/drawers There is a full length shelf beside these She just squeezed beside the house which is good Don't even need a free candy sign, piazzanooobs nephew came with him for a ride and was right in the passengers seat as soon as it was unlocked. I'm really poor now so progress will be slow for the next few months, I'll give it a good wash/wax and polish then start with all the service parts. Probably do a de cat at some point too as its huge and its too quiet, you can't hear any v8 rumble at all. It should be easy enough, just replace the cat with a section of pipe .1 point
-
So what do you get when u buy a car from a back packer??? 23 maps of all over new zealand?? YES! Brochures on tramping tracks and how to get work in nz??? YES! A fucken good bargain??? YES! Also: A tent Snow chains All sorts of camping equipment A tarpaulin An umbrella (never been used ) hahahah but seriously... Bought me a daily... off a lovely back packer girl who has gone back home. 4 owner 1980 Toyota GX61 Corona Mark II actually registered as a " 1980 Toyota Grande EFI" Its awesomely mint in almost every way!!! Has the best interior you can possibly find!!!1 point
-
Lighting the area will help a lot but a lighter shade might also be a benefit. The one I posted above does shades 5-13. Usually 5-8 is only used for plasma cutting but I can imagine it would be ok for low amp mig welding too.1 point
-
The brake test involves accelerating and braking to 100kph back to 0 five times within a timeframe I cannot recall without suffering any fade. It's pretty basic really.1 point
-
1 point
-
1 point
-
sexy as seats bro, sexy.1 point
-
Agreed. So swish. Super Jealous.1 point
-
Lel first ever Oldschool snow meat? that could be rad / id pay money to see @kyteler whack some chains on the Merc and do fat elevenses all the way to the summit1 point
-
Sheet metal is poo, got some spuds and chromoly tube then Tig welded the start of some rear arms/links. Waiting on bushed rod ends to arrive from America. I'm so paranoid that I actually emailed a meturoligist (is that the word?) To ensure I was using the correct process for chromoly.1 point
-
Today I picked up a rebuilt wiper motor and ended up chatting to the geeze at the autosparkies, and chanced upon the fact he had a brand new in the packet wiper arm upstairs he was happy to sell me. Much joy.1 point
-
Our ones are better than that goat track. Can actually get some decent speed on many of them.1 point
-
@Toddy415 took us on a lovely guided tour round some of Riverton's finest unsealed roads1 point
-
Been half pie planning a route through Clutha District. Anyone totally unkeen on unsealed roads? We've got a few interesting ones in scenic places. Not winch and shovel spec, just the path less travelled sort of thing.1 point
-
And the two crowns stashed away being friends in the all legal begal club.
1 point
-
OK I actually did some proper work this weekend. I have had these old doors sitting behind my shed for a couple of years now. They are rusty as hell but the glass is pretty tidy so I dragged them out and set about removing the useful bits. Amazingly all the bolts and screws came loose with no problems at all so no broken bolts, screws or knuckles. The glass all came out intact so I added it to the other bits of glass that I have collected up over the last couple of years and cleaned it all up. The glass is not perfect but it is a whole lot better than what is in the car so I am very happy. Big thanks to fellow AP5 freak and all-round GC @64vauxhall for helping out with some of this. The stainless trim from the old doors was also worth saving so I salvaged it all for the parts hoard1 point
-
oh wicked! i own this now and its manual with a 1g-gteu twinturbo motor in it1 point
-
block work is done. concrete to fill blocks is booked for Tuesday after queens birthday. 2017-05-26_04-10-33 by sheepers, on Flickr 2017-05-26_04-10-20 by sheepers, on Flickr1 point
-
block layers are laying blocks. 2017-05-25_03-59-28 by sheepers, on Flickr 2017-05-25_03-59-15 by sheepers, on Flickr1 point
-
In b4 tang and desprang. Also to quote @Jmax507 "bags are for groceries" so no airbags. Also cbf with getting a cert1 point
-
Turns out I was lying about it being a treefiddy. I had a look at the build plate and figured out all the codes. It looks like its a povo pack with a few extras. 305? TBI explains why it started and drove so nicely. A01- WINDOW, TINTED, ALL SHADED, W/S A12- WINDOW, RR, STA BACK DR A51- SEAT, FRT BKT PASS, DRIVER A57- SEAT PASSENGER AUXILIARY, ONE, FLDG B3W -TIRE ALL P205/50R 15/N BL RIPE ST TL KW4 C5S-GVW RATING, 6600 LBS C60- HVAC SYSTEM, AIR CONDITIONER FRT MAN CONTROLS D1V- GEAR, SPEEDO DRIVEN D20-: SUNSHADE, WINDSHIELD, PASS SIDE D45- MIRROR O/S, SST E24-WWR SIDE, CARGO, HINGED E5Z-SPEEDOMETER ADAPTER (DELETE) E60-?? E9Z-SPEEDOMETER KEY (DELETE) F59- STABILIZER SHAFT FR, GU6- AXLE REAR, 3.42 RATIO G50- SPRING REAR, HEAVY DUTY, VAR 1 JB5- BRAKE, POWER, DISC/DRUM, 6400 LBS K19- REACTOR SYSTEM, AIR INJECTION K60- GENERATOR, 100 AMP LOD- ?? L03-5.0 LITER V-8 TBI ENGINE MX81-?? M40- Turbo Hydra-matic Transmission NA5-EMISSION SYSTEM, FEDERAL, TIER O NL7-FUEL TANK,I25L, 33 GAL N33-STEERING COLUMN, TILT TYPE N40 - STEERING, POWER, NON-VARIABLE RATIO SLM - ?? V37 - BUUPER, FRT & RR, CHROME V73 - ANTENNA, FIXED XET - TIRE FRONT, P245/75R16-109S BW R/PE ST TL AT YD3 - FRONT AXLE, BASE EQUIPMENT FOR SCHEDULING, GVW PLATE YD5- ?? ZET- ?? ZW9-B0DY EQUIPMENT, BASE BODY OR CHASSIS ZY1 - COLOR COMBINATION, SOLID Z53 CLUSTER, INST, OIL, COOL, TEMP, VOLTS 12U-?? 62I- INTERIOR TRIM, LT SADDLE (I) 62V-TRIM COMBINATION, VINYL, LT SADDLE (V)1 point
-
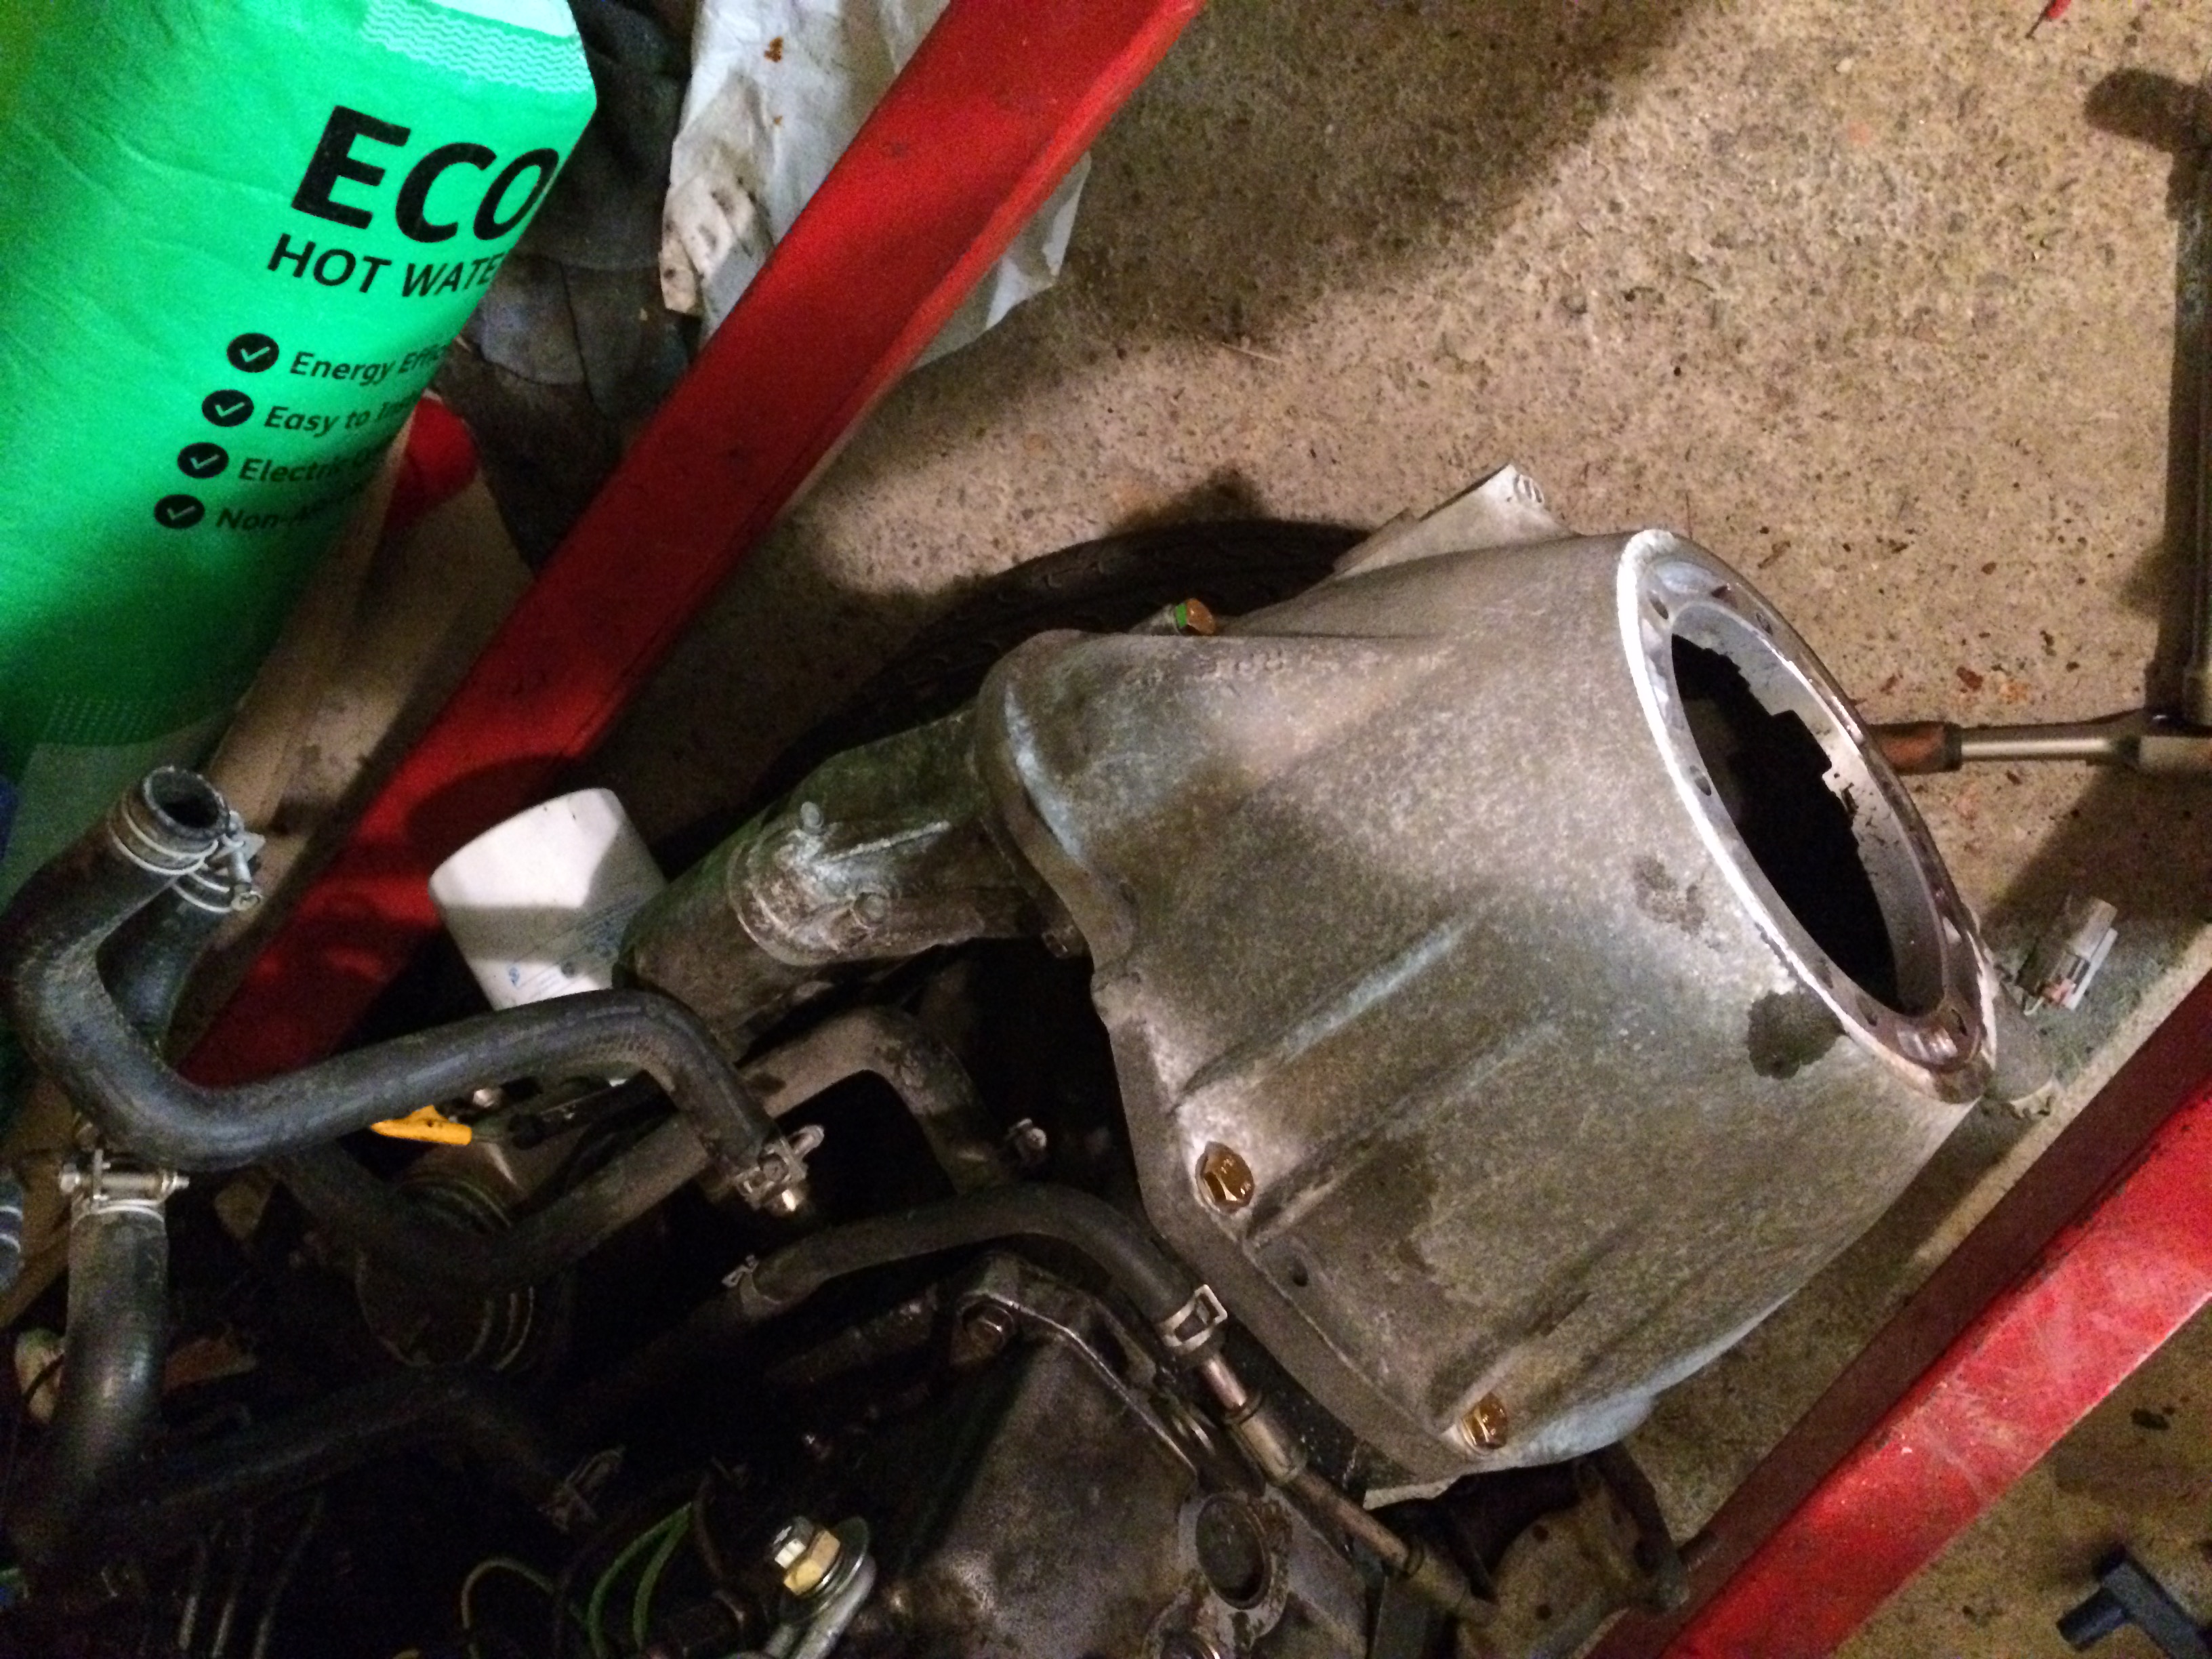
Managed to get it all bolted up proper, apart from the flex plate. Couldn't find any bolts the right size (but have made the centre bore the right size). Starter and teeth on the flex plate look to line up which is good. Might need to play with the plate spacing from the crank but that's easy enough (bearing in mind this setup is purely for cranking the engine for a Comp test, will be using the real parts from the old motor so will all bolt up perfectly)
1 point
-
And a battery box. Cut about 100mm off its overall length, then cut out a hole out for the battery to sit in. I'll wrap fuel line around the sharp edge by cutting a slit on the outside edge. Welded together. Welding has never been a talent of mine, but I own a grinder! Mounted to frame. Its removable so I can get battery out. Kj1 point
-
It is a winner.1 point
-
Thread dredge. I bought a cheap-ish CIGWeld helmet a couple of years ago which works fine on MIG and TIG. The issue I have is that I have trouble seeing what I'm doing when welding. Since I usually am just working at low amps/power I have it set on the minimum shade of 9, but can really just see the arc, not the metal around it. I note that some auto- models adjust down to shade 8, but I'm not sure if that would make an actual difference or not? Or would I be better off getting some portable lighting onto the weld area?1 point
-
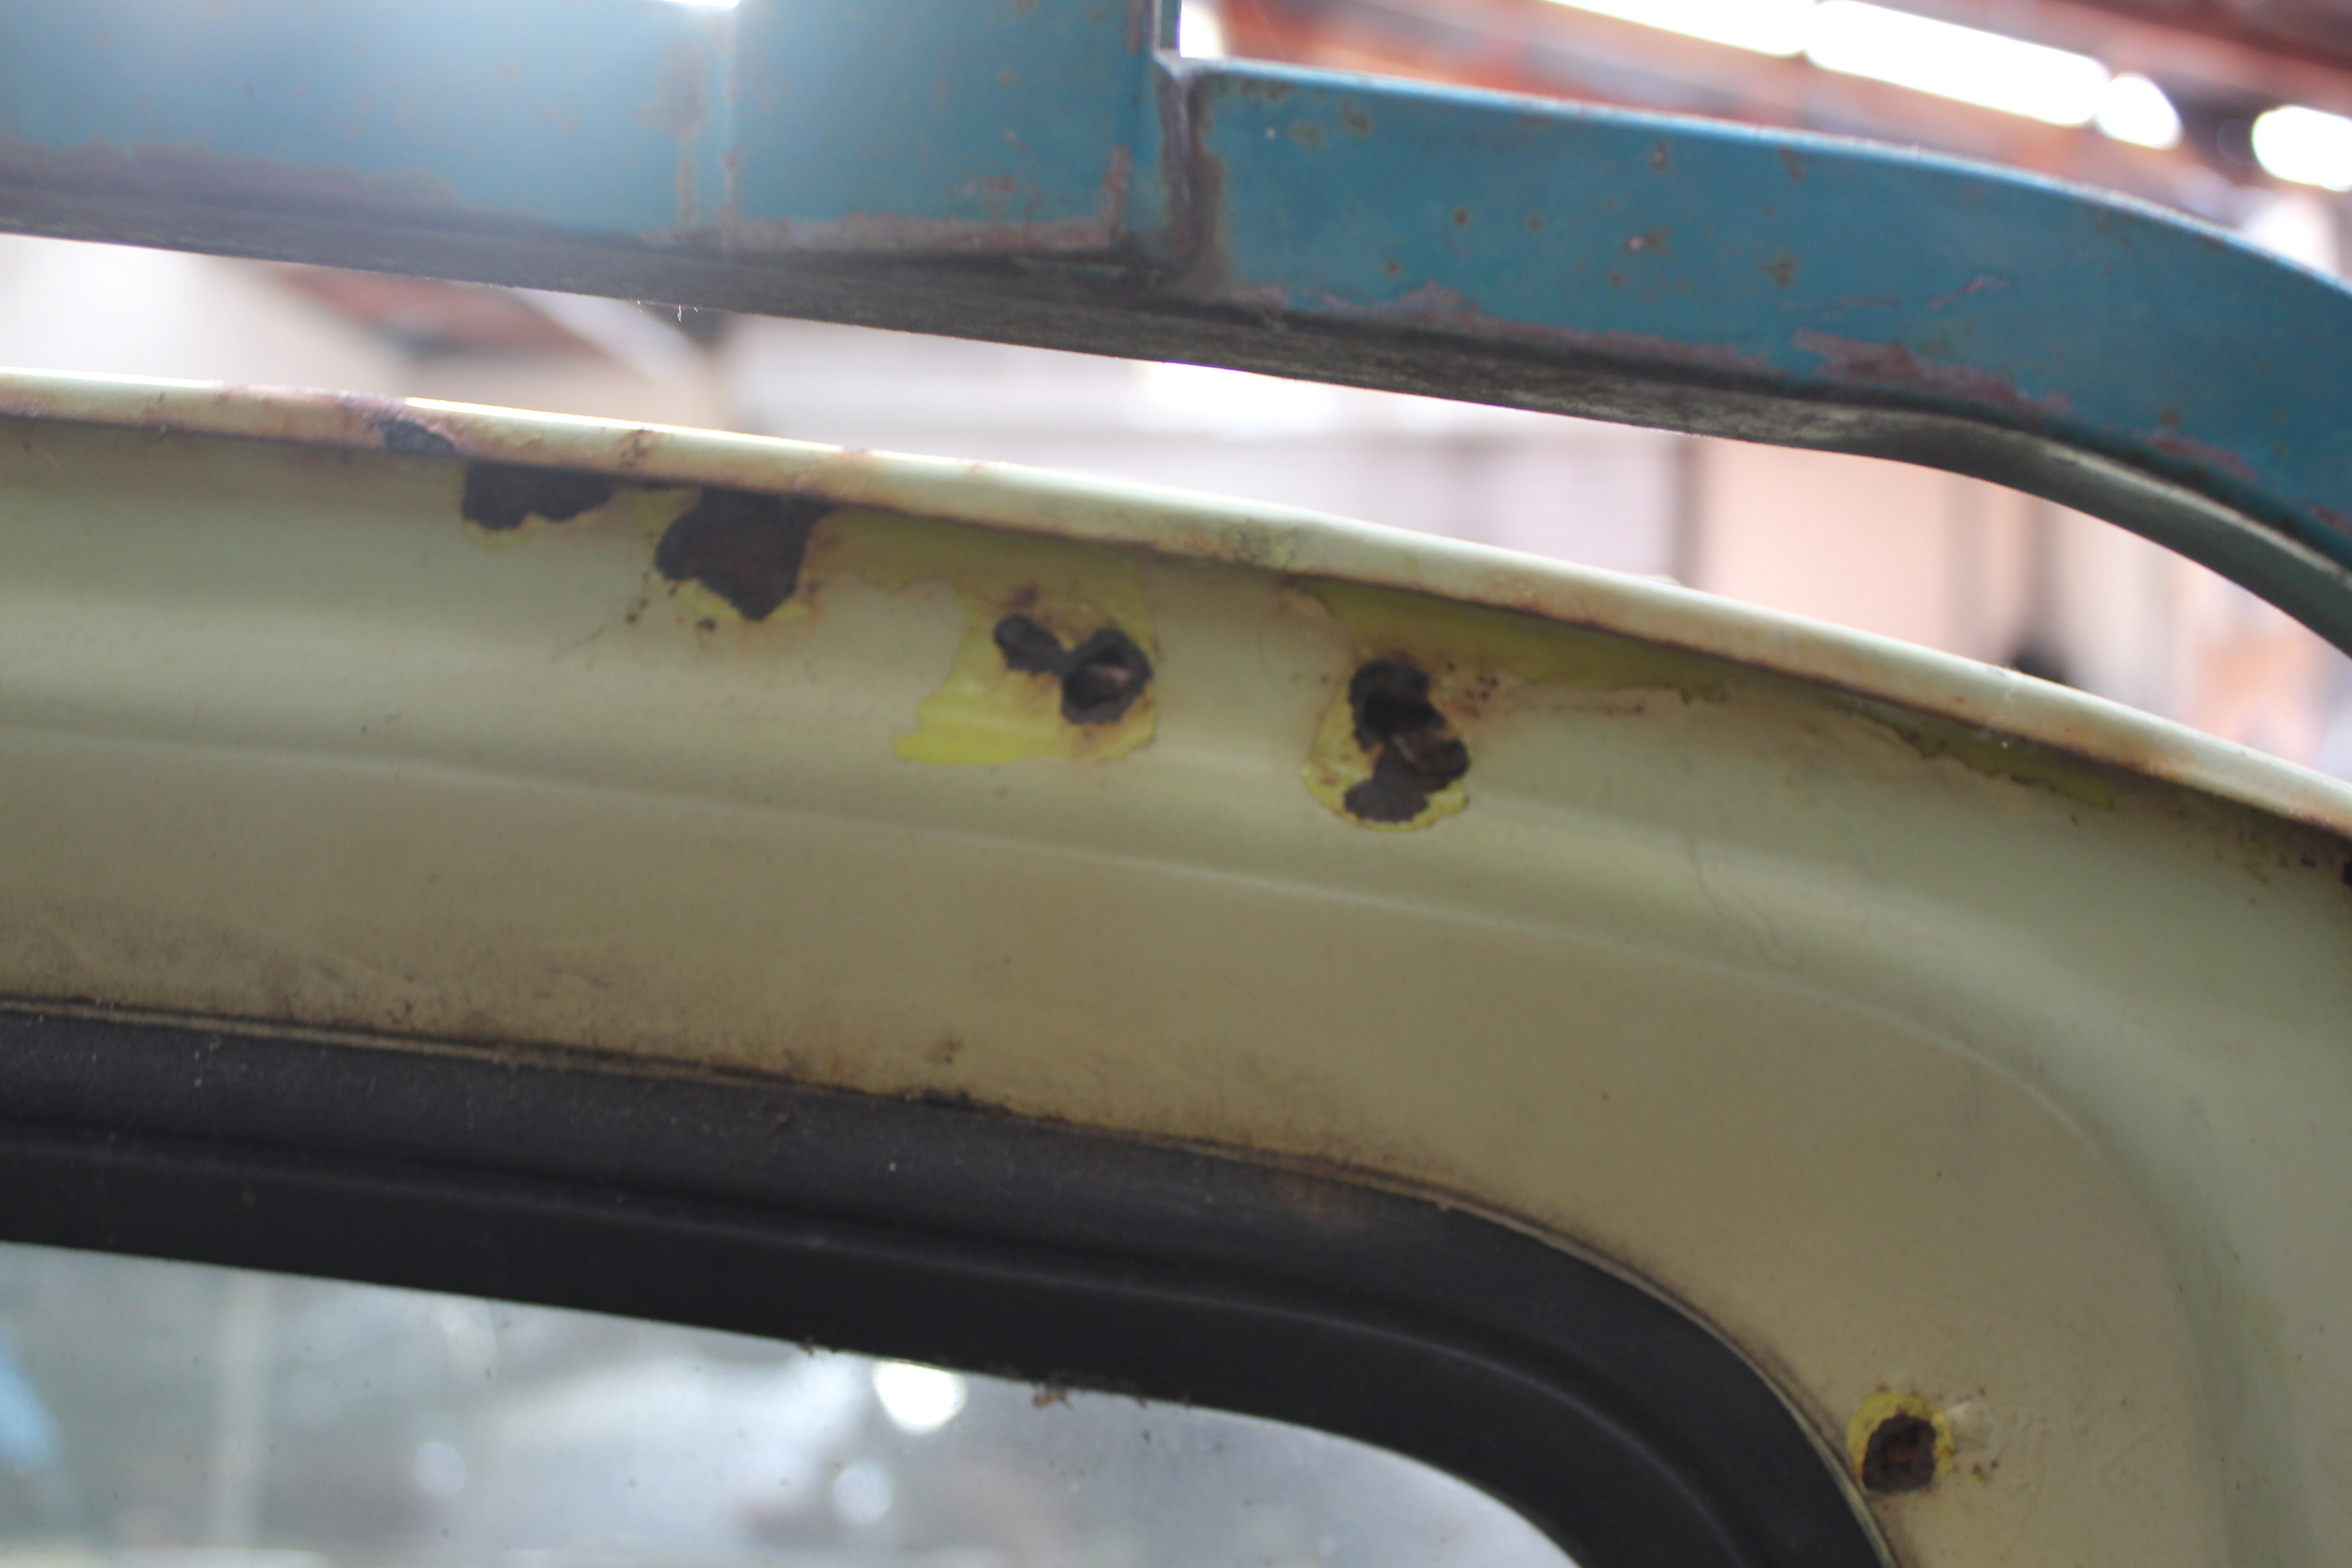
Have been getting some work done on the upper tailgate. Stripped most of the paint off with stripper, acetone, and wire brushes. Patched the rust holes with new steel. I drilled the spot welds and bent the seal channel out of the way so I could fix the rust under it. The other side wasn't as bad. The lower edges are fairly rusty inside, but I'm not going to dismantle the whole thing, will slosh some paint and cavity wax inside before it goes back on the car. I made the patches fit quite neatly and did some of the welding with the new TIG, then used the MIG to fill the holes I made (bah). TIG means less grinding, but I'm still getting used to it. Also welded up the holes used for the self-tappers that had been holding the glass in, and a few other pinholes. Back on the car for a test fit, it used to rub on one side and I wanted to check that out. It seems like there is enough adjustment to in the mounting holes to fit OK. I needed to tidy up the area where this hinge attaches the frame as it's been bent by a gorilla in the past. I'll also get some hex-socket screws to replace the big phillips head screw which hold the hinges as some have been replaced by hex head bolts in the past.1 point
-
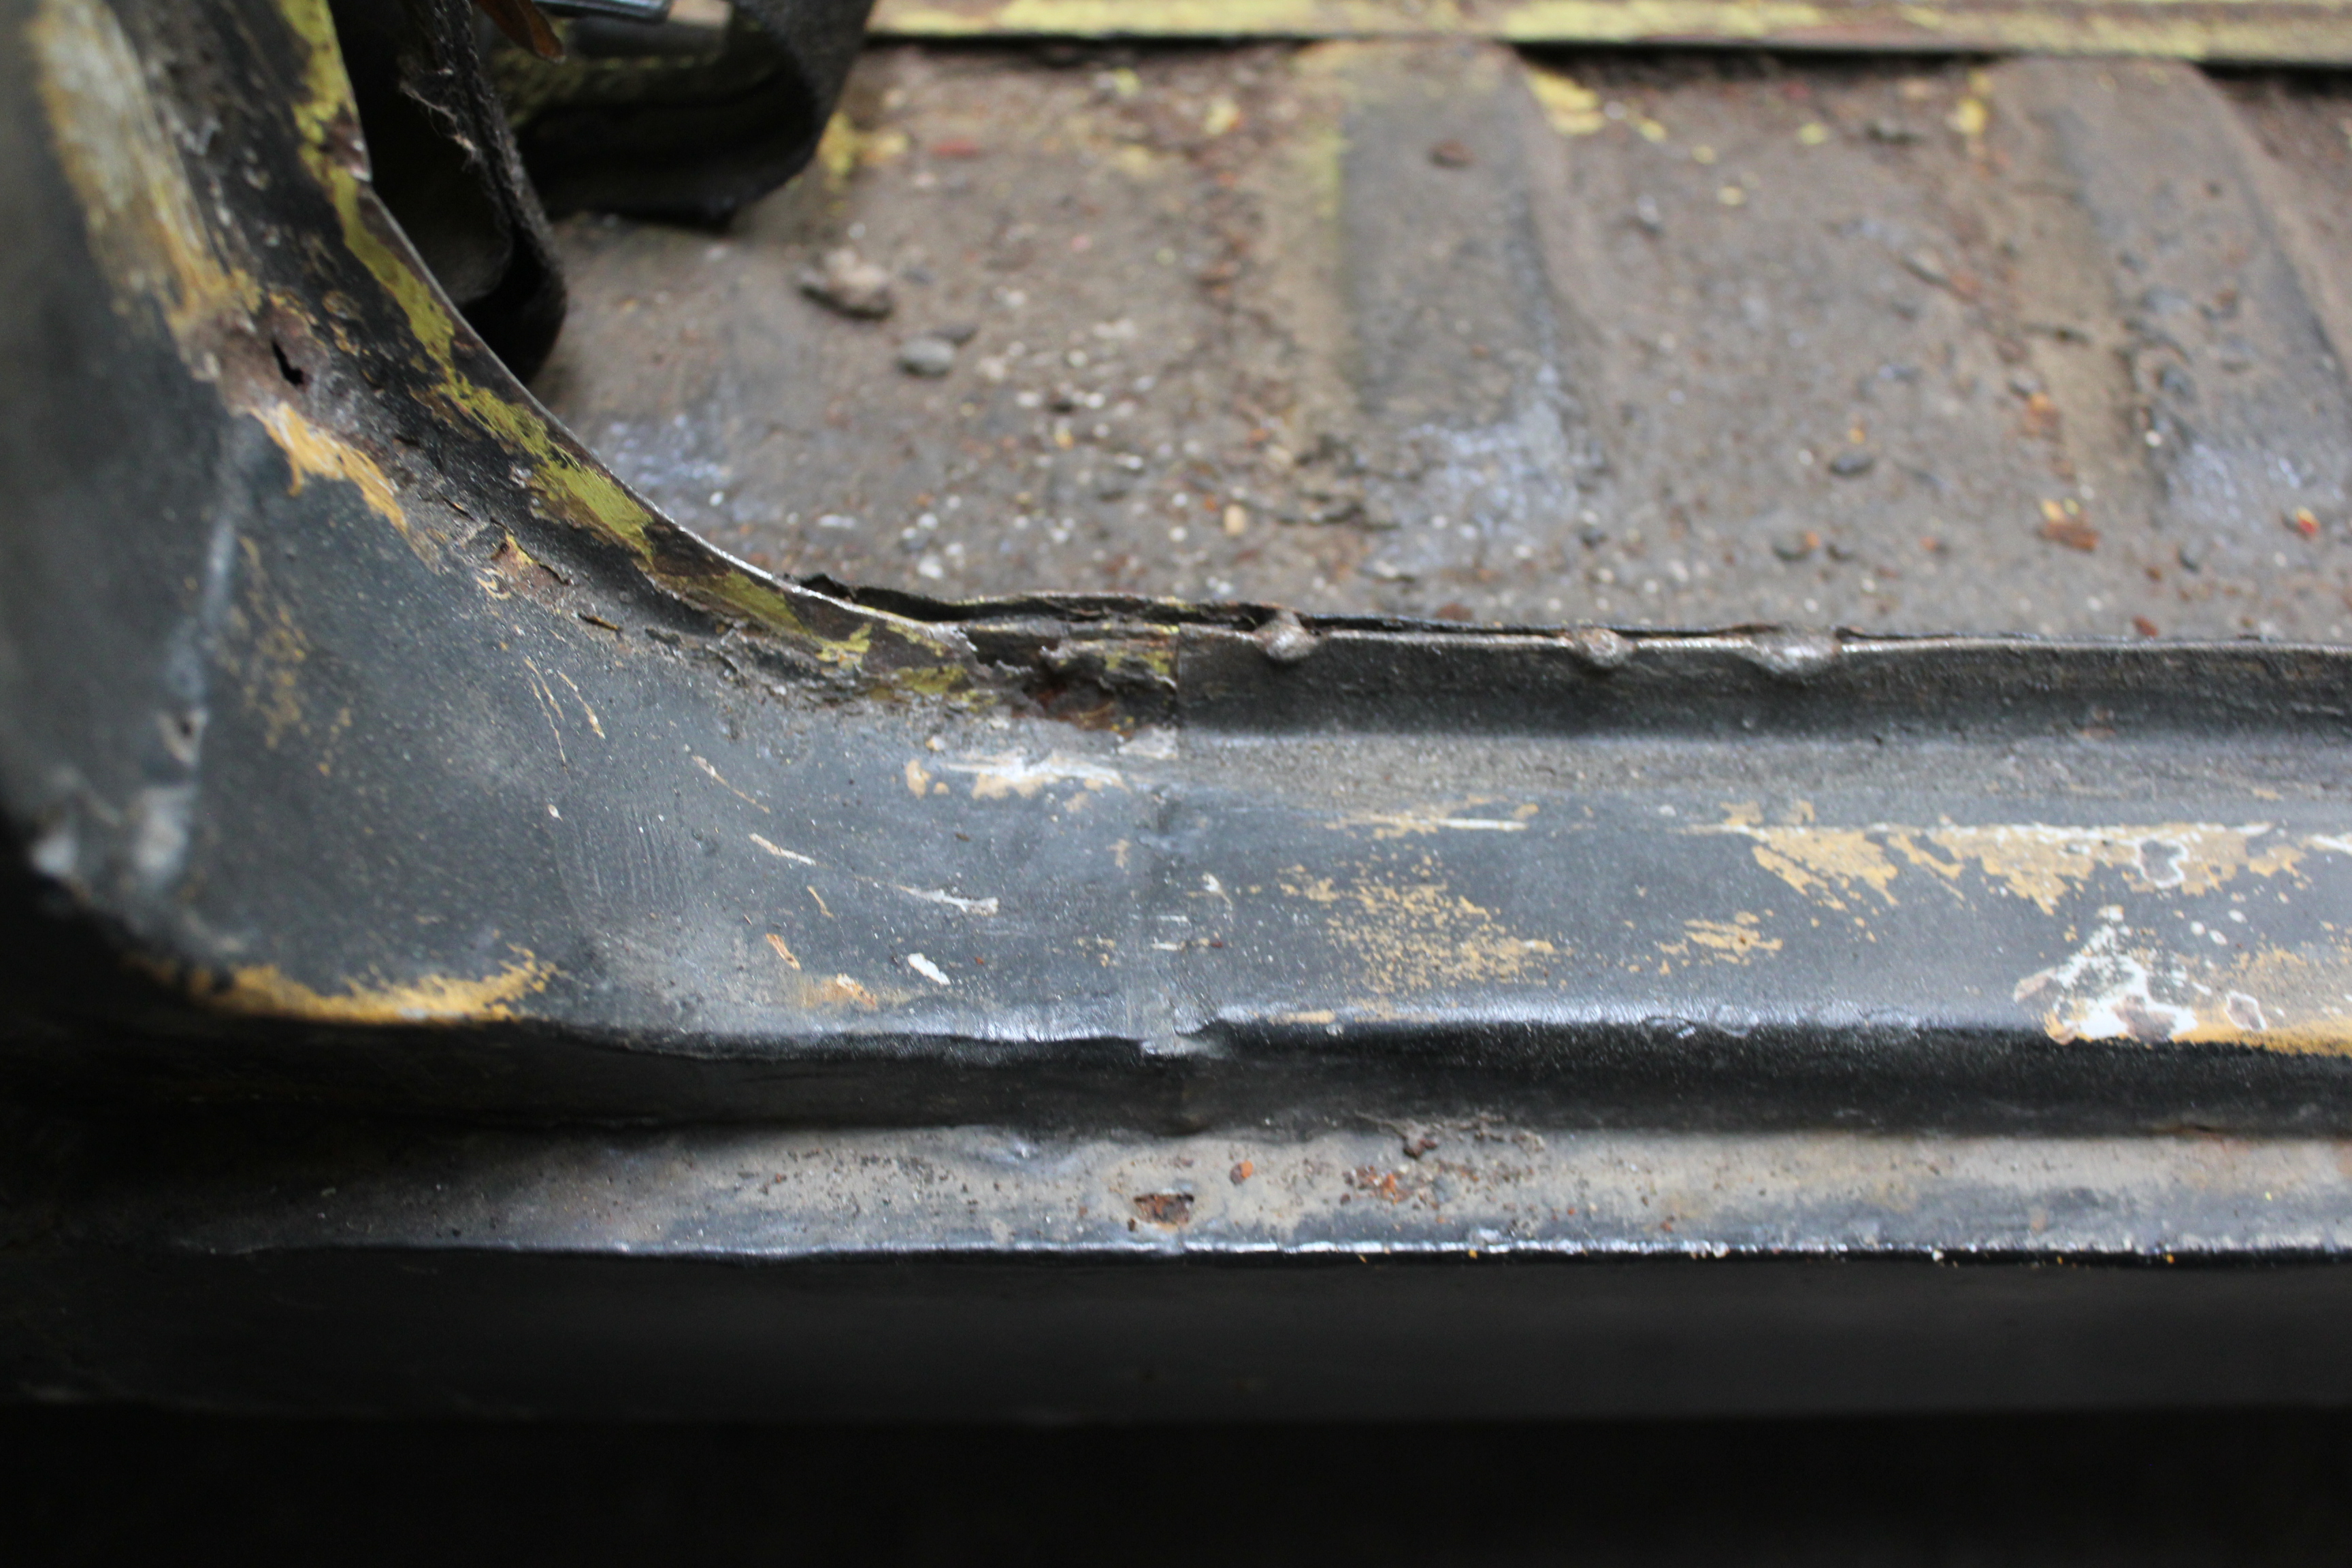
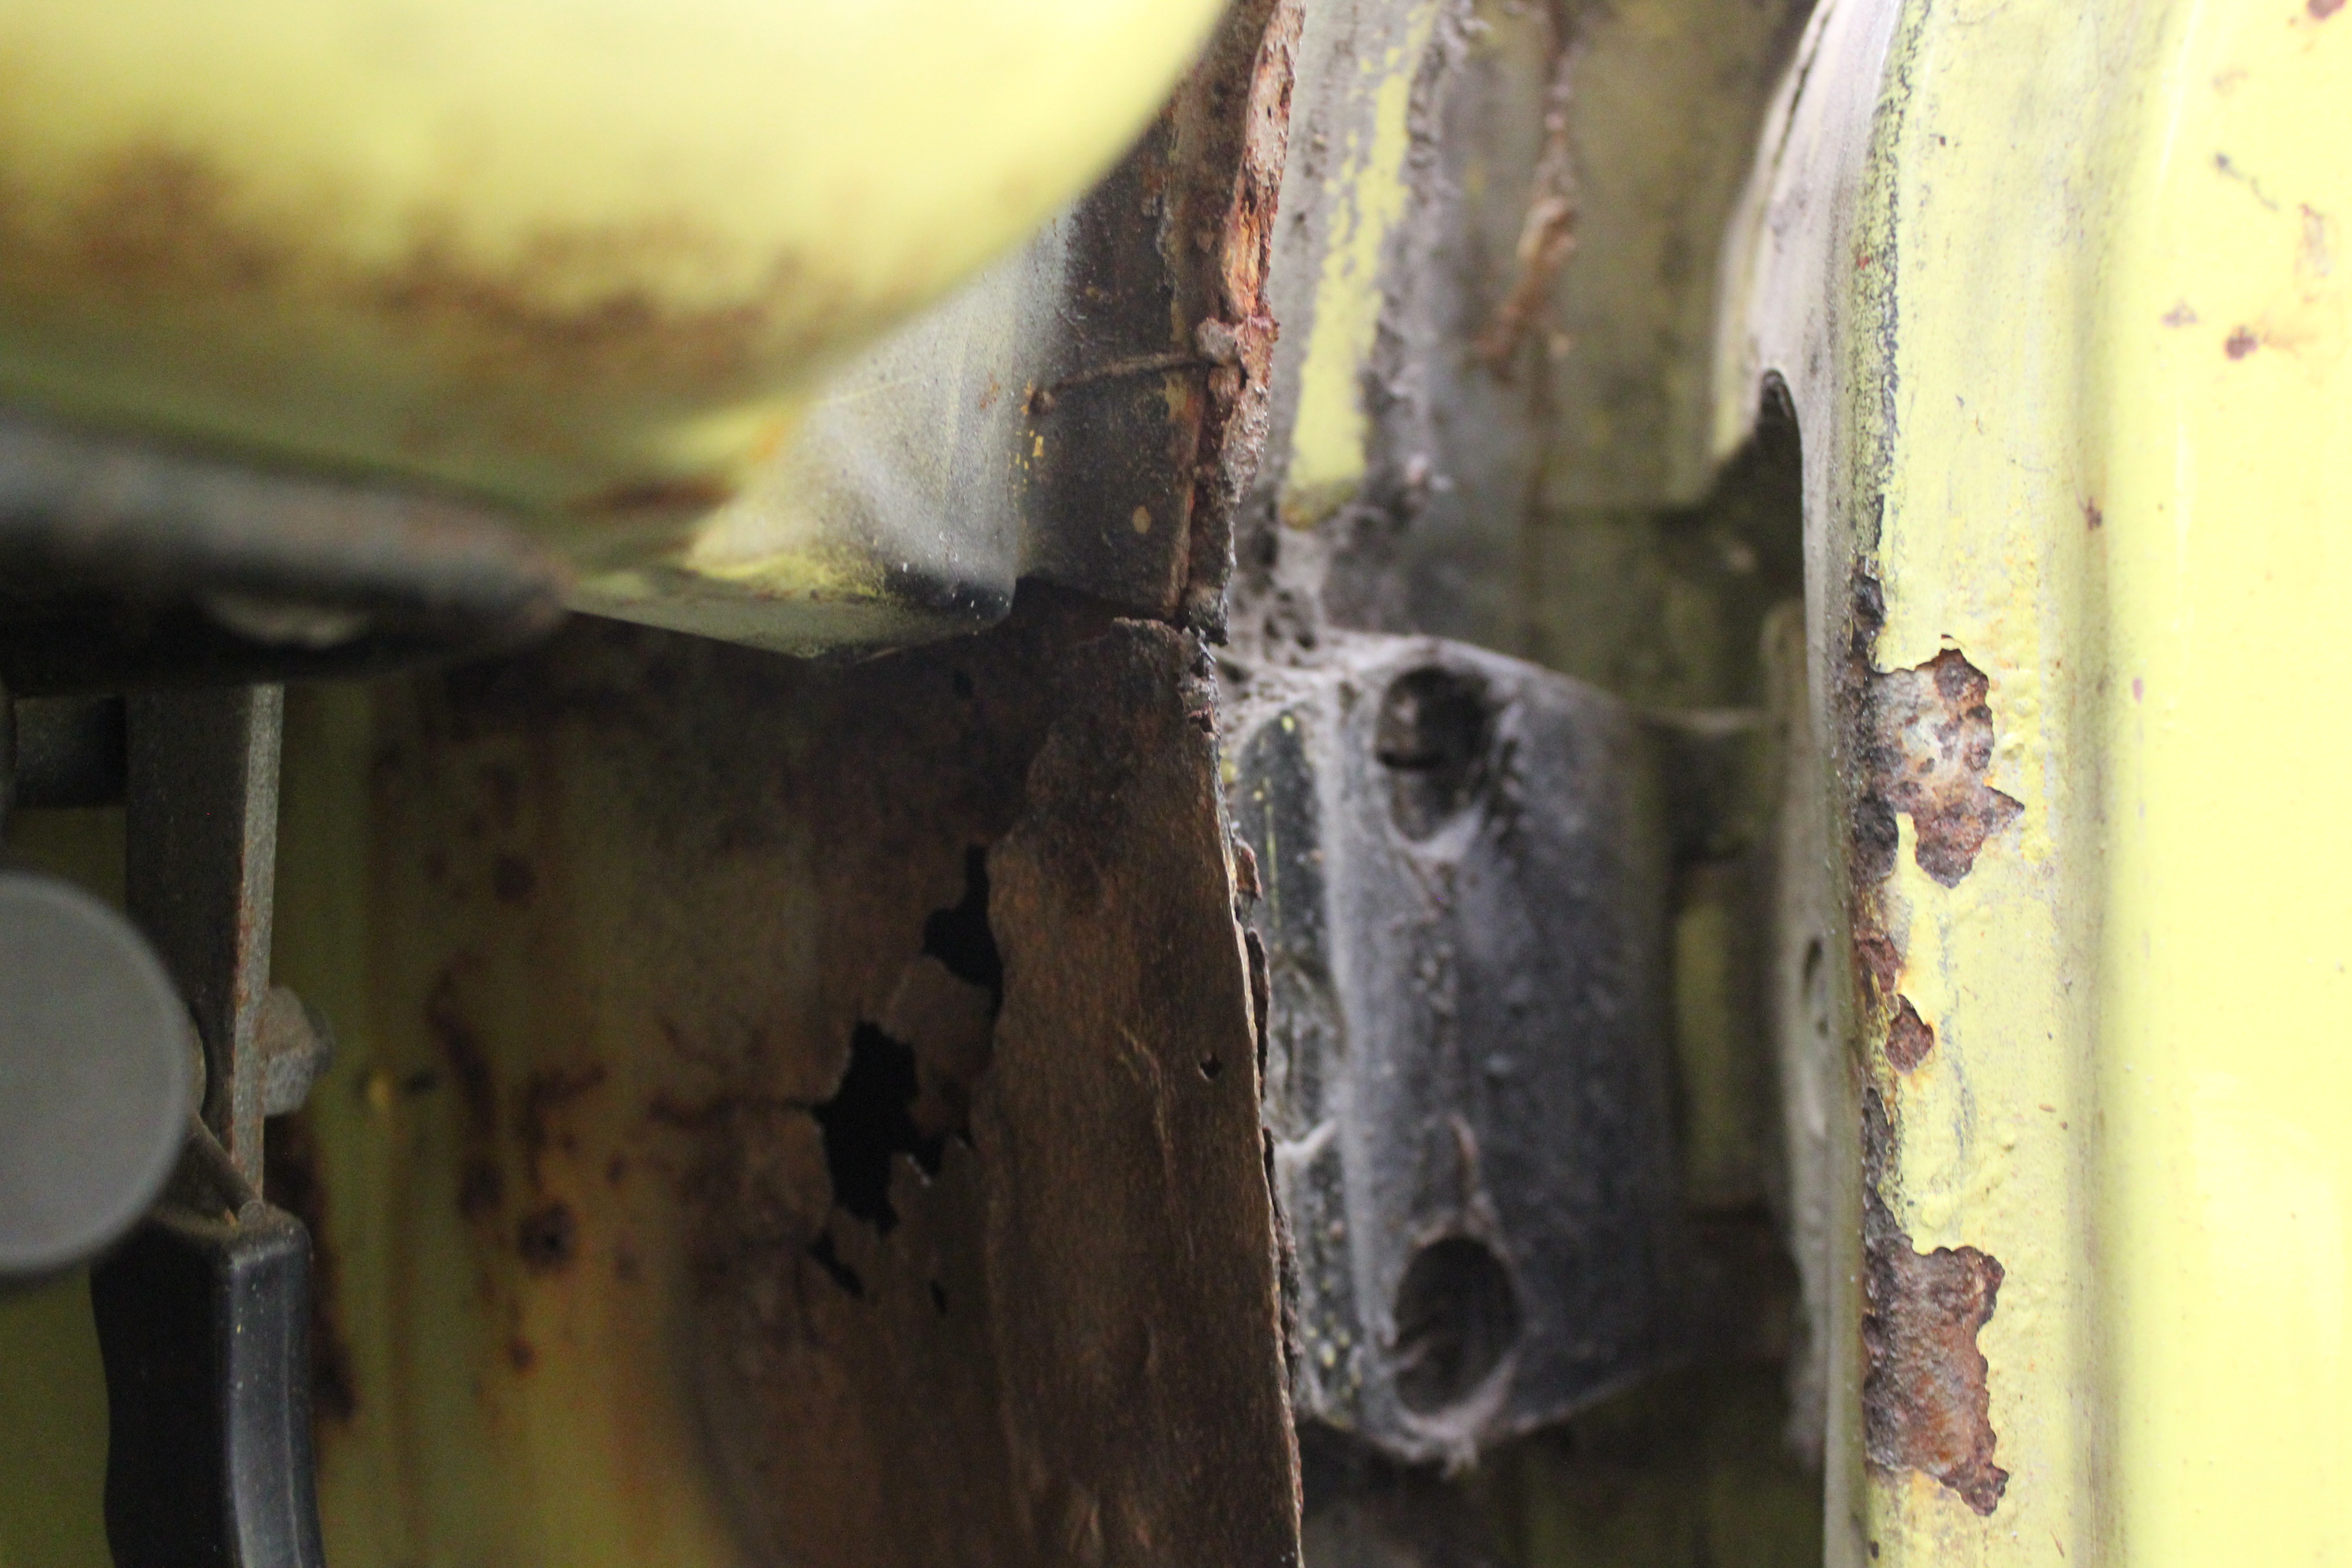
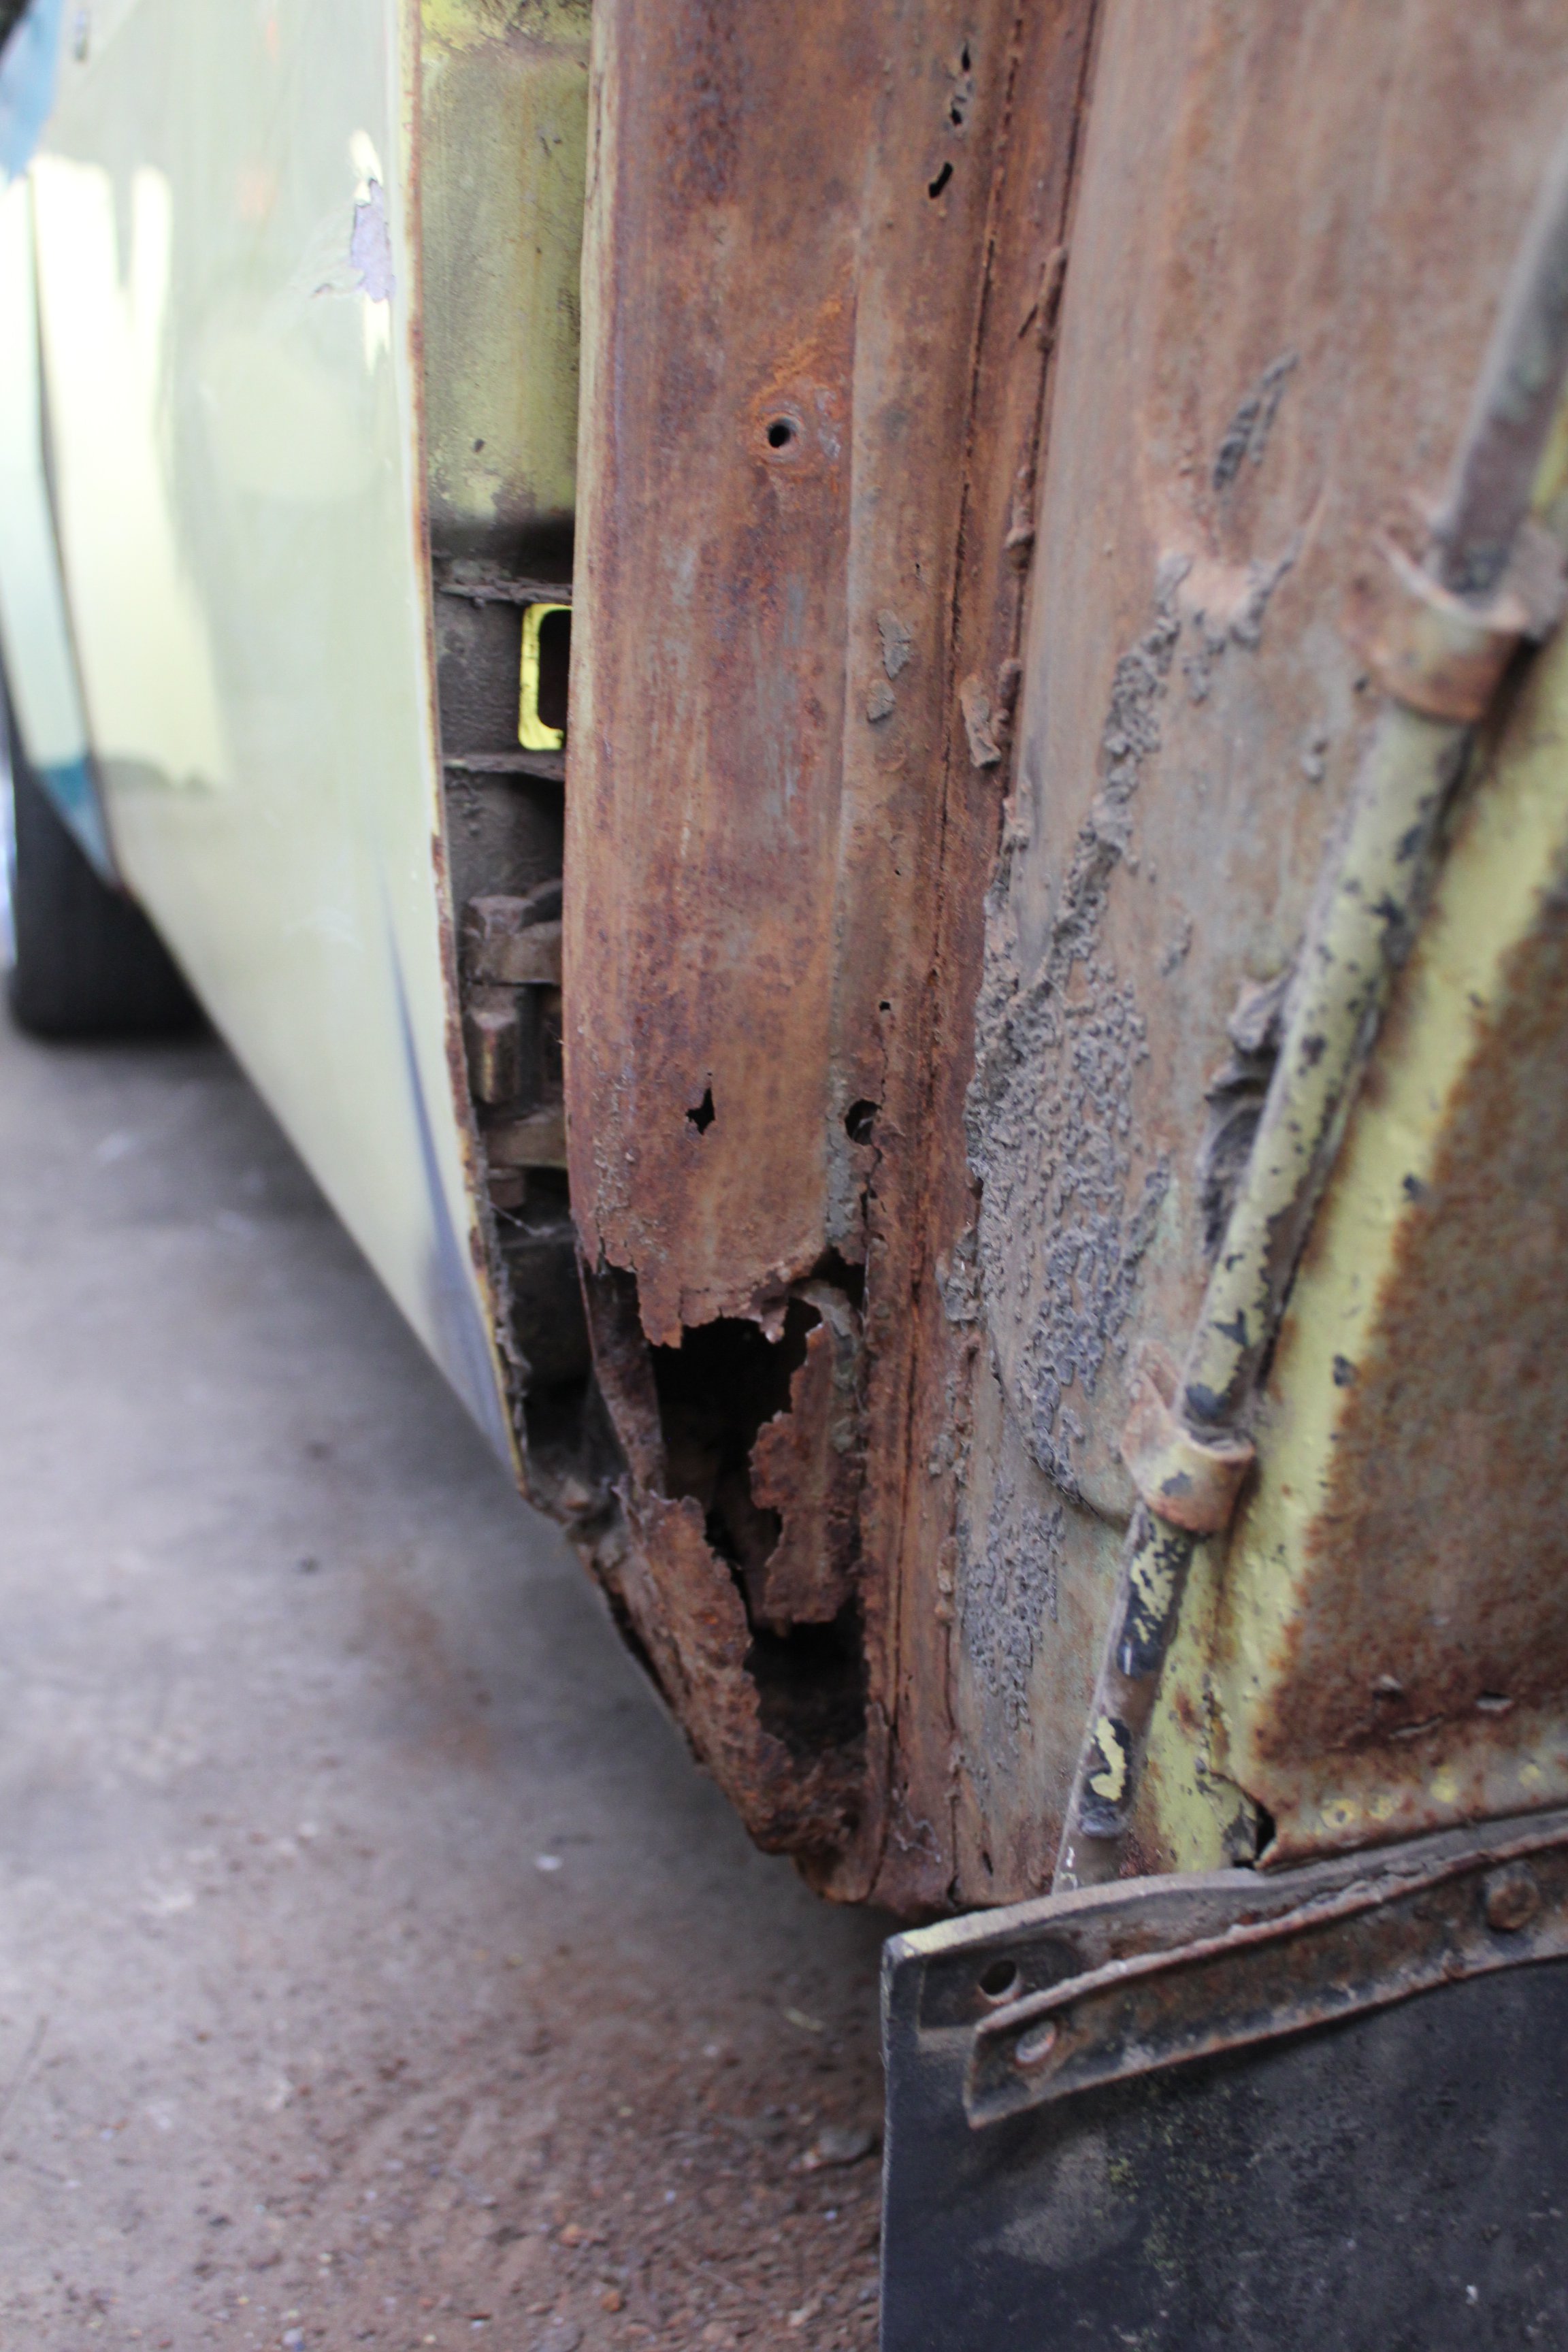
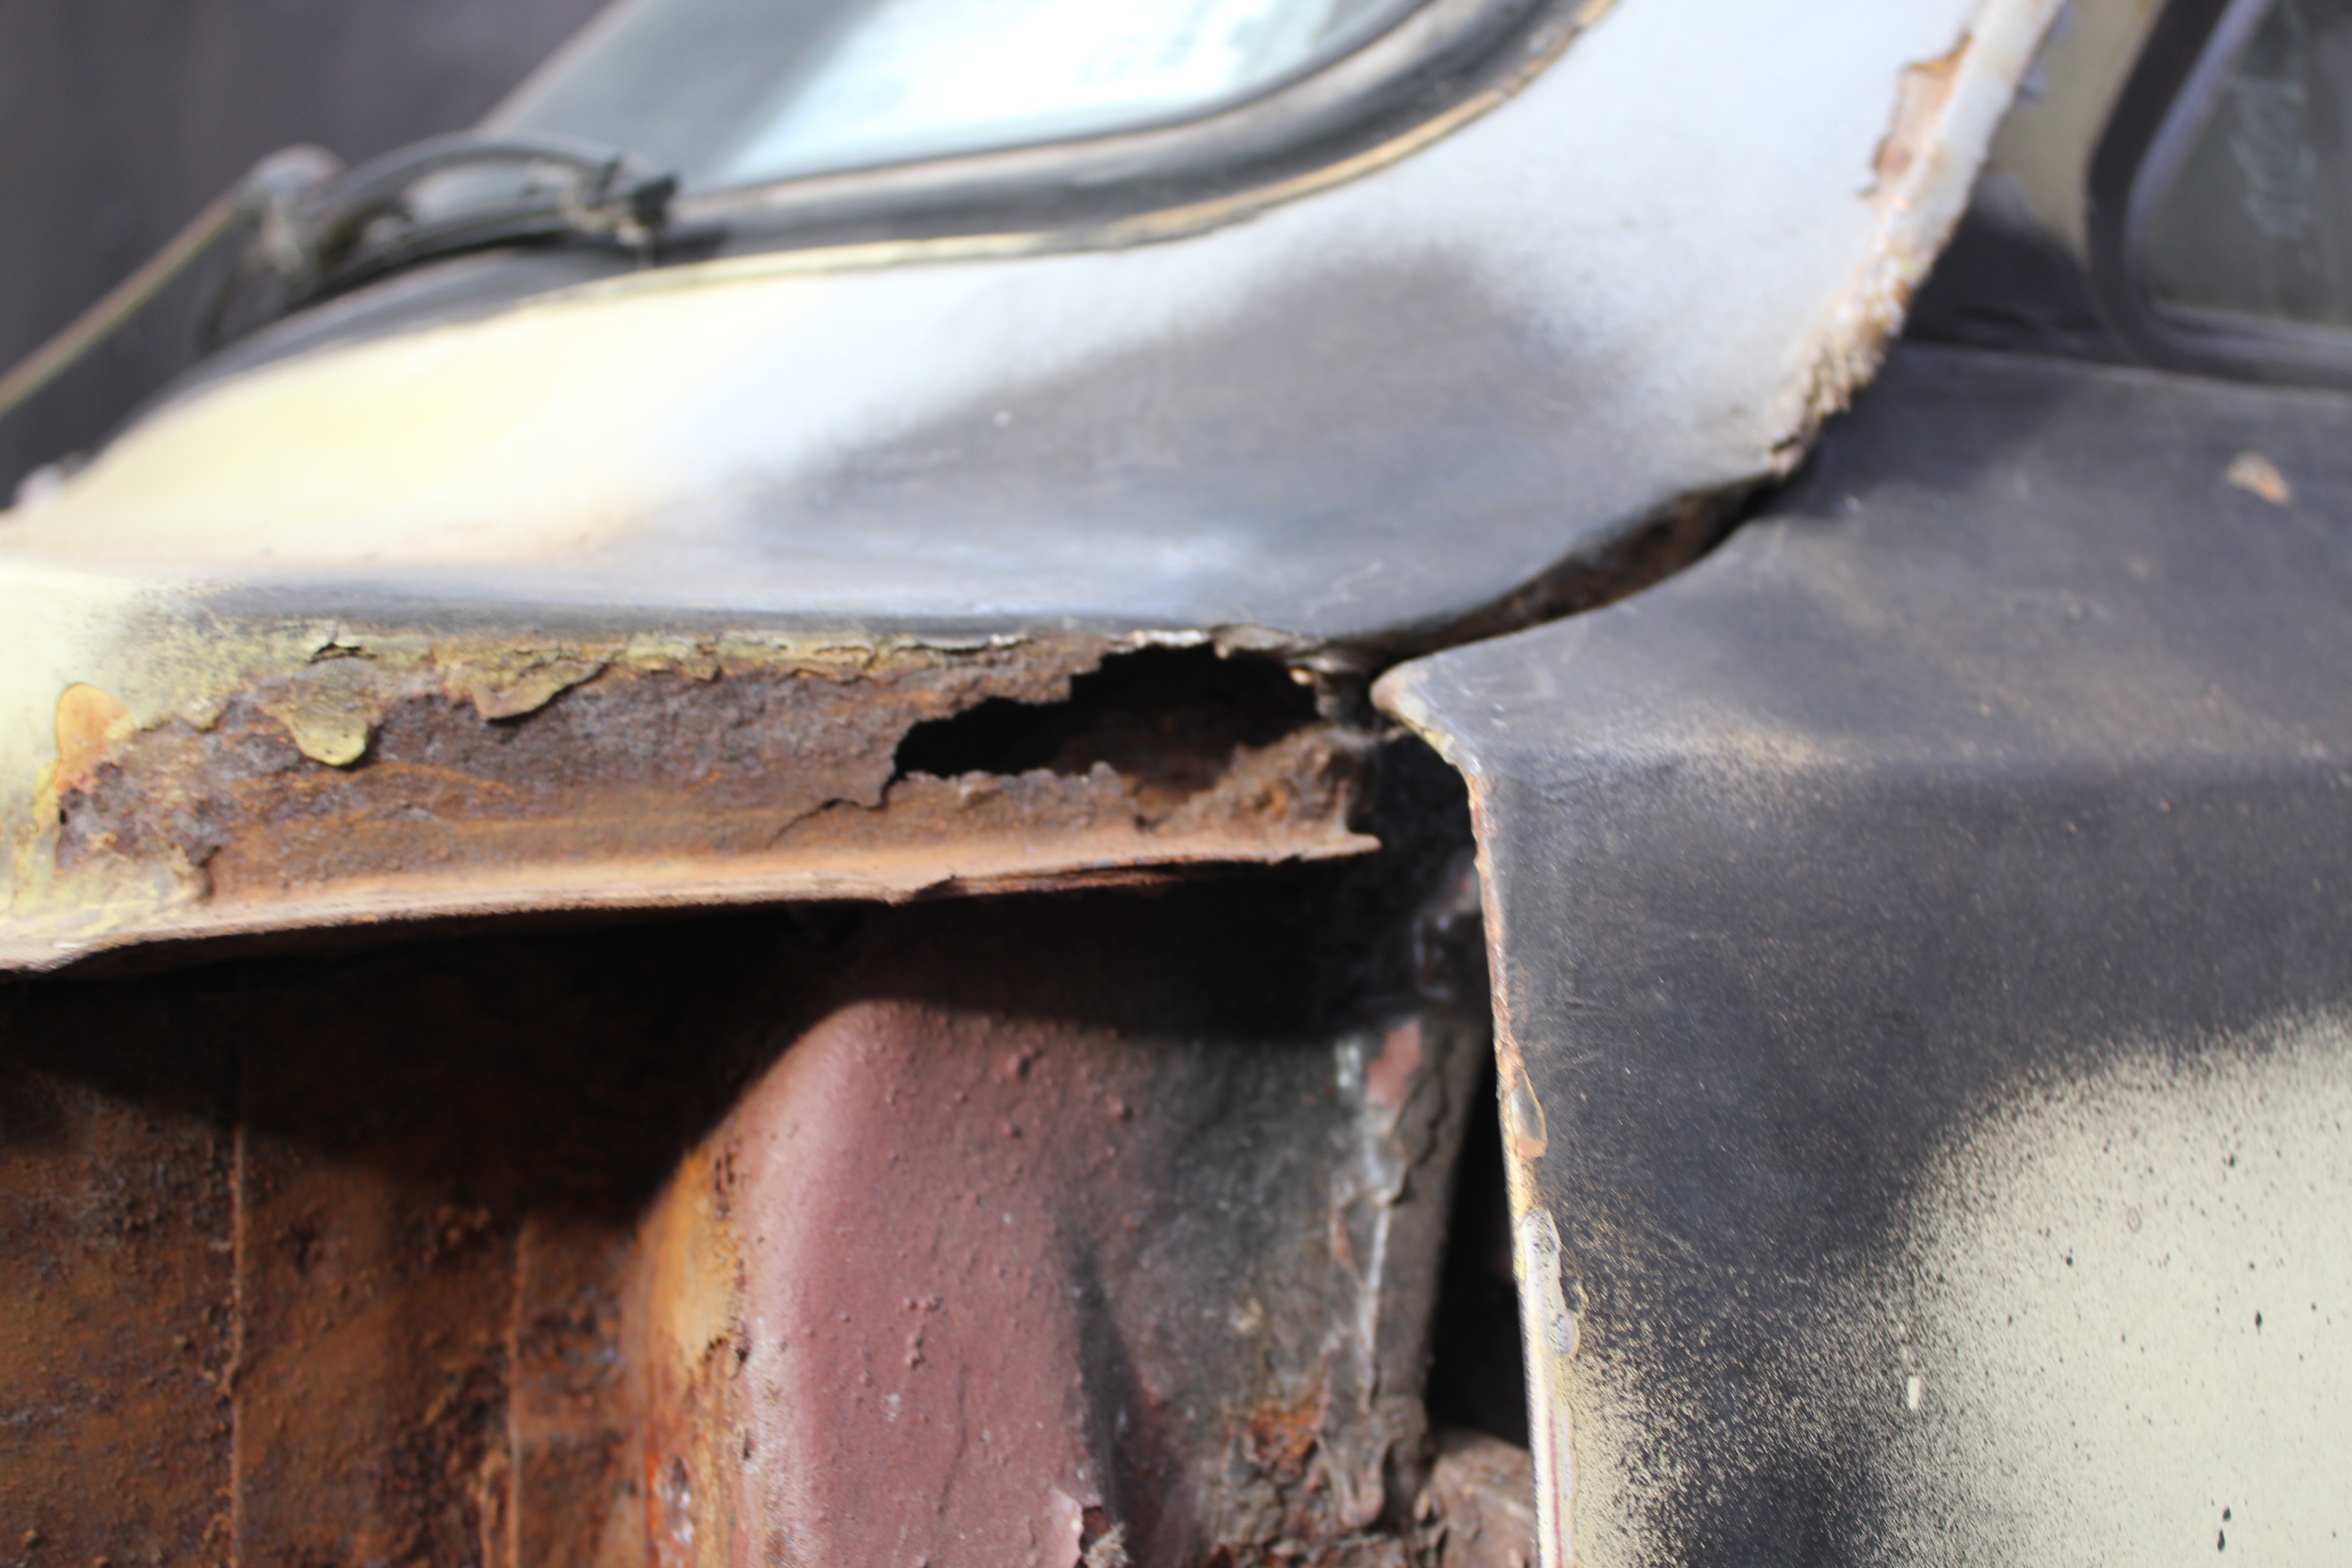
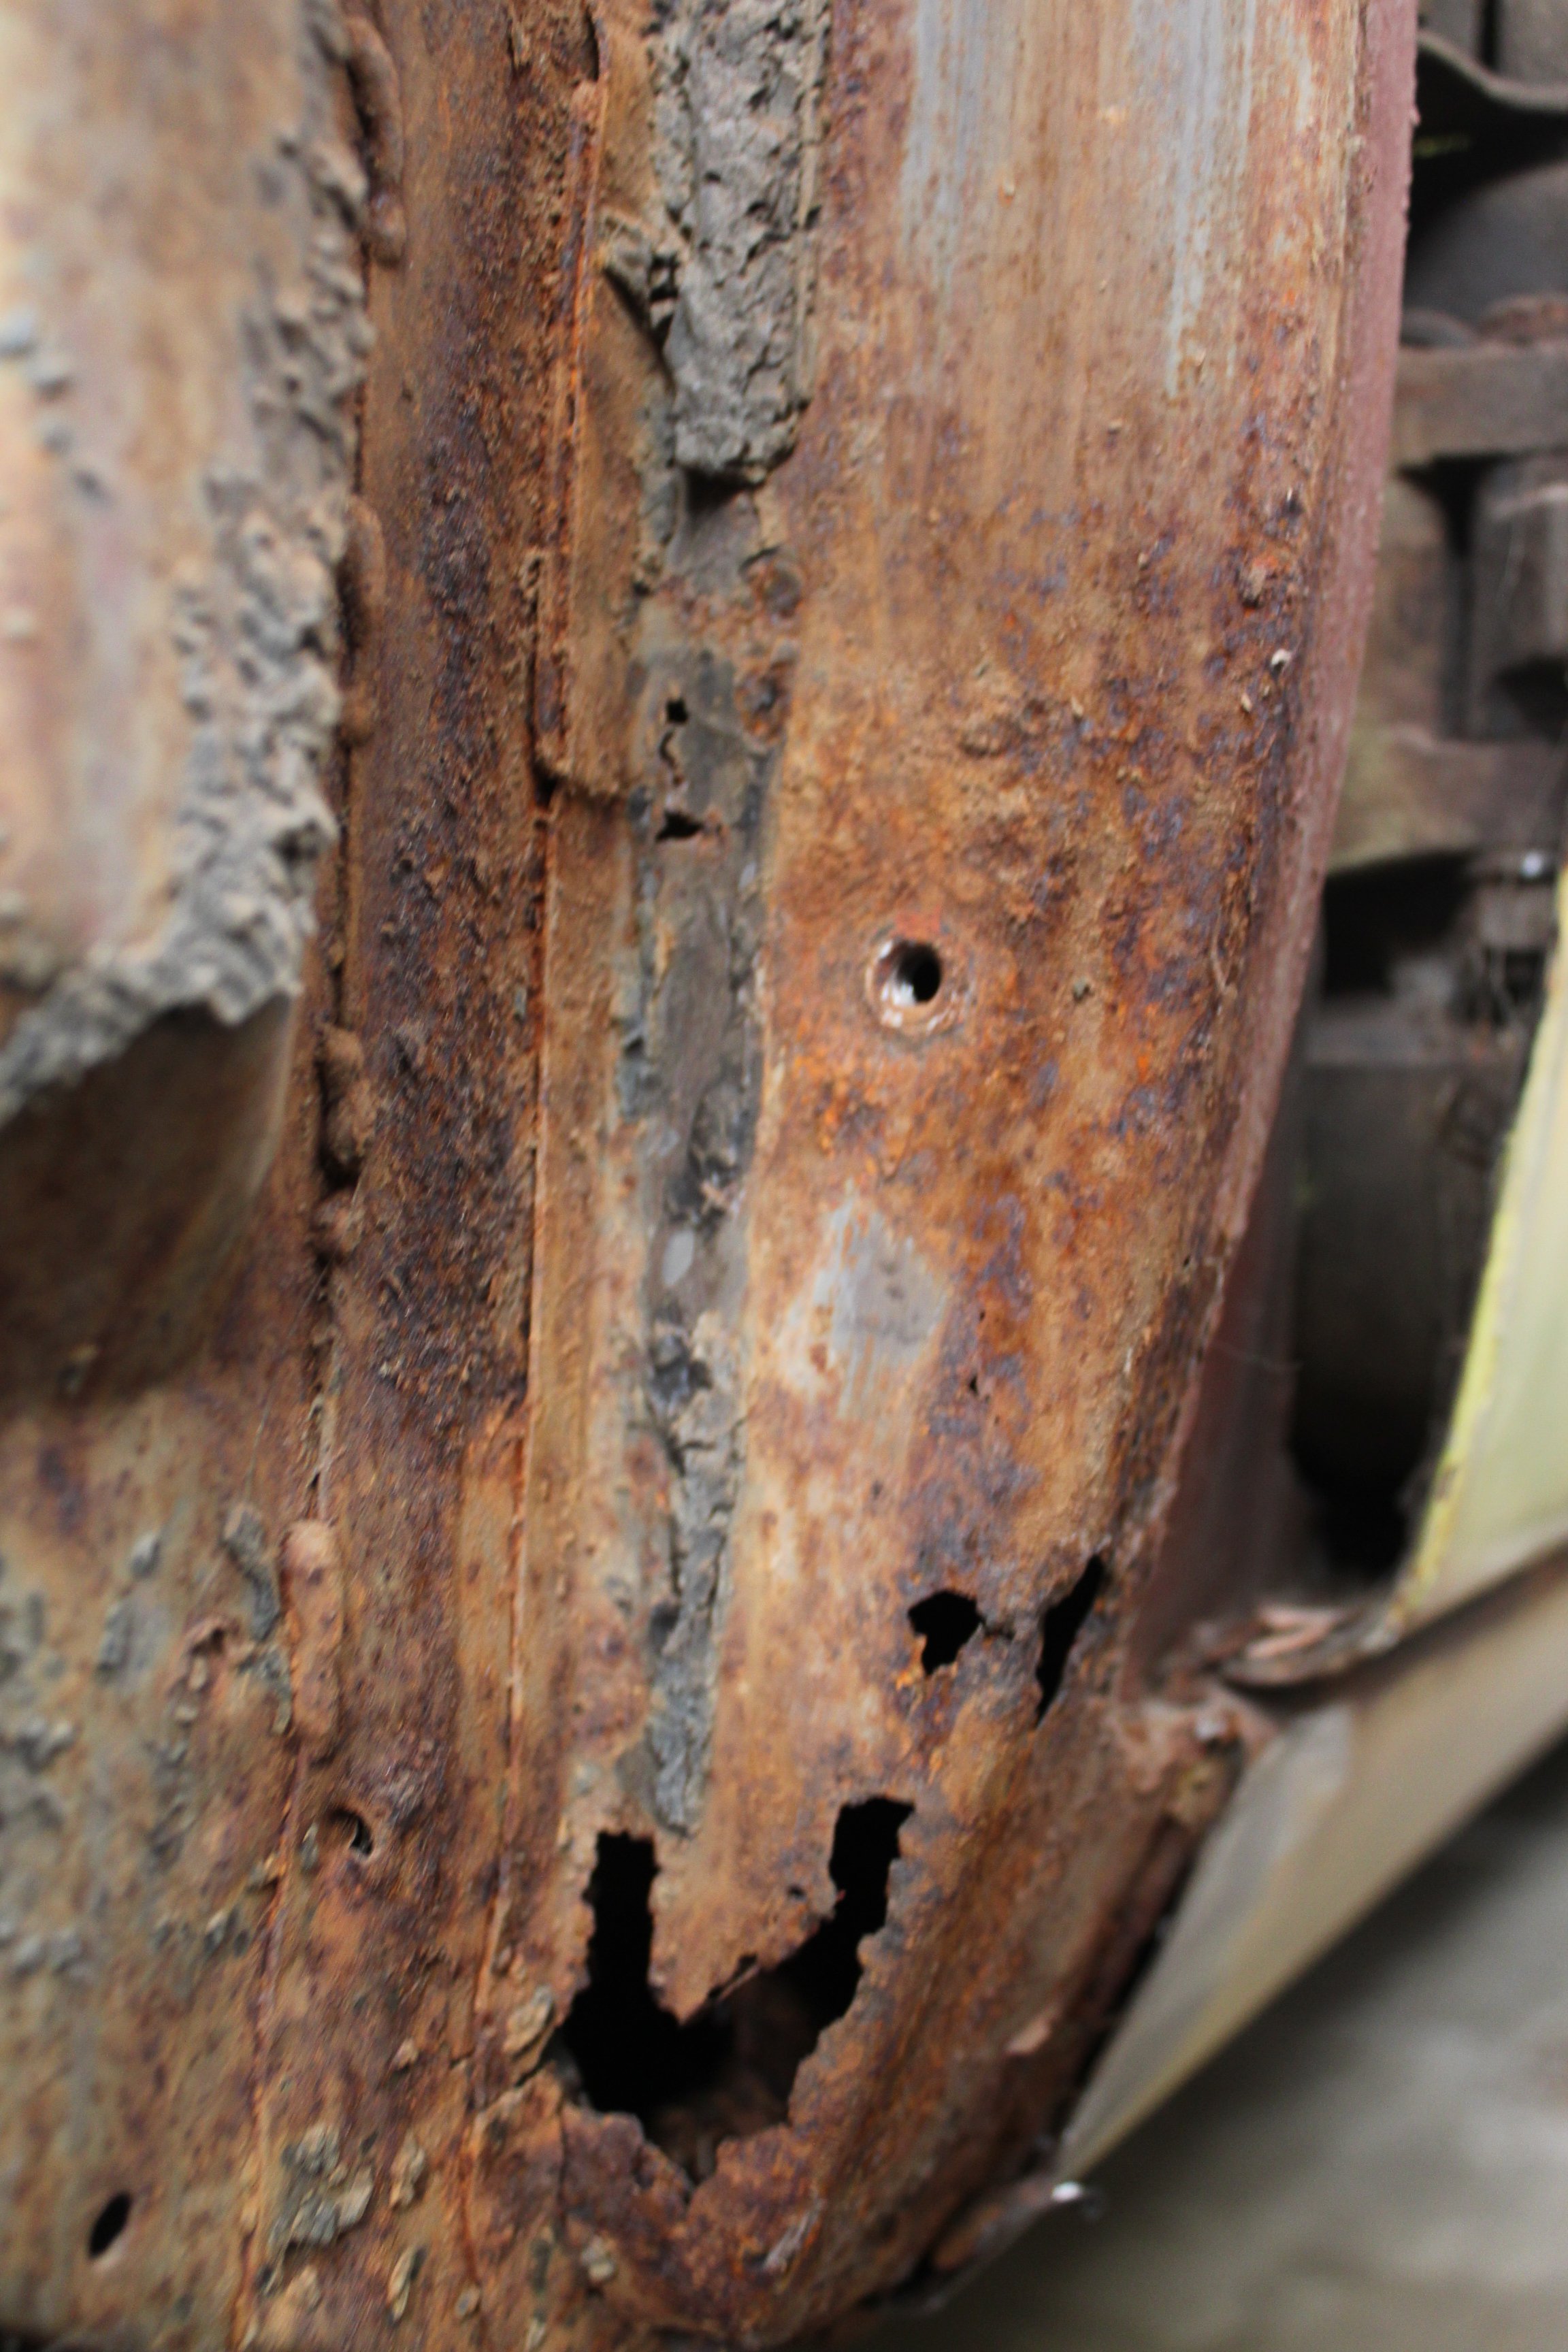
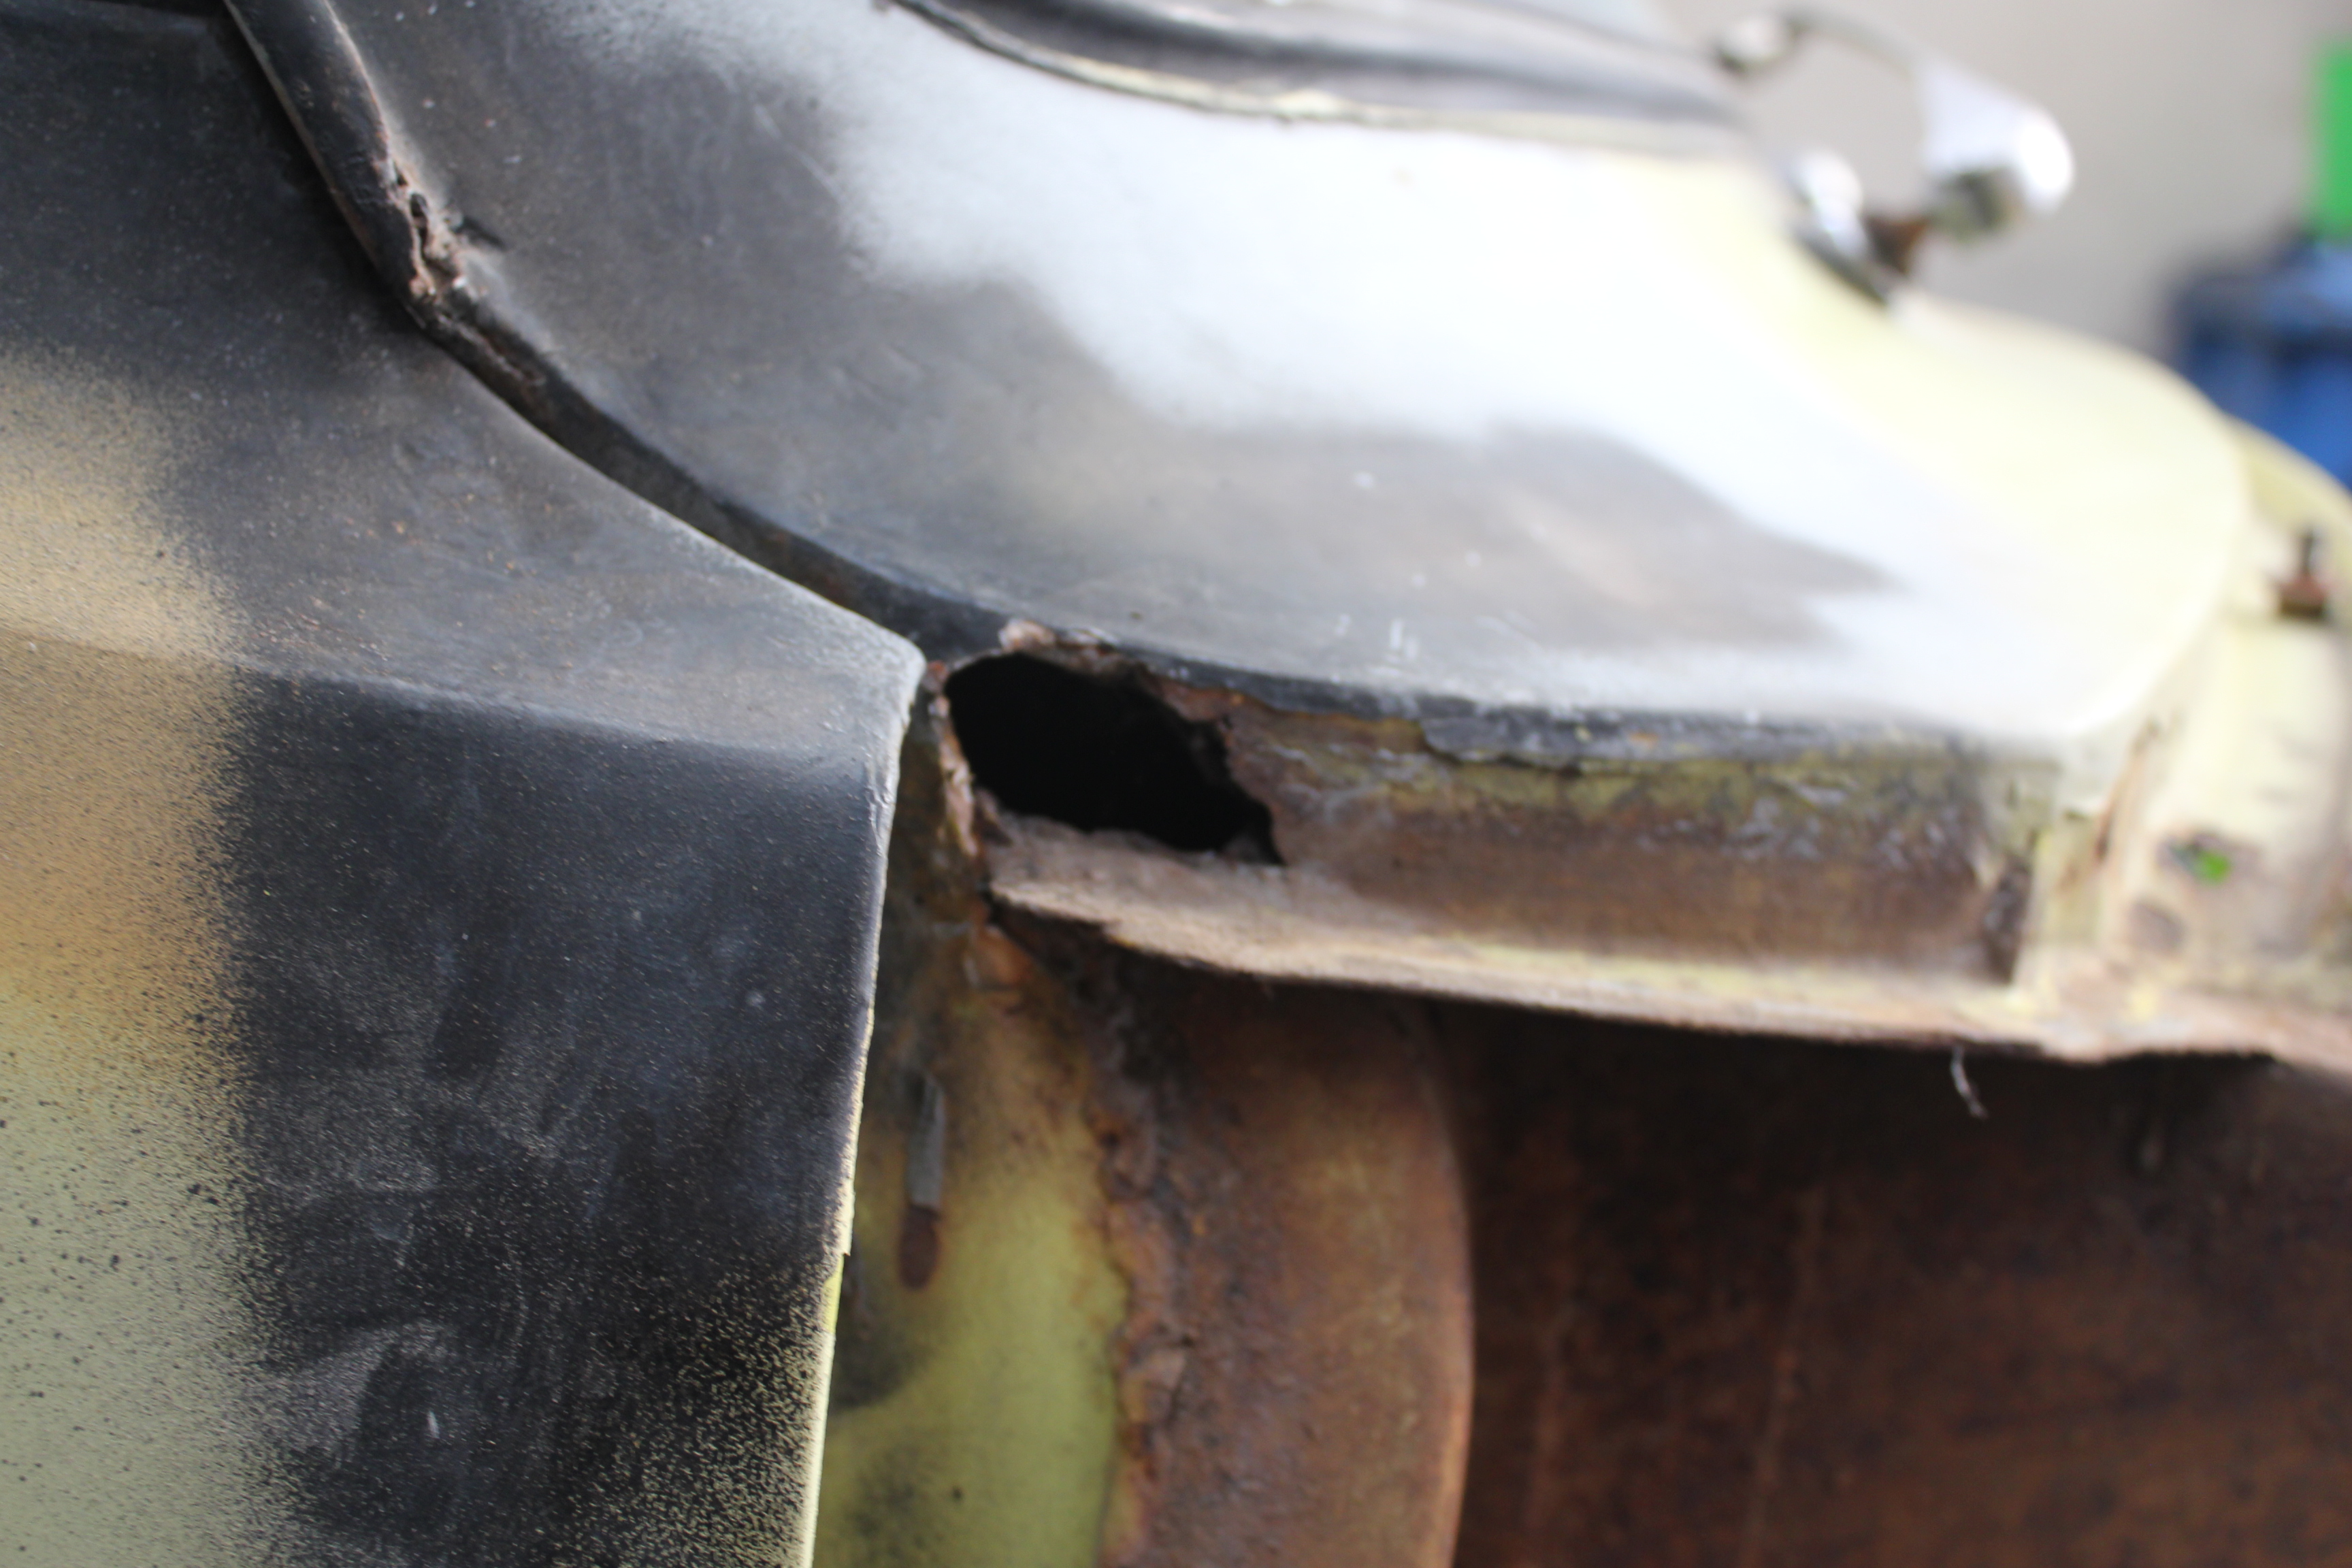
UPDATE! First things first, Who the fuck welds fenders to the sills??!! Yesterday I started by wire wheeling the sills to see how bad they were under all that paint. GOOD NEWS! Not as bad as I thought. A couple of rust holes here and there, but or the most part they're all gravy. That is unfortunately where the good news ended for the day. I removed the covers in the footwell next to the door and discovered a rather religious patch right where one of the drivers side hinges attaches. Less than ideal. Allan suggested removing the fenders to see what was hiding in there. After removing 5 of the bolts I discovered the bonnet had to come off to reach a 6th bolt. Ok, cool, after Allan worked out how to remove the weird-ass spring that's on there, bonnet was off followed swiftly by that sixth bolt. After 2 solid minutes of trying to remove a 7th bolt and it not moving I asked Allan for assistance, at which point we discover the welded to sill feature. What. The. Fuck. Allan very kindly cut them loose for me (I'm pretty sure he was scared I'd lose a finger or set fire to everything if i did it). Then YAY, fenders were off. Under which was a whole lot of caked on mud that is probably older than Ty and a shit load more rust. My favourite. The fenders themselves are not in very good shape (sorry, didn't take any pics of them) so I'm in the market to find some replacements. I also poked some more holes in the back of the cab. Who lets me have a screwdriver?!
1 point
-
Will try and document the more interesting things I thought this was a nice touch. Fuel cap IMG_20170513_144634 by John Bell, on Flickr Looks pretty normal, has a straining mesh in there IMG_20170513_144642 by John Bell, on Flickr It pulls out and locks in like a spout so you can fill your vehicle with roadside diesel from innapropriate vessels in Africa/Ruatoria IMG_20170513_144701 by John Bell, on Flickr1 point
-
Had bias valve mount laser cut. Clamped it in vice and folded legs with a hammer. Drilled out holes and tapped. It fits.1 point
-
Once this was up and running I wanted to use it for a bit before doing more work. Wellington OS Meet Wagon-camping @ Otaki Forks a couple of times. Beach, back when swimming was a thing.1 point
-
Longest exhaust build ever! What a stupid idea it was to design it like this haha. So far has 5 pairs of flanges on each side if you include the ones at the end of the headers. Will have another pair after the diff as well. Got some flexi's and welded them in, as well as the rest of it. Need to put the tray back on now and see where the rest of the exhaust can run out the back. Made some mounts, after making them incorrectly to start with. Had the rubber hanging under tension where-as it should be compressing, otherwise it would most likely tear the rubber in half. Also made some gussets for the 4 link brackets since they didn't quite look strong enough. Might make some to tie in the other side as well. Need to make a start on the fuel tank soon. Any recommendations on an in-tank fuel pump to use? Don't really know much about them, 255LPH should be enough? Tank will be about 220mm deep if that matters.1 point
-
Went out to buy some resonators, realised how overpriced for how simple they are, so decided to make my own. Rolled up some perforated sheet, wrapped in stainless steel wool and fibreglass strand. Will probably make another couple to put in behind the diff, which hopefully will make it reasonably quiet. It's a real shame no-one is going to see underneath here once it's done.1 point
-
Got the cab back from sandblasting. Has also been etch primed. They did a very good job of it. Patch panels for the right hand side floor should be here in the next week or two. Made up a plate to replace the door hinge captive nuts that were turning. Plug welded it in. Pic for thread because these updates aren't that exciting and so I don't forget how cool this will look once it's done.1 point
-
I post things that are interesting to me. Feel free to add me to your ignore list.1 point
-
You could always use a turbo to soak up all that extra fuel... Just sayin1 point
-
So i have a decently large garage and not enough stuff to fill it with. Garage is in fenced and gated back yard security lighting and alarm bars over windows and il put some dead bolts on the roller doors if stuff isnt going to be going in and out too often. lights and power totally weather tight the free bay is about 3.5m x 6.5m, though the door is only 2.4 wide im thinking $30 a week?1 point
-
Please make the whole car the same height as the front - thanks.1 point


This leaderboard is set to Auckland/GMT+12:00